
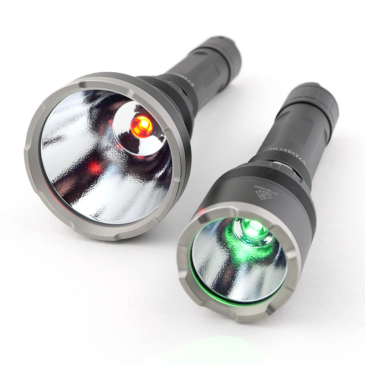
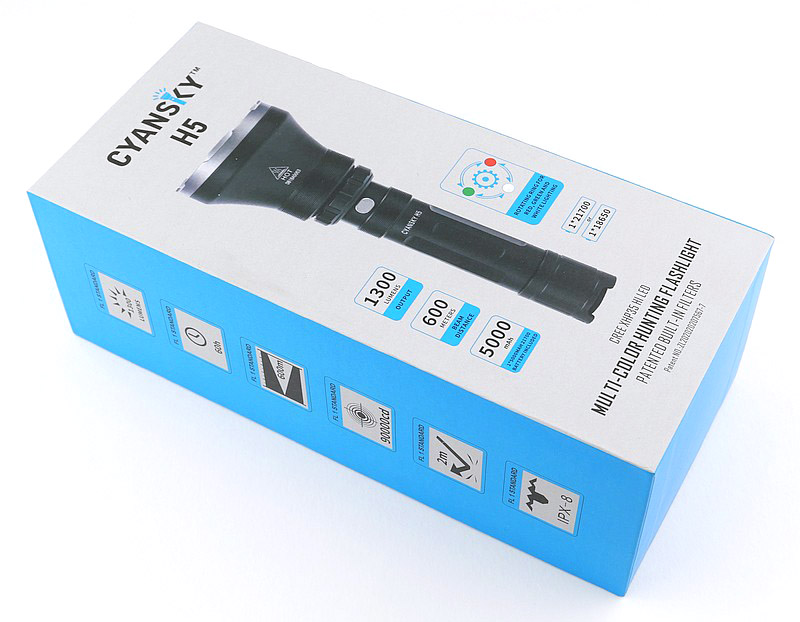
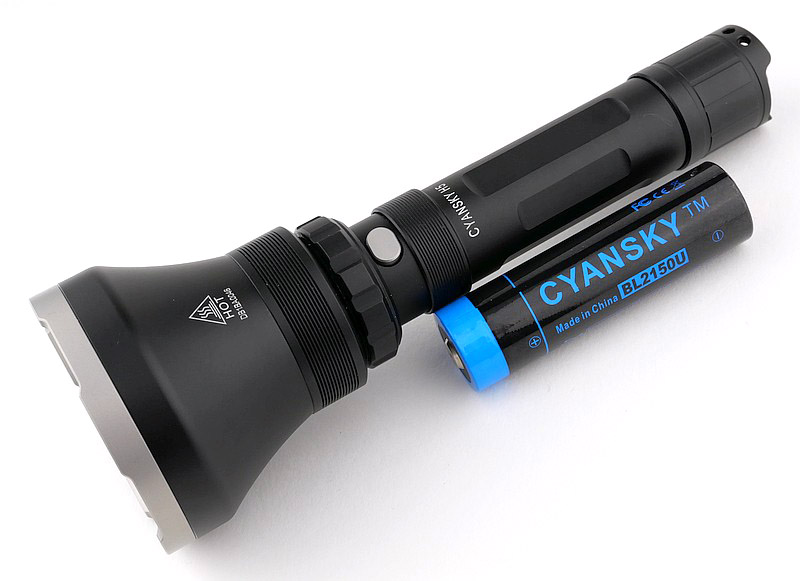
Cyansky have come up with a novel way to solve the problem of having multiple colours of light in a single device without many of the compromises multi-LED or LED swapping lights might have. Most people will have come across, or used, colour filters to change the output of a white beam, but these are easily forgotten or lost. In the Cyansky H3 and H5 hunting models, glass filters are completely contained within the head of the light and the patented mechanism lets you drop a red or green filter in front of the XHP35 HI LED with a simple twist of the control ring – nothing else needed. The H3 and H5 use the increasingly popular 21700 cell to provide more power and runtime, but can run on an 18650 or 2 CR123s for added versatility.
Join me in the detailed examination of these two hunting lights and see how they perform.
Video Overview
Starting with a look over these light in a short video.
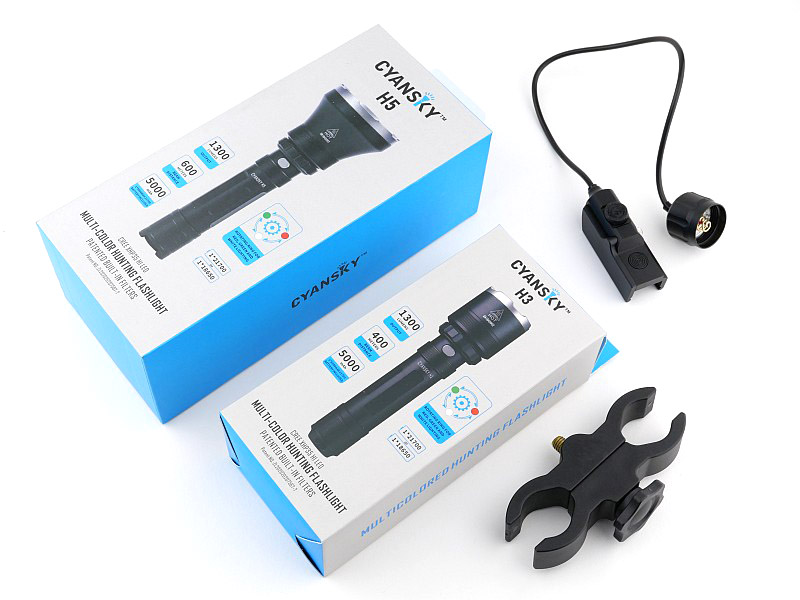
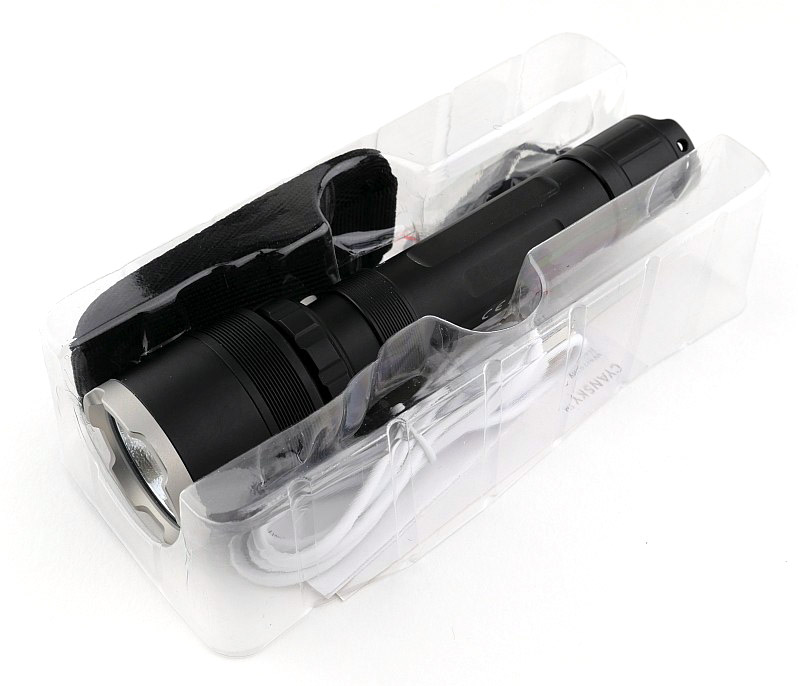
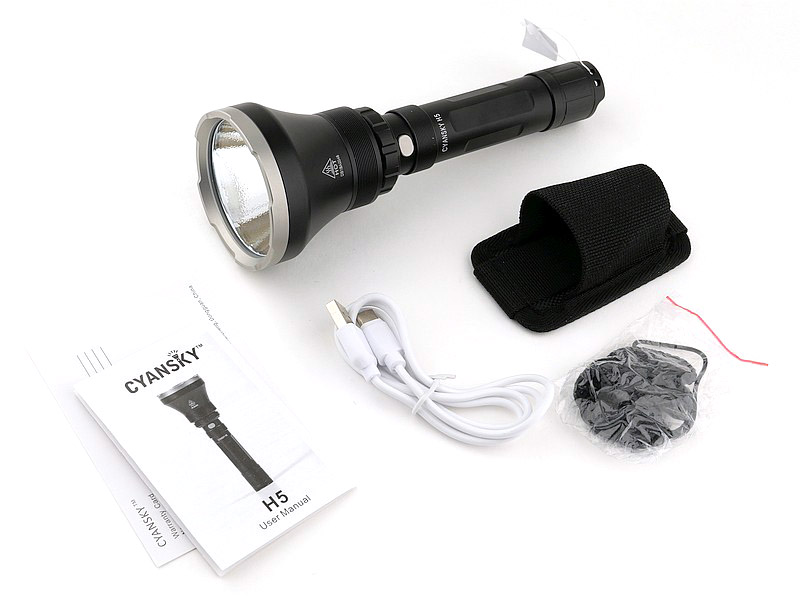
This is what arrived from Cyansky –
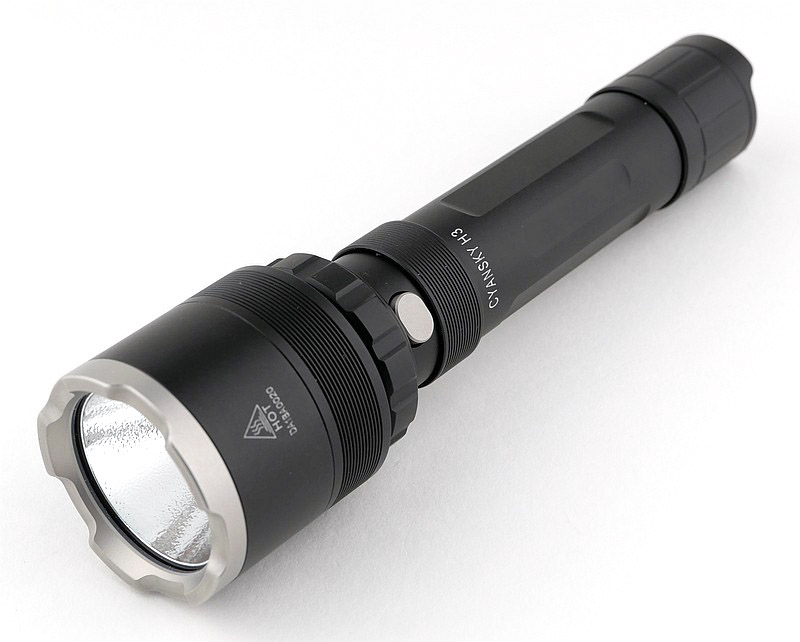
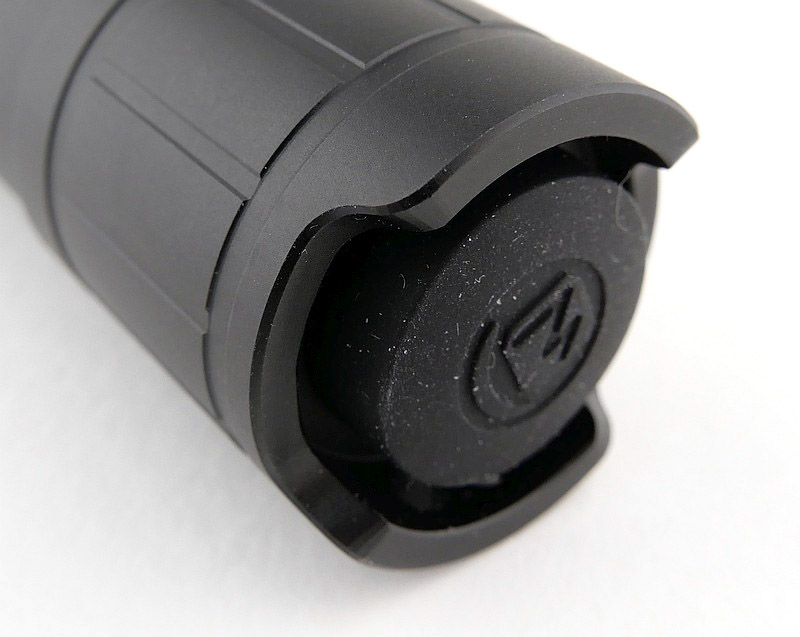
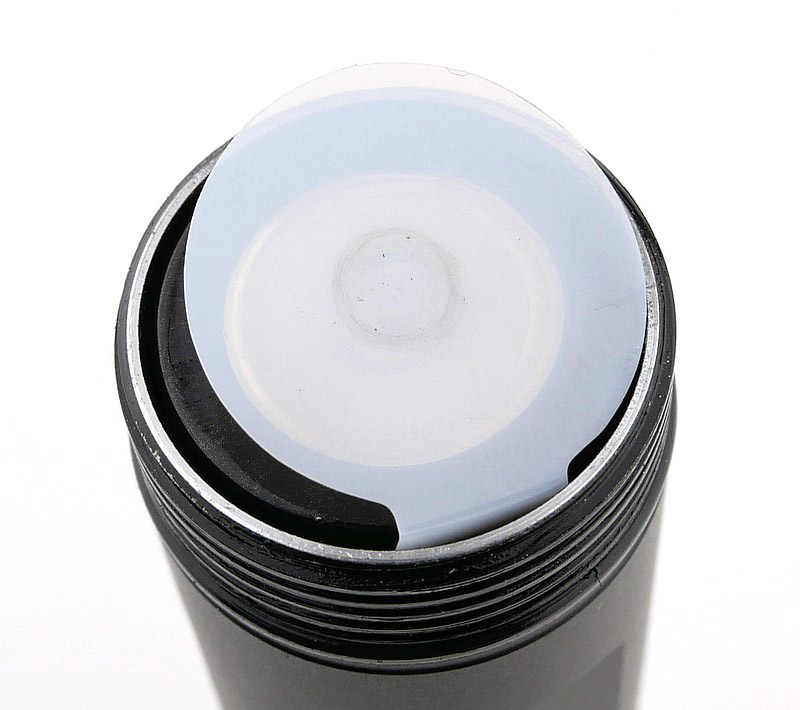
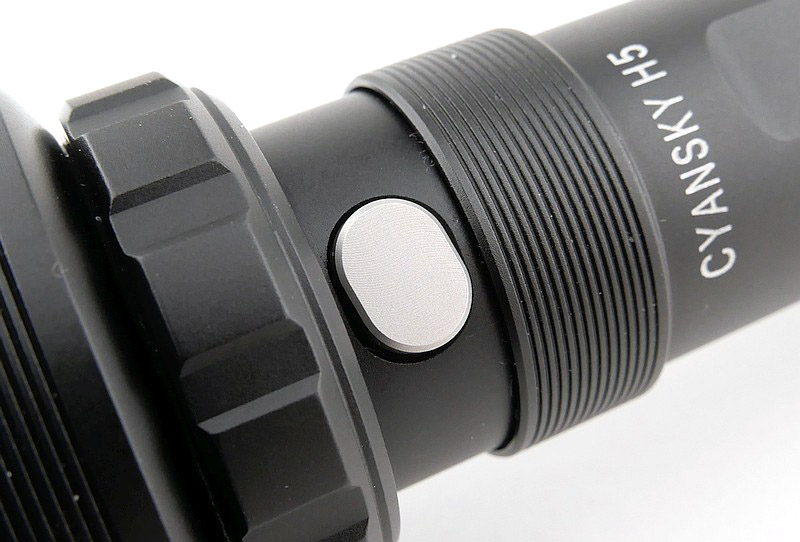
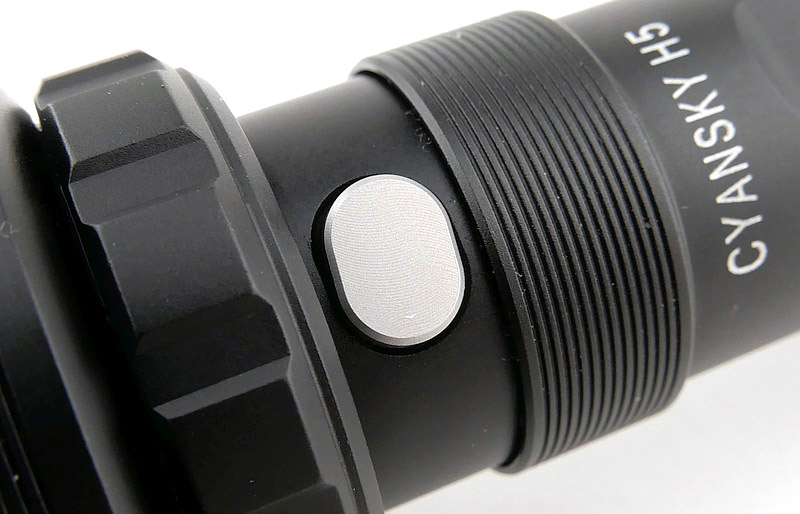
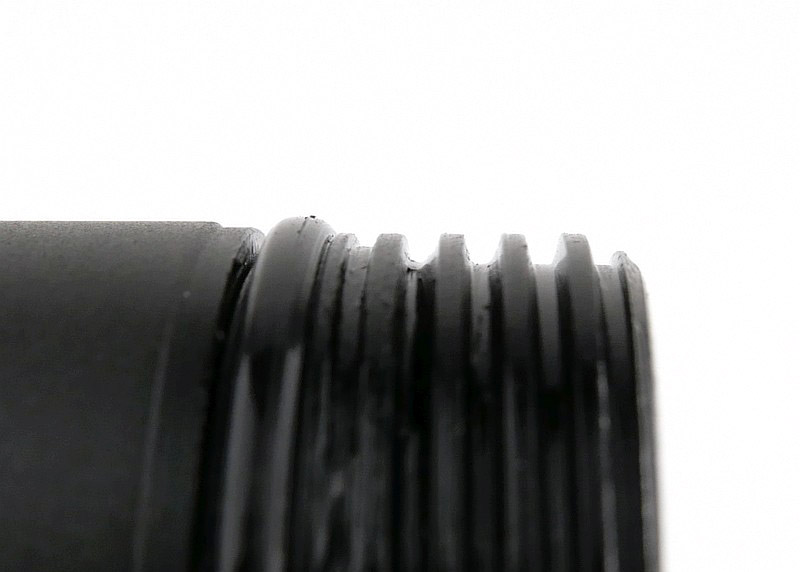
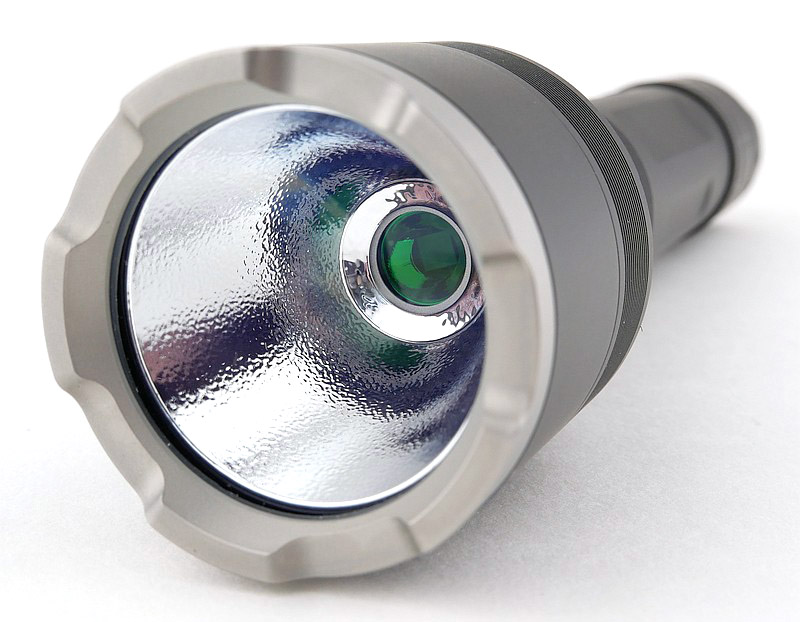
A good look round the H3 – Things to look out for here are:
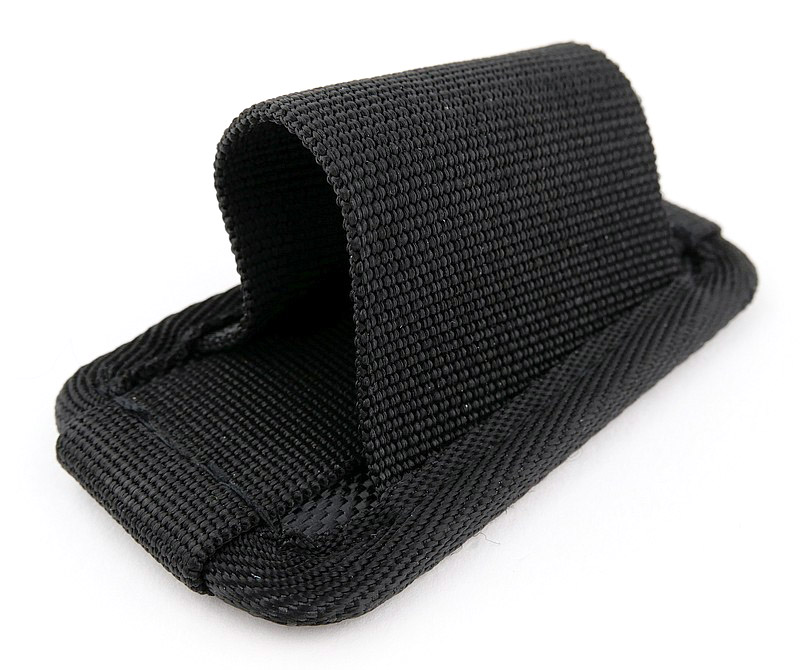
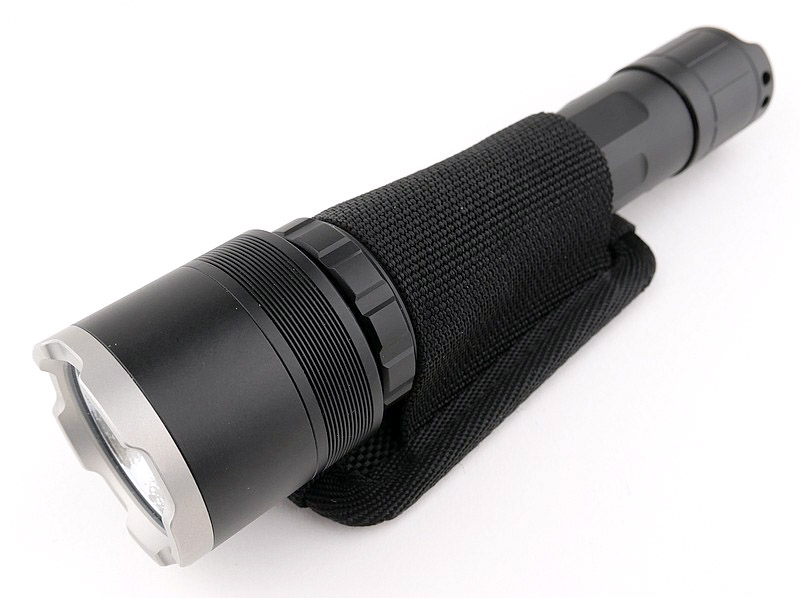
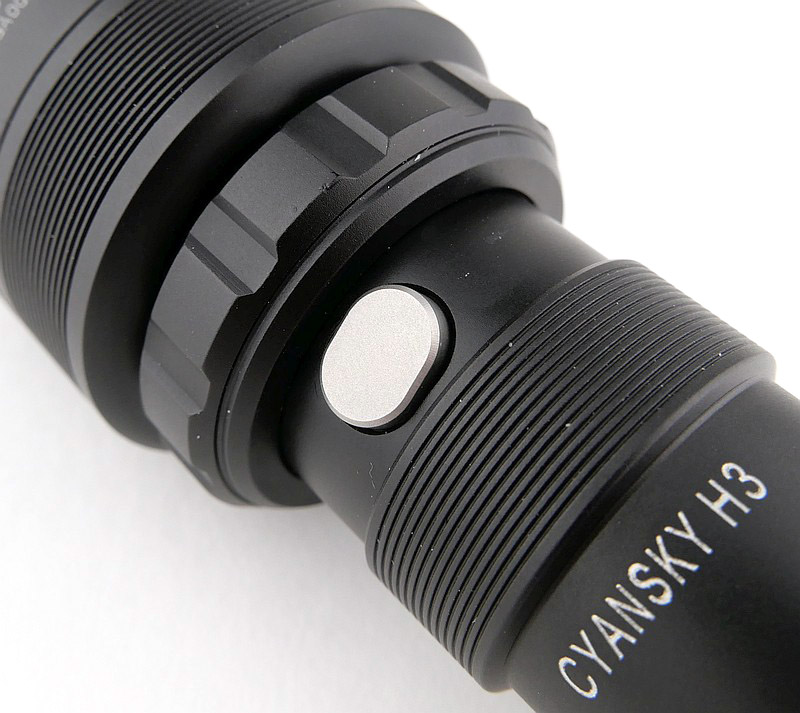
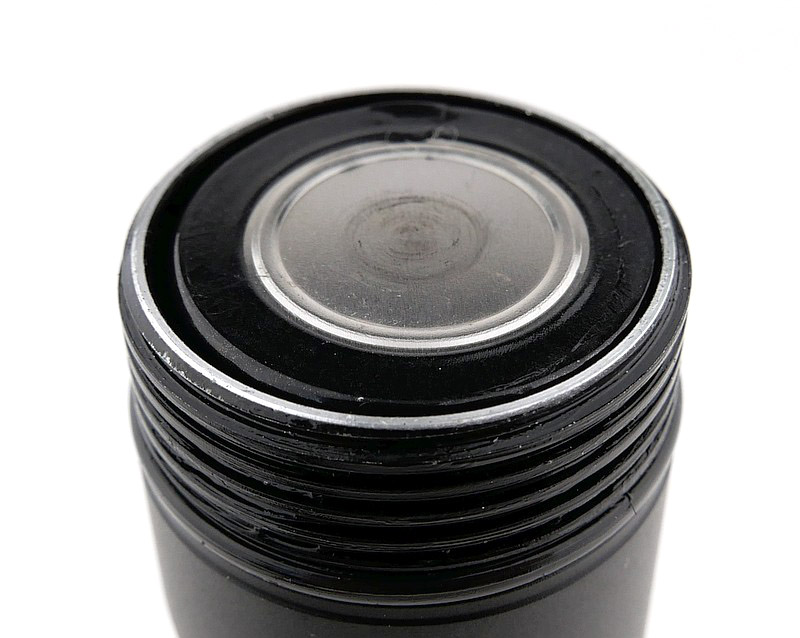
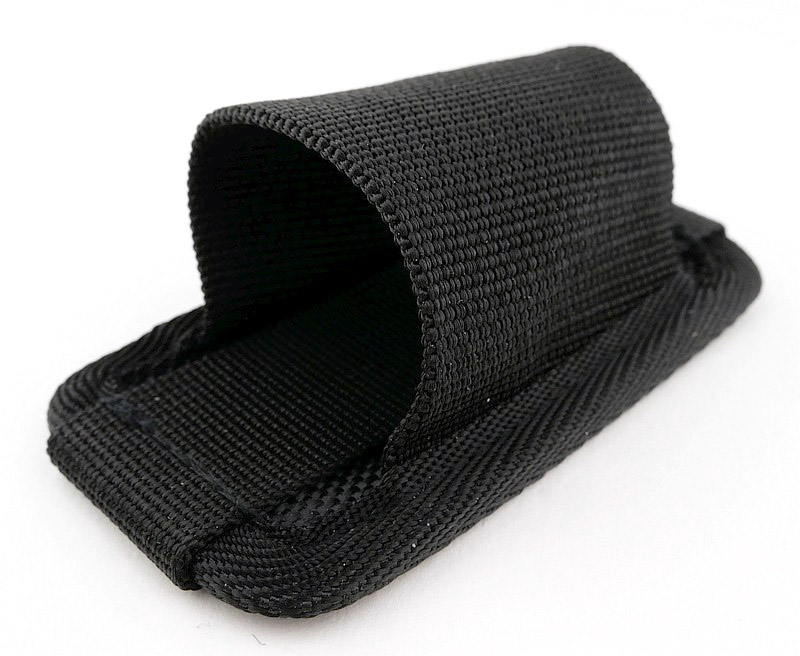
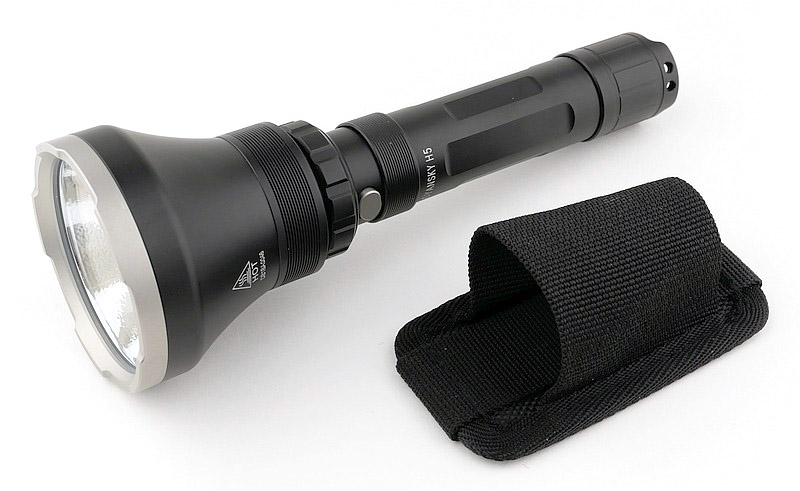
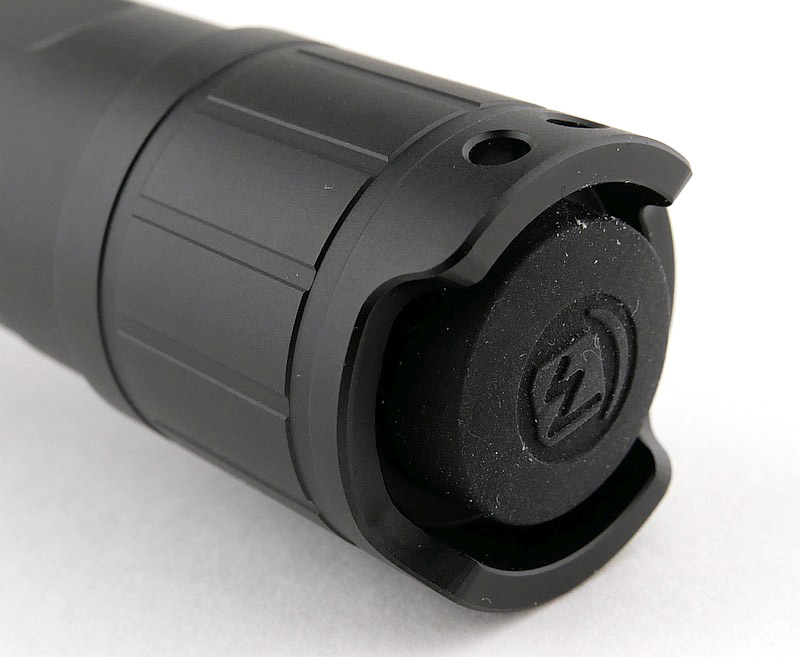
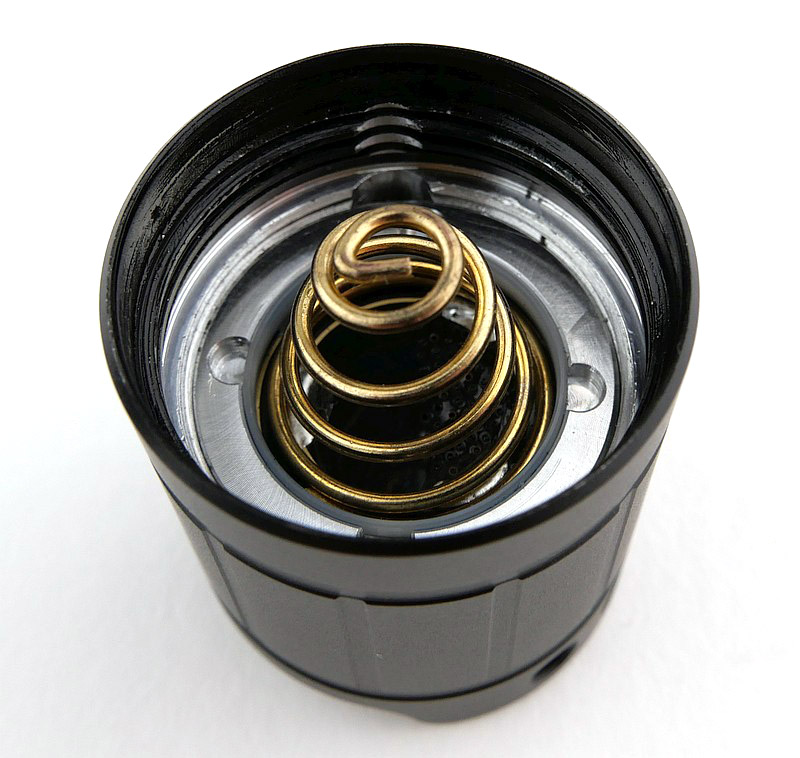
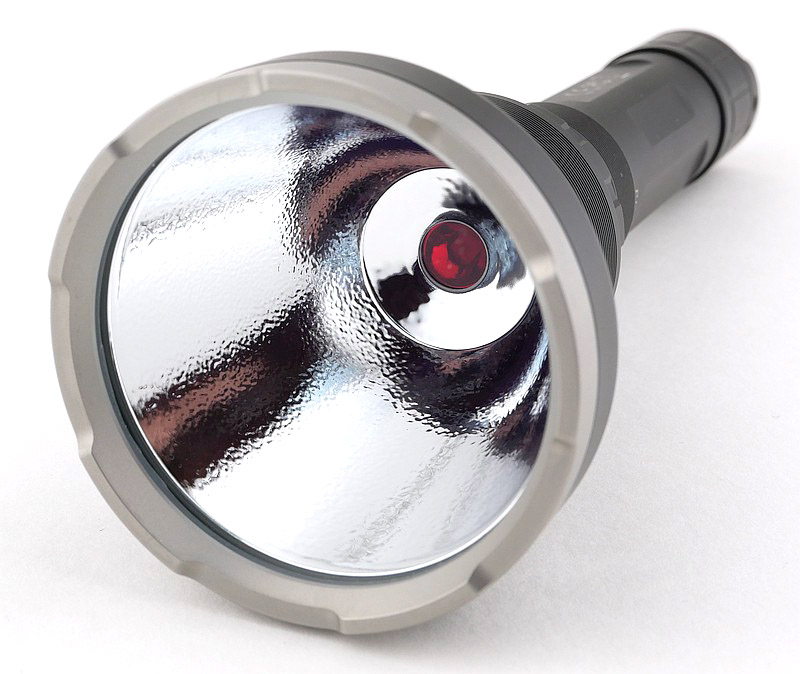
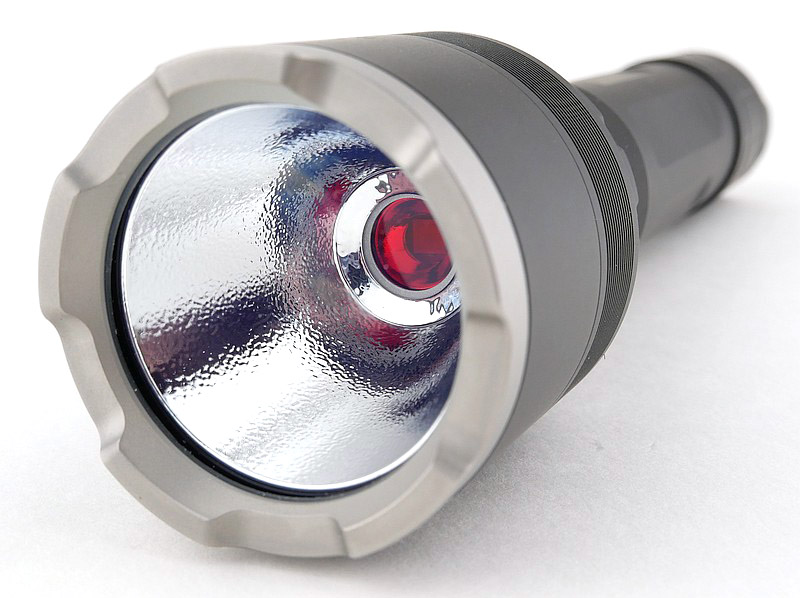
As you may have already seen in the video, first up are the contents of the box. The H3 has a belt hanger (rather than full holster) providing a head-up belt carry option. Moving round the H3 and we get onto the mode switch and filter control ring at the base of the head. The tail-switch is semi-recessed, so allowing for tail standing, but with cutouts to ease access to the switch. The stainless bezel ring is wide and well finished. And then a first look at one of the filters.
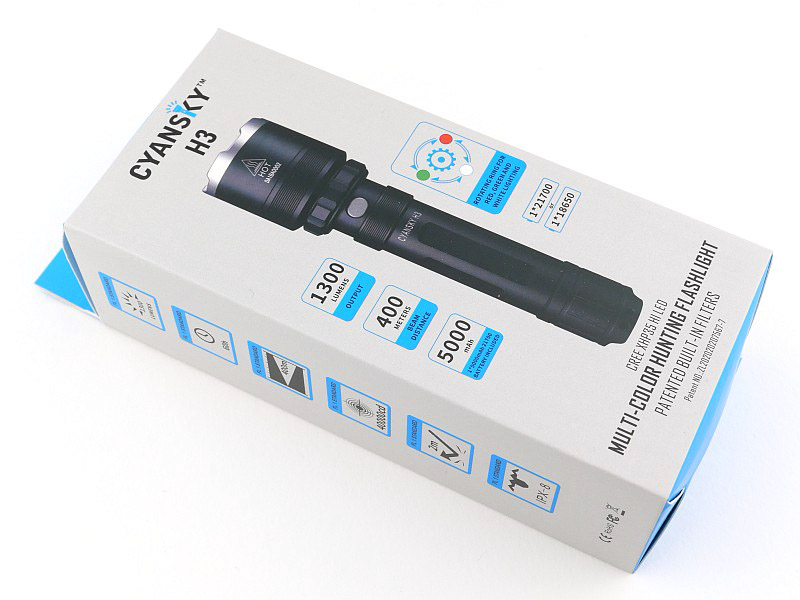
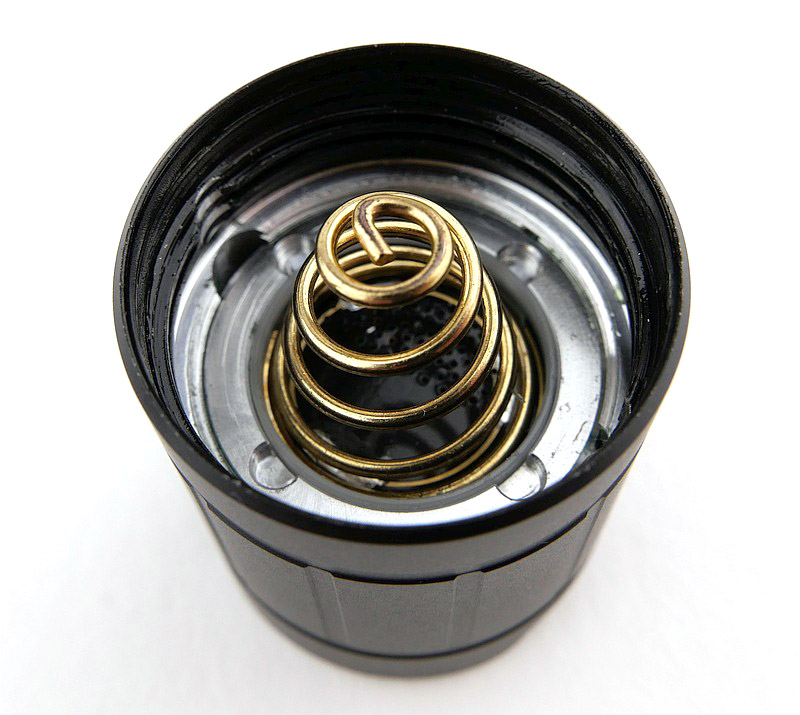
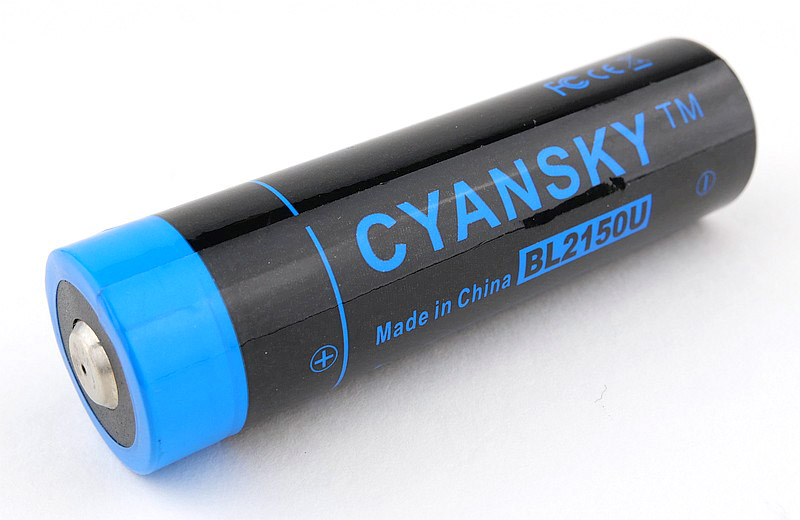
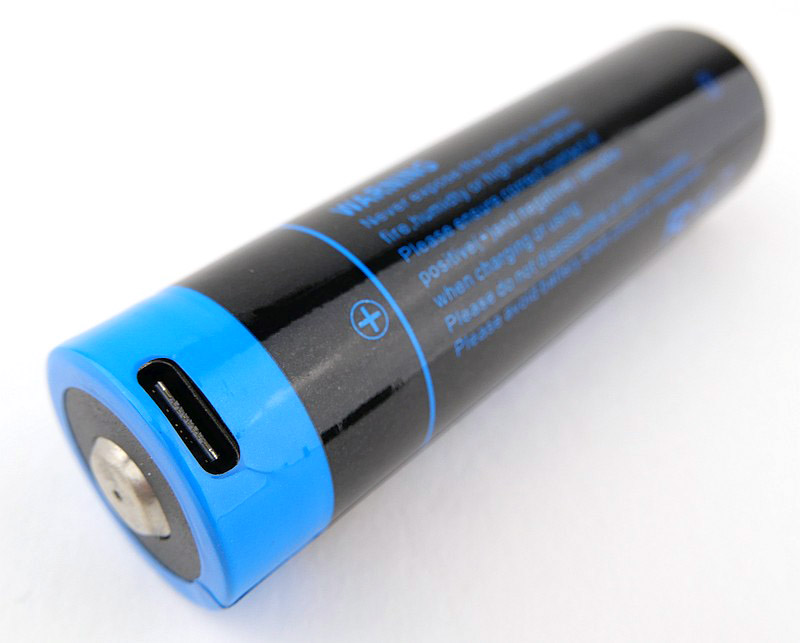
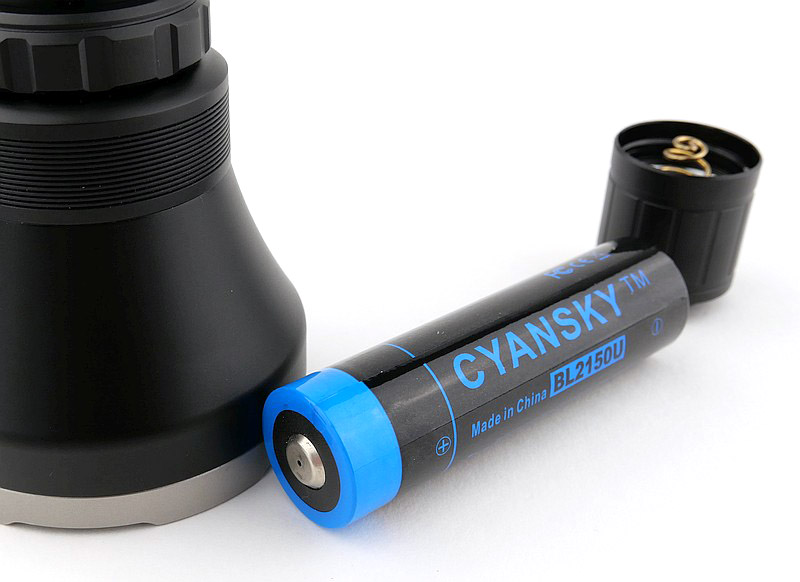
The H3 comes with a 21700 with built-in USB-C charging. As it arrives there is a plastic insulator to prevent accidental discharge in the light.


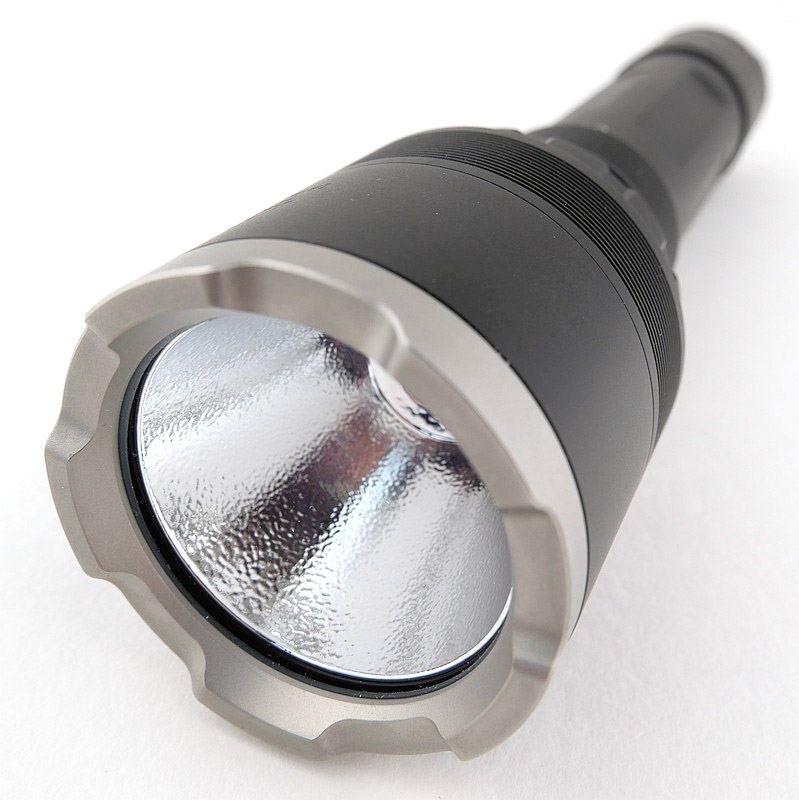

A good look round the H5 – Things to look out for here are:
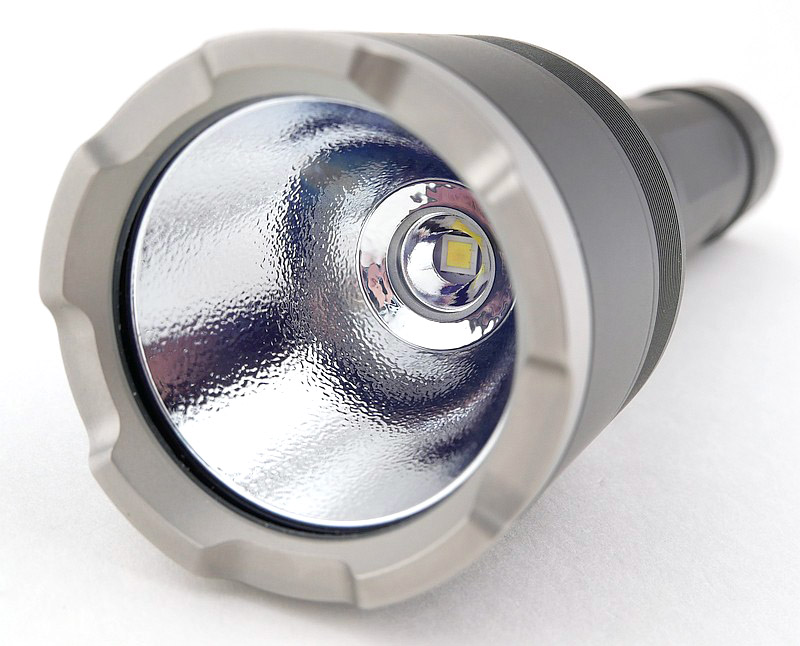
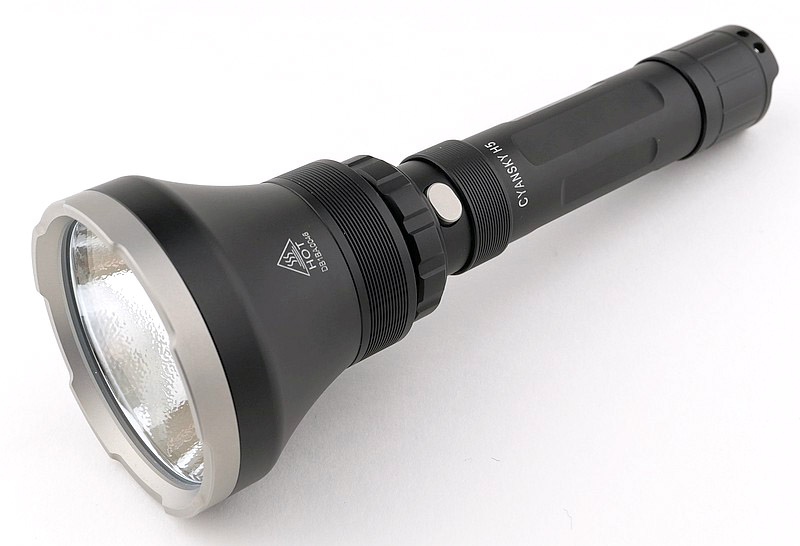
With the H5, the details are the same as for the H3, so I won’t repeat them, the difference is in the much larger head and reflector to give extra beam range.
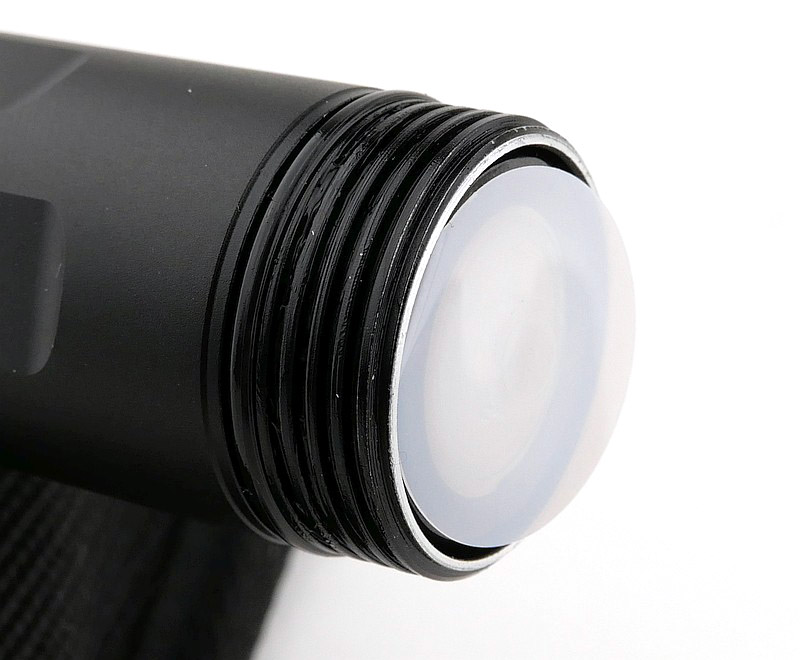
One small observation which doesn’t affect function at all is that the mode switch has room to move about and twist, so might look a little ‘off’. This doesn’t affect function at all, and is only mentioned in case you see the button looking slightly twisted (this is the same for both models).


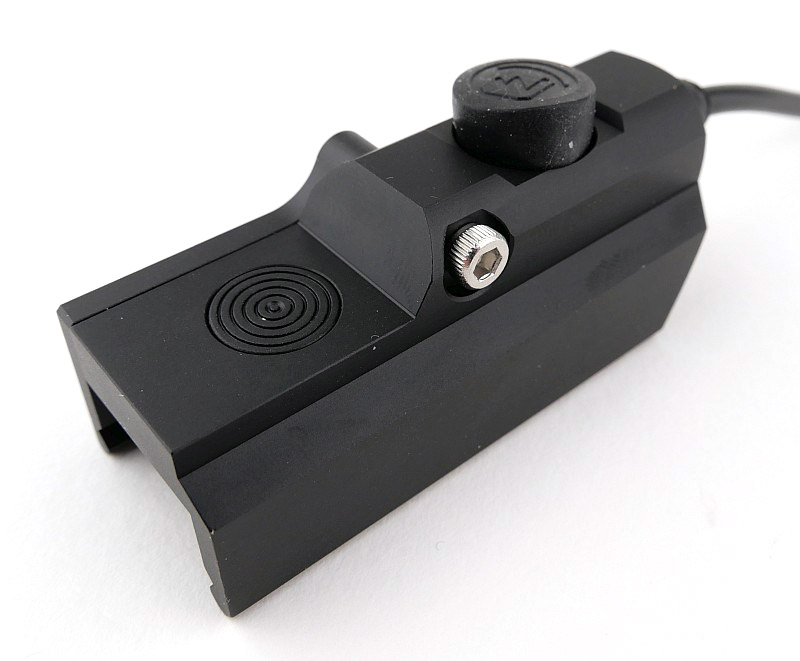
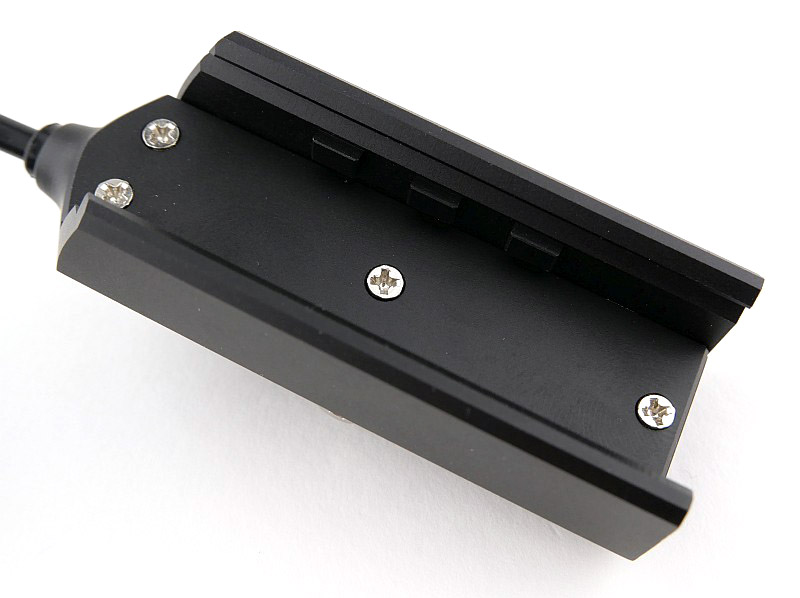
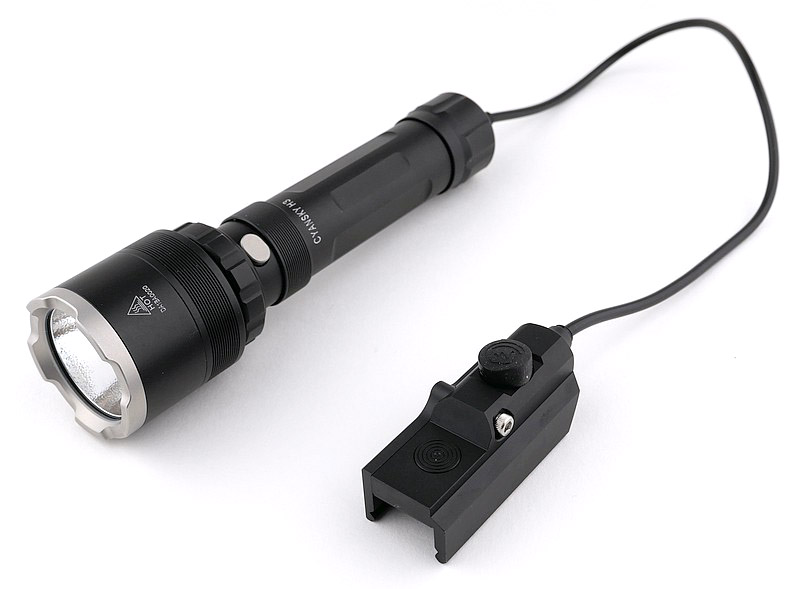
The Remote Switch and scope mount:
The supplied remote switch replaces the tail-cap of either the H3 or H5. The remote switches are in a rail-mount unit, and you have a momentary only switch, plus a forward clicky latching switch much like the original tail switch.
The scope mount is basic and easy to use, but I would not use it for heavy duty setups. For smaller calibers and for quick tool-less mounting it works well, and has enough stand off for the H3 or H5.


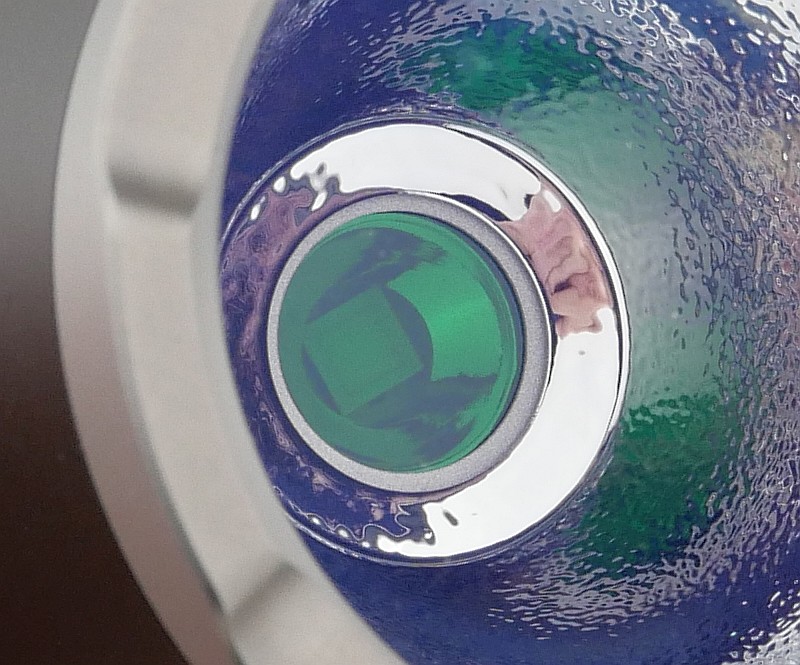
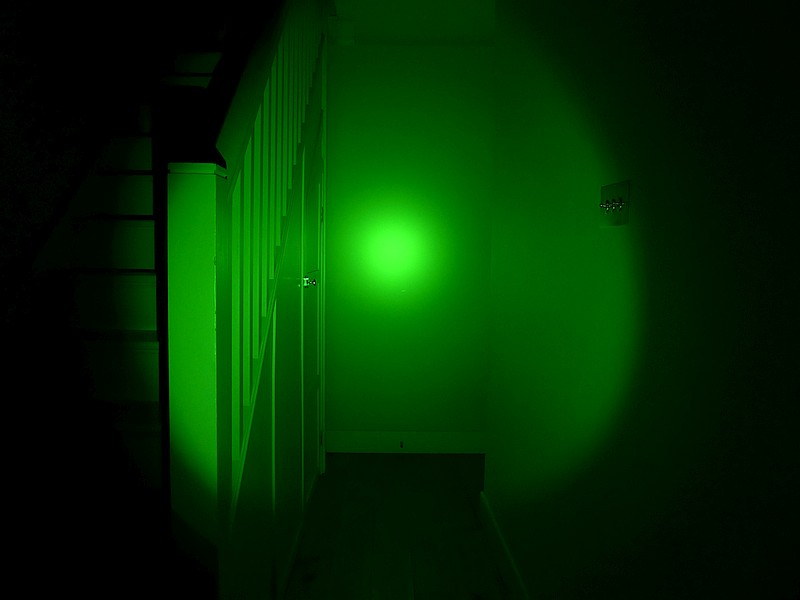
The Cyansky special feature – built-in colour filters:
Now for a set of images to just show the built-in filter change. I’ve used the H3 here as with the smaller head it is easier to see the filter better than with the H5. First no filter – with the filter holder just having a little bit of extra reflector round the base of the LED. Then part of the way to dropping a filter in place (this is NOT how you use it, just showing the filter holder disk rotating). Finally with the red and green glass filters shown in place over the LED.

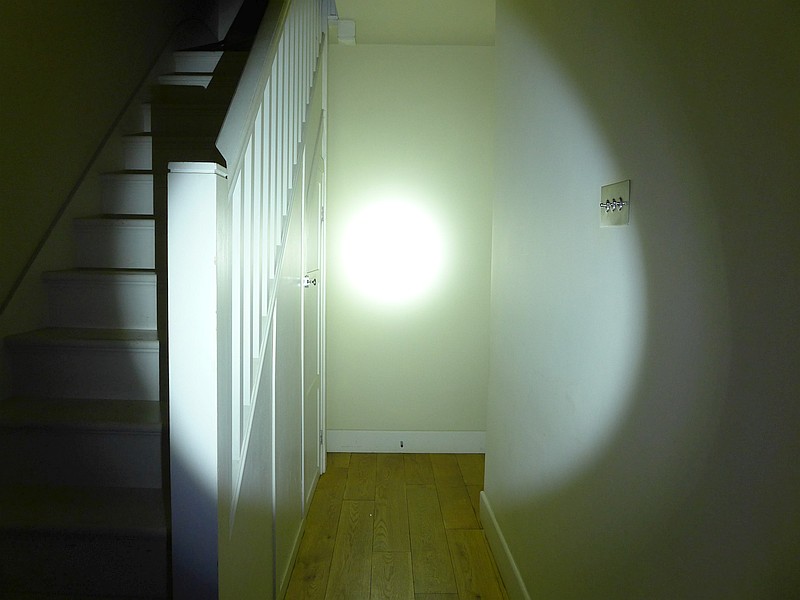
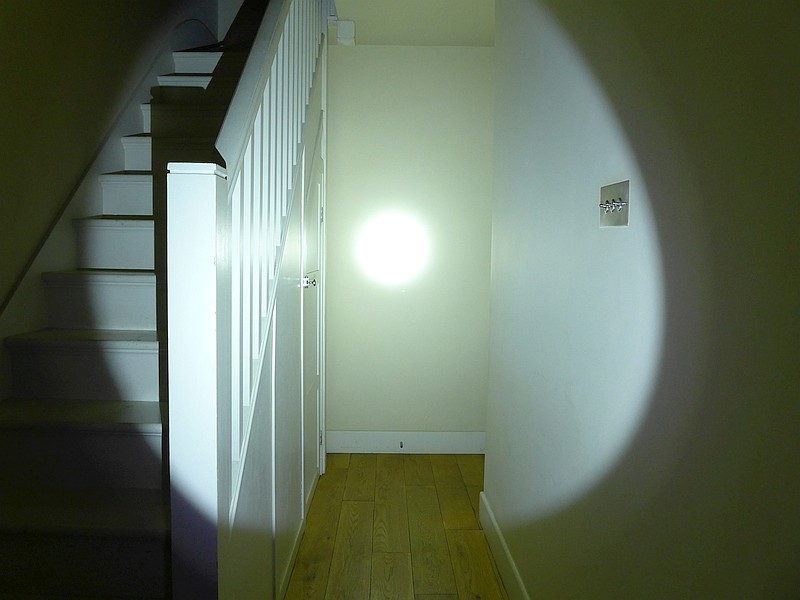
The beam
Please be careful not to judge tint based on images you see on a computer screen. Unless properly calibrated, the screen itself will change the perceived tint.
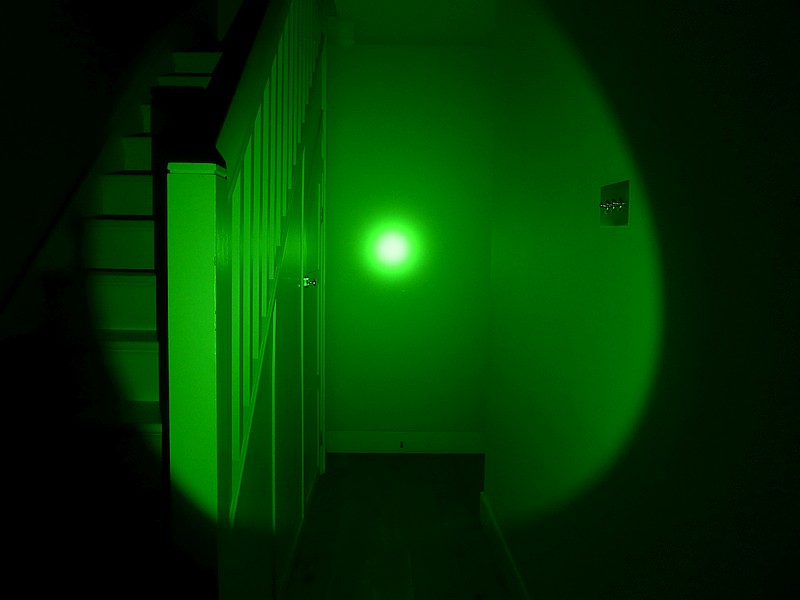
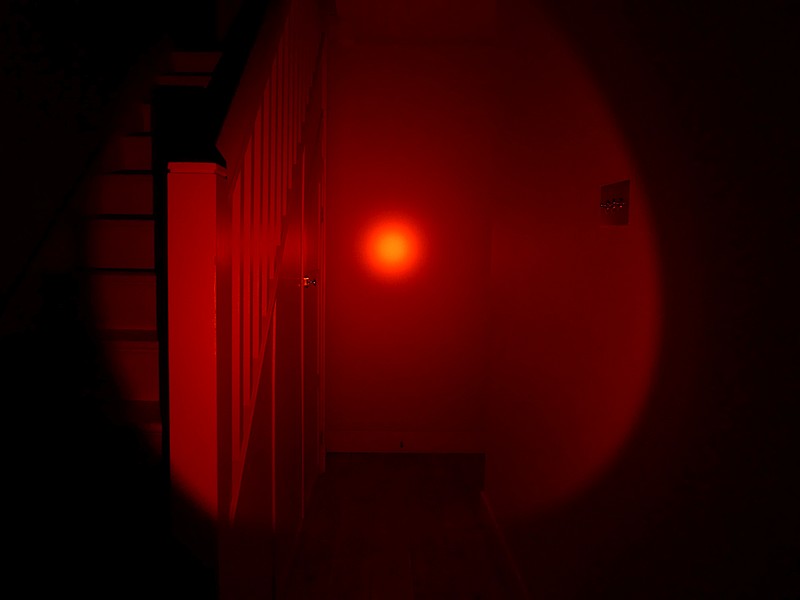
The indoor beamshot is intended to give an idea of the beam shape/quality rather than tint. All beamshots are taken using daylight white balance. The woodwork (stairs and skirting) are painted Farrow & Ball “Off-White”, and the walls are a light sandy colour called ‘String’ again by Farrow & Ball. I don’t actually have a ‘white wall’ in the house to use for this, and my wife won’t have one!
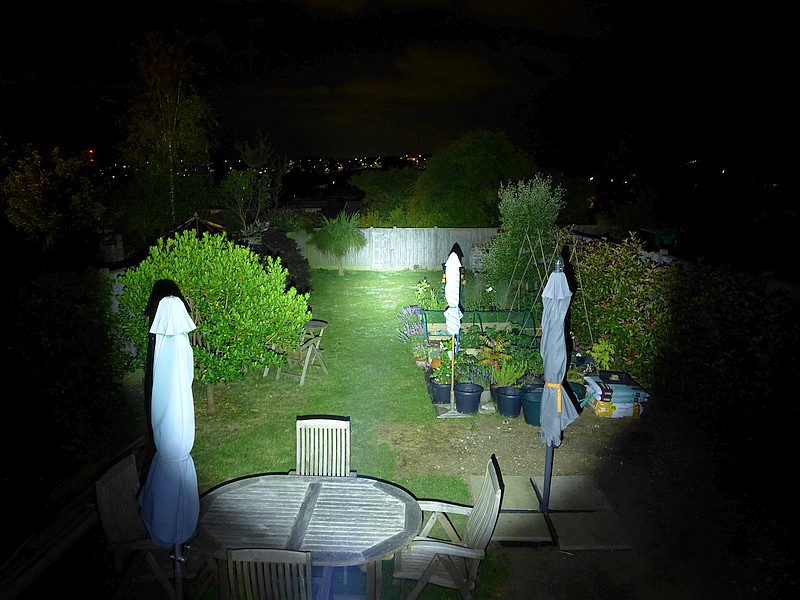
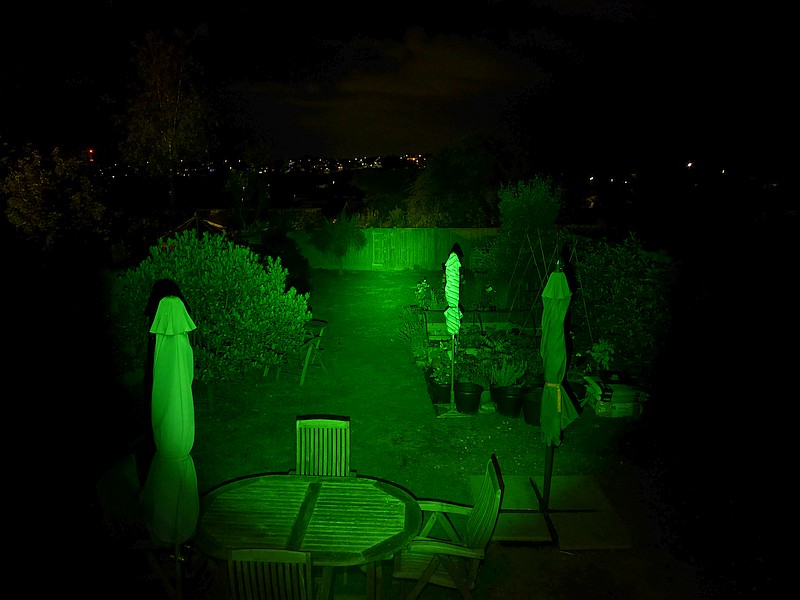
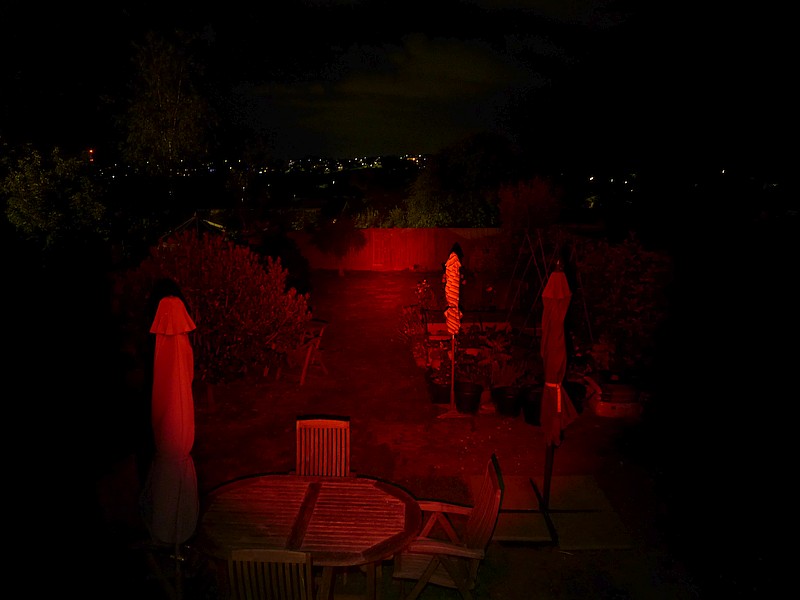
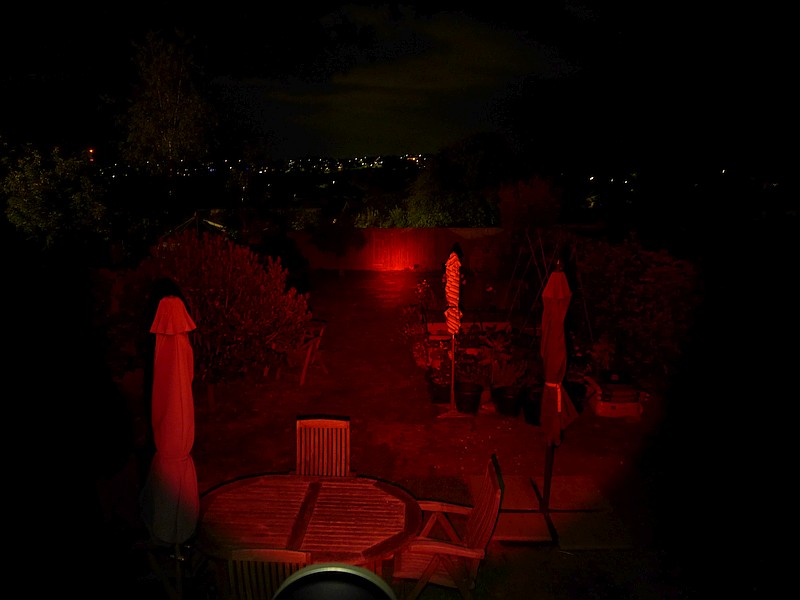
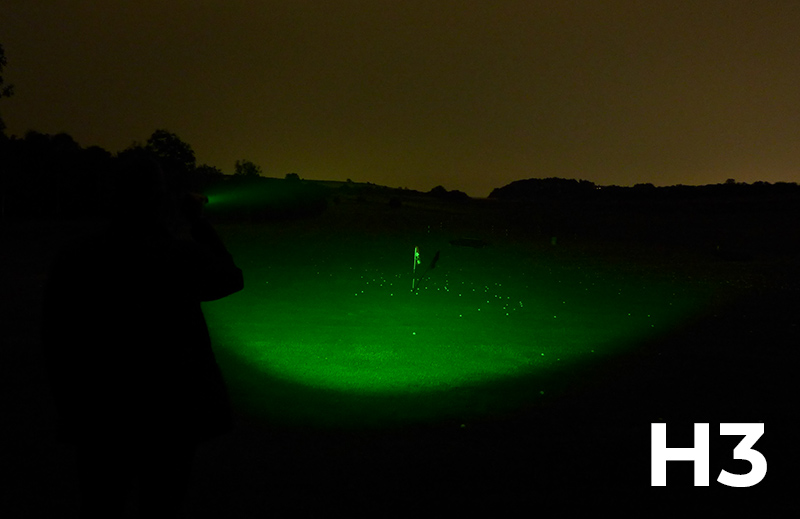
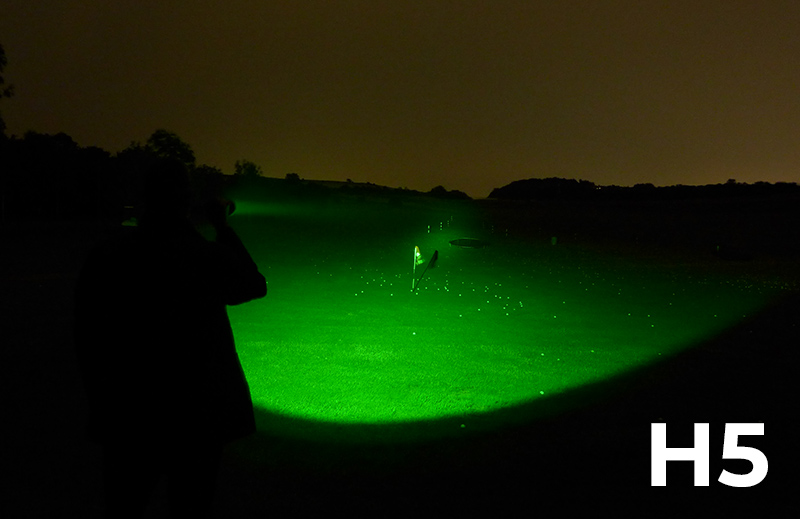
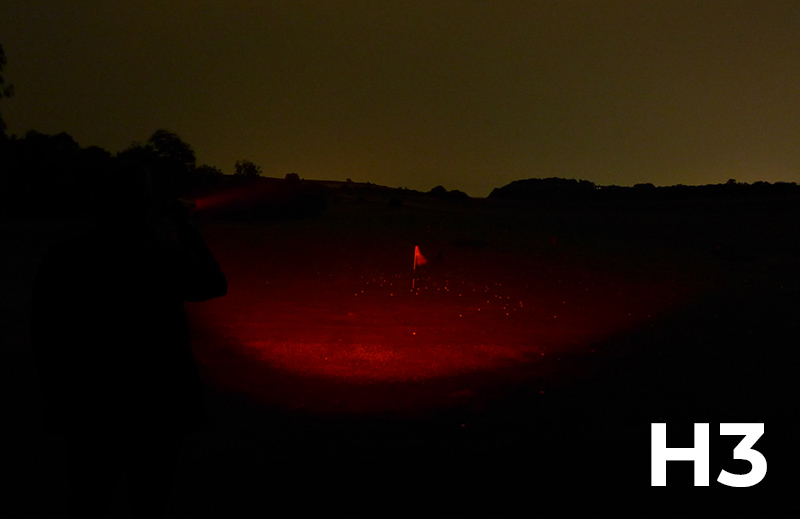
Stepping through these beamshots we have the H3 white beam, then H5 white beam, and as you go through the gallery it is H3 then H5 to show a direct comparison on each colour indoors and out.


Batteries and output:
The two models runs on 21700 cells. Logging the built-in USB-C charging gives these traces for the cell provided with each light.
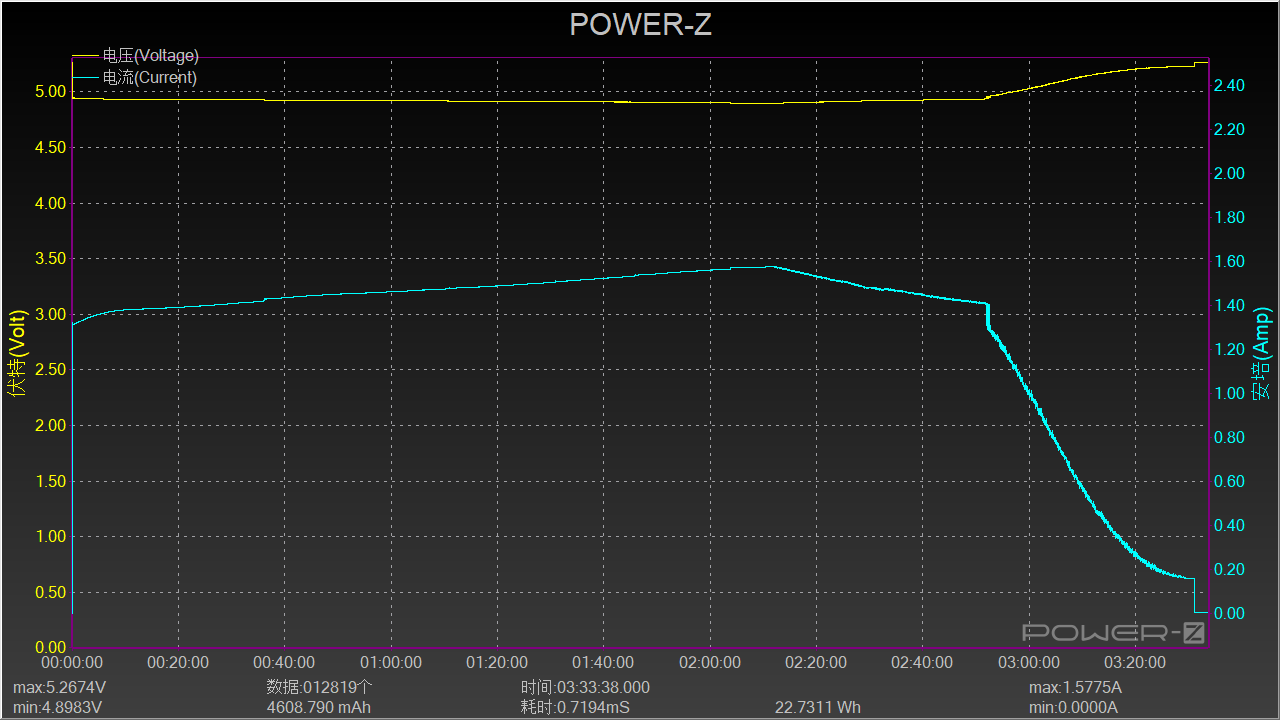
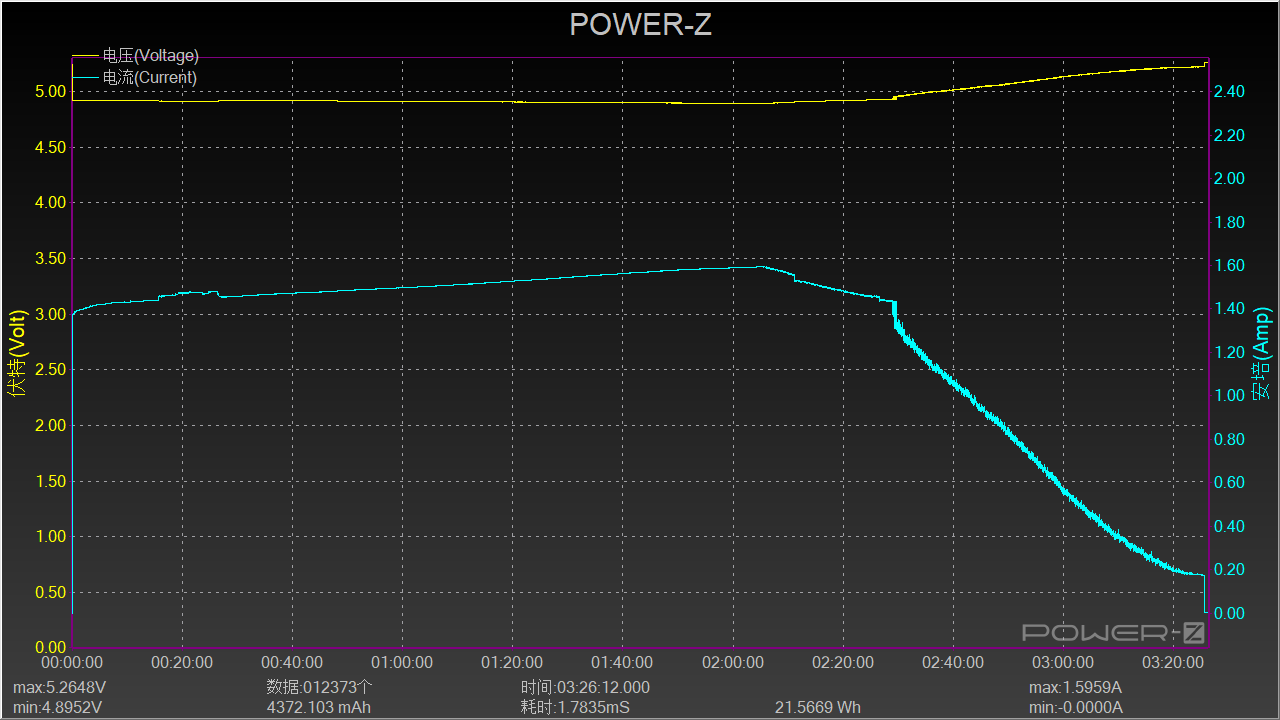
Please note, all quoted lumen figures are from a DIY integrating sphere, and according to ANSI standards. Although every effort is made to give as accurate a result as possible, they should be taken as an estimate only. The results can be used to compare outputs in this review and others I have published.
The Output table also includes the manufacturer specified lumens for comparison.
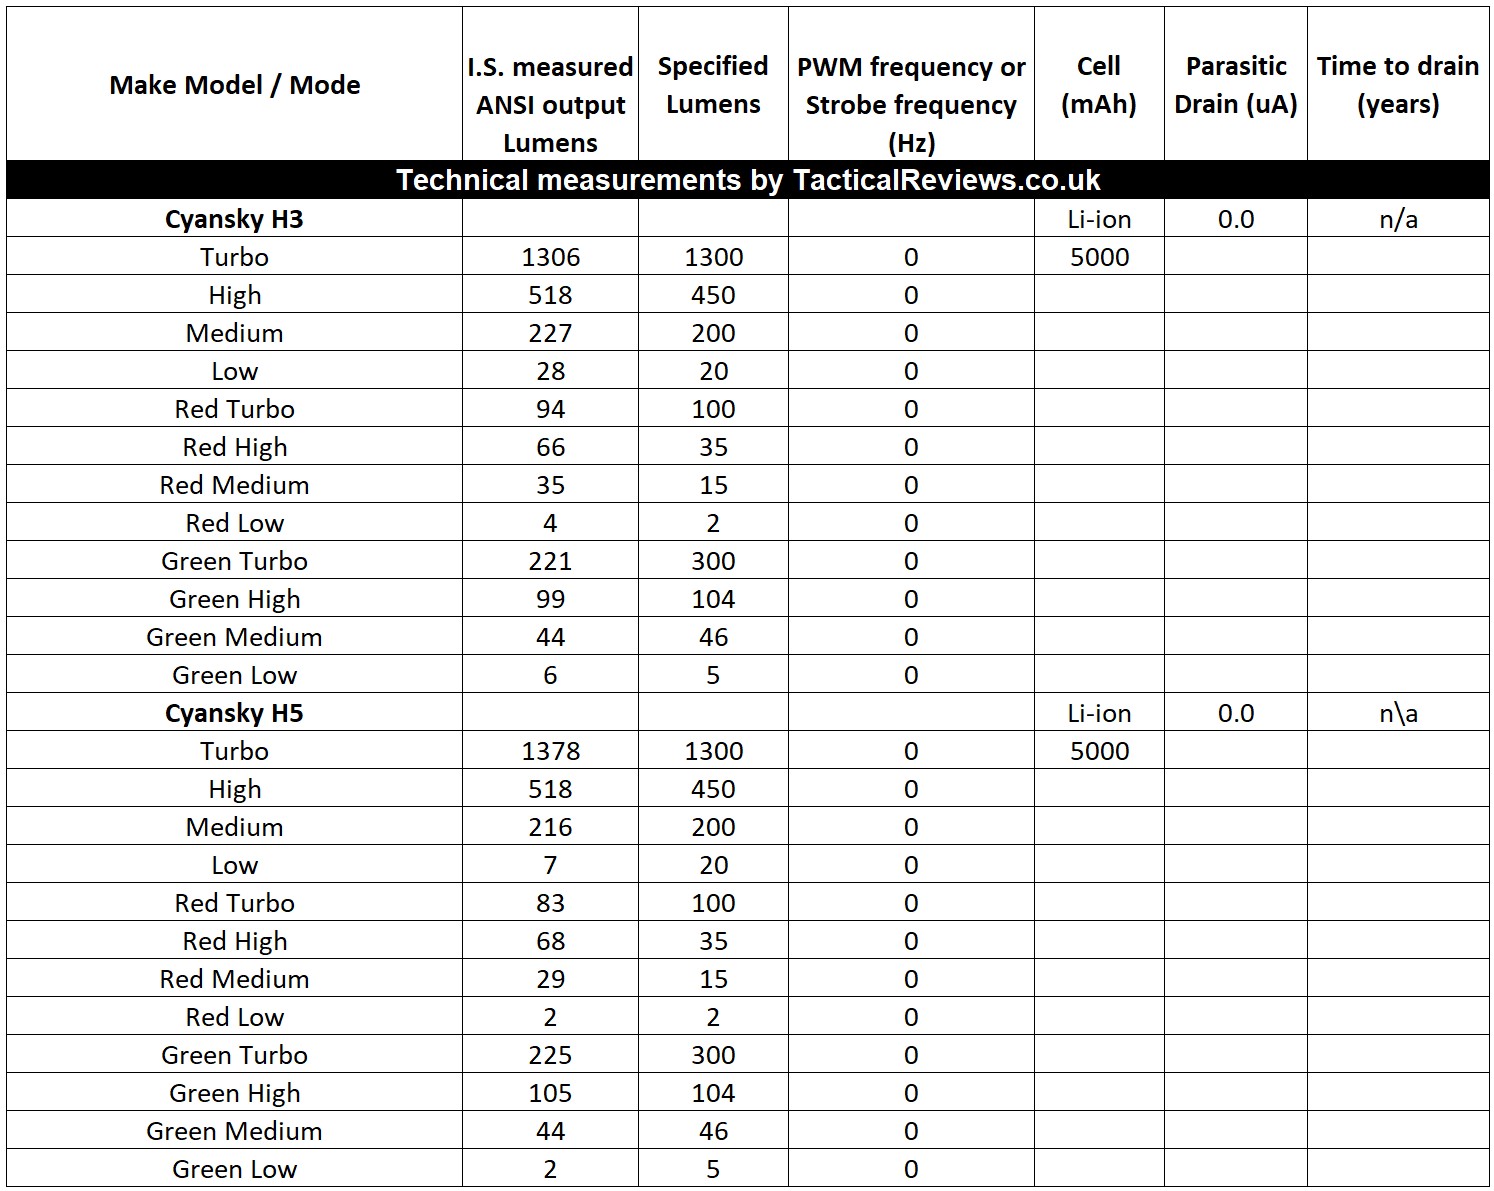
For the runtime trace, only the highest and lowest output colours were used (white and red) and all traces were run on maximum power.
The H3 and H5 in use
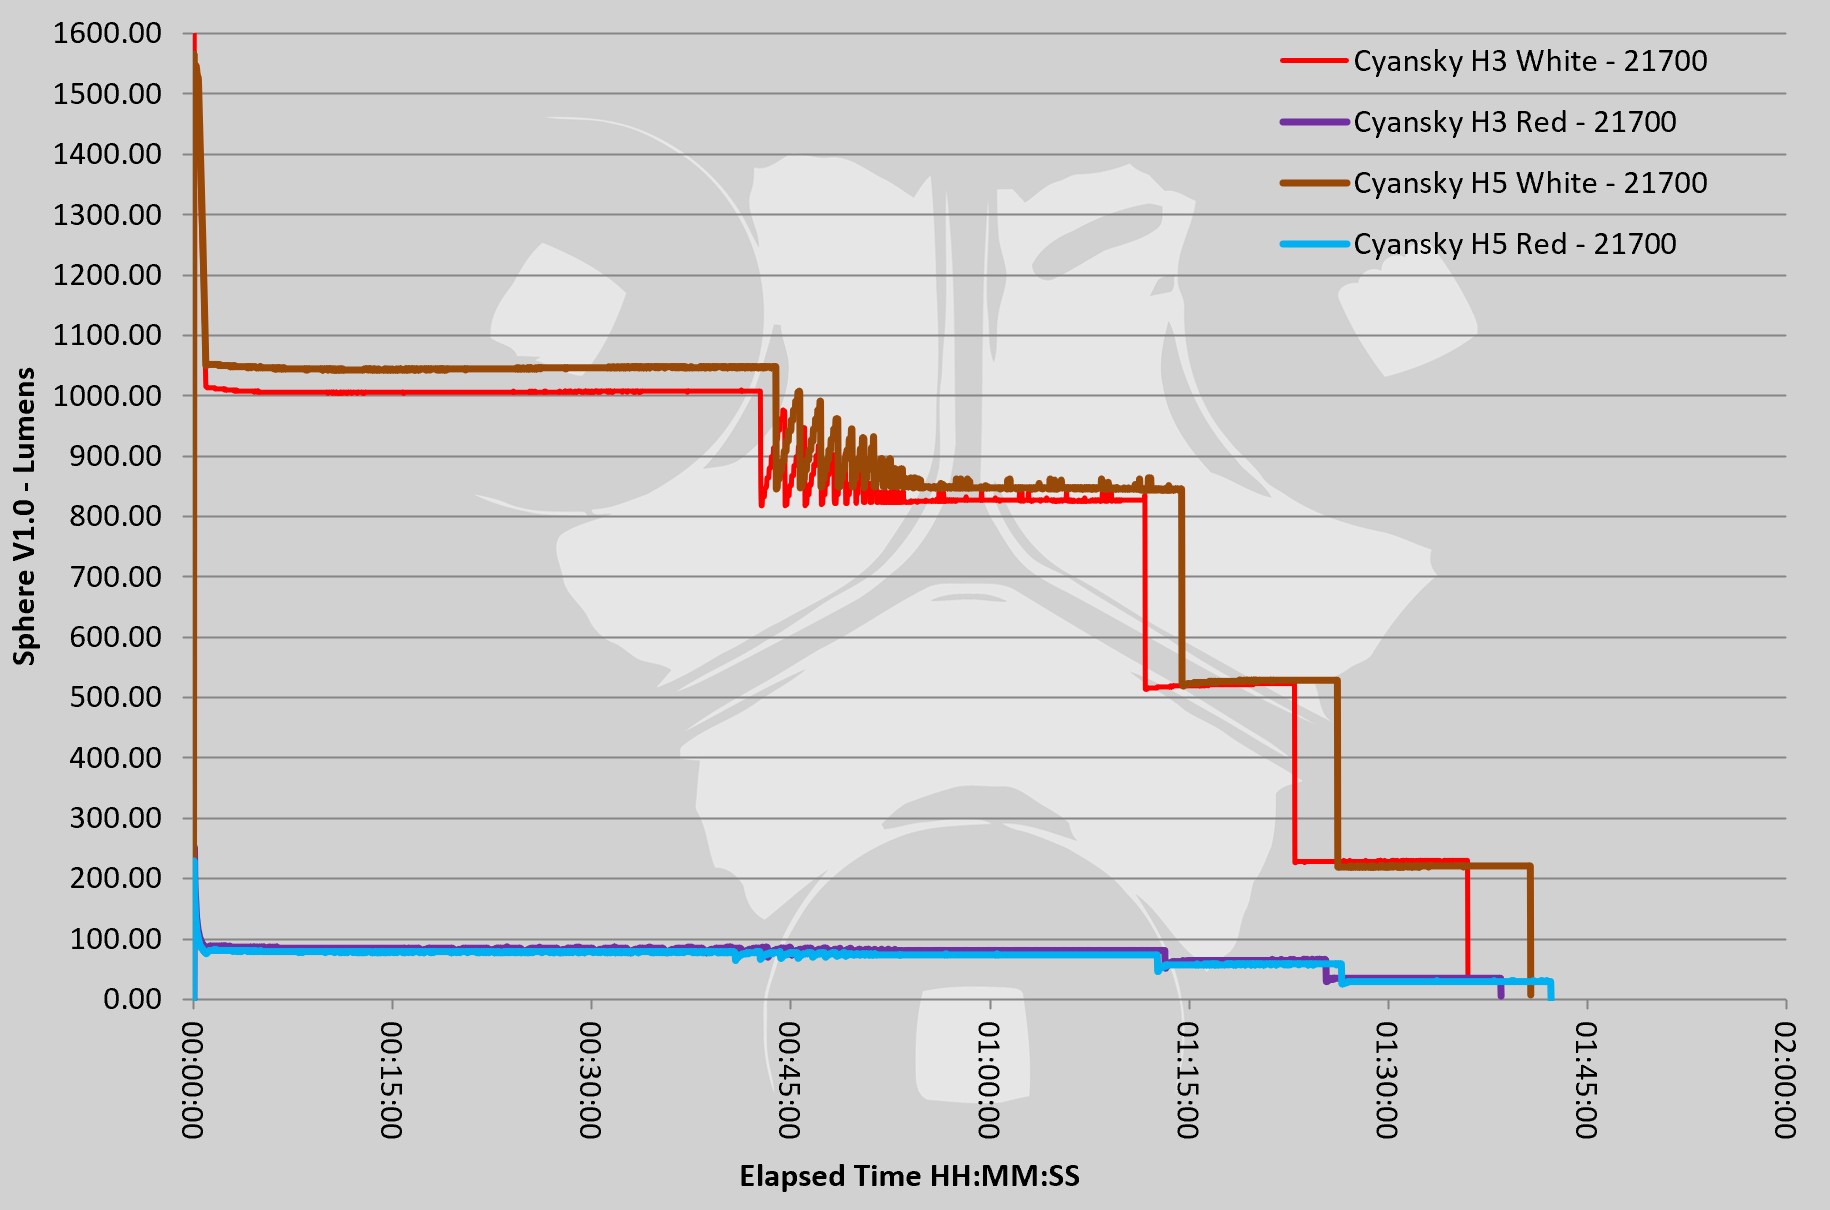
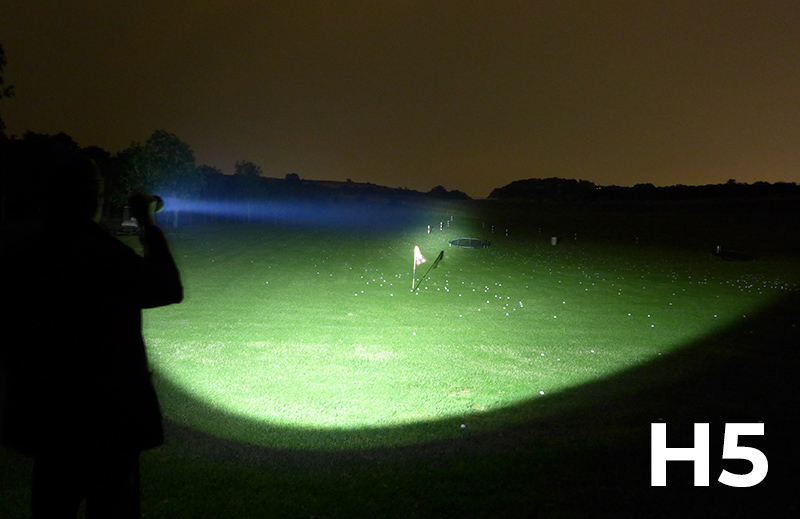
The first aspect to mention is how the H3 and H5 themselves compare. Actually this photo doesn’t show it accurately, but from the control ring to tail-cap, the H3 and H5 are identical. Not a surprise as they run on the same cell, have the some output specifications (apart from beam range), and have the same controls. So when holding them, they are the same for grip and controls.
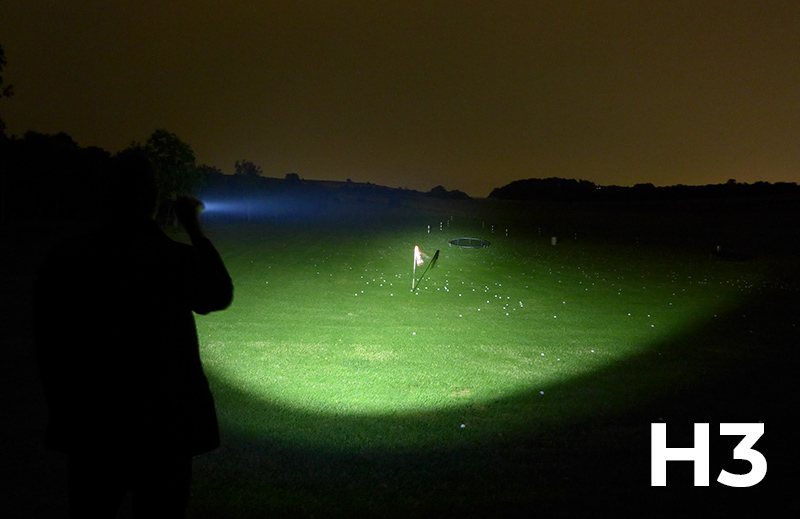
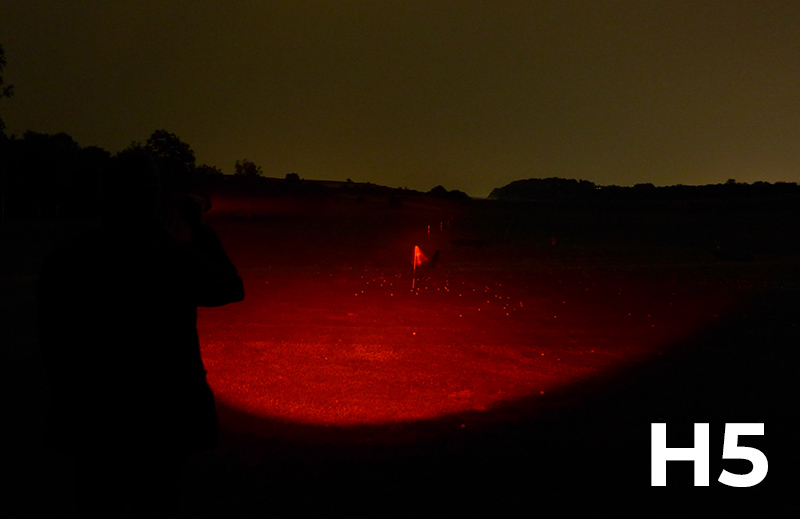
With the larger head, and larger reflector, the H5 does have the edge in overall output, and it focuses the beam more for a longer reach. This gallery shows some longer distant photos on a golf course driving range. The H3 and H5 beams compared directly. The focus of the H5 is clearly visible at these longer ranges.
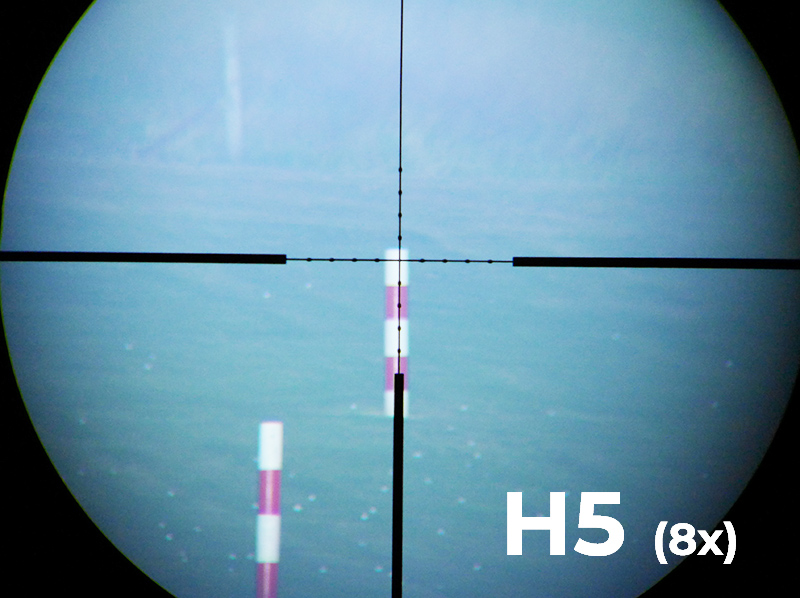
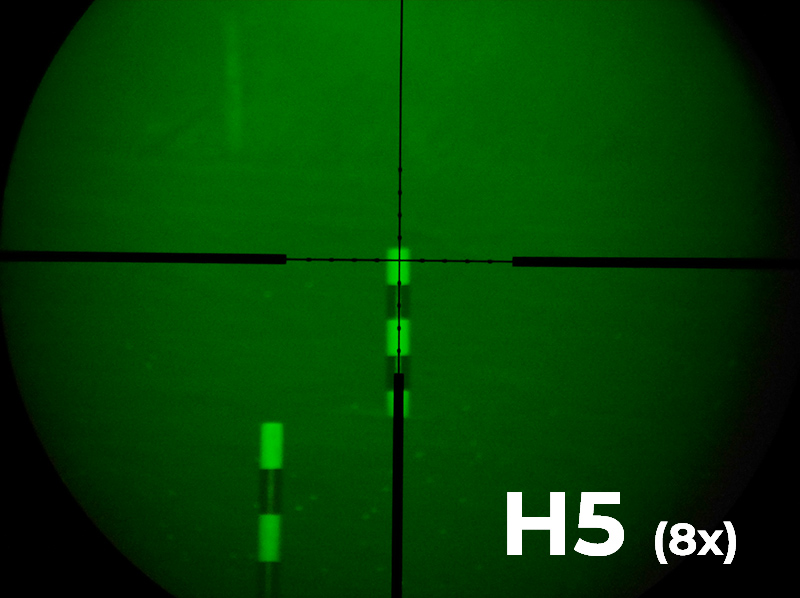
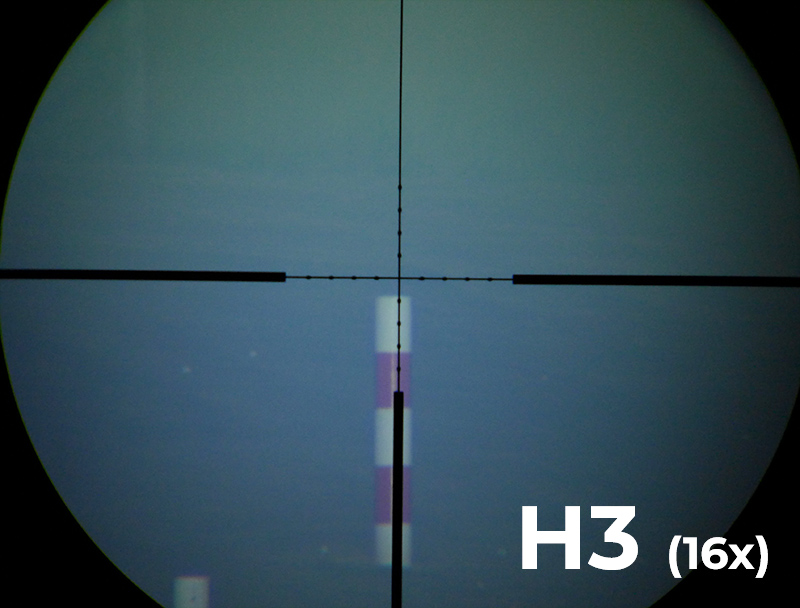
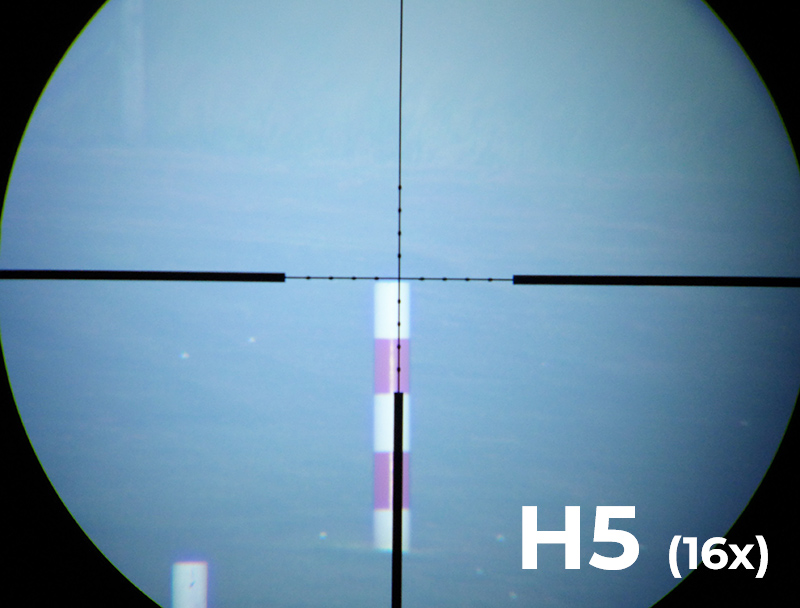
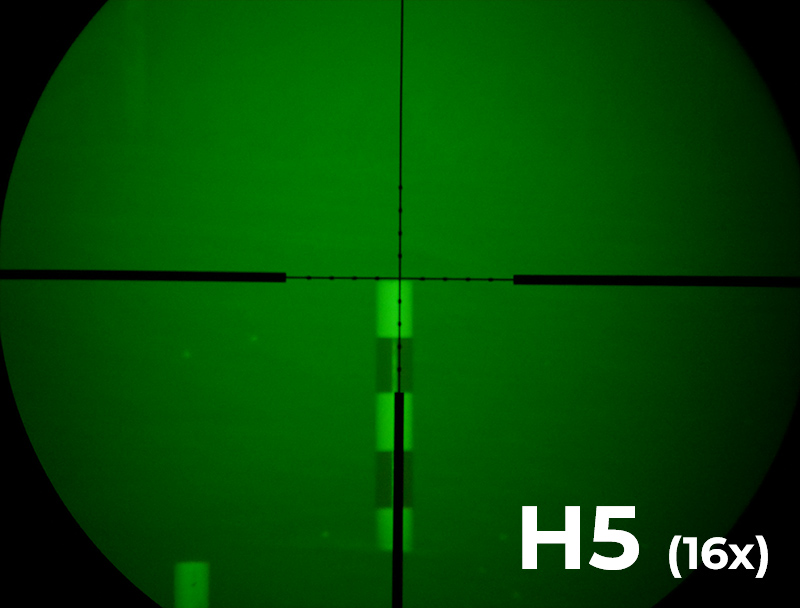
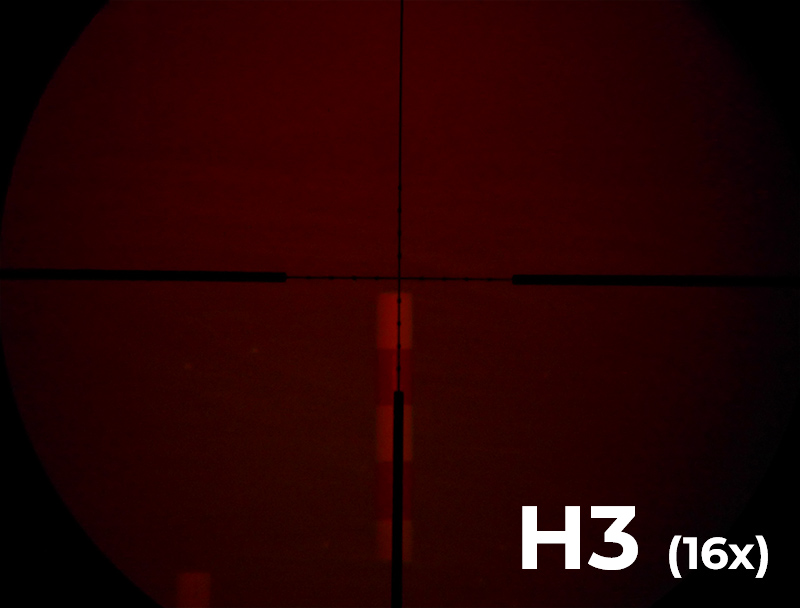
Using a zoom rifle scope this gallery has a set of images at the same exposure to show the gain in distance the H5 has over the H3. The magnification is set to 8x in this first gallery.
Important to note is that the distance markers the scope is aimed at are 250 yards, and that the H3 is still usable on white output, but struggles a bit at this range on the coloured output.
Also bear in mind that I am using a .22lr on this course, so 250 yards it beyond the limit I would take a shot.


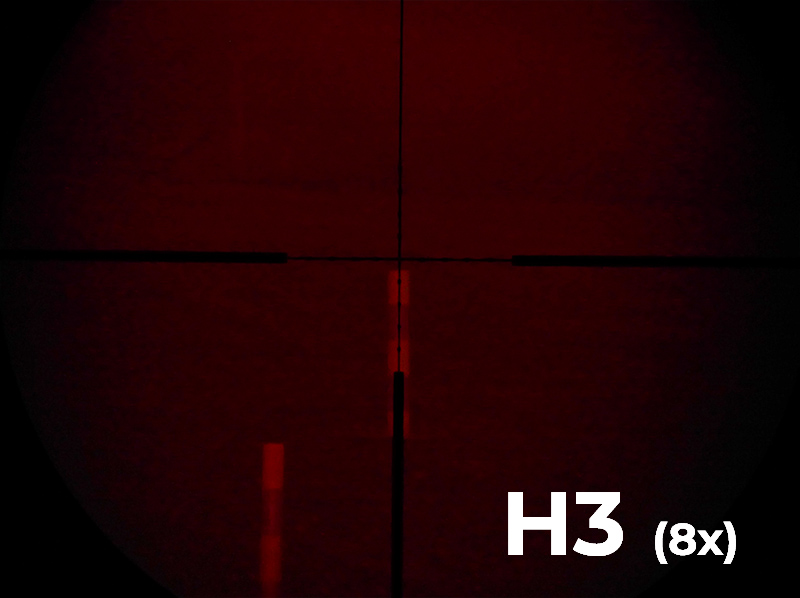

Now taking the scope to 16x magnification. Although all the images here are the same exposure, I have had to use a longer exposure than for the 8x magnification. At this range and magnification the H3 was pushed too far. the H5 was still working well.
This was to test the limits for range and scope magnification. (At 32x magnification I could not get any photos to come out.)


All of the above proves the H3 and H5 work well on or off a rifle, and the coloured output filters, being built-in, are so convenient, allowing for changes of output colour with nothing but a turn of the control ring.
Although I normally use dedicated coloured lights (so the LED is red or green) due to being most efficient and having the best quality of beam, it means I need to carry entire replacement lights to change colour. There are also LED swapping lights on the market but these compromise the thermal path as the heat sink has to move. With the H3 and H5, the single LED has an optimal thermal path for heat sinking.
Using filters on any light does reduce efficiency as you are ‘wasting’ up to 93% of the actual output (in the case of the red 1306lm down to 94lm). This is the cost of the convenience of instant access to red green or white light.
As long as you have a suitable rail to mount the remote switch on, this switch works really well. By including both a dedicated momentary switch, and a latching forward-clicky switch that gives you momentary and permanent on options, you have all you might want. If you don’t have a rail in the right place, this switch won’t really work for you, so consider this before choosing.
If you normally use a dedicated coloured light, then do you switch to the H3 and H5? – if you ever have a need to change between red, white, and green, then the all-in-one solution these Cyansky lights give you allows you to stop carrying additional separate lights.
If you use, or would consider using colour filters, then the H3 and H5 are no-brainers. Why would you want external filters you can lose, that are often a plastic filter material, when you can have self-contained selectable glass filters?
Review Summary
The views expressed in this summary table are from the point of view of the reviewer’s personal use. I am not a member of the armed forces and cannot comment on its use beyond that covered in the review.
Something that might be a ‘pro’ for one user can be a ‘con’ for another, so the comments are categorised based on my requirements. You should consider all points and if they could be beneficial to you.
_______________________________________________
What doesn’t work so well for me
_______________________________________________
Using filters is not efficient compared to dedicated coloured lights.
The mode button can look a little twisted as it has a little too much room to move.
Basic belt hanger provided.
_______________________________________________
Things I like
_______________________________________________
Glass filters are used.
Simple turn of the control ring to change filter colour.
21700 power (plus can use 18650 or CR123 if needed).
Supplied 21700 is USB-C chargeable.
Good choice of beam pattern between the H3 and longer reaching H5.
You can find the Official Cyansky Store Here, if you would like to get hold of these lights. (I have no affiliation and get no reward for you buying from this link).
