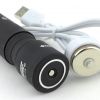
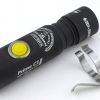
Light Review: Armytek Prime Pro – PART 3 – The Results

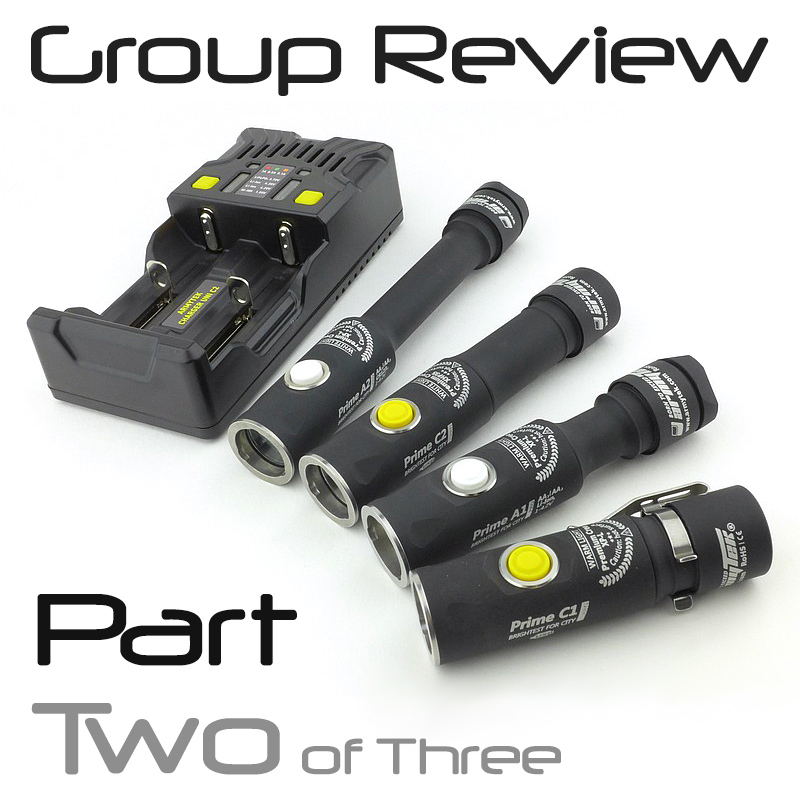
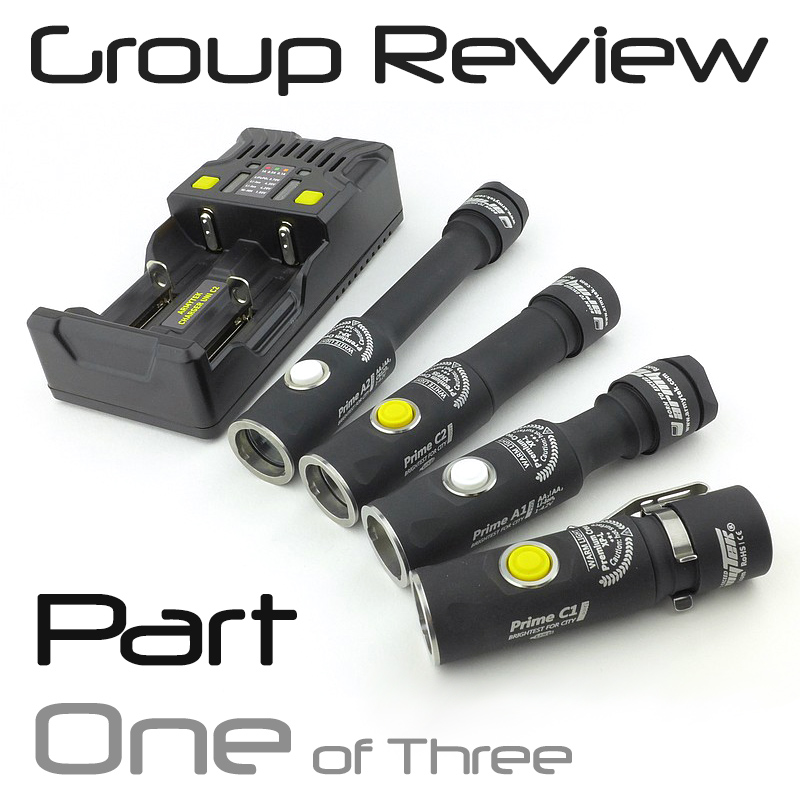
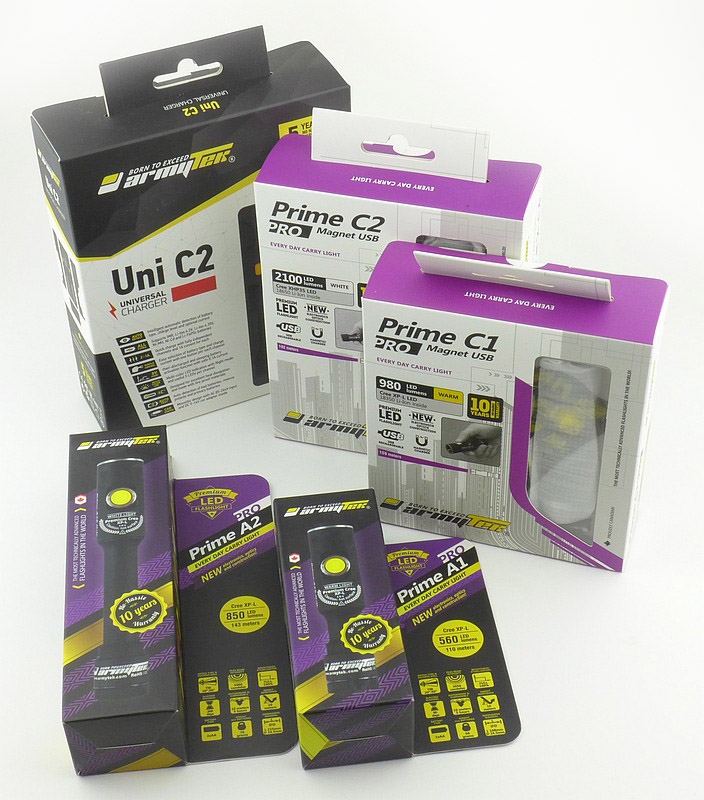
In ‘Part Three’ we get to see how these lights really perform, what the beams look like, their output figures and insights into what they are really like to use. – This is Part Three of a group review of four models of Armytek’s ‘Prime Pro’ range of lights (plus the Armytek Uni C2 charger). When embarking upon this review I had not expected to generate quite so much content, so have had to split the review into three parts to make it more manageable. You will find links to these as each part becomes available.

Index:

Each title here will become an active link once it has been published.
Part One – A Detailed look at the Prime Pro Magnet USB C1 and C2.
Part Two – A Detailed look at the Prime Pro A1, A2 and Uni C2 Charger.
Part Three – Beamshots, Technical Testing and What they are like to use.

The beam

Please be careful not to judge tint based on images you see on a computer screen. Unless properly calibrated, the screen itself will change the perceived tint.

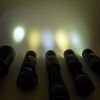
The indoor beamshot is intended to give an idea of the beam shape/quality rather than tint. All beamshots are taken using daylight white balance. The woodwork (stairs and skirting) are painted Farrow & Ball “Off-White”, and the walls are a light sandy colour called ‘String’ again by Farrow & Ball. I don’t actually have a ‘white wall’ in the house to use for this, and my wife won’t have one!

There are a couple of key things to mention before you dive in and look at the beamshots. It is possible to make lights look very bright or very dim, regardless of their actual output, by adjusting exposure. So when you look at these don’t be swayed by the ‘apparent brightness’ instead concentrate on the beam quality. the intention is to show how the beam looks, not how bright it is. that is shown definitively in the next section.

This gallery also contains firefly comparison beamshots, and uses the original Predator V1.2 as a reference. These Prime Pro lights have Excellent firefly output.


Batteries and output:

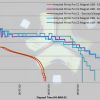
To measure actual output, I built an integrating sphere. See here for more detail. The sensor registers visible light only (so Infra-Red and Ultra-Violet will not be measured).

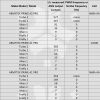
Please note, all quoted lumen figures are from a DIY integrating sphere, and according to ANSI standards. Although every effort is made to give as accurate a result as possible, they should be taken as an estimate only. The results can be used to compare outputs in this review and others I have published.

The runtime graphs contain a lot of detail. One clear aspect of the control systems of these lights is that they maintain a constant output level as long as they can before stepping down to another level.

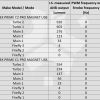
The gallery also contains the tables of output figures. Note that when I have ‘0’ for the output on firefly modes, this is actually below the threshold of measurement for the equipment I have and is clearly not actually 0. The Prime Pro A1 is measured with AA and 14500.


* Beacon and Strobe output measurements are only estimates as the brief flashes make it difficult to capture the actual output value.

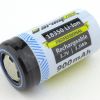
Charging results were a little bit unexpected for a couple of reasons. When checking the cells in the C1 and C2 after the included chargers indicated a full charge gave the following measurements:
C2 – 4.13V
C1 – 4.06V
Both seem low, but when checking these cells with a ZTS loading tester they both indicated 100% charge.
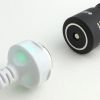
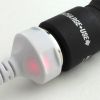
The C1 and C2 USB chargers are interchangeable so I tried them both on the C1.
With the charger that came with the C2, after a full charge the result was:
C1 – 4.15V
Using the Uni C2 charger the cells measured 4.16V once taken off the charger.

There is parasitic drain but is incredibly low in all models. The following list the drain in uA and how many years it would take to drain the cell(s).
Armytek Prime C1 Pro – 1×18350 – 2.8uA – 36.67 years
Armytek Prime C2 Pro – 1×18650 – 6.5uA – 56.16 years
Armytek Prime A1 Pro – 1xAA – 3.9uA – 55.58 years
Armytek Prime A1 Pro – 1×14500 – 3.8uA – 22.52 years
Armytek Prime A2 Pro – 2xAA 2S1P – 2.3uA – 94.24 years

The Prime Pro models in use:

I don’t want to come across biased, but I really do love these Armytek Prime Pro lights! If you give me a side-switch, choice of warm or cool output, no-PWM and properly-low firefly/moon modes, you will make me happy. So for these lights that is ‘check’, ‘check’, ‘check’, ‘check’ – bingo.

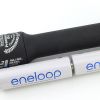
In terms of form-factor, AA lights have always been a favourite of mine. Now, with the NiMh cell becoming a preferred option for power (thanks to LSD cell technology, high output current, and inherent safety), with the added benefit of easy to find backup cells, the Prime Pro A1 and A2 become solid choices.

For that extra level of output power (thanks to li-ion power) and in-light charging convenience, the C1 and C2 step up.

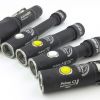
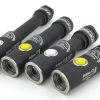
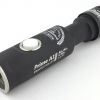
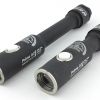
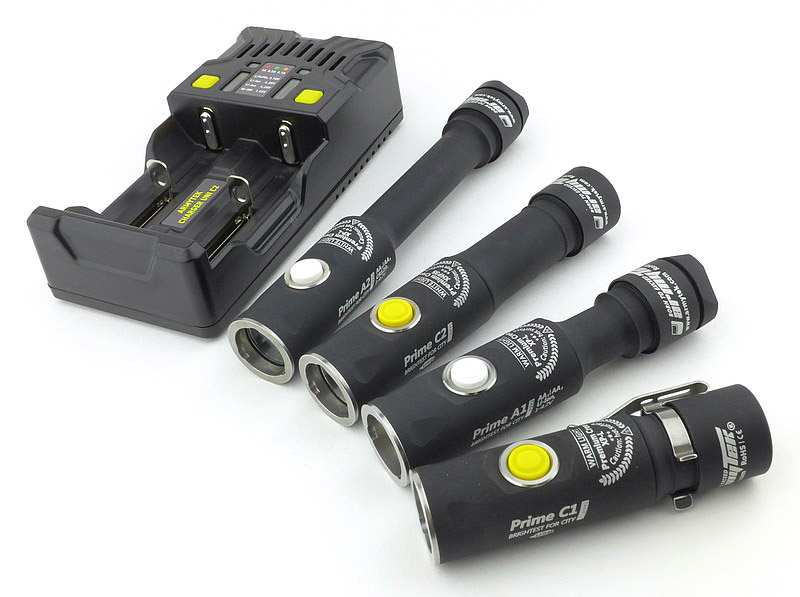
To see how each of these compares in size, this is the full line-up together and then individual profile photos. Bear in mind for those individual shots that the head is the same diameter in each.


Normally I tend not to use the clips on lights, and often don’t fit them at all. All of these Prime Pro models seemed to be particularly ‘rolly’, wanting to find the lowest point of anywhere I put them down by rolling to it. So in this case, the clip has proven essential to stop them going wandering off and I’ve fitted it to all four lights. Although I am not particularly using the clip for clipping it to anything, as well as preventing them rolling, having the clip also provides indexing to make getting onto the switch quicker, and has been perfectly comfortable to have on the light. In this case I’d thoroughly recommend fitting the clip.

You can certainly get smaller EDC lights, but both the C1 and A1 are perfectly acceptable sizes to carry and not being too small, are comfortable and easy to use. For EDC, the C2 is pushing things a bit for me, and the A2 is for a larger bag. In terms of handling though, the A2 is a winner with the universally good handling 2xAA form-factor.

All these lights have an illuminated switch, and this illumination provides battery level information and a location function for the C1 and C2. For me the only time this switch illumination has slightly interfered is with the firefly modes. The instructions say the switch does not flash in firefly modes, but actually it does flash a couple of times when you first switch it on, and the flashes are about as bright as the firefly output itself. So when using these lights with dark adapted eyes, I find the need to keep the switch fully covered with my thumb for the first 10s or so until the switch flashes stop.

The programmability of these lights means you can change whether the location function is on or not (for the C1 and C2). When on, this uses the switch flashes all the time whether the light is on or not, allowing you to find it in a dark place. It does also mean that these switch flashes keep going all the time even in Firefly mode so the previous paragraph becomes more significant for firefly mode users. With Armytek’s low current circuit design you can leave this on permanently and not worry about draining the battery.

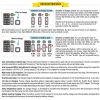
Also including a real Tactical monetary mode really adds another dimension. Make sure you correctly pre-select the mode you want to use, as in Tactical mode you can’t change level. Then to activate, from OFF, unscrew the tailcap slightly, press and hold the switch, and tighten the tailcap – you are now in Tactical mode. To get out of Tactical mode is not done the same way – you have to press and hold the switch (so it comes ON), then loosen the tailcap, then let go of the switch. Now when you tighten the tailcap again it will come ON, but be back in normal mode. If you don’t remember the difference of turning this mode on and off you can get stuck in Tactical mode.


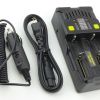
A quick word on the in-light charging and the Uni C2 charger. In all cases the li-ion cell has not been taken up to a ‘full’ 4.20V, yet the discharge results have been good. For the health of the cells themselves it is actually good to not take them to an absolute 100% each time. So for every day use and frequent topping up, the Uni C2 won’t overwork your cells. Its memory means that if charging LiFePO4 cells and a power cut were to happen, it will safely continue the charging cycle for these cells – this is a detail often not included.

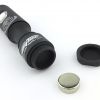
Magnetic abilities are a mixed bag for me. I’ve never been keen on the metal-to-metal contact these magnetic holding systems tend to use, plus their tendency to grab onto anything magnetic in bags and pockets. There are times a magnet holding your light is massively helpful though, so with the A1 and A2, their removable magnet is the perfect solution as you have a choice – thank you Armytek! With the C1 and C2 models on test here, you don’t have that choice due to the charger; but if you like magnetic tails on your lights then it is ideal.

With their feature packed user interface, you get great versatility. However, despite the single side-switch, these are not lights to give to non-technical people. With the variety of input clicks and wide variation in output levels, I can see those who are unfamiliar with multi-mode lights getting in a muddle.

Armytek’s interfaces are cleverly designed to give you great flexibility and functionality, I certainly appreciate the attention to detail.

Review Summary

_______________________________________________
Things I like
_______________________________________________

Side Switch.
True ‘Firefly’ low level output.
Warm or Cool tint versions.
No PWM.
Great UI with plenty of modes.
A1 and A2 have a removable magnet.
C1 and C2 have in-light USB charging.

_______________________________________________
What doesn’t work so well for me
_______________________________________________

Completely round design, so tend to roll if the clip is not fitted.
Proprietary USB charger.
Charger termination voltage seems a little low.
 

Discussing the Review:

The ideal place to discuss this reviews is on a forum. If you started reading the shorter forum version of the review, but followed the link this full exclusive review, please return to that forum to discuss the review there.
If you read the review entirely on Tactical Reviews, please consider one of the following to join in, or start, a discussion.

CandlePowerForums – Flashlight Reviews Section (Largest and Friendliest Flashlight Community Forum)


Light Review: Armytek Prime Pro – PART 2 – A1 / A2 / Uni C2

In ‘Part Two’ we will be taking a first look at the Prime Pro A1 and A2, plus the Uni C2 Charger. – This is Part Two of a group review of four models of Armytek’s ‘Prime Pro’ range of lights (also included with the Prime Pro lights was the Armytek Uni C2 charger). When embarking upon this review I had not expected to generate quite so much content, so have had to split the review into three parts to make it more manageable. You will find links to these as each part becomes available.

Index:

Each title here will become an active link once it has been published.
Part One – A Detailed look at the Prime Pro Magnet USB C1 and C2.
Part Two – A Detailed look at the Prime Pro A1, A2 and Uni C2 Charger.
Part Three – Beamshots, Technical Testing and What they are like to use.

Taking a more detailed look at the A1:

As we go through the details of each light, for some there will be common features. In this case I may only show that feature for one of the models. In this part we have the A1 and A2 which are very similar as really the only difference is the cell and length of the battery tube. If you think a detail has been overlooked, check the similar model for that detail.


Taking a more detailed look at the A2:


Taking a look at the Uni C2 charger:

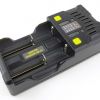
Rechargeable cells are the provider of ‘guilt free lumens’ so I hope you will be using them whenever possible. The Uni C2 is Armytek’s complimentary multi-chemistry auto charger, and is a perfect match for these lights and with its long list of supported cells, most of your other lights too.


Modes and User Interface:

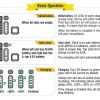
This section is common across Part One and Two of the review to allow you to compare functions easily. It contains extracts from Armytek’s instruction manuals. Check the Armytek website for downloads of the full versions of these.


That is the end of Part Two.


Discussing the Review:

The ideal place to discuss this reviews is on a forum. If you started reading the shorter forum version of the review, but followed the link this full exclusive review, please return to that forum to discuss the review there.
If you read the review entirely on Tactical Reviews, please consider one of the following to join in, or start, a discussion.

CandlePowerForums – Flashlight Reviews Section (Largest and Friendliest Flashlight Community Forum)
Light Review: Armytek Prime Pro – PART 1 – C1 / C2 USB Magnet

Armytek have always impressed me with how much functionality they manage to pack into the control systems of their lights. (I still keep a Predator V1.2 with S-tek driver in my bedside table drawer). This group review is of four models of their ‘Prime Pro’ range of lights (also included with the Prime Pro lights was the Armytek Uni C2 charger). When embarking upon this review I had not expected to generate quite so much content, so have had to split the review into three parts to make it more manageable. You will find links to these as each part becomes available.

In ‘Part One’ we will be taking a first look at the Prime Pro Magnet USB rechargeable models, the C1 and C2.

Index:

Each title here will become an active link once it has been published.
Part One – A Detailed look at the Prime Pro Magnet USB C1 and C2.
Part Two – A Detailed look at the Prime Pro A1, A2 and Uni C2 Charger.
Part Three – Beamshots, Technical Testing and What they are like to use.

Taking a more detailed look at the C1:

As we go through the details of each light, for some there will be common features. In this case I may only show that feature for one of the models. In this part we have the C1 and C2 which are very similar as really the only difference is the cell and length of the battery tube. If you think a detail has been overlooked, check the similar model for that detail.


Taking a more detailed look at the C2:


Modes and User Interface:

This section is common across Part One and Two of the review to allow you to compare functions easily. It contains extracts from Armytek’s instruction manuals. Check the Armytek website for downloads of the full versions of these.


That is the end of Part One. Keep an eye out for Part Two – A Detailed look at the Prime Pro A1, A2 and Uni C2 Charger.


Discussing the Review:

The ideal place to discuss this reviews is on a forum. If you started reading the shorter forum version of the review, but followed the link this full exclusive review, please return to that forum to discuss the review there.
If you read the review entirely on Tactical Reviews, please consider one of the following to join in, or start, a discussion.

CandlePowerForums – Flashlight Reviews Section (Largest and Friendliest Flashlight Community Forum)

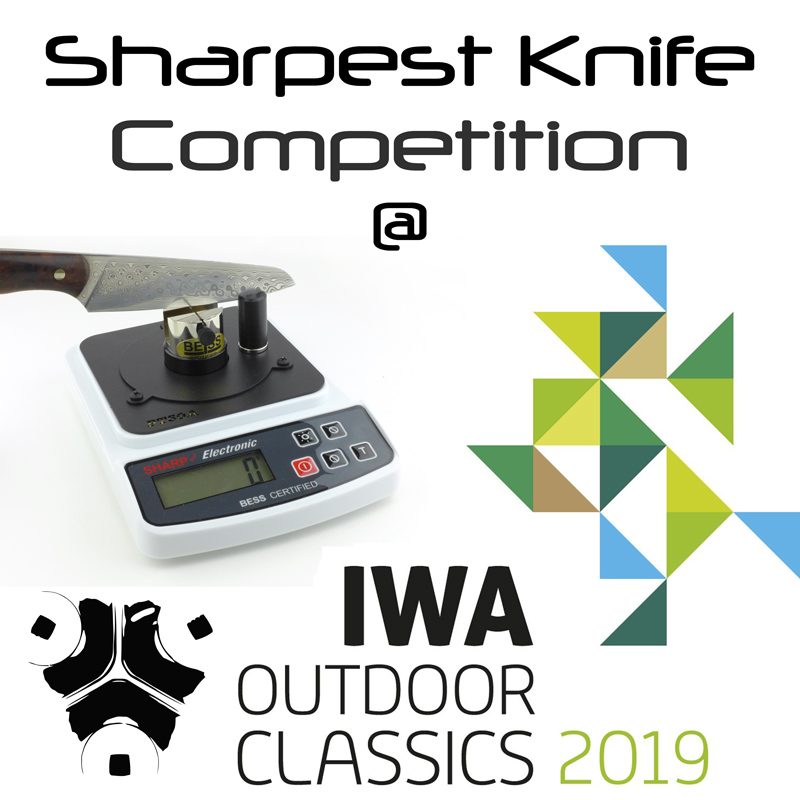
Sharpest Knife Competition at IWA 2019

This year at IWA, Tactical Reviews is throwing down the gauntlet and asking the knife trade “How sharp can you go?”. OK, it’s actually a lot less formal than that, a ‘just for fun’ competition to see who can create the finest edge on a knife blade, by any means they choose.

Entry is free and open to all exhibitors and visitors to IWA 2019 (see rules below). There is no prize beyond the warm feeling the winner will have, knowing they had the ‘Sharpest Knife at IWA’.

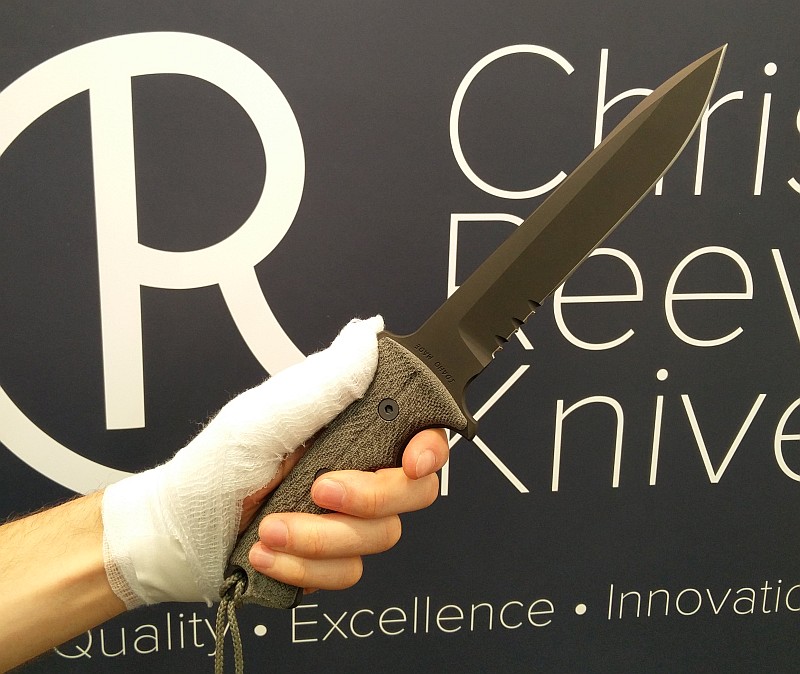
Come and find me with the awesome people at Chris Reeve Knives in hall 5, stand 5-135, on Sunday 10th March between 16:00 and 17:00. Get in early or you might miss out.

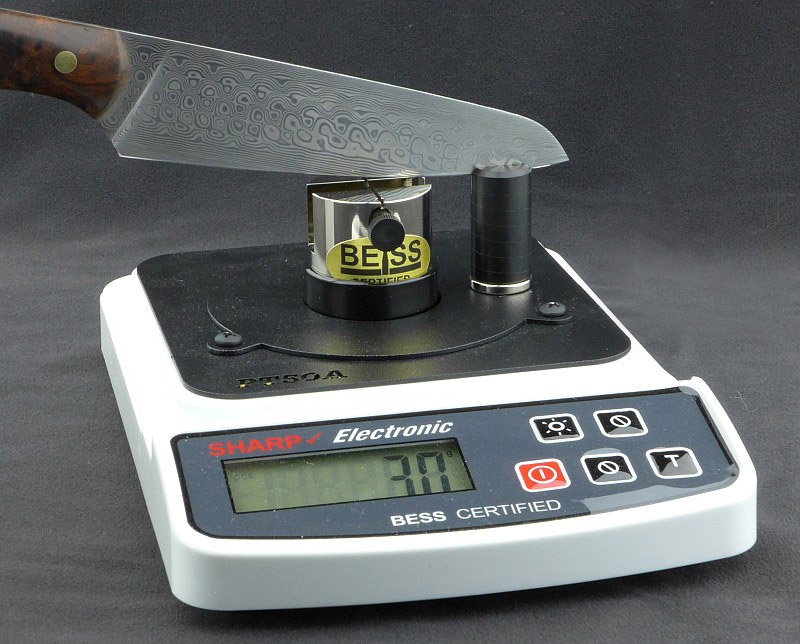
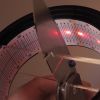
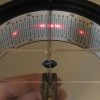
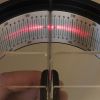
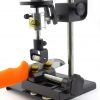
How is the sharpness measured? Using a PT50A BESS Certified sharpness tester:

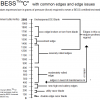
The BESS ‘C’ scale of sharpness, developed by Mike Brubacher (Brubacher Edge Sharpness Scale) will be used to determine how sharp each knife edge is. The ‘Edge on Up’ PT50A tester uses a certified test media fibre and records the force required to cut it. The lower the score the better. As an example, a typical Morakniv factory edge scores around 250. See this guide:


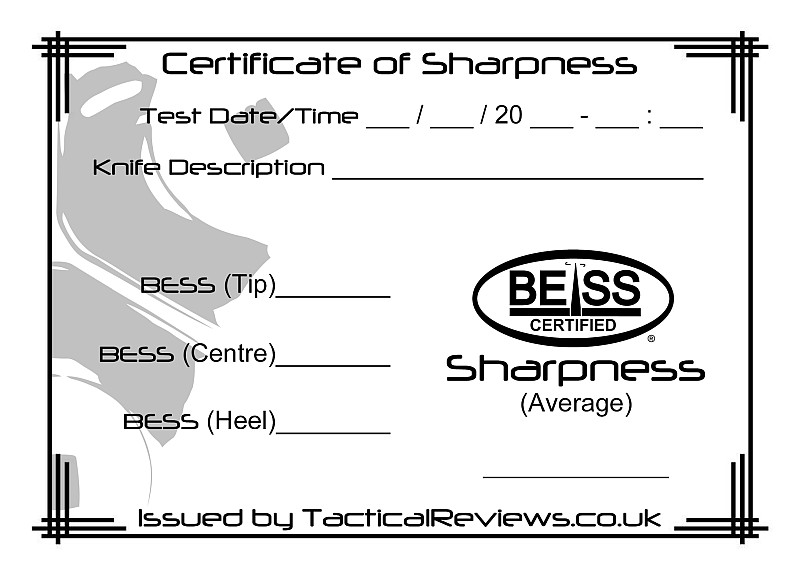
Every knife tested will be given an official sharpness score and certificate. A measurement will be taken initially in the centre of the blade, then the heel, then the tip, and an average value taken. This will test the sharpness over the entire blade, not just the easiest part to sharpen.

‘The Sharpest Knife’ Competition – IWA 2019

Rules:

  1. Open to all knives, custom-made or production. – No Razors allowed.
  2. Kitchen knives, though allowed, are NOT eligible to be overall winner; they have been found to have too much of an advantage, so may be entered for an honourable mention only.
  3. Any knife deemed not to be in the spirit of the ‘sharpest knife’ contest will be disallowed (surgical/laboratory etc.).
  4. Open to anyone – Professional / Maker / Amateur / User.
  5. Knives must be submitted either folded or sheathed, with the cutting edge covered.
  6. Each knife will initially have a single measurement taken. If the result is within 50 BESS of the leading entry, further measurements may be taken (at the discretion of the tester).
  7. Subject to the previous rule, each qualifying knife will then have a set of three measurements taken along the blade (centre, heel and tip) with the average BESS score counting as the result.
  8. In the case of a draw, the lowest individual score will be used for secondary ranking. If there is still a draw, the first one tested will win.
  9. The tester’s results are final – No knife may be entered twice.

The winner will be announced at close of the competition.

IMPORTANT: You undertake the competition at your own risk and your health and safety is your own responsibility. By taking part in this competition, you agree to indemnify the organisers and their agents against all costs, losses, damages, injuries, expenses and liabilities suffered as a result of your participation. No liability can be accepted for damage to any knife entered.
 

Knife Review: Spyderco Hundred Pacer

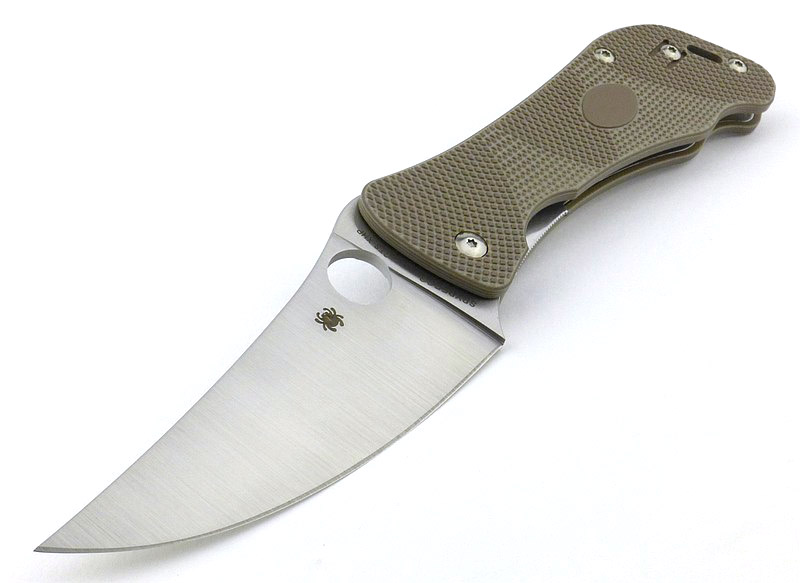
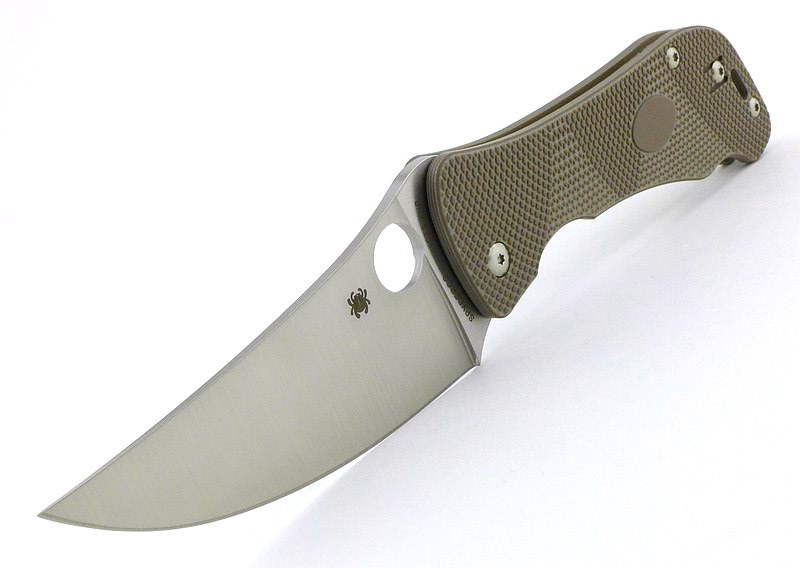
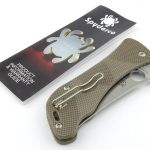
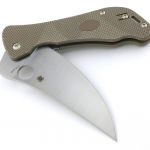
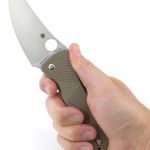
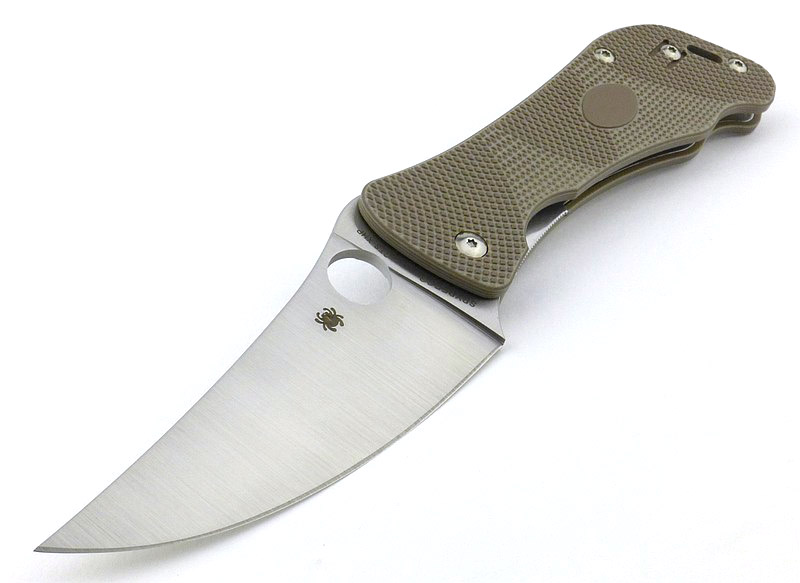
What are your first impressions of the Spyderco Hundred Pacer? Well, it certainly is an unusual looking knife with an unusual name and design inspiration, and I’ll admit to being sceptical about the look of this knife.
But, whatever your first impressions are, I can say that this knife has proven itself again and again throughout the testing process to be as potent as its namesake. The Hundred Pacer is the result of a collaboration with a Taiwanese knife designer and enthusiast Jonny Liao, who manages to bring together potentially ungainly serpentine shapes into a stunningly effective cutting tool.

A few more details:

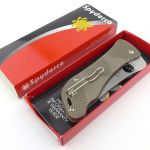
What’s in the box?:


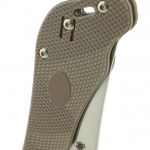
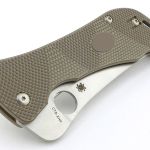
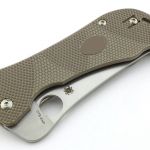
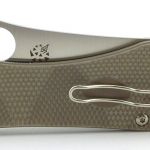
A good look round the Spyderco Hundred Pacer – Things to look out for here are:

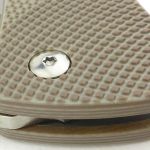
You can’t really miss the design references to the snake the knife is named after. Even under the closest scrutiny the quality of manufacture stands out.


Explained by the Maker:

The reasons for certain design choices may not be clear when simply looking at an object, so this section is intended to give an insight into the thinking behind a design by speaking to the designer themselves.

While at IWA 2018 I had the good fortune to be able to talk to Joyce Laituri from Spyderco about this knife.

Firstly here is the standard description from Spyderco:
The Hundred Pacer is a truly unique folding knife design inspired by a deadly Taiwanese viper with a distinctive “horned” nose. Its venom is reputedly so toxic that a person bitten by it could only walk a hundred paces before expiring. Designed by knife enthusiast Jonny Liao, the Spyderco Hundred Pacer translates the sweeping lines of the snake’s head into a broad, dramatically curved, full-flat-ground blade. The satin-finished PlainEdge™ blade is crafted from premium CTS® XHP powder metallurgy stainless steel and features a fully accessible Trademark Round Hole™ for swift, positive, one-handed opening with either hand.

To replicate the look and feel of the snake’s skin, the knife’s stunning handle scales are meticulously machined from layered G-10 to create a non-slip texture and contrasting color pattern. Skeletonized stainless steel liners nested within the scales complement the handle’s open-backed construction to minimize the knife’s weight, while providing a solid foundation for its sturdy LinerLock mechanism. A reversible deep-pocket wire clip supports discreet, ambidextrous, tip-up carry and keeps the Hundred Pacer poised and instantly accessible.

An image from mitbbs.com of the Hundred Pacer snake.

The following are a few insights into the design courtesy of Joyce:
Jonny designed the knife to have a very wide flat ground blade, shaped to be reminiscent of the head of the Hundred Pacer snake. If you are not familiar with this snake, a quick Google of it reveals he did a very good job pulling off the form of the snake. The handle is textured G-10 with a bidirectional pattern to offer tactile resistance. The original prototype had a two tone handle that was vividly reminiscent of the snake’s colouring, but Spyderco opted for the coyote brown handle with the milled texturing.
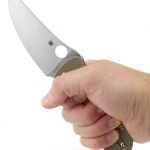
With the Hundred Pacer, the surprising thing is once you get it in your hand; as large as it is, and as wide as the blade is, it is incredibly lightweight and incredibly comfortable to hold; add to this the upswept blade being such a powerful cutter and you have an extremely effective knife.
The CTS XHD steel used for the blade is a US made steel, and is shipped over to Taichung where Hundred Pacer is manufactured.

The Blade and Handle – Detailed Measurements:

Now even more detailed!

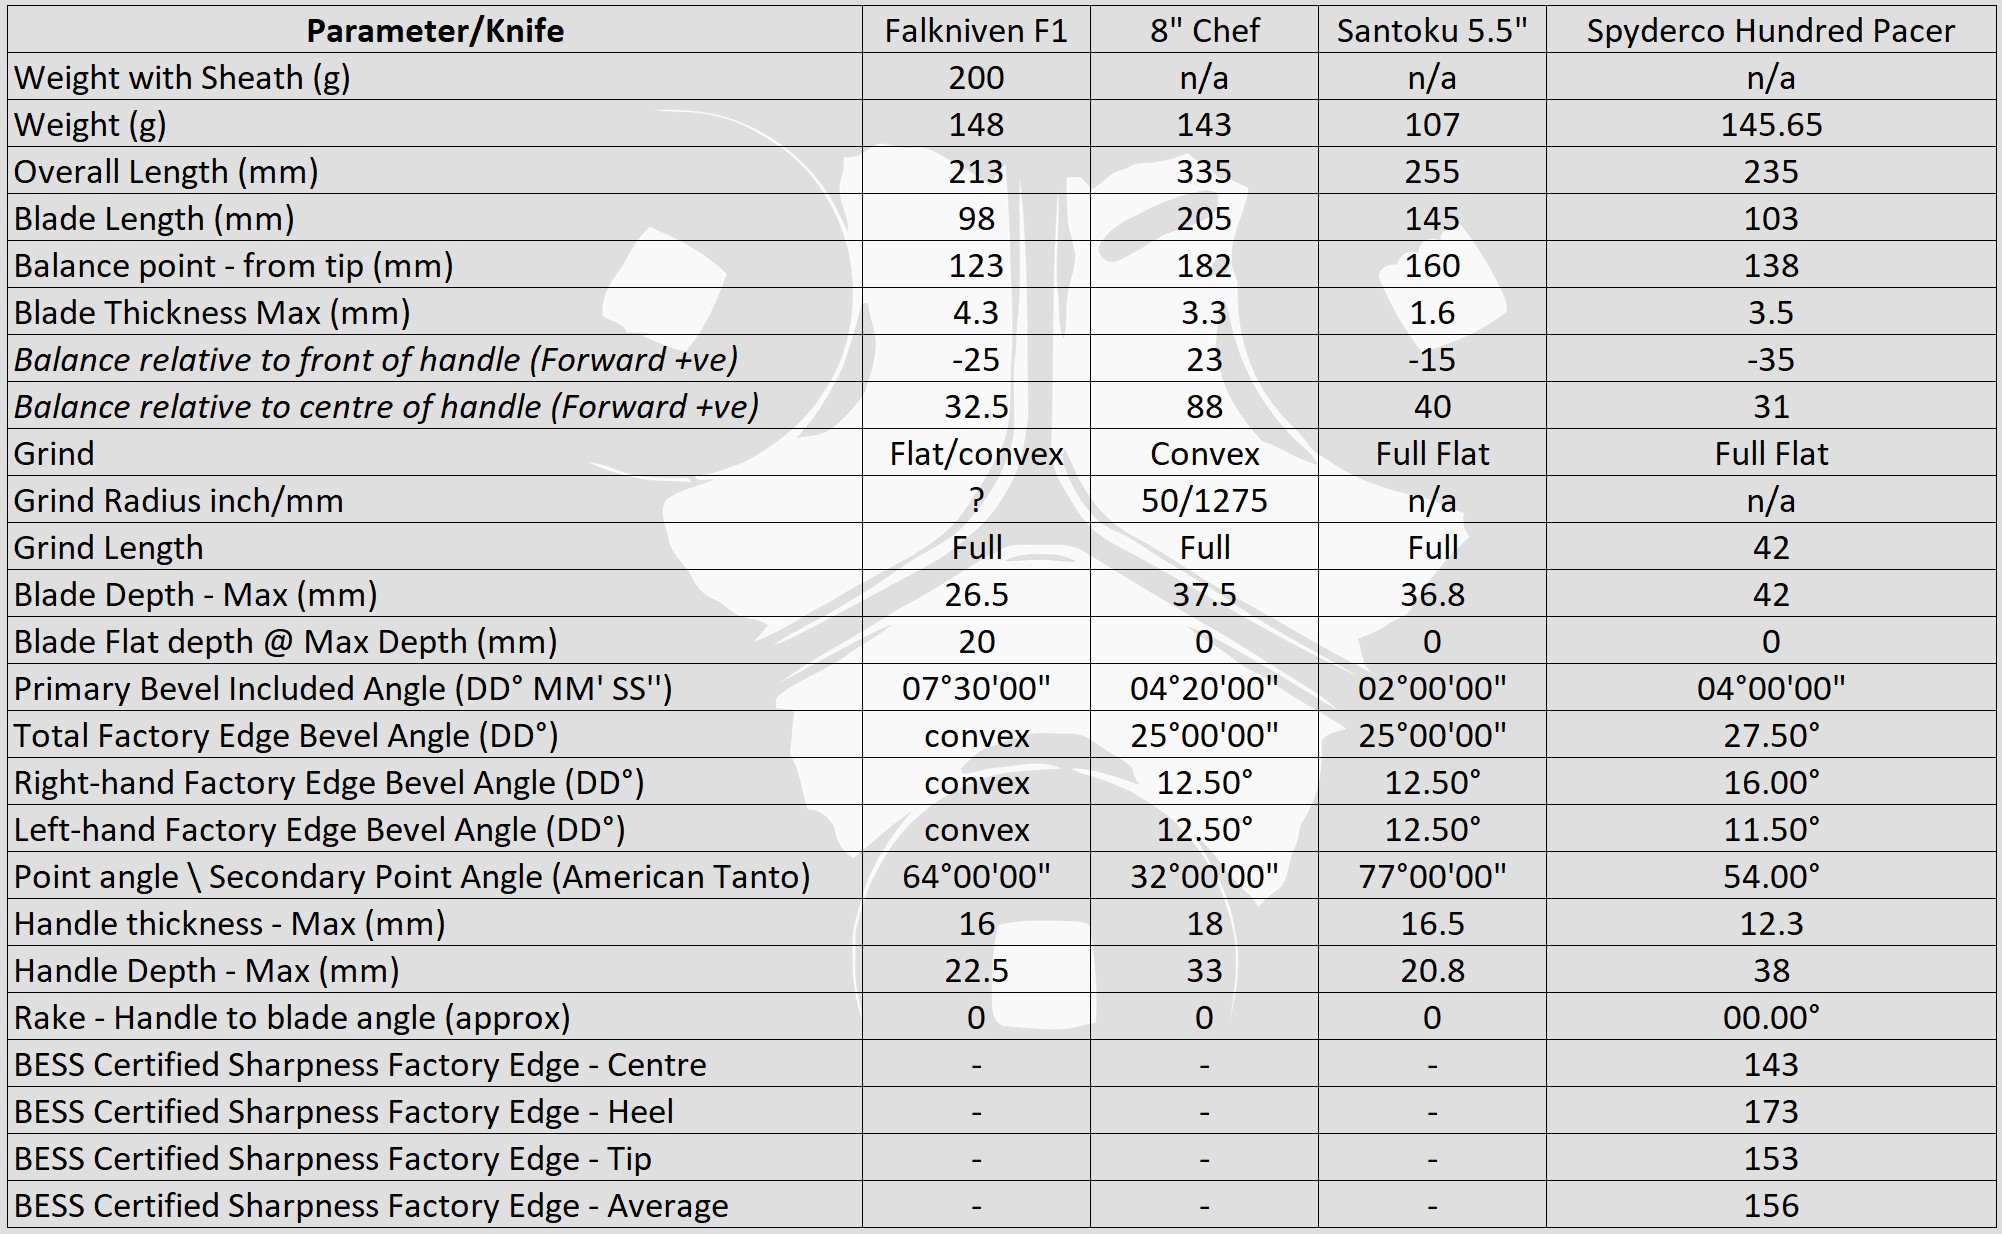
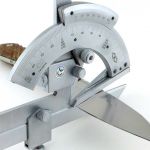
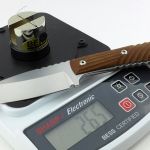
Taking things far beyond most knife specifications, in this section I will be carrying out a detailed examination of geometry, balance, edge bevels, factory sharpness and structural edge testing using the industry leading measuring tools.

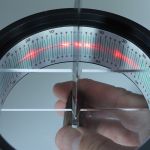
These measuring tools include a Vernier protractor, callipers, fixed radius gauges, the unique Arc Master adjustable radius gauge, Edge On Up’s BESS Certified PT50A and SET tester along with CATRA’s Hobbigoni LASER Edge Protractor.
The BESS ‘C’ scale of sharpness (Brubacher Edge Sharpness Scale) will be used to verify the sharpness of the factory edge and allow the knife to be brought to a minimum standard sharpness before testing a blade’s cutting performance.


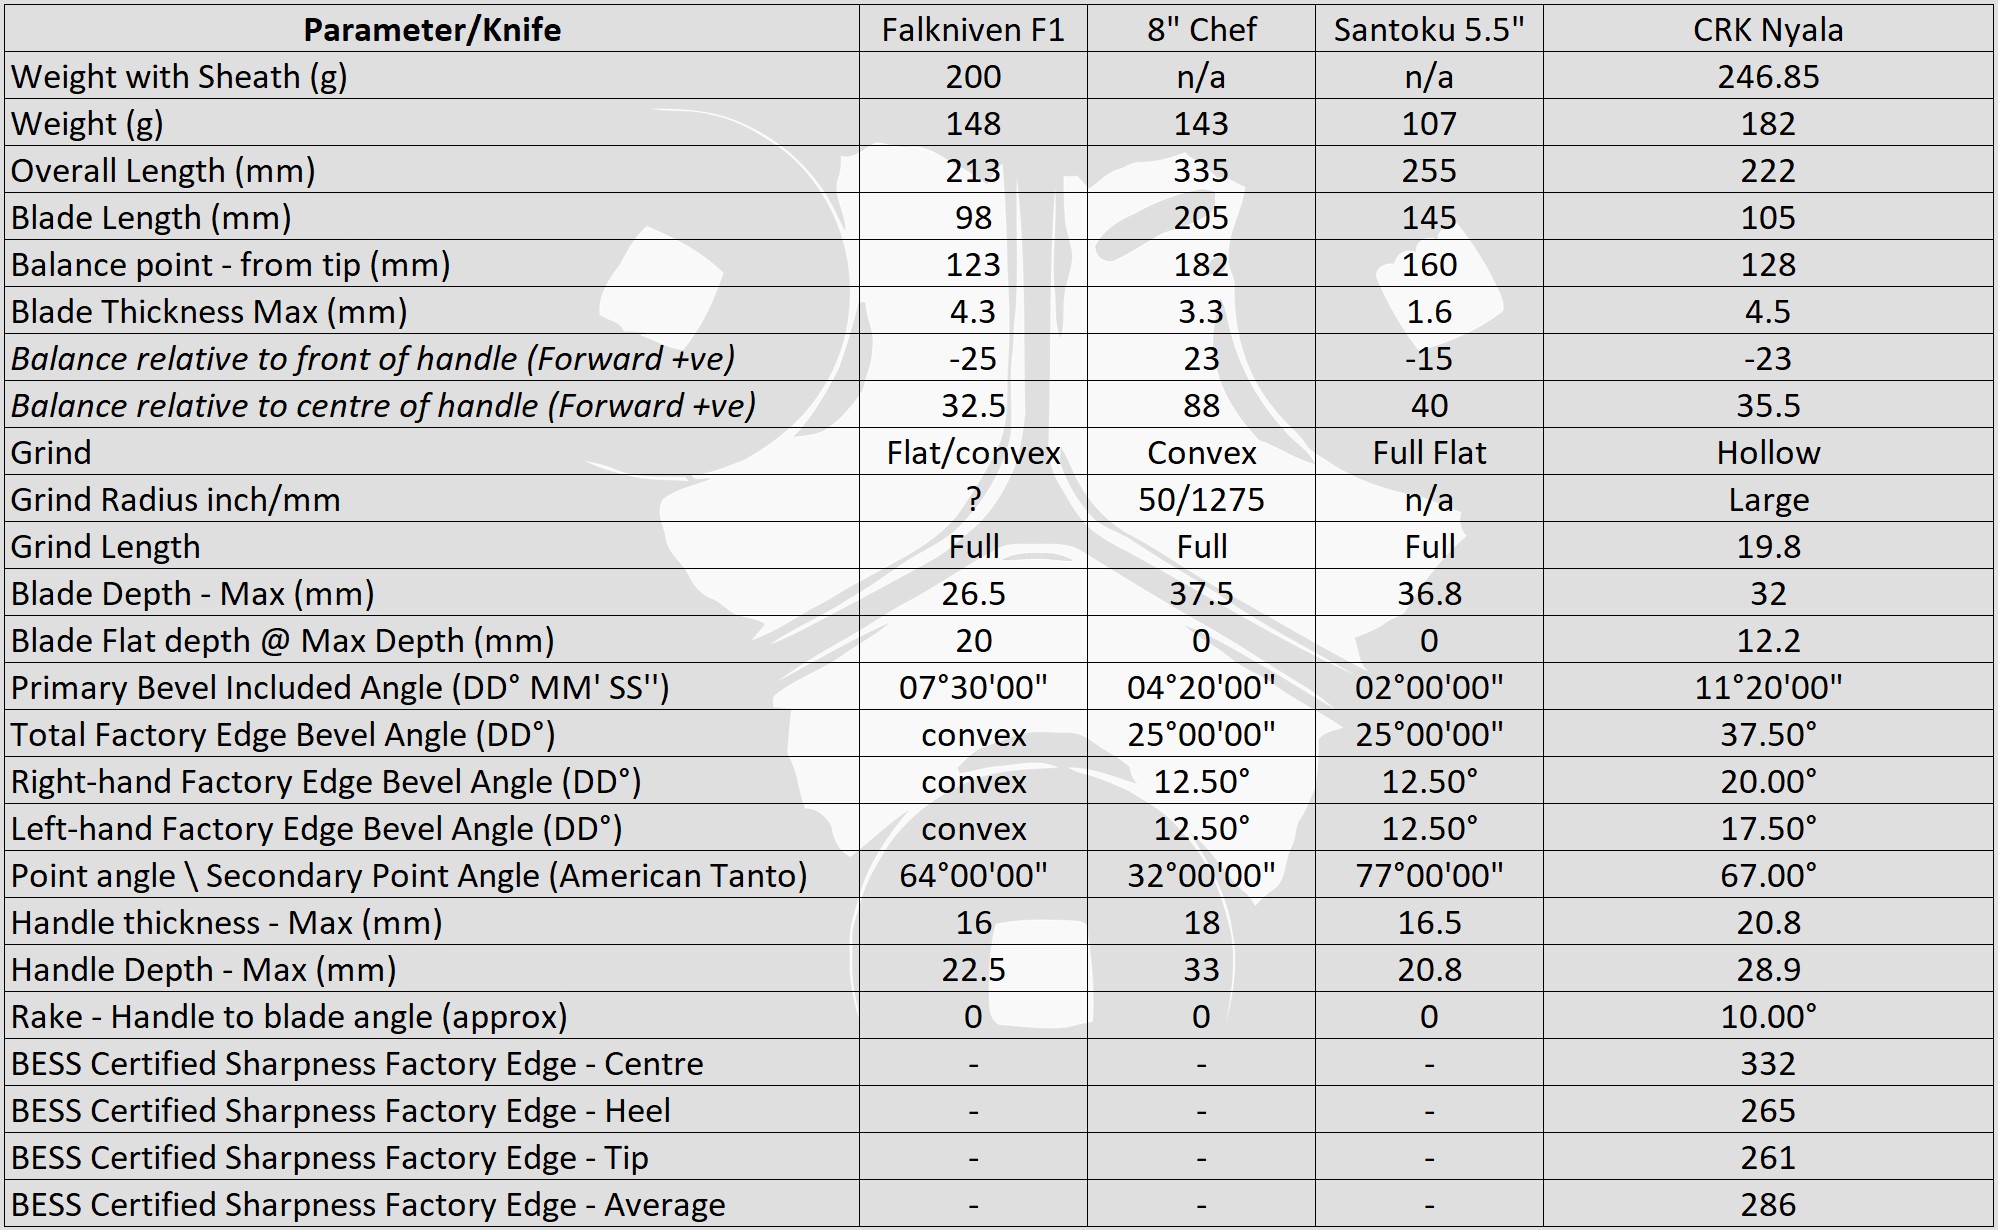
The measurements have been tabulated and are presented along with a few reference blades. The ‘Balance relative to the front of the handle’ tells you if the knife will feel front heavy, or if the weight is in your hand (a positive value means the weight is forward of the front of the handle). The ‘Balance relative to the centre of the handle’ indicates how close to a ‘neutral balance’ the knife has in the hand.


The blade is made from CTS-XHP steel.

Take note of that average BESS Score of just 156. This is truly exceptional, and is the sharpest factory edge I have come across.

What it is like to use?

Once you handle this knife, it all makes sense. There are knives I do not find visually appealing, yet once in your hands they just work. The Hundred Pacer from Spyderco is one of these. In fact its abilities are making its looks more appealing, as you start to understand why it looks like it does.

When folded, the large hump of metal around the opening hole is there because this knife has such a wonderfully wide blade. This same large lump of metal makes the opening hole even more accessible, and the opening action super fast. It then provides an effective thumb ramp once the blade is open. Completely function, although making the folded knife appear a little ungainly.

The snake-head shaped butt of the handle forms a grip-hook that provides extreme stability during use, so the odd appearance really does make sense.


For me there is only one minor change that improves the Hundred Pacer, and that is the addition of a sharpening choil. There are some cuts when this can create a ‘hang-up’, but the benefits outweigh the possible pitfalls for me. In adding a sharpening choil, it also allows the entire cutting edge bear down onto a cutting surface. Amongst other things, this knife’s slicing ability works fantastically well in the kitchen, and I use this roughly 50% of the time for food related tasks; this modification makes it significantly better for use on a cutting board.

Shown here with a small batch of knives that I added a sharpening choil to.


Don’t be too quick to judge this knife by its appearance. Certainly some will like the different looks, but I suspect most initially will not. The Hundred Pacer proves itself utterly worthy of your consideration thanks to its fantastic performance and handling.

Review Summary

The views expressed in this summary table are from the point of view of the reviewer’s personal use. I am not a member of the armed forces and cannot comment on its use beyond a cutting tool or field/hunting knife.

Something that might be a ‘pro’ for one user can be a ‘con’ for another, so the comments are categorised based on my requirements. You should consider all points and if they could be beneficial to you.

_______________________________________________
Things I like
_______________________________________________

Superb handling.
A real ‘Super-Slicer’.
High quality fit and finish.
Ambidextrous.
Great grip.
High performance CTS XHP Steel.

_______________________________________________
What doesn’t work so well for me
_______________________________________________

Unusual appearance.


Discussing the Review:

The ideal place to discuss this reviews is on a forum. If you started reading the shorter forum version of the review, but followed the link this full exclusive review, please return to that forum to discuss the review there.
If you read the review entirely on Tactical Reviews, please consider one of the following to join in any discussion.

BladeForums – Knife Reviews (US based Forum for Knife Discussion)

CandlePowerForums – Knife Reviews Section (Largest and Friendliest Flashlight Community Forum)

The BESS Exchange – A forum discussing technical aspects of sharpness and truly understanding your sharpening process.

Knife Review: Chris Reeve Knives Nyala (Insingo blade)

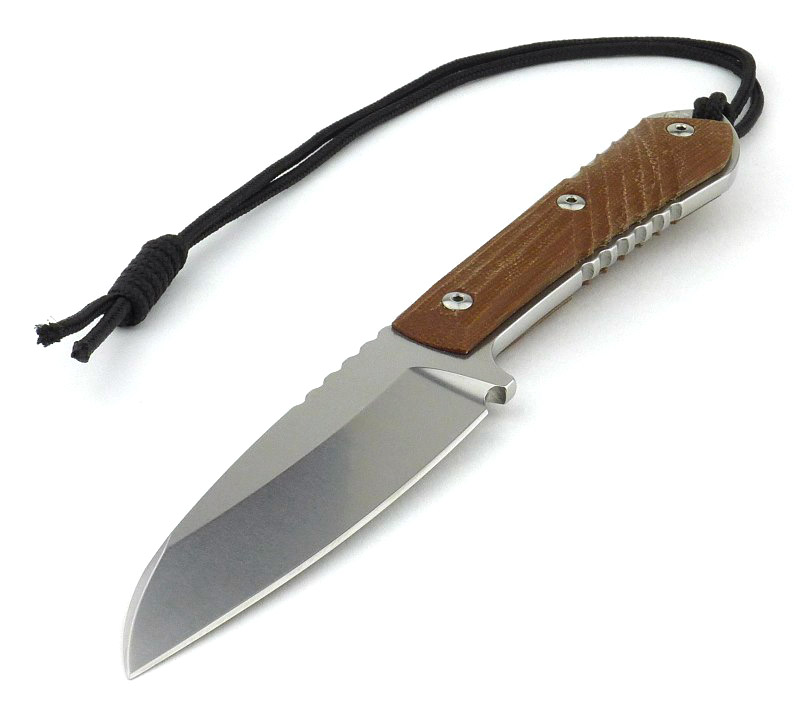
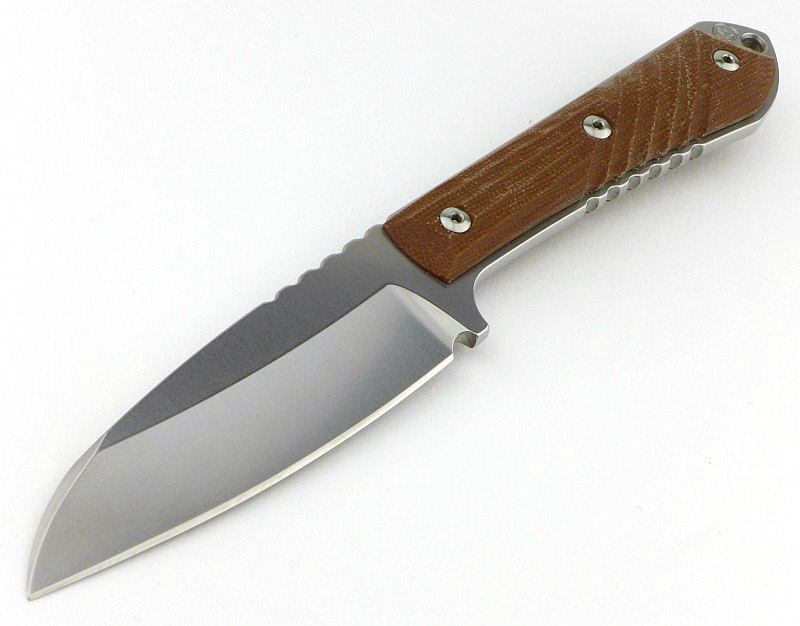
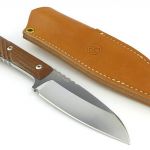
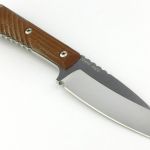
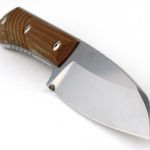
Chris Reeve Knives’ Nyala fixed blade knife (first released in 2010) is a classic skinner / utility knife. Available in a drop-point, or, as featured here, the Insingo style blade (a modified Wharncliffe), and coming in a traditional leather pouch-sheath. Despite being a modern contemporary design, it achieves a timeless feel and benefits from the best manufacturing and materials you could ask for.

A few more details:

Starting with the sheath:

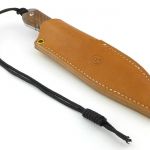
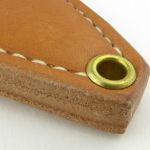
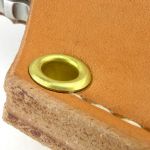
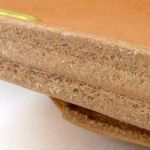
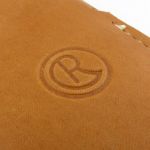
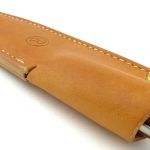
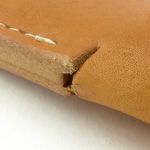
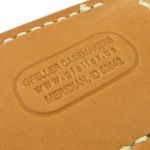
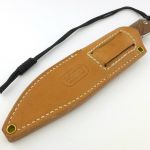
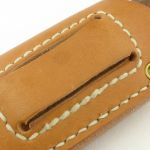
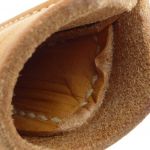
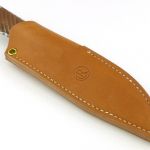
A good sheath is as important as the knife it carries, and CRK have gone to leatherwork specialists Gfeller for the Nyala’s pouch sheath.


A good look round the Nyala – Things to look out for here are:

Simple, elegant and purposeful, the Nyala in detail. Look for the attention to detail in the design and refinement of every part of the knife.


The Blade and Handle – Detailed Measurements:

Now even more detailed!

Taking things far beyond most knife specifications, in this section I will be carrying out a detailed examination of geometry, balance, edge bevels, factory sharpness and structural edge testing using the industry leading measuring tools.

These measuring tools include a Vernier protractor, callipers, fixed radius gauges, the unique Arc Master adjustable radius gauge, Edge On Up’s BESS Certified PT50A and SET tester along with CATRA’s Hobbigoni LASER Edge Protractor.
The BESS ‘C’ scale of sharpness (Brubacher Edge Sharpness Scale) will be used to verify the sharpness of the factory edge and allow the knife to be brought to a minimum standard sharpness before testing a blade’s cutting performance.


The measurements have been tabulated and are presented along with a few reference blades. The ‘Balance relative to the front of the handle’ tells you if the knife will feel front heavy, or if the weight is in your hand (a positive value means the weight is forward of the front of the handle). The ‘Balance relative to the centre of the handle’ indicates how close to a ‘neutral balance’ the knife has in the hand.


The blade is made from CPM S35VN steel.

What it is like to use?

Being a fan of Chris Reeve Knives’ folding knives, I also ‘needed’ a Pacific fixed blade, but in all honesty had never really hankered after the Nyala. Something I’ll come back to is the handle sizing, which has always appeared a bit on the small side to my eyes and was another reason I had not pursued it. It is also a slightly understated knife design, but that happens to be part of its charm. As you would expect from CRK, there is an elegance and minimalism in the design which keeps things simple and effective, and does so without shouting about it – quiet and efficient.

Given the opportunity to try this knife out, I had the choice of the drop-point, or CRK’s Insingo blade style. The modified Wharncliffe works for me, as I do a lot of point work and like the way the entire edge presents itself forward for the type of cuts I make, so the insingo it was.

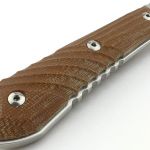
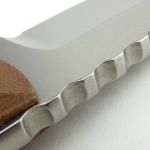
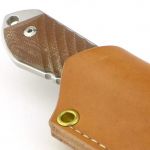
Following on from the earlier look at the sheath, I wanted to start this gallery with one of those details that just make all the difference. See how the jimping in the centre of the grip is positioned such that a couple of grooves are visible when sheathed. This gives your first finger a better grip to withdraw the knife from the sheath; a small detail but one that counts.

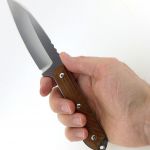
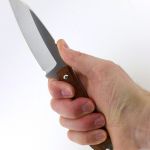
You can get a good idea of the sizing looking at the Nyala ‘in-hand’, a comfortable general purpose blade with the balance point in your hand. Without thinking, you find your thumb on the jimping provided for it; the width of the spine, and gentle rounding of it, provides a comfortable surface to press on.


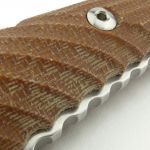
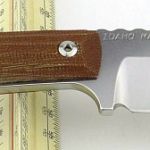
So my concern over the size of the grip? Firstly, I’ll say that very much like a kitchen knife, the integral guard formed by the narrowing of the grip next to the blade makes it safe and secure. This narrowed grip also makes the Nyala nimble in the hand and great for fine, controlled, cuts. When assessing a knife handle I tend to think of the heavy cutting and how comfortable it will be when really pressing into the cuts. Actually the Nyala has surprised me, being comfortable enough with high effort cutting, even if not one I’d choose for extended periods of hard work. There is never any lack of grip from the milled micarta handles, the depth of the milled grooves can start to burn a bit after heavy use with bare hands. The balance of quality of grip vs comfort does seem just right for the shape / size of the handle.

The blade stock is a little thicker than I’d really want in this size of knife, but this allows for a comfortable thumb rest directly on the spine, and that extra strength is just lying in wait for a time you might really need it, which is never a bad thing.

Overall I’ve also been appreciating the simplicity and traditional vibes of the Nyala with its leather sheath. Now I’m wondering why I overlooked it for so long. It has been working as a really good all-rounder and has fallen into my regular rotation.

Review Summary

The views expressed in this summary table are from the point of view of the reviewer’s personal use. I am not a member of the armed forces and cannot comment on its use beyond a cutting tool or field/hunting knife.

Something that might be a ‘pro’ for one user can be a ‘con’ for another, so the comments are categorised based on my requirements. You should consider all points and if they could be beneficial to you.

_______________________________________________
Things I like
_______________________________________________

Back to basics, simple, elegant, design.
Quality traditional leather pouch sheath.
Nimble in the hand.
The handle works better than expected for heavy cutting.
Plenty of grip.
Insingo or drop-point blade options.
Refined finish and attention to detail.

_______________________________________________
What doesn’t work so well for me
_______________________________________________

Slim grip can become fatiguing during extended heavy cutting.
Milled handle grooves can be a bit unkind to bare hands during heavy cutting.


Discussing the Review:

The ideal place to discuss this reviews is on a forum. If you started reading the shorter forum version of the review, but followed the link this full exclusive review, please return to that forum to discuss the review there.
If you read the review entirely on Tactical Reviews, please consider one of the following to join in any discussion.

BladeForums – Knife Reviews (US based Forum for Knife Discussion)

CandlePowerForums – Knife Reviews Section (Largest and Friendliest Flashlight Community Forum)

The BESS Exchange – A forum discussing technical aspects of sharpness and truly understanding your sharpening process.