Knife Review: Zero Tolerance 0630 (Emerson Design)

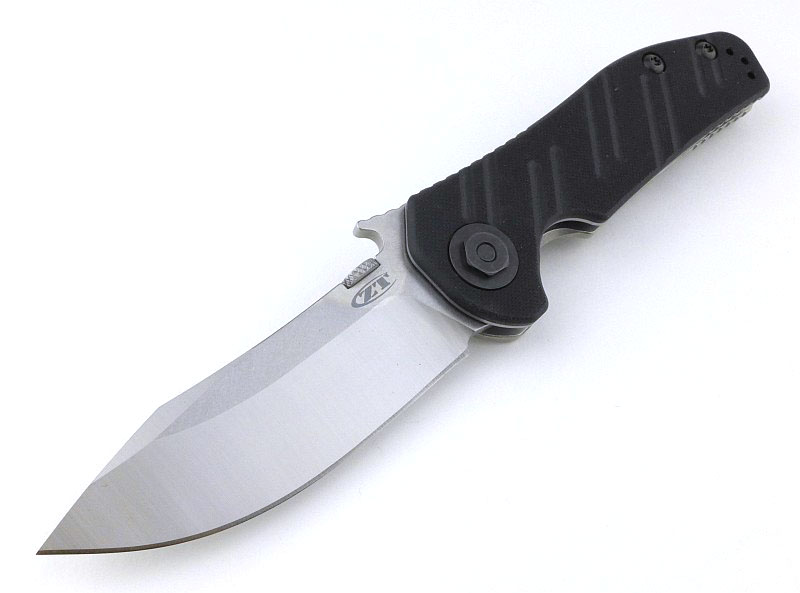
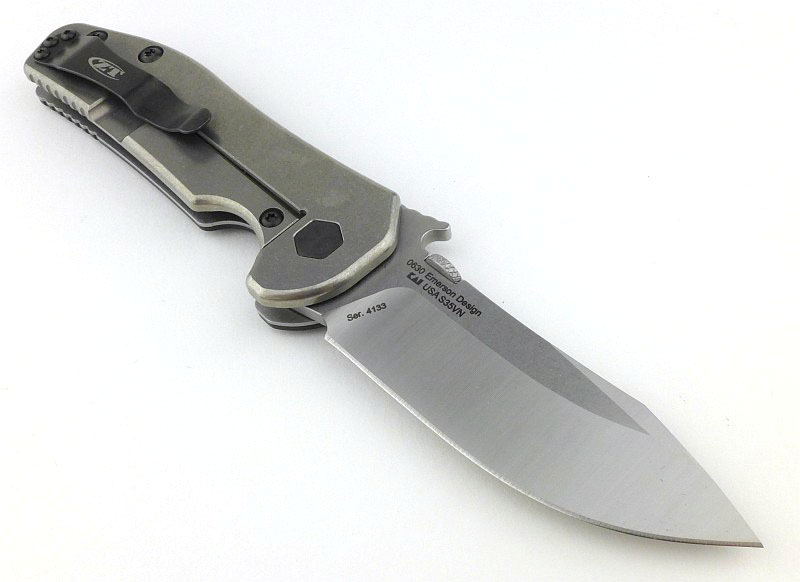
The ZT (Zero Tolerance) 0630 is a collaboration between ZT and Ernest Emerson, and naturally features the patented Emerson “wave shaped feature” that makes it one of the fastest deploying folding knives in the world.

With a strong upswept S35VN tactical blade the 0630 is powerfully over-built for hard-use.
The Blade and Handle Geometry:

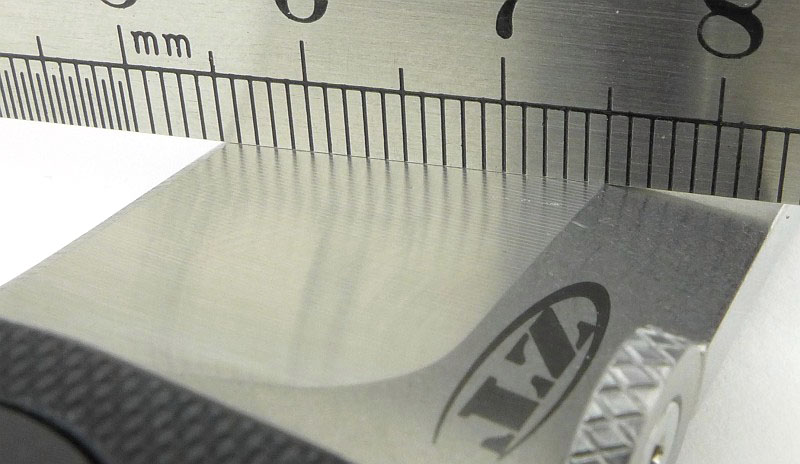
Most knife specifications have a basic description of the blade geometry, but in this section I will be taking a more detailed look at geometry and balance.
Using a set of gauges and precision measuring equipment including a Vernier protractor, callipers, fixed radius gauges and the unique Arc Master adjustable radius gauge (the one that looks like a crossbow).
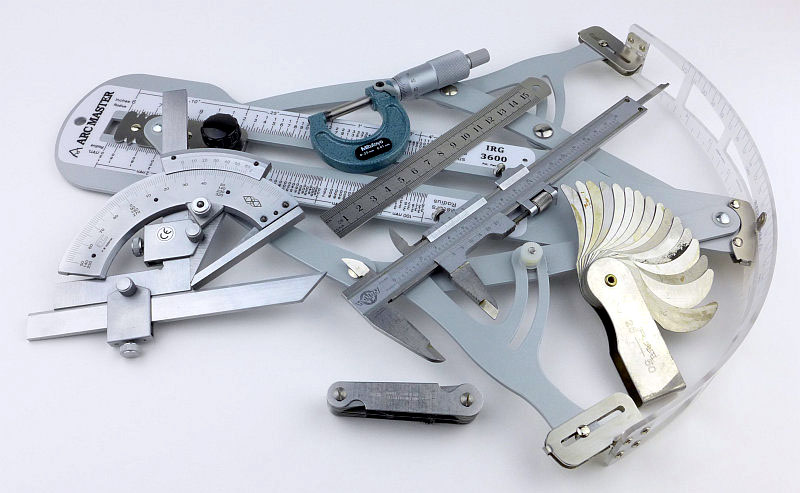
These measurements have been tabulated and are presented along with a few reference blades (8″ Chef’s Knife, 5.5″ Santoku and the popular Fällkniven F1).

Key aspects such as the primary bevel angle, grind type, blade depth, blade thickness, length, weight are detailed, along with balance information.
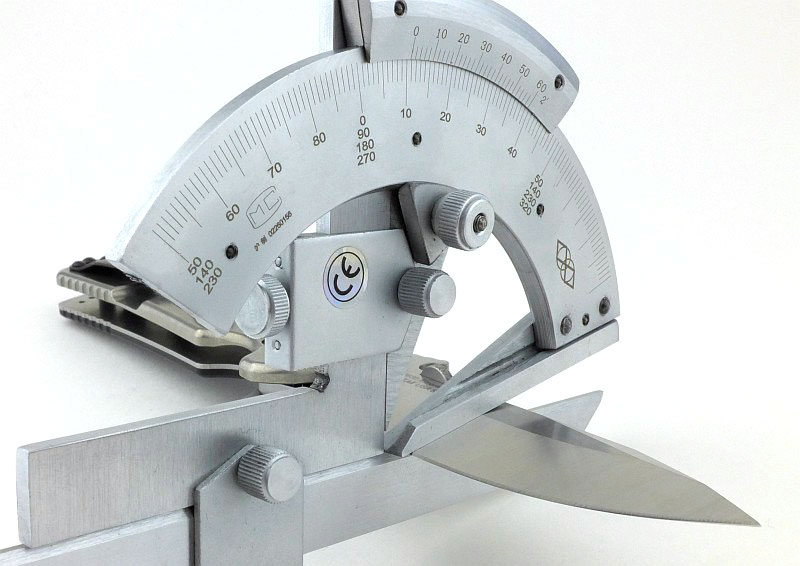
The ‘Balance relative to the front of the handle’ tells you if the knife will feel front heavy, or if the weight is in your hand (a positive value means the weight is forward of the front of the handle). The ‘Balance relative to the centre of the handle’ indicates how close to a ‘neutral balance’ the knife has in the hand.

In the case of full convex grinds the approximate centre of the grind is used for the primary bevel angle estimate.

The blade is made from S35VN steel.

Explained by the Maker:

The reasons for certain design choices may not be clear when simply looking at an object, so this section is intended to give an insight into the thinking behind a design by speaking to the designer themselves.

Unfortunately I can’t always get time with the designer so will use this section to include relevant information about the knife and its designer.

I wanted to include a short extract from Emerson Knives about the ‘Wave’ feature.

“The remote pocket opener is the most dynamic and advanced feature ever designed for folding knives. Originally designed by Ernest Emerson as a request from the Navy Seals. They needed him to design a ‘blade catcher’ that would essentially stop a blade from sliding up the back of your knife and cutting your arm when in a one-on-one knife fight. By accident, Ernest Emerson inadvertently created the Emerson Wave Feature when he discovered that the knife would self deploy when being pulled from your pocket, given the right motion.

This device allows you to open the knife literally, as it is removed from the pocket. This makes any Emerson Knife with the remote pocket opening system the fastest deploying knife in the world. Faster than an automatic, your knife is open as it comes up into your hand-ready for use.”

A few more details:

The 0630 comes in a cardboard box.
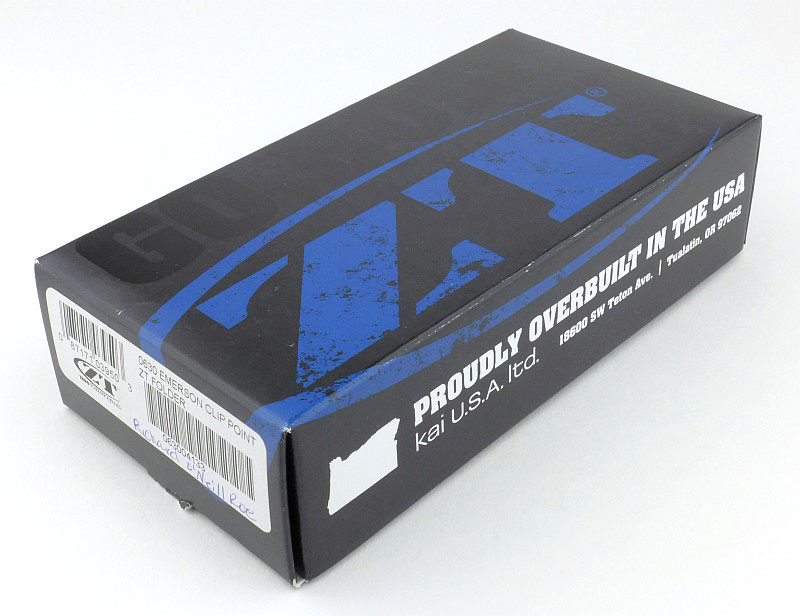
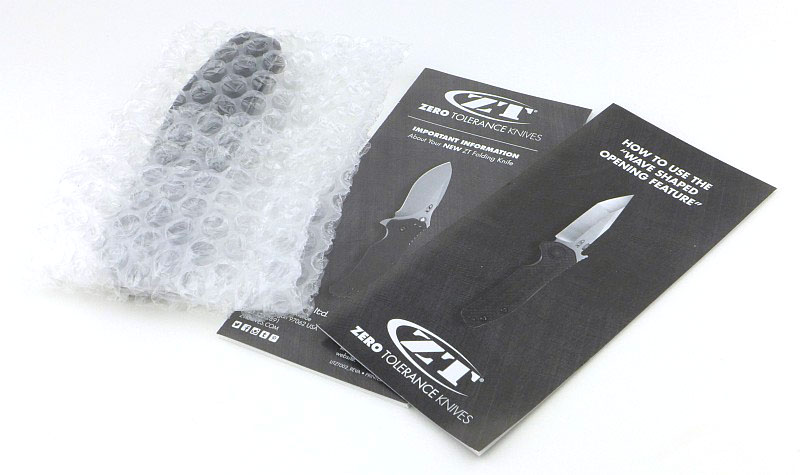
Along with the knife are two leaflets, one with general information, and one about the Wave feature.
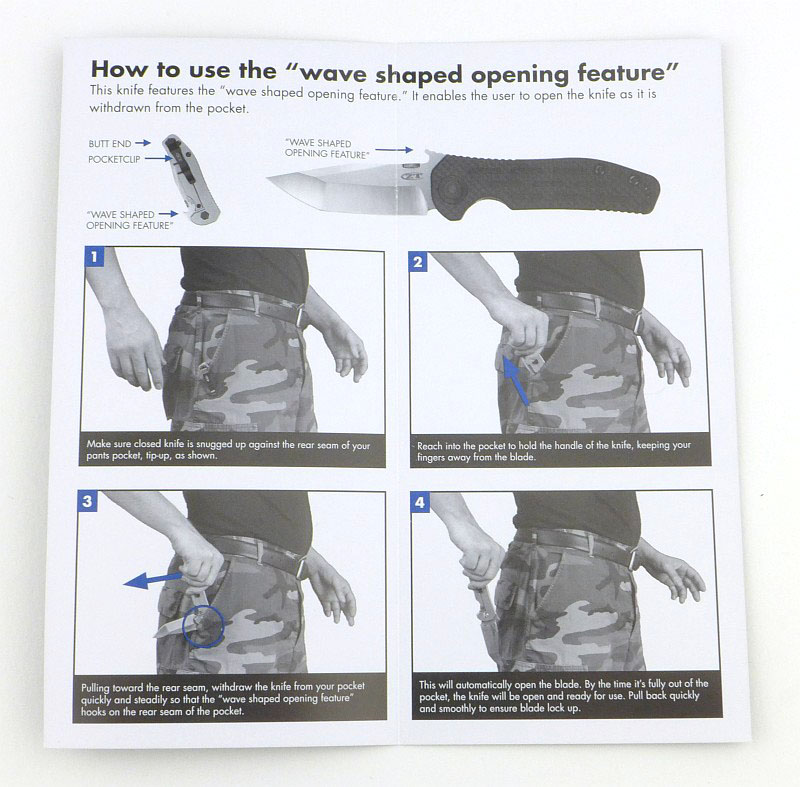
How to use the Wave Feature.
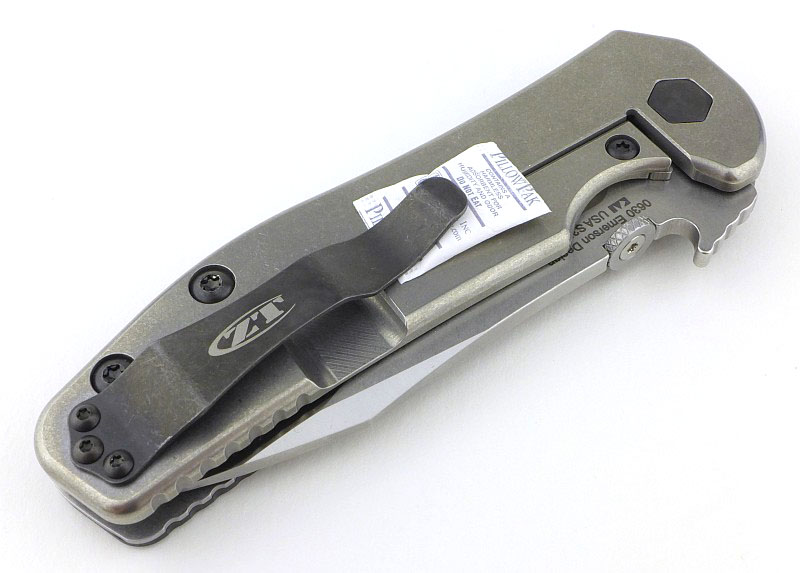
Tucked under the pocket clip is a silica gel packet.
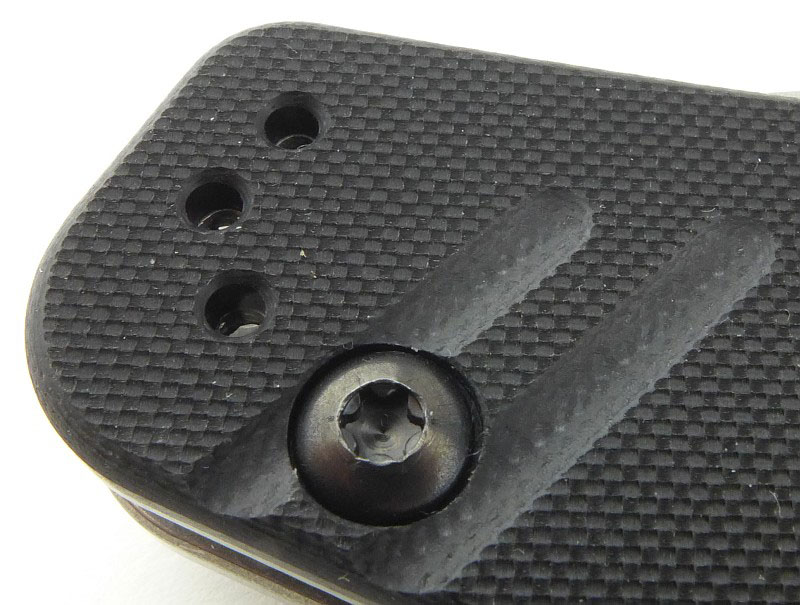
On the other handle is a peeled G-10 scale with milled grip grooves.
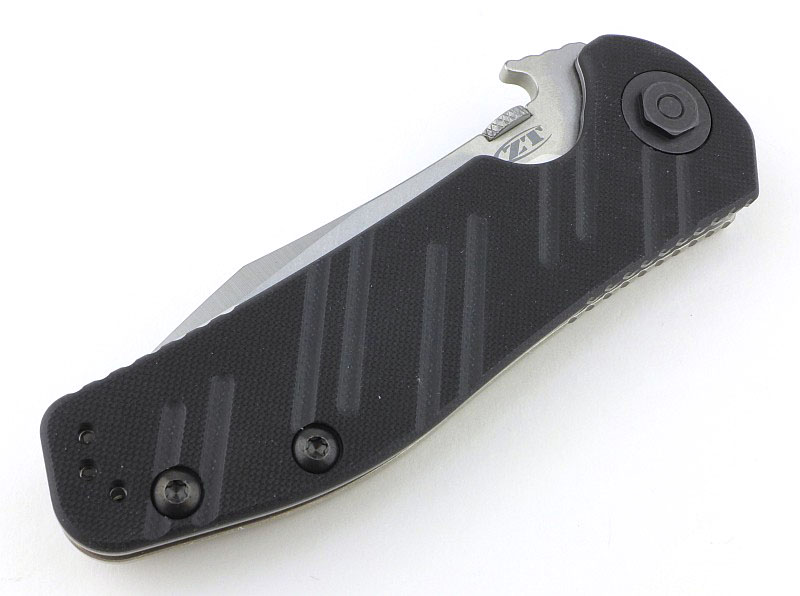
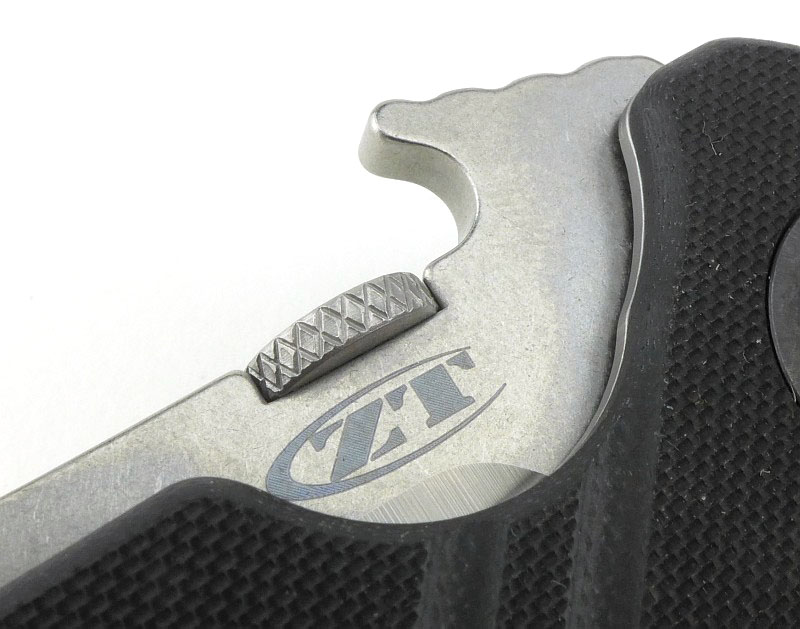
Rather than a stud, the 0630 has a thumb-disc for manual opening of the blade.
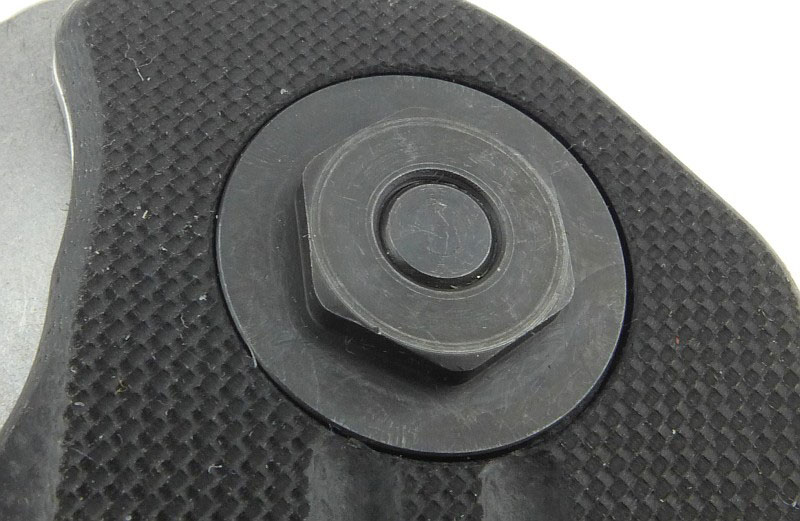
Matching the heavy no-nonsense design of this knife, there is a substantial pivot nut which can be adjusted with a standard spanner; no special tools required).
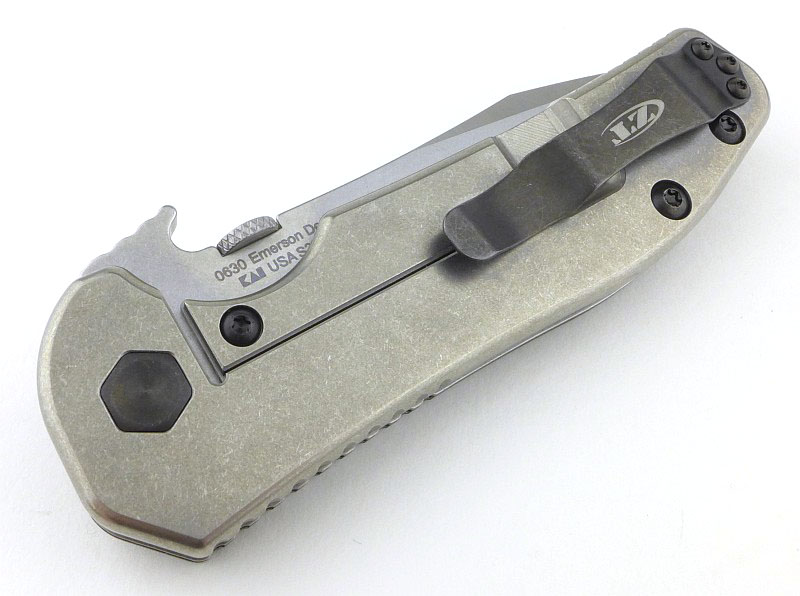
By default, the pocket clip is fitted to the framelock side of the knife which suits a right-handed owner. However the 0630 comes drilled and tapped for the pocket clip to be moved to the G-10 side for a left-handed owner.
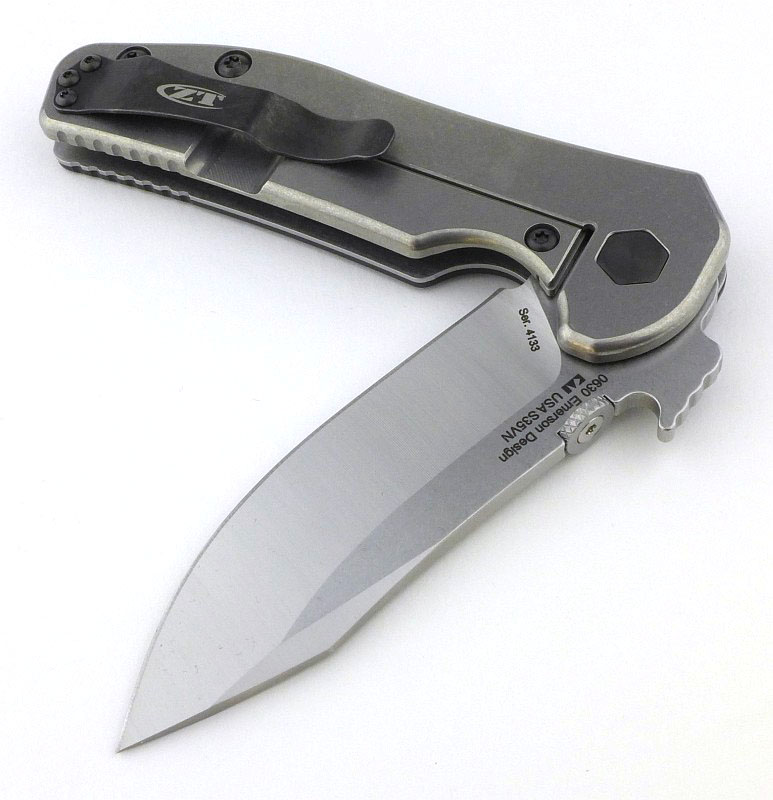
The titanium framelock has a pleasing stonewashed finish.
At the base of the lock-bar cutout is a rounded corner to reduce stresses.
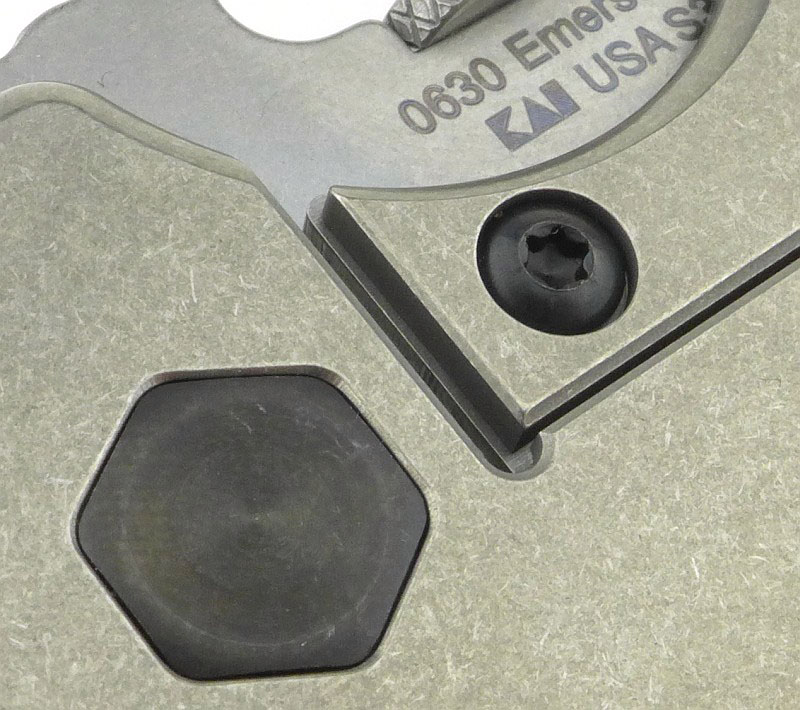
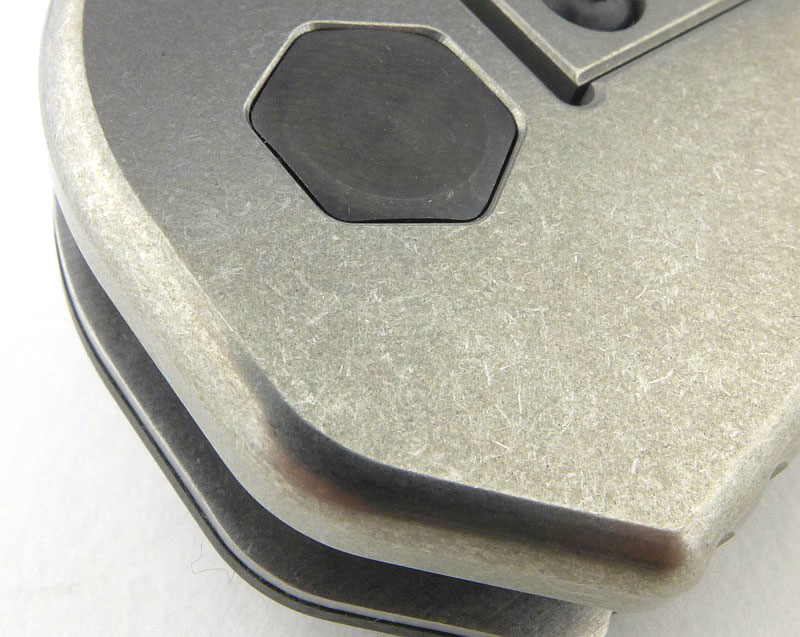
All round the Titanium slab, the corners are nicely radiused ensuring there are no sharp edges to cut into your hand.
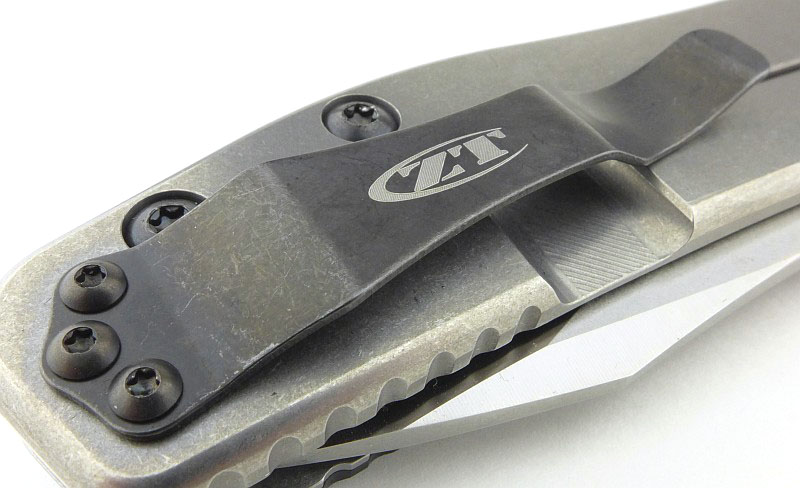
With its wide design, the pocket clip has a strong grip. This is important when used on the Titanium side as the smooth titanium does not grab the pocket fabric as much as the G-10 side.
Key areas of the handle have jimping to help with grip.
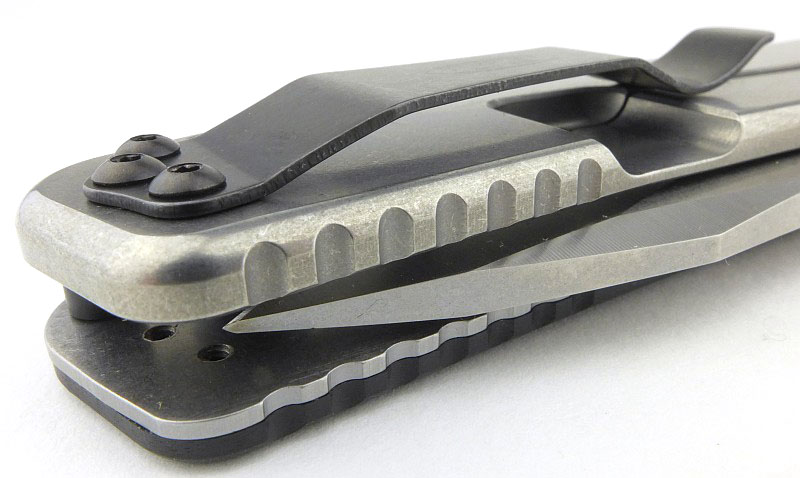
The cutout that forms the lock-bar spring is deep and well rounded at the corners.
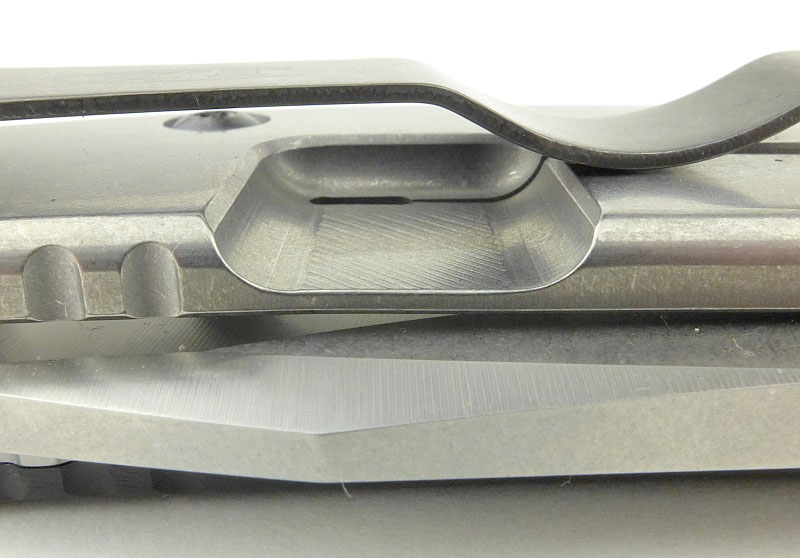
Though it might look like the clip is pressing on the lock-bar, it actually sits onto the fixed part of the frame.
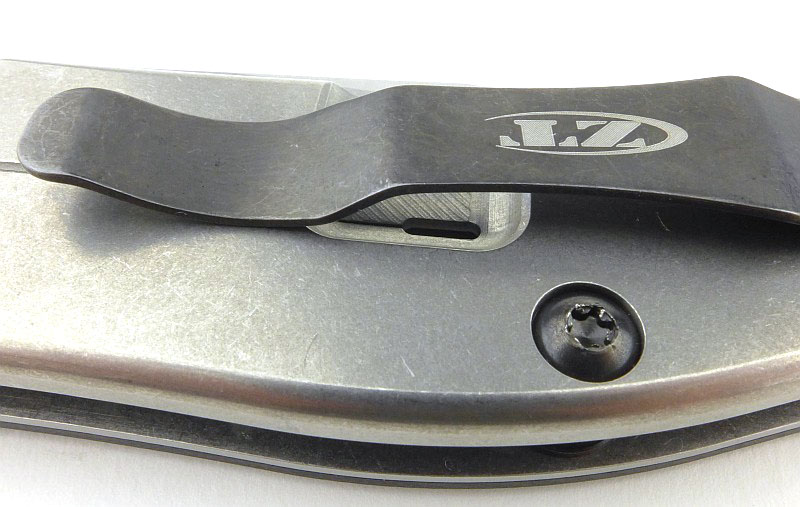
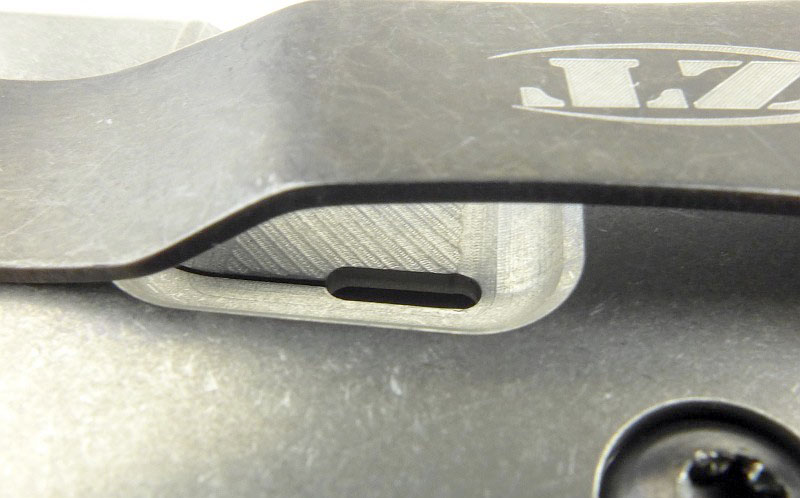
Where needed, stress reducing features are included, in this case at the end of the lock-bar slot.
Further jimping in the thumb ramp area of the grip. This actually extends up onto the ‘wave’ as we will see.
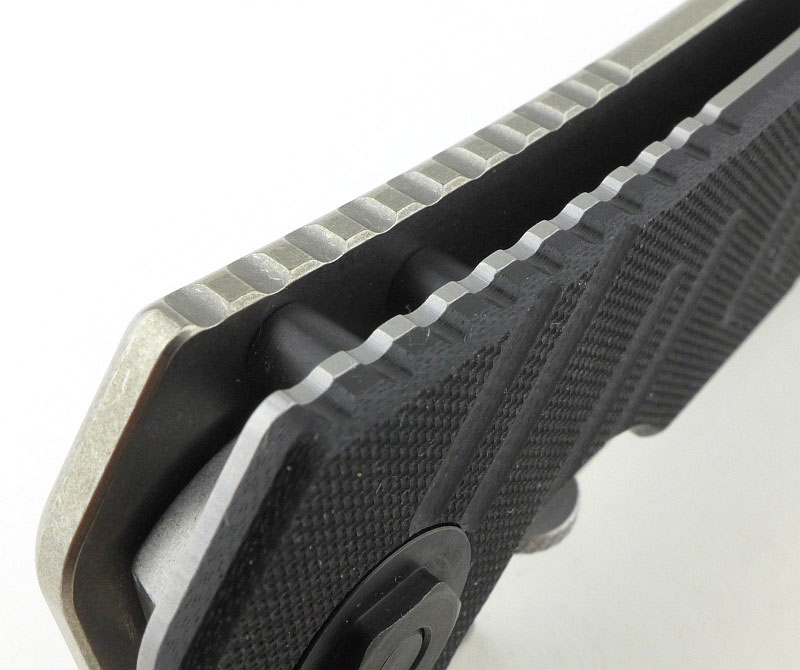
There is jimping on the top of the ‘wave’ which is a natural extension of the jimping on the frame.
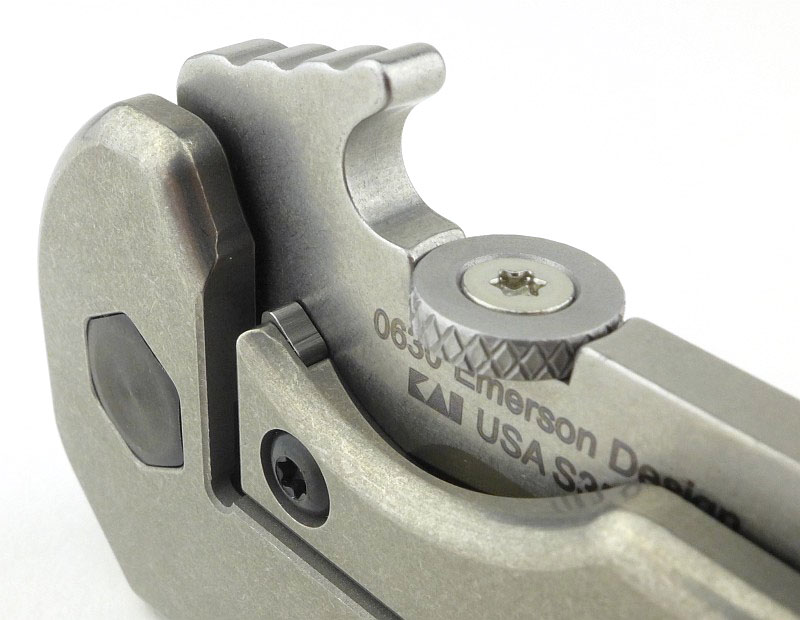
With the blade open, you can now see that flow of the jimping from handle to wave.
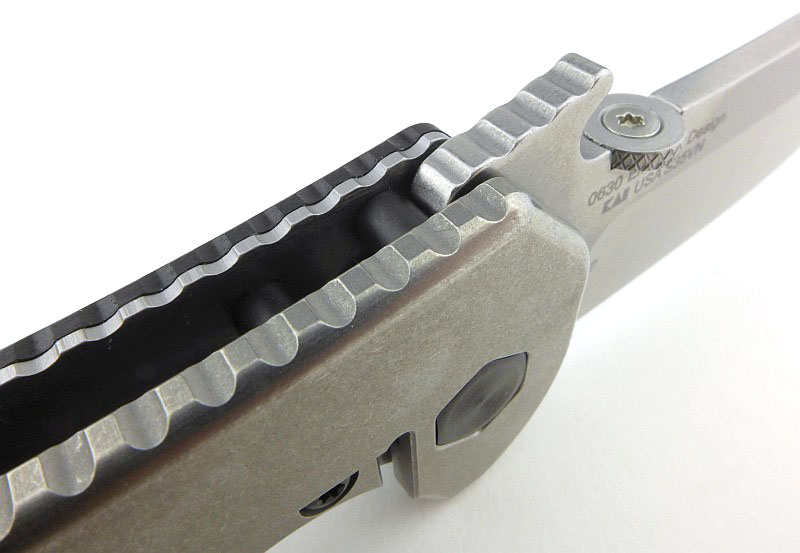
The 0630 has an open frame with black spacers.
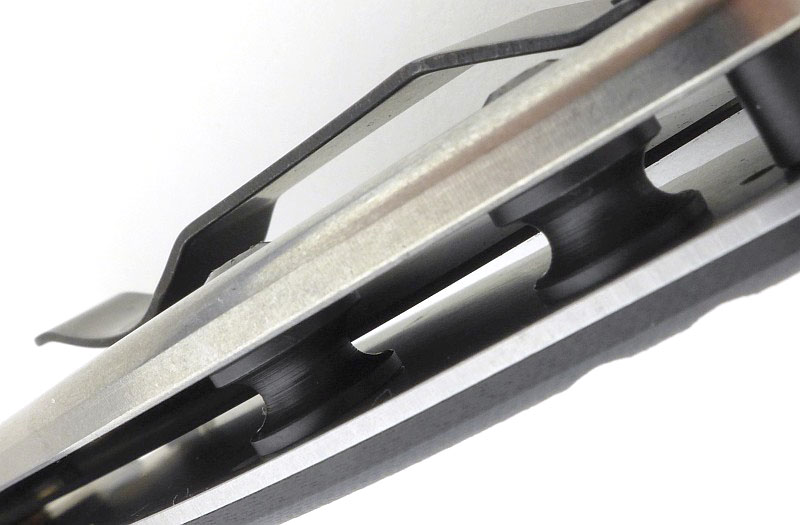
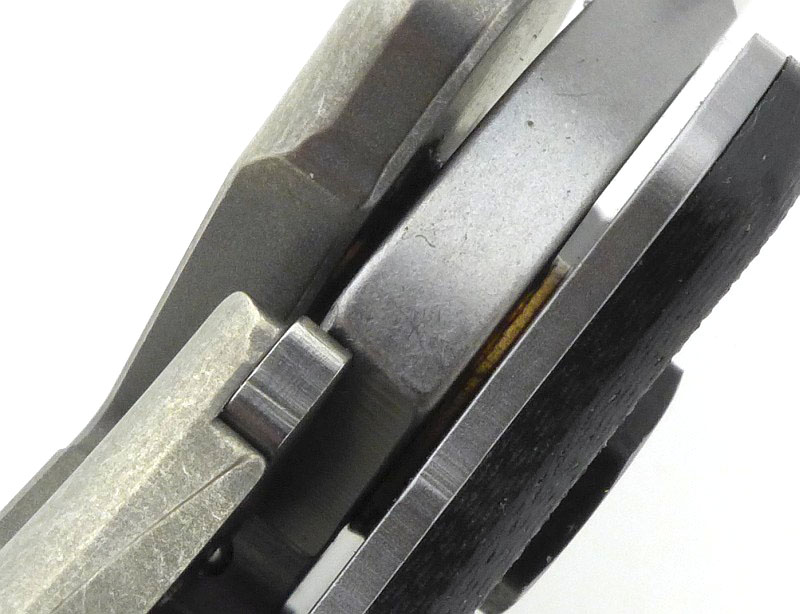
On this example the lock engagement was about a third out-of-the-box. Note the hardened steel lockbar insert for reliable solid lock-up. You can also see the phosphor-bronze washers making the bearing as simple and strong as it can be.
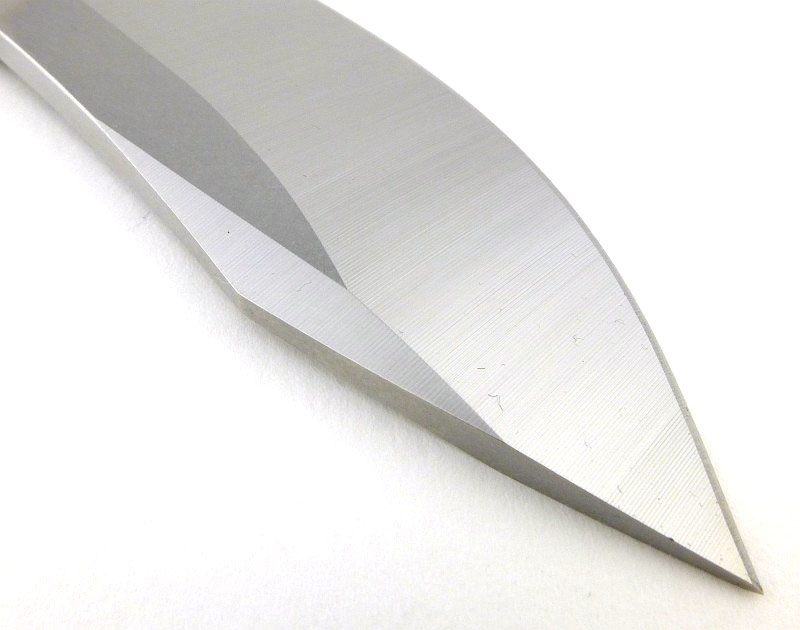
A close-up look at the blade tip, and edge bevel.

To make unlocking more comfortable the inside of the lock-bar has a bevelled corner.
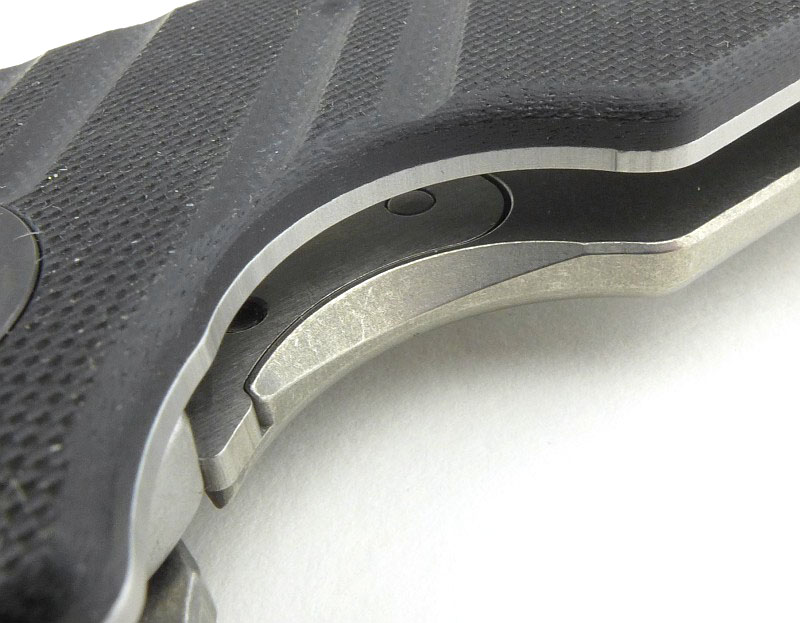
A well rounded plunge line keeps maximum blade strength.
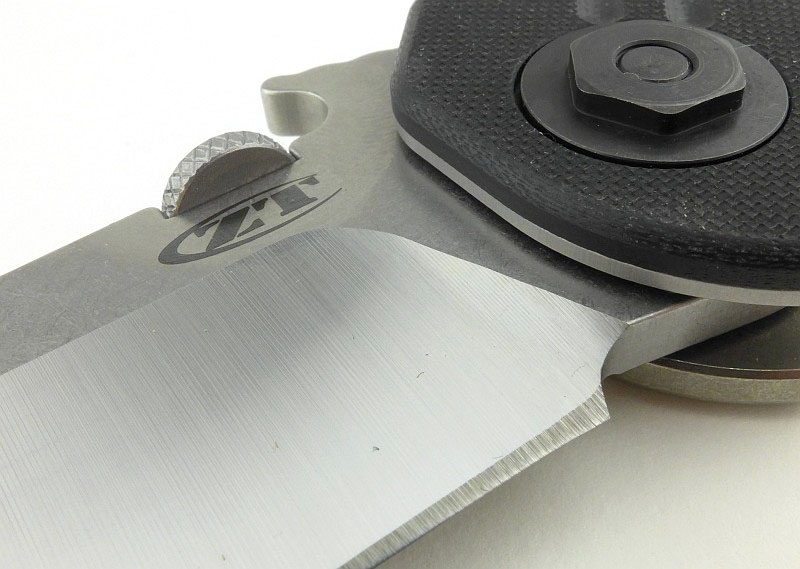
Love those grind lines.
Let’s put it to work…
What it is like to use?

ZT’s 0630 has pushed me in a direction I normally avoid, as I’m not keen on pocket clips. They work well for a lot of people, but I’ve had knives become unclipped, which makes them very likely to be lost. However, here we have an Emerson, and the Wave, so it means you really do need to go for the pocket clip carry or you just won’t get the experience you should be.

Very often I find pocket clips (or more accurately the handle scale under them) too abrasive, and end up with shredded pockets. With the 0630 having a smooth titanium handle under the strong pocket clip, despite the ‘hold’ the clip has, it has not chewed up my pockets, but has also not come free by itself. If I were left handed, it would be a different story, so for some this won’t work out as well.

What is very apparent when handling the 0630 is its super solid build. There is not one aspect of this knife that feels like a weak point. I’m still looking for one, but haven’t found it yet.

Thanks to getting lots of pocket carry, it has been getting a wide variety of uses.
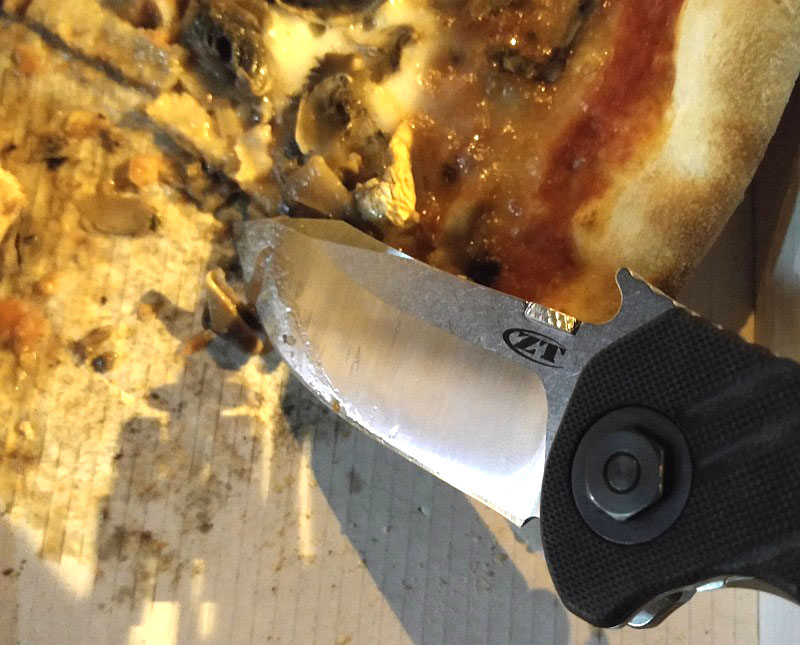
With ZT featuring a lot models with flippers and wave opening, they have developed a very strong detent, perhaps one of the strongest of any production knife I’ve used. This strong detent means the opening action becomes very positive as a lot of force is built up pressing on the detent before it ‘breaks’ and the blade deploys. The downside to this is one-handed manual opening can be much harder work than on other knives and the thumb opening of the 0630 is certainly an example of this. Out of the box I struggled to open the blade using the thumb disc, and even now don’t consider this a reliable opening method. At the end of a day’s work, that disc can start to create a sore spot on the thumb thanks to the relentless detent. This short video talks a little about this as well as showing the wave opening in slow motion.

Video Edited with – Cyberlink Director Suite 5 (PowerDirector 16 and AudioDirector 7)
Camera – Panasonic HC-V770    Microphone – Tonor TN120308BL

The Wave feature just keeps giving, as it provides an extended thumb ramp for a great grip for pushing the tip forward.
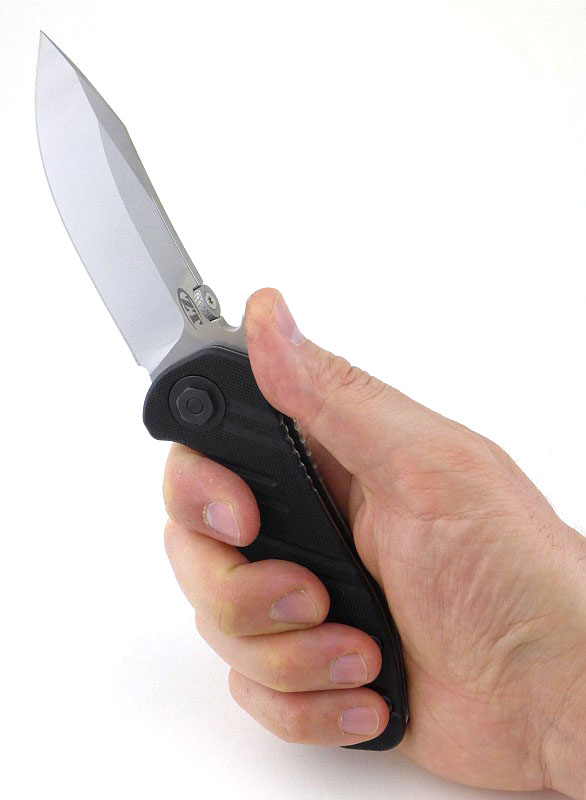
Thanks to its size the length of the handle allows a comfortable grip for general slicing. (I take XL size gloves).
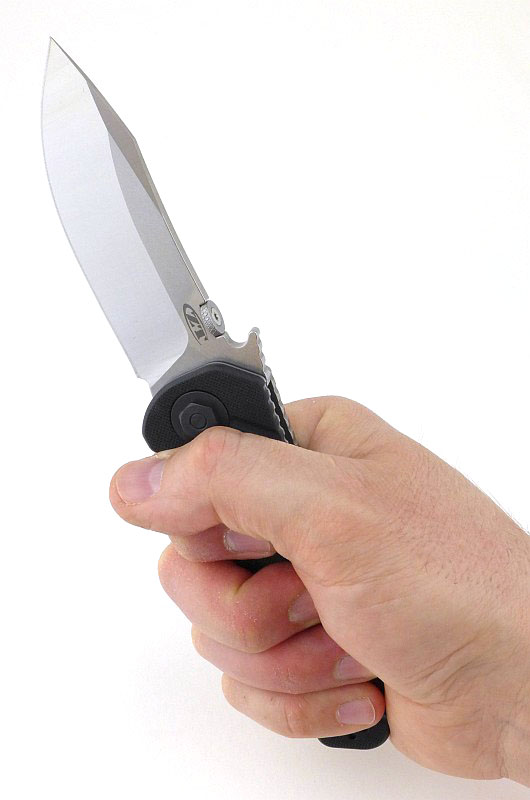
For a right-hander, the peeled G-10 scale falls under the fingers and has a lot of grip even with wet hands. The peeled G-10 is not overly aggressive or abrasive to your hand.
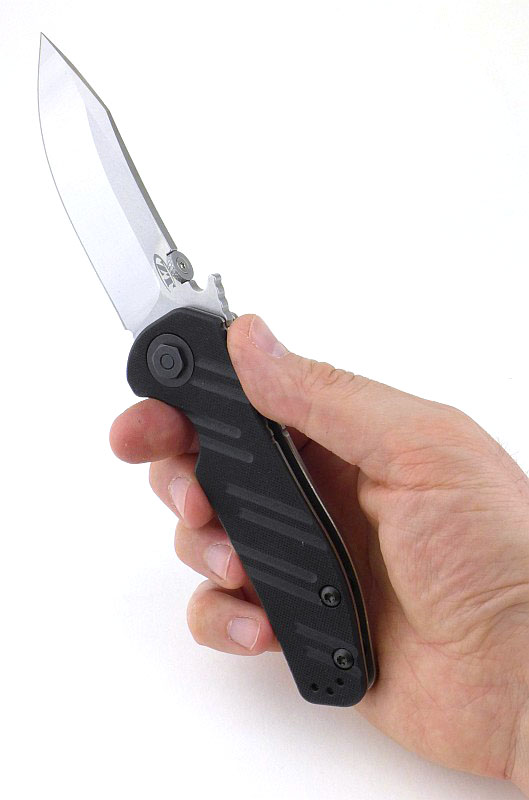
To give an idea of scale, here it is next to the Fällkniven F1 and a Spyderco UK Pen Knife.
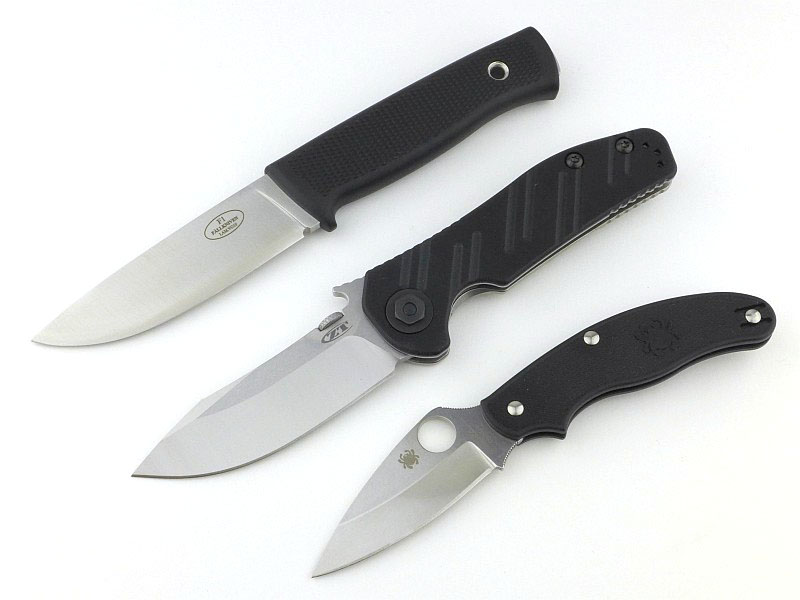
Looking like a bit of a brute, I would not have said the 0630 was a particularly attractive knife (to my taste), but as I have found before, there is often a very good reason why the design looks the way it does, and the 0630 has proven without a doubt that it functions incredibly well, and those design aspects that I’m not so keen on the look of make it a really excellent tool.

I like a super slick ball bearing pivot as much as the next knife enthusiast, but when it comes to a hard-use knife I always prefer phosphor-bronze. Again I love a flipper, but for the utmost reliability I don’t want to rely on flipping a blade open, I want to be able to manually open it. The wave opening of the 0630 is a bonus, with the thumb disc giving that ultimate reliability (albeit with a very tough detent).

Based on looks alone I was initially a little underwhelmed by the 0630. As I got to know it, its capabilities just shone through along with a striking strength of build which means I will happily work this knife harder than I would most folders. If I could change one thing, it would be the severity of that detent, hopefully it will wear in more over time.
Review Summary

The views expressed in this summary table are from the point of view of the reviewer’s personal use. I am not a member of the armed forces and cannot comment on its use beyond a cutting tool or field/hunting knife.

Something that might be a ‘pro’ for one user can be a ‘con’ for another, so the comments are categorised based on my requirements. You should consider all points and if they could be beneficial to you.

_______________________________________________ _______________________________________________
Things I like What doesn’t work so well for me
_______________________________________________ _______________________________________________
Super strong build. Overly stiff detent.
Powerful and tough blade.
Emerson Wave Opening.
S35VN Steel.
Steel lock-bar insert in Titanium frame-lock.


Discussing the Review:

The ideal place to discuss this reviews is on a forum. If you started reading the shorter forum version of the review, but followed the link this full exclusive review, please return to that forum to discuss the review there.
If you read the review entirely on Tactical Reviews, please consider one of the following to join in any discussion.

EdgeMatters – Sponsored Reviews (UK based Forum for Knife Makers and Collectors)

BladeForums – Knife Reviews (US based Forum for Knife Discussion)

CandlePowerForums – Knife Reviews Section (Largest and Friendliest Flashlight Community Forum)

Gear Review: Wiley X Protective Eyewear – Rogue and Valor

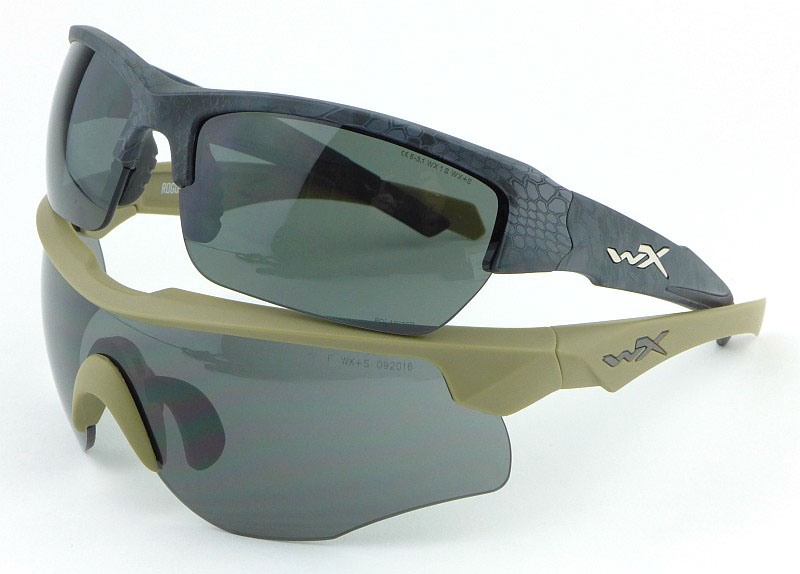
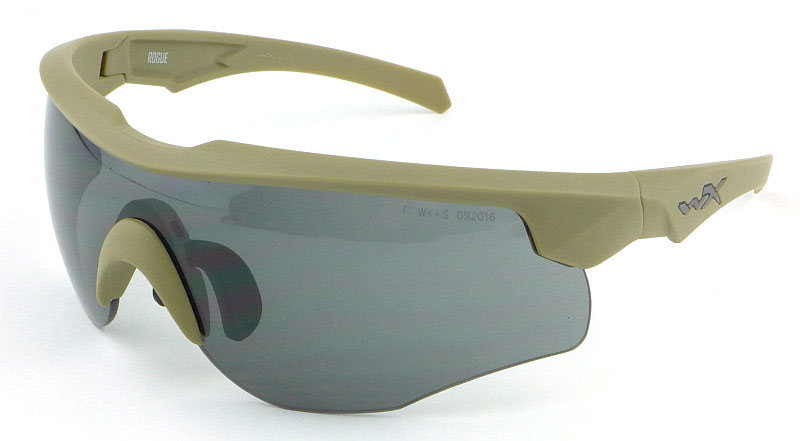
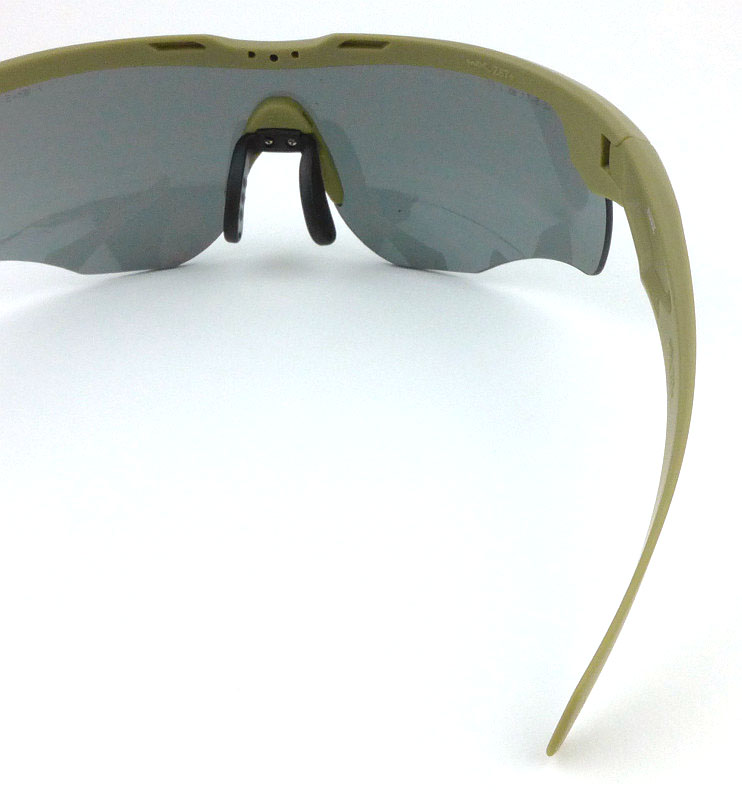
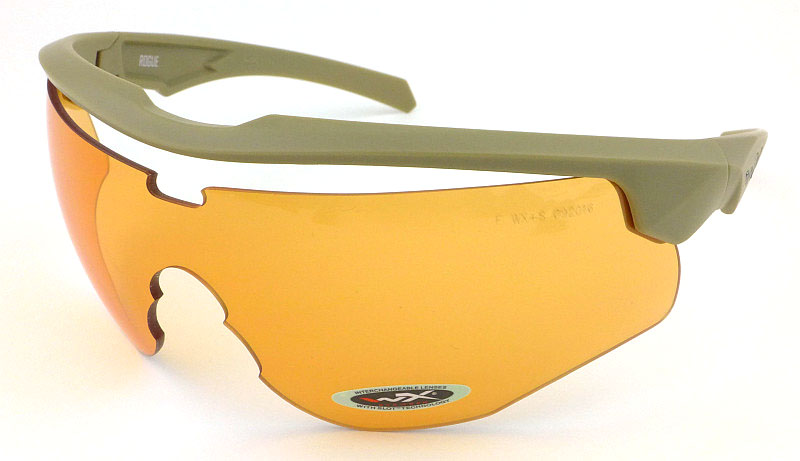
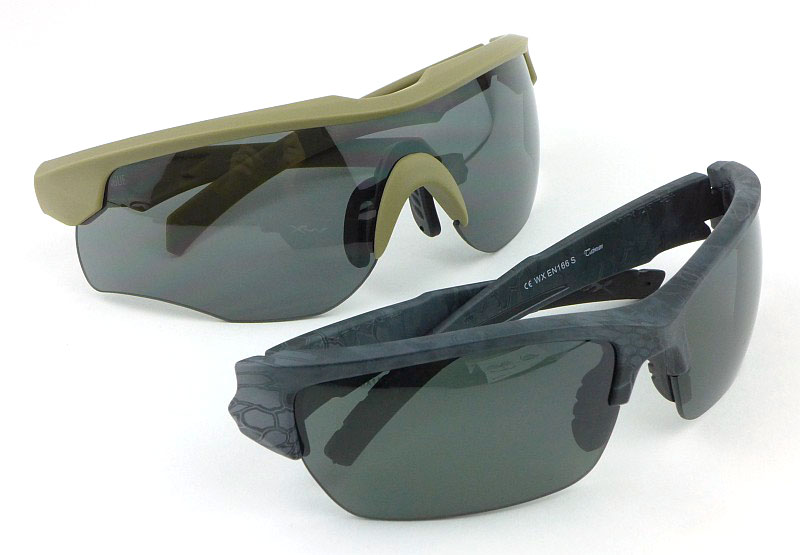
Wiley X is one of those brands that snuck up on me many years ago via one of their collaborations, however since then I’ve seen them as the go-to brand for functional, protective, active eyewear which happens to be very stylish as well. Being a shooter, I only settle for full protection when it comes to me eyes. This requires a good fit, a choice of lenses and of course the safety standards which Wiley X glasses easily surpass. In this review I’m taking a detailed look at two models, the Rogue, and Valor, but these are just part of a large range. With Wiley X, there are models to suit all face sizes (which is critical) so you might find you need to choose a different one to get the sizing right.

The models on test:

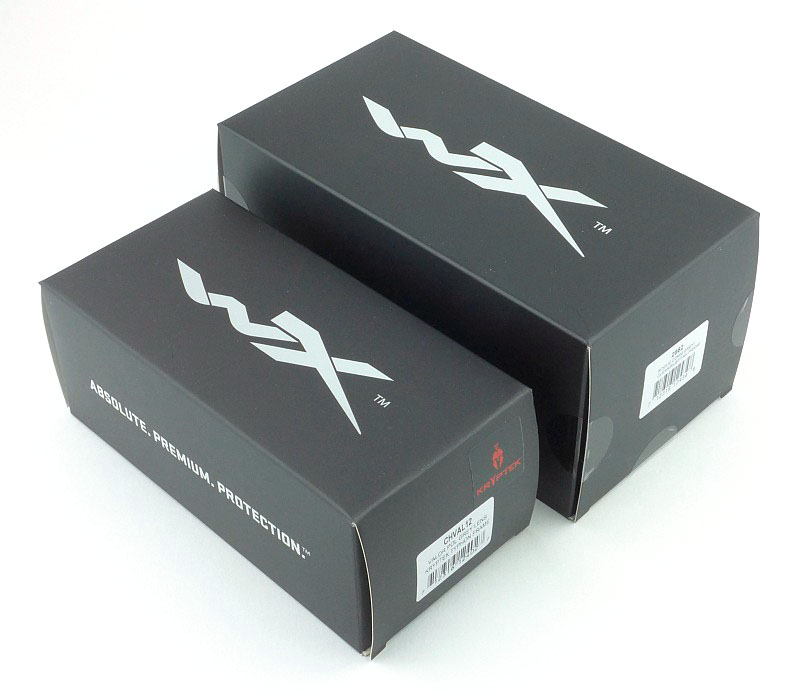
Both models come in the Wiley X standard black boxes.

These are very different glasses, let’s get on with the detailed examination.

A few more details of the Rogue (Including lens swapping):

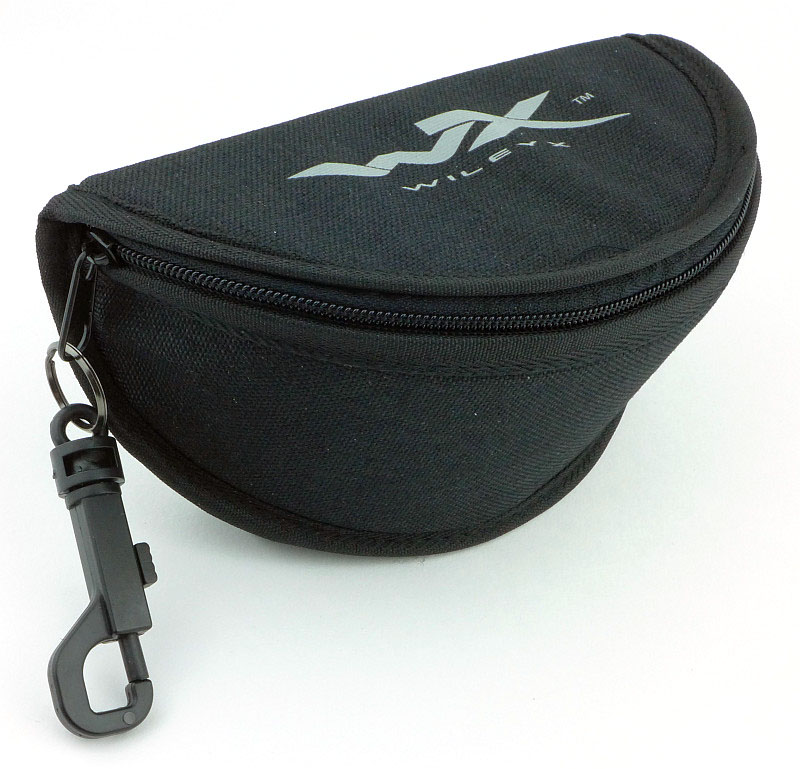
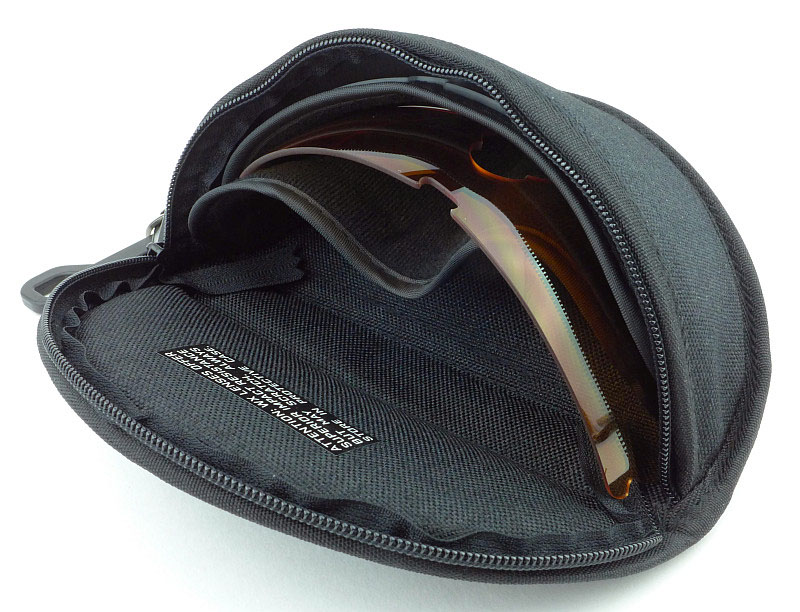
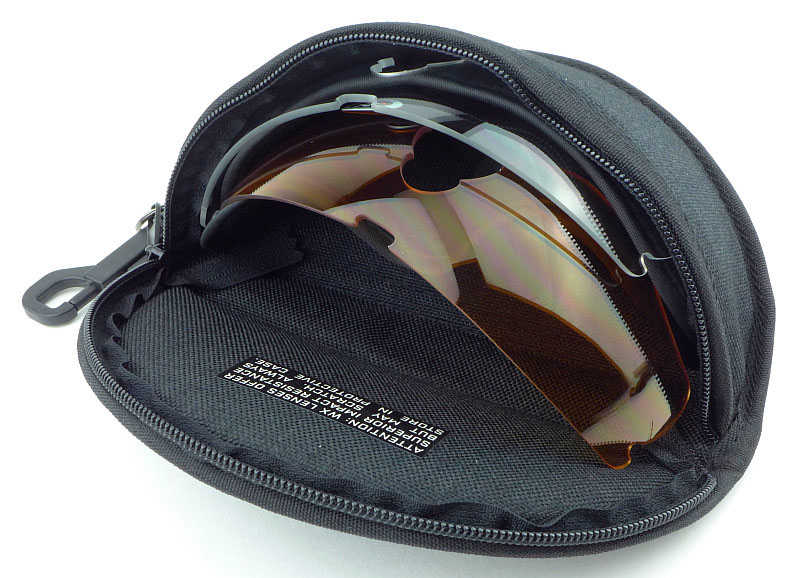
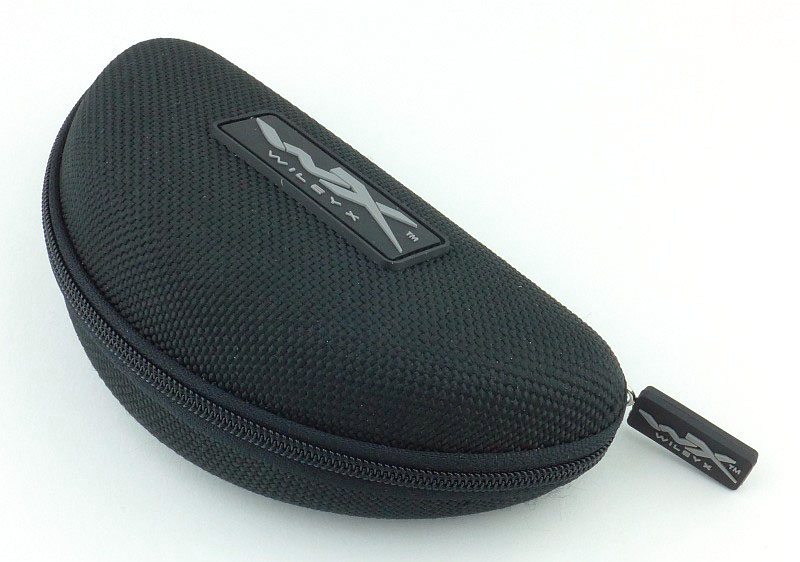
You might recognise the multi-lens type of case the Rogue comes in. Many of the Wiley X models with interchangeable lenses come with this type of case.

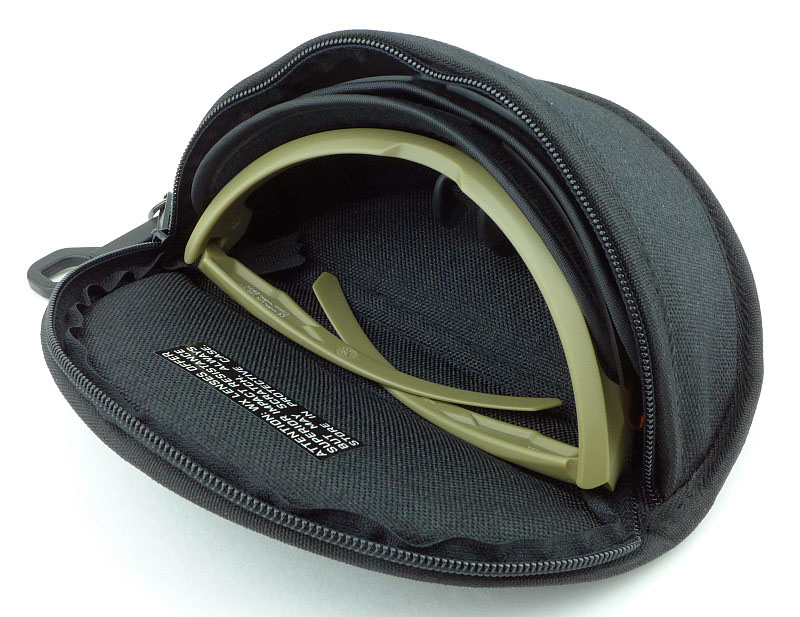
Unzipping the case shows the glasses in the main compartment, but a set of pockets in front of the lens.

Each pocket is fleece lined.

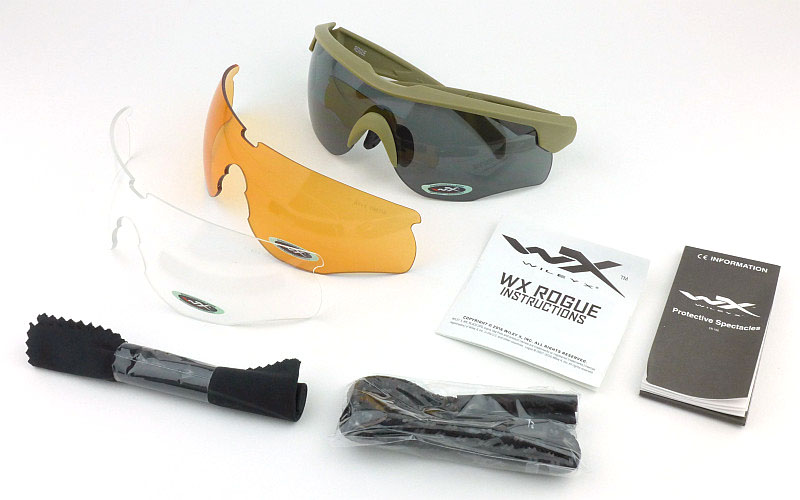
The Rogue has two additional lenses which fit into the case so are easily carried with you.

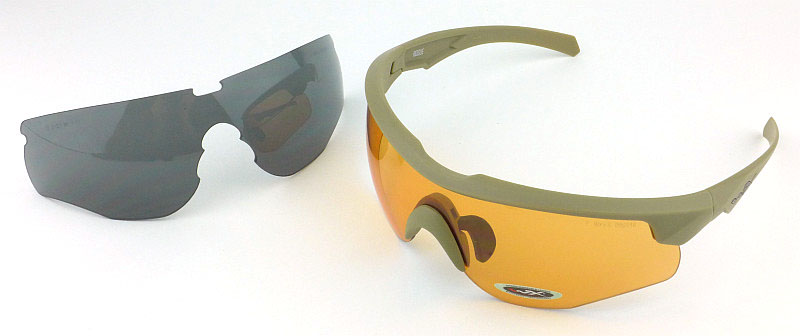
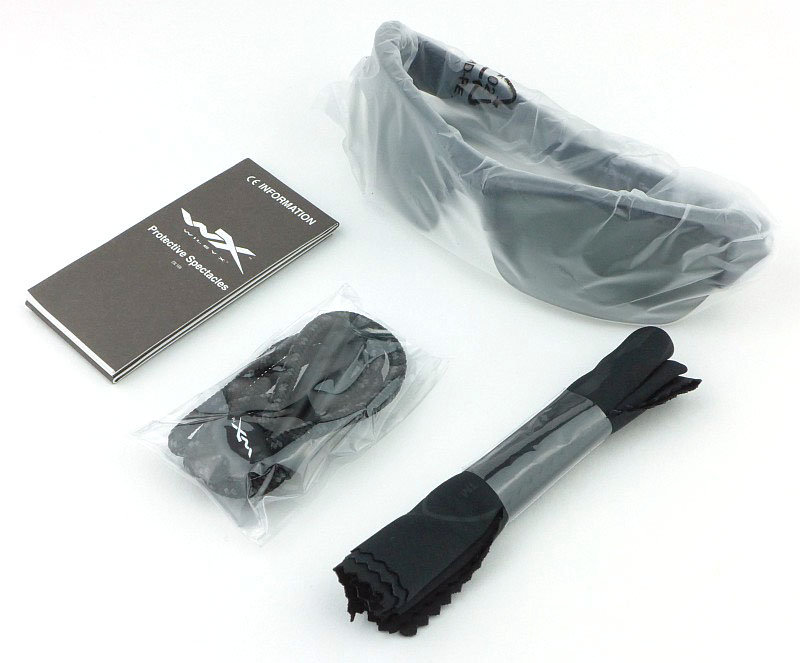
Altogether, as well as the Rogue itself, you have an orange and clear lens, a cleaning cloth, neck lanyard, and instructions.

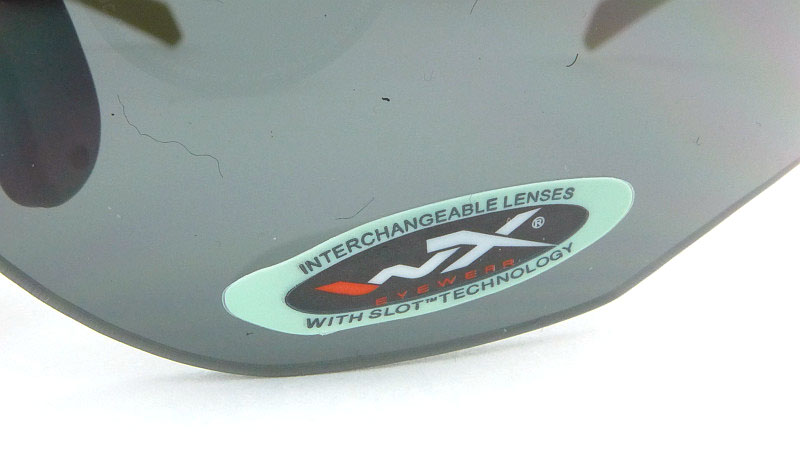
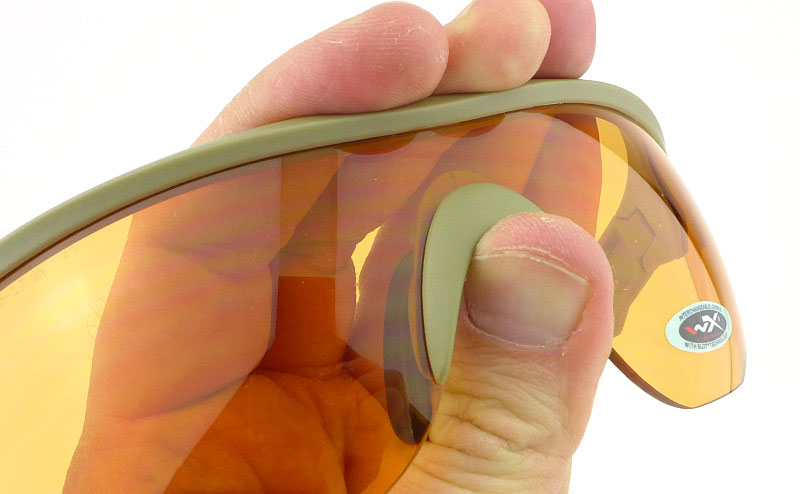
A removable sticker on the lens reminds you the Rogue has interchangeable lenses. This peels off easily and with no trace.

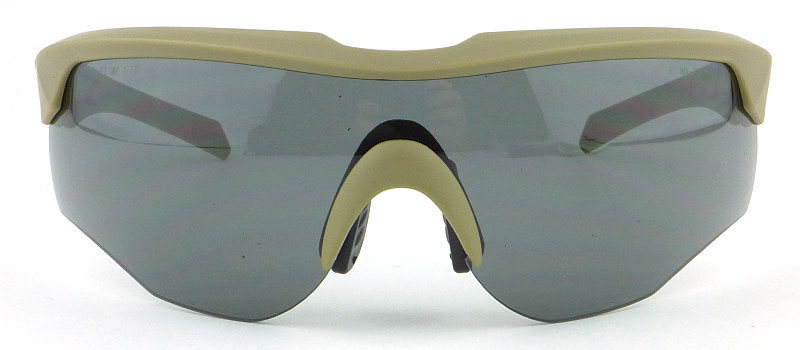
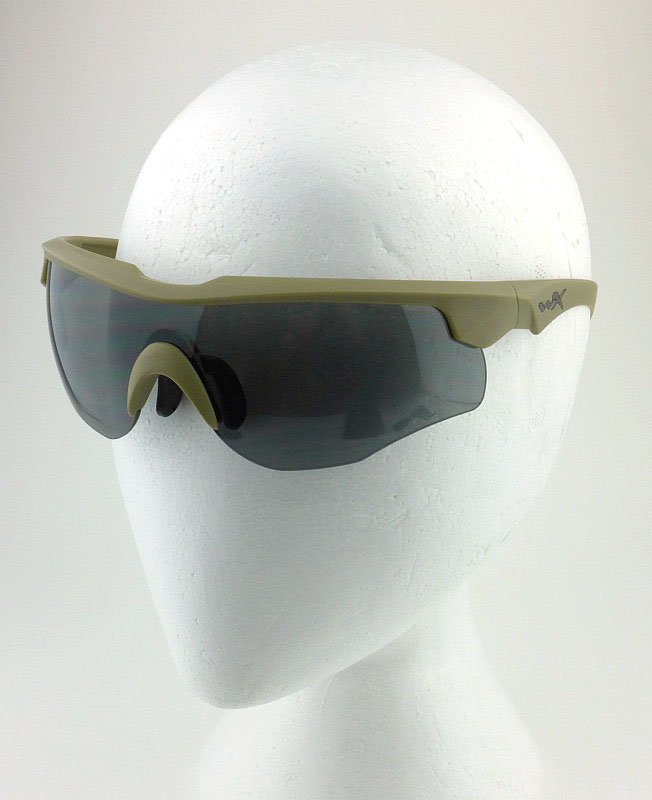
Aimed at shooting eye protection, the full wrap around style provides maximum coverage.

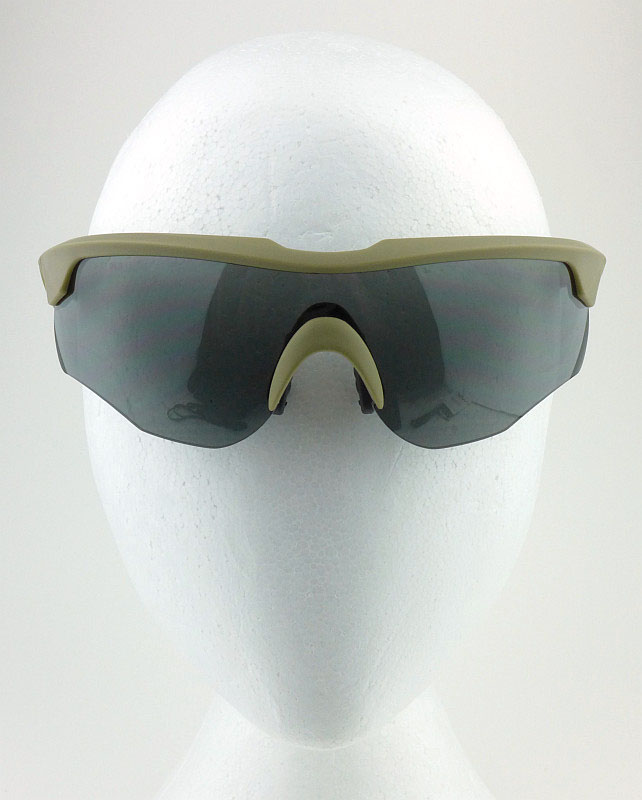
The front view shows how wide the field of vision is – no restriction or missed targets.

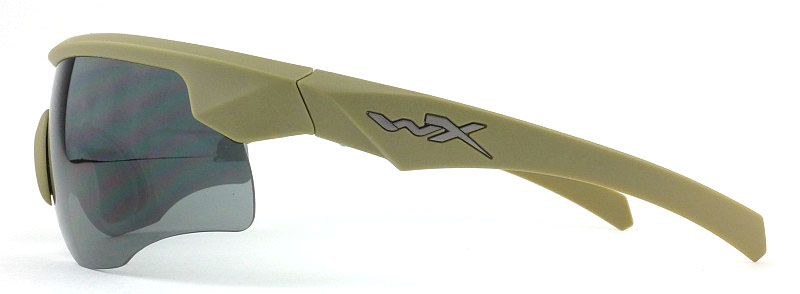
Looking from the side shows the lens is a compound curve (curved vertically and horizontally).

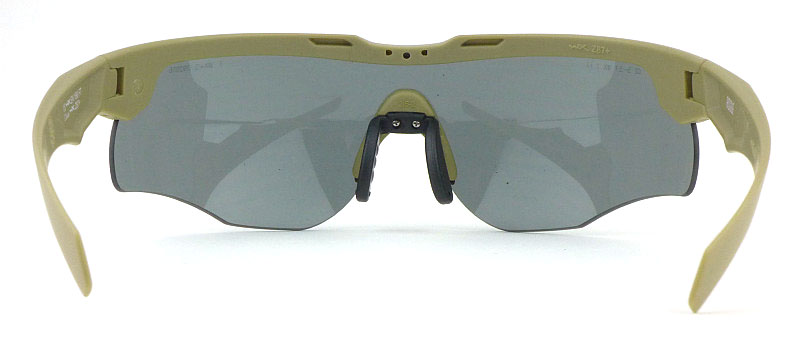
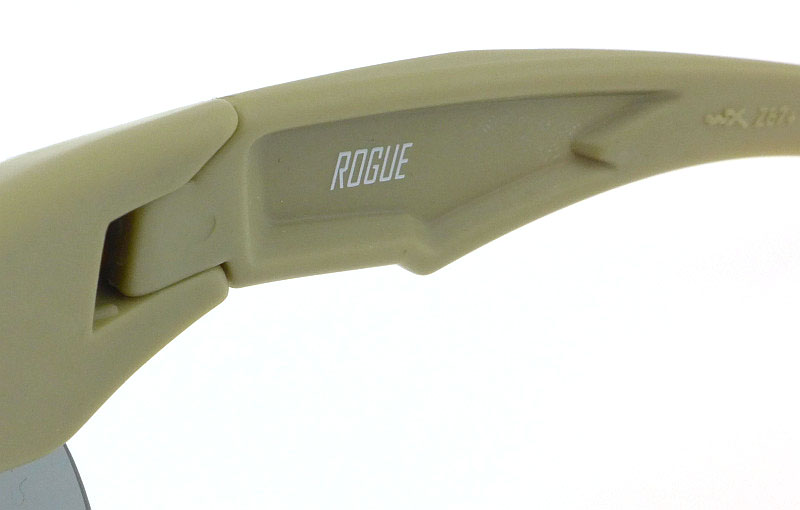
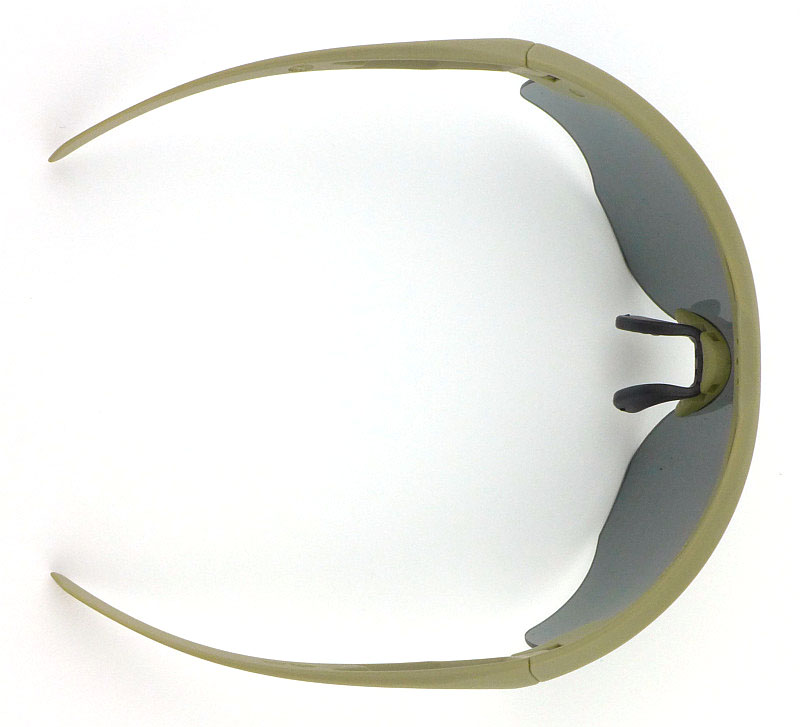
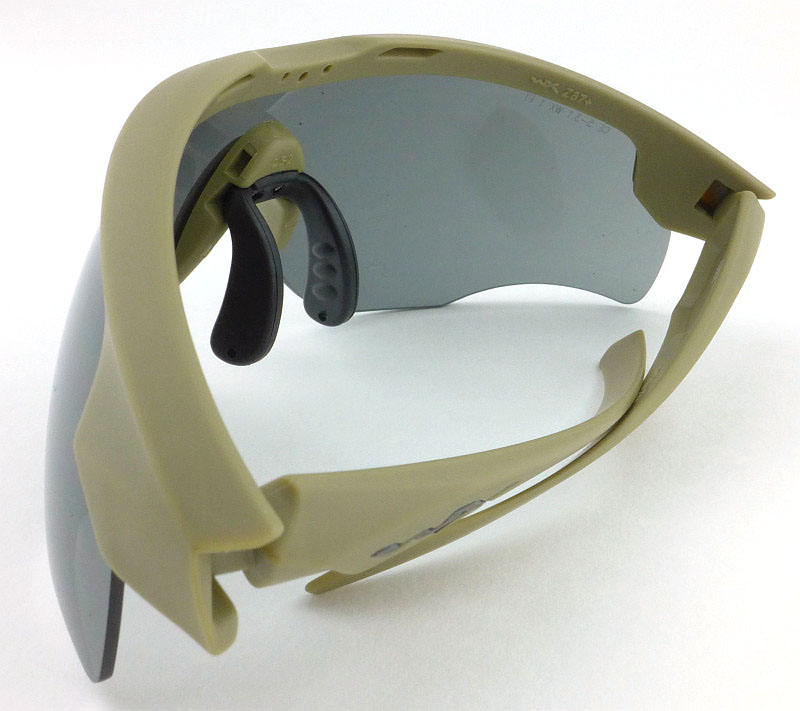
An inside view, note the arms are a little different to most (more on that later).

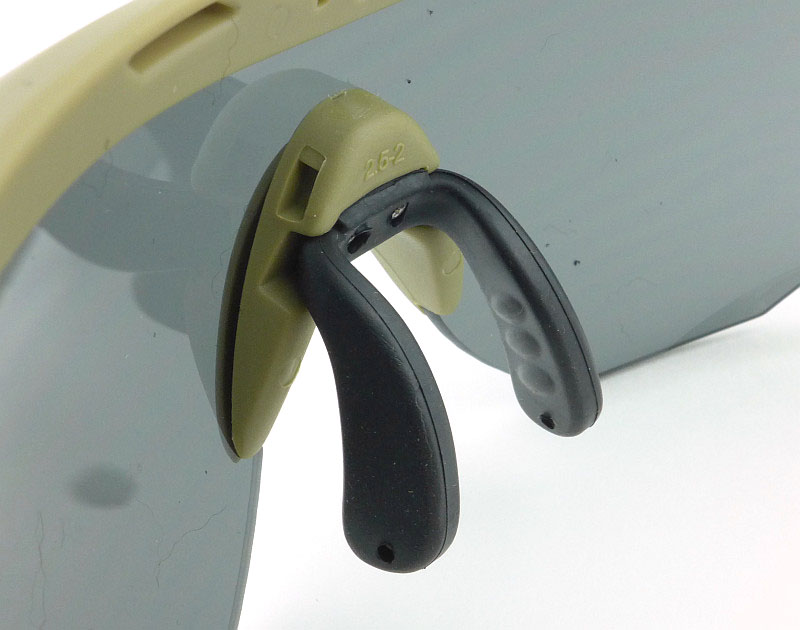
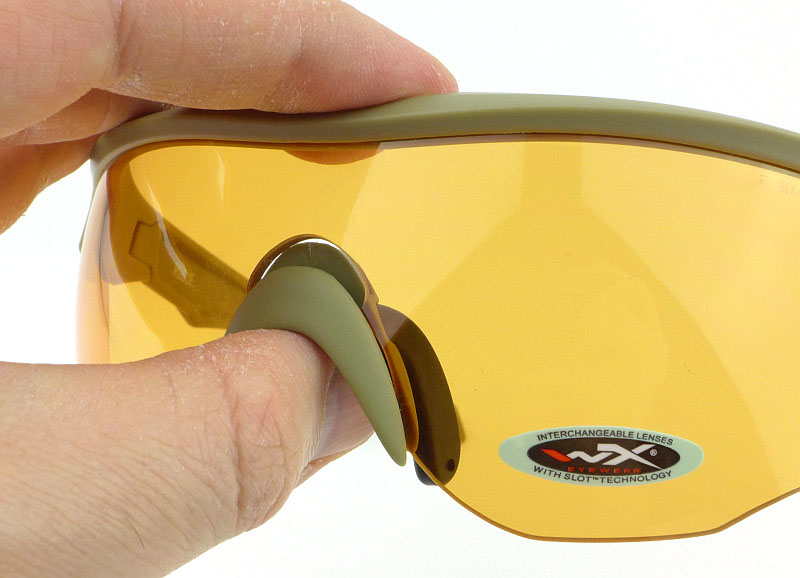
A fully adjustable nose piece is used which allows you to alter exactly where the frame and lens is positioned on your face.

Inside the arm near the hinge is hollowed out, keeping the weight to a minimum.

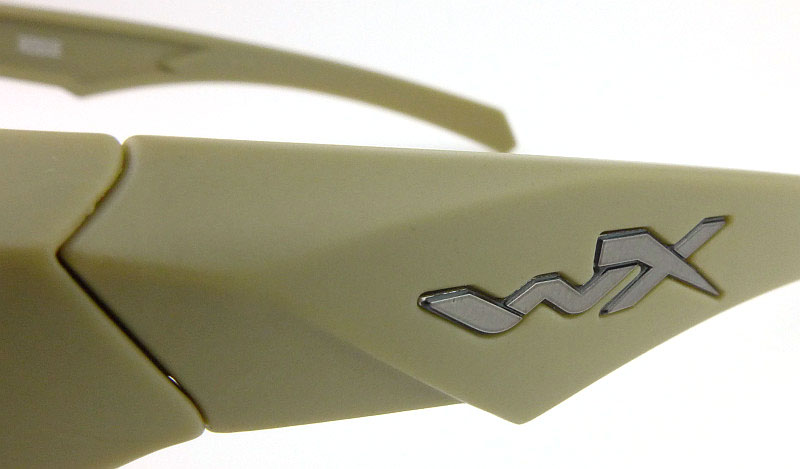
Appearing a bit grey here, there is a metallic silver WX logo on the arm.

Every part of the design of the Rogue wraps itself around you making for a very good and secure fit.

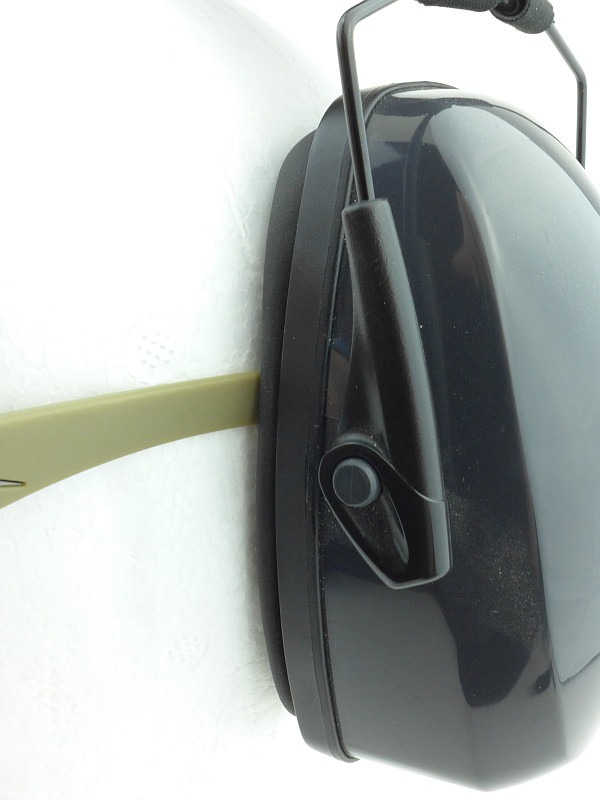
And now back to those unusual arms; they are thin. Designed to be ultra-low profile so that when wearing ear defenders the arms don’t deform the muffler pads.
As the Maître d’ said to Mr. Creosote “It’s only wafer thin.”

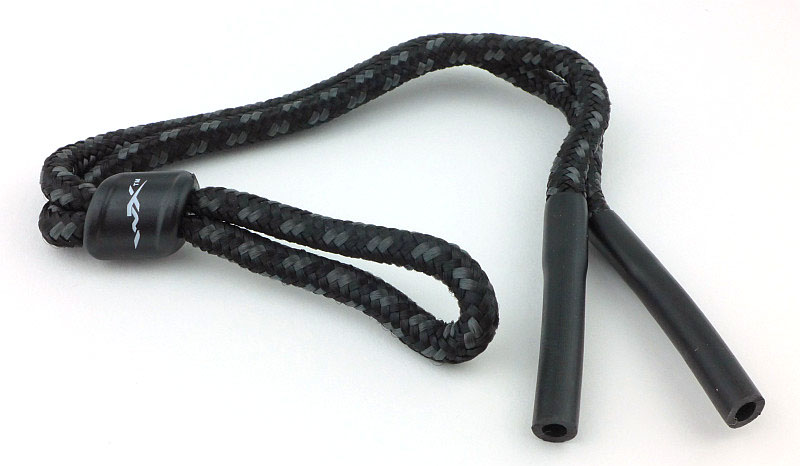
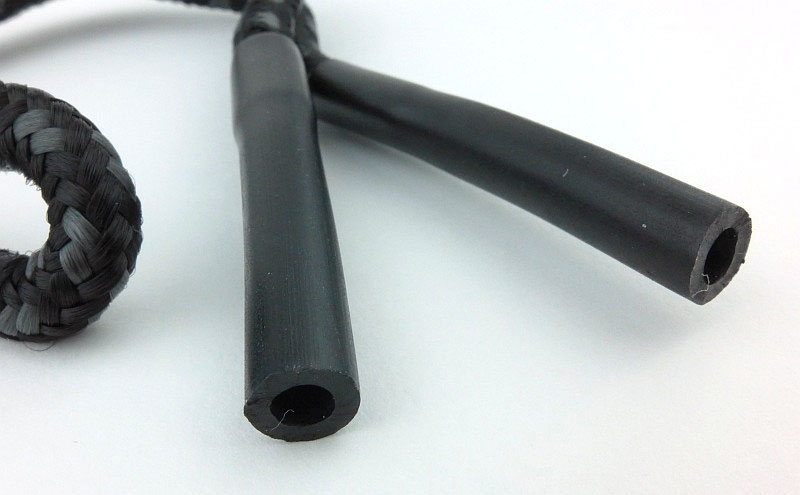
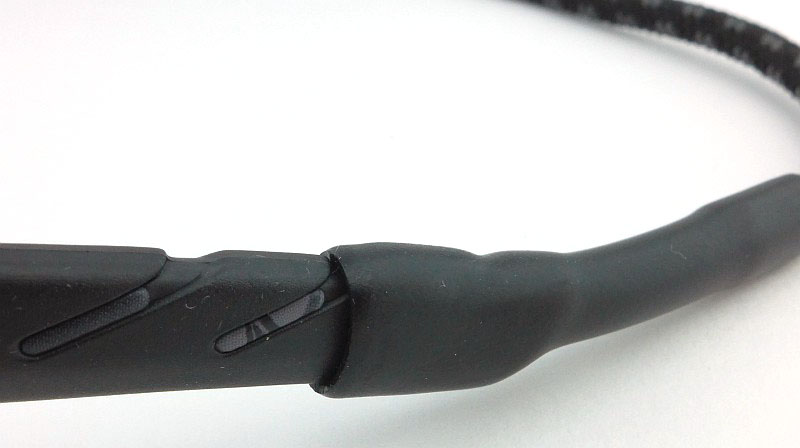
Included with the Rogue is a neck strap. Fitting is quick and easy thanks to the rubber tubes on the end of the strap.

Depending on the model of glasses, these tubes may be larger or smaller.

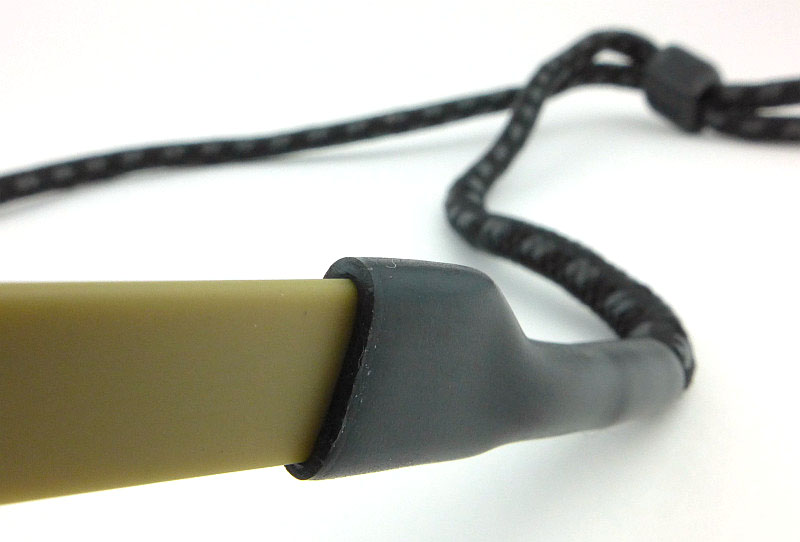
The rubber tube is simply pushed over the end of the arms and stays firmly in place.

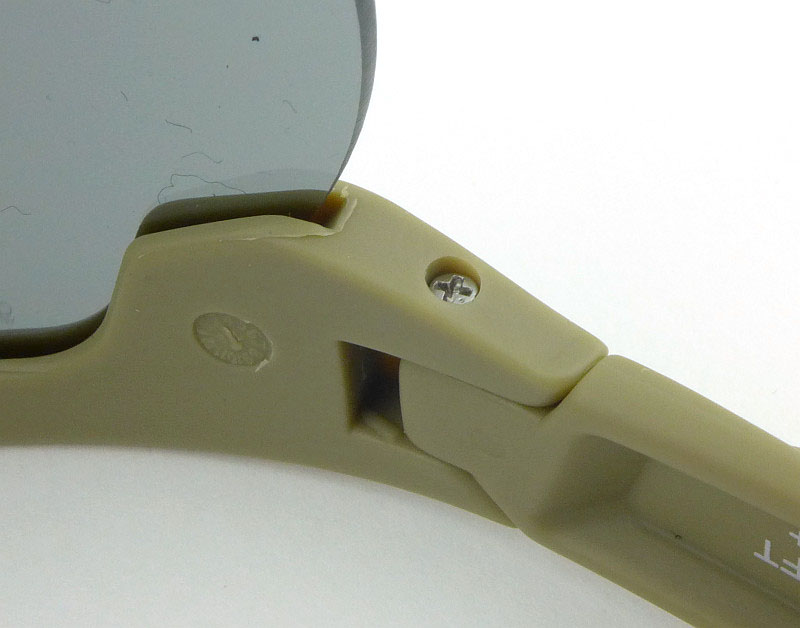
The hinge pivot is a long screw that fits all the way through the end of the arm.

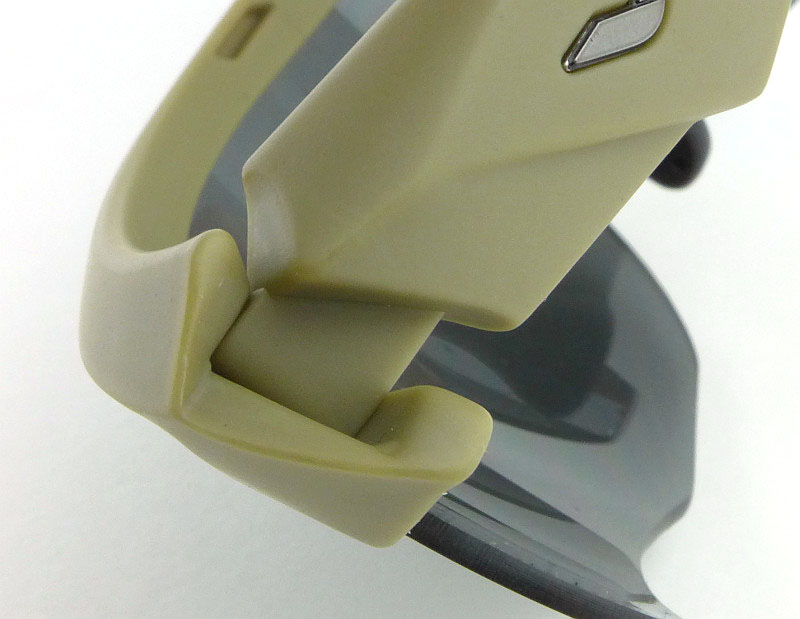
Detail of the hinge with the arm folded.

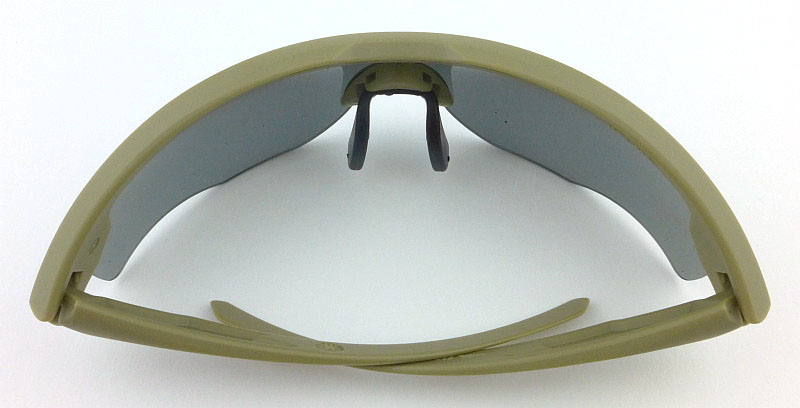
Being a wrap around design, even with the arms folded, the Rogue is relatively large, but this is unavoidable if you want that full protection.

Those wafer thin arms do help keep the folded size down a bit.

Using my polystyrene head, you can see how those low profile arms sit against the side of the head.

In this case, the polystyrene head is a medium size head, and the Rogue appears a little wide for it.

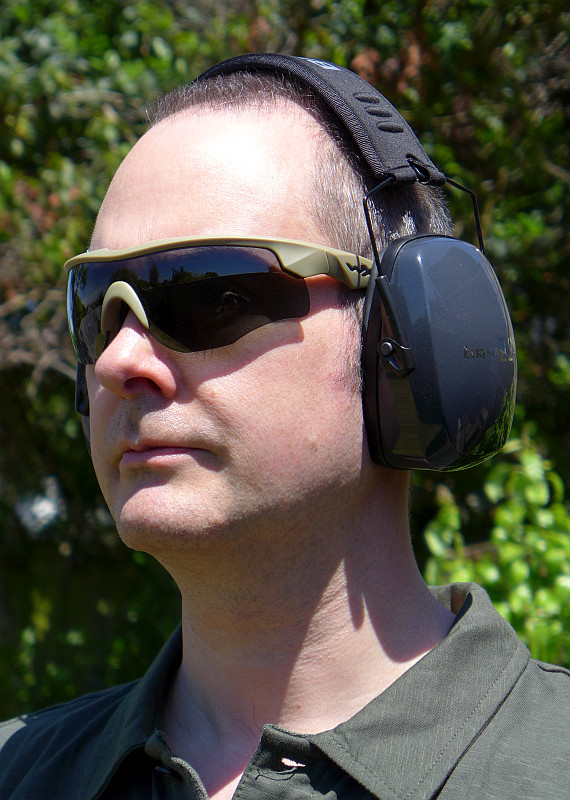
With the ear defenders fitted there is minimal muffler pad deformation thanks to the thin arms.

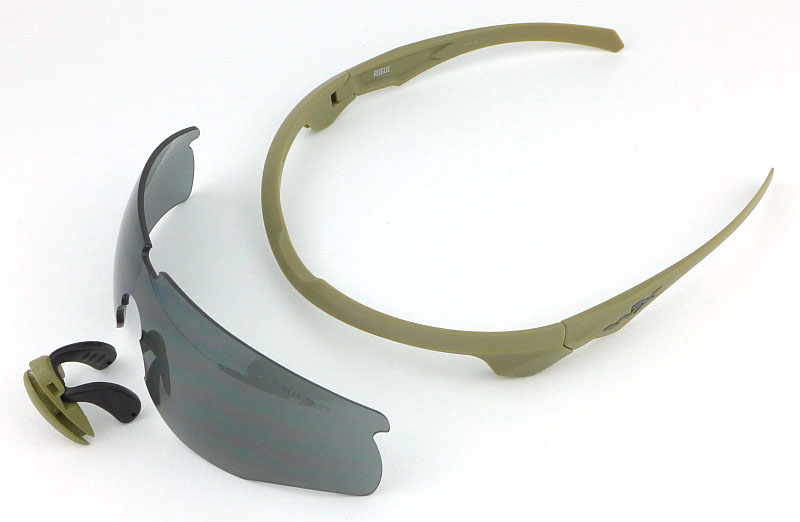
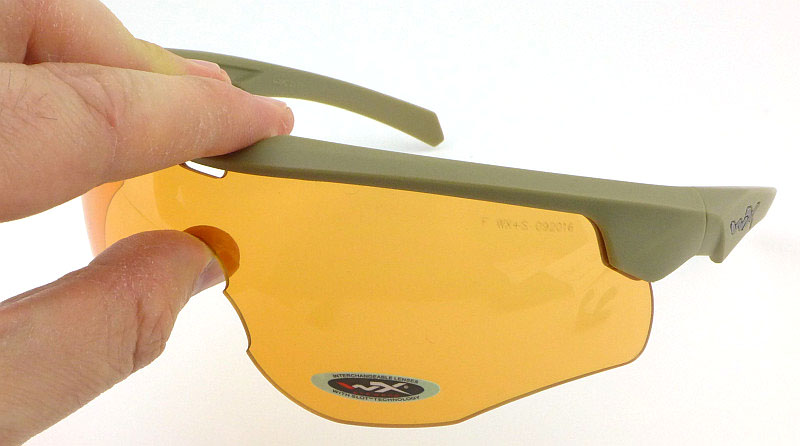
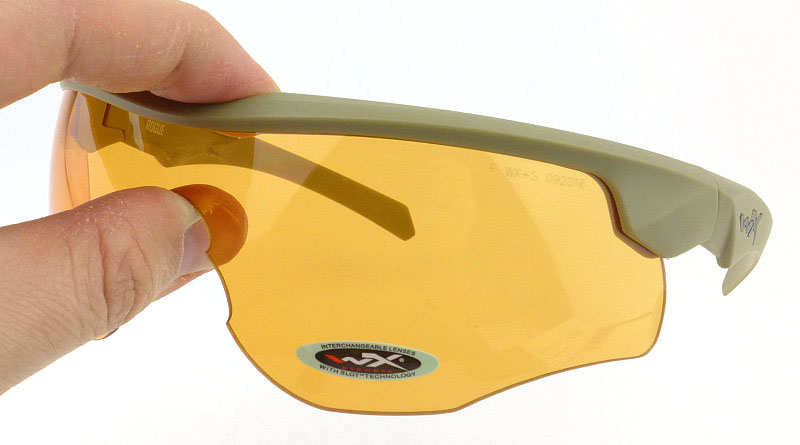
Running through the lens swapping. Here the Rogue has been broken down into its parts with the nosepiece, lens and frame laid out.

Reassembly is a reverse of the take-down. First fit the two ends of the lens into the frame.

Then squeeze the top of the frame down above the nose cutout….

…until it clicks into place.

Similarly, slide in the nosepiece and squeeze…

…until it clicks into place.

Lens Swapped!

A few more details of the Valor:

Without the need to store additional lenses, the Valor’s case is a smaller and simpler semi-rigid clam-shell design.

The inside is fleece lined, and a reminder that you should use the case is included.

Along with the Valor glasses (which have a plastic wrap on them) there is a cleaning cloth and neck strap.

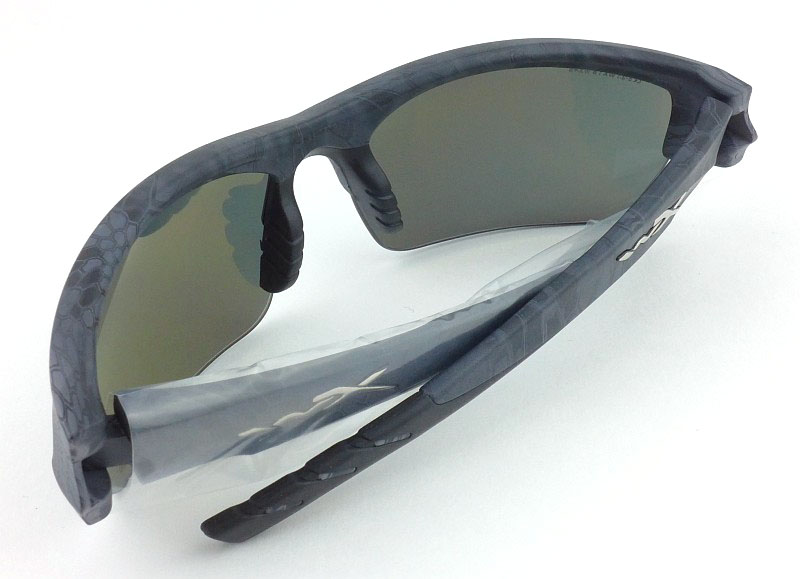
As well as the outer plastic wrap, there is a plastic wrap on one arm to stop them rubbing in transit.

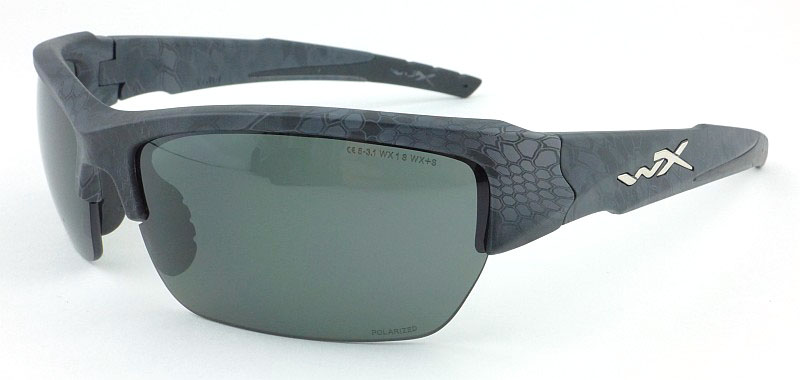
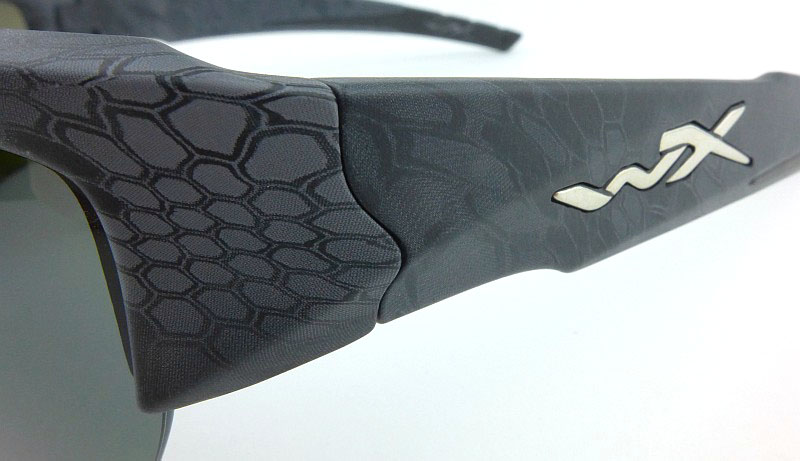
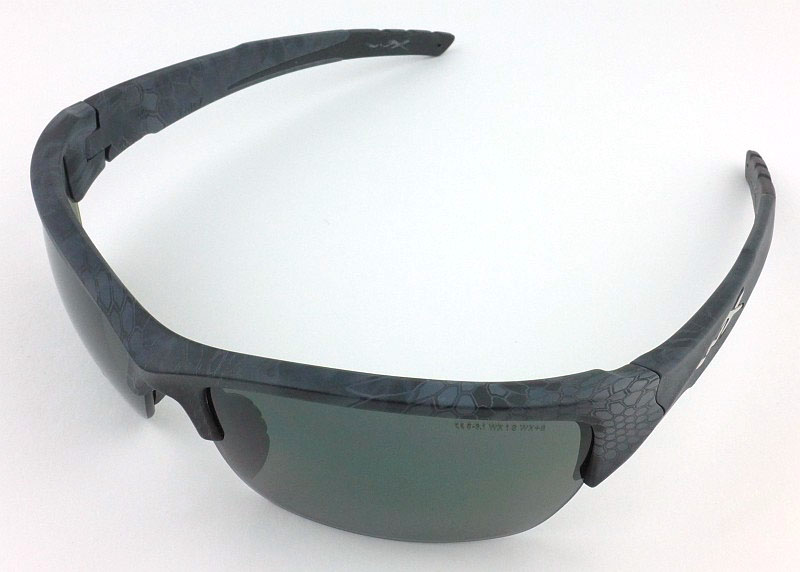
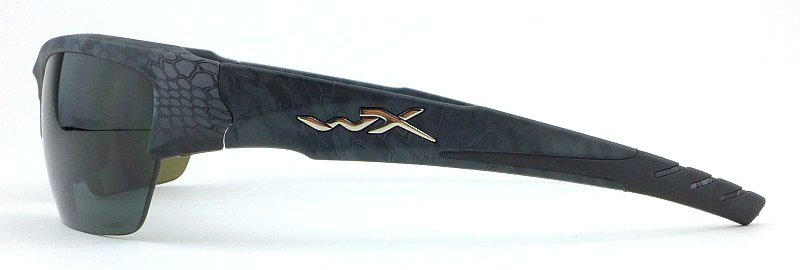
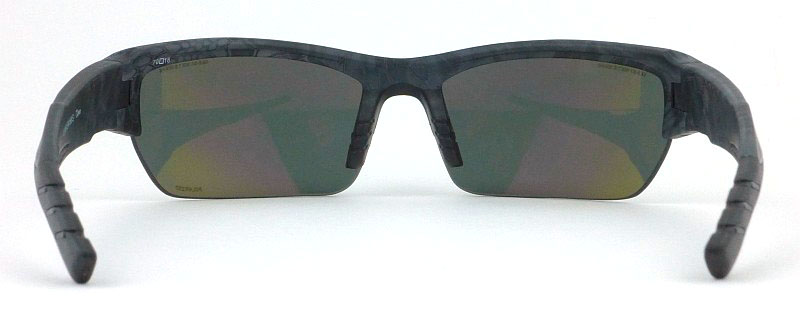
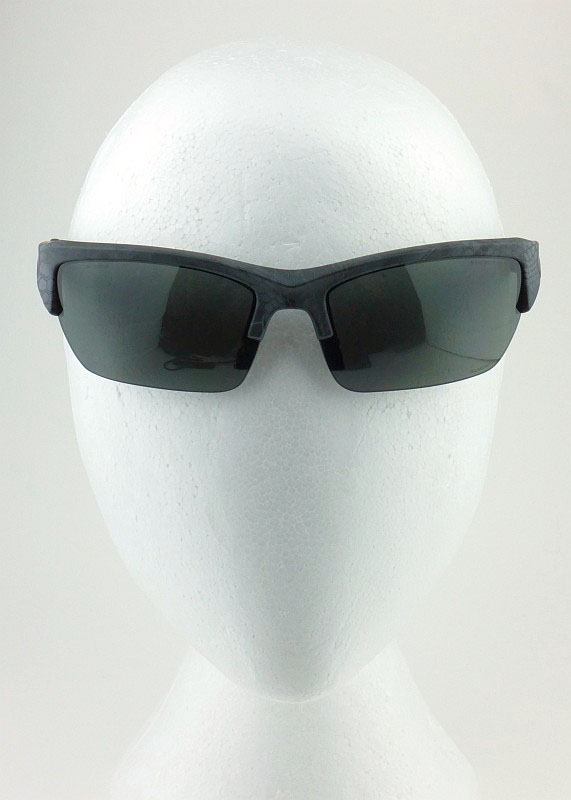
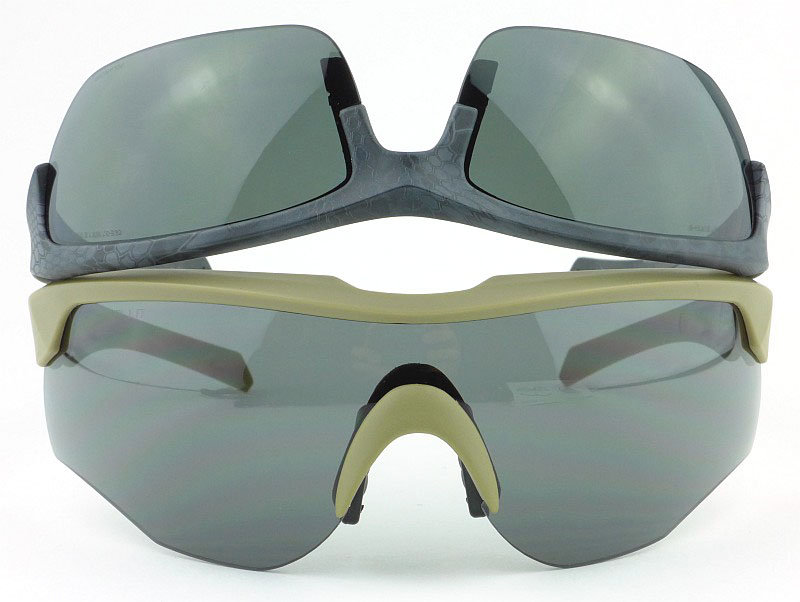
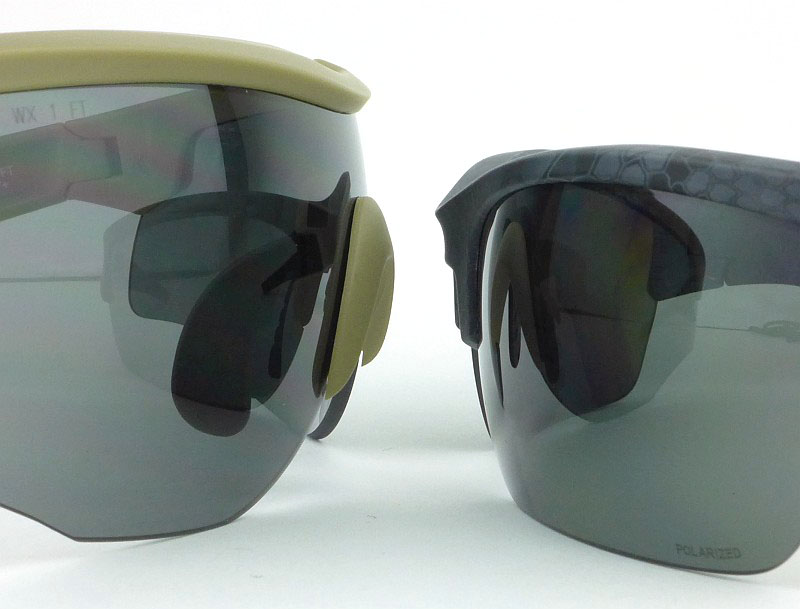
On this model the frame is sporting a Kryptek Typhon camouflage coating.

Due to the way the Kryptek Typhon camouflage is applied, each frame is unique.

A half frame is used, which does allow for lens swapping.

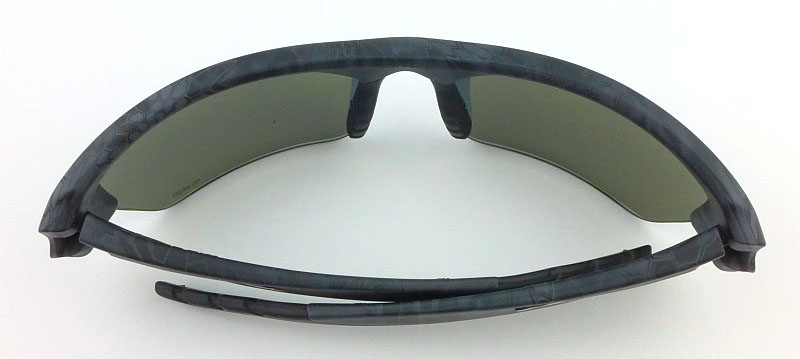
The Kryptek Typhon camouflage covers the entire frame apart from the rubber arm grips.

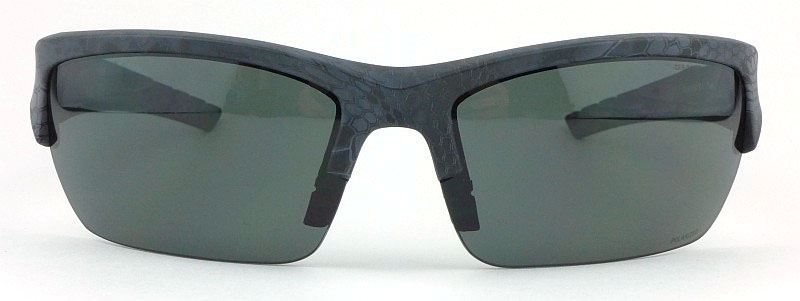
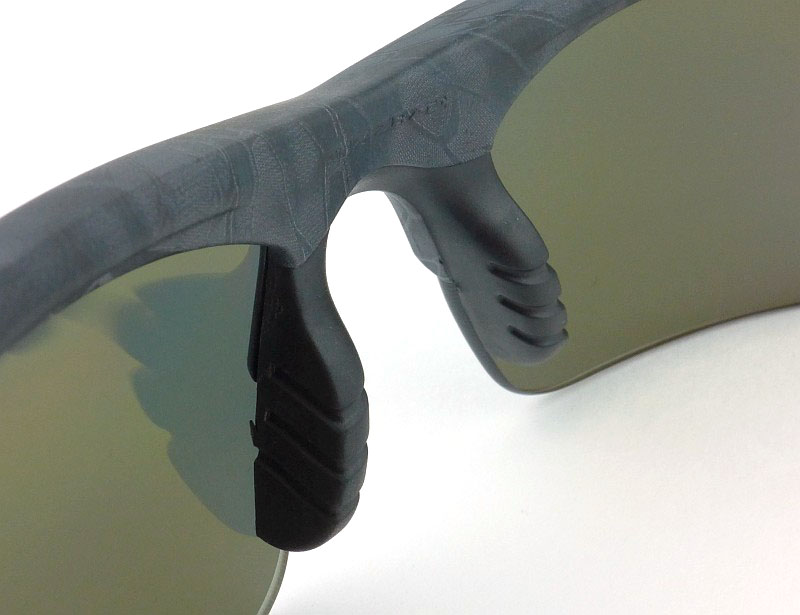
Fixed rounded rubber nose pads are used.

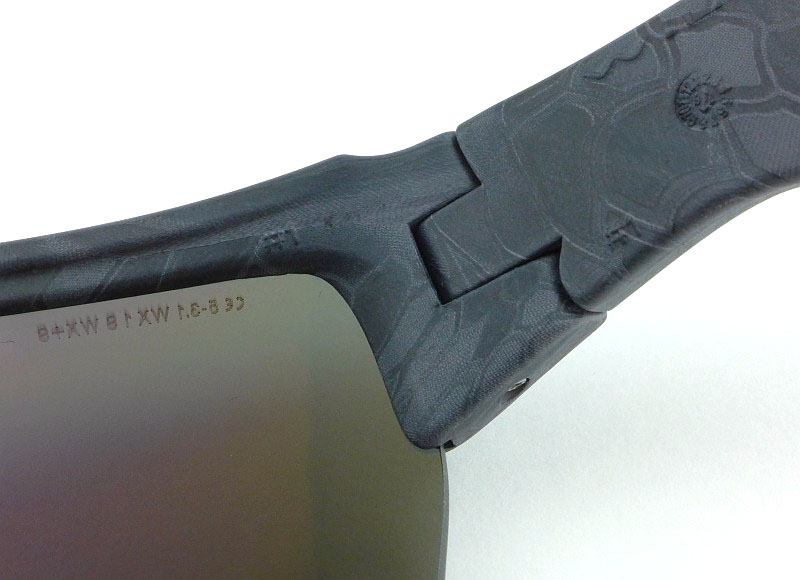
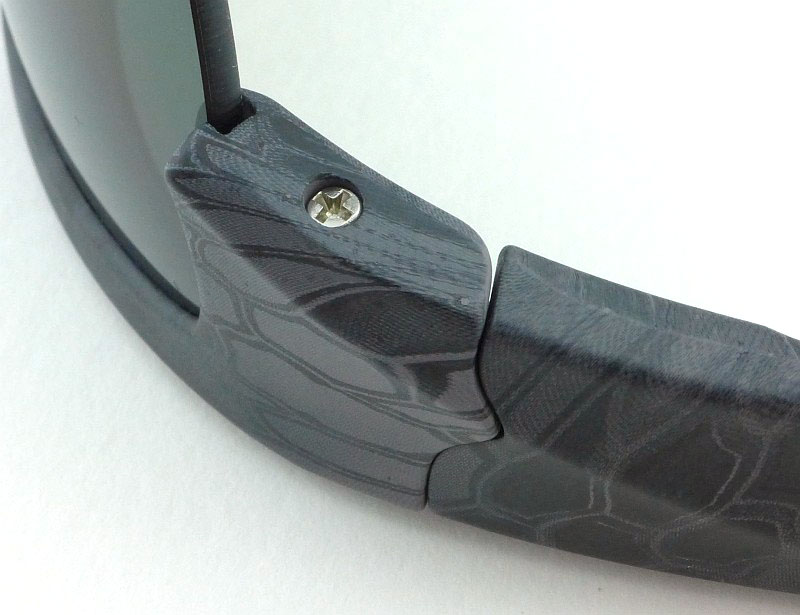
Taking a close look at the hinge.

A long screw forms the hinge pivot.

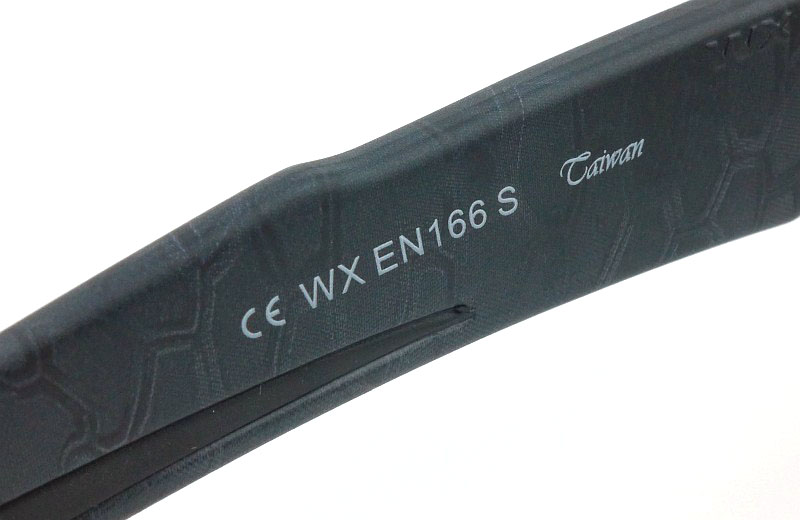
Inside one of the arms is the EN166 Personal Eye Protection standard mark.

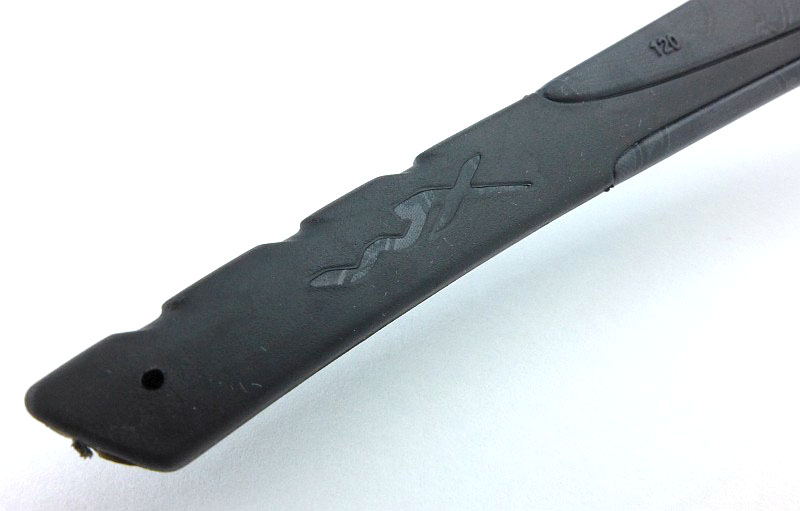
The end of each arm has a rubber over-mould that provides extra grip.

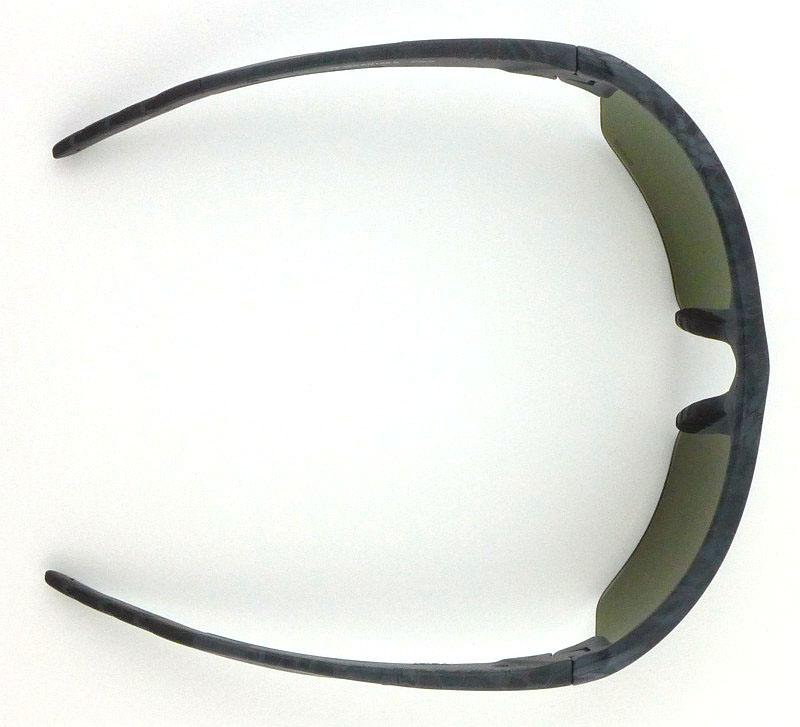
Not quite as curved as a wrap around, the frame is still curved for an ergonomic fit.

Checking first the left hand side.

Then the right, you can see the pattern is different, and part of the character of this camouflage pattern.

There is an anti-reflective coating on the inside of the lenses.

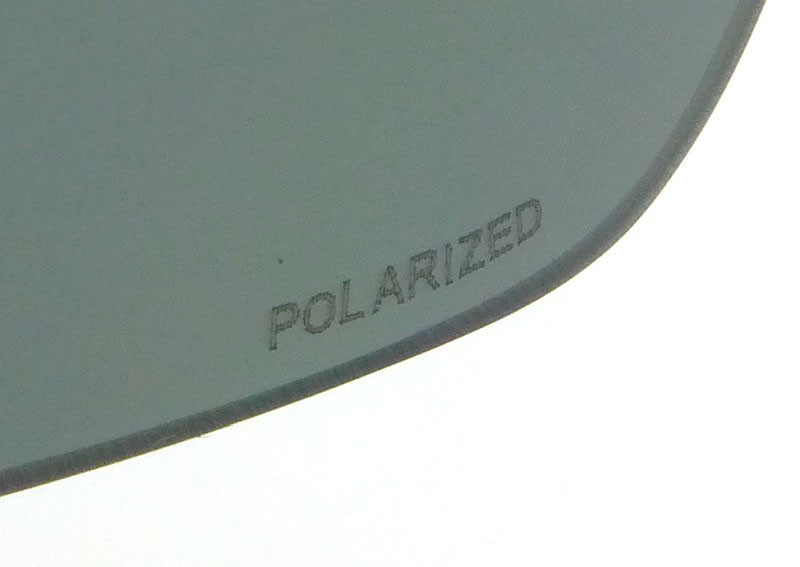
One of my favourite features is a good polarised lens.

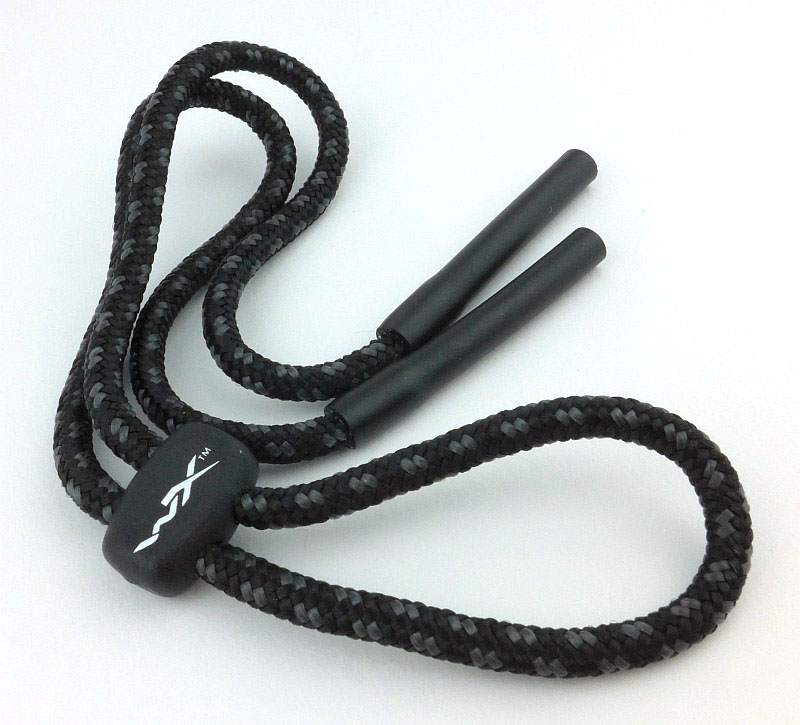
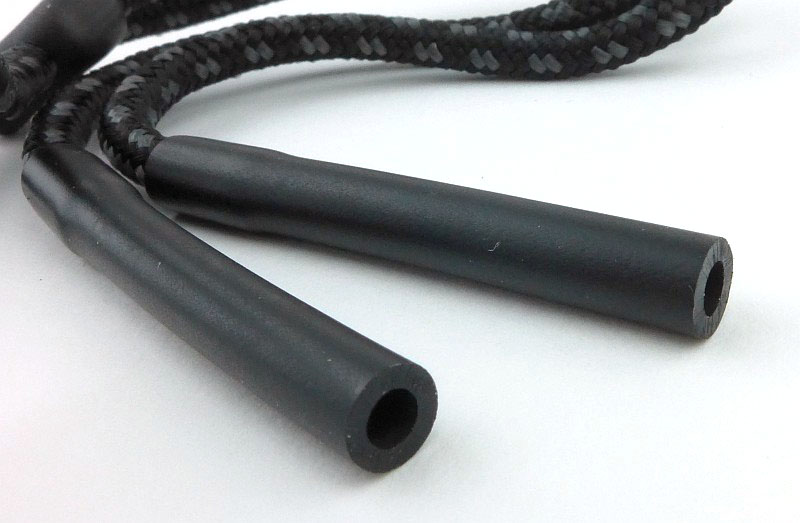
Just like the Rogue, included with the Valor is a neck strap. Fitting is quick and easy thanks to the rubber tubes on the end of the strap.

Depending on the model of glasses, these tubes may be larger or smaller.

The rubber tube is simply pushed over the end of the arms and stays firmly in place.

Overall the Valor are a smaller pair of glasses than the Rogue.

The size difference is clear if you look back at the same polystyrene head shot earlier in this review. Here the frame is a closer fit to the size of head.

More compact than the Rogue when folded, mainly due to the design having less wrap-around.

What are they like to use?

Readers of other reviews might already know that I have hypersensitive eyes, so have to wear sunglasses at all time when outdoors during daylight hours. Currently I don’t require corrective prescriptions lenses. The reason for mentioning this is that it means I’m wearing these a LOT, really a LOT. It really shows any weaknesses in field of vision, comfort and any lens distortion when you use them for hours and hours each day, every day. With so much time wearing sunglasses, I am very critical of lens quality, and Wiley X has never disappointed on this.

For about 9 months now, the Valor have been my main choice of eyewear for daily wear. With the polarised lens, they are slightly darker than the non-polarised lens in the Rogue (good for me), and for driving this is an ideal lens as well.

I had wondered how hard wearing the Kryptek camouflage would be, and in this time, there is not a single sign of wear yet. Yes, I am careful with my glasses (which I treat with the care I would give expensive prescription lenses), but even so, there is day to day wear, knocks and abrasions you can’t avoid. Standing up to intensive use very well.

Without any adjustment in the nose pads, it is crucial that the fit is good, and with the Valor, they were the right size to sit at the ideal position on my face. Although there is no actual benefit to the camouflage in every day urban life, the pattern softens the look of the frame compared to a solid colour of black frame.

As a nice lightweight design they are not at all fatiguing to wear for long periods, and the rubber nose pads and arm grips mean they stay put and don’t need to be pushed back into position.

In fact, having recently had nose surgery (a septoplasty and bilateral sinuplasty for those that are interested) I was able to wear these very shortly afterwards as they were light enough not to cause me any problems.

With the Valor being more suited to my every day needs, the Rogue were worn less, but in particular were used for all shooting or other activities needing wrap around eye protection.
Thanks to the adjustable nose pads, the Rogue’s fit can be tuned to put them in the ideal position. Like this I have nothing obstructing my peripheral vision so my ability to pick up targets is completely unaffected and as good as having no eyewear on at all.

The frame size of the Rogue is a tiny bit too big for me, so what becomes more obvious is that the thin arms are not thin enough (as they sit on my head) to not affect the muffler pads on the ear defenders. (I do wear a Large size motorcycle helmet) So it would need someone with a larger head to really benefit from this feature. Fortunately I tend to wear in-ear hearing protection rather than over ear so this is not an issue. A smaller frame version of the Rogue would be perfect for me.

Following those comments, what more can I say other than that the Valor is my daily wear of choice, and the Rogue comes out for any shooting day.

Review Summary

The views expressed in this summary table are from the point of view of the reviewer’s personal use. I am not a member of the armed forces and cannot comment on its use beyond a cutting tool or field/hunting knife.

Something that might be a ‘pro’ for one user can be a ‘con’ for another, so the comments are categorised based on my requirements. You should consider all points and if they could be beneficial to you.

_______________________________________________ _______________________________________________
Things I like What doesn’t work so well for me
_______________________________________________ _______________________________________________
Rogue and Valor – High optical quality lenses. Rogue – Slim Arms / Ear Defenders feature is only effective for larger heads.
Exceed EN166 Personal Eye Protection Safety Standards.
Interchangeable lenses.
Unique Kryptek pattern.
Lightweight.

There are genuinely a lack of things that don’t work. Assuming you pick a model with the right size frame for your face, then in terms of functionality and quality, the Wiley X range are excellent.


Discussing the Review:

The ideal place to discuss this reviews is on a forum. If you started reading the shorter forum version of the review, but followed the link this full exclusive review, please return to that forum to discuss the review there.
If you read the review entirely on Tactical Reviews, please consider one of the following to join in any discussion.

EdgeMatters – Sponsored Reviews (UK based Forum for Knife Makers and Collectors)

BladeForums – Knife Reviews (US based Forum for Knife Discussion)

CandlePowerForums – Knife Reviews Section (Largest and Friendliest Flashlight Community Forum)
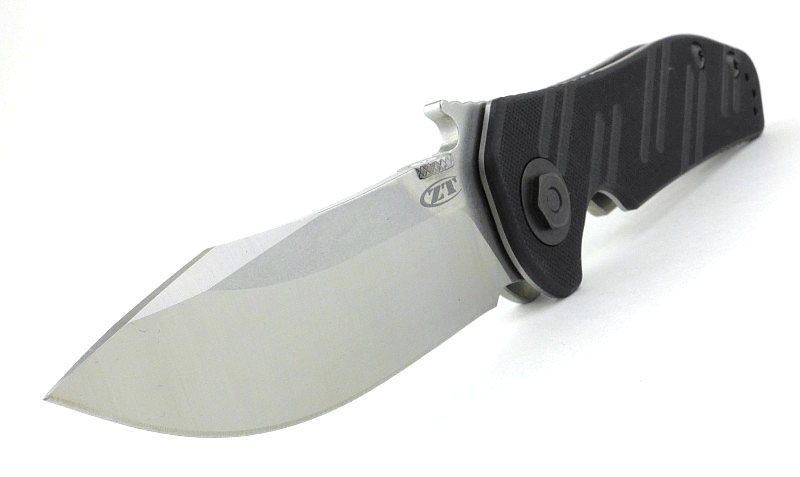
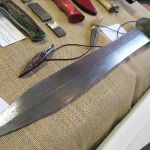
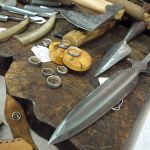
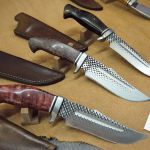
Showcase: BKS Gembloux 2017 Knife Show

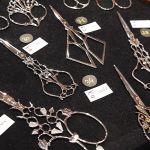
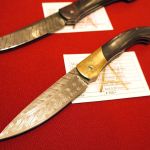
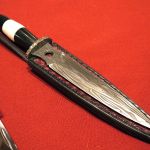
The Belgian Knife Society Show in Gembloux is one of those exceptional events. Taking over the entire Gembloux Town Hall, this annual show attracts hundreds of knife makers from all over the world, and a flock of knife enthusiasts eager to see the amazing work on display (and buy a lot of it).

‘Showcase’ on Tactical Reviews:

The ‘Showcase’ is an opportunity for me to share some photographs, videos and thoughts about interesting or exceptional shows/exhibitions, knives, lights or other gear.

As well as all the exhibitors and demonstrations, the Belgian Knife Society (BKS) arranged for a couple of seminars. Tactical Reviews was there to record these excellent speakers and their words of wisdom.

The following videos are much longer than I would normally publish, but the information in them is very interesting and worth listening to. They are informal, so imagine you are really there in the room.

“The Complex Structure Of Viking Blades”

Owen Bush, (Bladesmith, Swordsmith and artist Blacksmith based in the London/Kent region of England – UK) explains the Viking forging techniques and using modelling clay Owen shows how the intricate pattern welded designs are formed in Damascus blades.

Video Edited with – Cyberlink Director Suite 5 (PowerDirector 16 and AudioDirector 7)
Camera – Panasonic HC-V770    Microphone – Tonor TN120308BL

The Viking Sword: What It Was And What It Was Not

Peter Johnsson (SWE) is a specialist in white weapons and takes you on a journey through time: the swords of the Roman era, continental blades, the Anglo-Saxon sword and the weapons of Eastern Europe and how sword design evoloved with changing requirements.

Video Edited with – Cyberlink Director Suite 5 (PowerDirector 16 and AudioDirector 7)
Camera – Panasonic HC-V770    Microphone – Tonor TN120308BL

Gallery:

This is a series of images from the show; enjoy!


Discussing a Showcase:

Please feel free to start a thread on any of the following forums as these are the ideal place to freely discuss it. If you started reading a forum thread that has brought you to this page, please return to that forum to discuss the Showcase there.

EdgeMatters – Sponsored Reviews (UK based Forum for Knife Makers and Collectors)

BladeForums – Knife Reviews (US based Forum for Knife Discussion)

CandlePowerForums – Knife Reviews Section (Largest and Friendliest Flashlight Community Forum)
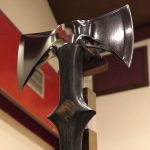
The Showcase featured image is of a sword by Owen Bush.

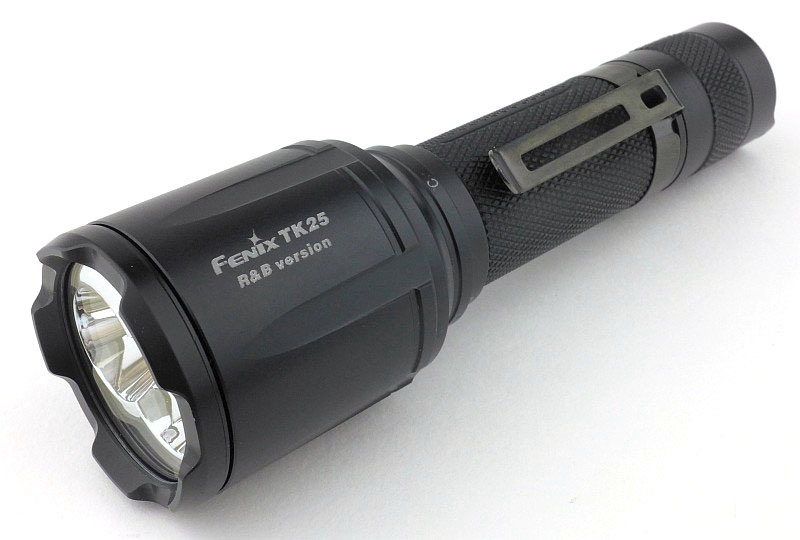
Light Review: Fenix TK25 R&B – LED Swapping Design

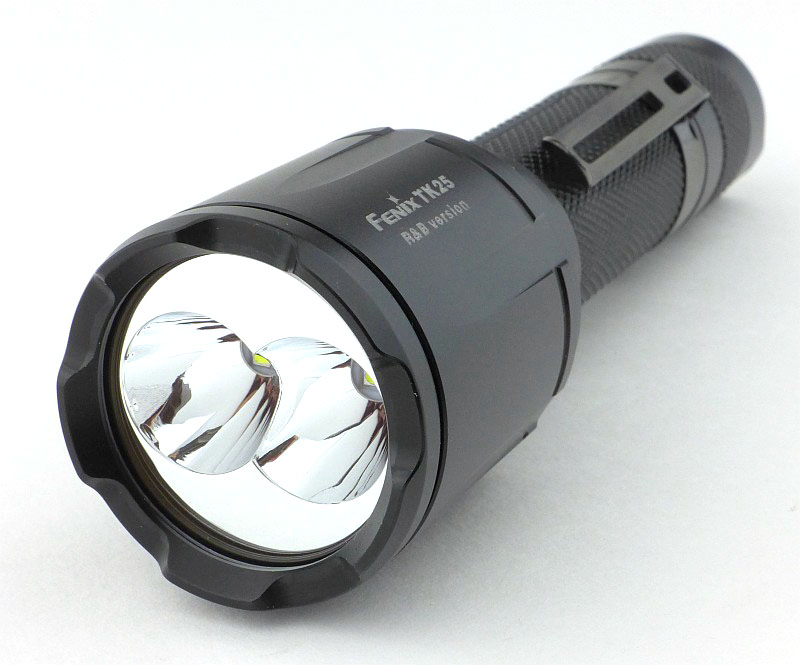
Fenix have embraced multi-coloured, multi-functional lights with many models available in their range. Often these will feature additional LEDs shoehorned into the head with the reflector being compromised. The TK25 is the first to feature the ability to swap the primary LEDs, effectively making the TK25 a fusion of two completely different lights. Simply twist the head, and change to a second set of primary LEDs. The model on test is the (non-musical) R&B version with White, Red and Blue LEDs.

Taking a more detailed look:

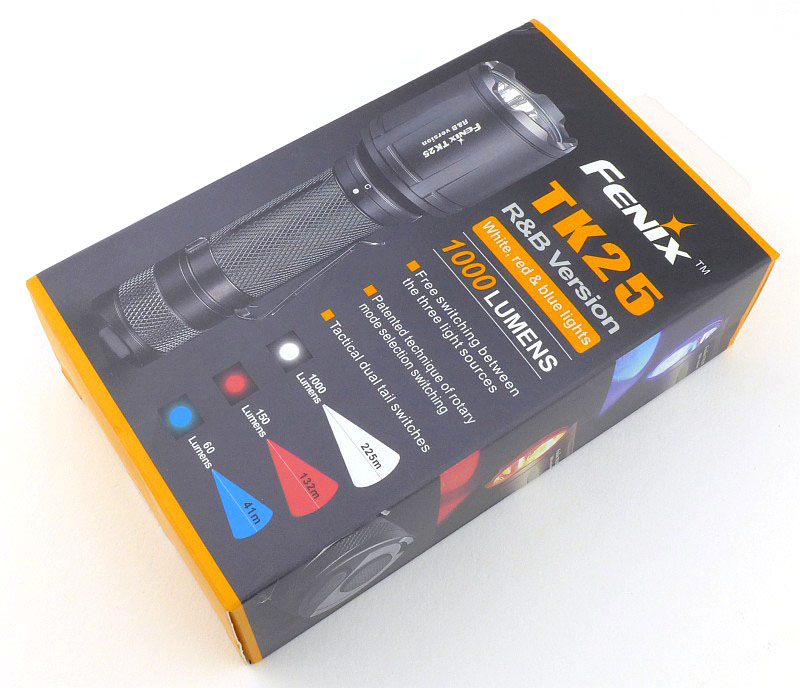
Recognisably a Fenix box with Orange highlights.

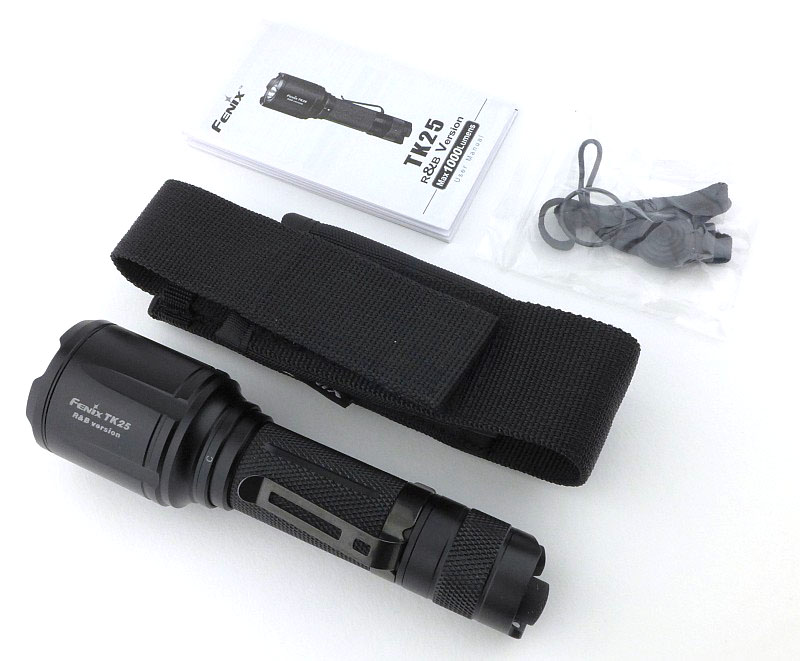
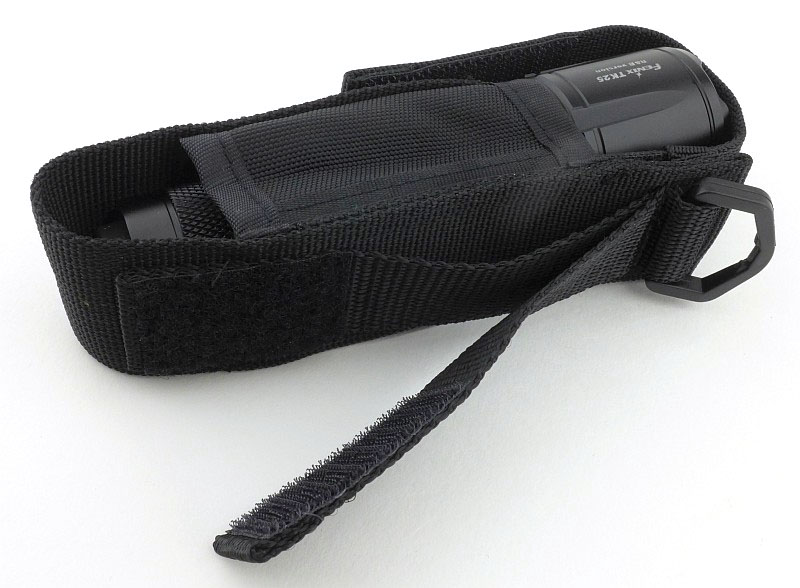
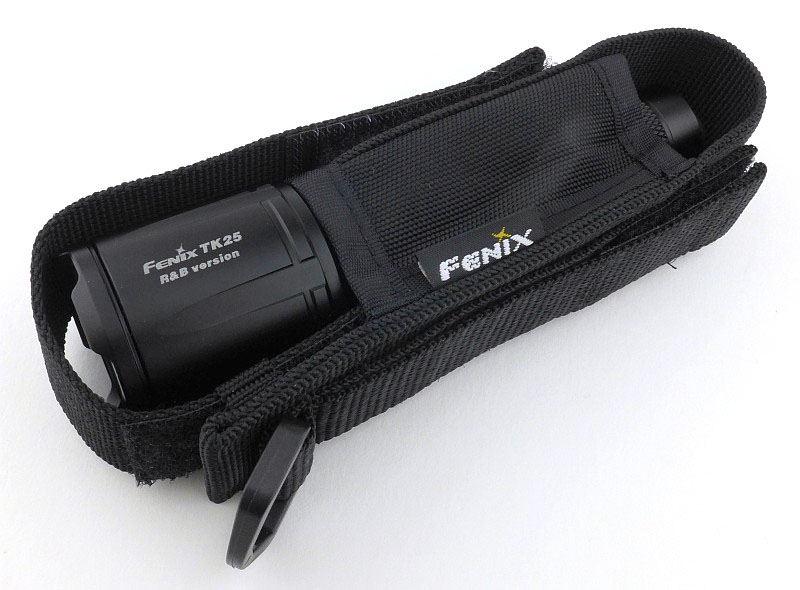
As well as the TK25 there is a holster, instructions and a small bag with O-ring and wrist lanyard.

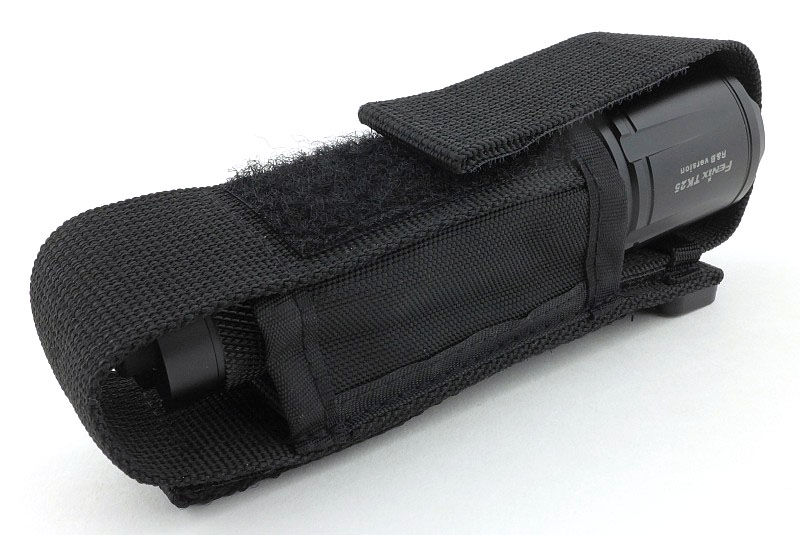
Due to the size of the head, the TK25 will only fit into the holster head-up.

On the back of the holster is a fixed and Velcro belt loop as well as a D-ring.

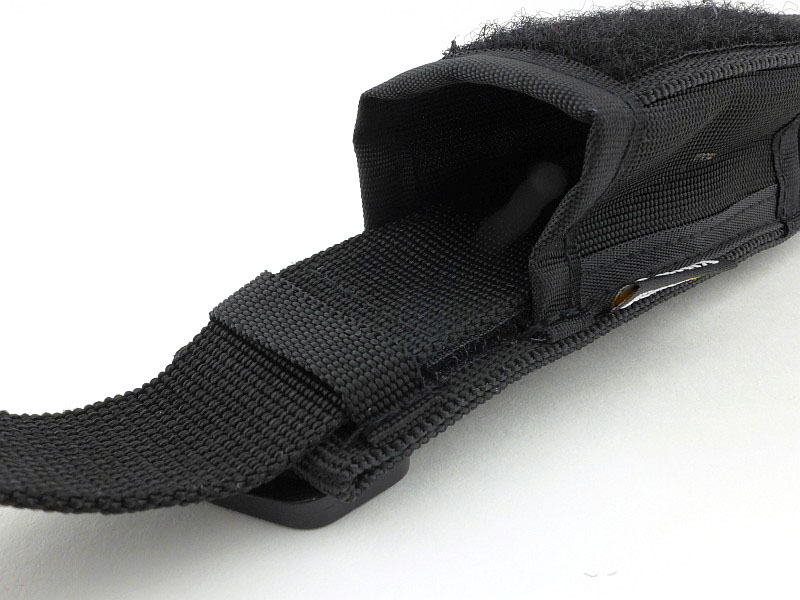
The holster is actually a universal holster with an adjustable flap. Here you can see the loop that keeps the flap from tearing away from the Velcro adjustment. The end of the flap passes under this loop and into the holster compartment, where its length is set using the Velcro adjustment.

Looking again from the side, you can see the additional ‘loop’ area on the flap which can set the flap to a much tighter/smaller position.

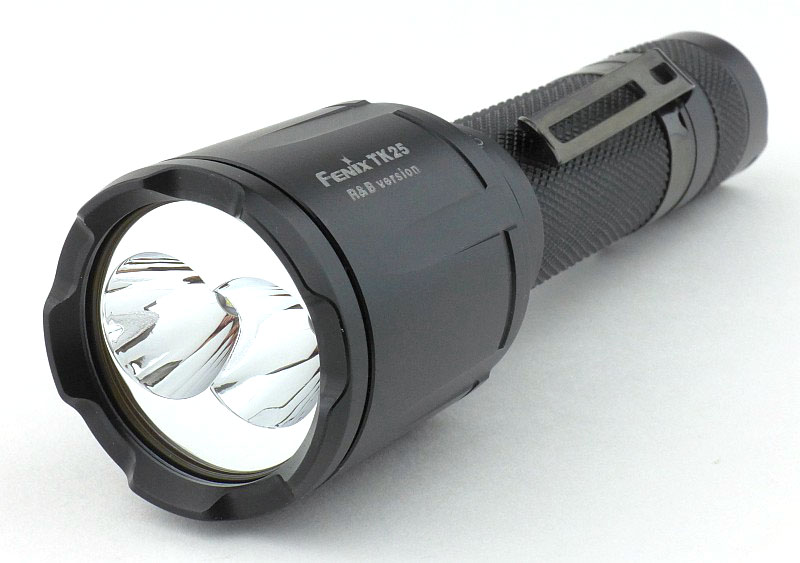
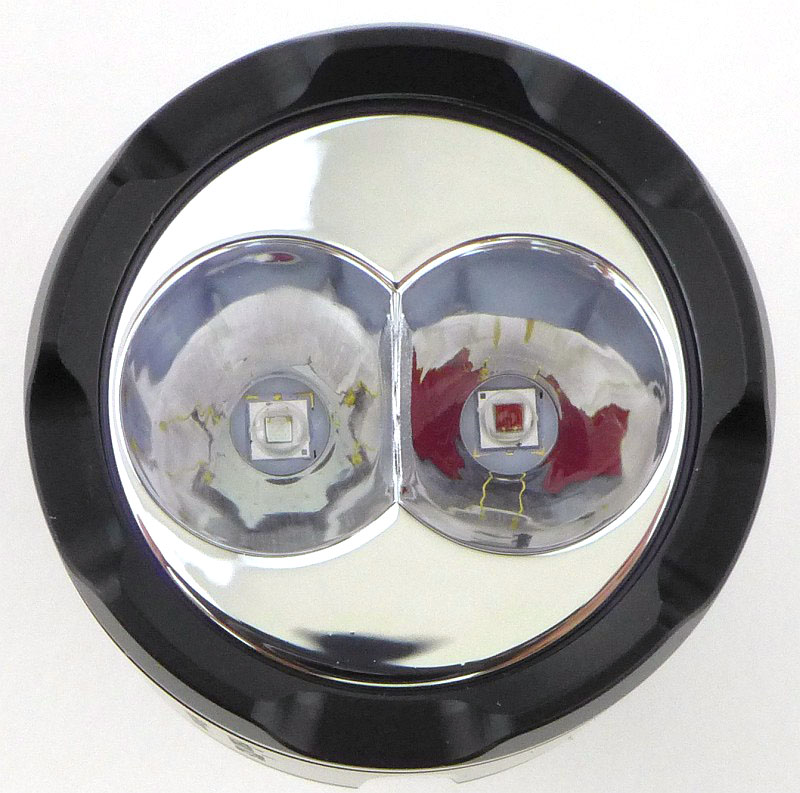
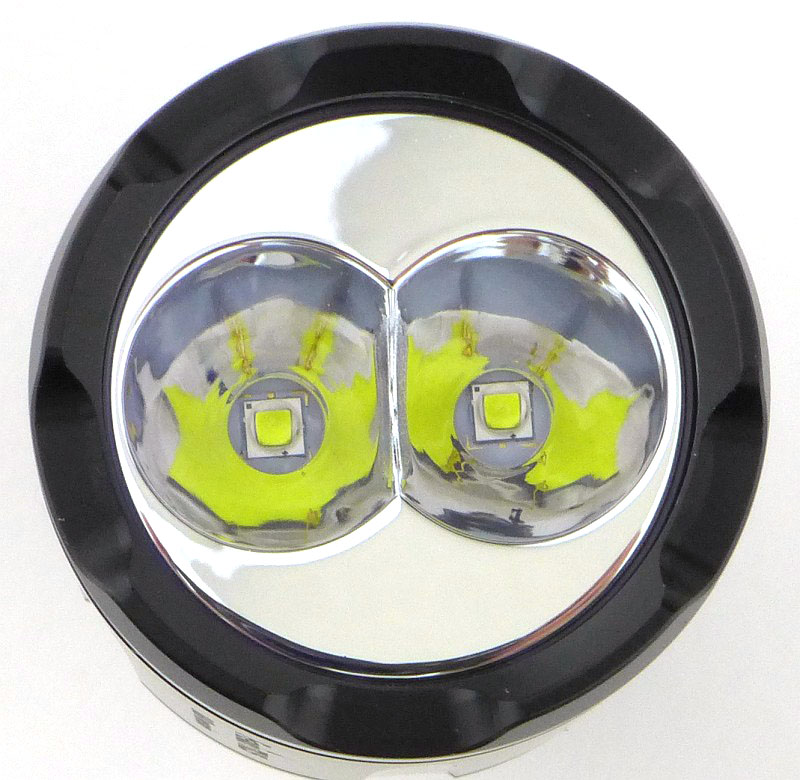
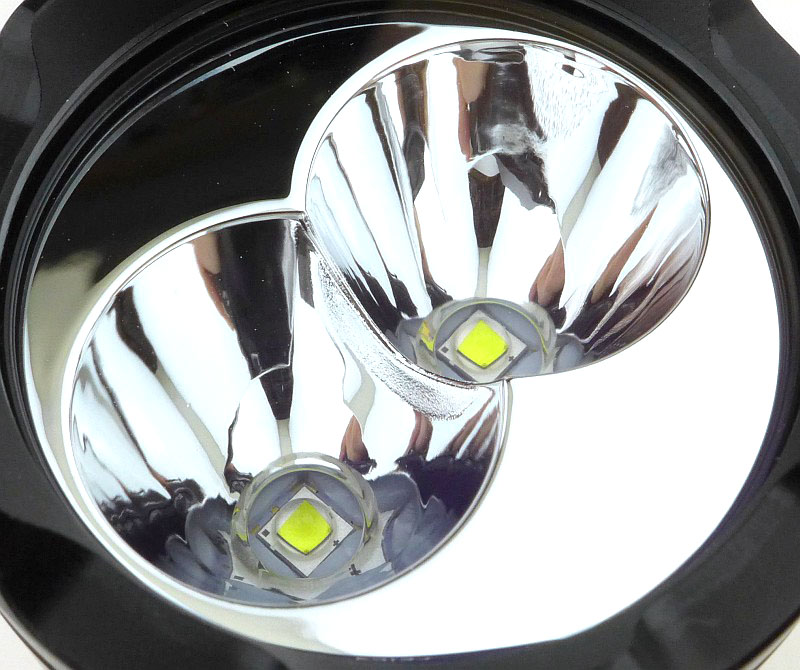
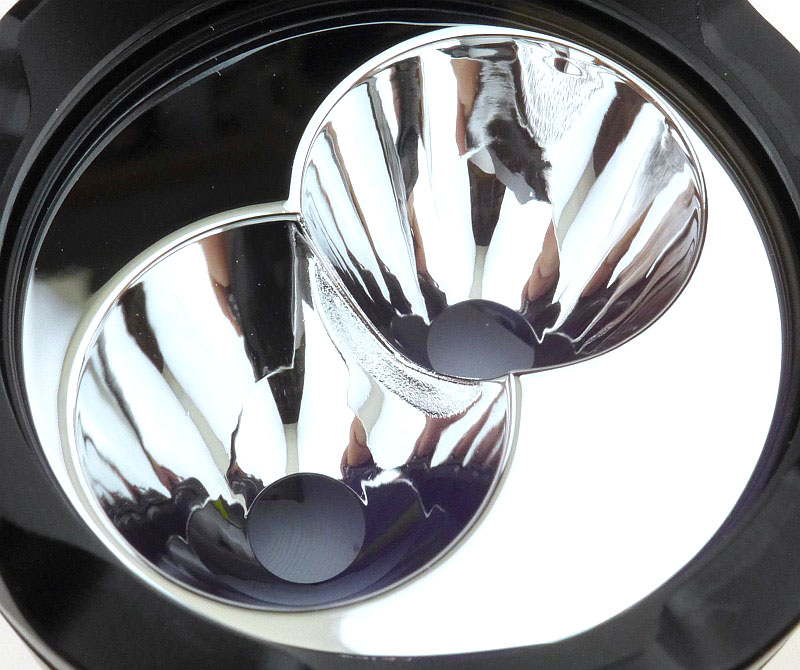
Incorporating two primary LEDs (at a time) the head of the TK25 is relatively large, and the two reflectors do intersect.

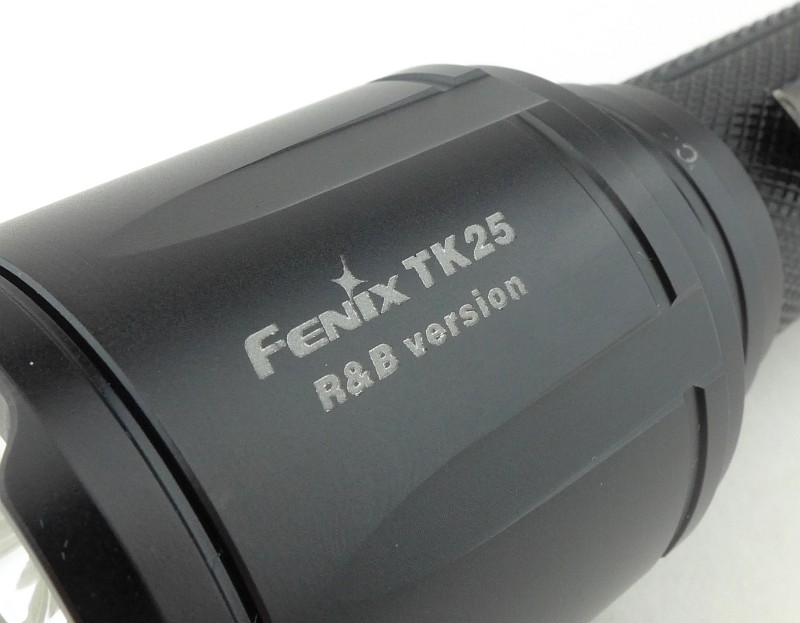
The model is laser engraved onto the side of the head.

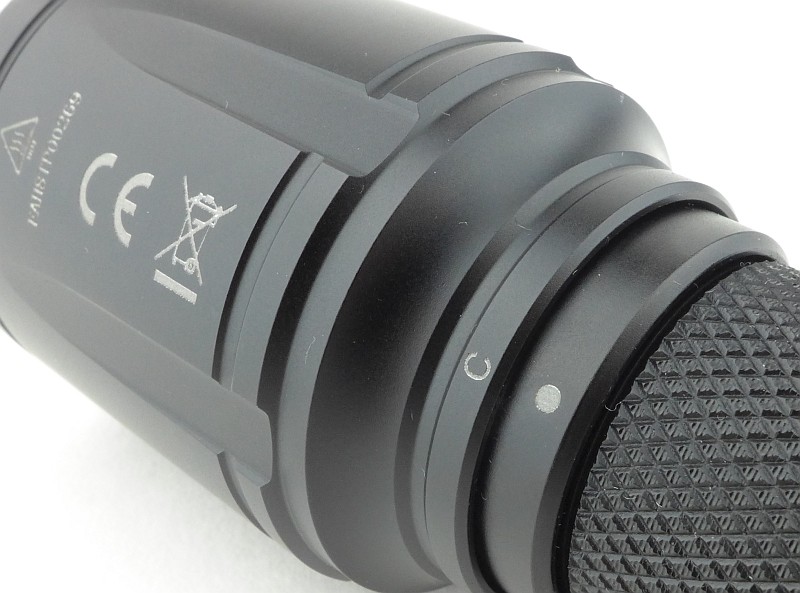
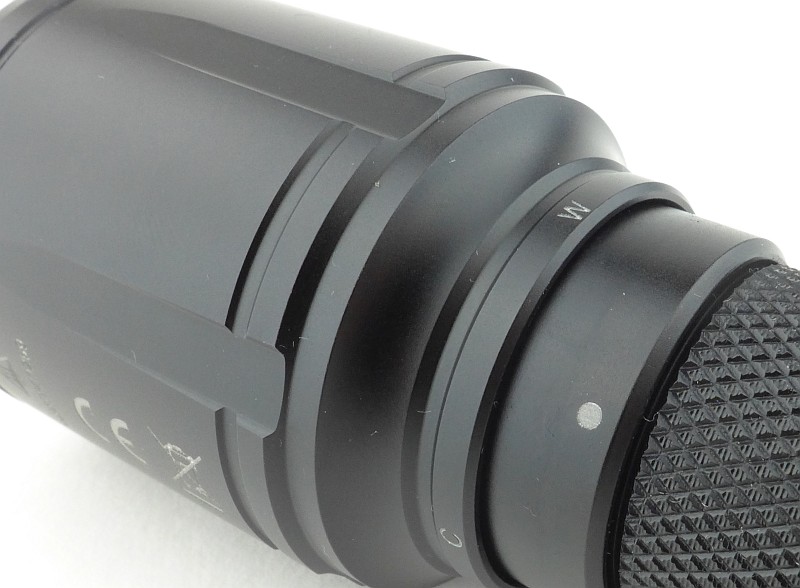
And now let’s look at that head and what it does. On the battery tube is a dot to mark which set of LEDs are currently selected.

As you turn the head it lifts up, so it doesn’t hit the LEDs. As you continue to turn, it drops back down unto the next set of LEDs.

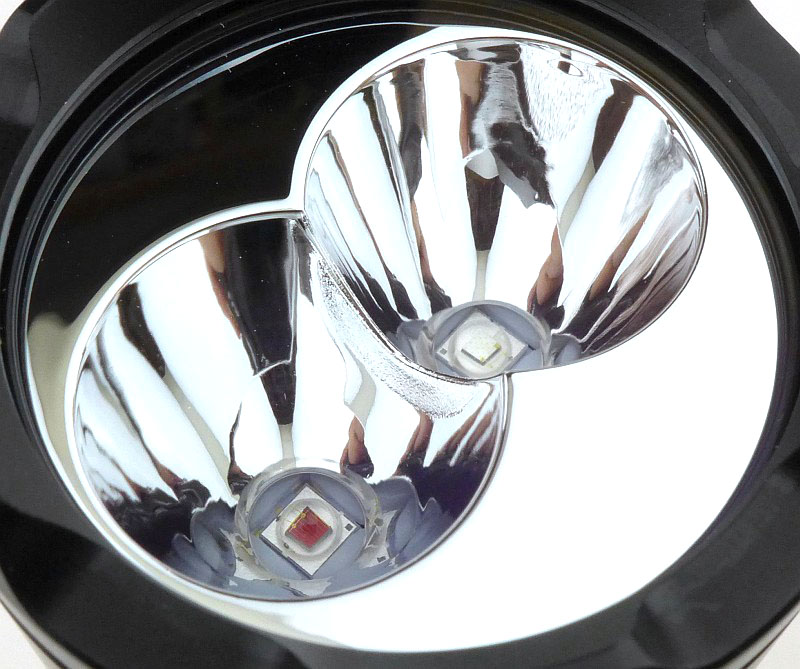
With the indicator set to ‘C’ the XP-E2 (red & blue) LEDs are active.

With the indicator set to ‘W’ the XP-G2 S3 (white) LEDs are active.

Looking at a slight angle as we swap LEDs, starting with the white XP-G2 S3.

The reflector has now lifted off the LEDS.

And now dropped back onto the XP-E2 LEDs.

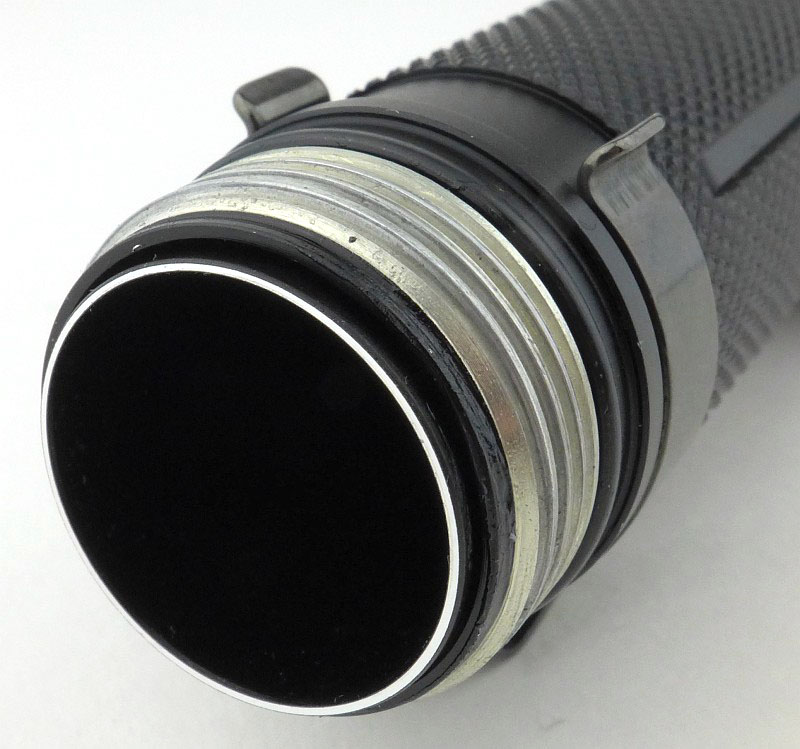
Back to the some of the other details, and the tail-cap threads are bare aluminium.

As with Fenix’s TK32, the TK25 features a battery tube sleeve that provides another connection between the tail-cap and the head (and makes it difficult to try and measure any parasitic drain).

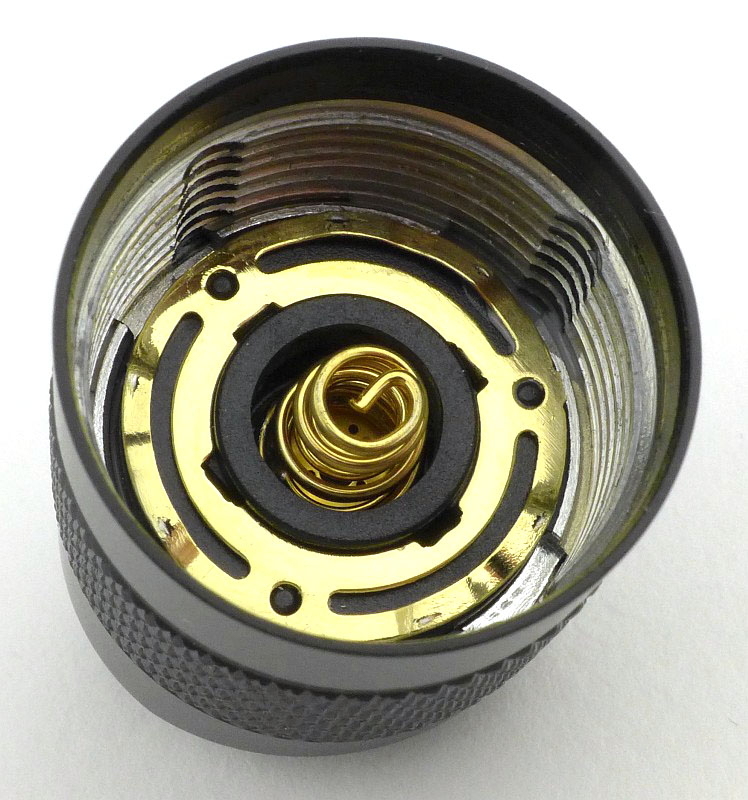
Inside the tail-cap there is the third contact surrounding the central spring that connects to that battery tube sleeve.

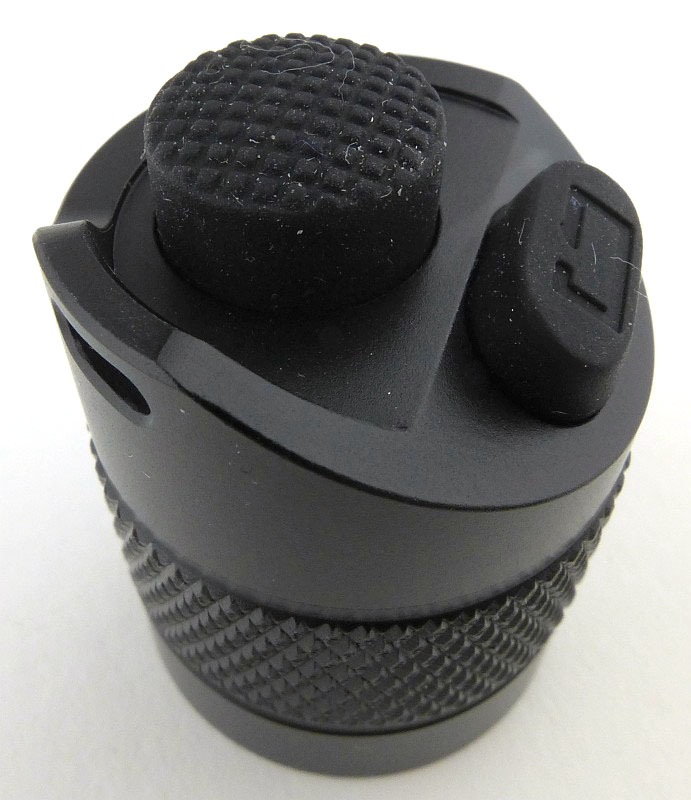
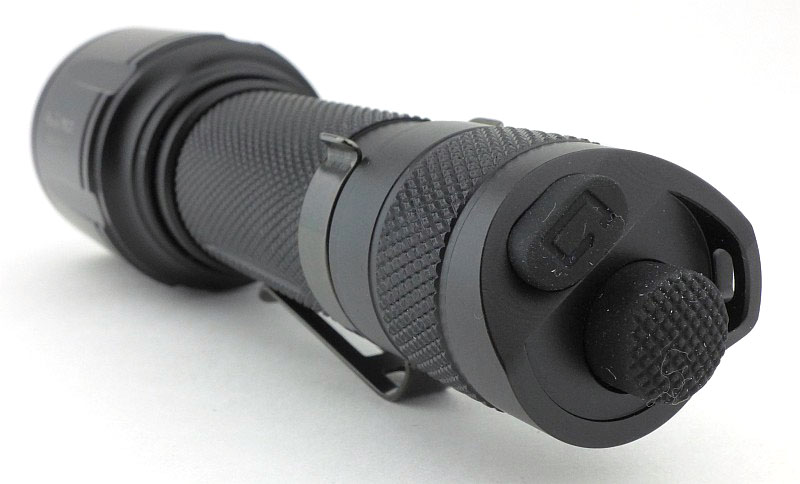
On the tail-cap is a set of two switches, the main tactical switch and a smaller click switch for mode changing.

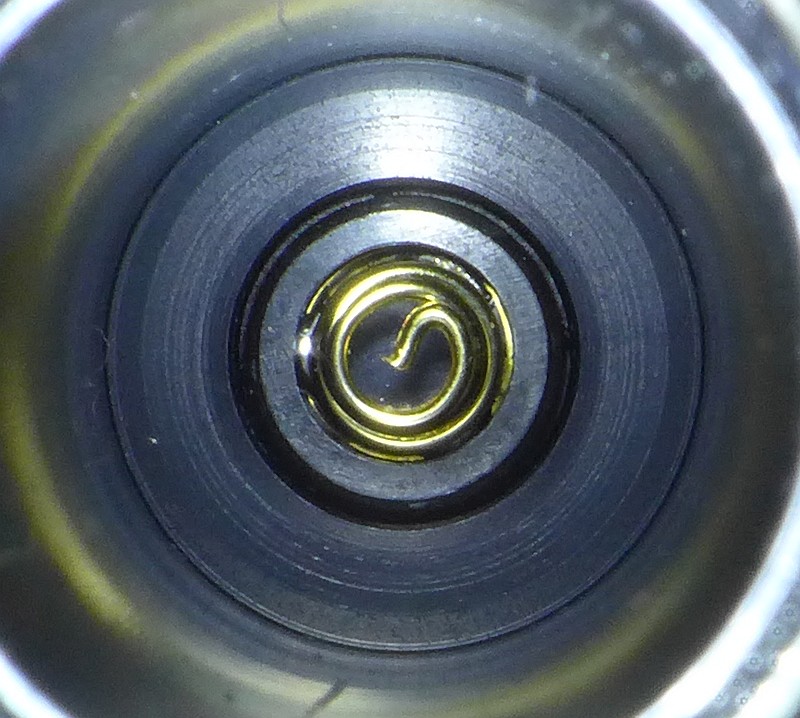
Peering into the battery tube shows the positive contact is a spring and this allows for the use of flat-top cells.

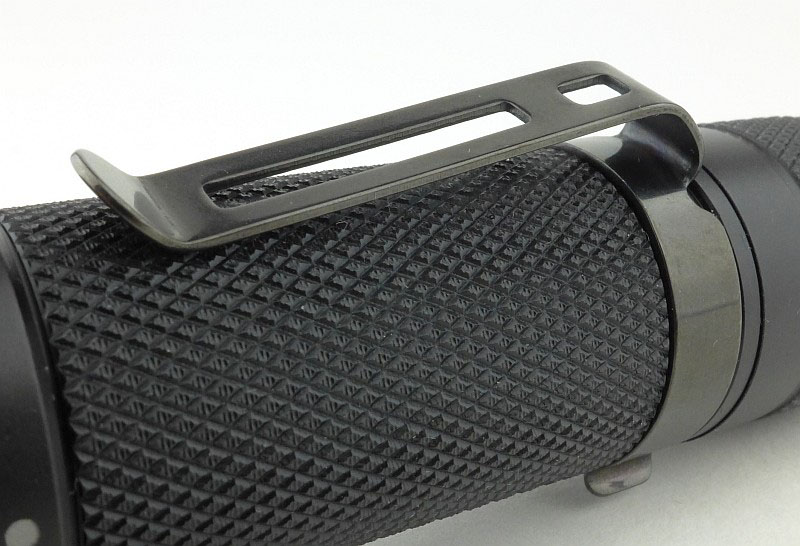
A steel pocket clip is supplied fitted to the TK25.

With the dual-switch tail-cap and a lanyard hole on one side, the TK25 cannot tail-stand.

The beam

Please be careful not to judge tint based on images you see on a computer screen. Unless properly calibrated, the screen itself will change the perceived tint.

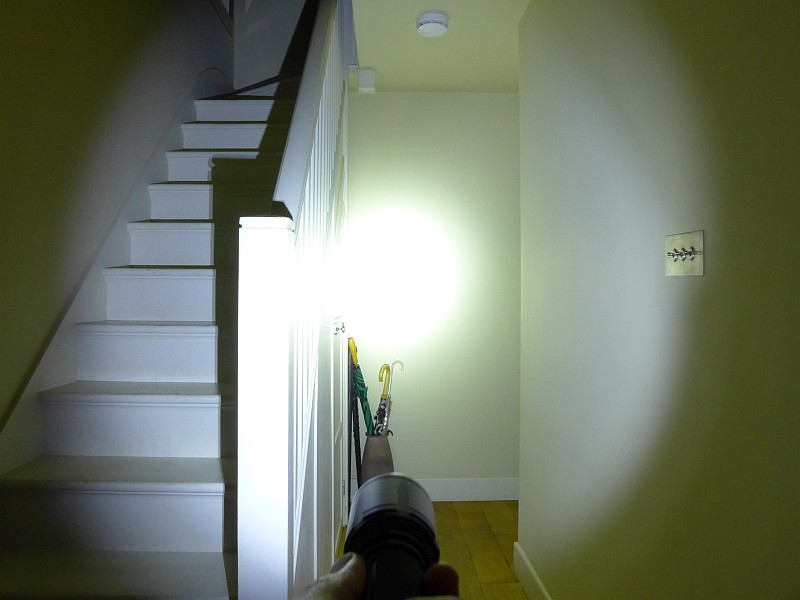
The indoor beamshot is intended to give an idea of the beam shape/quality rather than tint. All beamshots are taken using daylight white balance. The woodwork (stairs and skirting) are painted Farrow & Ball “Off-White”, and the walls are a light sandy colour called ‘String’ again by Farrow & Ball. I don’t actually have a ‘white wall’ in the house to use for this, and the wife won’t have one!

When running in white output, the TK25 has both LEDs lit. There is a dual compound reflector, so in the outer spill you can see some imperfections in the beam. However the main spill and hot-spot are well formed. With two LEDs running you will notice some double shadow effects such as that shown by the newel post shadow on the stairs.

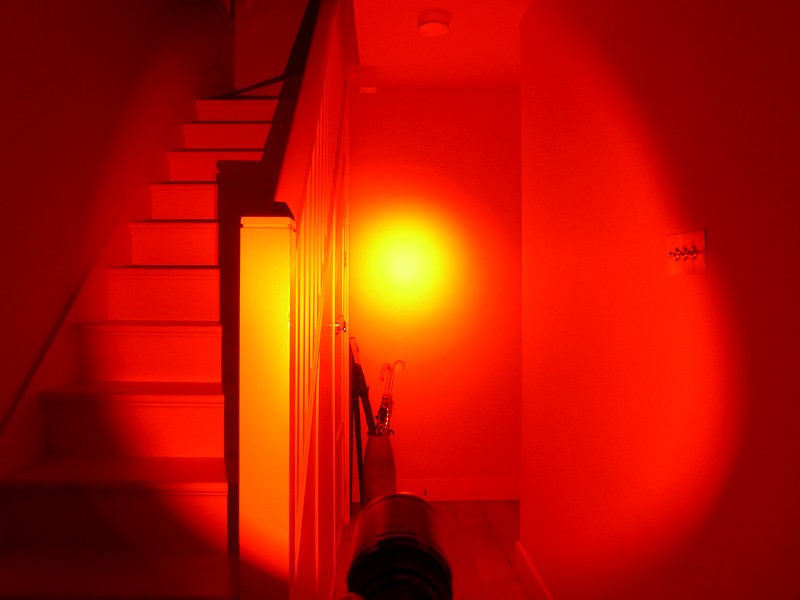
Now with Red output, only one LED is running and the missing part of the reflector (due to the two reflector cones intersecting) shows as a bulge in the outer spill at around 4 O’clock in this picture.

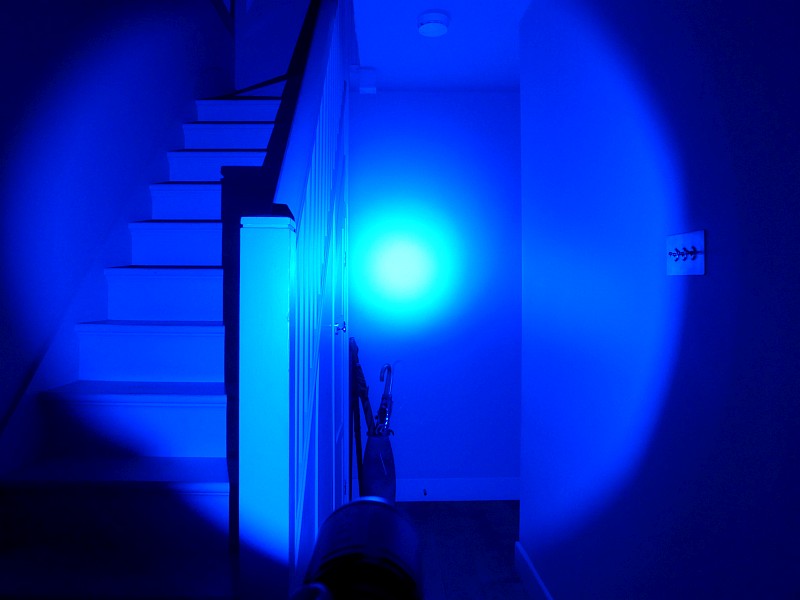
Switching to Blue and the same bulge in the outer spill is present, this time in the opposite 10 O’clock position.

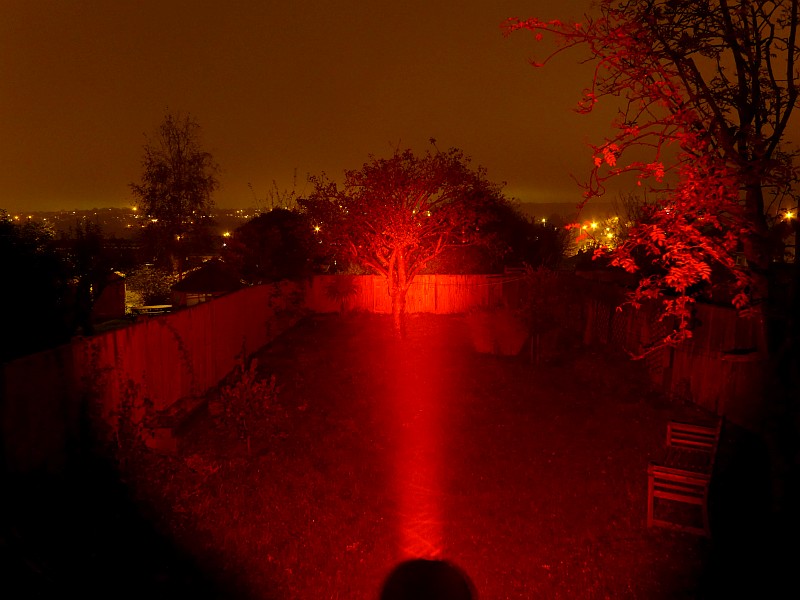
Moving outdoors (and excuse the murky weather causing the beam to show up more than it would normally) and the small reflectors are showing some limits in the brightness of the spill, but the centre of the beam still has good range.

With only a single LED, the Red beam appears more focused, and the spill is slightly wider.

The Blue output has a similar appearance to the red, but as I’m hand-holding the TK25 here the alignment is not quite the same.

Modes and User Interface:

The TK25 has a dual-switch tail-cap with the main power switch being a momentary tactical switch and the secondary oval click switch is for mode changing.

There are four constant white levels – Turbo, High, Med and Low, plus a Strobe mode. Changing LEDs to the coloured set and there is also a Red High, Red Low, and Blue output.

As a main feature, the TK 25 has the rotating head to change between sets of LEDs, so as a starting point the first thing to do is to rotate the head to the appropriate set of LEDs. This is assumed in the following description of the operation of the TK25.

To access the White constant modes, either half-press, or fully press and click the tactical switch. The TK25 will come ON to the last used constant output level. Press the mode/function switch to cycle through the levels Low, Medium, High, Turbo, Low etc. Release the tactical switch or click again to switch OFF.

For strobe, either, from OFF press (and hold) the mode switch (while doing this you can click on the tactical switch to lock the output on to strobe), or turn the TK25 onto a constant output mode by clicking on the tactical switch, then press and hold the mode switch for 2s. To stop strobe, depending on which method you used, either let go of the mode switch, or press the mode switch to return to constant output.

The coloured outputs operate differently. From OFF, the TK25 will always come onto Red High when pressing and holding the mode switch, or half-pressing or fully clicking the tactical switch. To access the Red Low and Blue modes, the TK25 must be ON (defaulting to Red High), then press the mode switch to cycle through Red Low, Blue, Red High etc. There is no coloured flashing mode.

Rotating the head while the TK25 is ON will swap you between the Last Used White mode, and Red High. Even if you were using the Blue output, swapping to White and back again will revert to the default colour output of Red High.

Batteries and output:

The TK25 runs on one 18650 (recommended) or 2x CR123.

To measure actual output, I built an integrating sphere. See here for more detail. The sensor registers visible light only (so Infra-Red and Ultra-Violet will not be measured).

Please note, all quoted lumen figures are from a DIY integrating sphere, and according to ANSI standards. Although every effort is made to give as accurate a result as possible, they should be taken as an estimate only. The results can be used to compare outputs in this review and others I have published.

___________________________________________ ________________________________ ________________________________
Fenix TK 25 R&B using 18650 I.S. measured ANSI output Lumens PWM frequency or Strobe frequency (Hz)
___________________________________________ ________________________________ ________________________________
Turbo 976 0
High 336 0
Medium 113 0
Low 14 0
Red High 288 0
Red Low 41 0
Blue 240 0

* Beacon and Strobe output measurements are only estimates as the brief flashes make it difficult to capture the actual output value.

It was not possible to measure any parasitic drain due to the contact design.

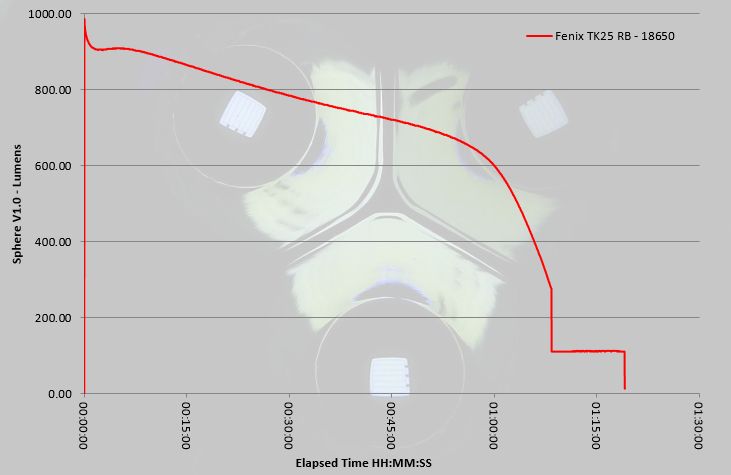
Typically Fenix lights display fully regulated output, but in this case the Turbo output on the TK25 is sagging over the first hour. This may well be due to running the test with a Fenix 2600mAh cell, and if run with a higher current cell, it might have appeared stronger than this. Once the output has sagged to around 300lm, the TK25 shifts down to the medium output level, continuing on this until it shifts down again and ends the ANSI runtime, however the TK25 was still running on low at this point.

Troubleshooting

This section is included to mention any minor niggles I come across during testing, in case the information helps anyone else.

No issues were encountered during testing.

As per the description of this section, this information is provided in case anyone else finds a similar ‘issue’ that might be fixed in the same way.

The TK25 R&B in use

The whole concept of swapping the primary LEDs is one I really like, and Fenix’s take on this makes a lot of sense as it allows for the LEDs to be permanently mounted onto the heat-sink, with the reflector assembly (which has no electrical or thermal connections to worry about) moving. However this does introduce two compromises in the reflectors as firstly each LED’s reflector is relatively small, and secondly the two reflectors intersect and so have a part that is missing. The only way to overcome this would be to make the head even larger than it is, or maybe even removing one reflector and making the TK25 into a four-in-one light with only one (rather than two) active primary LEDs.

With the moving parts, this is better shown with a short video:

One little annoyance, made very obvious due to the head needing to be rotated, is that the pocket clip keeps slipping round whenever you turn the head. Considering the requirement to turn the head, it would be better if the pocket clip was anchored in place so it could not turn. A minor point perhaps, but I don’t like parts moving that should not be.

The switch design does work nicely thanks to the second mode switch being placed onto a slightly lower angled area. It keeps it clear of the main switch, yet remains easily accessible.

Though the are some milled out areas around the head, these don’t really do much for anti-roll, but the pocket clip does, so it will stay put on gently sloping surfaces once it rolls round to the pocket clip.

With Fenix generally having such good mode sets and interfaces, I was slightly disappointed that the coloured output defaults to Red-High, instead of memorising the last used mode like the white output does. When a light includes a pure Red output this is more often than not used for preserving night vision – in which case it is vital to start on the Red Low output. I’d also like to be able to use the Blue output on momentary when I want to. Perhaps this is a restriction to stop users flashing the blue light (imposed by Law Enforcement Agencies), in which case that is understandable if a little frustrating.

The small reflectors do result in a narrower beam than I’d personally like, but they are the compromise for having two ‘proper’ sets of LEDs available in one light. Though not perfect, the beams of all the LEDs are significantly cleaner than typical multi-colour lights, giving the TK25 a significant advantage over the fixed designs with ‘secondary LEDs’.

Review Summary

_______________________________________________ _______________________________________________
Things I like What doesn’t work so well for me
_______________________________________________ _______________________________________________
Two sets of Primary LEDs. Swap with a twist of the head. Dual reflectors are a little small and intersect.
Switch between coloured and white output while ON. Pocket clip tends to slip round when turning the head.
1000lm white output. Coloured output lacks memory and defaults to Red High.
Functional Dual-Switch tail-cap.


Discussing the Review:

The ideal place to discuss this reviews is on a forum. If you started reading the shorter forum version of the review, but followed the link this full exclusive review, please return to that forum to discuss the review there.
If you read the review entirely on Tactical Reviews, please consider one of the following to join in any discussion.

CandlePowerForums – Flashlight Reviews Section (Largest and Friendliest Flashlight Community Forum)
EdgeMatters – Sponsored Reviews (UK based Forum for Knife Makers and Collectors)