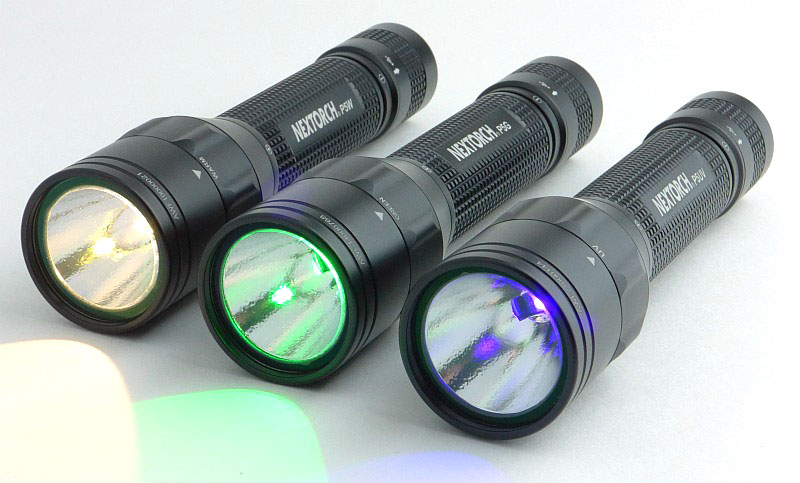
Multi-LED lights have always had to compromise the main beam by using multiple smaller reflectors or combined ‘compound’ reflectors, both of which affect the beam considerably and create many beam artifacts. With such powerful LEDs to choose from now, it has become more desirable to make the humble torch/flashlight more versatile by giving it more options. Nextorch have re-thought the concept of multi-LEDs, and designed a ‘Dual-Light’ system that allows the user to actually swap the primary LED that is positioned at the focal point of the reflector, so fully maintaining beam quality. The P5x series of lights (part of the ‘Police’ Series) use a special mechanism that changes the active LED and moves that LED to the centre of the reflector, ensuring the beam quality is uncompromised and giving you two beam options in one light.
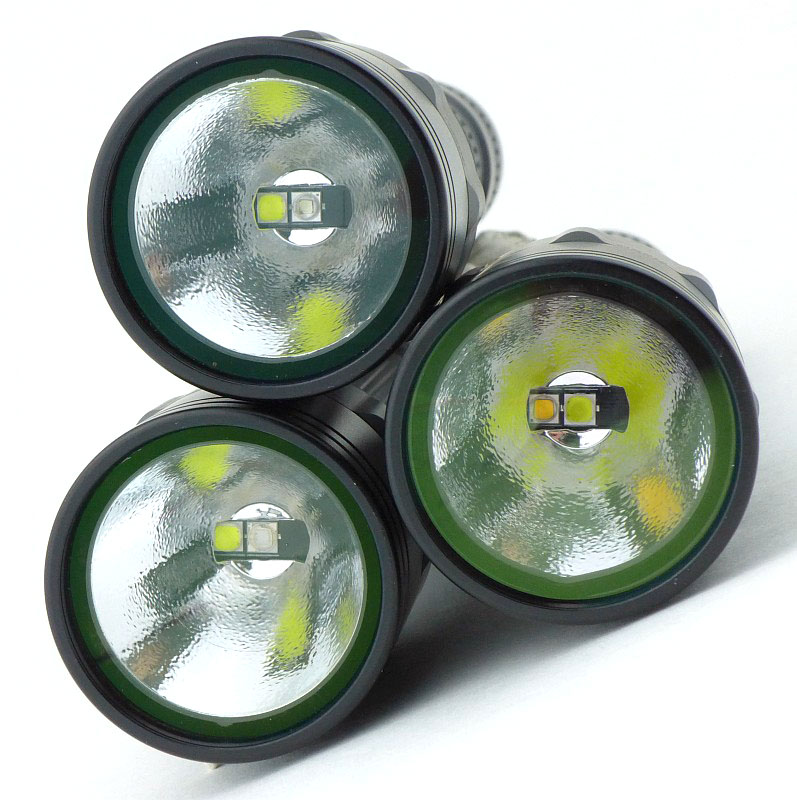
Taking a more detailed look:
A few different versions of the P5x were provided, and they had slightly different packaging. The box at the front shows the six variants you can choose from; P5G, P5B, P5R, P5W, P5 UV and P5 IR.
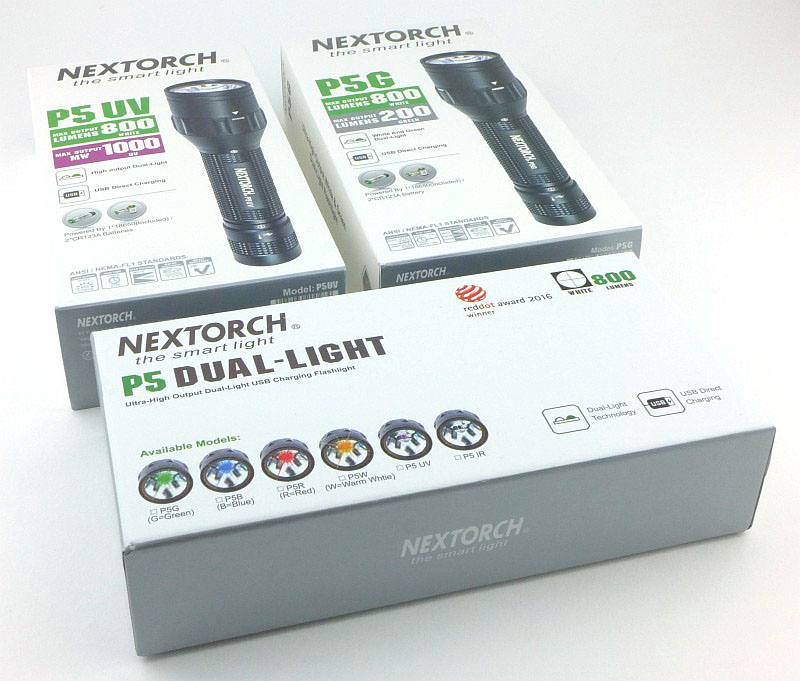
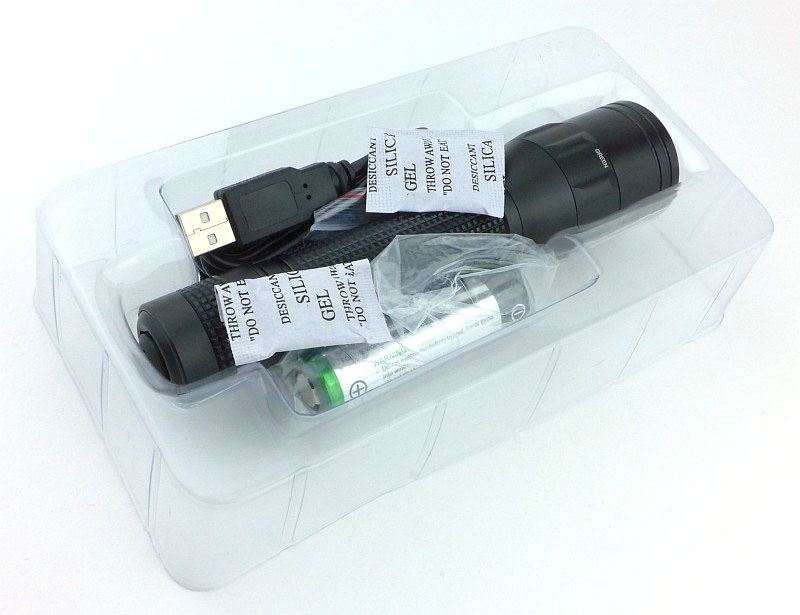
For one of the box styles, this is the inside.
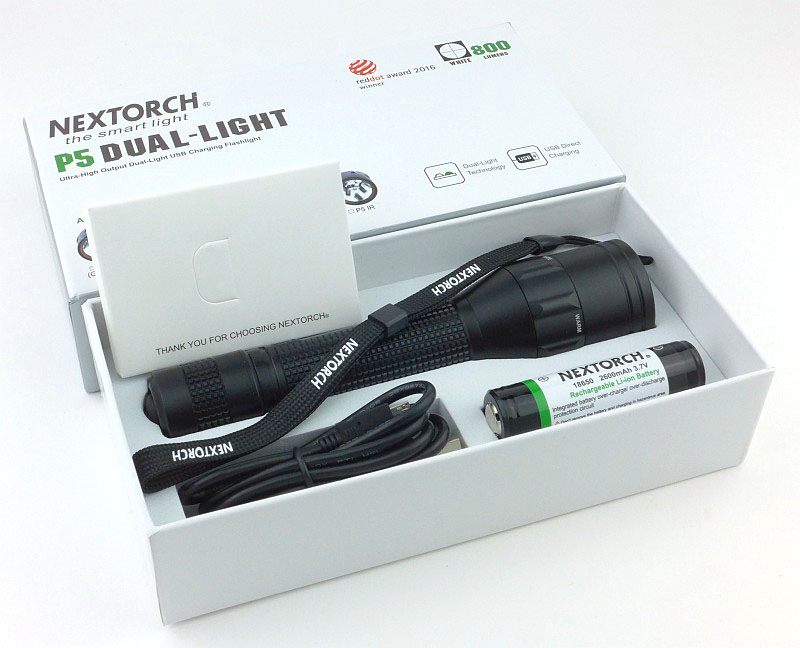
The other box style has a moulded plastic tray insert.
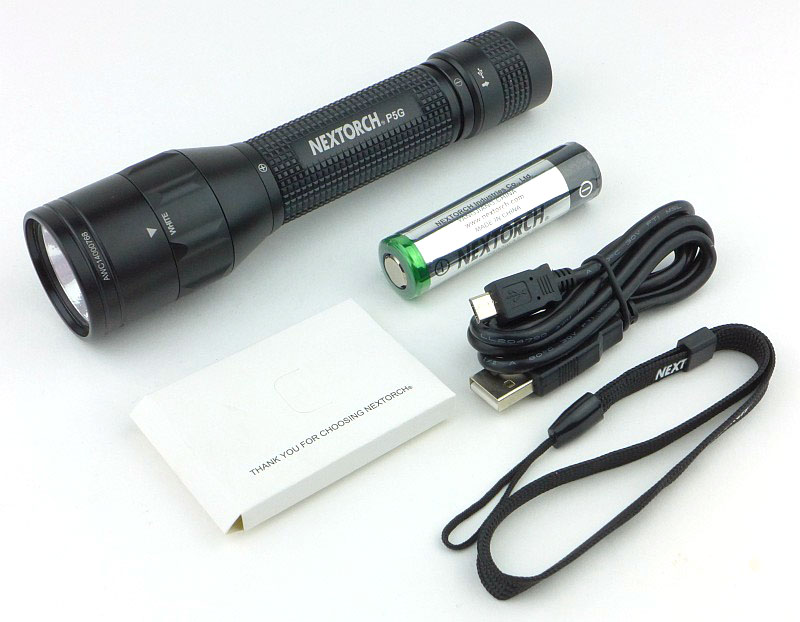
Either way, you get the P5x a Nextorch 18650, a USB charging cable, a lanyard and the instructions.
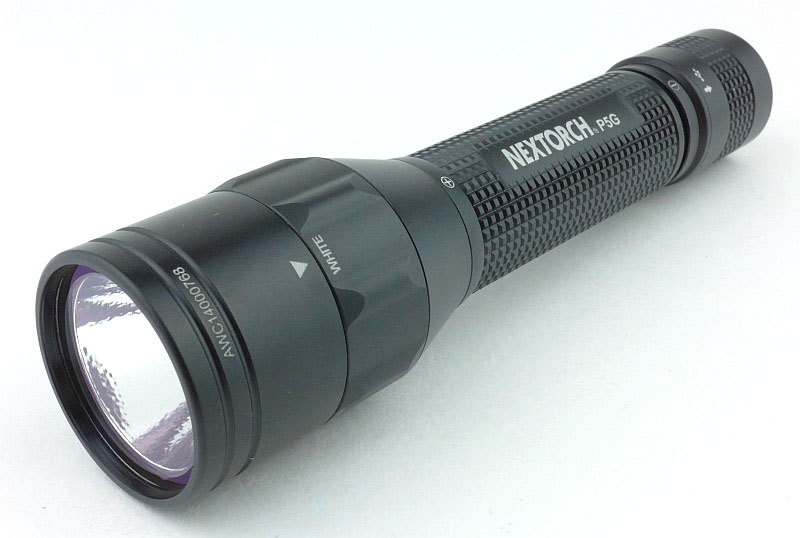
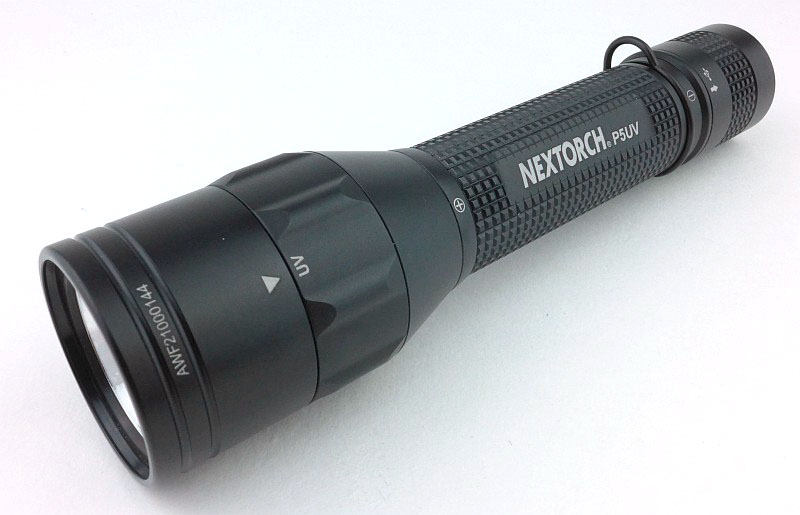
The LED changing mechanism and built-in USB charging blend into the simple, elegant design.
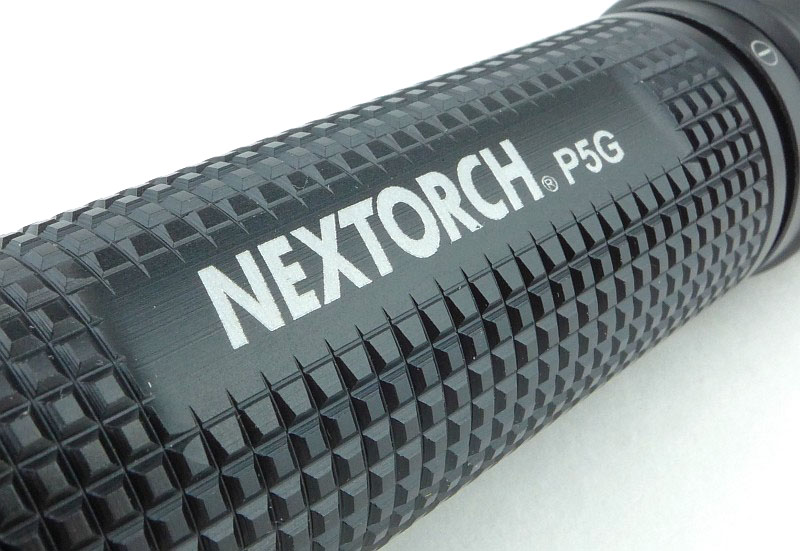
A flattened section of the grip texture provides a space for the engraving.
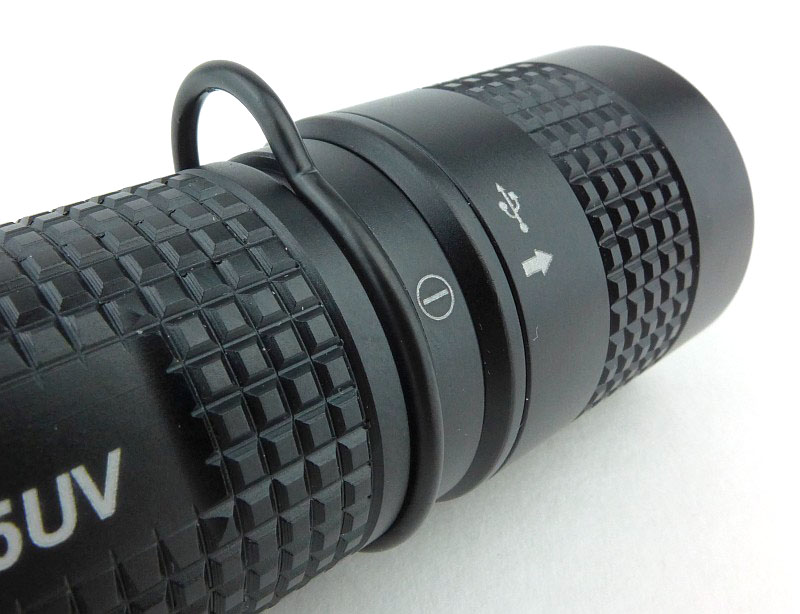
If you want to add a lanyard to the P5x, you need to snap on the lanyard ring.
The lanyard ring sits tightly into a groove near the tail-cap.
A sleek tail-cap design hides the USB charging very well.
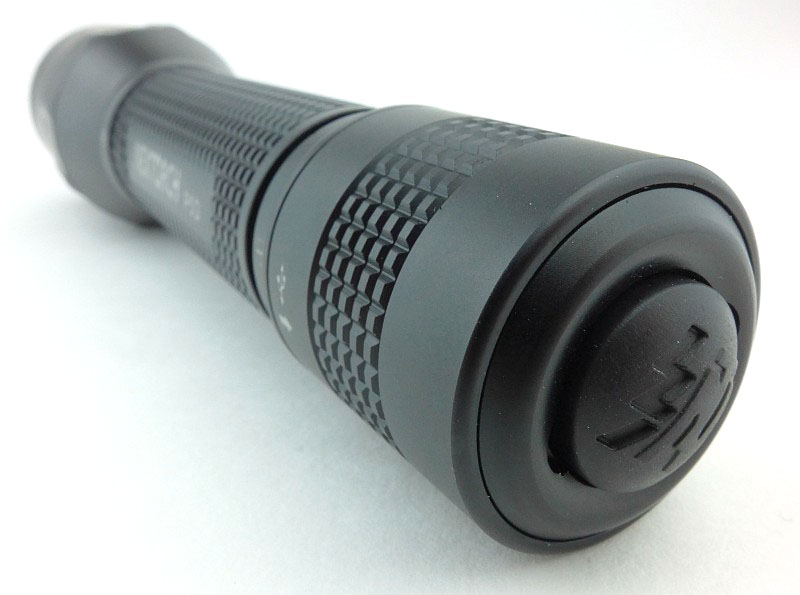
The power switch protrudes slightly and is easily accessible, however no tail-standing is possible.
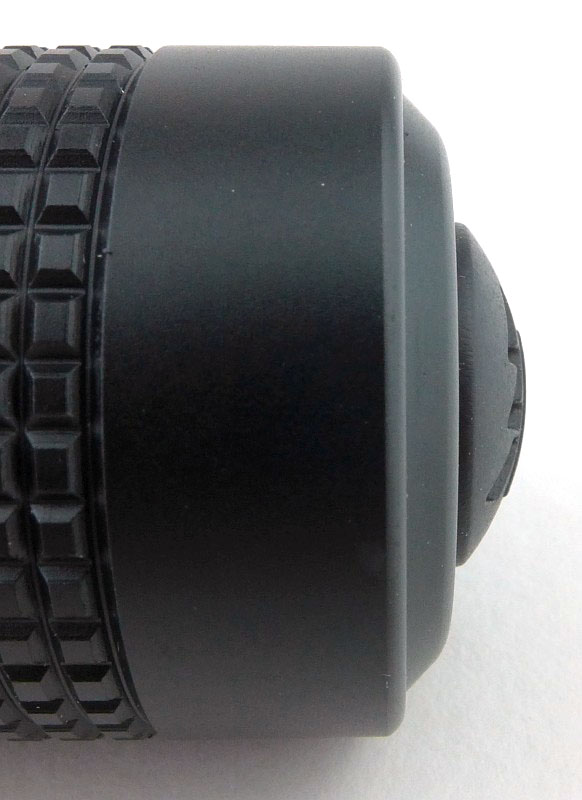
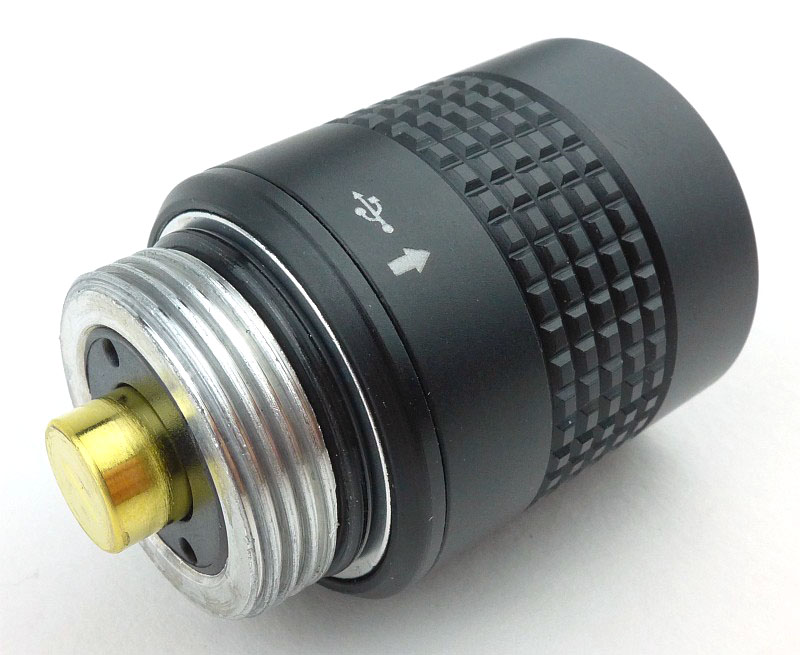
If it were not for the small engraving of the USB symbol and an arrow, you might miss the charging function.
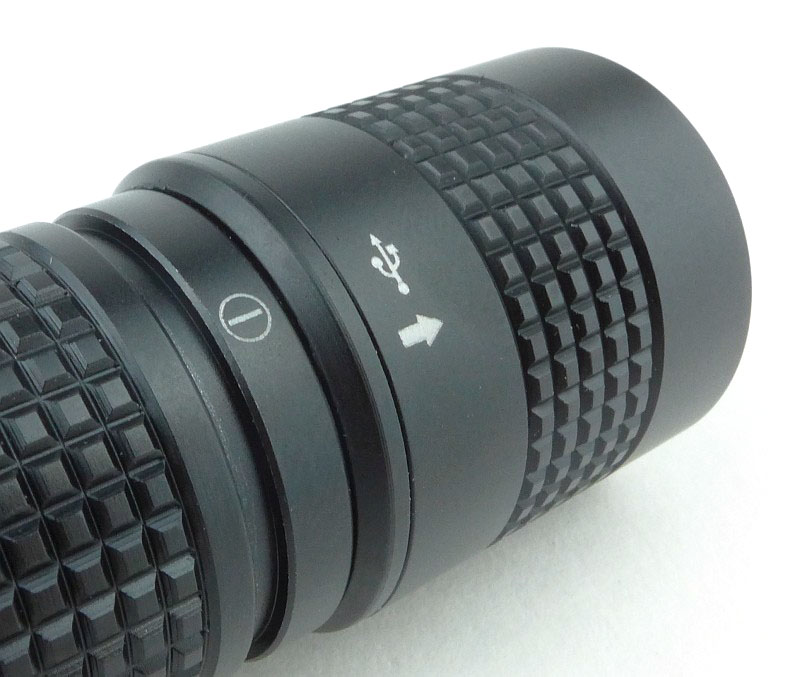
Following the arrow, simply pull the tail-cap sleeve up and turn it sideways to lock it open.
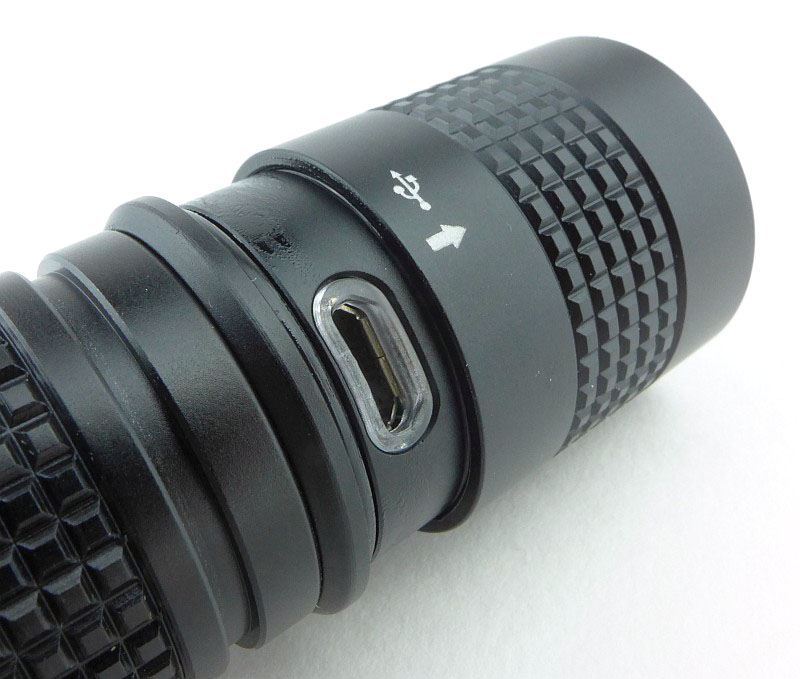
A micro-USB socket is used for the charging.
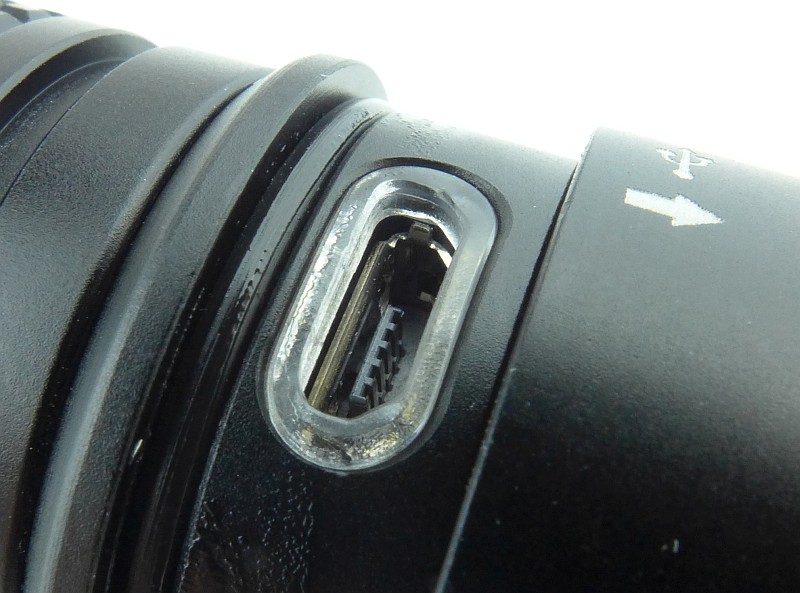
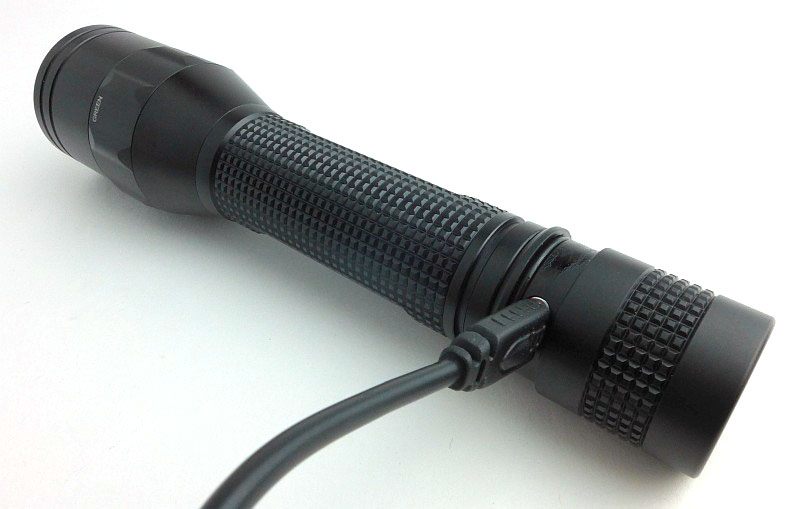
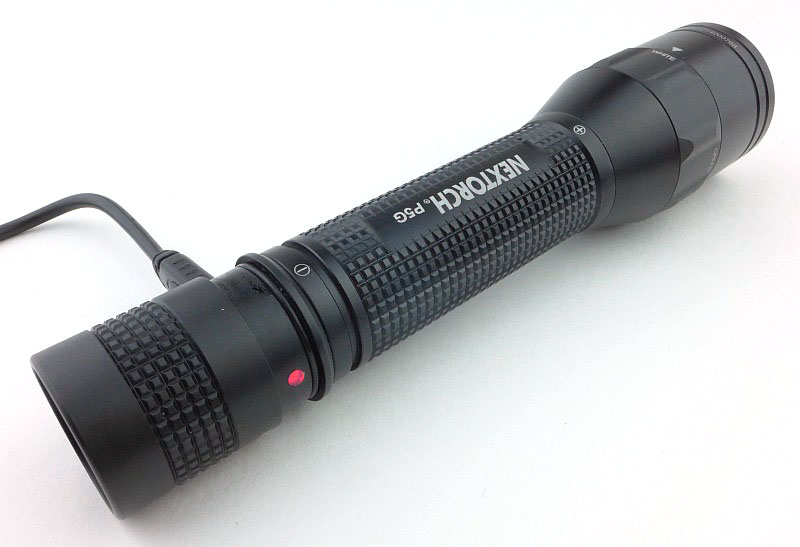
USB charging cable connected.
Opposite the USB socket is a charging indicator light. Red while charging, Green when fully charged.
Taking off the tailcap, the negative contact is a sprung button instead of an exposed spring.
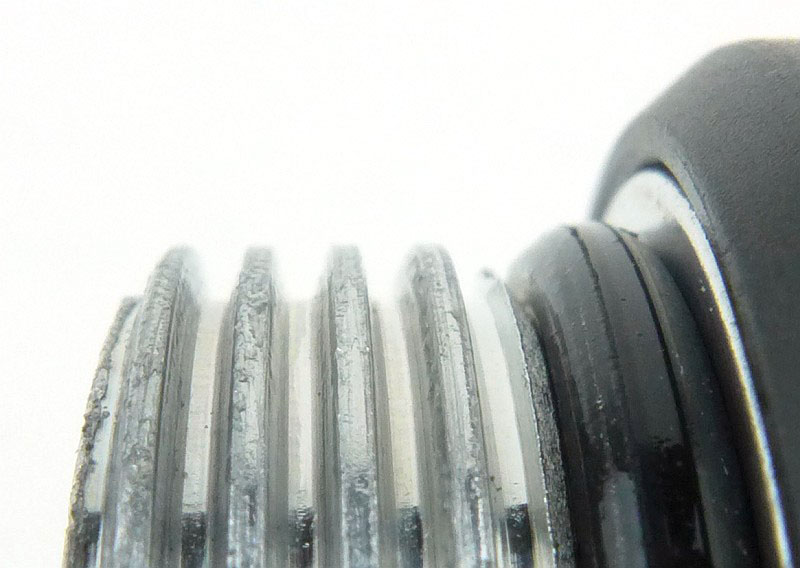
The threads are a standard trapezoidal thread and are bare aluminium.
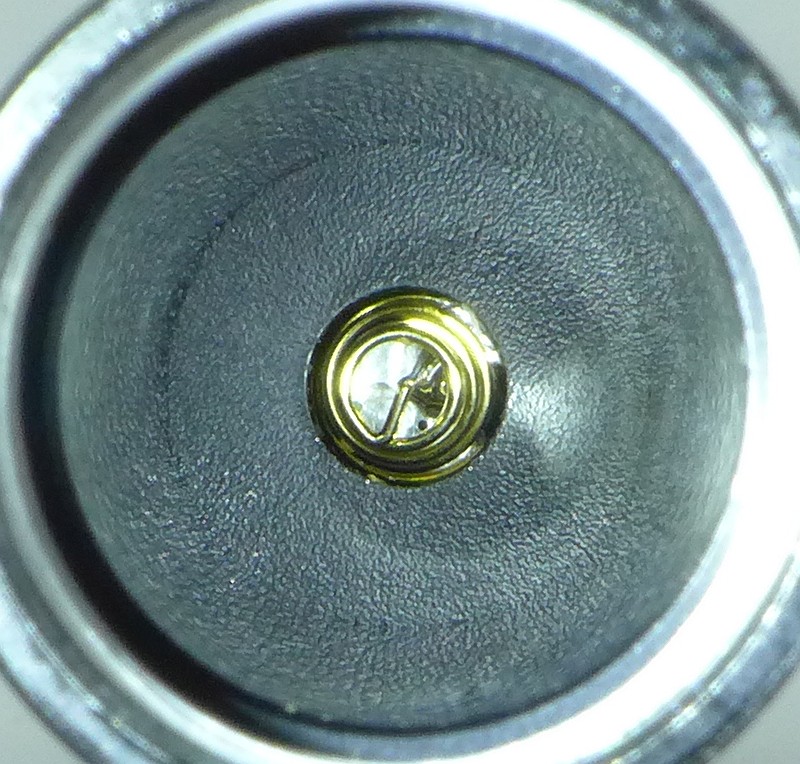
Peering into the battery tube, the positive terminal is a spring.
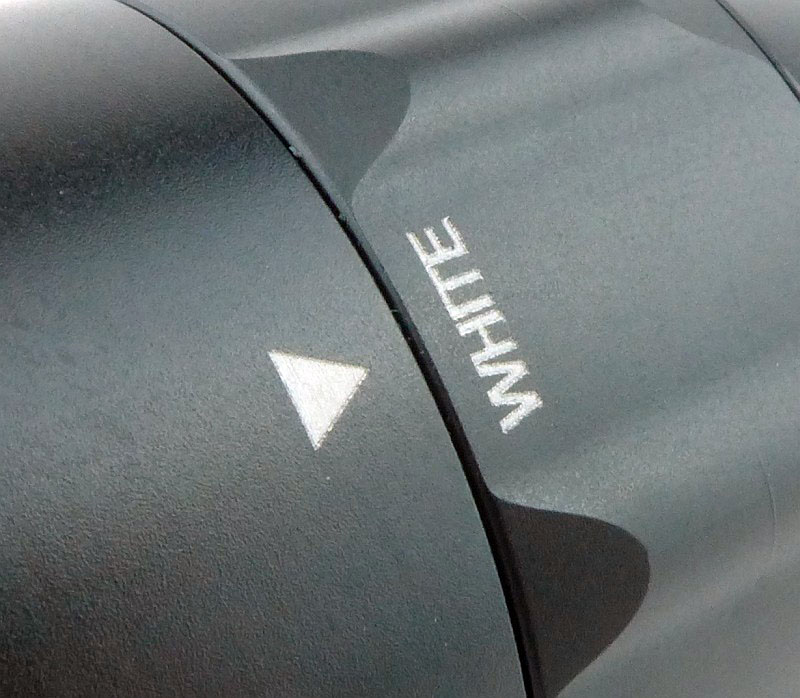
Looking closely at the head of the P5x, there is an indicator arrow. Here the White LED is selected.
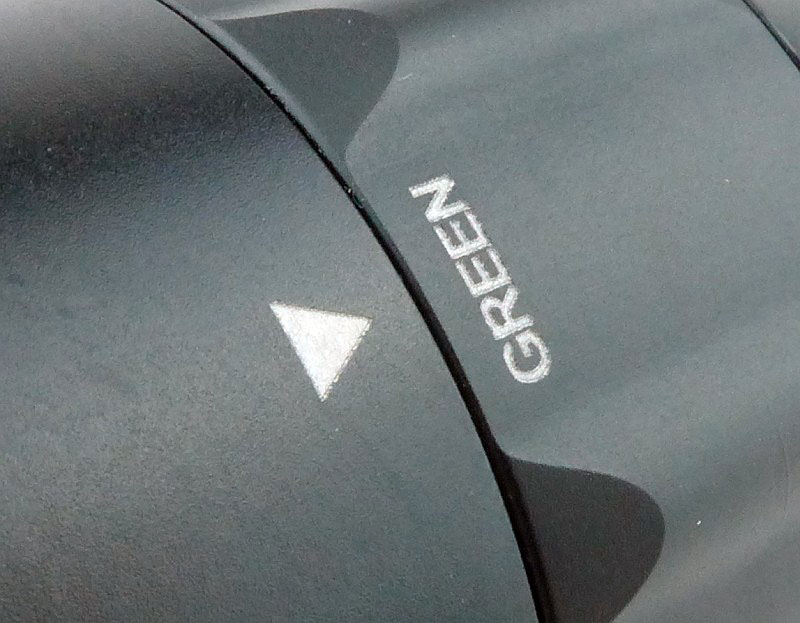
And now the Green LED is selected.
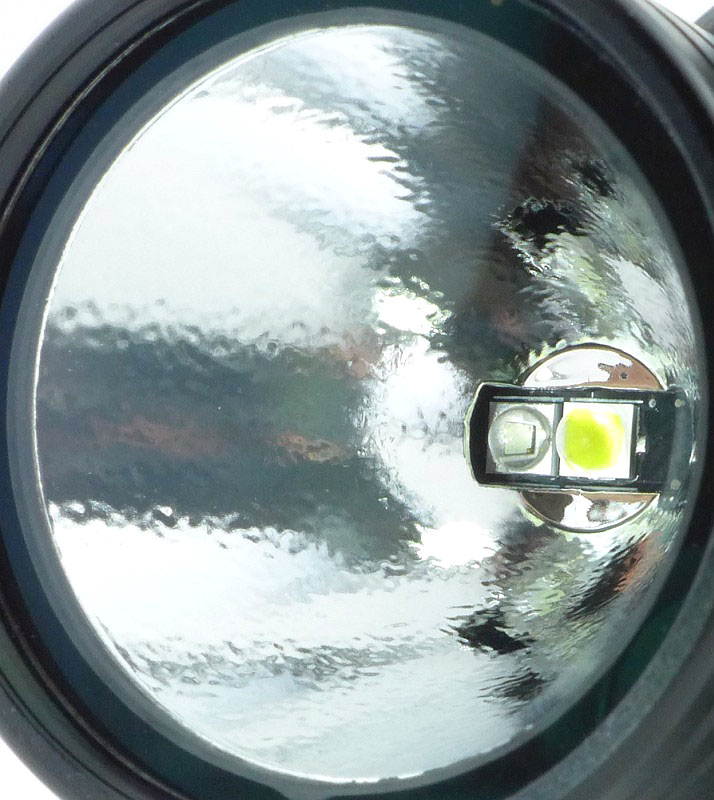
Our first close-up look at the textured reflector and dual LEDs. The white LED is in the central position.
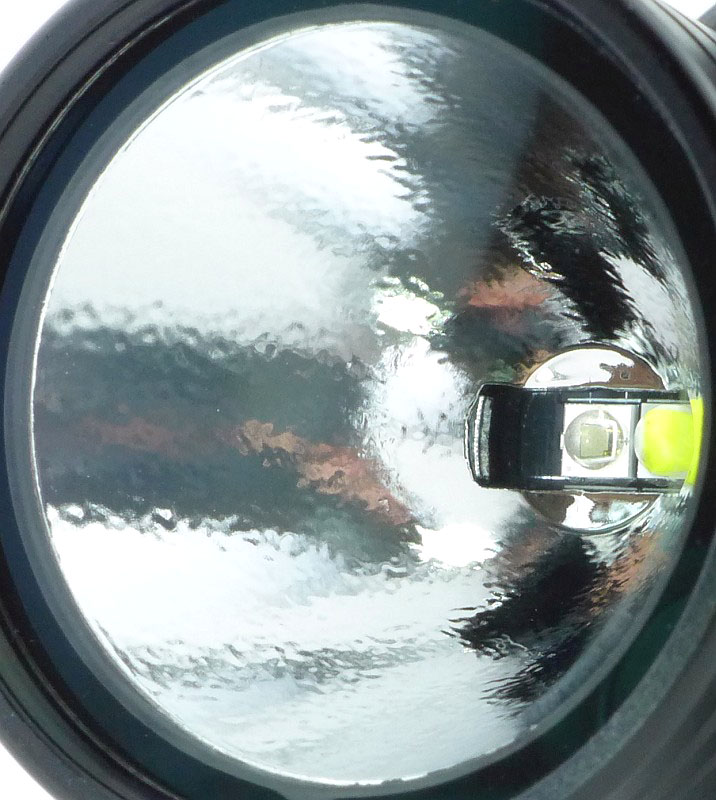
Now the green LED is centred and active.
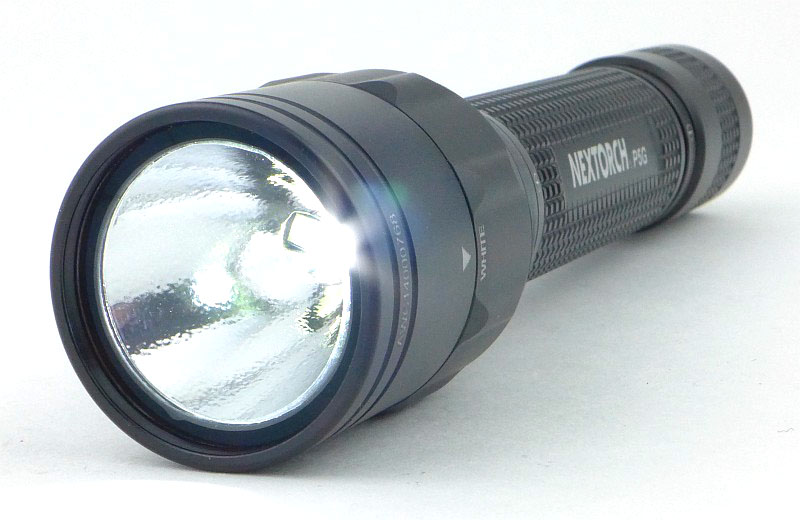
With the White LED on.
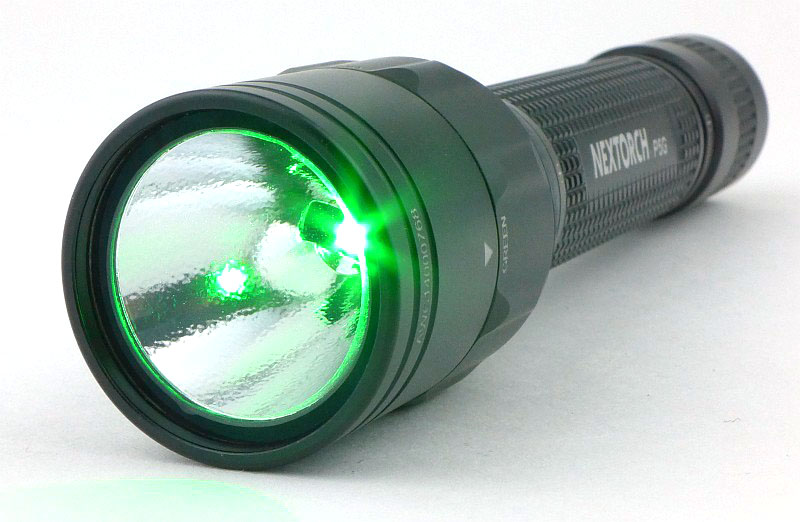
Then the Green LED on.
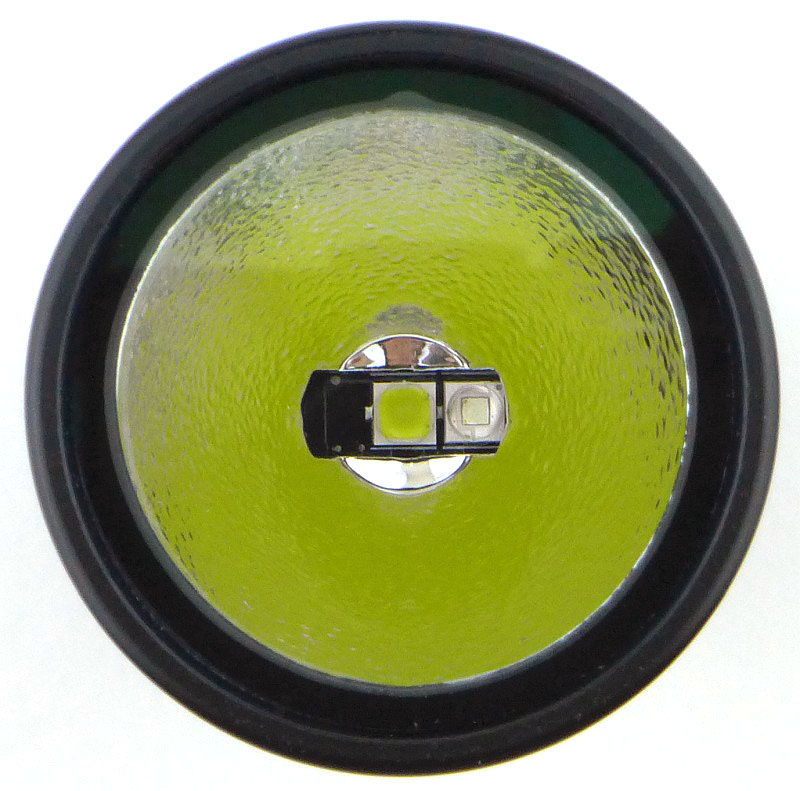
White LED centred in the reflector. (Note the yellow phosphor colour.)
Green LED centred in the reflector.
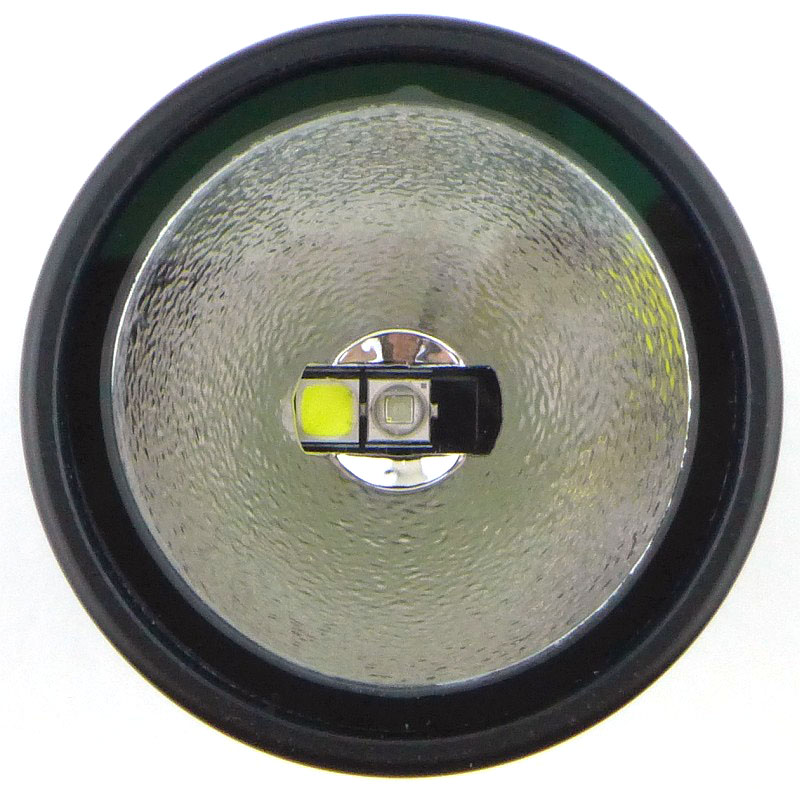
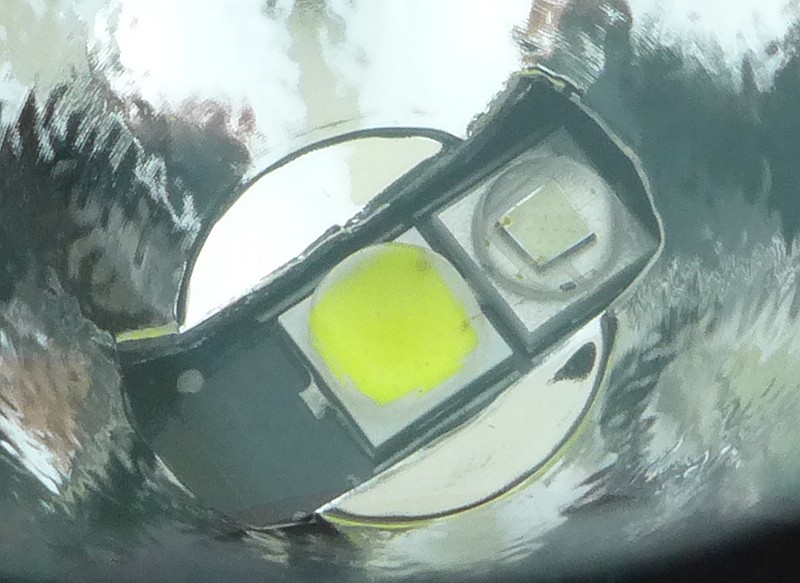
Going in even closer with the XP-L V5 LED in the central position and the green XP-E2 LED to the side.
The beam
Please be careful not to judge tint based on images you see on a computer screen. Unless properly calibrated, the screen itself will change the perceived tint.
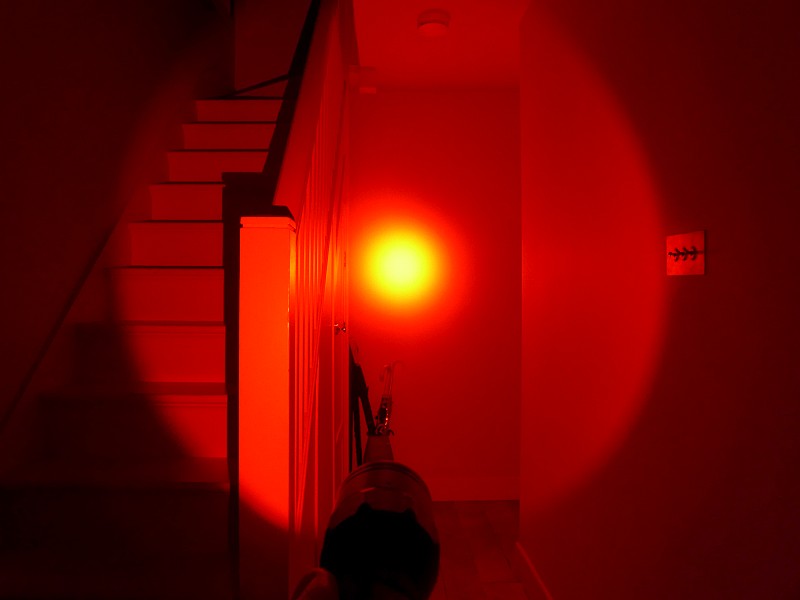
The indoor beamshot is intended to give an idea of the beam shape/quality rather than tint. All beamshots are taken using daylight white balance. The woodwork (stairs and skirting) are painted Farrow & Ball “Off-White”, and the walls are a light sandy colour called ‘String’ again by Farrow & Ball. I don’t actually have a ‘white wall’ in the house to use for this, and the wife won’t have one!
Each P5 light features a white LED (XP-L V5), so I’m only showing one of these as they all look the same. With this being a dual-LED light, the beam is very clean without the artifacts you might expect from a multi-LED light. The spill is a medium width and the hotspot transitioning smoothly into the even spill.
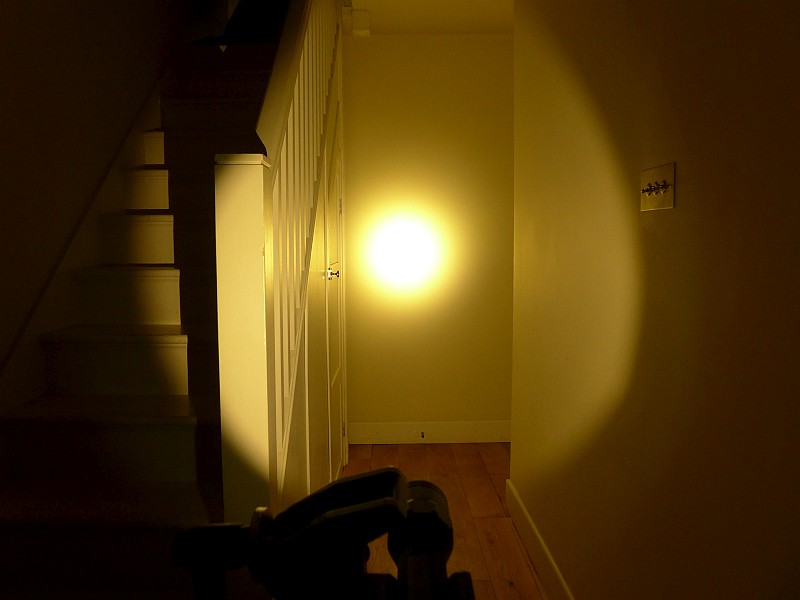
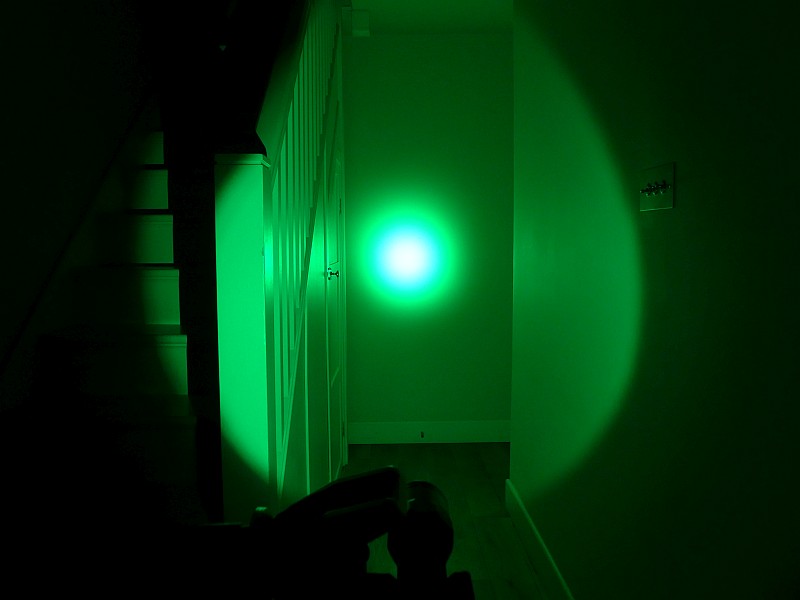
All of the beamshots shown here have the same exposure for all beam variations.
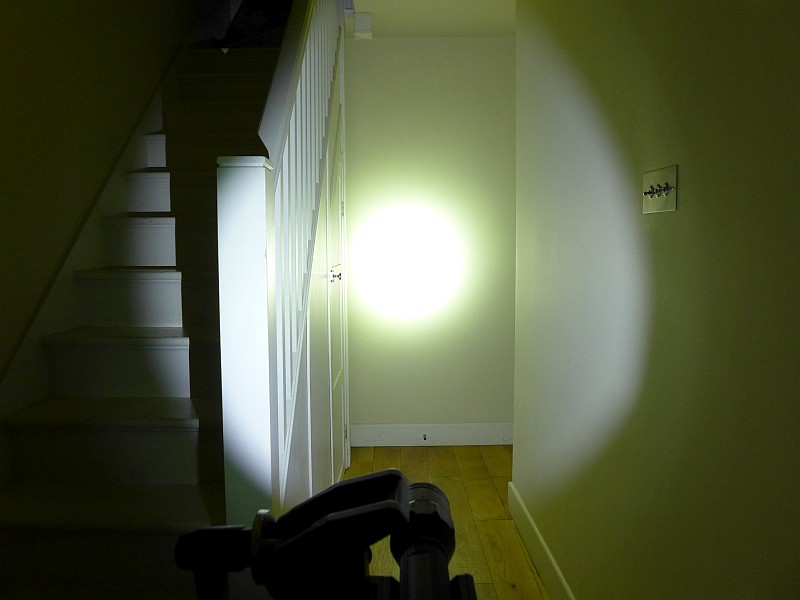
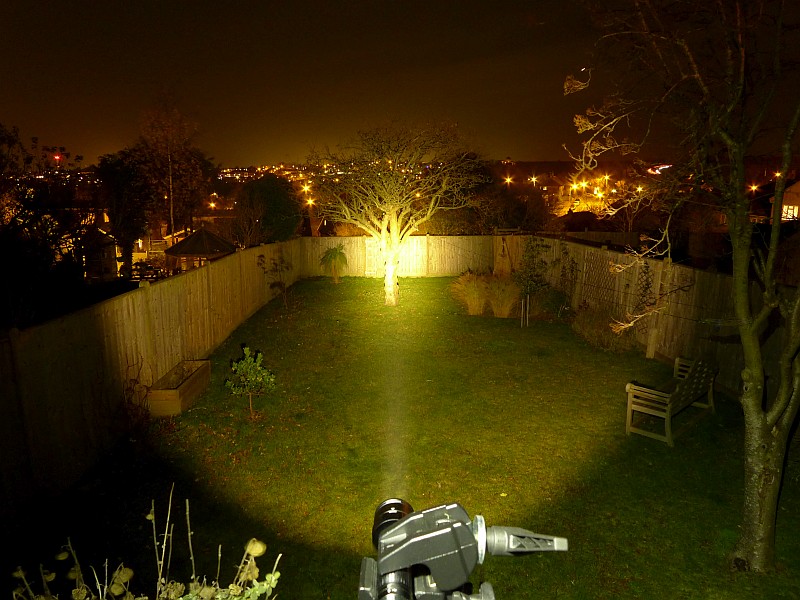
Now onto the interesting secondary-LED options. The Warm LED is quite warm (XP-E2 Warm), in fact it is reminiscent of a good old incan but without the curly filament artifacts. The camera is set to daylight for all beamshots to show the relative colour shift. As with the white beam, the Warm beam is clean and free of artifacts.
Similarly with the green (XP-E2 Red), a nice clean beam.
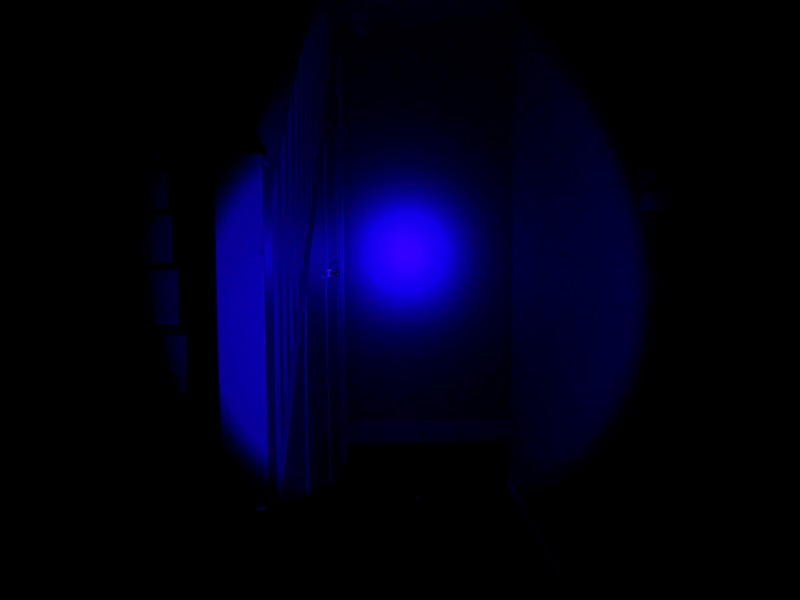
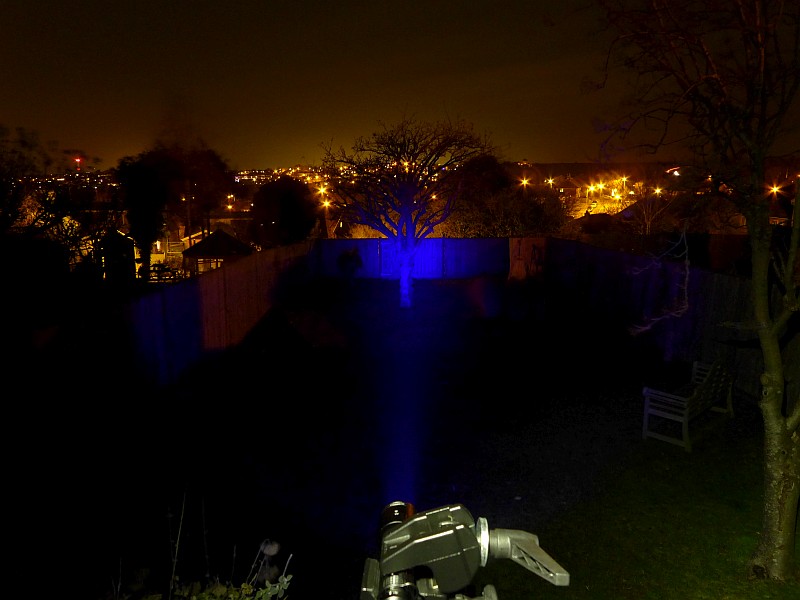
Being UV (1000mW UV), this beamshot is not a very good representation as there is no fluorescent material in the beam; it makes it look very dark.
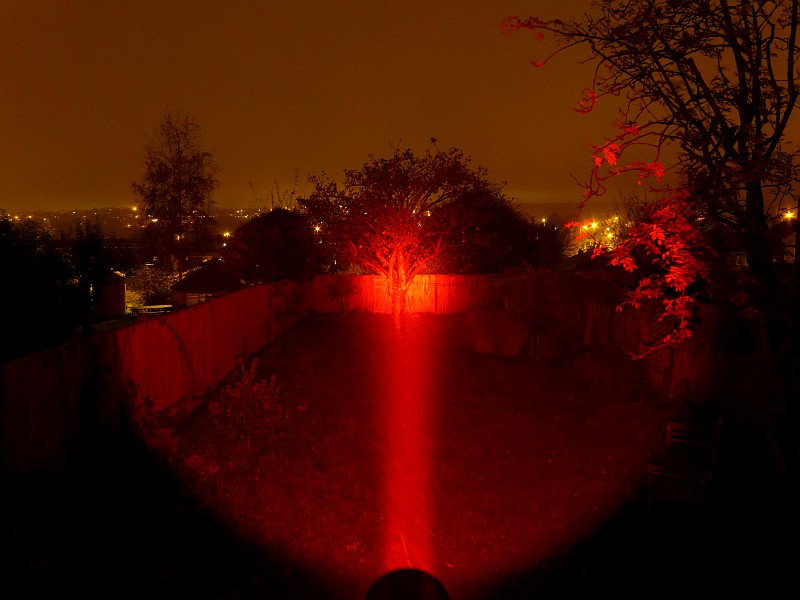
An lastly the Red LED (XP-E2 Red). The spill of this beam is slightly wider than the other colours.
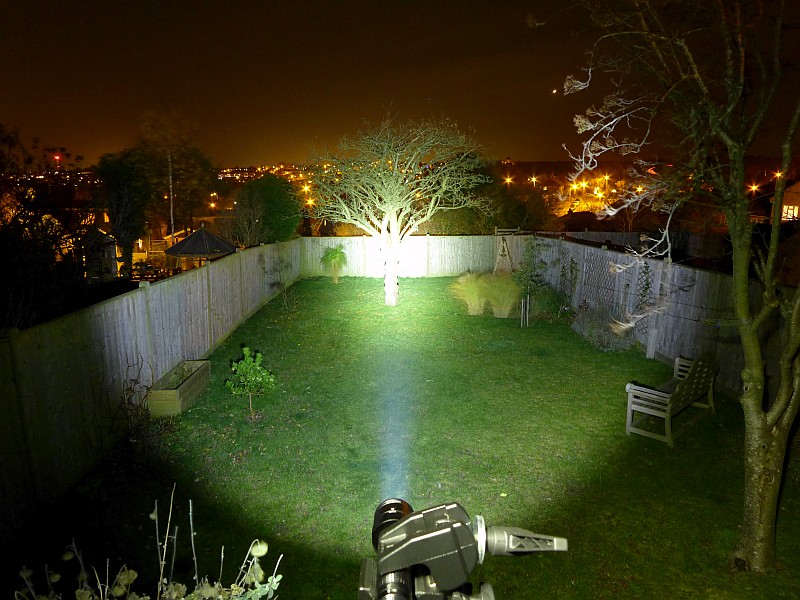
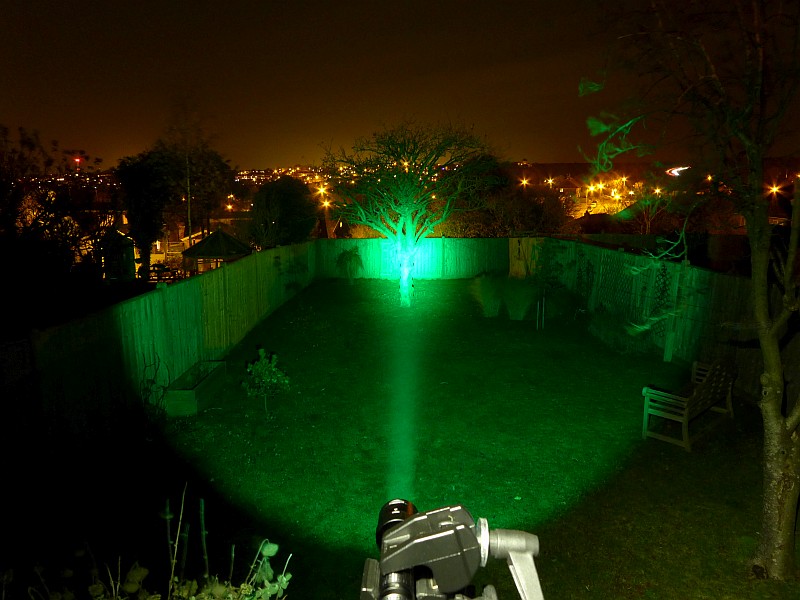
Moving outdoors now. Again all exposures are the same. Starting with white.
Onto Warm White.
Green.
Clearly UV is not ideal for lighting up your garden, but that is not why you use it. You can see that there is a good throw, despite the lack of fluorescent materials.
And lastly Red. In this case it was a different evening and there was a light rain which is why the beam is showing up more strongly.
Modes and User Interface:
All of the P5x models have the same simple set of modes and user interface.
Control is via the forward clicky tail-cap switch, and there are two constant modes, High and Low as well as Strobe and SOS. Of course with the Dual-LED, this is the same for each LED.
To Switch ON to High, from OFF, half-press or fully press the switch. Momentary action is always on High.
To access the Low mode, from ON with the switch clicked fully on, half-press the switch briefly to access Low. Low can only be accessed from High with the switch clicked ON.
To switch OFF, either release the switch, if only half-pressing it, or press it fully to click it off.
For Strobe, rapidly double-tap the switch from OFF. This must be half-presses, and once Strobe is activated, you can fully click the switch to lock it on.
For SOS, first the P5x must be ON with the switch fully clicked. It can be in High or Low. Then half-press the switch for 3s and SOS will start.
LED swapping is via the control ring at the base of the head. Rotate this to select the LED. You can do this at any time, whatever mode is selected.
Batteries and output:
The P5x runs on a single 18650, which it can recharge, or two primary CR123s.
To measure actual output, I built an integrating sphere. See here for more detail. The sensor registers visible light only (so Infra-Red and Ultra-Violet will not be measured).
Please note, all quoted lumen figures are from a DIY integrating sphere, and according to ANSI standards. Although every effort is made to give as accurate a result as possible, they should be taken as an estimate only. The results can be used to compare outputs in this review and others I have published.
| ___________________________________________ | ________________________________ | ________________________________ |
| Nextorch P5x using supplied cell | I.S. measured ANSI output Lumens | PWM frequency or Strobe frequency (Hz) |
| ___________________________________________ | ________________________________ | ________________________________ |
| P5W White High | 722 | 0 |
| P5W White Low | 51 | 0 |
| P5W Warm High | 365 | 0 |
| P5W Warm Low | 41 | 0 |
| P5G White High | 710 | 0 |
| P5G White Low | 50 | 0 |
| P5G Green High | 163 | 0 |
| P5G Green Low | 31 | 0 |
| P5UV White High | 695 | 0 |
| P5UV White Low | 46 | 0 |
| P5UV UV High | 39 | 0 |
| P5UV UV Low | 5 | 0 |
| P5R White High | 707 | 0 |
| P5R White Low | 41 | 0 |
| P5R Red High | 257 | 0 |
| P5R Red Low | 38 | 0 |
* Beacon and Strobe output measurements are only estimates as the brief flashes make it difficult to capture the actual output value.
Peak Beam intensity of the measured 16400 lx @1m giving a beam range of 256 m.
There is parasitic drain at 11uA (27 years to drain the cells).
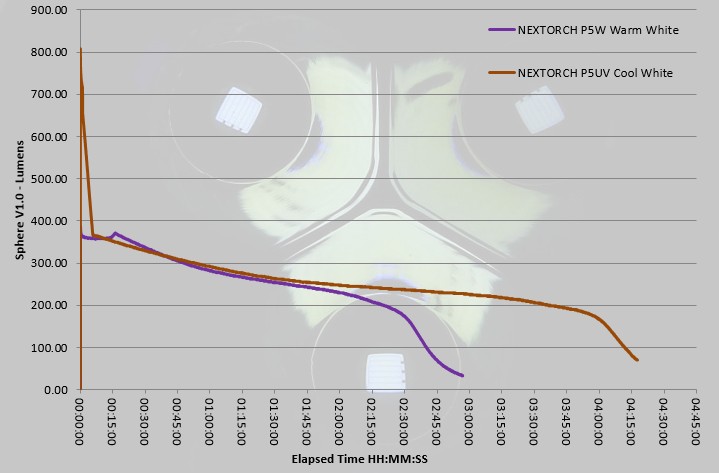
In this first runtime graph there is also a trace from the green output of the P5G. Compared to the white output, this is longer and lower so is included here to give an indication of the reduced efficiency of the coloured LED.
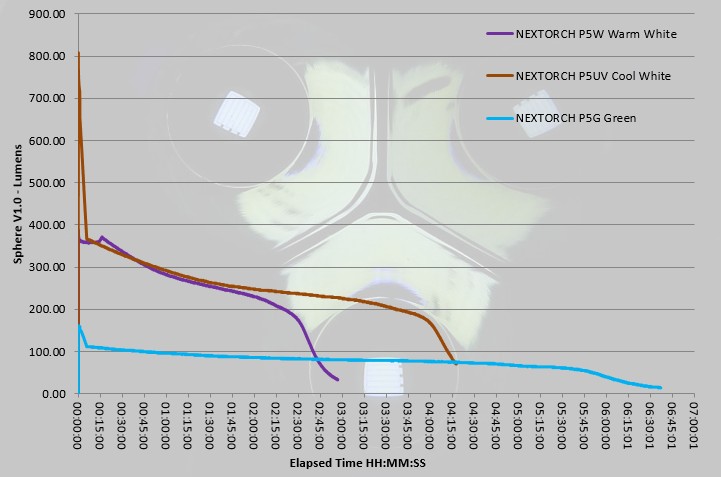
In the second graph the green output has been removed to better show the white outputs. Instead look at the White output from the P5UV and the Warm output from the P5W. Again the cool white LED is more efficient and provides a longer runtime. The Warm White keeps up with the Cool white up to about 2 hours, then drops off with the Cool white running for another couple of hours.
Troubleshooting
This section is included to mention any minor niggles I come across during testing, in case the information helps anyone else.
No issues were encountered during testing.
As per the description of this section, this information is provided in case anyone else finds a similar ‘issue’ that might be fixed in the same way.
The P5x series in use
I first saw the Nextorch Dual-Light mechanism at IWA 2016 and immediately loved the idea. I asked them if they could add a third LED – yet to be seen – and the reply was ‘maybe’; we can live in hope.
Having used many multi-LED lights with different colours in them, though useful, the beams of the secondary LEDs were always badly compromised, and even the main beam was compromised. The Dual-Light is a revelation with the main LED effectively being swapped with a twist of the selector ring – you don’t even need to turn it off.
A trio of dual-lights getting ready to go.
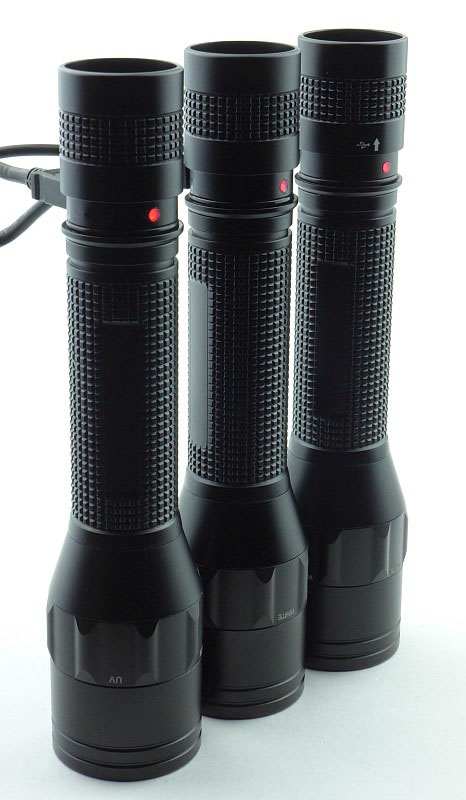
We have had a detailed look over the P5x lights already, but to really show the mechanism, this is a short video of the way it works.
Although it has the LED swapping function, Nextorch have made the P5x a simple and functional light without any external frills. The LED control ring has slightly raised grips which provide a degree of anti-roll, at least enough for relatively level surfaces. There may not be a ‘tactical grip ring’ but the slightly wider tail-cap is enough to let your grip the light securely, and the grip pattern works well (it is not knurling, as the pattern is cut, not rolled).
Fitting the lanyard ring also gives a little more grip (plus you can have a lanyard), but in doing so, I managed to scratch the anodising both fitting and removing the ring, so if you are going to use it, fit it once and leave it on.
Of course it is very convenient to have built-in USB charging, especially if you travel with the light. What would have been useful is to have some indication of the state of charge. There is none, so it is difficult to know if you need a charge or not. Unfortunately this leads to regular topping-up rather than a more planned approach to charging.
Though limited to two output levels (and I generally prefer a few more options including ultra-low) those levels are well chosen for most uses. The lower level at around 40lm is great for indoor use and is perfectly comfortable to use at close range, and the 700lm High level is a good powerful output which a single 18650 can power without being over-burdened.
In the case of Nextorch’s Dual-Light P5x models, the ‘secondary’ LED is actually not secondary at all, instead you have two ‘primary’ LEDs both of which have full and uncompromised use of the reflector, making them as good as dedicated lights using the same LEDs. Your only difficult choice now is which combination of LEDs to go for.
Check out the Nextorch P5x lights on the Nextorch Website here.
Review Summary
| _______________________________________________ | _______________________________________________ |
| Things I like | What doesn’t work so well for me |
| _______________________________________________ | _______________________________________________ |
| Two Primary LEDs with Dual-Light mechanism to swap between them. | No charge level indication. |
| Uncompromised beam for both LEDs. | Limited choice of levels. |
| Built-in USB charging. | No direct access to Low level. |
| Simple interface. | Lanyard ring causes scratches when fitted. |
| Full kit supplied – Light, battery, cable. | |
| You can swap the LEDs while the P5x is ON. |
Discussing the Review:
The ideal place to discuss this reviews is on a forum. If you started reading the shorter forum version of the review, but followed the link this full exclusive review, please return to that forum to discuss the review there.
If you read the review entirely on Tactical Reviews, please consider one of the following to join in any discussion.
CandlePowerForums – Flashlight Reviews Section (Largest and Friendliest Flashlight Community Forum)
EdgeMatters – Sponsored Reviews (UK based Forum for Knife Makers and Collectors)

