In this detailed review of the Extrema Ratio Numen, Tactical Reviews presents a detailed look at Extrema Ratio’s latest super-versatile survival knife. Join me in this Extrema Ratio Numen Review for all the details.
Extrema Ration named this survival knife after the ancient Roman concept of numen, an invisible force that guides and protects in crucial times. It is not an anthropomorphic god with a definite personality, but a discrete power that exerts its influence in every situation.
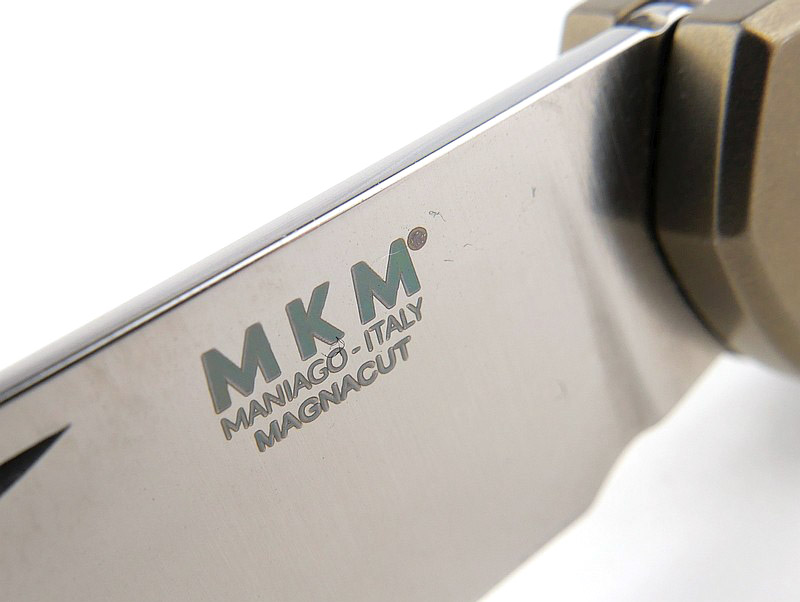
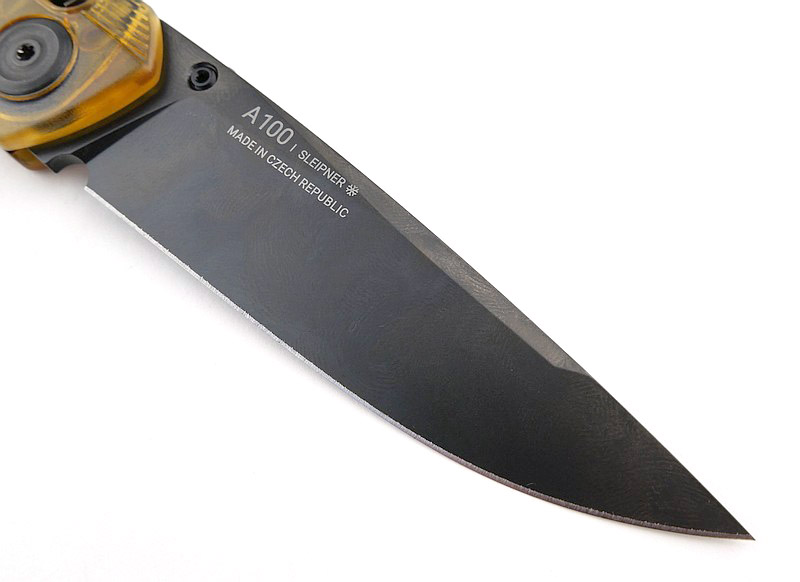
The version featured in this review is Numen Satin – made of Böhler N690 (58 HRC) steel for reliability and corrosion resistance. Also available in an S600 steel version (64 HRC) that has greater wear resistance and toughness.
Designed in collaboration with Daniele Dal Canto, AIGS Guide (Italian Survival Guide Association), Numen is a sturdy, versatile and highly functional knife, designed to be a silent but powerful companion, made to deal with the toughest challenges with a full tang construction, making Numen ideal for cutting down, pruning, batoning, chopping and woodworking.
The design of the blade makes it perfect for heavy-duty work, but the versatile handle also allows for more precise cuts.
Could Numen be your ideal companion and loyal ally for all your adventures? Join me in this Extrema Ratio Numen Review to find out.
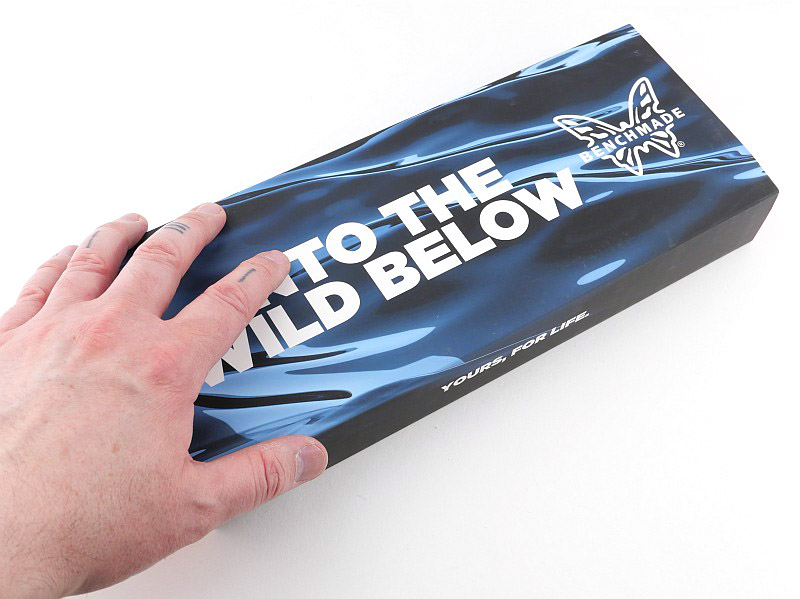
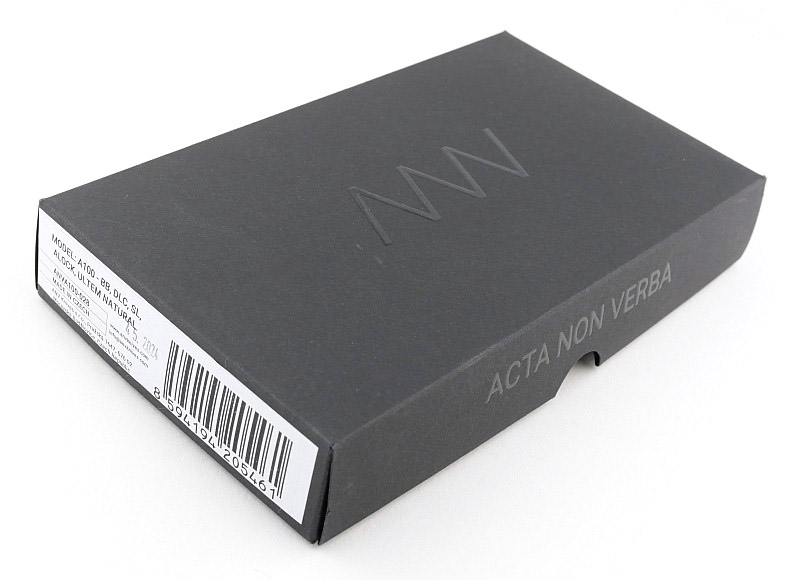
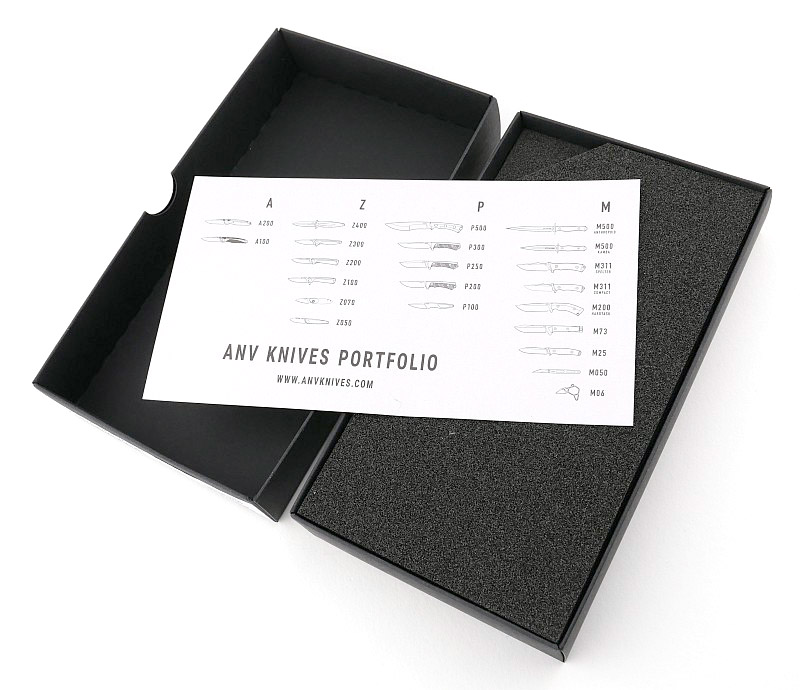
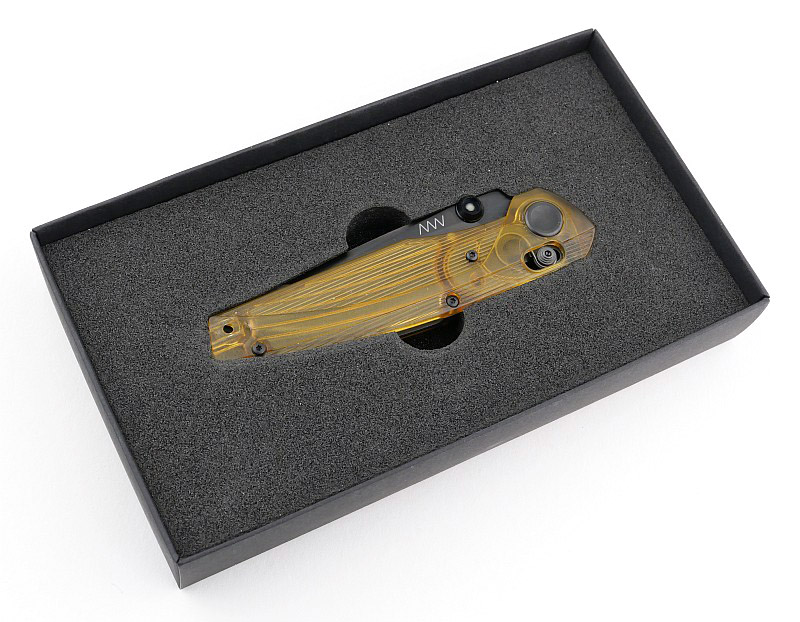
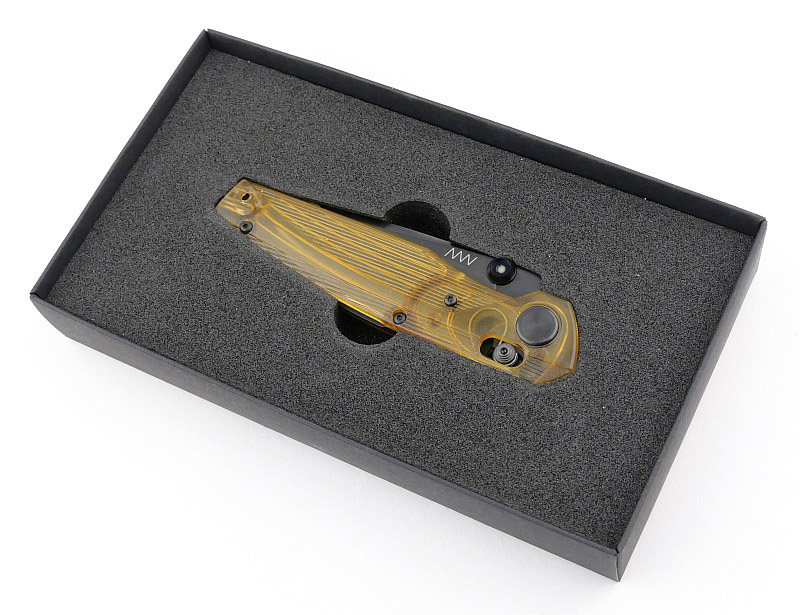
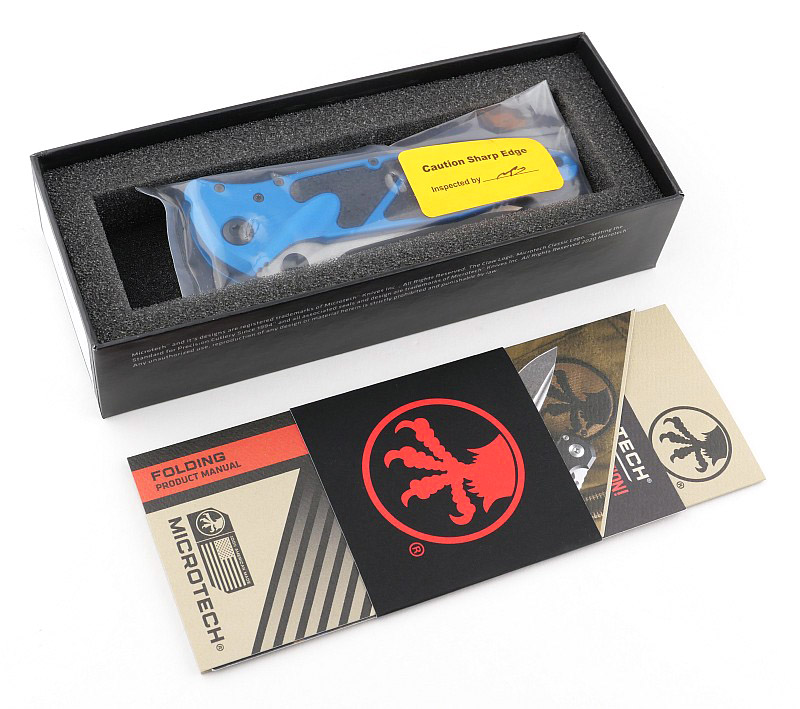
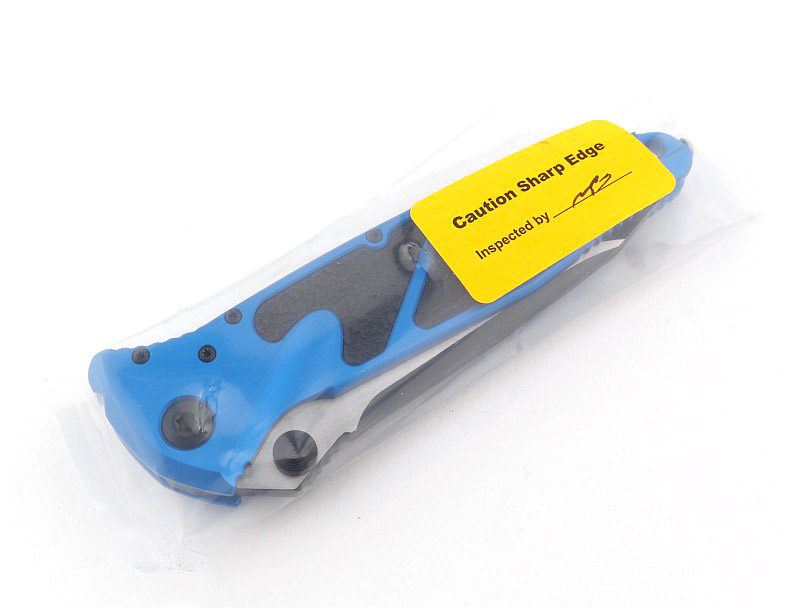
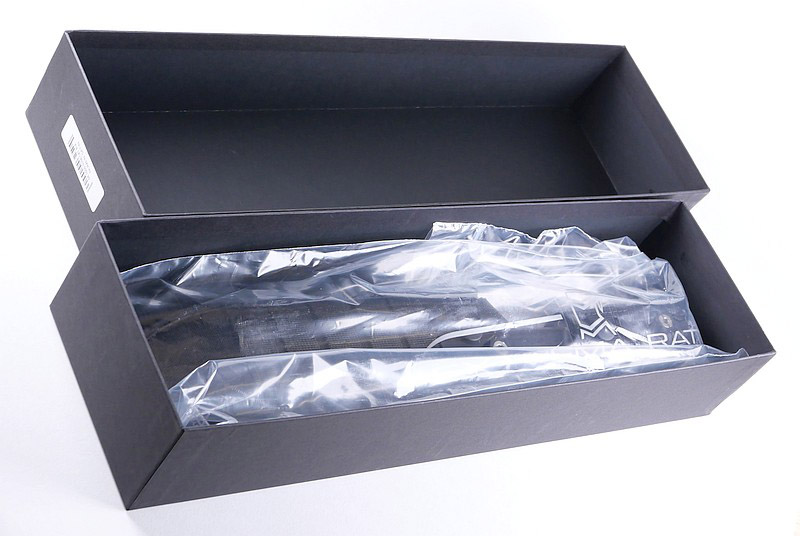
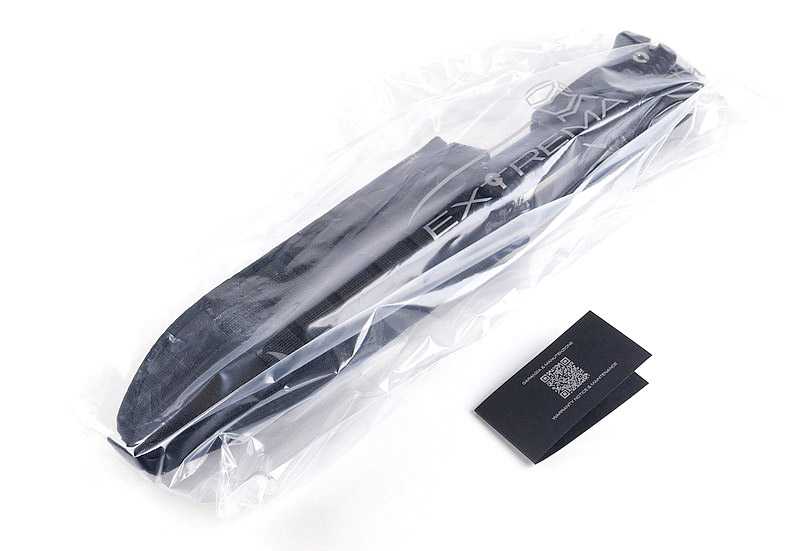
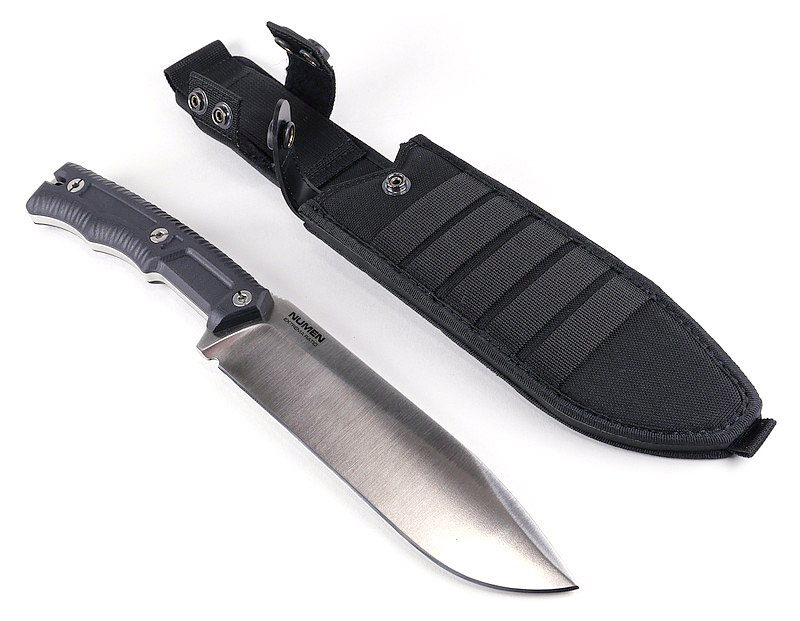
What’s in the box?:
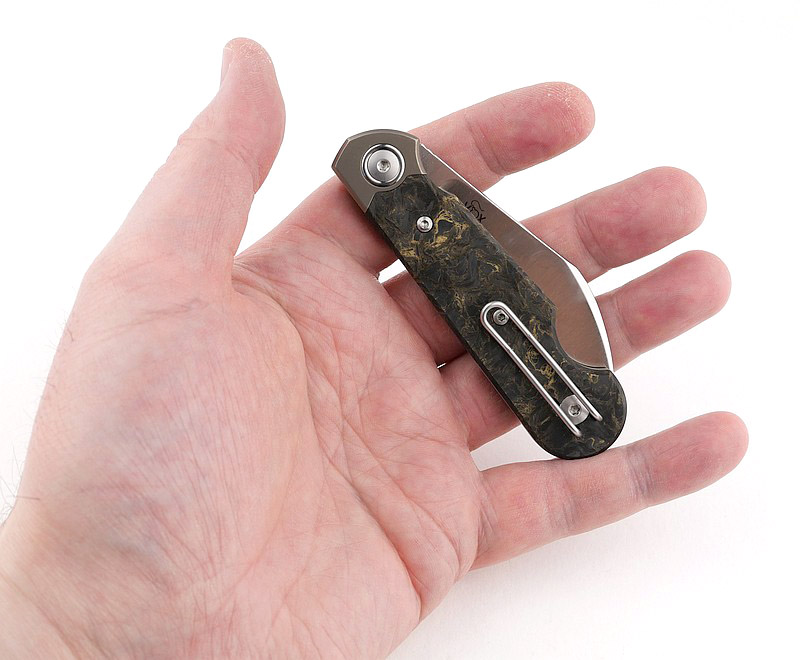
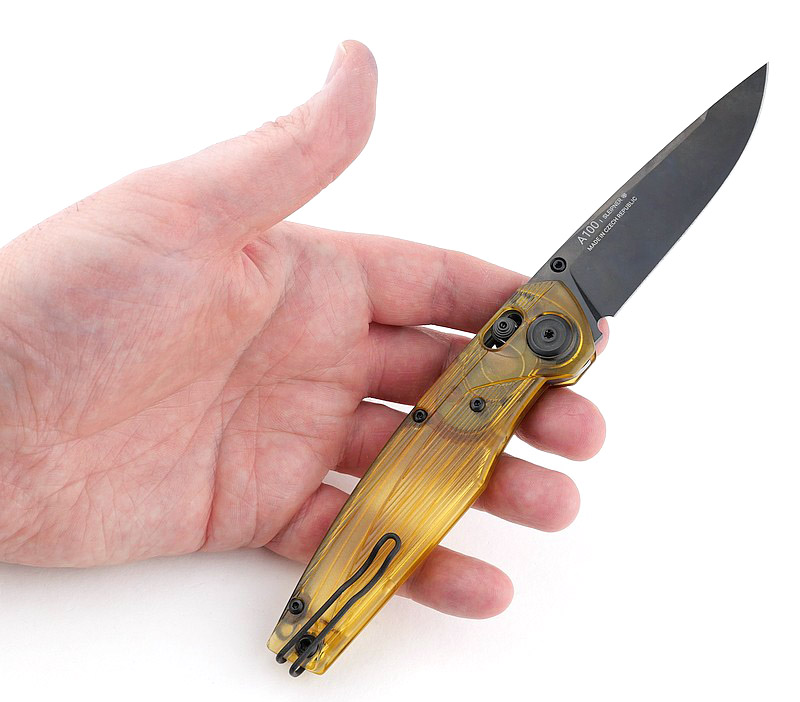
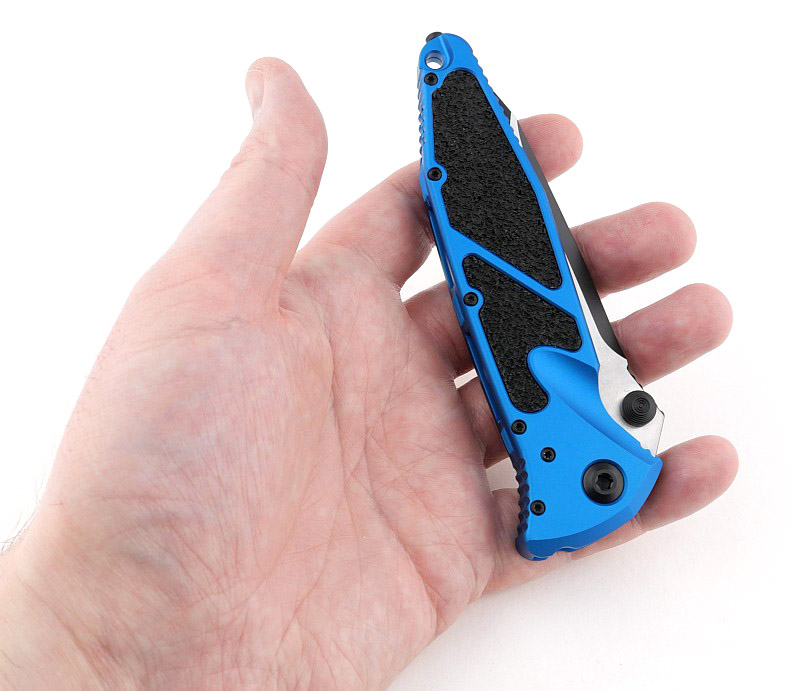
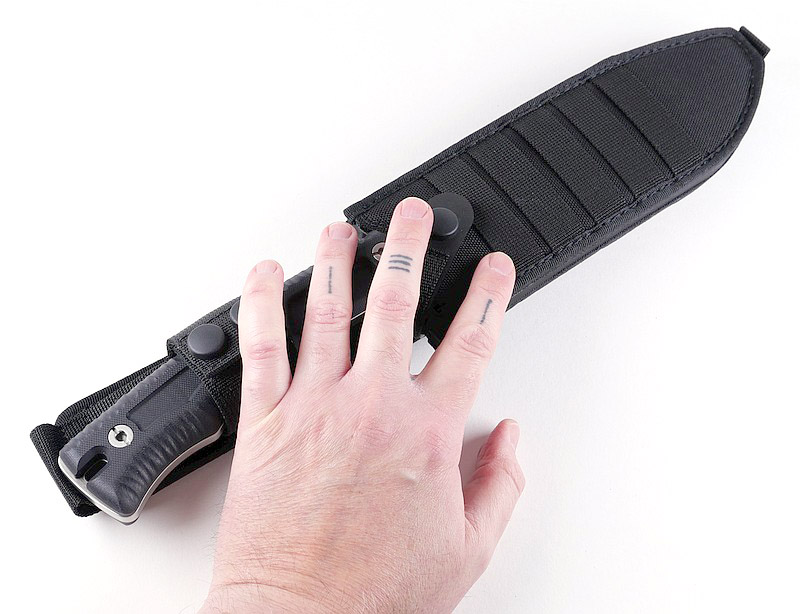
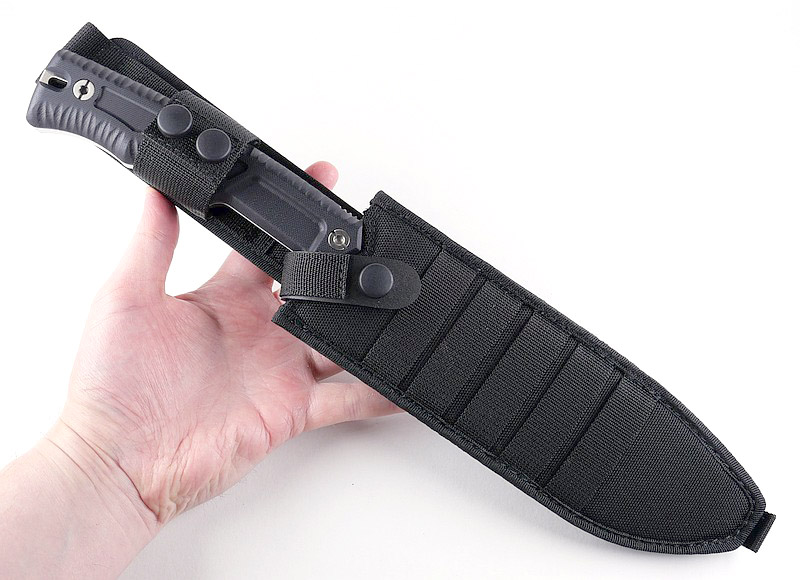
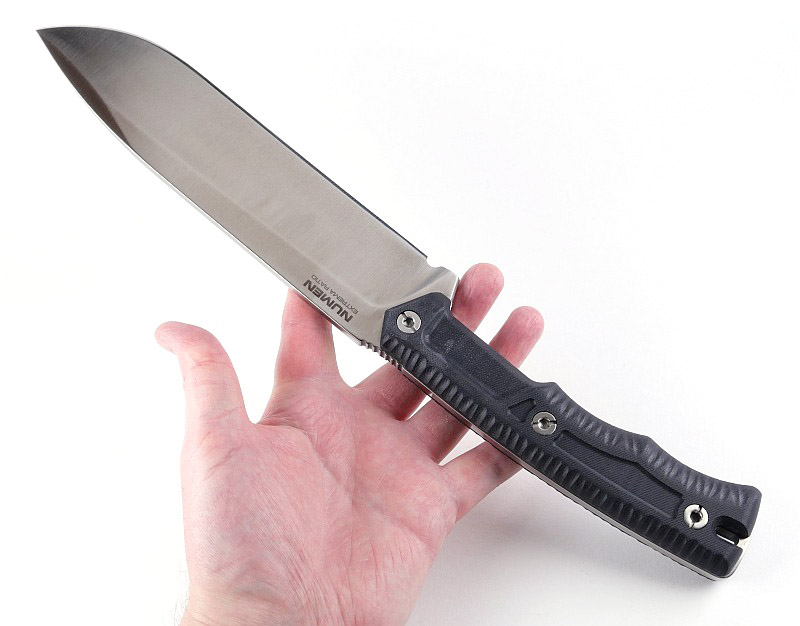
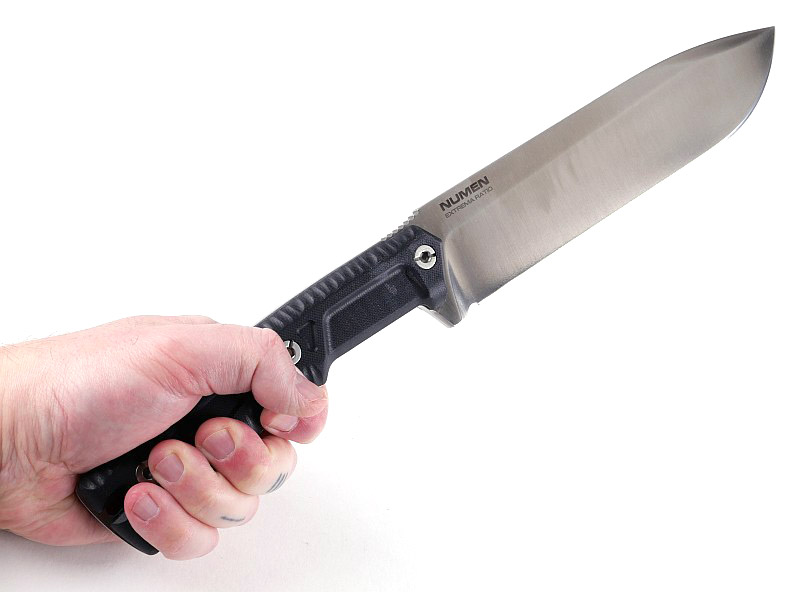
Or, “What’s in the BIG box?” as this is a substantial knife (and I may be repeating that comment a few times). Simply put it is the sheathed knife in a plastic bag along with the quality control card. Then, for scale, I’ve put my XL glove-size hand on top, which doesn’t quite do justice to the size.
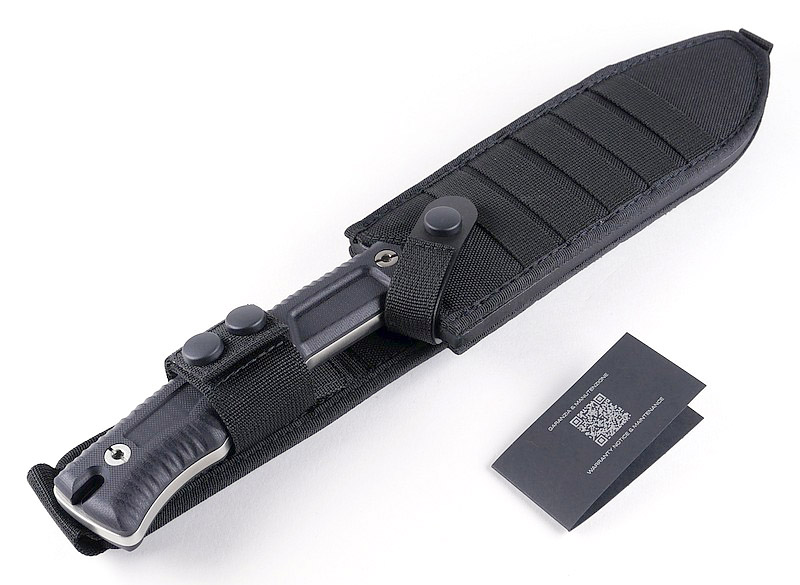
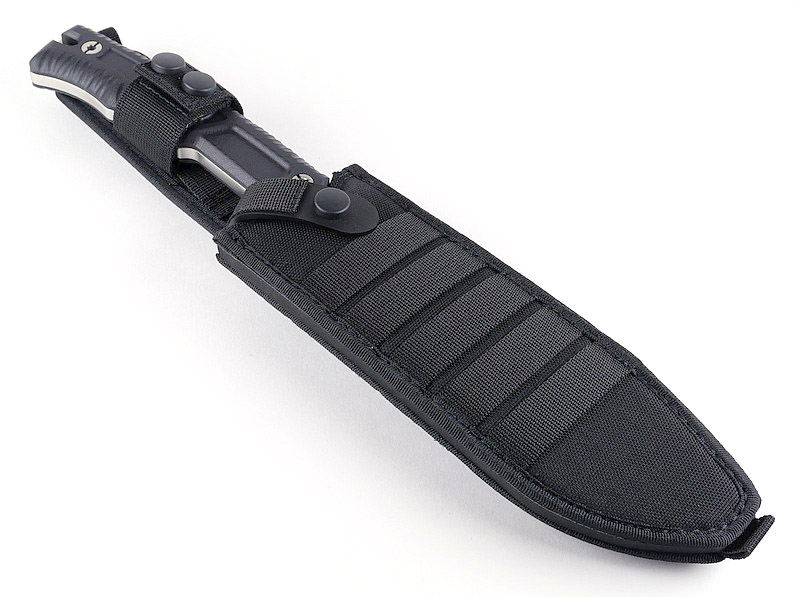
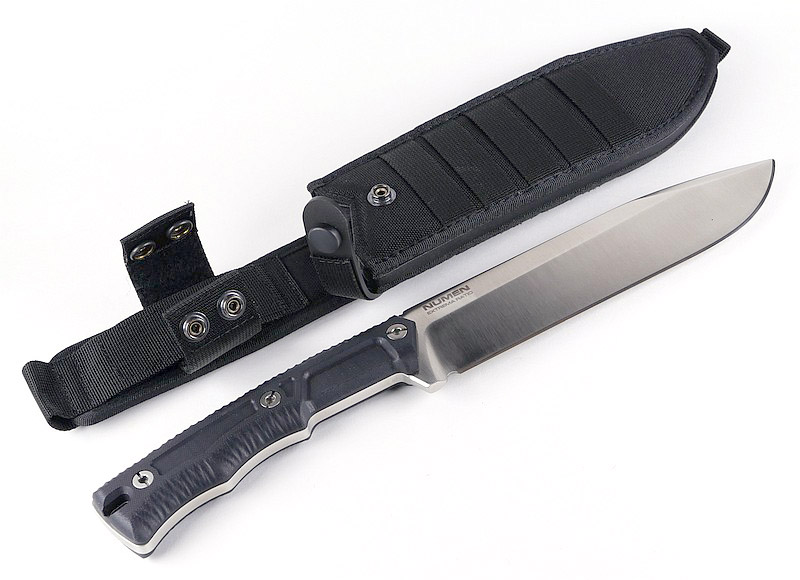
A good look round the Numen’s Sheath – Things to look out for here are:
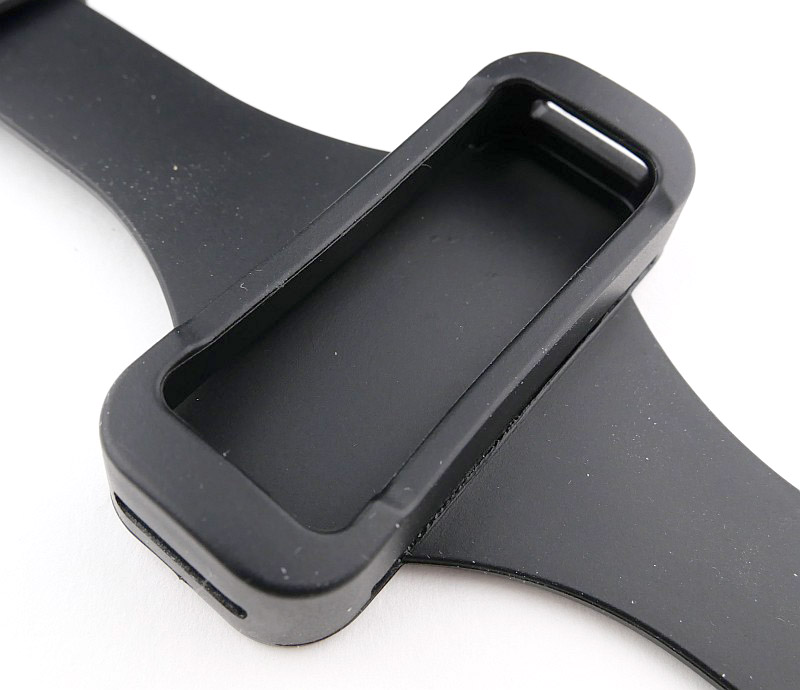
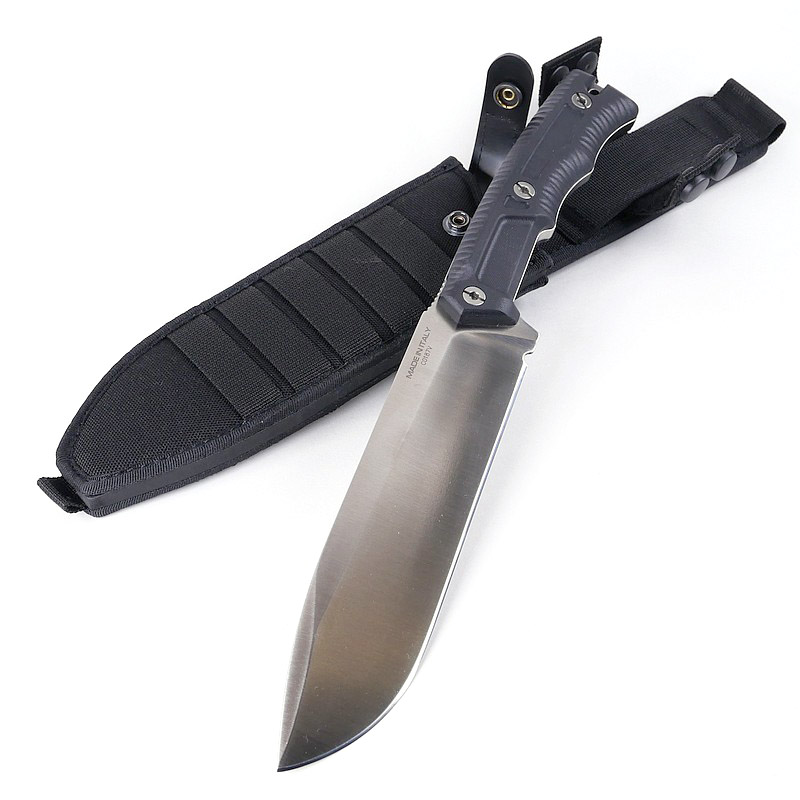
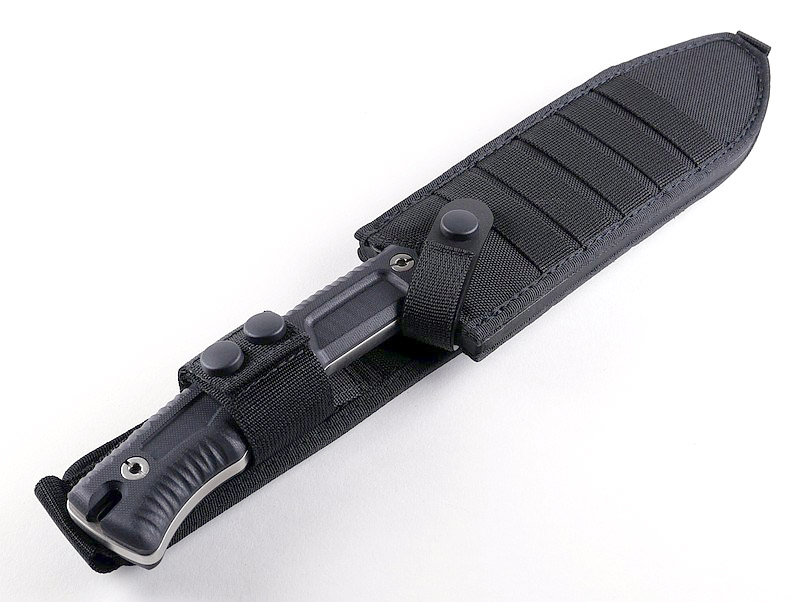
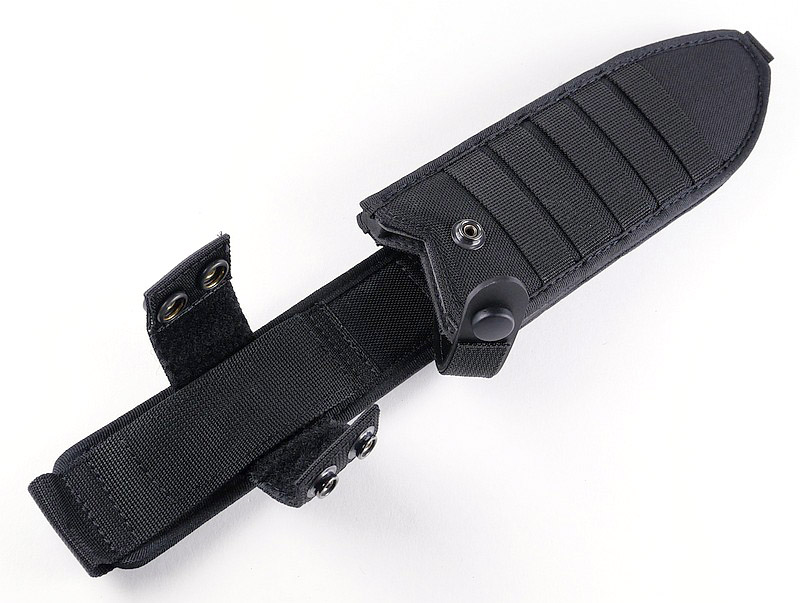
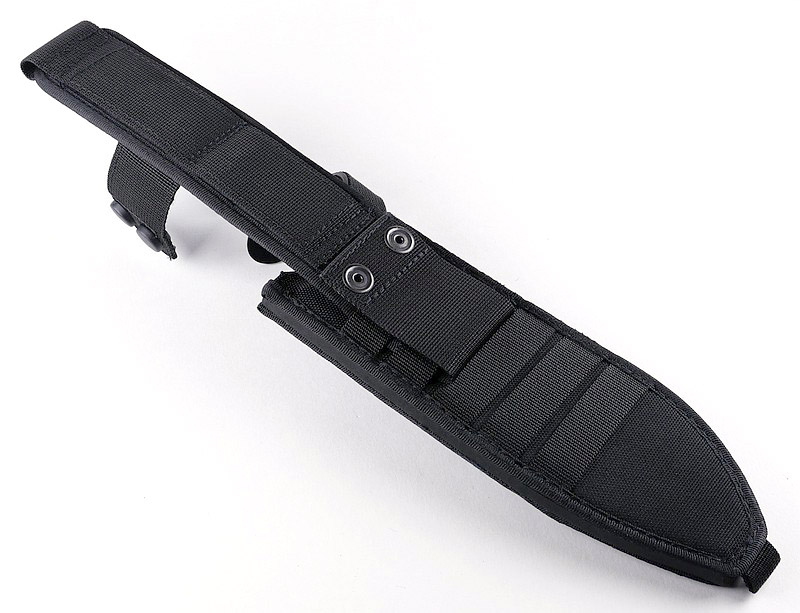
Extrema Ratio always give you a super-functional, tough and reliable sheath to carry the knife, and the Numen has exactly that. Lots of thought has gone into this ambidextrous sheath to make sure it stands up to heavy use alongside the Numen. This gallery has had to be quite large to show all of the features.
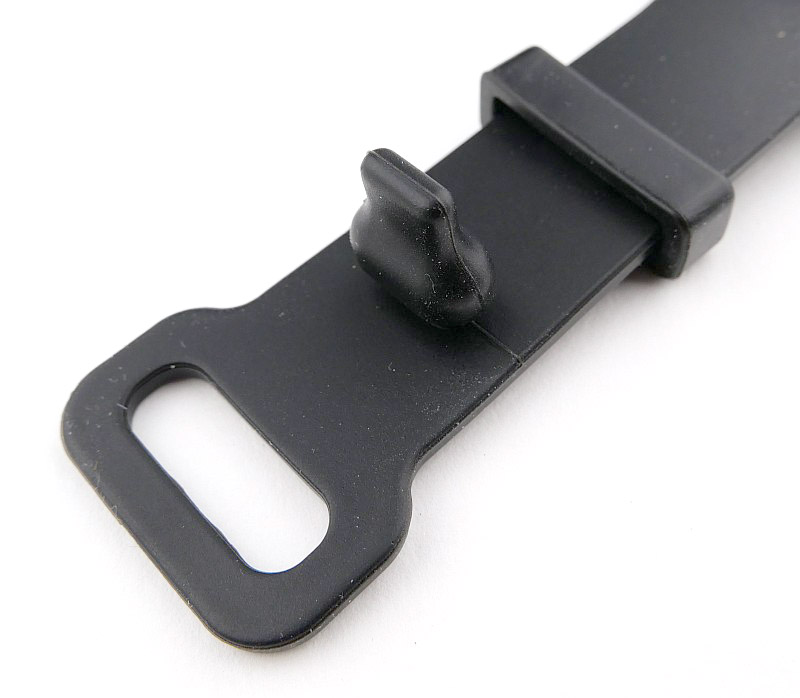
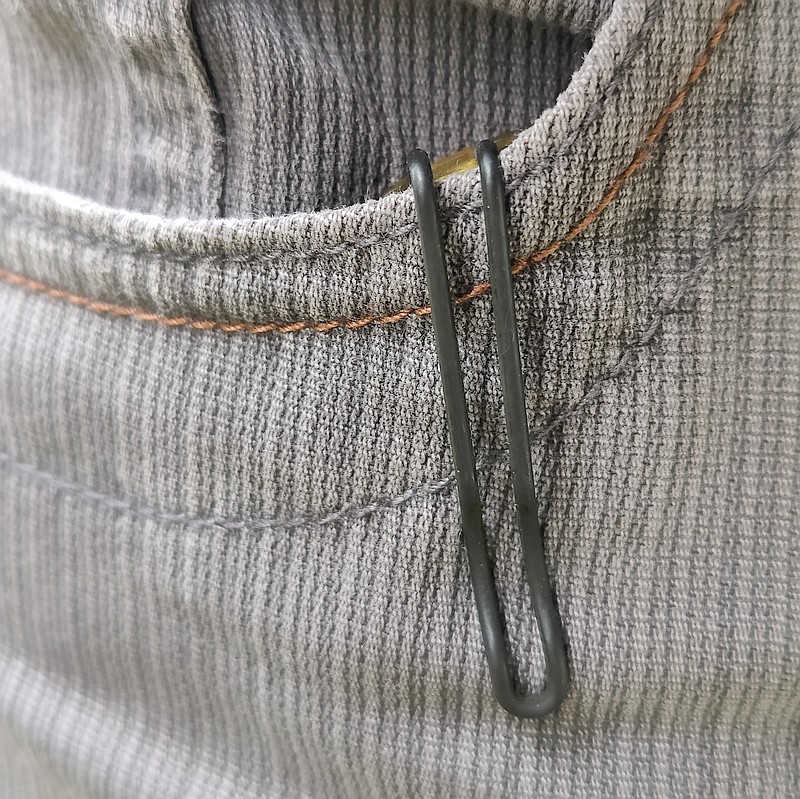
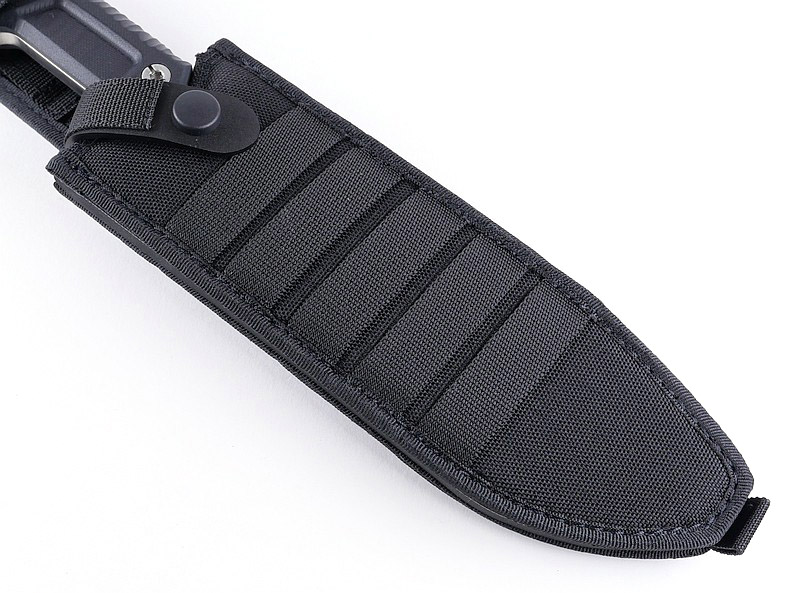
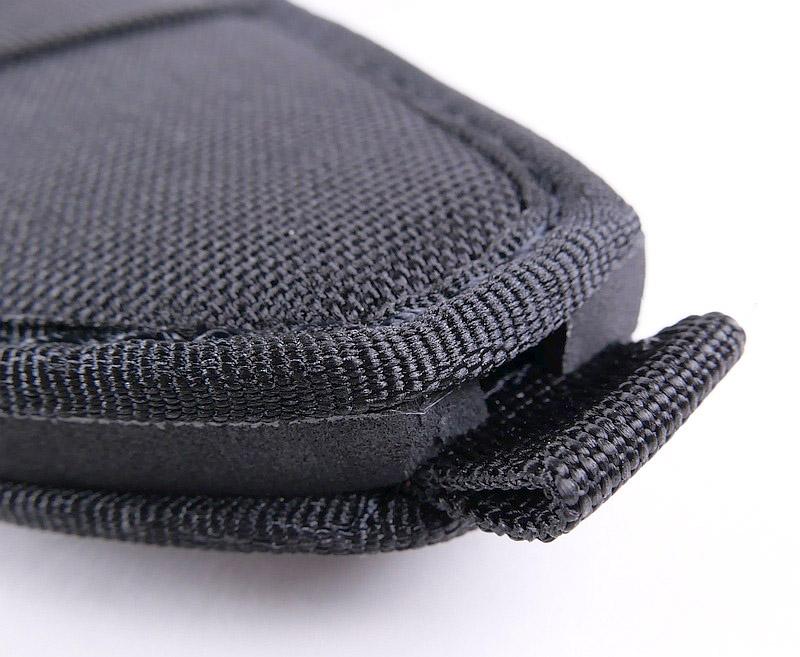
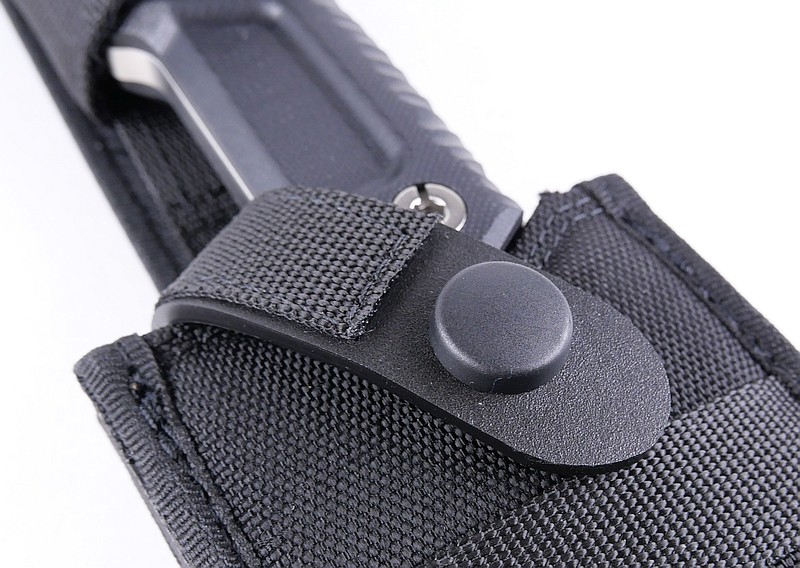
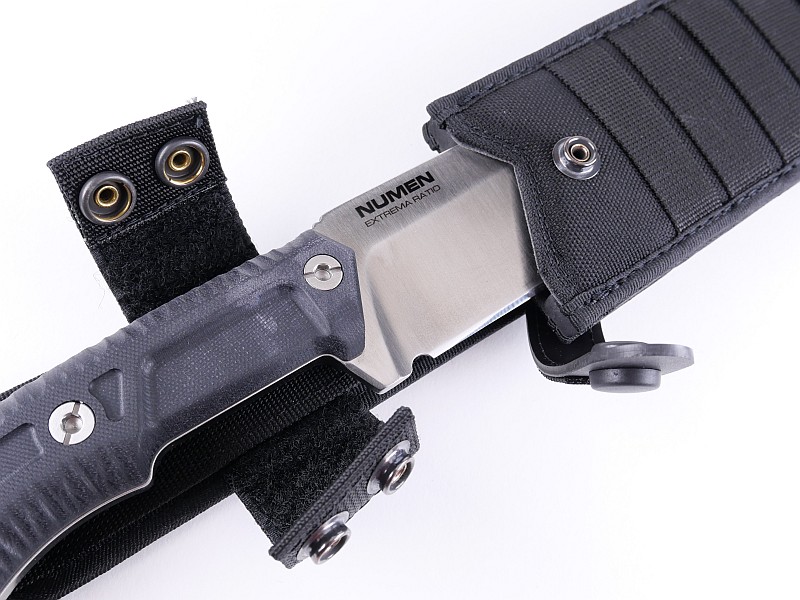
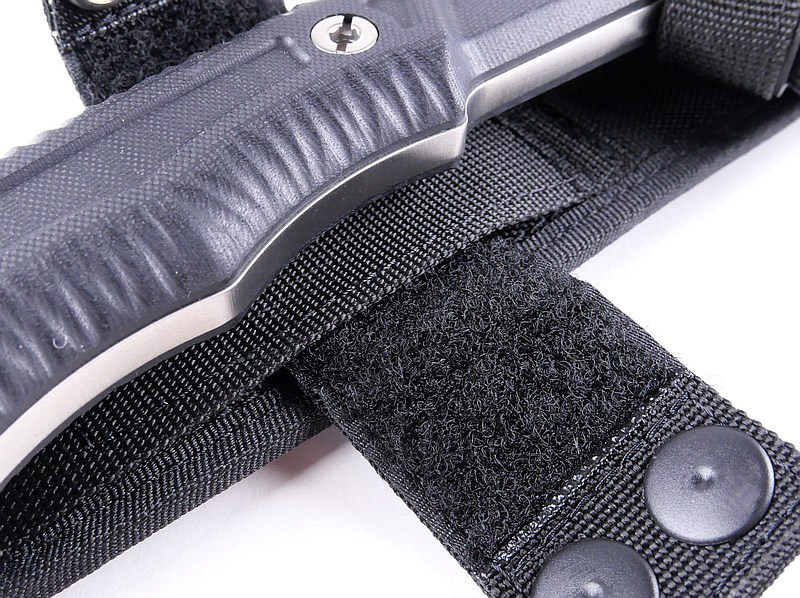
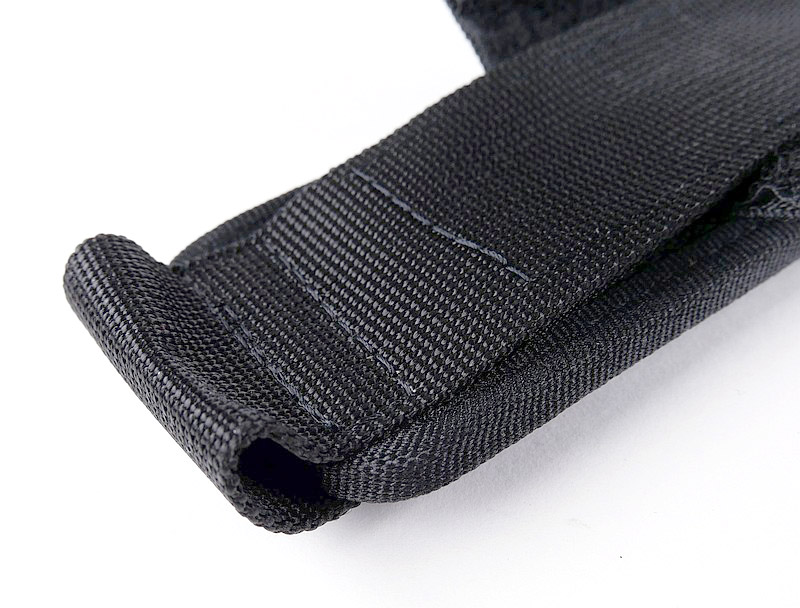
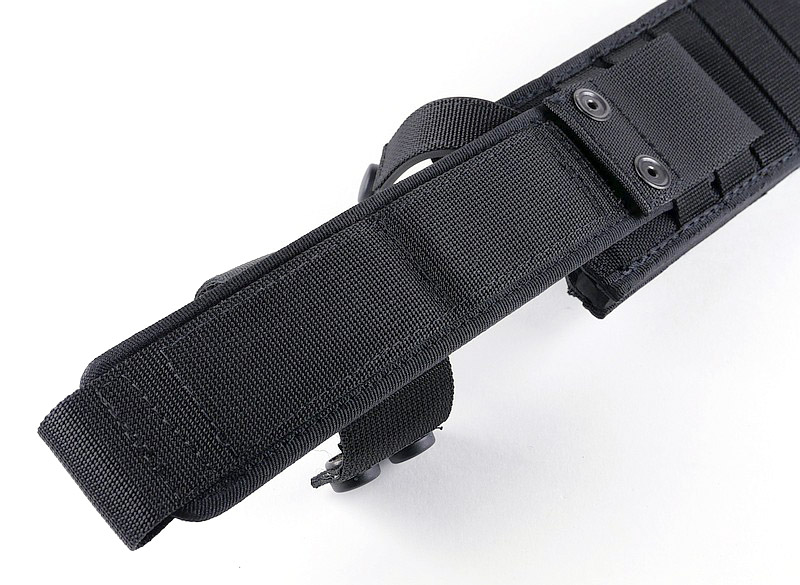
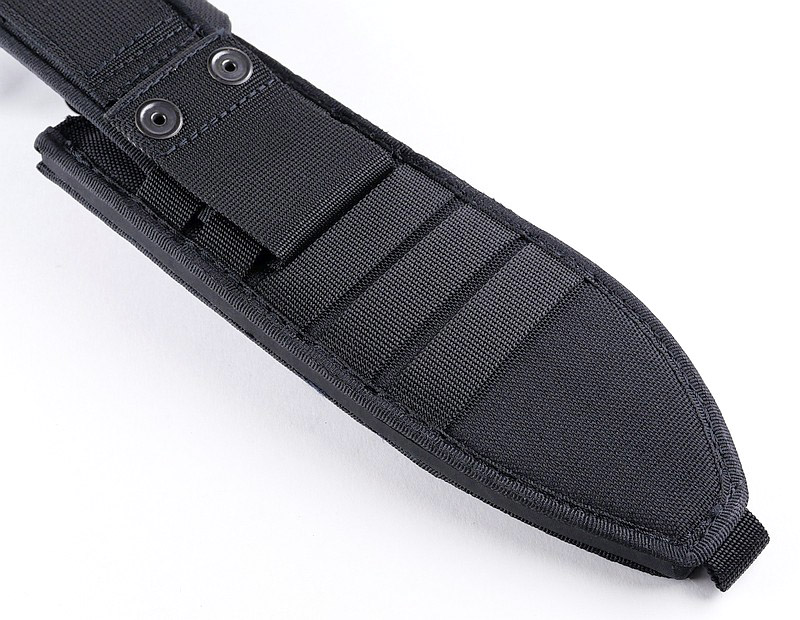
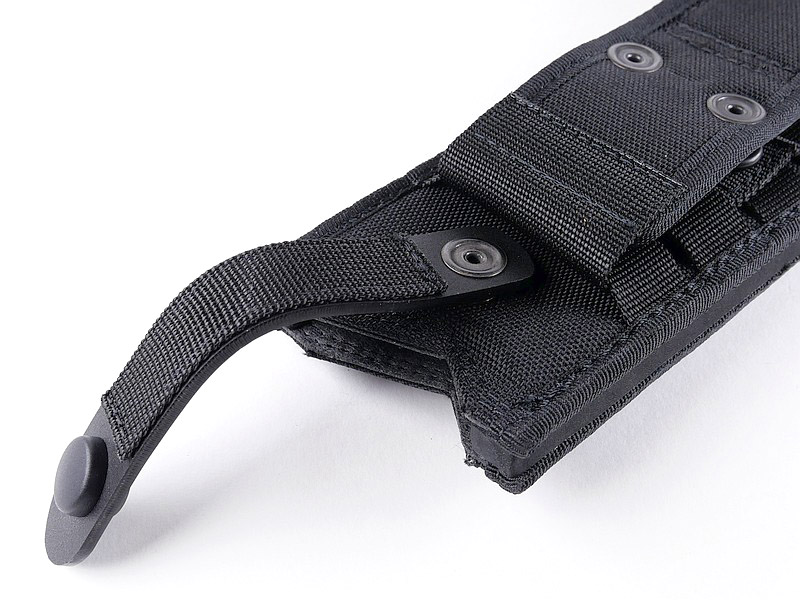
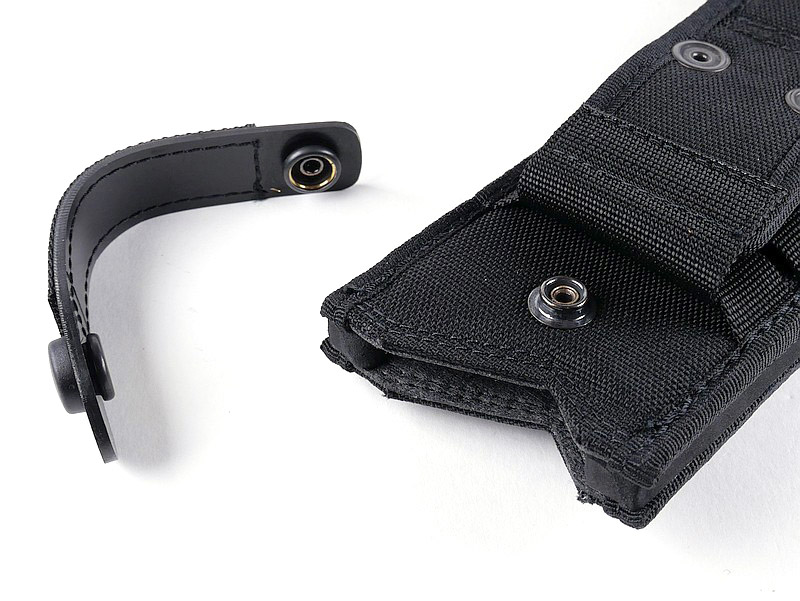
The main body of the sheath has webbing on both sides for securing the hanger and providing additional load carrying options. The tip of the sheath has a good size drainage hole next to the leg tie loop. Retention straps are always at risk of being cut when sheathing and unsheathing the knife, so to counter this Extrema Ratio have used a flexible solid plastic strip for the strap. The visible side of the strap has fabric sewn onto it to make it look completely in keeping with the rest of the sheath, but that plastic will resist cutting for a very long time, much more than a fabric strap.
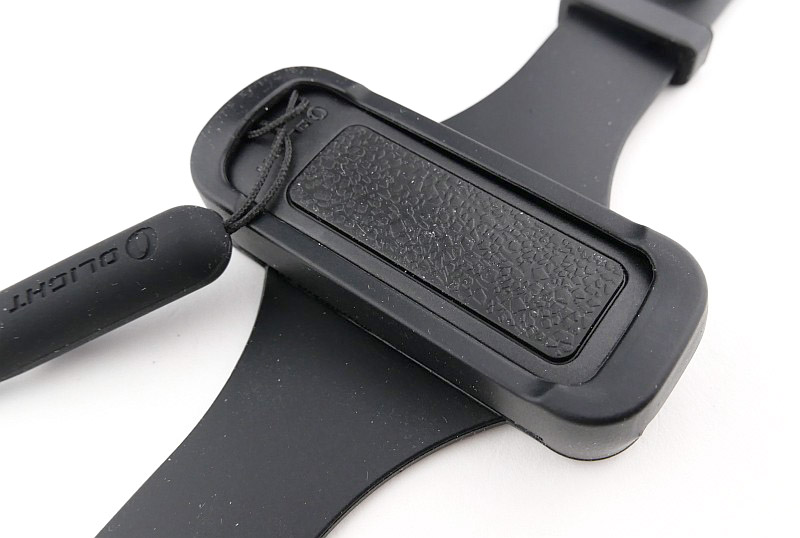
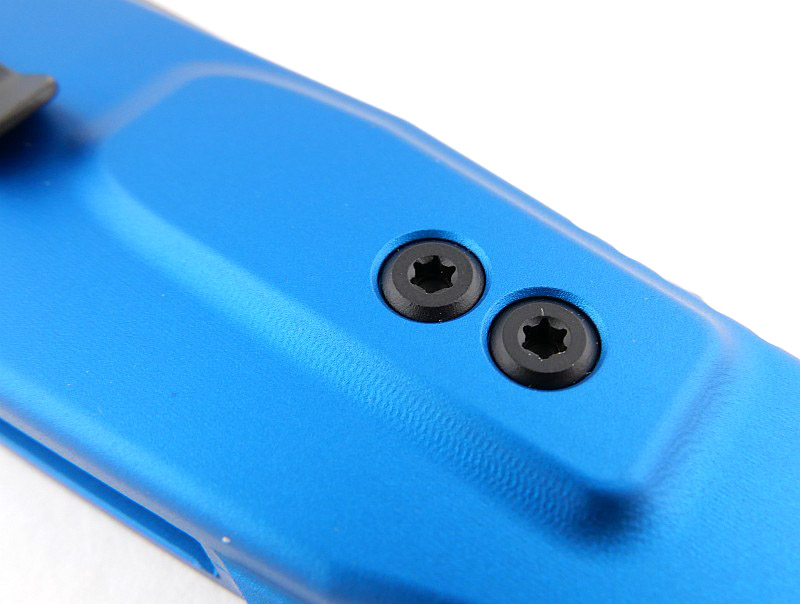
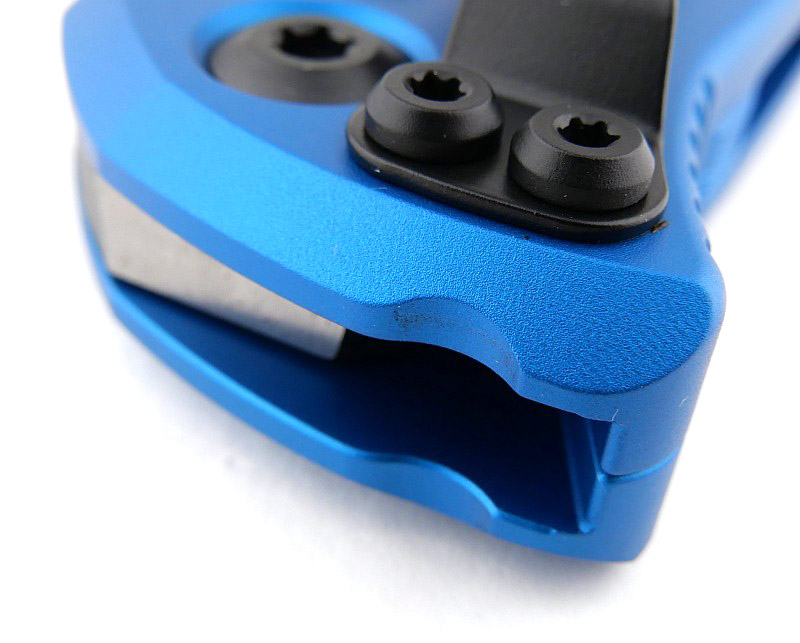
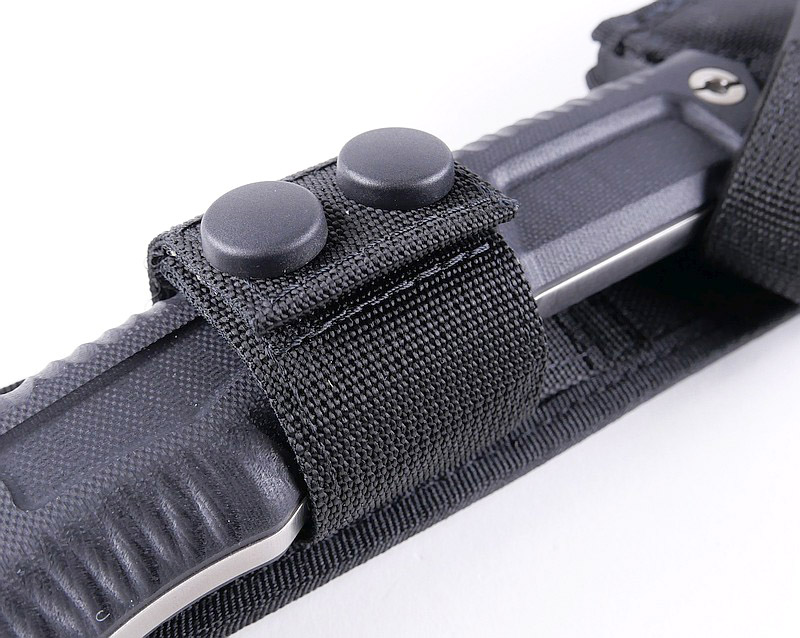
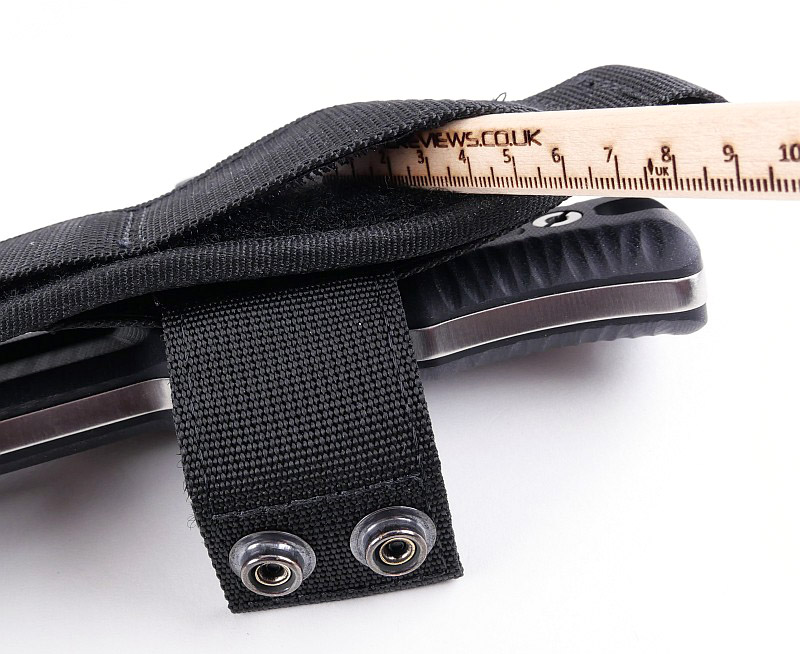
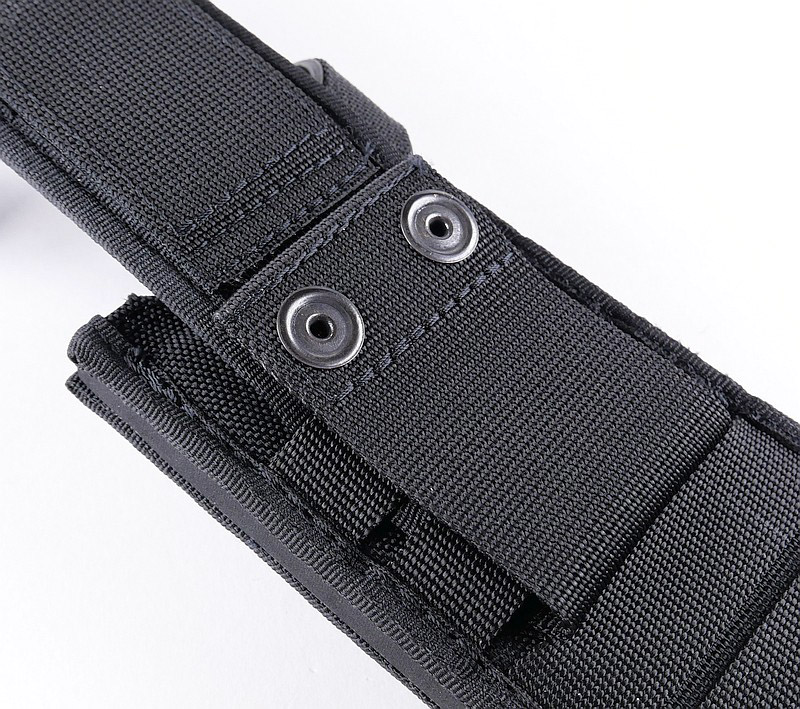
Typical for Extrema Ratio; as well as the standard retention strap, there is a handle retention strap that ensures the knife stays completely stable when not actively in use by preventing the handle flapping about, and reducing the chance of anything getting caught over the handle. This has two press studs, the inside surface of which have a plastic caps, to avoid any metal contacting the G10 handle.
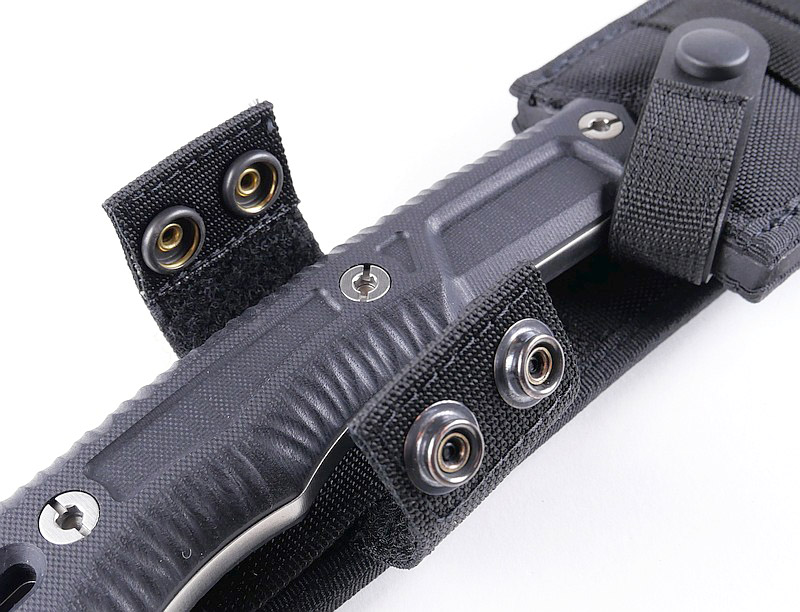
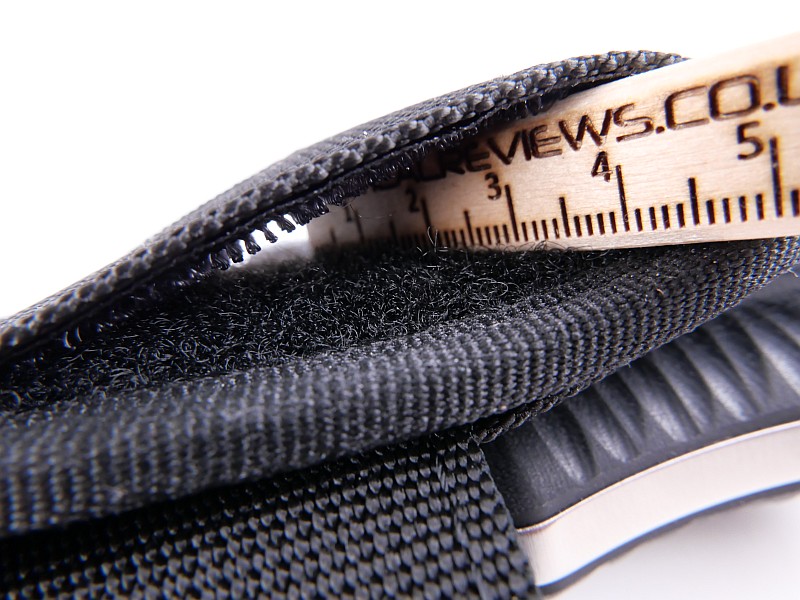
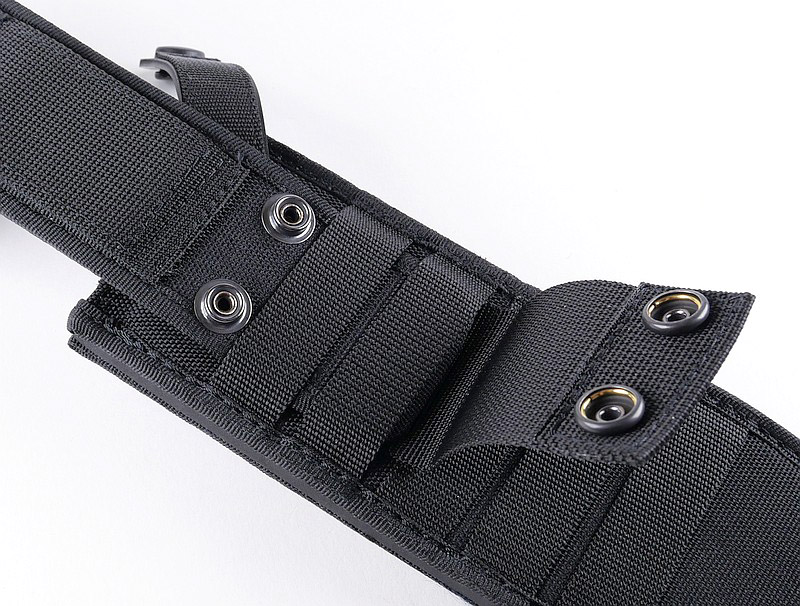
Now onto the removable, reconfigurable hanger. At the very top of this is a cord channel and flipping to the back there are two separate belt loops. Both the belt loops has a full Velcro lining so that once fitted to whatever belt/web you choose, the loop locks down to hold it tightly reducing slipping and flapping.
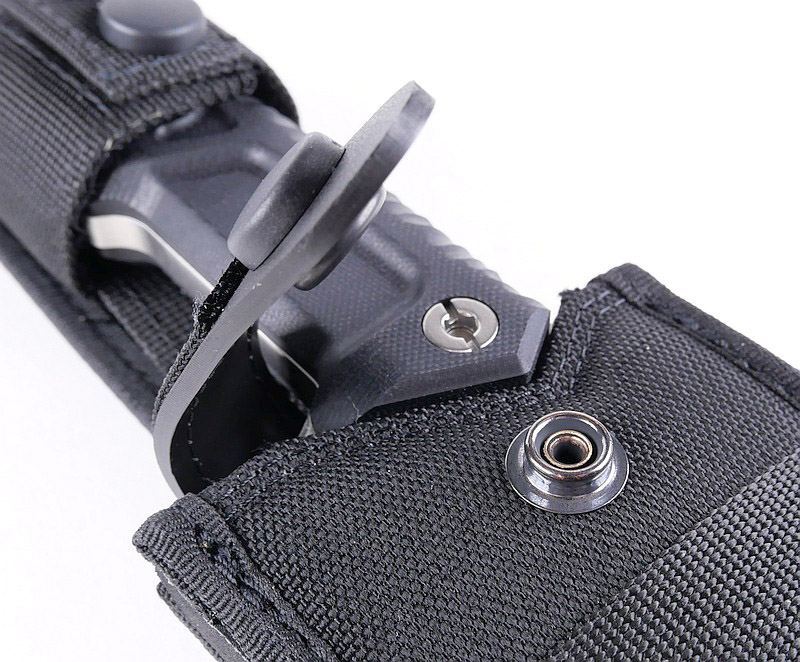
The hanger itself fits to the webbing on the sheath body using a flap with two press studs; this allows you to remove it or reposition it to suit, and to go between right and left handed configurations. Hand in hand with this, the retention strap is fitted with a press stud on both ends, so when changing handedness of the sheath, the retention strap is popped off and swapped round.
This level of function is exceptional and characteristic of Extrema Ratio’s designs.

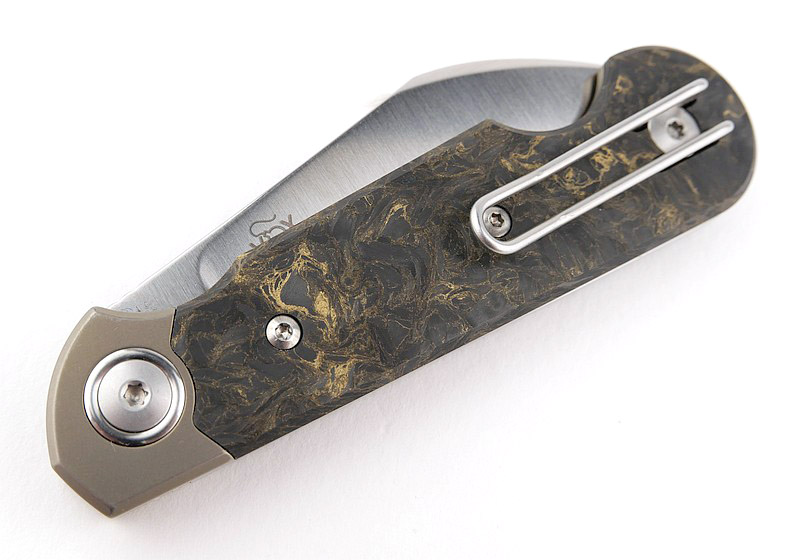
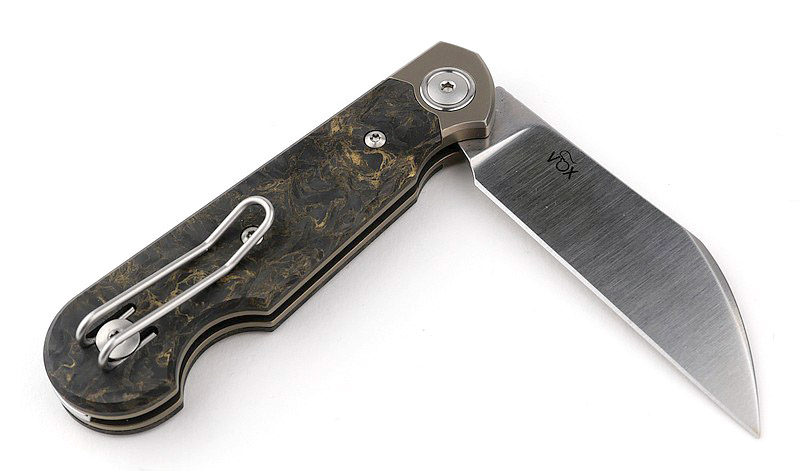
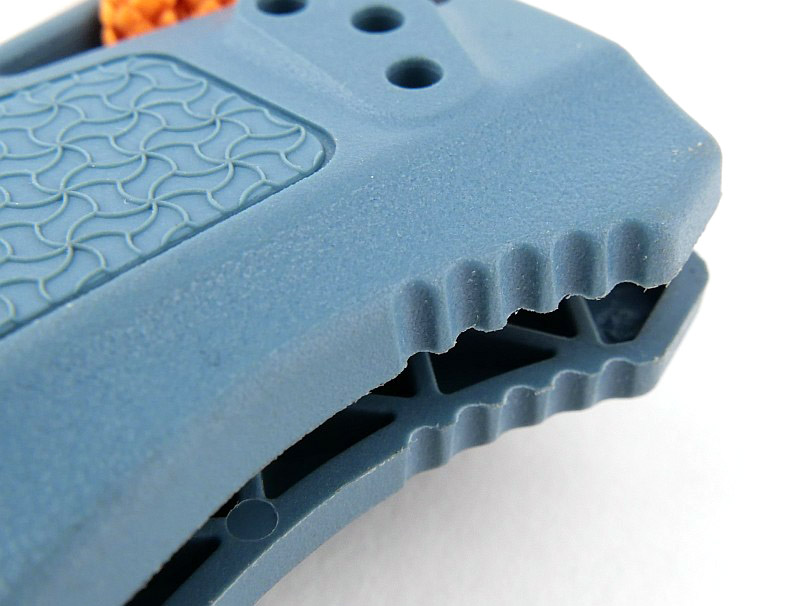
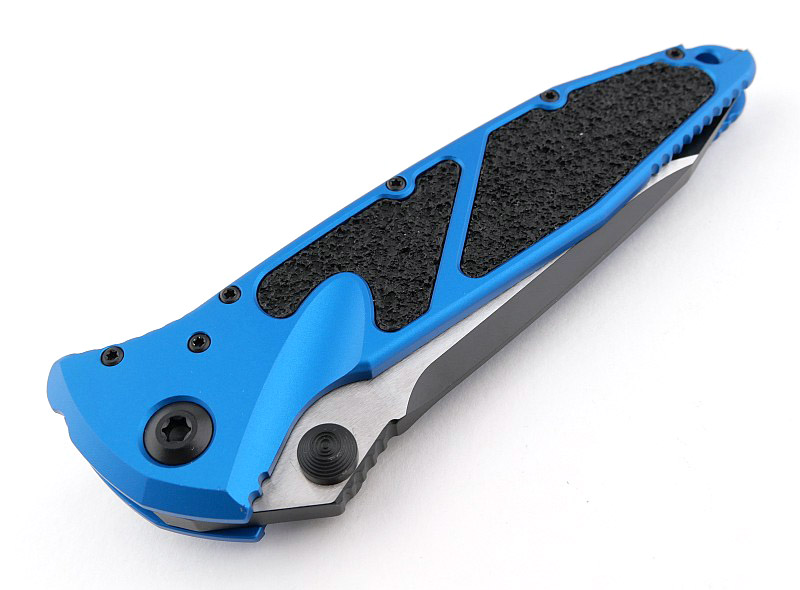
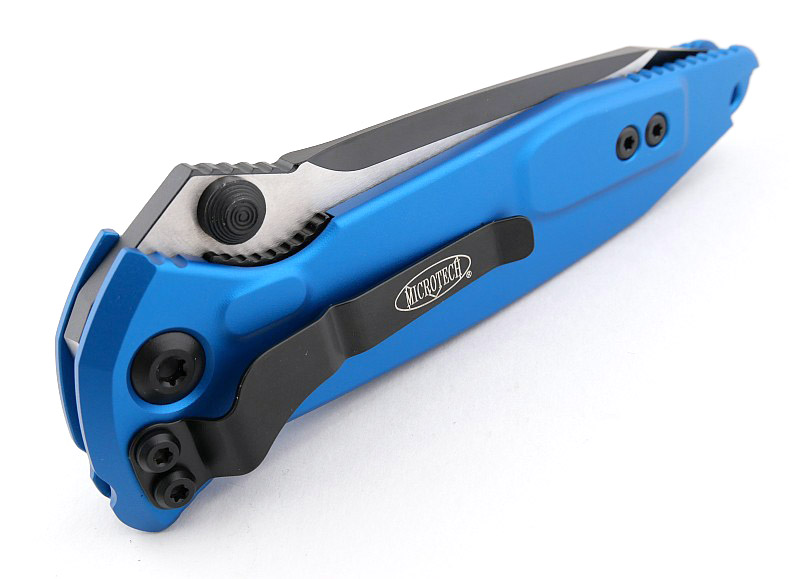
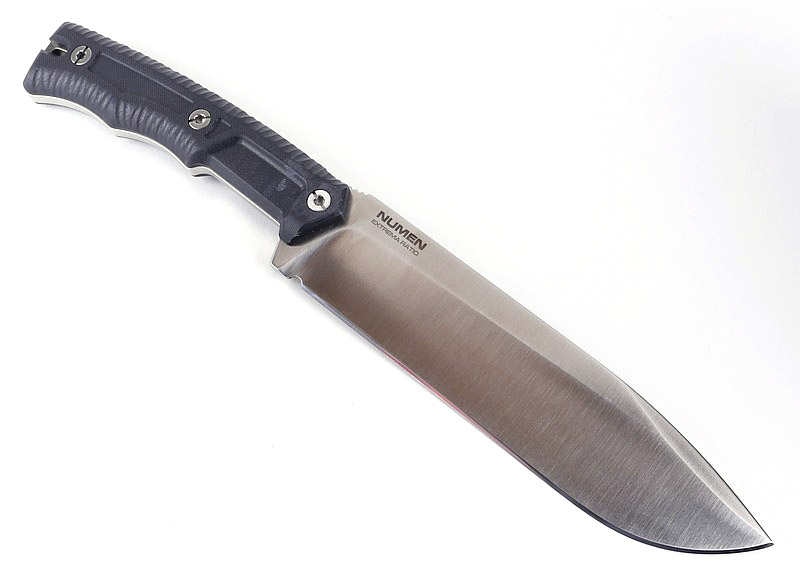
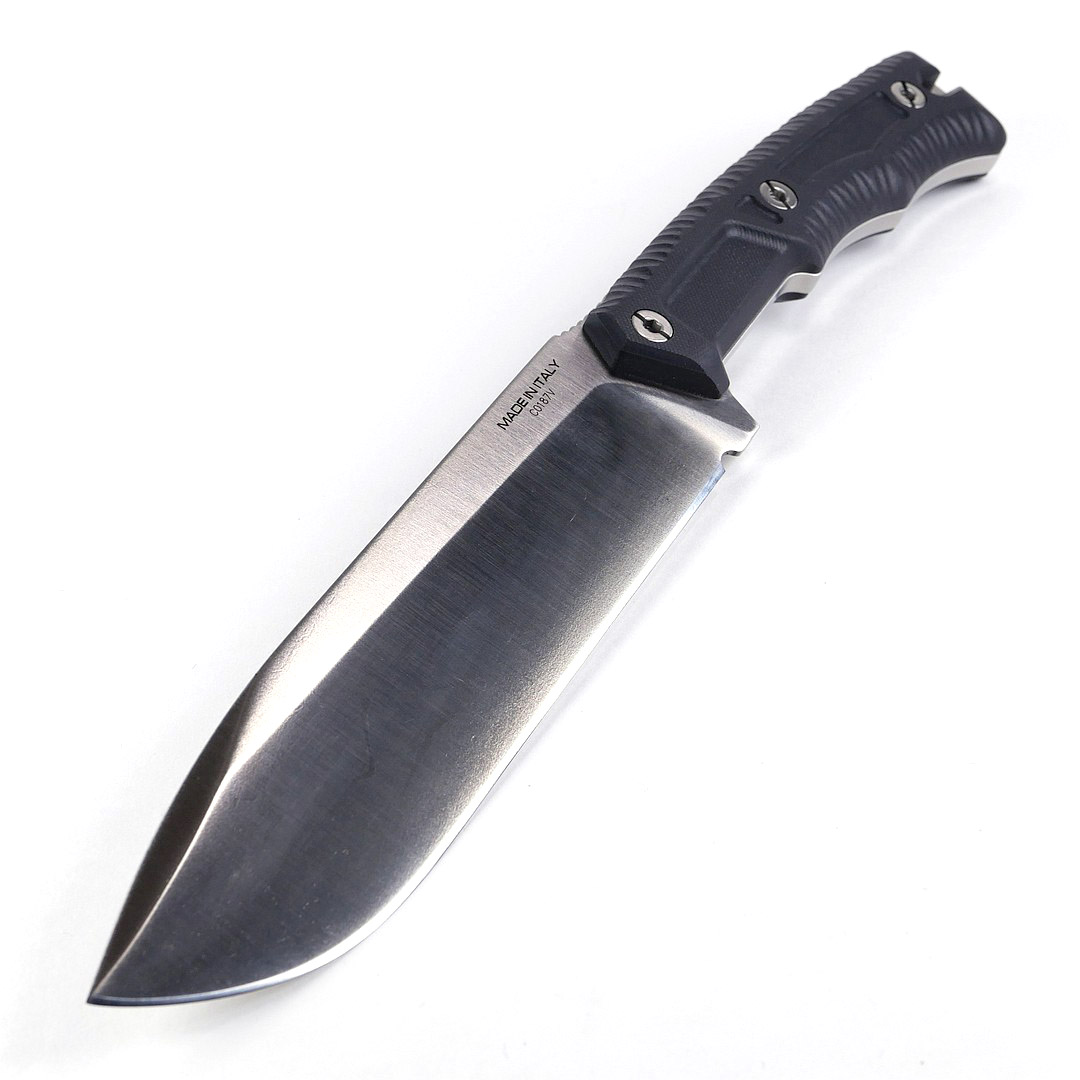
A good look round the Numen – Things to look out for here are:
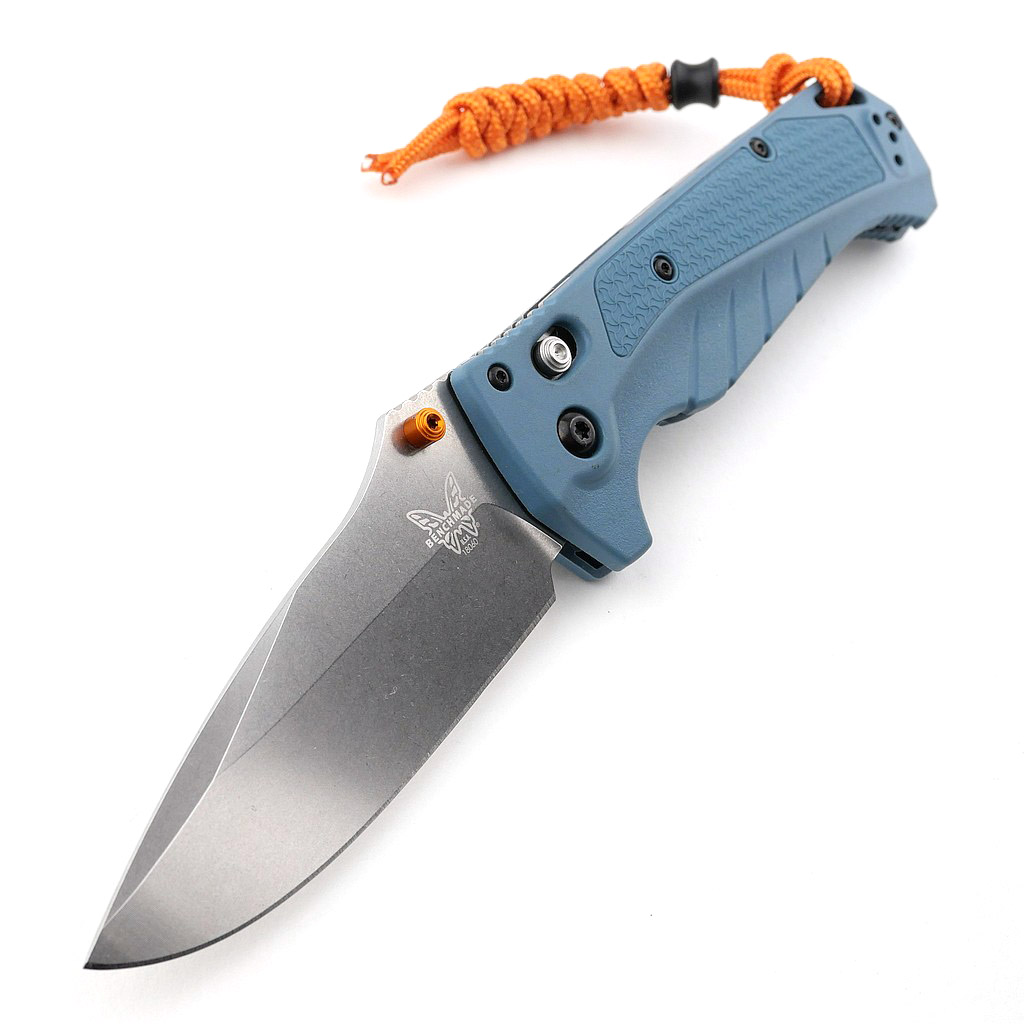
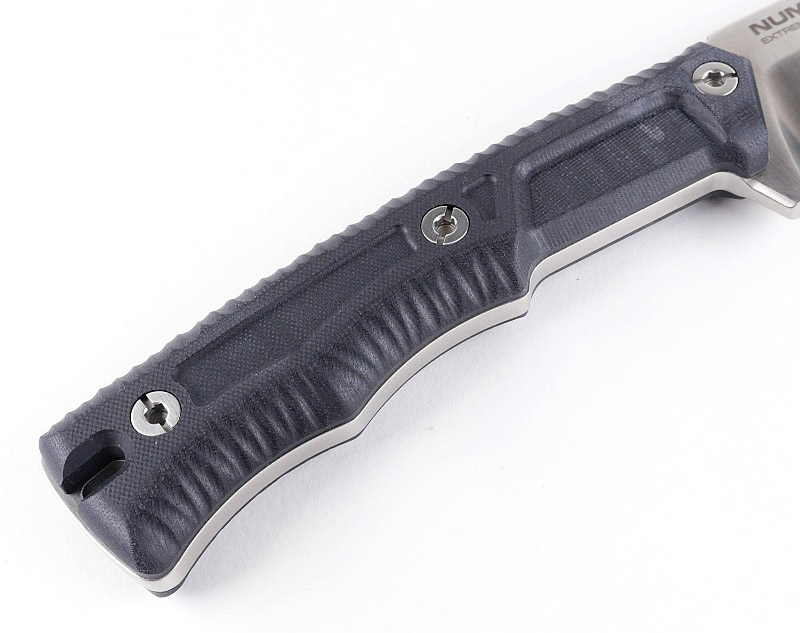
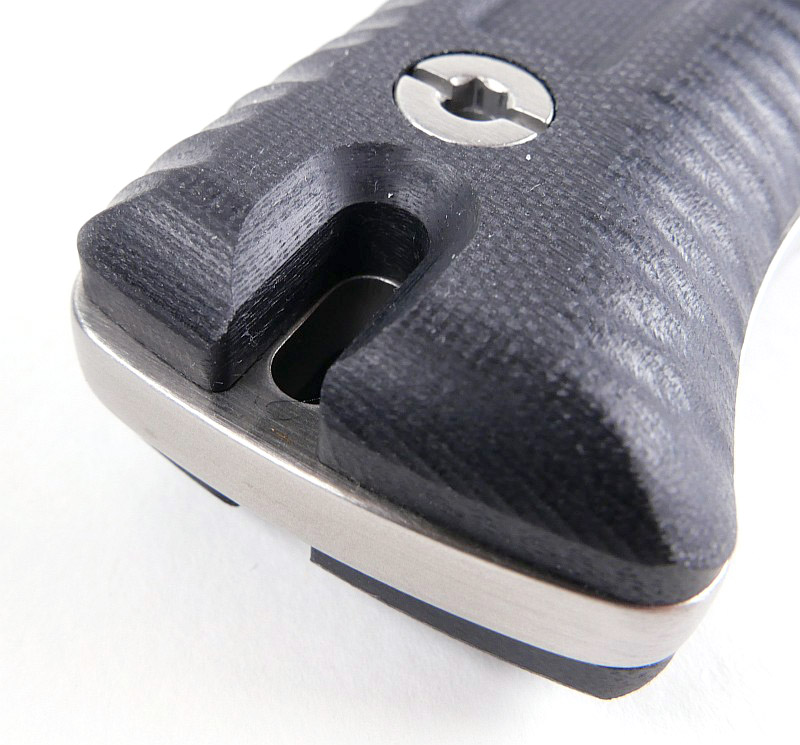
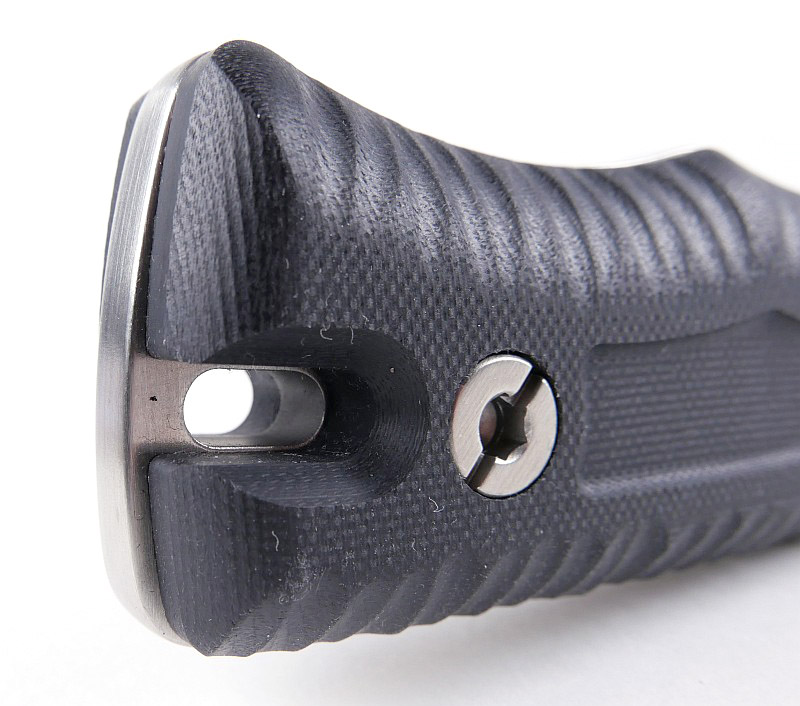
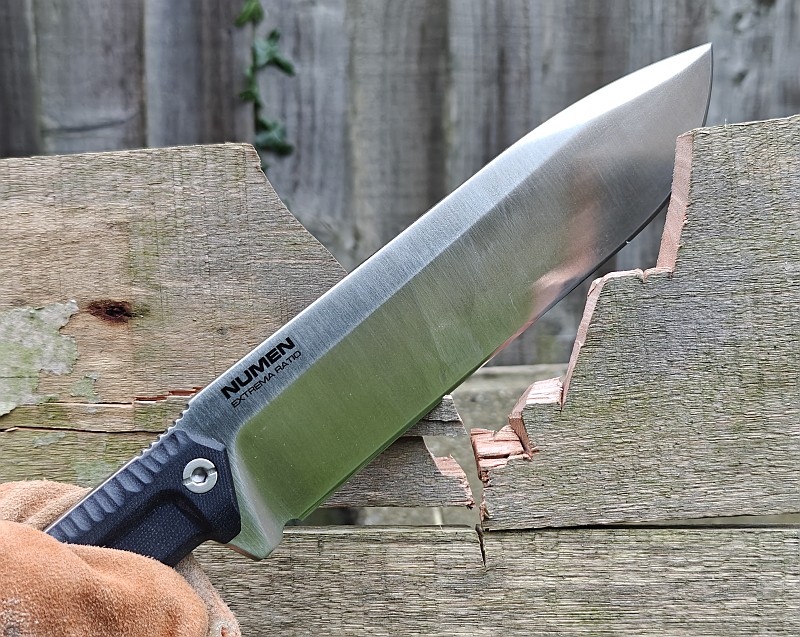
Possibly the most notable feature (apart from overall size) is the length of the Numen’s handle – almost half the entire length of the knife. Handles are of course ‘hand’ sized, so for smaller knives, this is expected, but a large, long-bladed knife, the size of handle is usually much shorter than the blade. We’ll come back to the benefits of this later.
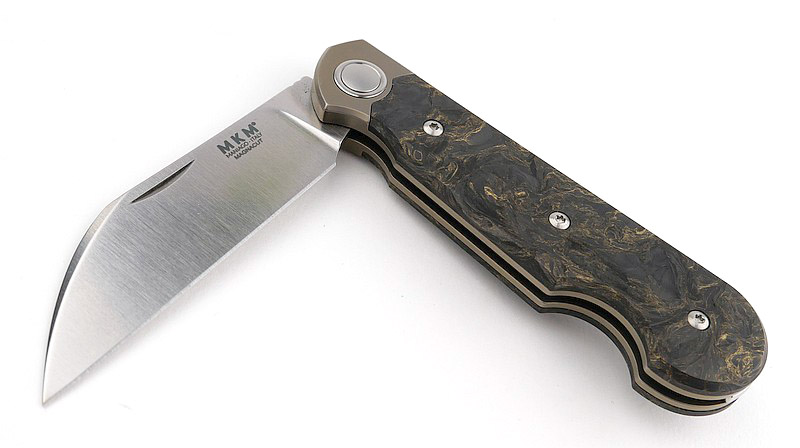
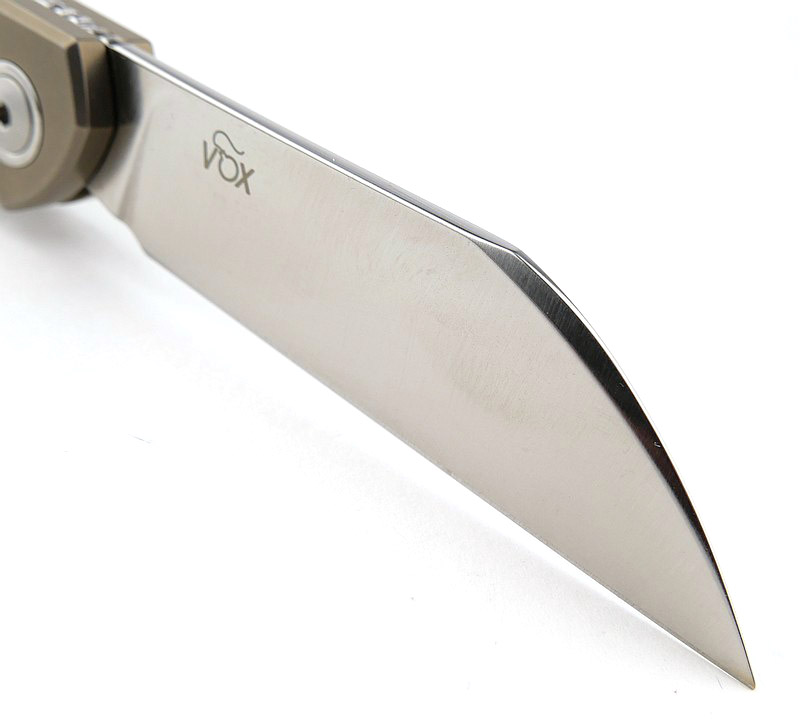
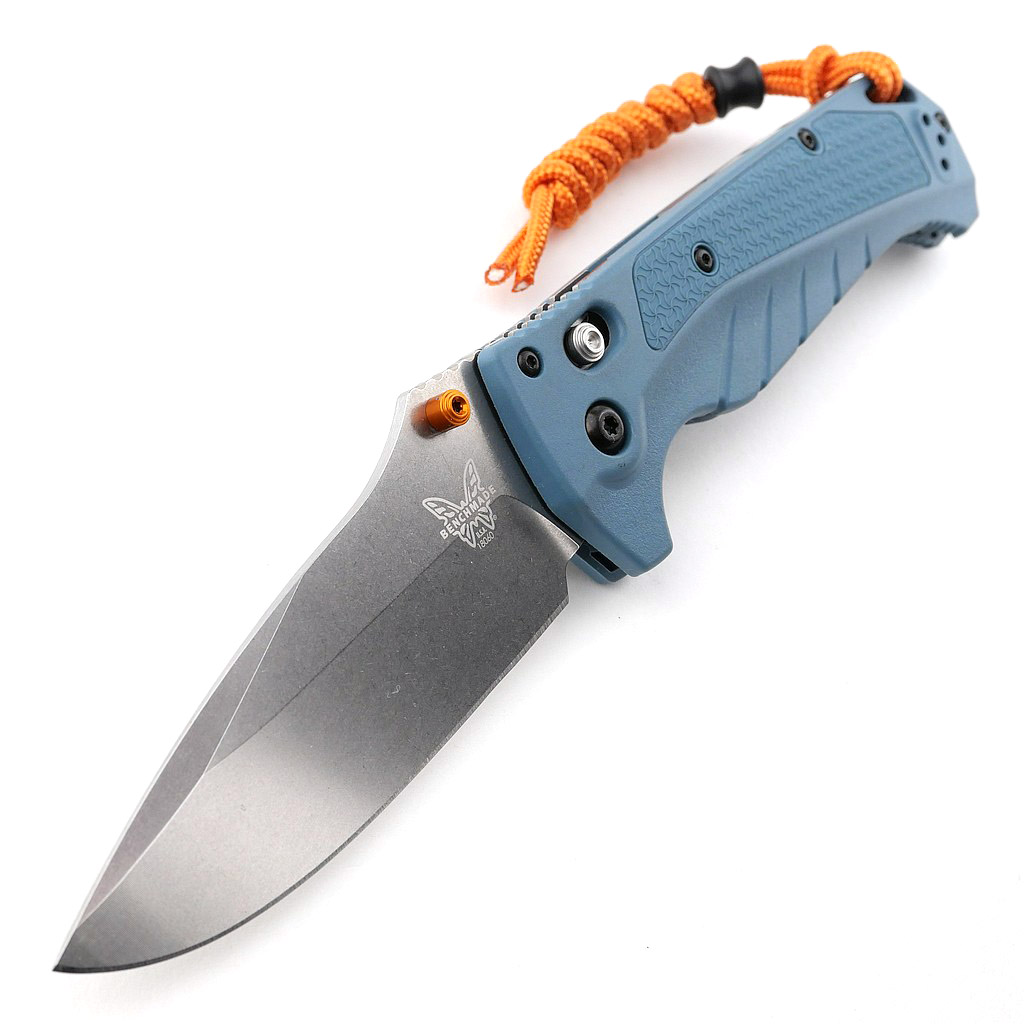
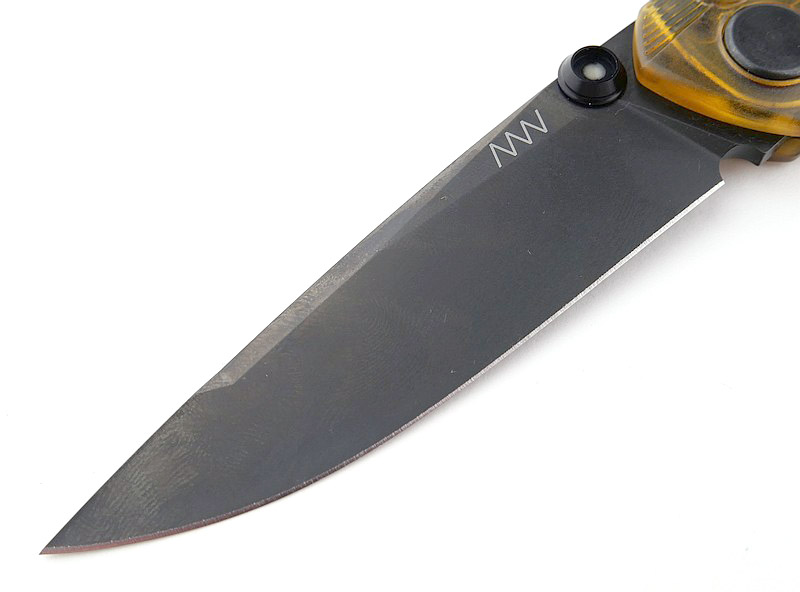
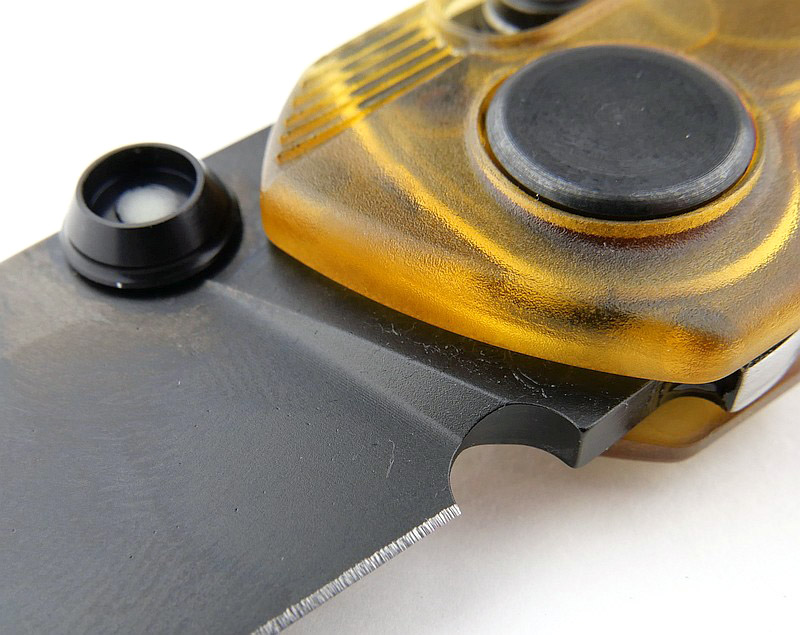
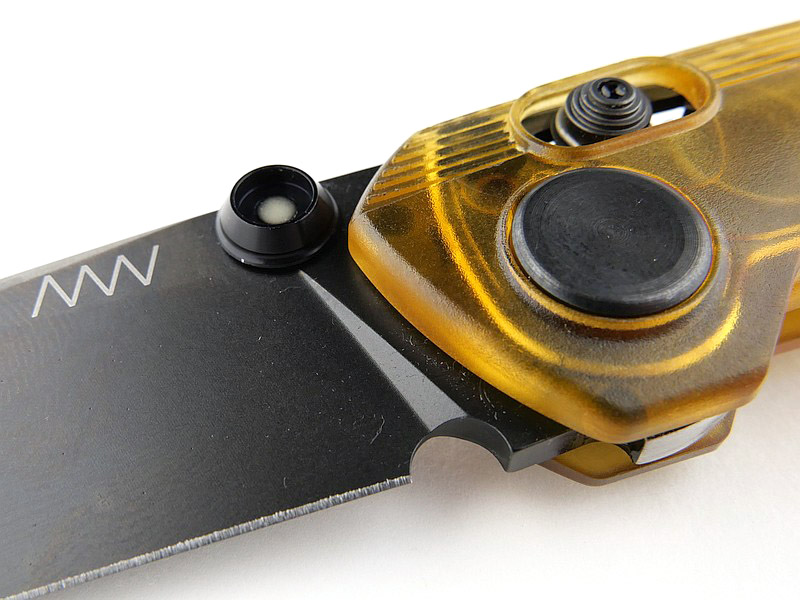
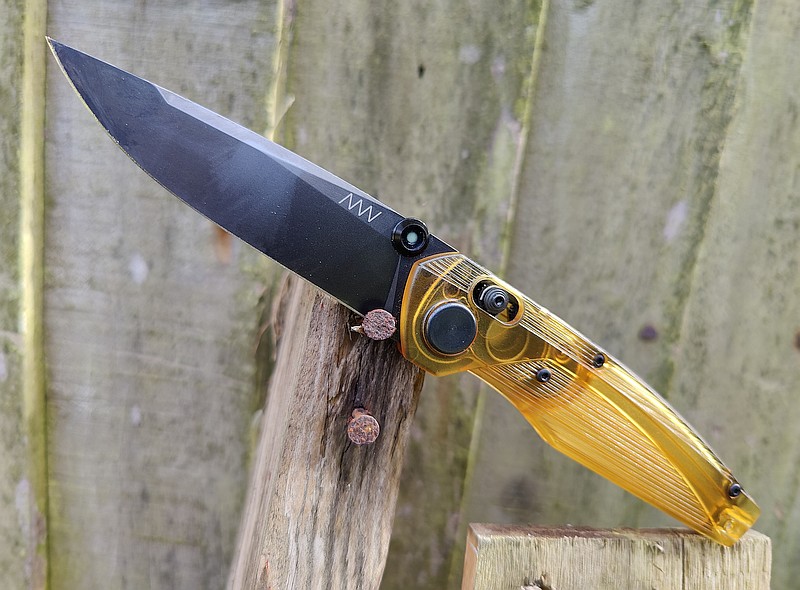
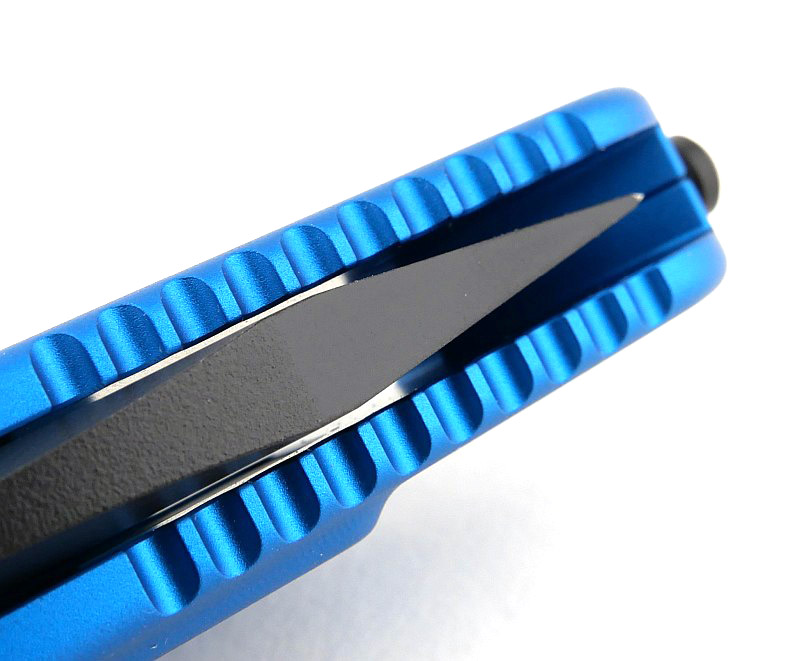
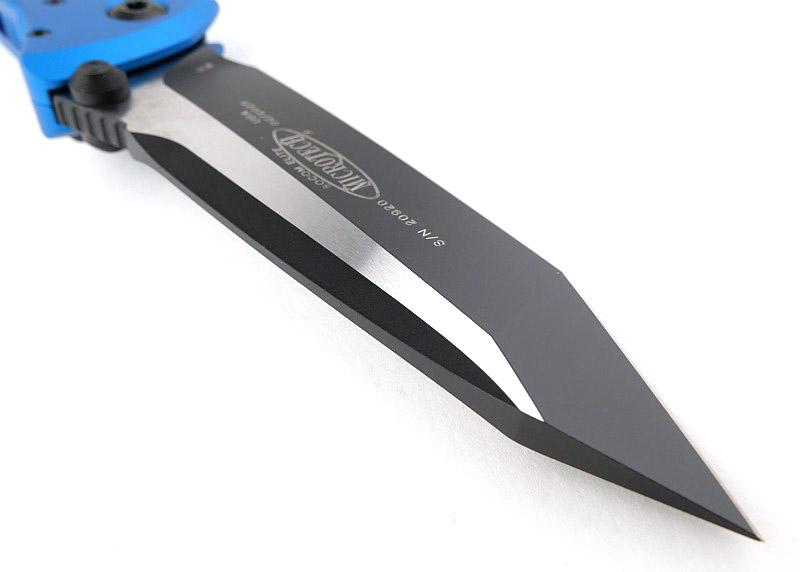
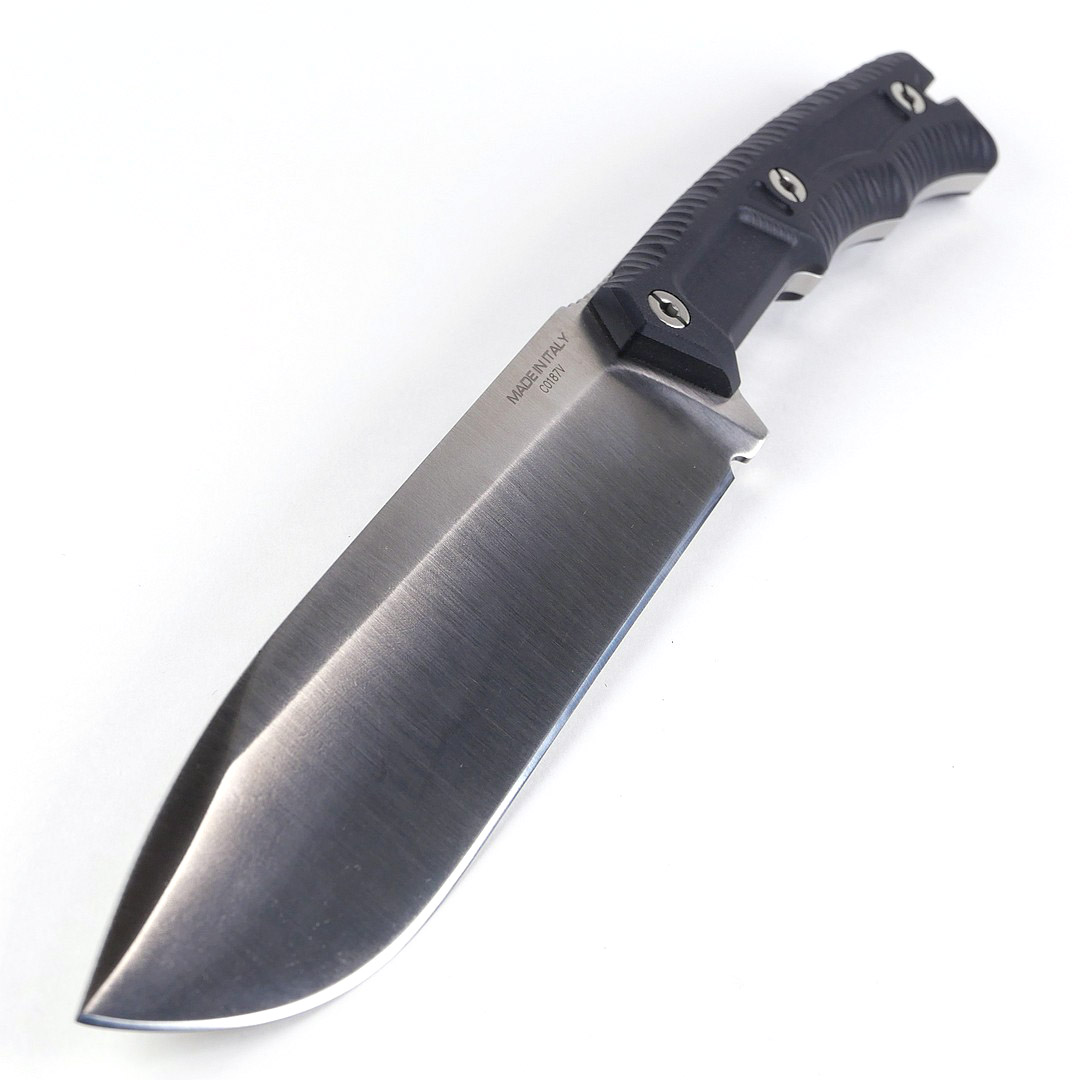
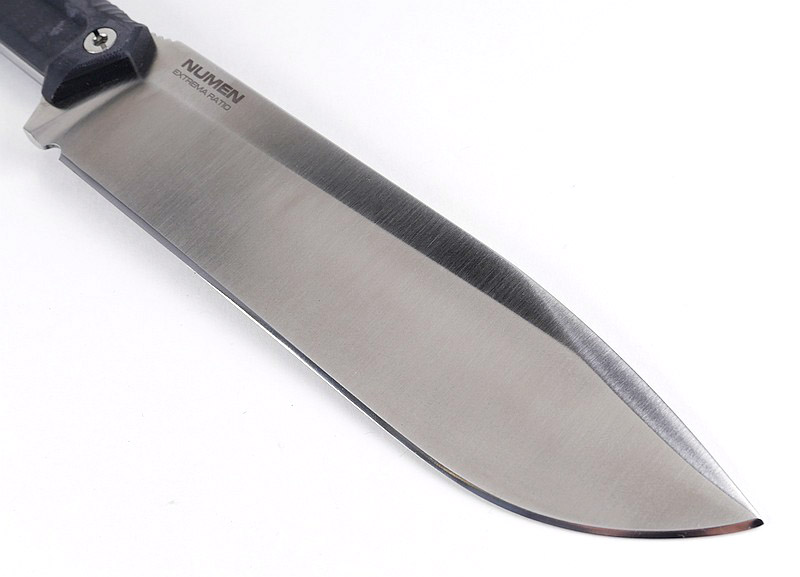
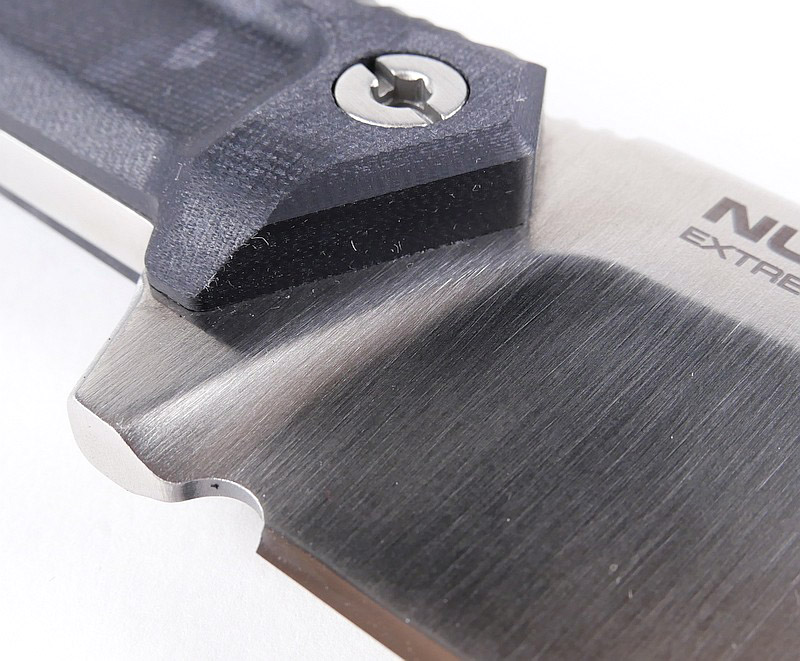
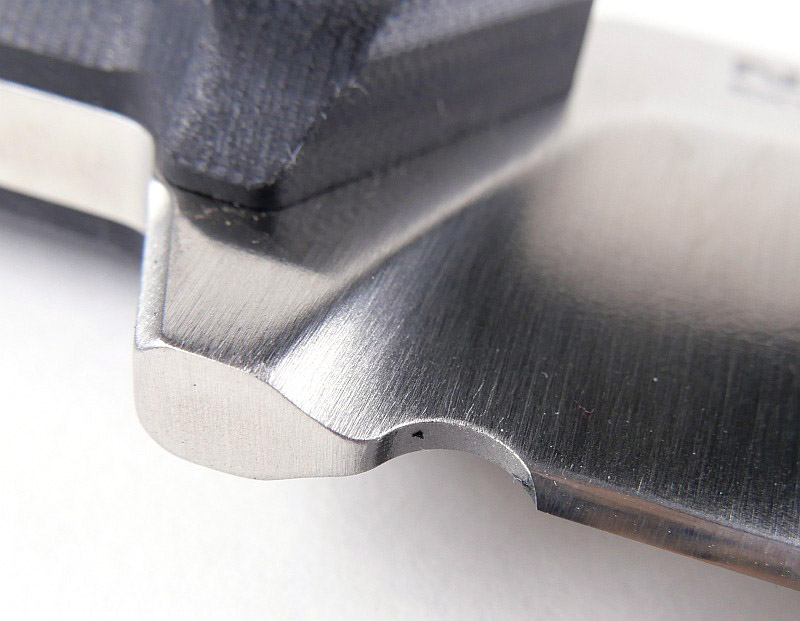
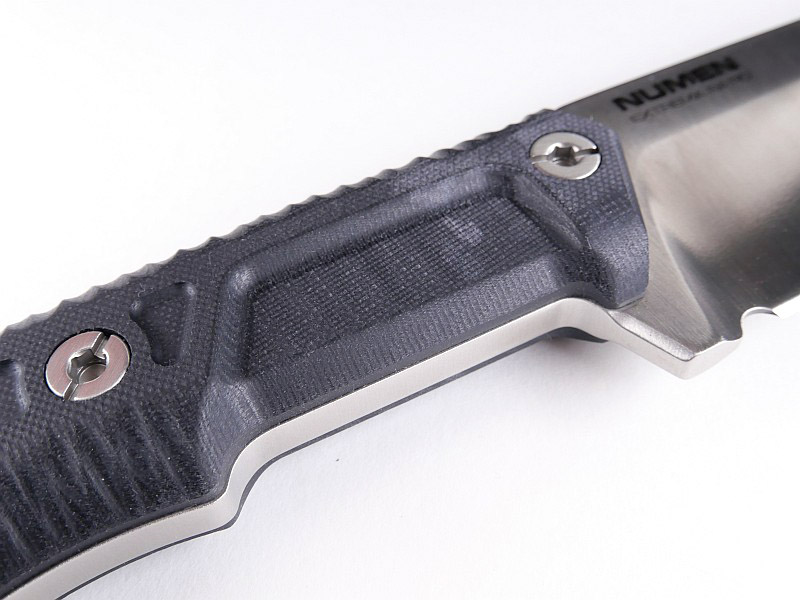
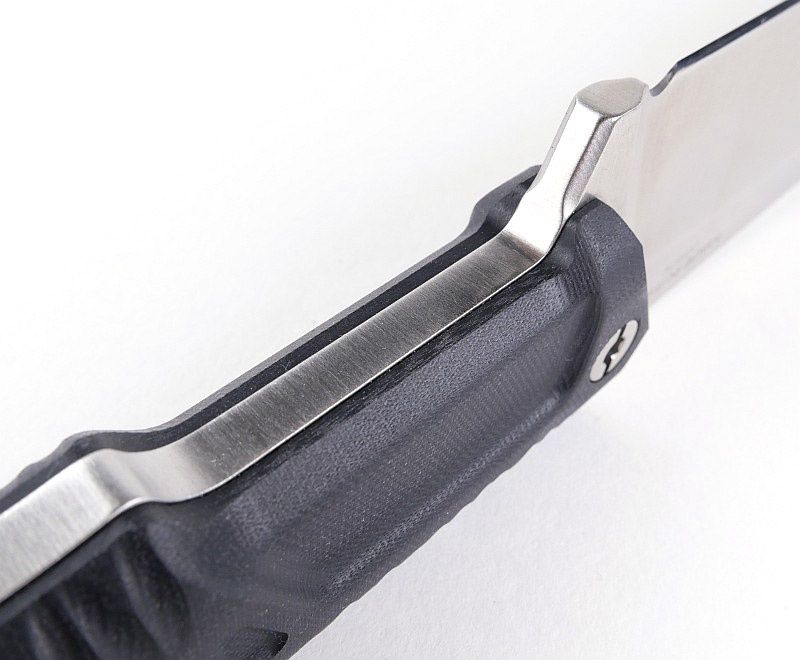
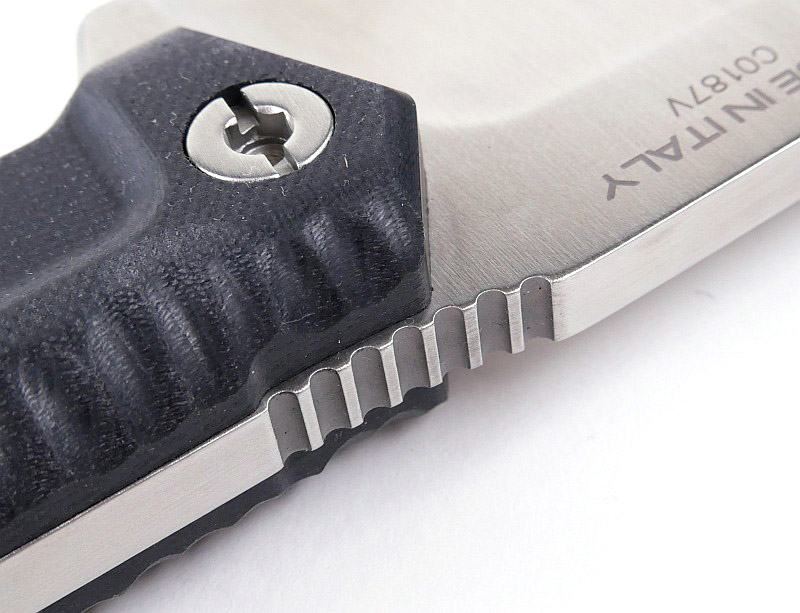
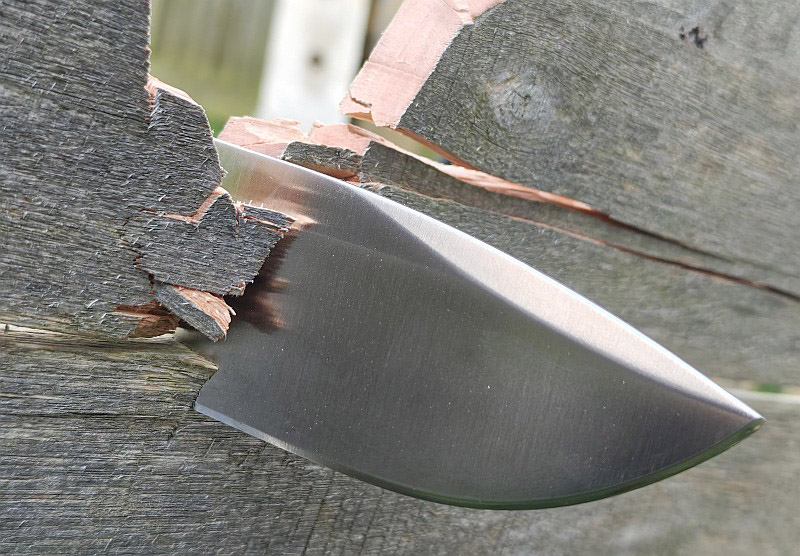
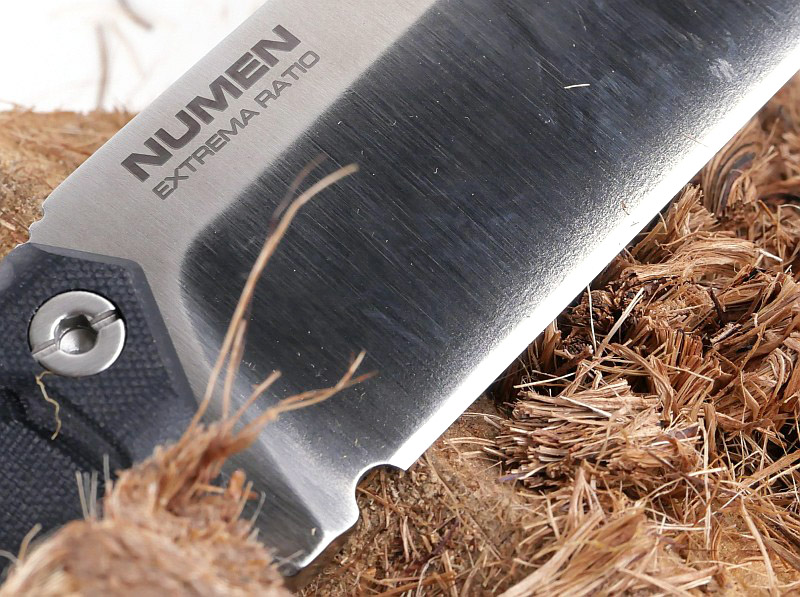
Numen’s blade is made to take seriously heavy use. Thick blade stock and a tapering flat grind sweeping towards a strong tip. The plunge line is well radiused to reduce stress concentrators, and a sharpening choil allows for full length edge sharpening with the choil being large enough to also not focus stresses.
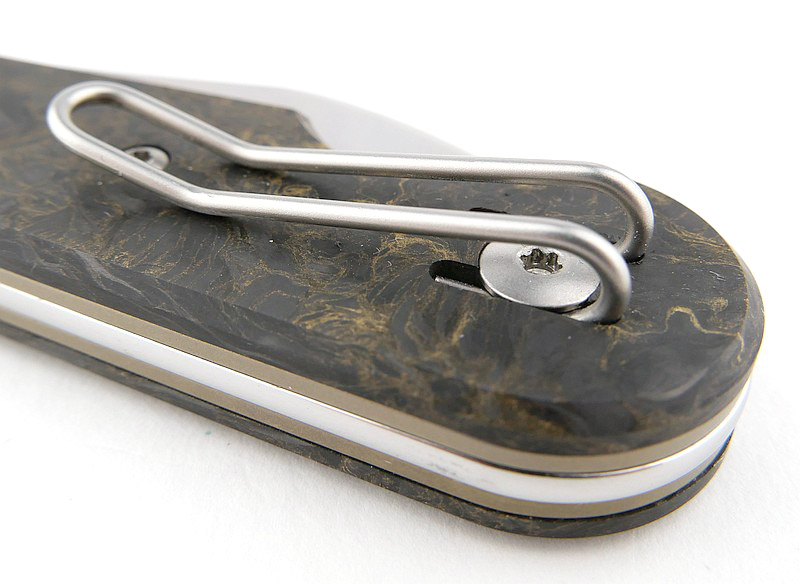
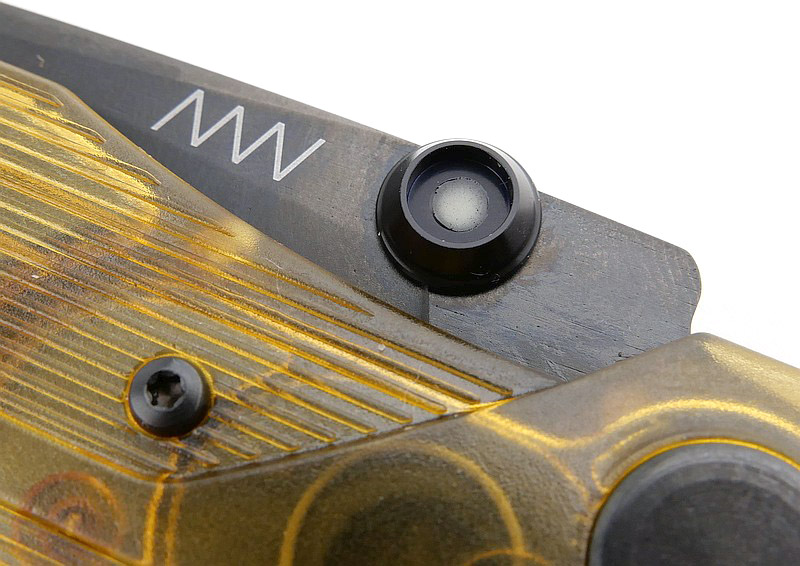
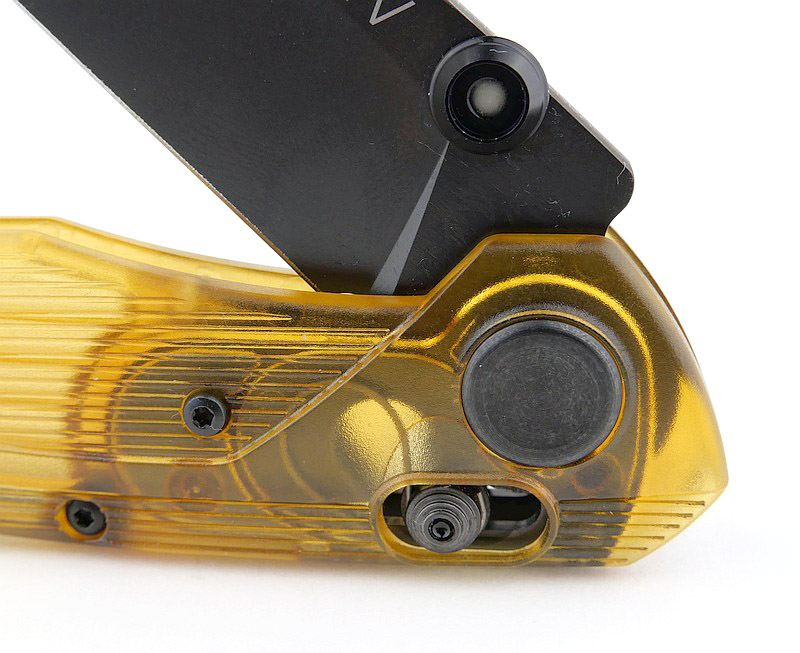
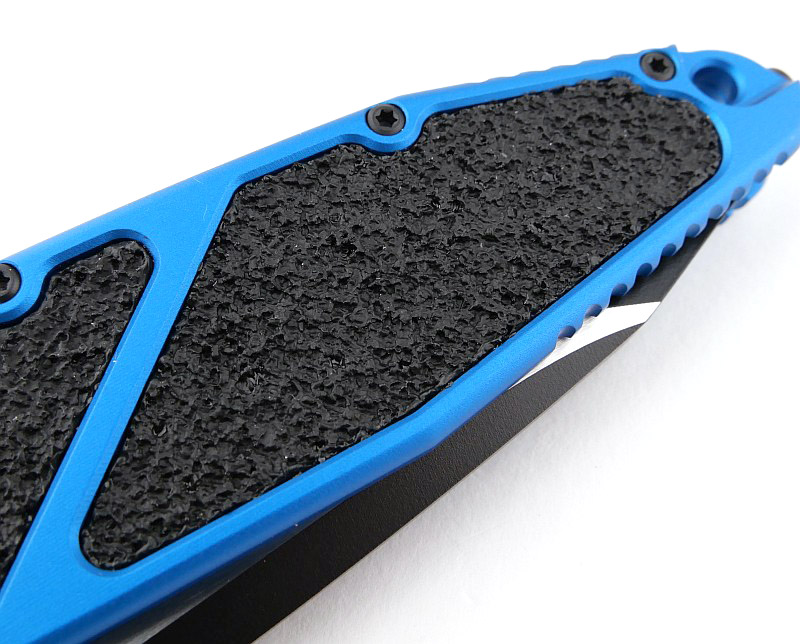
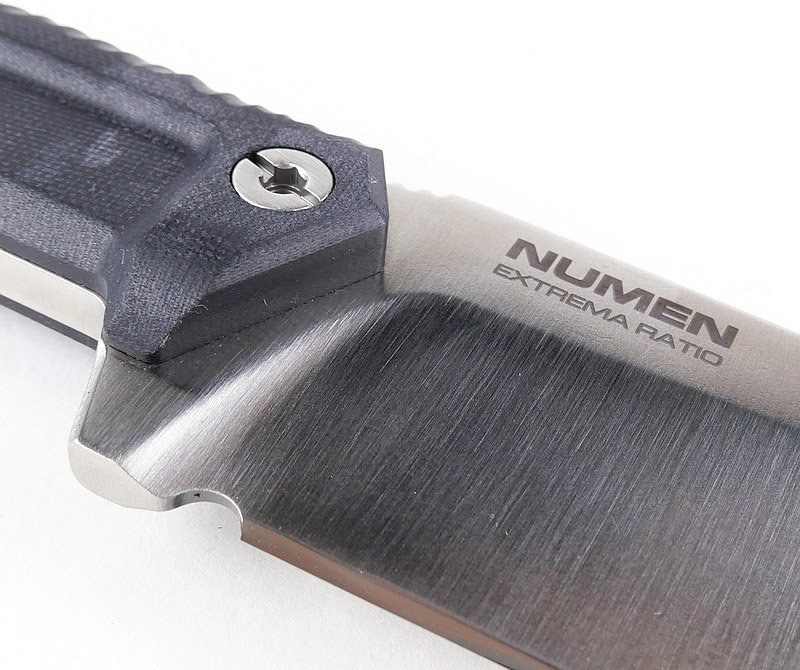
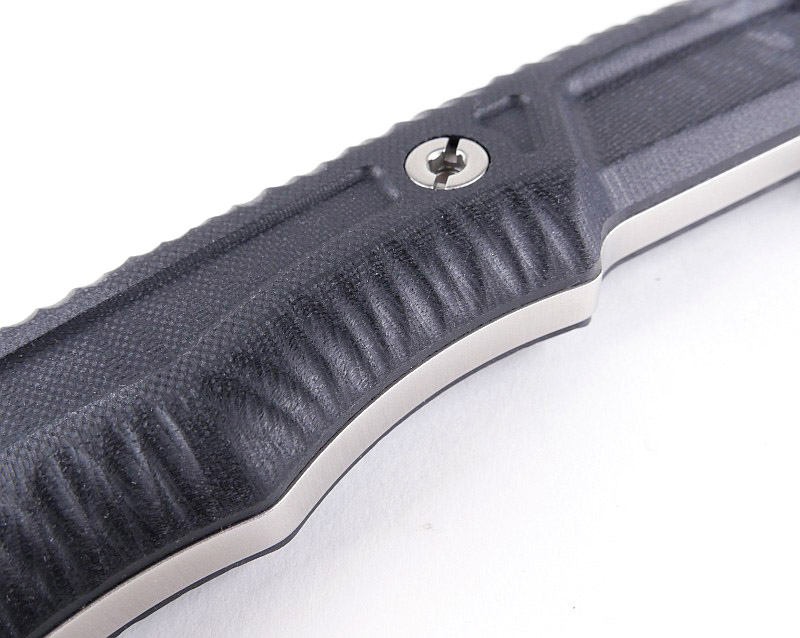
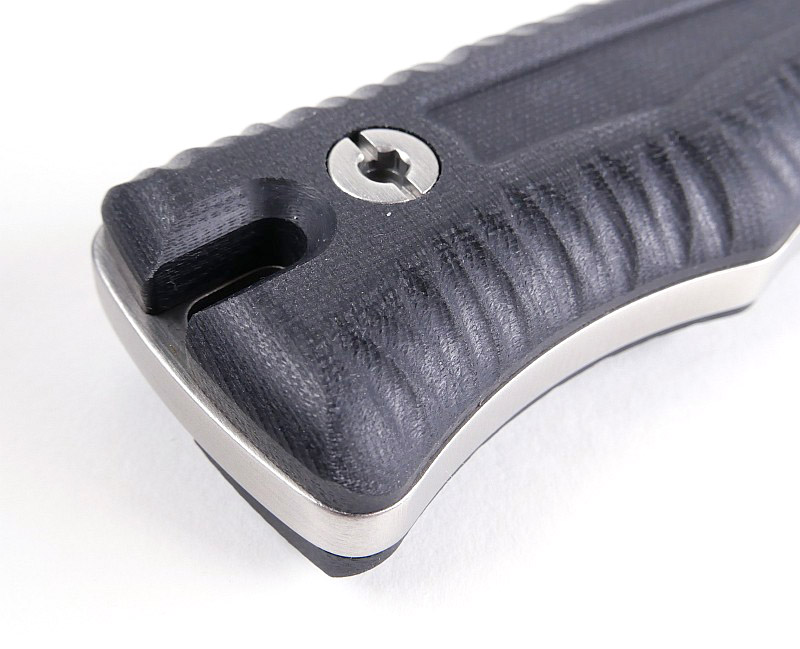
G10 handles with complex shaping that includes the distinctive Extrema Ratio first and second finger grip groove, are precisely finished and fit perfectly to the blade tang. Texturing all along the handle edges enhances grip wherever you position your hand. For the fully choked up grip there is also a section of thumb jimping on the spine for stability.

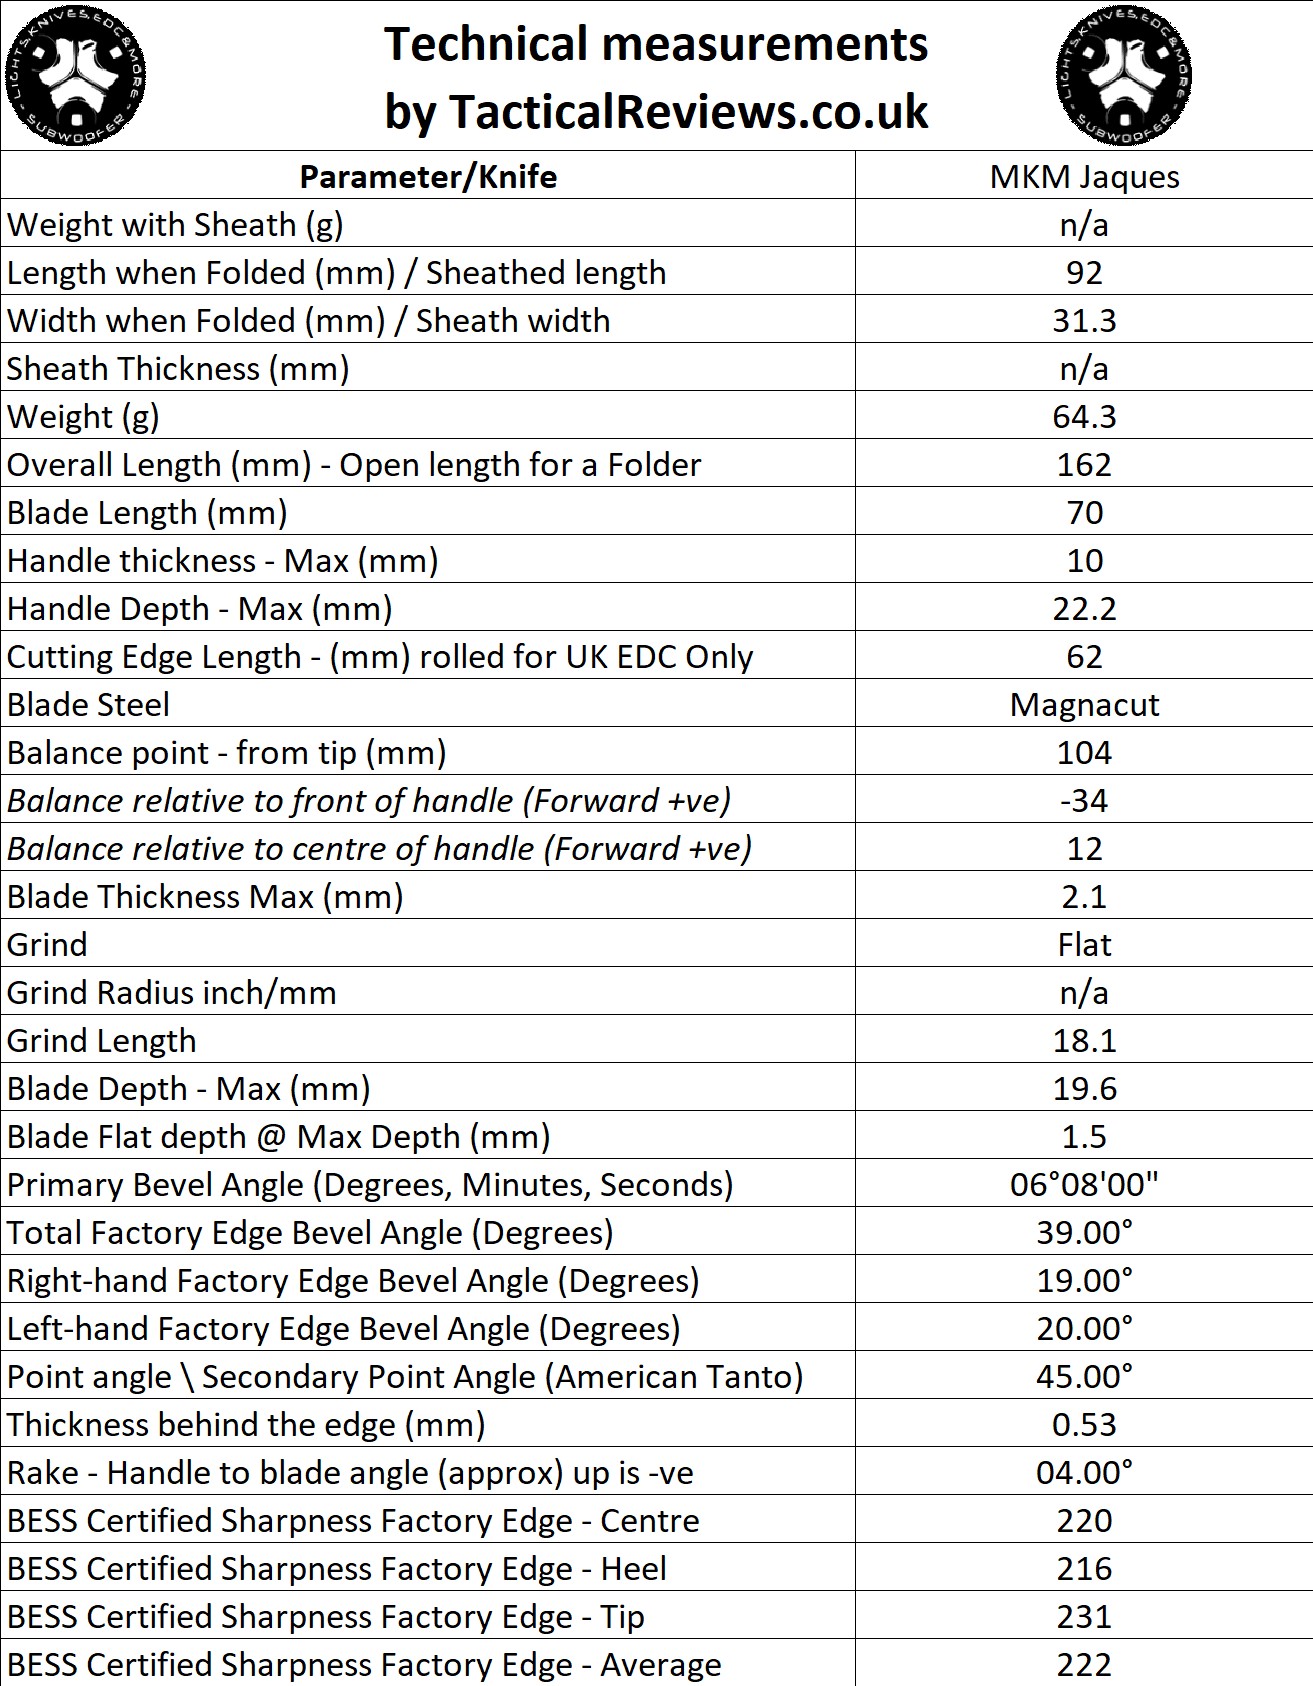
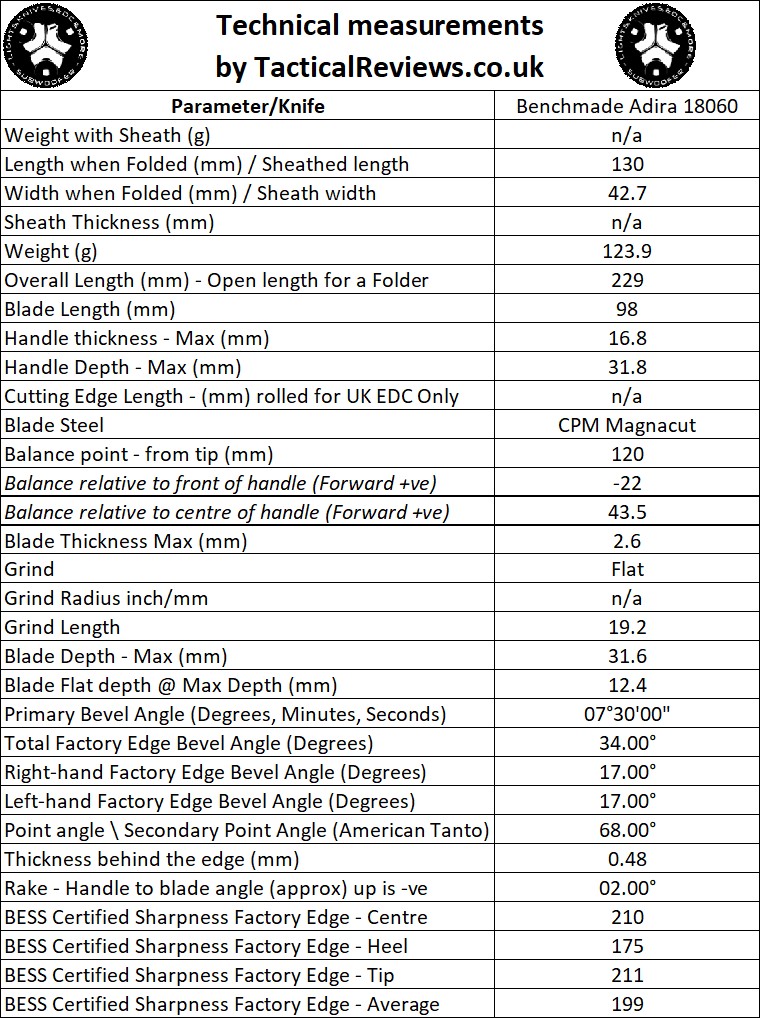
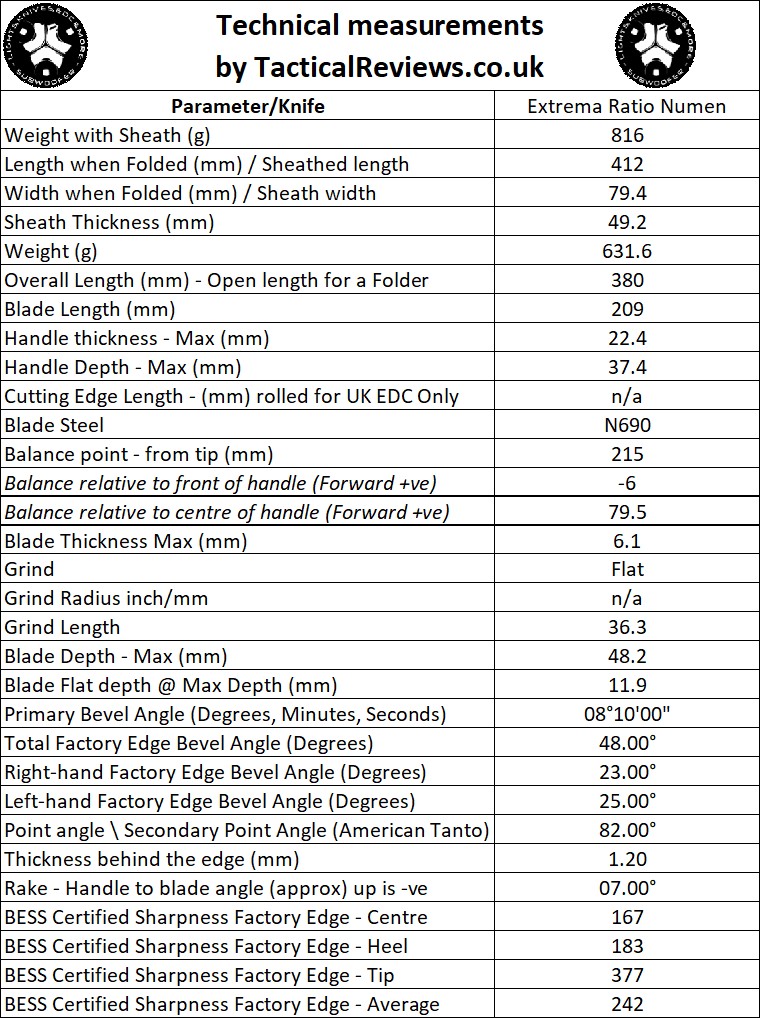
The Blade and Handle – Detailed Measurements:
For full details of the tests and measurements carried out and an explanation of the results, see the page – Knife Technical Testing – How It’s Done.
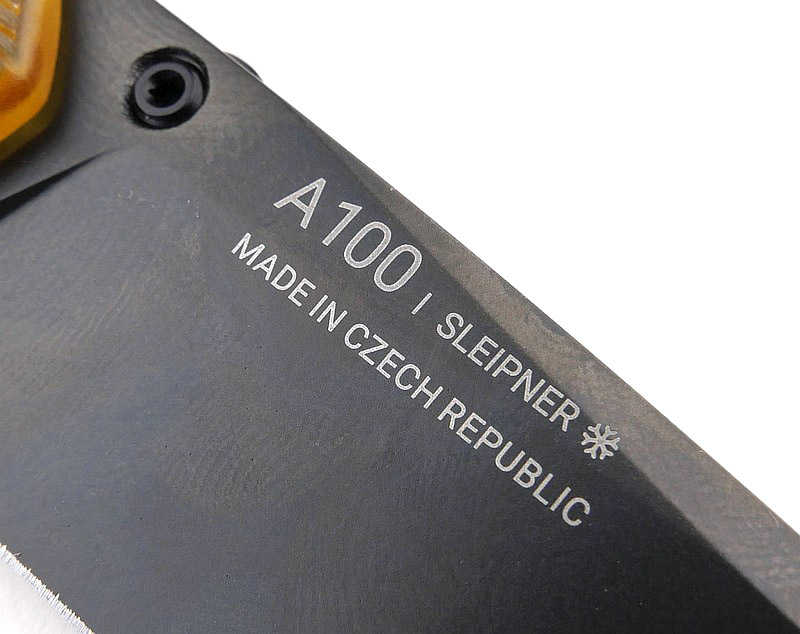
The blade is made from N690 steel.
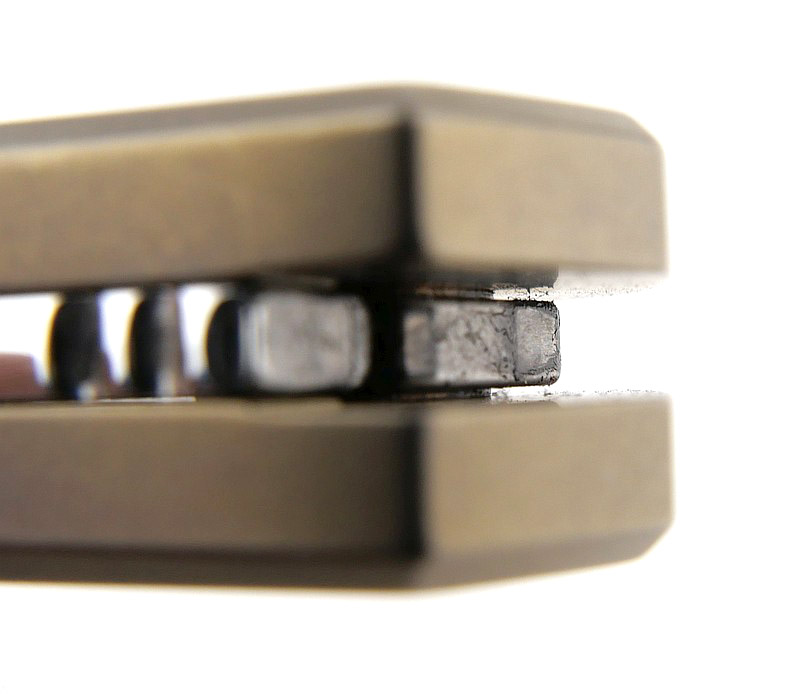
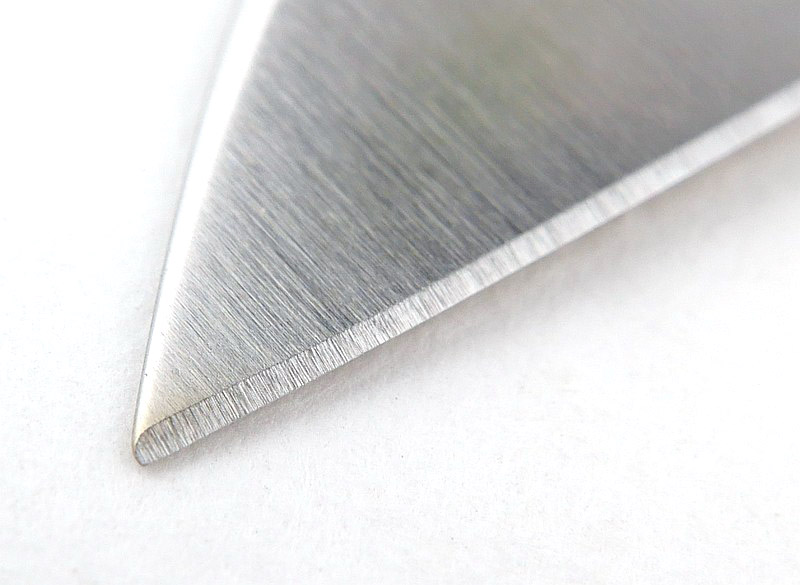
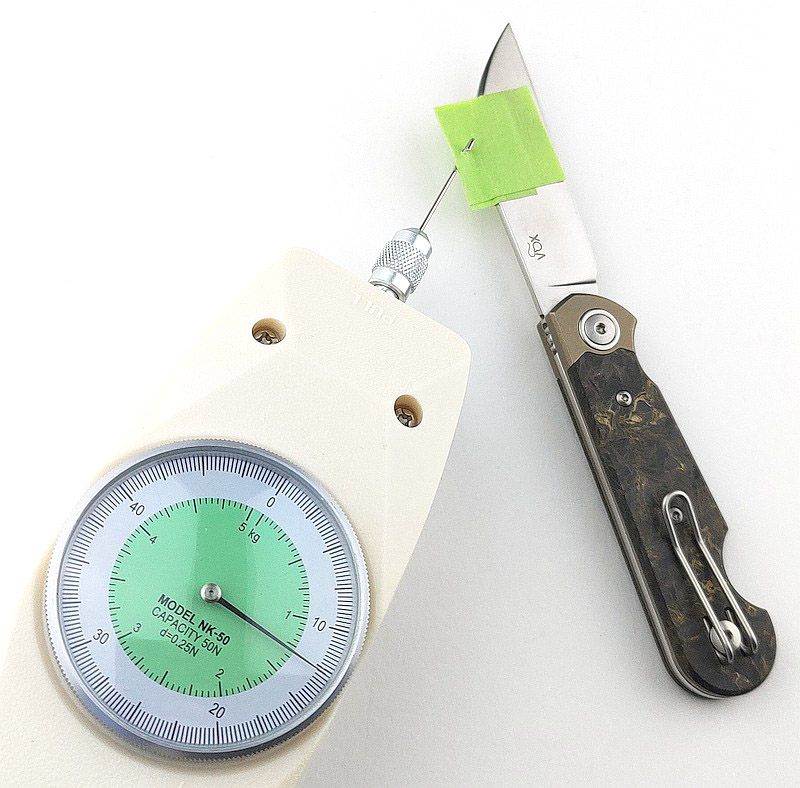
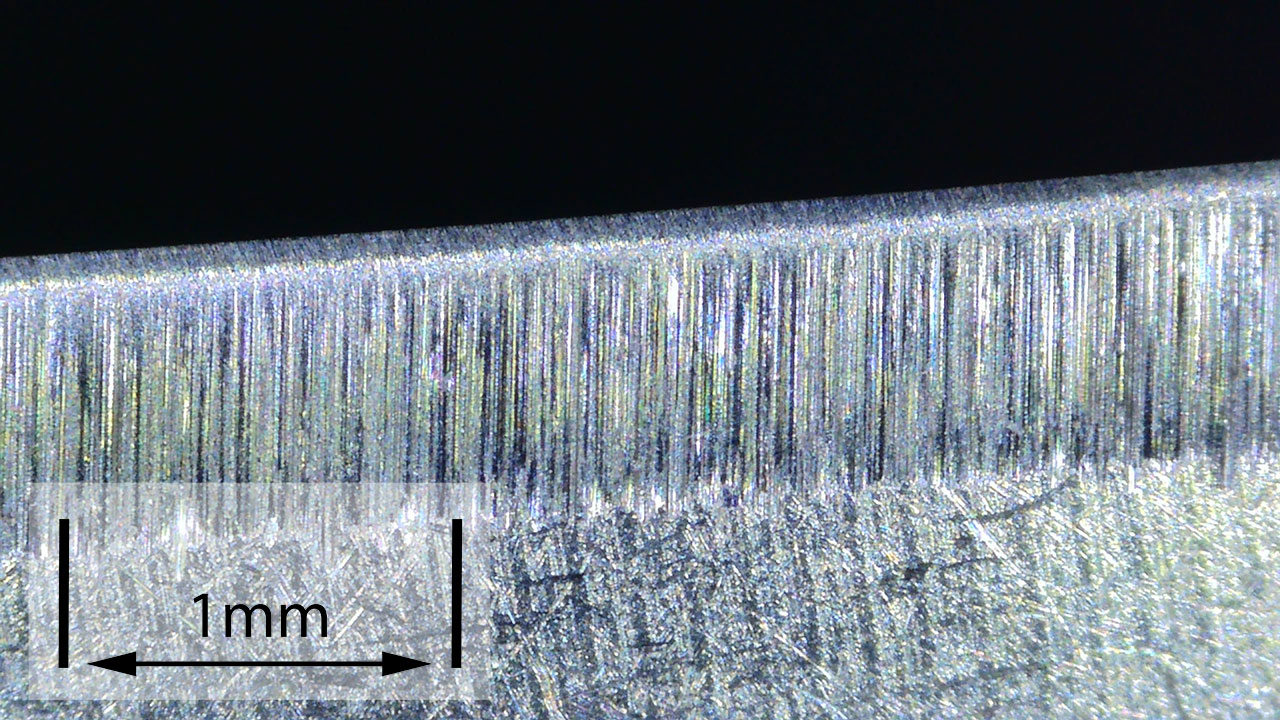
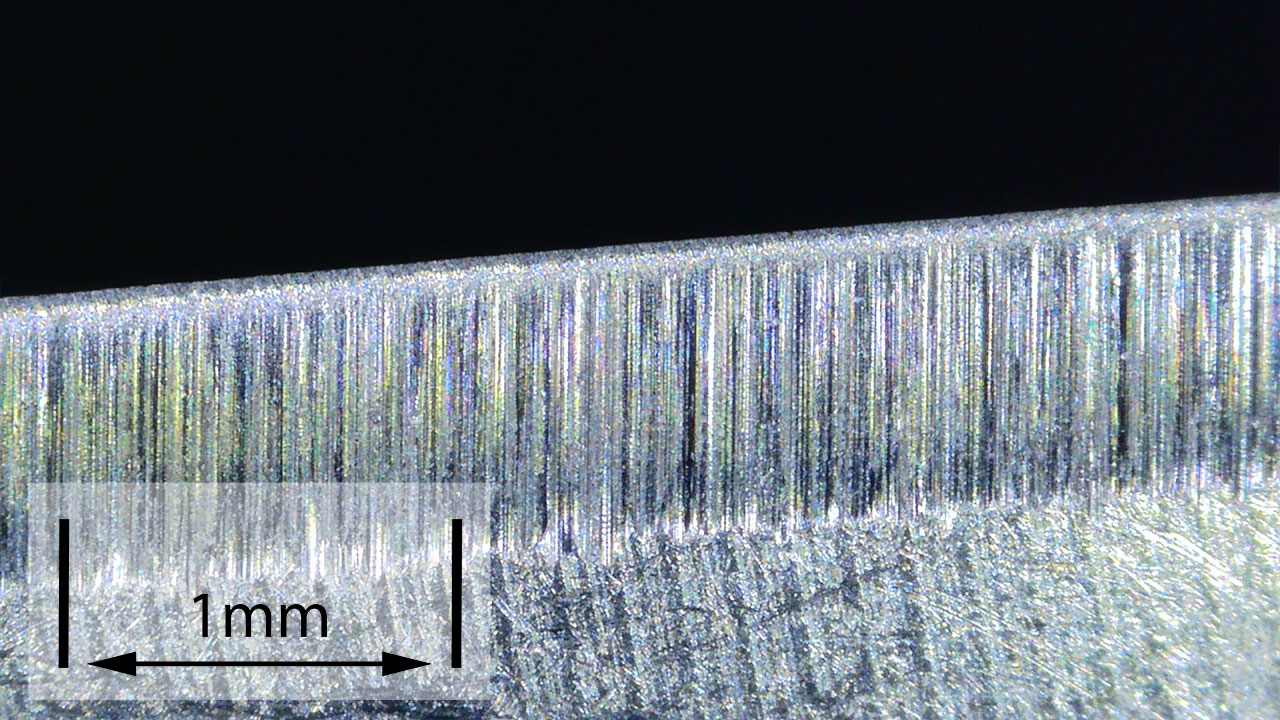
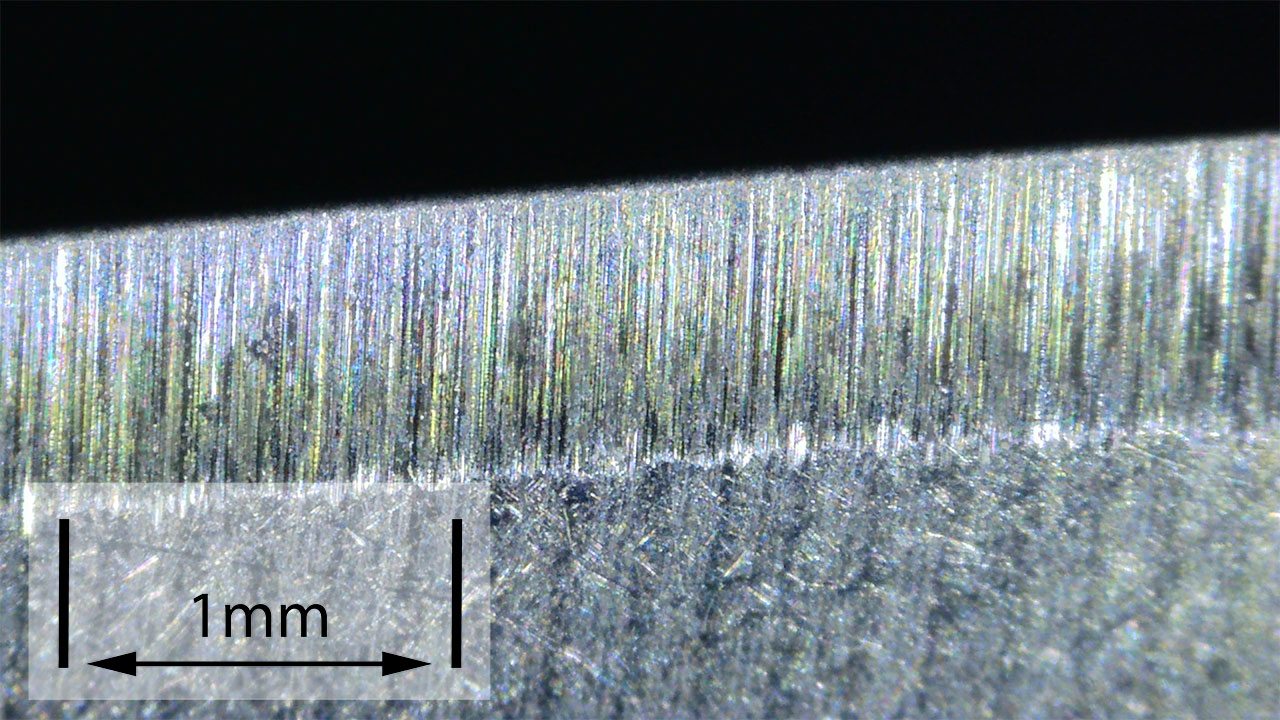
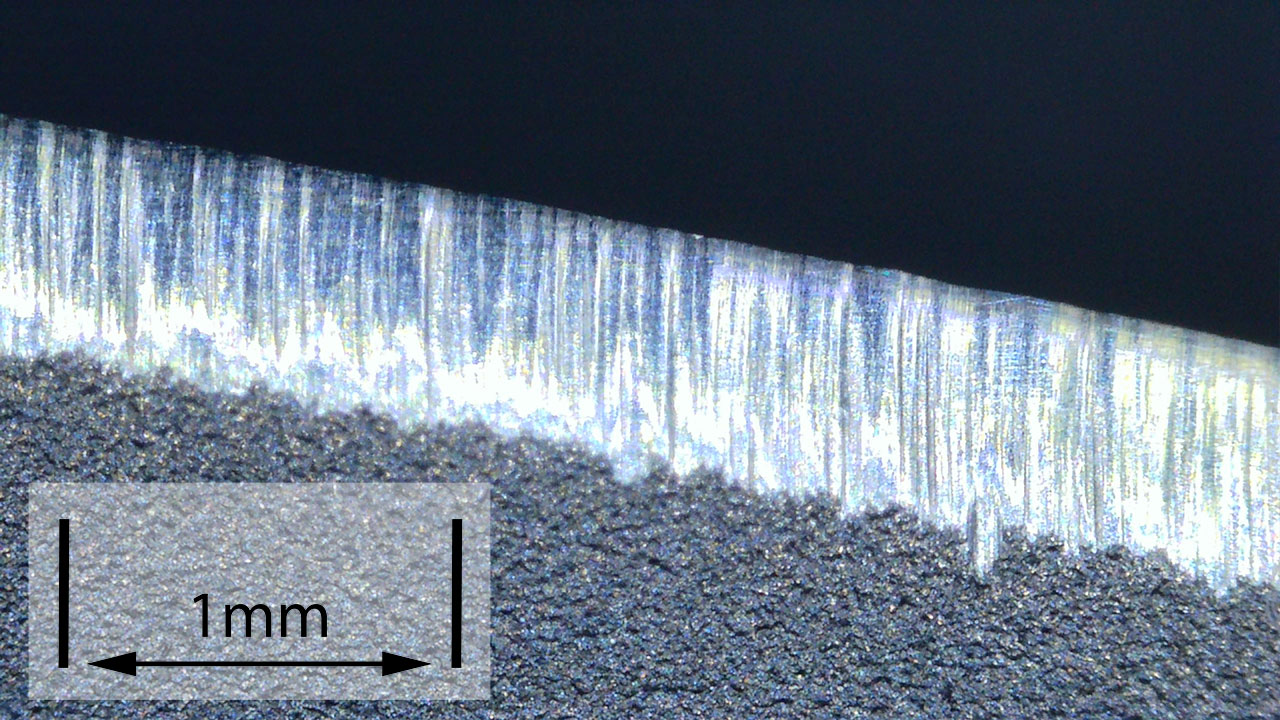
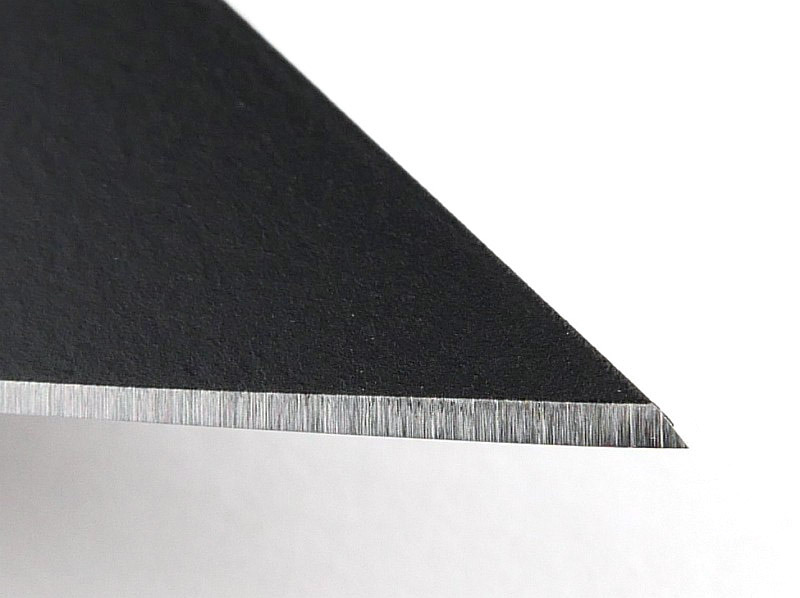
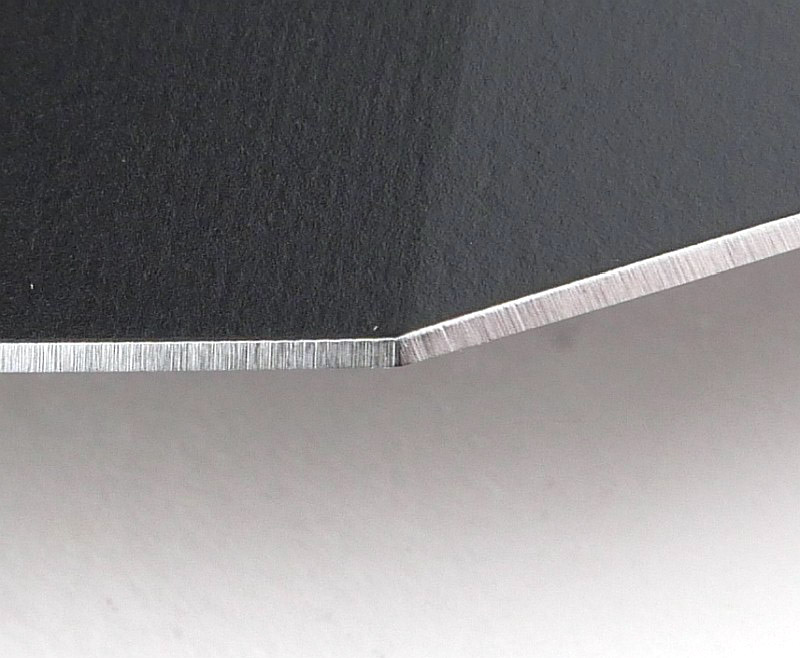
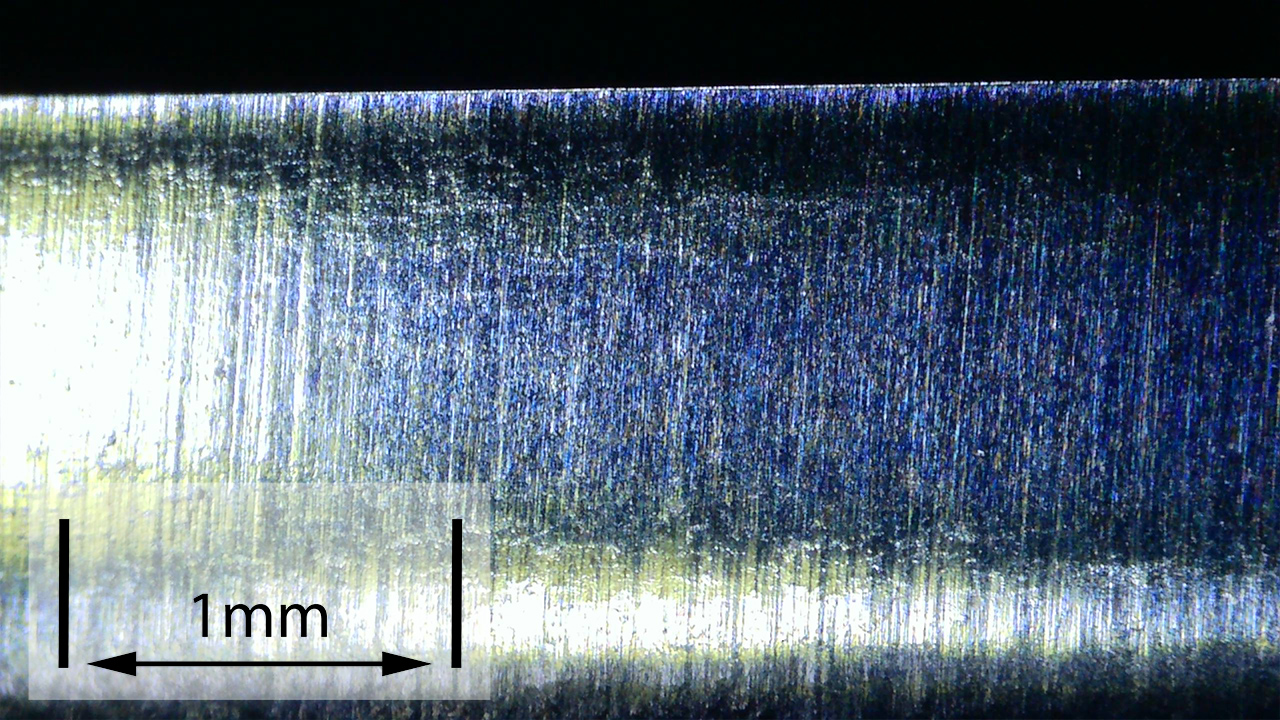
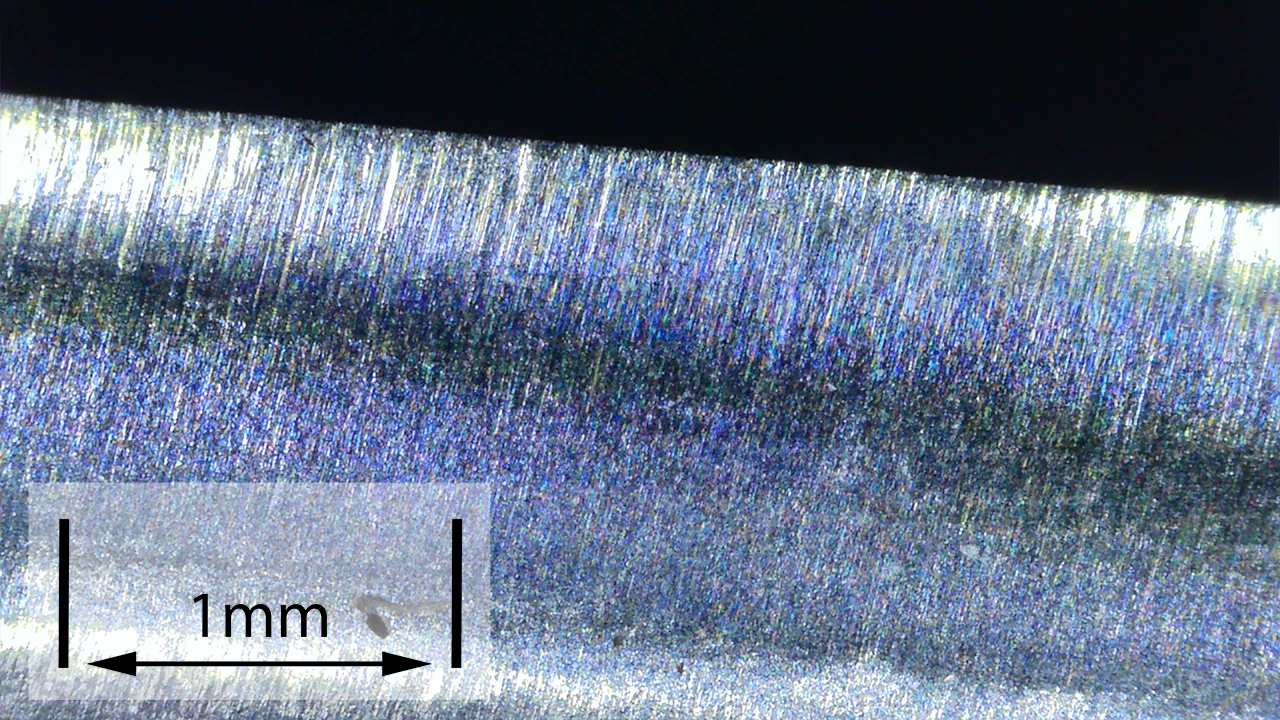
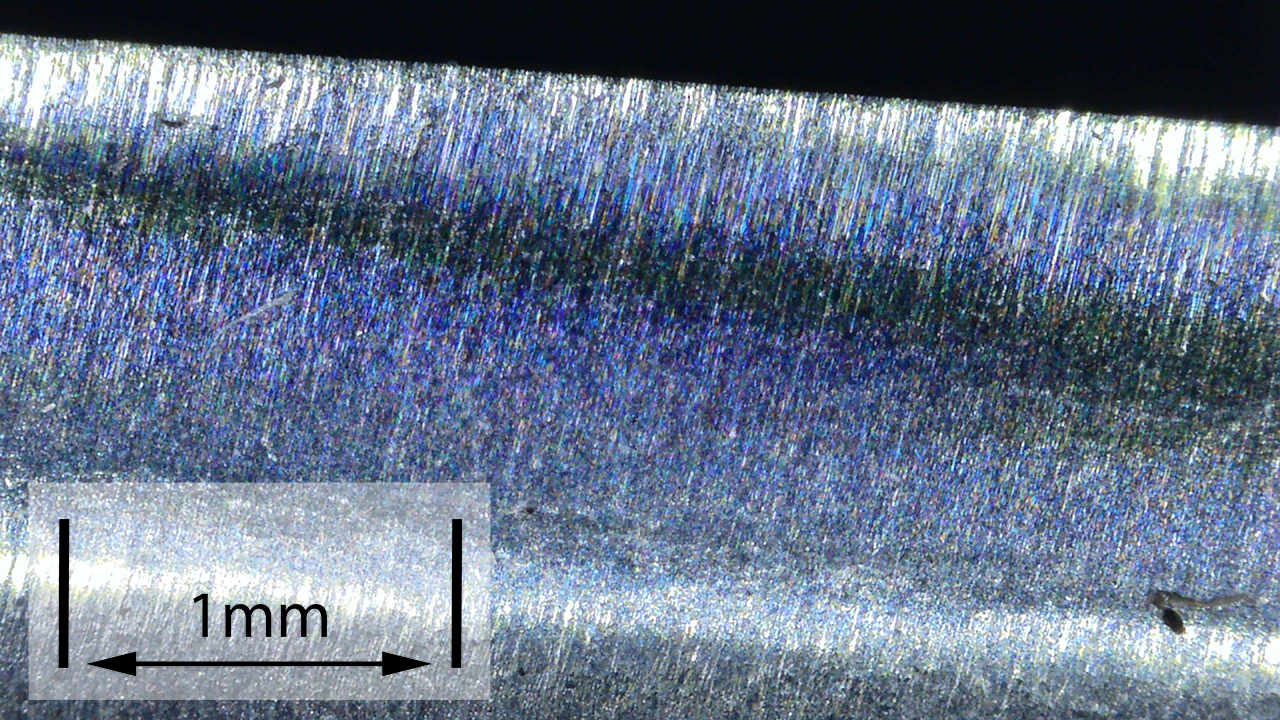
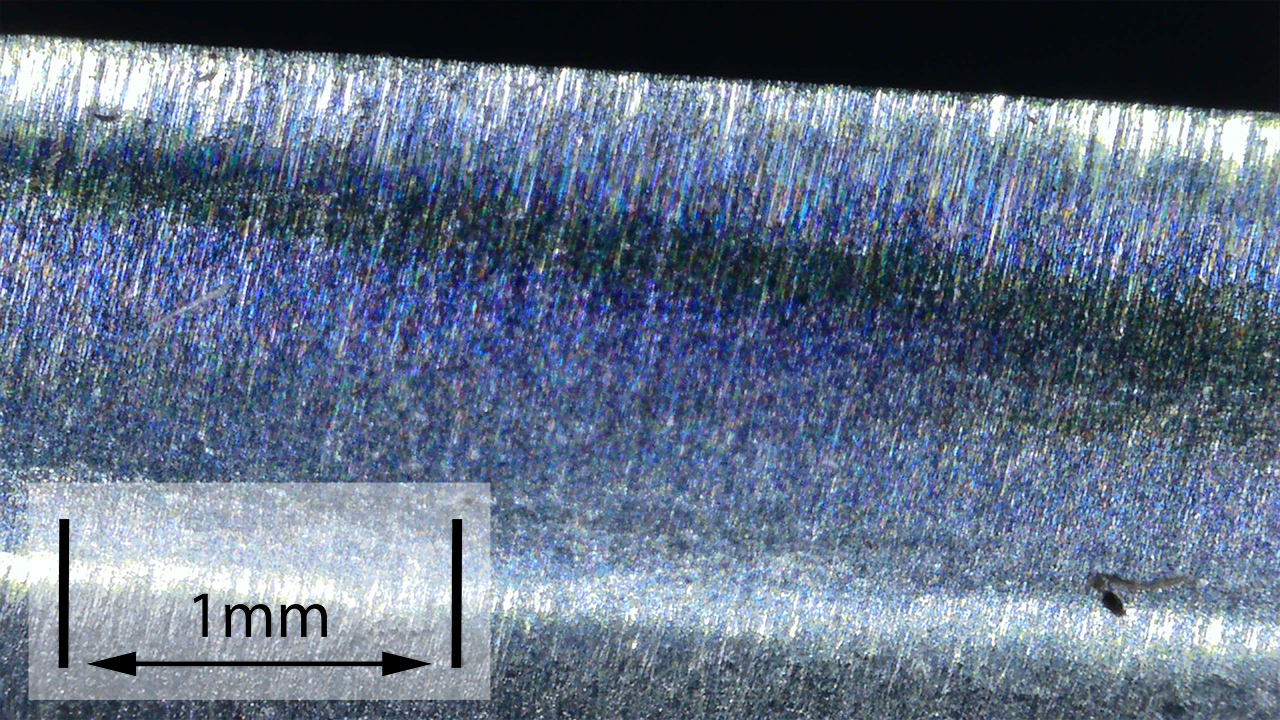
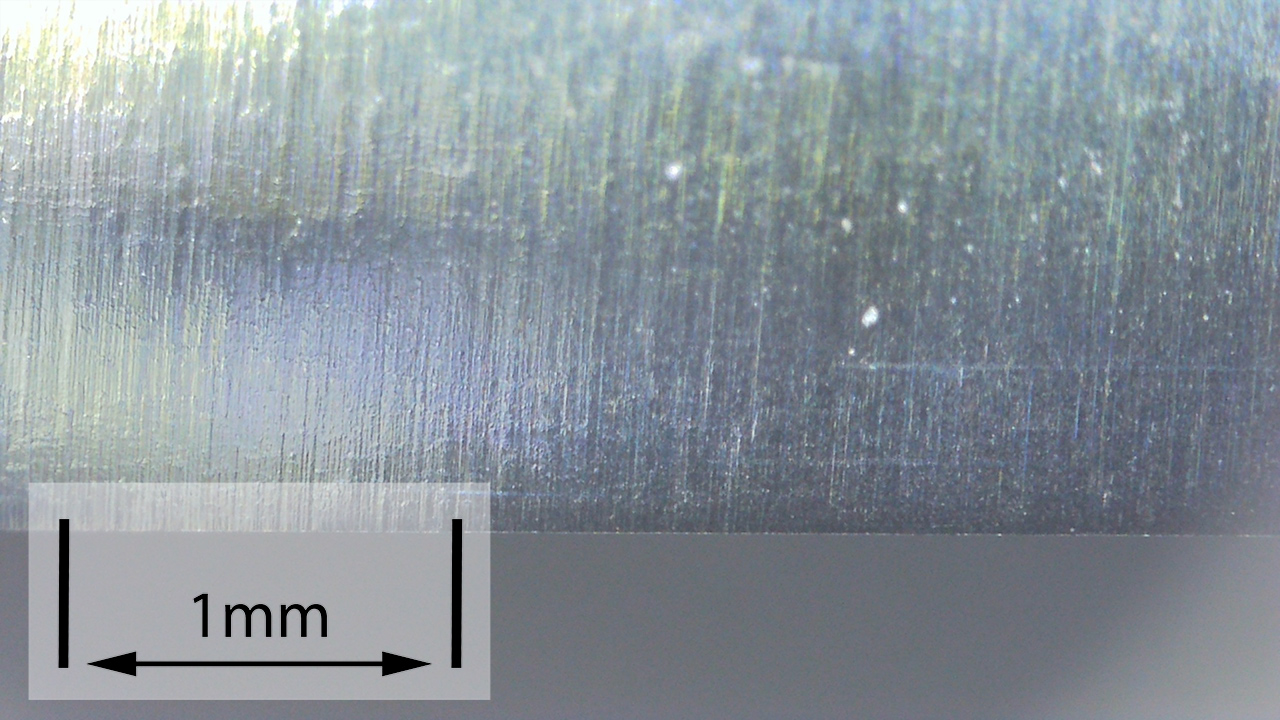
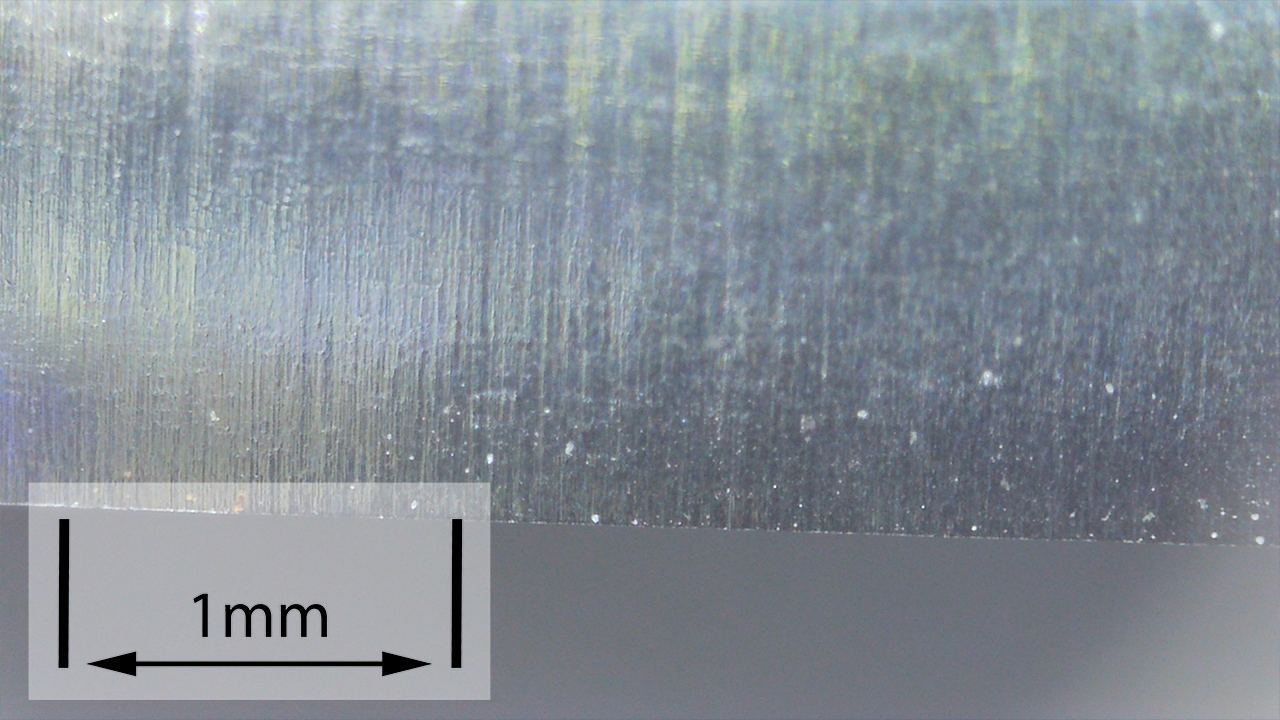
The Factory edge up close:
Followers of Tactical Reviews will know my views on factory edges, but to recap:
Anyone using a knife will need to sharpen it. That first factory edge is just like the first tank of fuel that a new car comes with (or first charge of the battery).
A good factory edge is a ‘nice to have’ but not a ‘make or break’ for a good knife, as you will be putting your own edge onto it soon enough.
The factory edge does however indicate the care a knife maker has put into the final finish.
It is for this reason Tactical Reviews measures factory edge sharpness and specifications, and includes this information in the detailed technical testing.
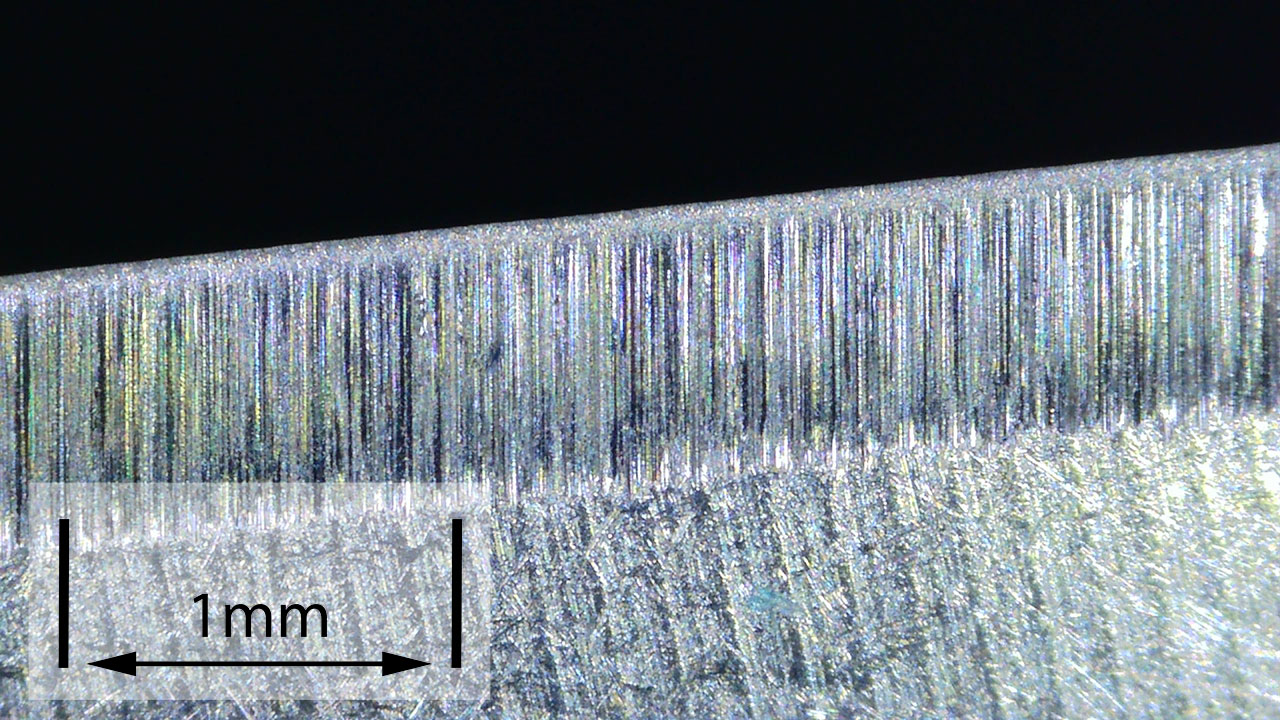
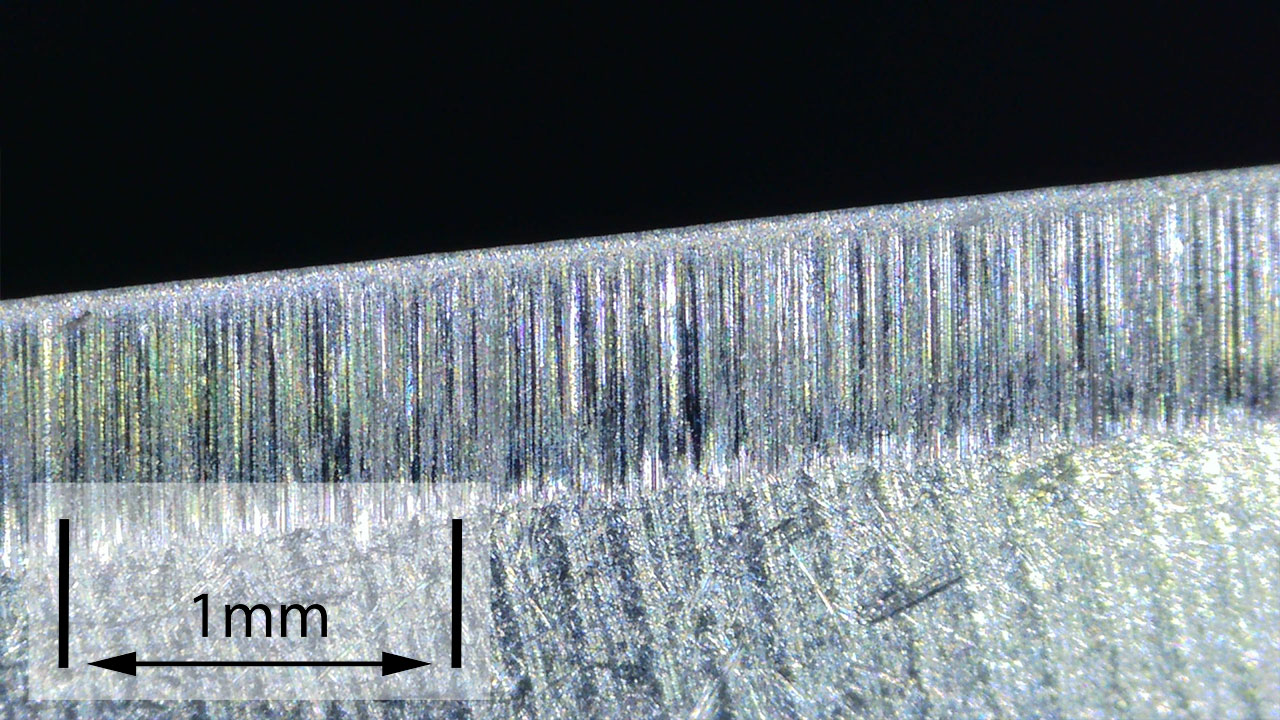
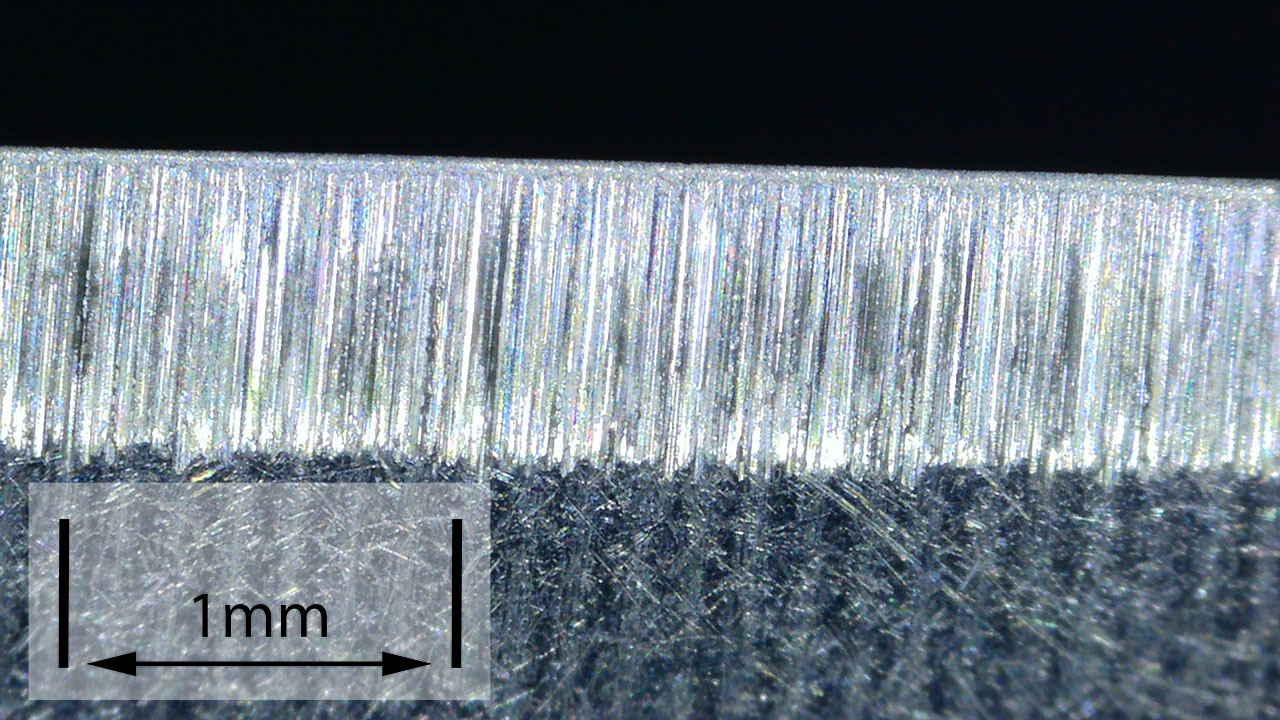
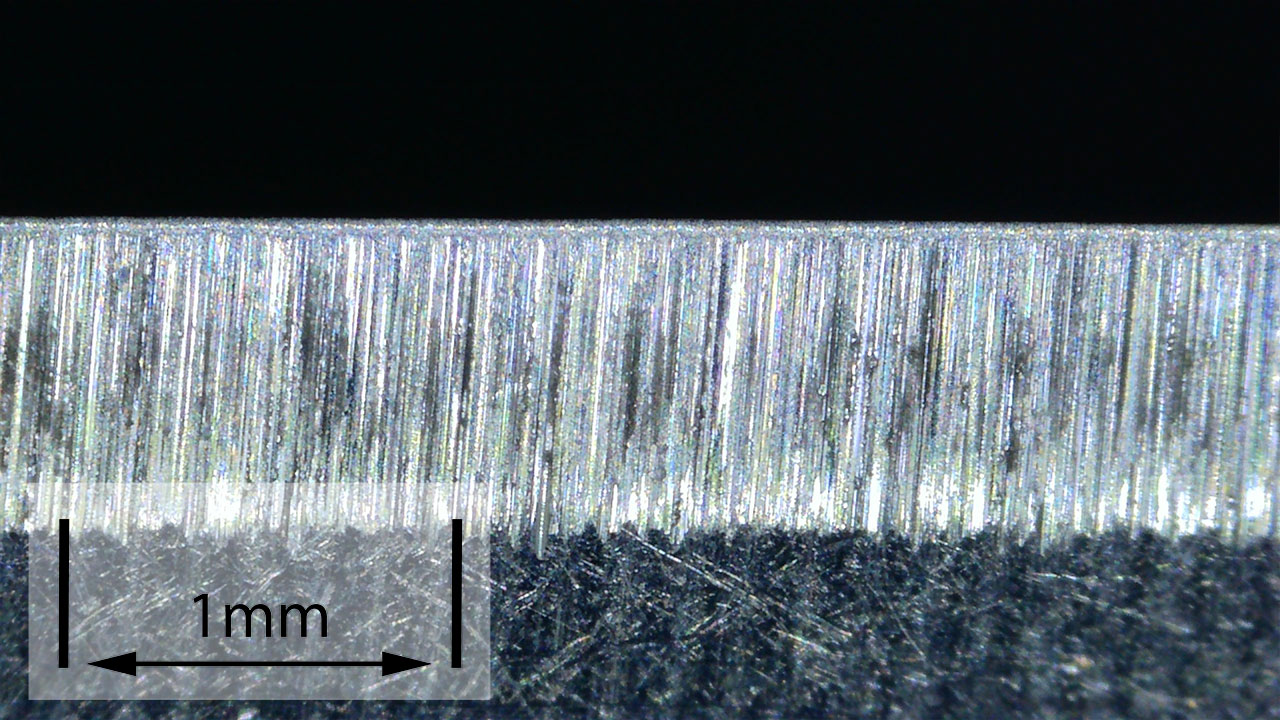
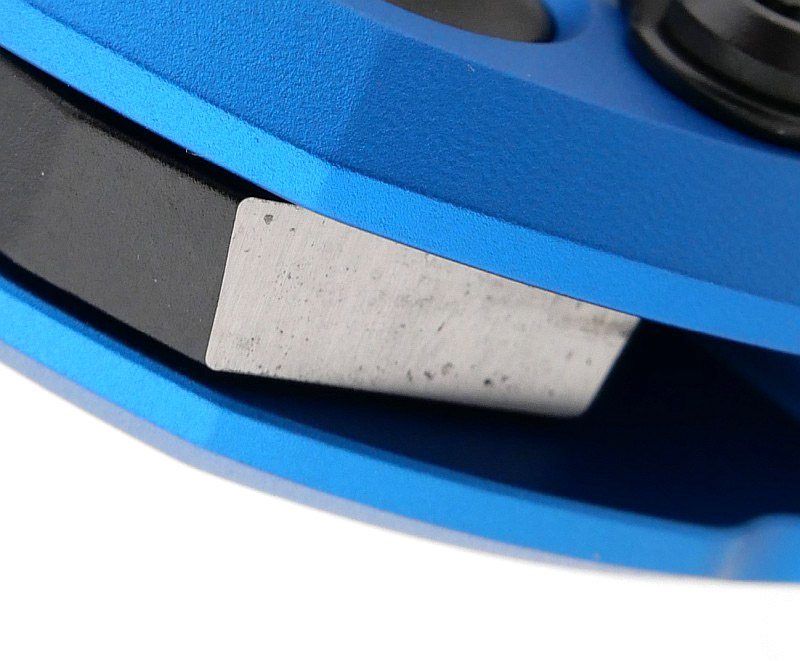
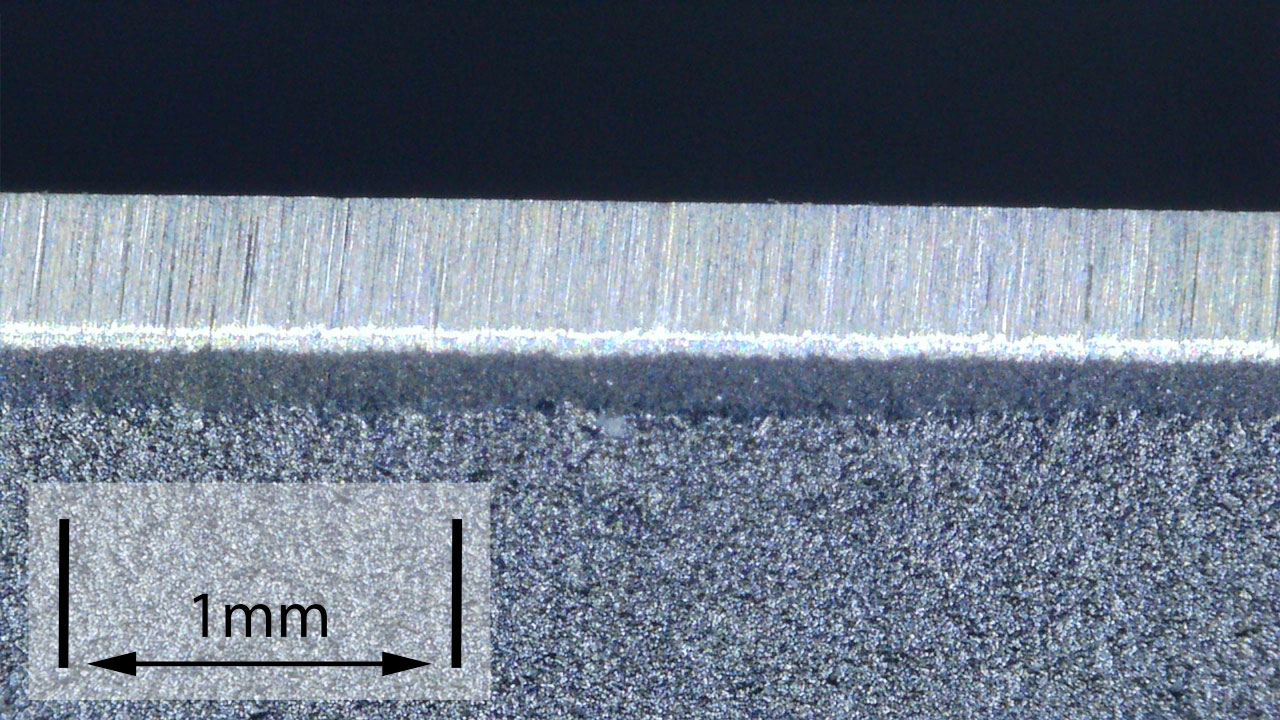
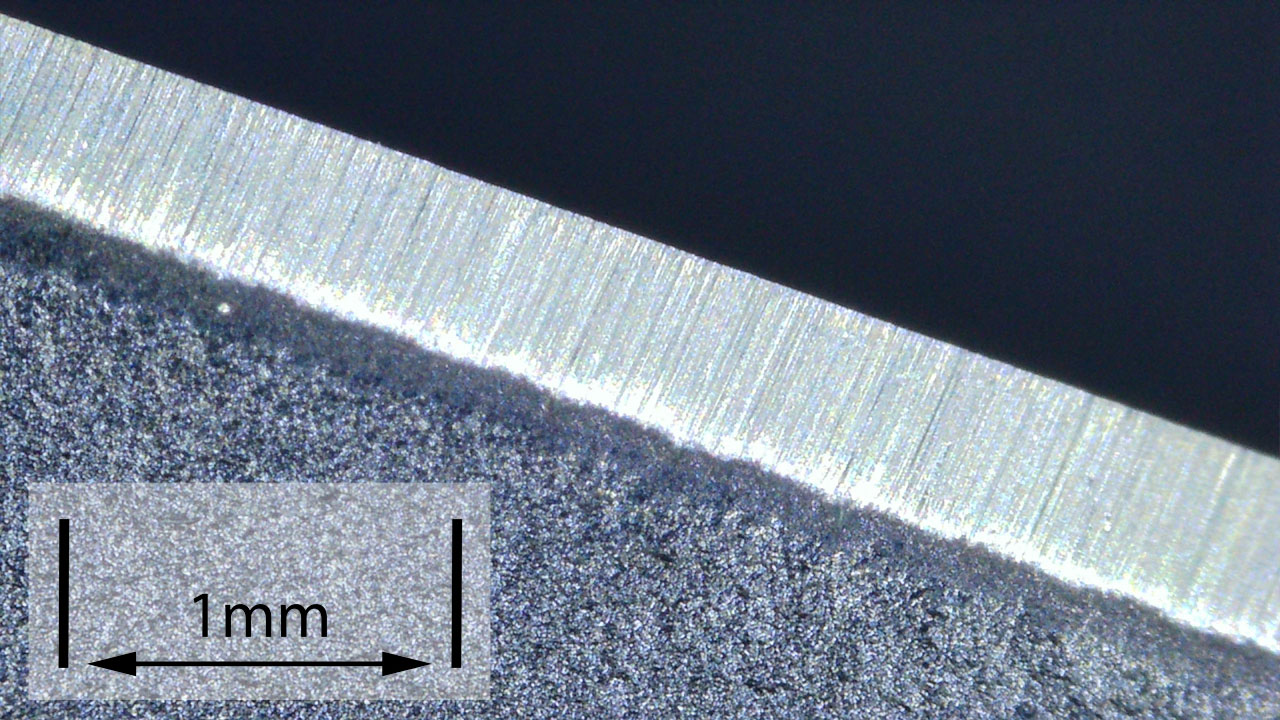
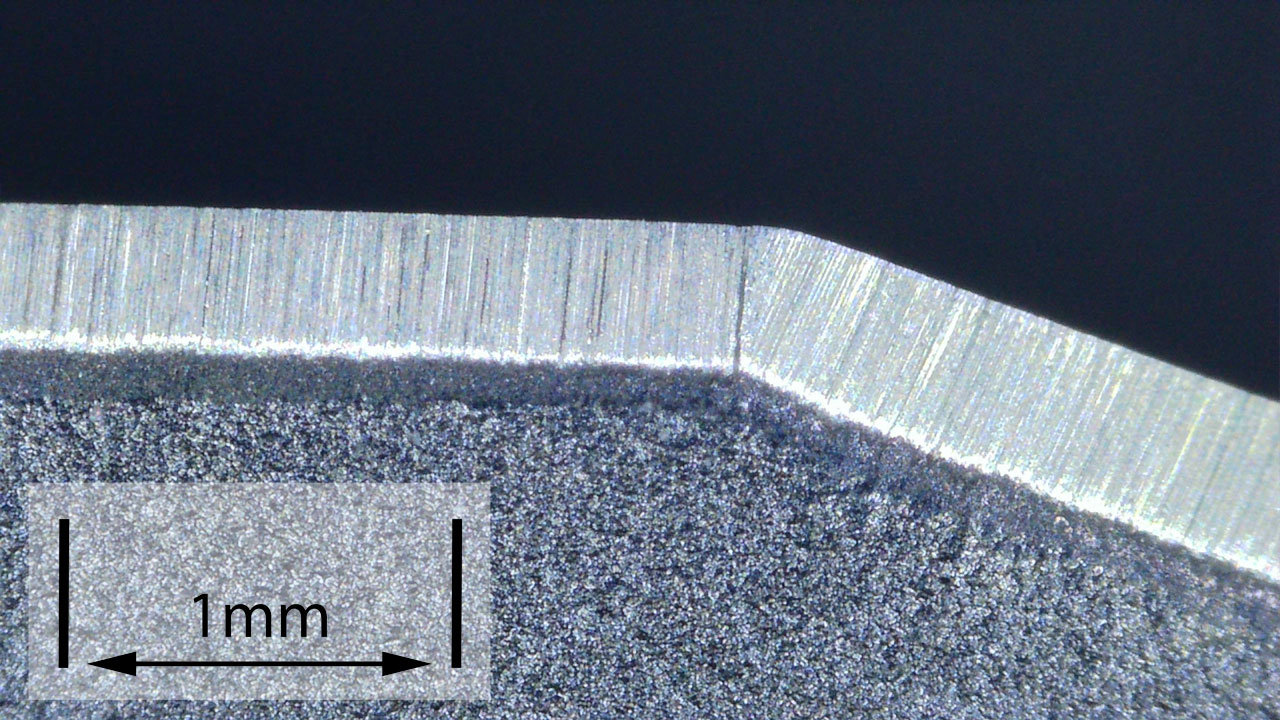
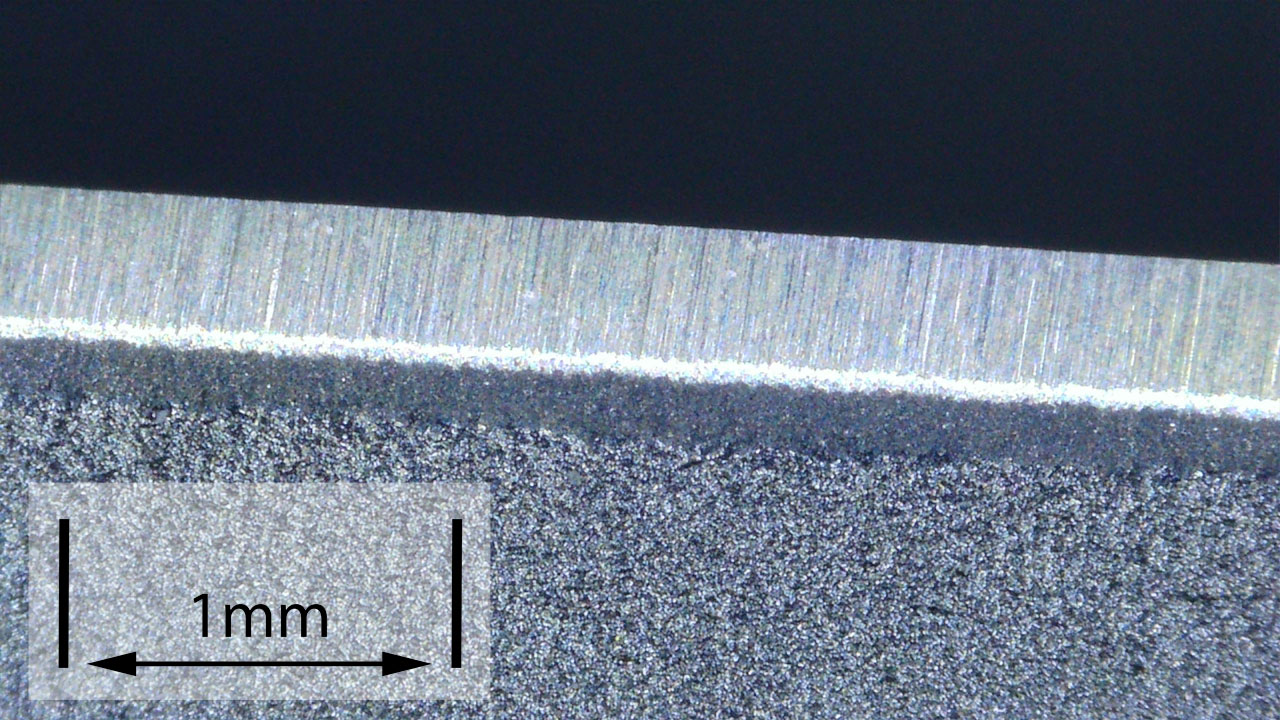
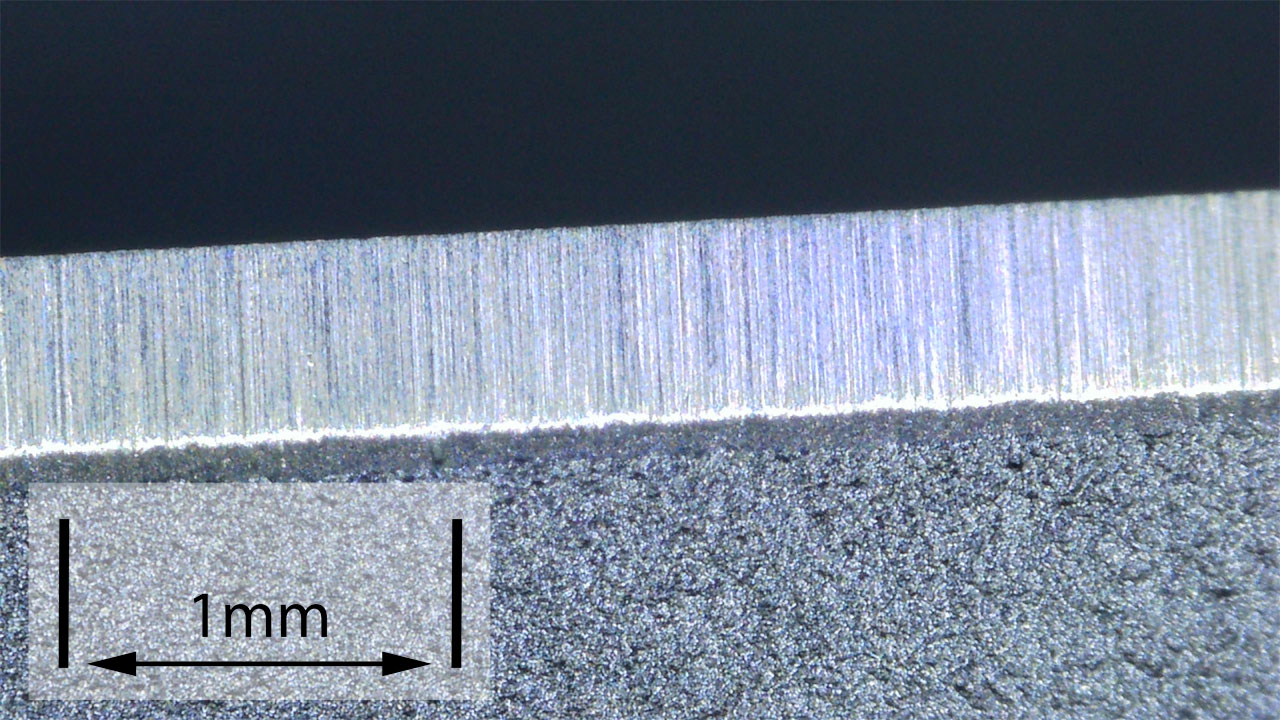
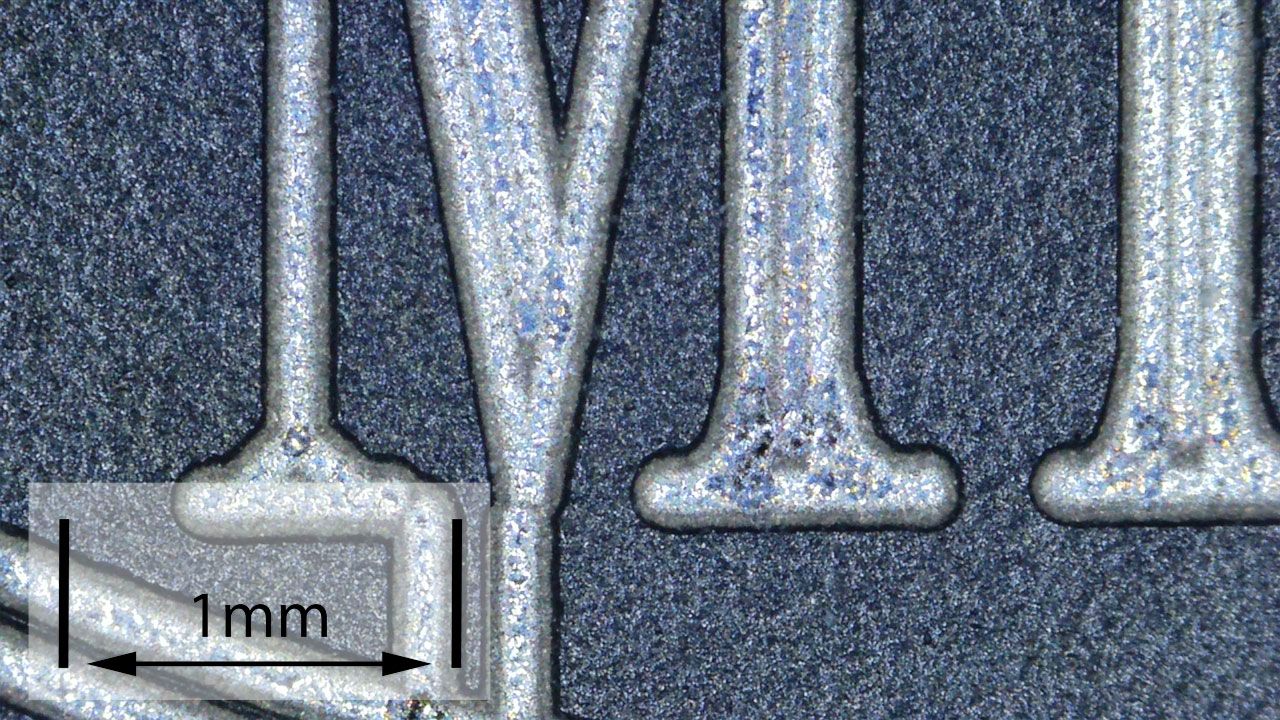
As a further look at the factory edge, this section has been added to include some high magnification photos of the factory edges.
The Numen’s edge actually proved more challenging than most to get close-up images of. The factory edge was very sharp and had plenty of bite.

What is it like to use?
It is not the biggest or heaviest knife I’ve carried, so I don’t want to overplay that aspect of the Numen, but the more you carry larger blades, the more you understand when it is worth the extra size and weight, and when it starts to become a burden. So, yes, it is a commitment to decide to carry the Numen, as you will be aware of it at times. However, that awareness of its presence is rewarded with complete confidence in this versatile, robust tool which is capable of jobs you would otherwise have to carry a hatchet to be able to do. As well as heavy tasks, this workhorse of a tool is also capable of fine control and precision cutting thanks to its handle accommodating so many different grip positions.
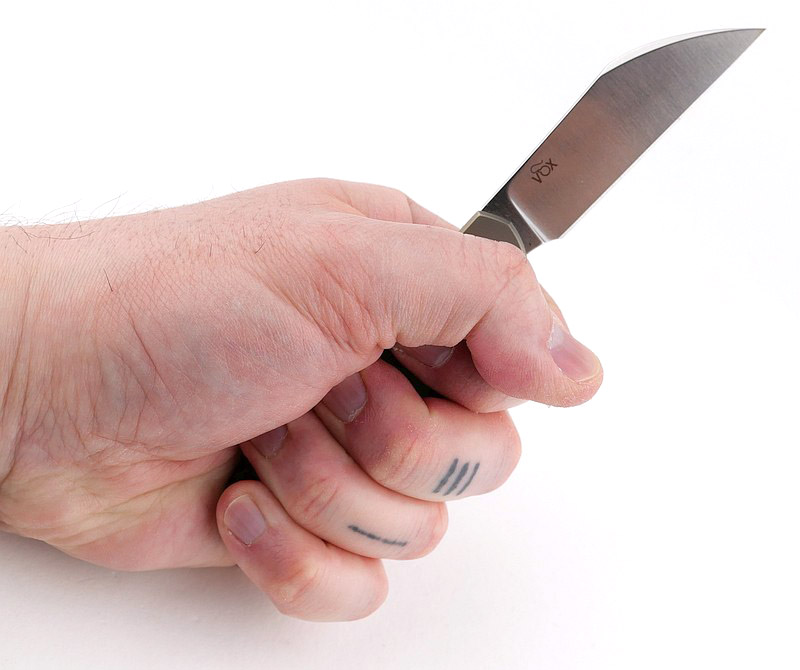
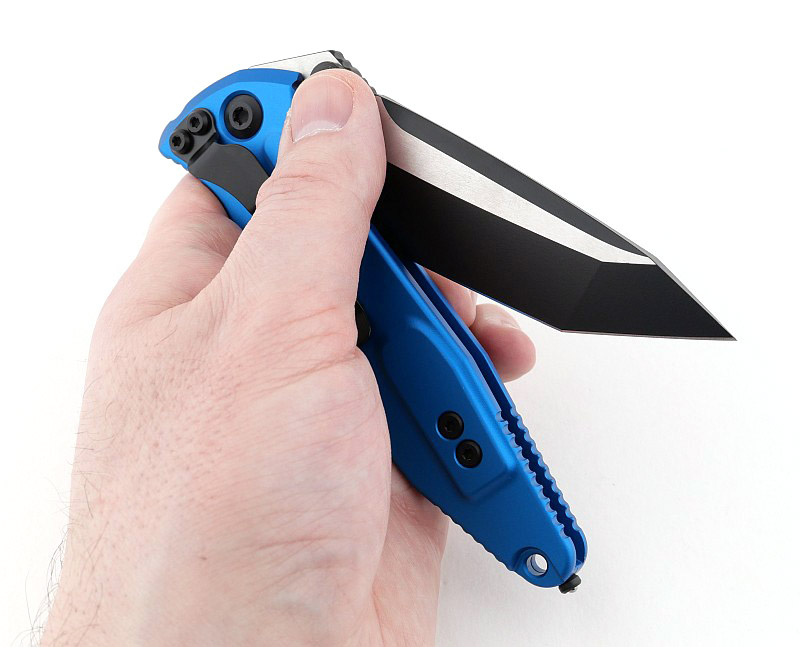
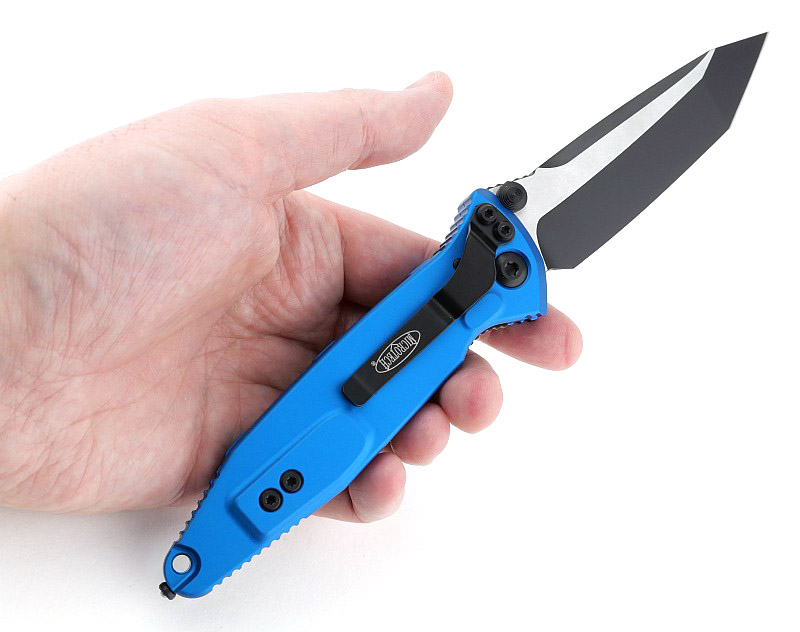
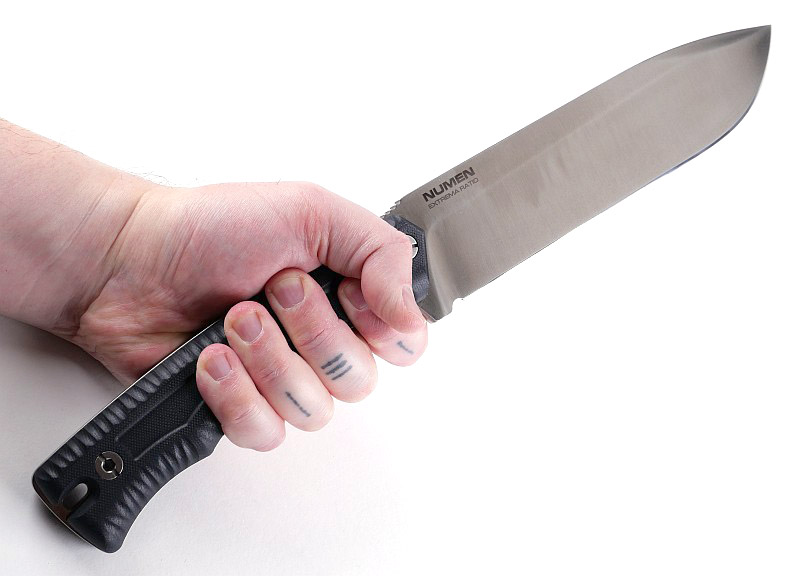
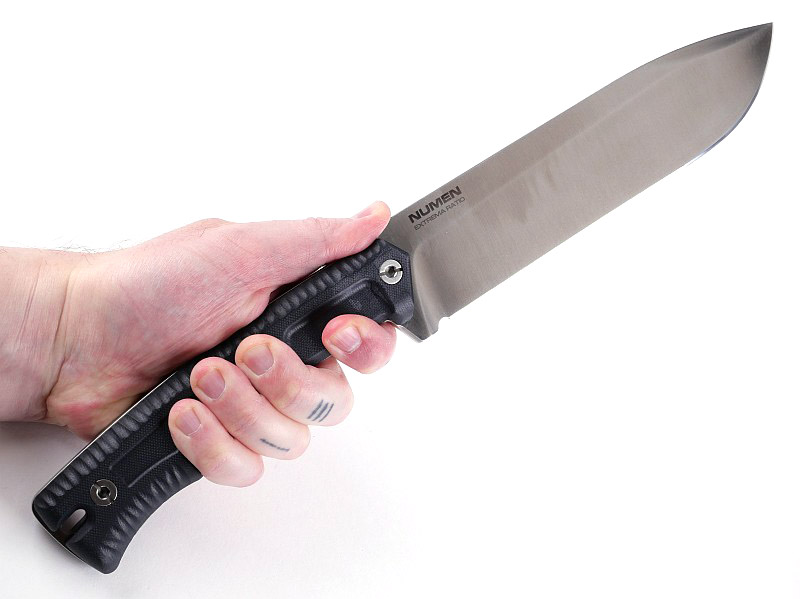
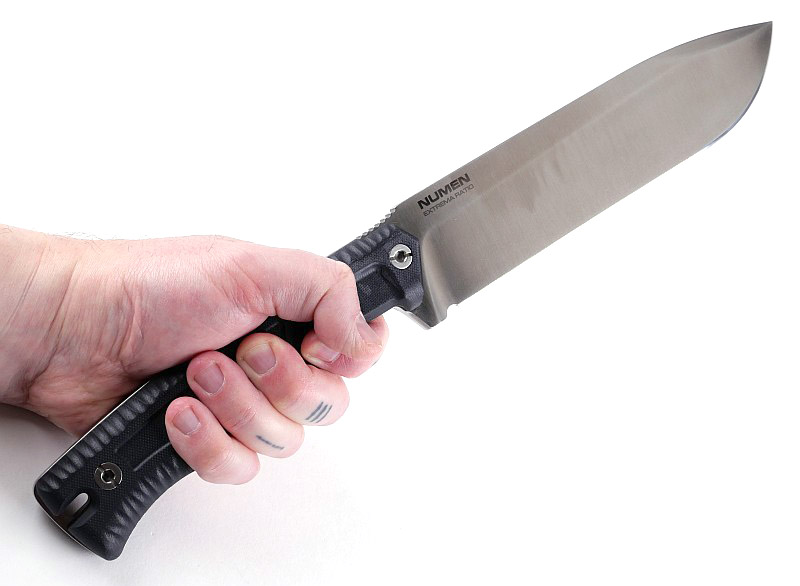
The gallery shows overall scale with my XL glove-size hand, then working through the finer grip positions to the heaviest chopping grip all the way at the butt. Thanks to the excellent handle grip design, this extreme hand placement felt absolutely secure during all the heaviest chopping.
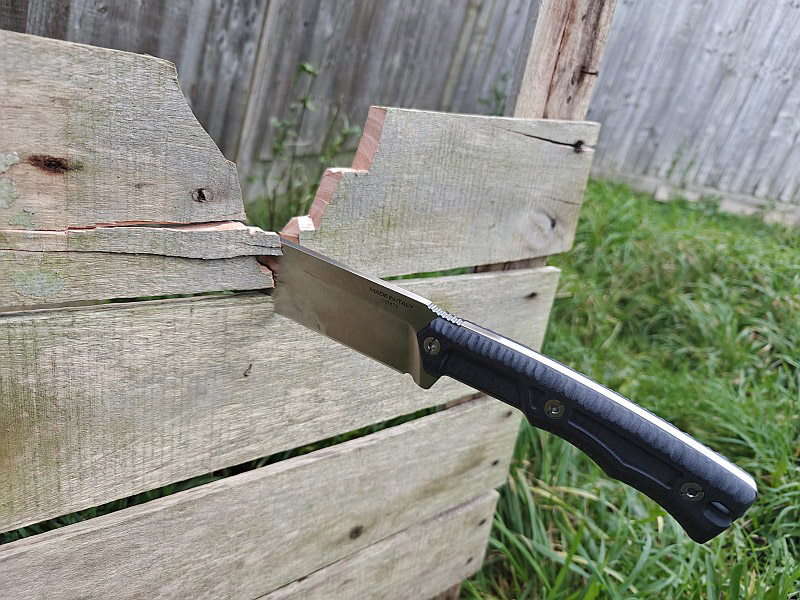
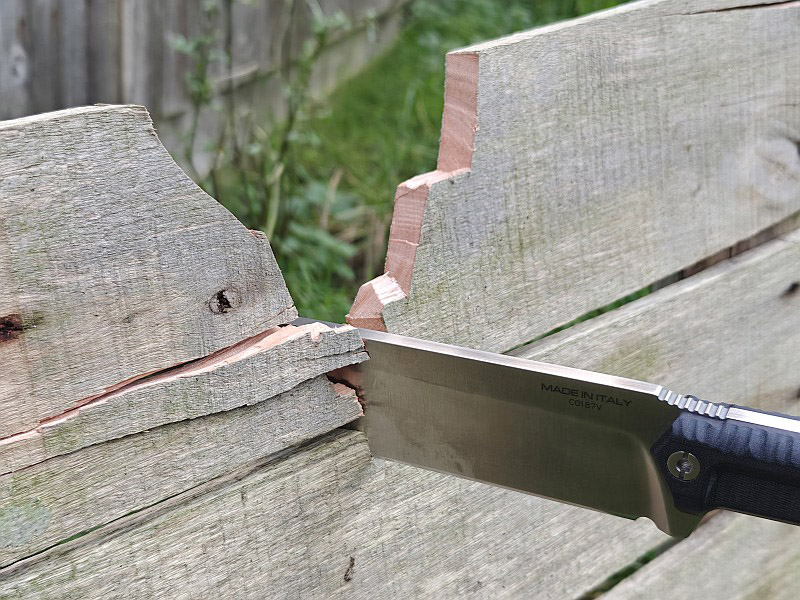
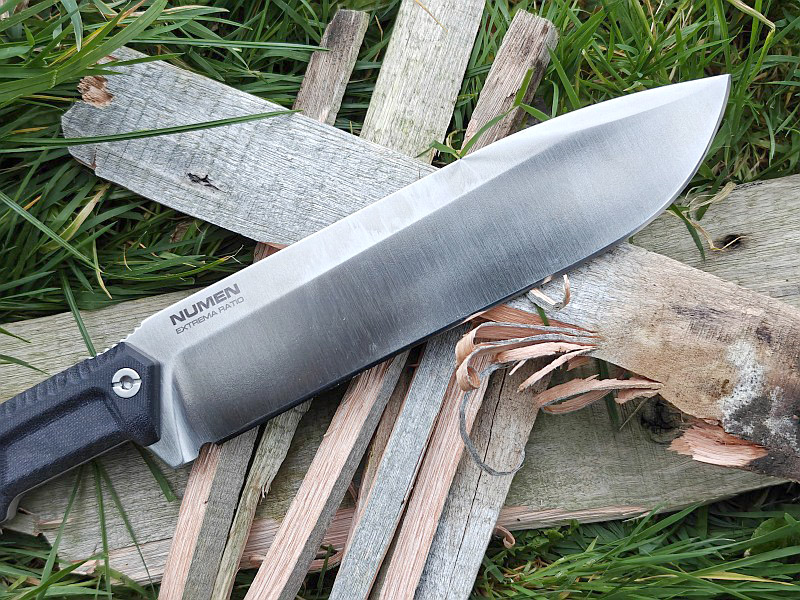
At the time of writing I didn’t have any suitable green wood for testing the chopping. Instead a trusty pallet chop test, which, as it happens, was an Italian pallet, and one made of an unknown hardwood which is well seasoned. So a suitably tough chopping test, not green wood, not softwood, but seasoned hardwood.
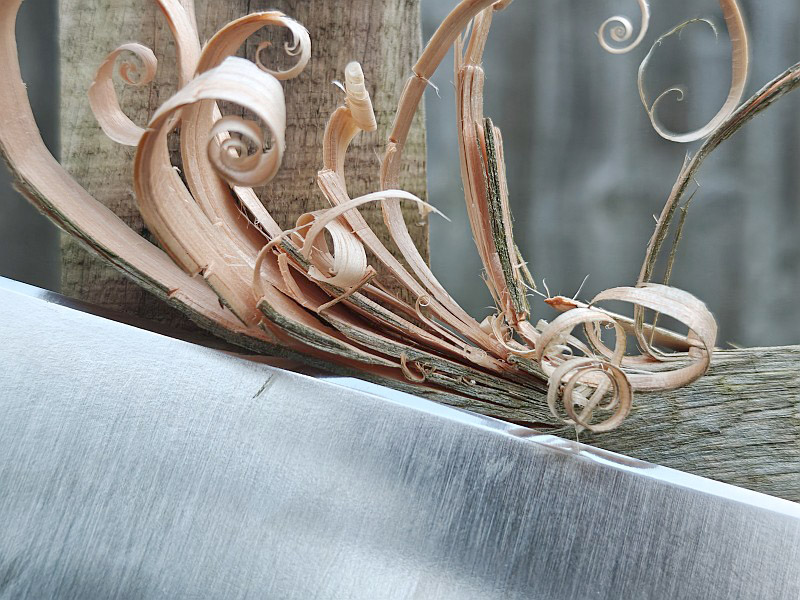
Clearly visible are the large steps in the cut from the power of the Numen’s strikes, easily finishing off the board and into the next one. Kindling and feather sticks easily processed. Despite the size of blade, I still prefer to baton kindling due to the improved control when more than one hit is required to split the wood.
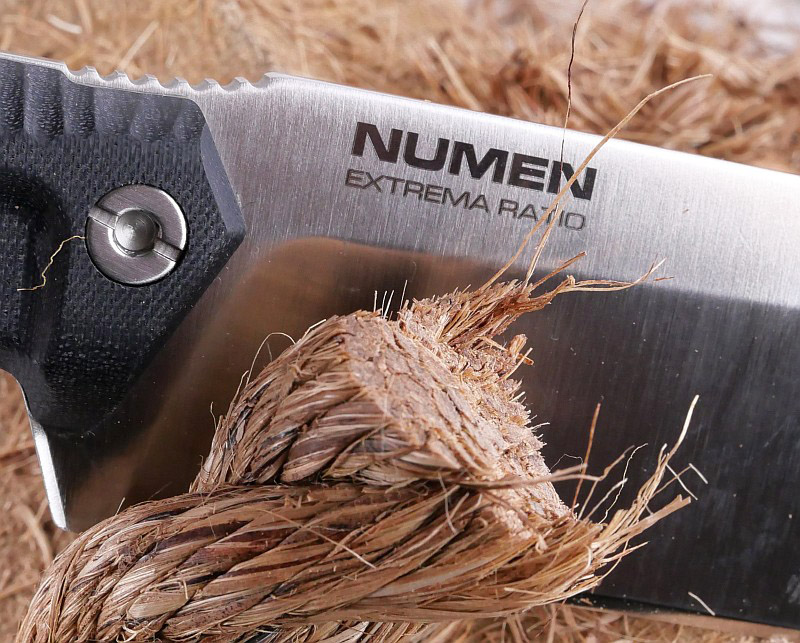
Following the heavy chopping tests, I happened to have some 1″ manilla rope out for some other cutting tests. The wide wedge of the Numen’s blade would not be well suited to this type of cut, but I gave it a go anyway. The bite from the now used factory edge was excellent, only stopping in the cut due to the hardness of the new rope. Positioning the rope on the cutting block edge to give relief during the cut, and the Numen gave a really clean cut through this tough fibrous material. (Now wishing I’d had a hanging rope cut test set up, but didn’t.)
Of course, with a blade stock of 6.1mm, the Numen cannot be the best slicer, but understanding this and using technique to provide relief when cutting harder materials, it does really well. The length of handle giving you great purchase to apply force with control, and be able adjust your grip position to best effect.
A good sheath is as important as a good knife, and Extrema Ratio reliably give you a great sheath to carry the knife. Even a detail as small as the cut-resistant retaining strap elevates the reliability of the Numen’s sheath. With a modular assembly and adjustments (like the movable position of the secondary retention strap) you didn’t know you needed until you realise you have them, it is possible to fine tune how you carry the Numen. Most importantly, thanks to the quality of the sheath, you know Numen will still be there when you need it.
Extrema Ratio Numen Review Summary
The views expressed in this summary table are from the point of view of the reviewer’s personal use. I am not a member of the armed forces and cannot comment on its use beyond a cutting tool or field/hunting knife.
Something that might be a ‘pro’ for one user can be a ‘con’ for another, so the comments are categorised based on my requirements. You should consider all points and if they could be beneficial to you.
_______________________________________________
What doesn’t work so well for me
_______________________________________________
Blade thickness impedes slicing ability.
Velcro in belt loop slows down fitting and removal from your belt.
_______________________________________________
Things I like
_______________________________________________
Extended handle provides a range of grip positions.
Powerful chopping action.
Flexible mounting due to modular sheath.
Ambidextrous sheath.
Anti-cut retention strap.
Super-tough full tang blade.
Balanced even for finer work.
Very secure grip.
Choice of N690 or S600 steels.
Extrema Ratio Numen Review Videos
Starting with a short format sixty second review:
Onto a full video review covering many more details:
Discussing the Review:
Something new – will it work? A Tactical Reviews Subreddit.
TacticalReviewsChat on Reddit
Please visit there and start/join the conversation.