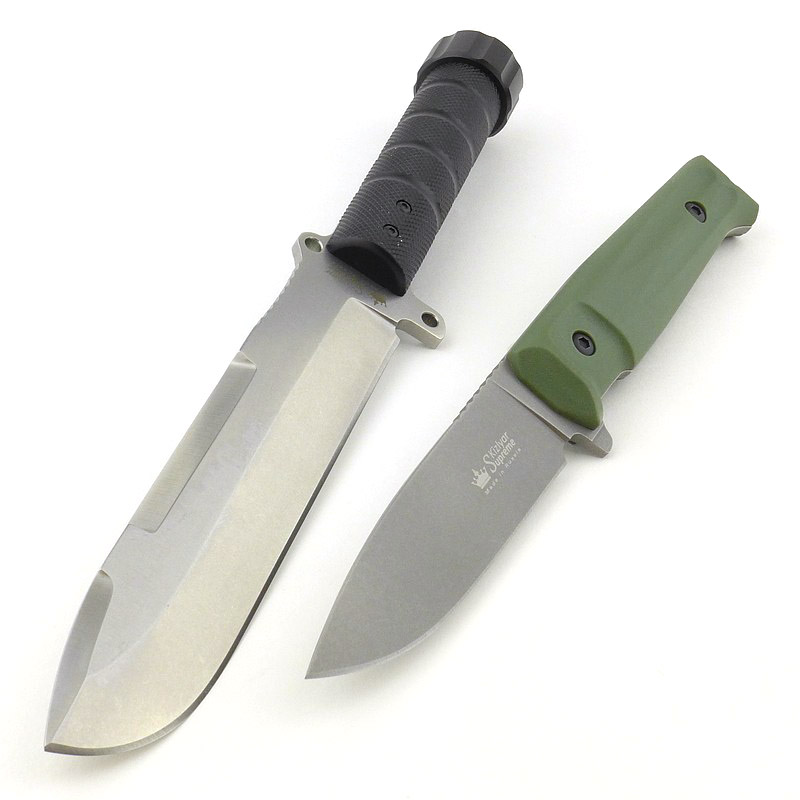
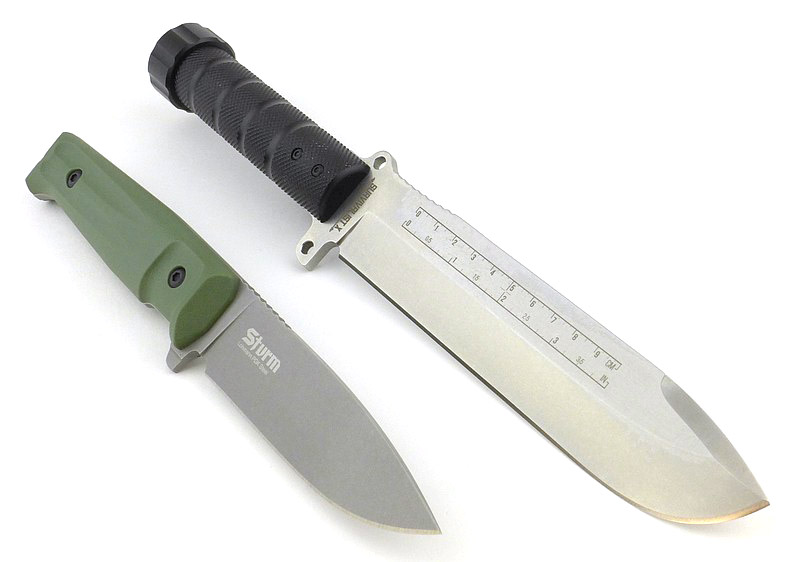
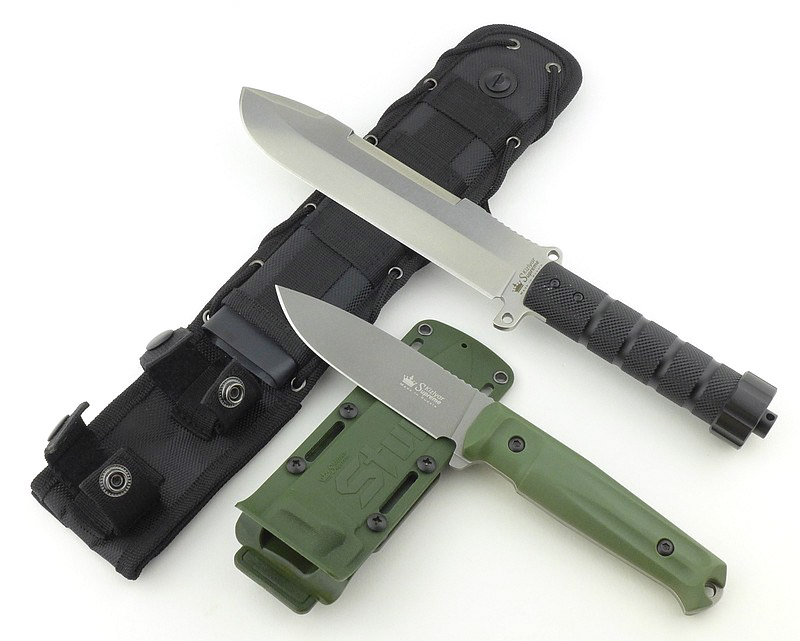
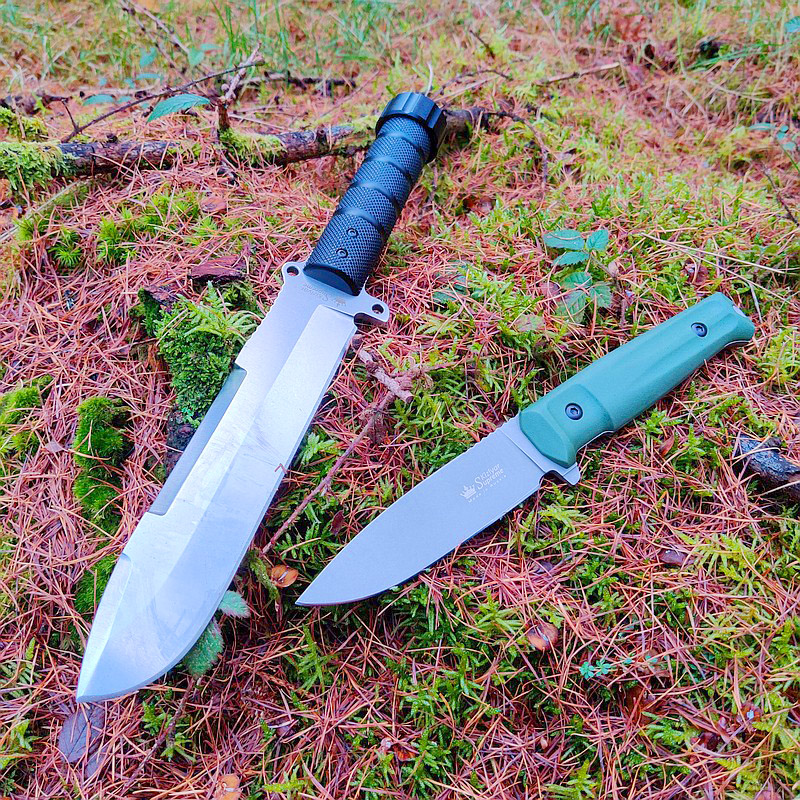
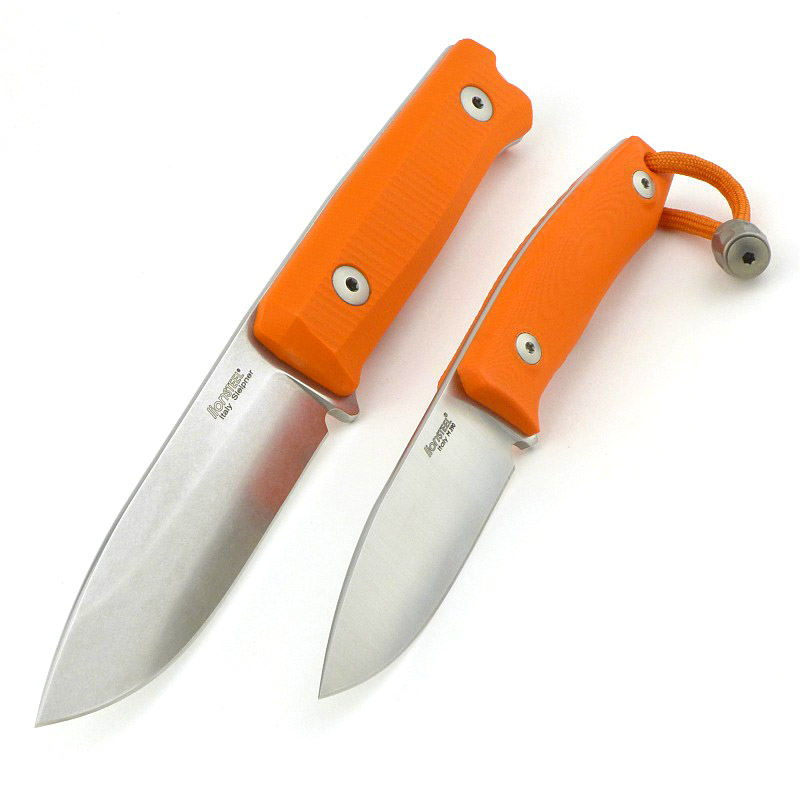
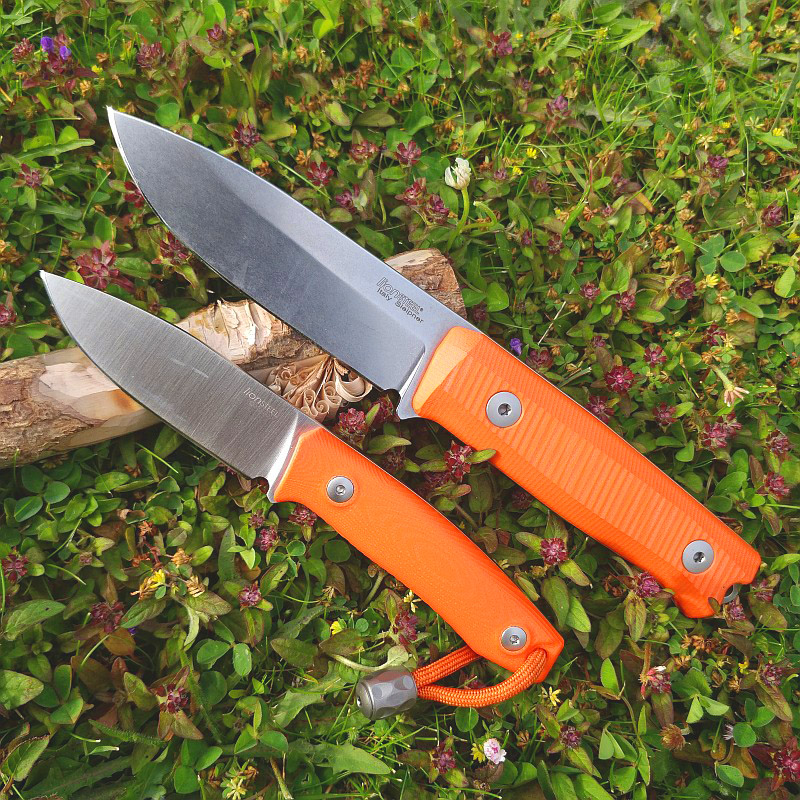
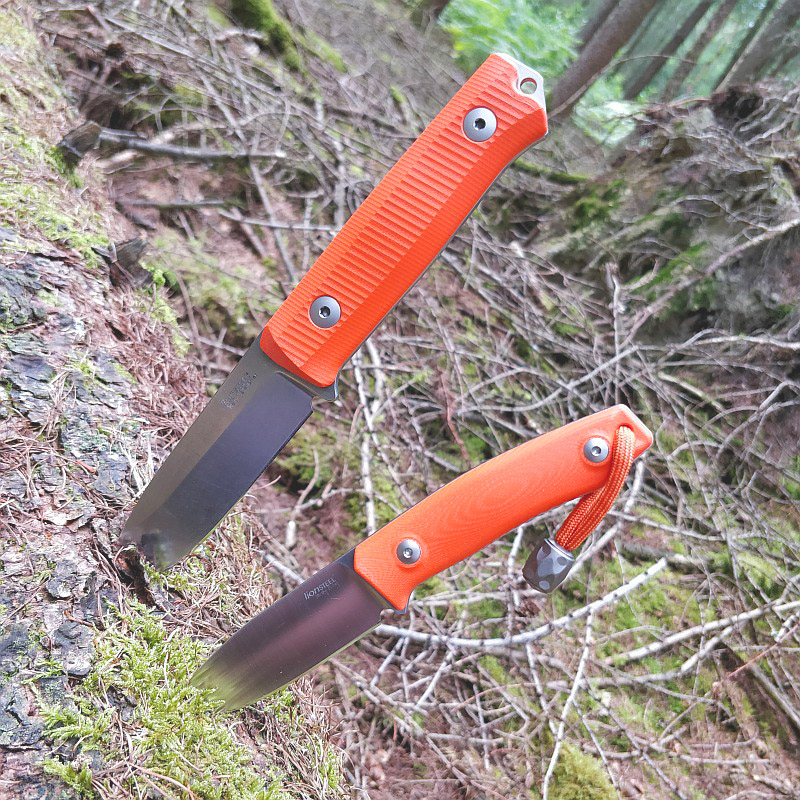
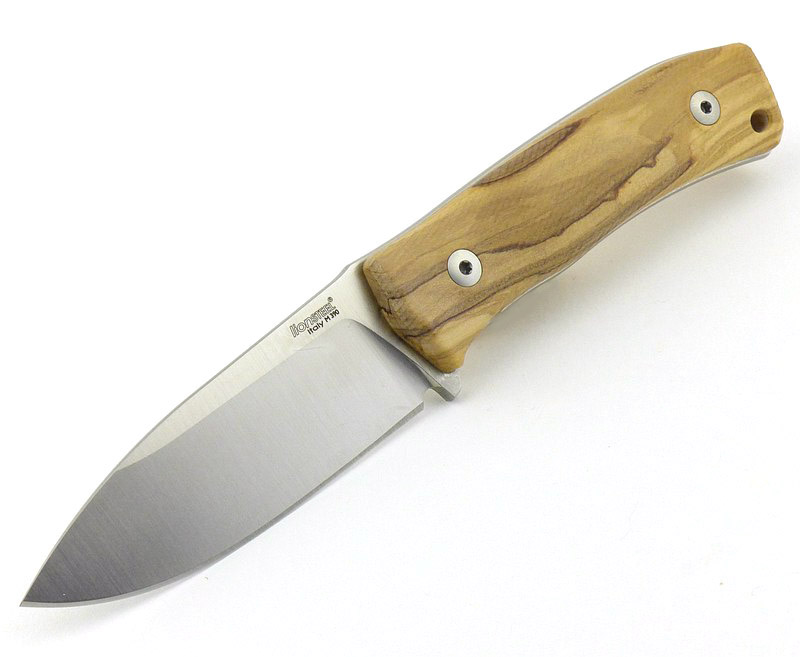
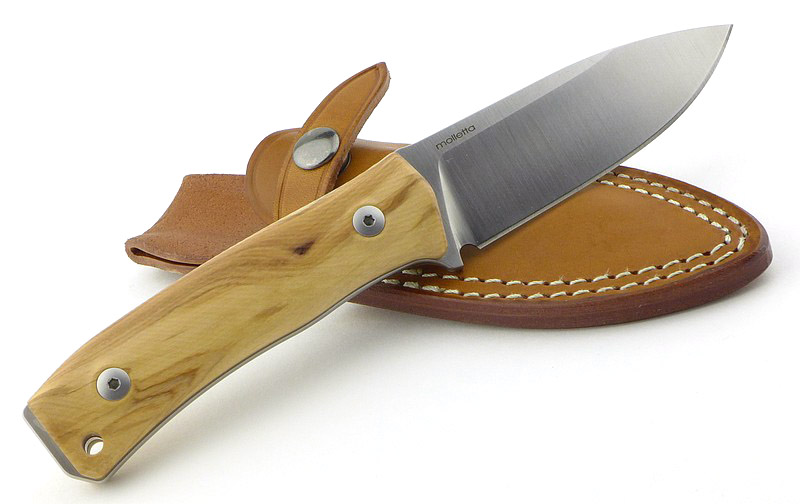
This review features two knives from Kizlyar Supreme, the Sturm and Survivalist X. I have a soft spot for hollow handle knives, and am always on the lookout for a properly made one that can be used without worrying it will come apart; this is what drew me to the Survivalist X hollow handle knife. To partner this we have the Sturm, a smaller general purpose blade, and for this review in a high hardness steel, PGK from German steel makers Lohmann.
As soon as I came across knife makers Kizlyar Supreme I was impressed with the range of great designs and was very keen to try out some of their knives. Kizlyar Supreme launched as a company in 2011 thanks to the enthusiasm and dedication of its founders, with the intention to provide great designs using high grade materials yet remain affordable.
A few more details:
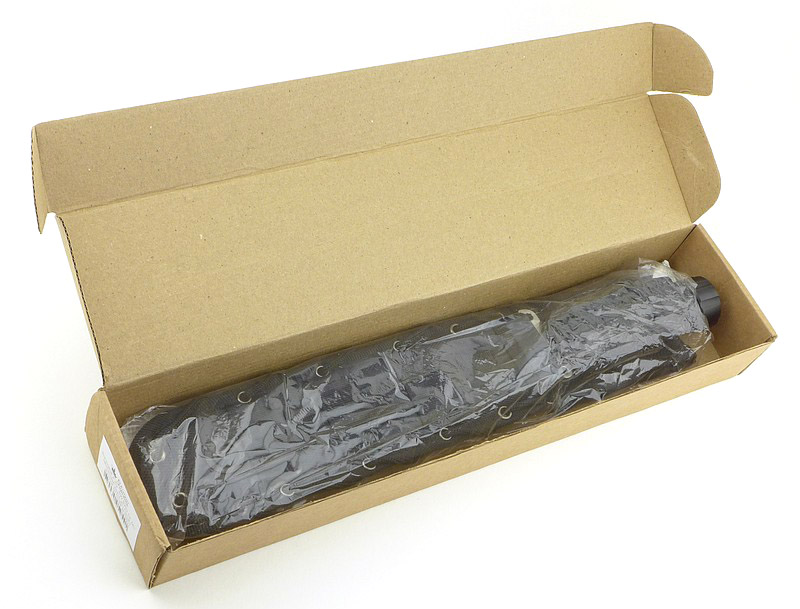
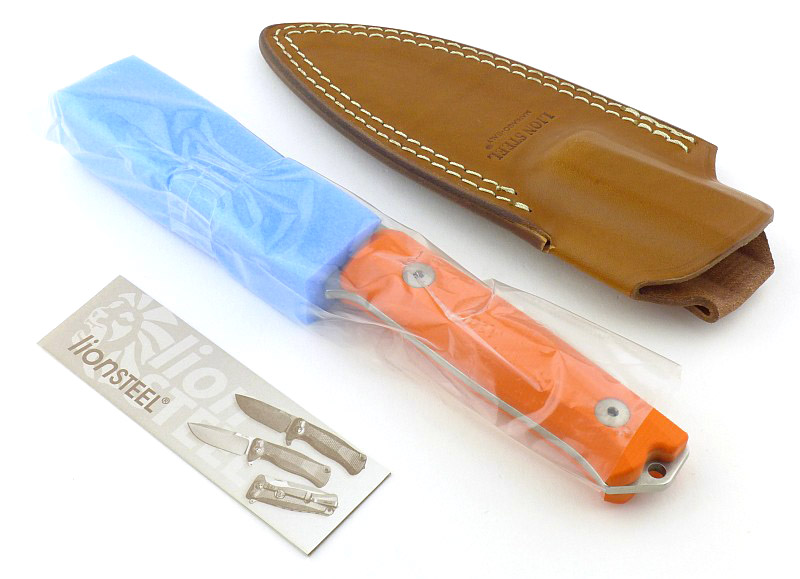
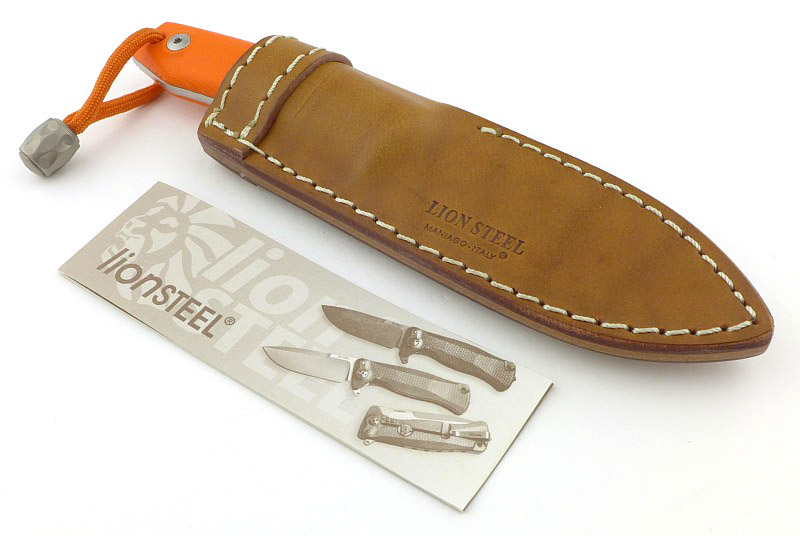
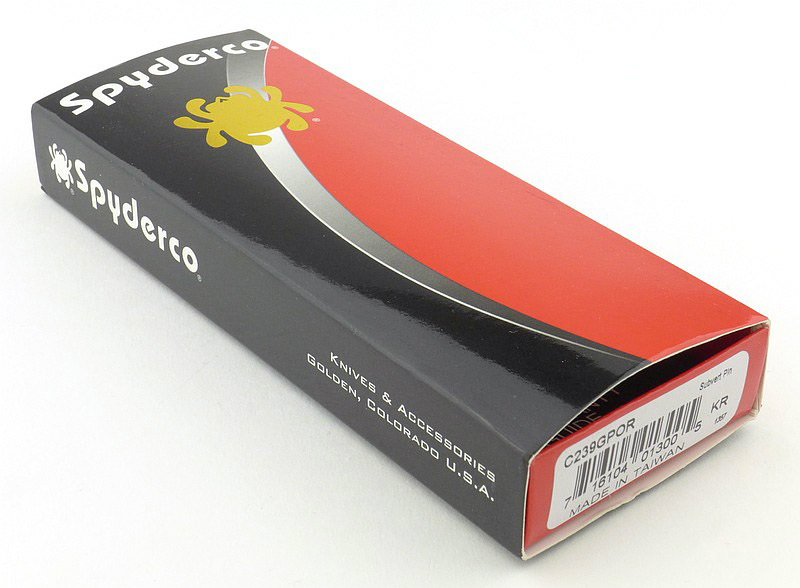
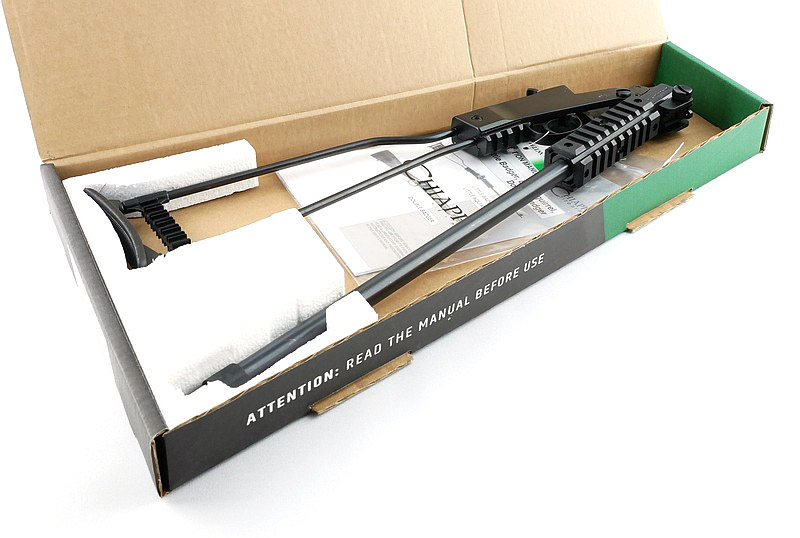
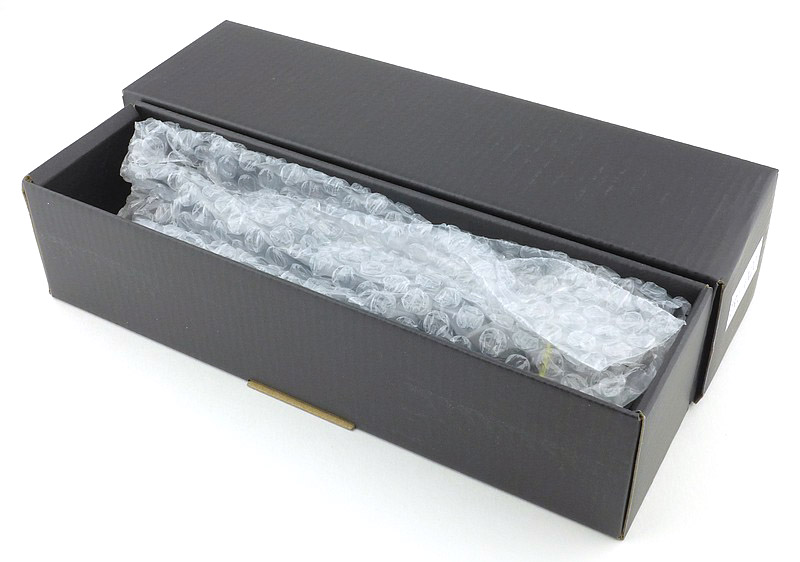
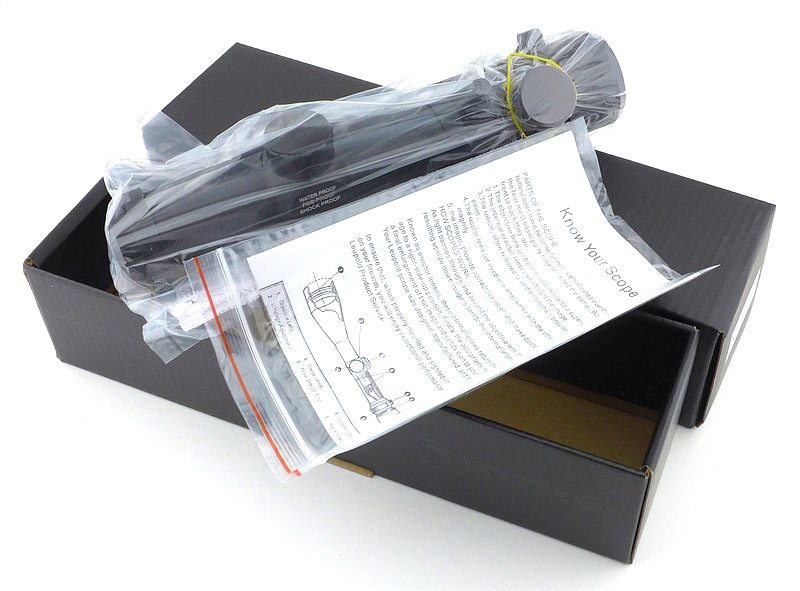
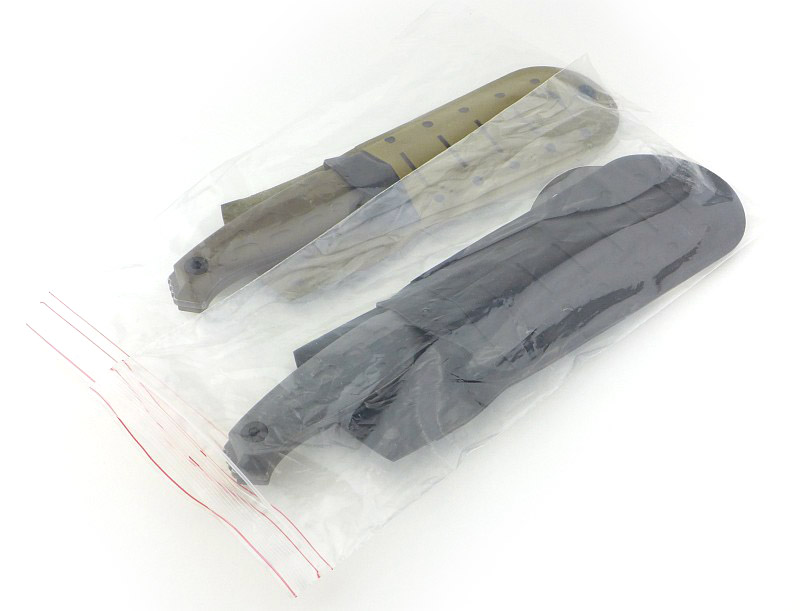
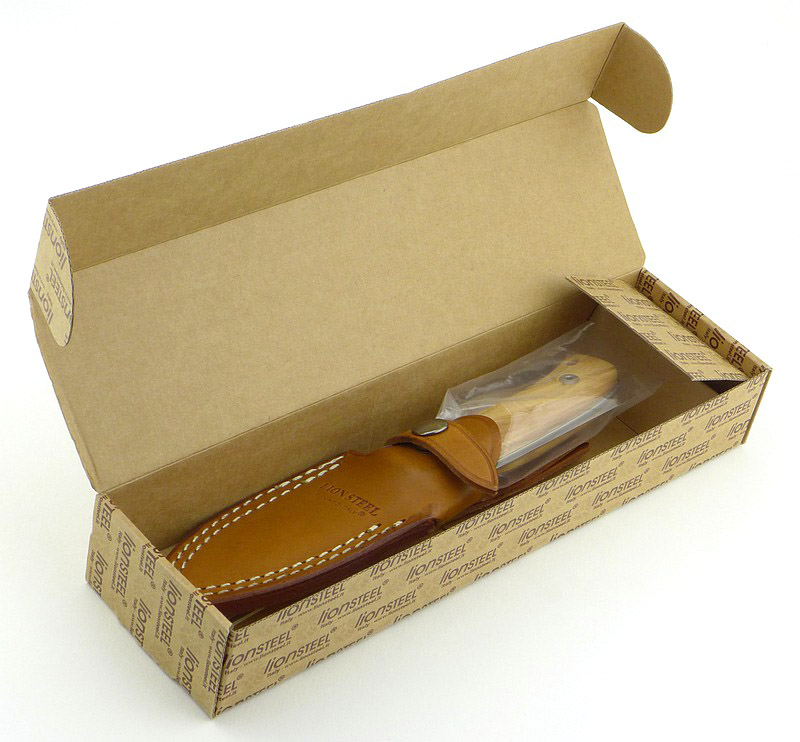
What’s in the box?:
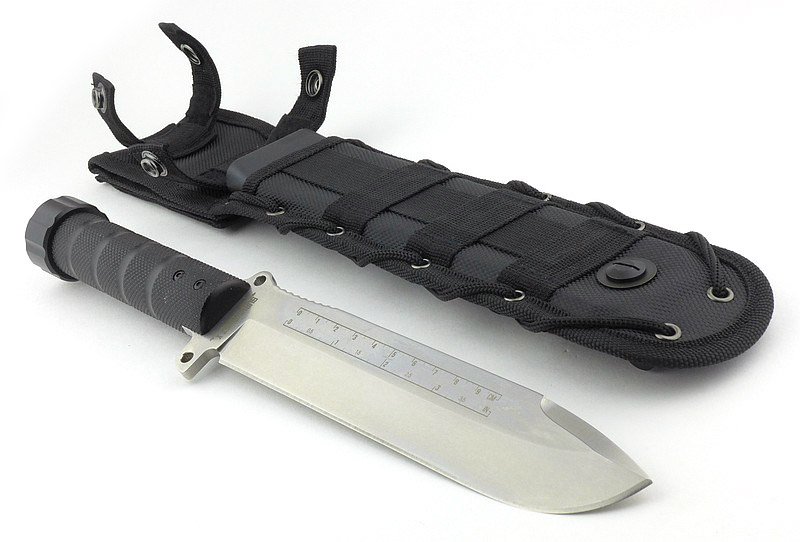
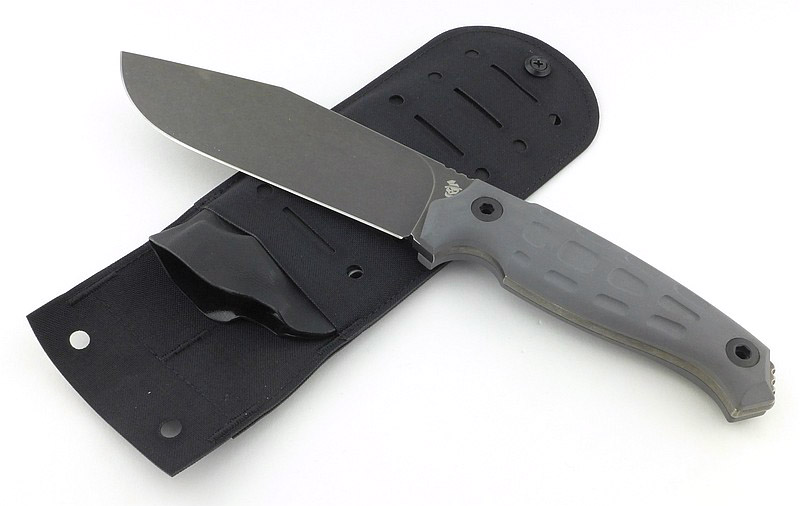
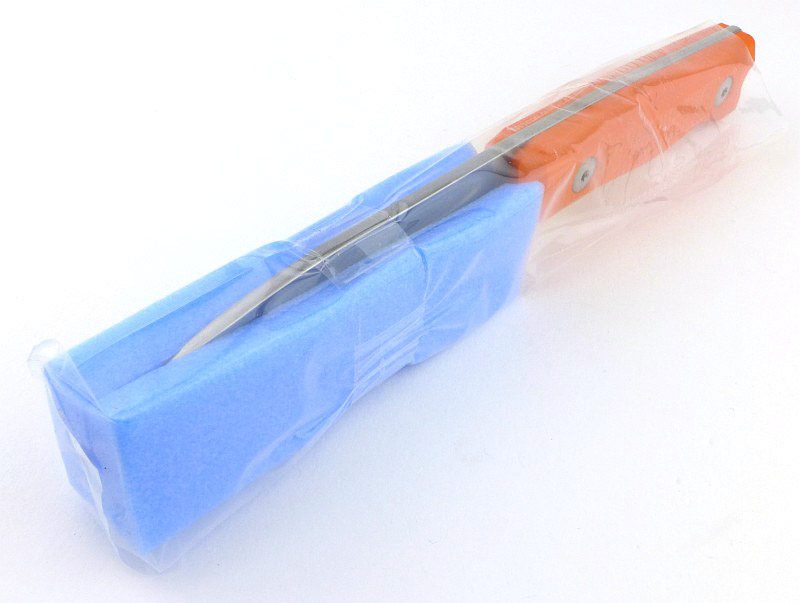
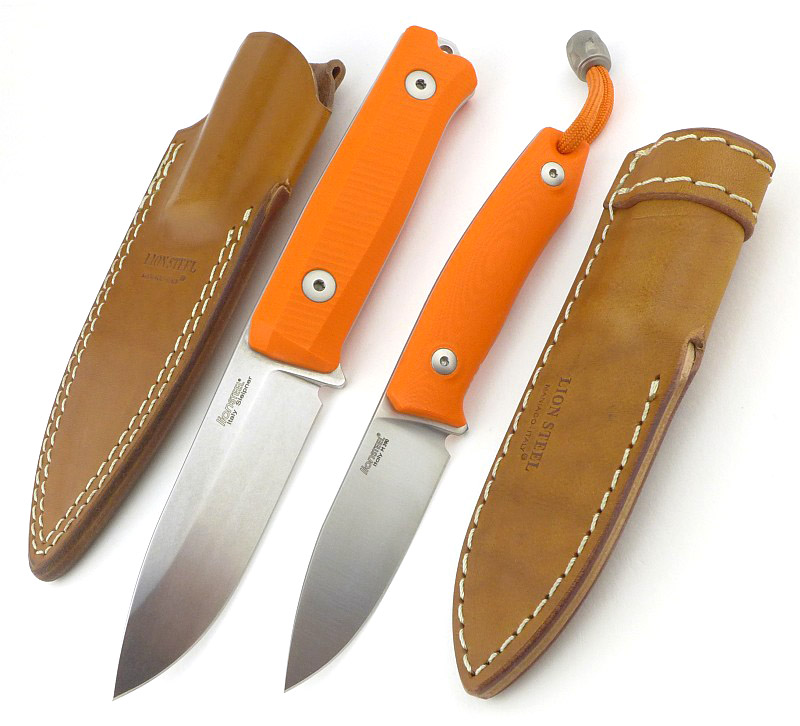
The boxed Sturm and Survivalist X.


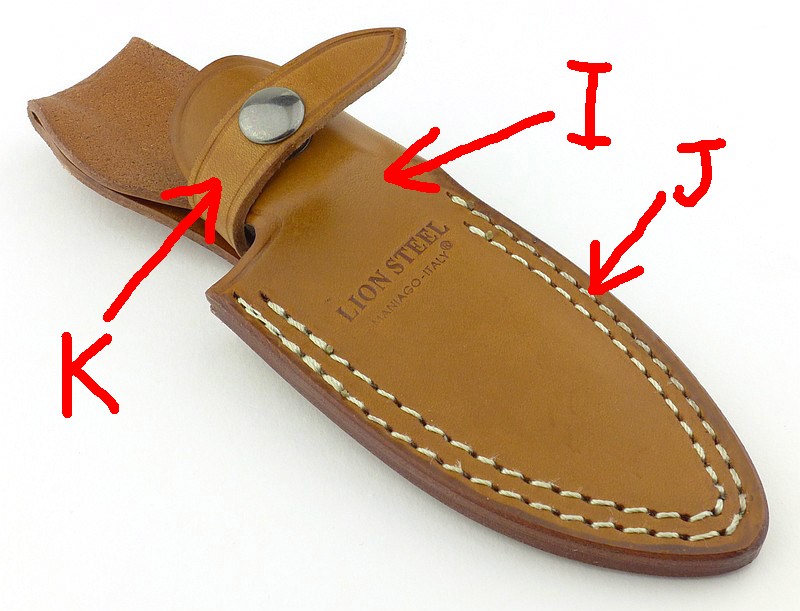
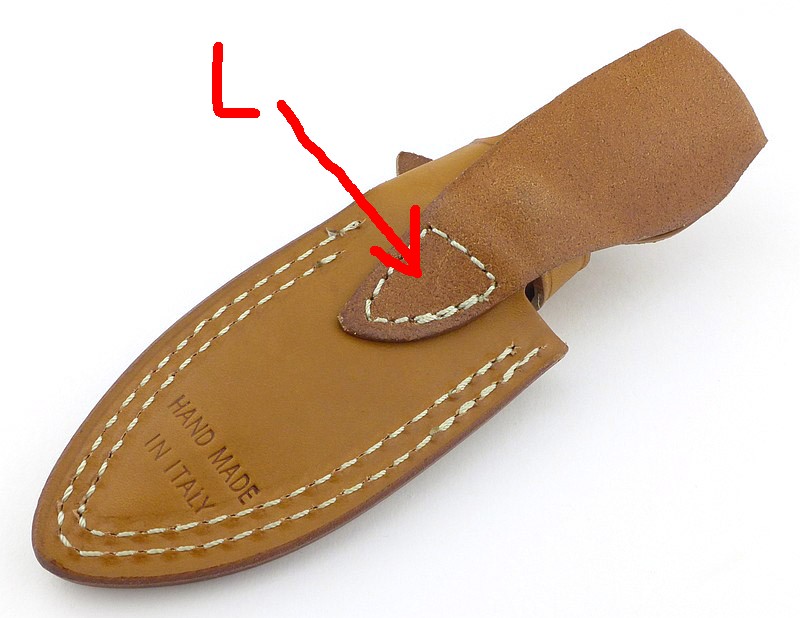
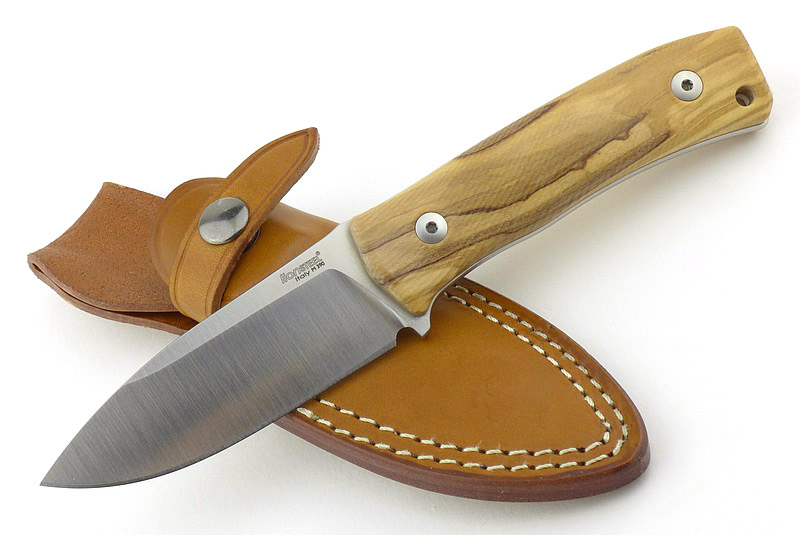
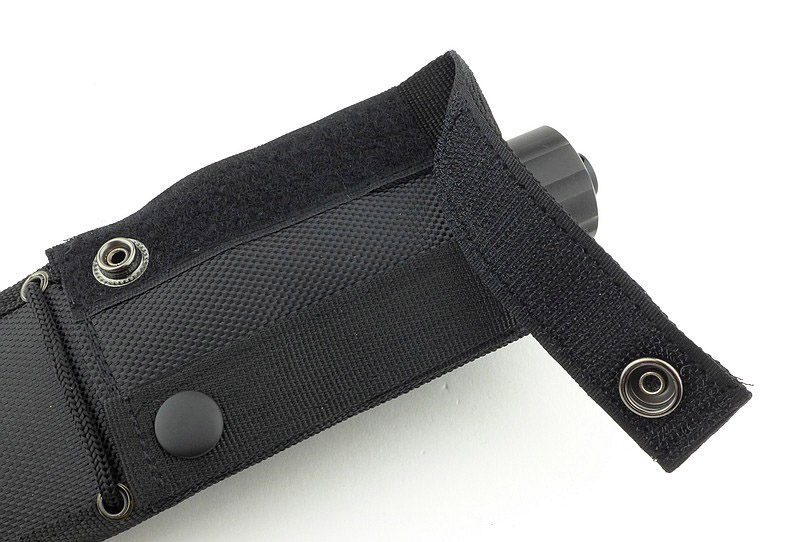
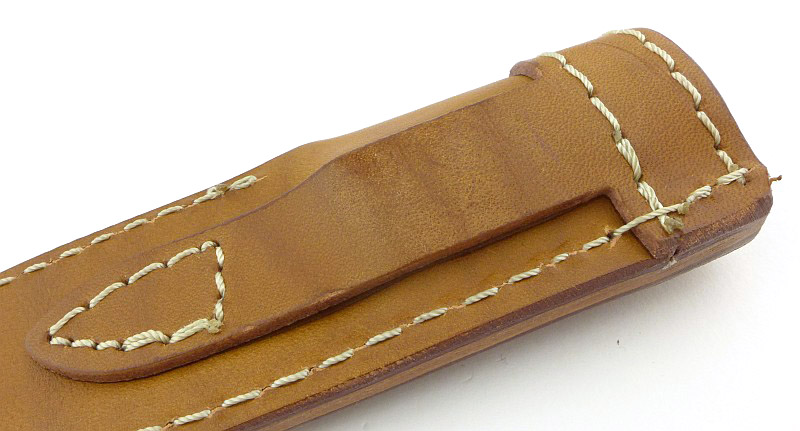
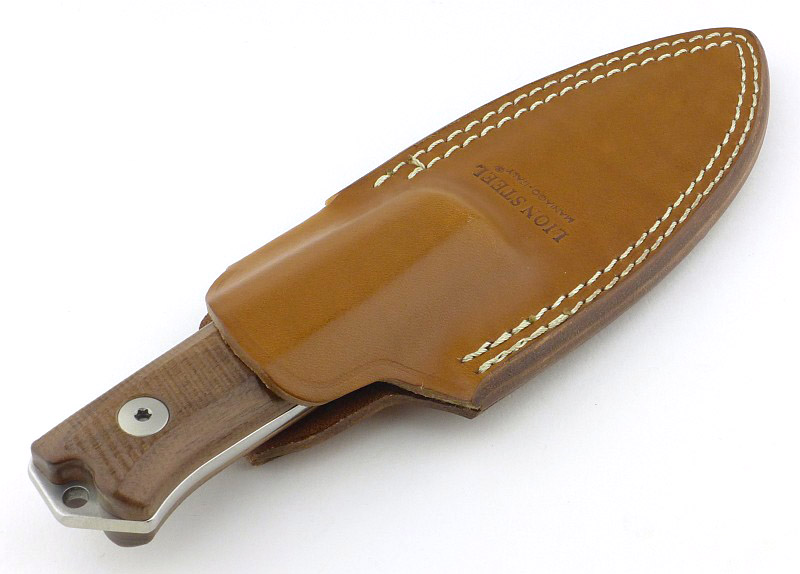
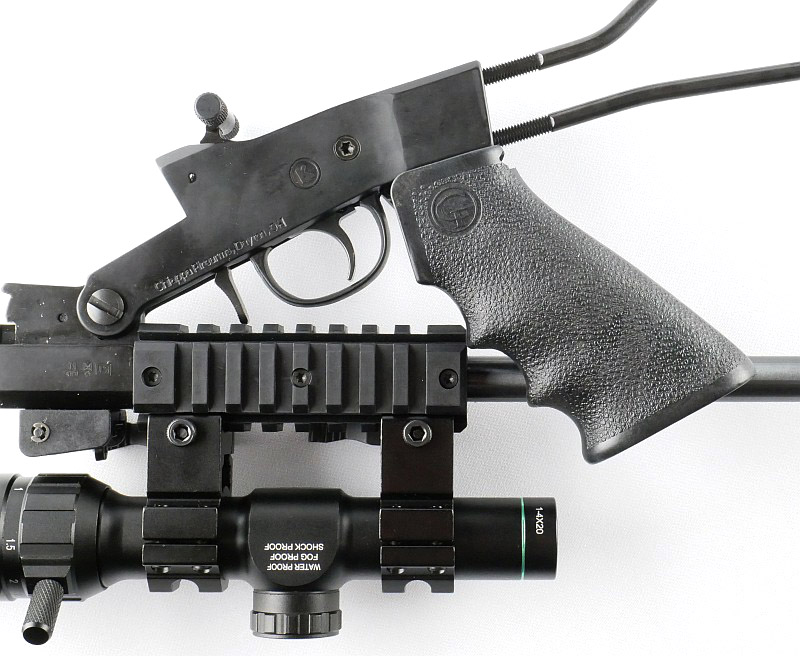
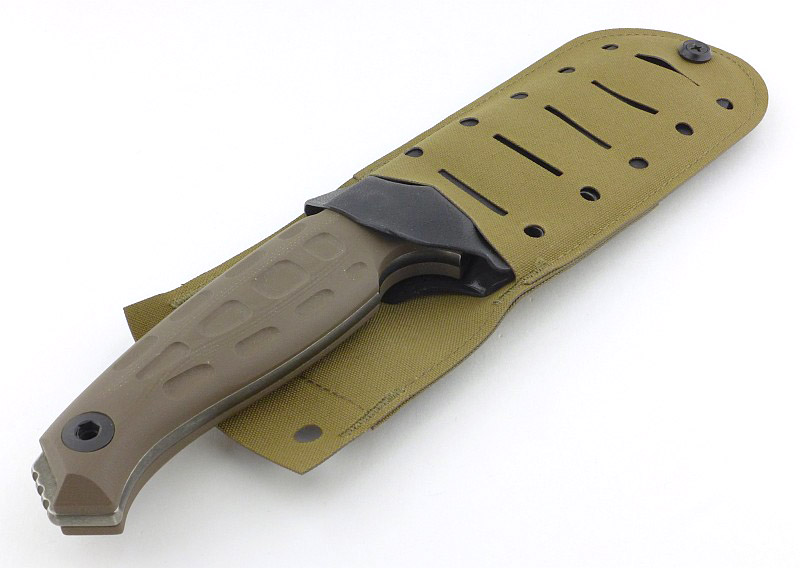
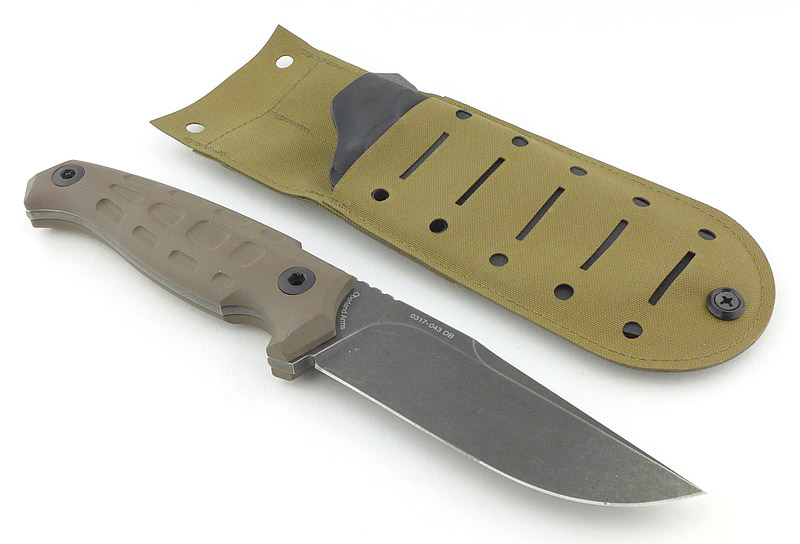
A good look round the Sturm’s sheath – Things to look out for here are:
I’d go so far as to call the Sturm’s sheath a ‘technical mounting platform’ due to its mass of design features and practicality. As you will see in the photos, the sheath is indexed so the blade will only fit into it one way. Though not initially appearing ambidextrous, if the four bolts holding the sheath to the mount are removed, you can flip the sheath over to make it left-handed. While doing this you can also swap from vertical to horizontal carry by turning the mount 90 degrees.


.")


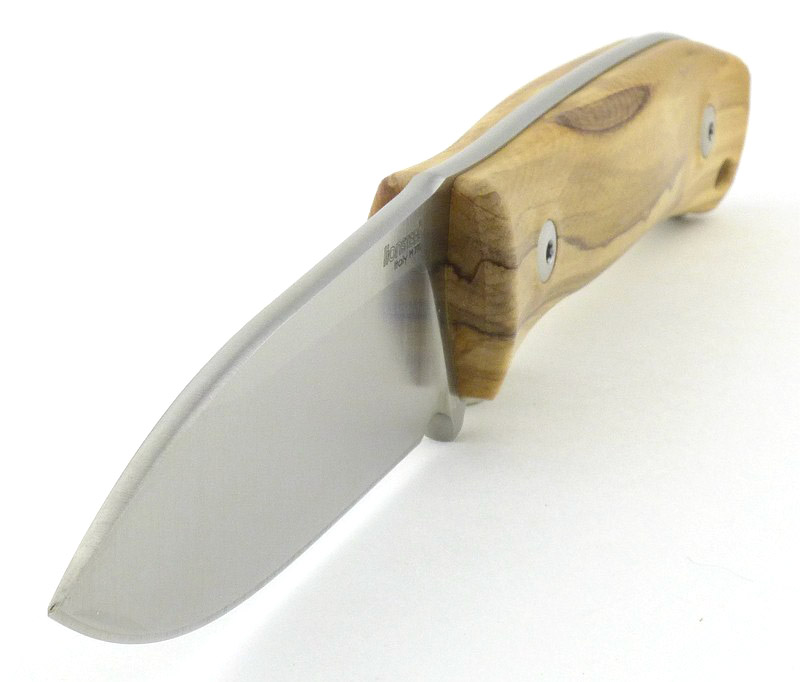
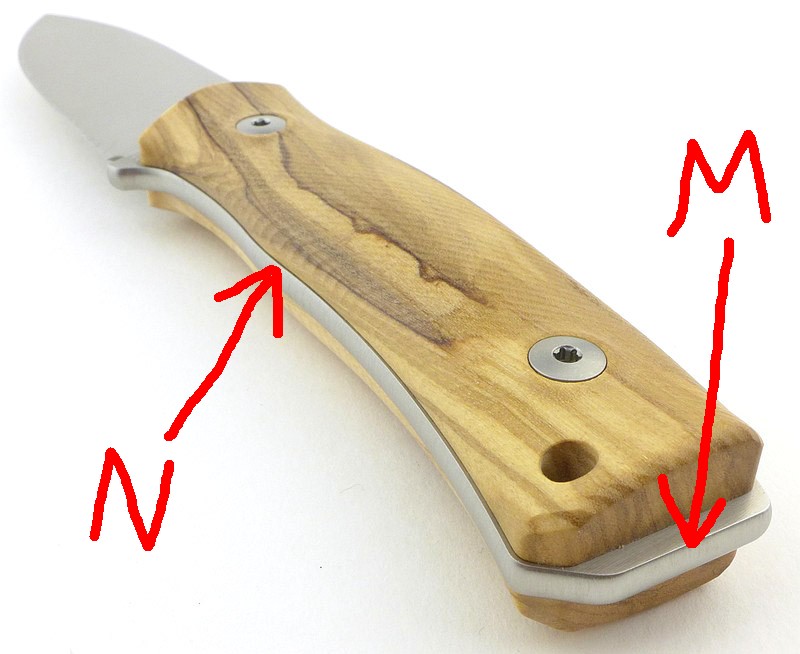
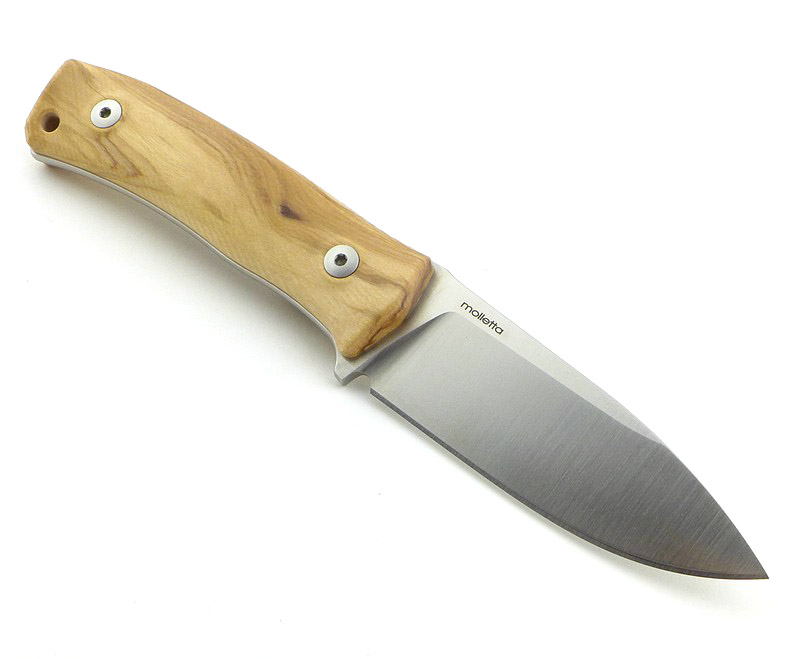
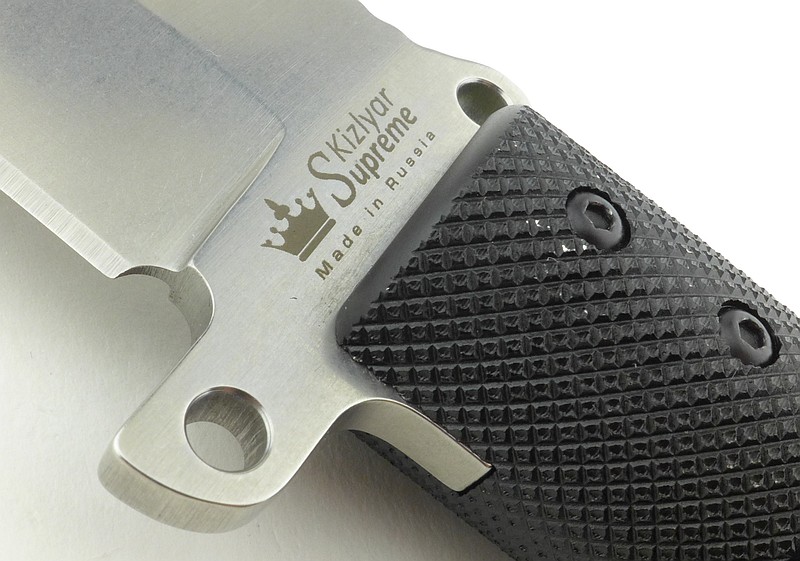
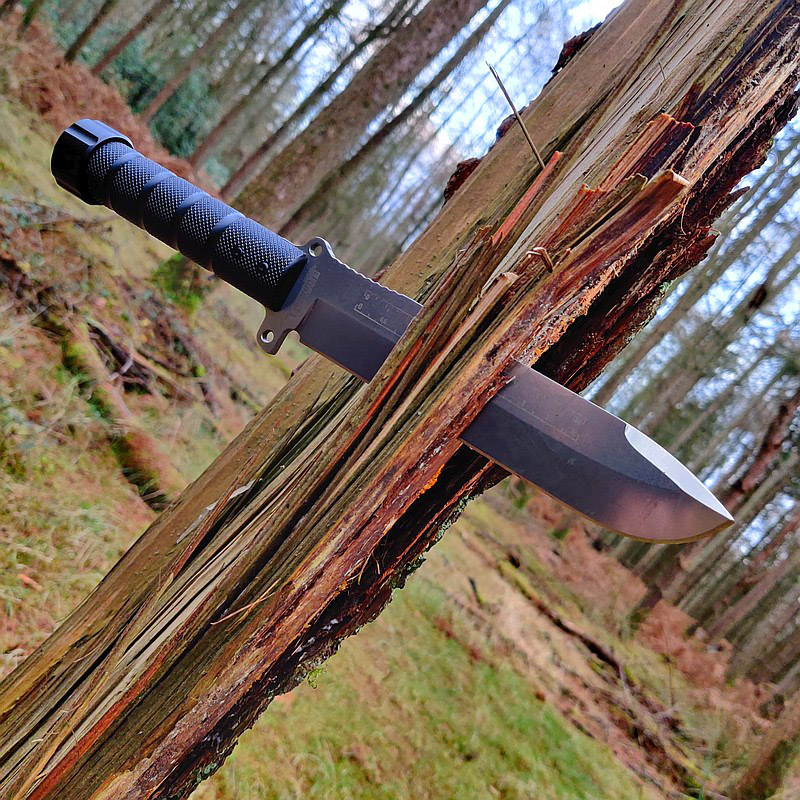
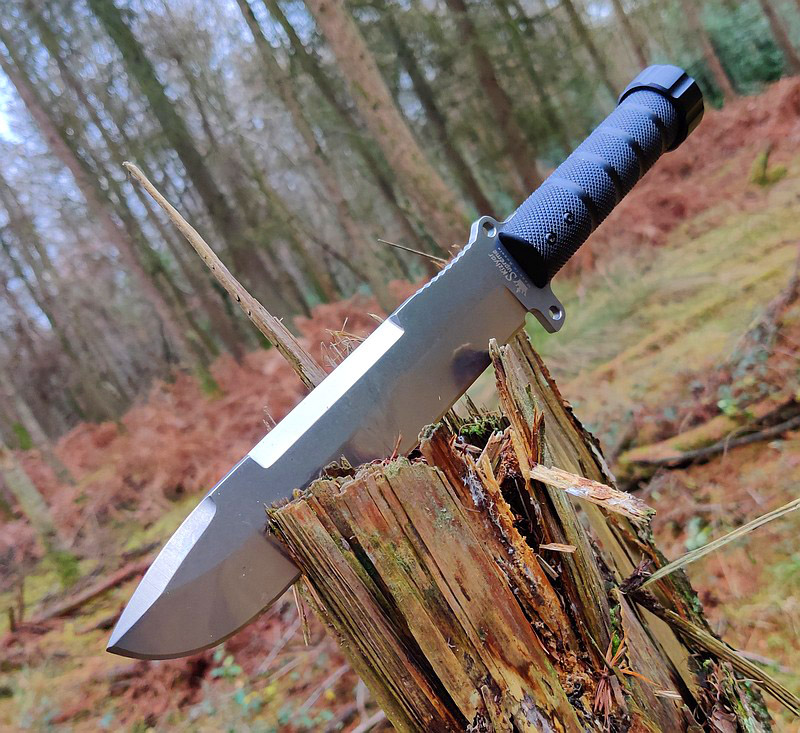
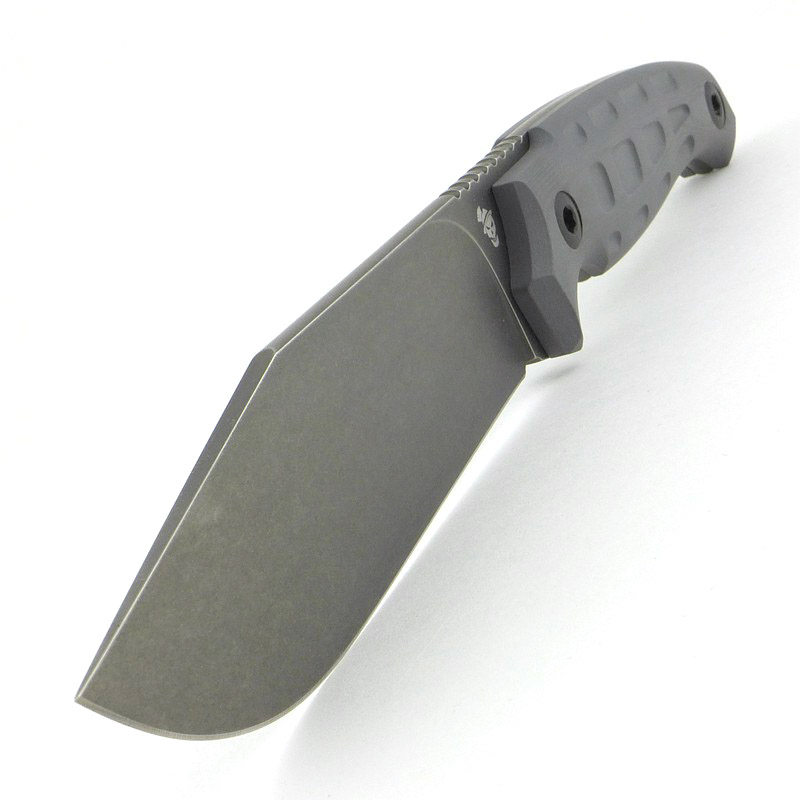
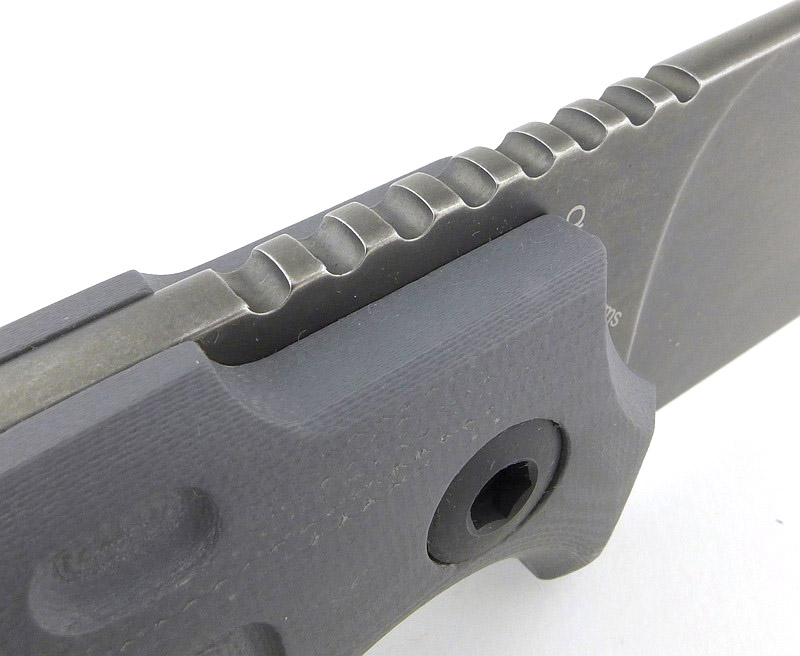
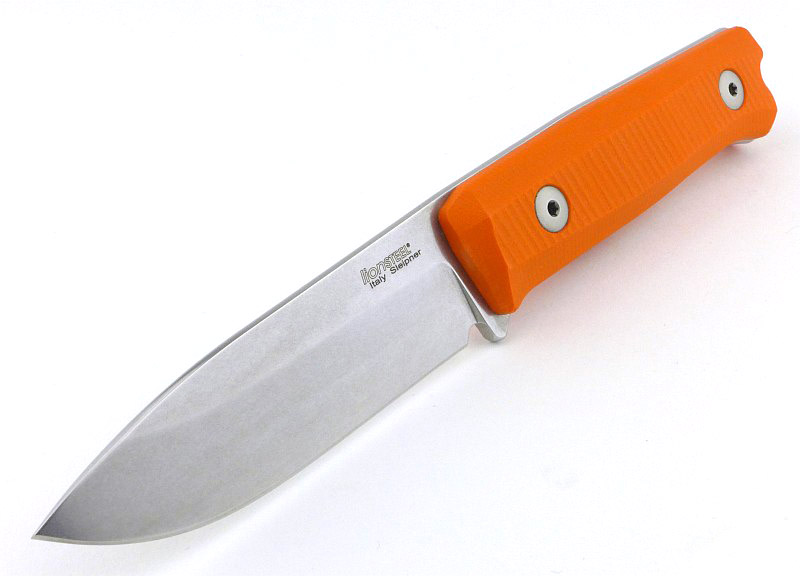
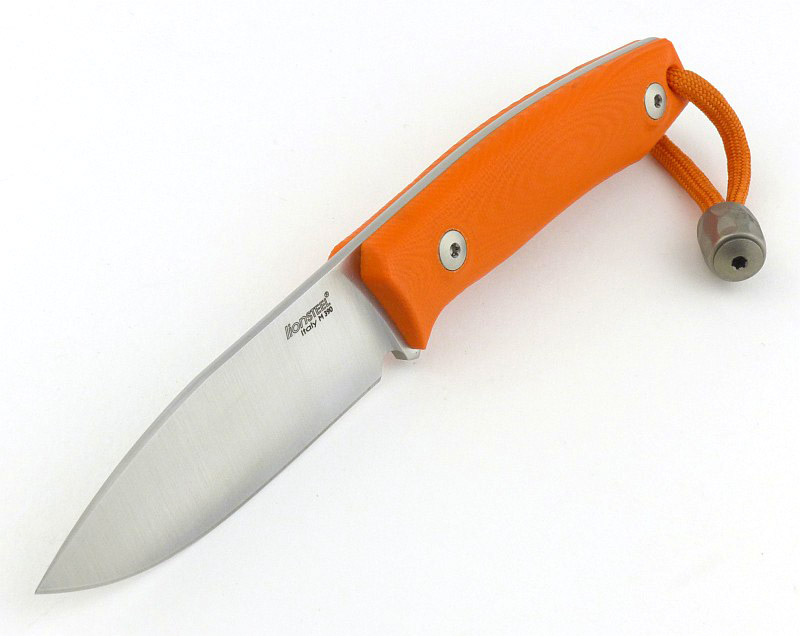
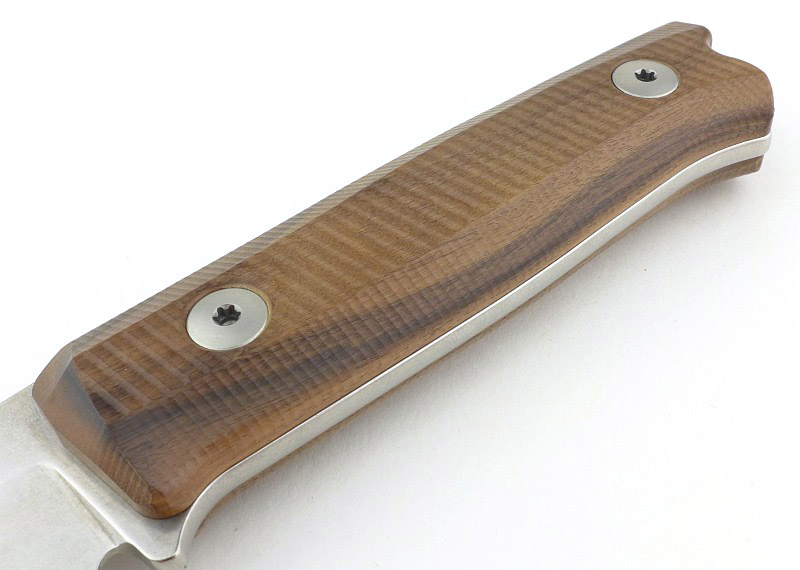
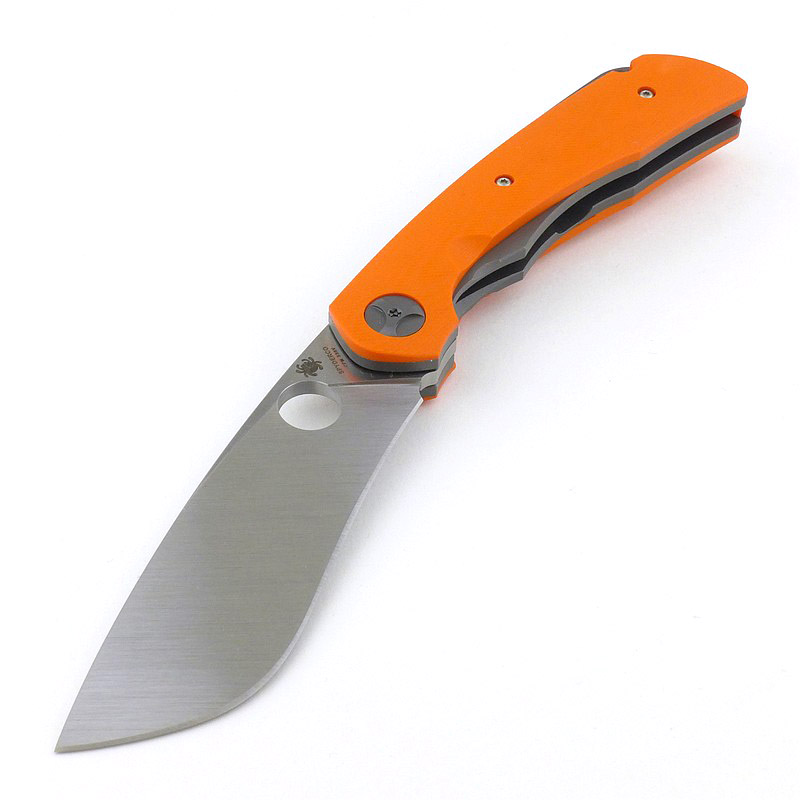
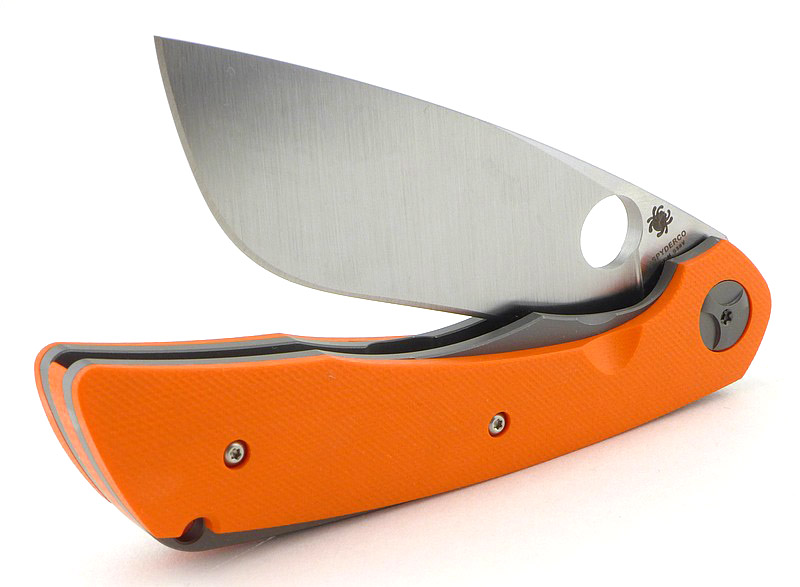
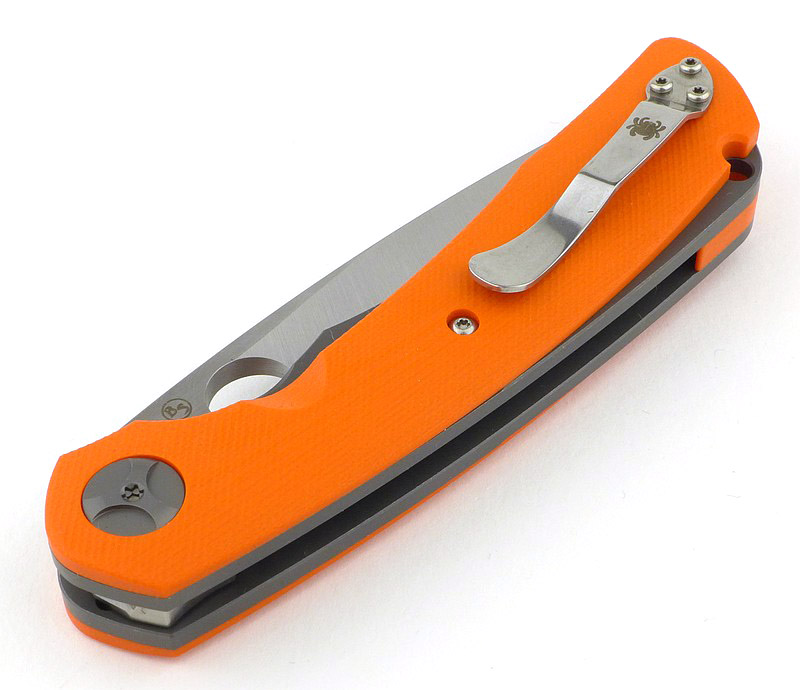
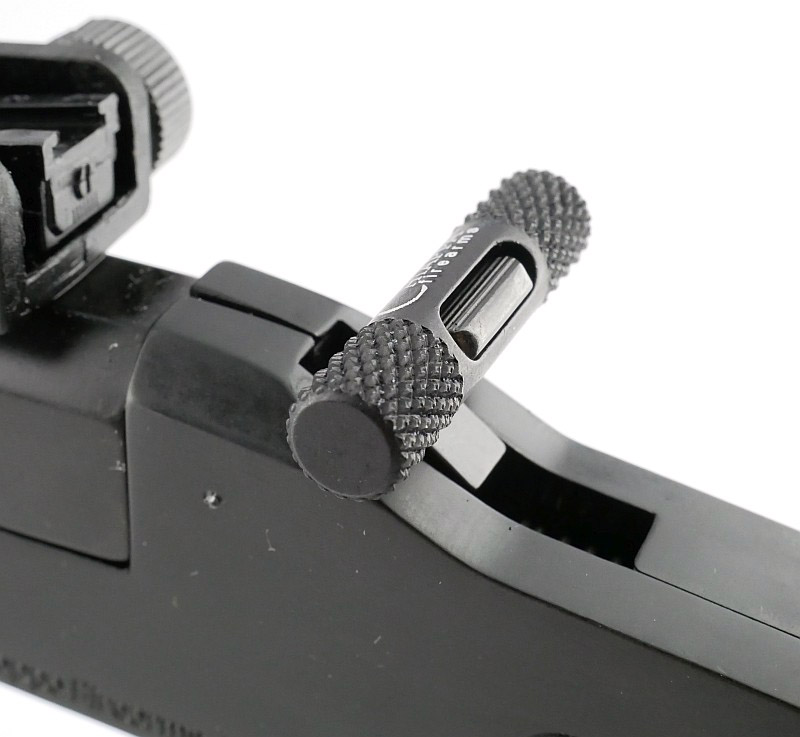
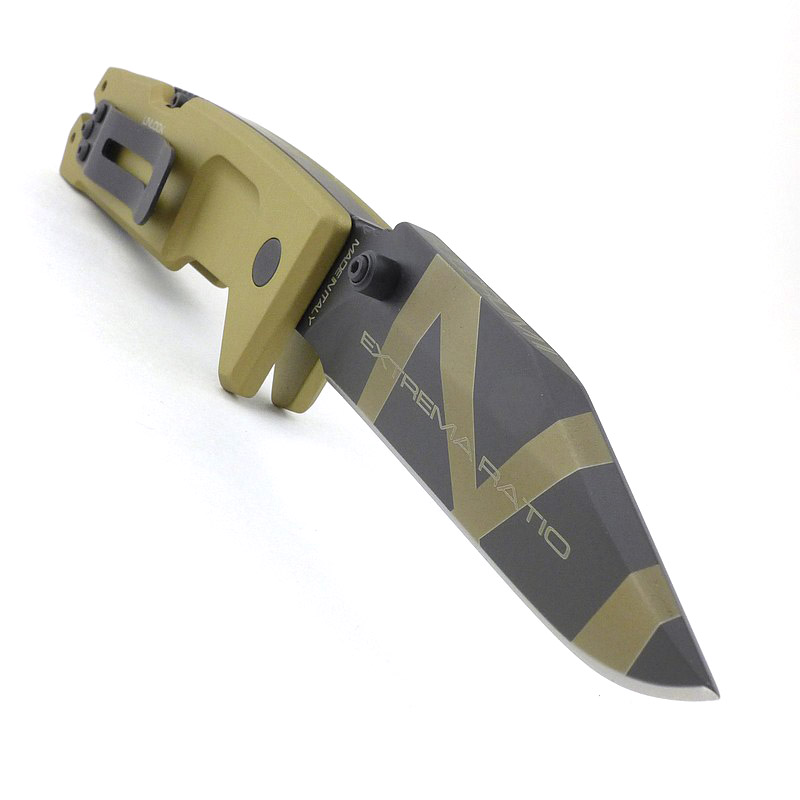
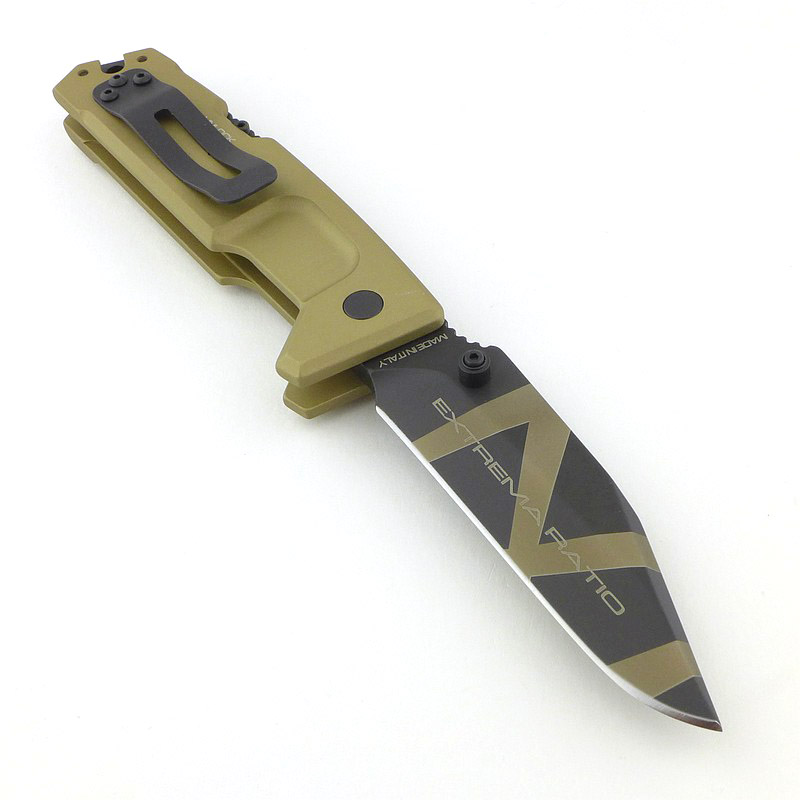
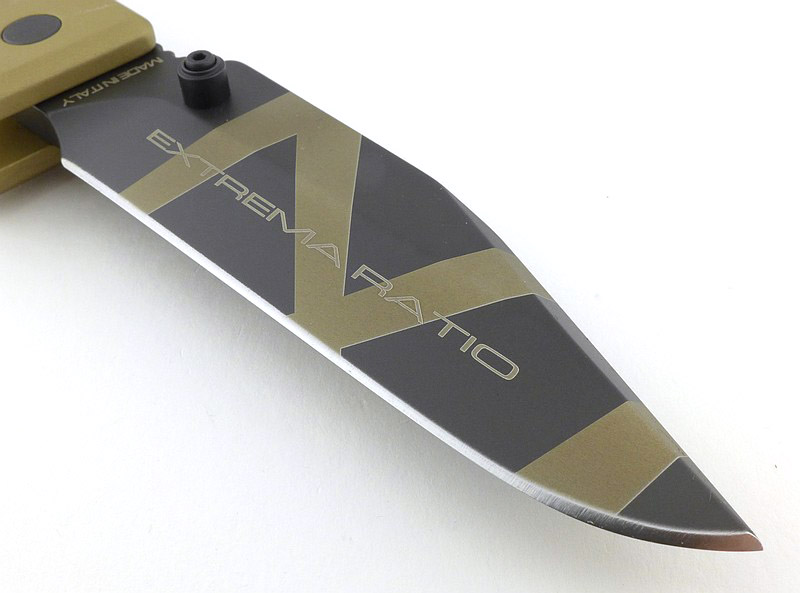
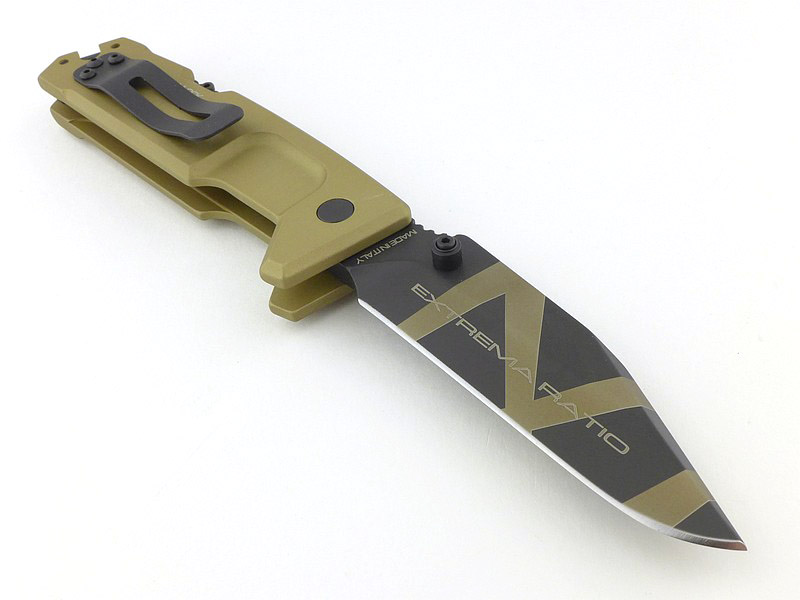
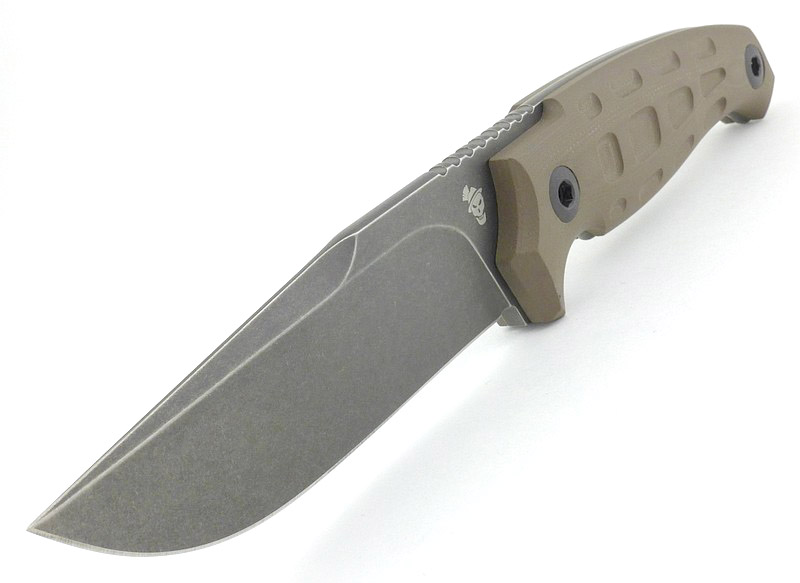
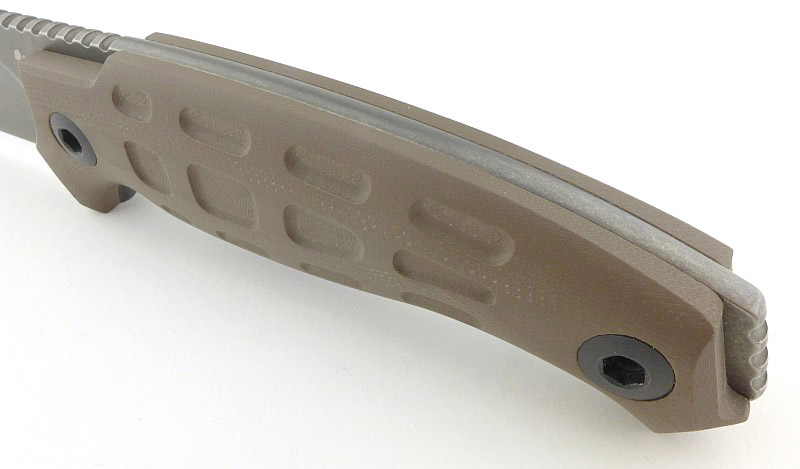
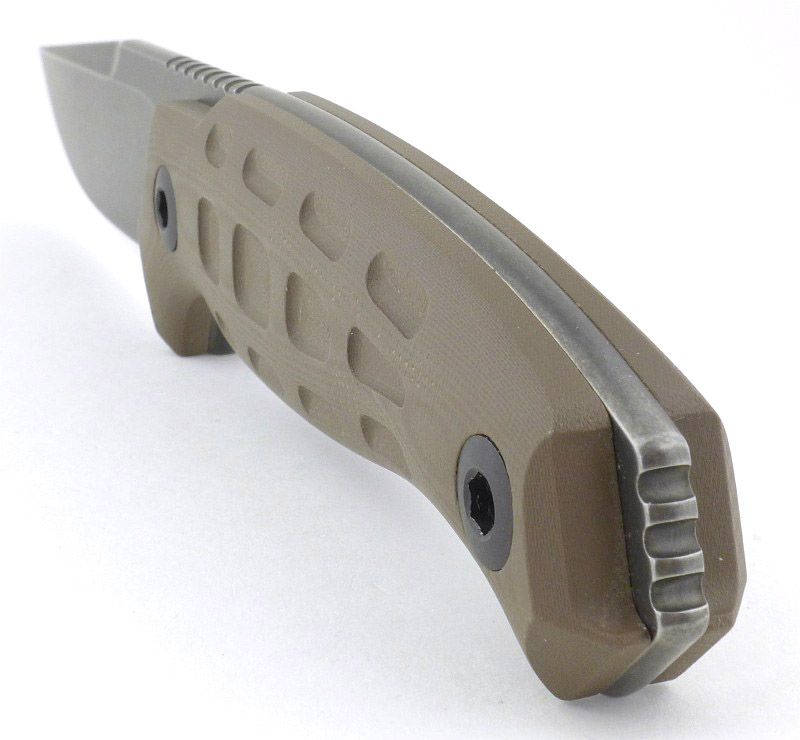
A good look round the Sturm – Things to look out for here are:
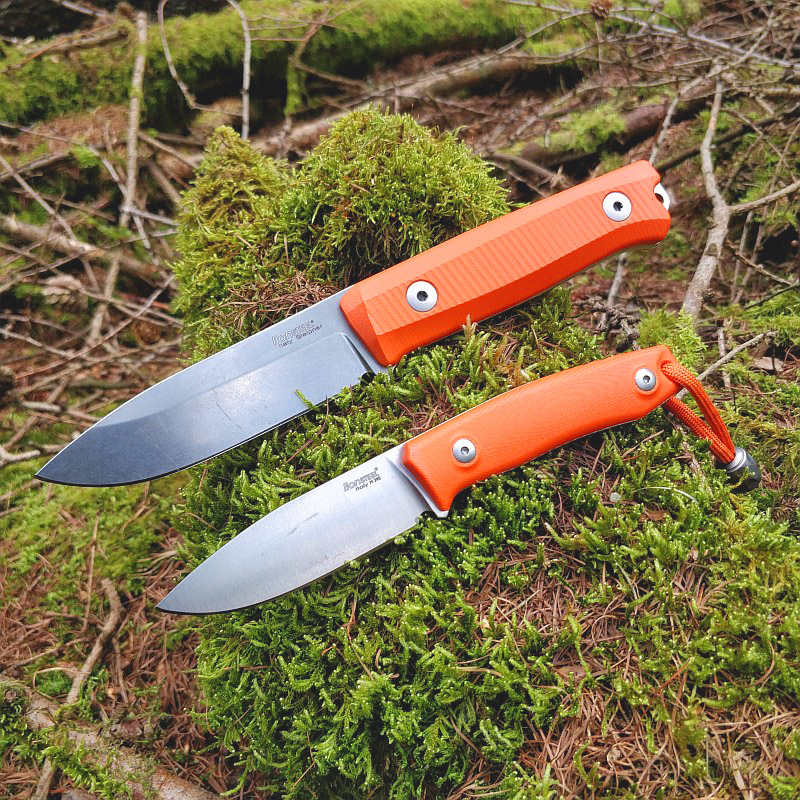
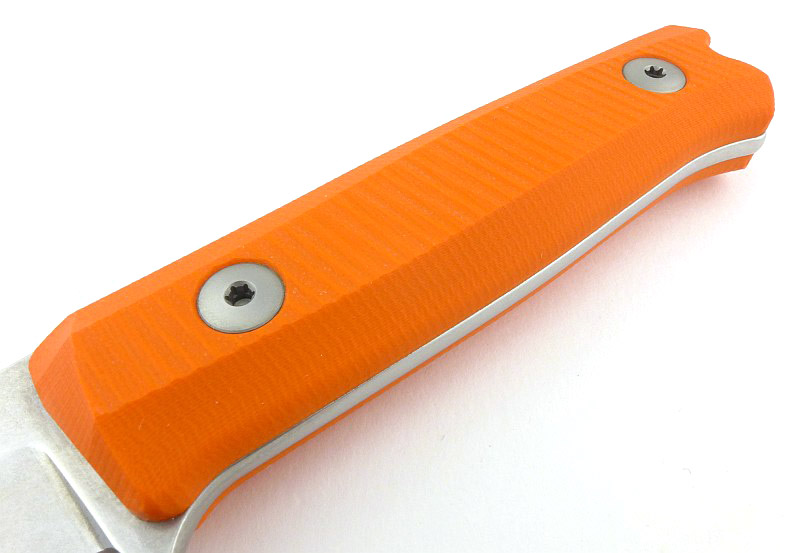
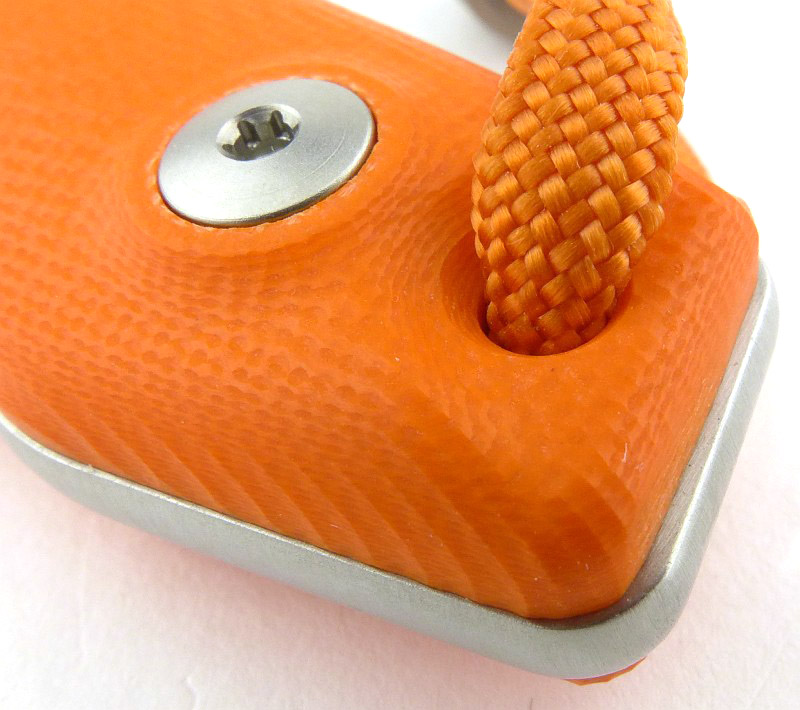
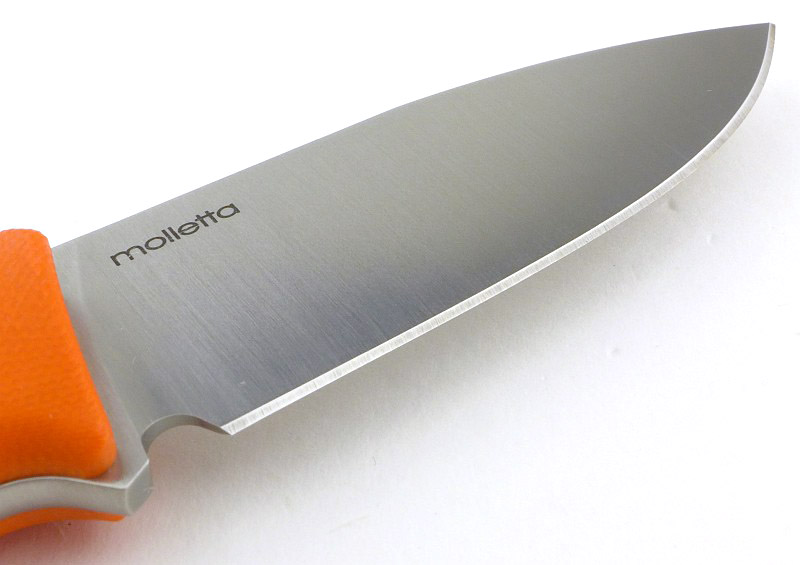
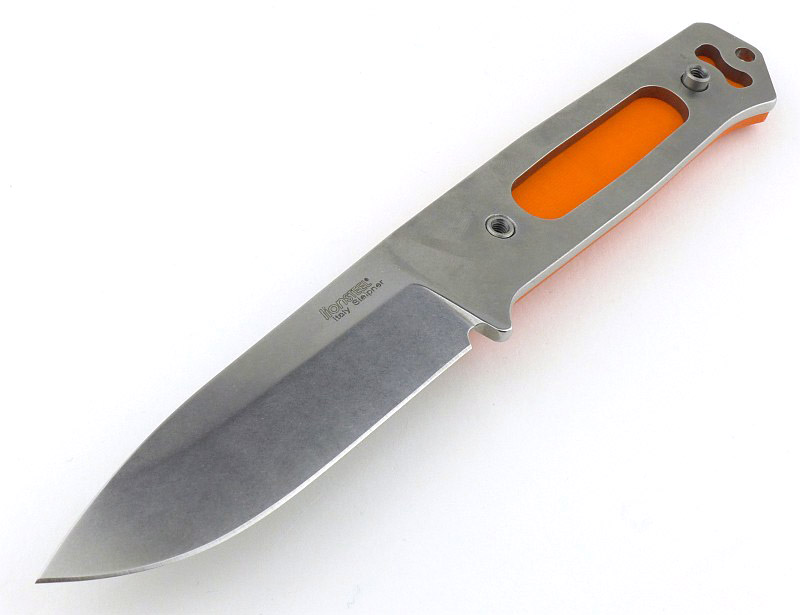
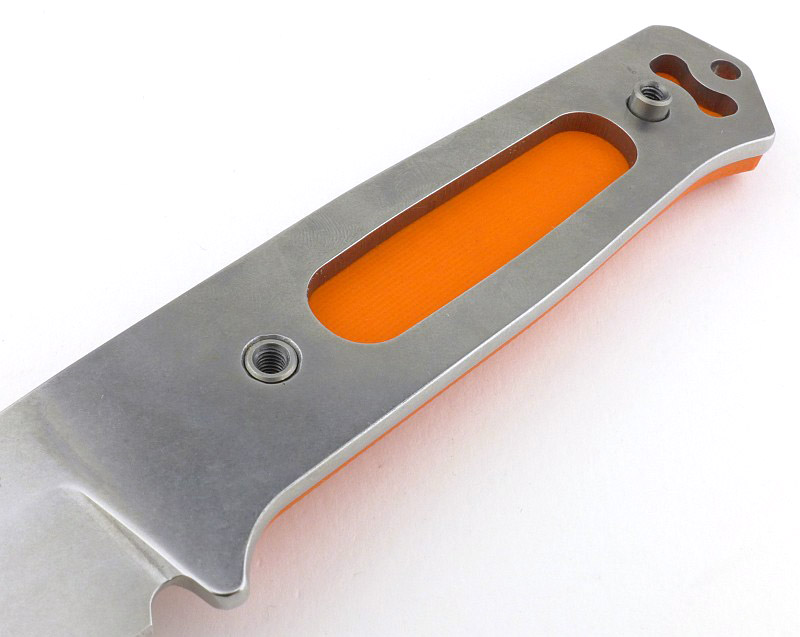
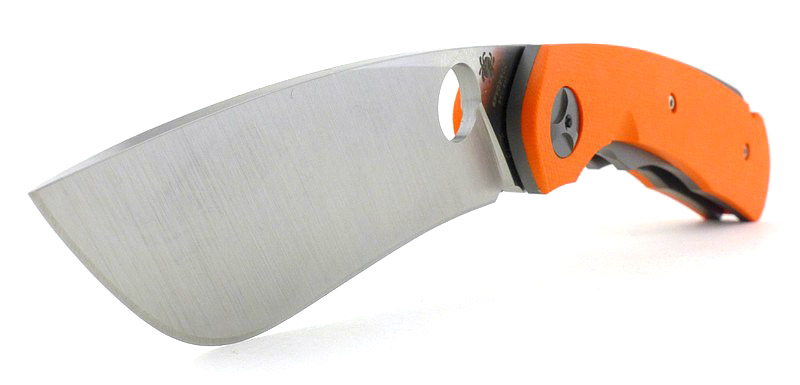
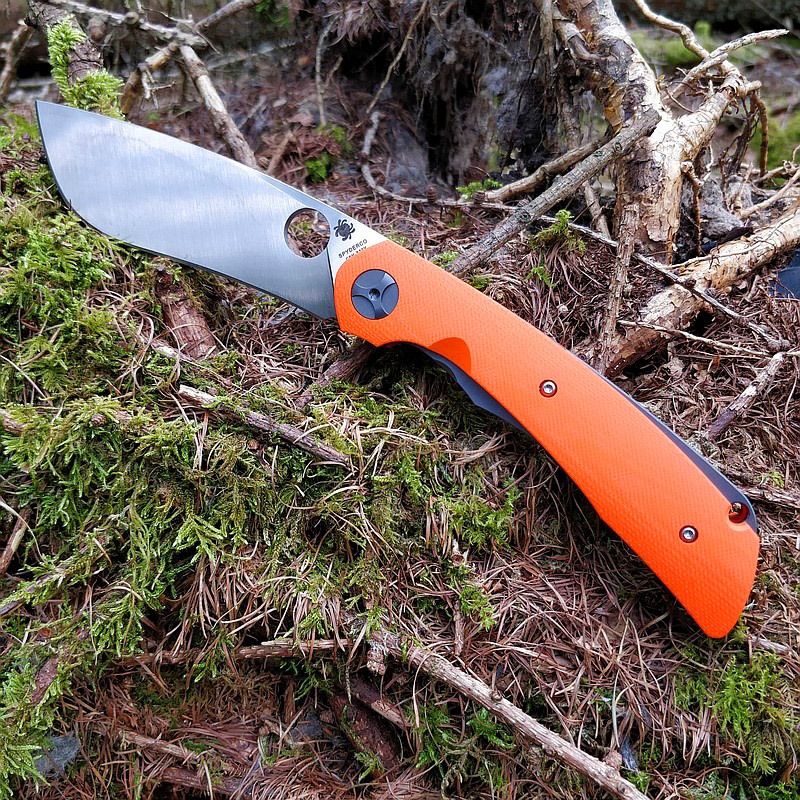
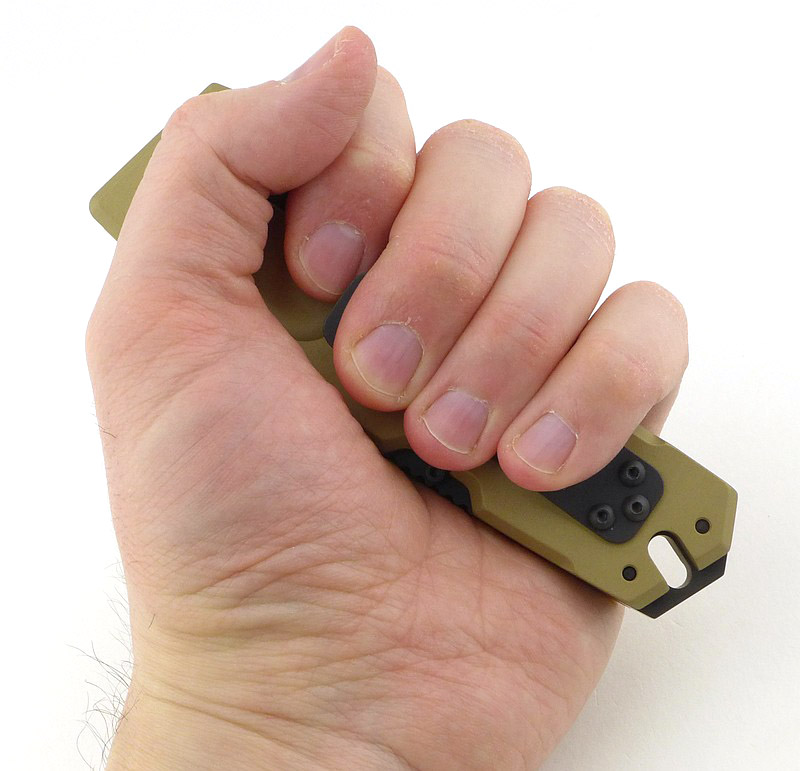
The Sturm uses a handle Kizlyar Supreme use for several other models. The blade is a convenient size for most tasks and keeps thing simple with a full flat grind.


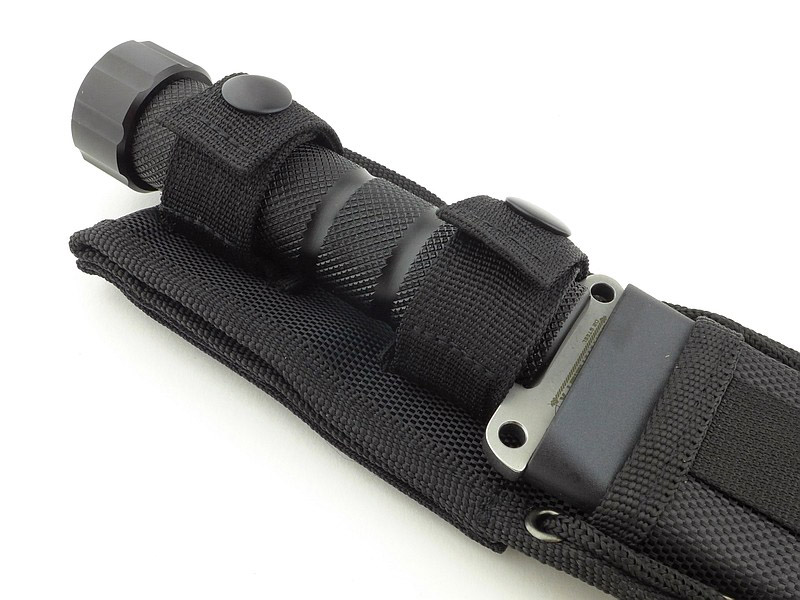
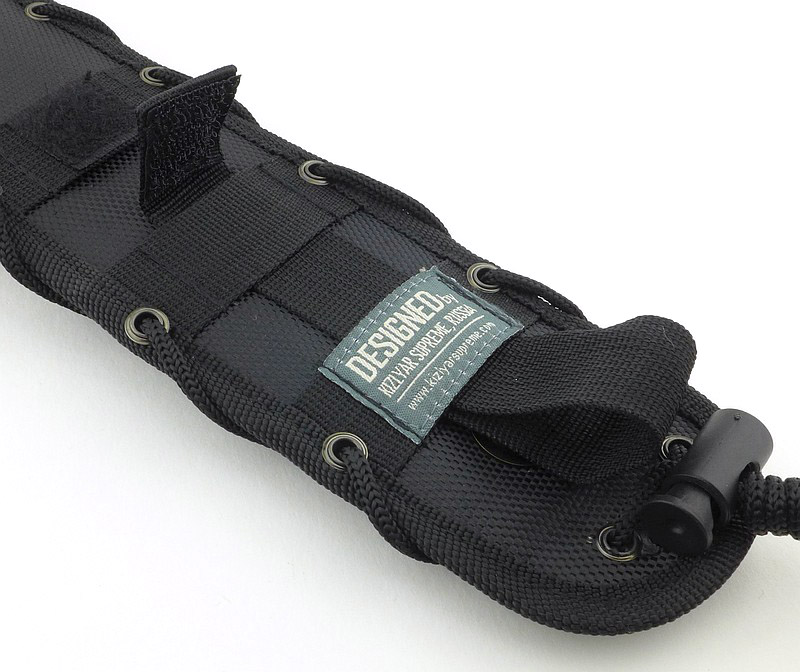
A good look round the Survivalist X’s sheath – Things to look out for here are:
Well, in terms of preparedness, even the Survivalist X’s sheath is ready for anything. Packed with features and utility it is certainly comprehensively equipped.


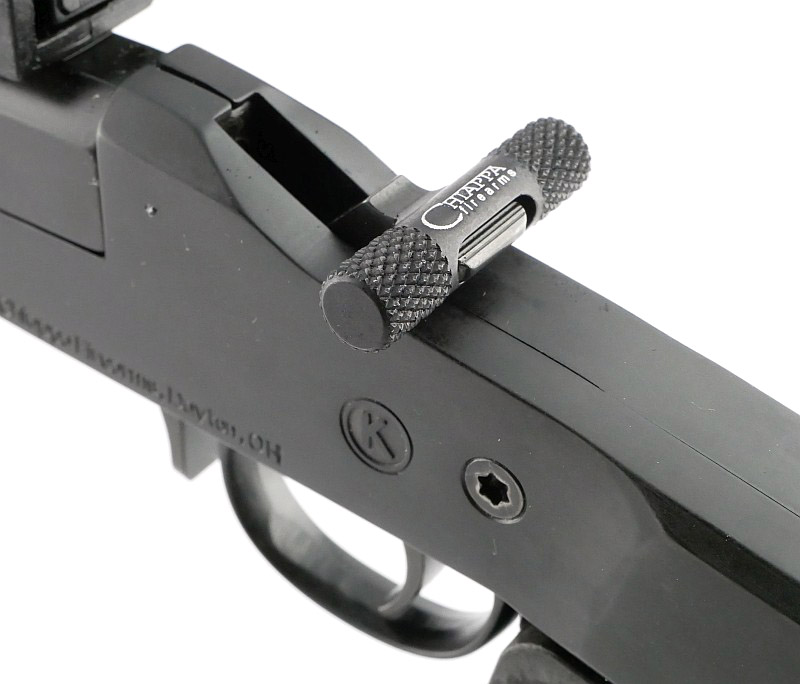
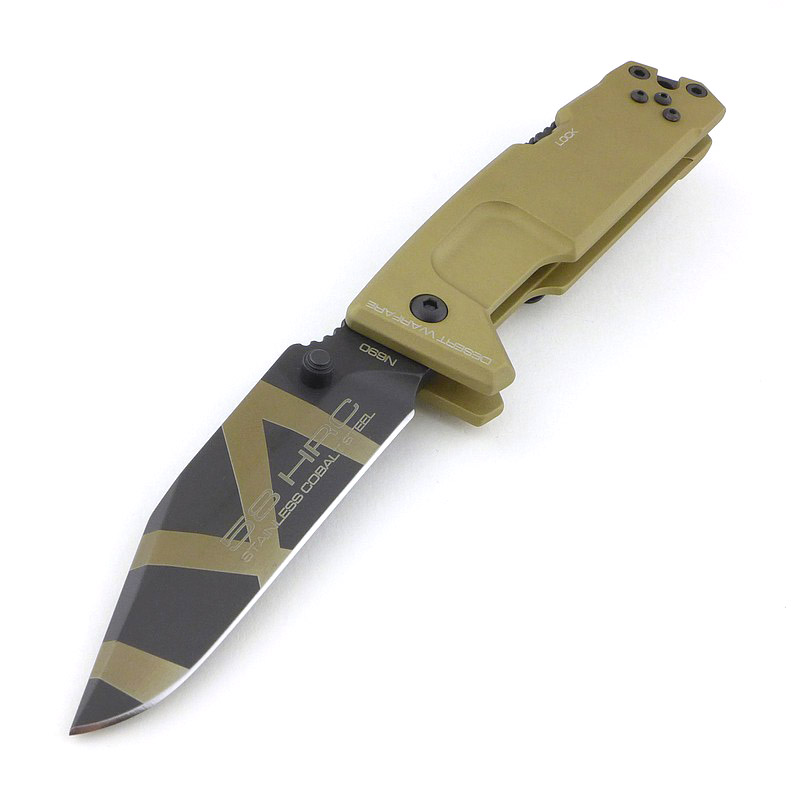
A good look round the Survivalist X – Things to look out for here are:
The survivalist X is a substantial knife, there is no missing its presence, and the hollow handle gives it a particular look and feel.


The Survivalist X’s hollow handle and capsule:
I’m sure we have all had those cheap and cheerful versions and found them not to live up to expectation, but be prepared for something entirely different.
Kizlyar Supreme have ensured there is the maximum amount of metal in the handle tube and blade tang to keep the strength very high. The view into the end of the handle shows the blade tang which comes right up to the base of the capsule, absolutely as far as possible.
Also shown are the capsule contents; fishing kit, wire, sewing kit with safety pin, matches and striker and plasters.


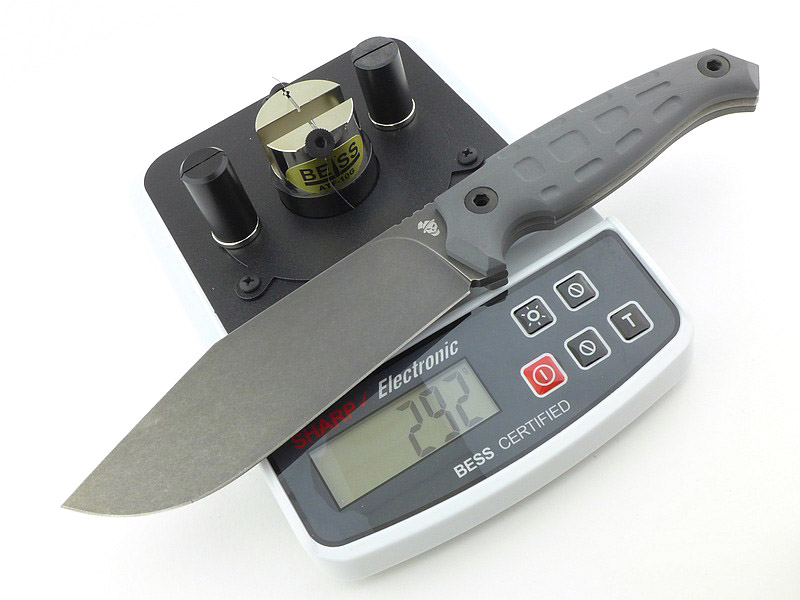
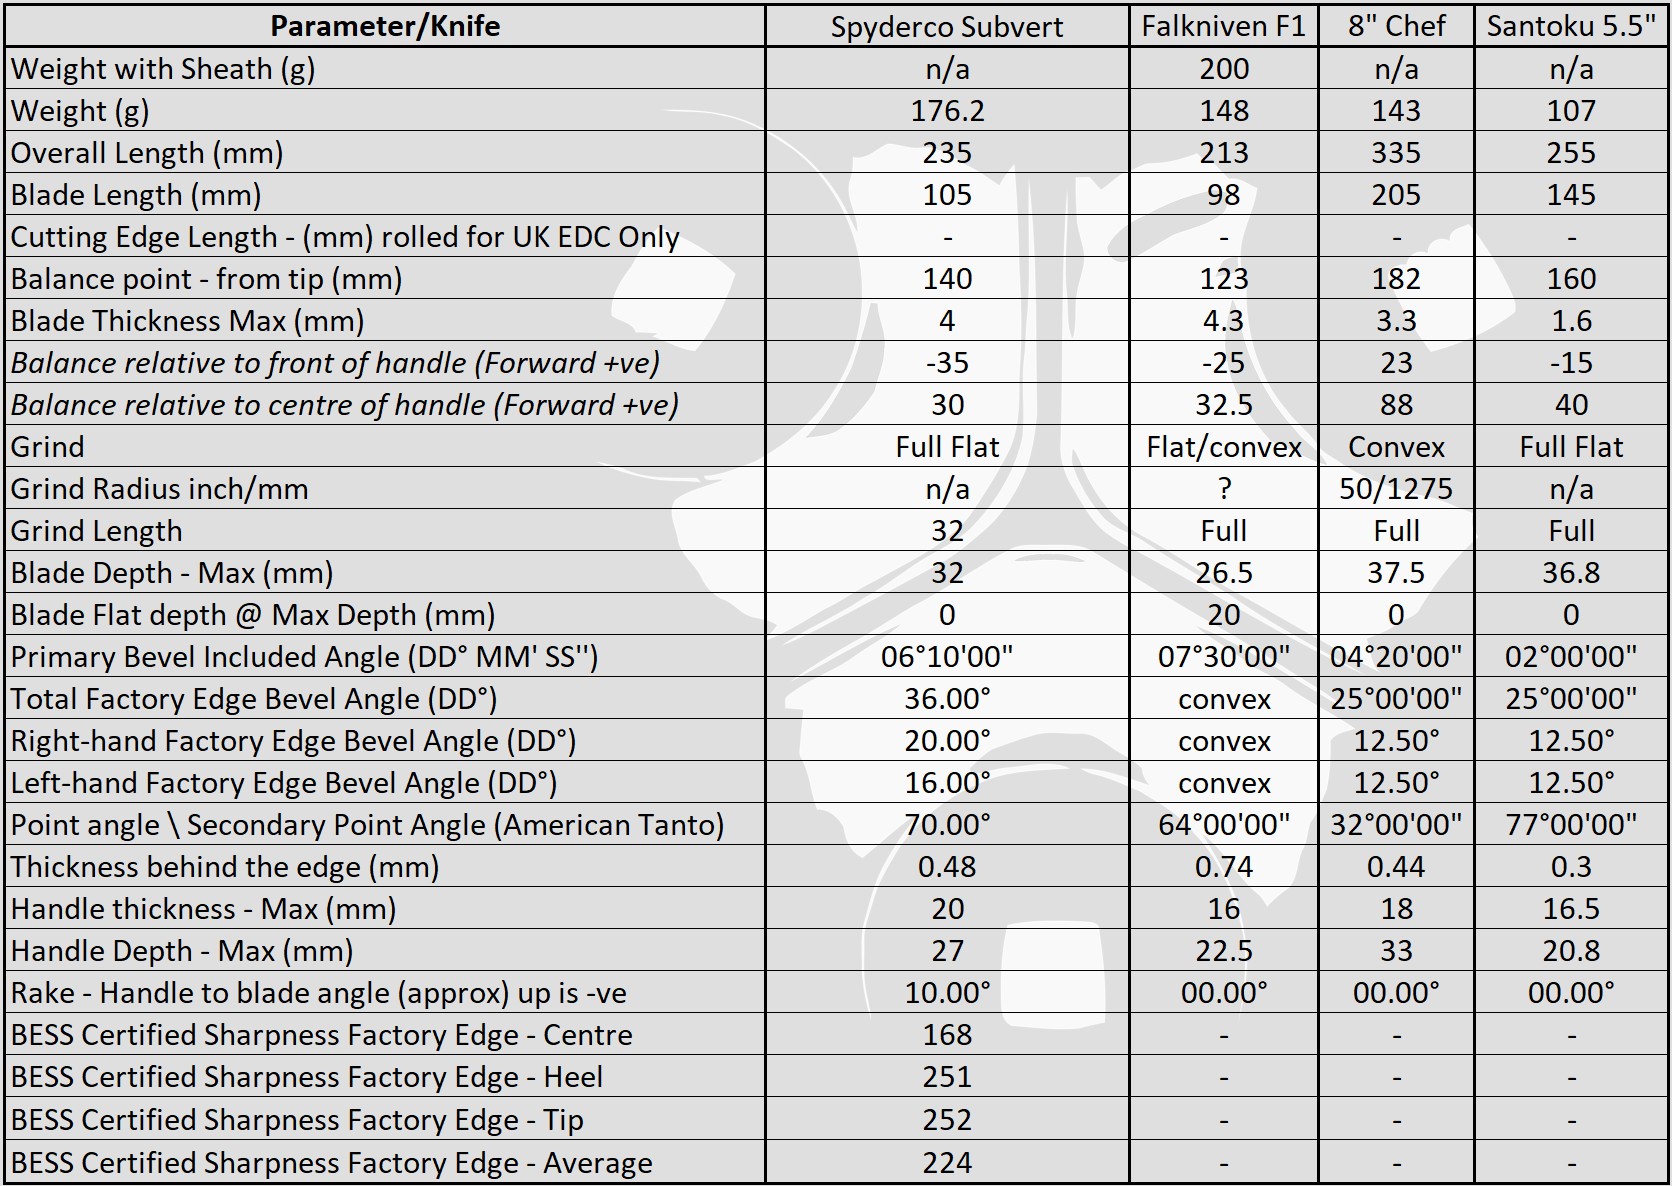
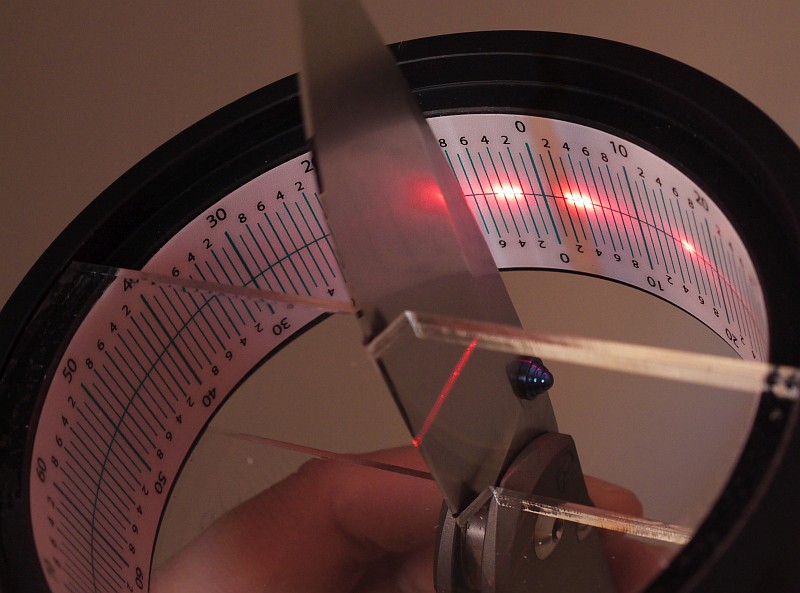
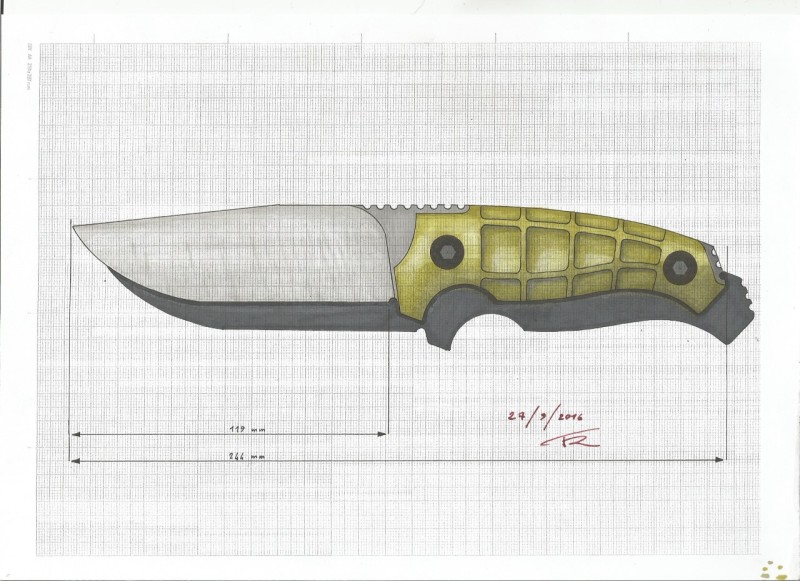
The Blade and Handle – Detailed Measurements:
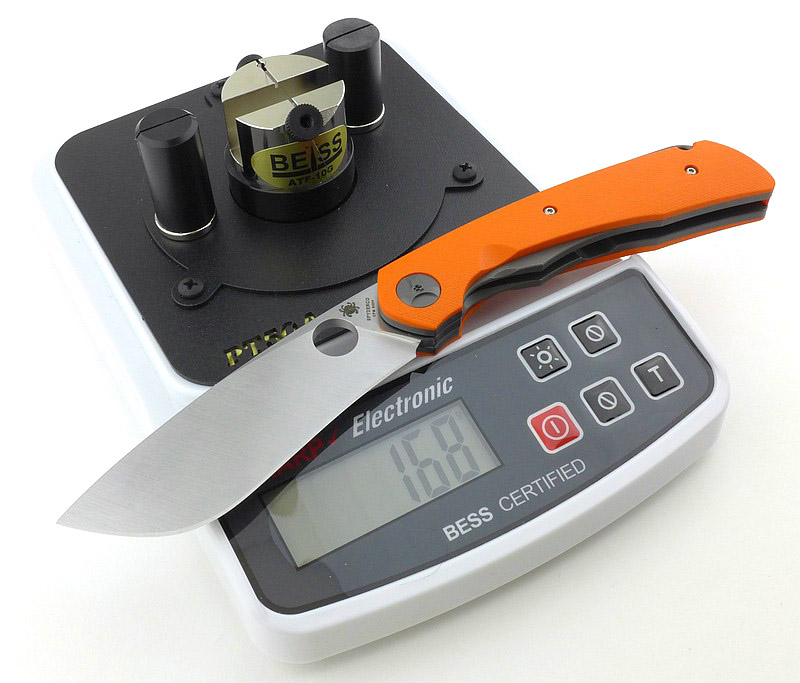
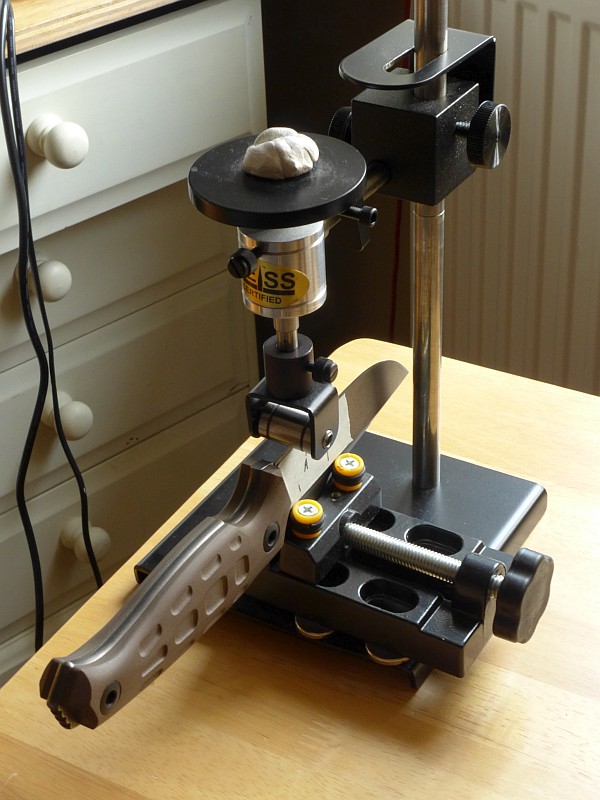
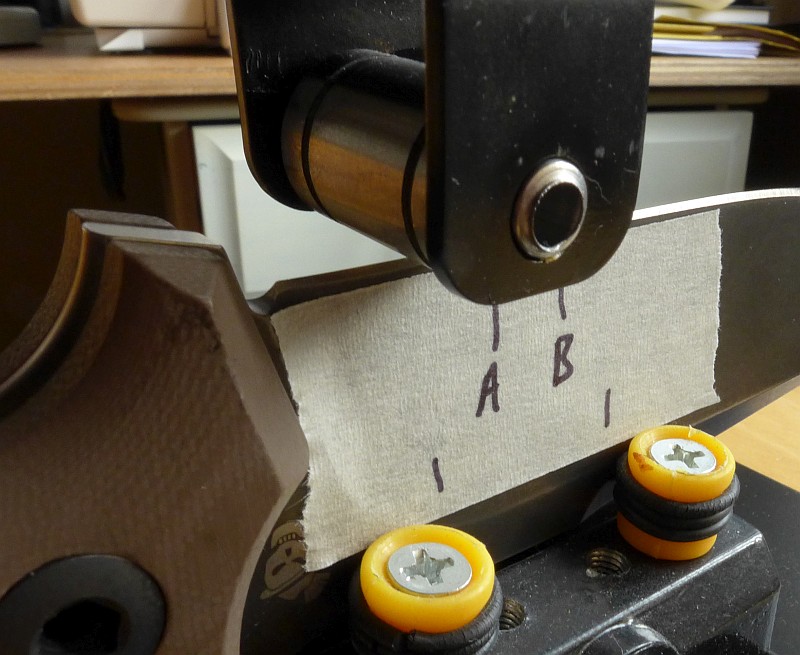
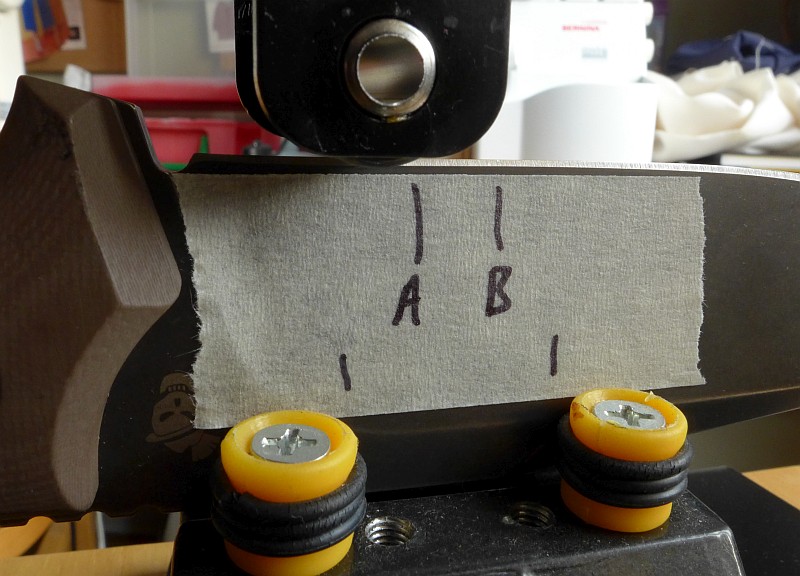
For full details of the tests and measurements carried out and an explanation of the results, see the page – Knife Technical Testing – How It’s Done.
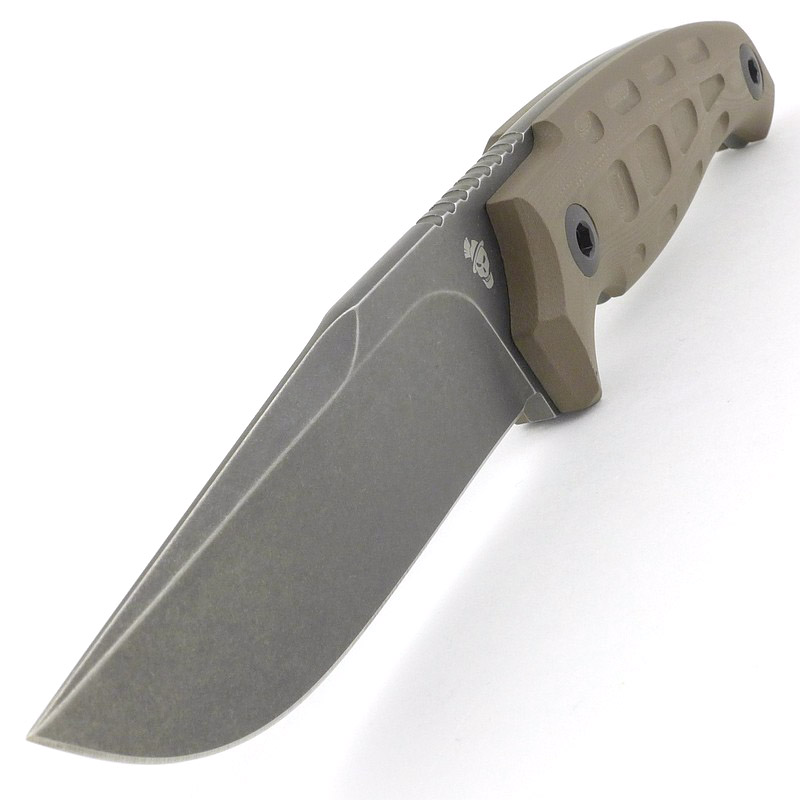
The Sturm’s blade is made from Lohmann PGK steel, and the Survivalist X’s from D2.
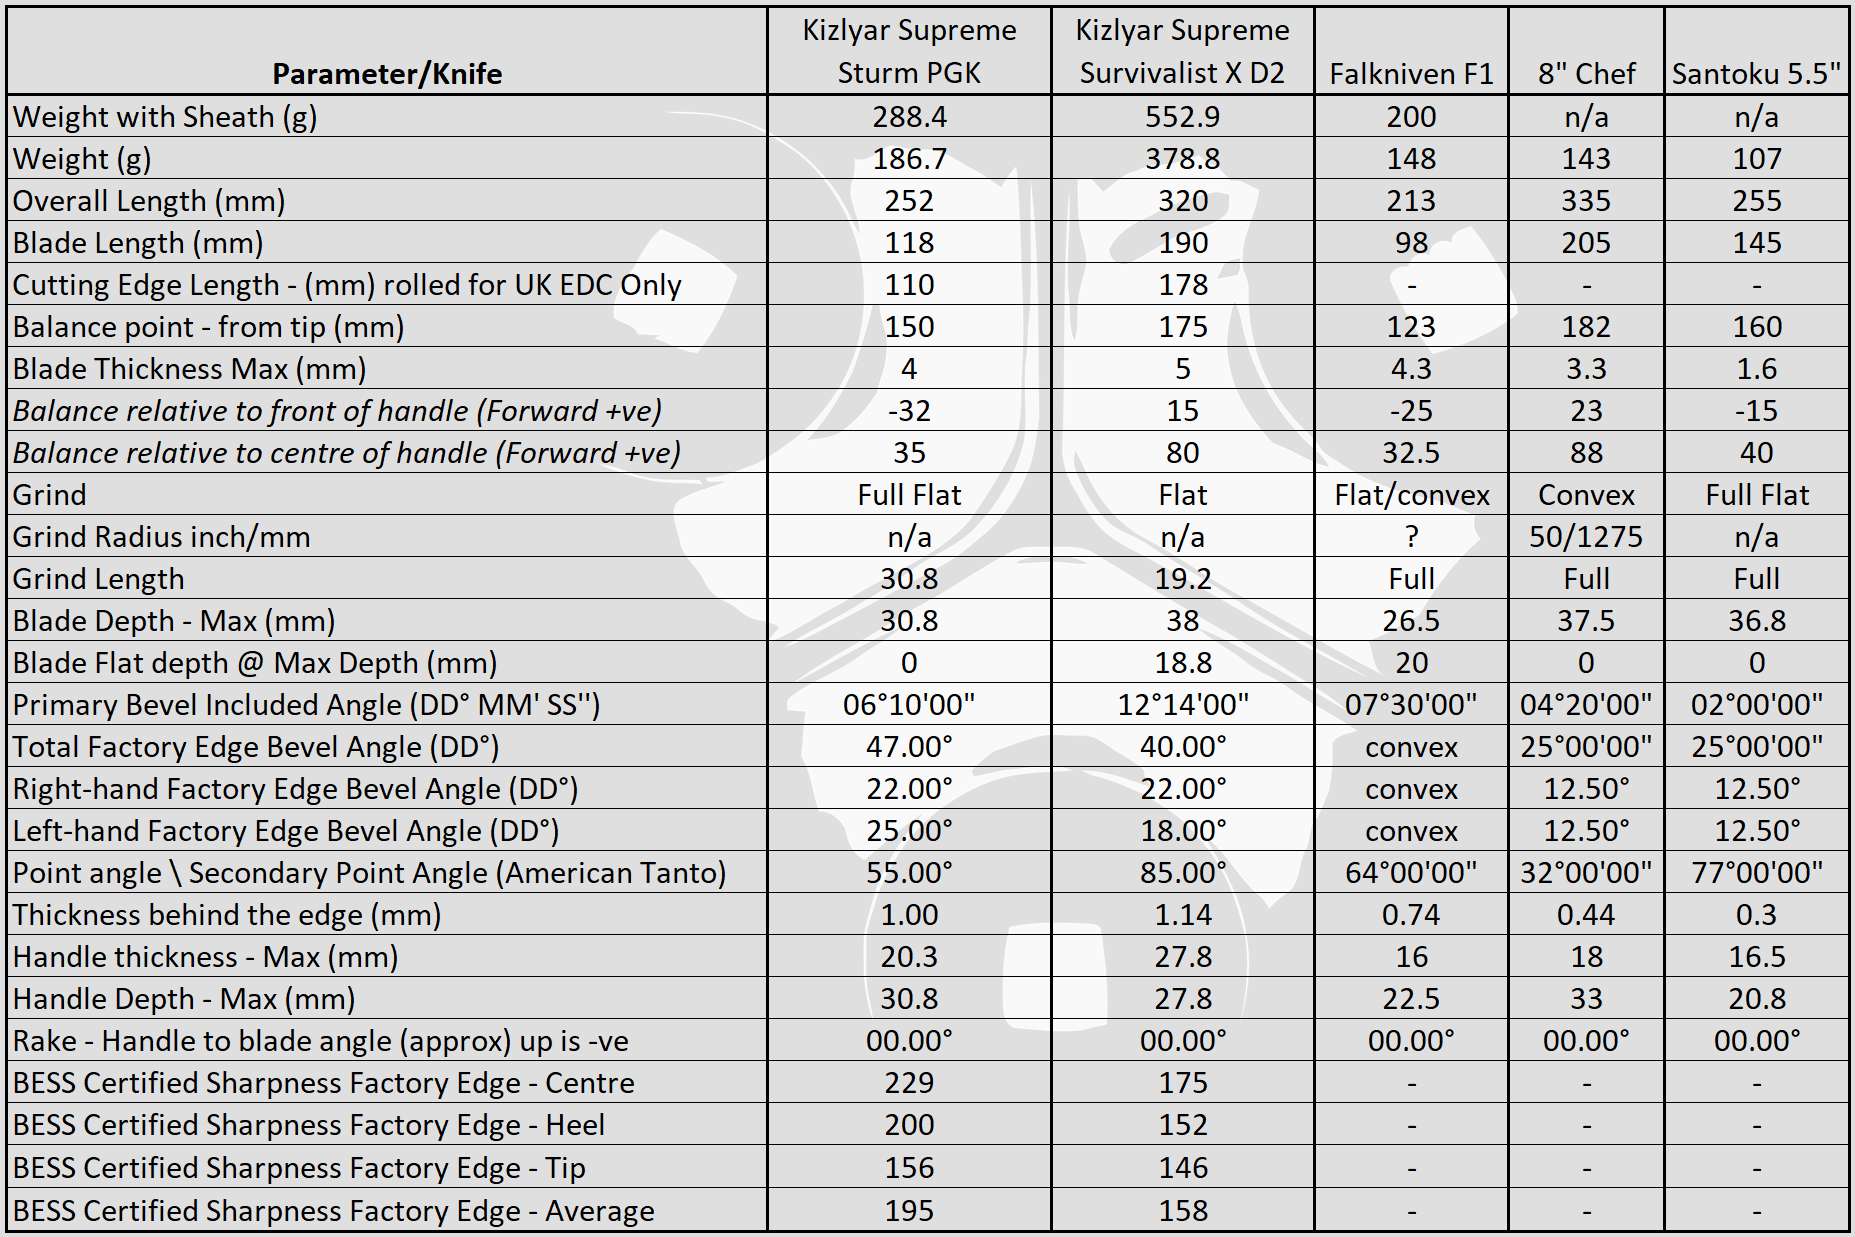
On the day it was measured, the Sturm in PGK steel had the best SET test result I had yet measured. The lower the Series 2 degradation (S2) figure is, the more resistant the edge is to being rolled. The recovery strop process shows if the edge was permanently damaged or chipped, or can be fully recovered.
Here you can see the PGK outperforming the D2 steel by a good margin. This is not saying the D2 is bad, in fact the D2 is good, just that the PGK performs better in this test.
Being a new steel to me, I checked the composition which is listed as:
Name – Lohmann PGK
Base – Fe
C – 1.2
Cr – 8.5
Mo – 1.5
V – 2
W – 1.5
Si – 1

What is it like to use?
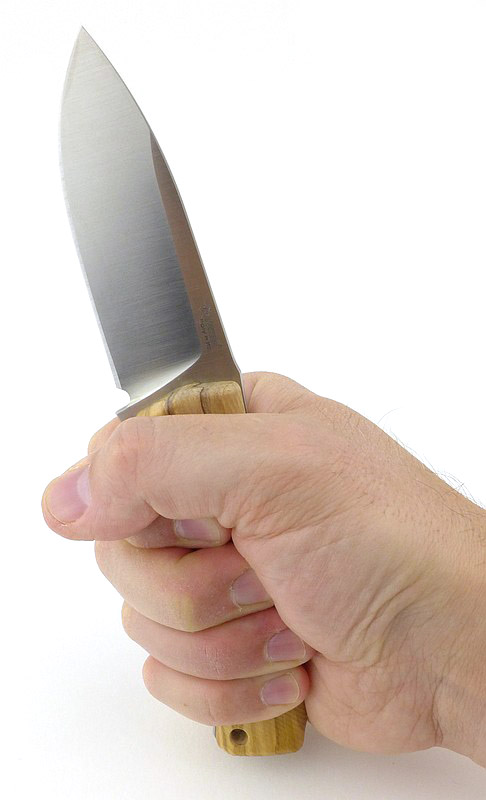
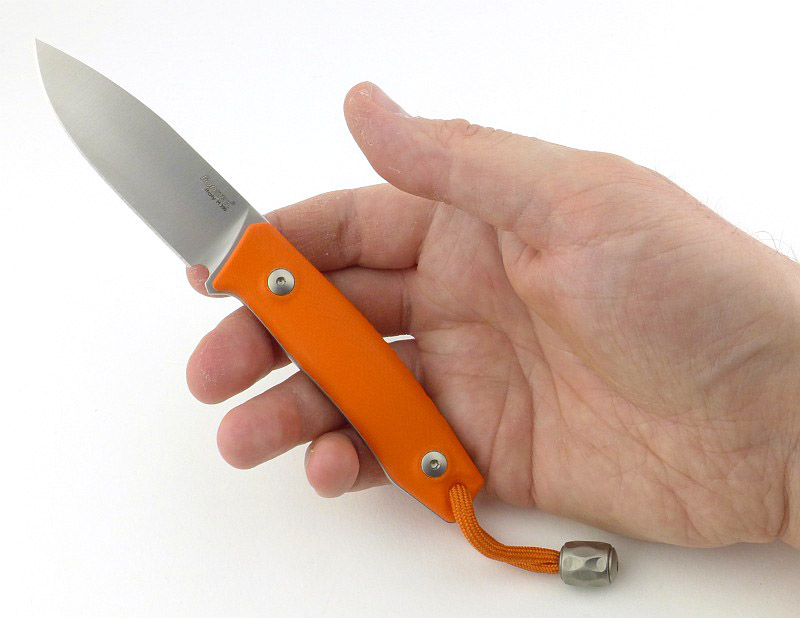
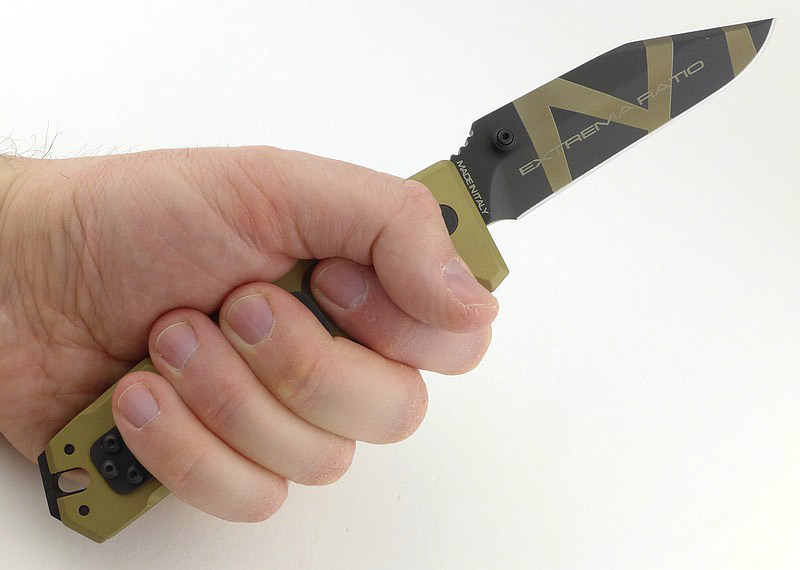
Picking up the Sturm was like finding an old pair of shoes that fit perfectly. No adjusting or finding my way with this knife, instead just getting on with whatever task. The size of the Sturm is ideal for most of the general cutting tasks you might want a fixed blade for.
The lips of the sheath had arrived with some rough edges from the moulding and these were becoming annoying. Once trimmed off, the feel was transformed as when unsheathing the knife you push onto the lips with your thumb. The retention is a bit strong to just pull the Sturm out without the thumb lever, but is possible when you really have to.
Hollow handles – are they a love or hate thing? If the knife is not well made and the blade comes off, then clearly hate, but if the handle and blade are well fixed and don’t come loose, what then? The Survivalist X has had a hard time from me, heavy chopping and into hard woods; I wanted to see if I could get the blade to shift in the handle – so far not a hint of movement.
So, the Survivalist X’s blade/handle construction is solid and doesn’t look like a weak point at all, then we have the fact it is a round handle. True, a round handle is not the best as it lacks indexing for the grip. You do have to keep an eye on the blade orientation, and in heavy chopping it can spin and twist a little. Nothing unexpected there. The knurling gives good grip without being too abrasive. It is actually not a bad thing that you have to pay attention to the knife and your grip, and I’ve not found this to be a problem.
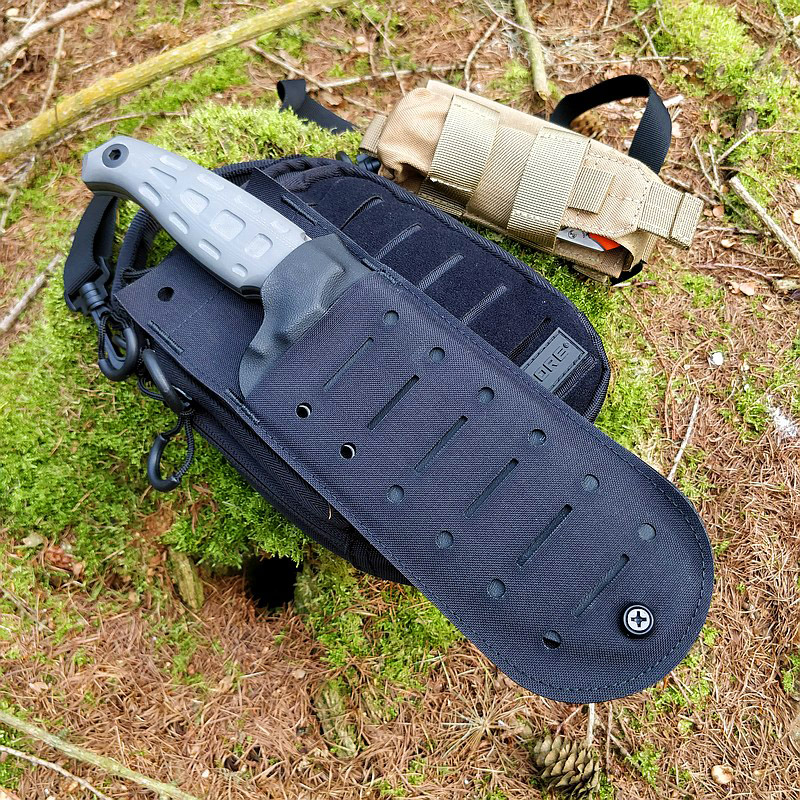
The Survivalist X is a heavy hitter, and is heavy to carry, so take it when you want a big camp knife, or don’t want to carry a hatchet as well as a knife.


One questionable feature for me is the bone cracker wedge on the Survivalist X’s spine; it is like nothing I’ve seen before. A big knife like this is also good for batoning larger logs, but this wedge damages the baton more than a straight spine. How often do you need to crack bones instead of cutting at the joints? Not sure about that.
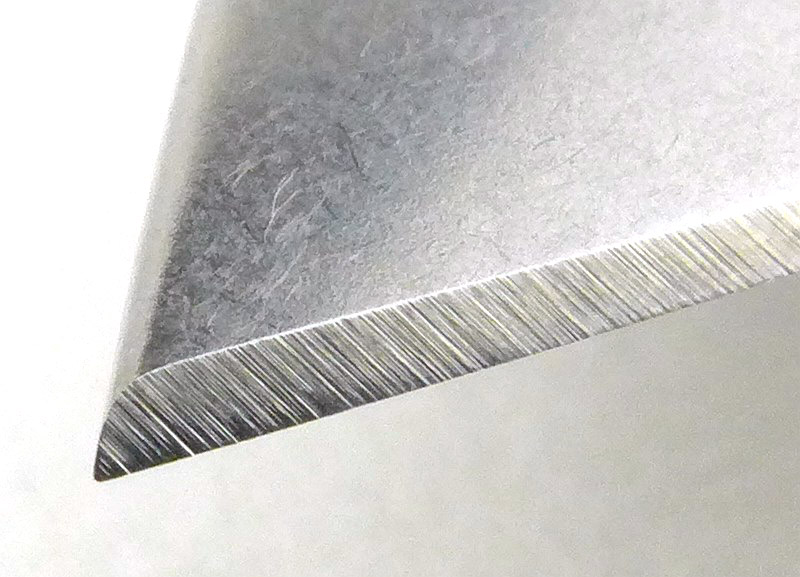
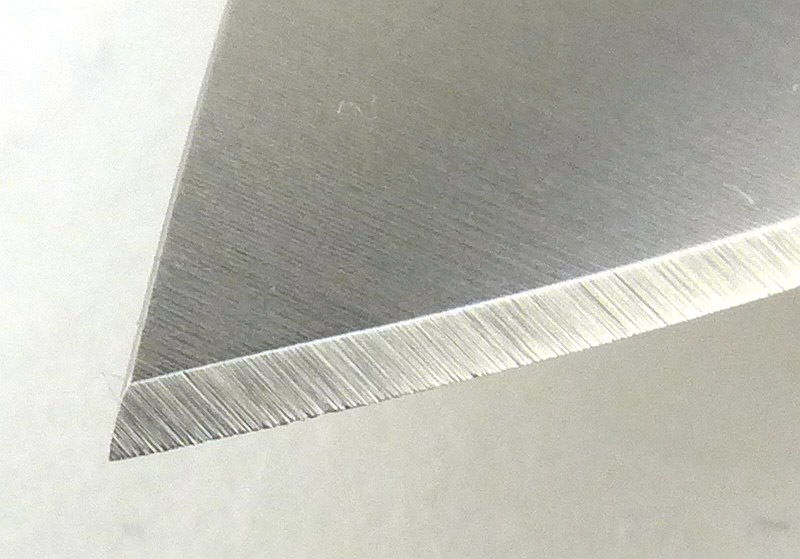
I must also mention that the factory edges on both knifes were superb, with good angles, and in hard steels – though not essential, it is very nice to have super sharp blades out of the box.
The Sturm has several different steel choices and the PGK steel has been a really interesting one. I thought I had an issue when cutting packing straps as the edge seemed to dull straight away when cutting some of these, yet as you have seen before, it’s structural edge testing results very very good. I decided to change the edge angle, and it was very slow to sharpen on a belt, showing how hard and wear resistant the PGK steel is. After this reprofile I haven’t had anything similar happen, so it appears to have been an anomaly.
I also can’t quite work it out as a steel, as when I examine the edge for defects, I see reflections that would normally indicate edge damage, yet the Sturm remains sharp and cuts well, defying the normal observations. The bottom line here is that despite what I think I see, the Sturm keeps cutting.
Review Summary
The views expressed in this summary table are from the point of view of the reviewer’s personal use. I am not a member of the armed forces and cannot comment on its use beyond a cutting tool or field/hunting knife.
Something that might be a ‘pro’ for one user can be a ‘con’ for another, so the comments are categorised based on my requirements. You should consider all points and if they could be beneficial to you.
I’m trying something slightly different and starting with what doesn’t work so well, so I can finish on a more positive note 
_______________________________________________
What doesn’t work so well for me
_______________________________________________
Sturm – The sheath lips needed mould flashings to be trimmed.
Survivalist X – For a ‘Survival’ Knife I’d prefer a more stainless steel than D2.
Survivalist X – The exposed press-studs scratch the handle.
_______________________________________________
Things I like
_______________________________________________
Sturm – Excellent handle comfort and indexing.
Sturm – Blade geometry works well.
Sturm – Range of steels to choose from.
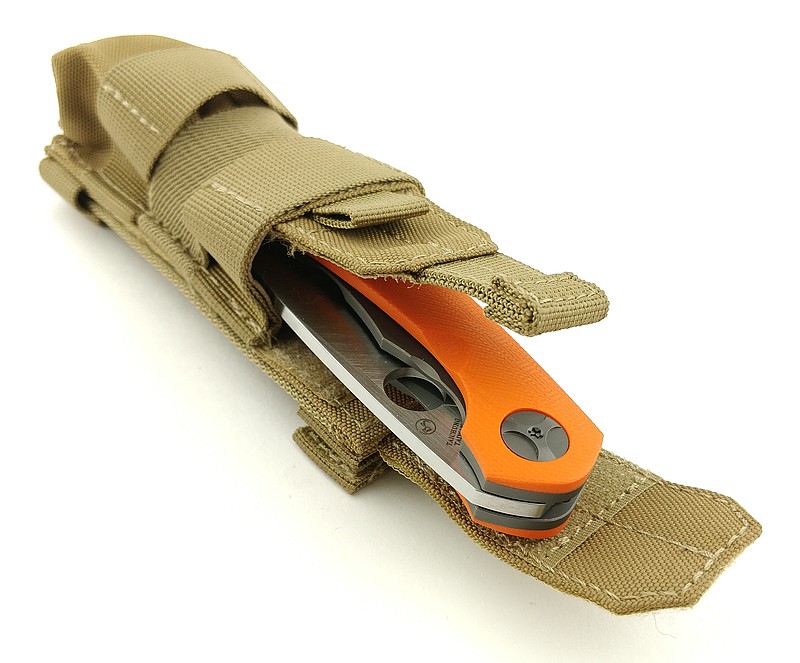
Sturm – Hugely versatile sheath and mounting options.
Sturm – Secure, strap-free knife retention.
Sturm – Great general purpose size.
Sturm – The PGK steel just seems to keep on cutting.
Survivalist X – Very strong construction.
Survivalist X – Big hollow-handled knife – what is not to like?
Survivalist X – Fantastic chopping performance.
Survivalist X – Feature-packed sheath with lots of options.
Both – Very good factory edges.
Discussing the Review:
The ideal place to discuss this review is on the Tactical Reviews Facebook Page 
Please visit there and start/join the conversation.
As well as the Tactical Reviews Facebook Page, please consider visiting one of the following to start/join in any discussion.
BladeForums – Knife Reviews (US based Forum for Knife Discussion)
CandlePowerForums – Knife Reviews Section (Largest and Friendliest Flashlight Community Forum)
The BESS Exchange – A forum discussing technical aspects of sharpness and truly understanding your sharpening process.


.")


")
")

")


")
")
")
")
")
")
")


.")


 Allen bolt.")


.")


. A precise load (the white tac on the platform is used to adjust the load) applies pressure to an 'impactor'.")


 are all a single piece of leather with a couple of folds.")