This is Part One of a two part review featuring the Chiappa Firearms Little Badger folding survival rifle. Ever since I first saw this rifle, it’s been in my sights for an in-depth test and review. The Little Badger has a charm and practicality in its simplicity and easy of carry, and I can’t help but be reminded of the classic 1973 film ‘The Day of the Jackal’.
In this, Part One, of the review we start with a good look round the Little Badger, then onto the official accessories from Chiappa, and finally a cracking little 1-4×20 scope from In Your Sights, that has been a great match for this excellent super-light rifle.
The details:
First view:
The folding rifle as it arrives.
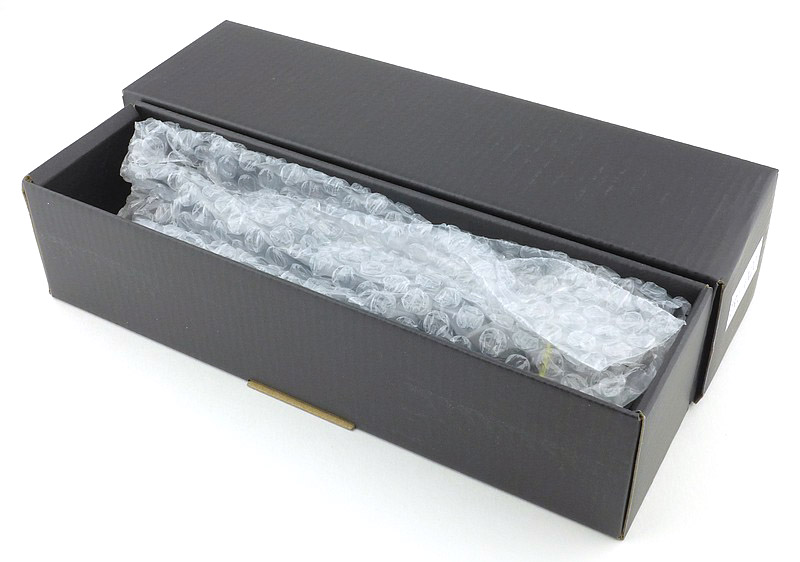
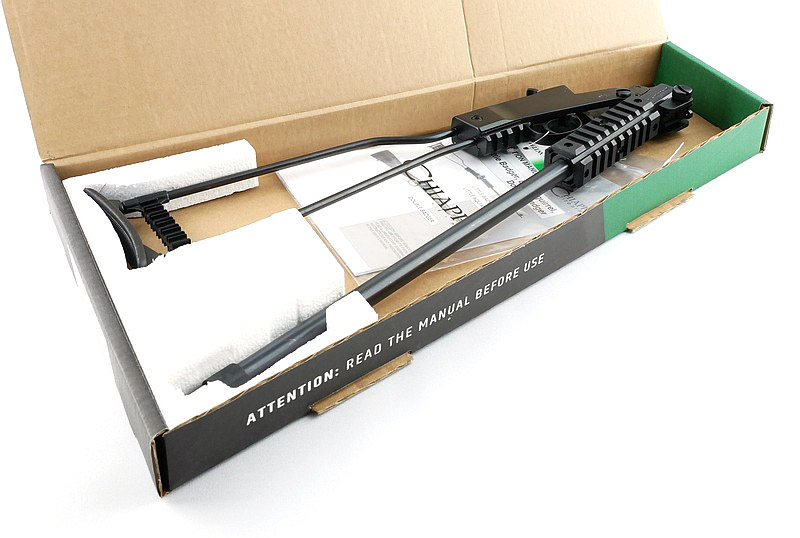
Not many rifles come in a box this size.
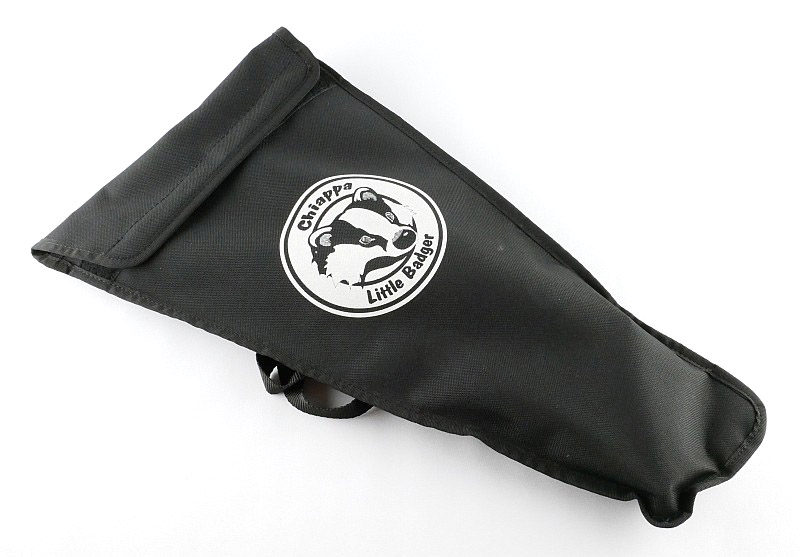
Also included is a case for the folded rifle.
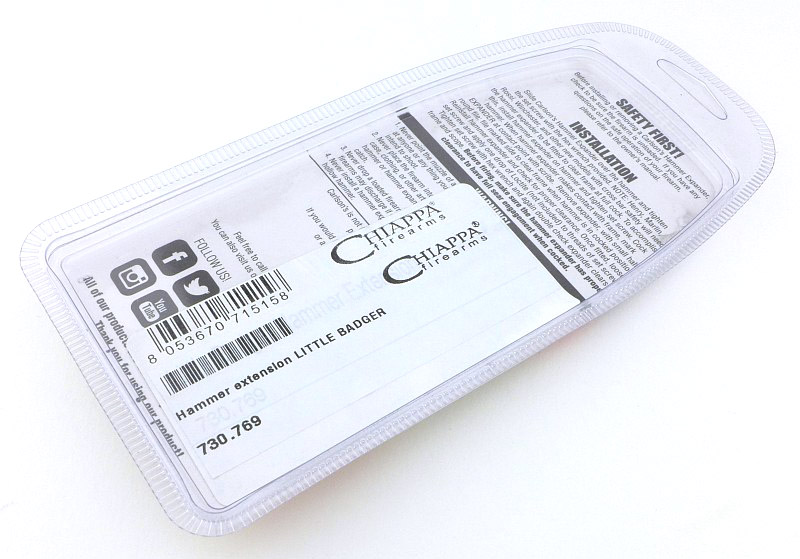
Very neatly presented.
The box contents (minus the case).
Out of the box, the carry case straps are not ready to use.
Adjustable buckles are used.
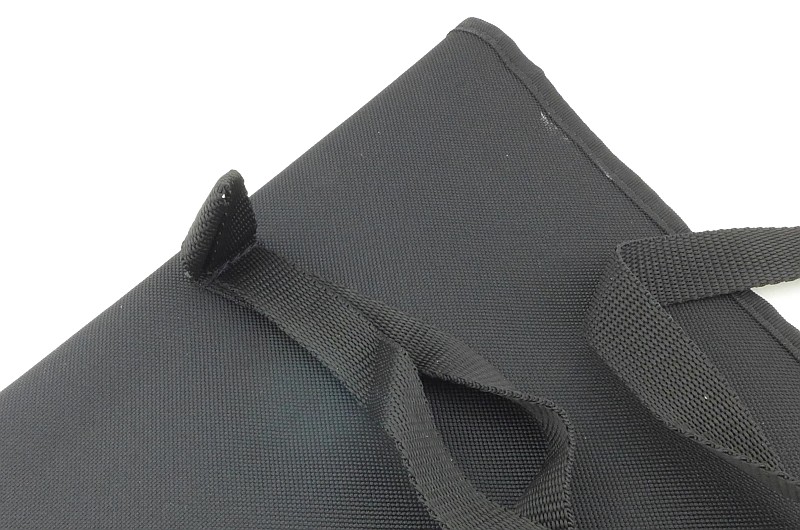
Twin straps make this case a backpack.
Assembled and ready to use.
The 'naked' Little Badger fits into a neat carry case.
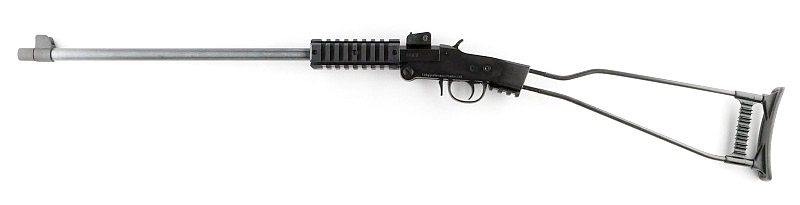
A very simple rifle.
A good look round the Little Badger – Things to look out for here are:
Taking in all the details and options for add-ons. Moderator threading, open sights, rails, action and initial adjustments.
Though simple, the Little badger gives you lots of options.
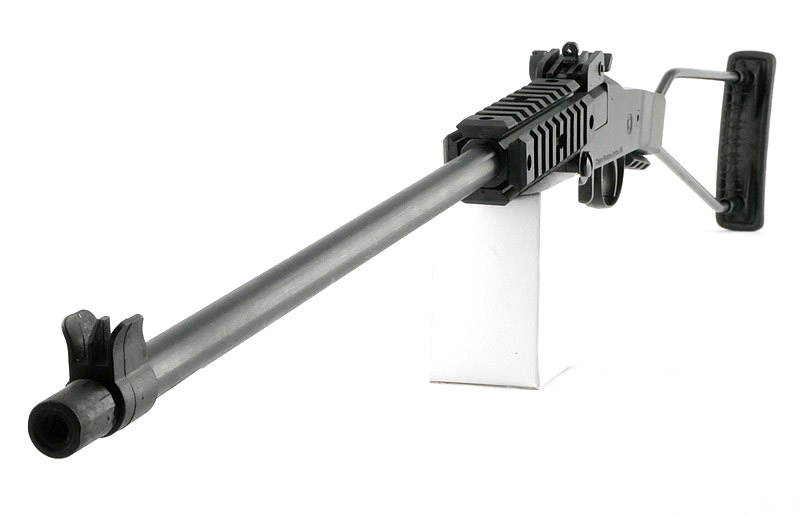
Starting with the muzzle.
Threaded for a sound moderator.
It comes with basic open sights.
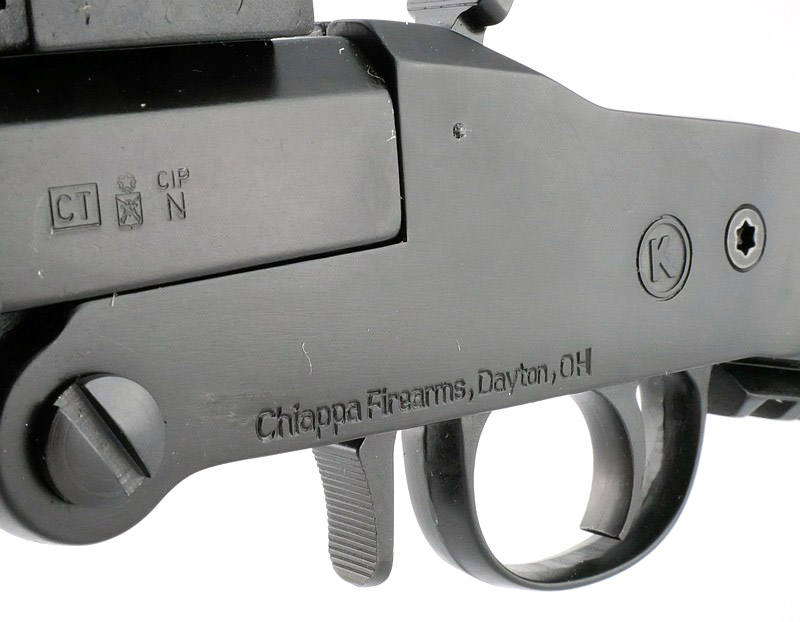
The Little Badger's closed action with factory fitted rear sight.
Four picatinny rails make for a lot of customisation options.
The hammer in its furthest forward position.
Here the hammer is in the safety position.
Cocked and ready to fire.
Forward of the trigger guard is the action opening lever.
Side view of the action.
With the breech open you can see the hook used by the lock.
Even this far open, the extractor has not yet moved.
And the extractor has now engaged.
Behind the trigger guard is a short section of picatinny rail.
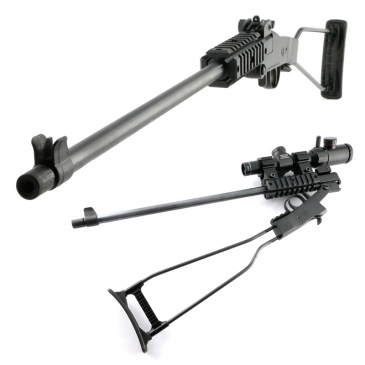
The Little Badger has a wire stock with plastic butt plate.
The butt plate has storage for 12 rounds of .22LR
One side filled.
The stock length has some adjustment.
A screw on each side needs to be loosened.
The second screw.
With both screws loose, you can move the wire stock.
Little Badger Accessories:
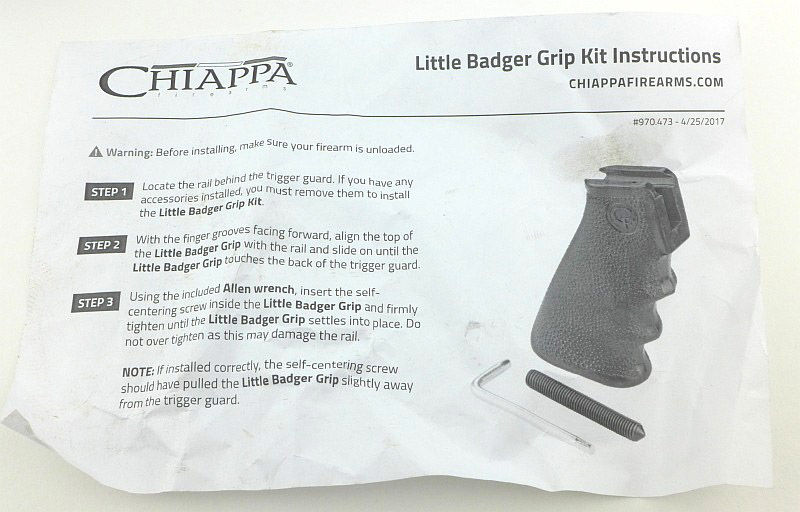
Chiappa offer several accessories for the Little Badger including a cleaning kit handle, hammer extension and pistol grip.
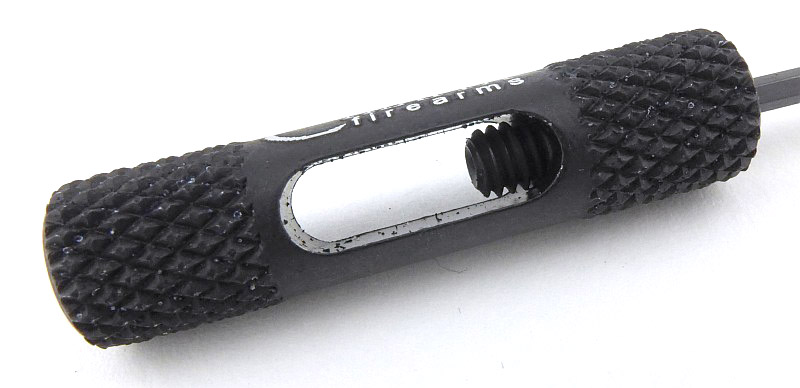
A hammer extension is offered - check the review for further information.
The hammer extension has been laser engraved.
A grub screw in one end is used to fix it in place.
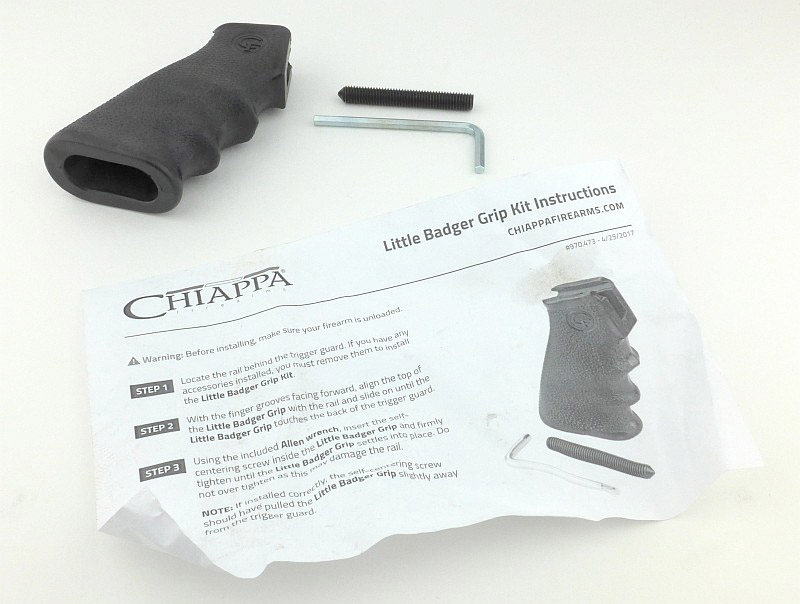
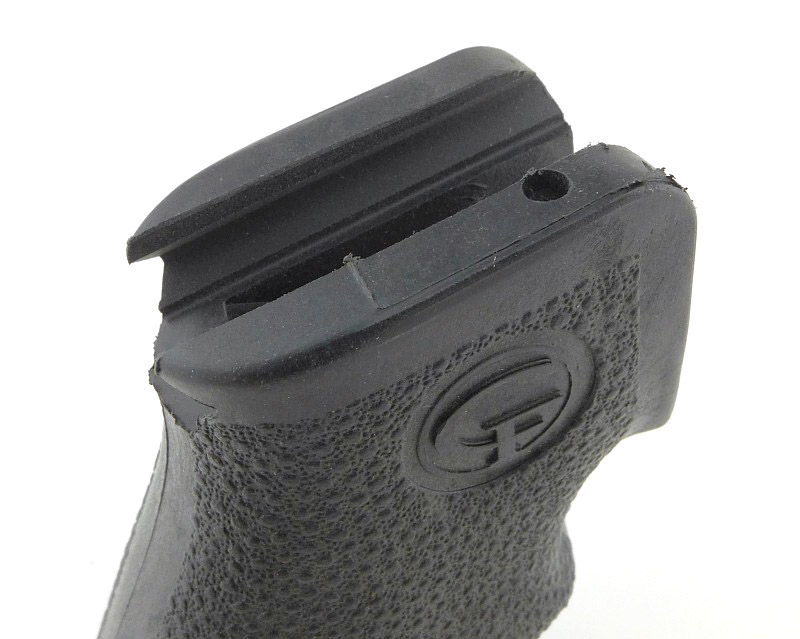
A 'proper' pistol grip handle is offered for the Little Badger.
If you think it looks familiar, it is the same as the one for the Chiappa M Four rifle.
Fitting is via a picatinny rail groove.
I take XL-sized gloves - for reference.
An allen screw is adjusted via the bottom of the grip.
The fixing screw emerging from the grip.
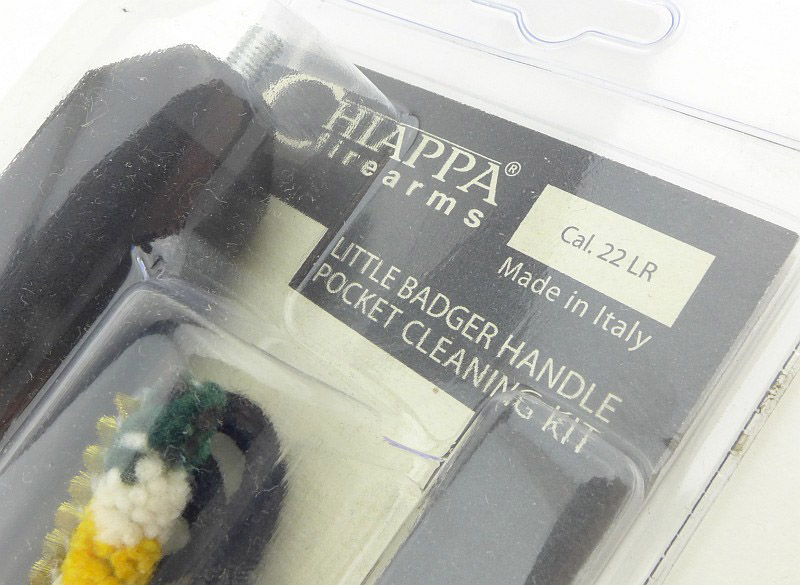
Another handle option, the cleaning kit grip.
In the hollow handle is a pull-through cleaning kit with brush and mop.
The end-cap is a push-fit.
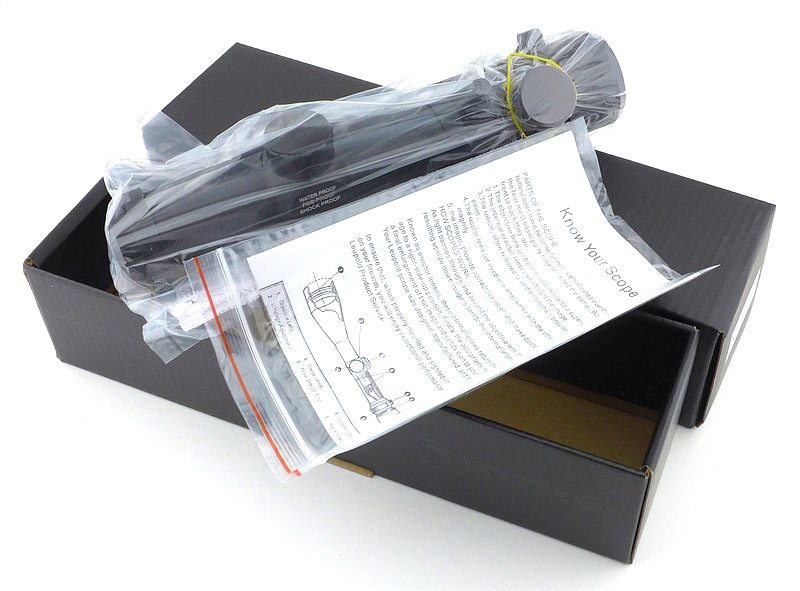
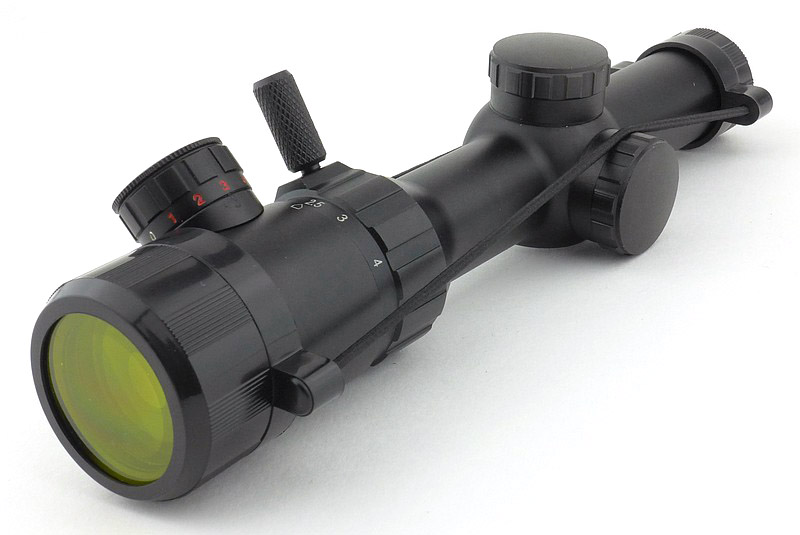
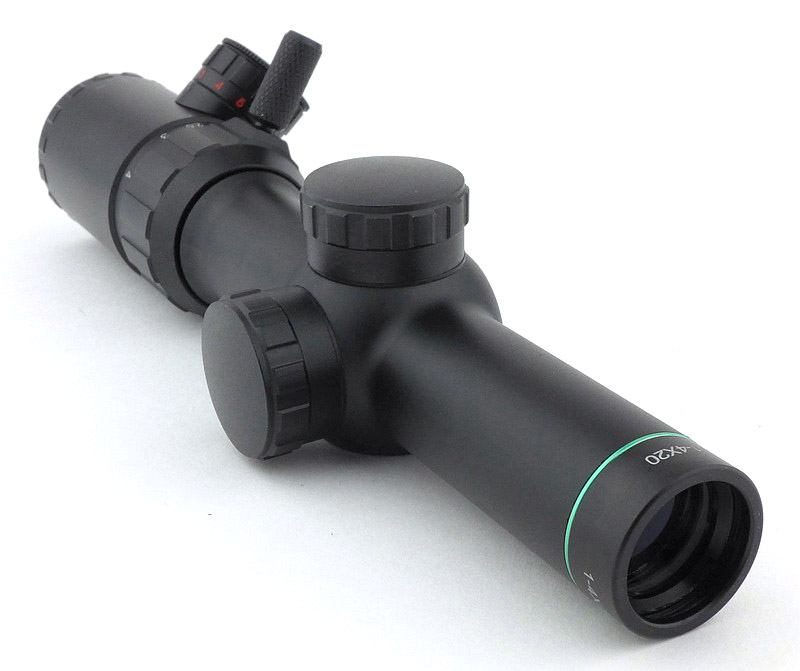
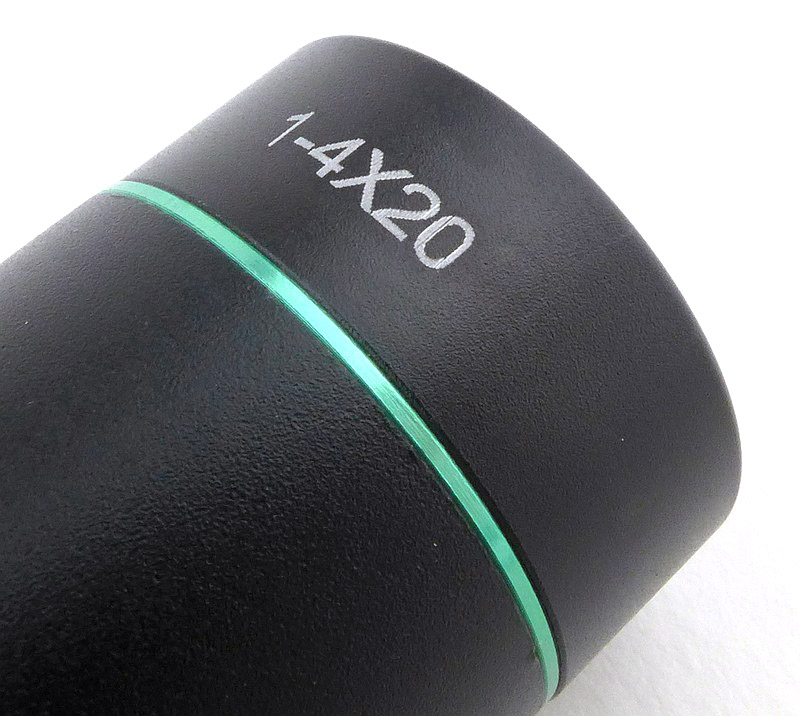
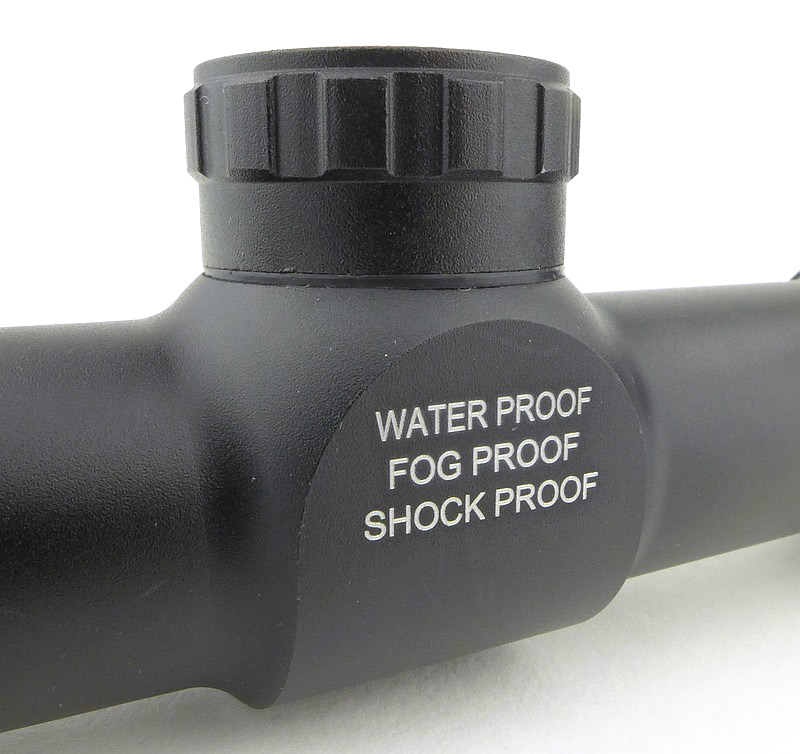
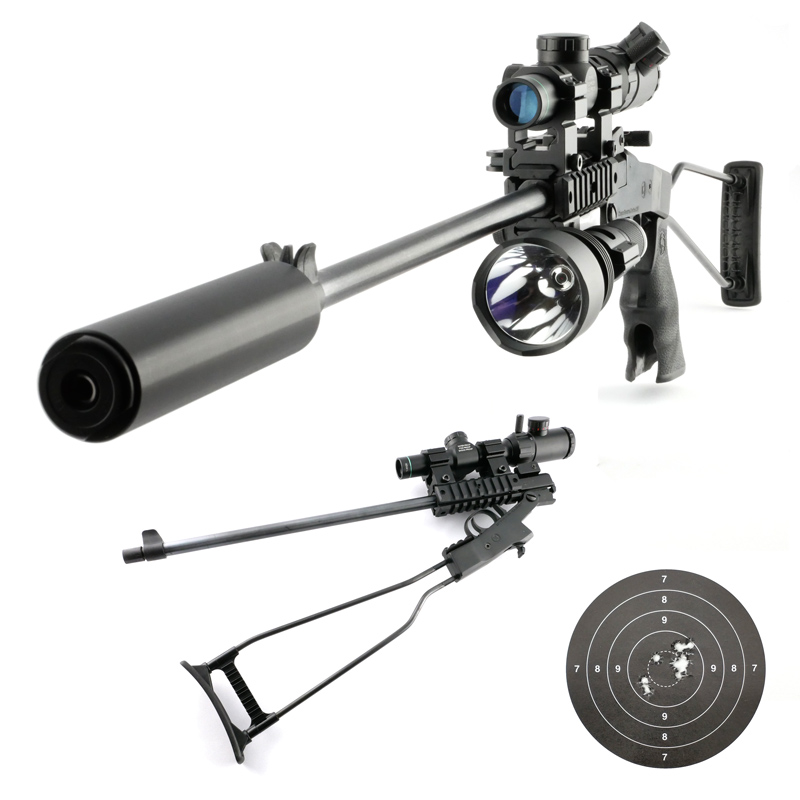
A suitable scope – In Your Sights ATOM 1-4×20:
Being a small and light rifle, it needed a suitable compact scope, and in my search for an ideal match I came across the IYS (In Your Sights) ATOM 1-4×20 compact zoom rifle scope. This gallery gives you a good look round, and through, the scope.
For the review the IYS scope had a few mounting options.
A compact 1-4 x 20 was chosen to match the Little Badger.
Included are a cleaning cloth and spare battery.
The scope comes with lens covers that can be left on in good light.
A lever allows easy zooming from 1-4x.
With the protective covers removed.
Having an illuminated reticle there is a brightness / colour dial.
Illumination off.
The objective lens has a focus ring.
Getting it set up does mean checking for the ideal focus for you.
Taking off the sight adjustment tower covers.
1/2" @ 100y click adjustment.
Just in the photo studio, here is the reticle without illumination.
Green Illumination.
And the red.
Going a little closer into the green illumination.
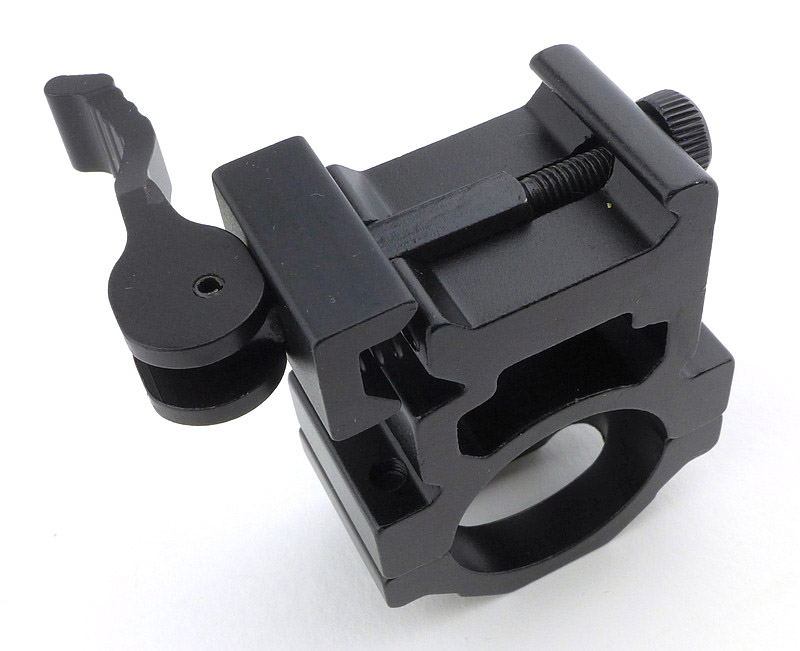
I have gone for QR mounts for easy removal when folding the Little Badger.
A little look round these mounts.
A QR riser block was another option.
But for me with the riser block it took the scope a bit too high.
Ready to go!
And there is more in Pt 2:
It’s not over yet! There has just been too much to look at all in one go.
Please see ‘Fully Loaded!’, Part 2 of this review for, Modifications, What it is like to use?, Test Results and the Review Summary.


.")