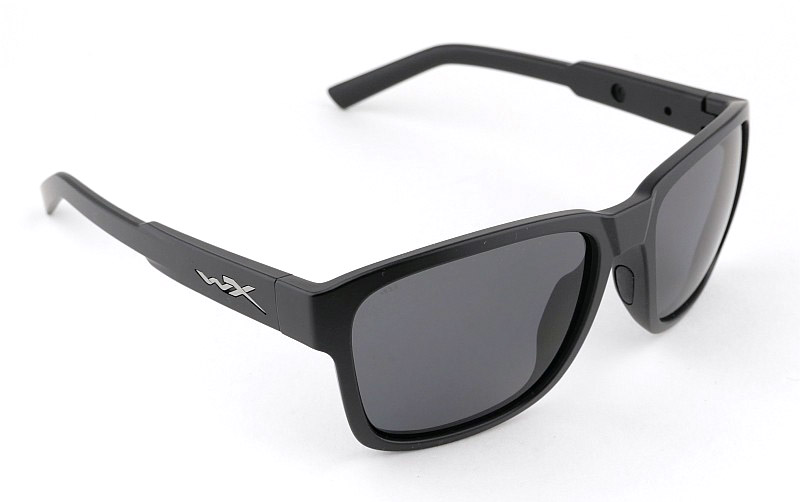
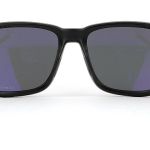
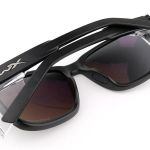
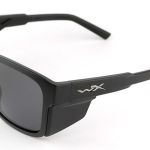
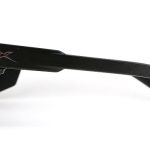
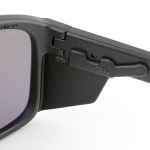
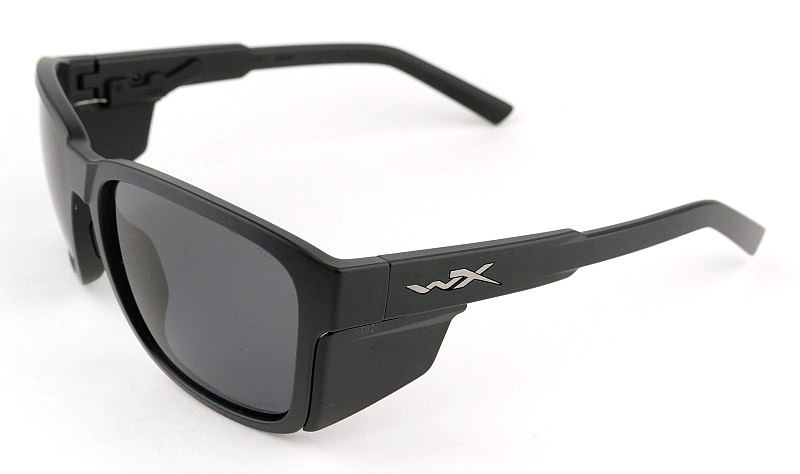
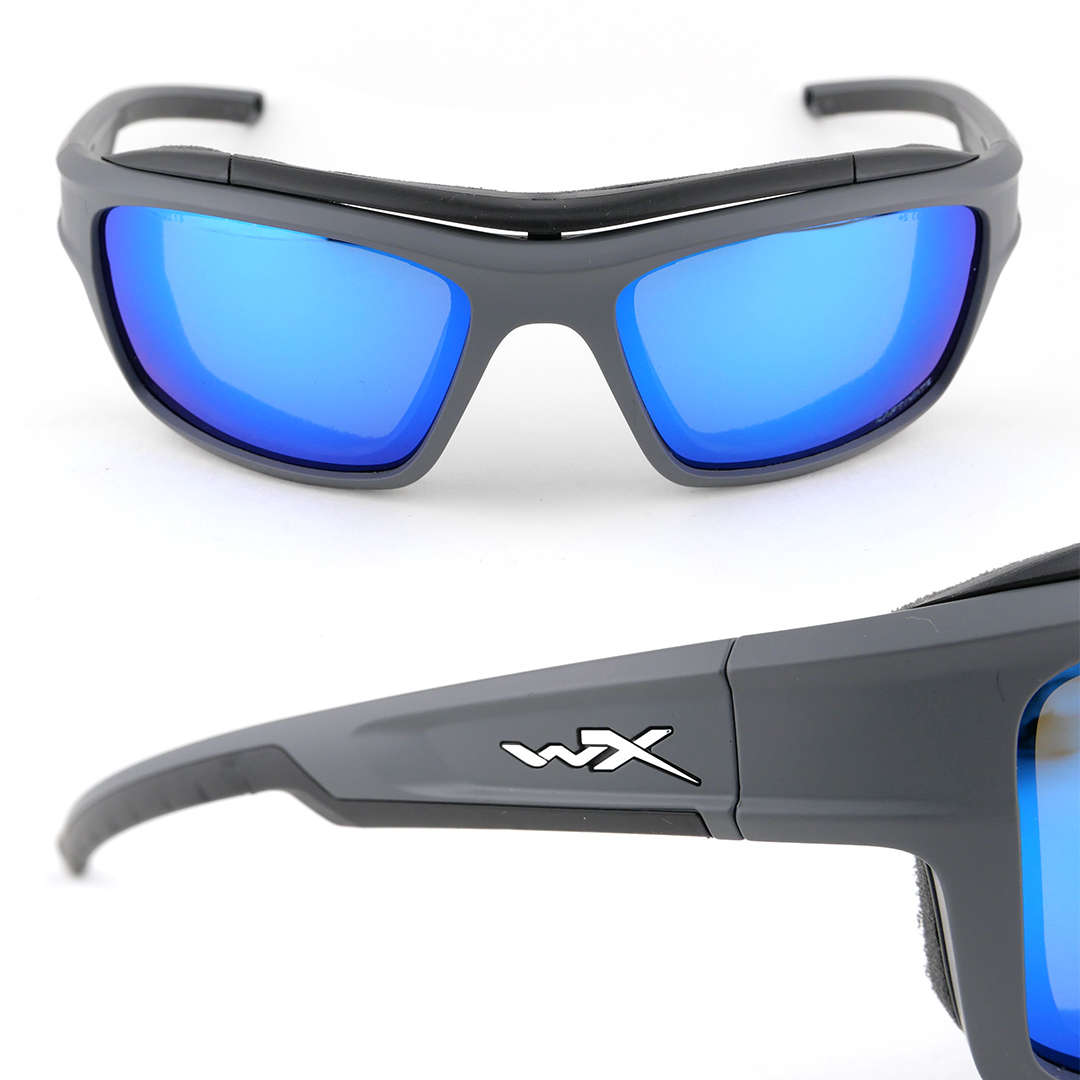
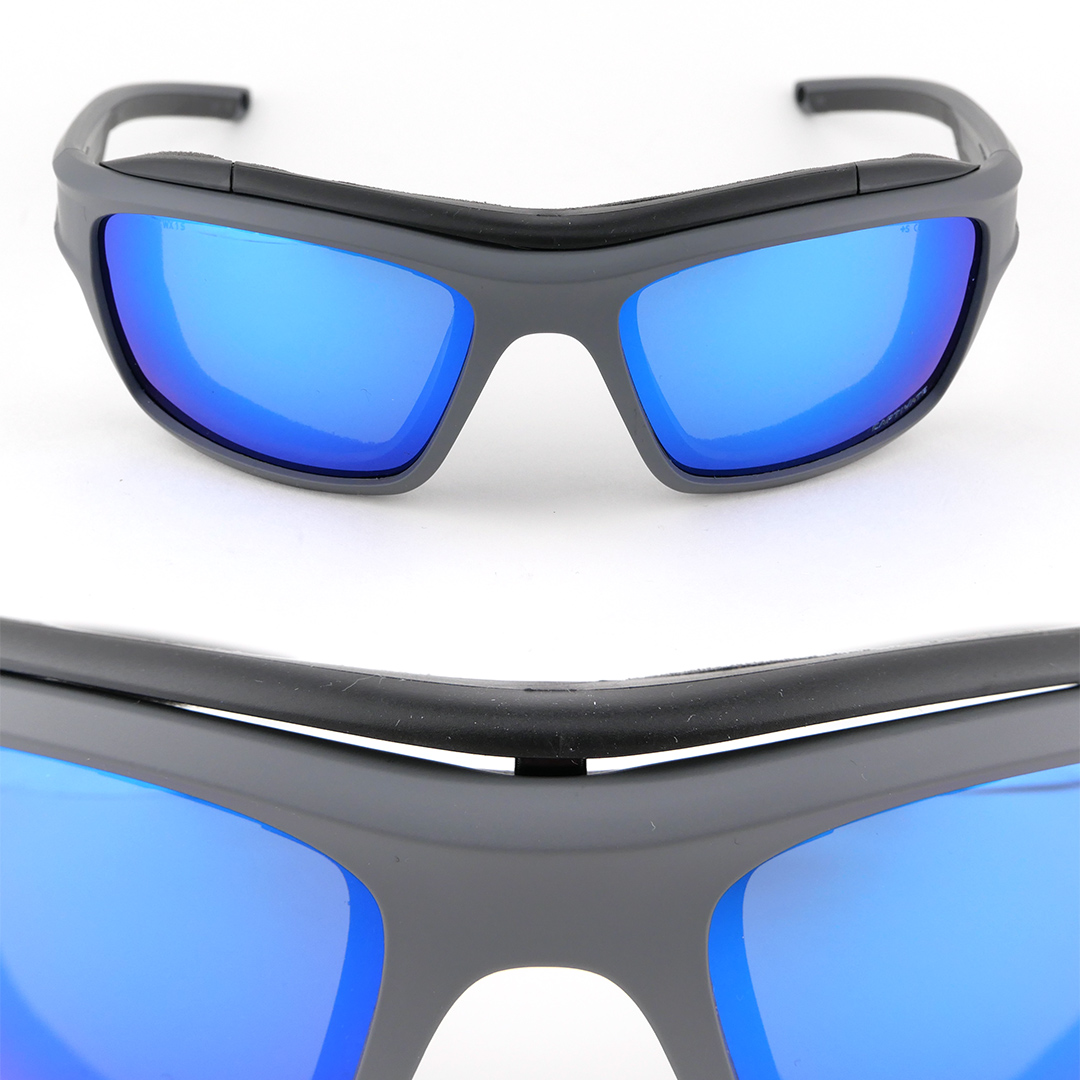
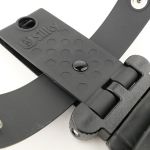
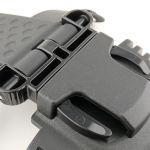
The Trek is a model which introduced yet another innovation from Wiley X, the removable side shield. This allows for a flatter and more traditional style of frame without sacrificing the Wiley X feature of meeting EN. 166 & ANSI Z87.1 safety standards.
As someone who relies daily on the best quality sunglasses, but that also needs EN. 166 & ANSI Z87.1 safety standards, Wiley X has been my go-to brand and has never let me down.
Since first finding Wiley X many years ago, I’ve not looked back when it comes to eye protection, lens quality, fit and style.
Review Videos
Starting with a short format sixty second review:
Onto a full video review covering many more details:
This video also contains useful information on a slight difficulty with the removable side shields and explains how to prevent the issue.
A few more details:
What’s in the box?:
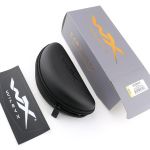
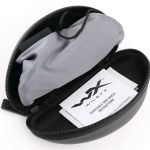
As these Trek glasses have the Captivate lens, they come in the Captivate version of the outer packaging. All the functional parts have been fitted into the case, with just a sticker accompanying the case as you unbox it.
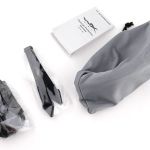
Opening up the zip up case, and inside are the glasses inside a cloth bag, plus a much smaller cloth bag (containing one set of side shields), a neck strap, permanent side shields and some information leaflets.
A good look round the Trek – Things to look out for here are:
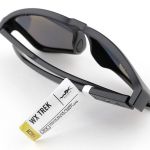
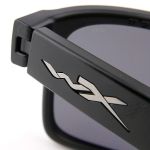
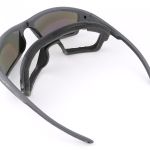
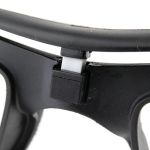
With the Trek glasses unpacked, this gallery takes you round views from all sides to show their flatter traditional profile. A closer view of the hinge and fittings for the side shields is included.
The removable Side Shields – Things to look out for here are:
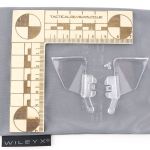
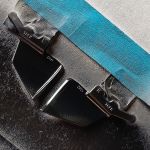
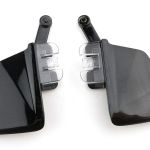
First in this gallery are the two types of side shield with a scale to show their size. On the left is the ‘removable’ type and on the right the ‘permanent’ with separate fixing pin.
Before fitting the removable shield, it is shown next to the arm so you can see how it will fit in. Then the shield clipped into place.
Once the side shield is fitted, when folding the arms, it does interfere with the folding action and also sticks out a little. The knock-on is that it makes getting them into the case more difficult. You need to stretch the zip out to close the case, but you can still fit them in.
What it is like to use?
During testing I immediately found a feature of the side shield fitting that make the ‘removable’ shields, not removable. In fact it would be easier to remove the permanent side shields as there is a fixing pin you can pry out. However, there is a way to prevent this with a minor modification that is best done before you fit them. Wiley X are great at listening to feedback and are making a change to improve this for future versions.
The detailed video at the start of the review also includes information of a work-around you can use to make the removable side shields removable. Using this modification, I have them working as I would have expected, so watch the video to find out how to prevent it becoming an issue for you.
With my specific requirements, as well as the actual physical protection the side shields offer, I also wanted protection from light, so I have customised the side shields I use by blacking them out with spray paint.
Being careful to mask the parts that attach to the arms so the fit would not be affected, I then used a normal metal paint spray (I had a little left over from another job) to give them two coats. Spraying the inner surface resulted in a matt side towards me and the outside looking glossy. Fitting these customised shields to the Trek, and they blended in perfectly while providing the light blocking I need. I would not hesitate to do this again, as it has transformed them for me (unless Wiley X decide to make a black version of the side shield).
This gallery shows the bare Trek, and then similar views with the custom blackened side shields.
Being so used to the wrap around shape for sunglasses, the Trek model gives a really nice alternative styling with a more traditional look. The latest in eyewear technology with classic styling. A great combination.
Review Summary
The views expressed in this summary table are from the point of view of the reviewer’s personal use. I am not a member of the armed forces and cannot comment on its use beyond that covered in the review.
Something that might be a ‘pro’ for one user can be a ‘con’ for another, so the comments are categorised based on my requirements. You should consider all points and if they could be beneficial to you.
I’m starting with what doesn’t work so well, so I can finish on a more positive note.
_______________________________________________
What doesn’t work so well for me
_______________________________________________
‘Removable’ side shields are permanent without modification.
Only clear side shields are currently available.
_______________________________________________
Things I like
_______________________________________________
Classic styling.
No compromise on eye protection safety rating.
Excellent optical quality.
Captivate lens technology.
Super resilient frame material.
Protective bag for the side shields when they are not fitted.
Lightweight and comfortable.
Discussing the Review:
Something new – will it work? A Tactical Reviews Subreddit. TacticalReviewsChat on Reddit
Please visit there and start/join the conversation.
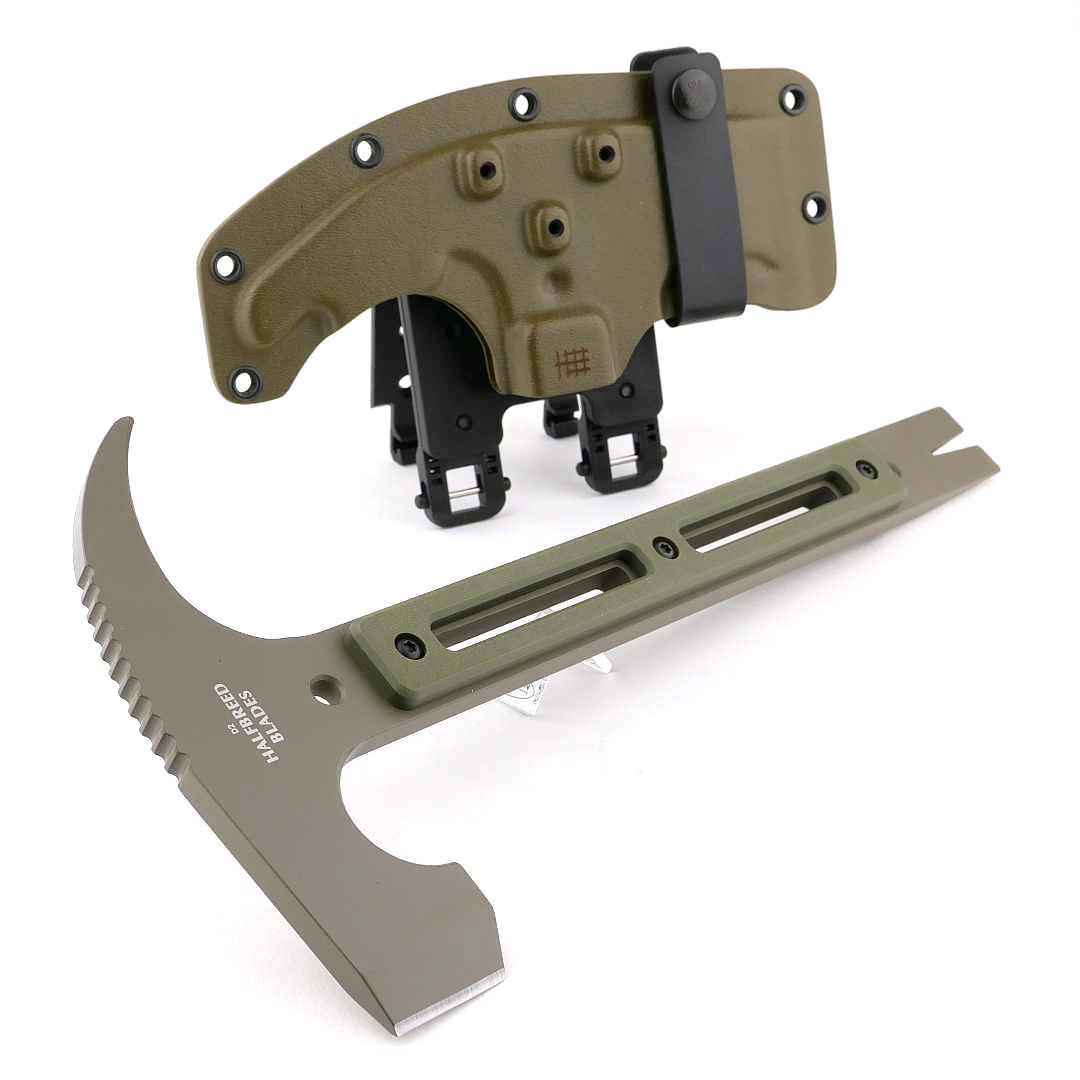
This detailed review of the MFE-01 (Rhino Tool) from Halfbreed Blades takes a close look at a tool bursting with design intent. A specialist Method of Entry (MOE) / Breaching tool that was developed for the Special Operations Engineer Regiment (SOER) by Halfbreed Blades’ sister brand Hardcore Hardware Australia, and is a NATO stock numbered tool.
Multi-function design make the MFE-01 ideally suited for prying, digging, chopping, hammering, cutting, smashing rock, defeating locks, smashing windows, breaking and raking windscreens and as a climbing aid. The entire tool is overbuilt for outstanding longevity and is made from 8mm Bohler K110 (D2) tool steel and G10.
The MFE-01 is widely in use globally amongst Military and Law Enforcement groups, and is highly sought after by civilian users thanks to its highly functional design.
Review Videos
Starting with a short format sixty second review:
Onto a full video review covering many more details:
A few more details:
What’s in the box?:
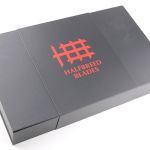
Considering the intent of the MFE-01 tool, and its likely deployment, the presentation box was a surprise, and a substantial one.
The box is shown with a Hardcore Hardware MILF folder and the one with my hand sticking into shot isn’t a mistake, but to give you some scale to appreciate the size of this box.
Opening it up and you have your fill of Halfbreed Blades contents; a rubber patch, catalogue, information sheet, certificate of authenticity and sticker.
Putting these aside we get to the high density foam liner precisely cut out for the sheathed tool. The optional belt loop sits next to the main tool with the extra fixing screw tucked underneath it.
A good look round the Rhino Tool’s Sheath – Things to look out for here are:
I’ve said it before and will say it again, the sheath or carrier for a tool is as important as the tool it carries, not least as if it fails, you have no tool at all.
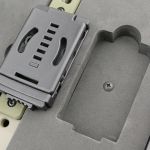
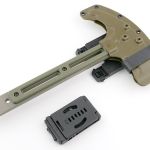
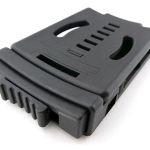
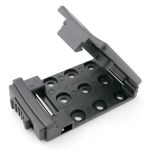
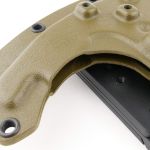
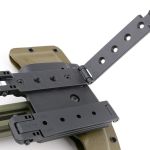
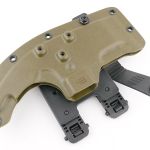
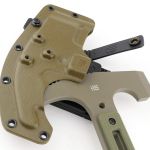
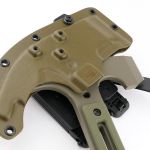
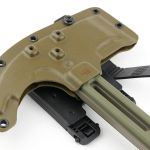
The MFE-01’s sheath has a lot to look at. First in the gallery is a closer view of the belt holder. The Rhino tool is quite a weight to have on your belt, so I’ve not opted to adopt this myself, but it is a strong and serious option if you want to carry it on a belt. Of course you might also have a pack where this it the best way to attach it so it might not be used for a belt anyway. It is a ‘DOTS’ belt holder with belt width setting, lock, release button, and can be mounted horizontally or vertically.
The sheath is Kydex with metal hollow rivets holding the halves together. Once clicked into place the tool stays put, but for maximum security there is a retention strap with a pull-the-dot press stud.
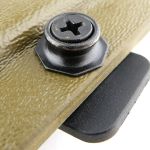
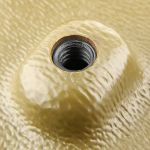
For the MOLLE or belt loop fixings, the nuts are captive in the Kydex, so all the fixing holes are permanently threaded and ready to use.
The rigid DOTS MOLLE mounts are fast and easy to use. The mounting screws for the full MOLLE mount are hidden under the two MOLLE straps, so you need to partially disassemble the mount to access the fixing screws if you want to replace the mount with the belt loop.
A good look round the MFE-01 Rhino Tool – Things to look out for here are:
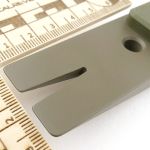
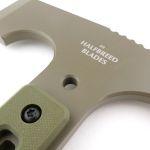
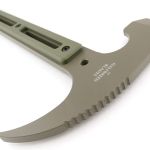
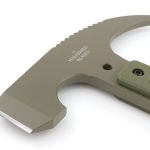
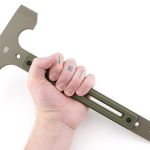
And here we have the MFE-01 Rhino tool. A slab of 8mm D2 steel with G10 slab handles – so take from that it is flat in overall form. When we get on to the in-use results, this is a factor in performance, but the main reason for the flatness is the requirement of being carried and not catching, digging in or otherwise impeding the user when they are not using it.
The prying end of the tool has a straight wedge with nail puller split. I specify a ‘straight’ wedge to indicate the pry tool does not have a levering bend, but is straight.
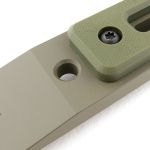
Just next to the pry tool is a lashing point through the shaft. The G10 handle slabs start just above this and are screwed onto the shaft. A slightly closer view shows the G10 layers.
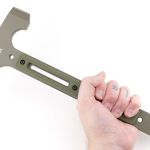
As well as the round lashing hole, or lanyard hole, the handle has long slots that both reduce weight and can also have cord wrapped through then.
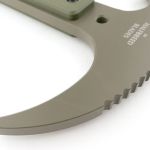
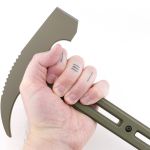
Moving up to the head, one of the main features is a versatile ratcheting claw; the jimping on the top allows you to work the claw into position step by step, giving a powerful ratcheting action.
Partnering the claw is a compact splitting head. This is not a axe for chopping wood as you might in bushcraft, but a powerful and focused striking point for splitting and smashing. The head is small for maximum striking power and the angles wide for edge stability and endurance.
The Blade and Handle – Detailed Measurements:
This section is from knife testing measurements, and was carried out to give some of the aspects which are also relevant to this tool’s effectiveness and balance. Bear this in mind when looking through the values which are intended to assess knives not tools like this.
For full details of the tests and measurements carried out and an explanation of the results, see the page – Knife Technical Testing – How It’s Done.
The blade is made from D2 steel.
The Factory edge up close:
Followers of Tactical Reviews will know my views on factory edges, but to recap:
Anyone using a knife will need to sharpen it. That first factory edge is just like the first tank of fuel that a new car comes with (or first charge of the battery).
A good factory edge is a ‘nice to have’ but not a ‘make or break’ for a good knife, as you will be putting your own edge onto it soon enough.
The factory edge does however indicate the care a knife maker has put into the final finish.
It is for this reason Tactical Reviews measures factory edge sharpness and specifications, and includes this information in the detailed technical testing.
As a further look at the factory edge, this section has been added to include some high magnification photos of the factory edges.
Like the knife parameter measurements, this was included out of interest for the small factory cutting edge on the splitting head.
What is it like to use?
Let’s not forget, this is a military tool with a NATO Stock number, so when we look at this as a tool in itself, and for general use or prepping, the compromises of certain functions are absolutely intentional within the overall design.
This tool is intended to be carried into conflict, and, critically, to minimise how much it will impede the user’s movement when carrying it. This is a vital factor to keep in mind while assessing the tool in comparison to dedicated, larger and less easy to carry tools.
When considering the uses of a tool like this, it occurs to me that though this is termed a MOE or Method of Entry tool, this is also a Method of Escape/Exit tool. You might want to breach a door to enter or exit.
Basic ergonomics are of an easy to handle mid-weight hand tool. The G10 handle scales bulk up the 8mm steel to make for a comfortable hold. I’m only showing three of many possible grip positions here. In use you will grip the entire head as a handle when prying.
The action of sheathing and unsheathing is of rotating the head out of the sheath with the claw being the pivot point. Re-sheathing starts with hooking the claw into its socket and rotating the head into place.
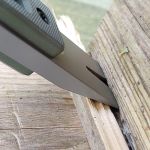
Starting off this next gallery are a few prying examples. This is actually the first completely straight prying tool I have ever used (of a good size, not counting pocket prybars). All dedicated prying tools have a bend or curve to allow levering and room for the handle to move and the pry head to lift. With a straight pry tool you typically need to use a different technique. Some prying tasks may have plenty of room to move, for example prying a crate open, but others, like lifting nails usually end up with running out of room to lever them out. A simple technique to eliminate this issue is to place a spacer piece under the pry tool and use this to lever over and provide the same lift as a bent pry tool. If you need more lift, add another spacer.
The claw tool has so many potential uses that I haven’t been able to try, from piercing, smashing, lifting, raking. My testing was of controlled lifting and applying force where I could not grip with my hand. Unfortunately the day at the wreckers yard didn’t work out, so I can’t report on vehicle tests.
Remembering the splitting head (not axe head) has a wide geometry for durability, you need to wield it for a smashing/splitting action more than chopping. It made quick work of dry pallet wood, a good indication of providing you with effective destructive power.
Assessing and testing this tool in more of a prepper, survival, and enthusiast’s point of view does slightly conflict with some of the military design requirements. The design, and its capabilities, are all specifically designed to meet a military brief. In this, the design of the MFE-01 meets the requirements, and a compromise in one aspect is due to a more important requirement.
Don’t compare the Rhino tool to a normal crowbar, axe, hammer or any other dedicated tool, instead it is a versatile and tough multi-tool for SHTF scenarios that will let you break things you otherwise couldn’t, while keeping it as easy and safe to carry as possible.
Review Summary
The views expressed in this summary table are from the point of view of the reviewer’s personal use. I am not a member of the armed forces and cannot comment on its use beyond a cutting tool or field/hunting knife.
Something that might be a ‘pro’ for one user can be a ‘con’ for another, so the comments are categorised based on my requirements. You should consider all points and if they could be beneficial to you.
_______________________________________________
What doesn’t work so well for me
_______________________________________________
The exposed pry prongs can dig into other kit.
Removal of the MOLLE hanger requires partial disassembly due to a concealed screw.
_______________________________________________
Things I like
_______________________________________________
Super tough design – ‘Rhino’ is a very appropriate name.
G10 handle has stood up to being levered against for prying.
Secure grip (despite absolutely straight handle).
Teflon coating holding up very well, even against pulling nails.
Very stable carry platform.
Secure sheath with positive action.
Failure of the G10 would not prevent the tool being used.
Solid, single piece, full tang construction.
Discussing the Review:
Something new – will it work? A Tactical Reviews Subreddit. TacticalReviewsChat on Reddit
Please visit there and start/join the conversation.
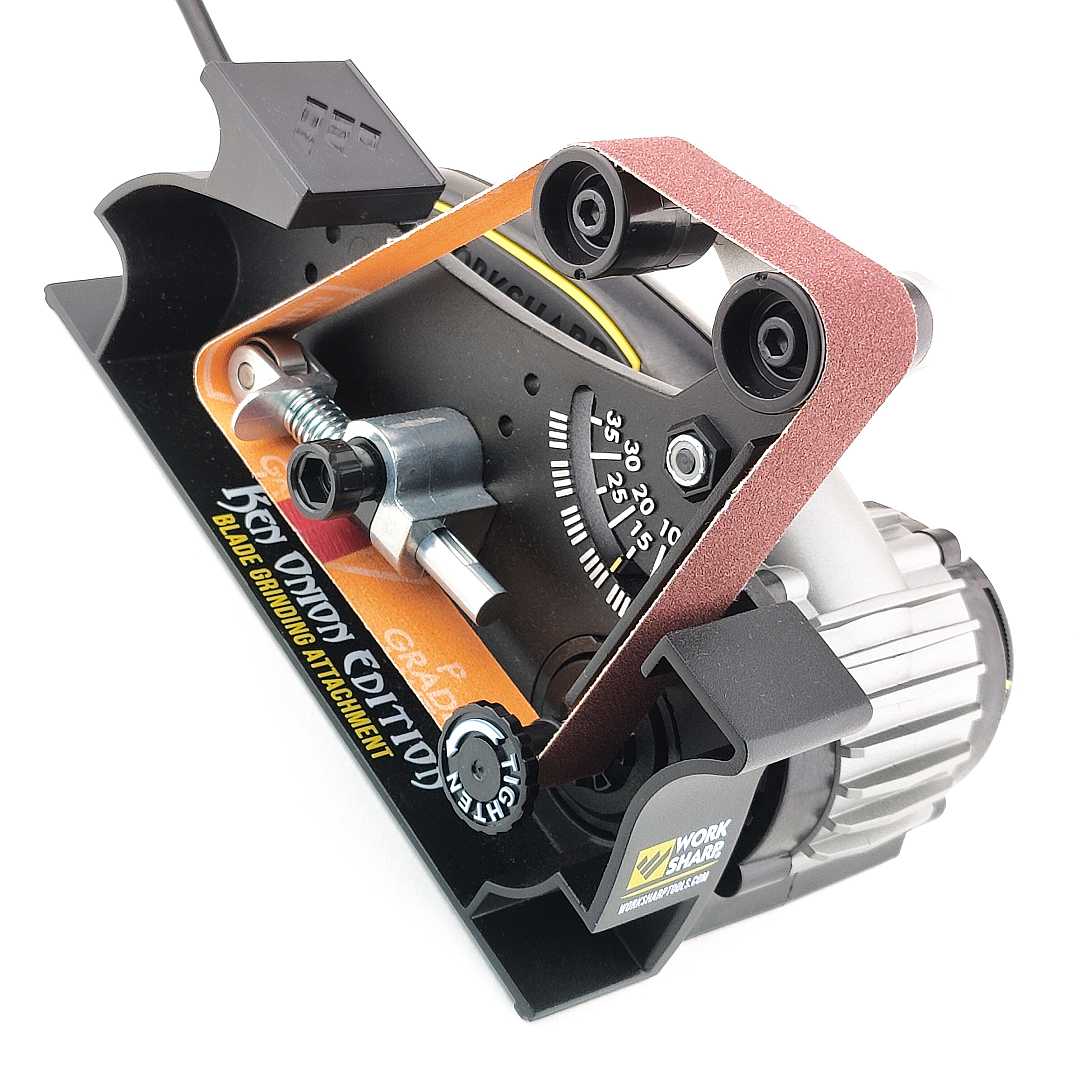
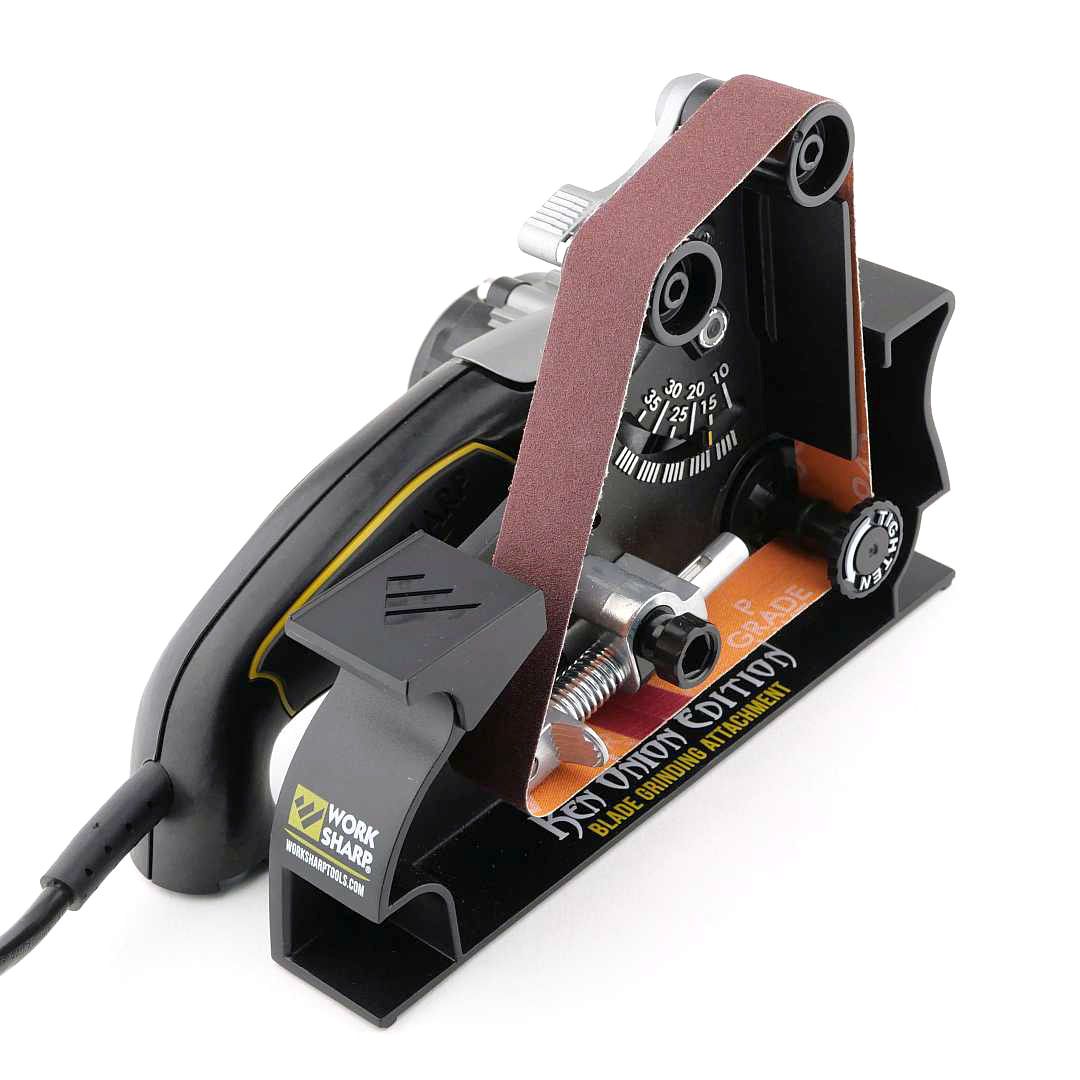
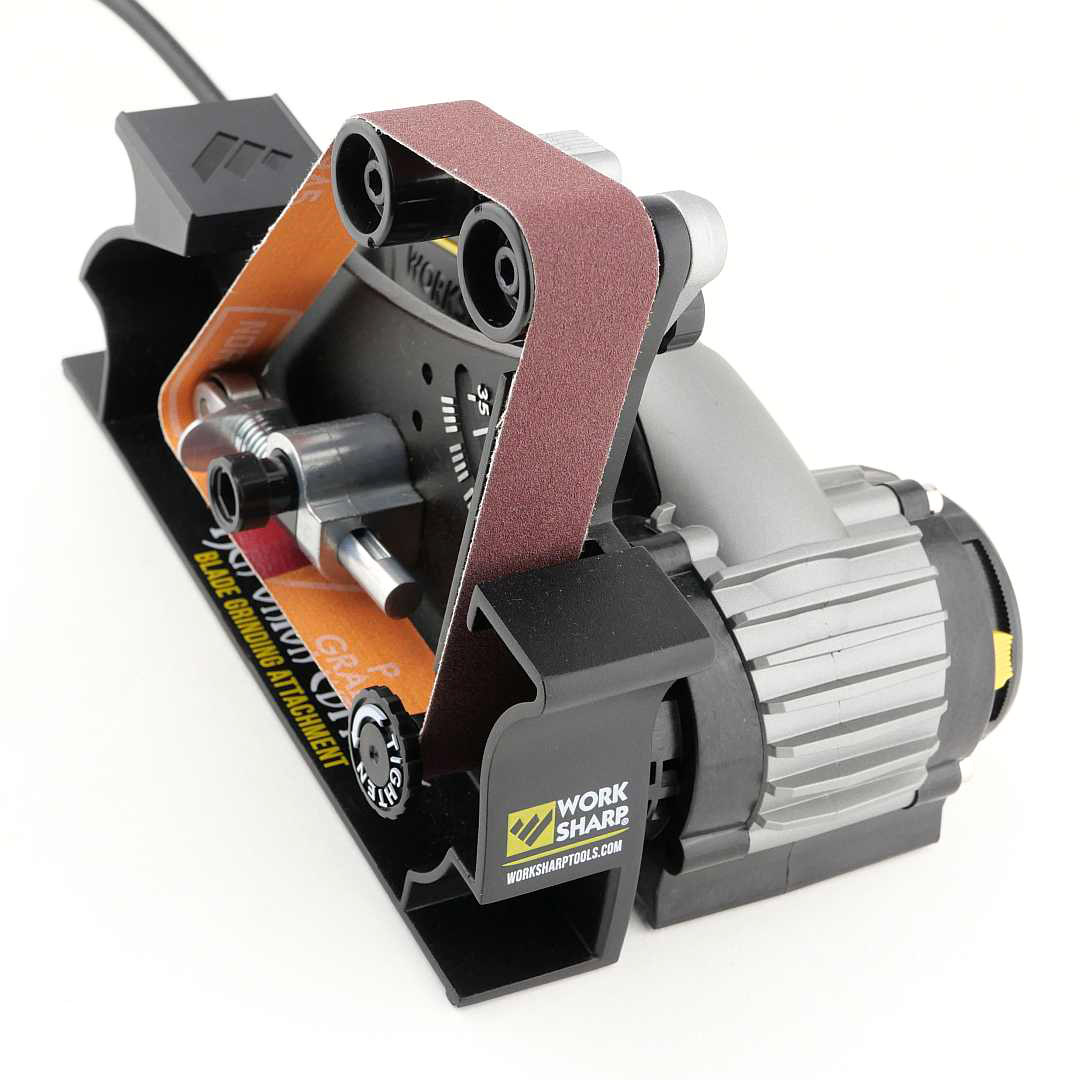
What should I be calling this review? It is actually a review of the optional add-on Blade Grinding Attachment for the Work Sharp Ken Onion Edition Sharpener, which is getting to be quite a mouthful! However although the Blade Grinding Attachment is an add-on accessory for the Ken Onion Edition Sharpener and can’t be used without it, I have titled the review as being a review of the “Work Sharp Blade Grinding Attachment” because for me it is what the attachment brings to the table that is the main feature.
I’ve had my eye on the Work Sharp Ken Onion edition for a long time. For me it wasn’t quite right (though I still think this is excellent as is) until I tried the optional Blade Grinding attachment.
For my needs it is the Blade Grinding Attachment that transforms the Ken Onion Edition Sharpener into a real workhorse sharpening system.
The Blade Grinding Attachment effectively adds a mini bench belt grinder to the Work Sharp, and this was the clincher for me. I’ve been using a 1″ belt grinder with an angle setting guide I made and added to it myself for 99% of my sharpening. Now, thanks to Work Sharp I’ve got a much more compact and specifically knife edge focused tool.
This fantastic sharpener is now being used to create the Tactical Reviews ‘WORK SHARP Sharp’ standard for all my knife testing.
Join me in this detailed look at the optional add-on Blade Grinding Attachment for the Work Sharp Ken Onion Edition Sharpener.
Review Videos
Starting with a short format sixty second review:
Onto a full video review covering many more details:
A little more Background:
Before diving in to the image galleries, in effect there are two reviews combined here. The Work Sharp Ken Onion Edition Sharpener, and the separate Blade Grinding Attachment for this sharpener. This combination is also sold as a kit version called the Work Sharp Elite Knife Sharpening Solution.
A few more details:
What’s in the box? – Ken Onion Edition Sharpener:
This is the foundation sharpener, which is complete in itself.
A good look round the Ken Onion Edition Sharpener – Things to look out for here are:
Using an in-line transformer makes for a very tidy setup, and of course it will have the mains plug suitable for your country. Though it looks like a single machine, the sharpener is a motor/control unit, and a belt sharpening head that fits onto the motor assembly (this is important later when it comes to the blade grinding attachment).
The Ken Onion Edition Sharpener head has a pair of angle guides plus an edge guide to support the blade. To control the speed of the belt, the motor unit has a trigger with rotating maximum speed dial. The trigger also has a locking button so you can set it running and not need to hold the trigger switch, leaving you both hands free.
Sharpening angle is set using a dial adjuster with clearly marked angles from 15 to 30 degrees. The last image in the gallery with the spring showing is the belt tensioning roller.
What’s in the box? – Blade Grinding Attachment:
As well as the main sharpener, the Blade Grinding Attachment also has an unsupported, or ‘slack’ belt, so will create a convex edge. In the box are the attachment and a set of belts for it, as these are a different size/length compared to the main sharpener’s belts.
A good look round the Blade Grinding Attachment – Things to look out for here are:
One of the belt rollers is the motor spindle itself, so on its own it might appear that one belt roller is missing (but isn’t). The Blade Grinding Attachment has three rollers; one tensioning roller, and an angle adjustable set of twin rollers that give you the edge angle you want. A shelf at the front of the Blade Grinding Attachment gives you the zeroing position of the blade angle relative to the adjustable angle section of the belt. The set of twin rollers is moved to the desired angle and the locking screw on the back tightened to maintain this setting. There are two positions for one of the twin rollers that allow you to effectively change how ‘slack’ the belt is. The knob on the tensioner provides tracking adjustments for the different belts. There is even a small support shelf at the rear of the Blade Grinding Attachment for using as a mini belt grinder. Fitting to the motor is via a bayonet style of locking ring.
What it is like to use?
In this gallery, the first thing I am doing is taking off and discarding the sharpening head for the Ken Onion Edition Sharpener to leave just the motor assembly (no offense to the Ken Onion Edition). Then on goes the Blade Grinding Attachment. Now you can see how the motor spindle (which has a left-hand screw belt retainer fitted into it) then completes the belt roller path.
The tensioning roller has a finger tab for you to push on and it rotates and locks into a retracted position. Like this the belt pops on and off easily, and with the new belt in place, a quarter turn on the finger tab and the tensioner unlocks and grabs the belt.
Although the Blade Grinding Attachment has clamping points, I’ve been using the sharpener sitting under its own weight, and it hasn’t moved or needed to be secured.
The process of using the angled section of the belt, is to first lay the blade on the reference surface at zero degrees, then move up and to the belt. This sequence is showing the process on one side, then the other, and then going to a finer belt and repeating. The last photos in the gallery has an orange item on the right, which is an LED light used to help show the burr that has been raised on the edge.
In this gallery the two rollers that set the angle for the belt are shown in their widest spacing, however, since these images were taken I have changed to the narrower spacing as I prefer the slightly firmer belt tension this creates between the rollers.
Powered sharpeners give you such a massive time saving over manual sharpeners, but it is also possible to make mistakes faster too.
Here I have take on an edge bevel re-profile from a 70 degree inclusive angle to 35 degrees inclusive. The primary grind angle on this blade is quite wide, so as the edge bevel angle was halved, the edge bevel width has increased significantly. In fact the entire edge bezel does not fit in the magnified view.
This re-profiled edge was done using a very light pressure onto the 120 grit belt, followed by a strop using a metal polishing compound. The result was nicely hair popping.
Both the Work Sharp Ken Onion standard sharpening head and the Blade Grinding Attachment use a ‘unsupported belt’. There is no platen behind the section of belt used for sharpening. This is also termed a ‘slack belt’. A consequence of this is that the edge created by the Work Sharp is convexed. You can vary how much the edge is convexed in a couple of ways. With the Blade Grinding Attachment, the rollers that set the angle of the belt can be positioned closer (less convexed edge) or wider apart (more convexed edge). As the belt is ‘slack’ you can also increase pressure onto the belt, which will deflect it more and produce an edge with more pronounced convexing.
All of this allows you to play around with settings and pressure to find the edge bevel shape you prefer; always slightly convexed, but you can decide how much.
I am now going to back to that point about time saving with a powered sharpener; you will either save a lot of time making a knife very sharp, or ruin it in double quick time. No sharpening system is fool-proof. Sharpening, as a process, relies on removing metal and forming a fine cutting edge. Just like sharpening a pencil, you can over sharpen and use the pencil up much faster than needed. A powered pencil sharpener can eat up the entire pencil in no time.
Sharpening is a skill you need to learn, whatever system you use. Work Sharp, with the Ken Onion Edition, or this extra enhancement of the Blade Grinding Attachment give you an excellent tool, which you will get more and more out of as you learn to work with it.
With a good powered system, and the Work Sharp is excellent, you can concentrate on the skill and control of positioning the blade, without the repeated effort of grinding the metal away yourself. The powered movement of the abrasive allows you to finesse your technique.
Tactical Reviews new standard in sharpness is now ‘WORK SHARP Sharp’ thanks to the Ken Onion Edition Sharpener with Blade Grinding Attachment.
Review Summary
The views expressed in this summary table are from the point of view of the reviewer’s personal use. I am not a member of the armed forces and cannot comment on its use beyond that covered in the review.
Something that might be a ‘pro’ for one user can be a ‘con’ for another, so the comments are categorised based on my requirements. You should consider all points and if they could be beneficial to you.
_______________________________________________
What doesn’t work so well for me
_______________________________________________
Very easy to misshape the blade tip (requires good technique to avoid).
The vertical belt section is also not supported and flexes.
_______________________________________________
Things I like
_______________________________________________
Complete control of belt speed.
Quick and easy belt changes.
Long duty cycle (rated for 1 hour continuous running).
Allows for varying amount of edge convexing.
Angle of belt set by movable roller assembly.
Very compact for a high quality mini belt grinder.
Super fast sharpening and re-profiling.
Solid build quality.
Very quickly get your edges ‘WORK SHARP Sharp’.
Discussing the Review:
Something new – will it work? A Tactical Reviews Subreddit. TacticalReviewsChat on Reddit
Please visit there and start/join the conversation.
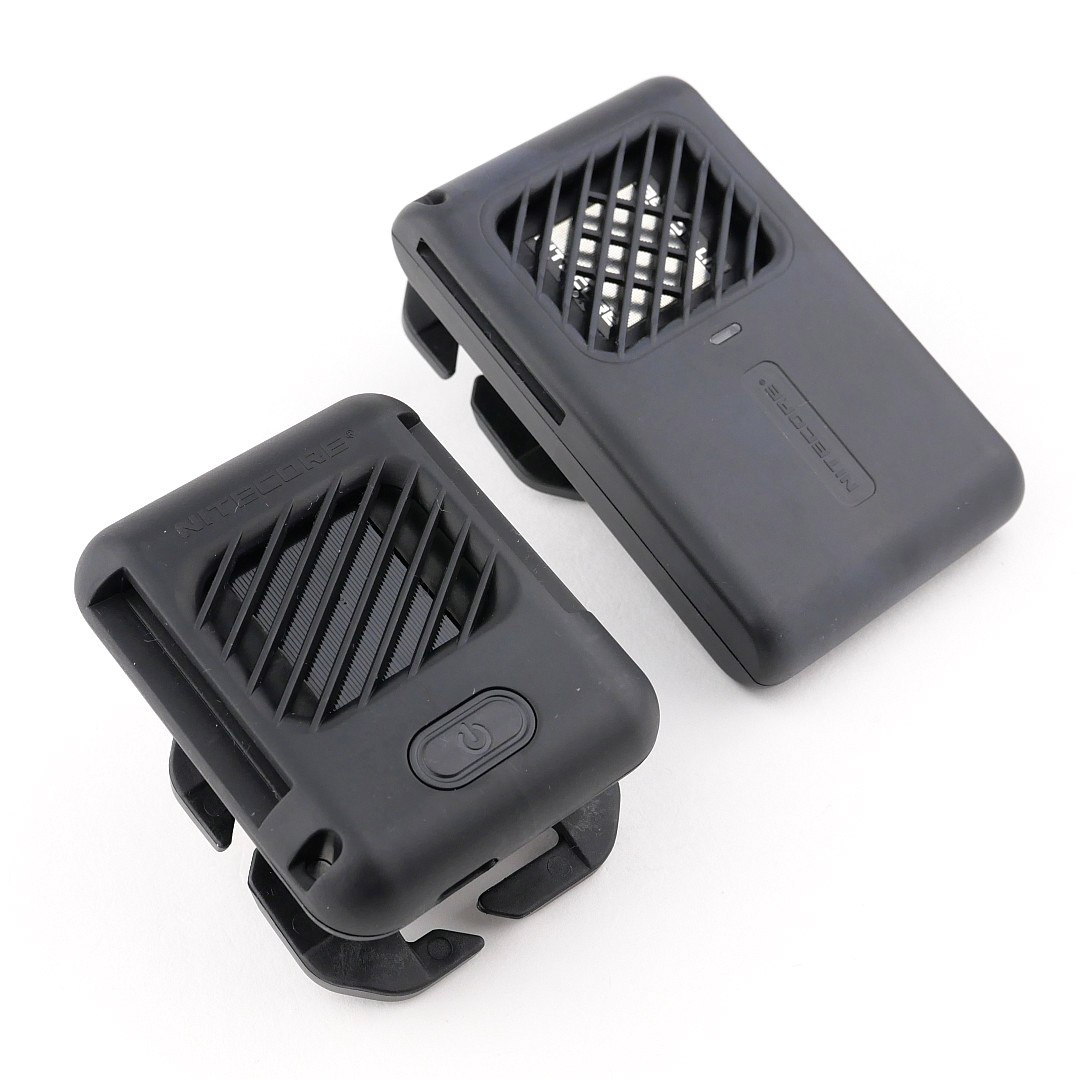
This detailed review of the Nitecore EMR05 and EMR06 portable mosquito repellers, includes all aspects of their performance and function.
The EMR05 and EMR06 are two new devices from Nitecore giving you ultra-portable insect repellers with the lowest weight-cost possible.
The EMR06 has a built-in battery, so is self-powered, and the EMR05 is smaller still, as it needs external power from a power bank.
If, like me, you protect everyone else from mosquito bites, by being the one the mosquitoes make a beeline for, then you may be as pleased as I am to find the new Nitecore EMR05 and EMR06 portable insect repeller devices.
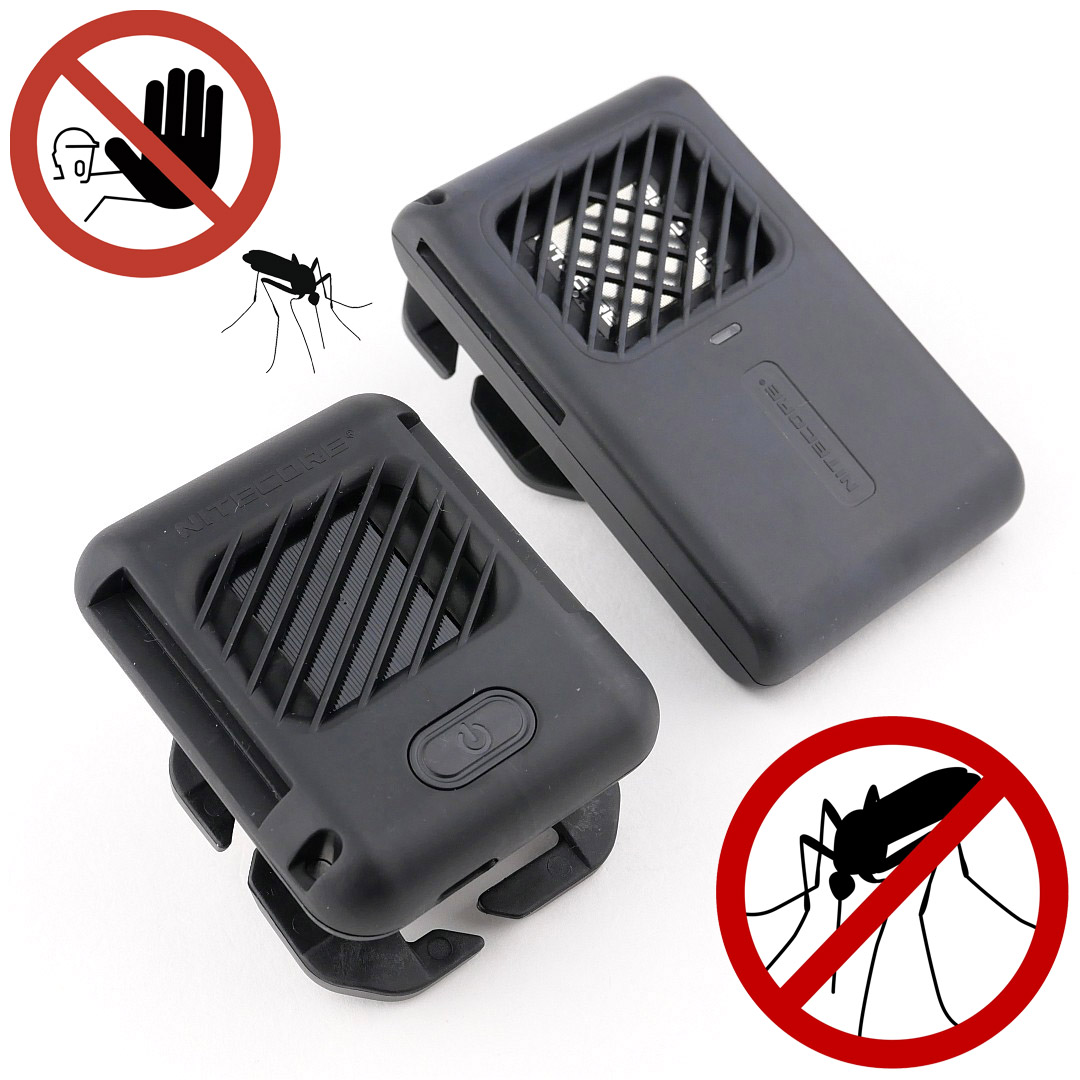
Making his second appearance below is “Stoppo”, Tactical Reviews’ “don’t do that” guardian. Mosquitos beware, armed with the EMR units Stoppo says NO!
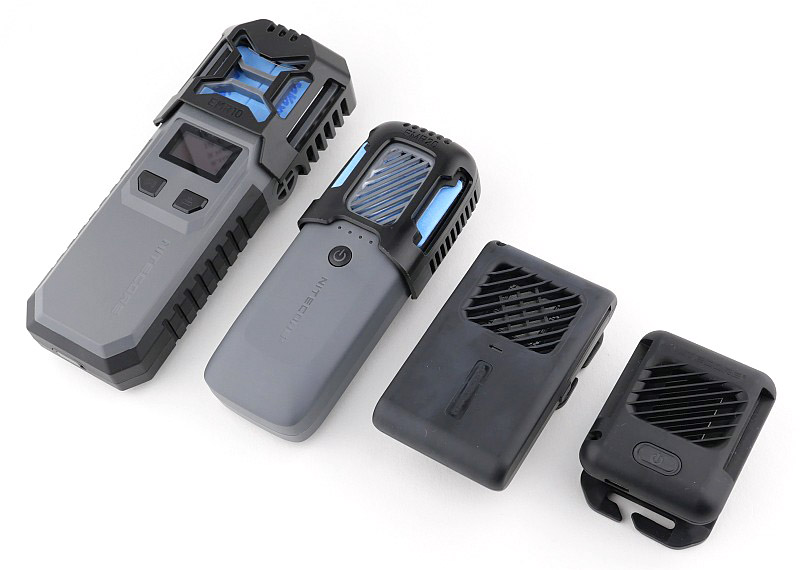
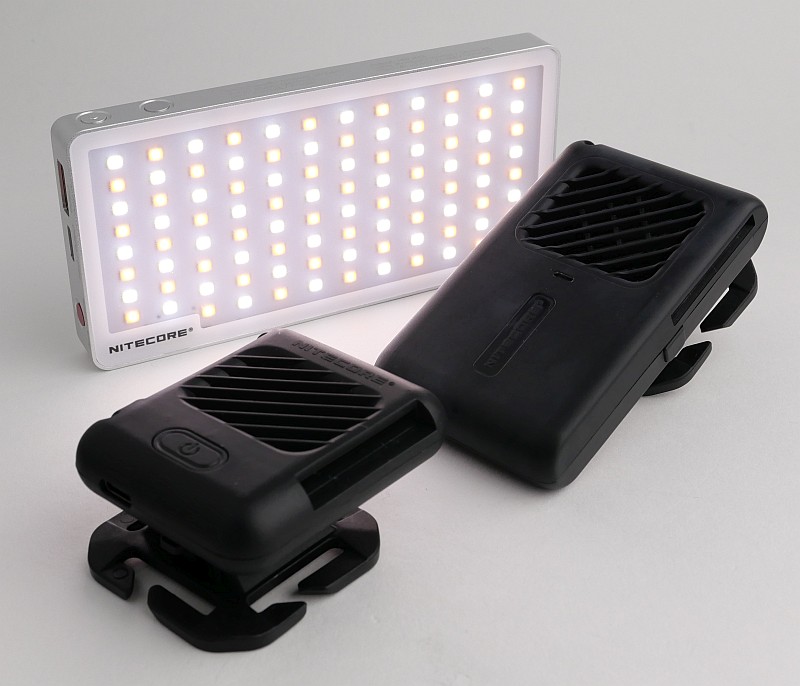
With the EMR05 and EMR06 bringing you ultra-portable versions of insect repellers, you can see just how much smaller they are compared to the EMR10 and EMR20.
Review Videos
Starting with a short format sixty second review:
Onto a full video review covering many more details:
A few more details:
What’s in the box?:
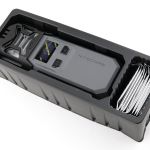
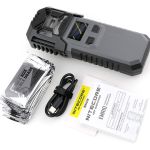
Both the EMR05 and EMR06 are covered here. Each has a USB-C cable, wrist lanyard, and some repellent mats.
A good look round the EMR05 – Things to look out for here are:
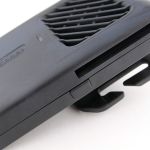
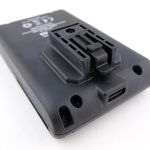
The EMR05 is keeping things to the bare minimum. A power switch with indicator light, the slot for the repellent mat, USB-C port for power and a mounting system. Nitecore’s MOLLE mount system is really neat and effective.
A good look round the EMR06 – Things to look out for here are:
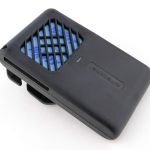
The EMR06 introduces a built-in battery while otherwise similarly keeping things to the bare minimum. A power switch, indicator light, the slot for the repellent mat, USB-C port for charging and a mounting system. Nitecore’s MOLLE mount system is the same here, so you can see the increased size of the EMR06, yet it is still very compact.
Technical Testing:
Both EMR units were setup with a modified repellent mat that held a thermocouple probe under it and positioned over the heating plate. This logged the temperature during the run.
Some notes on the graphs:
The EMR06 was logged first, then the EMR05. About halfway through the EMR06 measurement, my thermocouple data logger started to include a lot of noise from the optical USB PC link. When no logging was taking place the readings were consistent, but as soon as the logging was turned on the readings showed noise. So the second half of the EMR06 trace has noise, but if you ignore the noise on the trace you can see the underlying trend of temperature variation during the run. The behaviour of the EMR06 did change throughout the run.
For the EMR05, the noise is present for the entire run, but you can still clearly see a different temperature control profile to the EMR06.
Remember that the EMR05’s runtime depends on the input power source, so here is just stopped as there was enough run to see its behaviour.
In the second graph the view is zoomed in for the first 30 minutes of the run to show the temperature control profile of each unit better.
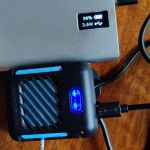
Also included in the section are the measurements of the operating current for the EMR05, and the charging current for the EMR06. The EMR05 is shown during the temperature logging measurements while drawing power from a Nitecore power bank, and with the thermocouple in place.
What it is like to use?
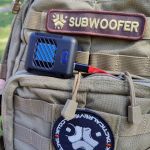
Compared to the previously reviewed EMR10 and EMR20, these two units are so small and light, why wouldn’t you carry them? Clipped to your bag, you don’t even notice you are carrying them.
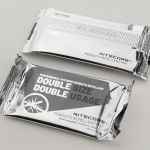
Nitecore make and supply double size repellent mats. This is clearly the easiest way to load up the EMR05 and EMR06. It is possible to use two standard size mats instead giving you more flexibility.
The EMR05 needs a power bank to run from. It is highly likely you would be carrying you power bank of choice anyway, for charging various items, so with the EMR05, you can just run this from any power bank you happen to have, or a plug-in charger if you are in a hotel. I’m carrying the Nitecore SCL10 power bank as it is (amazingly) also a superb video light.
I’ve been using both the EMR05 and EMR06 in a variety of indoor and outdoor locations carried separately or clipped onto a bag.
So how did they do?
Firstly, with me being apparently the finest of dining for mosquitos, if they are determined enough, you will still get bitten; I did. I’ve been bitten when covered in deet, so using repellent mats outdoors might deter some, but is not absolute protection.
It is not at all possible to properly measure the effectiveness of these repellers as the number of bites will also depend on the time, temperature, and hatching of the insects, so this can be impressions only.
Assuming the mats themselves are effective, I have been aware of the aroma coming from the mats. Considering this is outdoors, that is reassuring. Effectiveness is so subject to wind direction and strength, so you might not actually have any cover of the repellent and insects might reach you undeterred.
NOTES on the repellent mats:
There are a few different active ingredients used in repellent mats, and these are also frequently in combination with Piperonyl butoxide. Prallethrin, Transfluthrin and D-Allethrin are the most common with Nitecore’s MRM10 Mosquito Repellent Mats using Prallethrin.
Piperonyl butoxide (PBO) is a man-made pesticide synergist. By itself, PBO is not designed to harm insects. Instead, it works with bug killers to increase their effectiveness. PBO is often combined with natural pyrethrins or man-made pyrethroids. It has been used in pesticide products since the 1950s, when it was first registered in the United States.
A repellent mat needs to be changed when it turns white. You can use Repellent Mats for a shorter period of time than the manufacture specifies and they will still be just as effective. However, if there is going to be several days between usages, you might want to keep the mats in their foil packaging or in a sealed plastic bag between uses.
Just like I wanted with the larger EMR10 and EMR20, the one feature I wish they both had was an auto-off timer. Once you turn on either one of them, they will run until the battery (or power bank) is flat or you turn it off. I found that treating at critical times was more important than all night and I would have preferred to be able to fall sleep with the repeller turning itself off after an hour or two and leaving power to run on another night.
While using the EMR05 and EMR06 I have been bitten. I am convinced I would have been bitten more without them. The most difficult aspect of their use is the protection zone they can provide. If you are walking, then the repellent vapour is trailing after you and not surrounding you. If there is wind, the repellent is blown away. In instances where you are not moving and there is wind, you need to put the device a few meters away from you and up-wind.
Some of the better results are for smaller or enclosed areas. Treating a tent, or a hammock net are idea uses. While on holiday, using it in a hotel or guest room works well.
Review Summary
The views expressed in this summary table are from the point of view of the reviewer’s personal use. I am not a member of the armed forces and cannot comment on its use beyond that covered in the review.
Something that might be a ‘pro’ for one user can be a ‘con’ for another, so the comments are categorised based on my requirements. You should consider all points and if they could be beneficial to you.
I’m trying something slightly different and starting with what doesn’t work so well, so I can finish on a more positive note.
_______________________________________________
What doesn’t work so well for me
_______________________________________________
No auto-off timer.
_______________________________________________
Things I like
_______________________________________________
Ultra-Portable compact outdoor insect repellent devices!
Double size repellent mats (and able to take two standard mats).
Versatile MOLLE mount system.
USB-C ports on both.
EMR05 can run from any power bank.
EMR06 can run/charge from any power bank.
EMR06 has a small built-in battery allowing 3 hours independent use.
Discussing the Review:
Something new – will it work? A Tactical Reviews Subreddit. TacticalReviewsChat on Reddit
Please visit there and start/join the conversation.
As someone who relies daily on the best quality sunglasses, but that also needs EN. 166 & ANSI Z87.1 safety standards, Wiley X has been my go-to brand and has never let me down.
Since first finding Wiley X many years ago, I’ve not looked back when it comes to eye protection, lens quality, fit and style.
Review Videos
Starting with a short format sixty second review:
Onto a full video review covering many more details:
What’s in the box?:
As a model that uses the facial cavity seal (in this case the click air gasket), as well as the normal neck strap, it also includes a headband retaining strap, so the Ozone can be worn just like goggles
There is a zip up storage case, and a dual-purpose cloth bag that can also be used to protect the glasses and as a cleaning cloth.
A good look round the Ozone – Things to look out for here are:
Being absolutely fresh out of the box, here you can see the retail tag with the model details still on the arm. Scrolling through the gallery you are taken round the Ozone to get a feel for the characteristics of this model including details like the hinges and logo on the arms.
Click Air Gasket Details:
Now to focus onto the click air gasket itself; the gallery starts with an overall view of the foam border of the facial cavity seal. Then we move onto a series of photos with the click air ventilation open and closed (including looking from inside). Lastly showing the gasket removed.
Goggle style head strap:
A brief section to look at the goggle style head strap and how this fits to the end of the Ozone’s arms.
The Click Air Gasket removed:
You might not want to use the Ozone with the facial cavity seal all the time. This excellent feature can, in some cases, lead to steaming up of the lenses, even with increased ventilation, so you can just pop the click air gasket out and use the Ozone as the bare frame.
This also gives us an opportunity to look over the gasket separately.
Measuring Light Transmission:
Wiley X are great at providing all the specifications for all their different lens variations. I wanted to just take my own measurement to compare.
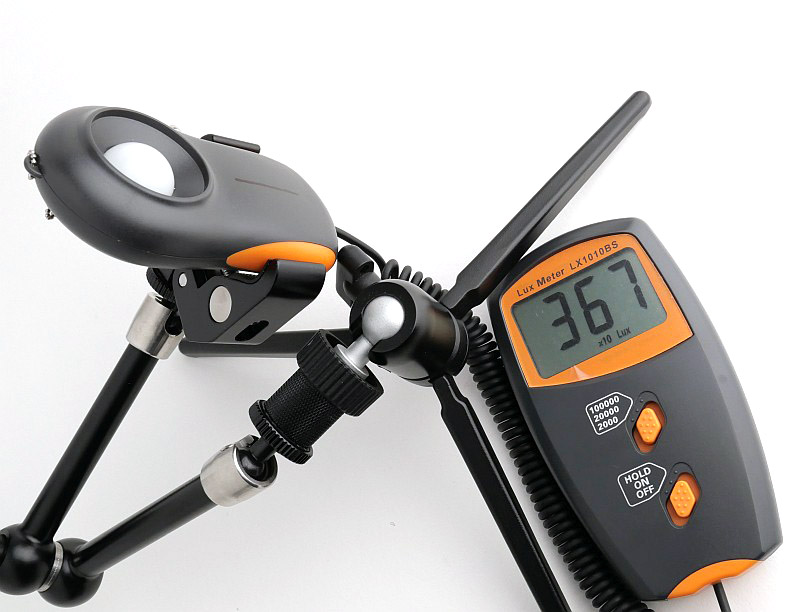
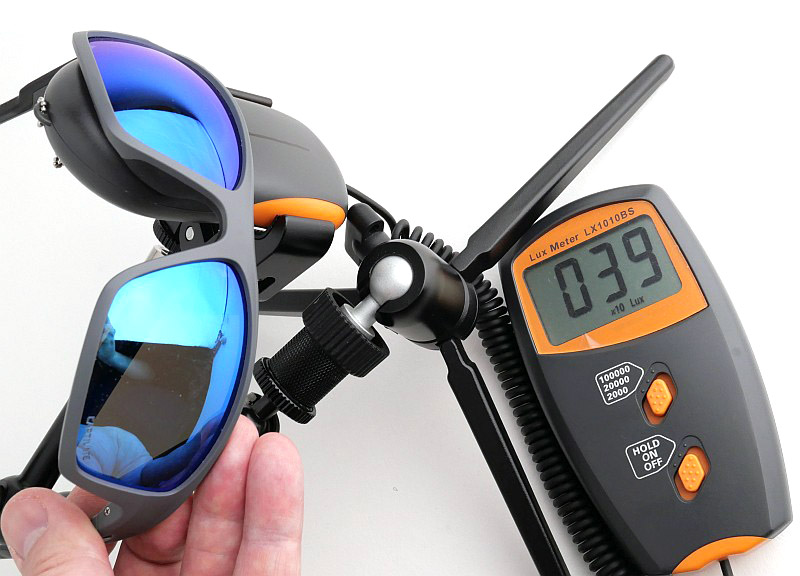
Using a lux meter, and taking a control measurement, then a measurement with the lens in place over the light sensor, you can see here that the Blue Mirror Polarised CAPTIVATE lens has a 10.62% transmission (for the frequencies this light source / lux meter respond to).
This lens version is one of the lowest transmissions and perfect for my requirements.
What it is like to use?
Readers who follow me might remember I have a condition making me hyper-sensitivity to light, and that this means I wear sunglasses every day at all times that I am outside during daylight hours (and frequently indoors as well). So when I say I have lived with these sunglasses from Wiley X, I have lived with them and worn them for hours and hours every day for months.
In most cases I prefer polarized lenses for glare reduction and enhancing colour depth and am very familiar already with this CAPTIVATE lens.
If you have not yet tried a Wiley X model with facial cavity seal, I thoroughly recommend you do, they are something quite different, providing you with a close fit and unmatched level of protection and coverage. You really feel protected in the way you would normally need to be using goggles to achieve. They are not a complete seal, so are not appropriate if you need complete protection from dust, but instead give you much better protection from wind and grit than normal sunglasses can provide.
‘Active wear’ is a good term for the models with facial cavity seals, as they often need you to be active and moving for the ventilation to keep the lenses from steaming up, especially if you are hot, or if the air is very cold.
Knowing the reality of near-goggle like eyewear, the Click Air system then improves the situation. With a simple click of the gasket above your nose, you open up an extra vent to allow more air flow and ventilation. Then just as easily, once the extra ventilation is no longer wanted, another click to close off the extra vent.
The position of the Click mechanism means it sits against your face, so it is not possible to operate this while wearing the Ozone and also wearing gloves. If you are wearing gloves, you’ll need to quickly take the Ozone off, to open or close the vent. If you have bare hands, you can carefully squeeze the Click mechanism while wearing the glasses. So depending on what you are doing this may or may not be practical to open/close on the move.
Taking the gasket off completely, initially makes the Ozone feel a whole size larger, and takes a bit of getting used to after feeling the warmth and protective effect of the facial cavity seal. I do go between using the gasket and not depending on the activity, and/or my temperature and the outside temperature. Also, for the thorough cleaning I give them, the gasket always comes off to give full access to the lenses and frame. I also wash the foam seal gently with a gentle ecological washing up liquid to keep this clean.
Until you get used to it, there is another feeling you might get with the facial cavity seal. Due to the seal being in direct contact with your face and round your eyes, it can feel as if the seal itself is pushing the glasses slightly off your face. The head strap provided will completely resolve this and give you a sense of security that nothing is going to shake them loose. Similarly, the standard neck lanyard strap with its sliding toggle can give you a very similar result.
With many different ways to wear the Ozone you, are getting a brilliantly flexible pair of sunglasses that will protect you from much more than sunlight.
Remember Wiley X offer a wide range of sizing options with the specifications clearly shown so you can find the right fit for you – another reason I find Wiley X difficult to beat.
Review Summary
The views expressed in this summary table are from the point of view of the reviewer’s personal use. I am not a member of the armed forces and cannot comment on its use beyond that covered in the review.
Something that might be a ‘pro’ for one user can be a ‘con’ for another, so the comments are categorised based on my requirements. You should consider all points and if they could be beneficial to you.
_______________________________________________
What doesn’t work so well for me
_______________________________________________
Nothing comes to mind.
_______________________________________________
Things I like
_______________________________________________
Click Air Gasket – allows ventilation to be increased.
Ozone can be used without the Click Air Gasket as it can be removed.
Goggle style head strap included.
Superb visual clarity with CAPTIVATE lens.
Very resilient frame.
Shell case and cloth case both included.
Safety rated eyewear.
Wrap around protection.
Comfortable and secure.
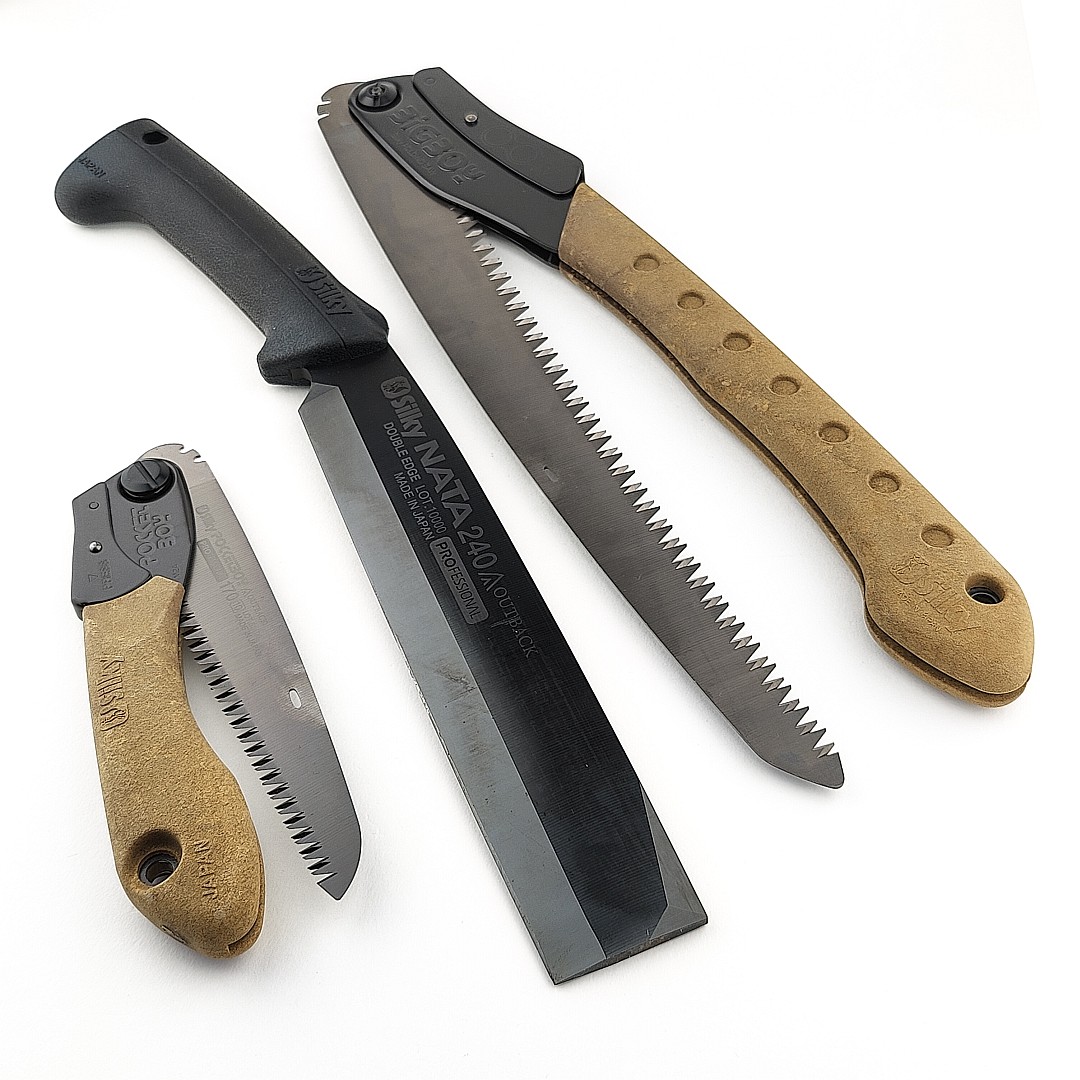
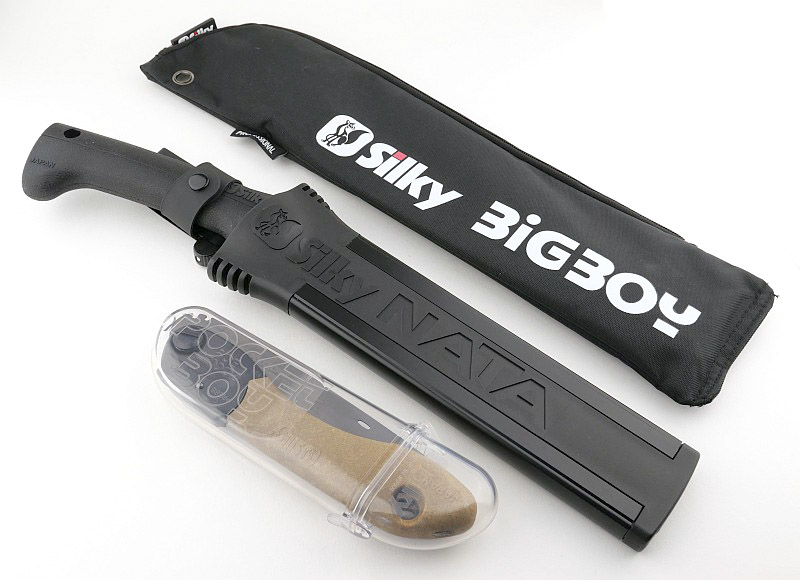
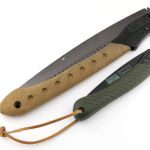
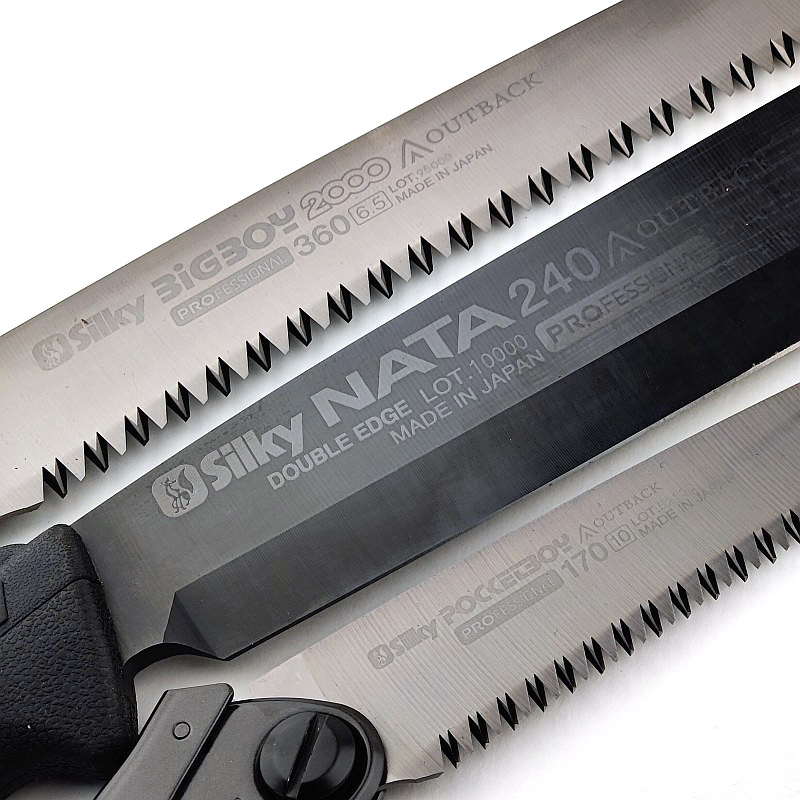
Silky’s New Outback range has recently added the Nata Outback edition to compliment the BigBoy, GomBoy and PocketBoy Saws. All of the Outback range feature a black blade coating and are built for outdoor and survival use. The Outback saws have thick and rigid saw blades making them 100% outdoor proof. For the Outback range Silky applied a black coating of a unique nickel and tin blend to the entire blade, including the teeth. This provides a long blade life and an incredible cutting performance.
This Silky Outback review features the latest addition, the Nata Outback Edition, along with the largest and smallest saws in the range, the BigBoy and PocketBoy.
If you are in the UK you can find these at Woodlore (no affiliation, just where to find them – search for ‘Silky’ once there).
Onto a full video review covering many more details of the BigBoy Saw:
The last of this trio is a full video review covering many more details of the Nata:
All the details:
Unpacking the BigBoy Saw:
A good look round the BigBoy – Things to look out for here are:
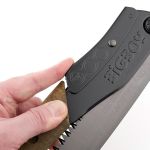
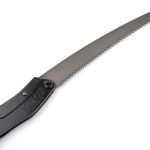
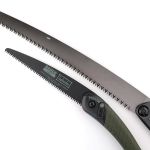
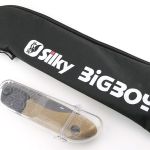
On the Outback edition, the pivot/lock is painted black and has an adjustable pivot screw. You can see the two blade stop groove positions in the blade. Due to its curved shape, the teeth of the BigBoy are not fully enclosed when folded, but you can keep it in the included nylon carrying case. The blade can be locked in two positions (more on that in ‘The Big Cut’).
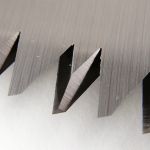
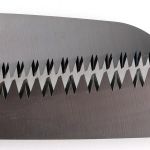
The teeth have four cutting angles to leave a smooth surface after cutting.
The BigBoy is the largest folding saw in the Outback range, and is also shown here next to a Bahco Laplander for scale.
Unpacking the PocketBoy Saw:
Both saws include a case, the PocketBoy has a clear plastic case.
A good look round the PocketBoy – Things to look out for here are:
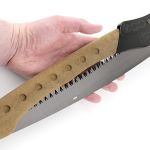
Exactly as with the BigBoy, the PocketBoy pivot/lock is painted black and has an adjustable pivot screw. You can see the two blade stop groove positions in the blade. The smaller saw has finer teeth which is shown in a side by side comparison. The blade can be locked in two positions and the teeth of the PocketBoy are fully enclosed when folded.
The PocketBoy is the smallest folding saw in the Outback range, and is also shown here next to BigBoy for scale.
The Nata’s sheath:
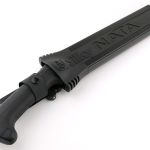
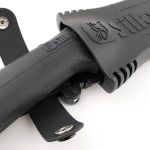
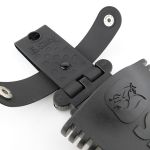
Packed with practicality, yet simple in design, the Nata’s sheath has a dangler belt loop with retaining strap that can be removed from the sheath. The thinking behind this is not to use the Nata’s sheath without the belt loop and retaining strap, but instead that while you are carrying it belt mounted, if you then want to sit or get into a vehicle, you can remove the sheath from the belt hanger without taking off your belt.
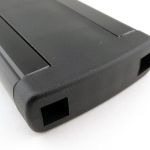
The sheath itself is mainly a gravity sheath that you drop the Nata into and lift out as needed. It has two metal edges that provide rigidity and prevent the Nata cutting through it over time. Large drainage holes ensure the sheath stays clear of rain water and can easily be flushed clean if it accumulates dirt/dust.
A good look round the Nata – Things to look out for here are:
Note: this is a used demo blade so will be showing signs of use.
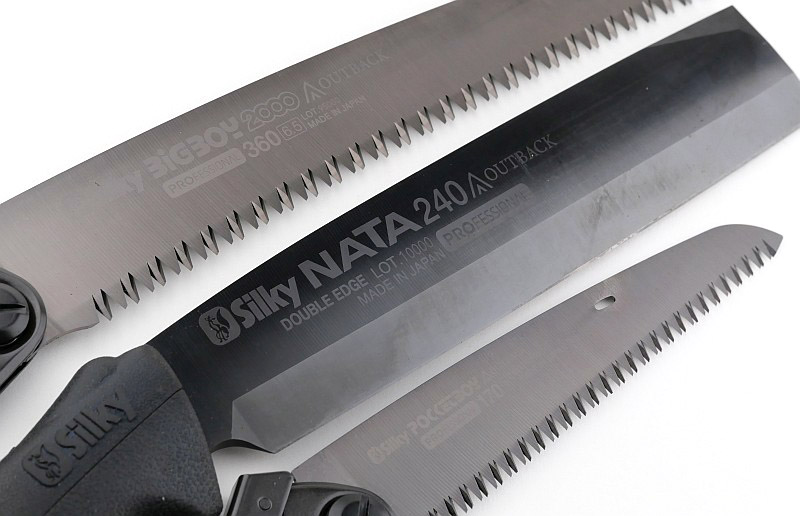
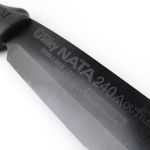
A very utilitarian blocky blade shape gives you the weight and strength needed for effective chopping. This Outback edition is the first Nata to feature a new black oxide coating.
The rubber handle is removable, not as I originally thought, to replace the handle, but in fact to allow you to replace the blade and keep the handle, as Silky sell a replacement blade for the Nata.
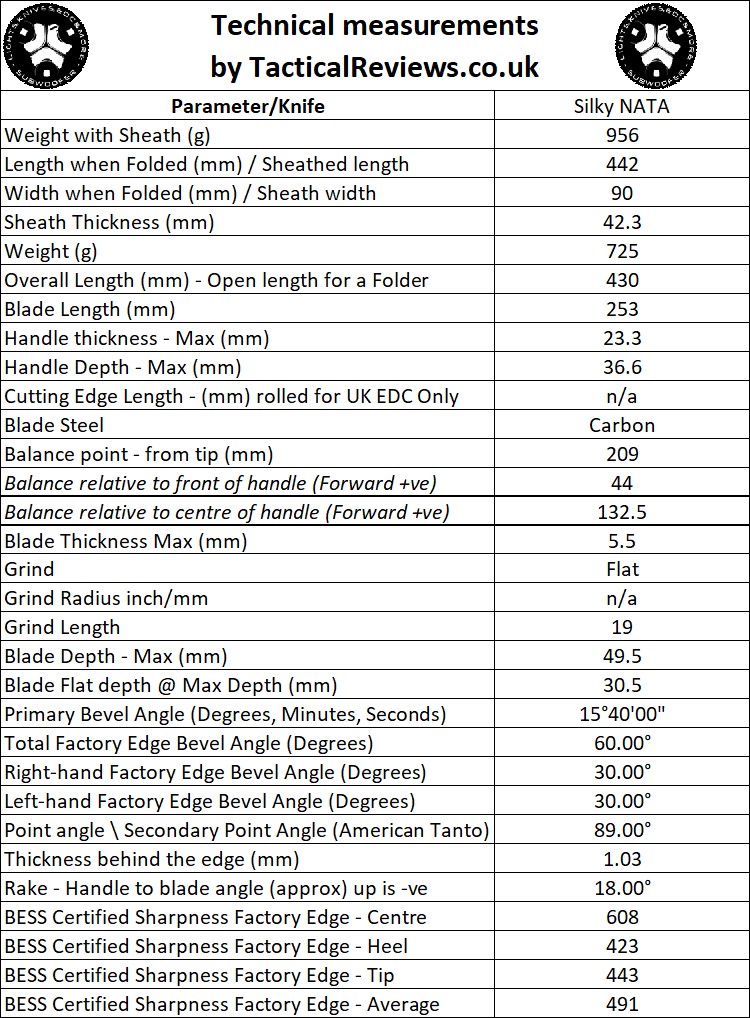
The Blade and Handle – Detailed Measurements:
For full details of the tests and measurements carried out and an explanation of the results, see the page – Knife Technical Testing – How It’s Done.
The blade is made from Silky’s Japanese Carbon steel.
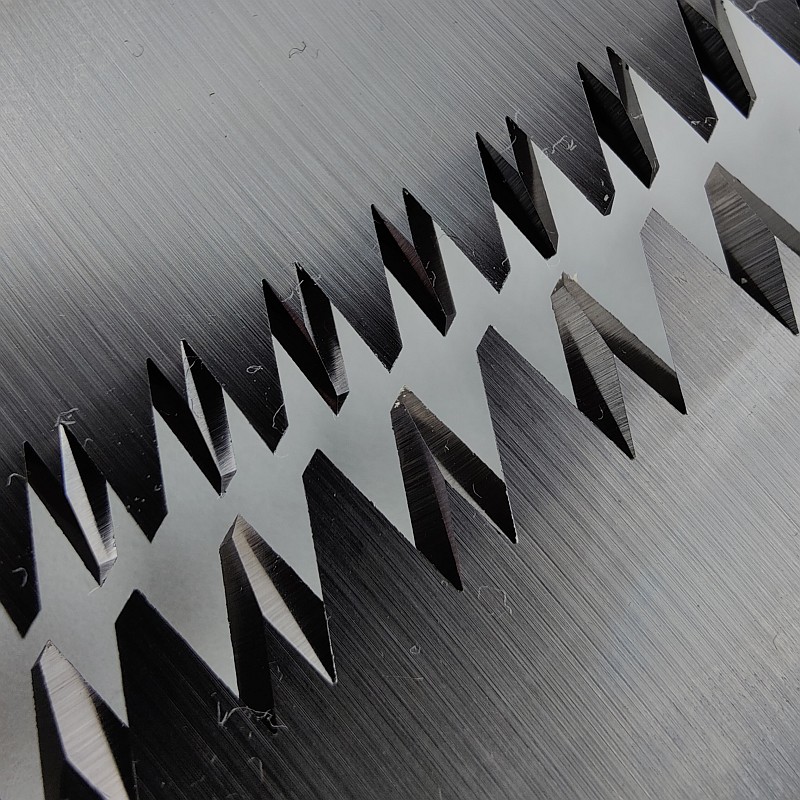
The Factory edge up close:
Followers of Tactical Reviews will know my views on factory edges, but to recap:
Anyone using a knife will need to sharpen it. That first factory edge is just like the first tank of fuel that a new car comes with (or first charge of the battery).
A good factory edge is a ‘nice to have’ but not a ‘make or break’ for a good knife, as you will be putting your own edge onto it soon enough.
The factory edge does however indicate the care a knife maker has put into the final finish.
It is for this reason Tactical Reviews measures factory edge sharpness and specifications, and includes this information in the detailed technical testing.
As a further look at the factory edge, this section has been added to include some high magnification photos of the factory edges.
In the following gallery are close up images of the BigBoy and Pocket saw teeth (they are used so show some saw dust), and the Nata in a section or unused edge and at the point of maximum wear from the demo use. The worn section shows the black coating is gone and the edge has damage.
What is it like to use? – Part 1 – The Big Cut
The question is, how large a log can you cut with the Silky Outback BiGBOY saw? Silky suggest the biggest size of log you should cut is half the length of the saw blade. Pffff! I’m not listening – La La La La La…….
So the Silky Outback BigBoy Big Cut Challenge was born.
The gallery in this Big Cut challenge shows the result of two visits to the log. The first visit was about 1 hour long, and the second 2.5 hours, and finally a third visit with a crowbar.
The log was not ‘green’ having been cut an unknown time before I got access to it, so the end I was cutting had dried. This caused significantly more effort. The Silky saws are so effective on green wood, but less so on dried timber.
During this cut, the two blade positions proved their worth and made angling the cut much easier, so, yes, you will be glad of them.
At the end of the first hour of cutting, progress felt good and I’d got a channel cut round the entire log but had to stop.
Visit two was a couple of weeks later, so the wood was drier and the cut had exposed the inner wood allowing it to dry more. After an hour and a half, progress slowed to a point I decided to stop as I’d reached an impasse.
Having checked the depth of cut all round I have an estimate of what is left uncut (the green circle).
I had really hit the limit of sensible progress for a few reasons:
The timber was not green wood, so much harder to cut.
Access was limited especially on the left side preventing free movement of the saw.
The depth of cut meant the sawdust did not clear, instead clogging the cut.
At the extreme depth of cut, only a few saw teeth were cutting. This was the biggest factor.
Wanting to confirm the actual cut I decided to use a crowbar to break away all the wood that was cut to leave only the last uncut part.
The conclusion of this test is that with enough time and full, clear, access to the log I think it would just be possible – if you really had to. I would definitely not choose to do this again!
What is it like to use? – Part 2 – all the rest
So back to the bread and butter use of the Silky Outback tools. Woodland, green wood, and camp tasks.
Using a long heavy blade for chopping instead of an axe head gives you quite a few advantages. You do not need to be so accurate with each strike, you can use the Nata for brush clearance as well (which you could not with an axe), and you can also use it for batoning and splitting large logs safely. A very effective tool.
It isn’t new as the Nata has been in Silky’s range for some time, but this version with coated blade and using the double bevelled edge version for the hard-use Outback range takes it to another level. (there is a chisel grind version of the standard Nata)
I’ve pushed the Silky saws to their limits for the size of cut you can make, but when you work within the limits Silky recommend you have an easy time. Green wood is devoured by the BigBoy, and for the smaller tree limbs the PocketBoy is very effective. Just keep to that rule of the diameter of log being half the length of the blade (not nearly twice like in the Big Cut). All of these types of saw cut on the pull stroke, which prevents blade bends, and gives excellent control of the cut.
For logs of the correct size, sawing is faster than more efficient and cleaner than chopping, so if you can carry a saw and chopping tool you make life a lot easier. Saw the logs, then split them with the Nata.
Review Summary
The views expressed in this summary table are from the point of view of the reviewer’s personal use. I am not a member of the armed forces and cannot comment on its use beyond a cutting tool or field/hunting knife.
Something that might be a ‘pro’ for one user can be a ‘con’ for another, so the comments are categorised based on my requirements. You should consider all points and if they could be beneficial to you.
_______________________________________________
What doesn’t work so well for me
_______________________________________________
(very little to say here)
BigBoy – the saw teeth are still partly exposed when folded.
Nata – the blade rattles in the sheath and can be a bit noisy when carrying.
(yup, really not much to say)
_______________________________________________
Things I like
_______________________________________________
BigBoy Outback Edition – devastatingly effective saw teeth.
BigBoy Outback Edition – two locked blade positions.
BigBoy Outback Edition – Comfortable and grippy wood/plastic composite handle.
BigBoy Outback Edition – zip up case included.
BigBoy Outback Edition – adjustable pivot tension.
BigBoy Outback Edition – black coated blade.
PocketBoy Outback Edition – effective saw teeth.
PocketBoy Outback Edition – two locked blade positions.
PocketBoy Outback Edition – Comfortable and grippy wood/plastic composite handle.
PocketBoy Outback Edition – plastic case included.
PocketBoy Outback Edition – adjustable pivot tension.
PocketBoy Outback Edition – black coated blade.
Nata Outback Edition – black oxide protective blade coating.
Nata Outback Edition – sheath can be unclipped from belt hanger.
Nata Outback Edition – long heavy chopping blade.
Nata Outback Edition – removable cushioning rubber handle.
Nata Outback Edition – suitable for chopping and brush clearing use.
Nata Outback Edition – Stable and strong double bevelled edge version.
Discussing the Review:
The ideal place to discuss this review is on the Tactical Reviews Facebook Page
Please visit there and start/join the conversation.
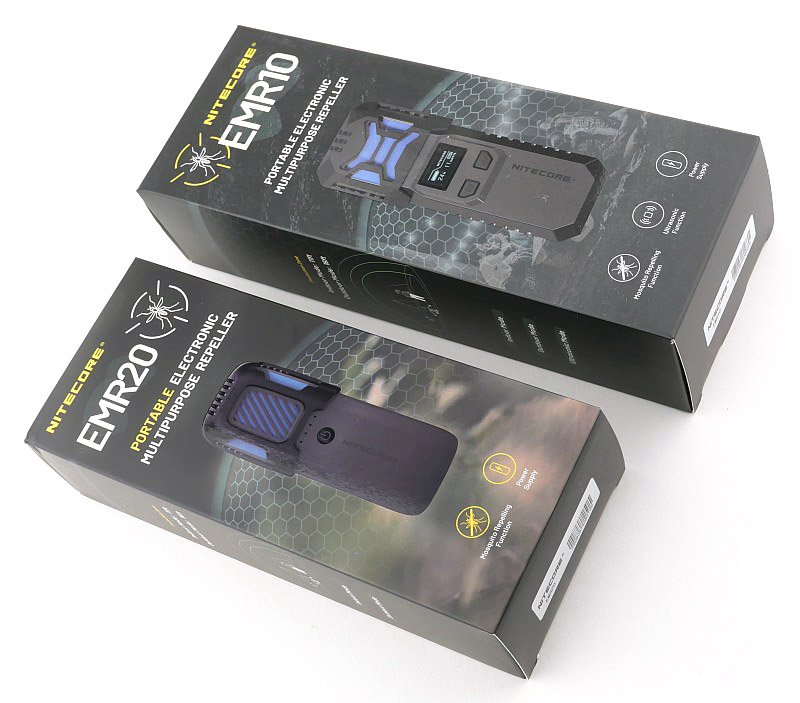
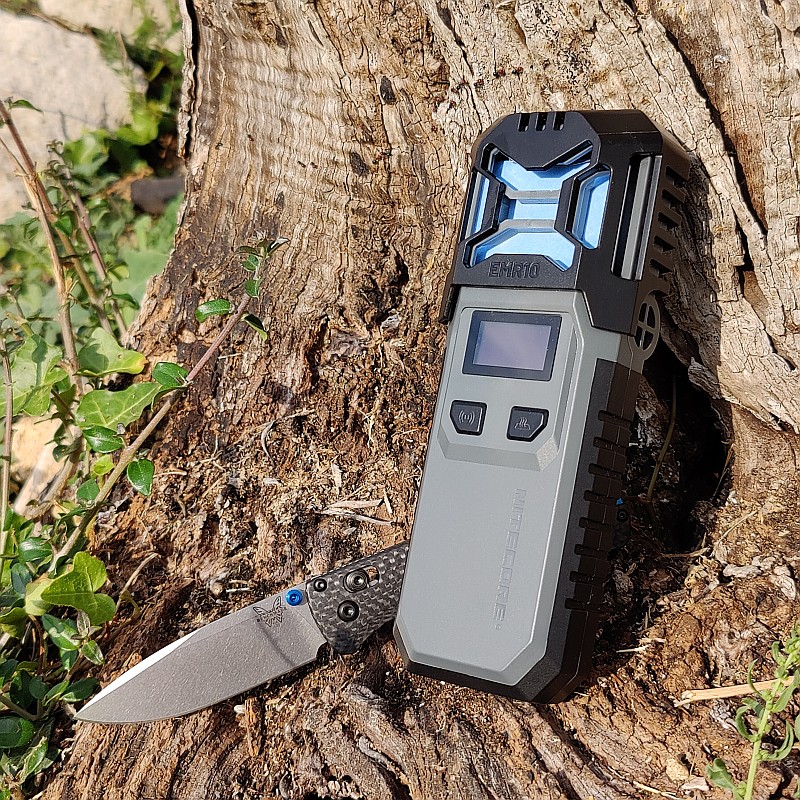
In this review of the Nitecore EMR10 and EMR20 portable mosquito repellers / powerbanks, we take a detailed look at all aspects of their performance and function.
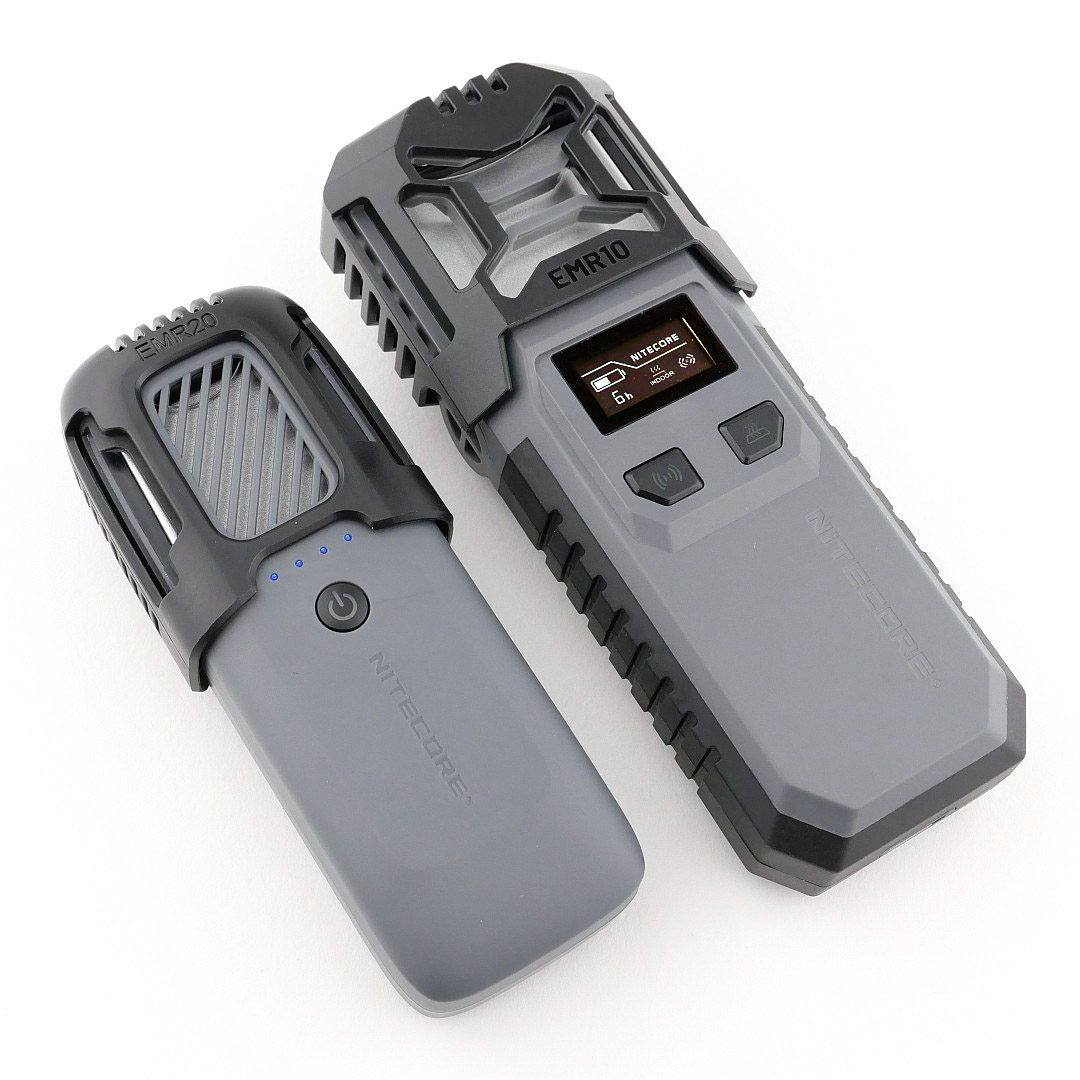
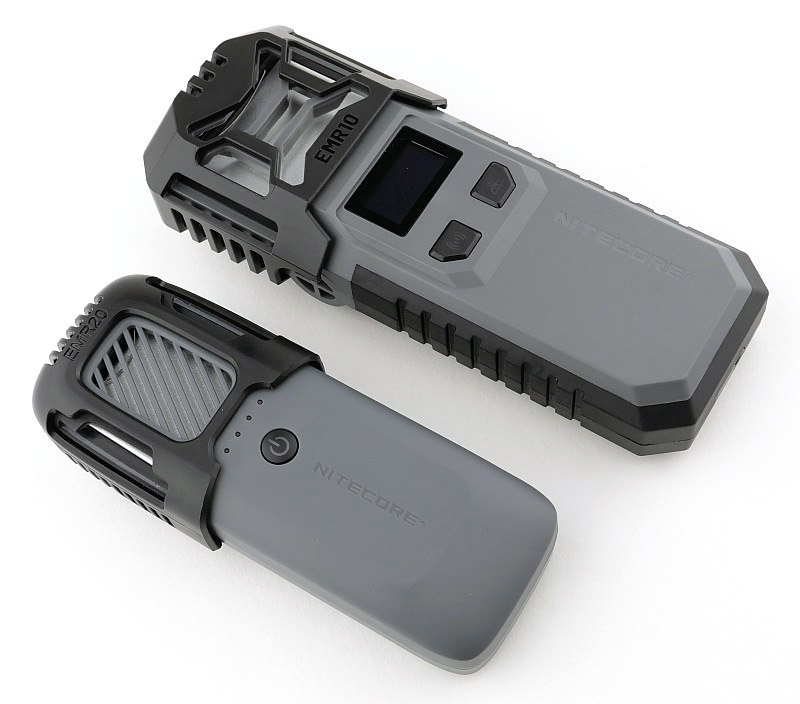
The EMR10 and EMR20 are two new devices from Nitecore combining portable insect repellers with a powerbank. The EMR10 has ultrasonic repellent, a repellent mat heater and a 10,000mAh powerbank, and the EMR20 is slightly smaller and simpler but without the ultrasonic function.
If, like me, you protect everyone else from mosquito bites, by being the one the mosquitoes make a beeline for, then you may be as pleased as I am to find the new Nitecore EMR10 and EMR20 portable insect repeller devices.
The thermal runtime graphs for these units are a first for Tactical reviews with the final graphs having 3500 manually entered data points!
Making his first appearance below is “Stoppo”, Tactical Reviews’ “don’t do that” guardian. Mosquitos beware, armed with the EMR units Stoppo says NO!
Review Videos
Starting with a short format sixty second review:
Onto a full video review covering many more details:
Looking closer at the EMR devices:
Both units boxed and unboxed, before we go into the finer detail.
What’s in the box – EMR10:
Along with the main unit are a charging cable, instructions and 10 of the double-size repellent mats.
A good look round the EMR10 – Things to look out for here are:
Of the two, it is a bigger and more feature packed unit, with the EMR10 there is a lot to see.
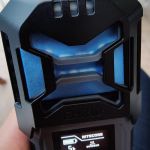
The OLED screen has a protector you need to take off. Notice the slider on the bottom, we’ll come back to that. Molded into the rubber section on the sides are some grip grooves. On each side are small ultrasonic speakers that emit a dual frequency repelling sound. On the back is a metal wire clip that is designed to work with MOLLE / PALS, pocket or belt use. The top has a USB-C port for charging and for use as a powerbank.
The repellent mat heater/holder has a retaining spring wire to keep the mat from falling out.
Then onto the EMR10’s biggest trick, the removable twin 21700 cells.
What’s in the box – EMR20:
Along with the main unit are a charging cable, instructions and 10 of the double-size repellent mats.
A good look round the EMR20 – Things to look out for here are:
The EMR20 is a smaller and simpler unit which has no grip texturing or screen. Instead it has a set of four indicator lights plus the power switch has dual coloured illumination. On the back is the same metal wire clip used by the EMR10 that is designed to work with MOLLE / PALS, pocket or belt use. The top has a USB-C port for charging and for use as a powerbank.
The repellent mat heater/holder has a retaining wire spring to keep the mat from falling out.
Batteries and output:
The following section is all the technical testing for both units. This includes temperature measurements for the repellent mat heater, plus power curves for charging each unit, and the powerbank output for each unit.
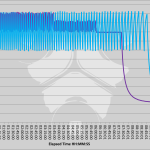
First up is the repellent mat heater output for both units. The test was carried out on the highest, ‘outdoor’ mode which takes the heater to the highest temperature.
The temperature measurement was taken by inserting a K-type thermocouple under a used mat to keep it pressed tightly against the heating plate and insulate it. Another ambient temperature thermometer was also recorded, making it three temperature measurements being monitored.
For this dual run I had to set a camera on time lapse photo to take a photo measurement every 30s. Unfortunately I had no computer logging so had to manually type each measurement – over 3500 of them!
The resulting graphs are very interesting. They show the temperature varying between an upper and lower limit. The EMR10 keeps the lower limit higher than the EMR20 and as a result uses more power and has a lower runtime. The graphs do speak for themselves, so take a bit of time to read these.
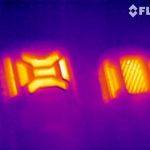
Also included are some thermal images of the EMRs during this test taken with a FLIR thermal camera.
The next gallery shows the USB input and output graphs for each unit. Charging graphs are from empty to full. The powerbank graphs show each unit charging a Oneplus phone on fast charging (9V output); they are not the full capacity of the powerbank, just to show the output characteristics which are excellent.
What it is like to use?
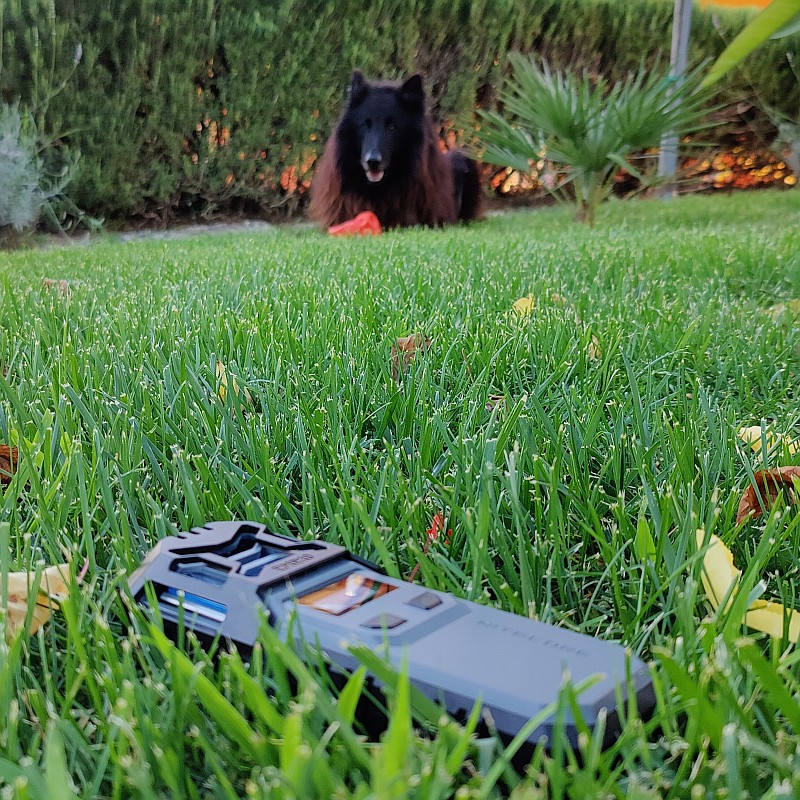
I want to start this section by introducing my very helpful assistant, Klaus. One of the things I was worried about with the EMR10’s ultrasonic repeller is if it would distress animals. Dog whistles are also ultrasonic (above human hearing range) so I needed to use the EMR10 around a dog to see what would happen. Not once did Klaus seem to react at all to the EMR10 negatively, or even pay any attention to it, so assuming he could hear it, it didn’t bother him. A good start.
Nitecore make and supply double size repellent mats. This is clearly the easiest way to load up the EMR10 and EMR20. It is possible to use two standard size mats instead giving you more flexibility.
You can see in one of the photos how the mats go almost white when the active ingredient has evaporated. The photo shows areas on the mat around the heat shielding that have gone white on this part used mat.
An observation relating to the EMR10’s display and capacity indication is that I’ve found the percentage show to not be accurate at all times. You can use the EMR10 while it is on charge. While doing this, the battery percentage always stays lower than it really is. You can see the input power as well on the screen and as this gets closer to being fully charged, the input watts gets lower and lower (the example here shows 10W input) but the percentage charge indicates it is much lower than it really is. Once you turn off the EMR10 it recovers and corrects itself. Just something to be aware of and I suspect relates to the charge percentage being based on the cell voltage which will of course be lower while the repeller is turned on.
I’ve been using both the EMR10 and EMR20 in a variety of indoor and outdoor locations carried separately or clipped onto a bag.
So how did they do?
Firstly, with me being apparently the finest of dining for mosquitos, if they are determined enough, you will still get bitten; I did. I’ve been bitten when covered in deet, so using repellent mats outdoors might deter some, but is not absolute protection.
It is not at all possible to properly measure the effectiveness of these repellers as the number of bites will also depend on the time, temperature, and hatching of the insects, so this can be impressions only.
Assuming the mats themselves are effective, I have been aware of the aroma coming from the mats. Considering this is outdoors, that is reassuring. Effectiveness is so subject to wind direction and strength, so you might not actually have any cover of the repellent and insects might reach you undeterred. Where the EMR10 has another string to its bow, is the ultrasonic repeller. The ultrasonic won’t be affected by wind, but having no active ingredient, it again relies on the mosquitos not being determined to bite.
NOTES on the repellent mats:
There are a few different active ingredients used in repellent mats, and these are also frequently in combination with Piperonyl butoxide. Prallethrin, Transfluthrin and D-Allethrin are the most common with Nitecore’s MRM10 Mosquito Repellent Mats using Prallethrin.
Piperonyl butoxide (PBO) is a man-made pesticide synergist. By itself, PBO is not designed to harm insects. Instead, it works with bug killers to increase their effectiveness. PBO is often combined with natural pyrethrins or man-made pyrethroids. It has been used in pesticide products since the 1950s, when it was first registered in the United States.
A repellent mat needs to be changed when it turns white. You can use Repellent Mats for a shorter period of time than the manufacture specifies and they will still be just as effective. However, if there is going to be several days between usages, you might want to keep the mats in their foil packaging or in a sealed plastic bag between uses.
Having used them a lot, the one feature I wish they had was an auto-off timer. Once you turn on either one of them, they will run until the battery is flat or you turn it off. I found that treating at critical times was more important than all night and I would have preferred to be able to fall sleep with the repeller turning itself off after an hour or two and leaving power to run on another night. On this subject, the EMR10 allows you to either only run on one of the 21700 cells, or carry spares.
The clip has a one-way design where it fits on much more easily than taking it off. Good for not losing it, but on occasion puts up a bit of a fight to take it off, especially from MOLLE more than from a pocket.
Initially I was dubious about how much I would want to use the powerbank function when I want the power for insect repelling. But, after travelling by air a few times with these devices, the use comes from having a powerbank to use on the plane, and once getting to where I really need the repeller, then recharge and only use it for the repellent. So like this, the two functions allow for infrequent use as a powerbank while travelling, but then change to only using them as repellers when not travelling.
While using the EMR10 and EMR20 I have been bitten. I am convinced I would have been bitten more without them. The most difficult aspect of their use is the protection zone they can provide. If you are walking, then the repellent vapour is trailing after you and not surrounding you. If there is wind, the repellent is blown away. In instances where you are not moving and there is wind, you need to put the device a few meters away from you and up-wind.
Some of the better results are for smaller or enclosed areas. Treating a tent, or a hammock net are idea uses. While on holiday, using it in a hotel or guest room works well.
Review Summary
The views expressed in this summary table are from the point of view of the reviewer’s personal use. I am not a member of the armed forces and cannot comment on its use beyond that covered in the review.
Something that might be a ‘pro’ for one user can be a ‘con’ for another, so the comments are categorised based on my requirements. You should consider all points and if they could be beneficial to you.
I’m trying something slightly different and starting with what doesn’t work so well, so I can finish on a more positive note.
_______________________________________________
What doesn’t work so well for me
_______________________________________________
No auto-off timer.
Clip can be awkward to remove.
USB-C port cover needs a firm hand to get it out of the way.
_______________________________________________
Things I like
_______________________________________________
Portable outdoor insect repellent device!!!
Double size repellent mats (and able to take two standard mats).
Powerbank function with rapid charge 9V output supported.
Up to 18W input power when charging.
Indoor and Outdoor modes.
Secure one-way clip.
EMR10 has replaceable cells.
EMR10 can run on one 21700 cell.
EMR10 OLED display is informative.
EMR10 also has an ultrasonic repellent.
Removable secondary heat shield.
Discussing the Review:
The ideal place to discuss this review is on the Tactical Reviews Facebook Page
Please visit there and start/join the conversation.
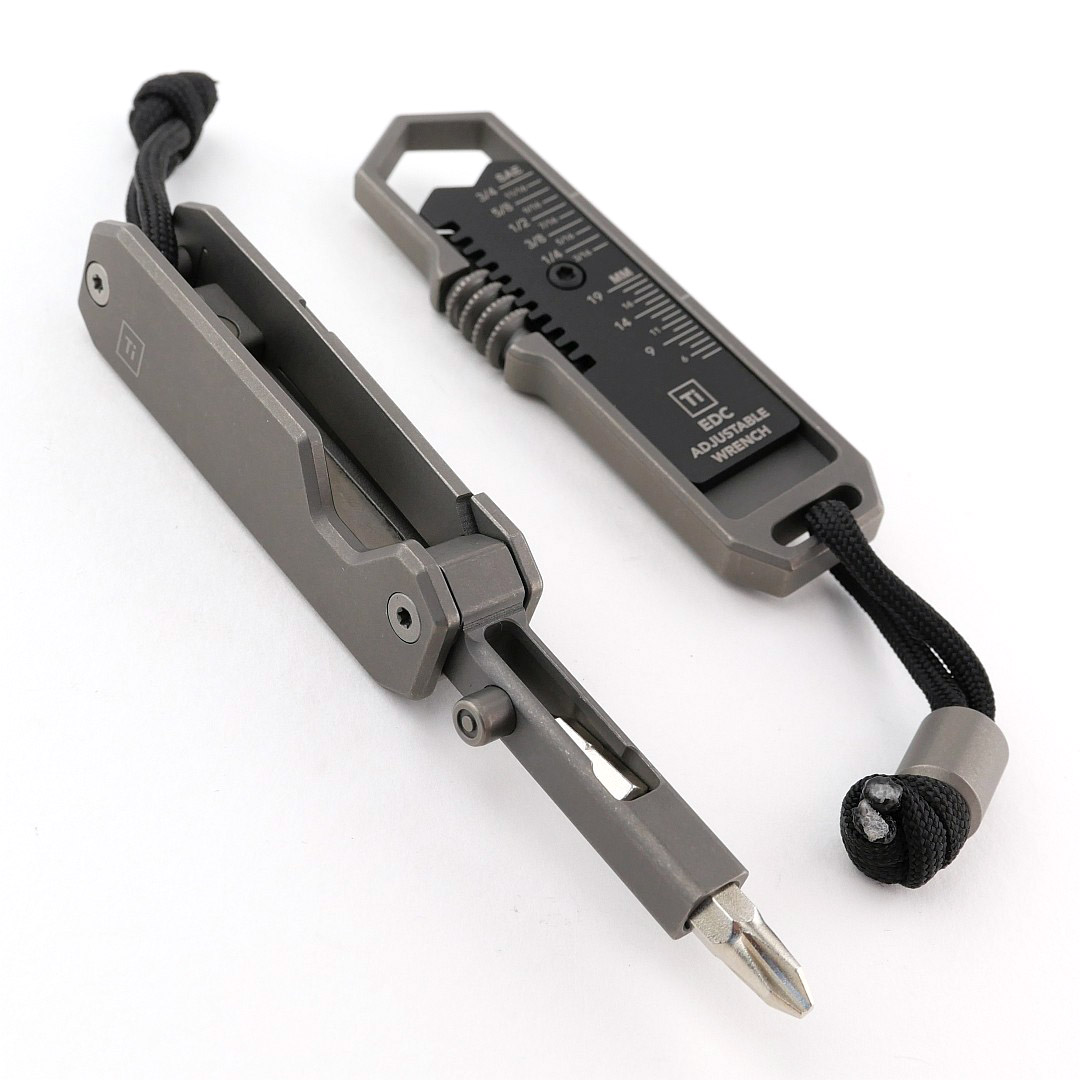
BIGiDESIGN is producing so many awesome EDC tools, and in this review we are taking a detailed look at the BIGiDESIGN EDS II, the second, updated version of their unique Everyday Screwdriver, along with the BIGiDESIGN EDC Wrench a reimagining of an antique Swedish adjustable wrench.
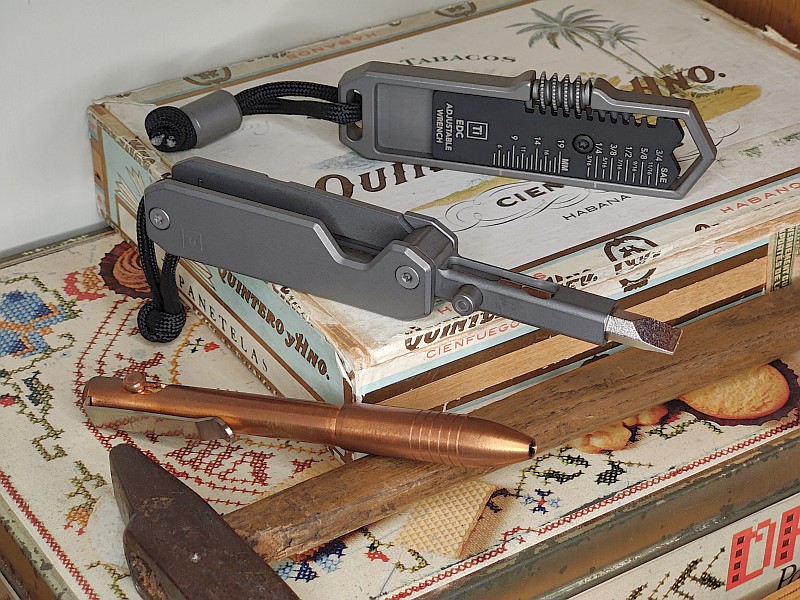
Their original EDS, Everyday Screwdriver, was probably the first BIGiDESIGN product that I saw, and since then I bought their bolt action pen, a design that ingeniously adjusts to take most ballpoint refills on the market. Now I’ve been able to partner up the Bolt Action pen with the EDS II and EDC wrench making for an incredible EDC setup.
Video Overview
In this video we take a good look at a couple of lovely EDC gear designs from BIGiDESIGN. The EDS II, the second, updated version of their unique Everyday Screwdriver, along with the EDC Wrench, a small unique pocket friendly adjustable wrench.
What’s in the box; Part 1 the EDS II?:
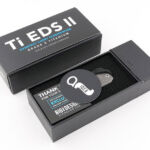
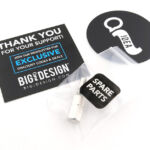
For the three BIGiDESIGN products I have, the packaging follows the same layout. A slide out tray which has a compartment at one end that contains spares.
A good look round the EDS II – Things to look out for here are:
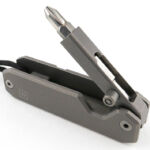
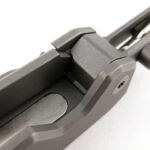
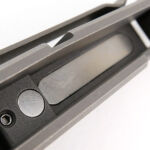
Overall layout of the EDS II is of an integral lock folding knife, but with a bit holder instead of a blade. A single thumb stud means this easier for a right-handed user. Explained in more detail in the video, there is a stop pin that both stops the bit holder arm in the right position when open, and also stops the spare bits sliding out of the front of the storage slot. The other end of the spare bit storage slot has a sprung ball to keep the bits in place. The integral lock action is easy to see as the bit holder is unfolded. Several magnets are used for keeping the spare bits in place and the main bit holder folded. In the EDS II an additional spare bit holder has been integrated into the lower section of bit holder arm. A total of four bits can be carried within the EDS II.
What’s in the box; Part 2 the EDC Wrench?:
Again, following the format of the other BIGiDESIGN products I have, the box has a slide out tray which includes a compartment at one end that contains spares.
A good look round the EDC Wrench – Things to look out for here are:
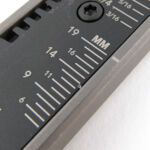
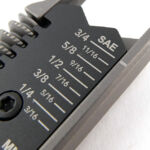
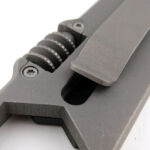
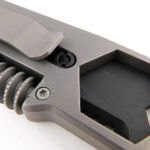
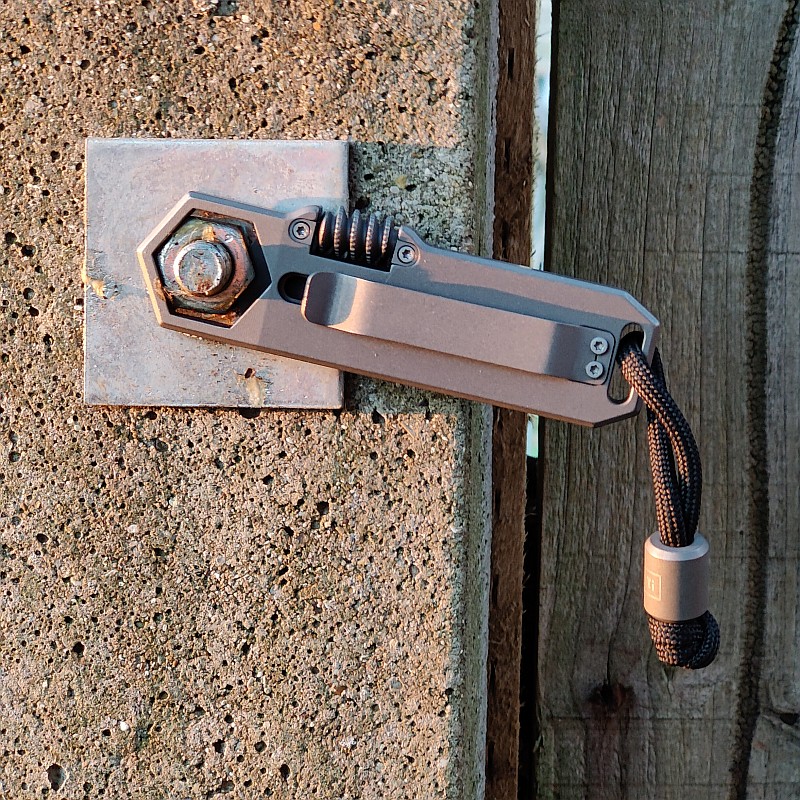
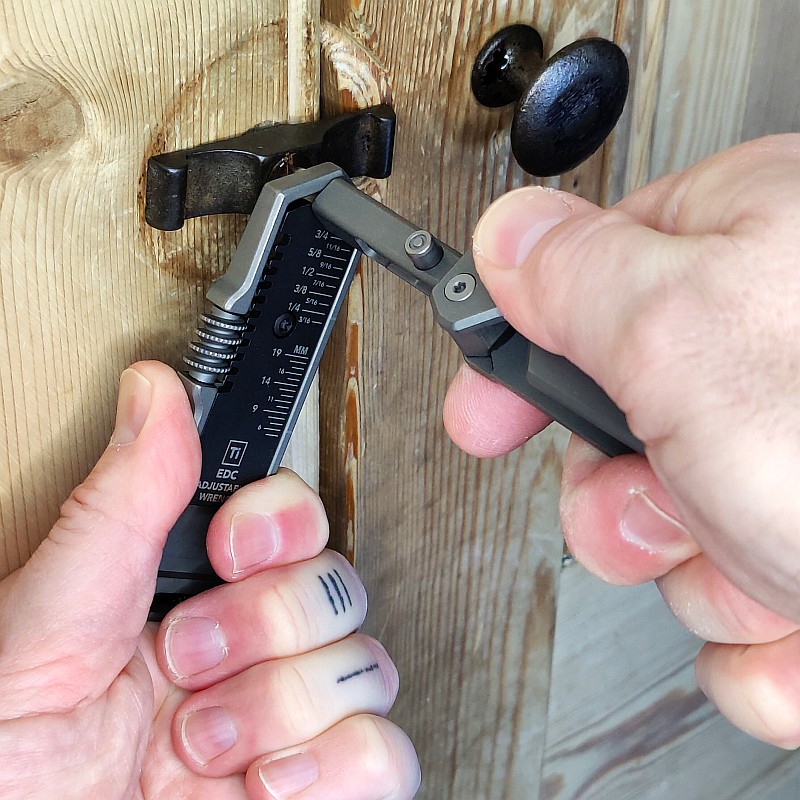
A reimagining of an old Swedish design, there is a sliding adjuster moved by a worm screw. BIGiDESIGN have added both a metric and imperial scale for setting the wrench ready to use. A low profile clip is fitted to the back and the EDC Wrench also includes a Ti bead on the lanyard. You can just see the slider retainer under the clip.
What it is like to use?
BIGiDESIGN have done something really special with the EDS, and now this updated EDS II, and given you not only a new experience of using and carrying a screwdriver, but one that is very practical as well.
It is not the smallest EDC bit holder available, nor does it include a ratchet, but instead it gives you a highly usable screwdriver with integrated bit storage for a total of four bits without needing anything else.
Having a swing-out bit holder extension arm, the EDS unfolds to a very practical conventional structure of handle, shank, and bit, so compared to many other small EDC screwdrivers it gives you a more usable tool.
That genius part of the design is mimicking an integral lock folding knife, having a thumb stud to swing the bit holder arm out of the folded position for one-handed operation. So satisfying to use!
However there is a little observation to note about how easy or difficult it is to open the EDS II. The arm’s retention in the folded position is due to a magnet in the body grabbing the bit that is in the bit holder. As you use the EDS II and swap bits around, you will find that a bigger bit, like the full size flat bit, is held by the magnet more firmly, so firmly it becomes very difficult to open using the thumb stud. Put a smaller bit into the holder and it becomes much easier to open again. So the bit you leave in the main bit holder arm changes the ease of opening the EDS II. I would have preferred that the arm retention was a detent (like a knife would use) or that the thumb stud had a bigger cut-out round it allowing more contact and an easier open.
Onto the partner tool here and the EDC Wrench, an infinitely more pocket friendly design than a standard adjustable wrench, there was one big flip for me, literally, in how I envisaged using it before actually getting my hands on one. That is the fact that with the adjustable slider being very much on one side of the tool, to use it and make contact with the nut, you have to flip it over so the ‘front’ of the tool is away from you (pocket clip towards you). Like this you can’t see the scale, and initially it just felt a bit odd, but is just how it works. Even with larger nuts, all except the very largest, you need to use it this way round.
Being a ring spanner, you do have to be able to pass the ring over the end of the job onto the nut, so can’t be used for certain jobs. If you hit those limits though, it is less likely an EDC type of job, so then you bring out the full size tools. Know the limits of your tools and don’t abuse them and you’ll get along just fine.
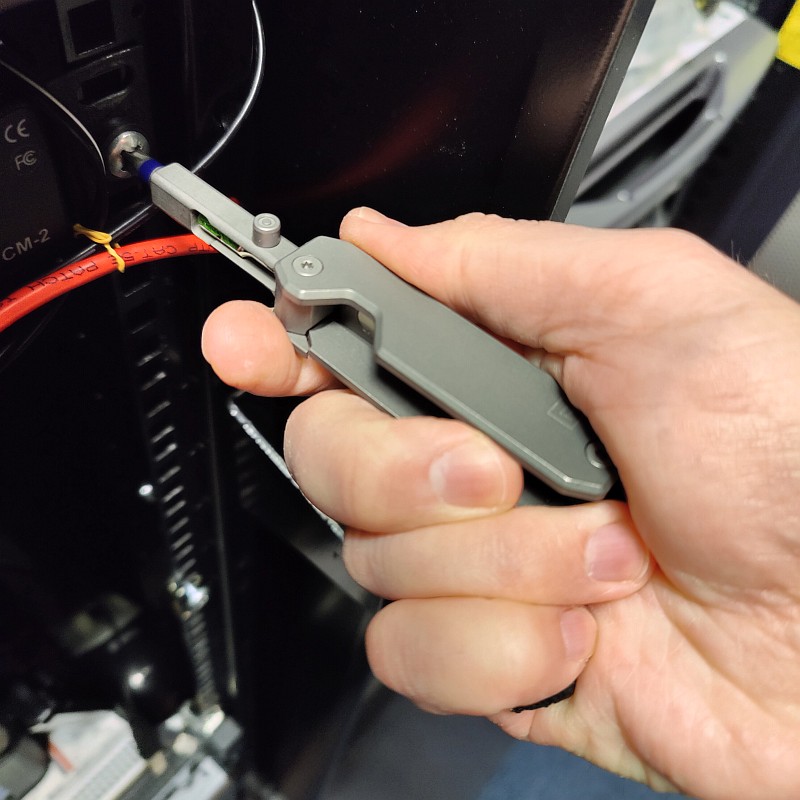
Talking of limits, and pushing them, the EDS II and EDC Wrench can nicely partner up for a bit more screw driving torque. There is just enough of the 1/4″ hexagonal bit showing to use the EDC Wrench to grip this and boost the turning force for stubborn screws. Not always possible, but if you have the space, this can save you having to go for bigger tools. In this case the EDC Wrench is used with the slider facing you as it needs to be this way round to grip that small section of the hex bit.
Both of these beautiful EDC tools are made from grade 5 titanium alloy and punch well above their weight, even more so together.
Review Summary
The views expressed in this summary table are from the point of view of the reviewer’s personal use. I am not a member of the armed forces and cannot comment on its use beyond that covered in the review.
Something that might be a ‘pro’ for one user can be a ‘con’ for another, so the comments are categorised based on my requirements. You should consider all points and if they could be beneficial to you.
_______________________________________________
What doesn’t work so well for me
_______________________________________________
EDS II – Difficult to open with larger bits installed.
EDS II – Thumb stud a bit too recessed.
EDC Wrench – Ring spanner design slightly restrictive.
EDC Wrench – Need to use with the slider away from you.
_______________________________________________
Things I like
_______________________________________________
EDS II – One-Handed Operation.
EDS II – Integral Frame-Lock Mechanism.
EDS II – Deep carry Pocket Clip.
EDS II – Uses any 1/4″ hex bit.
EDS II – Integral storage for four bits.
EDS II – 100% metal construction.
EDC Wrench – Infinitely adjustable.
EDC Wrench – SAE 3/16 – 3/4 in.
EDC Wrench – Metric 5 – 19 mm.
EDC Wrench – Solid Titanium Construction.
EDC Wrench – Removable Pocket Clip.
When it comes to EDC pocket jewellery, nothing beats a hand-made custom piece, and I’ve had my eye on the Mjolnir from Ostap Hel Knives for some time. Yes, Mjolnir is Thor’s hammer, and being capable of a knockout blow is very appropriate association, but of course the shape of Ostap’s Mjolnir is also like the old Norse symbols.
Join me in this review of the Mjolnir III from Ostap Hel Knives, the featured version is in carbon fibre.
Video Overview
This video is a detailed look at the Mjolnir III, and hopefully you can get a good feel for the quality of finish.
What it is like to use?
Without saying exactly how you might use the Mjolnir III (due to some more negative connotations), it is both EDC pocket jewellery and a self-defence aid.
The intended configuration for carrying the Mjolnir III is on its own with a lanyard, added for ease of getting it into your hand when needed. Shown here, it has the matching lanyard from Ostap Hel Knives which has a CF bead on the cord. With the CF version being so light, it has minimal pocket presence so can also feel a little difficult to home in on. So…
…picking up on the fact it has felt a little ‘detached’ from easily finding the CF Mjolnir III in my pocket, I wanted to try something a bit different and out there, and fit it as a lanyard stopper on another EDC item. In this case a slip-joint knife which already had a longish lanyard on it.
In this way, the knife provides the weight for easily finding it, and the Mjolnir III makes a fantastic ‘puller’ for getting the knife to hand, but also for then ease of getting the Mjolnir III into your hand.
Reversing the sense that the Mjolnir III is the lanyard stopper round to the knife being the lanyard stopper, and you can either allow the knife to hang out to the side, or take it into you palm while gripping the Mjolnir III between your fingers.
You can experiment with the lanyard length to see how it might work for you if you try this approach. Here the loose ends of the paracord are not yet woven into the lanyard to more easily allow adjustments before making the final configuration.
It has worked for me, it might work for you; try it before completely dismissing the idea.
Regardless of how you choose to carry it, the Mjolnir III is a pleasure to handle and carry. Despite there being no moving parts, it can be a worry-stone or fidget toy, as well as having an actual serious purpose – definitely worth the investment in a quality piece.
Review Summary
The views expressed in this summary table are from the point of view of the reviewer’s personal use. I am not a member of the armed forces and cannot comment on its use beyond that covered in the review.
Something that might be a ‘pro’ for one user can be a ‘con’ for another, so the comments are categorised based on my requirements. You should consider all points and if they could be beneficial to you.
I’m trying something slightly different and starting with what doesn’t work so well, so I can finish on a more positive note.
_______________________________________________
What doesn’t work so well for me
_______________________________________________
What is not to like?
_______________________________________________
Things I like
_______________________________________________
Beautifully crafted.
Choice of materials.
Easy to carry.
Might make all the difference in a tight situation.
Low profile.
Thor’s hammer in your pocket.
This is Part 3 of a TCH (Total Control Handcuffs) Handcuffs Special three part review series featuring the TCH Twinlock cuffs. In Part 3 we will be looking at the 842 Rigid Twinlock cuffs with RCP5 Handcuff Pouch, NCG Neoprene Cuff Guard, plus an overview of handcuffing techniques. As a bonus, Part 3 also includes Tactical Reviews’ interpretation of the TOOOL universal handcuff key and ‘alternative’ prepping uses for handcuffs. TCH Handcuffs Twinlock Special – Part 1 covered the 932 and 822 Twinlock cuffs, SK5 and SK6 keys, plus the 9201 belt pouch. TCH Handcuffs Twinlock Special – Part 2 included the 852 Folding Rigid Twinlock, 832 Superior Hinge Twinlock, TCH HR Handcuff Reducer plus the 9200 and 9215 Handcuff Pouches.
Join me here for Part 3 of the TCH Handcuffs Special review as we continue our look over these excellent cuffs and the Twinlock dual keyway design.
First look round the model 842 Rigid Twinlock cuffs:
These 842 cuffs are currently the go-to standard issue for the UK Police force, although not all issue cuffs will be the Twinlock option, but more likely the single lock version.
Rigid cuffs and their handling makes speedcuffing the norm, at least for the first wrist. From the first photo in this gallery the rotating arm of the cuffs are ‘back loaded’ ready for rapid cuffing.
The RCP5 Handcuff Pouch:
Being fully rigid, the 842s need a different approach for belt carry to all other folding cuffs. The RCP5 pouch has to hold these cuffs differently to any of the folding versions, and because of this the retaining strap has to use the military style press stud with a ‘dot’ that only opens from one side. The RCP5 comes with a warning label to inform you how to use this type of press-stud if you haven’t come across them before. The press-stud directly next to the cuffs is fitted so that the side against the cuffs cannot be pulled open from the cuff side, instead it can only be lifted open from the side away from the cuffs. Like this any pressure on the cuffs while carrying them can’t cause the retaining strap to open unintentionally.
NCG Neoprene Cuff Guard:
Provided for comfort during training only, this is not for use when restraining a suspect. During training all personnel will be cuffed and un-cuffed repeatedly, not always gently, and the NCG means the trainees need not suffer too much with speedcuffing and reverse stack practice.
Standard cuffing techniques:
Here we have a demonstration of the main cuffing methods using traditional chain cuffs and rigid cuffs with two TCH models. All methods are shown full body and zoomed in on the hands.
With chain models like the 822 you can only use ‘palm to palm’ (to the front), or ‘back to back’ (behind the back).
A fixed or hinge model now allows for the ‘stack’ where the hands face different directions through the cuffs.
So with the folding fixed 852 model here, we have ‘palm to palm’ (to the front), then ‘front stack’. Now moving to ‘back to back’ (behind the back), and then the ‘rear stack’. Rear stack is the most uncomfortable for the restrained person and should only be used if absolutely necessary.
Tactical Reviews’ interpretation of the TOOOL universal handcuff key:
Taking a slight aside during this review I came across the TOOOL (The Open Organisation Of Lockpickers) Universal handcuff key with information posted by ‘Deviant Ollam’. Taking this as inspiration I brought together ideas from other universal handcuff keys, and produced a few Tactical Reviews Universal handcuff keys. The TOOOL version was based on the Smith & Wesson Handcuff key, but as I was not able to source one at a sensible price, I decided to use the TCH key. In fact the key flag on the Smith & Wesson key is too long to fit into TCH cuffs, so for that key you have to file the key flag down. By starting with the TCH key, it already fits TCH cuffs perfectly. The width of the key flag slot is governed by the width of the junior hacksaw blade used to cut it.
Building on the TOOOL key, I also added a back-cut at 22 degrees. This allows for the key to be rocked back and forward in case the key flag is too long or short. It also gives more allowance for the key post size otherwise being too large. In short to give wiggle room to help open different cuffs.
In this gallery, the first image is of the first version I made. Next up is a second key but this time with the back-cut added, with the last image just showing the dimensions that were altered to make the key. there is no height shown for the key flag, as this was not modified from the original TCH key.
‘Alternative’ uses for handcuffs:
In terms of ‘Prepping’, handcuffs can actually be a very useful bit of kit to carry for several reasons. Here I am showing just three uses, as a bike lock, to secure a bag or other item you might want to leave for a few moments (in which time someone might take it). With the bag, clearly it doesn’t stop someone going through it, but is stops a quick snatch and run. And in the last photo, when you are resting, again to protect some possessions by preventing an easy theft.
Beyond these starter ideas, it can be used to hang items up, if required to secure someone that may be acting against you, as a rope weight if trying to throw a line to someone, to ‘hold’ a button down with the ratchet allowing adjustment as required. The list goes on for when you might need a second pair of hands.
TCH and the Twinlock:
A lot has been covered in this three part review, and hopefully you can see the quality, strength and reliability of TCH (chosen by the UK Police as the standard handcuff). The Twinlock concept makes for easier unlocking especially if the person is not cooperative so is well worth considering as when you want it, it will make a big difference.
This video covers all the TCH models that appear in the special three part review series, and will be included in all three parts of the review for ease of access. It might be worth taking a look over the image galleries before diving into the video.
Full list of TCH products featured in the three part special series:
832 Superior Hinge Twinlock
932 Lightweight Superior Hinge Twinlock
852 Folding Rigid Twinlock – Red grip
842 Rigid Twinlock
822 Superior Chain Twinlock – Black finish