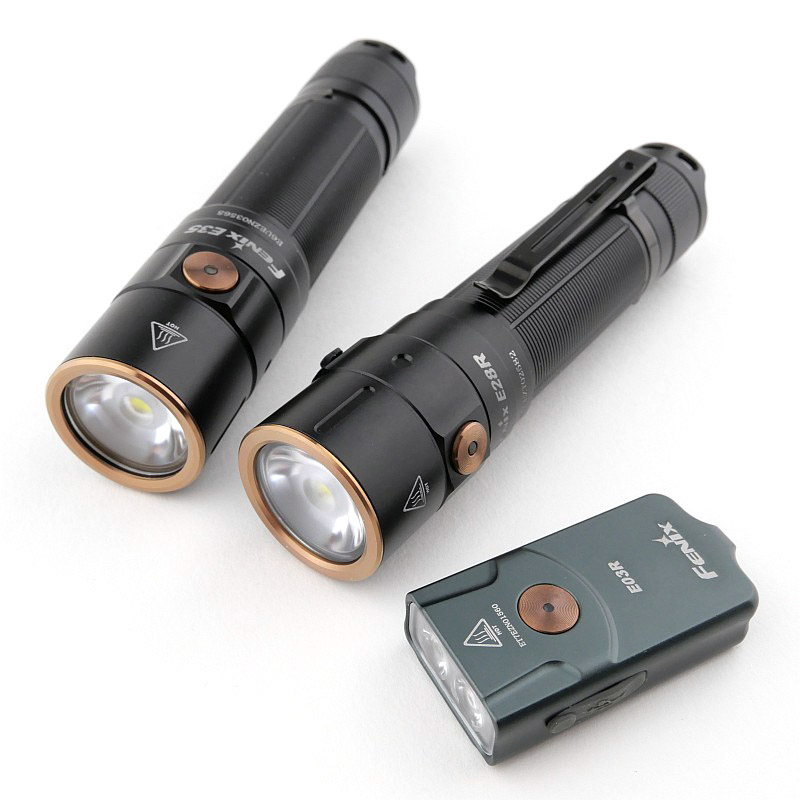
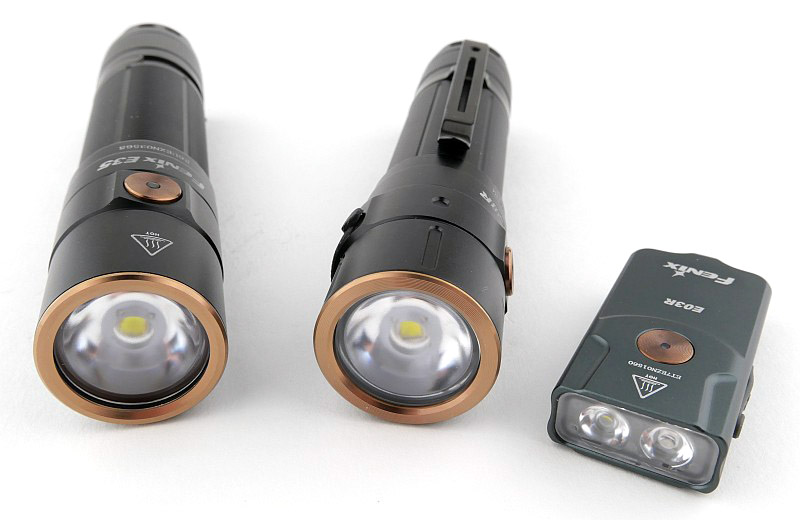
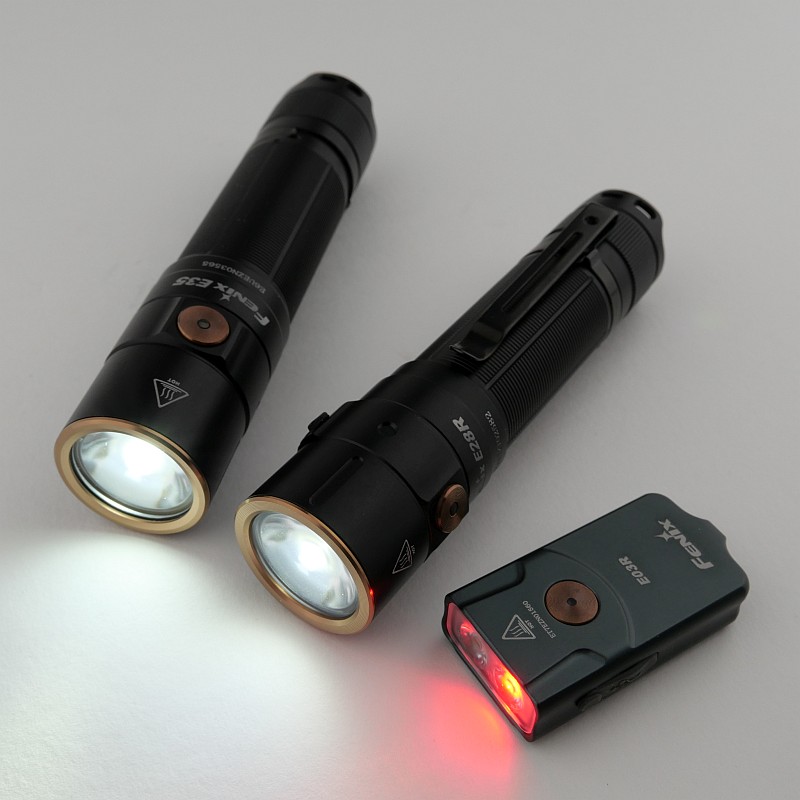
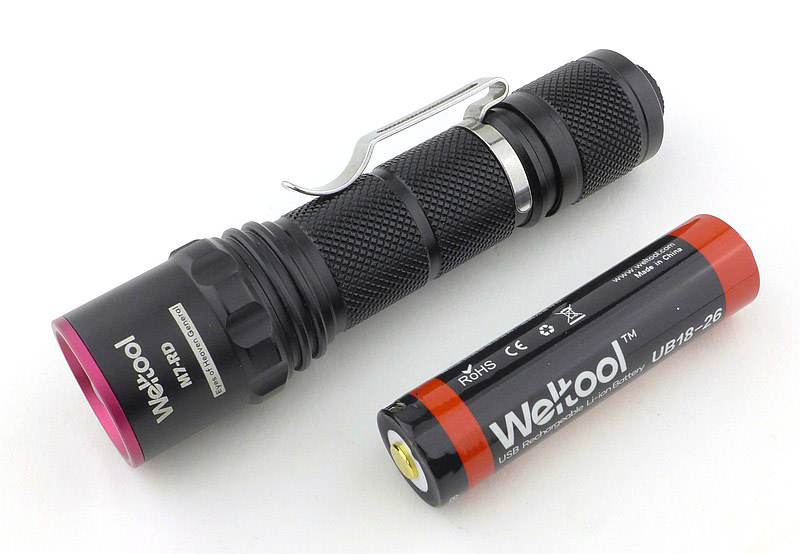
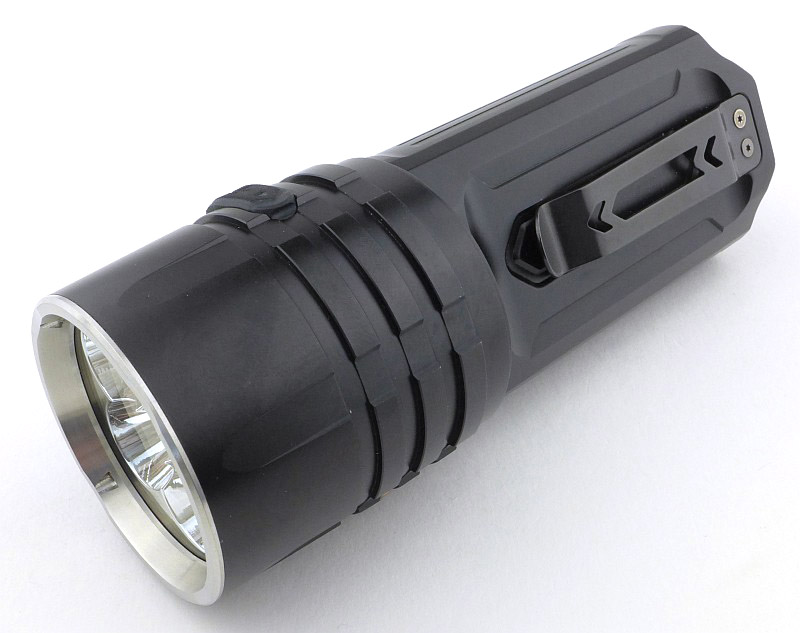
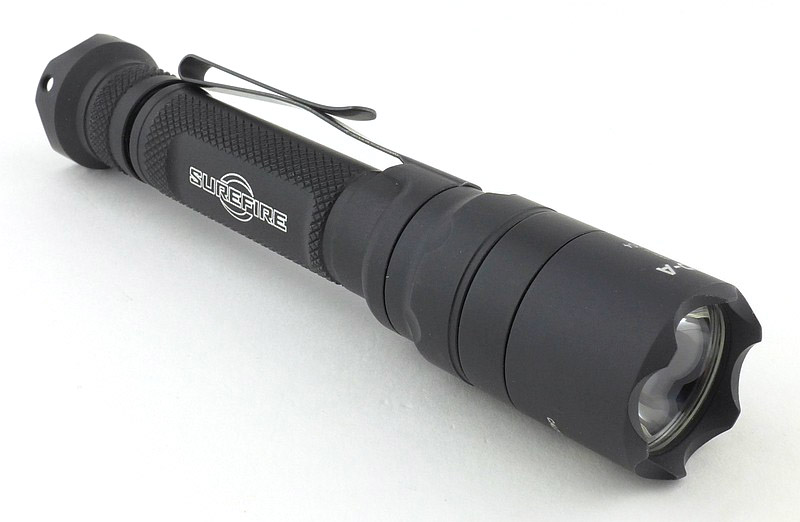
A set of three EDC type of lights from Fenix (see MyFenix in the UK). This is a review of the Fenix E03R, E28R and E35 v3.0 covering a range of power and capacity options. Of these, the E03R has been available for the longest, with the E28R being a recent release and the E35 updated to V3.0 and using the 21700 cell with huge 5000mAh capacity.
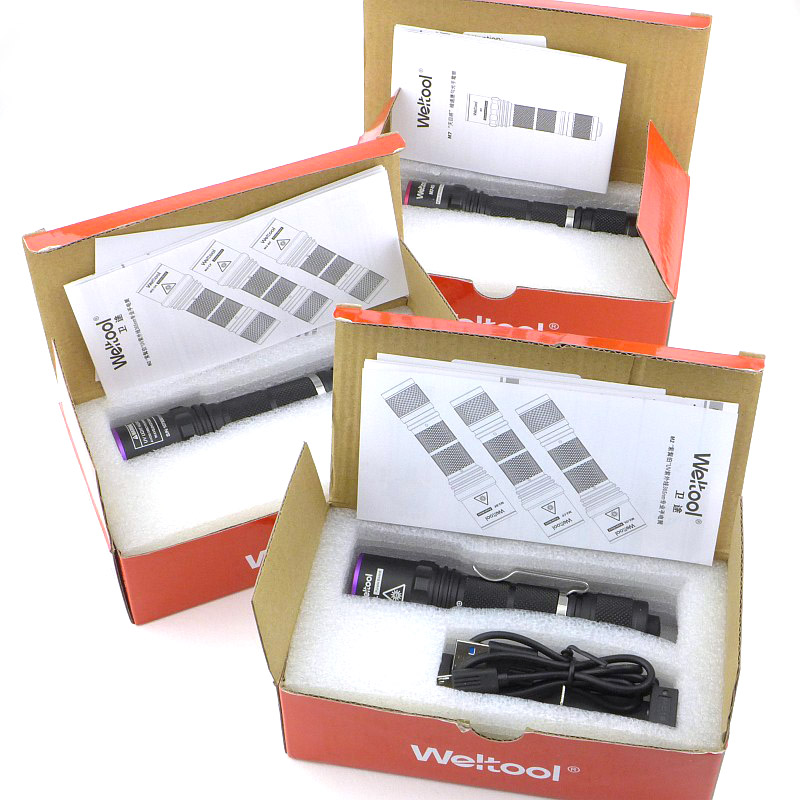
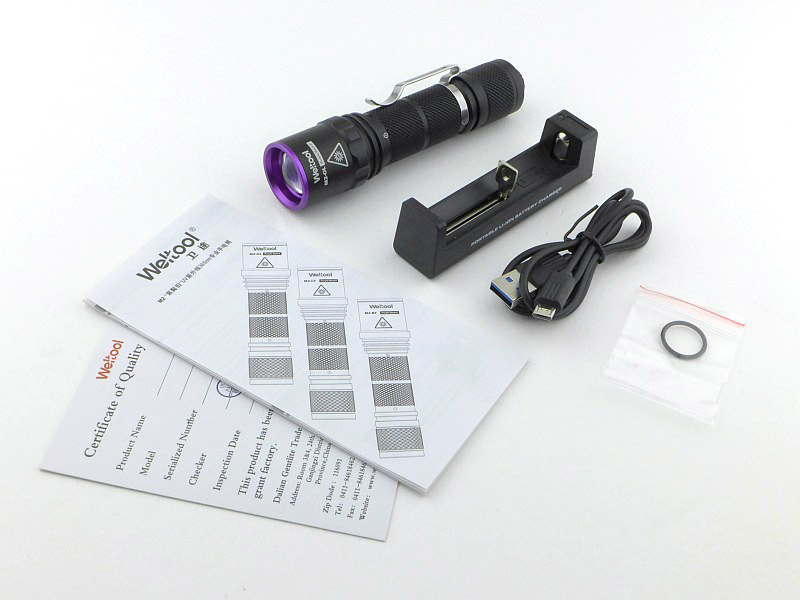
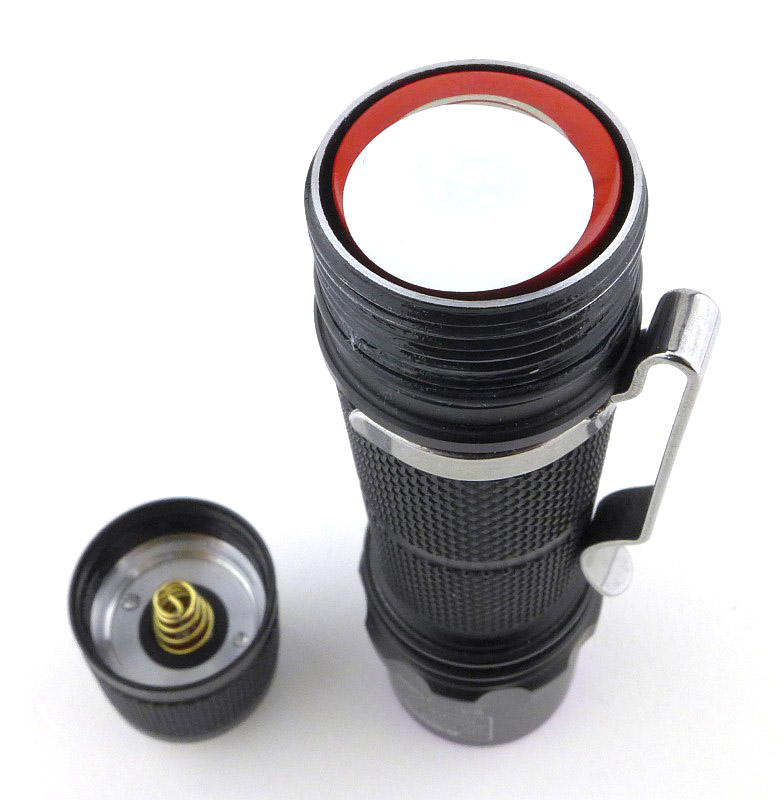
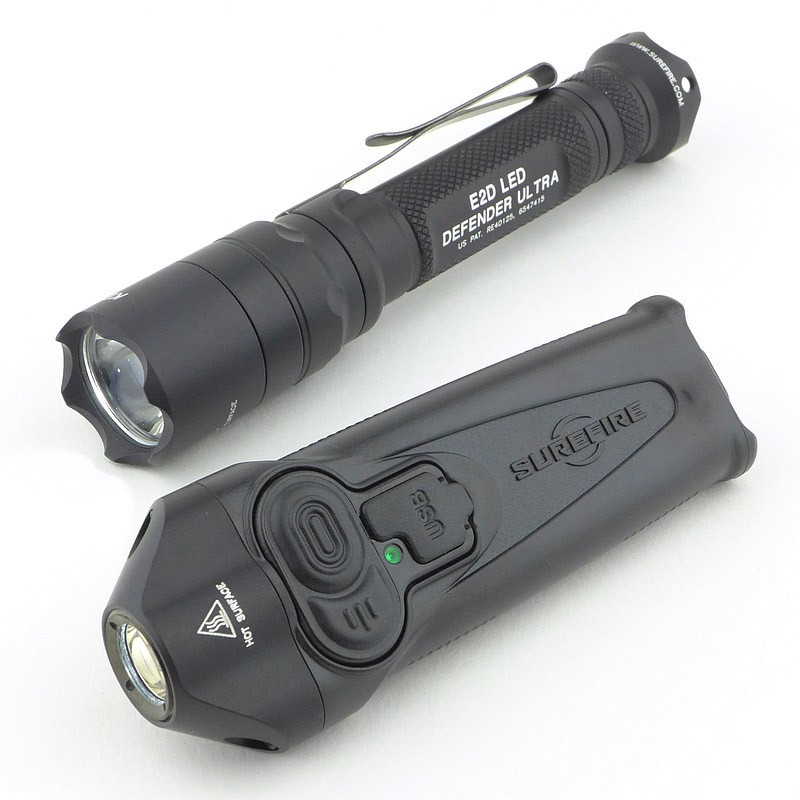
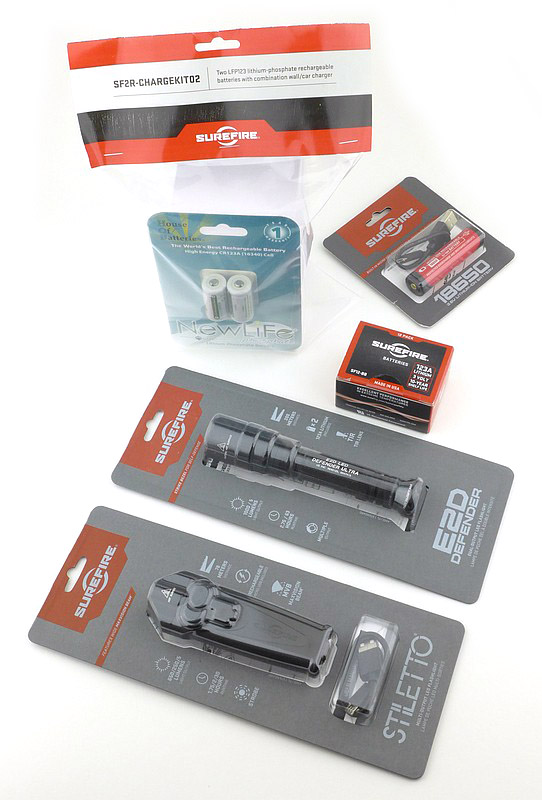
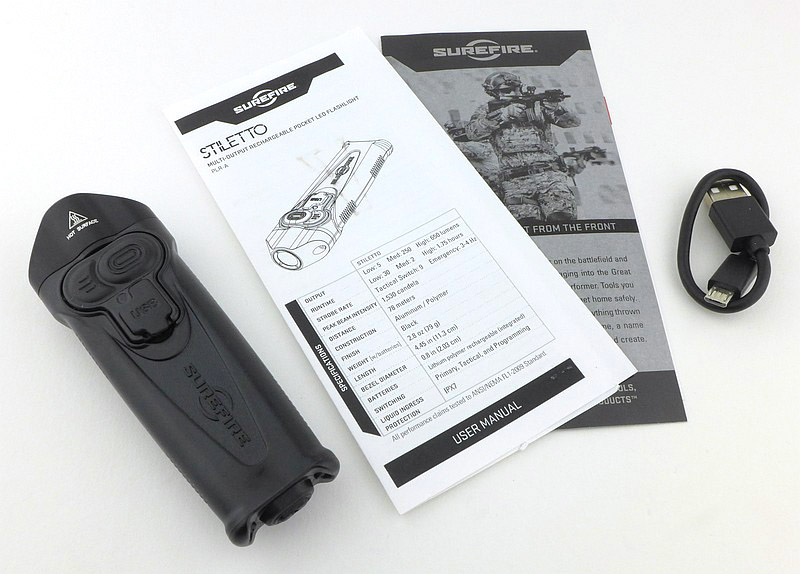
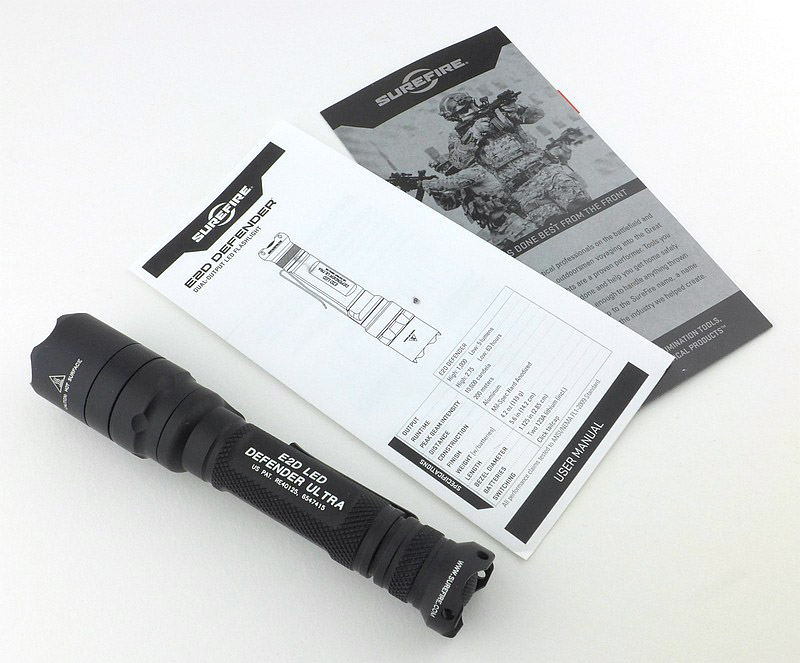
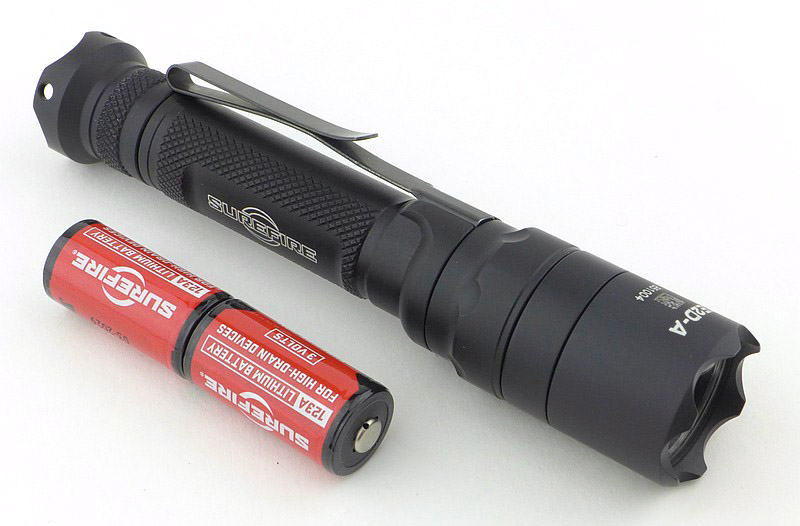
What is in the box?:
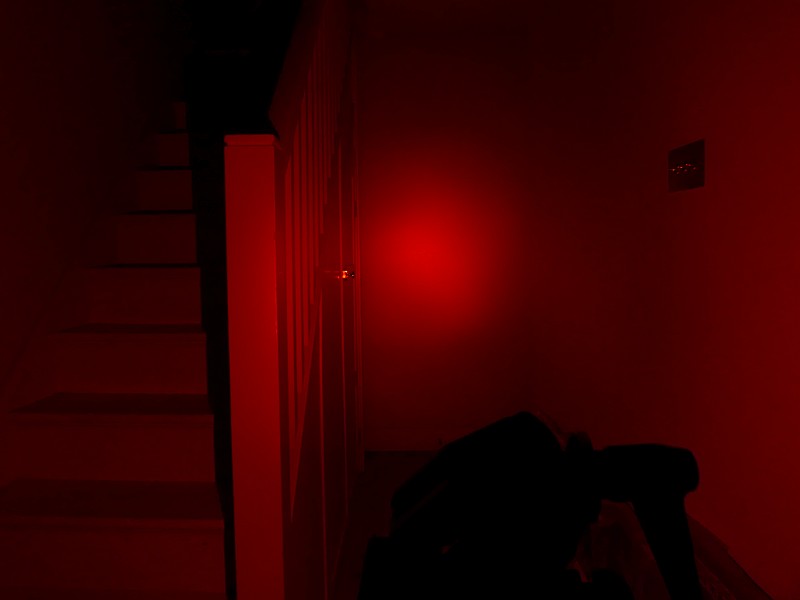
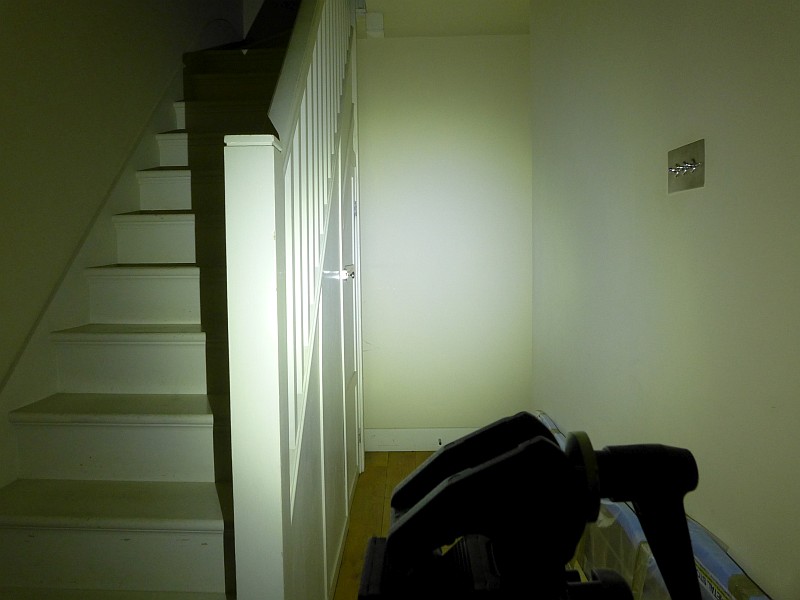
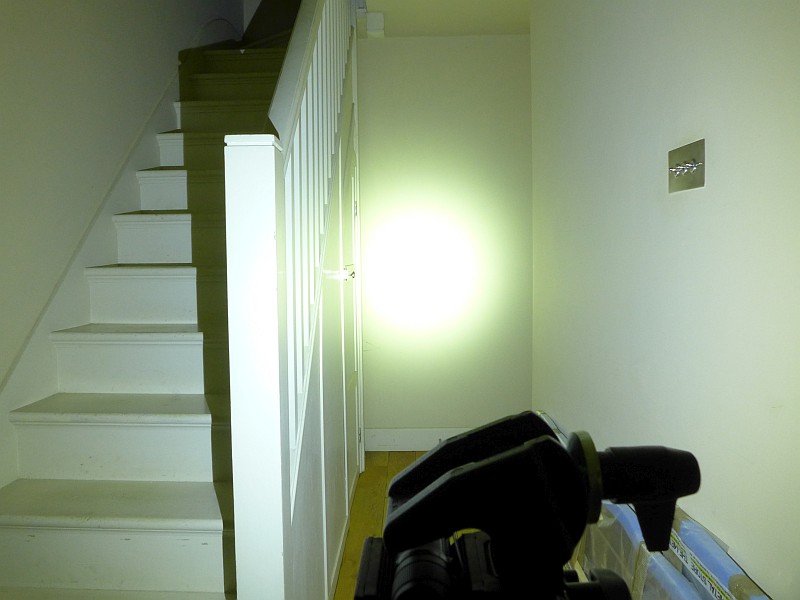
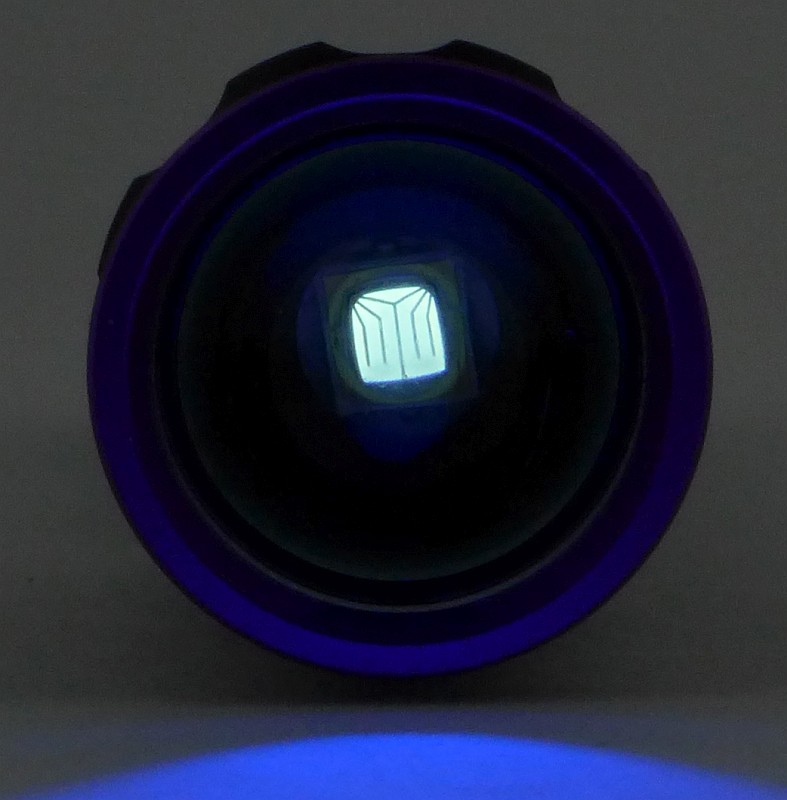
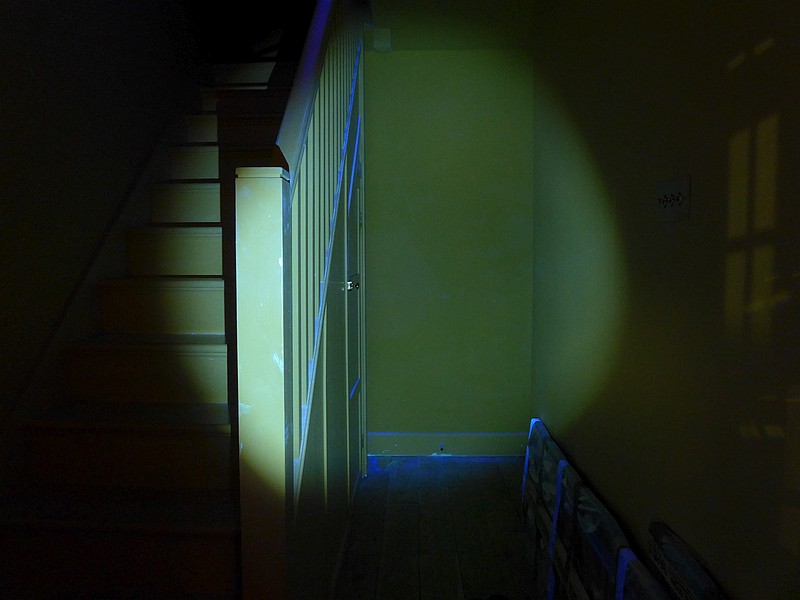
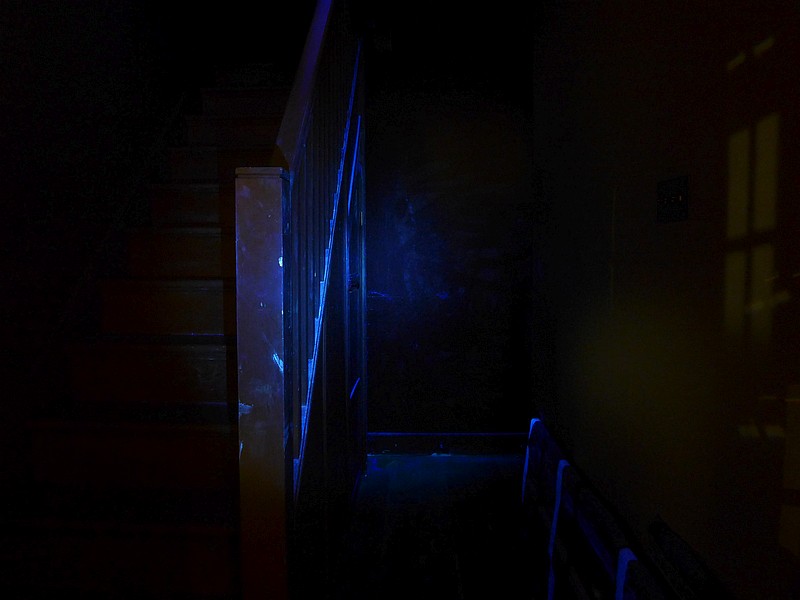
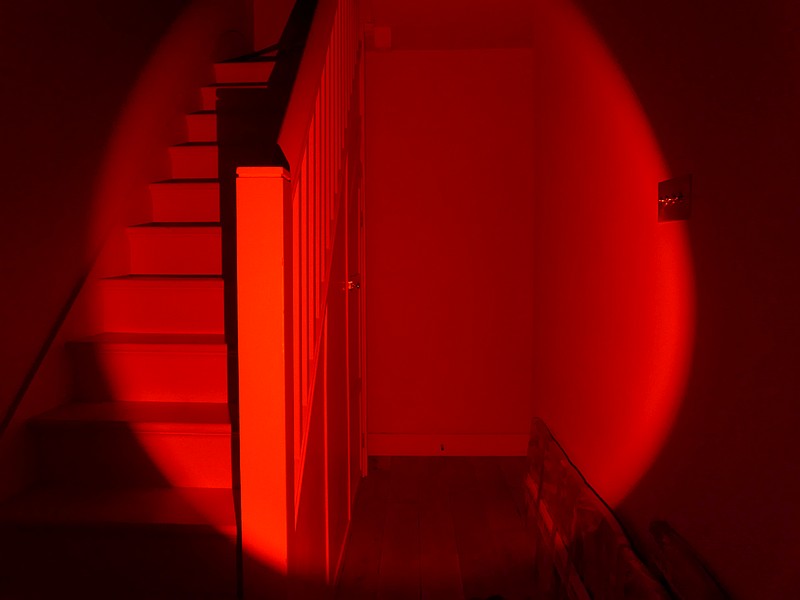
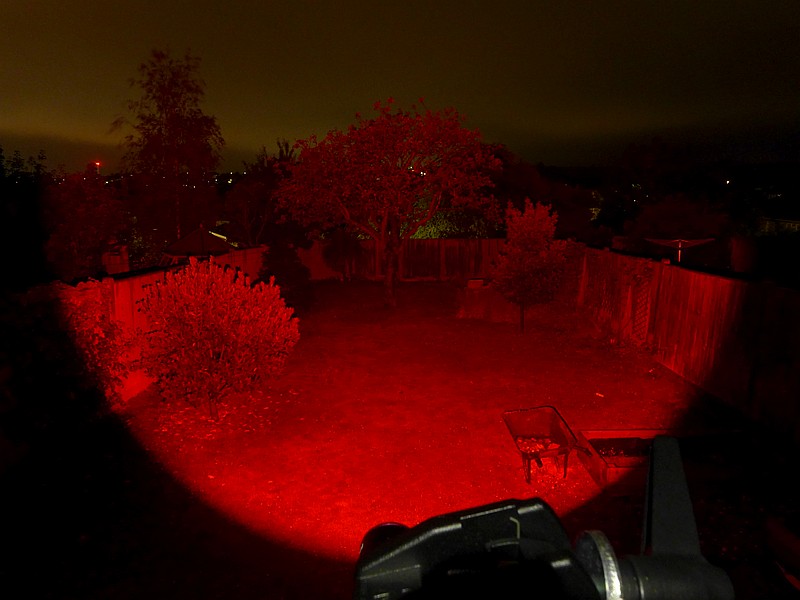
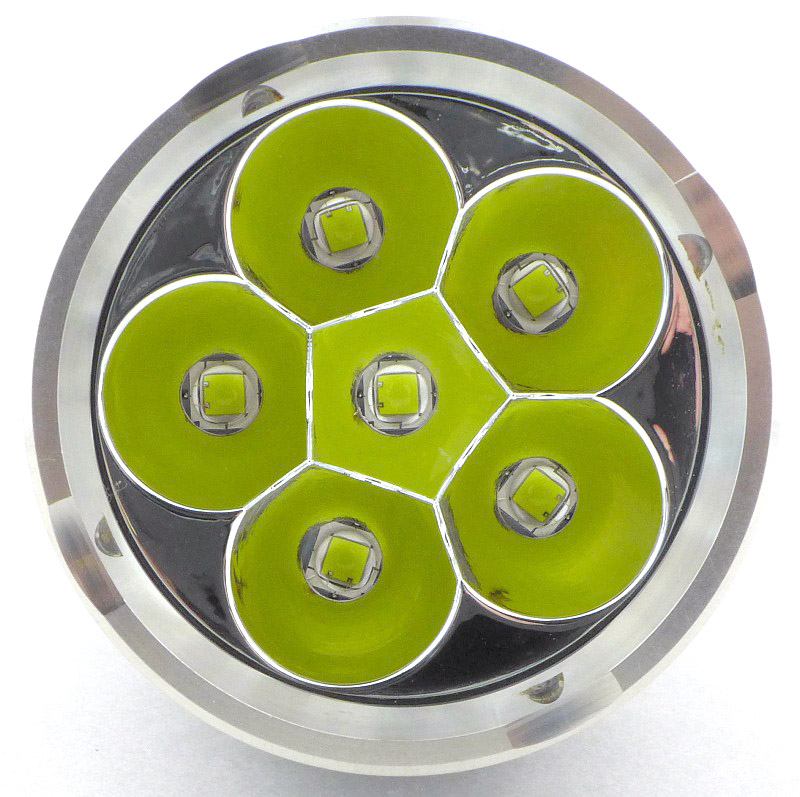
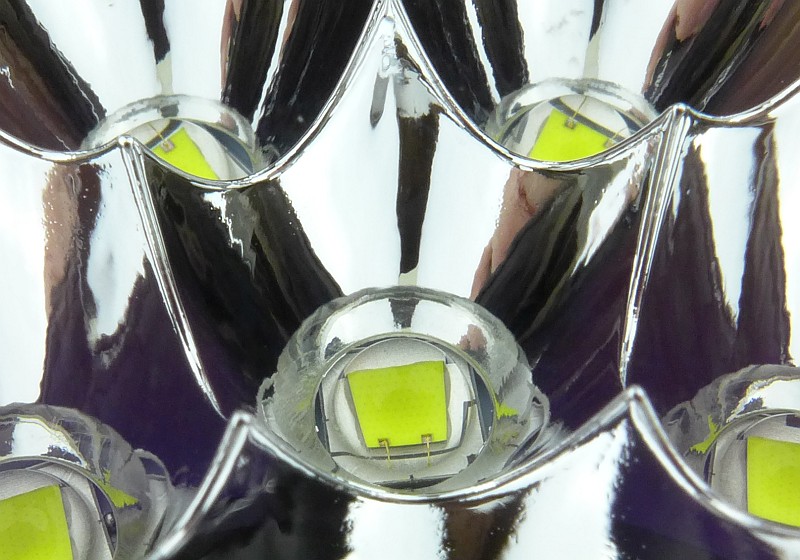
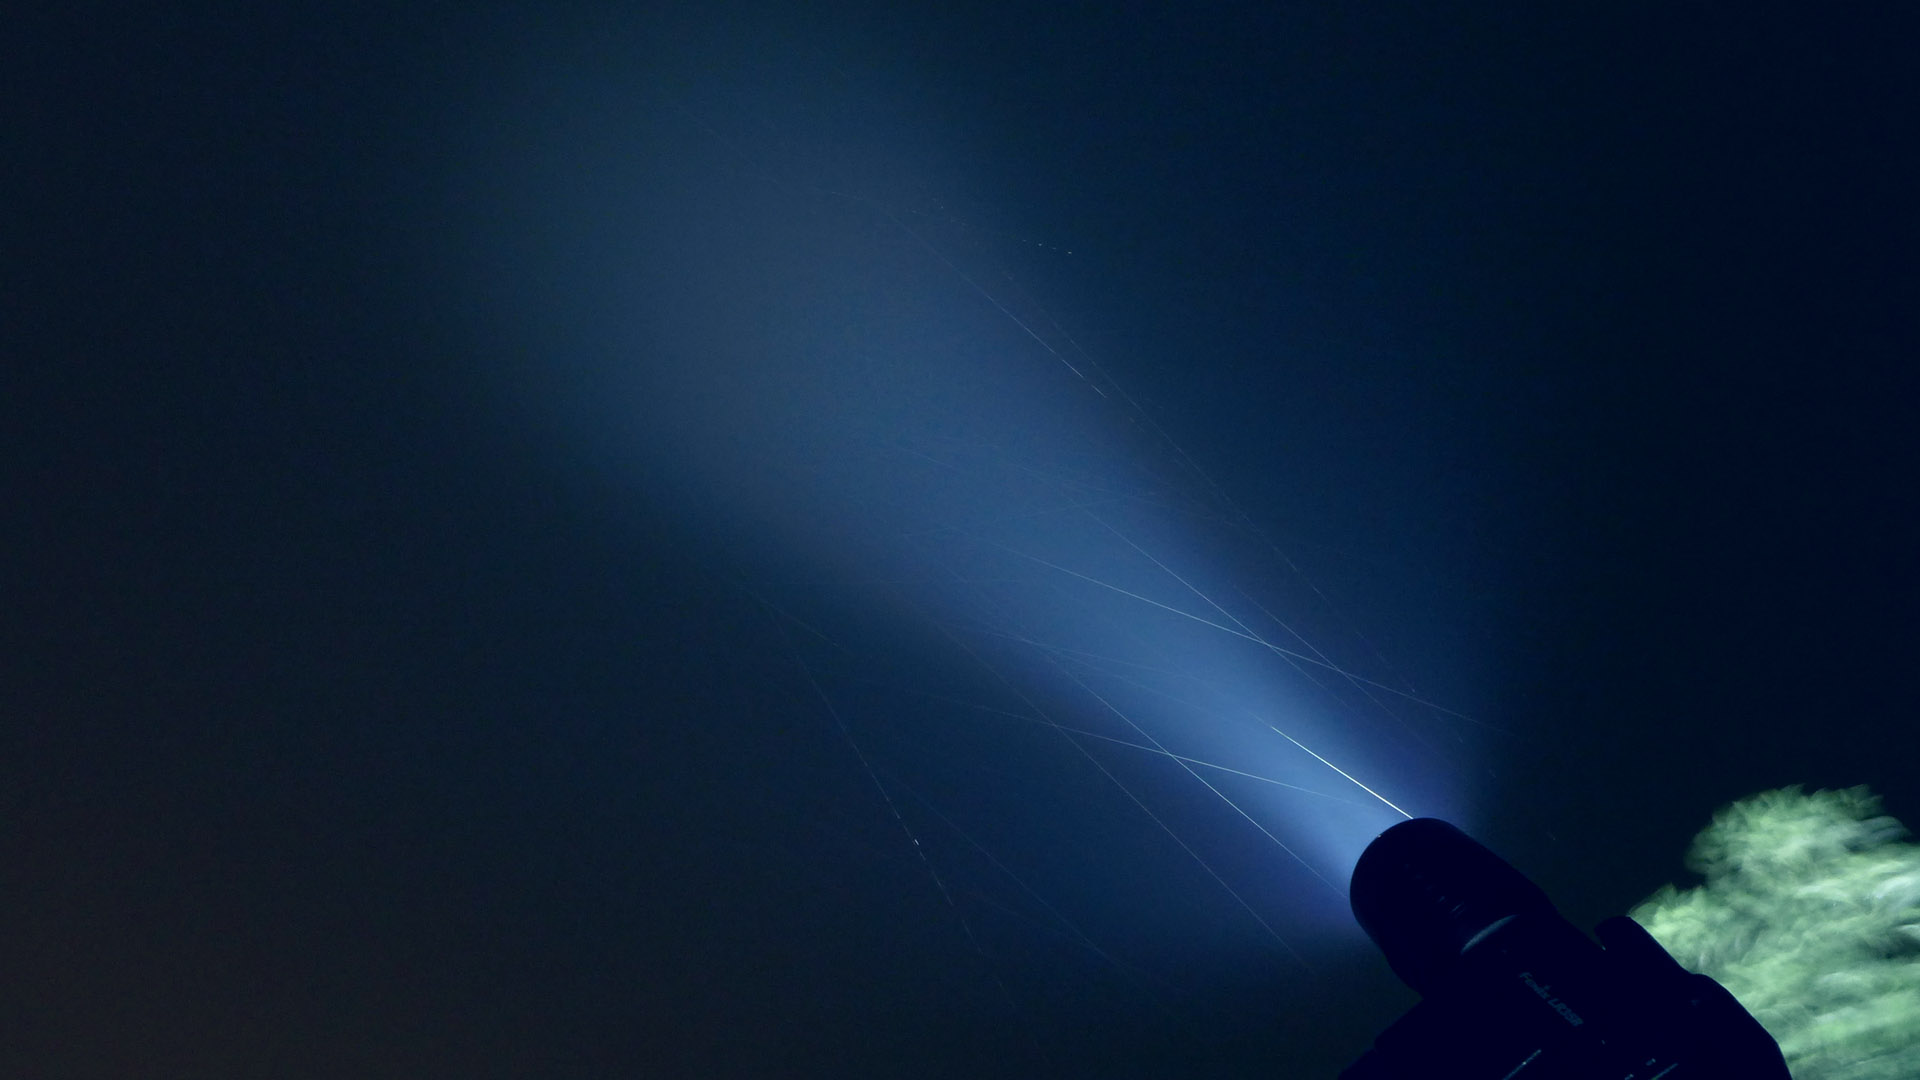
The beam
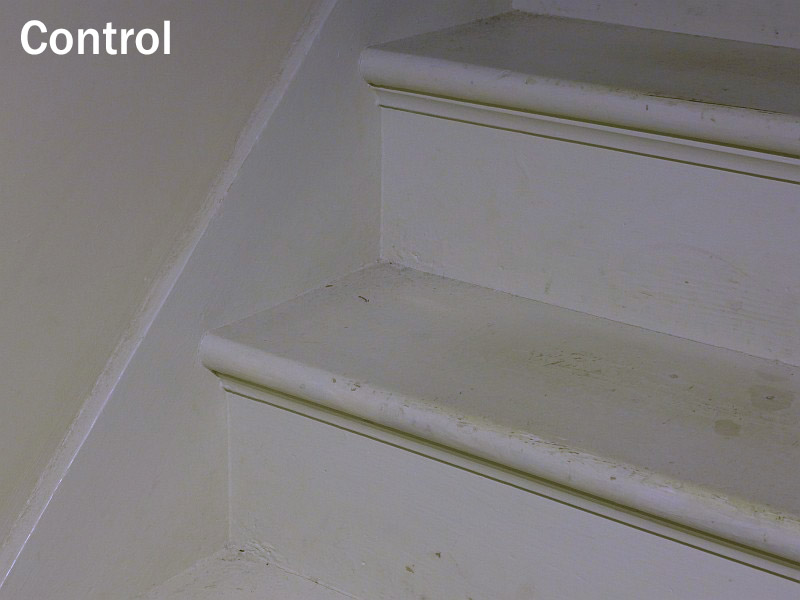
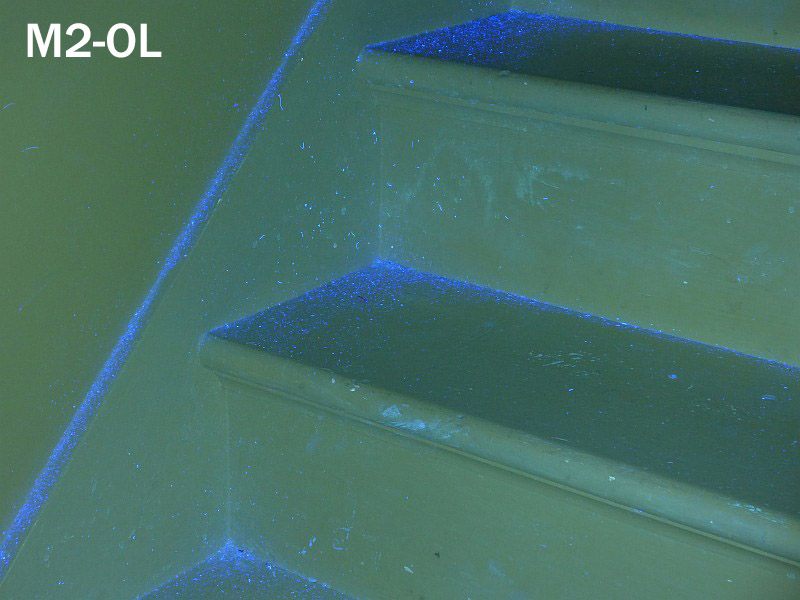
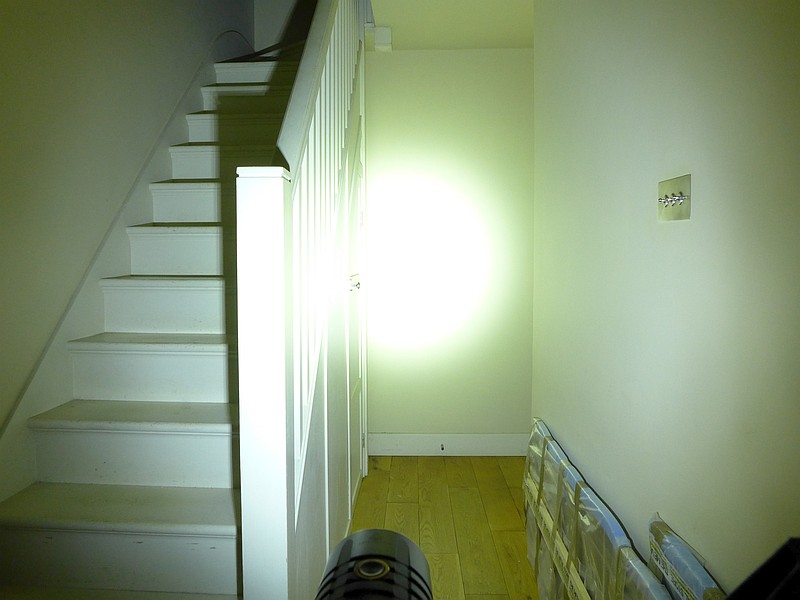
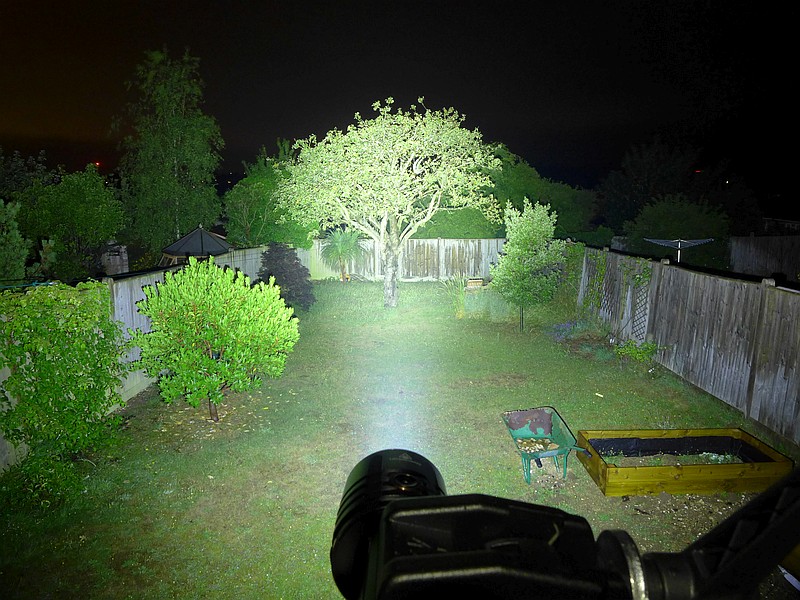
Please be careful not to judge tint based on images you see on a computer screen. Unless properly calibrated, the screen itself will change the perceived tint.
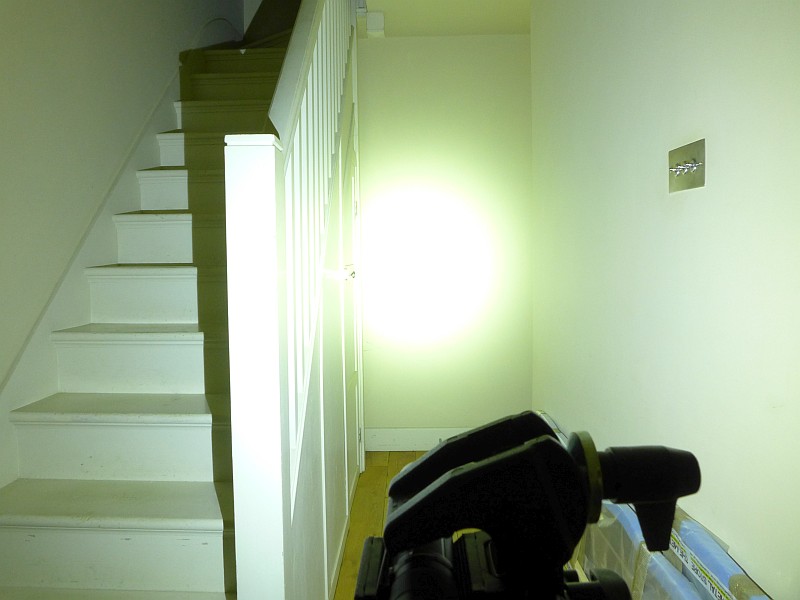
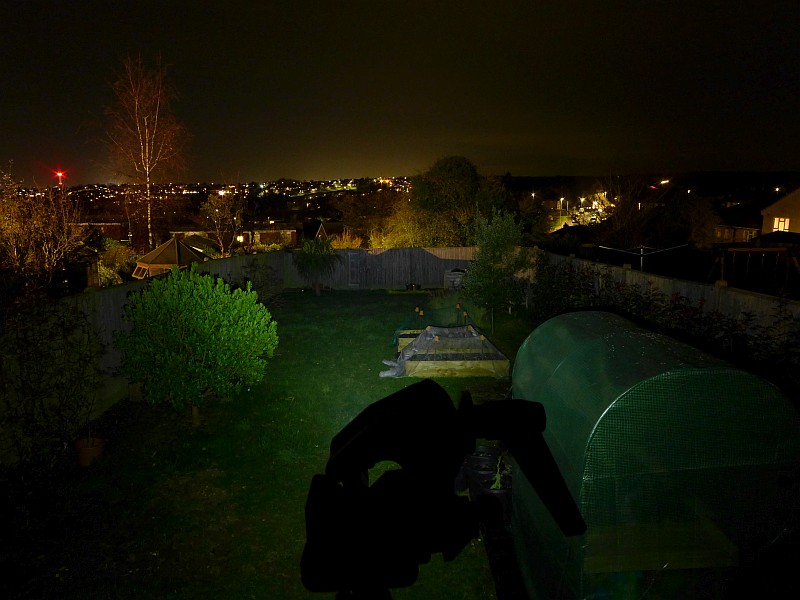
The indoor beamshot is intended to give an idea of the beam shape/quality rather than tint. All beamshots are taken using daylight white balance. The woodwork (stairs and skirting) are painted Farrow & Ball “Off-White”, and the walls are a light sandy colour called ‘String’ again by Farrow & Ball. I don’t actually have a ‘white wall’ in the house to use for this, and my wife won’t have one!
The beamshots are divided into two sets with the indoor and outdoor beams for a more direct comparison. In the indoor set the E03R is first shown with the red beam and then onto the E03R white followed by E28R and E35 V3.0. The same order (minus the red) is used for the outdoor beams.


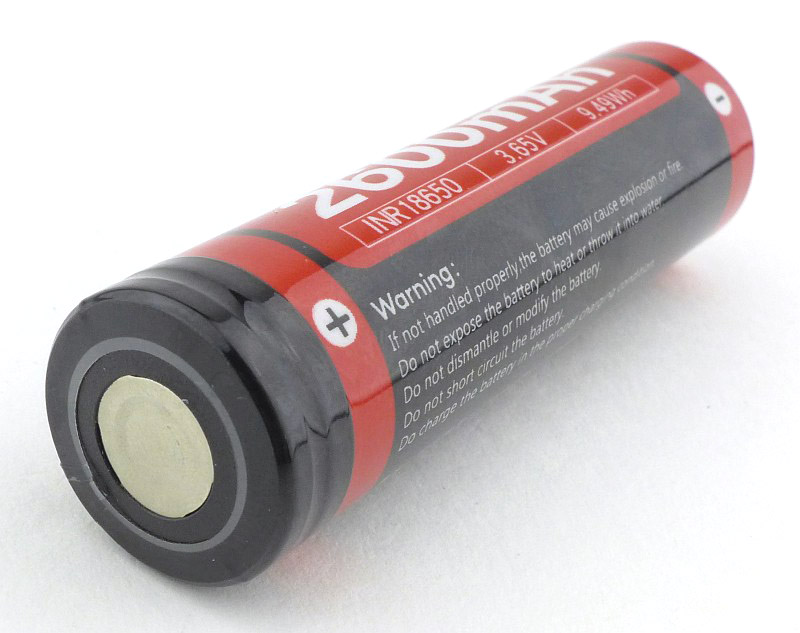
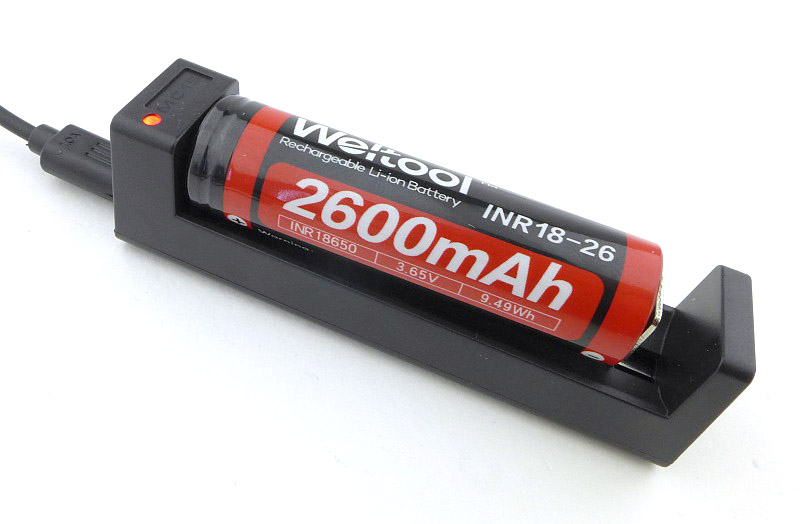
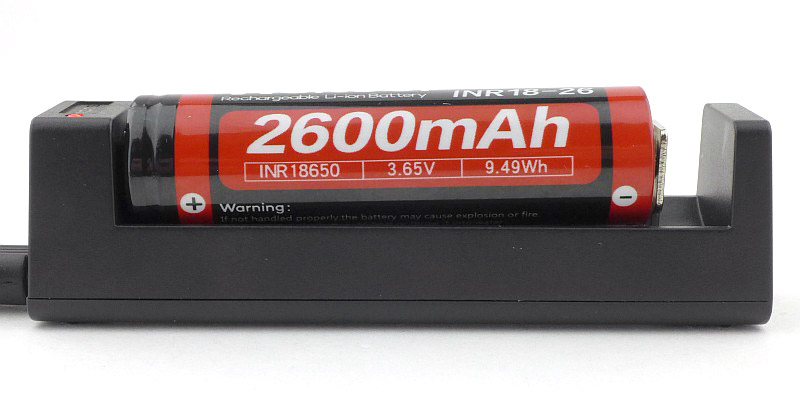
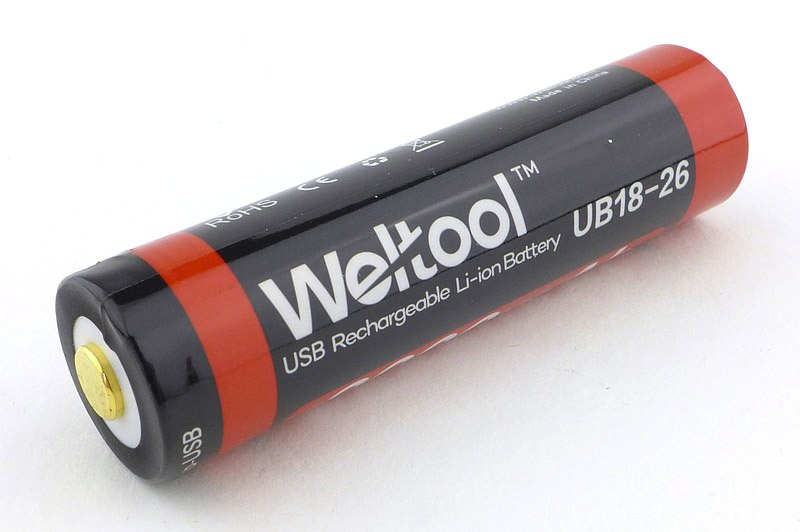
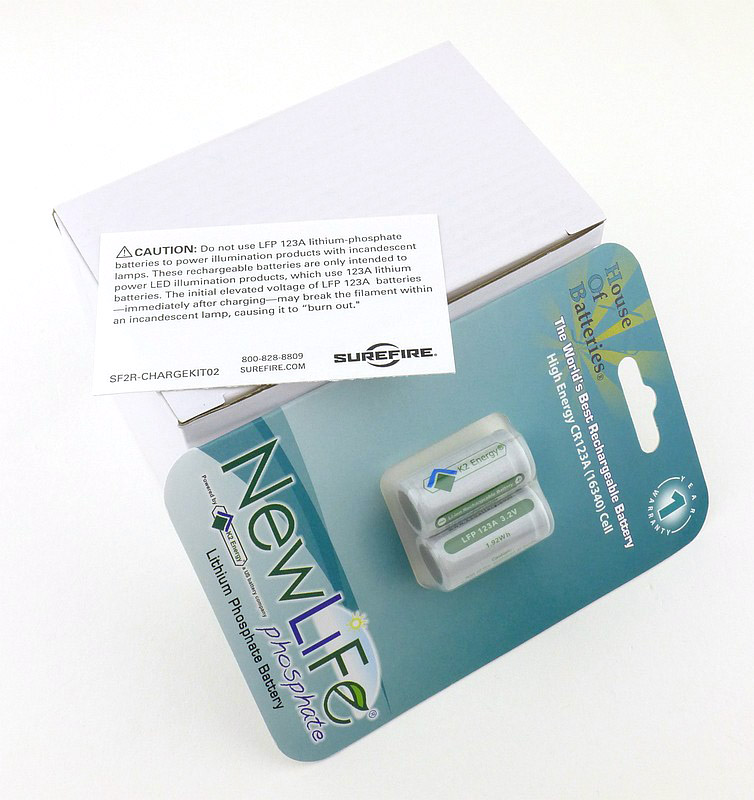
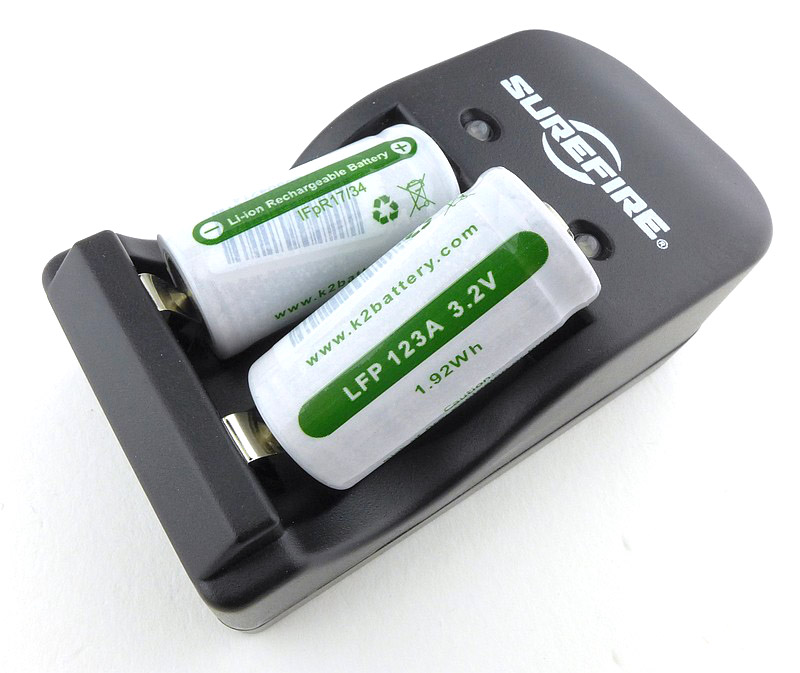
Batteries and output:
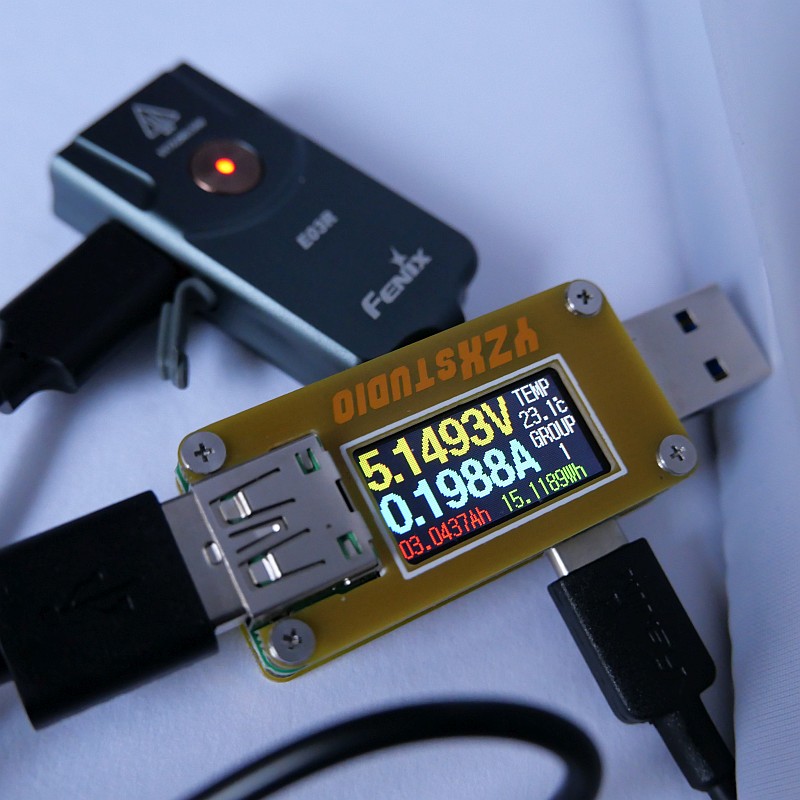
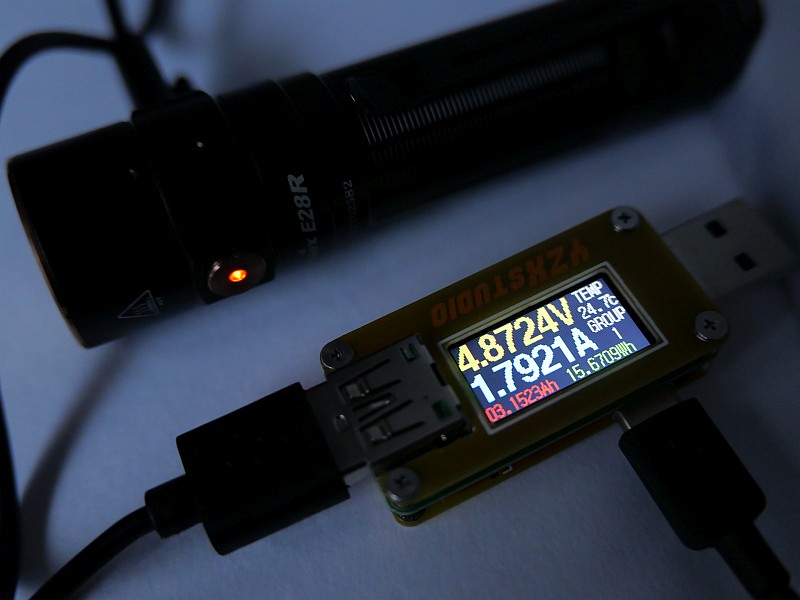
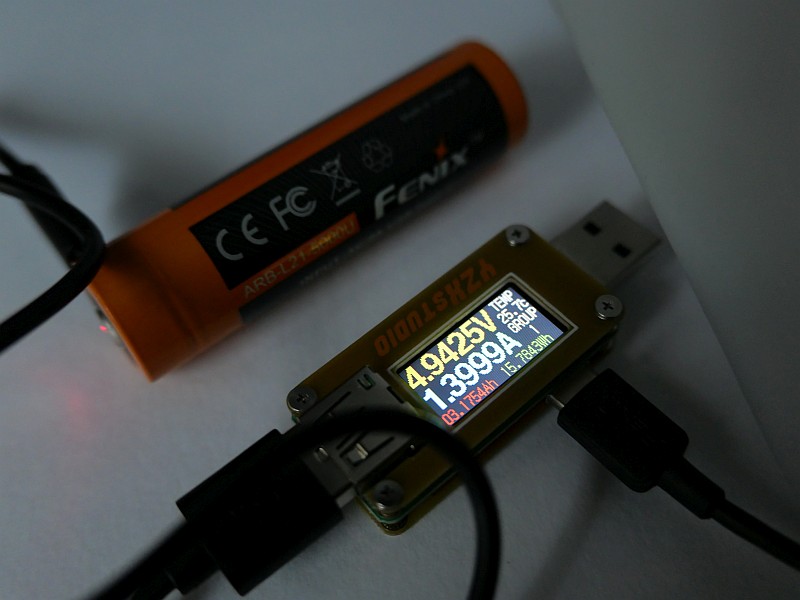
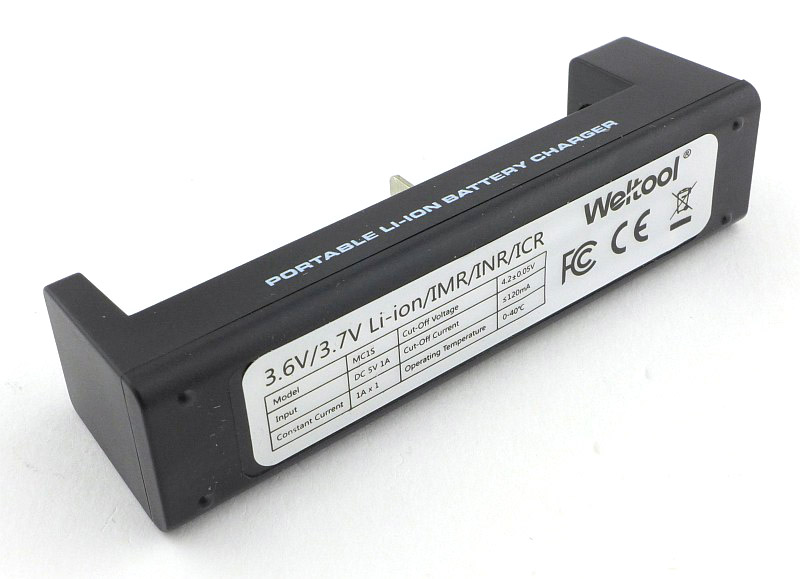
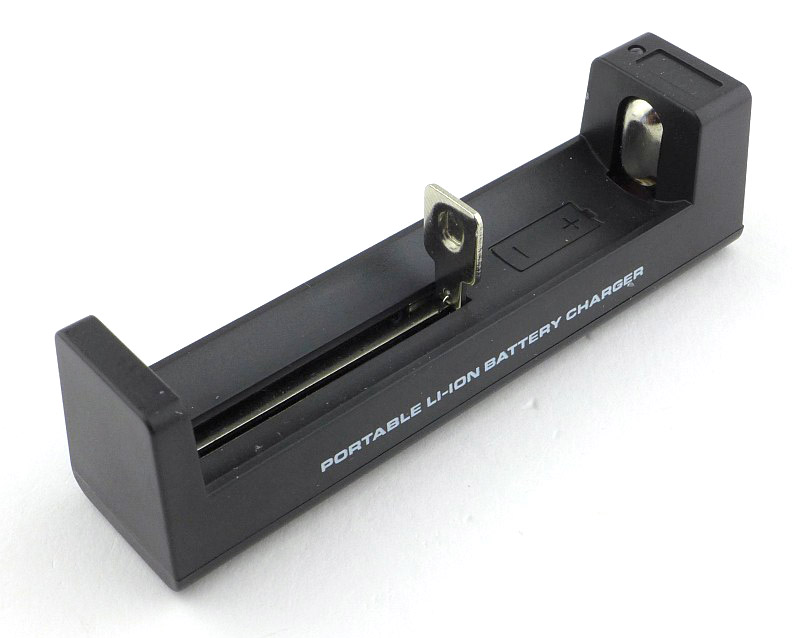
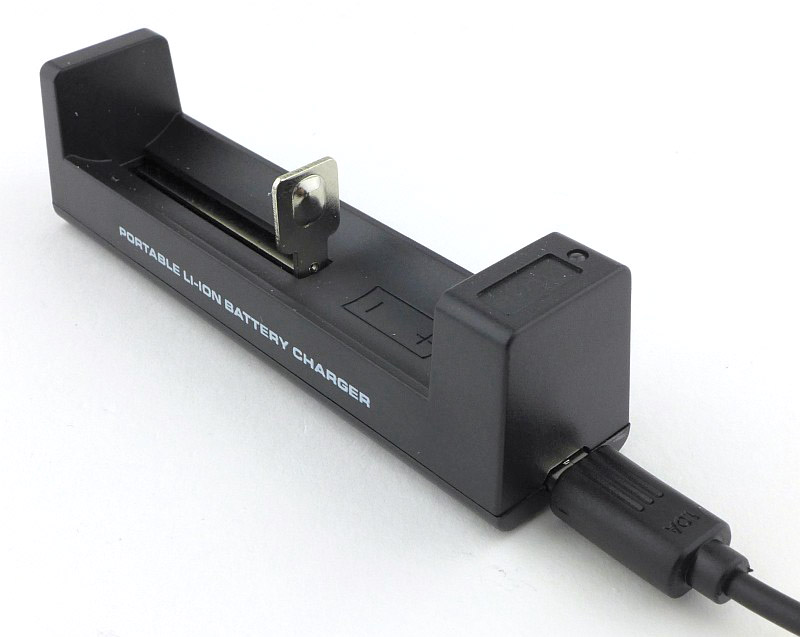
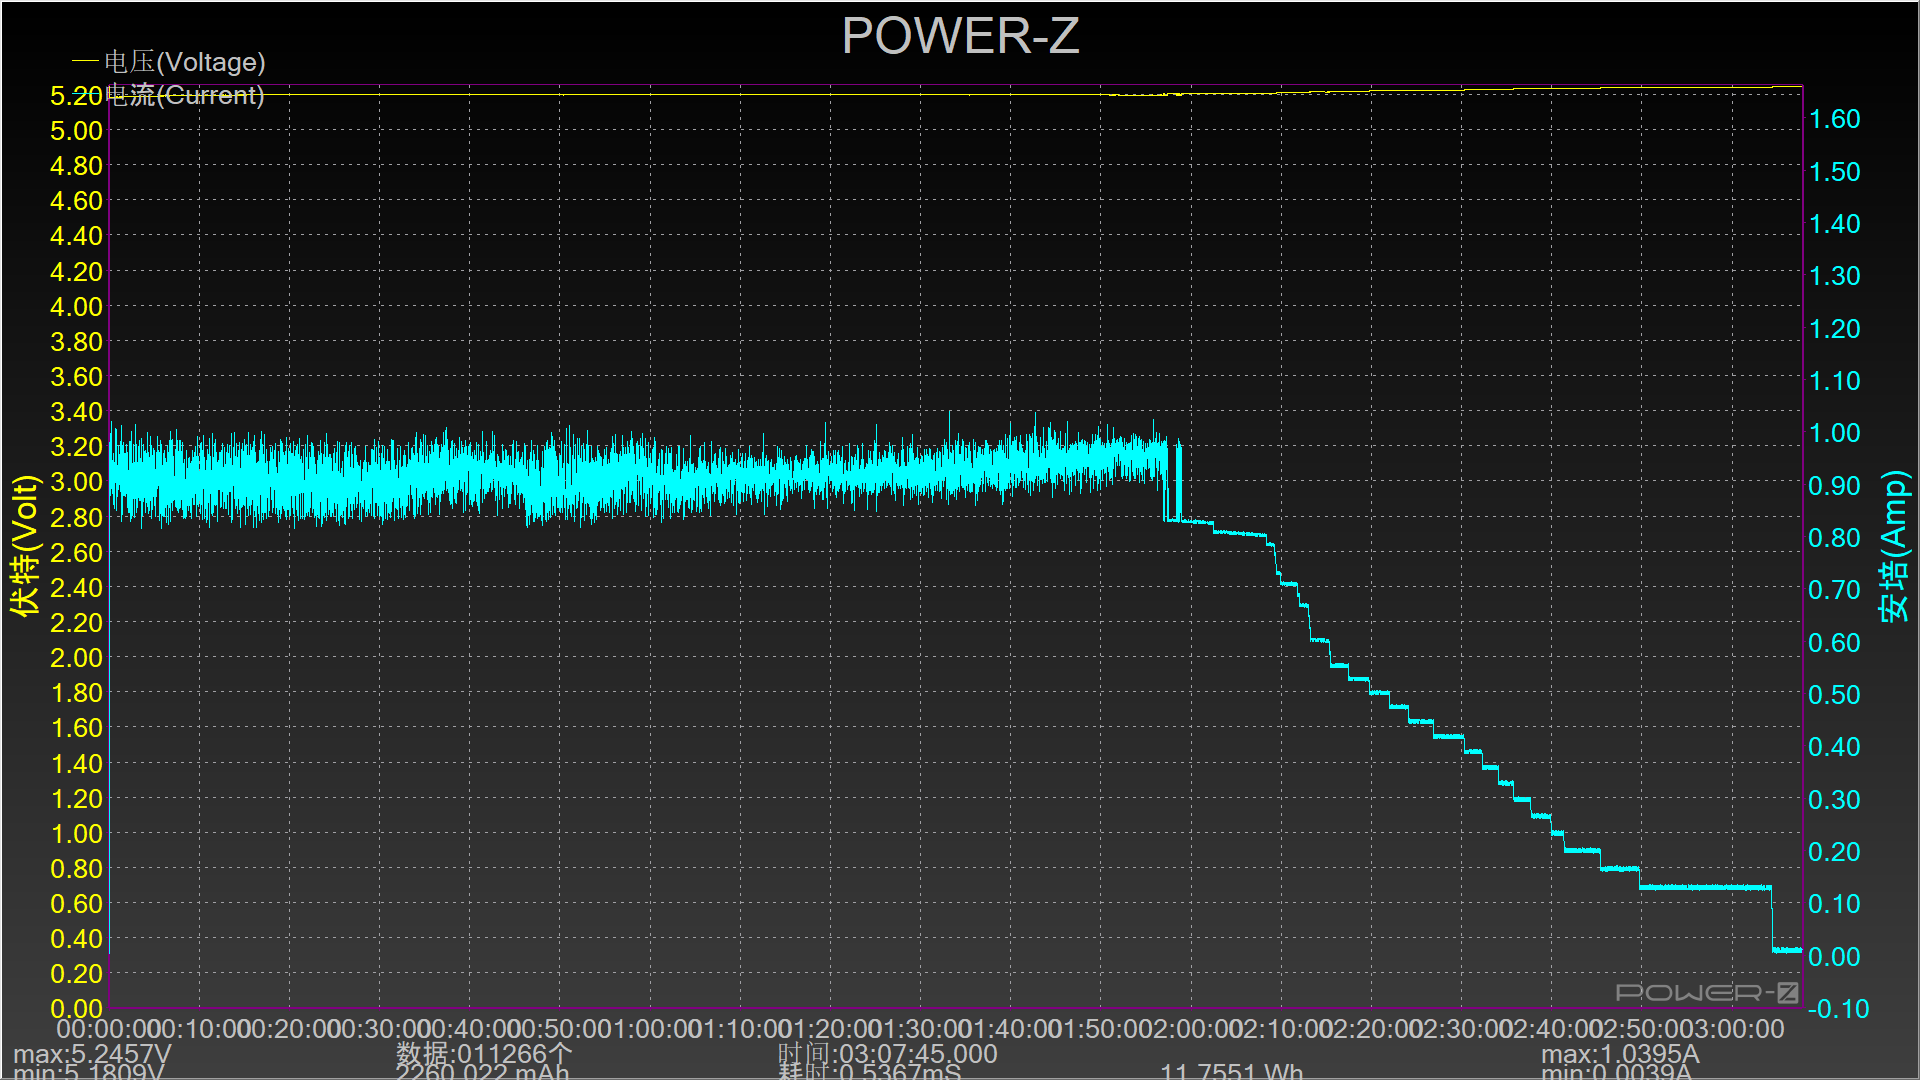
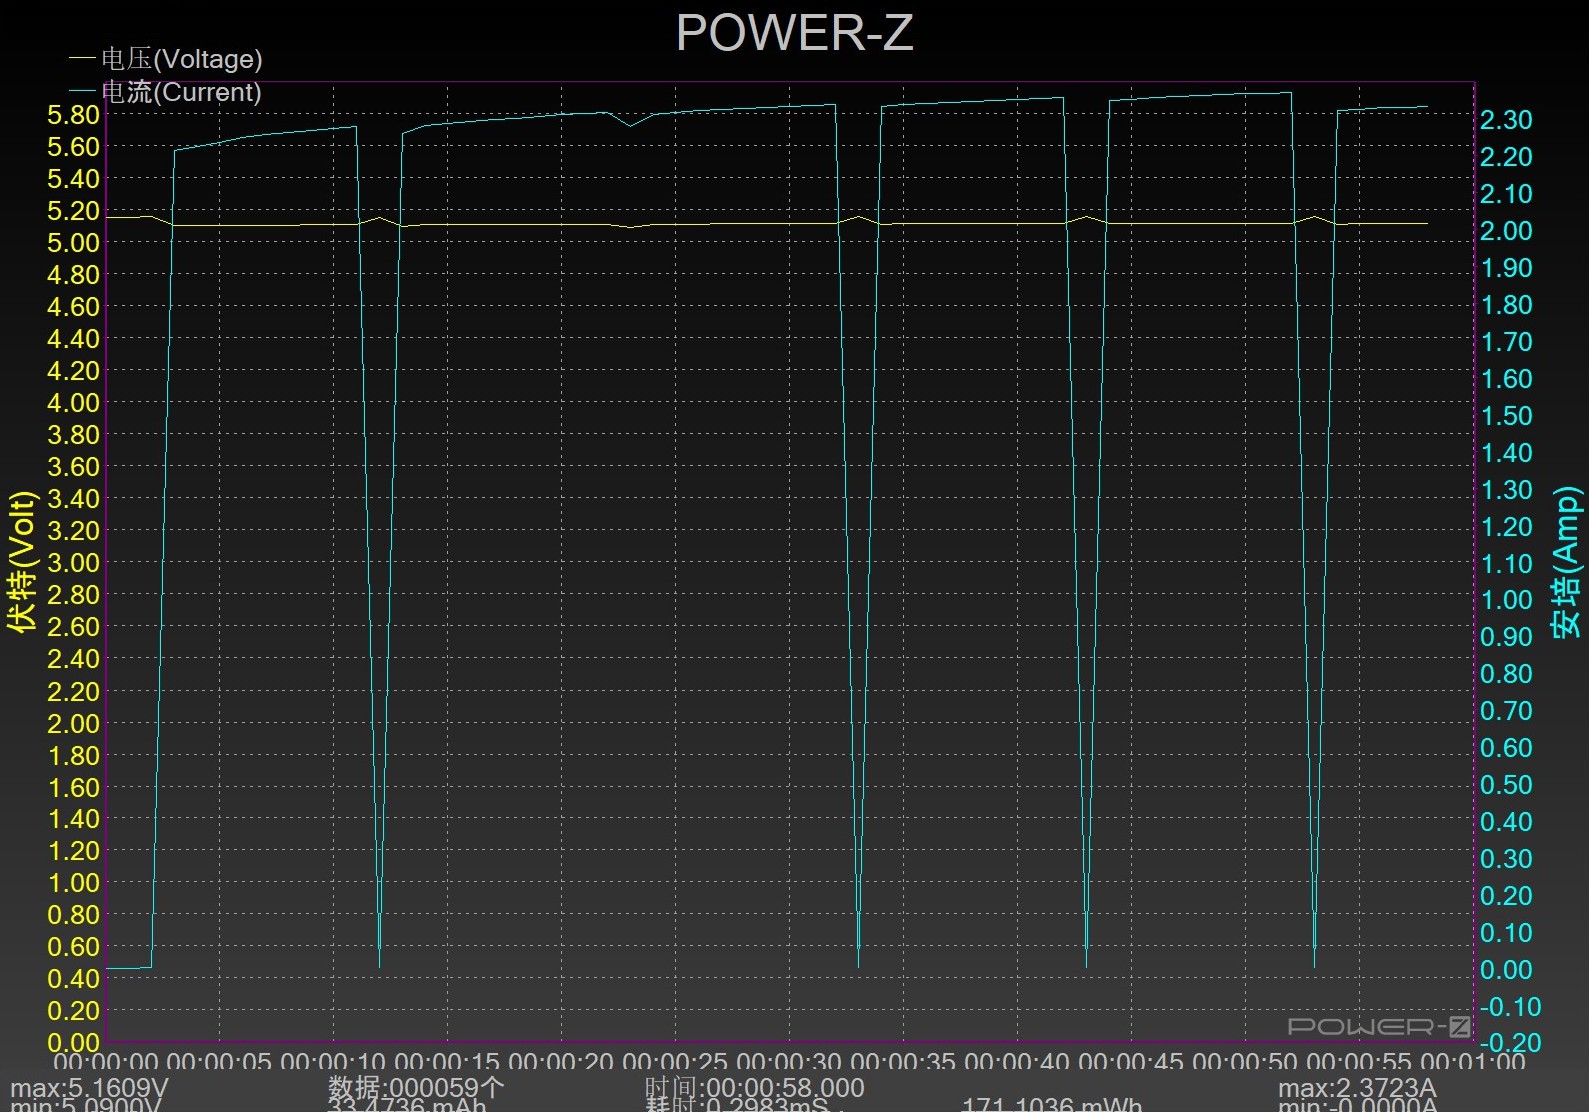
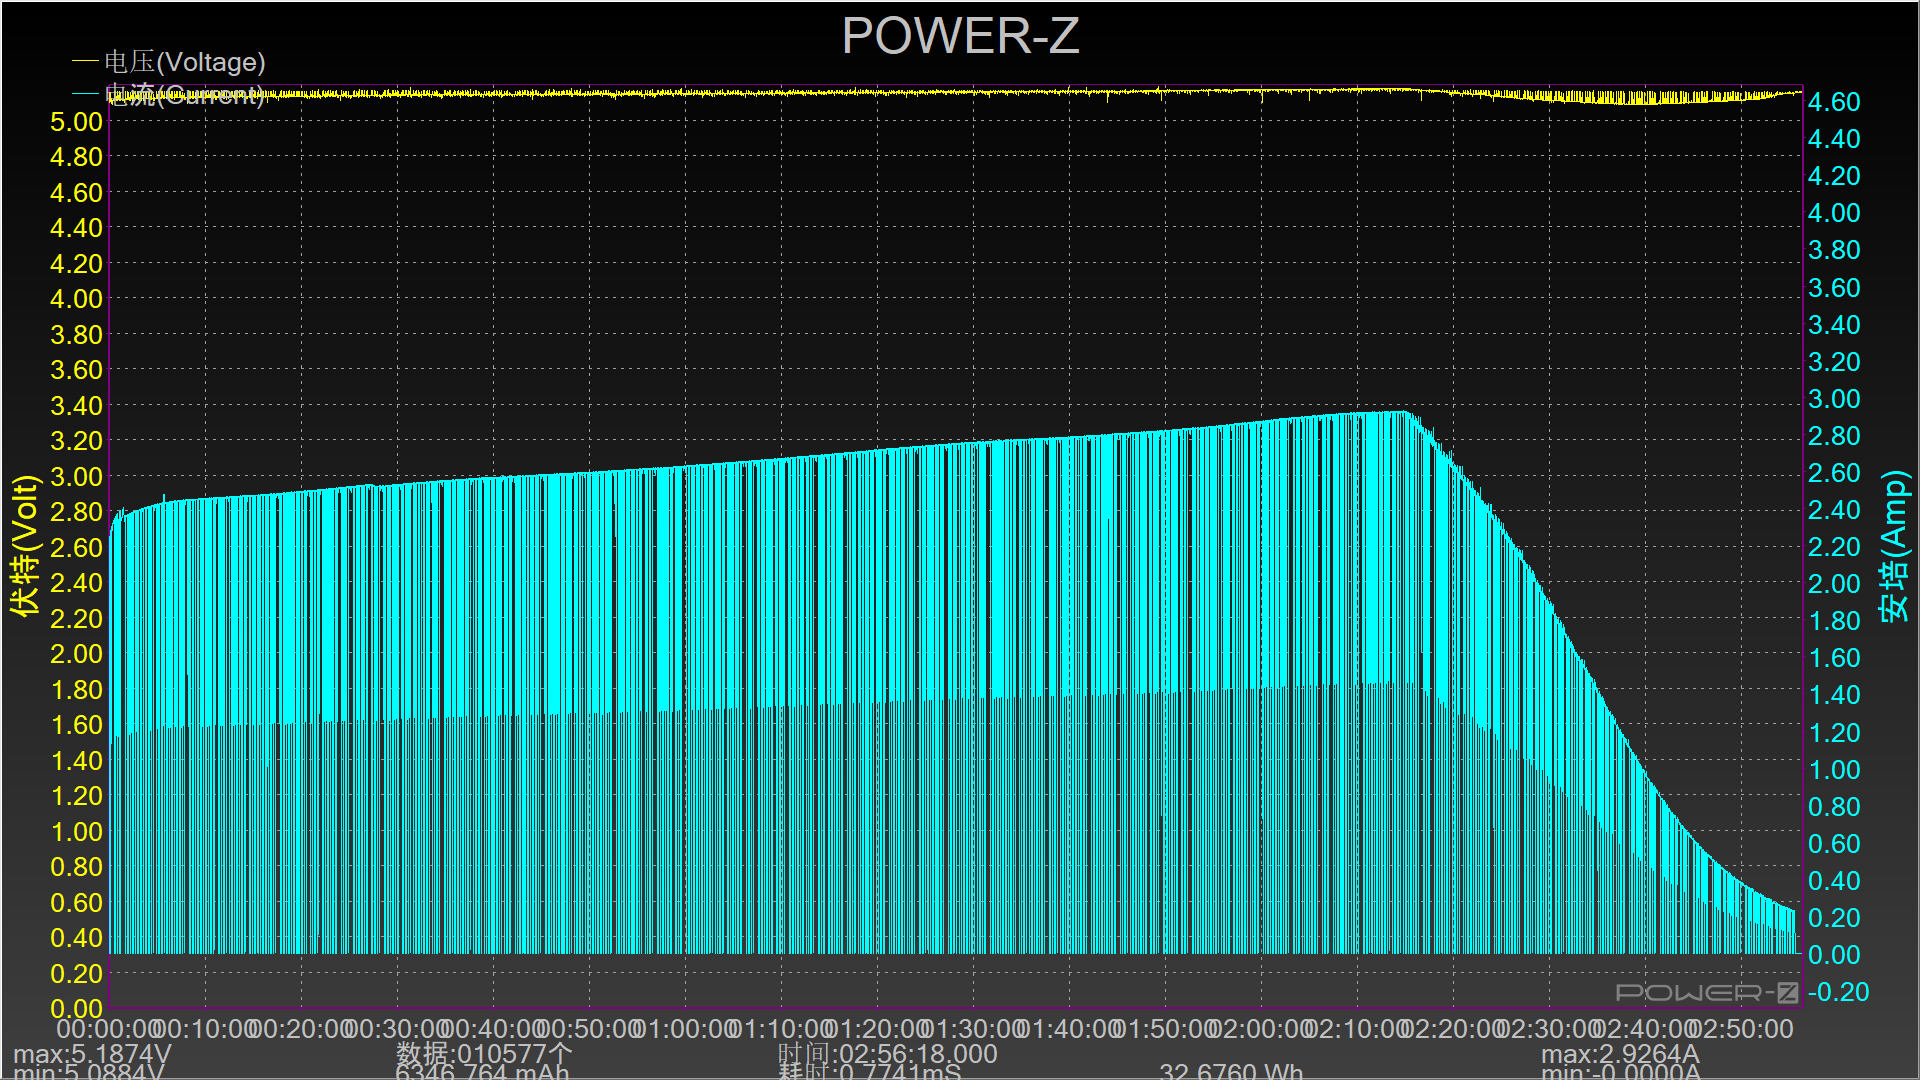
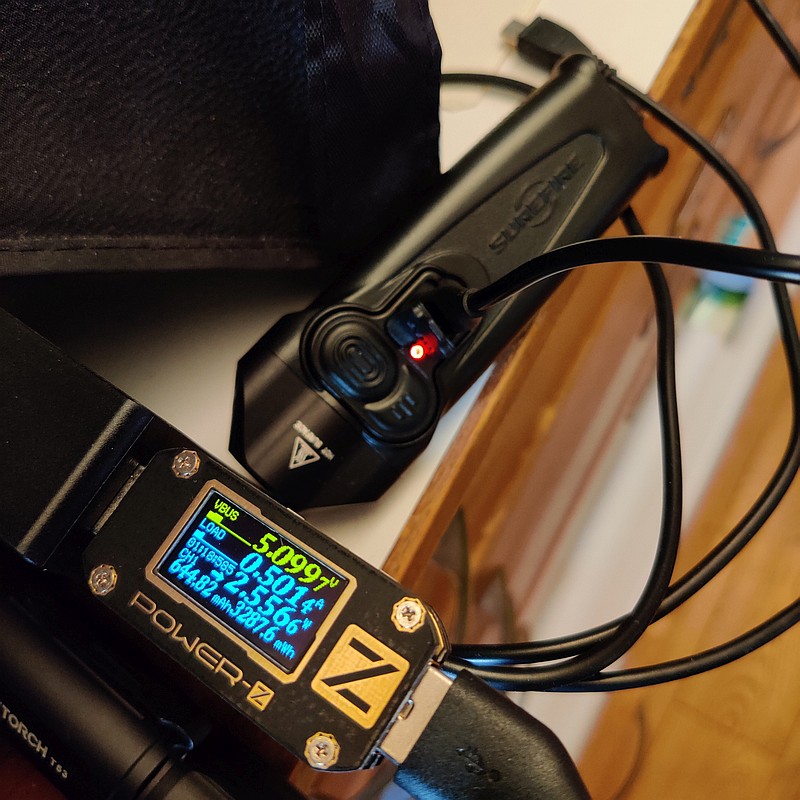
This gallery shows the measured charging current for the E03R, the E28R built-in charging, and the USB-chargeable cell supplied with the E35.
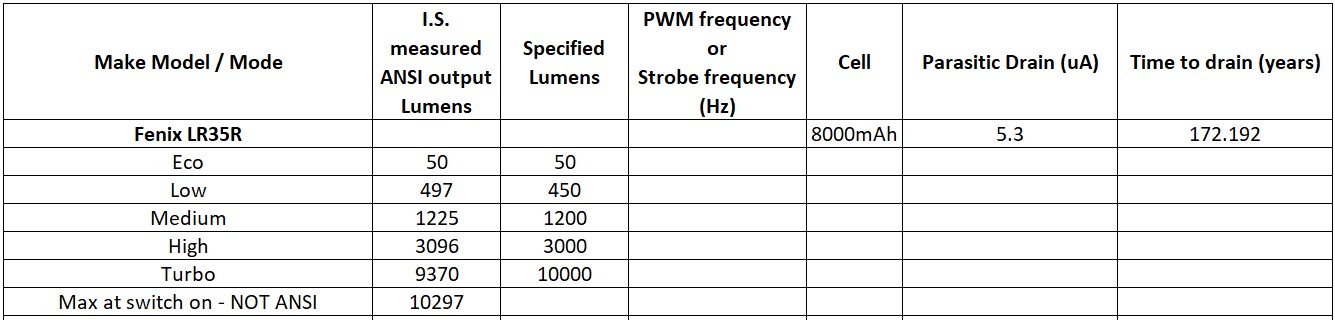
Please note, all quoted lumen figures are from a DIY integrating sphere, and according to ANSI standards. Although every effort is made to give as accurate a result as possible, they should be taken as an estimate only. The results can be used to compare outputs in this review and others I have published.
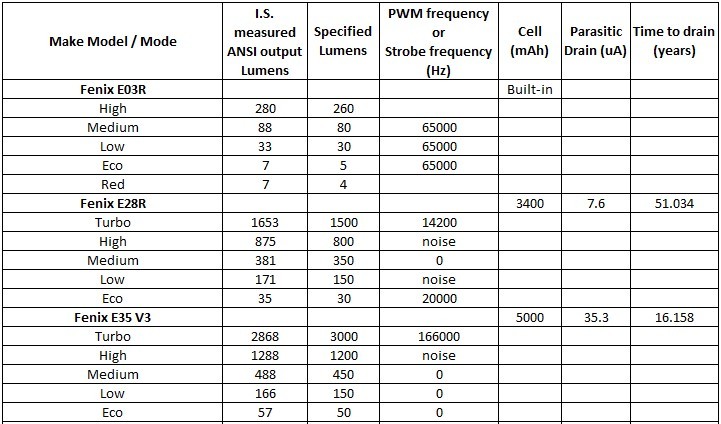
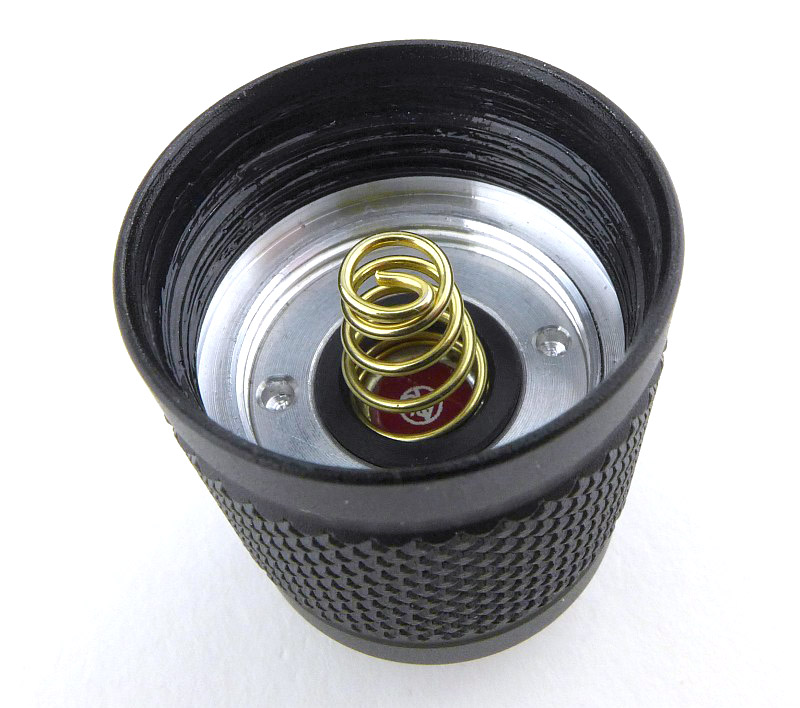
Parasitic drain of the E03R cannot be measured.
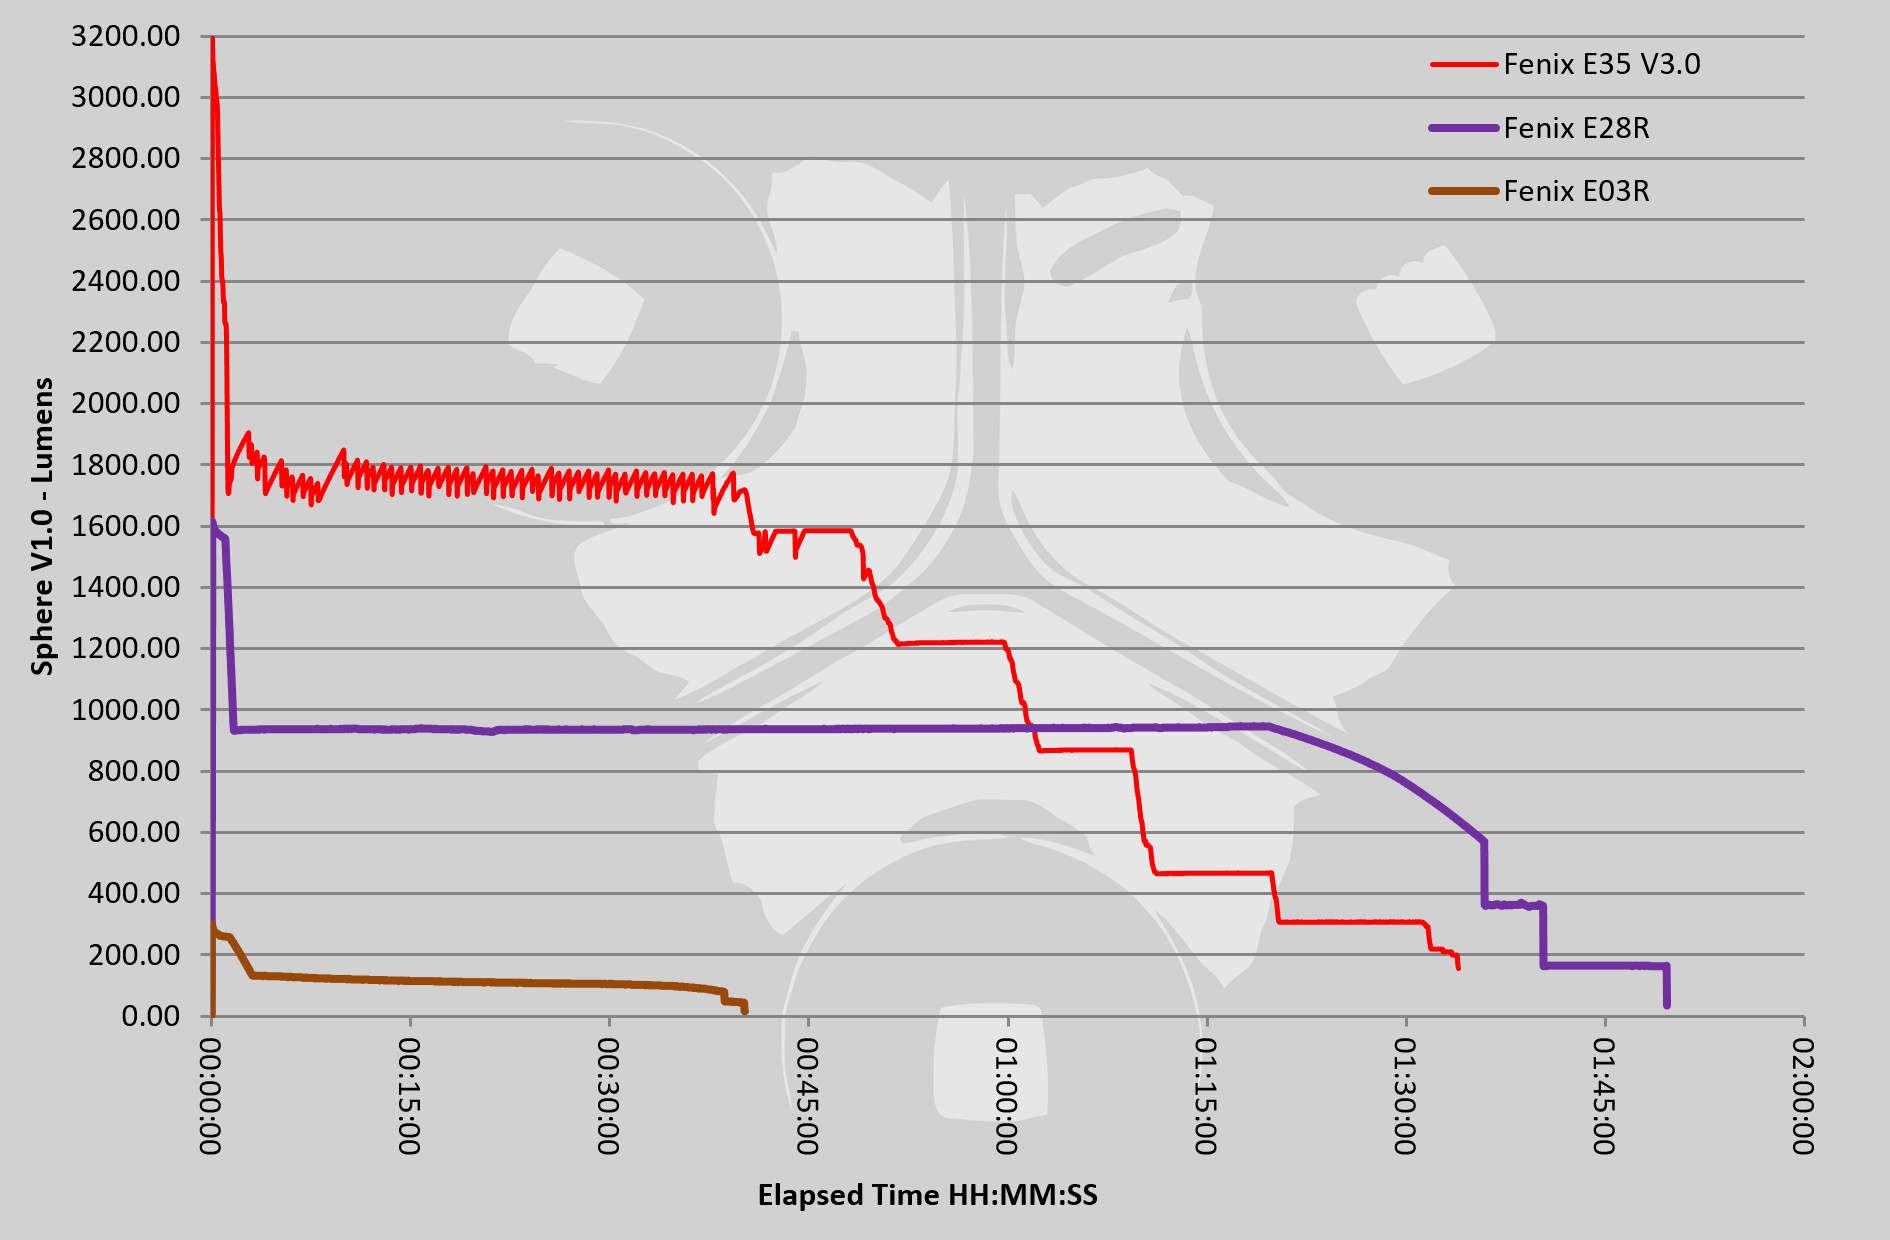
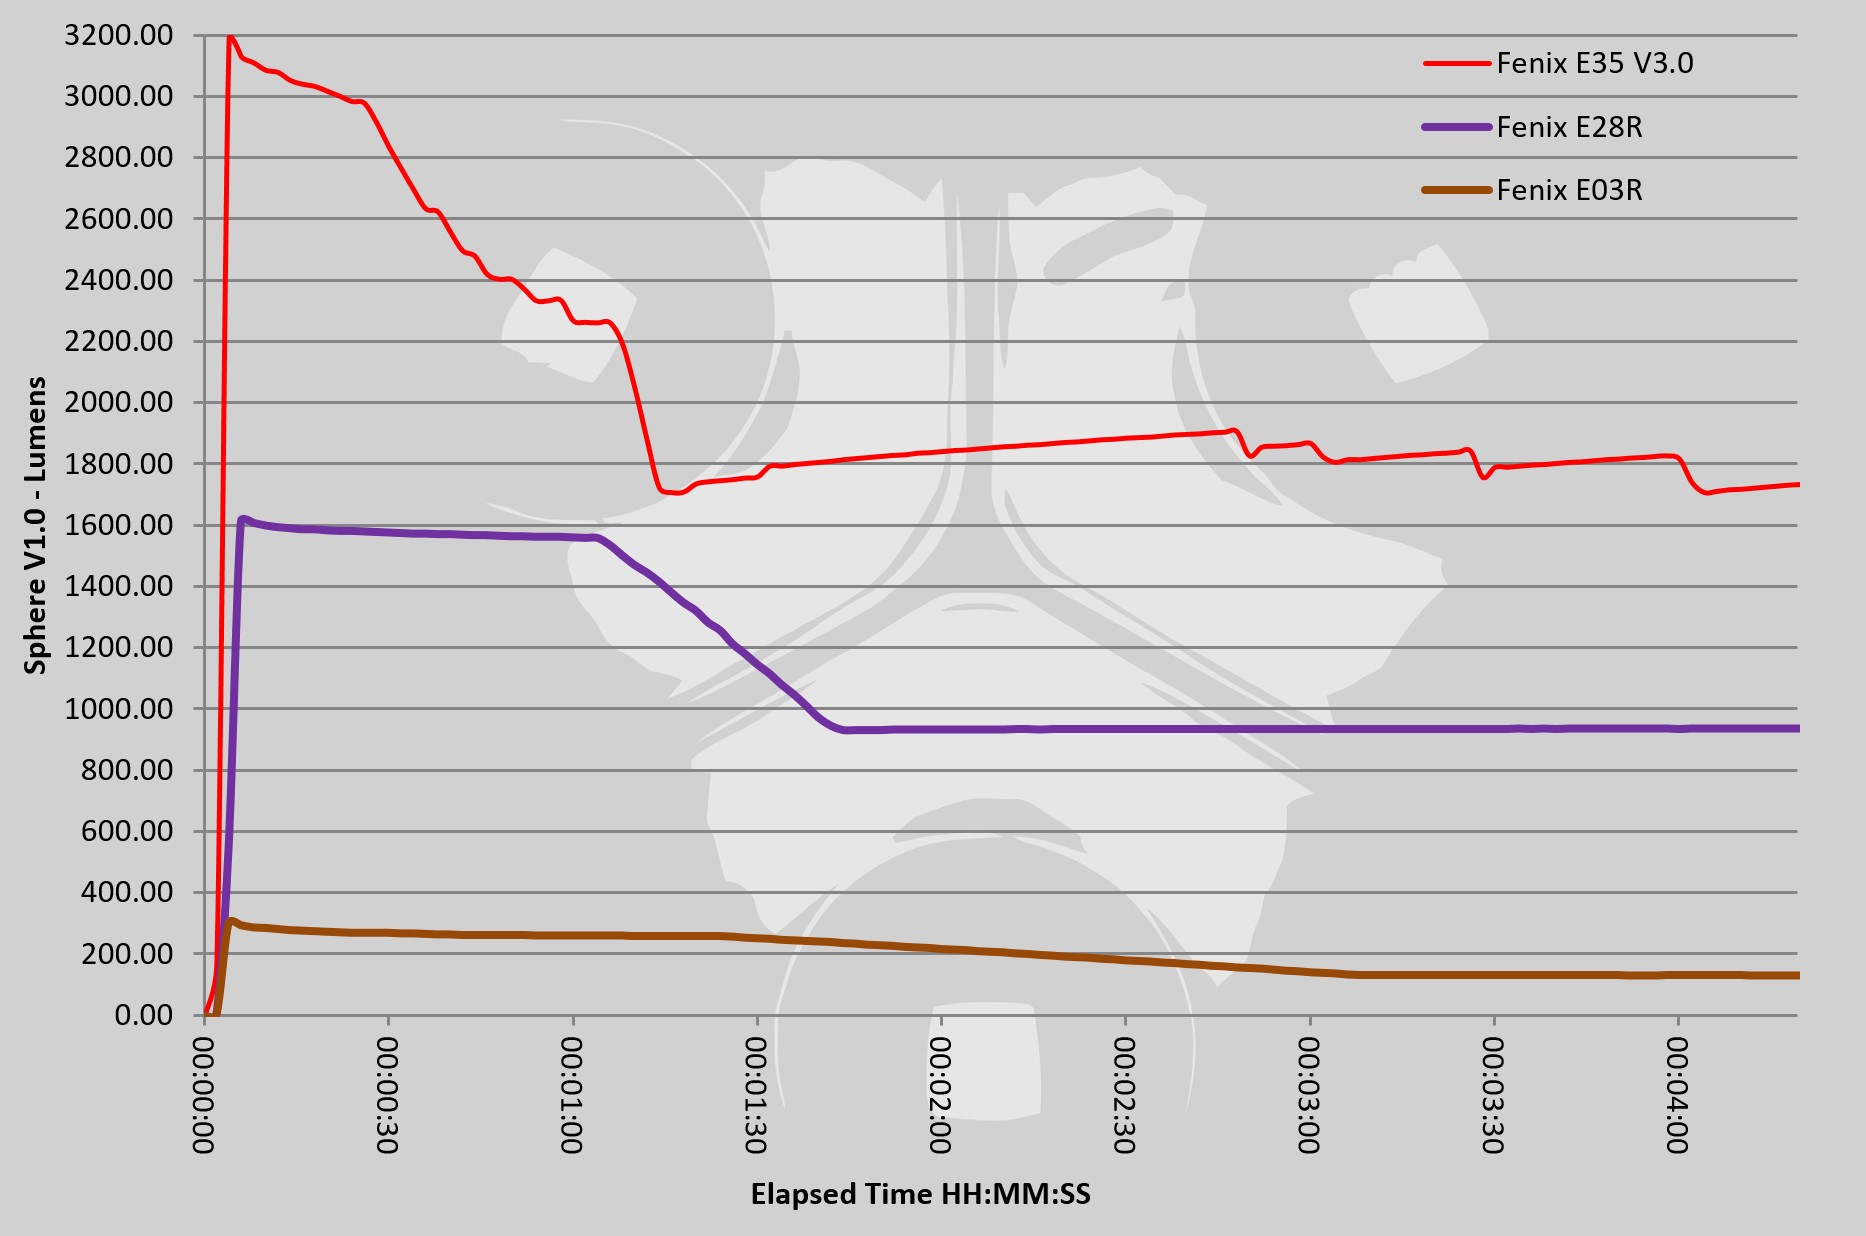
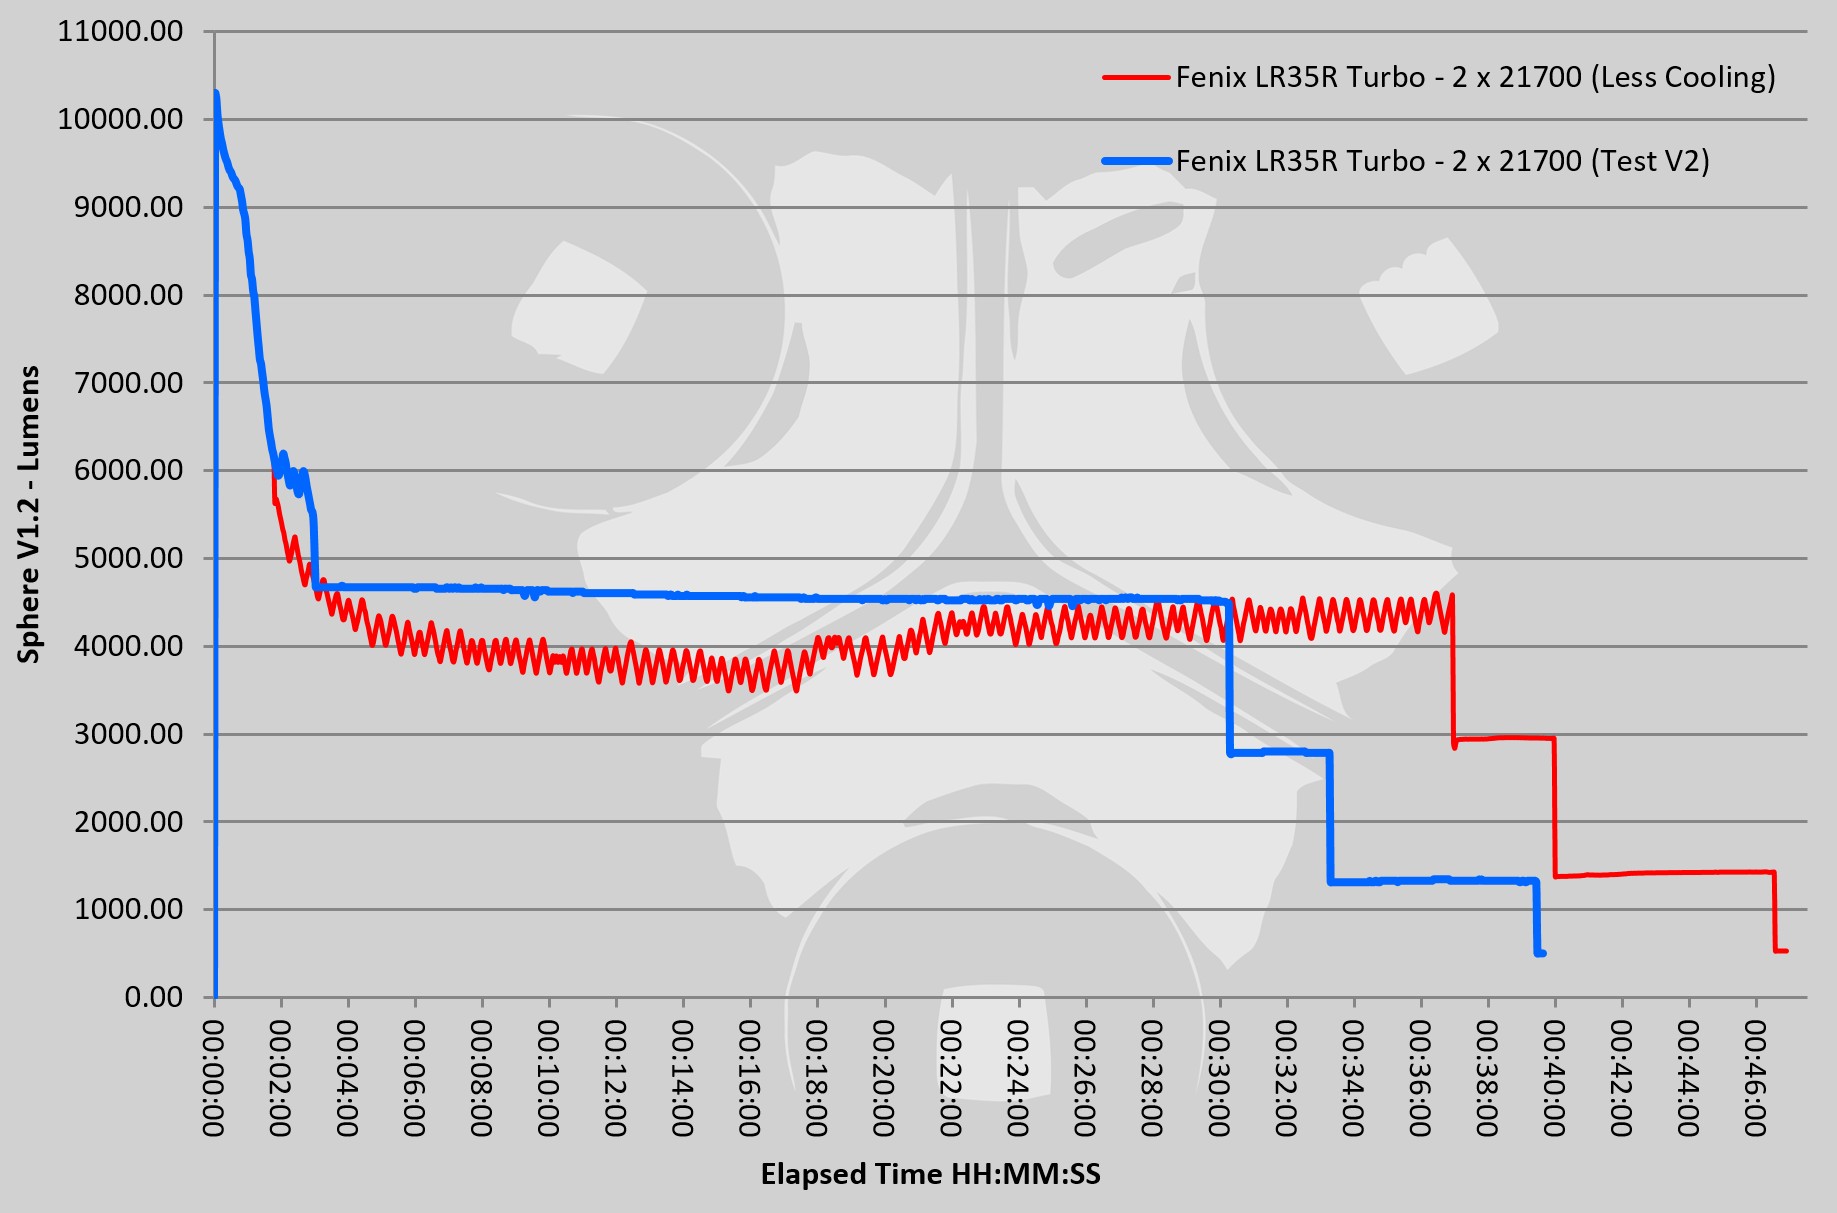
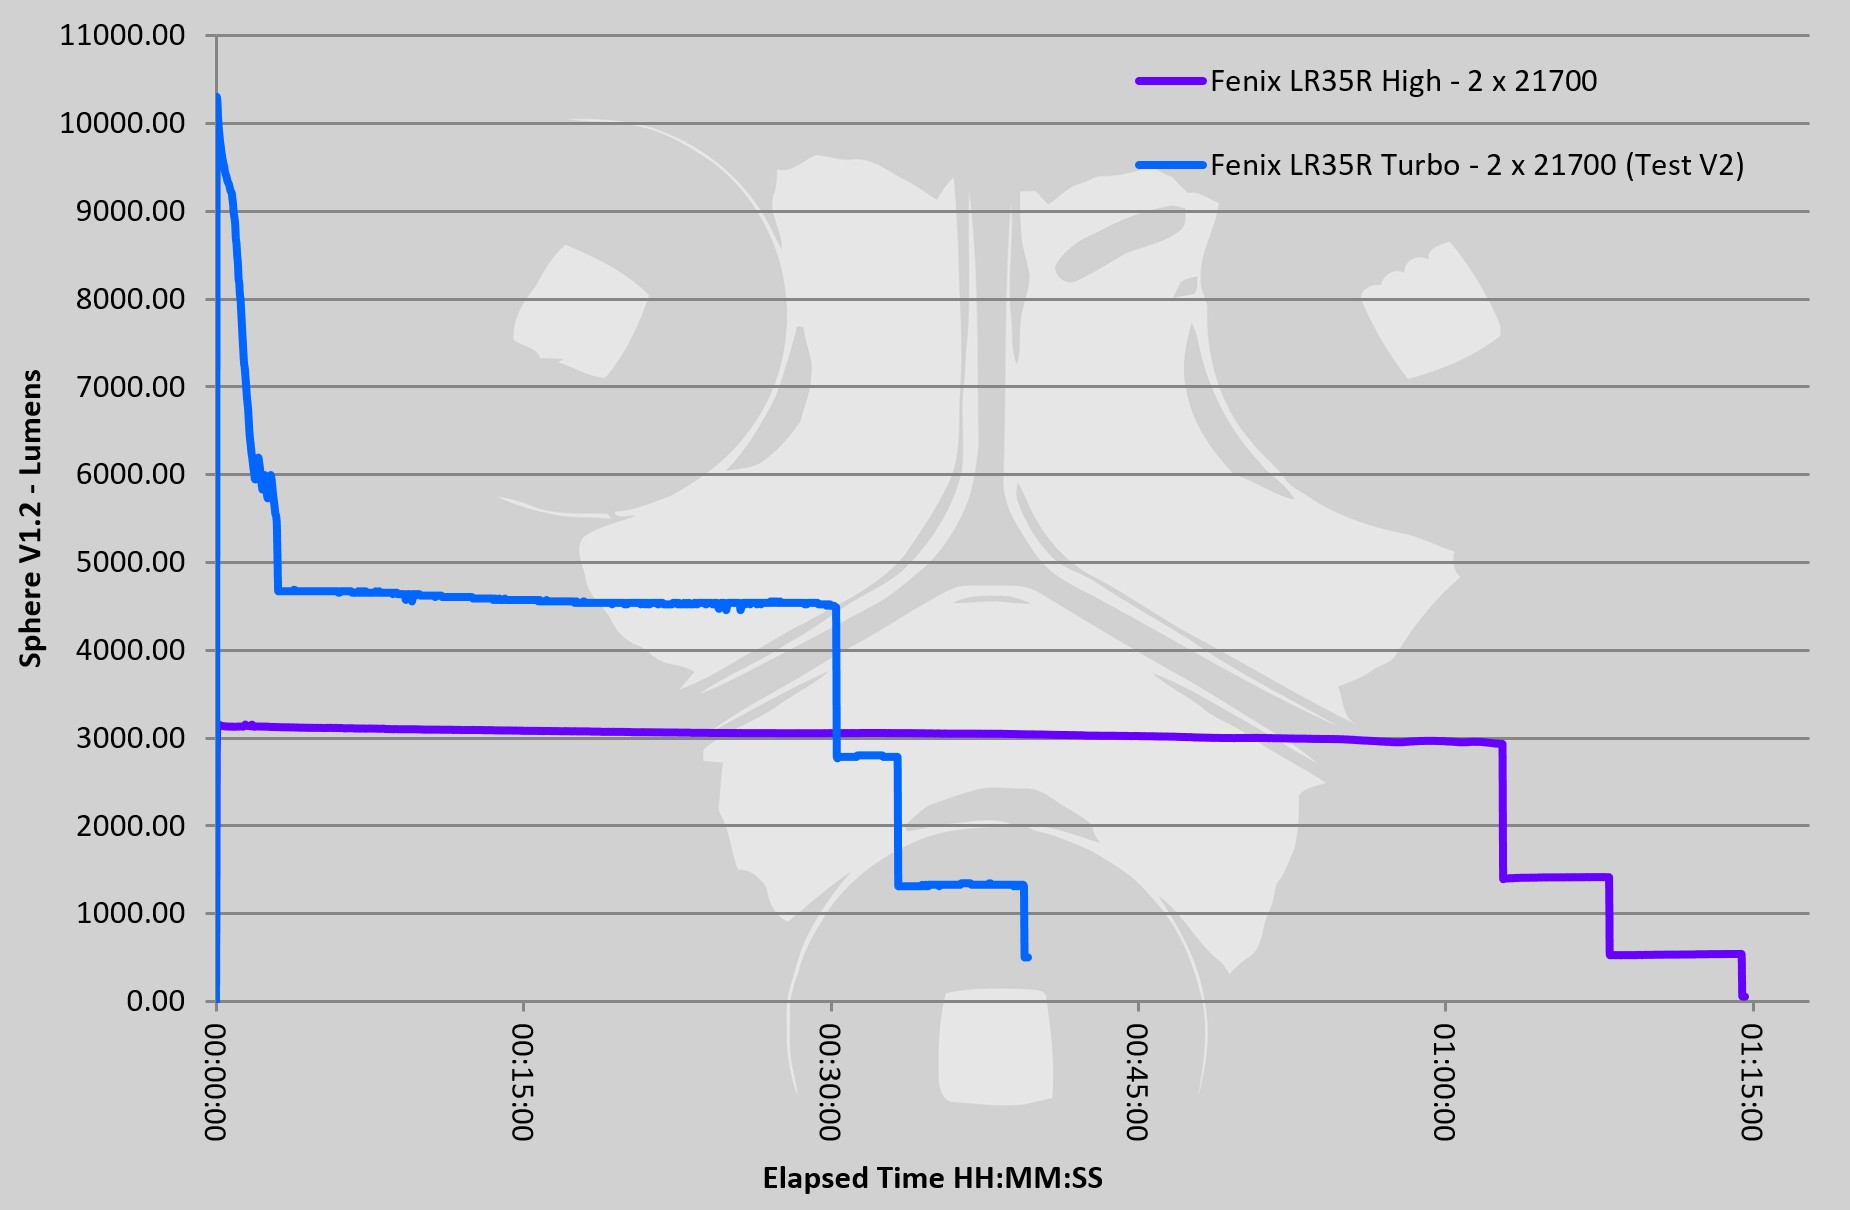
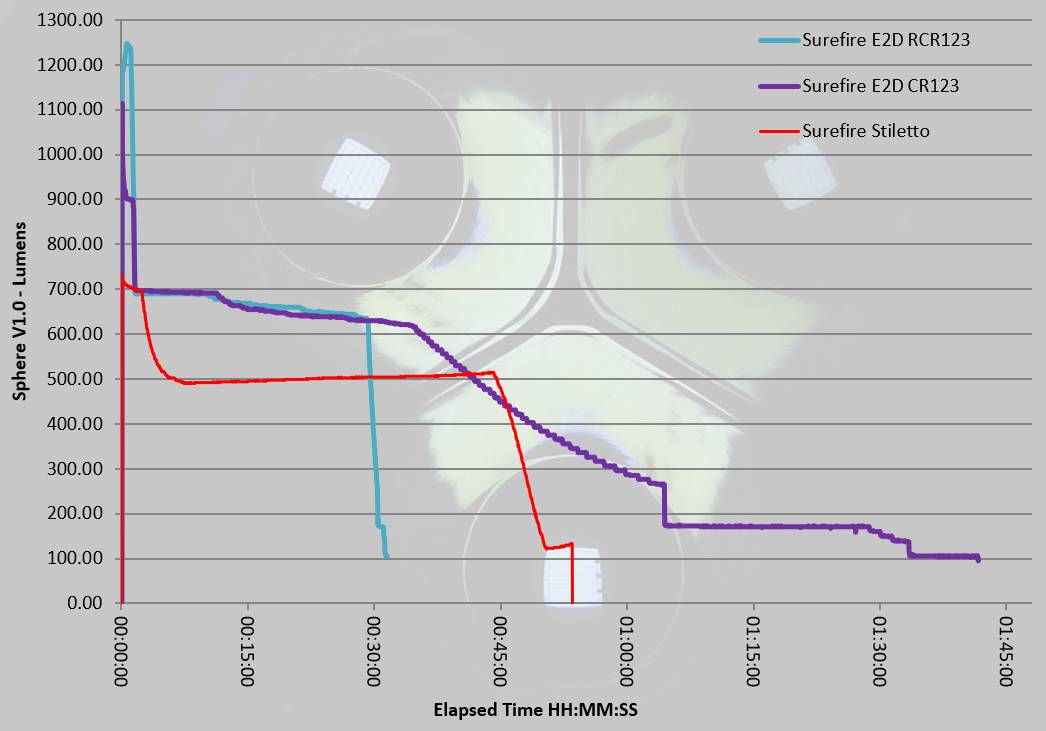
This gallery has two runtime graphs. the first shows all three lights together for the entire ANSI run, the second is just to show the first few minutes of the run.
The E35 is showing clear thermal regulation as it hovers around the 1800lm mark.
Troubleshooting
This section is included to mention any minor niggles I come across during testing, in case the information helps anyone else.
The E28R displays a slight flicker in the main beam once the cell has reached a low enough level that the red switch warning flash is shown. At this point the output is very low and the cell needs to be recharged. The output is still usable but the flicker noticeable. As long as the low battery warning is not displayed this does not happen.
As per the description of this section, this information is provided in case anyone else finds a similar ‘issue’ that might be fixed in the same way.
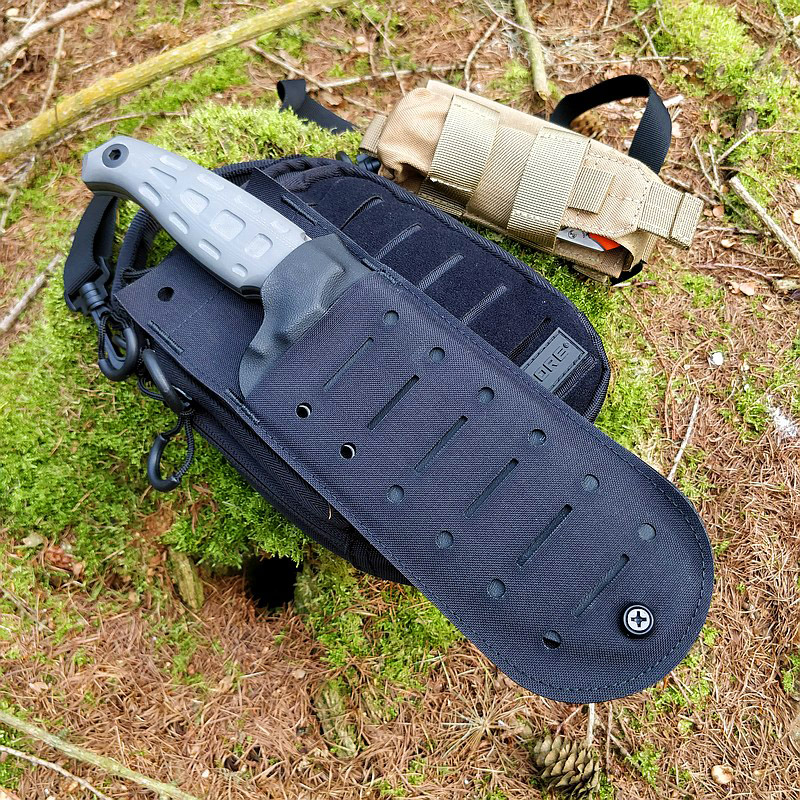
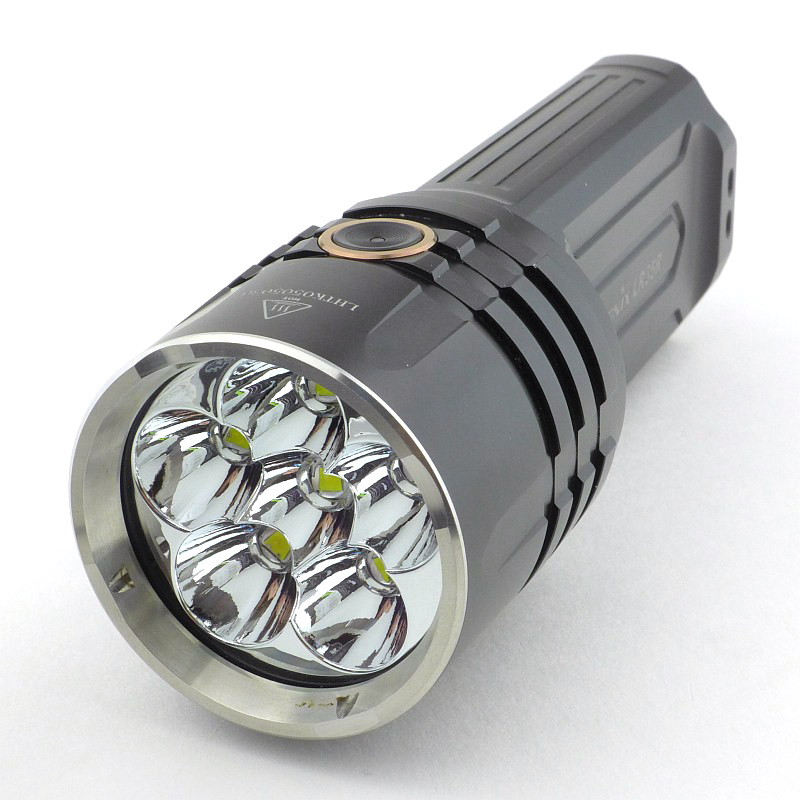
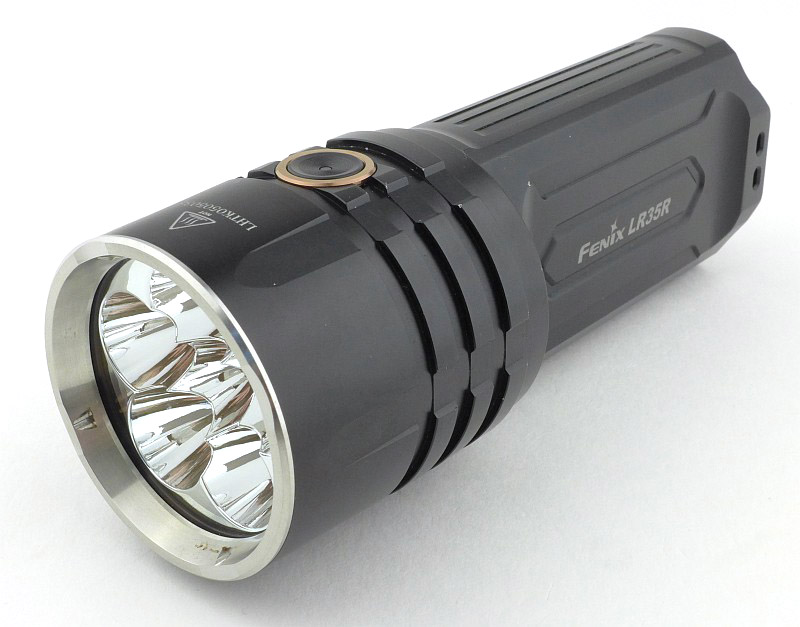
The E03R, E28R and E35 V3.0 in use
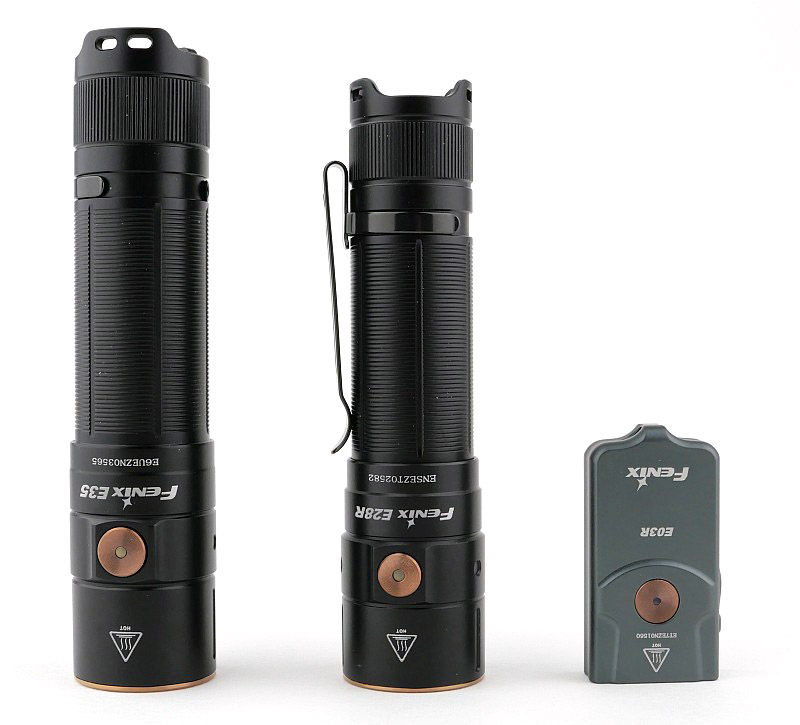
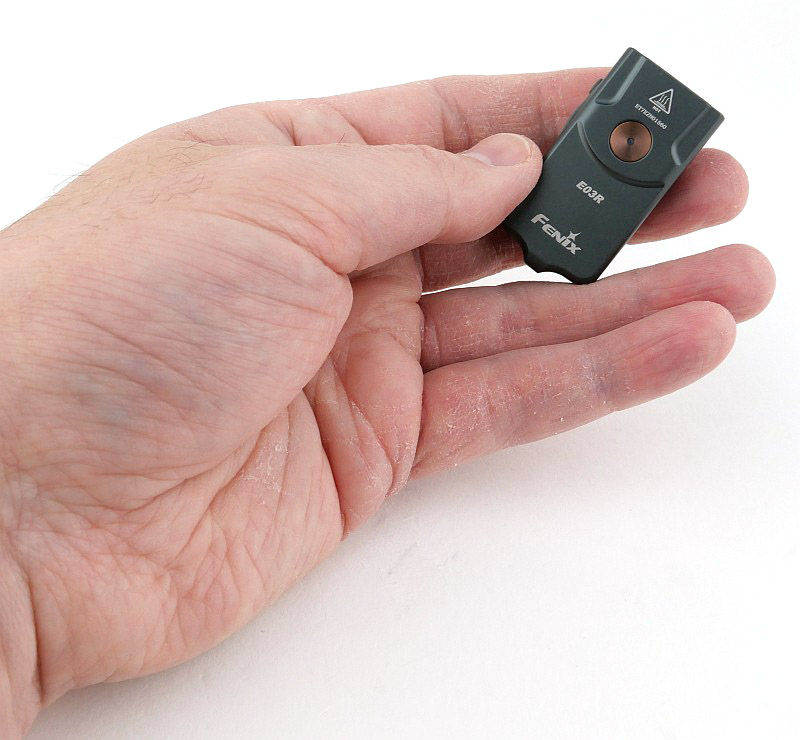
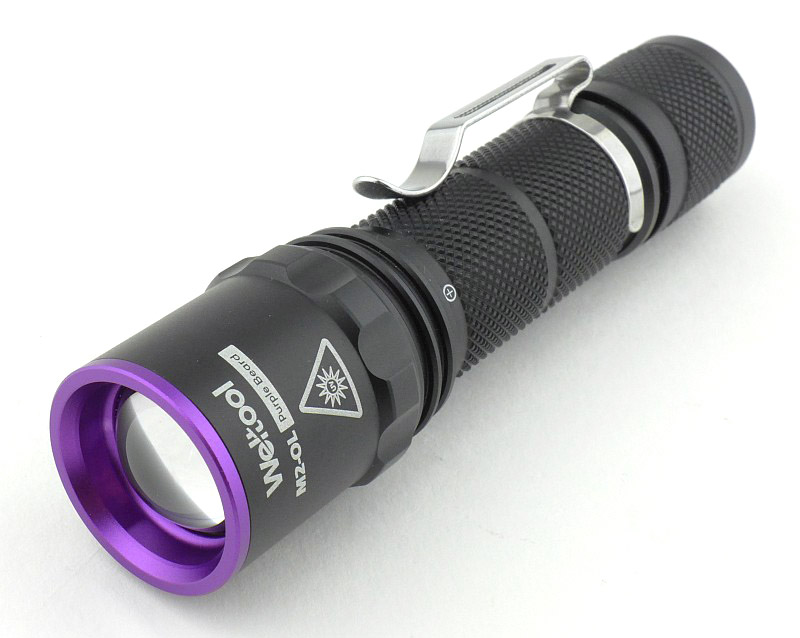
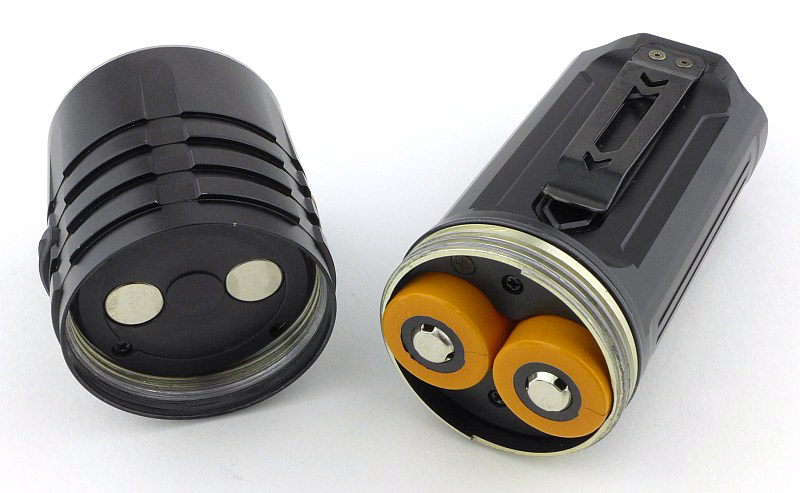
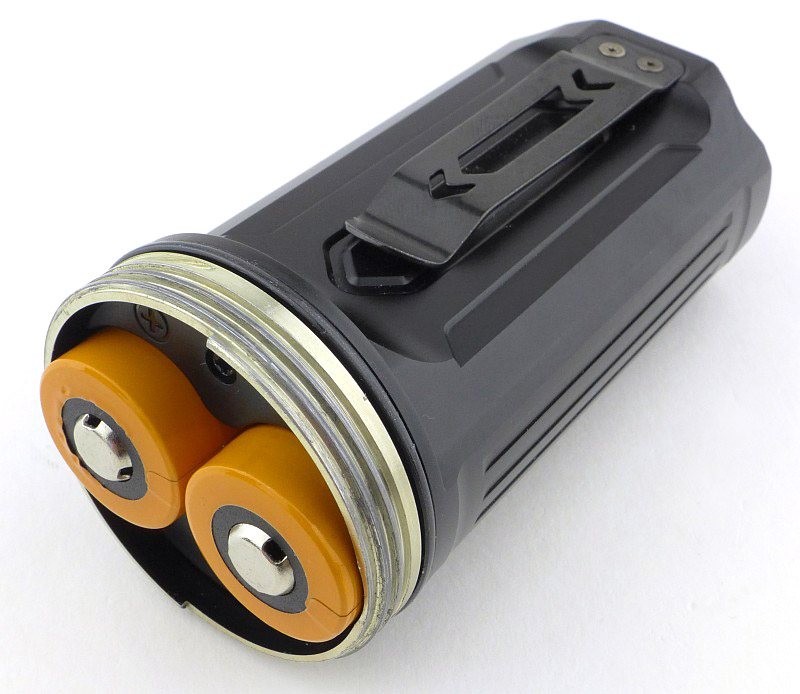
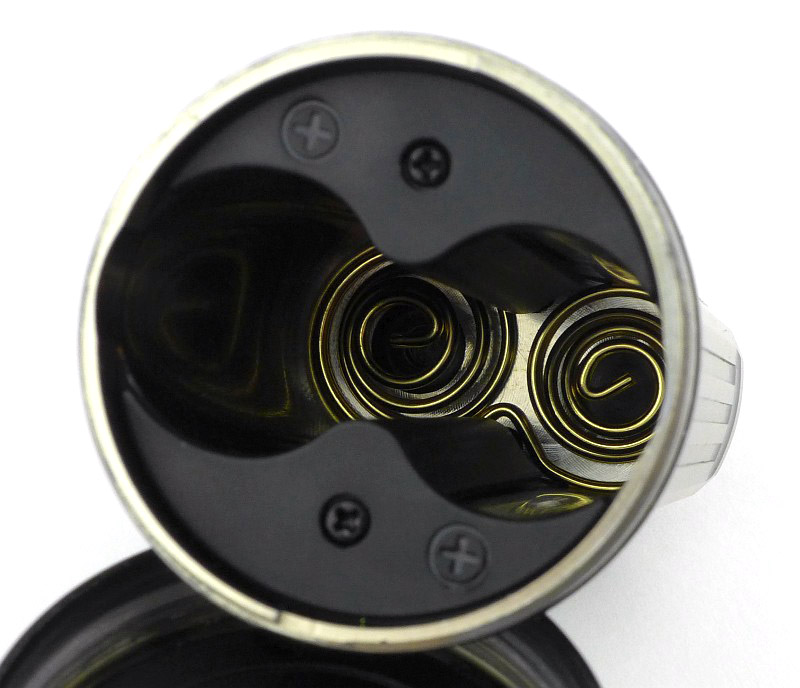
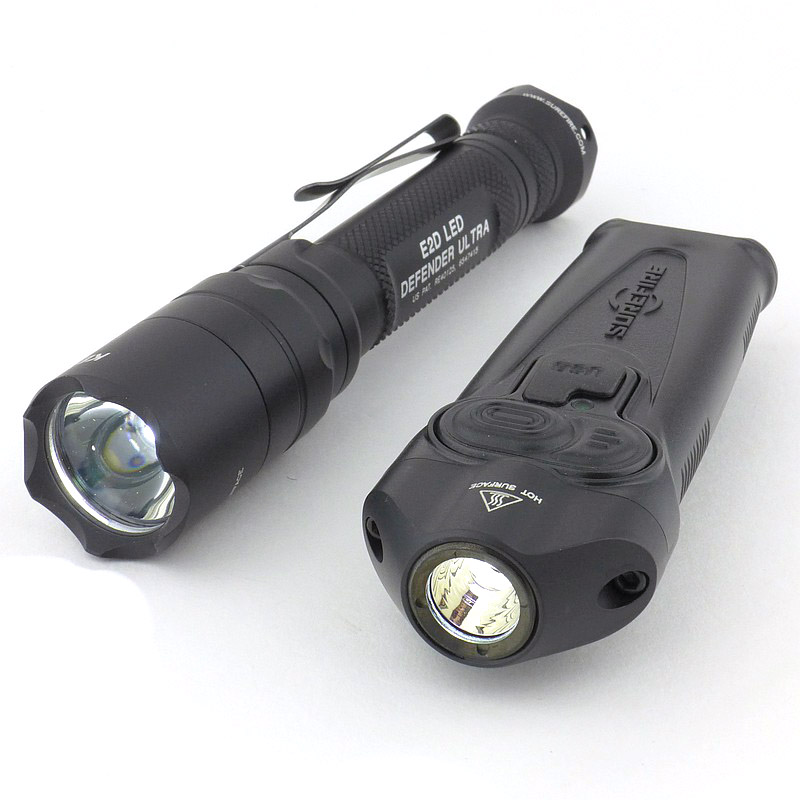
Firstly a look at the relative sizes of these three options. On its own, the E03R is almost too small and easy to drop, but is intended to be attached to something (keys, zipper etc) and once it is, it suddenly comes to life in ease of use. For the other two, Fenix has nicely created the E28R and E35 to be only slightly bigger than the cells they use to power them, so your choice is almost more about the size and capacity of cell you want to have.
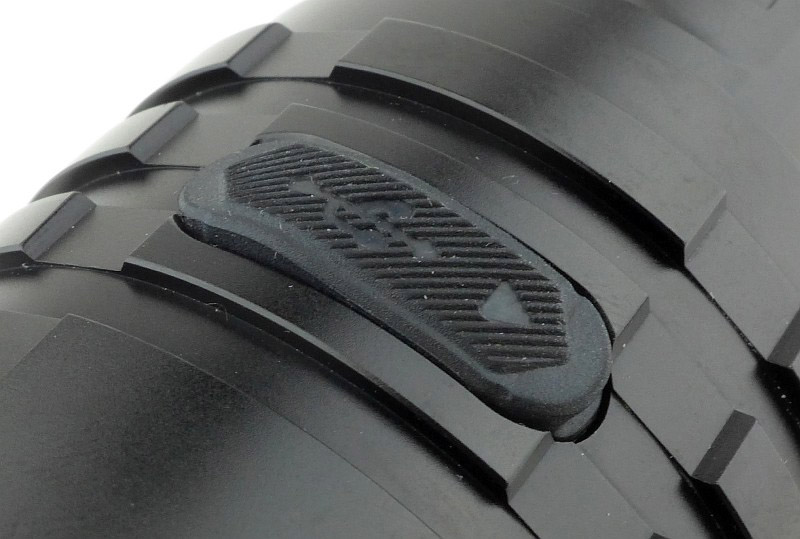
The interfaces of all the lights is basically the same apart from the E03R having red light instead of strobe. Press and hold to turn on, tap to change mode and press and hold to turn off. The last used output is memorised apart from the E03R which always starts on low.
A little trick to get the E28R and E35 to start on low is to use the lockout feature (double tap when off, and then double tap again to unlock) as the lowest output is selected when coming out of lockout.
Personally I would prefer an option to allow a single click to turn on as the press and hold is less immediate when using it.
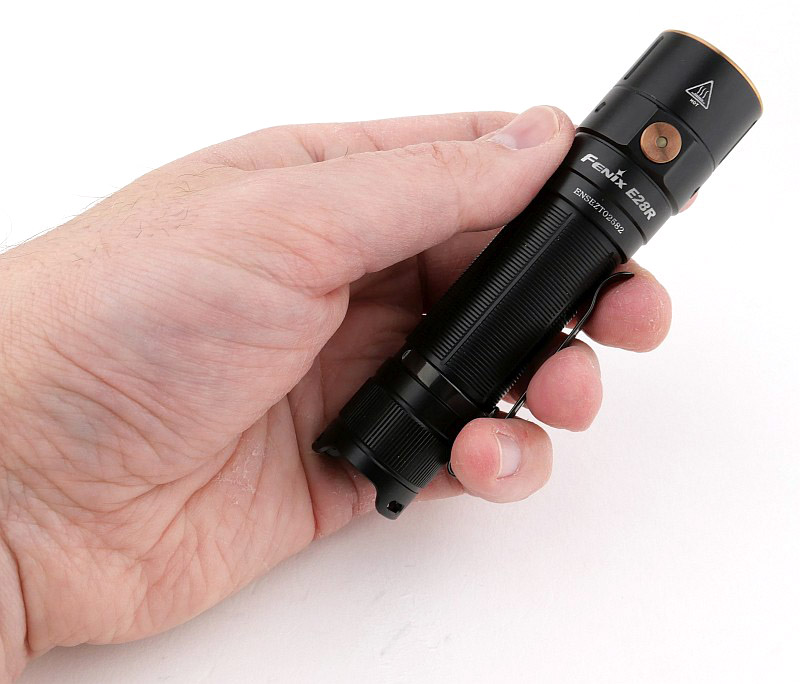
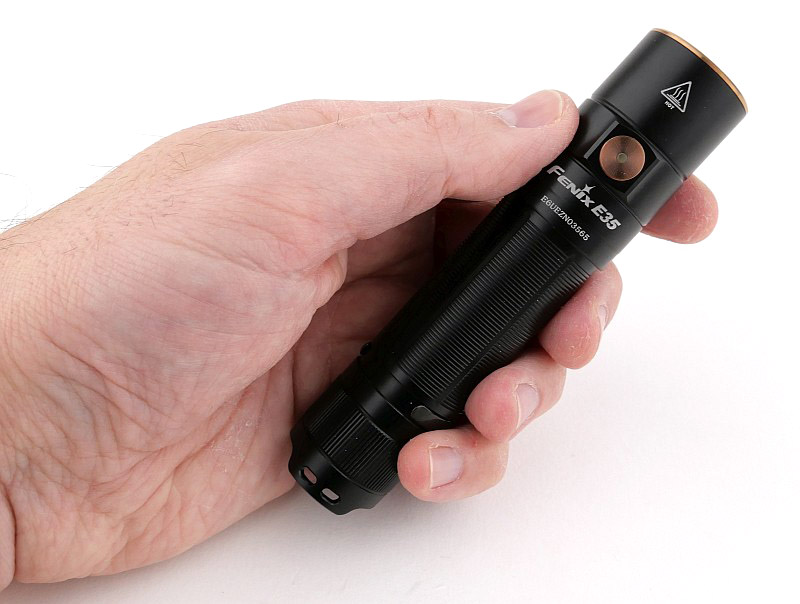
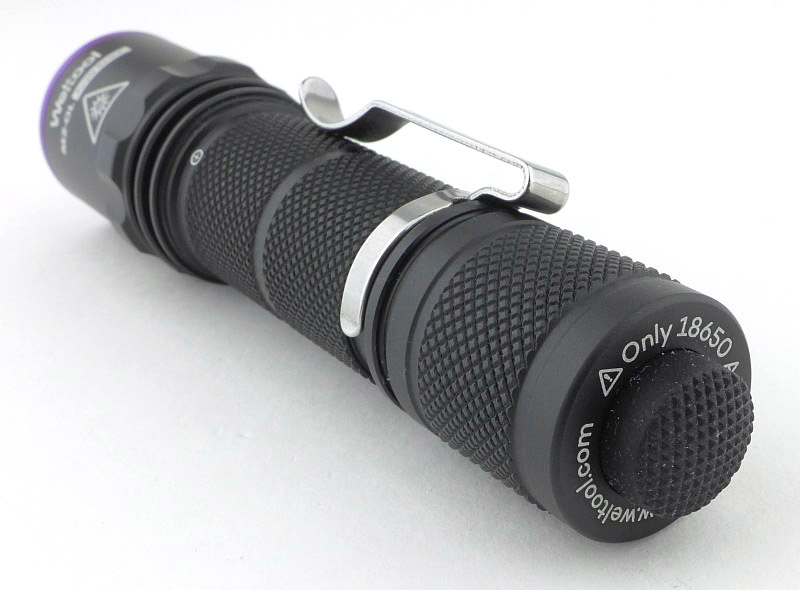
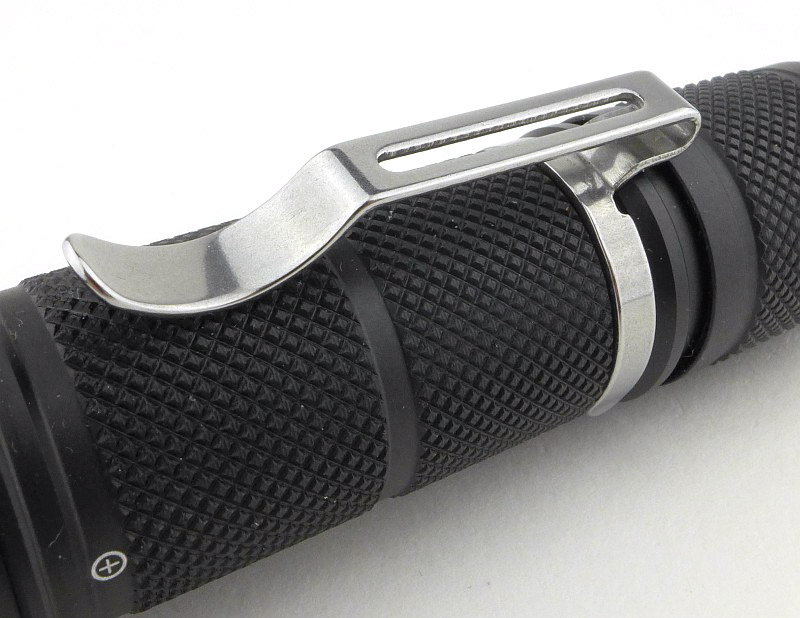
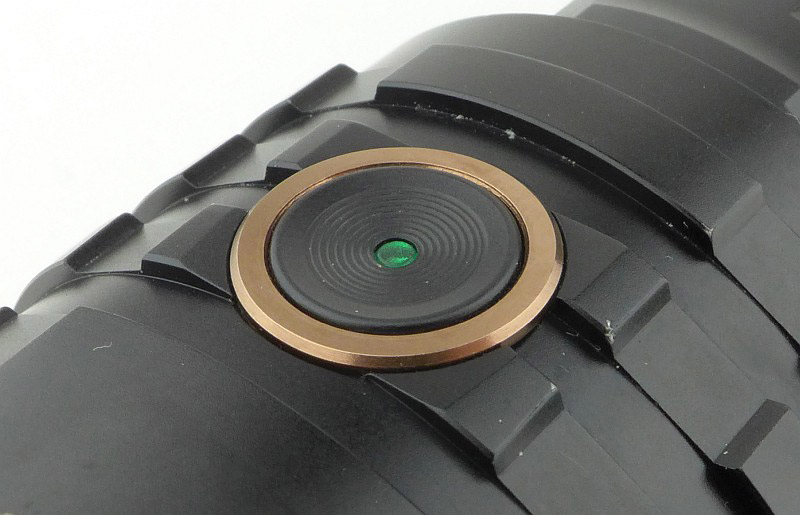
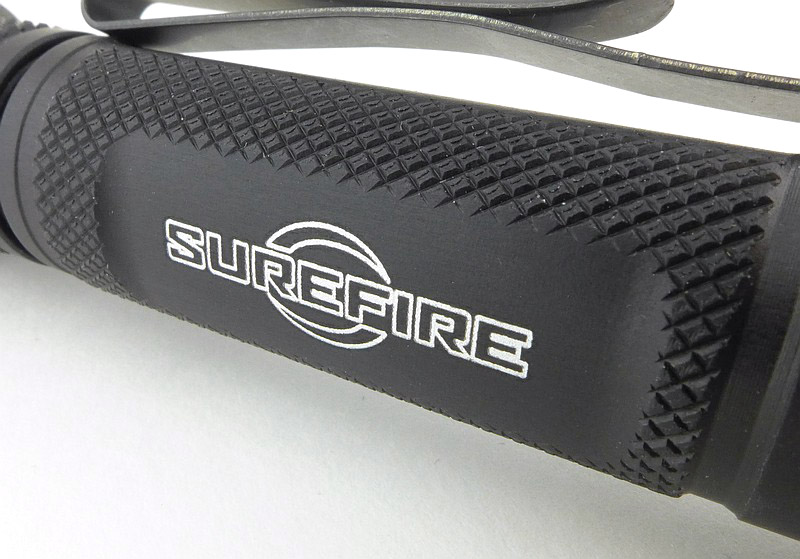
The switch is relatively low profile on all three models, and just by feel, can be tricky to find. The E03R can just be held in a pinch grip and even if the button is underneath it will operate. For the E20R and E35, I found the pocket clip essential for ‘indexing’ my grip and finding the power switch. The clip is free to rotate around the tube, so the alignment can be off if you are not careful. I do like a side switch for daily use.
Beam tint is nicely neutral to warm, with the TIR optics giving a easy to use beam.
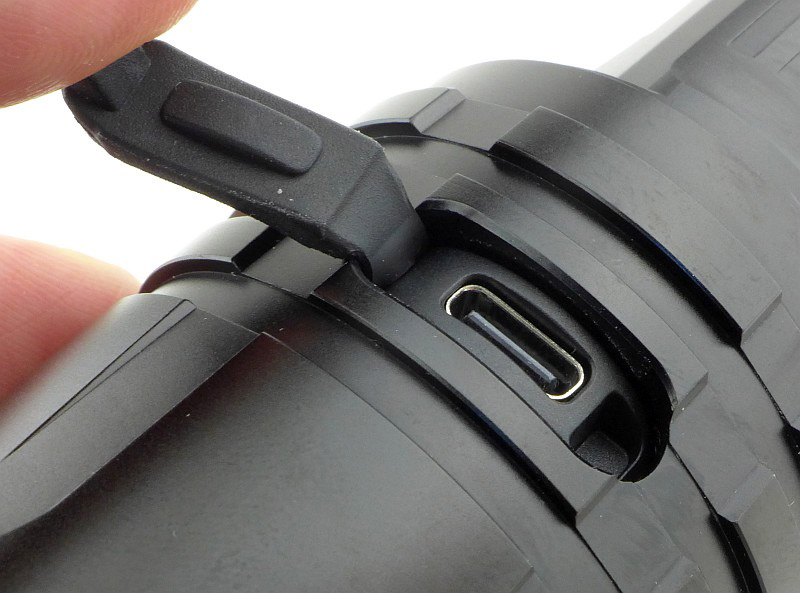
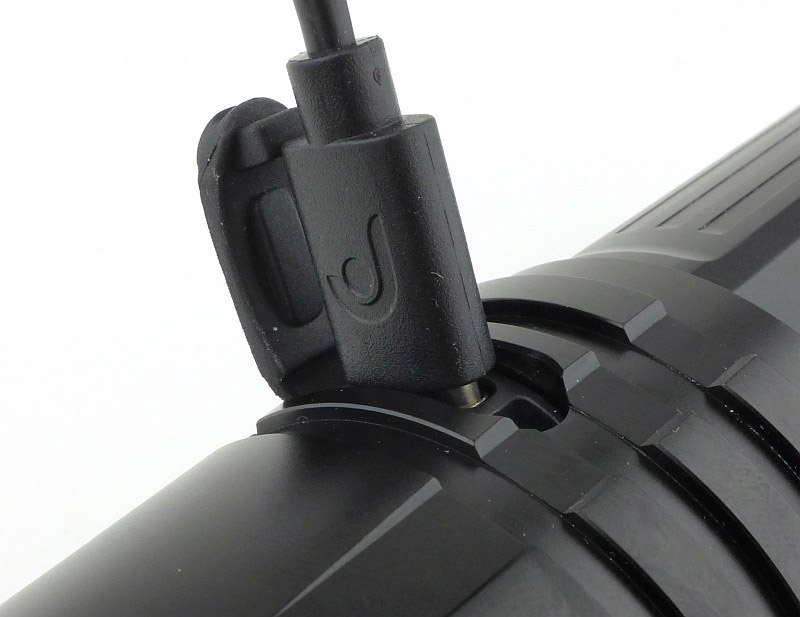
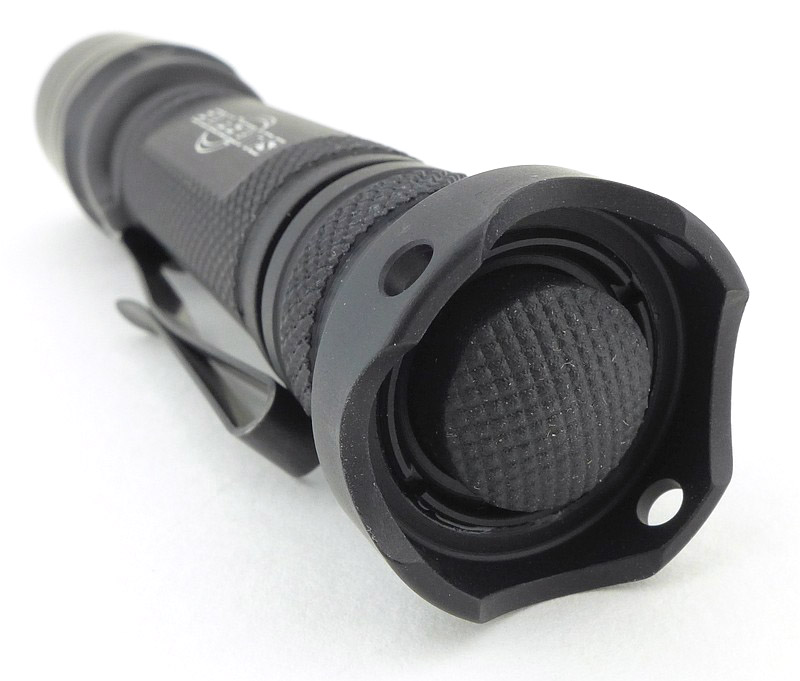
When you have the convenience of the built-in USB charging port, the drag of having to unscrew the light to charge the battery (E35) becomes more apparent. Perhaps the E35 v4.0 will have the USB-C charging built into the head like the E28R? Of course this is balanced by the cell having a healthy 5000mAh capacity, so unless you are always blasting the highest output level you should have a good time between charges.
A little note on the E03R red beam. Typically you want to keep light levels low when using red, so it is a pity there is no direct to red option. However, this is easily worked-around by simply holding the front of the E03R against your hand/leg/whatever while holding the power button, and do this long enough to reach the red output before using it. As the majority of use is most likely white anyway, it is no real hardship to do this when red output is needed.
Review Summary
The views expressed in this summary table are from the point of view of the reviewer’s personal use. I am not a member of the armed forces and cannot comment on its use beyond that covered in the review.
Something that might be a ‘pro’ for one user can be a ‘con’ for another, so the comments are categorised based on my requirements. You should consider all points and if they could be beneficial to you.
_______________________________________________
What doesn’t work so well for me
_______________________________________________
Power button difficult to find by feel.
Press to hold delay in switching on and off.
Lowest mode not low enough.
_______________________________________________
Things I like
_______________________________________________
Excellent general purpose smooth EDC beams.
Super tough TIR optics.
Very powerful.
USB-C charging – no separate charger needed.
E03R has choice of red or white beams.
Low parasitic drain.
EDC friendly side-switch.
Lightweight, simple and easy to carry.
Discussing the Review:
The ideal place to discuss this review is on the Tactical Reviews Facebook Page ![]()
Please visit there and start/join the conversation.
As well as the Tactical Reviews Facebook Page, please consider visiting one of the following to start/join in any discussion.
CandlePowerForums – Flashlight Reviews Section (One of the best known Flashlight Community Forums)
BudgetLightForum.com…where Frugal meets with Flashlight!


.")