HORL 1993 are creating a revolution in sharpening with their innovative line of rolling knife sharpeners. Many of you will likely have seen their system popping up in various social media feeds, especially if you have any interests involving knives. Though primarily aimed at sharpening kitchen knives, having given the system a quick try out at IWA 2022, I was intrigued to test it in more depth and with other types of knives. Join me in this HORL 2 knife sharpener review for a closer look at this new approach to guided sharpening.
What is on test?:
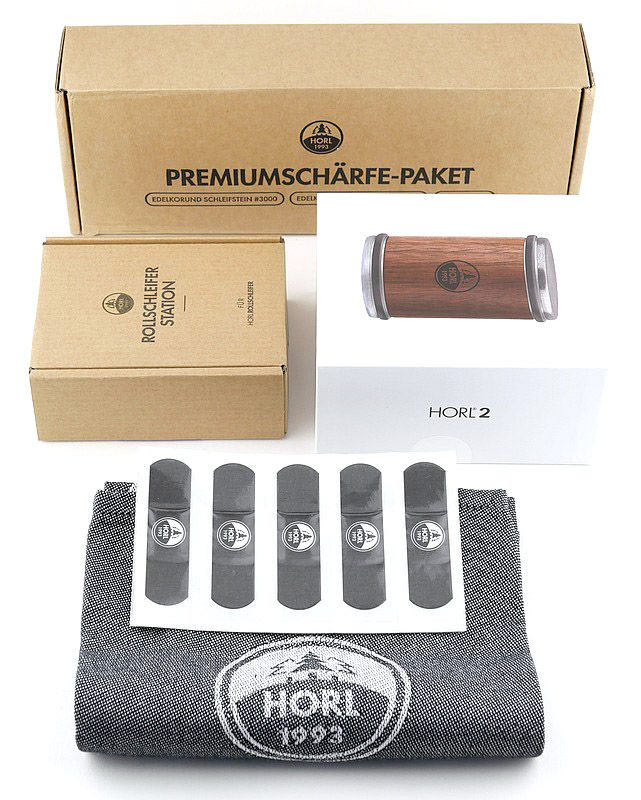
For this review, on test are the HORL 2 sharpener with add-on Premium Sharpening kit plus the storage block. HORL also sent the tea towel and branded plasters.
A good look round the HORL 2 – Things to look out for here are:
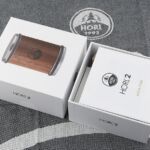
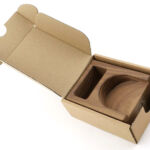
In this first part which includes the HORL 2 sharpener plus the optional storage block, I’m breaking it into three sections. First the HORL 2 box and first look over the knife holder / angle guide, then views all round the storage block, and finally the rolling sharpening stone itself.
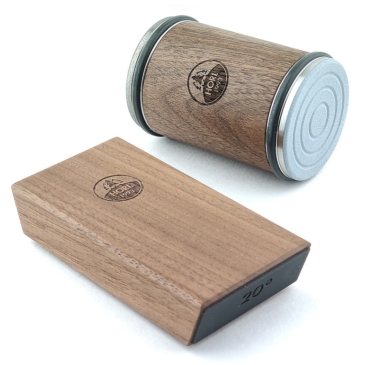
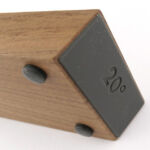
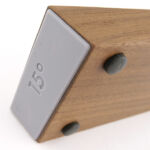
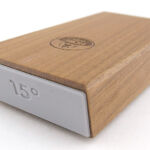
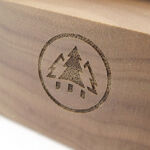
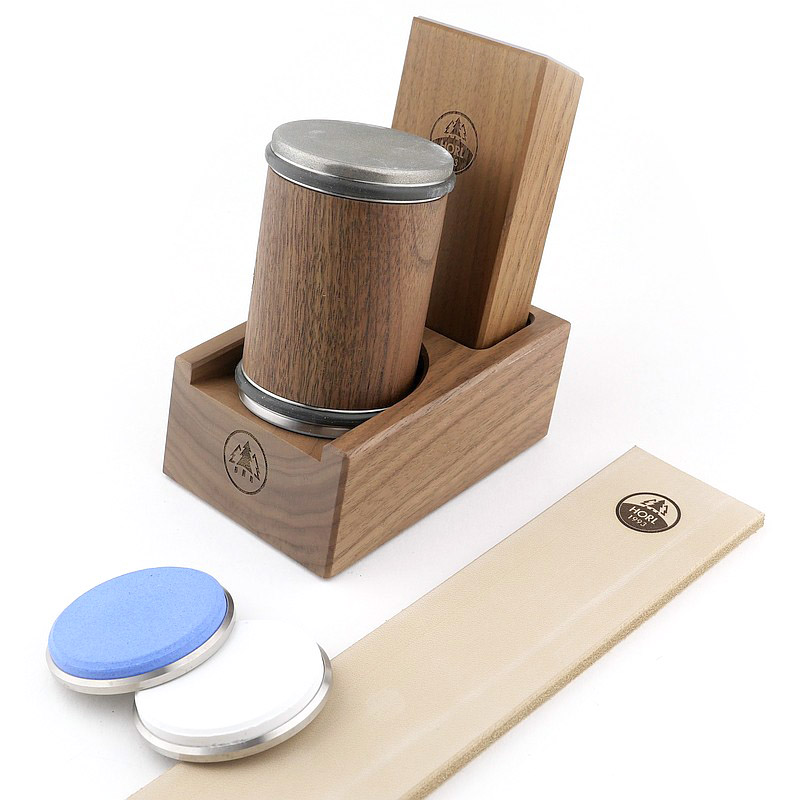
Inside the box are a couple of printed guides, and the two main components, the rolling sharpener and the magnetic guide block. The precisely finished wooden guide block has two angled ends, 15 degrees and 20 degrees. The ends are marked with their angle and have a rubber surface to cushion and hold the knife.
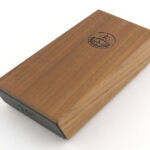
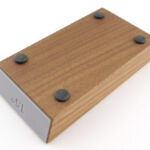
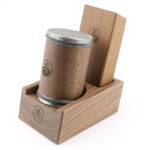
An optional extra that goes with the sharpener so well you really should get it, is the storage block. Available in either of the two woods used for the sharpeners themselves you can match the sharpener or go with a wood contrast. The block has two cut-outs, one is an angled pocket to sit the rolling sharpener in, and the other is a slot that has a couple of bolt heads which the magnetic guide block grabs on to. The quality of finish is very high.
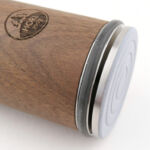
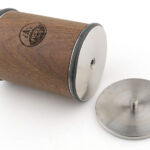
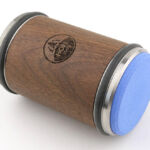
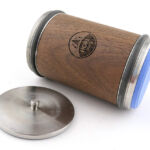
Lastly in this detailed look at the components is the rolling sharpener itself. A cylinder with a round sharpening stone at each end.
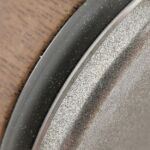
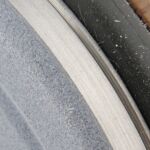
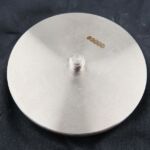
The wooden centre grip section of the rolling sharpener is in the matching wood to the guide block, and rotates freely. At each end are rubber rings to act as wheels, and the sharpening disks. As it comes this includes a diamond disk and a grooved ceramic coated disk.
Also shown here is how the HORL 2 neatly sits on the storage block.
The Premium Sharpening Kit add-on:
Though you can produce a good edge with the standard HOLR 2, the premium sharpening kit is designed to further refine that edge and take it to another level.
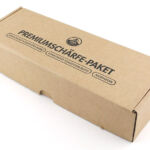
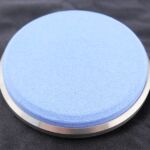
The kit includes two extra sharpening disks of 3000 and 6000 grit. These are found inside matching storage tins, wrapped in a cloth square. As well as these two fine stones, you also have a thick leather strop for cleaning and deburring the edge.
The 3000 grit stone is blue and the finest 6000 grit stone is white. Both are marked on the back of the disk with the grit.
Changing the Stone:
Changing stones on the HORL 2 is simple. Grip the rubber wheel firmly and simply unscrew the stone you want to change; then screw in the replacement. My own preference was the diamond and 3000 grit as a pair.
Video overview and sharpening test.
This video takes detailed look at the HORL 2 being used for the first time on a Santoku kitchen knife and an outdoor / hunting knife. It is quite long but also uncovers a few tips and tricks you might be interested in as well as showing a reprofile of the edge angle. It is worth watching for the insights into how the sharpener interacts with parts of the knife and possible precautions you might want to take.
What it is like to use?
If you have watched the whole video you will have seen what I’m going to describe in this section for real. For this review I’m using the HORL 2 along with two optional extras, the storage block, and the premium sharpening kit with its finer grit stones and leather strop.
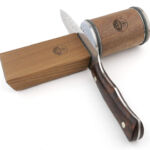
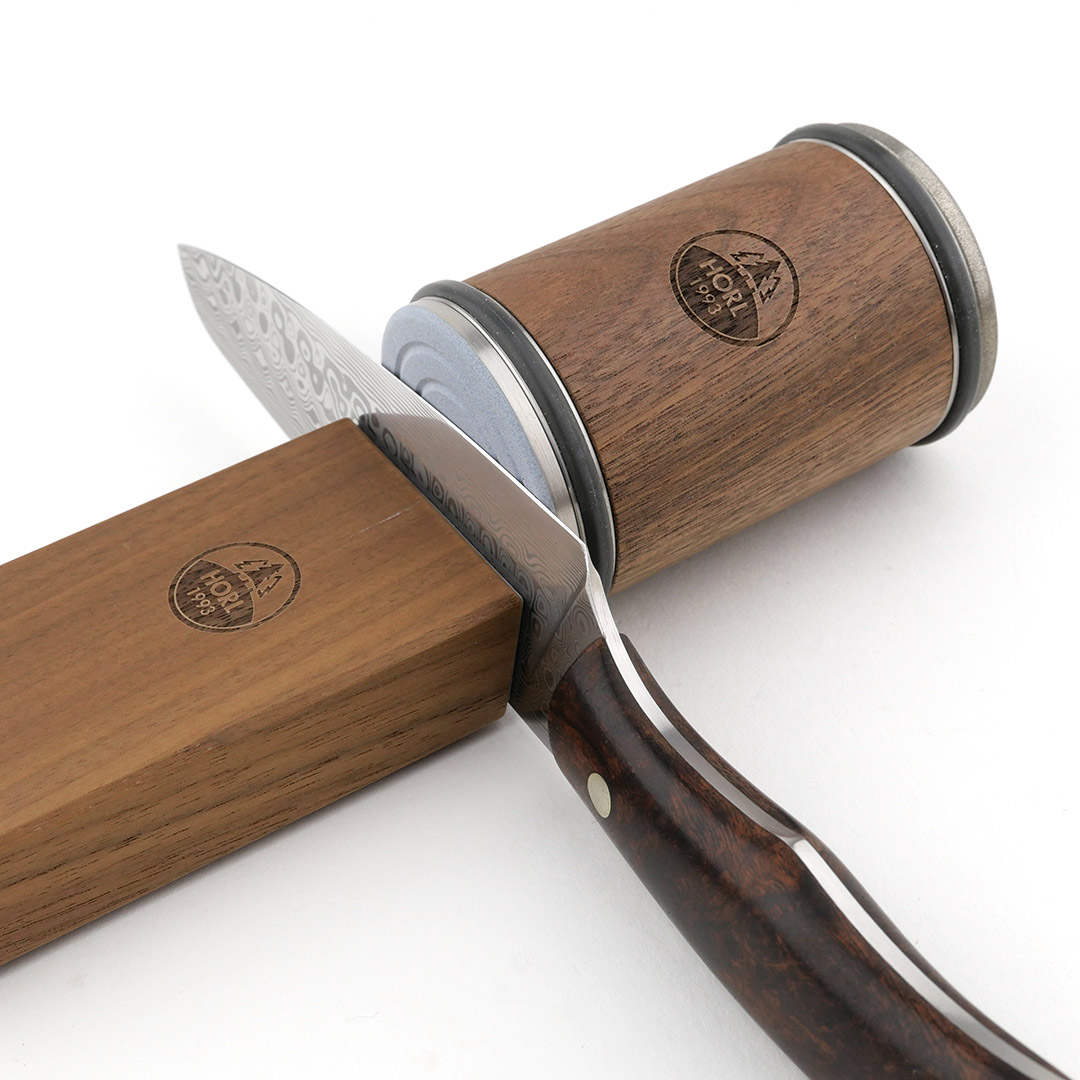
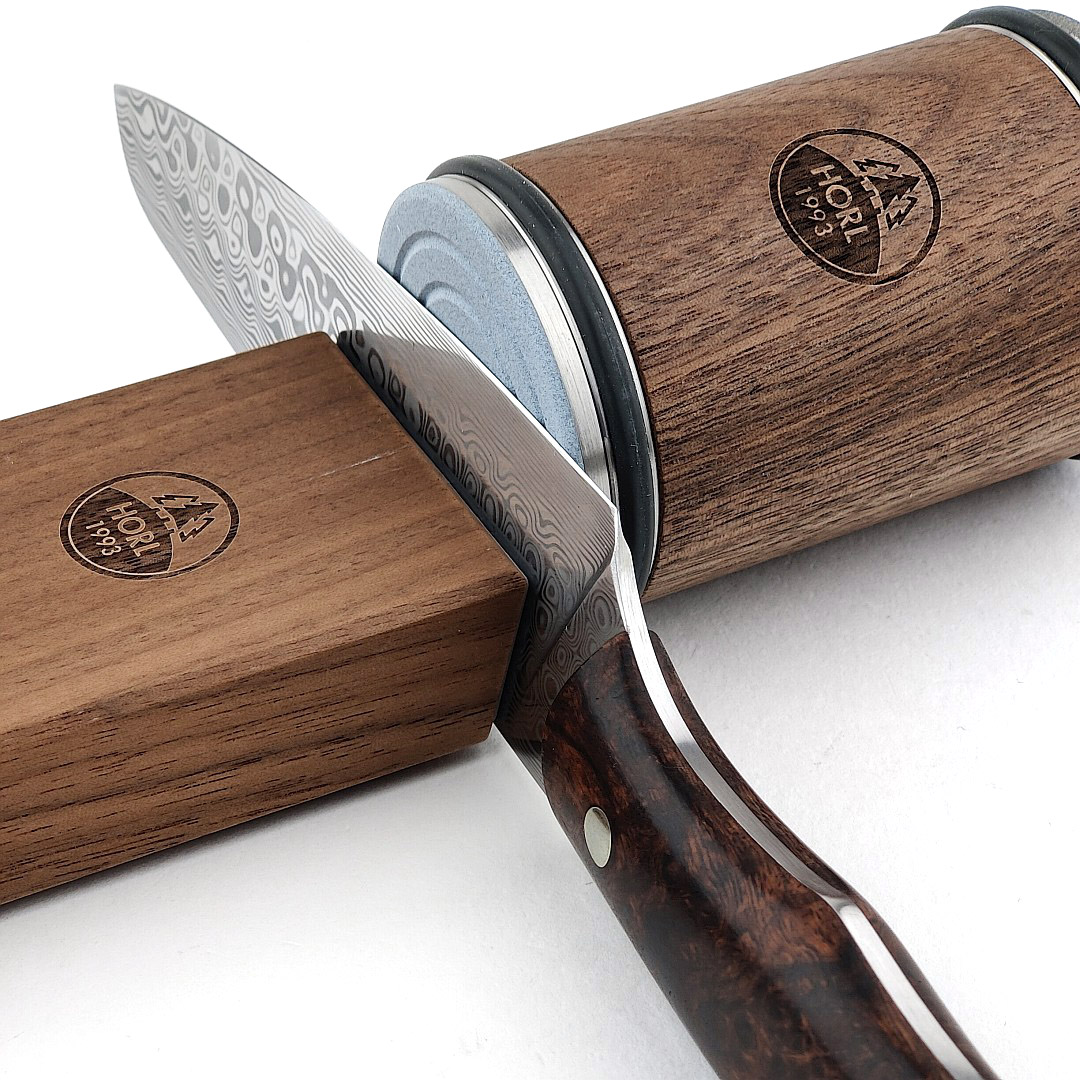
As the simplest and most basic look at using the HORL 2, these photos show how you set up the knife on the magnetic angle block with the roller sharpener against the knife edge. You can see how the edge-to-stone angle is maintained and allows sharpening by rolling the sharpener backwards and forwards.
Of note is that your kitchen work surface (or table) is used as part of the sharpening system because you need a large surface to working the rolling sharpener along the blade. Typically a sharpening system will contain the dust and metal filings produced to the sharpener, but the HORL 2 drops the filings that don’t stick to the magnetized blade all over the work surface. It is a bit of a messy eater when it comes to sharpening systems.
Beyond the basic operation of the HORL 2 here are a few general observations:
- Operation is incredibly simple for use with most kitchen knives.
- If the depth of the blade is more than the diameter of the sharpening disk you have to use ‘riser blocks’ (like a chopping board) to be able to sharpen the edge.
- It is very easy to bump the sharpening stone into the knife bolster or handle. I use masking tape to protect these areas from damage.
- You will magnetise the blade by using the magnetic angle guide block.
- The sharpening dust collects on the magnetised blade and edge during use.
- Shorter / narrower blades (paring knives or pocket knives) need very careful positioning on the angle block.
- As your worktop is part of the sharpening system, this will be covered in metal filings
When swapping from a kitchen knife to an outdoor / hunting knife, it became apparent of an issue you need to work round regarding the tip of the knife.
With many hunting knives, the blade edge curves upward to meet the spine of the blade at the tip. This introduces challenges of maintaining the edge angle all through the sweep of the edge on any sharpening system. On the HORL 2 it requires the user to no longer rely on the angle block to provide the correct angle, instead the user has to twist the rolling sharpener to the correct angle at the tip.
Illustrated below is the angle the roller needs to be moved to sharpen this knife all the way to the tip. It is actually 20 degrees, the same angle as is used on the magnetic angle block. With the rubber wheels on the roller gripping the work surface, this does need the user to force the roller to twist round and get the hang of following the angle near the tip.
Another feature of a hunting knife verses a kitchen knife it that typically there is a ‘plunge line’ where the blade profile and ricasso meet. Also shown below are photos of how the corners of the HORL 2 stones hit the plunge line and might not quite reach the very end of the cutting edge. You will also likely mark the ricasso with the stone.
Finally with the grooved ceramic stone of the HORL 2 and the tip of a knife with a curve there is a possibility of the edge catching into the groove. This happened a couple of times in the video when turning the sharpener to work the tip of the blade, and prompted me to abandon the ceramic stone for a blade with curved tip like this. For kitchen knives this was not an issue.
Review Summary
The views expressed in this summary table are from the point of view of the reviewer’s personal use. I am not a member of the armed forces and cannot comment on its use beyond that covered in the review.
Something that might be a ‘pro’ for one user can be a ‘con’ for another, so the comments are categorised based on my requirements. You should consider all points and if they could be beneficial to you.
I’m starting with what doesn’t work so well, so I can finish on a more positive note 
_______________________________________________
What doesn’t work so well for me
_______________________________________________
- Needs ‘riser blocks’ for blades wider than the sharpening disk.
- Magnetises the blade and this collects metal filings on the blade and angle block.
- Covers the kitchen work surface in metal filings.
- Still requires the user to control the angle of the stone at the blade tip.
- Easy to hit and mark the handle or other parts of the knife with the rolling stone.
_______________________________________________
Things I like
_______________________________________________
- For most typical straight-edge kitchen knives it makes sharpening super simple and easy.
- Elegant and attractive solution that looks good in any kitchen.
- Choice of stone types and grits.
- Easy touch ups.
- Very quick to set up and use.
- Choice of 15 DPS or 20 DPS sharpening angles.
Discussing the Review:
The ideal place to discuss this review is on the Tactical Reviews Facebook Page 
Please visit there and start/join the conversation.
As well as the Tactical Reviews Facebook Page, please consider visiting one of the following to start/join in any discussion.
BladeForums – Knife Reviews (US based Forum for Knife Discussion)
CandlePowerForums – Knife Reviews Section (Largest and Friendliest Flashlight Community Forum)

