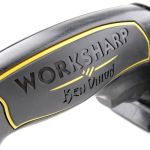
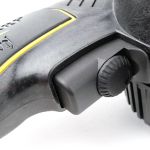
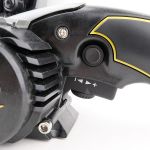
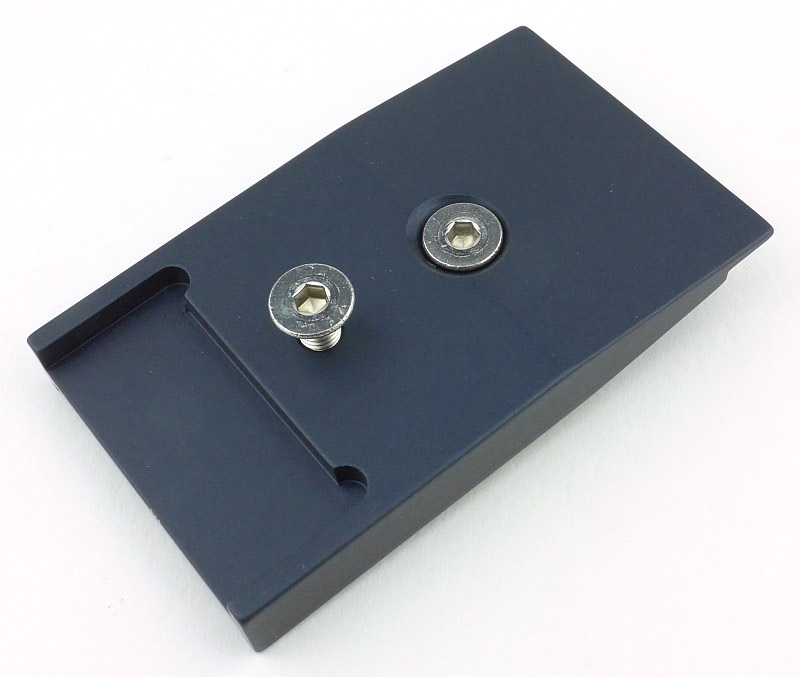
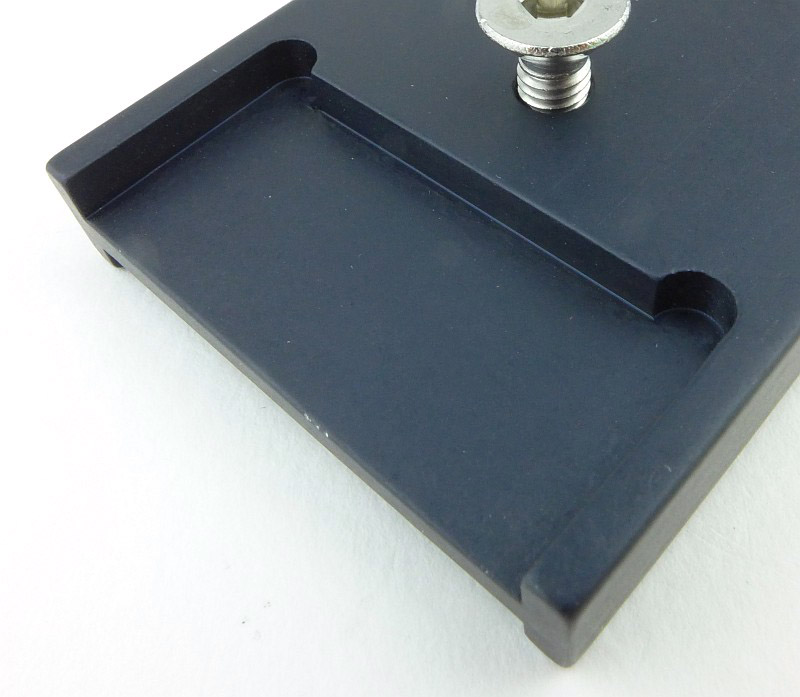
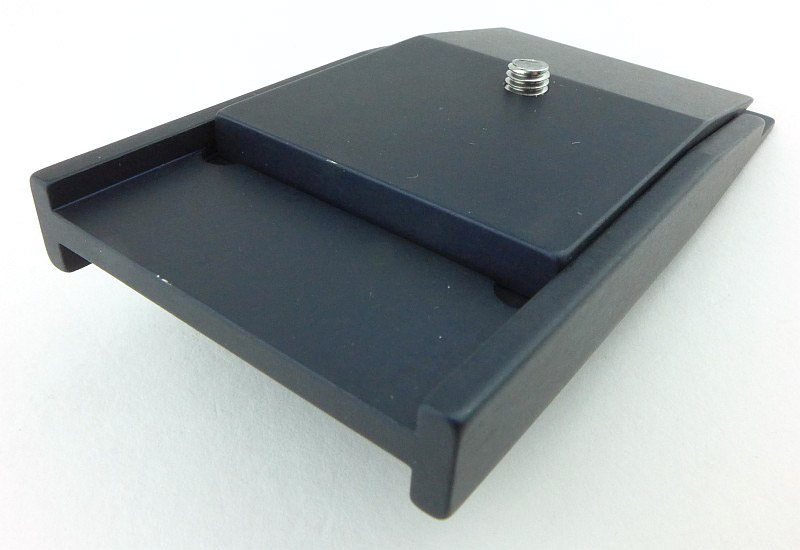
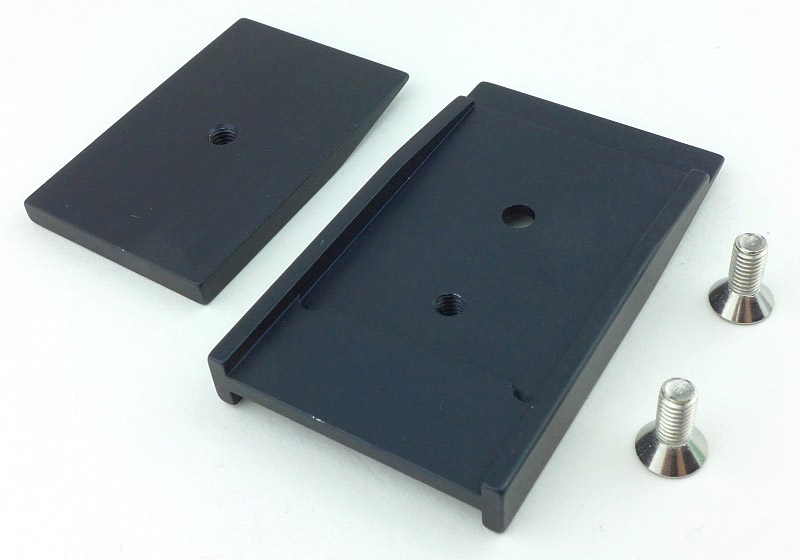
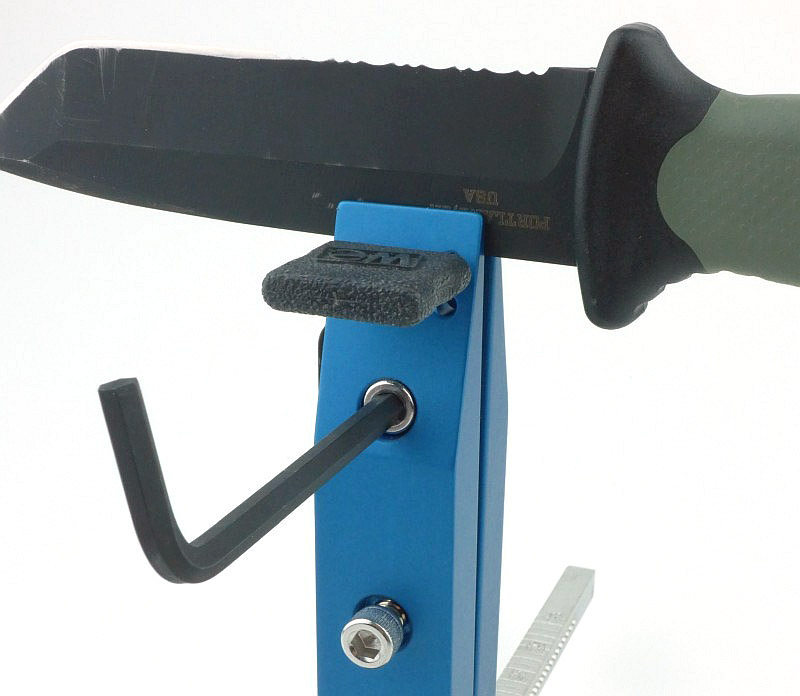
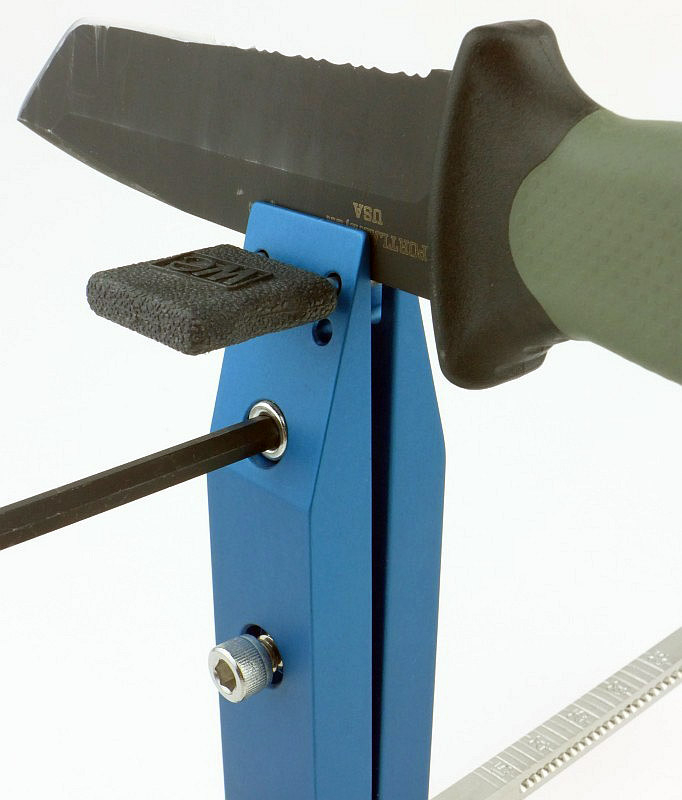
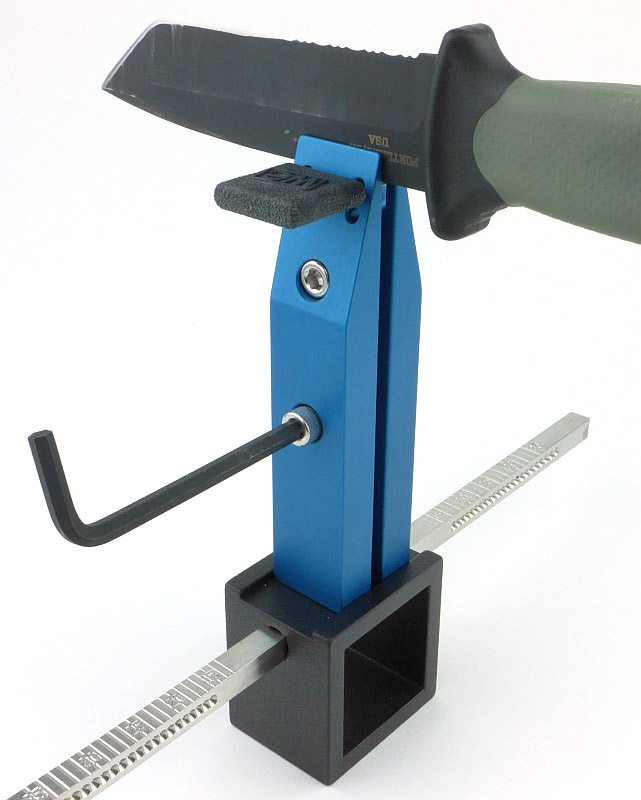
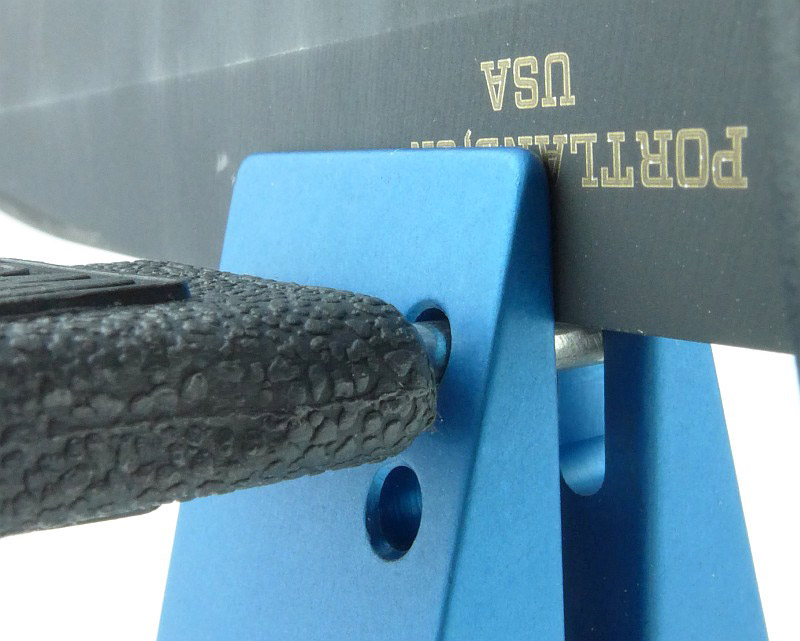
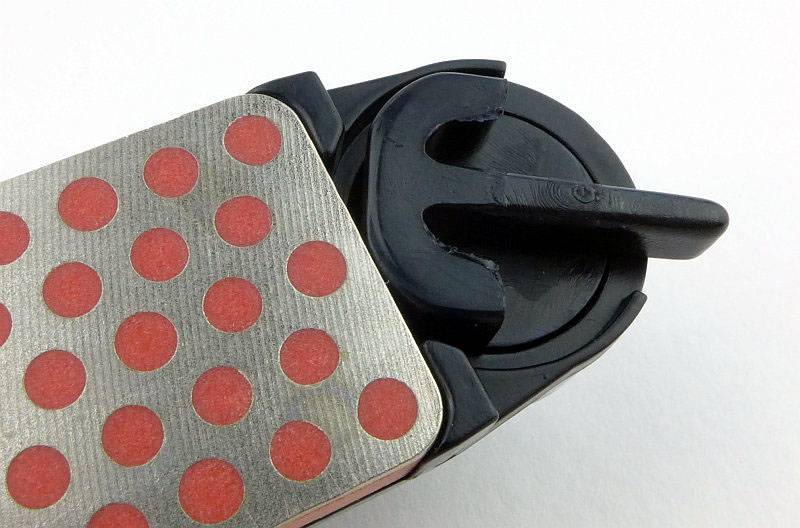
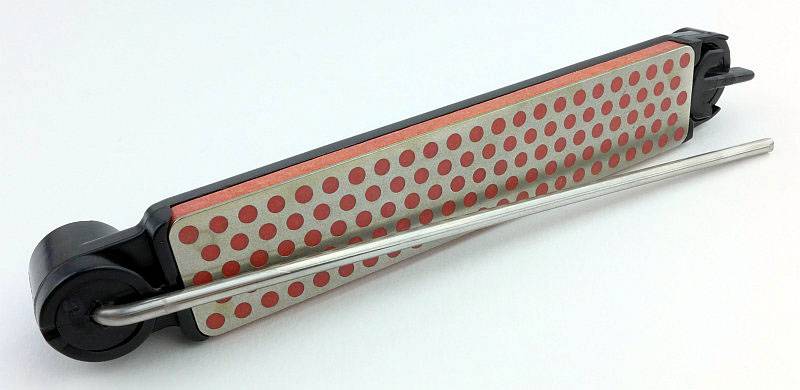
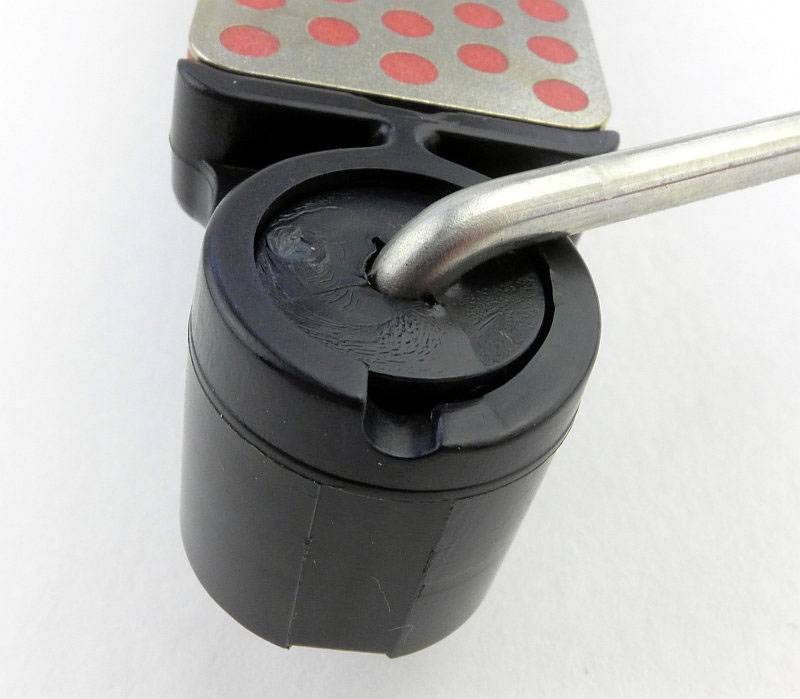
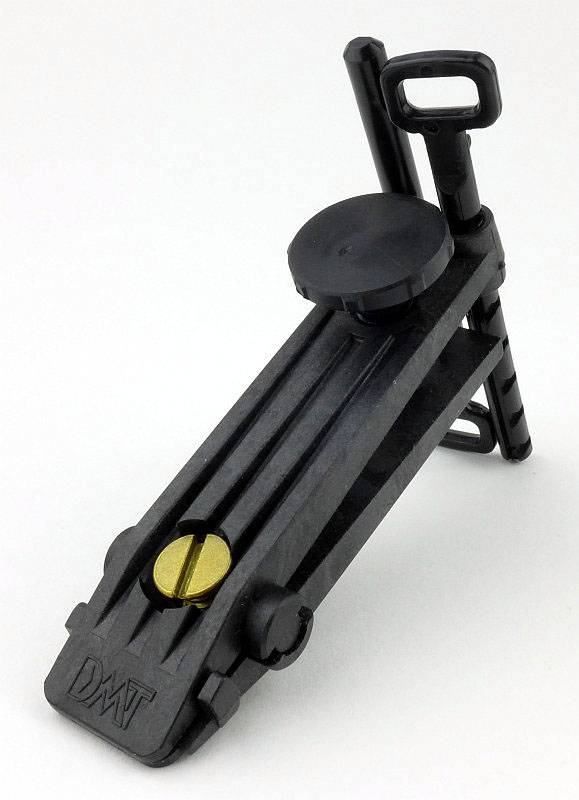
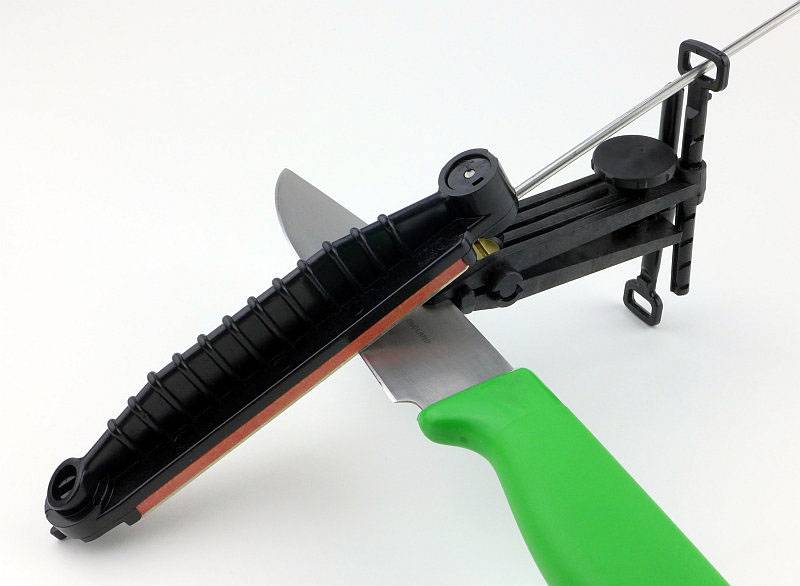
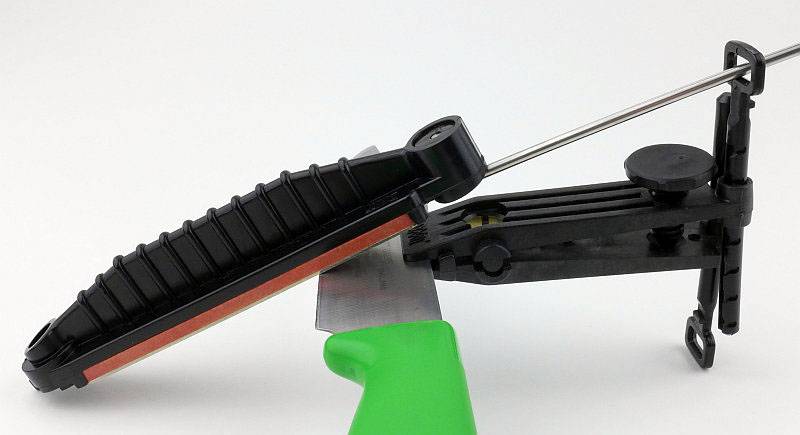
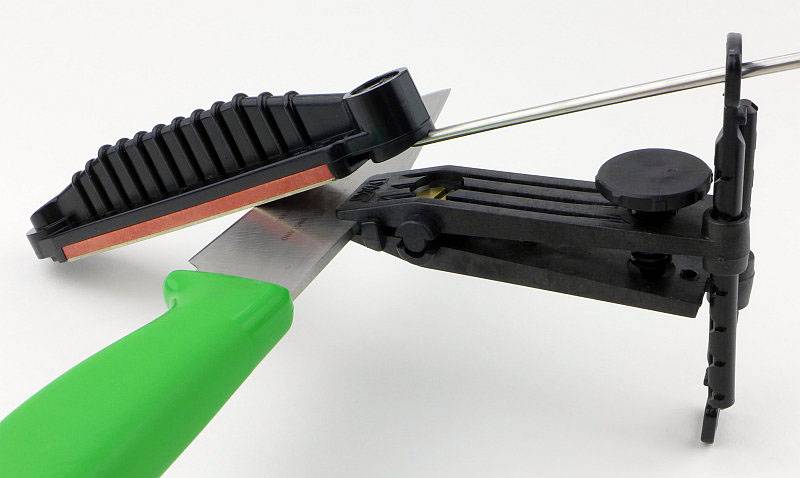
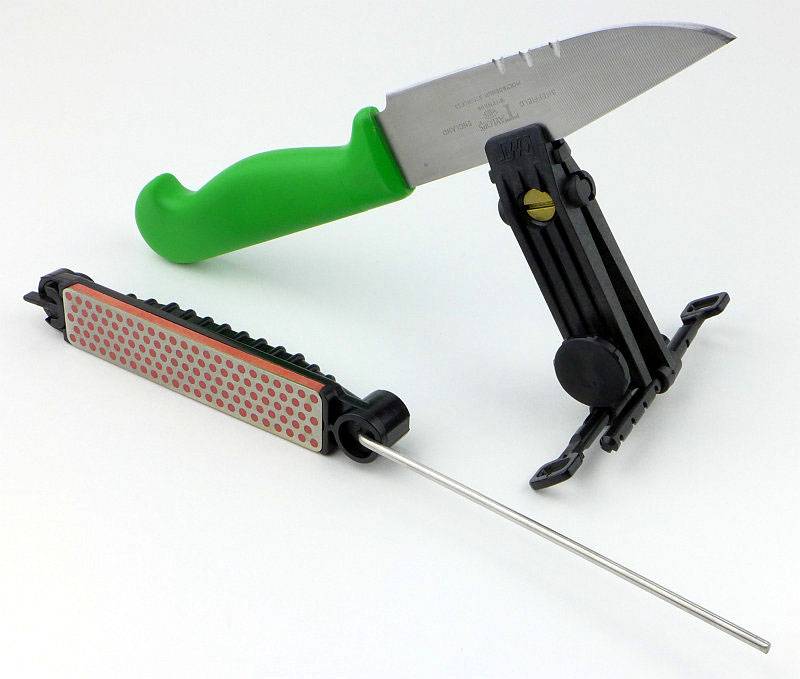
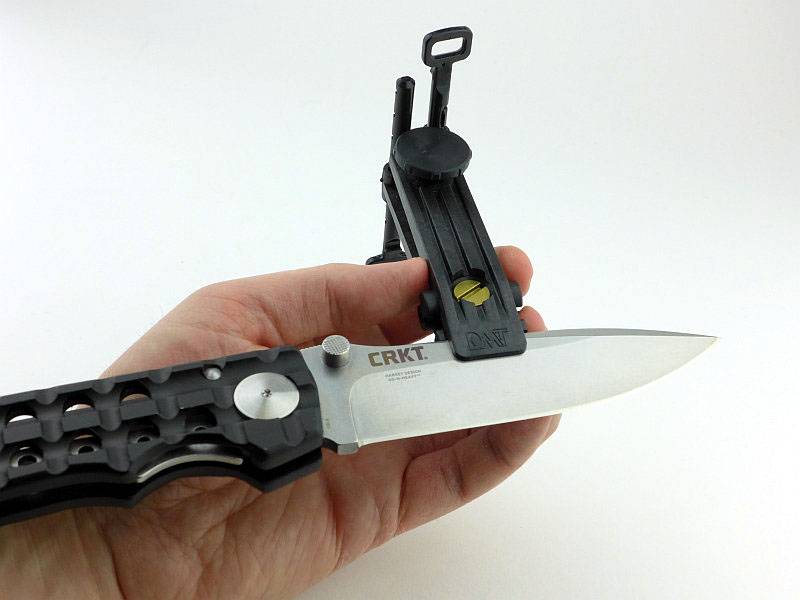
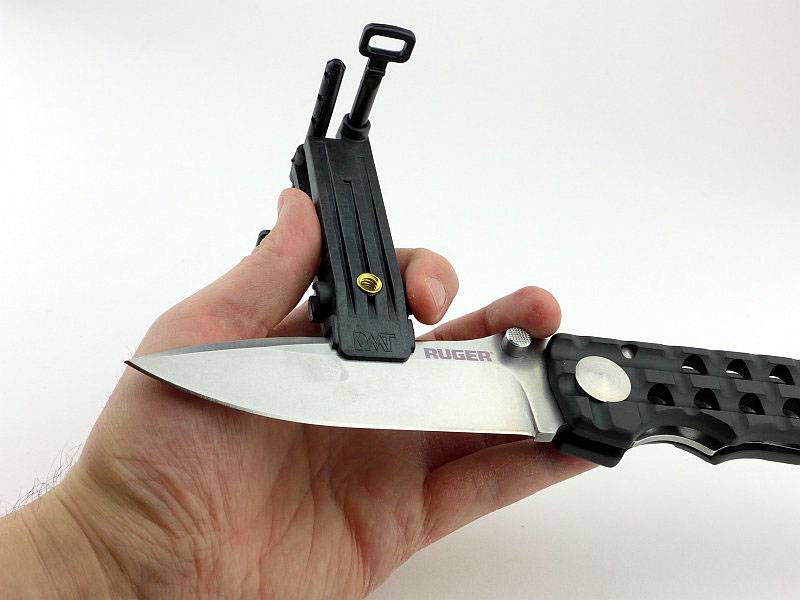
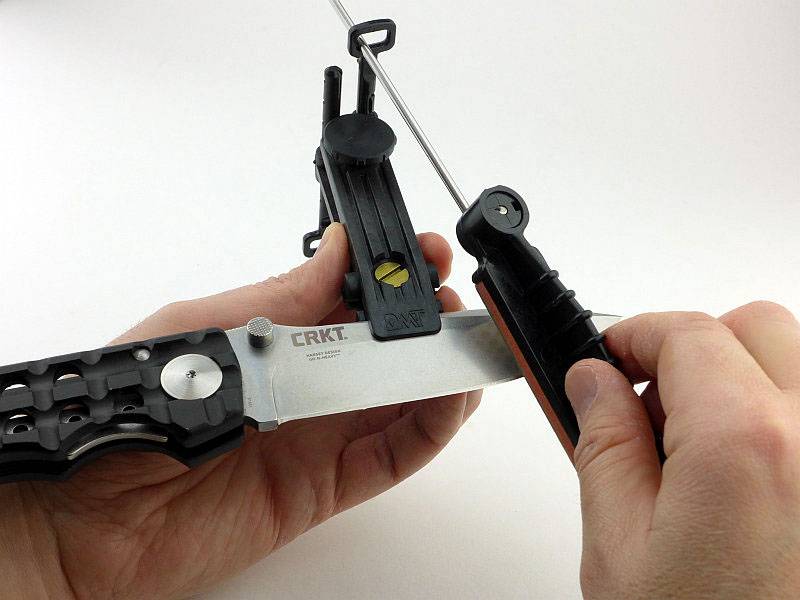
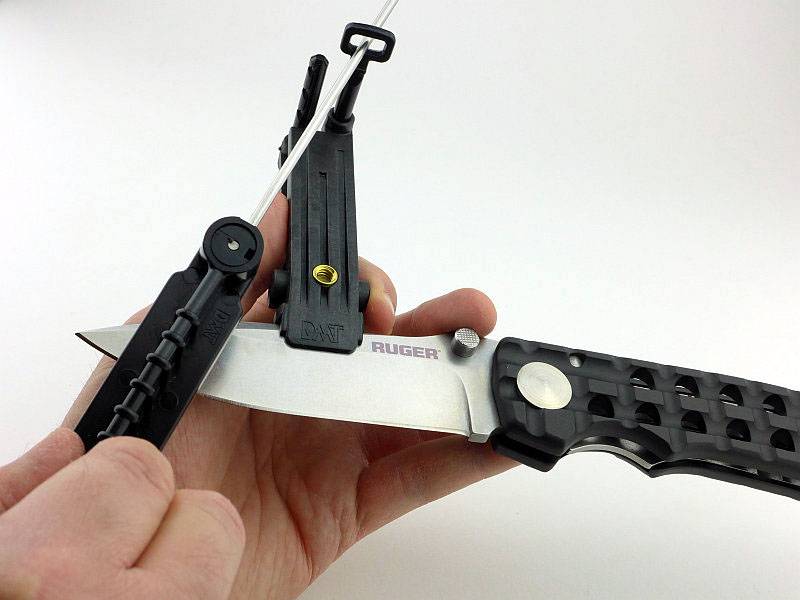
Gear Review: Work Sharp Blade Grinding Attachment

What should I be calling this review? It is actually a review of the optional add-on Blade Grinding Attachment for the Work Sharp Ken Onion Edition Sharpener, which is getting to be quite a mouthful! However although the Blade Grinding Attachment is an add-on accessory for the Ken Onion Edition Sharpener and can’t be used without it, I have titled the review as being a review of the “Work Sharp Blade Grinding Attachment” because for me it is what the attachment brings to the table that is the main feature.

I’ve had my eye on the Work Sharp Ken Onion edition for a long time. For me it wasn’t quite right (though I still think this is excellent as is) until I tried the optional Blade Grinding attachment.

For my needs it is the Blade Grinding Attachment that transforms the Ken Onion Edition Sharpener into a real workhorse sharpening system.

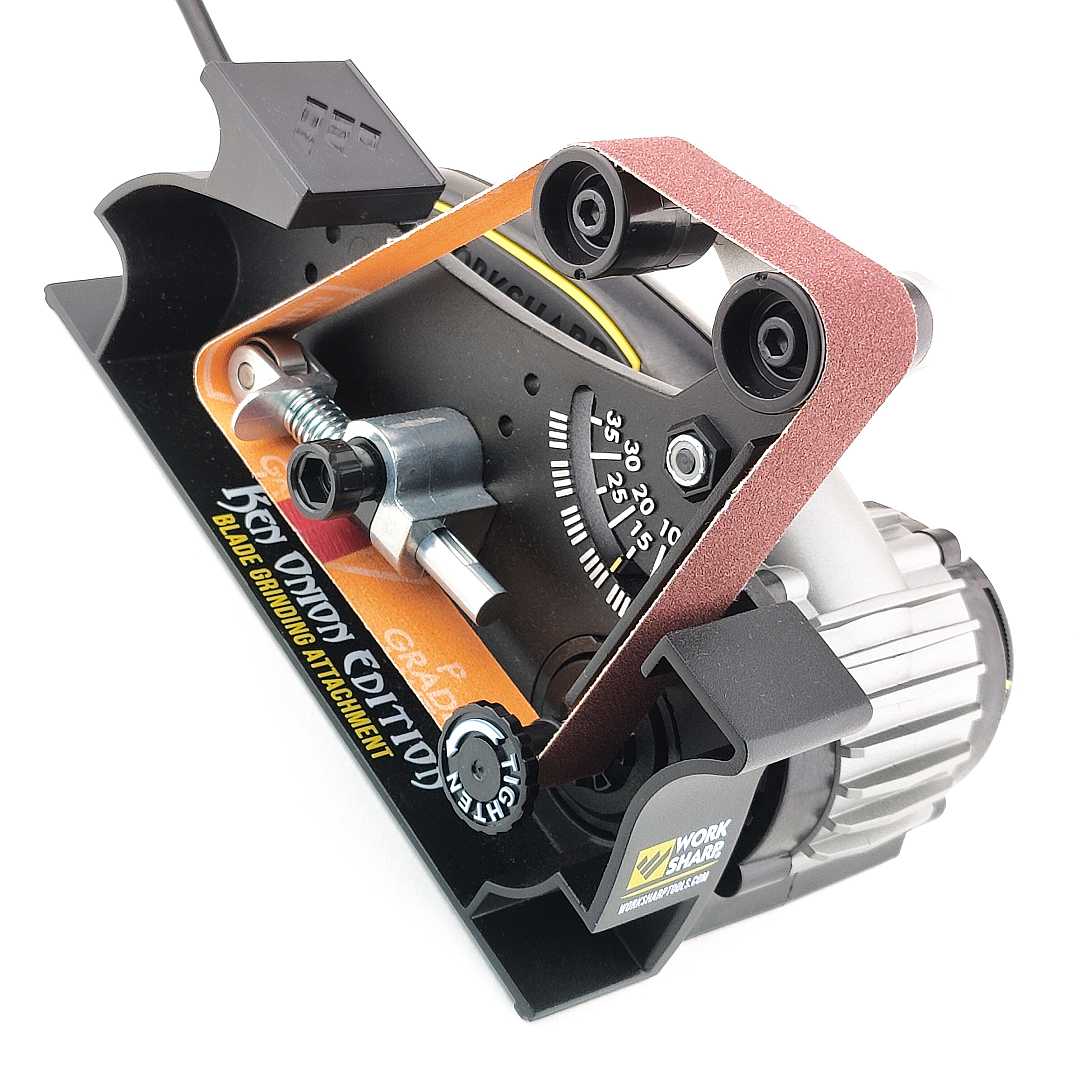
The Blade Grinding Attachment effectively adds a mini bench belt grinder to the Work Sharp, and this was the clincher for me. I’ve been using a 1″ belt grinder with an angle setting guide I made and added to it myself for 99% of my sharpening. Now, thanks to Work Sharp I’ve got a much more compact and specifically knife edge focused tool.

This fantastic sharpener is now being used to create the Tactical Reviews ‘WORK SHARP Sharp’ standard for all my knife testing.

Join me in this detailed look at the optional add-on Blade Grinding Attachment for the Work Sharp Ken Onion Edition Sharpener.
Review Videos

Starting with a short format sixty second review:


Onto a full video review covering many more details:


A little more Background:
Before diving in to the image galleries, in effect there are two reviews combined here. The Work Sharp Ken Onion Edition Sharpener, and the separate Blade Grinding Attachment for this sharpener. This combination is also sold as a kit version called the Work Sharp Elite Knife Sharpening Solution.

A few more details:

What’s in the box? – Ken Onion Edition Sharpener:
This is the foundation sharpener, which is complete in itself.


A good look round the Ken Onion Edition Sharpener – Things to look out for here are:
Using an in-line transformer makes for a very tidy setup, and of course it will have the mains plug suitable for your country. Though it looks like a single machine, the sharpener is a motor/control unit, and a belt sharpening head that fits onto the motor assembly (this is important later when it comes to the blade grinding attachment).
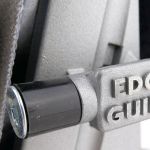
The Ken Onion Edition Sharpener head has a pair of angle guides plus an edge guide to support the blade. To control the speed of the belt, the motor unit has a trigger with rotating maximum speed dial. The trigger also has a locking button so you can set it running and not need to hold the trigger switch, leaving you both hands free.
Sharpening angle is set using a dial adjuster with clearly marked angles from 15 to 30 degrees. The last image in the gallery with the spring showing is the belt tensioning roller.


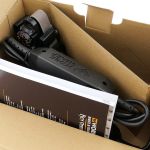
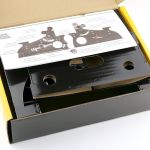
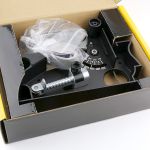
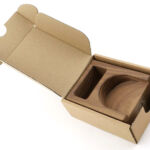
What’s in the box? – Blade Grinding Attachment:
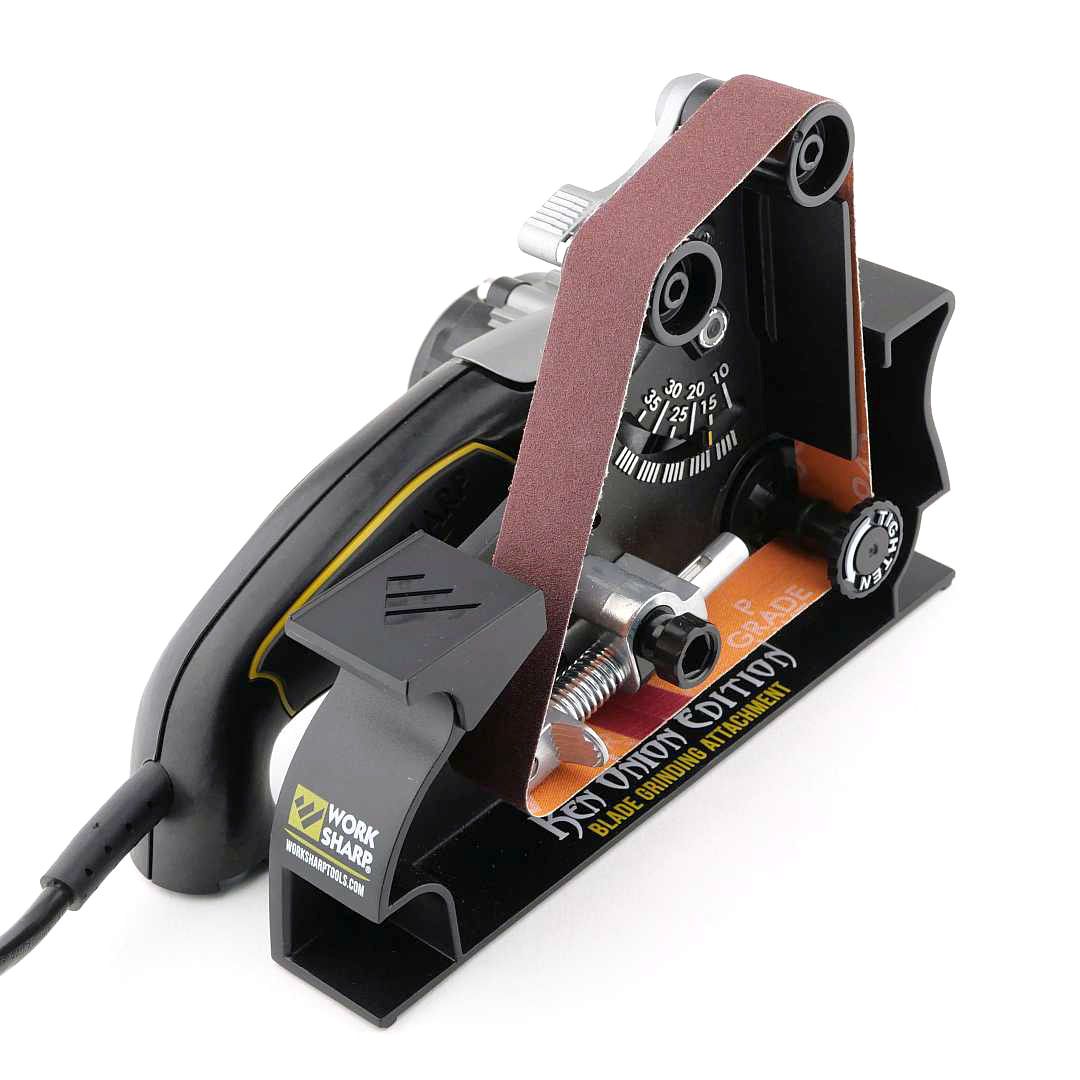
As well as the main sharpener, the Blade Grinding Attachment also has an unsupported, or ‘slack’ belt, so will create a convex edge. In the box are the attachment and a set of belts for it, as these are a different size/length compared to the main sharpener’s belts.


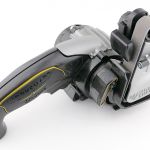
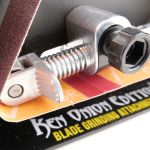
A good look round the Blade Grinding Attachment – Things to look out for here are:
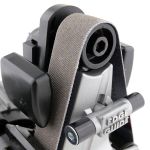
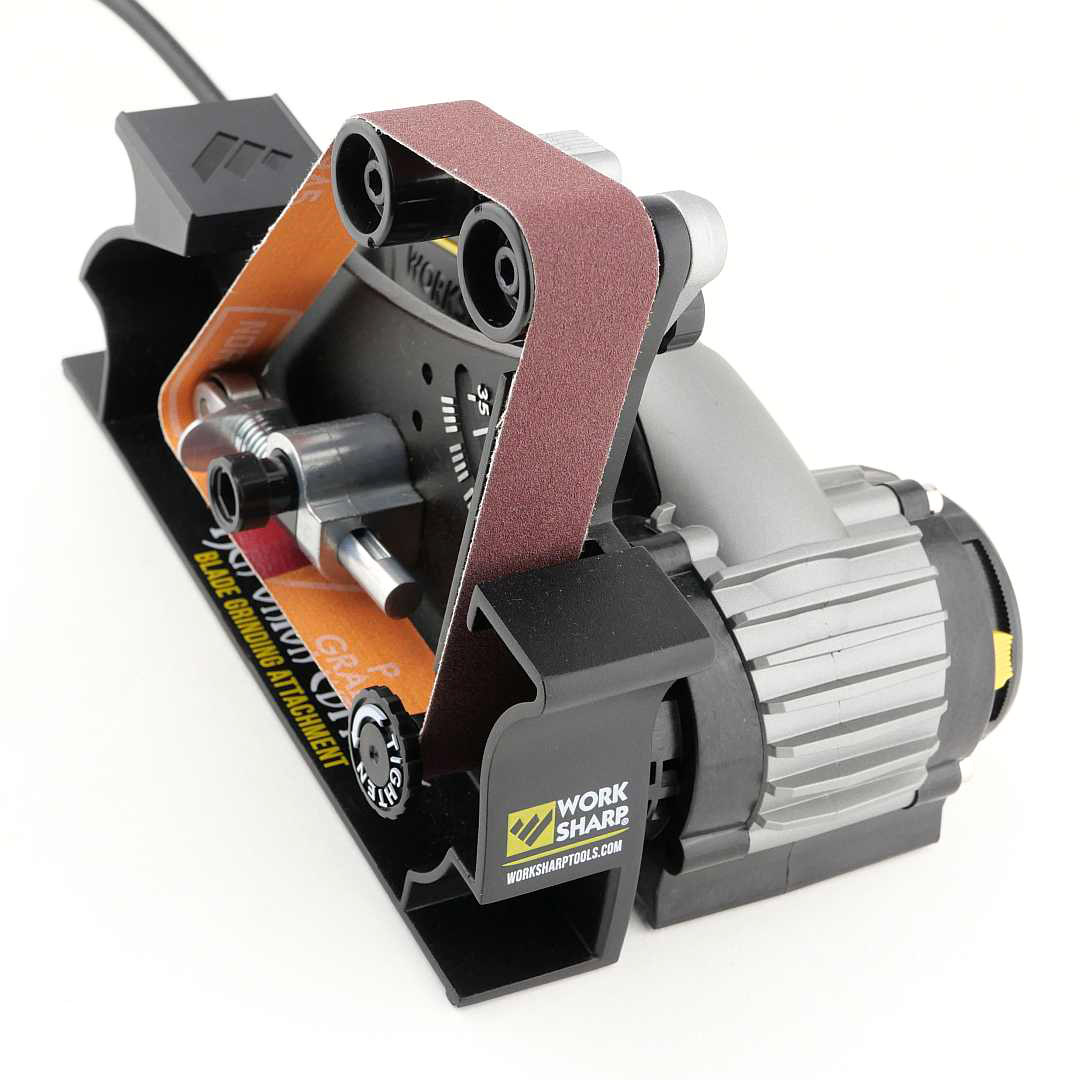
One of the belt rollers is the motor spindle itself, so on its own it might appear that one belt roller is missing (but isn’t). The Blade Grinding Attachment has three rollers; one tensioning roller, and an angle adjustable set of twin rollers that give you the edge angle you want. A shelf at the front of the Blade Grinding Attachment gives you the zeroing position of the blade angle relative to the adjustable angle section of the belt. The set of twin rollers is moved to the desired angle and the locking screw on the back tightened to maintain this setting. There are two positions for one of the twin rollers that allow you to effectively change how ‘slack’ the belt is. The knob on the tensioner provides tracking adjustments for the different belts. There is even a small support shelf at the rear of the Blade Grinding Attachment for using as a mini belt grinder. Fitting to the motor is via a bayonet style of locking ring.


What it is like to use?
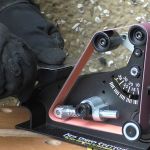
In this gallery, the first thing I am doing is taking off and discarding the sharpening head for the Ken Onion Edition Sharpener to leave just the motor assembly (no offense to the Ken Onion Edition). Then on goes the Blade Grinding Attachment. Now you can see how the motor spindle (which has a left-hand screw belt retainer fitted into it) then completes the belt roller path.
The tensioning roller has a finger tab for you to push on and it rotates and locks into a retracted position. Like this the belt pops on and off easily, and with the new belt in place, a quarter turn on the finger tab and the tensioner unlocks and grabs the belt.


Although the Blade Grinding Attachment has clamping points, I’ve been using the sharpener sitting under its own weight, and it hasn’t moved or needed to be secured.

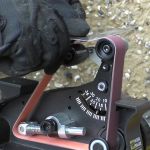
The process of using the angled section of the belt, is to first lay the blade on the reference surface at zero degrees, then move up and to the belt. This sequence is showing the process on one side, then the other, and then going to a finer belt and repeating. The last photos in the gallery has an orange item on the right, which is an LED light used to help show the burr that has been raised on the edge.
In this gallery the two rollers that set the angle for the belt are shown in their widest spacing, however, since these images were taken I have changed to the narrower spacing as I prefer the slightly firmer belt tension this creates between the rollers.


Powered sharpeners give you such a massive time saving over manual sharpeners, but it is also possible to make mistakes faster too.

Here I have take on an edge bevel re-profile from a 70 degree inclusive angle to 35 degrees inclusive. The primary grind angle on this blade is quite wide, so as the edge bevel angle was halved, the edge bevel width has increased significantly. In fact the entire edge bezel does not fit in the magnified view.
This re-profiled edge was done using a very light pressure onto the 120 grit belt, followed by a strop using a metal polishing compound. The result was nicely hair popping.

Both the Work Sharp Ken Onion standard sharpening head and the Blade Grinding Attachment use a ‘unsupported belt’. There is no platen behind the section of belt used for sharpening. This is also termed a ‘slack belt’. A consequence of this is that the edge created by the Work Sharp is convexed. You can vary how much the edge is convexed in a couple of ways. With the Blade Grinding Attachment, the rollers that set the angle of the belt can be positioned closer (less convexed edge) or wider apart (more convexed edge). As the belt is ‘slack’ you can also increase pressure onto the belt, which will deflect it more and produce an edge with more pronounced convexing.
All of this allows you to play around with settings and pressure to find the edge bevel shape you prefer; always slightly convexed, but you can decide how much.


I am now going to back to that point about time saving with a powered sharpener; you will either save a lot of time making a knife very sharp, or ruin it in double quick time. No sharpening system is fool-proof. Sharpening, as a process, relies on removing metal and forming a fine cutting edge. Just like sharpening a pencil, you can over sharpen and use the pencil up much faster than needed. A powered pencil sharpener can eat up the entire pencil in no time.

Sharpening is a skill you need to learn, whatever system you use. Work Sharp, with the Ken Onion Edition, or this extra enhancement of the Blade Grinding Attachment give you an excellent tool, which you will get more and more out of as you learn to work with it.

With a good powered system, and the Work Sharp is excellent, you can concentrate on the skill and control of positioning the blade, without the repeated effort of grinding the metal away yourself. The powered movement of the abrasive allows you to finesse your technique.

Tactical Reviews new standard in sharpness is now ‘WORK SHARP Sharp’ thanks to the Ken Onion Edition Sharpener with Blade Grinding Attachment.

Review Summary

The views expressed in this summary table are from the point of view of the reviewer’s personal use. I am not a member of the armed forces and cannot comment on its use beyond that covered in the review.

Something that might be a ‘pro’ for one user can be a ‘con’ for another, so the comments are categorised based on my requirements. You should consider all points and if they could be beneficial to you.

_______________________________________________
What doesn’t work so well for me
_______________________________________________

Very easy to misshape the blade tip (requires good technique to avoid).
The vertical belt section is also not supported and flexes.

_______________________________________________
Things I like
_______________________________________________

Complete control of belt speed.
Quick and easy belt changes.
Long duty cycle (rated for 1 hour continuous running).
Allows for varying amount of edge convexing.
Angle of belt set by movable roller assembly.
Very compact for a high quality mini belt grinder.
Super fast sharpening and re-profiling.
Solid build quality.
Very quickly get your edges ‘WORK SHARP Sharp’.
 
Discussing the Review:
Something new – will it work? A Tactical Reviews Subreddit.
TacticalReviewsChat on Reddit
Please visit there and start/join the conversation.

Gear Review: HORL 2 Knife Sharpener

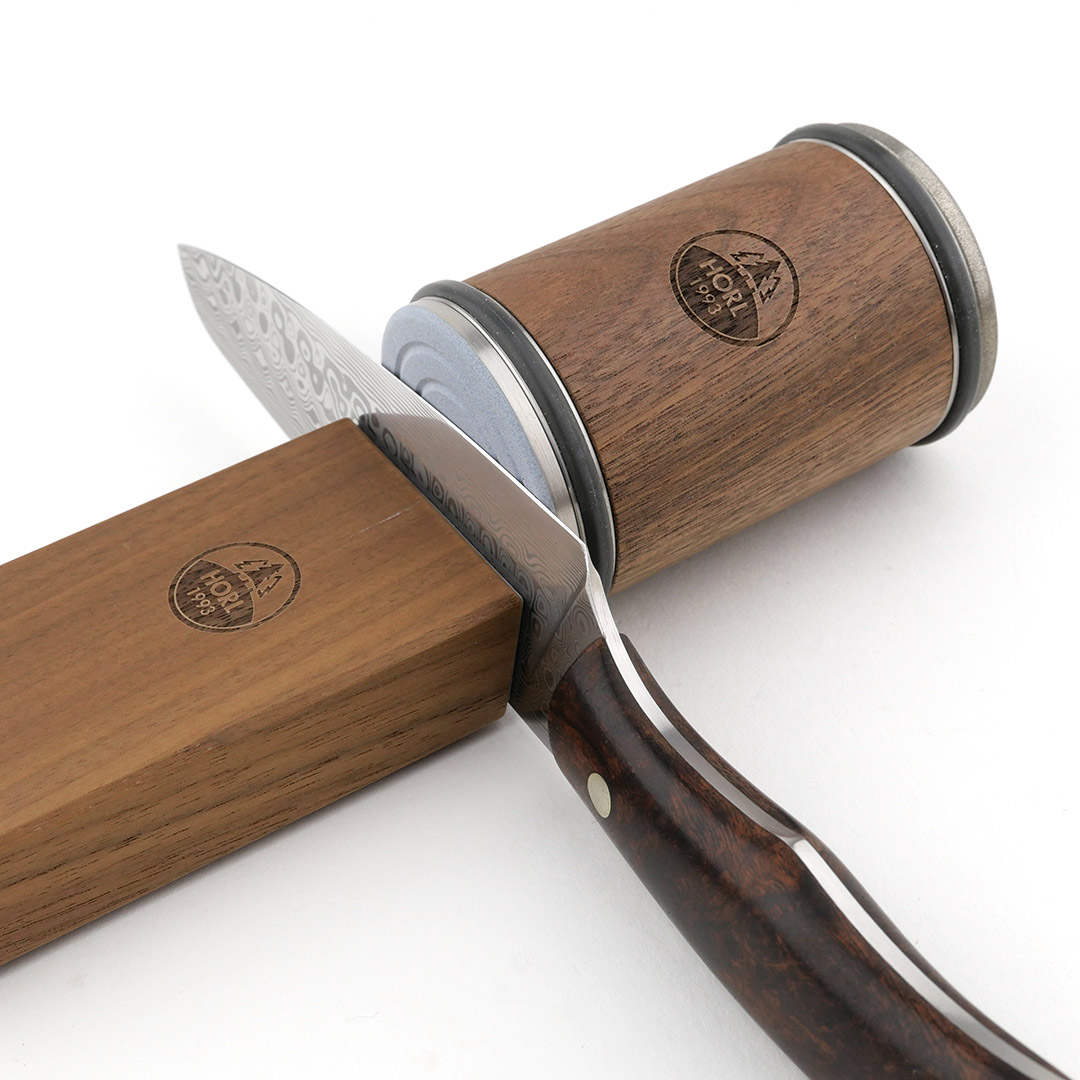
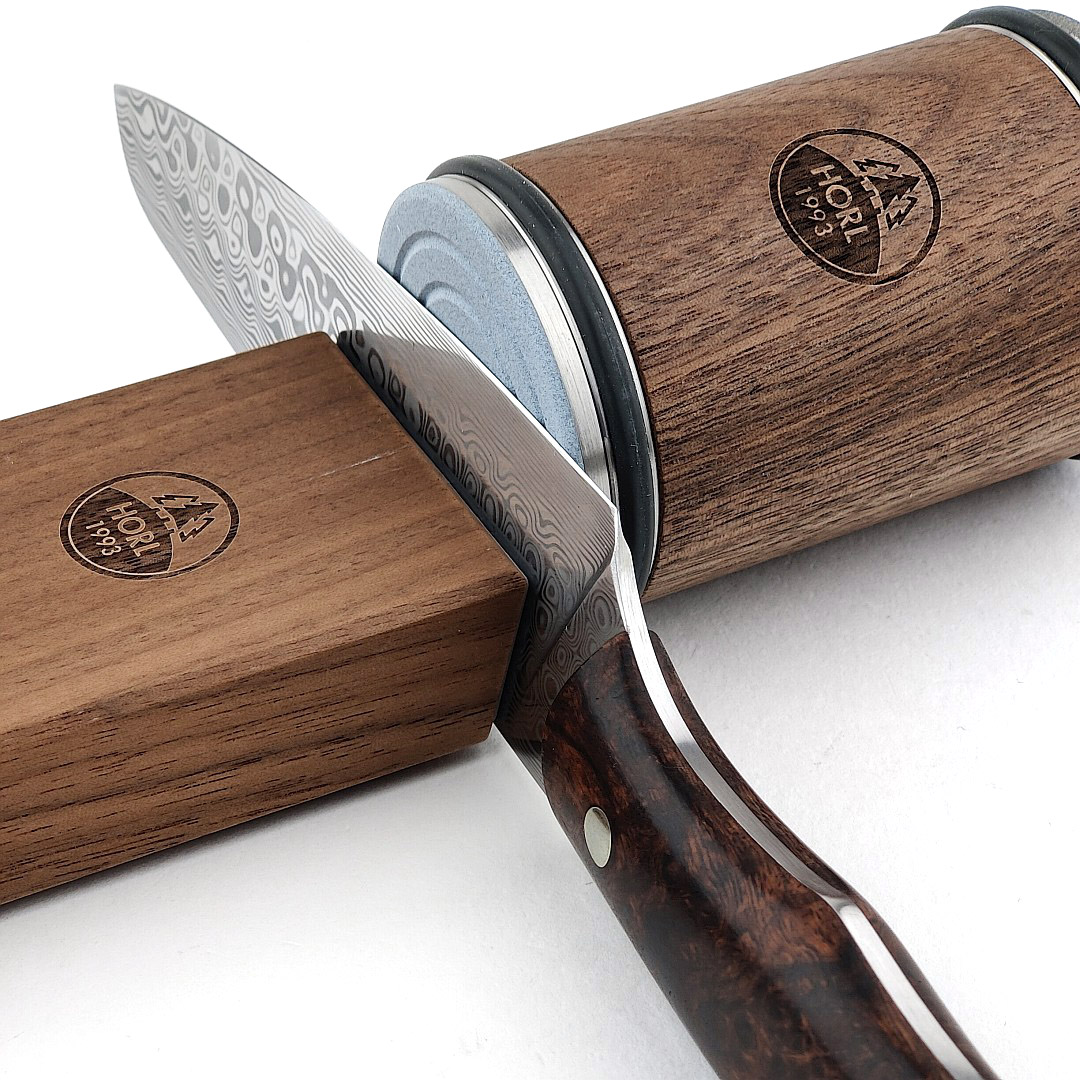
HORL 1993 are creating a revolution in sharpening with their innovative line of rolling knife sharpeners. Many of you will likely have seen their system popping up in various social media feeds, especially if you have any interests involving knives. Though primarily aimed at sharpening kitchen knives, having given the system a quick try out at IWA 2022, I was intrigued to test it in more depth and with other types of knives. Join me in this HORL 2 knife sharpener review for a closer look at this new approach to guided sharpening.

What is on test?:

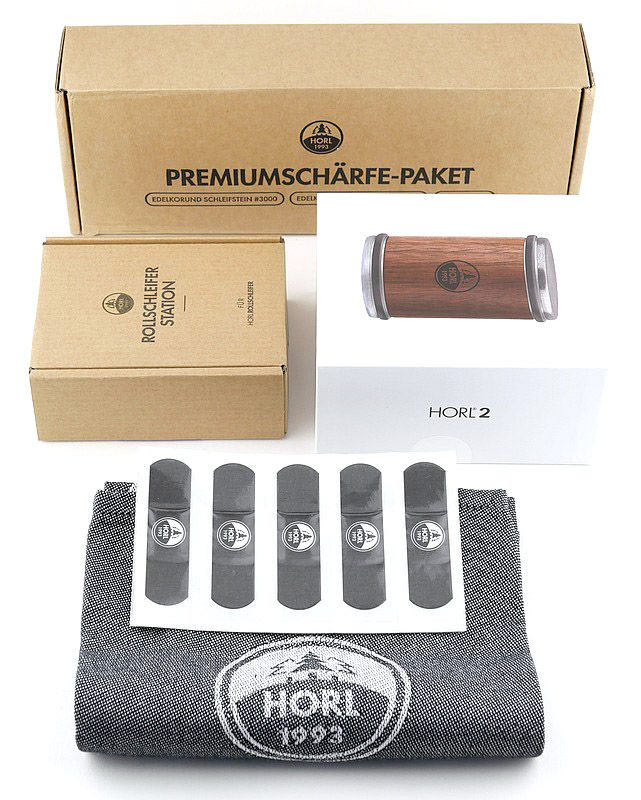
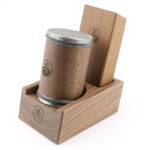
For this review, on test are the HORL 2 sharpener with add-on Premium Sharpening kit plus the storage block. HORL also sent the tea towel and branded plasters.


A good look round the HORL 2 – Things to look out for here are:
In this first part which includes the HORL 2 sharpener plus the optional storage block, I’m breaking it into three sections. First the HORL 2 box and first look over the knife holder / angle guide, then views all round the storage block, and finally the rolling sharpening stone itself.

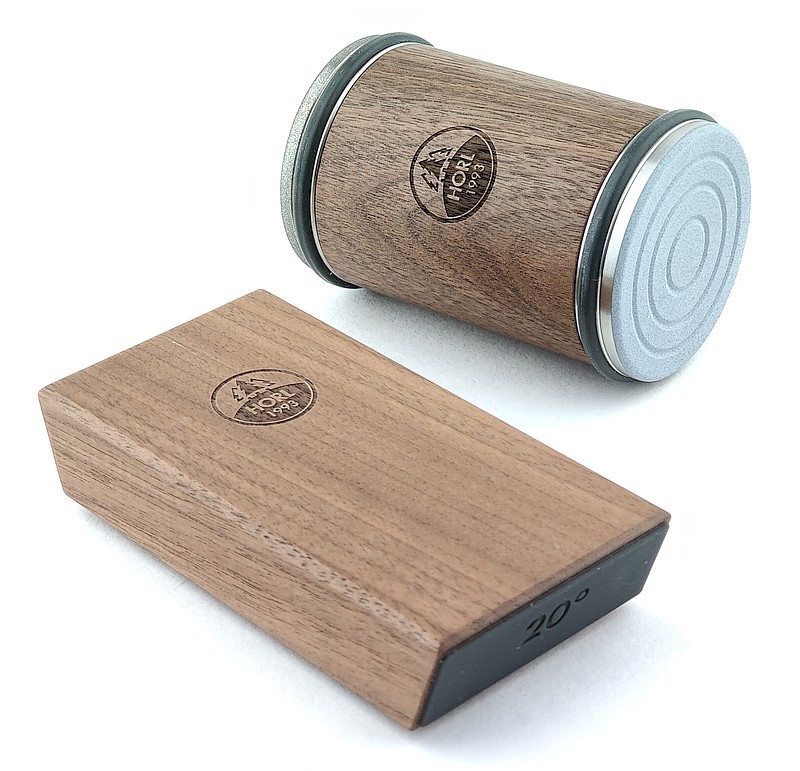
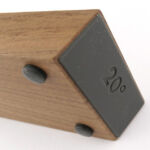
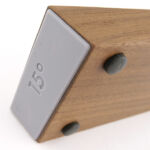
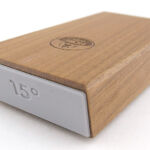
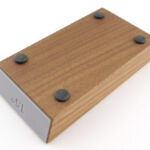
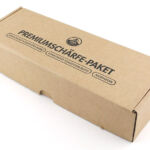
Inside the box are a couple of printed guides, and the two main components, the rolling sharpener and the magnetic guide block. The precisely finished wooden guide block has two angled ends, 15 degrees and 20 degrees. The ends are marked with their angle and have a rubber surface to cushion and hold the knife.


An optional extra that goes with the sharpener so well you really should get it, is the storage block. Available in either of the two woods used for the sharpeners themselves you can match the sharpener or go with a wood contrast. The block has two cut-outs, one is an angled pocket to sit the rolling sharpener in, and the other is a slot that has a couple of bolt heads which the magnetic guide block grabs on to. The quality of finish is very high.


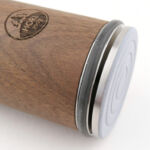
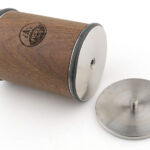
Lastly in this detailed look at the components is the rolling sharpener itself. A cylinder with a round sharpening stone at each end.
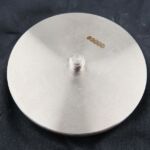
The wooden centre grip section of the rolling sharpener is in the matching wood to the guide block, and rotates freely. At each end are rubber rings to act as wheels, and the sharpening disks. As it comes this includes a diamond disk and a grooved ceramic coated disk.
Also shown here is how the HORL 2 neatly sits on the storage block.


The Premium Sharpening Kit add-on:
Though you can produce a good edge with the standard HOLR 2, the premium sharpening kit is designed to further refine that edge and take it to another level.
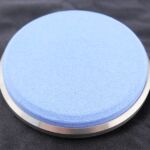
The kit includes two extra sharpening disks of 3000 and 6000 grit. These are found inside matching storage tins, wrapped in a cloth square. As well as these two fine stones, you also have a thick leather strop for cleaning and deburring the edge.
The 3000 grit stone is blue and the finest 6000 grit stone is white. Both are marked on the back of the disk with the grit.


Changing the Stone:
Changing stones on the HORL 2 is simple. Grip the rubber wheel firmly and simply unscrew the stone you want to change; then screw in the replacement. My own preference was the diamond and 3000 grit as a pair.


Video overview and sharpening test.

This video takes detailed look at the HORL 2 being used for the first time on a Santoku kitchen knife and an outdoor / hunting knife. It is quite long but also uncovers a few tips and tricks you might be interested in as well as showing a reprofile of the edge angle. It is worth watching for the insights into how the sharpener interacts with parts of the knife and possible precautions you might want to take.


What it is like to use?

If you have watched the whole video you will have seen what I’m going to describe in this section for real. For this review I’m using the HORL 2 along with two optional extras, the storage block, and the premium sharpening kit with its finer grit stones and leather strop.

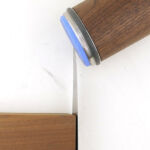
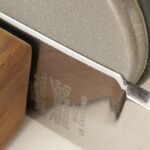
As the simplest and most basic look at using the HORL 2, these photos show how you set up the knife on the magnetic angle block with the roller sharpener against the knife edge. You can see how the edge-to-stone angle is maintained and allows sharpening by rolling the sharpener backwards and forwards.
Of note is that your kitchen work surface (or table) is used as part of the sharpening system because you need a large surface to working the rolling sharpener along the blade. Typically a sharpening system will contain the dust and metal filings produced to the sharpener, but the HORL 2 drops the filings that don’t stick to the magnetized blade all over the work surface. It is a bit of a messy eater when it comes to sharpening systems.


Beyond the basic operation of the HORL 2 here are a few general observations:

  • Operation is incredibly simple for use with most kitchen knives.
  • If the depth of the blade is more than the diameter of the sharpening disk you have to use ‘riser blocks’ (like a chopping board) to be able to sharpen the edge.
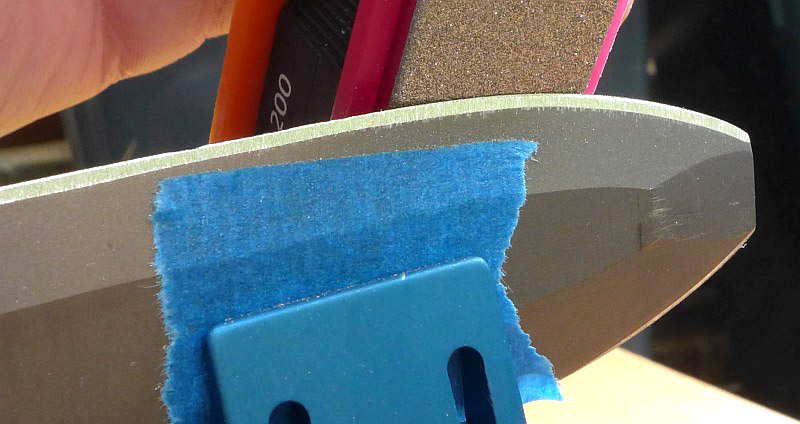
  • It is very easy to bump the sharpening stone into the knife bolster or handle. I use masking tape to protect these areas from damage.
  • You will magnetise the blade by using the magnetic angle guide block.
  • The sharpening dust collects on the magnetised blade and edge during use.
  • Shorter / narrower blades (paring knives or pocket knives) need very careful positioning on the angle block.
  • As your worktop is part of the sharpening system, this will be covered in metal filings

When swapping from a kitchen knife to an outdoor / hunting knife, it became apparent of an issue you need to work round regarding the tip of the knife.
With many hunting knives, the blade edge curves upward to meet the spine of the blade at the tip. This introduces challenges of maintaining the edge angle all through the sweep of the edge on any sharpening system. On the HORL 2 it requires the user to no longer rely on the angle block to provide the correct angle, instead the user has to twist the rolling sharpener to the correct angle at the tip.
Illustrated below is the angle the roller needs to be moved to sharpen this knife all the way to the tip. It is actually 20 degrees, the same angle as is used on the magnetic angle block. With the rubber wheels on the roller gripping the work surface, this does need the user to force the roller to twist round and get the hang of following the angle near the tip.
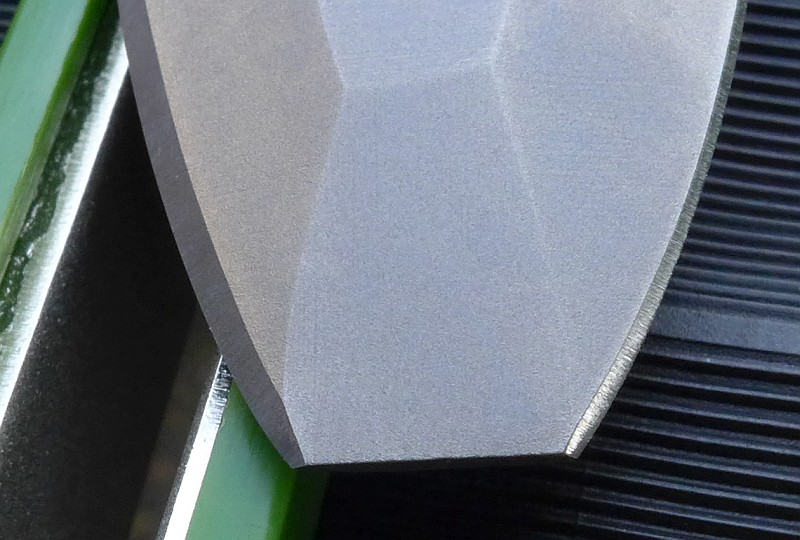
Another feature of a hunting knife verses a kitchen knife it that typically there is a ‘plunge line’ where the blade profile and ricasso meet. Also shown below are photos of how the corners of the HORL 2 stones hit the plunge line and might not quite reach the very end of the cutting edge. You will also likely mark the ricasso with the stone.
Finally with the grooved ceramic stone of the HORL 2 and the tip of a knife with a curve there is a possibility of the edge catching into the groove. This happened a couple of times in the video when turning the sharpener to work the tip of the blade, and prompted me to abandon the ceramic stone for a blade with curved tip like this. For kitchen knives this was not an issue.


Review Summary

The views expressed in this summary table are from the point of view of the reviewer’s personal use. I am not a member of the armed forces and cannot comment on its use beyond that covered in the review.

Something that might be a ‘pro’ for one user can be a ‘con’ for another, so the comments are categorised based on my requirements. You should consider all points and if they could be beneficial to you.

I’m starting with what doesn’t work so well, so I can finish on a more positive note

_______________________________________________
What doesn’t work so well for me
_______________________________________________

  • Needs ‘riser blocks’ for blades wider than the sharpening disk.
  • Magnetises the blade and this collects metal filings on the blade and angle block.
  • Covers the kitchen work surface in metal filings.
  • Still requires the user to control the angle of the stone at the blade tip.
  • Easy to hit and mark the handle or other parts of the knife with the rolling stone.

_______________________________________________
Things I like
_______________________________________________

  • For most typical straight-edge kitchen knives it makes sharpening super simple and easy.
  • Elegant and attractive solution that looks good in any kitchen.
  • Choice of stone types and grits.
  • Easy touch ups.
  • Very quick to set up and use.
  • Choice of 15 DPS or 20 DPS sharpening angles.

 
Discussing the Review:
The ideal place to discuss this review is on the Tactical Reviews Facebook Page
Please visit there and start/join the conversation.

As well as the Tactical Reviews Facebook Page, please consider visiting one of the following to start/join in any discussion.

BladeForums – Knife Reviews (US based Forum for Knife Discussion)

CandlePowerForums – Knife Reviews Section (Largest and Friendliest Flashlight Community Forum)

Gear Review: Wicked Edge Advanced Alignment Guide and Low Angle Adapter

This is a supplementary review to the Wicked Edge ‘Field and Sport’ Sharpener Review as it covers two optional extras that extend the functionality of a Wicked Edge Sharpener. The Low angle adapter has been around for some time, but the Advanced alignment guide is a recent addition which further enhances the precision of the sharpener.

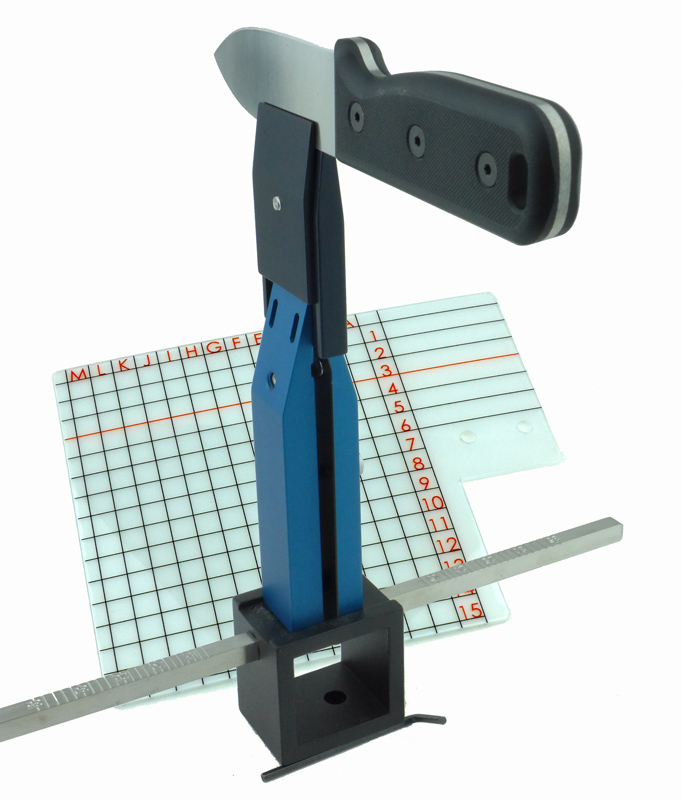
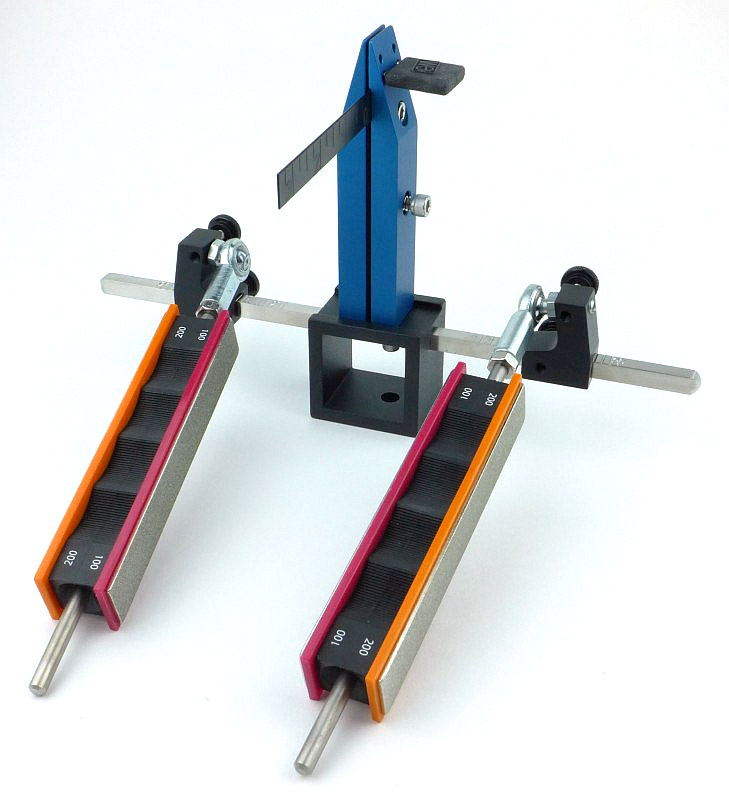
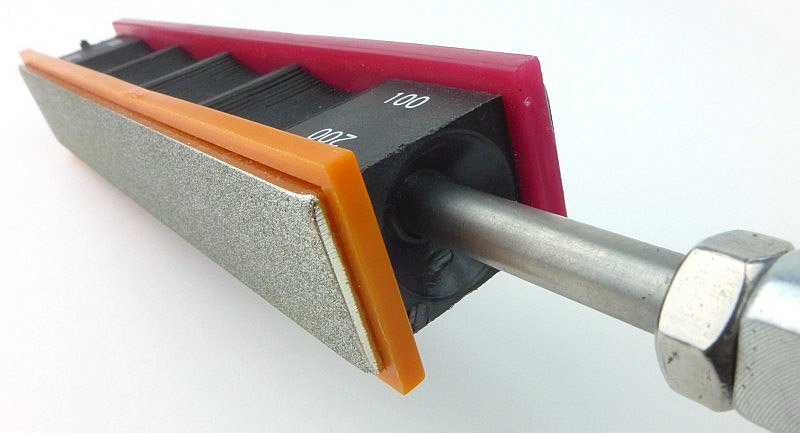
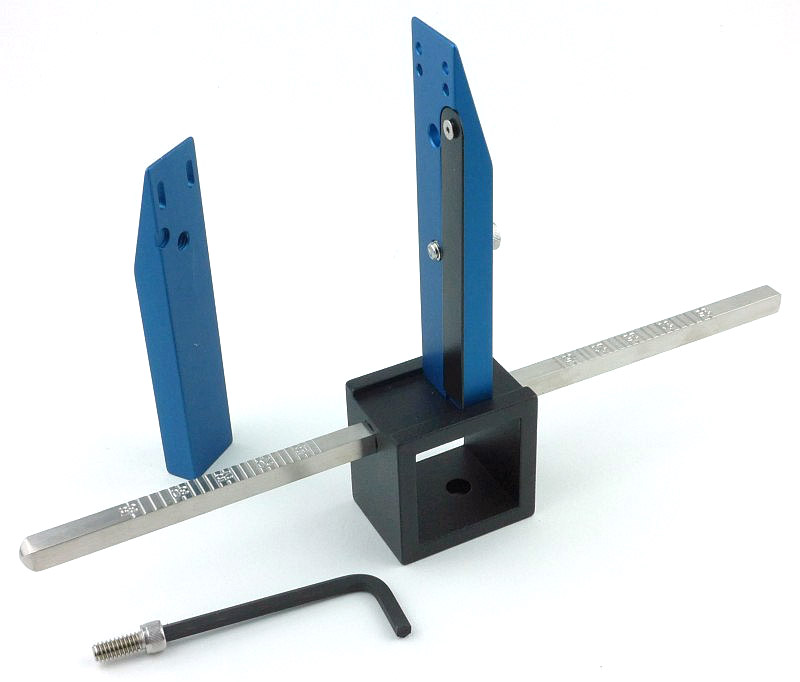
The Low Angle Adapter is a clamp extension for a Wicked Edge sharpener which allows for angles as low as 10°. The Advanced Alignment Guide provides measurable reference points for repeatable knife mounting. It allows a Wicked Edge user to be able to tilt a knife in the clamp to find the optimum knife positioning and record the setting so the mounting position can be repeated during the next sharpening session.

Low Angle Adapter – A few more details & What it is like to use?:

For this supplementary review it makes more sense to combine the different sections I normally use, so we will look at each of these optional extras and how to use them at the same time.

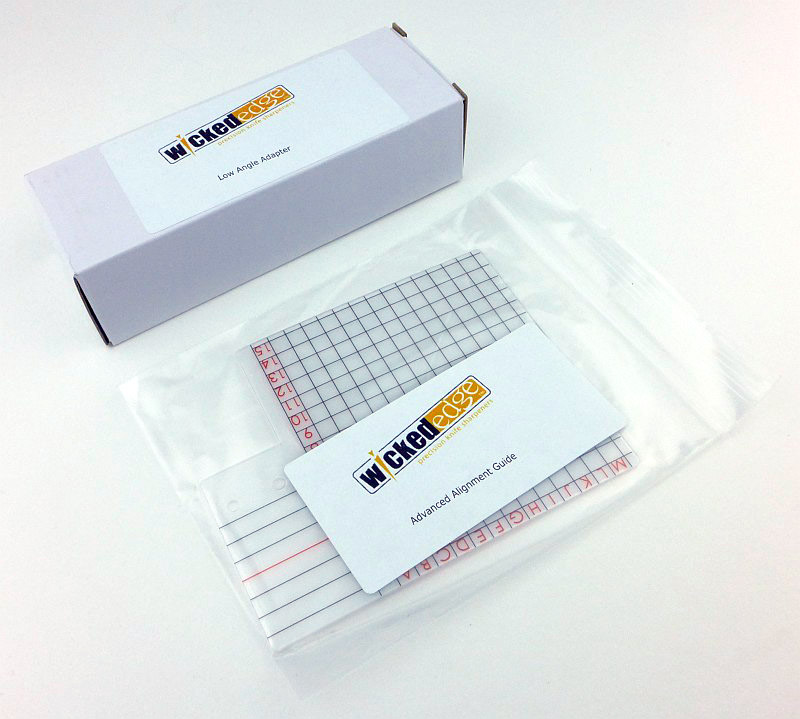
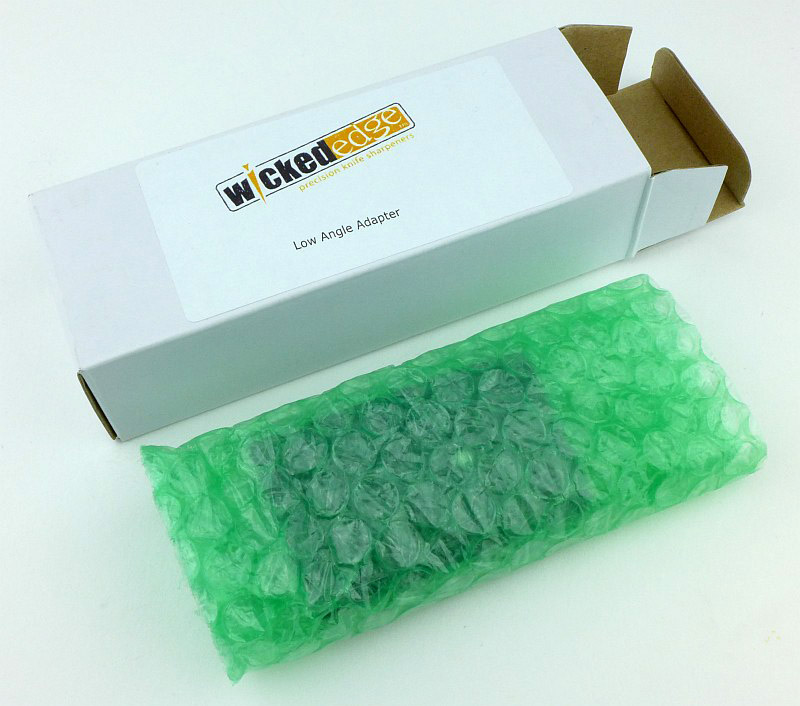
Unpacking the low angle adapter.

The main body of this clamp extension is black anodised aluminium.

An area is milled out of the adapter for the sharpener’s standard clamp jaws to slide into and grip.

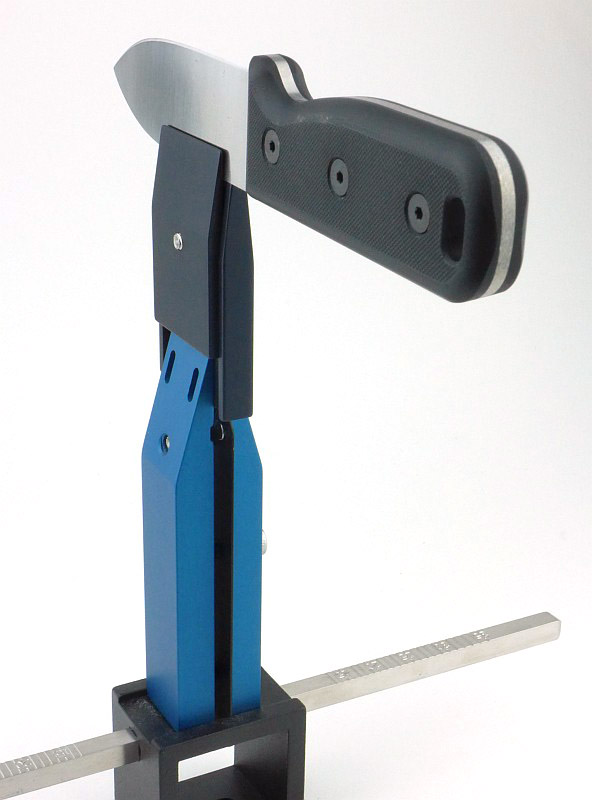
The other side has a different profile as there is the adapters blade clamp plate.

Taking this blade clamp completely off shows the milled pocket into which it sits. The milled out areas on each side (for the sharpener’s clamp and the adapter’s blade clamp) ensure precise alignment of all parts of the adapter during use.

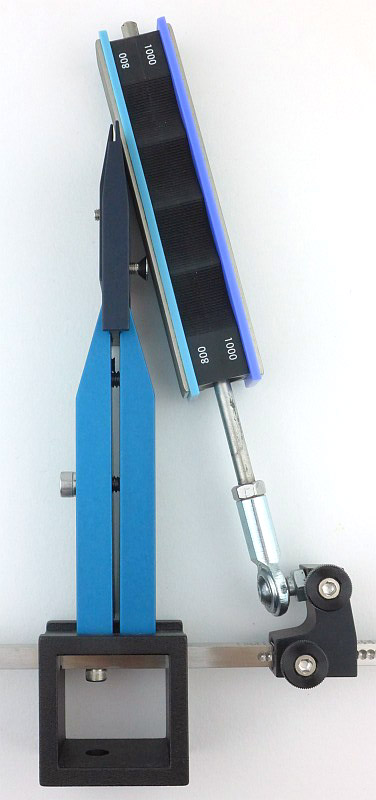
To clearly illustrate what this low angle adapter does, here is the standard clamp of the Wicked Edge, and at the low angle set for the stone, the stone is hitting the clamp jaw, so won’t reach the knife edge (unless the knife is very deep).

With the guide rod at the same angle, fitting the low angle adapter allows the stone to completely clear the main clamp and work on a knife blade fitted into the adapter.

All standard angles are still available even with the low angle adapter, but remember the scale on the main clamp will now not be exactly correct as the height of the blade has changed. Make sure you note down the fact the that adapter was used along with the angle shown on the scale for the guide rod.

Advanced Alignment Guide – A few more details & What it is like to use?:

With the Wicked Edge system you note down the various settings used for each blade so that in subsequent sharpening sessions you can repeat the angles precisely, reducing the amount of metal removed. The Advanced Alignment Guide gives you a further level of precision for the positioning of the blade in the clamp, and allows you to angle the blade and record the exact position you used.

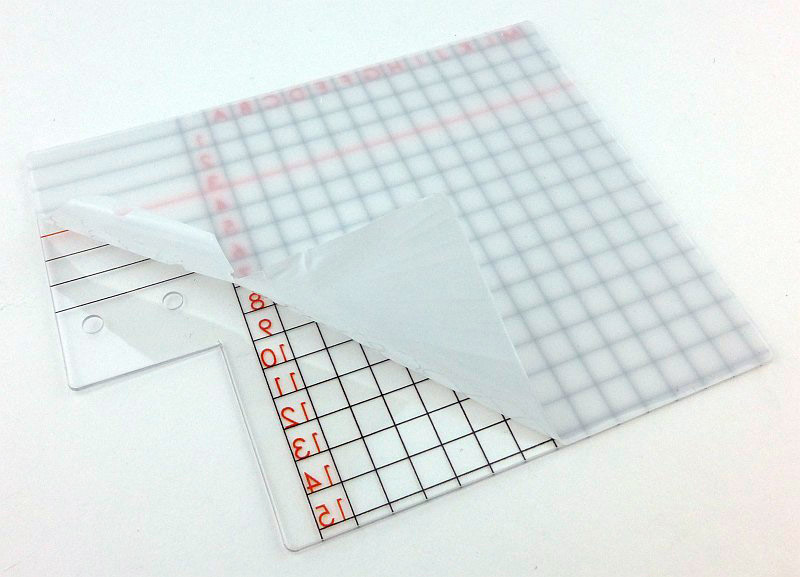
When it arrives, the guide has a protective film to ensure you get it completely free of marks.

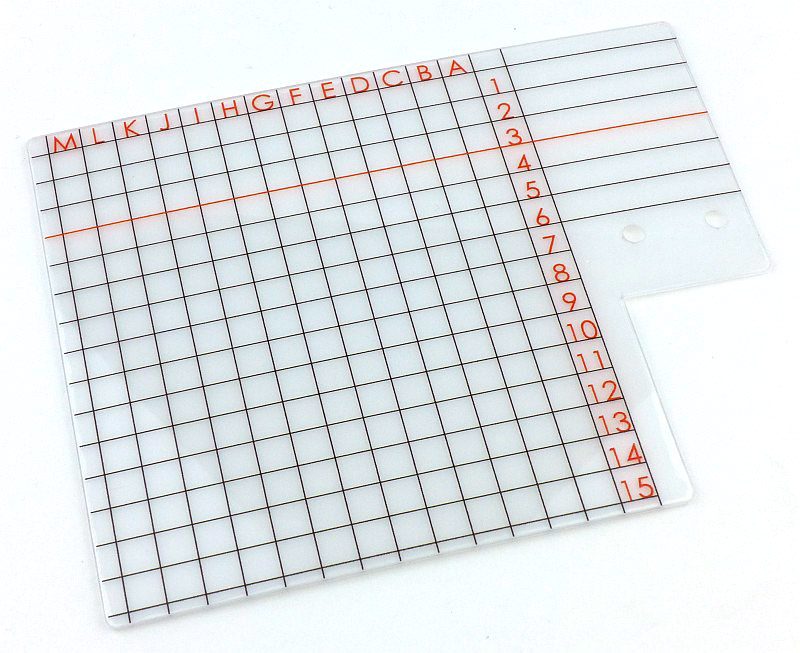
With the protective film removed you can see the grid printed onto the guide and two holes which are used to fit the guide to your sharpener.

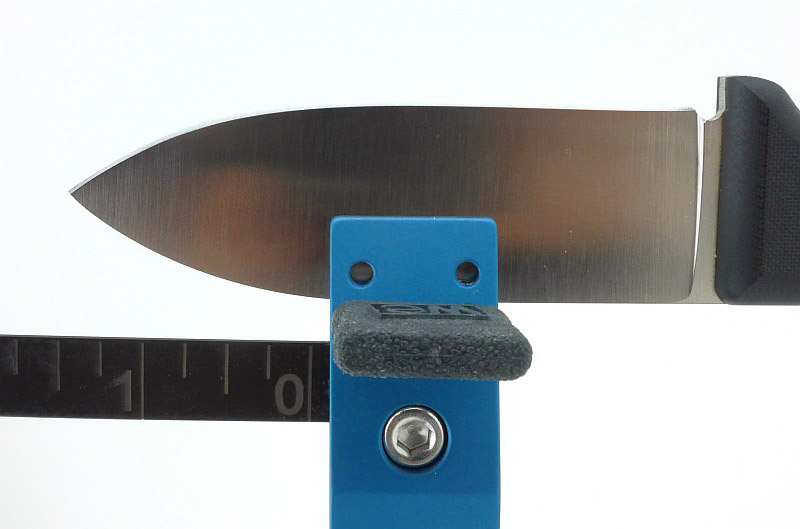
Before this alignment guide was made, you had to use the simple ruler scale built into the clamp to position the blade, relying on the blade spine to sit squarely onto the depth key.

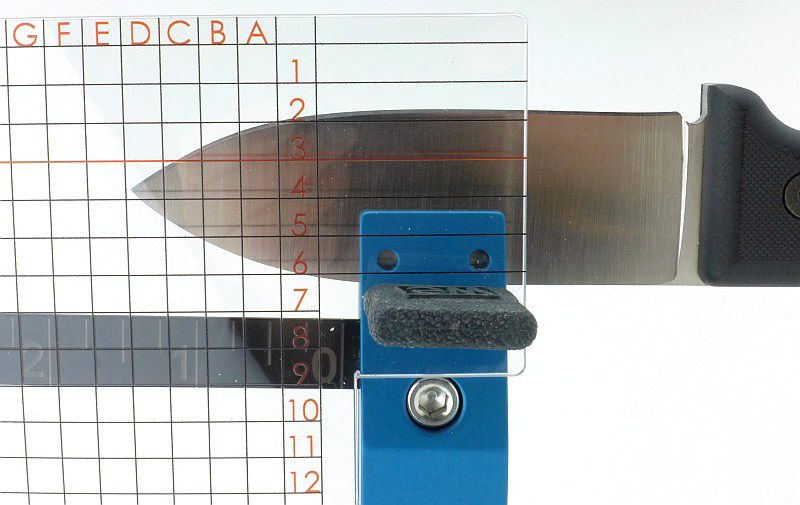
To use the new guide, when you fit the two pronged depth key into the clamp, first pass the prongs through the holes in the alignment guide and then into the clamp. Now you have a 2D labelled grid which allows you to precisely position and record where the blade tip is set. This also means you no longer have to put the blade spine down onto both depth key prongs and can rock it one way or the other to better present the knife edge for sharpening. Another level of precision.

Review Summary

The views expressed in this summary table are from the point of view of the reviewer’s personal use. I am not a member of the armed forces and cannot comment on its use beyond a cutting tool or field/hunting knife.

Something that might be a ‘pro’ for one user can be a ‘con’ for another, so the comments are categorised based on my requirements. You should consider all points and if they could be beneficial to you.

_______________________________________________ _______________________________________________
Things I like What doesn’t work so well for me
_______________________________________________ _______________________________________________
Finer Edge Angles available. Relatively expensive.
Smaller blades can be sharpened.
Blade positioning even more repeatable. Doesn’t sit against a flat surface so can move backwards and forwards.
Much easier than the standard ruler.


Discussing the Review:

The ideal place to discuss this reviews is on a forum. If you started reading the shorter forum version of the review, but followed the link this full exclusive review, please return to that forum to discuss the review there.
If you read the review entirely on Tactical Reviews, please consider one of the following to join in any discussion.

EdgeMatters – Sponsored Reviews (UK based Forum for Knife Makers and Collectors)

BladeForums – Knife Reviews (US based Forum for Knife Discussion)

CandlePowerForums – Knife Reviews Section (Largest and Friendliest Flashlight Community Forum)

Gear Review: Wicked Edge ‘Field and Sport’ Sharpener

Wicked Edge’s sharpening systems have proven themselves over and over to be the ultimate precision guided knife sharpeners on the market, so much so, many high-end knife makers use them for their knives’ first edge, rather than hand sharpening their blades. Wicked Edge sharpeners are solid, reliable and fast. If you want the most precise and repeatable edge possible, combined with the least blade wear, choosing one of these sharpeners is really the best possible choice you could make.

A little more Background:

In the world of knives, Wicked Edge is one of those aspirational products. Almost everyone wants one, but few people feel they can justify paying the relatively high cost of one. Much like any quality ‘professional tool’ that performs to a higher standard, most people simply do not NEED them. Simpler, cheaper options exist, and do a reasonable job.

Perhaps one of the other challenging aspects of making that leap into the realm of the Wicked Edge is that most often we see the famous mirror polished hair splitting Wicked Edge (which I too started this article with), and to achieve this you need the full set of stone grits and strops. But you don’t need to go that far, or spend that much, certainly not straight away.

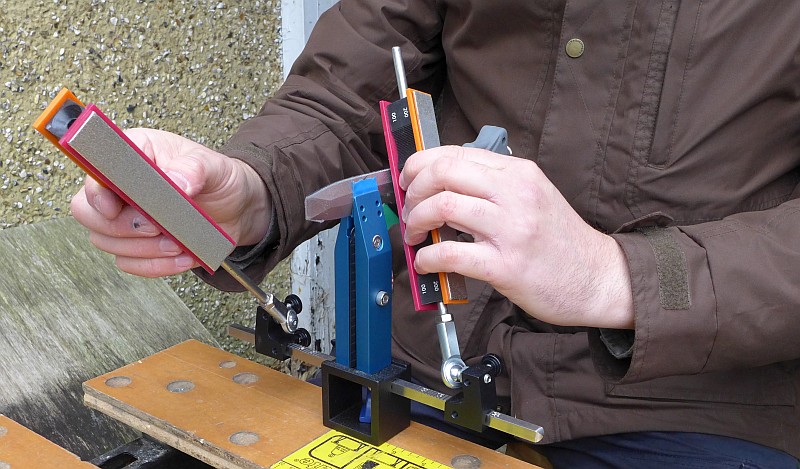
The Field and Sport is one of those simpler systems on offer which includes four grits, 100, 200, 400 and 600, and is also designed to be portable and easy to set up. In real terms, the 600 grit will give you a better working edge than a finely polished mirror finish anyway.

For this review, Wicked Edge did send a few extras as well to allow me to show the finer finishes, but they are not needed for Wickedly sharp knives.

A few more details:

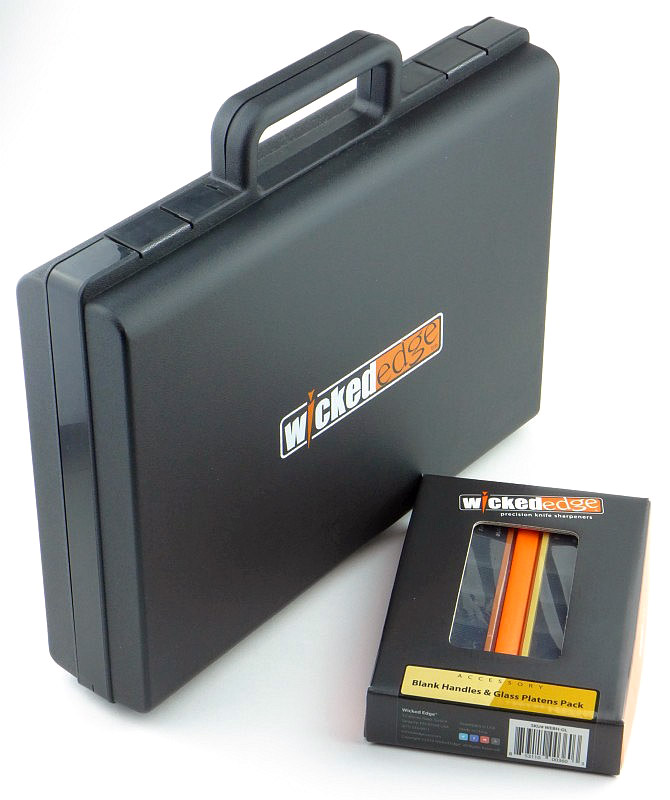
As the Field and Sport is a portable model, it comes in a carry case. This is useful for storage as well as taking it with you. Also shown here is a box of the optional glass platens for using the diamond polishing films.

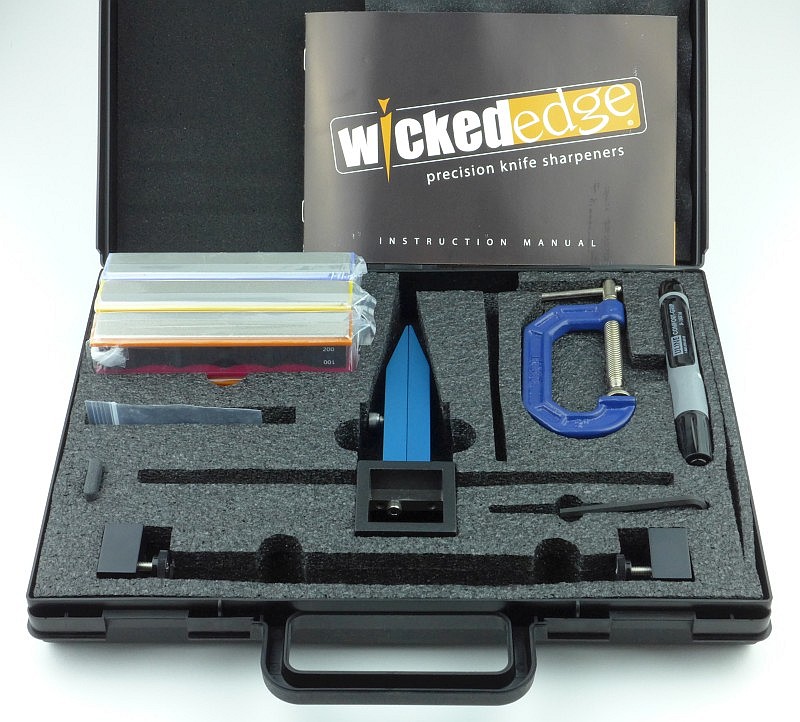
Opening up the case everything is nicely laid out in a closed-cell foam liner.

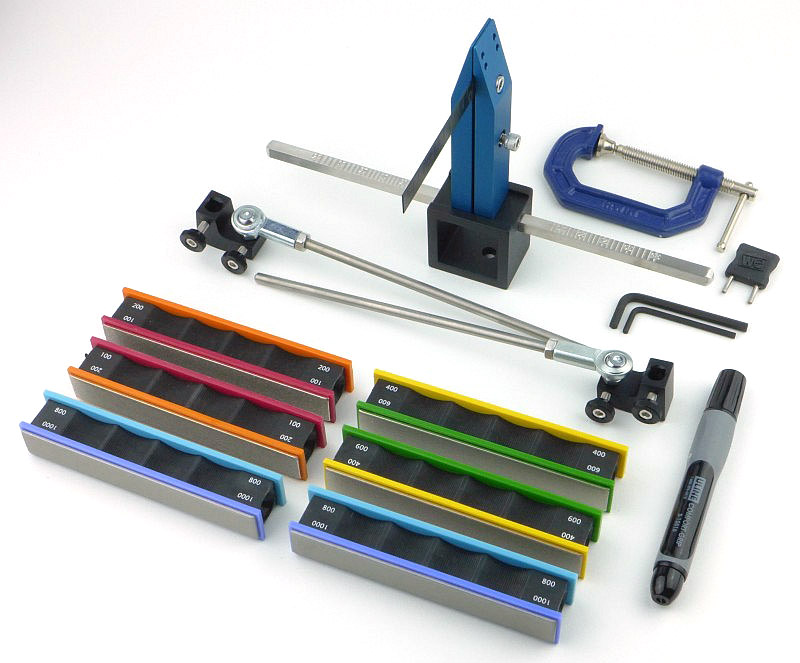
Looking a little closer you can also see that in this case the optional extra fine 800/1000 stones have been included which are not part of the standard Field and Sport kit.

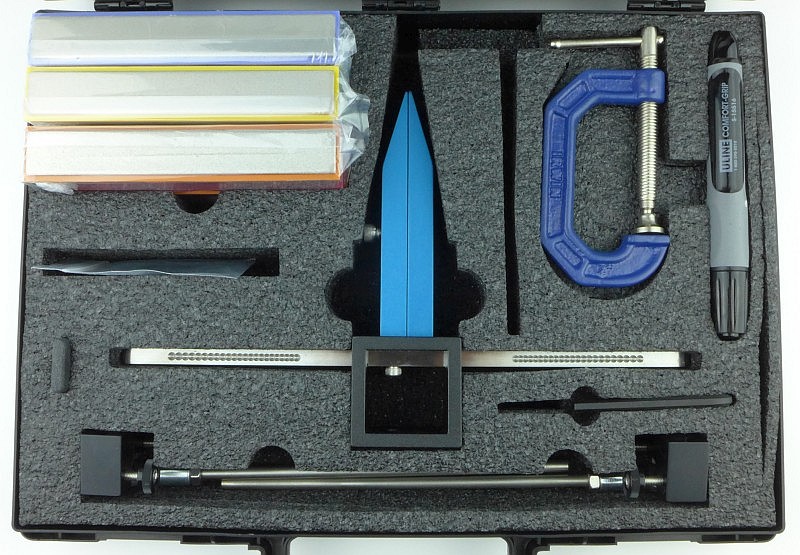
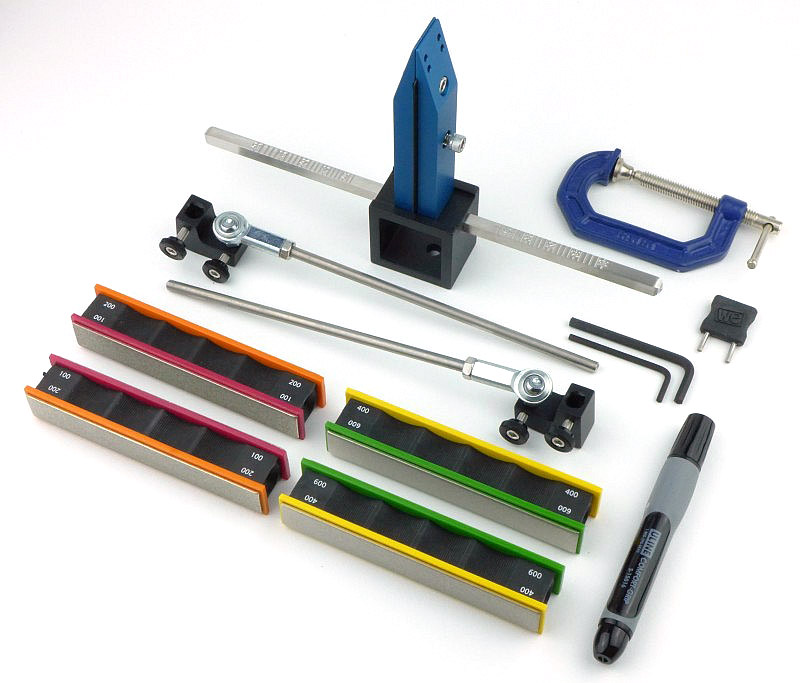
To be clear, this is the full set of part of the 2016 version of the Field and Sport kit. Included are the blade clamp, g-clamp, guide rods, 100/200 and 400/600 stones, Allen keys, blade stop and marker pen.

Adding in the optional 800/1000 stones that also fit into the case makes the kit look like this.

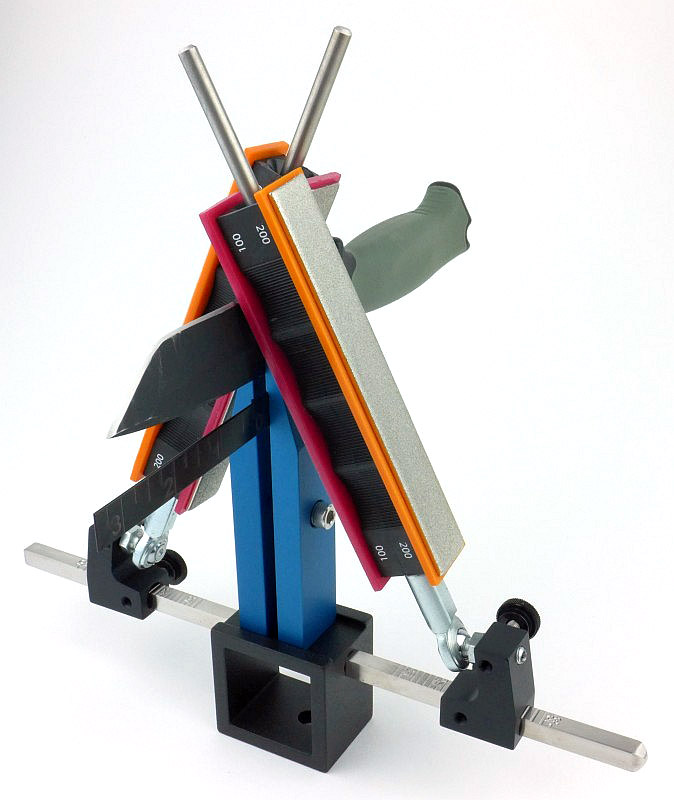
Although not clamped onto a working surface, this is the Wicked Edge fully assembled with the blade clamp, guides and stones ready to work.

With a knife fitted securely into the blade clamp this shows the arrangement of the stones as you work on the knife.

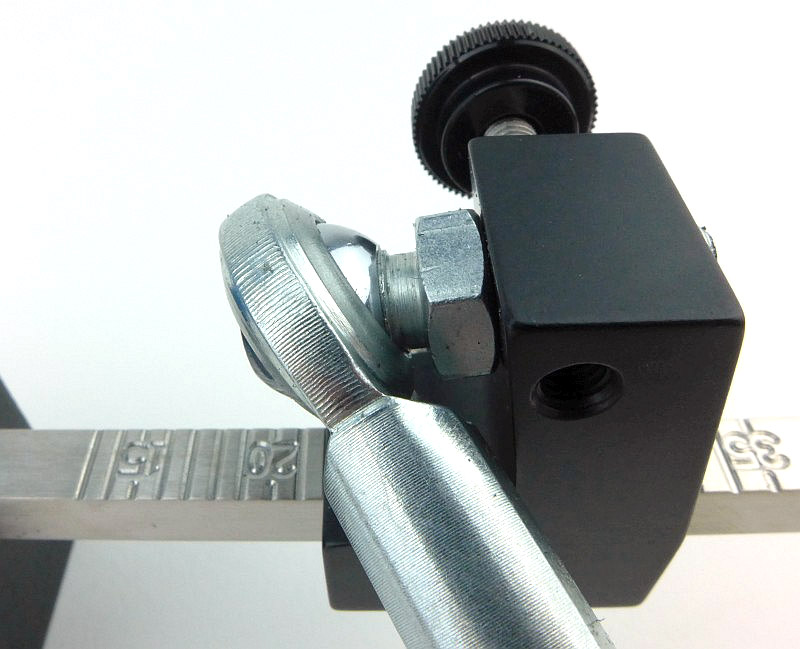
Most guided systems use just that, guides. I make that distinction as less robust guides can be bent and distorted. Not so with Wicked Edge. Take a look here at the guide rod ball-joints which have smooth but play-free movement.

The rods fit through the entire length of the stones providing a stable alignment.

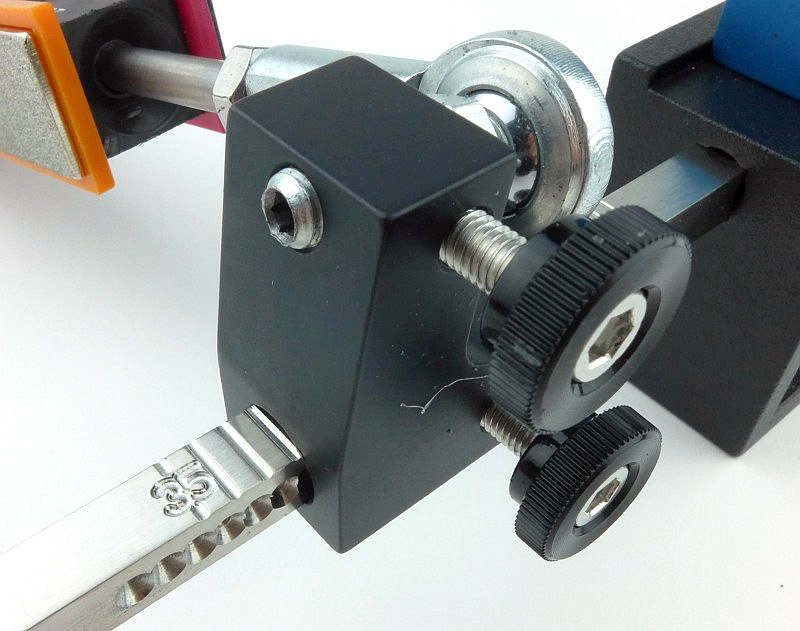
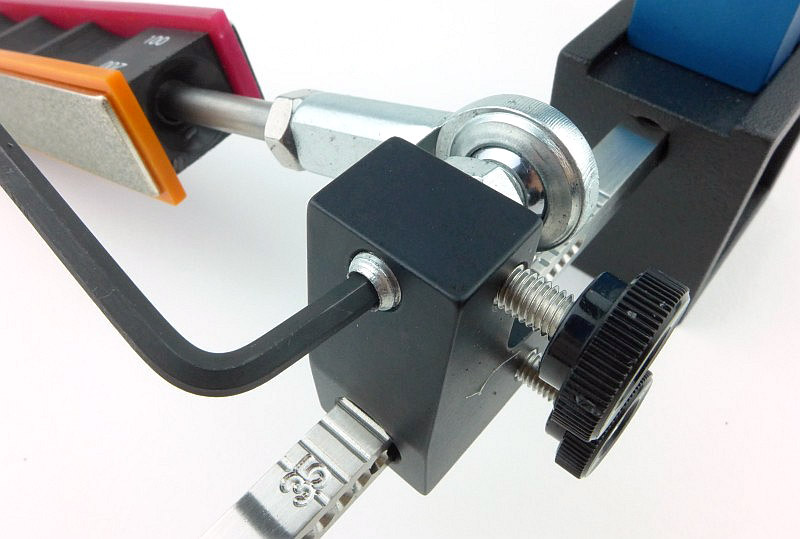
You can go precision crazy with the adjustments on the guide rod mounts. There are two hand-wheels, the lower one does the main angle adjustment.

The upper hand-wheel locks the fine angle adjustment, and once released you can turn the ball joint bolt and move this out by any amount and lock it in place.

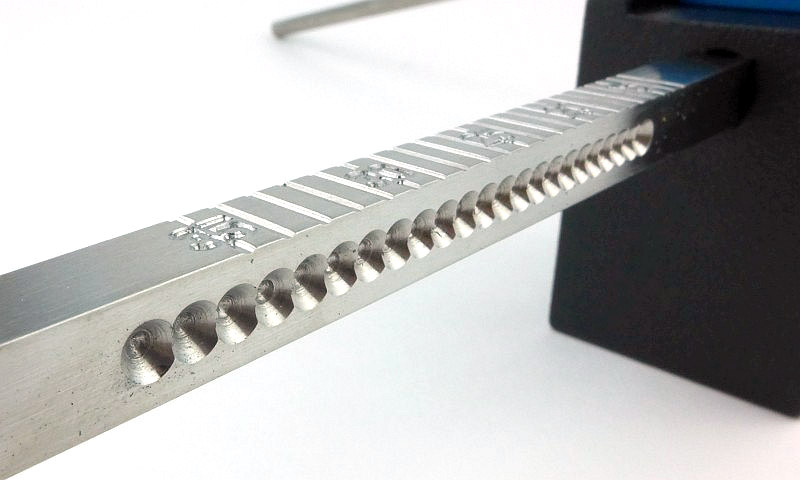
That lower hand-wheel locks into a series of precisely positioned angle holes cut into the guide rod arms.

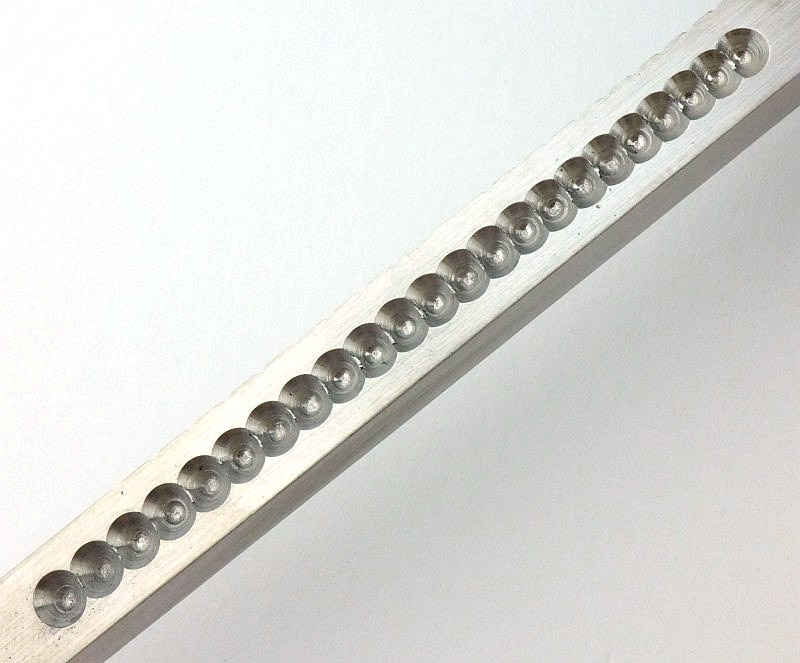
As you can see, the hole’s spacing changes as you get further from the middle to keep the change in angle consistent for each graduation. If this was not done, when you get to wider angles each adjustment would become a smaller and smaller fraction of a degree.
This version is the 2016 version of the blade clamp, but the principles should be similar for the latest version. One part of the clamp is fixed to the base.

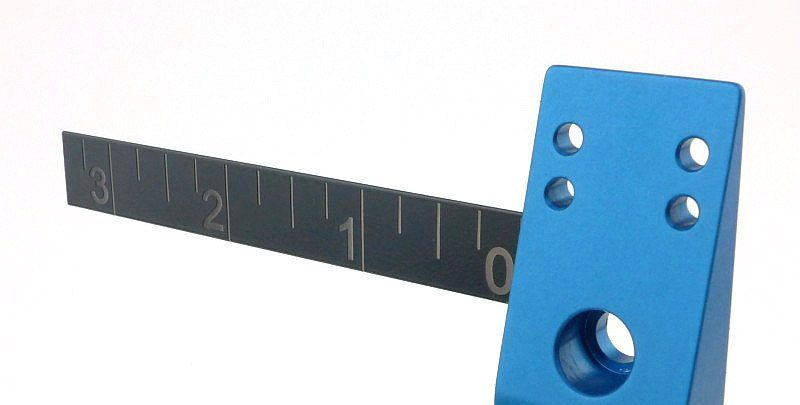
To allow you to fit each blade into the clamp in the same position each time (to reduce the amount of metal removed when you re-sharpen it) there is a folding ruler inside the clamp.

The ruler in the extended position.

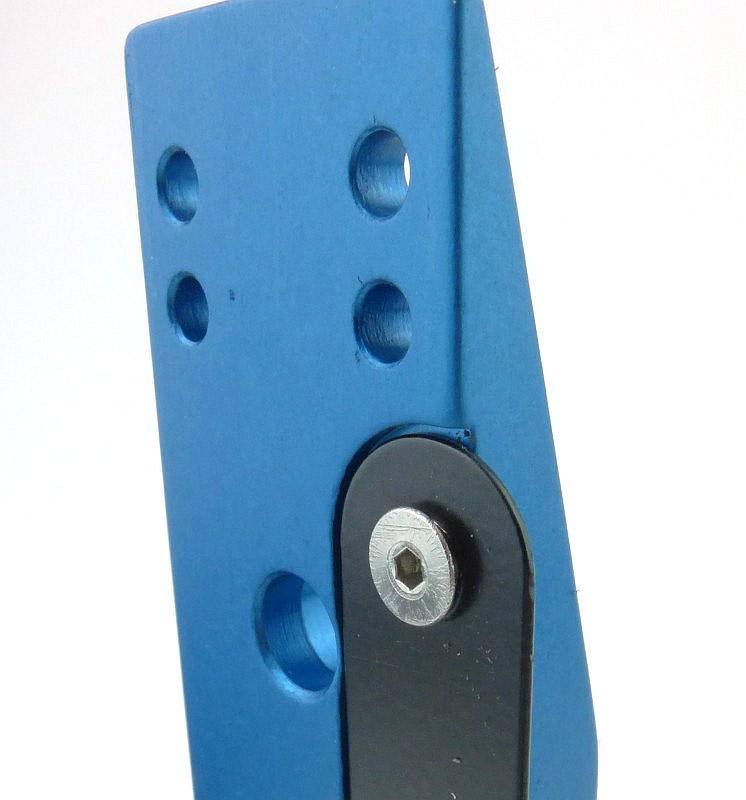
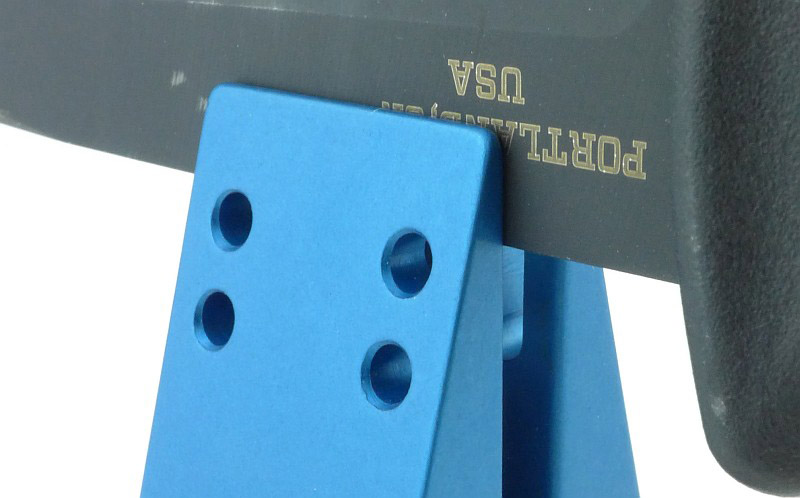
You might have notice the set of four holes near the top of the blade clamp. These provide two blade heights that are set by a removable dual pin that you rest the spine of the blade on as you tighten the clamp.

Tightening the clamp is a two stage process where initially you tighten the top bolt.

Then move the Allen key down to the lower bolt and tighten this to bring the clamp plate back out to a parallel position (to stop the blade popping out). This is important or you will have blade instability when sharpening.

Once the clamp is properly tightened you need to remove the blade height stop pin.

With the stop pin removed you will have room to work on the blade.

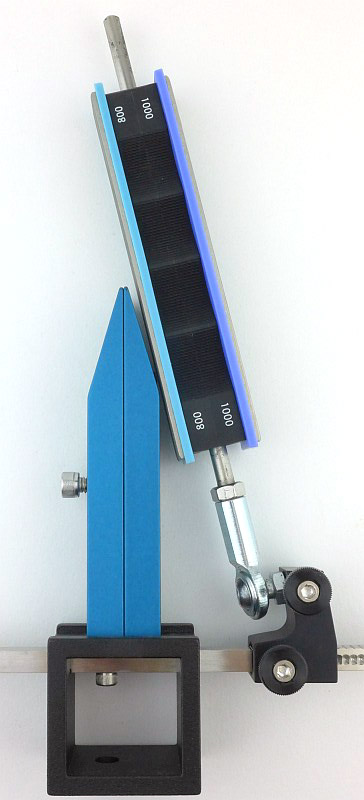
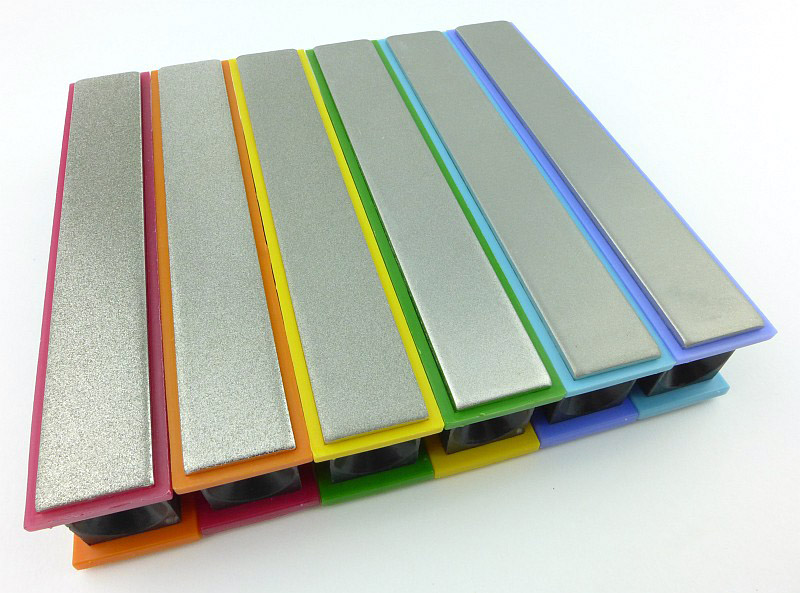
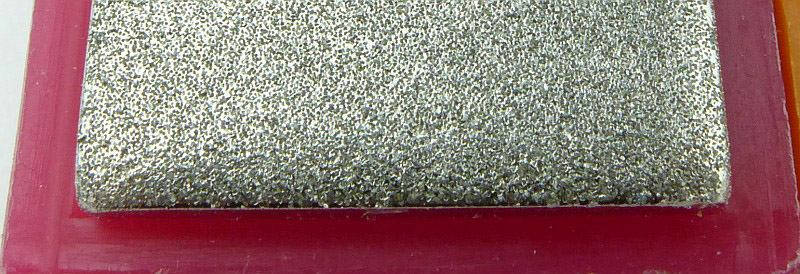
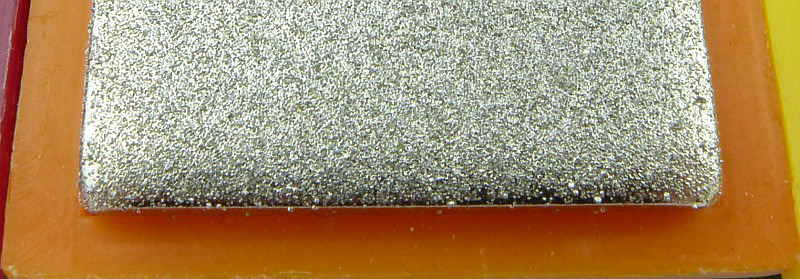
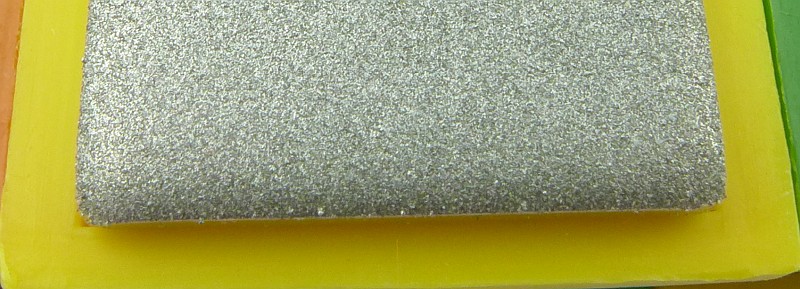
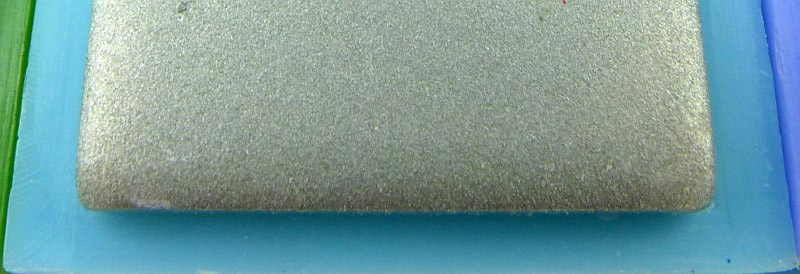
Altogether the Field and Sport has four grits, 100, 200, 400 and 600, and here I also have the 800/1000 stones. The following series of photos is intended to show how those grits compare from most coarse to least.

100

200

400

600

800

1000

What it is like to use?

This review has taken a while as even a ‘normal’ reviewer doesn’t sharpen knives at the same rate as a professional knife maker, or knife sharpener. What you will also find is that the Wicked Edge takes time to wear in and actually improves over time. Wicked Edge even recommend you start using it on a few ‘inexpensive knives’ first.

During the coarse of this review testing I’ve used the Wicked Edge on all sorts of blades, and in this next sequence is actually a titanium diving knife. Titanium is notoriously difficult to get a good edge on, but you would never know it, I didn’t do anything different and it was a super slicer at the end of this re-profile.

This blunt tip diving knife has had the left edge re-profiled and the right has not yet been done. We will step though the process…

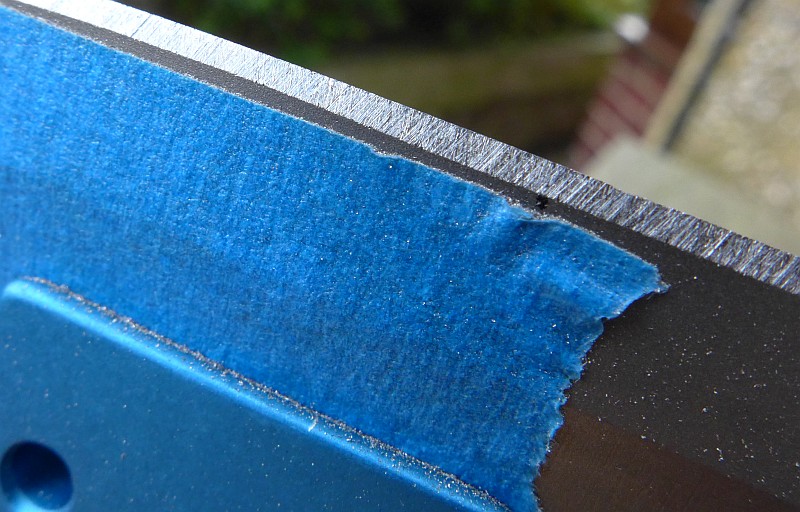
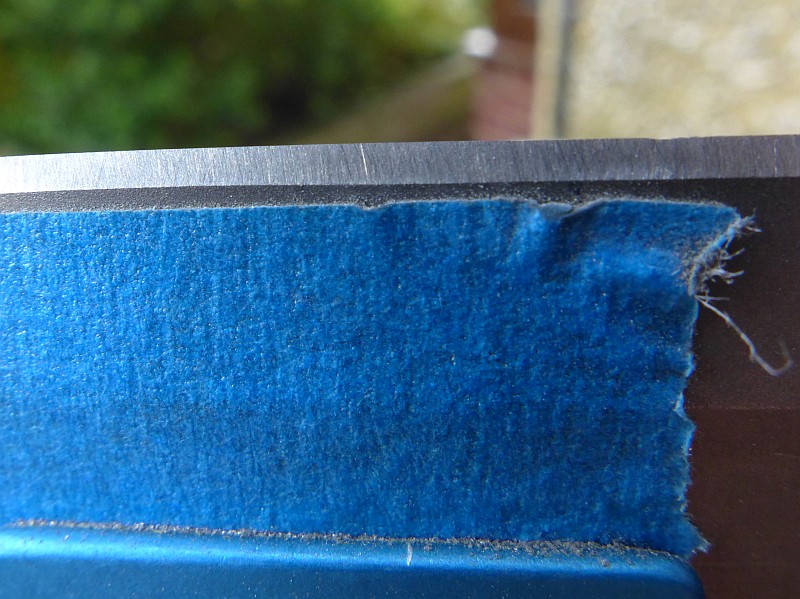
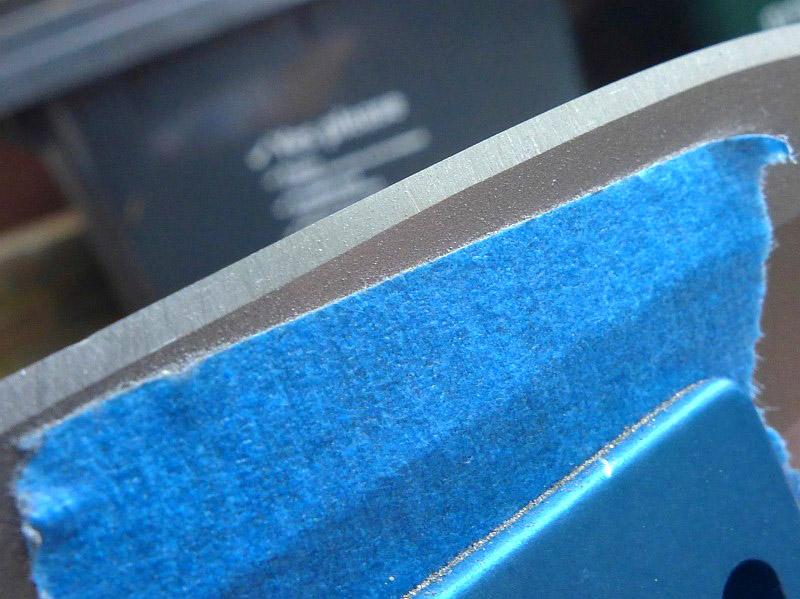
I’ve taken to putting masking tape onto the blade before fitting to the clamp to ensure there are no marks left. This can lead to some movement depending on how thick and soft the tape is, so be careful with the tape you choose and see if this works for you or not. For some blades I don’t do this.

There are plenty of videos showing the Wicked Edge sharpening action. It is a two handed process where you push the stones away from the edge and away from you stroking the entire edge, first one side, then the other. The speed you work will depend on how practiced you are, and how precisely you want to work (and how much material needs to be removed). I also worked the stones up and down when I had a lot of material to remove.

An interesting point to note is that unlike just about every other sharpening system, due to the ability to immediately alternate sides, when doing this, you won’t raise a wire edge. The only way to do this is to stop the alternating action and just work on one side at a time until you have achieved the burr/wire-edge, then swap to do the same for the other side before getting going with the alternating action and working through the grits.

The 100 grit leaves a very clear scratch pattern, and you can see I’ve worked it up and down here as the scratches are at two angles. This was a reprofile so needed a lot of work.

Starting to work out the 100grit scratches with the 200 grit, but some scratches are pretty deep. This is one of the ‘features’ of the new stones, they can have some hot spots which create deeper scratches. Only when really worn-in are these avoided.

Just keep refining through the grits. The precision of the guide system just makes a beautiful edge appear before your eyes. For this blade I did not want to polish the edge as I wanted some bite and micro-serrations, so stopped here at the 600 grit.

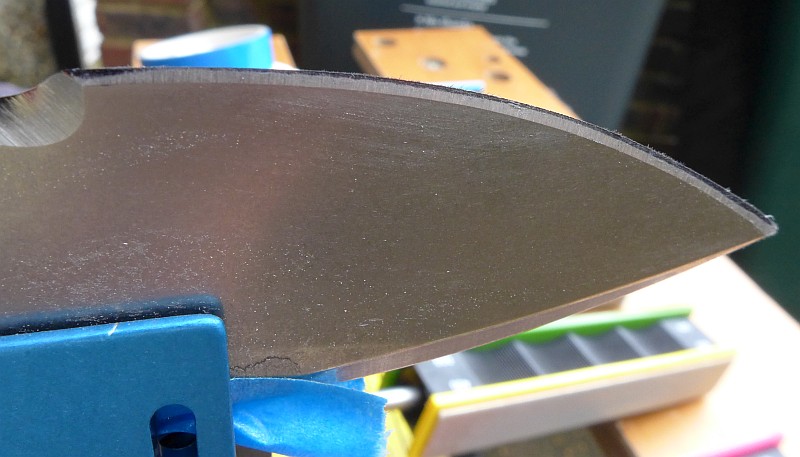
Now changing blades and onto a large CRKT folder which needed a re-profile. Here you can see how I’ve used the marker pen to blacken the original edge so I can see when I’ve completely removed it and achieved the angle I want.

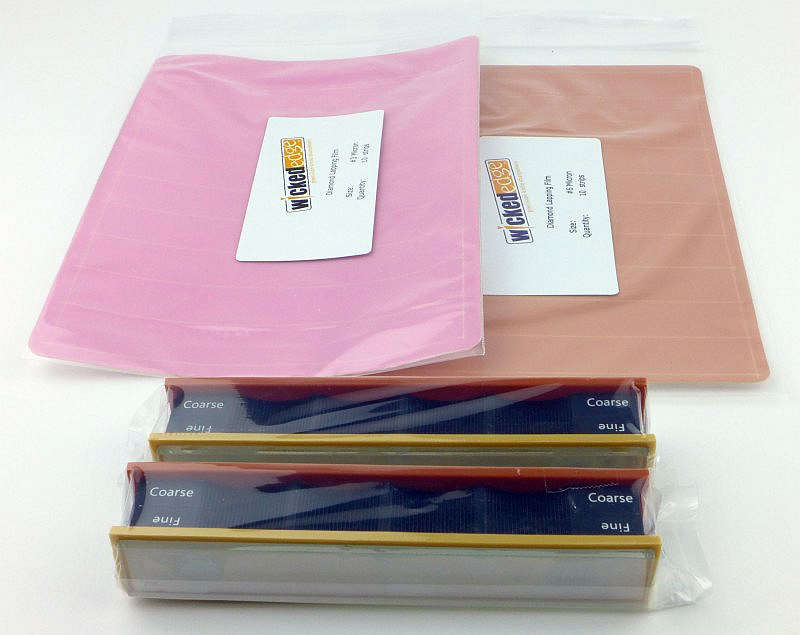
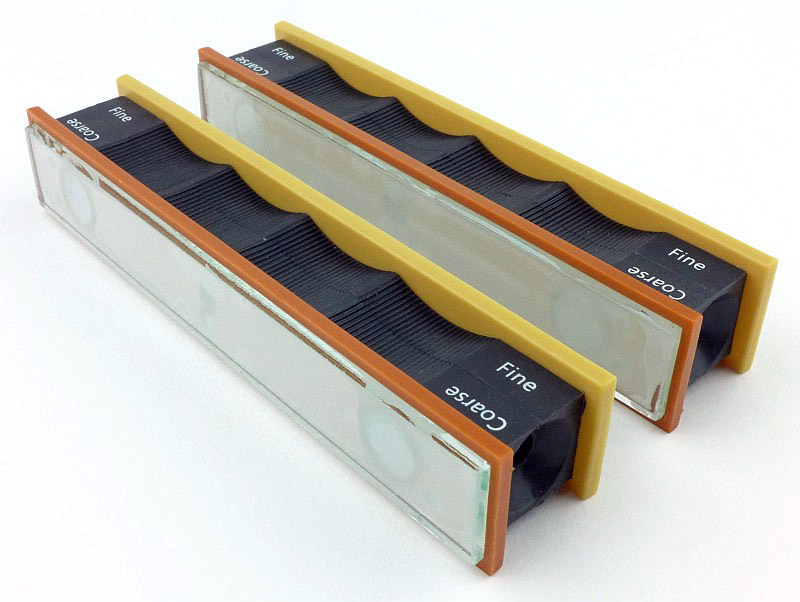
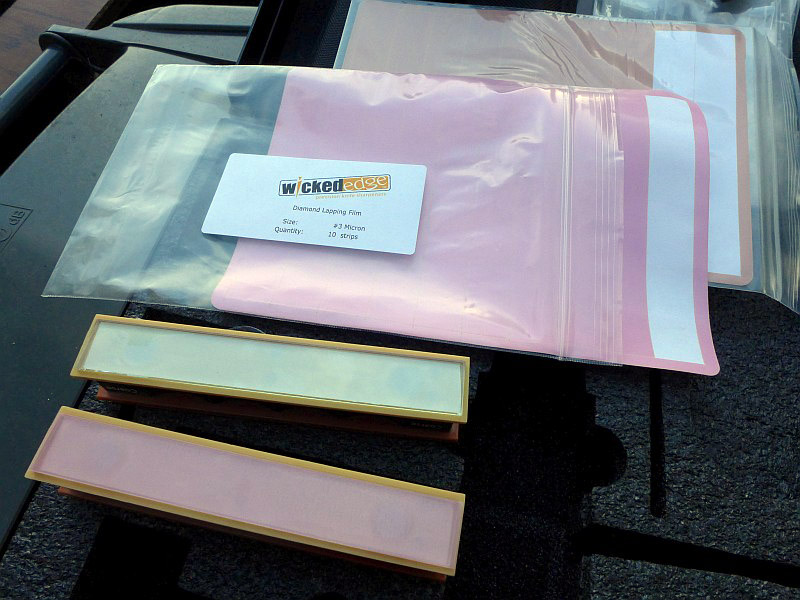
In this case the intention was to get to a polished edge…. just because, OK. So here we have the glass platens onto which you stick the diamond films.

The platens have Fine and Coarse marked on them, but this is for your reference and to tell you which side to fit the different diamond grits, not because like this there is any difference.

The Diamond films are simply peeled off the sheets and stuck onto the platens ready to be used as the final stage. These films cut fast and will get dirty pretty quickly. Kyle of Wicked Edge showed me a nice trick for cleaning these up with a bit of alcohol hand rub on some tissue which brought them back to life and gave them a new lease of life, so don’t give up on them too quickly.
NOTE, unlike the diamond stones which can be used onto or off the edge, you MUST use the diamond films OFF the edge otherwise the edge can bite into the film and ruin it – just like any other strop.

What becomes really obvious at this point are two aspects. The first is that the brand new stones make it much more difficult to properly work through the grits and remove the scratches from the coarser grits, and the second is that this will really show you up if you haven’t worked through the grits well enough!! Lessons get learnt.

Ultimately we get there though, and the Wicked Edge precision mirror edge is mine – ALL MINE!

Review Summary

The views expressed in this summary table are from the point of view of the reviewer’s personal use. I am not a member of the armed forces and cannot comment on its use beyond a cutting tool or field/hunting knife.

Something that might be a ‘pro’ for one user can be a ‘con’ for another, so the comments are categorised based on my requirements. You should consider all points and if they could be beneficial to you.

_______________________________________________ _______________________________________________
Things I like What doesn’t work so well for me
_______________________________________________ _______________________________________________
Ultimate precision knife edge. Can get expensive depending on options.
Fully adjustable for any angle. Needs wearing-in for best results.
Completely repeatable (as long as you note down the settings). It can get time consuming chasing perfection.
Minimal metal removal on repeated sharpening. Addictive mirror edges.
Many options and kits available.


Discussing the Review:

The ideal place to discuss this reviews is on a forum. If you started reading the shorter forum version of the review, but followed the link this full exclusive review, please return to that forum to discuss the review there.
If you read the review entirely on Tactical Reviews, please consider one of the following to join in any discussion.

EdgeMatters – Sponsored Reviews (UK based Forum for Knife Makers and Collectors)

BladeForums – Knife Reviews (US based Forum for Knife Discussion)

CandlePowerForums – Knife Reviews Section (Largest and Friendliest Flashlight Community Forum)

Gear Review: Spyderco Tri-Angle Sharpmaker (Sharpener)

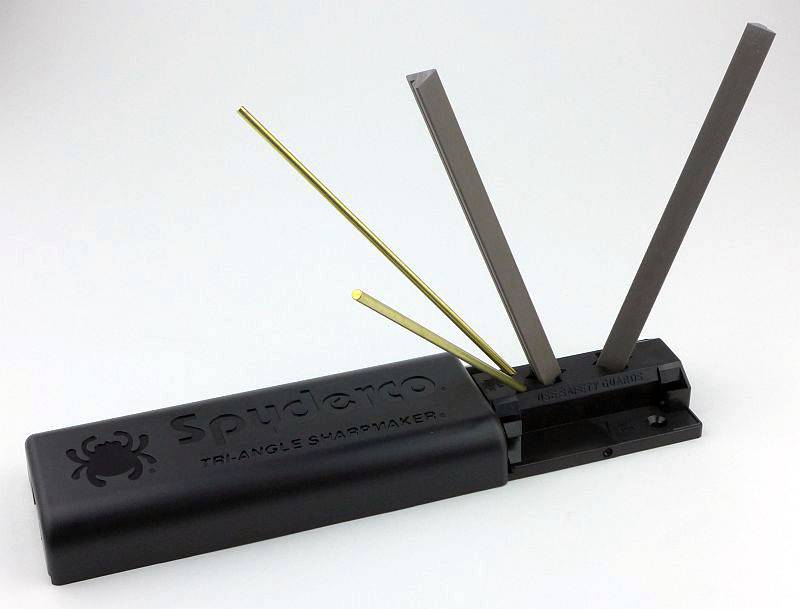
Spyderco’s Tri-Angle Sharpmaker is a surprisingly versatile sharpening system (based on the V-sharpener concept), designed to be simple to use, and make it easy to maintain a consistent sharpening angle.
The details:

Let’s dive into the details and talk about it more in the next section.
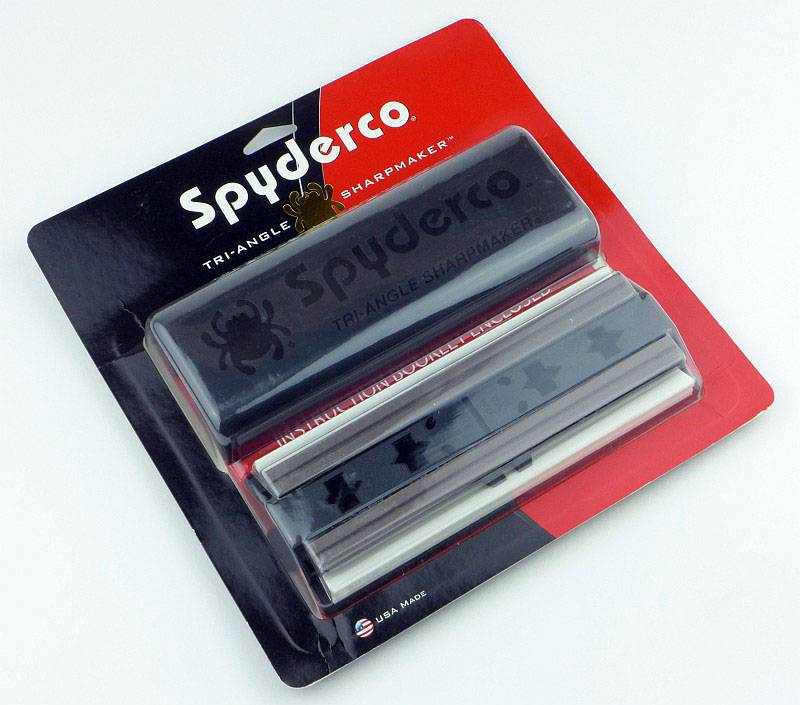
The Tri-Angle Sharpmaker arrives in a combined cardboard/blister pack.
 photo 01 Sharpmaker boxed v2 P1170441.jpg

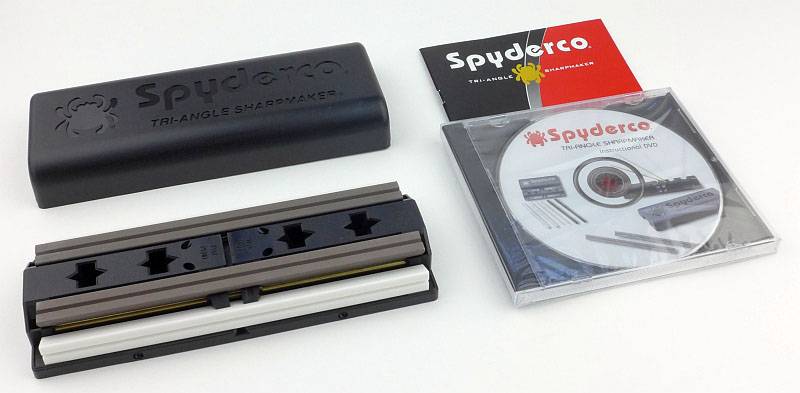
Included with the Sharpmaker is a set of instructions and an instructional DVD.
 photo 02 Sharpmaker box contents v2 P1170448.jpg

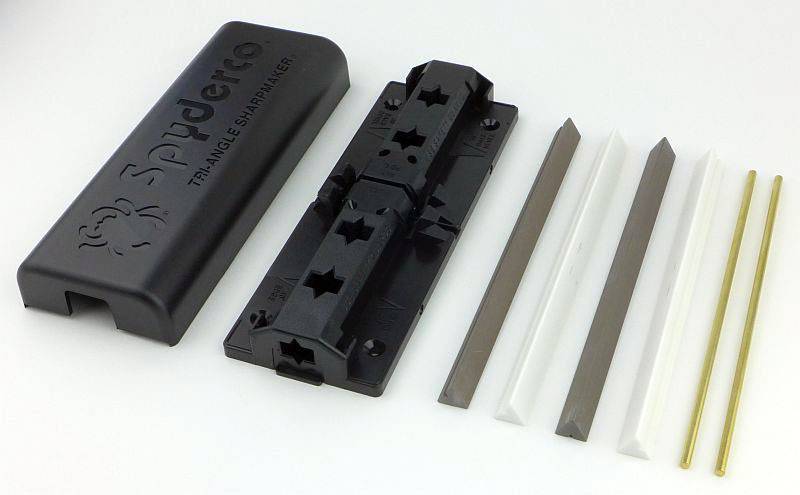
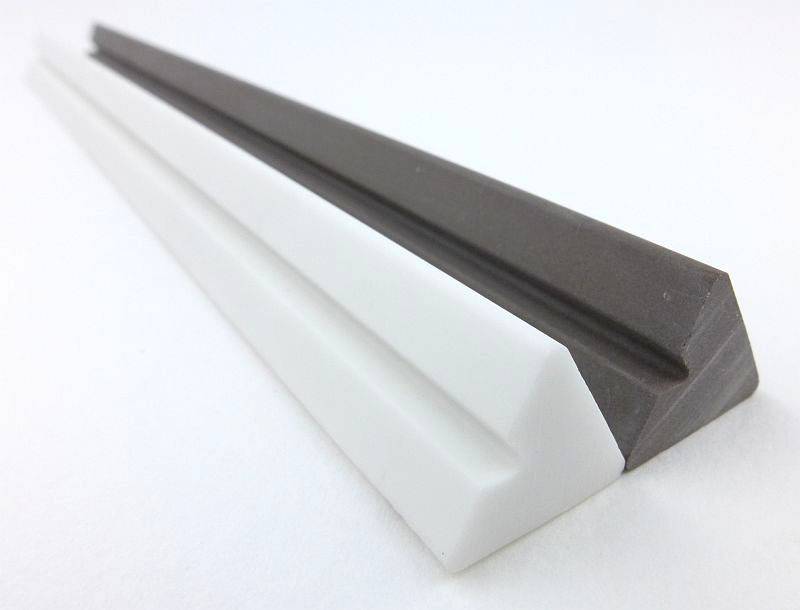
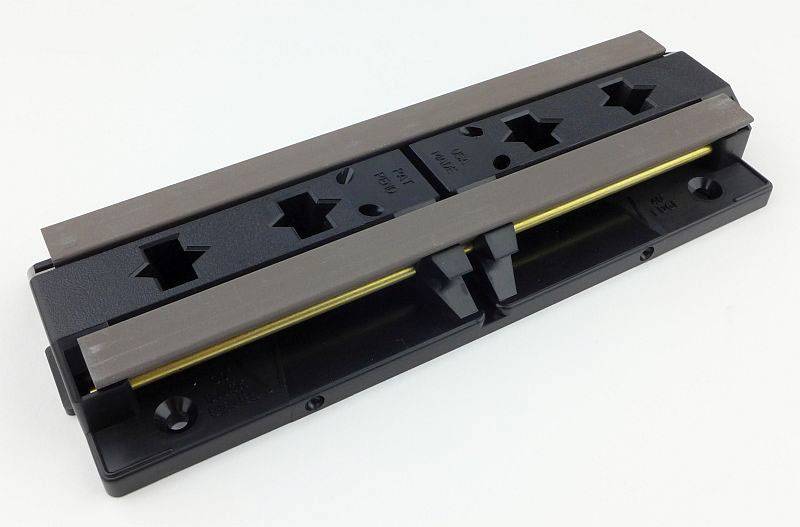
Breaking out all the parts, we have a lid to keep all the components in place, a base plate with various shaped holes, four high alumina ceramic stones/rods (a pair of brown/grey medium grit, and a pair of white fine grit) and very importantly two brass safety guard rods.
 photo 03 Sharpmaker parts P1170452.jpg

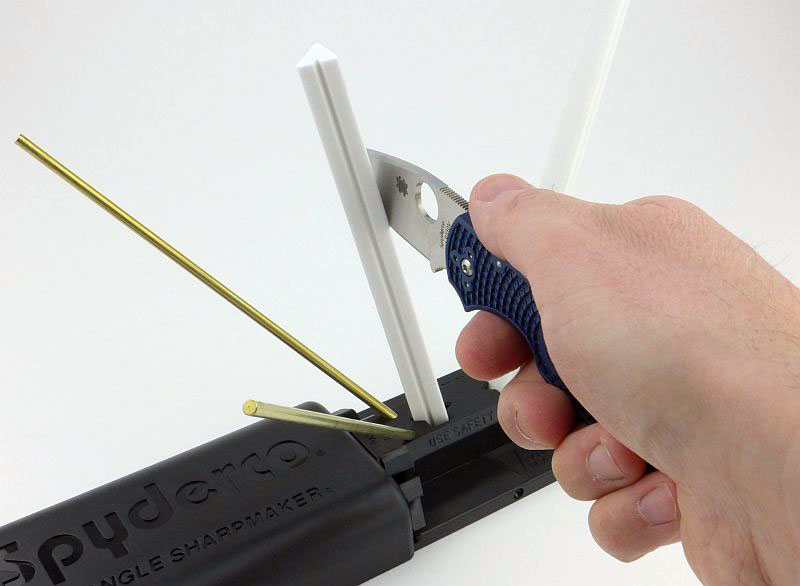
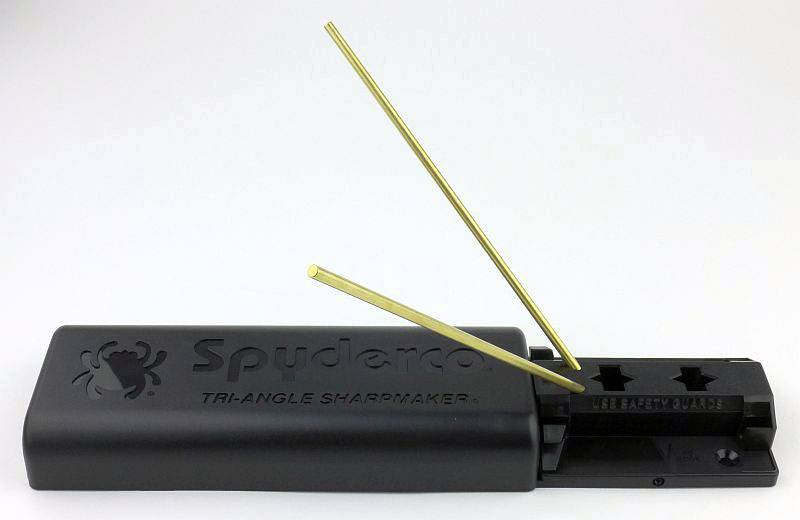
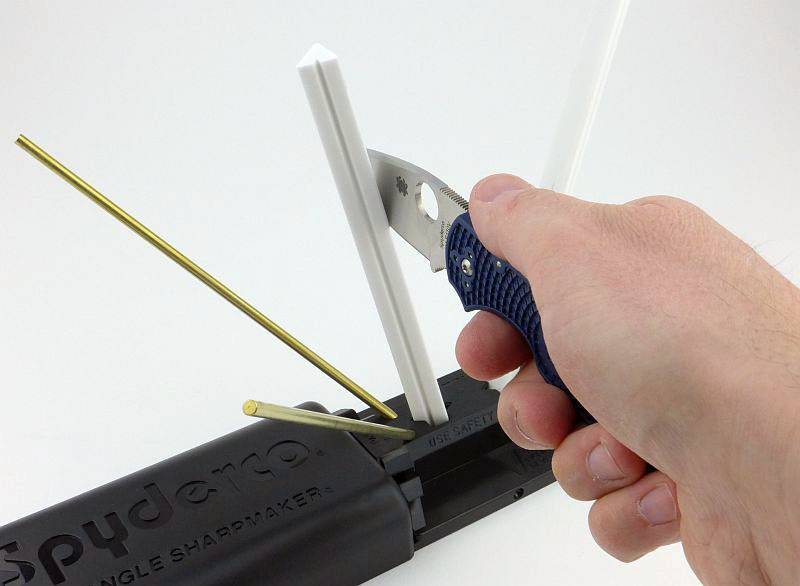
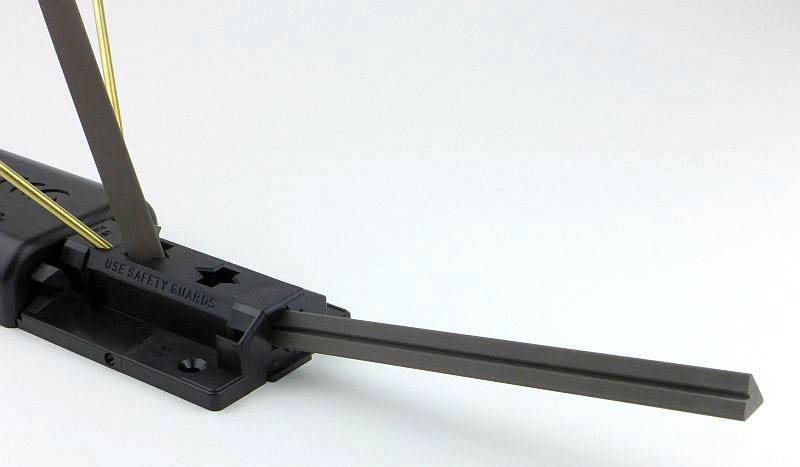
The FIRST thing you should do is to fit the guard rods (for whichever angle you are working to). Notice how the lid fits over the base at a halfway point to act as a handle.
 photo 04 Sharpmaker guards P1170458.jpg

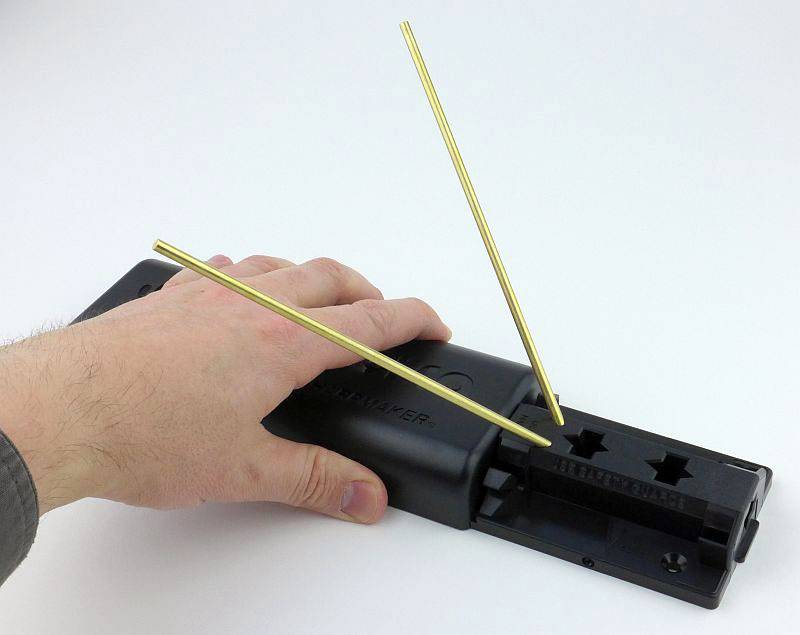
These guard rods angle back over the user’s hand to prevent stray sharpening strokes testing the edge on your hand. This is all the more important for experienced users as they tend to work faster and with less care.
 photo 05 Sharpmaker holding P1170461.jpg

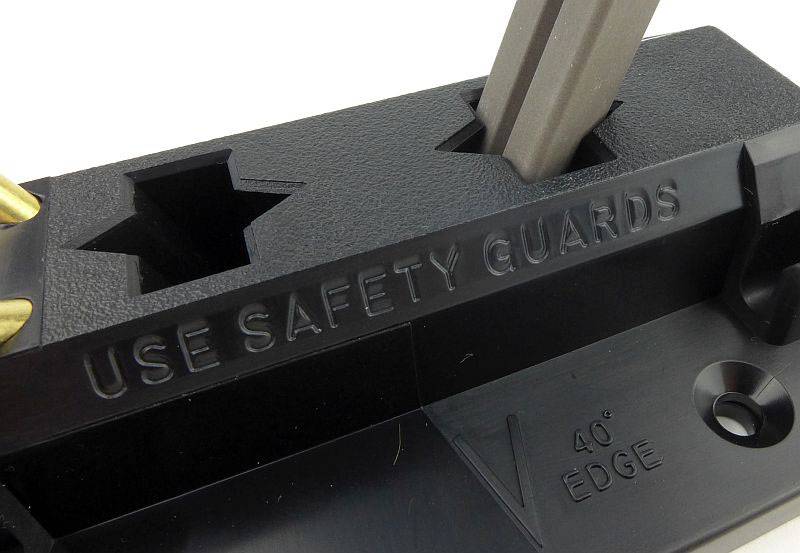
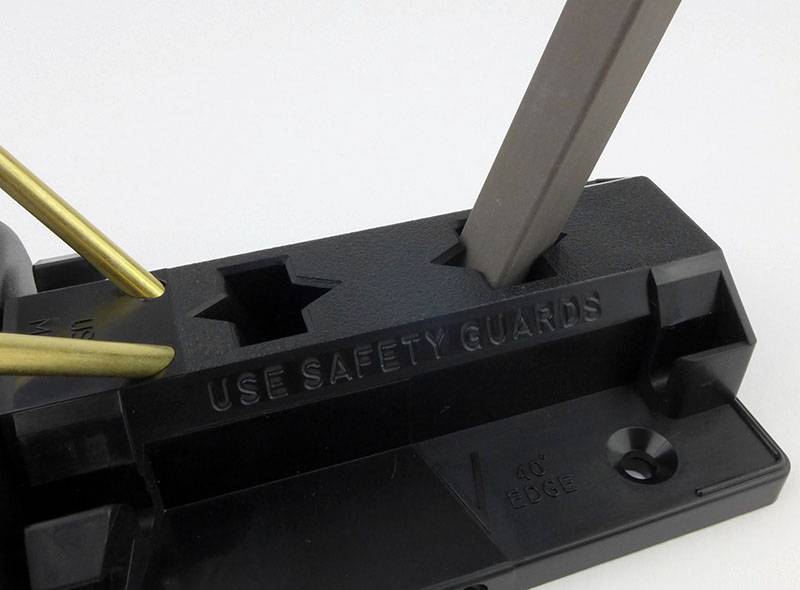
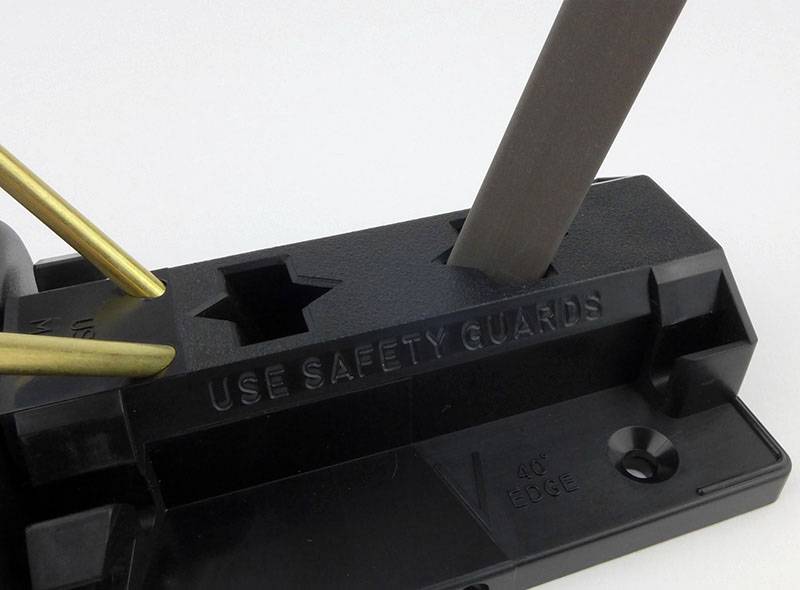
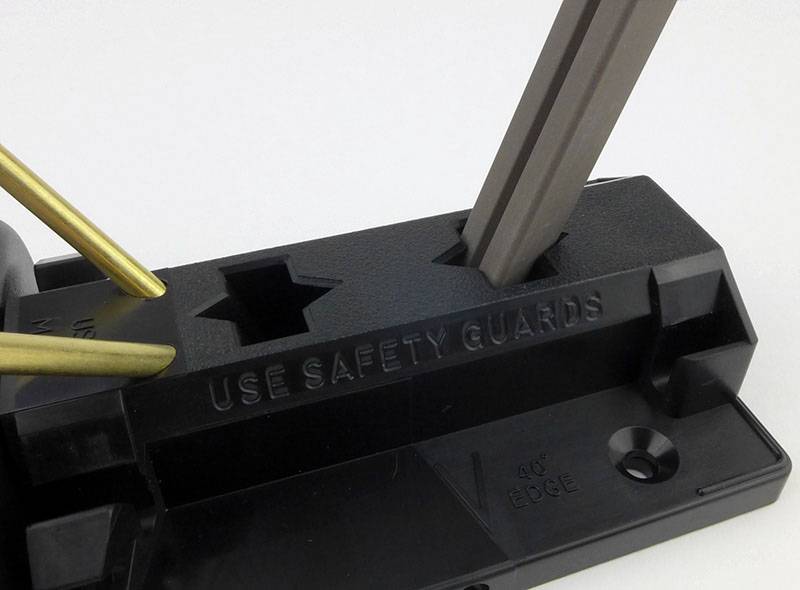
Just in case you forget – ‘USE SAFETY GUARDS’.
 photo 06 Sharpmaker reminder P1170463.jpg

The two types of stone included with the Sharpmaker (shown here in perfectly clean and unused condition).
 photo 18 Sharpmaker stones P1170503.jpg

So why are those holes the shape they are? It’s all very clever actually. The Tri-Angle Sharpmaker, comes with …. yes, tri-angular stones. The stones also have a groove in them for hooks and other pointed objects.
This means we have three different working surfaces on the stones, the flat side, a pointed corner, and the groove. Here we have the stone fitted into the base so that we use the flat surface.
 photo 08-Sharpmaker-stone-rotation-1-P1170470.jpg

Now, taking the stone out and rotating it, it can be fitted back into the base with the corner as the working surface.
 photo 09-Sharpmaker-stone-rotation-2-P1170471.jpg

Lastly the grooved flat surface is presented for working with. All with one hole that holds the stone at the correct angle.
 photo 10-Sharpmaker-stone-rotation-3-P1170472.jpg

Here we are, fully assembled with ‘stage one’ sharpening (the coarsest arrangement) and on the 40 degree inclusive angle.
 photo 11 Sharpmaker assembled P1170475.jpg

What it is like to use?

Some of my most used sharpening stones are a set of Spyderco pocket stones, so I know how well the Spyderco ceramic stones perform. However, once you start using diamond stones they can seem a little slow, especially on some of the super-steels.

Though not strictly a guided system, I’m going to consider it one to mention the very specific benefit of these systems, which even people with considerable sharpening experience should not dismiss. Quite simply, guided systems help reduce the amount of steel you need to remove to restore an edge. This means that as well as making the sharpening process easier for everyone, it also makes it more efficient. You only remove as much steel as is needed which prolongs the life of the blade and makes sharpening quicker.

With the triangular stones, this is one of the few systems that can sharpen serrations, and is also happy working on hawksbill and recurve blades. To understand fully why, we need only look at the four ‘grades’ of sharpening that are achieved from the two stones.

In order, from most coarse to finest, we have these configurations of the stones:

1. Brown/Grey stone Corners – Coarse edge reshaping
2. Brown/Grey stone Flats – Producing a utility edge (how Spyderco say that most new knives come)
3. White stone Corners – To achieve ‘butcher’ sharp.
4. White stone Flats – for the finest razor edge.

The Sharpmaker base also has two sets of holes which give an inclusive angle of 30 degrees or 40 degrees. In the design of the Sharpmaker, the 30 degree angle is primarily intended to be used for creating a ‘back bevel’ (to thin out the edge). Though some knives might be sharpened to this 30 degree angle, the 40 degree angle is considered by Spyderco to be the best compromise for most blades.

Serrations can be sharpened thanks to the corners of the stones, meaning steps 1 and 3 can be used. Spyderco recommend that only the step three (white stone corners) is used, as step one is a bit too aggressive. Serrations need a slightly different technique, as generally they are formed with a single bevel (chisel) grind. In this case you work only on one side for three or four strokes, then use a single stroke on the other side to remove the burr that forms.

For flexible blades, you only use the corners (steps 1 and 3) as it is difficult to keep the edge sitting on the flat surfaces.

Having covered some of the theory, let’s get back to looking at the way you use the Sharpmaker. Here is a knife in mid-stroke having started at the plunge/ricasso and being draw down and backwards towards the tip, to run the entire edge over the stone on one side.
 photo 13 Sharpmaker knife P1170484.jpg

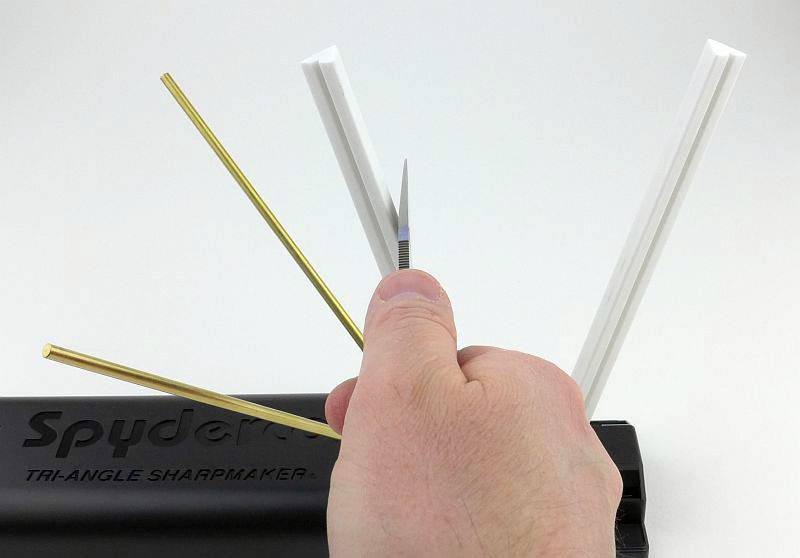
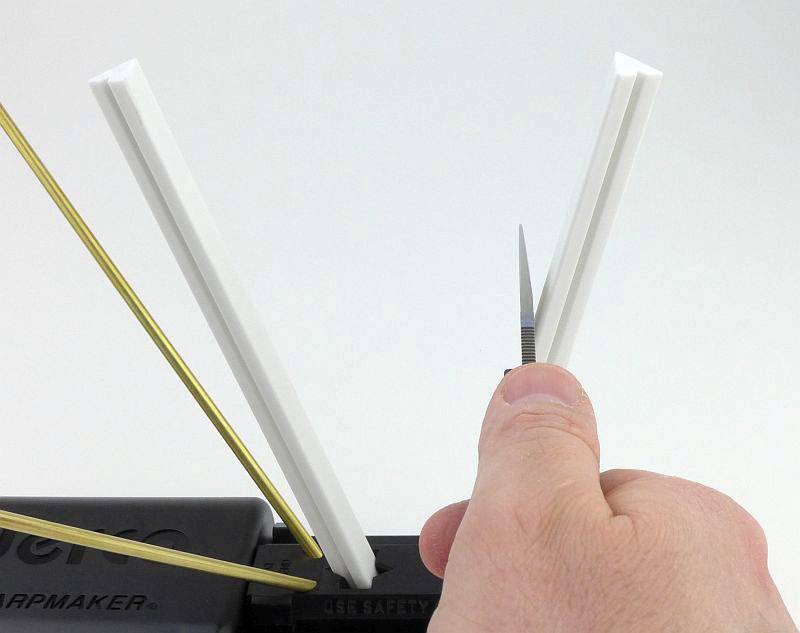
Looking directly from behind the knife, this is the critical aspect for the Sharpmaker – you keep the blade held vertically at all times, the stone angle is then determined by the Sharpmaker. Visually, keeping the blade vertical is the easiest position to judge, much easier than any other angle.
 photo 14 Sharpmaker knife P1170485.jpg

Having given one side of the blade a stroke, swap to the other side. Then just keep alternating sides for each stroke. Once you have given each side 20 strokes, you can move to the next stone configuration, refining the edge each time.
 photo 15 Sharpmaker knife side 2 P1170488.jpg

MAKE SURE YOU USE THE SAFETY GUARDS – Can’t stress this enough. I’ve hit them several times during the testing for this review, and would have cut my hand if I had not fitted them.

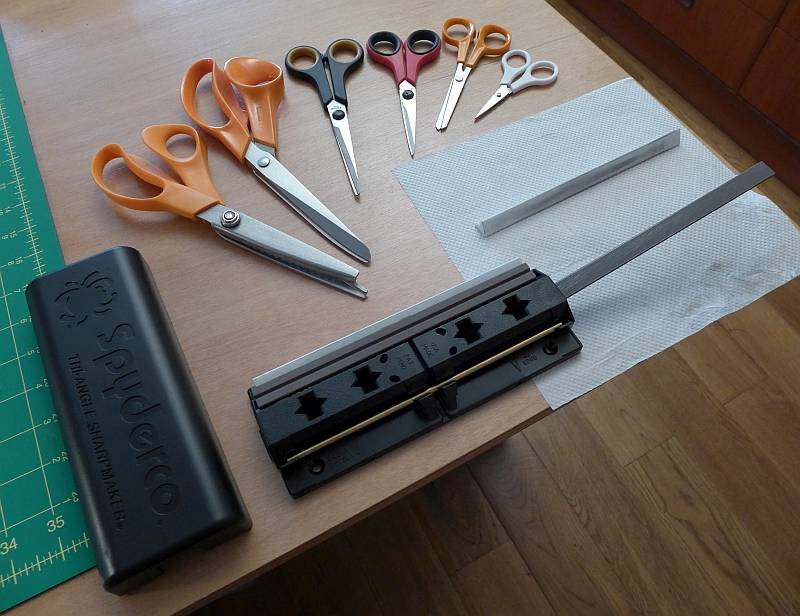
In one end of the Sharpmaker is another hole for a stone, this time using only one stone at a much lower angle. With a single stone mounted in this position you can sharpen scissors in the same way as you sharpen a knife. Keeping the scissors vertical and stroking the blade across the stone. To take off the burr on scissors you need to use the other stone like a file and lay it onto the blade flat. Doing this will give you a better burr removal than just closing the scissors.
 photo 12 Sharpmaker scissors P1170479.jpg

Also included in the design are two bench-stone options. Using the top channels in the base gives you a wide stone surface for large blades.
 photo 16 Sharpmaker bench stone P1170489.jpg

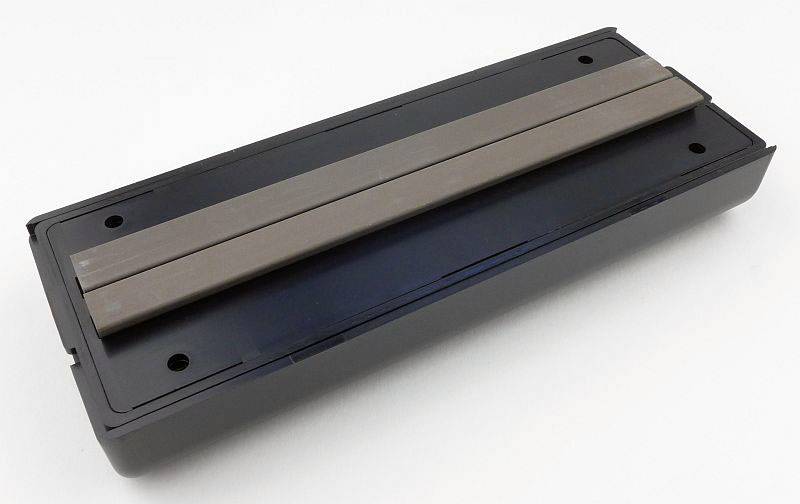
Flipping the base over and it has two grooves that are close together for sharpening smaller tools like chisels.
 photo 17 Sharpmaker bench stone narrow P1170494.jpg

I’ve already mentioned a couple of characteristics of the Sharpmaker that become quite relevant to start with. Especially compared to diamond, the ceramic stones are not the fastest cutters, and add to this a design that helps keep the overall removal of metal to a minimum by maintaining the angle, and you get a sharpener that can be hard work if you need to reprofile a steep edge angle.

(NOTE: When new, the brown/grey stones have a slight glaze that initially slows the cutting down. This glaze will wear through after a few sharpening sessions, but you can rub the two new stones together to speed this up and improve the cutting performance sooner.)

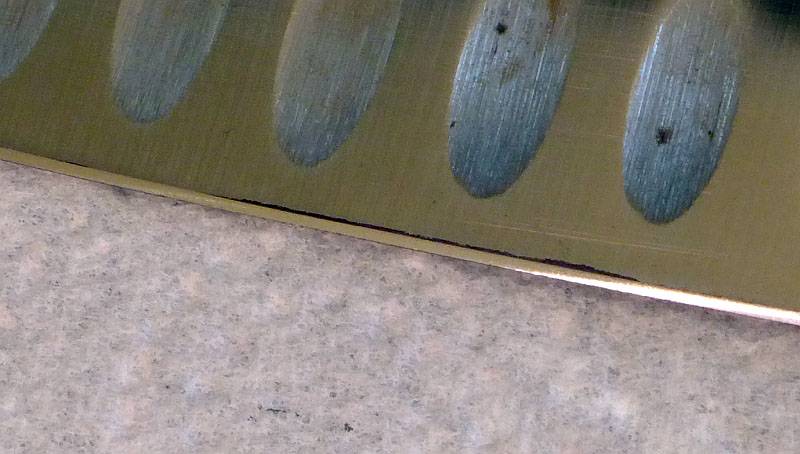
When starting to use the Sharpmaker, your bevel might not be at 40 degrees, so you can use the marker pen test to see if your bevel angle matches the Sharpmaker. If your initial bevel angle is less than 40 degrees, then you can just touch up the very edge and you don’t need to fully reprofile. Here the remnants of the marker pen are visible where the stones have taken off the ink from the full edge bevel itself. If you find the 40 degree stone angle is only working on the back bevel you are going to need to reprofile.
 photo 19 Sharpmaker check P1250574.jpg

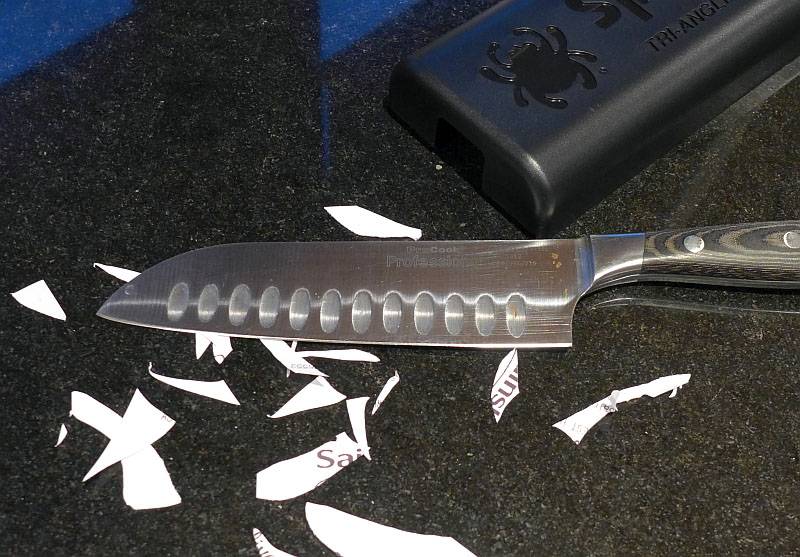
This knife which had a badly damaged edge (from being thrown in with the rest of the washing up) has been restored by running through all four stages and then tested with some thermal receipt paper which simply fell apart on the edge.
 photo 20 Sharpmaker test40 P1250590.jpg

As mentioned above, most sharpening systems actually improve with use, and it was during this session of sharpening a set of sewing scissors that the stones of the Sharpmaker really developed some bite. The difference is significant and you can feel the stones cutting much more aggressively than when new. Perhaps more so than with knives, the process of keeping the blade vertical and drawing it across the stone makes it so easy to sharpen scissors. It only took around 20 minutes in total to get all of these scissors cutting beautifully.
 photo 21 Sharpmaker Scissors P1260926.jpg

Not only is the Sharpmaker simple to use, it is simple to transport and set up. The ceramic stones are used dry so there is no oil/water mess while working, and you use normal kitchen/bathroom cleaning products to clean the stones when clogged. I take it with me to friends and family and into the office kitchen to touch up the edged casualties and give them new life.

The Tri-Angle Sharpmaker is NOT just a knife sharpener and I recommend you watch the Spyderco videos that show just how versatile this sharpener is.

Spyderco Sharpmaker – Introduction (1 of 4)

Spyderco Sharpmaker – Part 2 of 4

Spyderco Sharpmaker – Part 3 of 4

Spyderco Sharpmaker – Part 4 of 4

Review Summary

The views expressed in this summary table are from the point of view of the reviewer’s personal use. I am not a member of the armed forces and cannot comment on its use beyond a cutting tool or field/hunting knife.

Something that might be a ‘pro’ for one user can be a ‘con’ for another, so the comments are categorised based on my requirements. You should consider all points and if they could be beneficial to you.

_______________________________________________ _______________________________________________
Things I like What doesn’t work so well for me
_______________________________________________ _______________________________________________
Very easy to use – just keep the knife blade vertical. Can be a bit slow, especially on harder steels.
Extremely Portable. Initially requires reprofiling the edge to 40 degrees.
Hugely versatile sharpener for almost any cutting tool. Only two bevel angles available.
Ceramic stones need no oil or water in use and are easy to clean.
Minimum metal removal lengthens blade life.

 photo 11 Sharpmaker assembled P1170475.jpg


Discussing the Review:

The ideal place to discuss this reviews is on a forum. If you started reading the shorter forum version of the review, but followed the link this full exclusive review, please return to that forum to discuss the review there.
If you read the review entirely on Tactical Reviews, please consider one of the following to join in any discussion.
EdgeMatters – Sponsored Reviews (UK based Forum for Knife Makers and Collectors)

BladeForums – Knife Reviews (US based Forum for Knife Discussion)

CandlePowerForums – Knife Reviews Section (Largest and Friendliest Flashlight Community Forum)

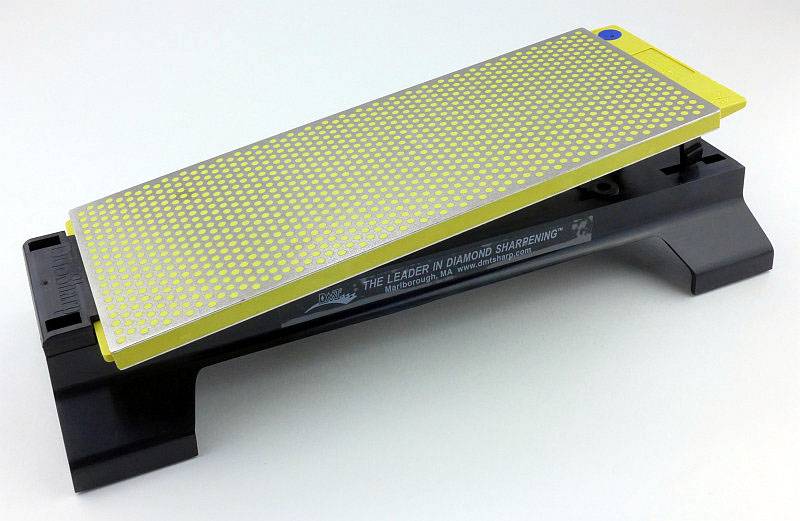
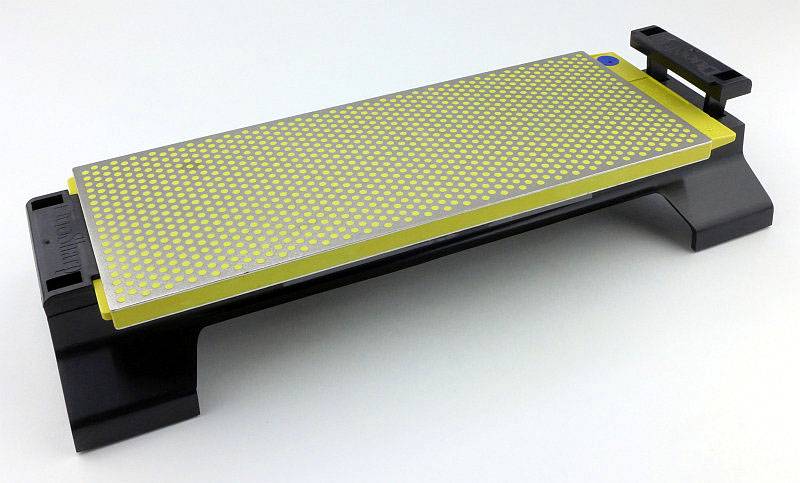
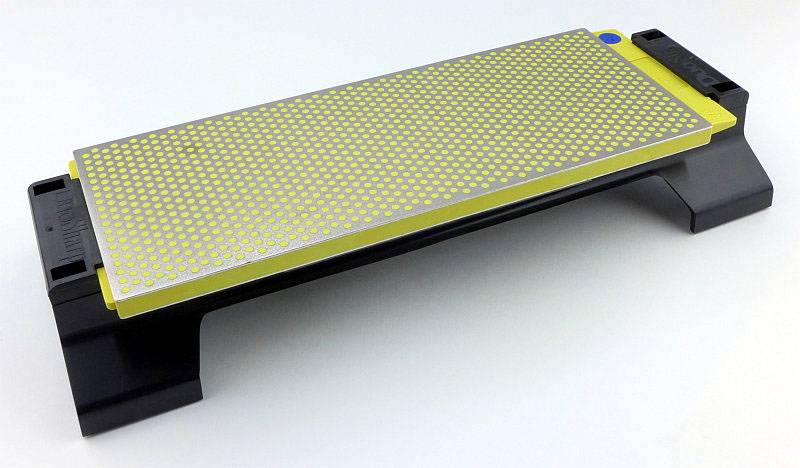
Gear Review: DMT Aligner ProKit and DuoSharp 10″ Bench Stone

 photo 00-DMT-featureV2-P1180049.jpg

It is possible to put a great edge onto a knife with very basic equipment and a lot of time. However, with the ever harder and more abrasion resistant steels, diamond stones make it much easier and faster to achieve that edge. DMT are one of the best, if not the best, makers of diamond sharpening stones. If you have checked my ‘Recommended’ page you will have seen that DMT was actually already my favourite diamond sharpener brand, with a pair of DiaFolds (Coarse/Extra Coarse and Fine/Extra Fine) always with me for field maintenance.

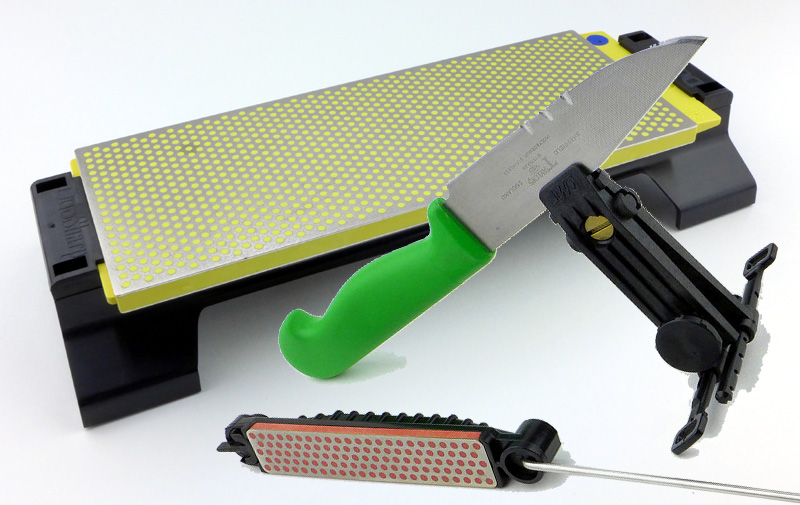
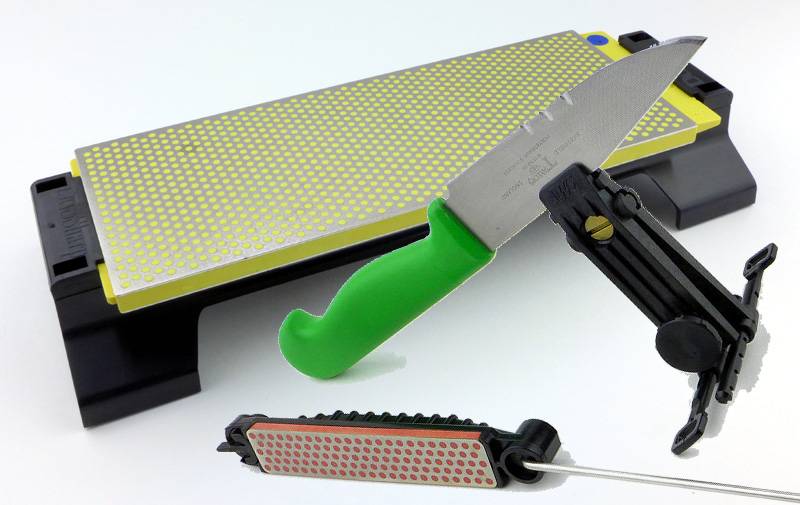
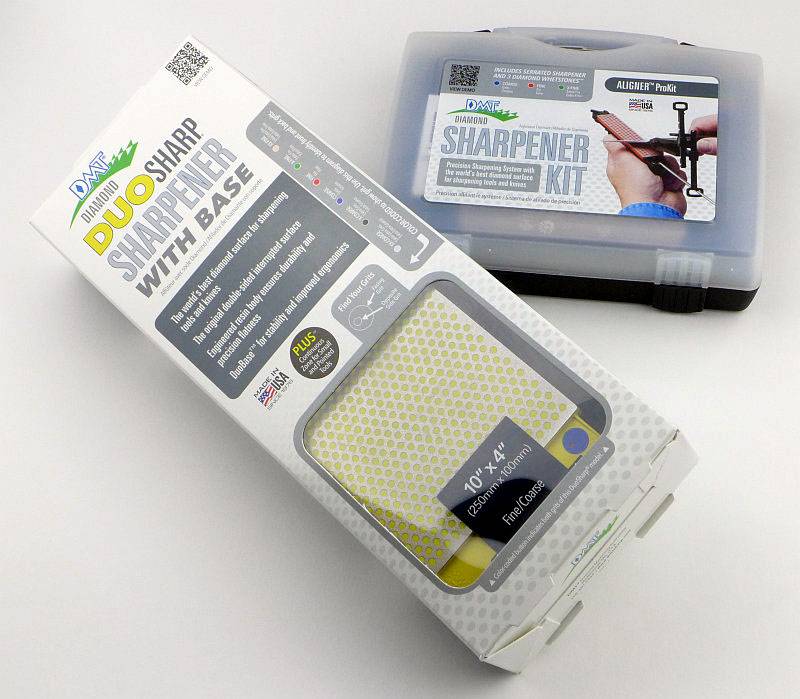
In this review I’m looking at two very different sharpeners, a large bench stone (Duo Sharp 10″ Bench Stone) and a guided precision sharpening system (Aligner ProKit).

 photo 00 DMT both P1170999.jpg

“Getting your EDGE back”:

There are so many variations in knife design, size and purpose, and I shall continue to try and review as many as I can, but the one thing that they all have in common is a cutting edge, and it is that edge which makes a knife into a tool. When you buy a knife, the factory put an edge on the blade, but this can vary considerably in quality even from good manufacturers. Relying on the factory edge is like buying a car and only driving it as far as the original tank of fuel will take you. You can transform the performance of a knife, so it is worth investing in quality sharpening equipment.

Actually this section title uses the name of a sharpening service I offer to neighbours (100% going to charity), and is absolutely appropriate for anyone who wants to have the best performance from their cutting tools.

I’ve used just about every method of sharpening, both manual methods and powered. These range from the humble carborundum bench-stone to high-end guided sharpening systems, as well as various wet/dry grinders and belt sanders. Manual sharpening does take longer, but gives you greater control and removes less metal. Where Diamond sharpeners really stand out is the speed they cut, and a quality diamond stone can cut 6-10 times faster than other stones. That is a lot fewer strokes you need to make.

There are many diamond stones to choose from with very different prices. DMT claim the flattest sharpening surfaces with the highest quality of diamond particle and density of coating. I can’t examine this to confirm or deny their claim, but what I can say is that where other diamond stones have let me down and worn out quickly, the DMT stones I have, have worked very very hard and are still going strong.

A few more details of the Aligner ProKit:

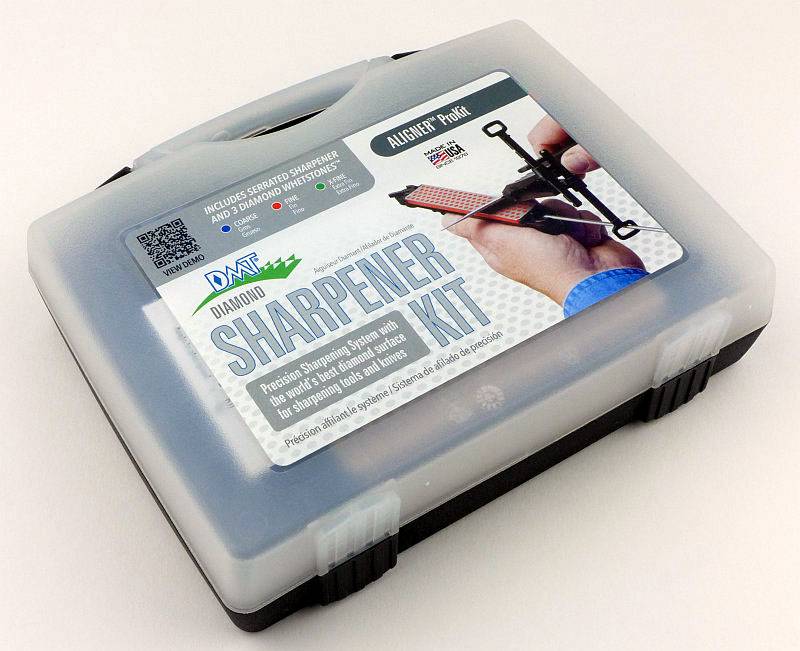
The Aligner ProKit comes in a storage/carry case.
 photo 01 DMT Aligner Box P1180054.jpg

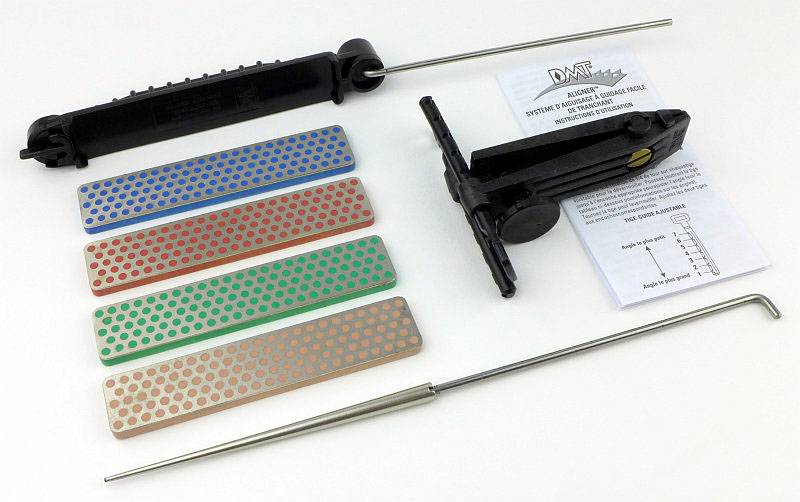
For this review DMT have also included the Extra-Extra-Fine stone (pink colour) so this is not normally in the ProKit pack. What is included are the three grits Coarse, Fine and Extra Fine, the stone holder/guide-rod, the Aligner adjustable clamp and guide, a tapered serration sharpening diamond coated rod plus the instructions.
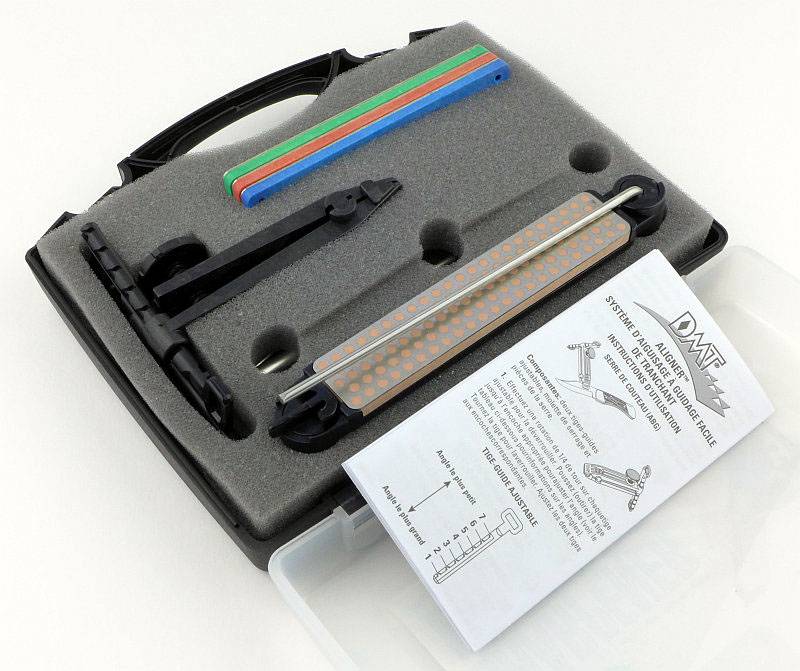
 photo 02 DMT Aligner Box open P1180056.jpg

Laying everything out, this is what is in the box (remember the pink stone is not part of the ProKit).
 photo 03 DMT Aligner Box contents P1180061.jpg

As it can’t be fitted into the stone holder, the tapered rod has its own guide rod which screws into the widest end.
 photo 04 DMT Aligner serration rod thread P1180063.jpg

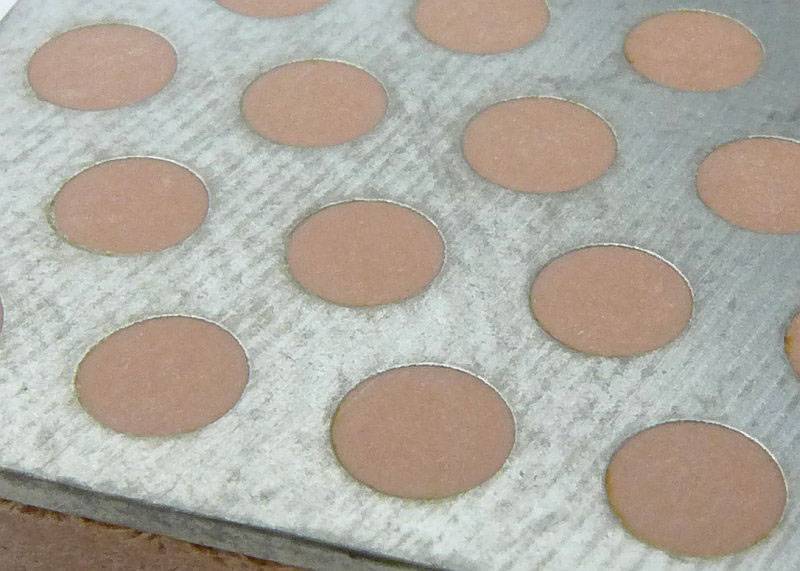
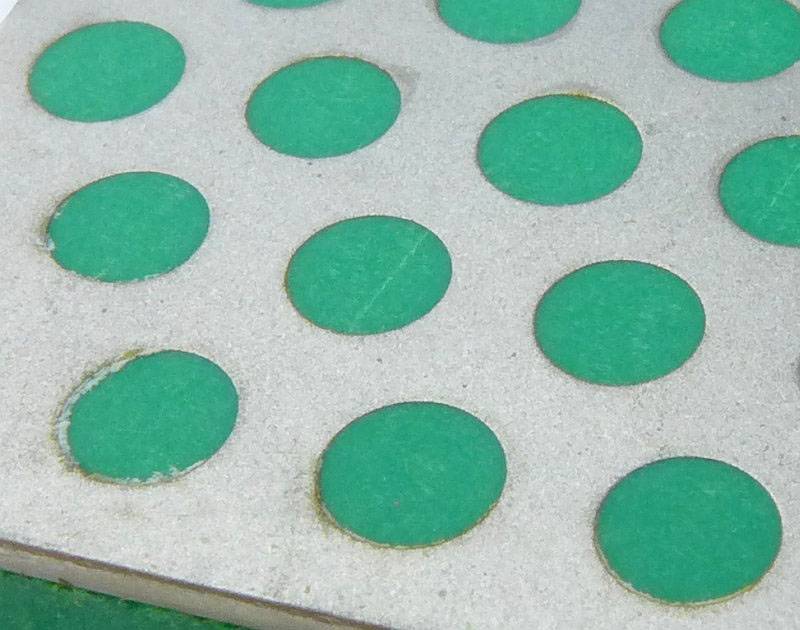
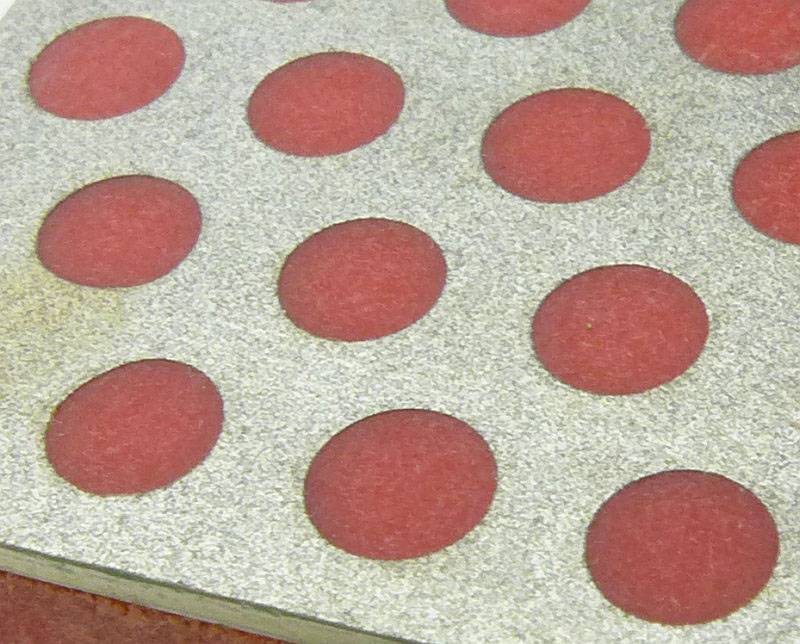
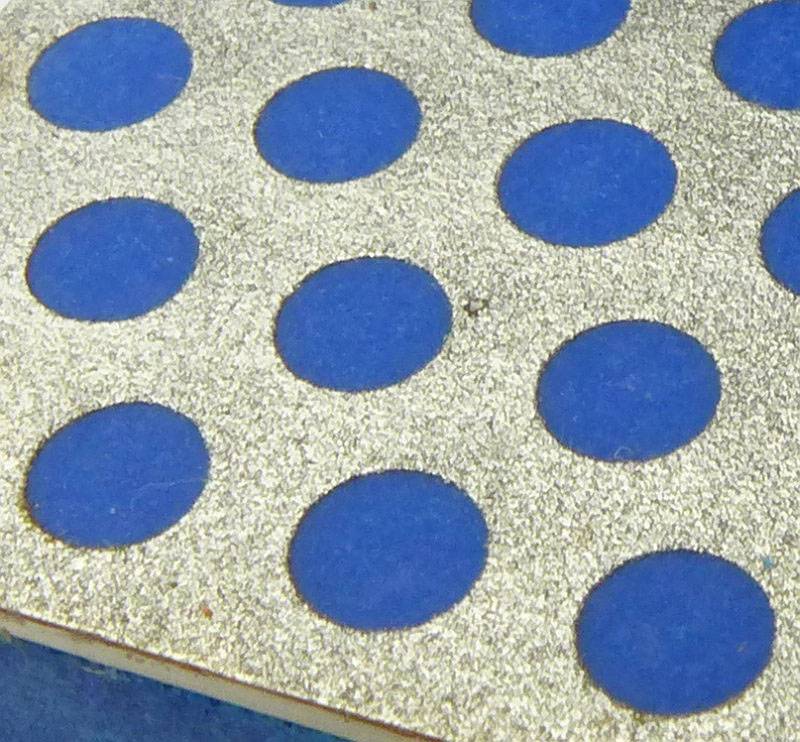
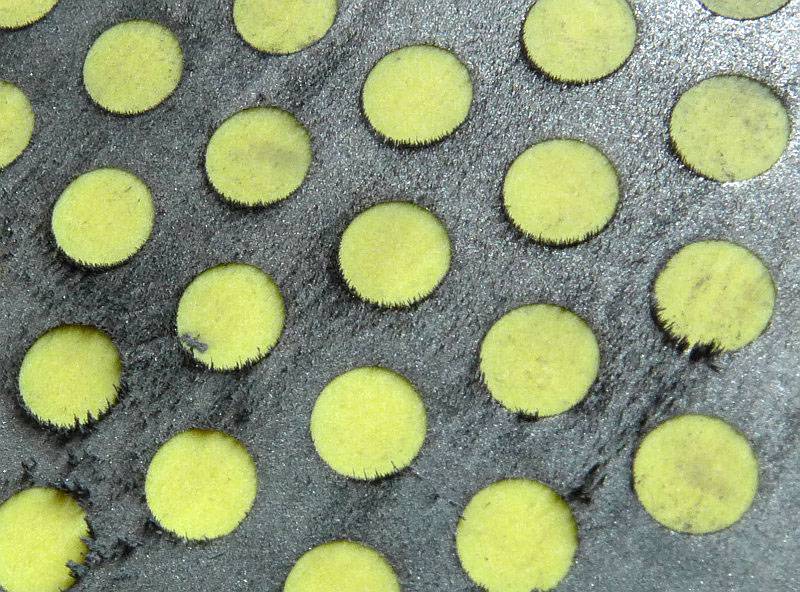
I don’t have a microscope to really go in ultra-close to the different grit stones, but this series of images at the same scale give an indication of the different grits.
First up is the Extra-Extra-Fine where the surface appears almost as if there were no particles in it.
 photo 05 DMT Aligner extra fine P1180066.jpg

Moving up to Extra-Fine and the surface is starting to take on a textured appearance.
 photo 06 DMT Aligner fine P1180067.jpg

With Fine you can see the grainy surface.
 photo 07 DMT Aligner medium P1180068.jpg

Finally with Coarse there is a distinct texture to the surface of the stone.
 photo 08 DMT Aligner coarse P1180069.jpg

Each of the different grit stones are fitted into the holder for use.
 photo 09 DMT Aligner holder P1180071.jpg

The stone is pressed into the pocket in the holder.
 photo 10 DMT Aligner holder P1180073.jpg

Then the lock at the end of the holder is turned to hold the stone securely in place.
 photo 11 DMT Aligner holder P1180074.jpg

A closer look at the rotating lock. Initially the fit of the stones into the holder is snug enough to not need the lock, but as you use it more they loosen up slightly and you do need to use the lock.
 photo 12 DMT Aligner holder lock P1180075.jpg

Being a portable kit, the stone holder has a folding guide rod. Here it is folded over the stone.
 photo 13 DMT Aligner holder folded rod P1180078.jpg

The rod hinges round and locks into place in the open position.
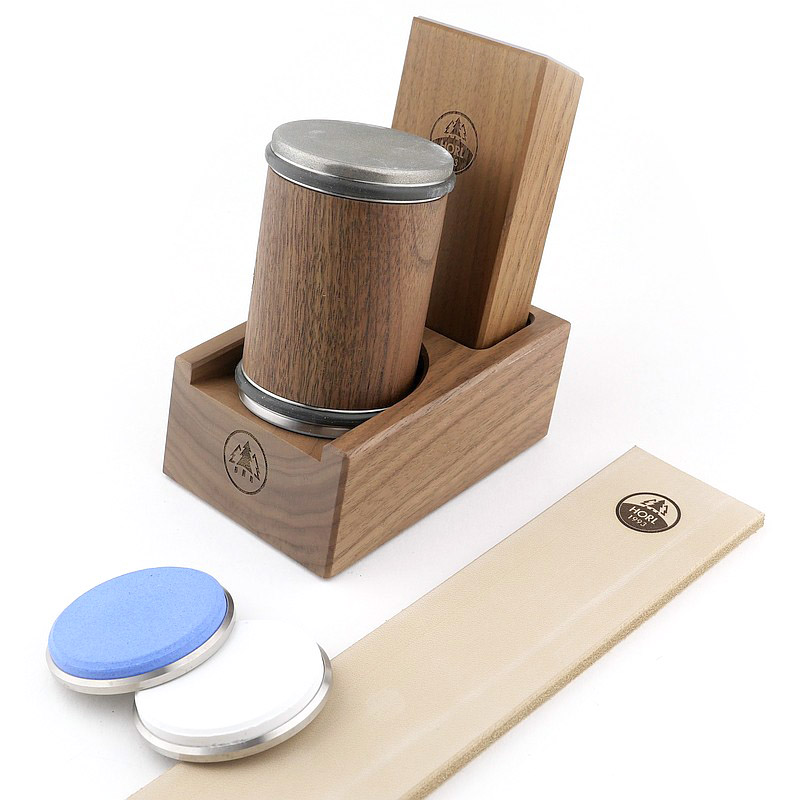
 photo 14 DMT Aligner holder rod hinge P1180079.jpg

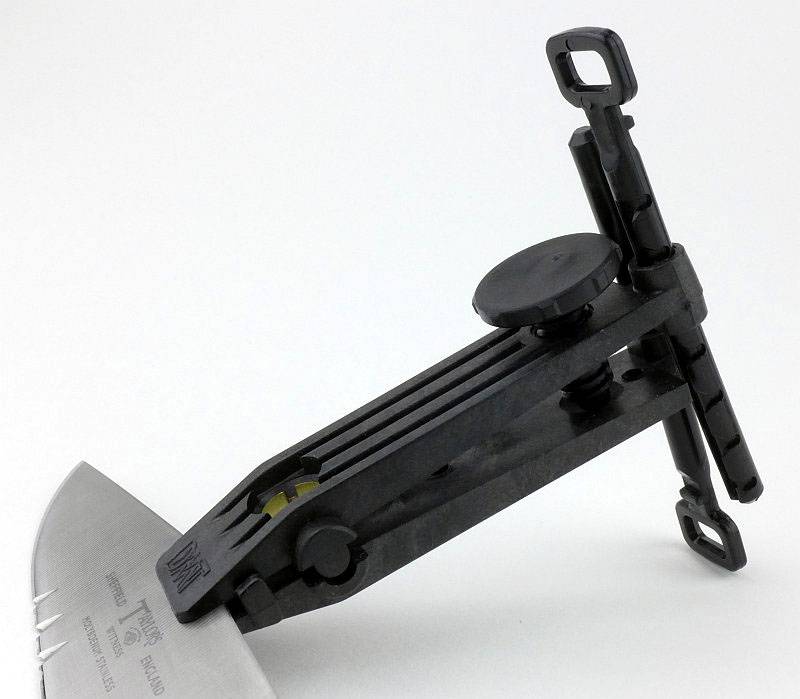
Then we have the crucial part of a guided system, the guide itself. This is a clamp which fits onto the blade spine and has adjustable guide rings for the guide rods to run in.
 photo 15 DMT Aligner clamp P1180082.jpg

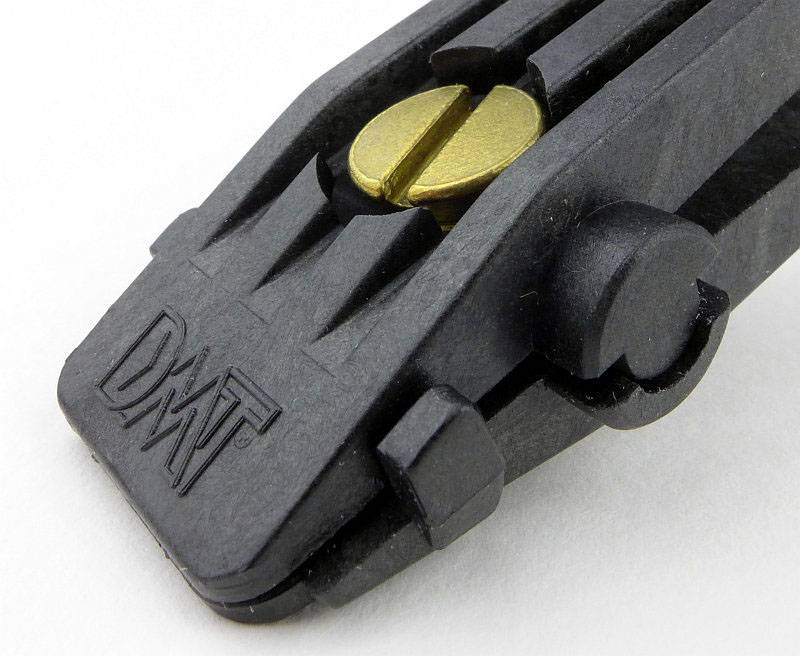
Looking in close at the clamp jaws. There is a brass screw for adjusting the width of the jaws.
 photo 16 DMT Aligner clamp jaws P1180084.jpg

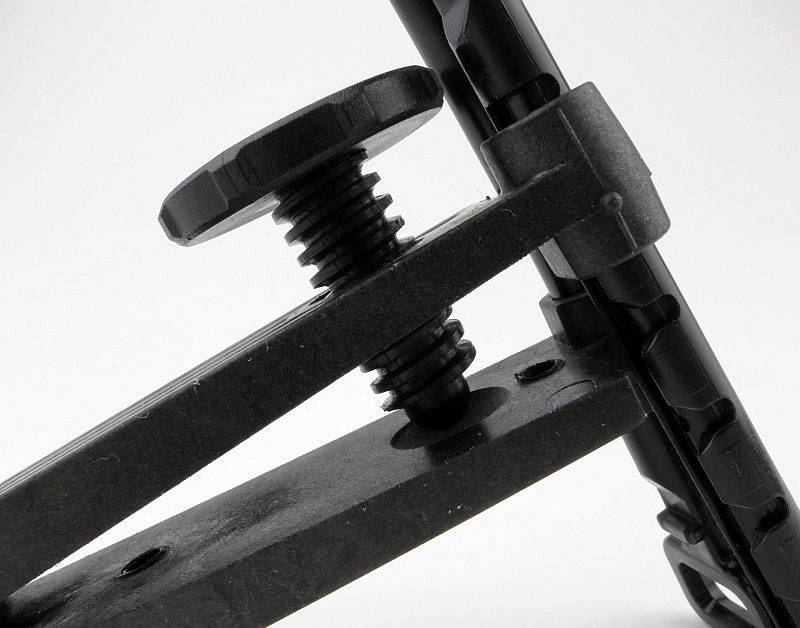
With the jaws adjusted to the right size, a locking screw is used to tighten the jaws onto the blade.
 photo 17 DMT Aligner clamp lock screw P1180085.jpg

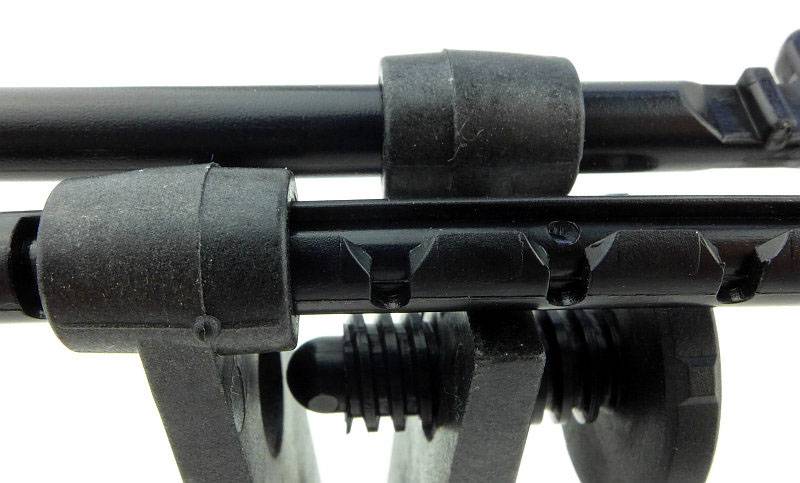
Each of the two guides have a number of positions they can be set to. Each of these positions has a groove moulded into the guide arm.
 photo 18 DMT Aligner clamp guide adjuster P1180087.jpg

Here we have the clamp fitted onto a blade and the guides set to position 3.
 photo 19 DMT Aligner clamp fitted P1180095.jpg

A few more details of the DuoSharp Bench Stone:

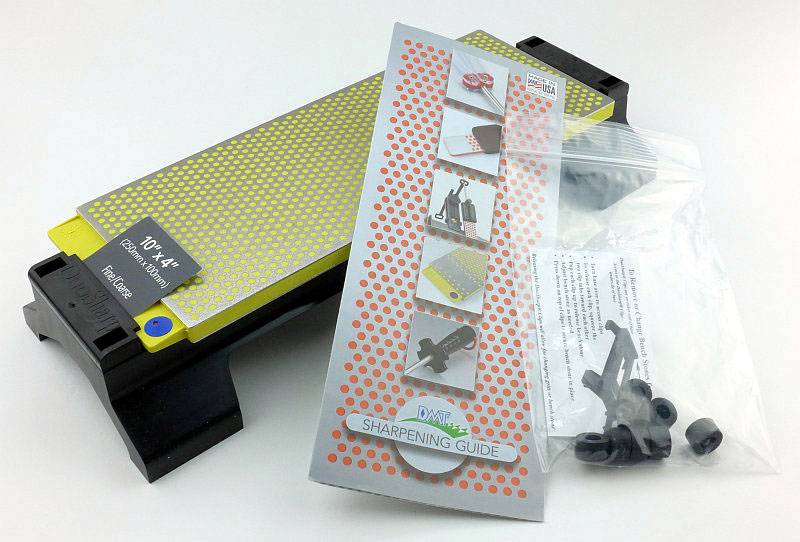
The box was shown earlier along with the Aligner ProKit. Inside the box you get the DuoSharp, a sharpening guide (showing other DMT products) and a set of rubber feet.
 photo 01 DMT Benchstone contents P1180008.jpg

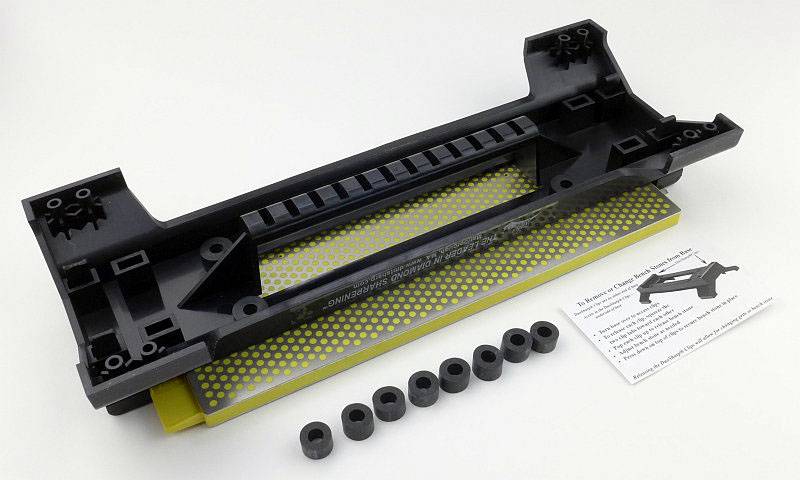
There are eight feet which need to be fitted to the eight pegs (two in each corner).
 photo 02 DMT Benchstone feet P1180012.jpg

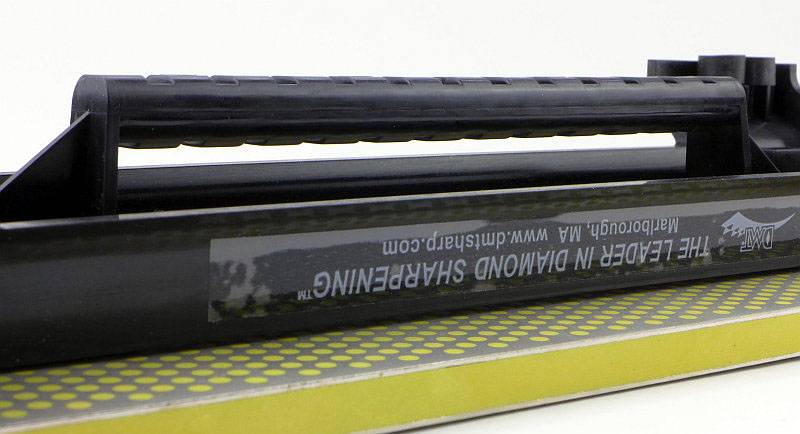
While the bench stone is upside-down one of its stand-out features can be seen – a handle. This is part of the DuoBase design.
 photo 03 DMT Benchstone handle P1180014.jpg

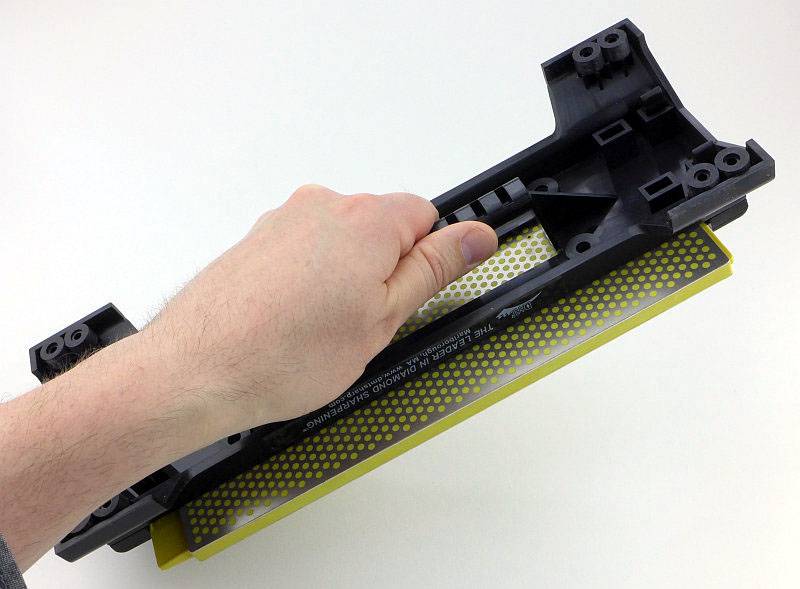
The handle means that you can take the stone to the blade instead of the blade to the stone. For larger blades this is ideal and makes the DMT benchstone pretty unique. Later on I show an example of exactly this with a ham knife.
 photo 04 DMT Benchstone handle P1180017.jpg

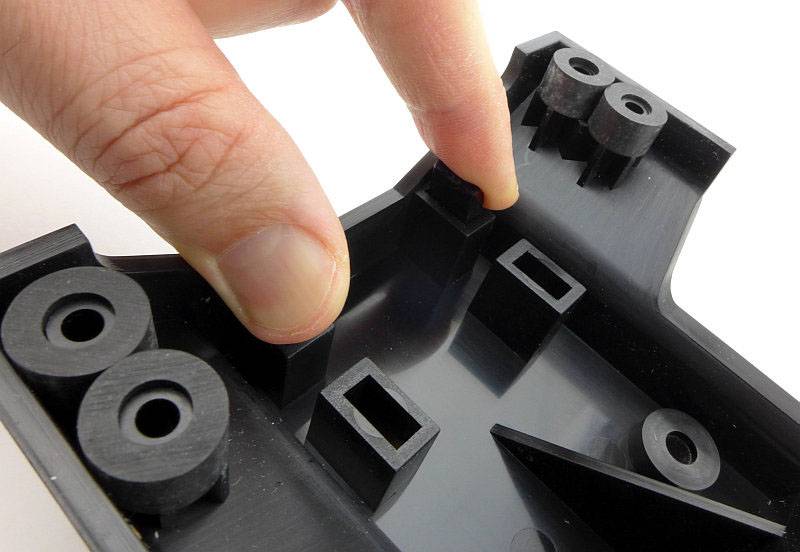
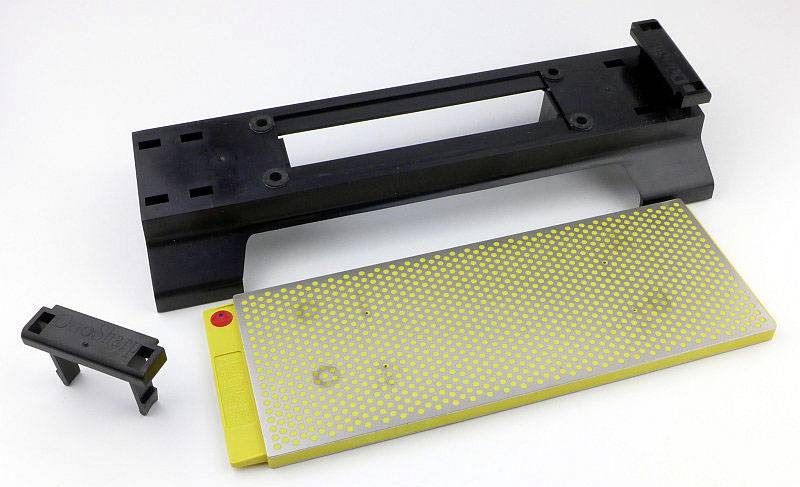
The Diamond stone slab is double-sided, so for the other grit you need to flip it over. It is held onto the base with two plastic clamps. Turning the base over you can see the two tabs that click into place. (you can also see the positions these can be put for the smaller 8″ stone.)
 photo 05 DMT Benchstone clamp P1180021.jpg

Simply pinch these together to release the stone clamp.
 photo 06 DMT Benchstone clamp release P1180023.jpg

You only need to remove one of the clamps to allow the stone to come free.
 photo 07 DMT Benchstone off P1180024.jpg

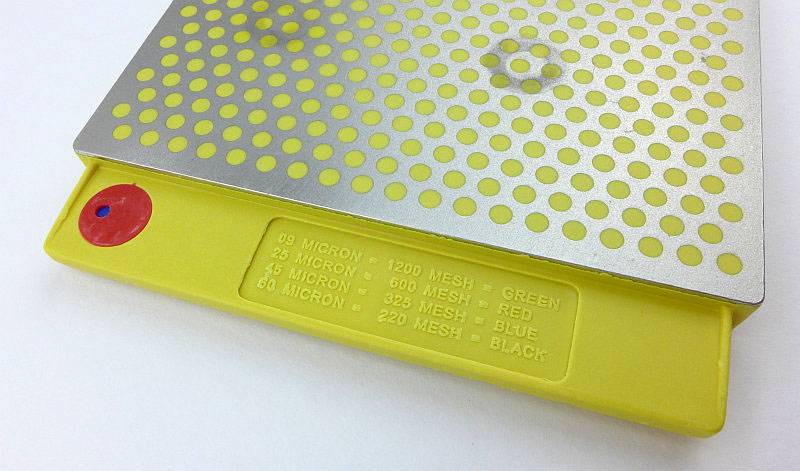
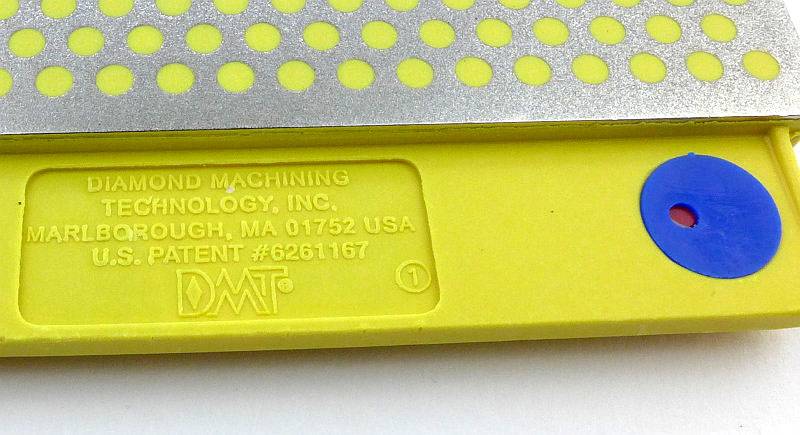
Fitting in with the colour coding across the DMT range the Red dot represents the Fine grit. The smaller blue dot shows what grit the other side of the stone has – in this case Blue/Coarse.
 photo 08 DMT Benchstone grit indicator P1180028.jpg

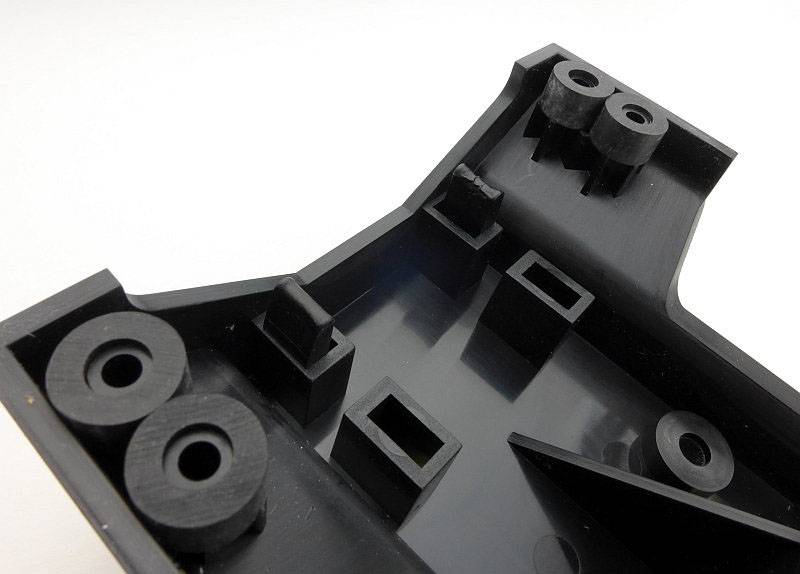
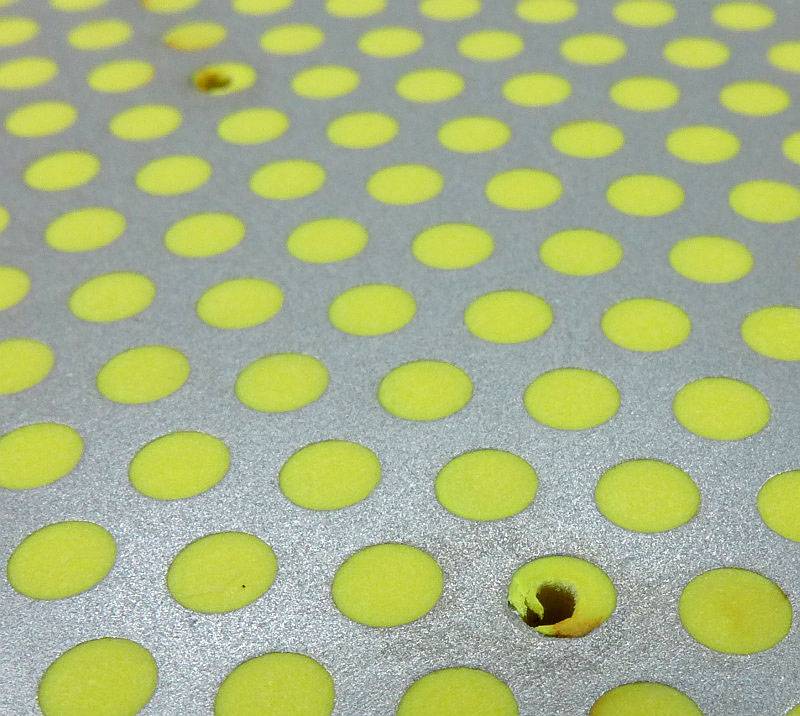
The DuoSharp 10″ benchstone has an ‘interrupted’ surface which helps clear the filings produced during use. There are a couple of pin marks into the plastic which probably relate to location pins used during the moulding of the plastic part.
 photo 10 DMT Benchstone holes P1180033.jpg

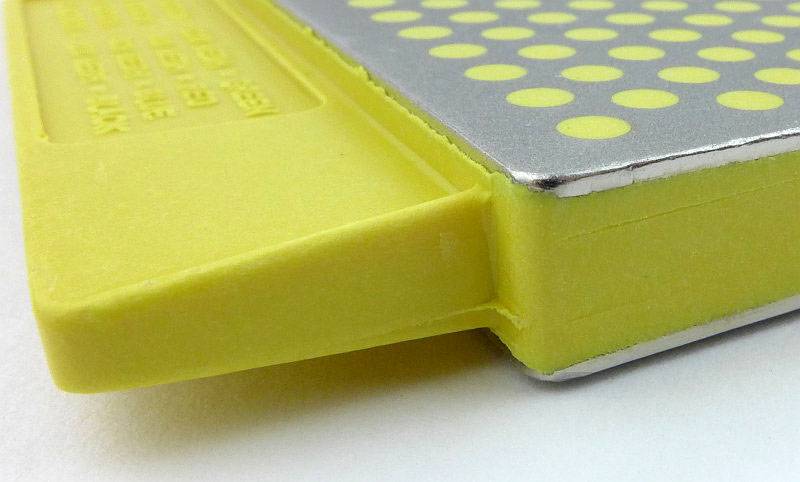
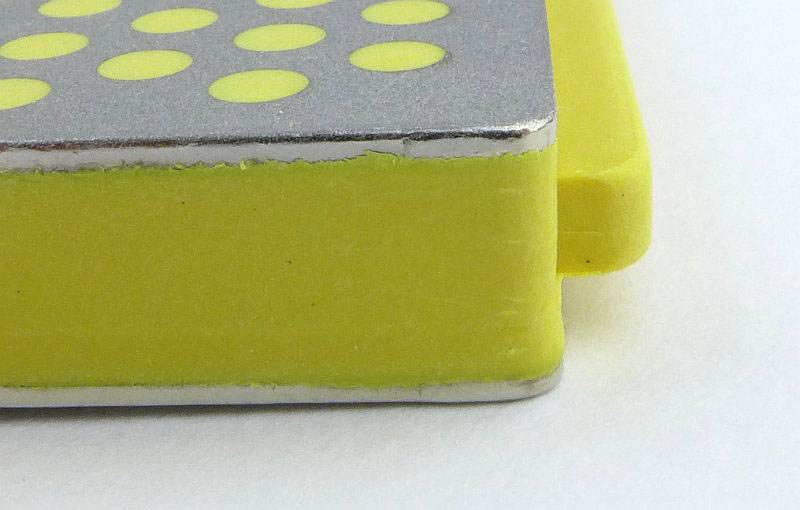
You can see how the diamond surface has been moulded into a plastic base-plate. One end has the elongated tab, only part of which fits under the stone clamp.
 photo 11 DMT Benchstone corner P1180036.jpg

The other end has a smaller tab for the stone clamp to hold.
 photo 12 DMT Benchstone other end P1180037.jpg

Flipping the stone over you can see the Blue grit indicator spot, this time with the smaller Red dot for the other side’s grit.
 photo 13 DMT Benchstone other grit P1180041.jpg

Fixing the stone back onto the base, first slide the tab under one stone clamp.
 photo 14 DMT Benchstone fitting P1180044.jpg

Then fit the second stone clamp.
 photo 15 DMT Benchstone fitting P1180047.jpg

Press the clamp down until it clicks into place.
 photo 16 DMT Benchstone fitting P1180049.jpg

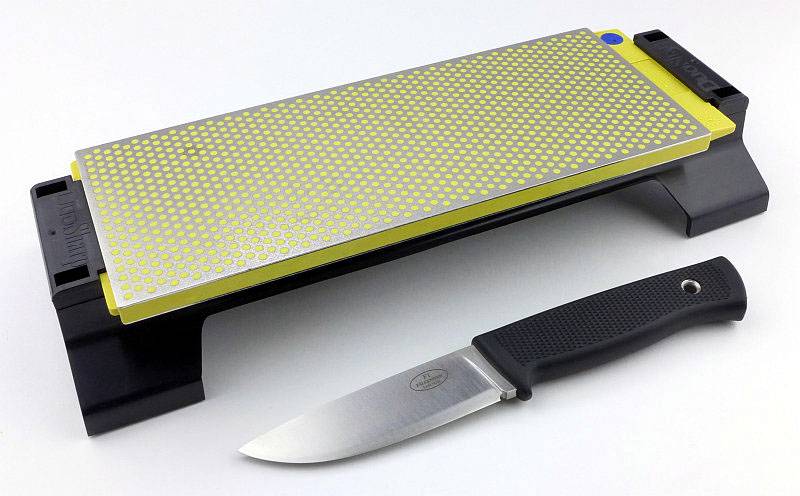
For an idea of scale, here is the stone next to a Fällkniven F1. At 10″, this is a good sized stone.
 photo 17 DMT Benchstone size P1180050.jpg

What are they like to use?

Firstly, the Aligner fully packed in its box is not only compact, but is also light weight. This makes it a great kit to take with you on trips, to keep in the car, or to use to sharpen friends/relatives knives. With DMT diamond stones being used dry you also don’t need to carry any oils or lubricants, so overall it is very convenient.

Clamp based sharpening systems are limited by the capacity of the clamp. The Aligner’s clamp has a 6.5mm capacity if the adjustment screw is fully removed and reinserted one half turn. I’d prefer more than half a turn, so I think a 6mm blade thickness is a more realistic maximum.

It is best to have an ‘approach’ to keep your results consistent. In this case what I’m referring to is the clamp position. Moving this along the blade will change the angle the stone runs on the edge. So far my approach has been to fit the clamp in the centre of the cutting edge of the blade on every blade I sharpen. Working in this way, in future you will put the clamp into the same position for subsequent sharpening sessions.

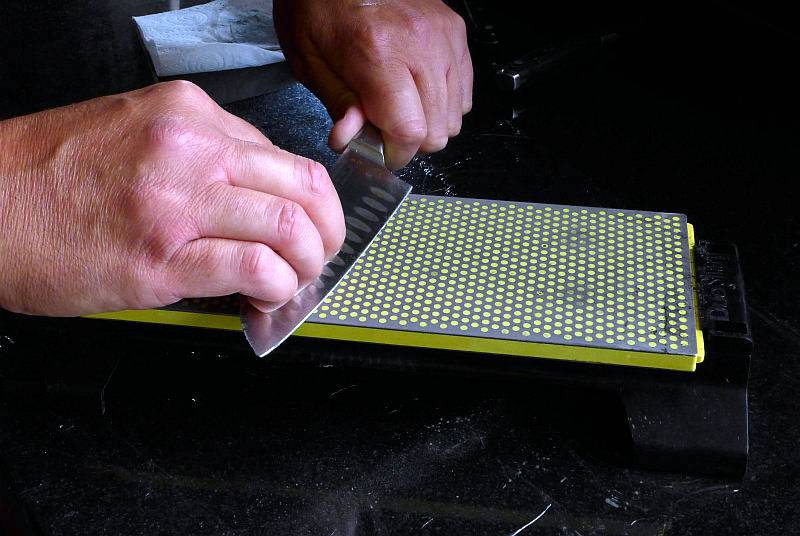
As with this type of guided sharpening, once the clamp is fitted to the blade spine and locked on, sliding the guide rod into the guide ring you can now move the stone across the knife edge at a consistent angle.

If you are not used to working with this can be a little awkward. The instructions say to hold the knife handle in one hand and the stone holder in the other; personally I find it easier to hold the clamp in my left hand (I’m right handed) with the blade sitting on my hand. The feel is the same for both sides of the blade. If you have to hold the knife handle it means swapping round an moving the stone with your non-handed hand as well.
 photo 20 DMT Aligner sharpening P1180096.jpg

For narrow blades you should check for clearance (keeping the stone from wearing into the clamp). In this case there is plenty of room, but the blade is not narrow.
 photo 21 DMT Aligner sharpening P1180097.jpg

To select the right angle you can use the ‘Sharpie’ method (using a marker pen to blacken the edge bevel and check where the stone is cutting) and if necessary adjust the position of the guide rings. If you are using different settings for different blades, you will want to keep a note of the positions used for each blade to allow you to sharpen it properly next time without changing the bevel angle.
 photo 22 DMT Aligner sharpening P1180103.jpg

Once you are done, I find it best to leave the clamp on the blade when you test the edge in case you need to work on the edge a little more.
 photo 23 DMT Aligner done P1180105.jpg

Overall the Aligner is light and efficient, and the DMT diamond stones cut very well.

Update 20 Jan 2017
Following some discussions on the clamp being liable to flex as it is plastic, I wanted to show more clearly how I use the Aligner and similar guided sharpeners. In the instructions for the Aligner it show the stone being held under the knife and the knife being moved over the stone in a similar way to using a bench stone. This means you are holding the knife by its handle and pressing down onto the stone. Like this there is maximum room for flexing. However I have always used this type of guide differently.

I hold the clamp and allow the handle to rest onto my wrist for this side of the blade.
 photo 32 Aligner holding P1250263.jpg

And for the other side I again hold the clamp and support the handle (or blade depending on the blade length) with my third and fourth finger. This way round the blade also sits onto the pad of my thumb.
 photo 33 Aligner holding P1250265.jpg

In this way it is possible to support where the clamp holds onto the blade while you bring the stone to the blade.
 photo 30 Aligner holding and using P1250260.jpg

And the other way. Hopefully this show clearly why I haven’t had any actual issue with flexing from the plastic clamp.
 photo 31 Aligner holding and using P1250258.jpg

End of Update 20 Jan 2017

Now we move onto the DuoSharp Bench stone and the technique requiring most user skill. However due to its wide flat surface and diamond cutting efficiency it certainly seems to make sharpening this way much easier than on the carborundum stones I learnt on.
 photo 18 DMT Benchstone kitchen P1220149.jpg

The kitchen knives being sharpened are slightly magnetised due to being stored on a magnetic rack. The filings stand themselves up like this due to being magnetic themselves. A wipe over with a damp rag clears these off nicely.
 photo 19 DMT Benchstone kitchen filings P1220161.jpg

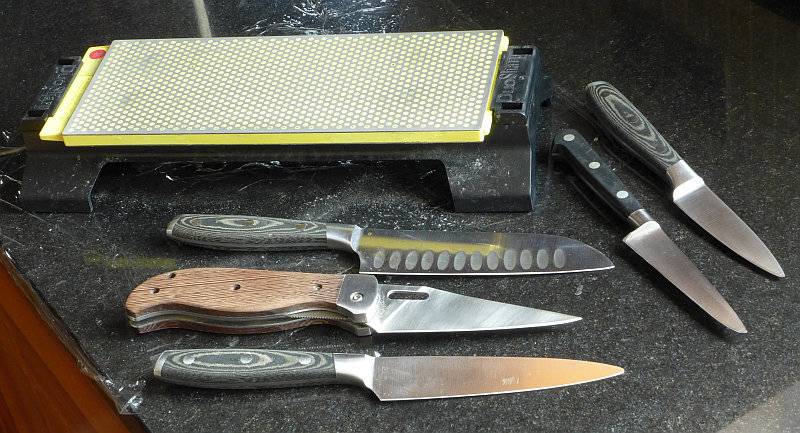
A few of the knives this stone breezed through.
 photo 20 DMT Benchstone kitchen knives P1220169.jpg

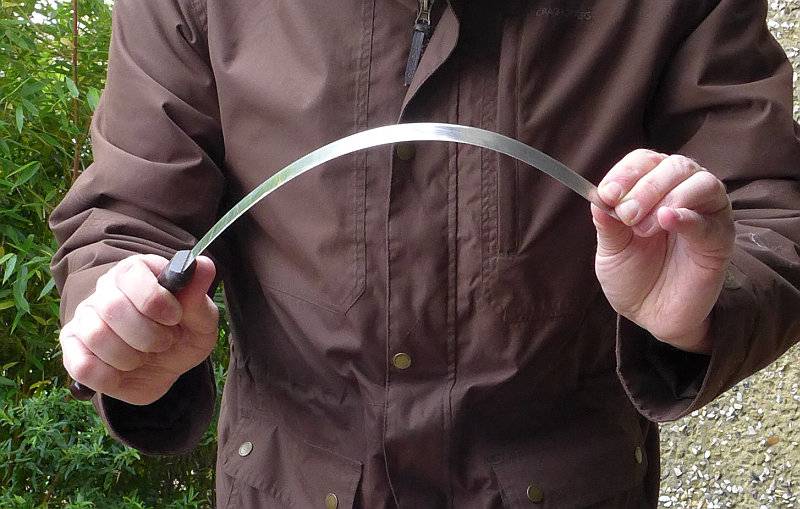
Now onto something a little more challenging, a 16″ ham knife. Ham knives are super flexible and thin, so are not easy to work onto a stone with.
 photo 21 DMT Benchstone ham knife P1230617.jpg

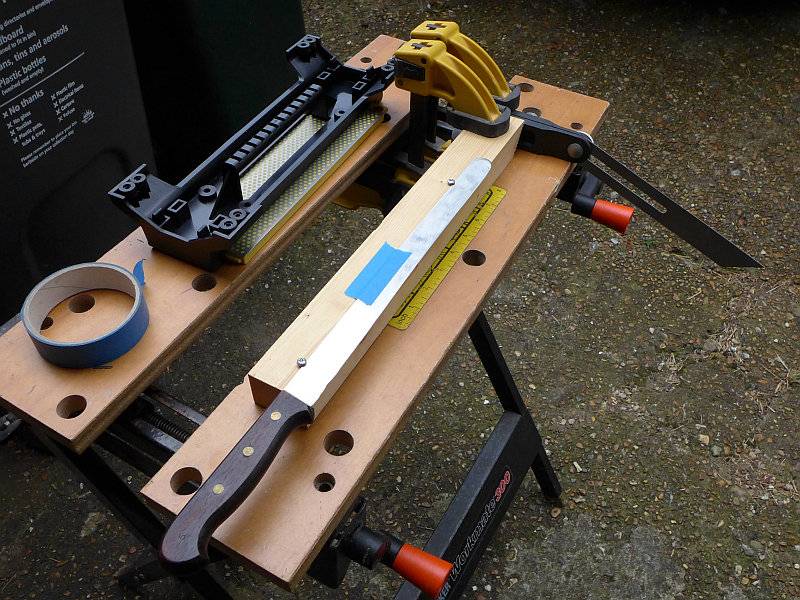
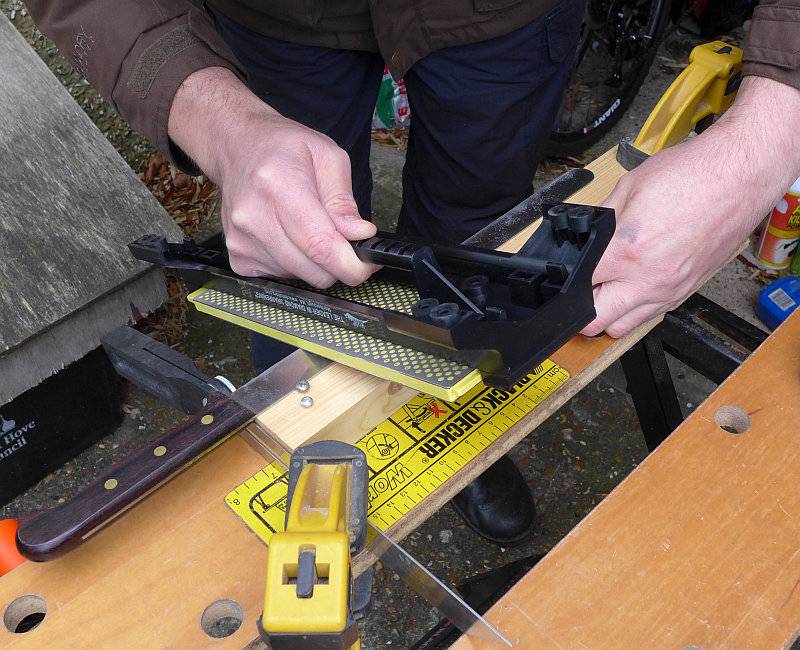
This blade had seen some abuse in the past and the edge was a bit wavy. I wanted to tidy it up and put together a very simple jig to keep the blade straight. A couple of stop-screws on a wooden base and some masking tape to keep it in place. To the right you can see an angle guide I setup for reference to help me stay on track.
 photo 22 DMT Benchstone ham knife jig P1230623.jpg

Using the handle on the back of the base I then used the bench stone hand-held. Working on the long and flexible blade in this way was so much easier and resulted in a corrected and hair-splitting edge (after a final strop).

The only real limitation with a large flat bench stone like this is with the recurve section of some blades. Those concave recurve sections just won’t get to touch the diamonds, but that is always the difficulty of a recurve blade.

Being able to hand hold the DuoSharp bench stone was an unexpected benefit of the DMT design and makes it much more versatile.

Review Summary

The views expressed in this summary table are from the point of view of the reviewer’s personal use. I am not a member of the armed forces and cannot comment on its use beyond a cutting tool or field/hunting knife.

Something that might be a ‘pro’ for one user can be a ‘con’ for another, so the comments are categorised based on my requirements. You should consider all points and if they could be beneficial to you.

_______________________________________________ _______________________________________________
Things I like What doesn’t work so well for me
_______________________________________________ _______________________________________________
Aligner package is lightweight for easy transport. Aligner guide clamp will only fit blades up to 6-6.5mm thick.
Aligner ensures you maintain a consistent angle. Aligner – One side of the blade is more awkward to work on than the other.
Aligner – Easy swapping of grits. Aligner – Clamp needs to be fitted tightly and can flex if pressing too hard.
Bench Stone – Large flat surface. Bench Stone – Large surface prevents recurve blades being sharpened.
Bench Stone – Handle included to allow hand-held use. Bench Stone – Rubber feet can fall off.
Bench Stone – Easily identifiable grits.
DMT stones can be used dry.
DMT diamond surface cuts very well.

 photo 00-DMT-featureV2-P1180049.jpg


Discussing the Review:

Please feel free to add comments to the review, but the ideal place to freely discuss these reviews is on a forum. If you started reading the shorter forum version of the review, but followed the link this full exclusive review, please return to that forum to discuss the review there.
If you read the review entirely on Tactical Reviews, please consider one of the following to join in any discussion.

EdgeMatters – Sponsored Reviews (UK based Forum for Knife Makers and Collectors)

BladeForums – Knife Reviews (US based Forum for Knife Discussion)

CandlePowerForums – Knife Reviews Section (Largest and Friendliest Flashlight Community Forum)