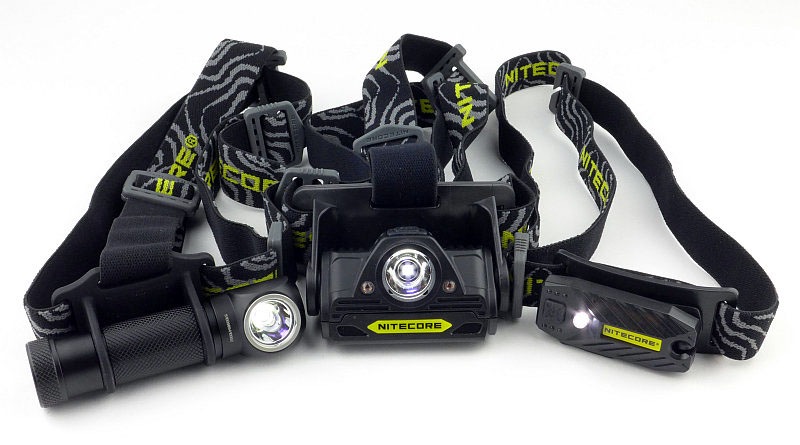
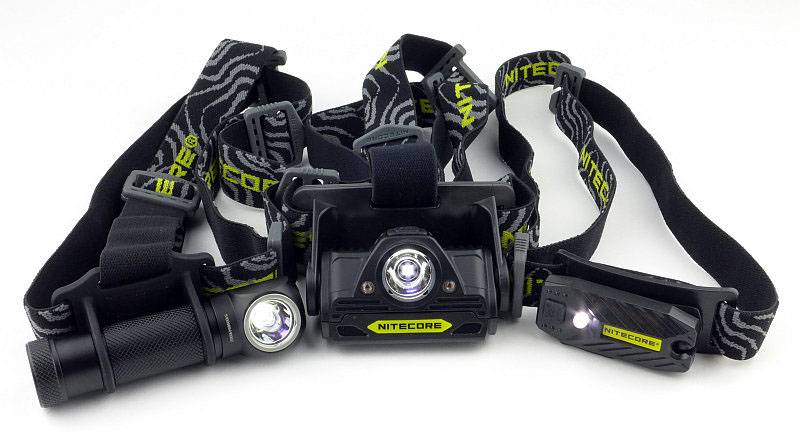
With the launch of three new headlamps from NITECORE, the T-360, HA20 and HC30, I’ve had the opportunity to compare them. Each one is very different and fits a different requirement. Have a look and see which one would be right for you.
Taking a more detailed look at the T-360:
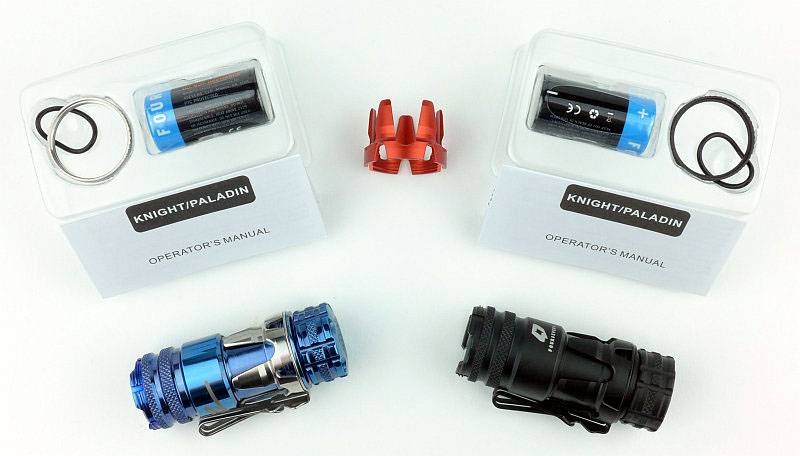
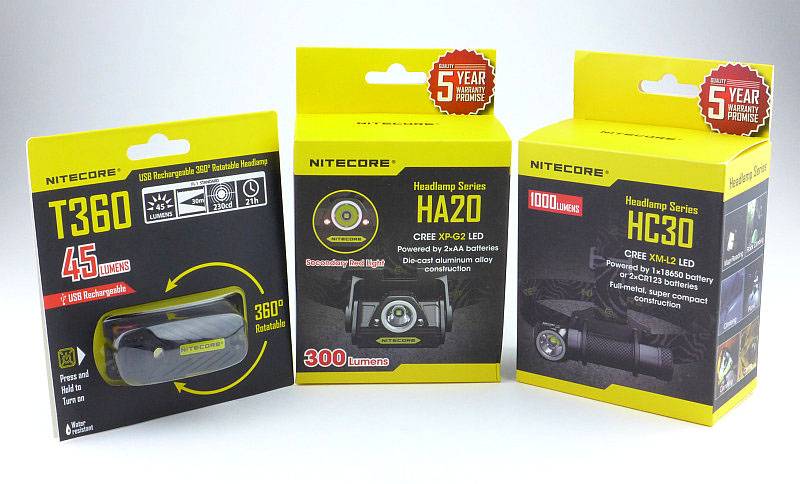
Before diving into the detail here are the three boxed lights together.
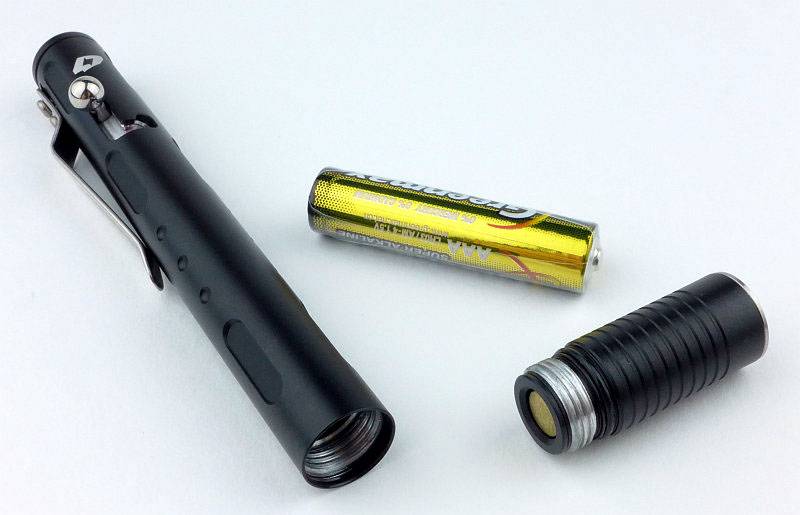
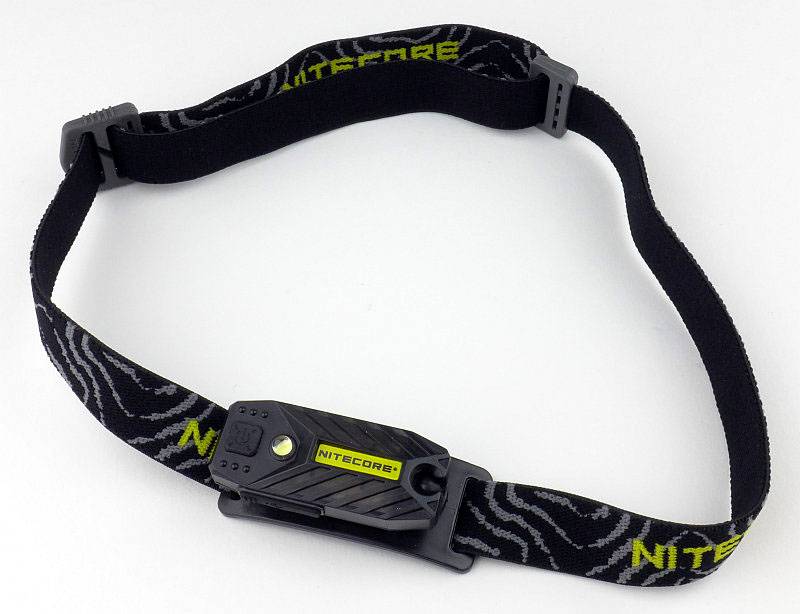
For the T-360, as it has a built-in USB rechargeable cell, there is simply the T-360, a headband and the instructions in the box.
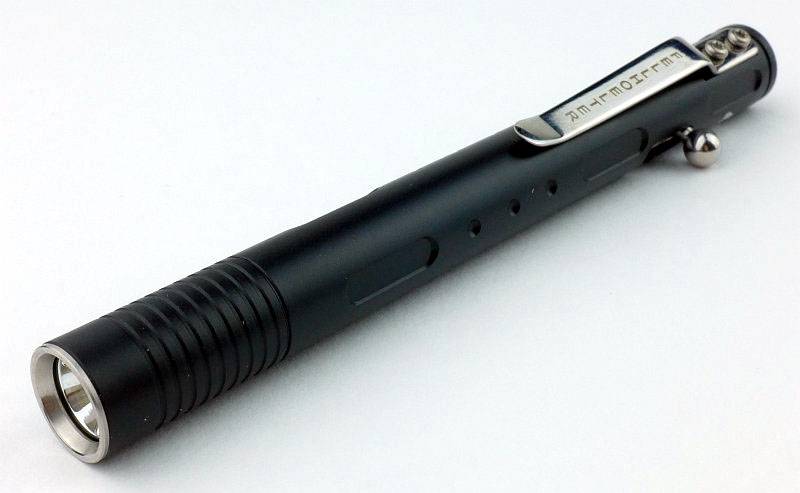
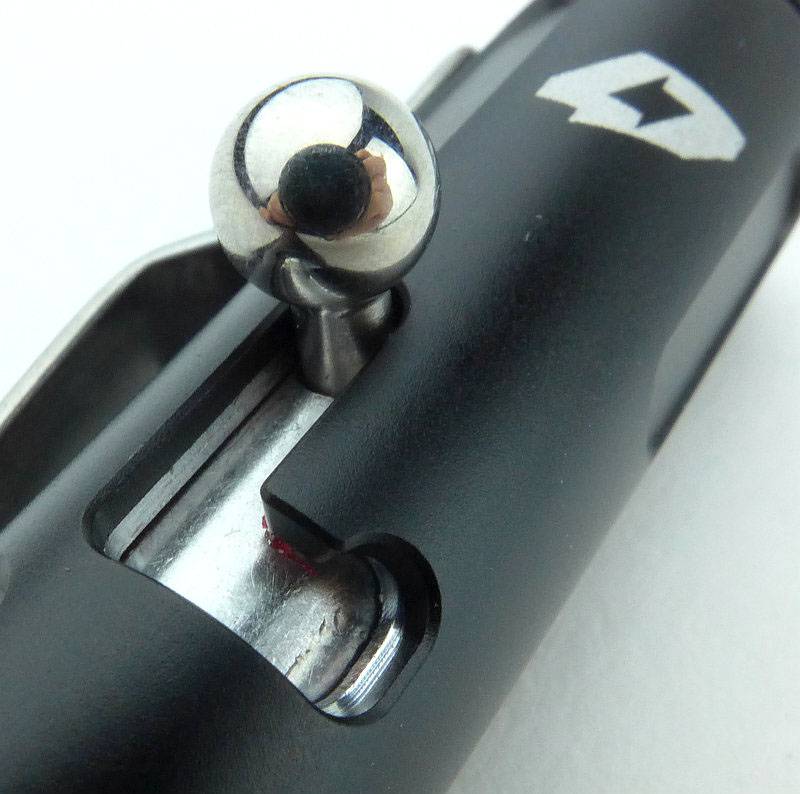
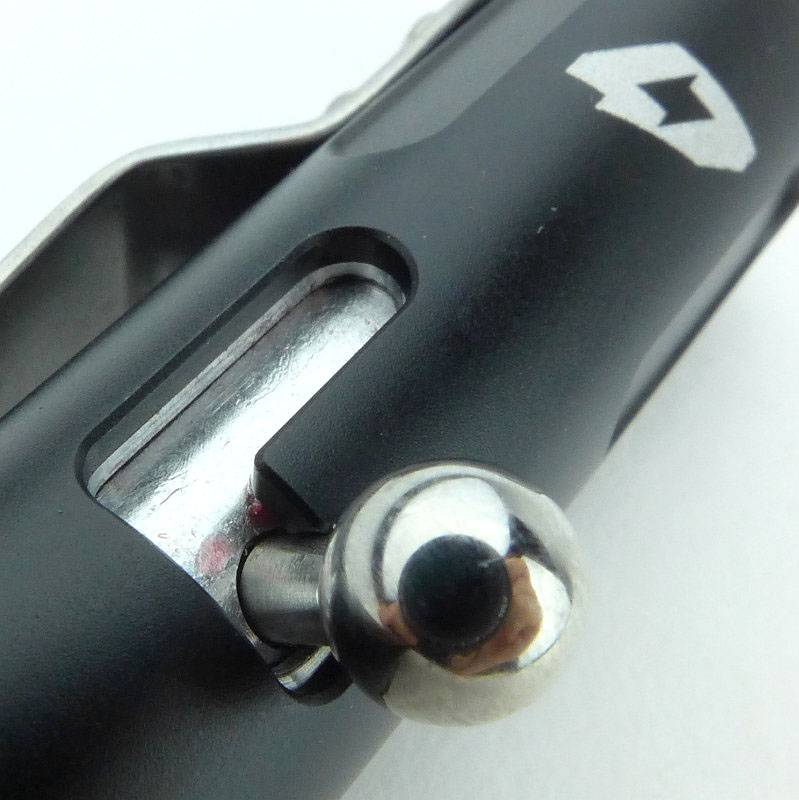
Giving it its unique versatility, the T-360 has a ball joint around which the entire light head swivels and rotates.

Just slipping in a gratuitous shot of several T-360s lined up.
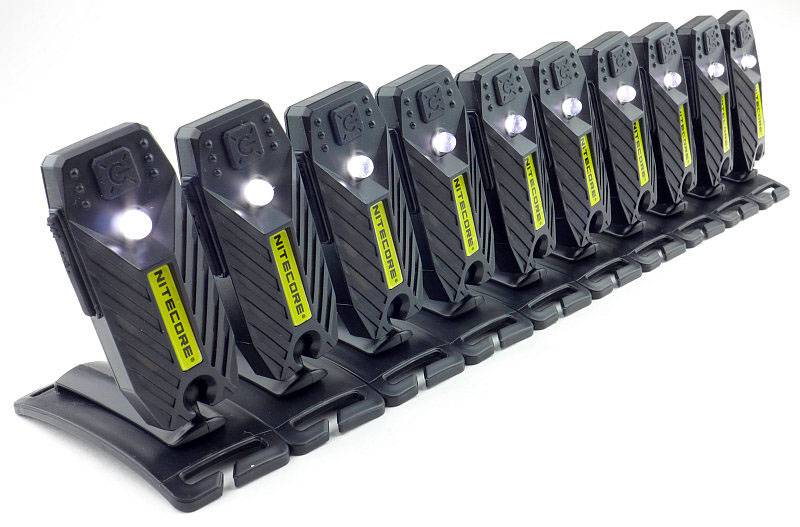
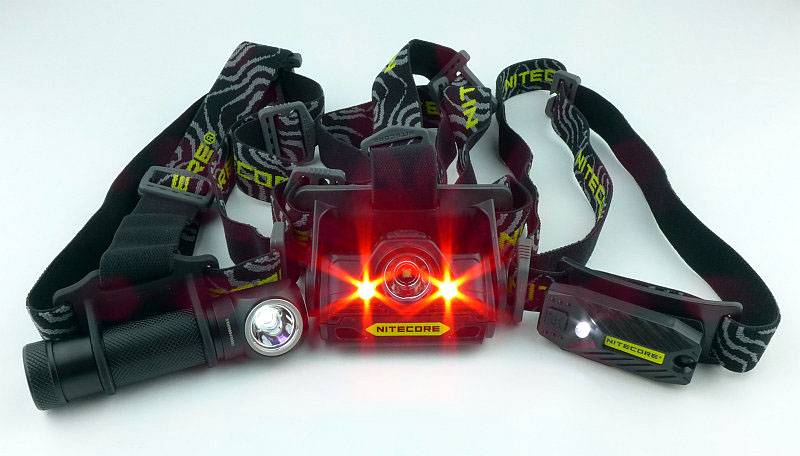
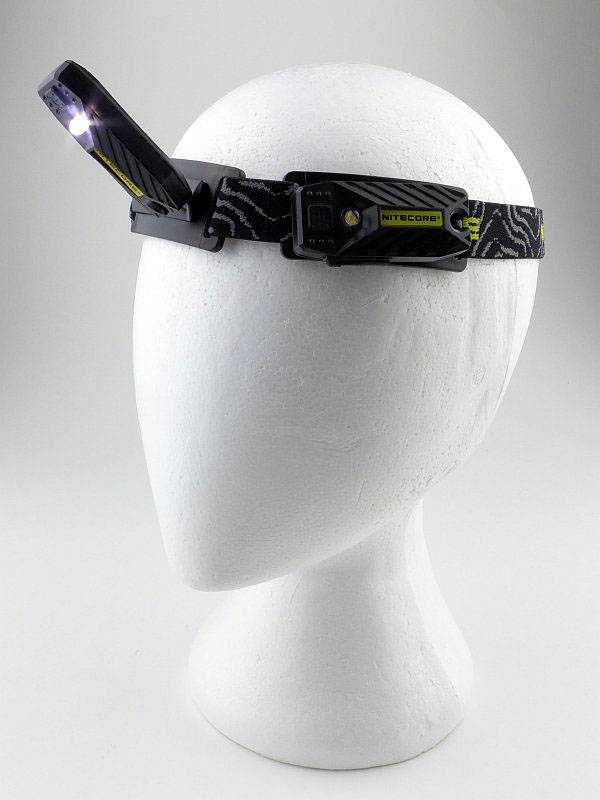
Being so small and light, you can keep a spare one on the same headband!
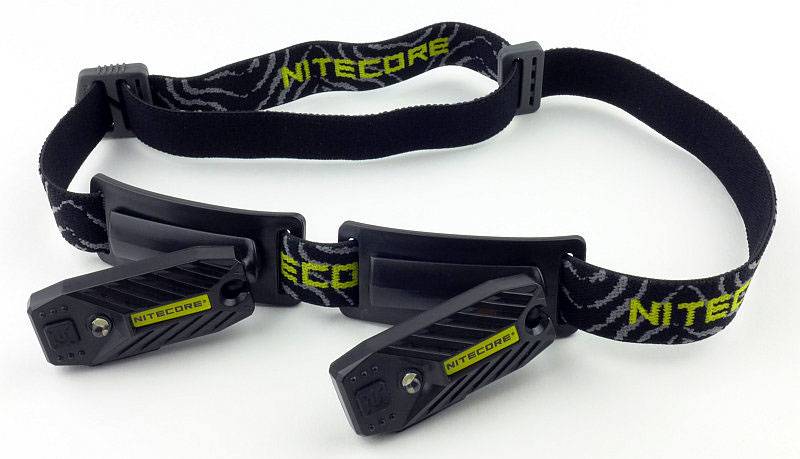
Shown here in its head-mounted configuration with the spare T-360 as well.
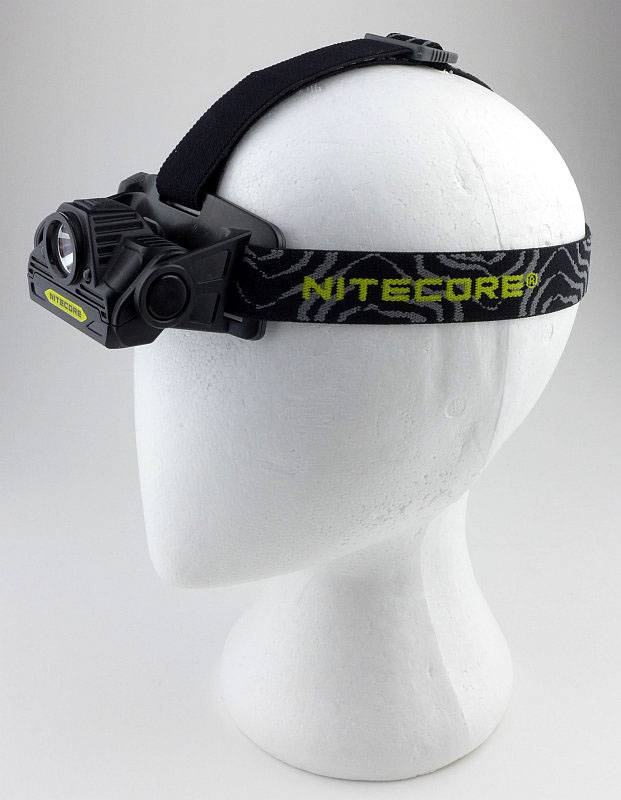
Taking a more detailed look at the HA20:
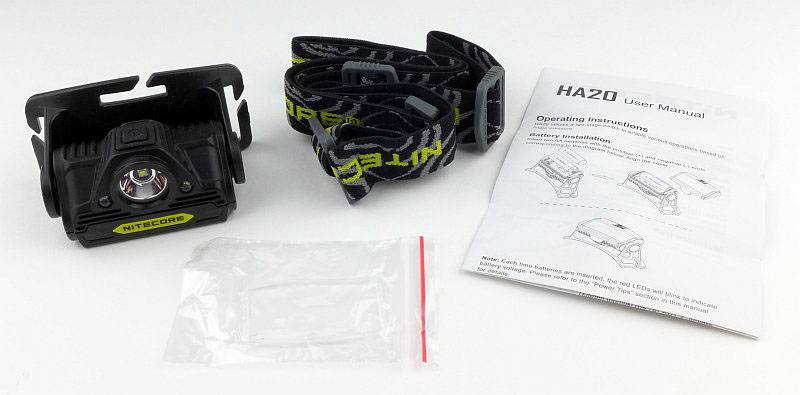
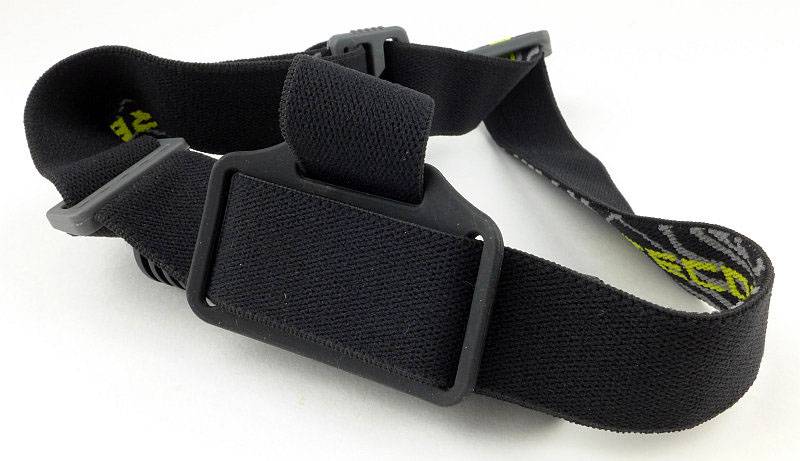
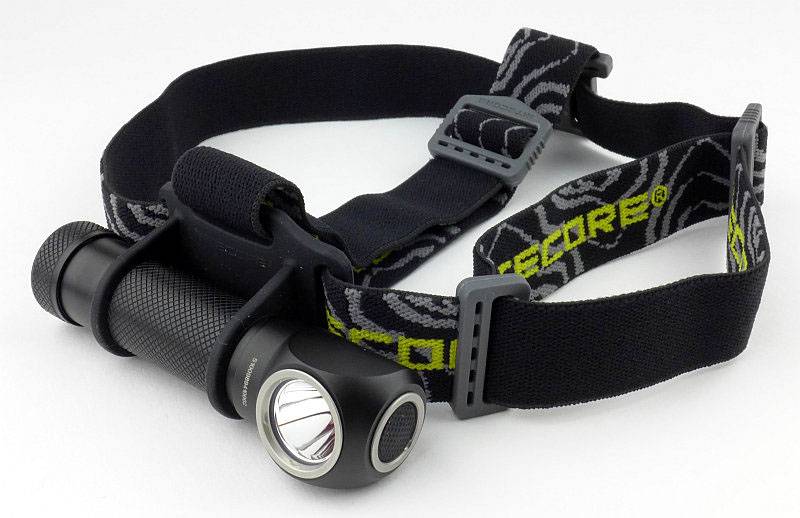
For the HA20, as well as the light unit, there is the headband (with top strap) a special square-shaped O-ring and the instructions.
Fitting the strap is very easy.
You can’t get to the battery compartment with the light unit rotated normally.
First you need to rotate the unit forwards to expose the plastic tab.
Then you can pop the cover open.
Finally you can rotate the light unit all the way back round to allow the door to come off.
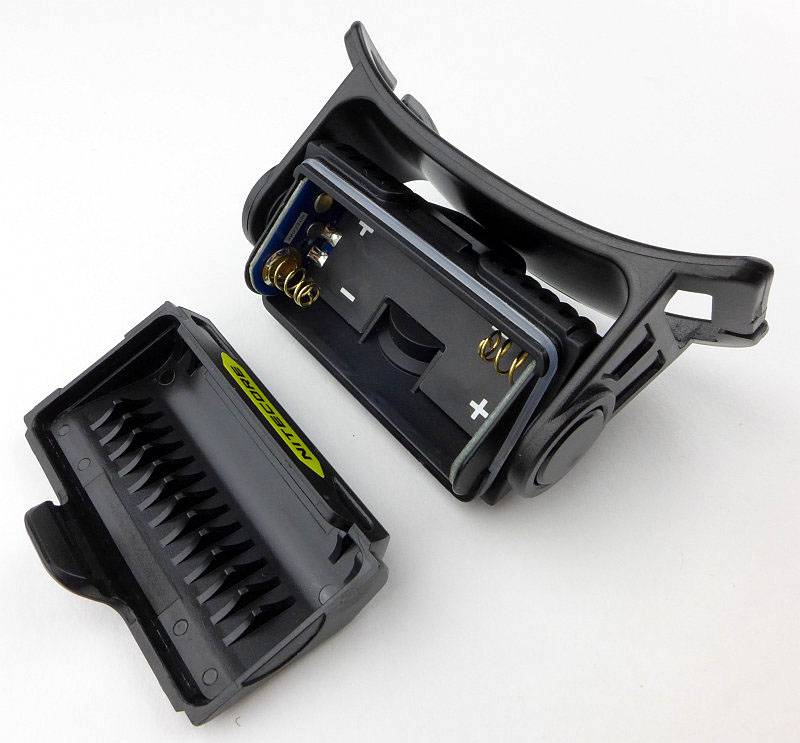
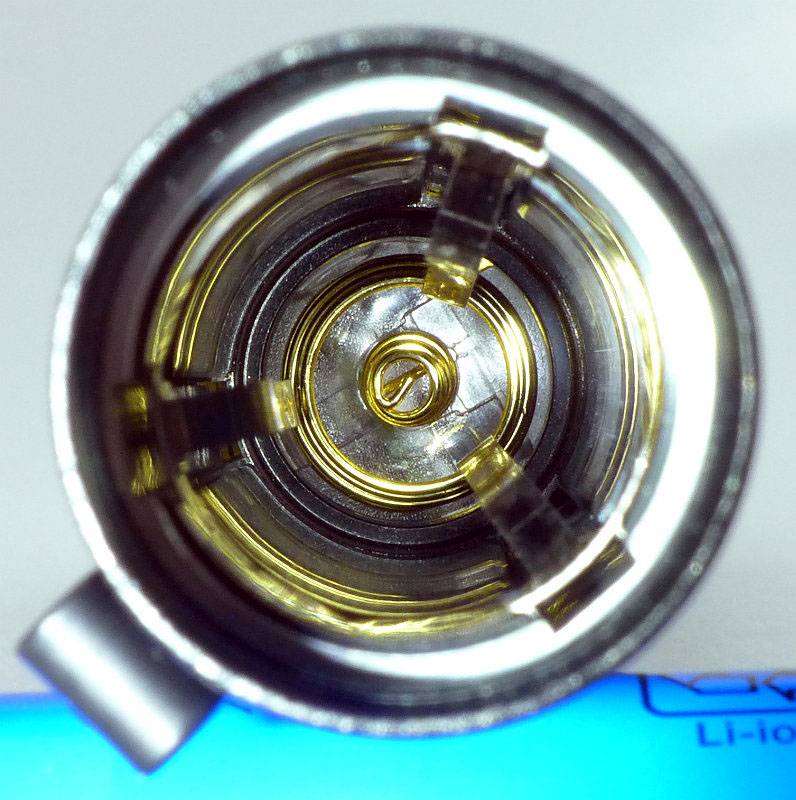
Each end of the battery compartment has a set of sturdy terminals.
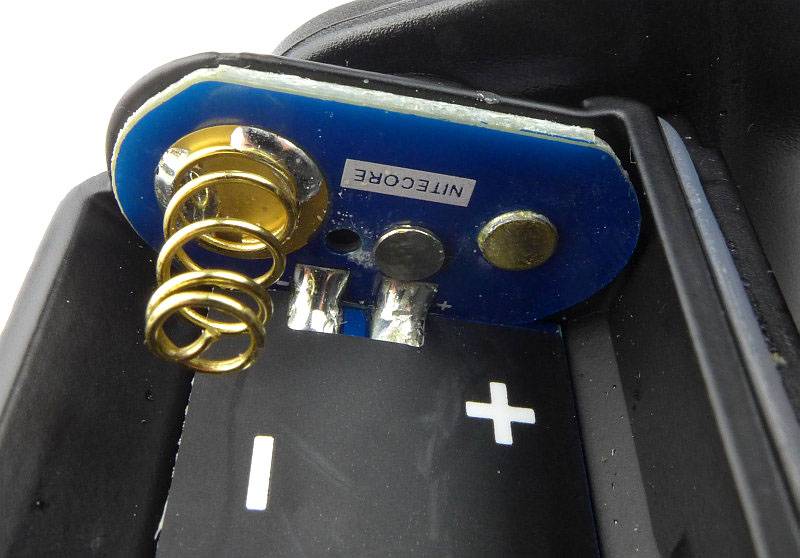
You have to fit the rear cell first then the front one.
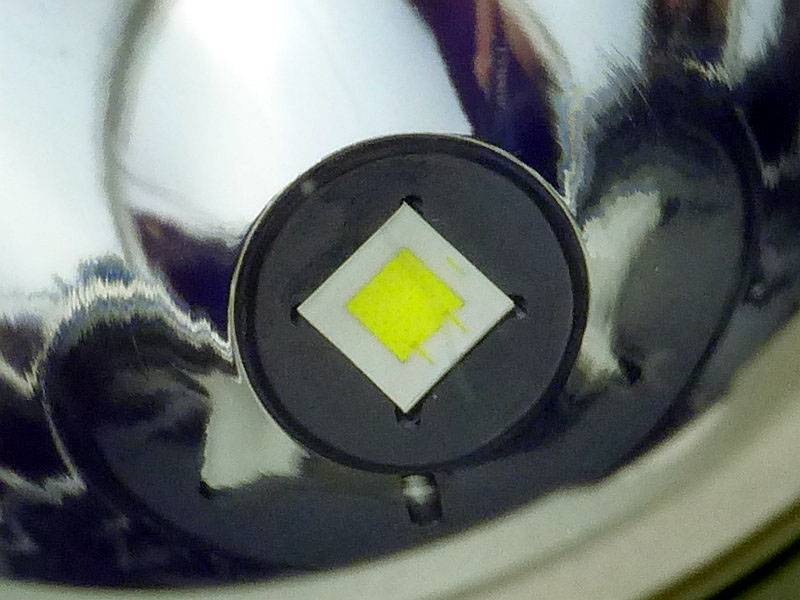
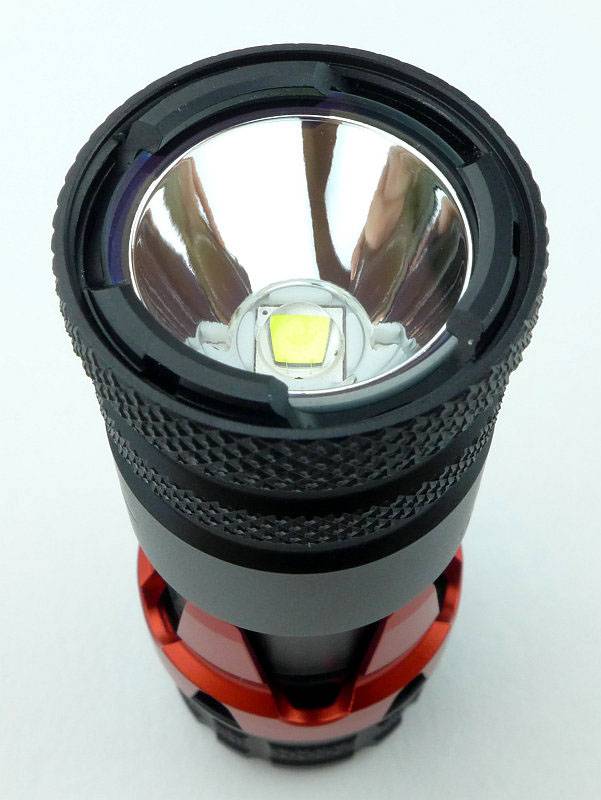
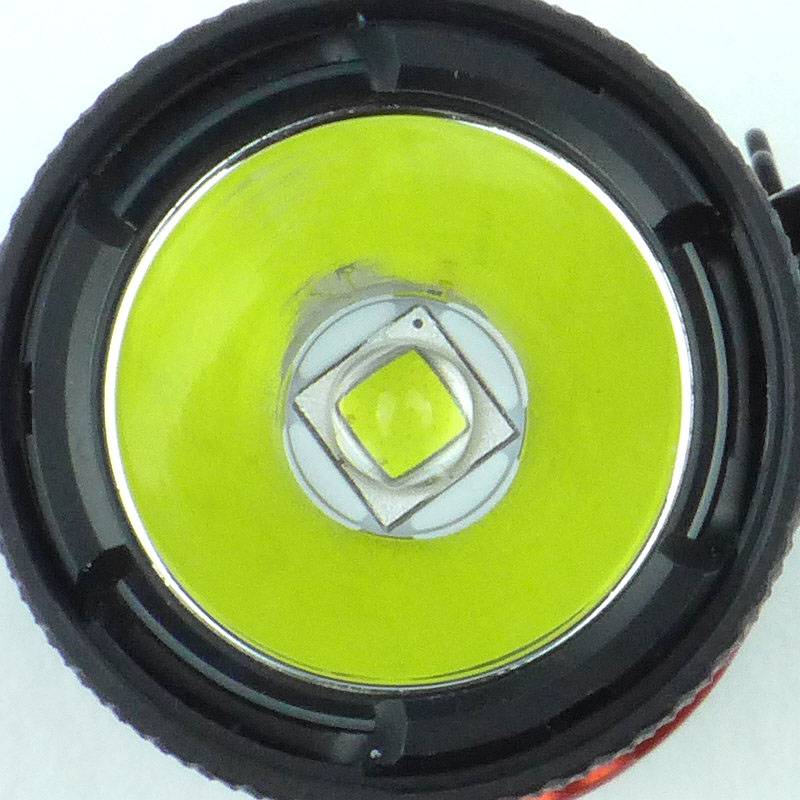
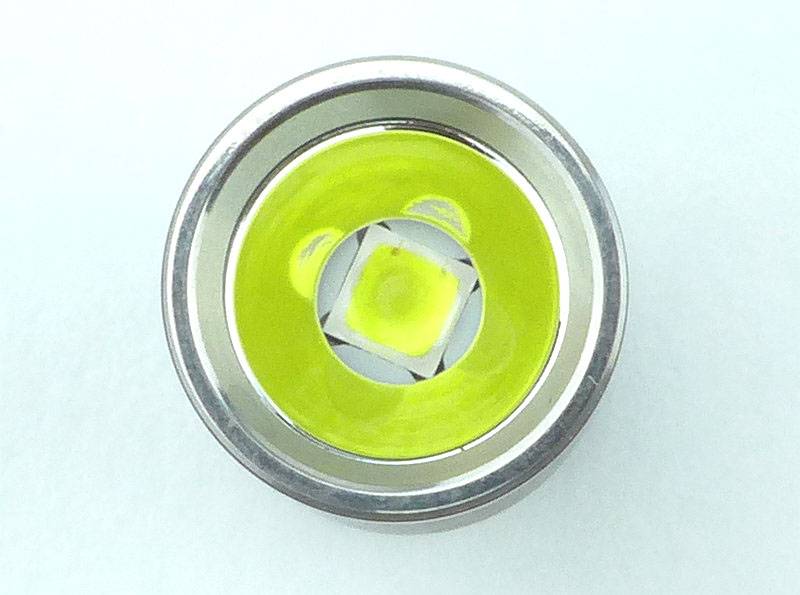
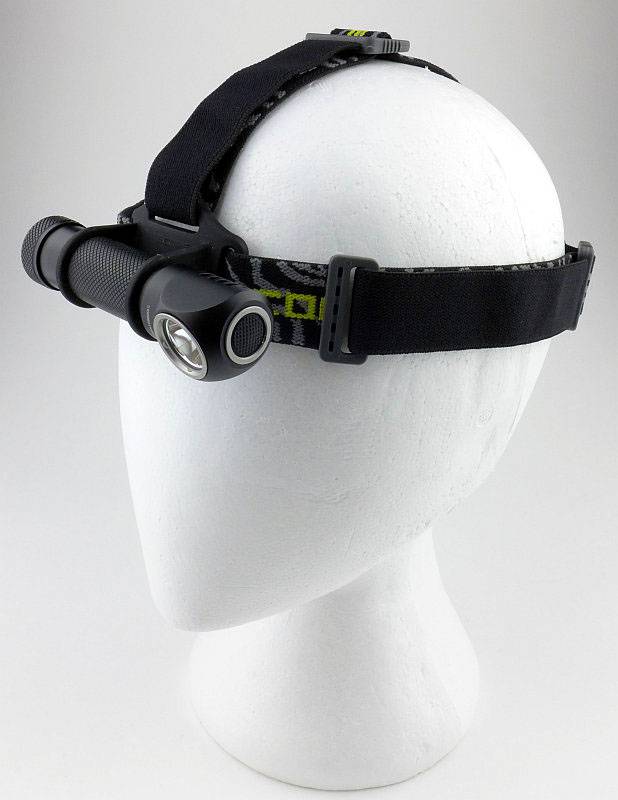
The HA20 has three LEDs, an XP-G2 LED and two F5 red LEDs.
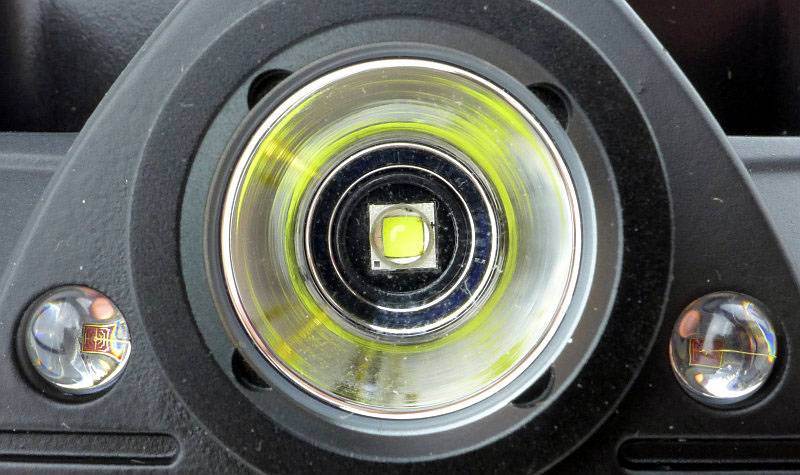
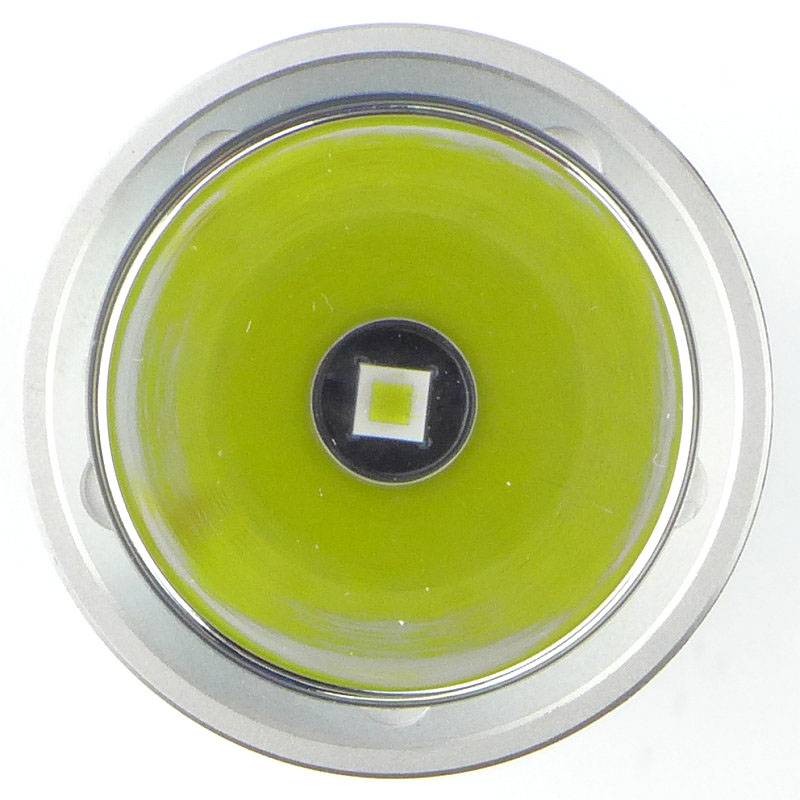
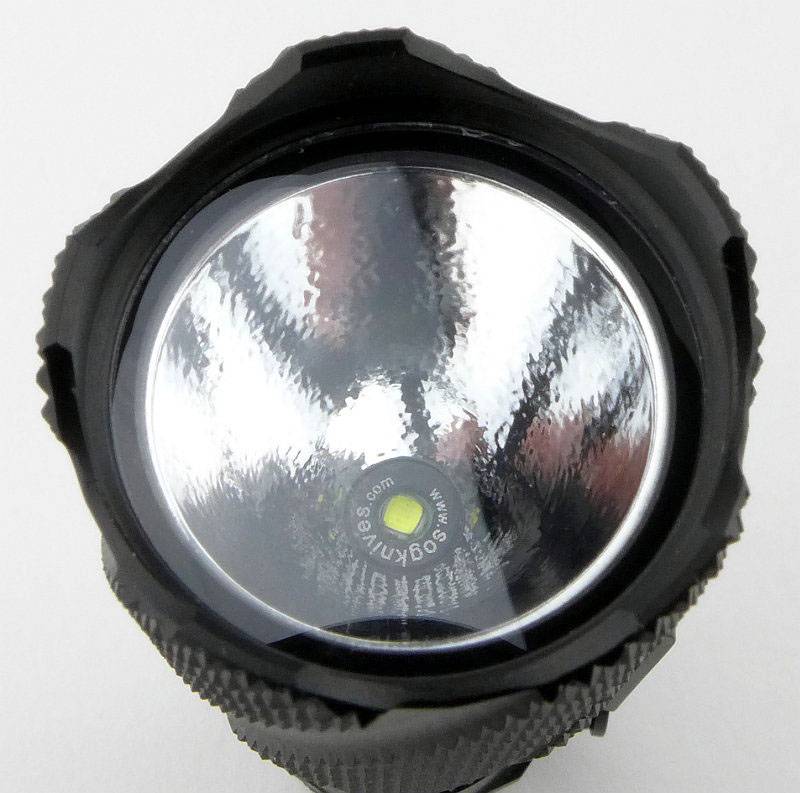
A closer look at the main beam XP-G2 and its reflector.
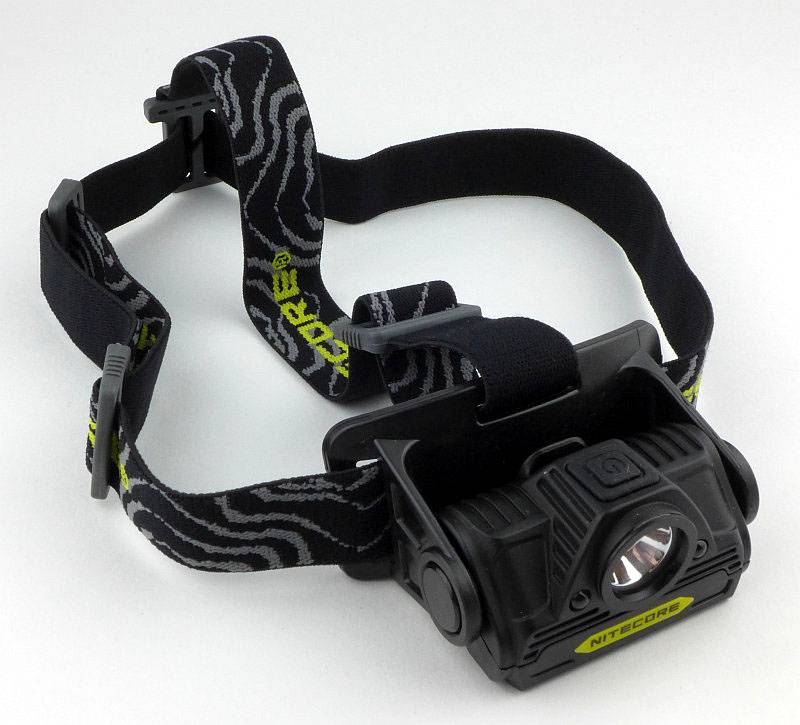
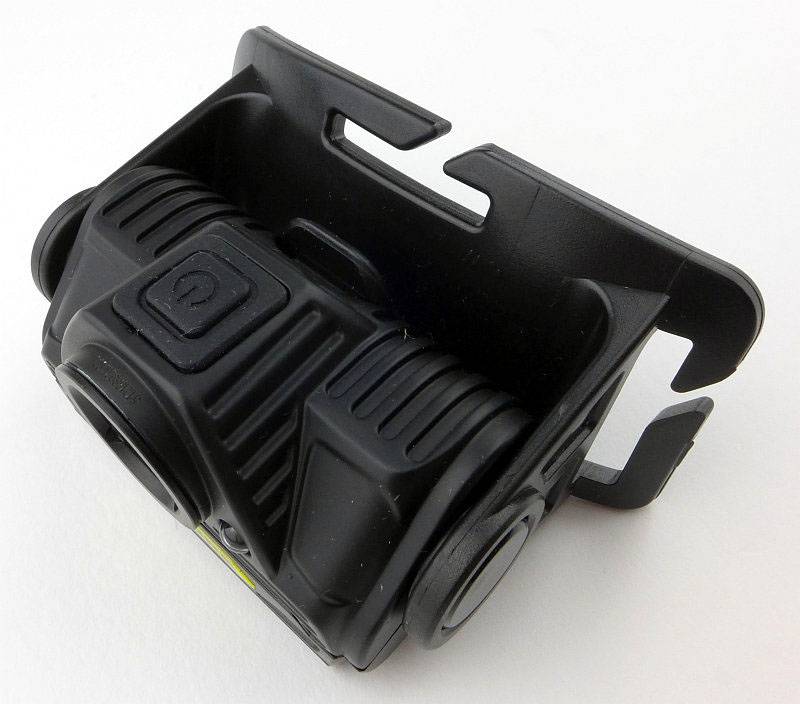
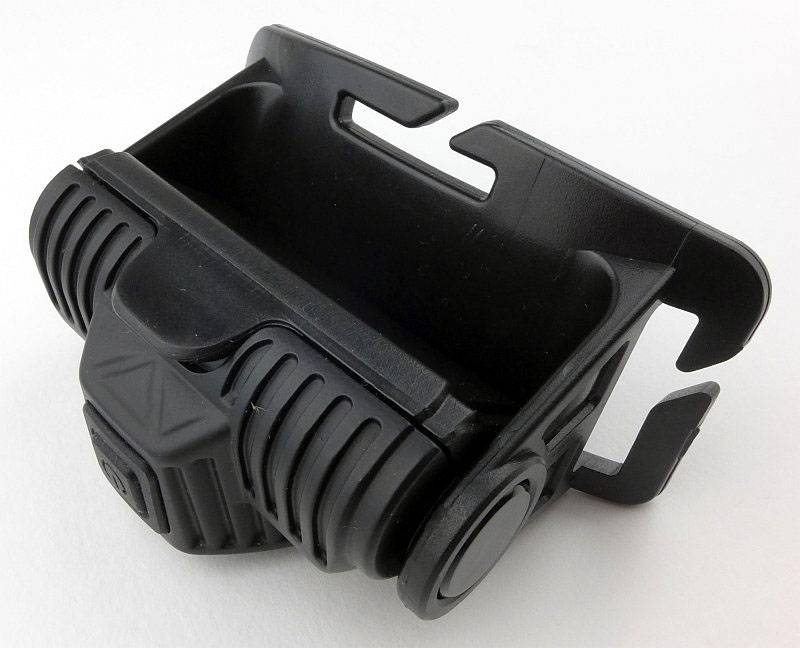
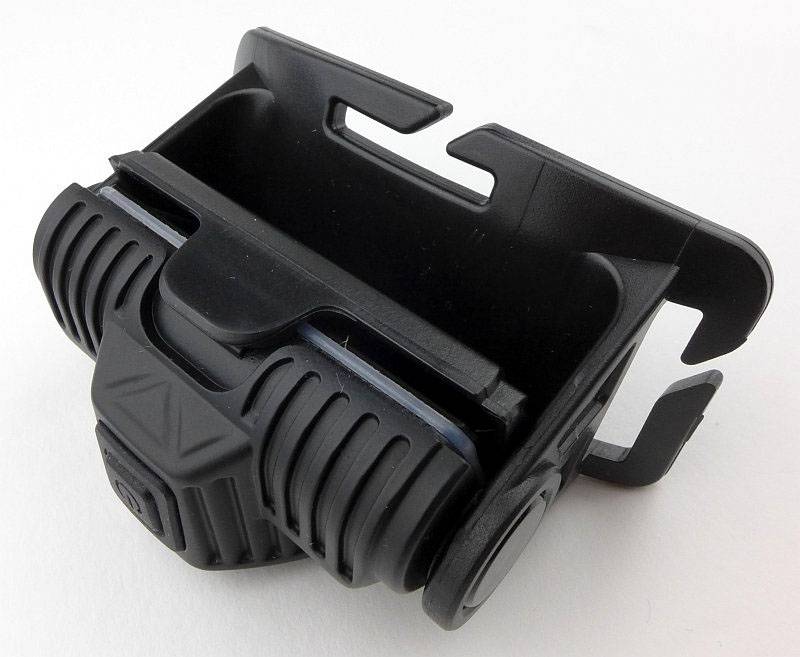
The elastic strap for the main headband is routed through the mount as shown.

The top strap gives extra stability when wearing the headlamp.
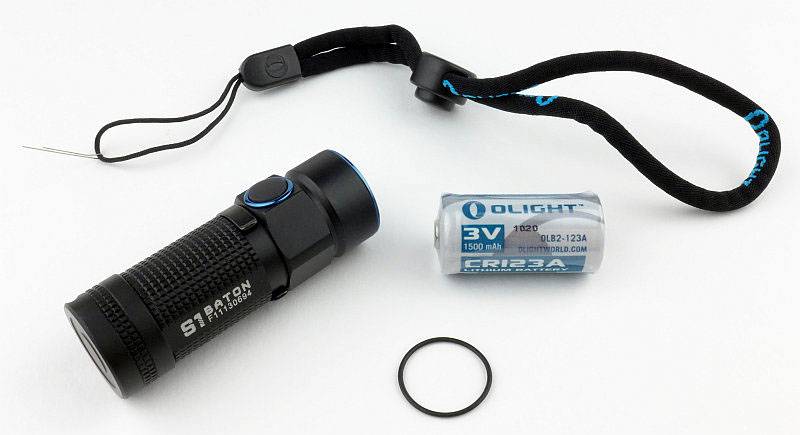
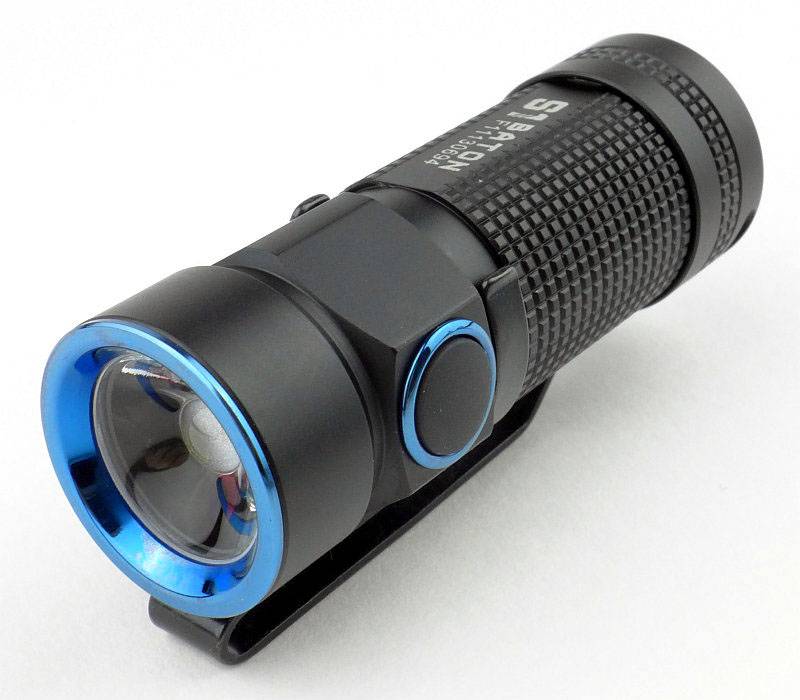
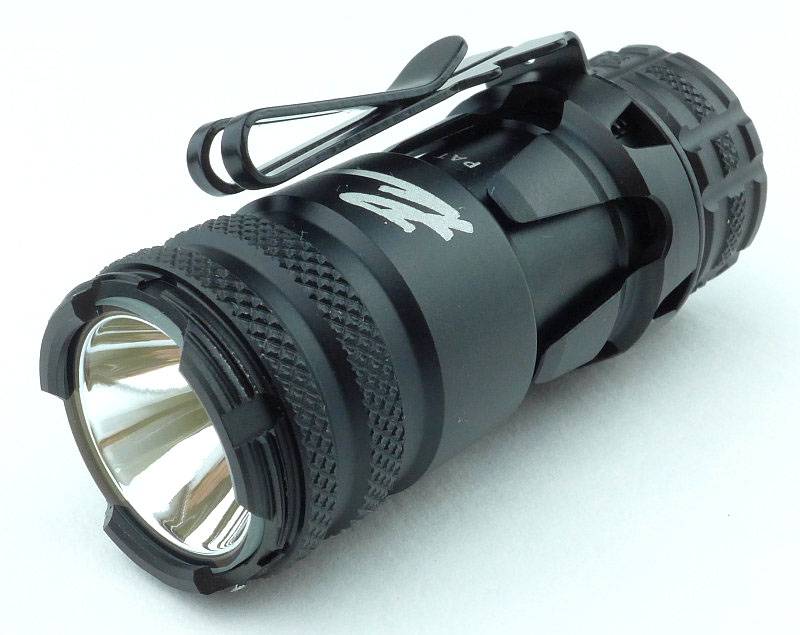
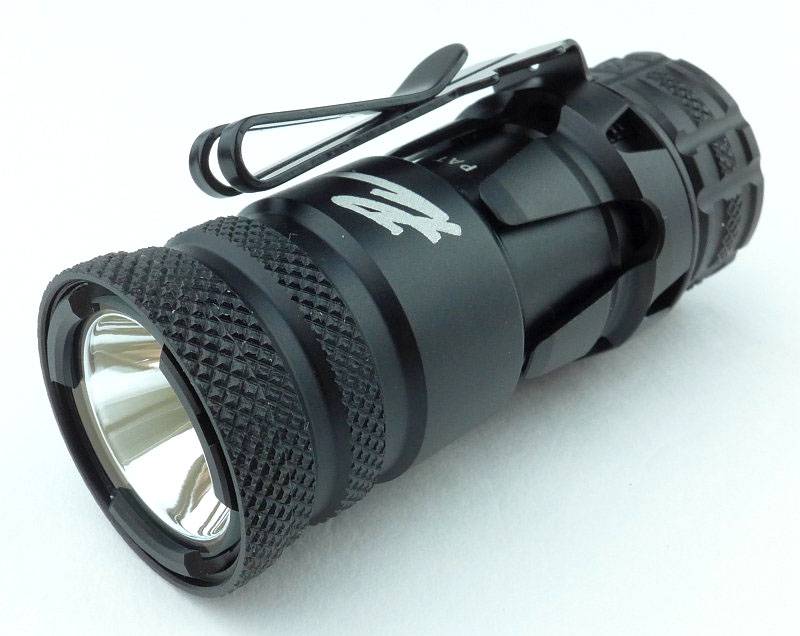
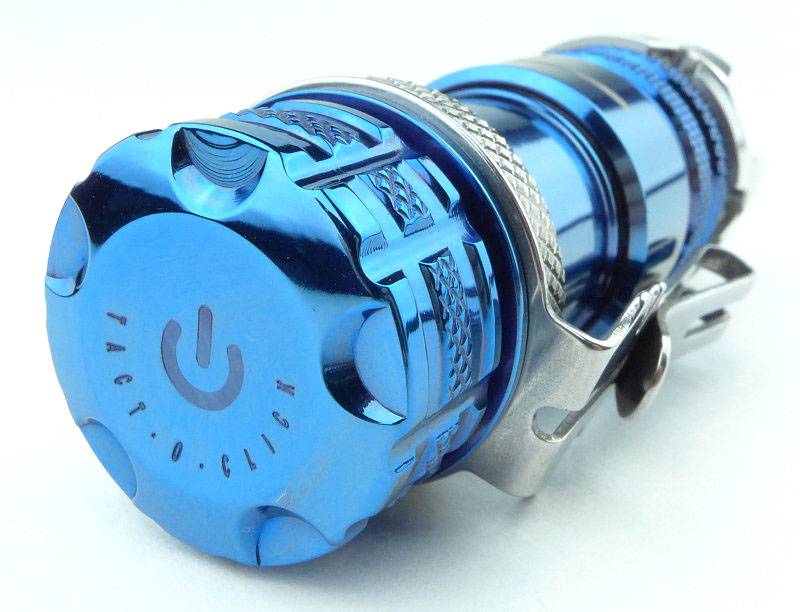
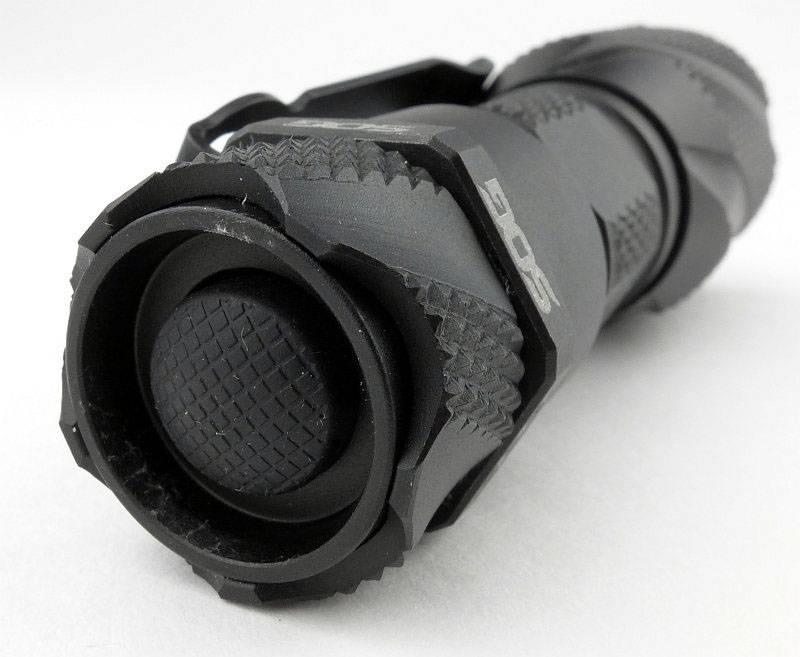
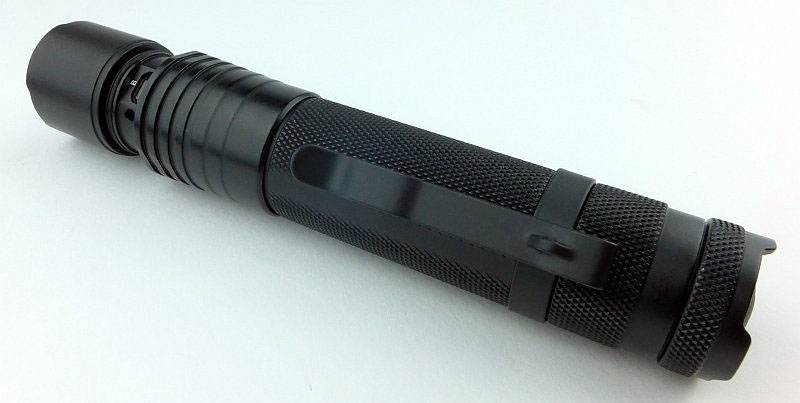
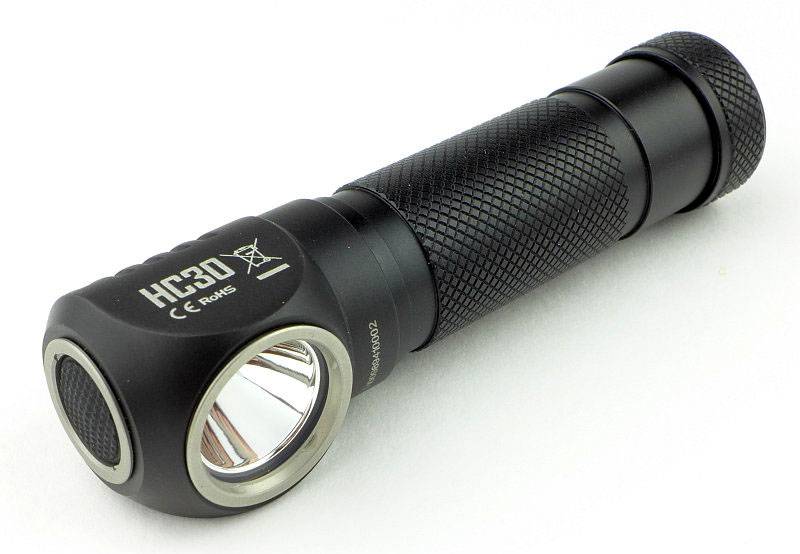
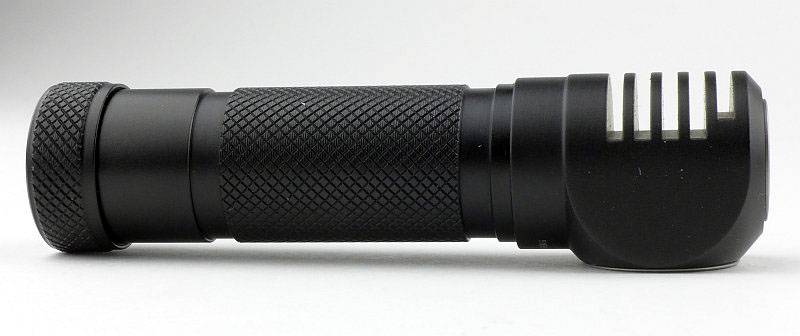
Taking a more detailed look at the HC30:
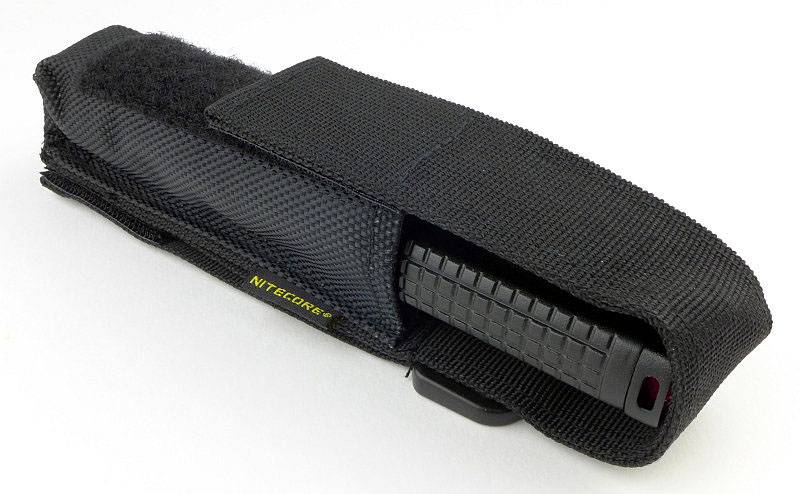
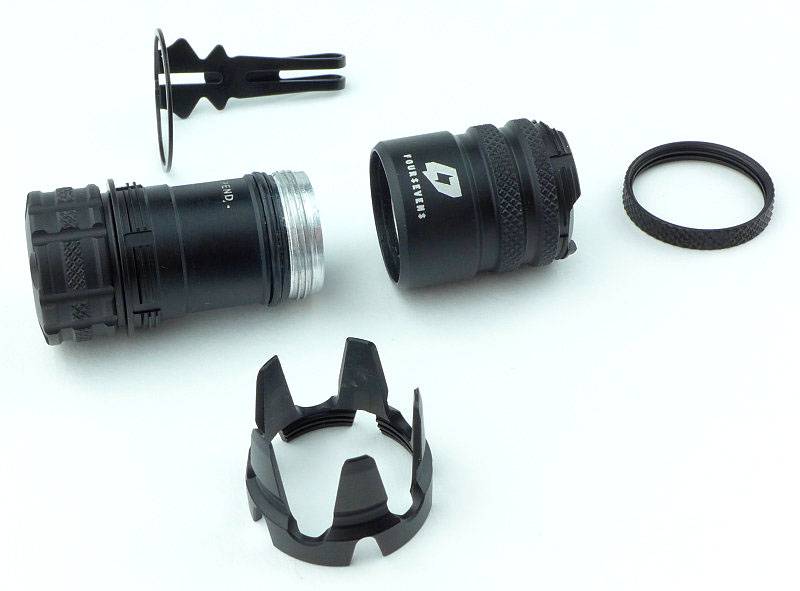
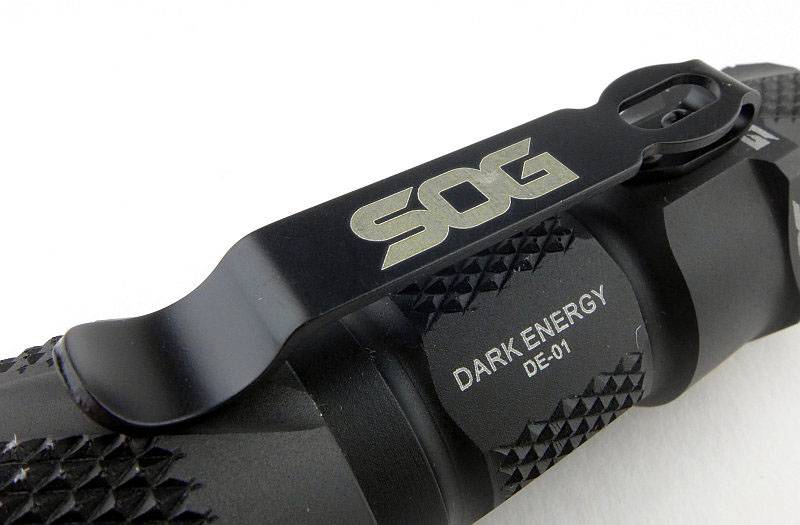
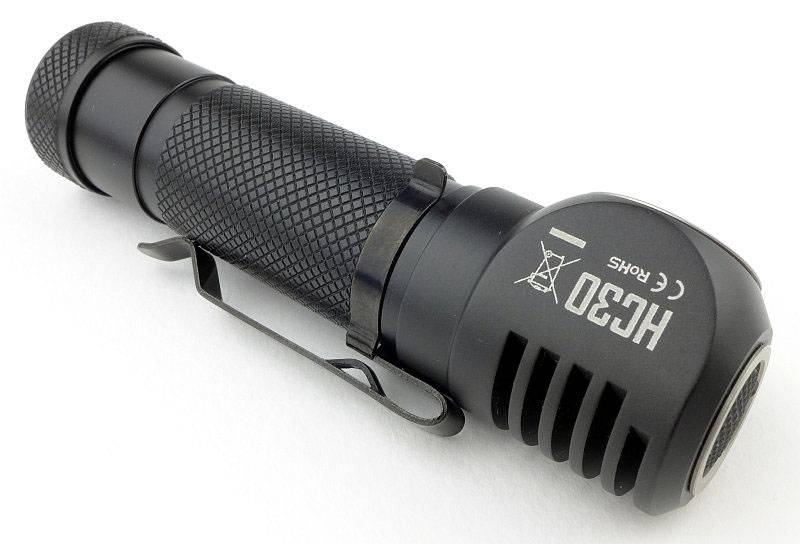
Of these three headlamps, the HC30 has more accessories as it includes two spare O-rings, a spare switch boot and clip as well as the HC30 itself, headband and instructions.

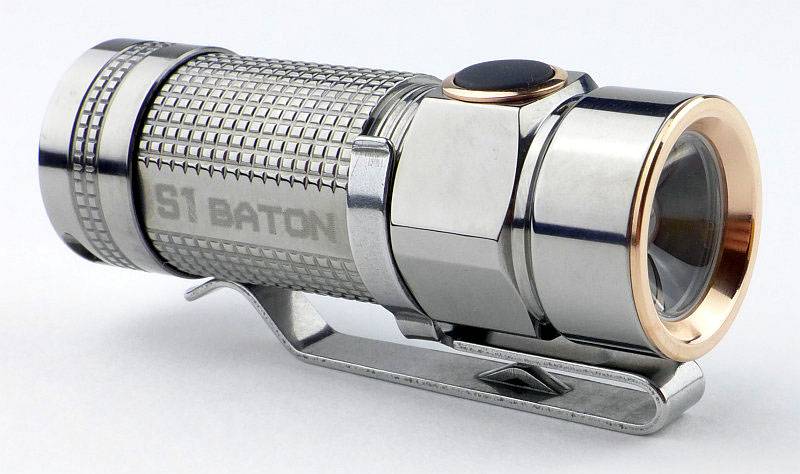
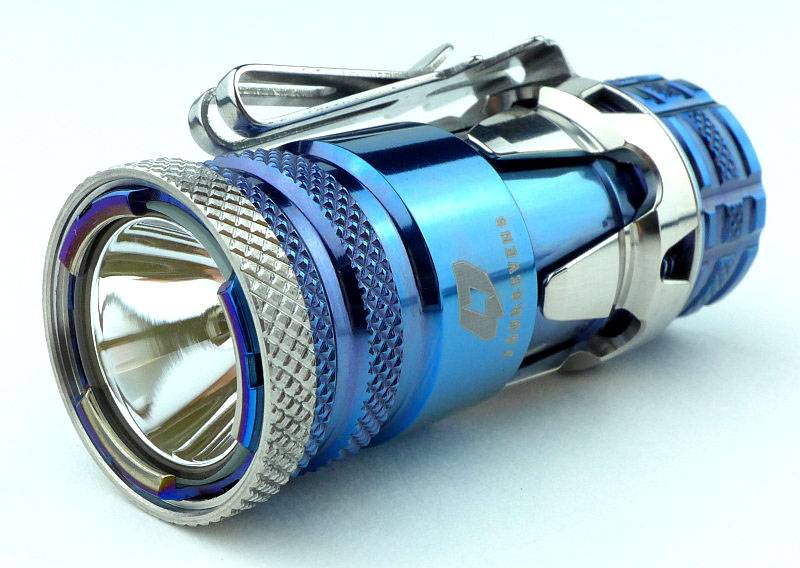
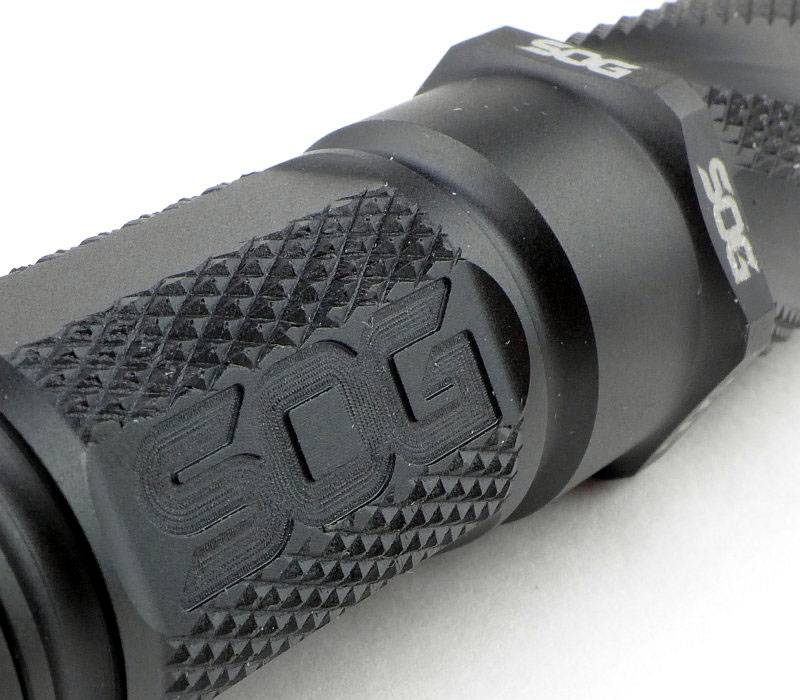
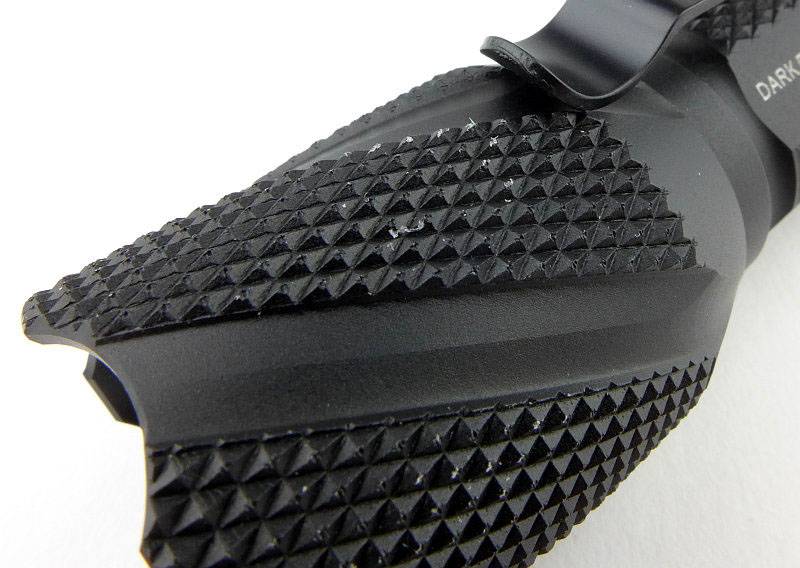
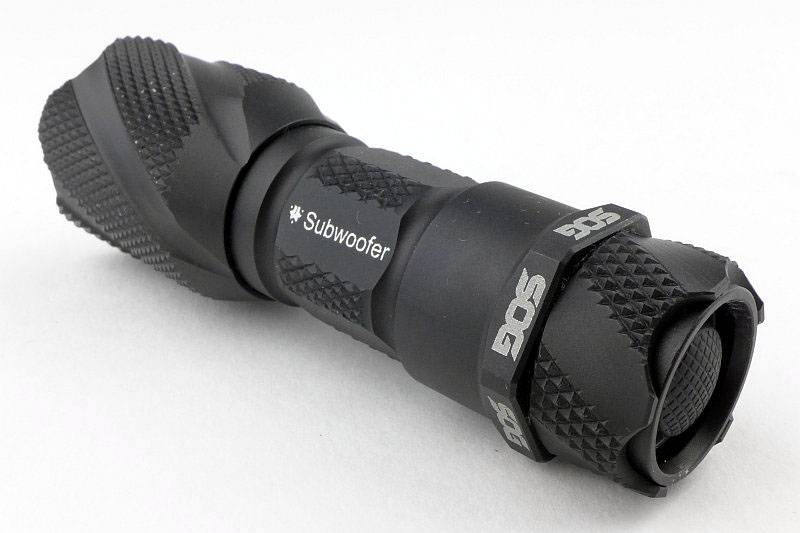
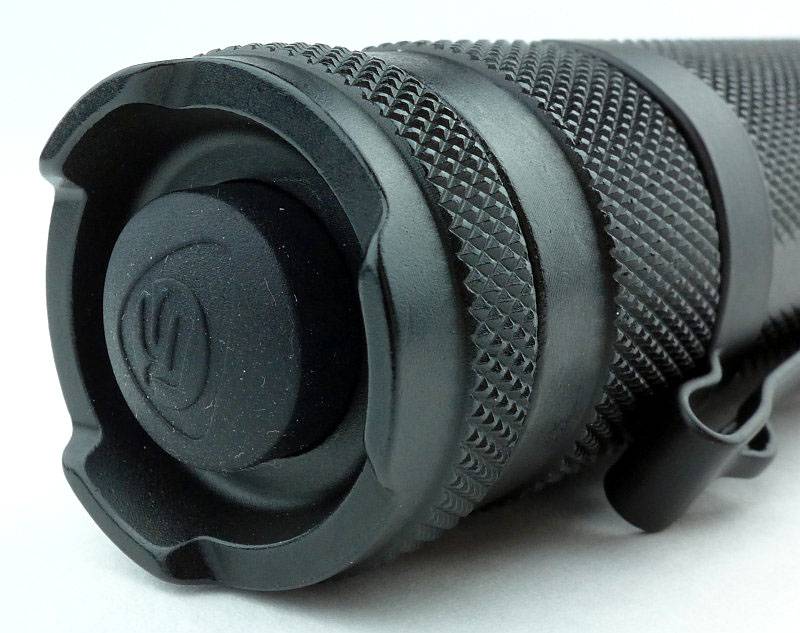
A very sleek design.
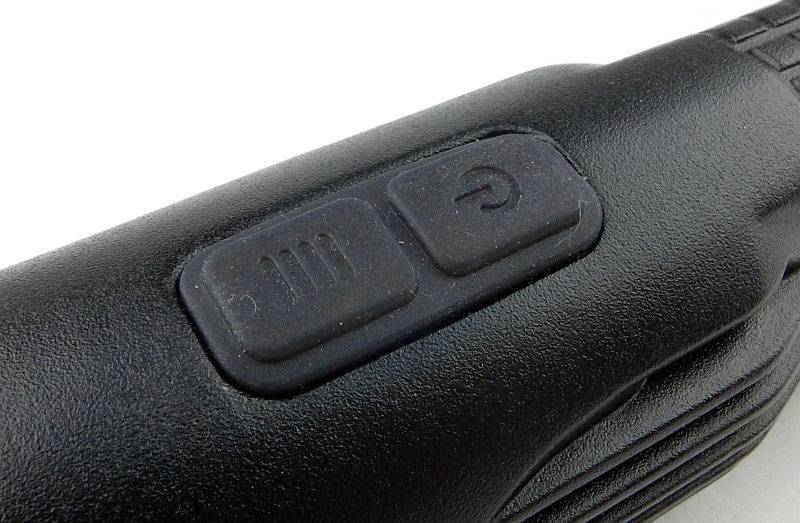
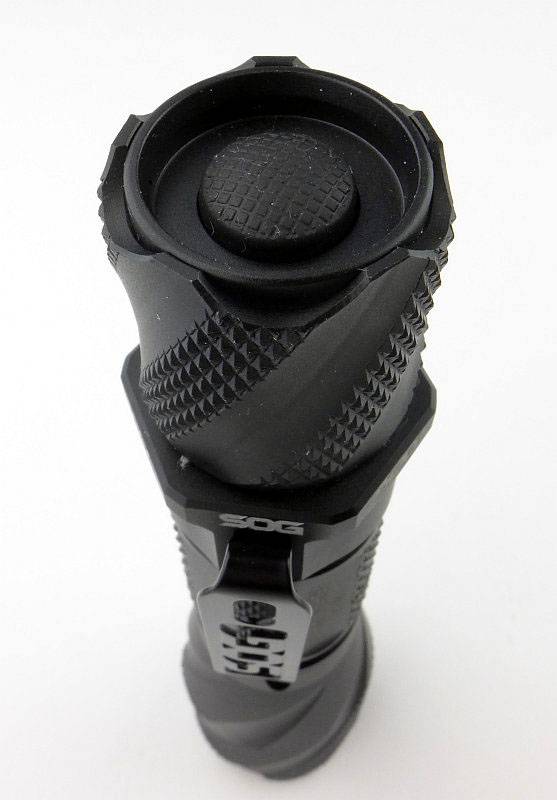
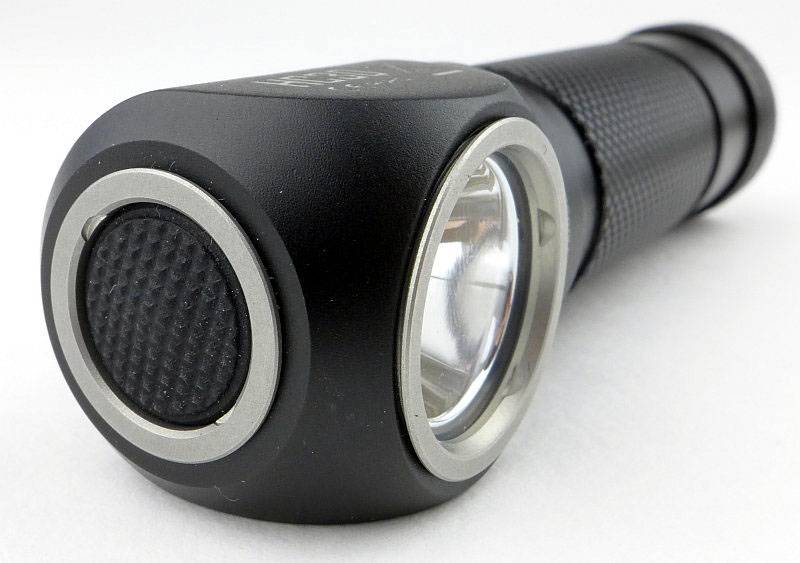
On the head of the HC30 is a low profile rubber click switch.
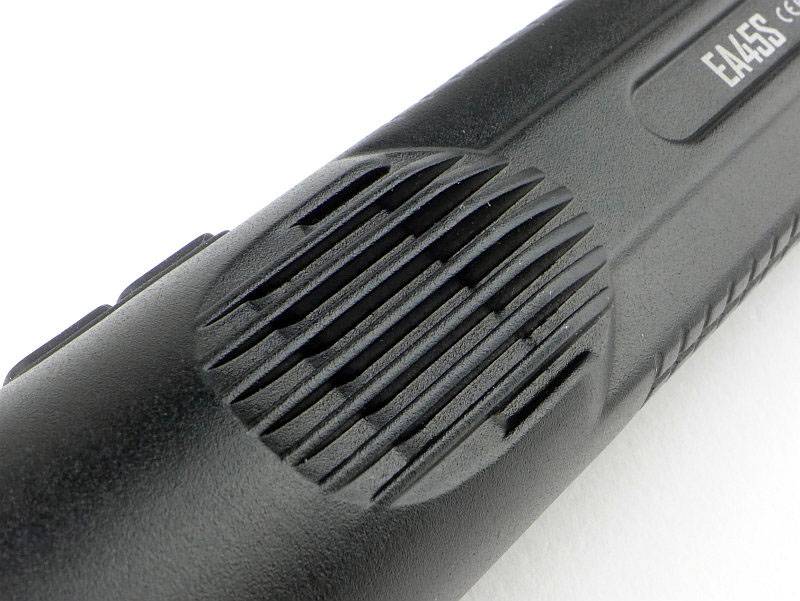
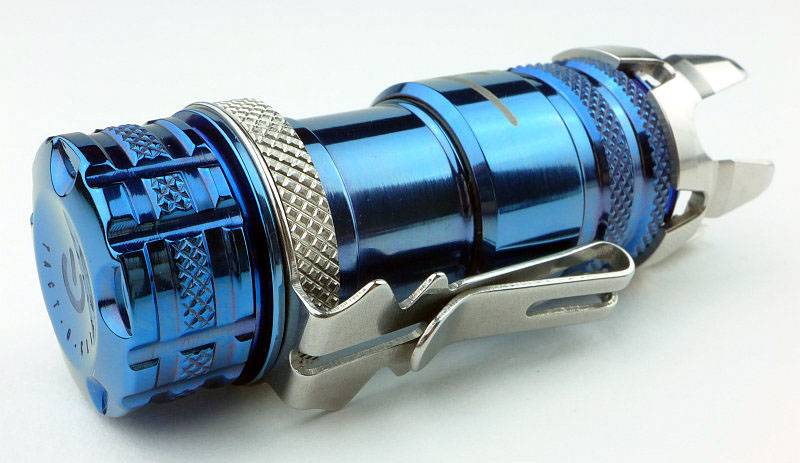
When looking side on you can see the deeply cut heat-sink fins.
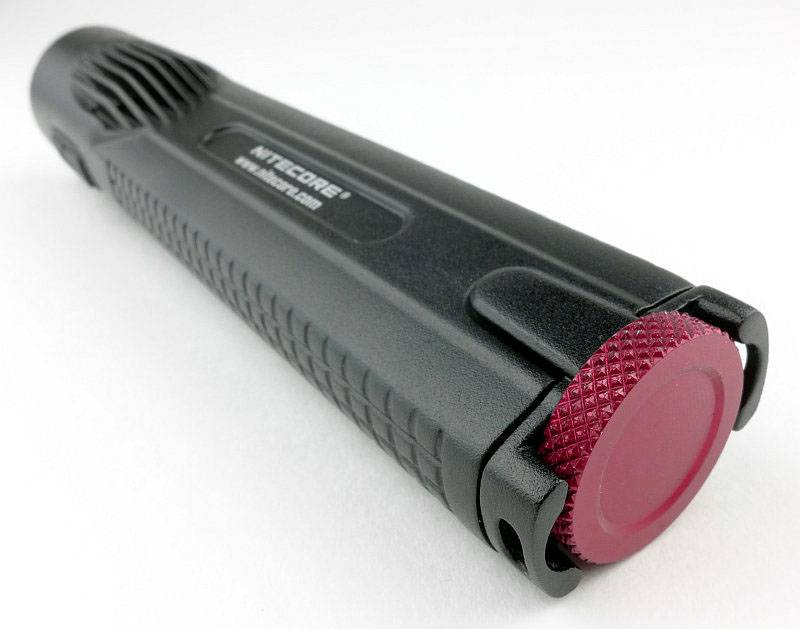
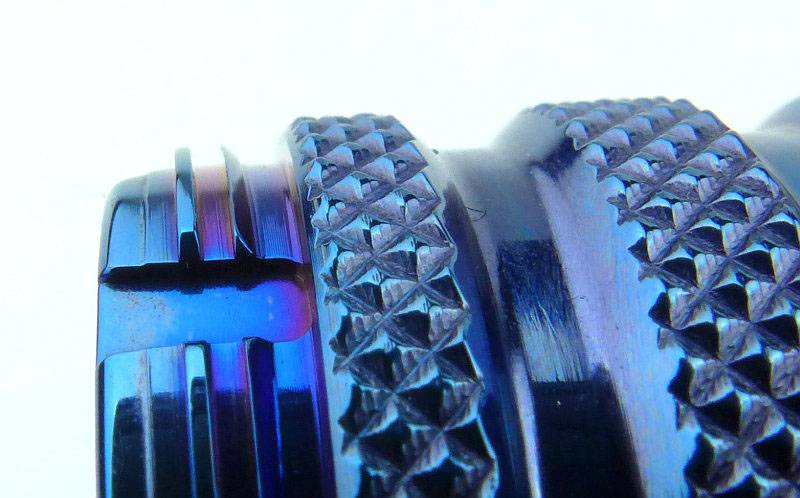
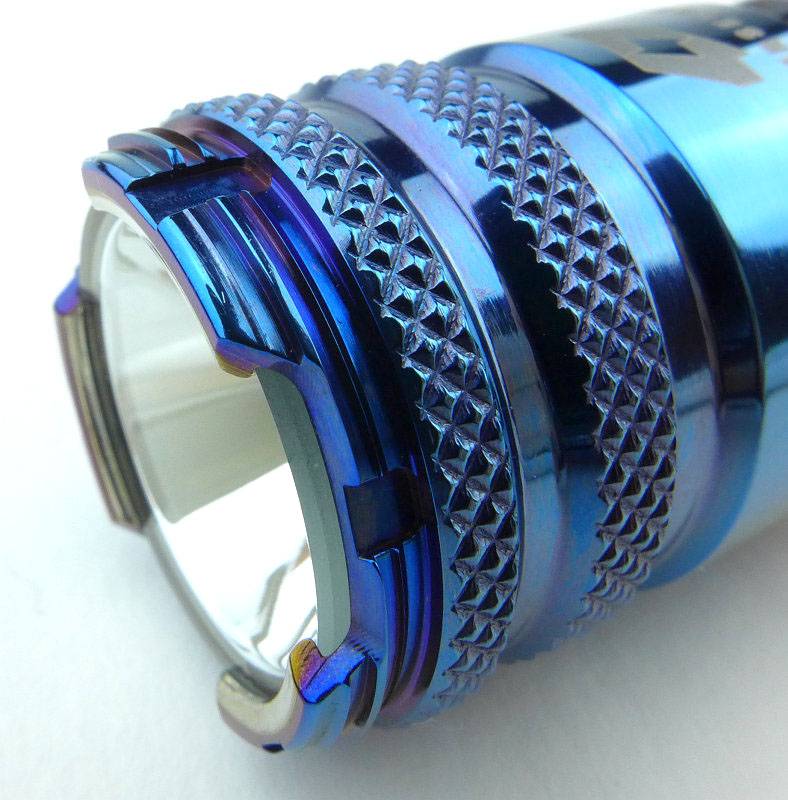
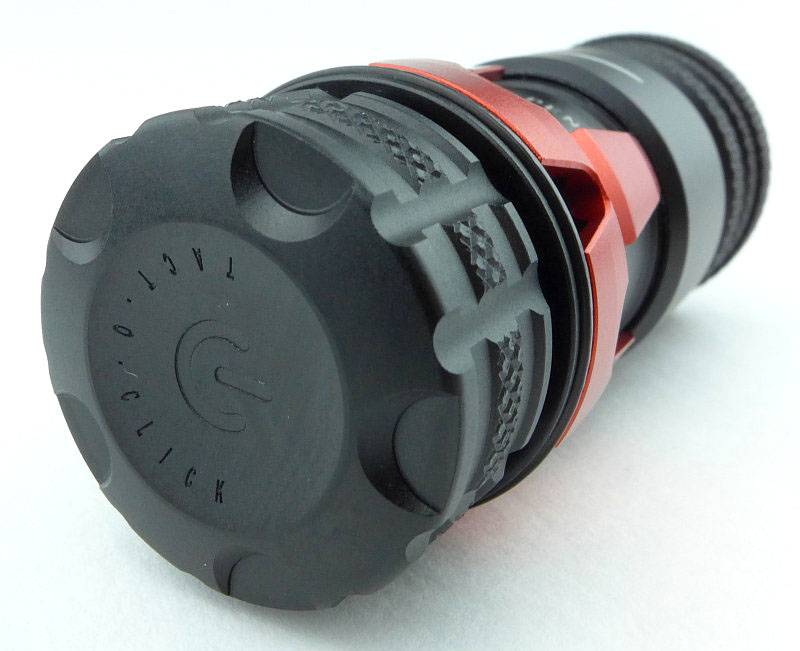
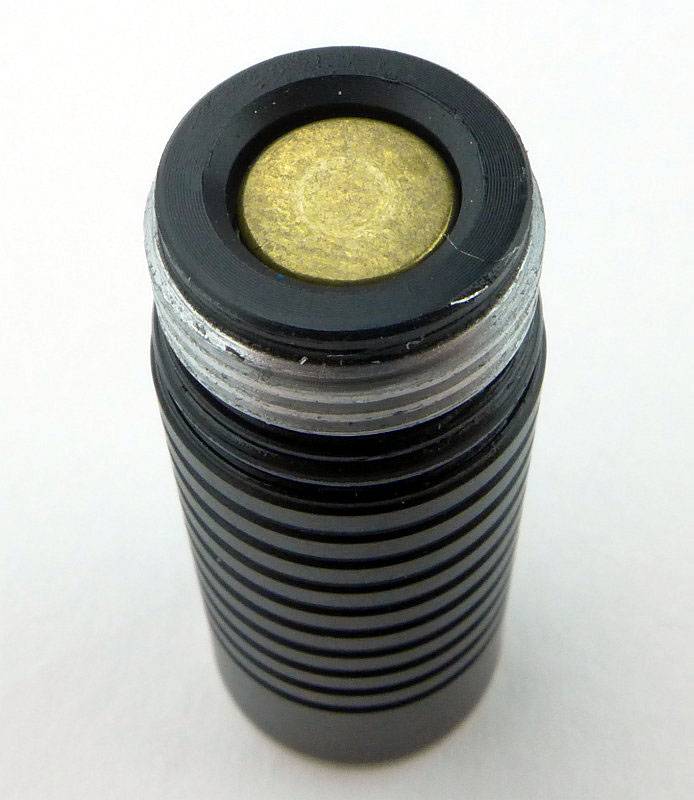
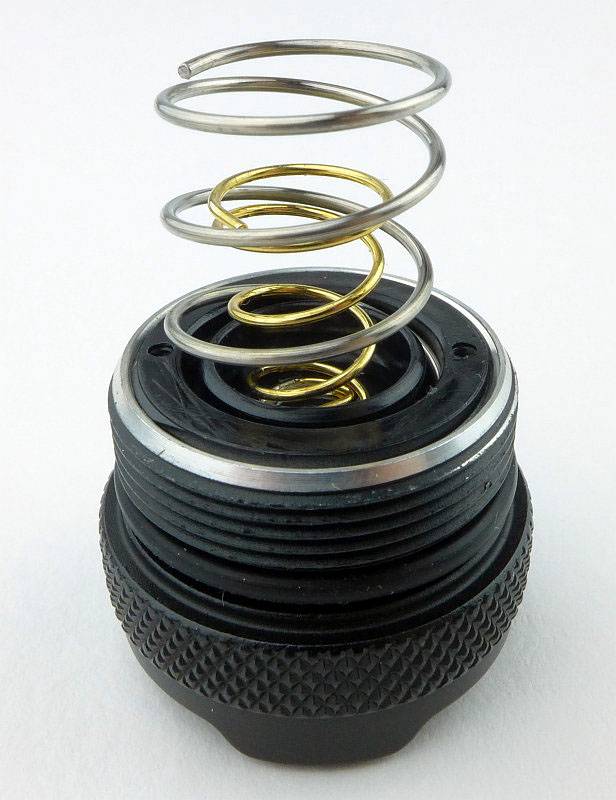
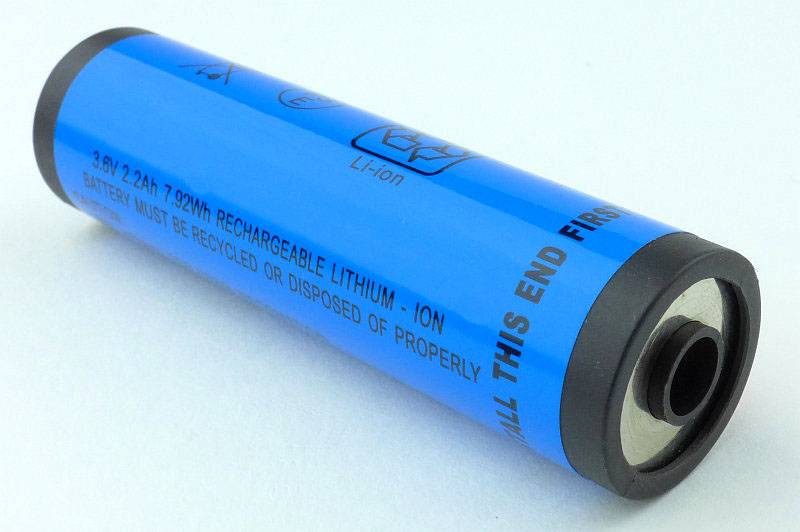
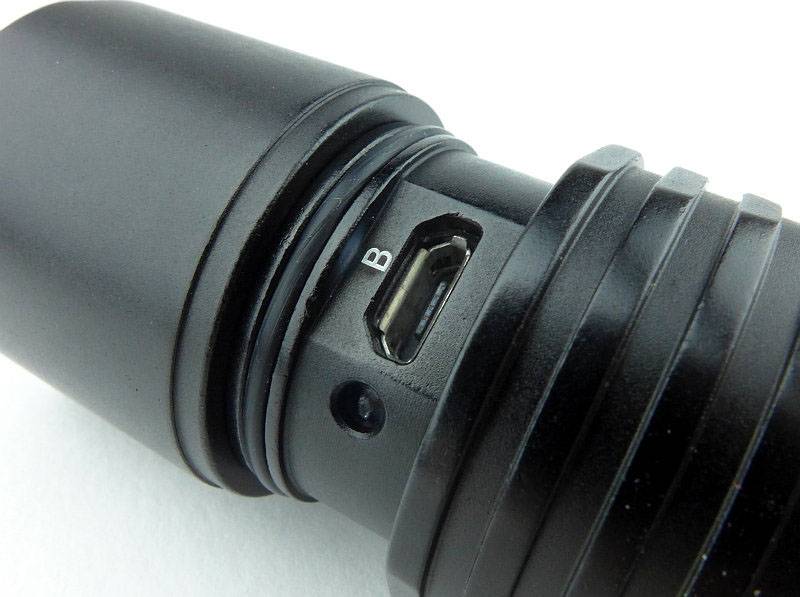
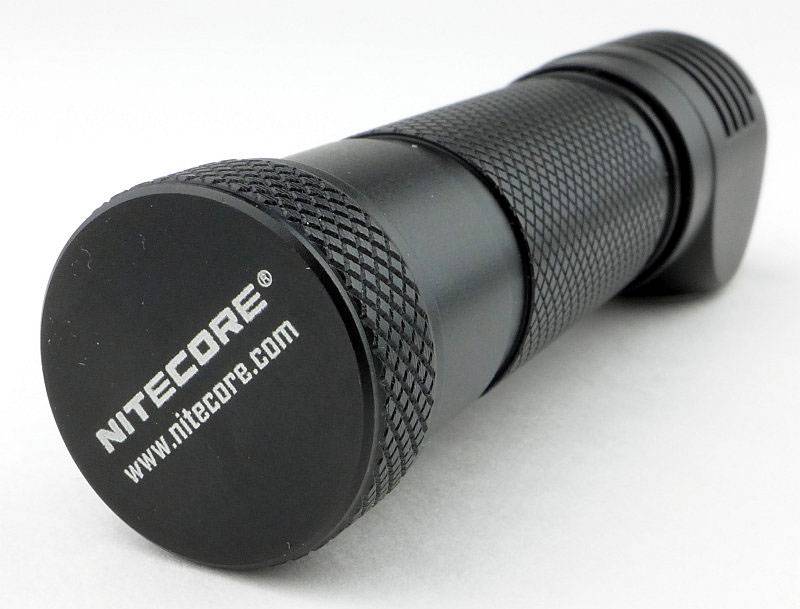
The battery tube cap has been laser engraved with NITECORE’s logo.
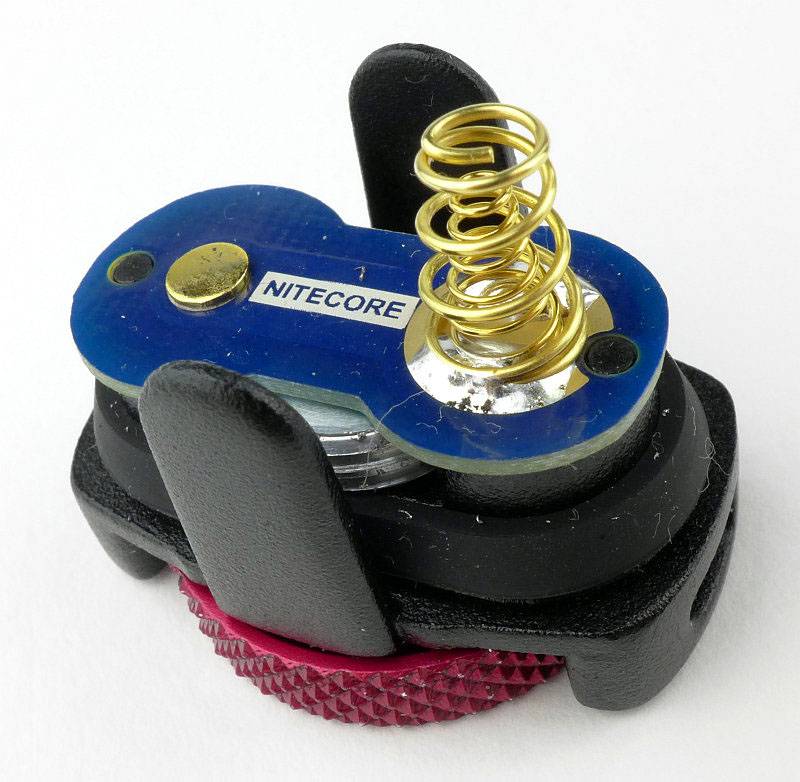
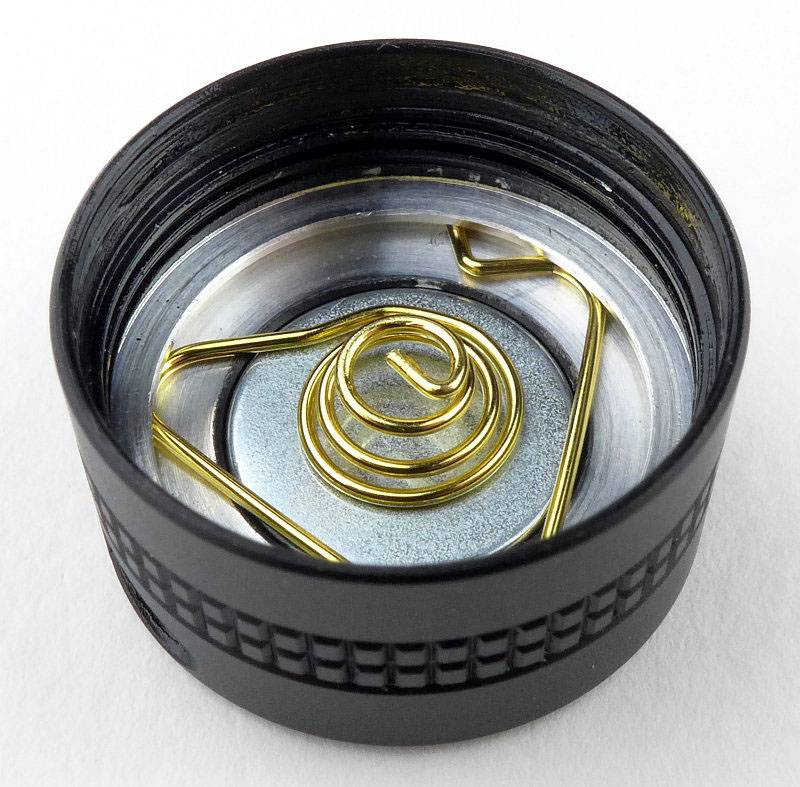
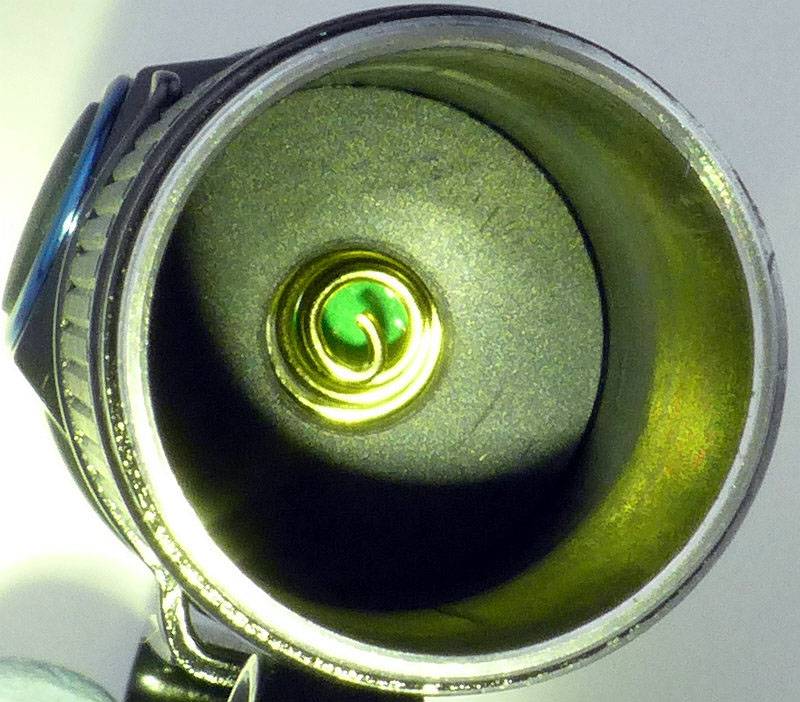
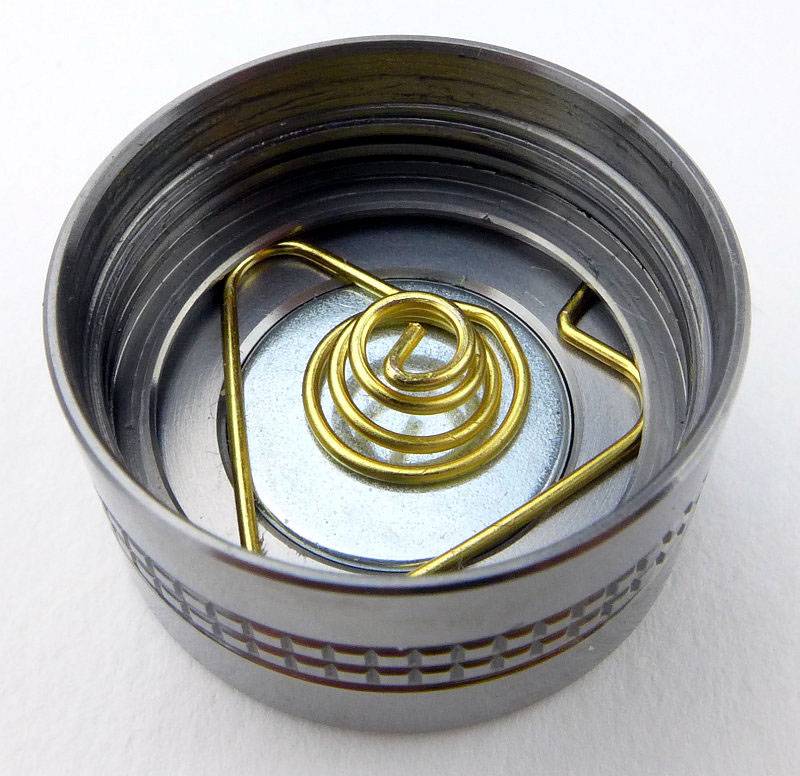
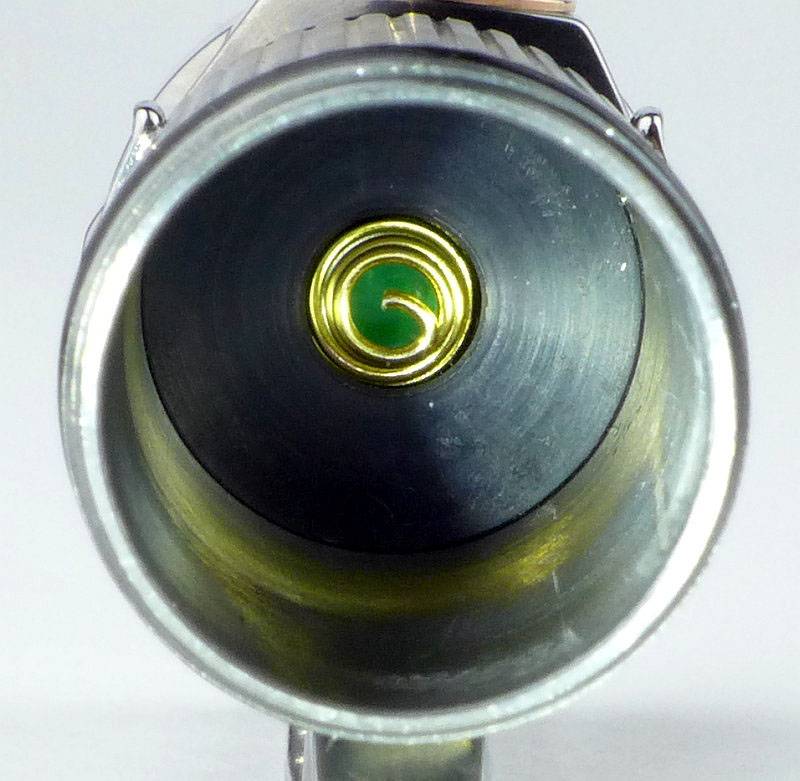
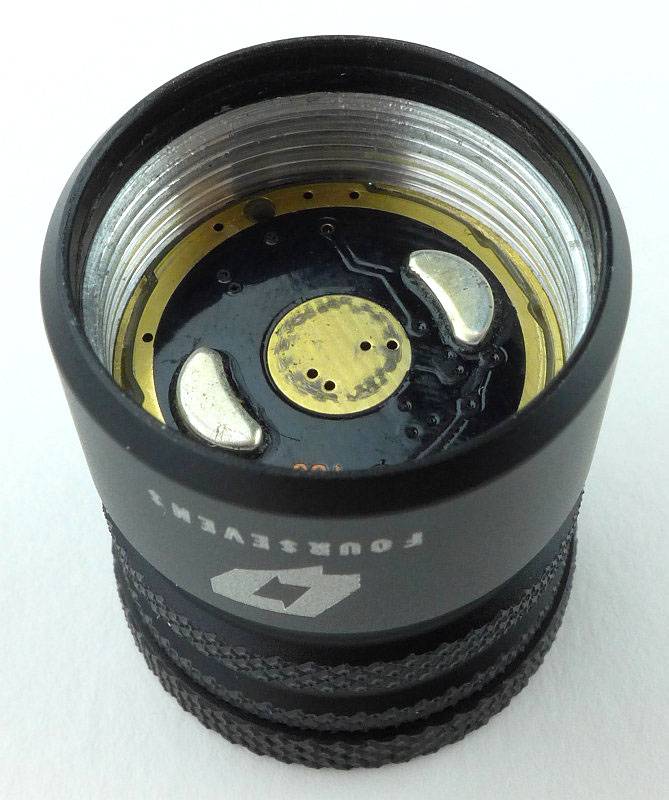
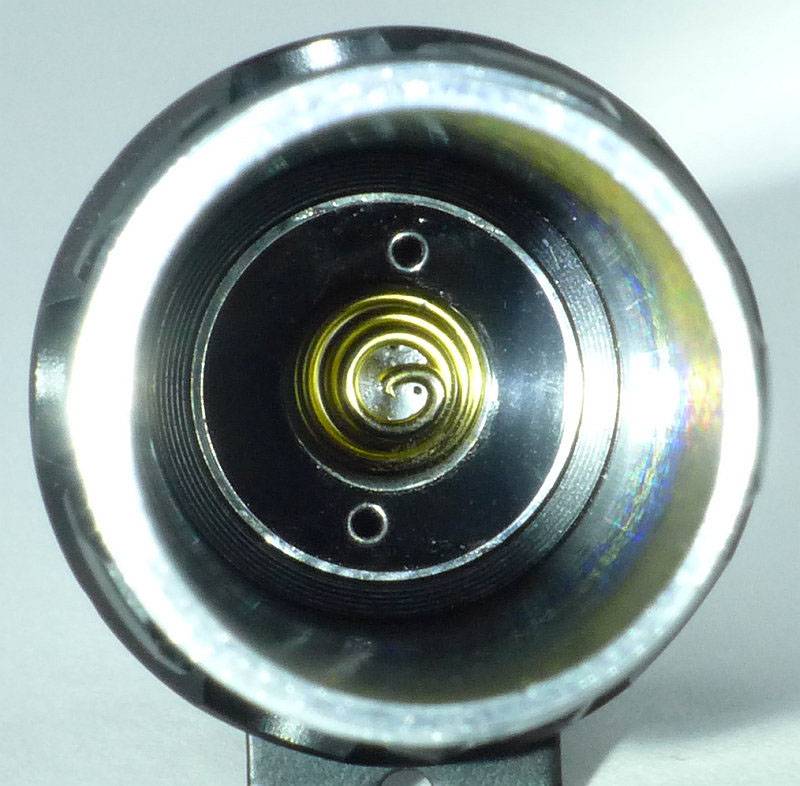
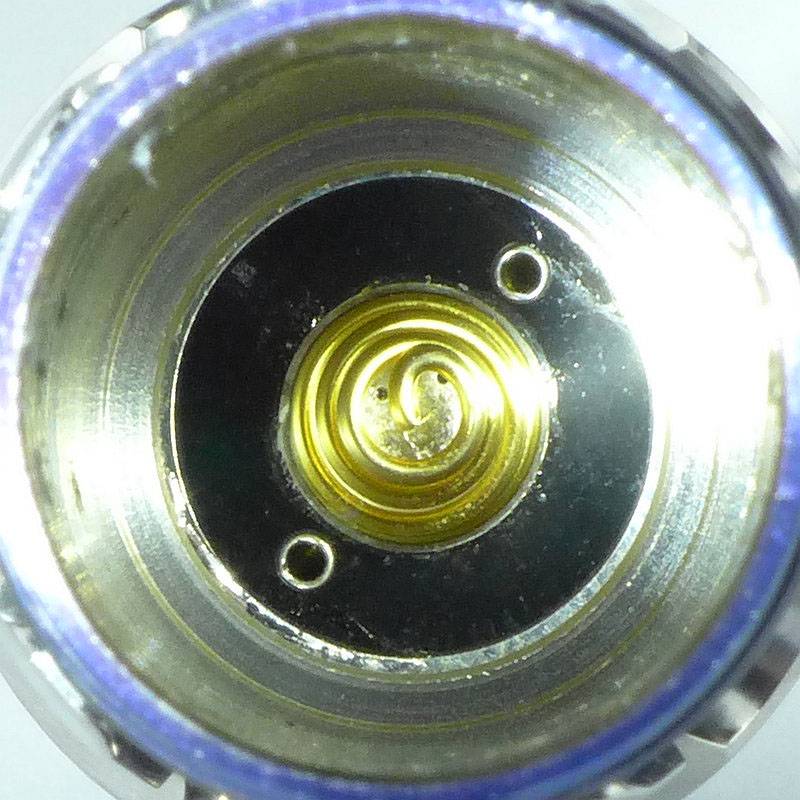
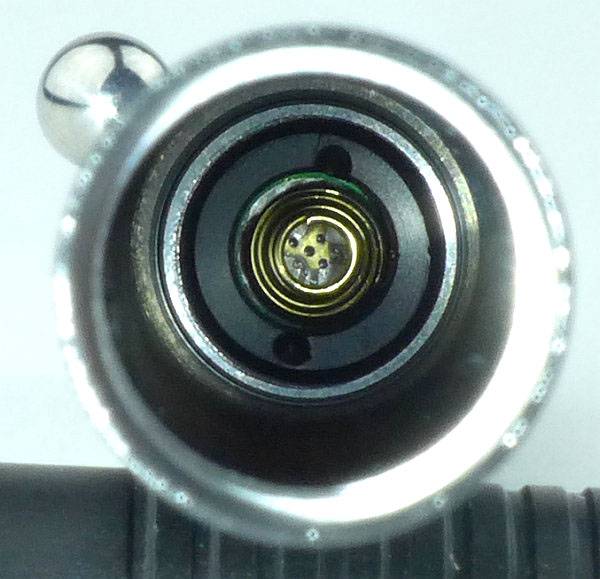
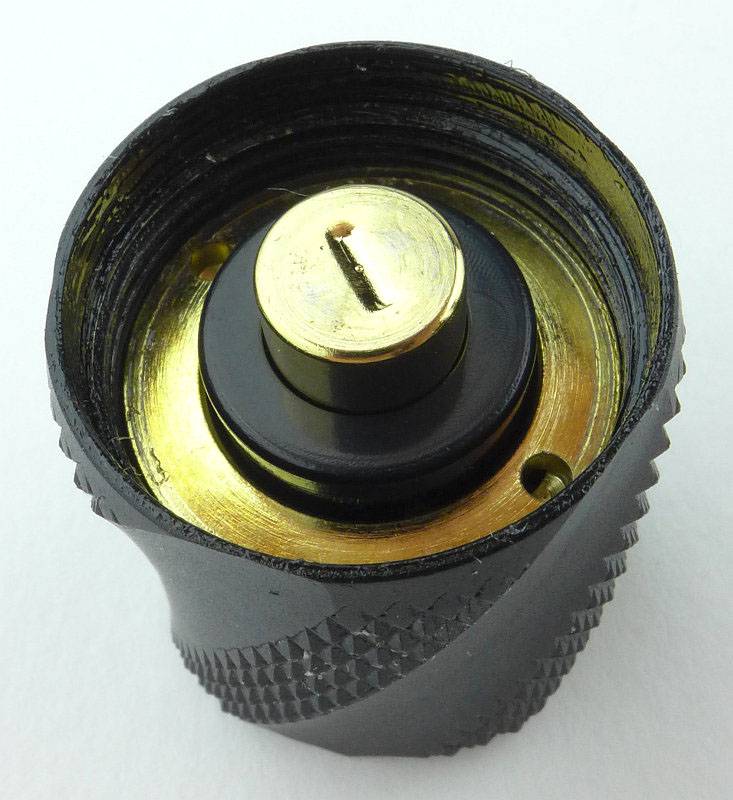
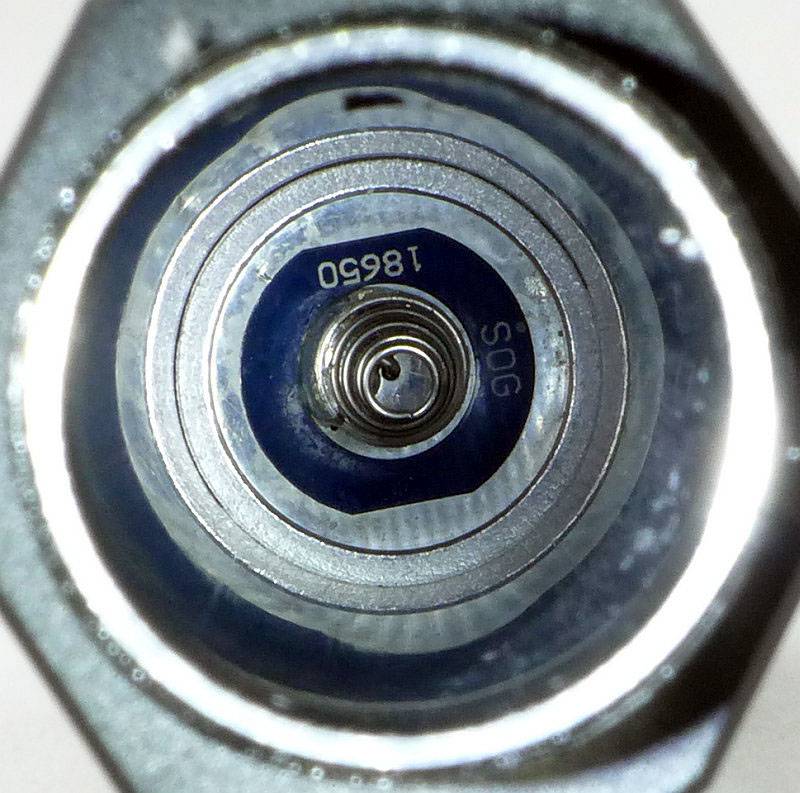
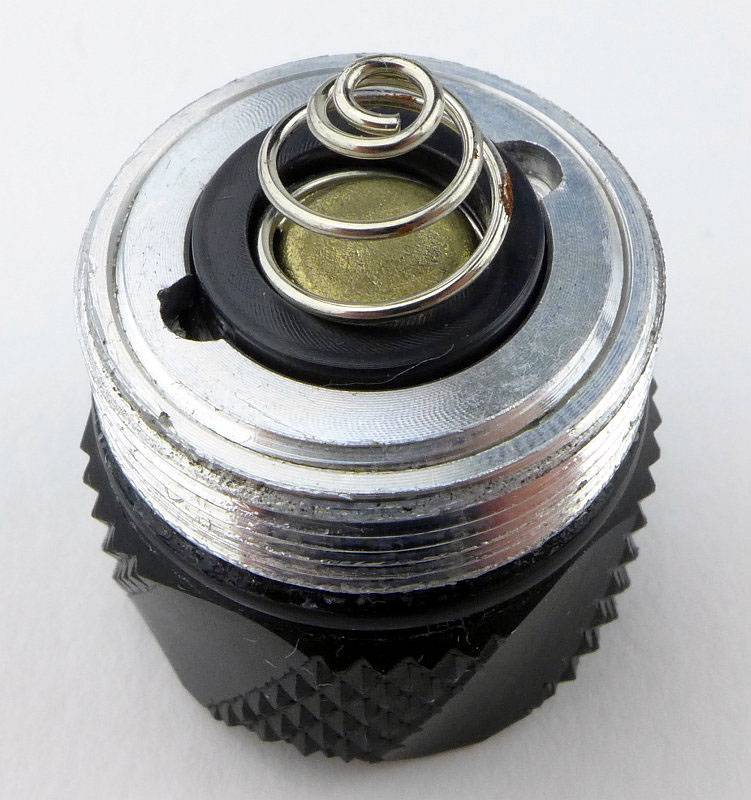
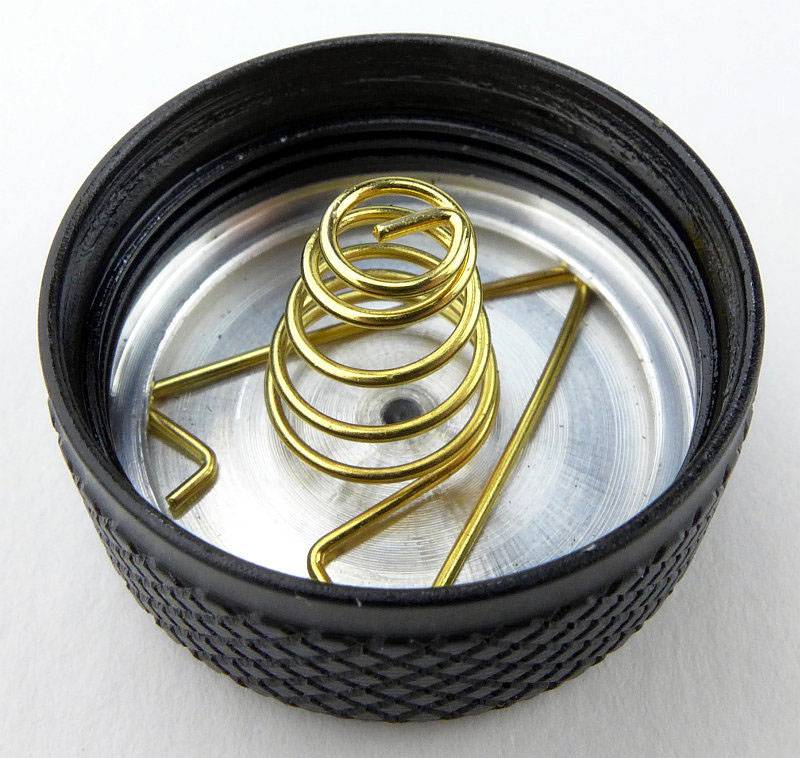
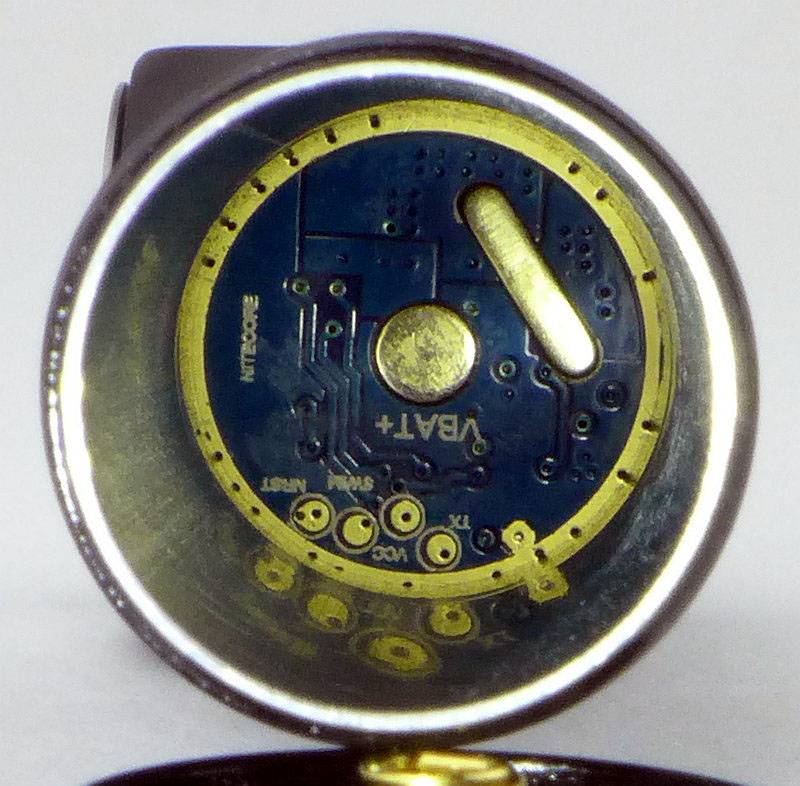
Inside the tail-cap is a spring contact which has been tucked into a groove, removing the need for any circuit board and allowing the depth of the cap to be as shallow as possible.
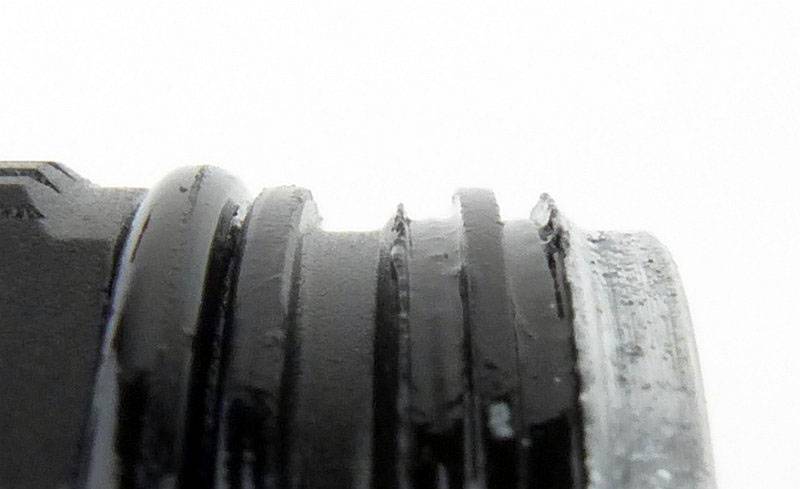
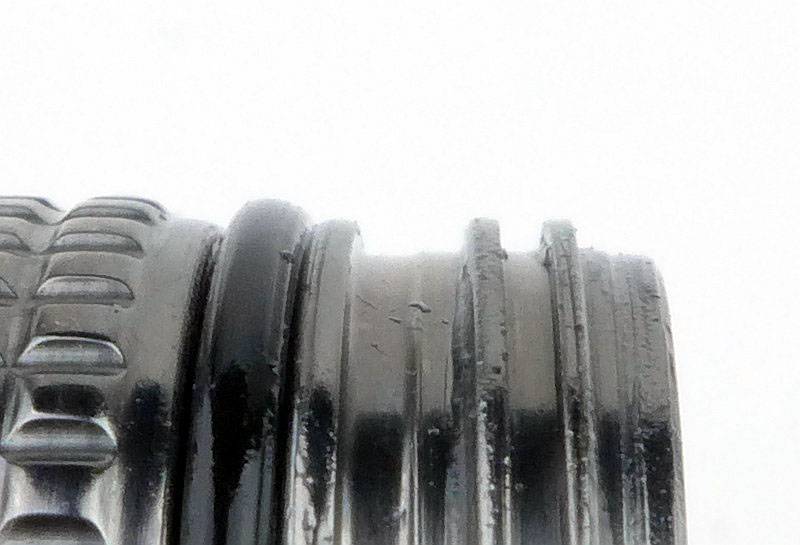
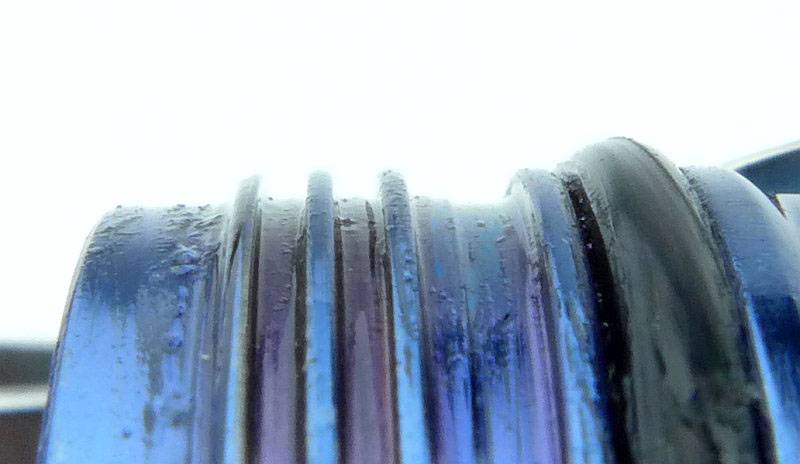
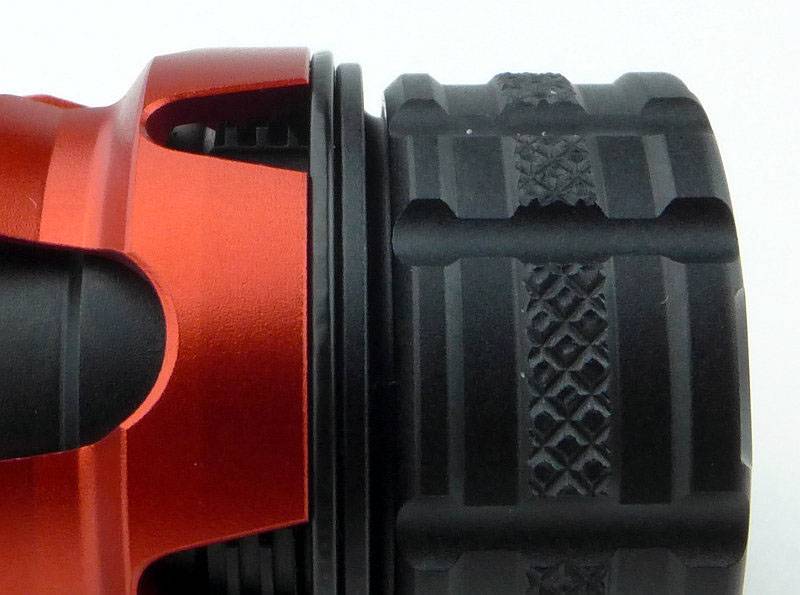
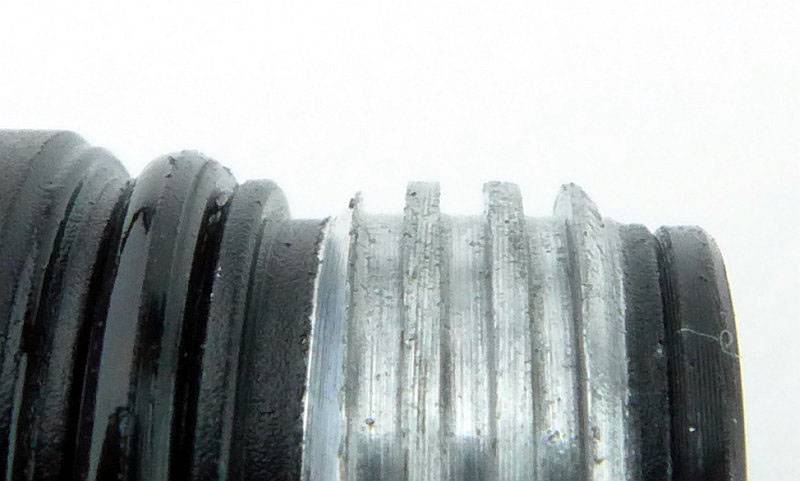
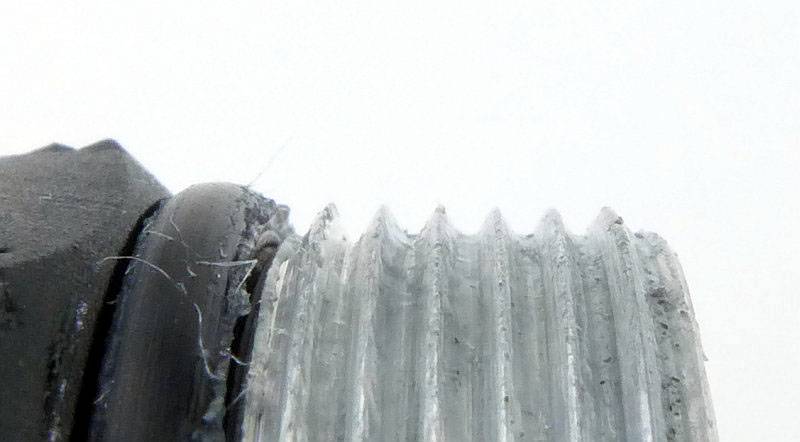
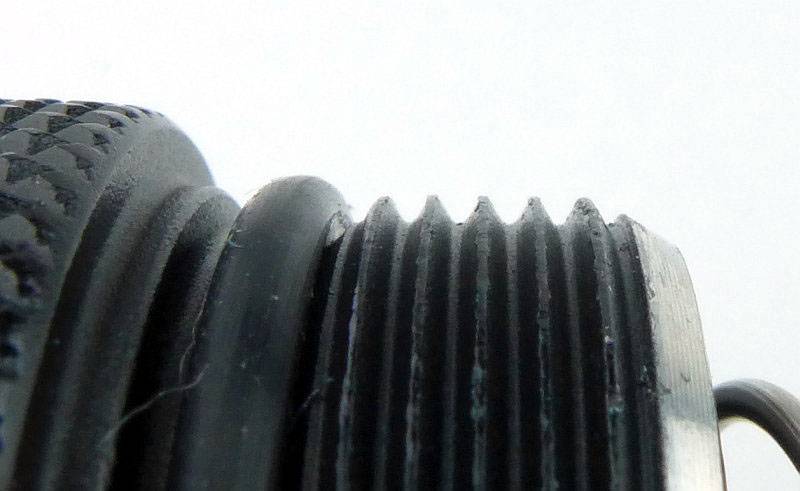
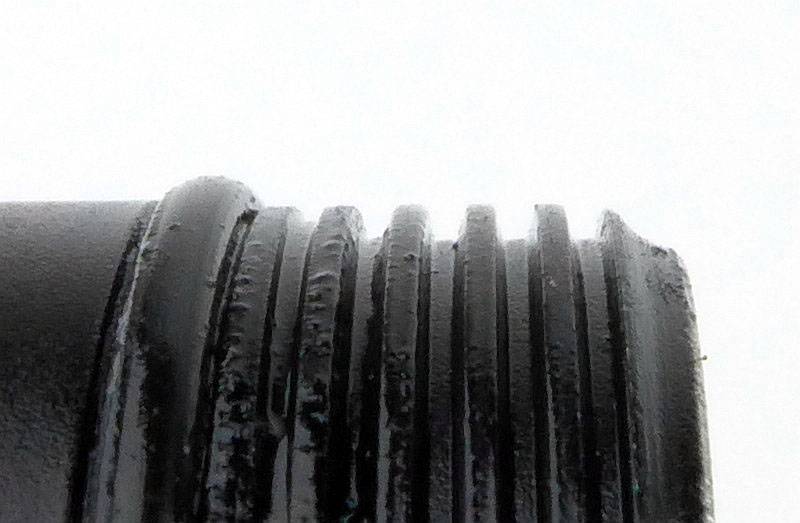
The threads are Acme (trapezoid) in form, well lubricated and fully anodised (allowing lockout).
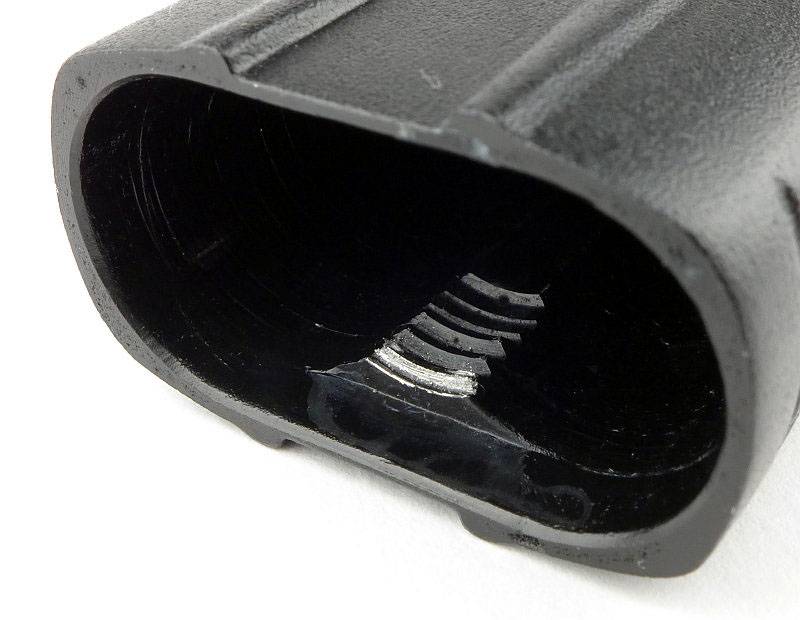
Inside the battery tube you can see the physical reverse polarity protection (also requiring the use of button top cells).
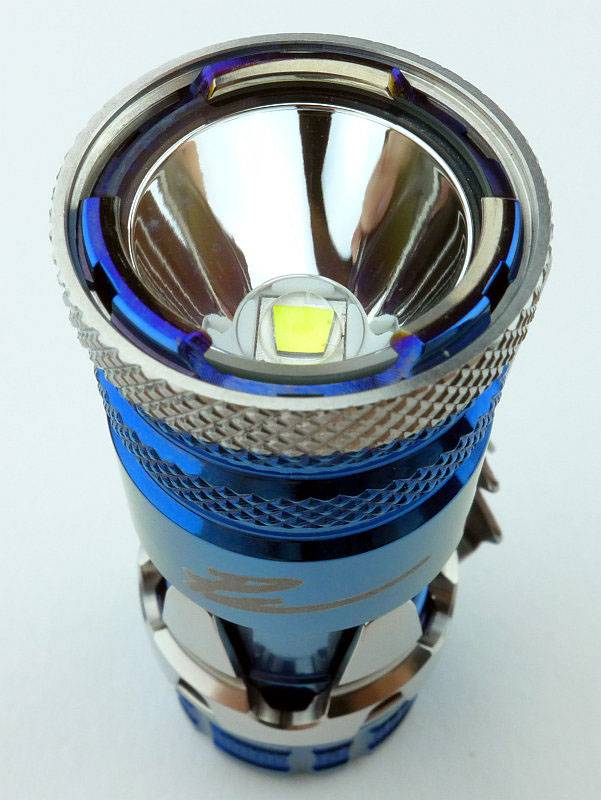
Thanks to a well thought-out design, the HC30 is not much larger than the cell it uses. A very nice compact design.
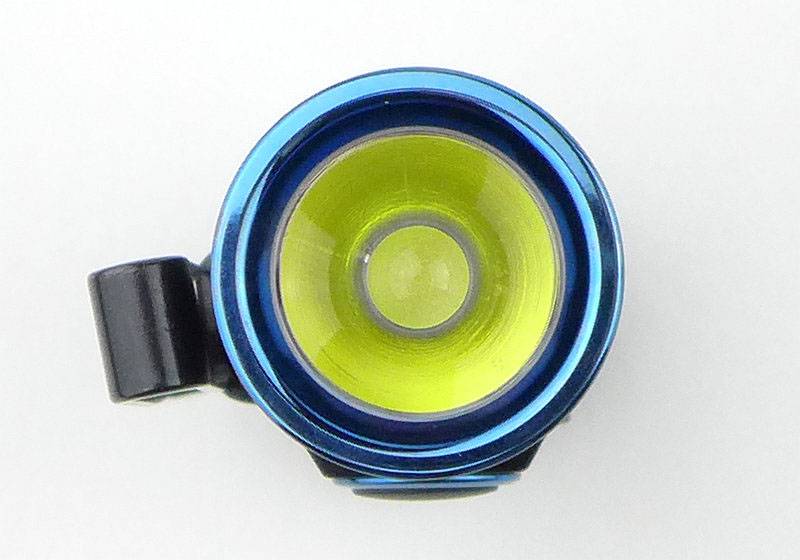
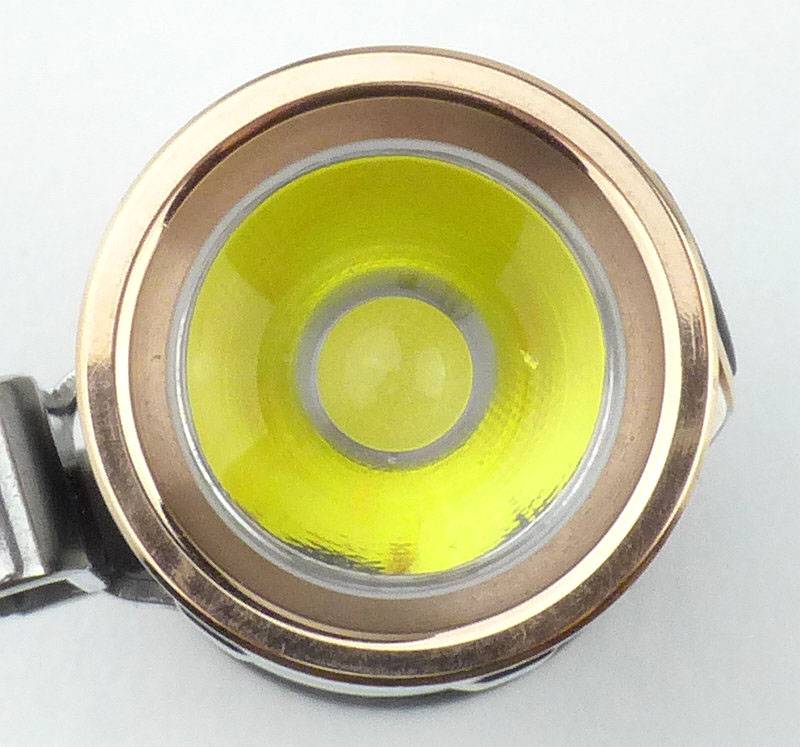
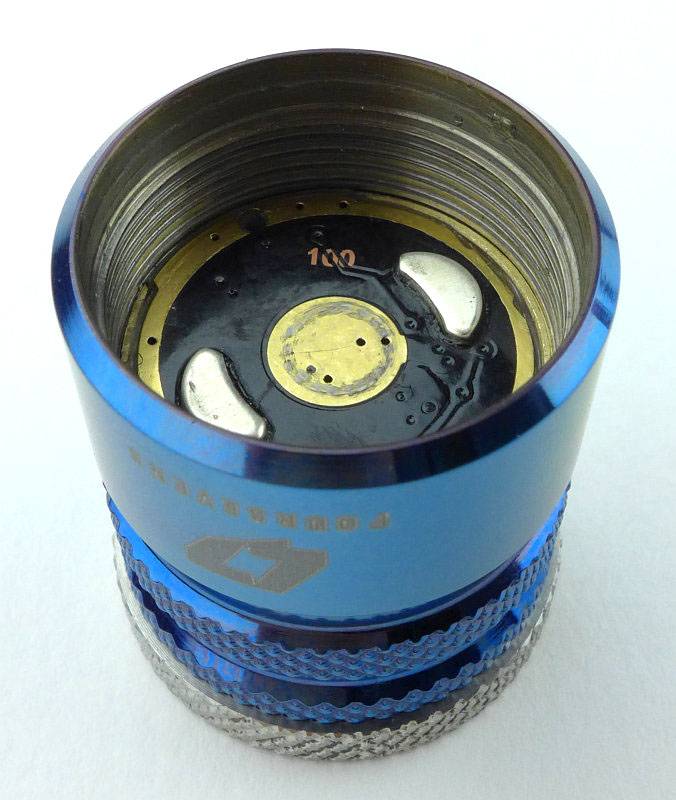
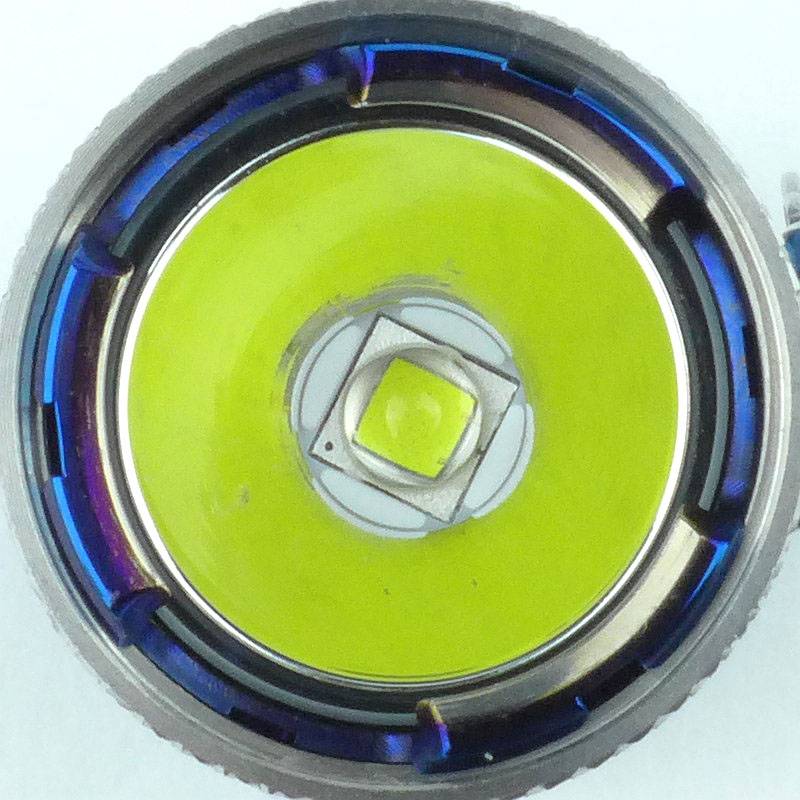
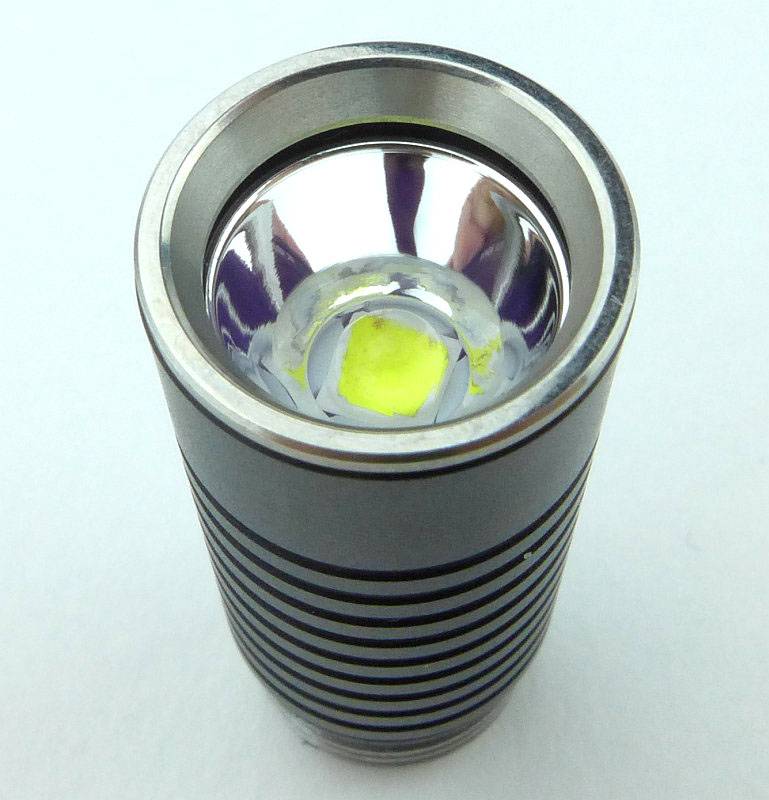
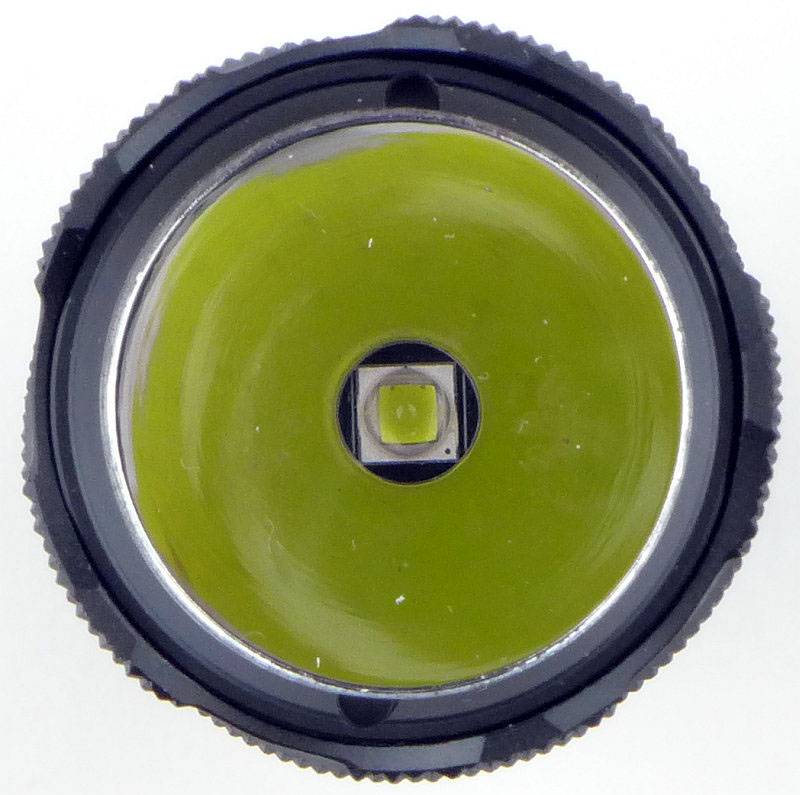
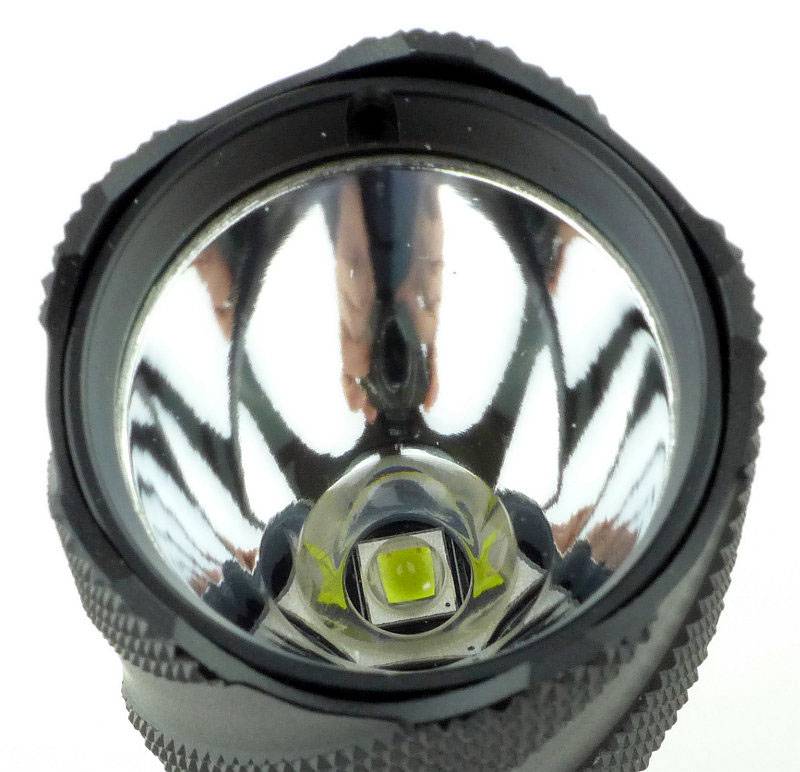
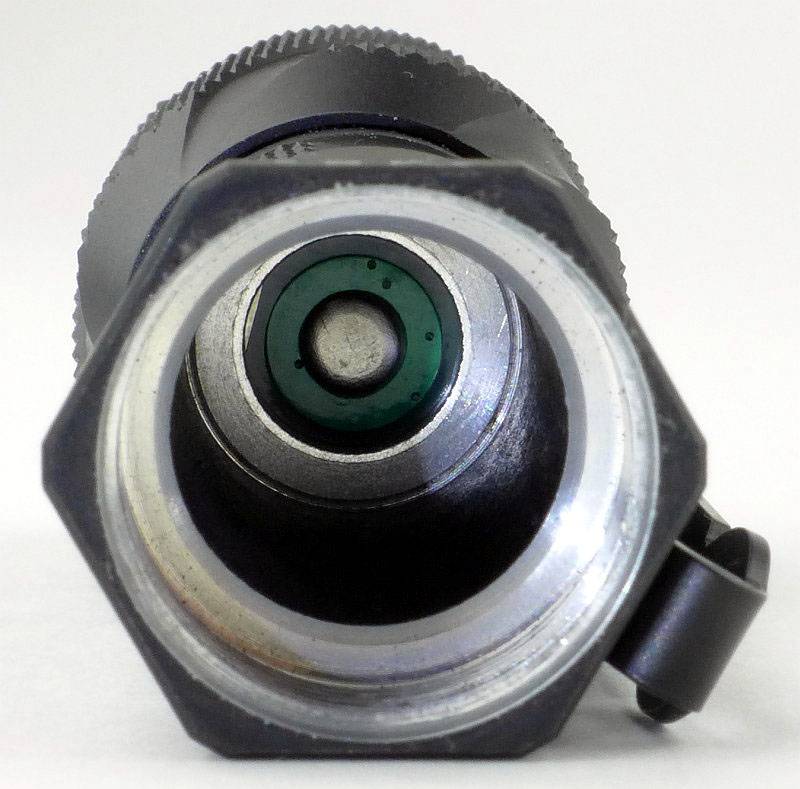
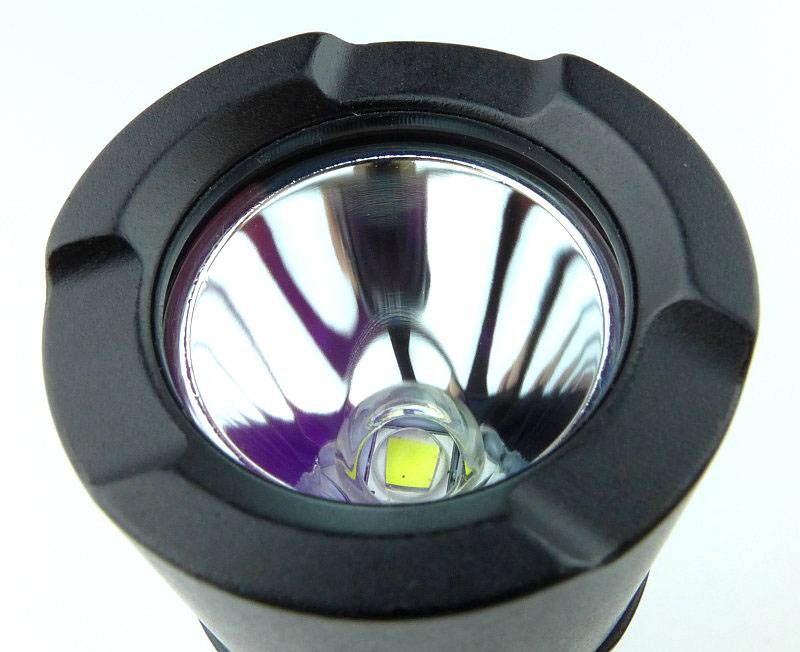
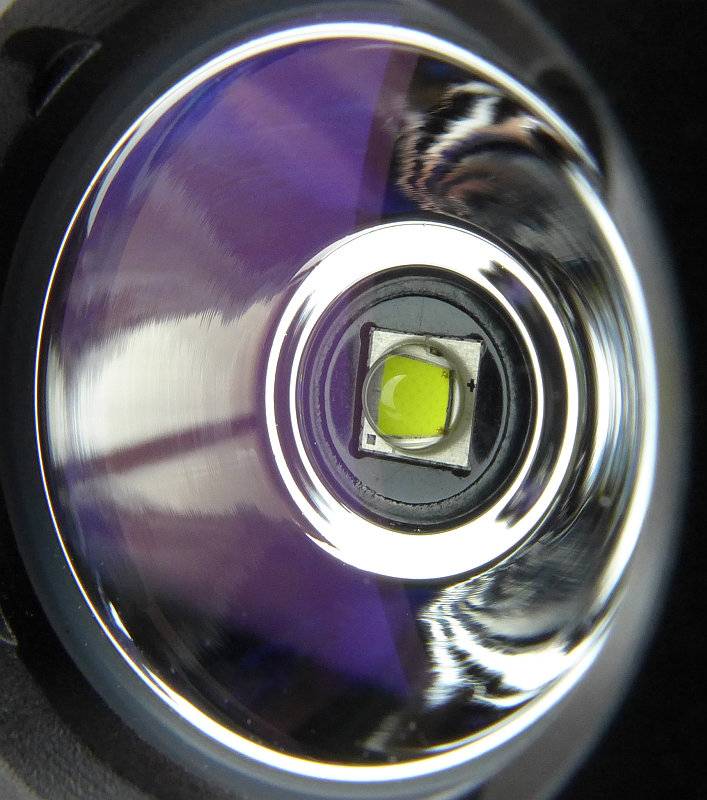
An XM-L2 LED is used.
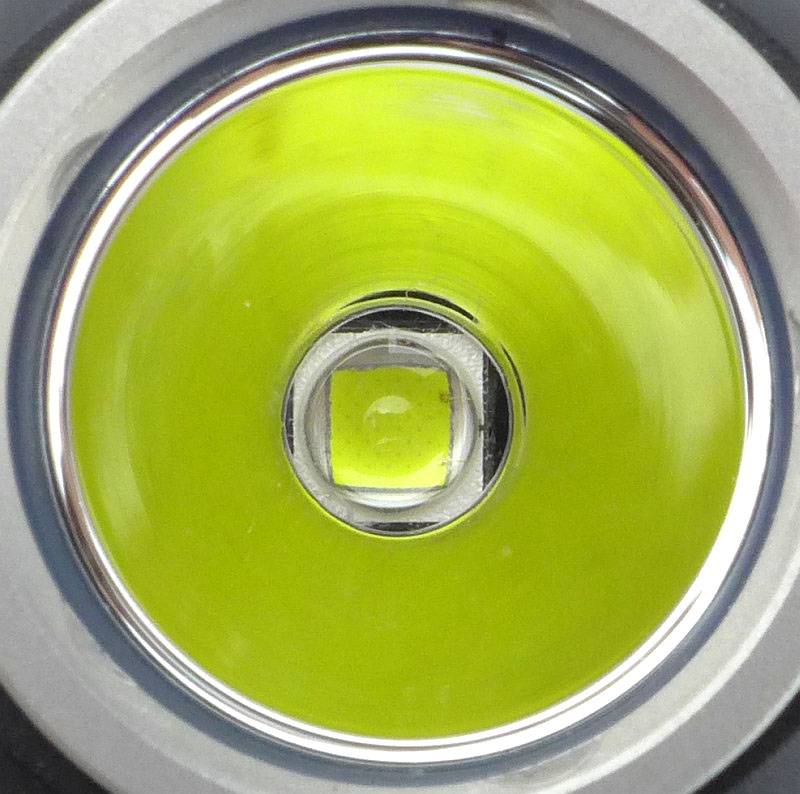
For such a compact design, the reflector is relatively deep.

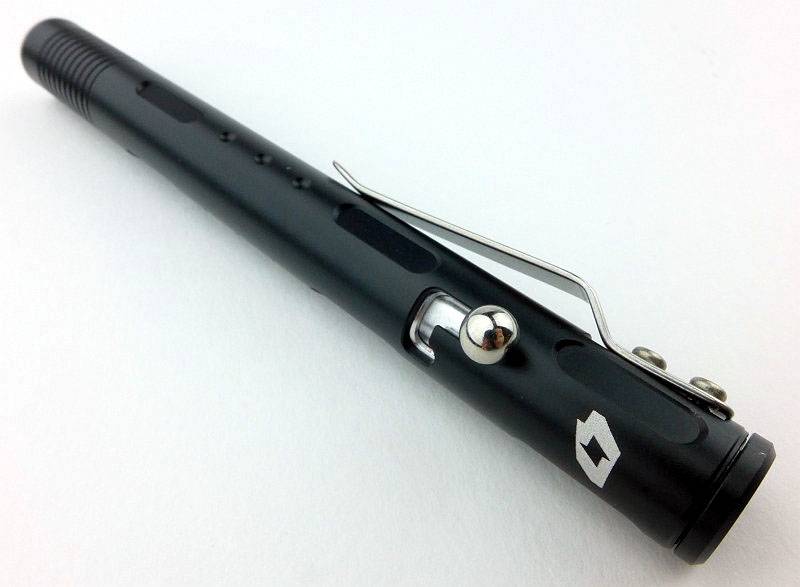
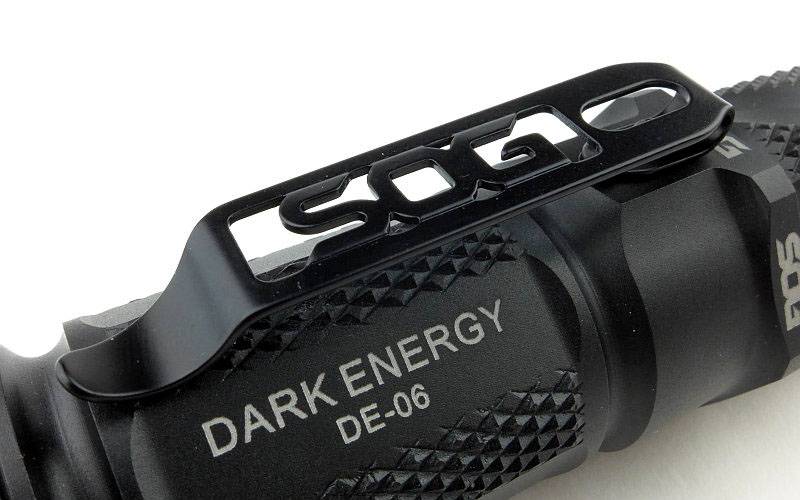
You can fit the optional clip into either groove giving an up or down position. With the clip fitted it does not fit into the headband mount properly.
With the strap sitting against your head, and the mount being low profile, you have maximum comfort.
The fully assembled headlight.
On the head, the HC30 is very comfortable, light and stable.
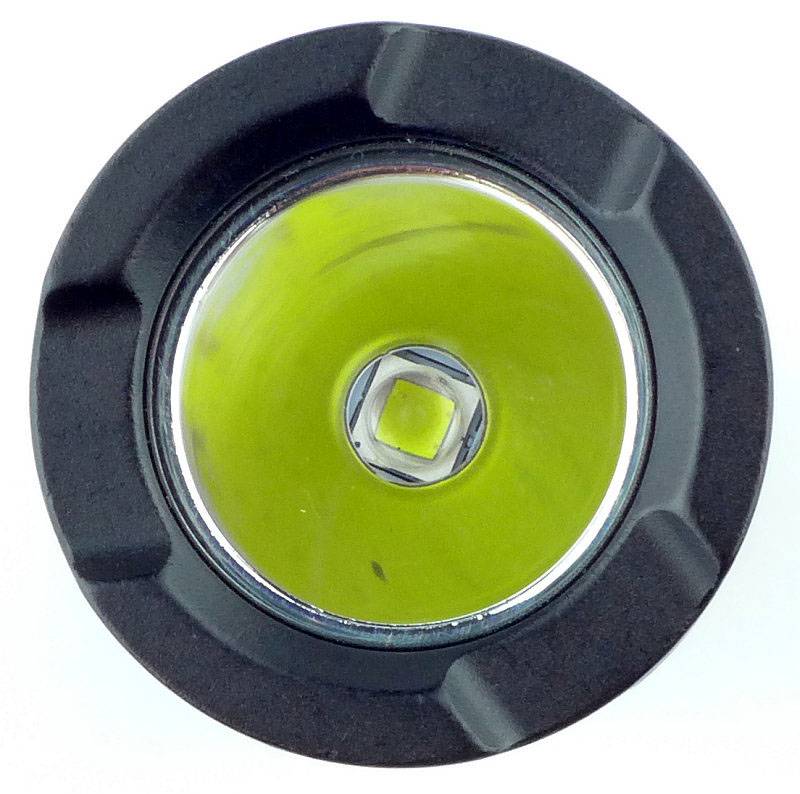
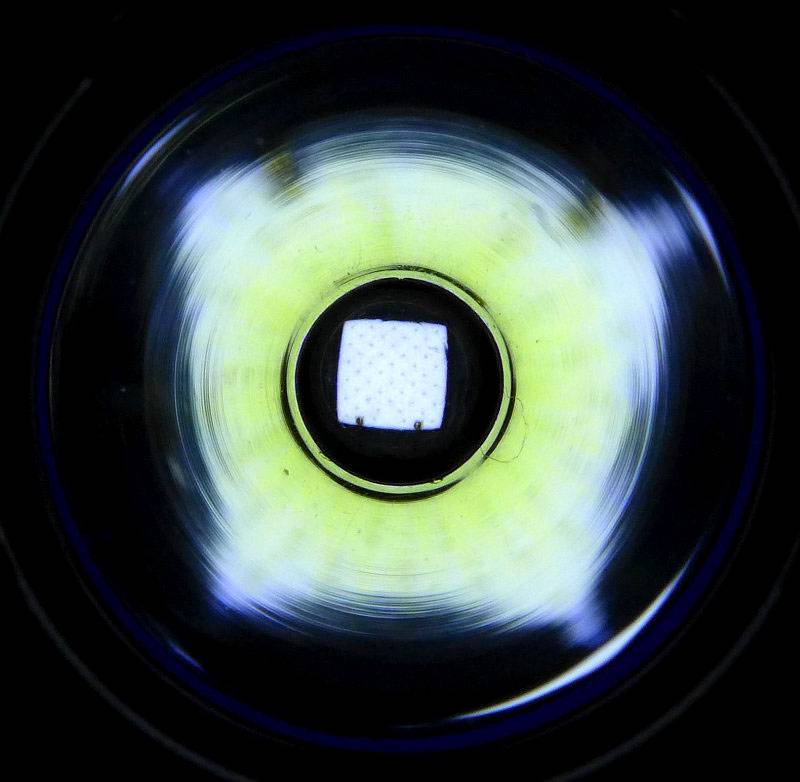
The LED on the Ultra Low mode showing the dots on the phosphor surface – just because…
The beam
Please be careful not to judge tint based on images you see on a computer screen. Unless properly calibrated, the screen itself will change the perceived tint.
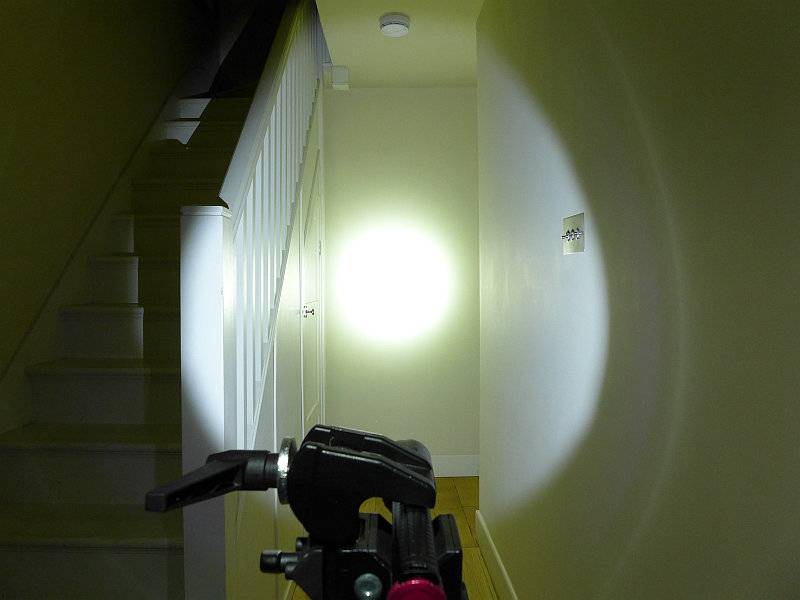
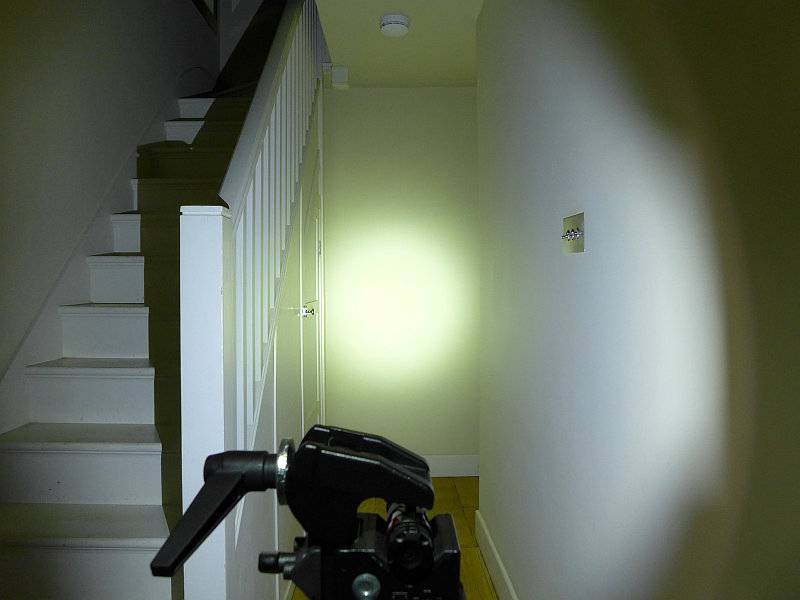
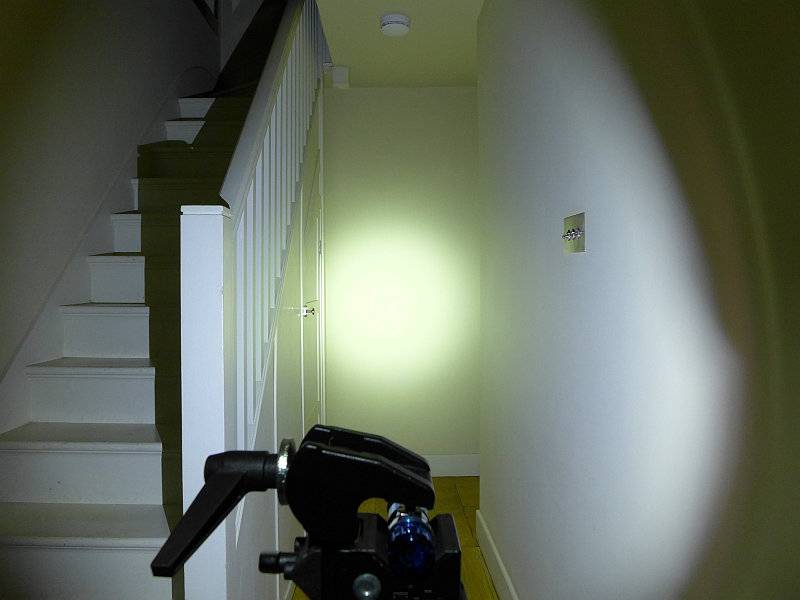
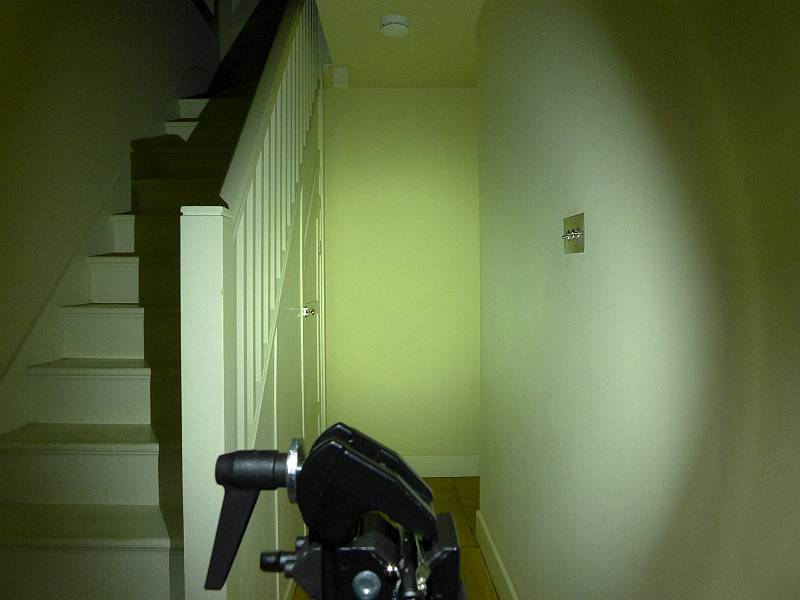
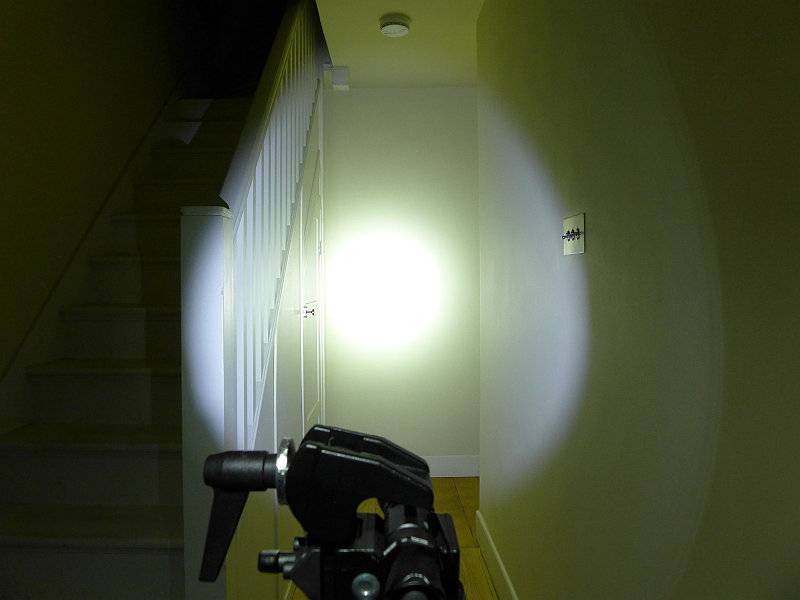
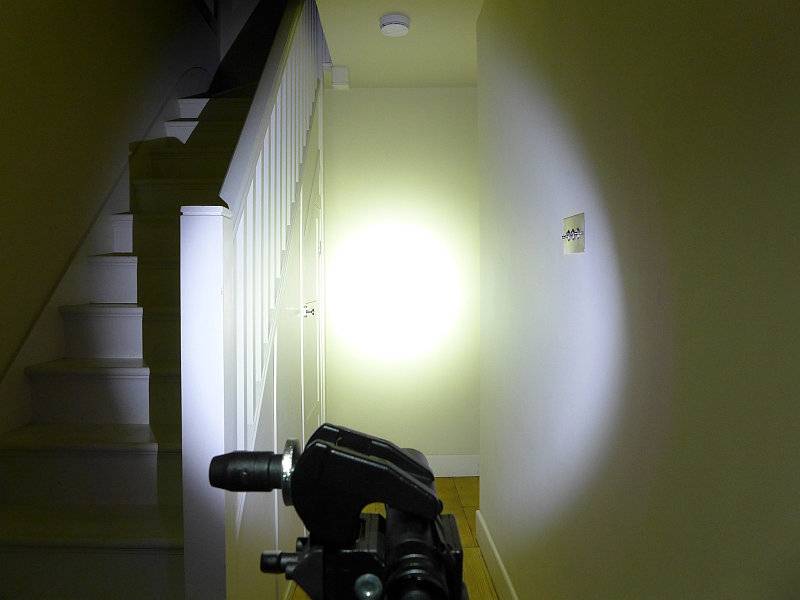
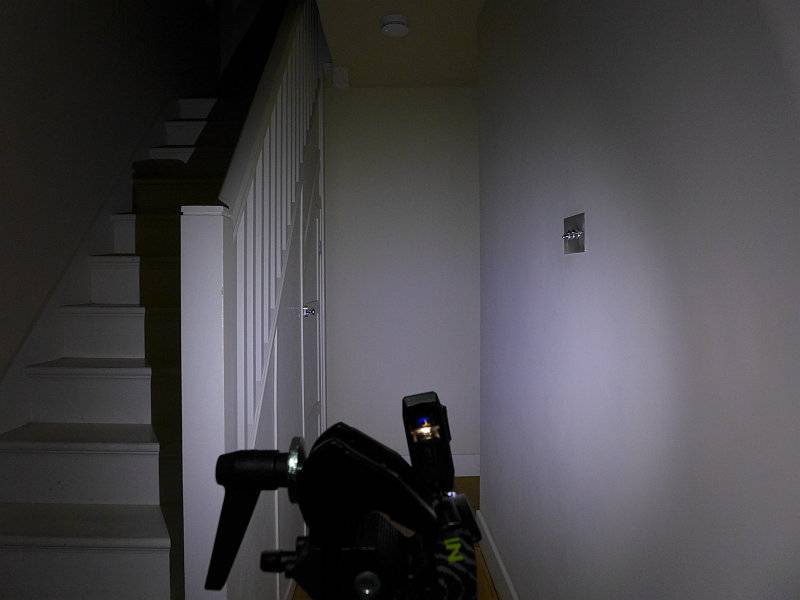
The indoor beamshot is intended to give an idea of the beam shape/quality rather than tint. All beamshots are taken using daylight white balance. The woodwork (stairs and skirting) are painted Farrow & Ball “Off-White”, and the walls are a light sandy colour called ‘String’ again by Farrow & Ball. I don’t actually have a ‘white wall’ in the house to use for this, and the wife won’t have one!
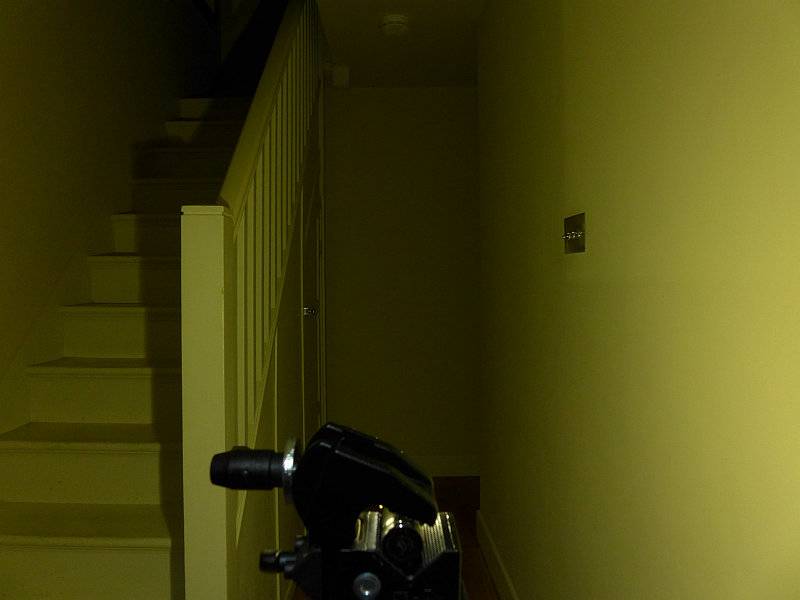
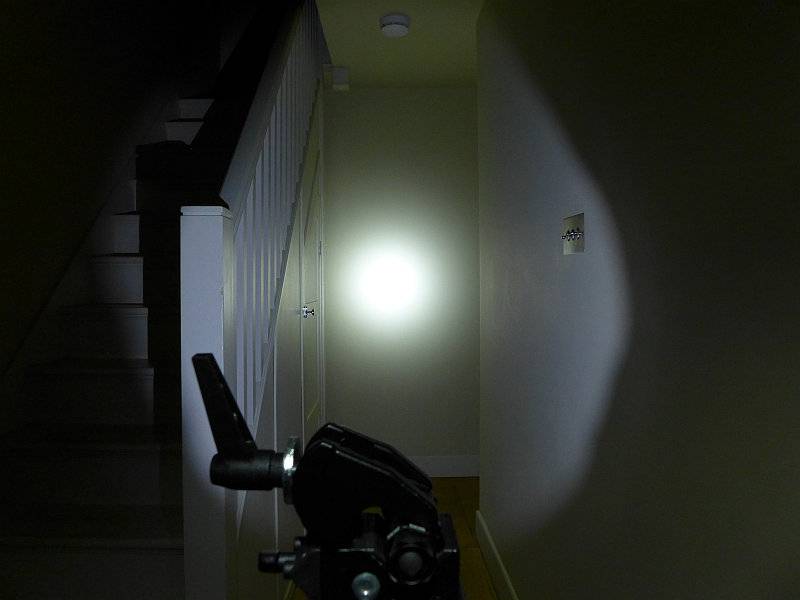
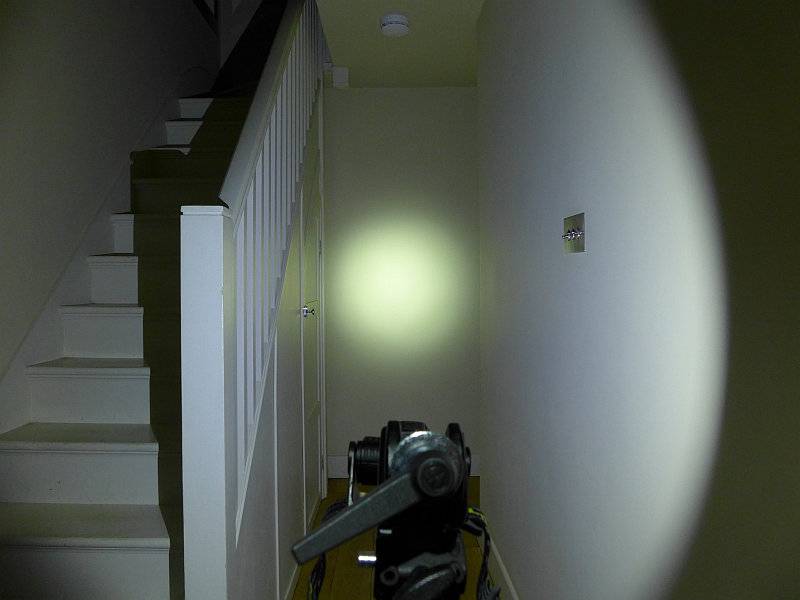
Being a comparison review, we have the opportunity for some side-by-side (or top-to-bottom) comparisons using the same exposures. However BEFORE we start that comparison, as the T-360 is a tiny lightweight low powered light, to just get an idea of the beam, this first photo is at an exposure to give the best impression of the beam.
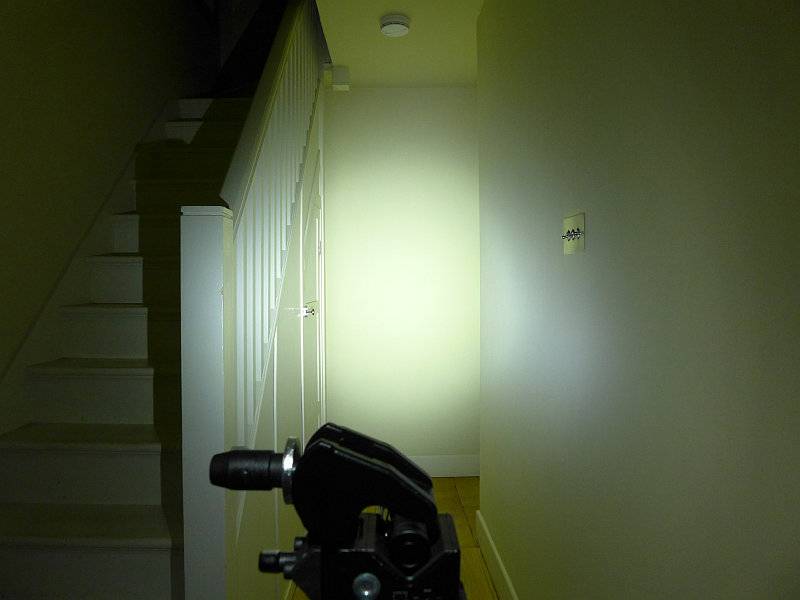
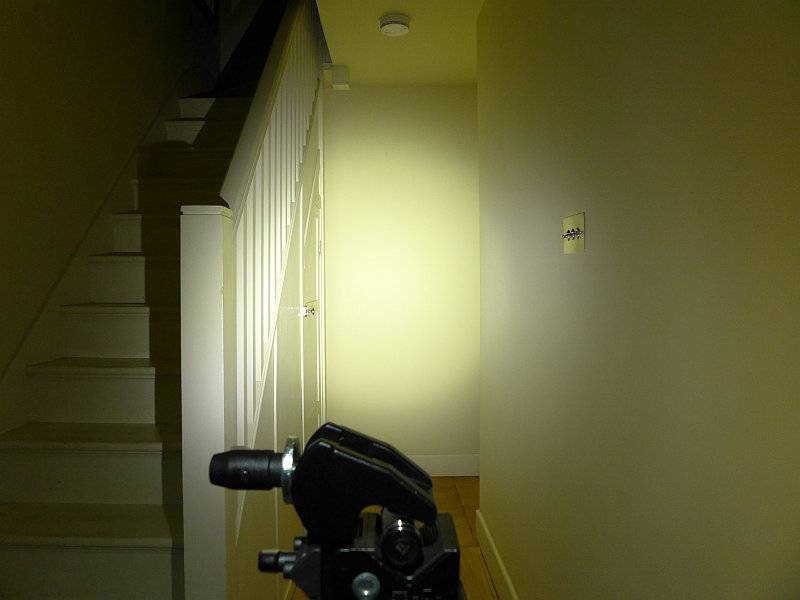
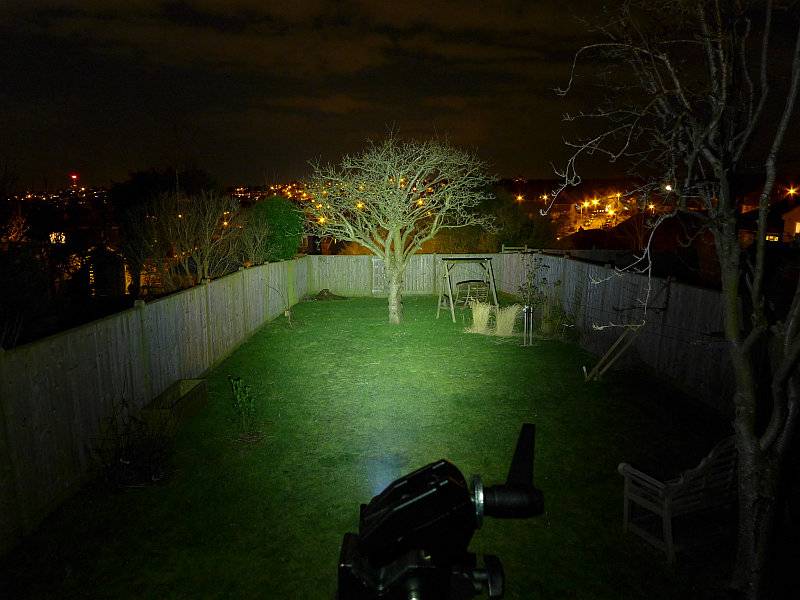
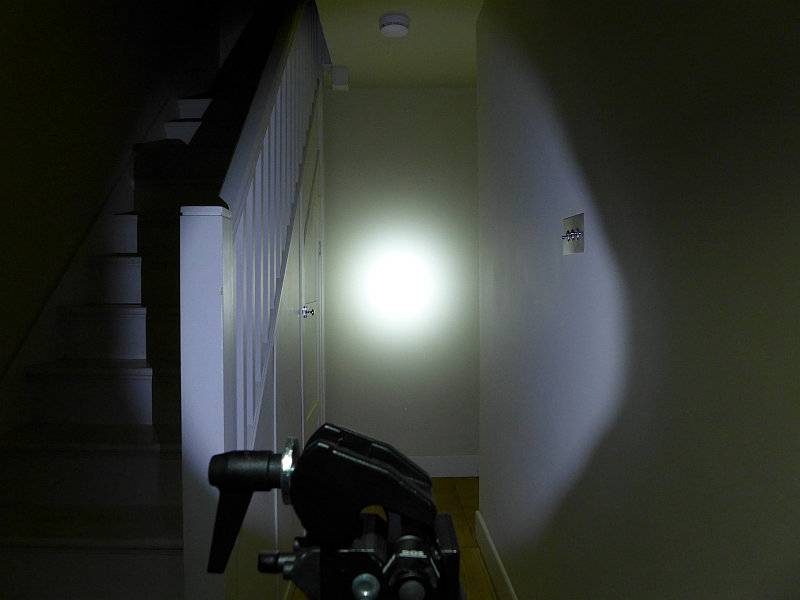
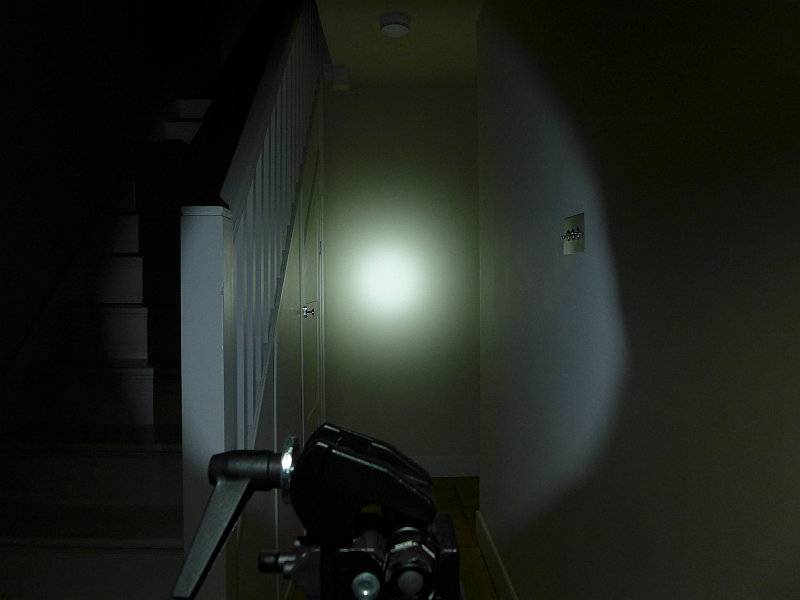
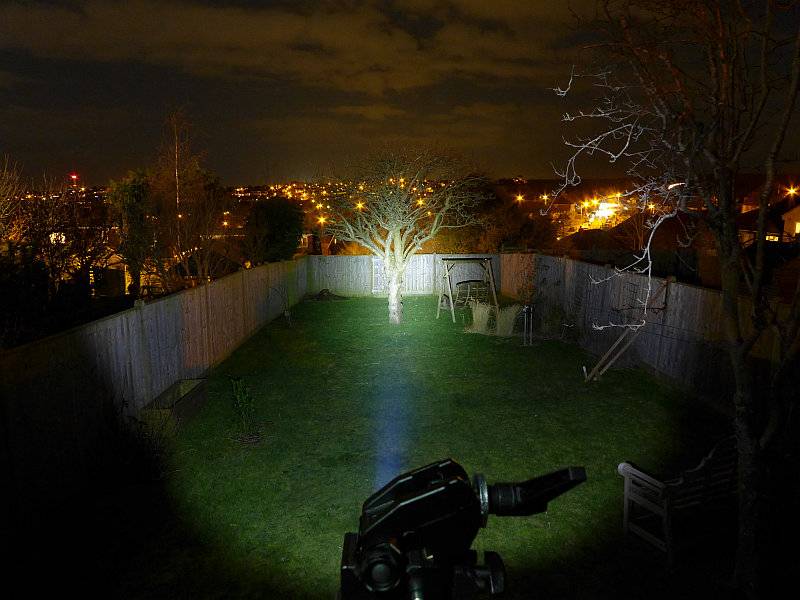
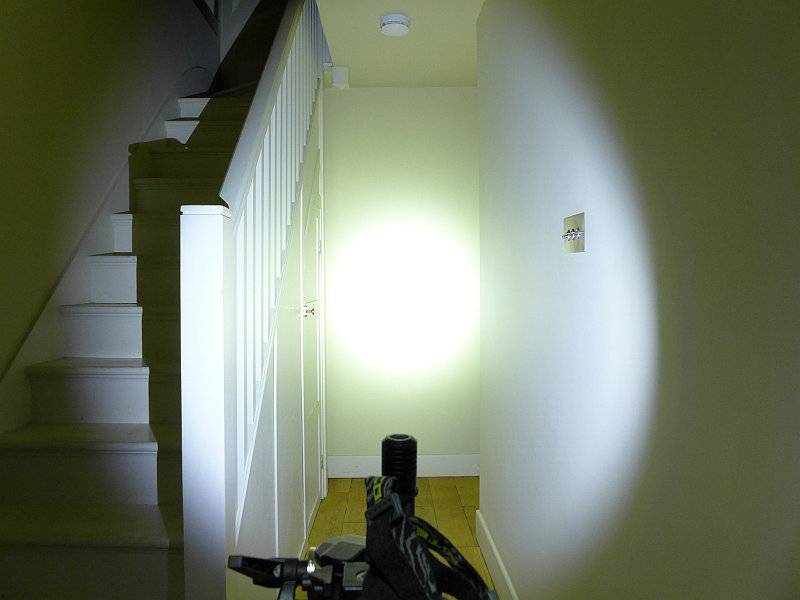
Now we start the comparison and the exposure has been set for the HA20 and HC30 to show correctly so the T-360 appears rather dim in comparison.
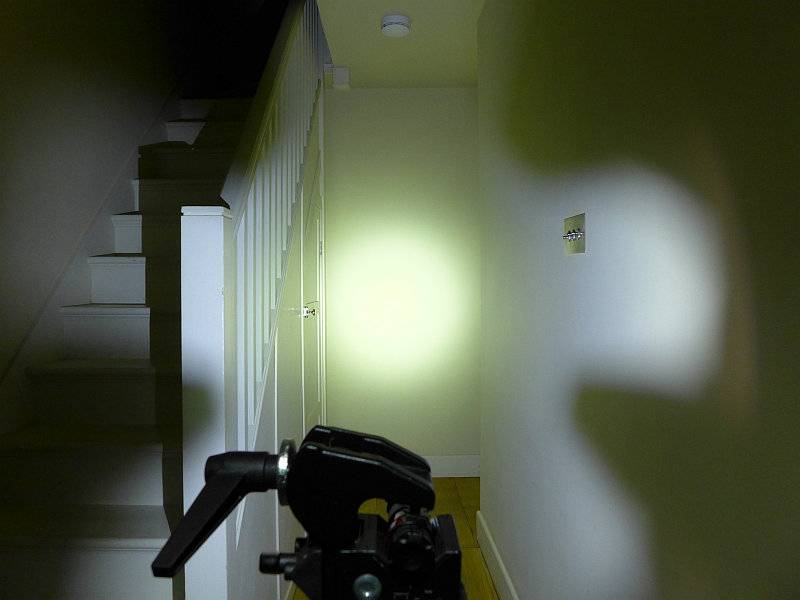
On the same exposure, the HA20 – there is a very defined hot-spot and a wide smooth spill.
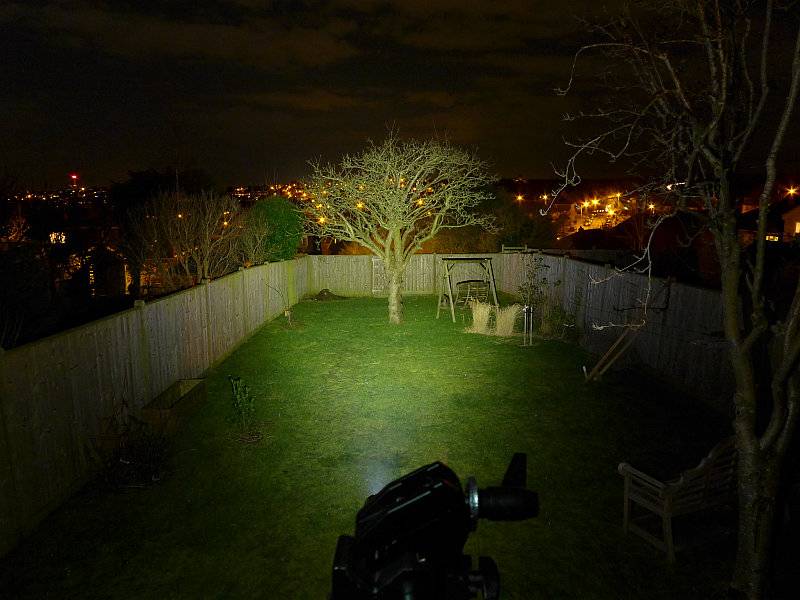
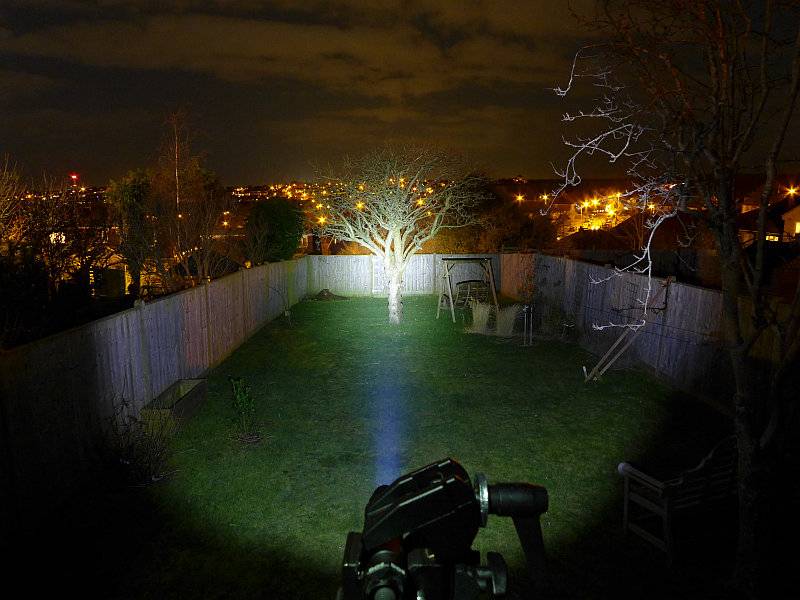
Again on the same exposure, the HC30 shows its power. It has a broad hot-spot and bright spill, but the spill is narrower than the HA20.
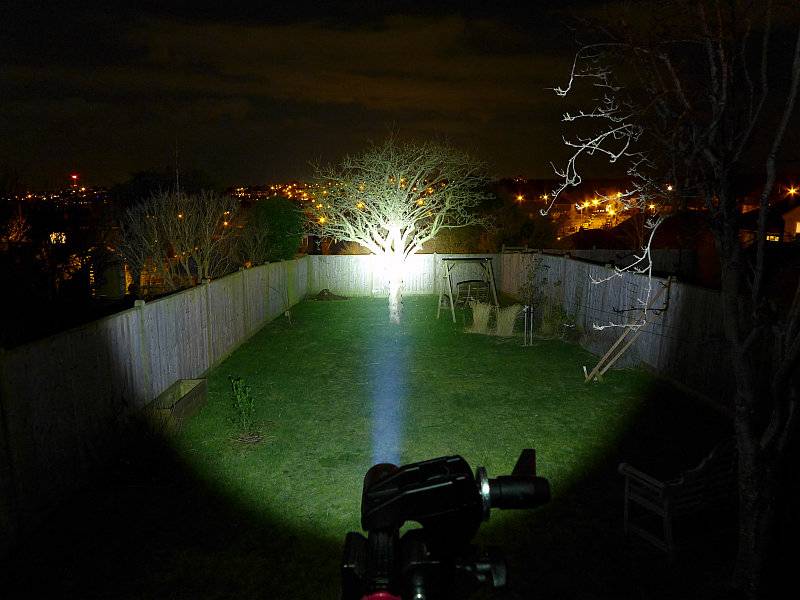
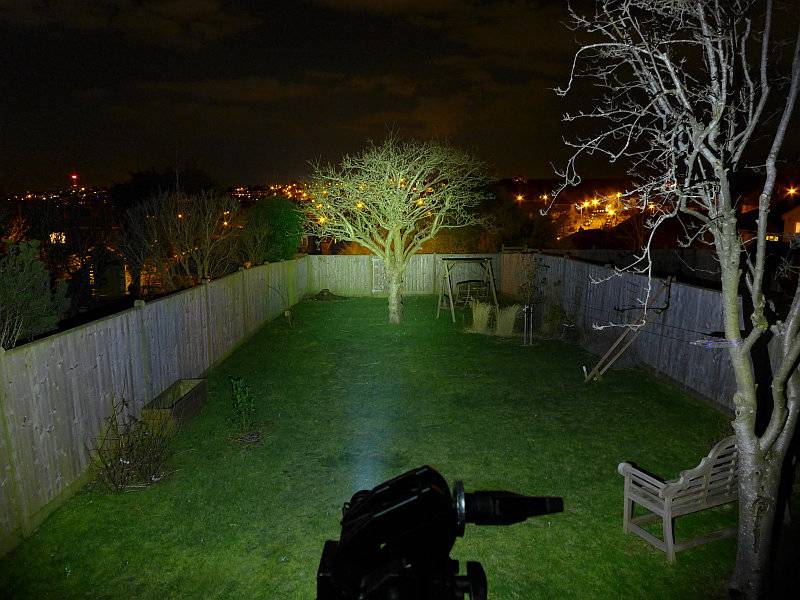
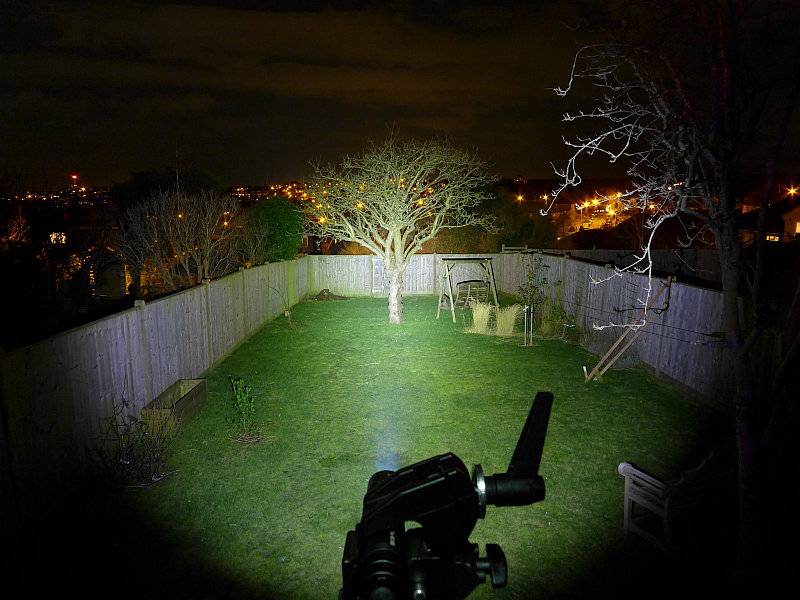
For the outdoor beamshots, the T-360 did not have enough power to show, so is not included.
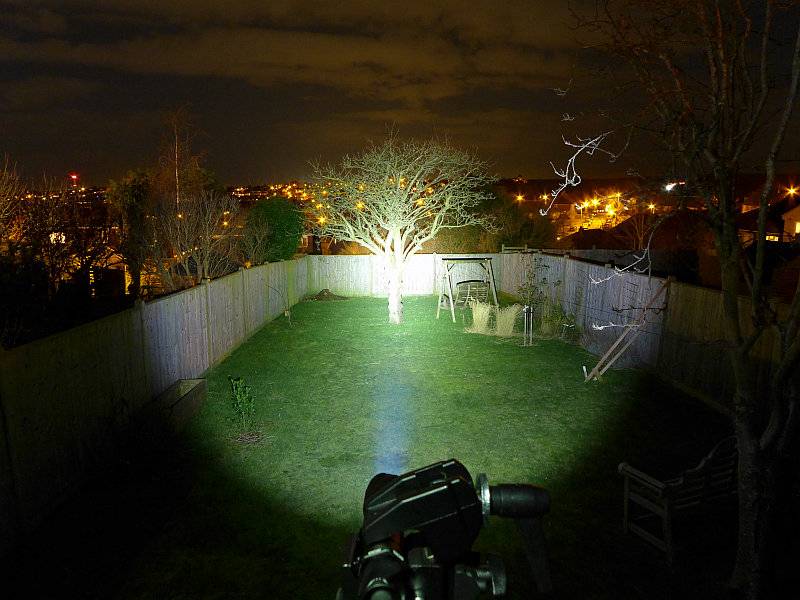
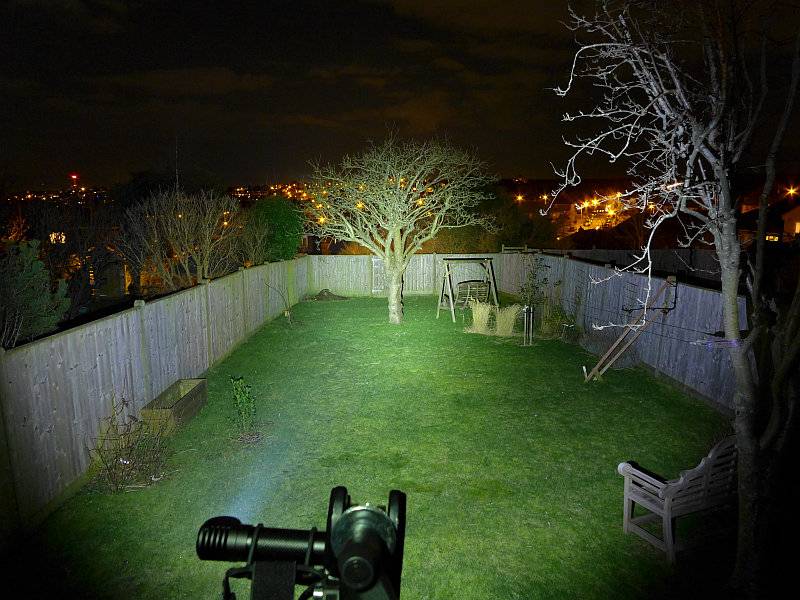
As before the exposure has been fixed to allow the HA20 and HC30 to be directly compared. Starting here with the HA20. The purpose of it hot-spot becomes clear as the lower power of the HA20 needs this to extend the range.
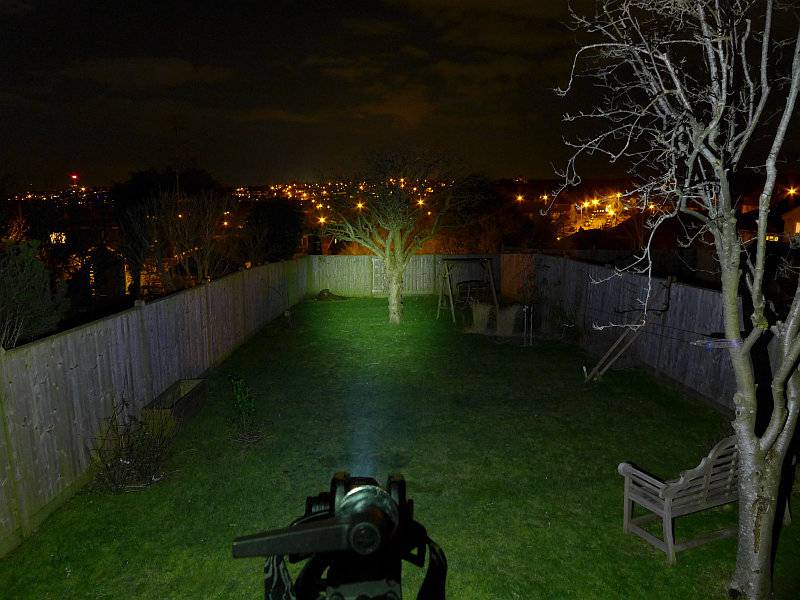
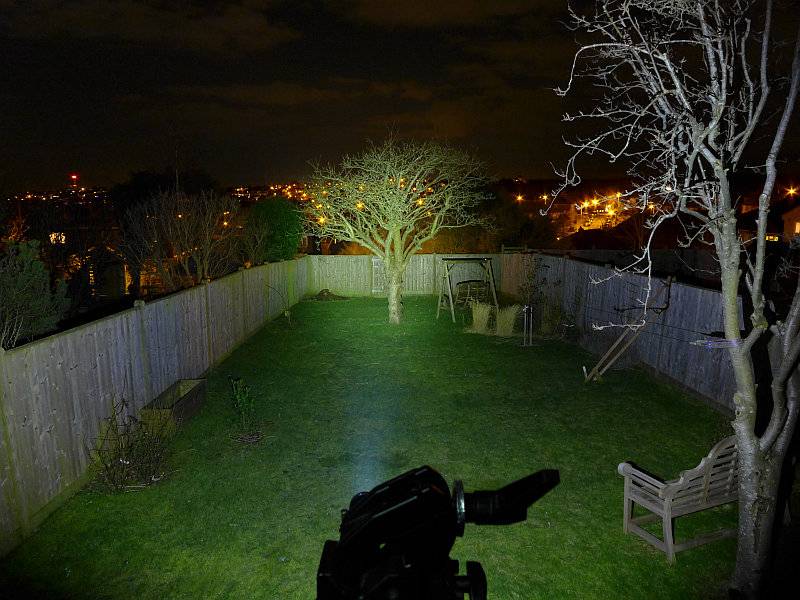
The HC30, of course, has much more power and this is very clear in this direct comparison.
Modes and User Interface:
Three different headlamps, and three very different interfaces.
T-360
–Control:
Single click button
–Modes:
High, Mid, Low and Flash/Strobe at 1Hz, 2Hz and 10Hz
–UI:
From OFF, press-and-hold the switch for over 1s to turn ON to Low. Press briefly to cycle through Mid, High, Low etc.
Press-and-hold again for 1s to turn OFF.
From OFF double-click the switch to enter flashing mode at 1Hz. Press briefly to cycle through 2Hz, 10Hz, 1Hz etc.
Press-and-hold for 1s to turn OFF.
There is no memory for constant of flashing modes. Both will always start from Low or 1Hz.
HA20
–Control:
Two-stage switch
–White Modes:
Turbo, High, Mid, Low, Ultra Low and ‘Special Modes’ (Police Warning/Location Beacon/SOS)
(Police Warning is a slow flashing mode at approximately 1Hz)
–Red Modes:
Constant, Flashing and Power Indicator.
–White UI:
From OFF press the switch fully until it clicks to turn ON.
While ON, half-press the switch to cycle through Low, Mid, High, Turbo, Ultra Low etc.
To switch OFF, press the switch fully until it clicks.
While ON, half-press the switch for over 1s to enter Special modes. Half-Press the switch to cycle through Police Warning, Location Beacon, SOS, Police Warning etc
To Exit Special modes and switch OFF, press the switch fully until it clicks.
–Red UI:
From OFF, half-press the switch for over 1s to turn on the Constant Red output.
To swap between constant and flashing Red output, half-press the switch.
To switch OFF, press the switch fully until it clicks.
–Power Indicator:
On first inserting cells into the HA20, the Red LEDs flash to indicate the battery voltage, first whole Volts, then after a pause 0.1V.
From OFF, half-press the switch briefly to indicate power level with one (<10%), two (<50%) or three (>50%) flashes.
HC30
–Control:
Single click button
–White Modes:
Turbo, High, Mid, Low, Lower and ‘Special Modes’ (Strobe/SOS/Location Beacon)
UI: From OFF press the switch to turn directly ON to Lower mode (regardless of the previously used mode).
From OFF, press-and-hold the switch for over 1s to turn ON to ‘Last used constant mode’.
From OFF, press-and-hold the switch for over 2s to turn ON to Turbo.
While ON press the switch briefly to cycle through Lower, Low, Mid, High, Turbo, Lower etc.
To turn OFF press-and-hold the switch for over 1s.
From OFF, double-click the switch to enter Strobe. While ON Strobe, press the switch briefly to cycle through SOS, Location Beacon, Strobe etc. To turn OFF, press-and-hold the switch for over 1s.
Batteries and output:
The T-360 runs on its built-in cell.
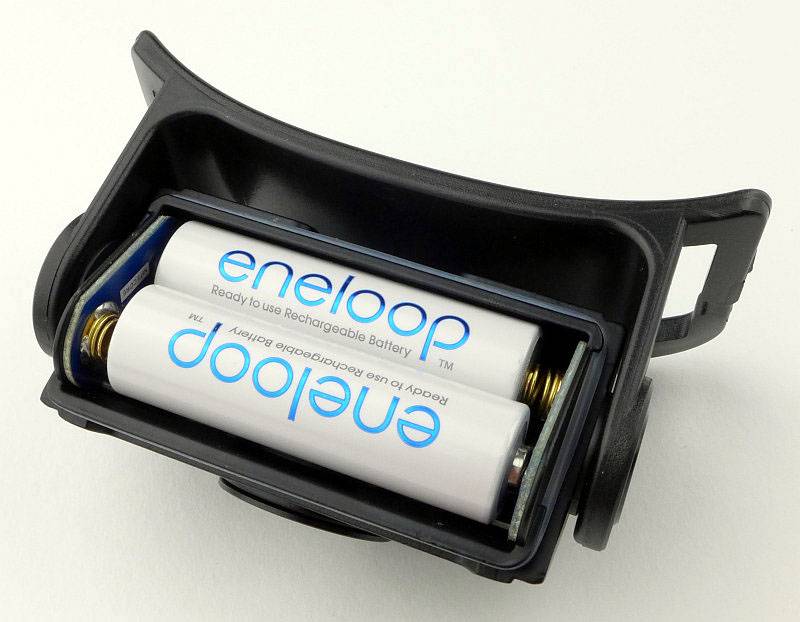
The HA20 runs on 2xAA (Alkaline, NiMh or L91).
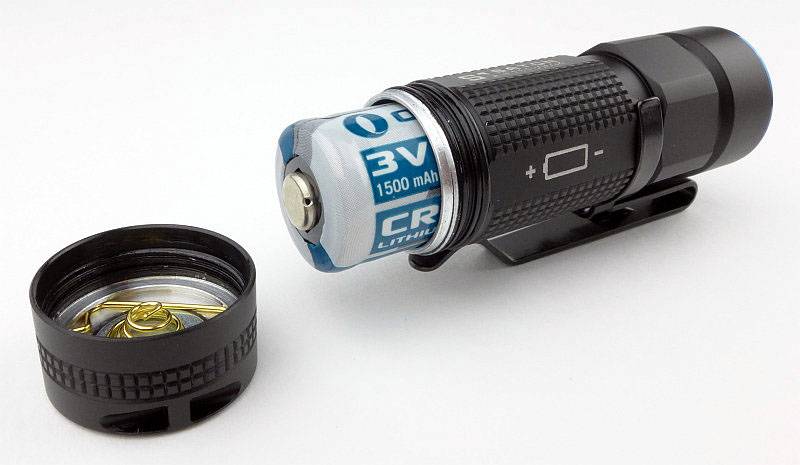
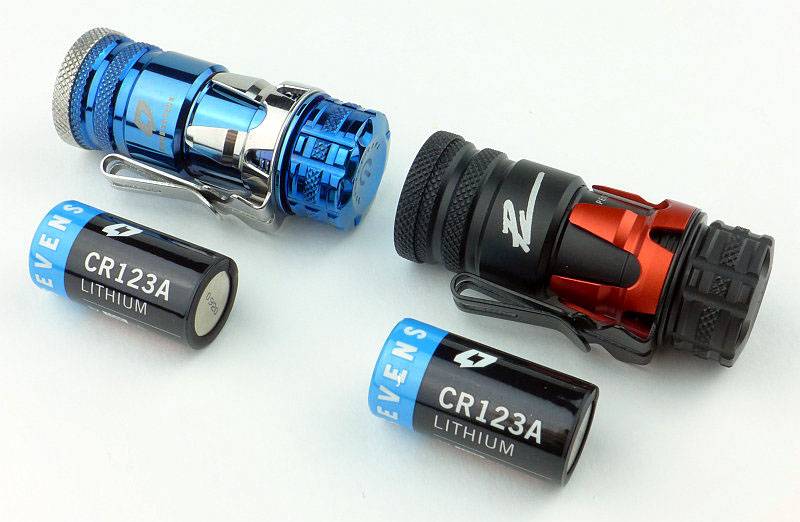
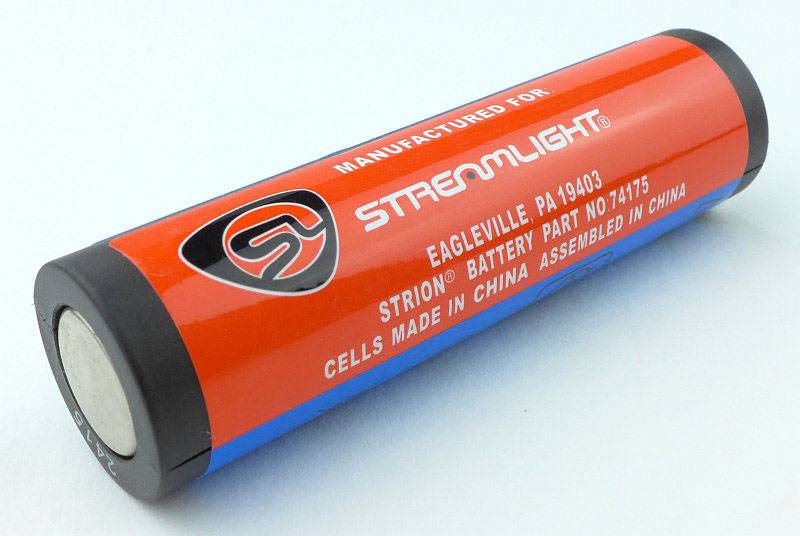
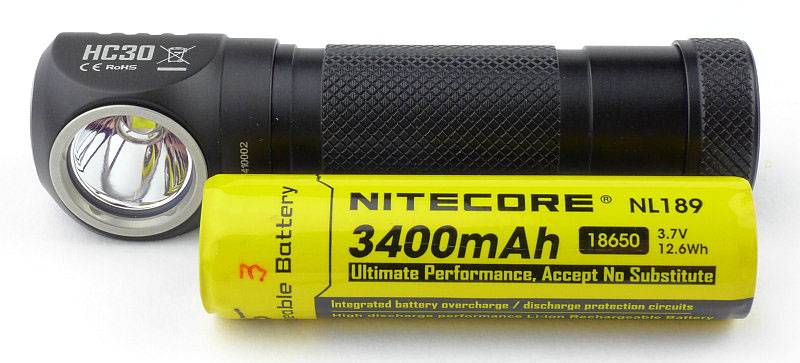
The HC30 runs on 1×18650 (button top), 2xCR123 or 2xRCR123.
To measure actual output, I built an integrating sphere. See here for more detail. The sensor registers visible light only (so Infra-Red and Ultra-Violet will not be measured).
Please note, all quoted lumen figures are from a DIY integrating sphere, and according to ANSI standards. Although every effort is made to give as accurate a result as possible, they should be taken as an estimate only. The results can be used to compare outputs in this review and others I have published.
| ___________________________________________ |
________________________________ |
________________________________ |
| Model/Mode using specified cell |
I.S. measured ANSI output Lumens |
PWM frequency or Strobe frequency (Hz) |
| ___________________________________________ |
________________________________ |
________________________________ |
| T-360/High – Built-in |
62 |
0 |
| T-360/Medium – Built-in |
24 |
0 |
| T-360/Low – Built-in |
2 |
0 |
| HA20/Turbo – AA Eneloop |
342 |
0 |
| HA20/High – AA Eneloop |
202 |
0 |
| HA20/Medium – AA Eneloop |
106 |
0 |
| HA20/Low – AA Eneloop |
39 |
0 |
| HA20/Ultra Low – AA Eneloop |
2 |
0 |
| HC30/Turbo – 18650 |
1058 |
0 |
| HC30/High – 18650 |
503 |
0 |
| HC30/Medium – 18650 |
245 |
0 |
| HC30/Low – 18650 |
82 |
0 |
| HC30/Ultra Low – 18650 |
2 |
0 |
Peak Beam intensity for the T-360 was not measured.
Peak Beam intensity for the HA20 measured 2800 lx @1m giving a beam range of 106 m.
Peak Beam intensity for the HC30 measured 6800 lx @1m giving a beam range of 165 m.
There is parasitic drain in the T-360 but this was not measured due to the built-in cell.
There is parasitic drain in the HA20; the drain was 194uA (1.23 years to drain the cells).
There is parasitic drain in the HC30; the drain was 51.5uA (6.87 years to drain the cell).
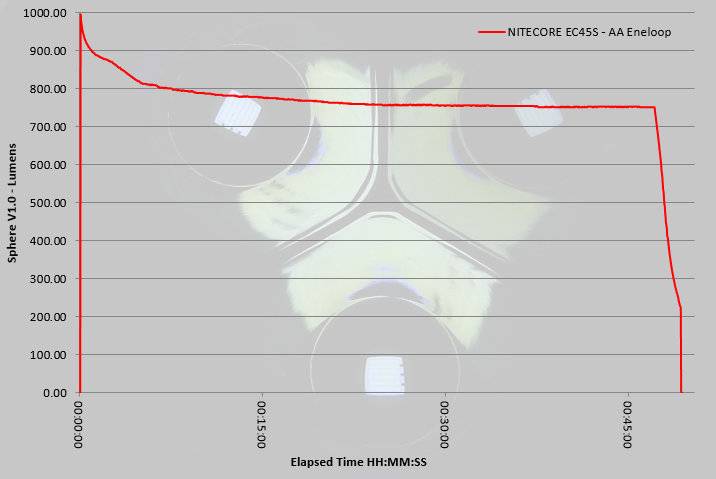
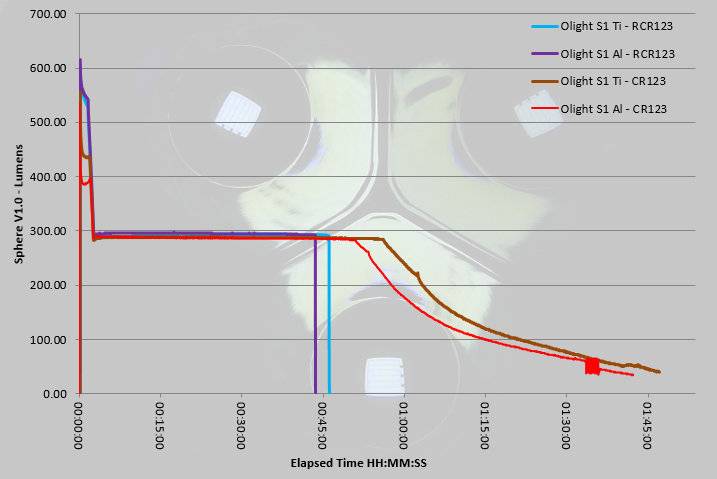
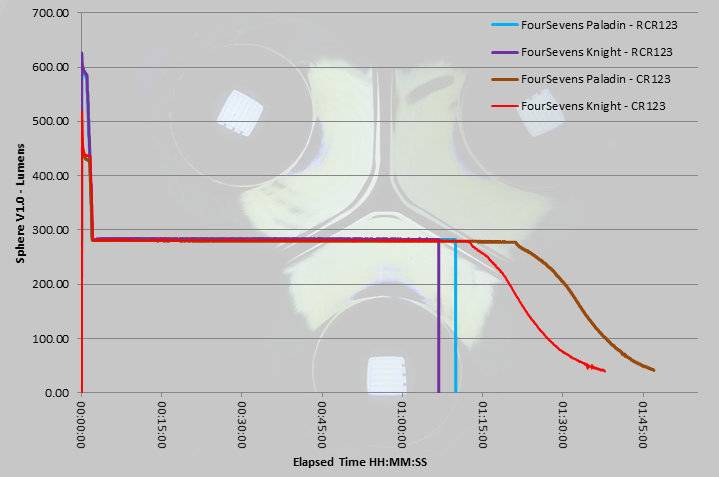
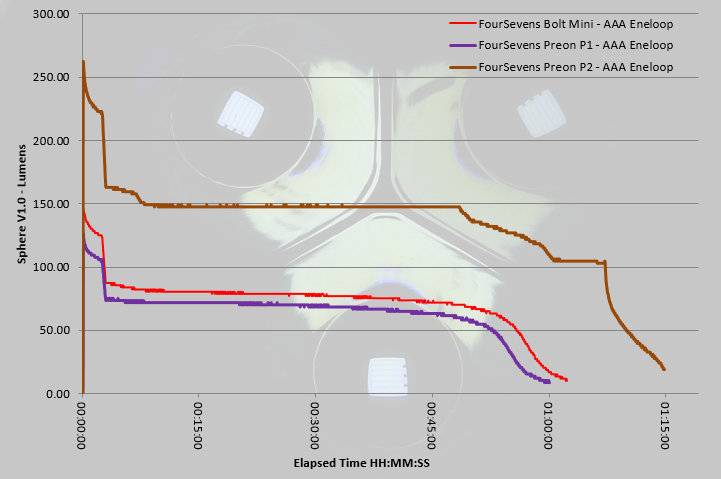
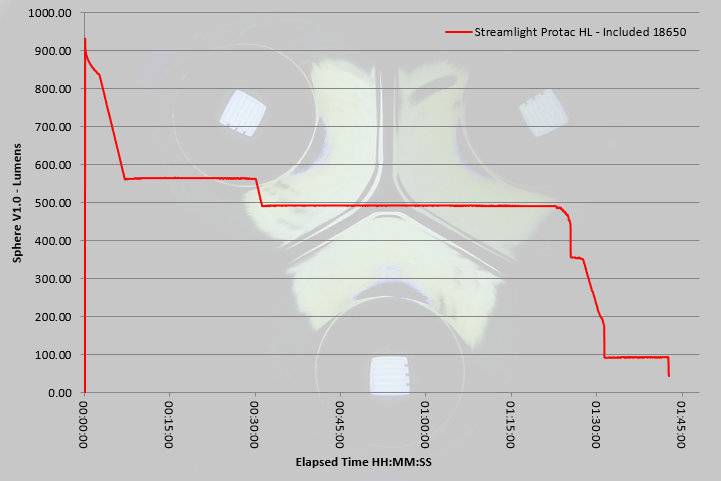
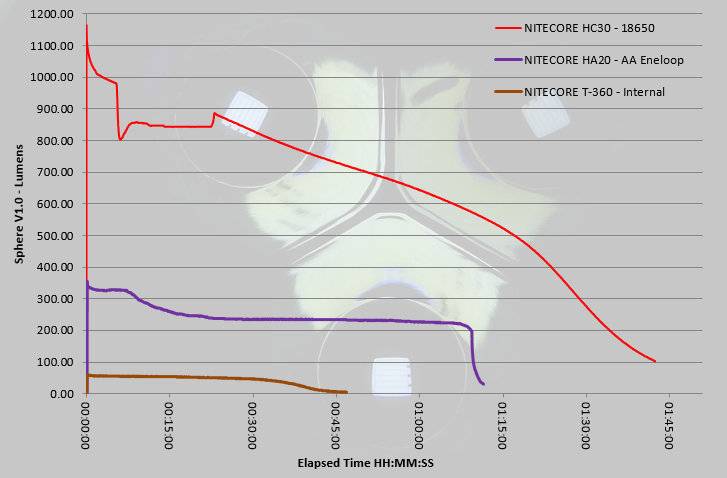
All shown on the same graph, the performance of each of these light is very different on maximum output.
The T-360 is very consistent for 30 minutes and then tails off to the point of being no use by 45 minutes.
The HA20 drops from maximum after around 10 minutes, and after stabilising again, remains consistent up to the last part of the run.
The HC30 however, has a strange behaviour which is only really noticeable using measuring equipment. After the initial drop after 5-6 minutes, the output rises, stabilises, then rises again before starting a gradual decline. Having a wide input voltage range from 3V to 8.4V, this will be a consequence of having to manage the quite different cell characteristics. Remember this is the maximum output, so it is testing the limits of the cell as well as the HC30. To the naked eye this behaviour doesn’t stand out.
Troubleshooting
This section is included to mention any minor niggles I come across during testing, in case the information helps anyone else.
No issues were encountered during testing.
As per the description of this section, this information is provided in case anyone else finds a similar ‘issue’ that might be fixed in the same way.
The T-360, HA20 and HC30 in use
Do I have a favourite? Yes, but more on that later, as each of these headlamps gives you different benefits and capabilities.
—–
You are probably familiar with the NITECORE TUBE key-chain light. The T-360 is a spin off of this USB rechargeable featherweight light and gives you a featherweight headlamp. As I showed earlier it is so lightweight you can install two (or even three) on the same headband so you have hot-spares ready for when the cell becomes depleted. The T-360 means anyone can EDC a headlamp. Of course it is not just a headlamp as when you take it off the strap it will stand by itself, or can be clipped over a cap peak or pocket edge. Unlike the TUBE, the T-360 does not use any PWM so is superbly good to use on any level.
As shown in the head mounted photo, I have found the T-360 benefits from rotating the body out, so that it sticks out, when you use it. With the full flood beam, if you leave it flat on your forehead, half the light just goes upwards, so by rotating it as shown you can direct this down and make better us of the available light.
—–
Moving up in size and in power to the HA20. AA power is a significant benefit simply due to the ease of getting AA cells; this is not to be underestimated. This also makes it easier to give as a gift. With the HA20 there is a bit of a trade off in providing one of the features. The head has a really good range of adjustment, including upwards; The result of this is that the HA20 has been placed further from the head to provide the space to be able to rotate so far in the mount. With an aluminium body, this creates a slightly front-heavy design making the HA20 feel heavier on the head than it really is. Once you start moving about more it can become noticeable.
Still on the HA20, the two-stage button has proven to be a little difficult to work with. The half-press is somewhat indistinct so you are not entirely sure you have pressed it enough. The full-press is a substantial press needing the button to be pushed well into the switch boot.
Having Red light as an option in the same headlamp is one of the strong points. When I’m out hunting and using red light on the gun-light, the last thing I want is to then switch on a white light, so the pure red light (not filtered) is just what is needed. Just be aware that this is not ‘Star Party’ friendly red light as it is quite bright.
—–
Finally we have the bright and compact HC30. NITECORE have done really well in keeping the size down, and the HC30 is not much bigger than the 18650 it uses. A single 18650 is a great compromise for a headlamp as it typically has the energy of 3-4 AAs but weighs roughly the same as 2xAA(NiMh) cells and is a single cylinder (so more compact). This allows for greater output or longer runtimes from a smaller lighter headlamp. So as long as you are into li-ions (or happy to burn through CR123s), then it makes an ideal choice.
Even though it has only a single-stage button, the interface is very well thought out. With no delay at all you can click onto ‘Lower’, then cycle up to a level you want. Alternatively you can return straight to a previously used level if you are happy to press-and-hold for 1s. You also still have direct access to Turbo with a slightly longer press-and-hold of 2s. But there is more, as if you are into your flashing modes, a double-click brings them to life.
With all the modes available, I couldn’t have asked for more from this single button interface.
Comfort is top notch as the weight is kept close to your head (increasing stability) and the mount doesn’t touch you at all and has no hard/hot-spots.
For my own uses, I would have preferred a more flood orientated beam, but with its mixed use as a right-angle light and a headlamp the beam’s mix of flood and throw is very good.
—–
So could you spot my favourite? The HC30 has it, if I had to pick one.
Which would you pick?
Review Summary
| _______________________________________________ |
_______________________________________________ |
| Things I like |
What doesn’t work so well for me |
| _______________________________________________ |
_______________________________________________ |
| T-360 – Featherweight. |
T-360 – Limited runtime with built-in cell./td>
|
| T-360 – Easy to EDC. |
T-360 – Press-and-hold to turn on. |
| T-360 – MicroUSB rechargeable. |
|
| T-360 – Can be used as a clip light. |
|
| HA20 – Easy AA power. |
HA20 – Front heavy. |
| HA20 – White and Red output |
HA20 – Switch can be tricky to half-press reliably. |
| HA20 – Wide range of angle adjustment |
HA20 – Relatively high parasitic drain. |
| HA20 – Aluminium body for good heat-sinking. |
|
| HC30 – 1000lm output. |
HC30 – Cannot use flat-top cells. |
| HC30 – Super compact. |
HC30 – Ultra-Low mode could be lower. |
| HC30 – Excellent weight distribution. |
|
| HC30 – Can be used as a right-angle hand-held light. |
|
| HC30 – Direct access to Turbo, Ultra-Low and Strobe modes. |
|
| HC30 – Parasitic drain can be stopped by locking-out the tail-cap. |
|
Discussing the Review:
Please feel free to add comments to the review, but the ideal place to freely discuss these reviews is on a forum. If you started reading the shorter forum version of the review, but followed the link this full exclusive review, please return to that forum to discuss the review there.
If you read the review entirely on Tactical Reviews, please consider one of the following to join in any discussion.
CandlePowerForums – Flashlight Reviews Section (Largest and Friendliest Flashlight Community Forum)
EdgeMatters – Sponsored Reviews (UK based Forum for Knife Makers and Collectors)