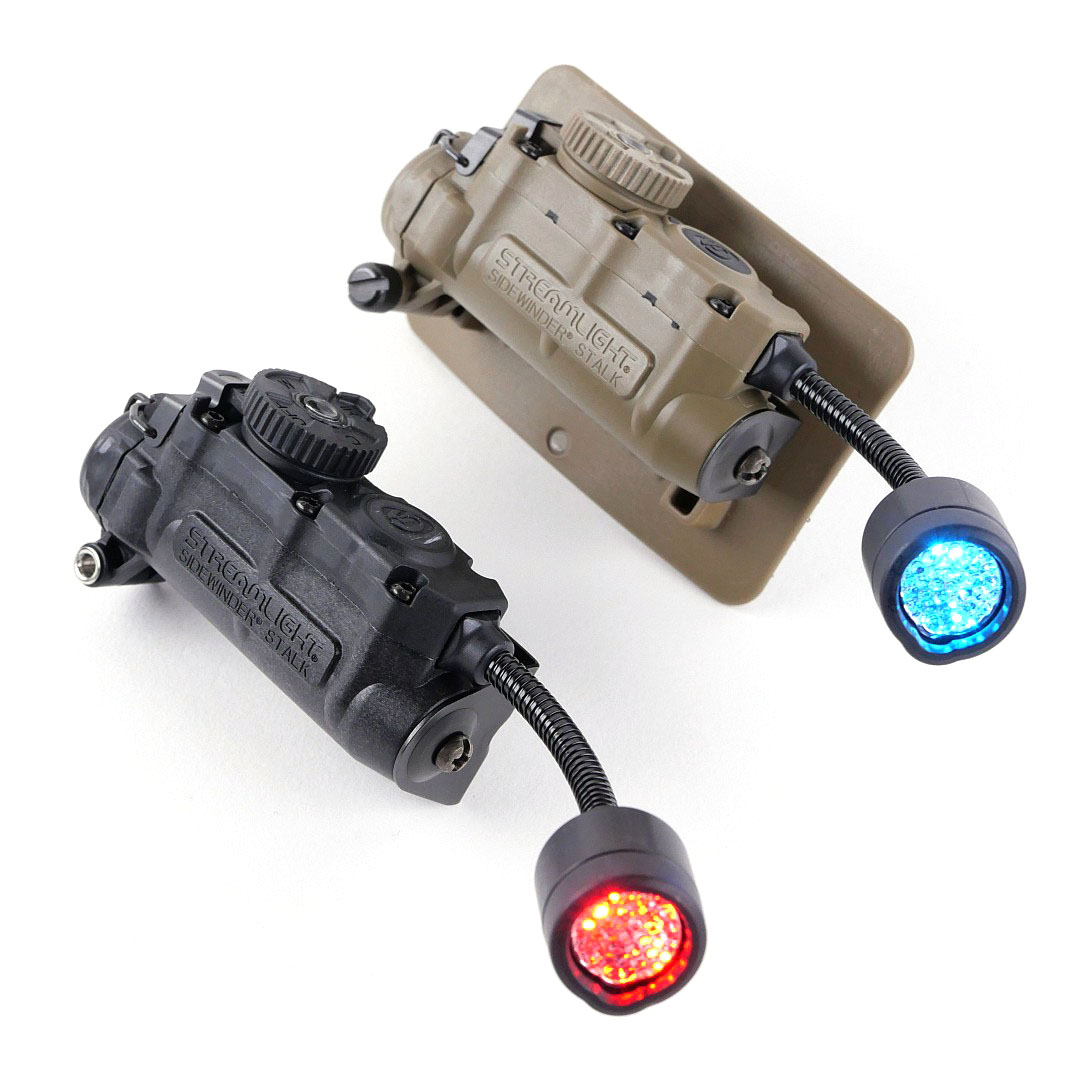
Light Review: Streamlight Sidewinder Stalk

In this detailed review of the Streamlight Sidewinder Stalk, find out why this multi-fuel light might be your EDC / Prepping saviour, and favourite illumination companion. Join me in this Streamlight Sidewinder Stalk Review for all the details.

Designed to minimise the number of lights an operator must carry, the low-profile Sidewinder Stalk not only has a flexible gooseneck stalk to aim the beam, but features Multi-Fuel capability allowing it to accept more than one battery type.

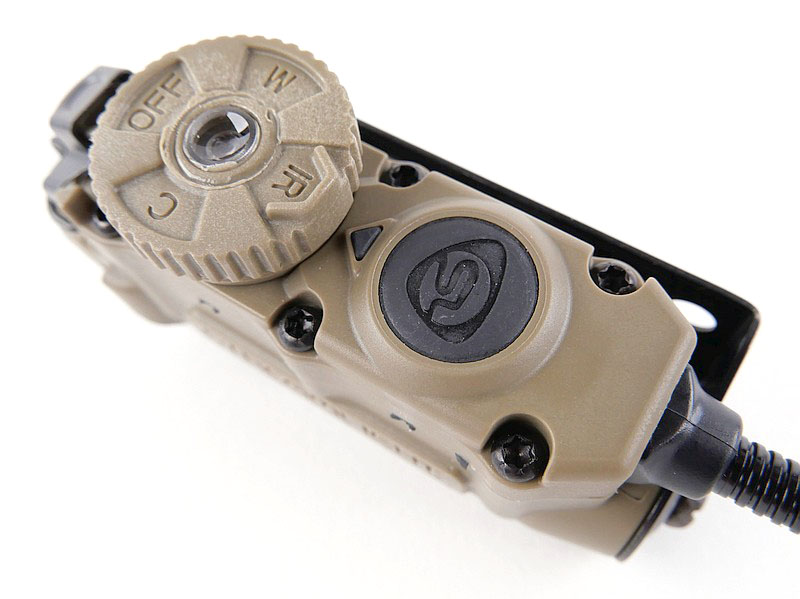
The Stalk does it all, incorporating white, IR, red, blue, and green LEDs – all located in its head that is mounted on a flexible stalk, providing complete beam manoeuvrability – each with low, medium, high, and strobe modes along with an additional IR/IFF beacon. A separate Identification Friend or Foe (IFF) switch lets you use both the main light and IFF when needed. Operation is simple with rotating tactical switch allowing quick mode changes even with gloves. The robust military standard polymer housing is IPX7 certified, water resistant and shockproof. All of this and multiple mounting options too.

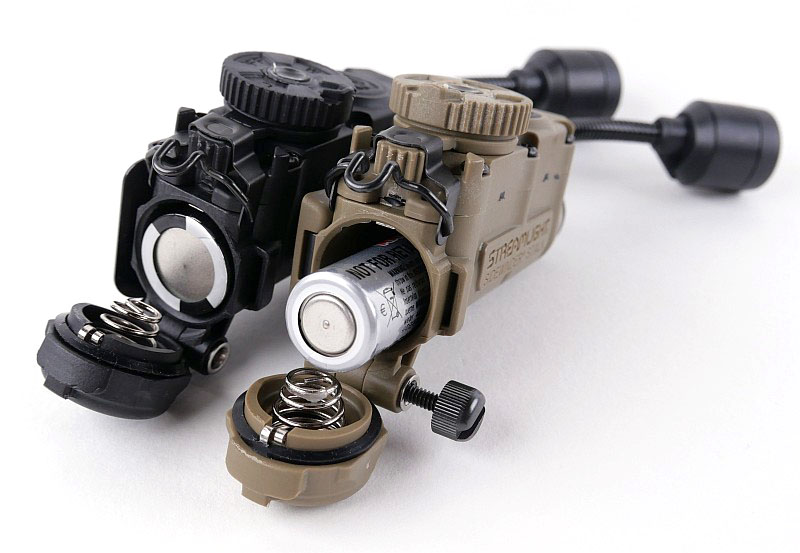
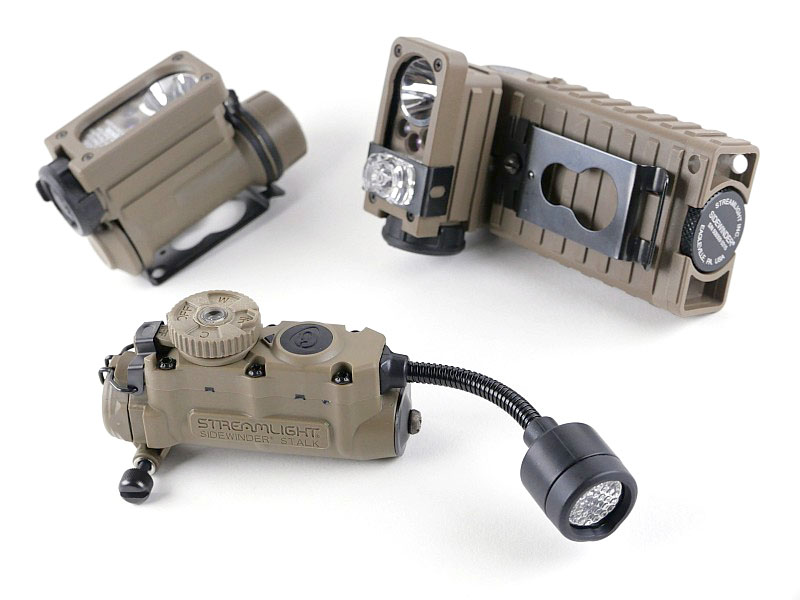
The Stalk joins the other Sidewinder models.
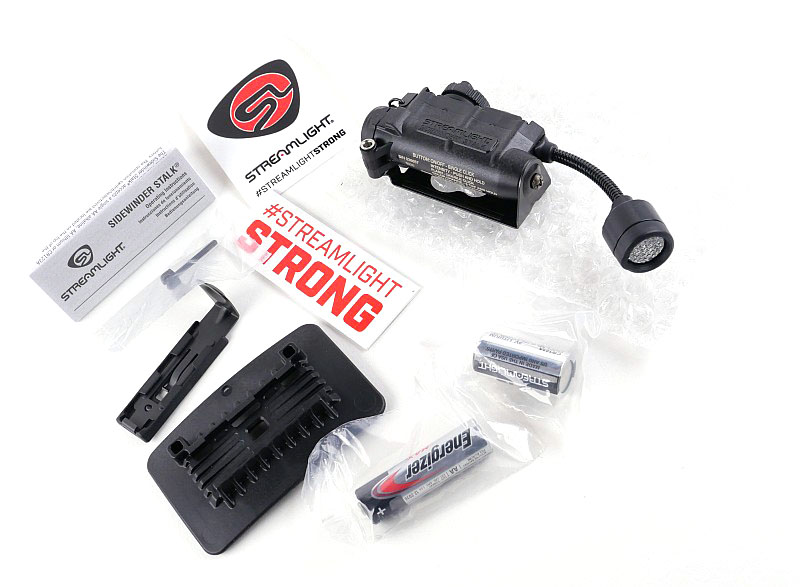
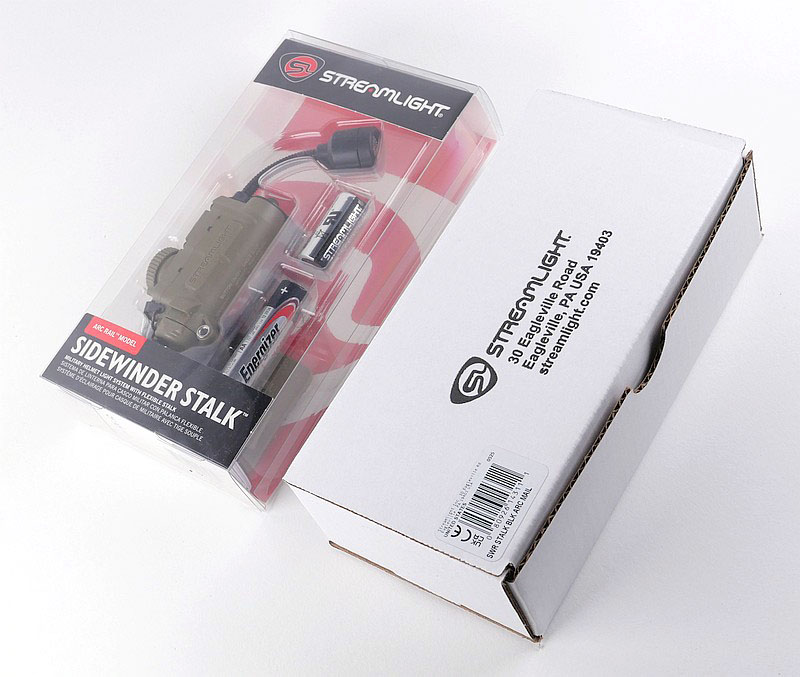
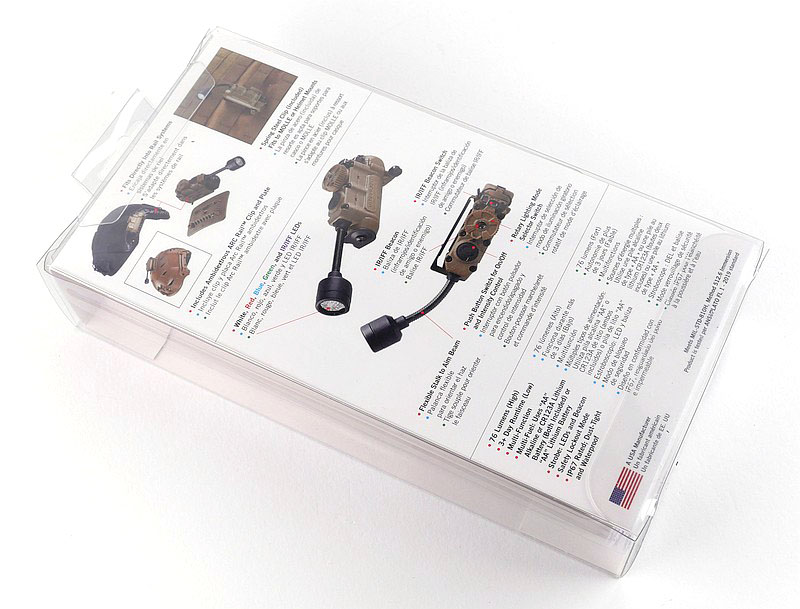
What is in the box?:
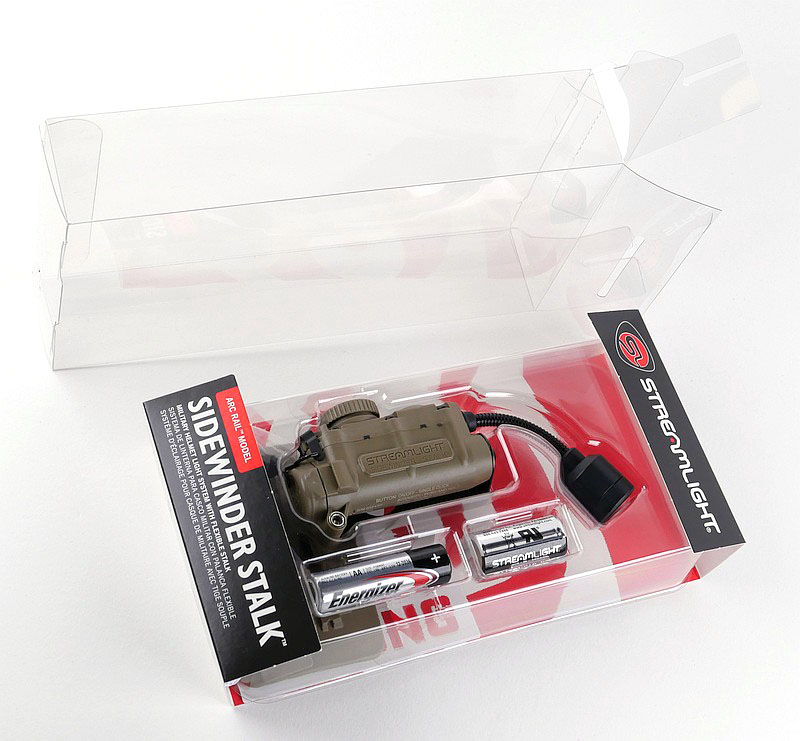
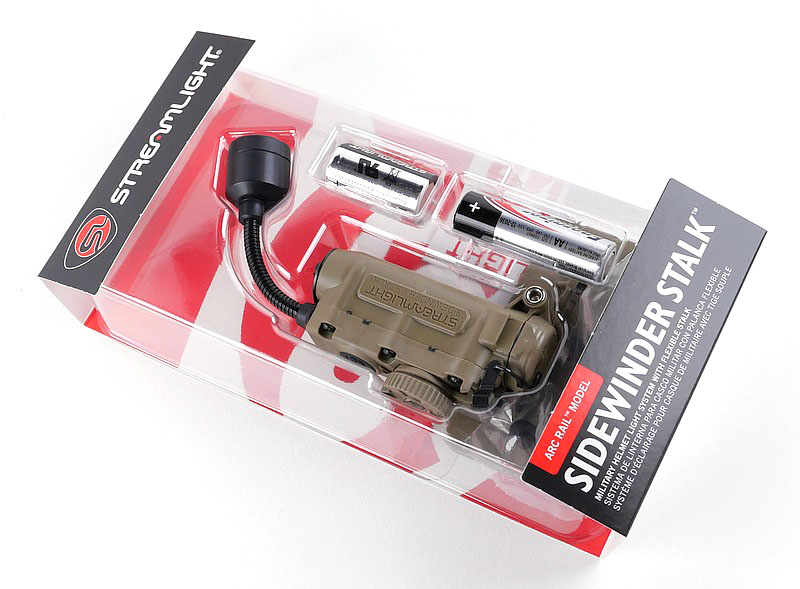
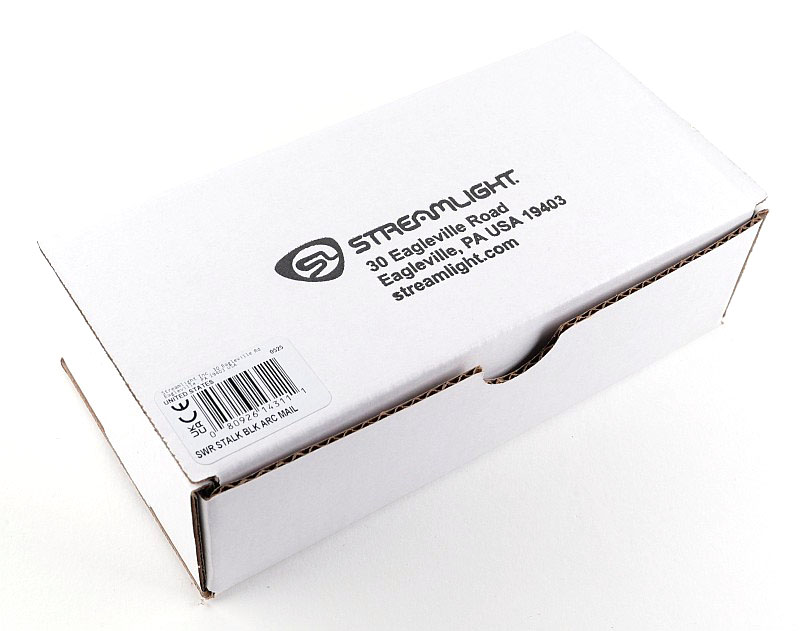
Streamlight offer the Stalk, and many other lights / flashlights in two types of packaging, a full retail package, that uses a lot of plastic for a better presentation, and a plain cardboard box version. Both are show here so you can see the difference.
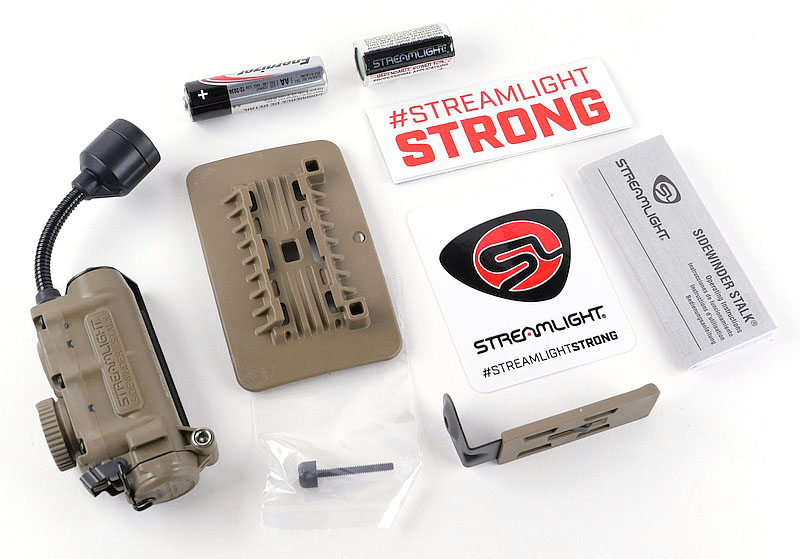
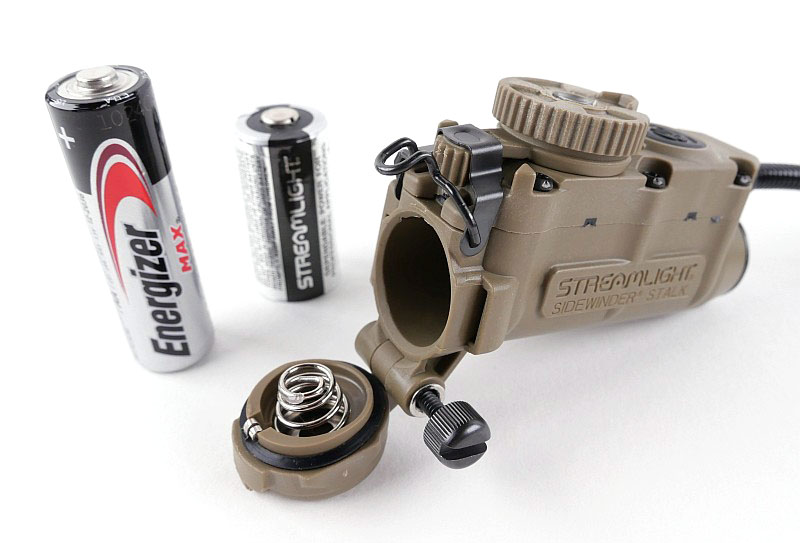
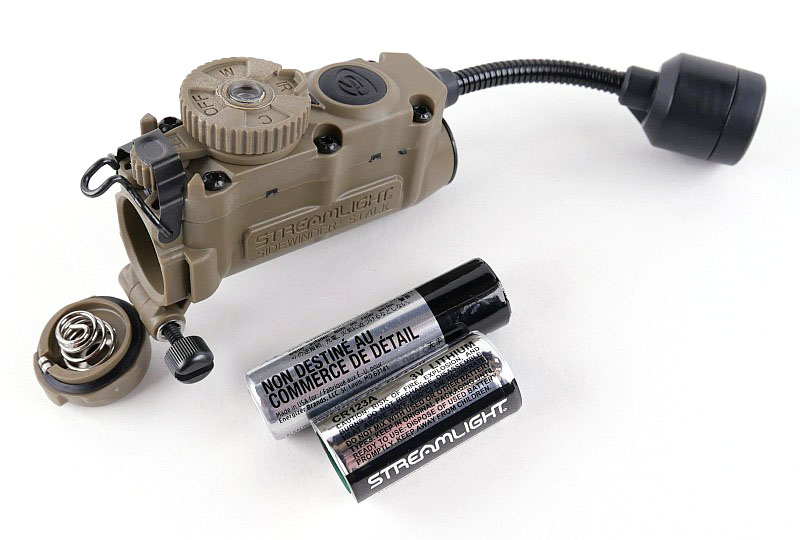
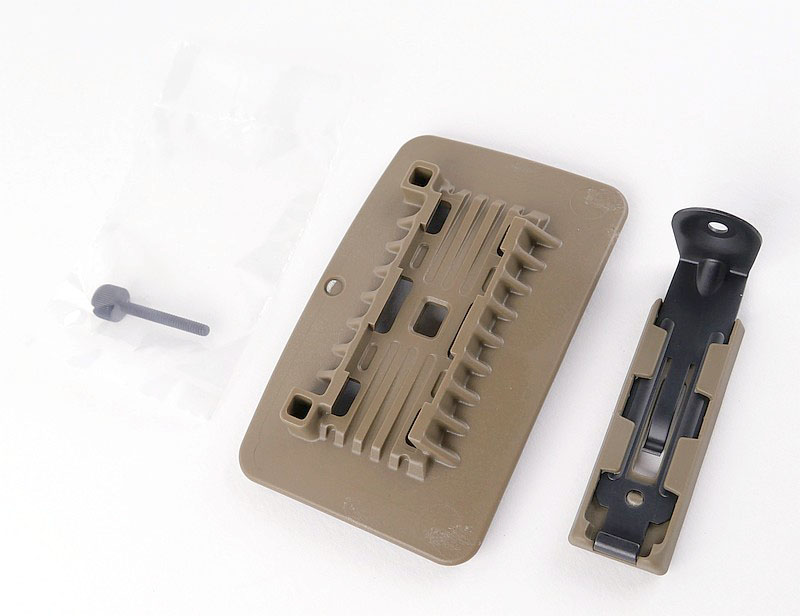
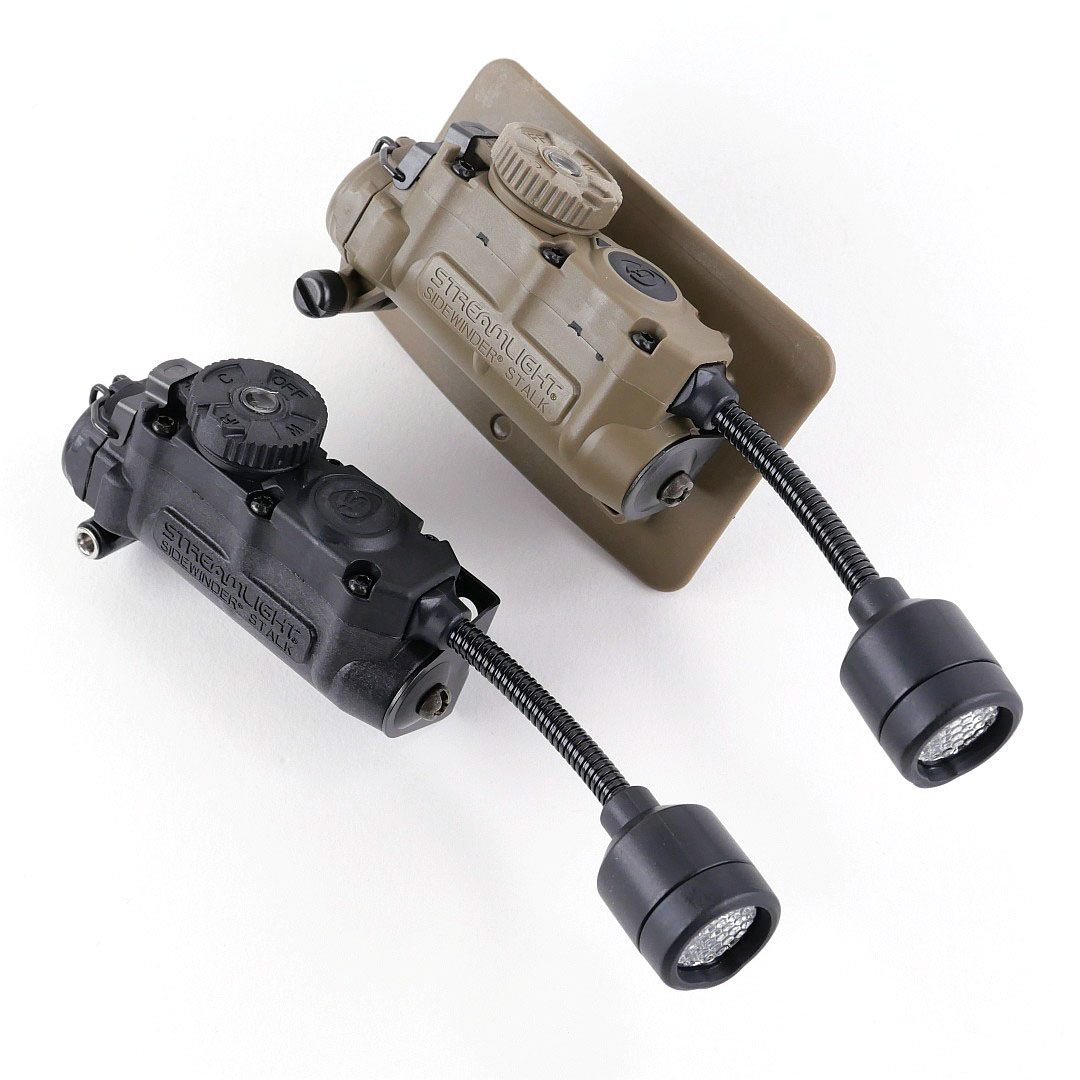
Both the coyote and black versions are the Arc Rail mount kits. These include the Stalk, an AA alkaline, a CR123 battery, the Arc rail adapter plus velcro helmet mount adapter, the instructions and a couple of stickers.
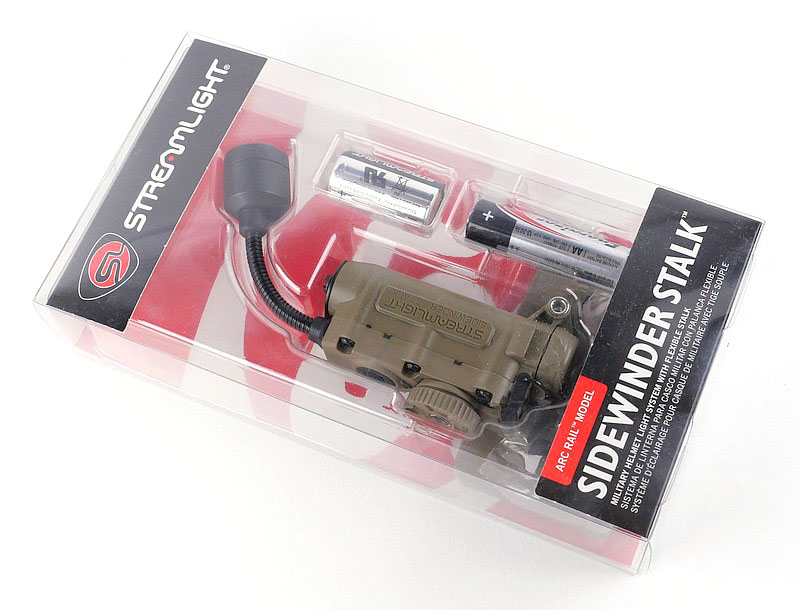
A good look round the Sidewinder Stalk – Things to look out for here are:
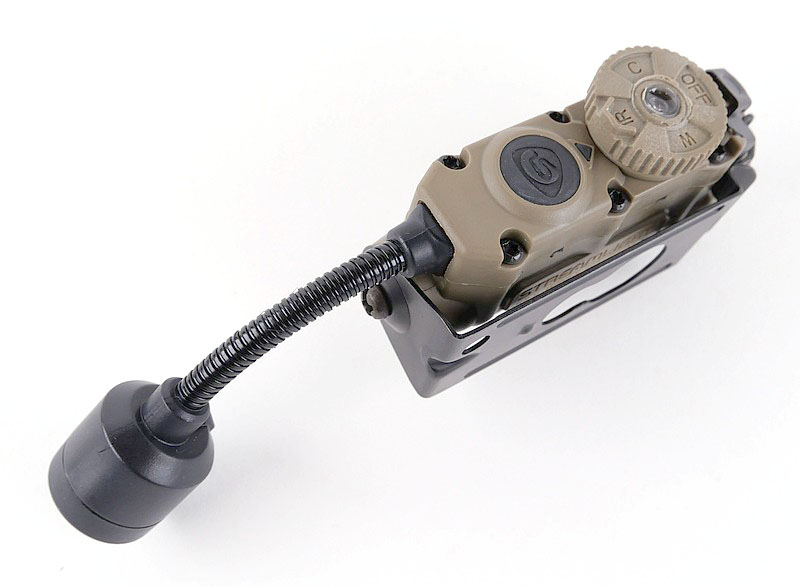
As the Stalk is packed full of design details, I’ve had to split this into two galleries. In this first one it’s more of a general look around before we really dive into the finer details. Note the multi-fuel capability with the include AA and CR123 cells.
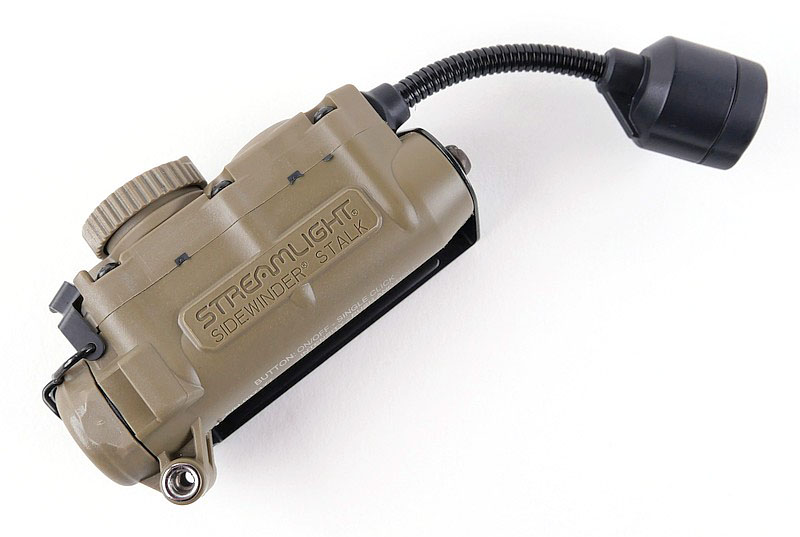
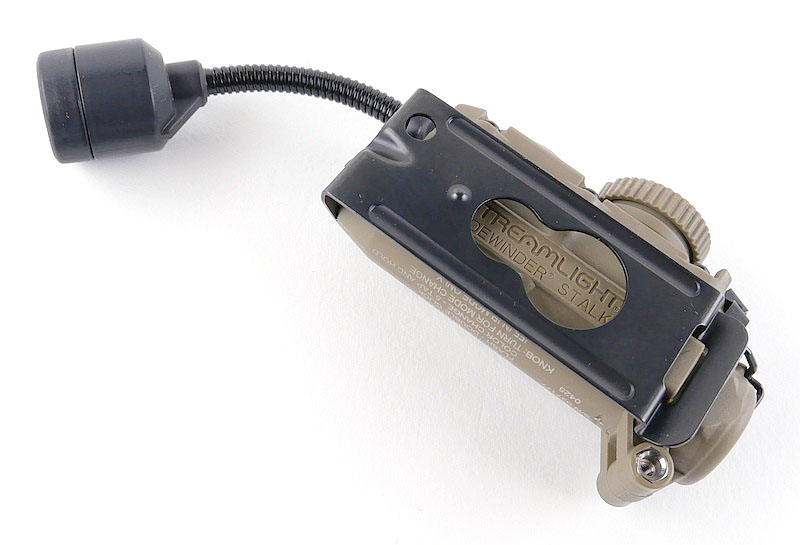
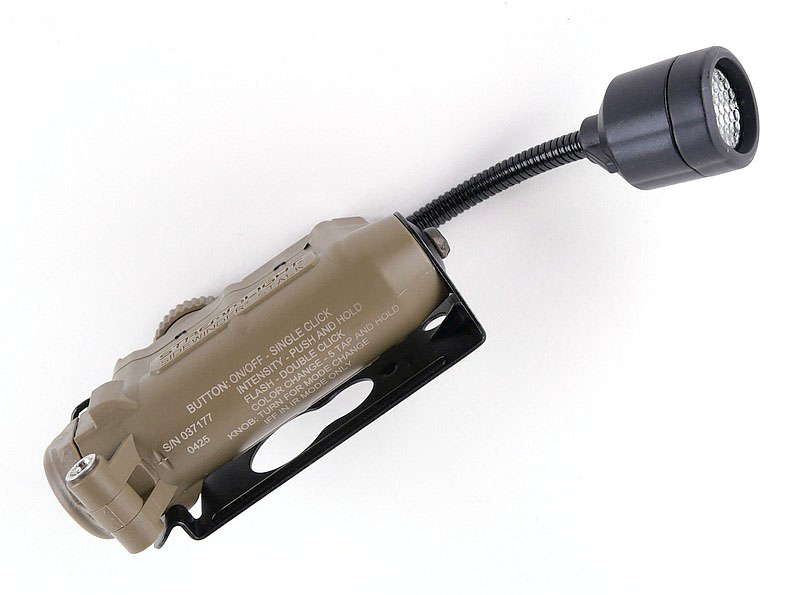
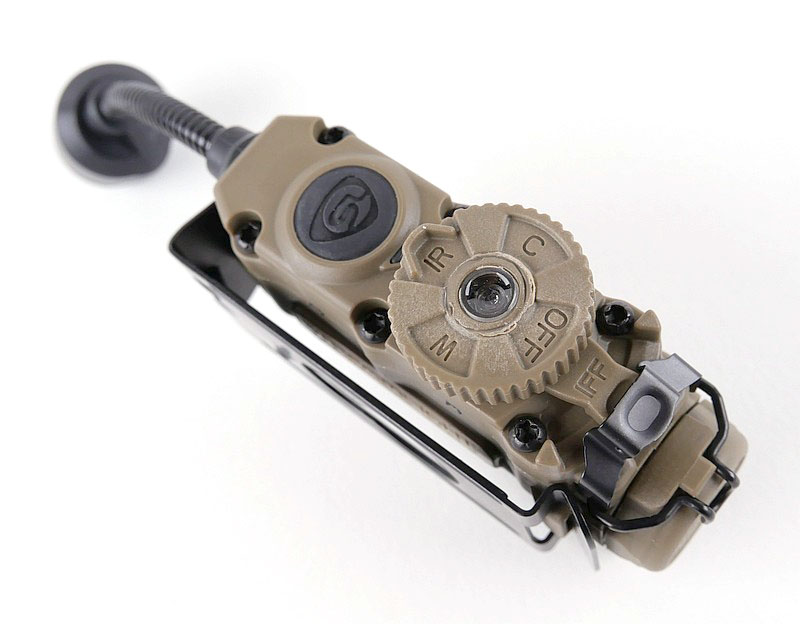
Taking a more detailed look at the controls and operation:
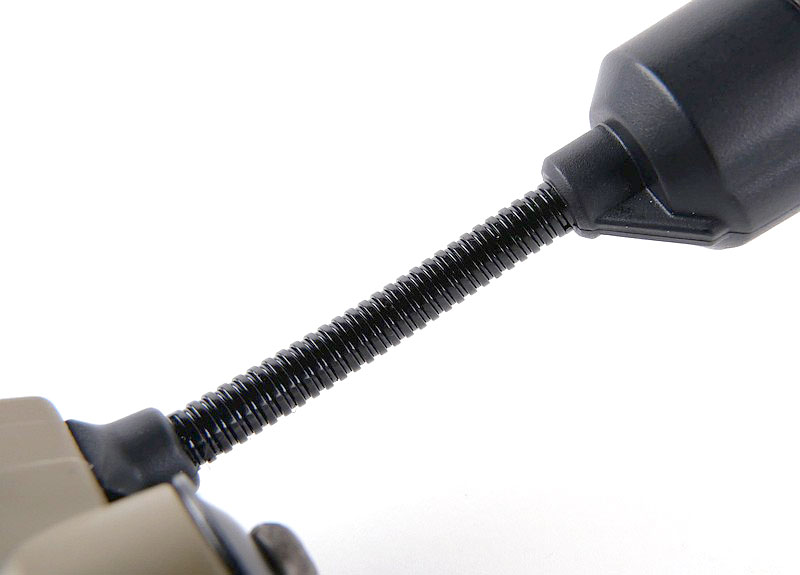
Here we are zooming right in on the functional aspects of the Stalk. Starting with the ‘stalk’ part, the flexible gooseneck, allowing the easy adjustment and alignment of the light head.
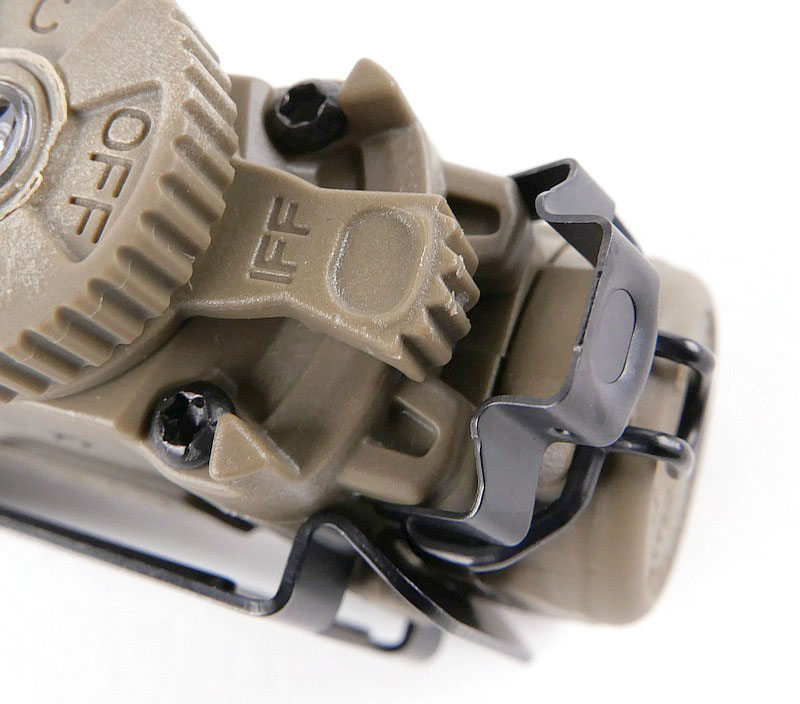
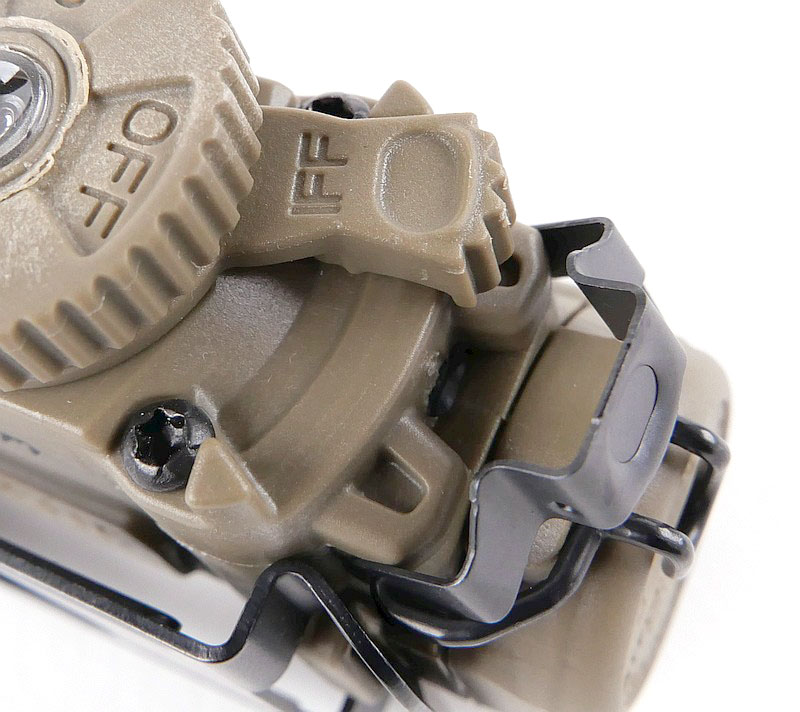
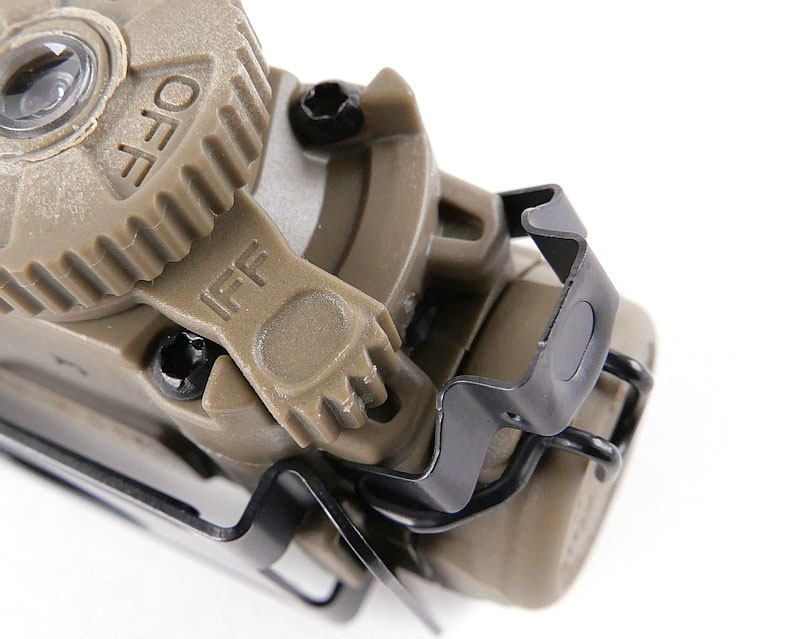
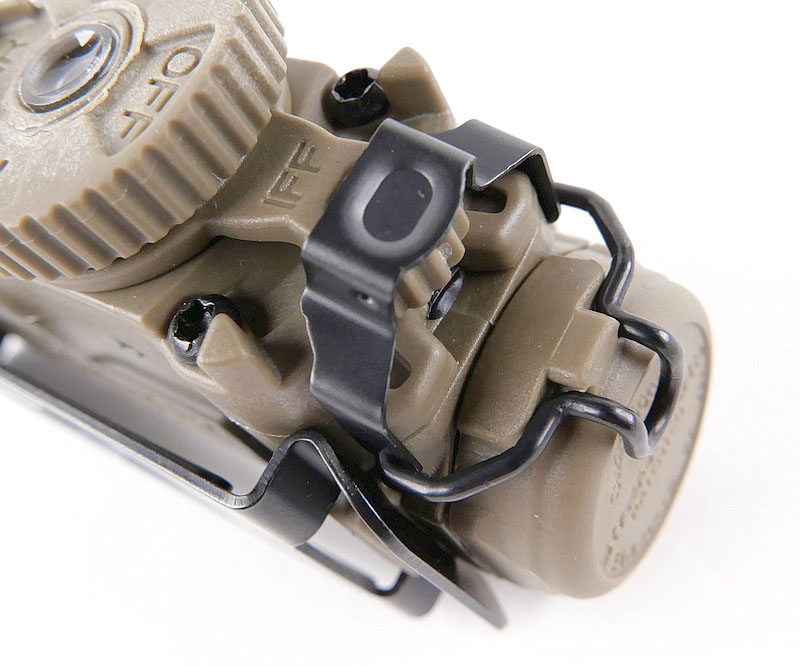
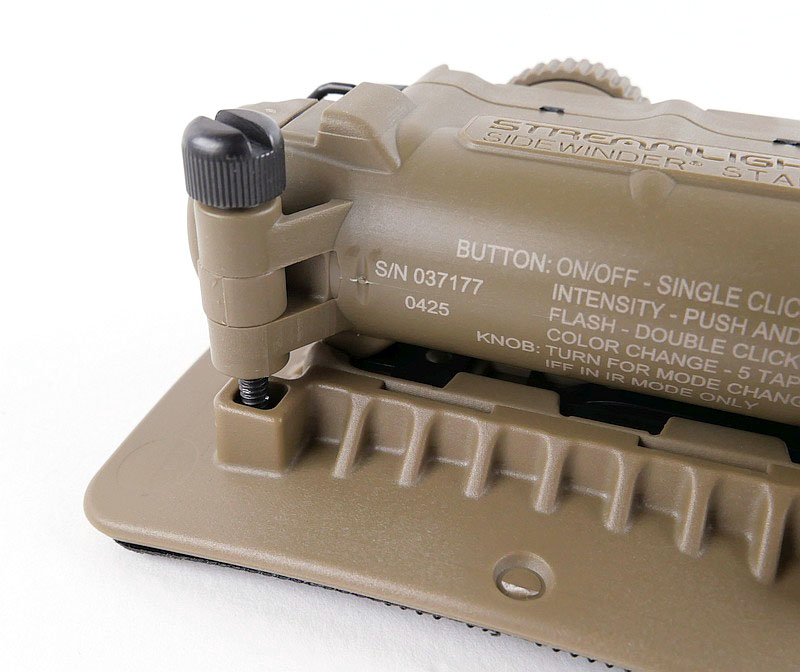
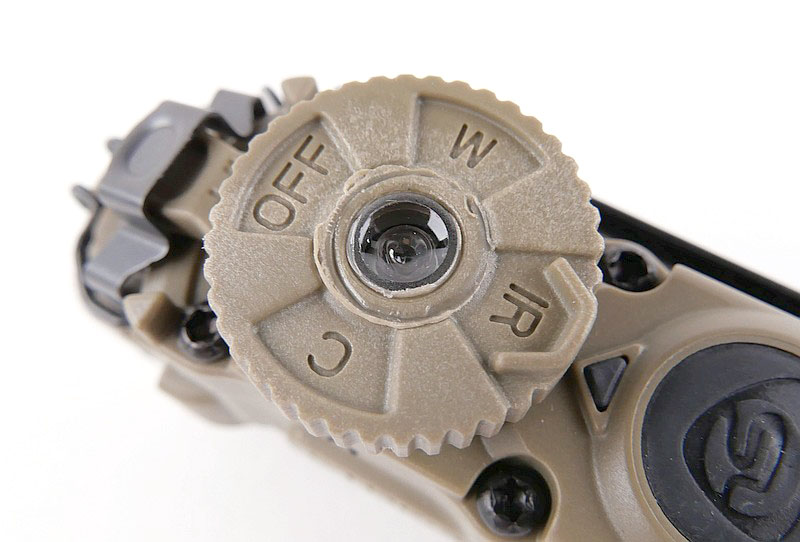
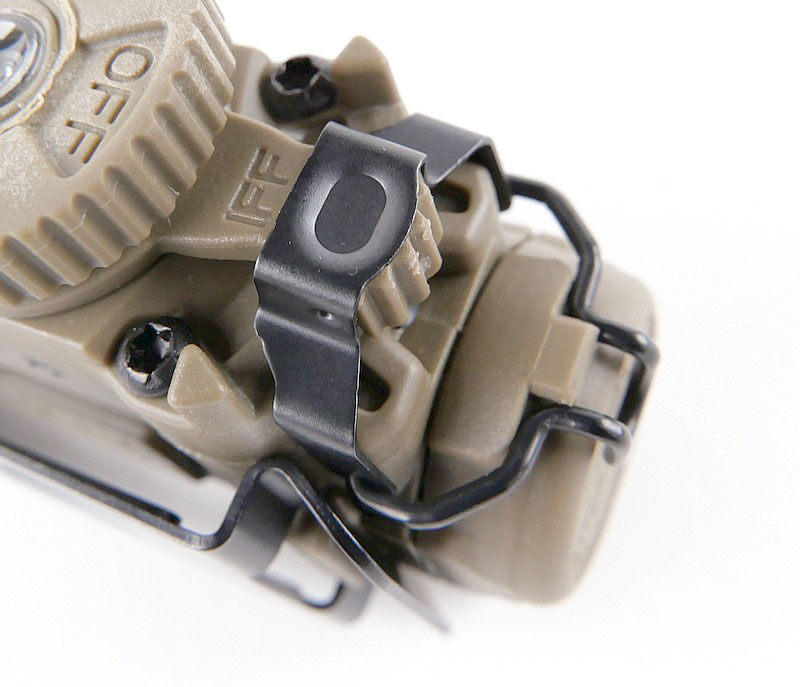
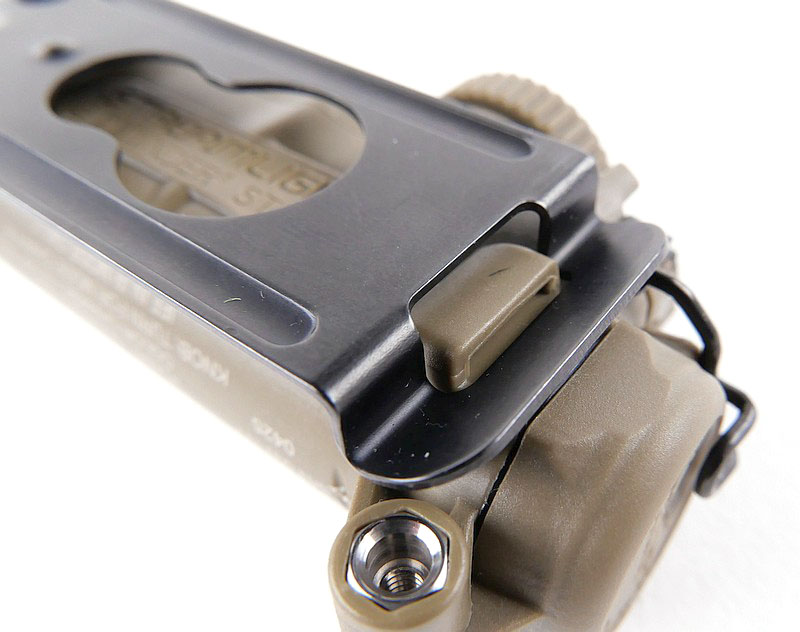
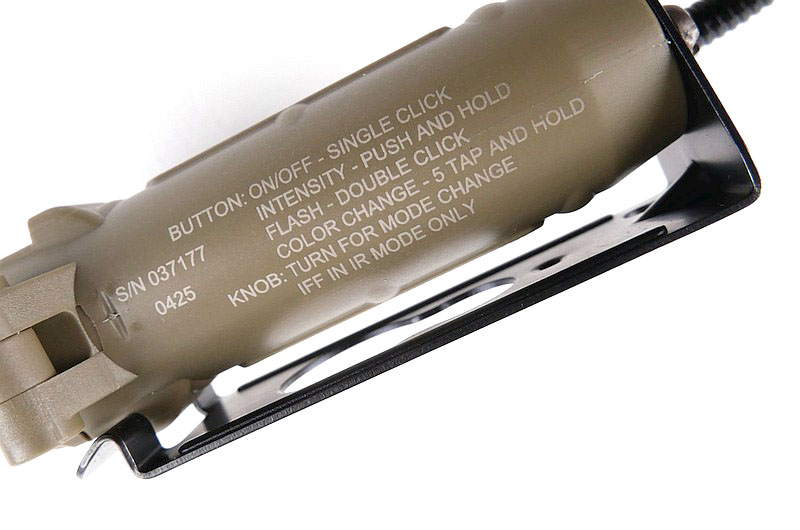
A four-position rotating control dial / switch sits just behind the power button. Between the battery door and the rotary control dial is the protected IFF switch. This has a metal cover clipped over it to ensure there isn’t an accidental activation. Pulling this metal cover down allows the IFF switch to be moved in either direction to activate the infra-red strobe.
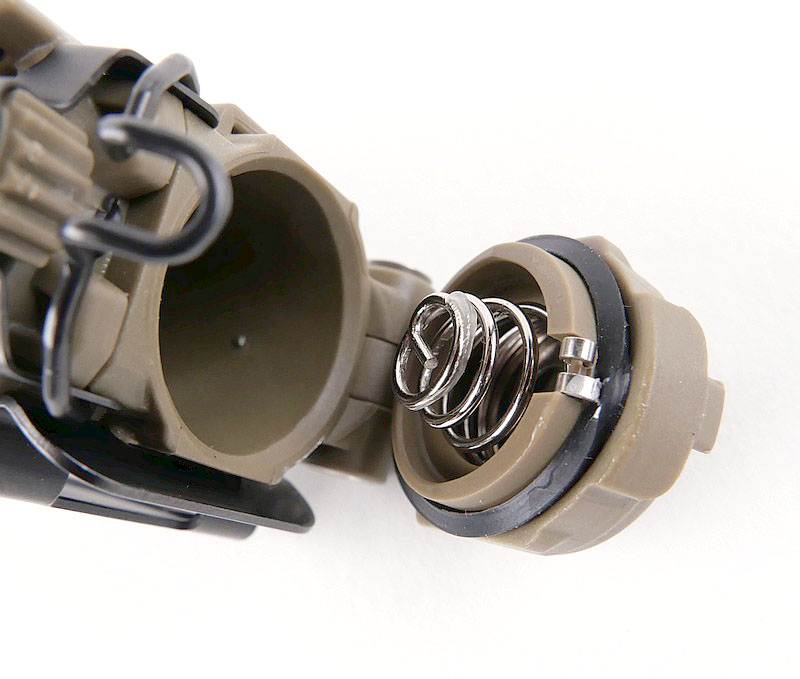
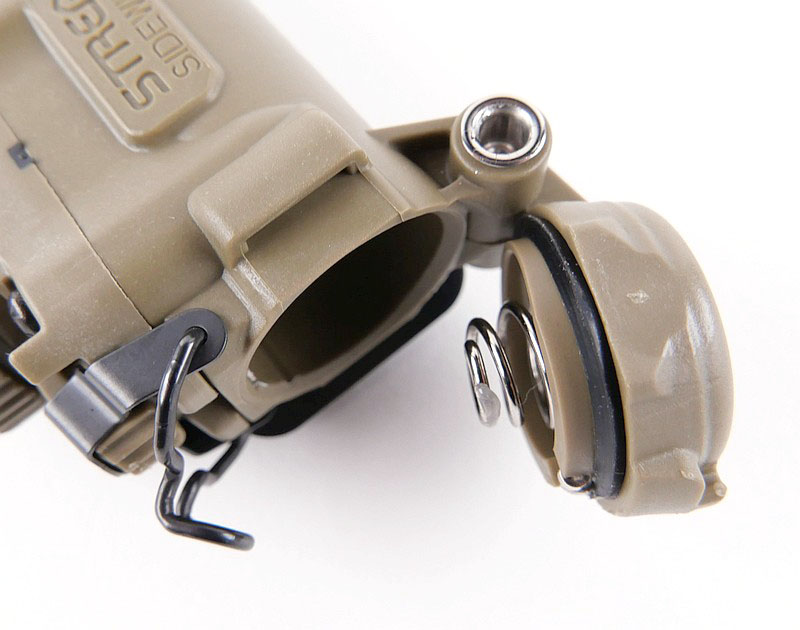
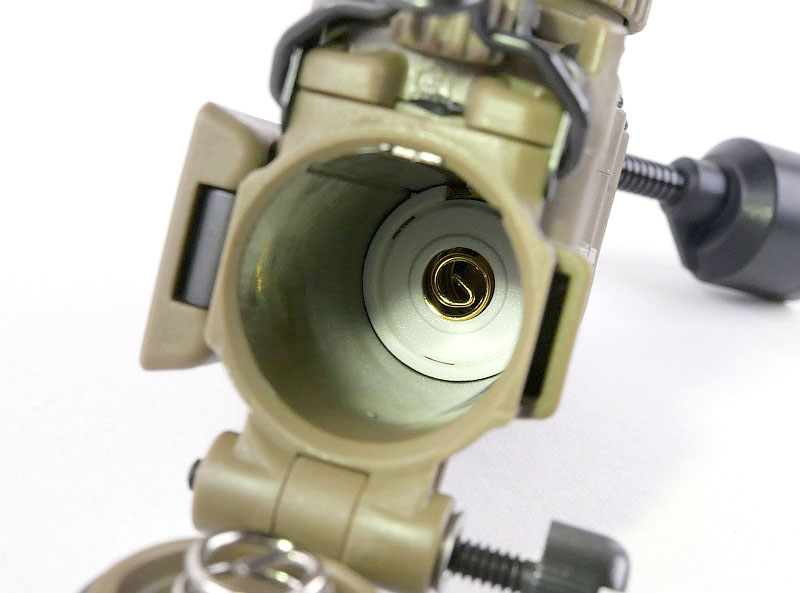
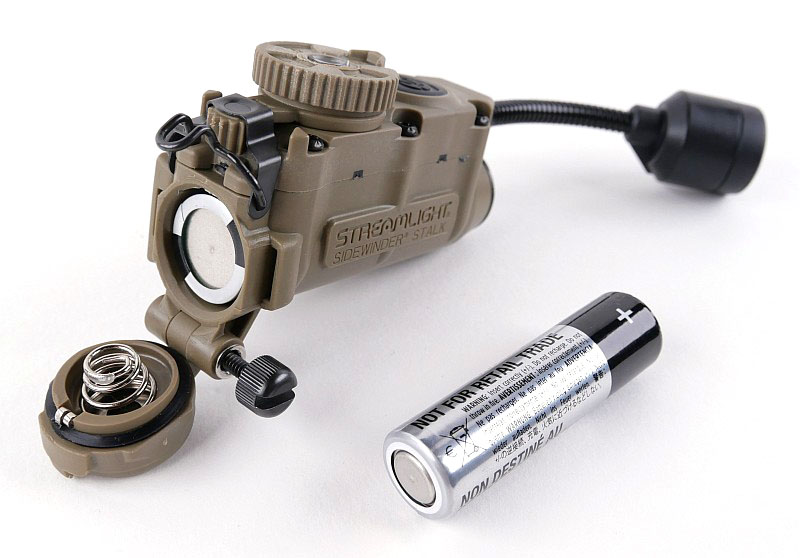
Securing the battery door is a wire clip. Flipping this clip away from the battery door allows it to swing open, revealing the negative contact spring and metal pads that complete the connection to the main body. Looking inside the tube shows the sliding-plunger positive contact, which accommodates the different cell lengths.
Taking a more detailed look at the mount:
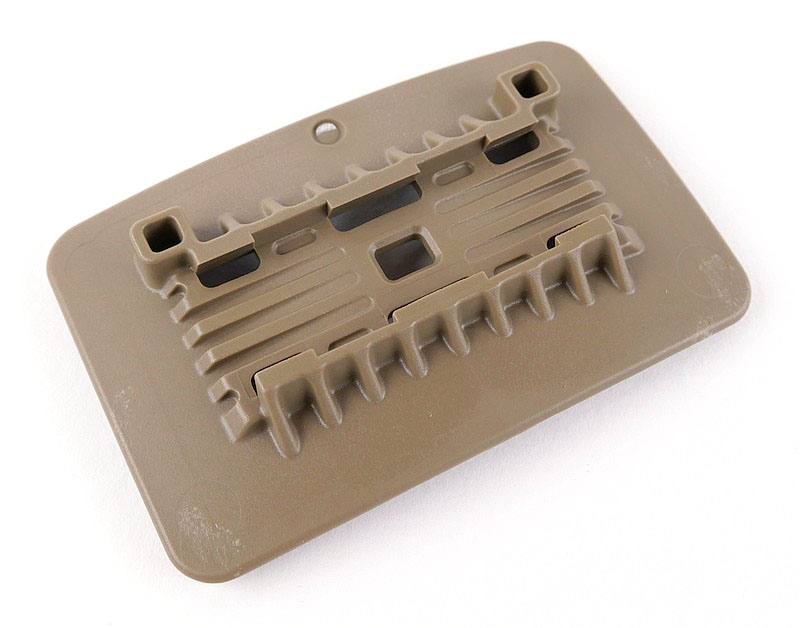
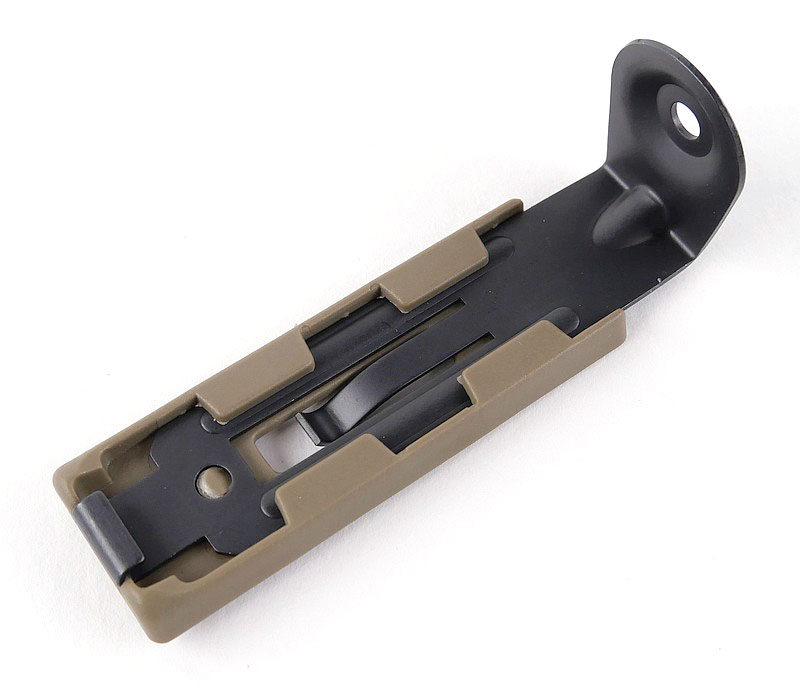
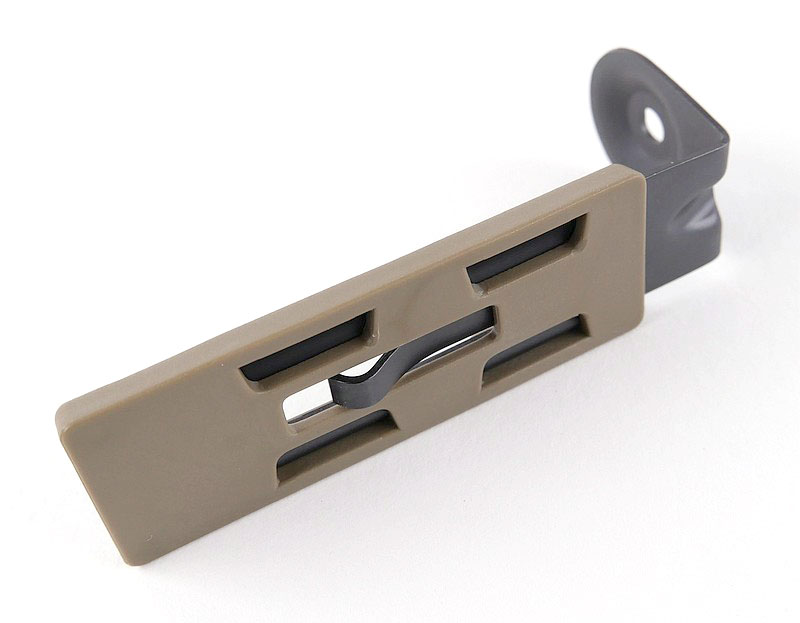
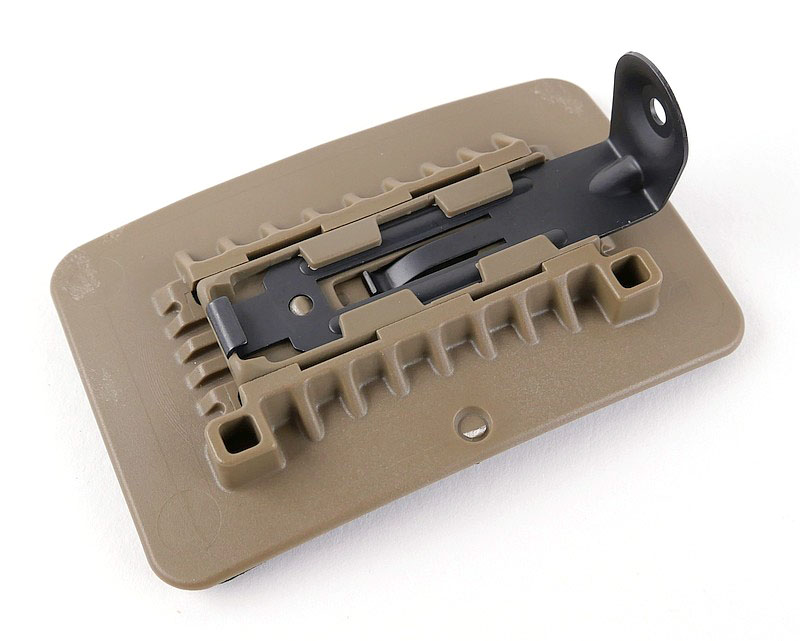
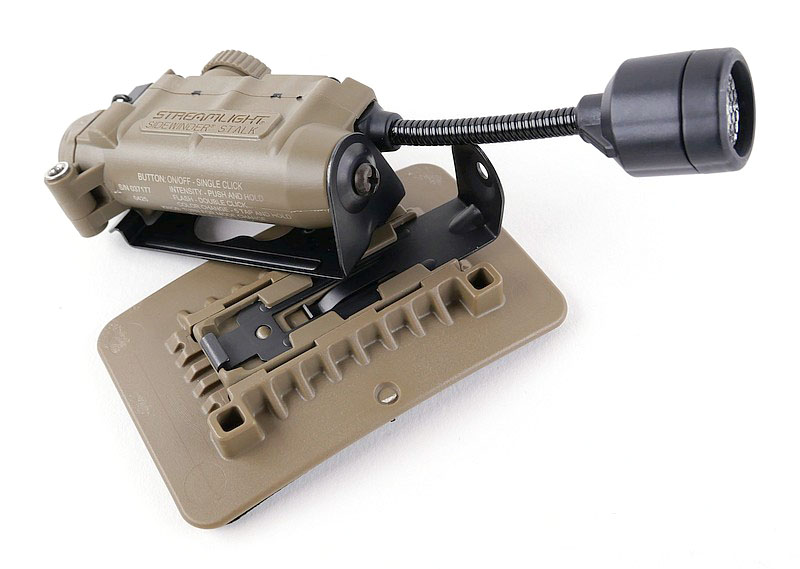
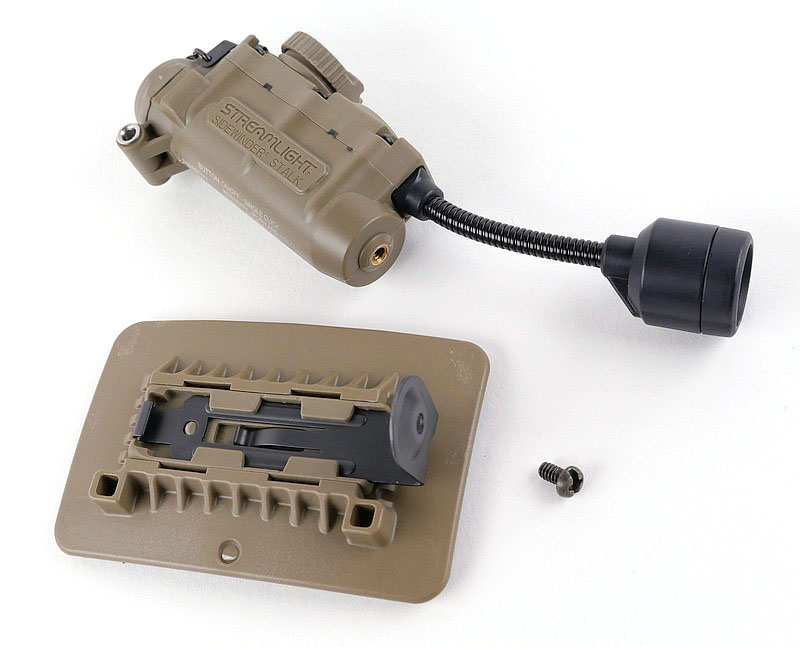
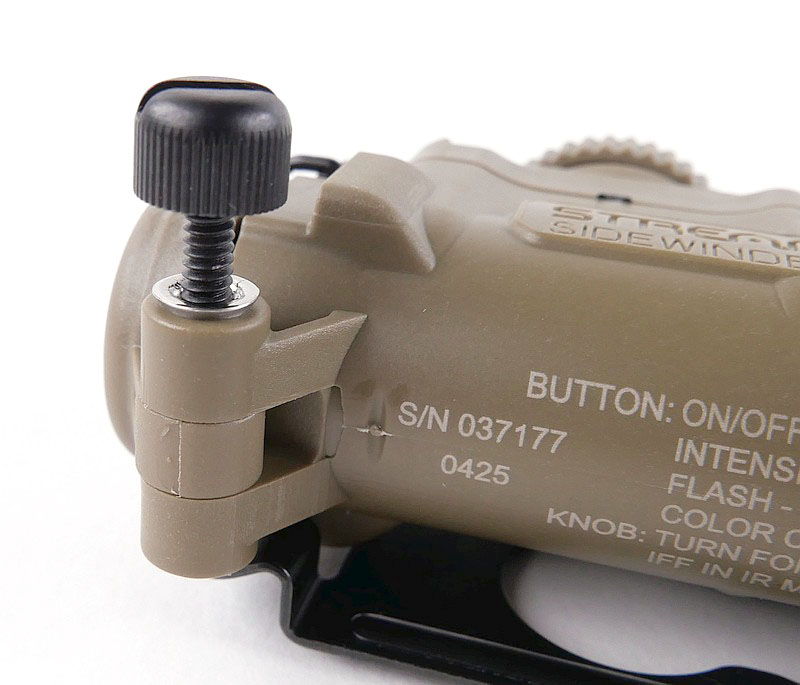
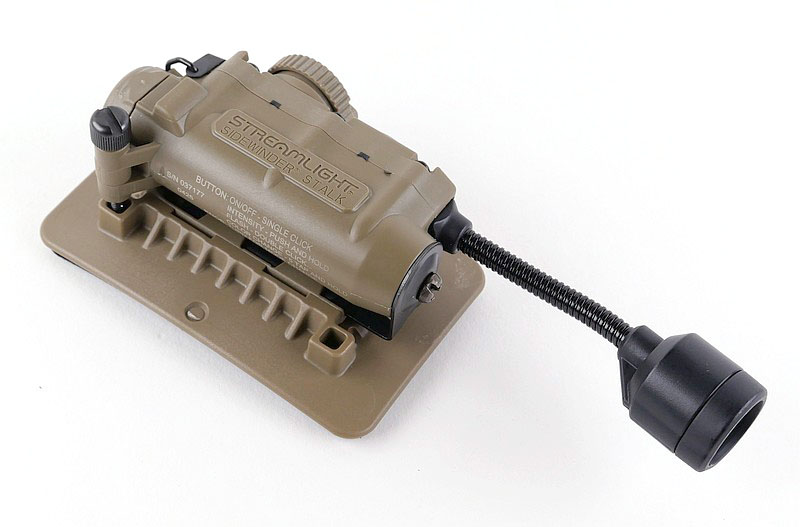
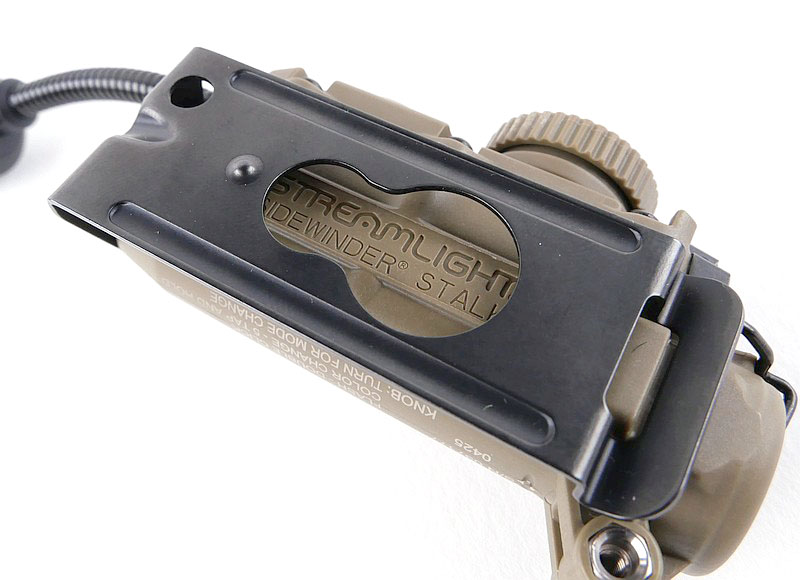
The review versions of the Stalk are those that include the Arc rail mount. The Stalk, as standard, comes fitted with the Sidewinder steel clip mount. This standard clip allows belt, MOLLE, or helmet mounting via the Sidewinder helmet mount (14055).
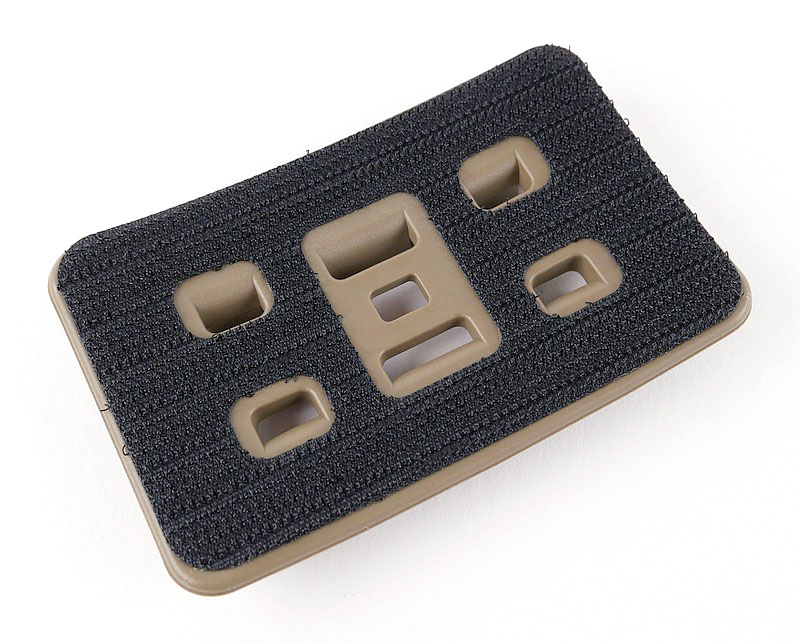
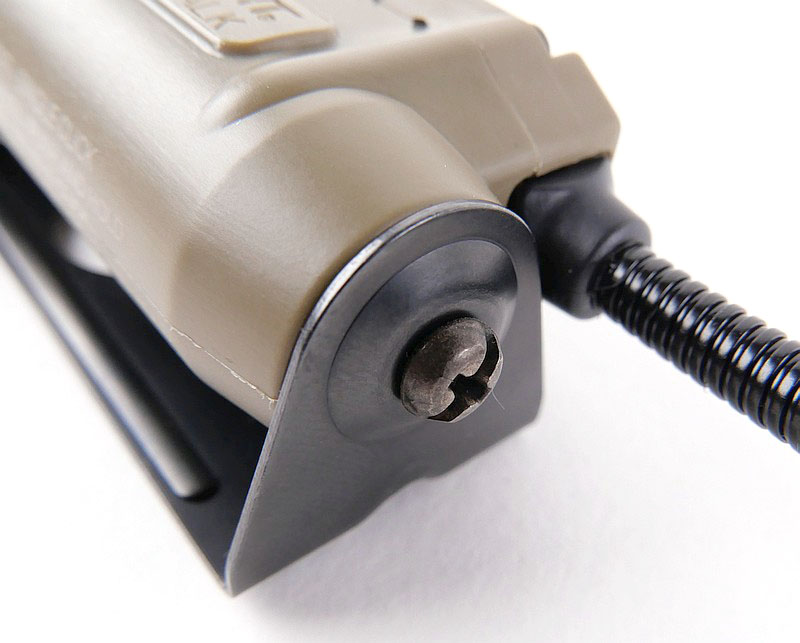
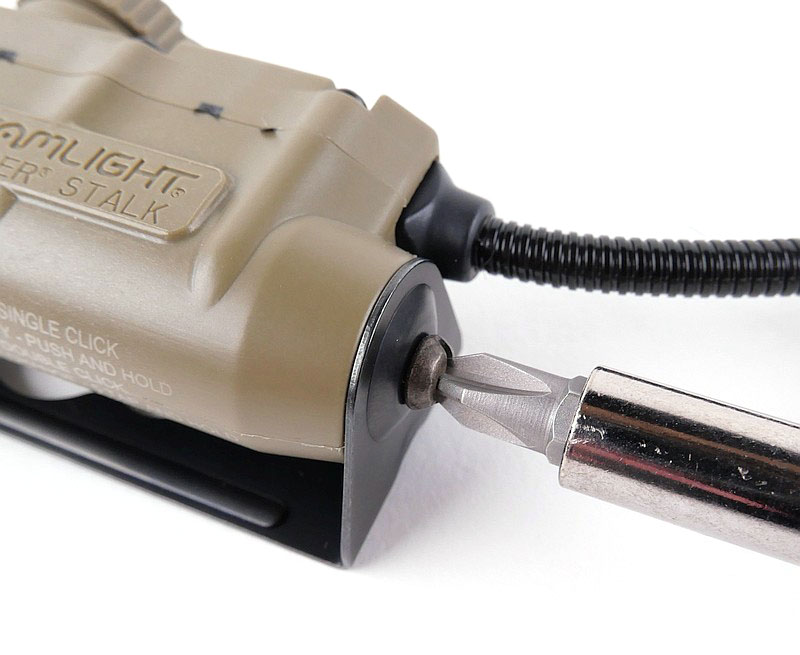
Swapping the standard clip to the ARC rail is a simple job, only requiring a single screw to be taken out and refitted. Also included is a velcro backed ARC rail adapter that can be used on any headwear with velcro pads.
Streamlight Sidewinder Stalk Review – The beam
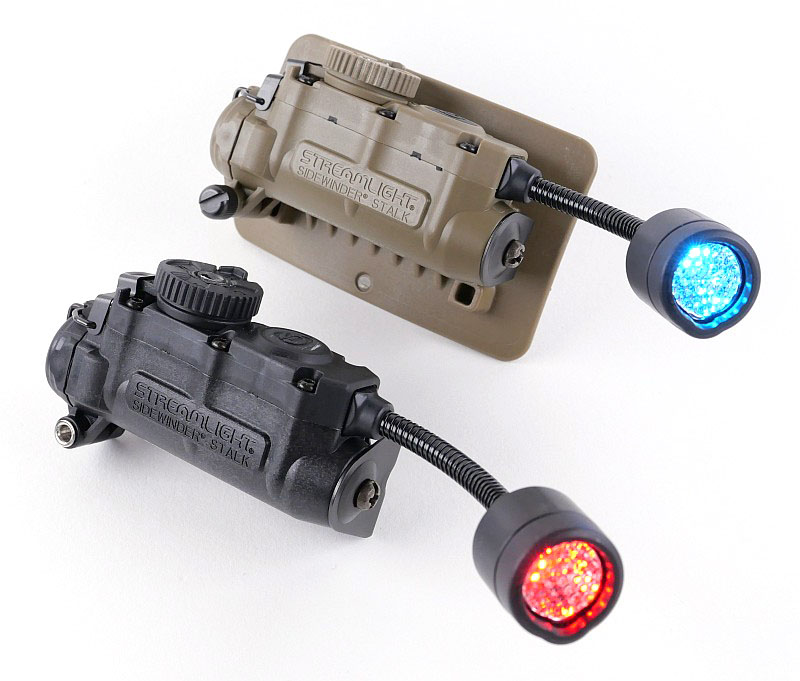
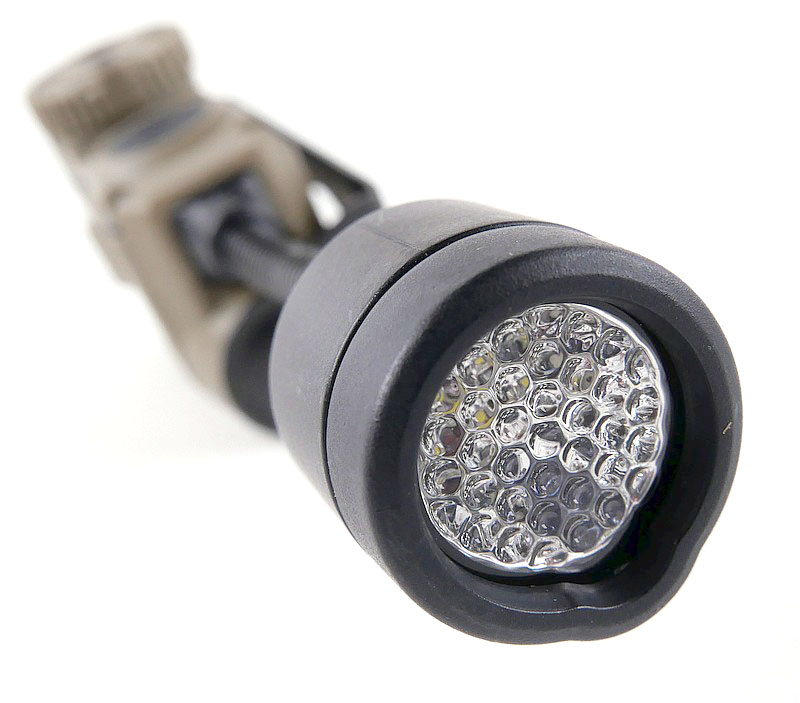
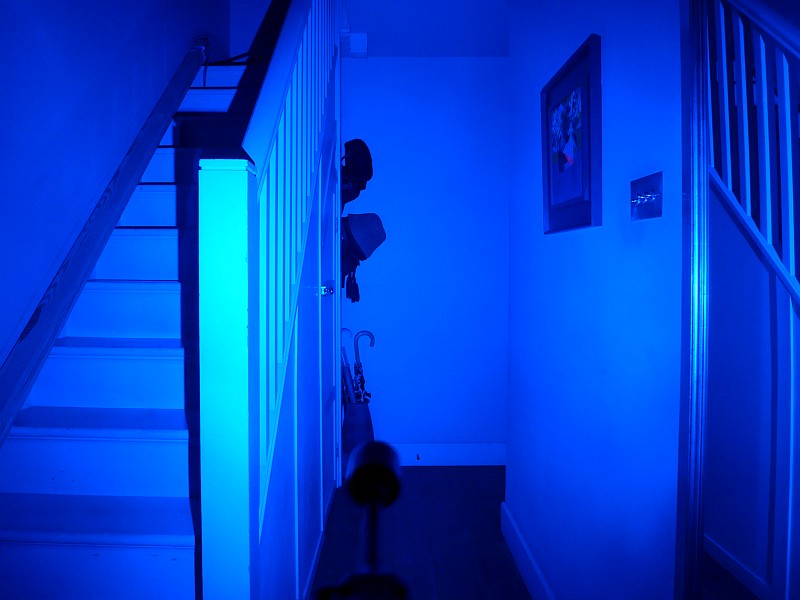
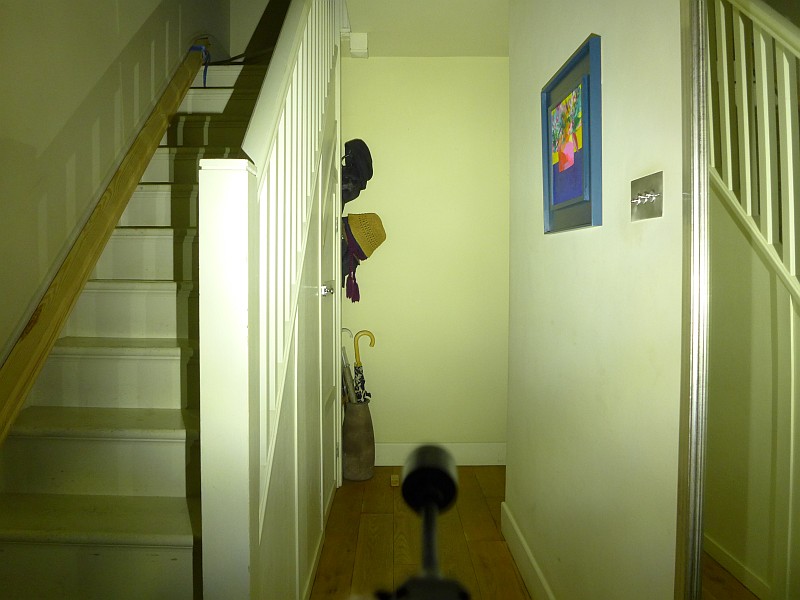
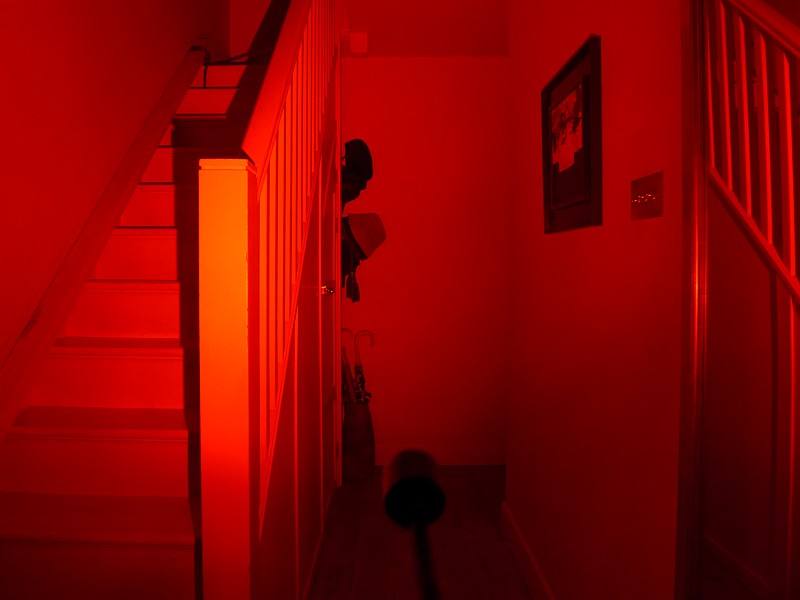
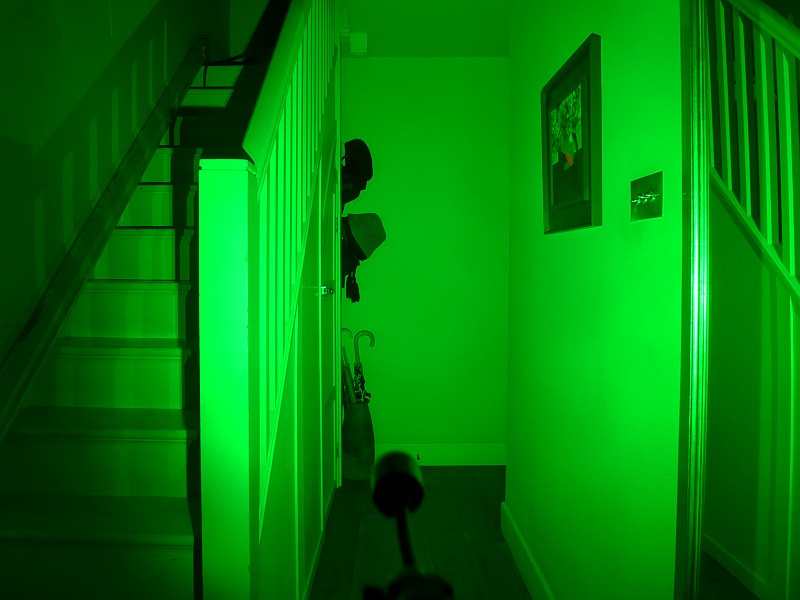
One head, five beams colours, white, blue, green, red and infra-red the last of which I can’t photograph so you’ll see the four others in the gallery. The bobbly looking beam diffuser does create noticeable artifacts at the edge of the beam, especially visible on the white beam on its lowest output (as shown here).
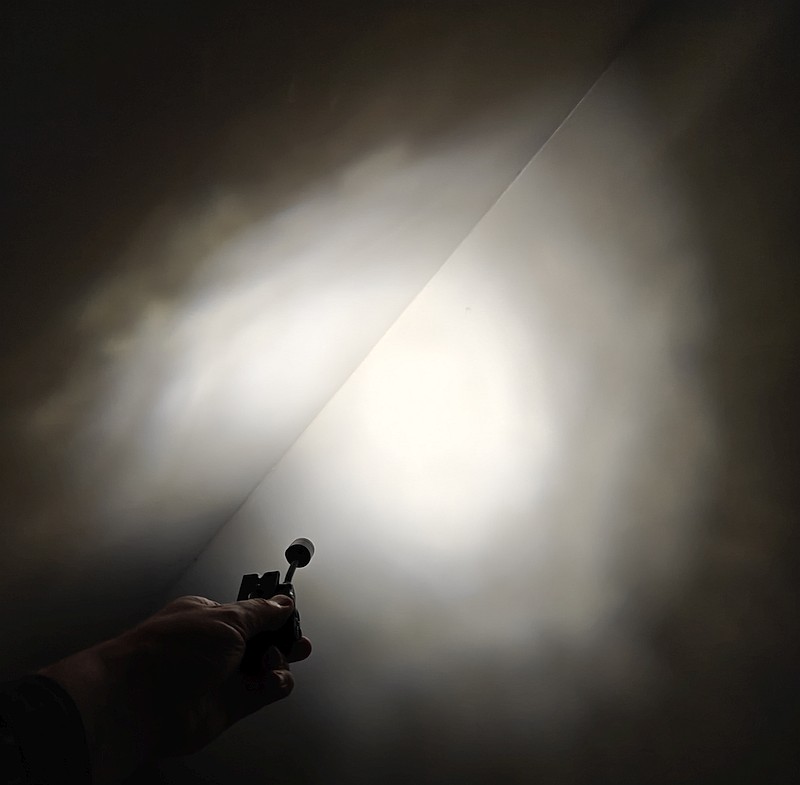
Please be careful not to judge tint based on images you see on a computer screen. Unless properly calibrated, the screen itself will change the perceived tint.

The indoor beamshot is intended to give an idea of the beam shape/quality rather than tint. All beamshots are taken using daylight white balance. The woodwork (stairs and skirting) are painted Farrow & Ball “Off-White”, and the walls are a light sandy colour called ‘String’ again by Farrow & Ball. I don’t actually have a ‘white wall’ in the house to use for this, and my wife won’t have one!
Batteries and output:

The multi-fuel Sidewinder Stalk runs on CR123 or AA Alkaline, or AA Lithium. And unofficially I’ve also run it on AA NiMh, AAA Alkaline, AAA Lithium and AAA NiMh!!!

Please note, all quoted lumen figures are from a DIY integrating sphere, and according to ANSI standards. Although every effort is made to give as accurate a result as possible, they should be taken as an estimate only. The results can be used to compare outputs in this review and others I have published.

For full details of the tests and measurements carried out and an explanation of the results, see the page – Light Testing Information.
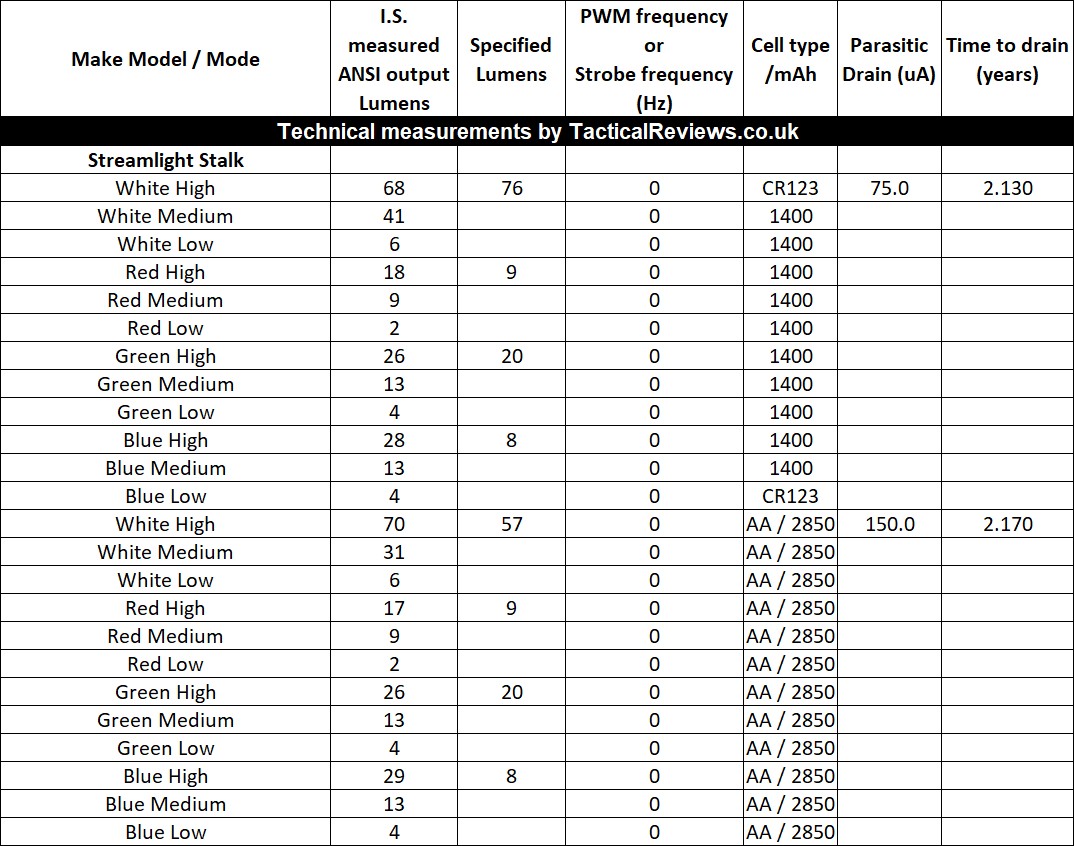
* Beacon and Strobe output measurements are only estimates as the brief flashes make it difficult to capture the actual output value.

There is parasitic drain, which is significant (though nowhere near the worst I’ve come across). As shown in the table, either cell type would be fully depleted after two years. But, critically, the parasitic drain current increases as cell voltage decreases, so this drain accelerates and won’t take two years to drain the cells, more likely around half that.
So what is a usable amount the remaining charge? Even 50% is not ideal, and that is where you would be after six months on standby.
The bottom line here is as long as you are regularly using the Stalk, its fine to leave the battery in it. If you are not going to use it for a week or more, take the cell out.

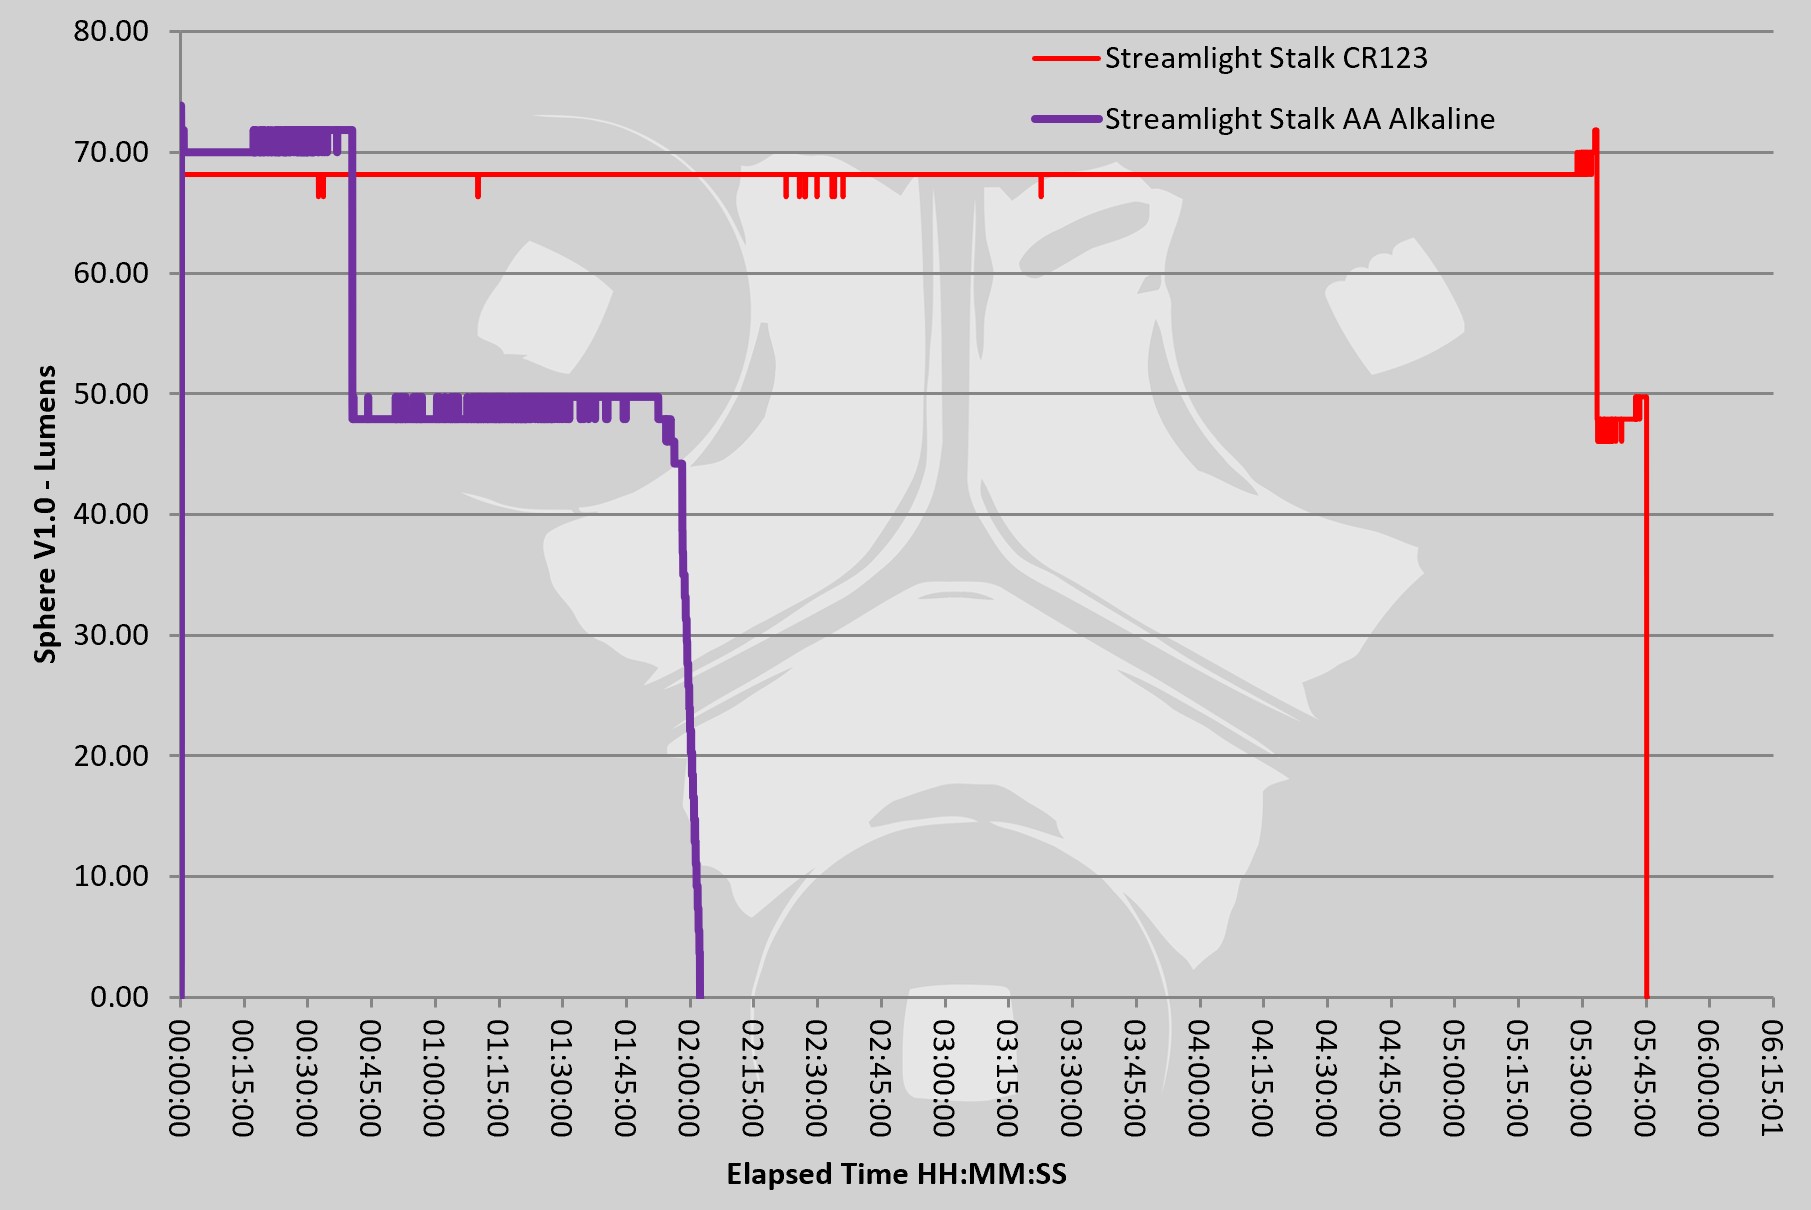
When comparing the runtime from AA and CR123, there is a clear winner. CR123 will give you significantly more output and runtime. Being able to run from CR123 or AA or even unofficially AAA makes this a super flexible light.

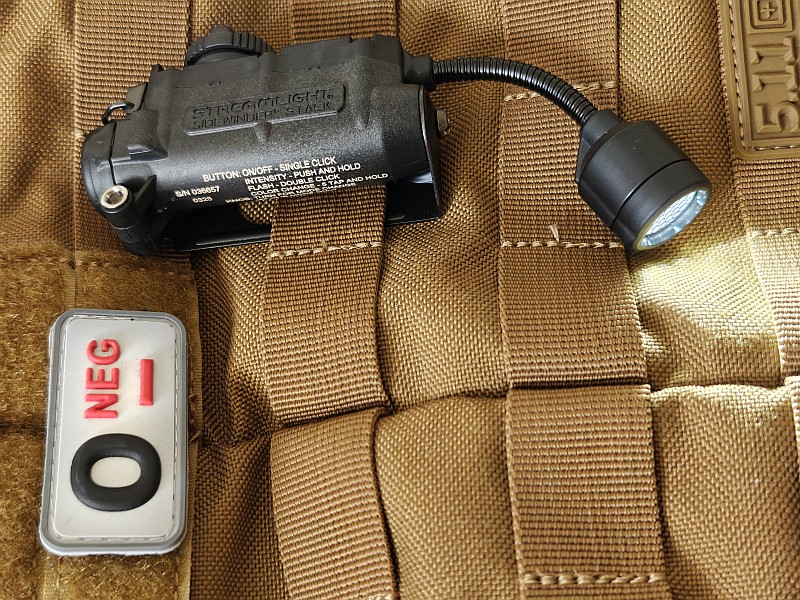
The Streamlight Sidewinder Stalk in use
I first experienced Streamlight’s multi-fuel capabilities in the Sidewinder Compact II, and while understanding the disadvantages of a control circuit that has to deal with all the different input voltages (which leads to the higher than ideal parasitic drain), the huge advantage it gives you is ‘cell harvesting’ from whatever you have to hand. This is a true headline feature, as you might go out stocked with CR123s, but if pushed, you will be able to find AA or AAA cells to use. As a single cell light, it doesn’t matter about finding matched cells, as you only use one at a time.
This gives you great confidence in the Stalk being able to keep running when others won’t have a suitable battery to use.

Most of my testing has been with the Stalk hand-held, mainly so I could get more time using it. It is very lightweight and with CR123 can be easily used even clipped onto a baseball cap. I’ve had the colour output almost exclusively on red for night time use when the lowest white output level is too bright, and in terms of output I’ve also almost mainly used it on the default low level. In general use, the low white and low red levels cover 99% of my daily needs. Consider that runtime graph with the output set to maximum, so if only using a lower level, your runtime increases enormously.

It isn’t always an option to use a head torch, depending on headwear. Yes, the stalk is designed to work with helmets, at which point it is a headlamp, but it’s also a practical task light. Anyone working with their hands to do something physical will know a fixed torch is not that useful; do you want to be biting on the tailcap to hold it in your mouth? Or placing it on a surface hoping to won’t roll away or move at the wrong time? A light that has an articulating or moveable head transforms its usefulness. Place or fix the light and aim the beam just where you need it.

All bendable gooseneck extensions have a bit of backlash, that is they ‘recover’ slightly from where you position them. This is just a characteristic so you learn how much to over adjust so it springs back to where you want it.

In the original Sidewinder, Streamlight managed one of the lowest parasitic drain figures I’ve ever measured, 0.2uA, which is negligible as the cell’s own internal losses are more than this. The Stalk’s superbly useful multi-fuel capability is a real challenge for the driver circuit having such different input voltages, so as a trade-off for the ability to use CR123, AA and even AAA may be worth this extra drain. Cracking open the battery door when putting it away stops this, as long as you remember.

Streamlight’s Sidewinder collection is rounded off nicely with the addition of the Stalk, and it may be worth adding to your own lighting line up, even if only for the multi-fuel capability.

Streamlight Sidewinder Stalk Review Summary
The views expressed in this summary table are from the point of view of the reviewer’s personal use. I am not a member of the armed forces and cannot comment on its use beyond that covered in the review.

Something that might be a ‘pro’ for one user can be a ‘con’ for another, so the comments are categorised based on my requirements. You should consider all points and if they could be beneficial to you.

_______________________________________________
What doesn’t work so well for me
_______________________________________________

Beam diffuser produces a lot of artifacts.
Parasitic drain quite high.

_______________________________________________
Things I like
_______________________________________________

Multi-fuel capable – CR123, AA and even AAA.
Five light colours in one – White, Red, Green Blue and IR.
Flexible gooseneck head adjustment.
Tactile Rotary selector switch.
Swappable mount types.
Ambidextrous mounting.
Black or Coyote options.
IFF strobe protected safety switch.
No detectable PWM.
Lightweight.

Streamlight Sidewinder Stalk Review Videos

Starting with a short format sixty second review:


Onto a full video review covering many more details:

 
Discussing the Review:
Something new – will it work? A Tactical Reviews Subreddit.
TacticalReviewsChat on Reddit
Please visit there and start/join the conversation.
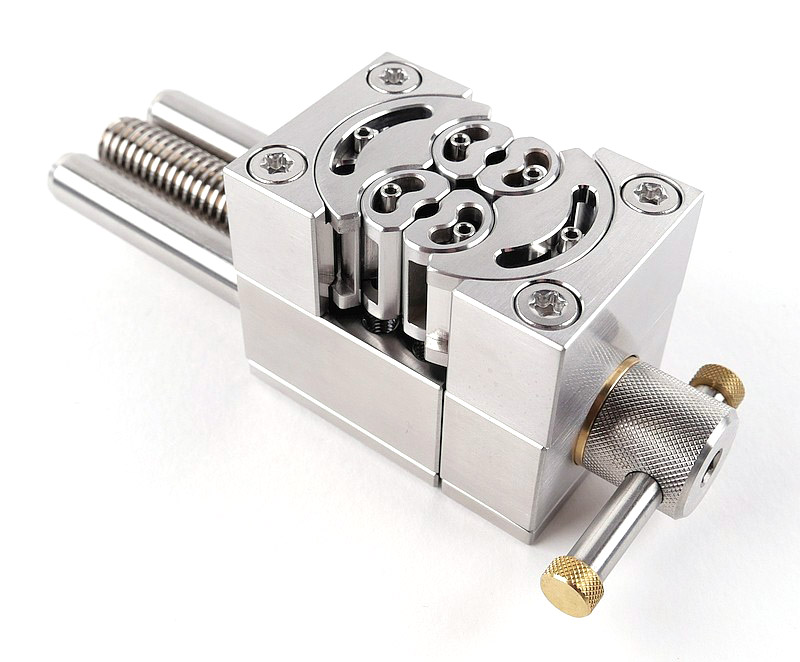
Gear Review: MetMo Fractal Vise (Vice)

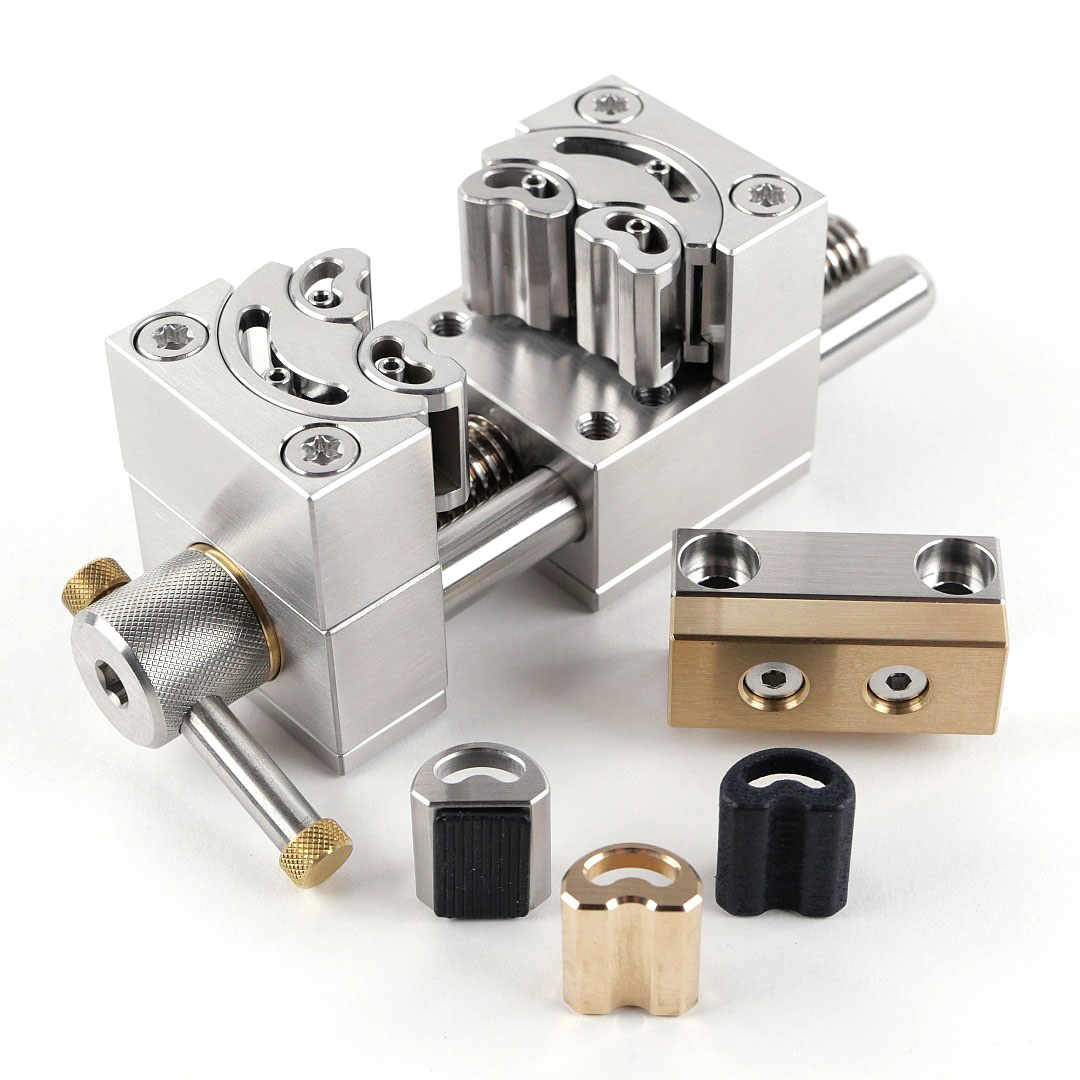
Get ready for the most detailed review of the MetMo Fractal Vise (Vice) you will ever find! It is impossible to do justice to the ‘ultimate in clamping flexibility’ without showing everything I’ve included in this MetMo Fractal Vise Review.

Don’t Panic – Even if you are someone that might say ‘TLDR’ there are plenty of pictures to look at too, so even if you just browse the galleries you’ll see what it is all about.

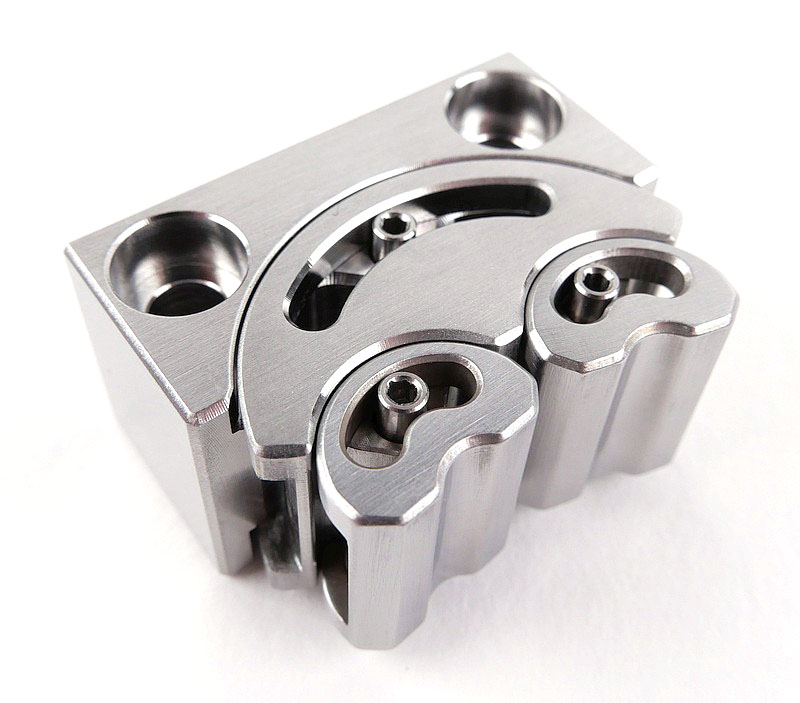
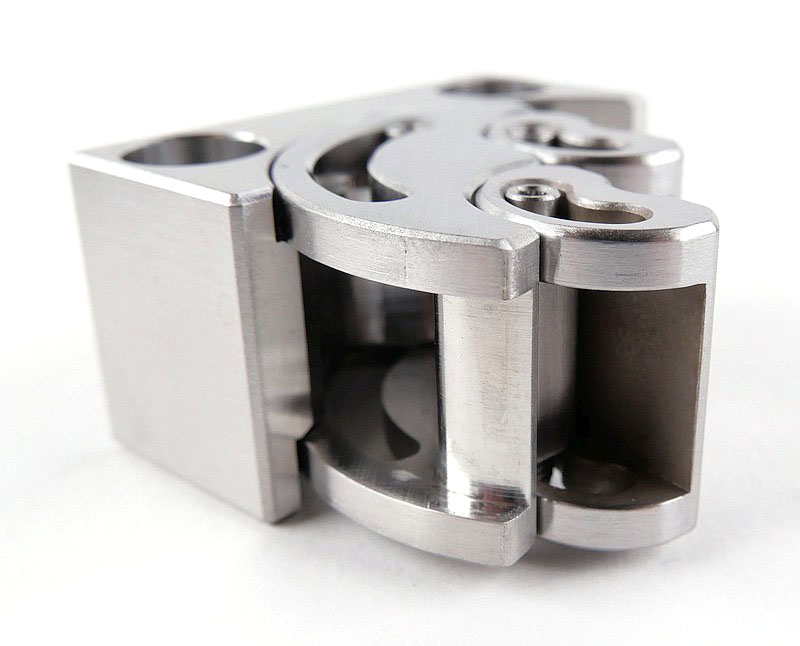
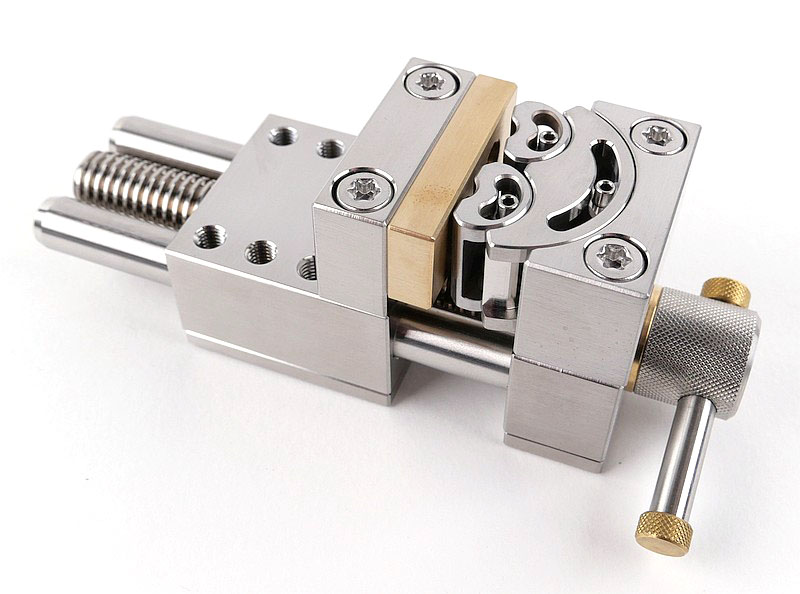
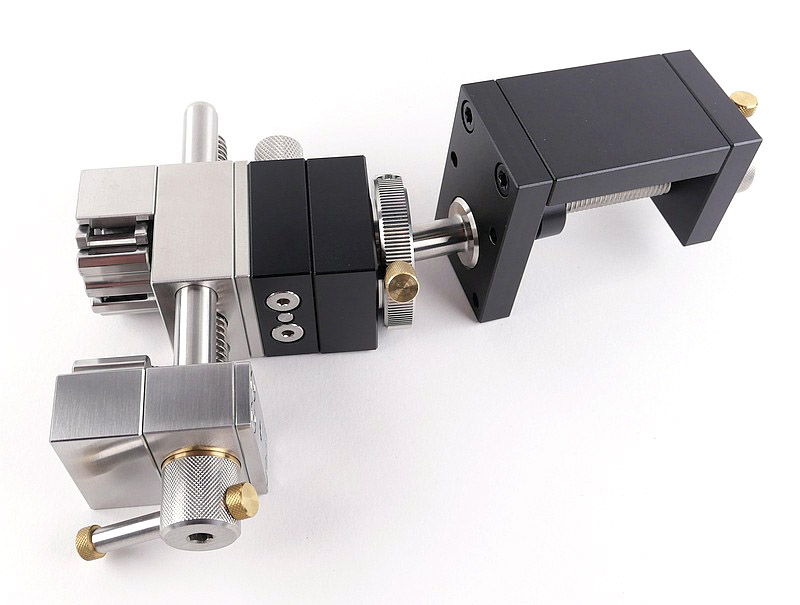
The MetMo Fractal Vise, invented in 1913 and refined in 2025. Six independent movements allow you to perfect your clamping game.

Inspired by a historic patent, this overengineered desktop vice features reversible interchangeable jaws, modular accessories, and a clampingly clever design. Built for the makers who think outside the box — and like to clamp it too.

Find out if it could be the ideal companion for your ‘making’ lifestyle and join me in this MetMo Fractal Vise Review for all the details.

Just before we get started, you may notice I’m using ‘Vise’ and ‘Vice’ interchangeably. Though MetMo is a UK based company, it has adopted the US-English word ‘Vise’ instead of the British-English word ‘Vice’, for this clamping tool. The choice was for a more international stance on the naming of this amazingly engineered fractal vice (there I go again); MetMo’s Fractal Vise.

What’s in the Fractal Vise box?:

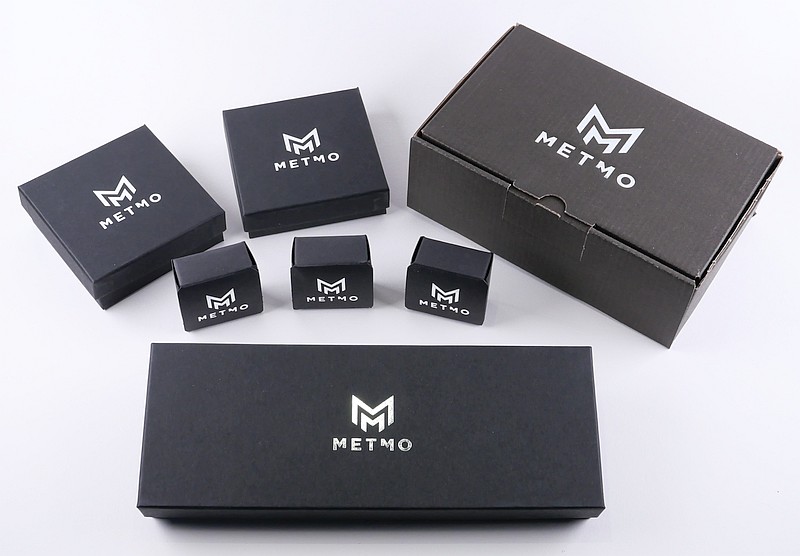
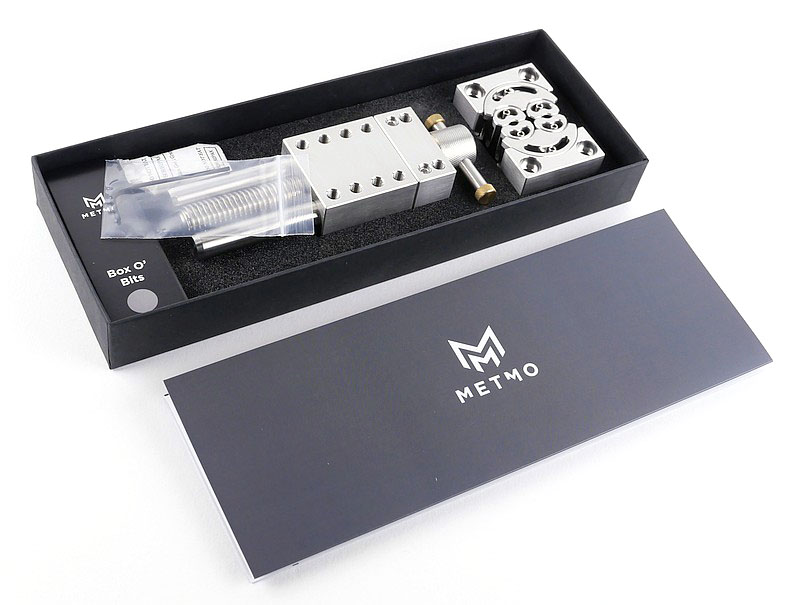
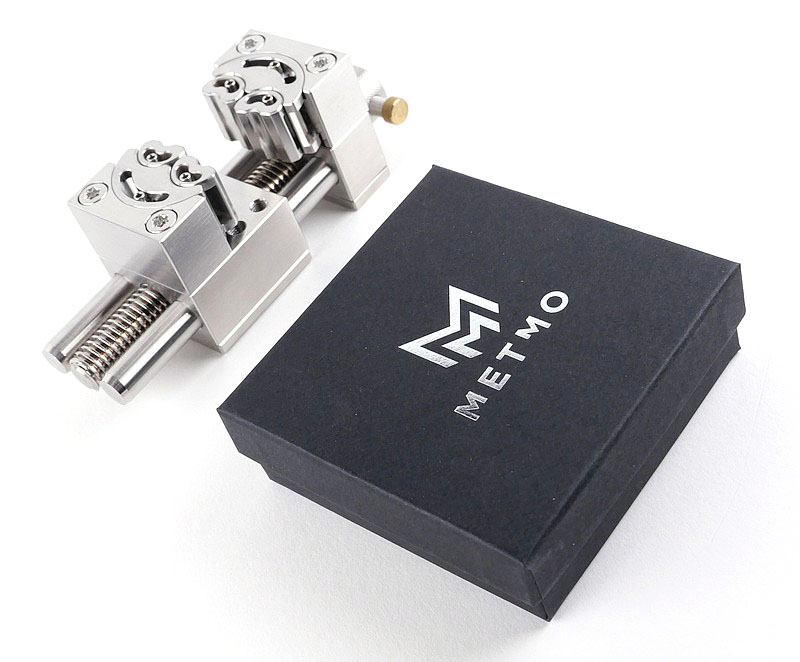
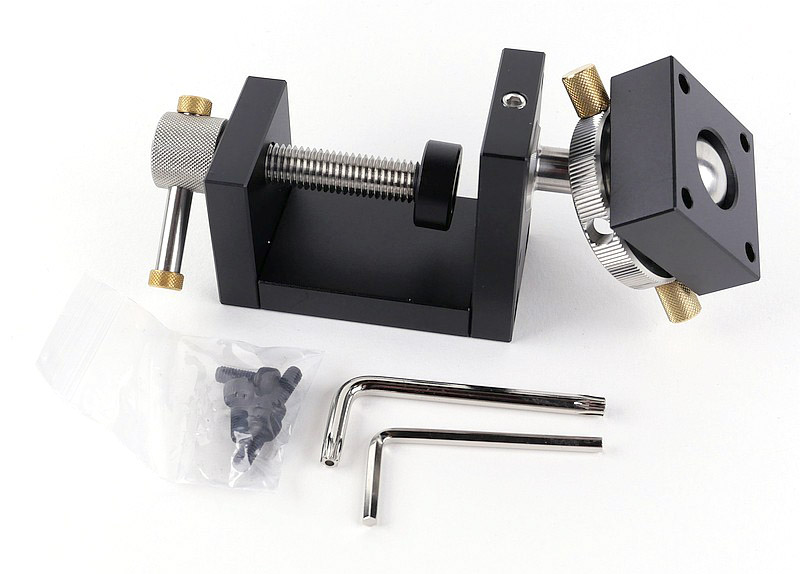
Just before we break into the first of the many boxes for the core part of this system, this is the full set of boxed components including the fractal vice, all the optional jaws and the desk clamp mount with quick release.

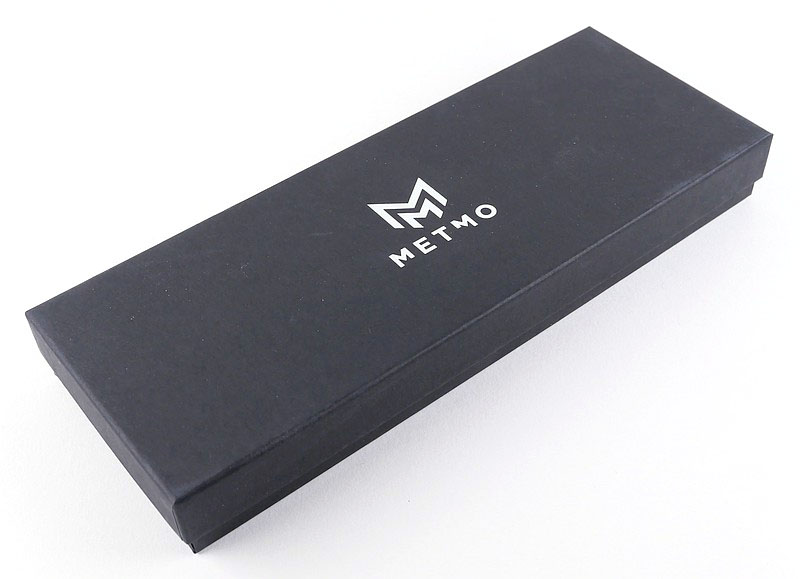
Unexpectedly slim but satisfyingly heavy, the Fractal Vise’s box was a surprise. I genuinely had not expected this one to contain the vice.

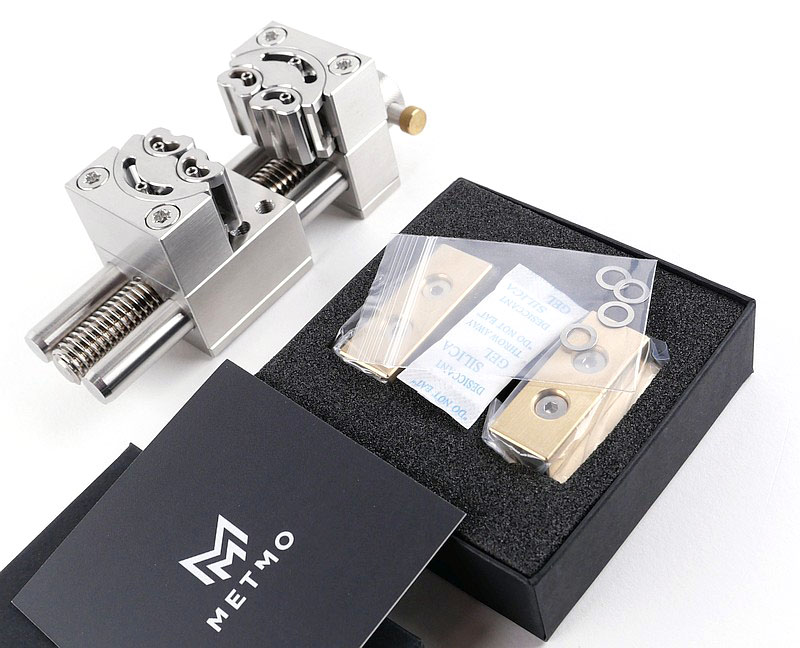
Lifting off the lid there is an instruction card, under which the components are laid out.

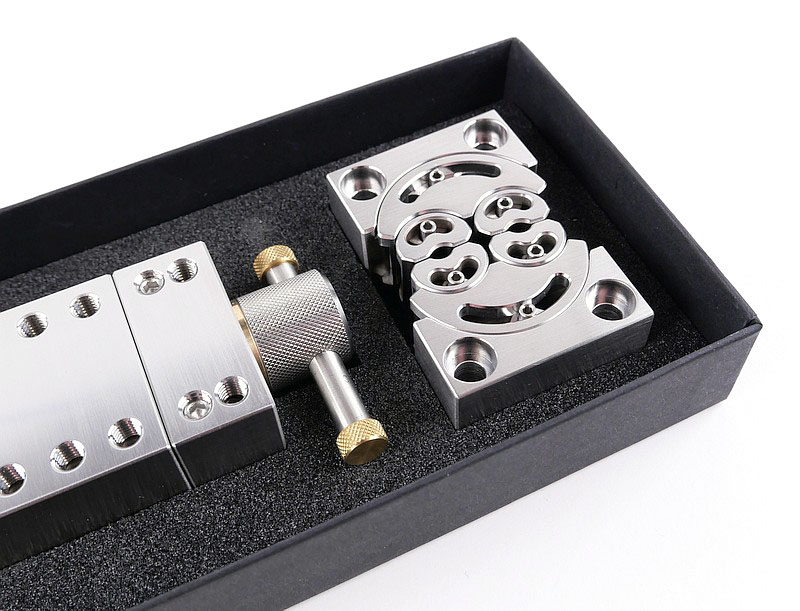
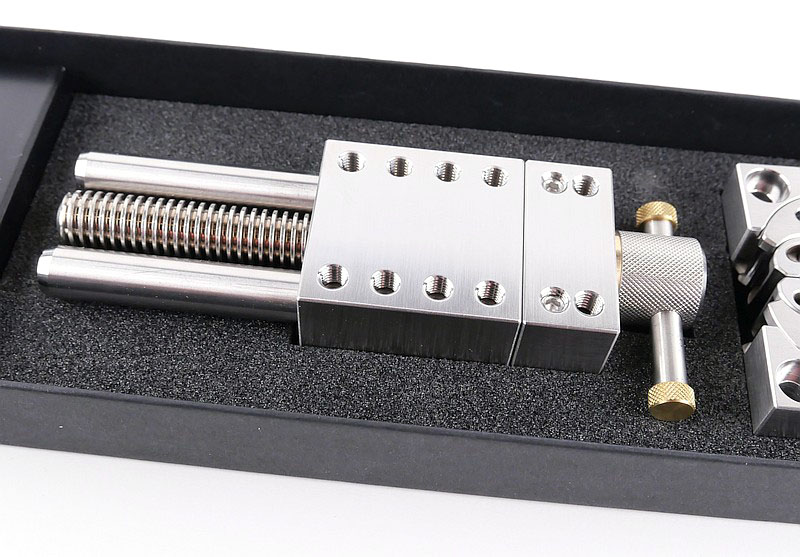
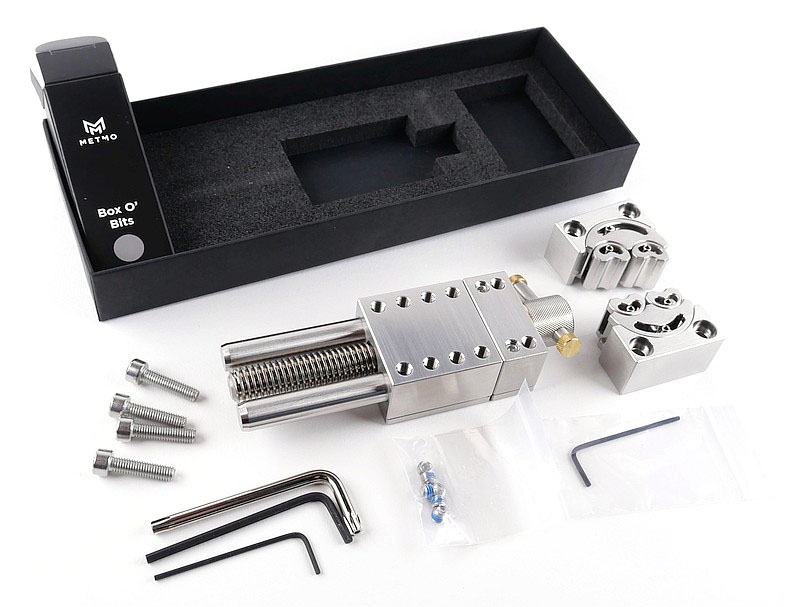
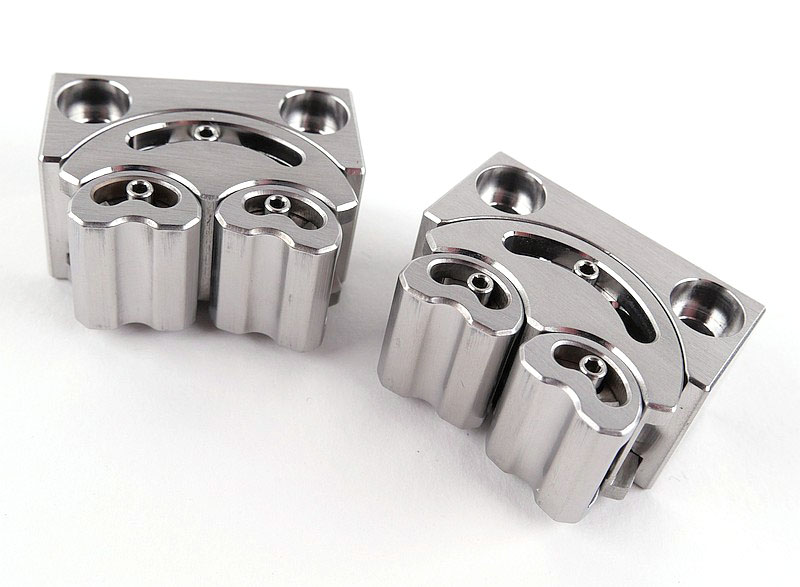
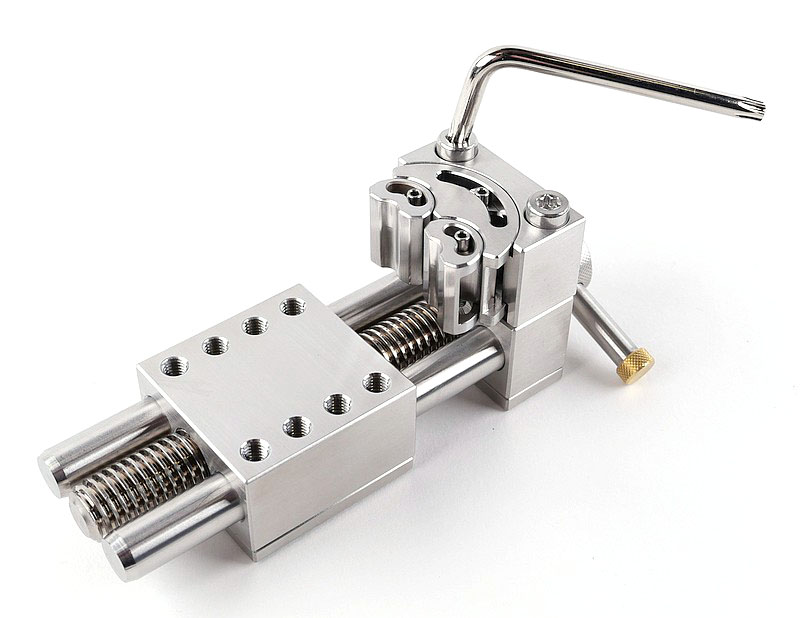
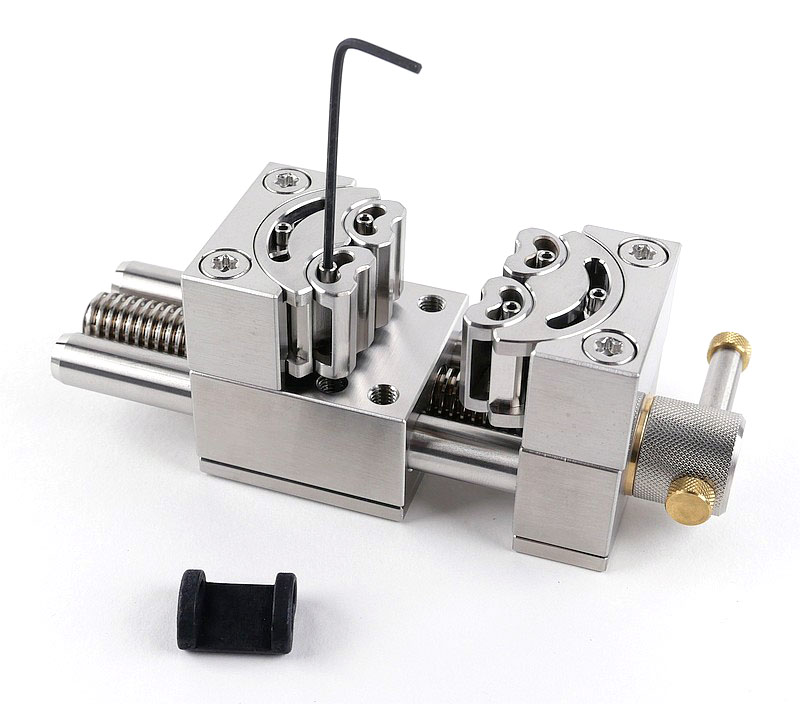
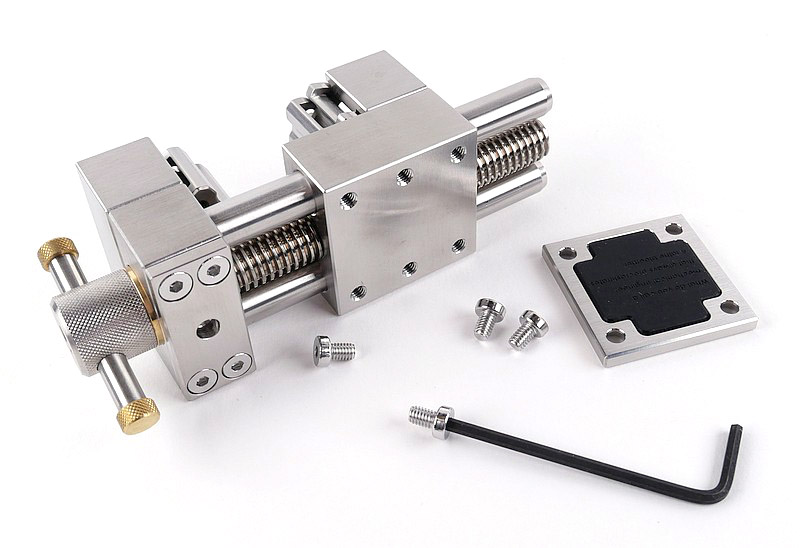
Celebrating the pure engineering, it is entirely fitting that the Fractal Vise comes partly disassembled. The base consisting of the handle, screw, guide rods, slide and jaw mounting holes. Then next to this, the two sets of fractal jaws, plus a box’o’bits with Allen and Torx wrenches, spare grub screws, and the jaw mounting bolts.


A good look round the Core element, the Fractal Vice – Things to look out for here are:

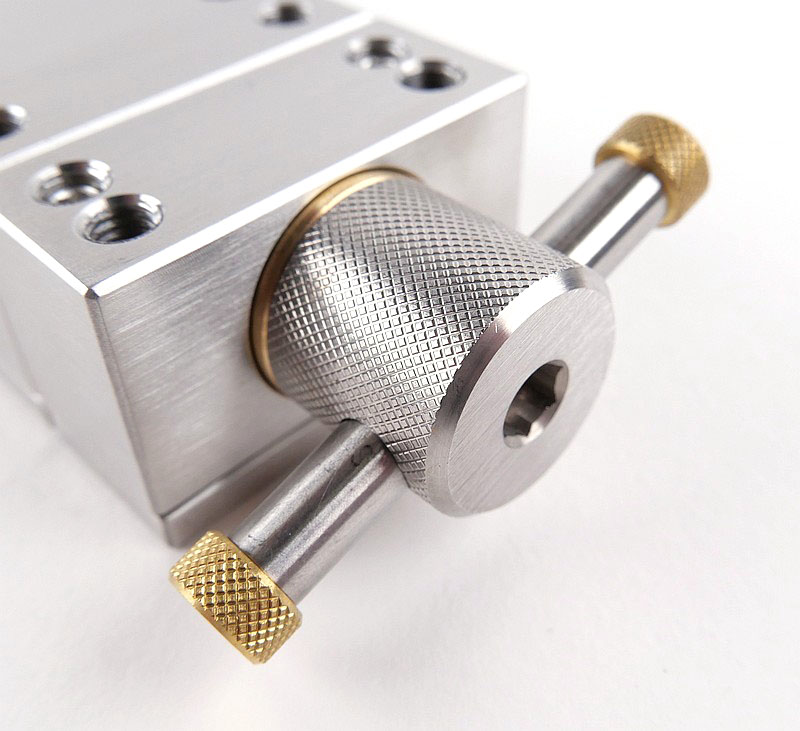
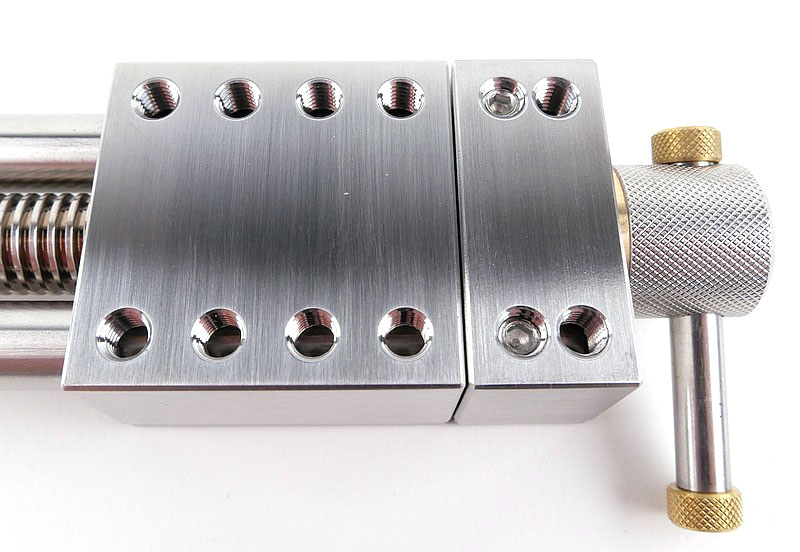
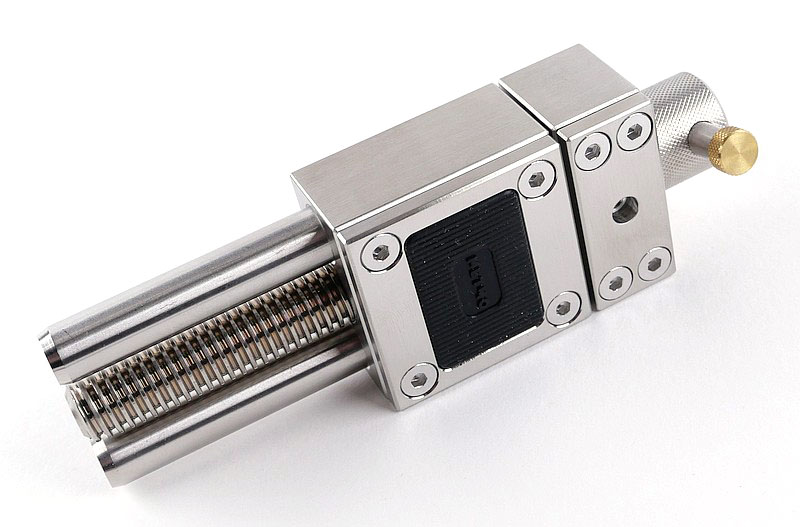
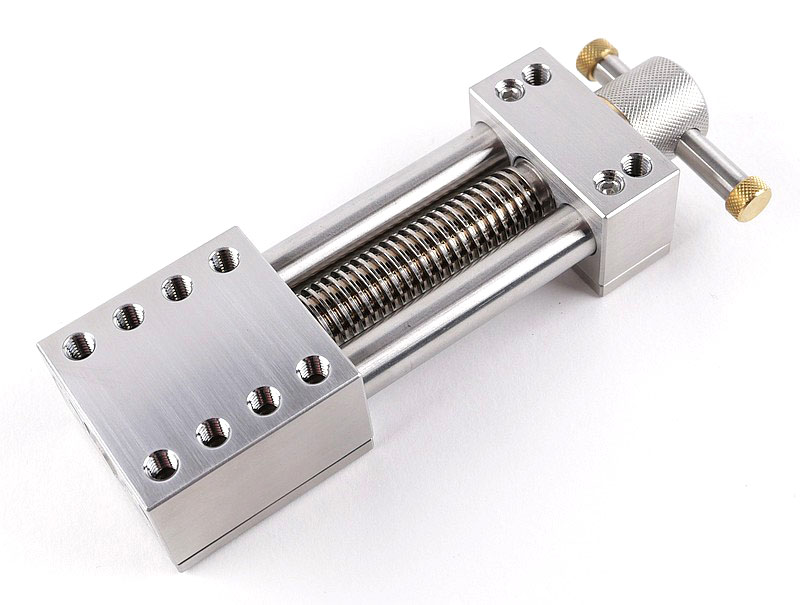
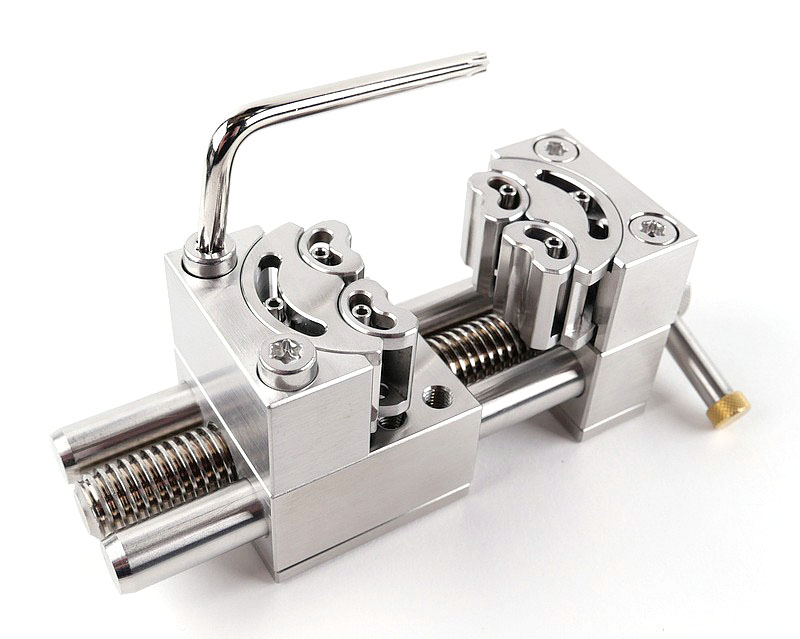
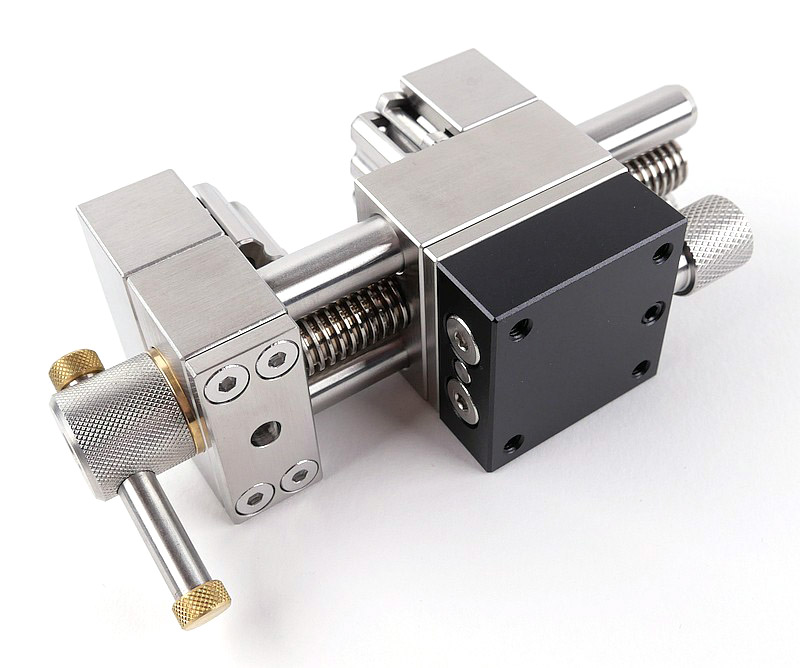
Now it’s time to really take in everything about each of the main parts. Starting with the base we can pick up on those brass highlights; the caps on the handle, as well as the main screw bushing.
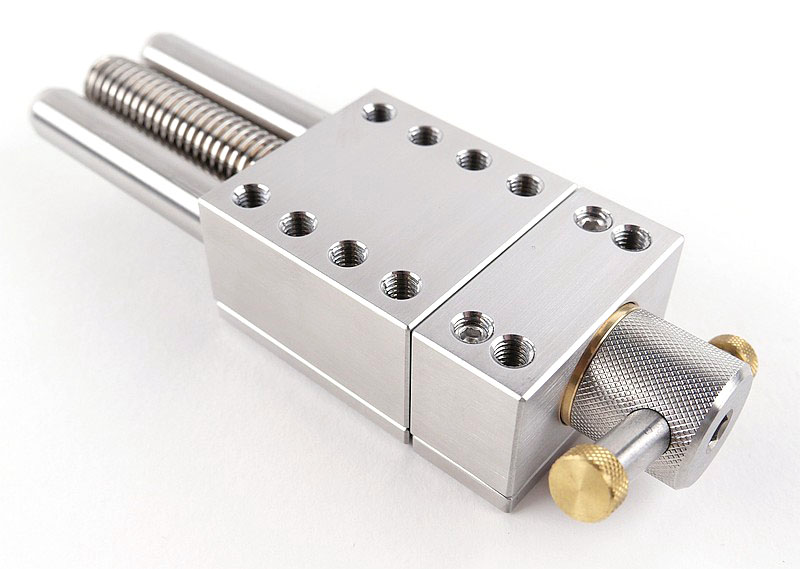
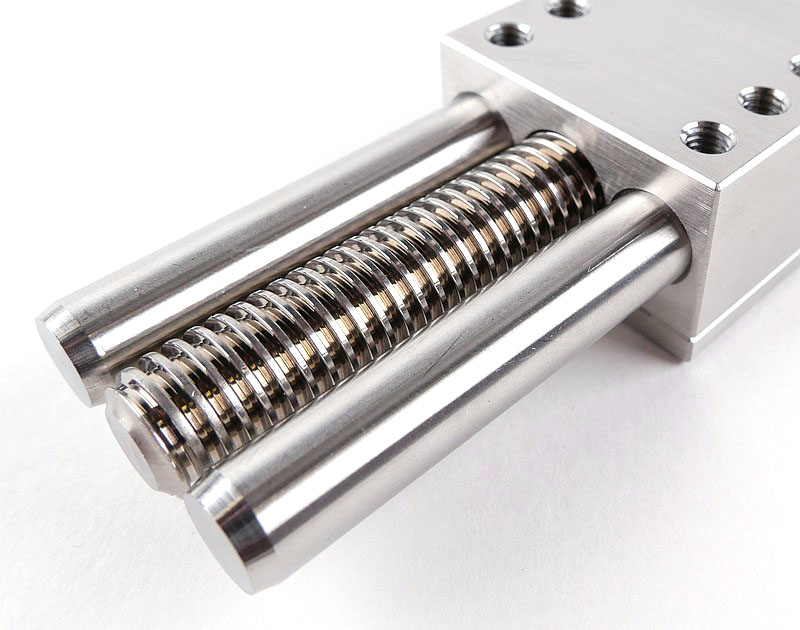
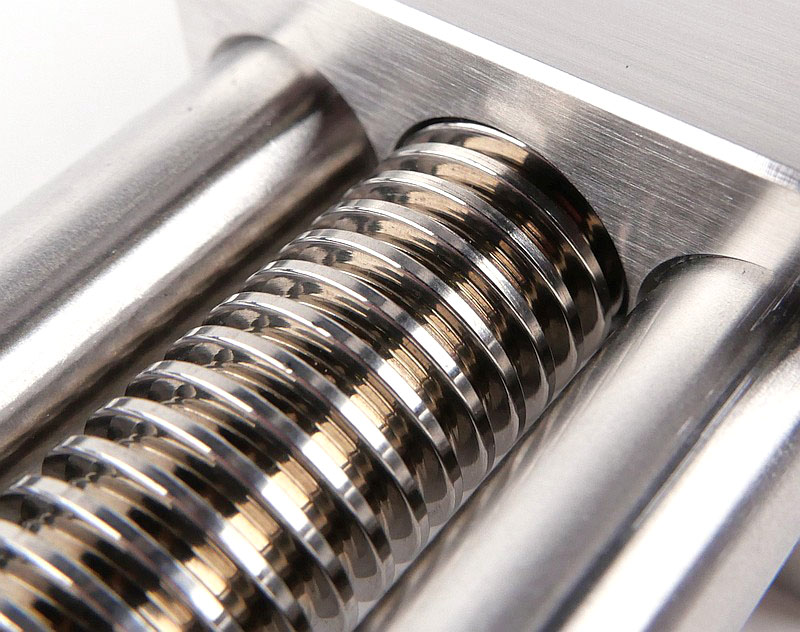
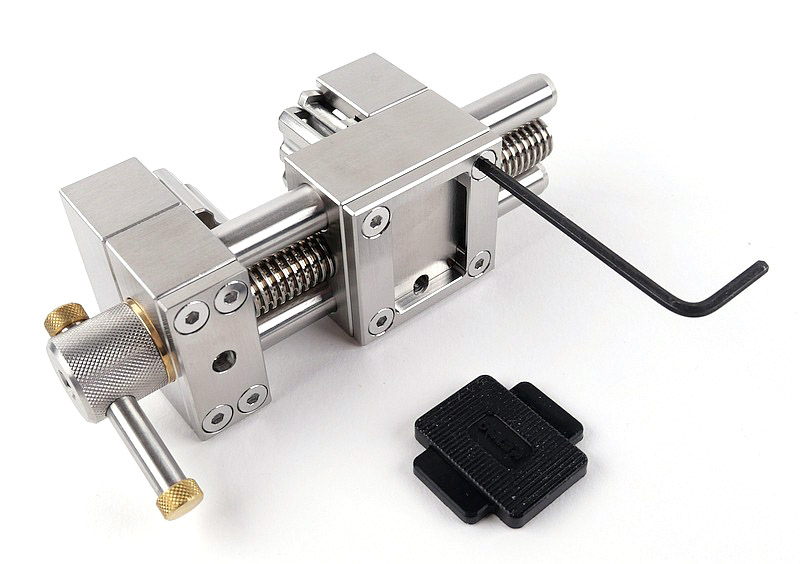
The gleaming screw thread sitting between the substantial guide rods. For the front jaw there is one usable mounting point as the other holes have the guide rod retaining grub screws. The base then has four possible mounting positions for the rear jaw.
Underneath the base is a plate with inset rubber pad (more on that later).
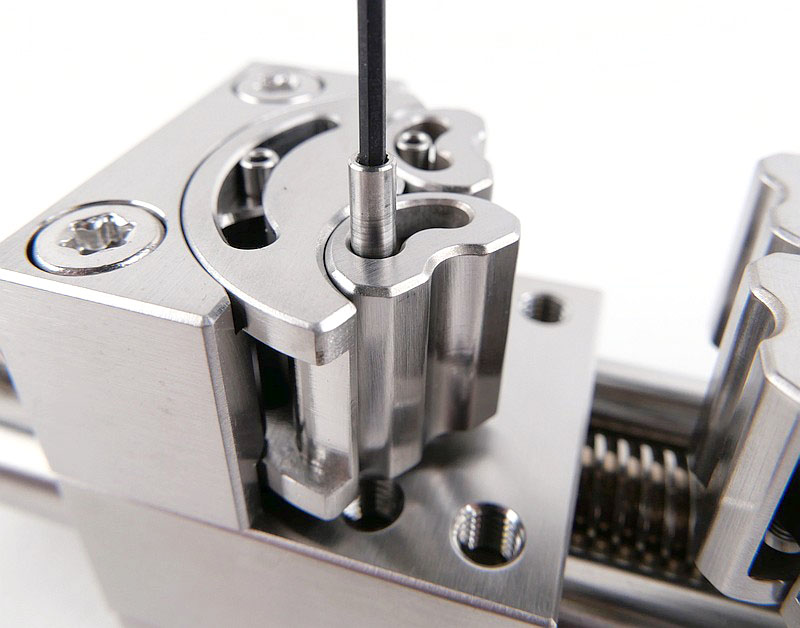
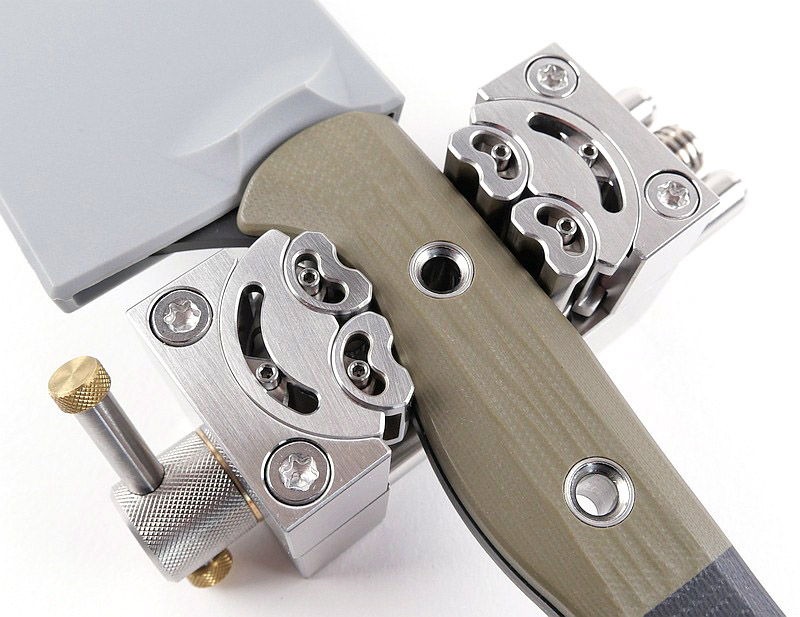
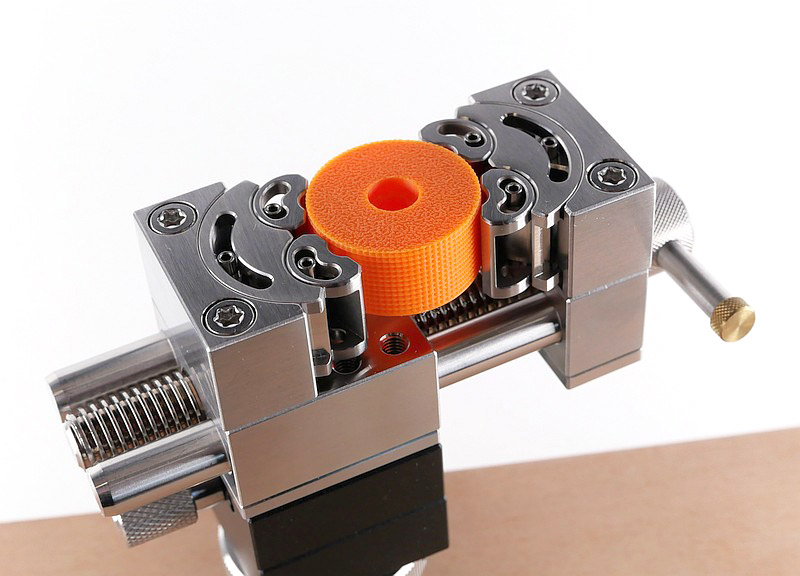
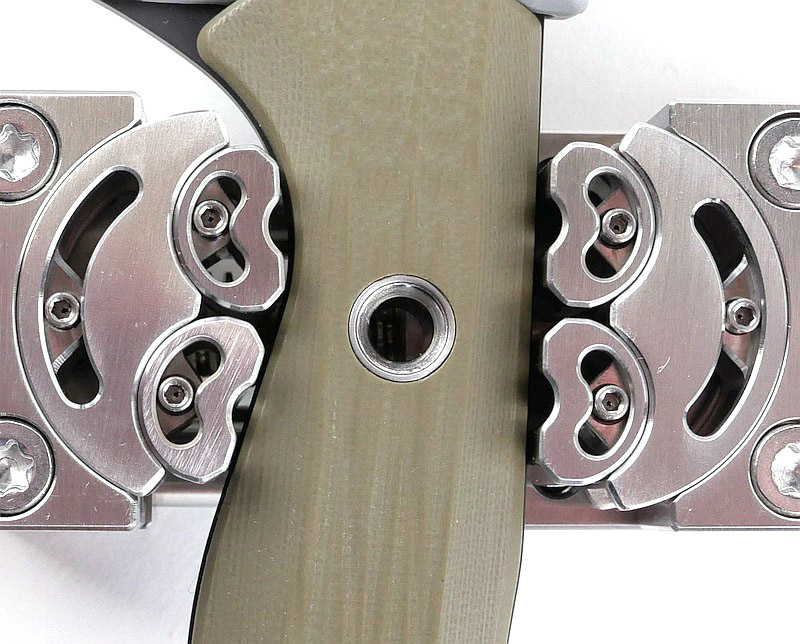
And now the magic that is the Fractal jaws themselves. Remember to watch the review videos as well to see these in motion. Here we can just admire the mechanism and see the extreme position the jaws can move to, as well as anywhere in between. As a last step the jaws are shown being fitted.
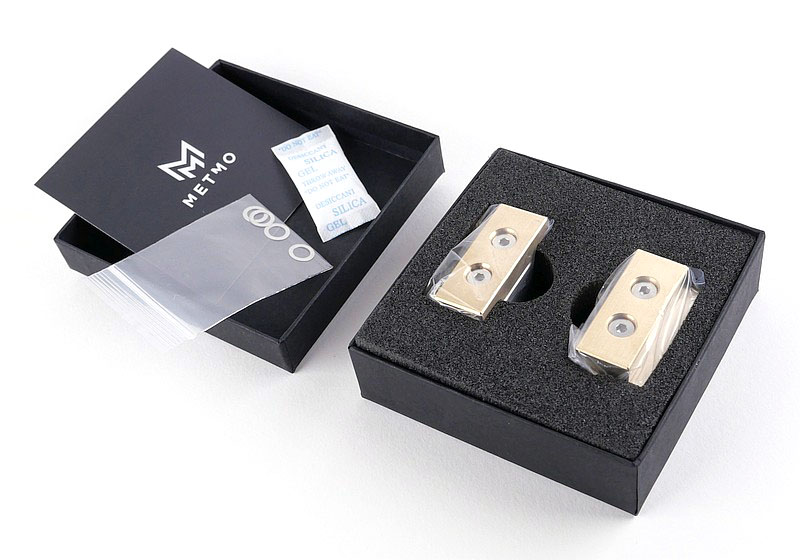
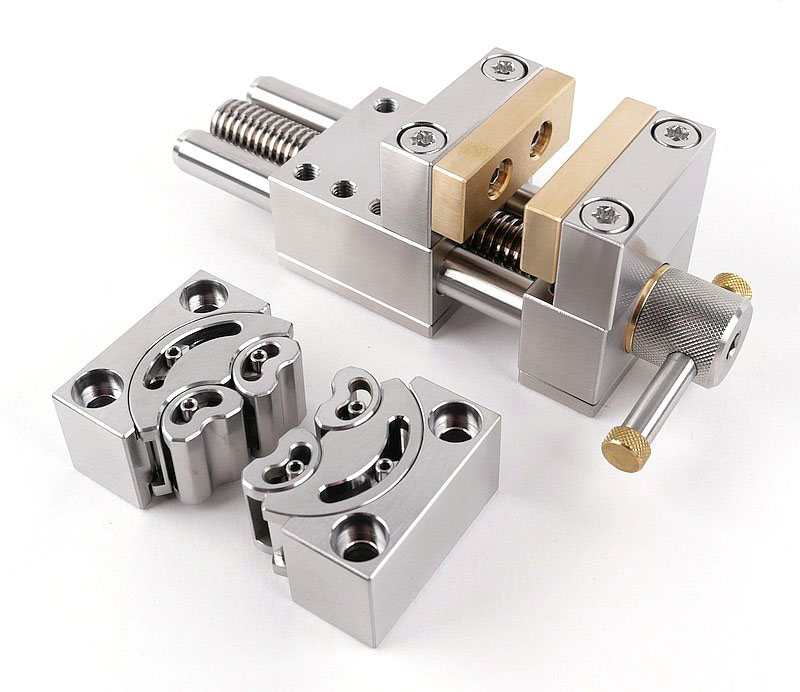

A good look round the Fractal Jaw Options – Things to look out for here are:

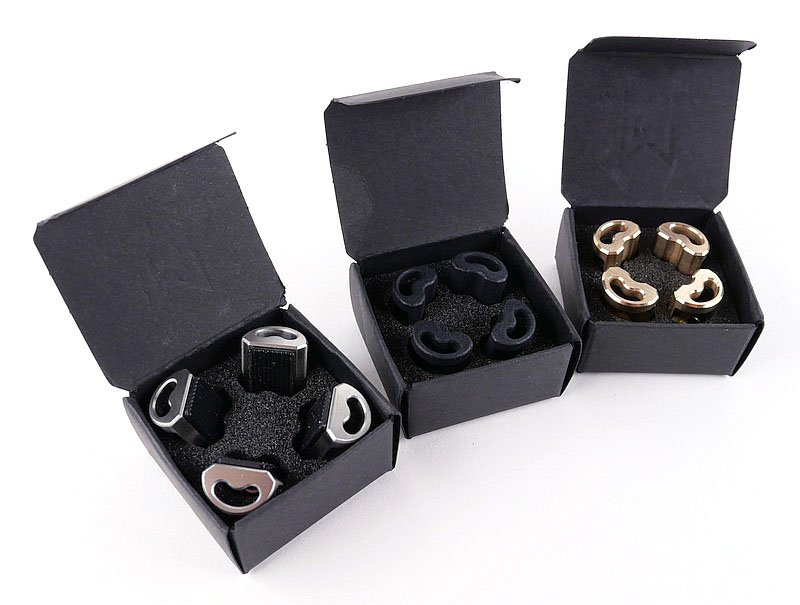
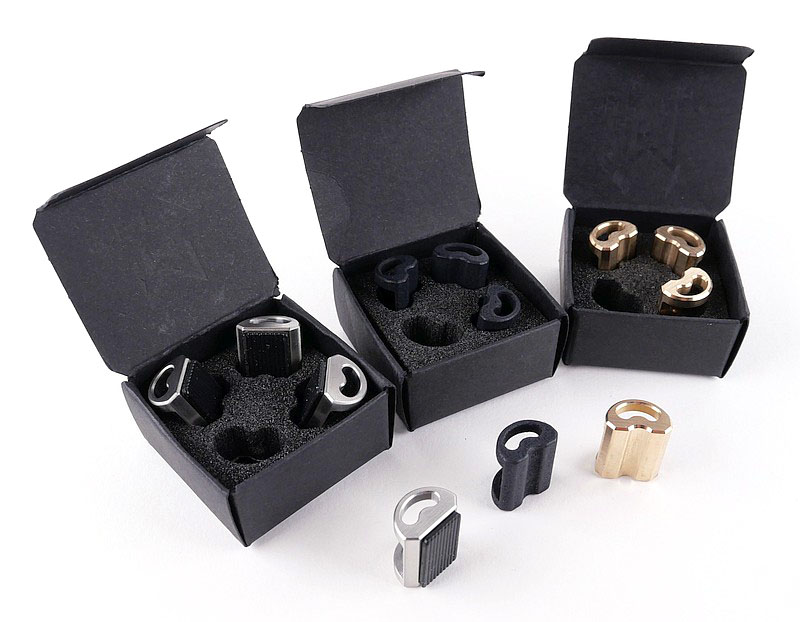
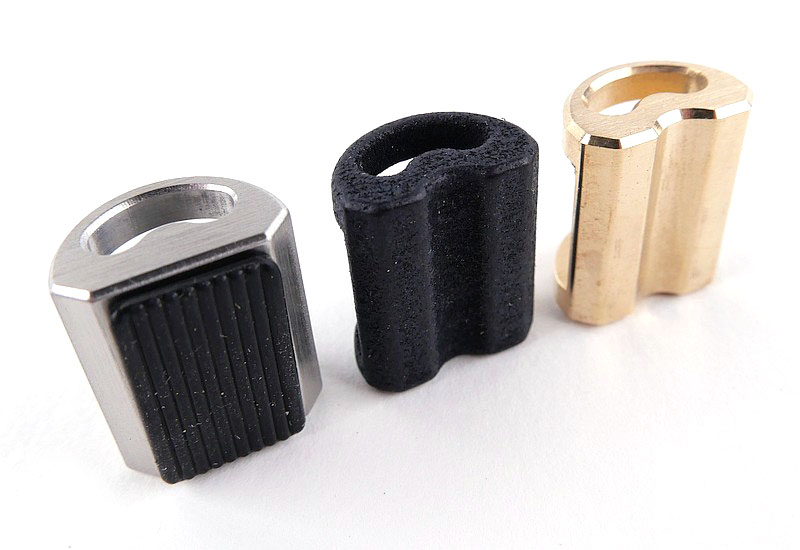
Jaws – not the shark, or even a Bond villain, but a variety of optional jaws for the Fractal vice to take its versatility to yet another level. The standard vice has plain stainless steel jaws. The clamping surface is smooth so generally safe to use for most work pieces, but you might then want to use masking tape or something else to protect the work piece.
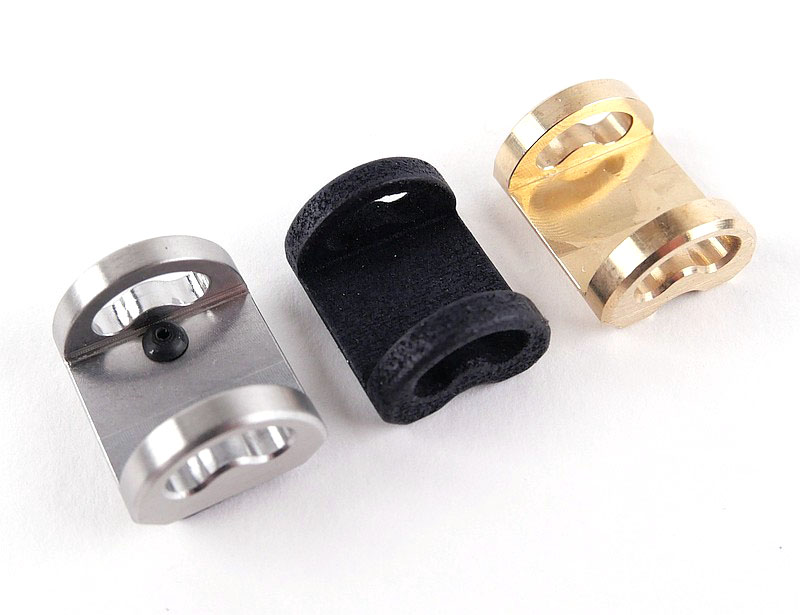
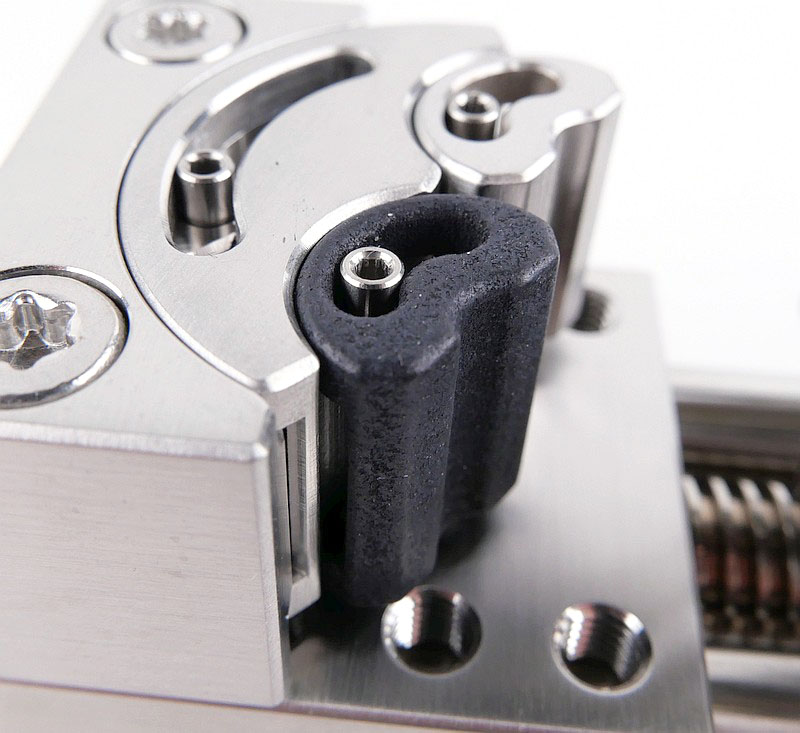
But given the range of jaws MetMo offer, you need not worry. The three additional fractal jaw types are a black nylon jaw, a brass jaw, and a rubber lined steel jaw. Each of these lets you match the jaw to the work piece.
Fitting the fractal jaws is a simple process of removing a pin bolt and swapping the jaw before replacing the pin bolt. You can mix and match or keep them all the same.


A good look round the Parallel Soft Jaws – Things to look out for here are:

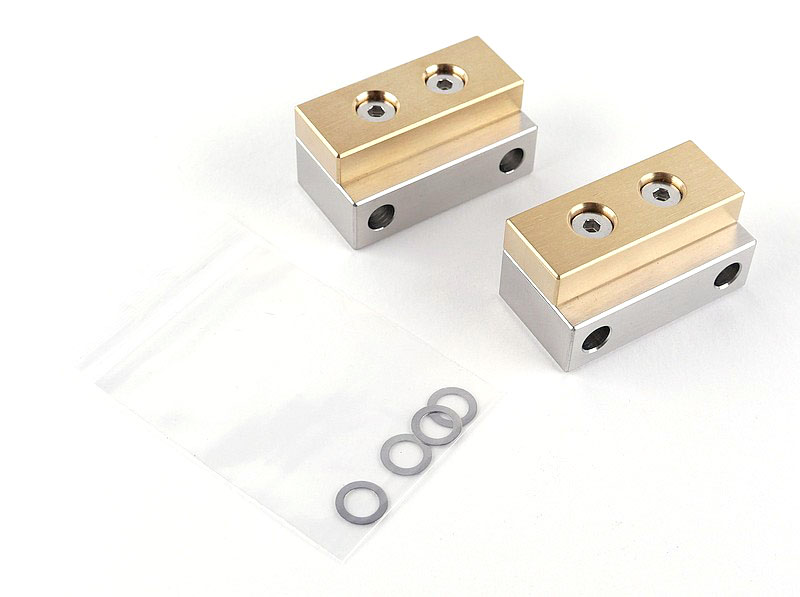
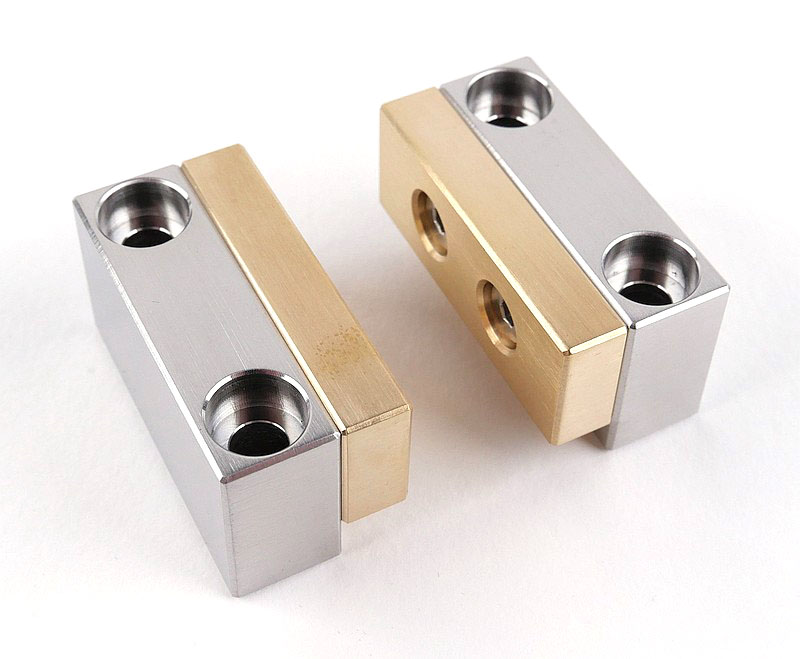
Jaws II – no, not a movie sequel, but the MetMo Parallel Soft jaws for the fractal vice. Although fitting these jaws means the vice is no longer ‘fractal’. ‘Soft’ is all relative; typically brass jaws or tools are used to prevent marring of harder metals when clamping or working them, so these precision parallel jaws to add to your clamping capabilities. Do not overlook the fact that you can use a flat jaw with a fractal jaw if the job is made easier or more stable by doing so.


A good look round the Desk Clamp – Things to look out for here are:

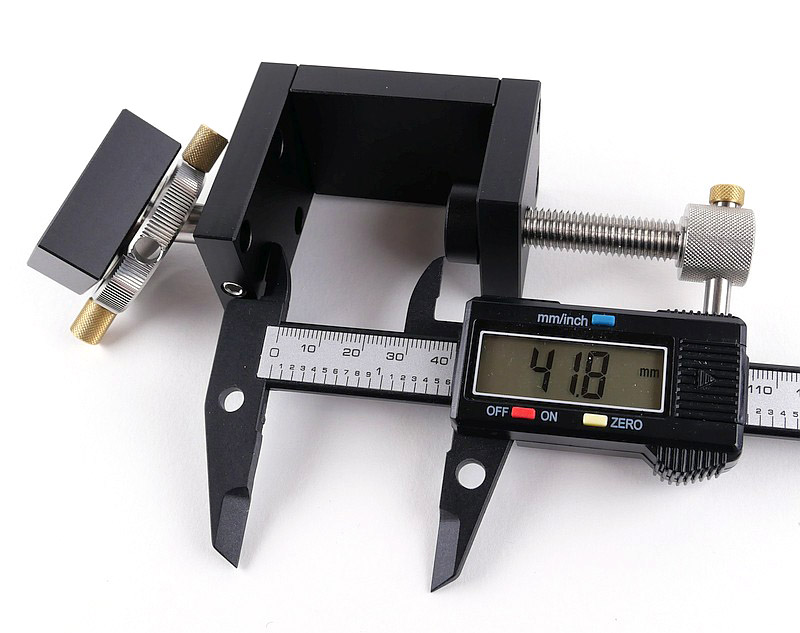
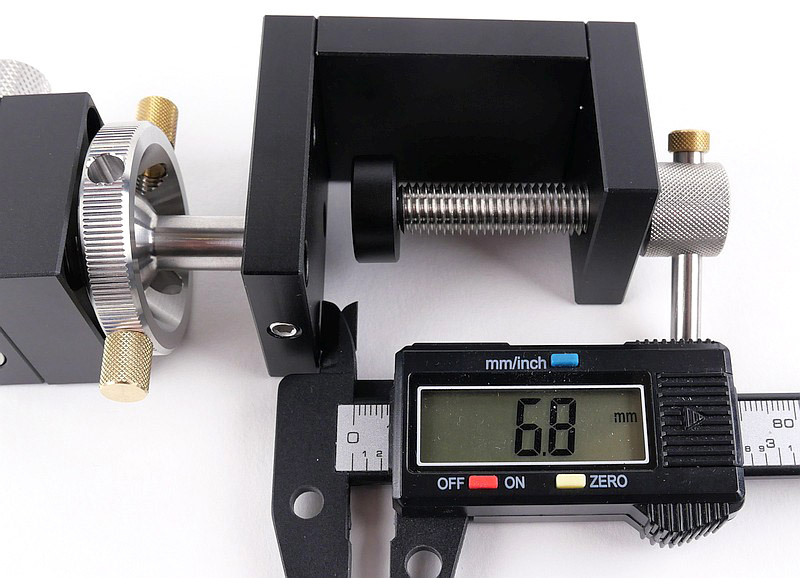
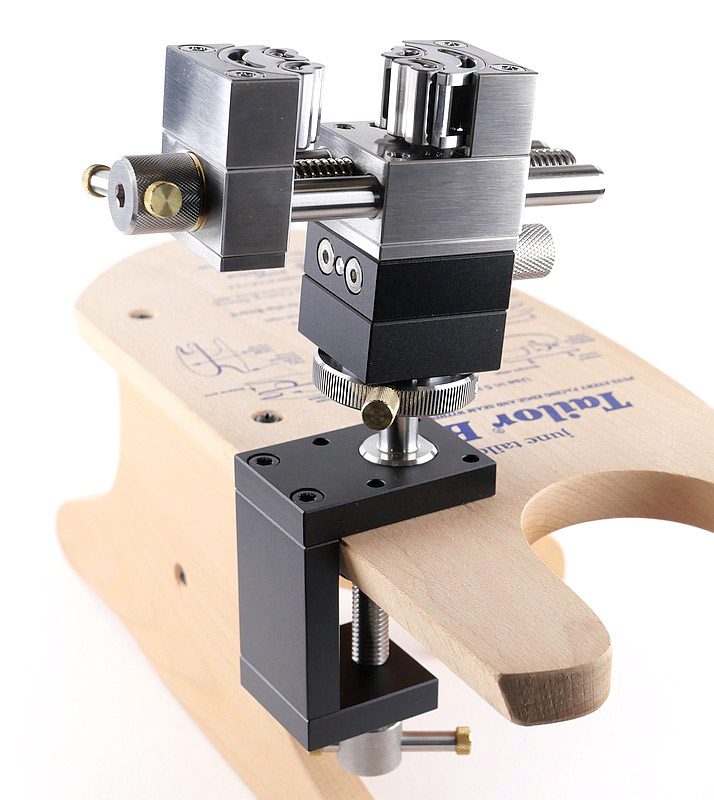
MetMo’s Fractal Vise can be used on its own on your desktop. It can be clamped in a larger vice to provide the precise clamping the bigger vice doesn’t have. MetMo also make a workstation base that the vice can be fitted to.
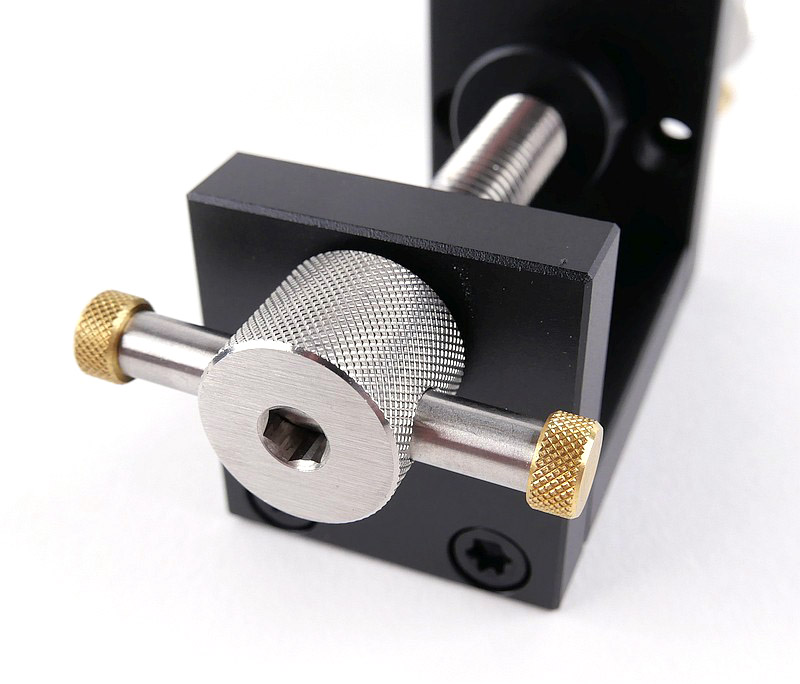
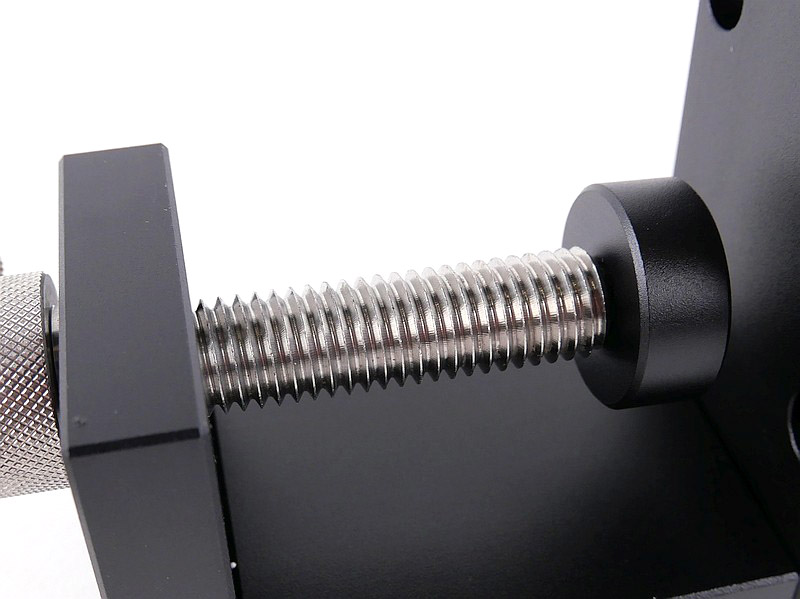
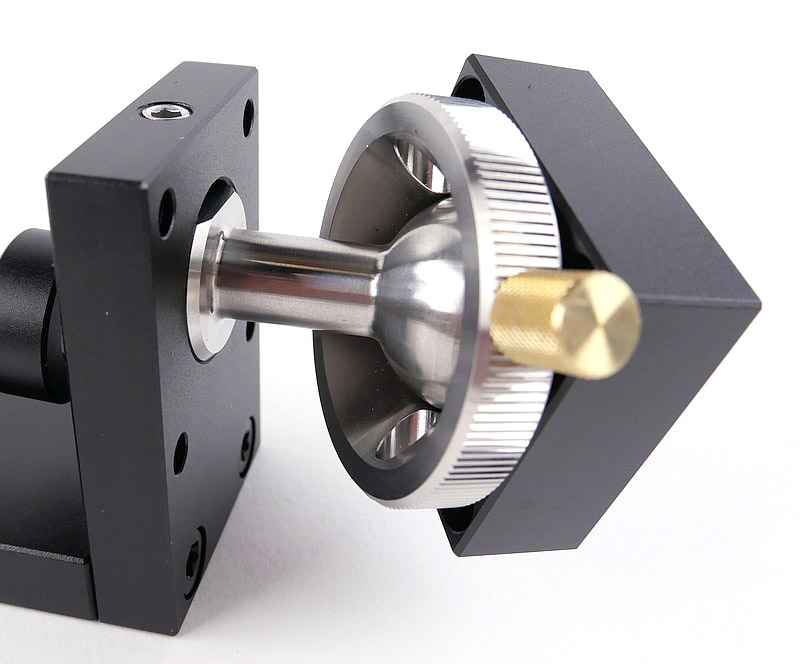
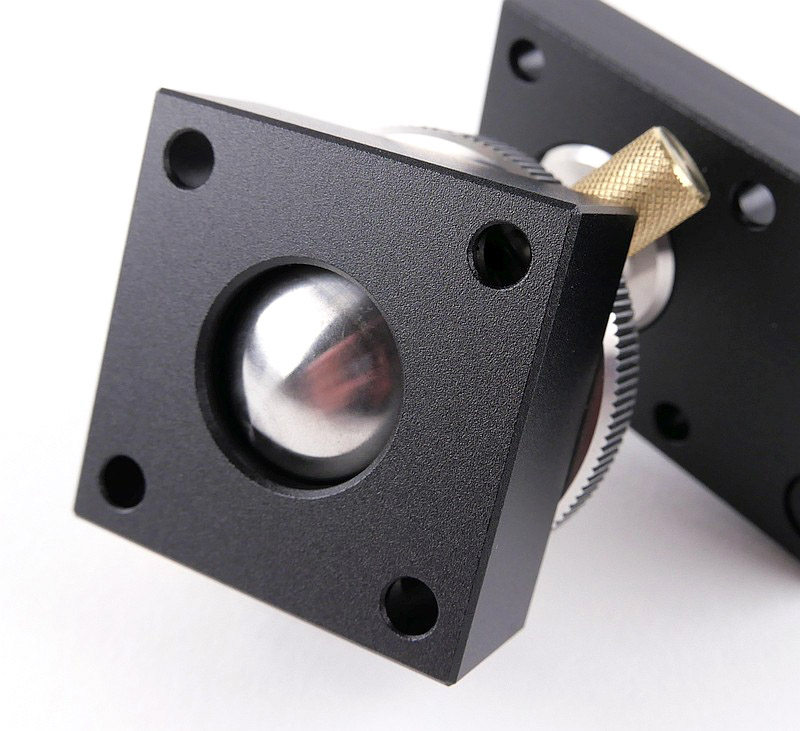
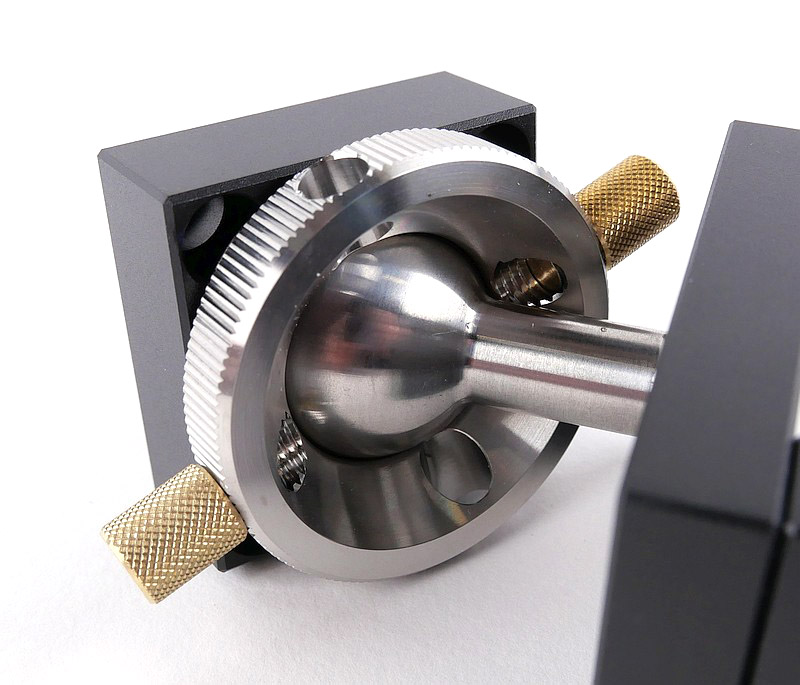
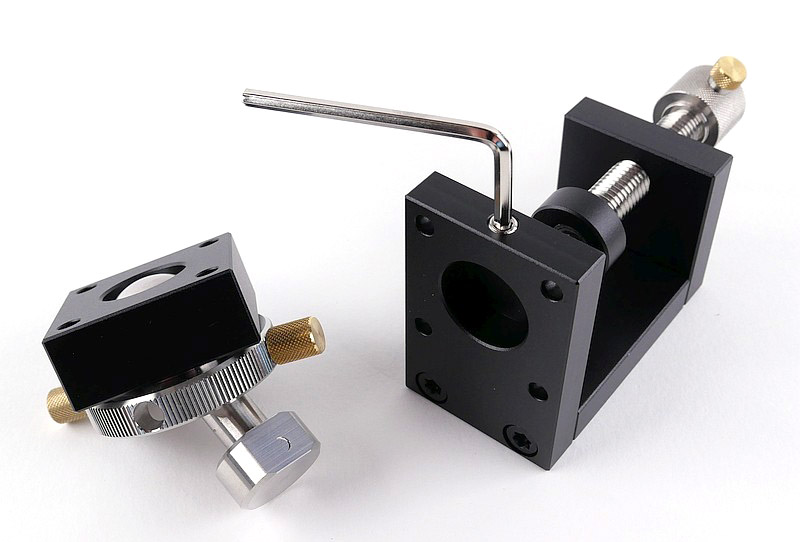
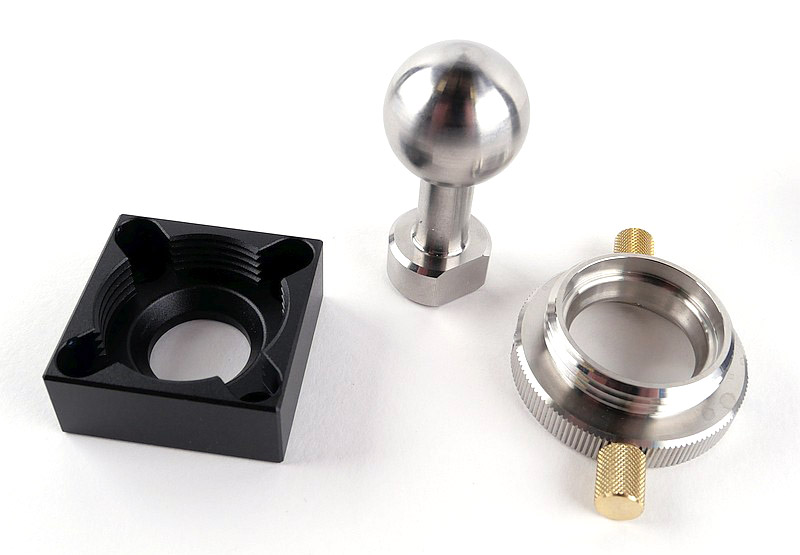
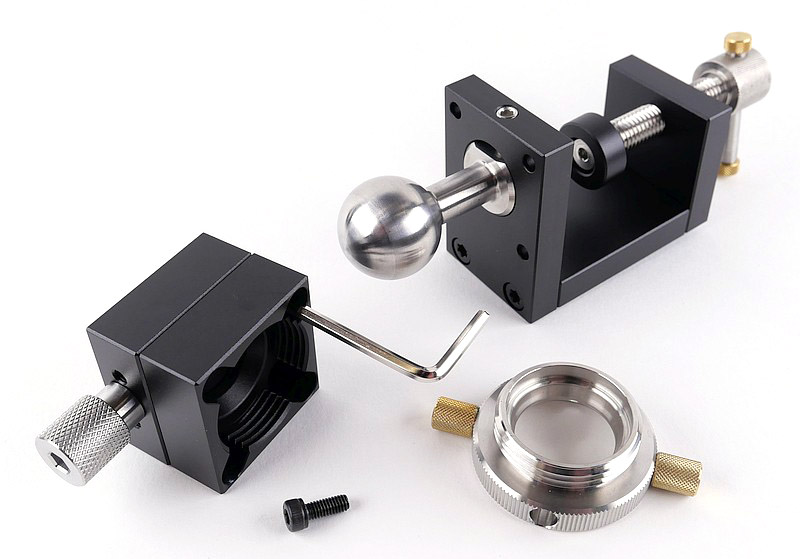
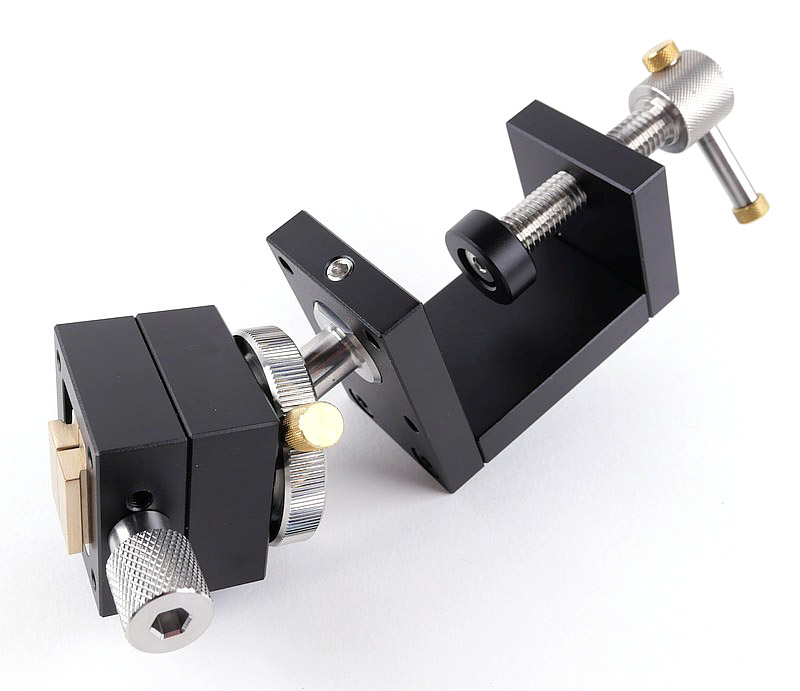
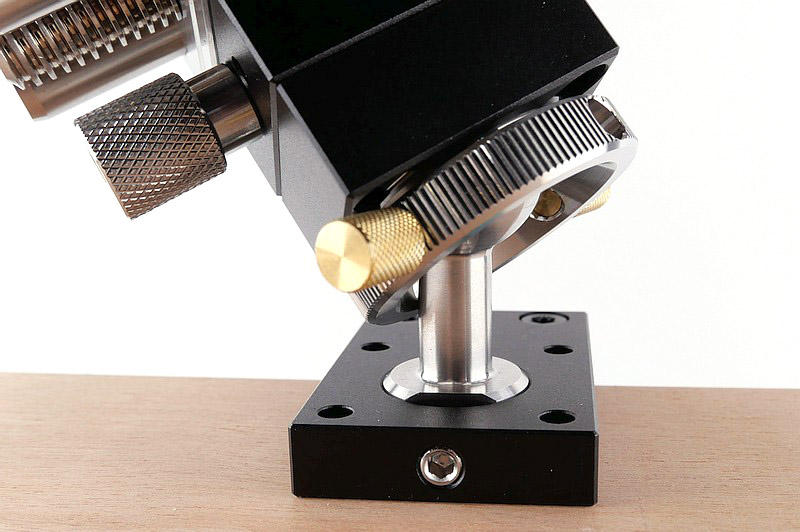
The natural progression from desktop use is to have a table mount, and that is exactly what this is; the MetMo Fractal Vise table mount. Not just any mount, but a ball head mount allowing you to angle and twist the vice to the best position for you. Constant readjustments are simple and easy as you work on the task at hand.


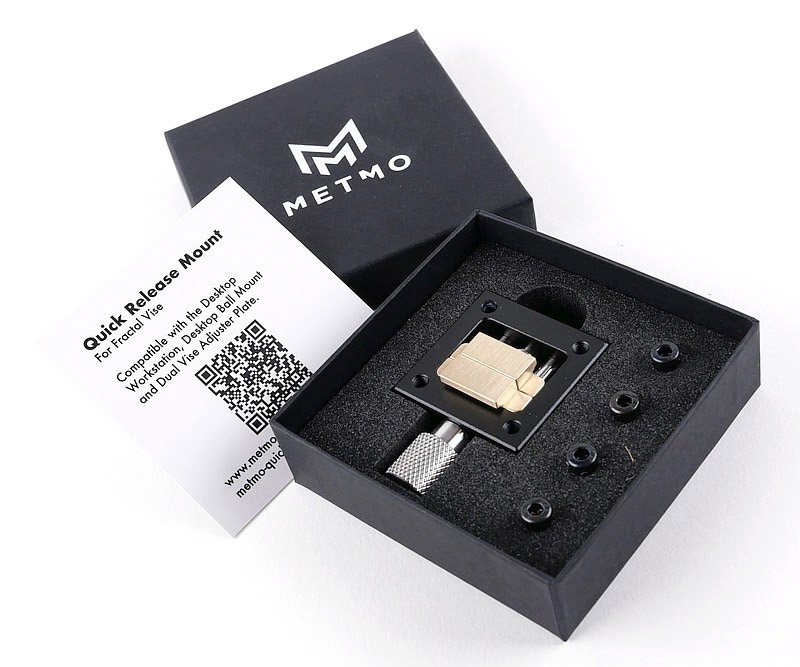
A good look round the Quick Release Mount – Things to look out for here are:

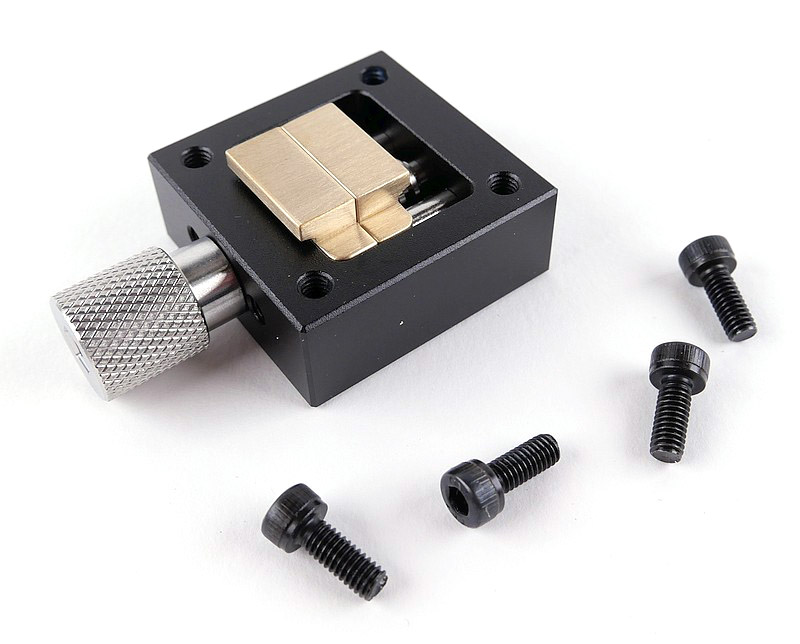
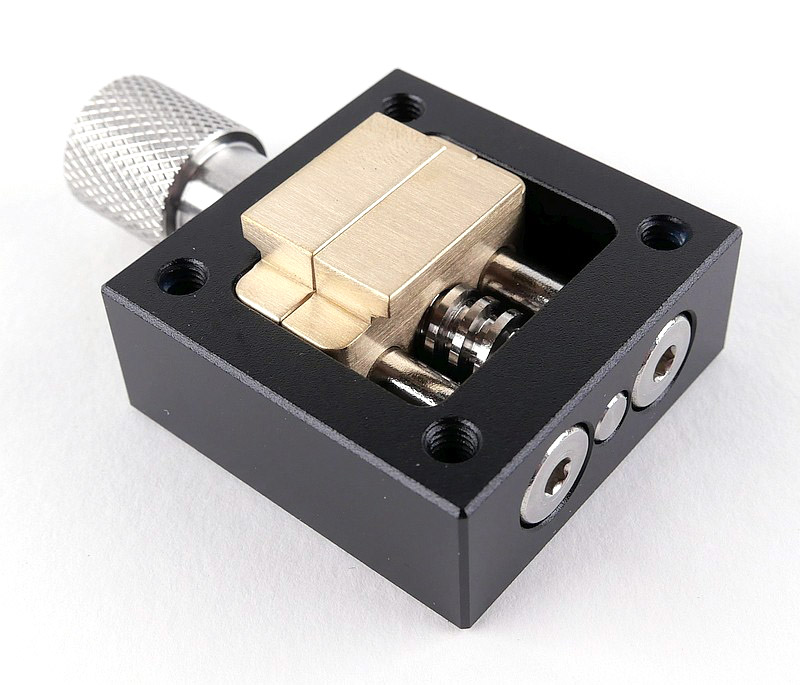
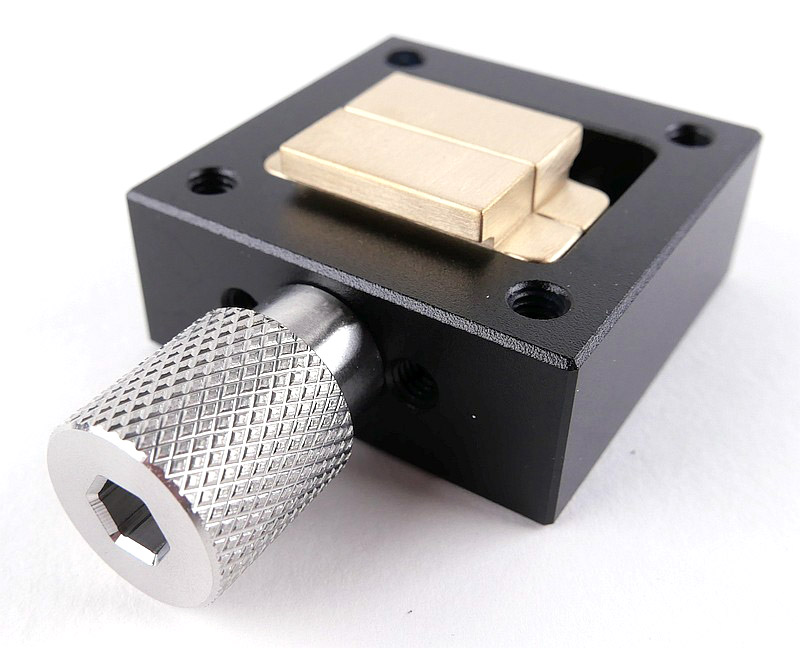
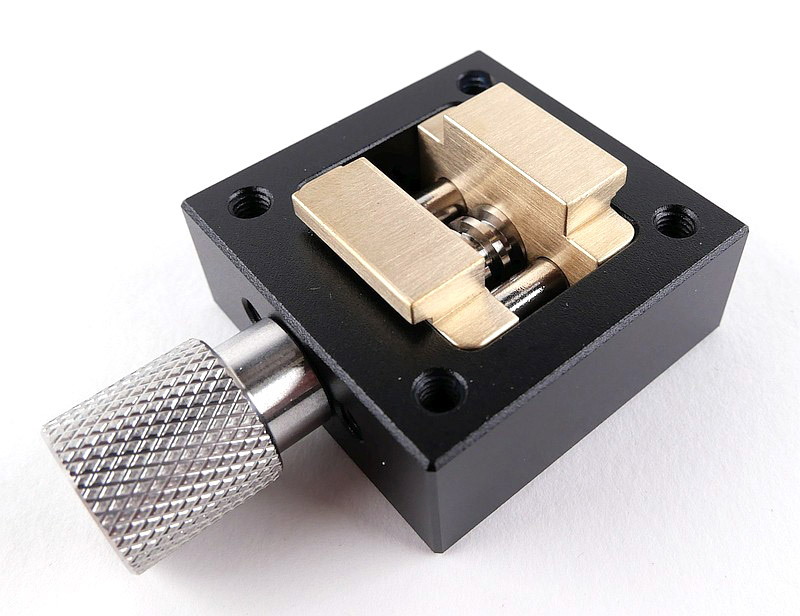
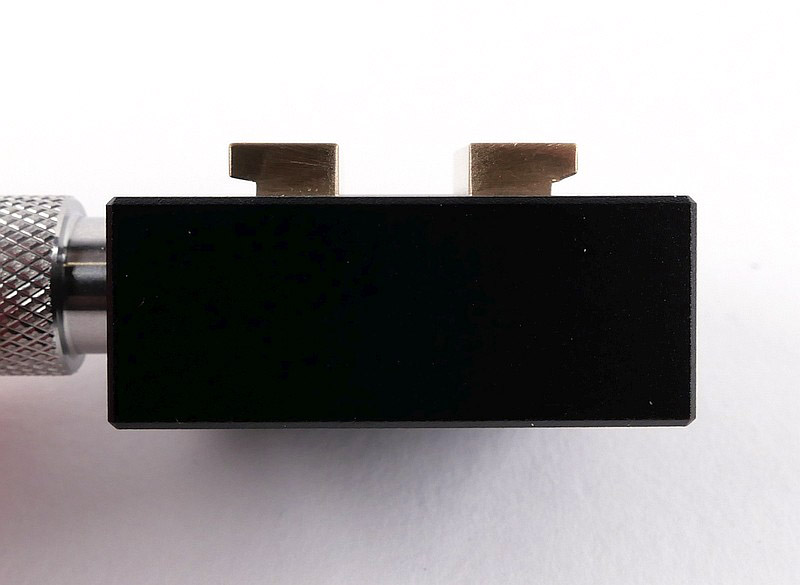
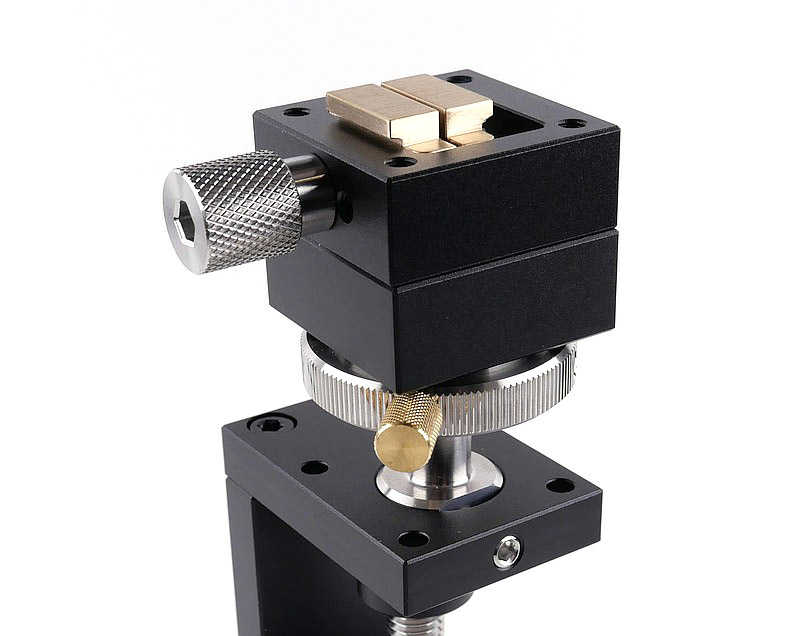
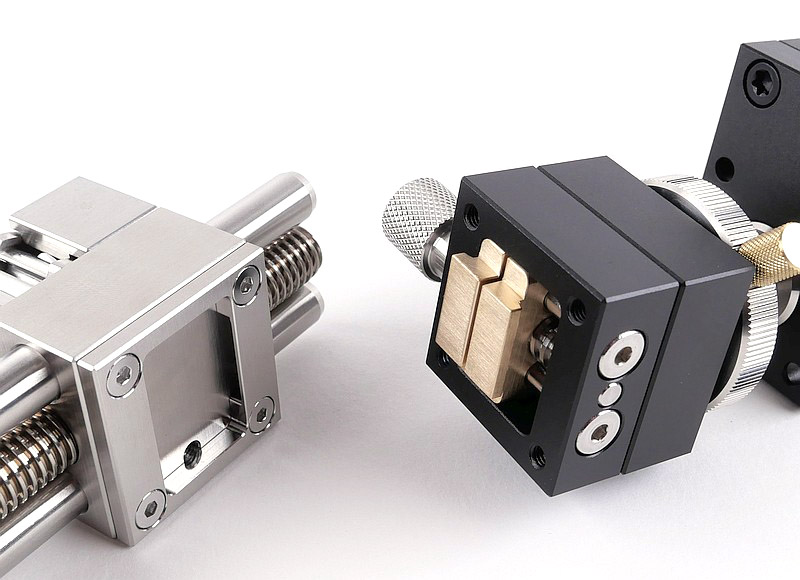
You could argue that this is simply essential and not optional; OK, you ‘can’ fit the vice directly to the Desk clamp mount using four bolts. You can then disassemble this and use the vice separately, and reattach it to the desk clamp when needed. But with the Quick Release Mount, this is achieved with a couple of twists of the knurled adjuster; locking the fractal vise in place securely, or releasing it to use elsewhere. It is really one of those ‘why wouldn’t you’ accessories. Solid construction, and using brass, non-marring jaws, to grip the base of the fractal vice.


A good look round Everything Assembled – Things to look out for here are:

Bringing everything together with the Quick Release Mount fixed to the ball head on the Desk Clamp, and the Fractal Vise secured to this. It’s ready to deploy into action; a sight to behold and admire before putting it to work.


What is it like to use?
I must admit that somehow I expected the MetMo Fractal Vise to be a bit larger, but you then as you handle the vice, you immediately realise MetMo got the size of it just right. The Fractal Vise is pocket sized, but satisfyingly heavy and solid. A real jewel of a tool, in fact the EDC term ‘Pocket Jewellery’ would be appropriate for this superbly engineered vice. It’s size actually increases its versatility, allowing it to be used in different ways and keeping things compact for fine craft work and model making.

My experience of the fractal jaws is that these need a little encouragement to settle fully into place. The pressure the work piece places on the jaw surfaces can mean they don’t turn and accommodate the shape of the work piece straight away, so might appear not to adjust themselves as effortlessly as you see in the marketing videos. However this is easily overcome by gently tapping the work piece into each set of jaws as you tighten the vice, and while doing this the jaws do accommodate perfectly.

Do NOT be tempted to put any oil on the fractal jaws; doing so would capture dust and filings and gum up the motion of the jaws. They need to stay ‘dry’ and reasonably clean. You can easily disassemble the entire jaw and use an ultrasonic bath to give them a deep clean from time to time.

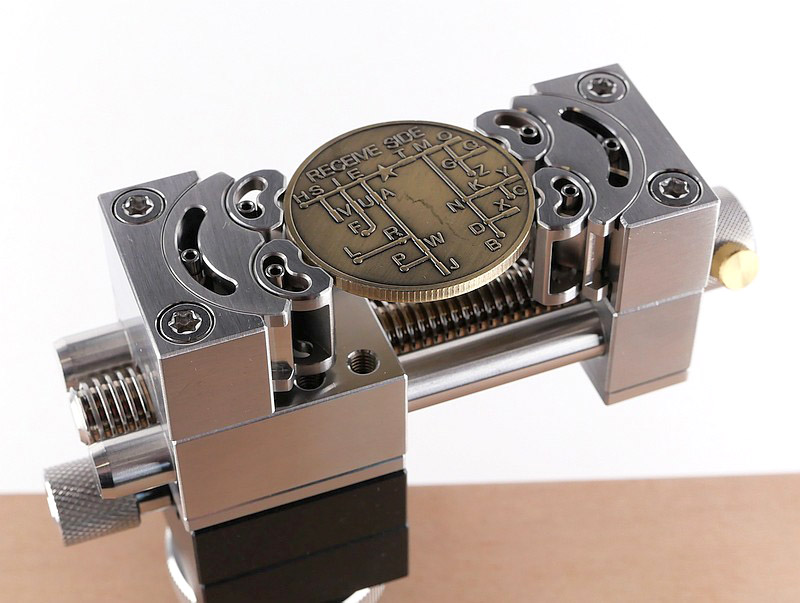
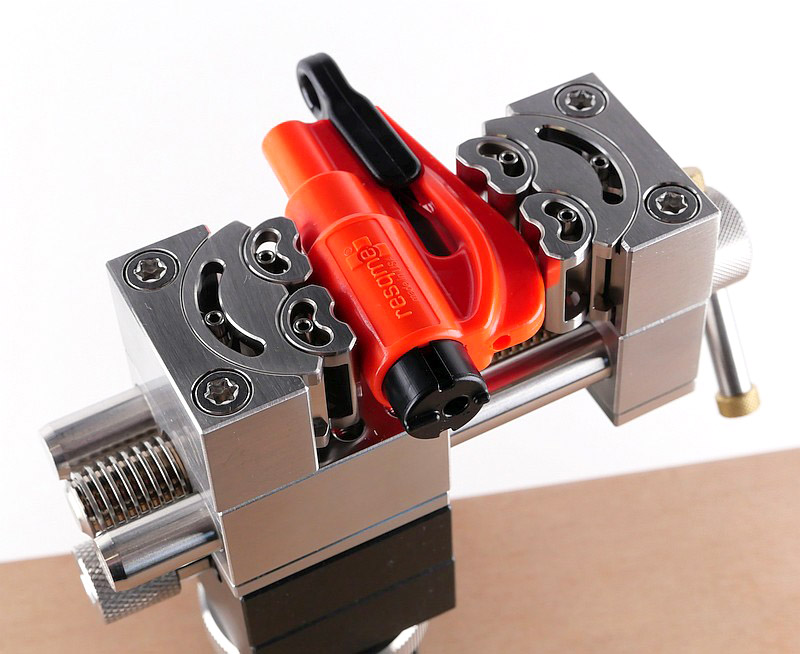
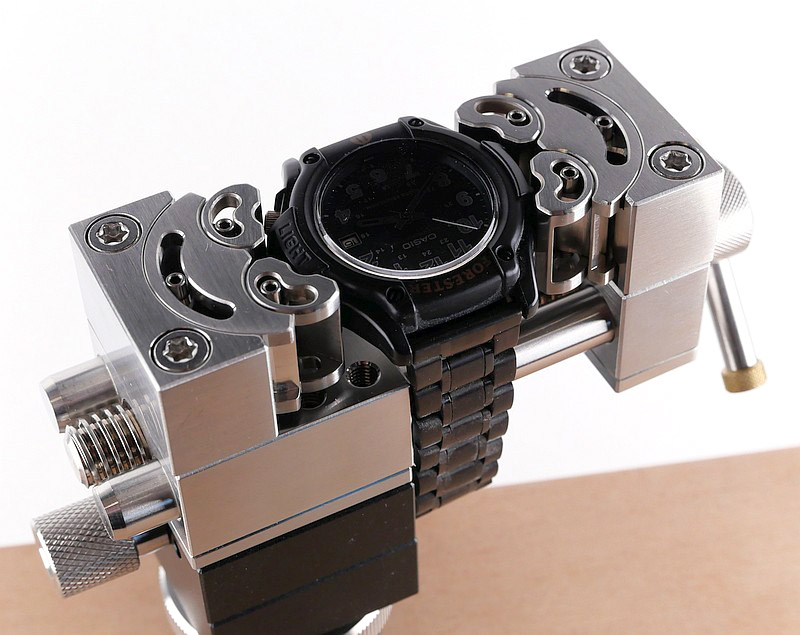
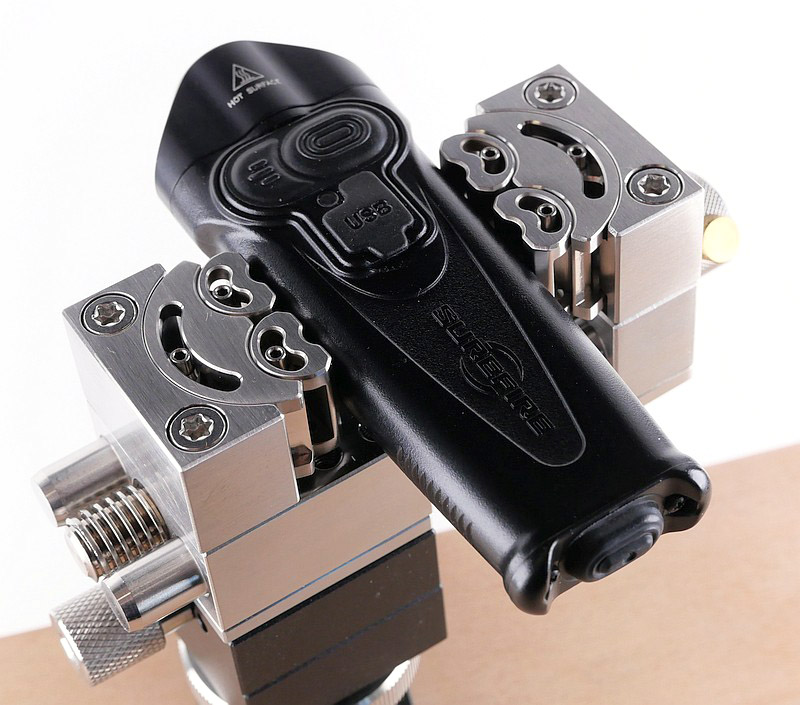
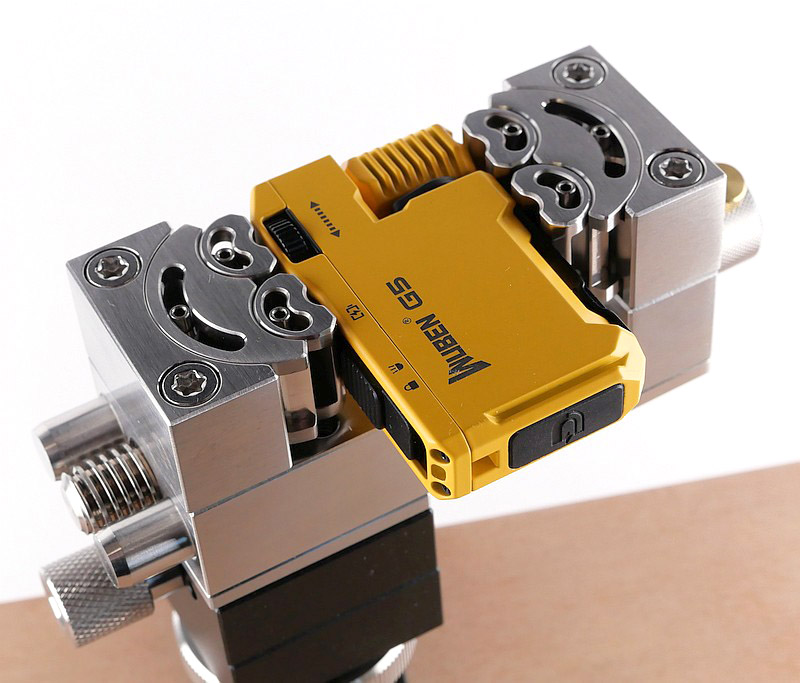
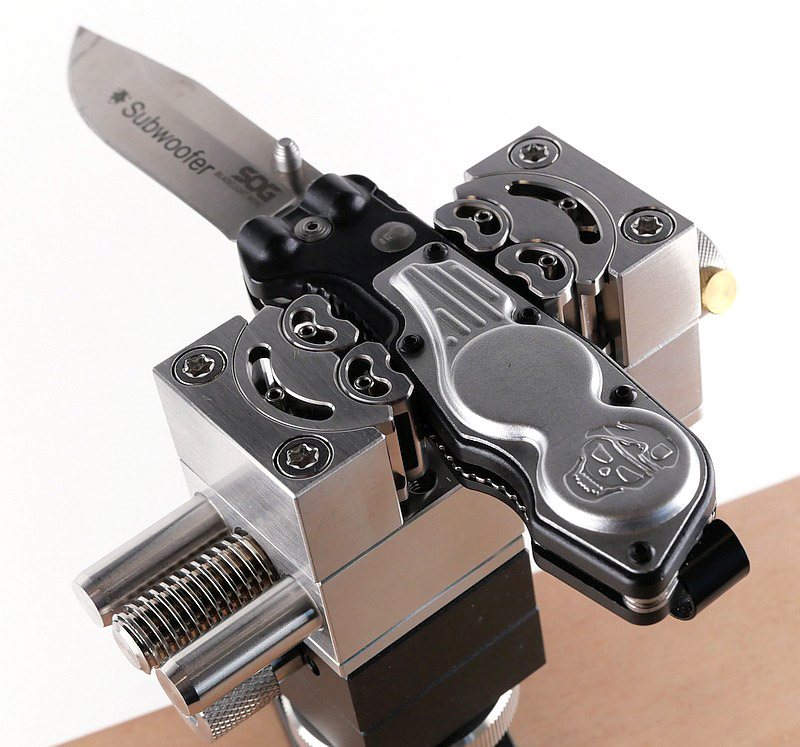
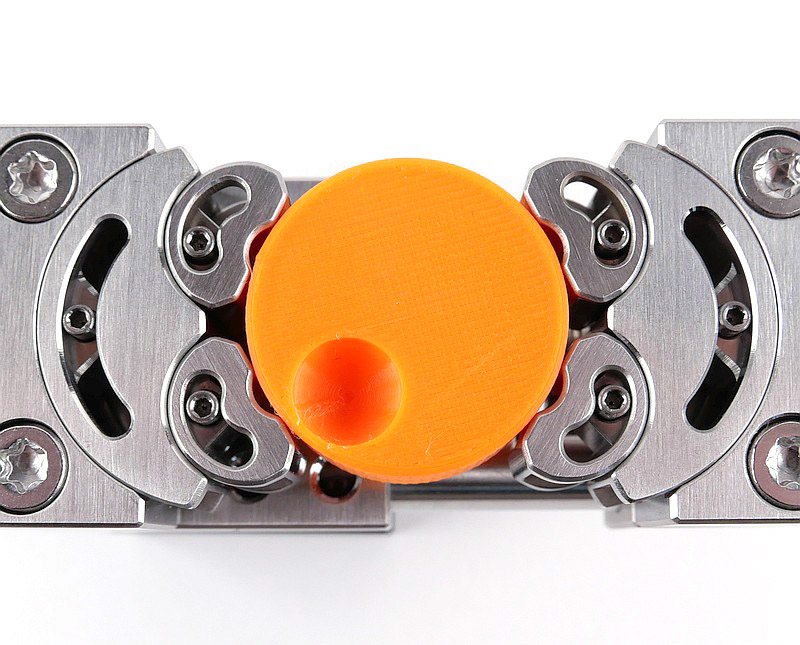
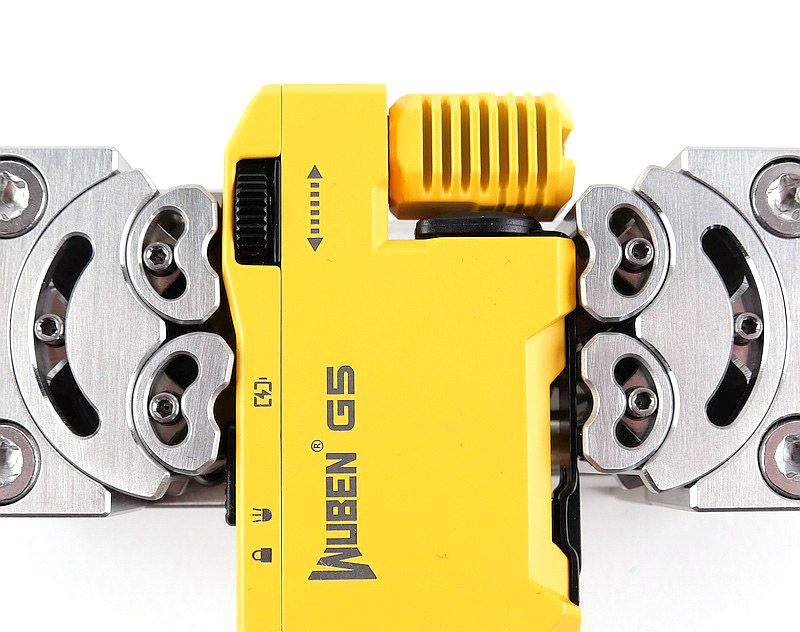
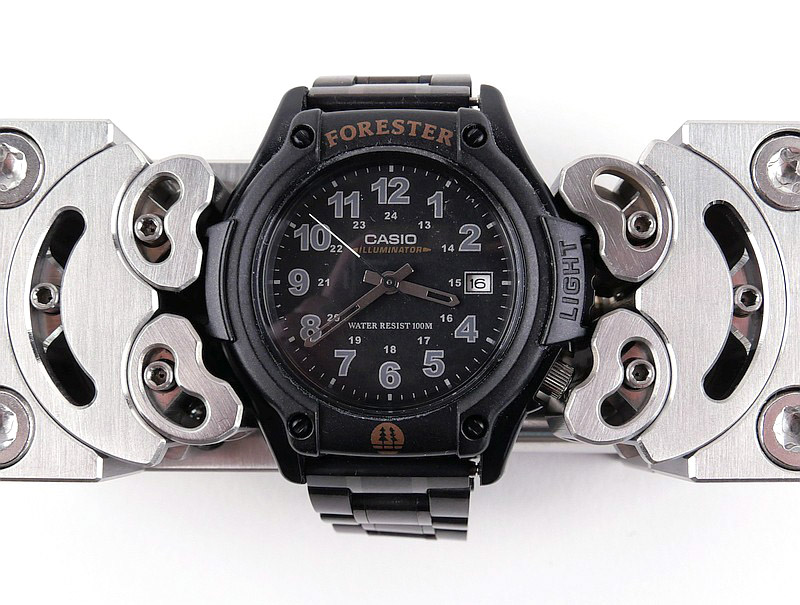
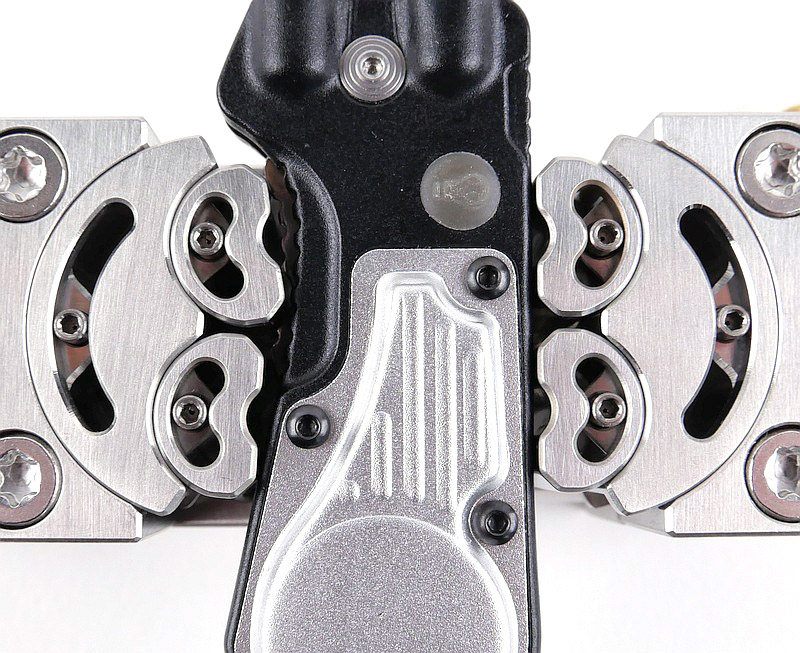
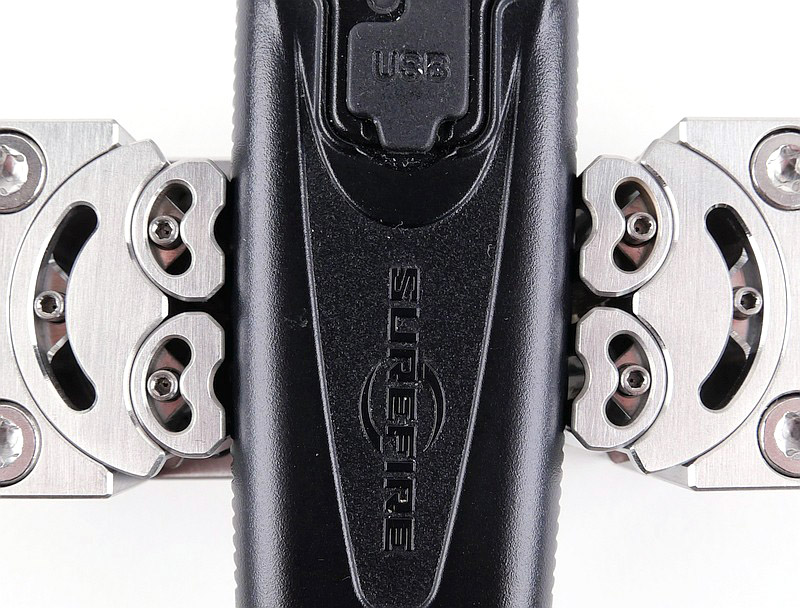
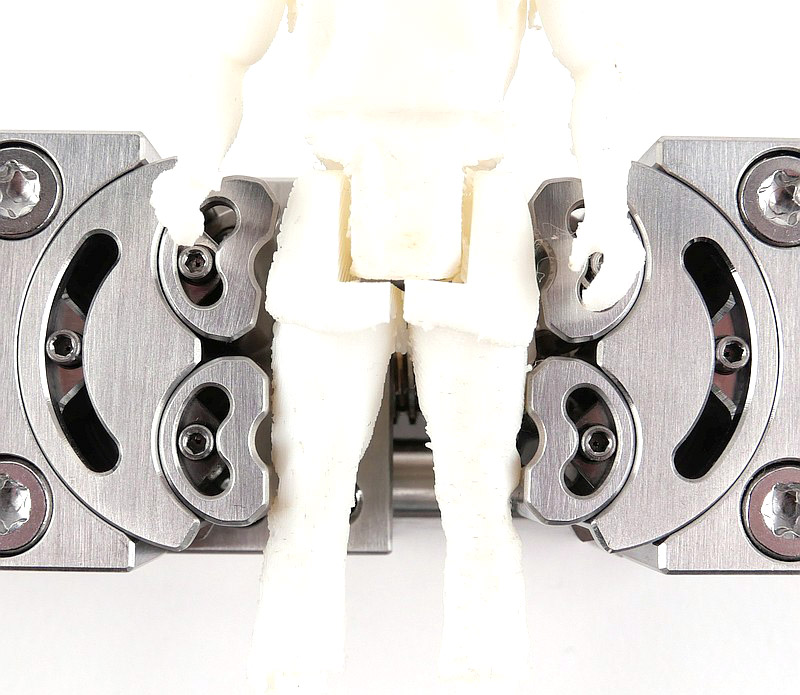
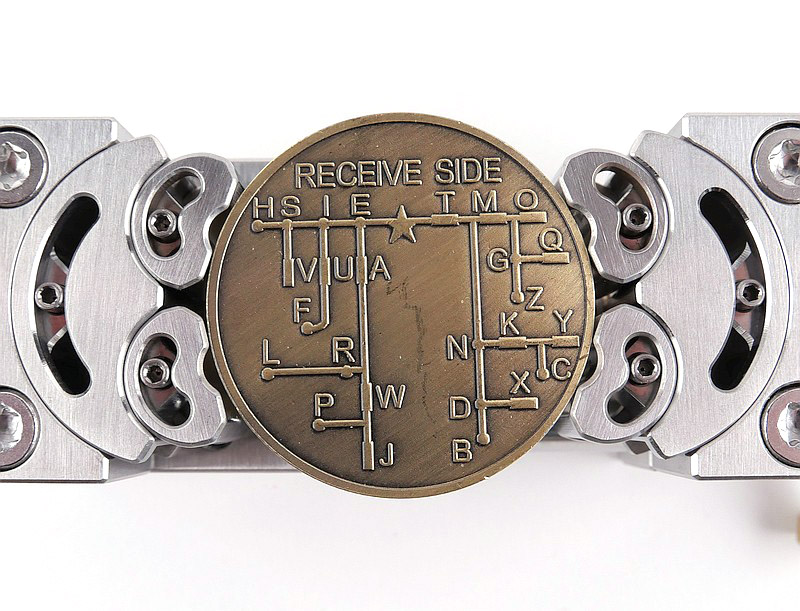
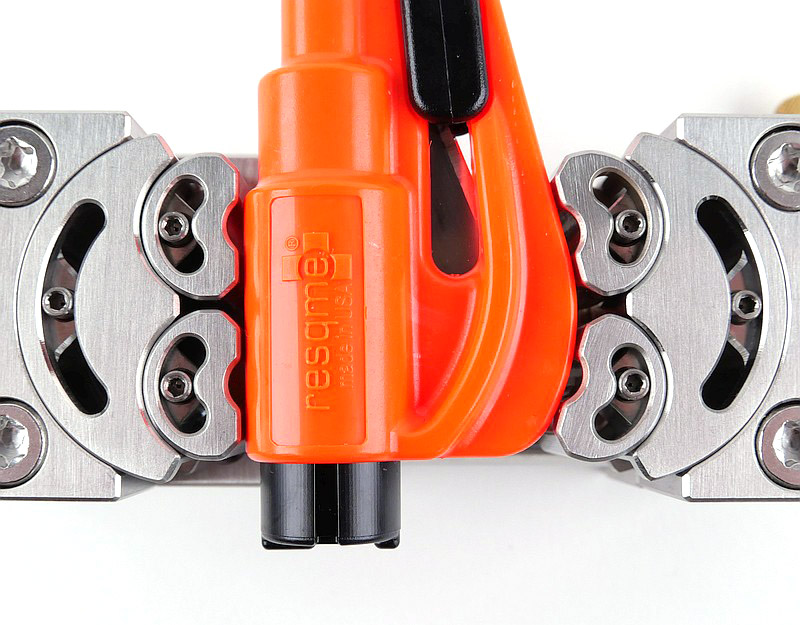
This gallery shows a variety of different objects in the jaws. The jaws are fitted ‘conventionally’ – gripping inwards, but remember to check the video which includes the jaws configured to grip outwards fitting inside the work piece to be gripped.


With the MetMo Fractal Vise’s special trick being the fractal jaws, that is the focus here. The parallel jaws allow the Fractal Vise’s base to be used as a conventional soft-jaw precision vice and you know what parallel jaws look like so have not been included. Each and every image here has the fractal jaws in a different position as they will be for every object you hold with them.


When you see the summary below, I’ve included a slight negative on the standard jaws being stainless steel, so I will explain myself. Being a compact precision vice, I would not use it to apply a clamping force that would need the steel jaws. Just like the only parallel jaws available come with ‘soft’ brass faces, brass is still a metal and is not actually soft in a way that would wear out. So if I were to be ultra-critical, I would say the standard jaw should be brass. Of course the Stainless steel jaw, when used on the full stainless Fractal Vise looks clean as a single material colour and finish apart from the brass handle ends and screw bushing. It isn’t a product or design error, but I find the steel jaws to be redundant.

As I write this I’ve opted to keep the rubber lined jaws as my ‘standard’. Time will tell if I switch to the nylon or brass longer term, but those steel ones are unlikely to get used again.

Like all specialist quality tools, the MetMo Fractal Vise is not cheap; what it is is an investment in your crafting experience, and the quality of tools you are using. The MetMo Fractal Vice is Engineering Heritage! This is a tool to pass down the generations.

MetMo Fractal Vise Review Summary

The views expressed in this summary table are from the point of view of the reviewer’s personal use. I am not a member of the armed forces and cannot comment on its use beyond a cutting tool or field/hunting knife.

Something that might be a ‘pro’ for one user can be a ‘con’ for another, so the comments are categorised based on my requirements. You should consider all points and if they could be beneficial to you.

_______________________________________________
What doesn’t work so well for me
_______________________________________________

Standard Jaws being steel.

_______________________________________________
Things I like
_______________________________________________

More compact than expected.
Multiple Fractal Jaw options (Brass, Nylon, Steel, Rubber lined).
Parallel Jaws also available (Brass faced).
The entire system can be fully user-disassembled.
Reversible jaws for internal clamping.
Impeccable Engineering fit and finish.
Clamp any shape that fits between or over the jaws.
Desk Clamp with locking ball head mount.
Quick Release Mount.
Precision made for precision use.
Possibly the most versatile vice you can buy.

MetMo Fractal Vise Review Videos

Starting with a short format sixty second review:


Onto a full video review covering many more details:


Discussing the Review:
Something new – will it work? A Tactical Reviews Subreddit.
TacticalReviewsChat on Reddit
Please visit there and start/join the conversation.