Knife Review: Spyderco Subvert

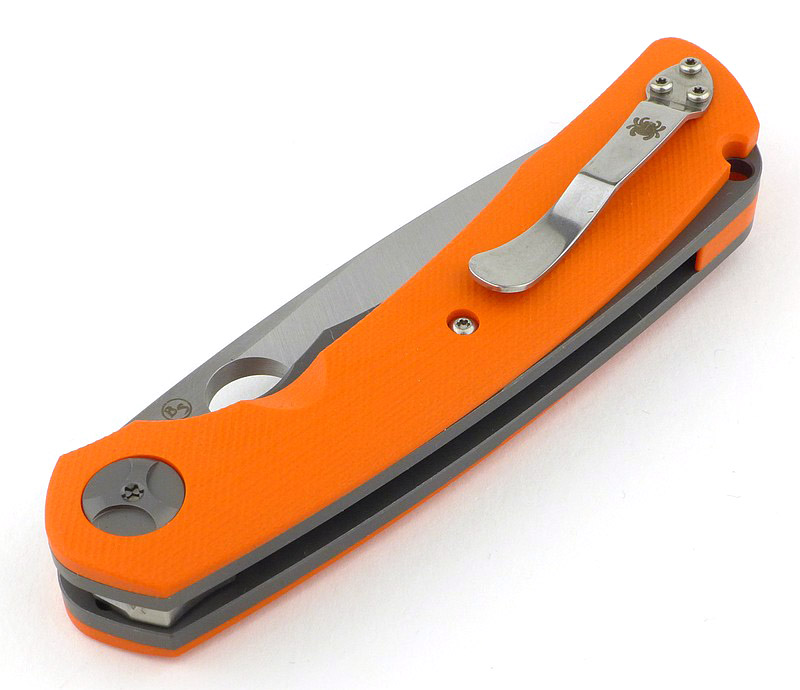
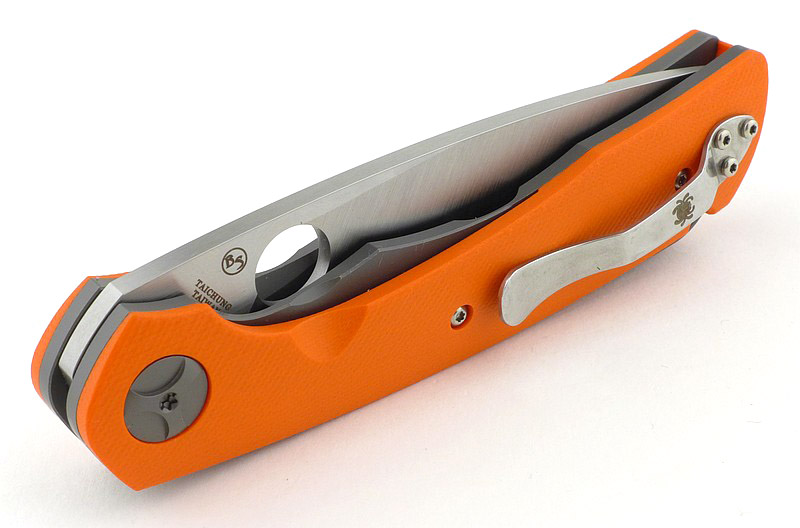
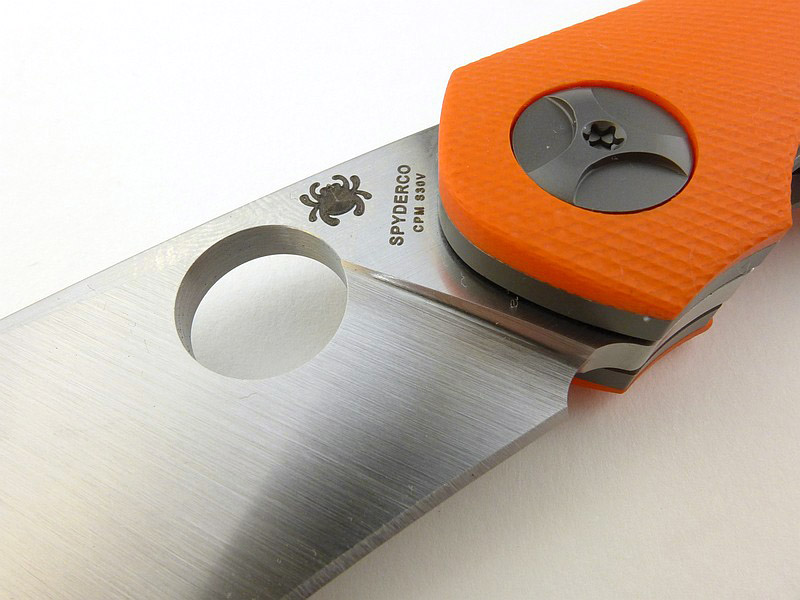
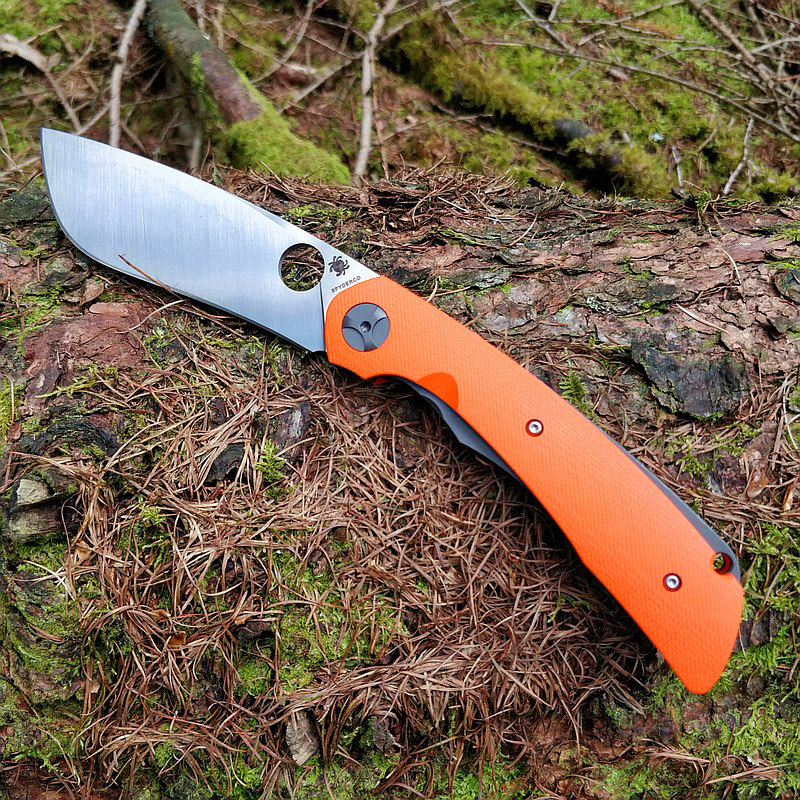
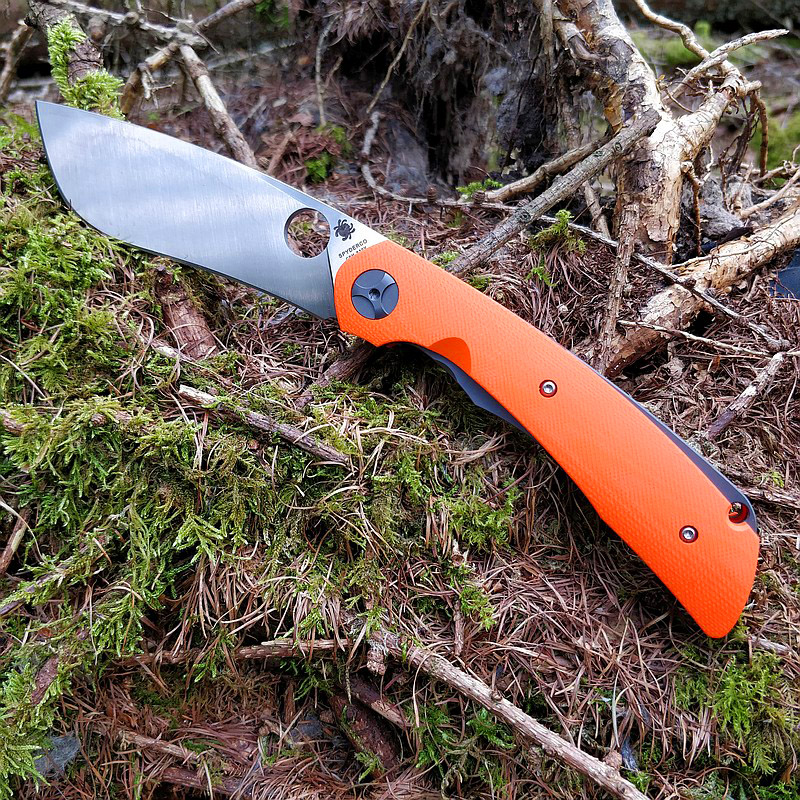
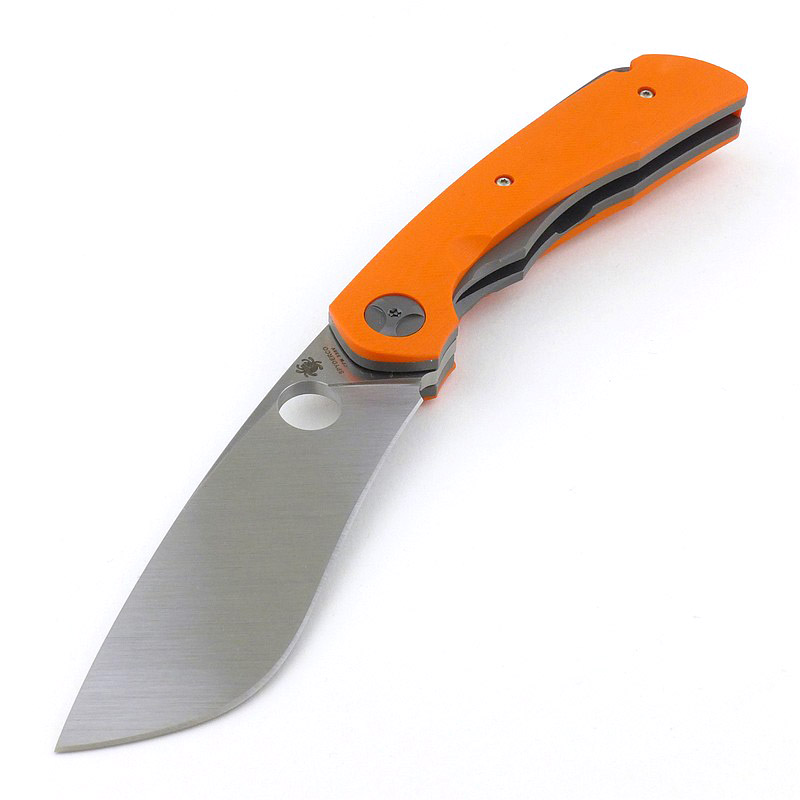
Spyderco’s Subvert is a knife I was drawn to straight away, but I did not expect it to make such an impression on me. Ok, it’s bright orange, so is going to get my attention; orange being one of my favoured colours for keeping track of things. But there is so much more – the flowing lines somehow disguise the presence of such a large blade, leading many to wonder how they managed to fit it into that handle. In this review of the Spyderco Subvert, I’ll give you a close-up of all the details and tell you why I’m not letting this one go any time soon.
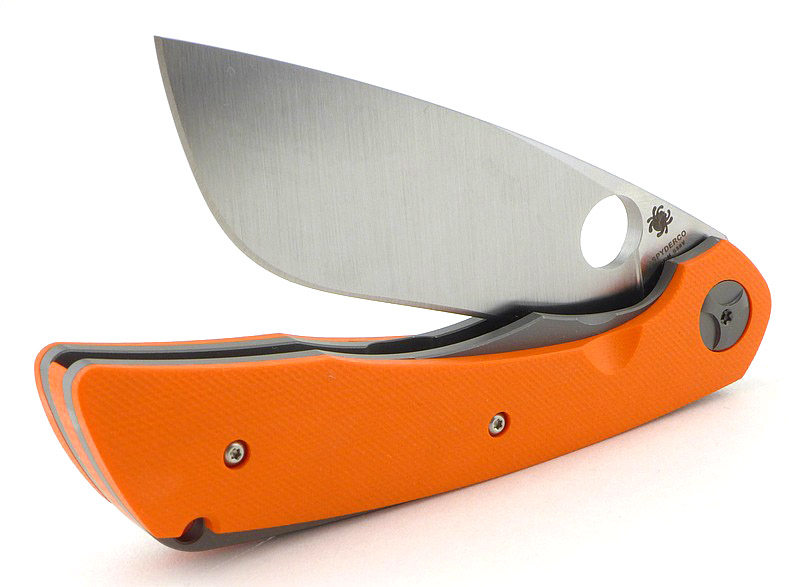
A few more details:

What’s in the box?:

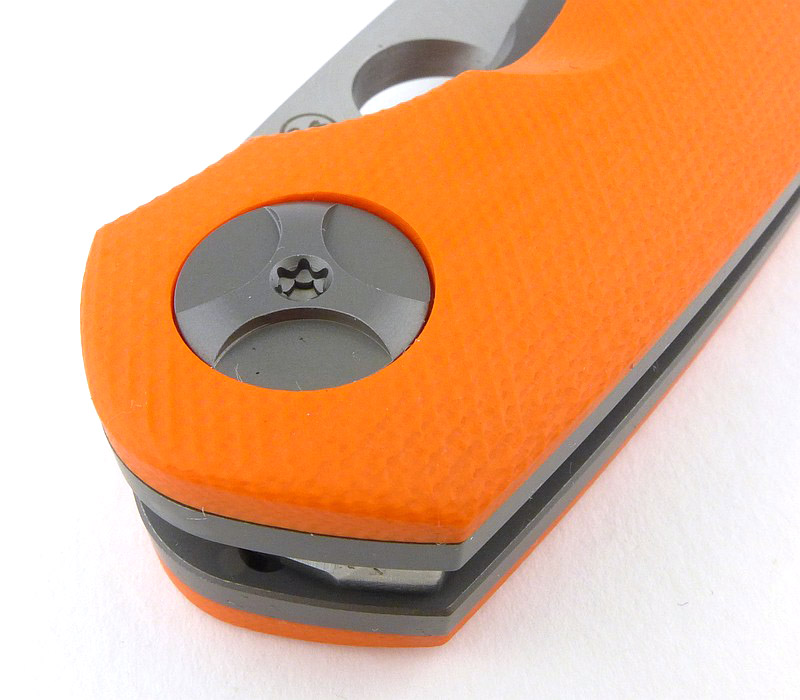
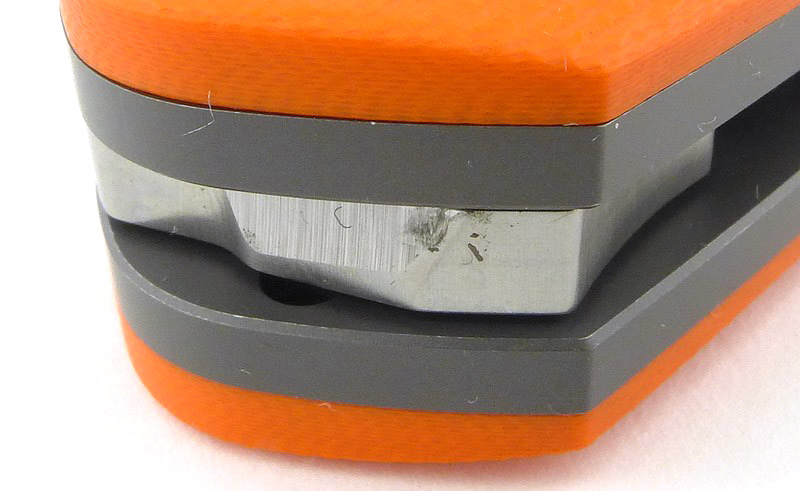
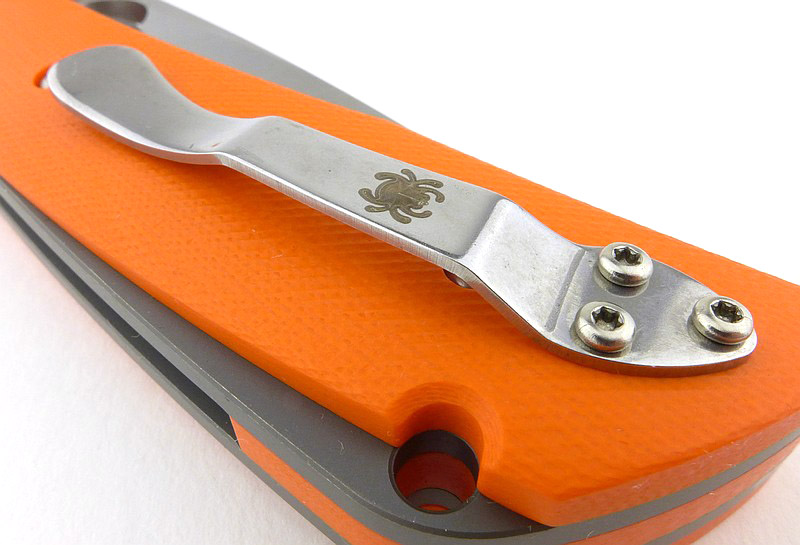
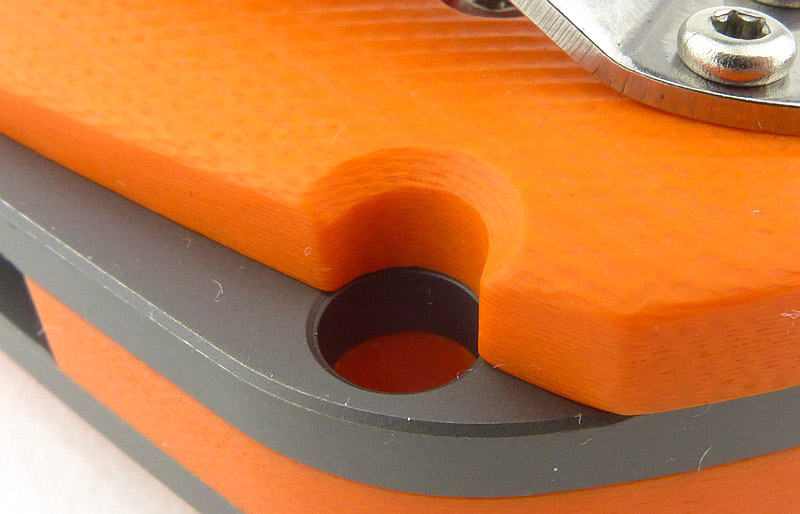
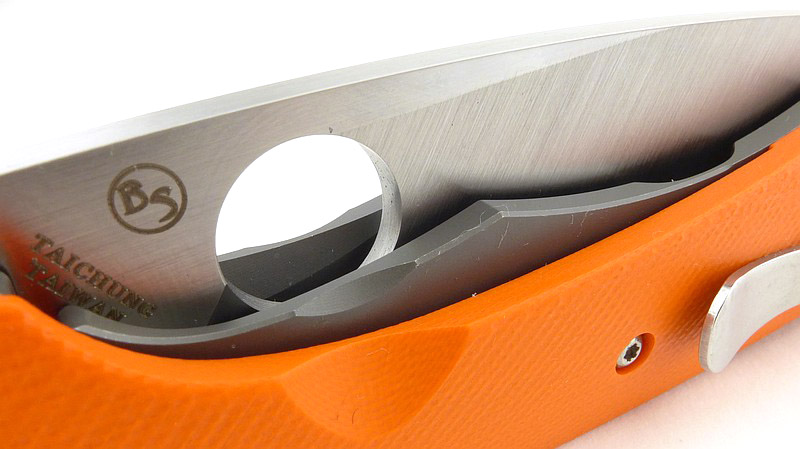
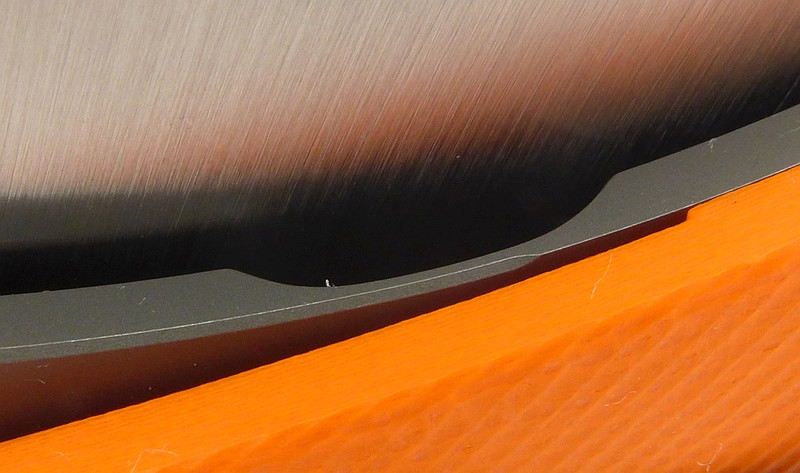
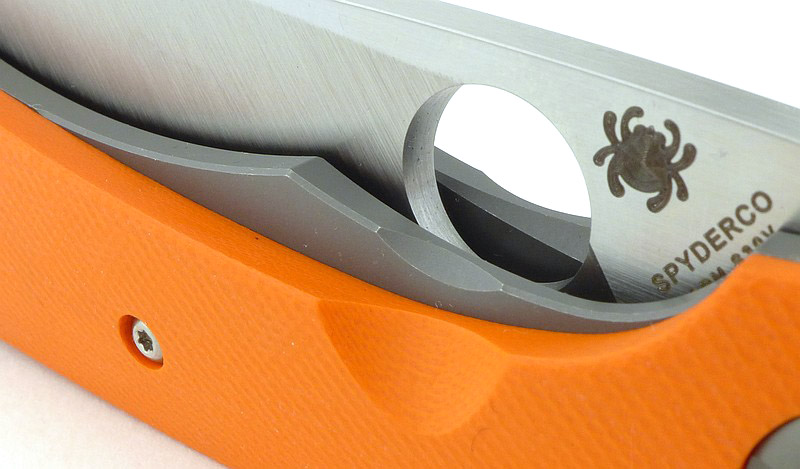
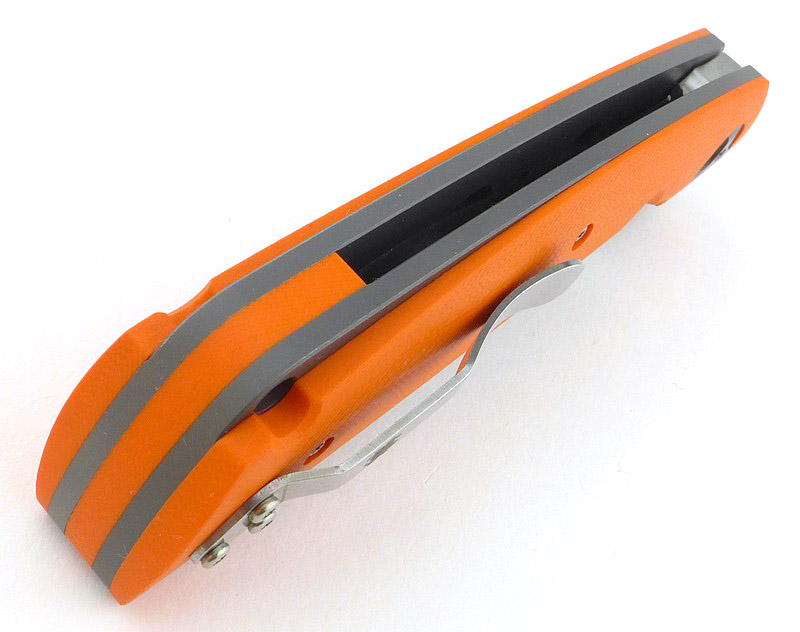
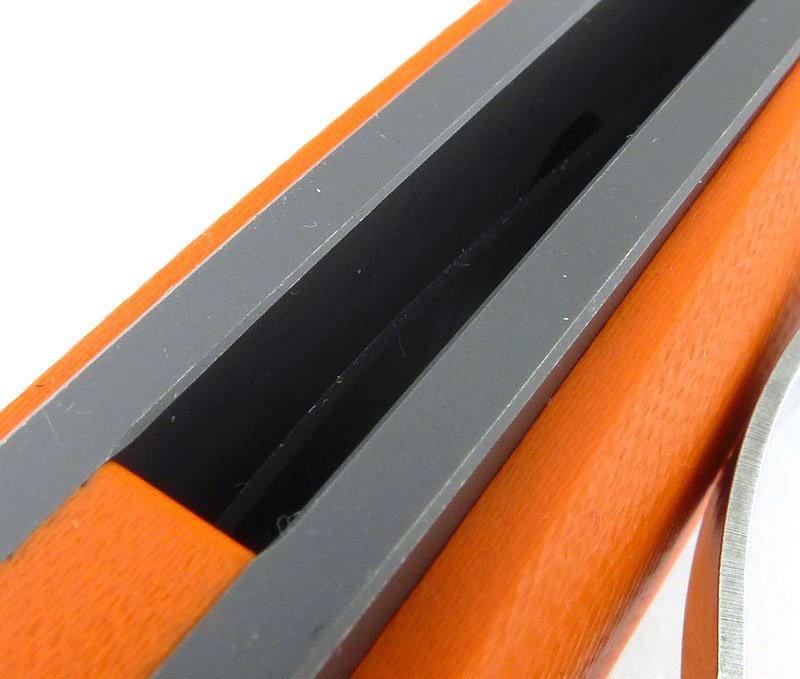
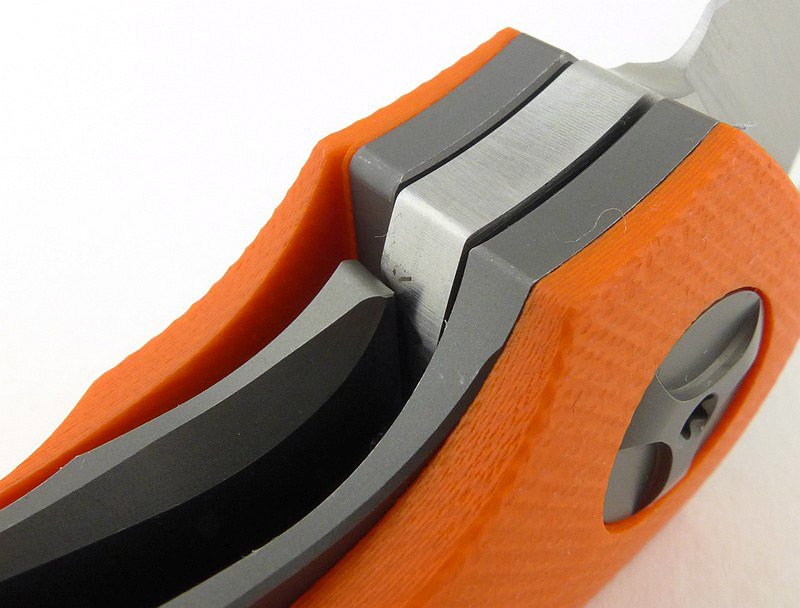
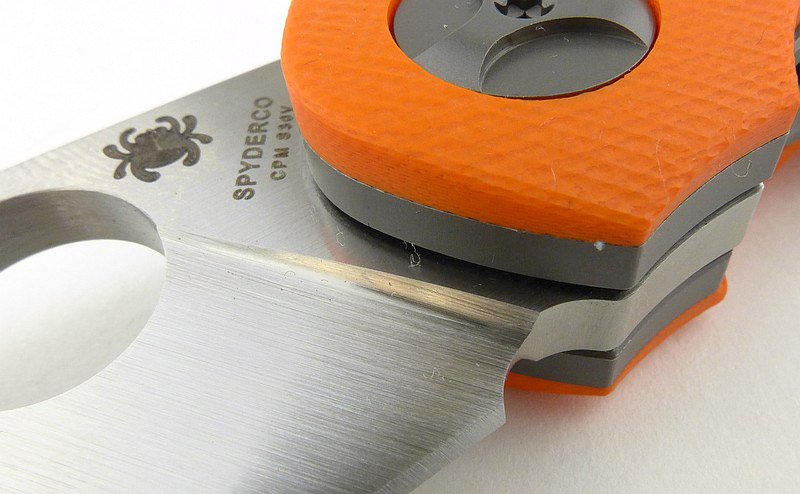
A good look round the Subvert – Things to look out for here are:

The choice of materials and how they come together has resulted in a lot of transitions, all of which are dealt with sympathetically and with great attention to detail. A very impressive build, that continues to impress.


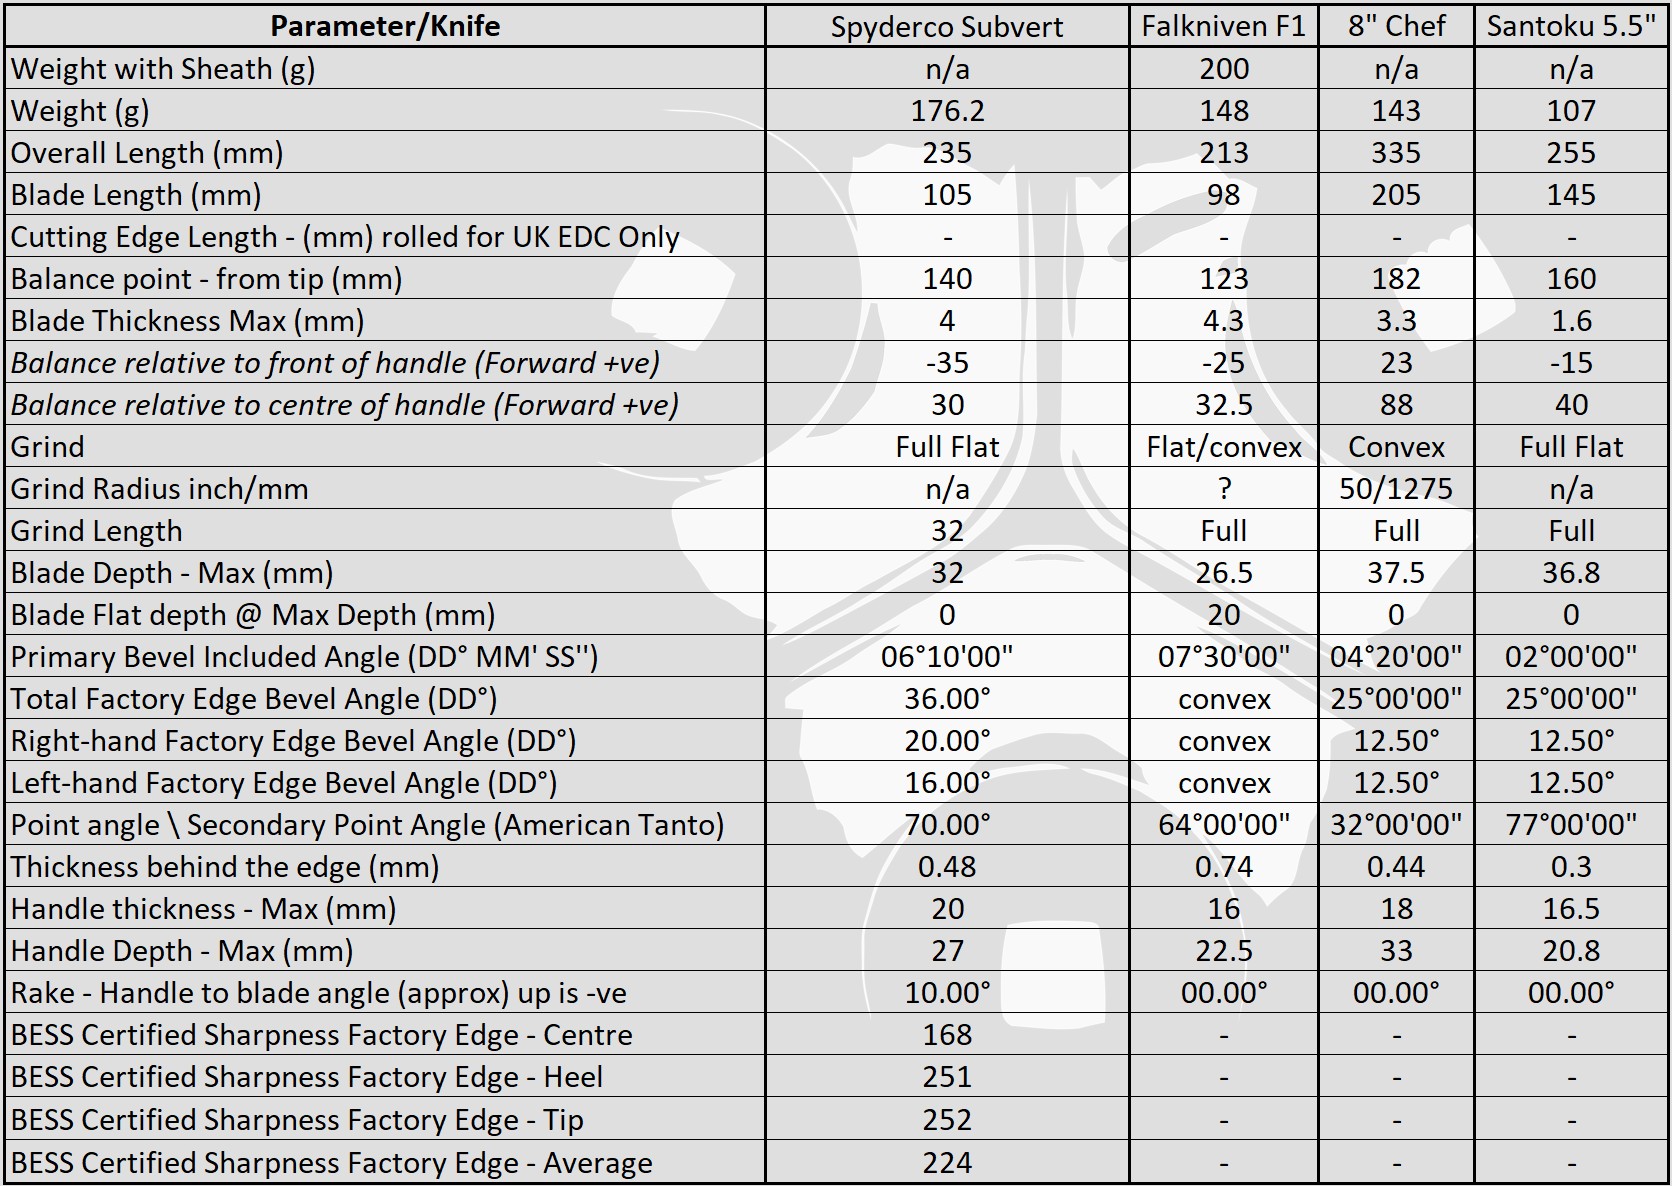
The Blade and Handle – Detailed Measurements:

For full details of the tests and measurements carried out and an explanation of the results, see the page – Knife Technical Testing – How It’s Done.

The blade is made from CPM S30V steel.


What it is like to use?

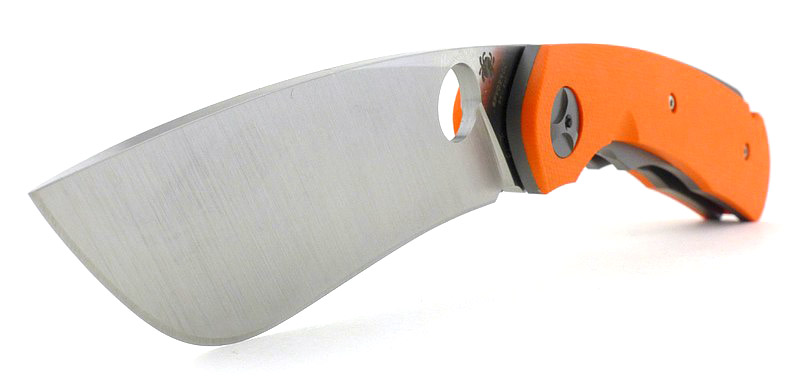
That photo says something loud and clear, ‘drama’, and that is where I’ll start with the Subvert. Swinging open that lovely large blade is full of drama and feels like deploying something serious. Thanks to the super smooth bearings, once free of the detent, that blade swings completely free. Rolling it round to the solid clunk of the lock kicking in just feels so good. A generous size of opening hole ensures no trouble getting it moving and taking it to fully open without thinking.

I’ve heard a few comments questioning if that blade is actually practical to use. It is certainly a bit different than you might be used to, and can require you to adapt your approach to a cut, but it is always rewarding to use.

The blade stock is thick, and the tip has a wide angle, both of which make it less suited to piercing. However, this tip still works well enough, and adds a level of control, as it is often easy to go too deep with piercing cuts. At the widest part, the blade has been brought down to a nice slim angle making this the best place for deeper cuts; at this point on the blade it is an especially fierce cutter.

Though it is a big folder with a thick blade, that blade has a full flat grind, making the cutting efficiency very good. The overall size does make it a positive choice to carry, but why wouldn’t you?

There is a definite feeling that every part of the knife has been positively designed. What am I saying? When you design anything, some parts of it can end up ‘just being’, passively designing themselves or simply filling in a gap between two other parts. This is no bad thing, just an observation, and in the case of the Subvert, as you look closely at every part, there is a level of positive design and intended choices that fills it with purpose.

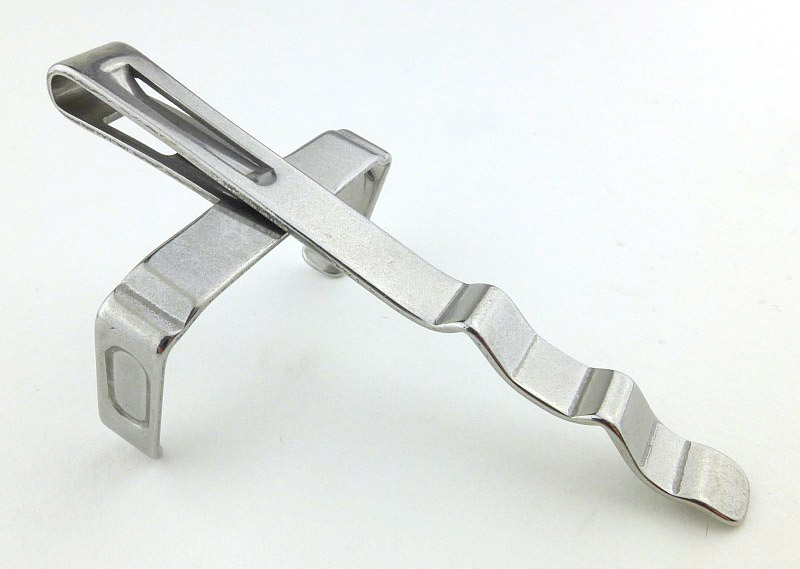
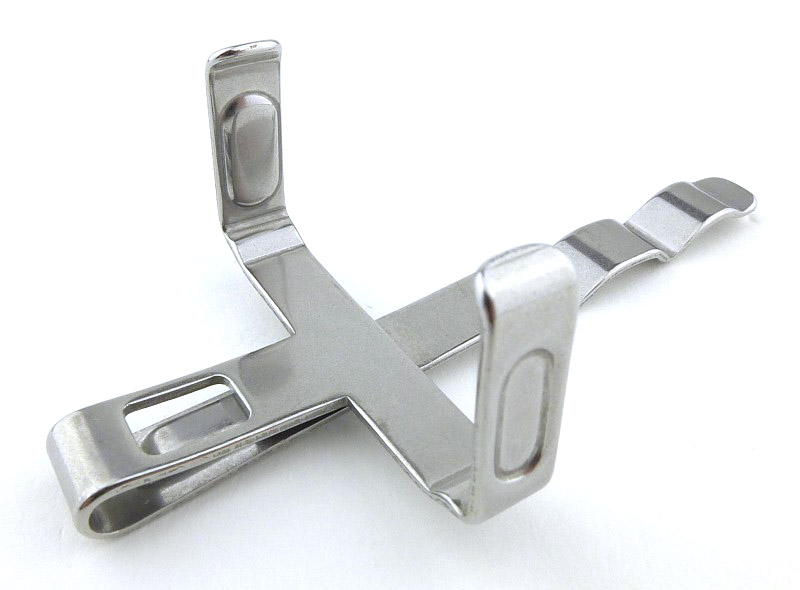
I have found myself questioning some of those choices, like a single position pocket clip. More and more frequently, folding knives are offered with multi-position pocket clips, and if you are left-handed or prefer tip up carry then you can change it around. That choice however does make a design messy with milled areas and holes cluttering the handle. Sticking to a single position keeps the rest of the design simpler and more elegant.

Have a flip through this gallery…


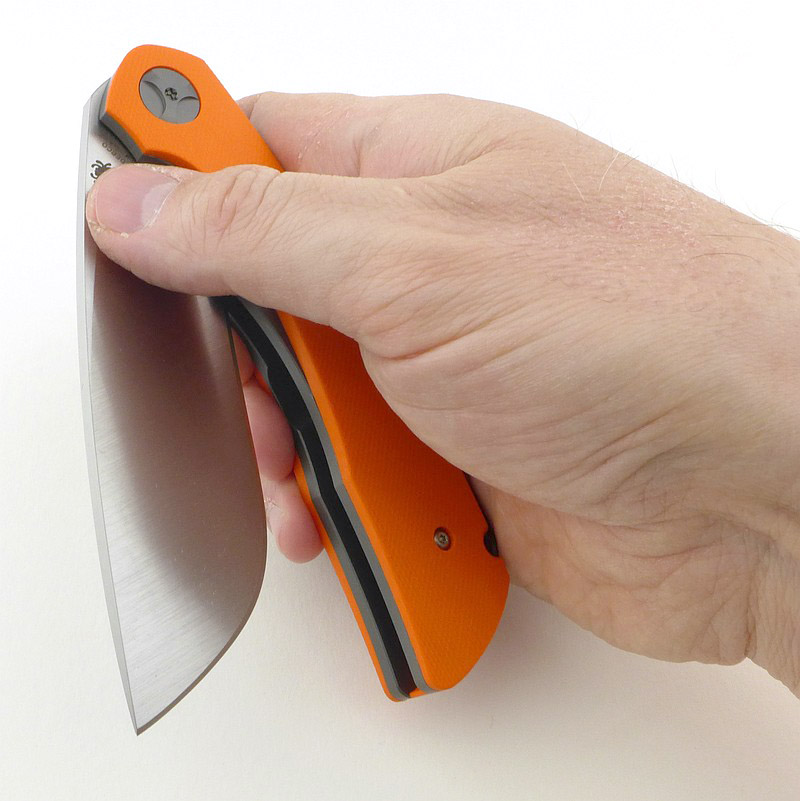
I take an XL glove, so you can see it is a good size. It doesn’t feel too large and the size of the blade always brings on a grin.

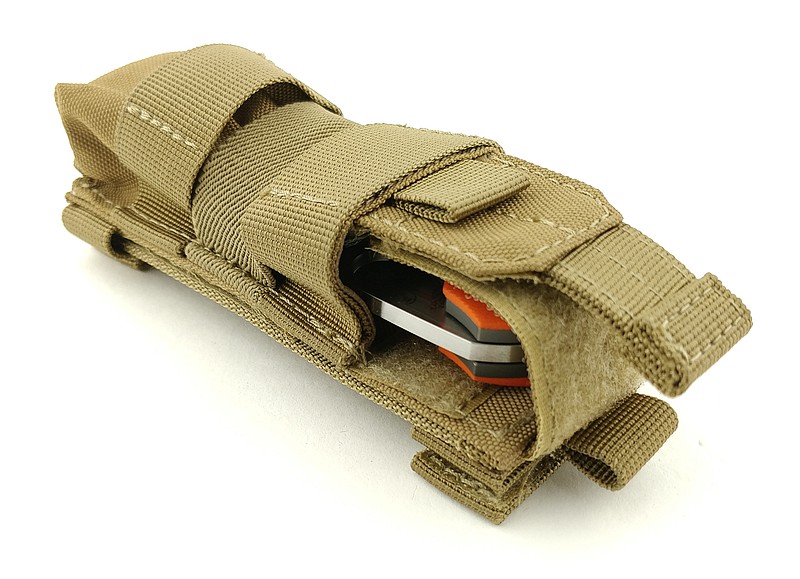
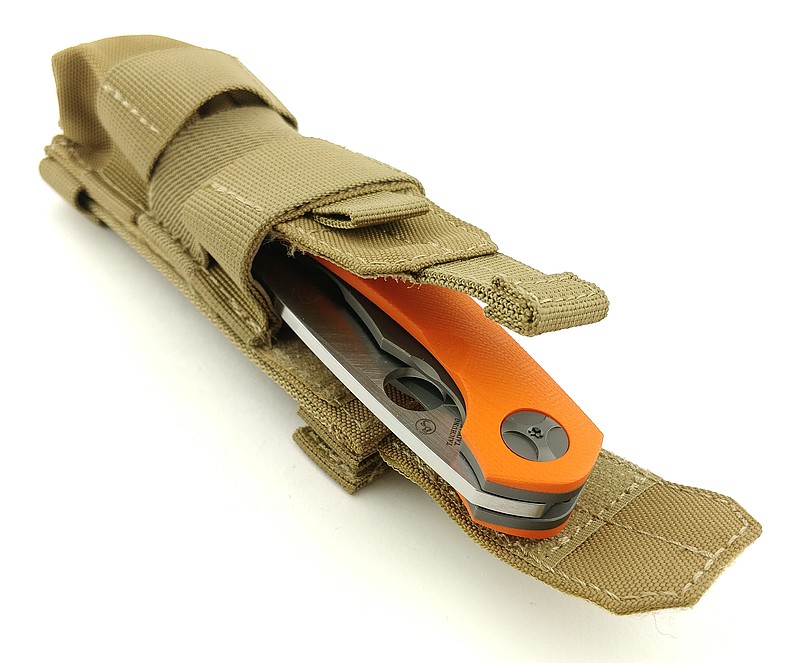
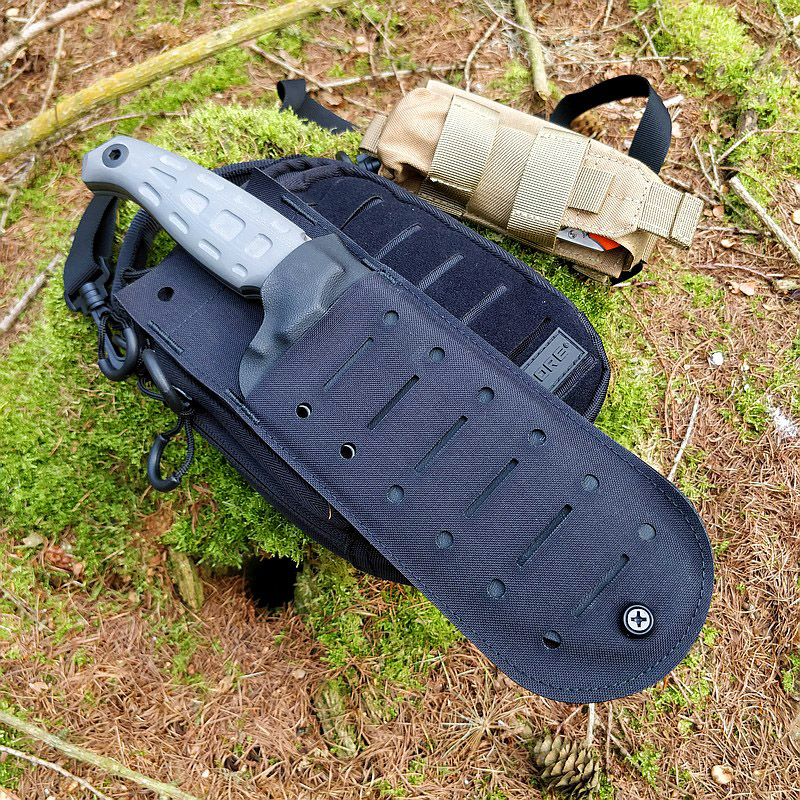
It is getting to a size that pocket carry might be pushing it, so I wanted to use a pouch. A happy coincidence meant I gave it a try in the Nitecore NCP30, and this almost felt made for it and meant I could go with horizontal or vertical belt carry. I also frequently had this on the strap of a shoulder bag (see gallery).

Is the Subvert the most practical knife you could carry? Not in my opinion. Is the Subvert great fun to use and carry, and does it make you grin when you swing open that blade? Yes, in spades.

Review Summary

The views expressed in this summary table are from the point of view of the reviewer’s personal use. I am not a member of the armed forces and cannot comment on its use beyond a cutting tool or field/hunting knife.

Something that might be a ‘pro’ for one user can be a ‘con’ for another, so the comments are categorised based on my requirements. You should consider all points and if they could be beneficial to you.

_______________________________________________
Things I like
_______________________________________________

Large dramatic blade.
Every detail carefully thought out.
Superb fit and finish.
Single position pocket clip. (yes it is in both lists)
Orange handles and contrast spacer.
Silky smooth bearing.
Strong thick blade.
Full Flat Grind (making that thick blade a good slicer).
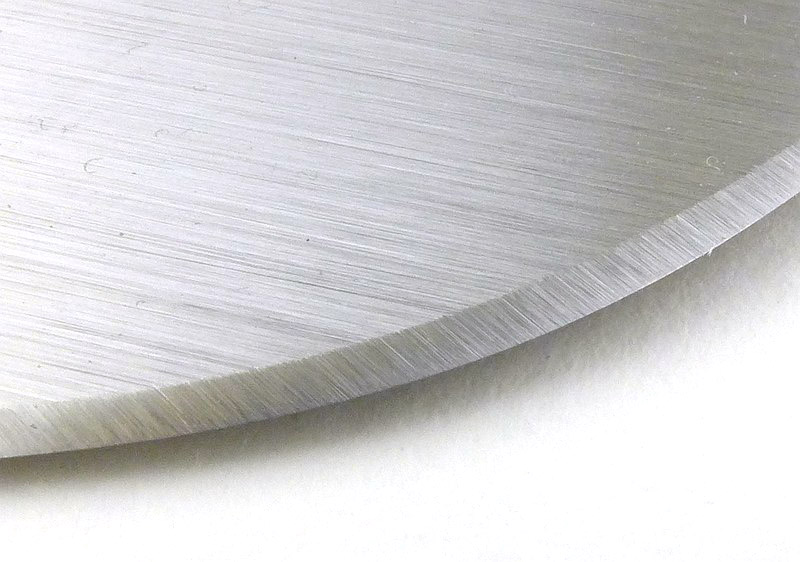
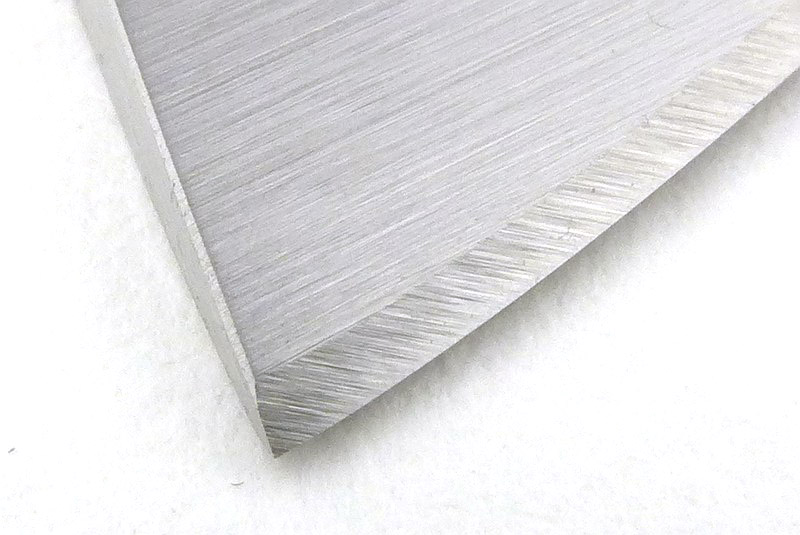
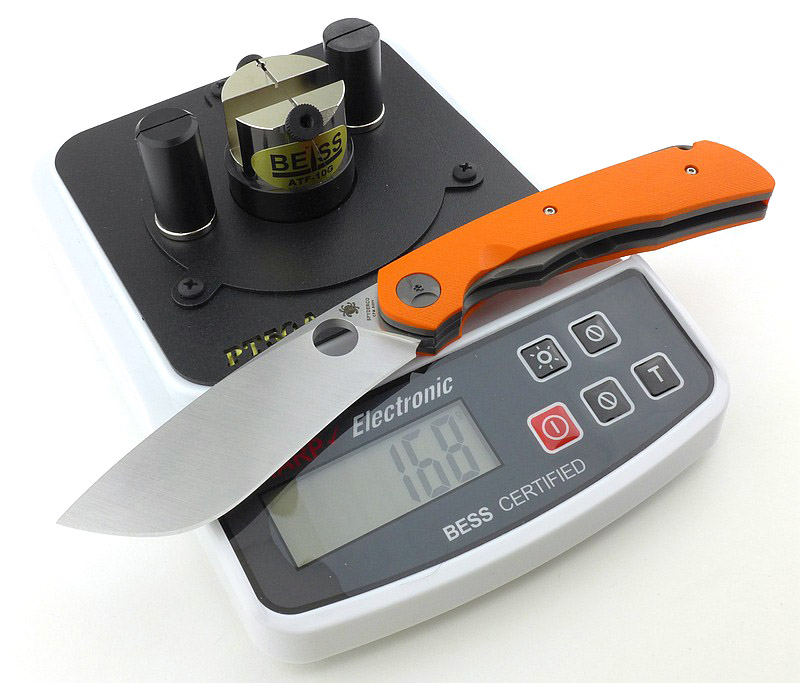
Excellent factory edge.

_______________________________________________
What doesn’t work so well for me
_______________________________________________

Not the most practical blade shape.
Single position pocket clip. (yes it is in both lists)
Curvy edge will be a bit more challenging to maintain.


Discussing the Review:

The ideal place to discuss this review is on the Tactical Reviews Facebook Page
Please visit there and start/join the conversation.

If you read the review entirely on Tactical Reviews, please consider visiting one of the following to start/join in any discussion.

BladeForums – Knife Reviews (US based Forum for Knife Discussion)

CandlePowerForums – Knife Reviews Section (Largest and Friendliest Flashlight Community Forum)

The BESS Exchange – A forum discussing technical aspects of sharpness and truly understanding your sharpening process.

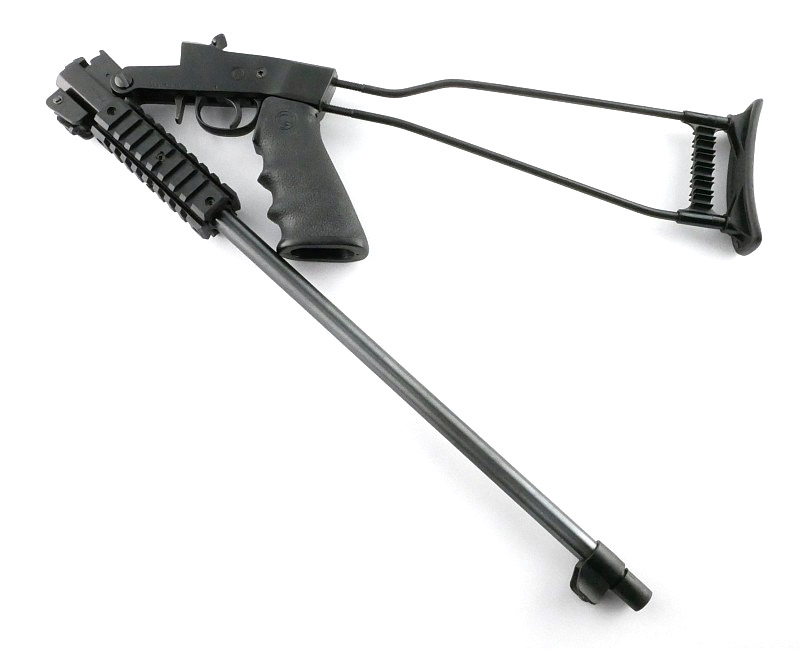
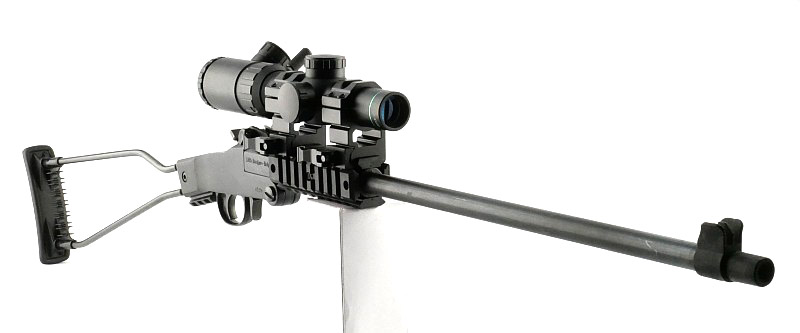
Gear (Gun) Review: Chiappa Little Badger Pt.2 – Fully Loaded!

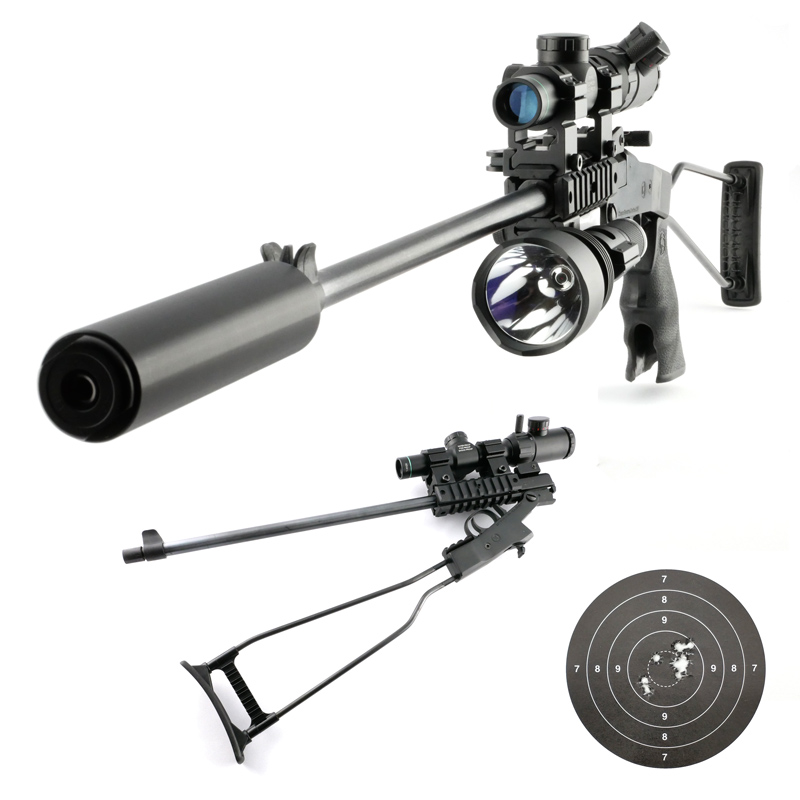
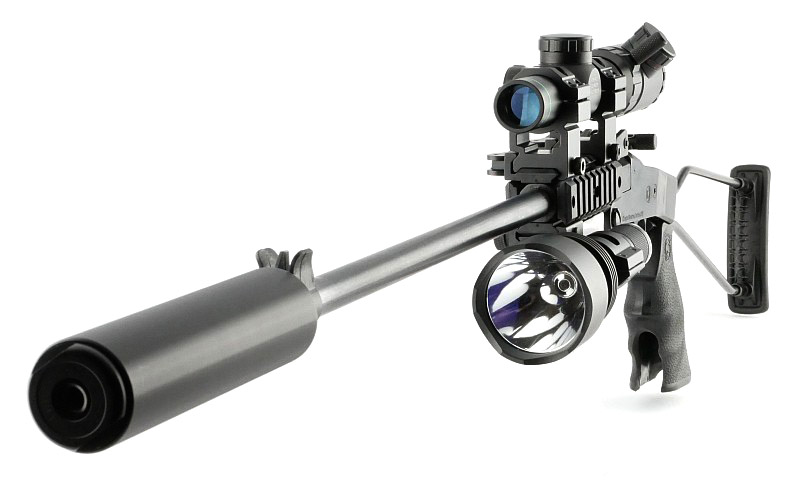
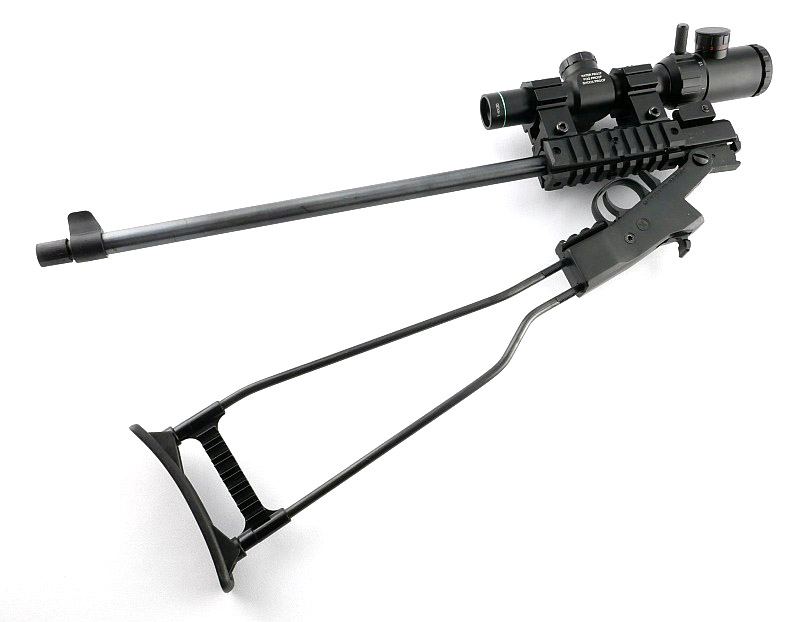
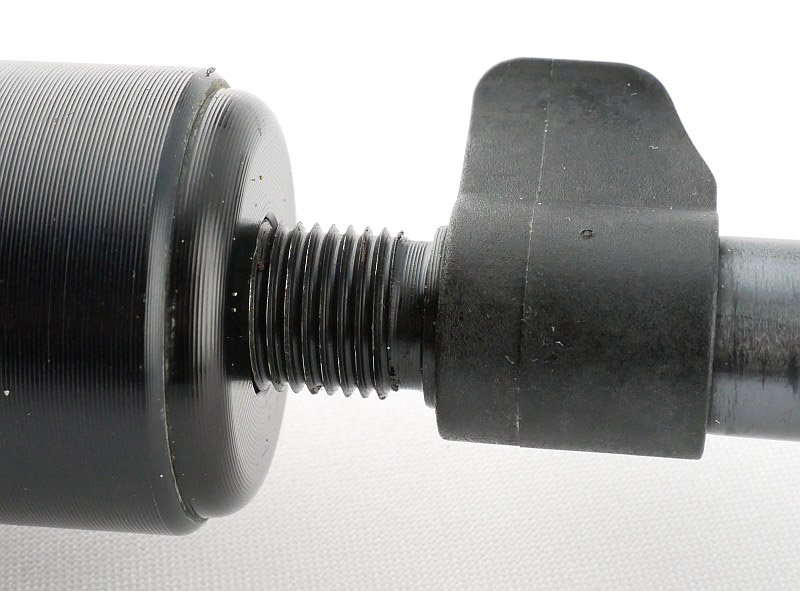
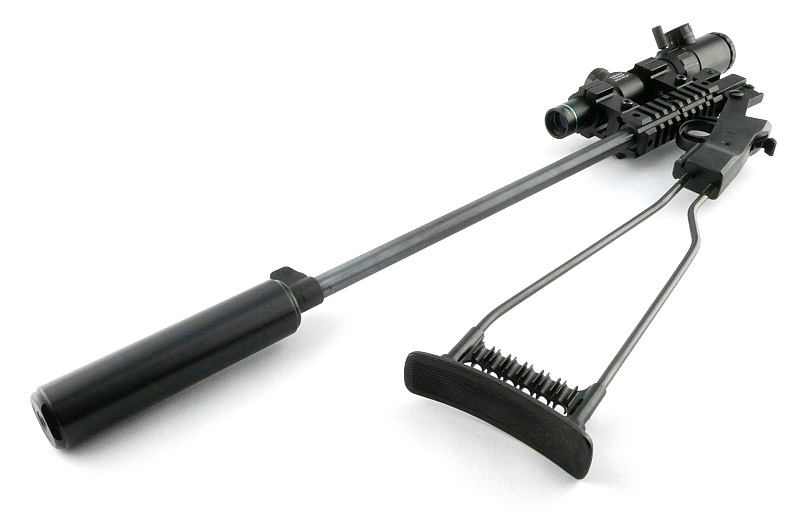
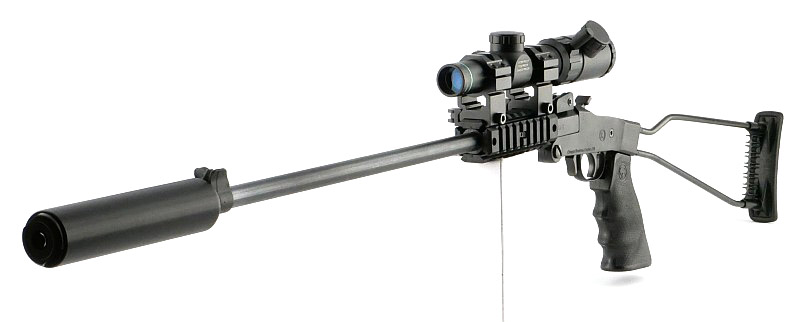
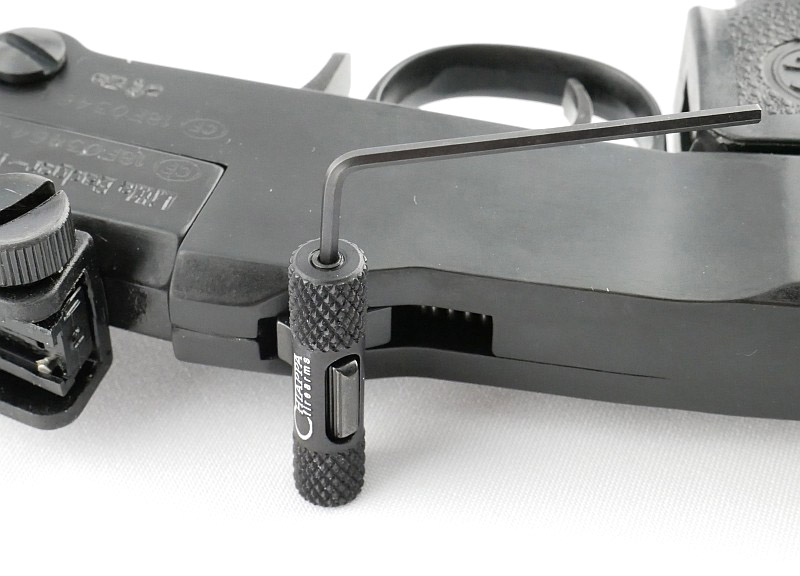
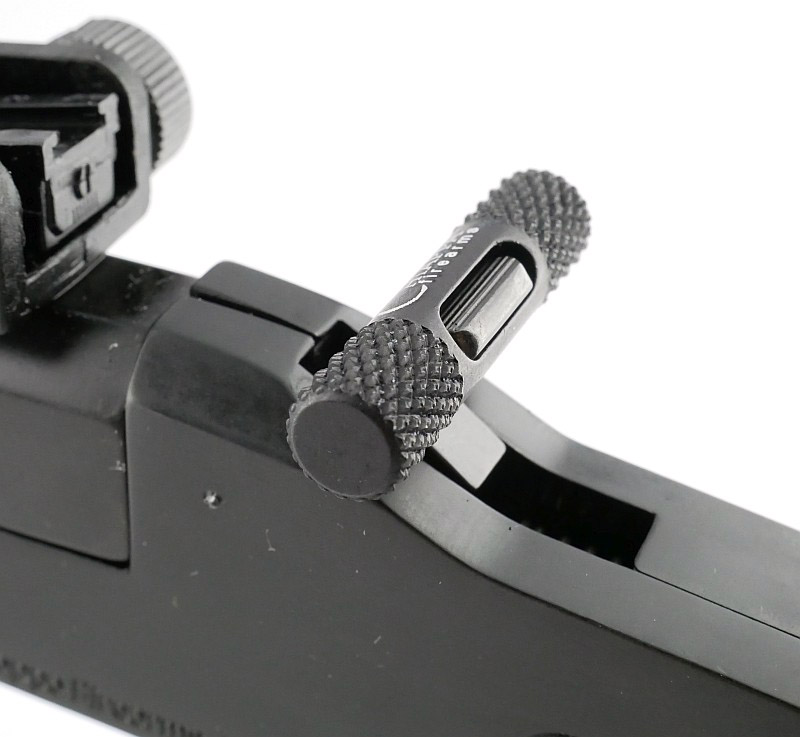
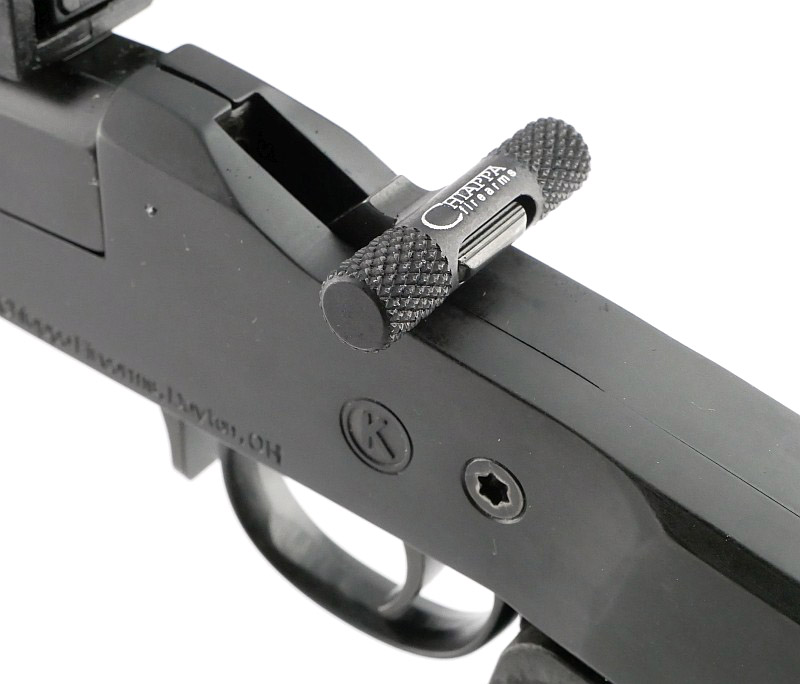
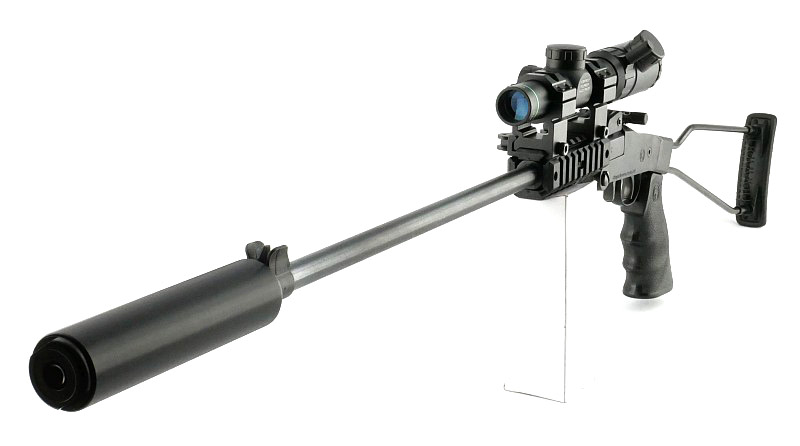
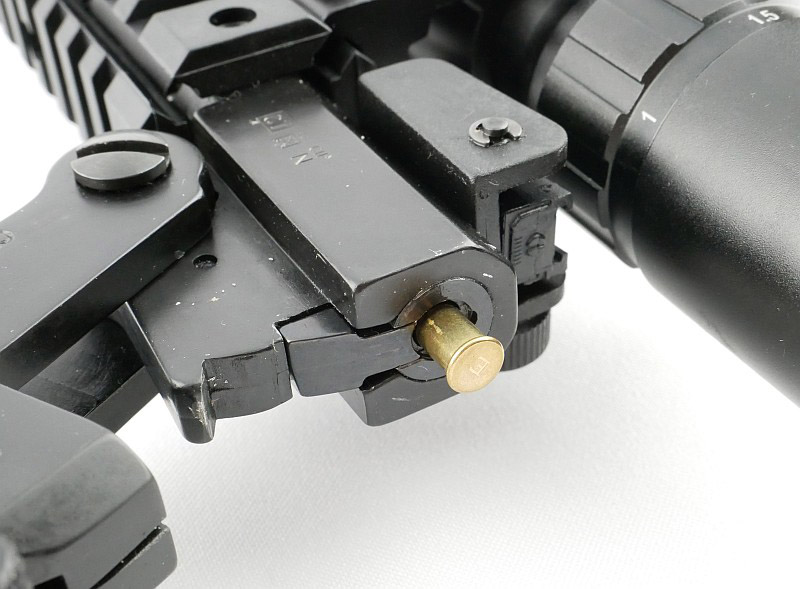
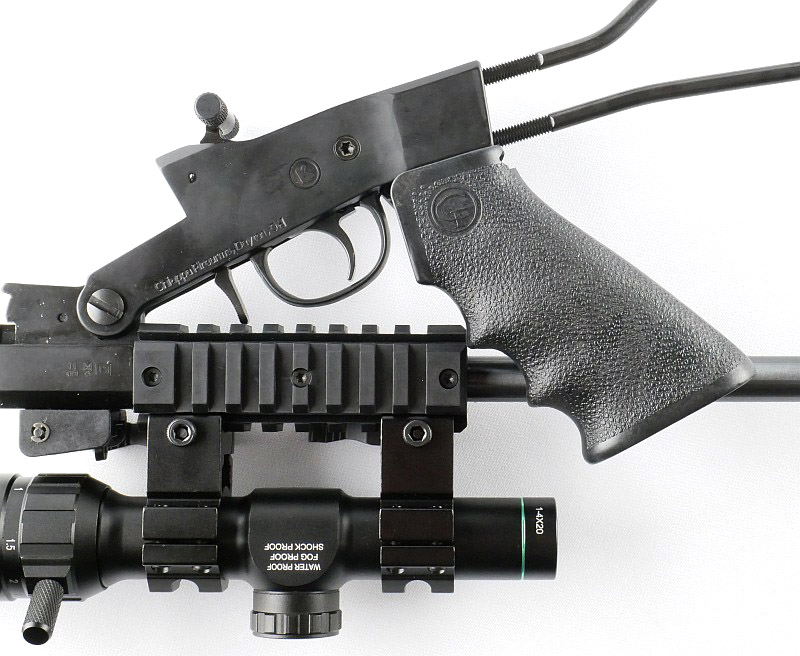
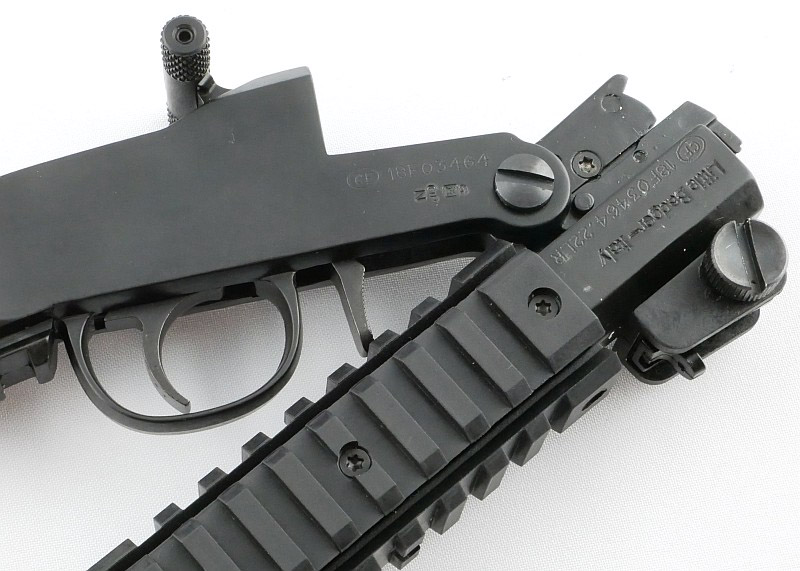
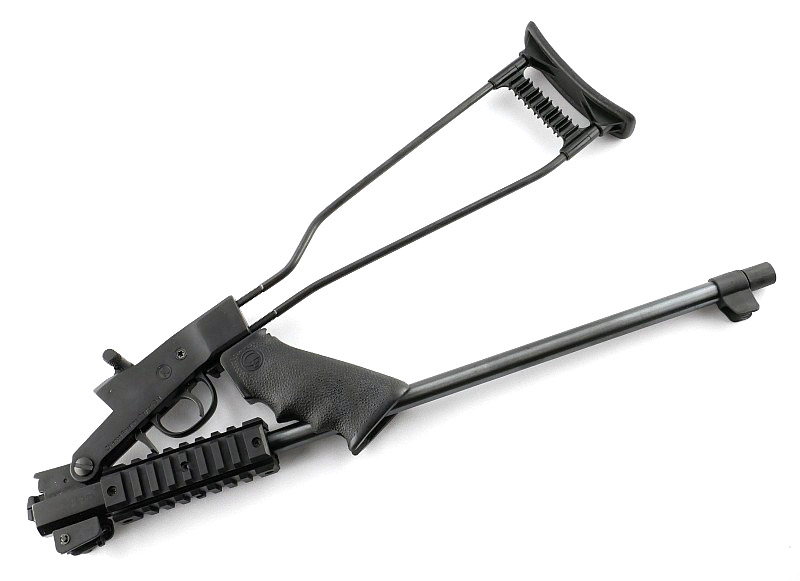
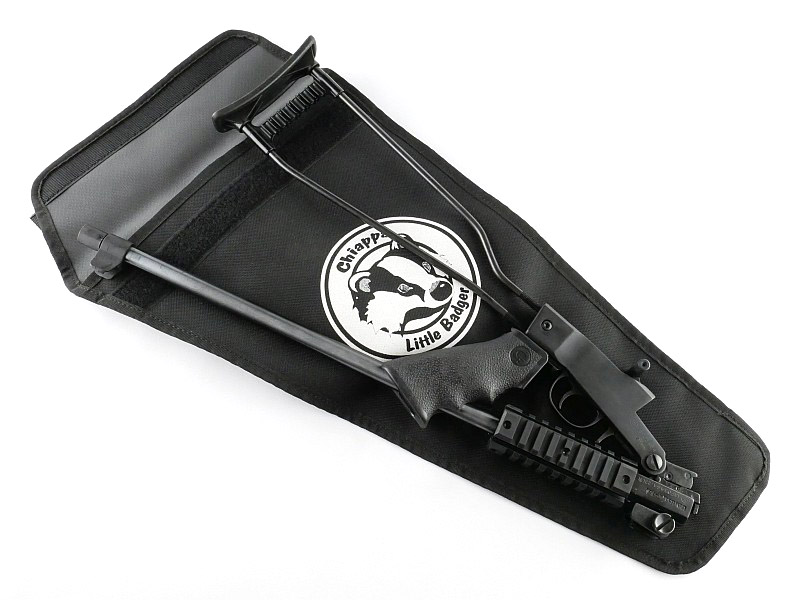
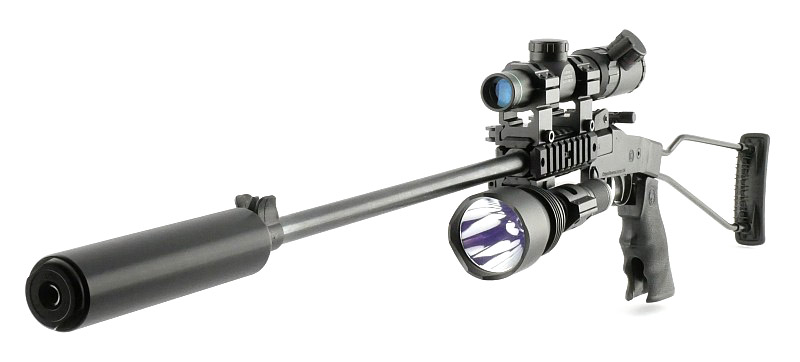
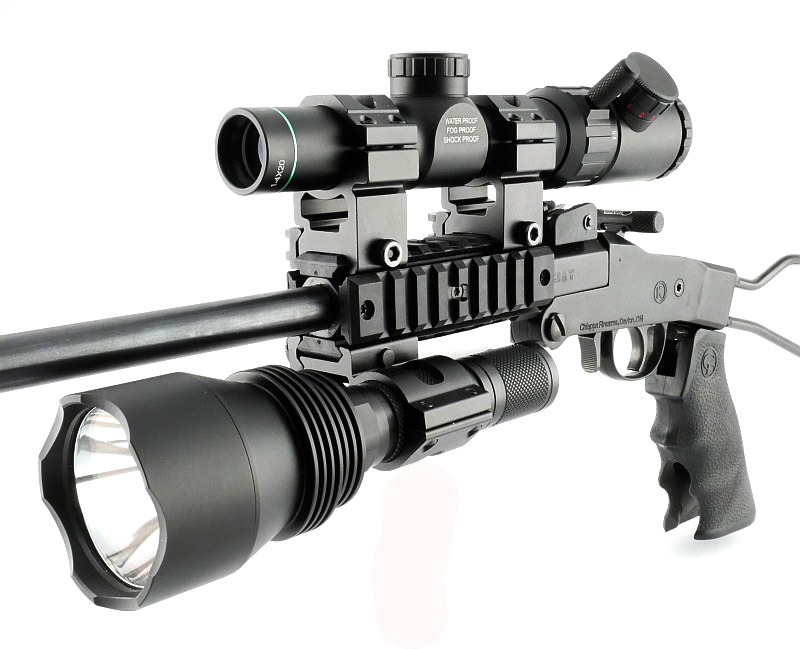
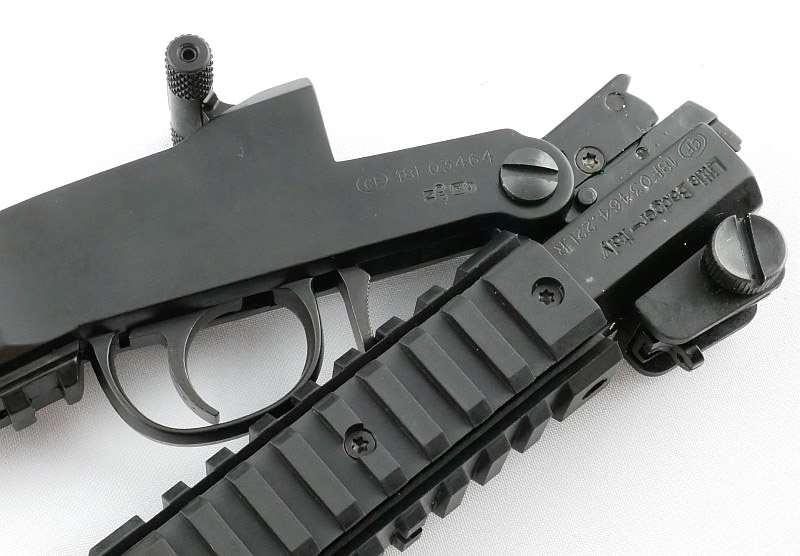
‘Fully Loaded’ – This is the second part of the Chiappa Firearms Little Badger Folding Survival Rifle Review, and follows on from Part 1 which introduced this handy little gun. In Part 2 I’ll be covering more details of the Little Badger accessories, how they fit and perform, and a nice modification that, for me, transformed this rifle.

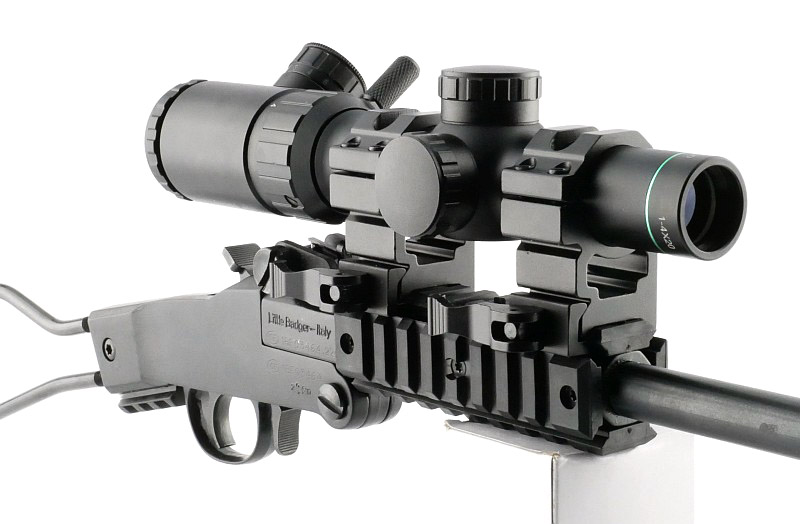
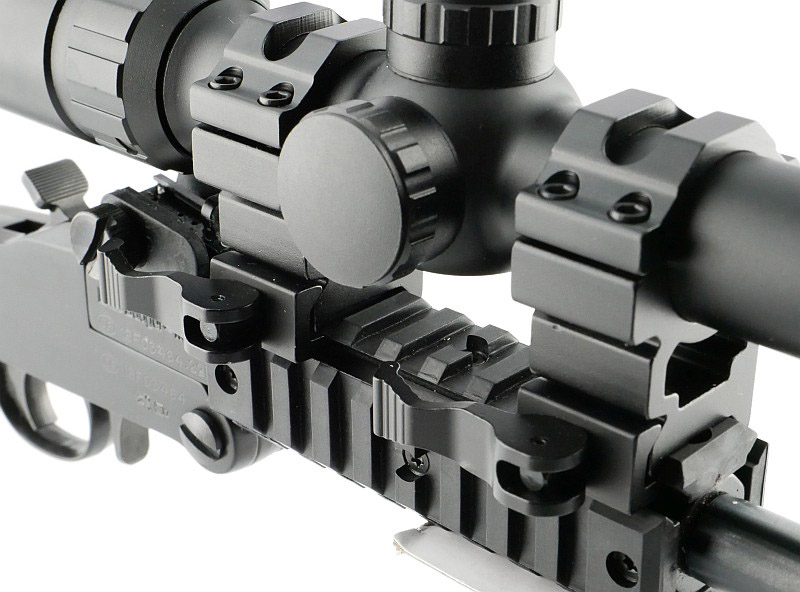
The accessories in detail:

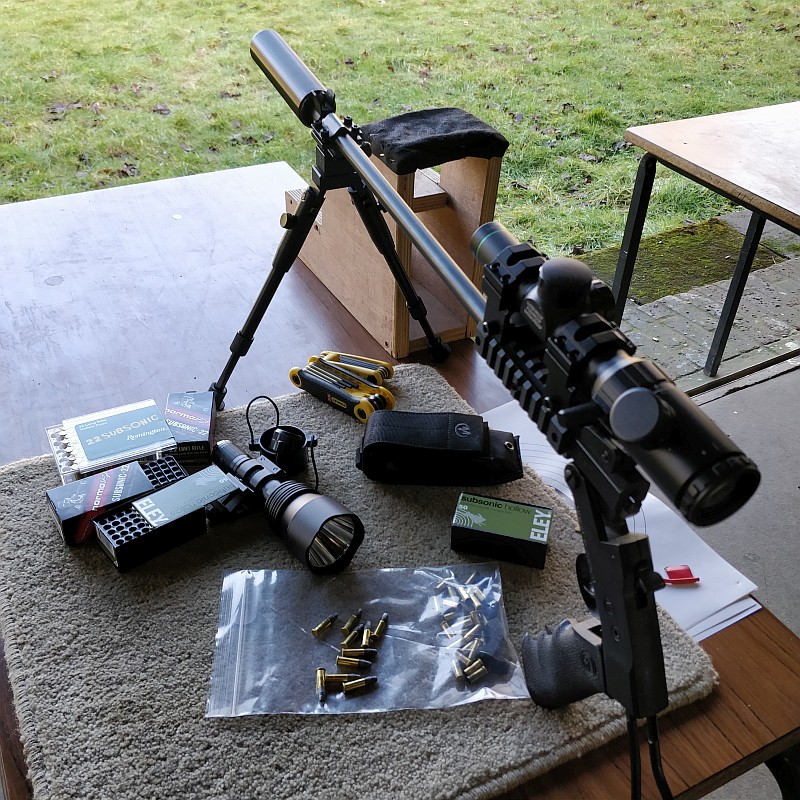
Keep an eye out for the comments on each image. Some of the key points to look out for are:

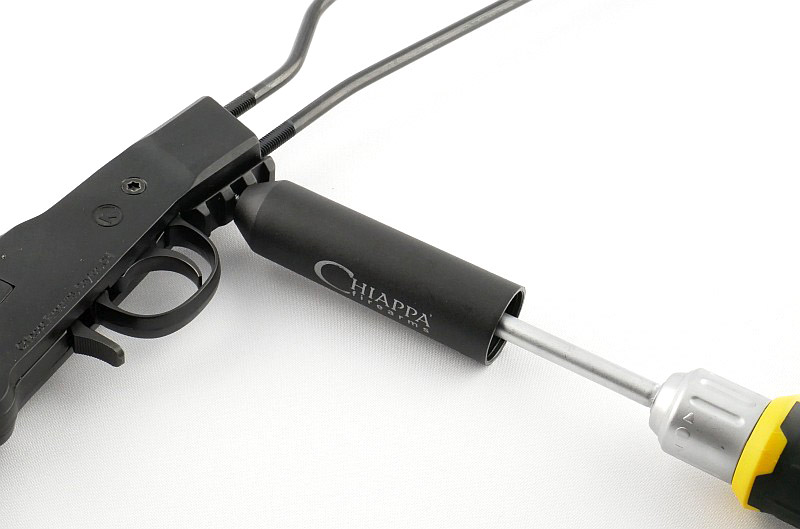
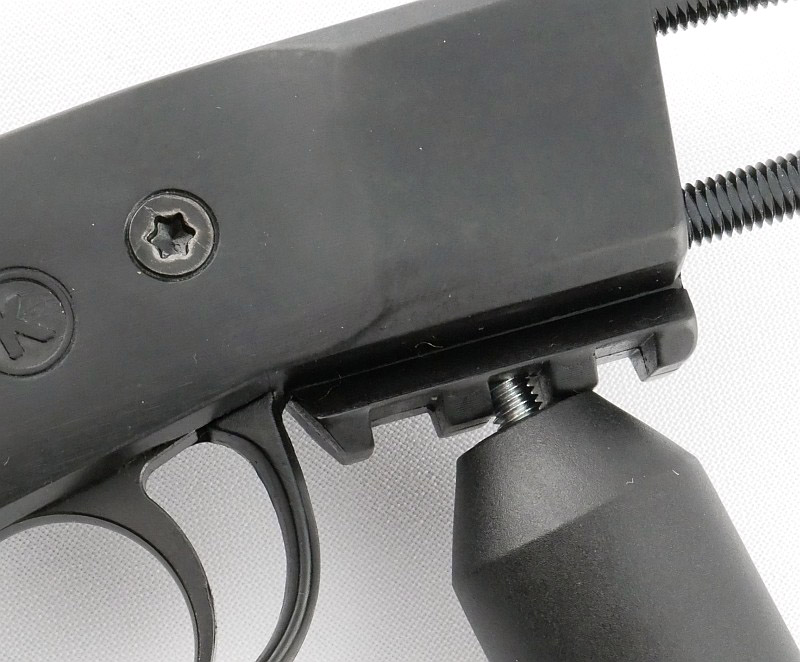
The effect add-on handles have on folding the rifle, and how easy they are to fit and remove.
A compact scope (from In Your Sights) really does make all the difference in sighting.
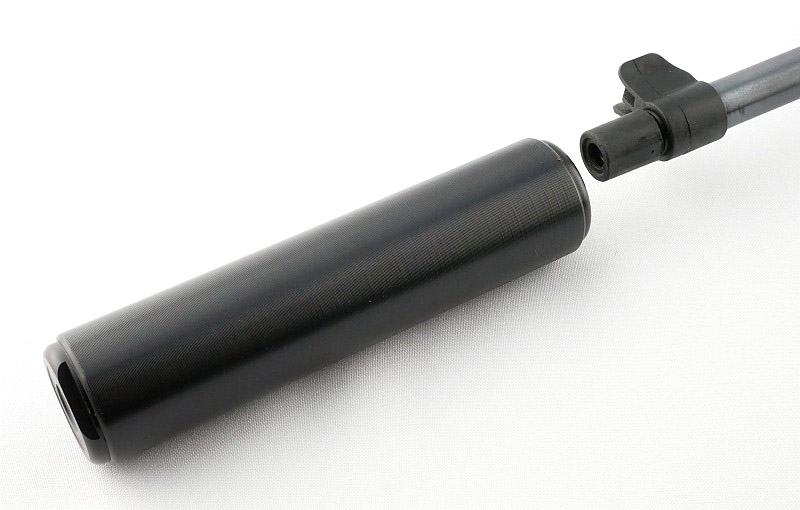
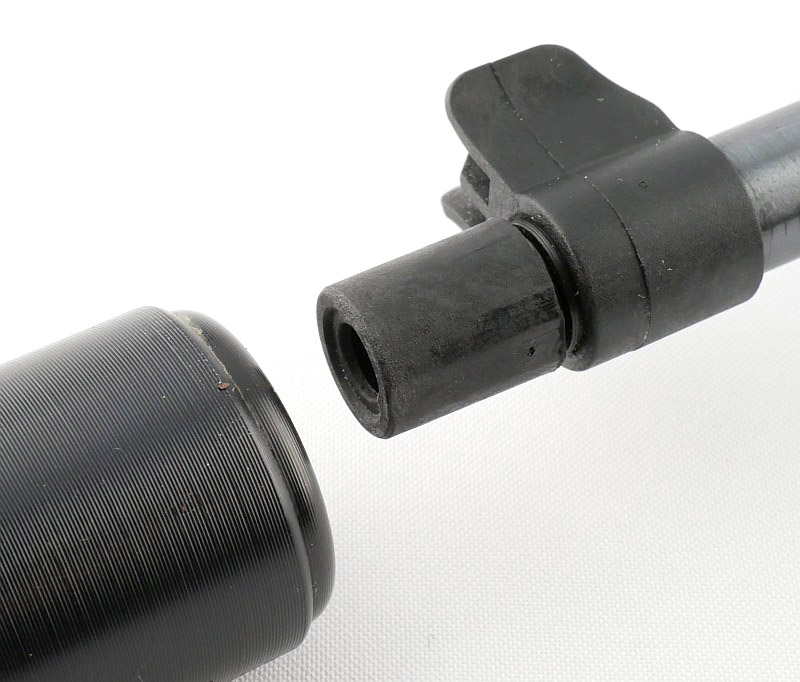
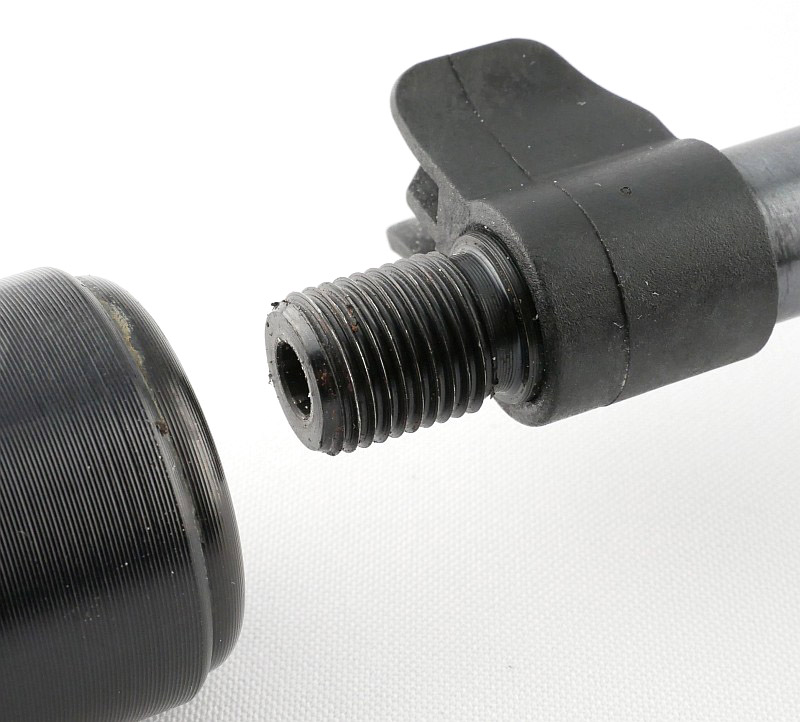
Subsonic .22LR plus a moderator really makes for a great combination.
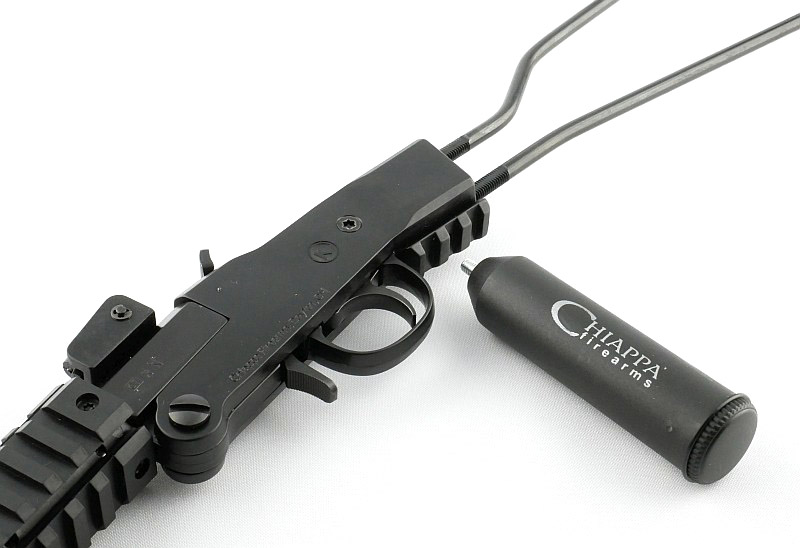
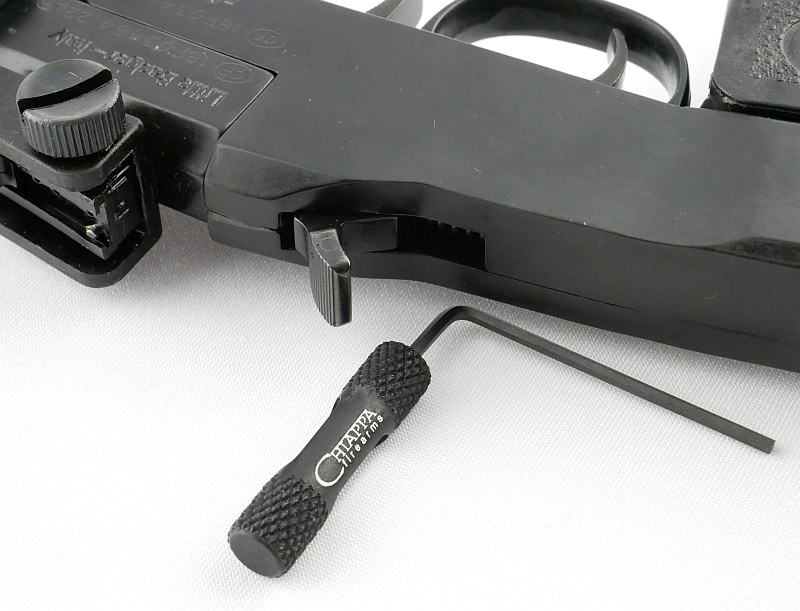
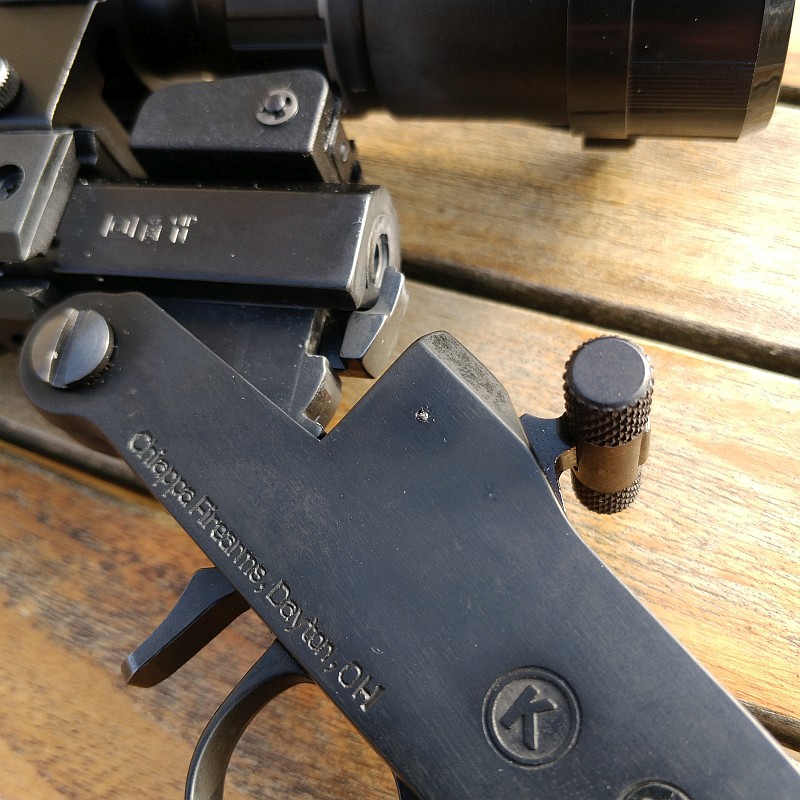
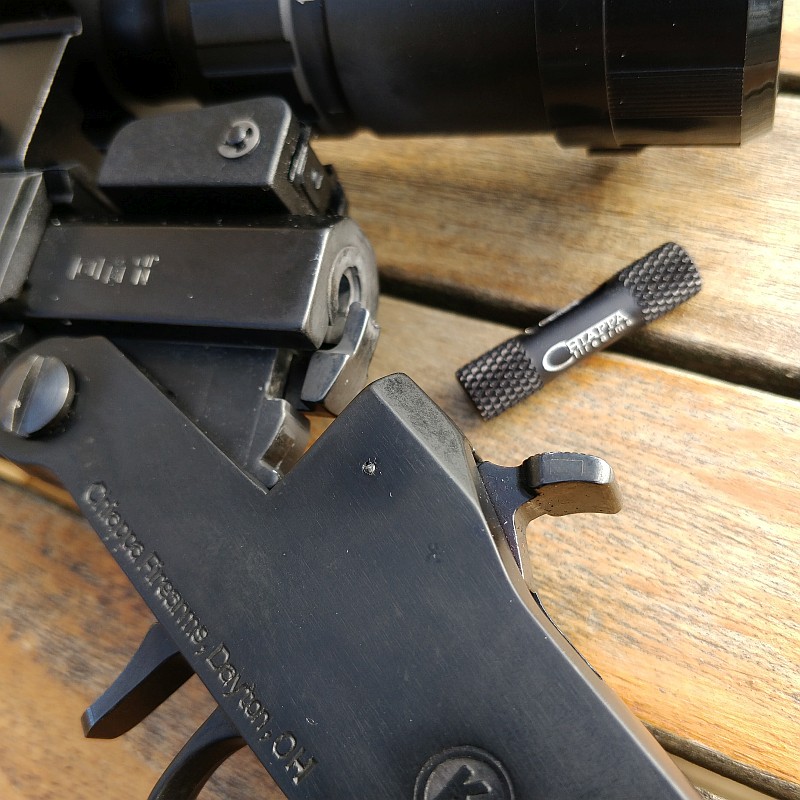
The hammer extension, which seems such a great idea to improve ease of cocking the hammer, might not work as well as hoped.

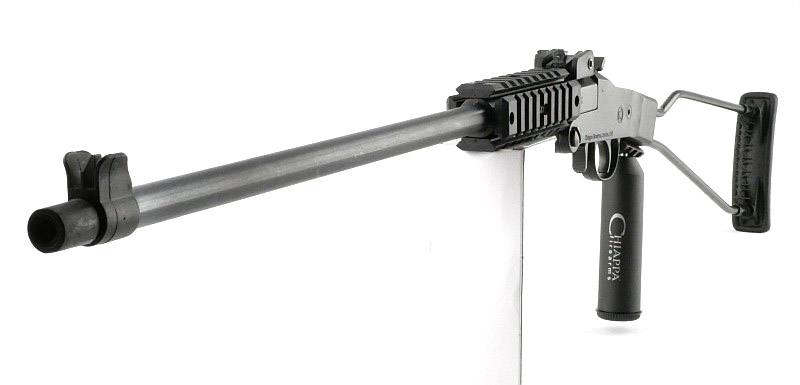
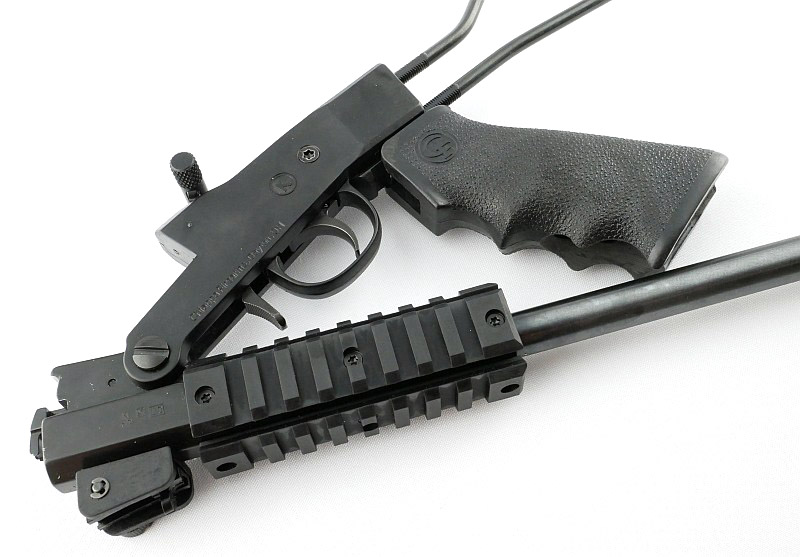
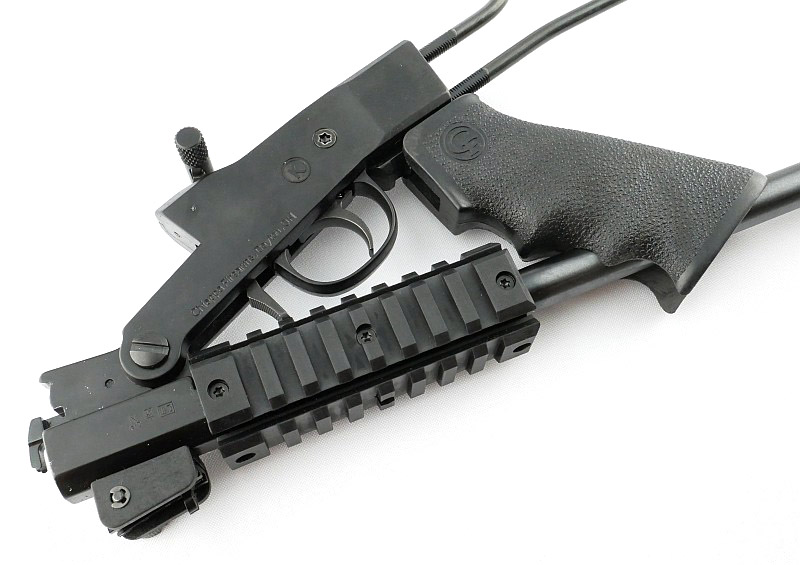
This gallery will show how they all fit together.


Bringing it all together:

So far the photos have been from an initial studio shoot, but now we are moving onto areas which are being re-visited based on using the Little Badger, plus a game changing modification of one of the accessories.

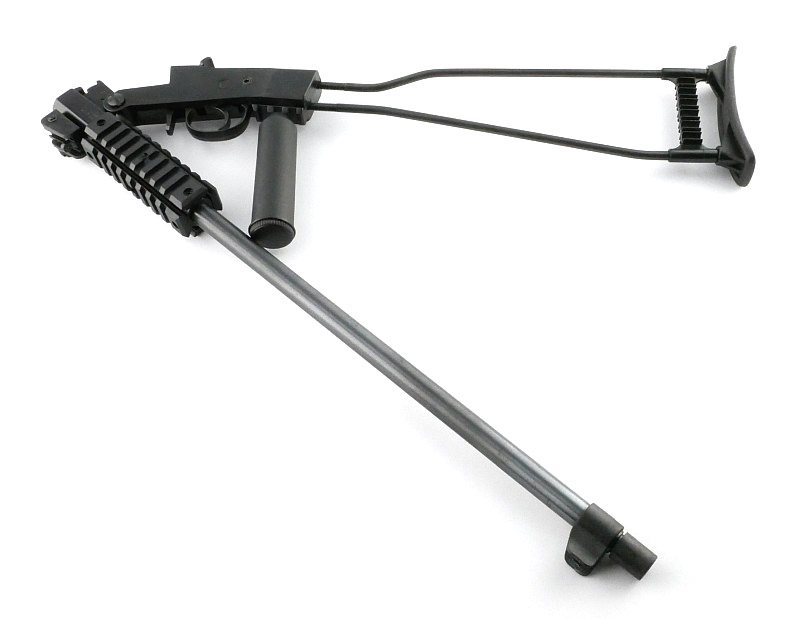
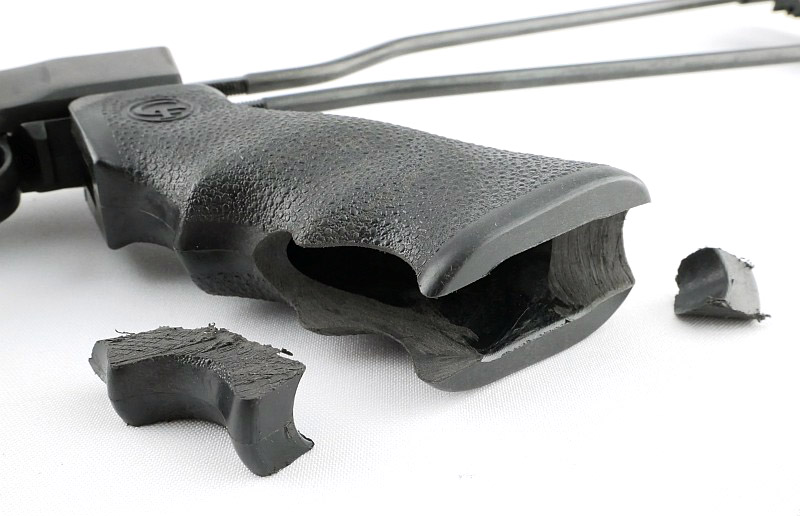
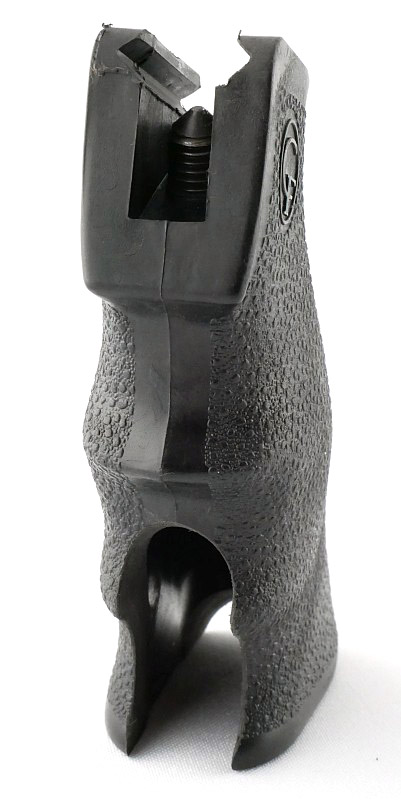
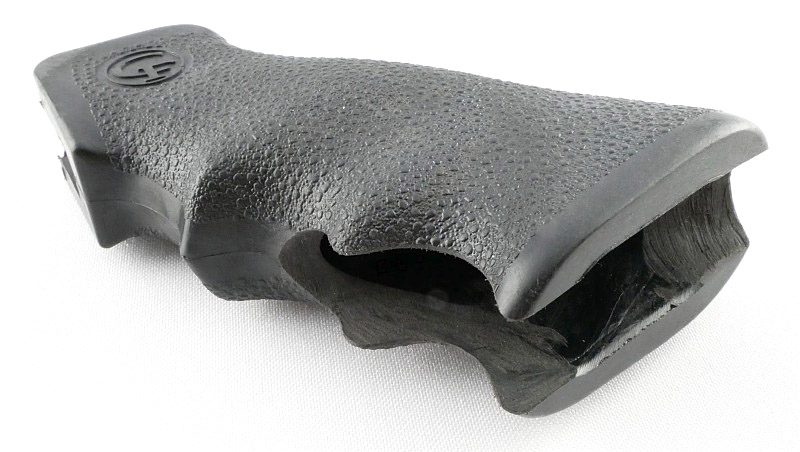
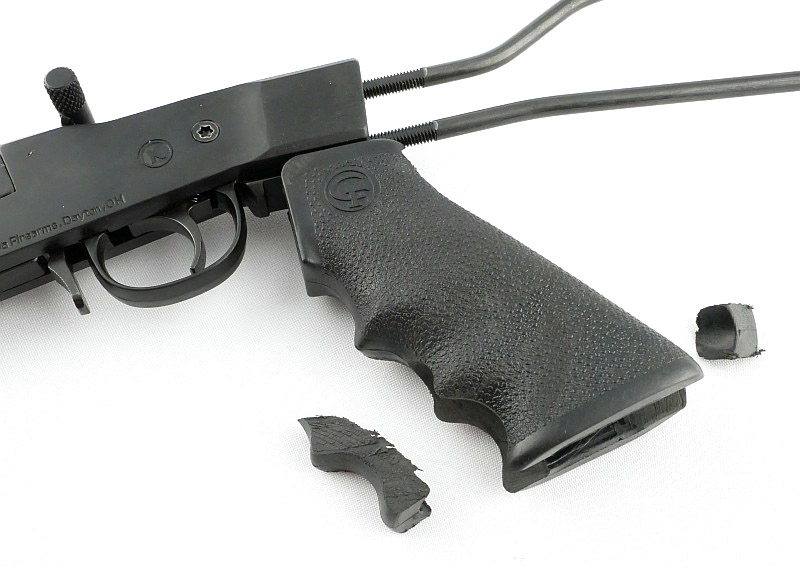
That modification is of the pistol grip – check the gallery for more.


What it is like to use?

Taking the fully loaded (in terms of accessories) Little Badger for a few range sessions resulted in some unexpected troubleshooting (pun intended)!

Knowing how different guns seem to prefer different ammunition, sometimes not the ‘best’ quality ammo, I went with a selection of usually reliable options.

A Slight Issue – easily resolved:

Comfort and stability were all good, but I found myself struggling to get my test groups shot, as there were SO many misfires. Change ammunition, try again, check the firing pin and hammer, try again.

Normally after waiting for a potential hang-fire, I rotate a misfired round so the firing pin can strike a fresh part of the rim. In some cases I did this six times. With the external hammer, I could of course simply re-cock it and go again without opening the action. This turned out to be the way to get a reliable ignition on all misfires.

This second strike also led me to the misfire being due to a light-strike. Why though? After considering all the options it seemed that possibly the extra weight of the hammer extension might be slowing the hammer speed and reducing the inertia of the hammer striking the pin. OFF with that extension and ON with the shooting. Every strike was now a reliable ignition. A pity, but at least the Little Badger was not at fault.

Range:

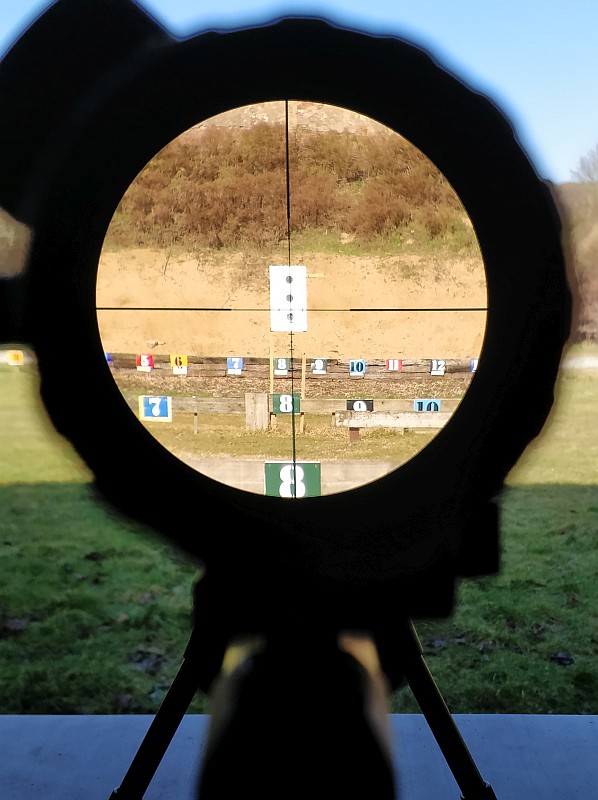
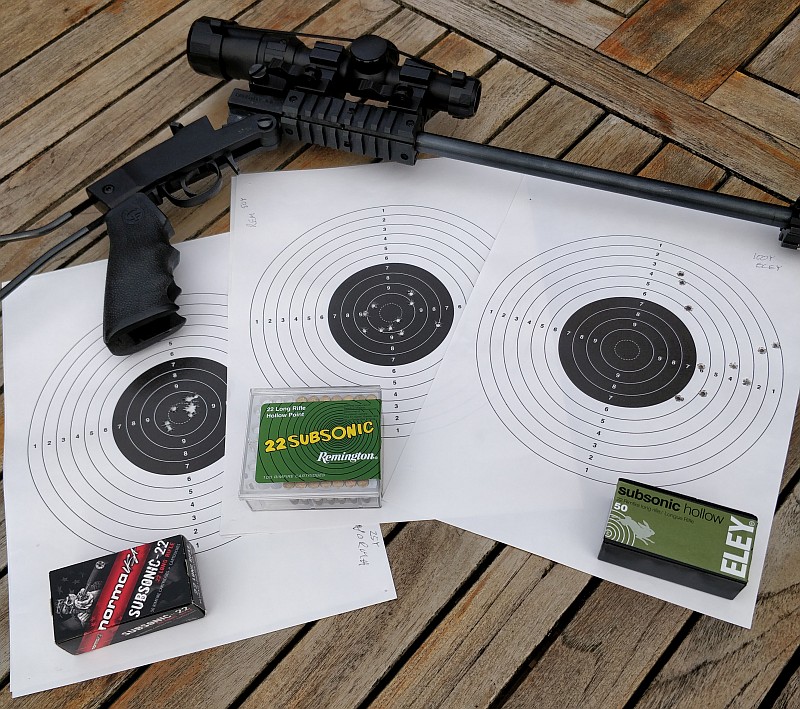
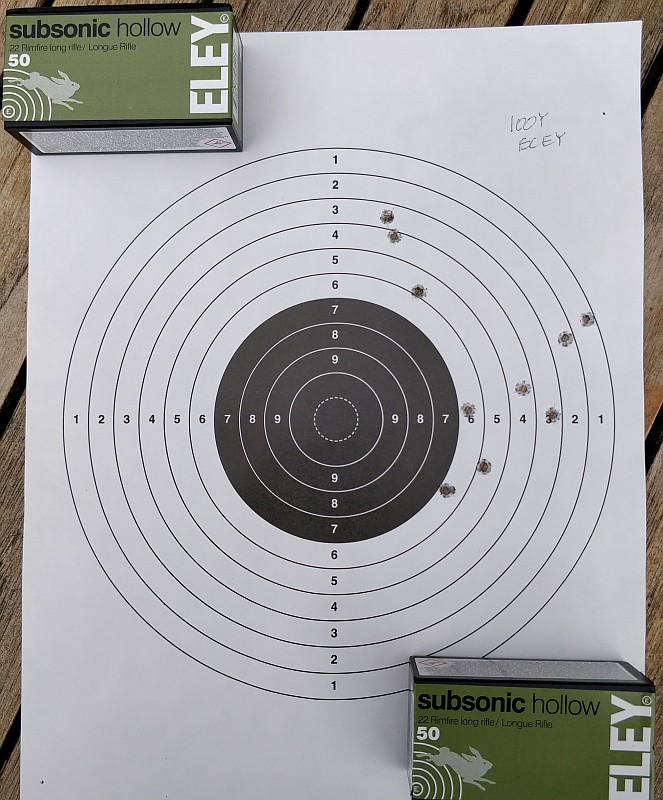
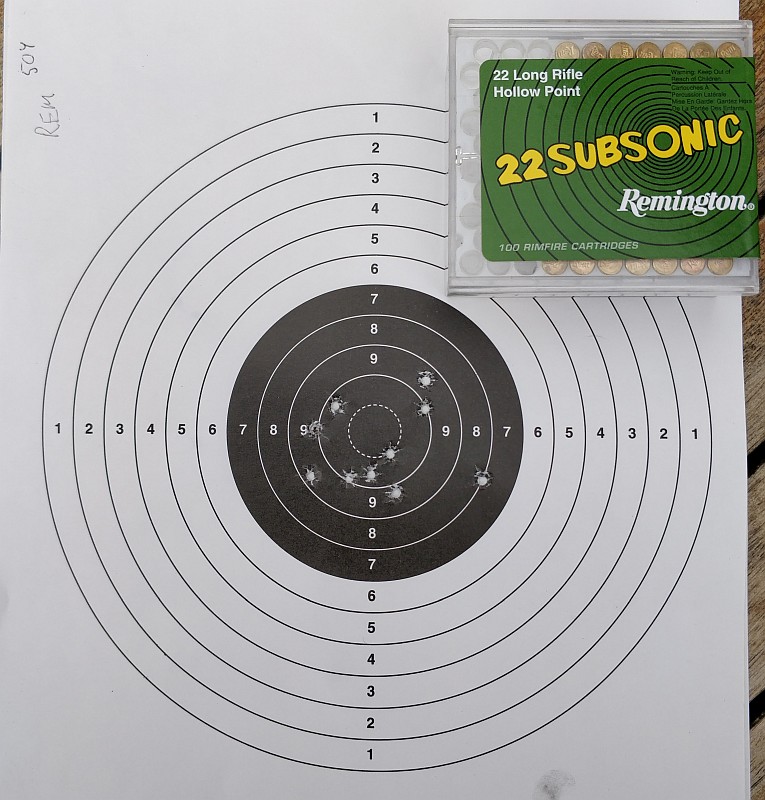
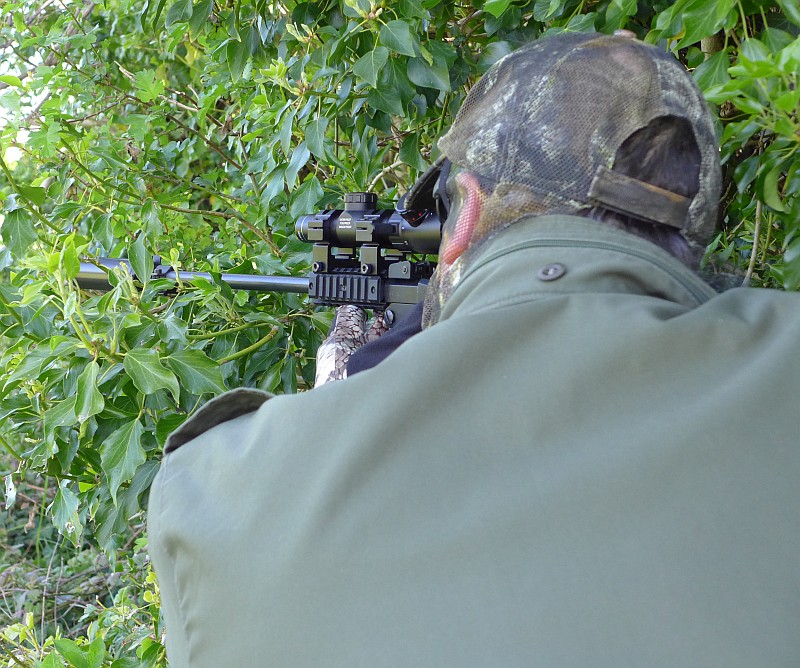
With the open sights and their limited adjustment, the accuracy was limited too. It felt that the 25yd range would be the most I would take on a live target. With the (max 4x magnification) scope fitted, 50yd would be a comfortable rabbit range, but with the results of the paper target grouping, I would not be happy extending this out to 100yds.


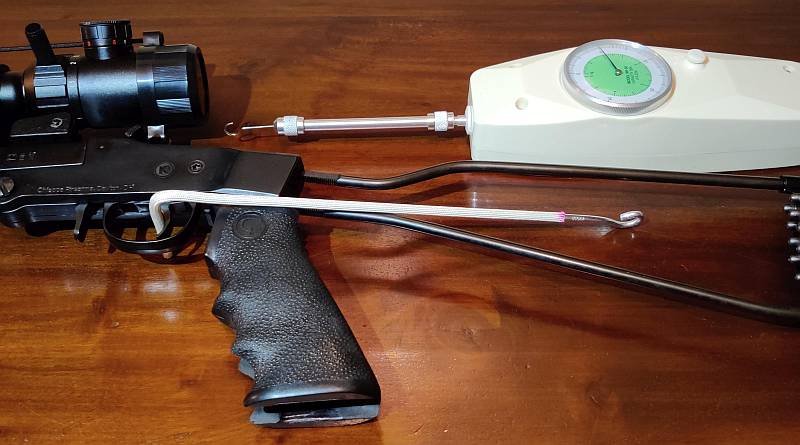
Trigger pull was very good considering the price of this gun. Not quite a glass rod breaking, but smooth, consistent and a good weight. Taking an average and carefully measuring using a force gauge and custom trigger hook, this trigger is breaking at 2.3 lb.

One of the complete joys with this rifle is how easy it is to carry. There are definitely days when I’m not really on serious vermin duty, so might not want to bother taking my usual semi-auto, but the Little Badger comes along without any stress.

Using this excellent little gun also proved to me that if that ‘prepping’ type scenario were to come about, this is the gun I would grab. It is not weighing me down much and the ammo goes a long way. Easy to carry, compact, simple and reliable (without that hammer extension).

The Transformative Modification:

Of the two options, the serious pistol grip is actually a grip made for the Chiappa MFour Semi-Auto rifle. This is the reason it gets in the way of the folding action, it was not actually designed for the Little Badger, but is simply a tried and tested grip that certainly improves the handling.
Making this existing MFour part into a grip specifically designed for use with the Little Badger and allows the full folding action is that transformative modification.
By cutting a slot into the pistol grip I have allowed the rifle to still fold fully. WHAT a DIFFERENCE that pistol grip makes to the handling of the gun. It adds so much stability and control over the bare rifle I would not think twice about having it fitted. If you can make the same modification I highly recommend doing it.

Review Summary

The views expressed in this summary table are from the point of view of the reviewer’s personal use. I am not a member of the armed forces and cannot comment on its use beyond that covered in the review.

Something that might be a ‘pro’ for one user can be a ‘con’ for another, so the comments are categorised based on my requirements. You should consider all points and if they could be beneficial to you.

_______________________________________________
Things I like
_______________________________________________

Super folding action.
Very compact.
Plenty of rails to add extras on.
Light weight.
Simple, reliable mechanism.
Good trigger pull.
Everyone on the range loved this.

_______________________________________________
What doesn’t work so well for me
_______________________________________________

The hammer extension causes light-strikes.
The two pistol grip options interfere with the folding.
Plastic ejector – I’d prefer this to be metal.


Discussing the Review:

The ideal place to discuss this review is on the Tactical Reviews Facebook Page
Please visit there and start/join the conversation.

Gear Review: Nordic Heat Handwarmer and USB Powerbank 10,000mAh

After just popping by for a chat with the nice folks of Nordic Heat at IWA, I found myself leaving with their Large Handwarmer / USB Powerbank. In this review of the Nordic Heat 10,000mAh Handwarmer and USB Powerbank, as well as getting a good feel for it, I have carried out some detailed measurements of output performance for both the heating and USB powerbank.


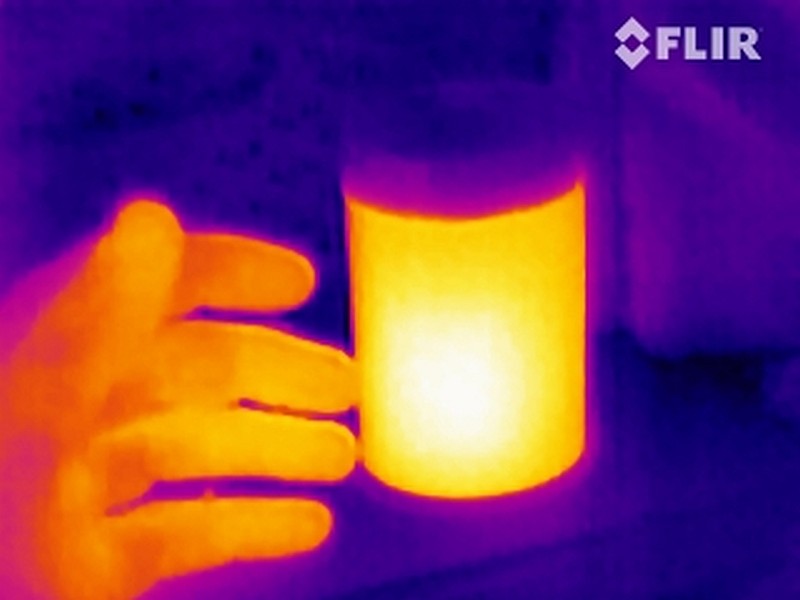
Thermal image taken with FLIR Scout TK

A few more details:

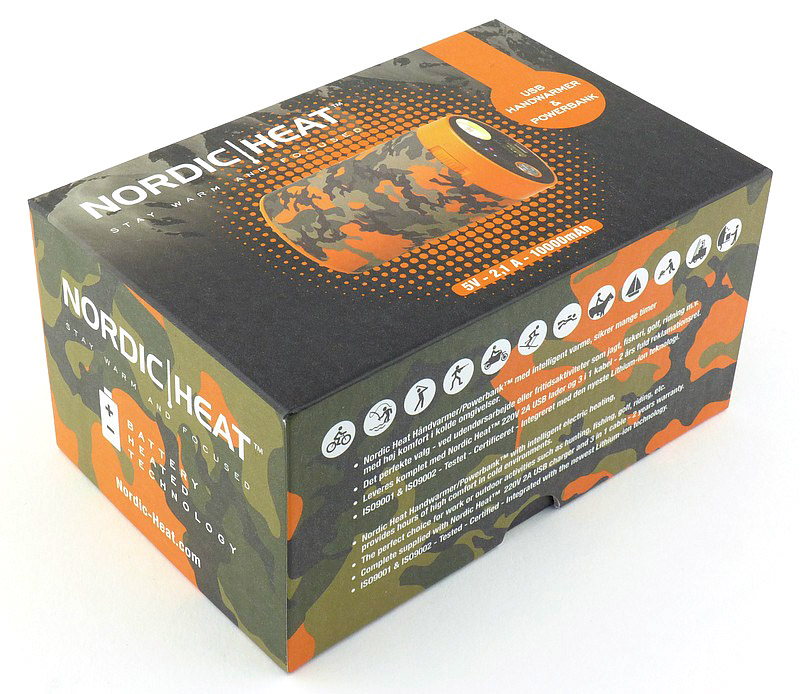
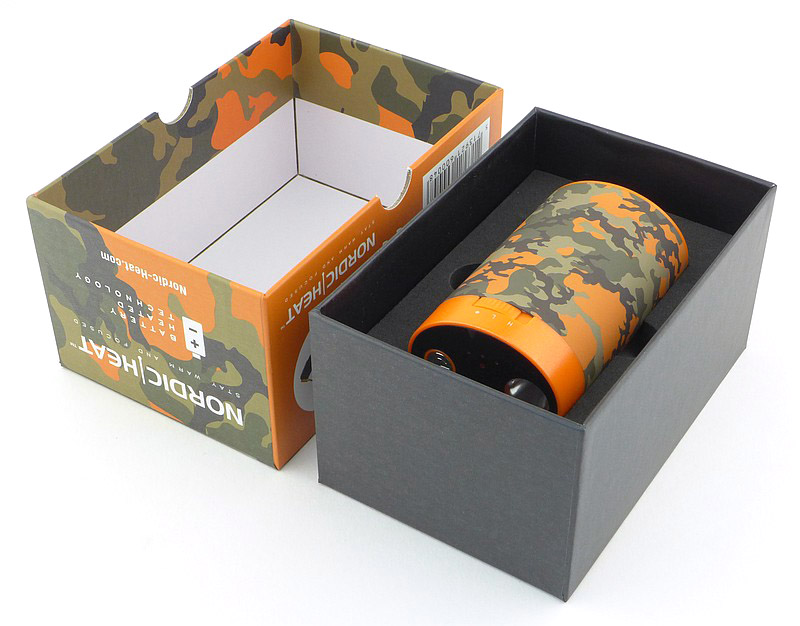
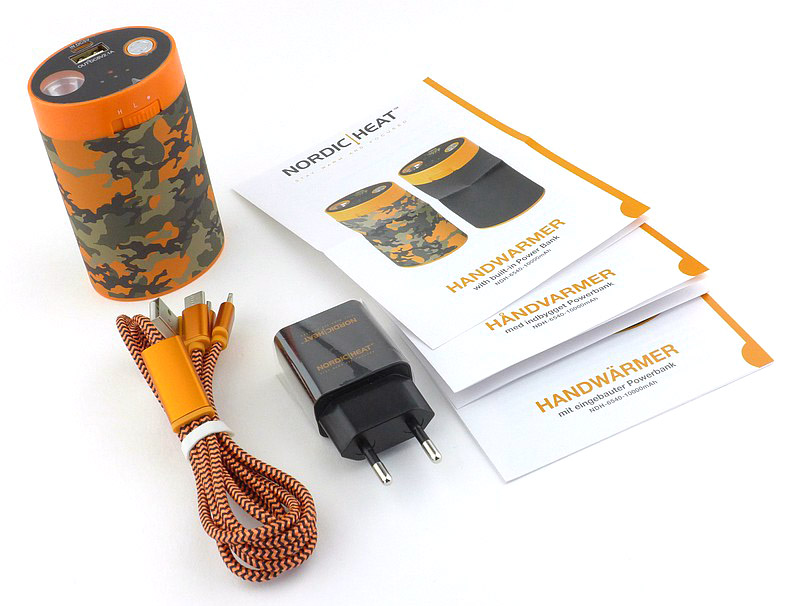
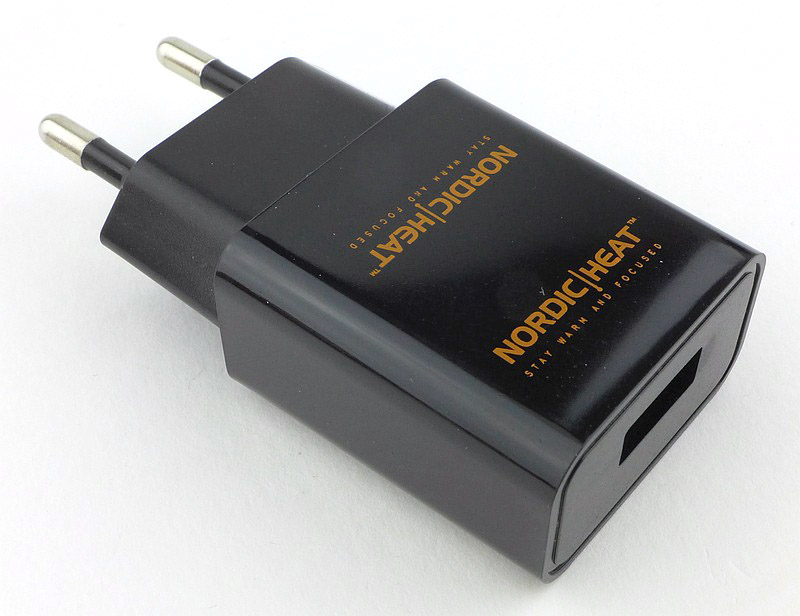
What’s in the box?:

This is how the Large Handwarmer / USB Powerbank arrives.


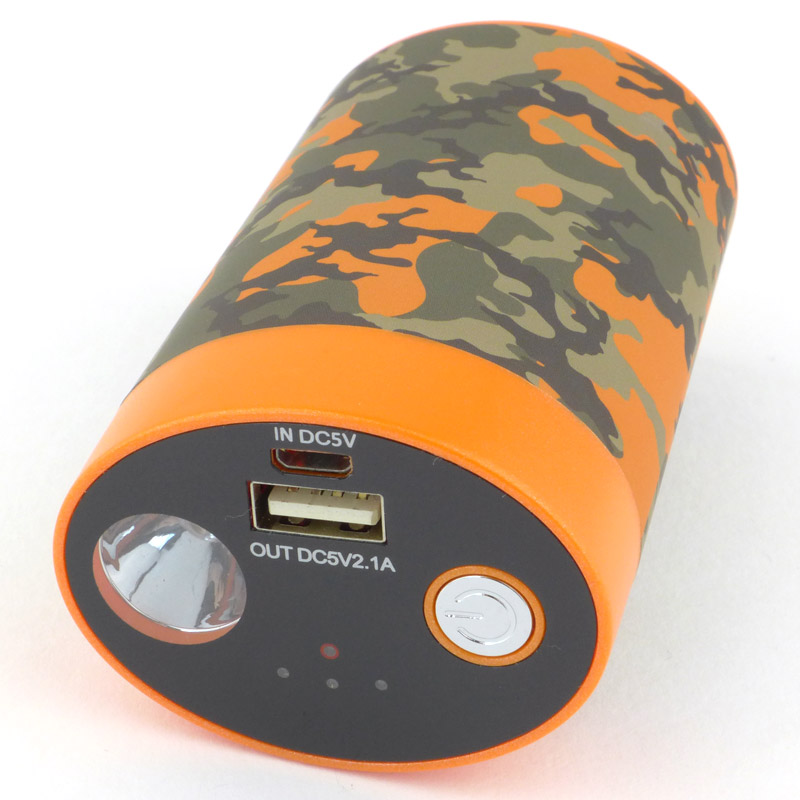
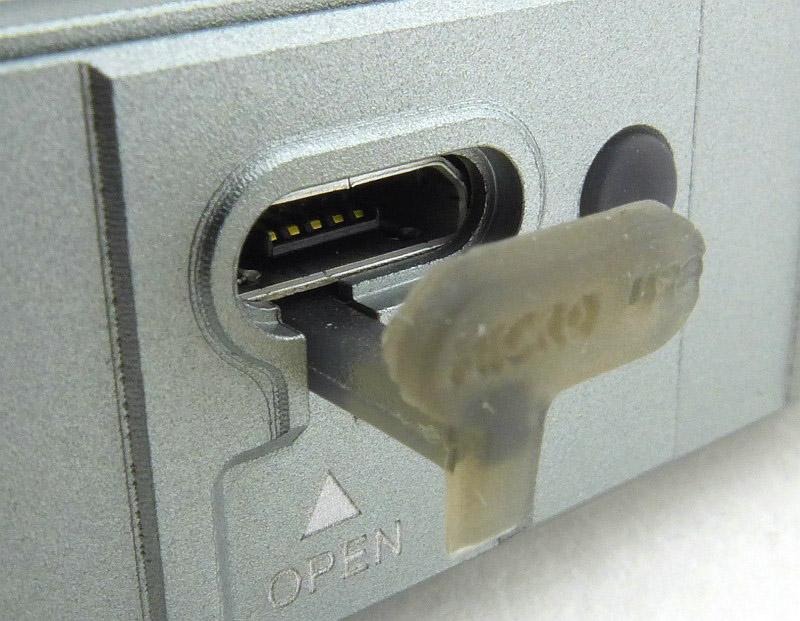
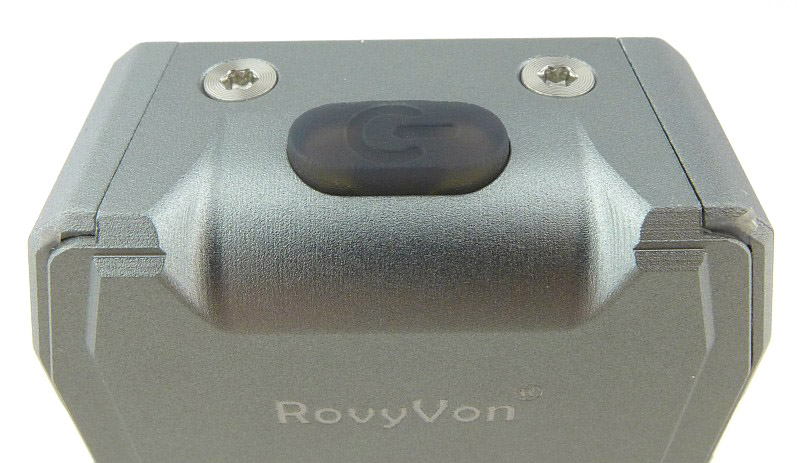
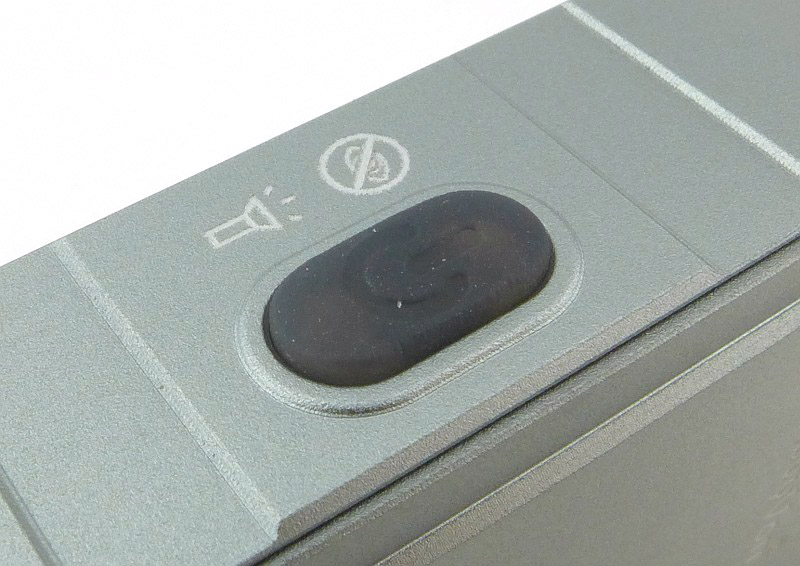
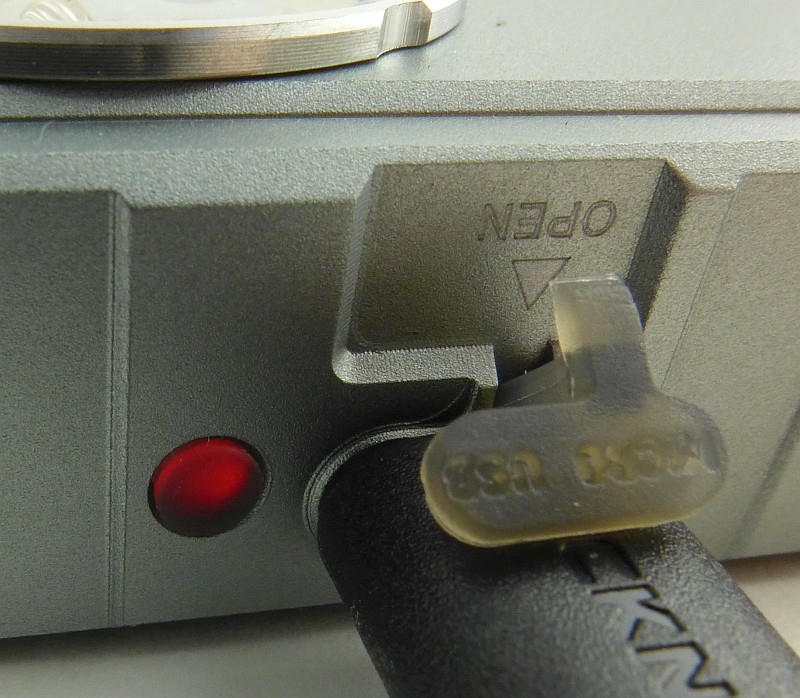
A good look round the Handwarmer / USB Powerbank:

It’s a simple concept really, it gets hot, and can charge your phone (or other USB device). Here are the details.


In The Laboratory:

For these tests, I wanted to measure the actual performance of the USB powerbank aspects and then move onto the heat output.
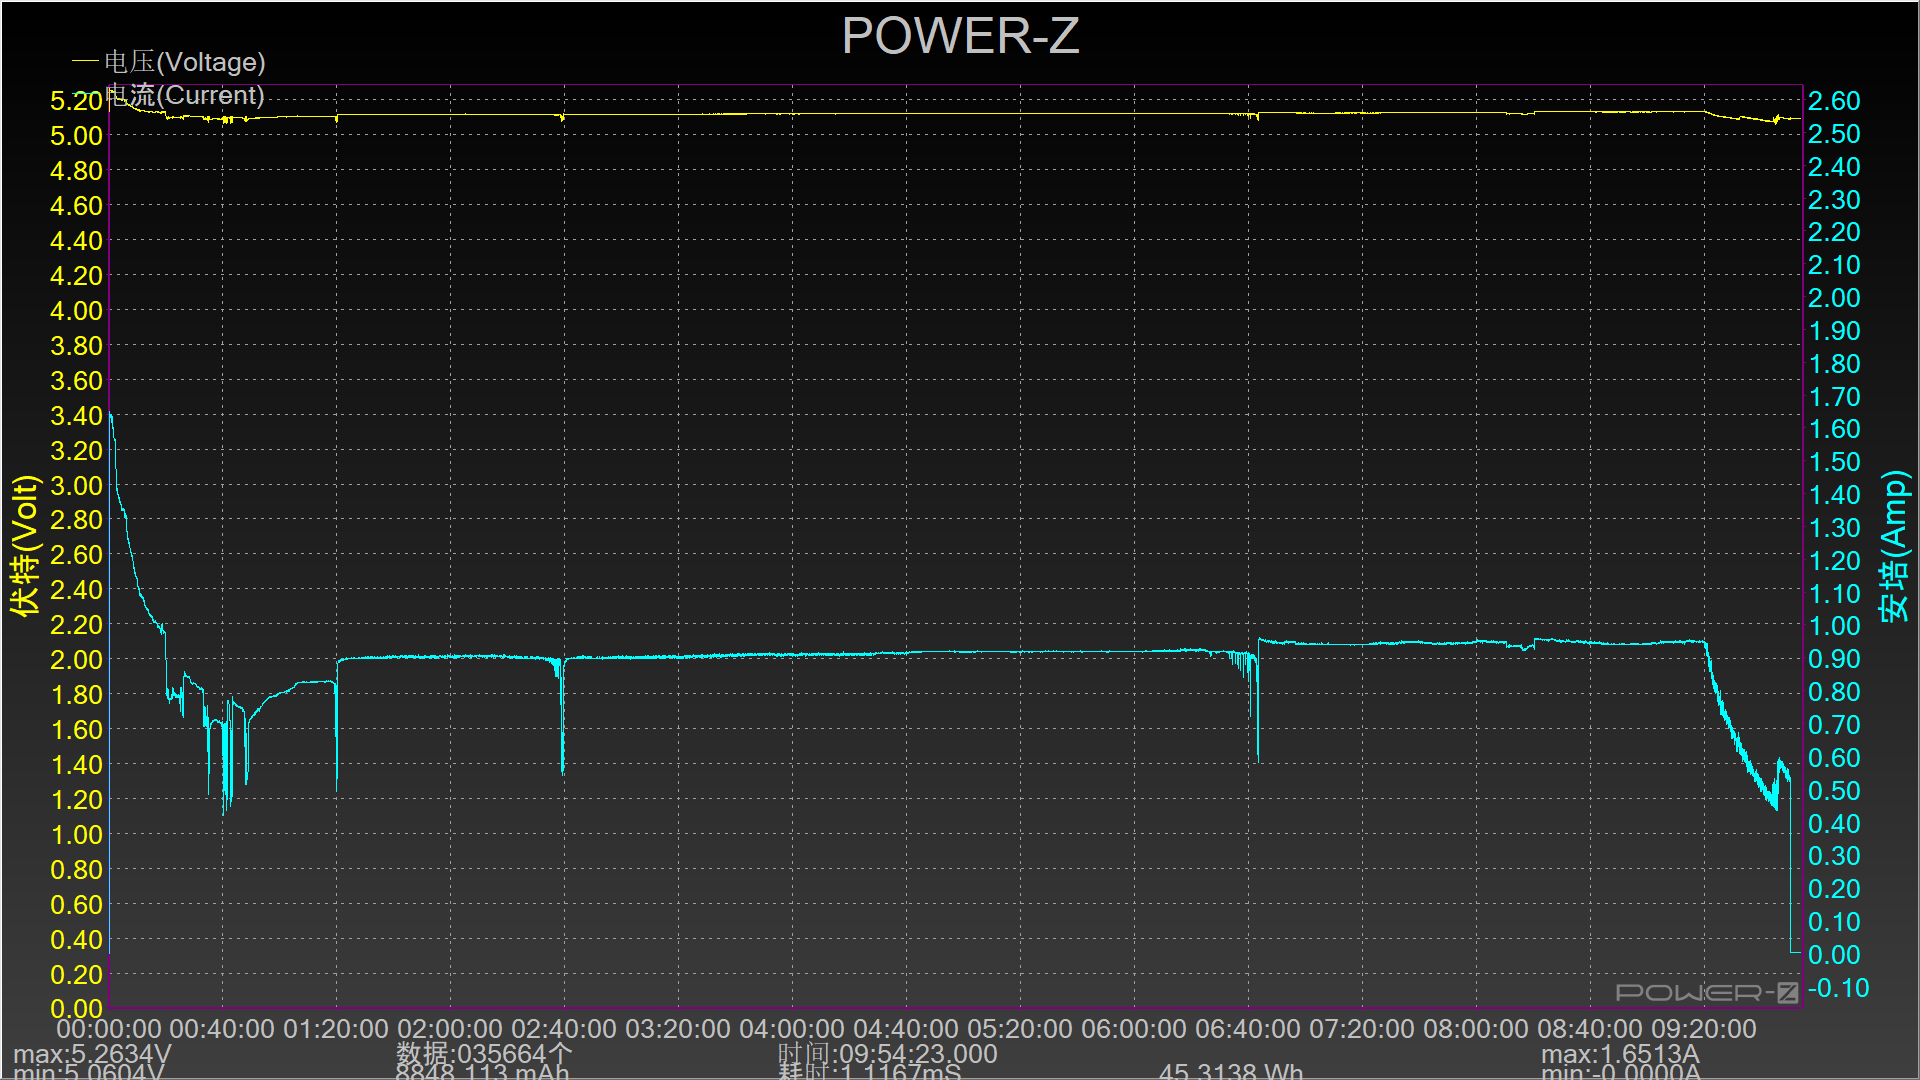
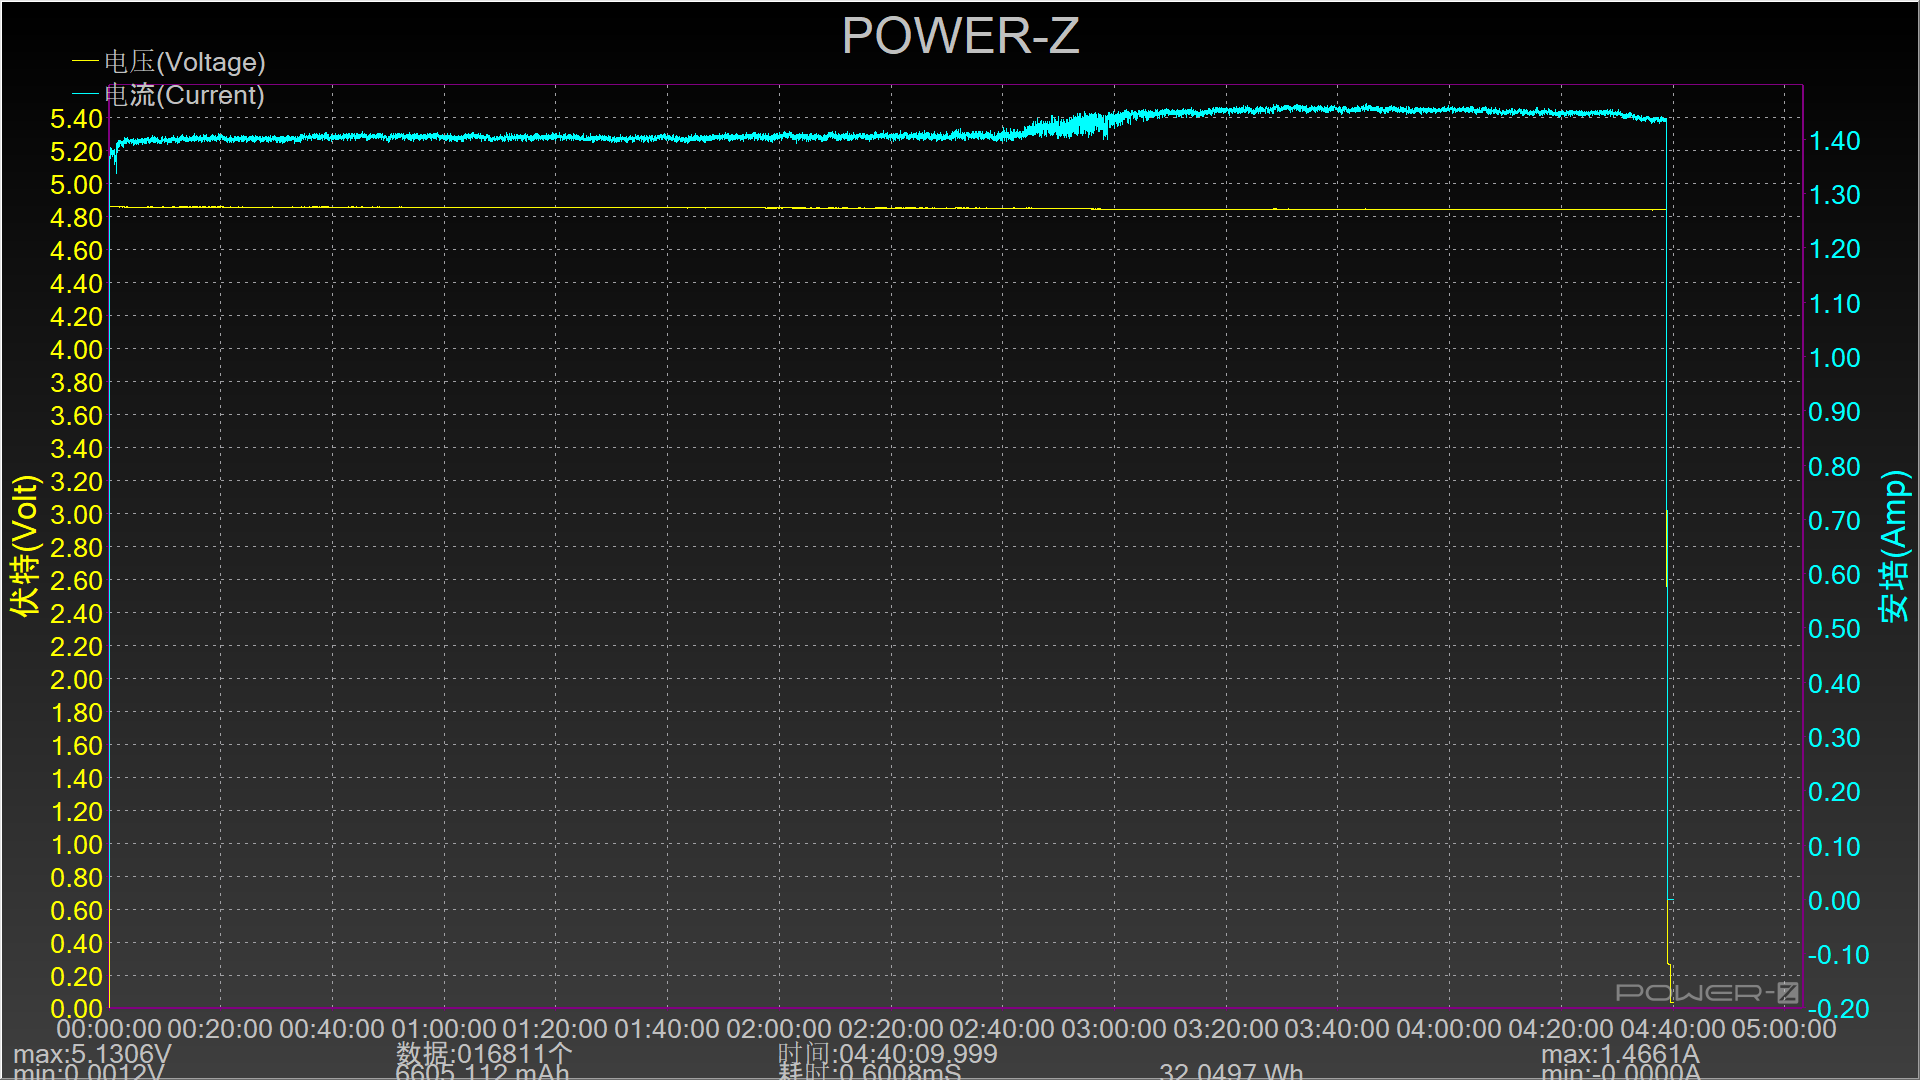
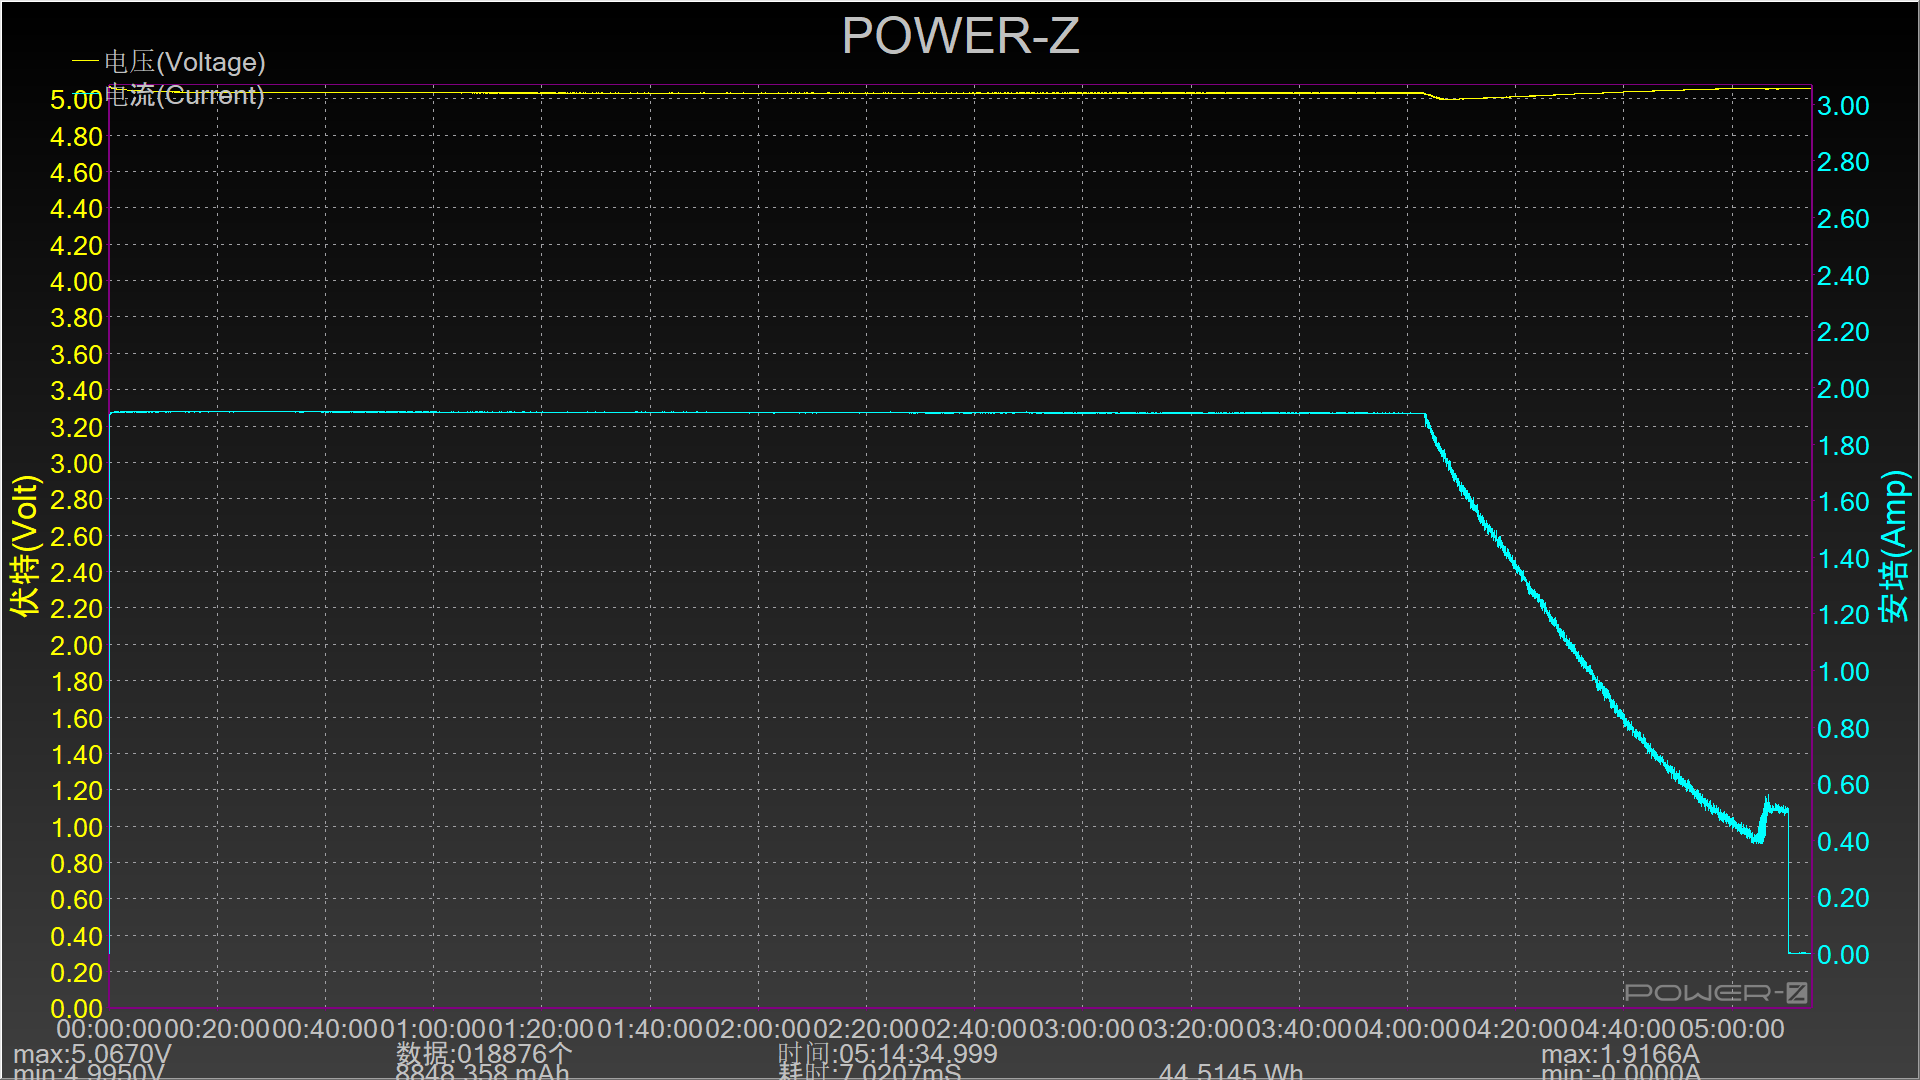
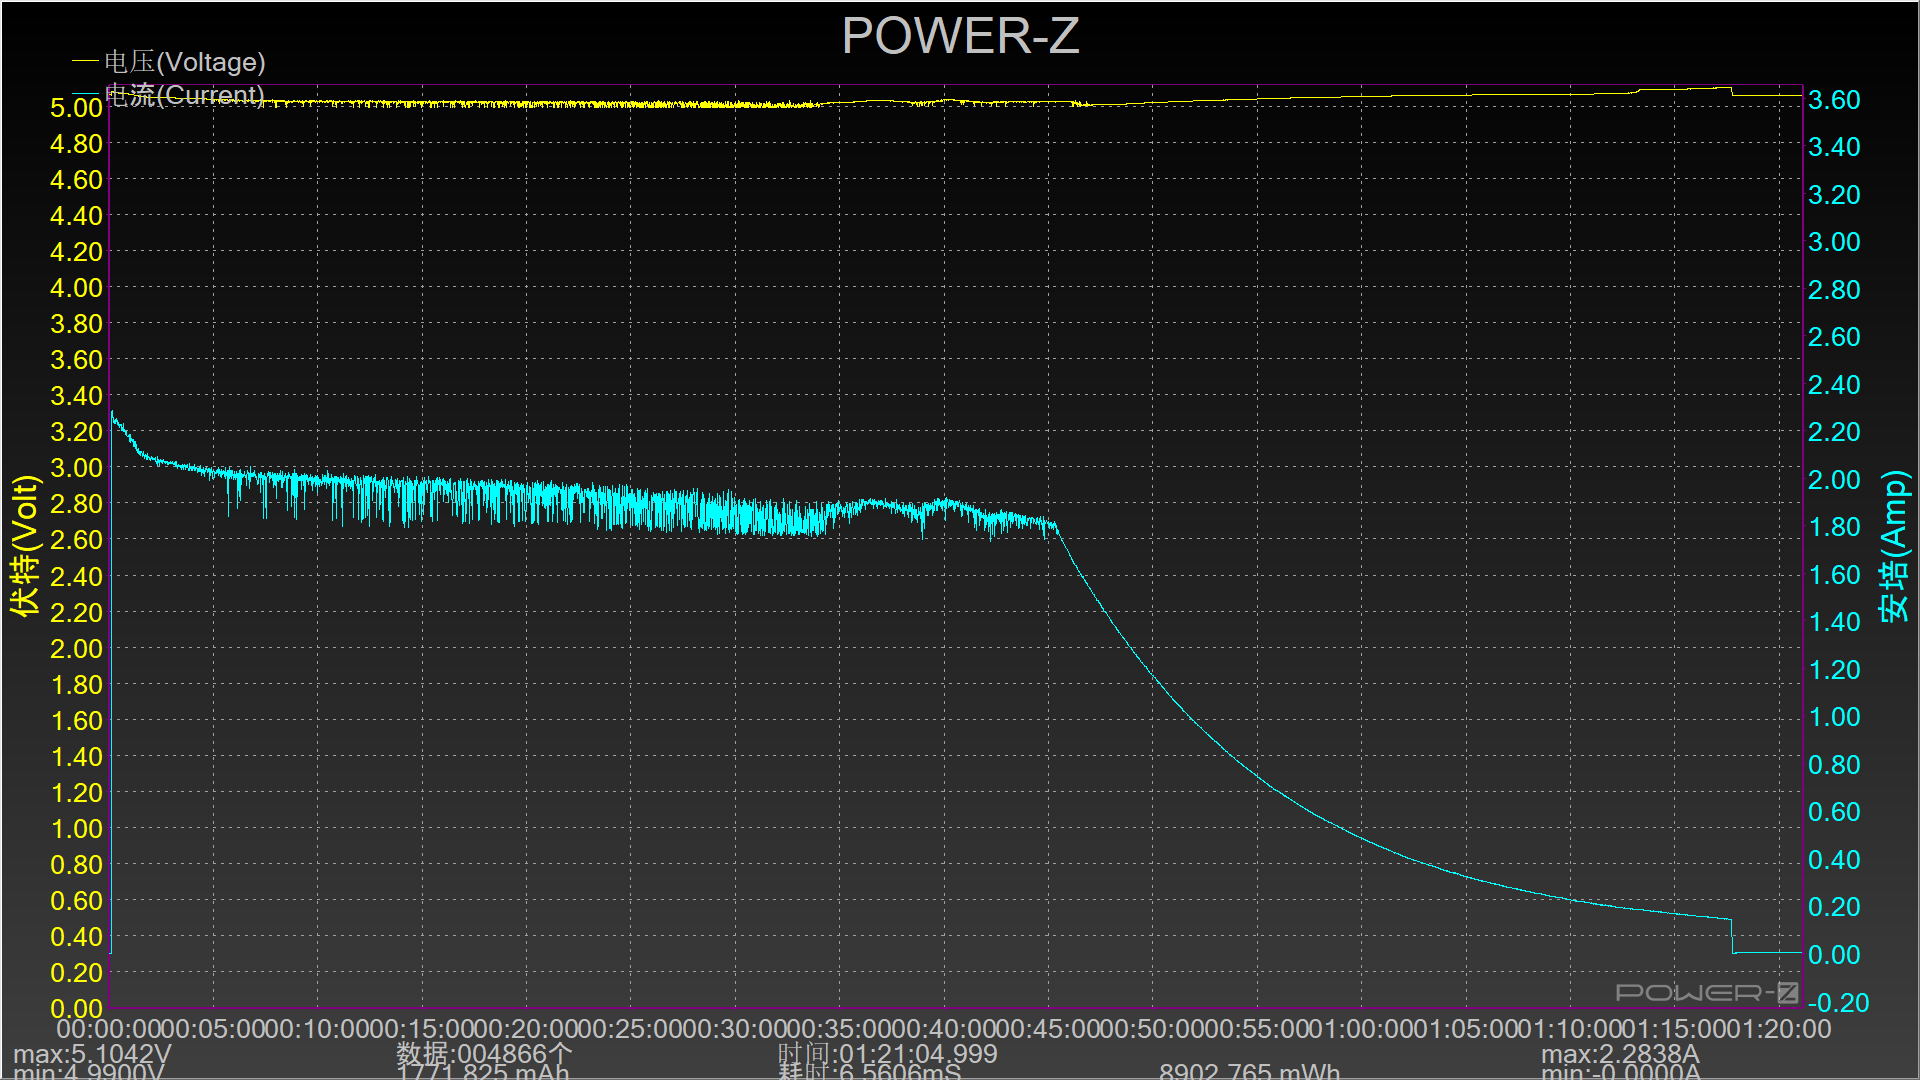
First are a couple of USB power traces for both charging using the supplier charger and cable and then with the powerbank discharging into a large load, again using the supplied cable.
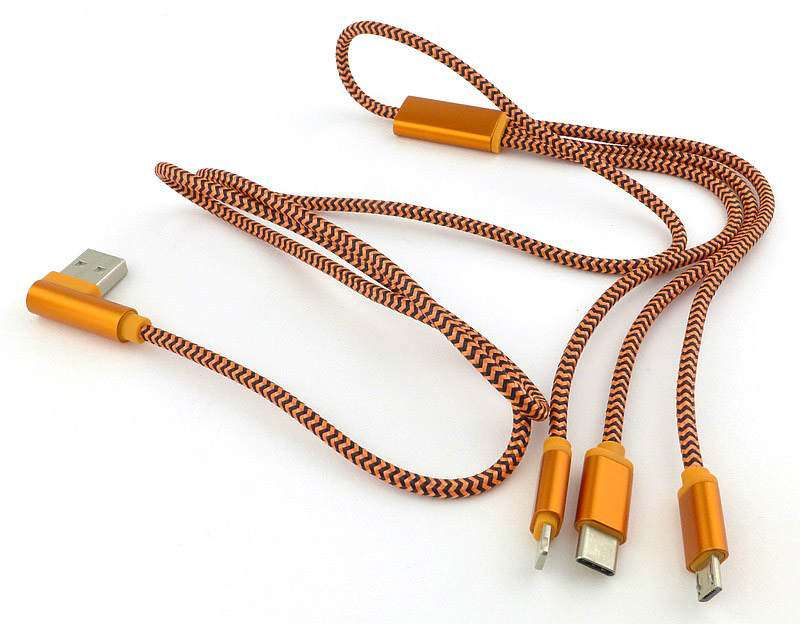
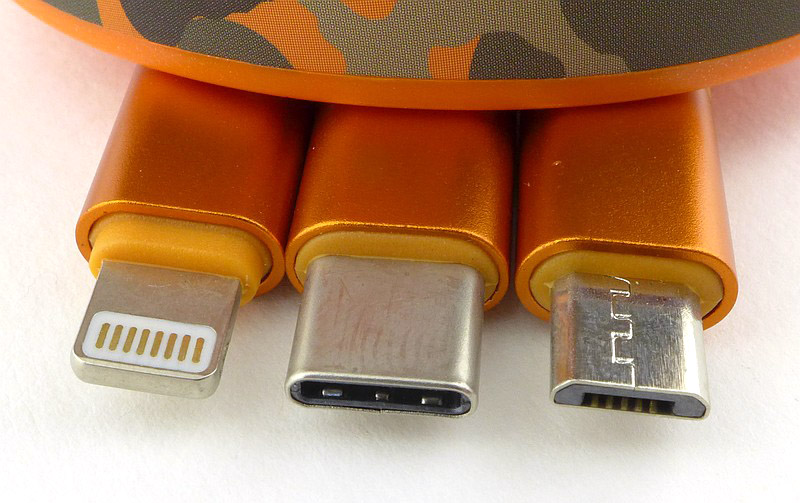
Being a special triple connector cable, I suspect there is some intentional throttling as it only charges at 1A, and for the output it only manages around 1.3A with the supplied cable.


Now, putting aside the supplied charger and cable and recharging with a high power USB charger (6A) and high current cable, the powerbank charges at 2A.

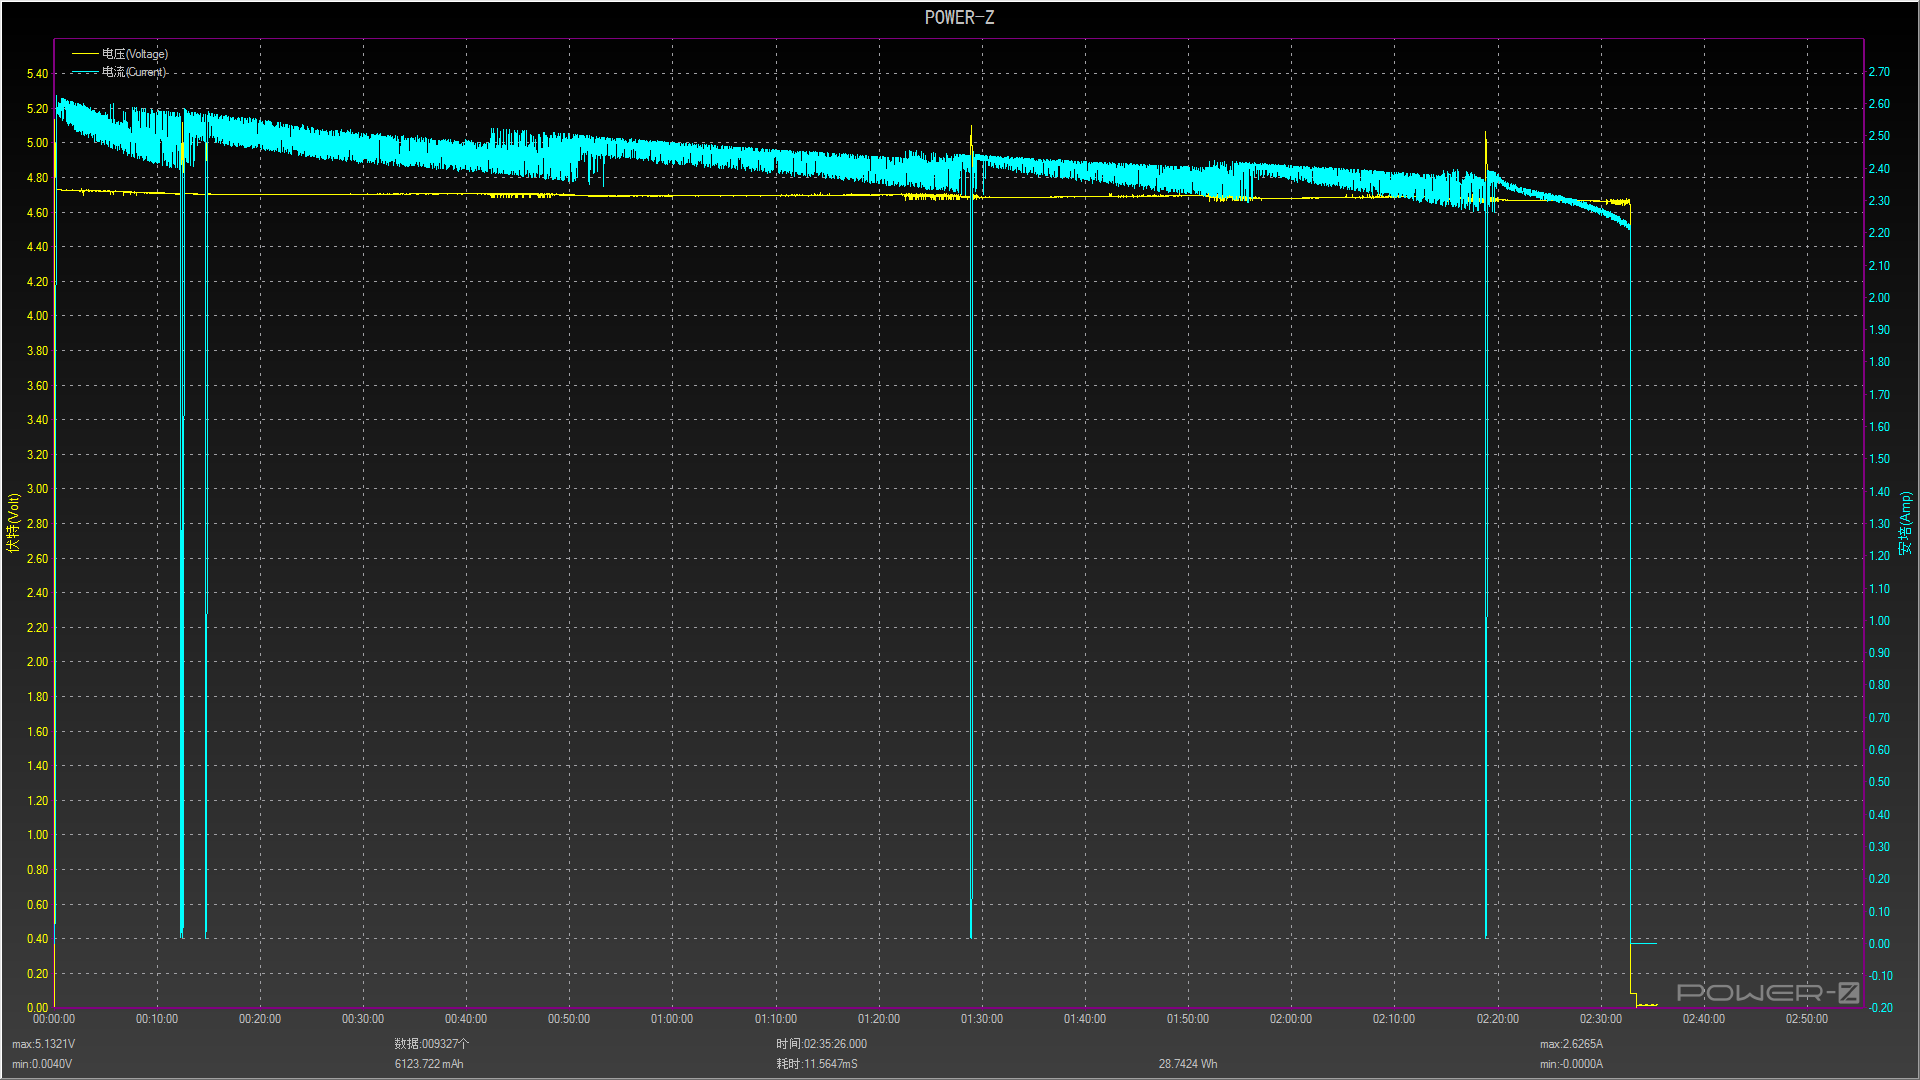
Then seeing what output we get using a high current USB-A to USB-C cable into the large load. Now the powerbank outputs 2.4 – 2.5A. From the graph it does look like this is pushing the output to its limits as we see some power switching noise, but a very solid performance.


A measurement I was not able to make a graph of is the cumulative output measured charging phones. This came to 32.873Wh or 6913.2mAh.


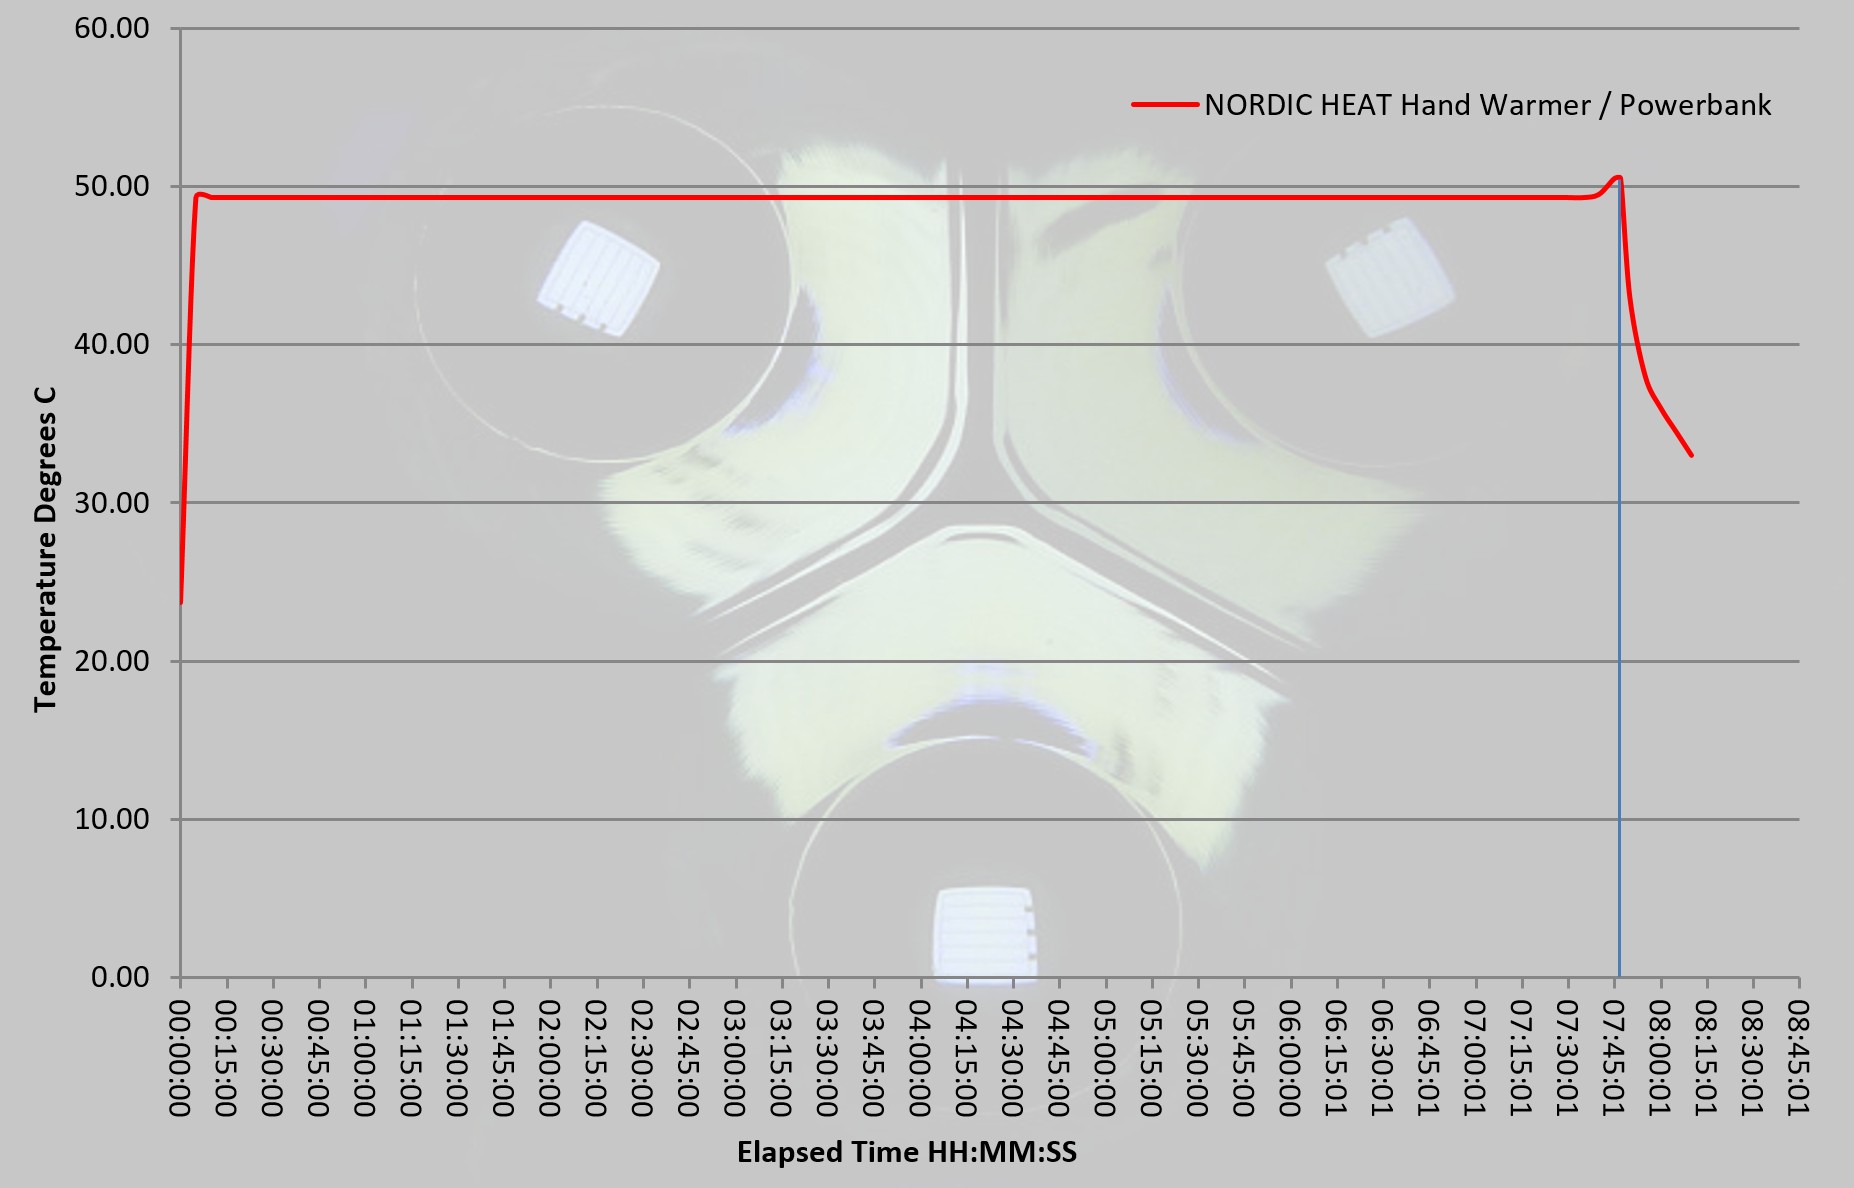
To test the heating output of this handwarmer, a dual probe digital thermometer was used to measure the ambient and surface temperature of the handwarmer. This allows the ambient temperature to be taken away from the surface temperature to remove external temperature variations. The measurements were logged (by video) and used for this graph.

The temperature shown is Degrees C above ambient, and as you can see the output is fantastically stable.

What it is like to use?

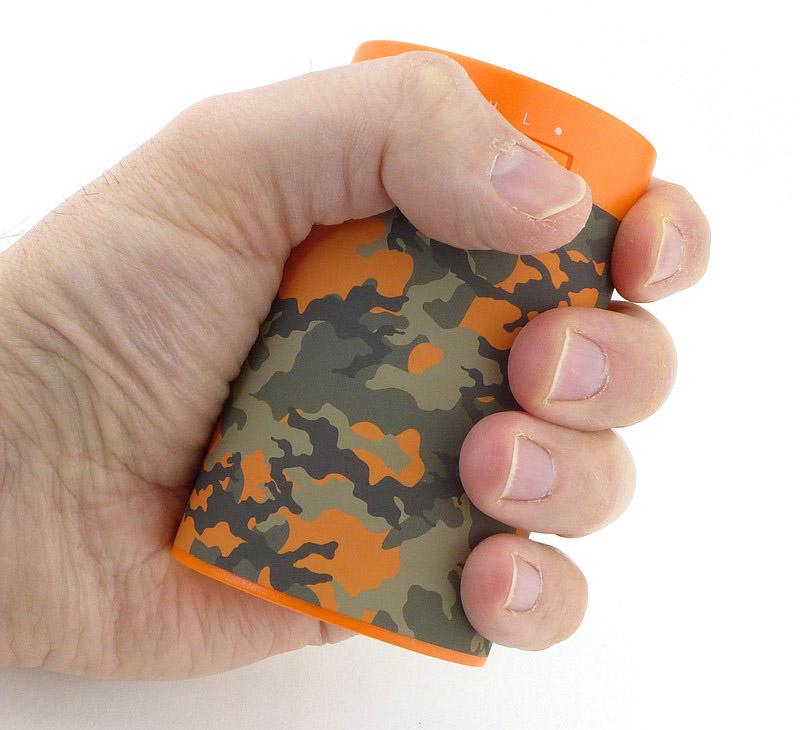
Nordic Heat have two sizes of handwarmer/powerbank. As you can see, this larger version, is a good handful for a hand that takes an XL glove size. The smaller version might be a better fit for some, but this does compromise on heating time and USB output power, a compromise worth considering.

There is a built-in light which you access via the power button. It can make the handwarmer into a torch with a very long runtime. A useful and usable addition. Just remember that you are taking from the available power for hand warming or device charging.

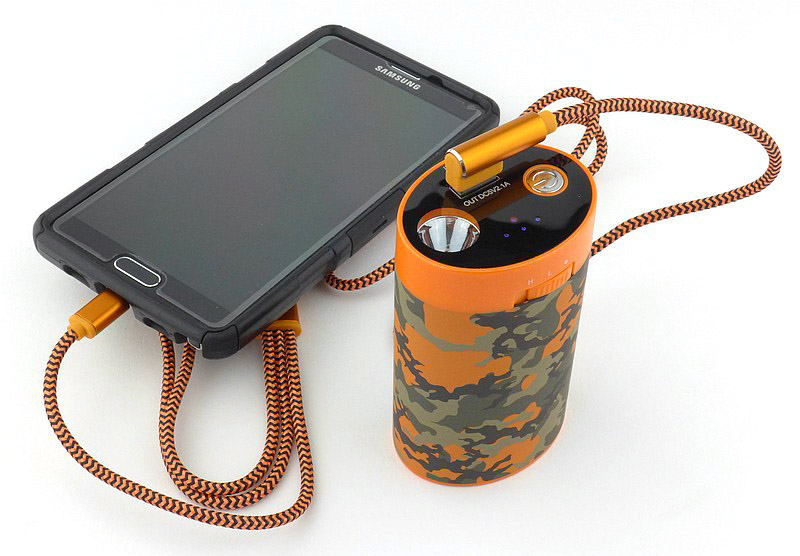
Our growing reliability on mobile phones and tablets makes powerbanks almost a necessity, especially in remote areas. Performance as a powerbank is good (see the technical testing section), and you can power up devices with a solid 2A output.


Not quite qualifying as technical testing, I thought it was important to check the heat distribution of the handwarmer to ensure it didn’t have cold spots or problems with heat distribution. So for this I aimed a FLIR Scout TK at it. In this set of images, we start with a control shot with the handwarmer off and left to reach ambient temperature. There is little contrast in the image as there isn’t really any heat gradient apparent. After switching on the handwarmer and leaving it to get up to temperature the heated portion stands out clearly. The heat distribution is nice and even and extends fully over the body, with only the unheated plastic top remaining cooler. In the last image I put my warm, uncovered, hand into view to show how the handwarmer is properly above body temperature and will provide good heating.


Do you need one? Well, do you have a USB powered mobile device – then that is yes for its powerbank capability. Do you like cold hands and feet? No, then that is yes for the handwarmer / heating facility.

Why did I say feet? During testing I found that this wasn’t just something to take when venturing outdoors, but any time you want a heat pack. I’ve used it to warm up my feet in a cold bed, to apply heat to a pulled muscle, to preheat hands prior to putting non-heated gloves on, and generally provide comfort where a bit of warmth helps.

The on-demand heat is where this wins over every other heating option. No boiling water, microwaving gels, lighting a fuel catalyser, just switch on and off as required, anywhere.

Review Summary

The views expressed in this summary table are from the point of view of the reviewer’s personal use. I am not a member of the armed forces and cannot comment on its use beyond a cutting tool or field/hunting knife.

Something that might be a ‘pro’ for one user can be a ‘con’ for another, so the comments are categorised based on my requirements. You should consider all points and if they could be beneficial to you.

_______________________________________________
Things I like
_______________________________________________

Good battery capacity.
2A+ USB output.
Over 7.5h heating on a full charge.
Excellent heat distribution.
Useful to also have a light.
Comes with cable and charger.

_______________________________________________
What doesn’t work so well for me
_______________________________________________

Supplied USB cable seems to limit output to 1A.
Supplied charger only provides 1A.

Light Review: Rovyvon A5, A8 and Angel Eyes E300S

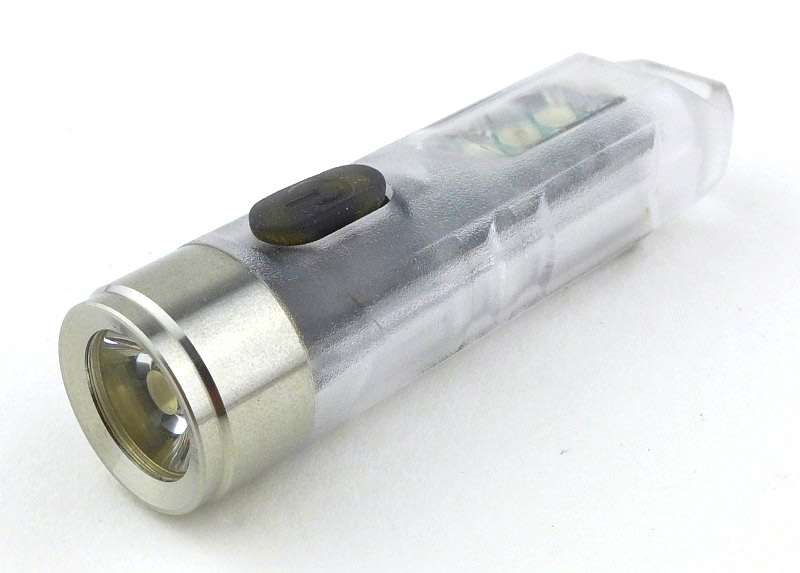
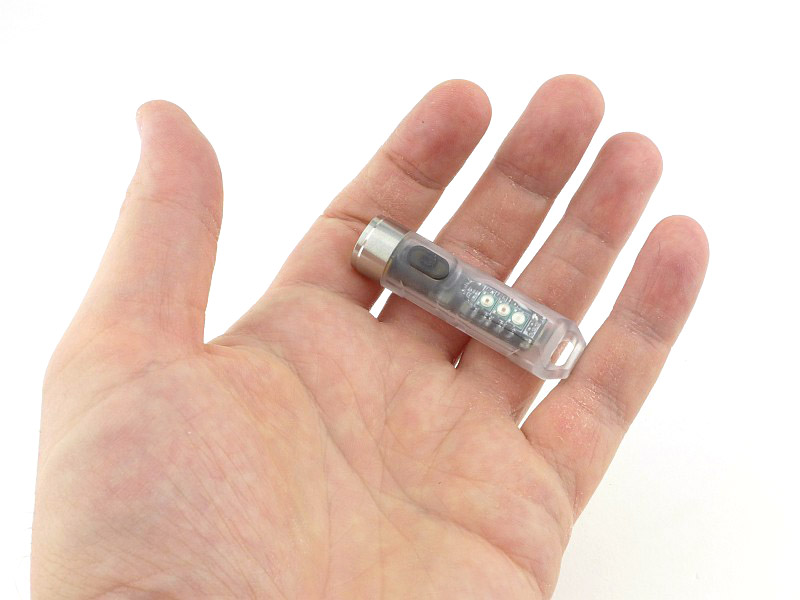
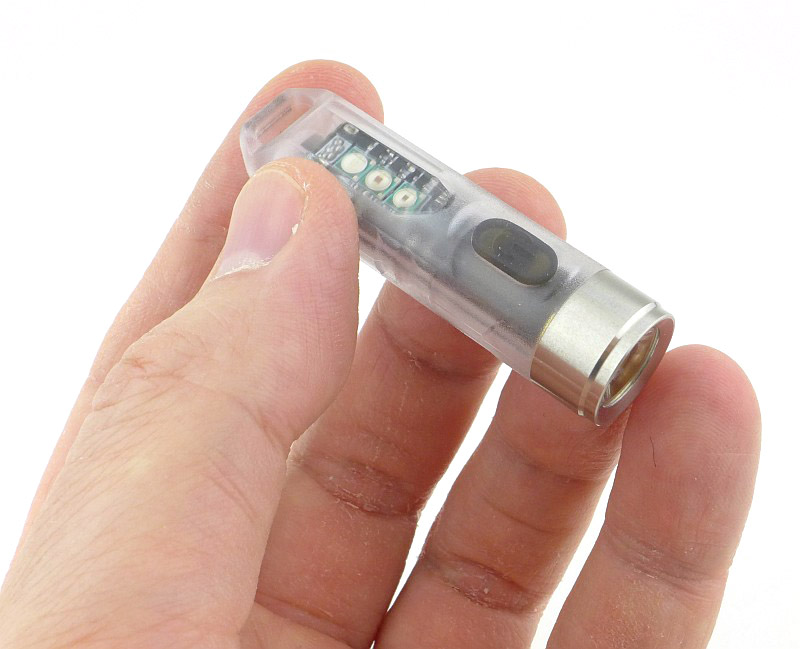
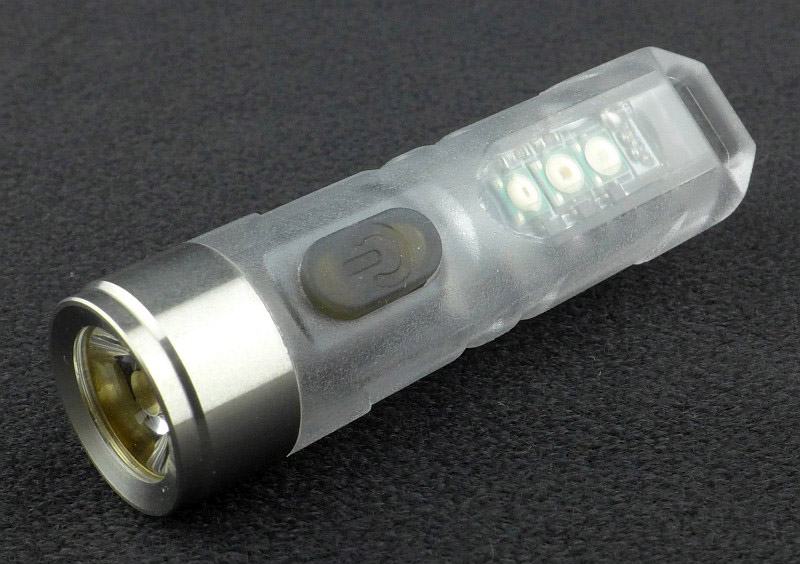
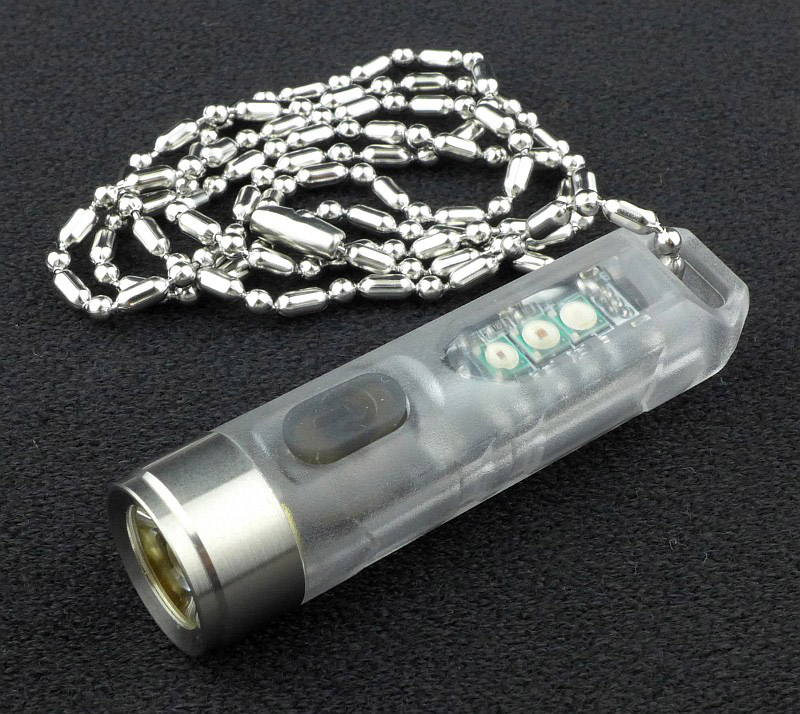
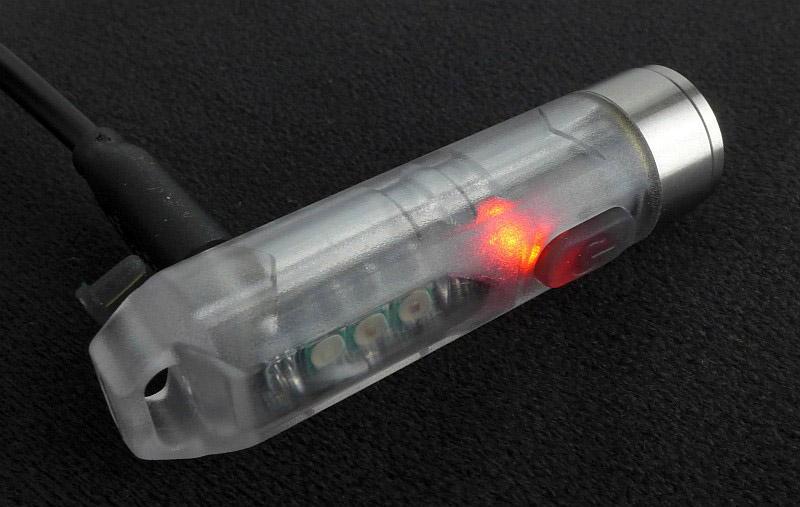
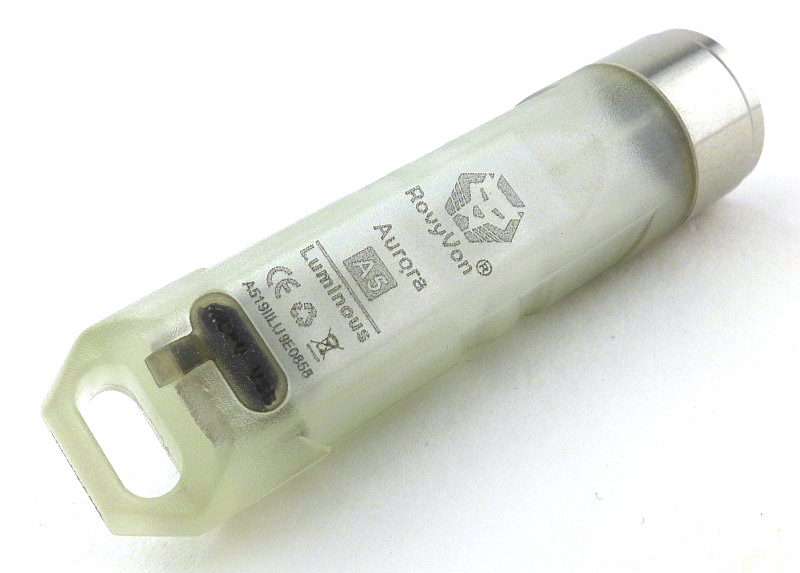
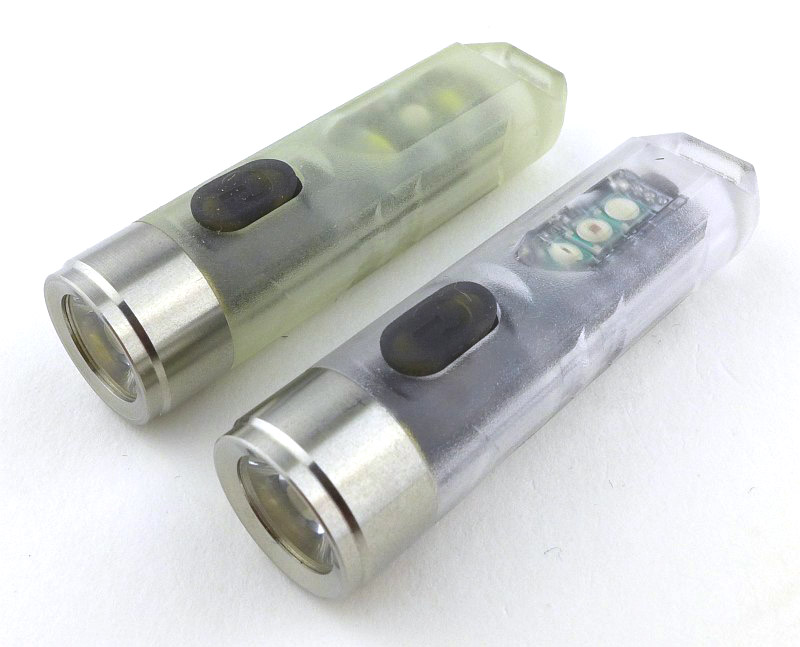
Quite literally a ‘highlight’ from IWA 2019 are these lights from Rovyvon, so I was excited to get these on test and see what they could really do. In this review I’ll be comparing the Rovyvon A5 keychain light with two of the same size A8 variants, plus the E300S ‘Angel Eyes’, a larger but still EDC sized right-angle light. There is lots to see, especially with all the extra functions crammed into the A5 and A8 models!

I got this test group from Heinnie Haynes – if you don’t know this online shop you should do.

Taking a look at the A5 and A8:

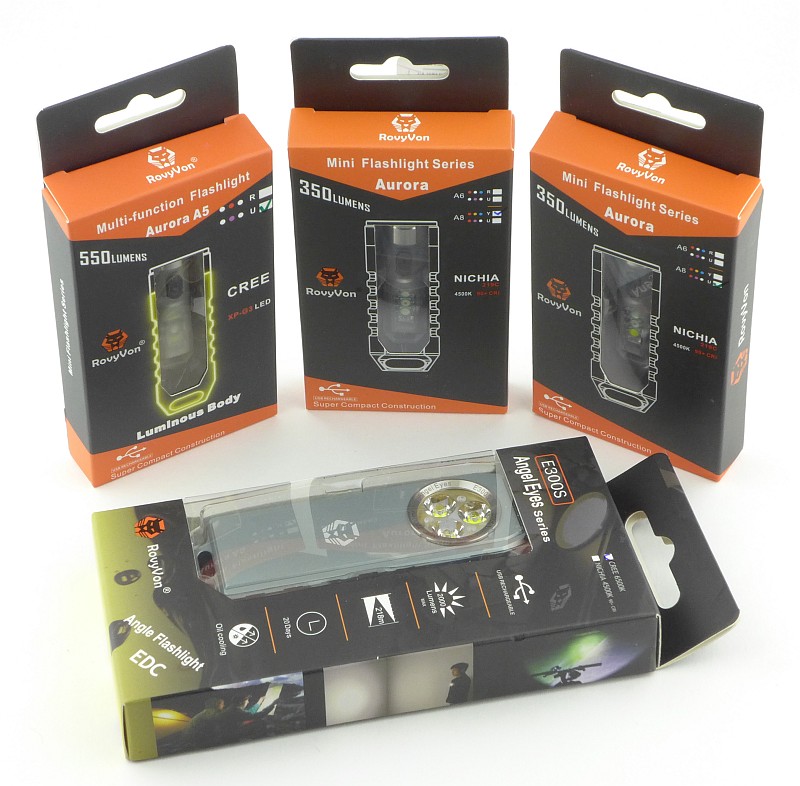
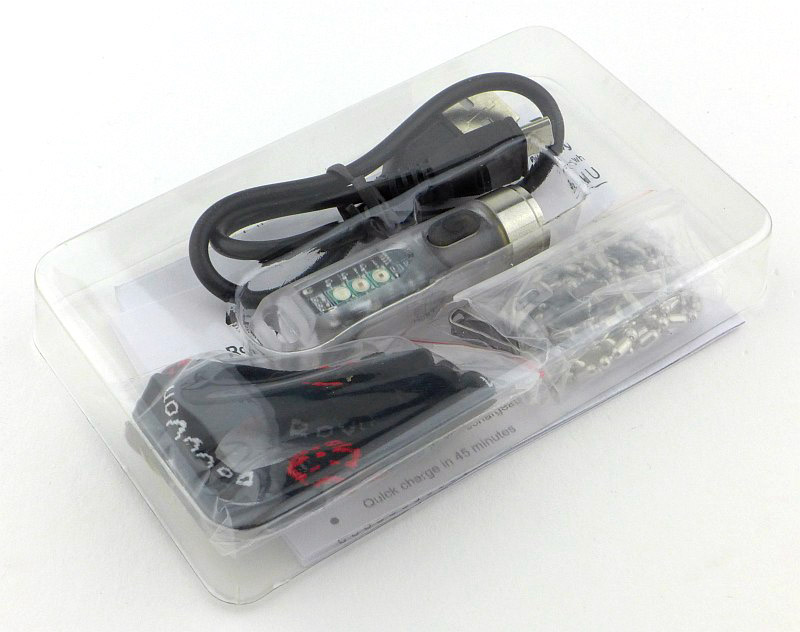
The A5, and A8 models are all presented in the same way, so this is a quick look at the first one I unpacked.


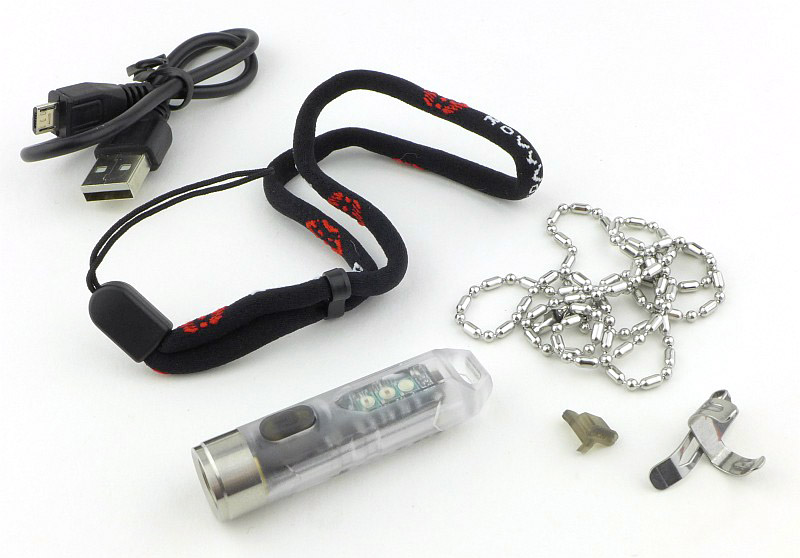
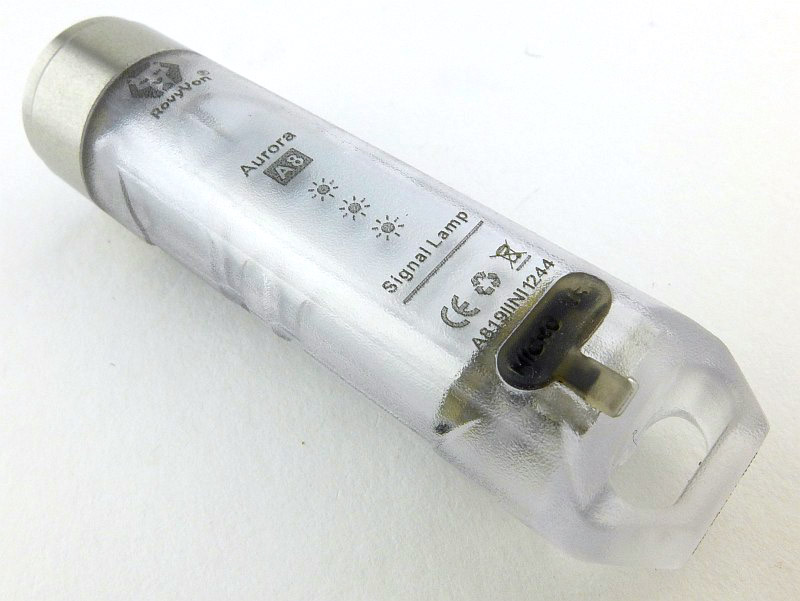
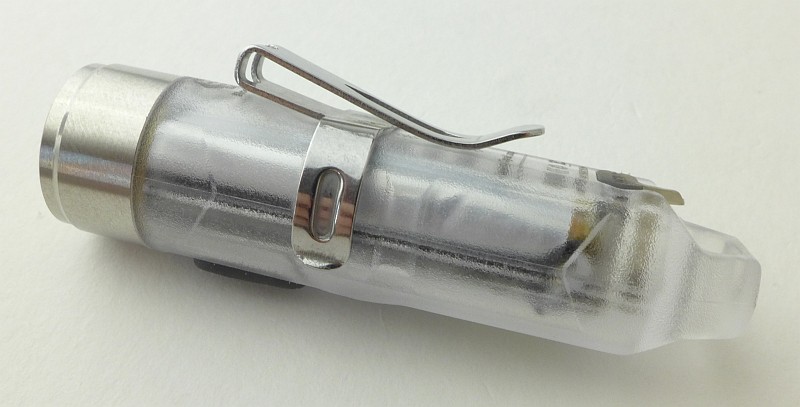
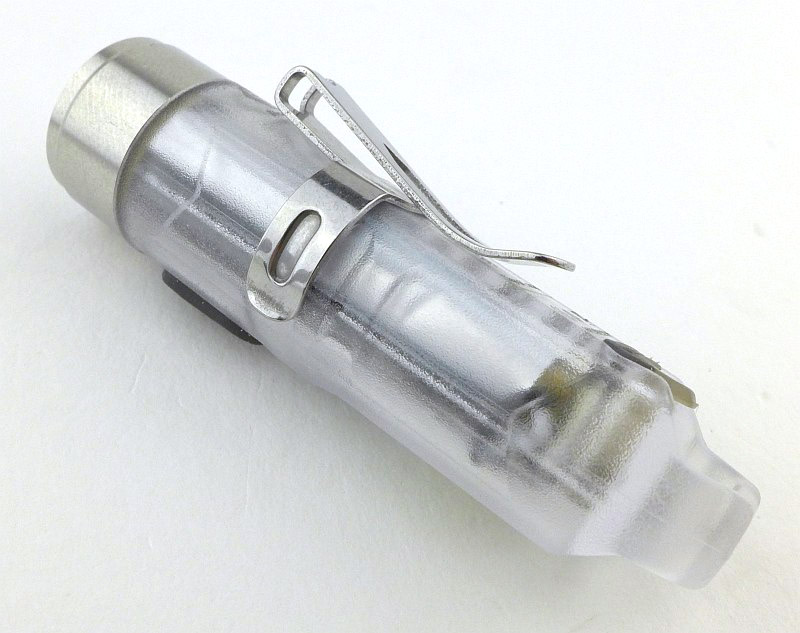
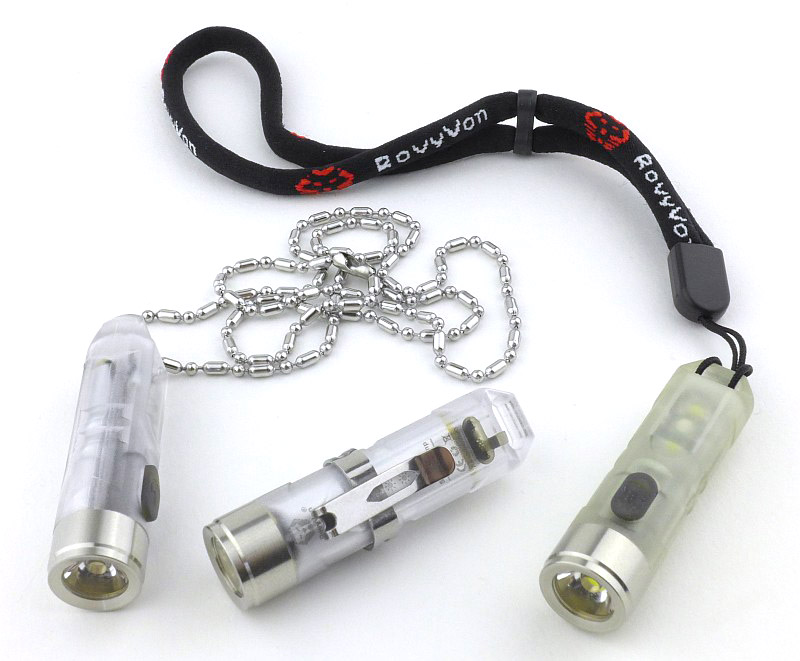
More of the details of the A5 and A8 models.


Taking a look at the E300S Angel Eyes:

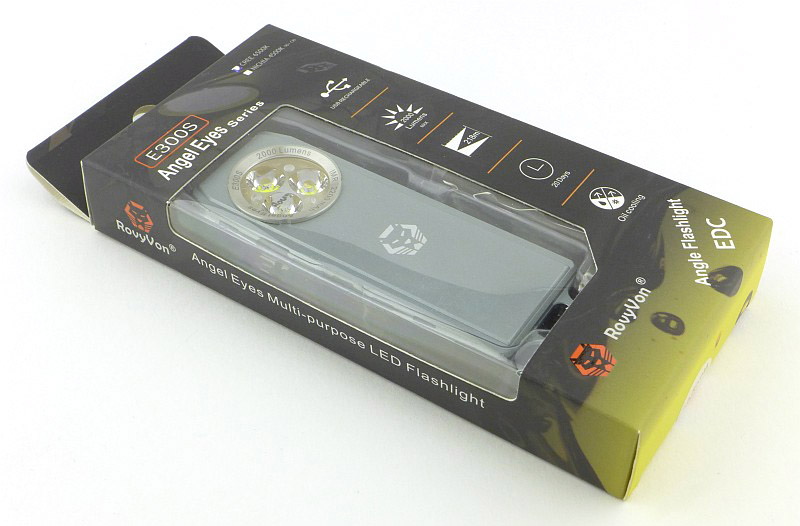
Unpacking the Rovyvon Angel Eyes.


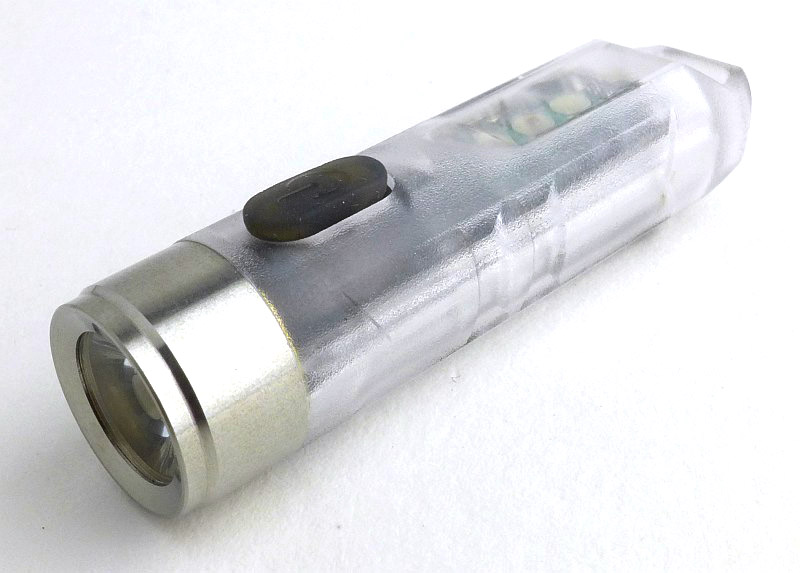
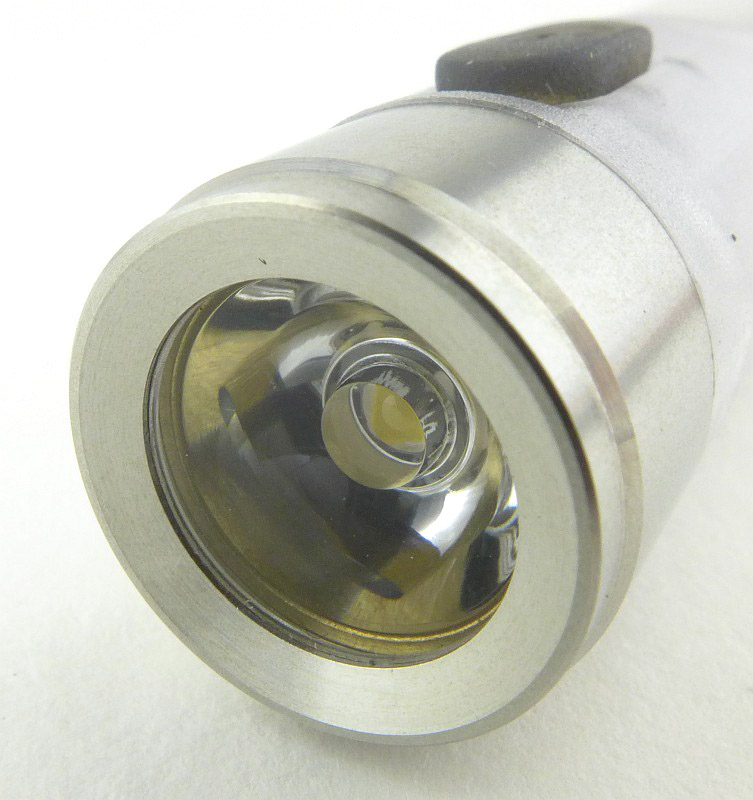
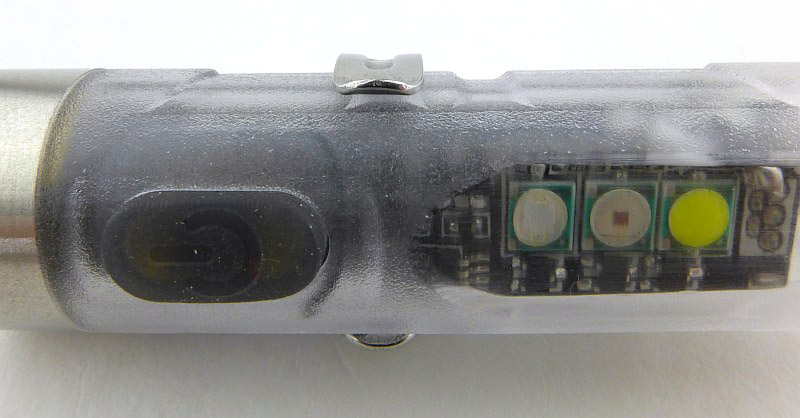
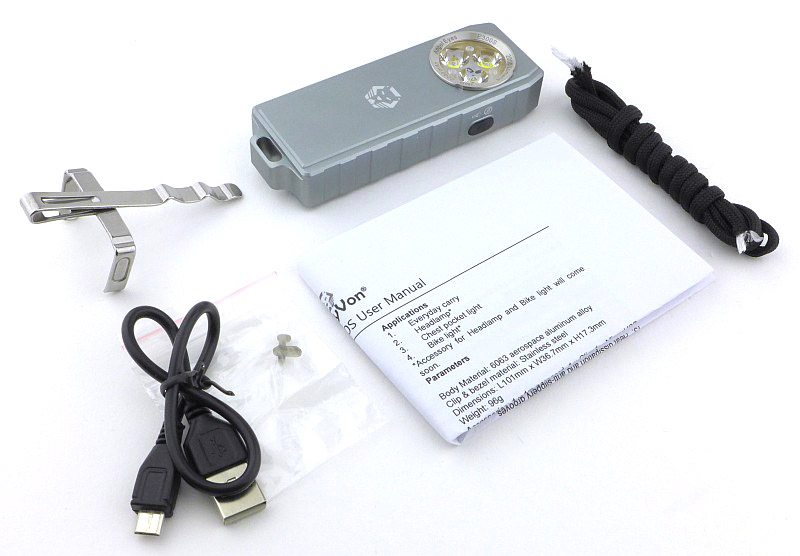
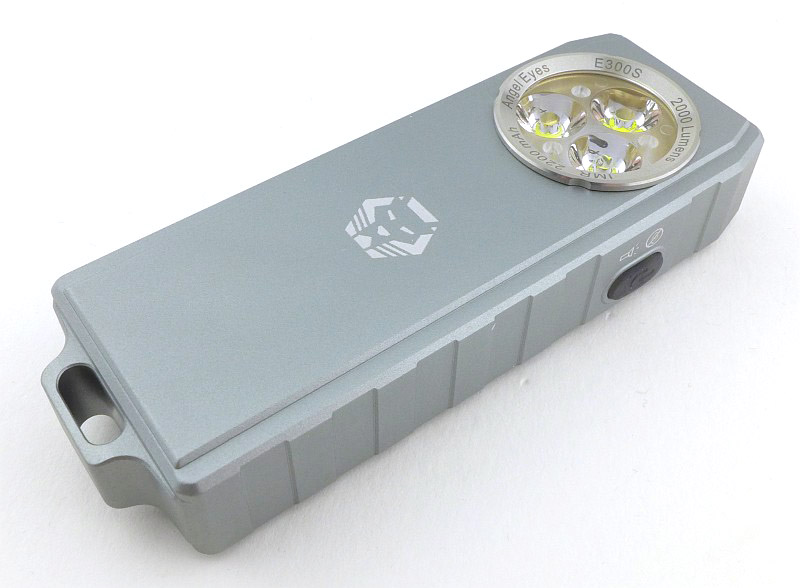
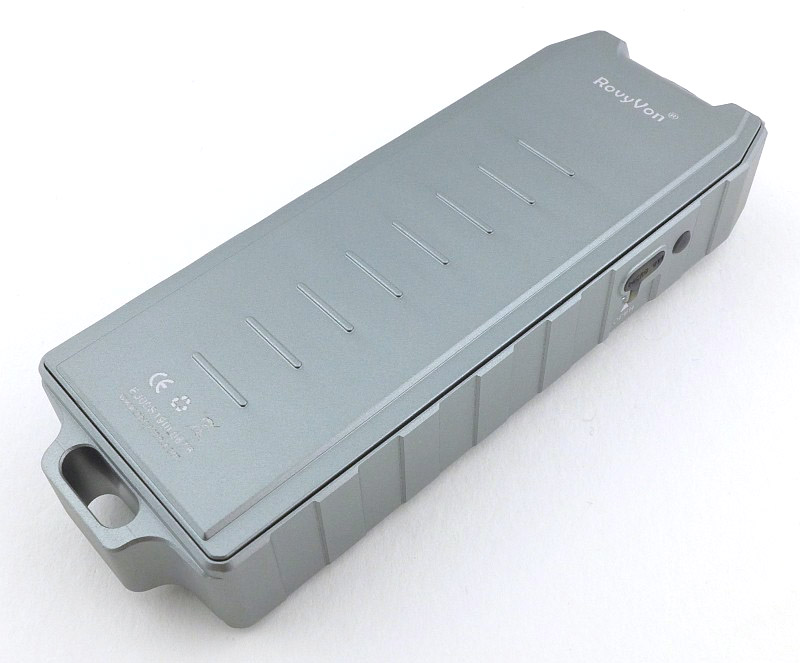
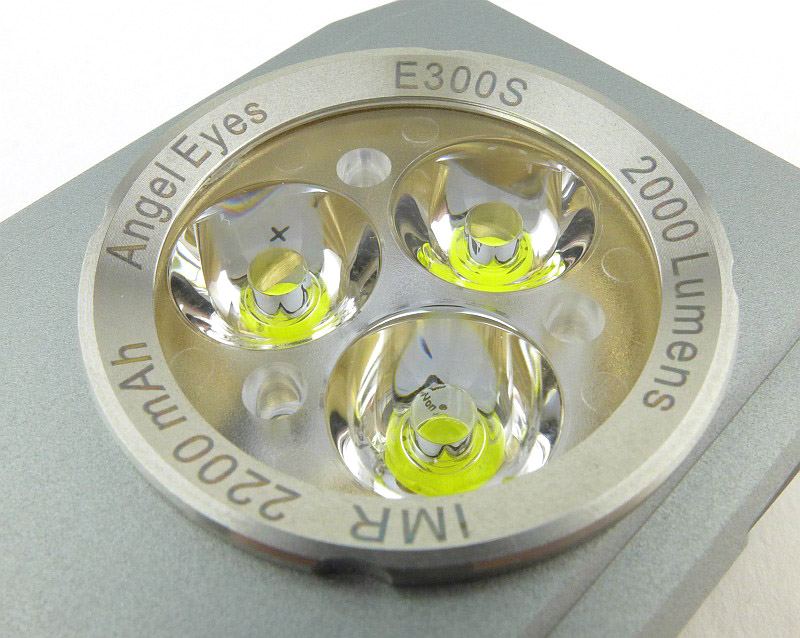
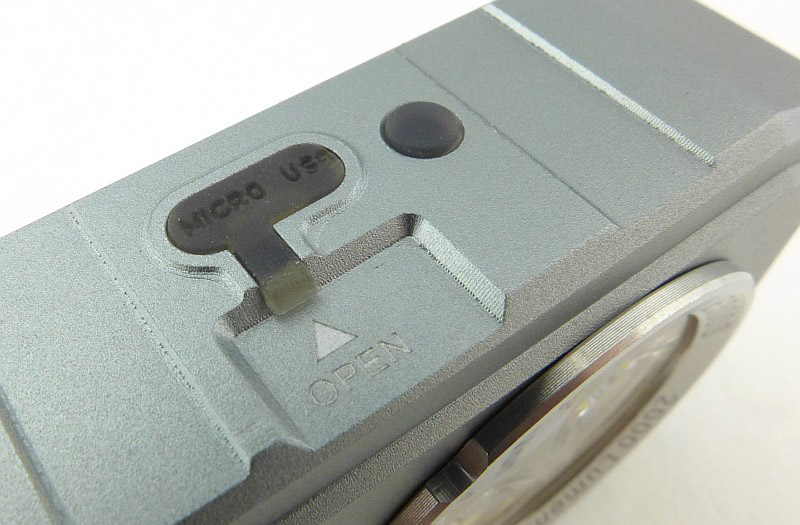
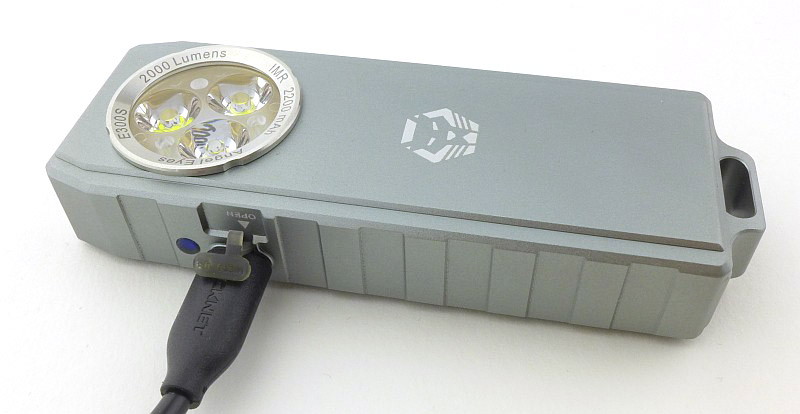
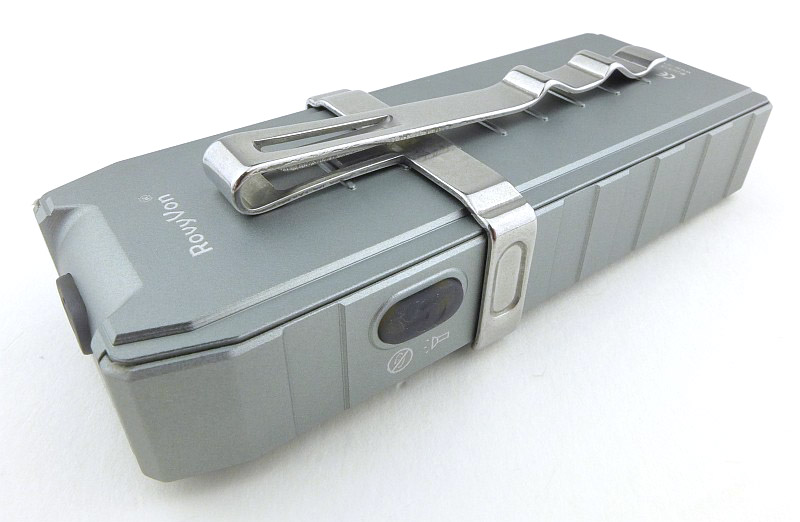
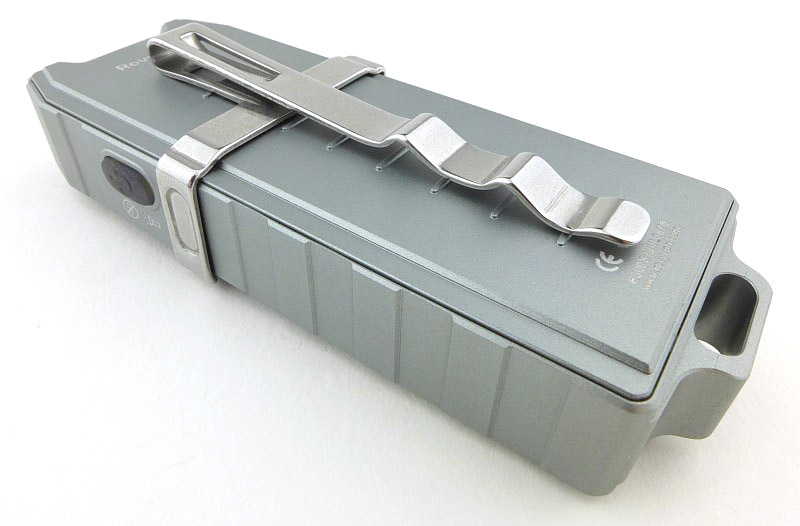
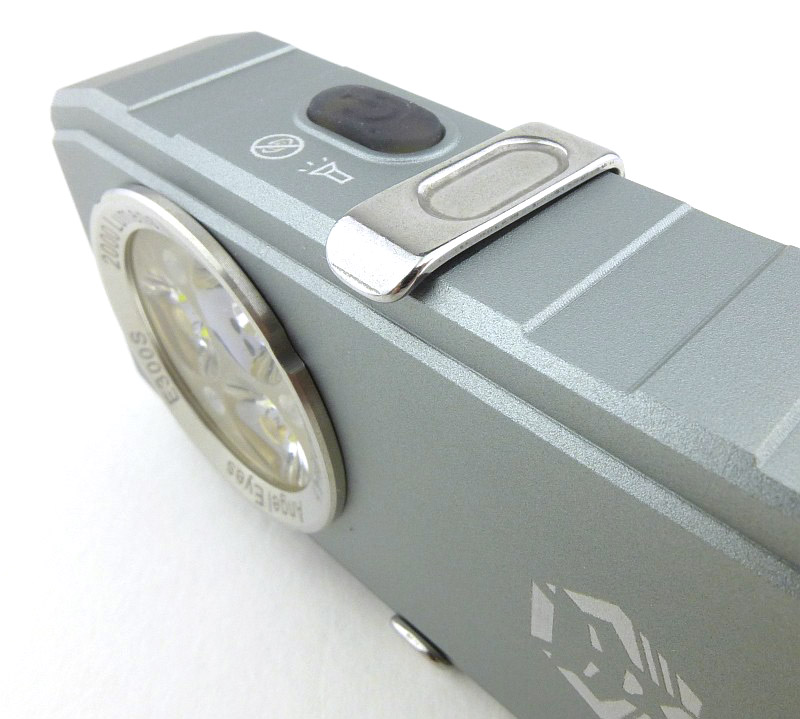
The details of the Rovyvon Angel Eyes.


The beam

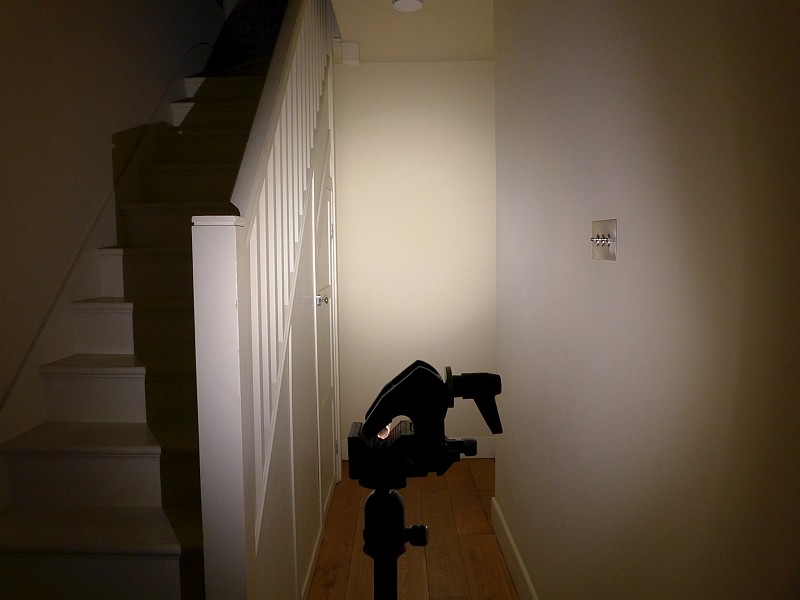
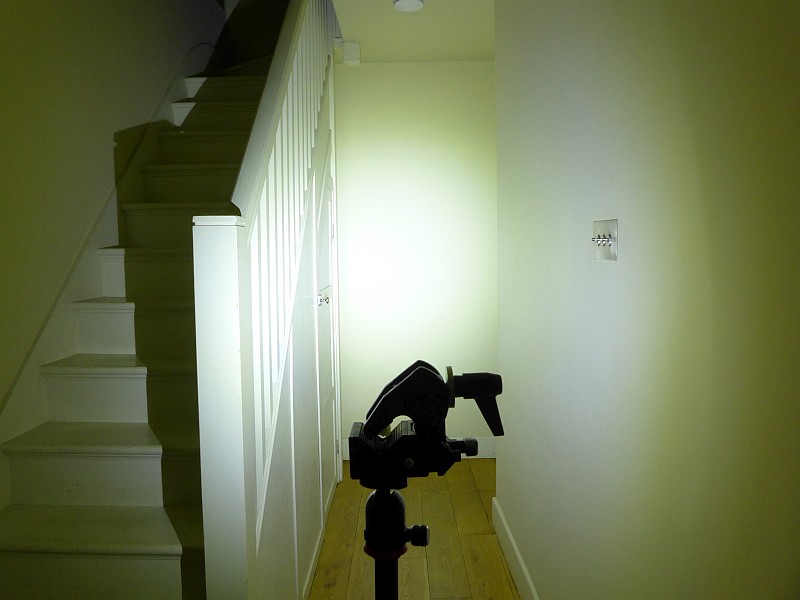
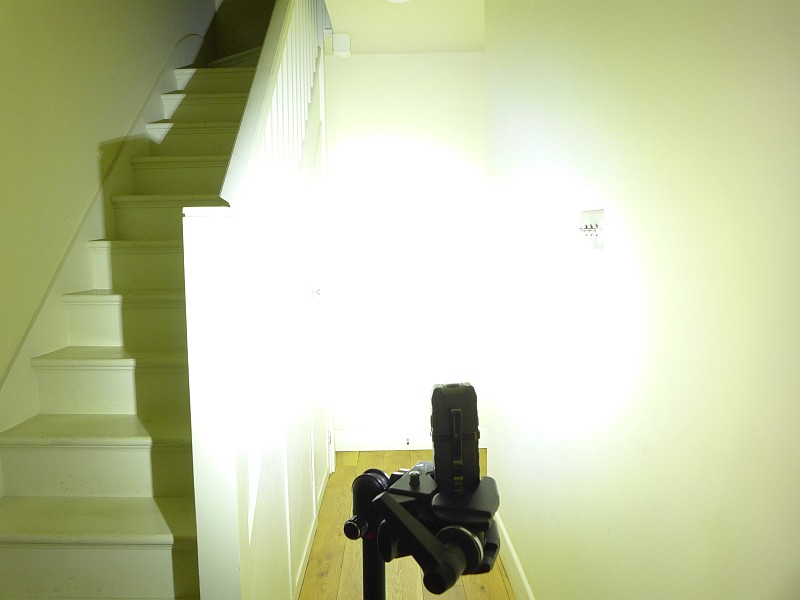
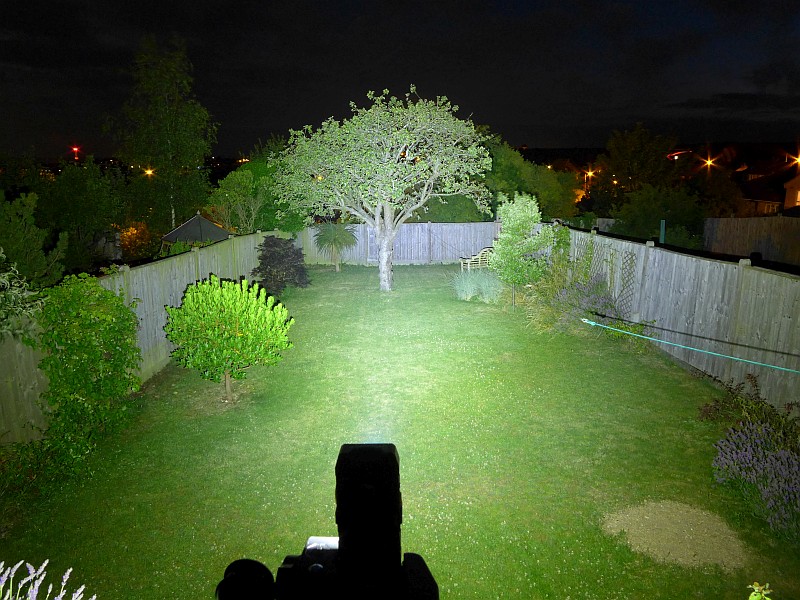
Please be careful not to judge tint based on images you see on a computer screen. Unless properly calibrated, the screen itself will change the perceived tint.

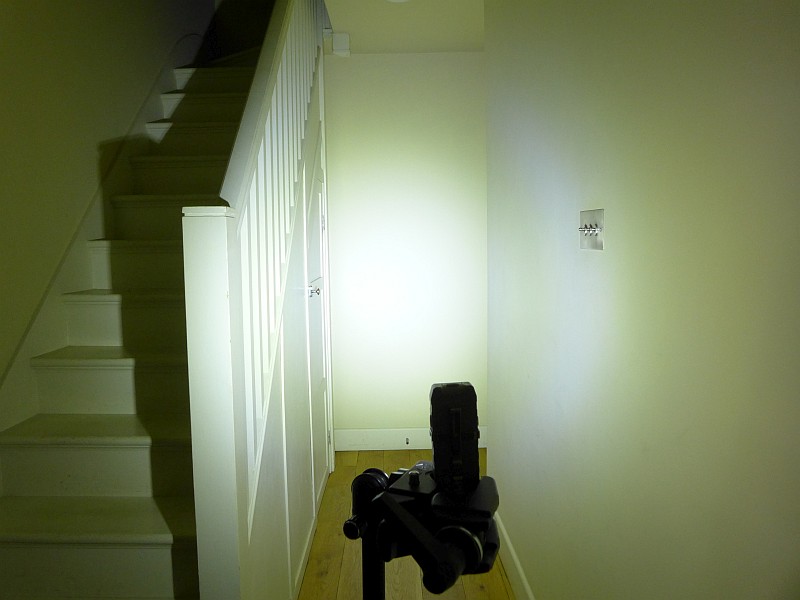
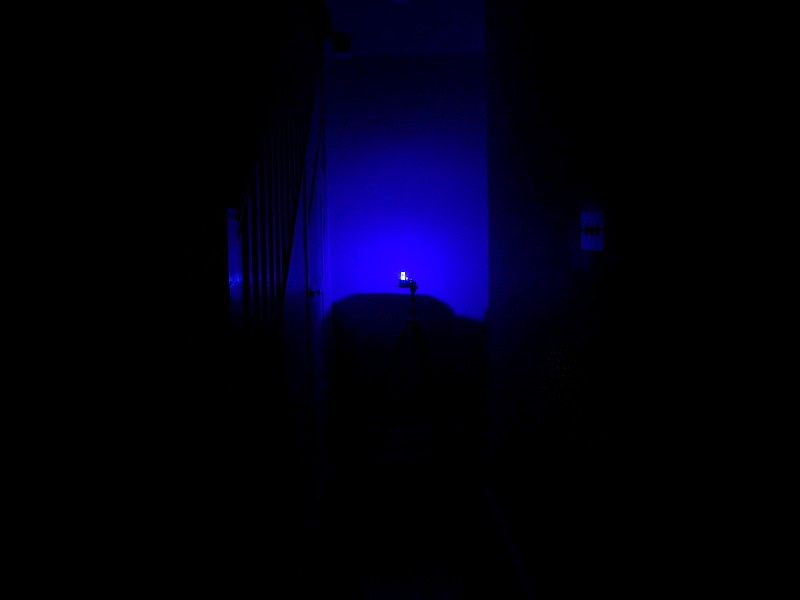
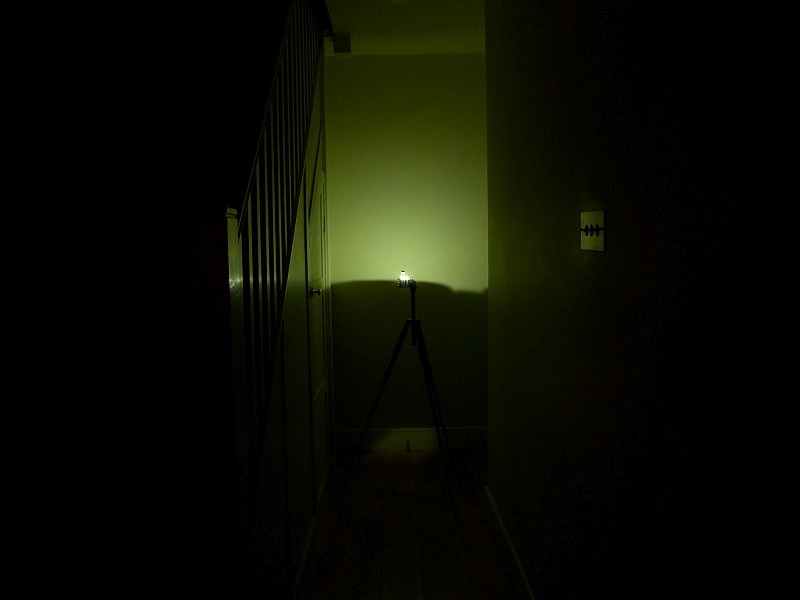
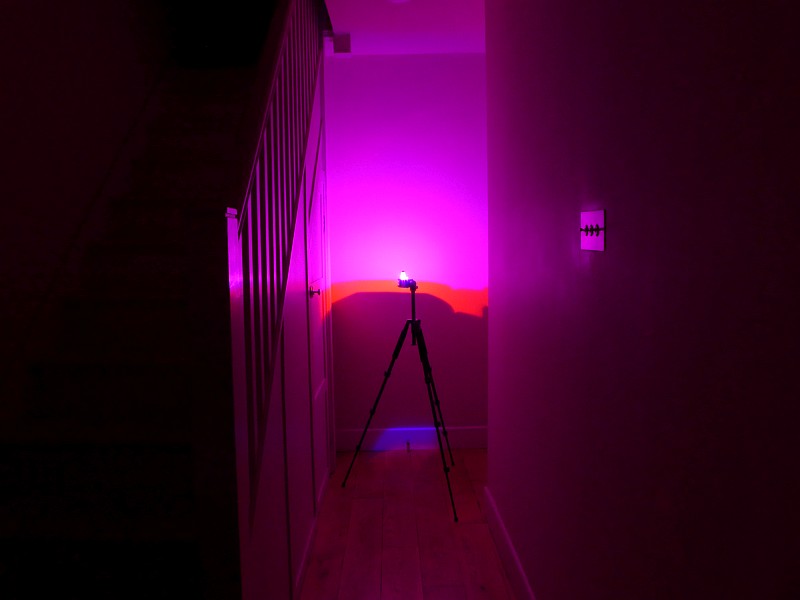
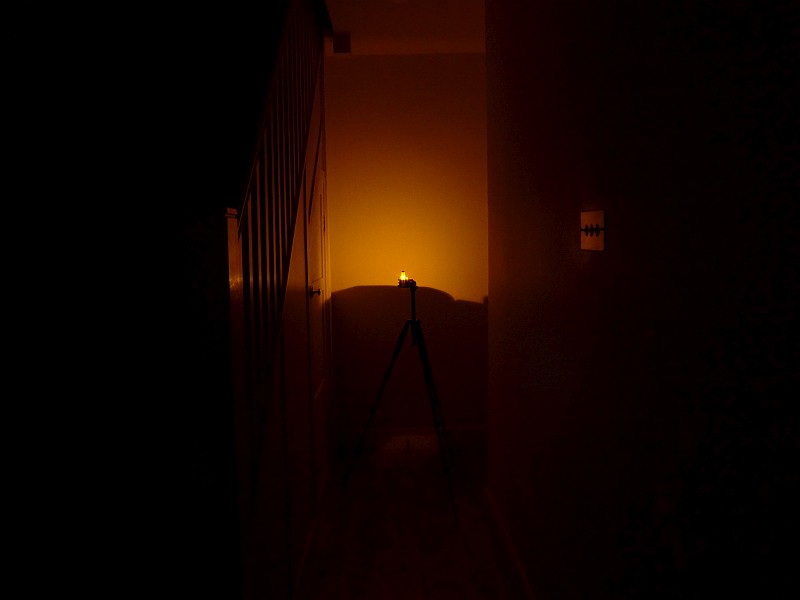
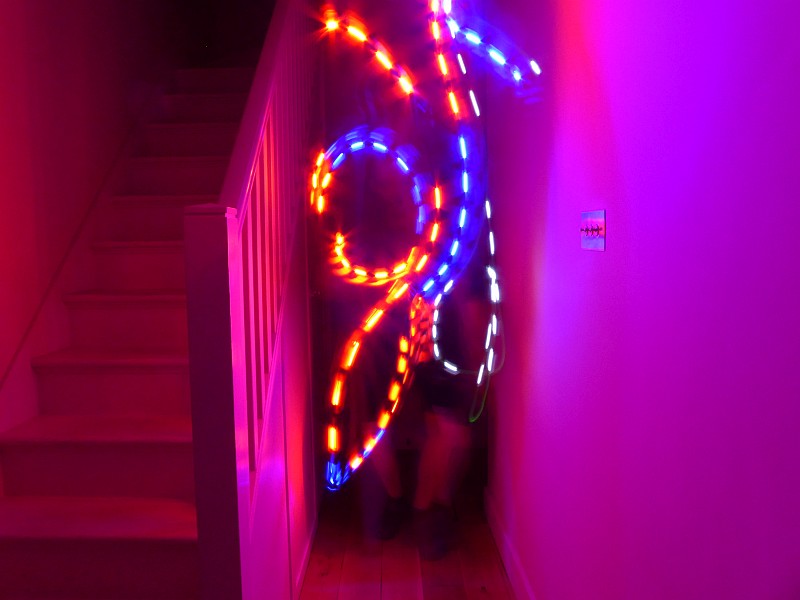
The indoor beamshot is intended to give an idea of the beam shape/quality rather than tint. All beamshots are taken using daylight white balance. The woodwork (stairs and skirting) are painted Farrow & Ball “Off-White”, and the walls are a light sandy colour called ‘String’ again by Farrow & Ball. I don’t actually have a ‘white wall’ in the house to use for this, and my wife won’t have one!

Here they all are, the different models, and different modes. Check the image caption for the notes.


Batteries and output:

These lights run on built-in cells.

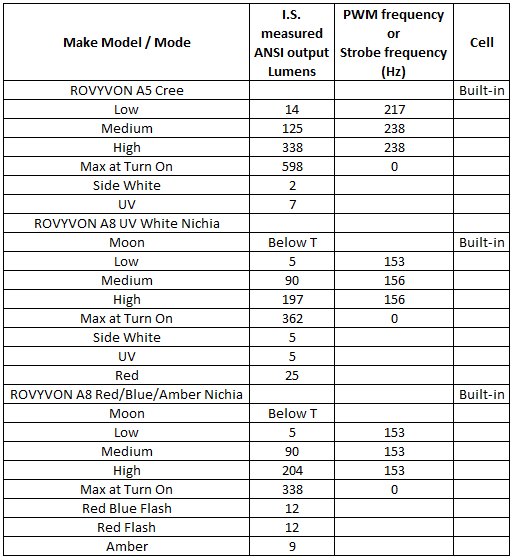
To measure actual output, I built an integrating sphere. See here for more detail. The sensor registers visible light only (so Infra-Red and Ultra-Violet will not be measured).

Please note, all quoted lumen figures are from a DIY integrating sphere, and according to ANSI standards. Although every effort is made to give as accurate a result as possible, they should be taken as an estimate only. The results can be used to compare outputs in this review and others I have published.

First up here are the A5 and A8 models and each measurable output. The value measured for UV will be a combination of visible blue light that is output or fluorescence of the test instrument and cannot be taken as a true UV measurement. ‘Max at Turn On’ is NOT an ANSI measurement, but a maximum value when switching on. (‘Below T’ means the output was below the threshold that could be measured.)

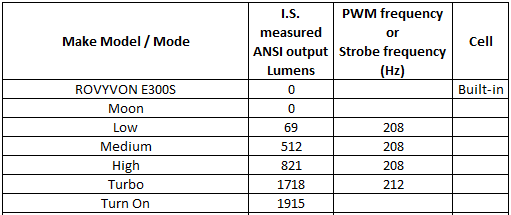
Then the E300S Angel Eyes. ‘Turn On’ is NOT an ANSI measurement, but a maximum value when switching on. Moon mode is not really 0lm, it is just below the threshold that could be measured.


Runtime and Charging Time:

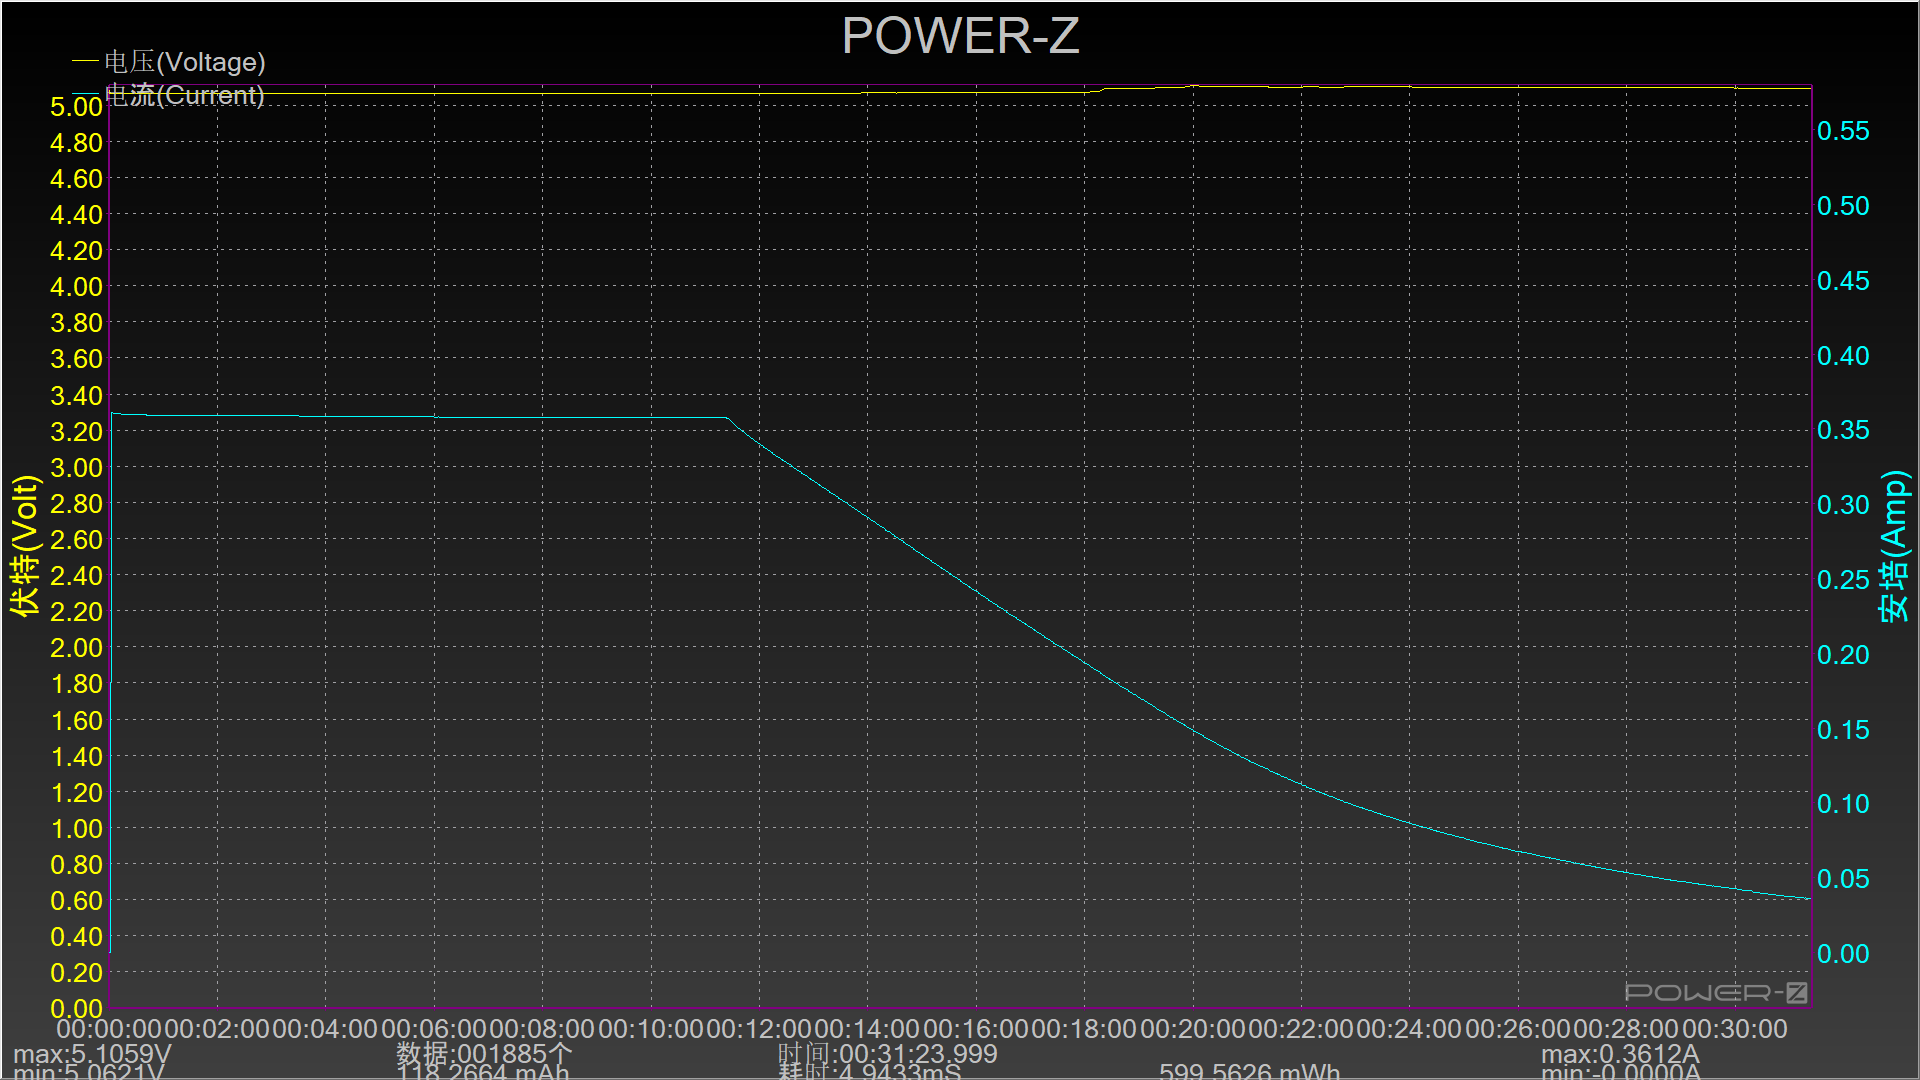
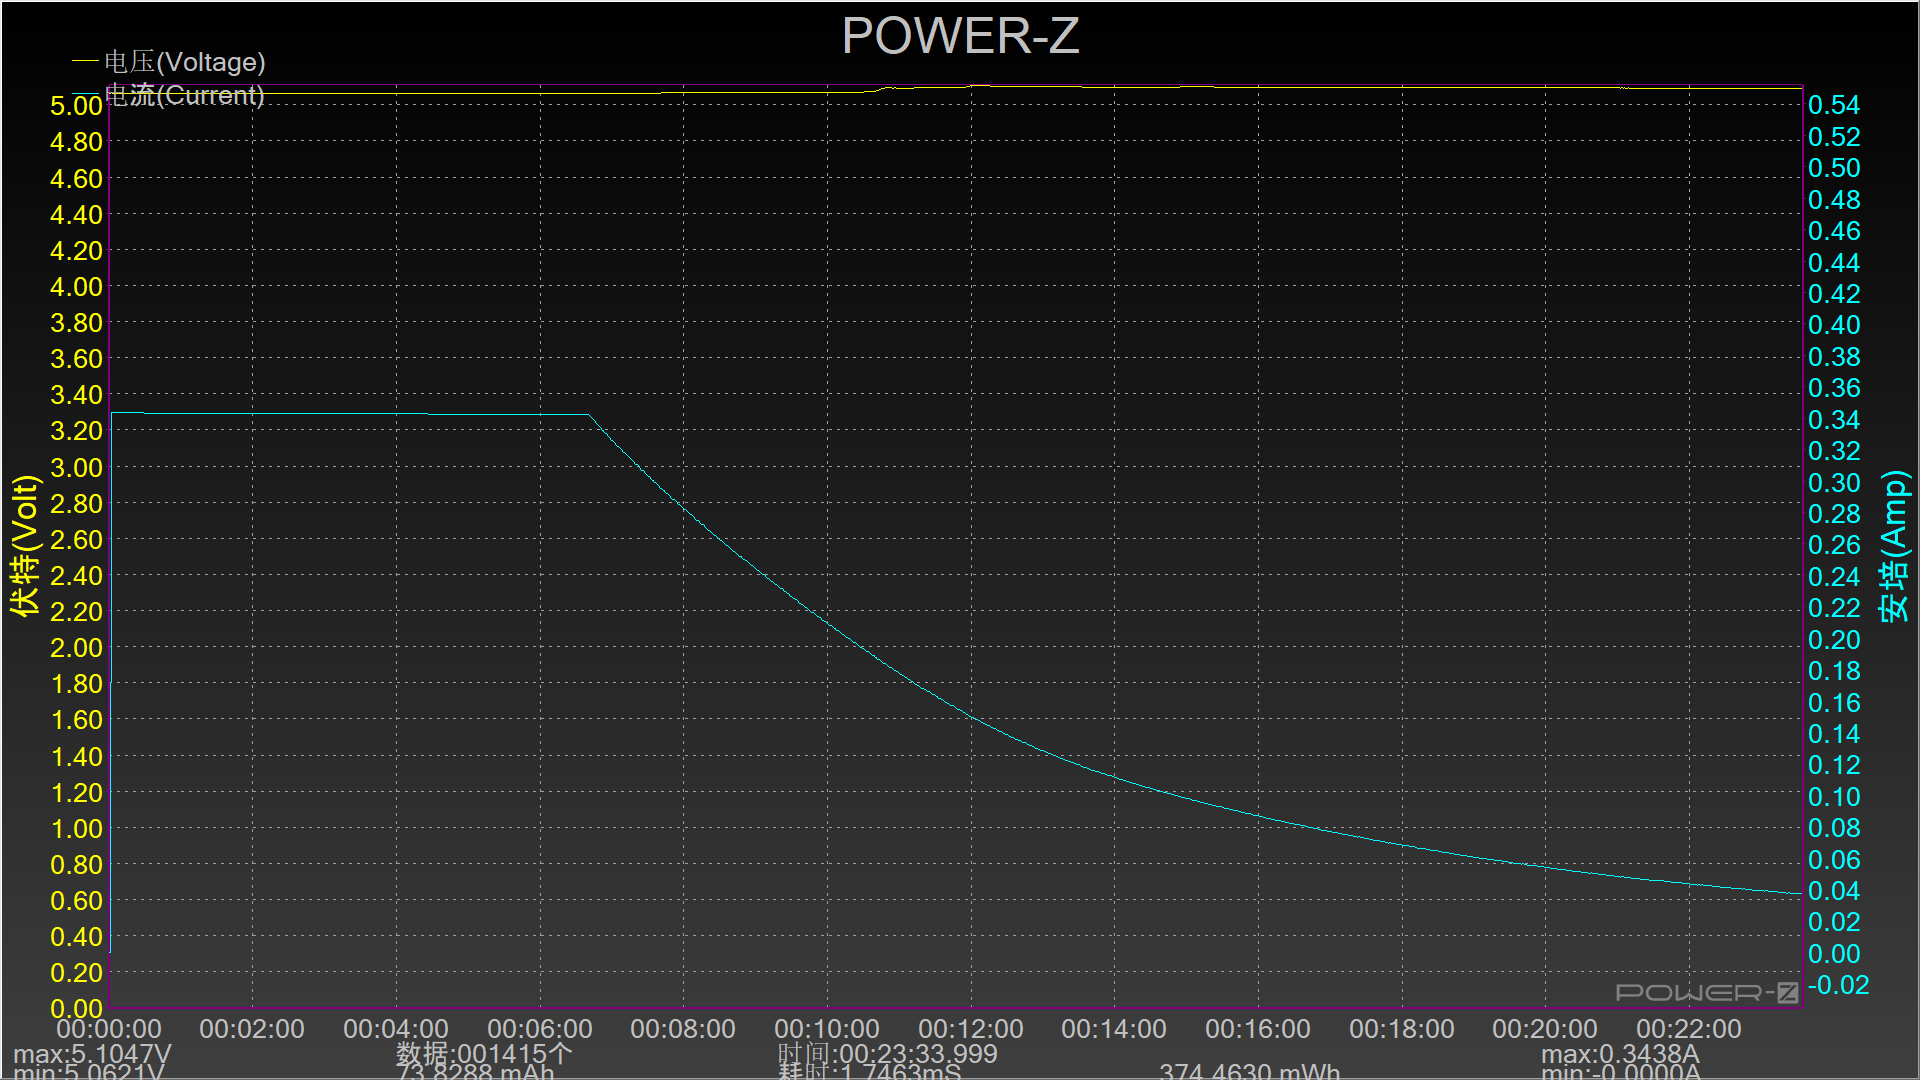
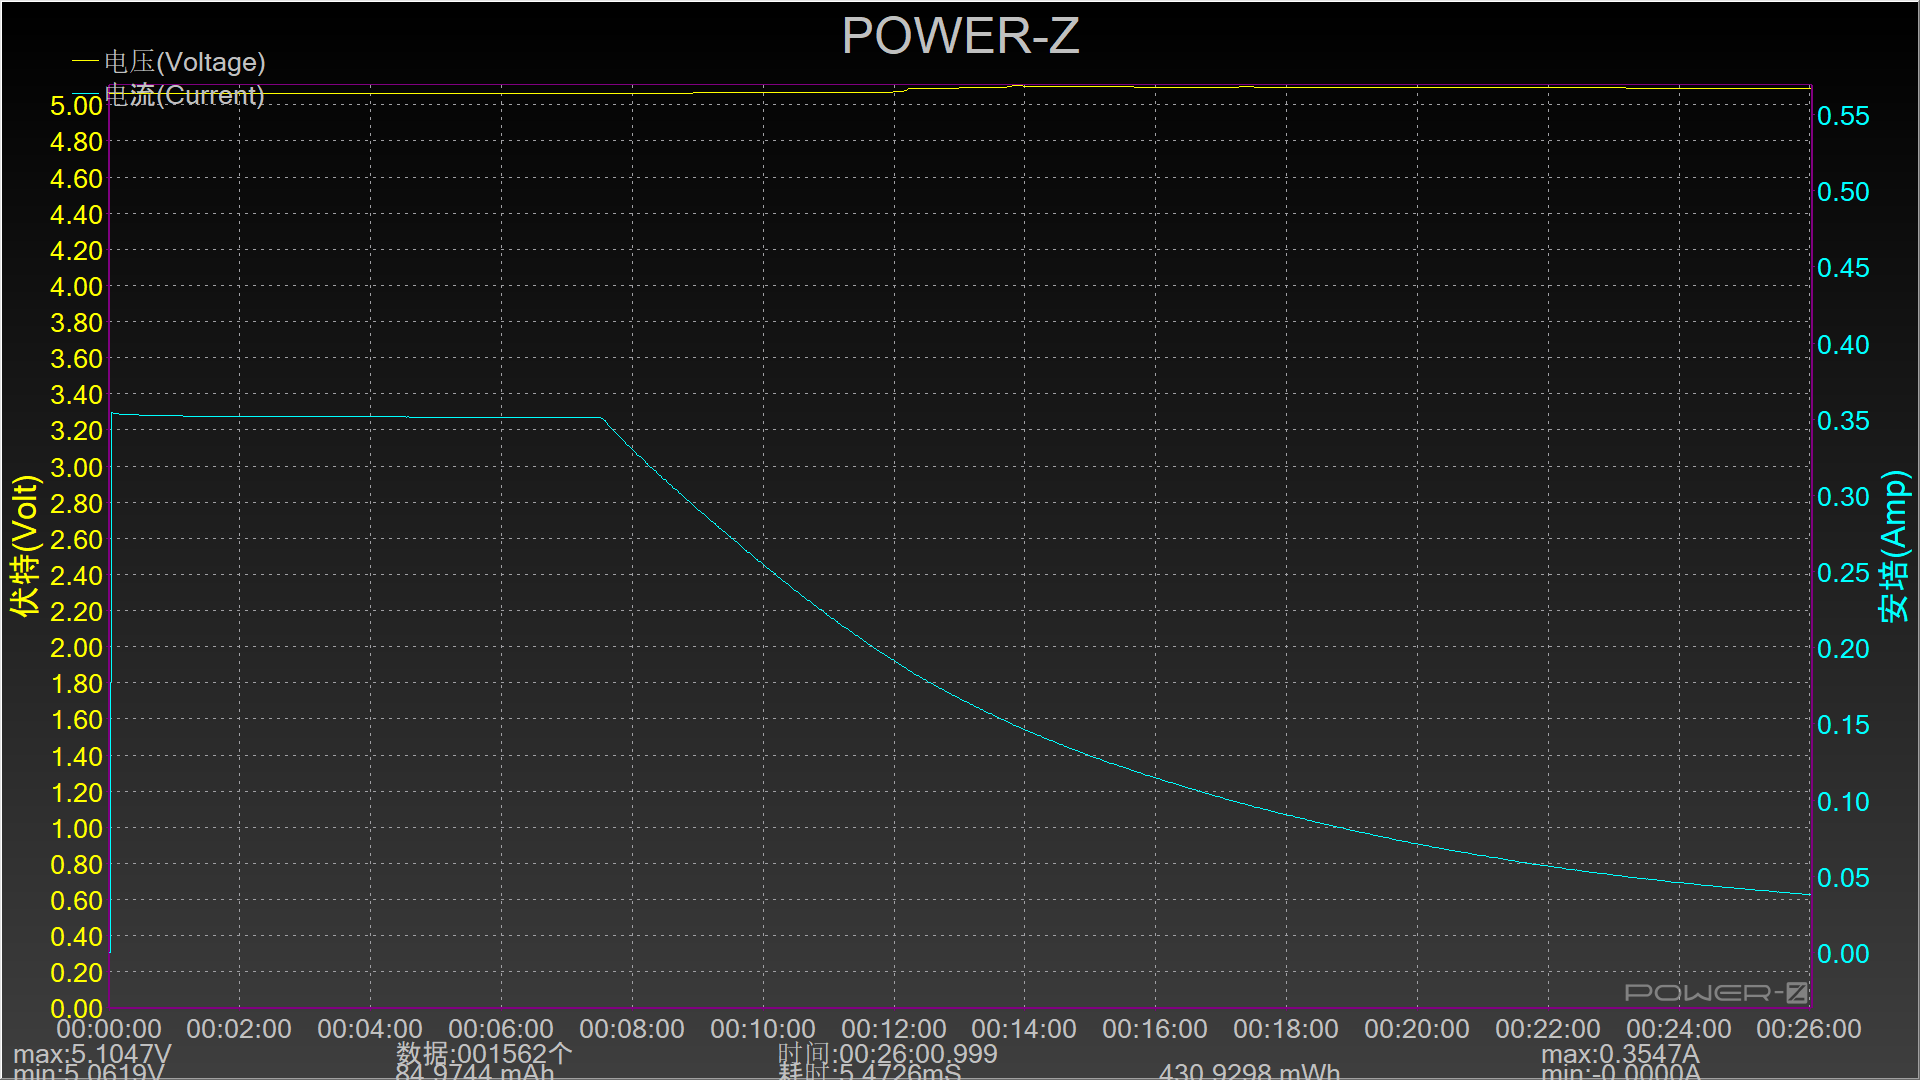
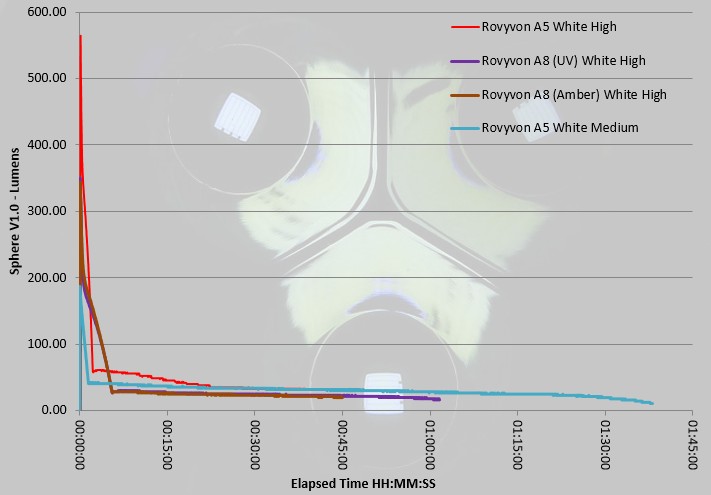
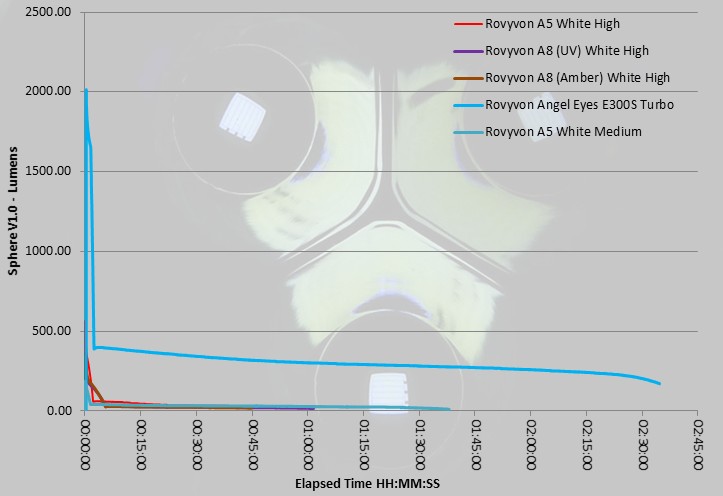
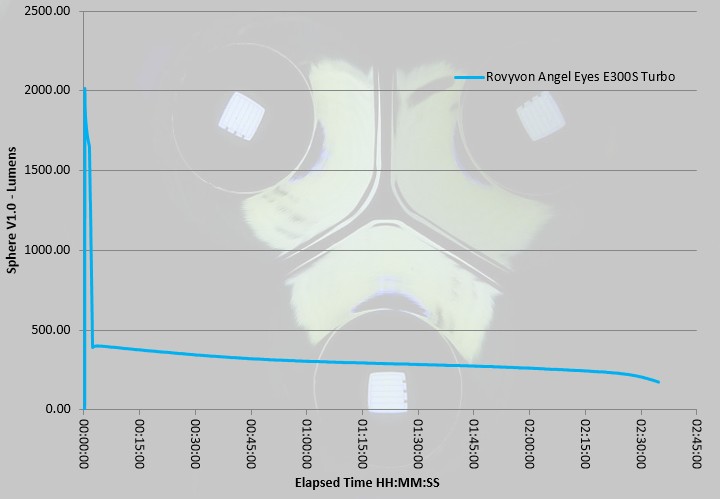
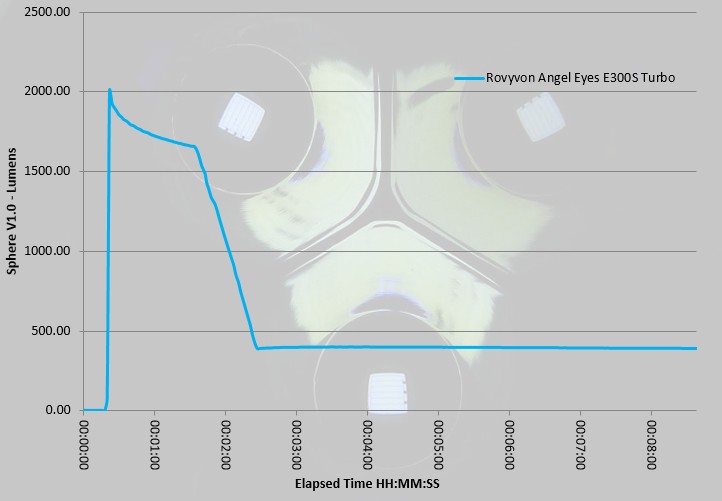
In this gallery are charging traces recorded from a USB power monitor, plus the recorded output traces from an Integrating Sphere. Take your time here there is a lot of information.


The Rovyvon lights in use:

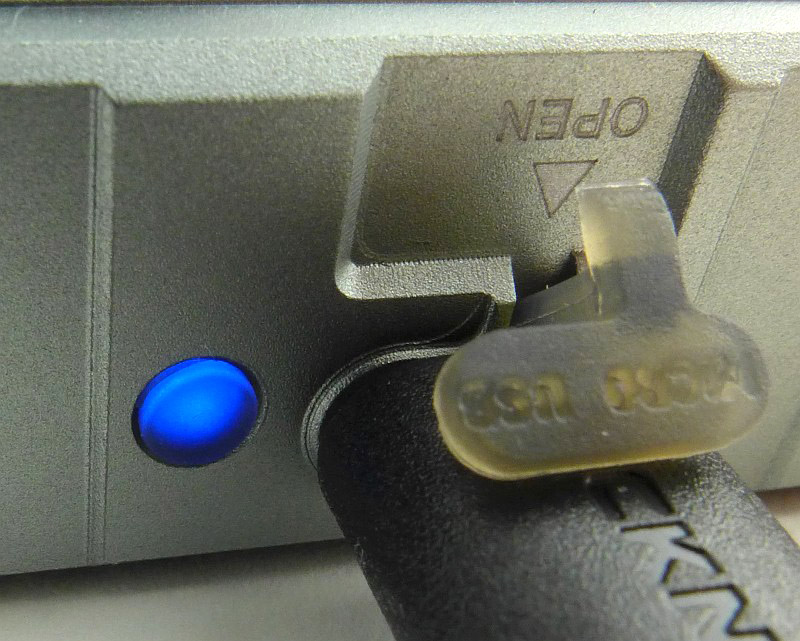
I’d had a good play with these lights at IWA, but there is still that frustration waiting for the first charge to complete – all blue – all good to go!

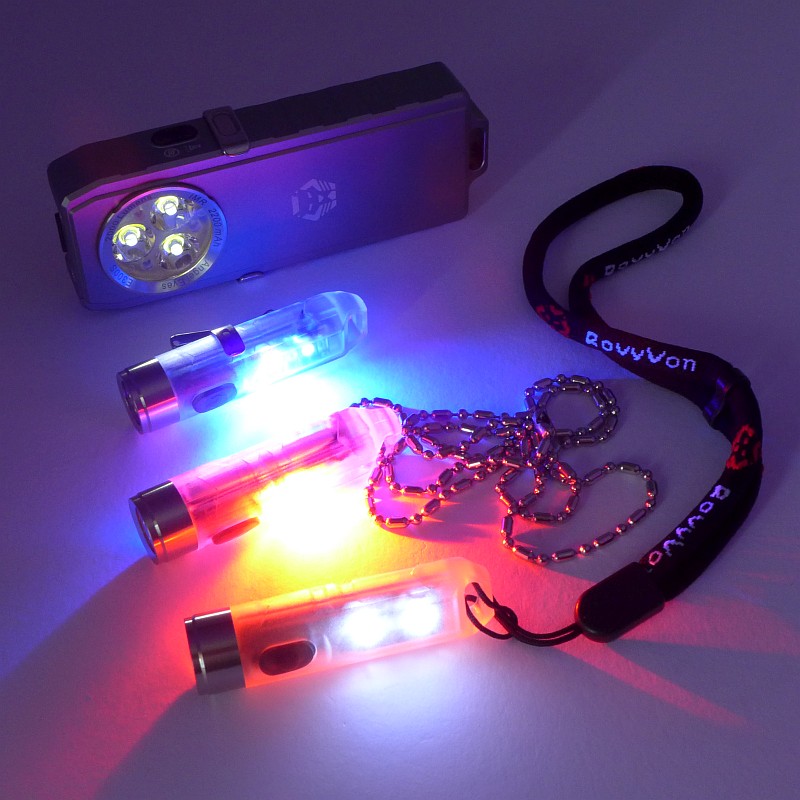
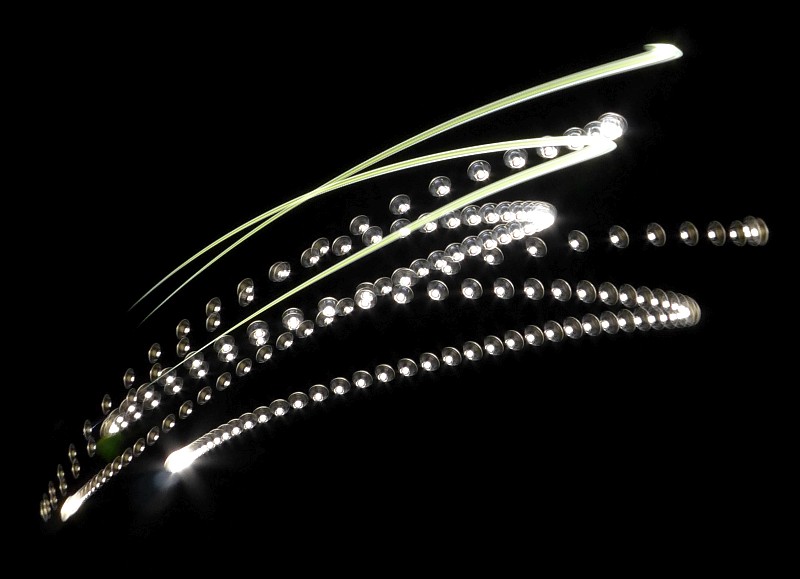
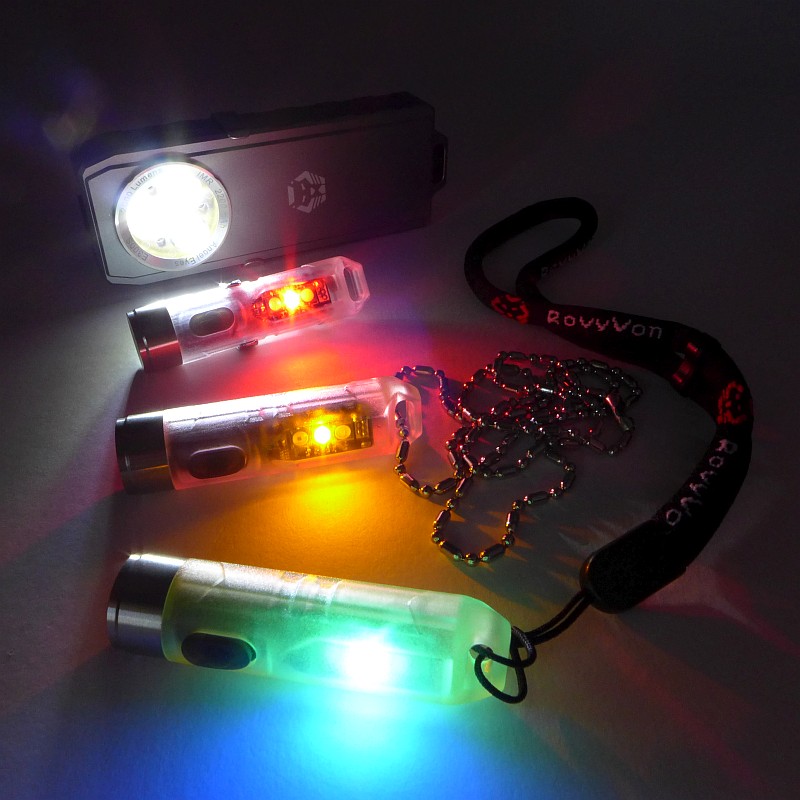
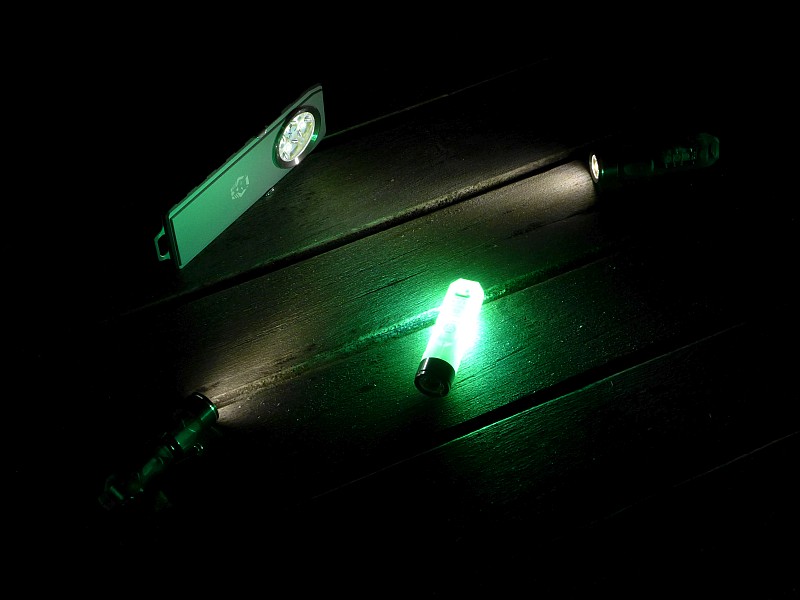
Before I go on, this photo summarises why these lights are so good, and that is their versatility. The A5 and A8 models are all multi colour, multi-function and super compact, and the E300S is very functional and powerful.

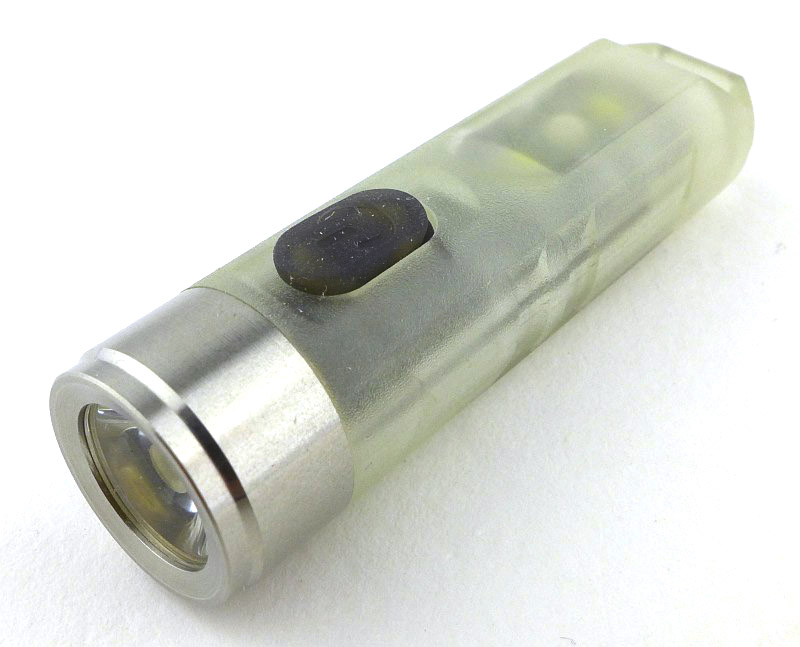
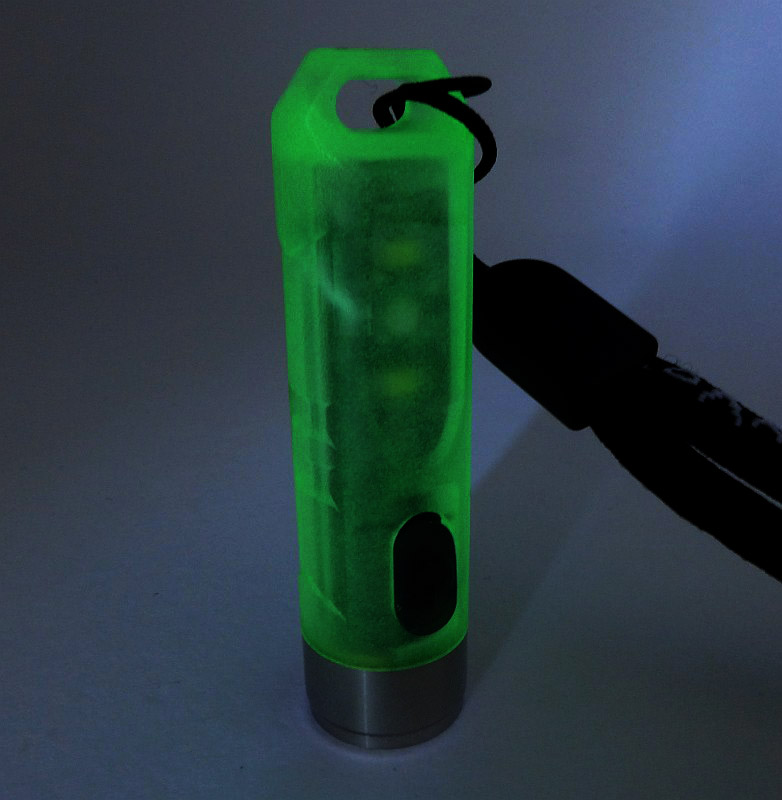
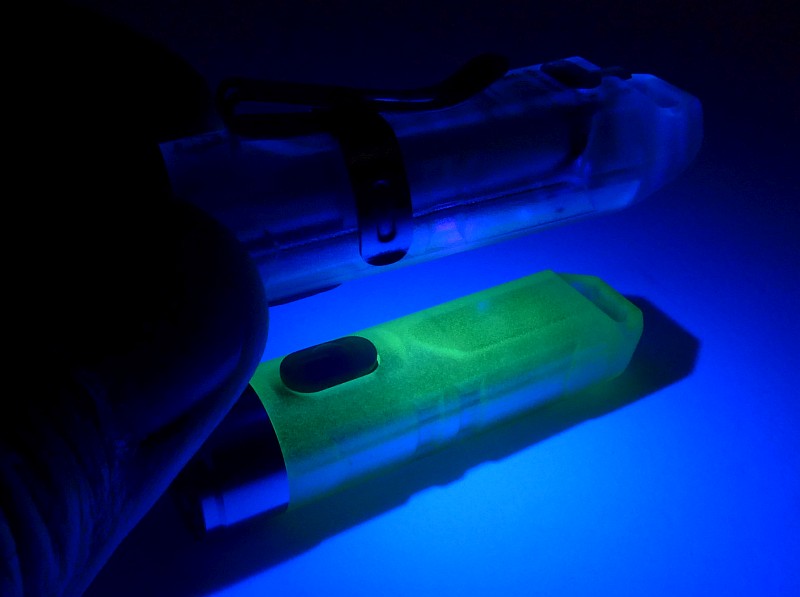
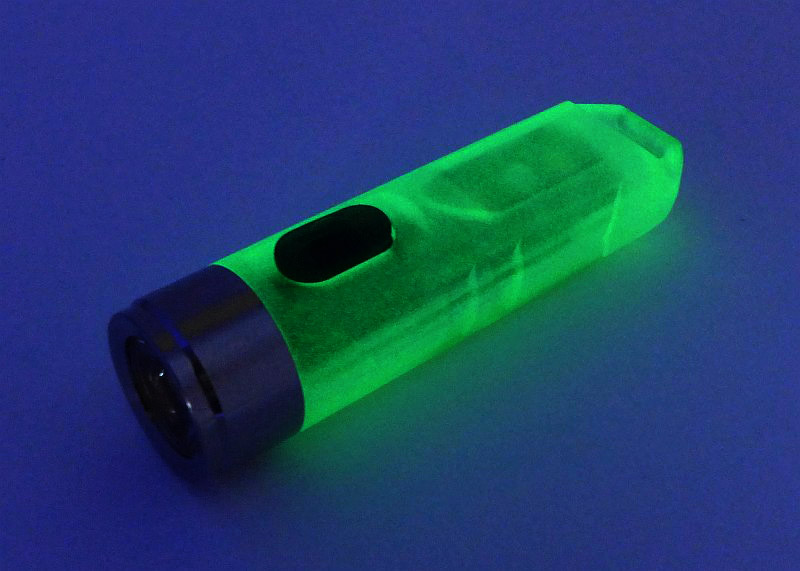
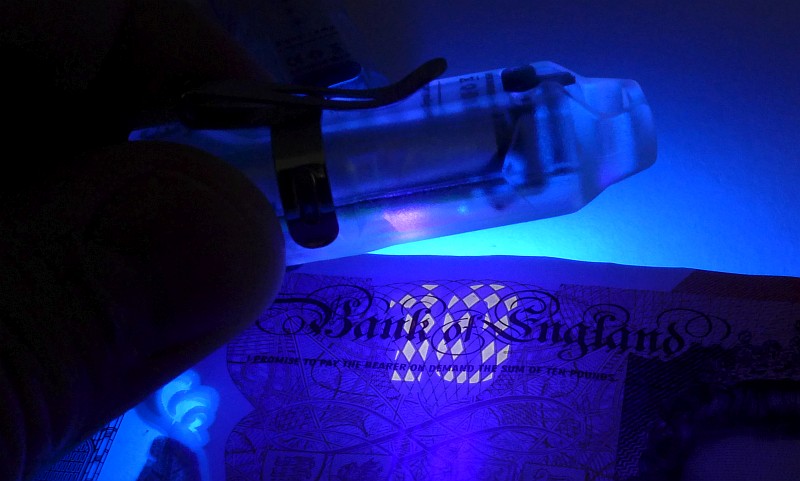
Staying on that line of thought, two of the models in this review have UV, and one is GITD. A small gallery to show these features in action.


The timing of this review means I have actually been carrying these daily for several months now. Electronic switches means there is always a chance that parasitic drain (standby circuit power) will deplete the battery, but there has been absolutely no sign of that.

One tiny light which has several functions, definitely makes itself very useful. UV is one of my favourite secondary functions for which I normally have to carry another light. Checking bank notes and looking for elusive little lost objects can be transformed with UV light. The extra colours of light available on the A5 and A8’s secondary side outputs all fit well with other needs; you being seen, marker lights, warnings, gentle night lighting or reading, the list goes on. What do you find most useful?

It is always challenging to design easy to use controls for multiple functions, especially with only a single button (or two with the E300S), and the Rovyvon lights use a variety of press-and-hold or multi-clicks. Depending on your current dexterity (which tends to vary when cold/tired/etc), you can easily get this wrong. The worst case result is getting maximum output when you didn’t want it. This is not a criticism of the Rovyvon lights, but only a consequence of the multi-function / single button interface.

However, with the A5/A8 and E300S there is a conflict in the user interface. To get the lowest level on the A5/A8 you double click, but the E300S requires a press-and-hold. So use the E300S, and when you pick up an A8, and press-and-hold expecting to moon mode, instead you get full blast. As these are both Rovyvon lights I would have hoped for some consistency in the UI across models to prevent this accidental blinding.

PWM (pulse width modulation – strobing the output to achieve lower levels) is a bugbear of mine. Any movement becomes flickery or stuttering. Unfortunately all the Rovyvon lights use this. The E300S uses a sufficiently high frequency that it does not present as a problem, but the A5 and A8, on all lower level outputs, have very obvious flickering whenever moving. If everything is static, then this isn’t visible, but if you are walking along or scanning a space you will see flickering. There are sometimes design limitations that force the use of PWM, as the circuitry needed for constant output tends to be larger, so the small size of these light might be the reason for this compromise. I hope Rovyvon find a way to get rid of the PWM (or at least increase the frequency) as these lights would be outstanding if they didn’t flicker.

Level spacing on the A5/A8 is good, but on the E300S there is much too large a step up from the lowest level to the next one, going from ~1lm to 70lm. It really needs a 5-10lm step.

With such high outputs available from a very small light, the overall runtime at these high levels is pretty low (A5/A8), so if you like using them on full blast, you’ll be recharging quite often, but if you mainly use the lower levels or side light functions, EDC use will be covered for a very reasonable time. USB recharging makes them very easy to top up.

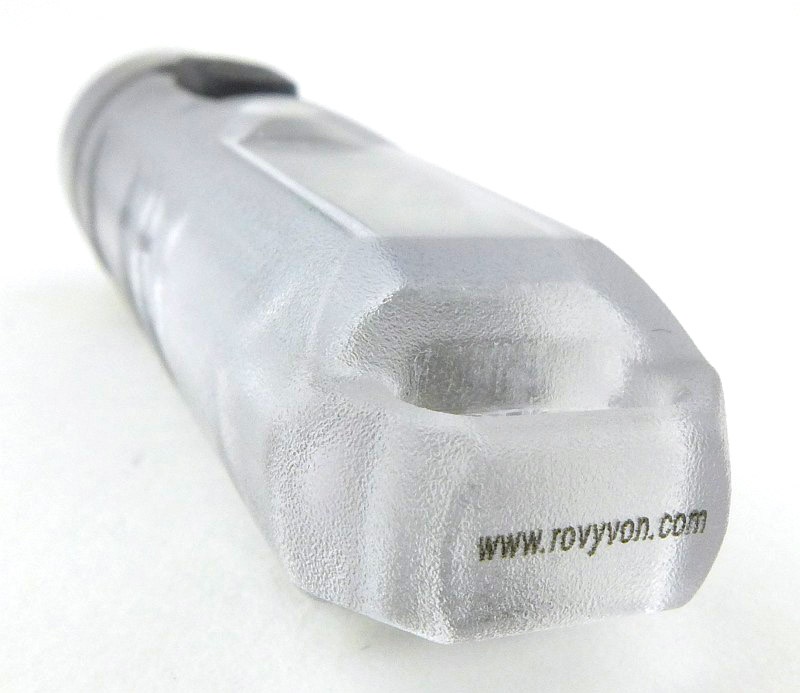
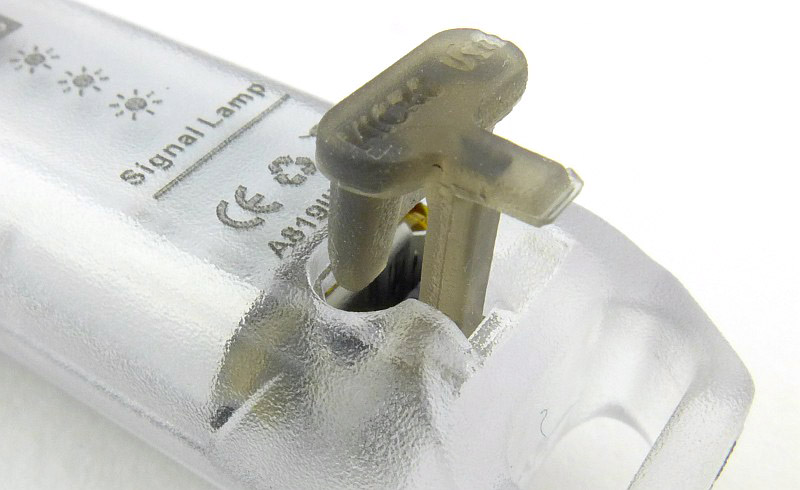
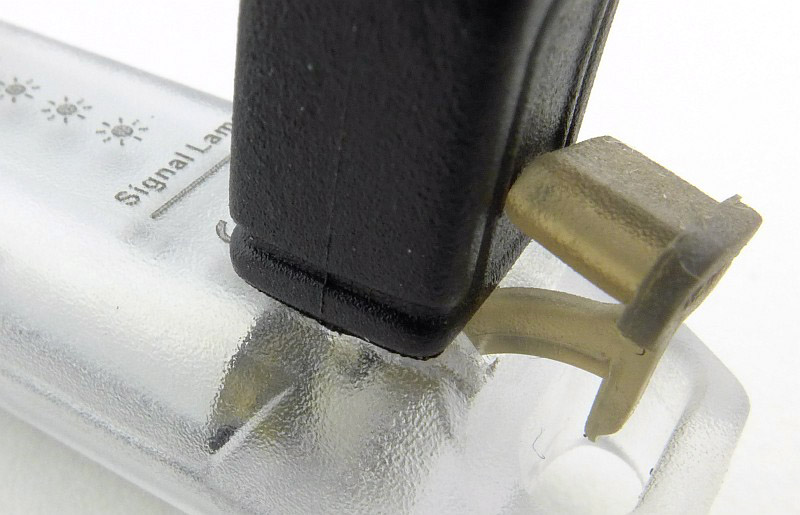
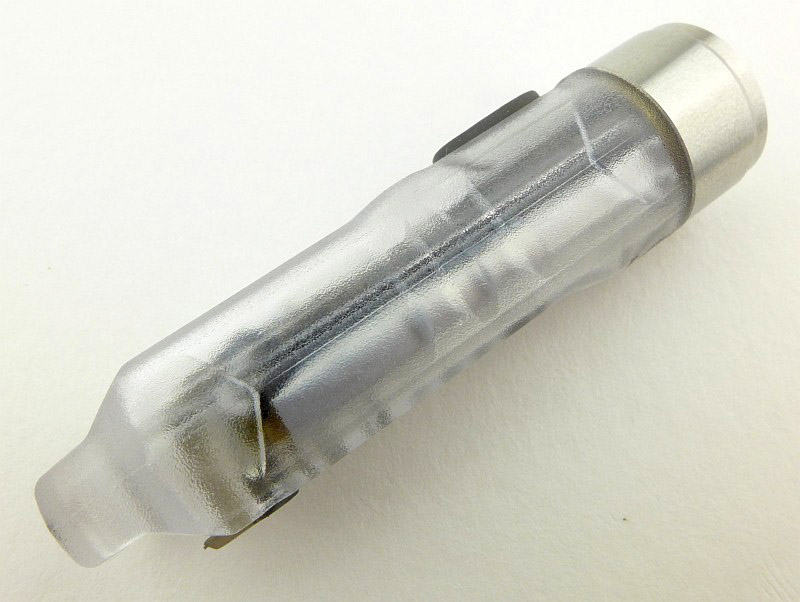
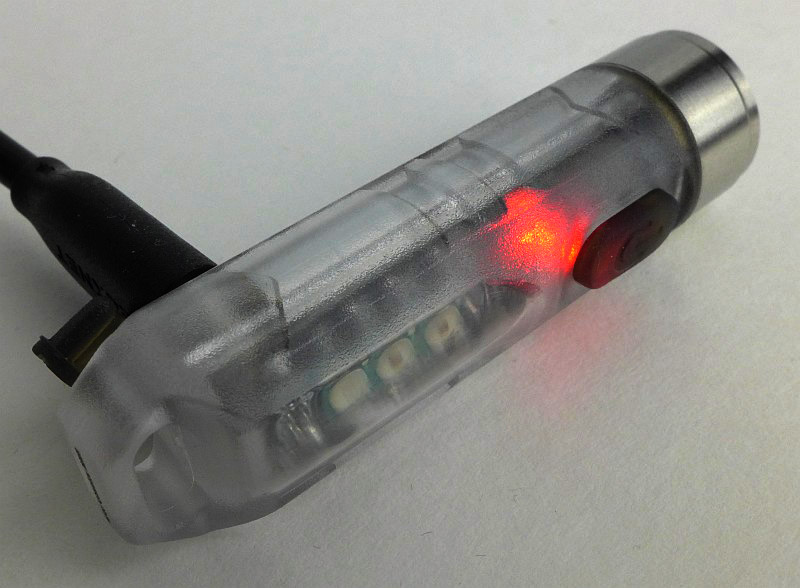
The clear plastic bodies are light and strong with the added benefit of showing the neat internals. They have stood up to every day keychain use along with inevitable drops, bumps and rubbing against keys.

All the details are refined and functional with great clips, carry options and spares.

Review Summary

_______________________________________________
Things I like
_______________________________________________

Multiple LEDs and output options.
Compact and lightweight.
Robust construction.
USB charging.
Excellent fit and finish.
Fully fitted out with accessories.

_______________________________________________
What doesn’t work so well for me
_______________________________________________

PWM – flickering is always a problem.
IP65 rated, so not actually waterproof.
Level spacing on E300S has too large a jump between the lowest levels.


Discussing the Review:

The ideal place to discuss this reviews is on a forum. If you started reading the shorter forum version of the review, but followed the link this full exclusive review, please return to that forum to discuss the review there.
If you read the review entirely on Tactical Reviews, please consider one of the following to join in, or start, a discussion.

CandlePowerForums – Flashlight Reviews Section (Largest and Friendliest Flashlight Community Forum)

CLASSIC Gear Review: Leatherman TREAD

Another in the Classic Review series, this one is from February 2016 – The idea for the TREAD came about following Leatherman’s CEO Ben Rivera being stopped by Disneyland’s security for carrying a Skeletool. This started the design process which resulted in the first usable wearable multi-tool which should also be ‘security friendly’.

When he returned from his trip, Rivera started wearing a bike chain bracelet to see how it would feel. As the idea took shape, he brought his idea to the engineers at Leatherman who helped make it a reality.

Taking a more detailed look:

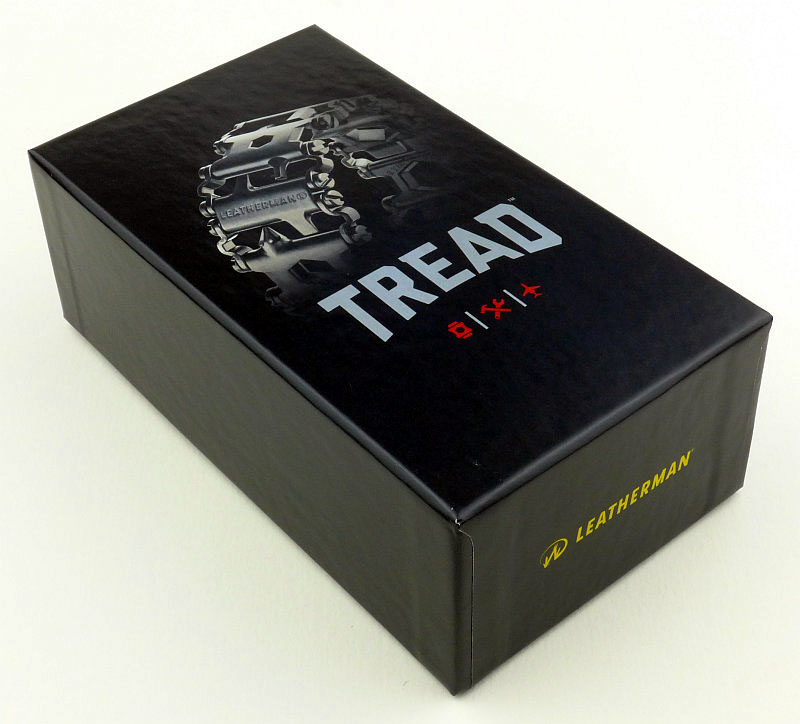
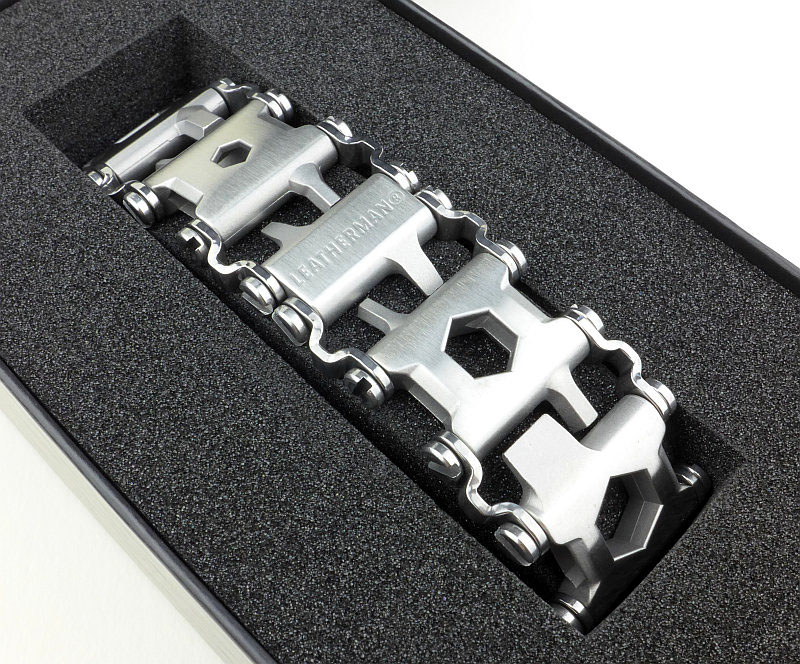
For what will become obvious reasons, the presentation of the TREAD is very much like a watch.

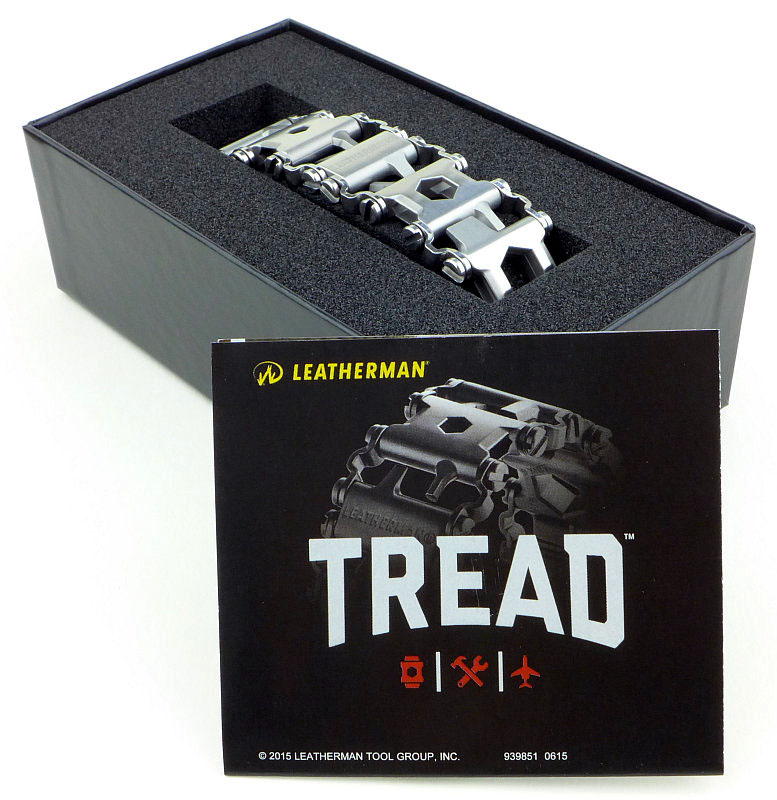
No bits and pieces in the box, simply the TREAD and a leaflet.

The packaging keeps the links from rubbing against each other as the TREAD comes on a foam mount.

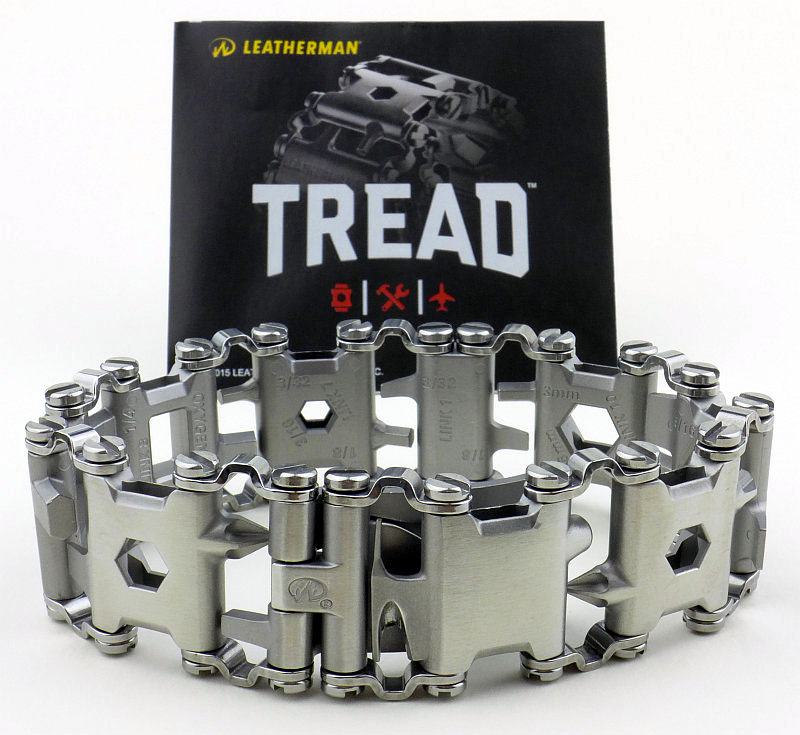
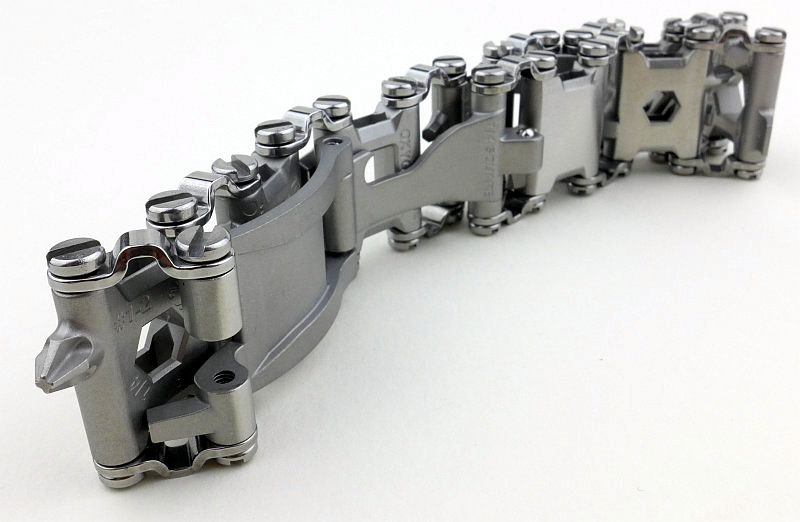
Fresh out of the box.

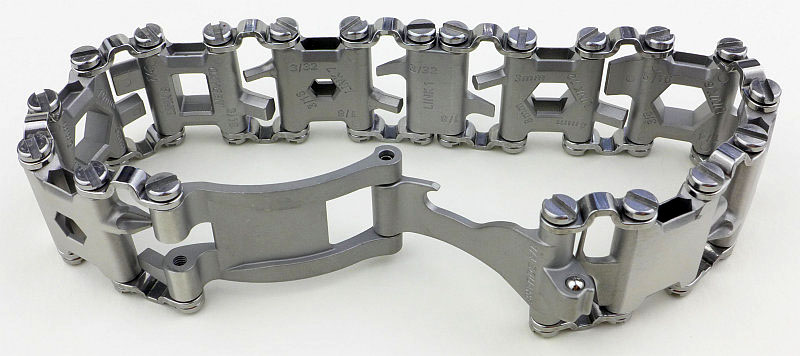
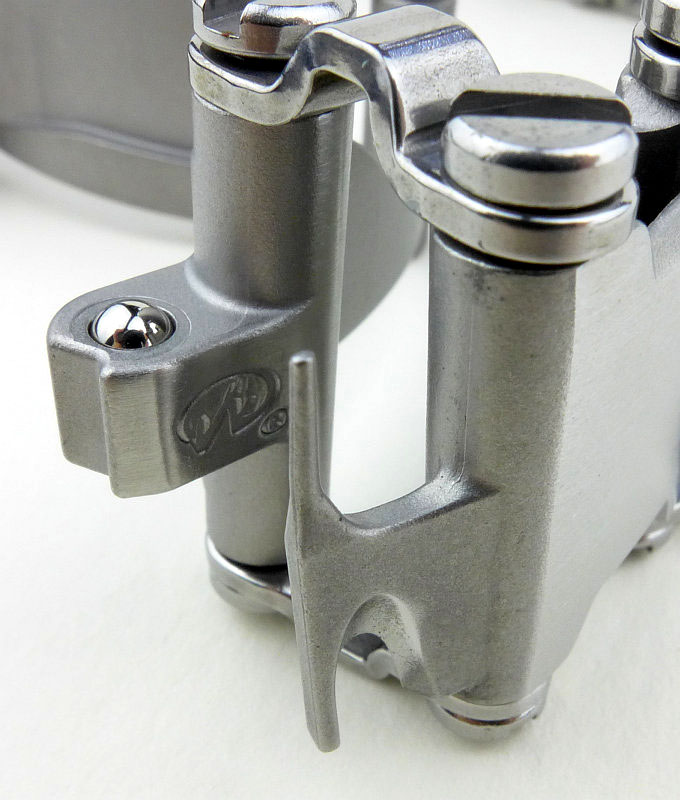
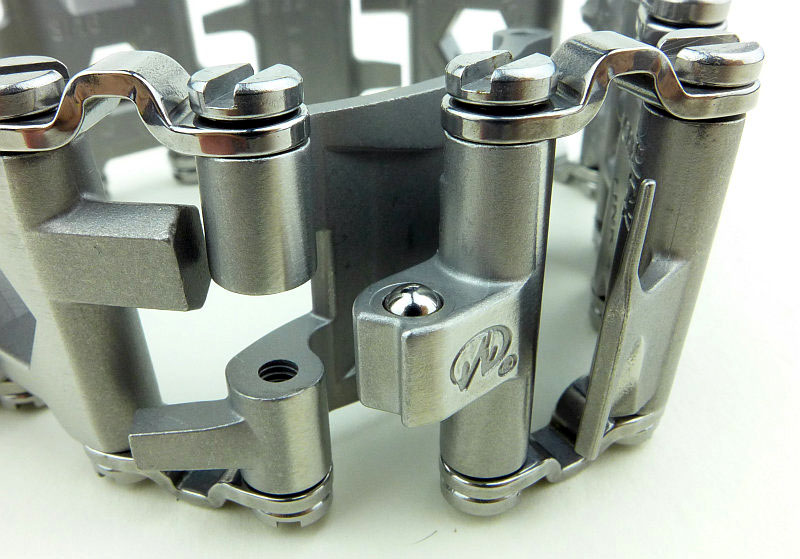
The clasp is an ingenious combination of a sprung ball detent retainer and a tool.

A closer look at the clasp fastener on which there is a small version of the Leatherman logo.

Jumping straight to what the TREAD is all about with one tool deployed and ready to drive a Philips screw.

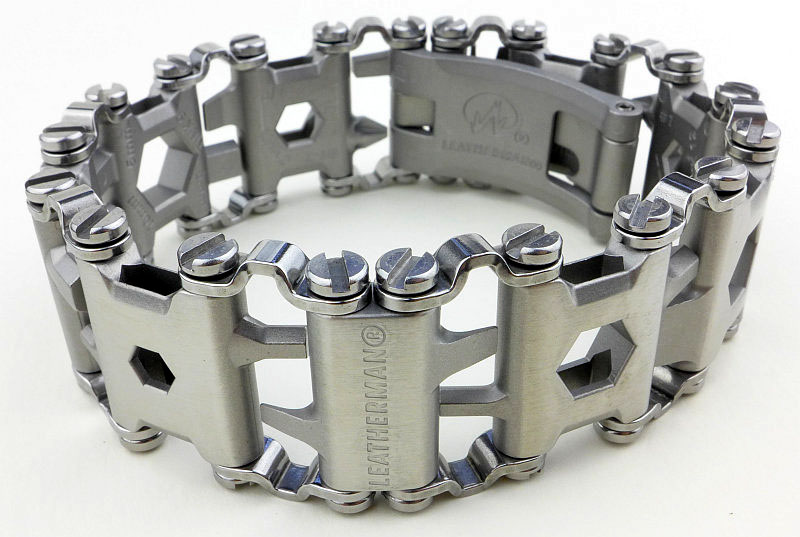
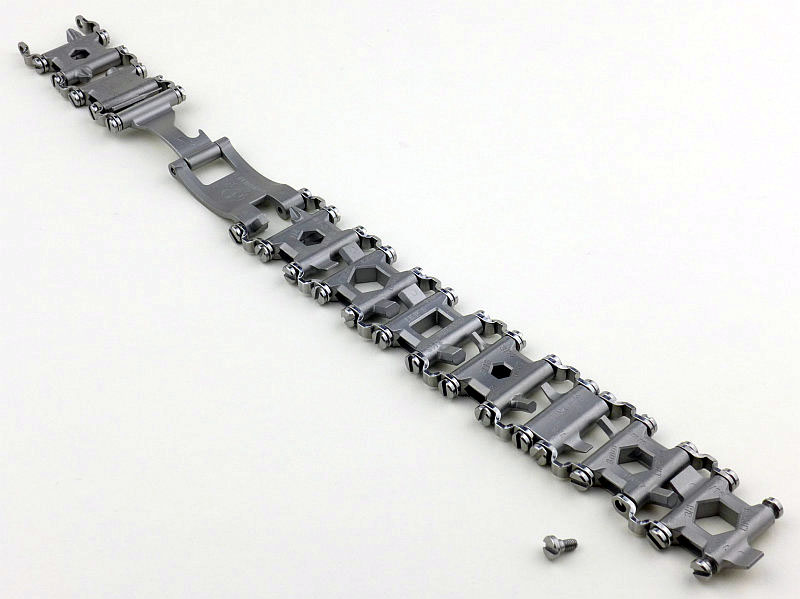
Out of the box the TREAD includes all the tools and links. Like this it is a little on the large side.

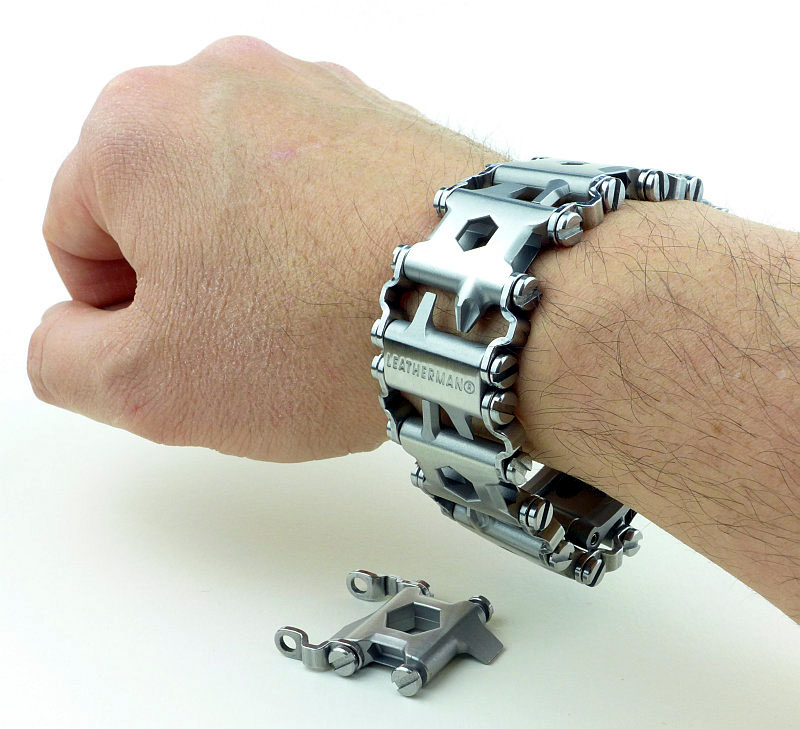
You can adjust the size of the TREAD by removing links. There are only two sizes of link which change the size by either 3/4″ or 1” (including the link bars). Most of the links are 1”, with only the one smaller size link.

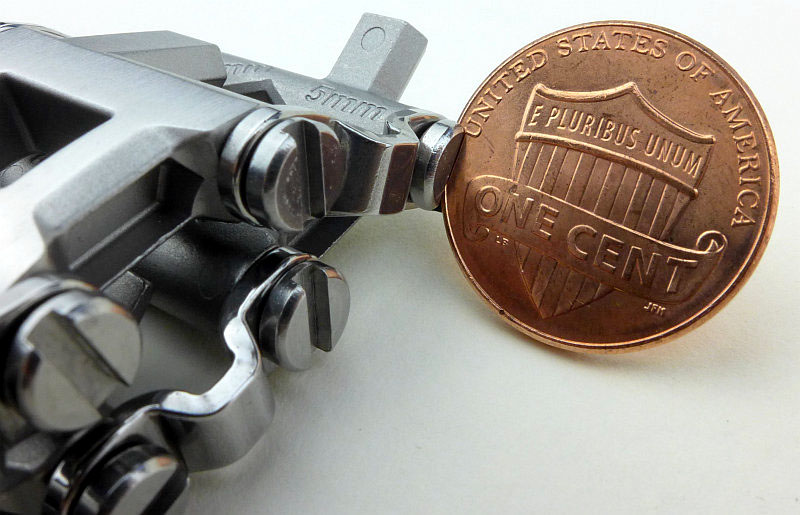
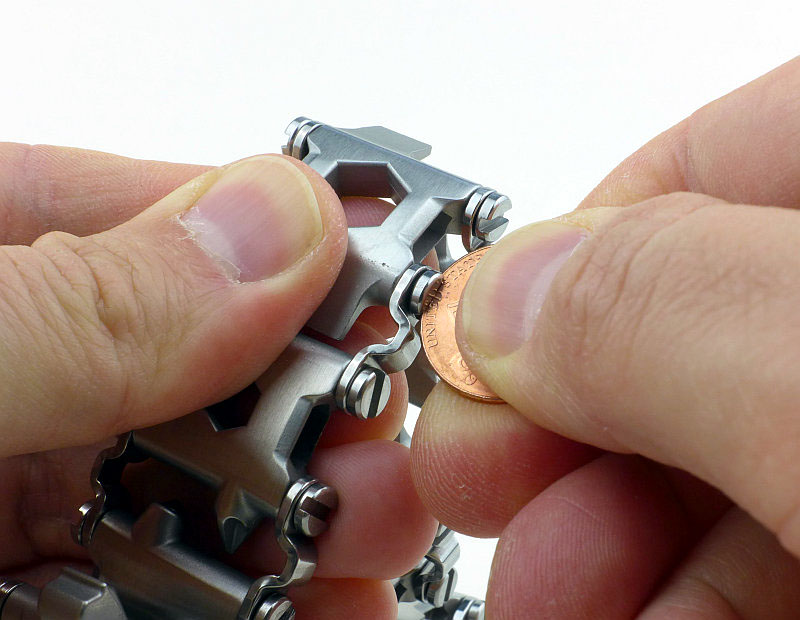
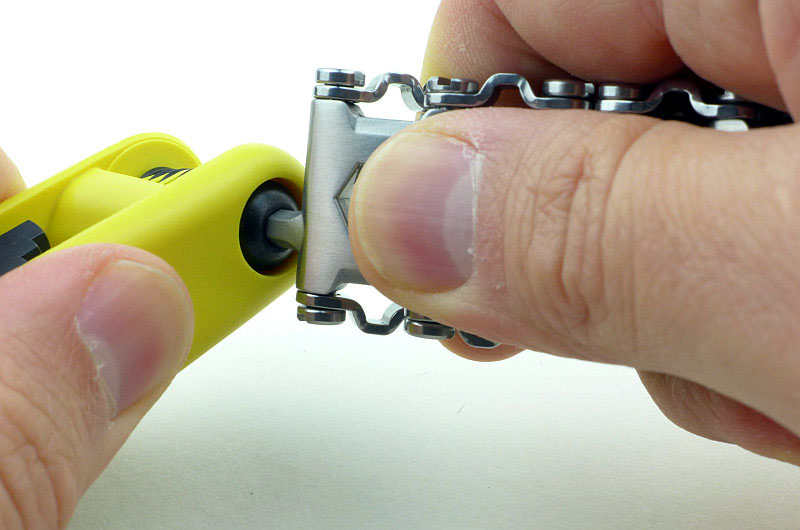
Looking at the TREAD, adjusting it might seem slightly ironic as you need a screwdriver to undo the link screws. However, cunningly, Leatherman have made the slot in the screw the right size for a small coin such as a 1 cent coin. This has the added advantage of using a copper screwdriver so making it impossible to mar the screw head.

Let’s run through the adjustment process…

To start with take out two screws to open up the bracelet. Then start to remove the screws for the link you are removing.

What you need to do when resizing is to pick the link you are going to do without. For me I started with the largest flat screwdrivers, which is why I opened up the bracelet at this point.

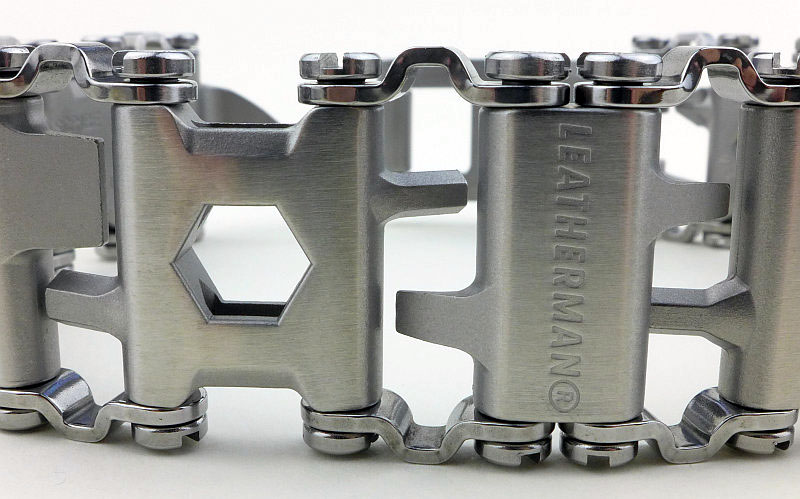
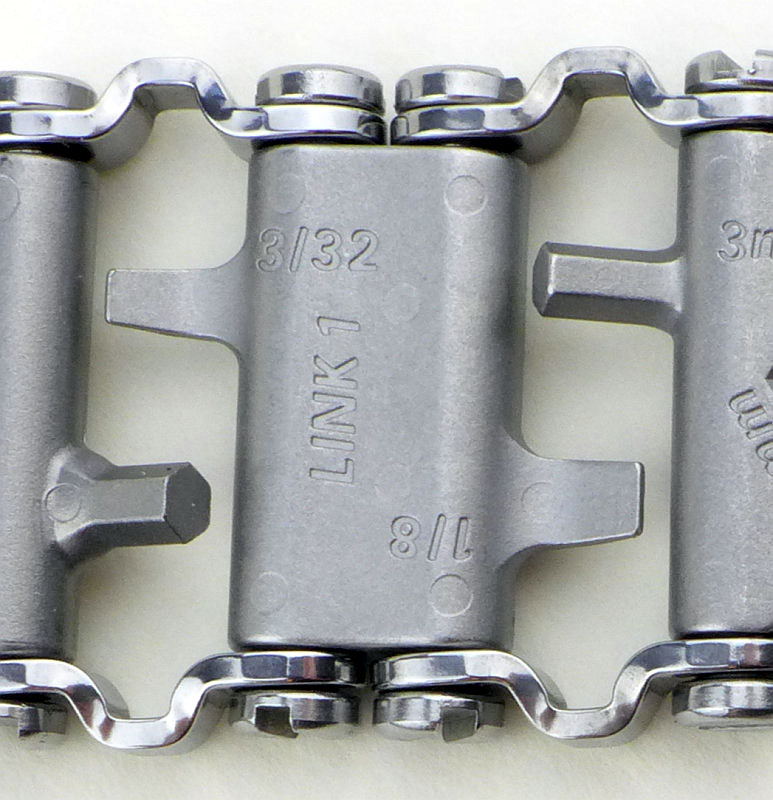
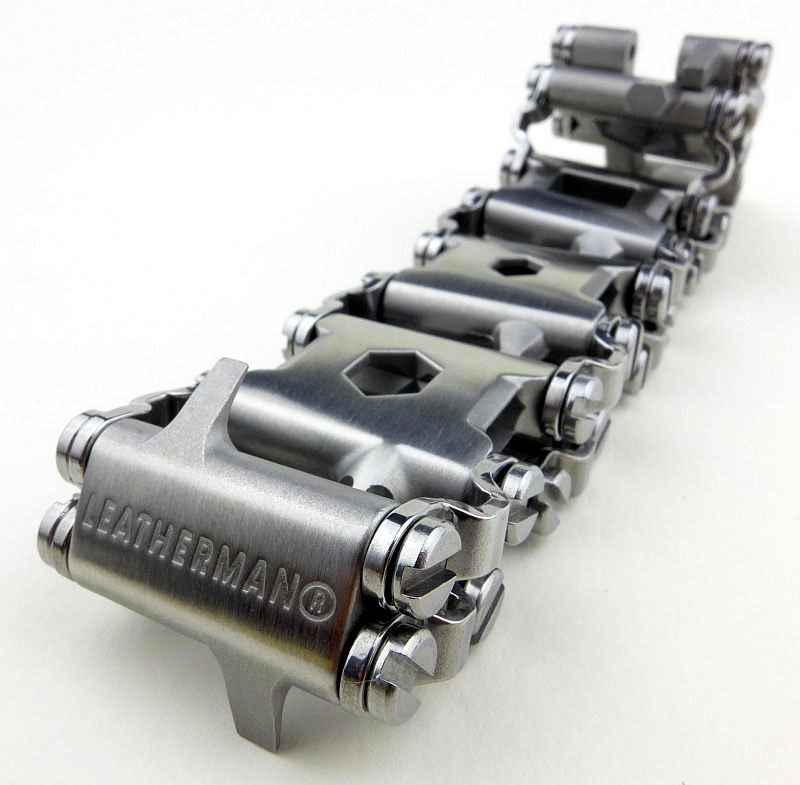
While we are on this subject, we had better have a look at the links. Link #1 is the small sized link and has the two small slot screwdrivers and has ‘Leatherman’ on the outside.

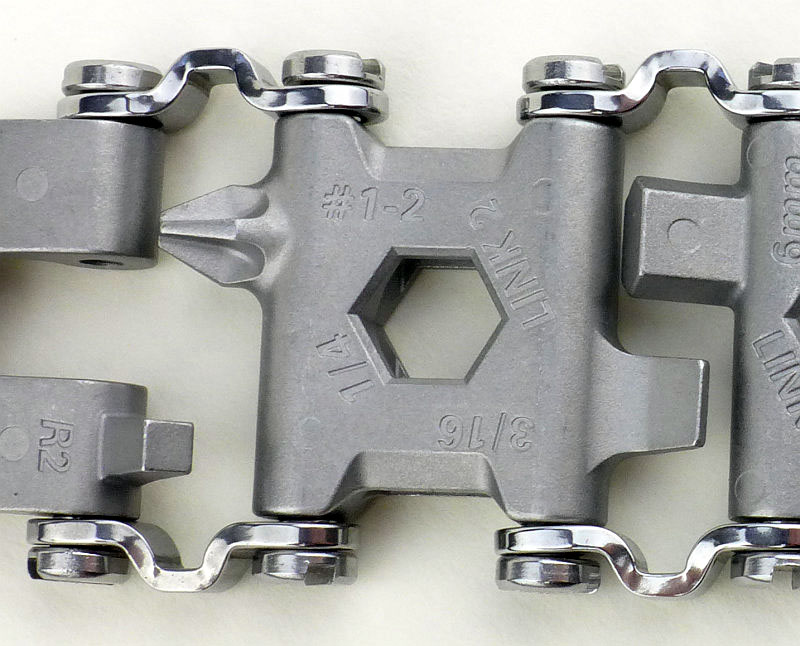
Link #2 has a 3/16 slot screwdriver, Philips PH1-2 and 1/4 box wrench. Also note the clasp’s square driver bit (R2) bottom left in the photo.

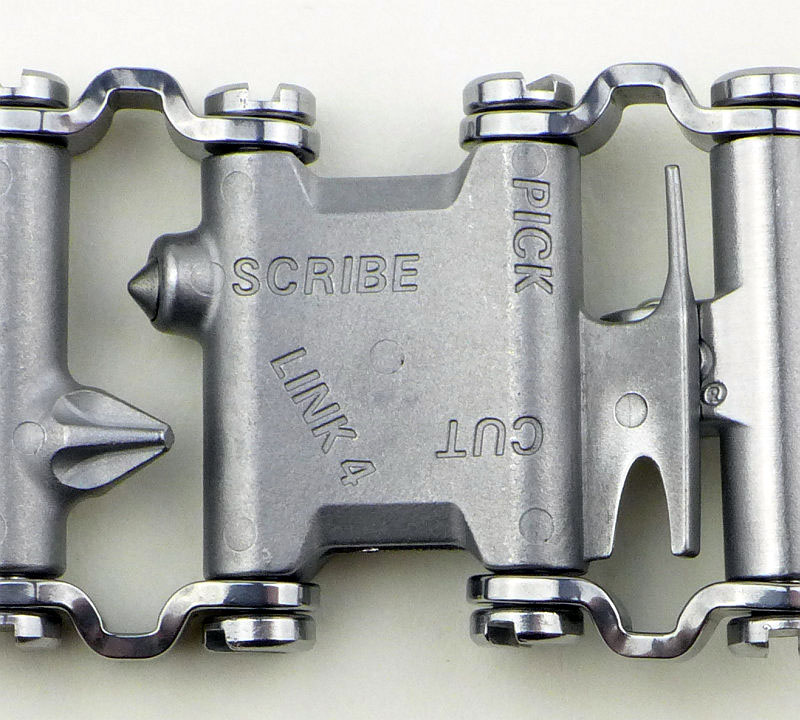
There is no Link #3 in this sample instead we skip to Link #4. This has a small cutter, pick for mobile phone SIMs and a scribe. Underneath the pick and cutter is the clasp’s 1/4″ square drive for small sockets.

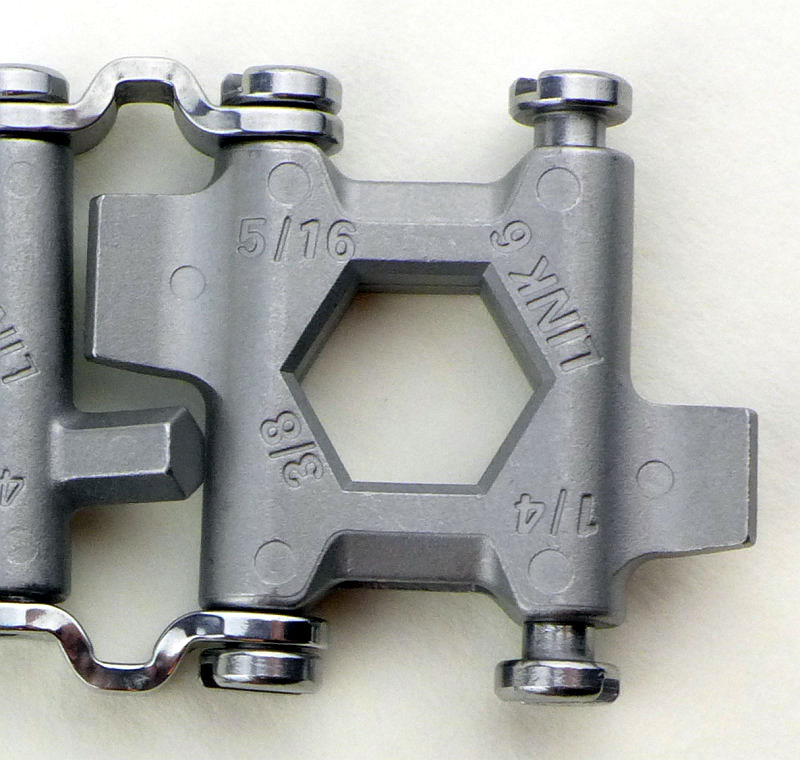
With no Link #5 we move onto #6 which has a 1/4 and 5/16 slot screwdrivers and a 3/8 box wrench.

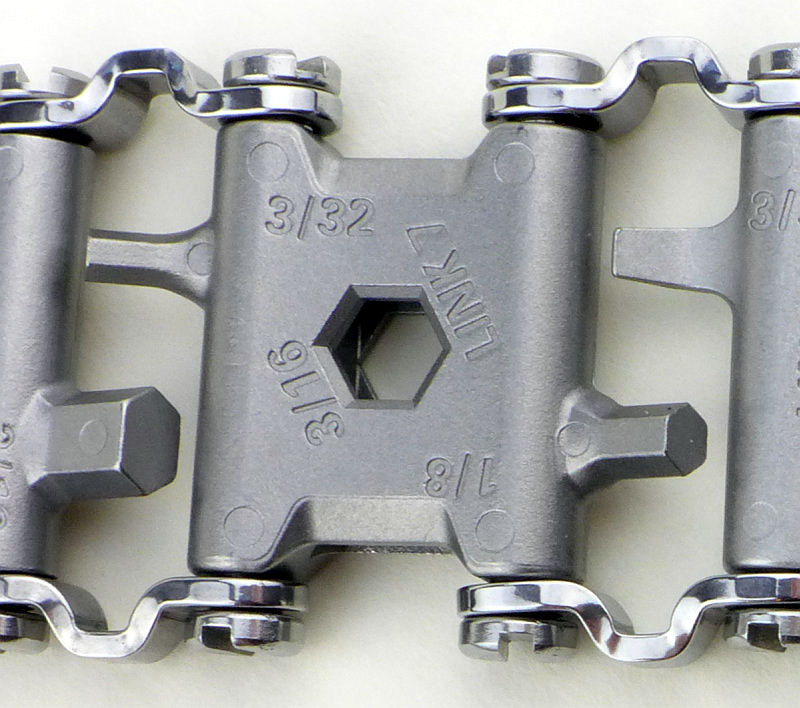
Link #7 has 1/8 and 3/32 Allen keys plus a 3/16 box wrench.

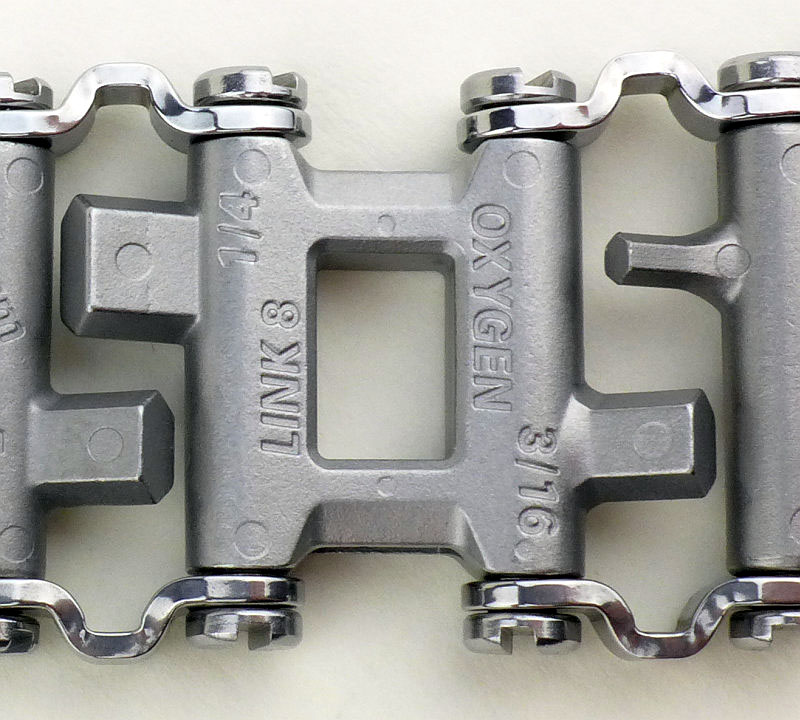
Link #8 has 3/16 and 1/4 Allen keys (which are taking on a ‘flat’ appearance) plus an Oxygen wrench.

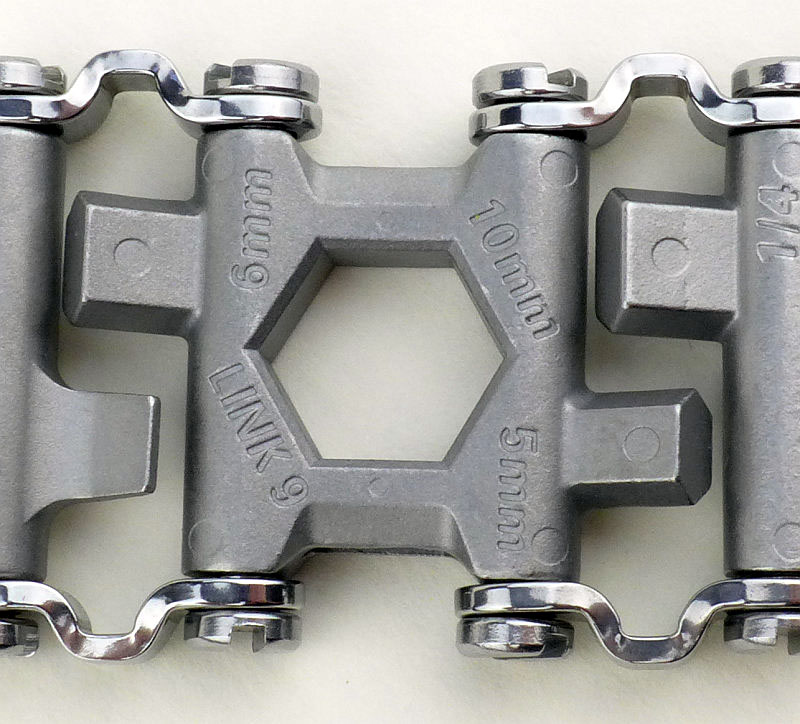
Link #9 goes metric with 5mm and 6mm Allen keys and a 10mm box wrench.

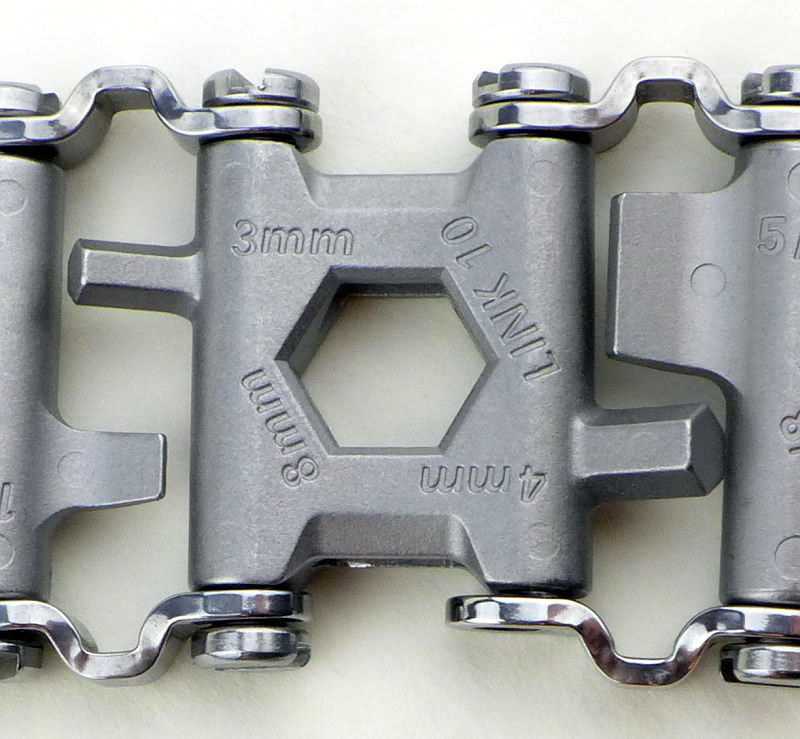
Link #10 stays metric with 3mm and 4mm Allen keys and an 8mm box wrench.

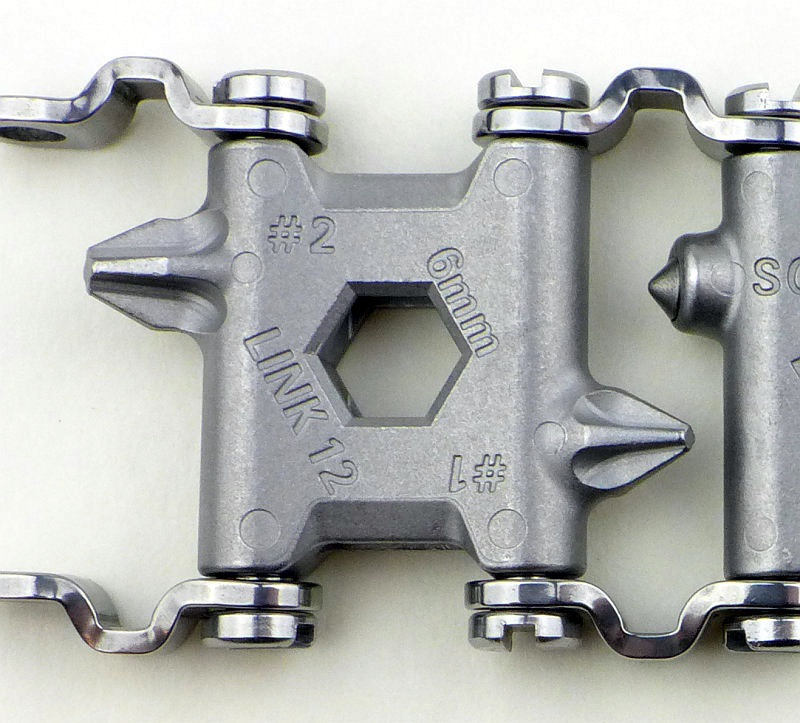
No link #11, so we skip to #12 which has PH1 and PH2 Philips screwdrivers and a 6mm box wrench.

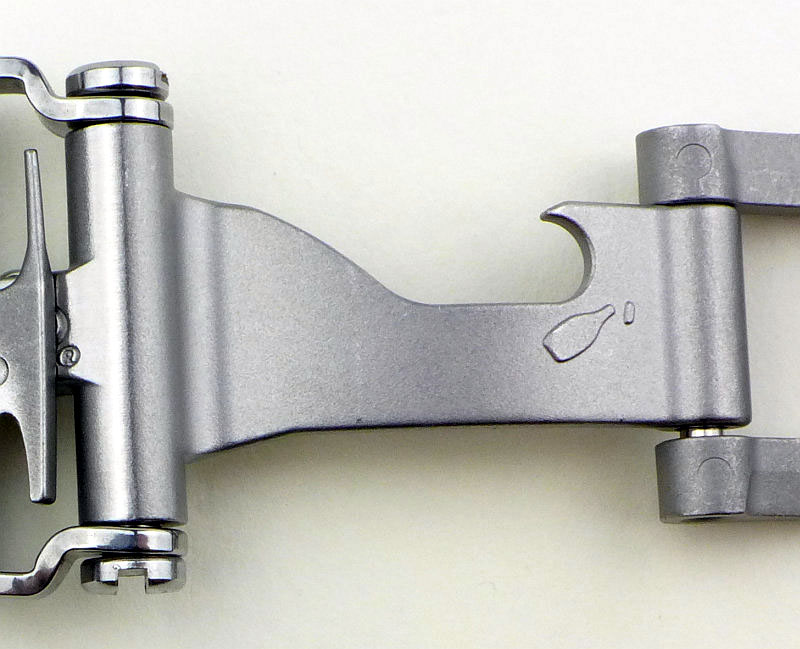
Then we have the clasp. In the middle is a bottle opener.

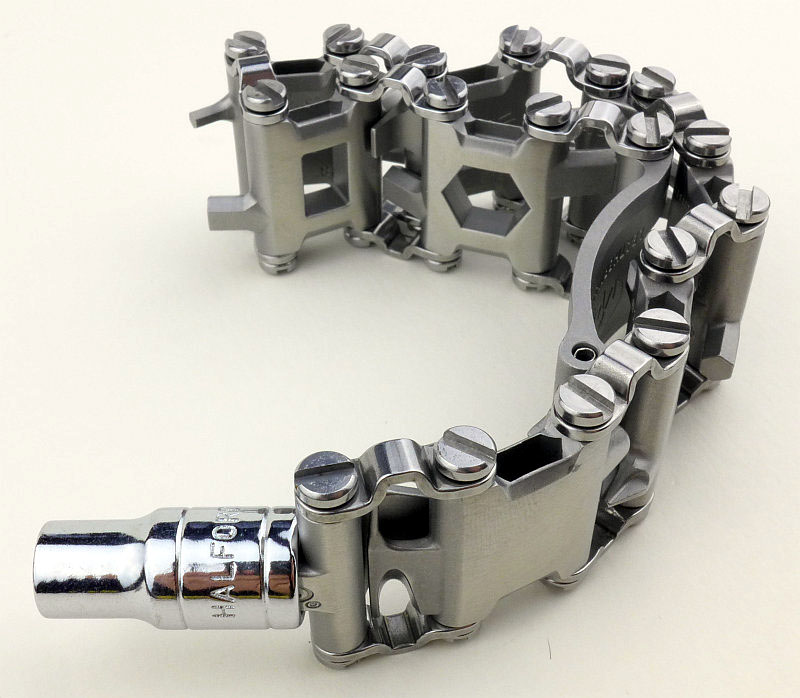
The clasp also has the previously mentioned 1/4″ socket driver and R2 square driver.

Just showing the 1/4″ socket driver with a socket fitted.

Pause for breath….

OK and back to the resizing. This is the final configuration I had to go with; going to the next smaller size involved removing the small link, at which point the TREAD was overly snug and got much too tight when I got hot.

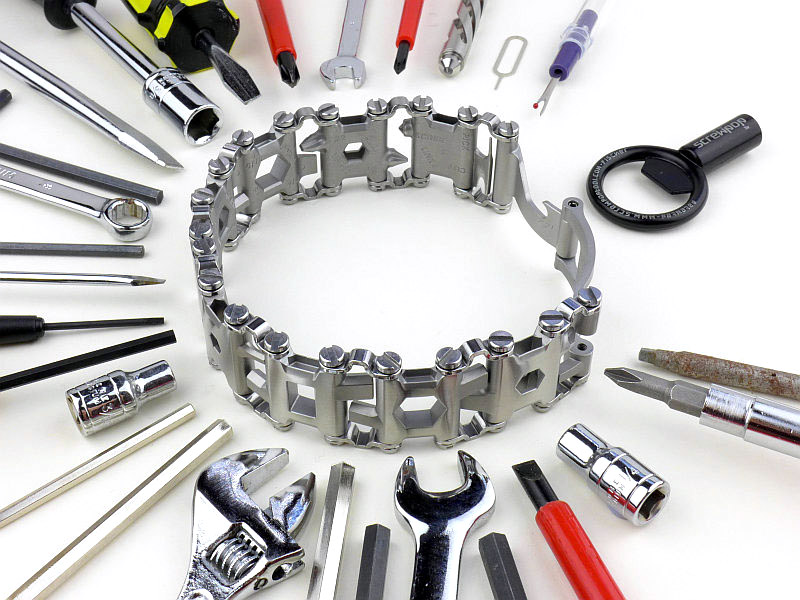
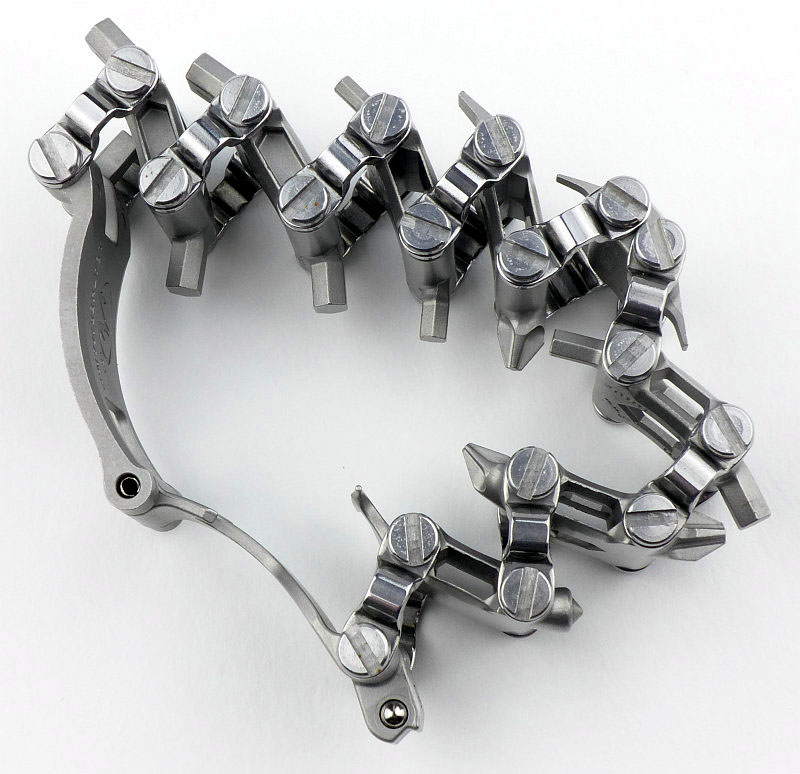
Though it doesn’t show the tool in the centre of each link, here is a quick overview of all the bits.

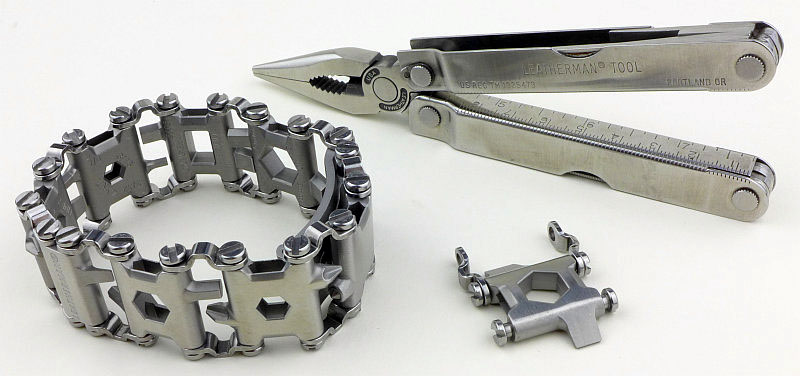
Multi-tools have come a long way thanks to Leatherman, here we have old and new multi-tools with 25 years between them.

Troubleshooting

This is a new section I am adding to mention any minor niggles I came across during testing, in case the information helps anyone else.

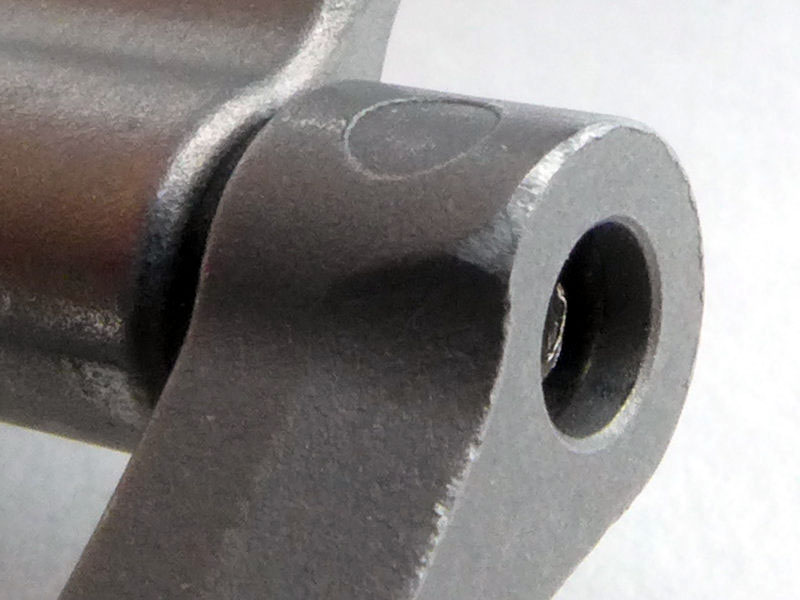
Though technically no issues were encountered during testing, I did find it necessary to take off a few sharp corners (more on why in the ‘in use’ section).

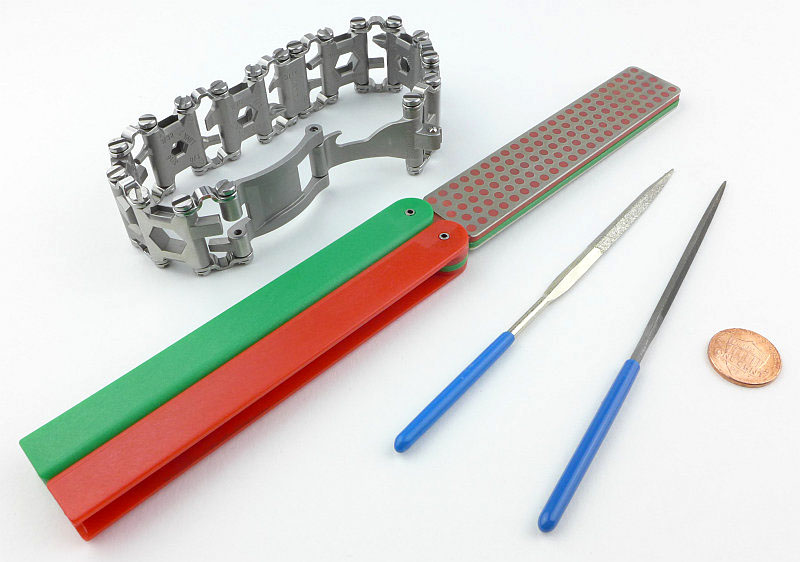
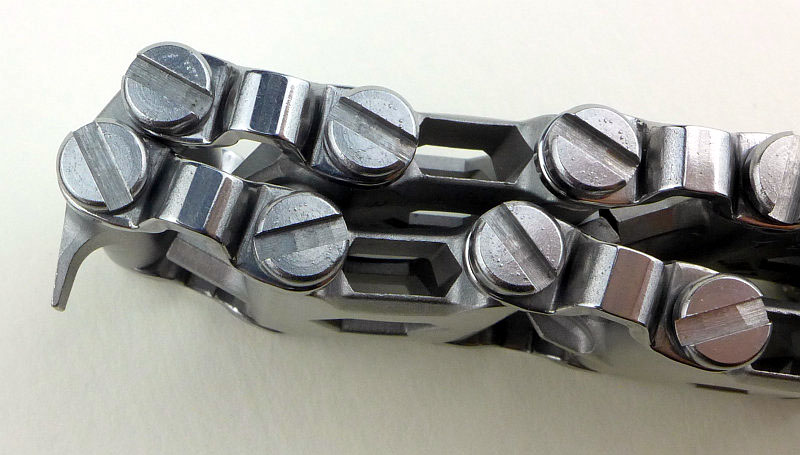
I had to break out a selection of files from a standard needle file, diamond needle files and a DMT Diafold sharpener to work on pretty much every single screw. The slot cut into the screw head has sharp edges and corners which I needed to ease.

The edges of the clasp also had a bit of a tidy up.

None of this was absolutely necessary but for me improved comfort and usability significantly.

As per the description of this section, this information is provided in case anyone else finds a similar ‘issue’ that might be fixed in the same way.

The TREAD in use

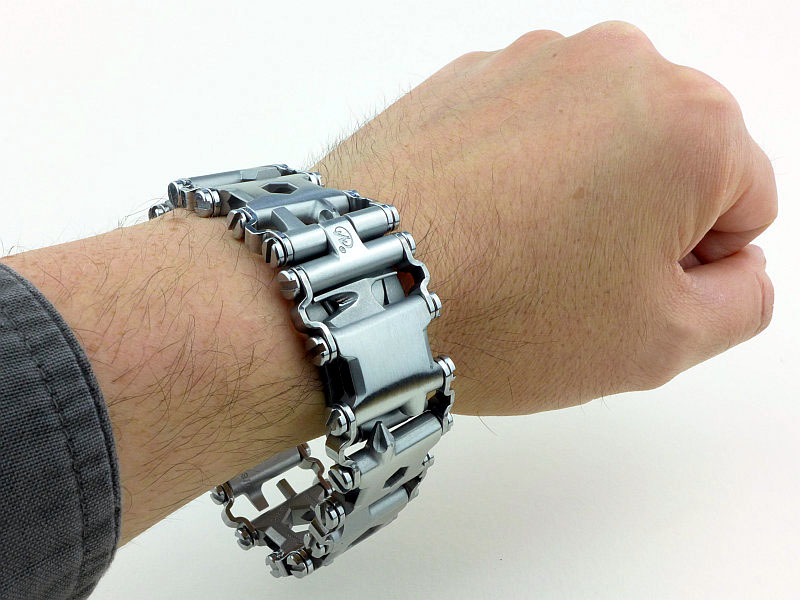
You can view the TREAD in different ways. It might simply be ‘Man Jewellery’ or genuinely an Every Day Tool. How well you get on with it will also depend on several factors, from the actual size of your wrist, to if you are happy wearing something reasonably heavy on your wrist (like a big diver’s watch).

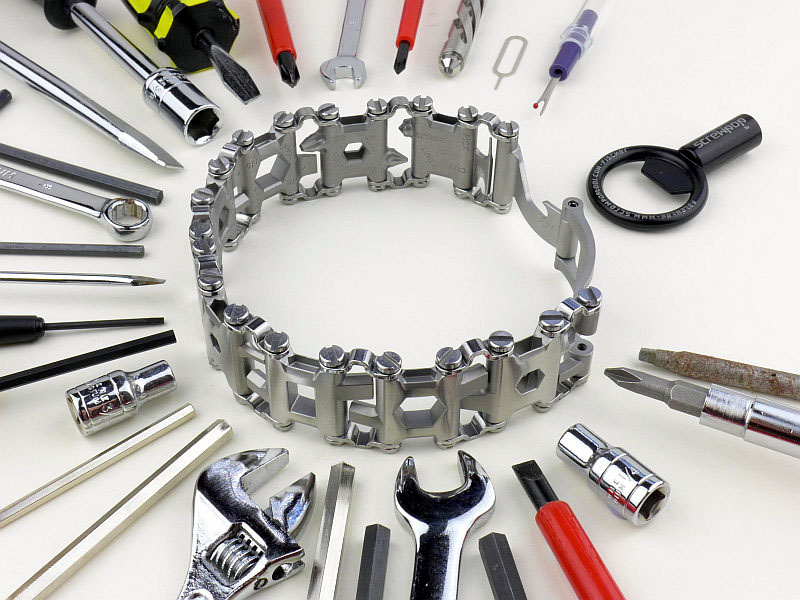
First of all though, just look at what you are carrying on your wrist with the TREAD (the adjustable wrench represents an Oxygen wrench), so the burden, if it is a burden, may just be worth it.

Leatherman are working on a watch for the TREAD to be a strap for. This has always seemed the most logical approach to me as a watch wearer, as with no additional burden my watch strap suddenly becomes useful.

In the meantime though we have the TREAD as shown here, and for me the main issue has been of fit. Leatherman state it can be adjusted to 1/4″ increments, but this is not true. There are two link sizes, 1” and 3/4″ which are indeed 1/4″ different. So if you substitute one of these links for the other it will be a change of 1/4″. However this relies on those two links being available , which they are not always going to be. Take the example, that for me to wear the TREAD I consider the two small screwdrivers as essential. This means I have to keep the 3/4″ link in place so can now only adjust the size in 1” increments. This is a very coarse adjustment.

Unfortunately this coarse fit adjustment has led to several issues. Firstly the tread now sits onto my hand when my arm is down, and secondly, but more importantly it now clashes with all long sleeved tops and jackets.

In the previous section I showed the filing I did. The reason for this was that the TREAD’s sharp corners were not out of the way near my wrist, but instead rubbing on any long sleeve I wore. I was not prepared to shred my sleeves, so had to take action with the files. If the fit had been closer to my wrist, I don’t think this would have been a problem at all.

So moving beyond this, when the weather was warm enough not to wear long sleeves, the TREAD was much easier to live with and I was able to make it part of my EDC.

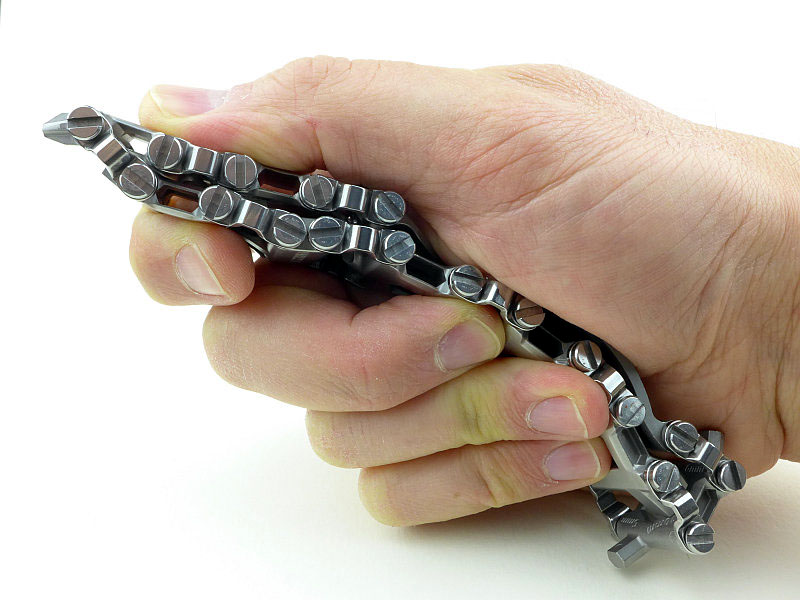
At first it might seem awkward and odd to have a flexible screwdriver handle, but the Tread works surprisingly well in the hand allowing you a firm grip.

I might be wrong, but I feel the TREAD is really only for light duty jobs, and if winding up the force you need to be careful not to over stress the links and bend the jumper bars.

The two smallest screwdrivers are my most used part of the TREAD. But being on the only small link has two consequences. First is the limited size adjustment by having to keep this one link.

The second is that the blade can only be moved out to the side and not as much as the other screwdriver bits, limiting access.
Access is another consideration. If the screw head is recessed at all, the bits on the TREAD will not reach it, so the TREAD is only suitable for surface mounted screw heads.

With all of that said, the TREAD is oddly alluring and both demands to be worn and to be toyed with like an ‘executive toy’. Its true usefulness will be entirely dependent on how often you need access to any of the tools on the TREAD. I can personally go days or weeks without needing any of these, but then go days in a row constantly needing various tools (however I did find the small cutter incredibly useful even when I didn’t need any of the other tools). If you use any of these tools daily, I’d say the TREAD is an absolute winner in terms of convenience. It also has a seriously manly bling factor and has people doing double takes as they realise it really is a working tool.

Leatherman has said it is working on improving the fit and on a watch face to go with the TREAD. These additions/improvements will take the TREAD to a new level of integration and usefulness.
Review Summary

_______________________________________________ _______________________________________________
Things I like What doesn’t work so well for me
_______________________________________________ _______________________________________________
Always on you tools Size adjustment is too coarse to get a good fit
User can choose which tools to keep Screw heads and clasp have some sharp edges
Doubles as ‘Man Jewellery’ Possibility of overloading with the larger tools
Airport security safe (so far)
Replaces up to 29 tools (depending on wrist size)