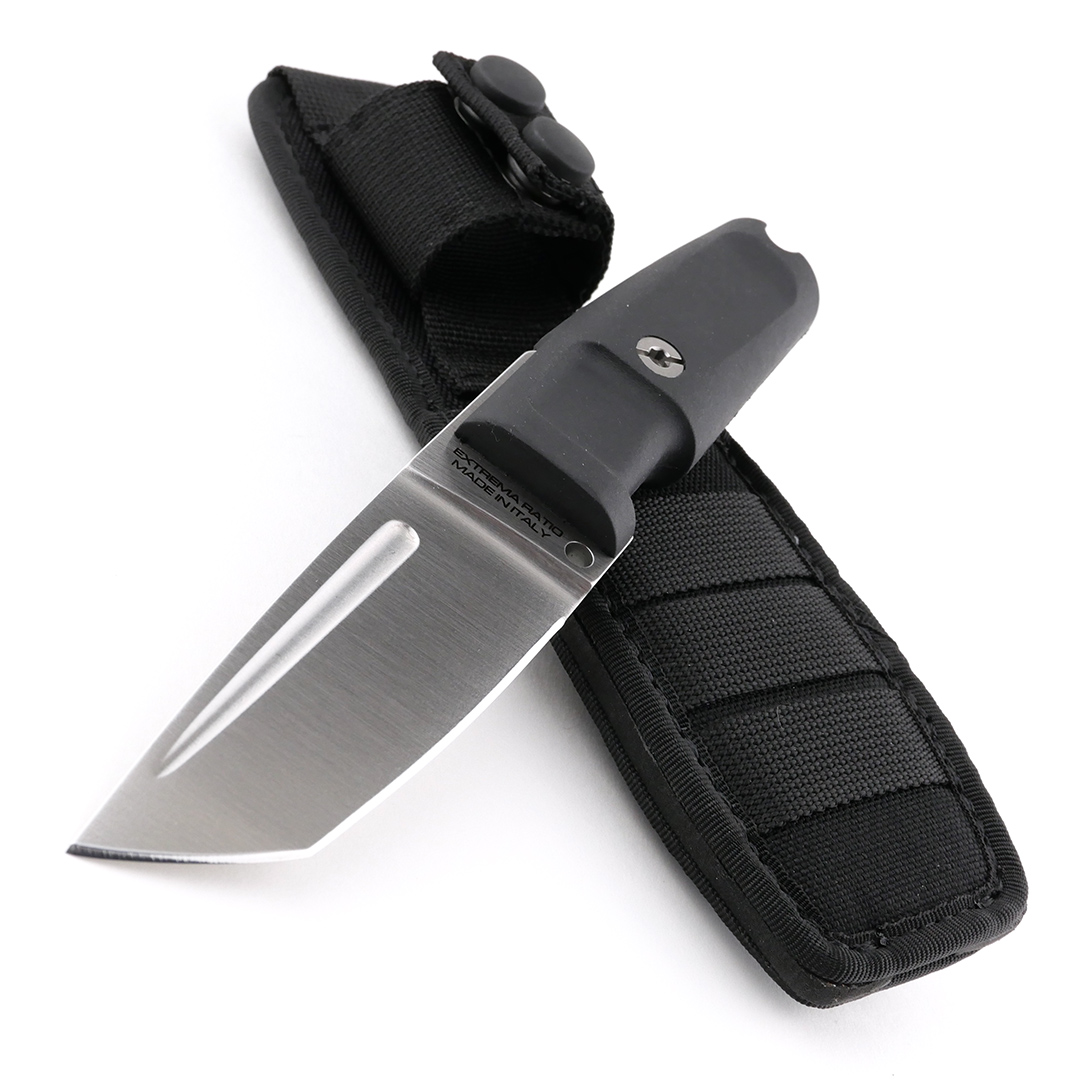
In this detailed review of the Spartan Blades Soter find out why this knife might just be your EDC saviour and favourite daily companion. Join me in this Spartan Blades Soter Review for all the details.
Named after Soter, the Greek “protector” and provider of salvation, the Spartan Blades Soter Folding Knife, designed by Curtis Iovito, uses Spartan Blades exclusive RaceLock. The RaceLock is a spine-mounted locking mechanism engineered for fast, smooth, one-handed deployment and a rock-solid lockup, providing safety and reliability when you need it most.
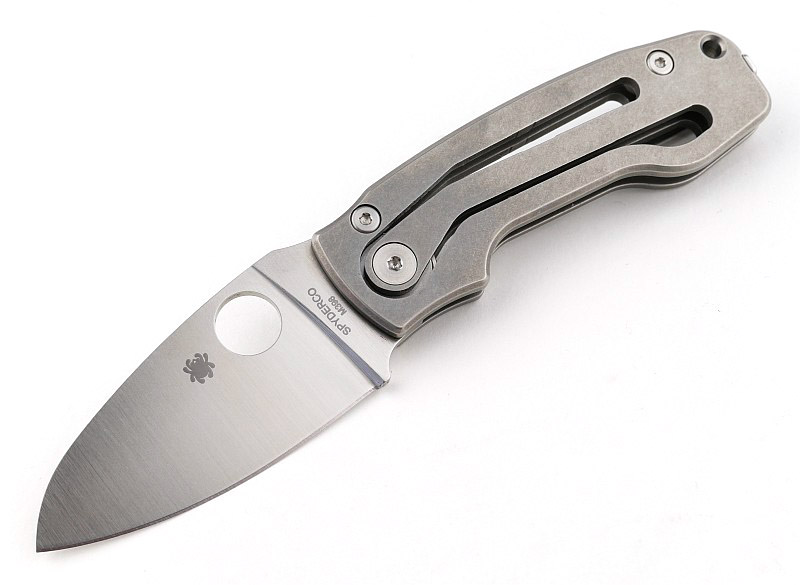
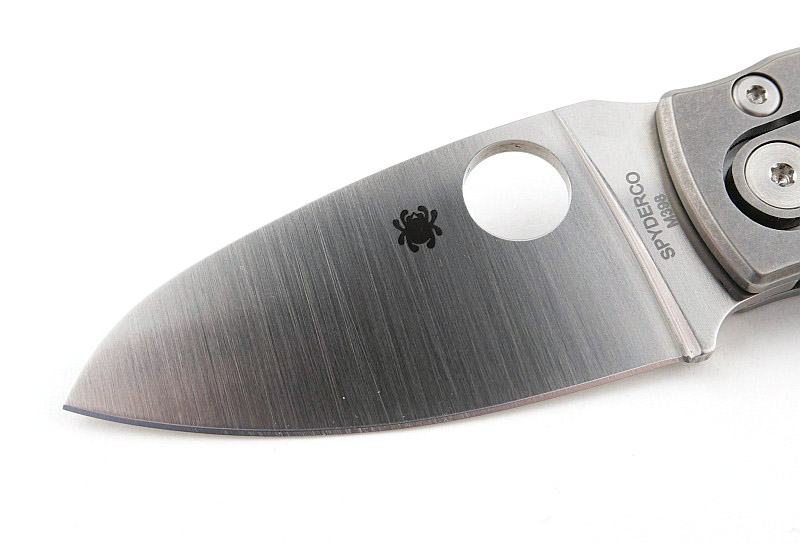
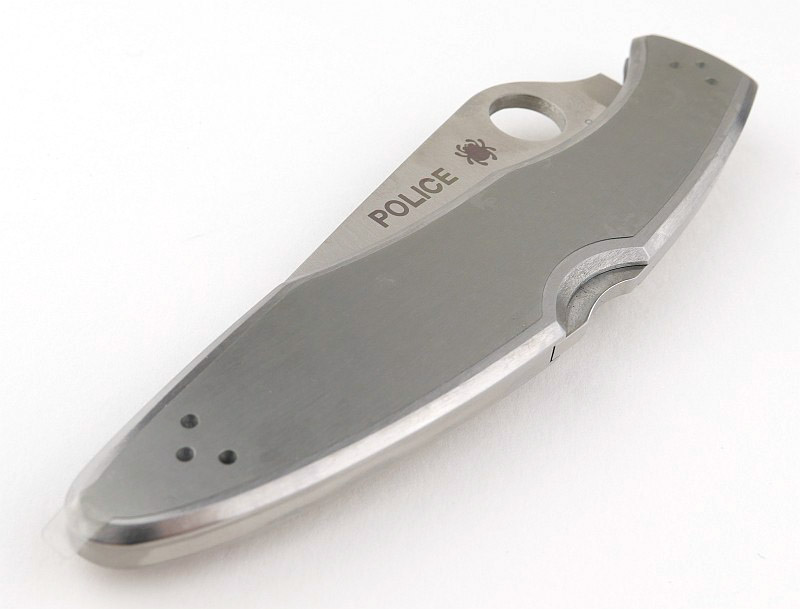
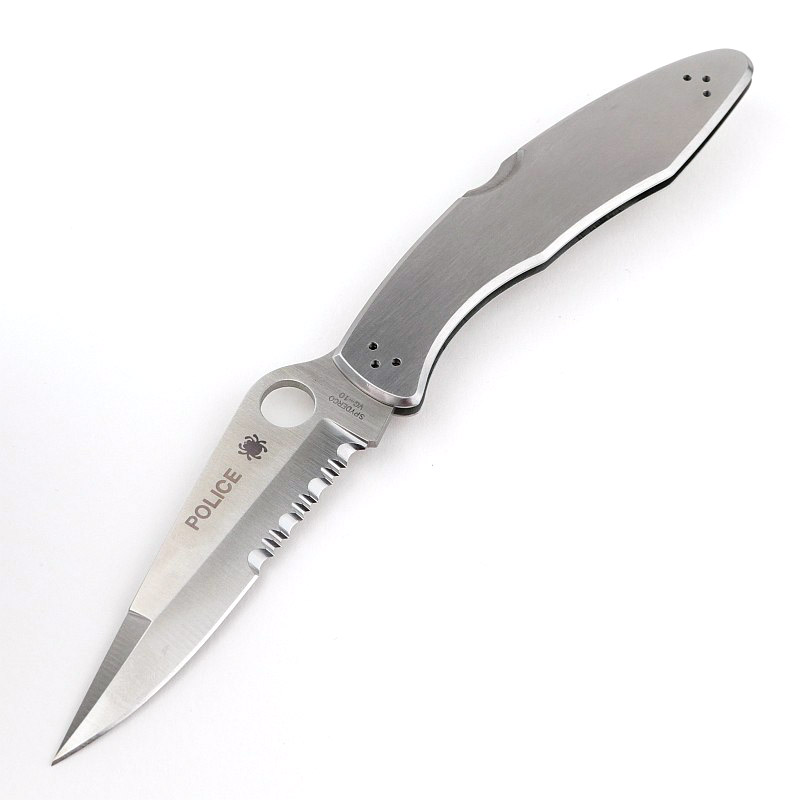
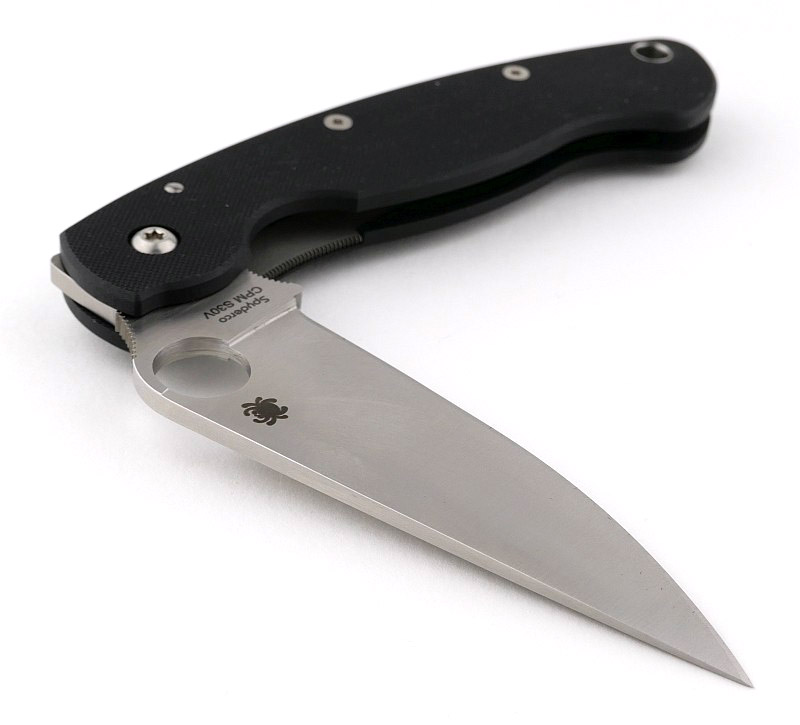
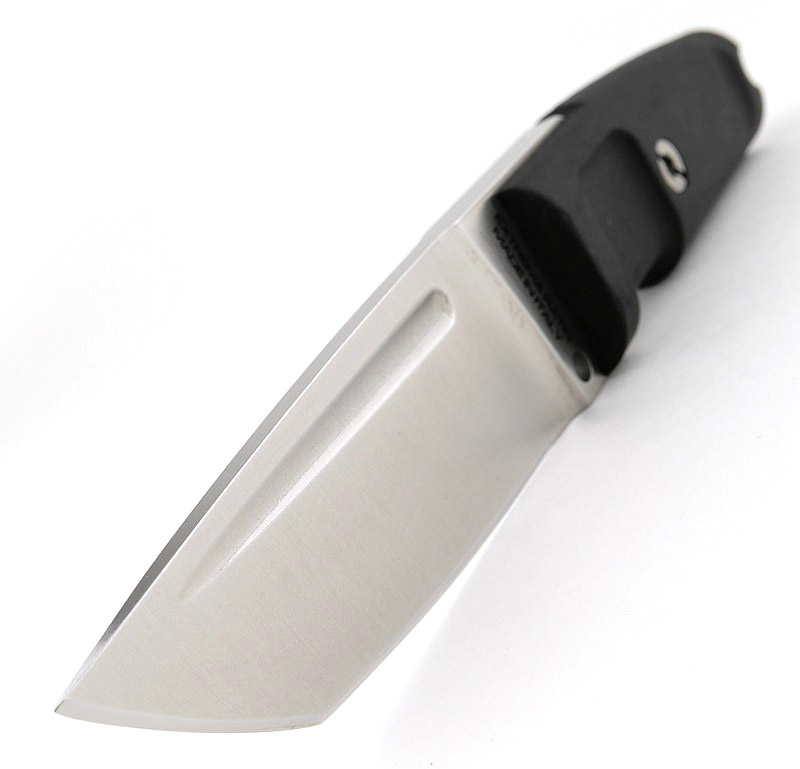
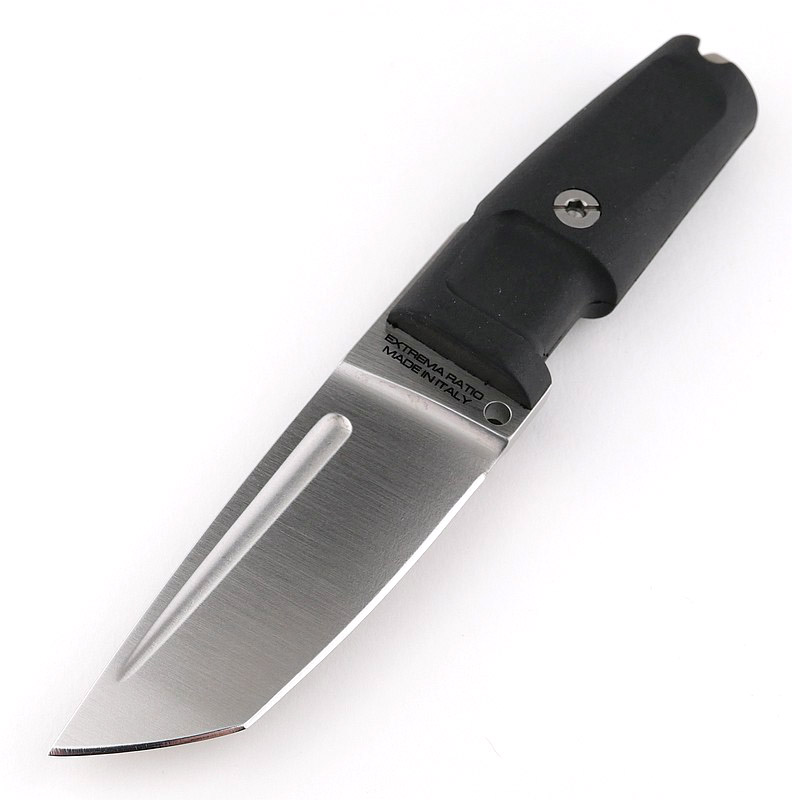
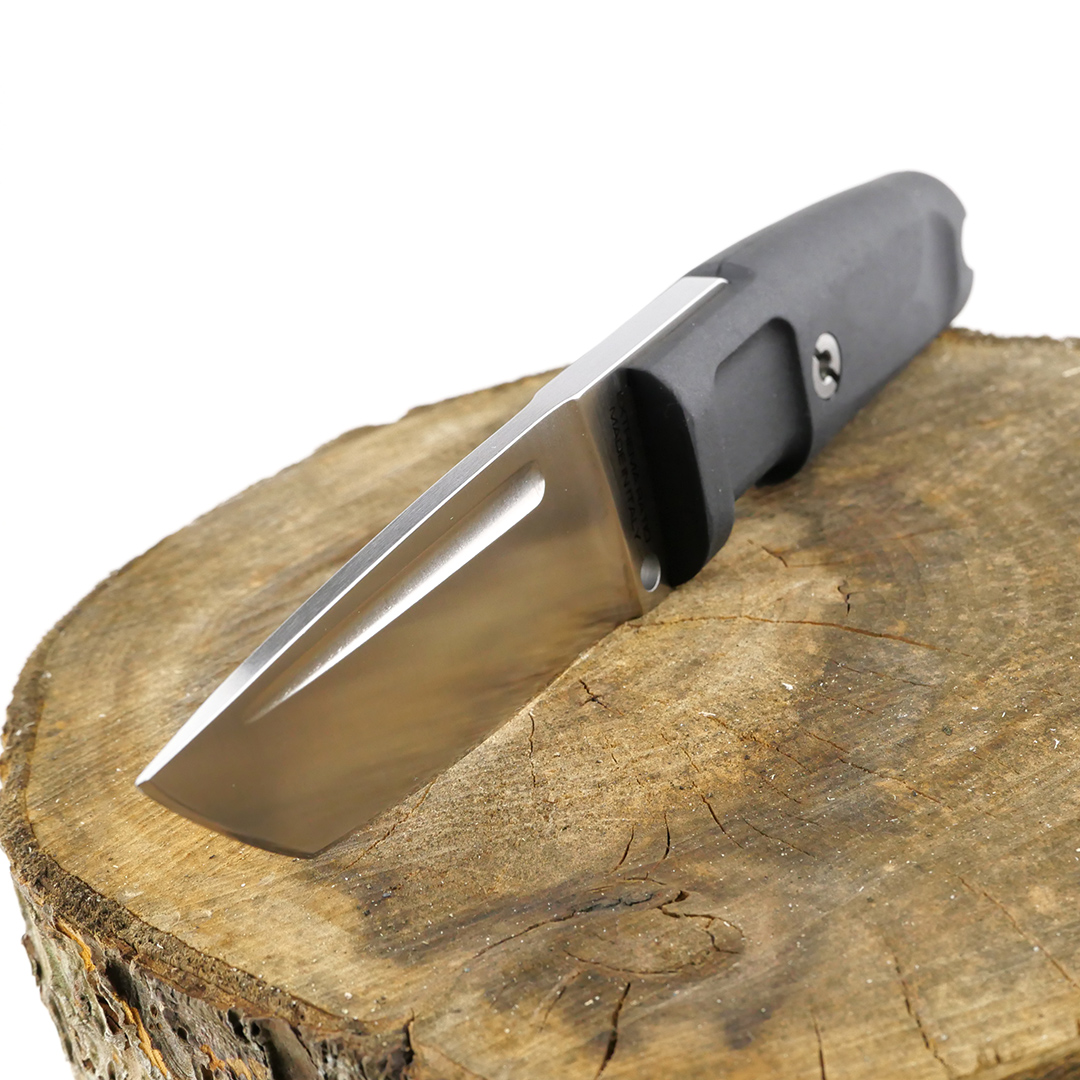
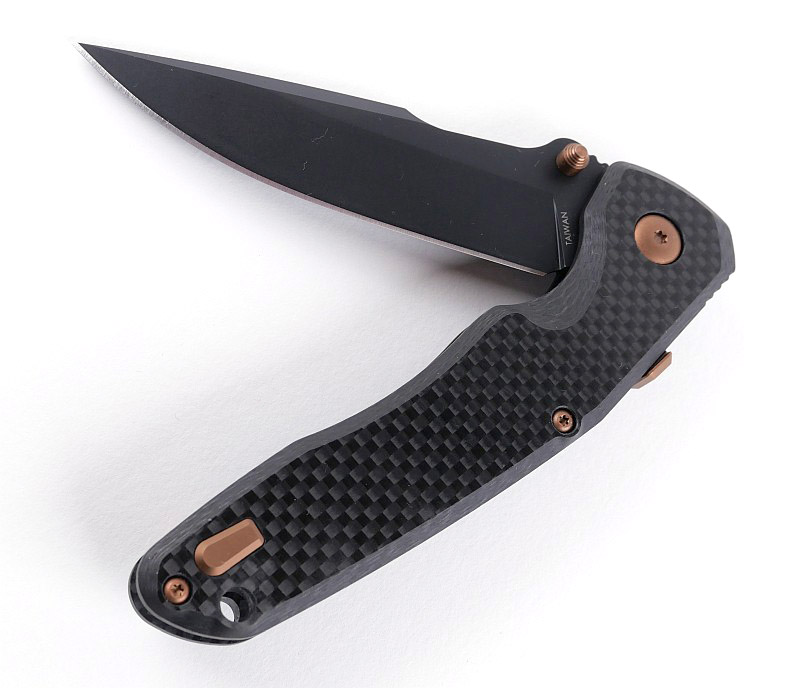
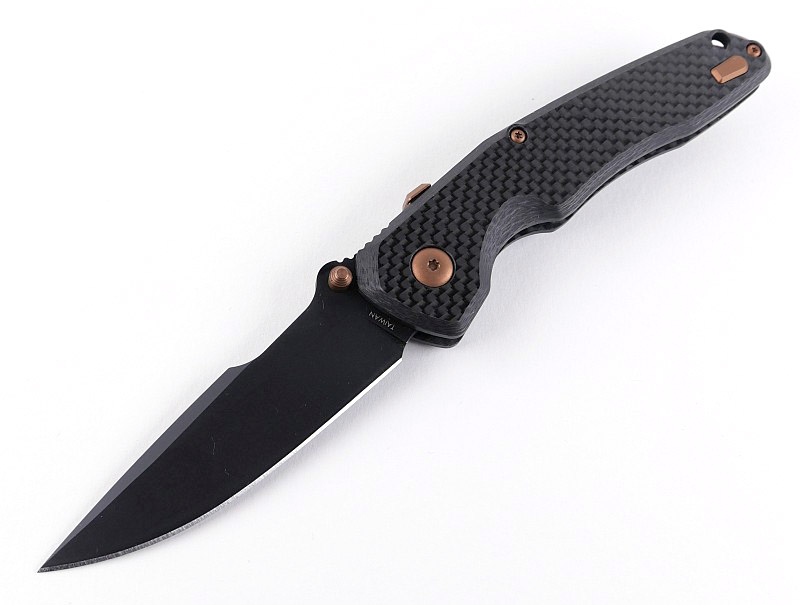
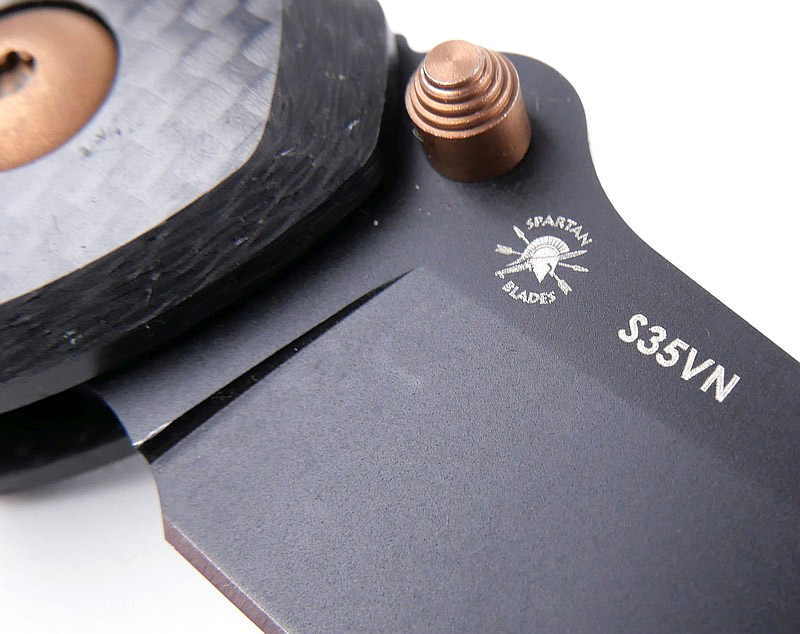
Soter is designed for everyday carry, readiness, and utility, the Soter features a 3.25-inch CPM S35VN steel harpoon point blade, delivering the reliability and performance you expect from Spartan Blades.

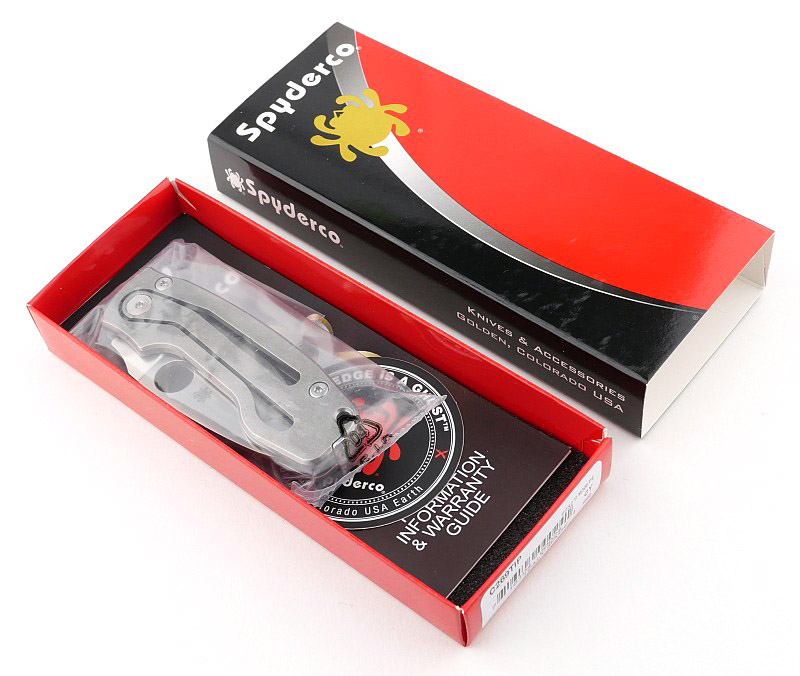
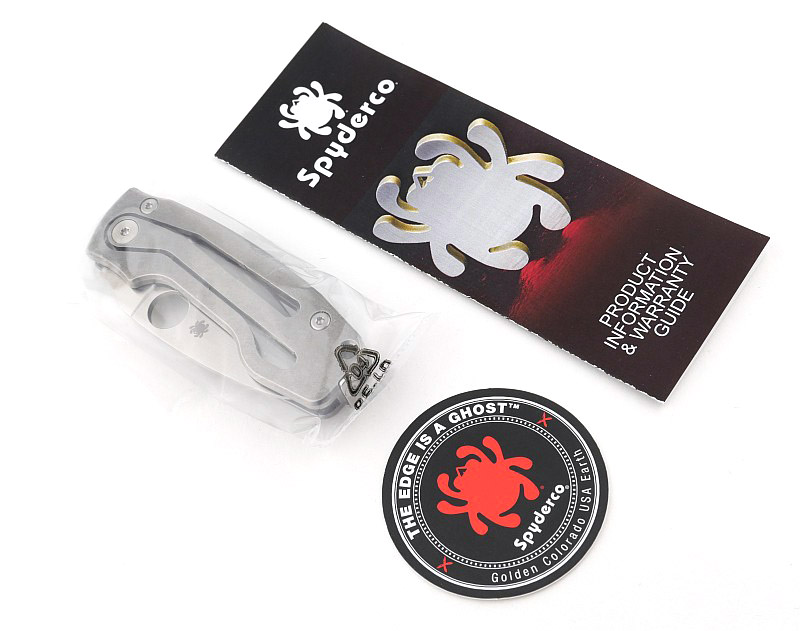
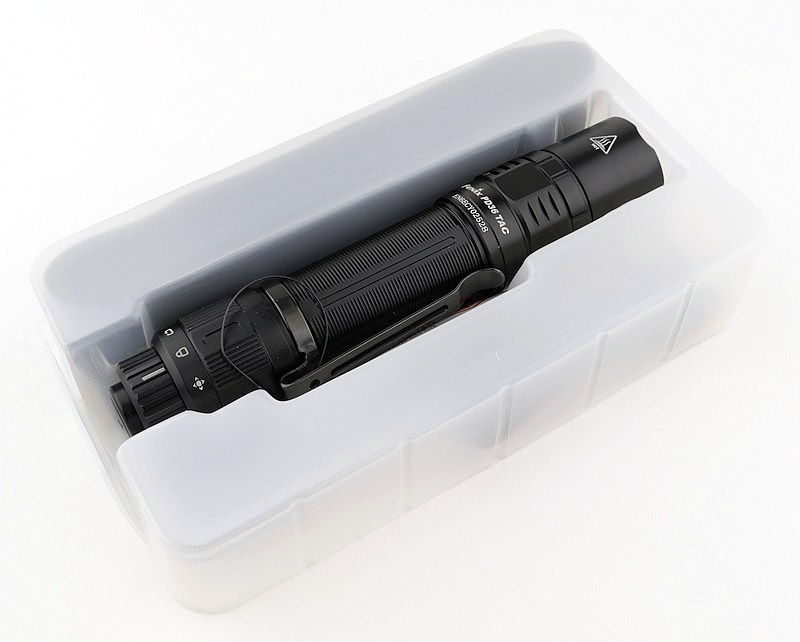
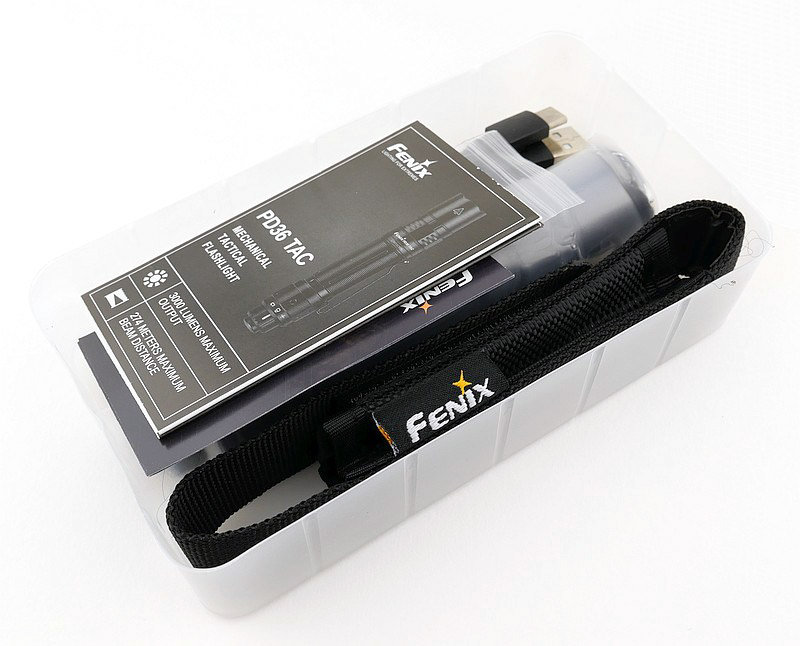
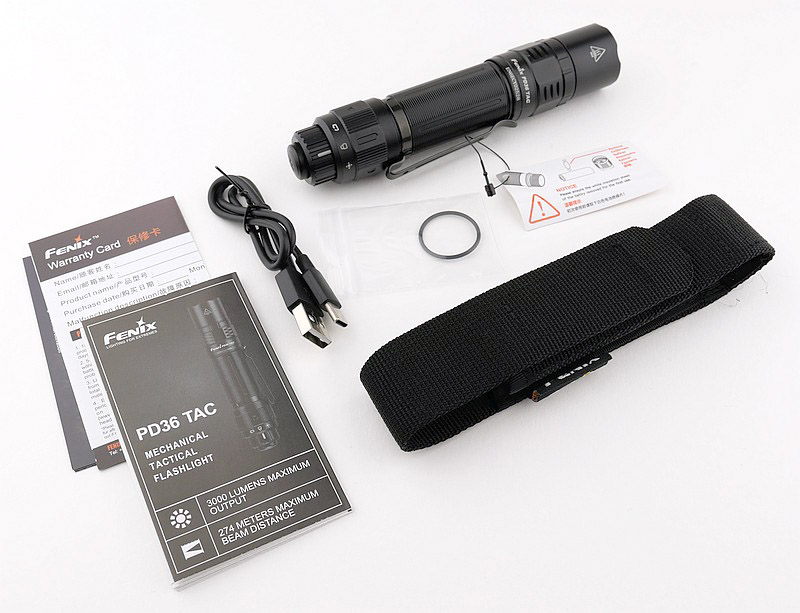
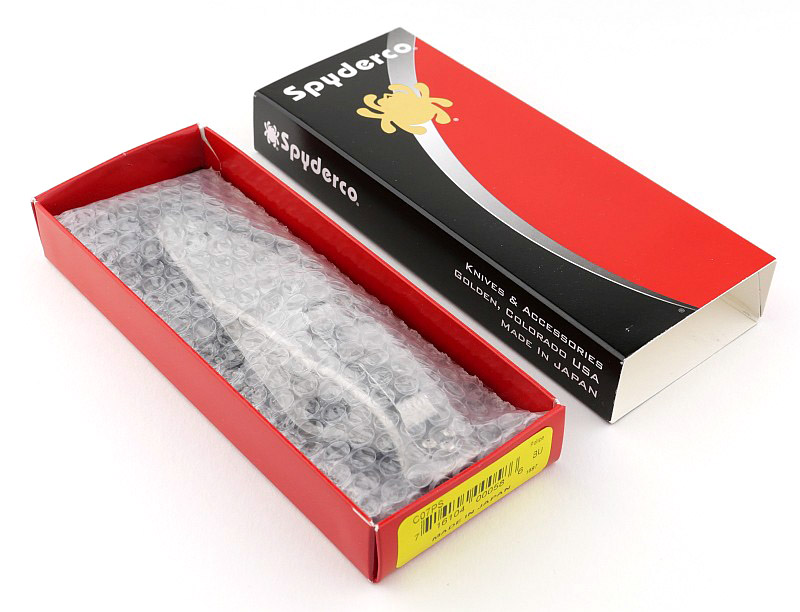
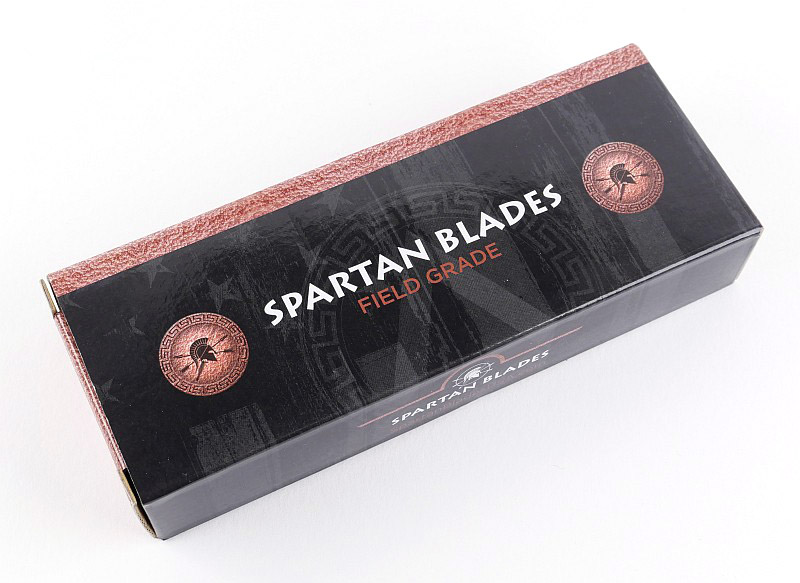
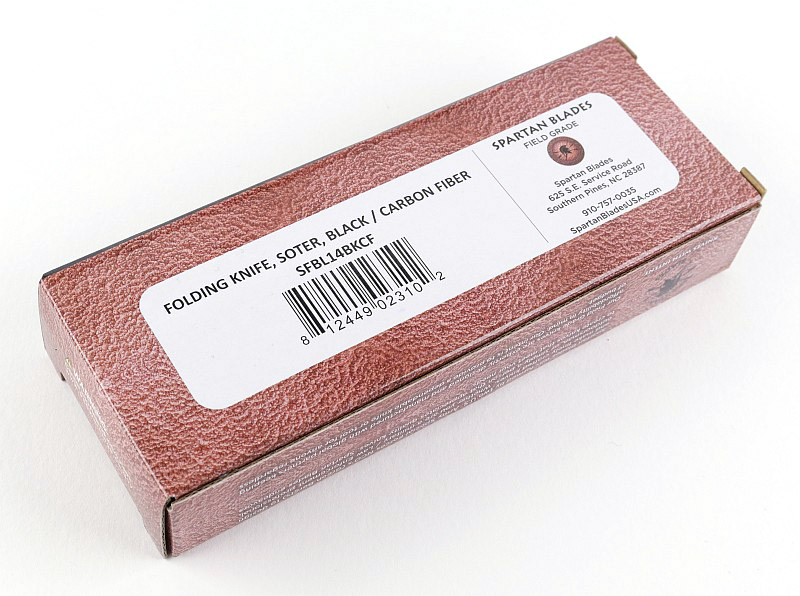
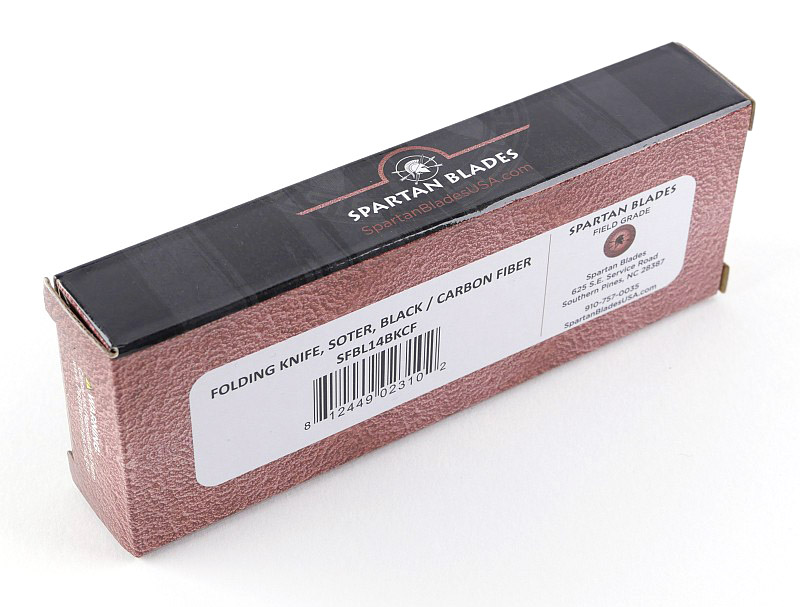
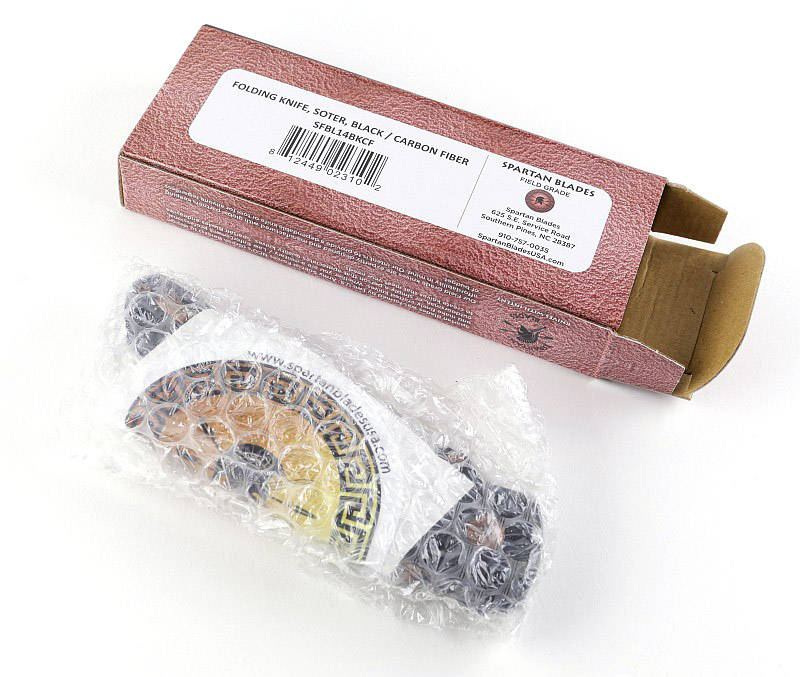
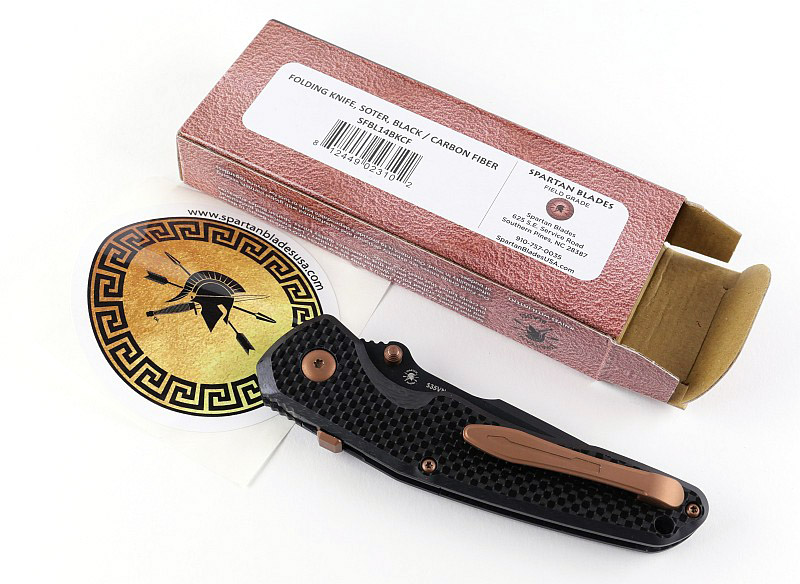
What’s in the box?:
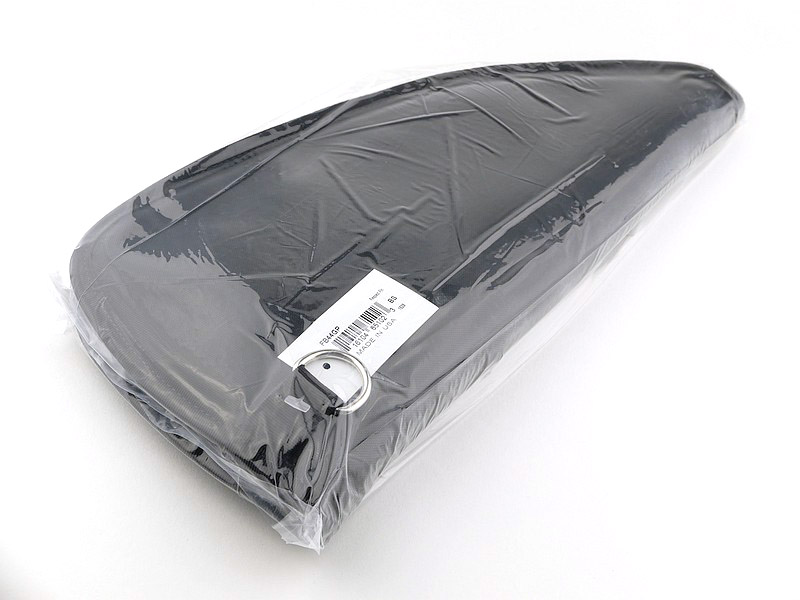
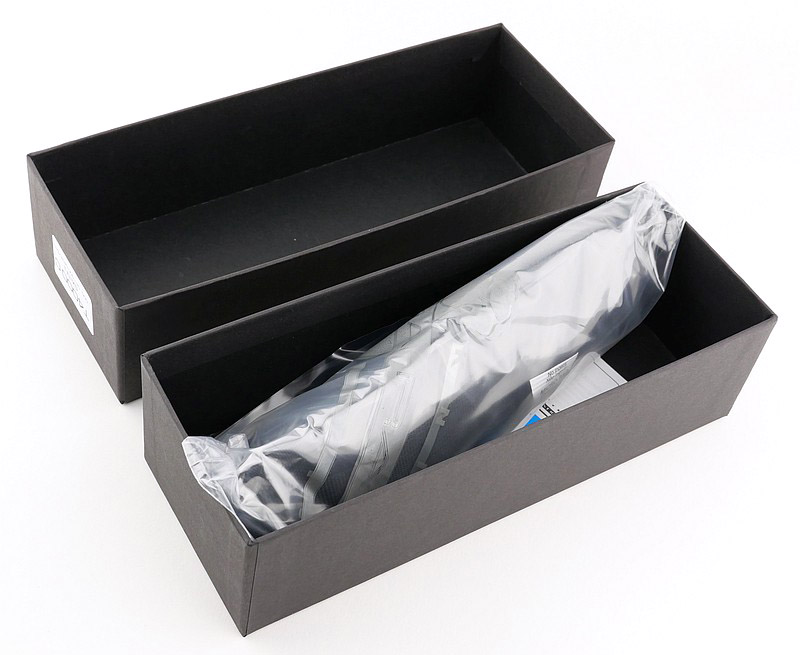
A simple presentation with a cardboard box, and inside, the knife with a sticker in a bubble wrap bag.
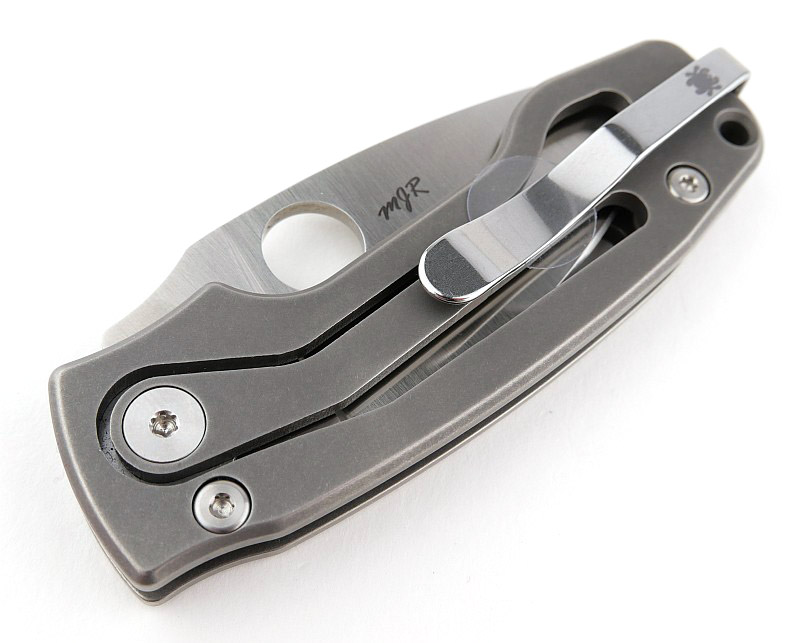
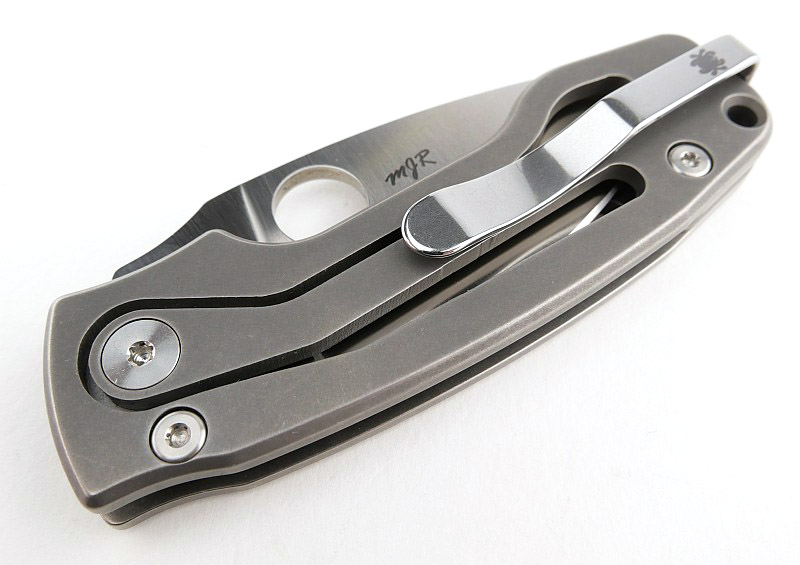
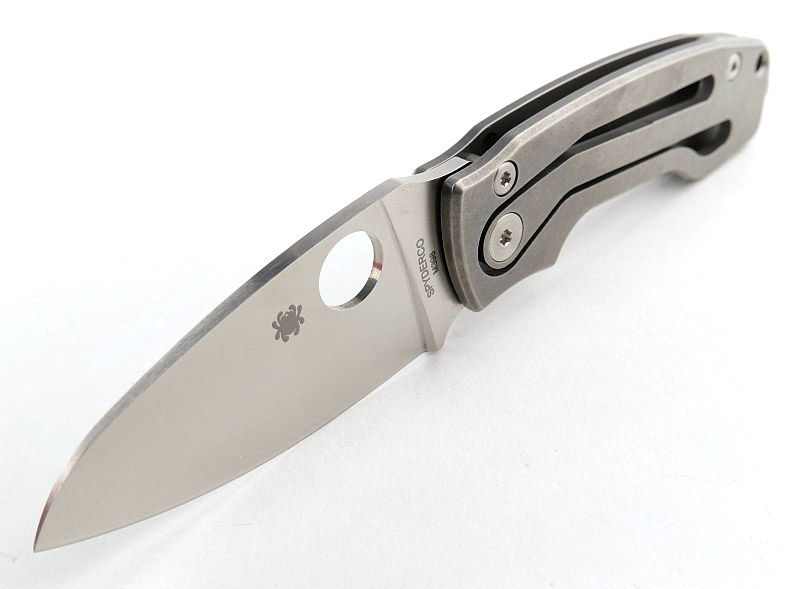
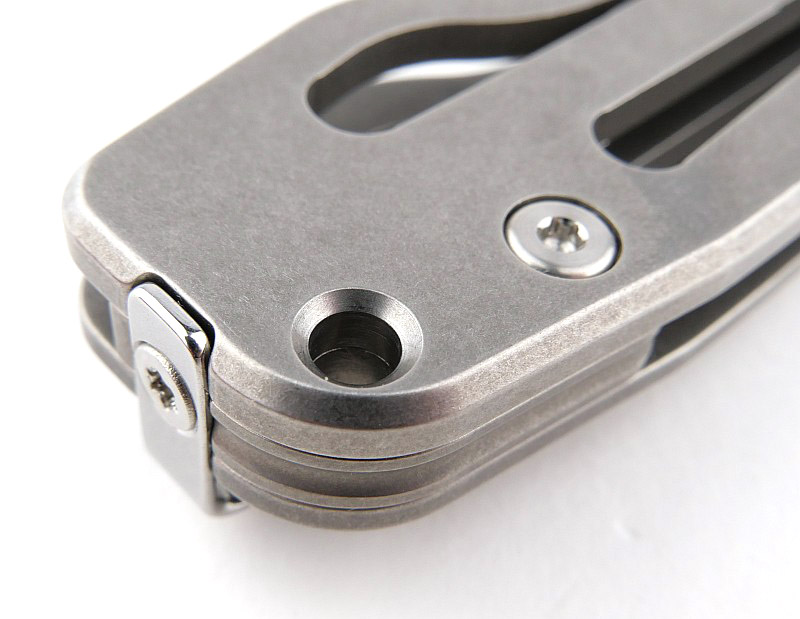
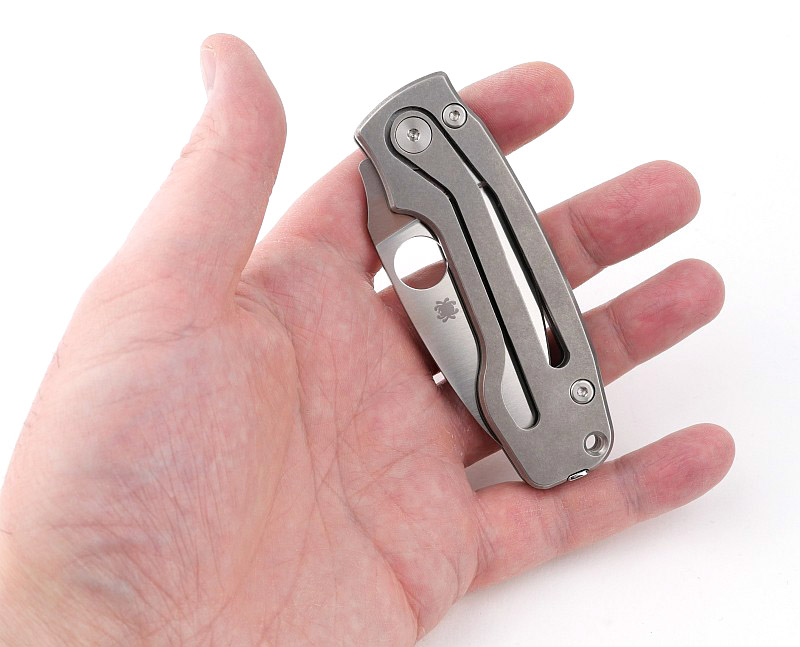
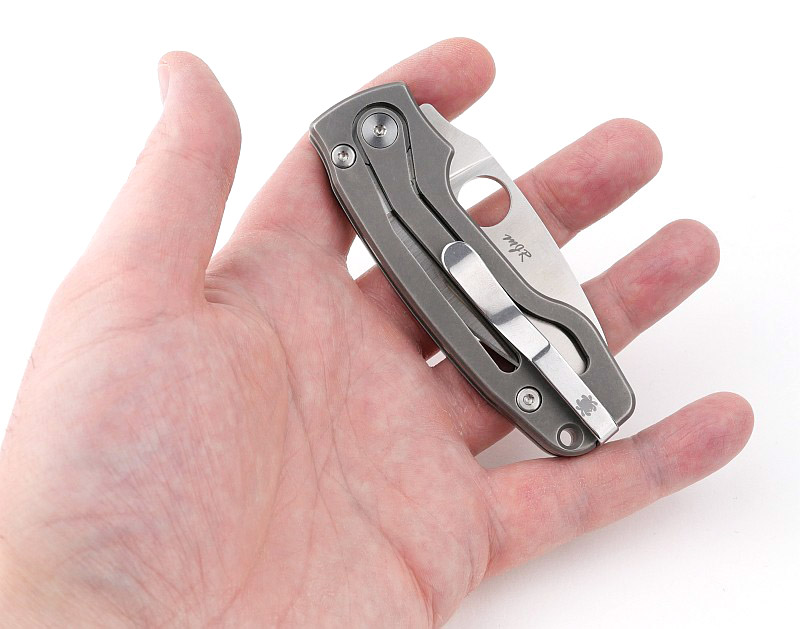
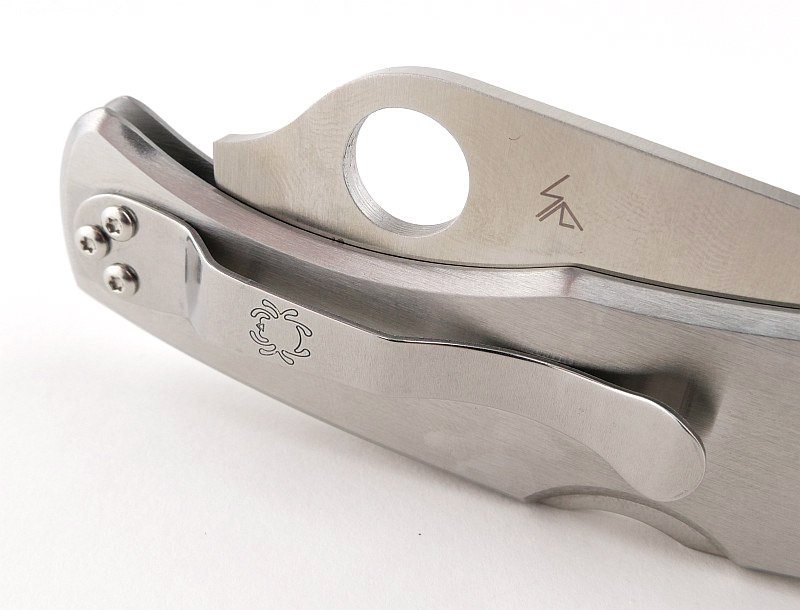
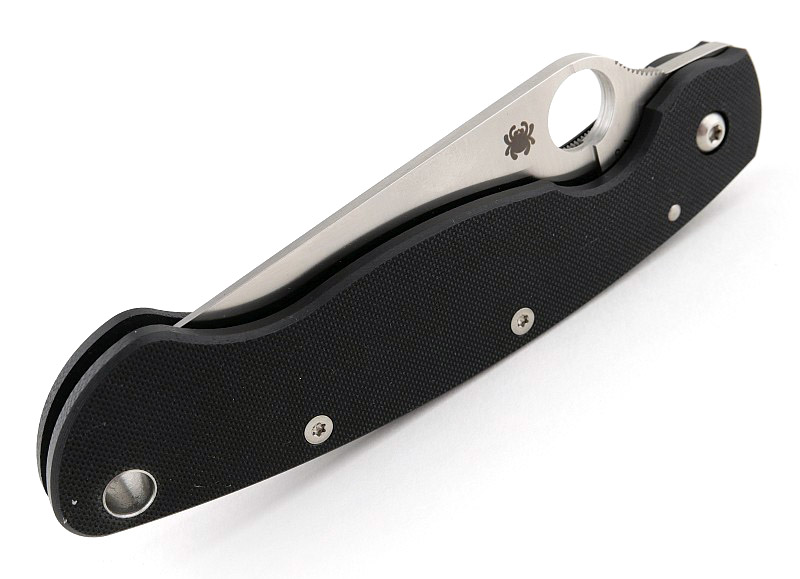
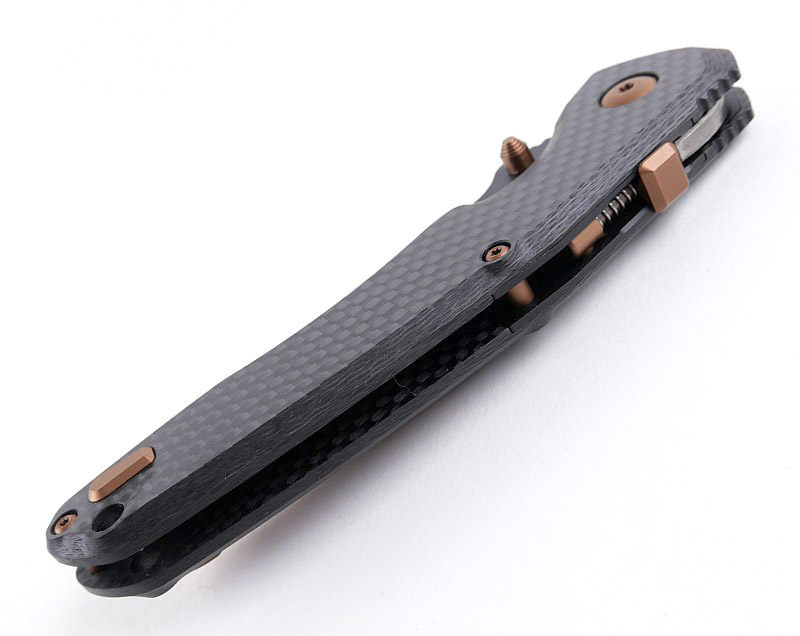
A good look round the folded Soter – Things to look out for here are:
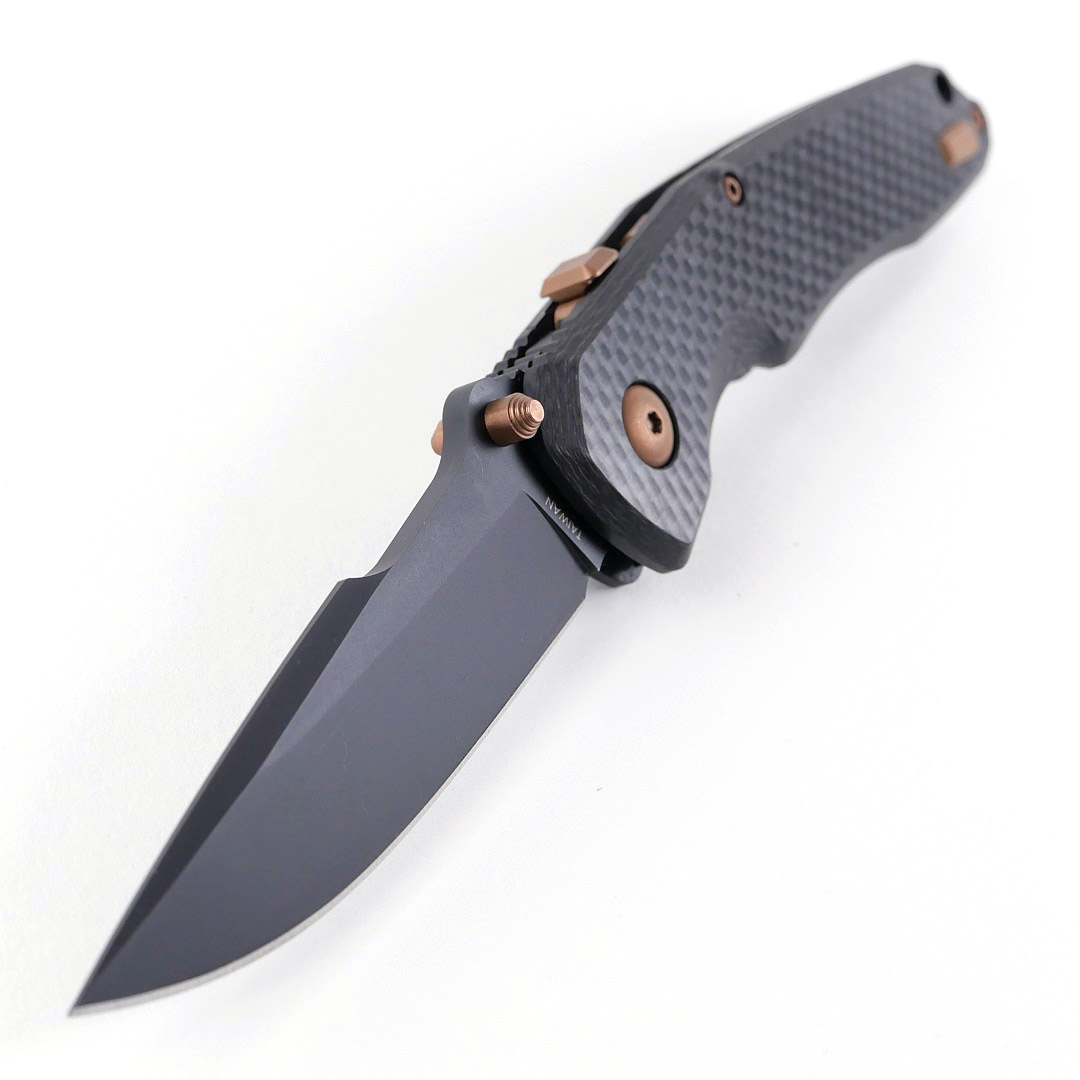
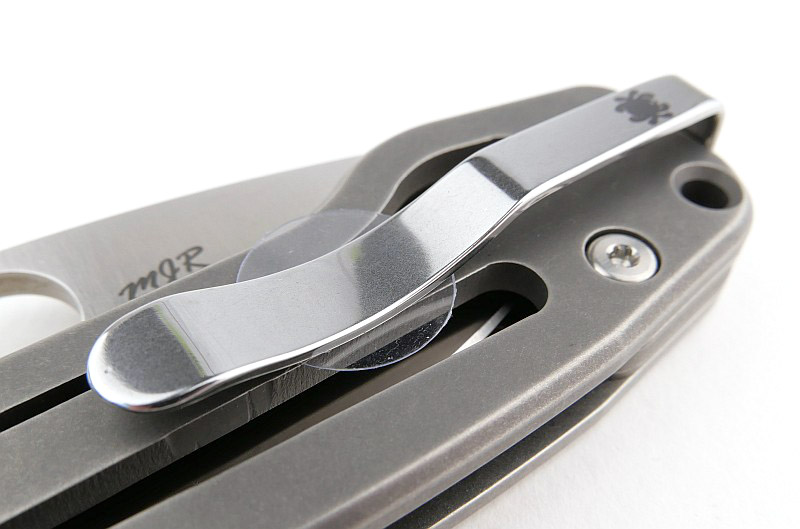
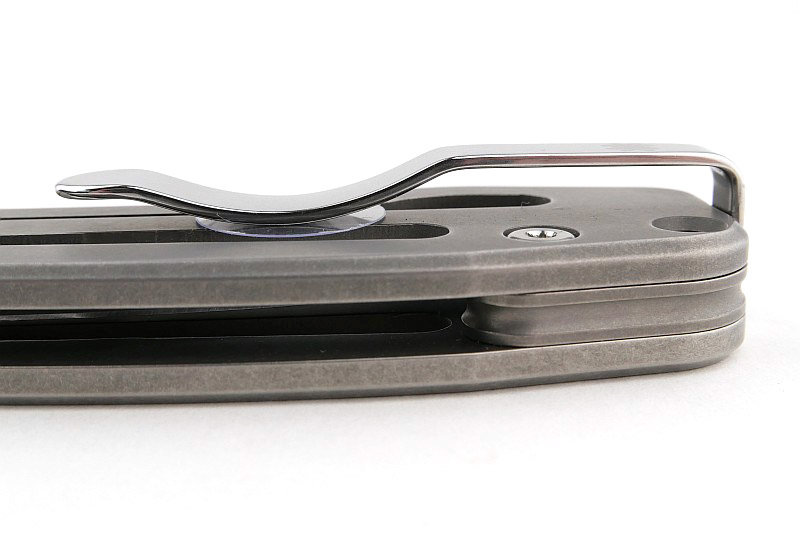
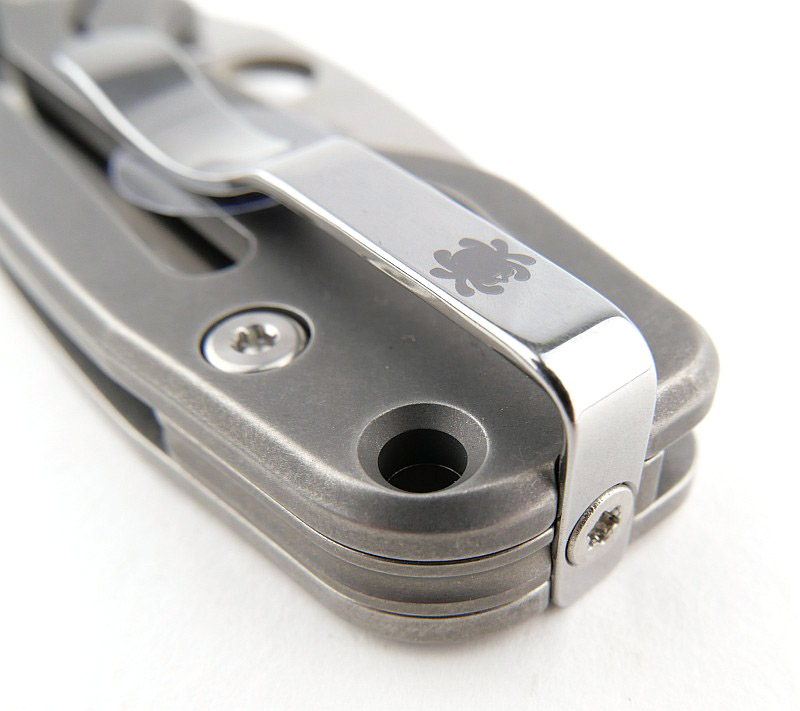
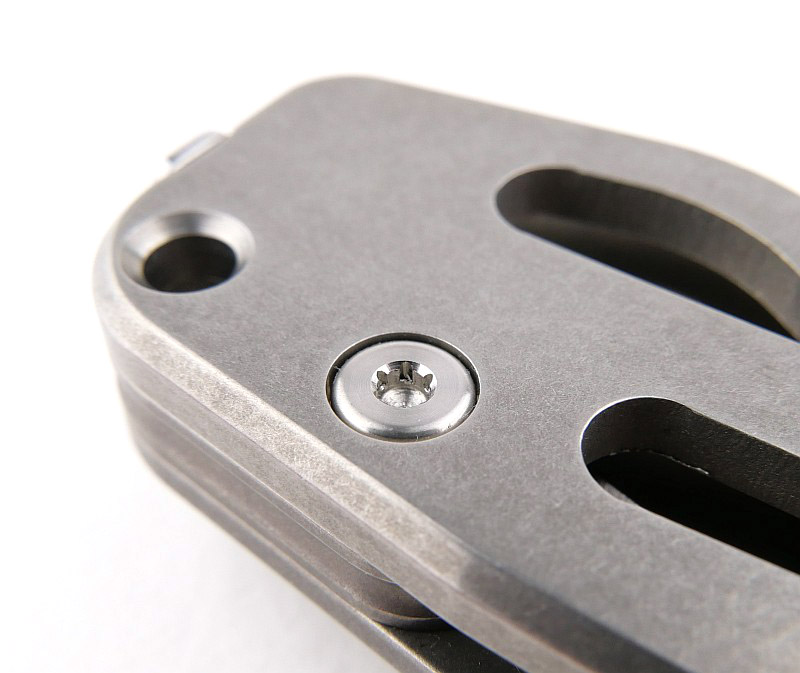
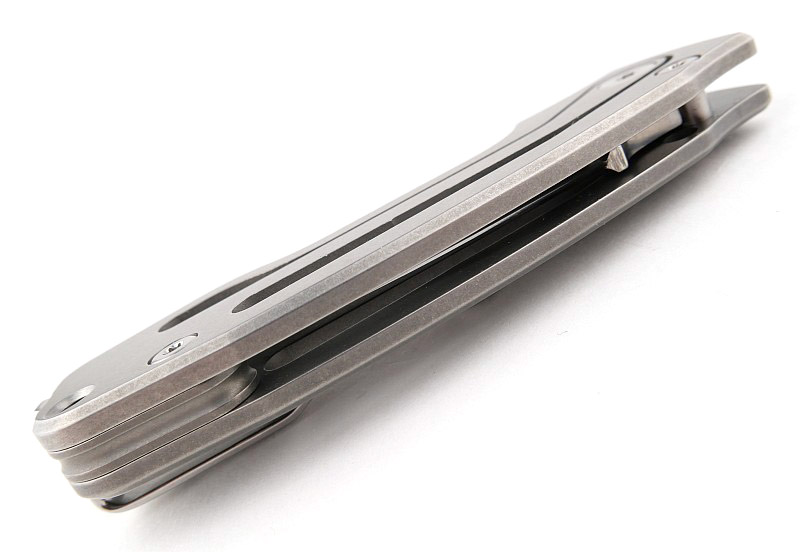
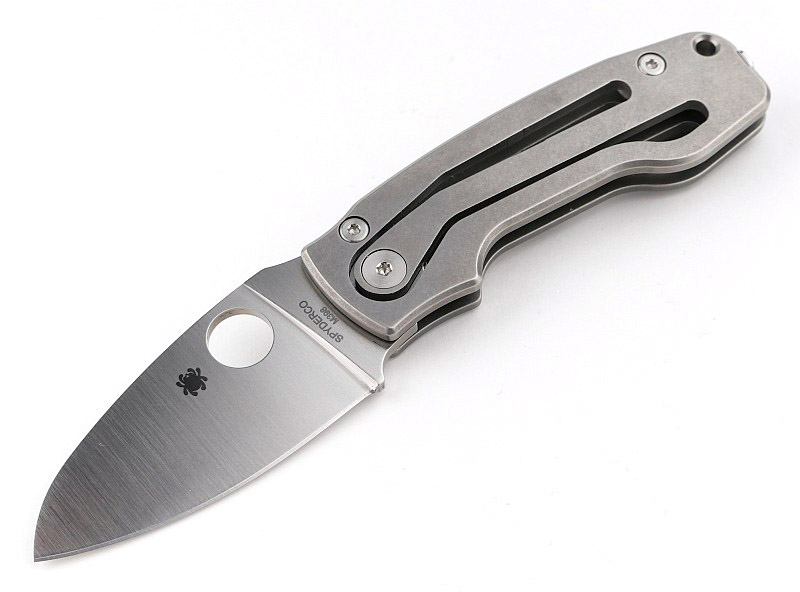
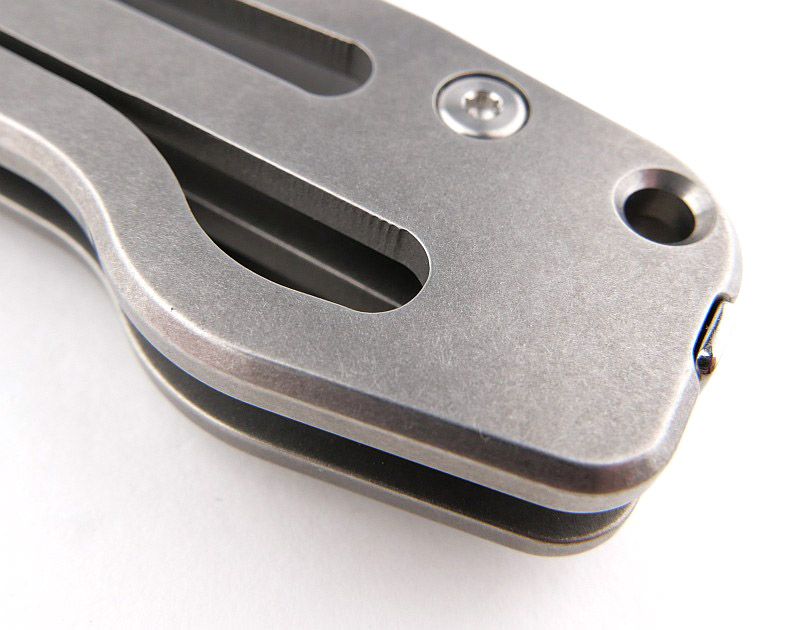
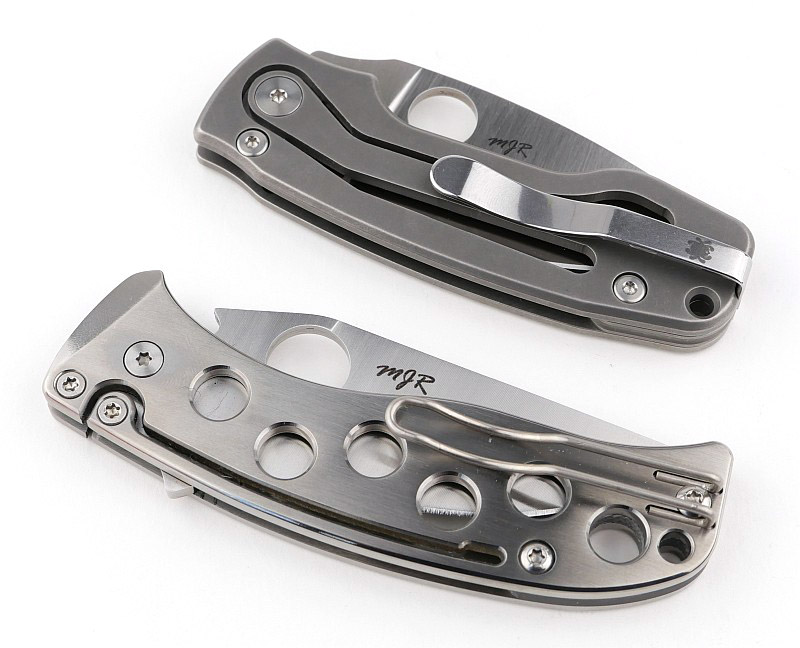
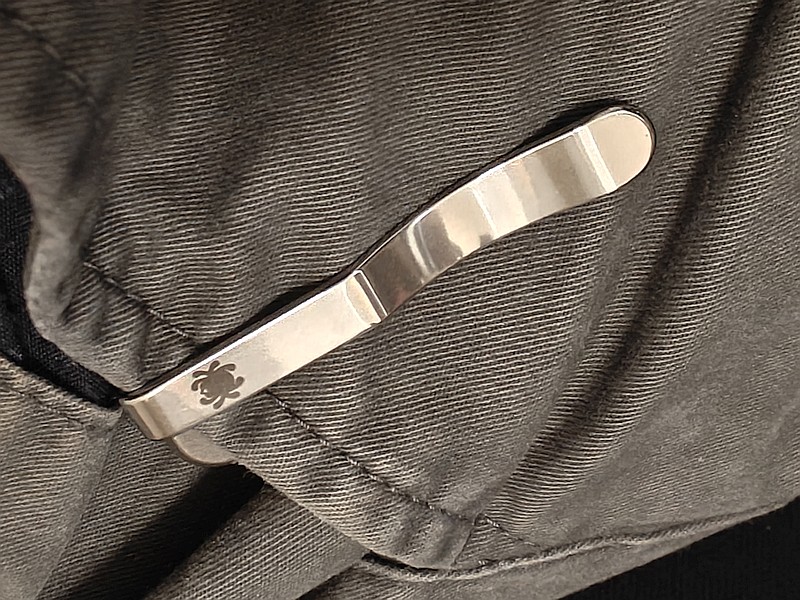
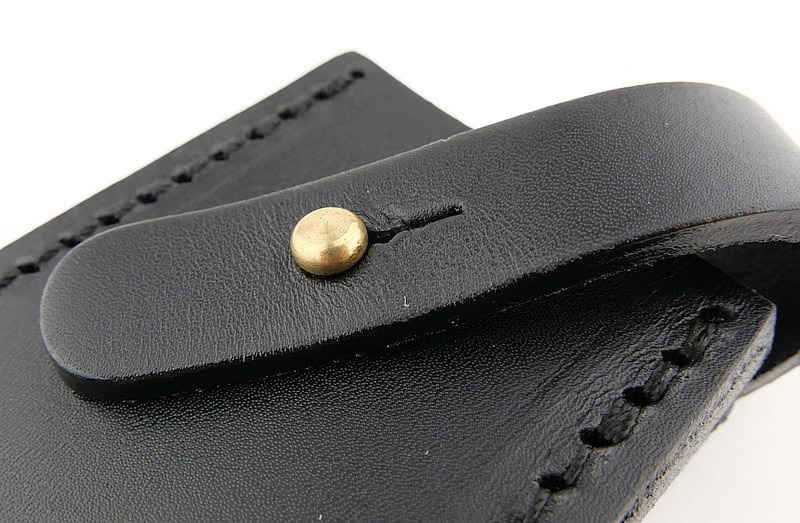
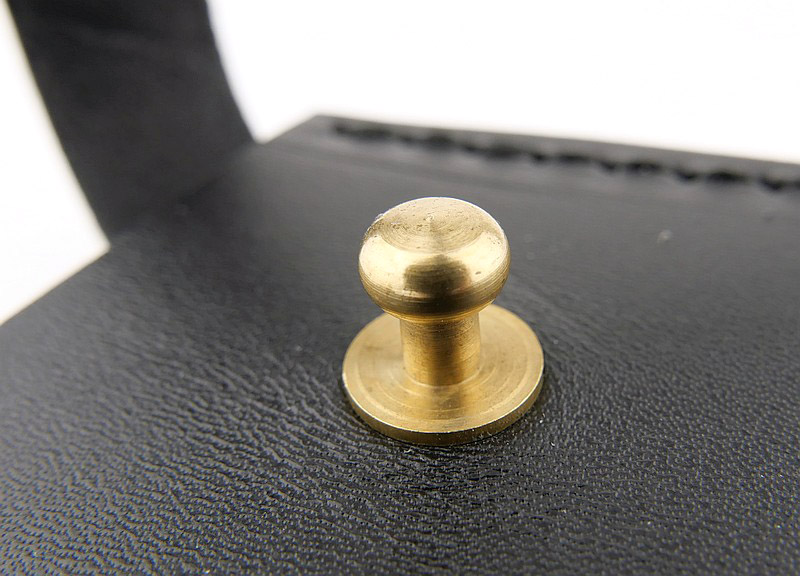
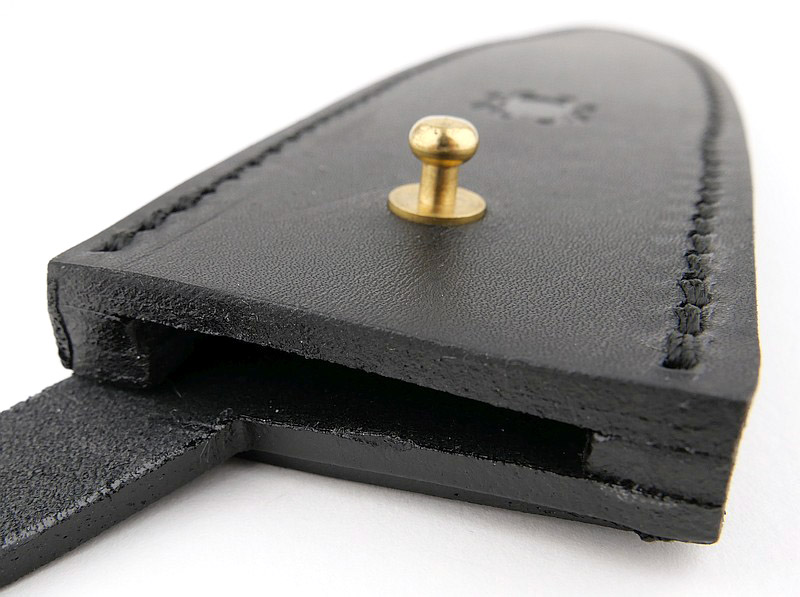
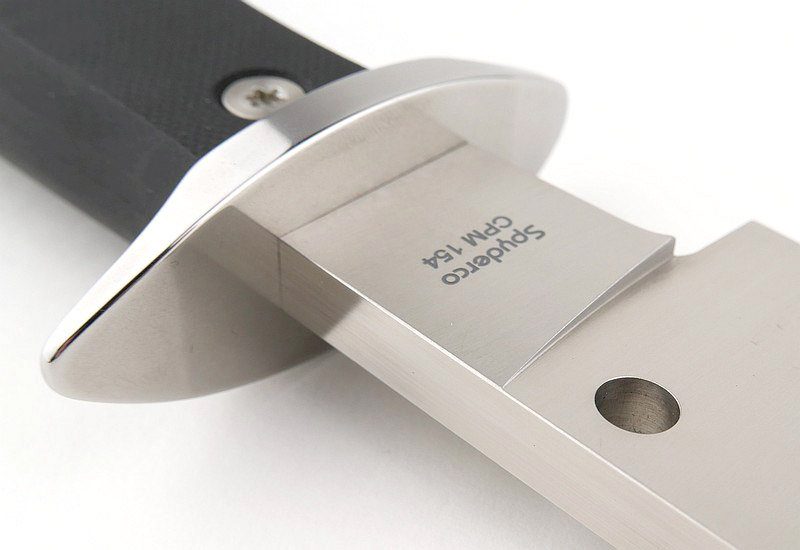
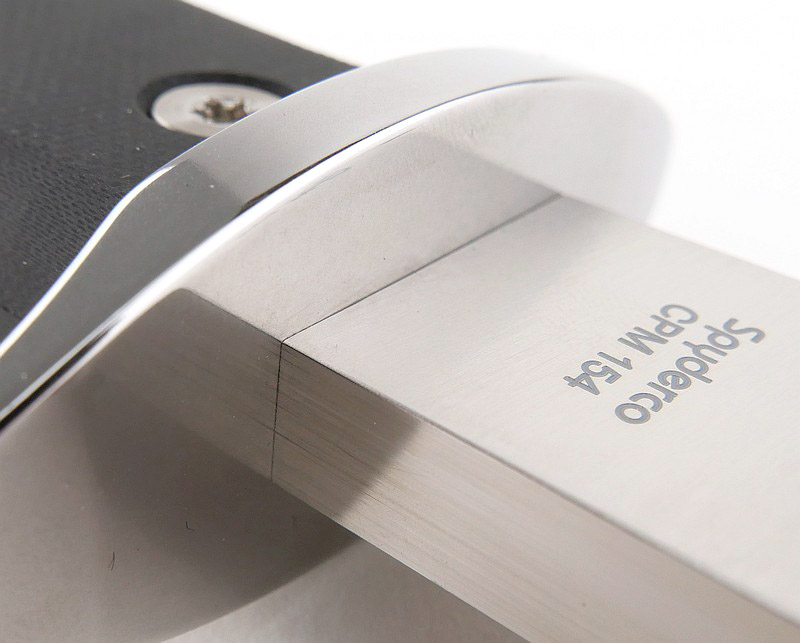
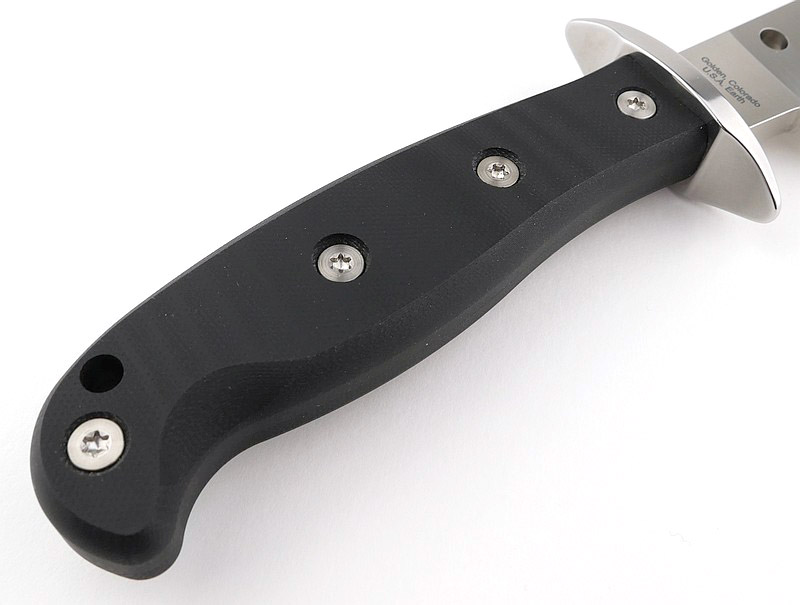
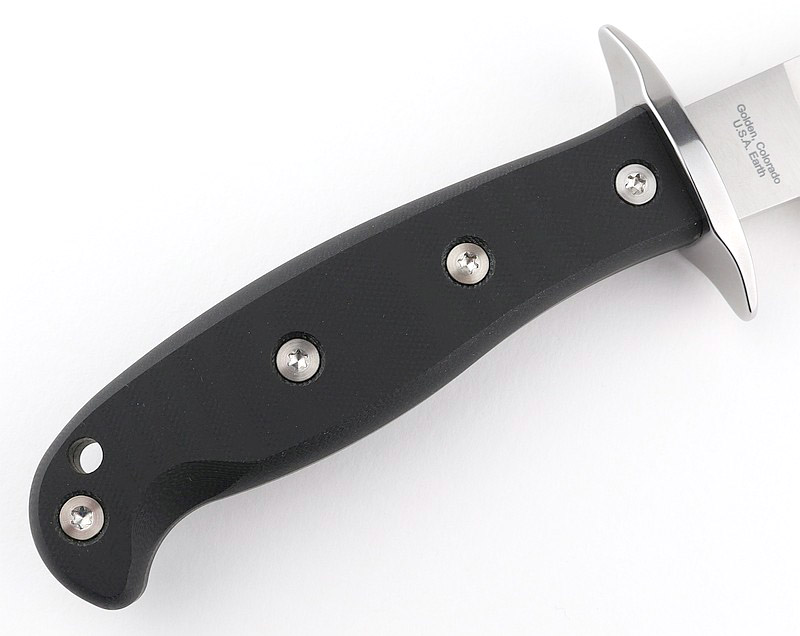
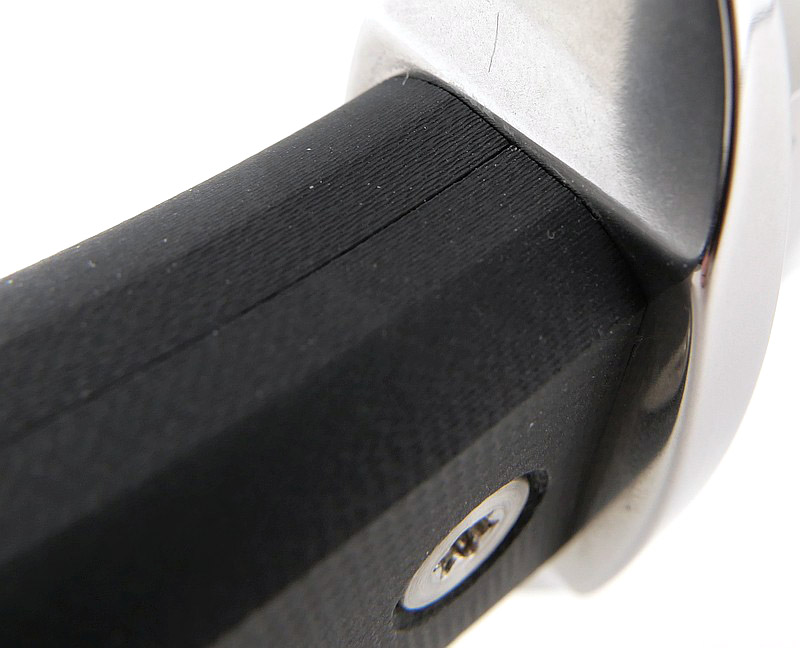
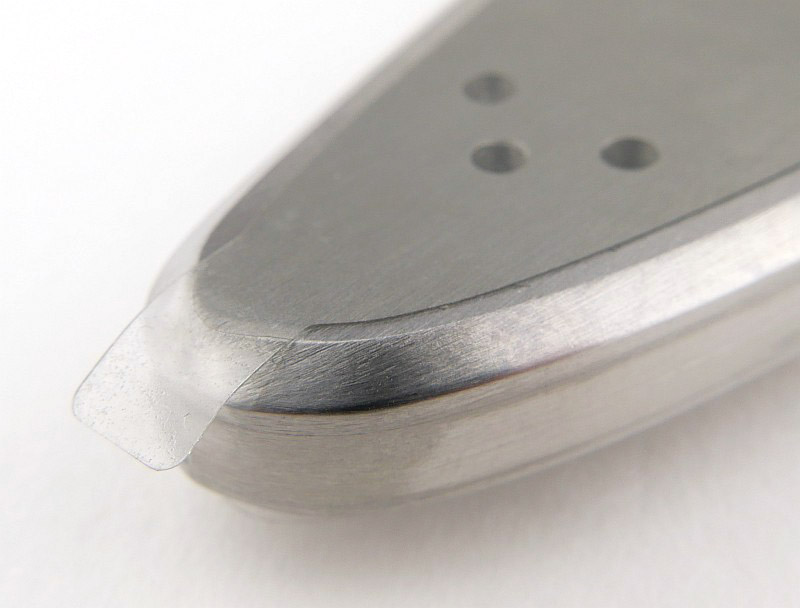
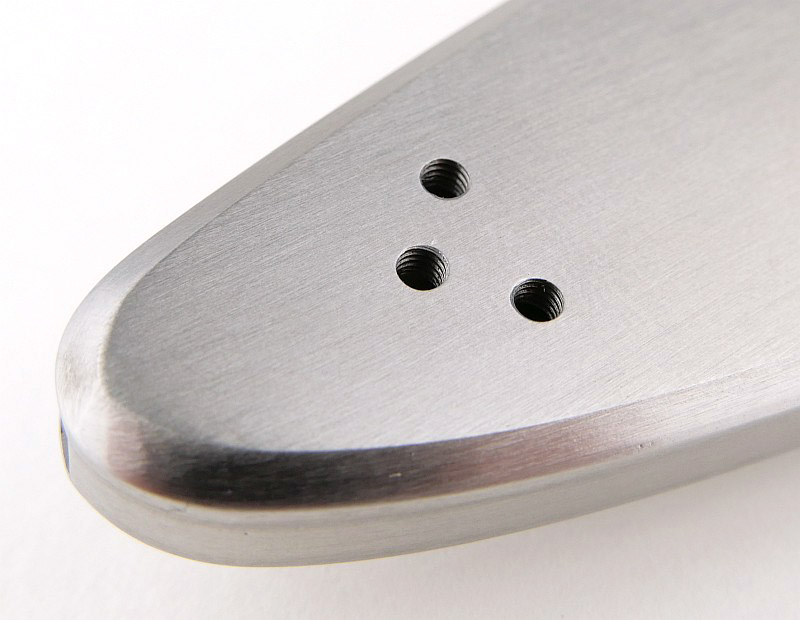
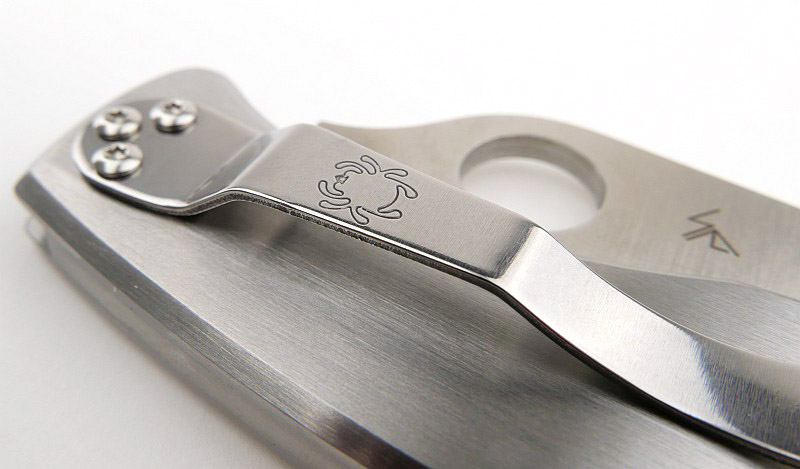
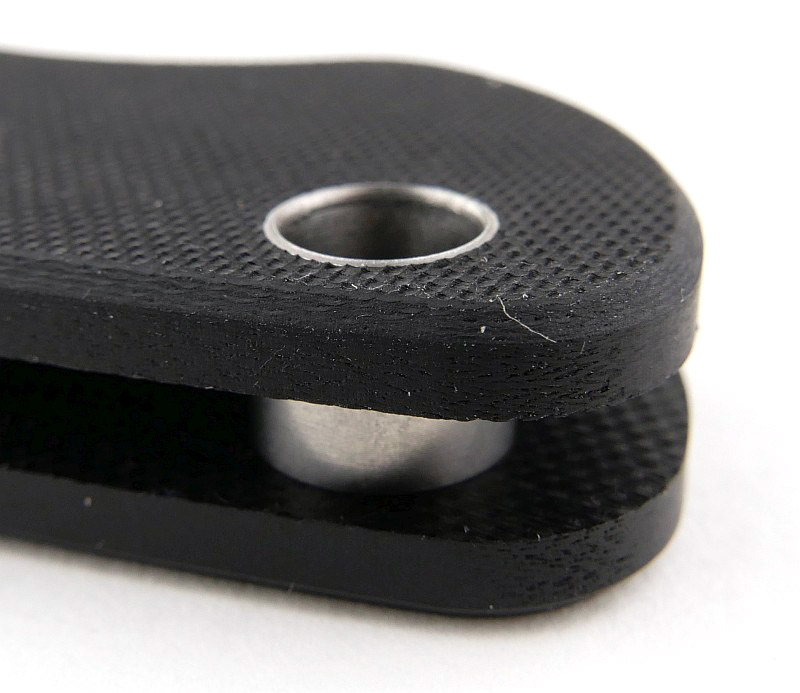
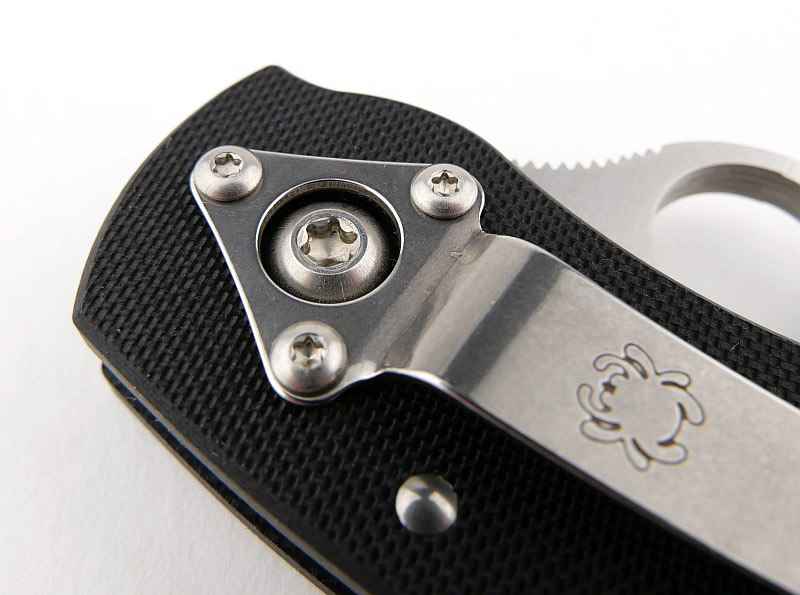
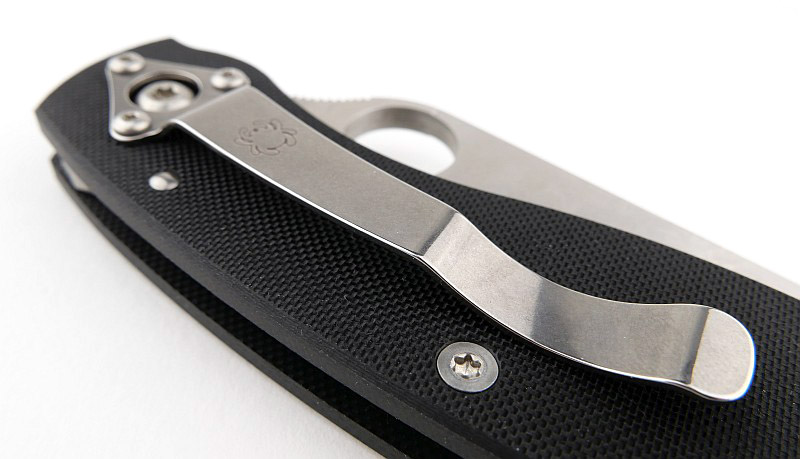
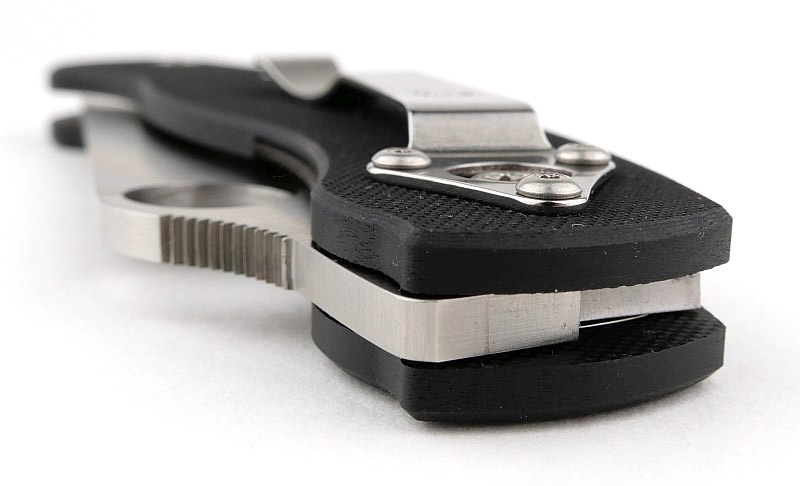
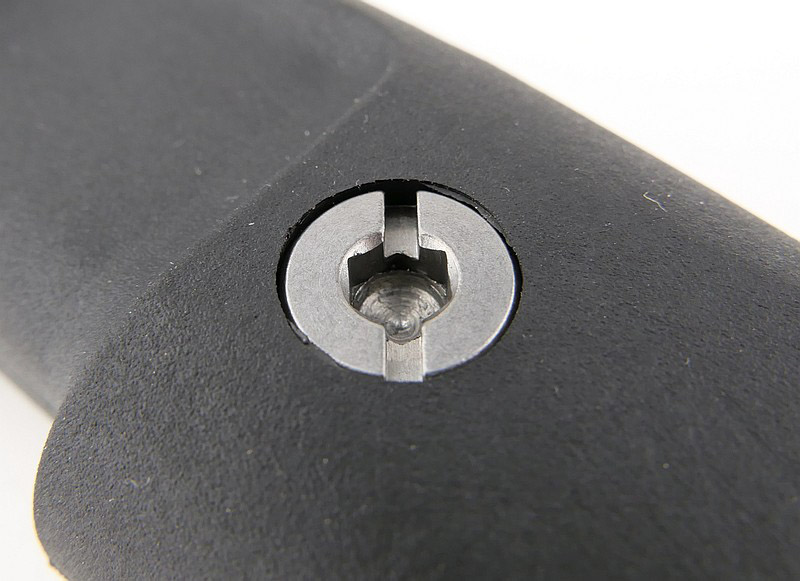
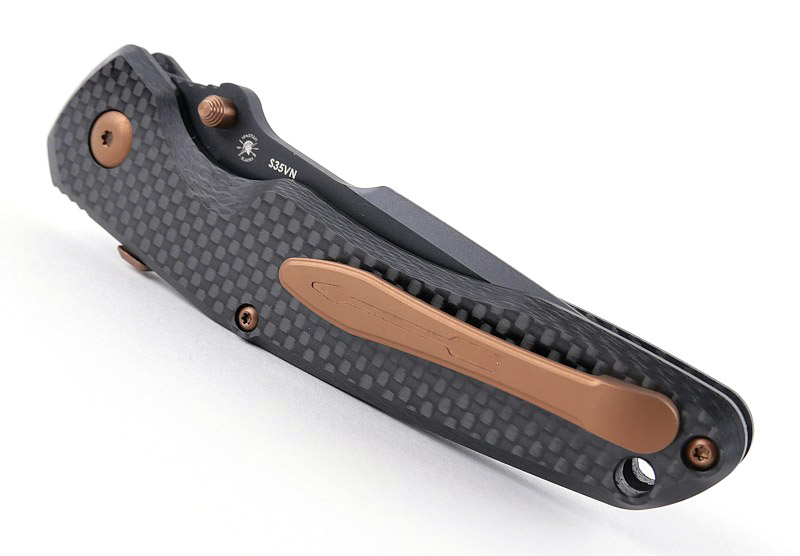
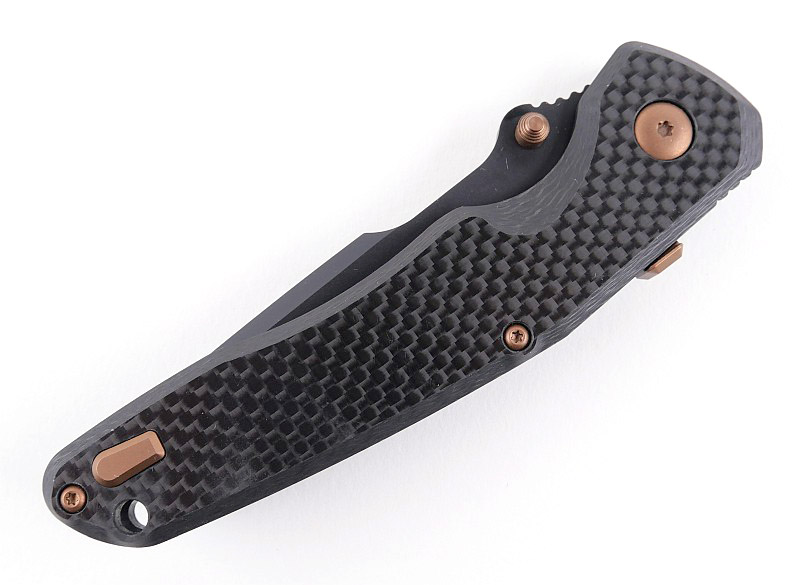
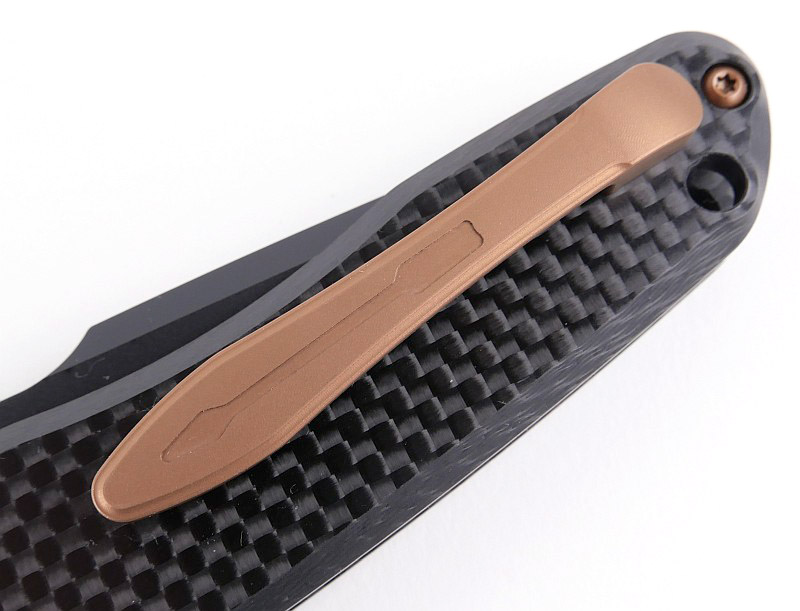
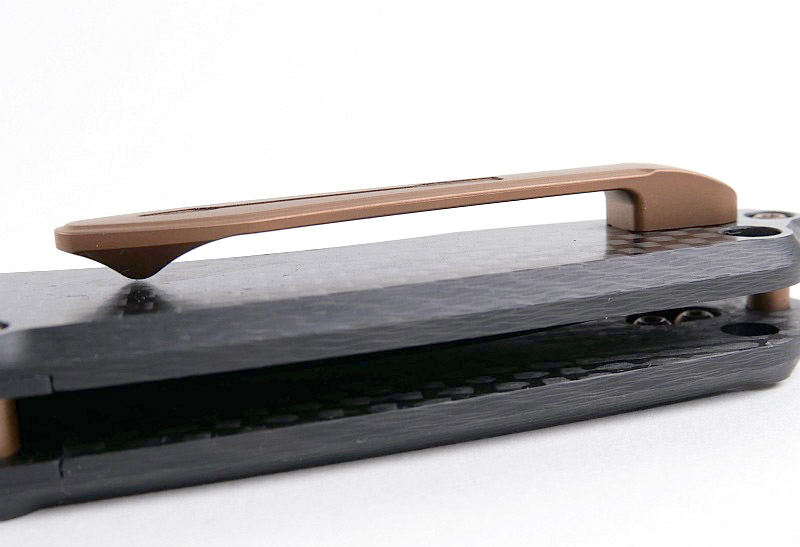
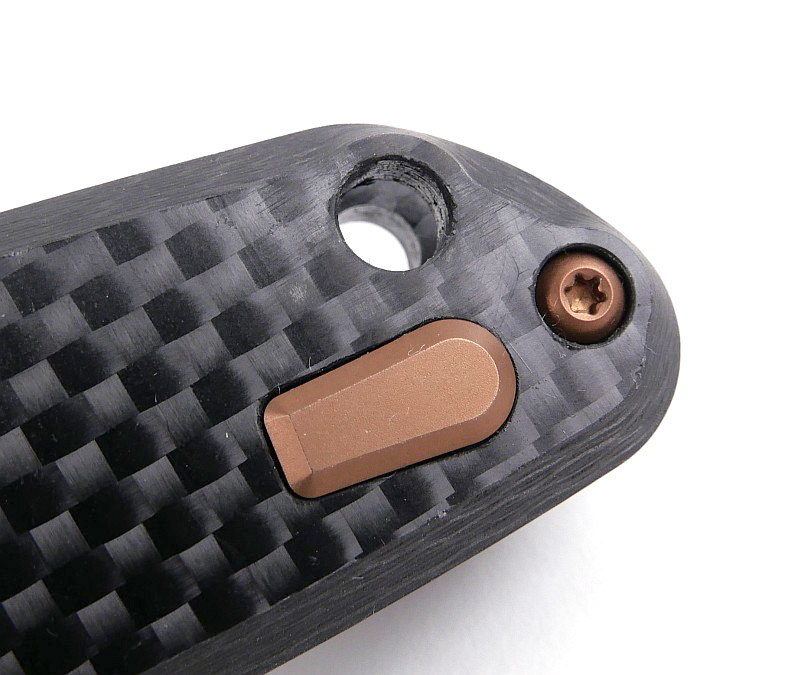
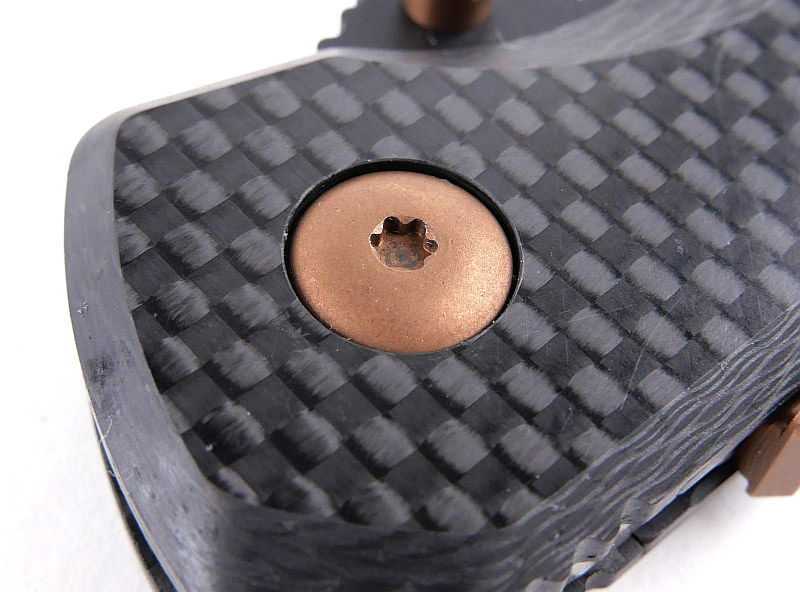
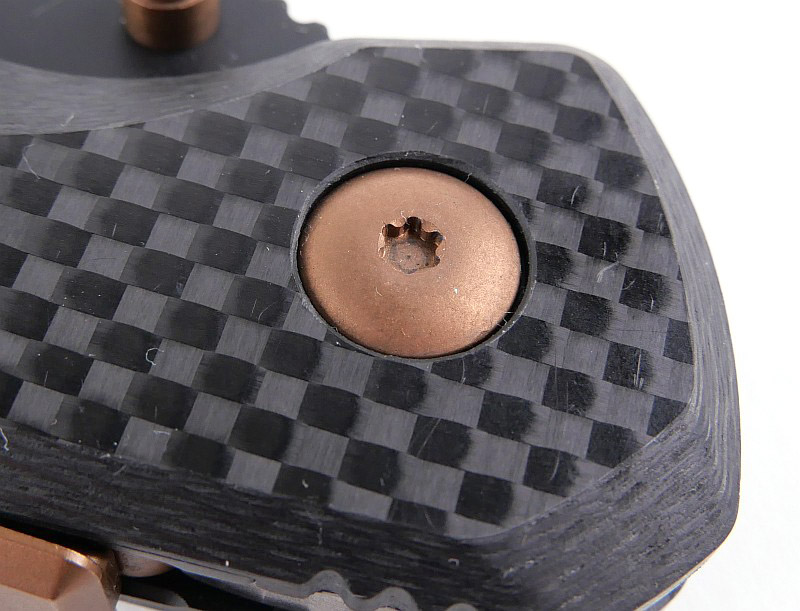
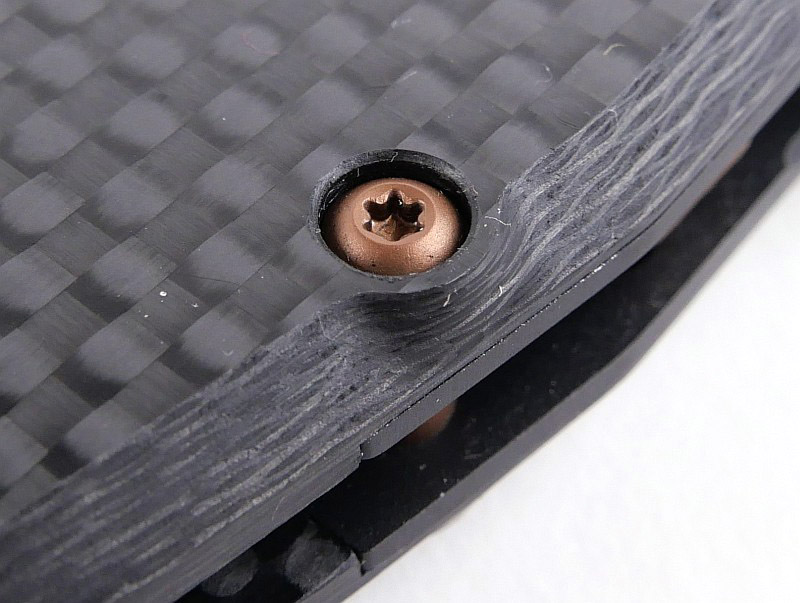
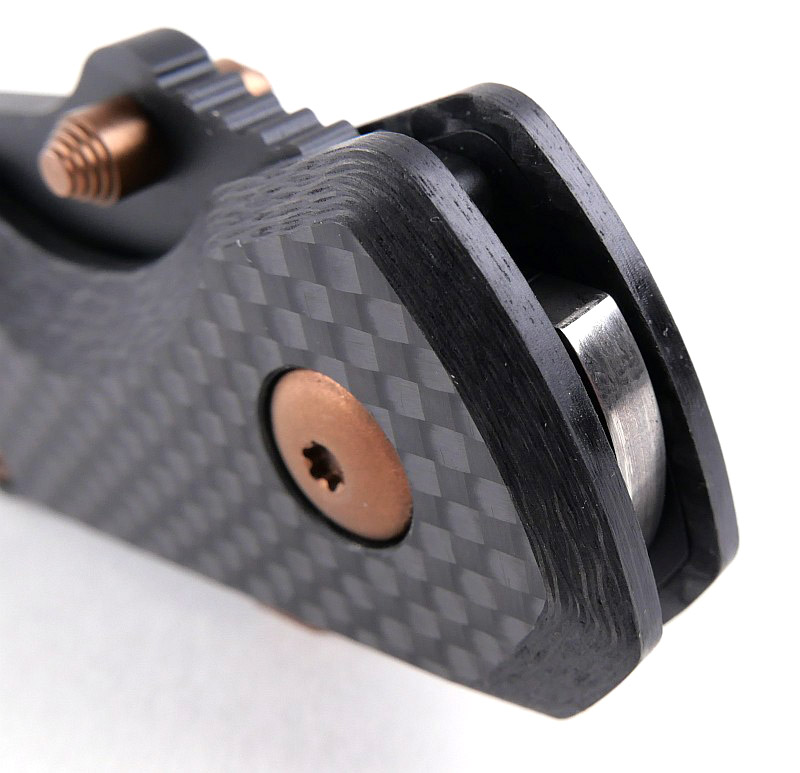
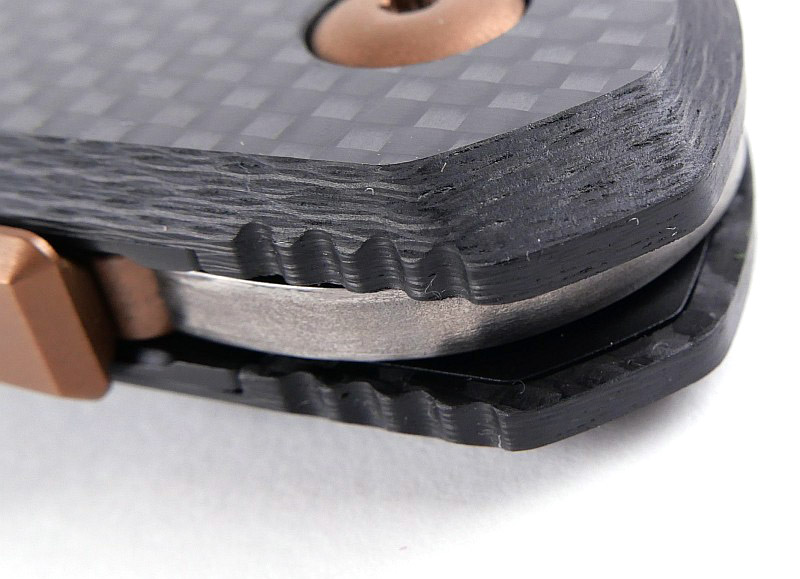
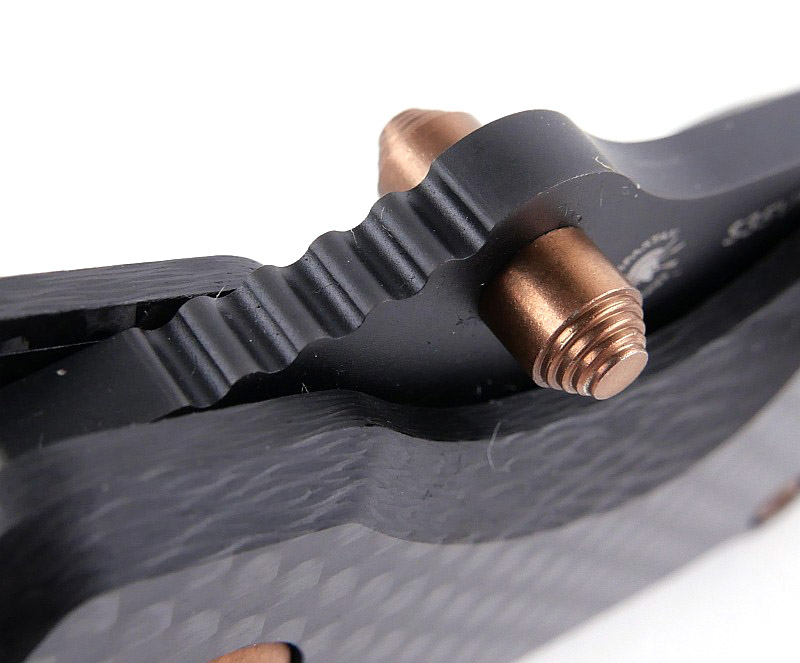
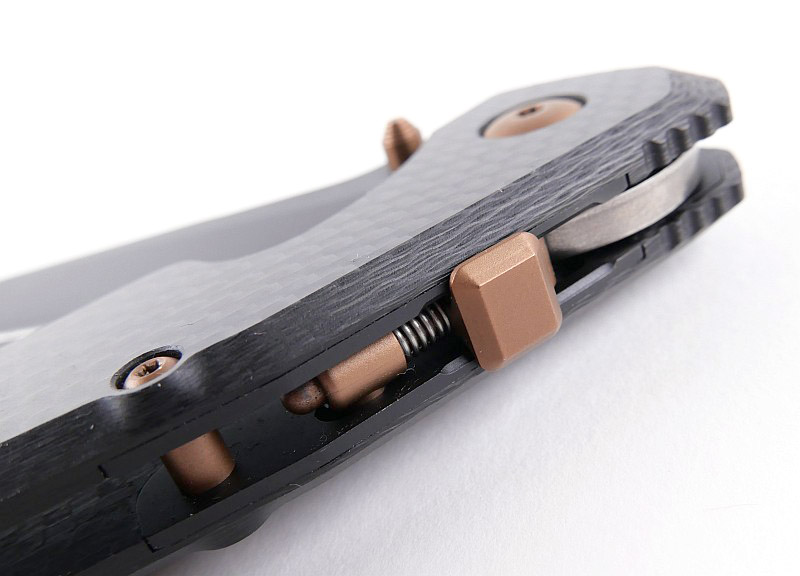
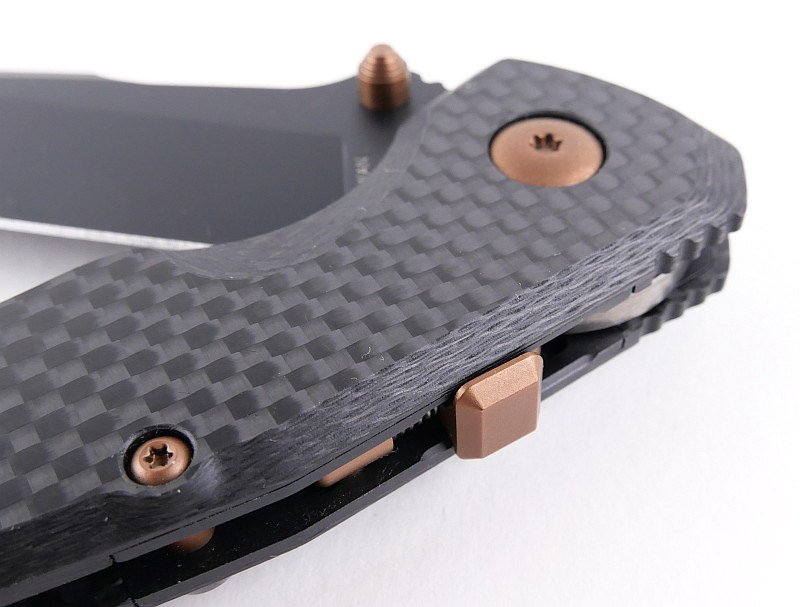
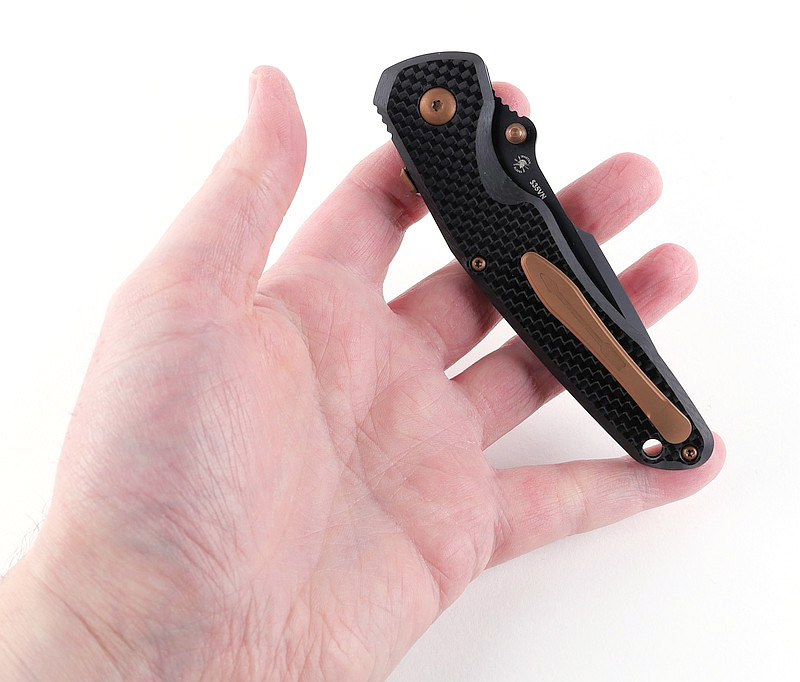
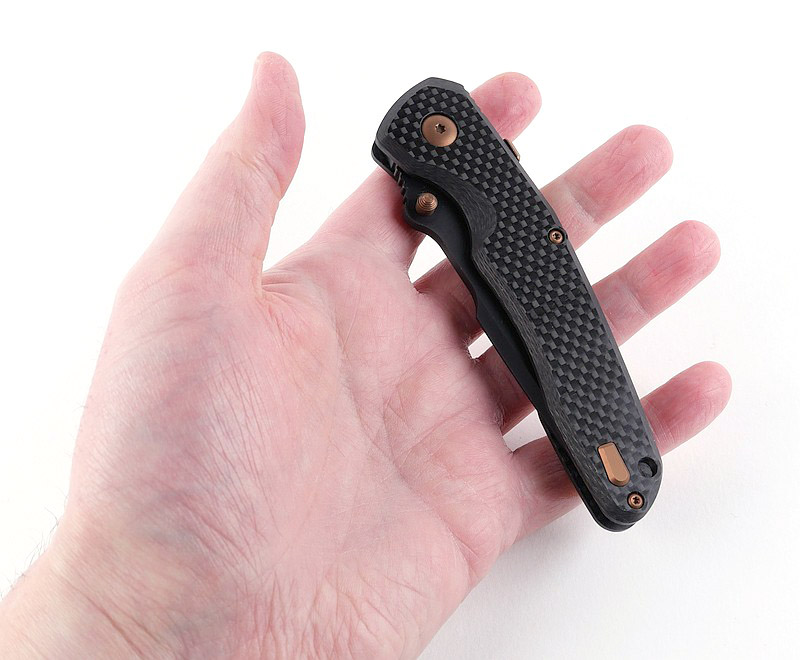
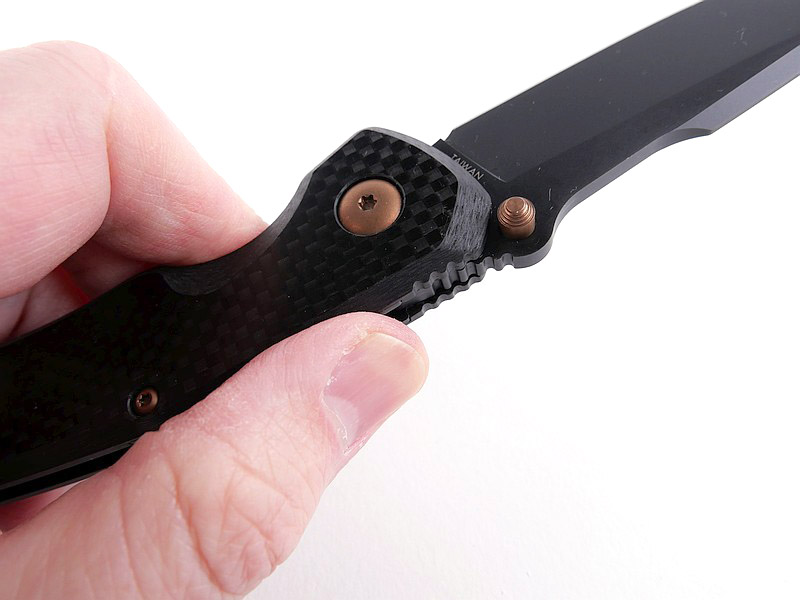
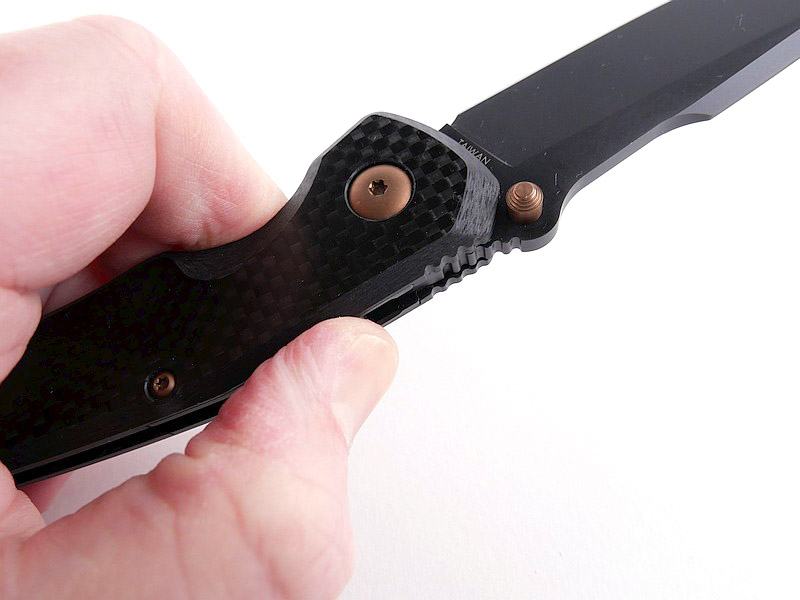
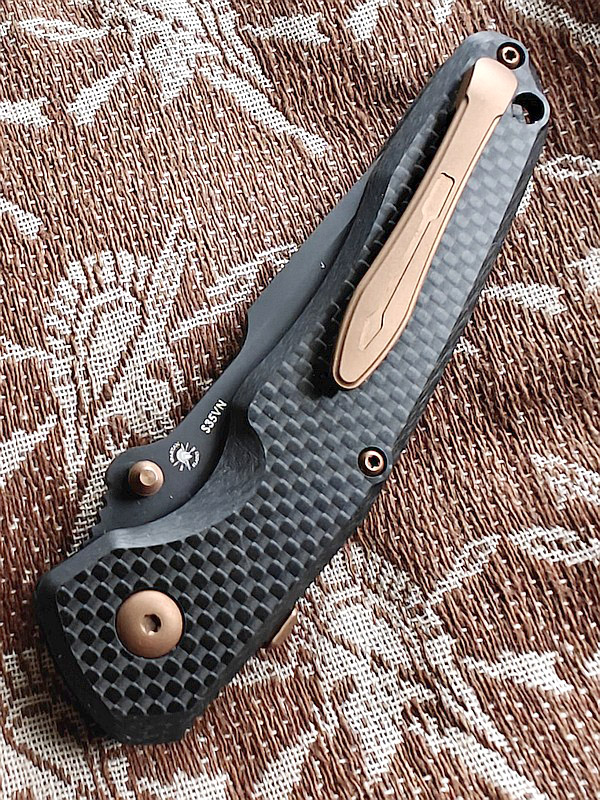
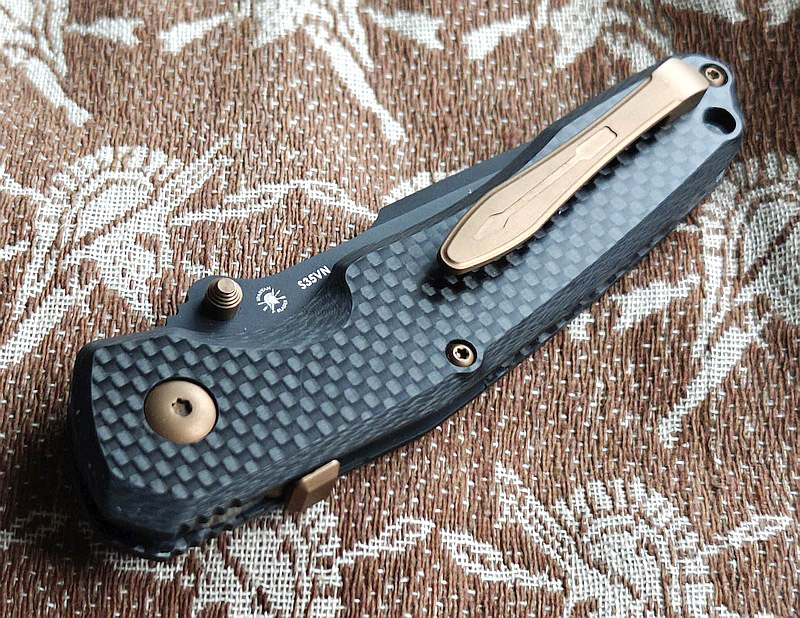
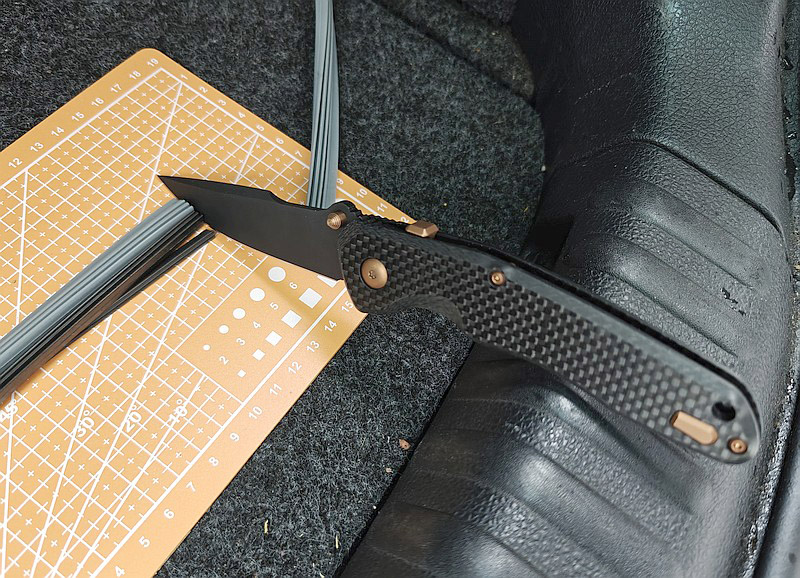
Starting with the Soter folded, there is a lot to see. This is the Carbon Fibre version of the Soter, and unusually the main flats on the handles have been left with the semi-gloss top layer giving the handles a sheen that contrasts with the machined, bevelled and shaped edges. Even folded, the pronounced hump at the thumb studs and visible swedge hint at the purposeful blade shape lurking within. Almost steampunk style, the RaceLock immediately adds interest. Distinctively Spartan Blades, the monolithic pocket clip is machined from a solid piece and fitted with concealed screws. A matching blanking plate covers the mounting point if you swap the side the clip is fitted (but you would need to take the knife apart to do this). The pivot bolts, handle screws, pocket clip, thumb studs and RaceLock lever are all in a matching finish.
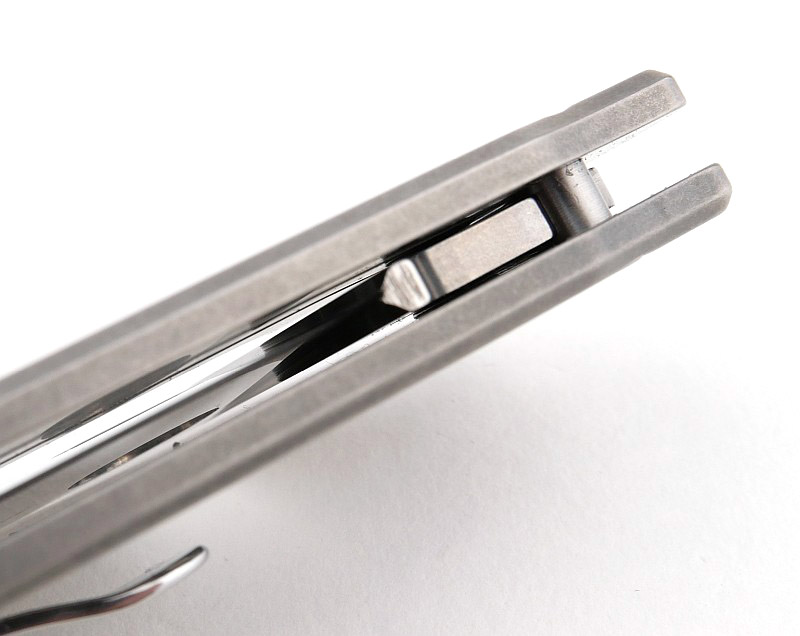
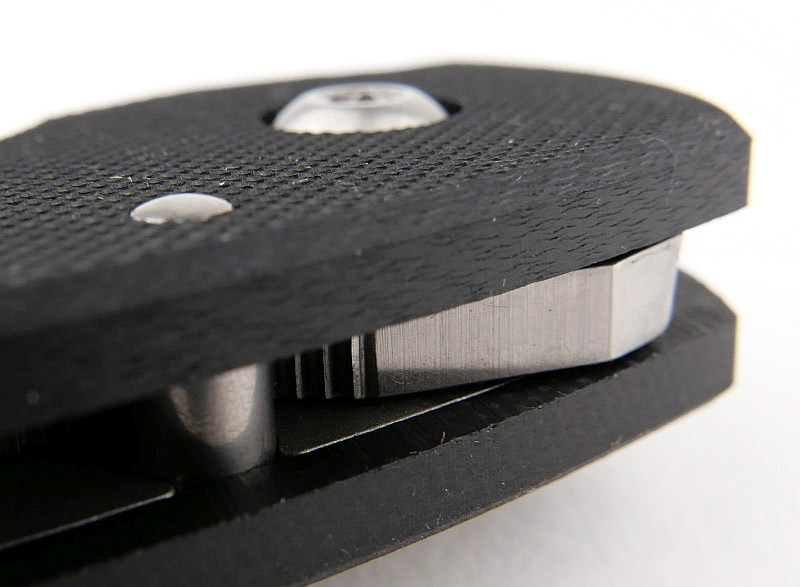
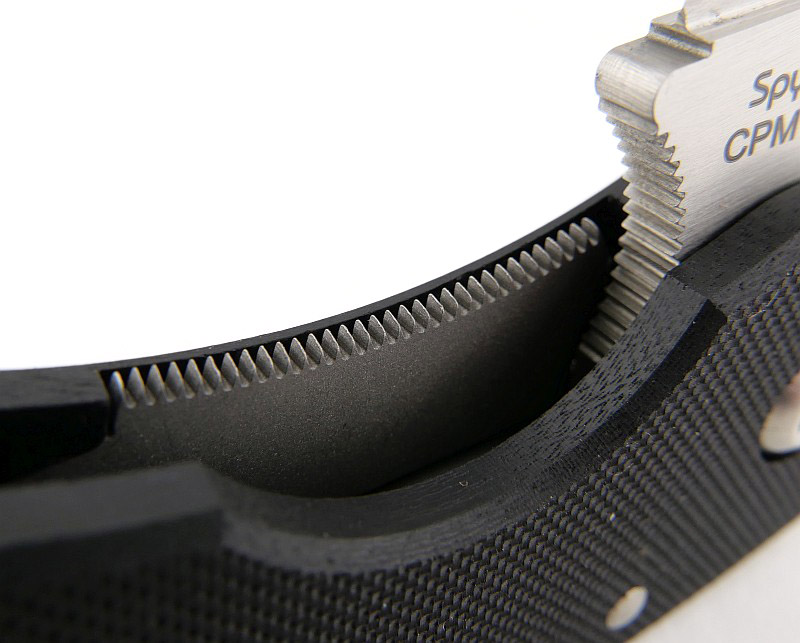
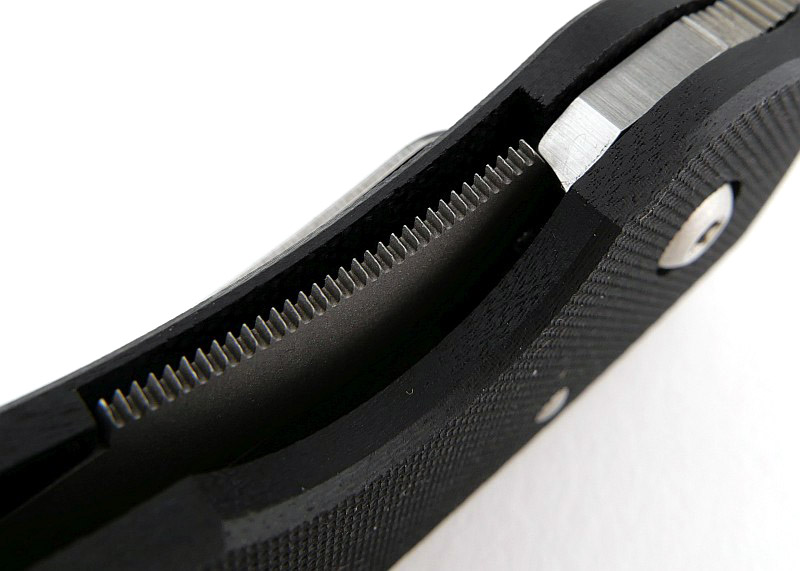
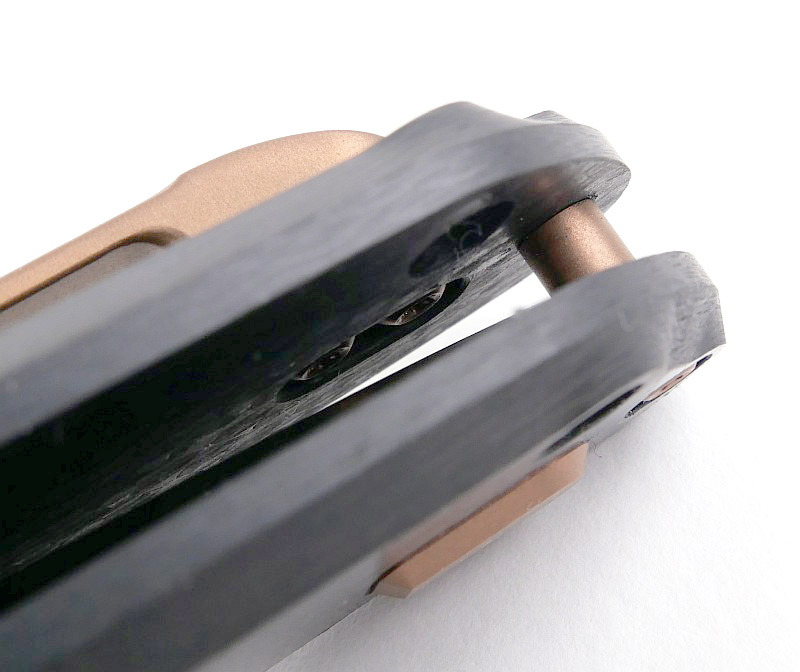
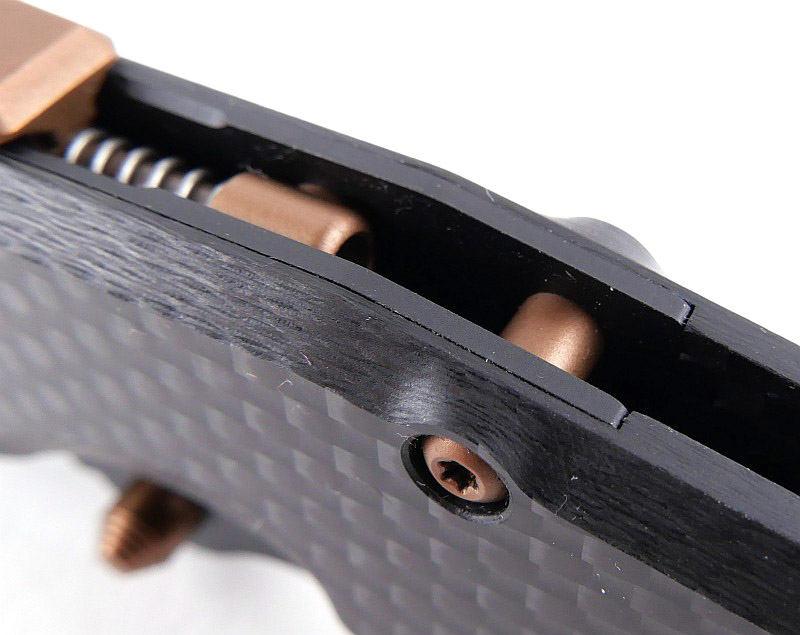
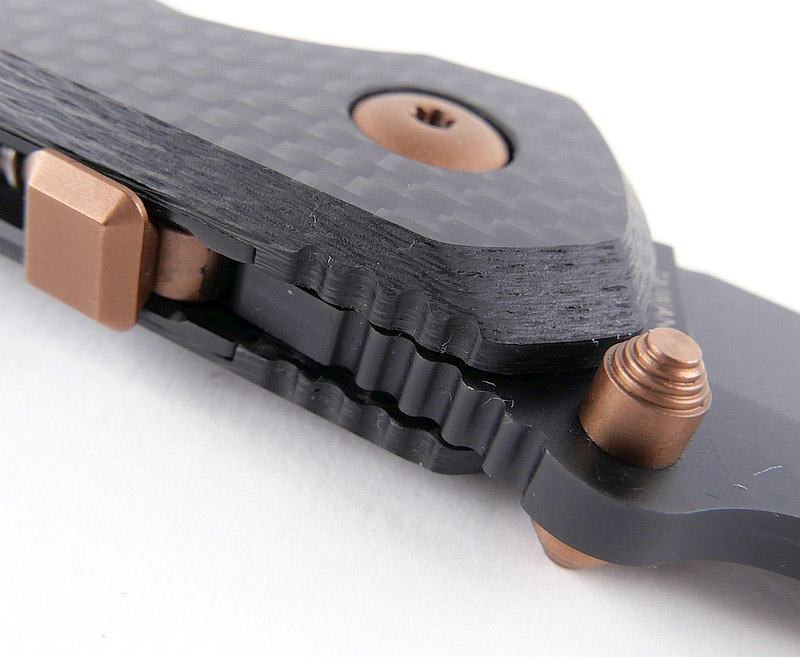
Slim steel liners provide support just around the RaceLock mechanism, but are kept to a minimum.


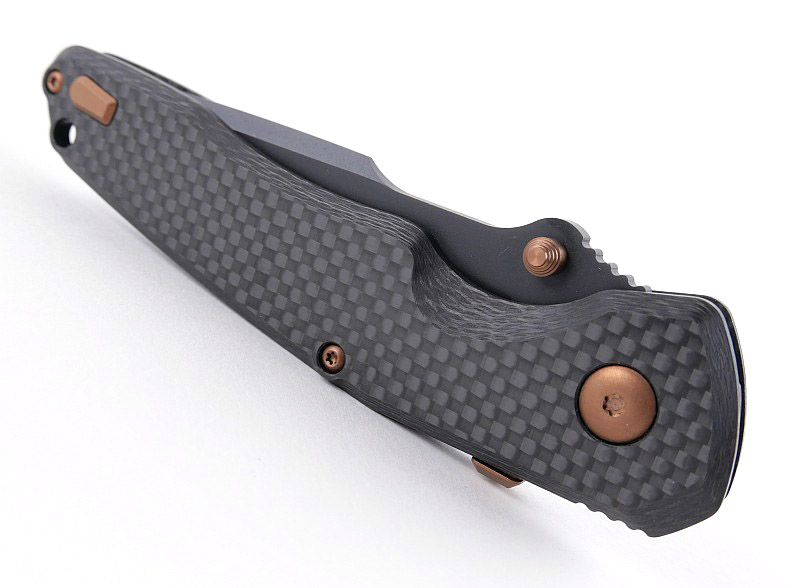
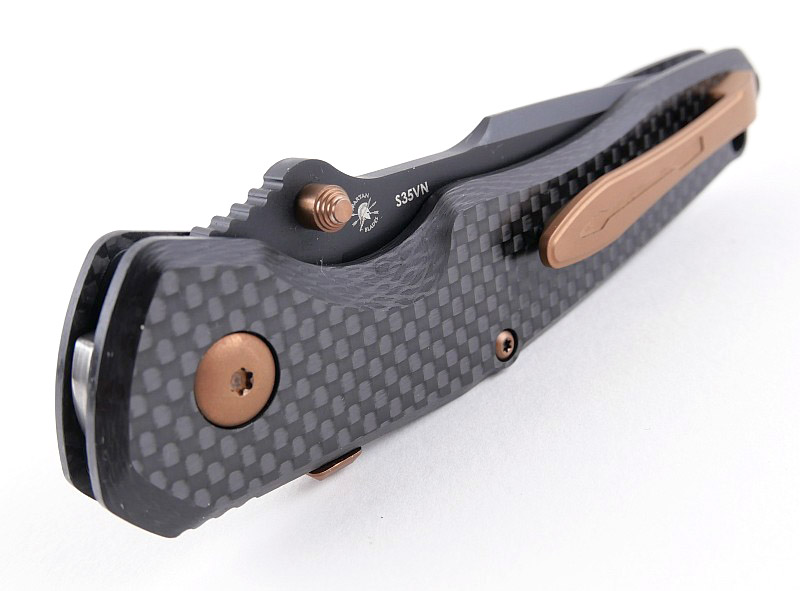


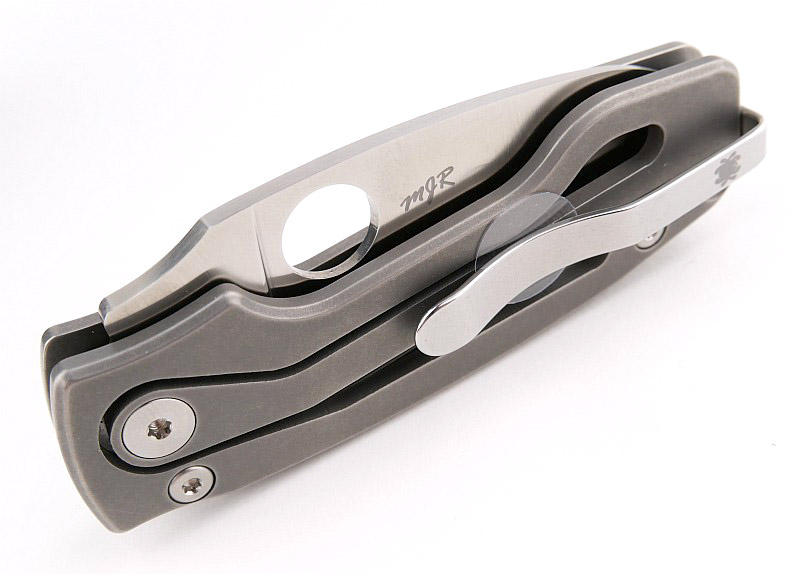
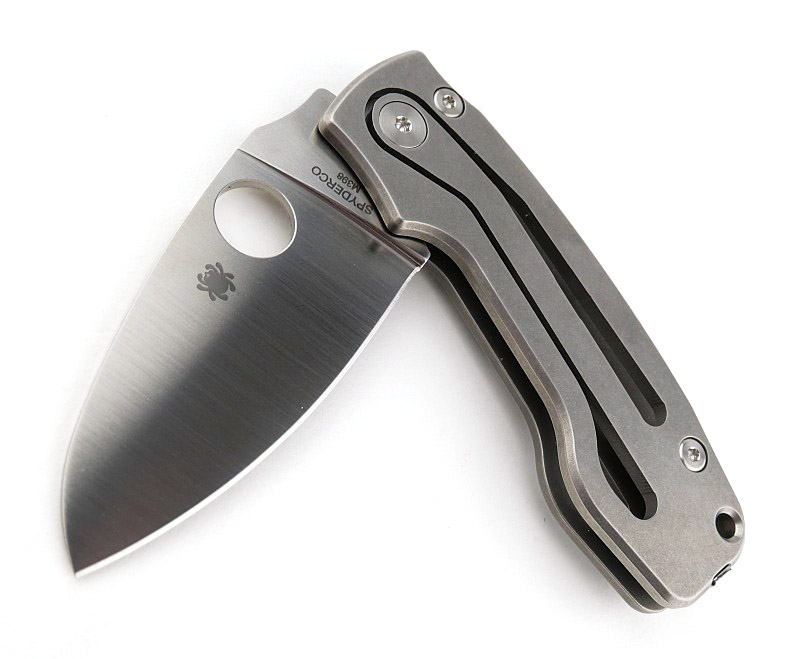
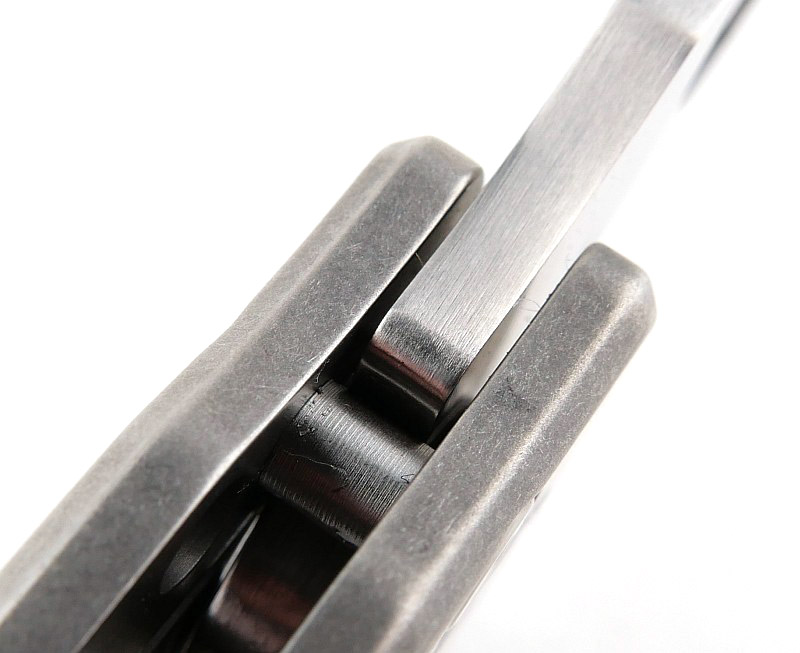
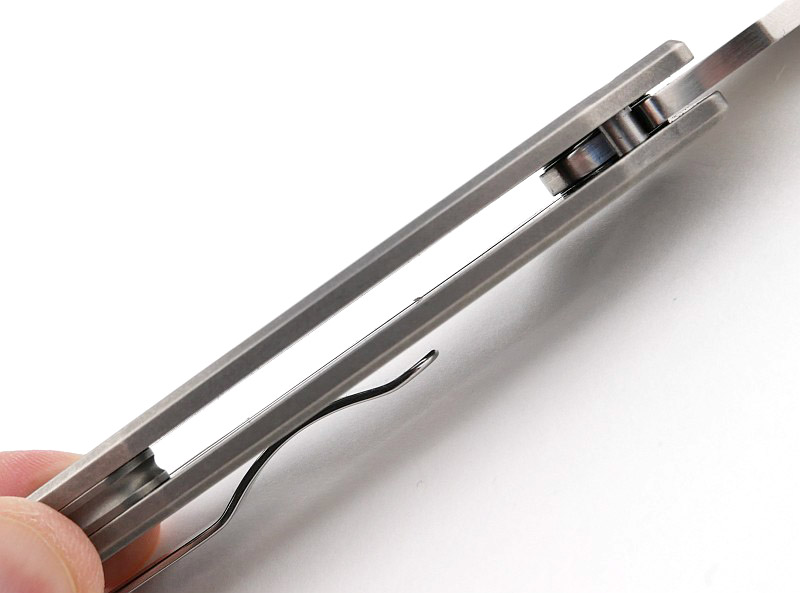
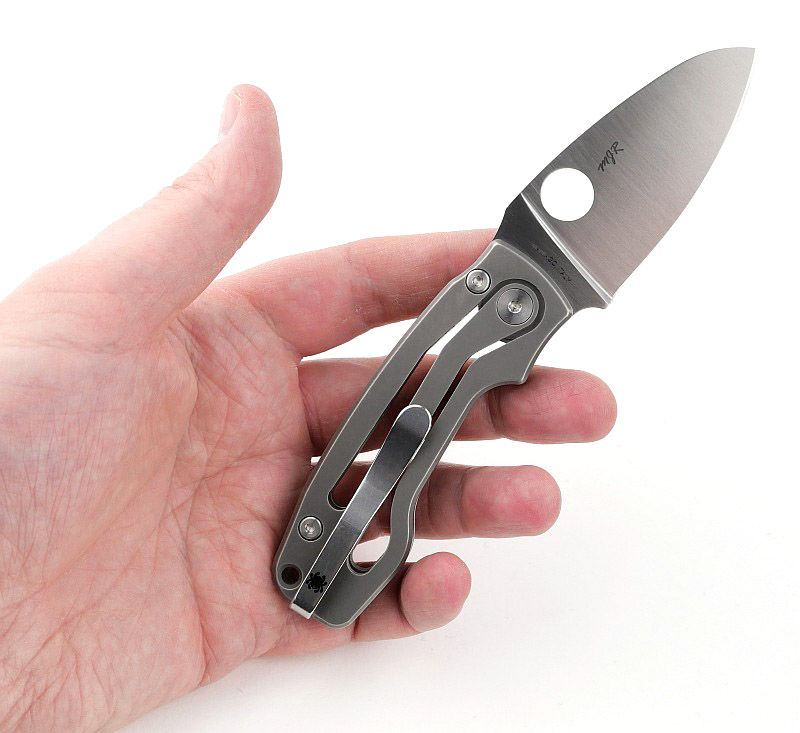
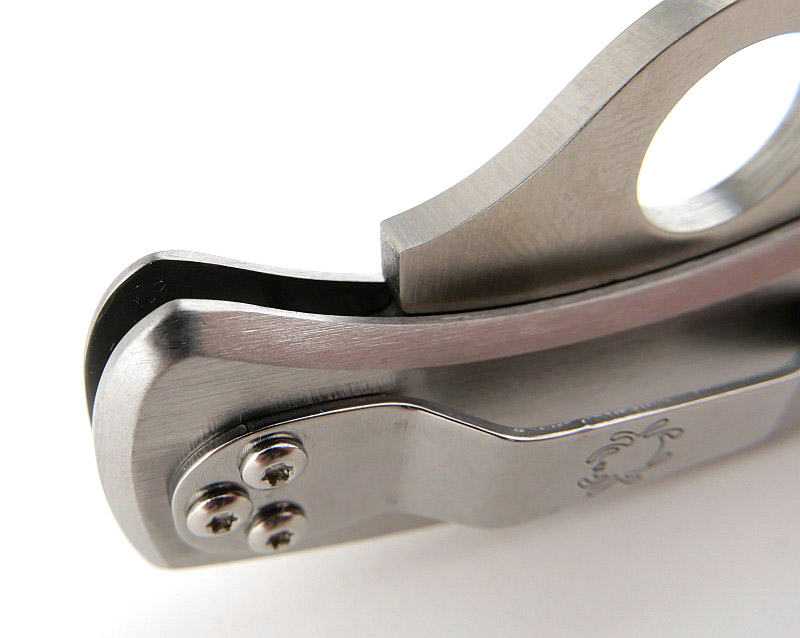
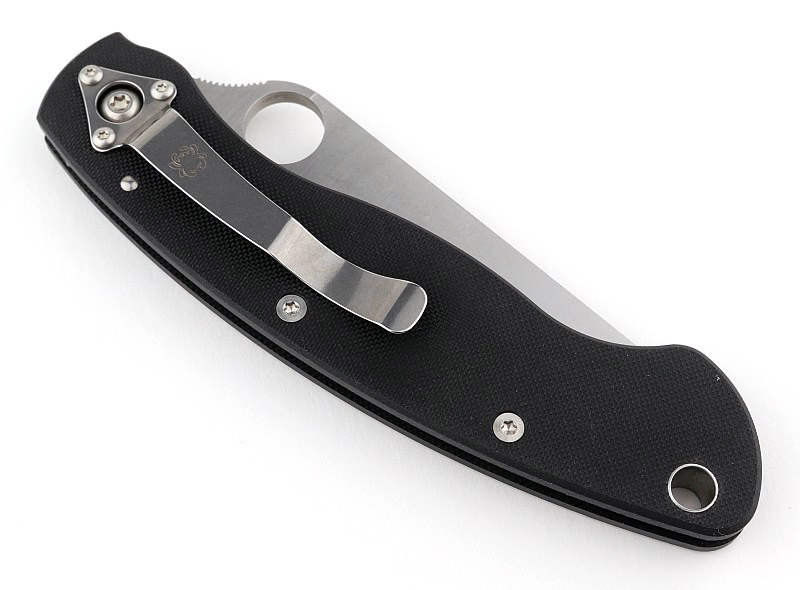
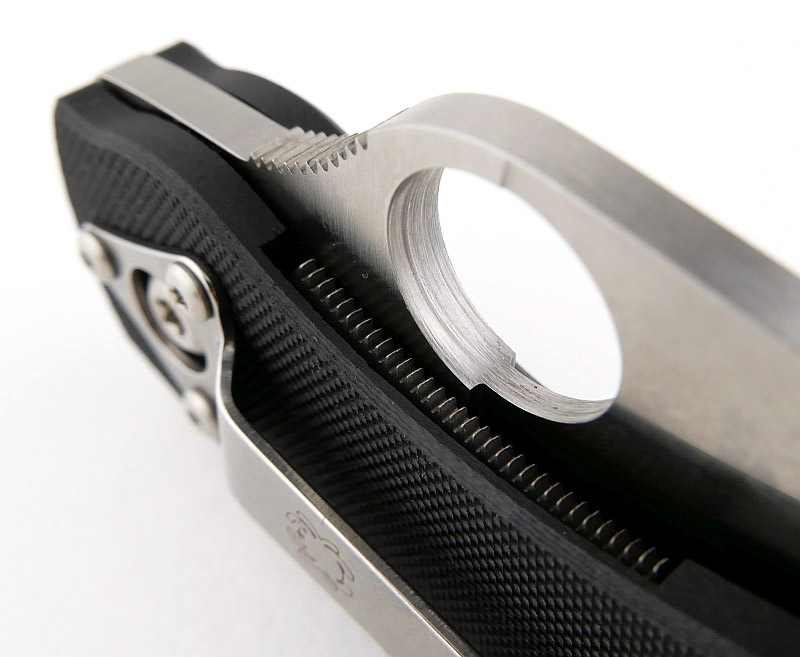
A good look round the open Soter – Things to look out for here are:
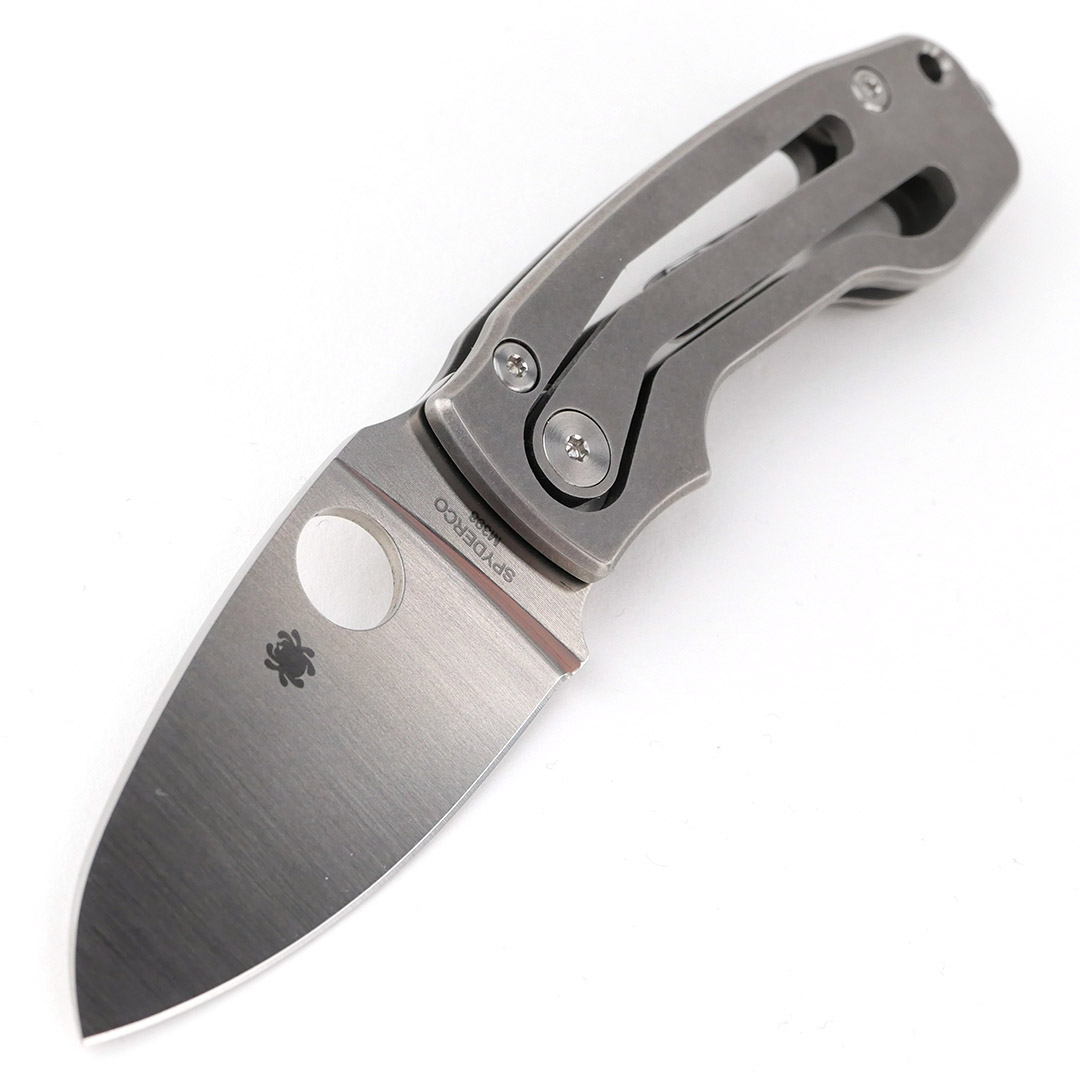
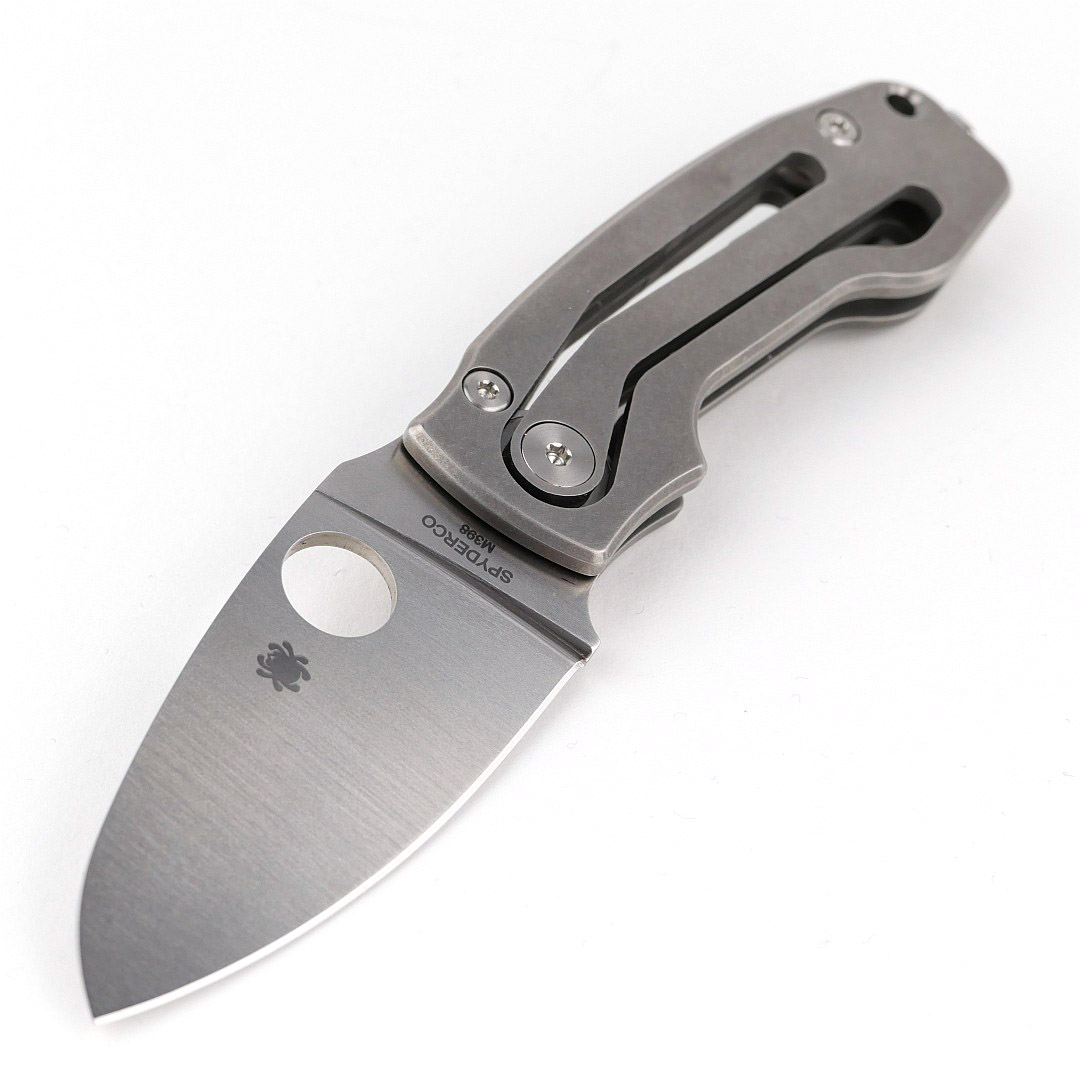
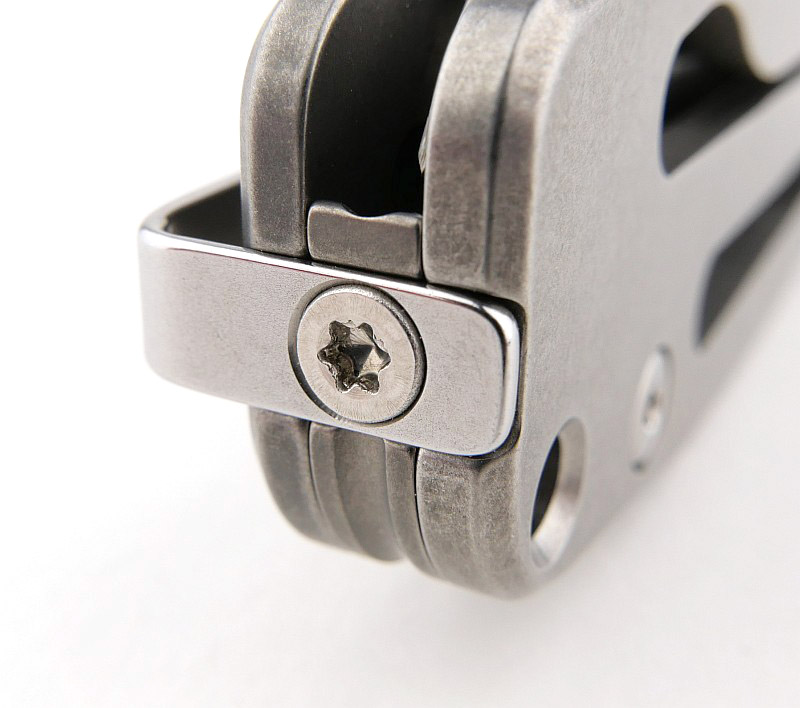
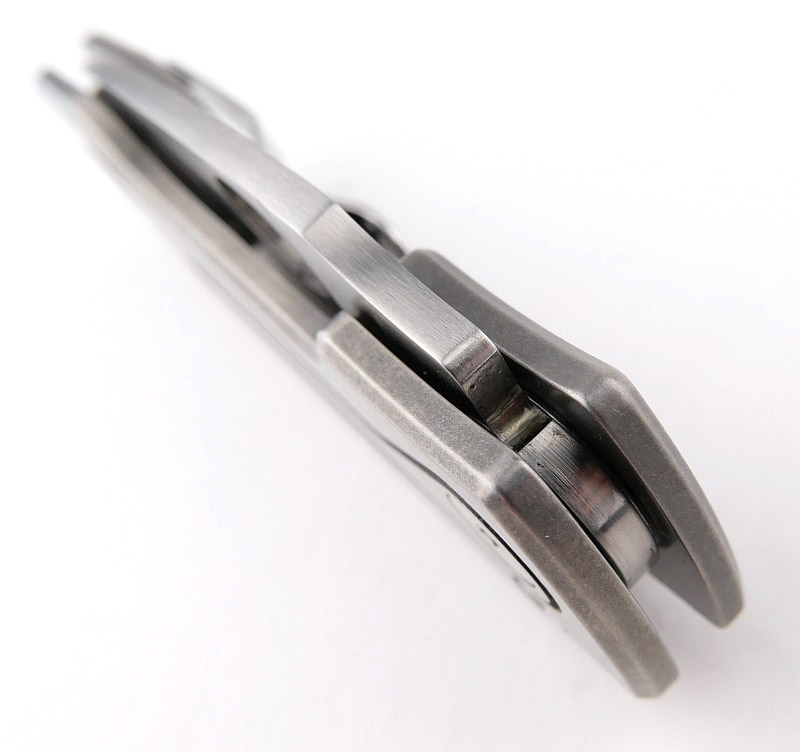
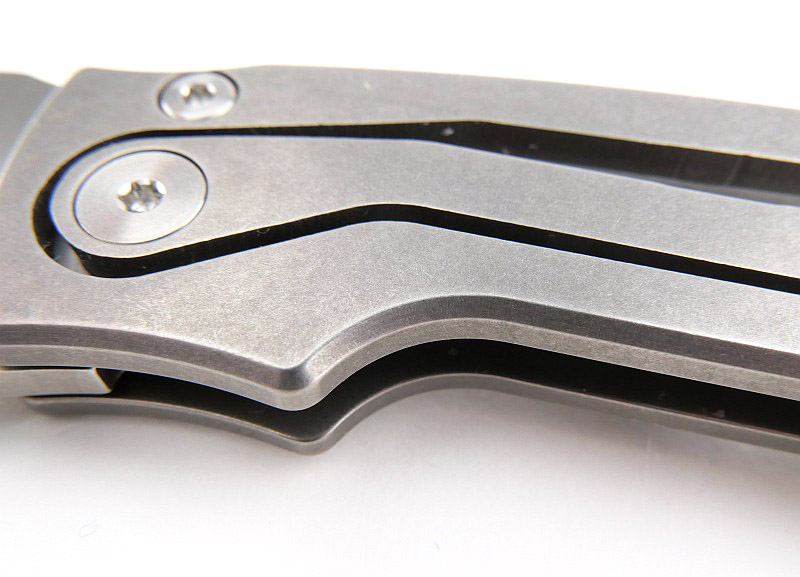
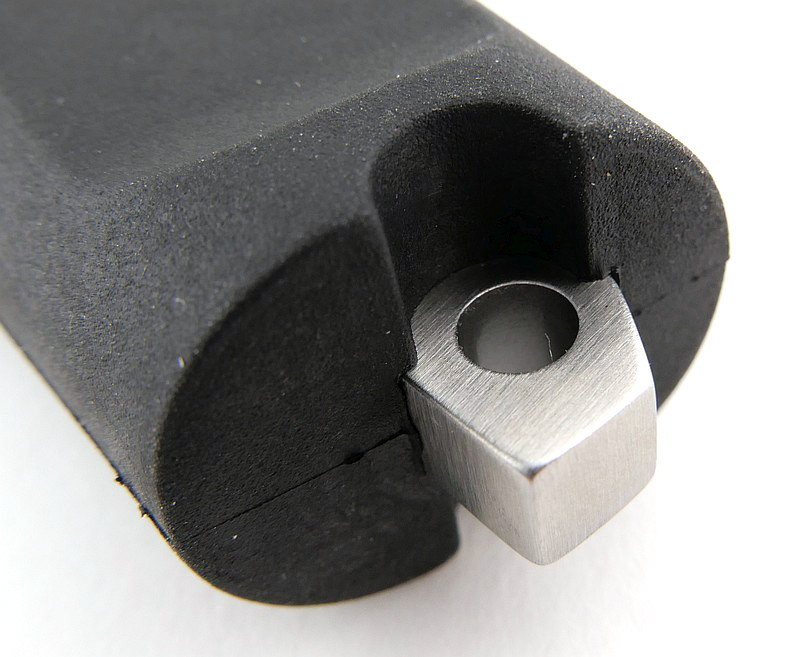
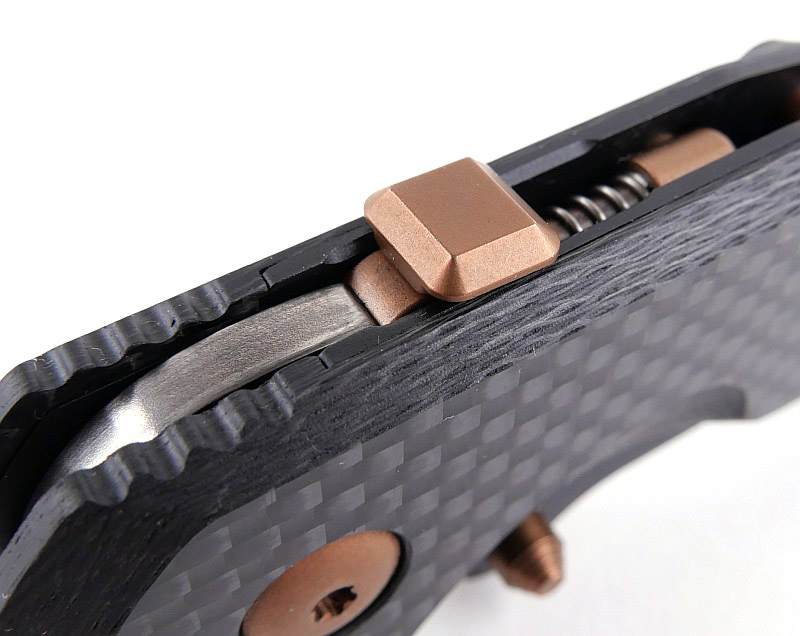
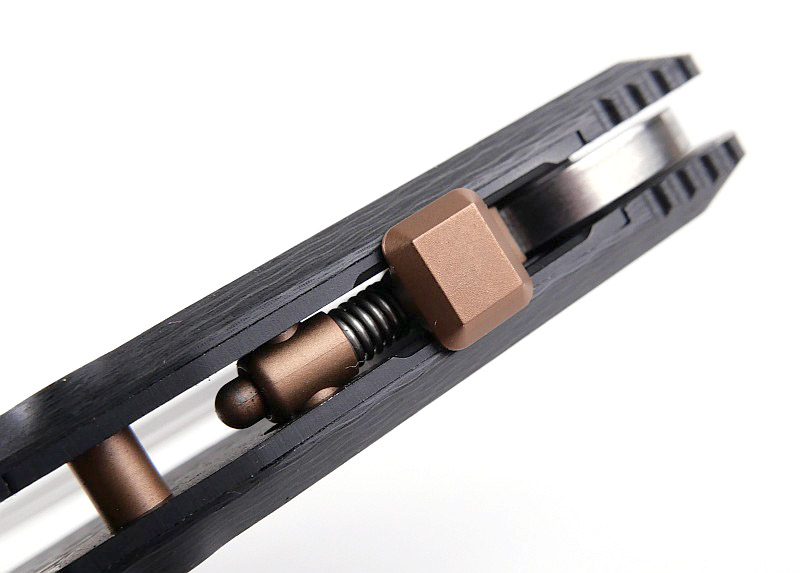
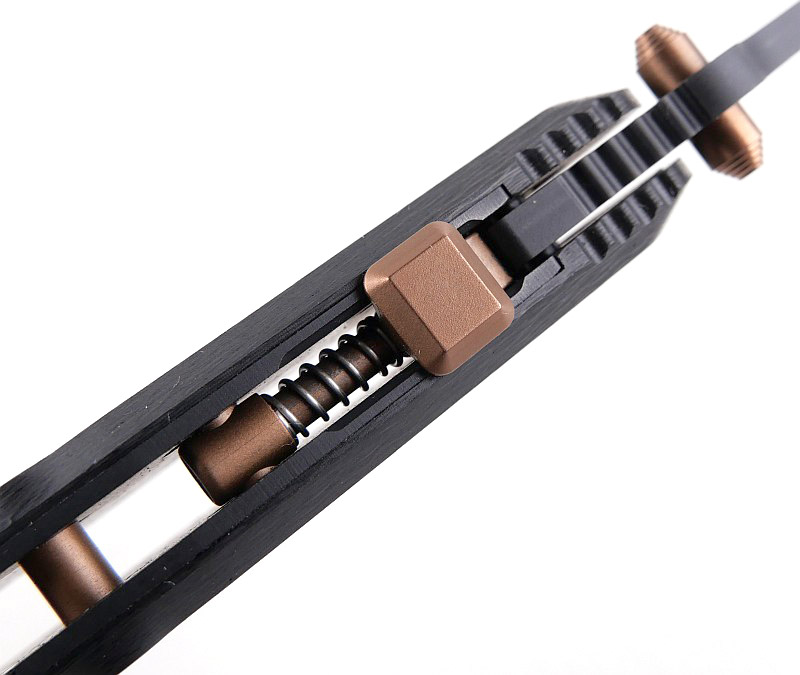
Opening the blade you can watch the RaceLock coil spring compress as the lock pin slides through its guide block; at the same time the lock button moves backwards. With the blade fully open and the lock engaged, the spring can bee seen fully extended again.
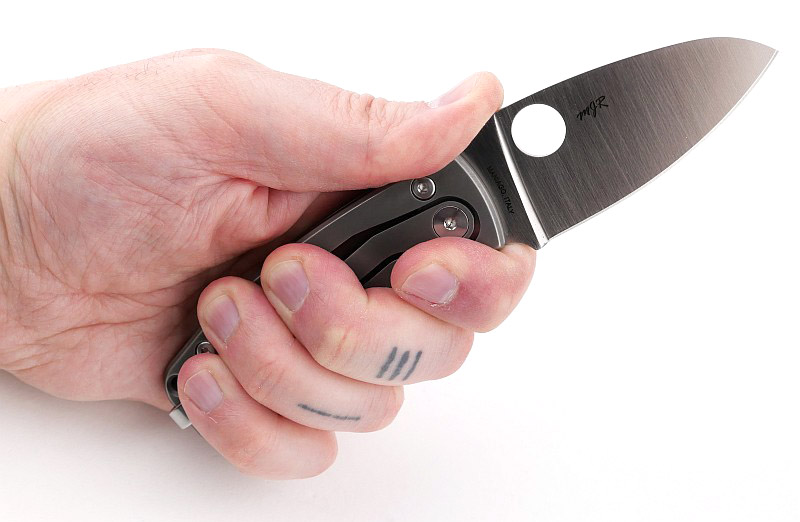
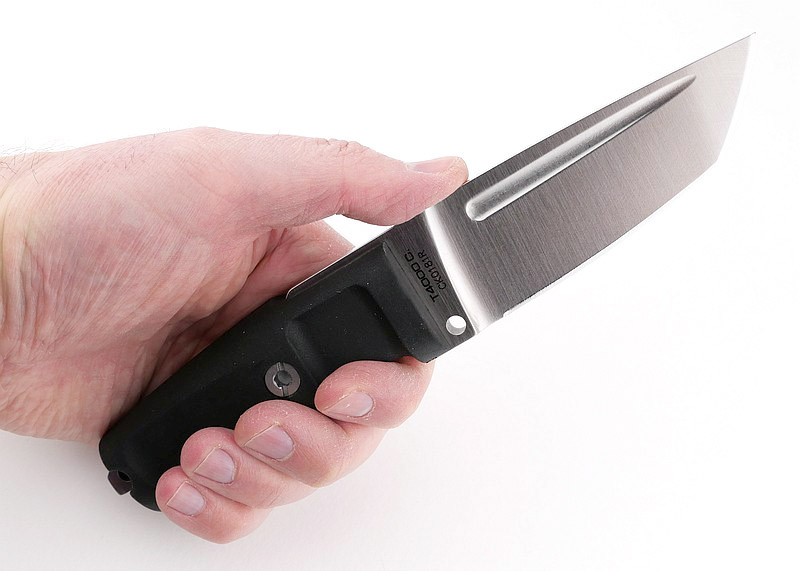
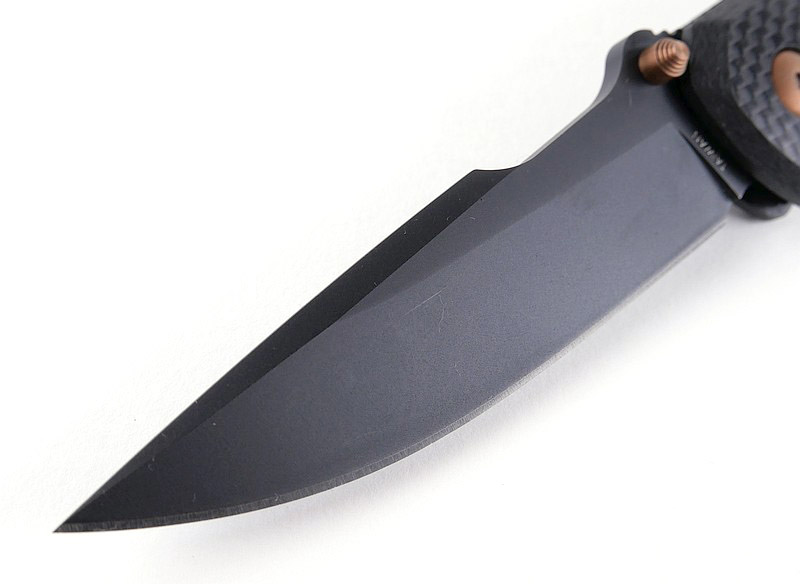
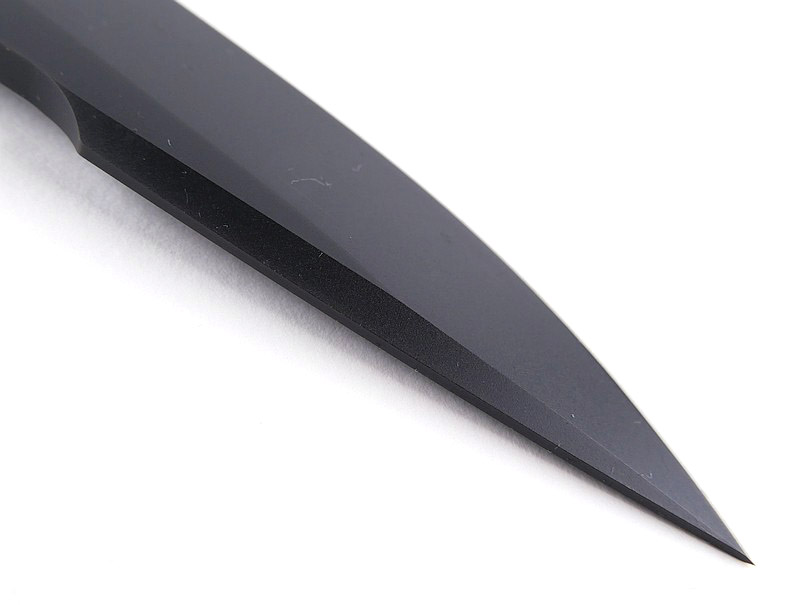
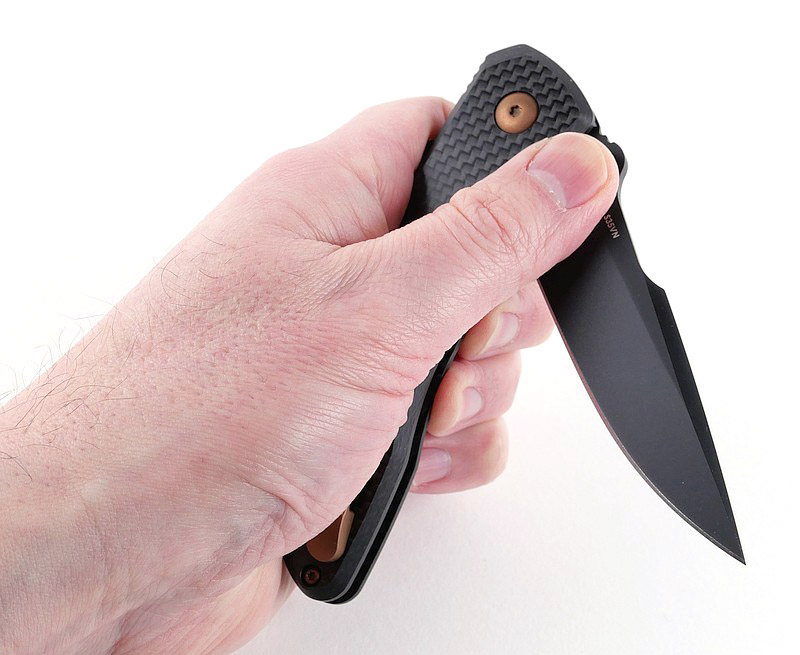
Now, with the blade open, we see the ergonomic sweep of the handle towards the narrow harpoon-point blade. Just behind the thumb stud hump, there is jimping in both the blade and handle giving you the ability to exert significant forward pressure.
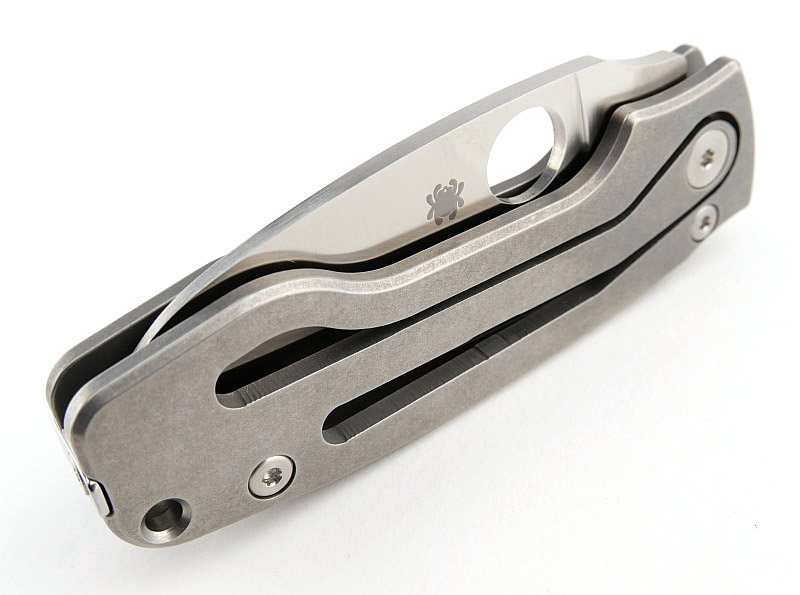
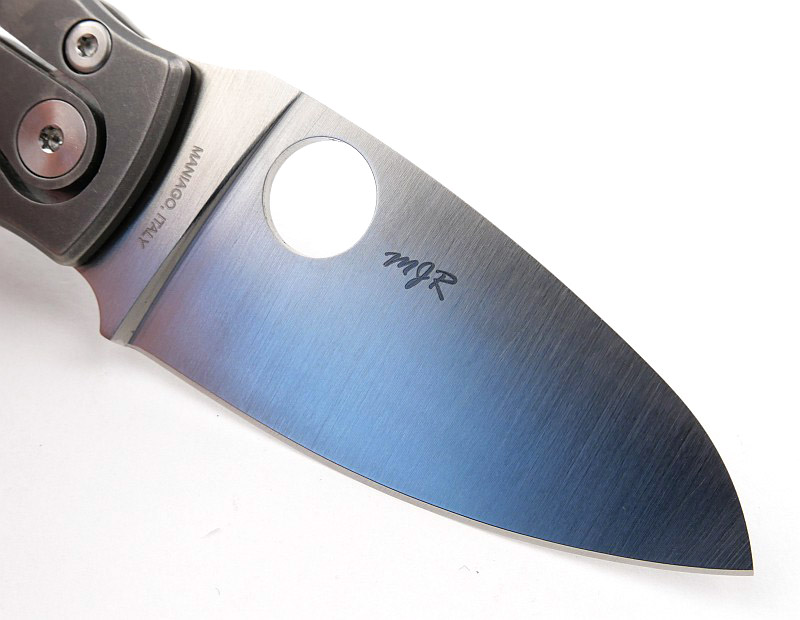
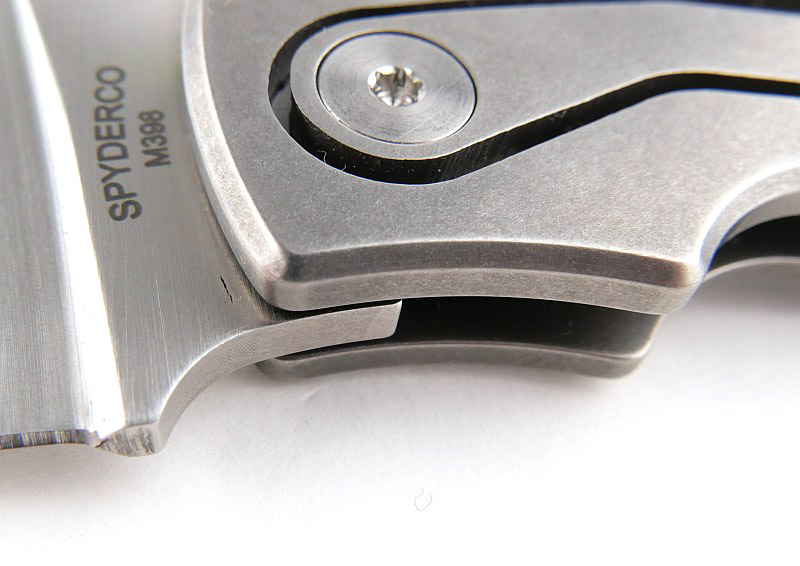
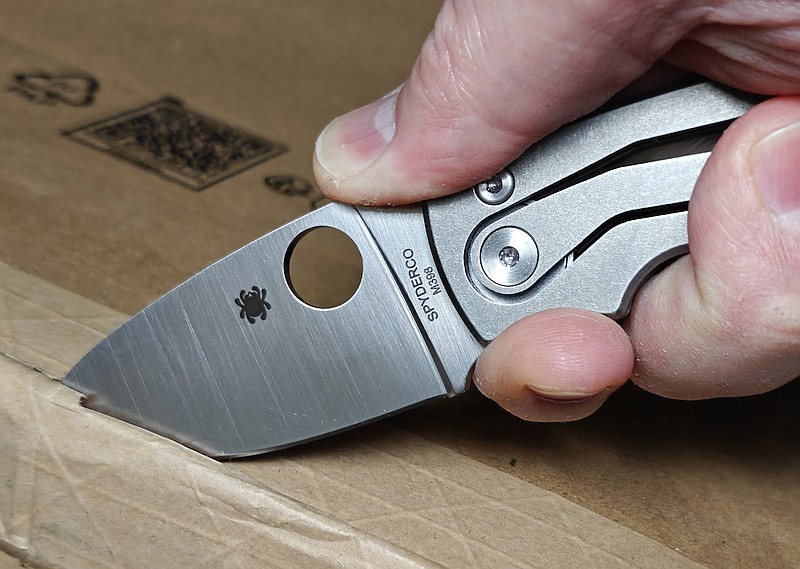
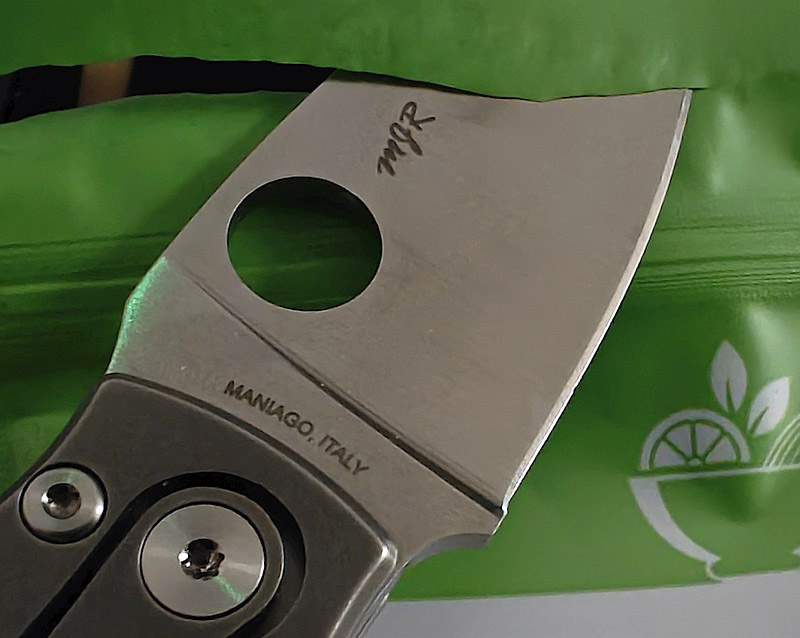
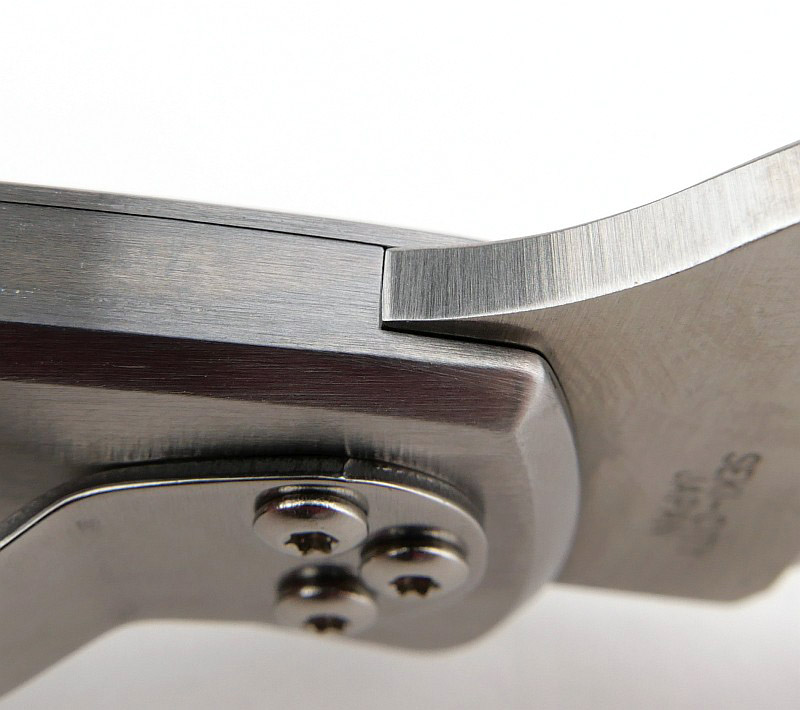
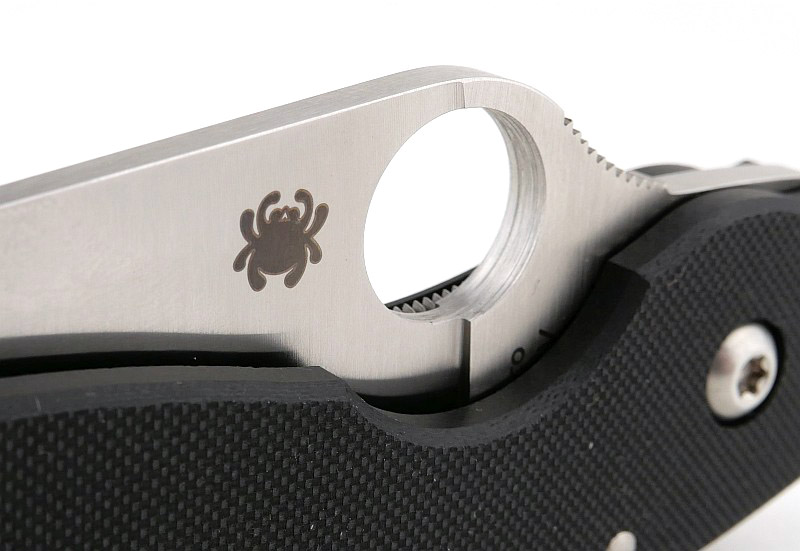
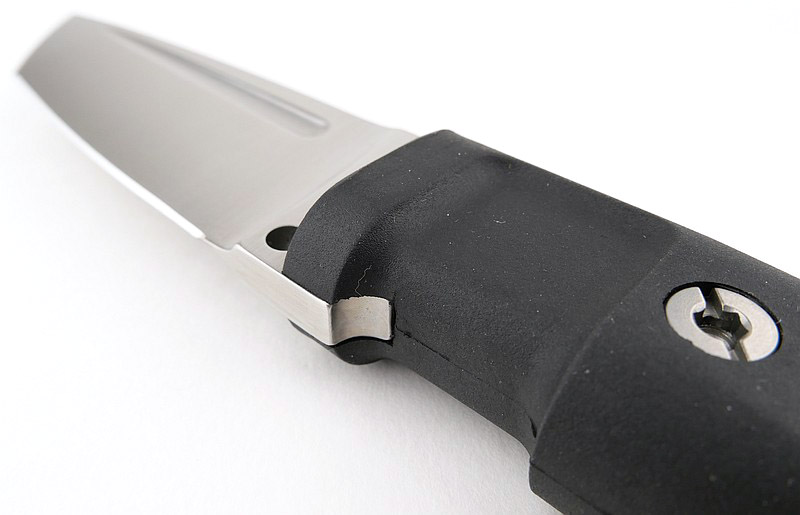
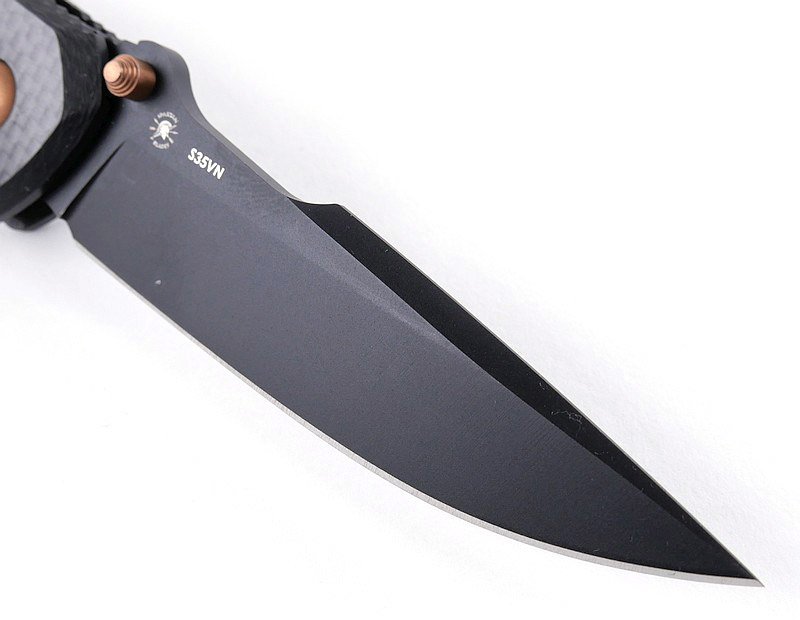
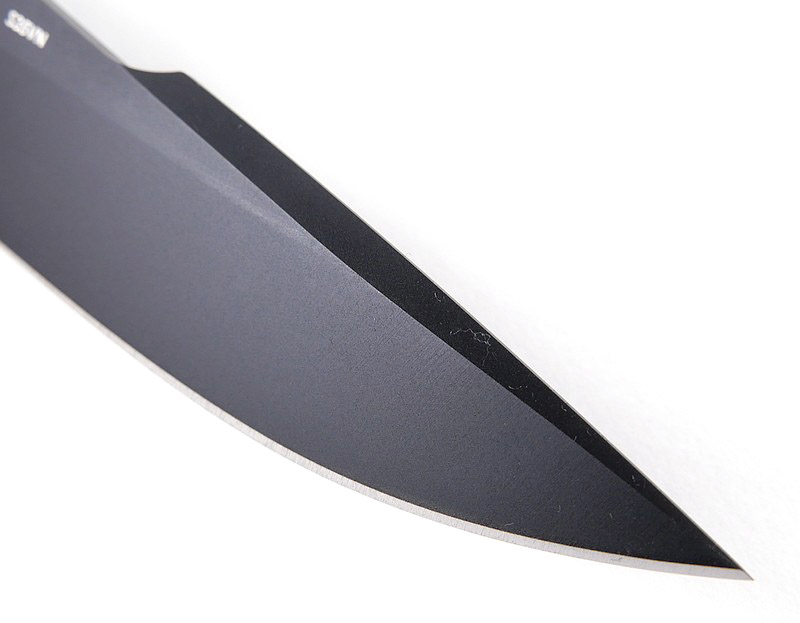
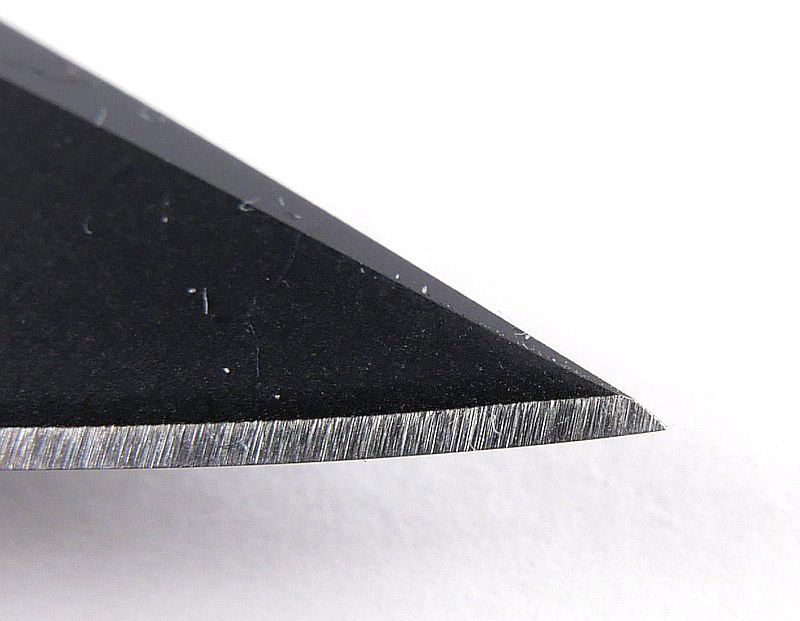
Even without the logo, the blade shape has to be a Spartan Blades blade; slim, pointy, with harpoon point, and the very matt finish. A large radius sharpening choil full exposes the heel of the cutting edge for sharpening, but also reduces the chance of hanging-up on deep cuts.


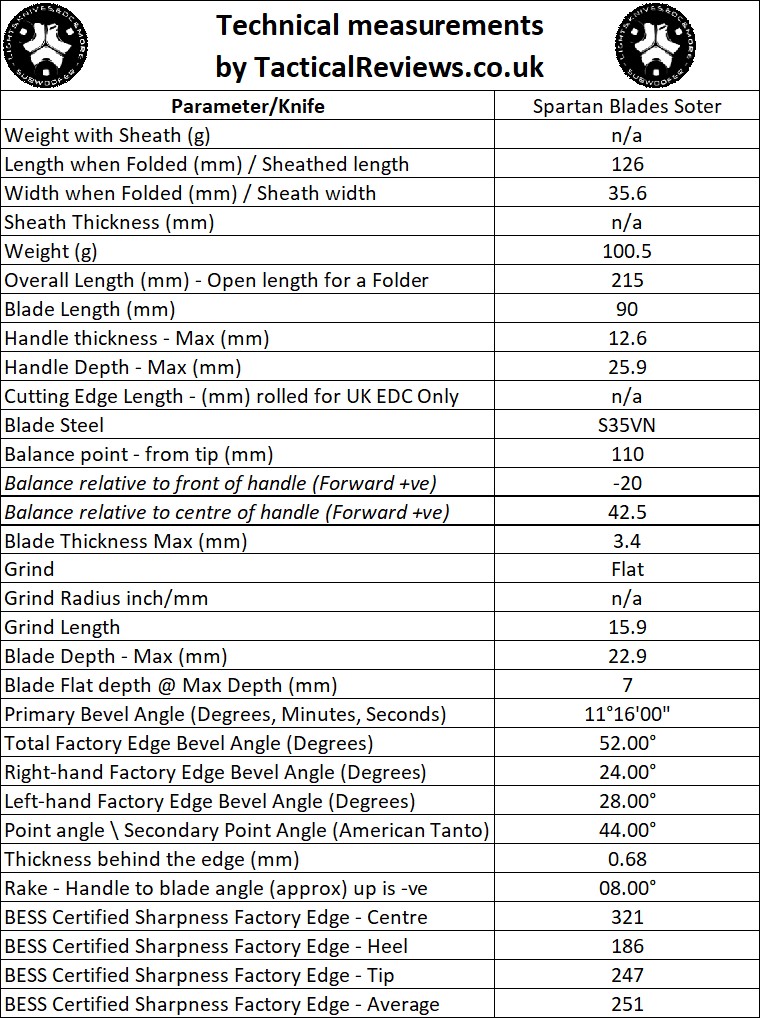
The Blade and Handle – Detailed Measurements:
For full details of the tests and measurements carried out and an explanation of the results, see the page – Knife Technical Testing – How It’s Done.
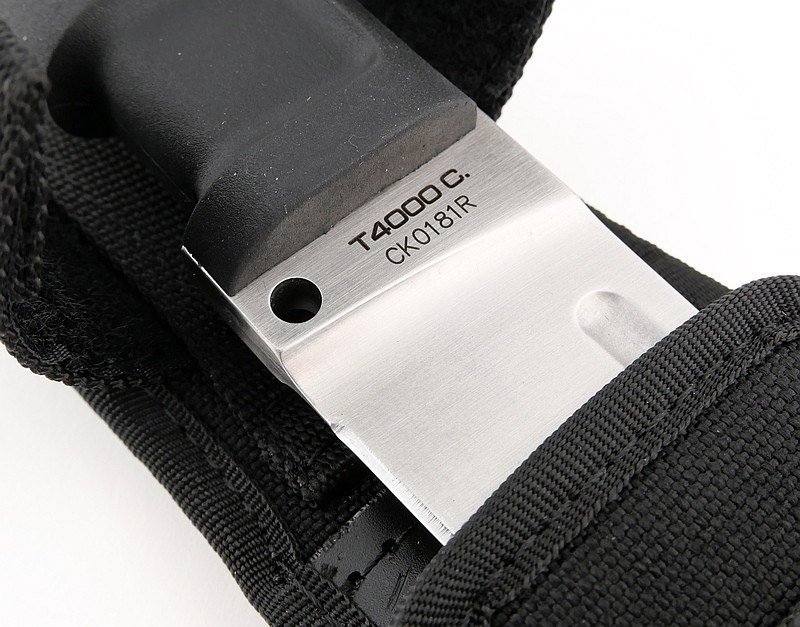
The blade is made from S35VN steel.
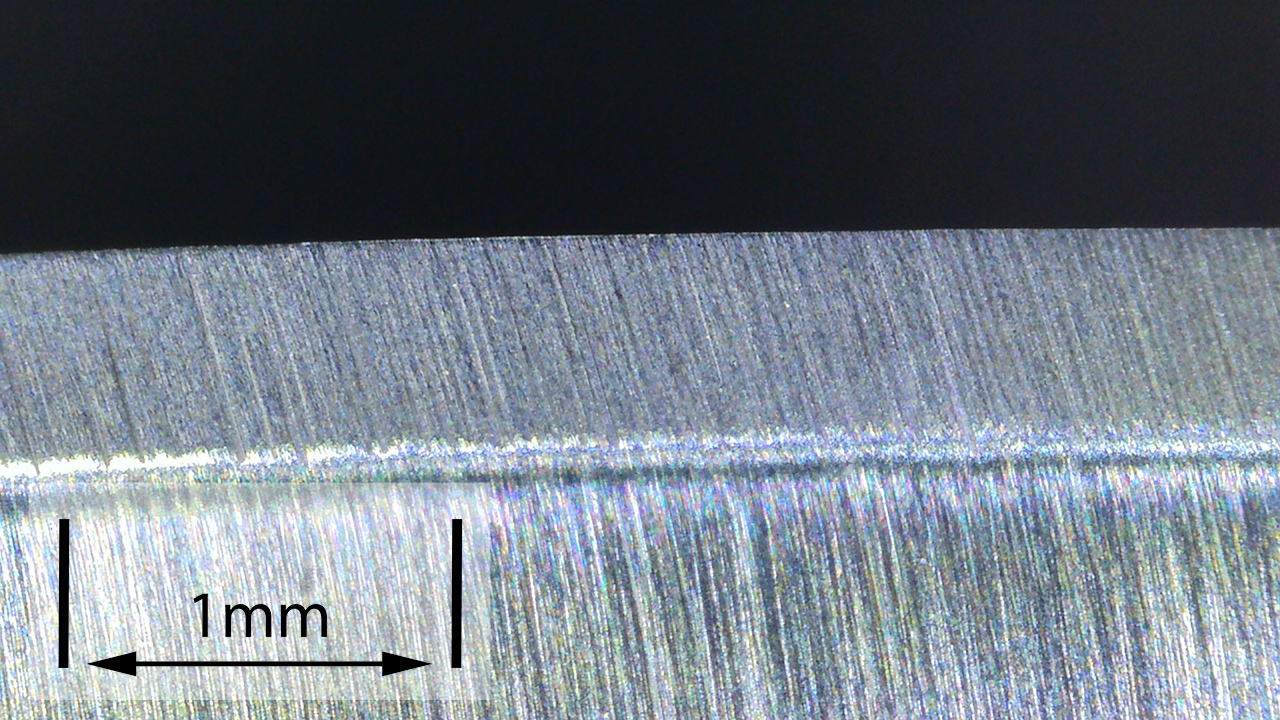
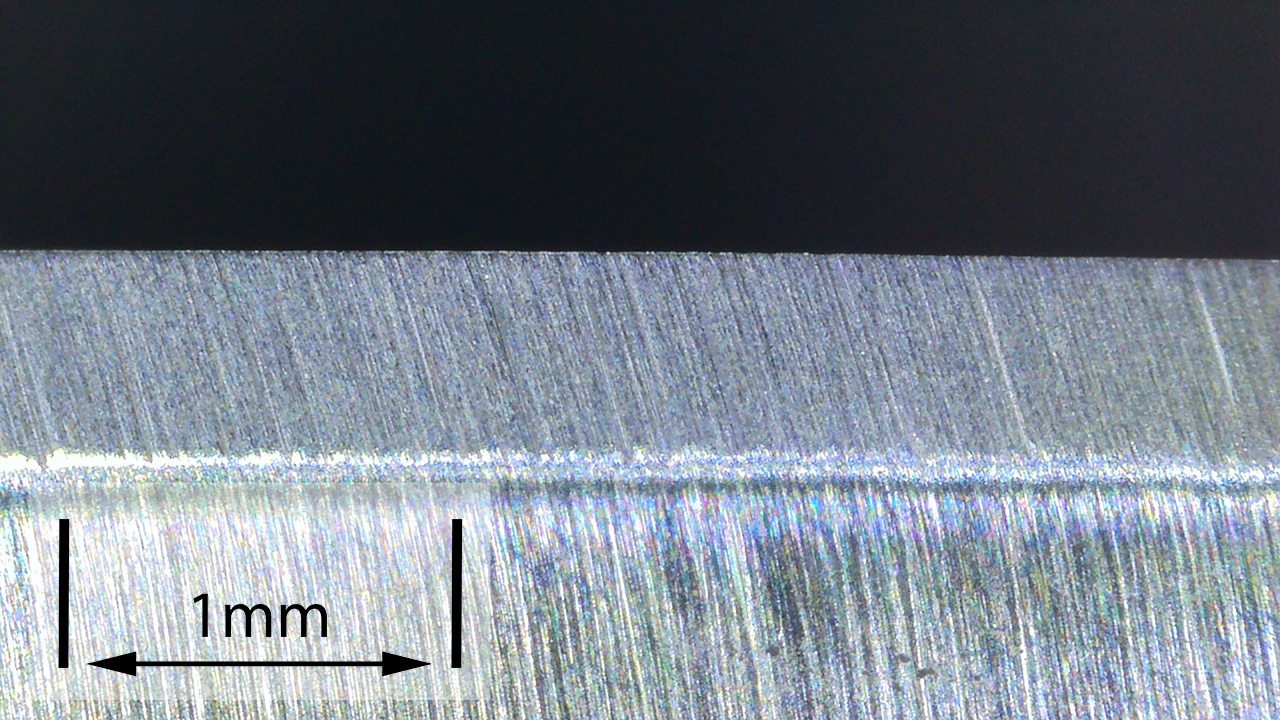
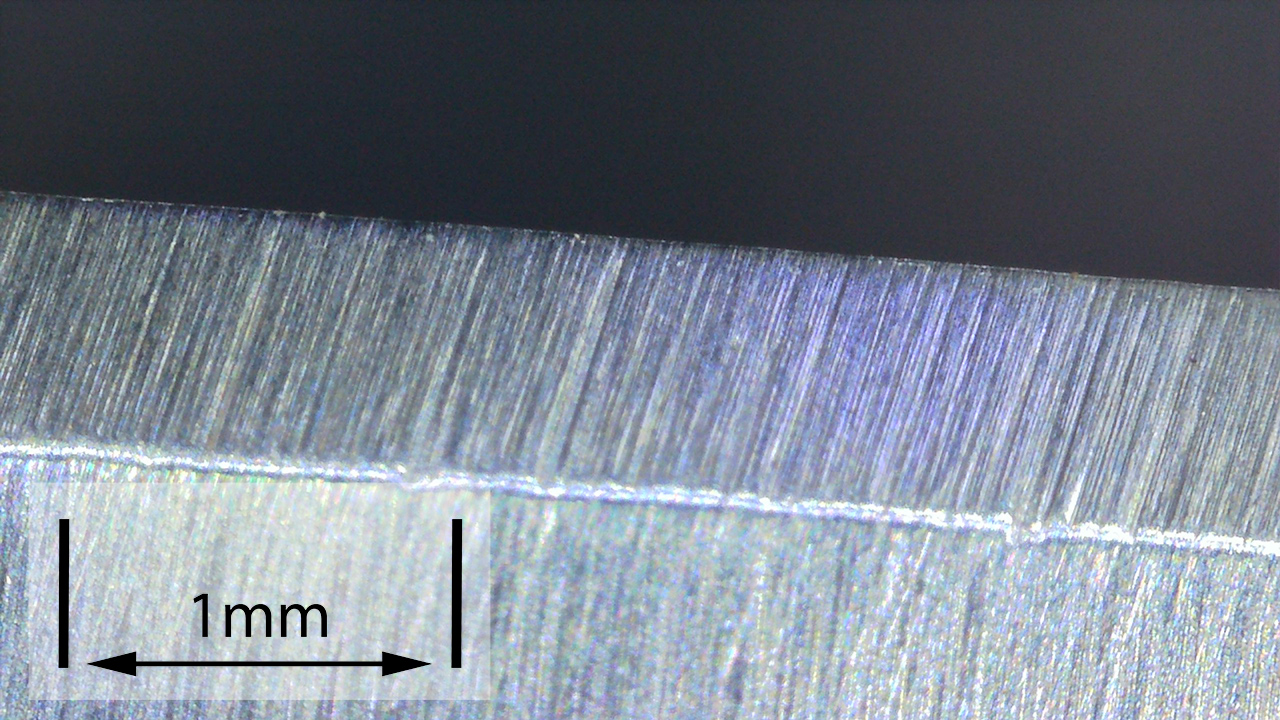
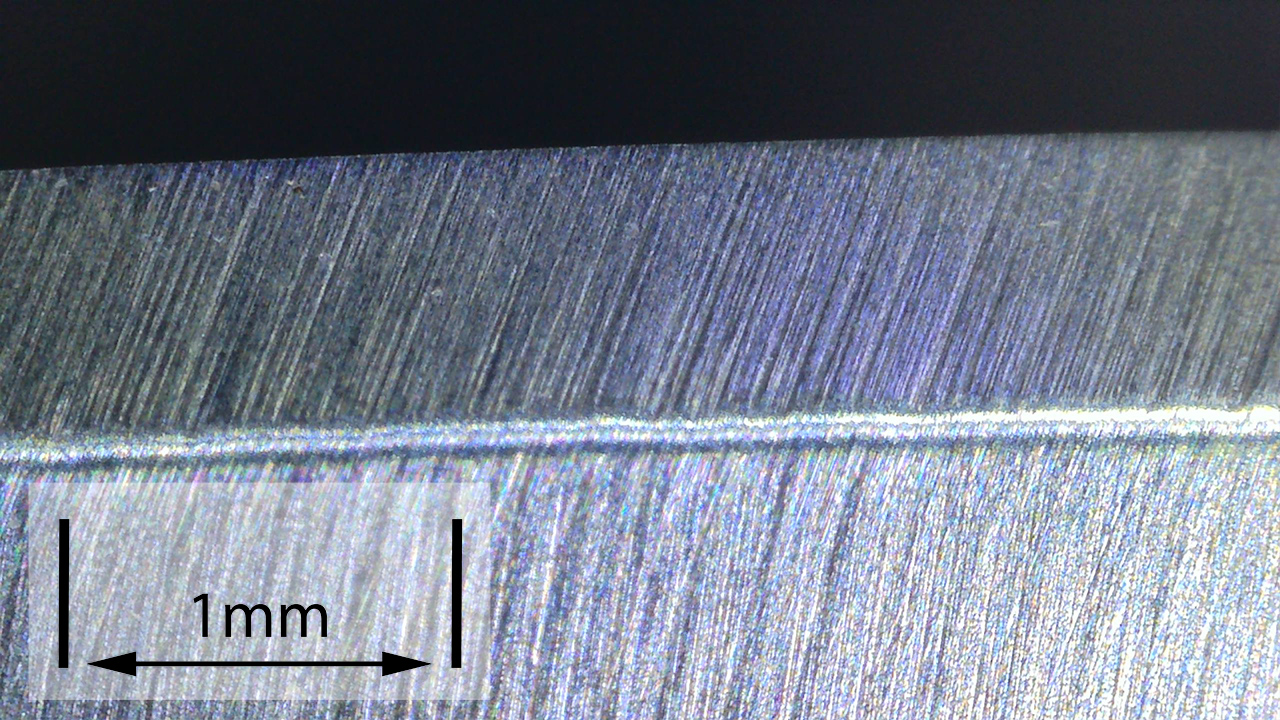
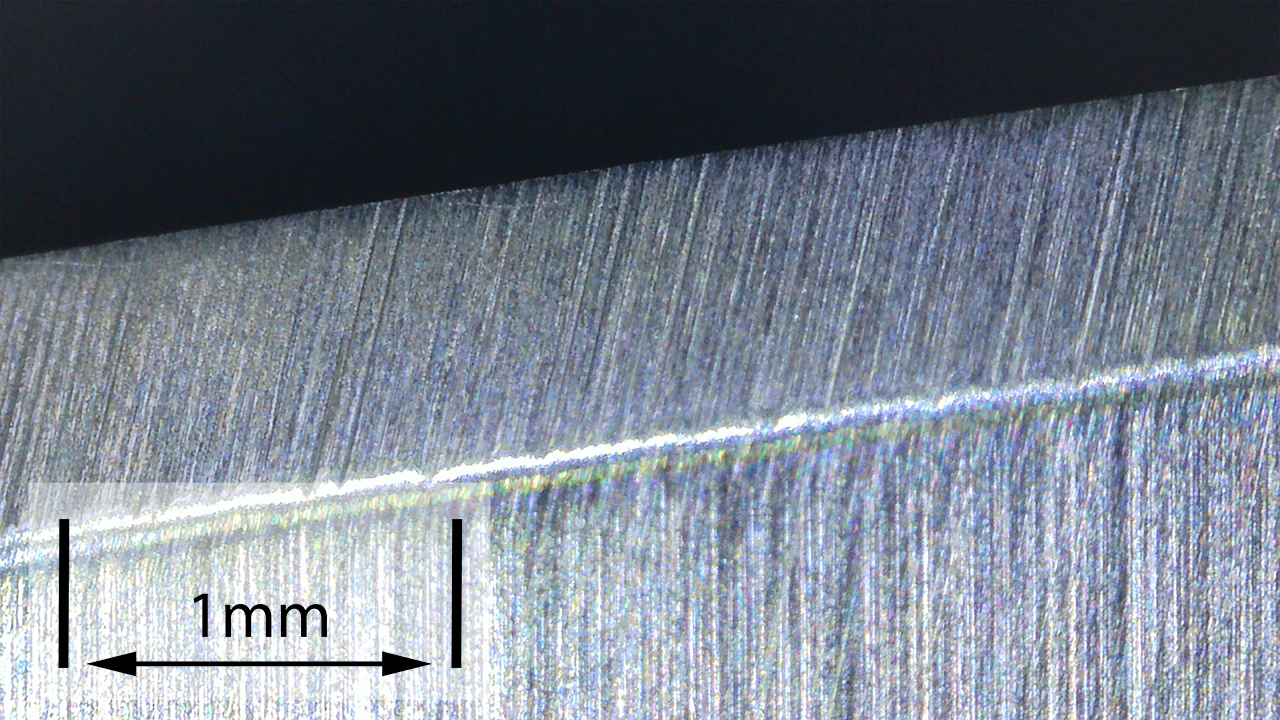
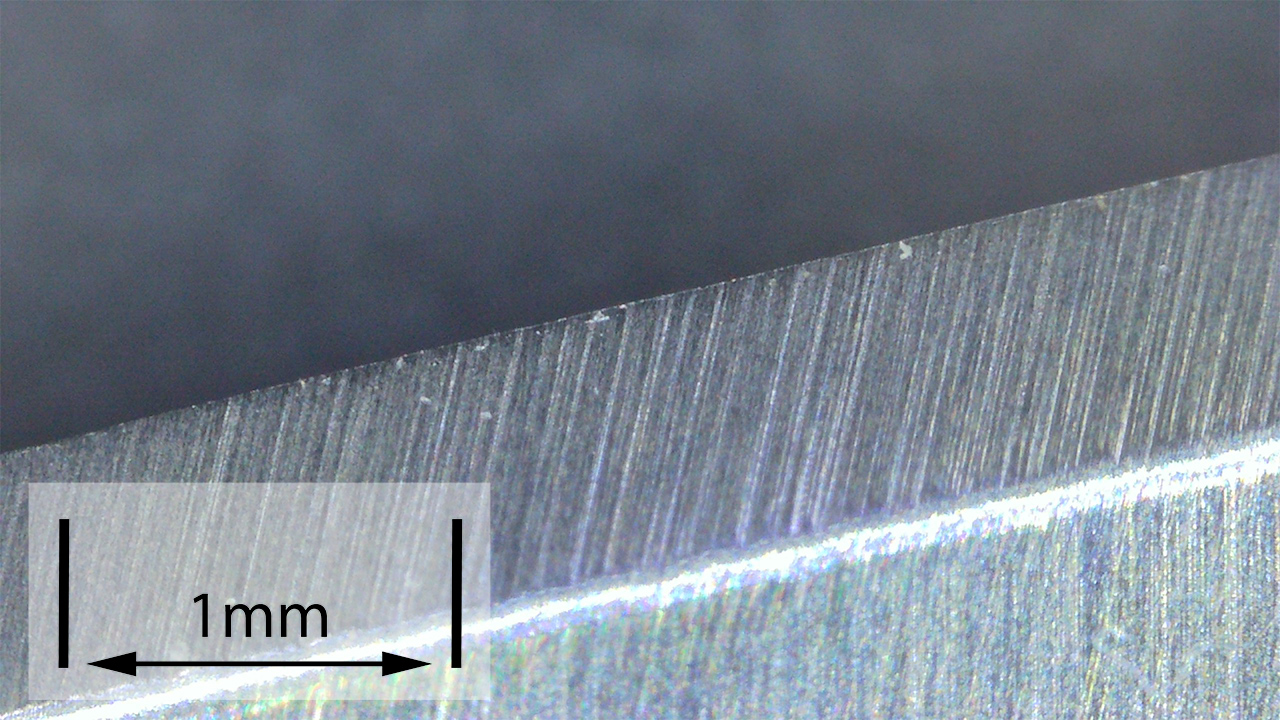
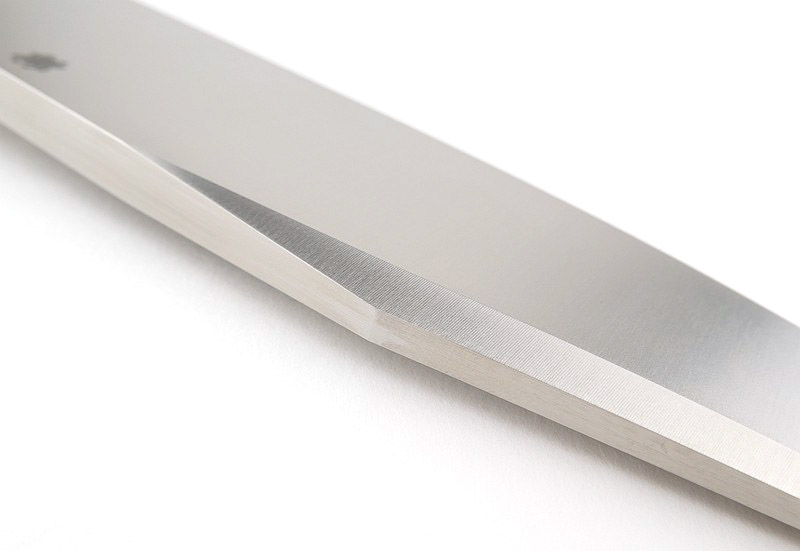
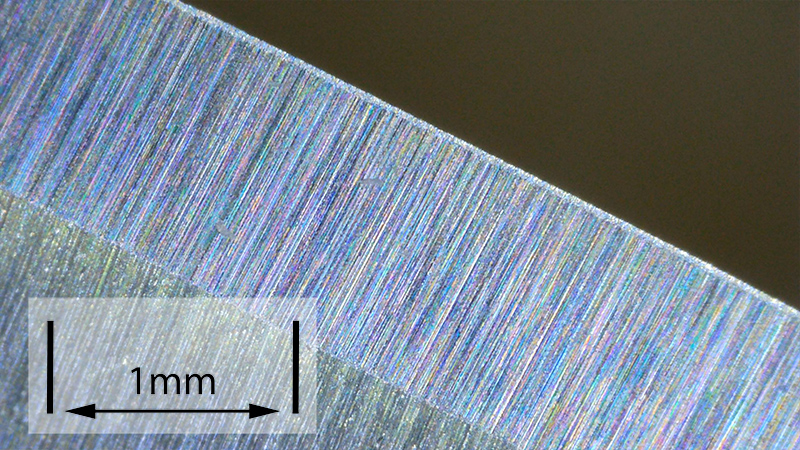
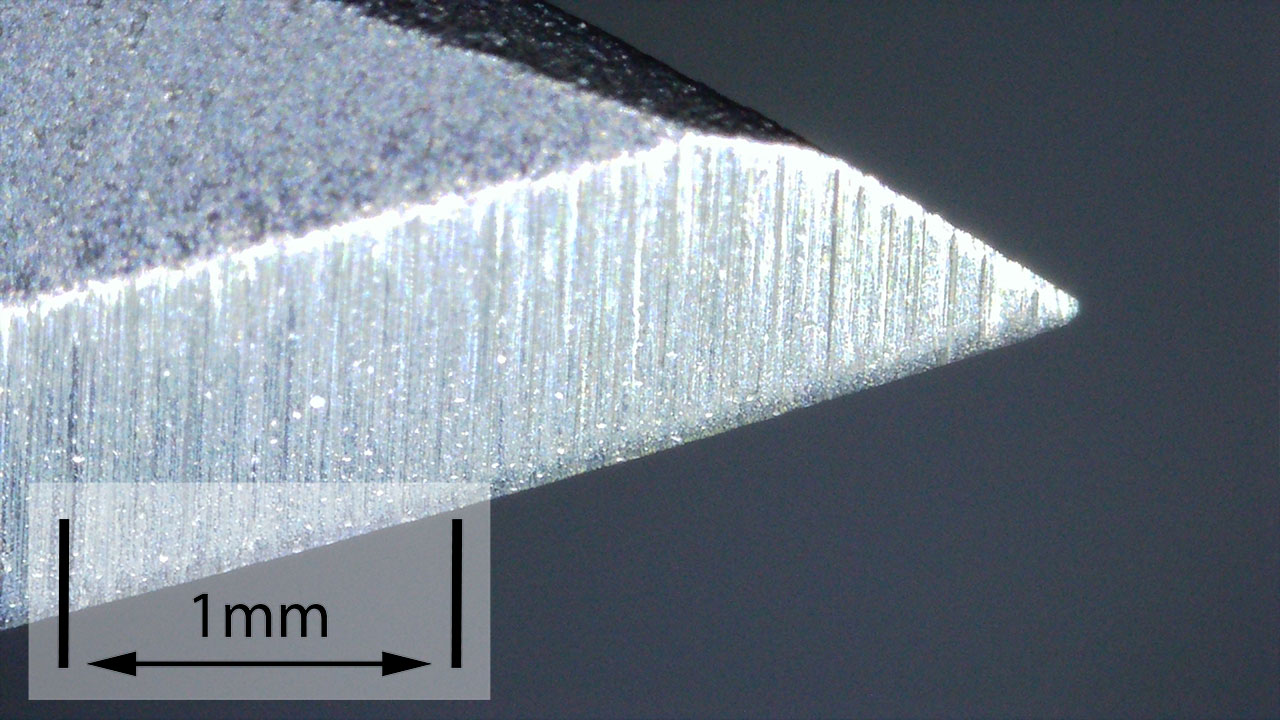
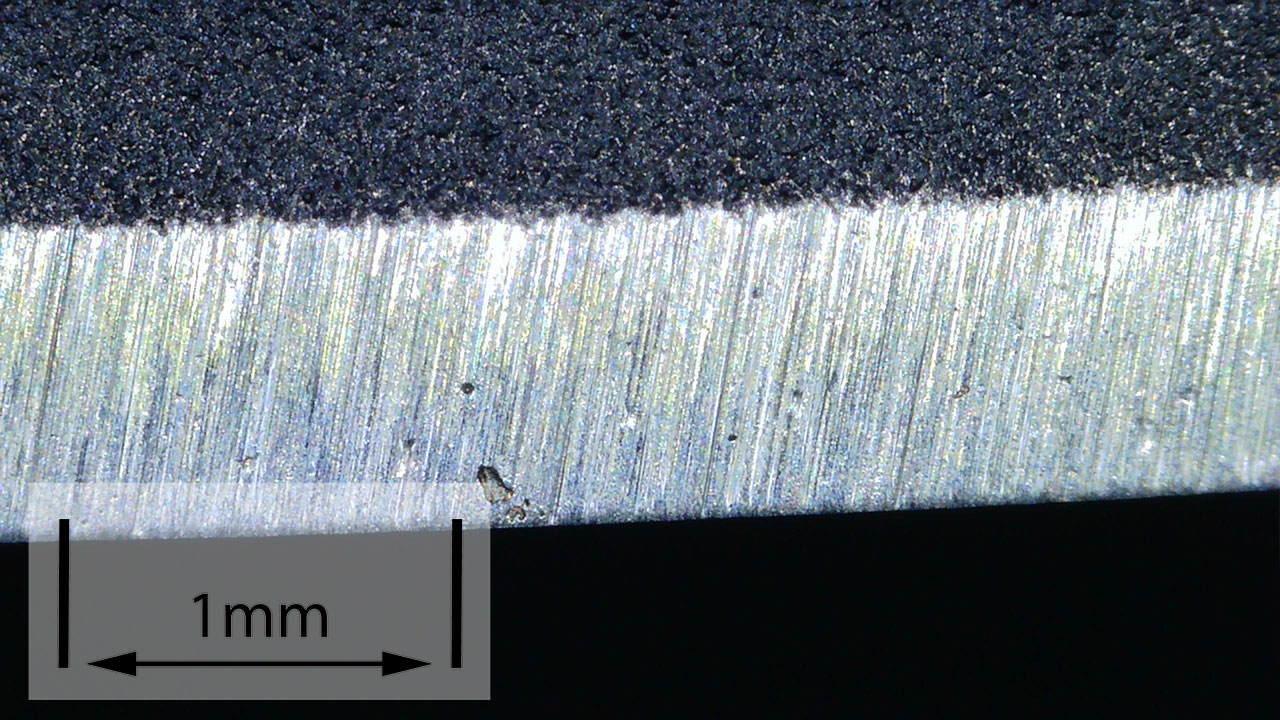
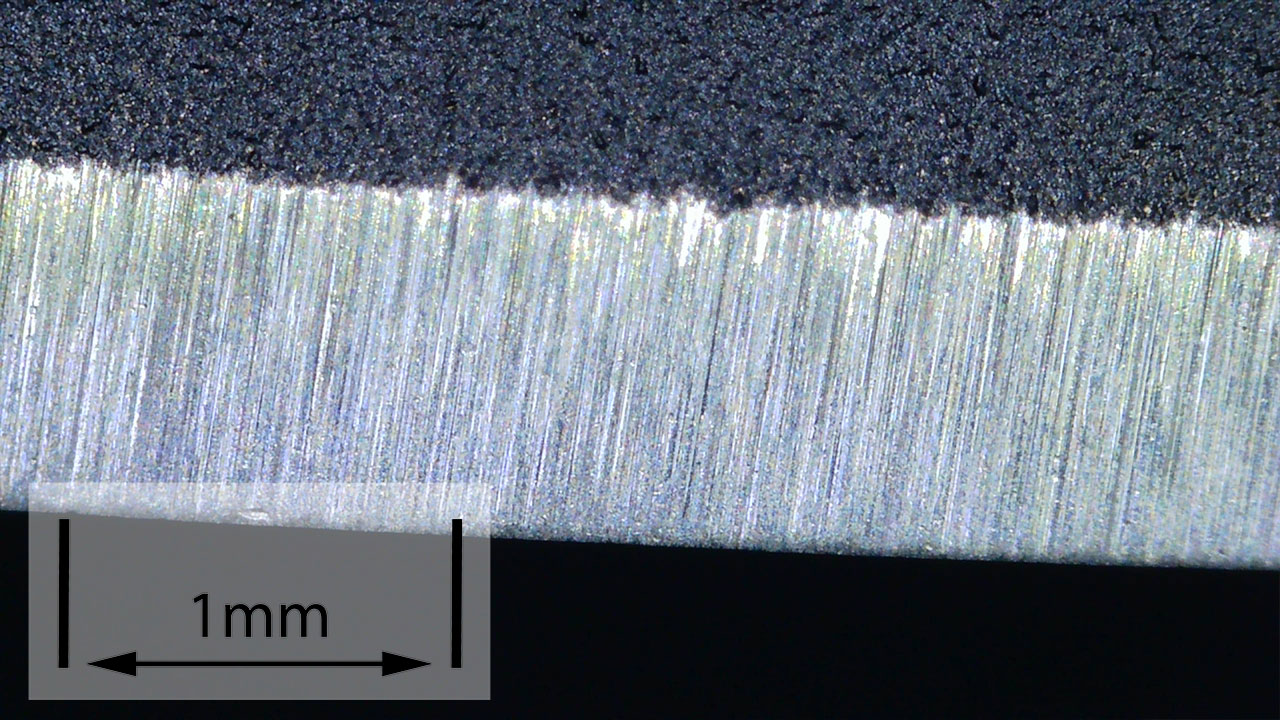
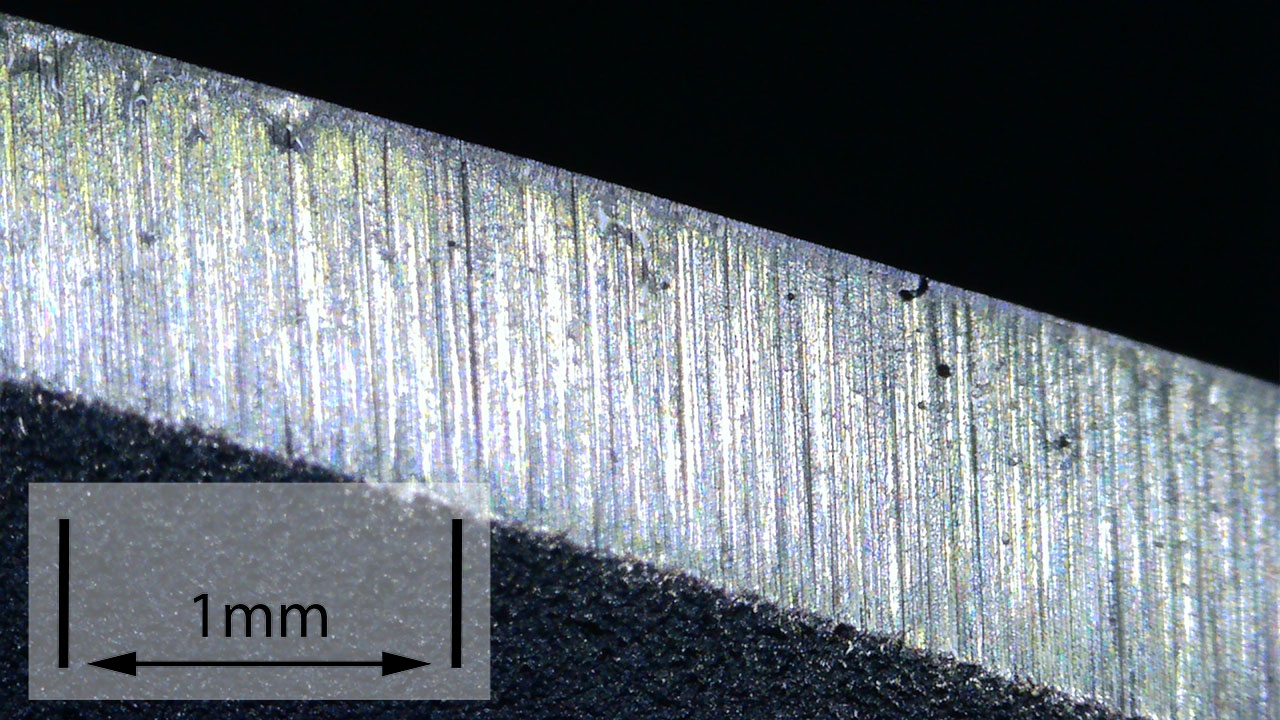
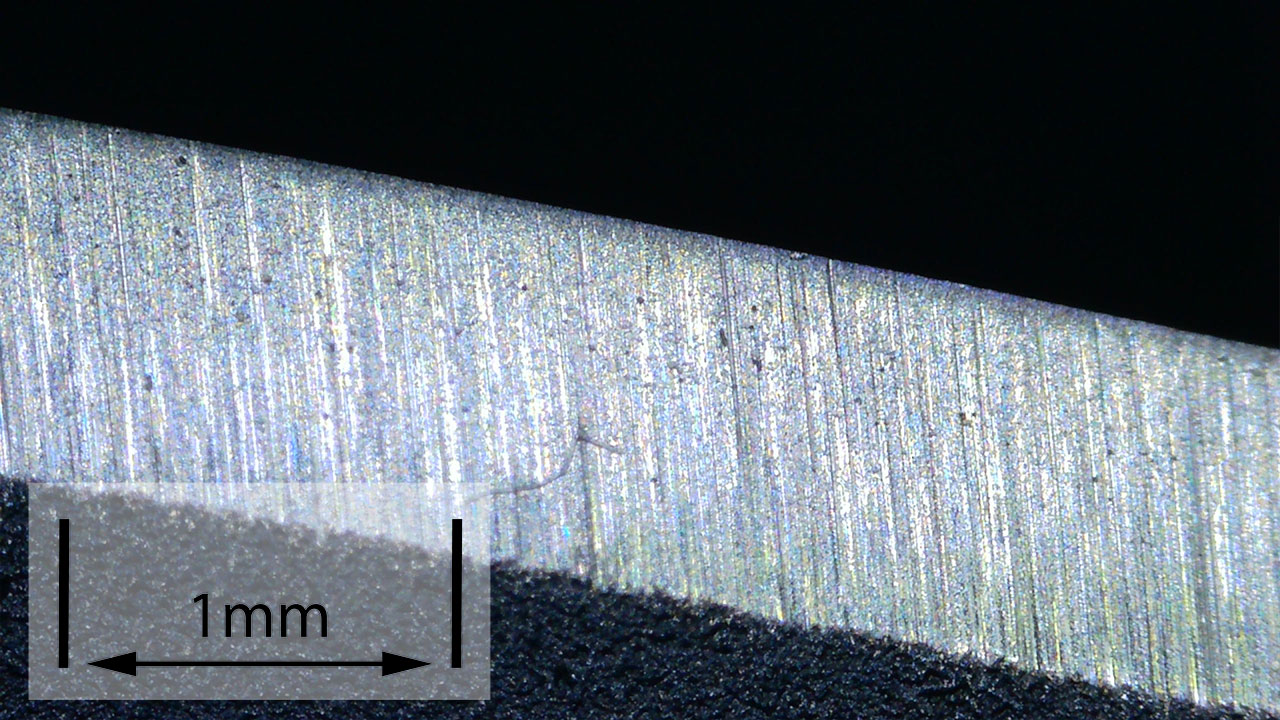
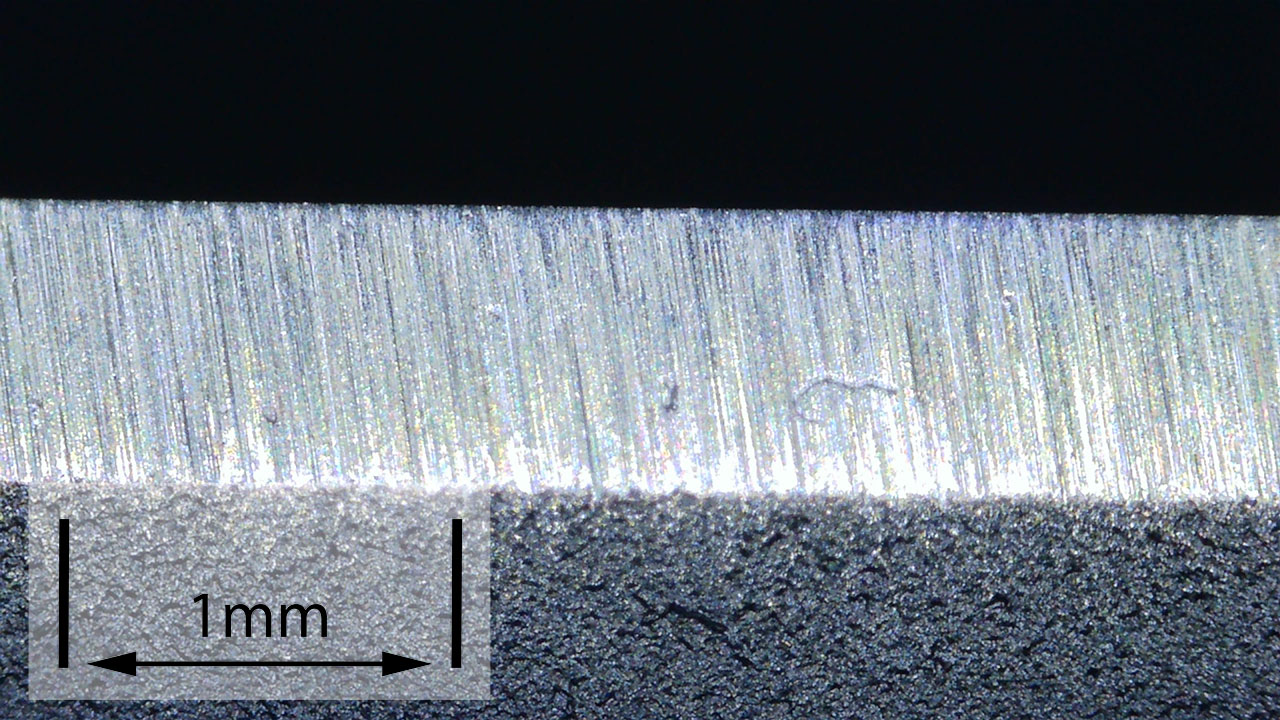
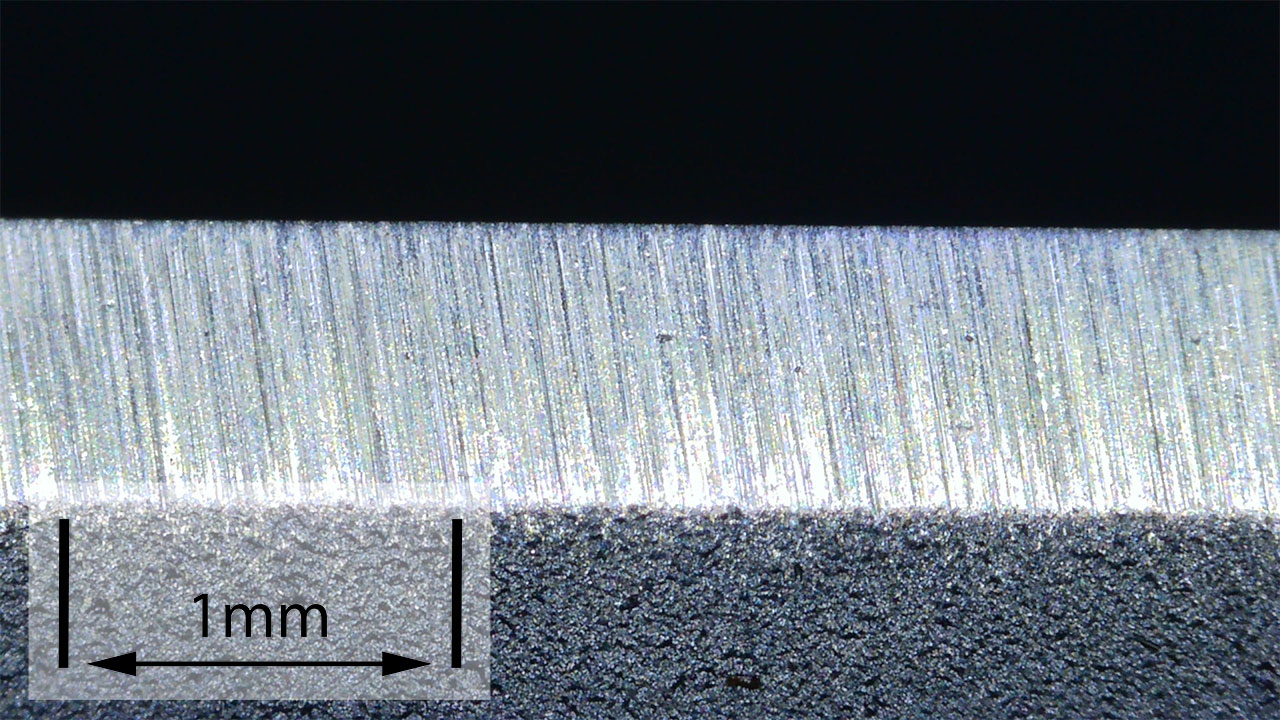
The Factory edge up close:
Followers of Tactical Reviews will know my views on factory edges, but to recap:
Anyone using a knife will need to sharpen it. That first factory edge is just like the first tank of fuel that a new car comes with (or first charge of the battery).
A good factory edge is a ‘nice to have’ but not a ‘make or break’ for a good knife, as you will be putting your own edge onto it soon enough.
The factory edge does however indicate the care a knife maker has put into the final finish.
It is for this reason Tactical Reviews measures factory edge sharpness and specifications, and includes this information in the detailed technical testing.
As a further look at the factory edge, this section has been added to include some high magnification photos of the factory edges.
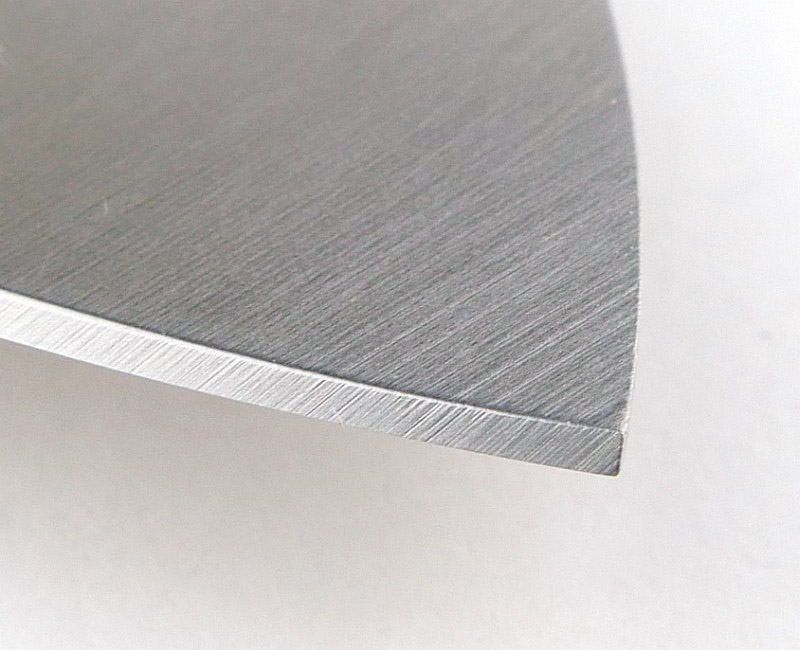
This edge is a 52 degree inclusive and average BESS of 250, but actually cuts much much better than those numbers would suggest. I was going to re-profile to 17.5 DPS but found I didn’t have to. A nice eager edge.
Spartan Blades Soter Review – What is it like to use?
Before I even took this knife out of the box, Spartan Blades were in touch about the smallest first production run issue I’ve come across. Amazing customer service offering to replace / refund the knife. And that first production run issue?; it was if you slammed the blade shut, the cutting edge might contact a small screw in the RaceLock. I’ve come across plenty of knives that the cutting edge can knock inside the handle, and never before an offer from the maker to rectify. Spartan Blades proving how honourable they are and how important it is to them to get it 100% right for their customers.
I did not want to take up this offer, and in normal use I’ve not encountered this potential issue, but I’d like to thank Spartan Blades for their honesty and immediate offer of action.
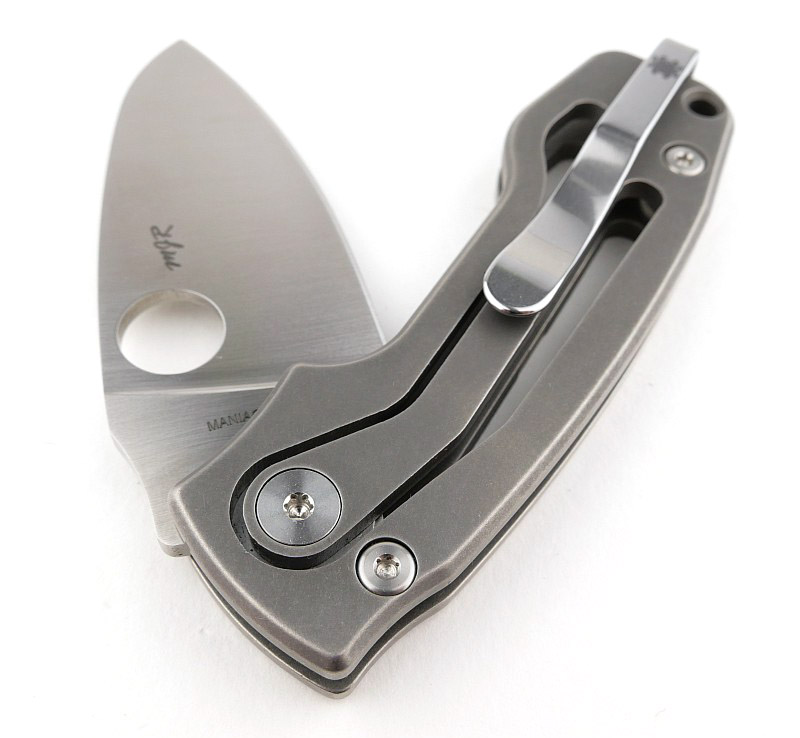
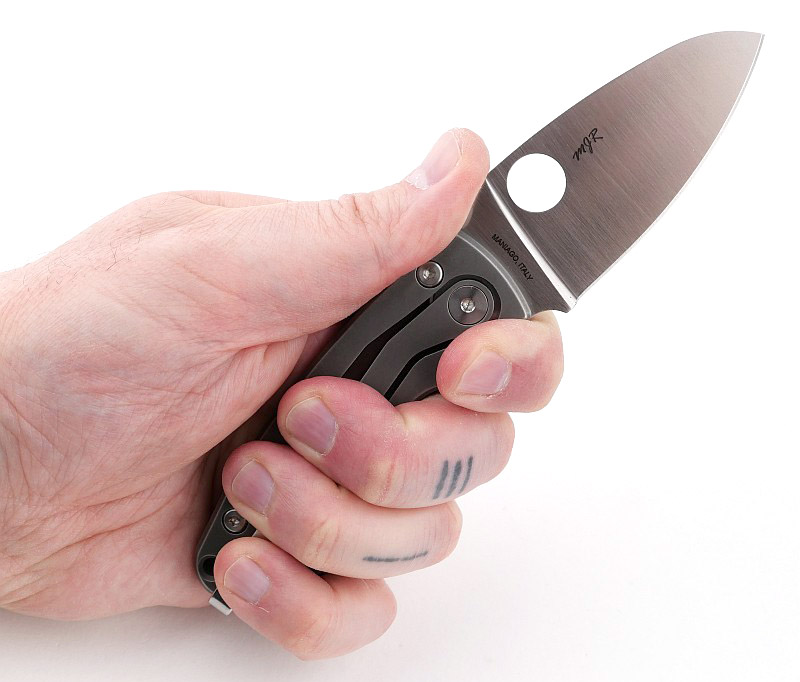
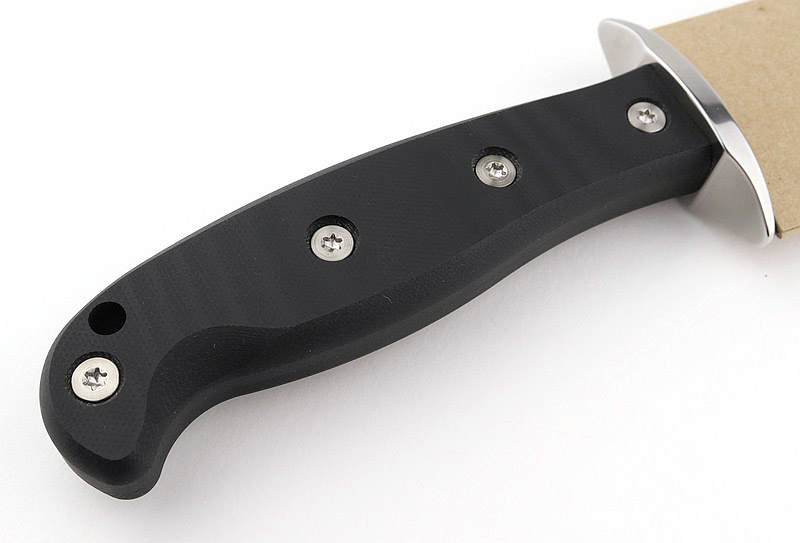
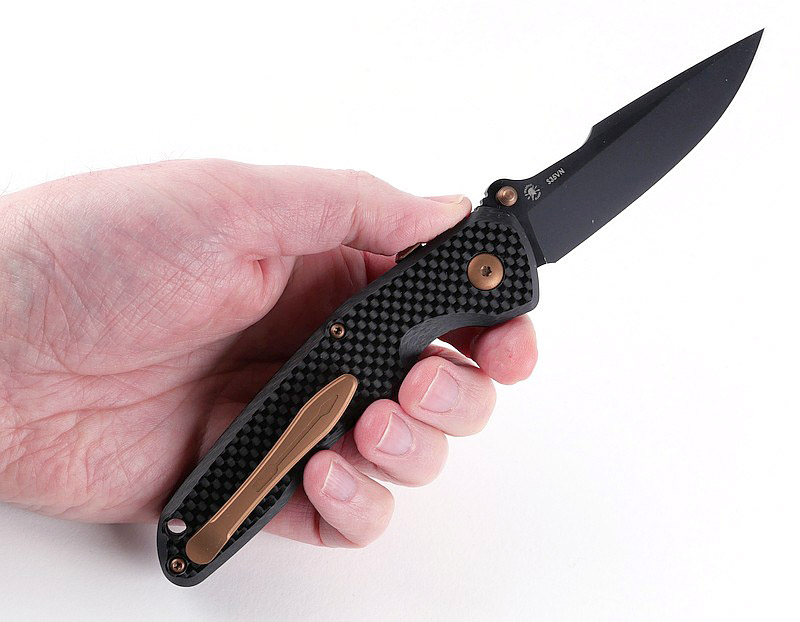
Compared to other Spartan Blades folders I’ve handled and used, the Soter is a much slimmer knife, both folded and open. The curve of the handle encloses most of the blade making it nicely compact while still having a very useful length of blade and handle.
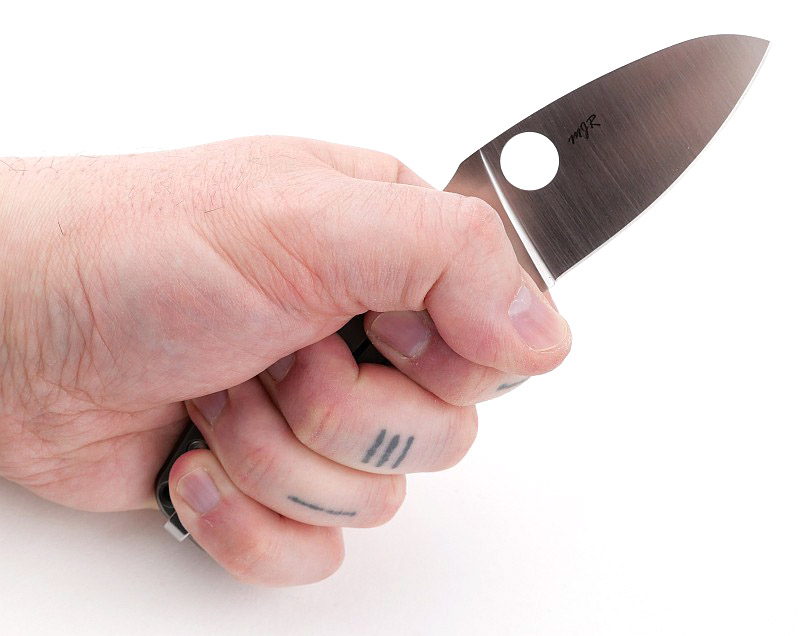
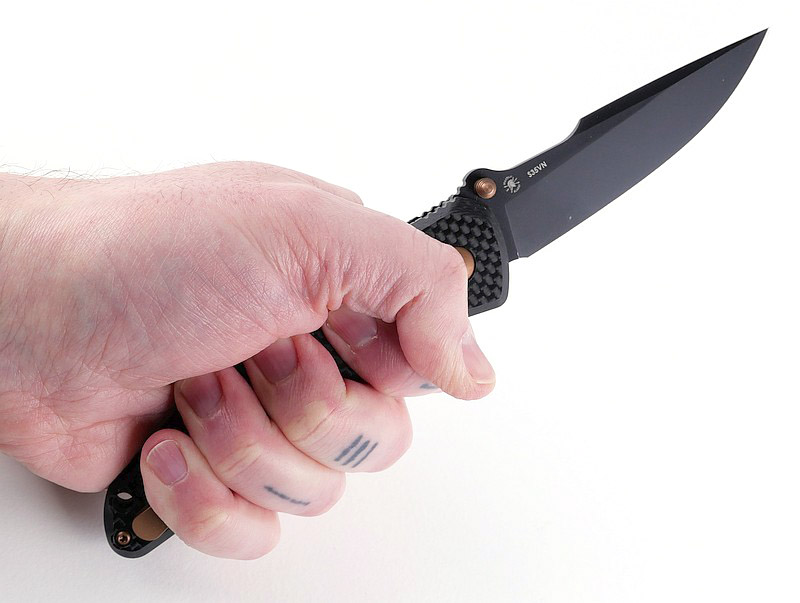
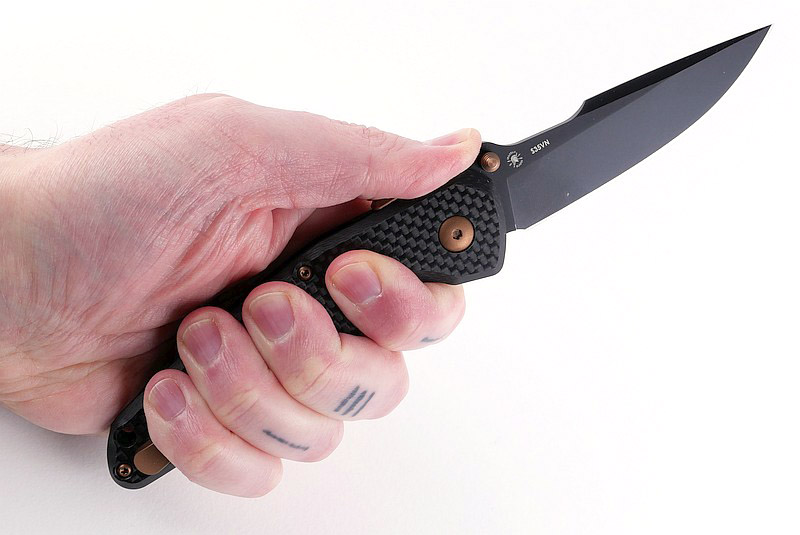
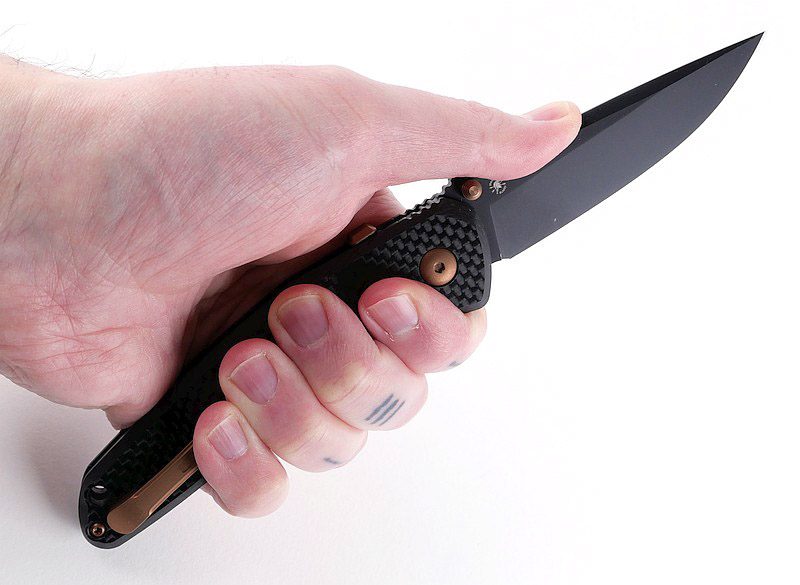
In my XL glove size hands, the handle is plenty long enough, and the thumb stud hump on the blade provides a very comfortable thumb ramp for powerful forward pressure. I’ll admit I love a harpoon blade, so the Soter scores many style points for me on that, and the dip in the blade spine that creates the high harpoon shape, happens to give you the ideal position to put your thumb to apply pressure directly behind the cutting edge. The last couple of photos are for a two handed close, with my thumb being used to unlock the blade; this style requires the other hand to close the blade as otherwise you would be swinging the blade into your fingers. One-handed-close is easy with a different grip to keep the blade path clear, and using your first finger to pull back the RaceLock button.

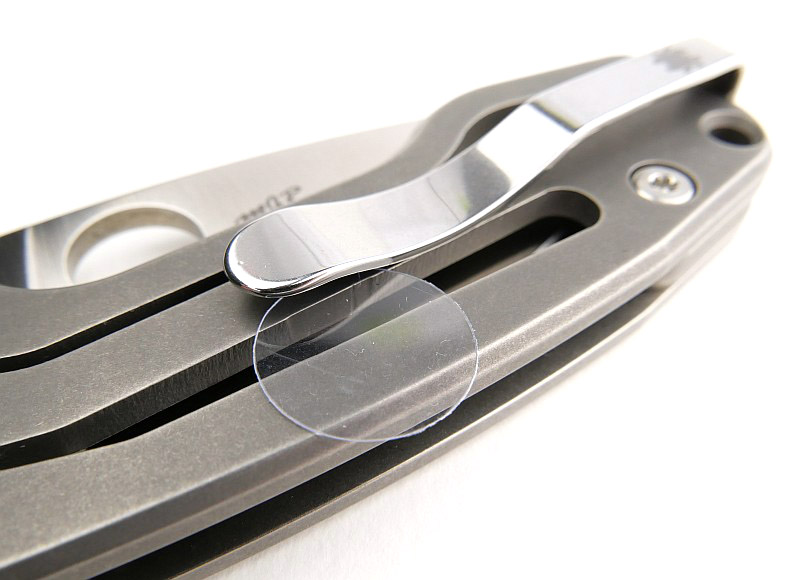
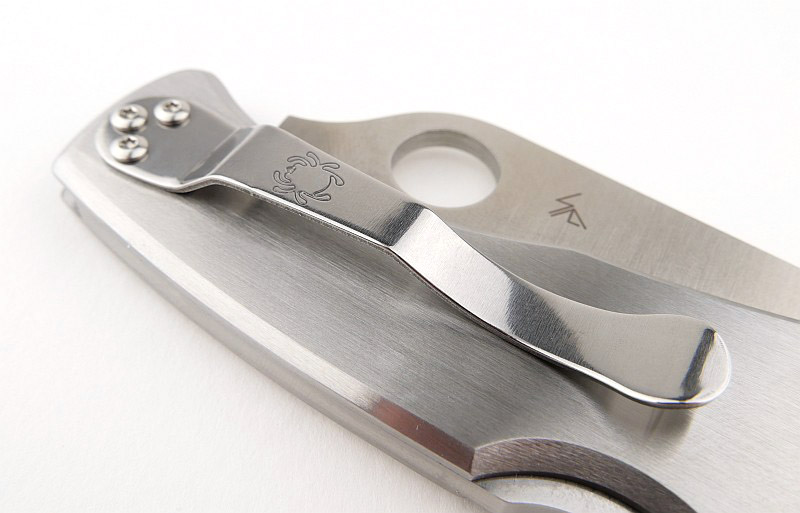
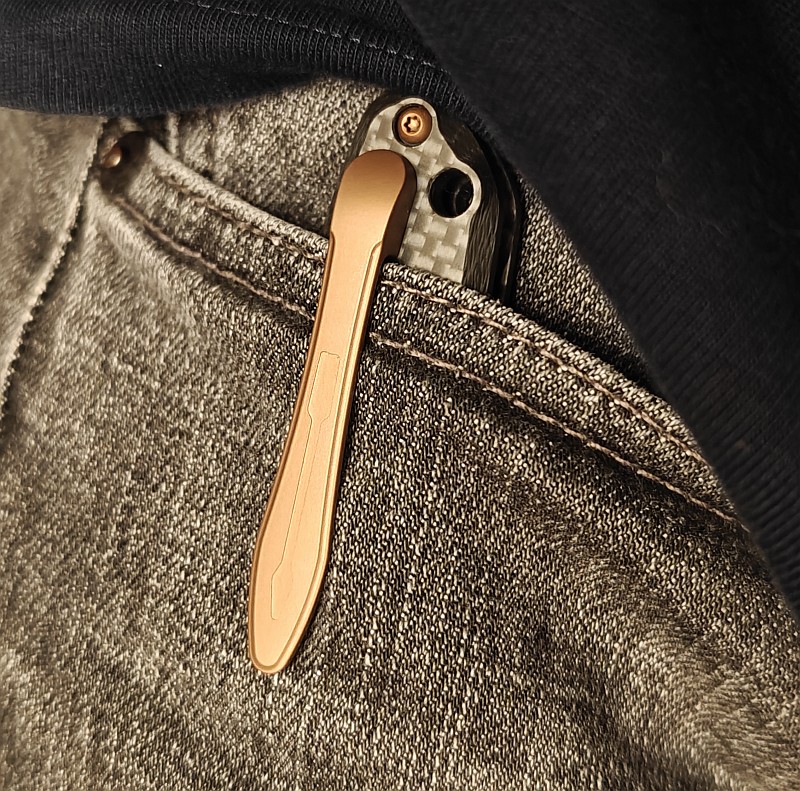
I’m in two minds about the pocket clip. I really like the fact it is machined from a single piece and has concealed screws; this looks really refined and strong. But those concealed screws mean to swap sides is a major job as you have to disassemble the entire knife to access those screws. I’ve also found the clip a bit stiff and harsh with the contact point a bit sharp. That in itself is both a pro and con as it will stay put on your pocket, but be harder to put on and off.
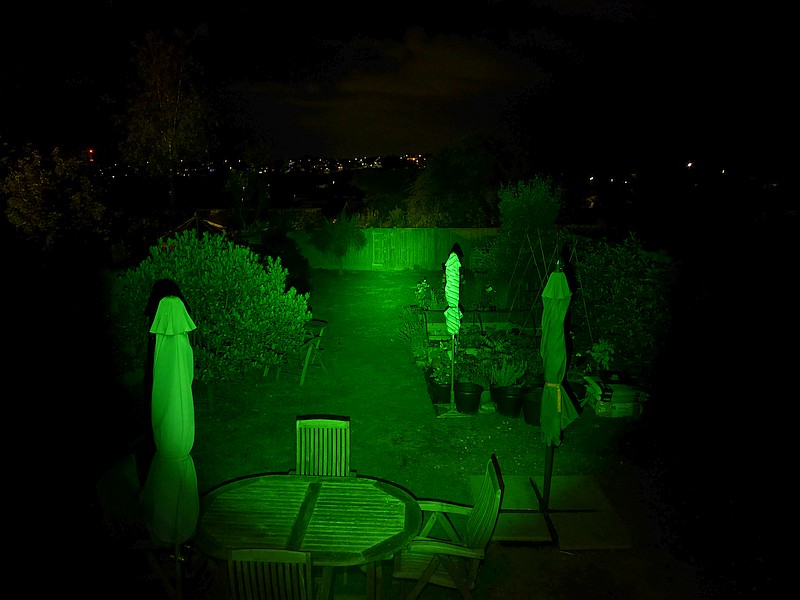
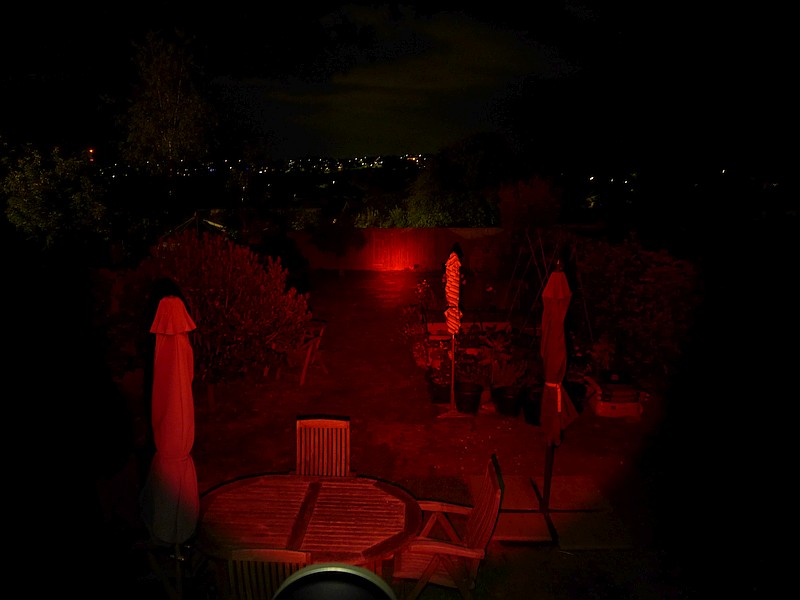
While testing I never seemed to have my camera with me so the variety of jobs it took in its stride is not represented here, but in all cases that eager factory edge breezed through everything with ease.
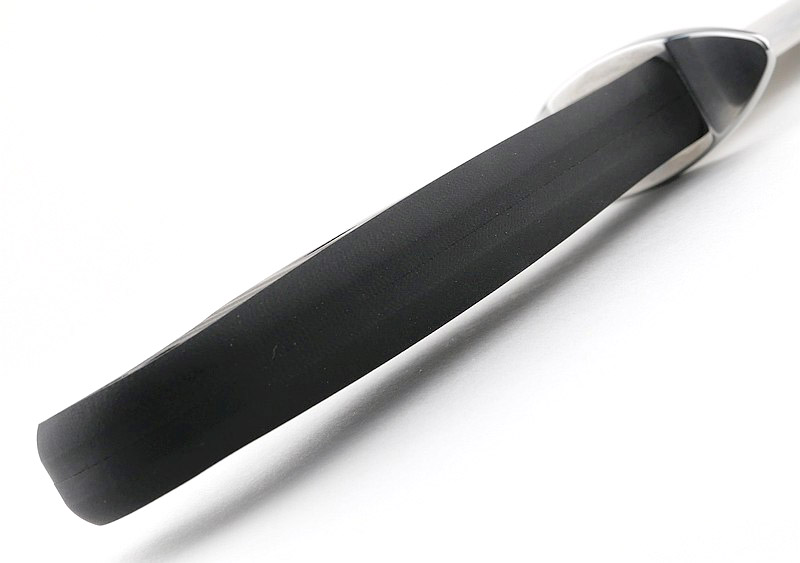
This carbon fibre version is unusual with the flats of the handle left in the semi-gloss stock finish. As the light reflects from this is gives and interesting two-tone effect, and combines well with the slightly stiff pocket clip, as any other texture might drag too much under the clip.
Of all locks of this type I’ve used, Spartan Blades RaceLock has the most comfortable lock buttons to operate, and I like that steampunk styling with the visible spring and guide rod. Purposeful and full of Spartan Blades spirit, the Soter will certainly look after you.


Spartan Blades Soter Review Summary
The views expressed in this summary table are from the point of view of the reviewer’s personal use. I am not a member of the armed forces and cannot comment on its use beyond a cutting tool or field/hunting knife.
Something that might be a ‘pro’ for one user can be a ‘con’ for another, so the comments are categorised based on my requirements. You should consider all points and if they could be beneficial to you.
_______________________________________________
What doesn’t work so well for me
_______________________________________________
Stiff pocket clip.
Full disassembly needed to swap pocket clip to left handed.
I’d prefer a deep carry pocket clip.
Thumbstuds are slightly long and sharp.
_______________________________________________
Things I like
_______________________________________________
The RaceLock’s steampunk styling.
Very comfortable lock release button.
Narrow harpoon blade.
Excellent thumb ramp.
Very secure pocket clip.
Multiple grip positions for power cuts.
Effective grip provided by handle profiling.
Super smooth operation.
Fully unified and matching hardware.
Excellent fit and finish.
Spartan Blades customer service.
Spartan Blades Soter Review Videos
Starting with a short format sixty second review:
Onto a full video review covering many more details:
Discussing the Review:
Something new – will it work? A Tactical Reviews Subreddit.
TacticalReviewsChat on Reddit
Please visit there and start/join the conversation.