Following on from the uncompromising design of the original Bolt-Action BLR2 from FOURSEVENS (check the Light Reviews Index for a review of this light), there has been demand for a smaller version running on a common cell. Enter the new AAA powered Bolt-Mini from Foursevens.
FOURSEVENS’ original Bolt-Action light is the product of a three-way collaboration; FOURSEVENS partnering with Fellhoelter (designers of the Bolt-Action pen) and Tuff-Writer. Incorporating the unique bolt-action mechanism into a light required thinking out-of-the-box. Consideration of the overall size, performance and power options, all led to the final specifications of the BLR2 Bolt-Action flashlight, but some of those choices were criticised.
With the new Bolt-Mini, we have a much more pen-sized Bolt-Action light more in keeping with the Bolt-Action Pen.
Taking a more detailed look:
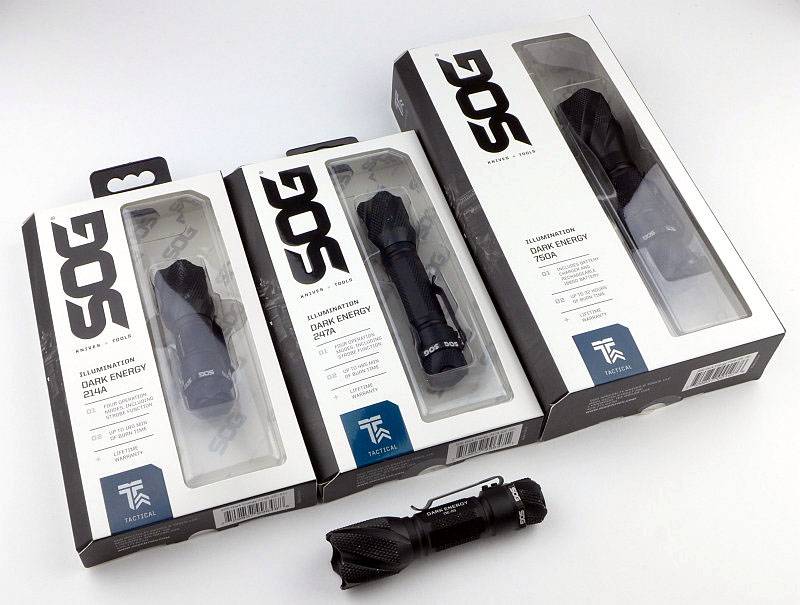
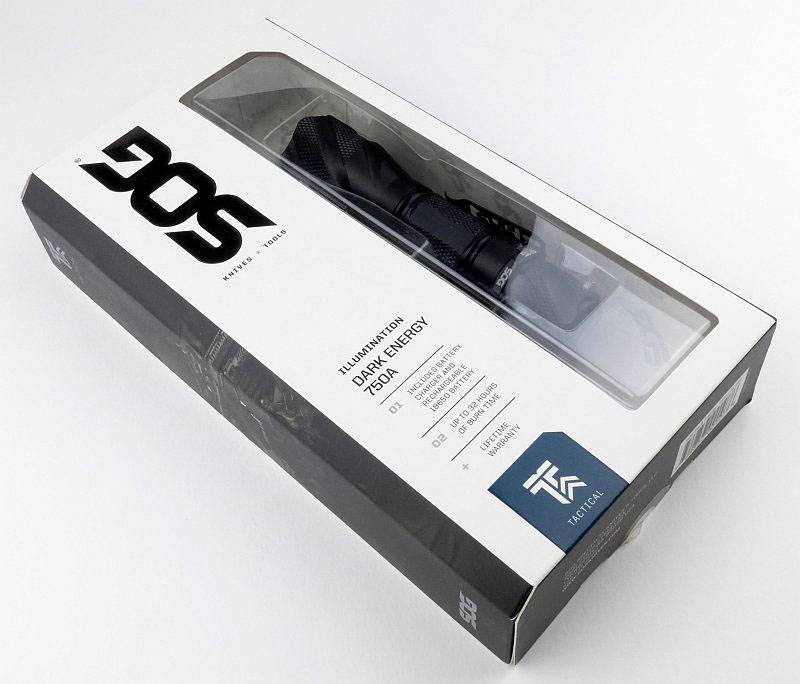
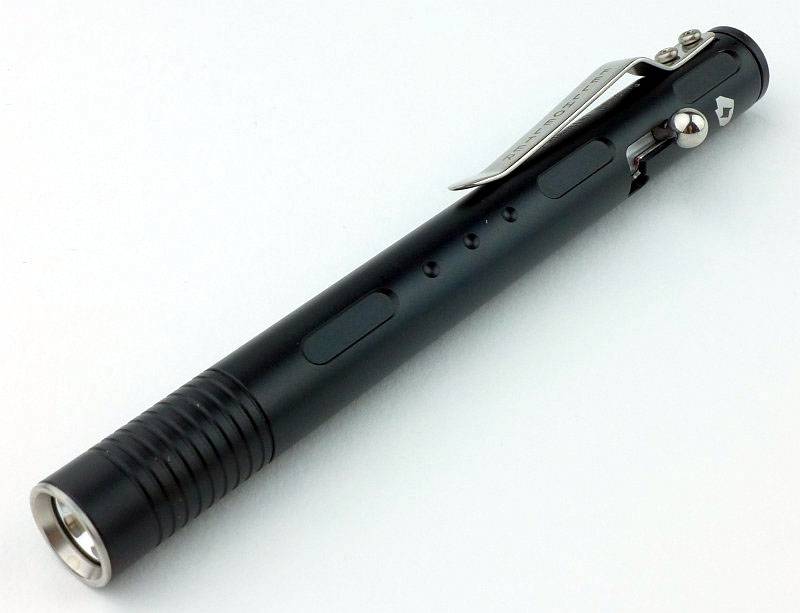
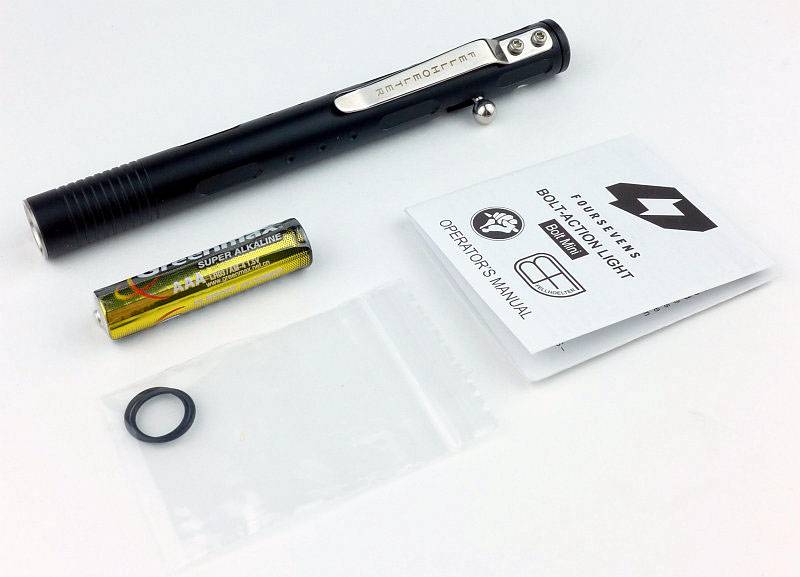
FOURSEVENS’ packaging shows off the light nicely.
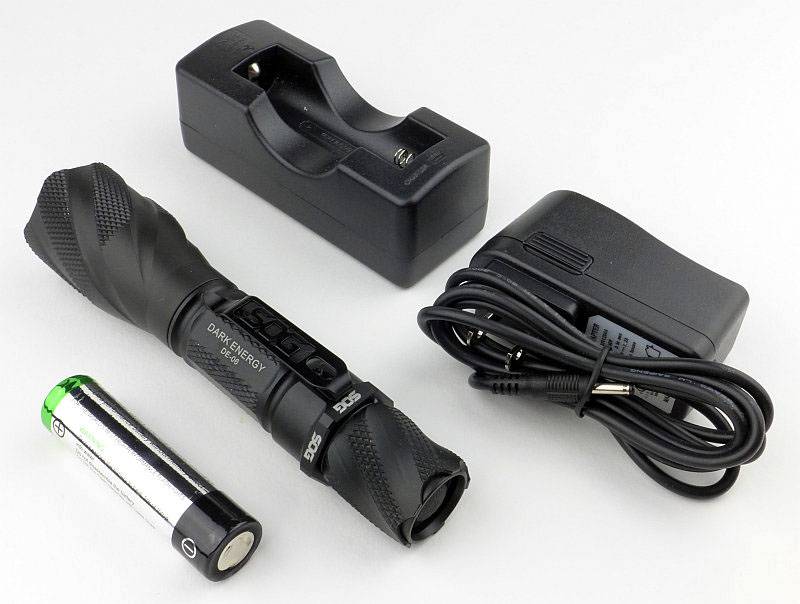
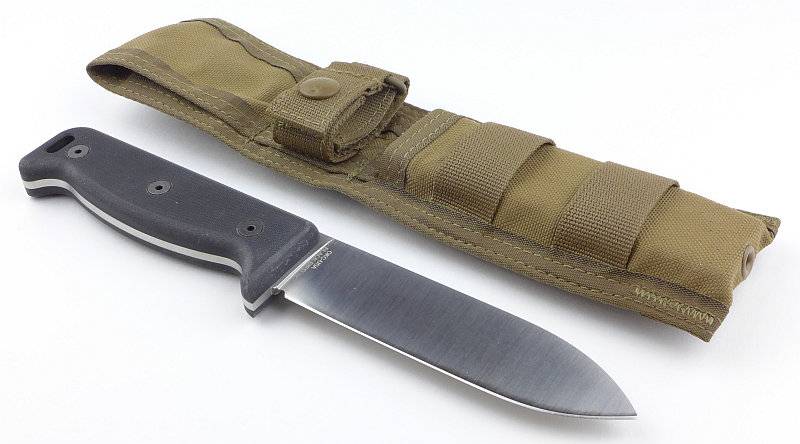
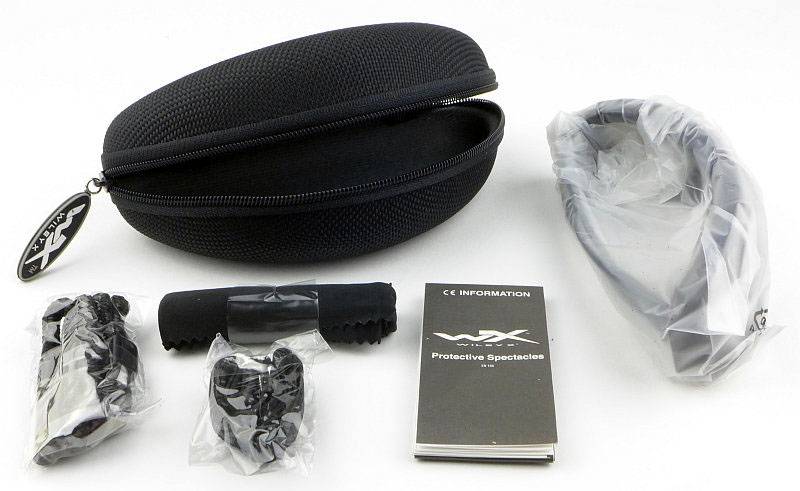
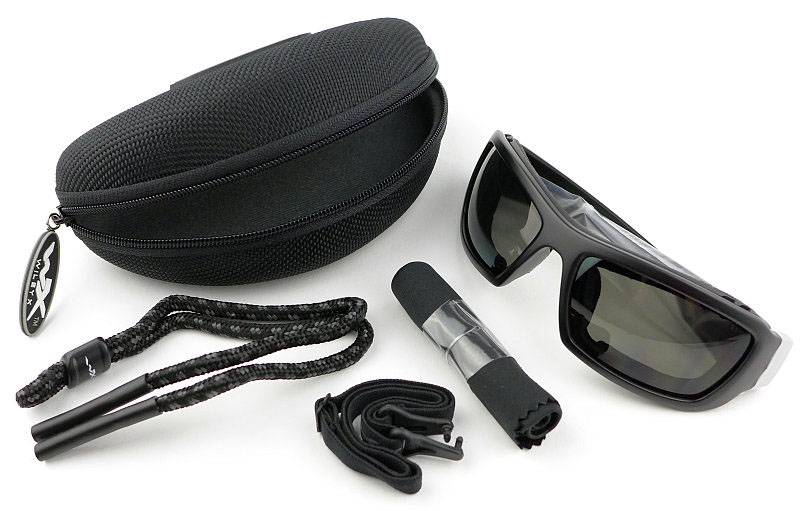
As well as the Bolt-Mini, two spare O-rings, an Alkaline AAA and the instructions are included.
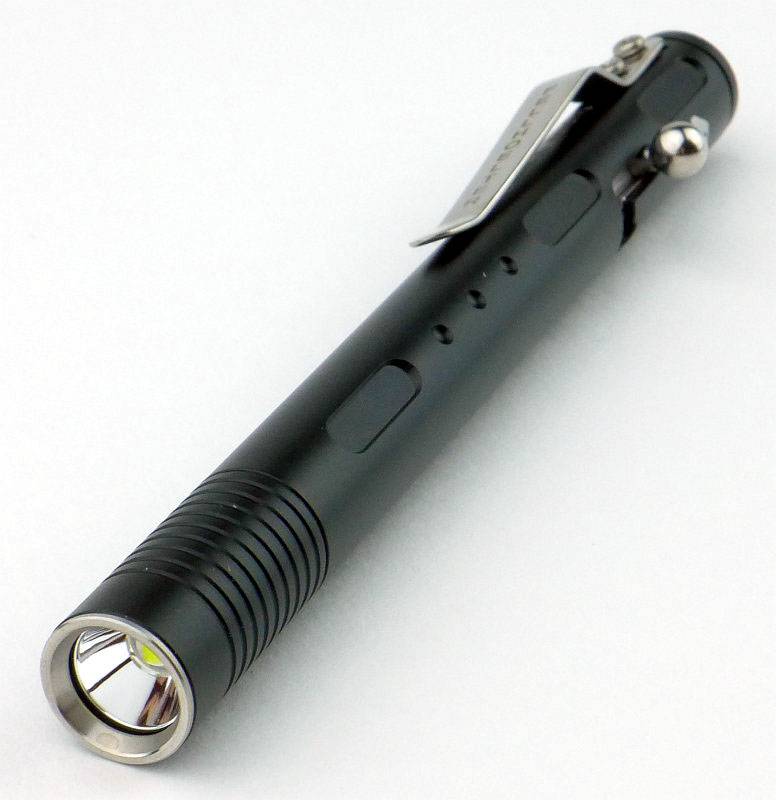
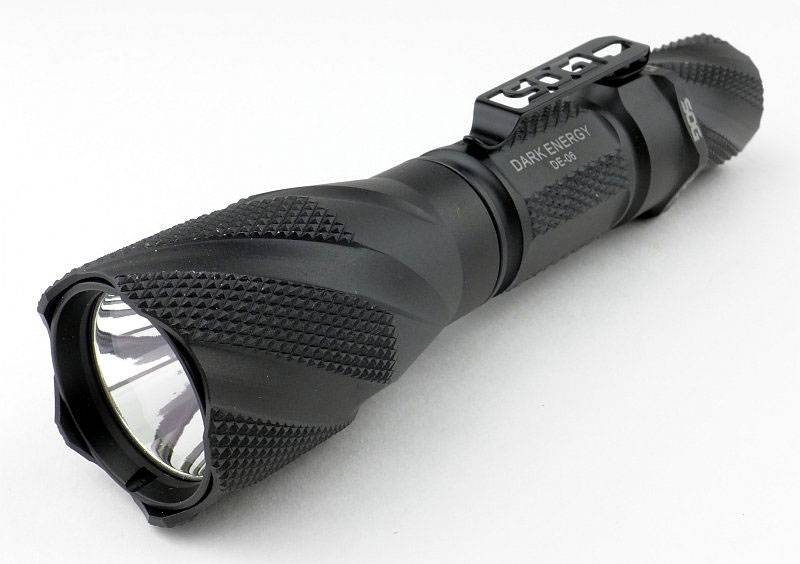
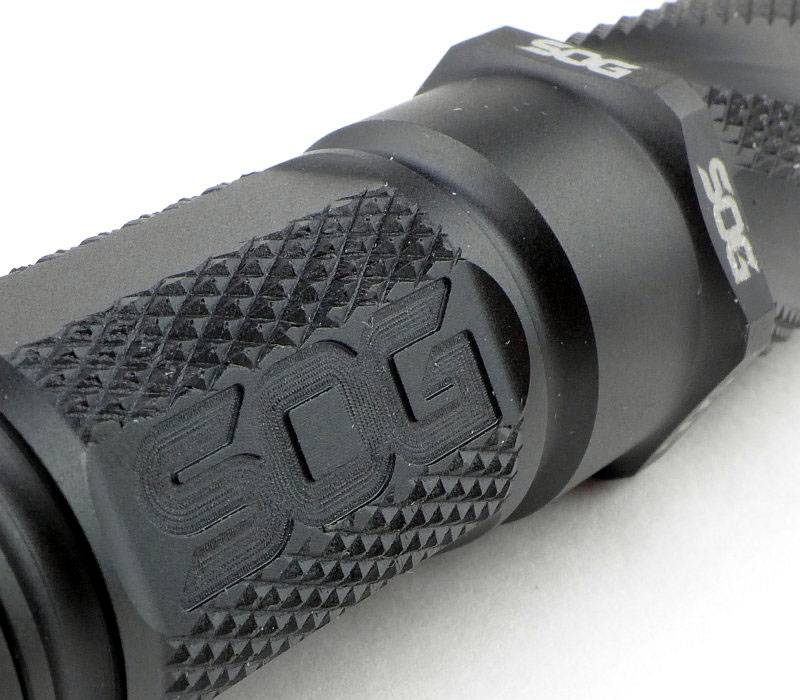
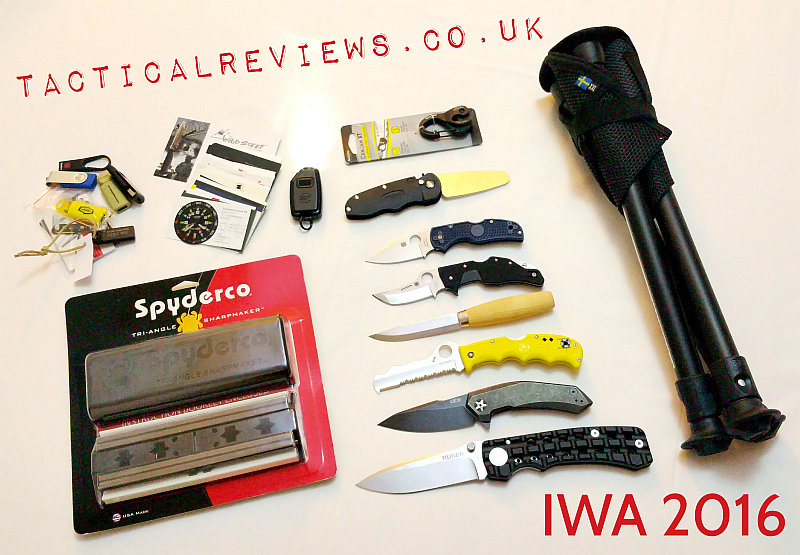
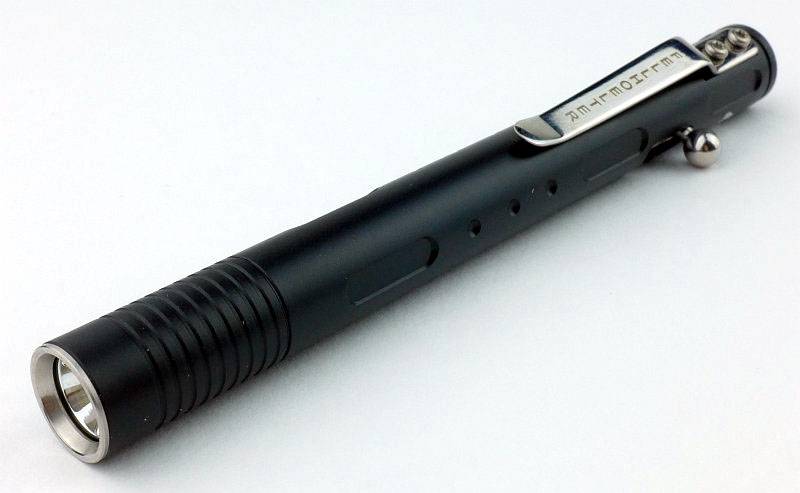
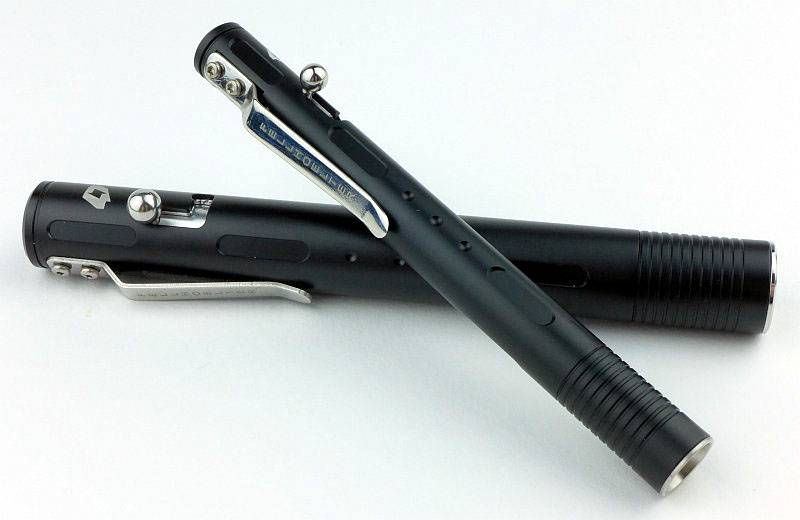
A very sleek looking light.
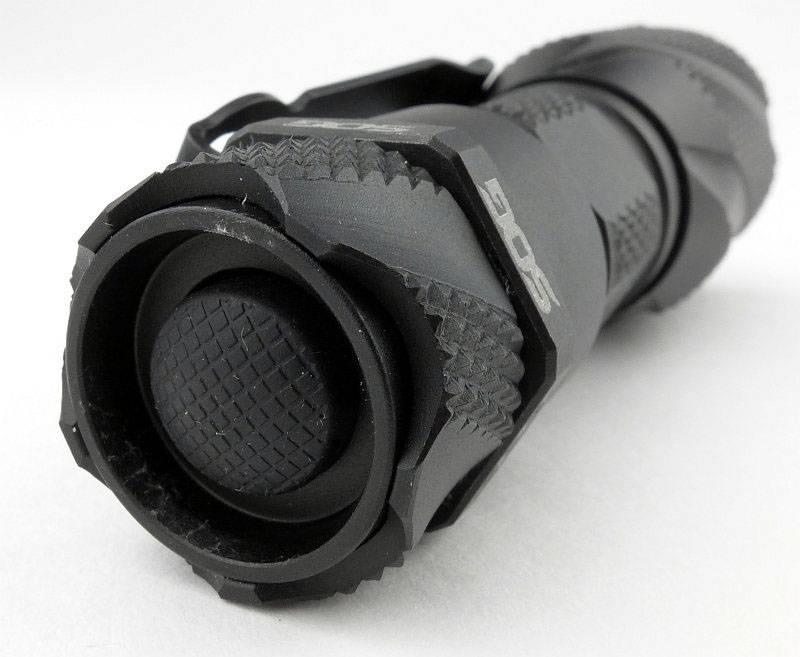
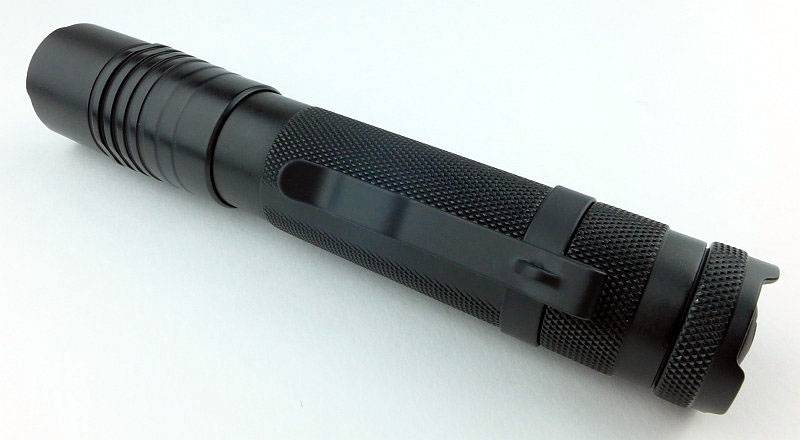
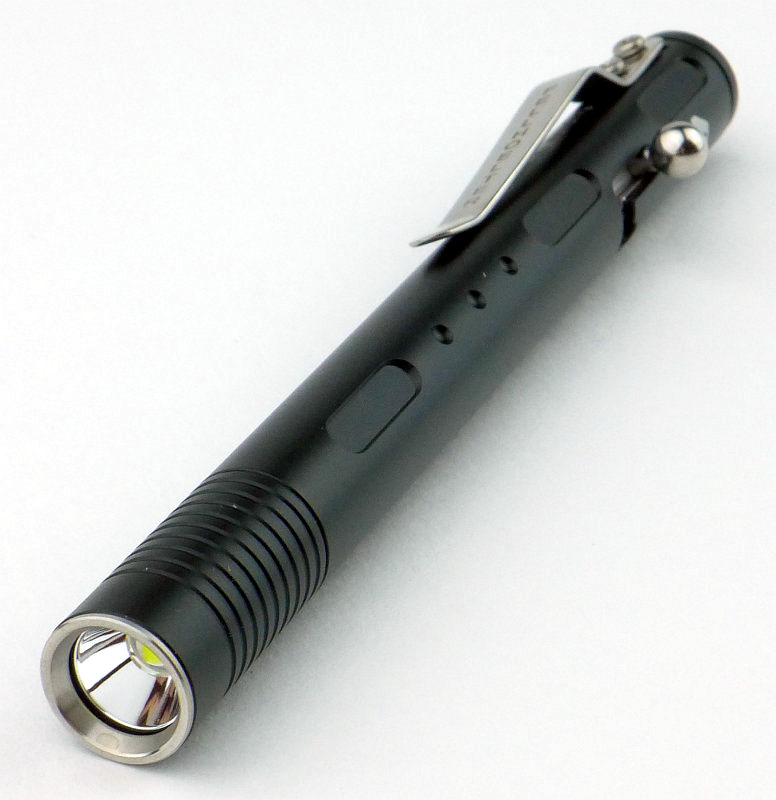
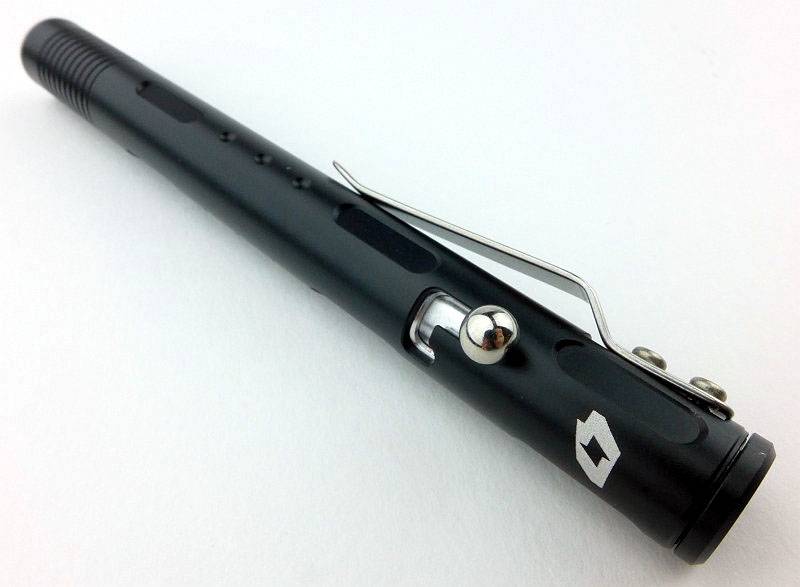
Our first real look at the bolt, as well as the side view of the pocket clip. If you look closely you can see that the top of the pocket clip isn’t quite sitting in the cut out where it is screwed onto the body. This doesn’t affect the function, though it will have increased the clip tension slightly.
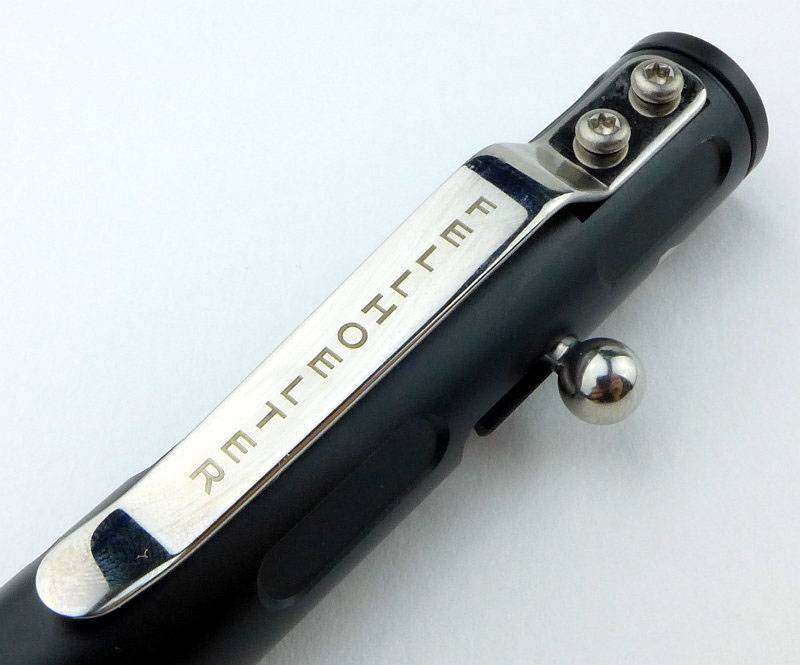
The stainless steel clip is held in place with two screws and has ‘Fellhoelter’ inscribed on it.
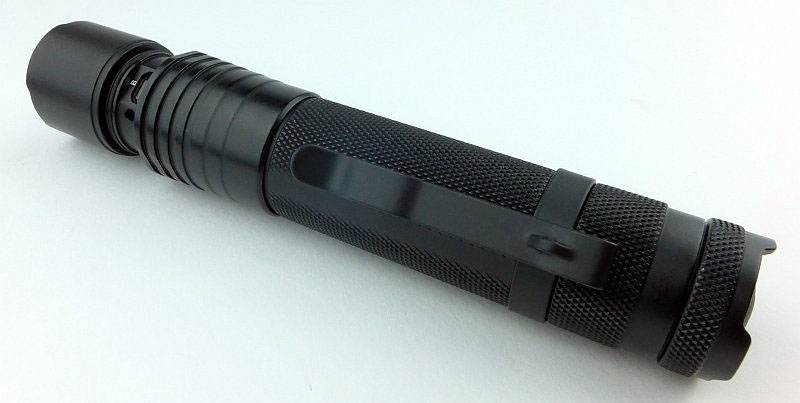
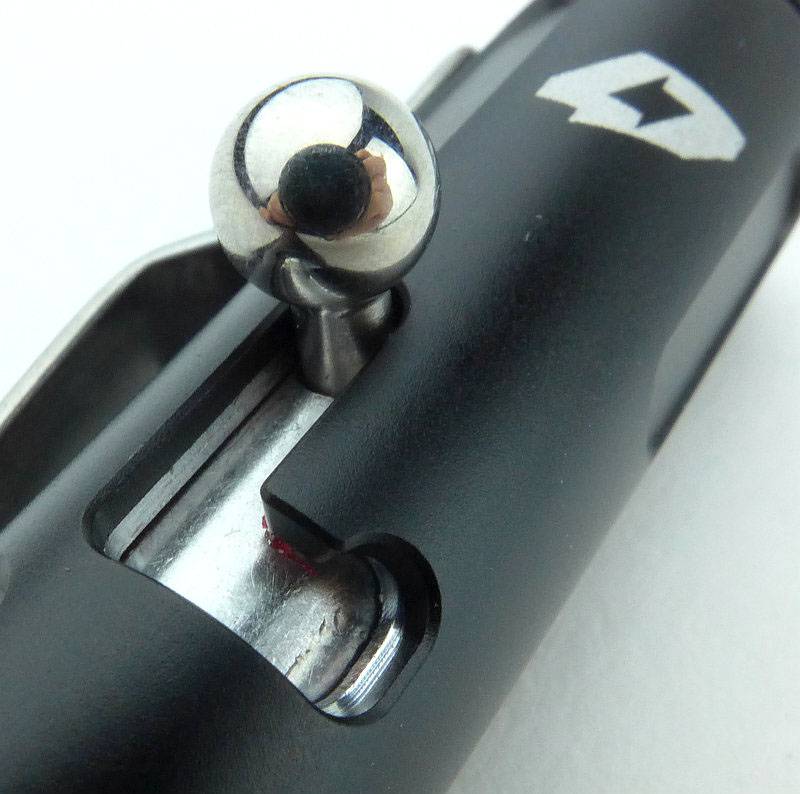
A much closer look at the bolt in the OFF position.
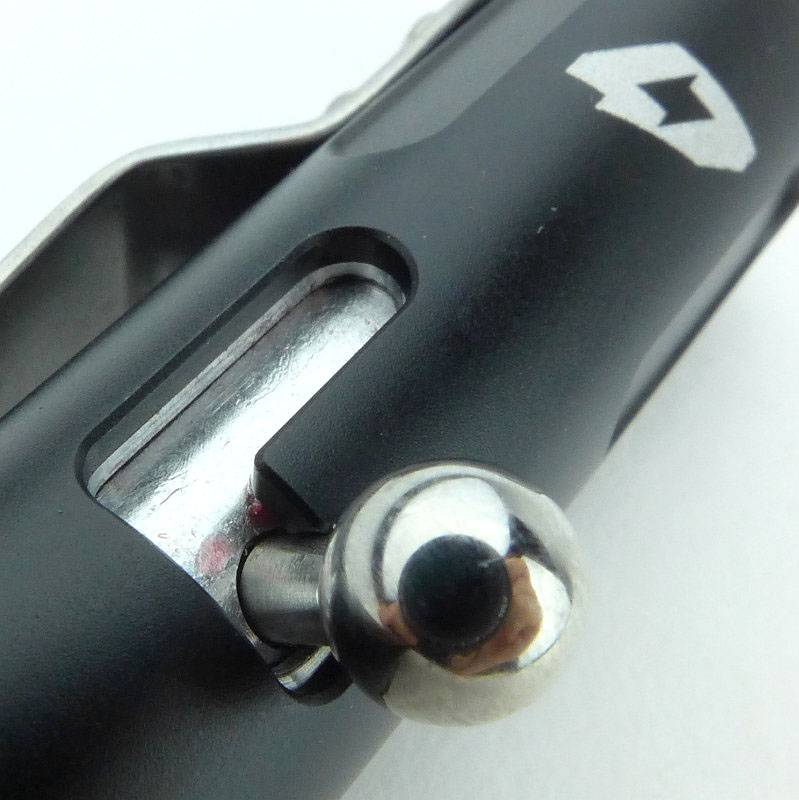
And in the ON position.
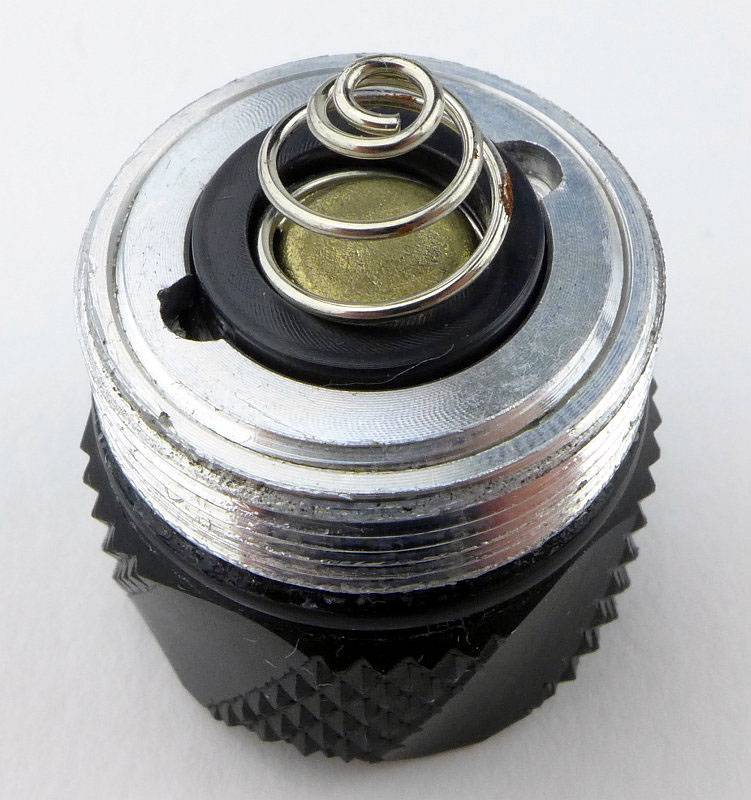
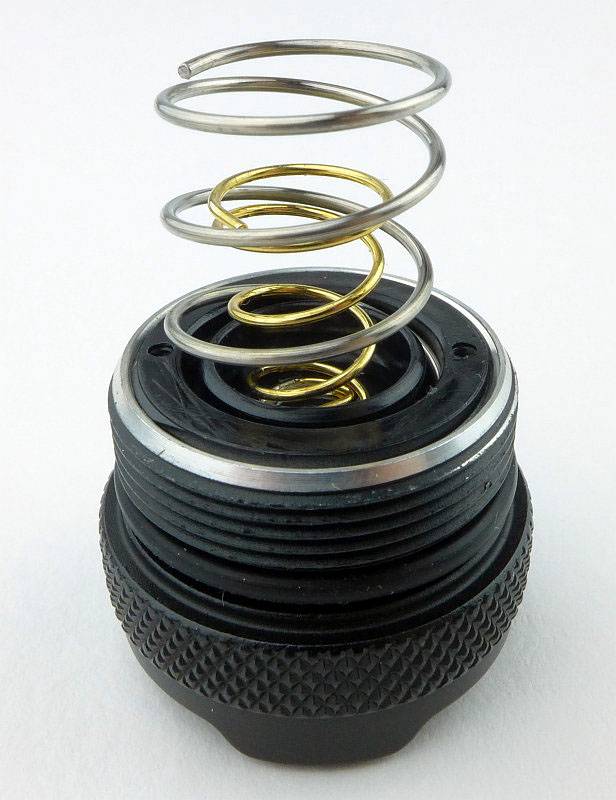
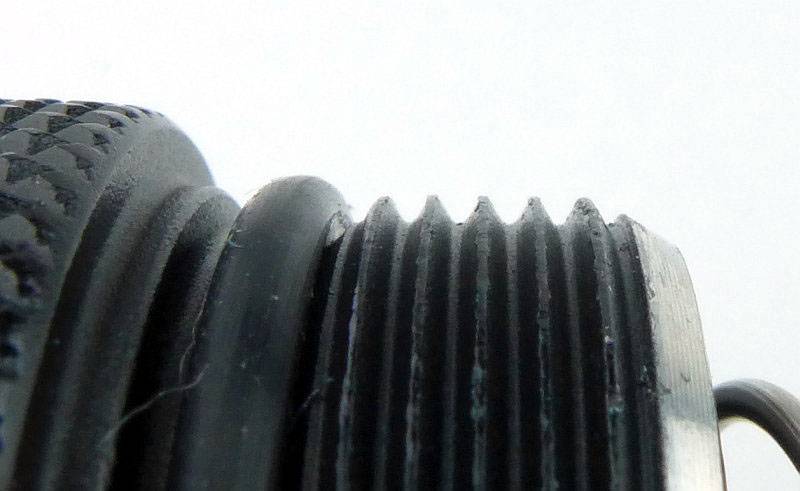
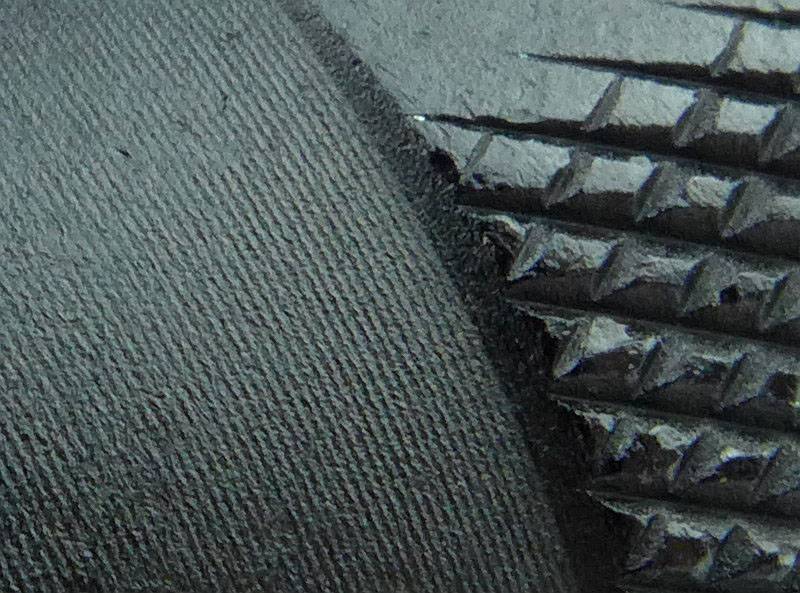
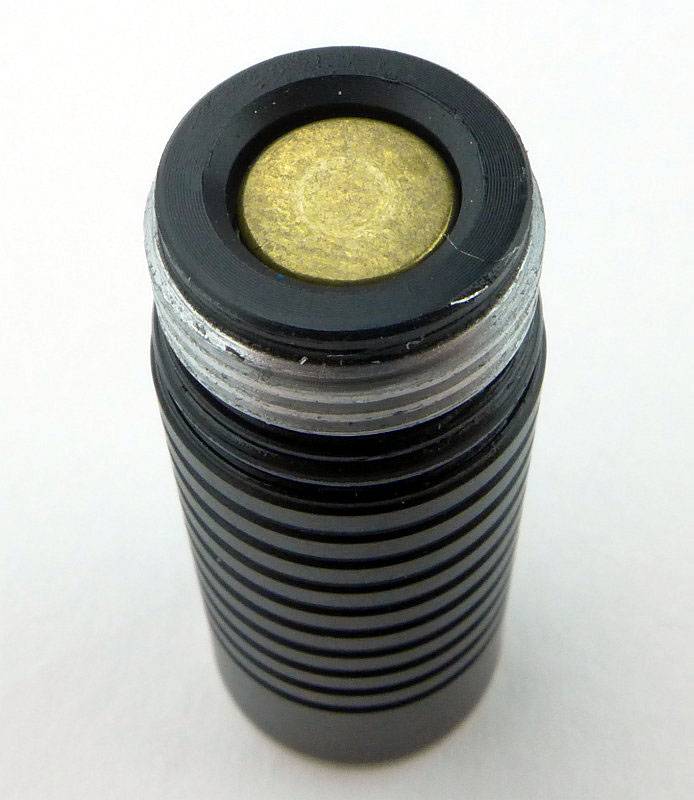
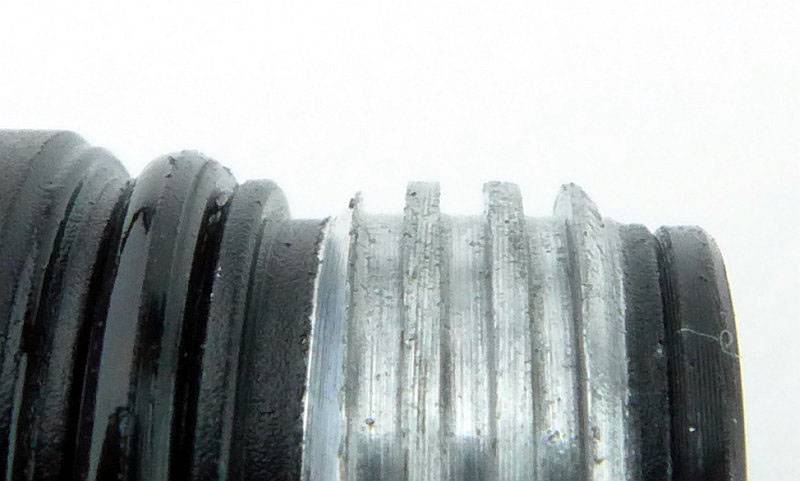
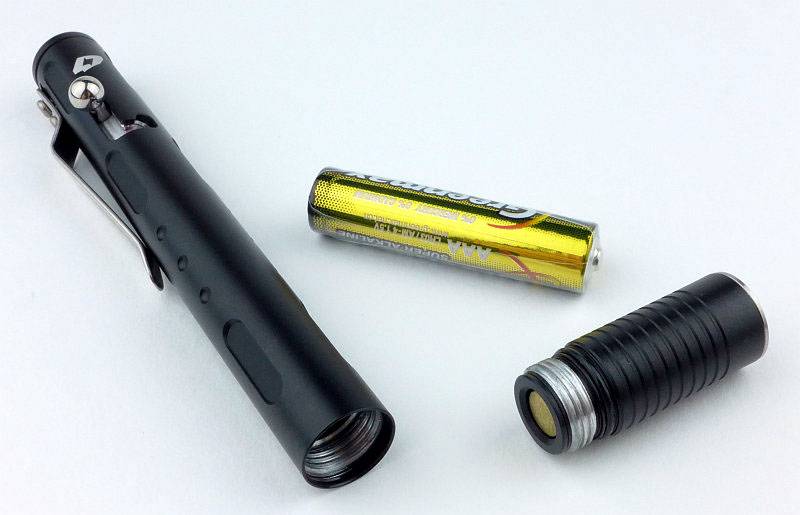
To open the Bolt-Mini, the head unscrews.
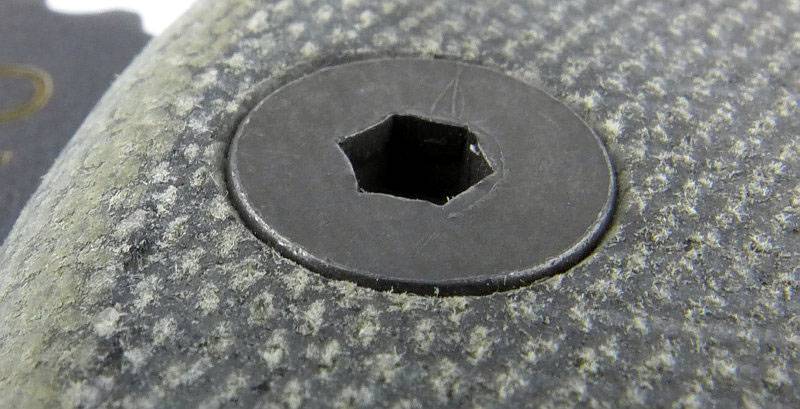
It has square cut threads.
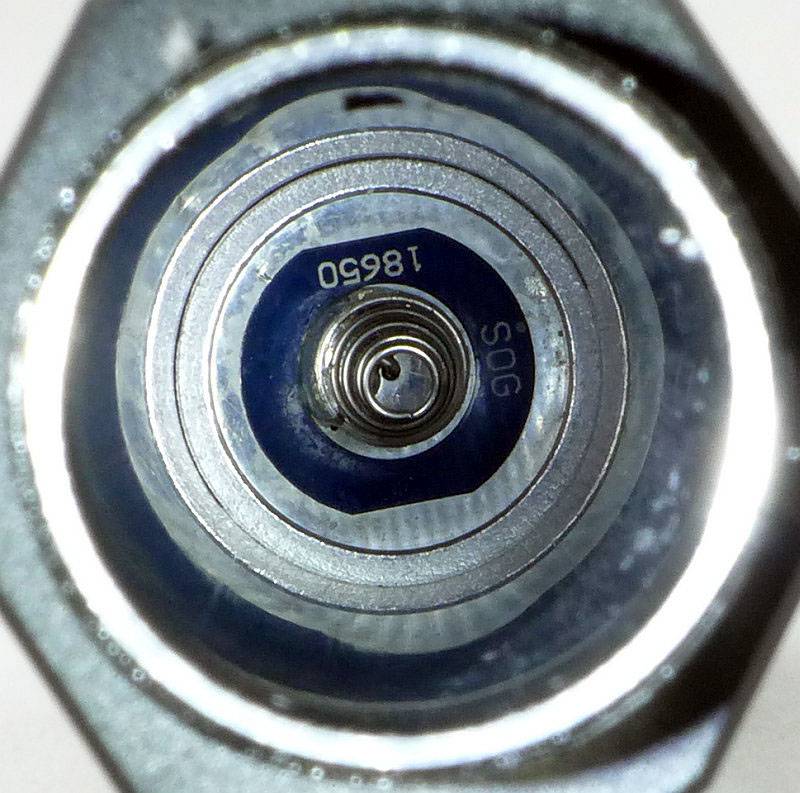
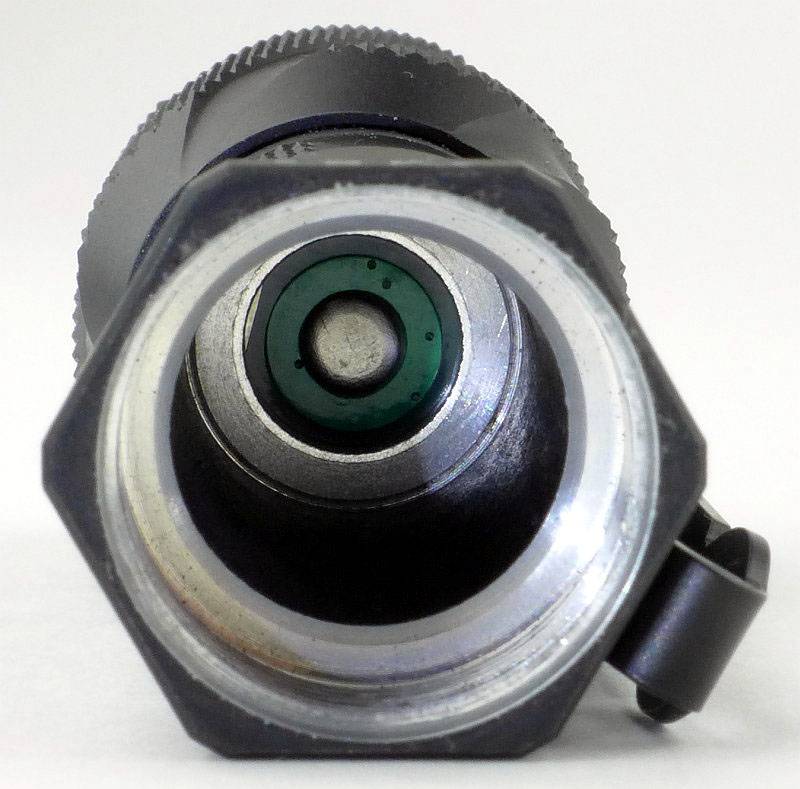
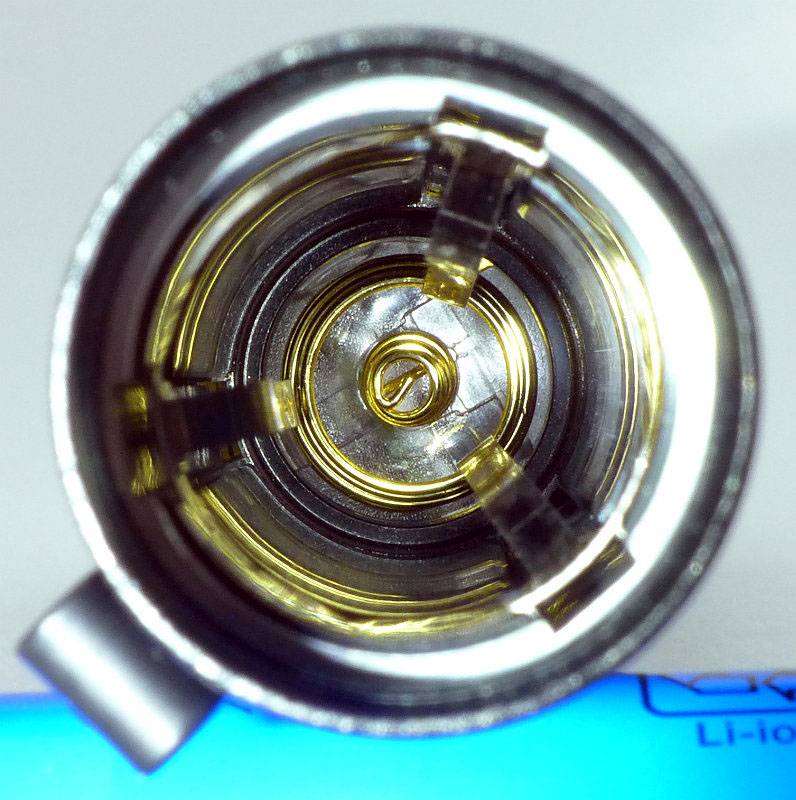
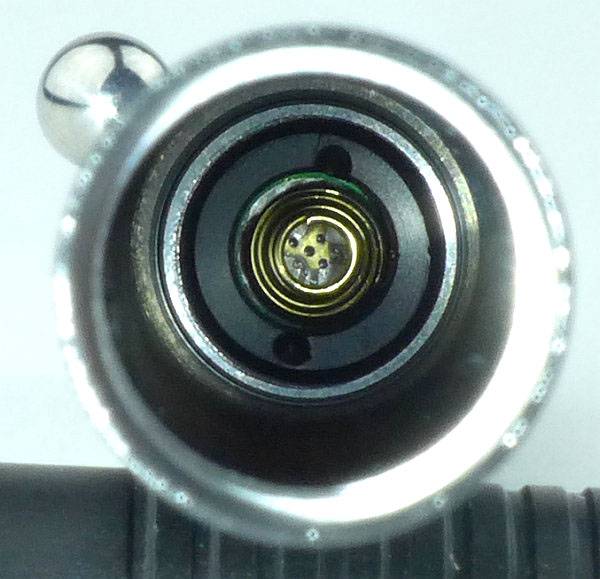
Peering inside you can see the spring terminal for the negative contact.
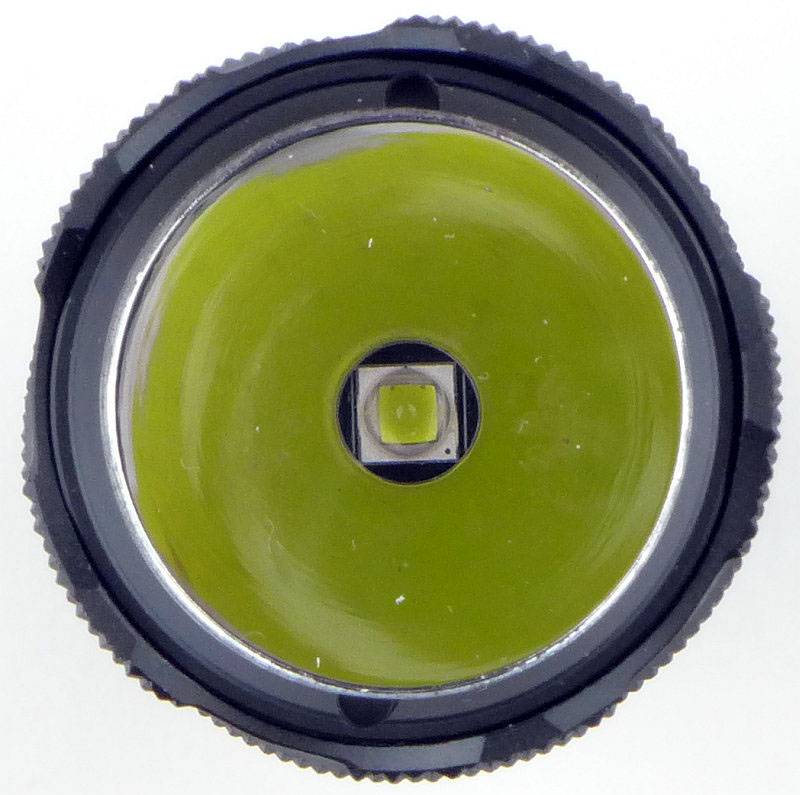
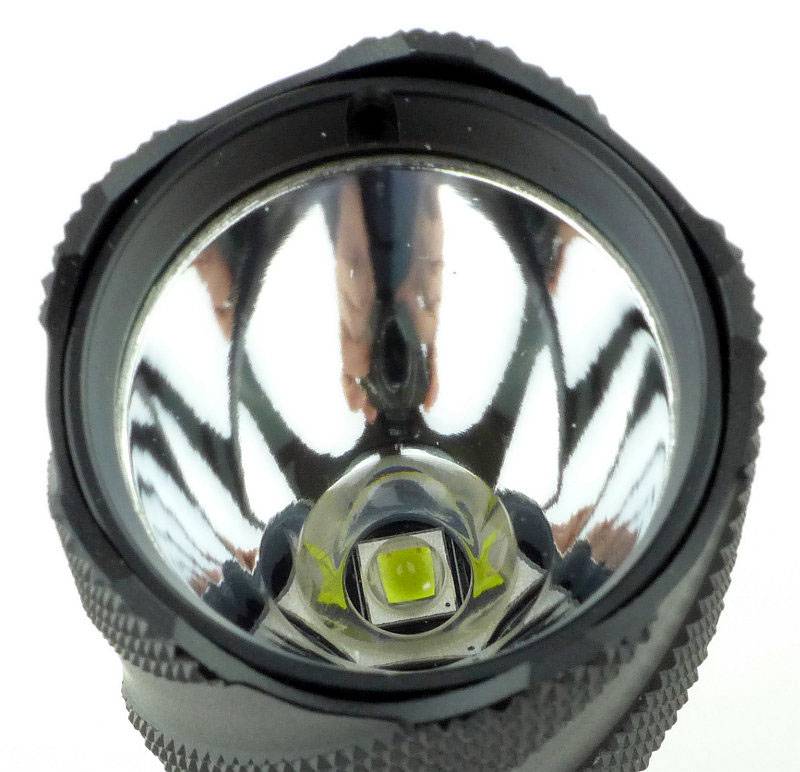
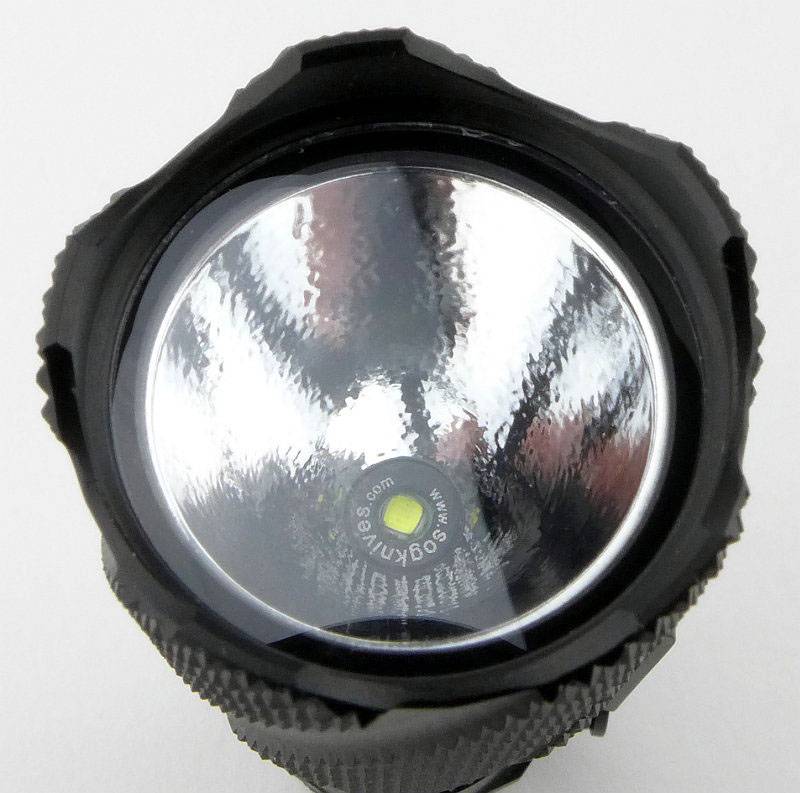
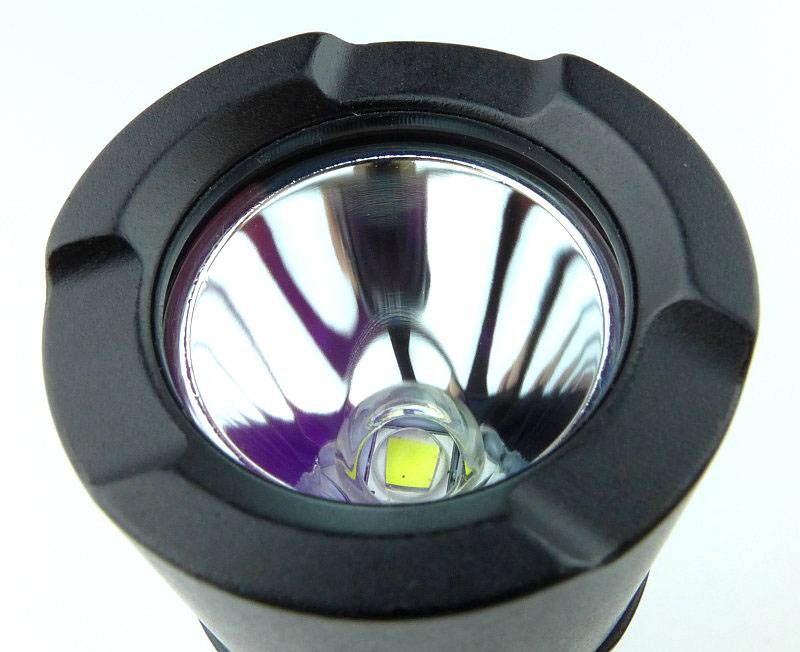
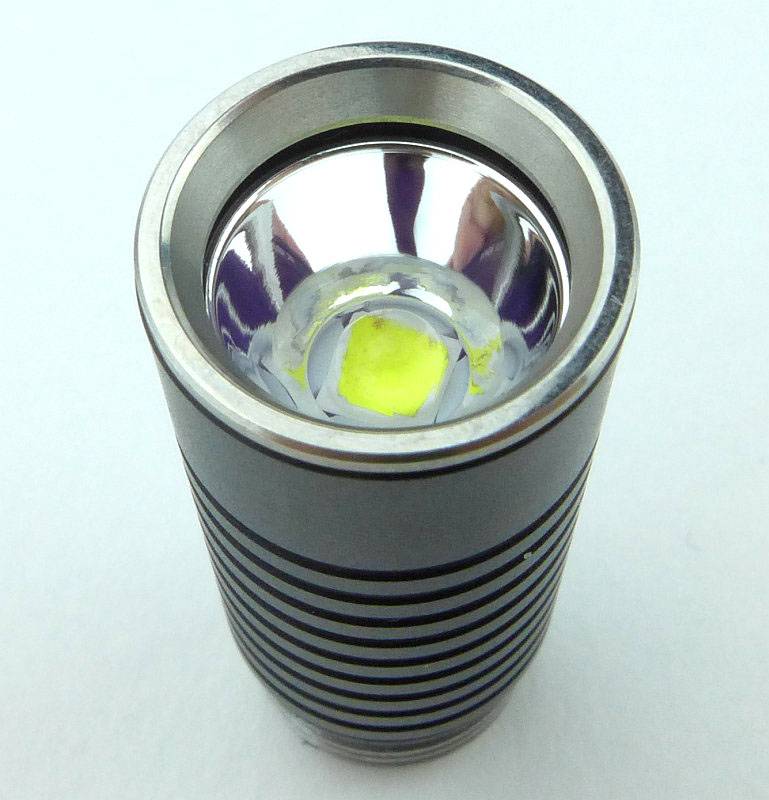
Even in this compact light, an XP-L is used with a compact reflector.
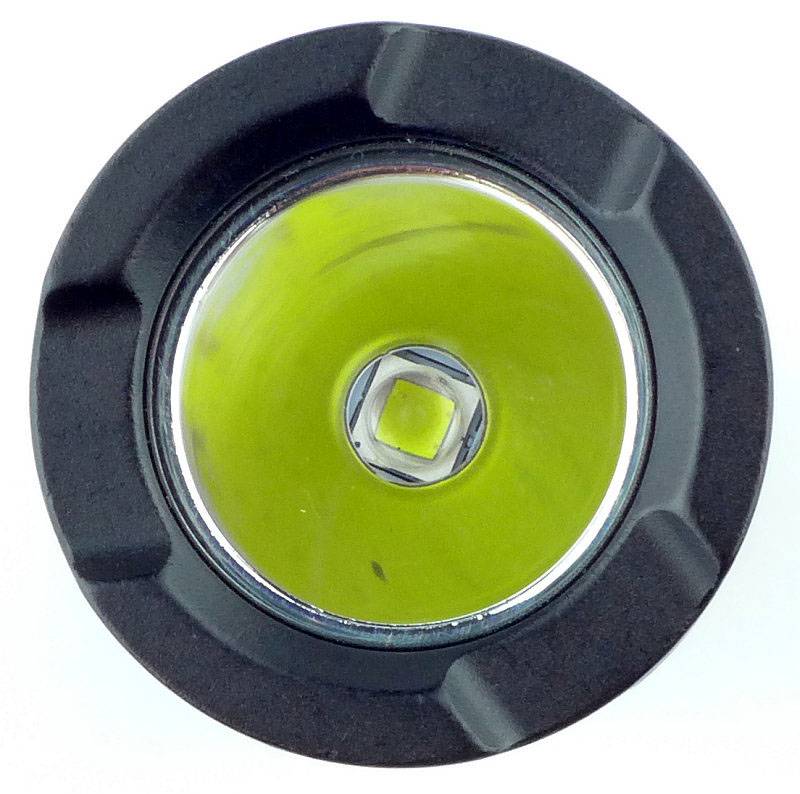
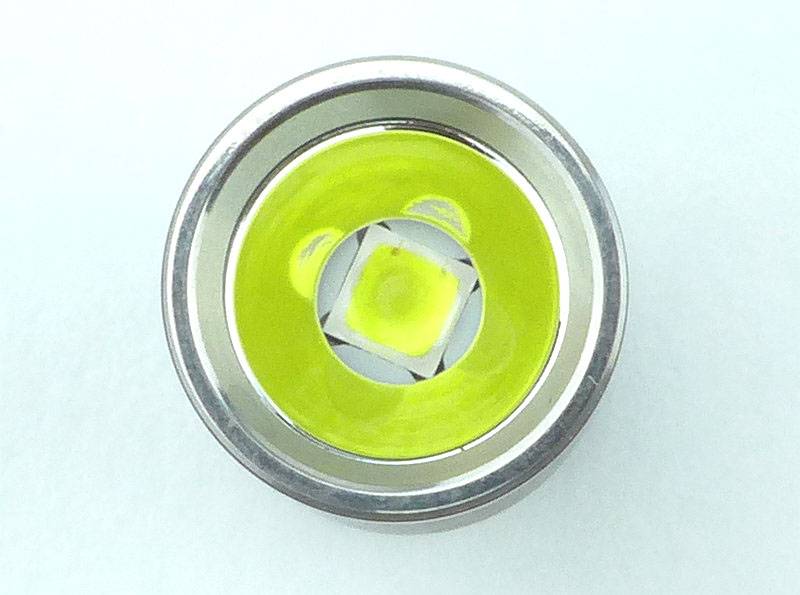
Looking straight at the XP-L LED.
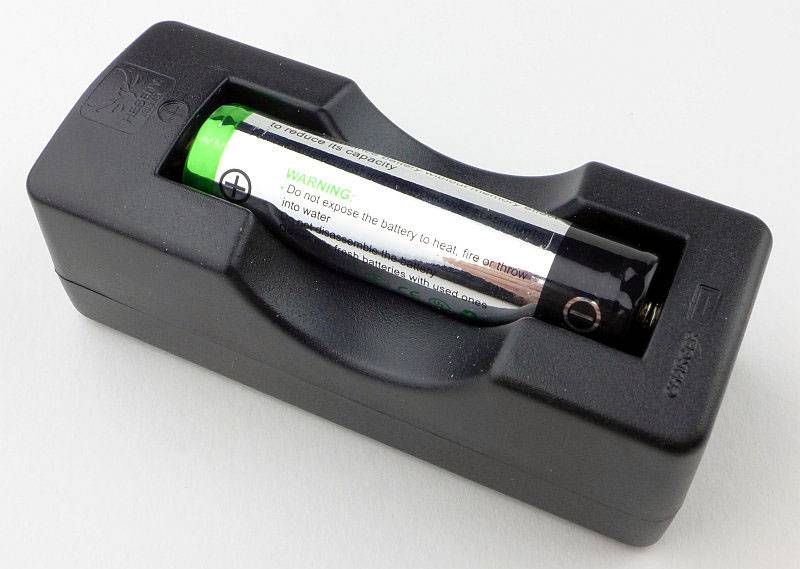
Showing the disassembled Bolt-Mini with its AAA cell.
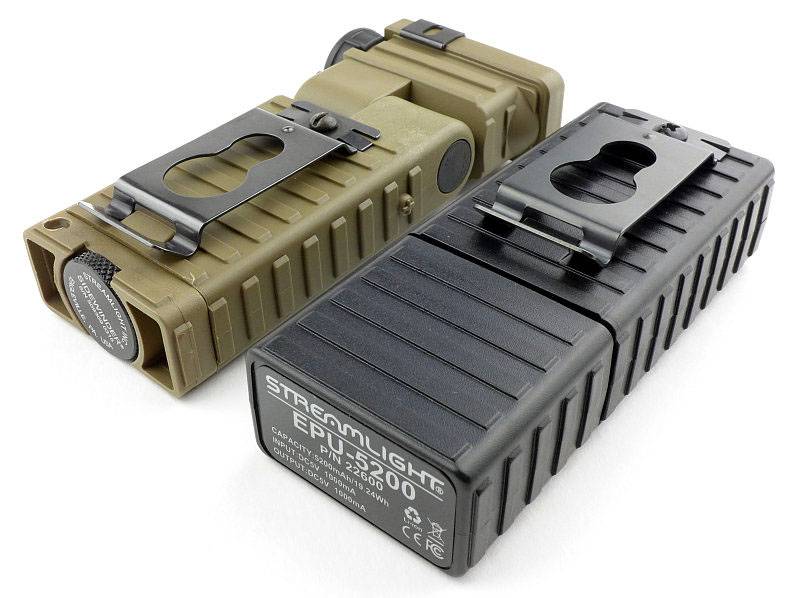
Comparing the Bolt-Mini to the original Bolt-Action you can see it is much slimmer.
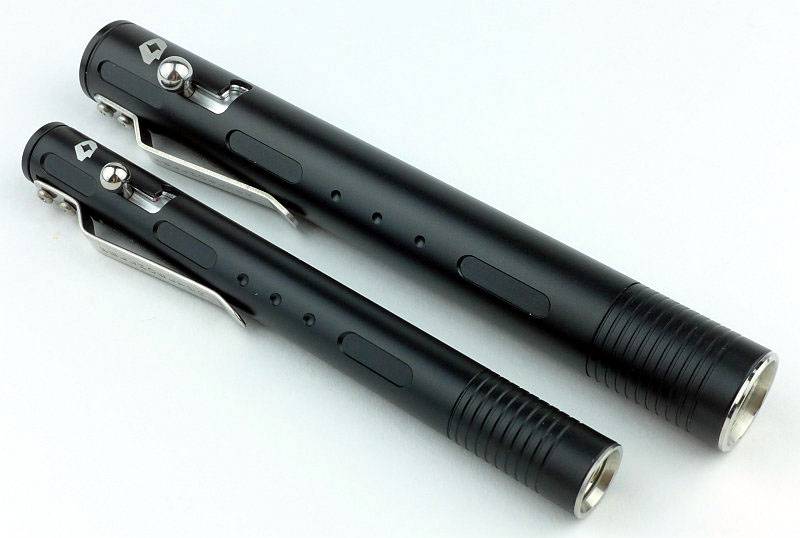
Using the AAA cell makes it a much more pocketable pen-light.
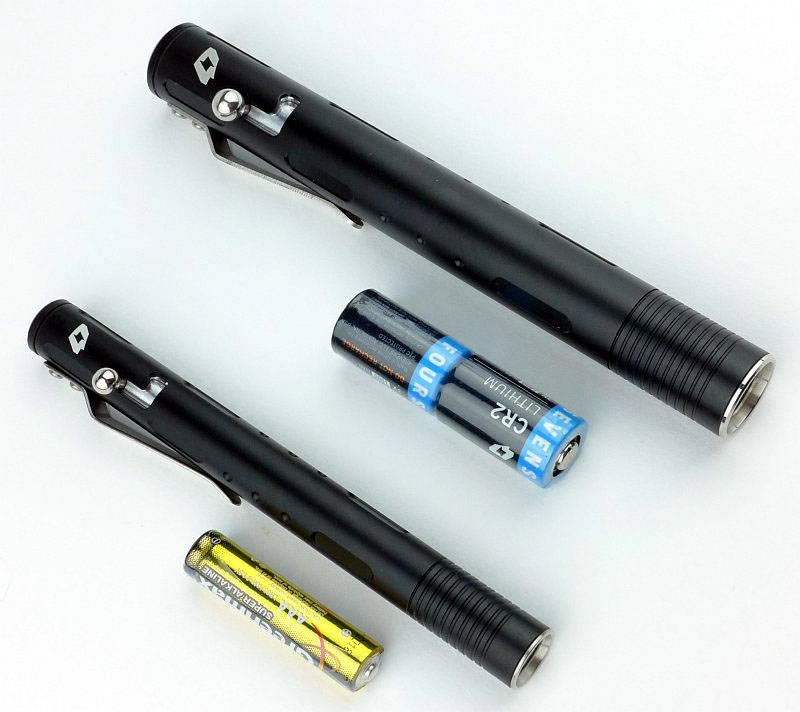
Another comparison with each Bolt-Light’s power source shown as well.
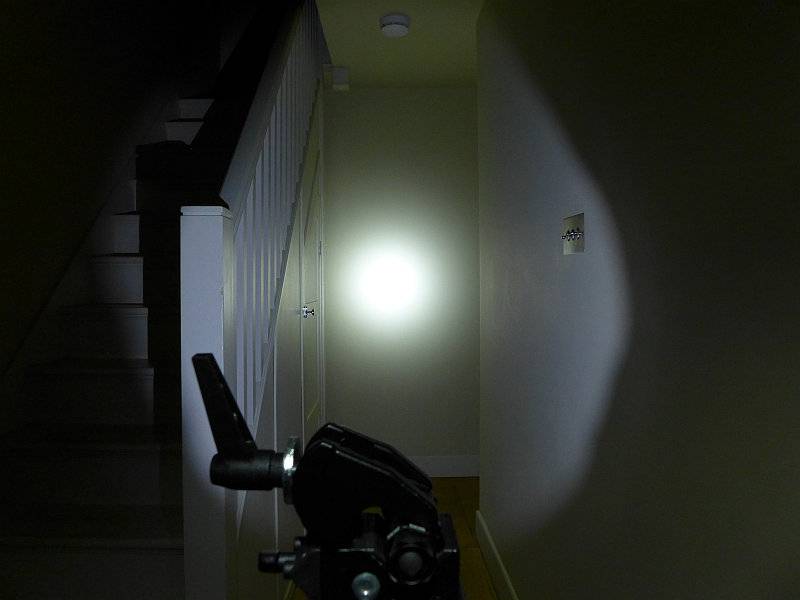
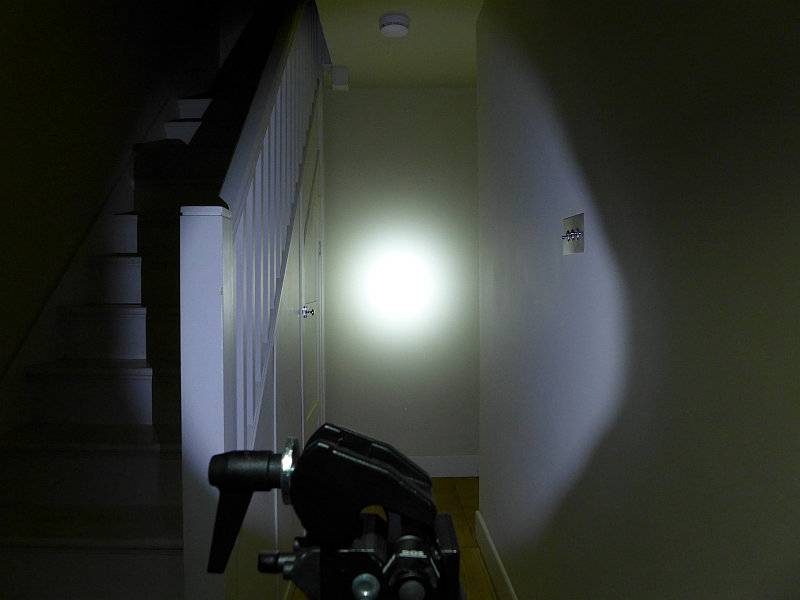
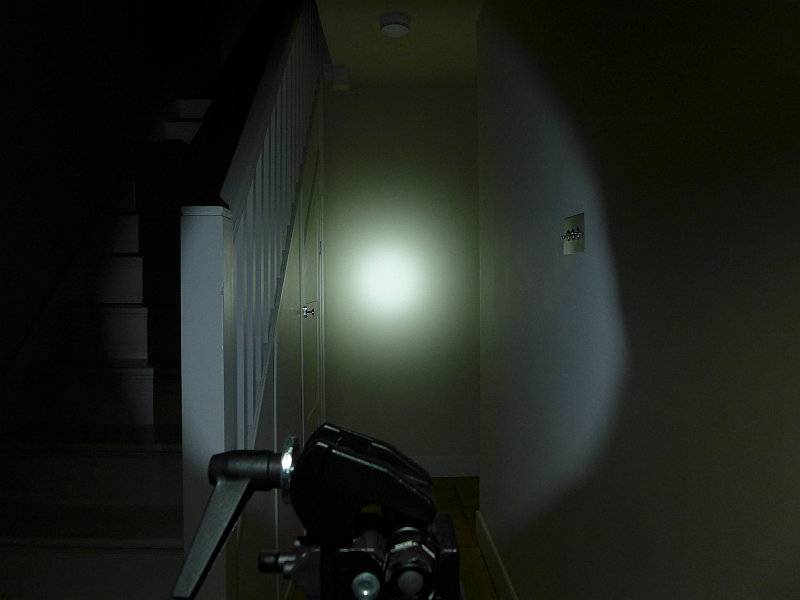
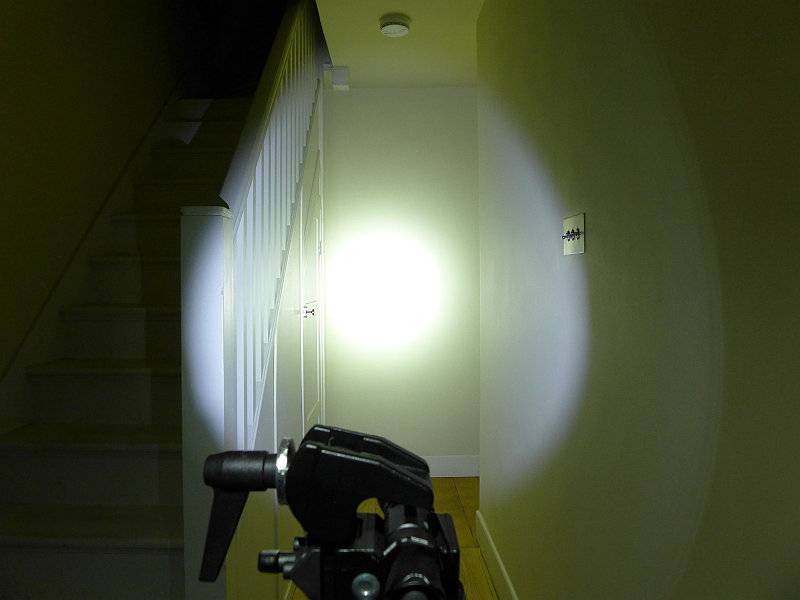
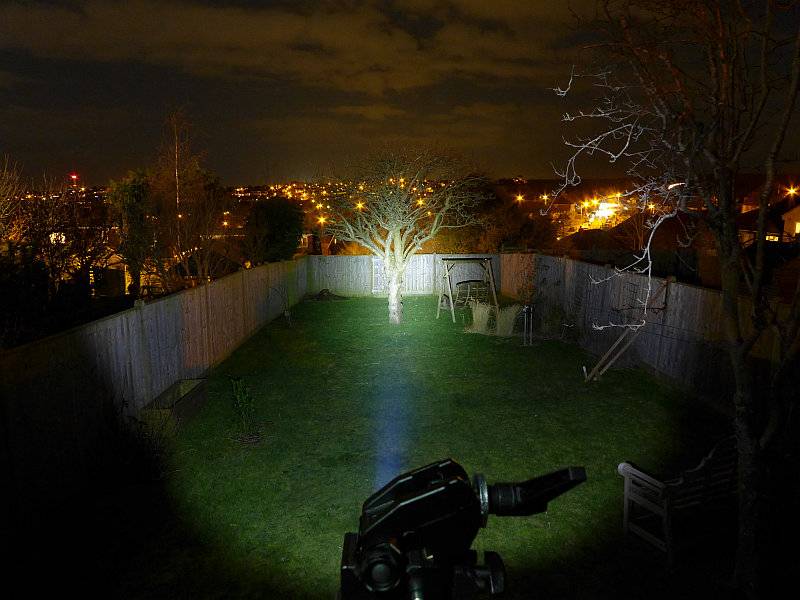
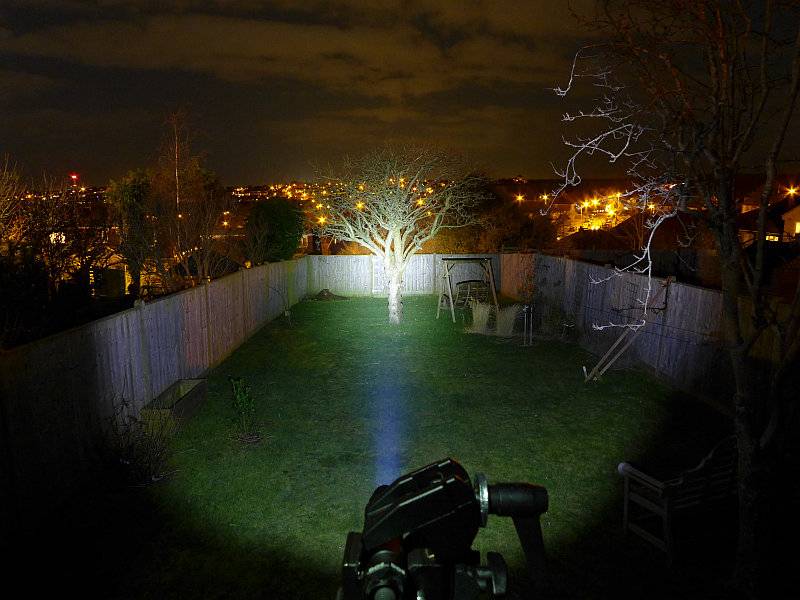
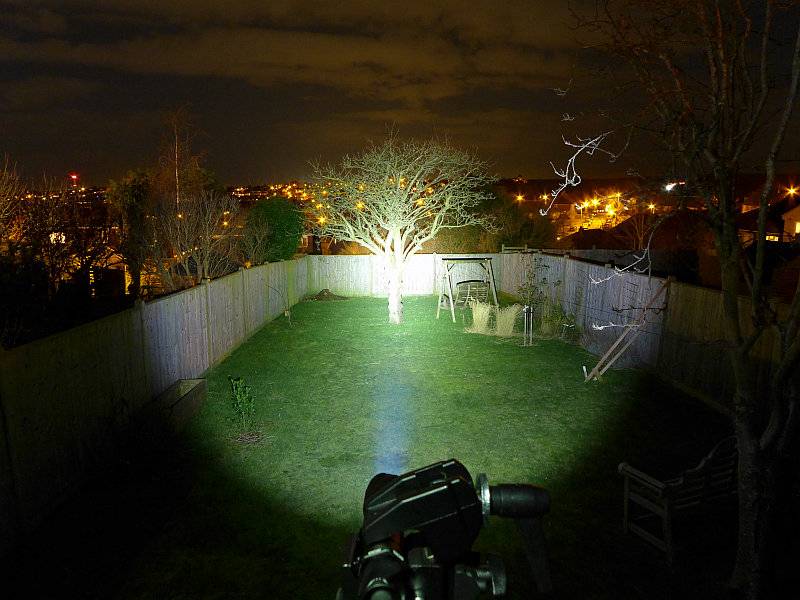
The beam
Please be careful not to judge tint based on images you see on a computer screen. Unless properly calibrated, the screen itself will change the perceived tint.
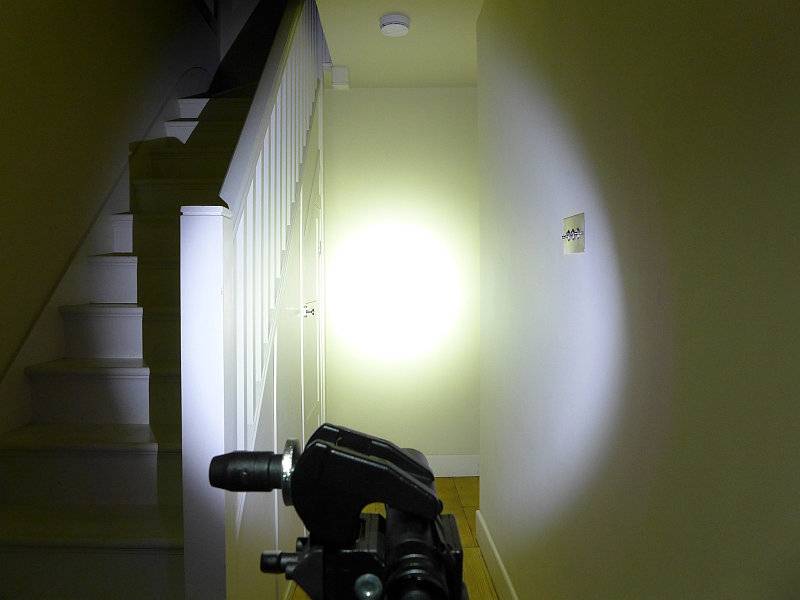
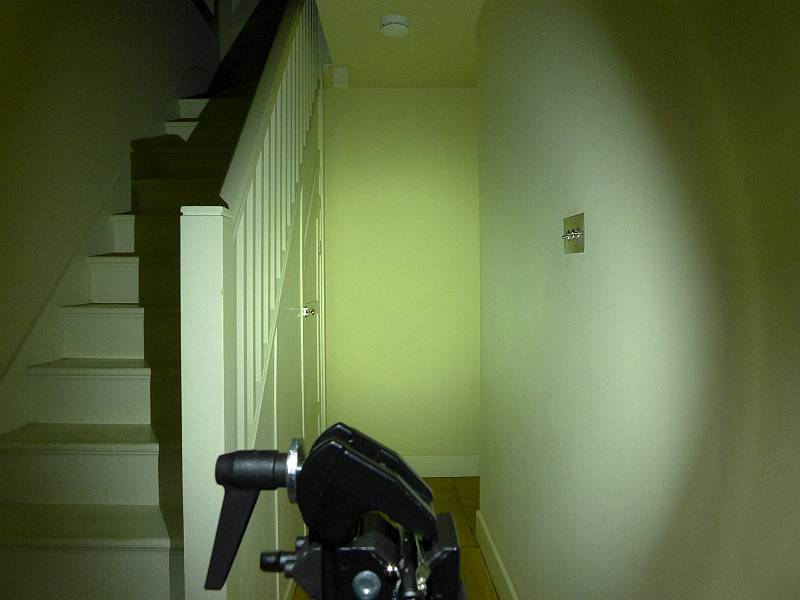
The indoor beamshot is intended to give an idea of the beam shape/quality rather than tint. All beamshots are taken using daylight white balance. The woodwork (stairs and skirting) are painted Farrow & Ball “Off-White”, and the walls are a light sandy colour called ‘String’ again by Farrow & Ball. I don’t actually have a ‘white wall’ in the house to use for this, and the wife won’t have one!
The small reflector and large LED make for a lovely broad beam great for all close range and indoor use. An outdoor beamshot is not shown as the floody beam was too diffuse to show properly.
Modes and User Interface:
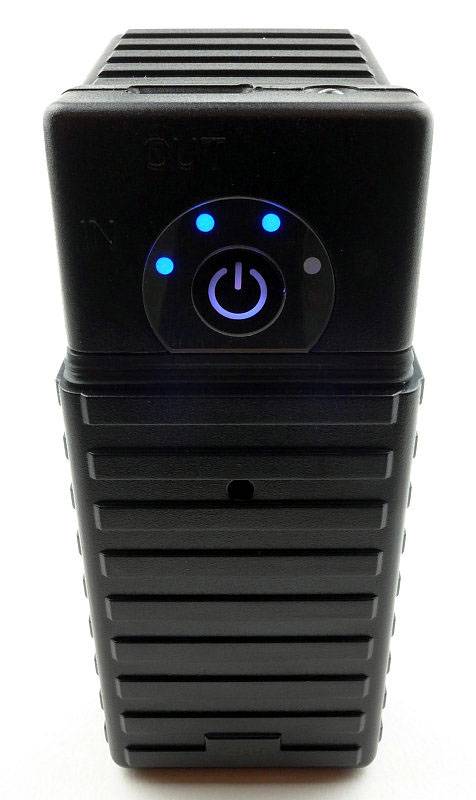
So it is all about this – the Bolt
Operation is simple. Slide the bolt forward and near the end of the travel the light comes on. Quickly releasing and sliding the bolt changes mode, and once you have the output you want, you simply rotate the bolt to lock it on.
Flicking the spring loaded handle sideways knocks it out of the locked position and turns it off.
The Bolt-Mini has 5 configurations with different sets of modes.
Configuration 1: High (factory default)
Configuration 2: ‘Previous’ – High – Low
Configuration 3: ‘Previous’ – High – Strobe
Configuration 4: ‘Previous’ – Low – Medium – High – Strobe
Configuration 5: ‘Previous’ – Low – Medium – High – Strobe – SOS – Beacon (High) – Beacon (Low)
In normal operation (starting from OFF), the Bolt-Mini (if left off for 5-6s) will come onto the ‘Previous’ or last-used mode, then, if cycling through the modes, it will start at the first mode in the configuration mode set.
– ‘Previous’ can be any mode.
– ‘Previous’ only occurs once the first time when cycling rapidly through these modes.
– If the ‘Previous’ mode is the first mode in the current mode set, it will not be repeated. For example if you last used Low in configuration 5, when you turn it on you will get Low, then Medium (not Low then Low).
So, from off, this means on repeated switching of the Bolt in Configuration 5 you get:
‘Previous’ – Low – Medium – High – Strobe – SOS – Beacon (High) – Beacon (Low) – Low – Medium – High – Strobe – SOS – Beacon (High) – Beacon (Low) etc
Once you have the desired mode, simply hold and rotate the bolt to lock it in that mode.
Changing configuration:
To change the configuration you need to turn the light ON and OFF 10 times within 2s. On the 10th activation hold the bolt in the ON position without locking it in place. The Bolt-Mini will flash between 1 and 5 times to indicate the current configuration. Quickly turn the light OFF and ON again to change to the next configuration and repeat until you have the one you want. Turn the light OFF for 5s to confirm the setting.
Batteries and output:
The Bolt-Mini runs on one AAA Alkaline or NiMh.
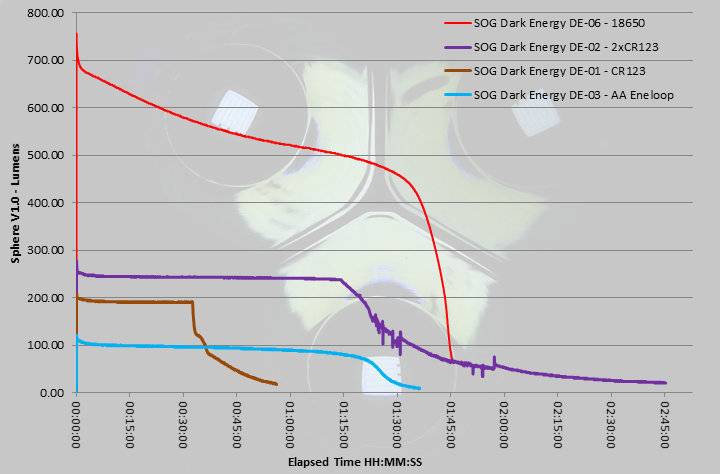
To measure actual output, I built an integrating sphere. See here for more detail. The sensor registers visible light only (so Infra-Red and Ultra-Violet will not be measured).
Please note, all quoted lumen figures are from a DIY integrating sphere, and according to ANSI standards. Although every effort is made to give as accurate a result as possible, they should be taken as an estimate only. The results can be used to compare outputs in this review and others I have published.
| ___________________________________________ | ________________________________ | ________________________________ |
| Bolt-Mini using AAA Eneloop | I.S. measured ANSI output Lumens | PWM frequency or Strobe frequency (Hz) |
| ___________________________________________ | ________________________________ | ________________________________ |
| High | 142 | 950 |
| Medium | 68 | 950 |
| Low | 7 | 950 |
| Strobe | Not Measured | 8 |
| Beacon High | Not Measured | 0.07 |
| Beacon Low | Not Measured | 0.07 |
* Beacon and Strobe output measurements are only estimates as the brief flashes make it difficult to capture the actual output value.
Peak Beam intensity measured 200 lx @1m giving a beam range of 28 m.
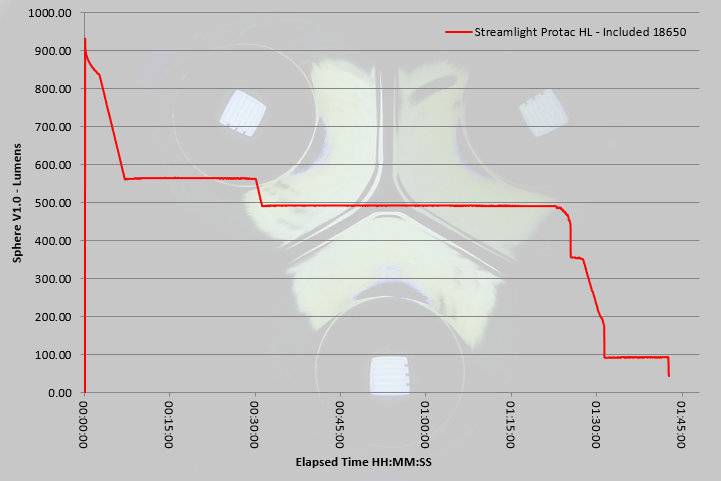
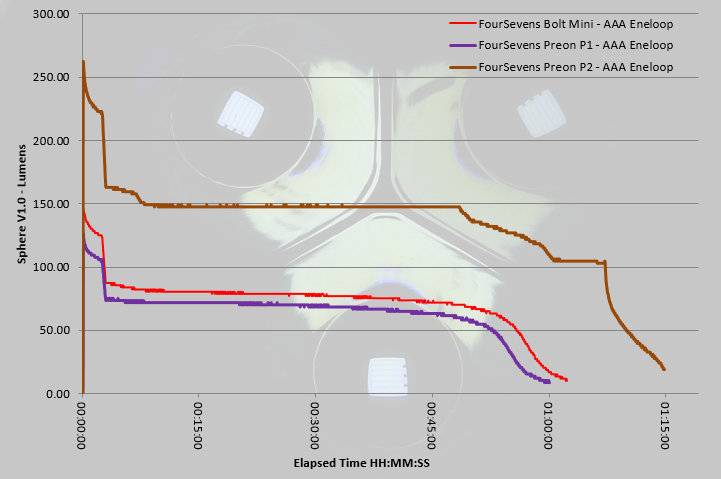
As I’m also testing the Preon P1 and P2, I’ve put all three output traces together to allow the AAA lights to be compared. Like the P1, the Bolt-Mini runs on only a single AAA. You can clearly see the ‘Burst’ mode operating, with the initial part of the trace being at 100% output, and then dropping to around 70% after 3 minutes.
Troubleshooting
This section is included to mention any minor niggles I come across during testing, in case the information helps anyone else.
No issues were encountered during testing.
As per the description of this section, this information is provided in case anyone else finds a similar ‘issue’ that might be fixed in the same way.
The Bolt-Mini in use
When I first heard about the Bolt-Action light I was very sceptical. What was the point? Well actually it is very usable. The bolt-action makes for a great momentary interface and locking on or off is extremely intuitive.
The original Bolt-Action is more powerful and the bolt has an easier action, but it is bigger than a pen, so becomes more noticeable to EDC. Still a great light though (and remember I found it would run on a 14500 as well as the officially supported 2xCR2). However, the Bolt-Mini takes this design into a new league altogether as it now sits in a pocket and alongside pens without standing out.
Unfortunately the action feels quite a bit stiffer and the smaller ball on the lever can dig in a bit on repeated use, making it less comfortable to use than its bigger brother, but you forgive that for the smaller size and with it being much easier to feed with a normal AAA.
Having to wait around 6s from turning it off to turning it back on again if you want to avoid mode changes is a little frustrating. I’d prefer that a much more rapid on/off cycle was needed to change mode.
The ‘Previous’ mode memory is useful, as is the fact that the next mode will then be the first of the current configuration’s mode set. With the interface working in this way, I have chosen configuration 5 (with the most modes), as in general use I never have to cycle through the flashing modes unless I want to use them.
So, some might say that this is a very large single AAA light, and compared to most 1xAAA lights it is much longer. But, and this is an important ‘but’, this is a pen sized EDC light with a unique and satisfying ‘bolt’ interface,… and it happens to use a single AAA for power. Don’t think of it in a simple direct comparison to other single AAA lights, but instead for its distinctive character.
With FOURSEVENS usually not using PWM, I was a little disappointed to find it was utilised in the Low, Medium and High modes, and at 950Hz is on the edge of being noticed. I have high sensitivity to PWM and have found that 1000Hz is the point where the effects start to become less and less noticeable. It means that most of the time I don’t see any effects, but occasionally do. Any effects are most noticeable in Low (as the width of the PWM peaks is the narrowest), much less in Medium and pretty much gone in High.
Generally I don’t like pocket clips as they can be very abrasive and destructive. On the Bolt-Mini, the clip is a polished finish and the tube it sits against is smooth, so it slides on and off a pocket lip nicely. There is plenty of tension in the clip to keep it secure, but as seen early in the review, the pocket clip isn’t quite sitting in the cut-out where it is screwed to the body and this has increased the clip tension. If the clip were sitting flat as it should, the tension will be slightly less.
Another advantage to the bolt-action switch is that you can operate it completely silently. Having previously selected Low, you have a silent operation light to keep by your bed. The Low mode isn’t a moon mode, but again, thanks to the design, you can turn the Bolt-Mini on with the head tucked into your hand or wrist and control how much light can be seen.
The original Bolt-Action light is an interesting concept, if perhaps targeted more at the enthusiast (needing specialist cells), but the Bolt-Mini opens this concept to all. The smaller size is much easier to carry and taking the humble AAA makes it easy to feed. FOURSEVENS have listened to their customers and made the bolt-action design accessible to all.
Review Summary
| _______________________________________________ | _______________________________________________ |
| Things I like | What doesn’t work so well for me |
| _______________________________________________ | _______________________________________________ |
| Bolt-Action switch interface. | The Switch action is stiffer than the original Bolt-Action light. |
| User selectable configuration. | Pocket clip isn’t fitted properly. |
| Excellent close range beam. | Occasionally noticeable PWM. |
| XP-L LED. | |
| AAA power. |
Discussing the Review:
Please feel free to add comments to the review, but the ideal place to freely discuss these reviews is on a forum. If you started reading the shorter forum version of the review, but followed the link this full exclusive review, please return to that forum to discuss the review there.
If you read the review entirely on Tactical Reviews, please consider one of the following to join in any discussion.
CandlePowerForums – Flashlight Reviews Section (Largest and Friendliest Flashlight Community Forum)
EdgeMatters – Sponsored Reviews (UK based Forum for Knife Makers and Collectors)