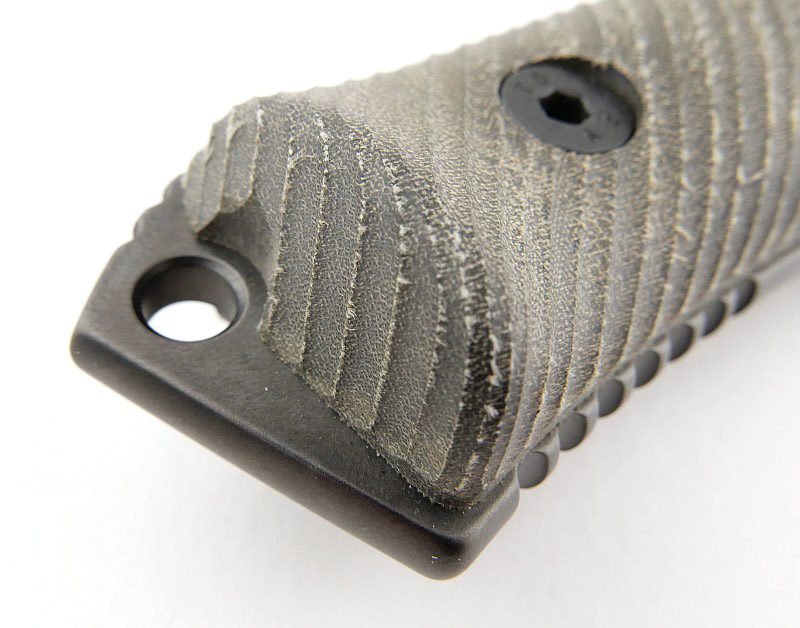
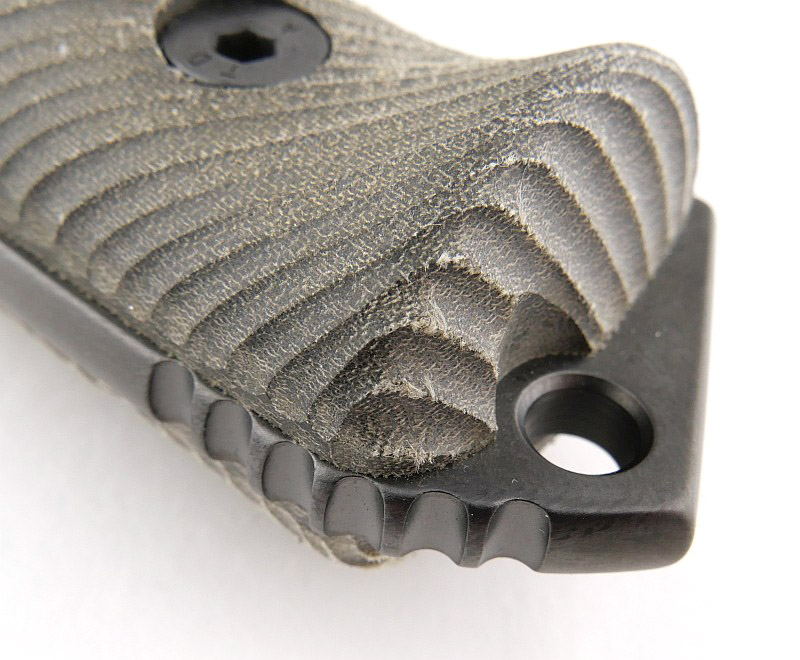
An even lighter, premium version of the already ultralight Benchmade Bugout, yes, that’s right. Join me in this is detailed review of the Benchmade 535-3, the special super-ultralight Bugout. Now, you say Carbon Fiber, I say Carbon Fibre, but let’s not worry about that (I might use either or both), and this is why the 535-3 is even lighter, as it has Carbon Fibre handles with the minimal steel inserts milled into them. The 535-3 is the Benchmade Bugout – Plus!
Review Videos
Starting with a short format sixty second review:
Onto a full video review covering many more details:
A few more details:
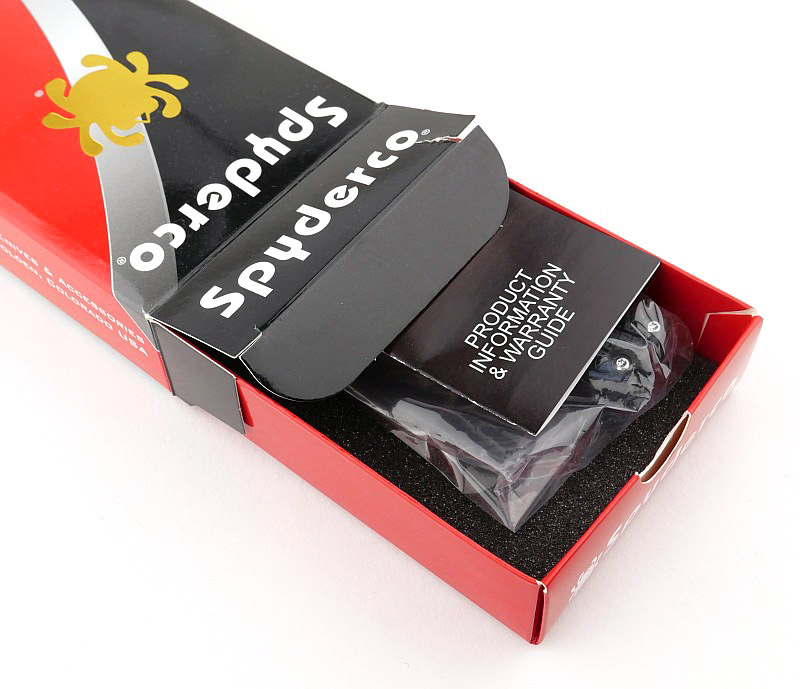
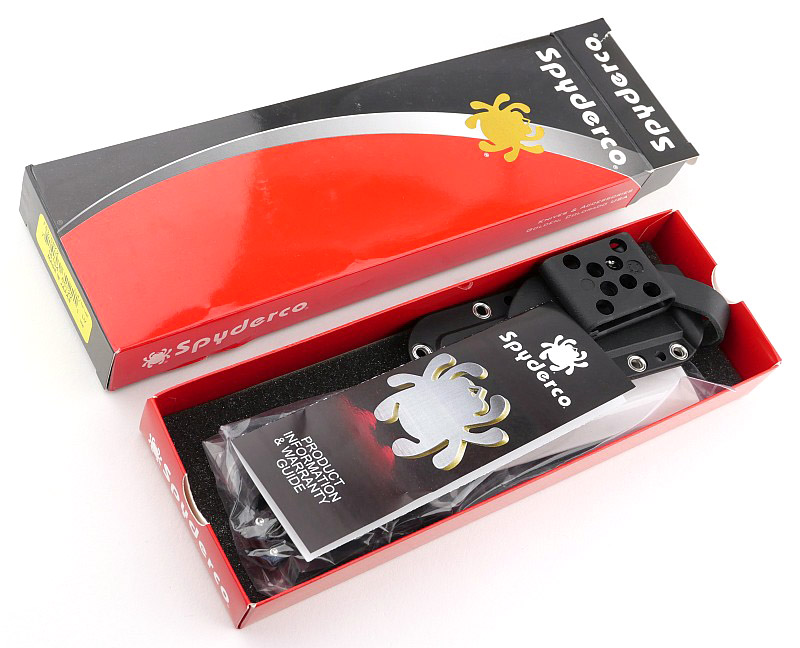
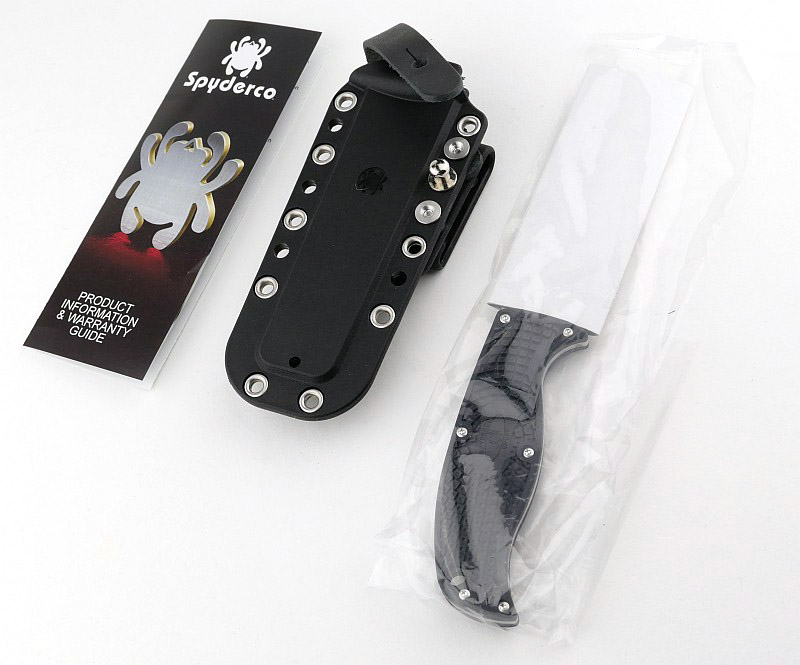
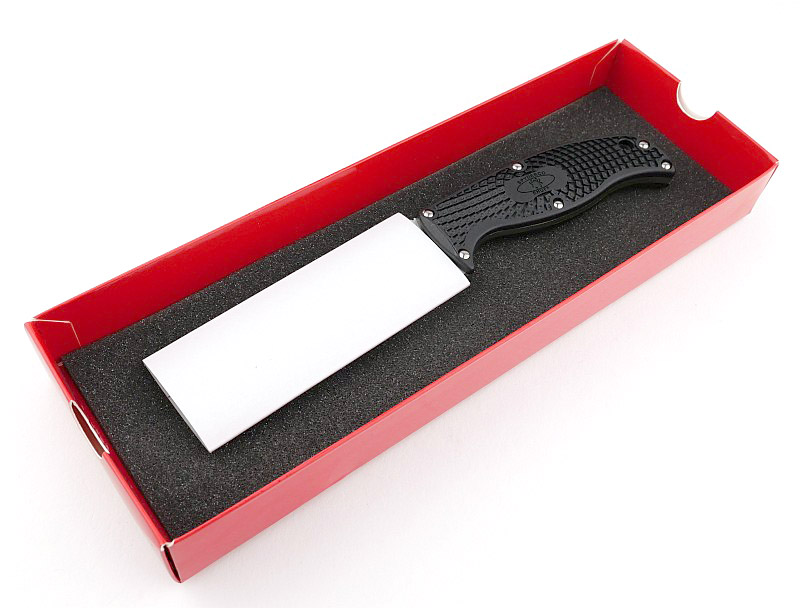
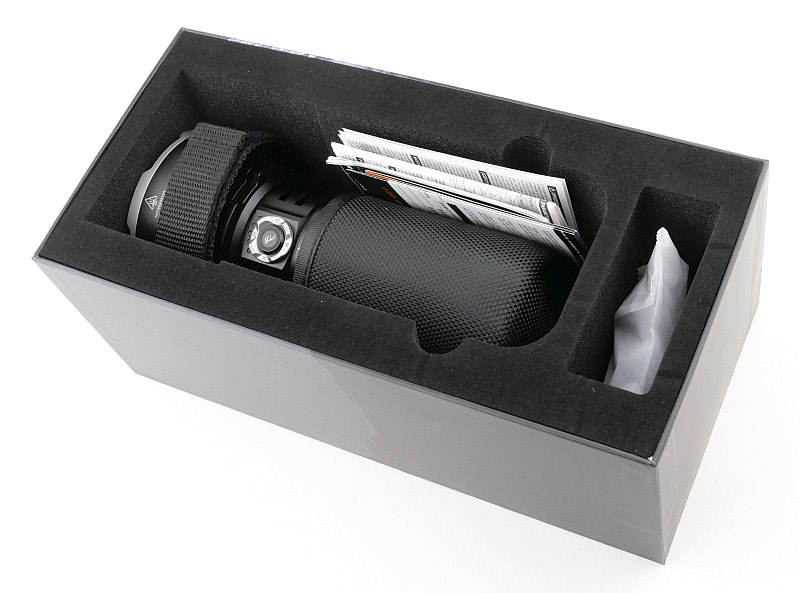
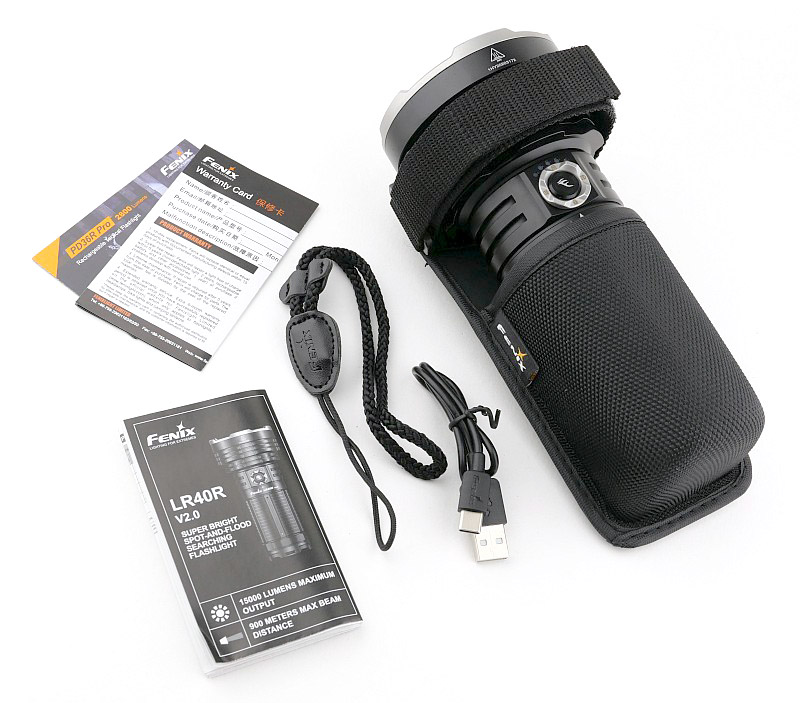
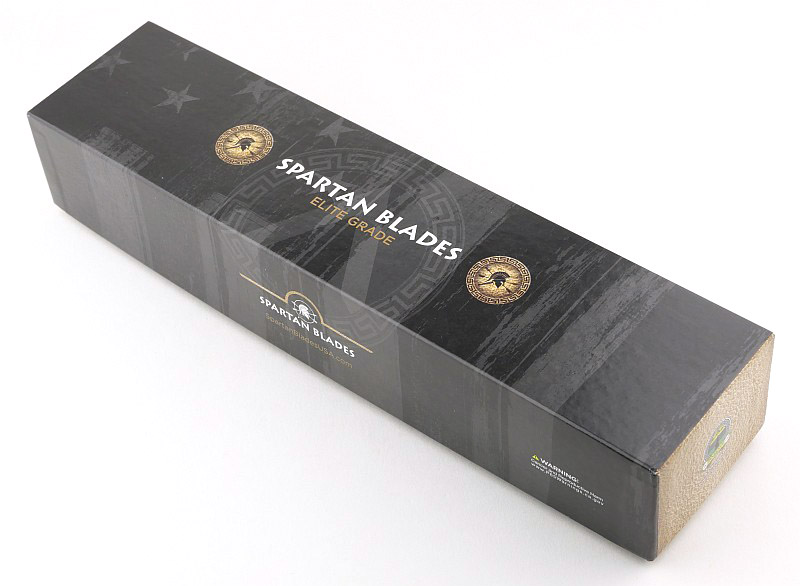
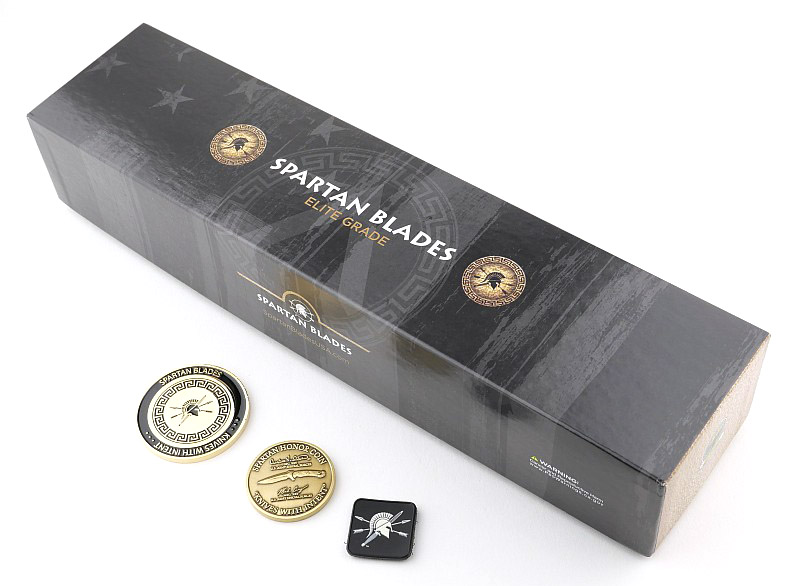
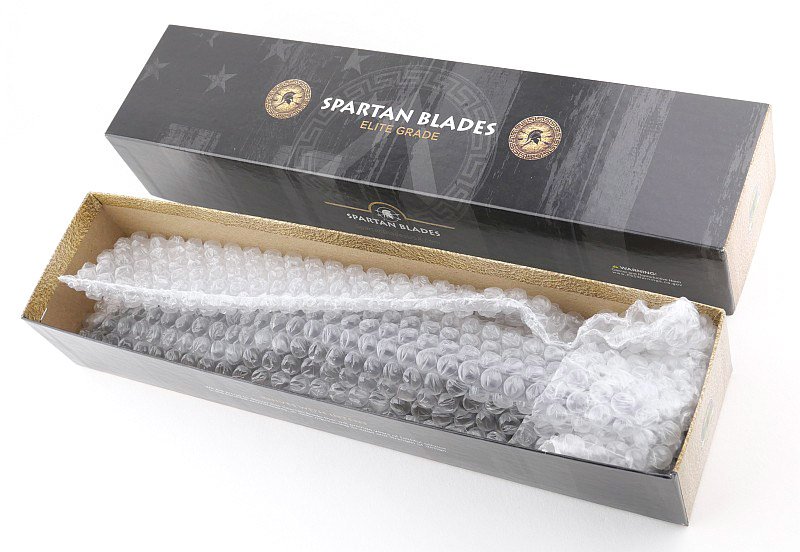
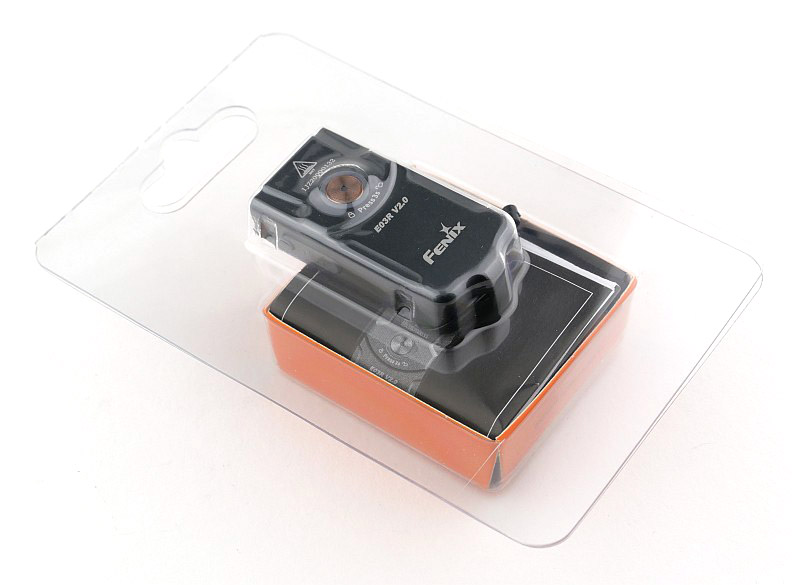
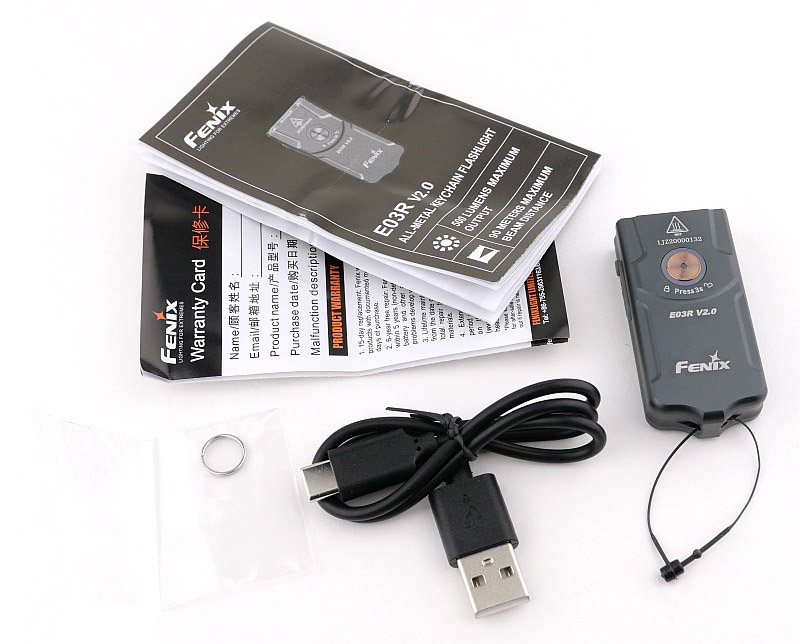
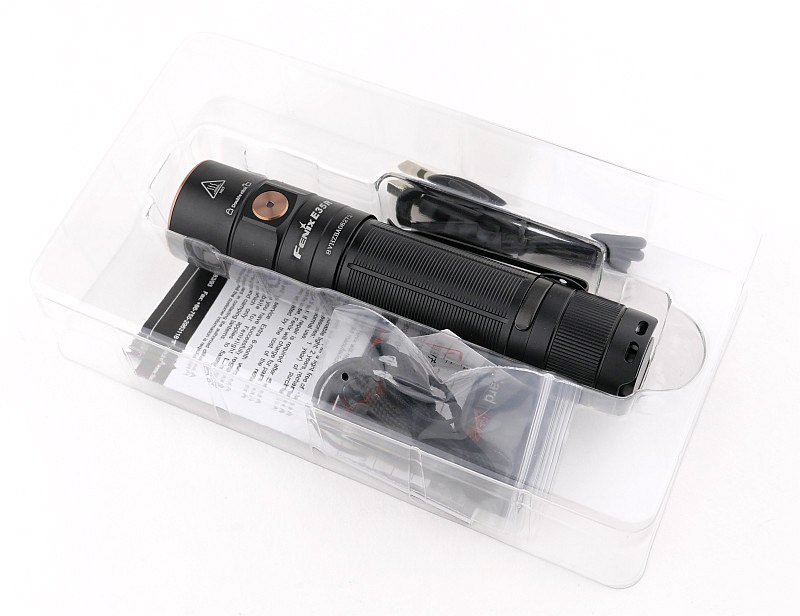
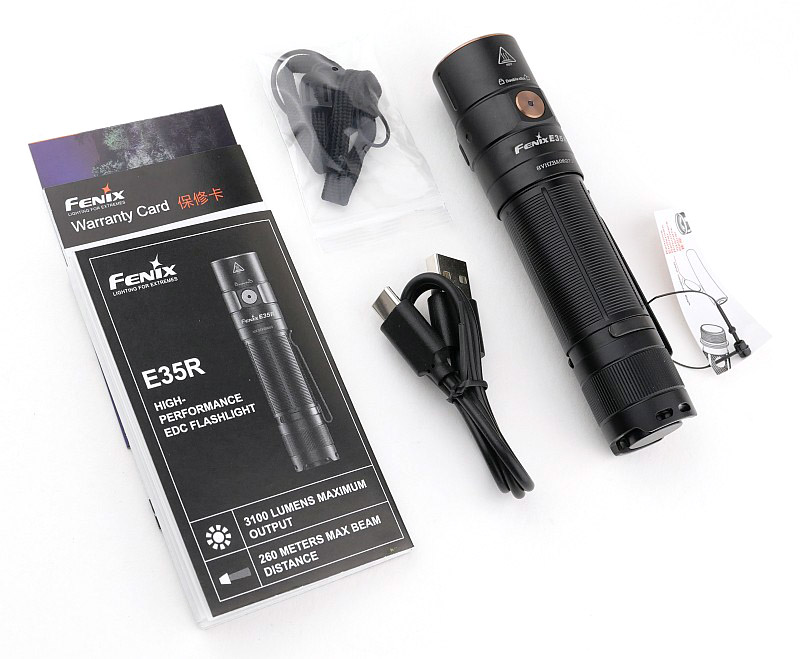
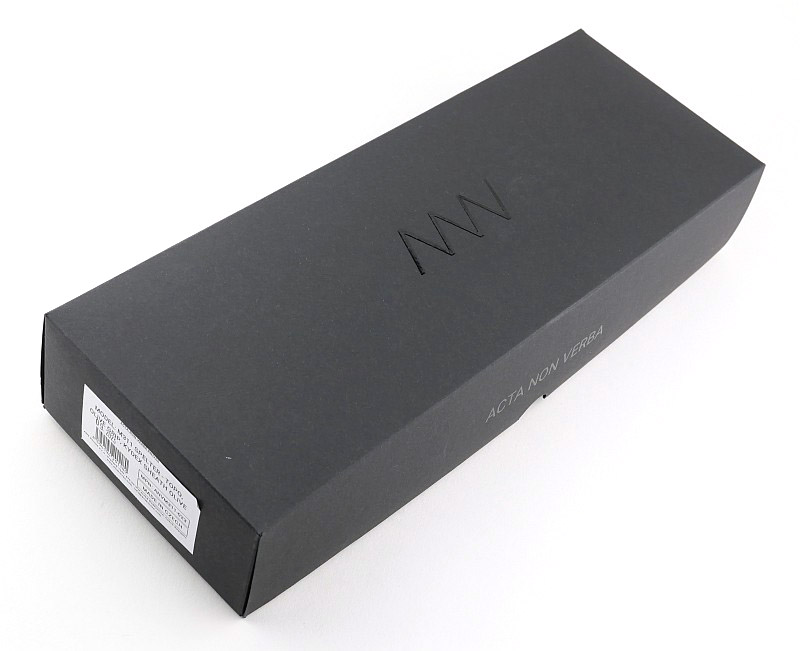
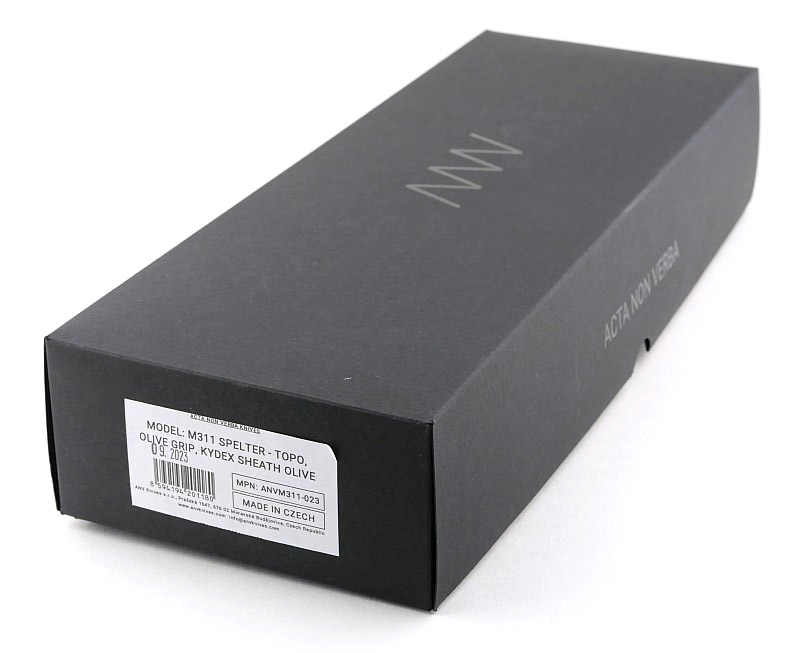
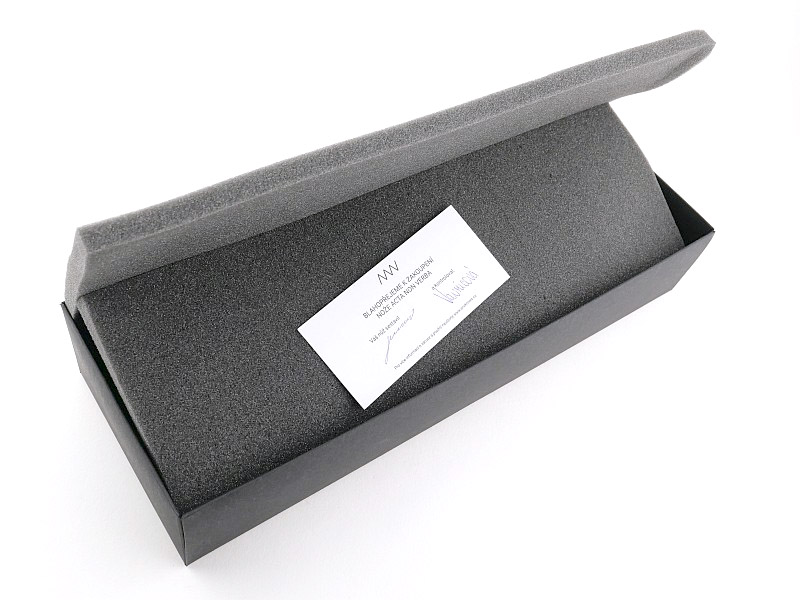
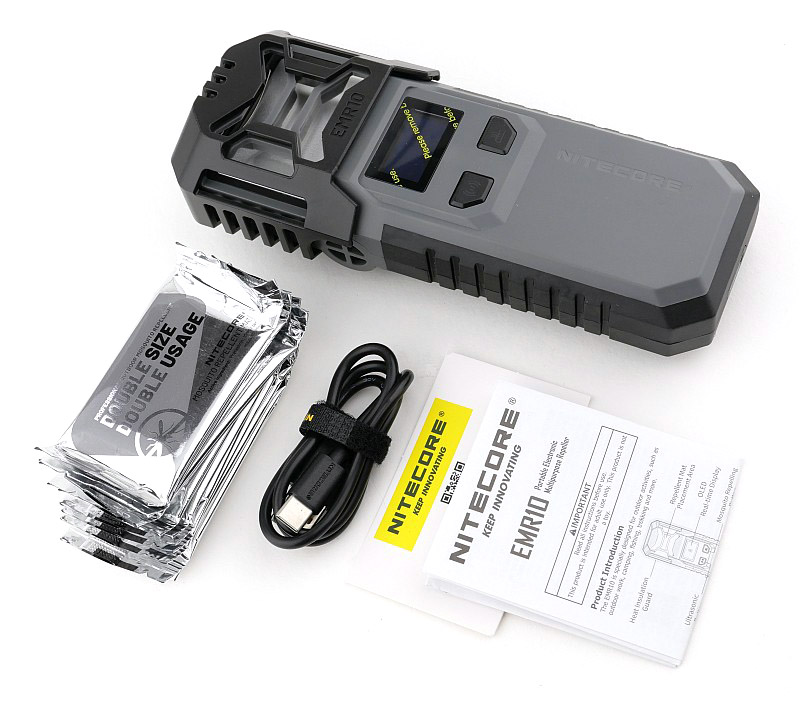
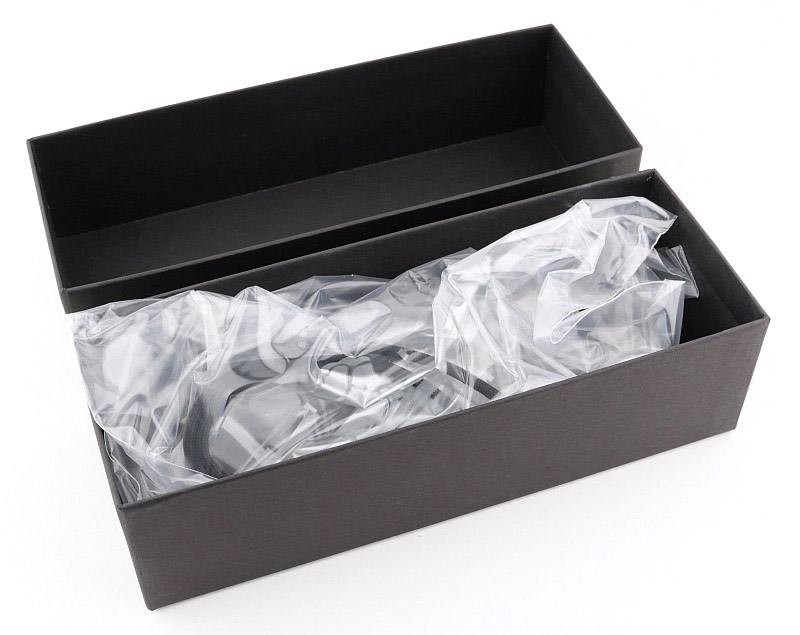
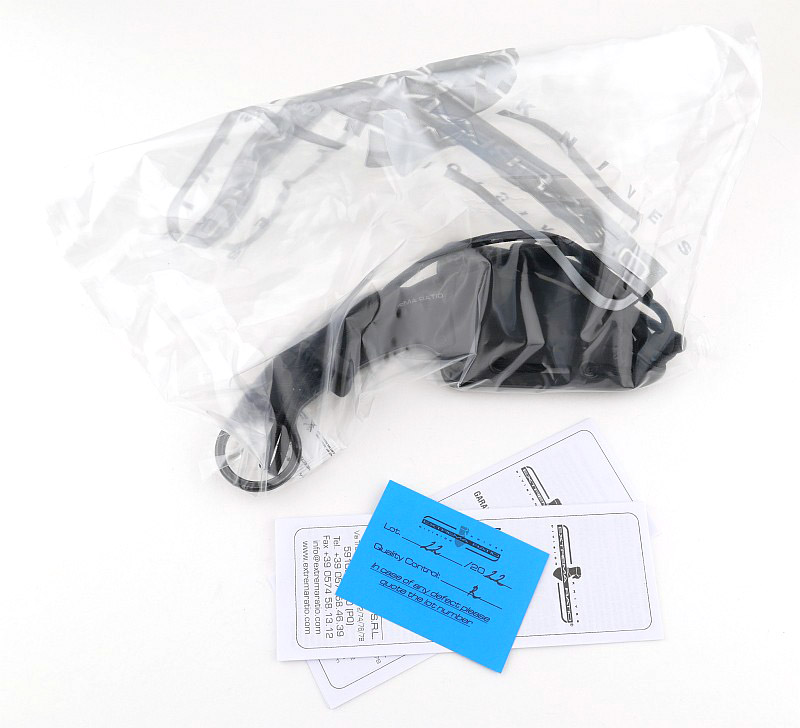
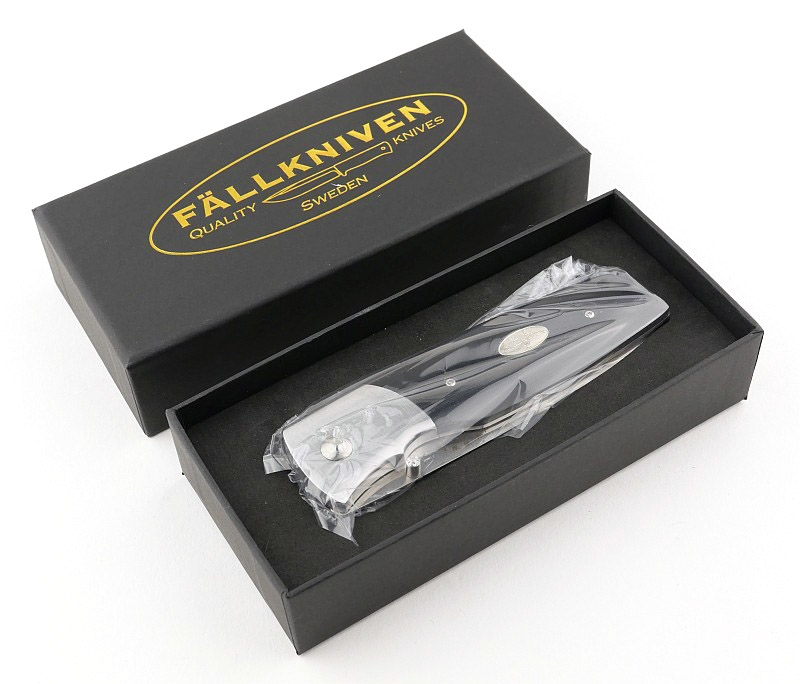
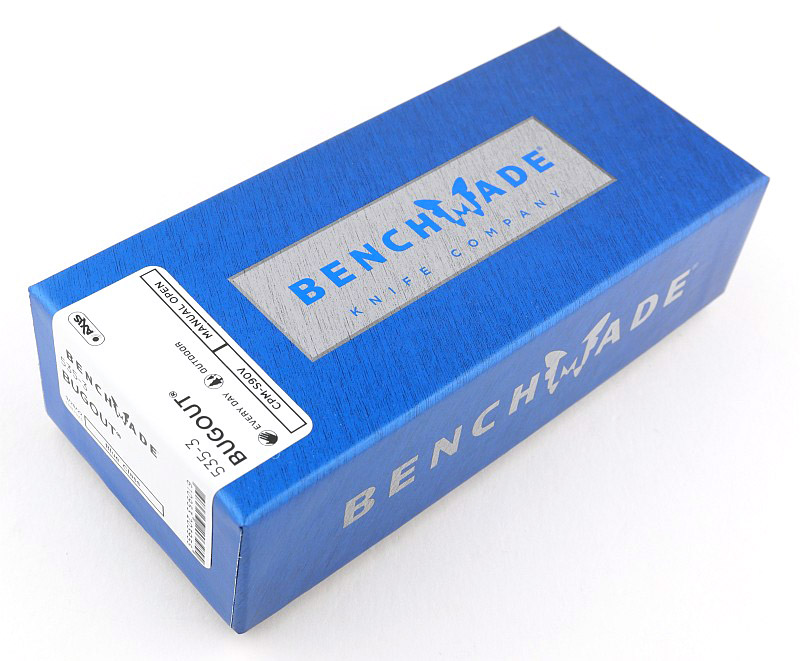
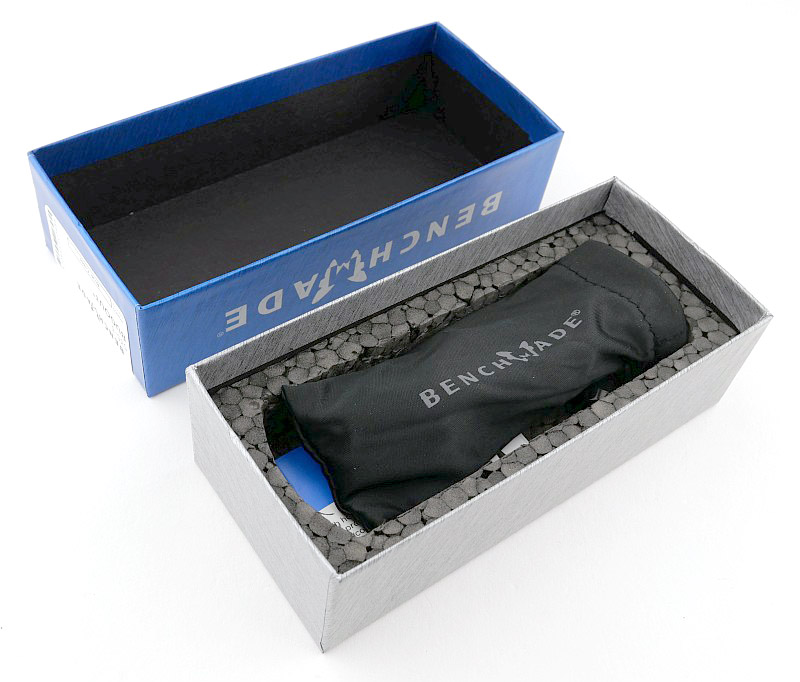
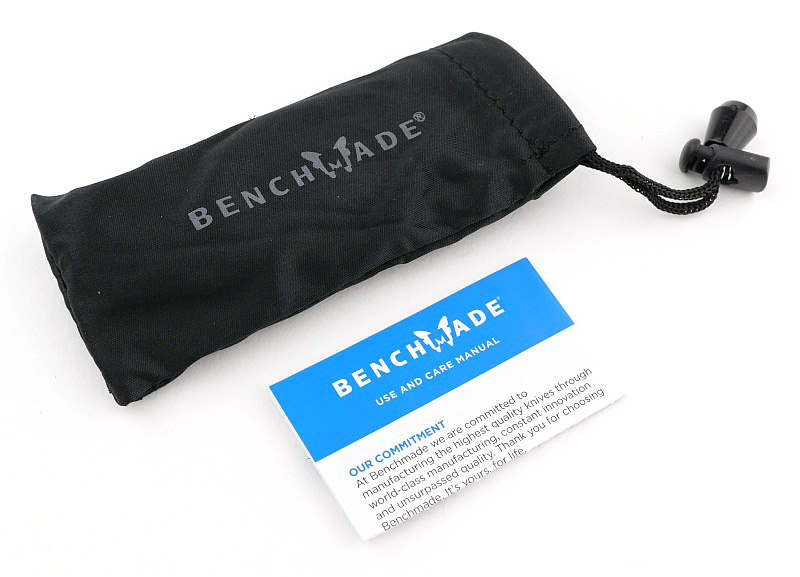
What’s in the box?:
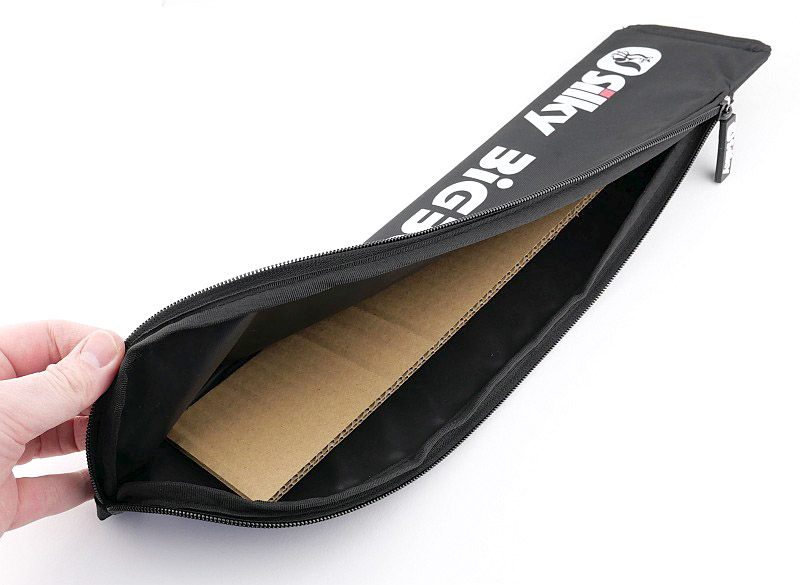
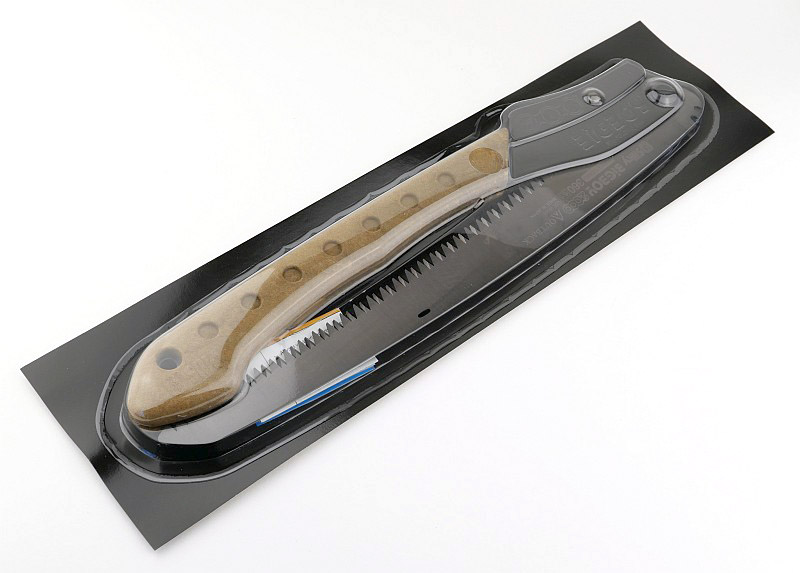
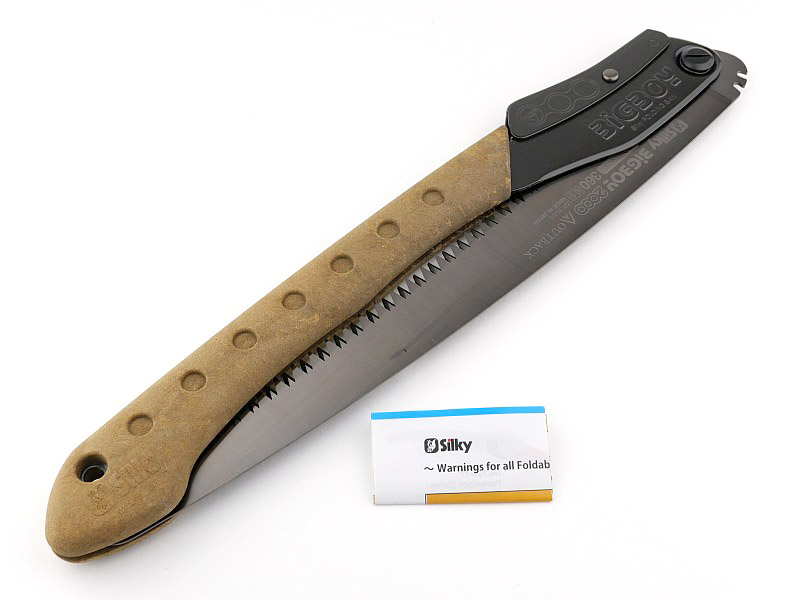
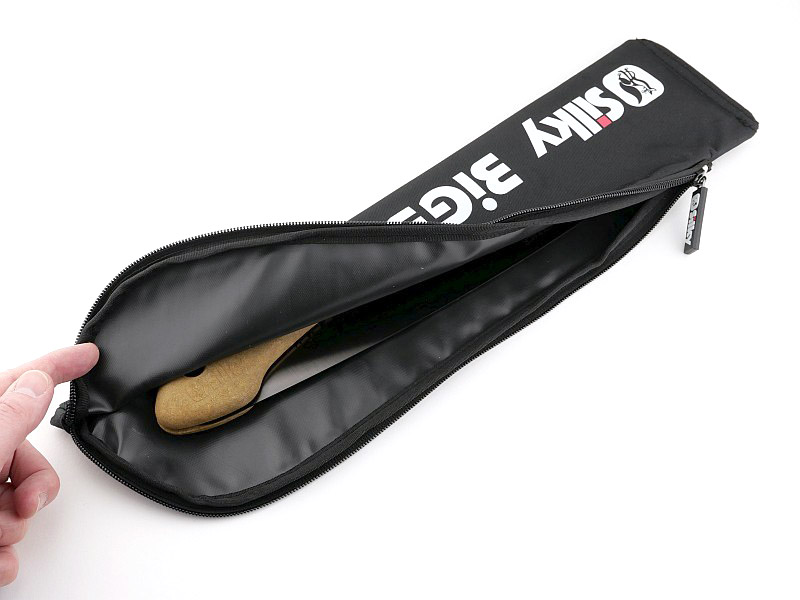
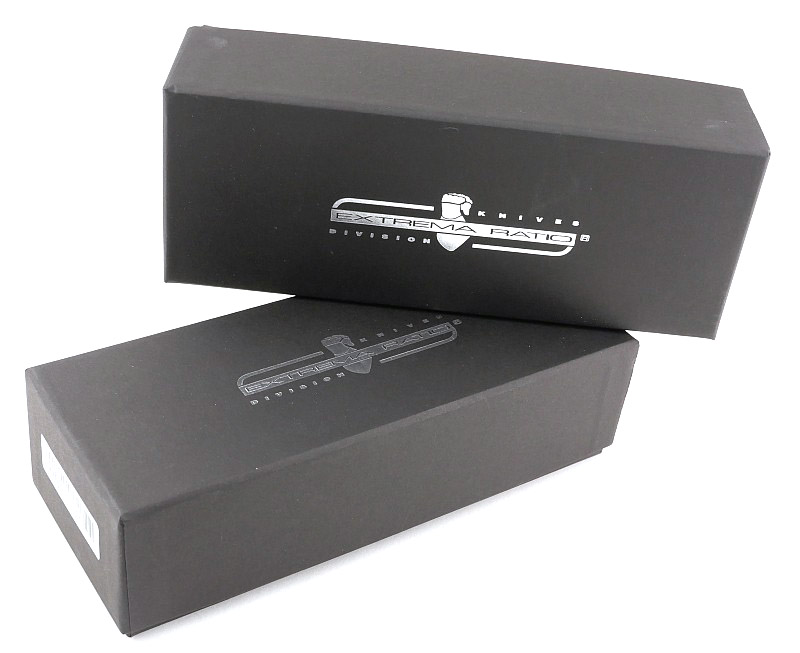
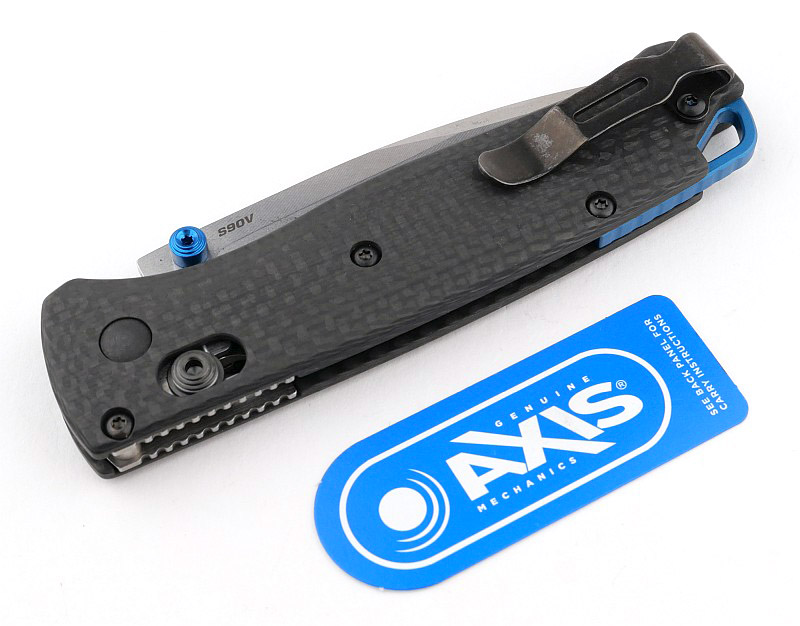
Very well presented in a foam lined box, the Bugout comes in a cloth bag that you can use to help keep the pocket fluff at bay. A clip/handle protector card also gives you information about the Benchmade Axis lock that the Bugout uses.
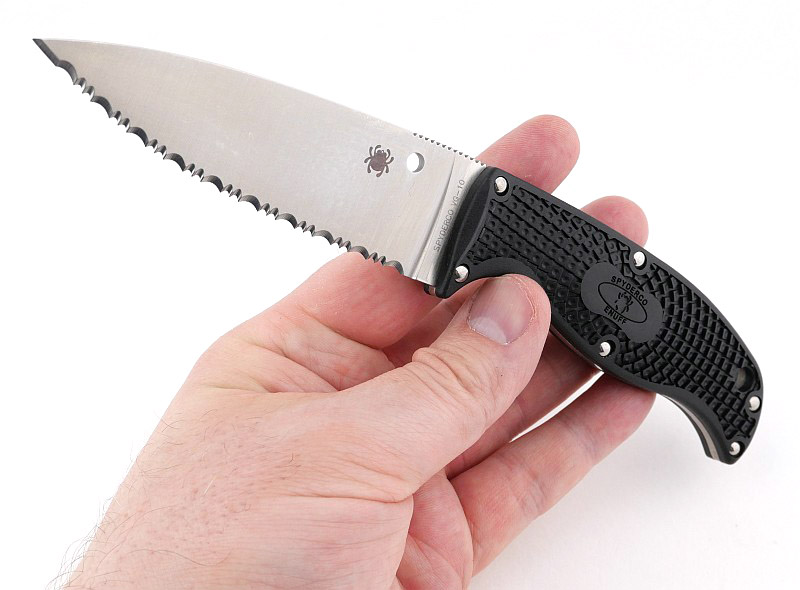
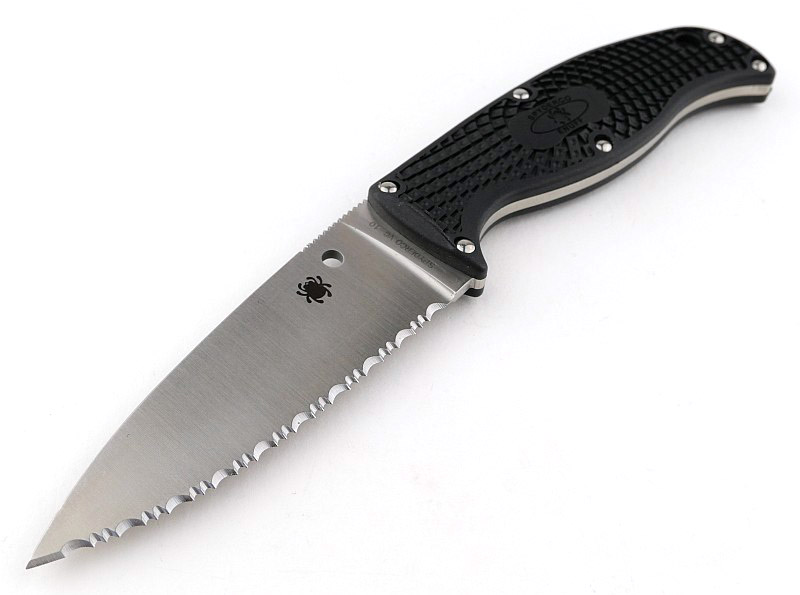
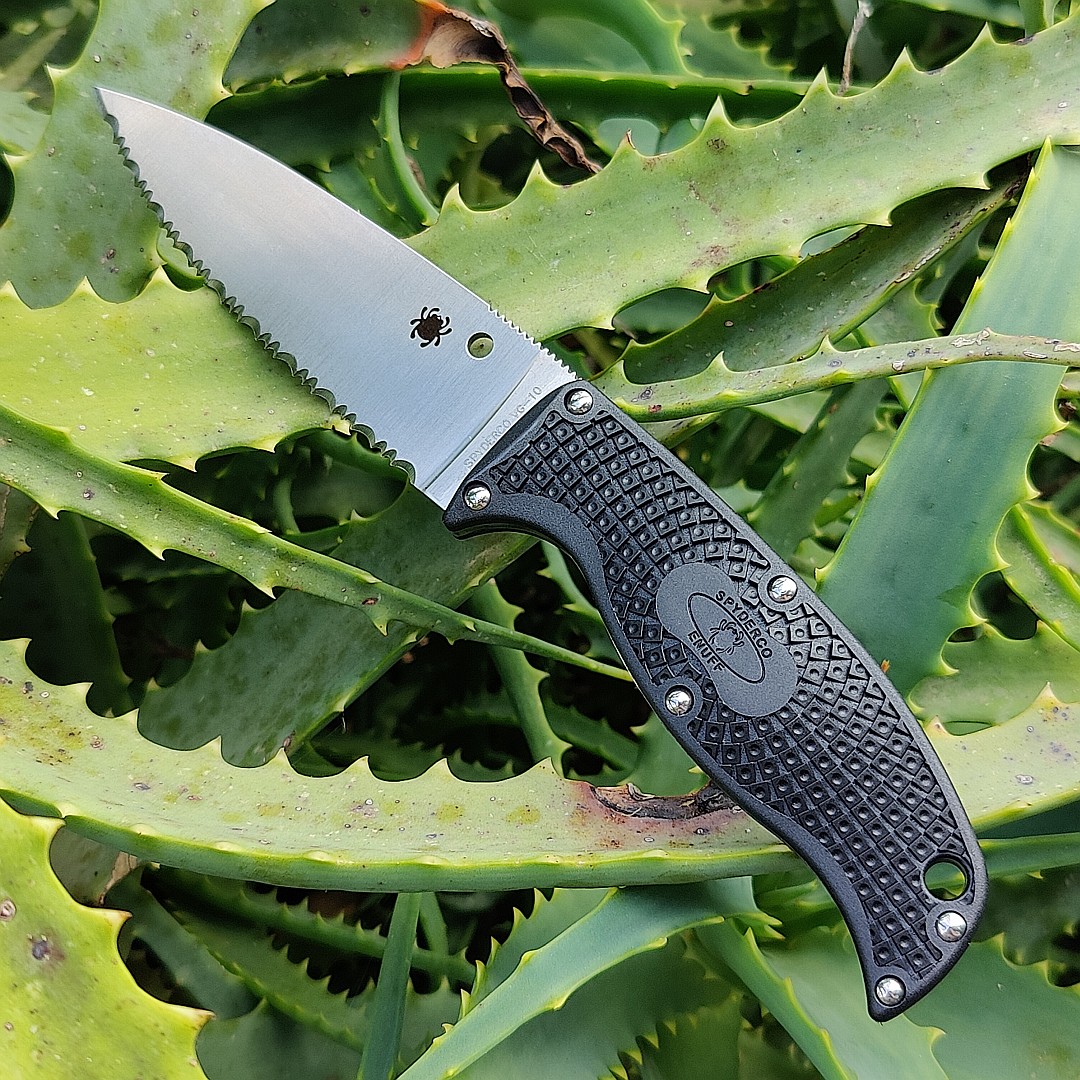
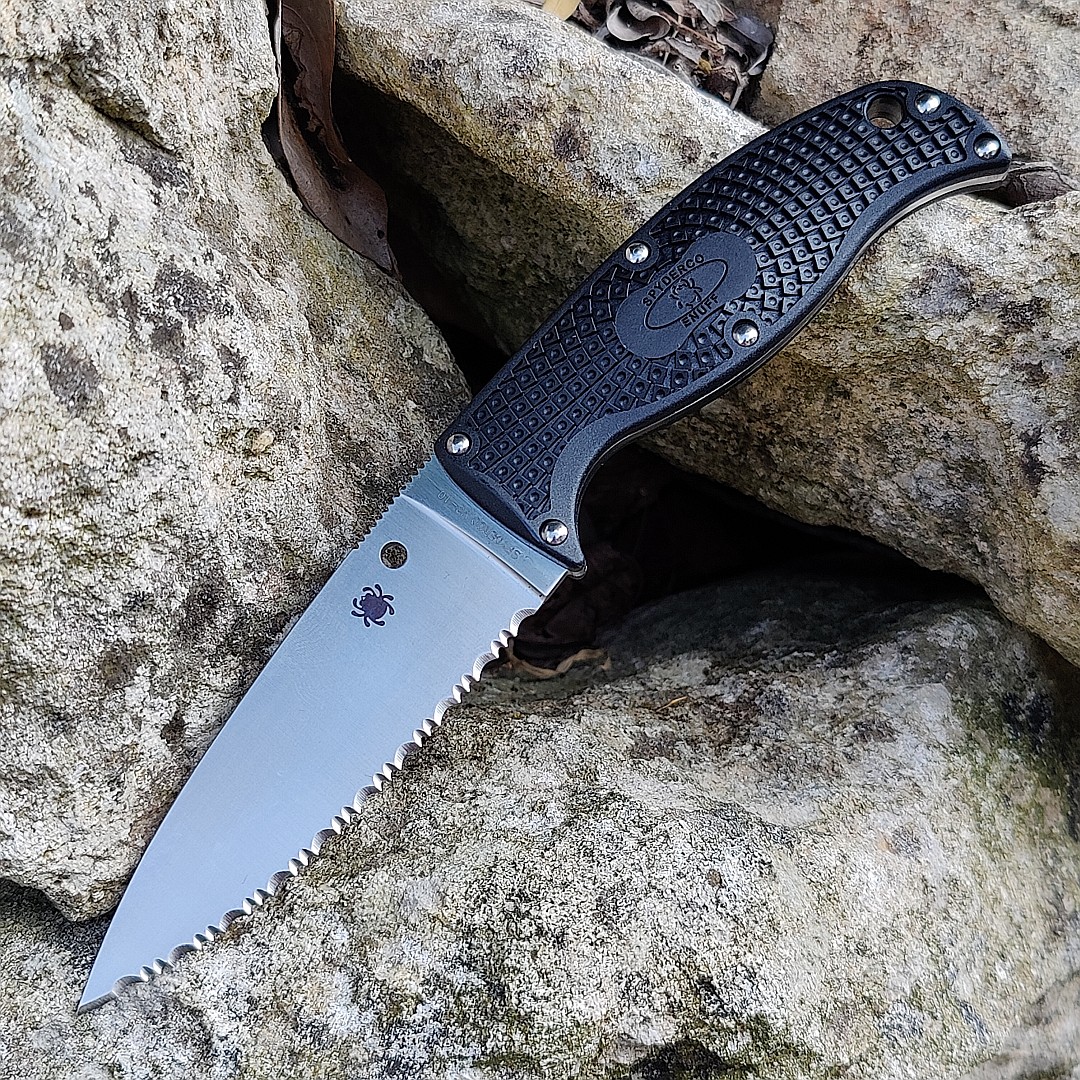
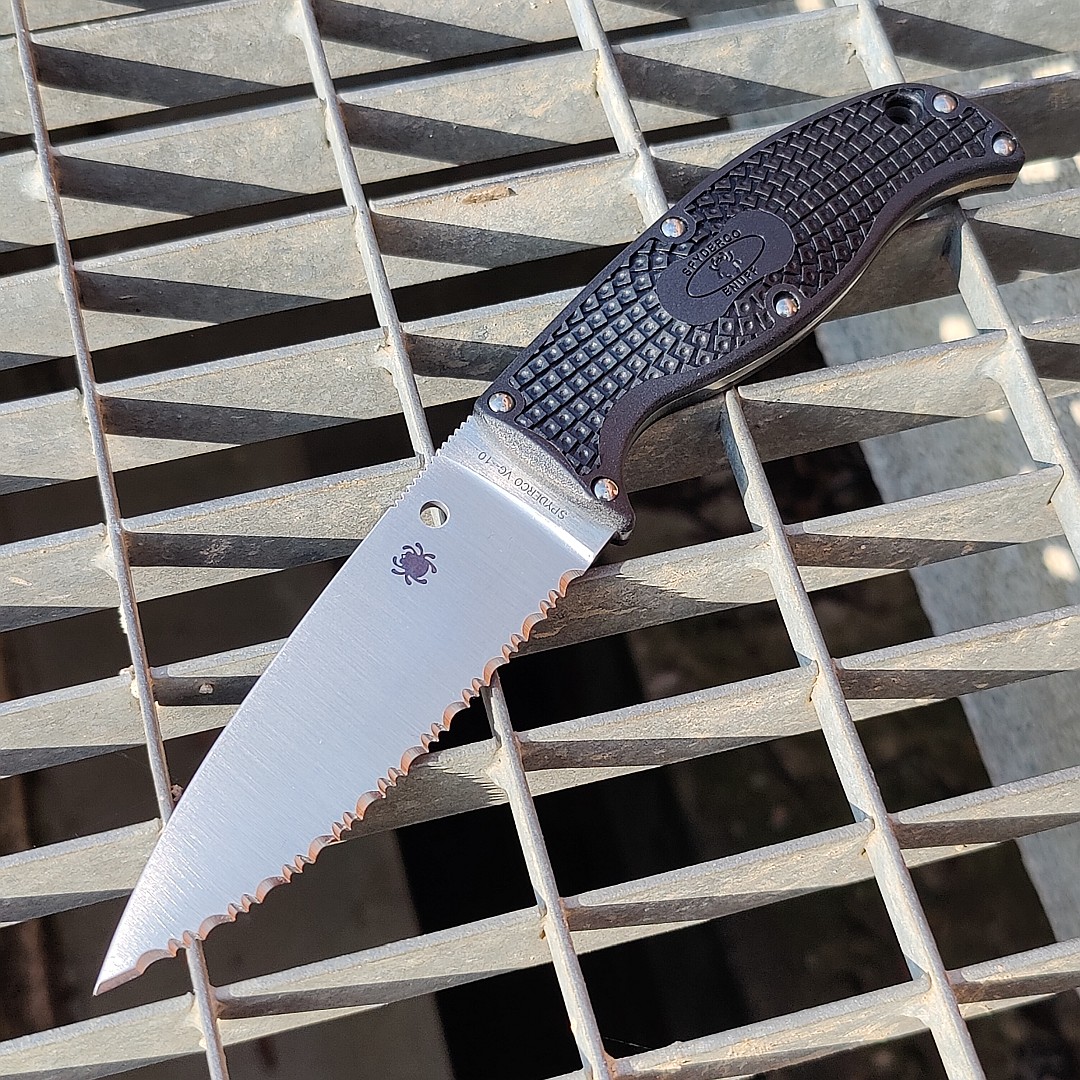
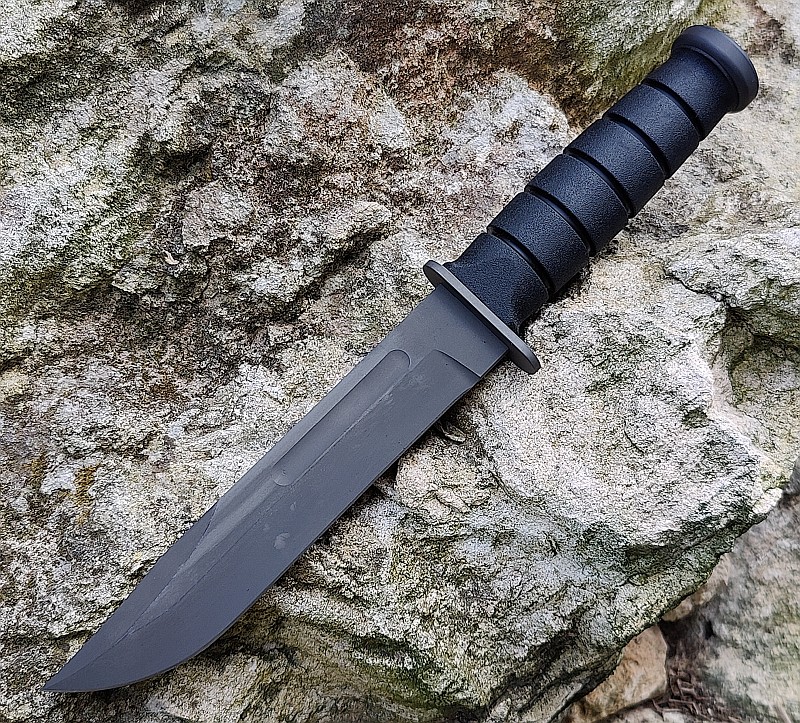
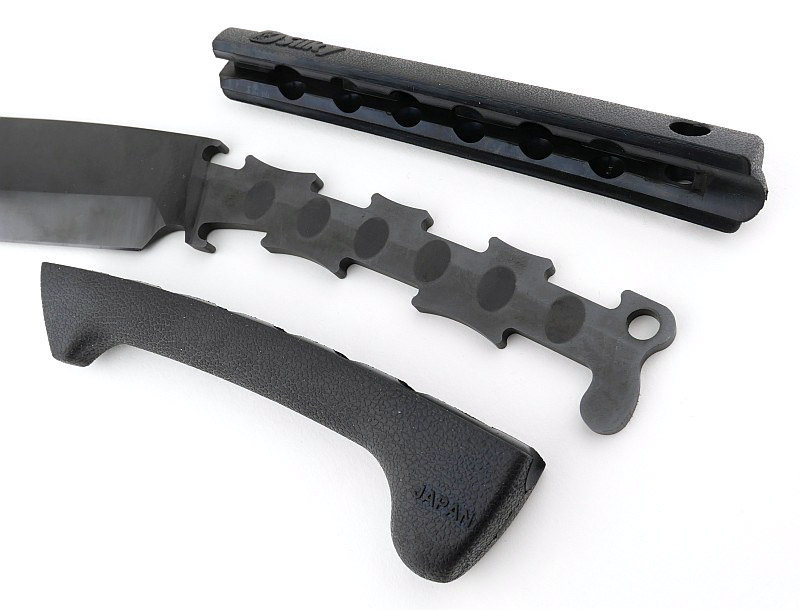
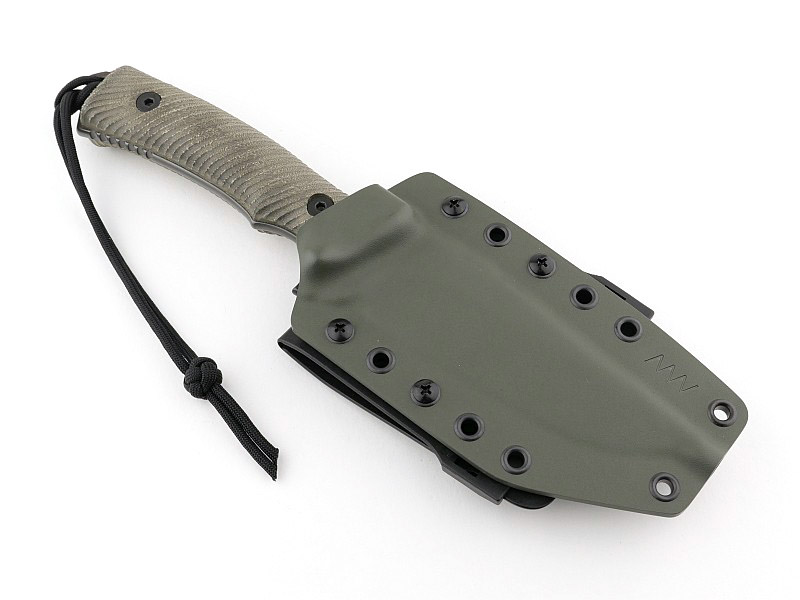
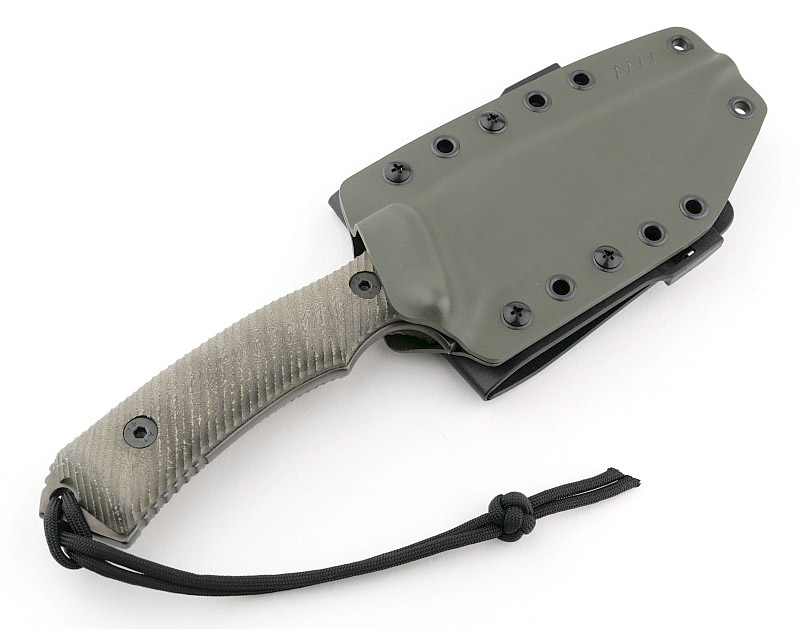
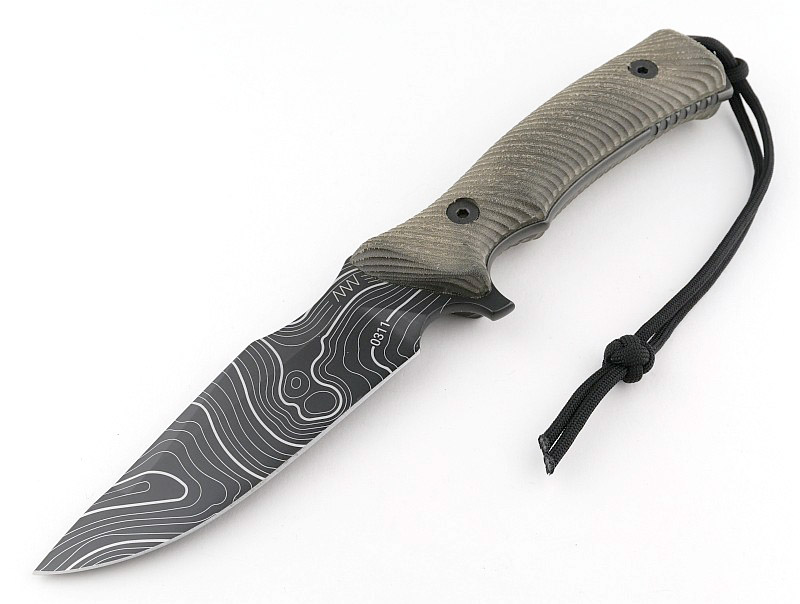
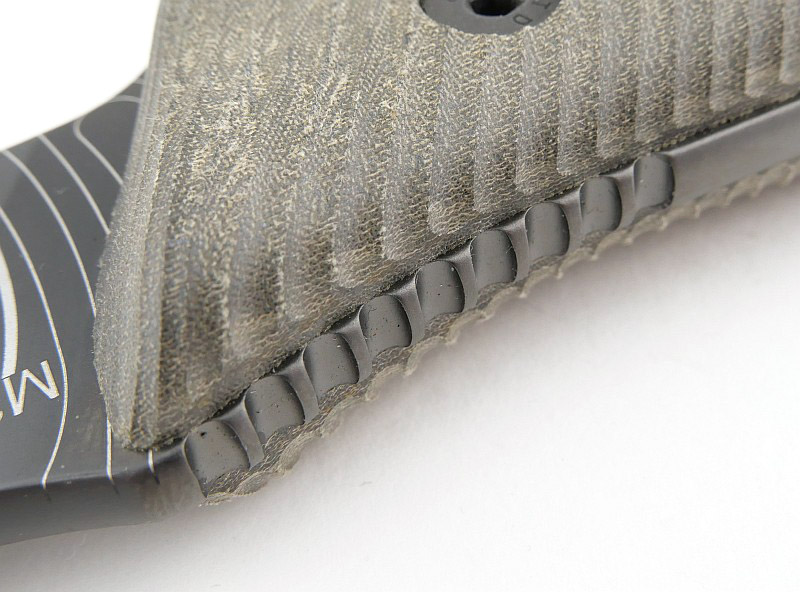
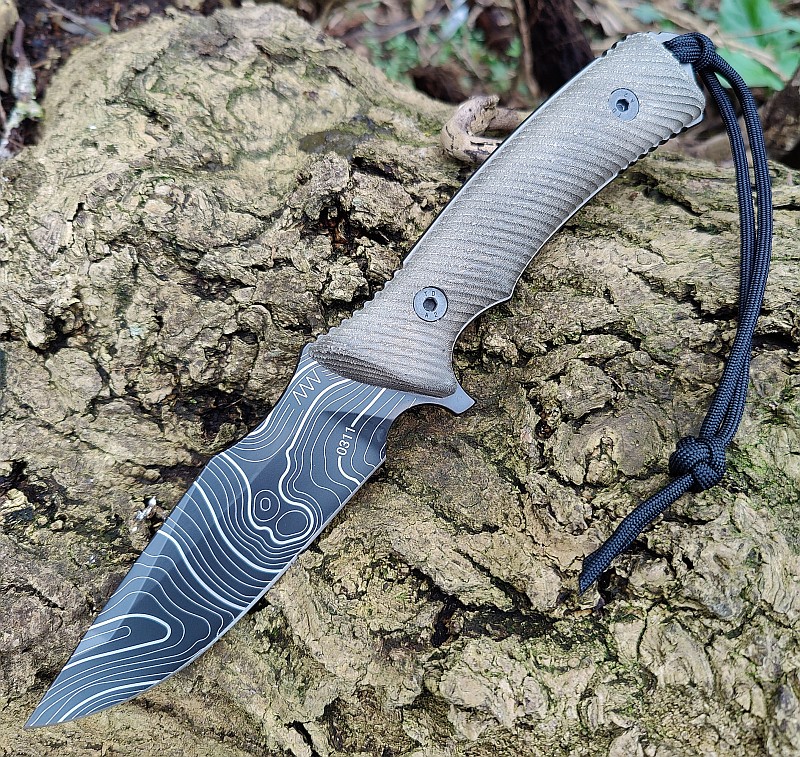
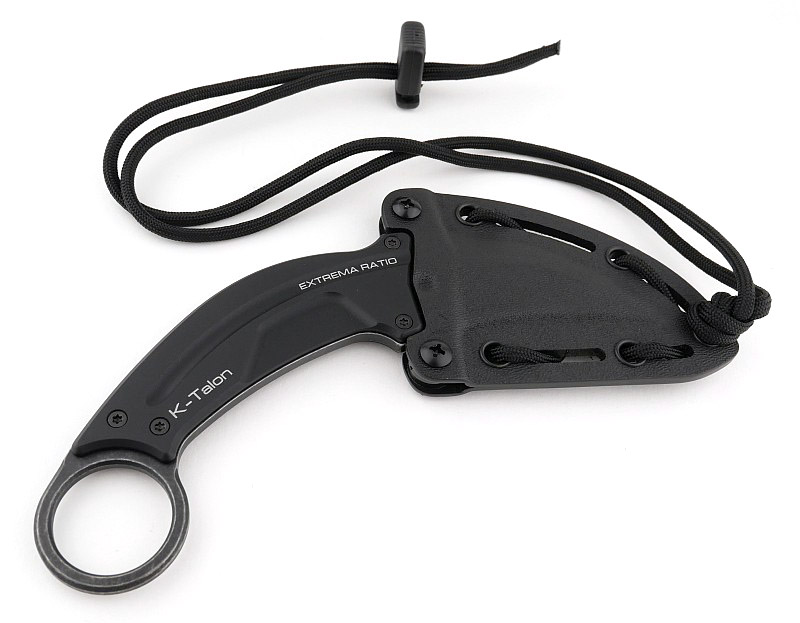
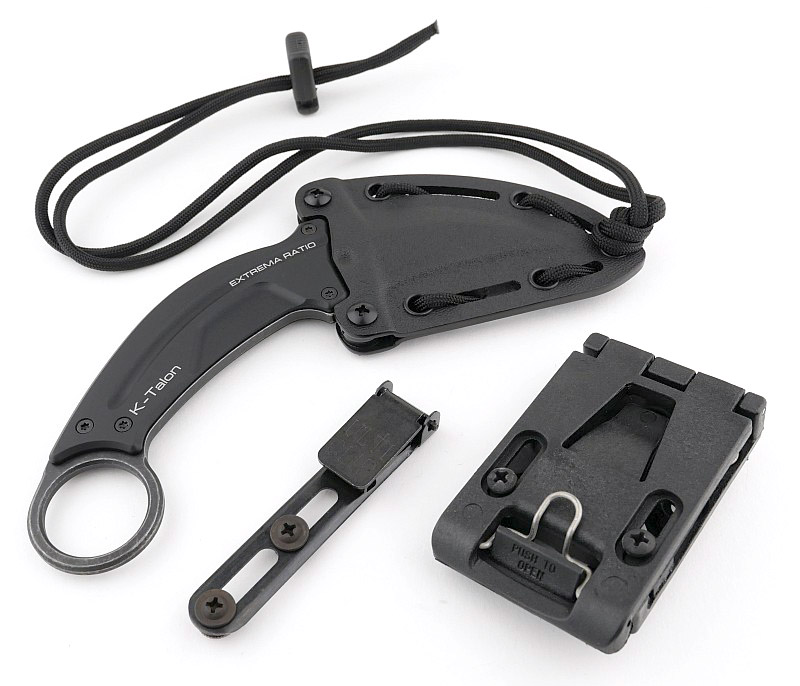
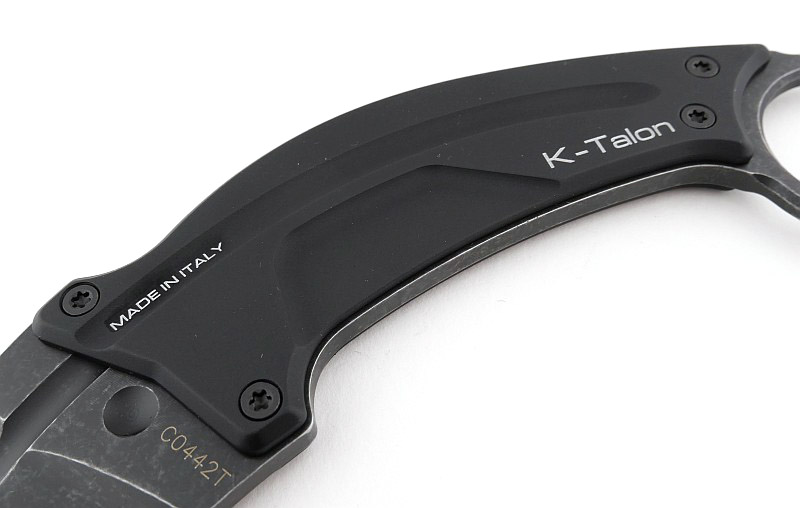
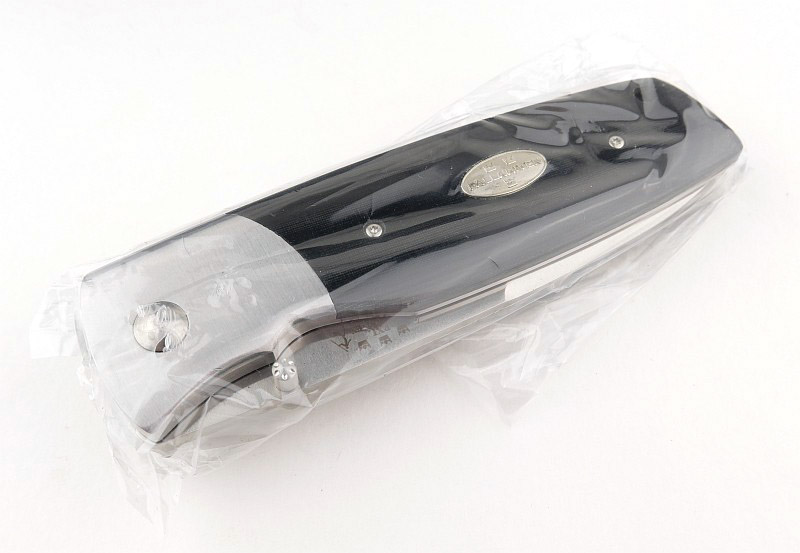
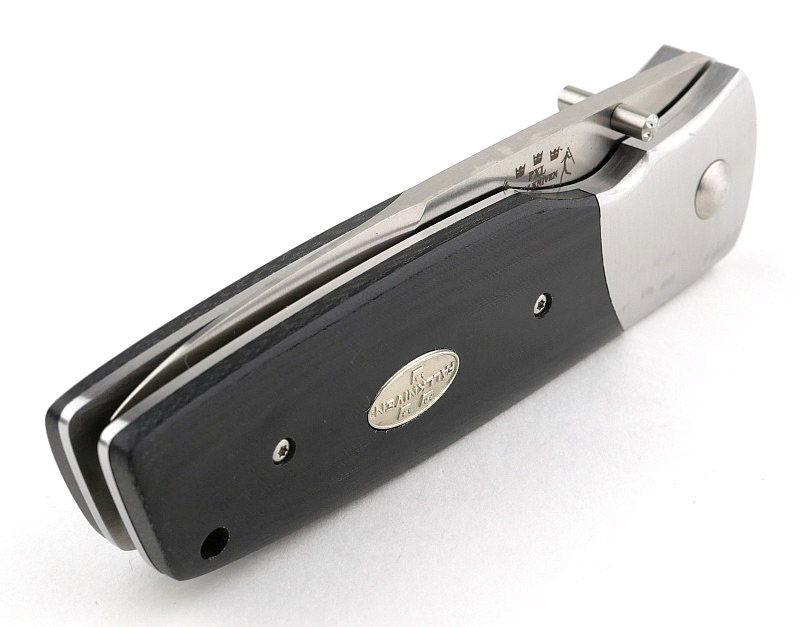
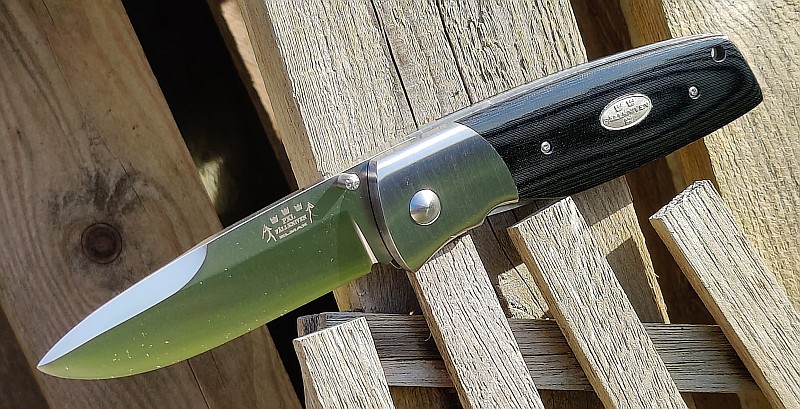
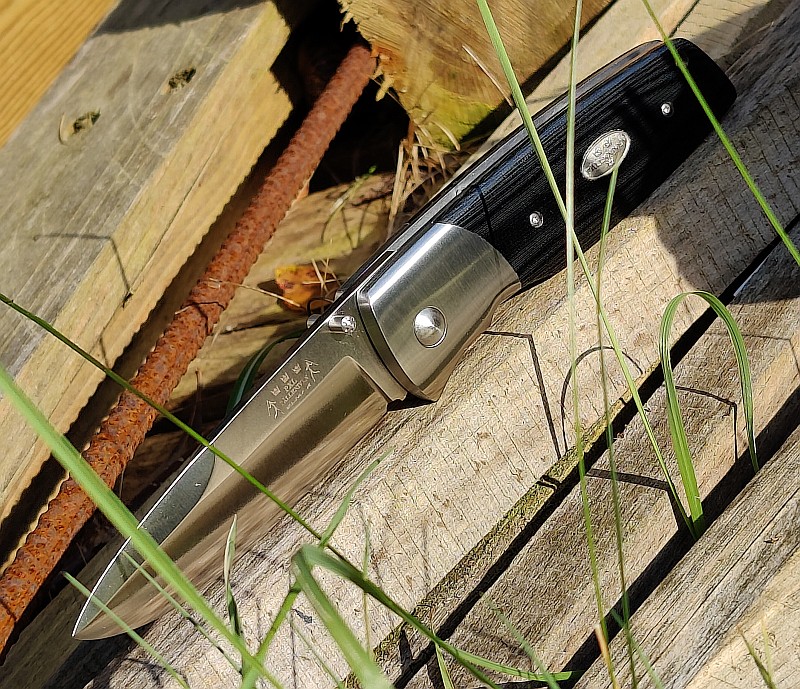
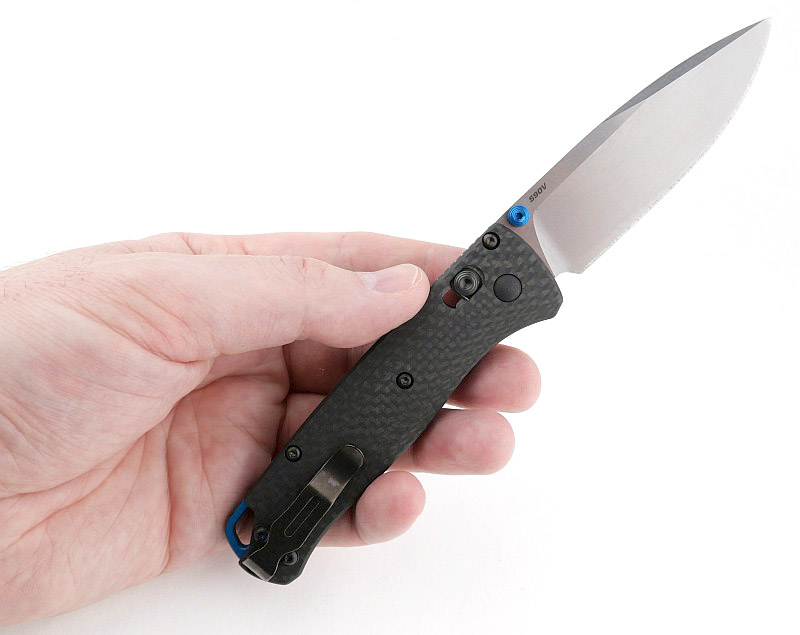
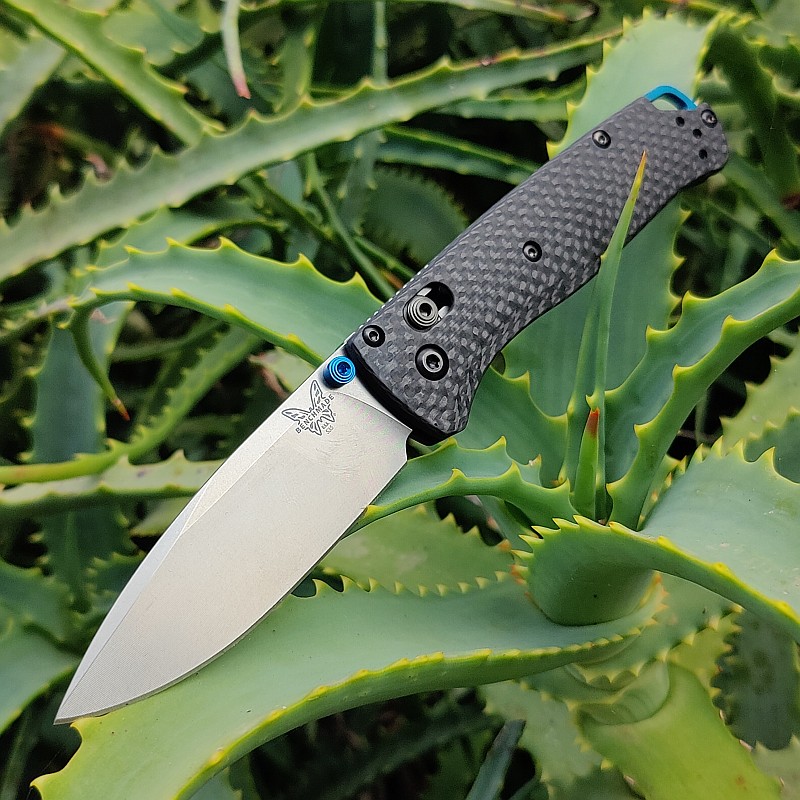
A good look round the Bugout 535-3 – Things to look out for here are:
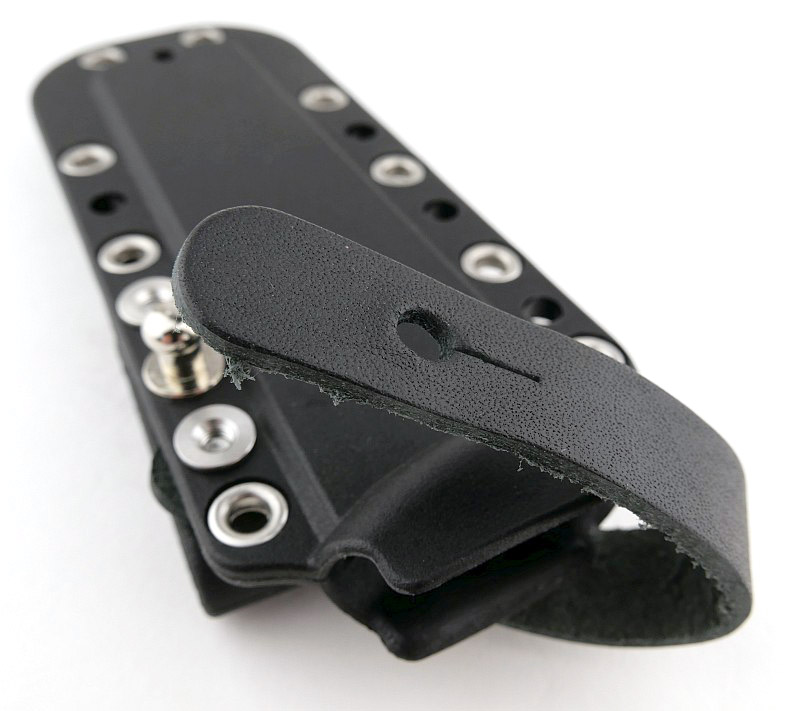
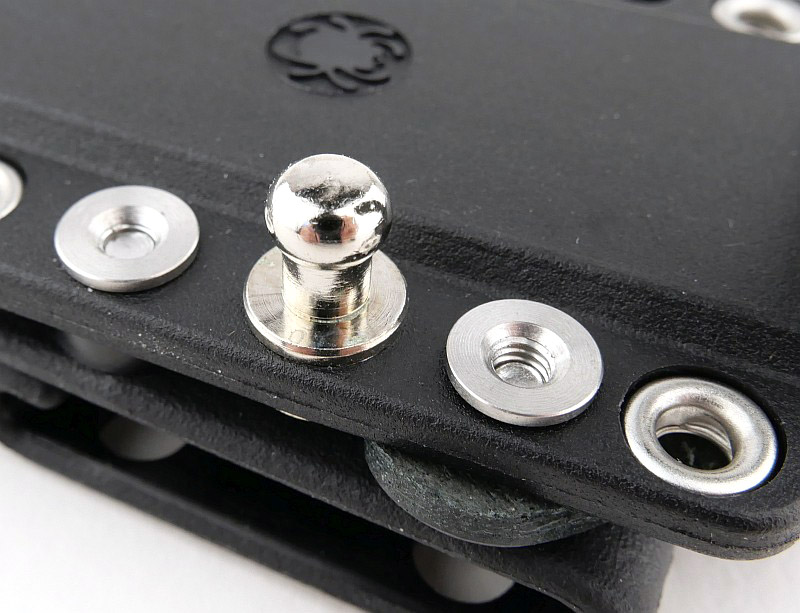
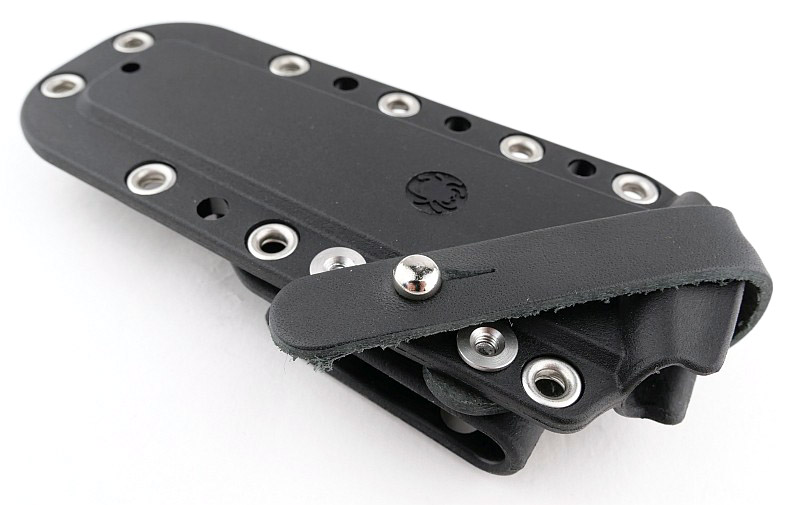
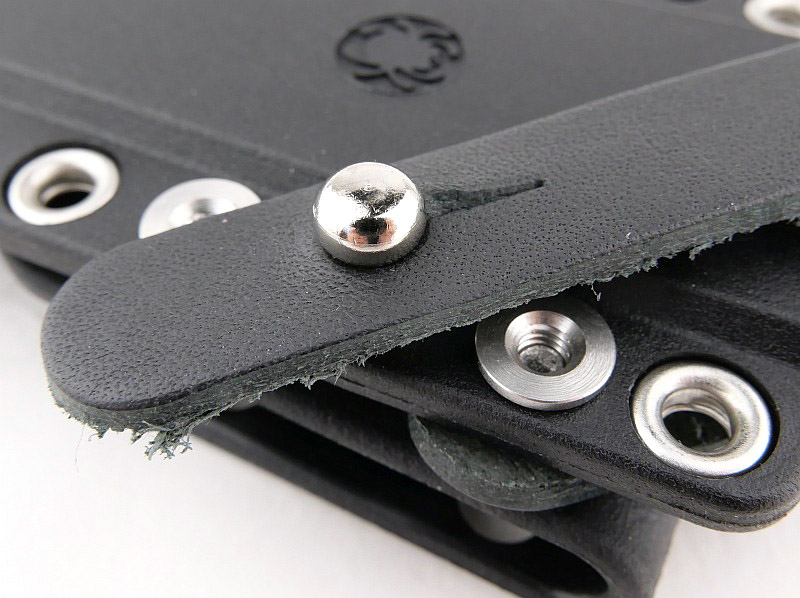
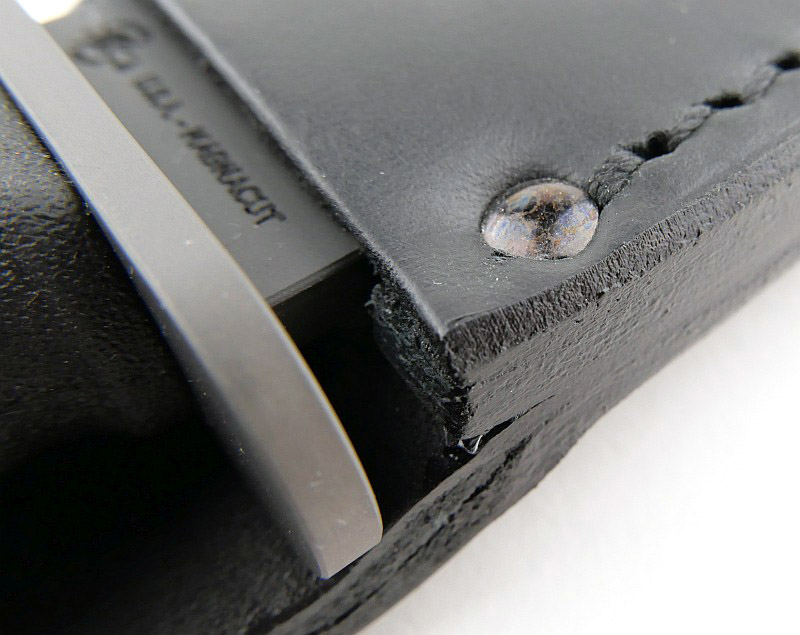
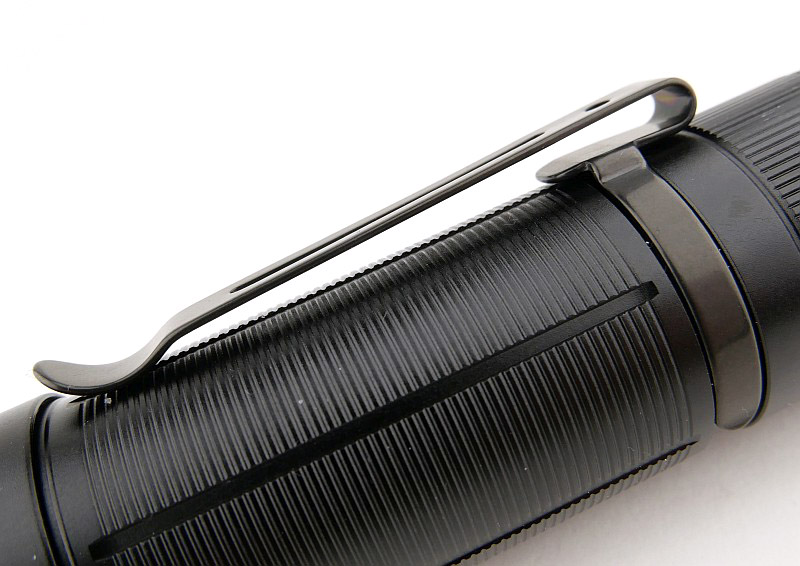
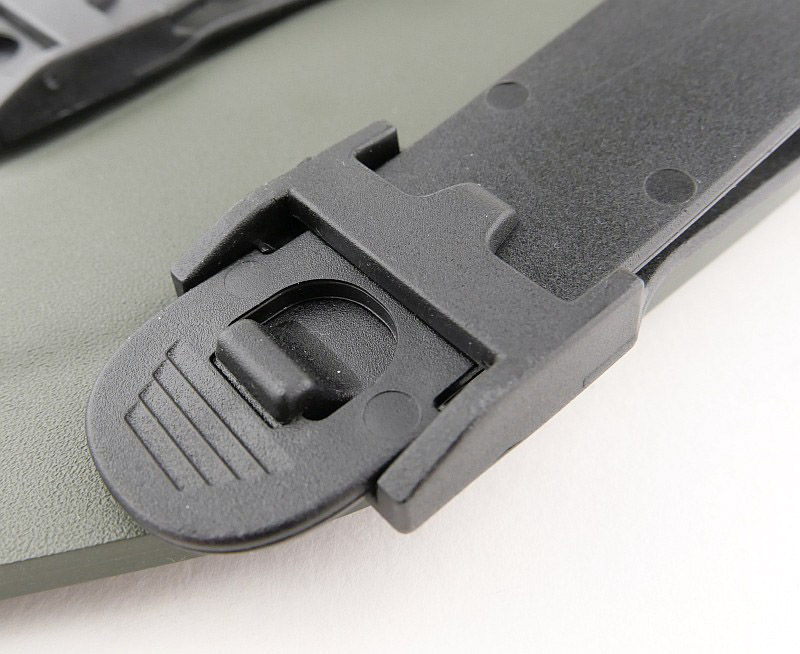
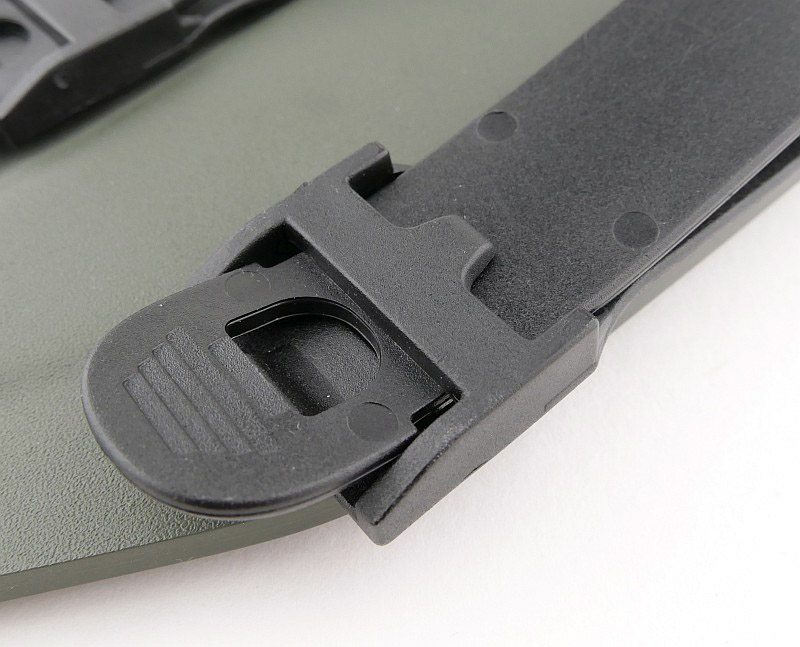
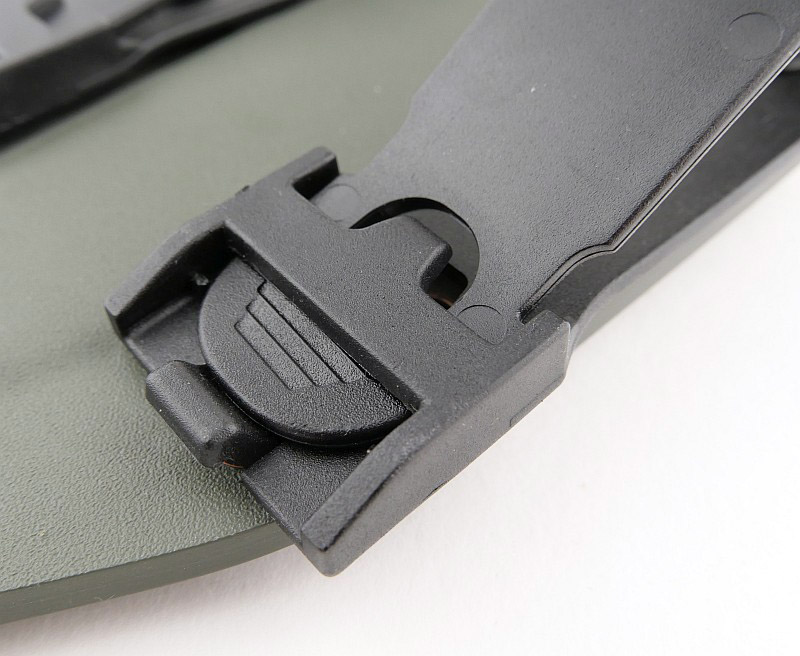
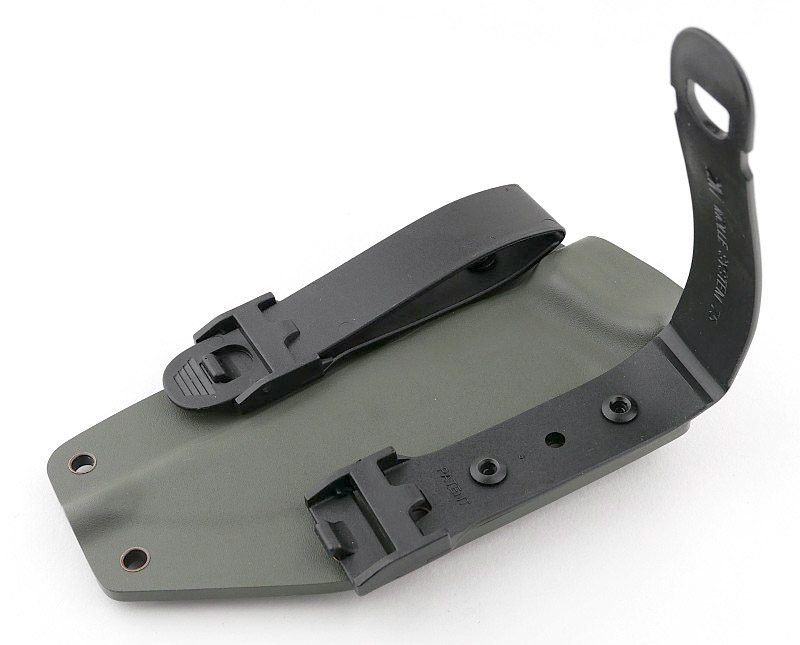
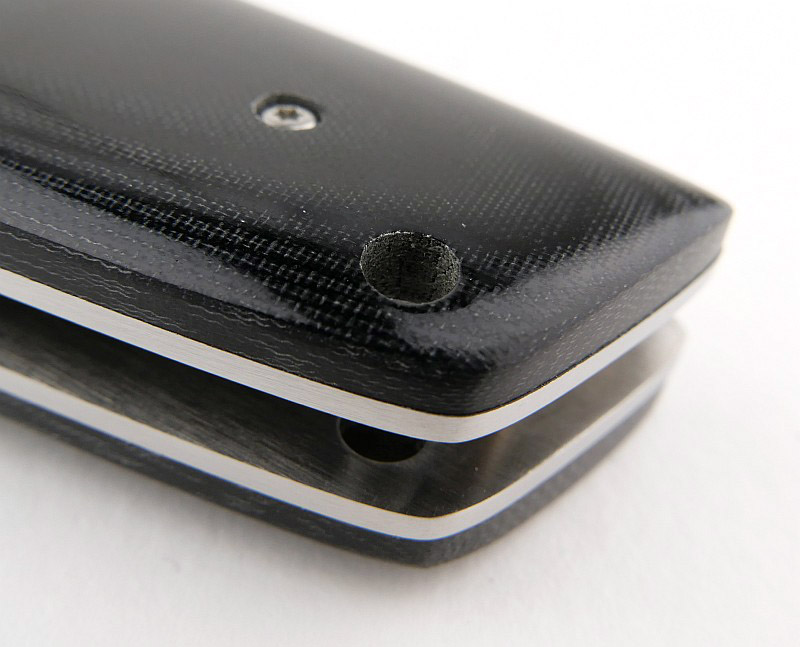
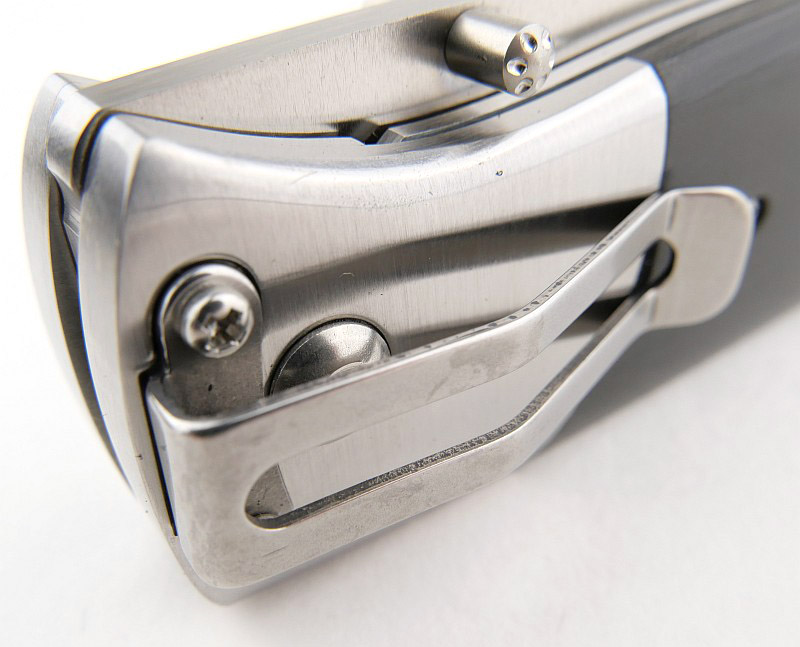
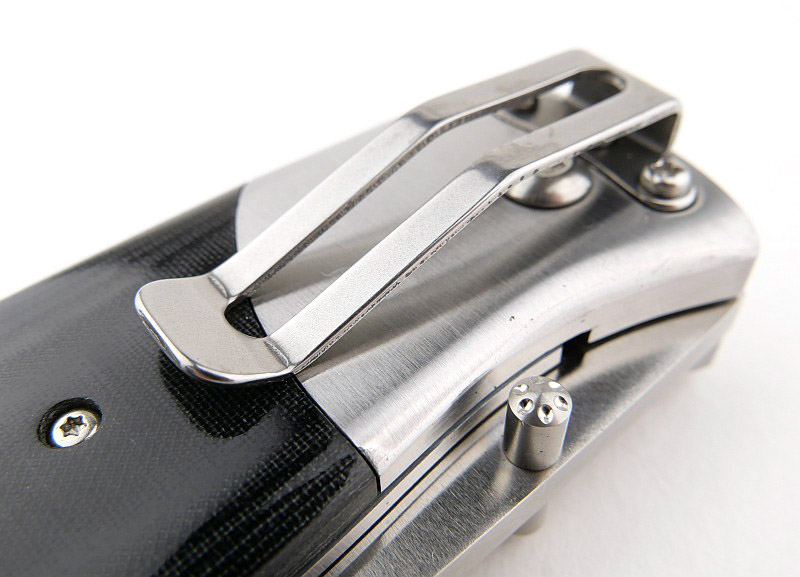
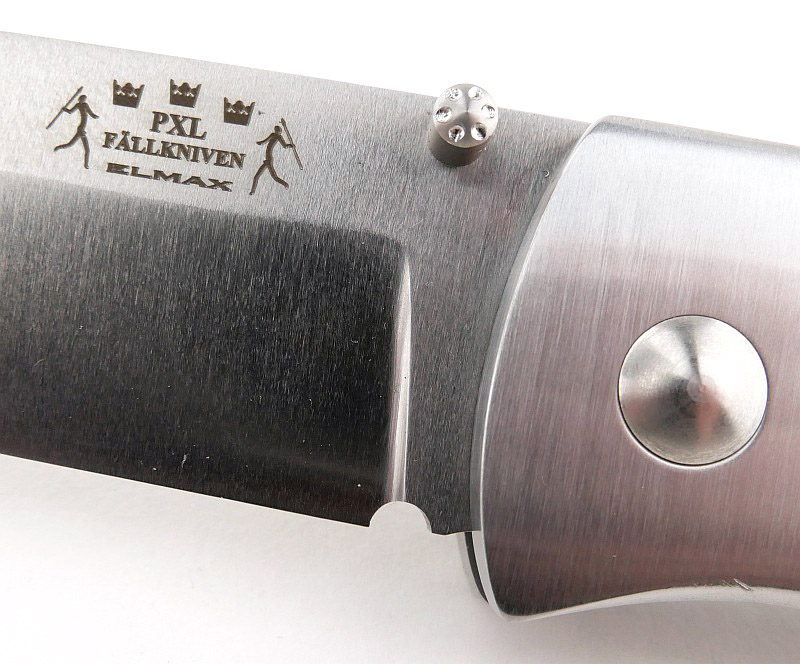
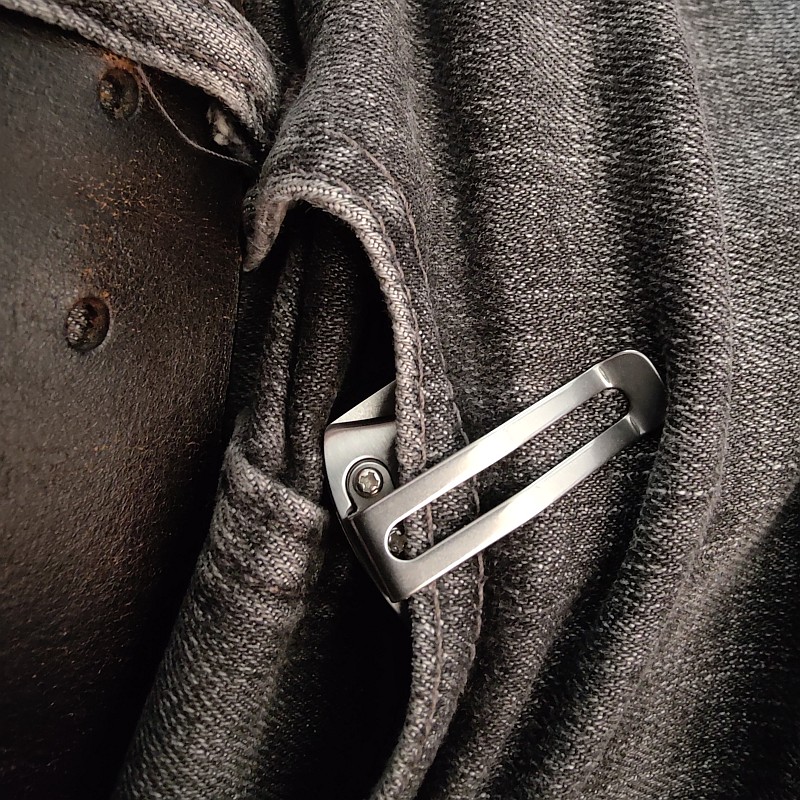
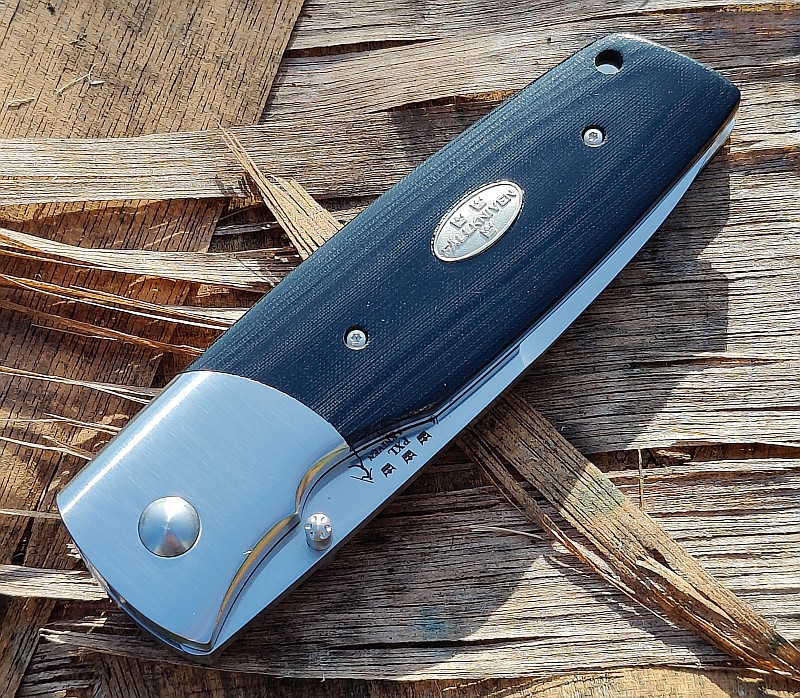
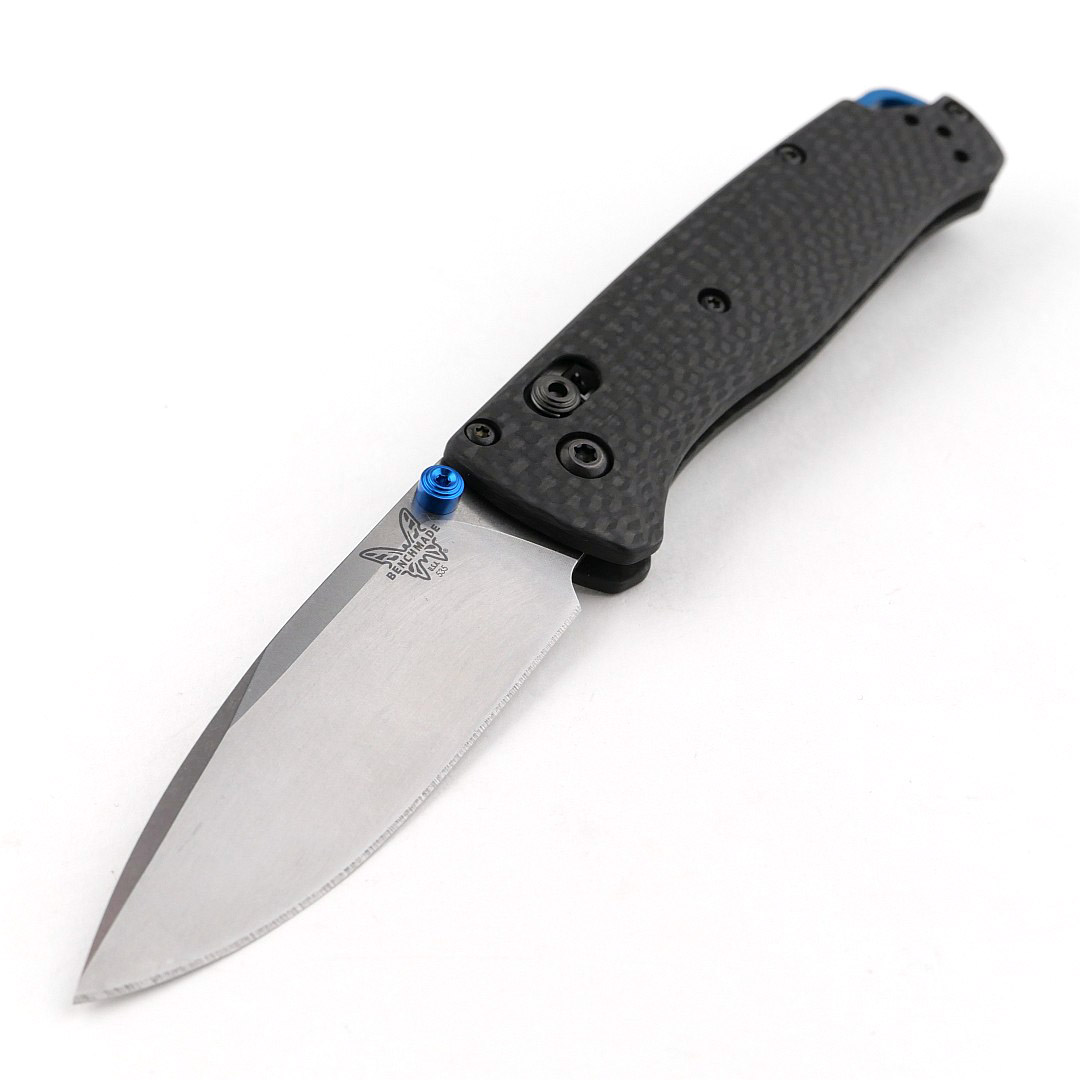
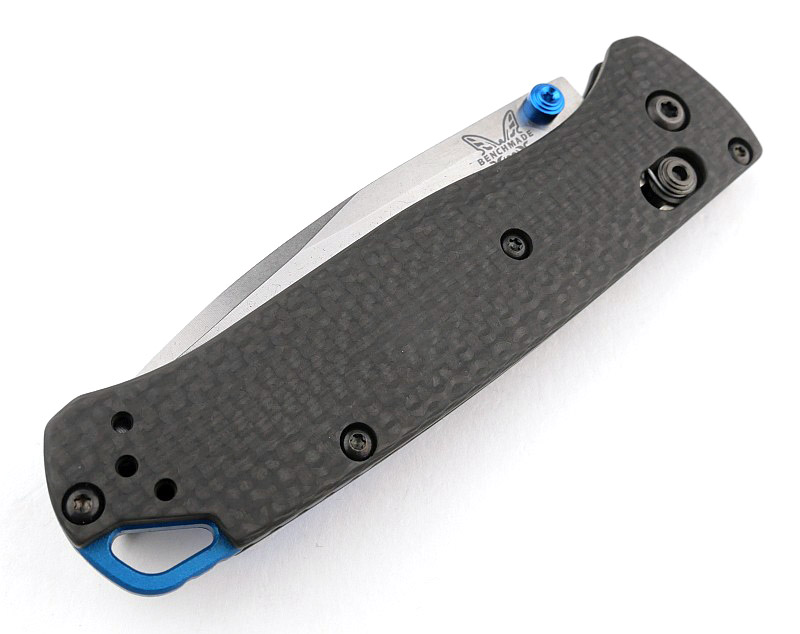
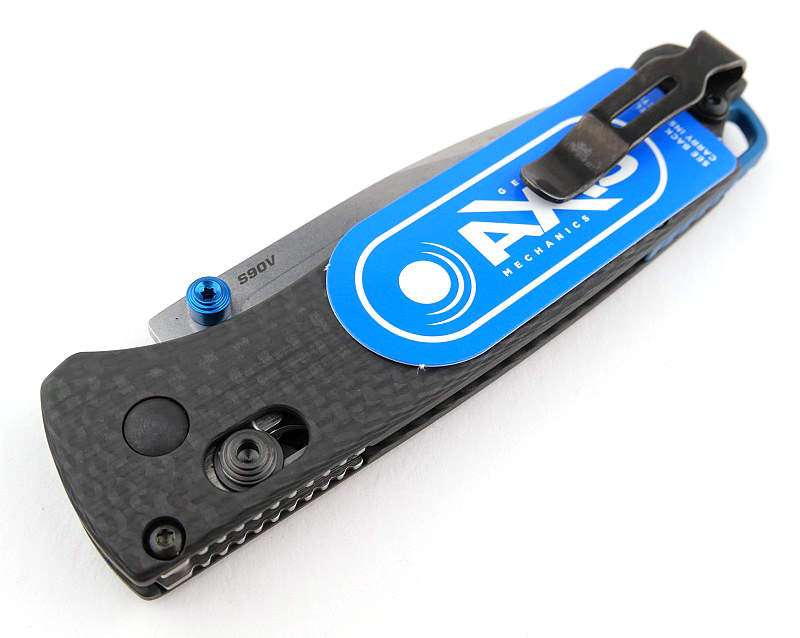
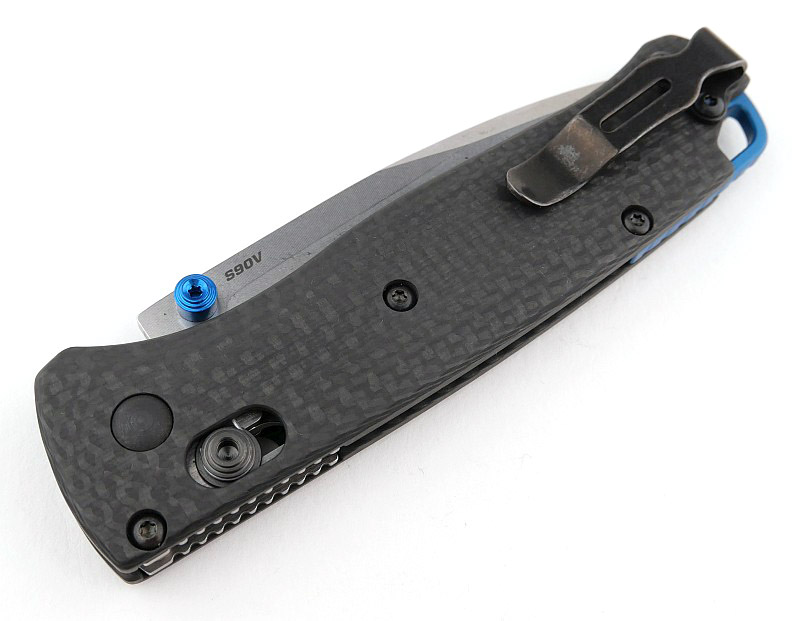
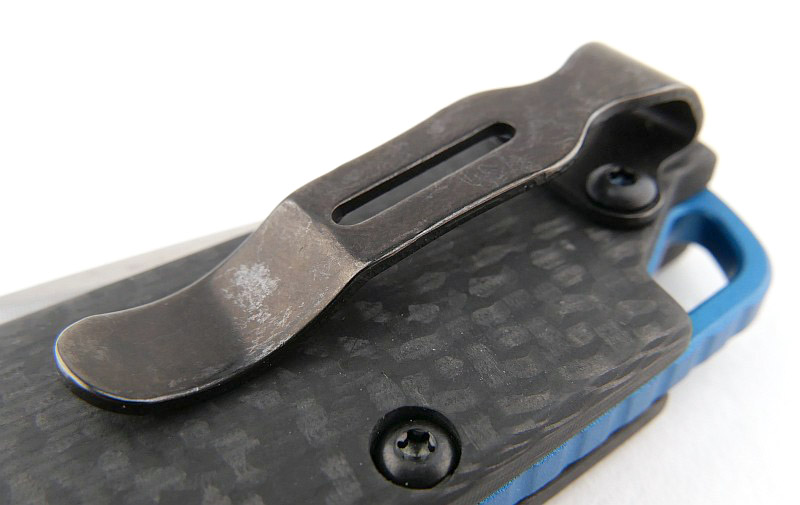
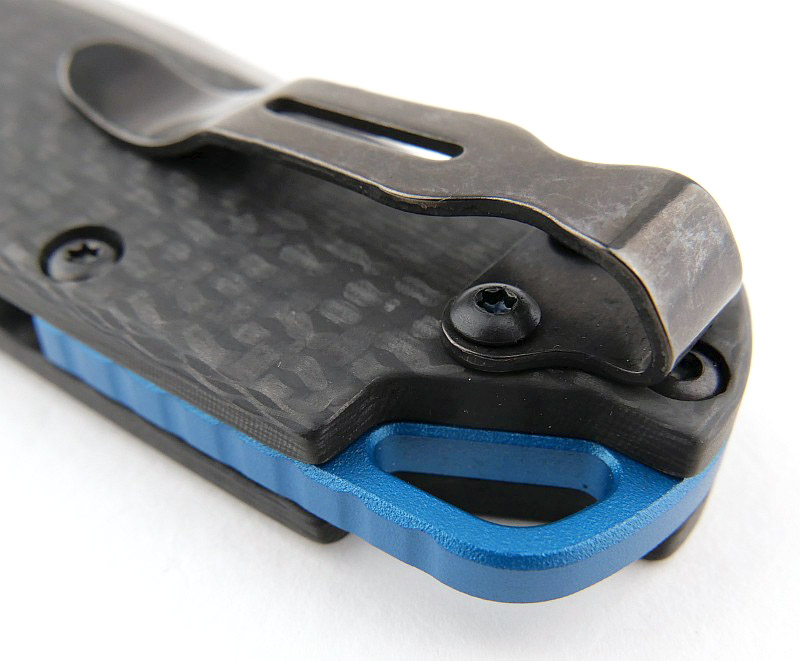
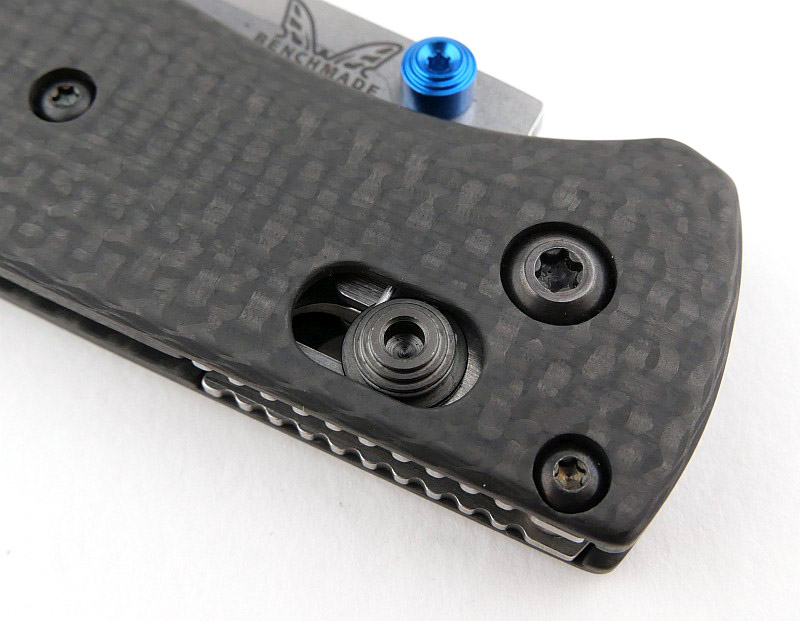
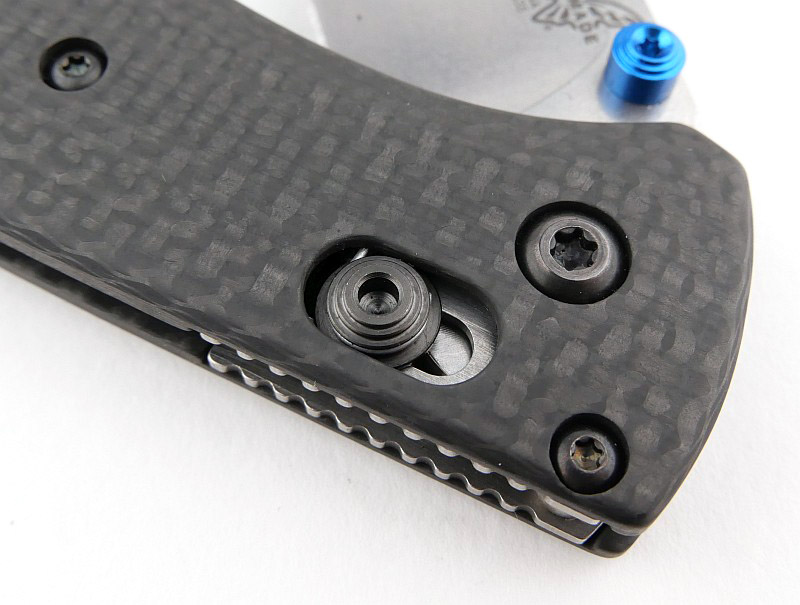
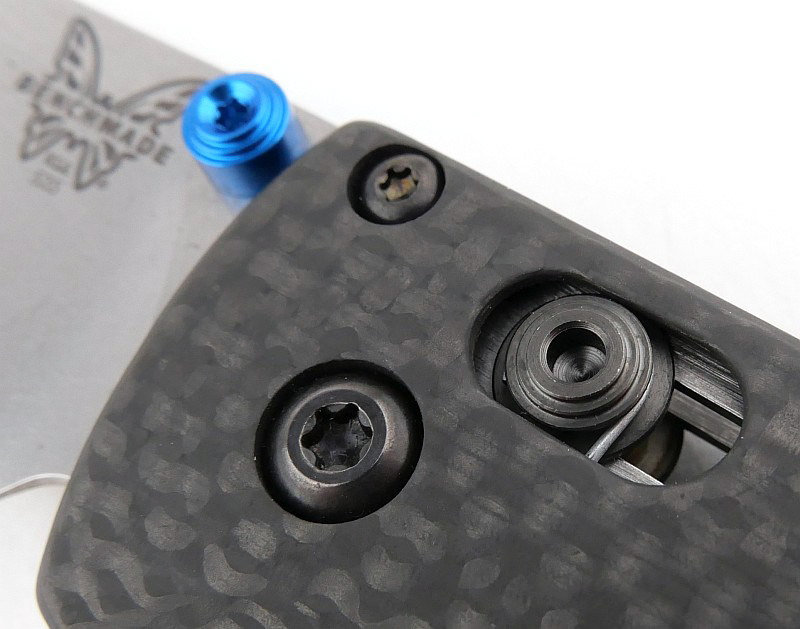
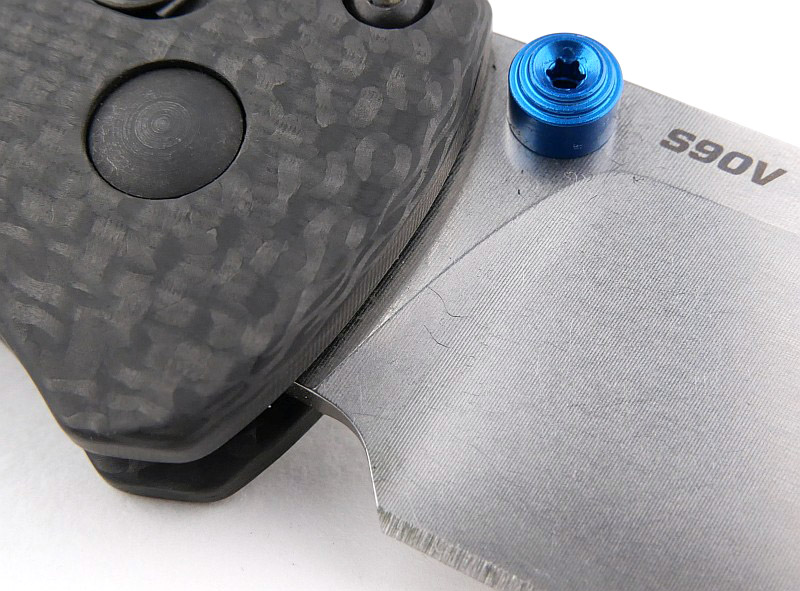
The Bugout uses a mini deep-carry steel pocket clip, that is removable and can be fitted on either side. Blue highlights on the spacer/lanyard hole and thumb stud, play beautifully off the black Carbon Fibre adding to the premium feel of this version of the Bugout.
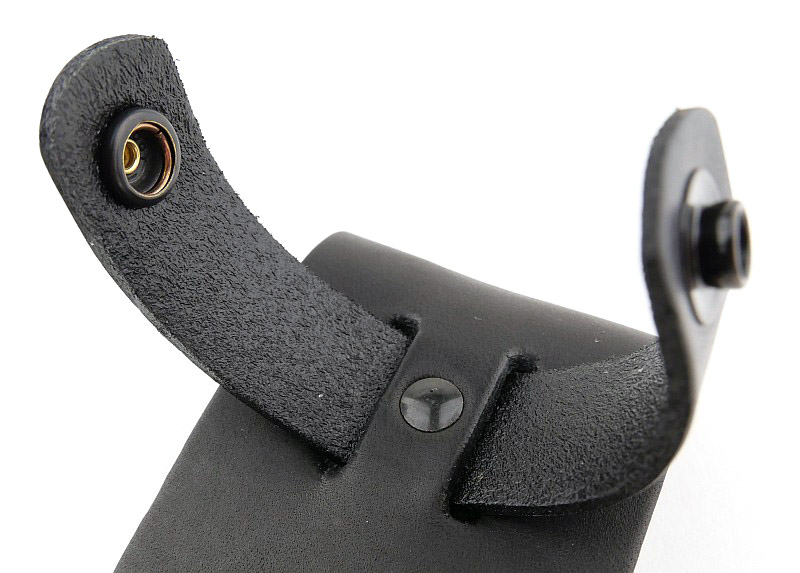
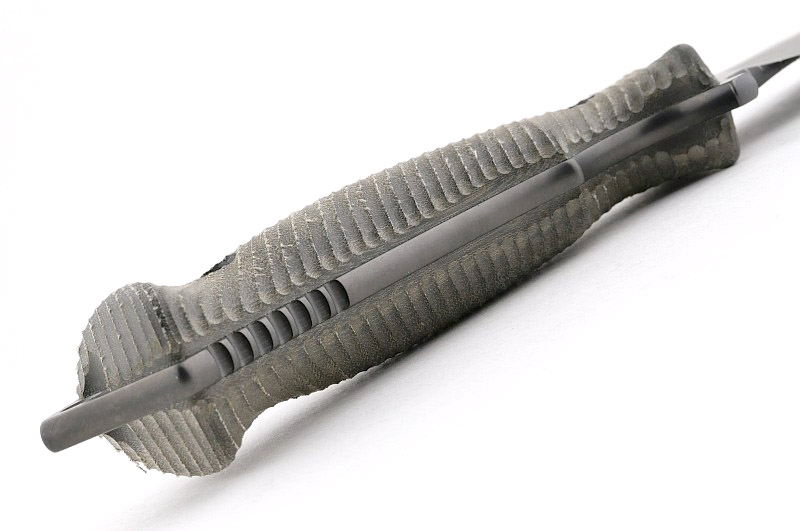
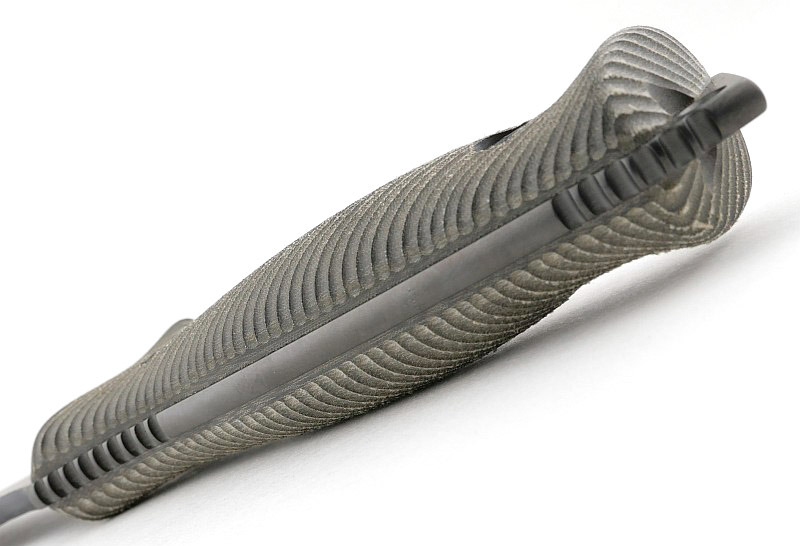
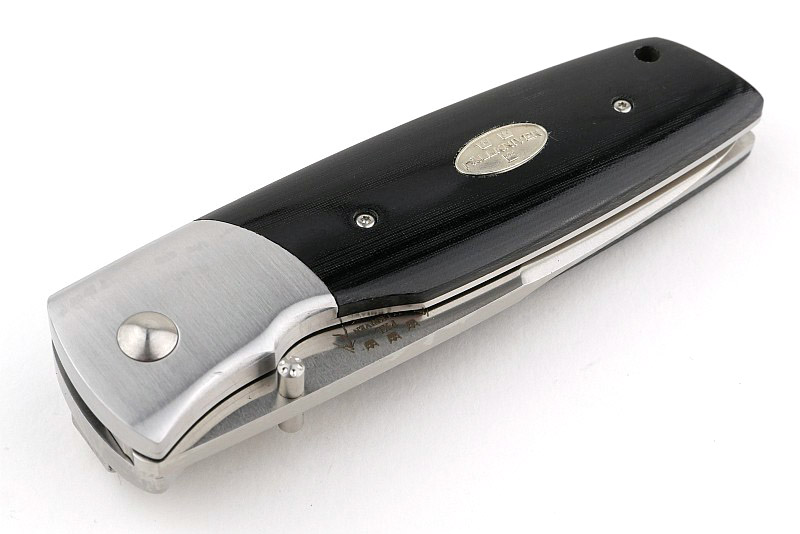
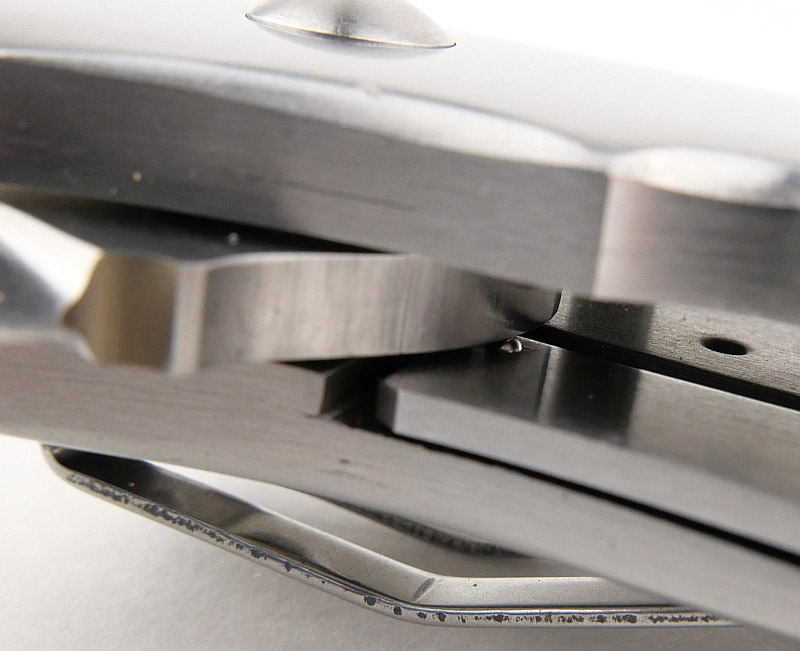
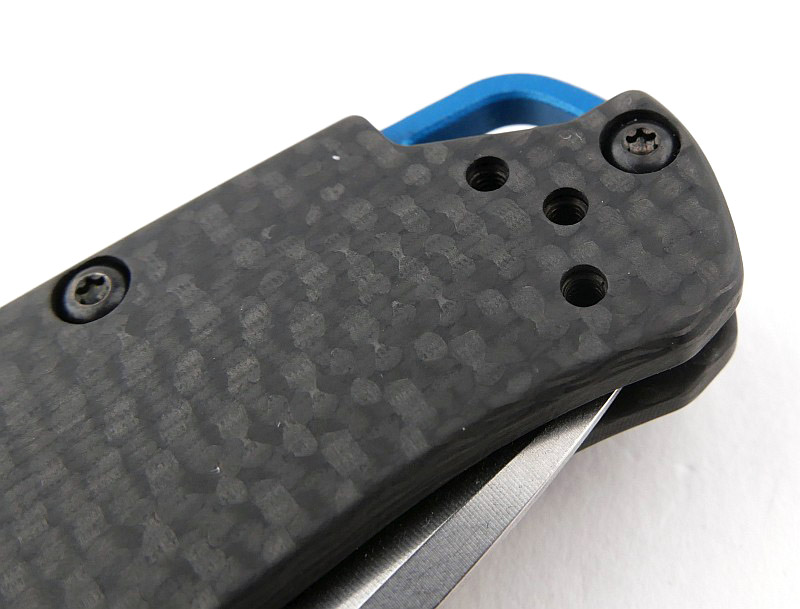
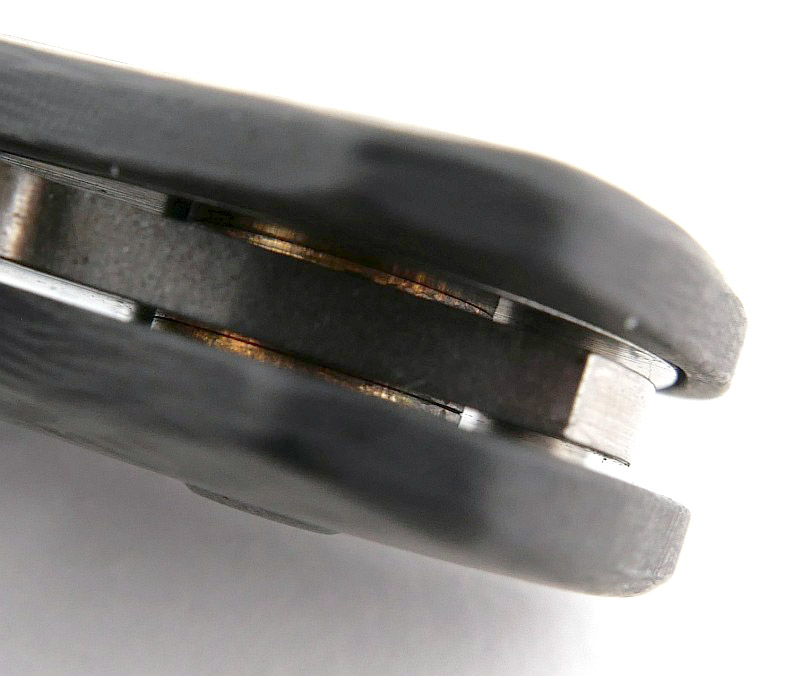
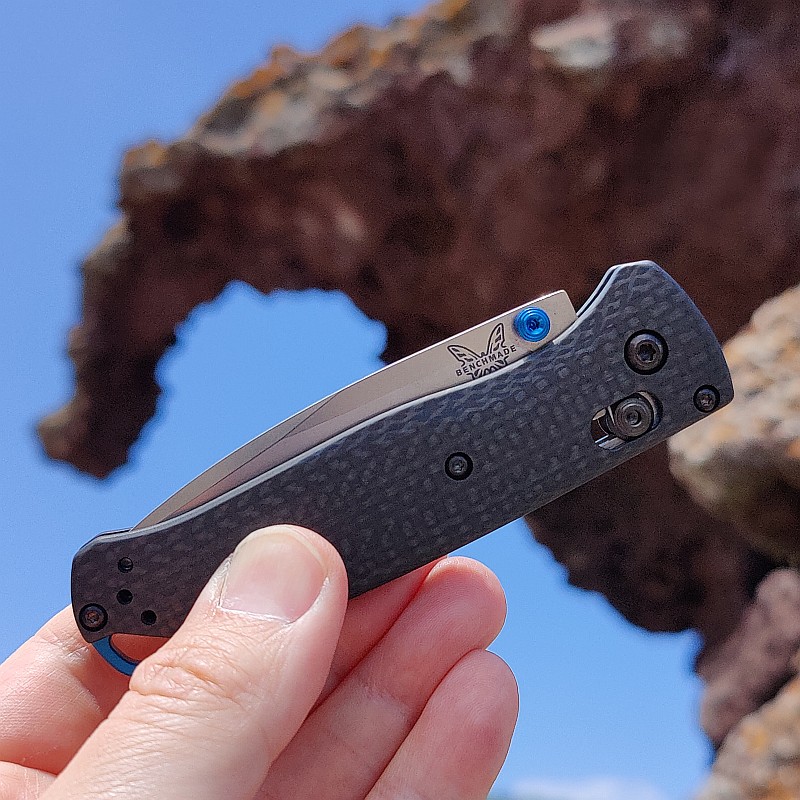
Ultralight construction means there is only the one spacer and otherwise clear space through the handles.
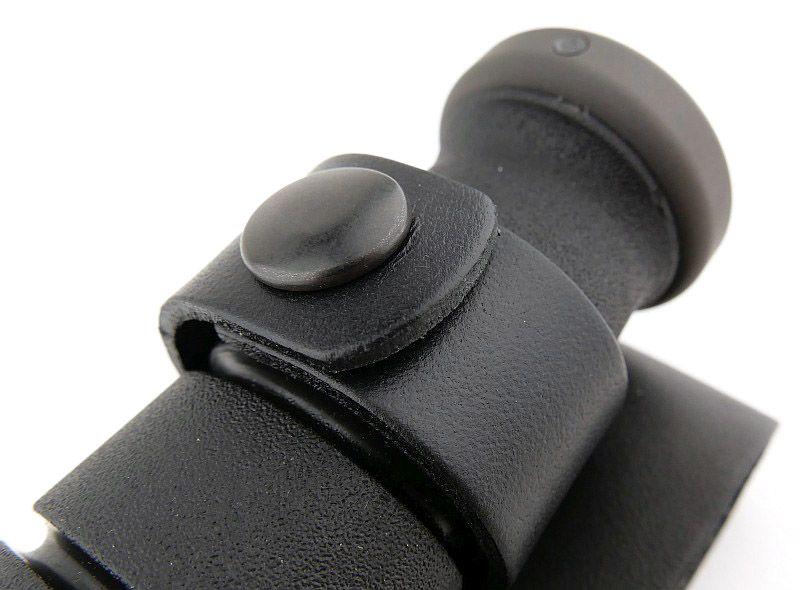
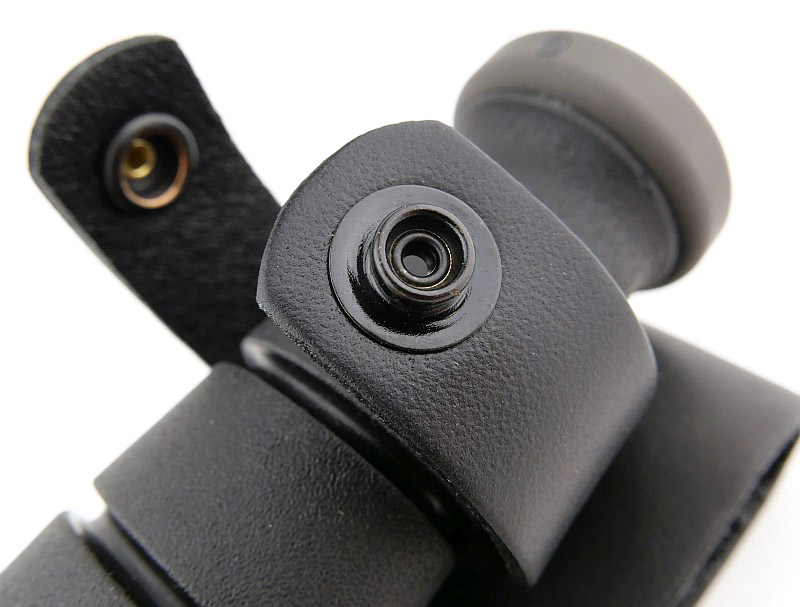
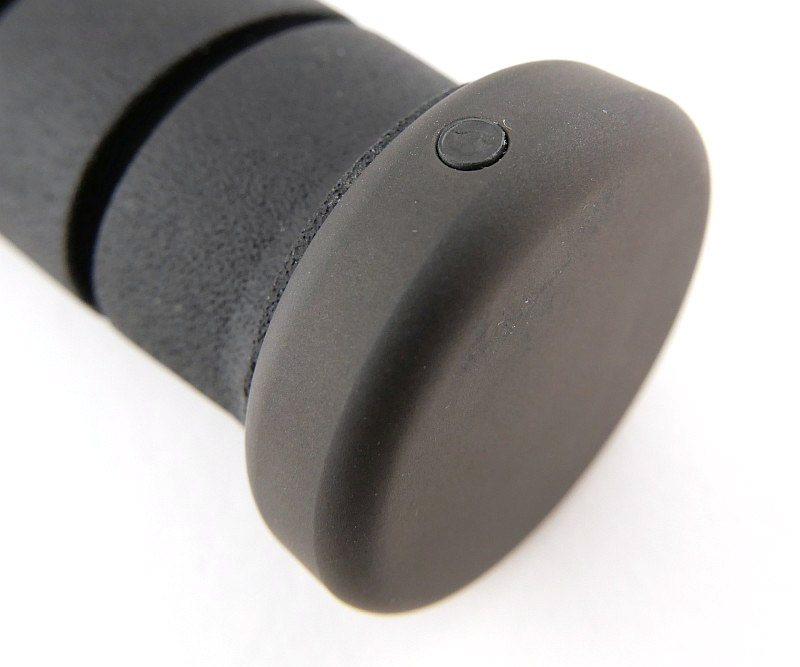
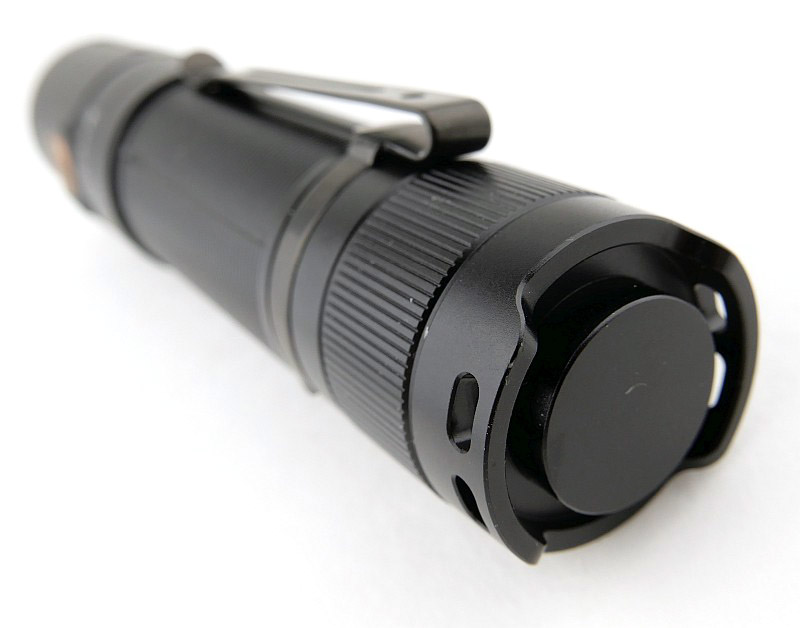
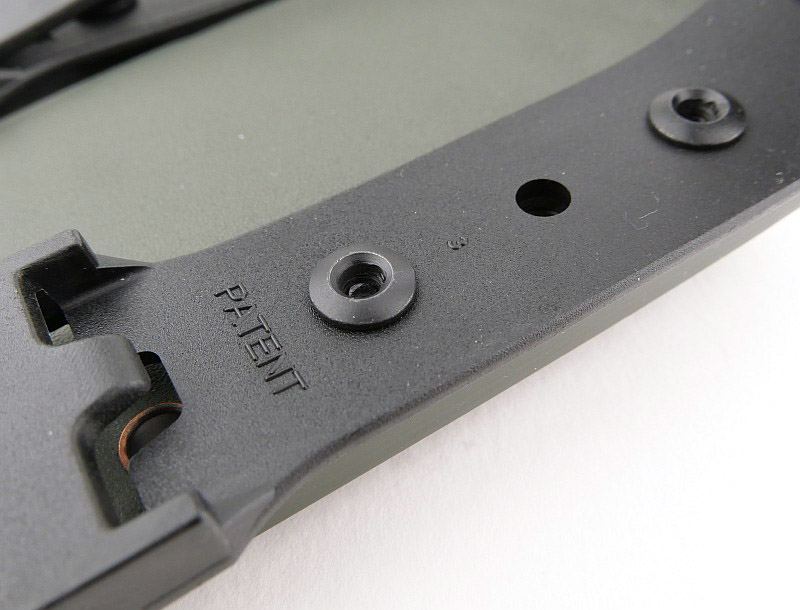
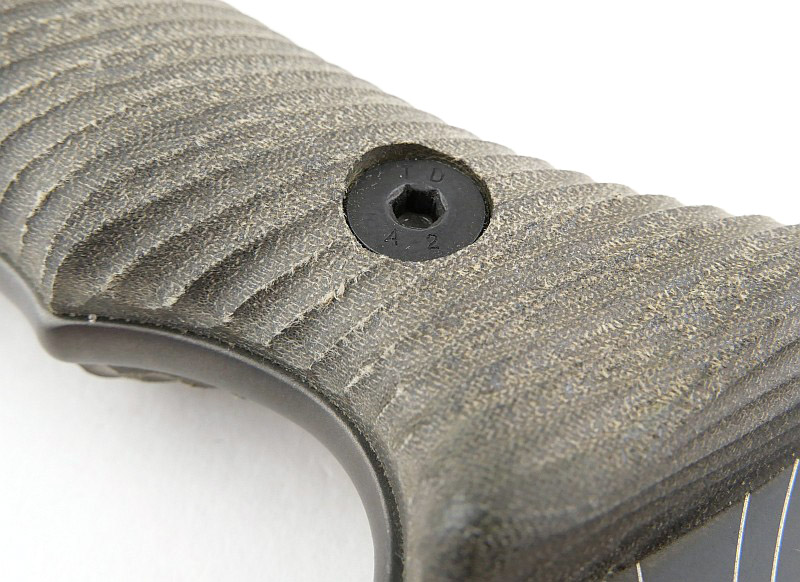
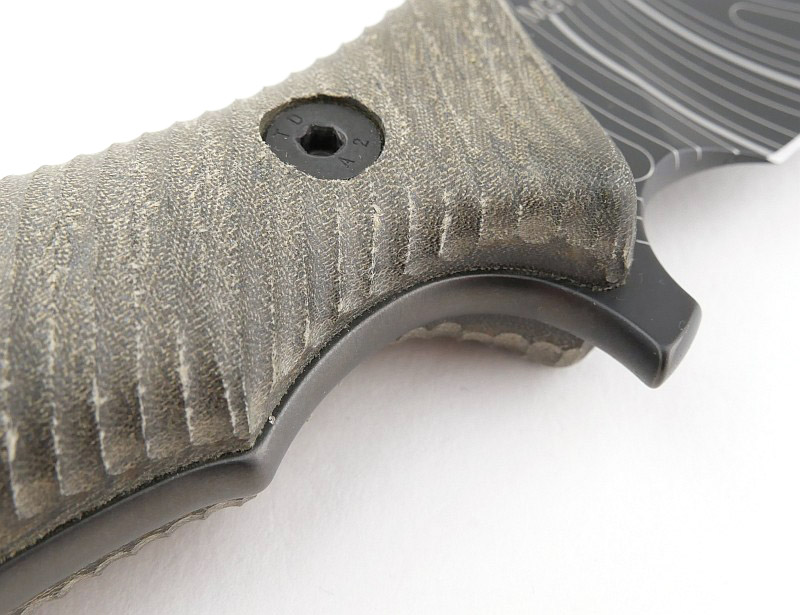
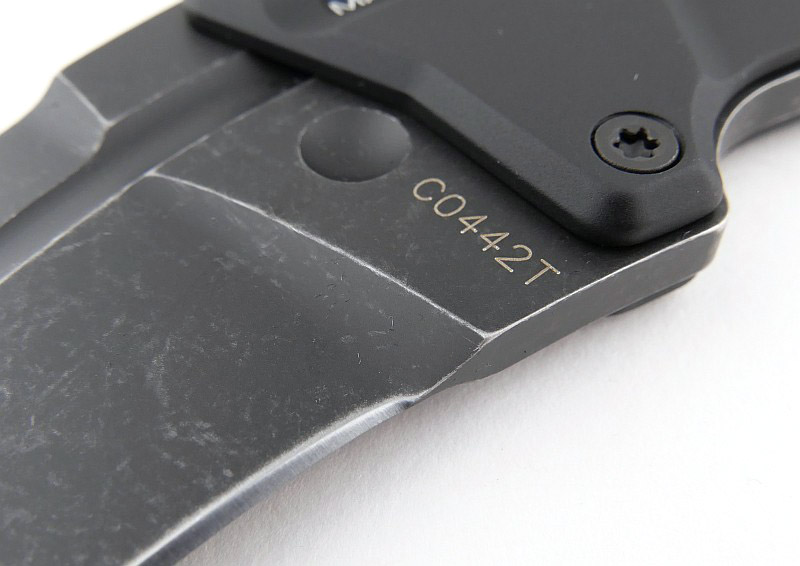
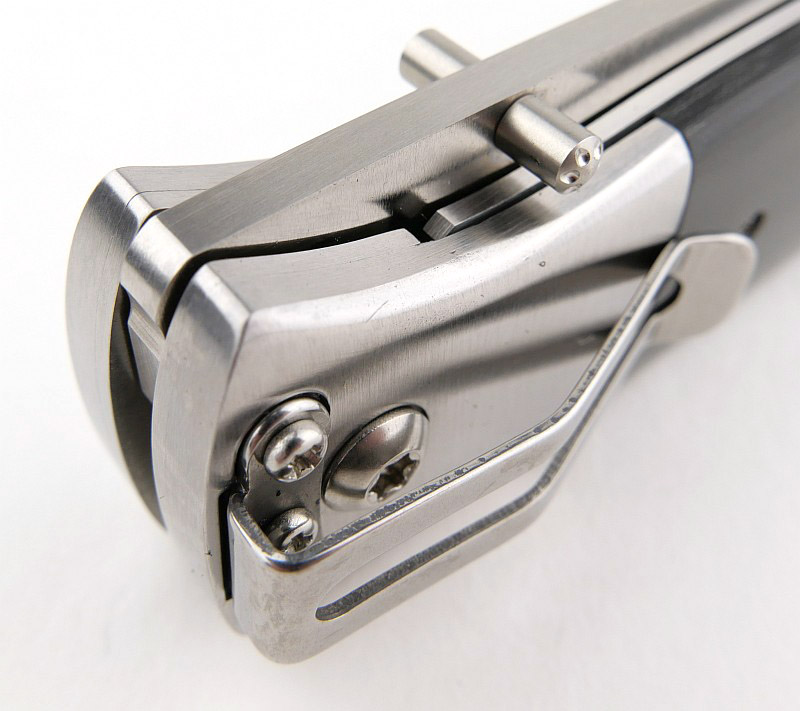
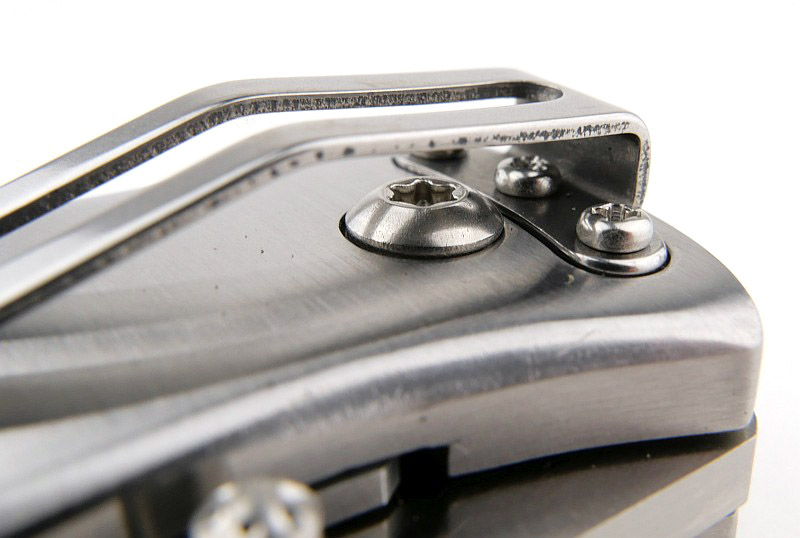
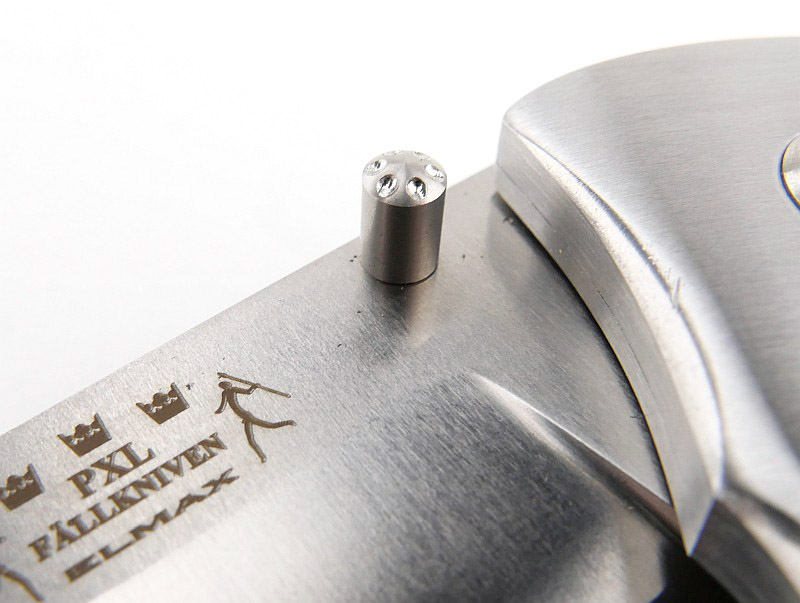
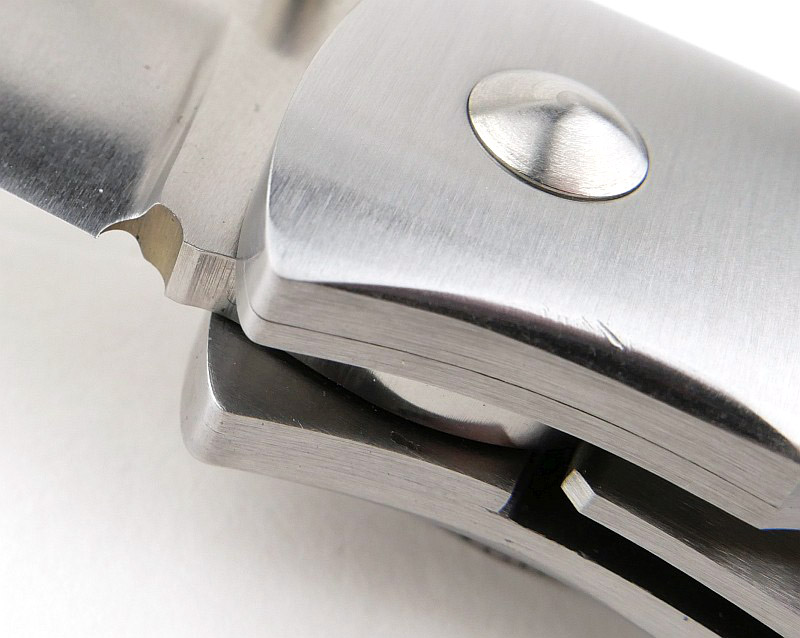
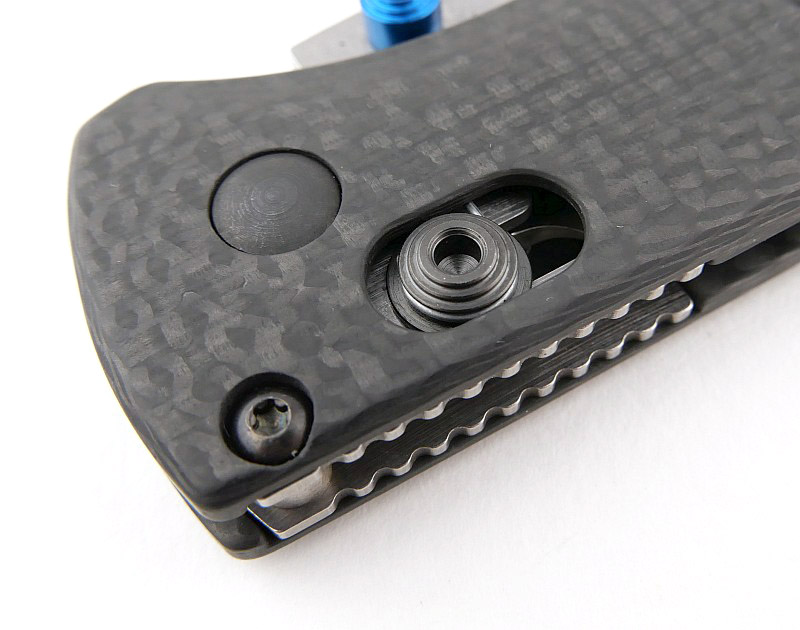
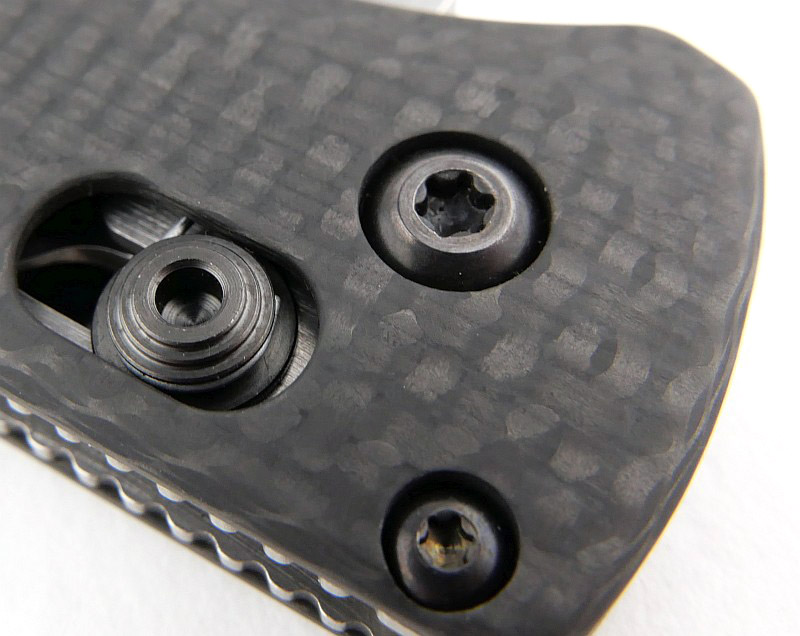
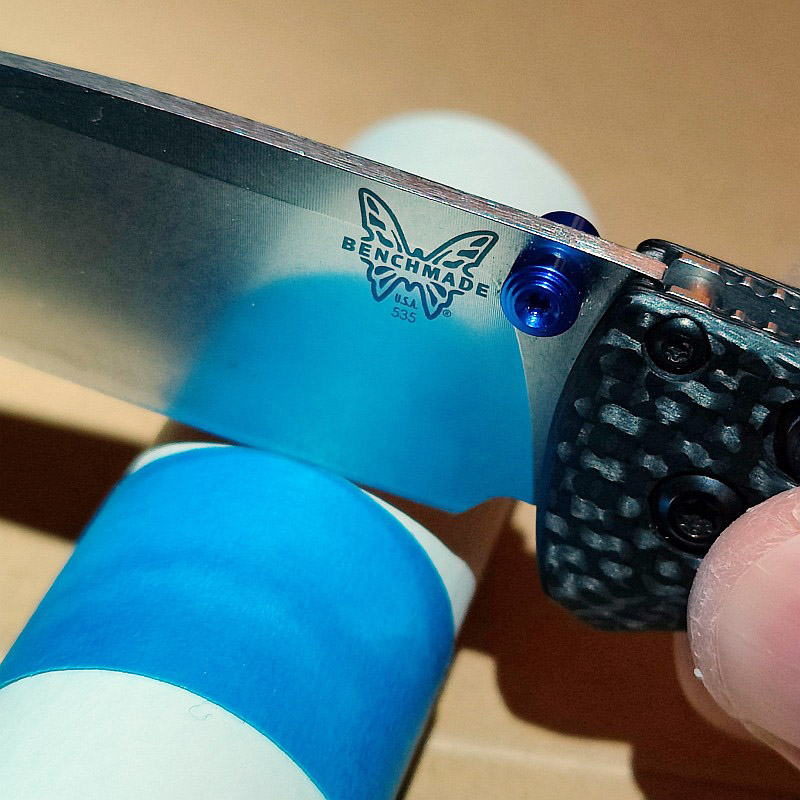
One side of the pivot bolt is capped, and the torx screw head on the other side only. Torx screws are used throughout for the construction.
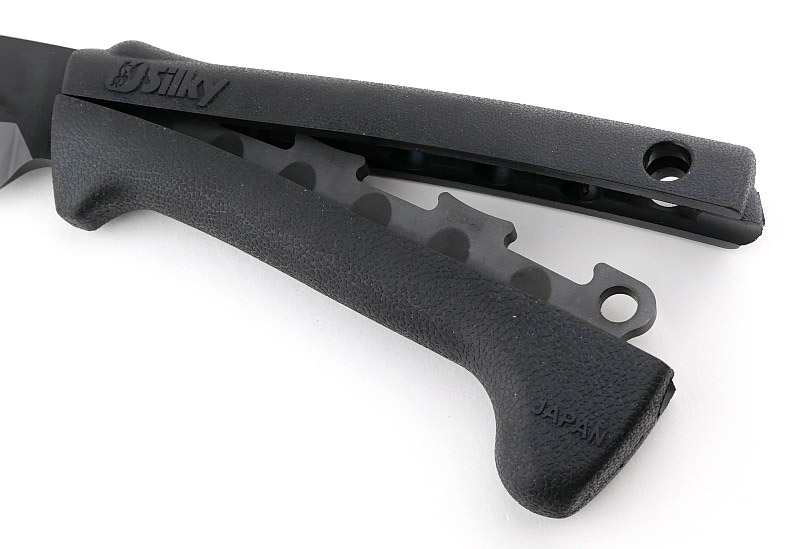
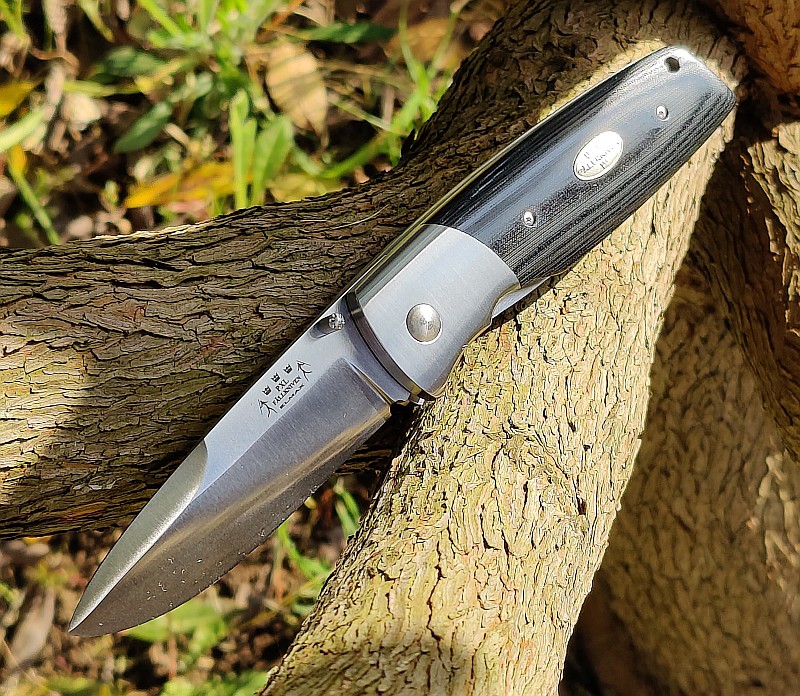
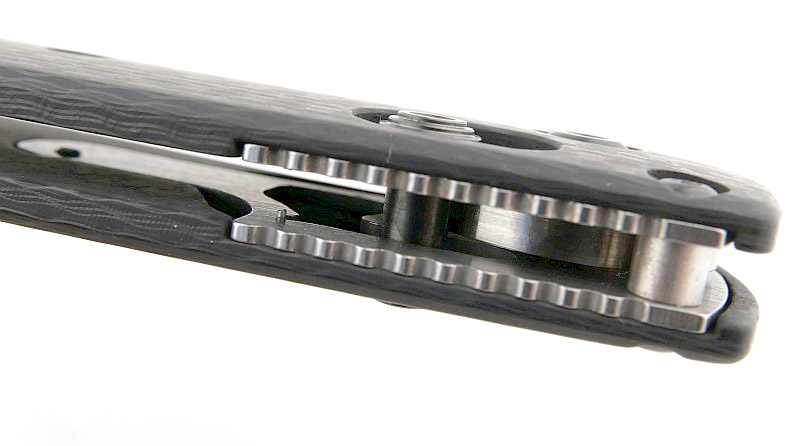
Looking in closely at the axis lock bar and how it moves as the blade is opened. The Bugout, despite being a lightweight knife, is also known for being tough, and the use of phosphor bronze washers adds to the robust and reliable build.
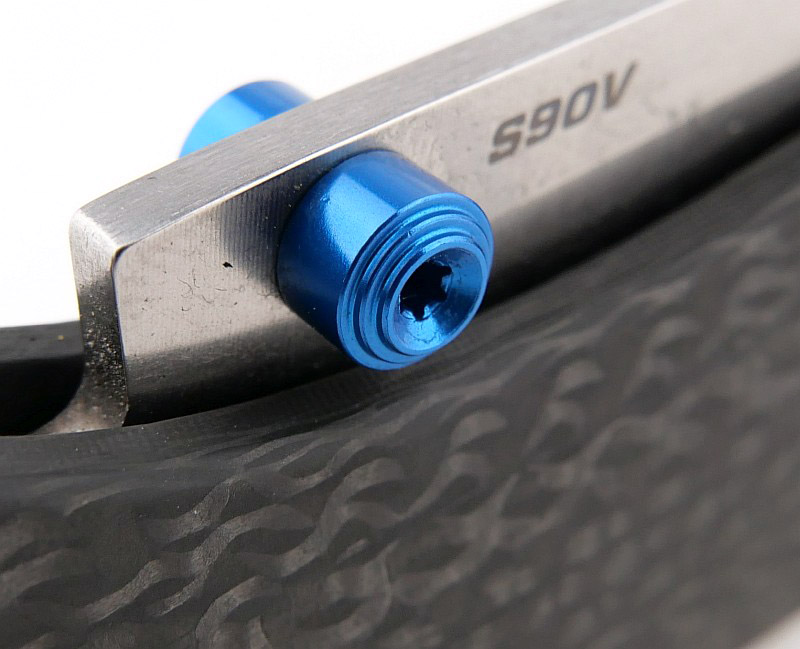
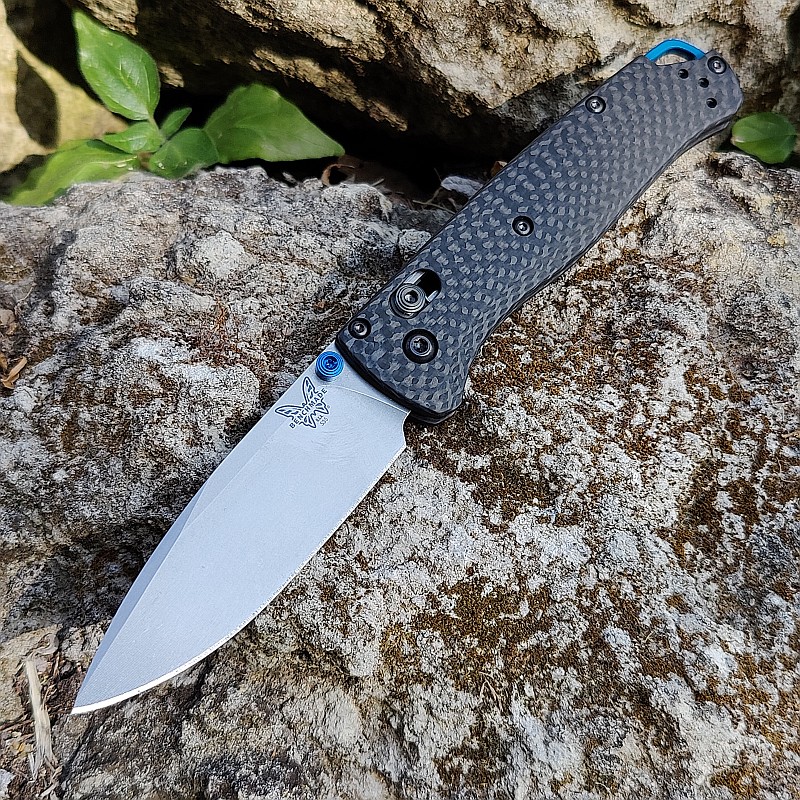
There is something about this particular blue and how it sings on the ambidextrous thumb studs.
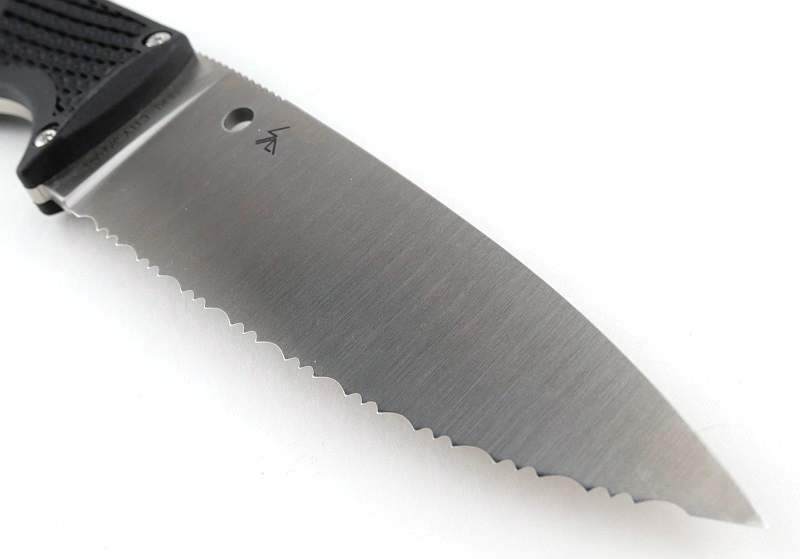
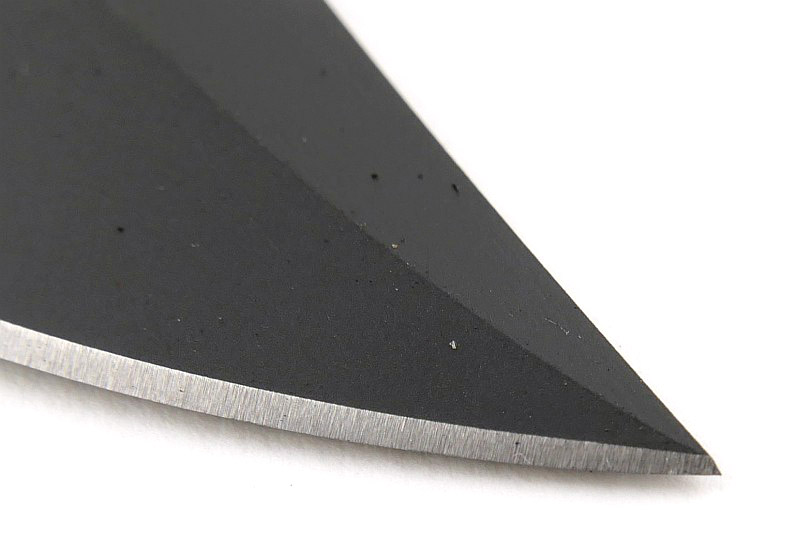
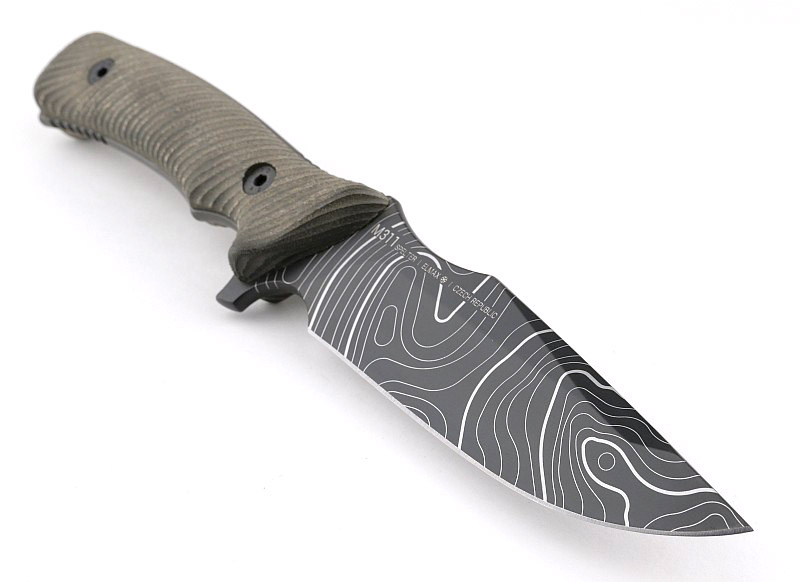
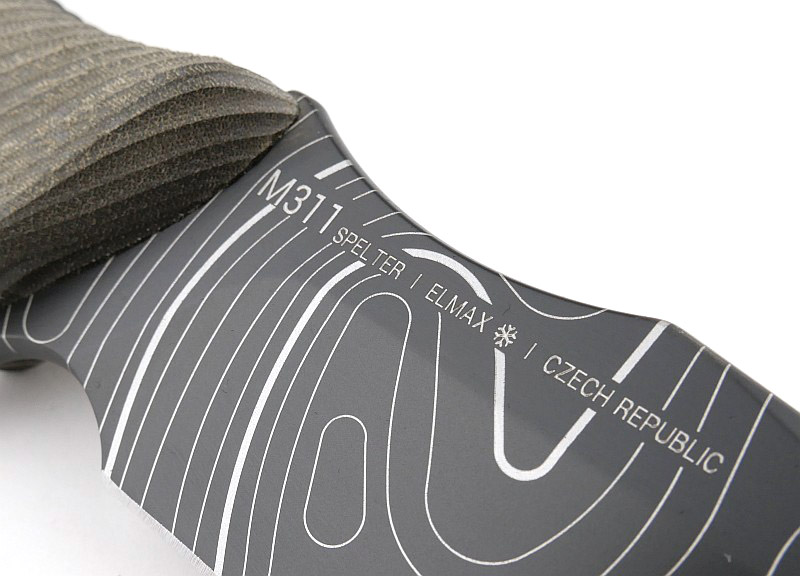
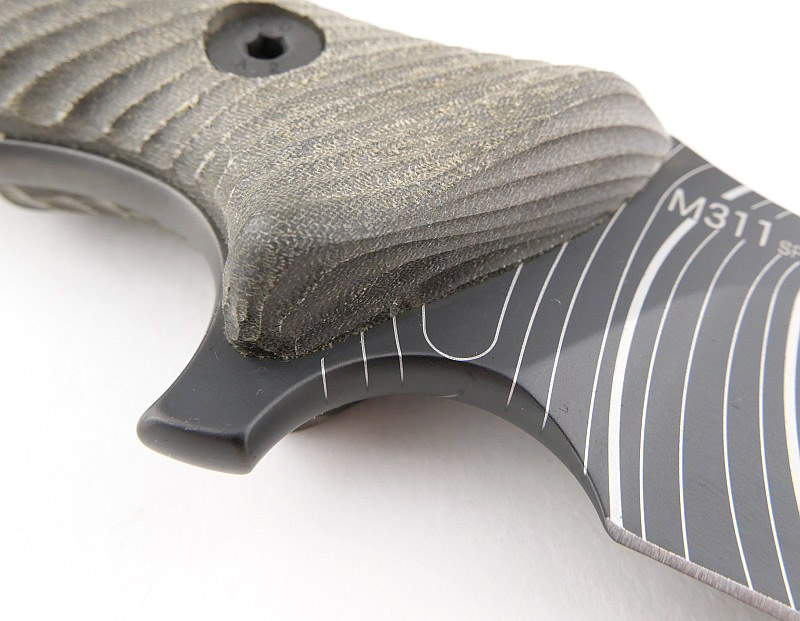
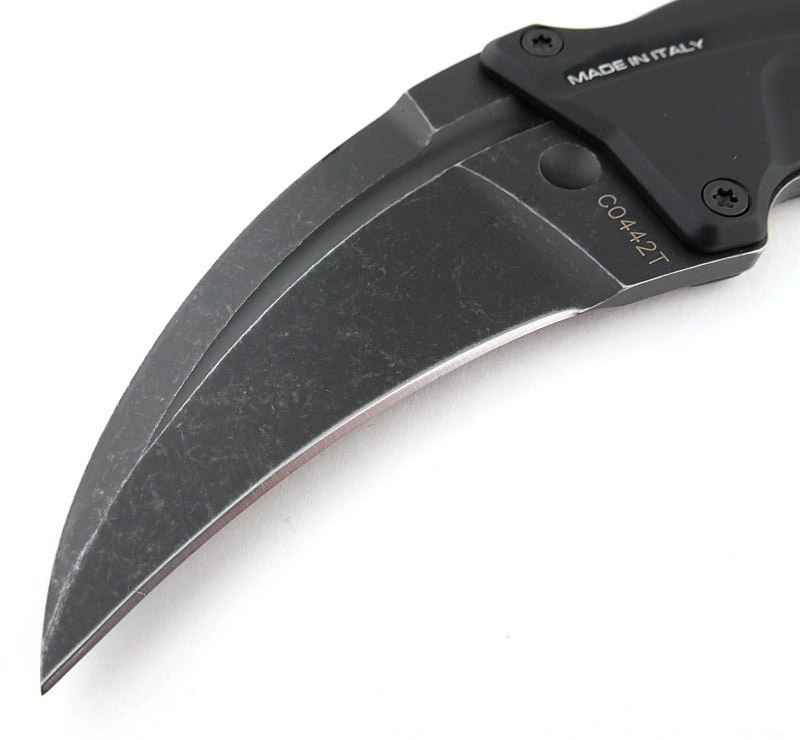
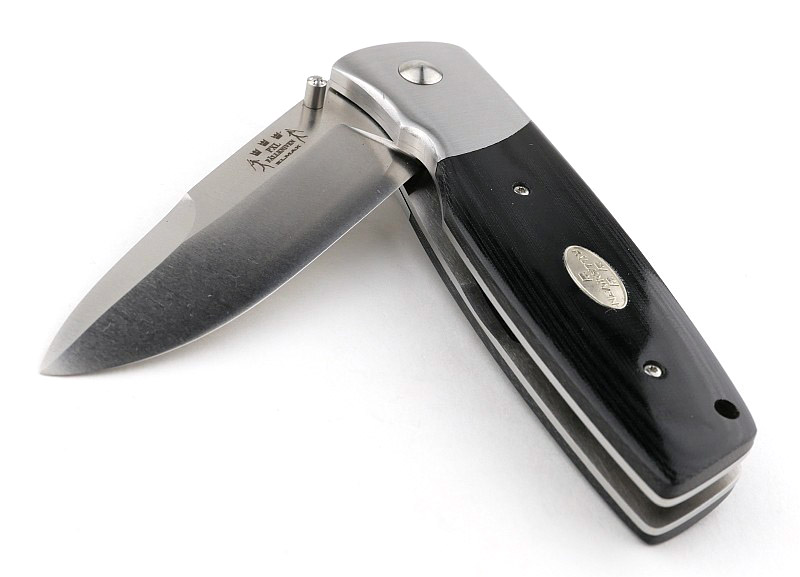
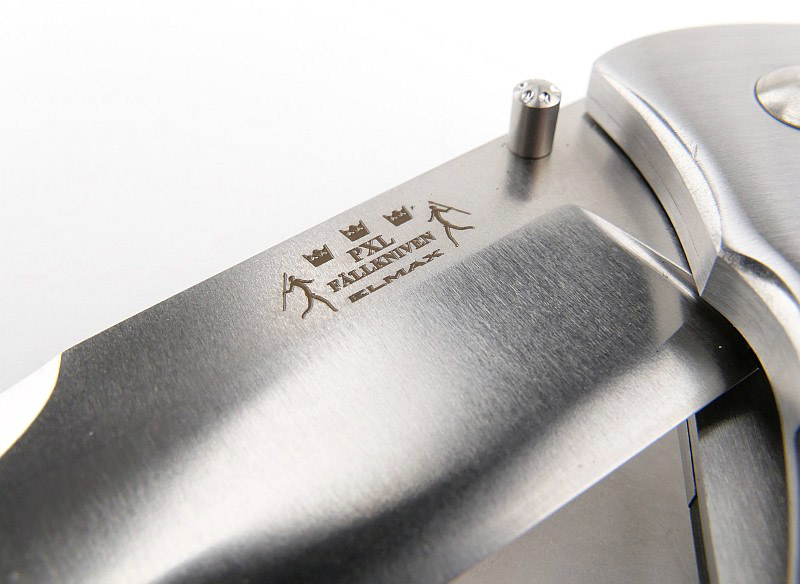
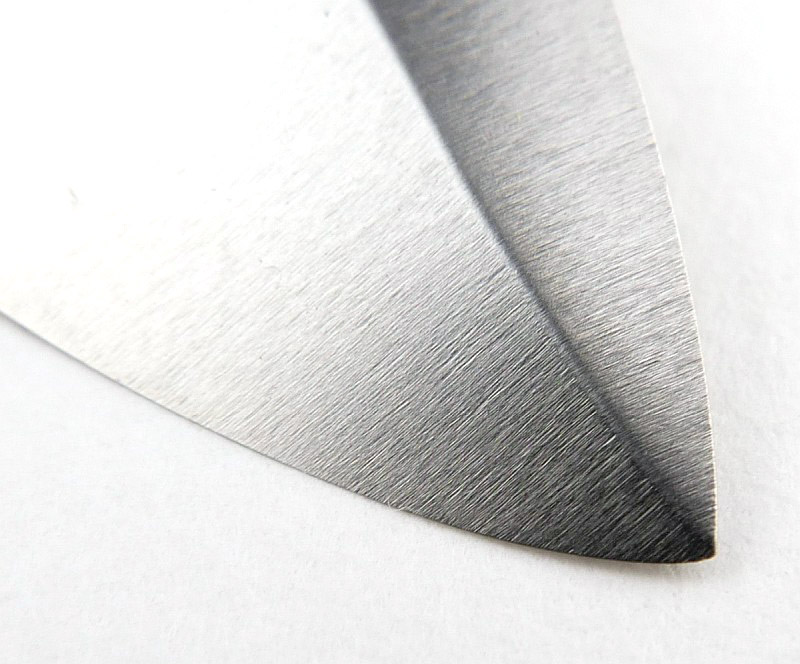
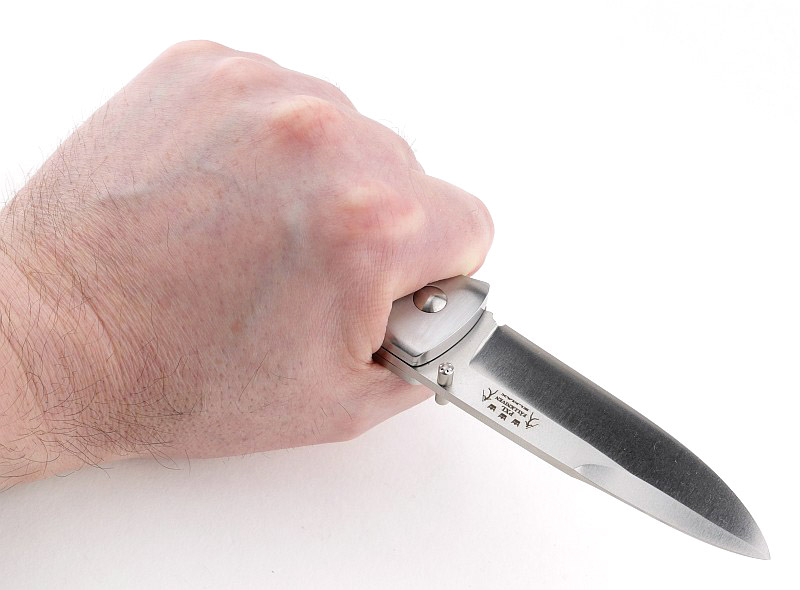
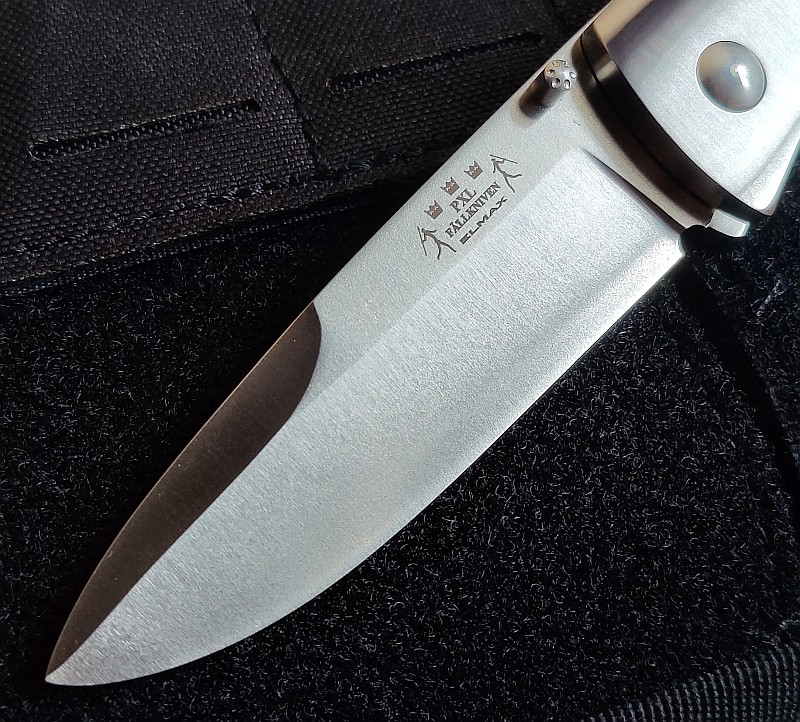
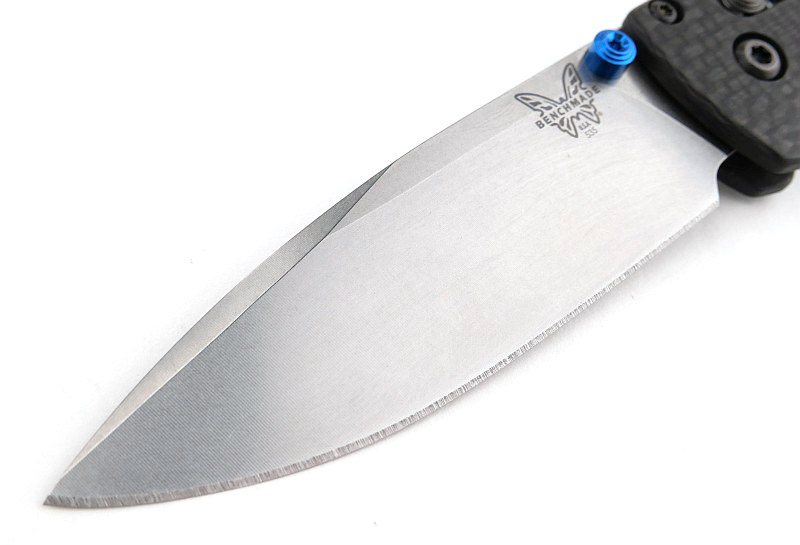
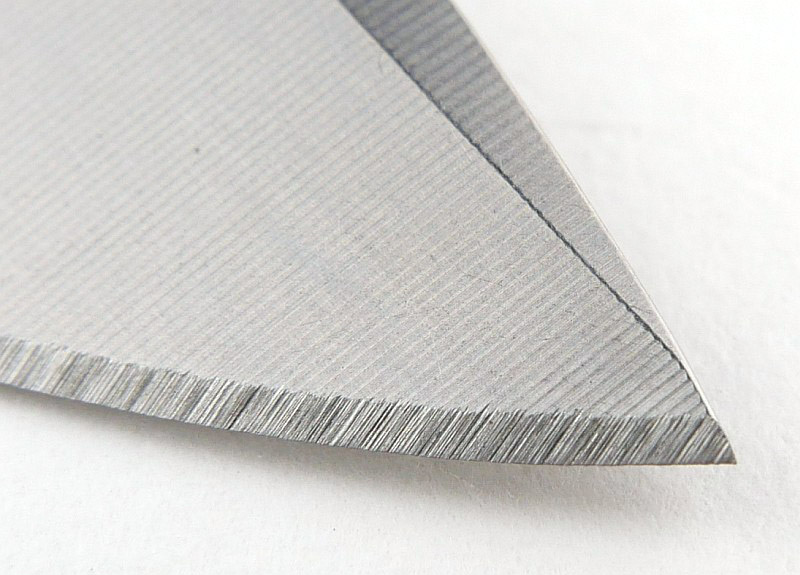
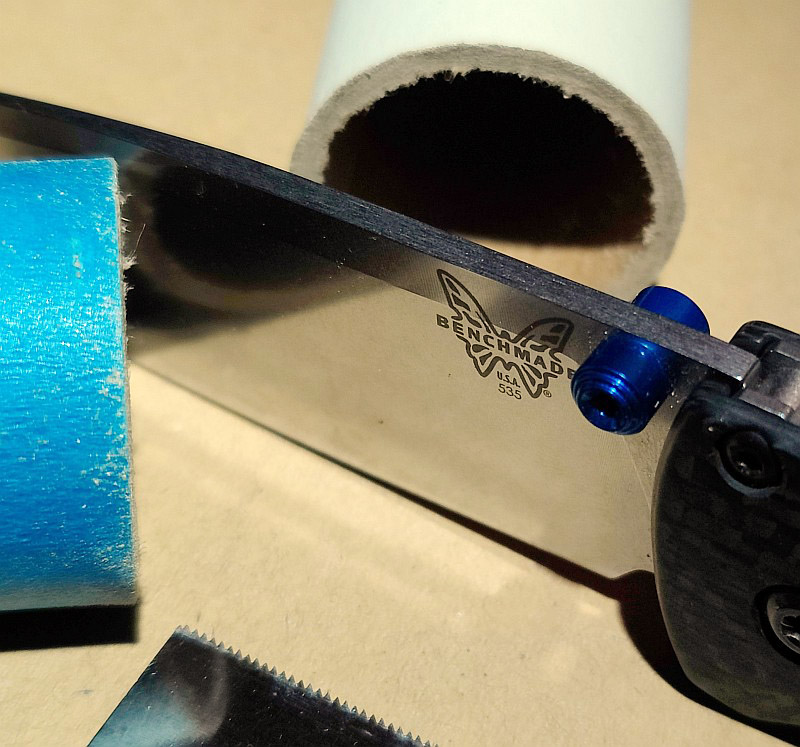
And then we have the Bugout’s slim, flat ground blade. No weak points, and very ‘slicey’ (should be a word if it isn’t) with a very useful shape. The smooth plunge line ensures maximum strength and exposed heel-edge provides easy maintenance and a useful rear-point (there isn’t a sharpening choil, but the end of the edge closest to the handle is unobstructed and easy to sharpen). This detail is something I look for in all knives, but especially an EDC knife.


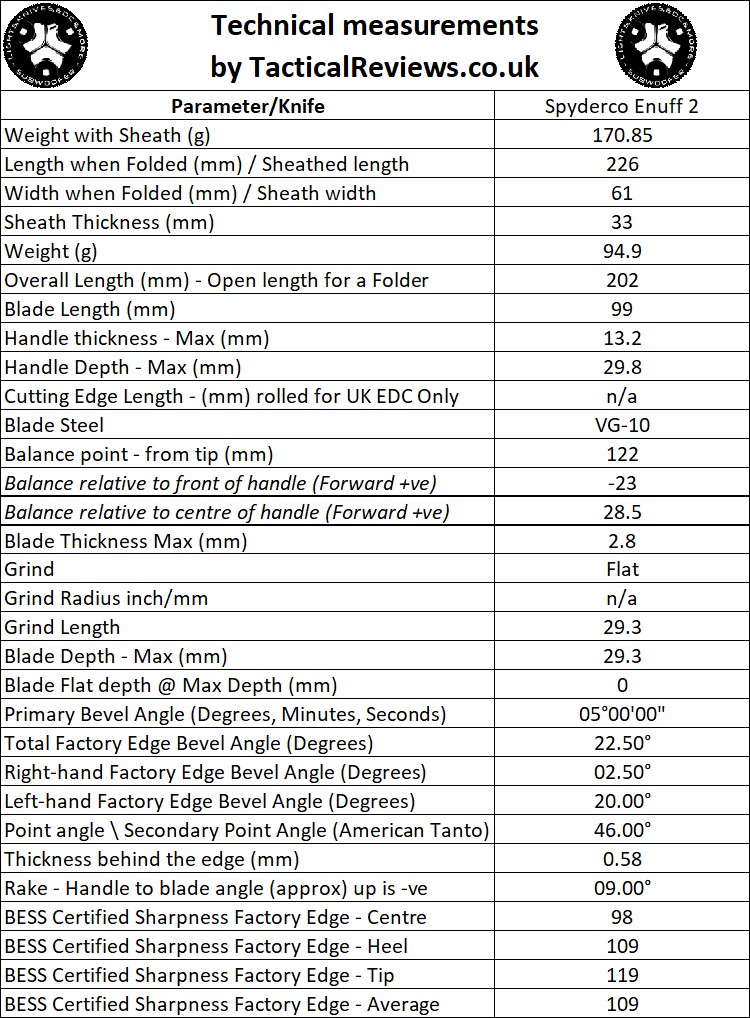
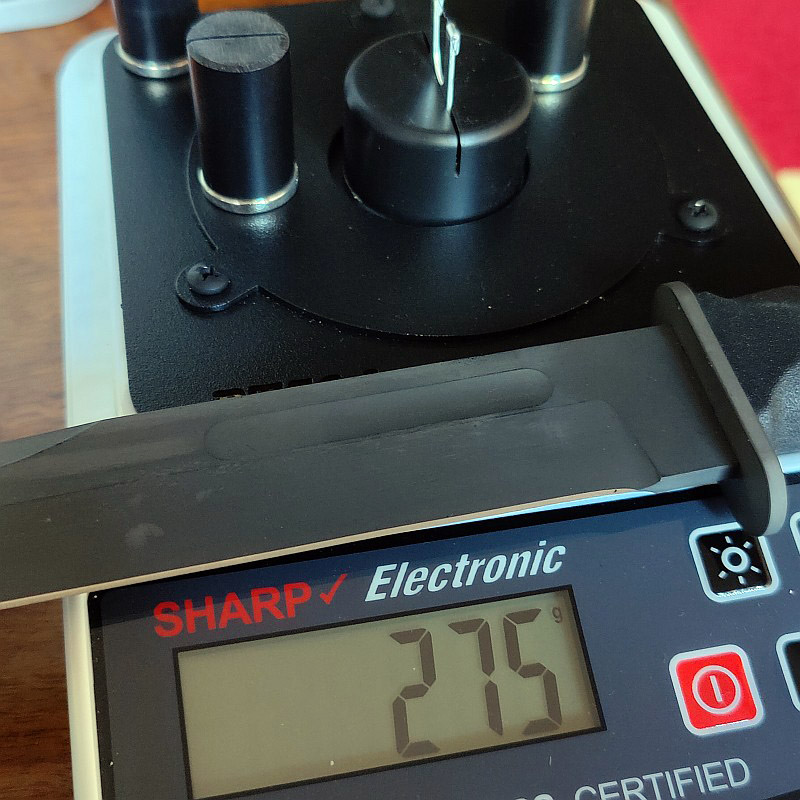
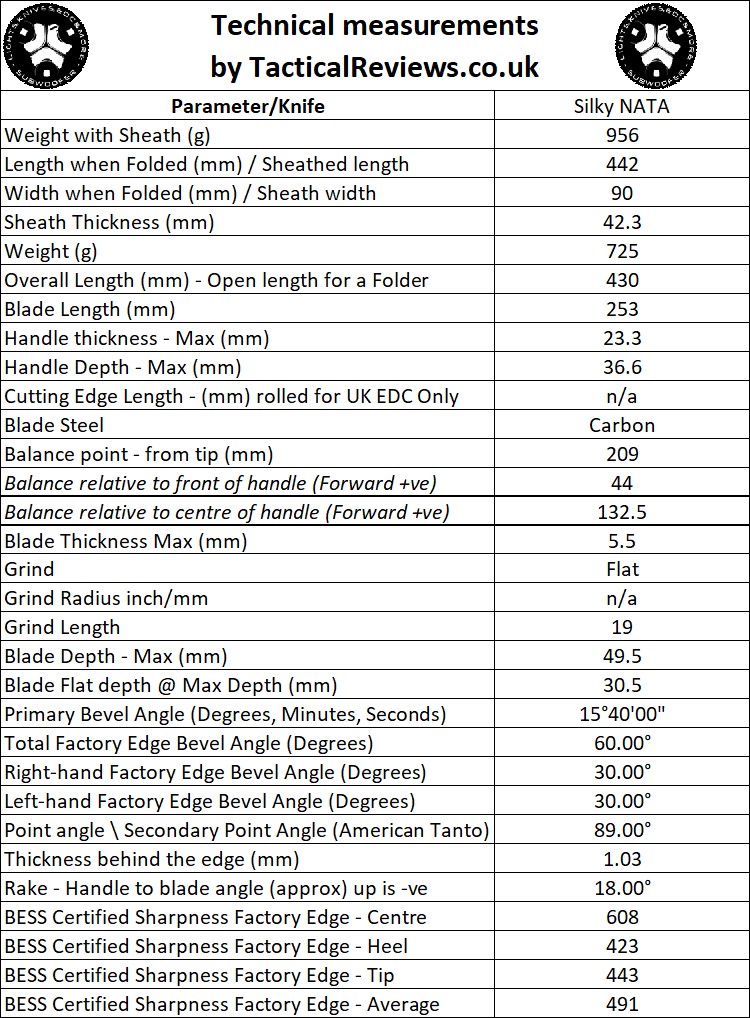
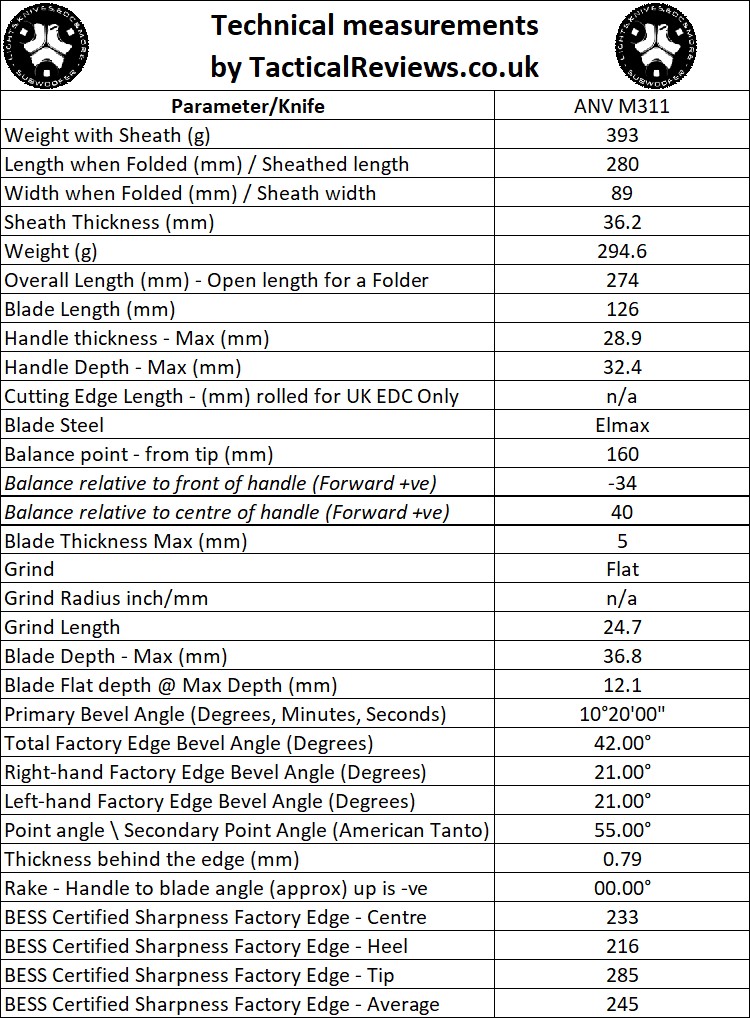
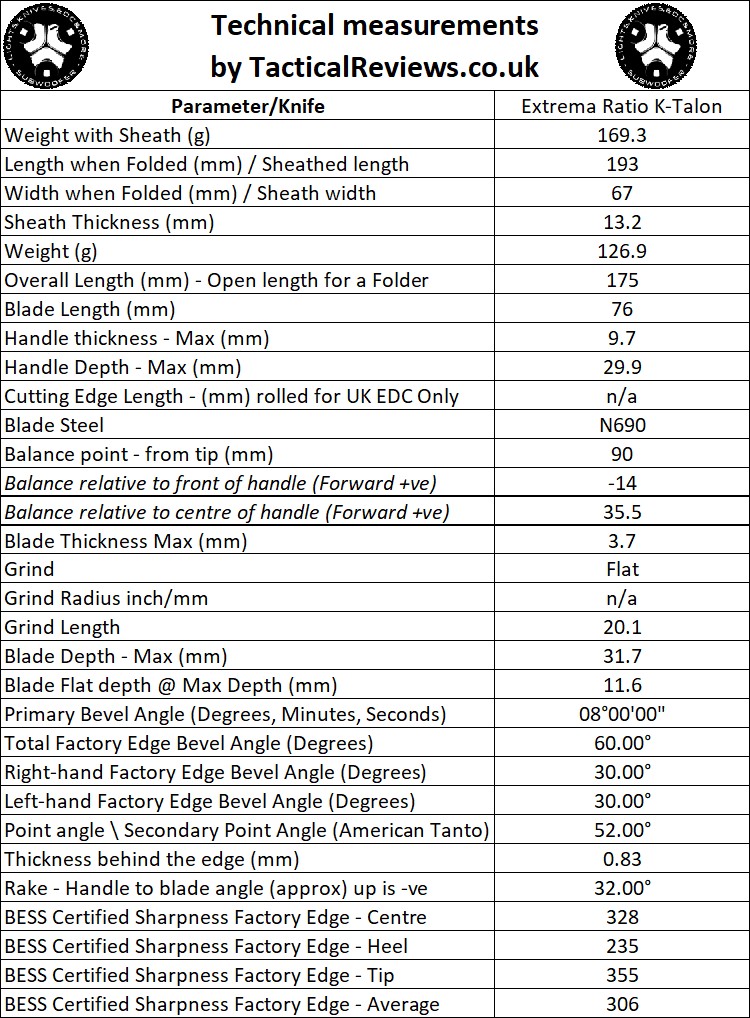
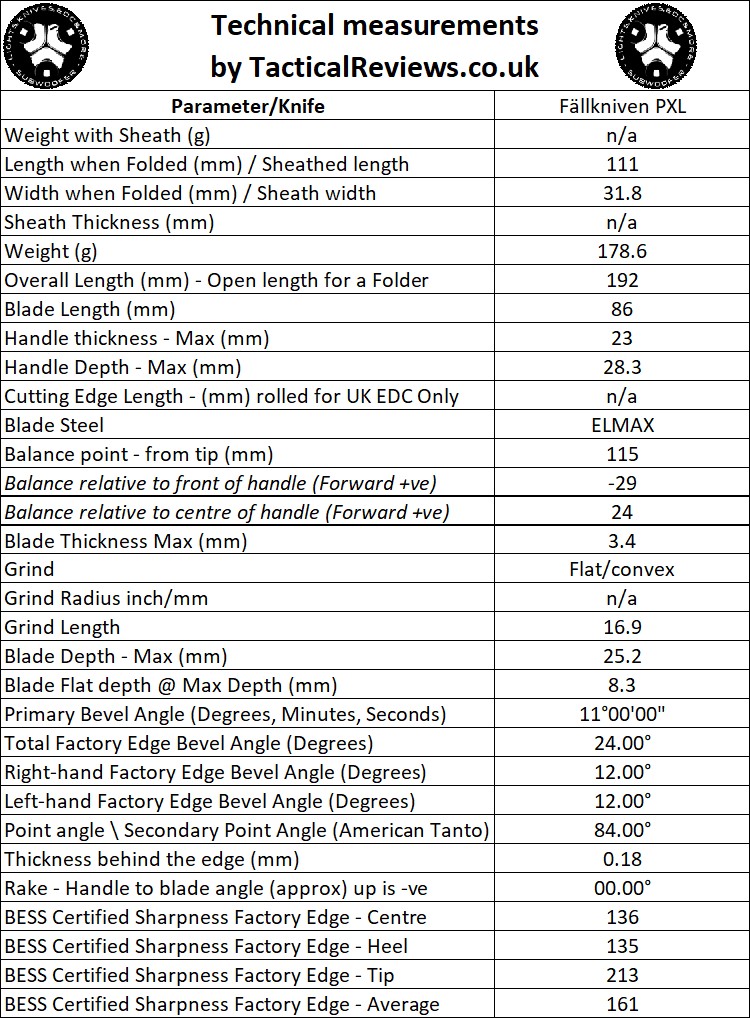
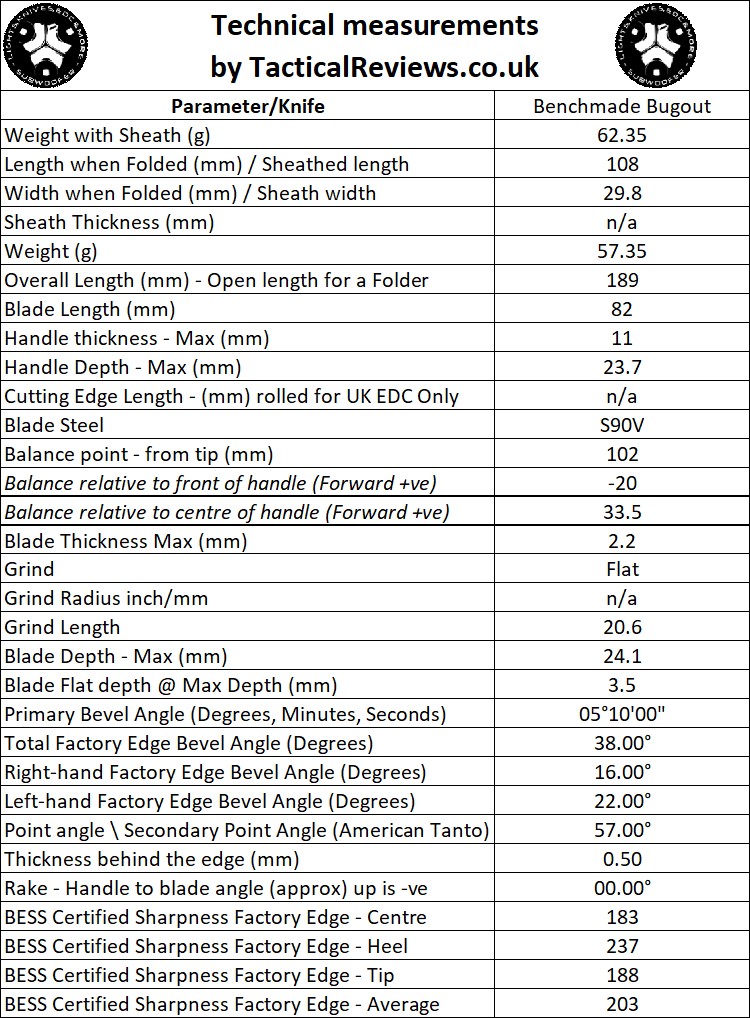
The Blade and Handle – Detailed Measurements:
For full details of the tests and measurements carried out and an explanation of the results, see the page – Knife Technical Testing – How It’s Done.
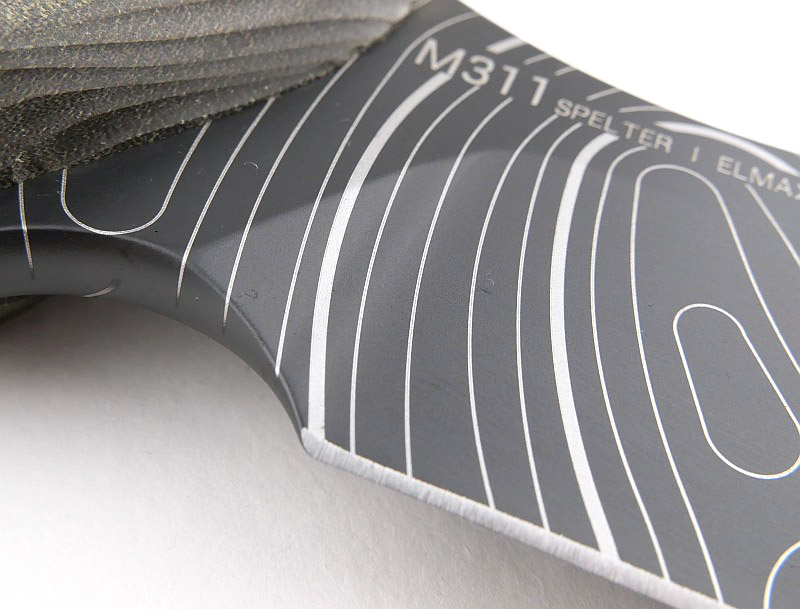
The blade is made from S90V steel.
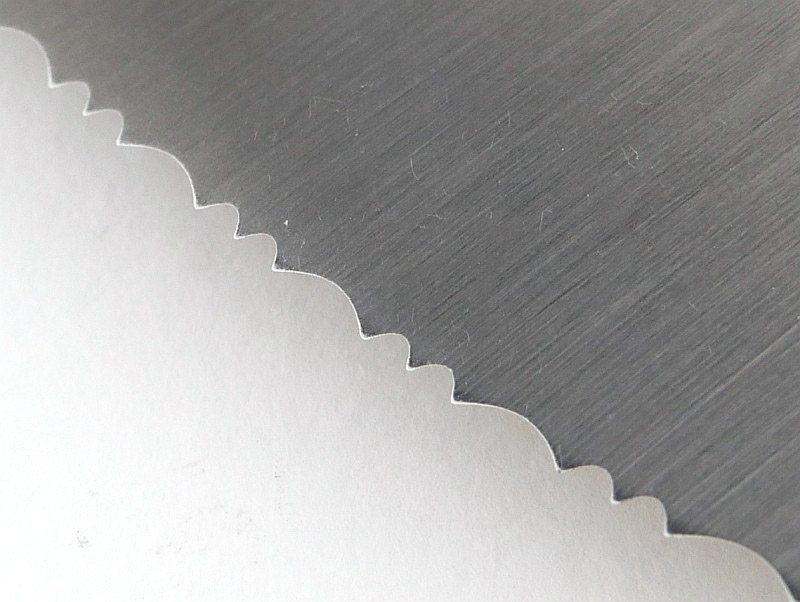
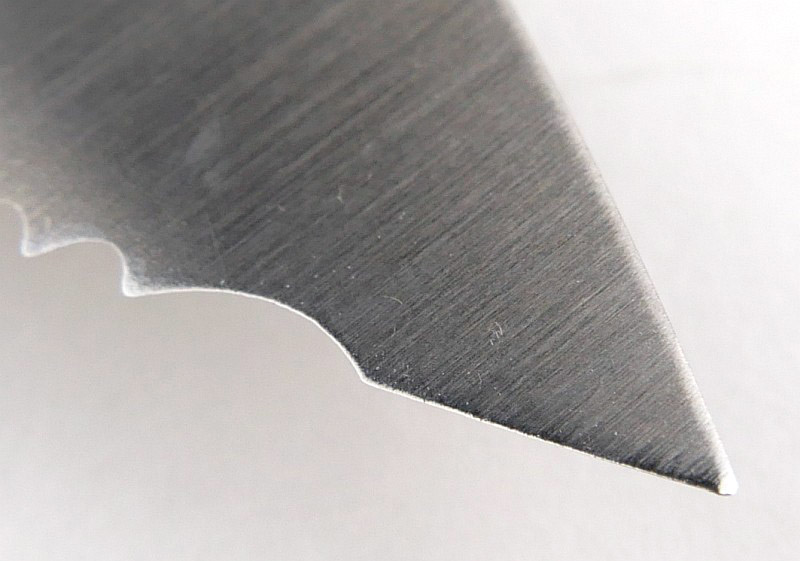
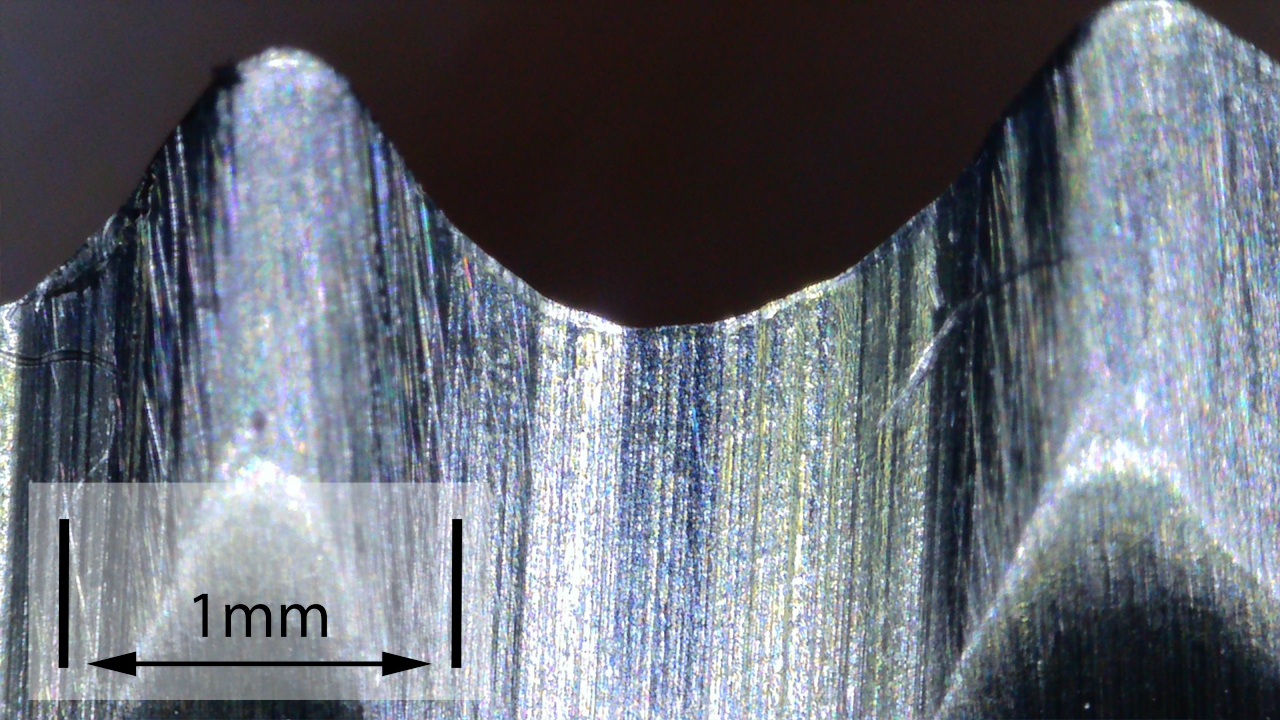
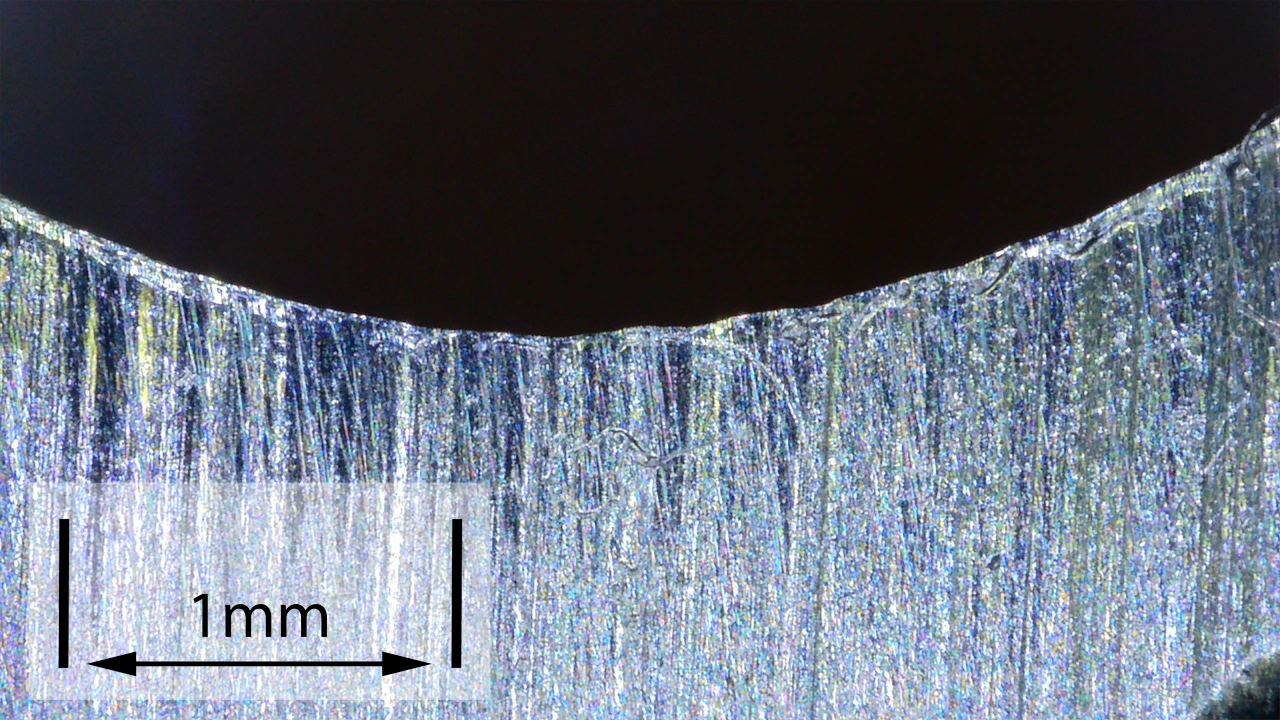
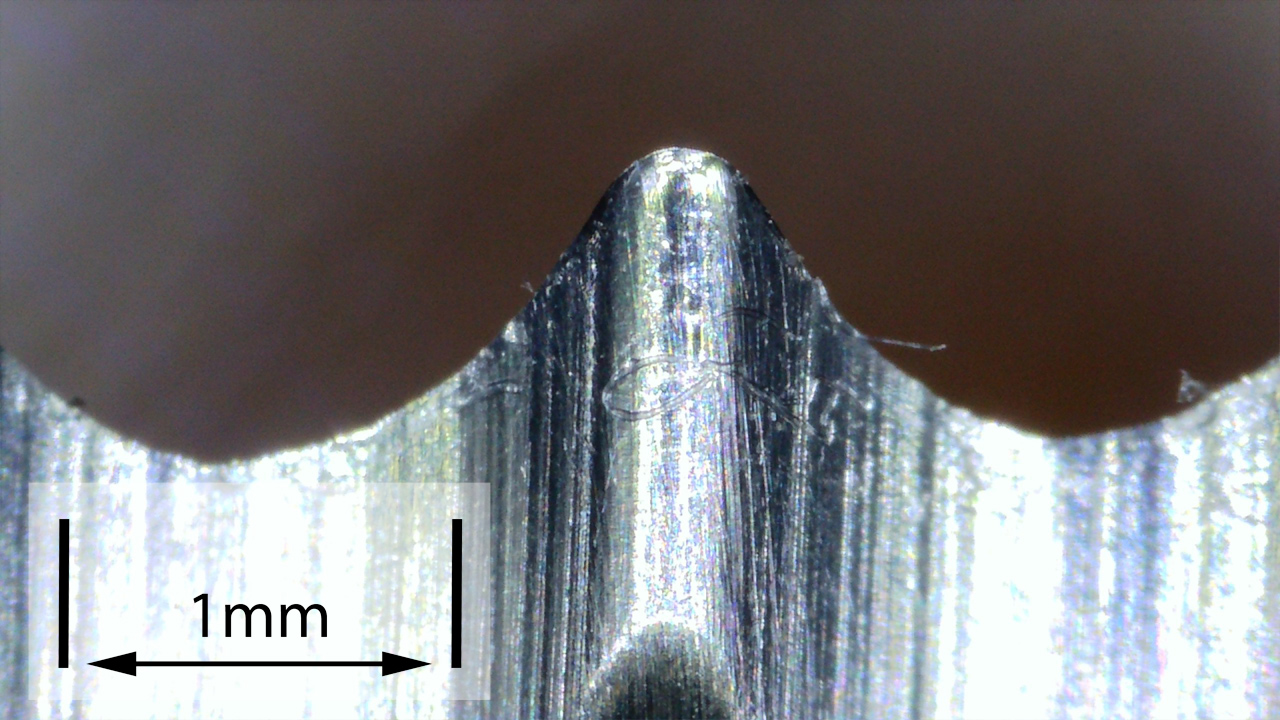
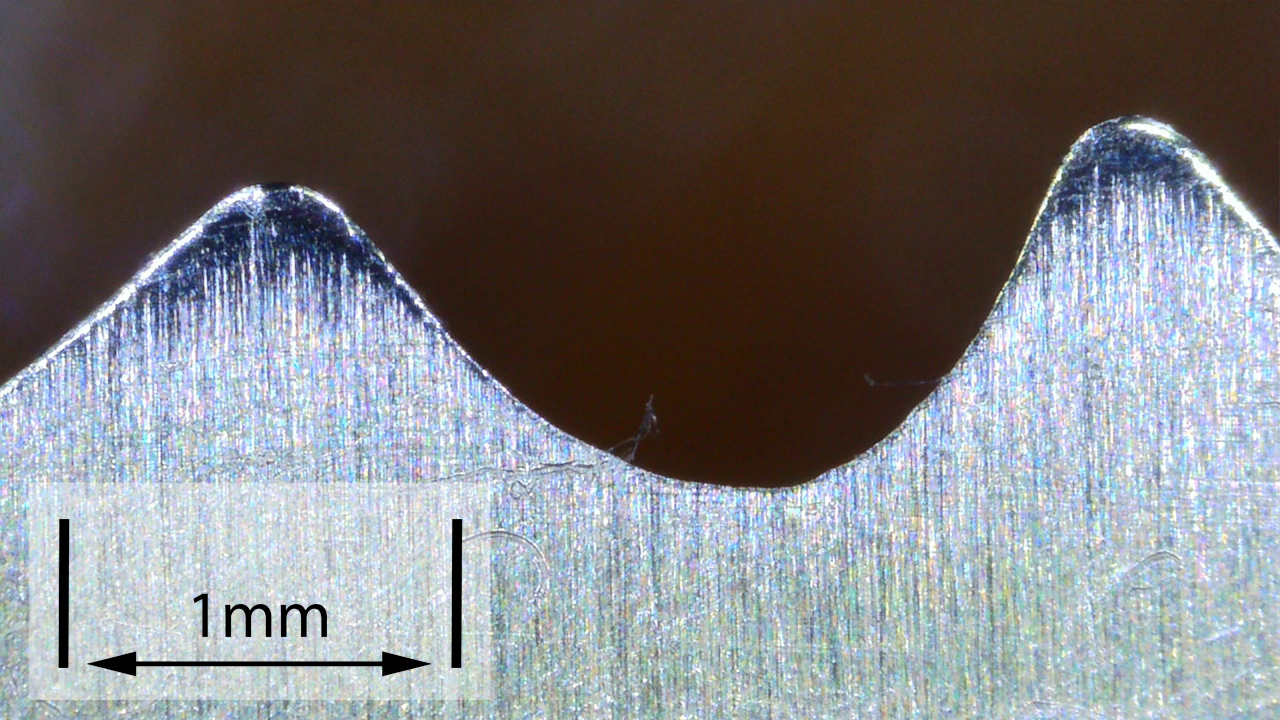
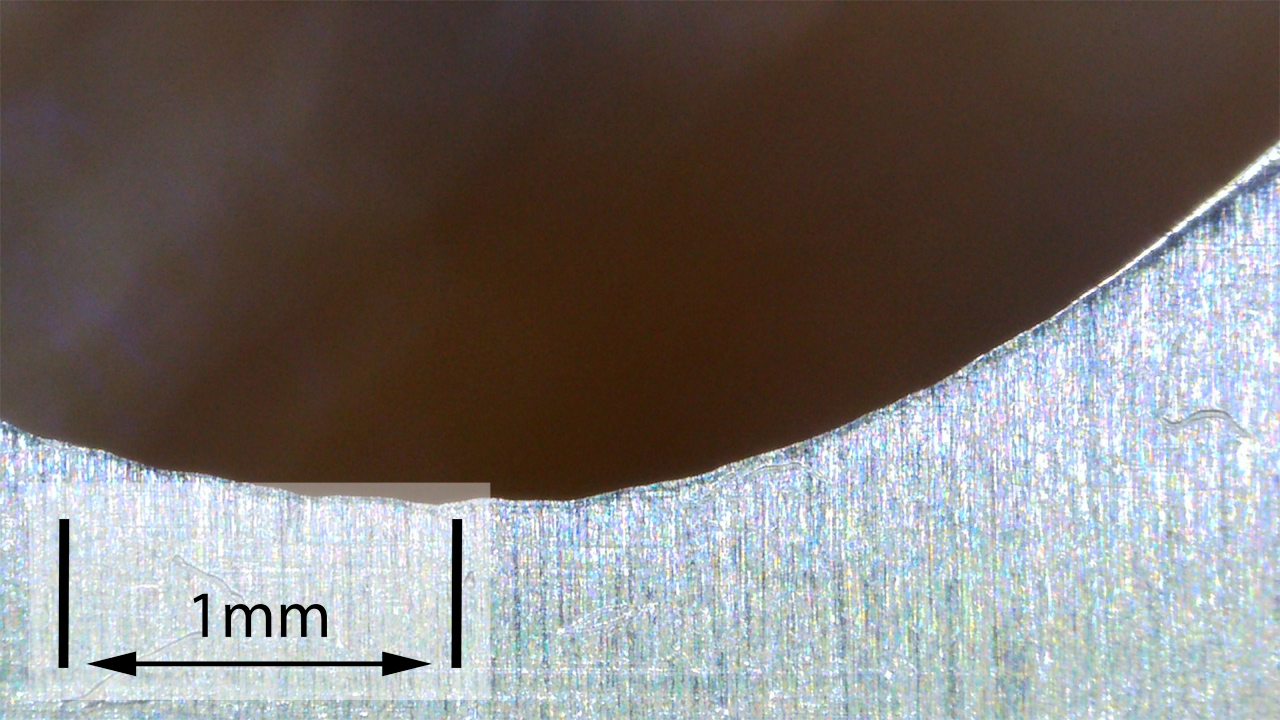
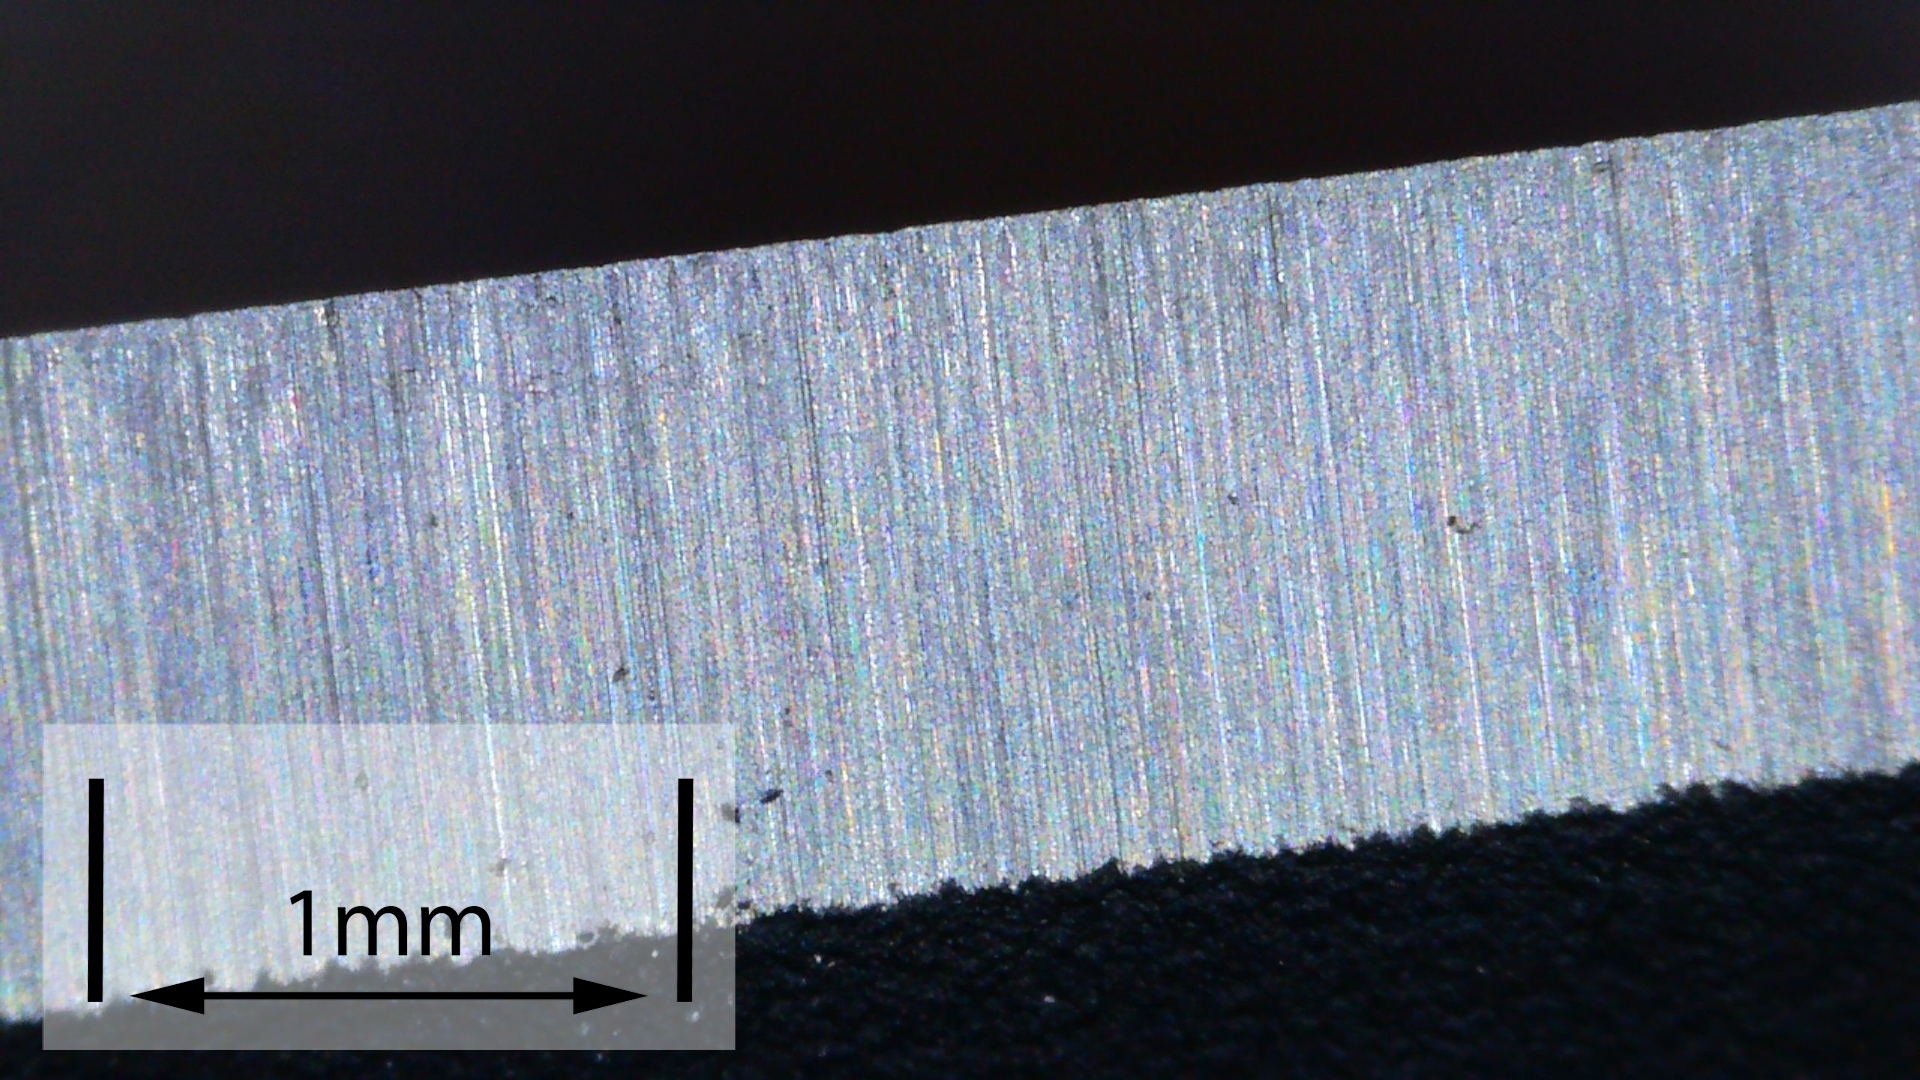
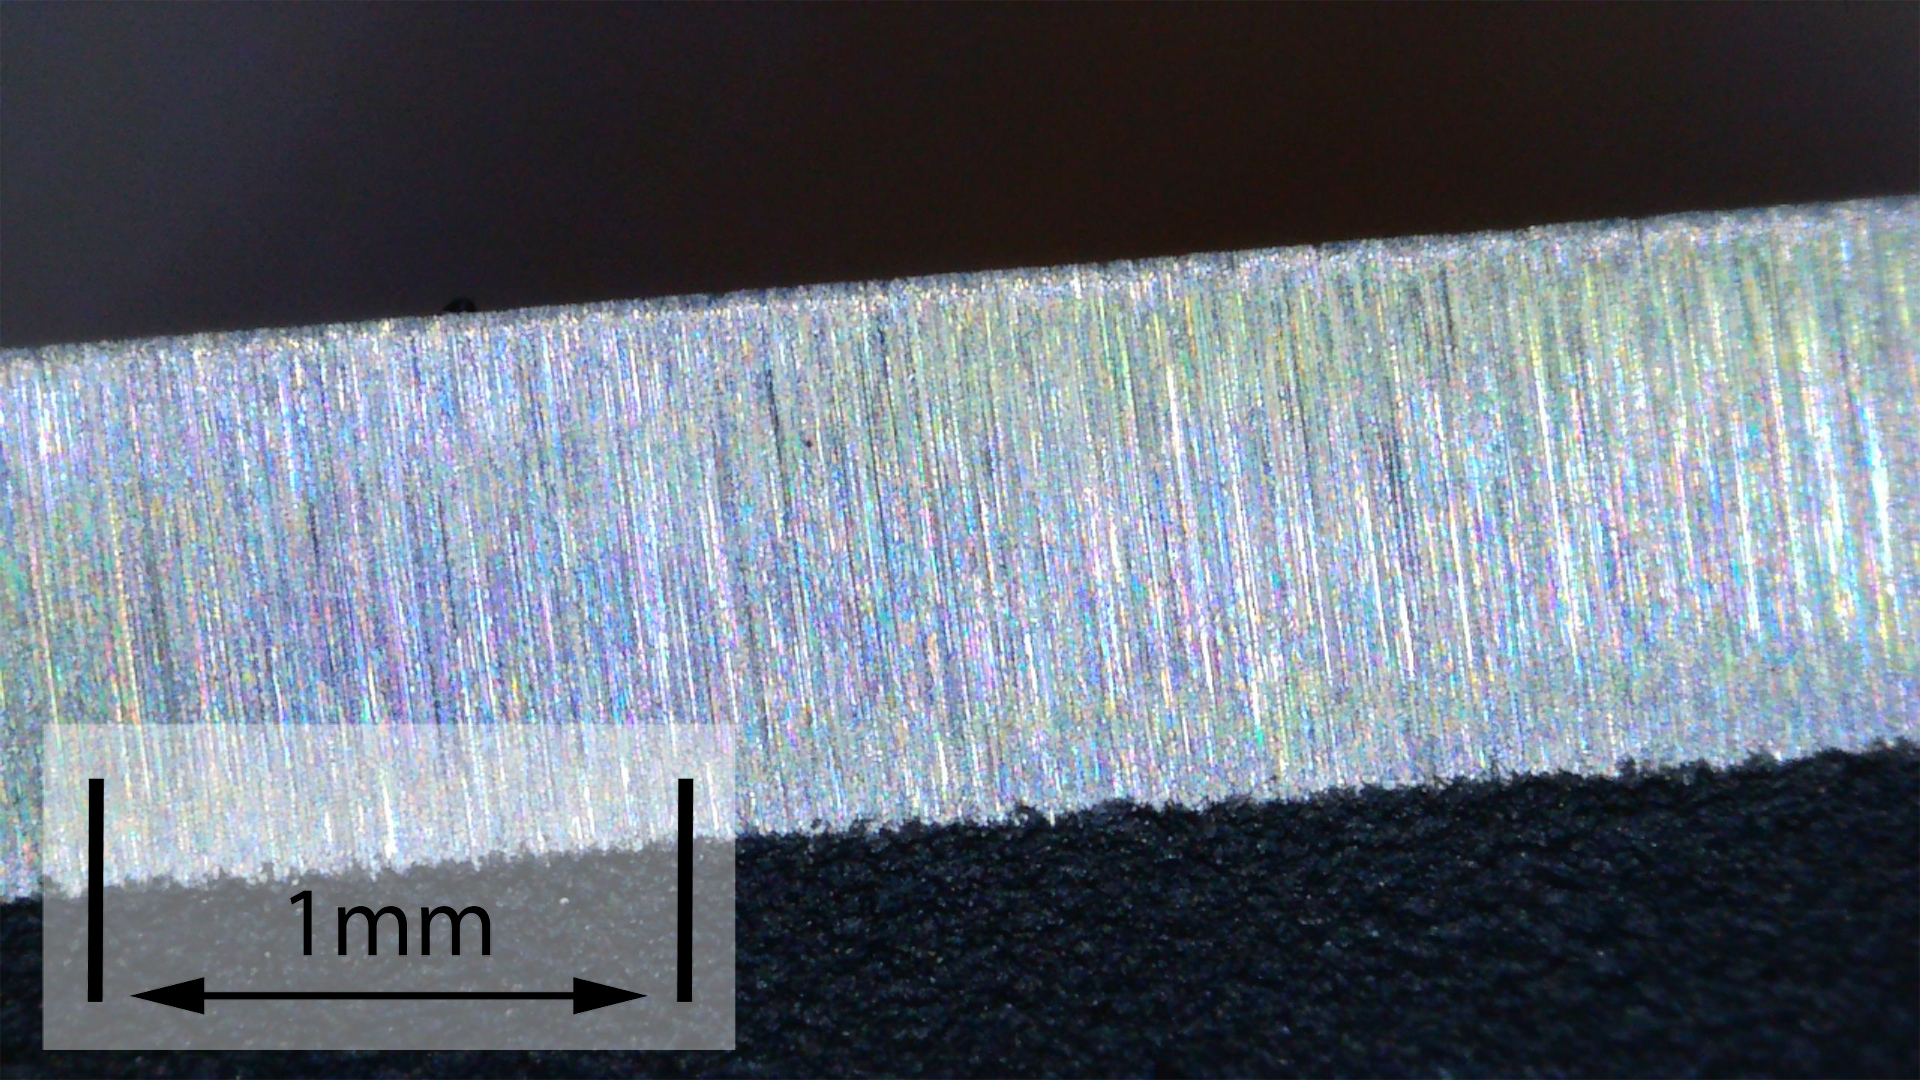
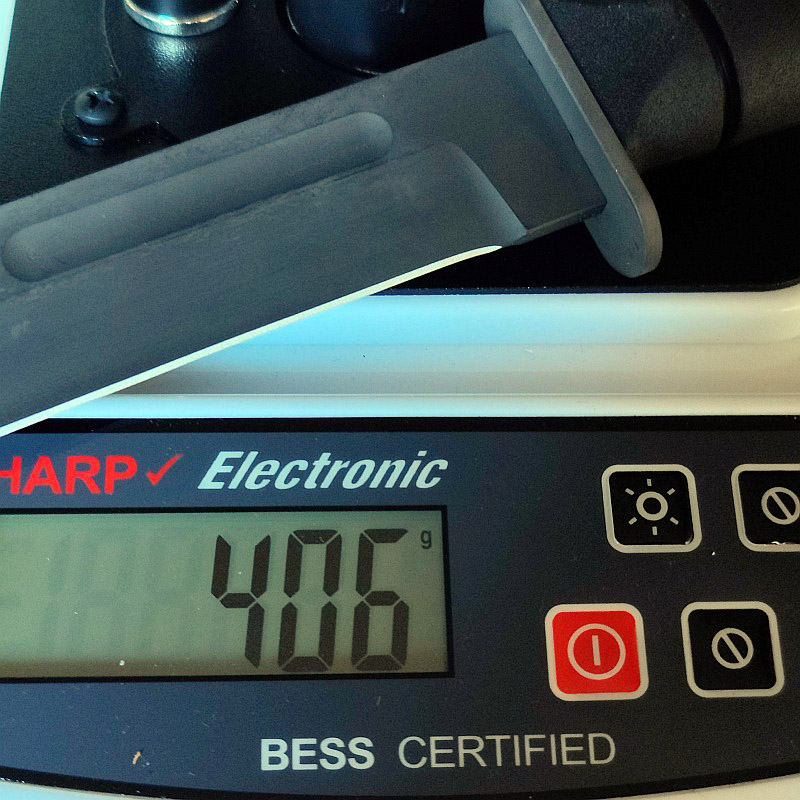
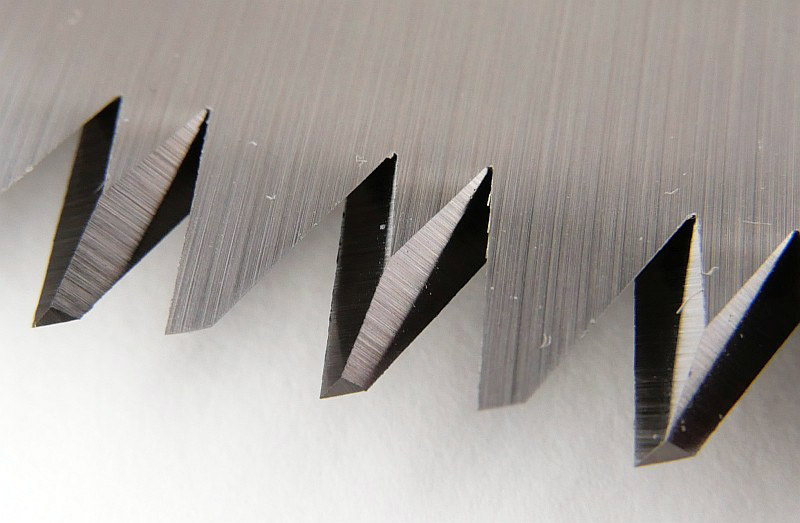
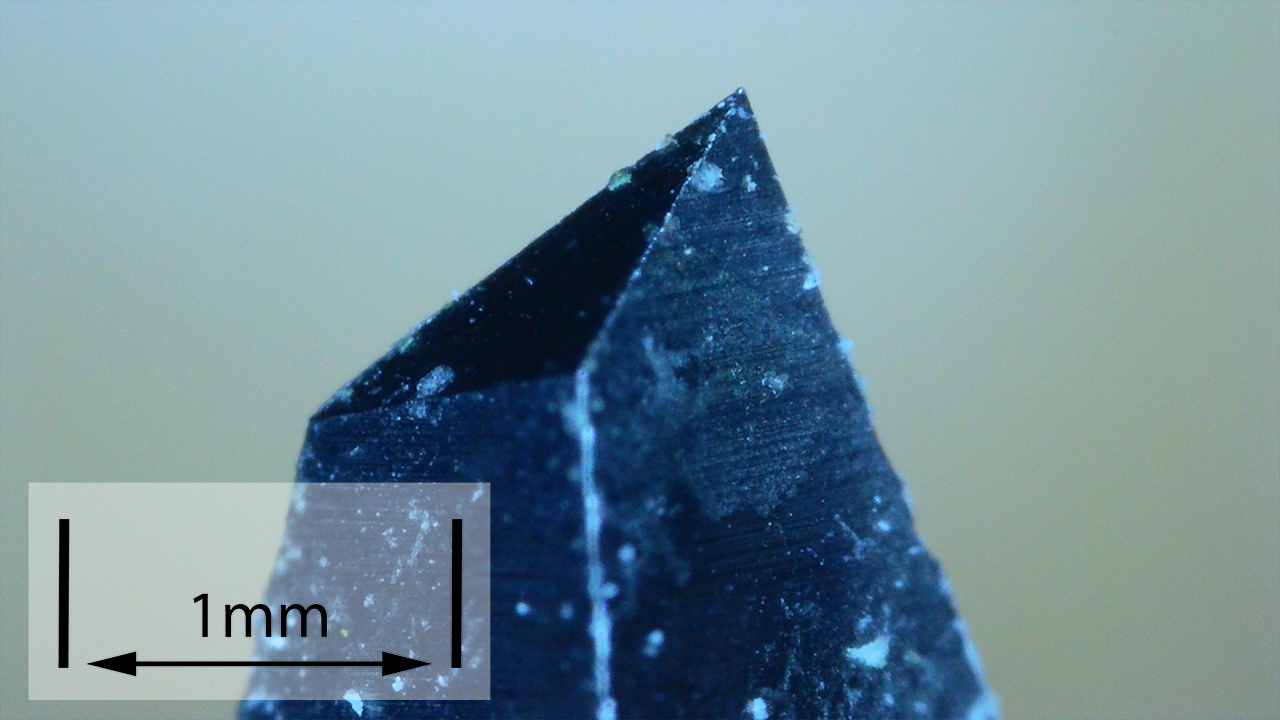
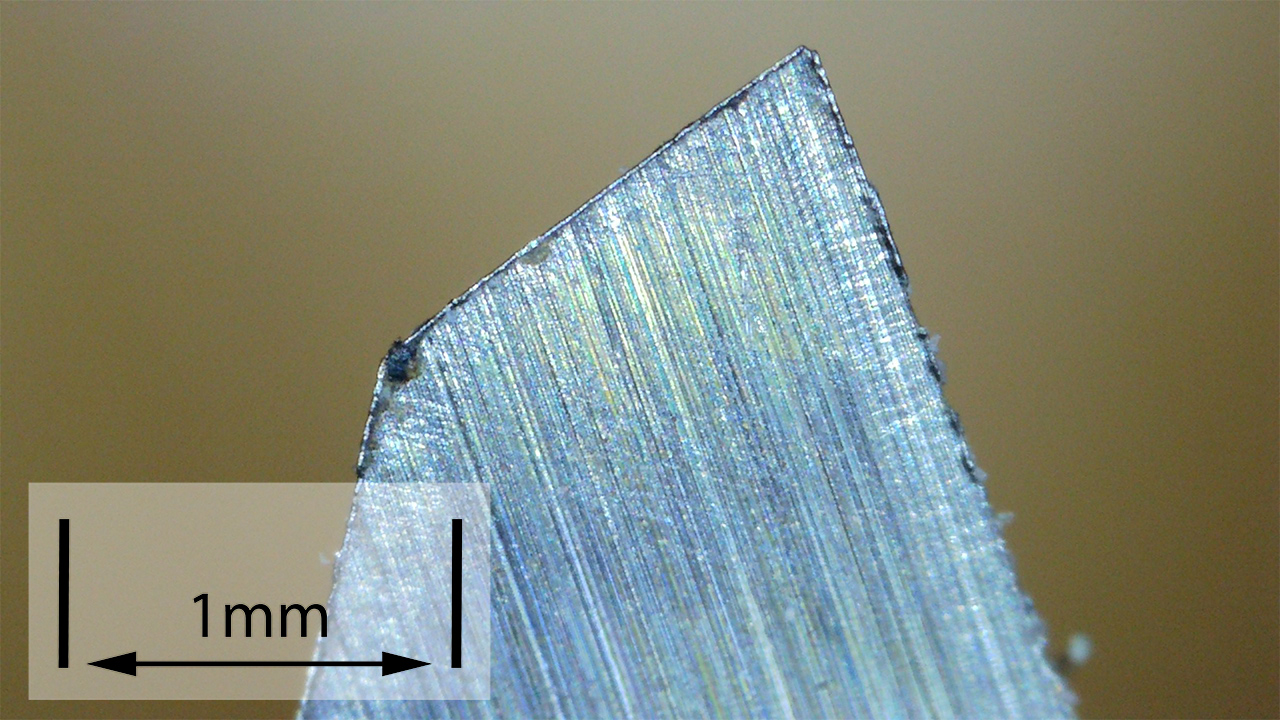
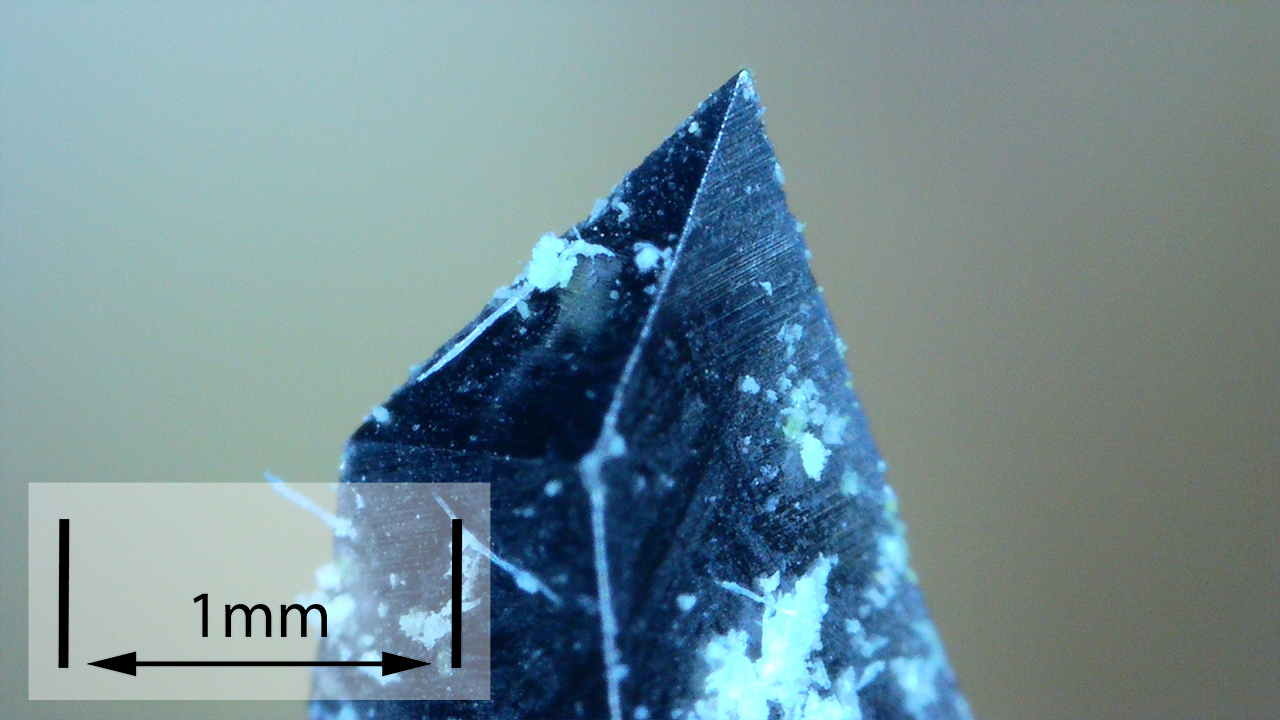
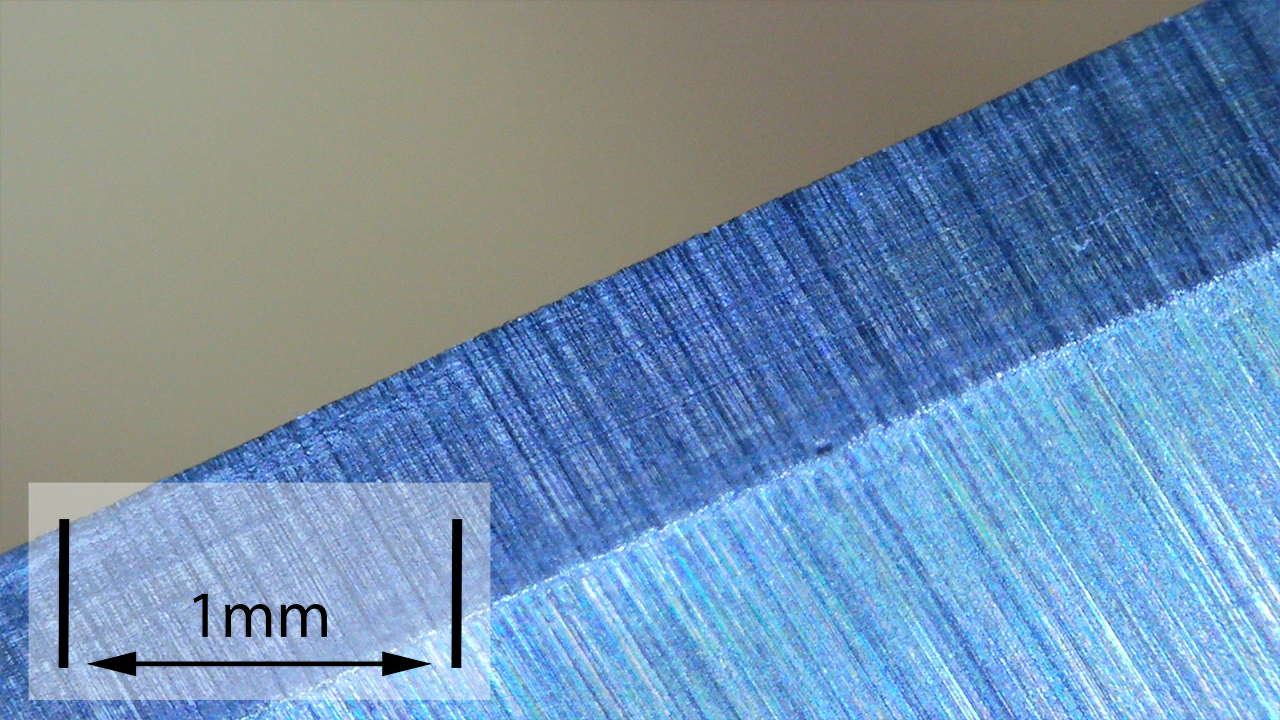
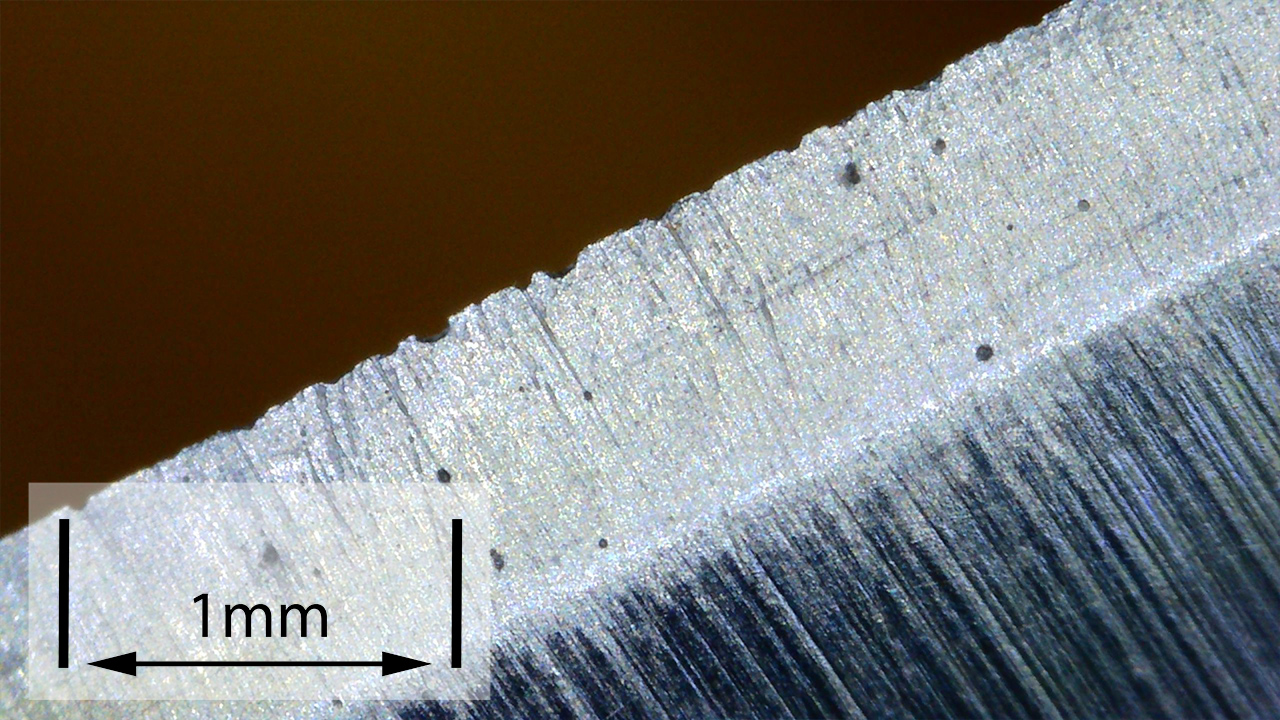
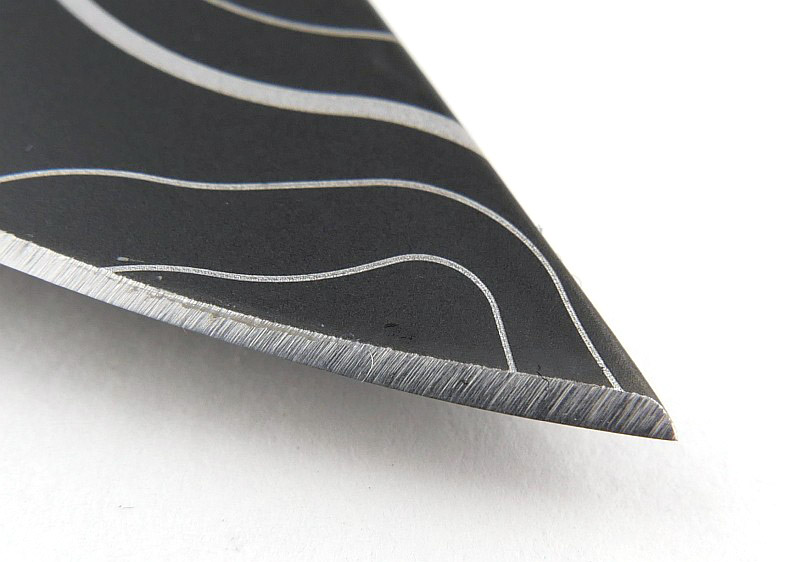
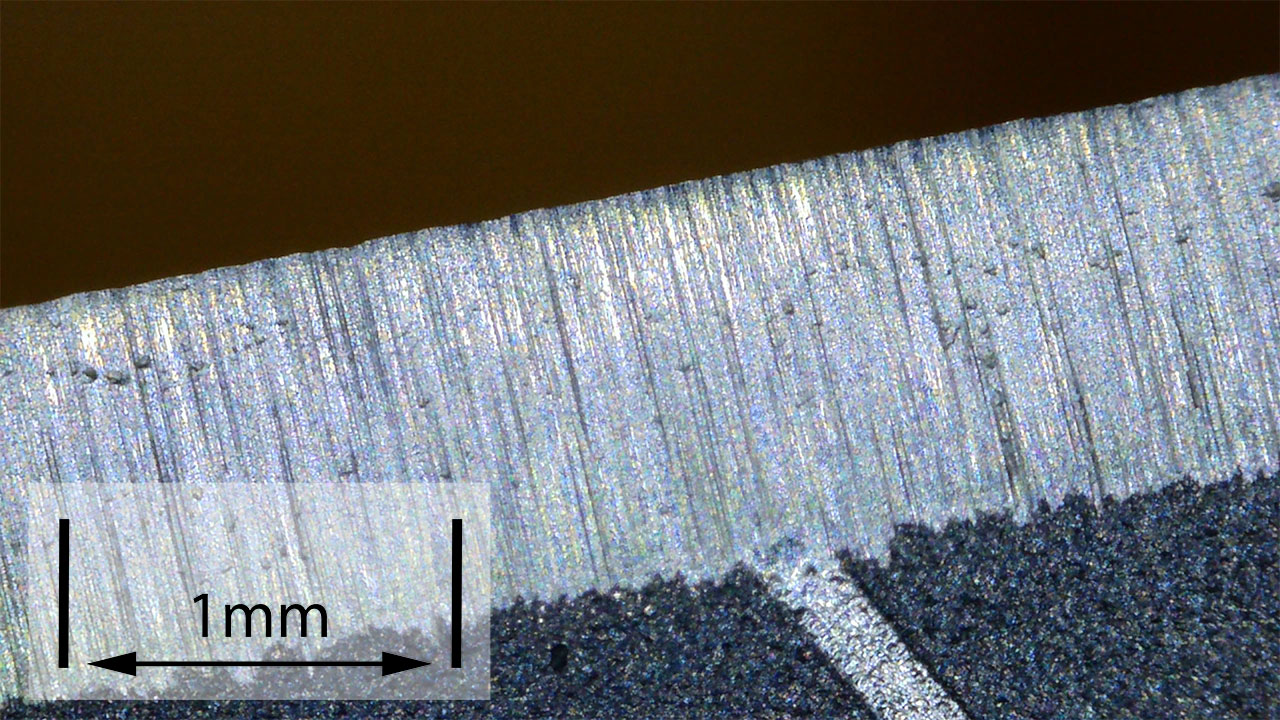
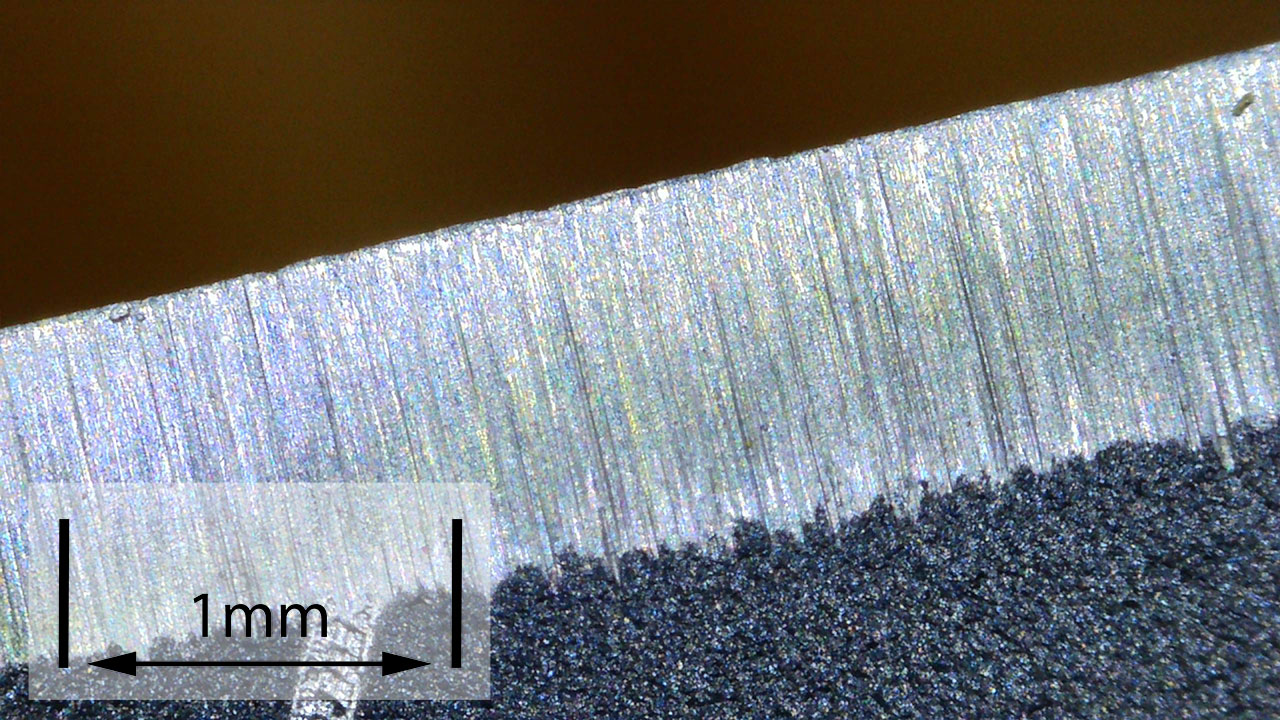
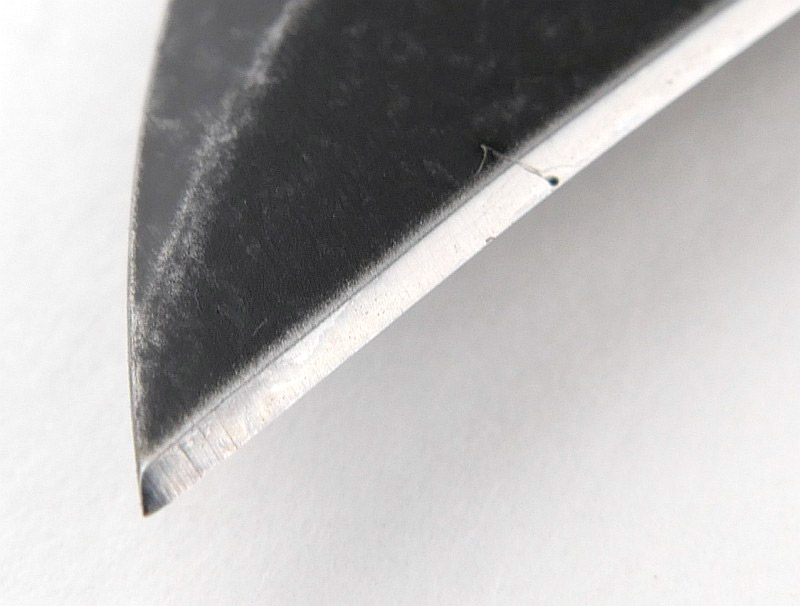
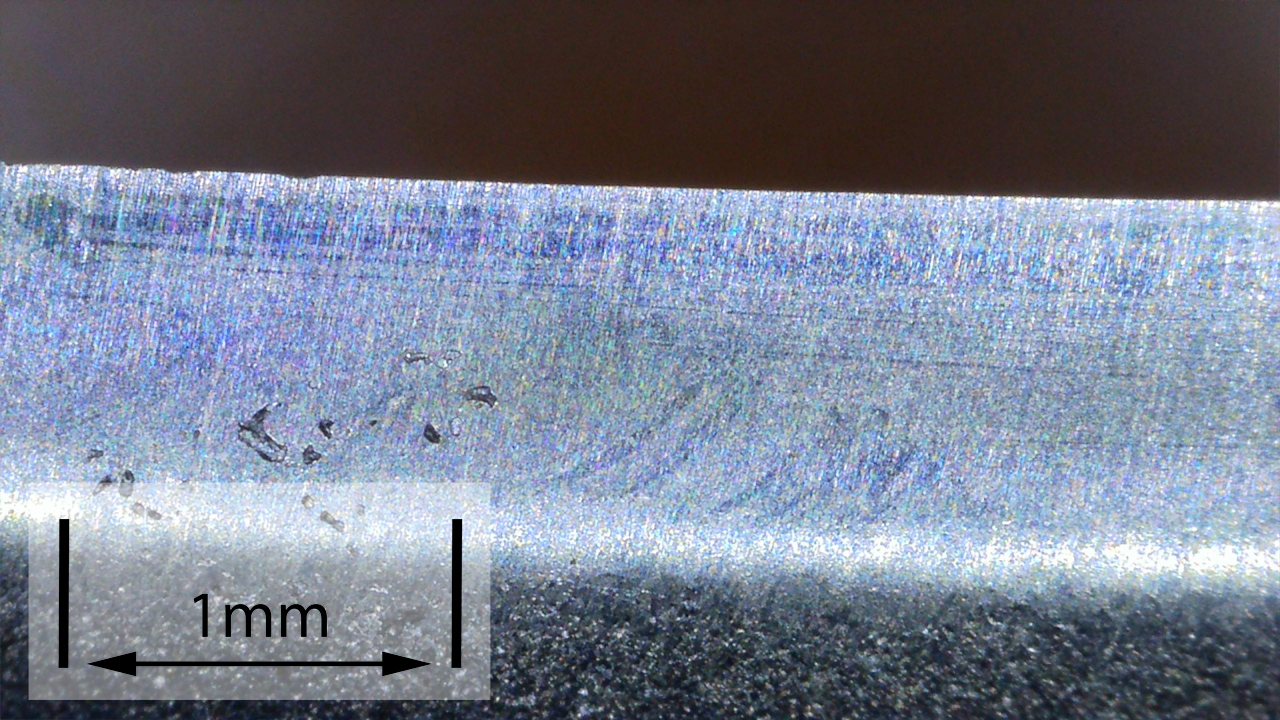
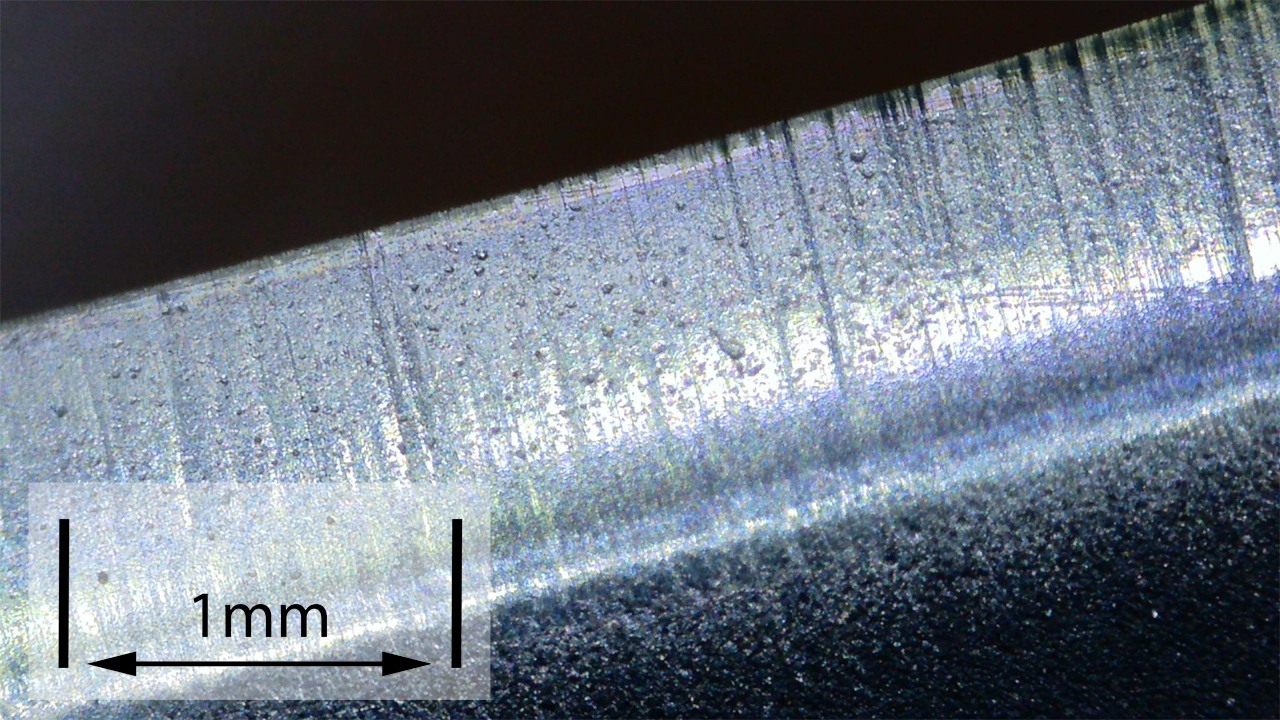
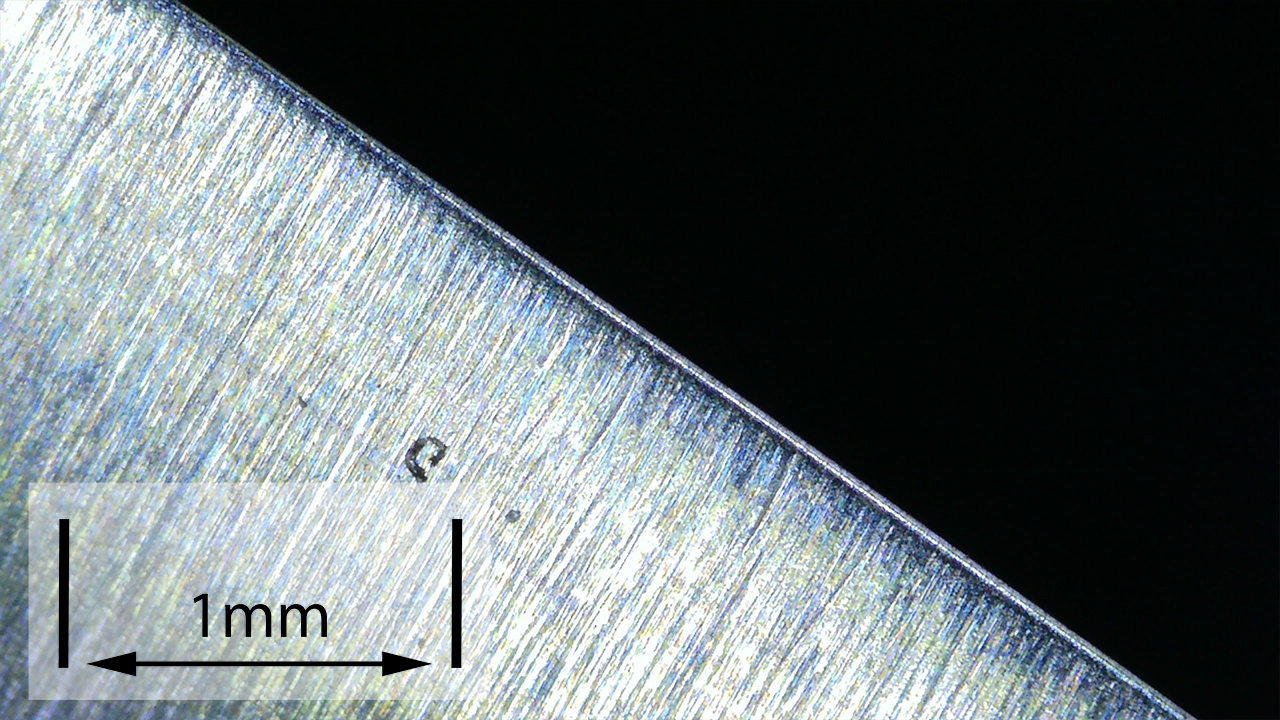
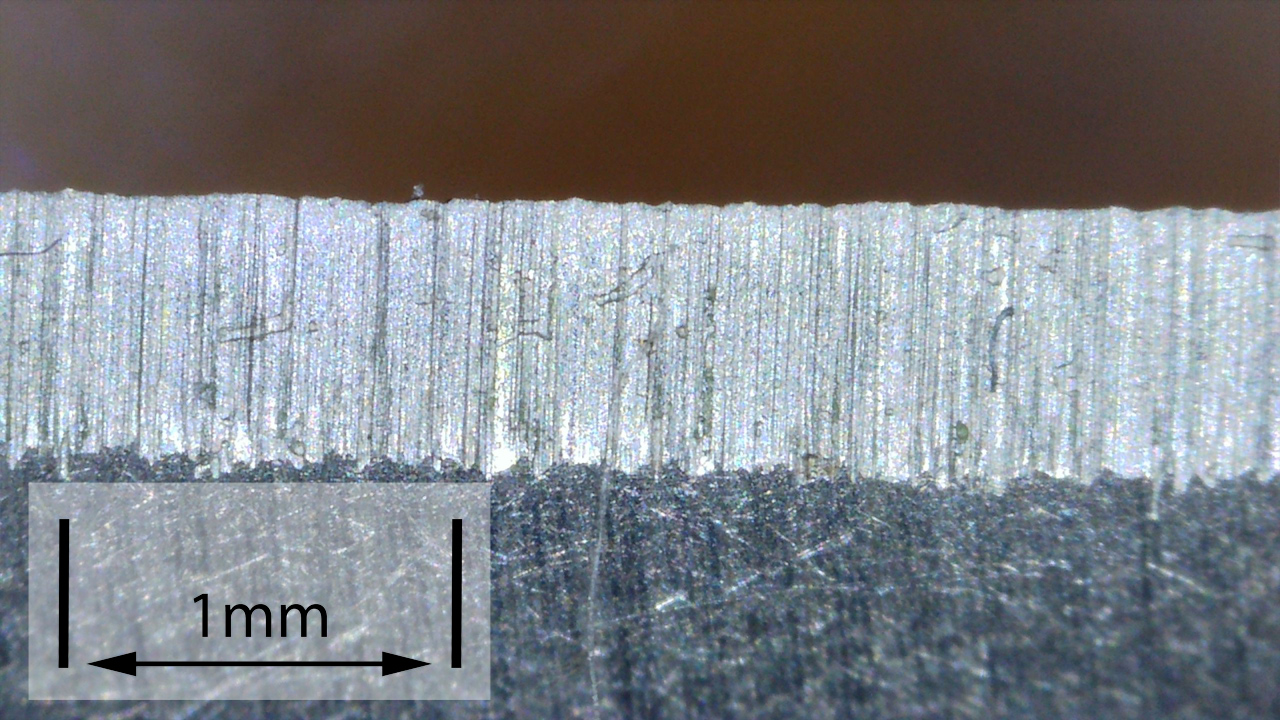
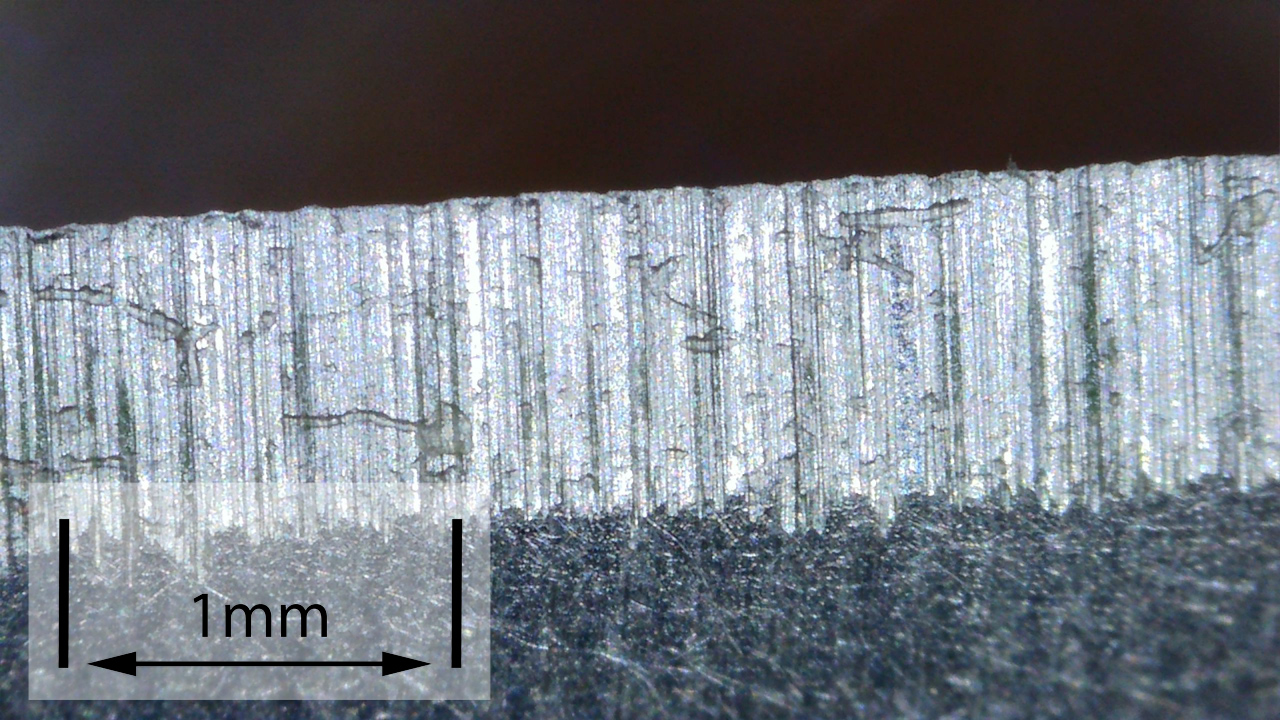
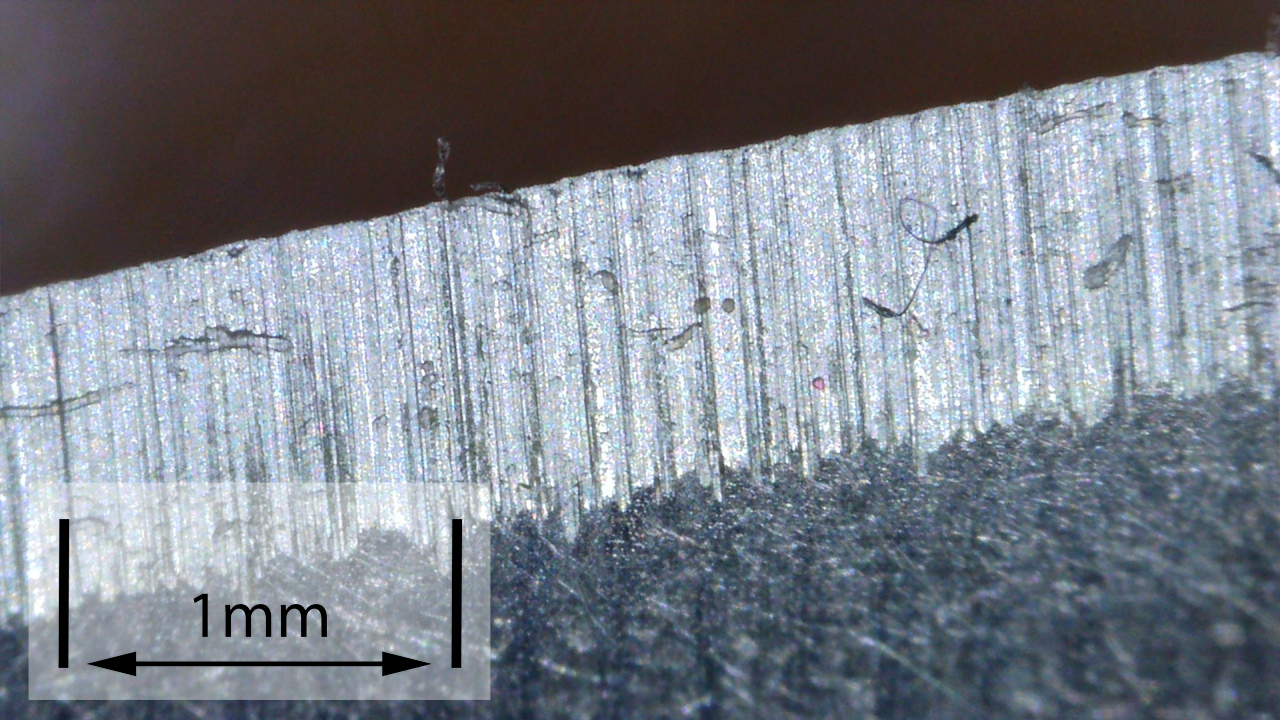
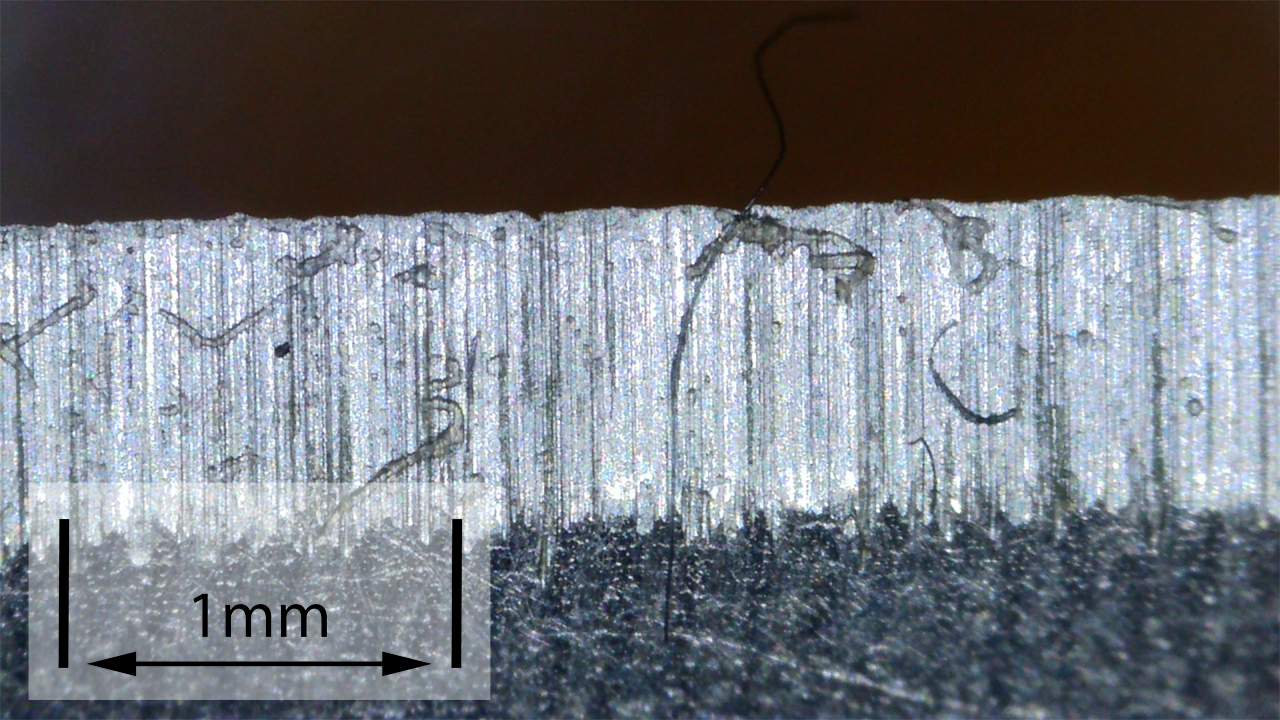
The Factory edge up close:
Followers of Tactical Reviews will know my views on factory edges, but to recap:
Anyone using a knife will need to sharpen it. That first factory edge is just like the first tank of fuel that a new car comes with (or first charge of the battery).
A good factory edge is a ‘nice to have’ but not a ‘make or break’ for a good knife, as you will be putting your own edge onto it soon enough.
The factory edge does however indicate the care a knife maker has put into the final finish.
It is for this reason Tactical Reviews measures factory edge sharpness and specifications, and includes this information in the detailed technical testing.
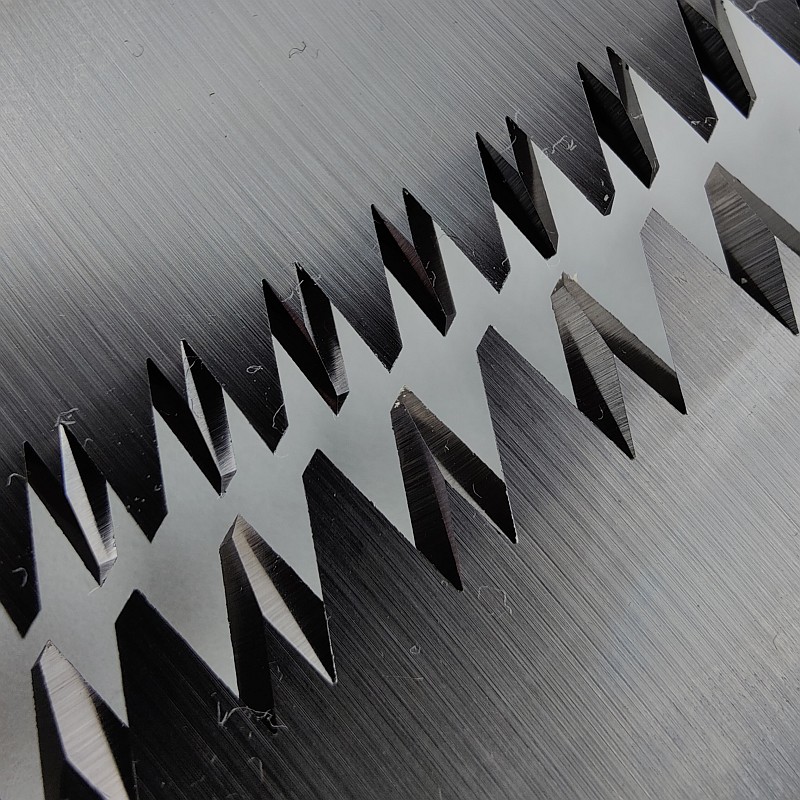
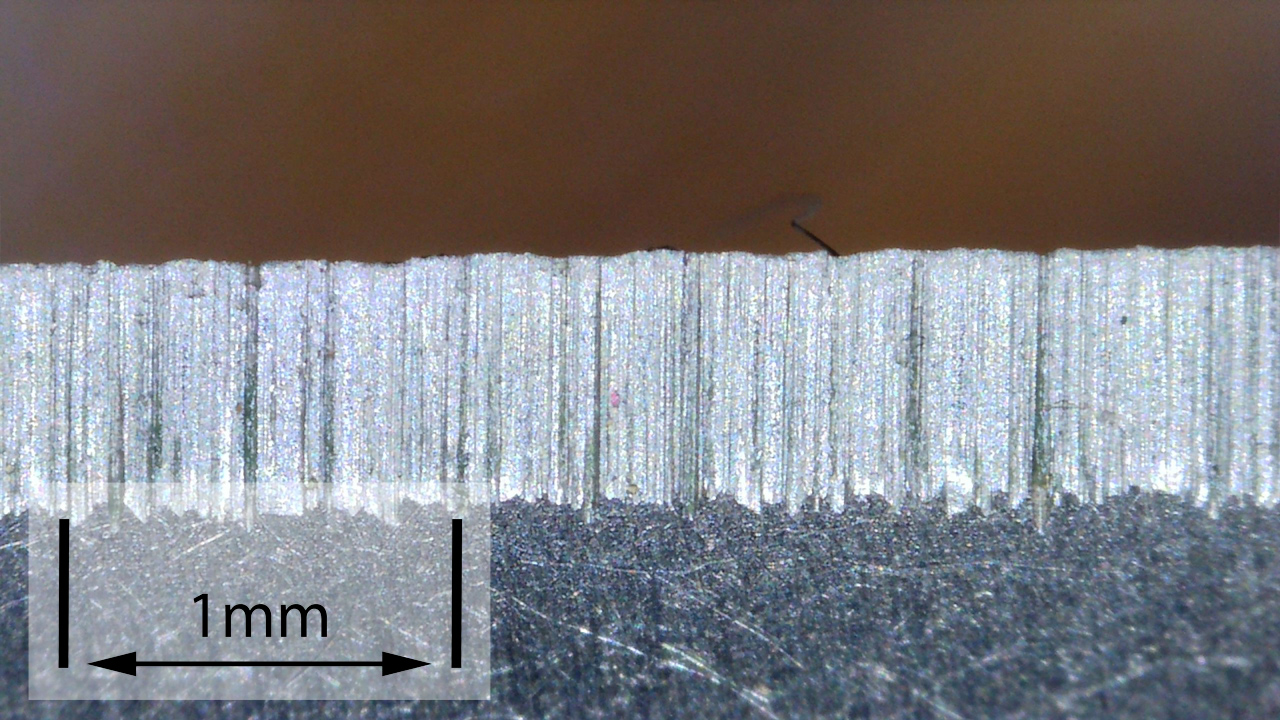
As a further look at the factory edge, this section has been added to include some high magnification photos of the factory edges.
Please be aware that these images were taken with the knife straight out of the box without any stropping and they do have some manufacturing residue visible on the edge.
What is it like to use?
The Bugout is a modern classic and has gained much favour and recognition. This is actually the first Bugout I’ve owned (not the first I’ve handled), so prior to this period of review testing I did not have much experience of using a Bugout. I’ve not been disappointed at all, quite the opposite.
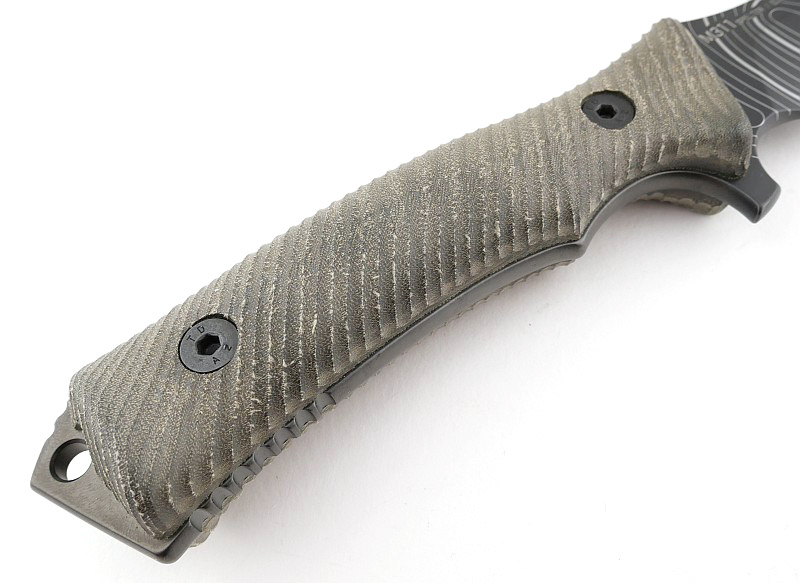
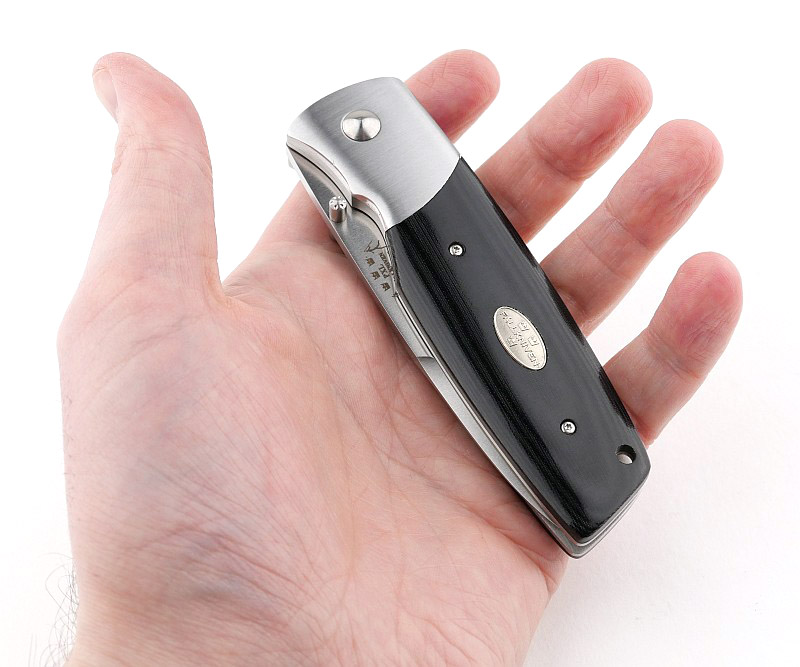
With the 535-3 being the lightest Bugout to date, an already ultralight knife, it sits like a feather in your hand. The Carbon Fibre feels so light, comfortable and warm to the touch, you don’t want to put it down. How can it be so strong and so light?
Benchmade have also got the blade geometry spot on. Using a thinner blade, but not too thin, makes it slice exceptionally well. The exposed heel of the edge (similar to when a sharpening choil is used) makes sharpening of the entire edge easier. I find this secondary ‘point’ a very useful feature for fine work.
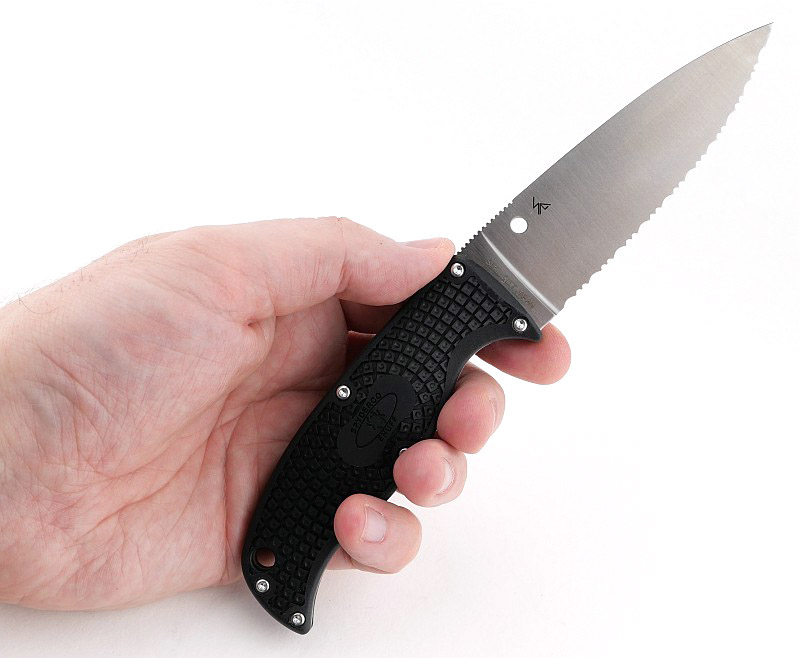
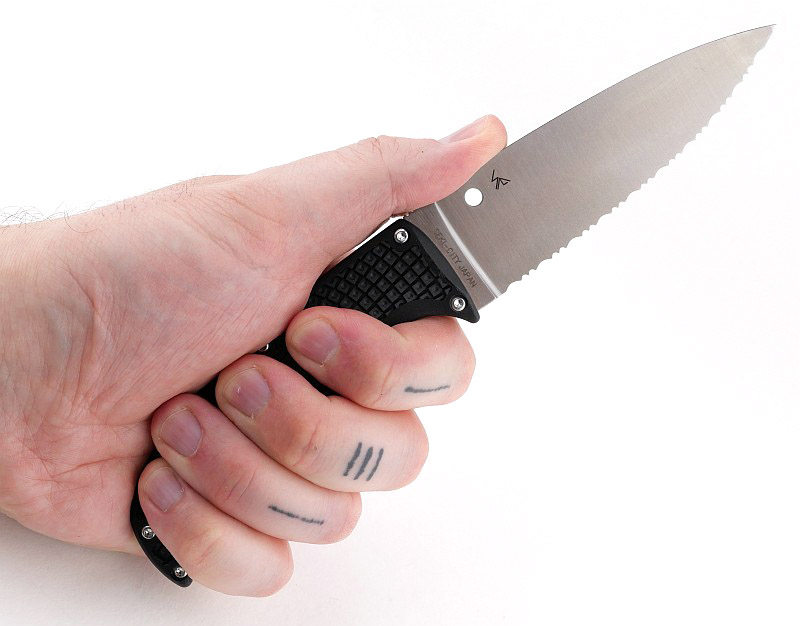
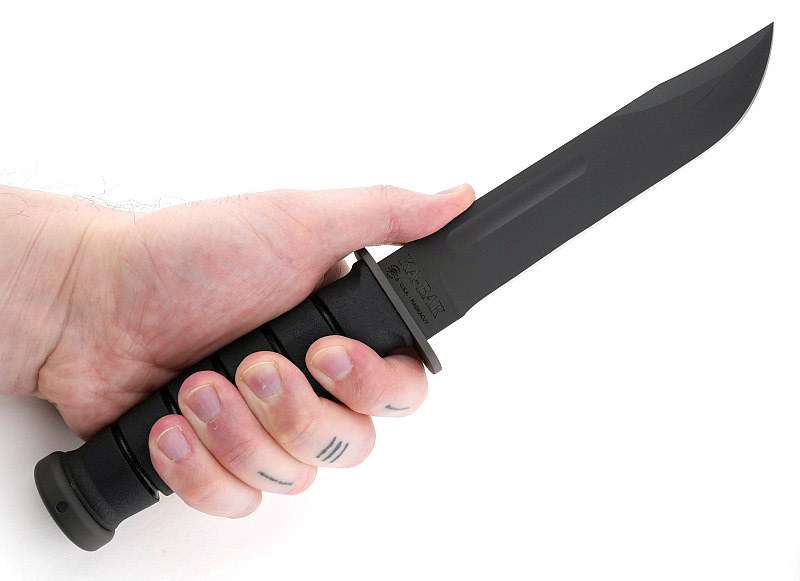
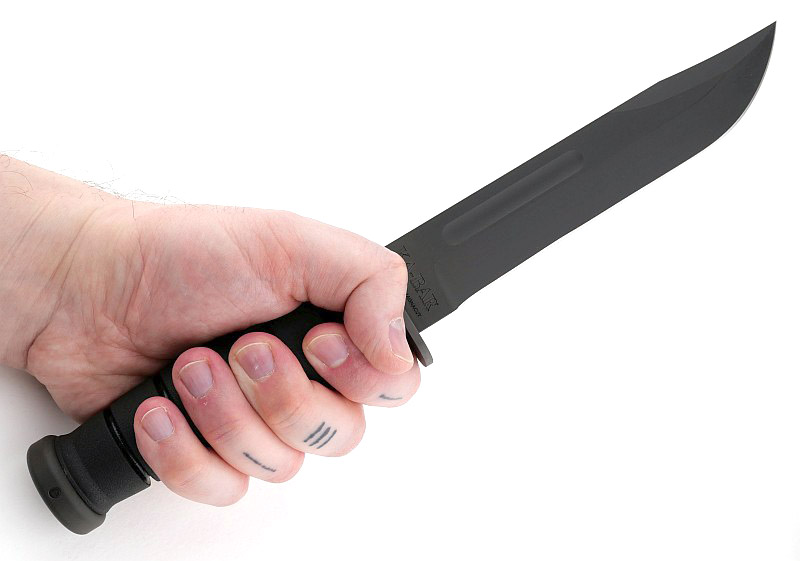
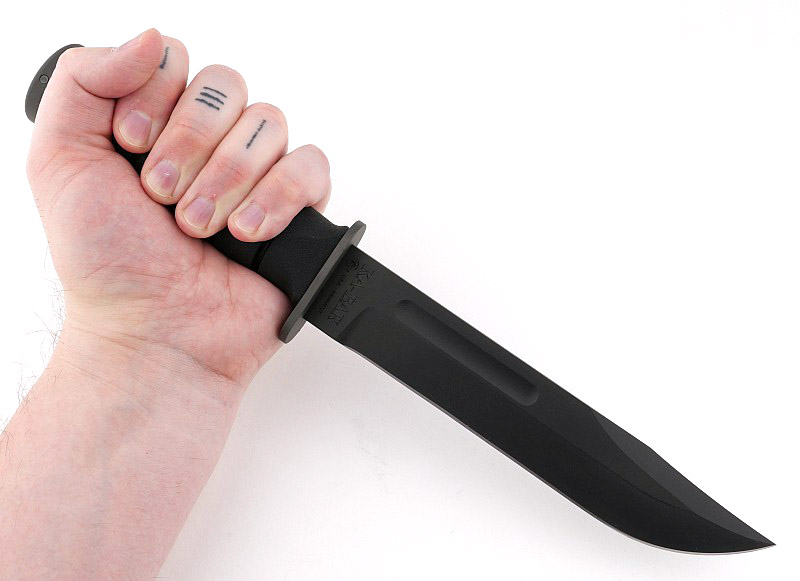
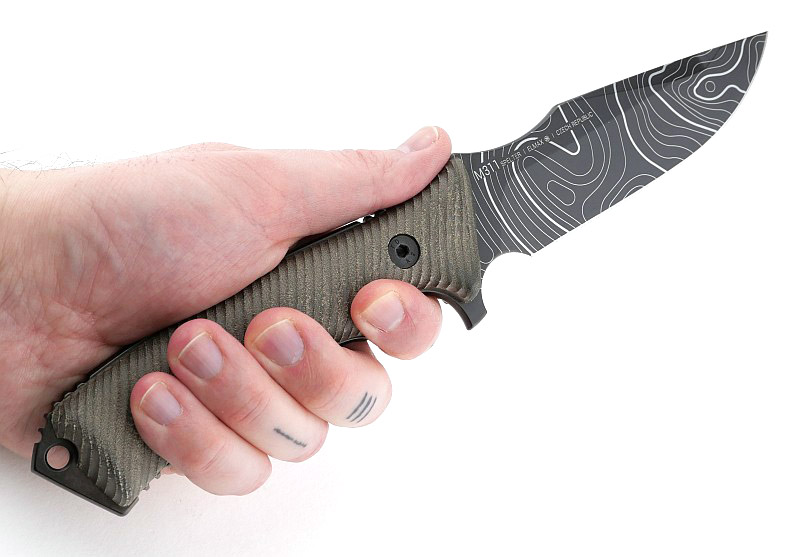
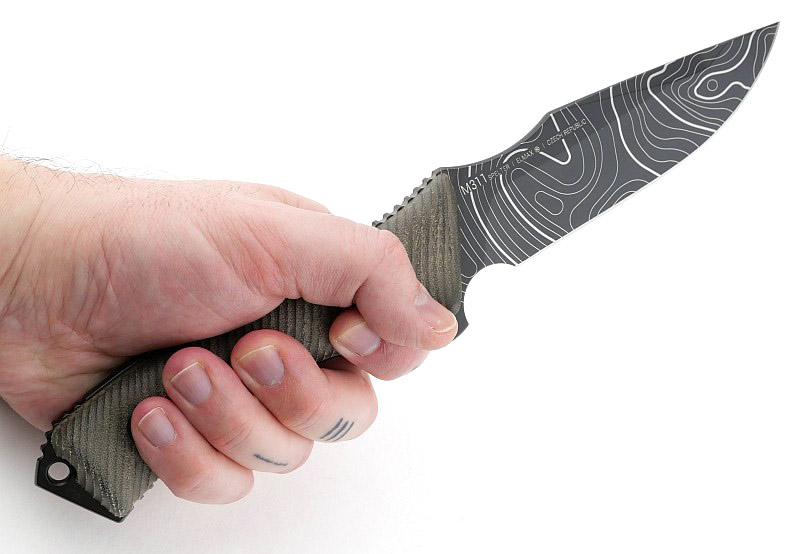
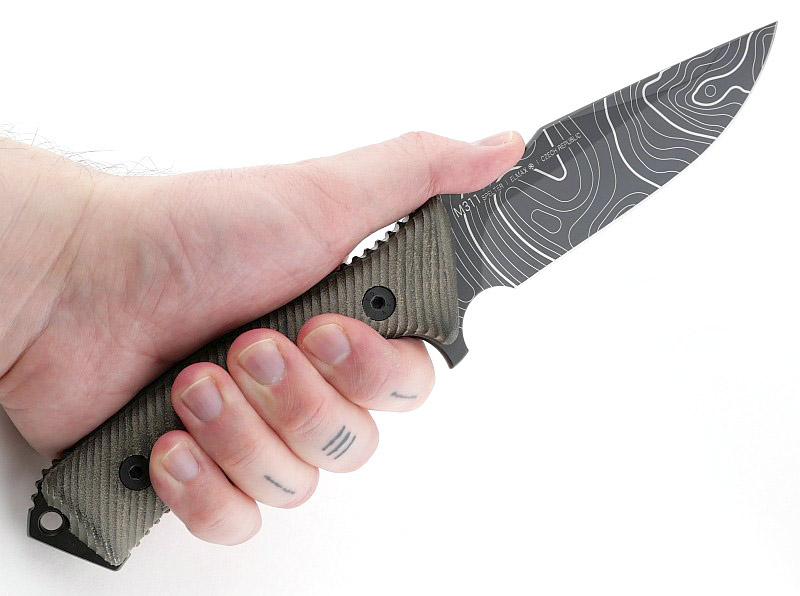
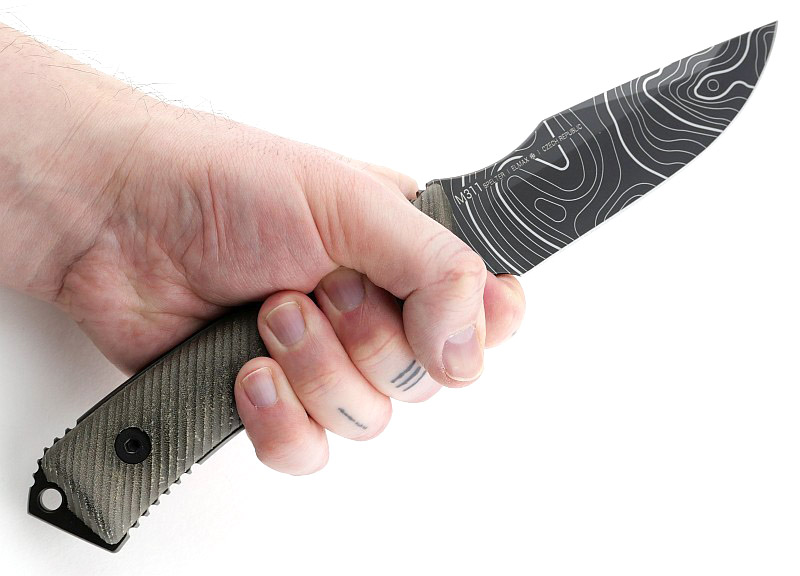
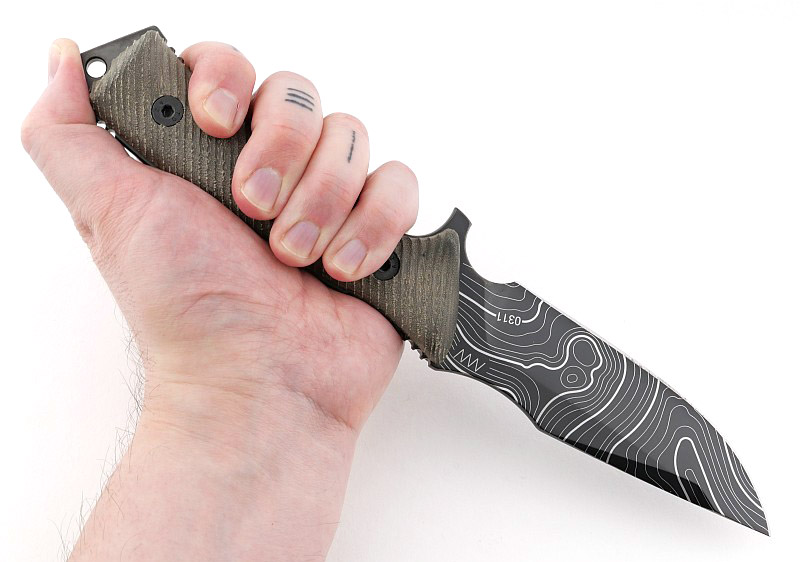
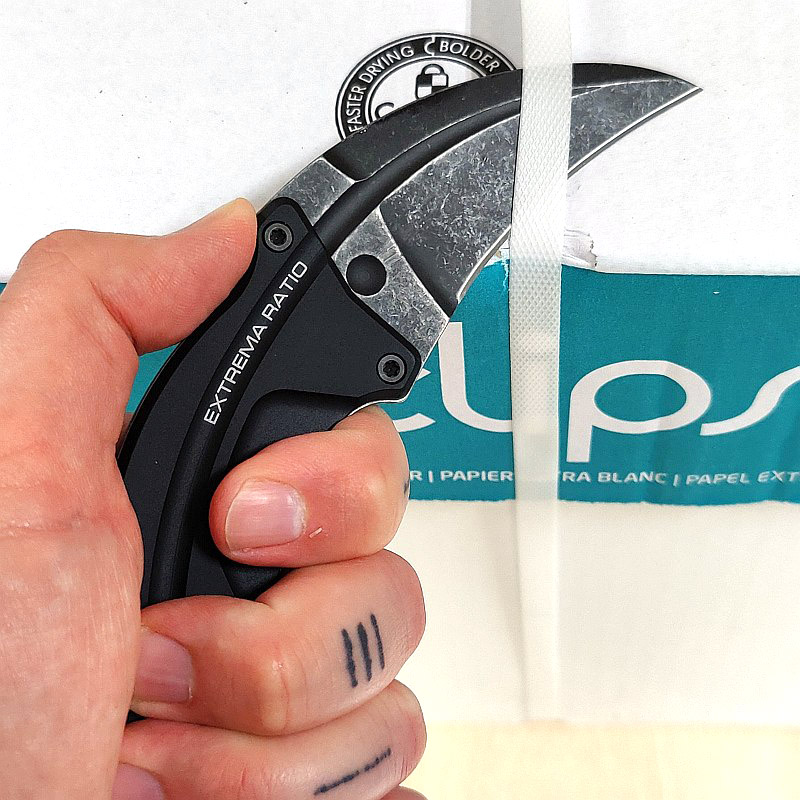
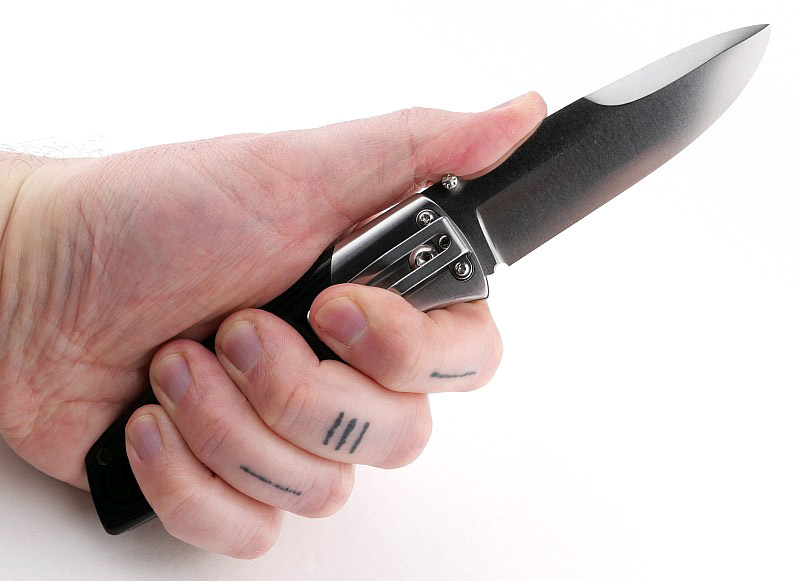
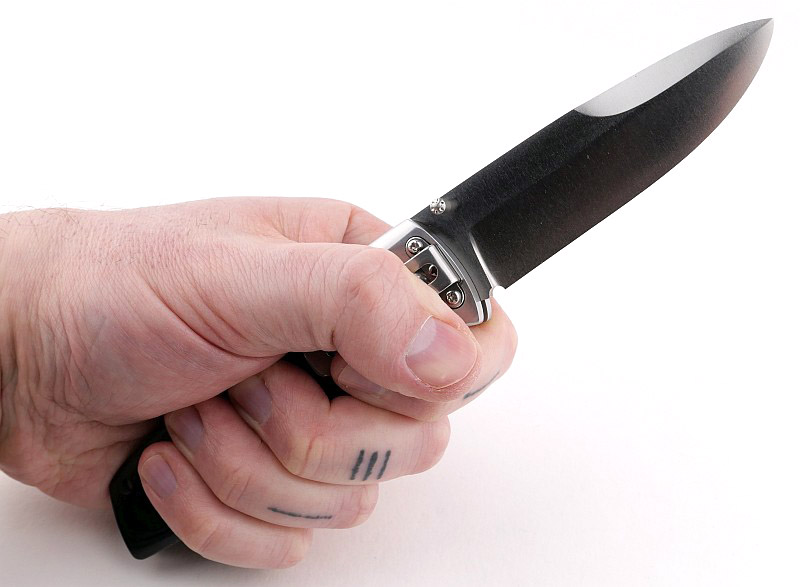
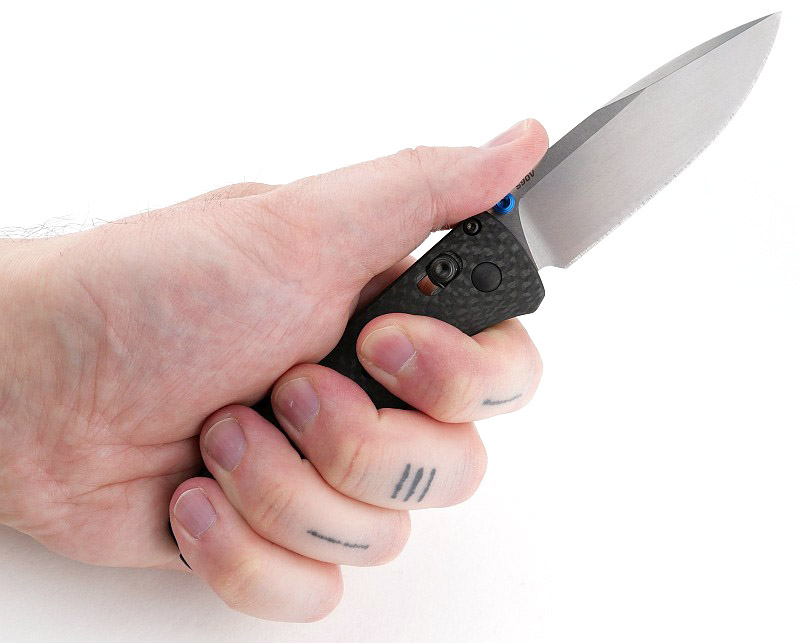
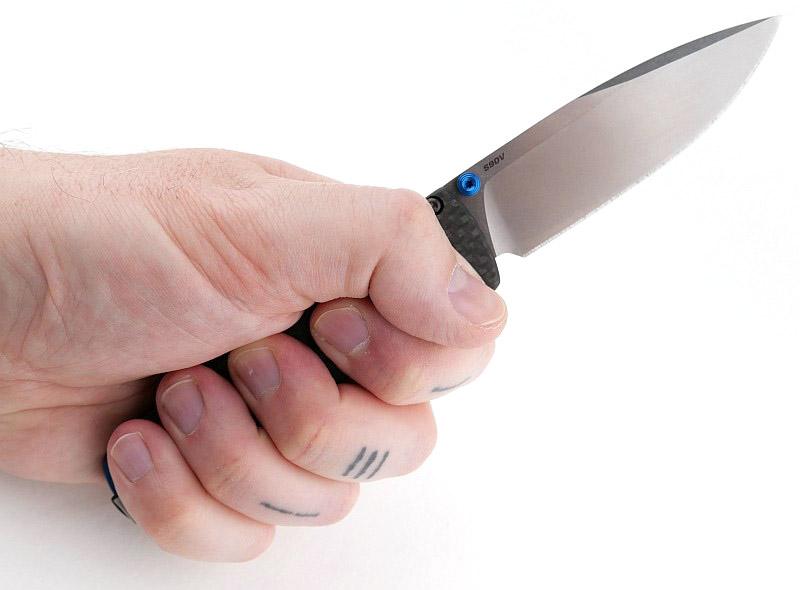
Shown here in my XL-glove-size hands, there is enough handle for a firm grip, while the overall knife is compact enough (and very slim) to forget you are even carrying it.

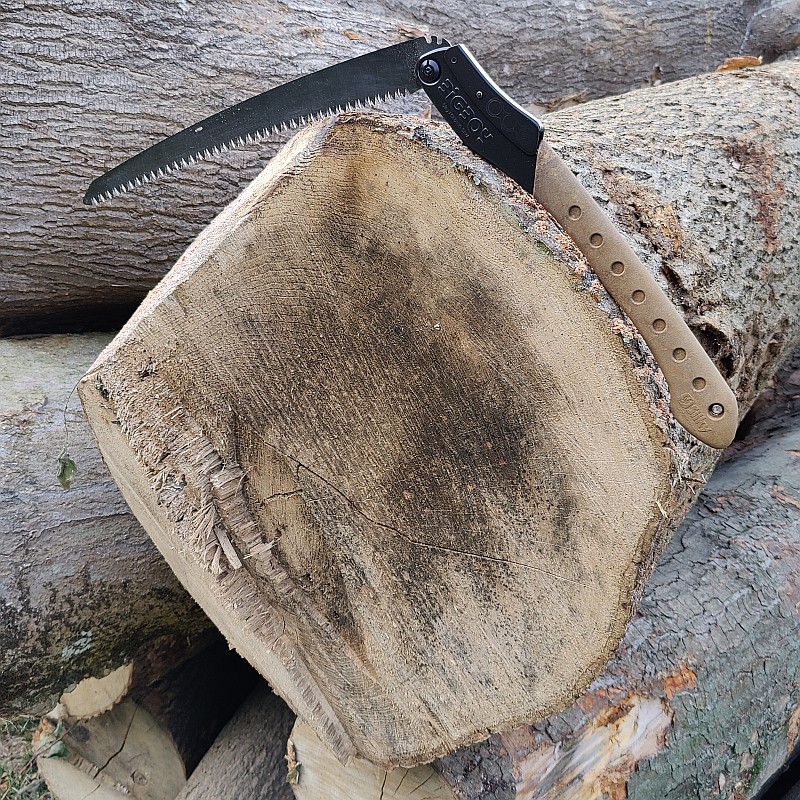
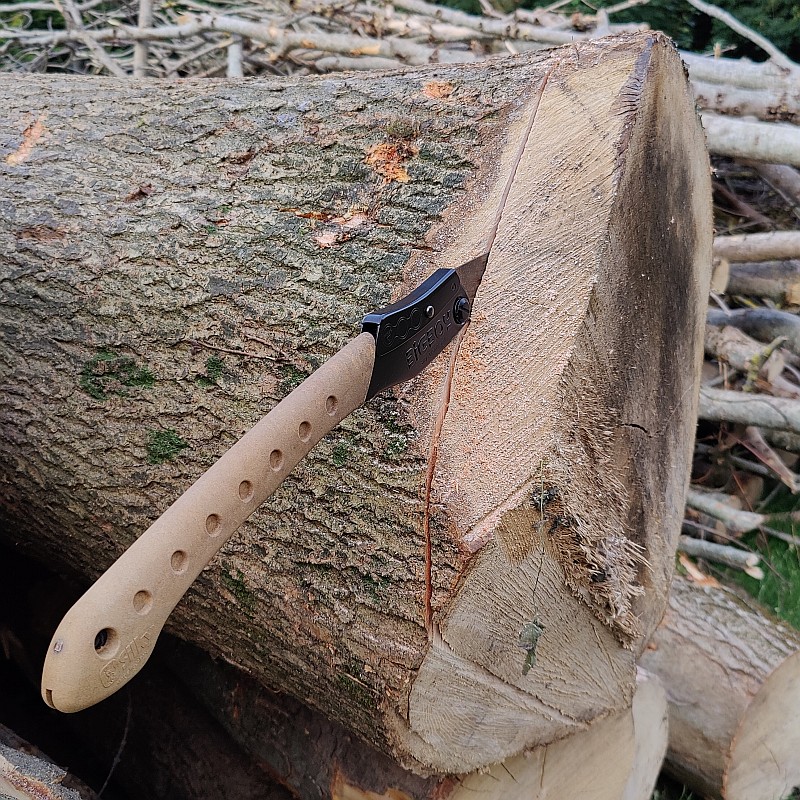
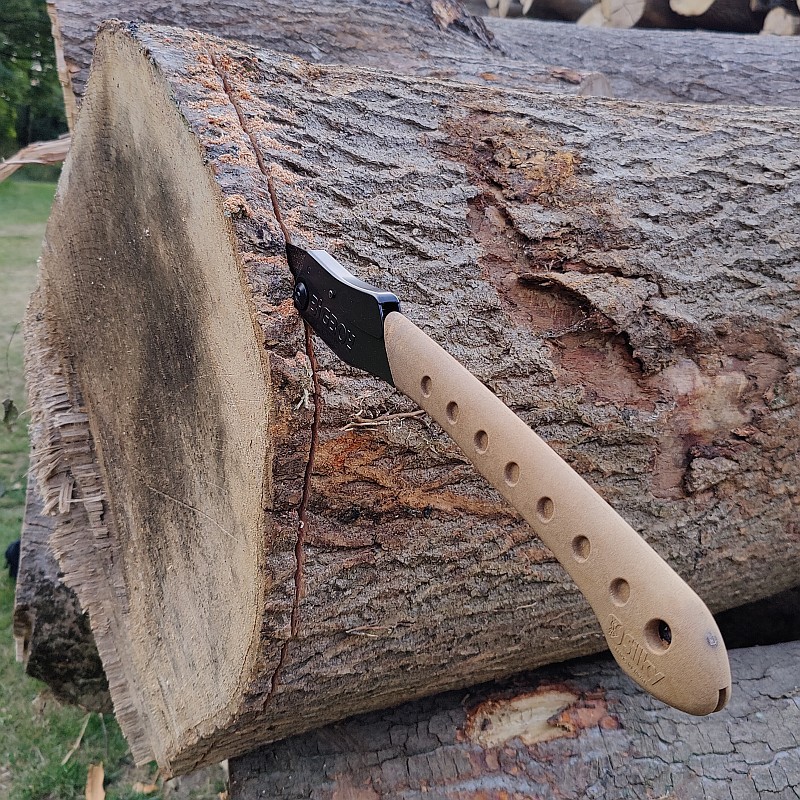
It’s proven its worth with all sorts of random jobs. Here a chandelier replacement candle tube being trimmed to length, and then its been out with me dealing with anything and everything else life has presented.
This edition with the Carbon Fibre handles has been making it so difficult to put down. It want’s you to carry it, it wants you to use it.
I hope this will remain a permanent part of the Benchmade Bugout line-up as it really is superb.
Review Summary
The views expressed in this summary table are from the point of view of the reviewer’s personal use. I am not a member of the armed forces and cannot comment on its use beyond a cutting tool or field/hunting knife.
Something that might be a ‘pro’ for one user can be a ‘con’ for another, so the comments are categorised based on my requirements. You should consider all points and if they could be beneficial to you.
_______________________________________________
What doesn’t work so well for me
_______________________________________________
Nothing to see here.
(There is no such thing as the ‘perfect’ knife, but I have nothing to complain about.)
_______________________________________________
Things I like
_______________________________________________
Super-Ultralight and slim.
Smooth, warm, comfortable Carbon Fibre handle.
Slim, strong blade.
S90V steel.
High-end fit and finish.
Deep carry clip.
Ambidextrous.
Demands to be handled and carried.