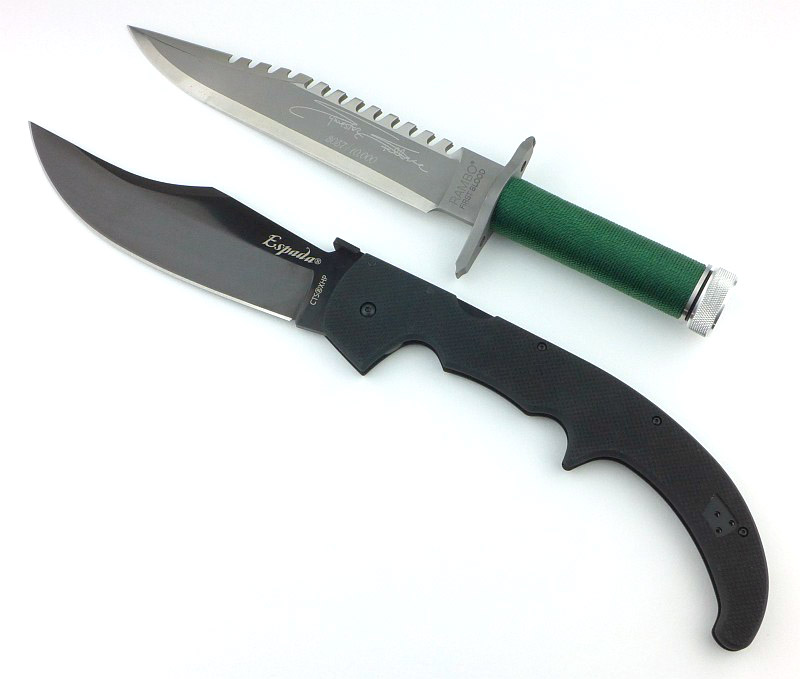
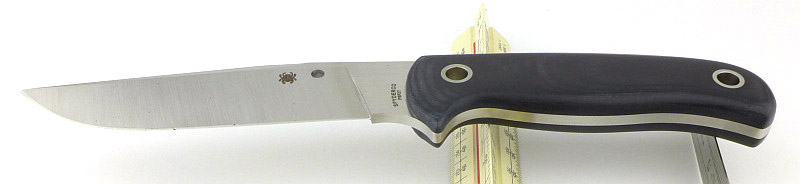
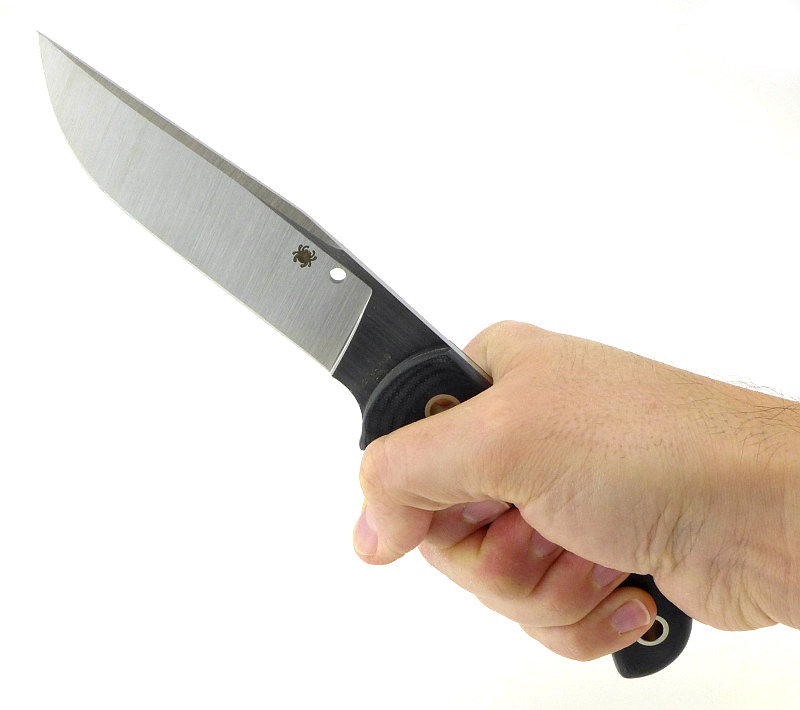
It’s not something I’ve been able to properly define, but there are some knives that just look ‘right’ from the moment you first see them, and the Spyderco Bradley Bowie (designed by Gayle Bradley of course) is one of those. Many knives have specific purposes and their design reflects the requirements of those; the Bradley Bowie manages to make itself a truly general purpose knife, just as happy preparing camp food, dressing game, battoning wood, or on manoeuvres carried by service personnel.
The Blade and Handle Geometry:
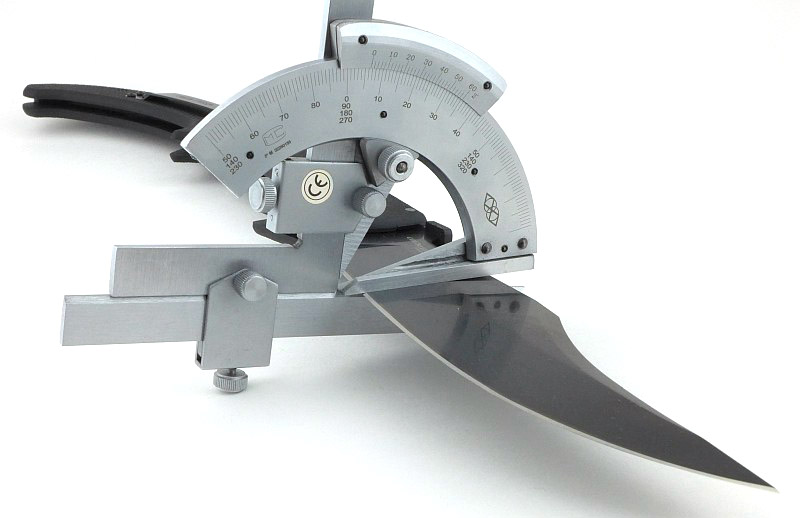
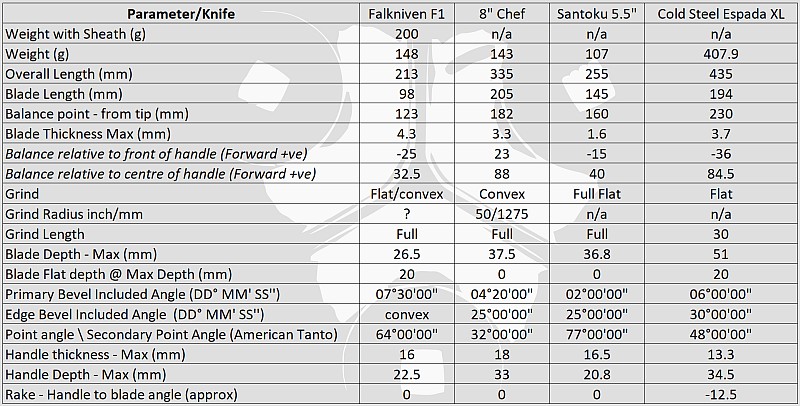
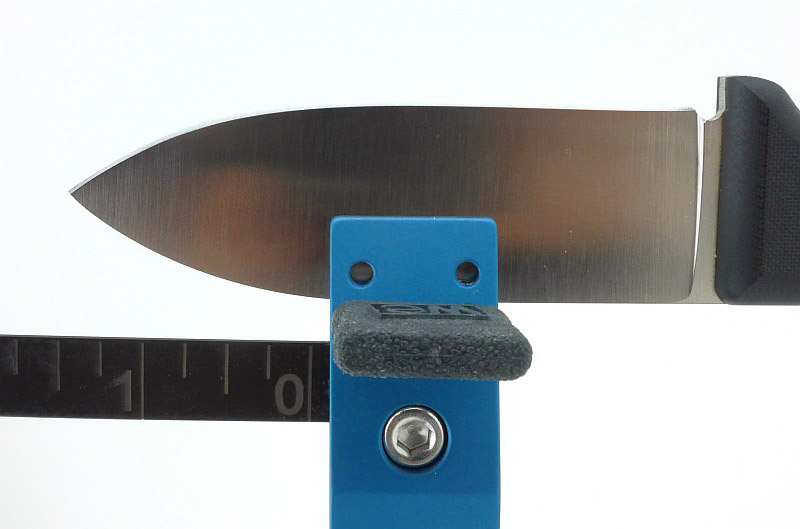
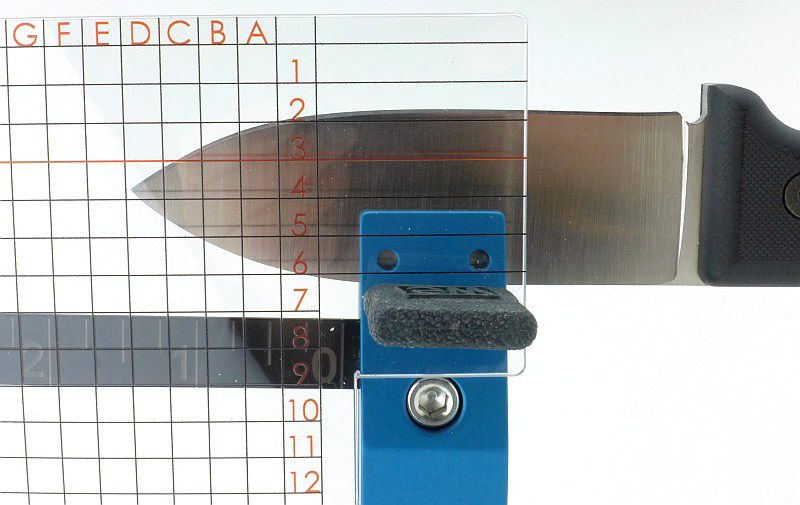
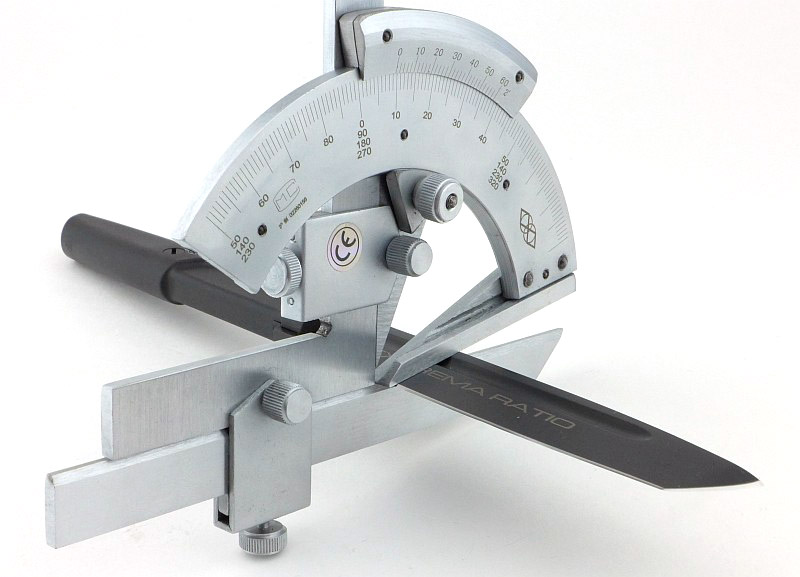
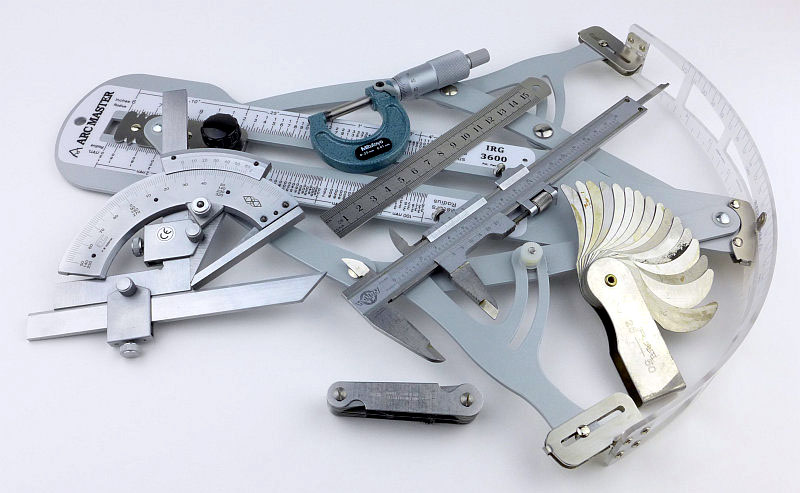
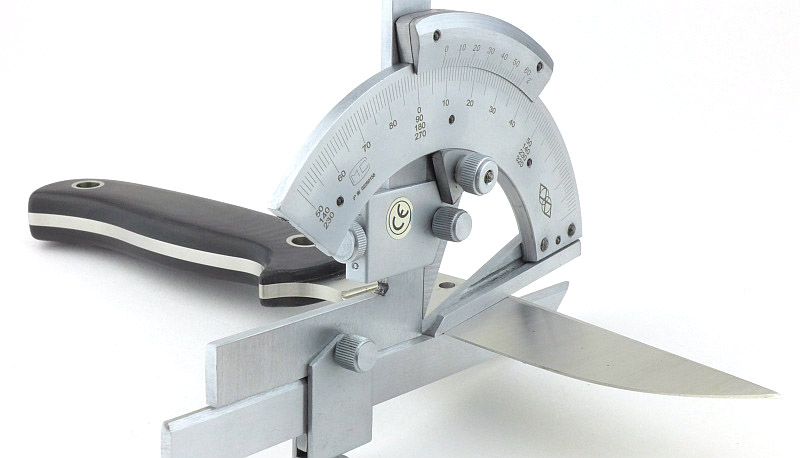
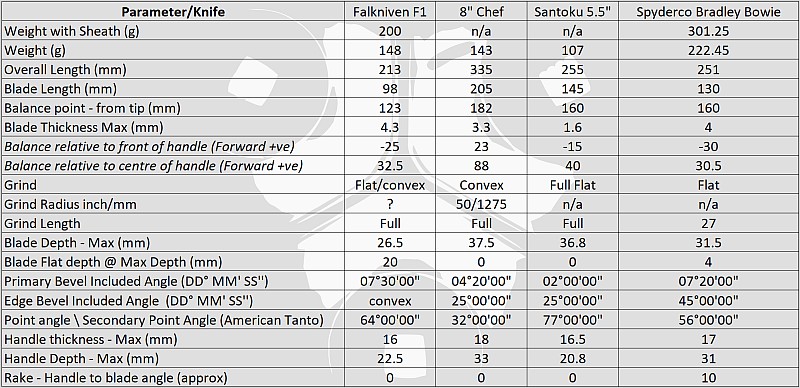
Most knife specifications have a basic description of the blade geometry, but in this section I will be taking a more detailed look at geometry and balance.
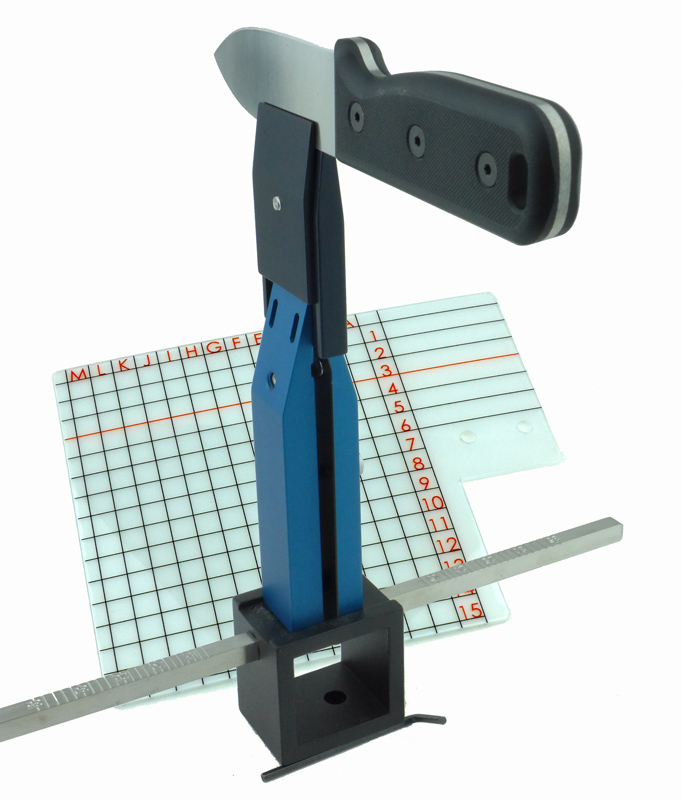
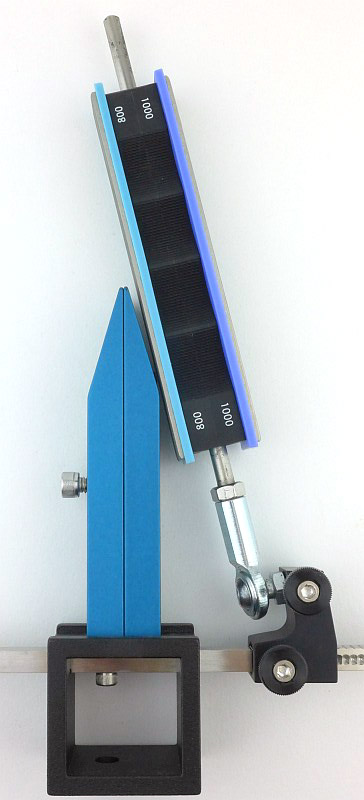
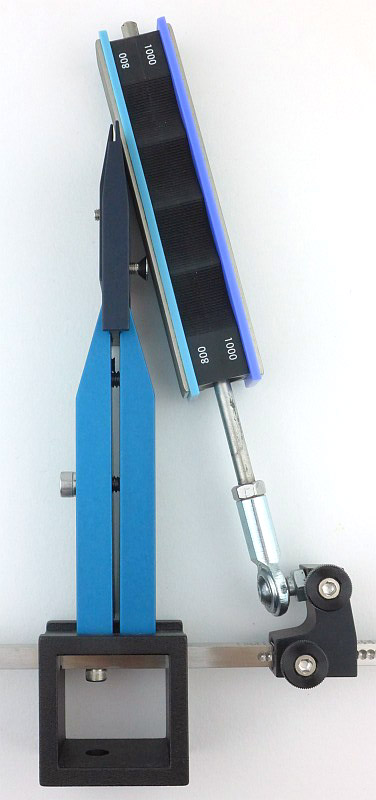
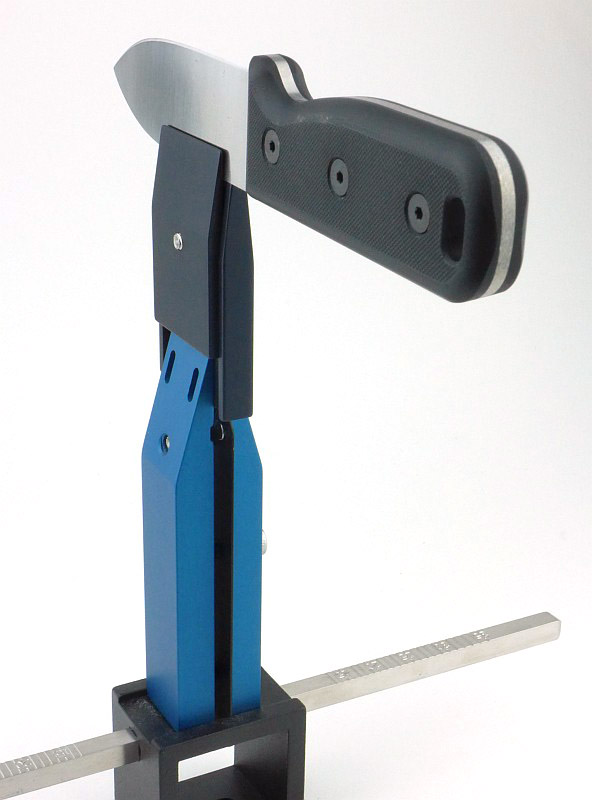
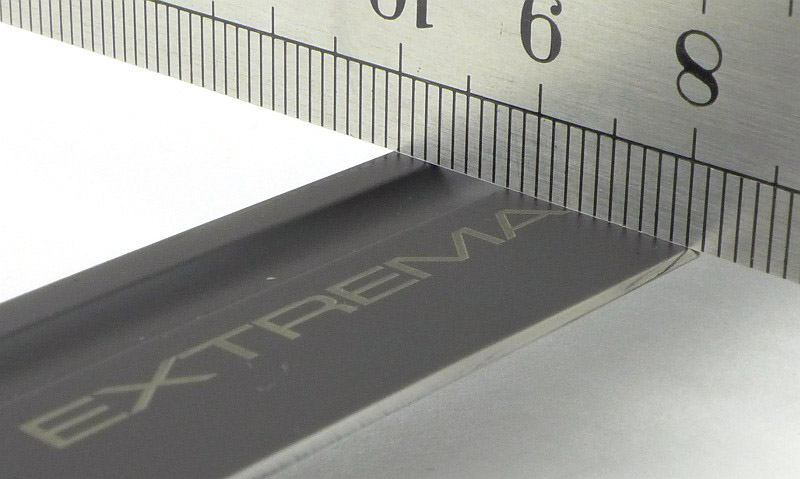
Using a set of gauges and precision measuring equipment including a Vernier protractor, callipers, fixed radius gauges and the unique Arc Master adjustable radius gauge (the one that looks like a crossbow).
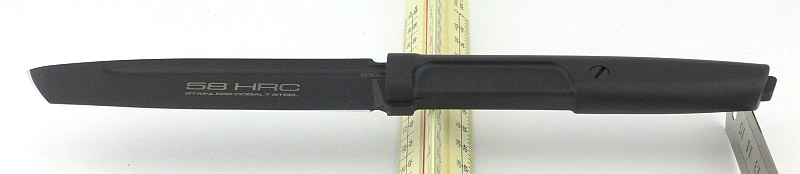
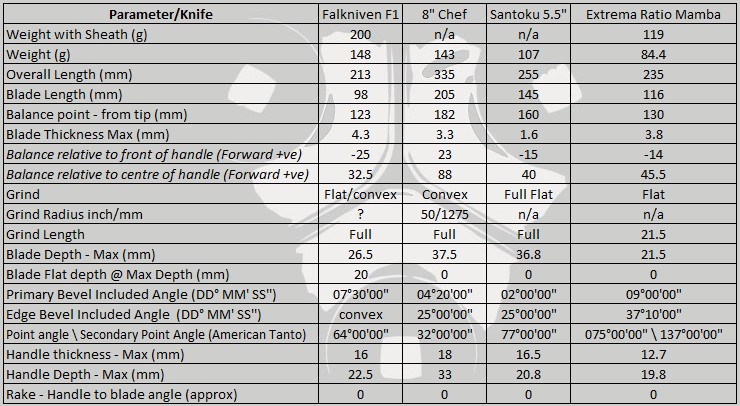
These measurements have been tabulated and are presented along with a few reference blades (8″ Chef’s Knife, 5.5″ Santoku and the popular Fällkniven F1).
Key aspects such as the primary bevel angle, grind type, blade depth, blade thickness, length, weight are detailed, along with balance information.
The ‘Balance relative to the front of the handle’ tells you if the knife will feel front heavy, or if the weight is in your hand (a positive value means the weight is forward of the front of the handle). The ‘Balance relative to the centre of the handle’ indicates how close to a ‘neutral balance’ the knife has in the hand.
In the case of full convex grinds the approximate centre of the grind is used for the primary bevel angle estimate.
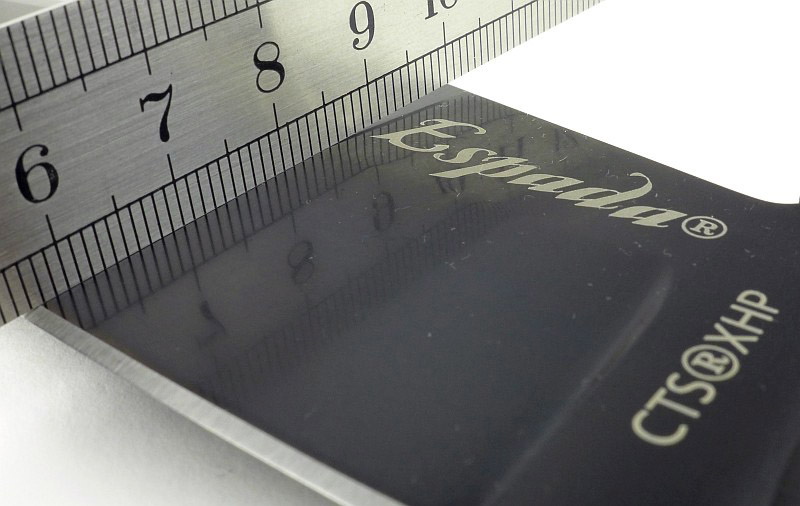
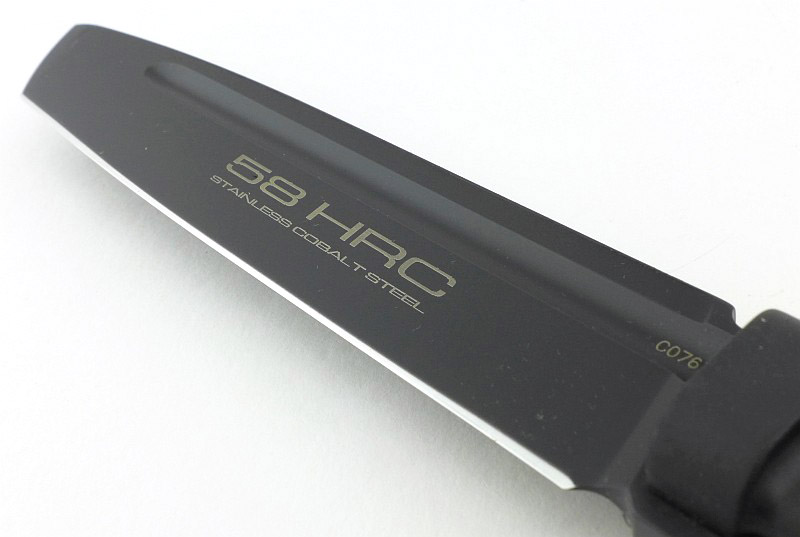
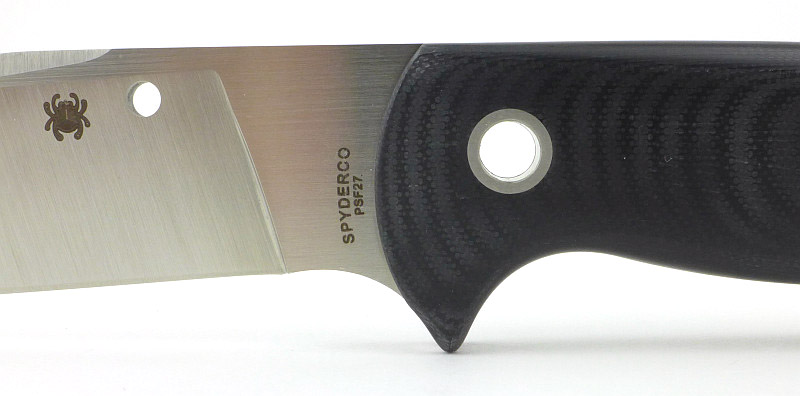
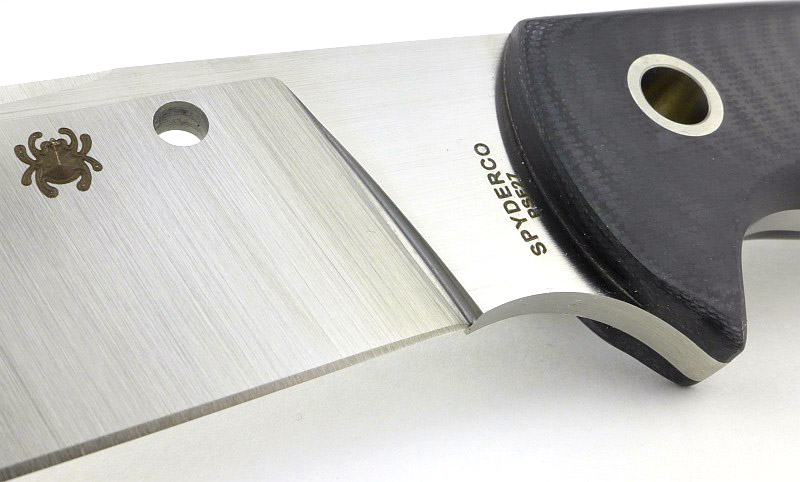
The blade is made from PSF27 steel.
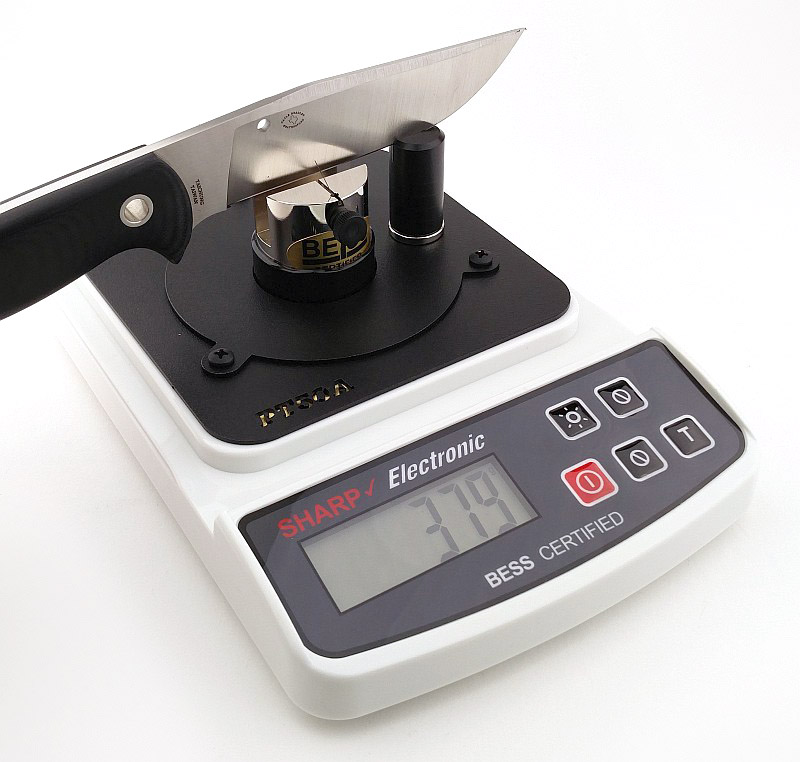
New for 2018! BESS Certified sharpness testing:
The BESS ‘C’ scale of sharpness, developed by Mike Brubacher (Brubacher Edge Sharpness Scale) will now become part of Tactical Reviews’ knife testing process. Initially this will be used to verify the sharpness of the factory edge and allow the knife to be brought to a minimum standard sharpness before testing a blade’s cutting performance.

The Bradley Bowie’s factory edge has an average BESS ‘C’ sharpness of 374. This original edge will slice thicker paper/card, but although it bites into the edge, it starts to tear thinner paper rather than cut.
Explained by the Maker:
The reasons for certain design choices may not be clear when simply looking at an object, so this section is intended to give an insight into the thinking behind a design by speaking to the designer themselves.
Unfortunately I can’t always get time with the designer so will use this section to include relevant information about the knife and its designer.
Quote From Spyderco’s literature:
“Gayle Bradley’s experiences a custom knifemaker and competitive cutting champion give him an exceptional insight into high-performance knife design—an insight that is directly reflected in his first fixed-blade collaboration with Spyderco, the Bradley Bowie.
The Bradley Bowie’s blade is precision ground from PSF27—an incredibly tough spray-formed tool steel. Like the particle metallurgy process, spray forming rapidly solidifies molten steel into small particles so its component alloys cannot “segregate” or settle. This creates an ultra-fine, extremely homogenous grain structure that is ideal for knife blades. PSF27’s alloy composition includes molybdenum, vanadium and a generous 1.55% carbon, but because its chromium content is 12%—just below the official threshold for stainless steel—care should be taken to maintain it properly.
The full-flat-ground blade has a pronounced “belly” for precise cutting control and a long straight swedge (unsharpened bevel) that helps defines its “Bowie” character. It is complemented by full-tang handle construction and a prominent integral lower guard to protect the user’s hand. The handle’s gracefully contoured G-10 scales are 3-D machined and polished to an attractive finish that still ensures a secure grip during use. They are secured to the tang with stout tubular rivets that help reduce weight, allow easy attachment of a lanyard, and in a survival situation, allow the knife to be lashed to a pole to create an improvised spear.
A unique blend of expert design and state-of-the-art metallurgy, the Bradley Bowie comes complete with a custom-molded Boltaron® sheath with a versatile G-Clip™ attachment.”
A few more details:
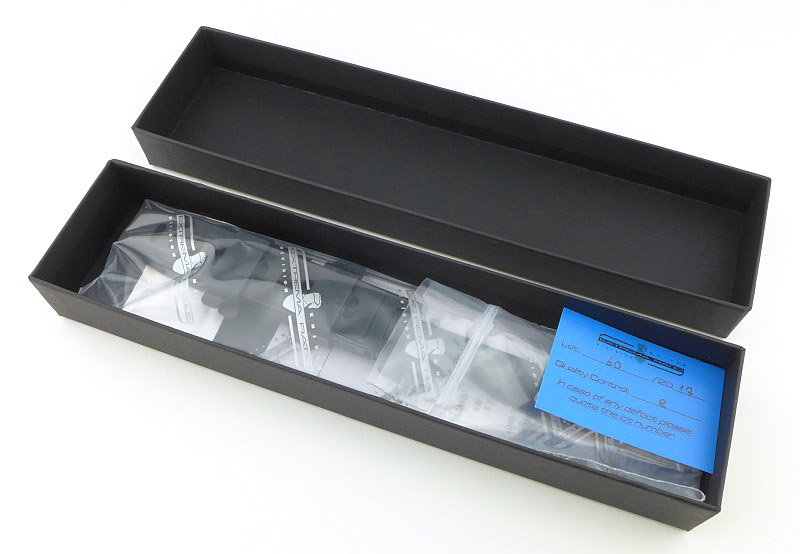
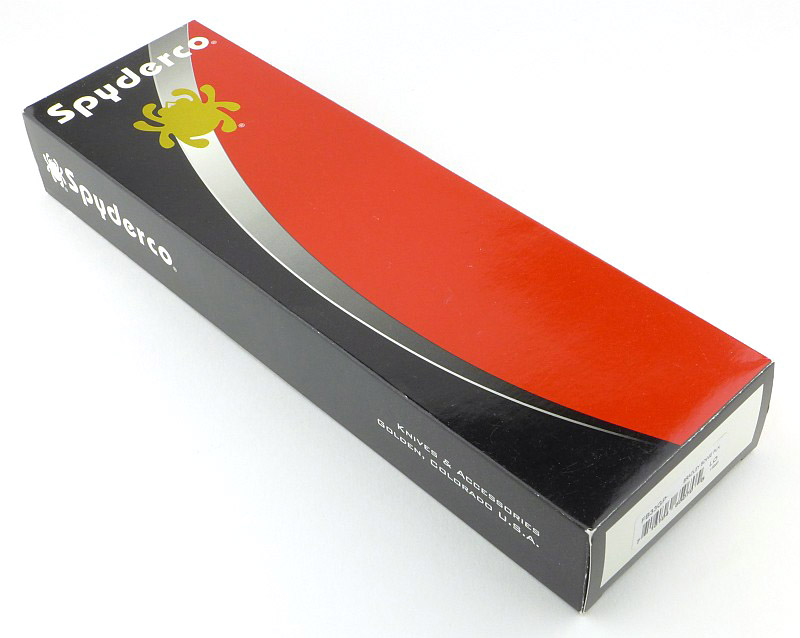
Standard Spyderco packaging is used for the Bradley Bowie.
Both Knife and sheath arrive in plastic bags. The sheath has come out of the bag slightly, but the knife is still fully covered.
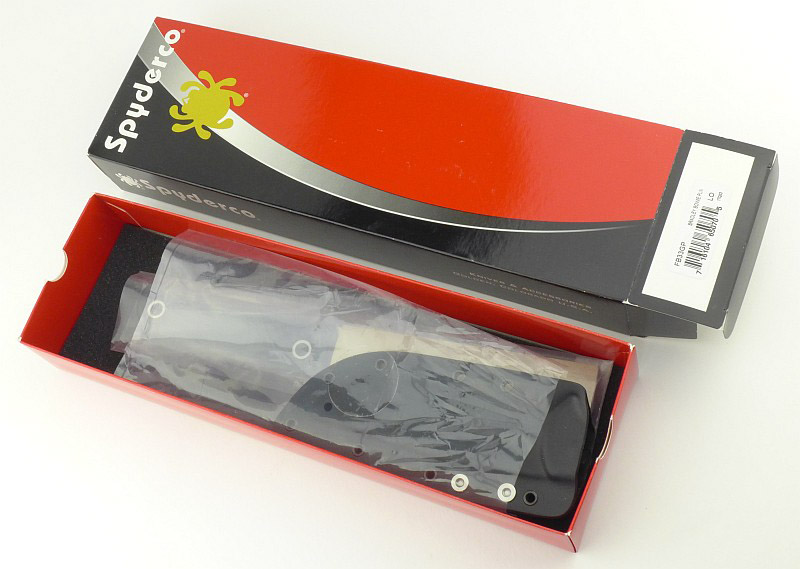
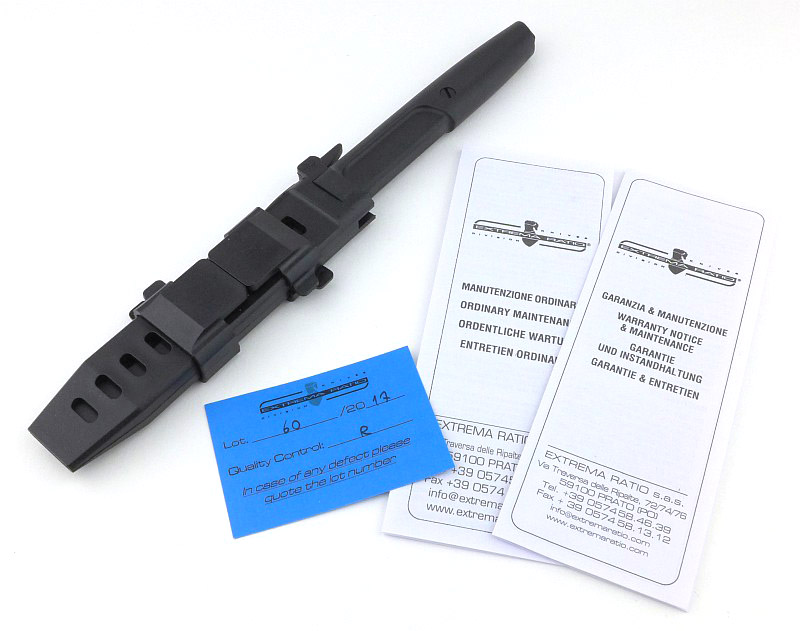
In the box are the knife, sheath and information leaflet.
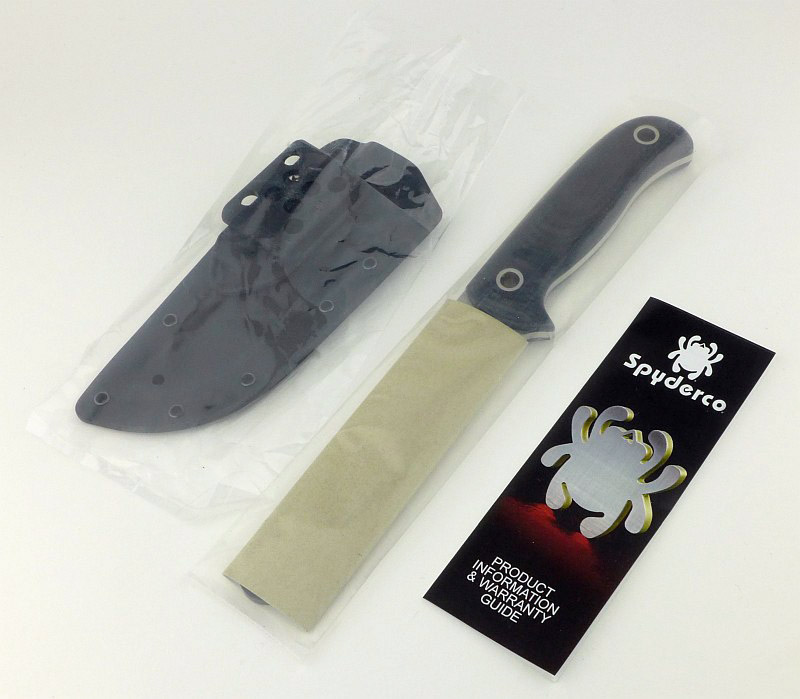
Mainly due to the choice of steel, there are a few layers of protection for the blade. With the plastic bag removed, the first layer is a cardboard sleeve.
With the cardboard sleeve removed we find a wrapping of Vapour Corrosion Inhibitor paper, plus a plastic tip guard.
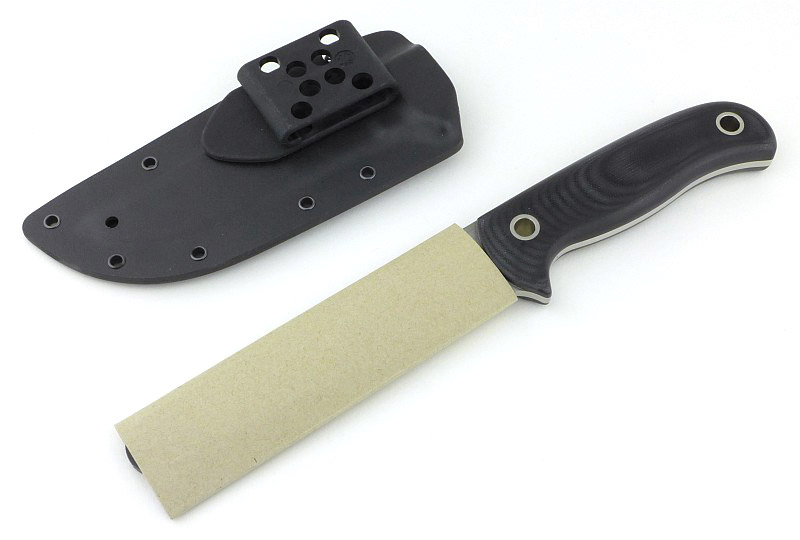
And there it is, kept pristine by the wrappings.

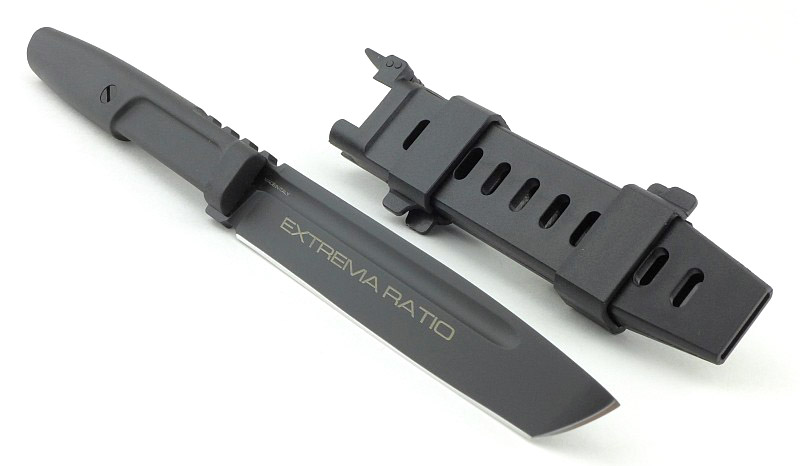
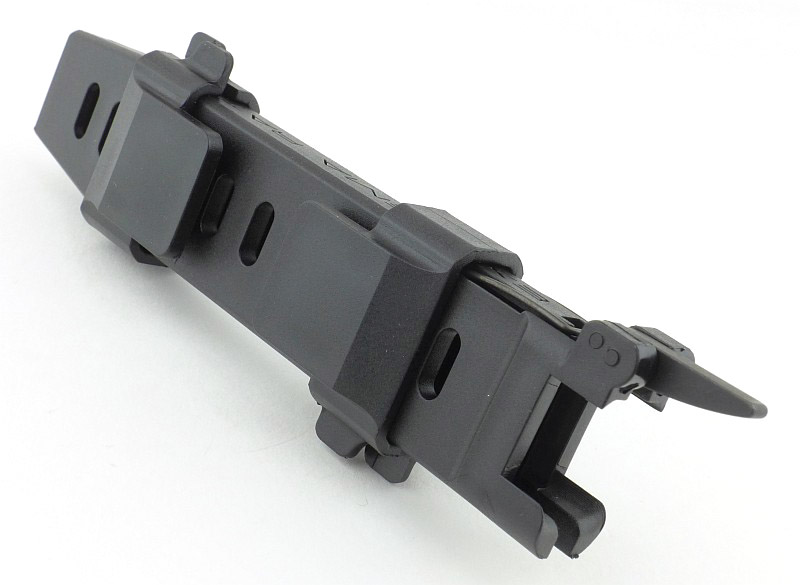
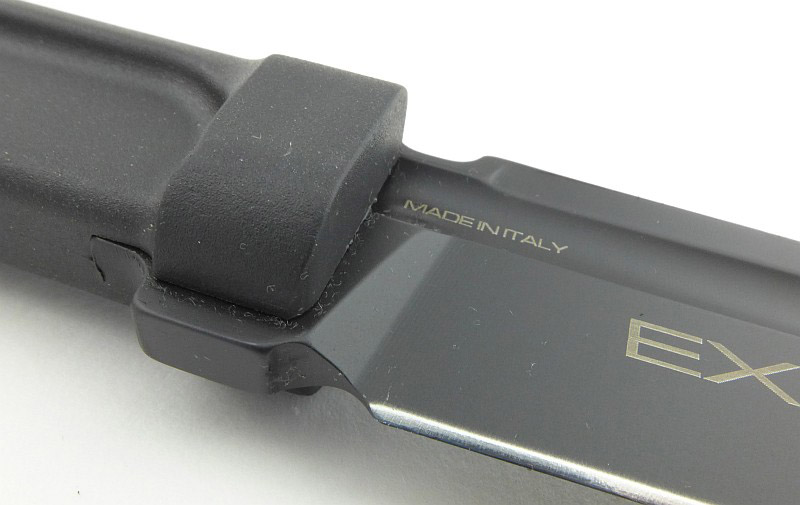
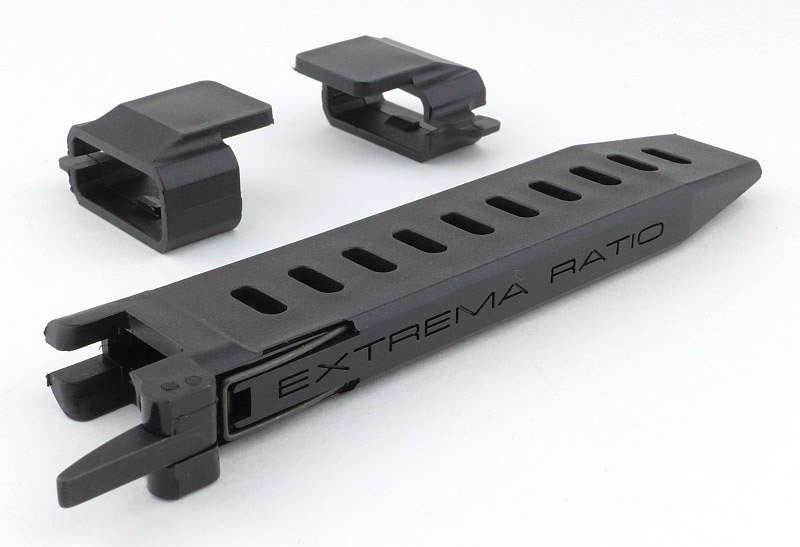
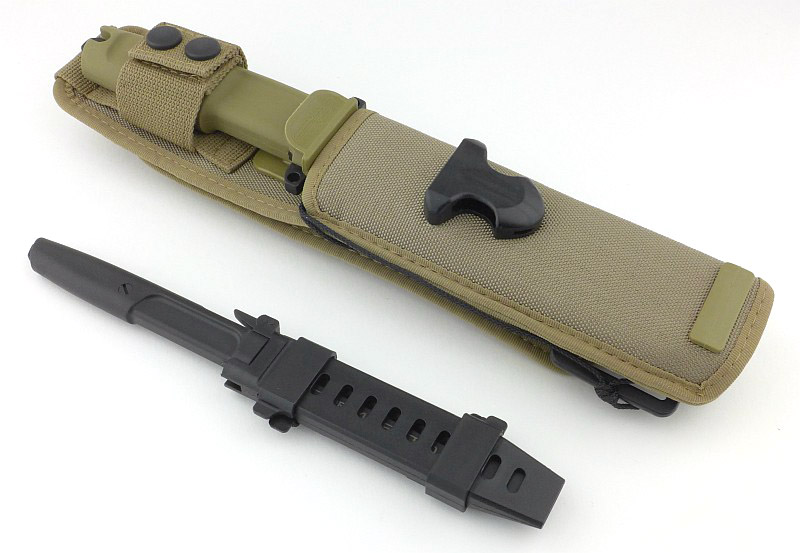
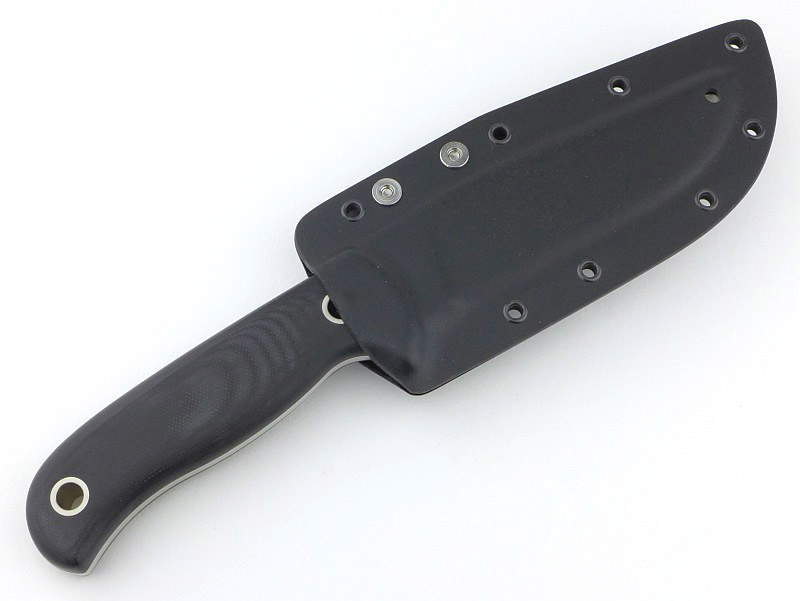
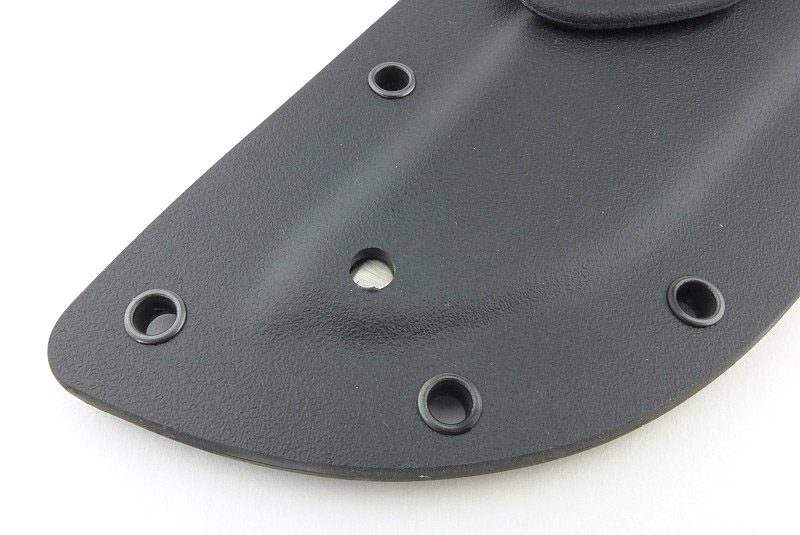
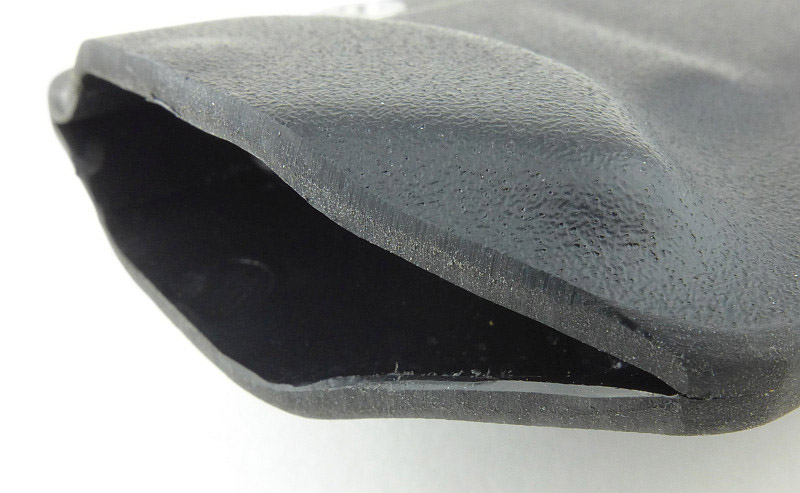
We are going to have a look round the sheath first. Not just any old Kydex sheath, in fact not Kydex at all, but its higher performance alternative – Boltaron.
The back of the sheath…next onto some details.

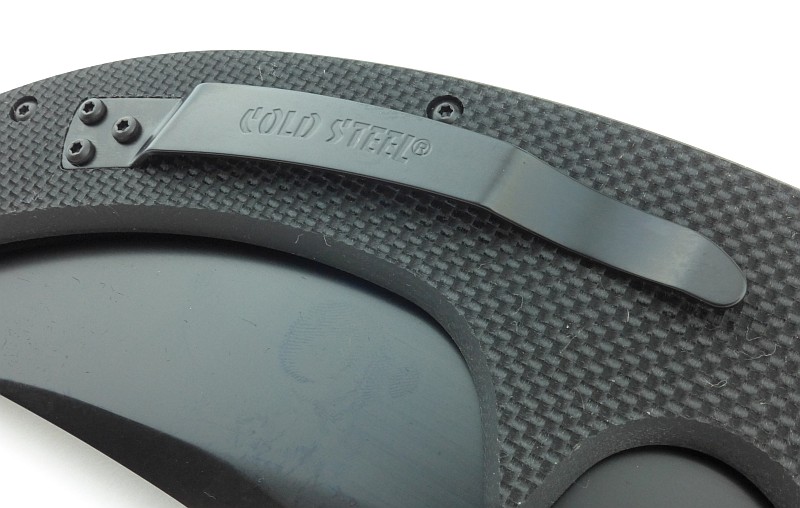
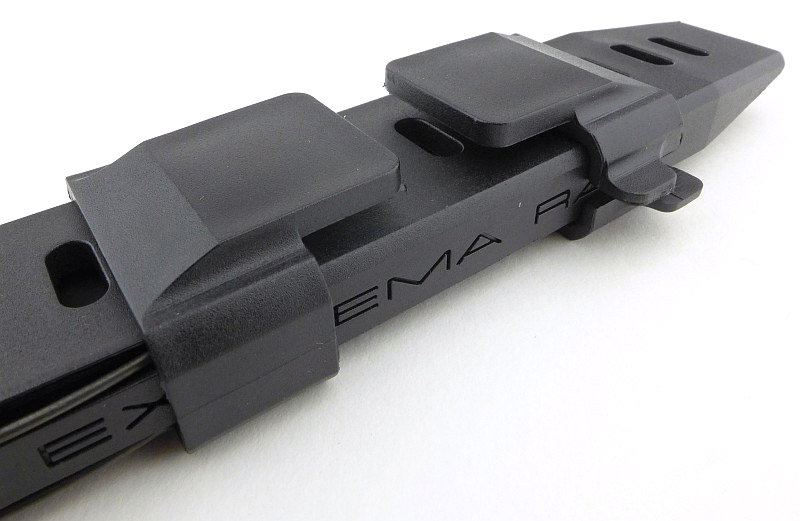
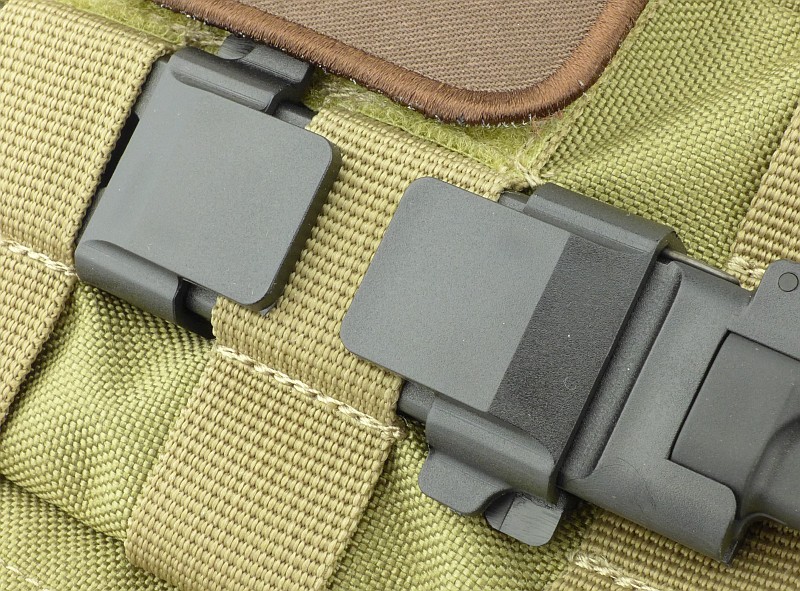
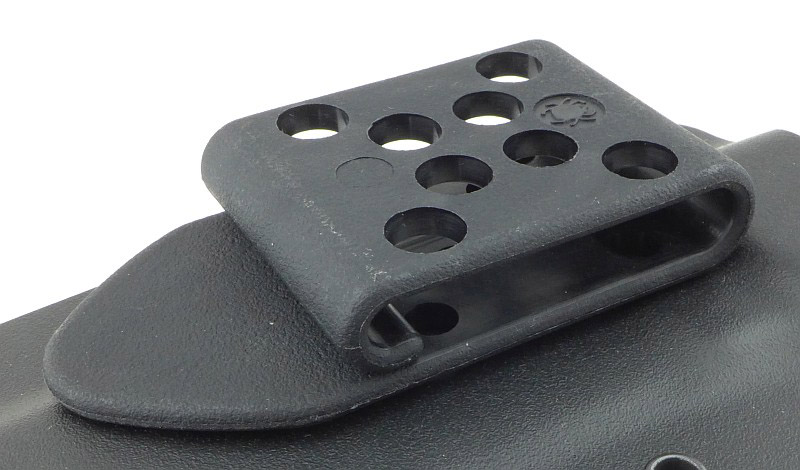
In contrast to the black Boltaron and rivets, the belt clip fixings are silver coloured.

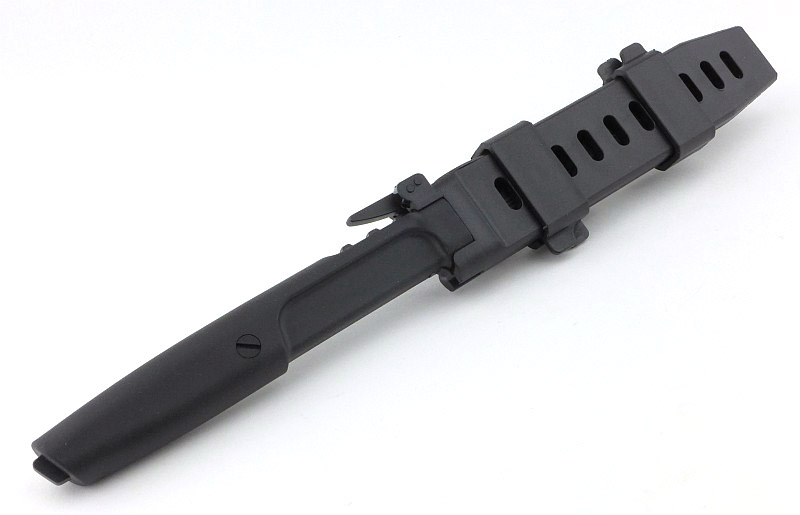
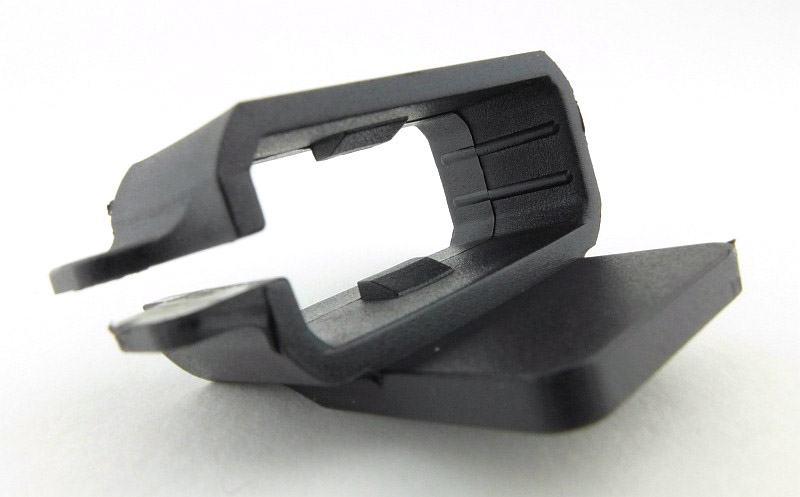
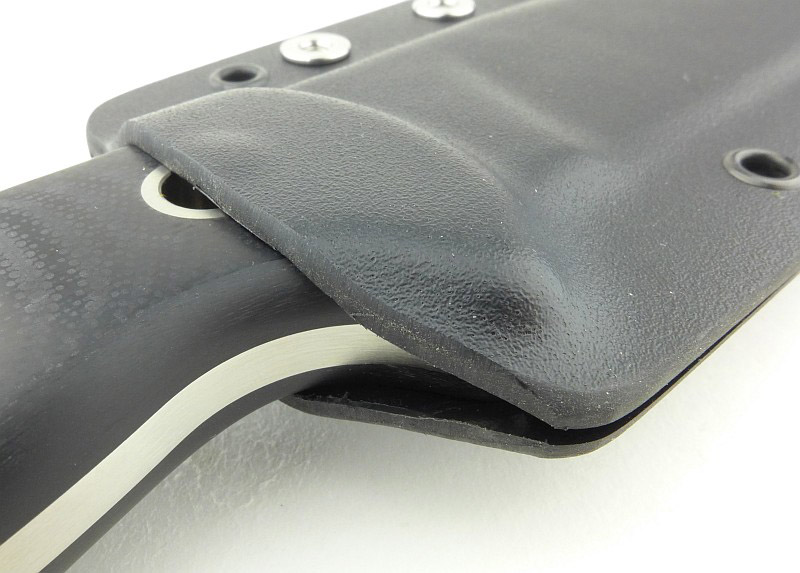
As expected with this type of sheath, the Boltaron is moulded around the end of the handle and has been cut and sanded to its final size and shape.
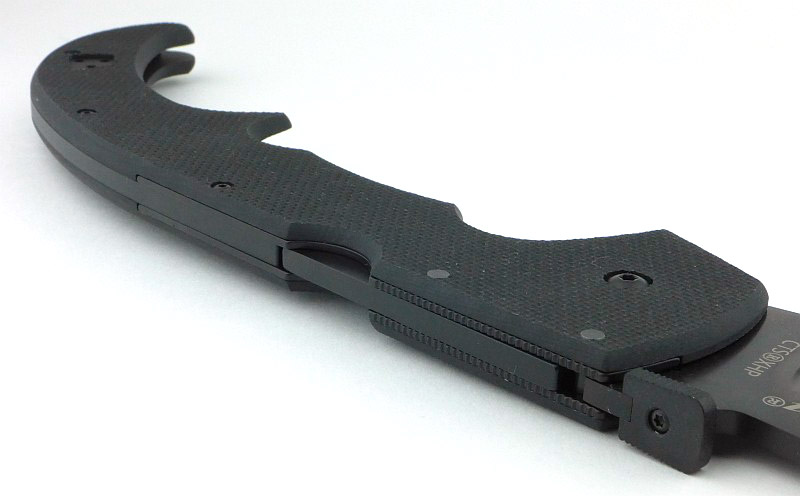
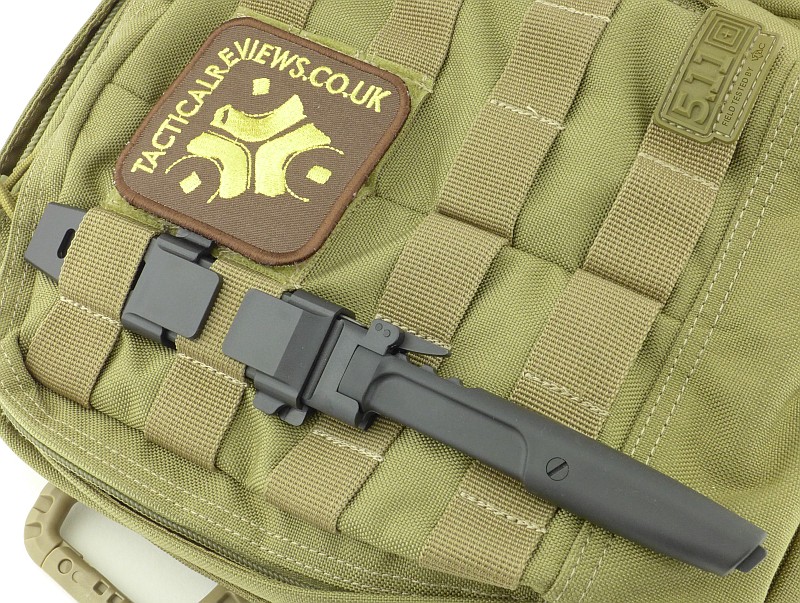
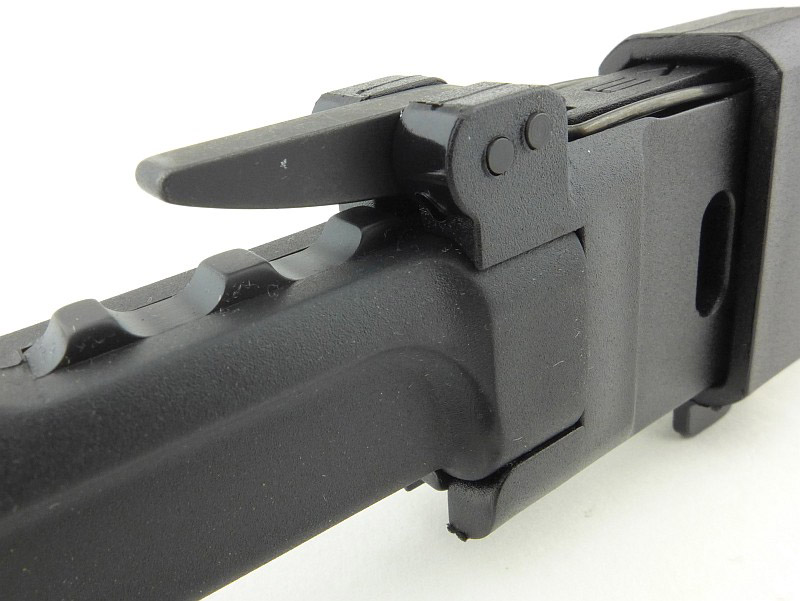
Eight holes in the outside of the belt clip correspond to all the possible fixing holes that can be used to fit this belt clip to a sheath.

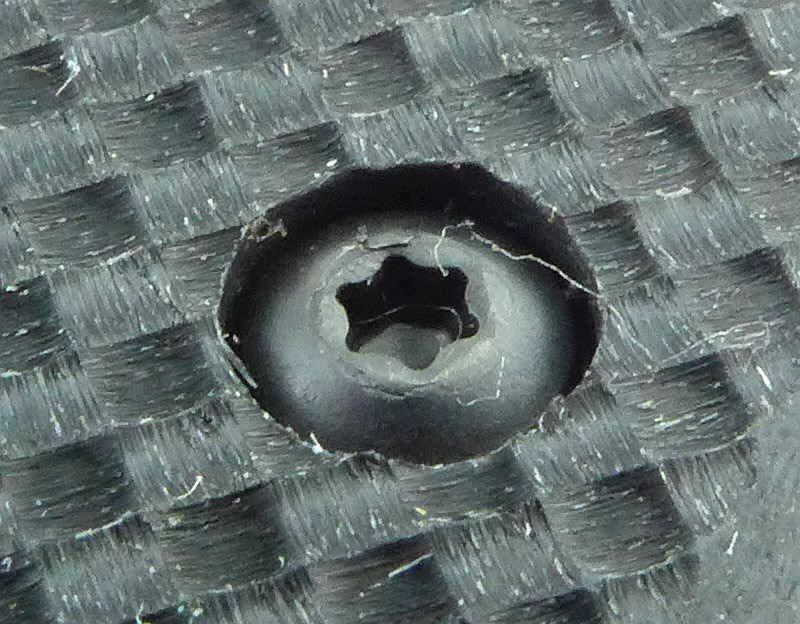
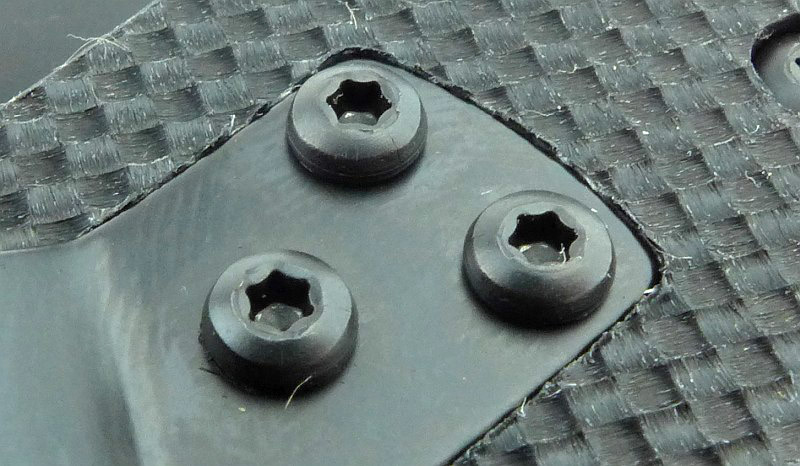
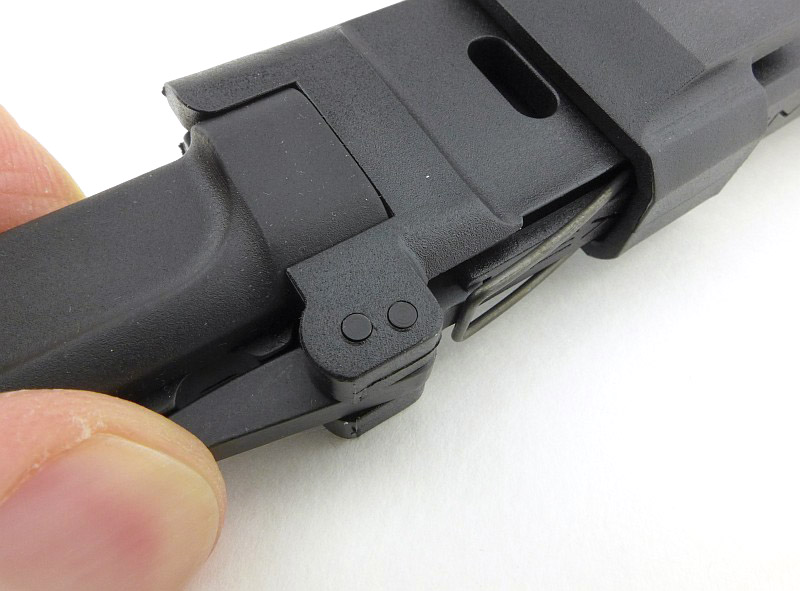
You can unscrew the Torx screws to remove and reposition the belt clip.
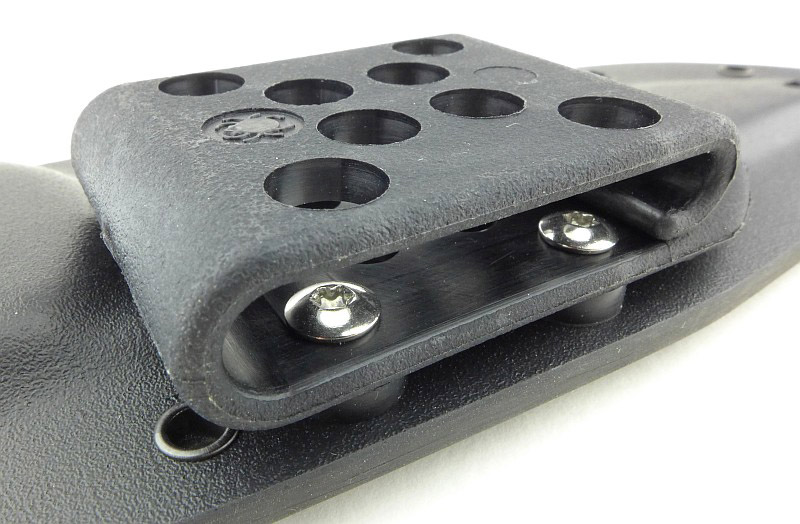
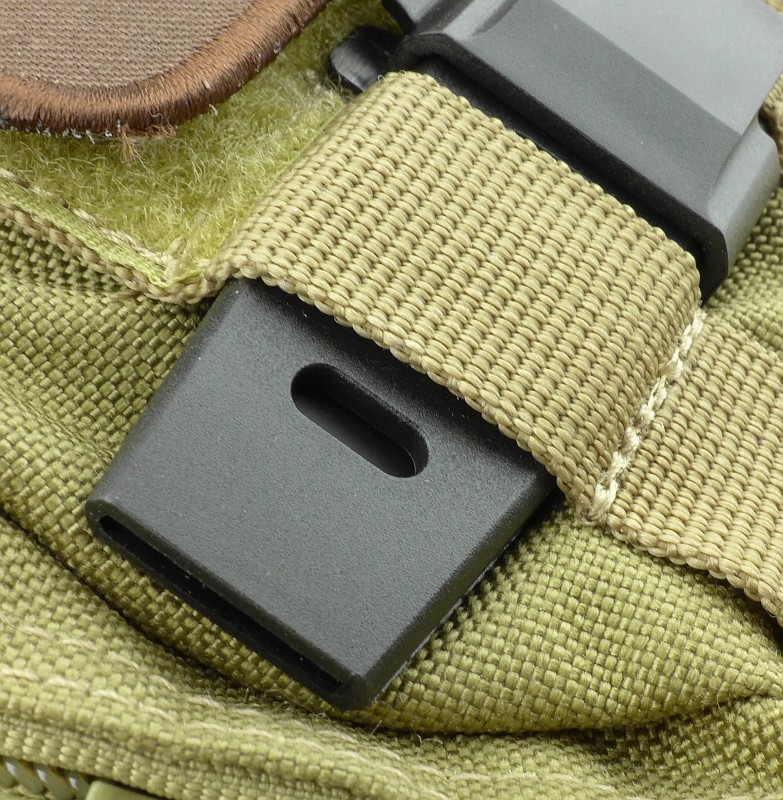
The belt clip itself is open at the bottom, but tightly sprung with a hook shaped end. Once positioned on a belt it will not easily come off again.
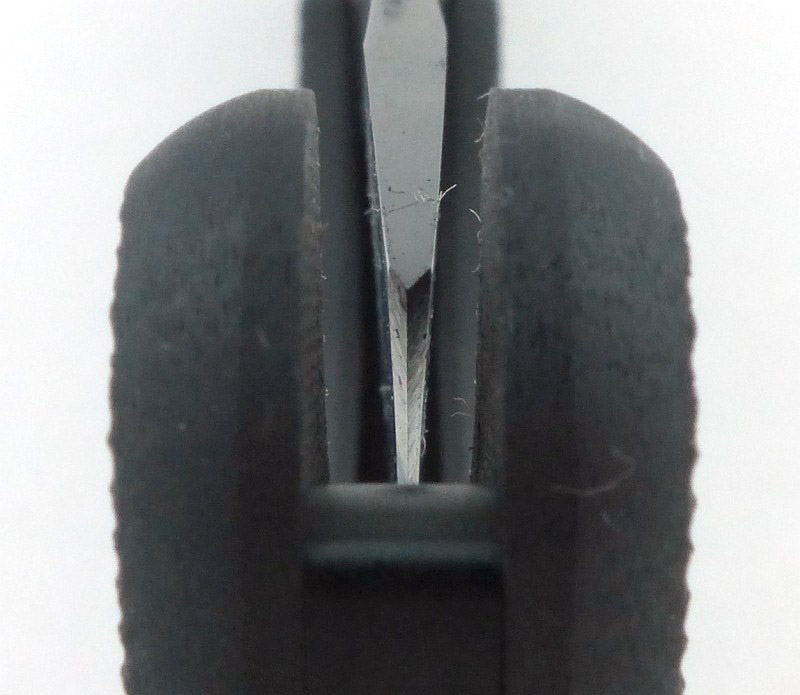
Near the tip of the knife is a drainage hole. Ideally this could have been further down at the actual blade tip, as a small amount of water can still stay in the sheath if it becomes soaked.
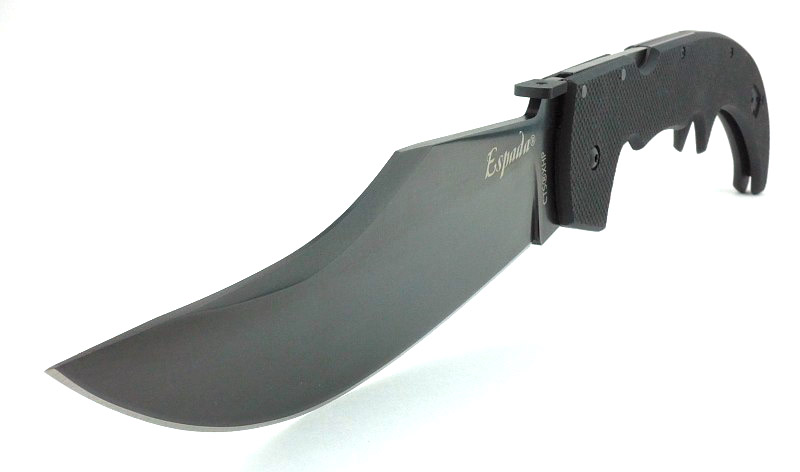
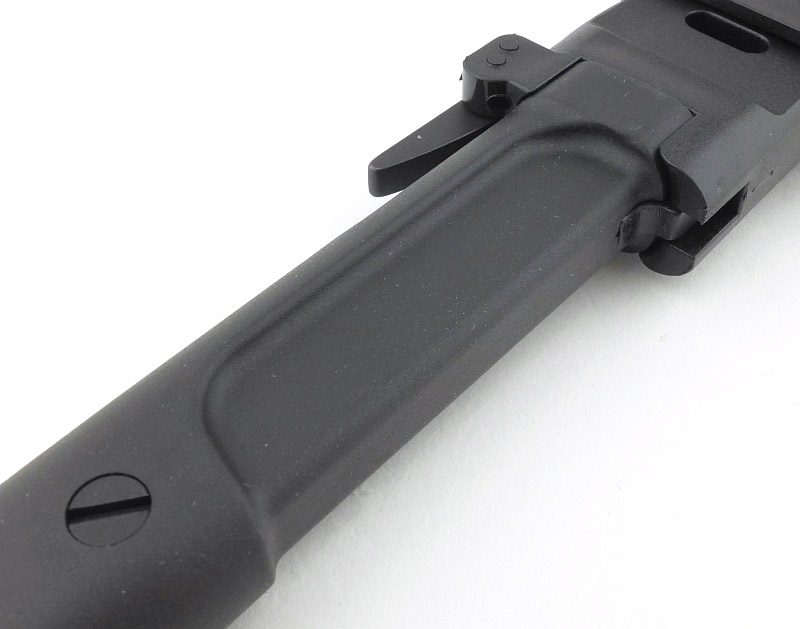
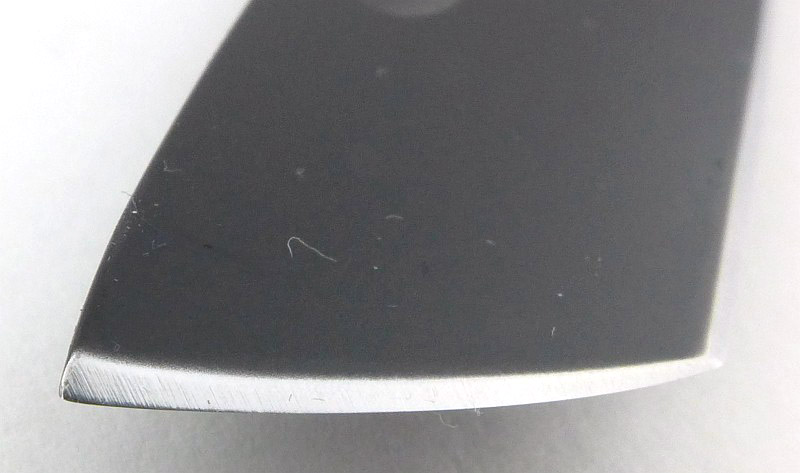
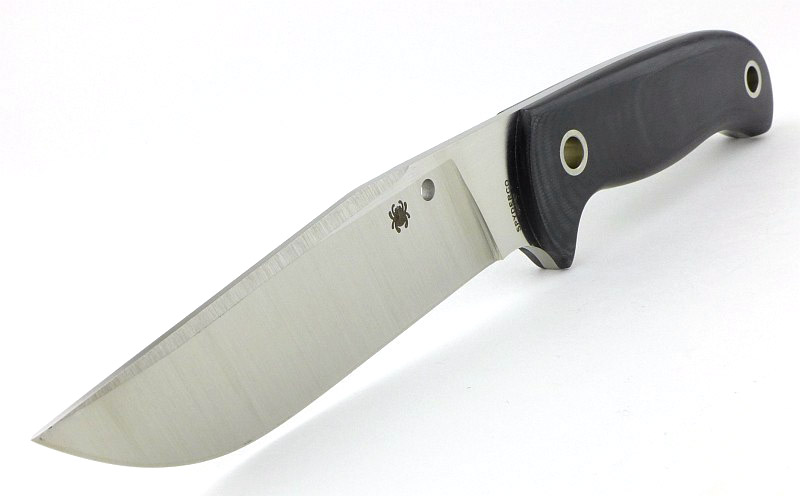
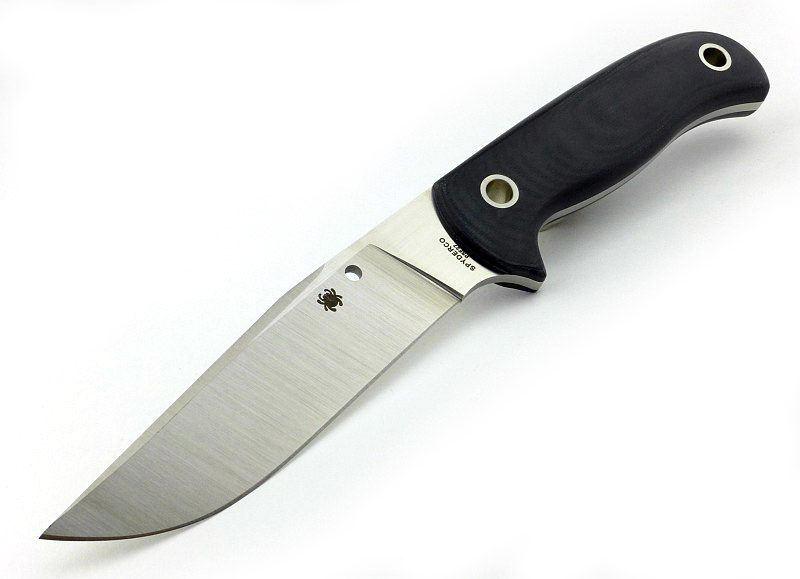
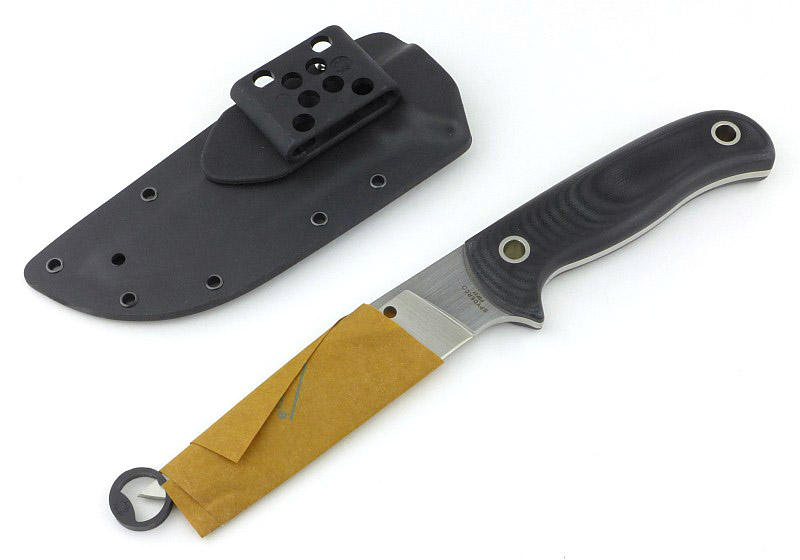
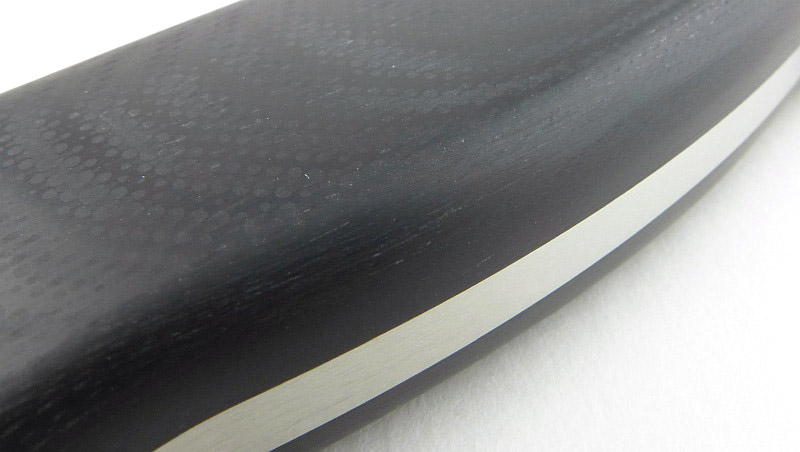
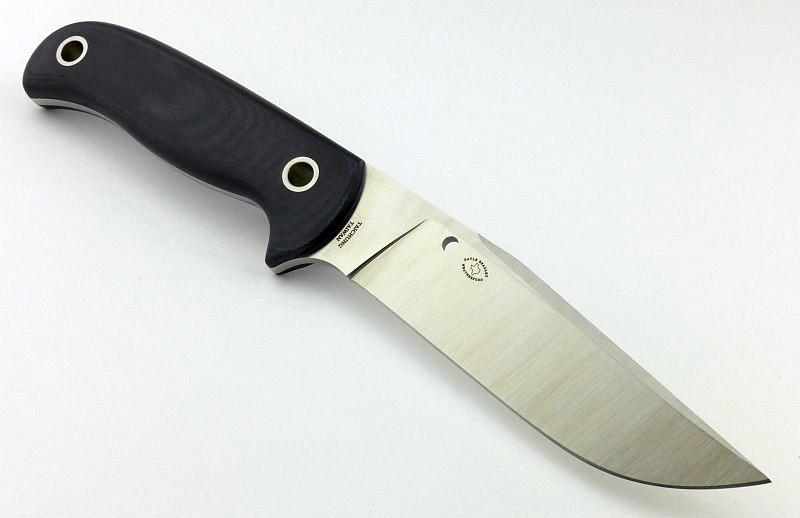
Now onto the knife. Just take in that full flat grind and long sloping swedge.

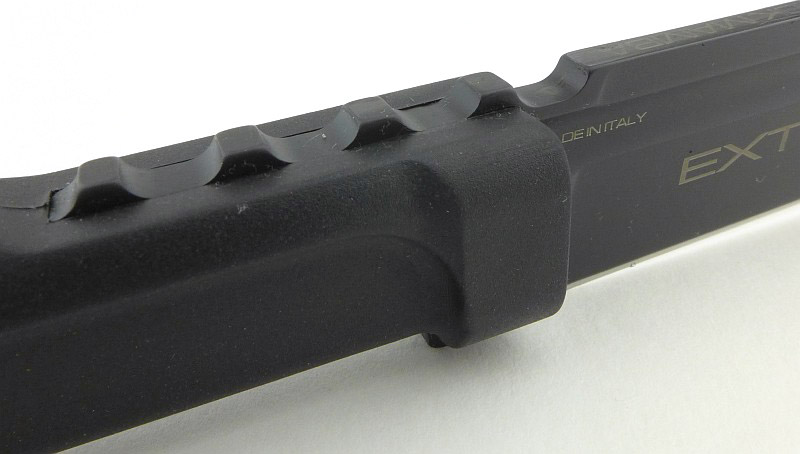
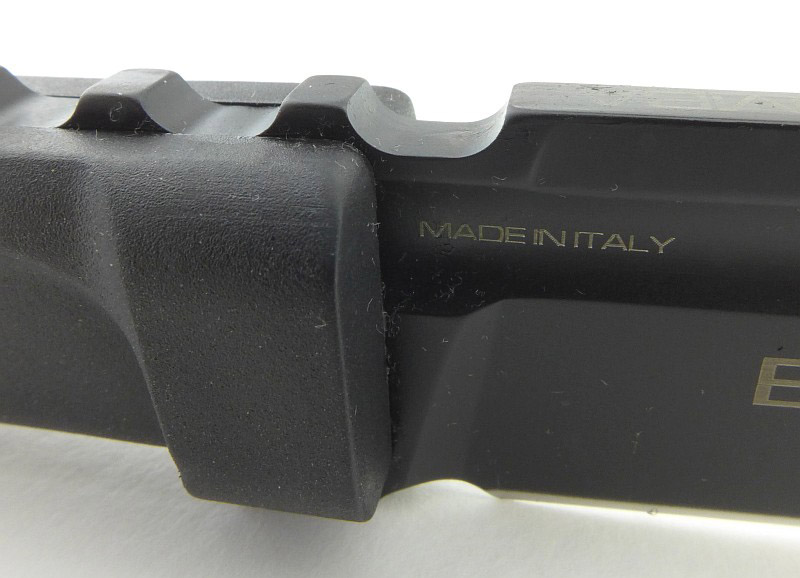
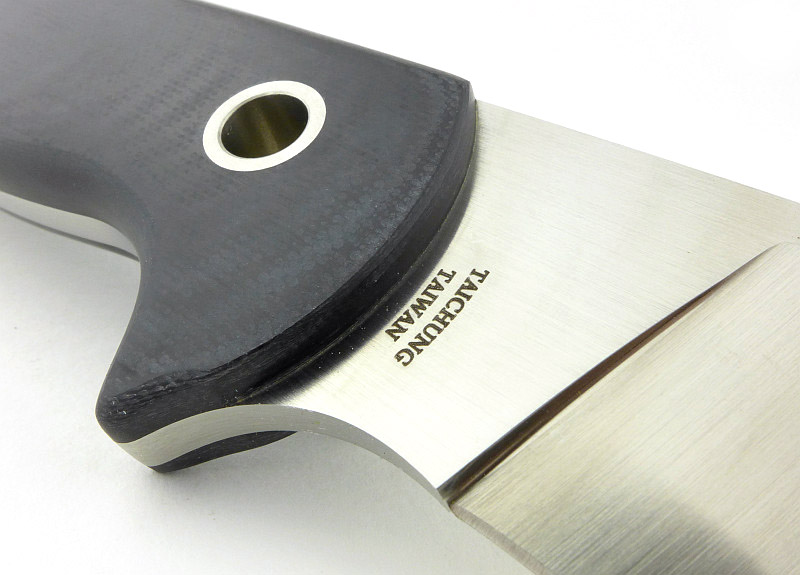
The PSF27 steel specification is engraved under Spyderco’s name.
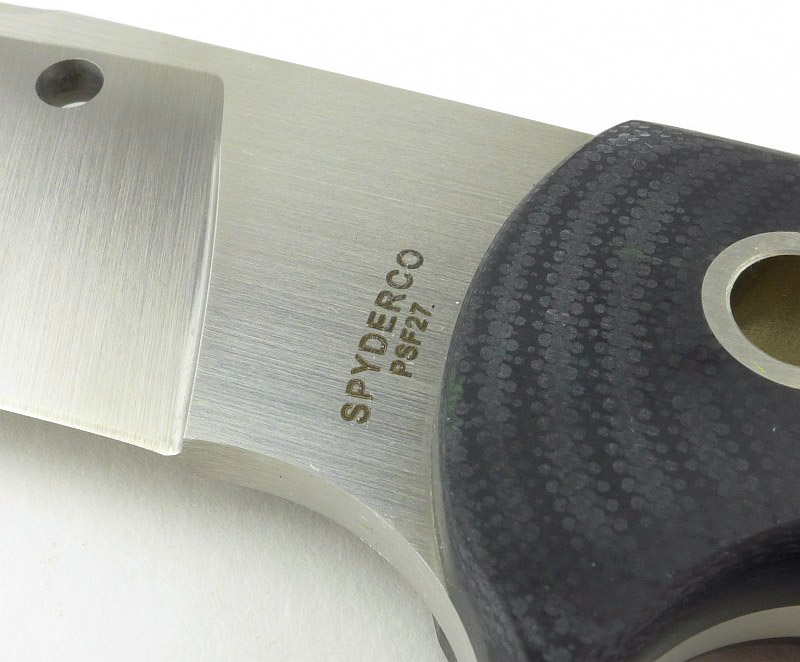
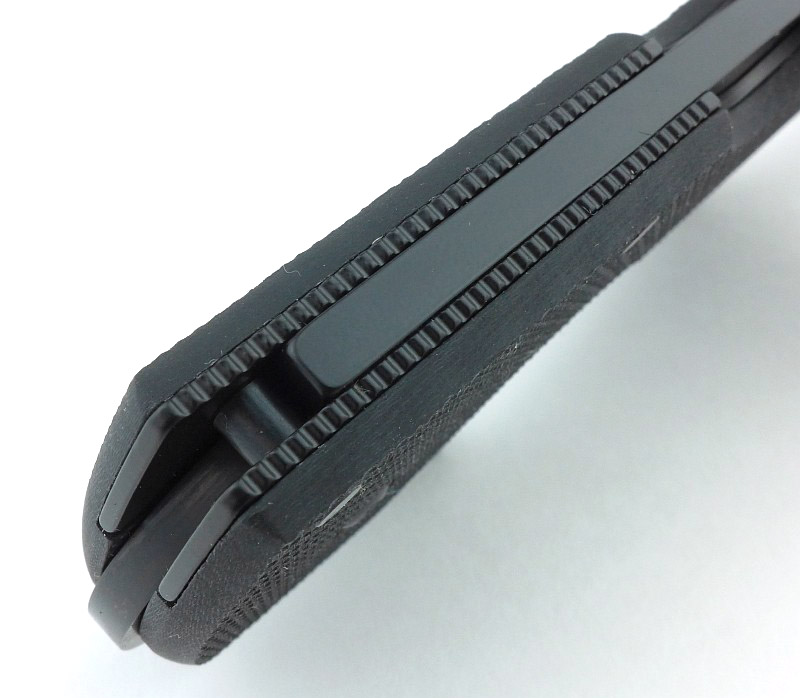
A finger guard is formed out of the full thickness tang and handle slabs.
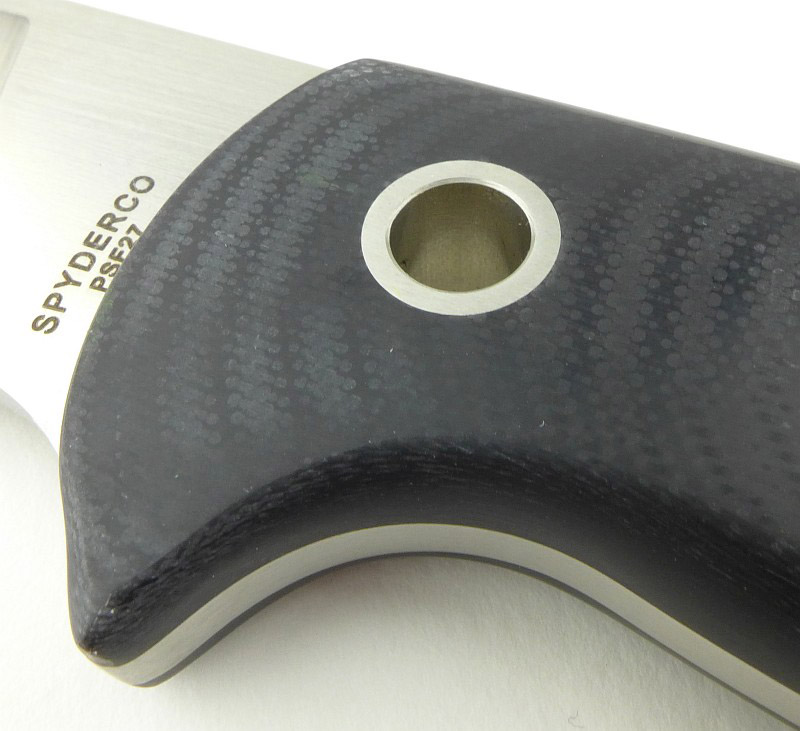
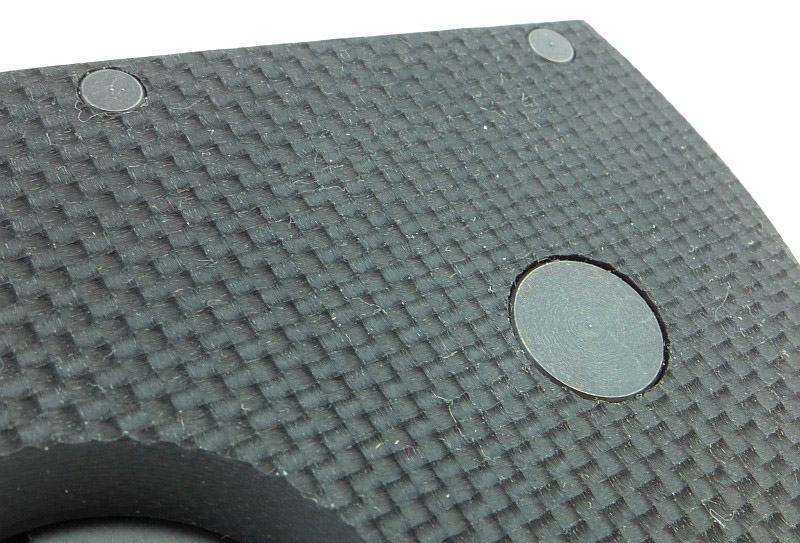
Large diameter hollow pins are used to secure the handle and provide easy fixings for a lanyard, or to lash the knife to a pole.
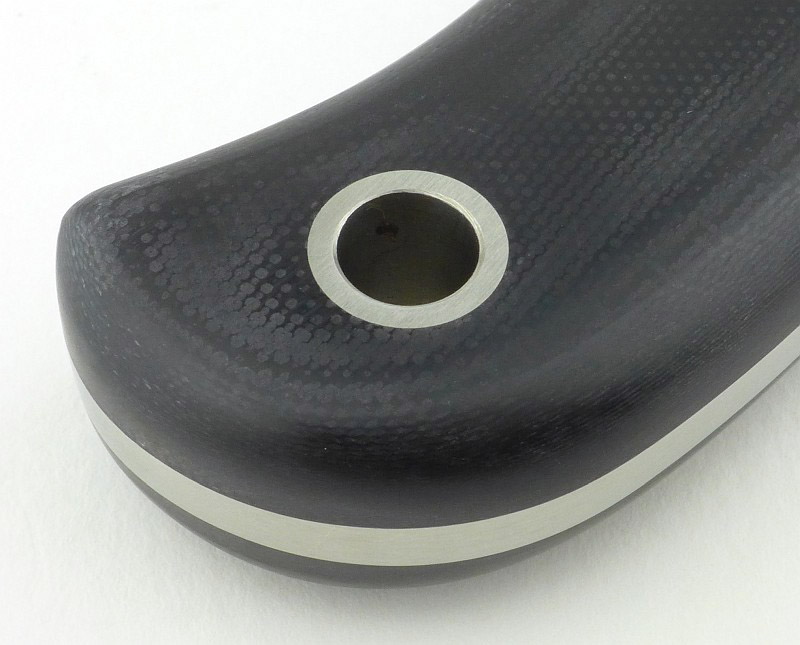
Both hollow pins are the same size.
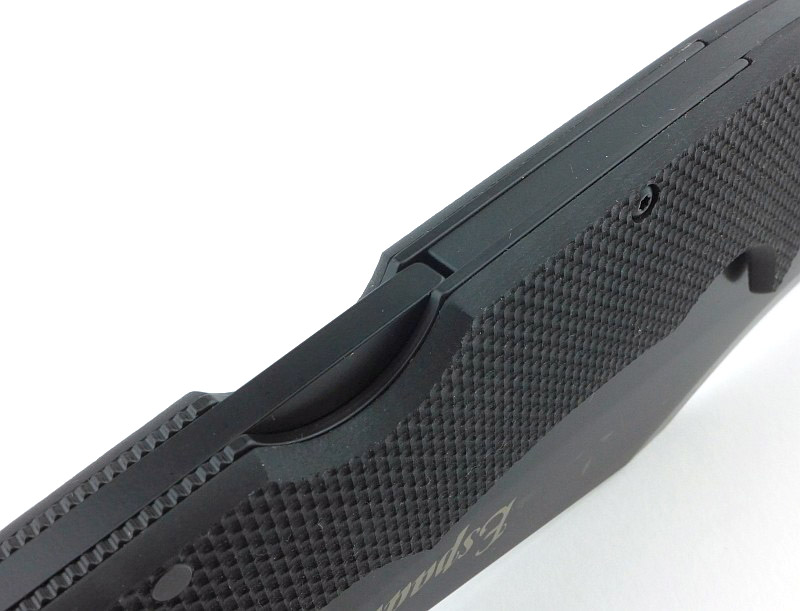
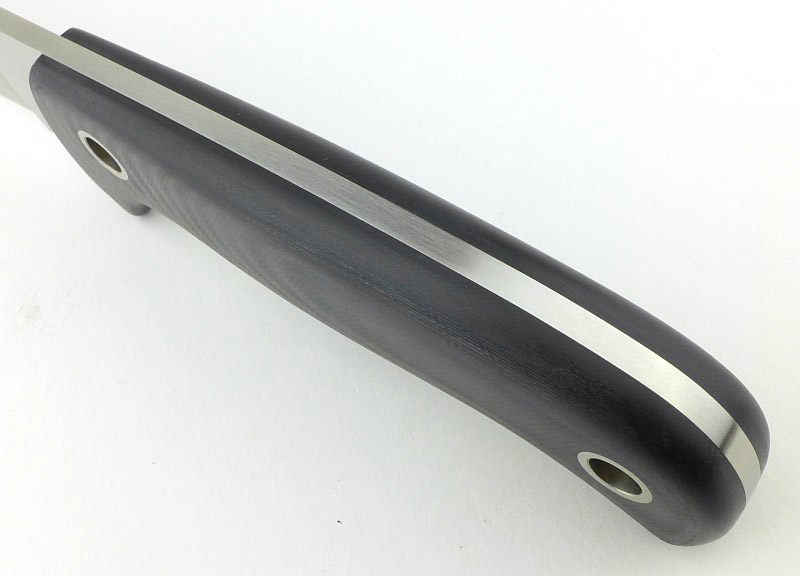
Layers in the semi-polished G-10 handle reveal the contours of the handle shape.
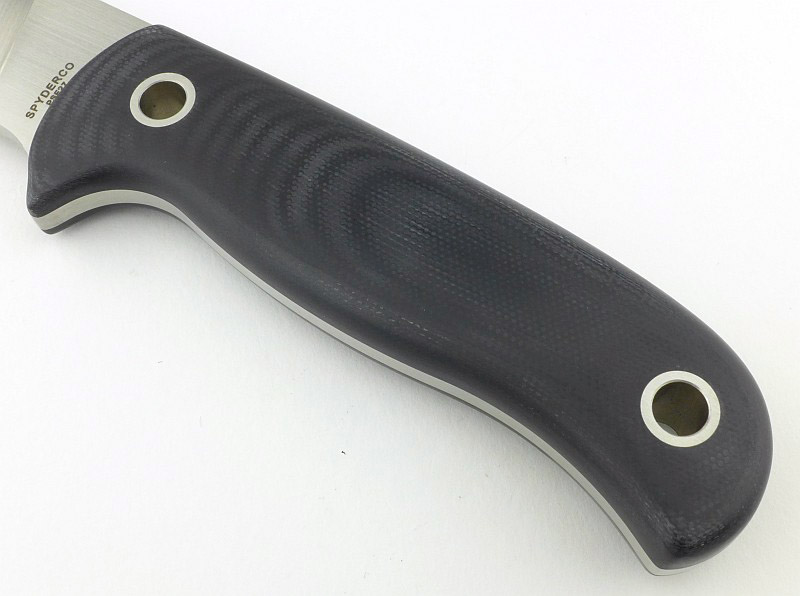
The full thickness tang is prominent in the slim handle.
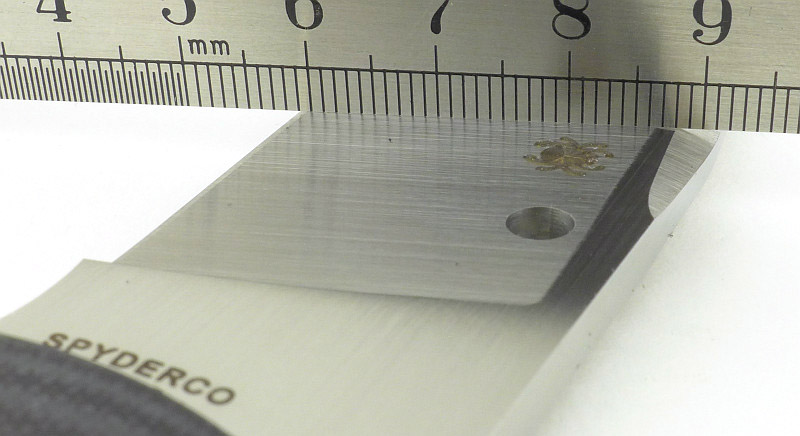
There are relatively sharp corners to the plunge line – potential stress concentrators.
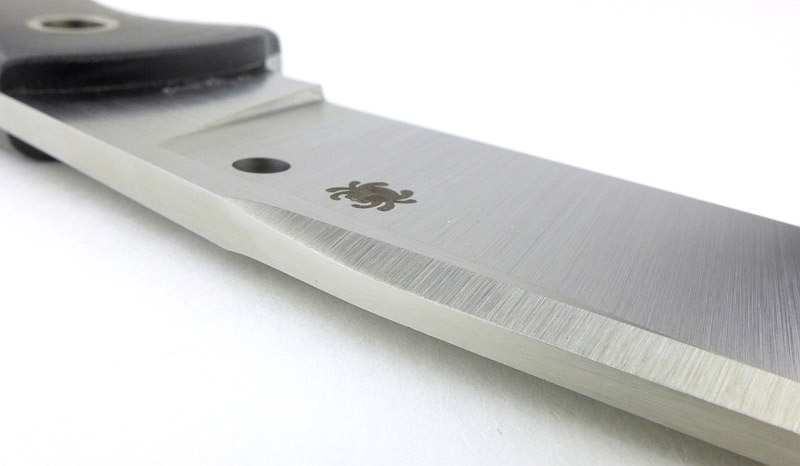
Gayle Bradley’s logo appears on one side of the blade.
![]()
All the corners of the G-10 Handle are well rounded preventing any hot-spots. Only a small section of the handle edge next to the ricasso is not fully rounded.
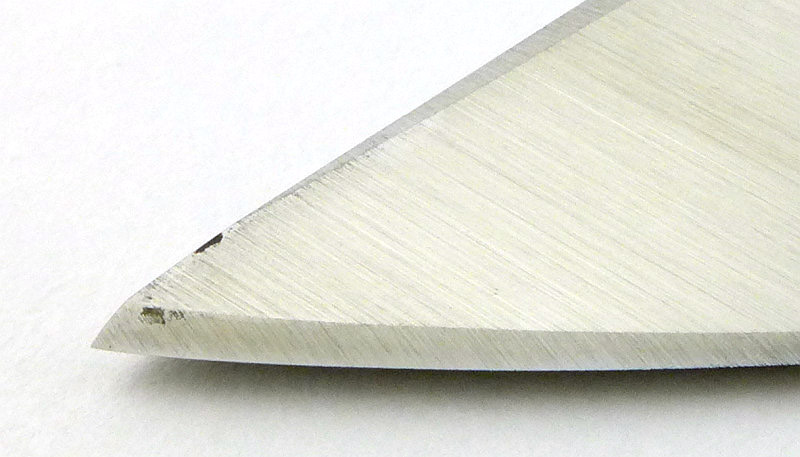
The swedge extends over two thirds of the blade length.
Tapering towards the tip is only slight, retaining a good amount of strength.
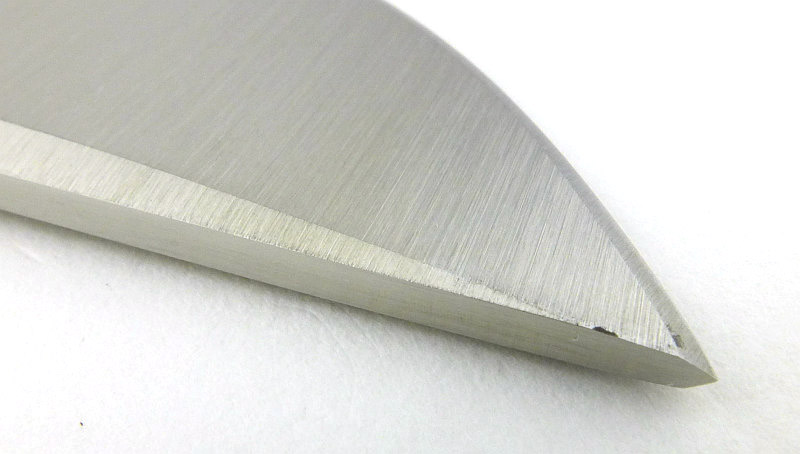
Of course the trade off is a widening and steepening edge bevel.
What it is like to use?
I’ve already mentioned that the design of this knife really speaks to me, and just looks right. This is absolutely confirmed by the feel in the hand; it really does work as well as it looks like it will.
Excuse the potential connotations here, but that semi-polished G-10 handle is asking to be touched, stroked and held, much like a worry stone. Every part of it is smooth, the type of smooth that doesn’t drag, catch or stick like a full gloss polish can. It has got to be one of the best feeling handles I’ve come across, and you don’t want to put it down.
Even wet or sweaty, there is plenty of grip despite its smoothness, in fact the least amount of grip I found is with a completely clean and dry hand. The rounded edges remove any hotspots; you are much more likely to get a blister due to wearing gloves (and their seams creating a hotspot) than anything to do with the handle.
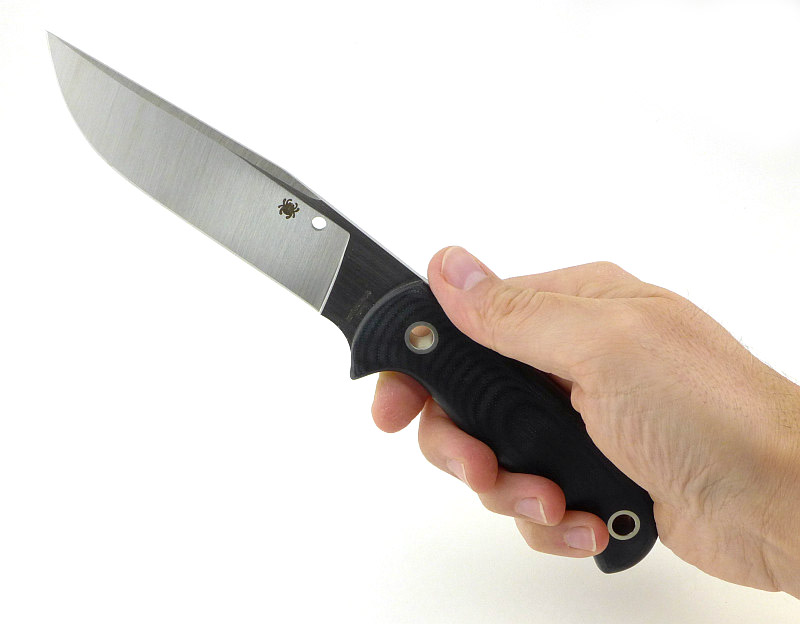
Personally I prefer a thicker handle for a bit more of a handful, but in this case I like the lower profile handle with less ‘presence’ on the belt (or as I often do, slipped in a large pocket). There is enough handle to allow you to really work the blade hard without adding bulk.
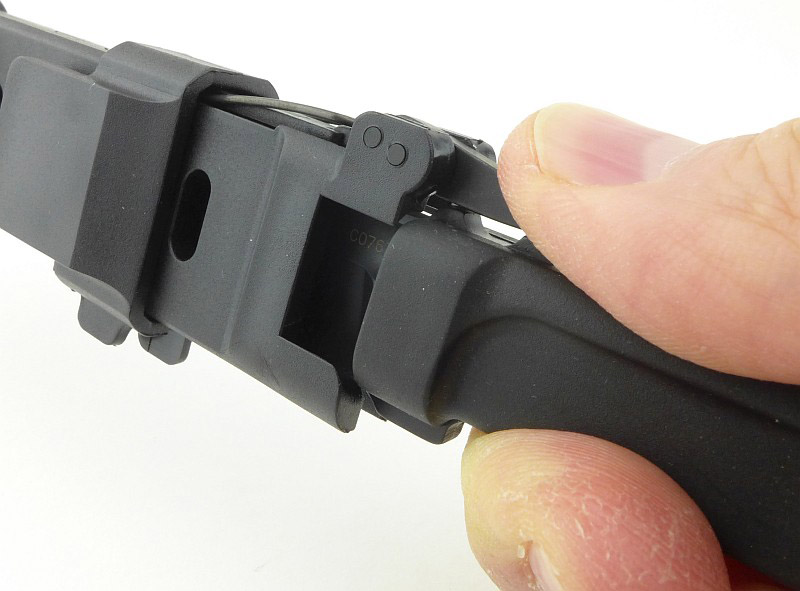
As is often the case with the type of sheath used here, the retention is pretty stiff, and the knife doesn’t easily come out. You need to lever the sheath away with your thumb, or end up with severe ‘sheath recoil’ and an uncontrolled slash of the blade as it flies out. In the sample received here, the edges of the Boltaron had sharp corners from the final shaping and these were catching on the knife, especially on re-sheathing the knife.
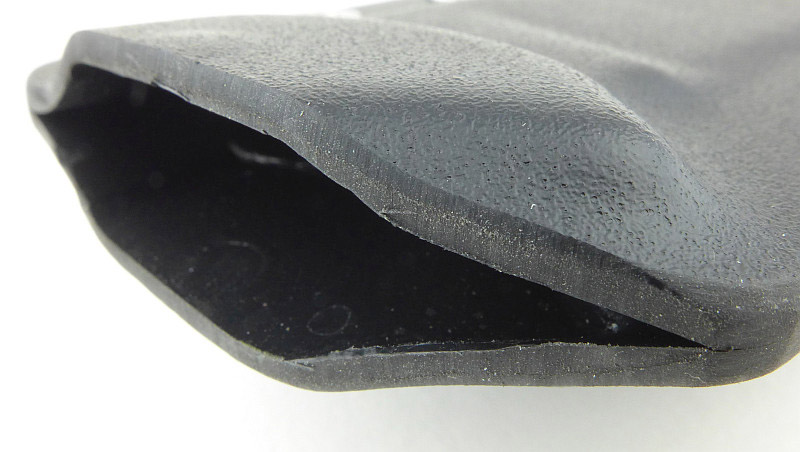
A careful trim of those edges smoothed out the sheathing and unsheathing, so though not strictly necessary, it did improve the feel. I’ve noticed that consistently the sheath is depositing black plastic on the knife every time it is sheathed and unsheathed. What I can’t confirm if is this is due to a quantity of dust left inside the sheath, or if the blade is rubbing off the inside of the sheath. This is only of any real consequence if you are preparing food and don’t want to eat Boltaron dust.
Unfortunately, I’ve not had as much time using this knife as I would normally fit in before completing a review, so haven’t gone through enough sharpening cycles, or seen how sensitive to corrosion the PSF27 really is. It has definitely been wet, cut damp materials and covered in corrosive finger prints and so far hasn’t become marked. I’m hoping this steel proves more stain resistant that its composition might suggest.
With the choice of ever better stainless steels, I don’t want to worry about corrosion, and personally might have preferred a steel that is not on the wrong side of stainless levels of corrosion resistance. I’m also not subjecting a blade like this to demolition work, so the ultimate performance of PSF27 is not entirely relevant to me in this knife. That said, it is nice to know there is a great deal of strength in reserve, especially if you choose this as a survival knife or for military applications.
Review Summary
The views expressed in this summary table are from the point of view of the reviewer’s personal use. I am not a member of the armed forces and cannot comment on its use beyond a cutting tool or field/hunting knife.
Something that might be a ‘pro’ for one user can be a ‘con’ for another, so the comments are categorised based on my requirements. You should consider all points and if they could be beneficial to you.
| _______________________________________________ | _______________________________________________ |
| Things I like | What doesn’t work so well for me |
| _______________________________________________ | _______________________________________________ |
| Excellent general purpose blade. | Slightly over-stiff sheath retention. |
| Superb handle with semi-polished G-10. | PSF27 steel is not quite ‘stainless’. |
| High performance PSF27 steel. | |
| Conveniently slim overall package. | |
| Sheath can be configured for right or left handed use. |
Discussing the Review:
The ideal place to discuss this reviews is on a forum. If you started reading the shorter forum version of the review, but followed the link this full exclusive review, please return to that forum to discuss the review there.
If you read the review entirely on Tactical Reviews, please consider one of the following to join in any discussion.
BladeForums – Knife Reviews (US based Forum for Knife Discussion)
CandlePowerForums – Knife Reviews Section (Largest and Friendliest Flashlight Community Forum)
The BESS Exchange – A forum discussing technical aspects of sharpness and truly understanding your sharpening process.