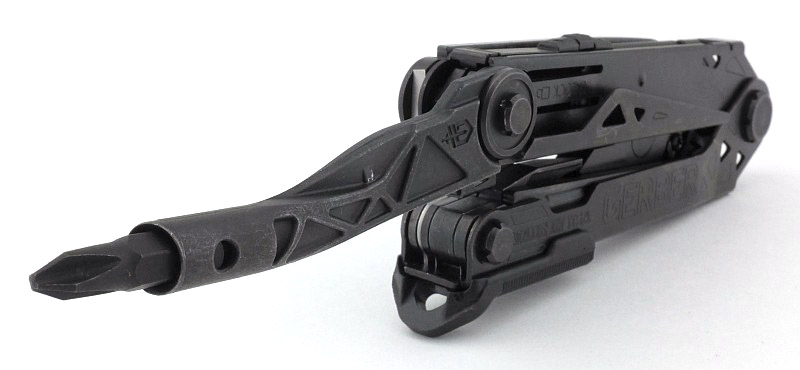
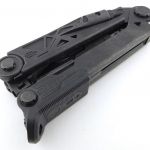
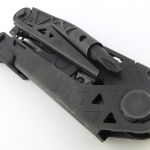
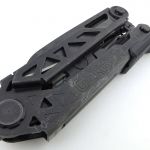
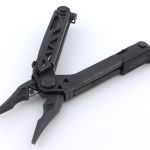
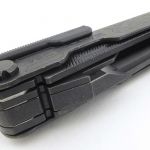
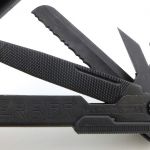
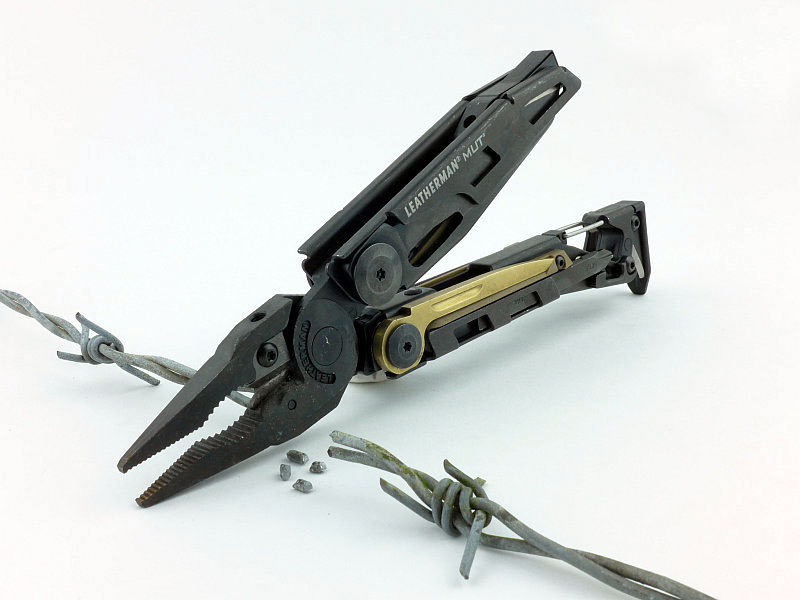
The MUT (Military Utility Tool) is billed by Leatherman as “the first multi-tool that functions as both a tactical and practical tool for military, LE, or civilian shooters” and is packed full of functions not found in other multi-tools.
With so much detail to cover, this review has turned into a rather extended look at this interesting multi-tool, so has even more images than I normally include!
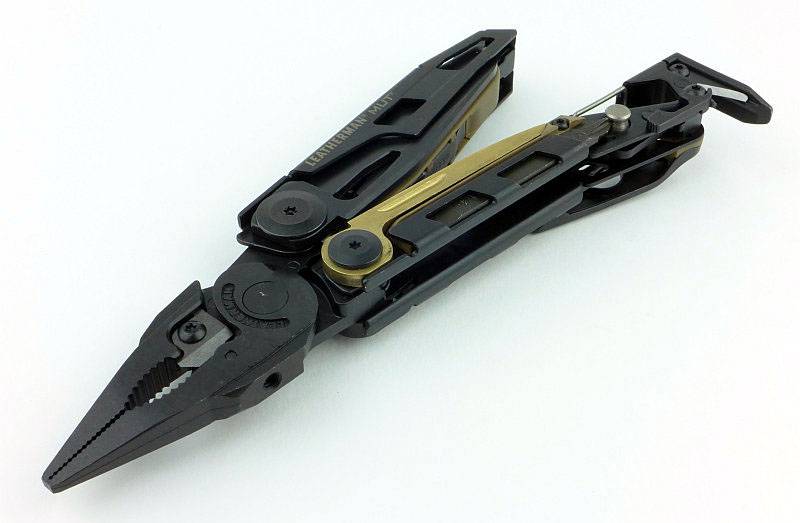
Talking through the features:
Before diving into all the detail, I wanted to have a look at a few more of the descriptions and specifications from Leatherman.
“The MUT features multiple areas on the tool threaded for cleaning rods and brushes and all the screwdriver bits are sized for standard military and civilian sighting adjustment work.”
When it comes to cleaning rod/brush use, you have the choice of two main connection points, the threaded hole in the side of the MUT and the threaded post onto which the punch screws. Either can act as a substitute handle for a rod or brush. This is pretty good in theory, but in practice, for myself, it did not work terribly well. All my multi-part rods are based on the handle having the first rod section permanently attached to it. If you are missing this first part (so need the MUT as a handle), the rod will be too short to reach all the way through the barrel. Still a useful feature, as a brush can be directly fitted and used to scrub areas round the breech and into the chamber, and that in itself is worth it.
“Also built into the design of the tool is the flexibility to replace the most commonly used parts on the spot, using a simple Torx #8, keeping down-time to a minimum.”
This is an excellent feature. Also included with the review sample was the maintenance kit (details to follow), and this allows for replacement of the wire-cutter blades, punch, scraper and line cutter, so you can happily give all these plenty of use, knowing it is easy to bring them back to like-new performance once they wear out. Designing in replaceable parts, means you can buy the tool knowing it is a long term investment and can be maintained.
“With all this, a MOLLE sheath and scope adjustment wrench included, the Leatherman MUT may very well be the most efficient and useful piece in your kit.”
Unfortunately, despite the well designed sheath, the fact that the sight adjustment wrench is a separate item means it can more easily be lost.
On Leatherman’s website (at the time of writing), officially the specification is that the MUT has 16 tools (plus an additional wrench/sight tool). The first six items in the list, Needle-nose Pliers, Regular Pliers, Premium Replaceable Wire Cutters, Premium Replaceable Hard-wire Cutters, Stranded-wire Cutters and Electrical Crimper, are all aspects of the main pliers in the MUT.
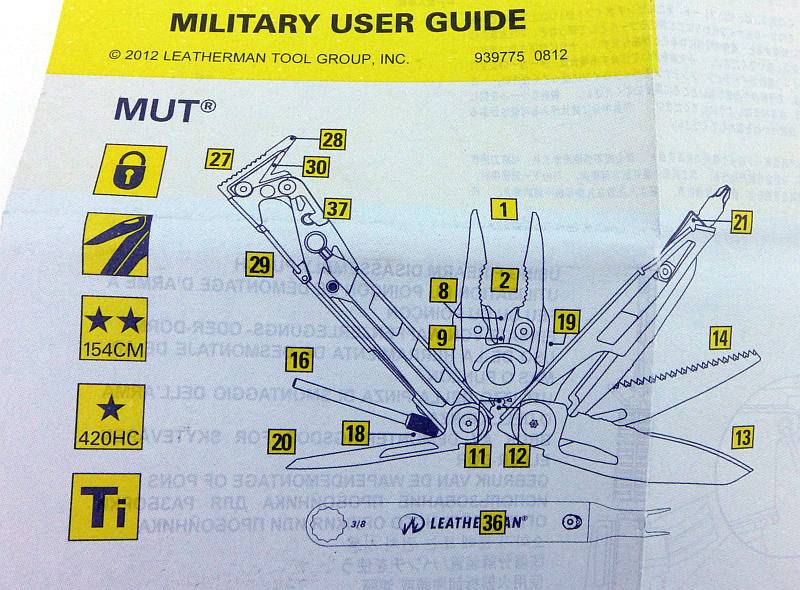
The rest of the list refers to more distinct tools, and is in fact a little light on detail. Taking those straight forward features first, you have the 420HC Combo Knife, Wood Saw, Replaceable Cutting Hook, Hammer, Bolt Override Tool, Replaceable Bronze Carbon Scraper, #8-32 Cleaning Rod/Brush Adapter, Replaceable Firearm Disassembly Punch, Karabiner/Bottle Opener, and a separate 3/8” Wrench and Front-Sight Adjustment Accessory.
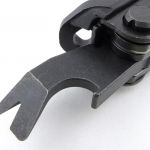
One of the less understood features is the Bolt Override Tool. Really all this consists of is a strong hook that you can use to drag back the bolt on an AR instead of using the charging handle (or something more dangerous like a knife), to free up a jammed cartridge. Thanks to the design of the MUT you can easily apply a lot of force to the bolt for those stubborn jams that require this.
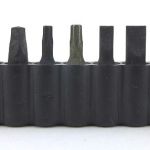
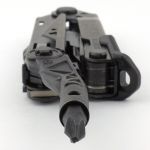
The last feature which is underplayed somewhat is the Large Bit Driver, which is a bit holder for the three double-ended screwdriver bits that are included in the MUT. The bits are the short PH1-2 + 3/16 Flat, plus the two long double-ended bits which have T15 + Hex 7/64, PH2 + 1/4 Flat. Of course with the Leatherman bit set, you can expand on this selection of bits.
Lastly for this section a few notes on some of the materials used in the MUT. The blade is made from 420HC Stainless Steel, an improved, high-carbon (HC) form of 420 stainless steel. The replaceable wire cutter blades are made from 154CM Stainless Steel. To prevent damage to steel parts, the carbon fouling scraper is made from Bronze. Then there is the tool coating of Black Oxide; Black oxide is a powder-based metal coating effective in reducing glare and reflection.
A few more details:
Before really getting our teeth into this review, I will mention once again that the full review has a total of 84 images in it, so shows a great deal of detail. If you want a close look at this tool, here it is.
The MUT’s very yellow box.
In the box, there is a separate compartment for the tool.
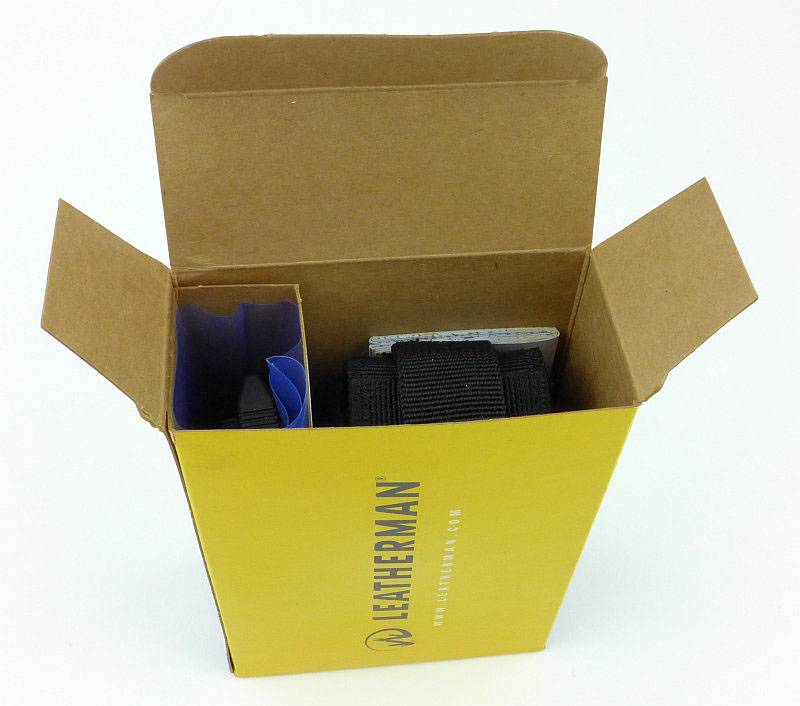
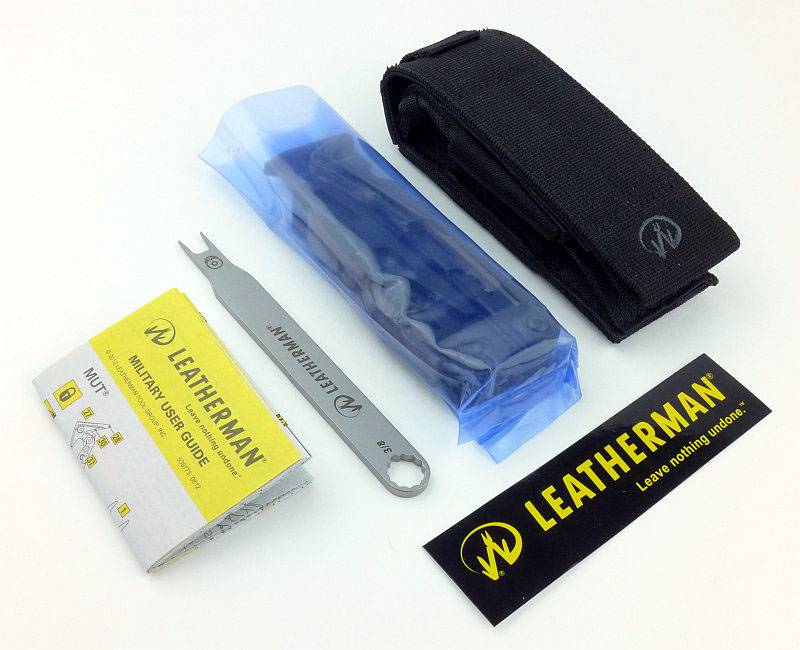
Here are the box contents laid out. You get the MUT, sight tool, holster, instructions and a sticker.
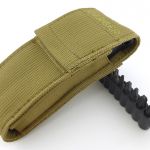
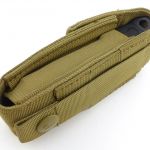
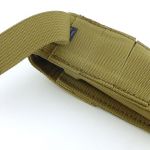
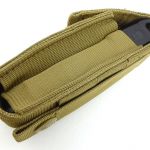
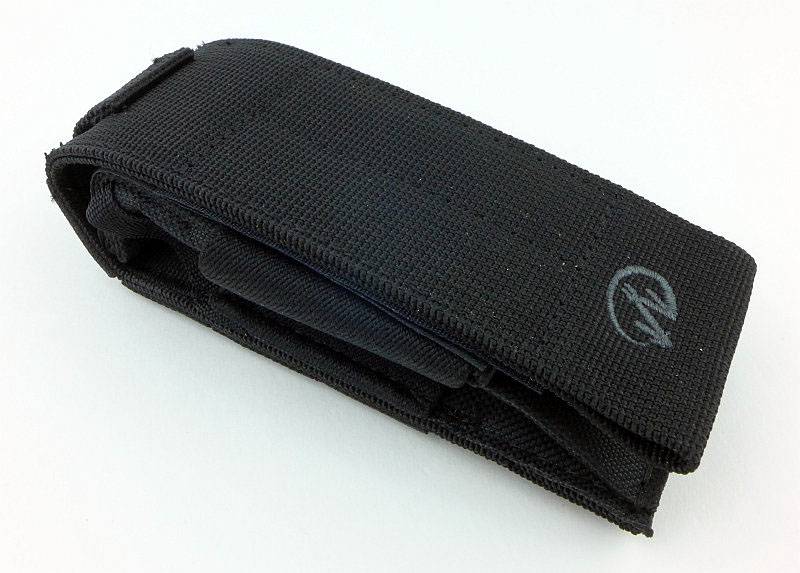
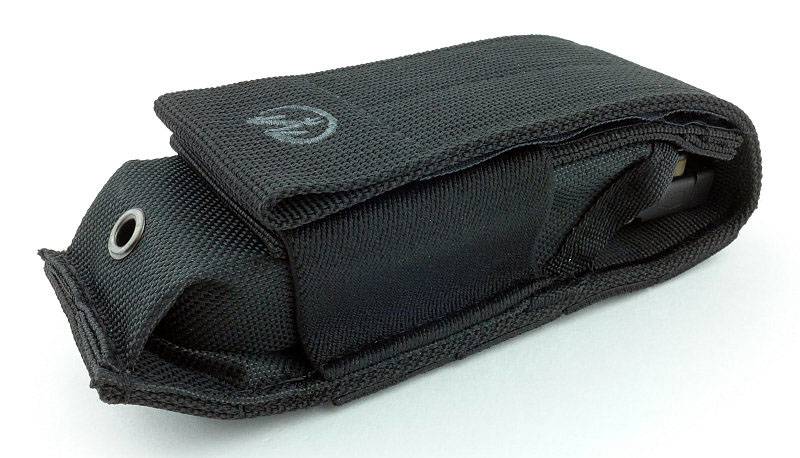
Personally I find the holster/sheath of a tool can make or break the user experience. In this case Leatherman have included a well made, versatile holster for the MUT. This is the holster fresh out of the box and with nothing inside it.
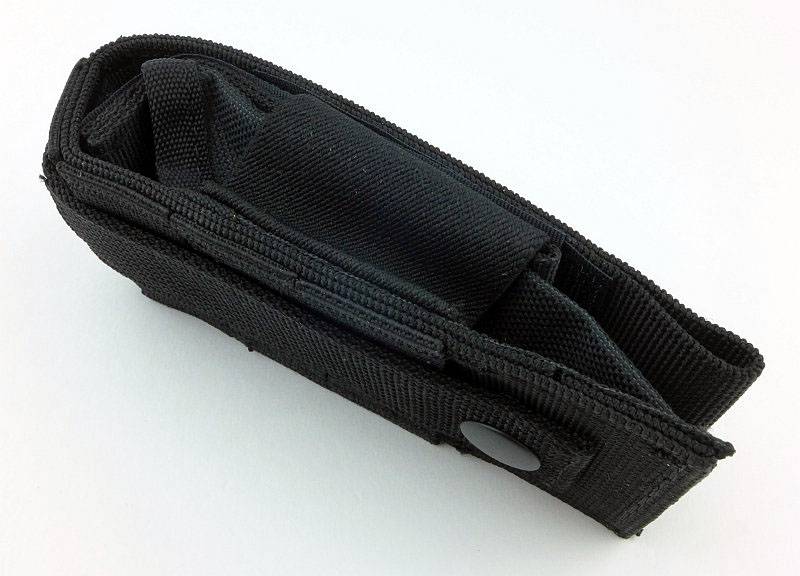
The side has an elasticated part to keep the holster in shape.
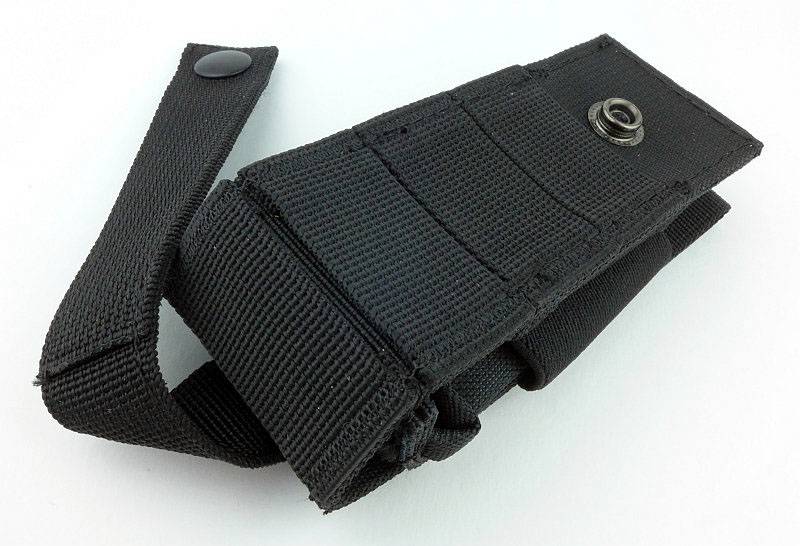
On the back is a PALS/MOLLE mounting that doubles as an adjustable width belt loop.
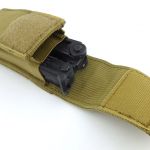
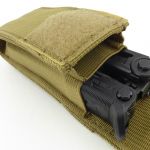
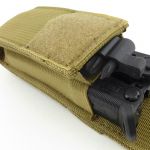
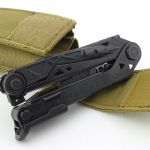
With the MUT inside the sheath the package is very neat.
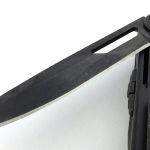
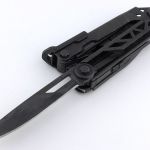
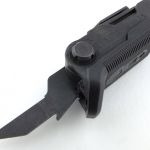
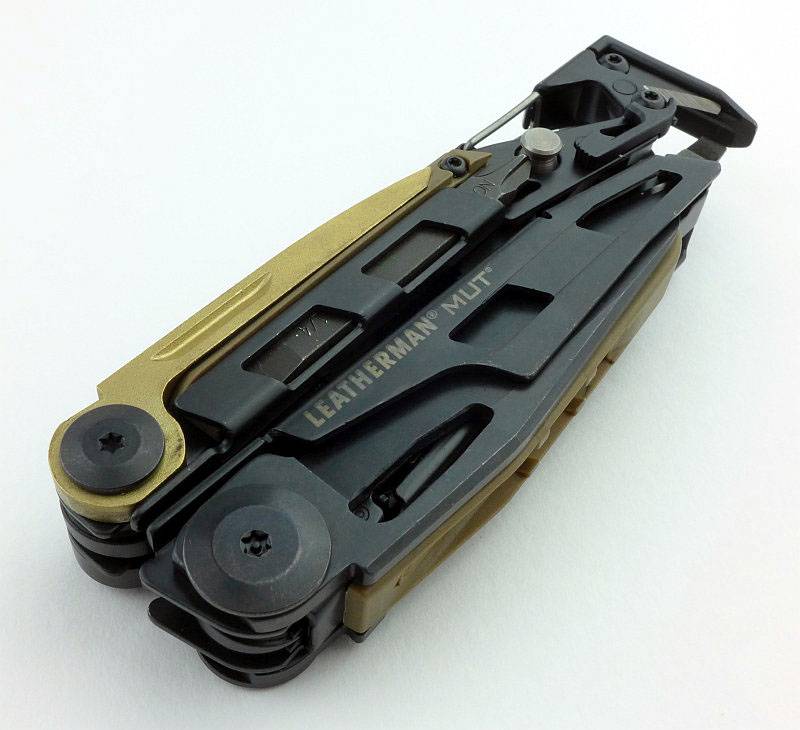
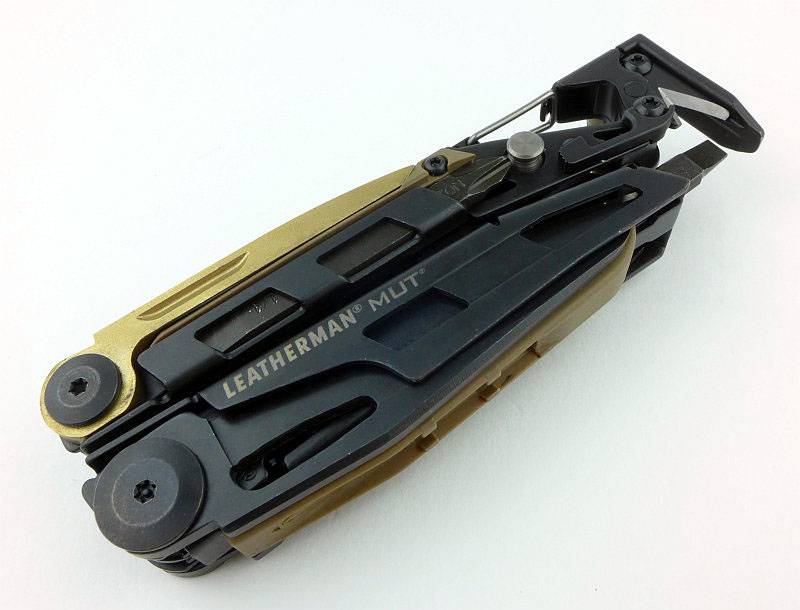
And here we have it, the MUT. We will cover more details as we go, but this is the side of the tool with the knife blade and carbon scraper.
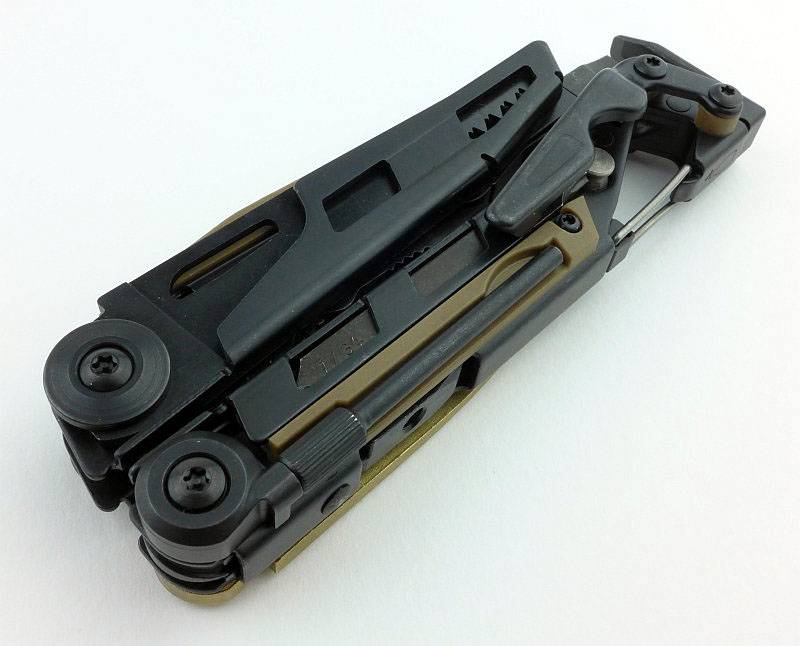
Flipping it over and on this side we have the saw and punch.
On one edge we have one cleaning rod attachment point and clip/bottle opener.
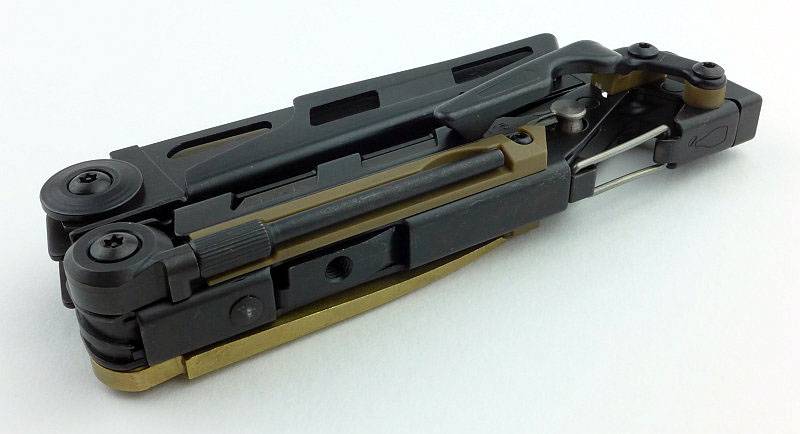
The other edge has a slot to hold the small double-ended bit (here the bit is fitted into the bit holder). Also note the pocket clip which I found far too stiff to be of any real use.
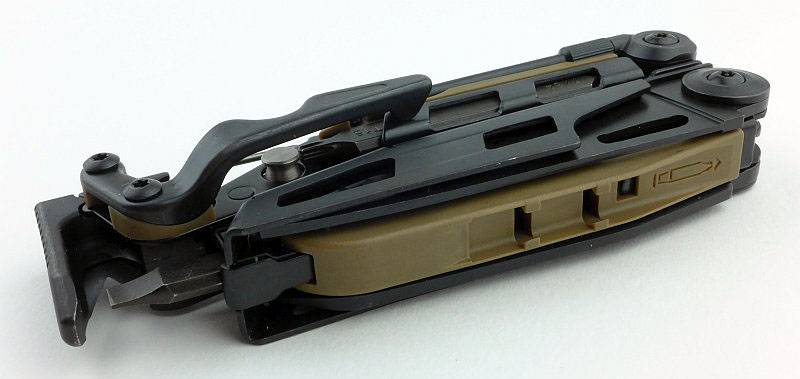
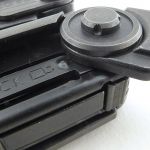
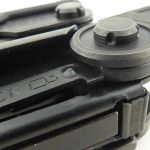
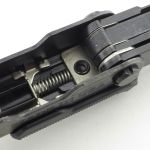
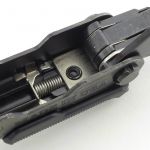
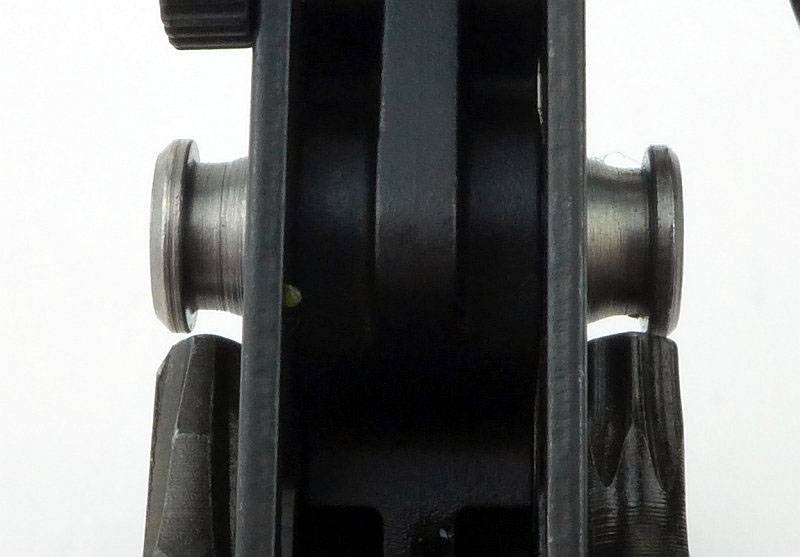
The MUT is basically held together by the main pliers pivot bolts.
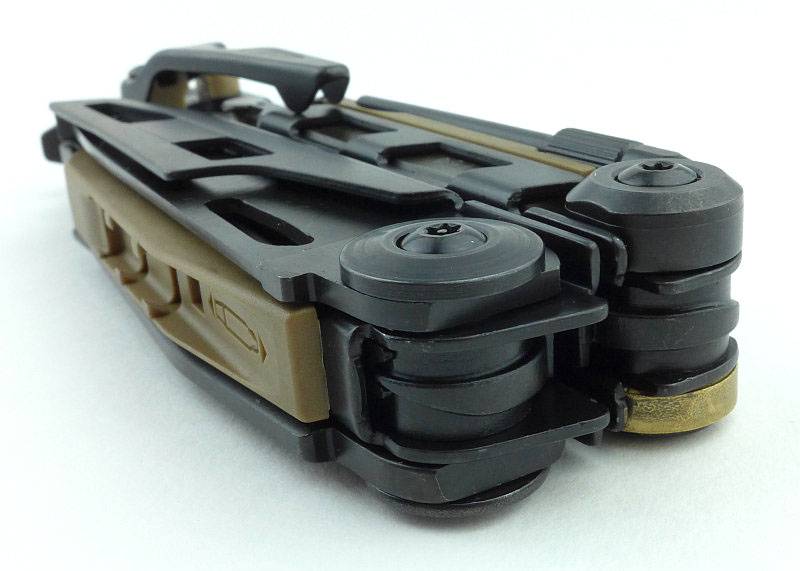
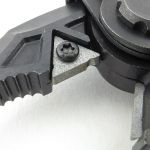
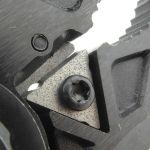
Integrated into the hammer/bolt-override tool is a replaceable cutter held in place with one T8 bolt.
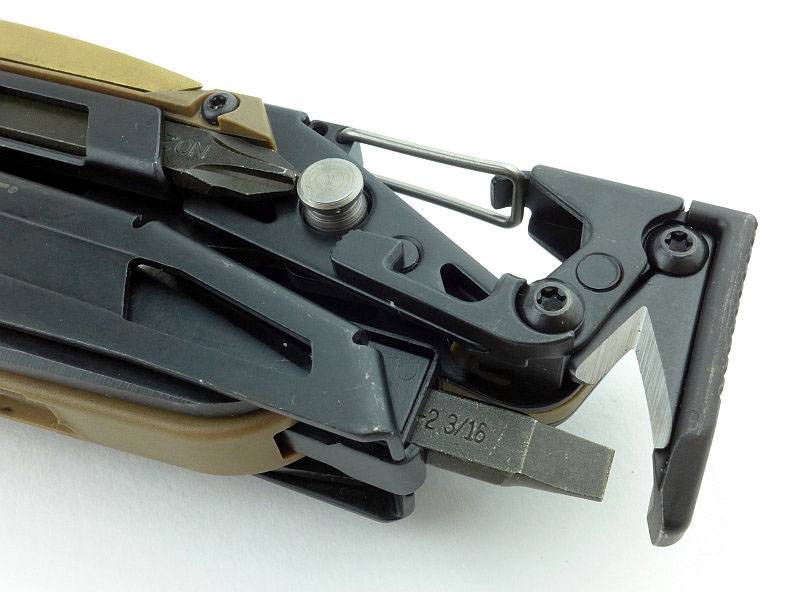
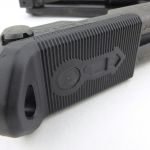
There are grip grooves cut into the hammer face, especially important as the hammer face is not that big.
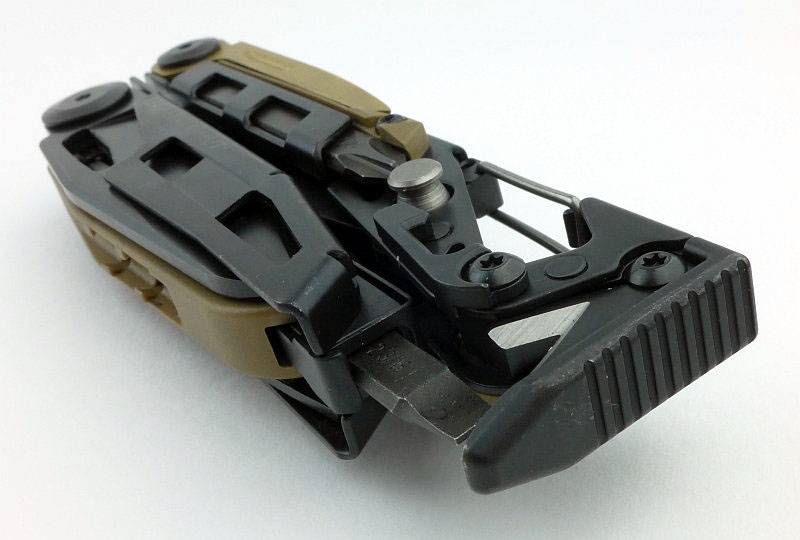
A karabiner style clip is integrated into the MUT allowing very easy attachment to cord loops or trouser belt loops (if they are strong enough). It also doubles as a bottle opener.
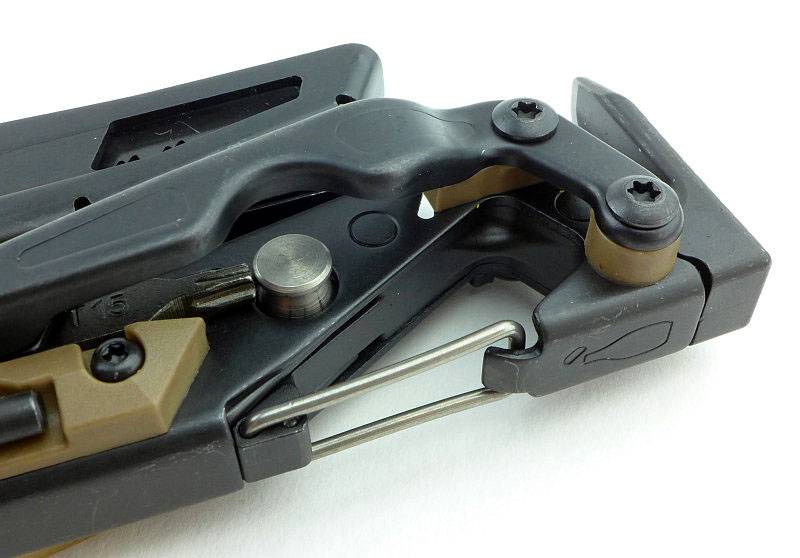
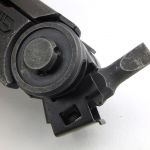
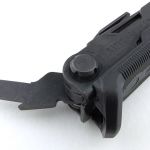
Located at the opposite end of the MUT to the hammer face, one of the main folding tools is a 1/8″ firearm disassembly punch.
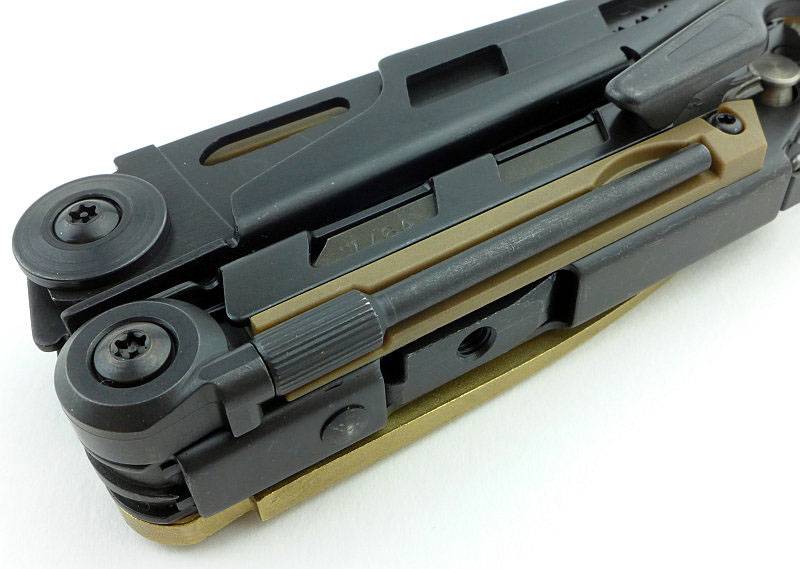
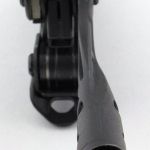
Getting in really close to the threaded hole (actually in the pliers jaw) allowing the MUT to be used as a handle for certain cleaning rods.
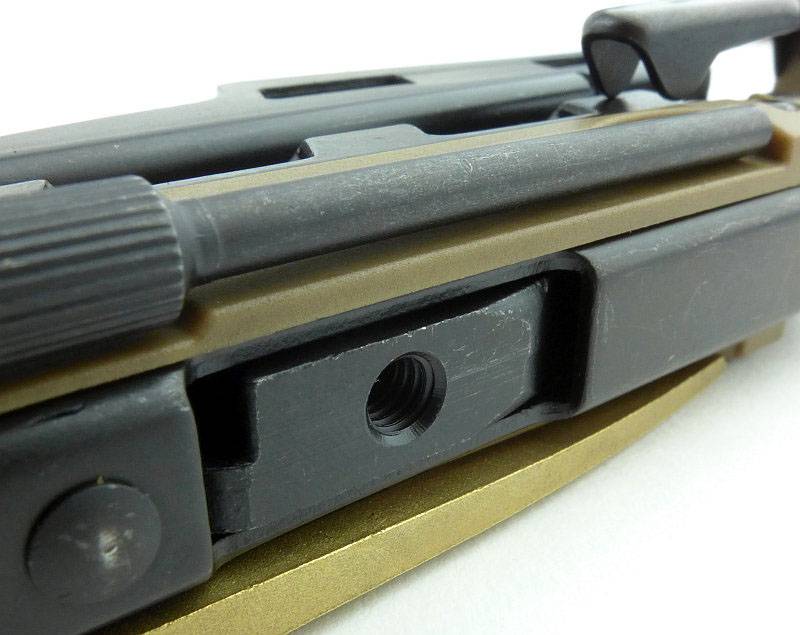
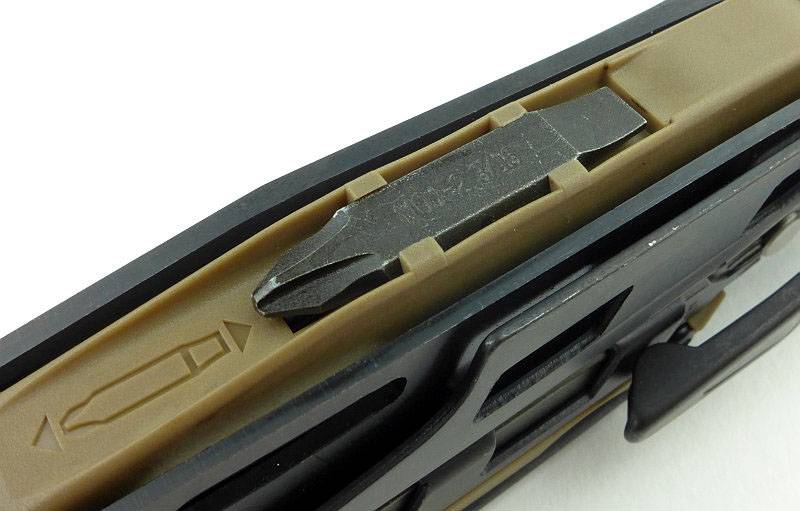
A plastic part on the opposite side is for holding the small screwdriver bit.
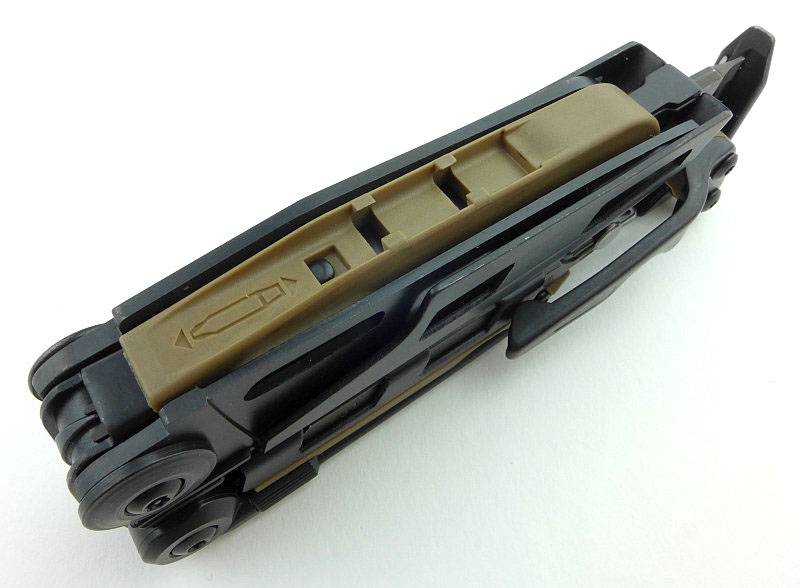
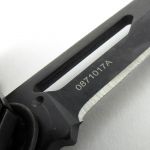
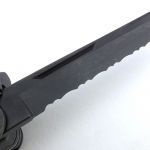
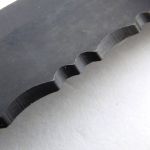
For its knife blade, the MUT uses a part serrated edge.
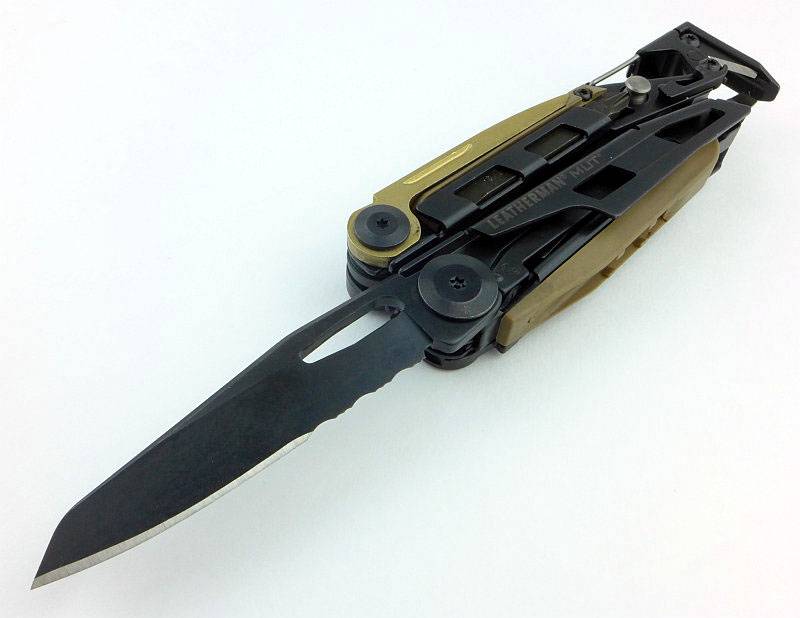
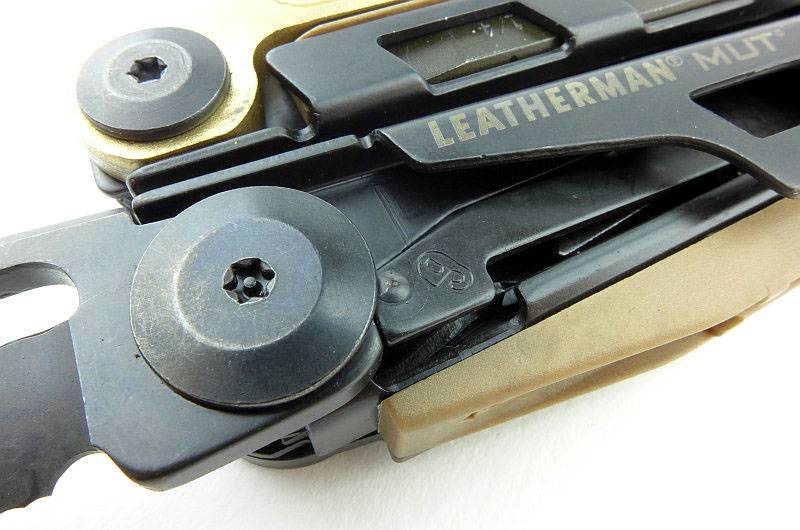
To lock the blade, the MUT uses a liner-lock style sprung locking bar.
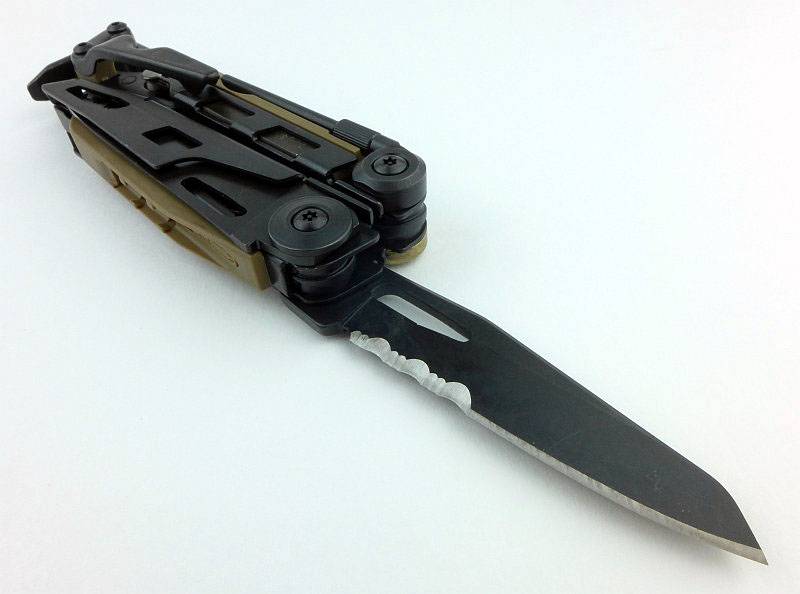
Viewed from the other side, you can now see that the plain edge is a double-sided bevel, but the serrated portion is a chisel grind.
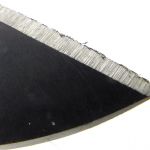
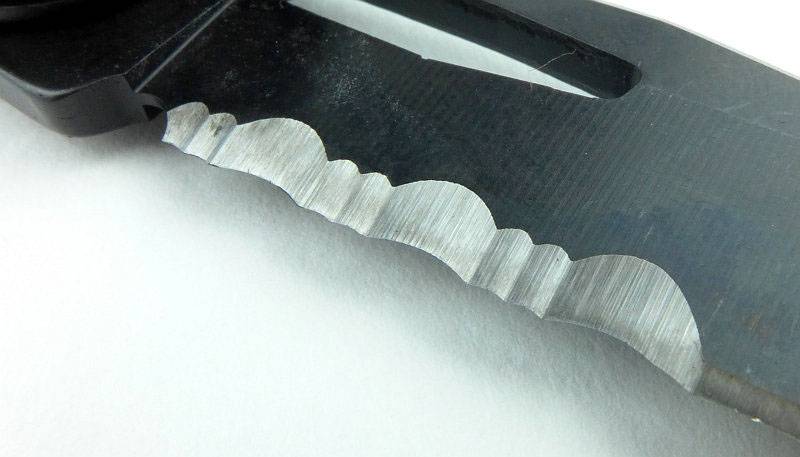
Close-up of the serrations.
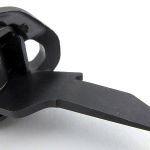
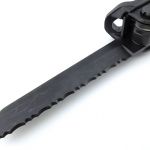
Opposite the knife blade is a similar sized wood saw.
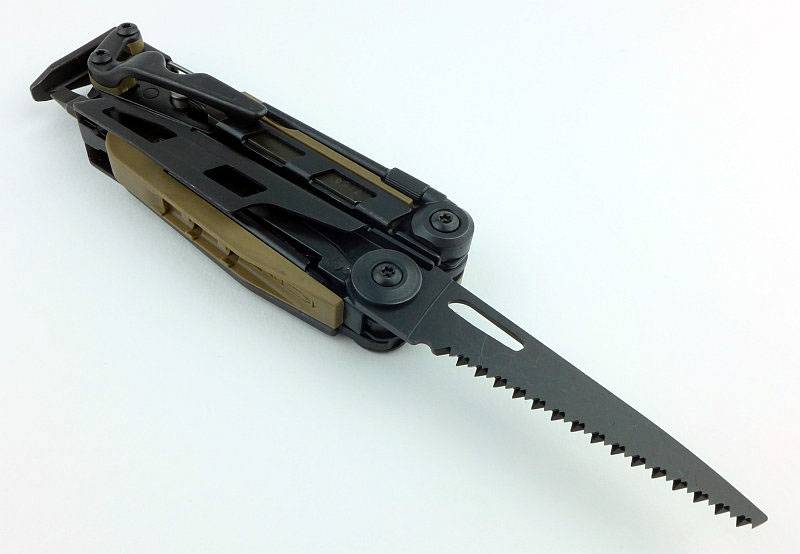
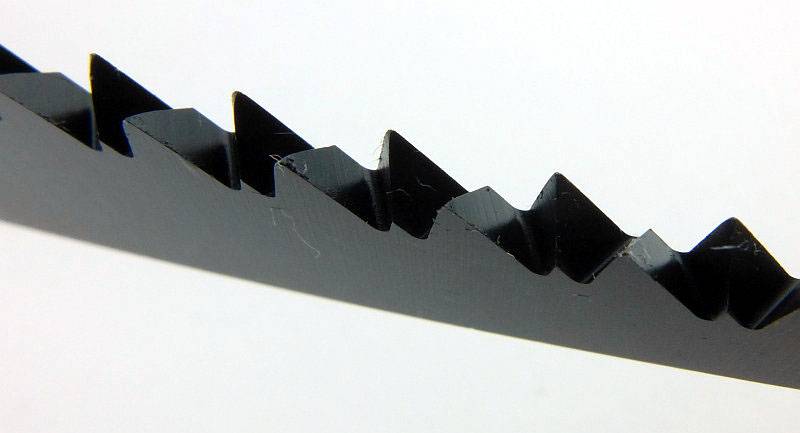
Those saw teeth are unfortunately not as sharp as a well known SAK maker produces.
The same liner-lock design is used for the saw.
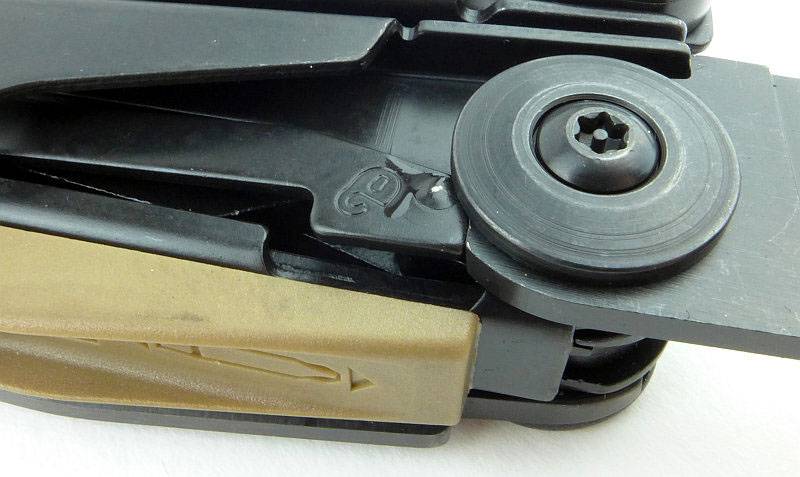
Here that punch is fully open and you can push out roll-pins. If needed you can tap out stubborn pins by hitting the MUT’s hammer face.
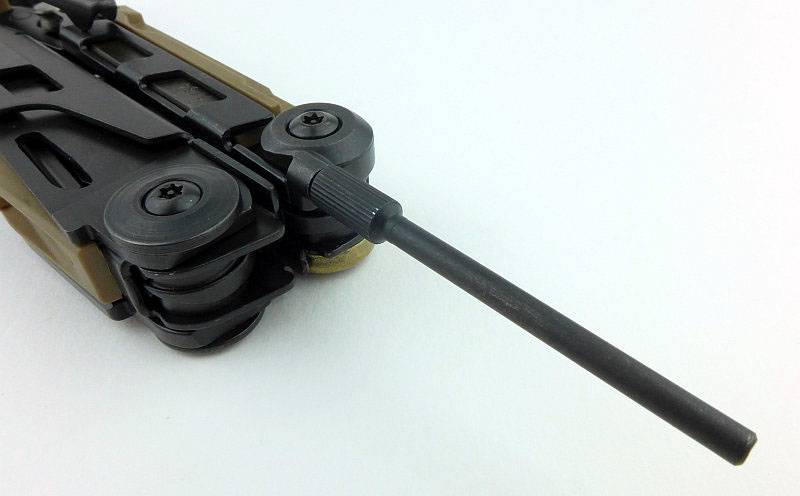
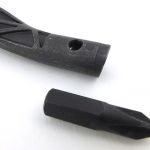
However, you can remove the punch itself and then use the MUT’s own hammer to knock out the pin. The screw-post which holds the punch in place can also be used for some cleaning brushes and rods.
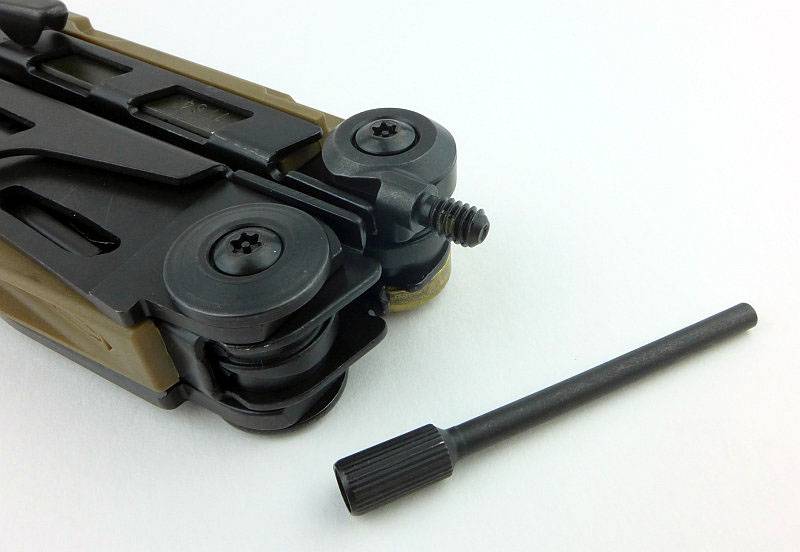
A great deal of thought has been put into the MUT and another aspect that shows this is the use of bronze for the carbon scraper. You can use this on steel parts without worrying about damaging the steel. As the bronze is intentionally soft, it will wear and is intended to be easily replaced by the user with the MUT accessory kit of replaceable parts.
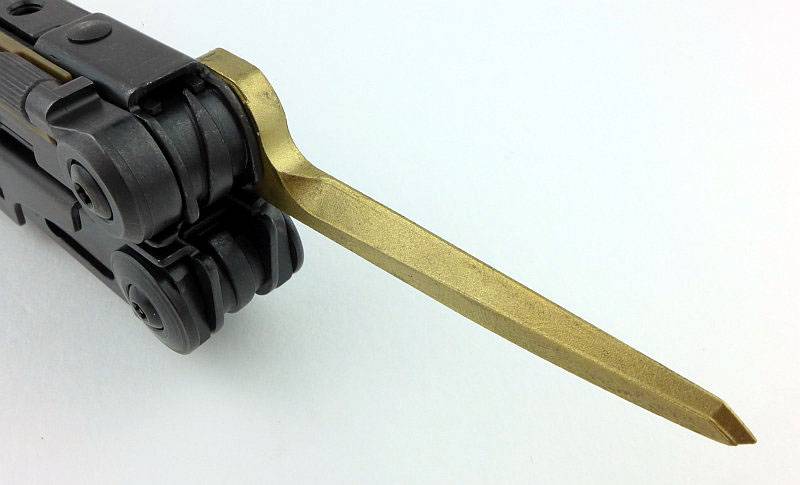
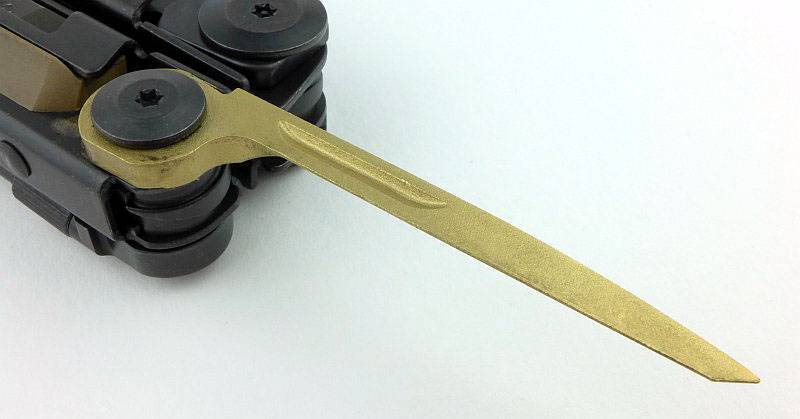
On the other side of the scraper is a thumb-nick for opening it out.
The karabiner style clip also doubles as a bottle opener.
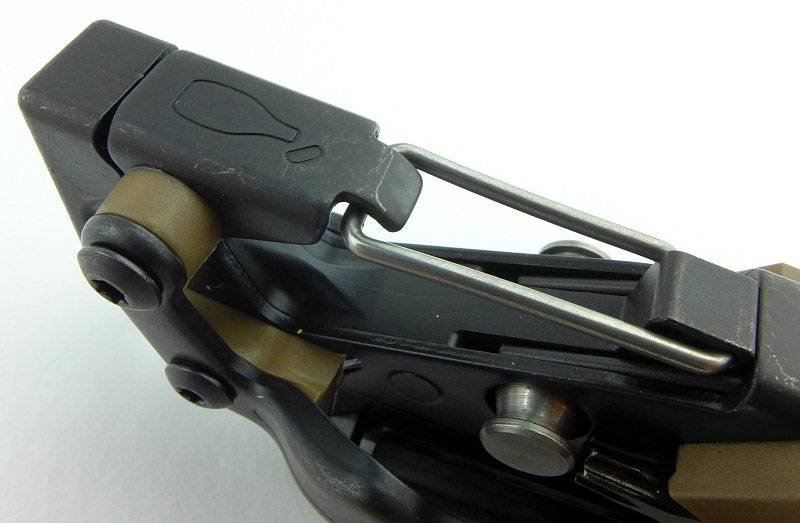
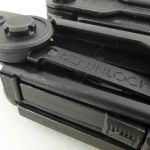
Perhaps more intended for use once the MUT has seen some wear and the pivots are no longer as tight, there is a handle-lock included in the MUT. Here it is shown in the locked position with the locking hook clipped into the other handle. Of course if you are not using the holster and have it clipped onto something, using this lock ensures the MUT handles stay closed.
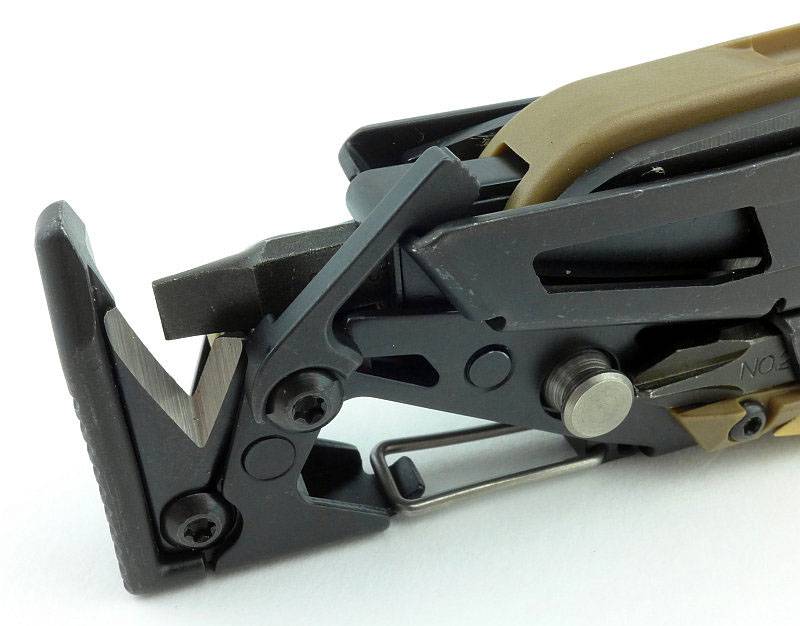
The handle lock is released by pulling it out like this.
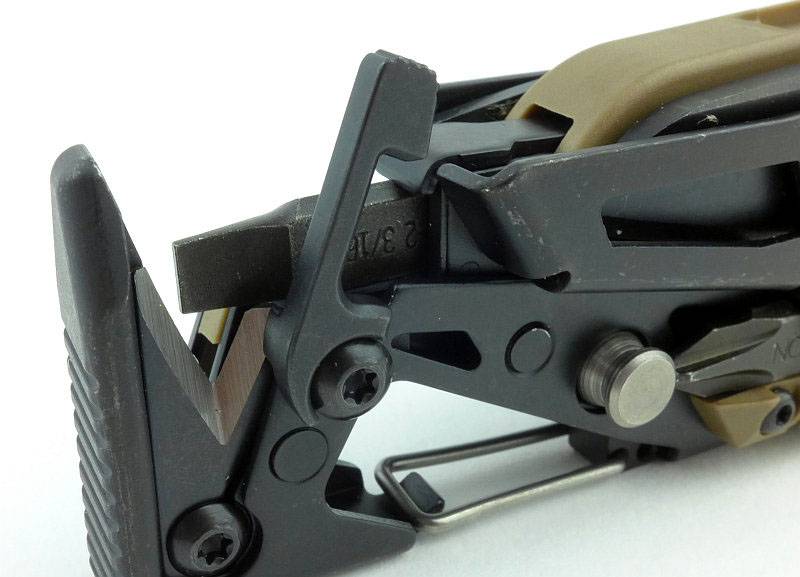
When not in use the handle lock folds out of the way.
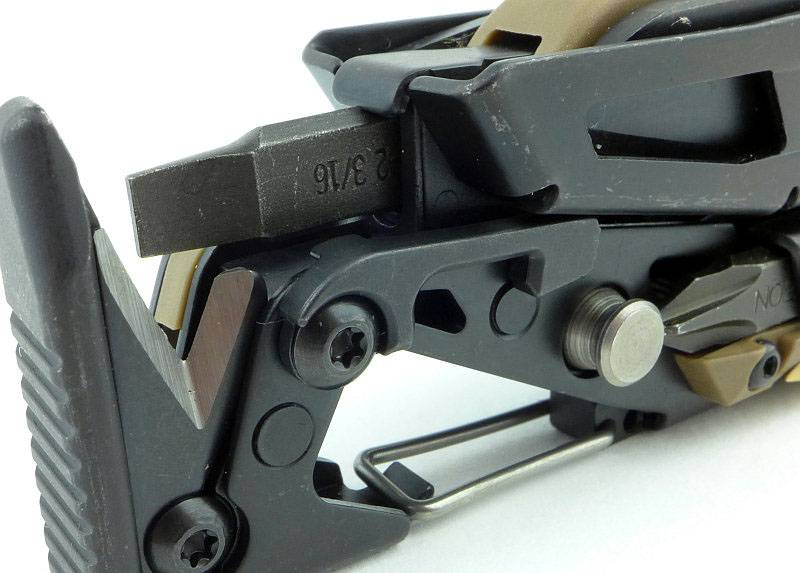
To access the bit holder the handle needs to be opened out as it can’t be used with the handles folded.
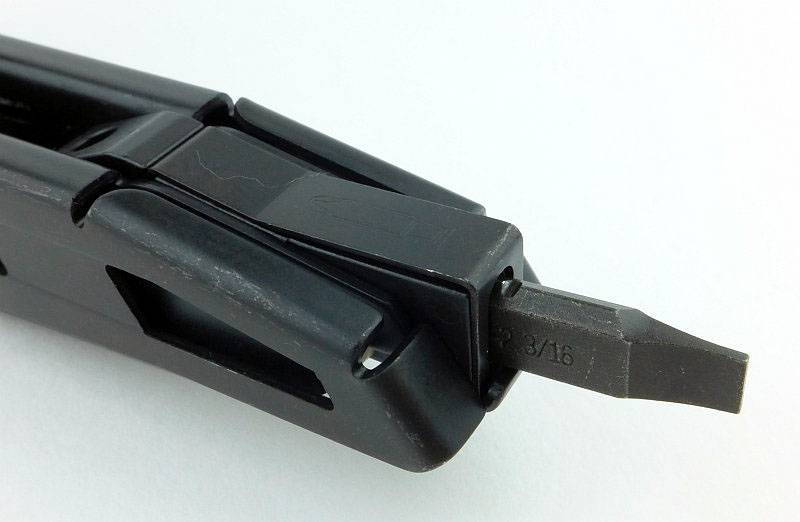
Each bit has a couple of small grooves either side which allow the bit holder to secure the bit.
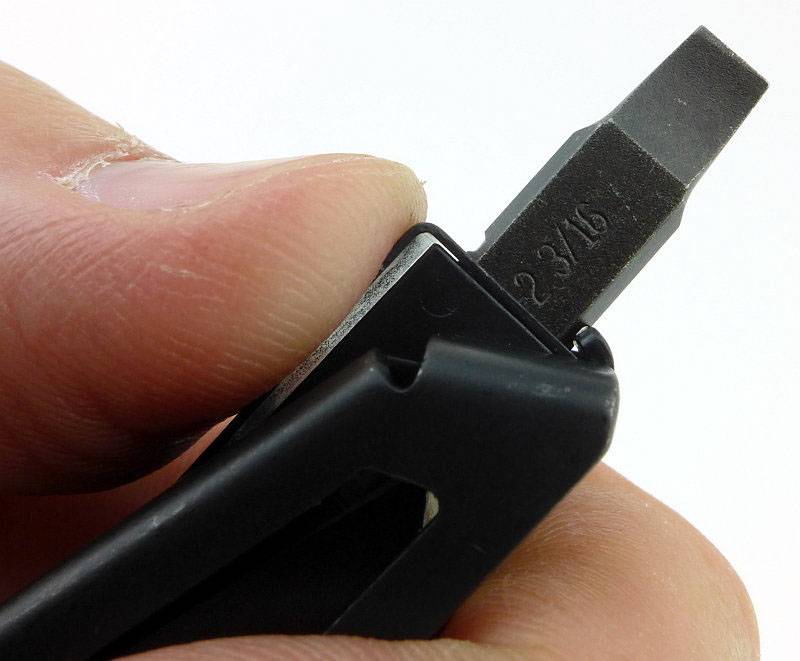
Pressing on the release plate pushes the bit hook away from the bit so that it can be pulled out of the holder.
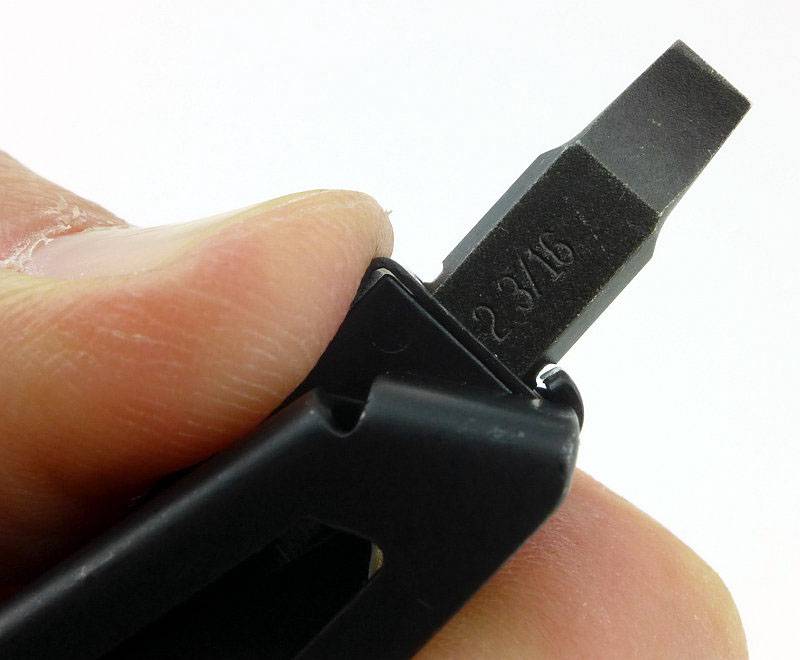
The bit can then be put back into place on the side of the MUT.
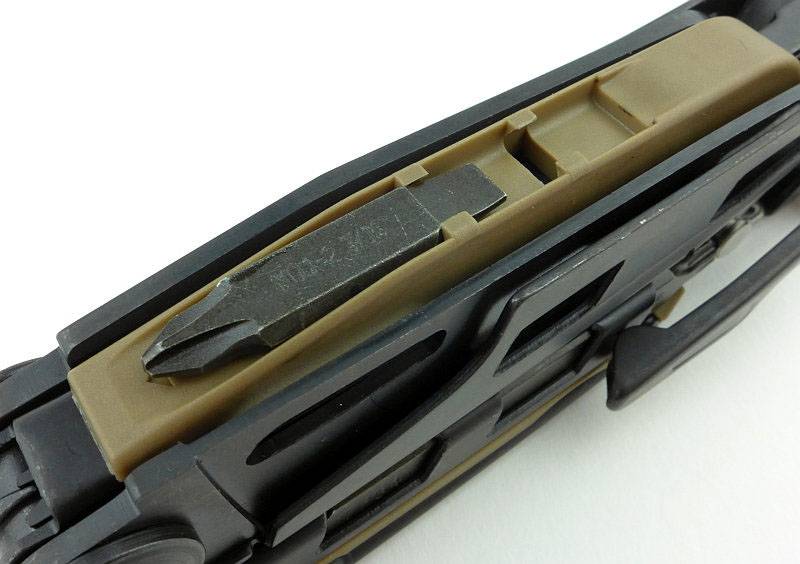
Requiring a very firm press the bit slides fully into place.
OK, time to get onto the pliers.
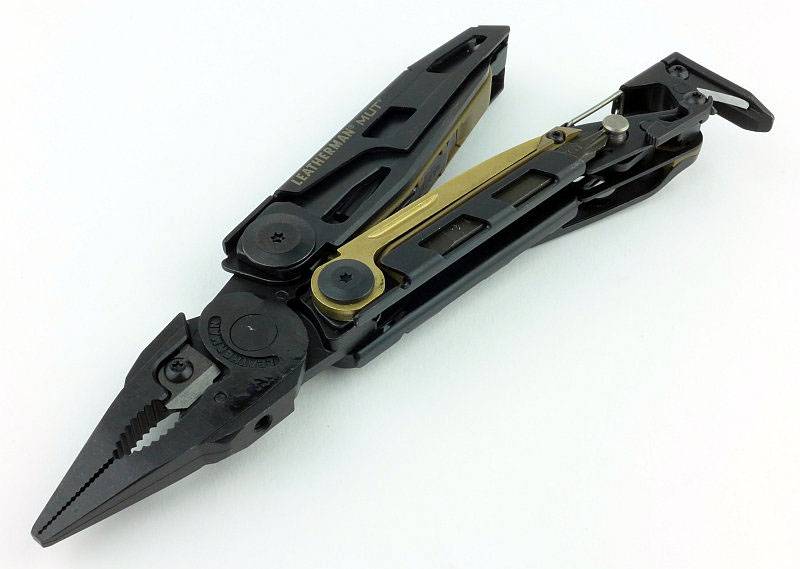
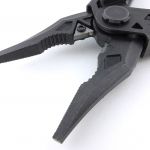
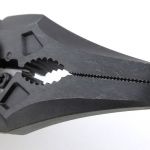
Leatherman use a hybrid jaw which is a blend of needle-nose and standard pliers.
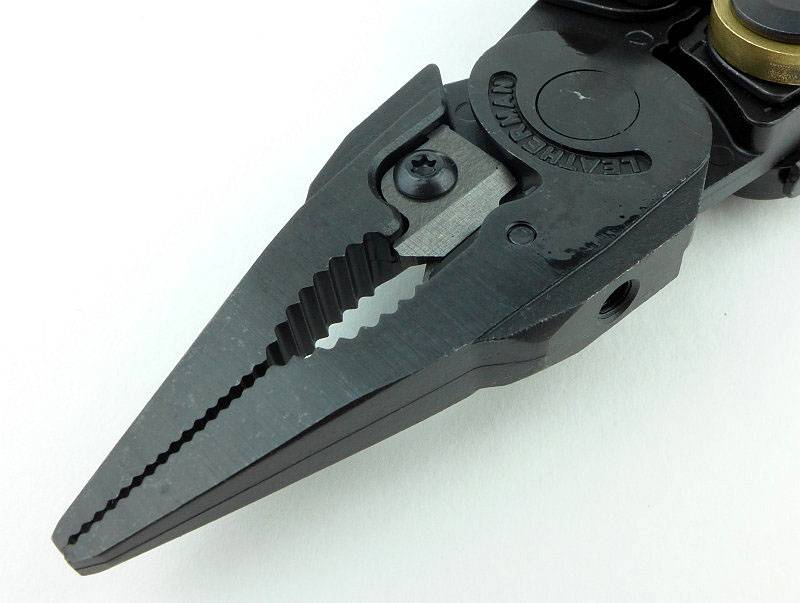
The jaw tips are well aligned and the very tip touches to give tweezer like gripping.
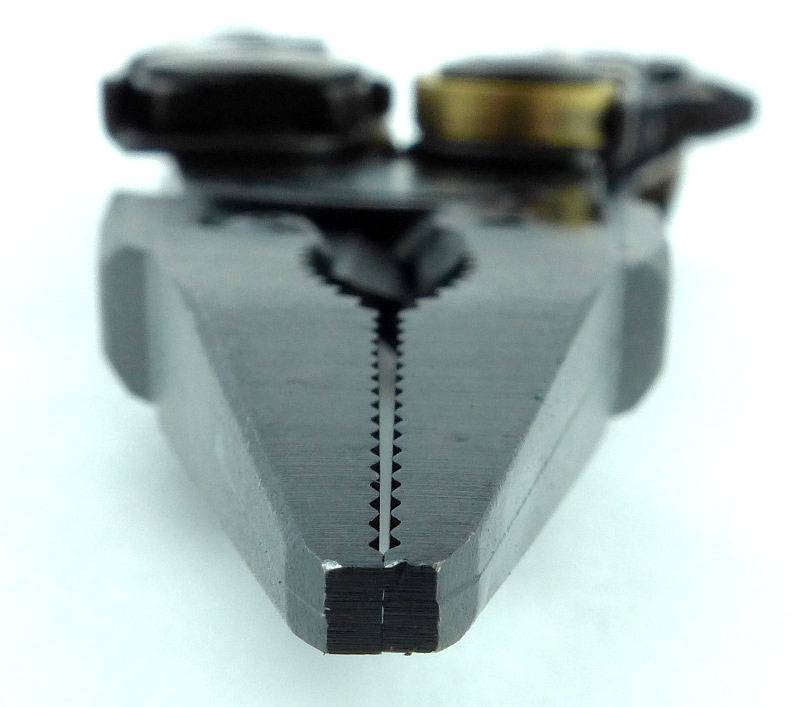
A massive improvement over pliers with cutters that are formed directly from the jaw steel, is to use replaceable cutters. There are two benefits, with the first being that once blunted the pliers are not ruined, and the other being that the cutter material can be specifically chosen for higher performance. 154CM has been used for these cutters which is very tough and wear resistant. There is a step in the cutter edges that allows the cutter to grip and hold tougher wires that might slip forwards and keep them as close to the pivot as possible (for the best leverage), making the cut much easier.
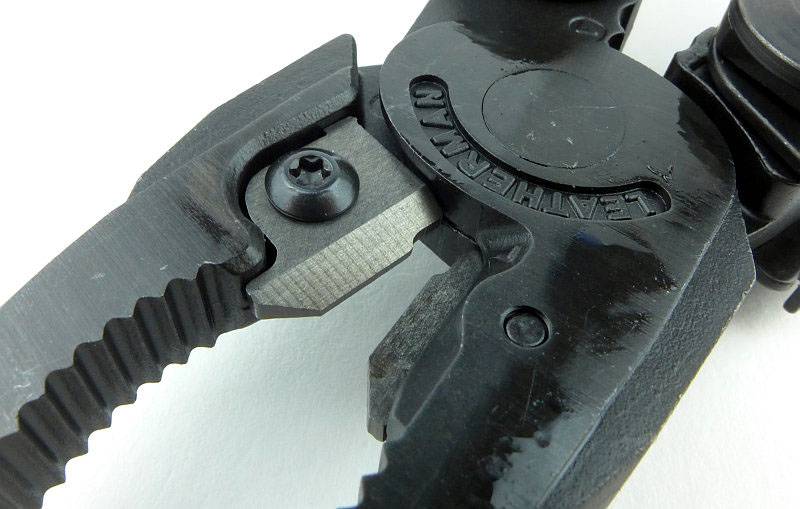
The last features of the pliers are a stranded wire cutter and crimping tool which sit the handle side of the jaws.
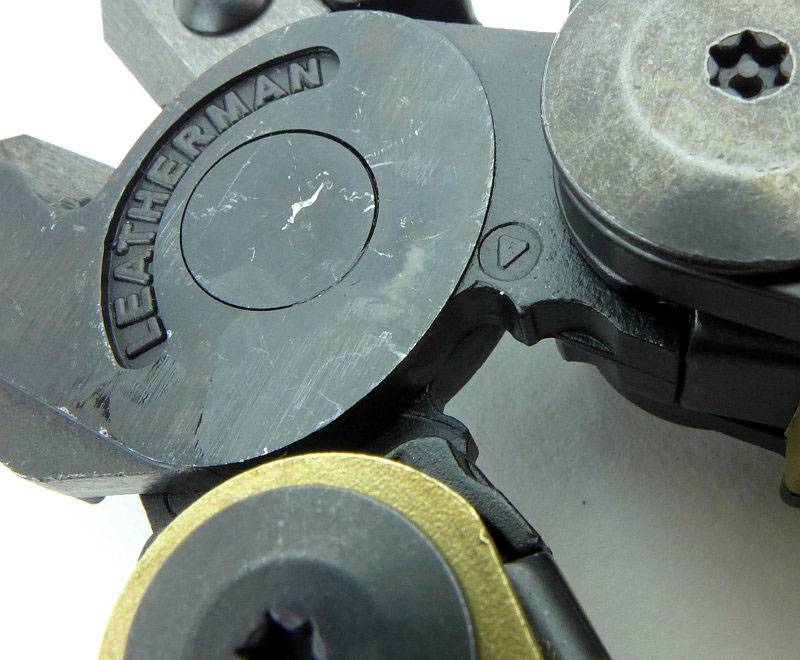
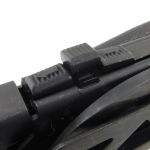
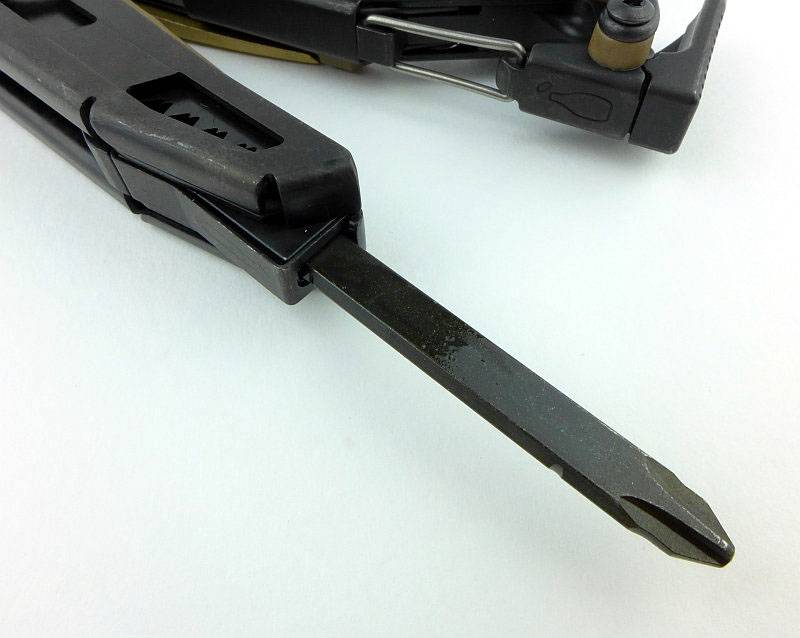
Fitted within the structure of the MUT are three double-ended screwdriver bits. We have already seen the one held in a plastic side panel, but there are two more that slide into one of the MUT’s handles. To keep them in place, there is a sliding button that clicks into place to block the driver bits falling out. Here it is preventing the bit from coming out.
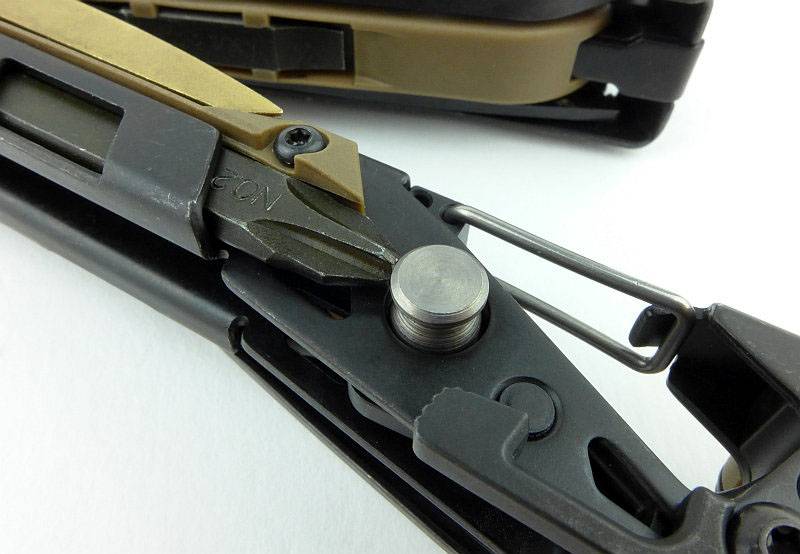
Pressing on the button moves it out of the way of the driver bit.
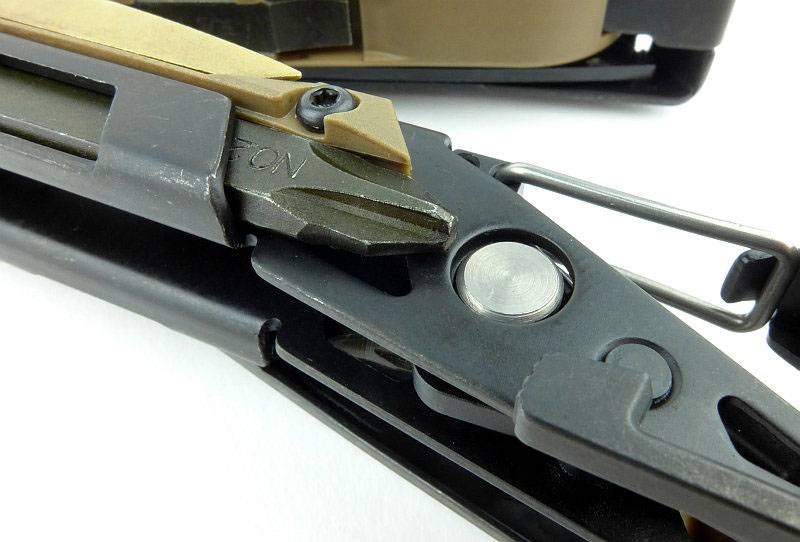
Which can then slide out so you can use it.
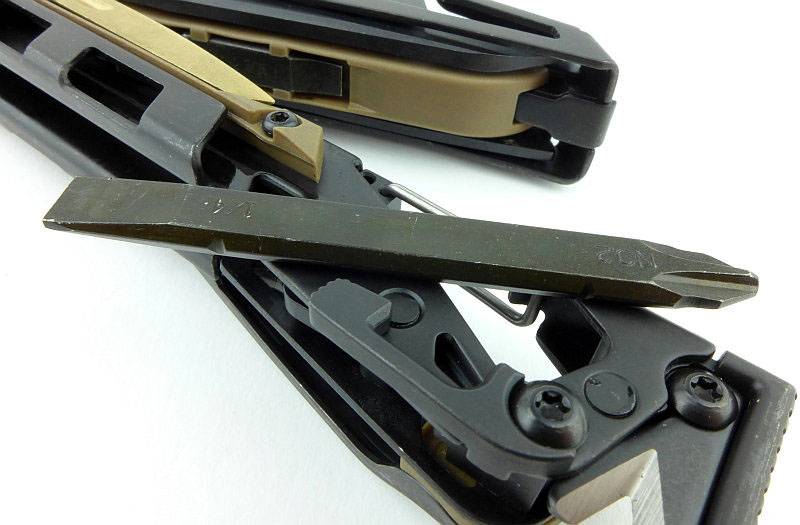
These long bits are too long to leave in place with the MUT handles folded, and give you extra reach for recessed screws.
Turning the MUT over, the second long driver bit is hidden under the pocket clip. The same button holds this bit in place.
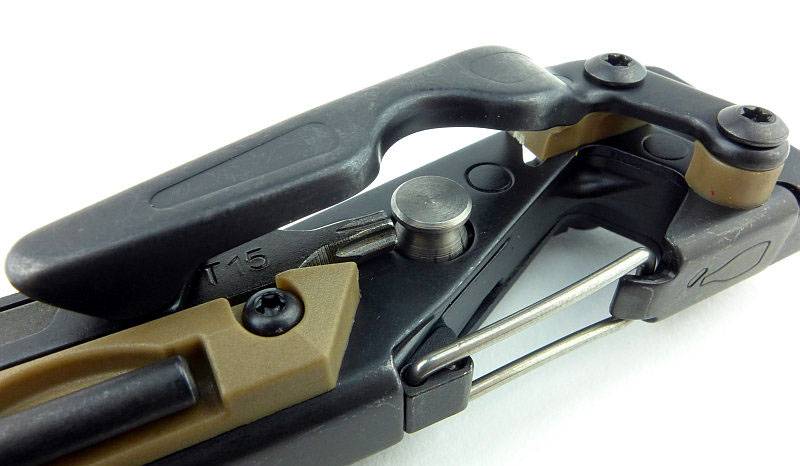
Pushing the button down allows this bit to slide out from under the pocket clip.
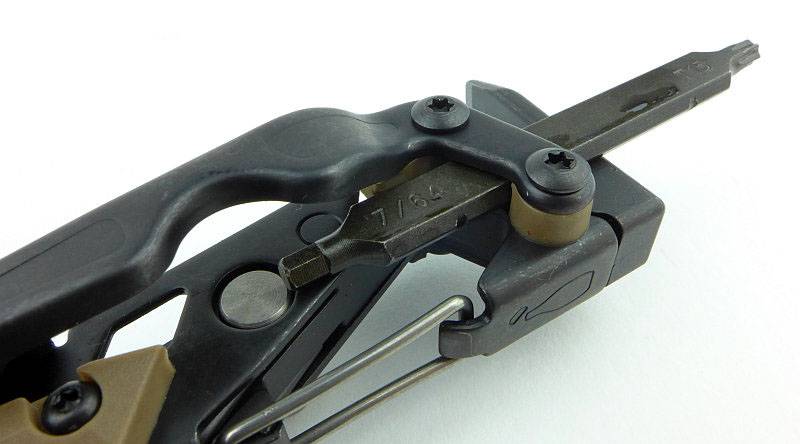
Here the second long bit is fitted into the bit holder.
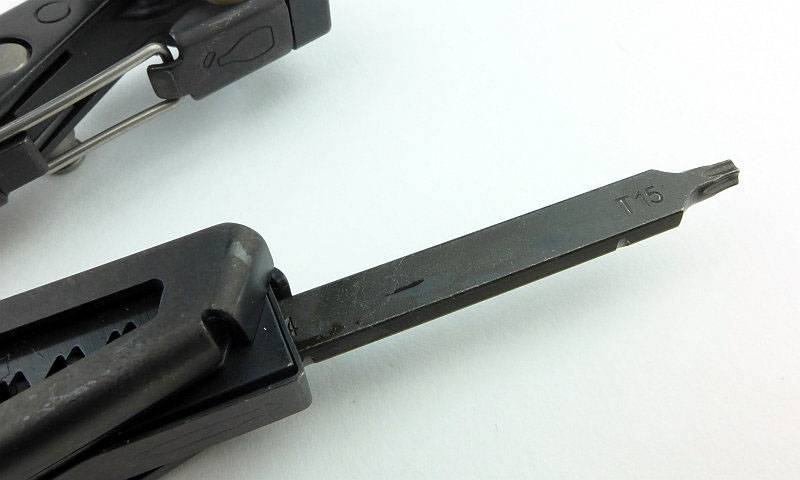
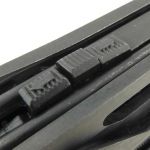
Taking a close look at the double-ended button used to hold the two long driver bits in place. To clicks to the left or right depending on the bit you want to access.
The sight tool is a separate item.
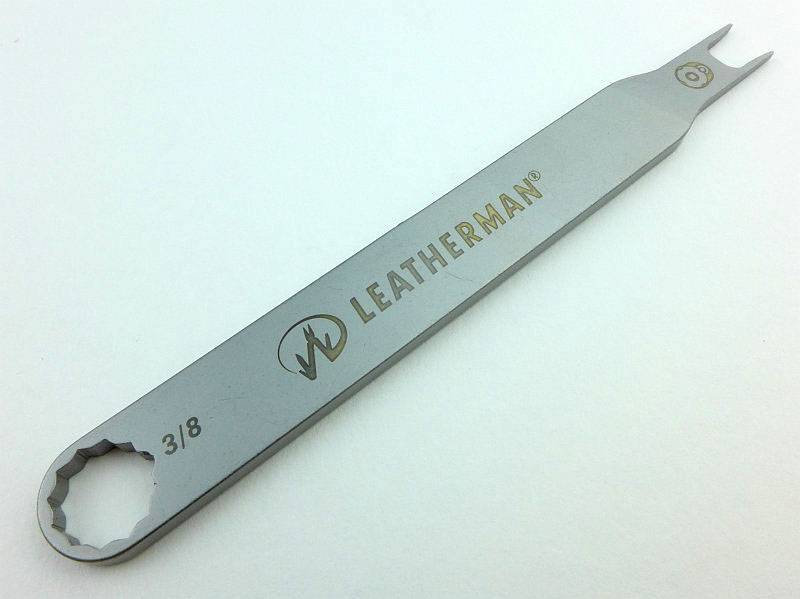
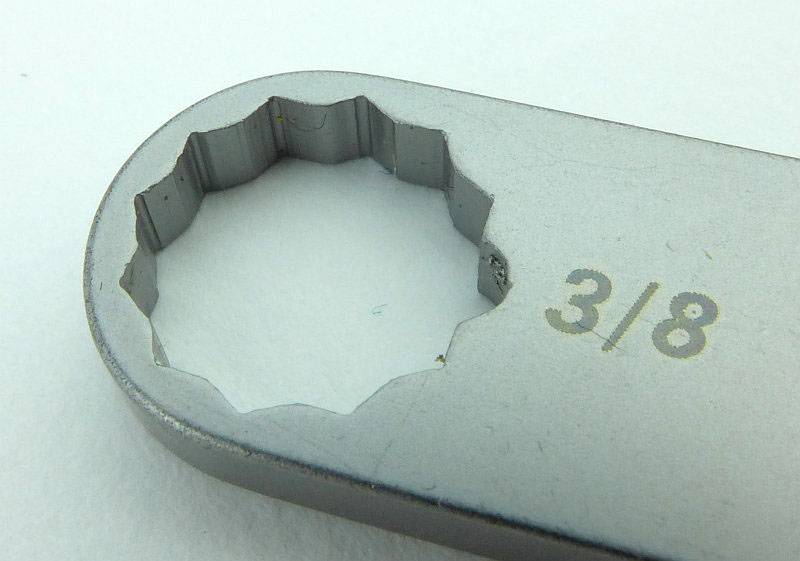
One end of this tool is a 3/8 wrench.
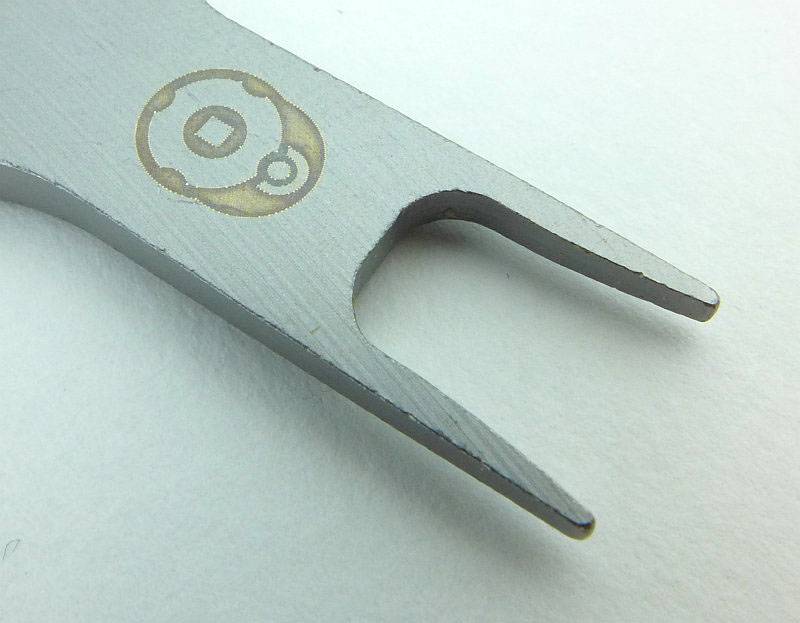
The other end is a foresight adjustment tool.
And there we have it, the MUT’s features covered, so next we are going to have a look at a couple of accessories.
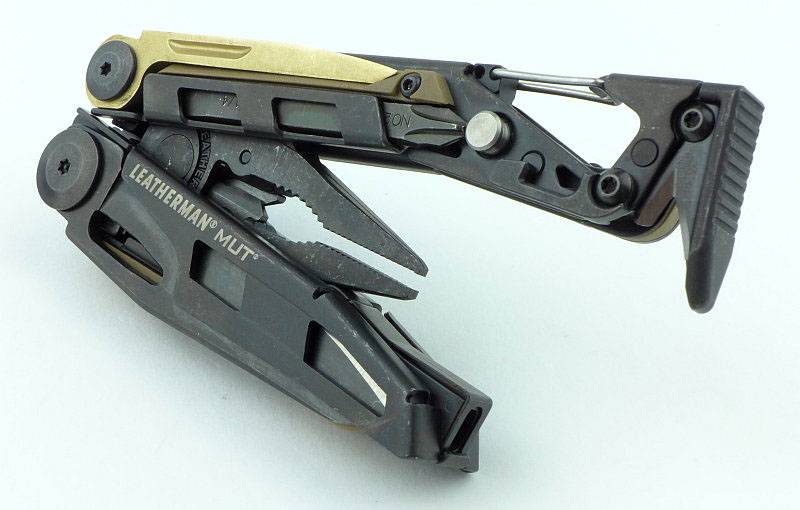
A few more details of the MUT’s accessories:
Along with the MUT, the additional bit-kit and MUT accessory kit were supplied.
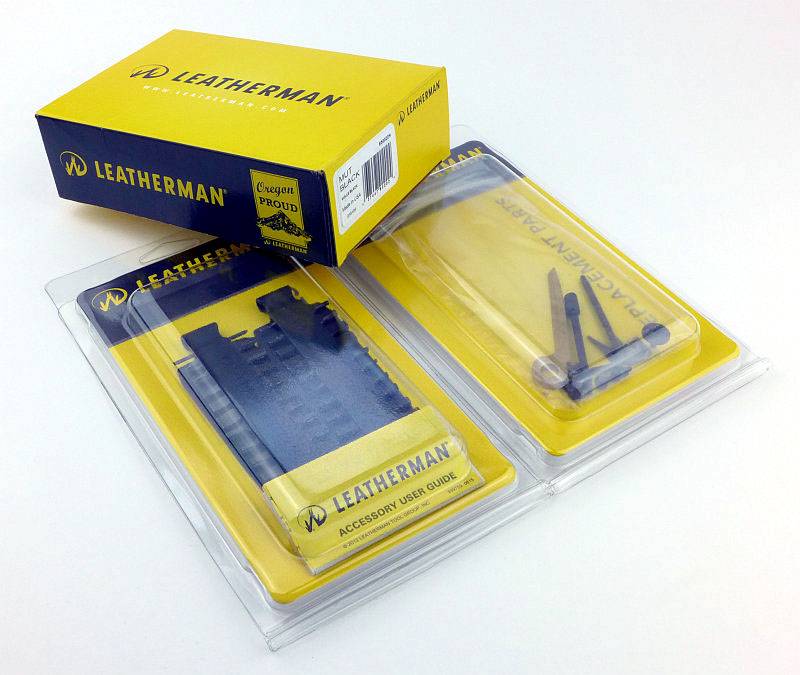
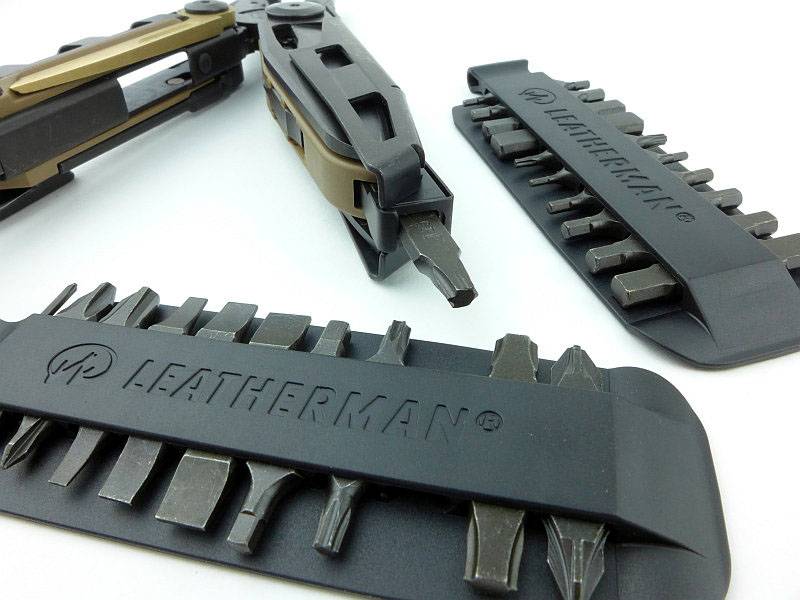
The bit-kit has two strips of bits that fit the MUT’s bit holder and the accessory kit has a bag of several parts for the MUT.
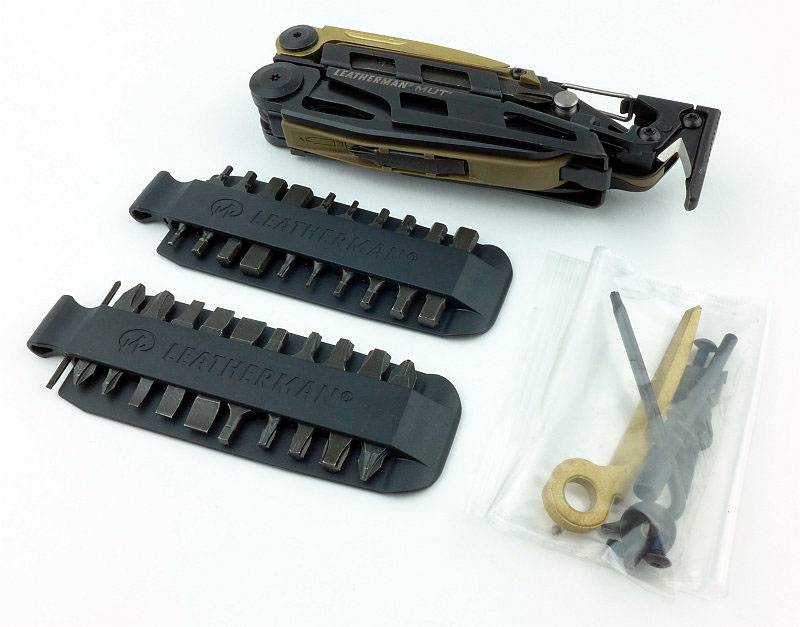
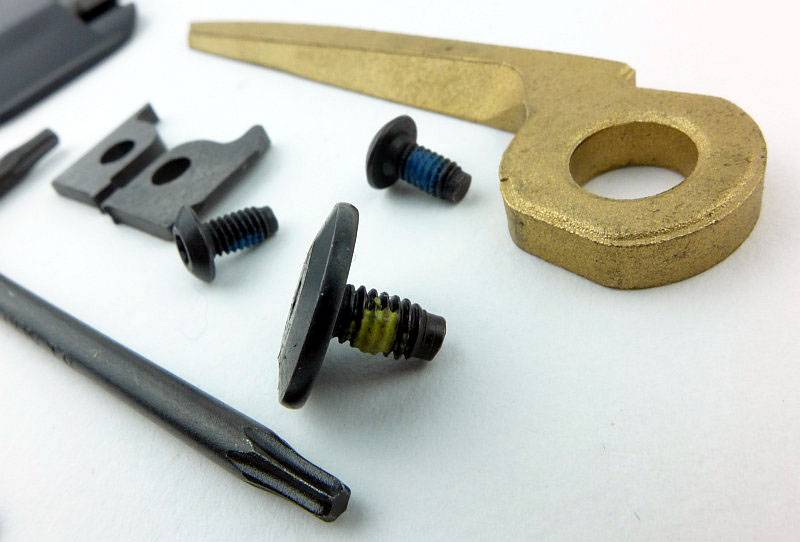
Laying this all out, the accessory kit has all the replaceable parts, cutter, wire-cutters, punch and scraper, plus replacement screws for fixing all of these parts.
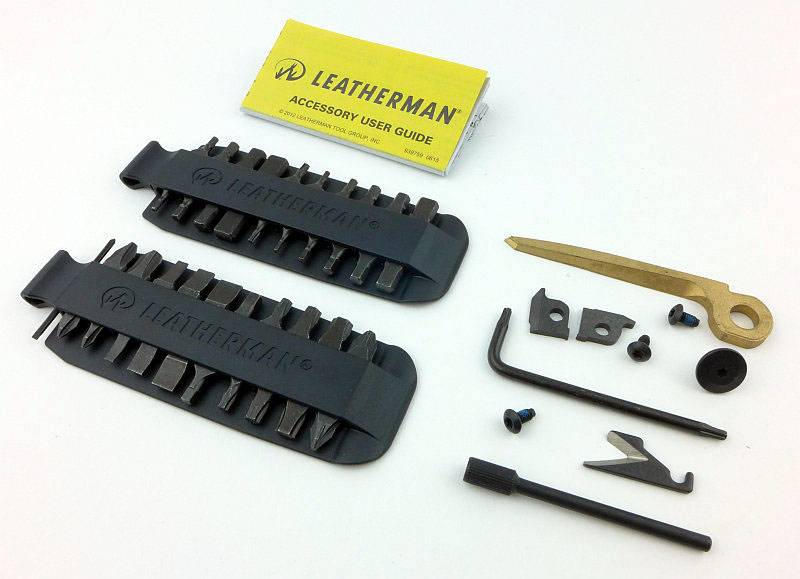
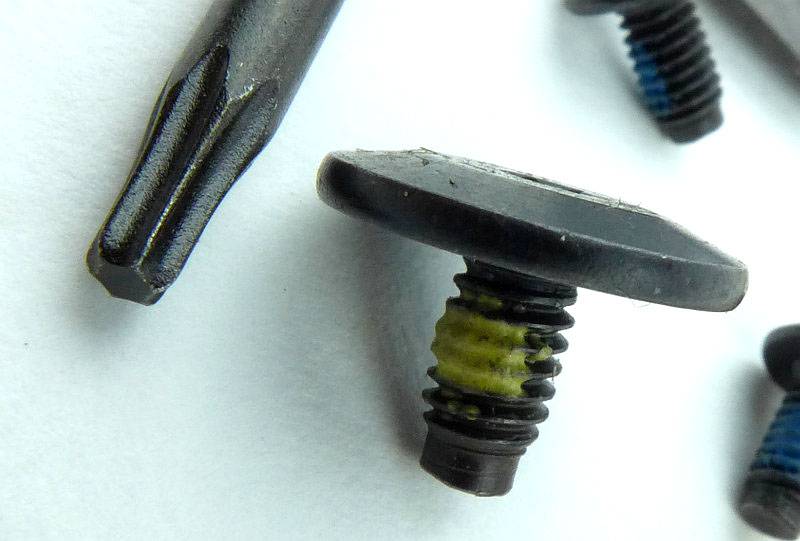
The screws even have a pre-application of thread-lock on them.
Having the bit-kit massively enhances how useful the MUT’s screw driving capability is.
What it is like to use?
Starting from the first moment you get your hands on the MUT, I’ll have to talk about that Black Oxide coating! So, out of the box, you are going to get nice black hands. It certainly looks very anti-reflective when new, but part of that is the loose surface of black dust. Four or five baby wipes later and the MUT is looking slightly less black, but now isn’t shedding black onto your hands and everything it touches. My advice would be to give it a good wipe down before you do anything else. If you are jumping straight into cleaning a very dirty gun, then you will end up with black hands anyway, but it is worth the initial cleanup.
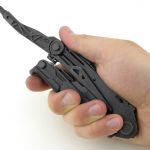
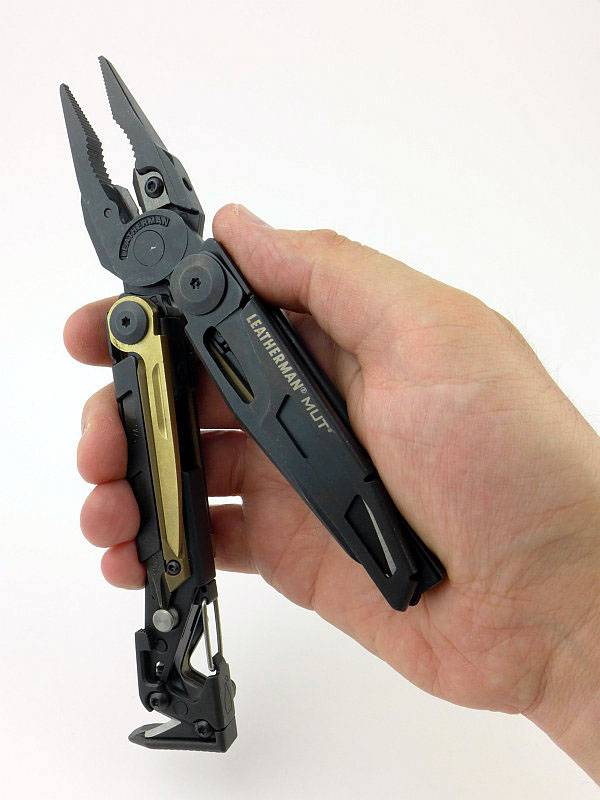
When you pick up the MUT it is clear this is a heavy duty multi-tool. It is not the largest I’ve used, but it certainly feels tough. (I take XL sized gloves.)
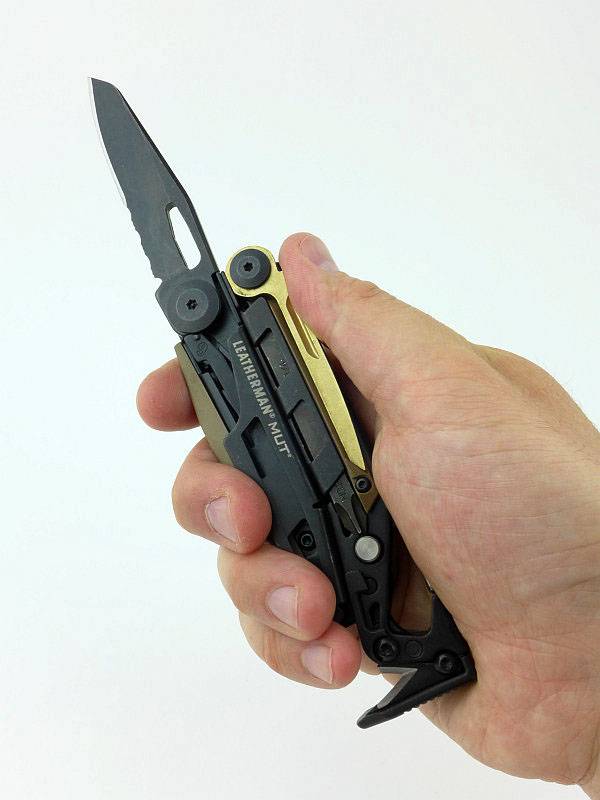
The knife in the MUT is a reasonable size, locks firmly and the blade is a sensible thickness too. This is one multi-tool blade that can do a reasonable amount of work. Unfortunately as a UK resident, this locking knife is something of a potential issue with EDC so I’ll take another look at that later.
An important thing to note here is the position of my little finger, and how it lines up with the cutter notch next to the hammer. If your finger starts to slip into the cutter notch, you certainly can get cut by it. If it were the other way round this would not be the case, as your palm could not get deep enough into the cutter notch. Just beware your finger doesn’t slip in under heavy use or when hammering.
NOTE: Leaving the small screwdriver bit in the bit holder helps guard against this happening.
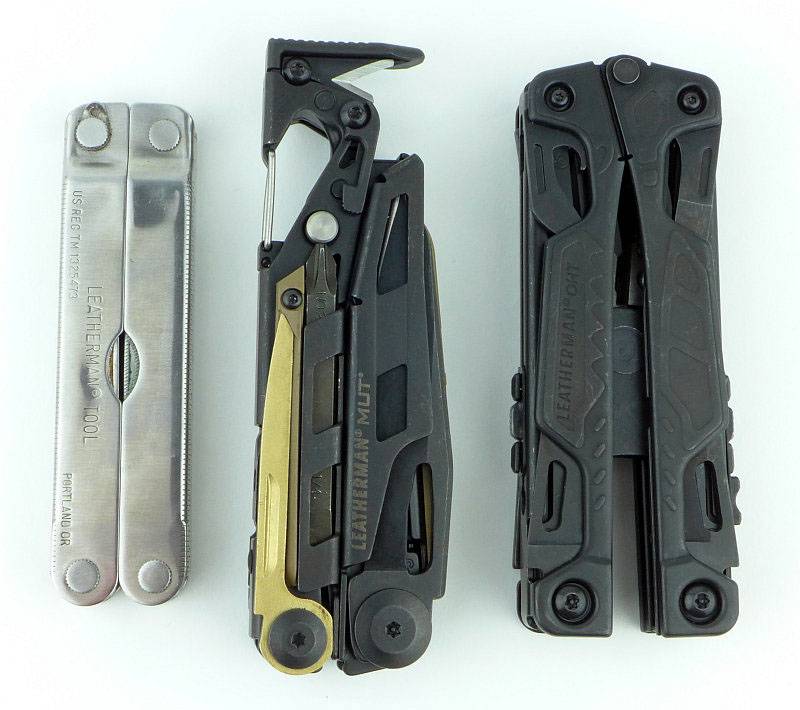
We’ve seen it in the hand, but here is a little size comparison between an original PST, the MUT and the OHT. Due to its out-the-front pliers deployment, the OHT looks quite large, but its build is not as heavy. The PST is quite compact and closer in size to the average multi-tool.
Then we unfold them all.
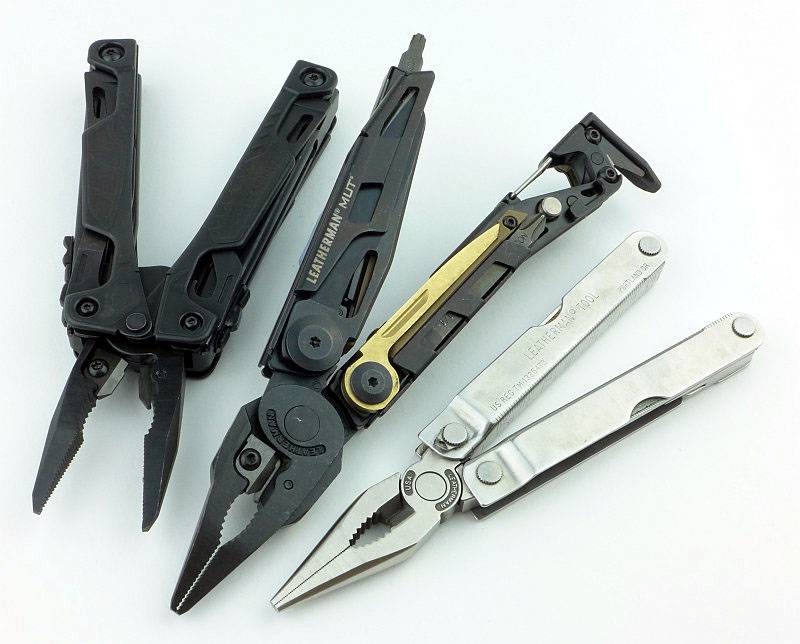
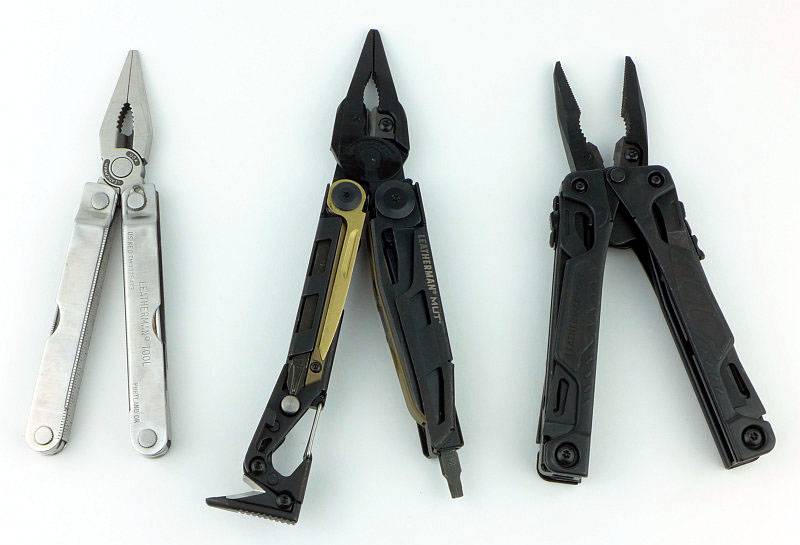
Despite the OHT initially looking quite big, with the MUT fully open, its presence is clearer.
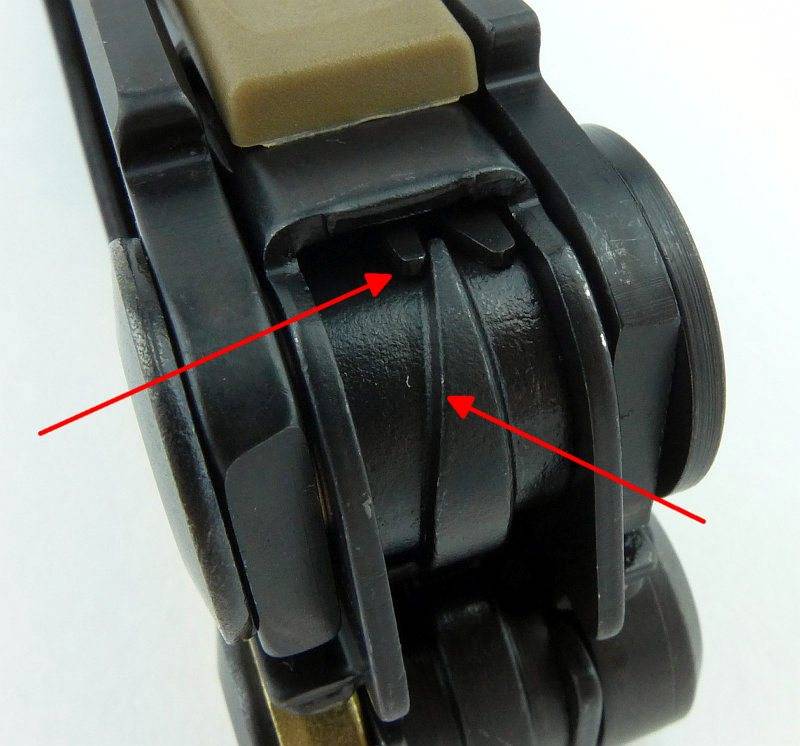
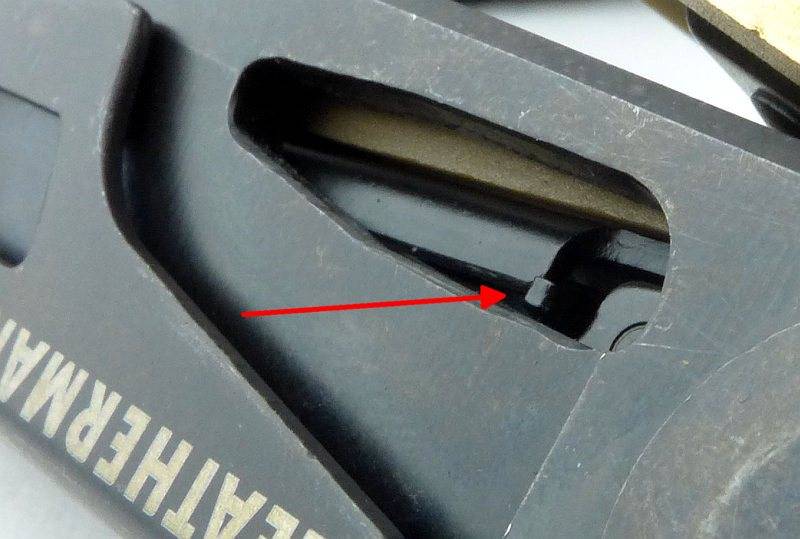
The MUT includes a safety feature that is used in other Leatherman multi-tools, but you might not have noticed. There is a safety lock to prevent the knife blade being opened when you are using the pliers.
You might have spotted the cams which are included on the pliers’ handle pivots in some of the other photos. What you might not have seen is the metal arm which sits against one cam. Here the lower arrow shows the cam, and the upper arrow points to the safety lock arm. As you rotate the handle open to deploy the pliers, the safety lock rides up the cam slope, pushing the metal arm sideways.
With the handles closed, and the knife blade able to open, if you look inside the opening hole, there is a small metal pin sitting back inside the handle as shown by the arrow.
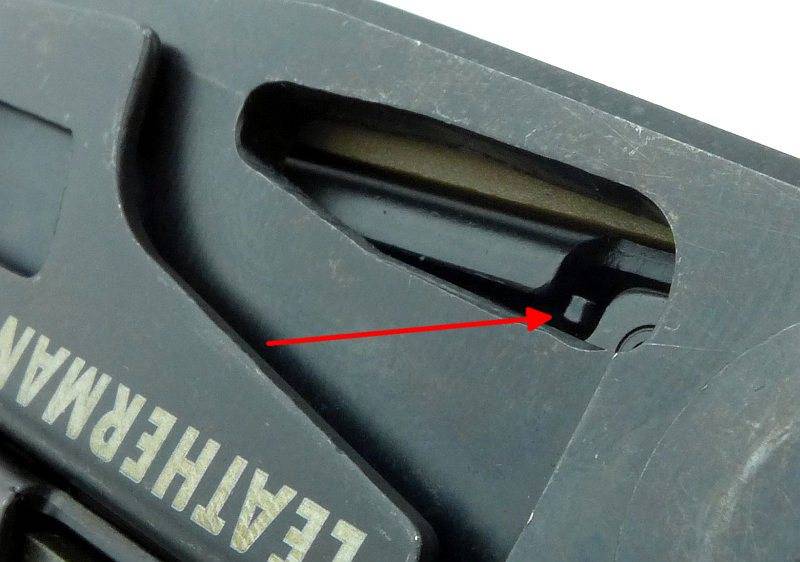
When the handles are opened, that cam pushes the safety lock out, placing the pin inside the opening hole. Like this you can’t open the blade as it is blocked. A small detail, but a really important one that stops what could be a nasty accident if the blade opened when using the pliers.
Taking the MUT out into the field and amongst the jobs it was needed for was some tidying up of barbed wire. Two gauges were being cut, a high tensile 2.5mm and a smaller 1.6mm.
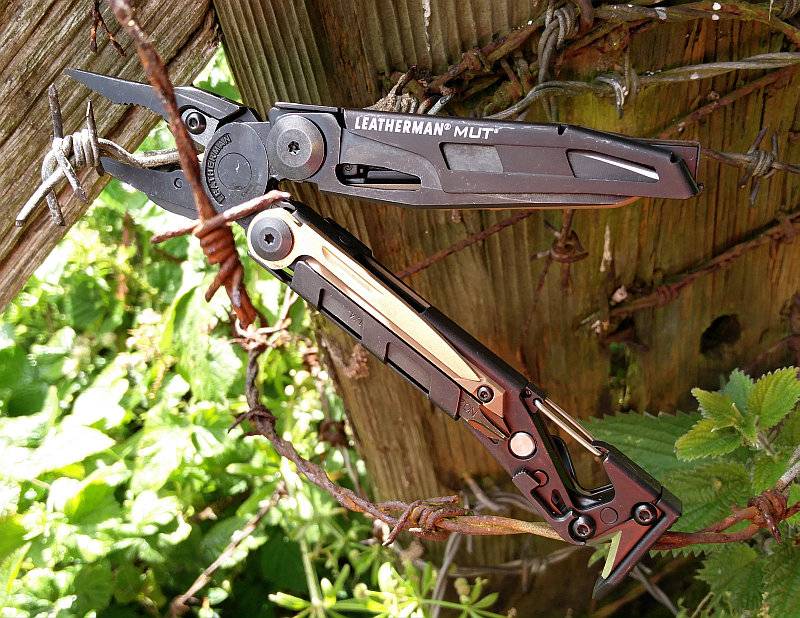
The MUT breezed through the 1.6mm, but the 2.5mm required a but more grunt, after a while I started to need to nip through one wire at a time purely due to fatigue.
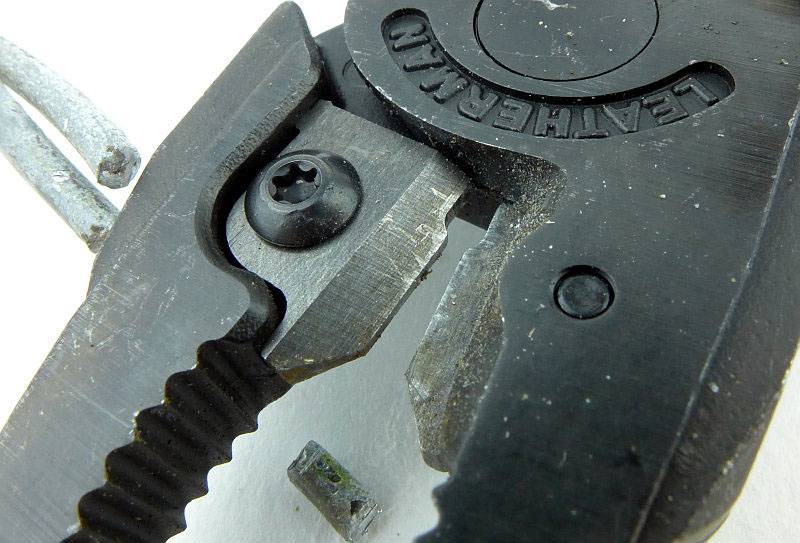
What was very impressive is the state of the 154CM cutters after a lot of work, they looked like this, pretty much untouched.
Carrying the MUT to be as fully prepared as possible means carrying the sight tool and extra bits. The sight tool fits into the pouch much better if laid next to the pocket clip like this before inserting it.
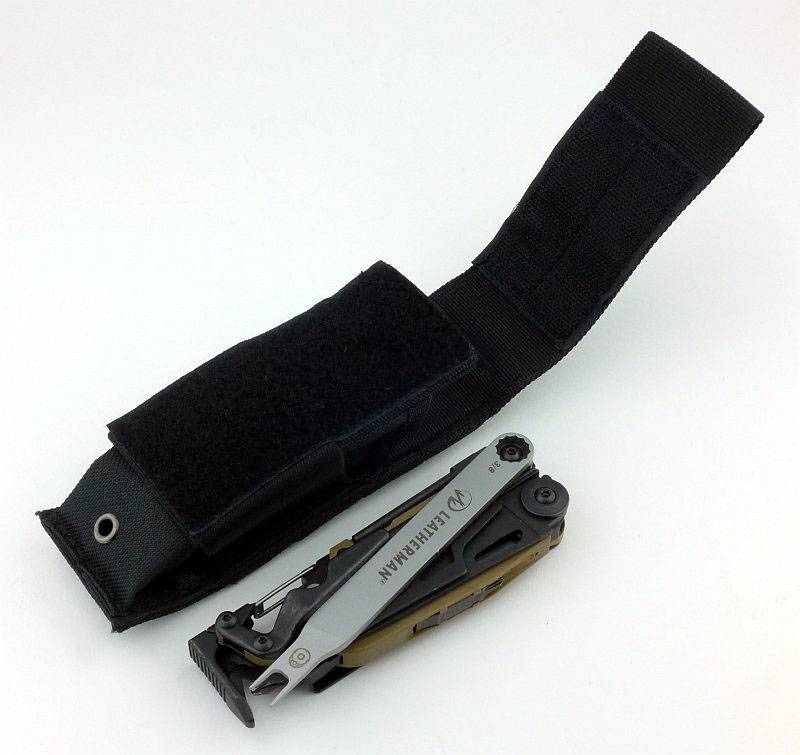
The front of the holster does have a pocket that nicely holds one of the bit sets, so here we have the MUT, sight tool, and one bit set.
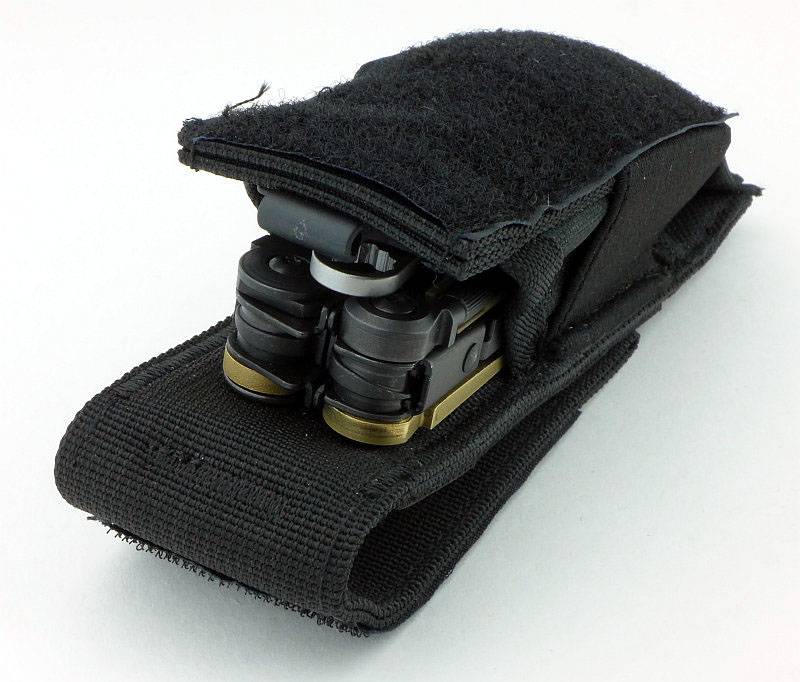
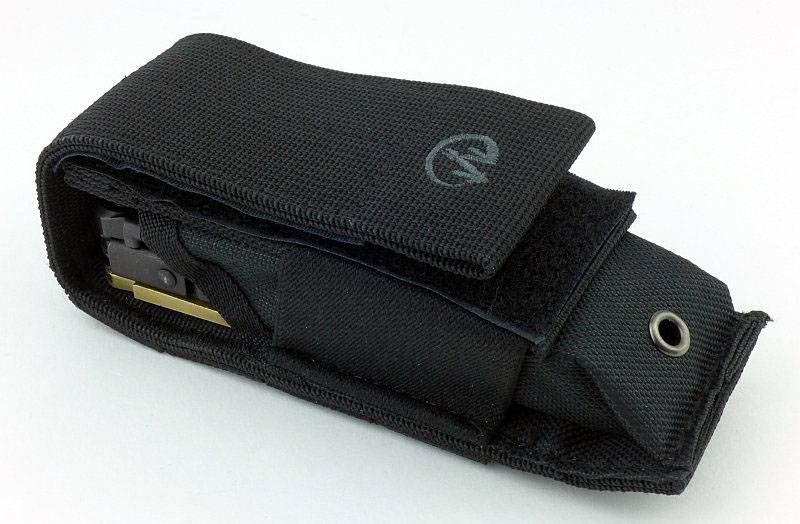
Compared to the earlier photo of the MUT when it was on its own in the holster, the flap now sits higher up on the pouch front, but remains perfectly secure.
If used for firearms maintenance, the fact the MUT has a knife blade in it is not really of any consequence as you have a gun with you. However I wanted to carry the MUT at all times, not just when out shooting. Being a UK resident, this means considering the knife carry laws, and being a locking knife the MUT is effectively classed as a fixed blade – so not UK EDC friendly.
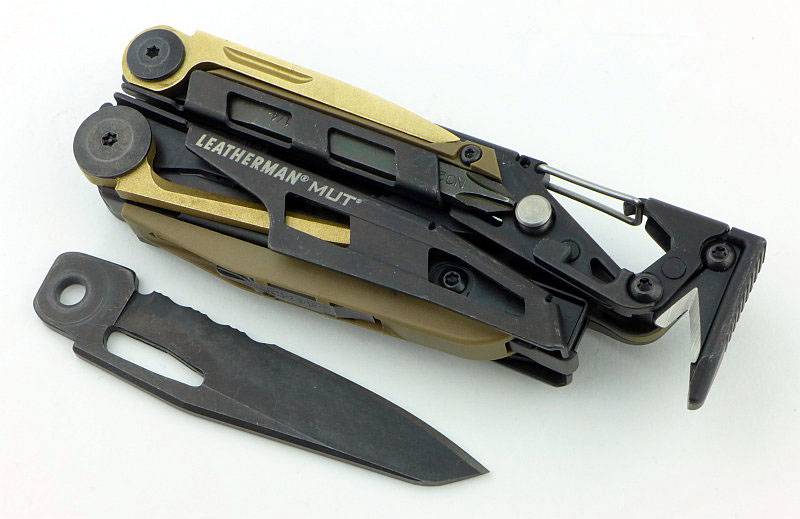
It turned out to be a very easy conversion, especially as the accessory kit has a spare bronze scraper which very nicely substitutes the knife blade.
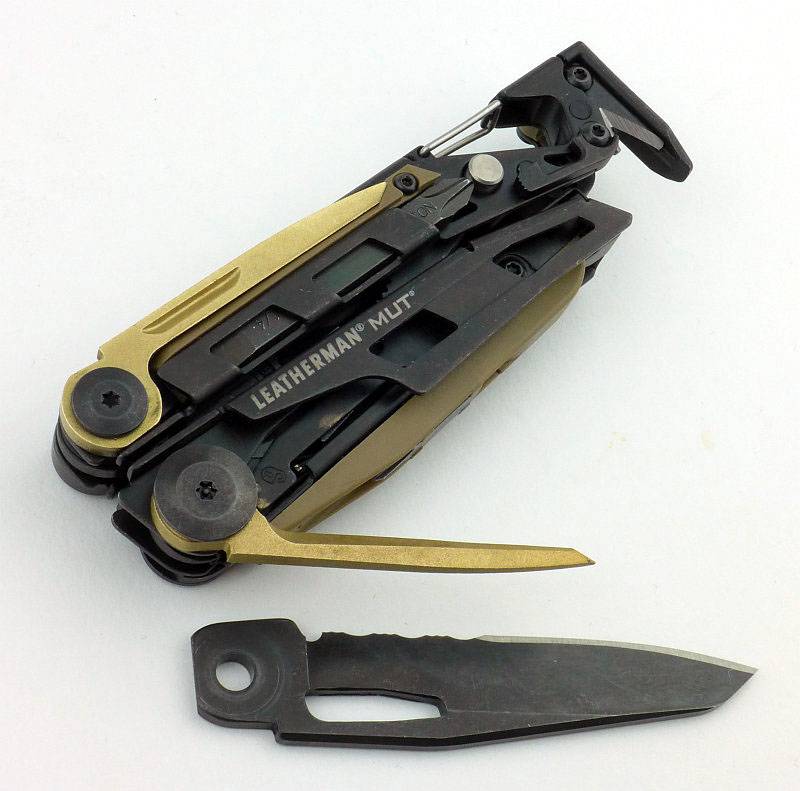
If you want to do this, you will need two T10 security bits to be able to undo the knife pivot. After doing this it is easy to substitute the knife blade for the spare scraper. You could use a couple of washers or something else to fill the space the knife blade occupied, so you don’t need to have the accessory kit to do this conversion (but you do need to add a spacer of some sort).
There is one thing to look out for if you use the scraper or similar long substitute. The blade safety lock still operates as you open the handles to use the pliers, so it needs space to move into. The scraper’s nail-nick works perfectly for this, so long as you line it up properly (as shown here). If you used washers, this wouldn’t be any concern.
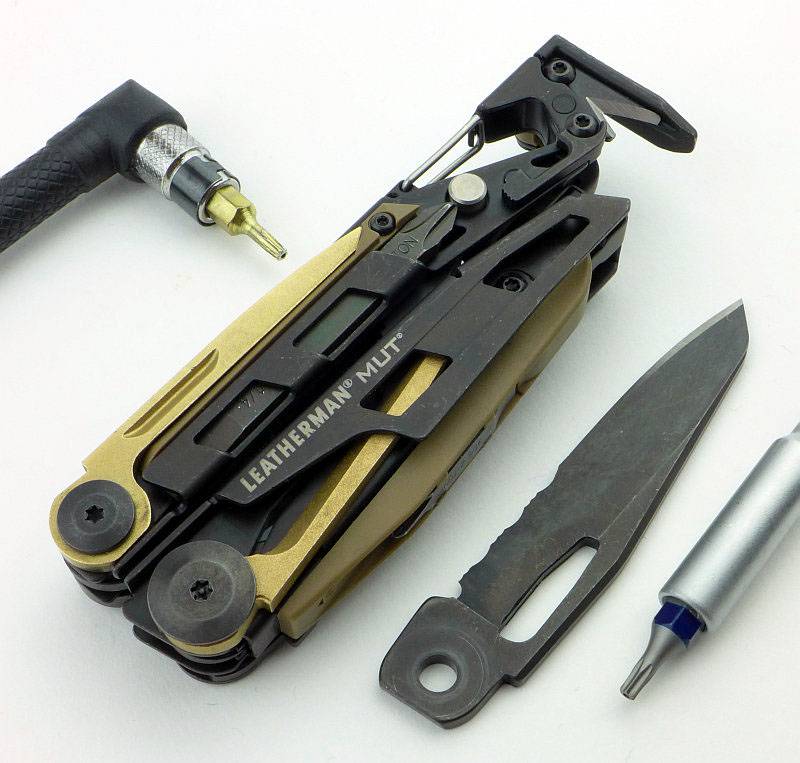
While undoing parts of the MUT, I decided to try out the ‘replaceable’ parts on it. Starting with the scraper and using the supplied T8 torx key, I hit a snag. The screw was very stiff, so much so that the T8 key stripped (with no damage to the screw). The supplied key had seemed a slightly loose fit, so I moved up to the next level; a mini screwdriver set which had T8, T9 and T10 bits. Actually the T9 was the best fit. This was a mini screwdriver, so not designed for heavy work, and after applying more and more force, the handle of the screwdriver started to turn around the shaft and the MUT’s screw still wasn’t moving.
So onto the next level and out to the garage. Going to a full sized screwdriver and in this case a T10 bit pressed very firmly into the screw, and finally it moved. The thread-lock used makes the turning motion very sticky, but the screw certainly won’t fall out on its own.
The moral of this story is not to rely on the Torx key provided with the accessory kit, and don’t go blindly for T8, but try out the T8, T9, and T10 bits you have to find the best fit.
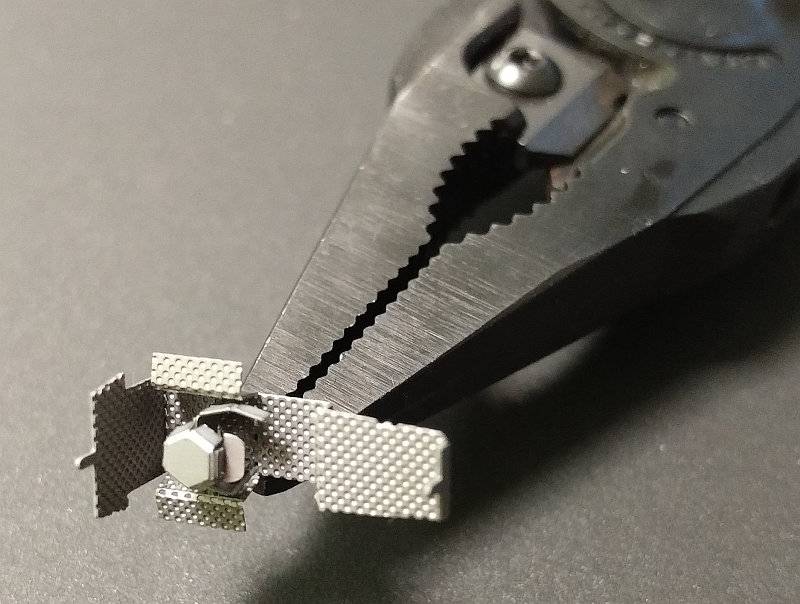
It has done plenty of heavy work, so how about something more delicate. I had a small sheet-metal Star Wars model to construct, and needed some needle-nose pliers. Roll in the MUT. Not necessarily the tool you might have though of for the job, but it did everything I asked it to. Here the MUT has shaped and assembled the pilot/cockpit of an X-wing fighter – pretty fiddly job, but the whole thing came together as well as it could.
Review Summary
The views expressed in this summary table are from the point of view of the reviewer’s personal use. I am not a member of the armed forces and cannot comment on its use beyond a cutting tool or field/hunting knife.
Something that might be a ‘pro’ for one user can be a ‘con’ for another, so the comments are categorised based on my requirements. You should consider all points and if they could be beneficial to you.
| _______________________________________________ |
_______________________________________________ |
| Things I like |
What doesn’t work so well for me |
| _______________________________________________ |
_______________________________________________ |
| Firearm orientated multi-tool. |
Handles are initially very stiff. |
| Heavy-duty build and performance. |
Pocket clip almost immovable. |
| All cutters are replaceable. |
Supplied Torx key in the accessory kit is not up to the job. |
| Strong knife blade. |
Sight tool is a separate piece. |
| Excellent holster. |
Saw is not very effective (but OK on green wood). |
| The unusual tools included are very effective – Punch, Hammer and Scraper. |
A finger can drop into the cutter notch. |
| Bit Holder extends functionality. |
|
| Powerful hybrid pliers. |
|
| Useful cleaning brush/rod attachment points. |
|
Discussing the Review:
Please feel free to add comments to the review, but the ideal place to freely discuss these reviews is on a forum. If you started reading the shorter forum version of the review, but followed the link this full exclusive review, please return to that forum to discuss the review there.
If you read the review entirely on Tactical Reviews, please consider one of the following to join in any discussion.
EdgeMatters – Sponsored Reviews (UK based Forum for Knife Makers and Collectors)
BladeForums – Knife Reviews (US based Forum for Knife Discussion)
CandlePowerForums – Knife Reviews Section (Largest and Friendliest Flashlight Community Forum)
