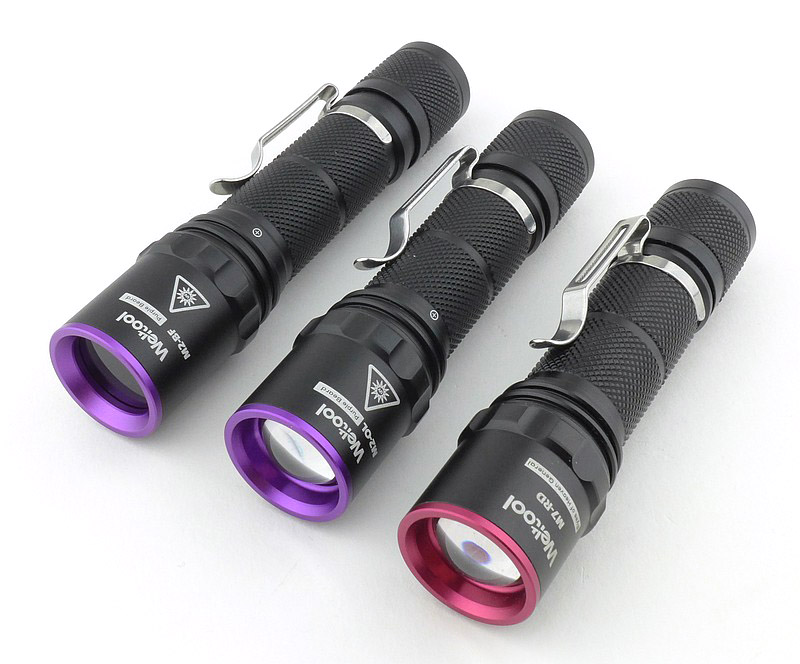
For my first Weltool review I’m taking a look at some specialist lighting options; no white light here, instead it’s two lights with 365nm UV output, and one pure Red 625nm output. The models on test are the M2-OL (flood beam 365nm UV light kit with charger and cell), M2-BF (pure 365nm UV output, light only), and the M7-RD (625nm Red output with USB chargeable cell).
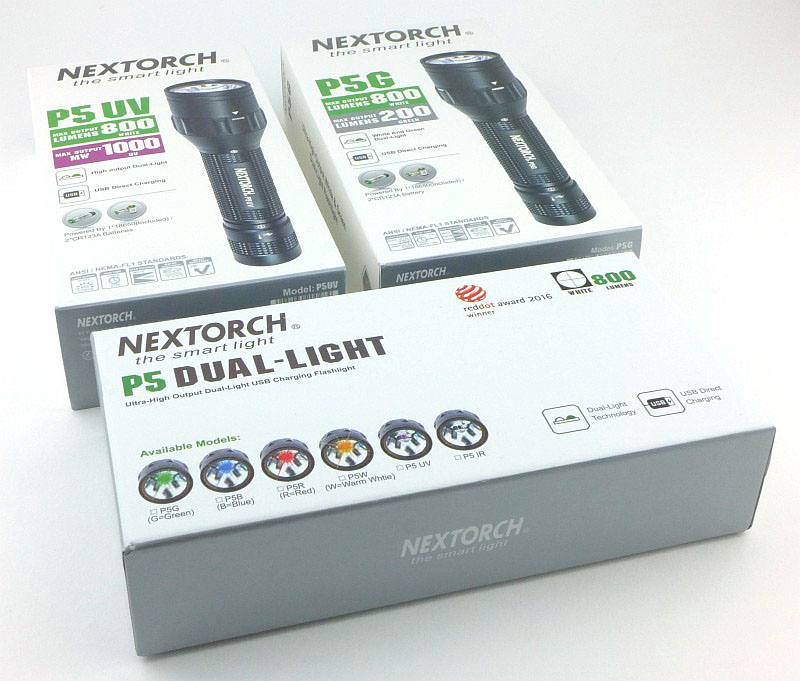
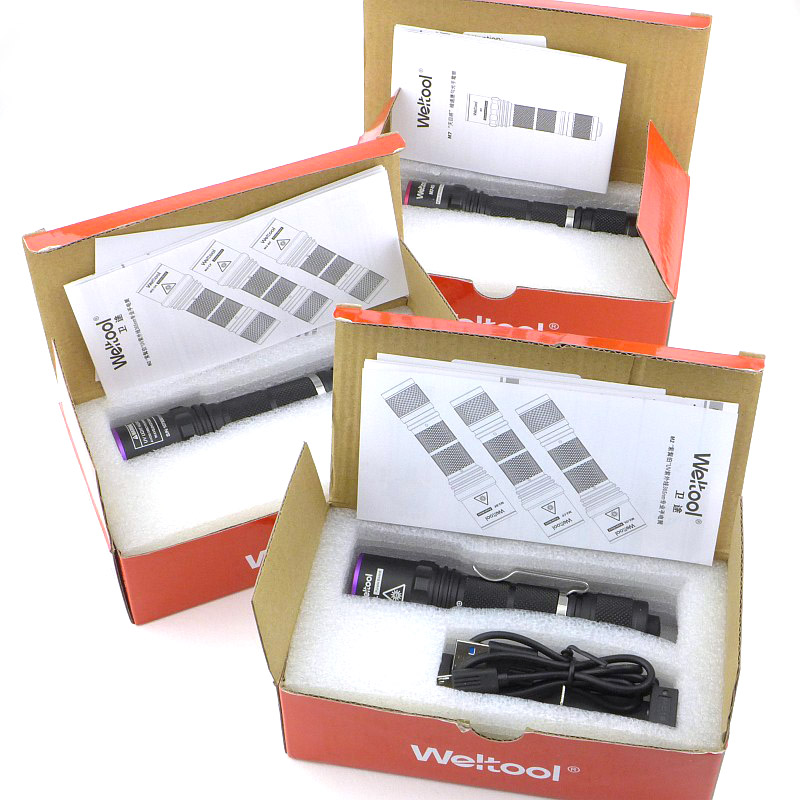
What is in the box?:
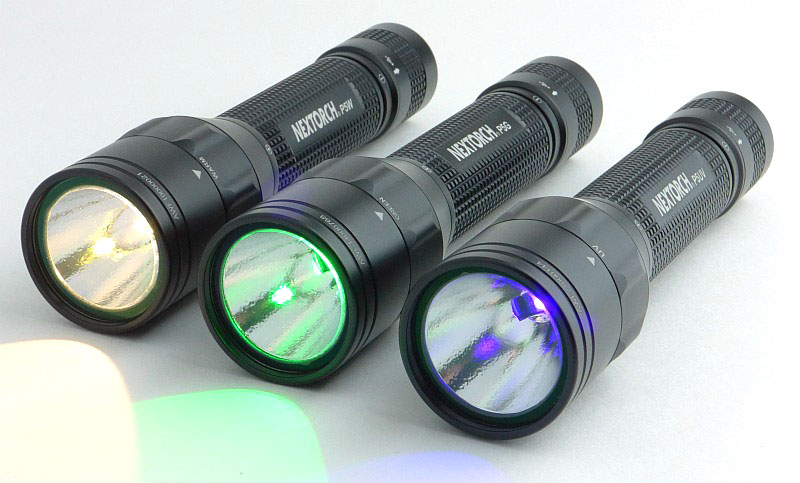
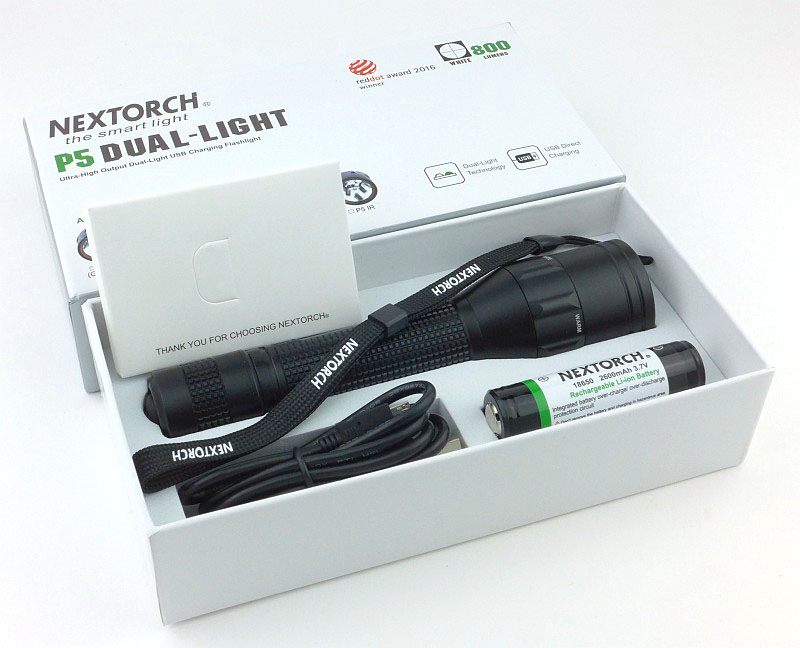
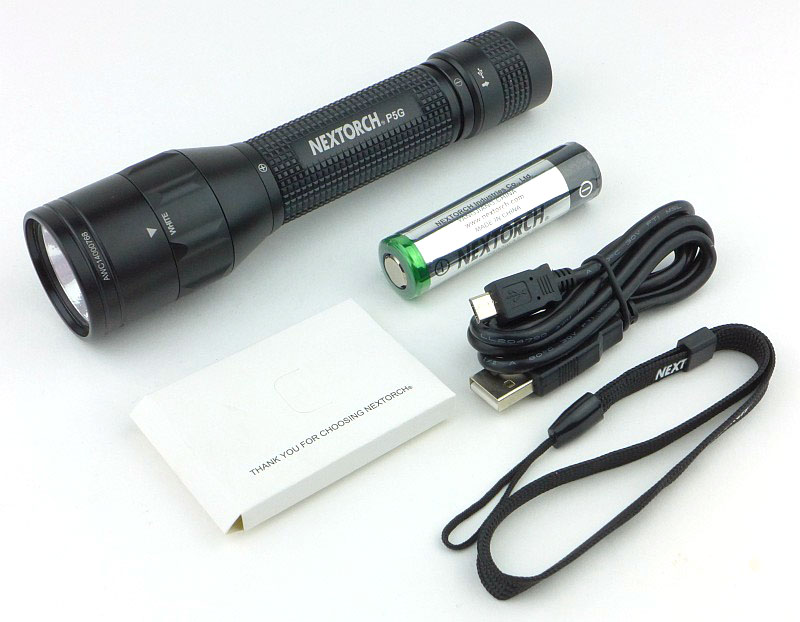
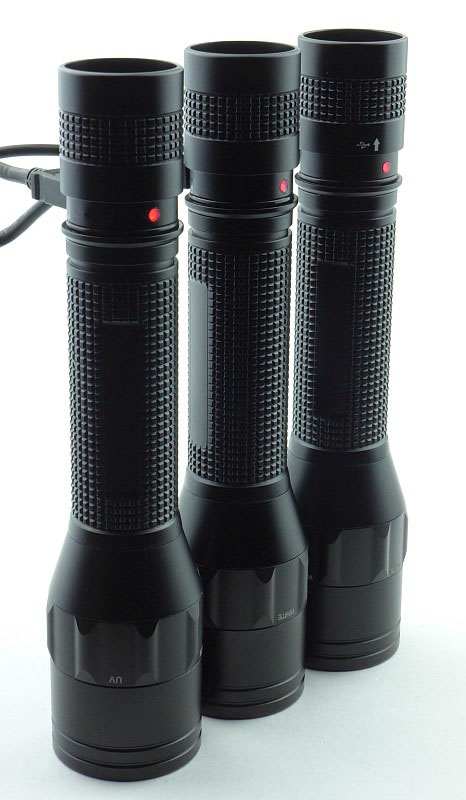
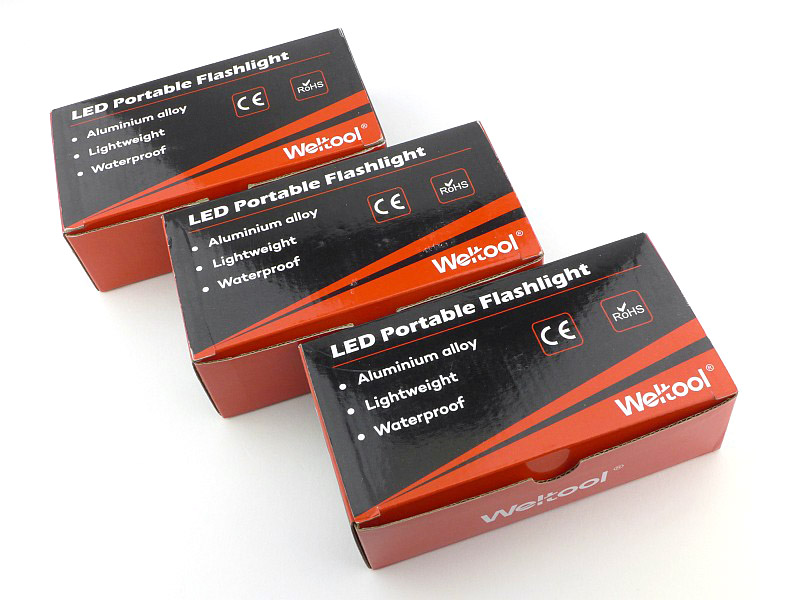
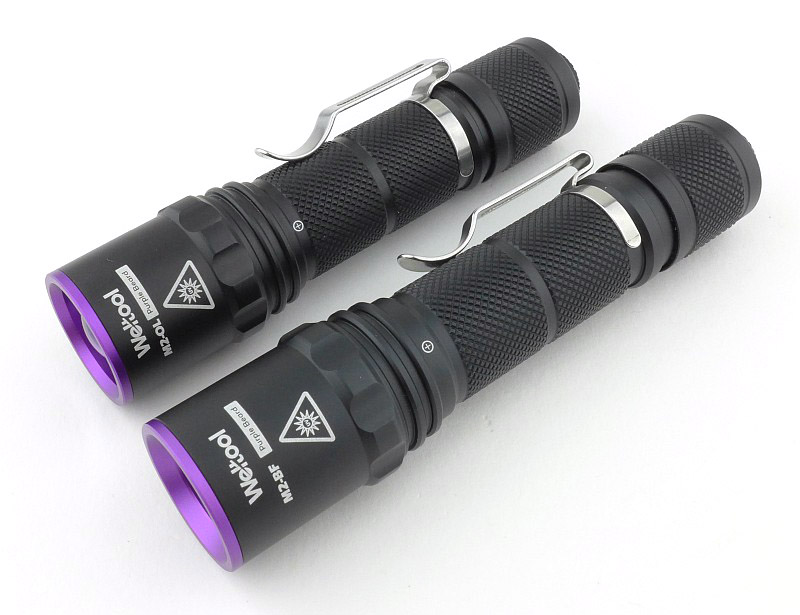
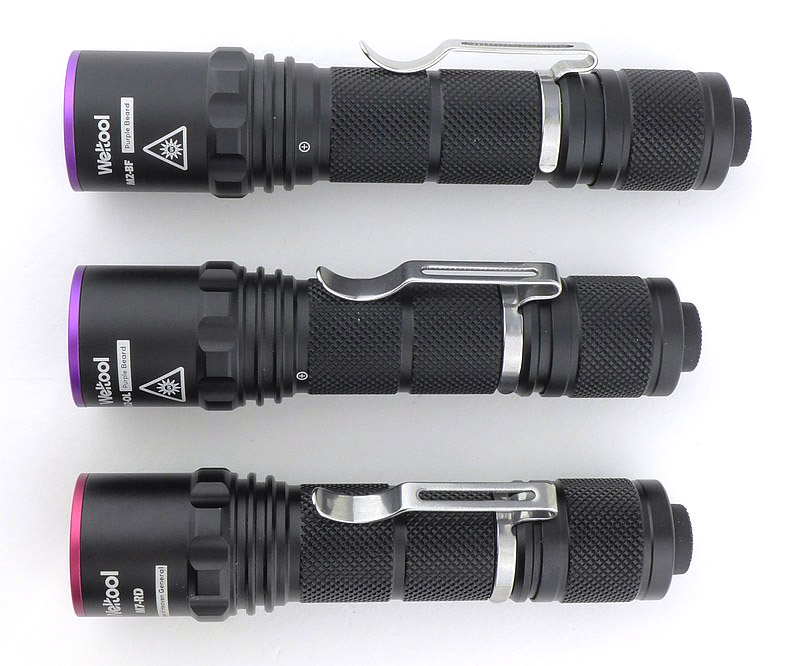
A quick overview of the three models and how they arrived. The M2-OL also includes a single-bay USB charger in the box.
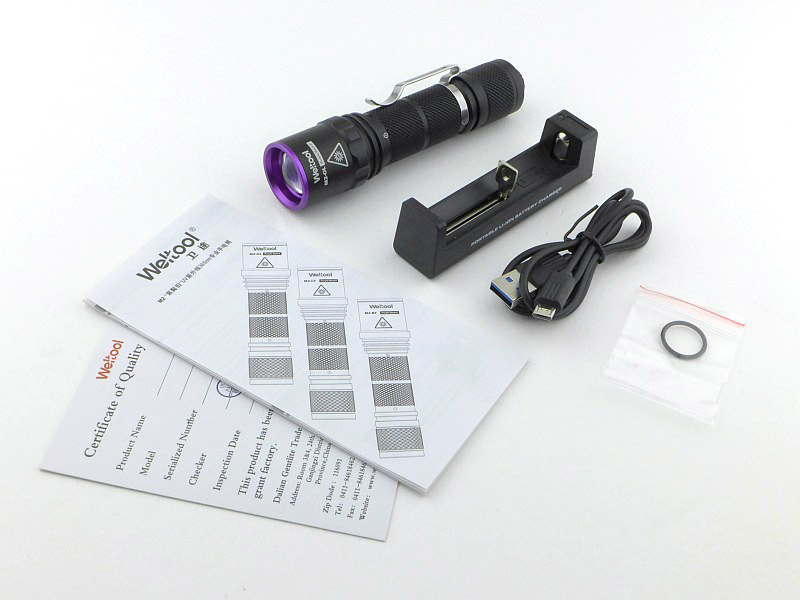
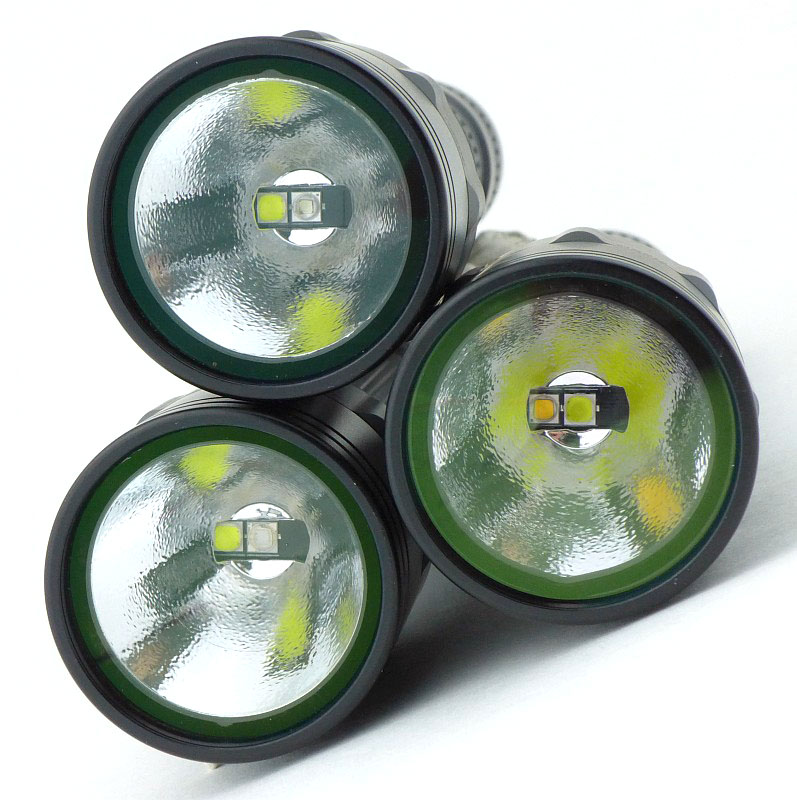
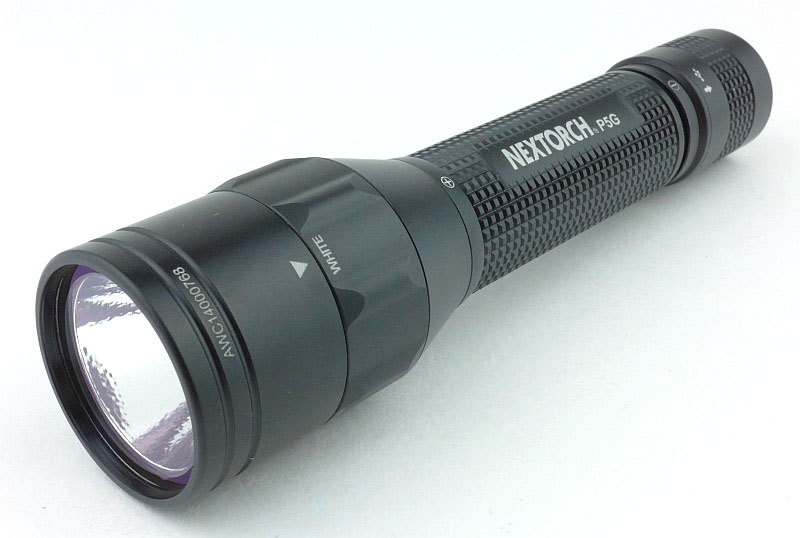
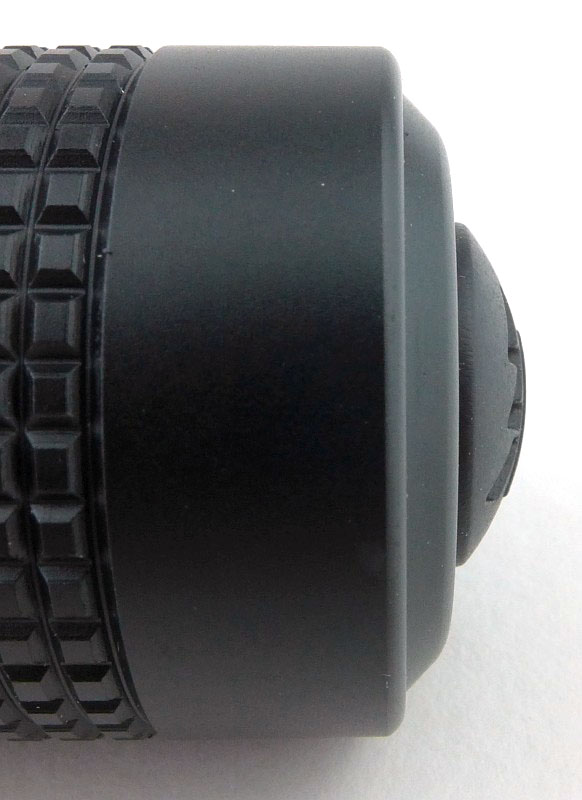
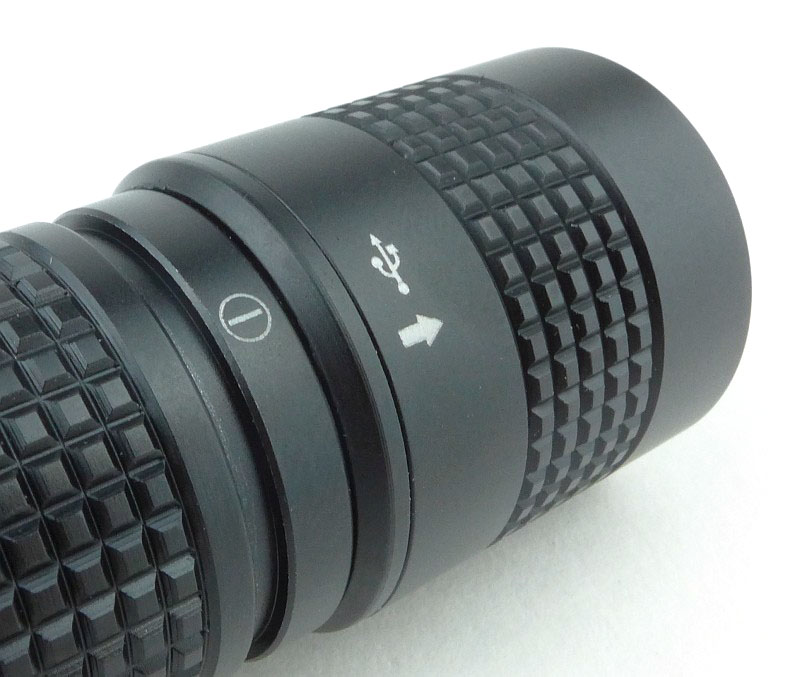
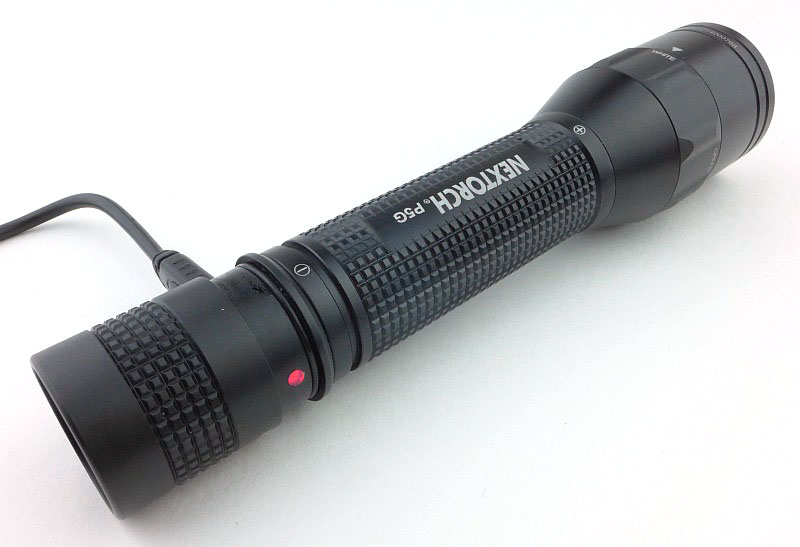
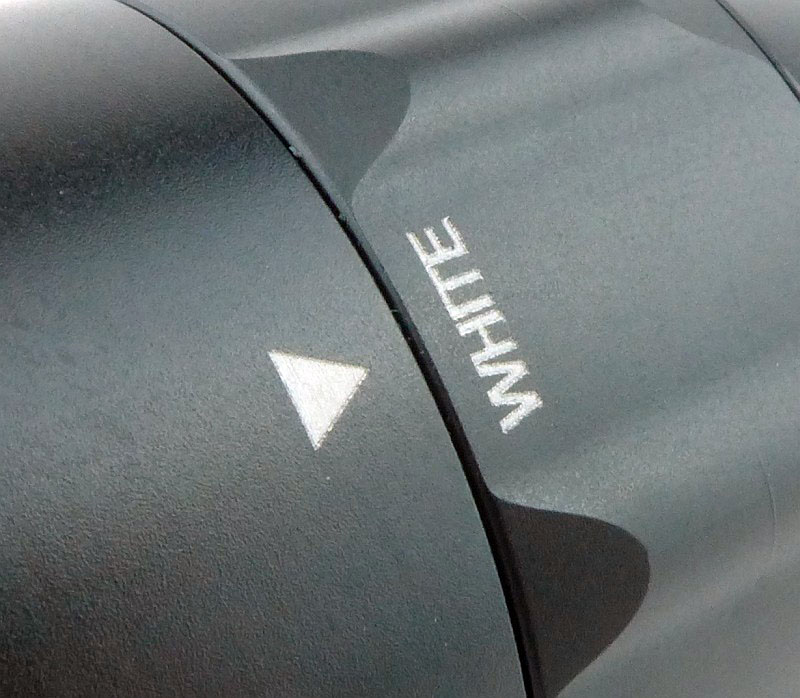
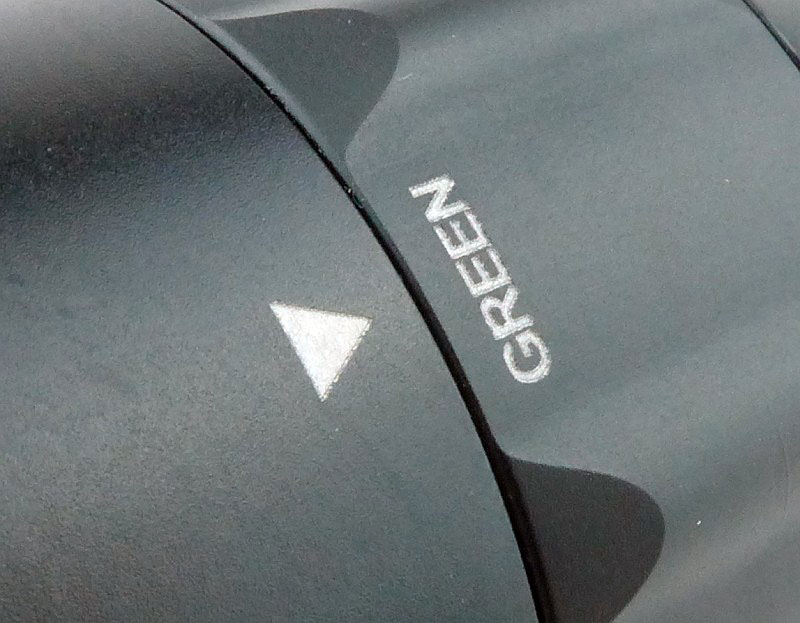
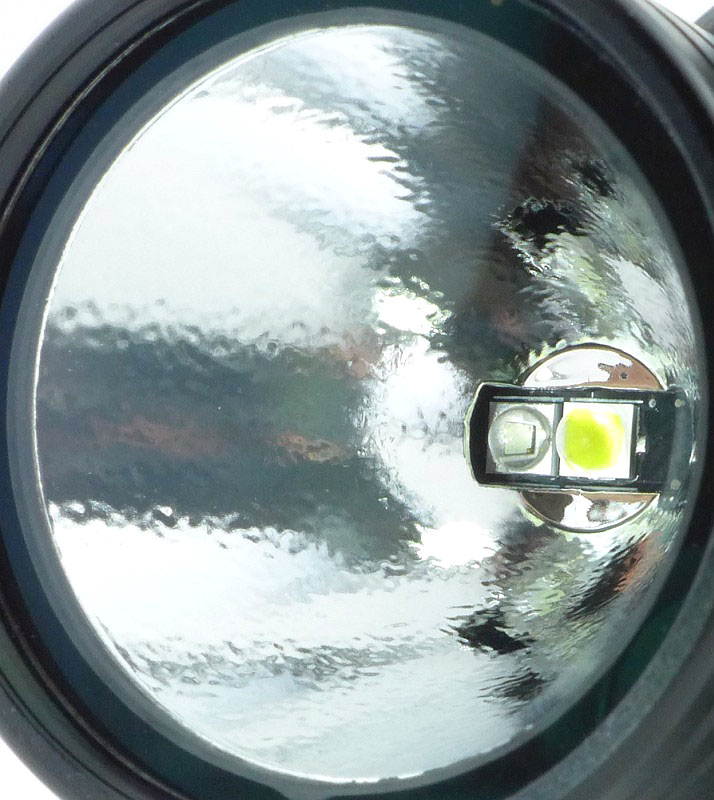
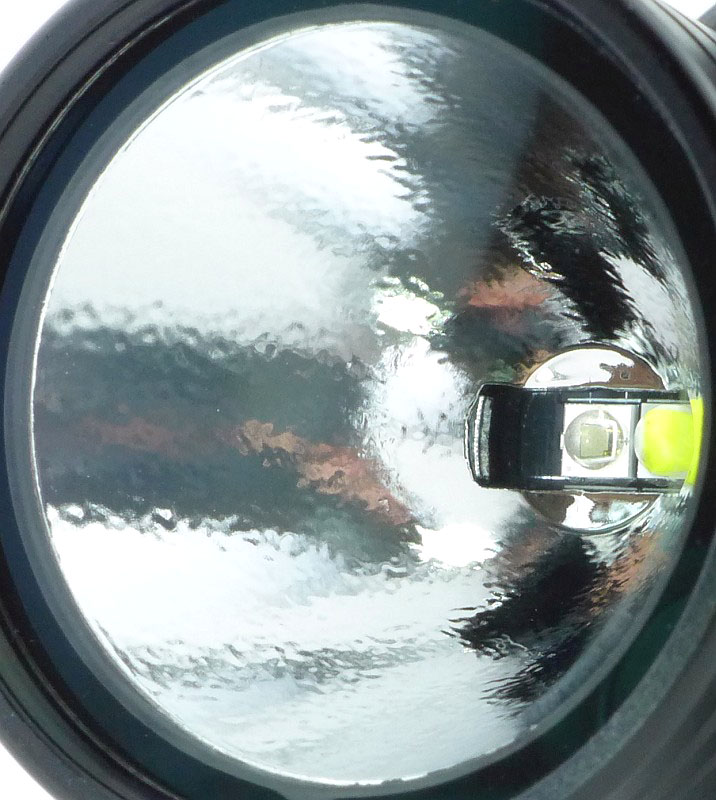
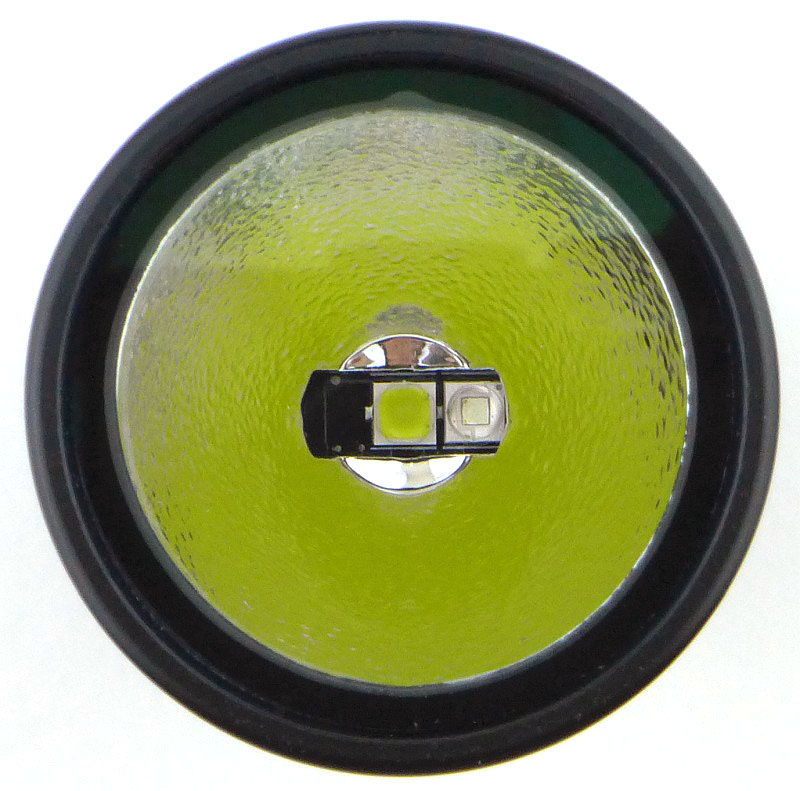
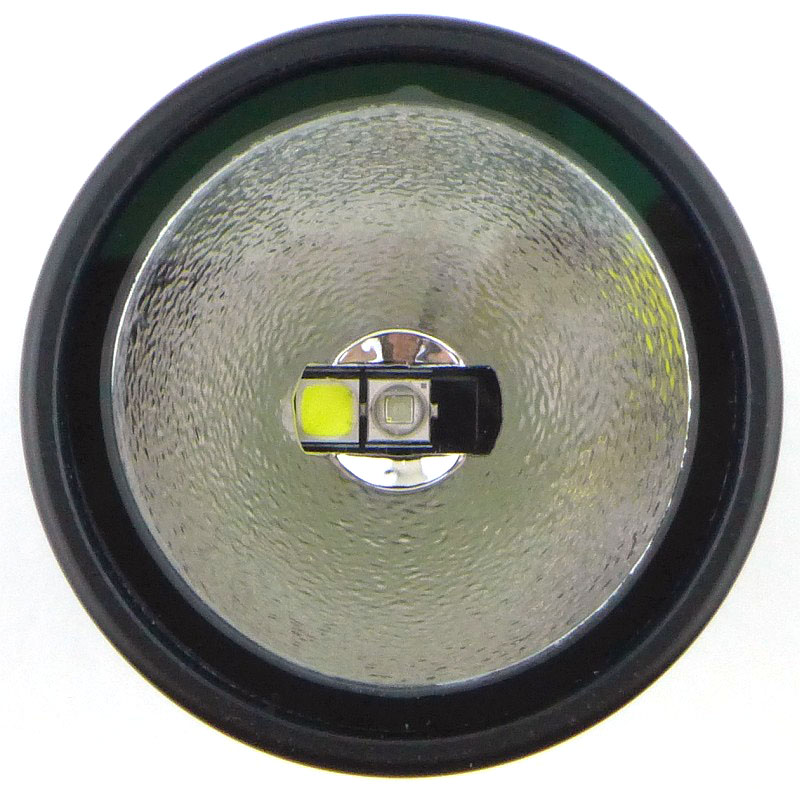
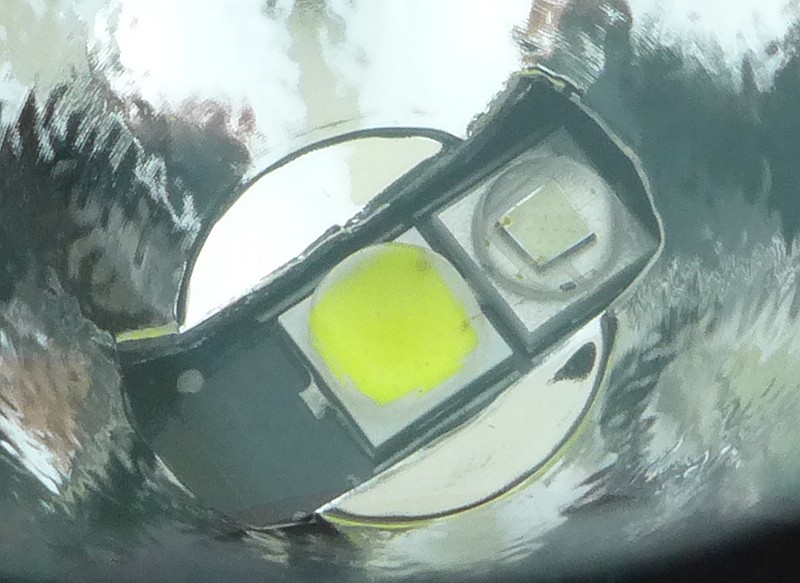
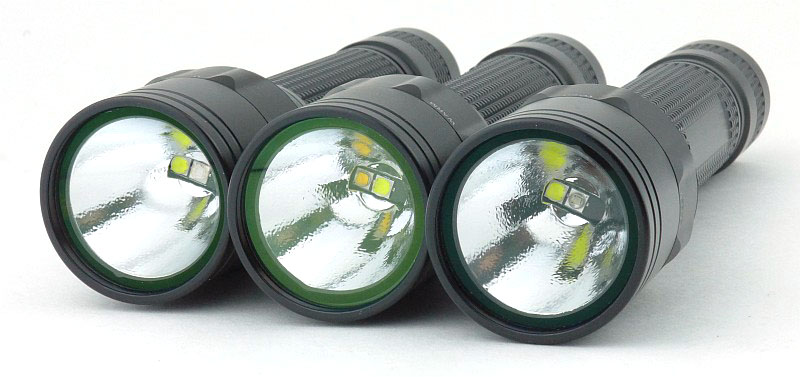
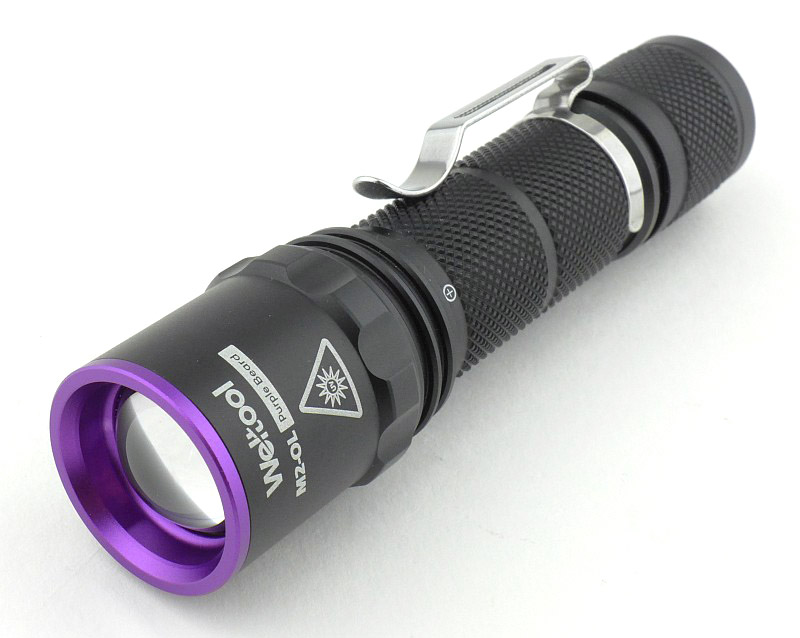
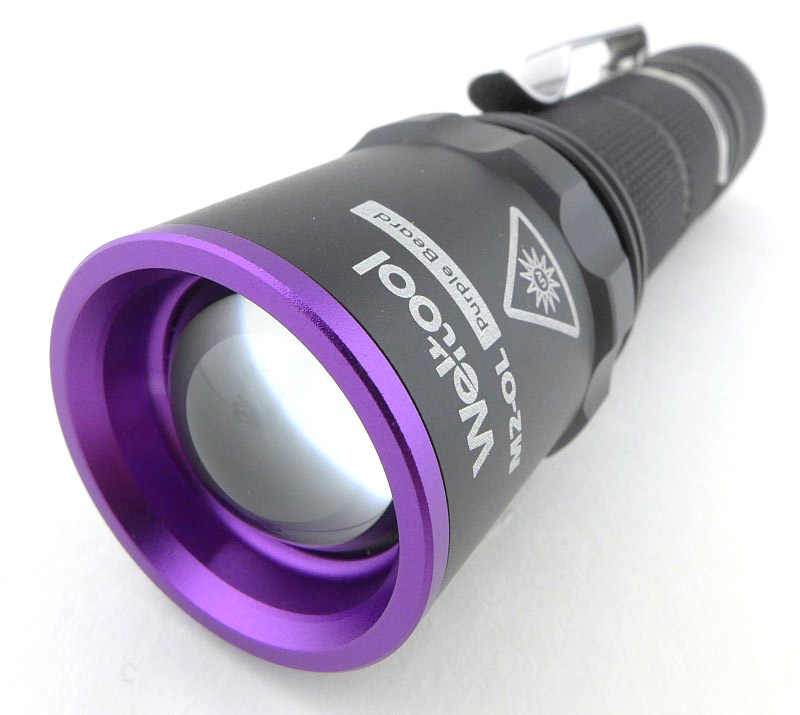
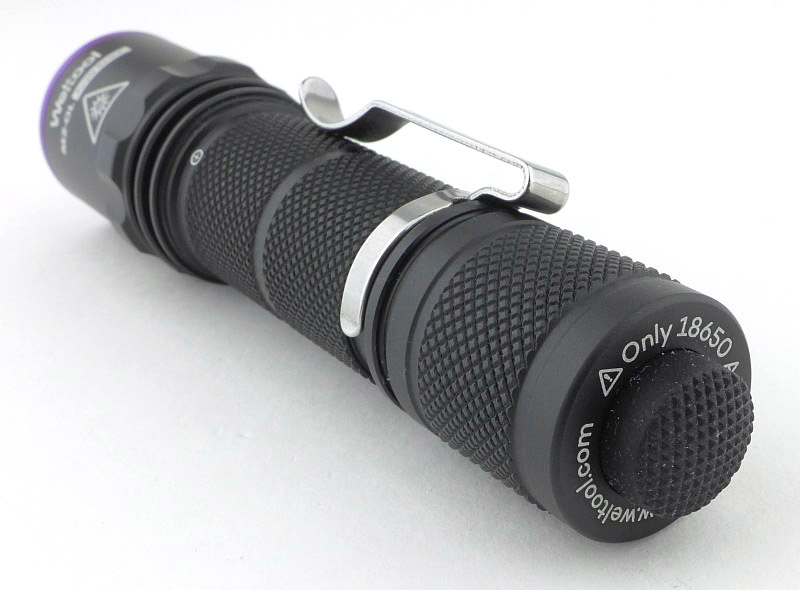
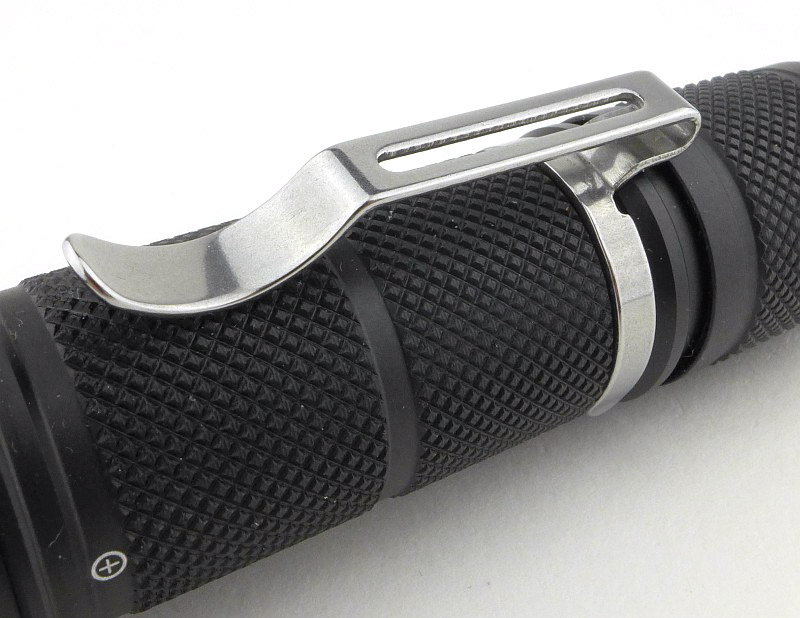
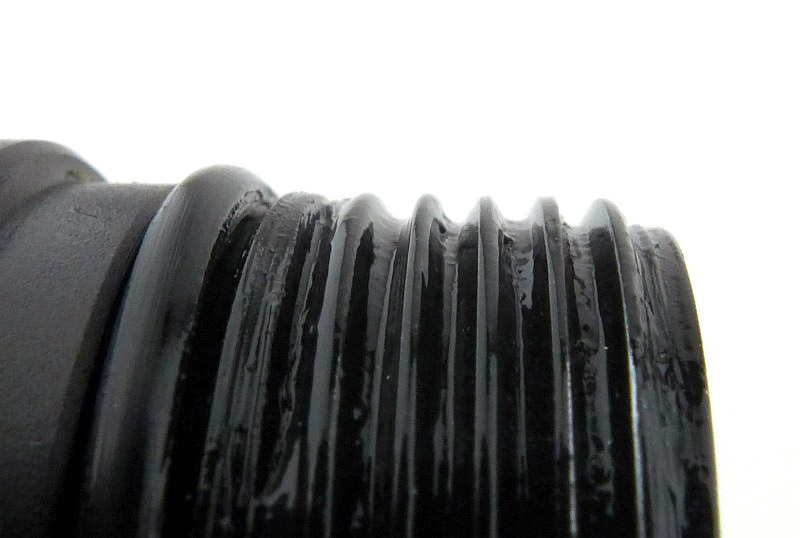
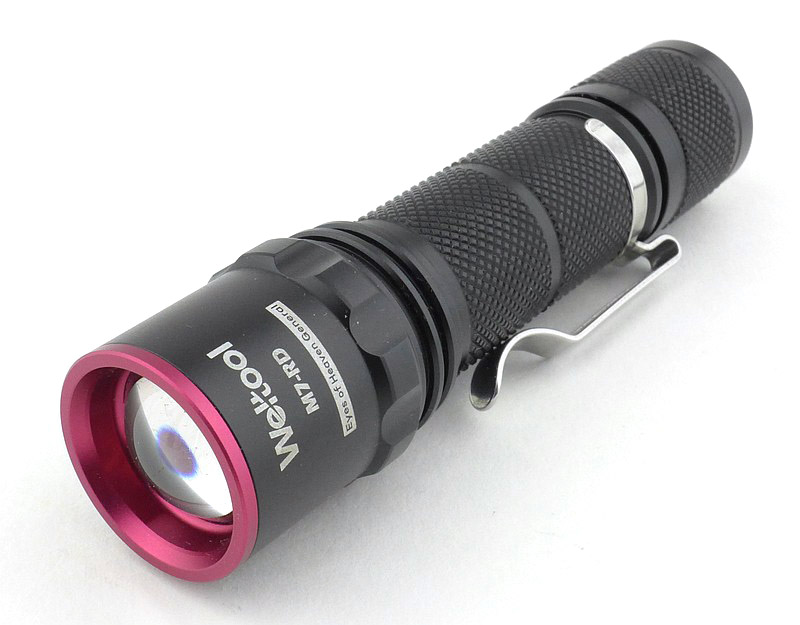
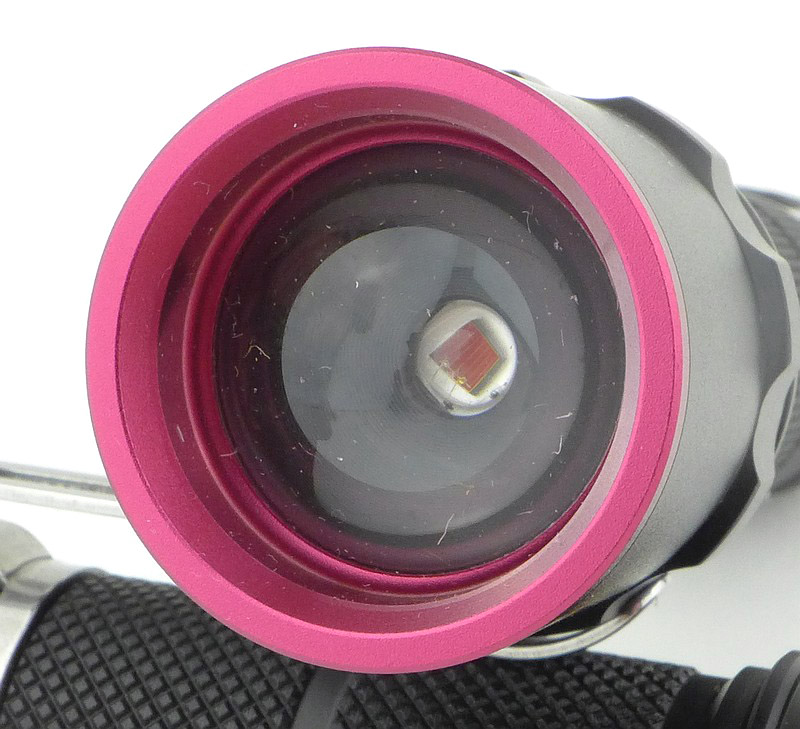
A good look round all three of the models – Things to look out for here are:
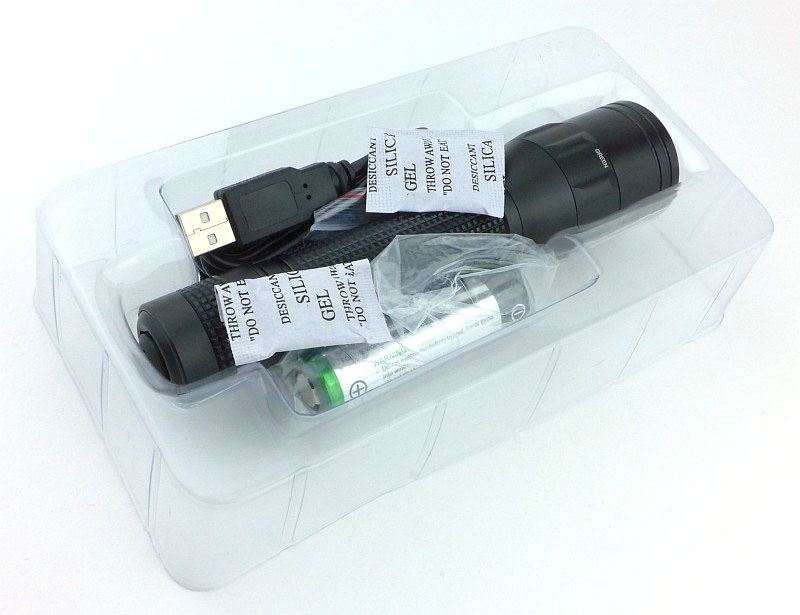
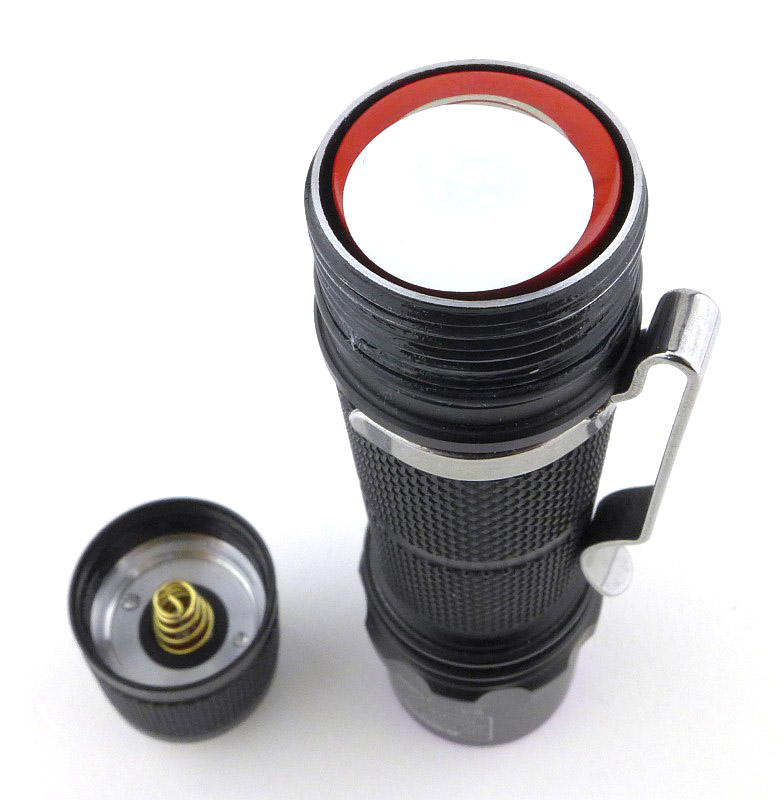
The first one to be unpacked was the M2-OL. All three use a very similar chassis, with minor differences. For the two that included 18650 cells, each had an insulator disk to prevent accidental switch-on during transit. The lens/bezel arrangement is different in each of the three.
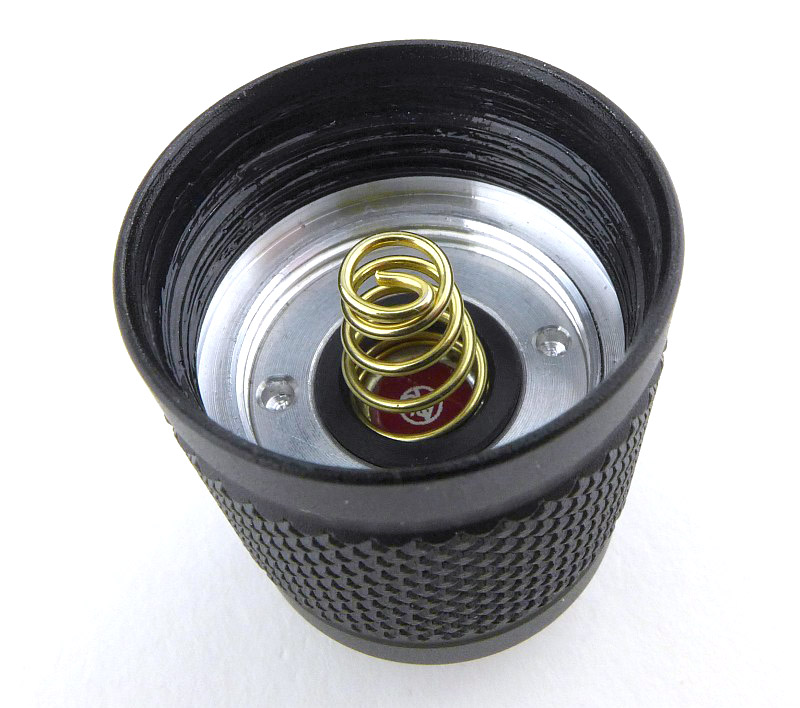


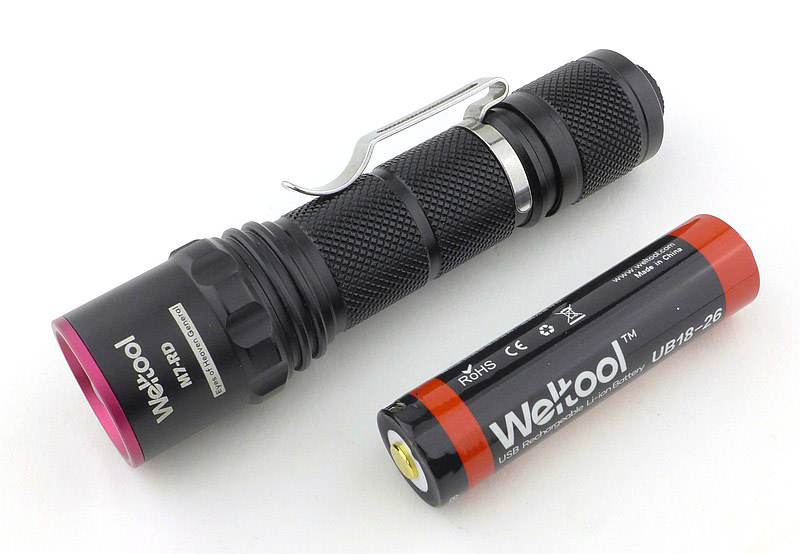
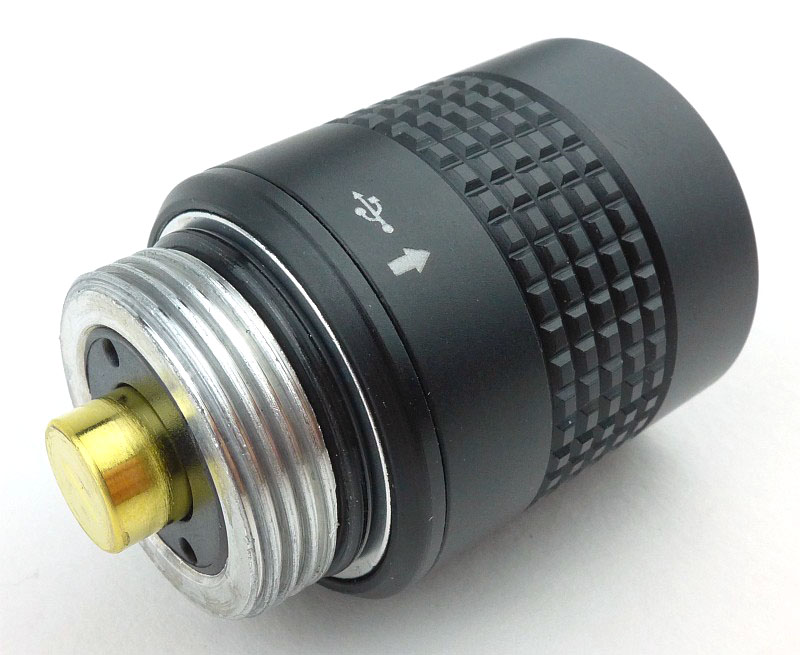
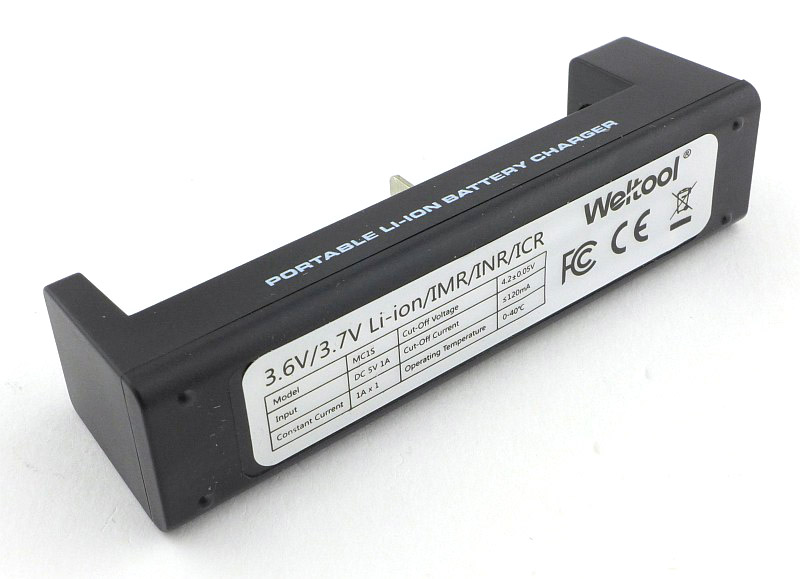
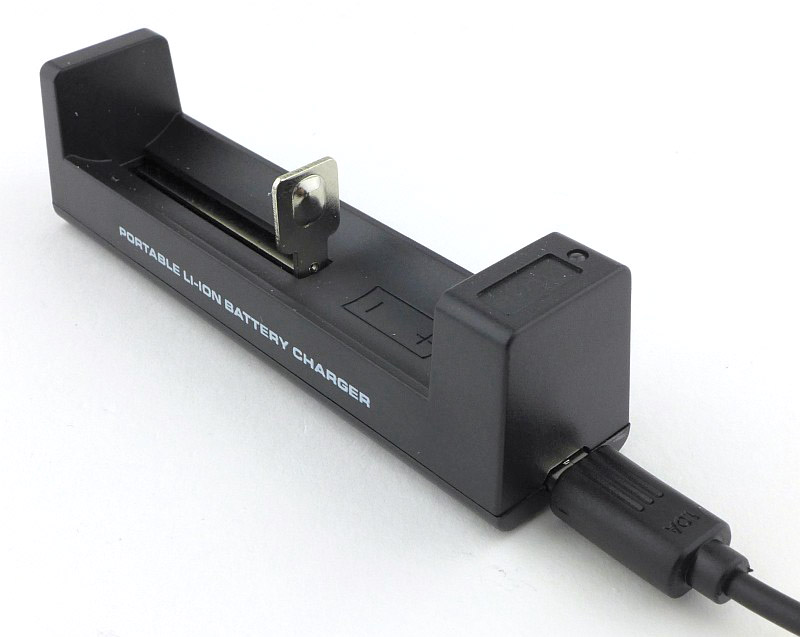
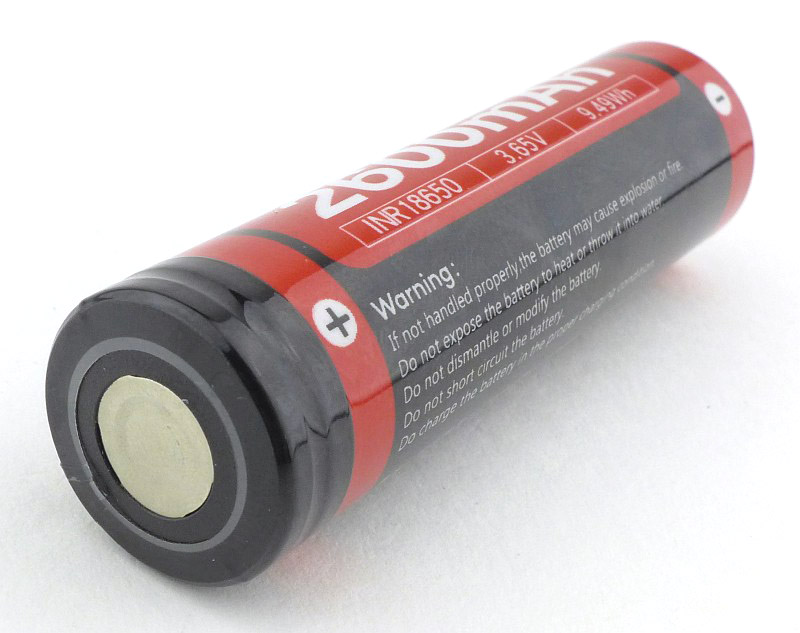
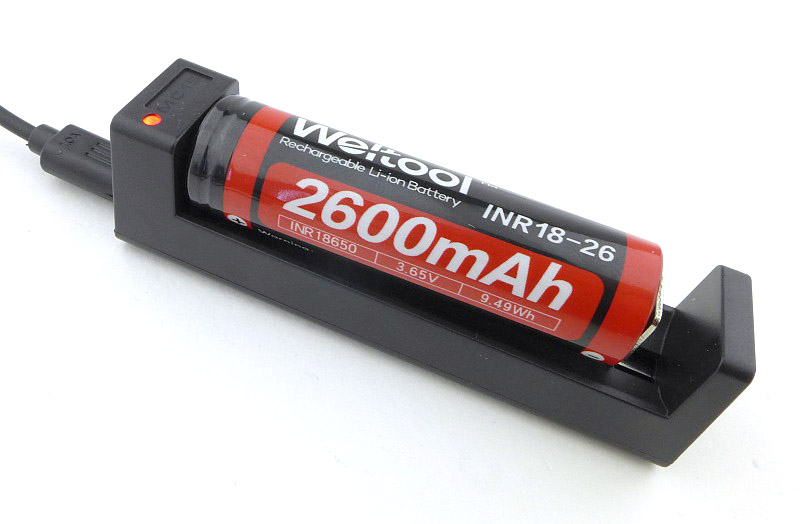
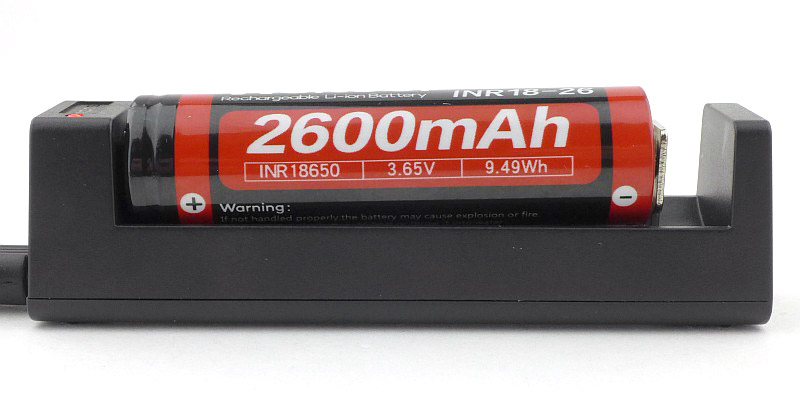
Taking a more detailed look at the charger and cells:
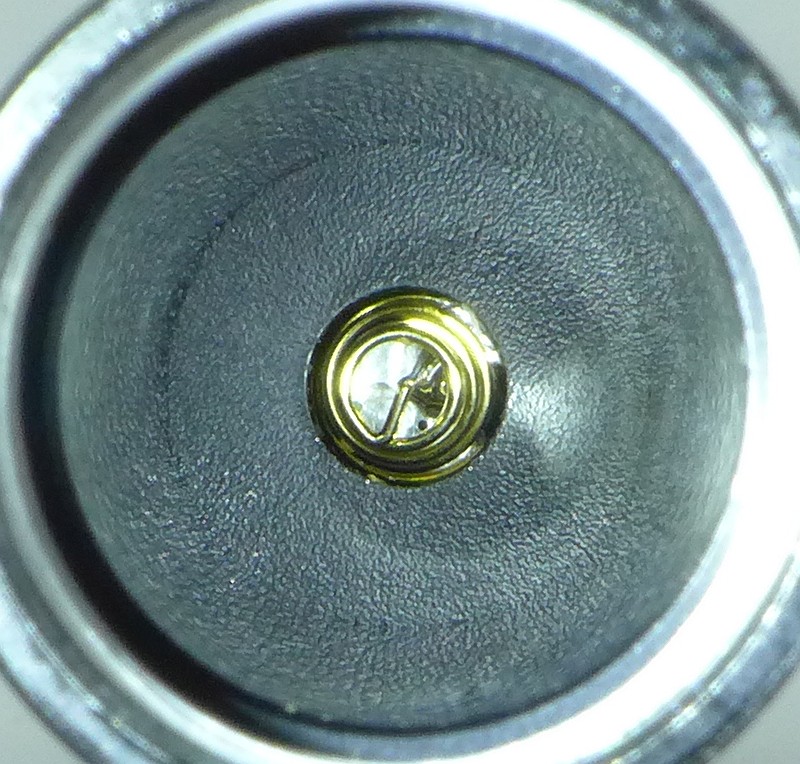
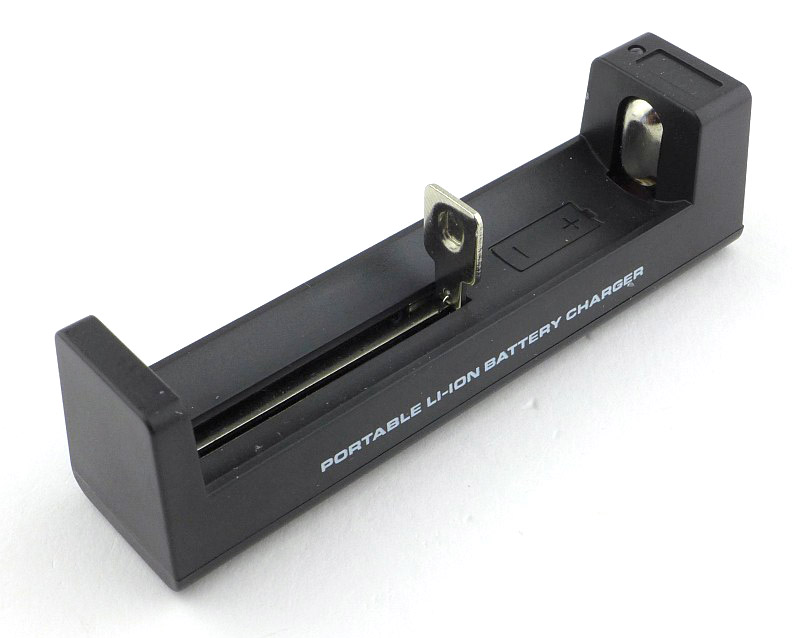
The M2-OL included a flat top 18650 with USB charger, and the M7-RD came with a USB rechargeable 18650 (no cell was included with the M2-BF). After looking over the set of contacts and the image of the flat top cell, you can also see a side shot of the cell in the charger where the negative contact end is raised slightly. This was required for the positive contact to touch the positive terminal in the charger.

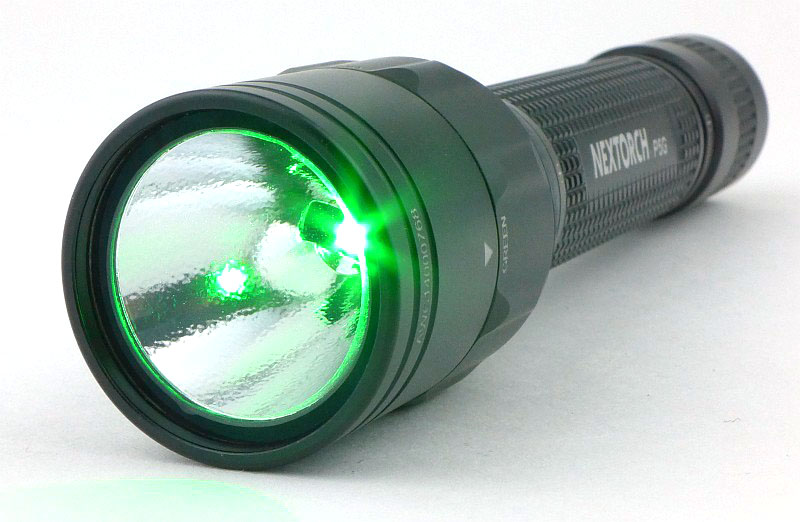
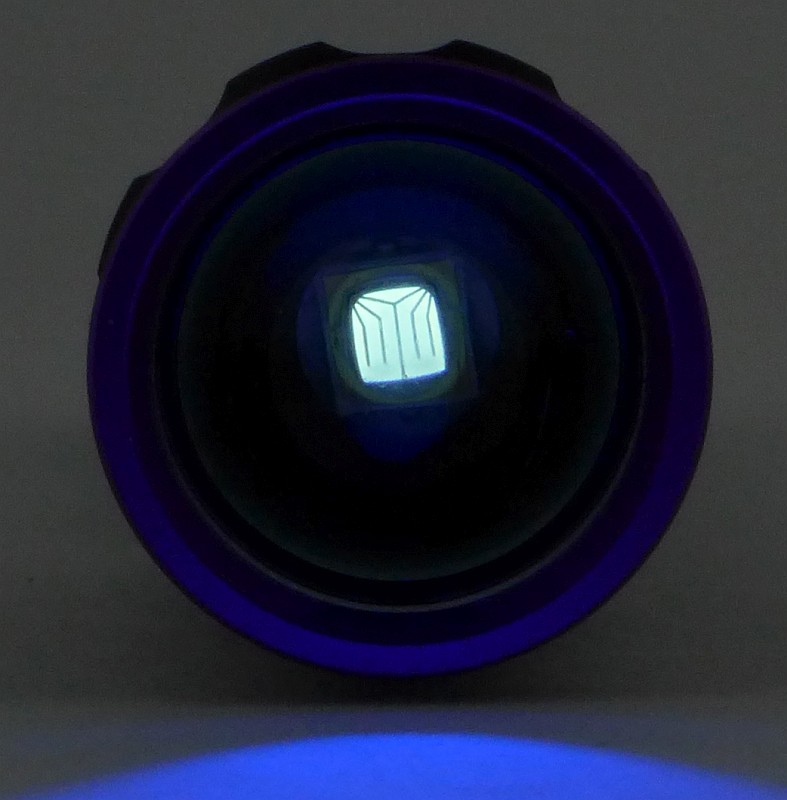
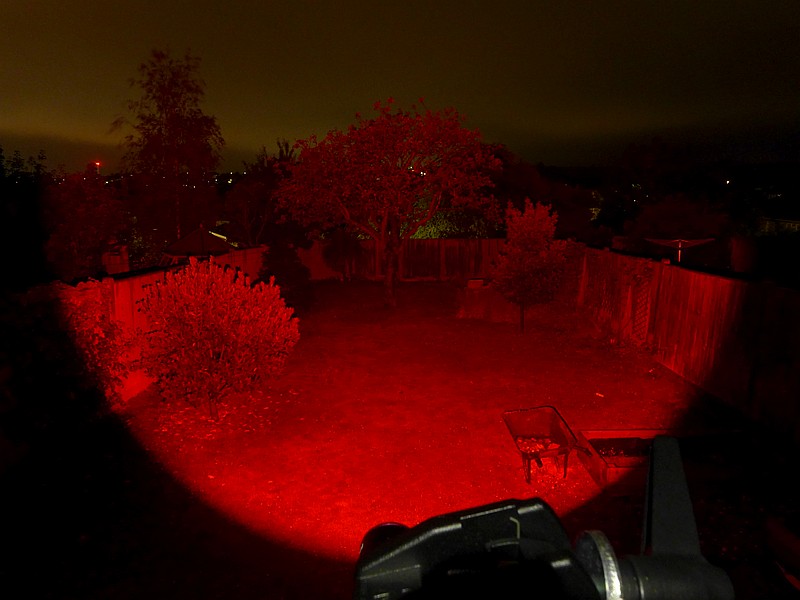
The beam
Please be careful not to judge tint based on images you see on a computer screen. Unless properly calibrated, the screen itself will change the perceived tint.
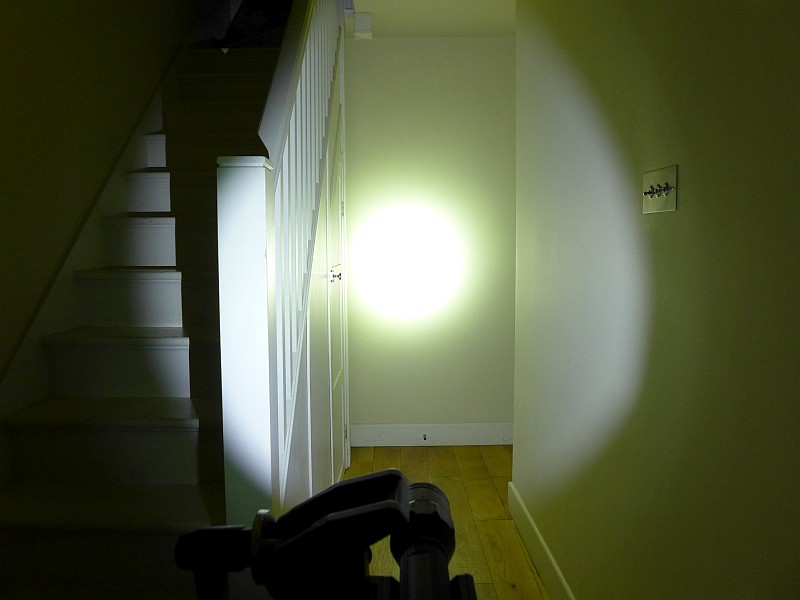
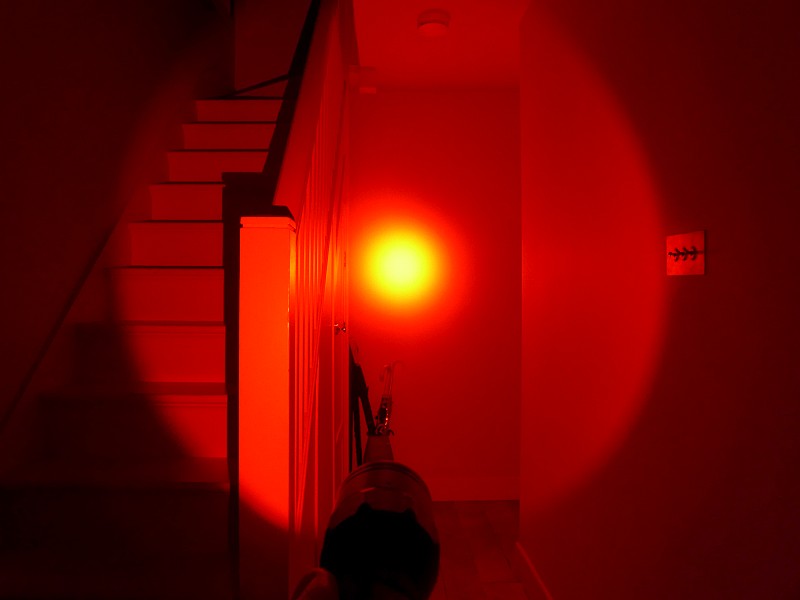
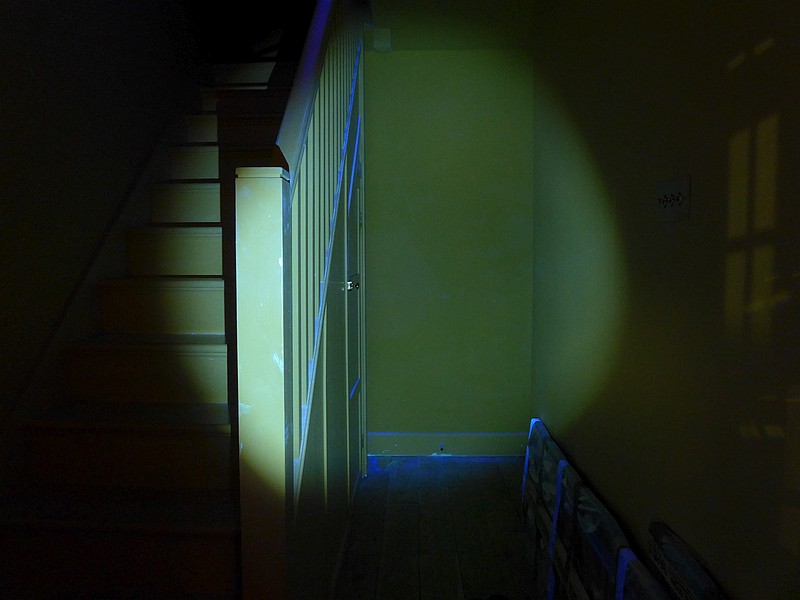
The indoor beamshot is intended to give an idea of the beam shape/quality rather than tint. All beamshots are taken using daylight white balance. The woodwork (stairs and skirting) are painted Farrow & Ball “Off-White”, and the walls are a light sandy colour called ‘String’ again by Farrow & Ball. I don’t actually have a ‘white wall’ in the house to use for this, and my wife won’t have one!
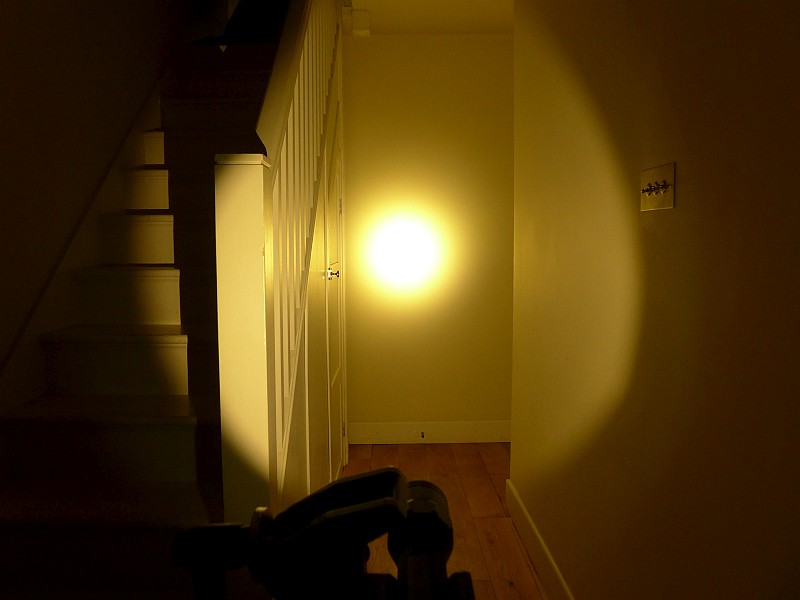
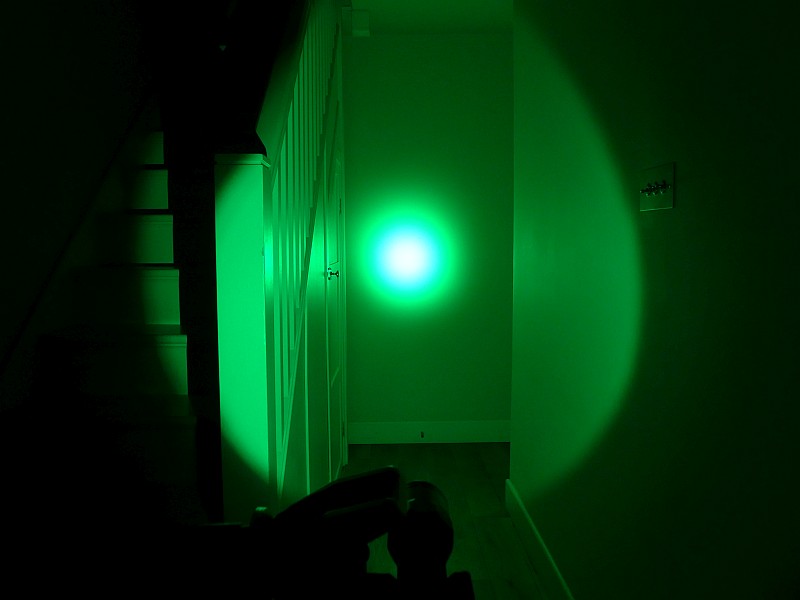
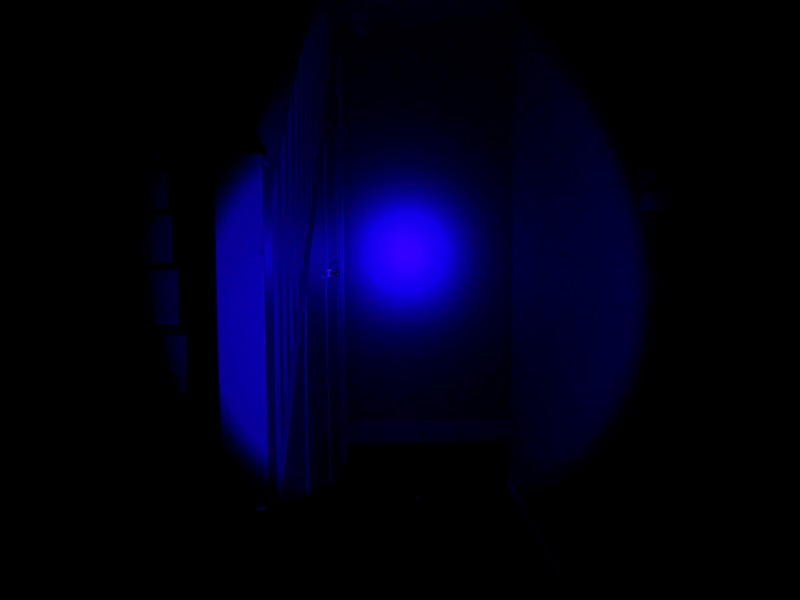
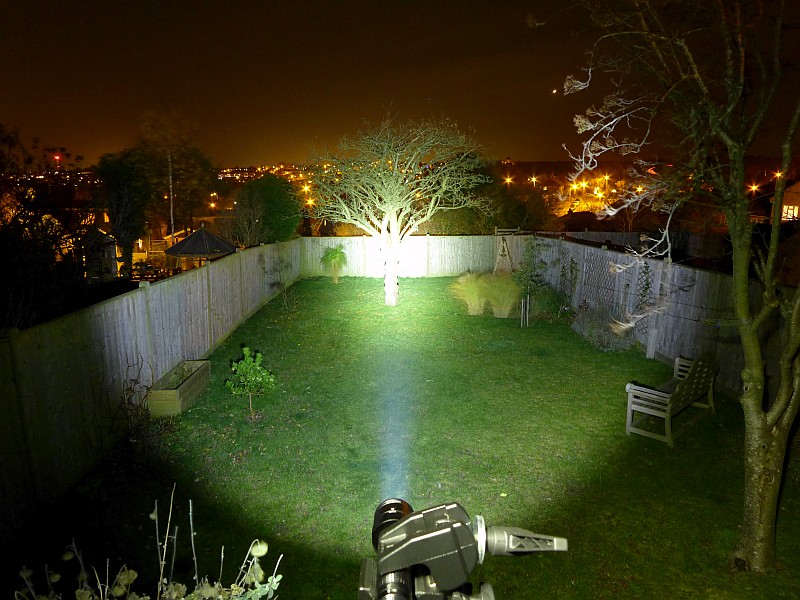
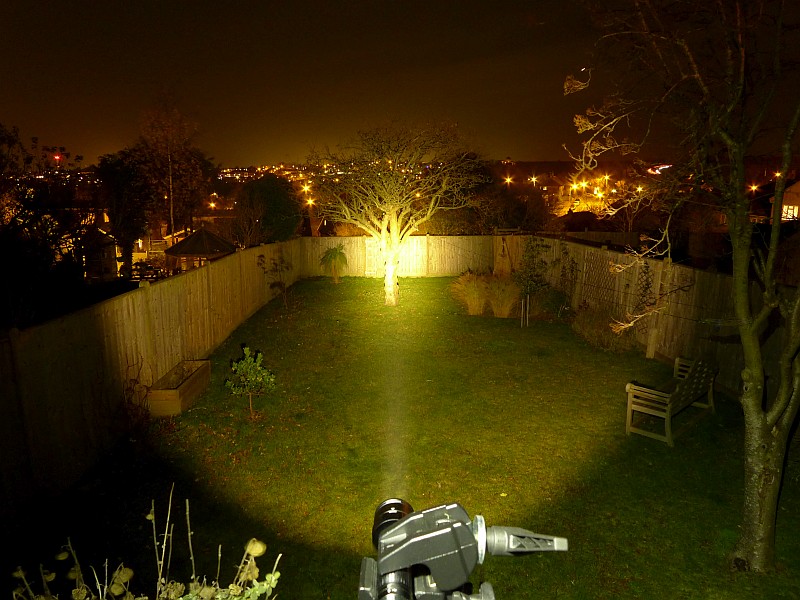
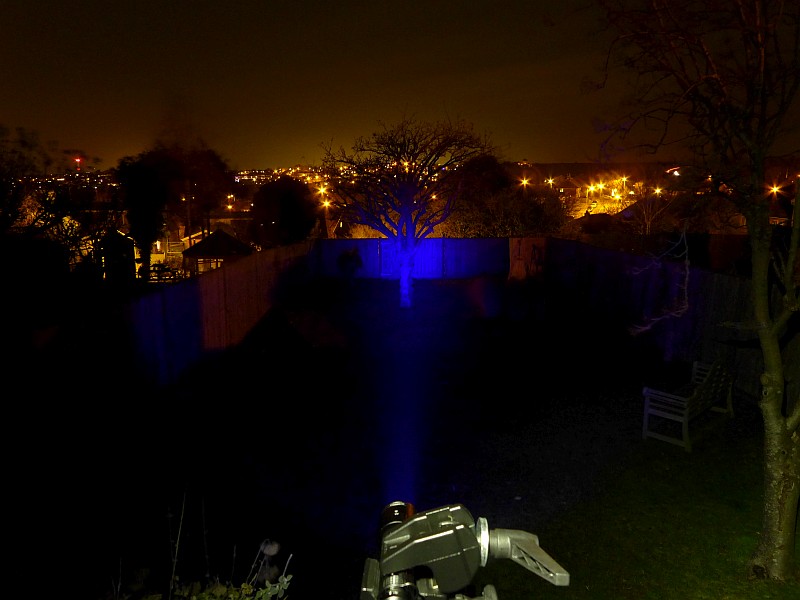
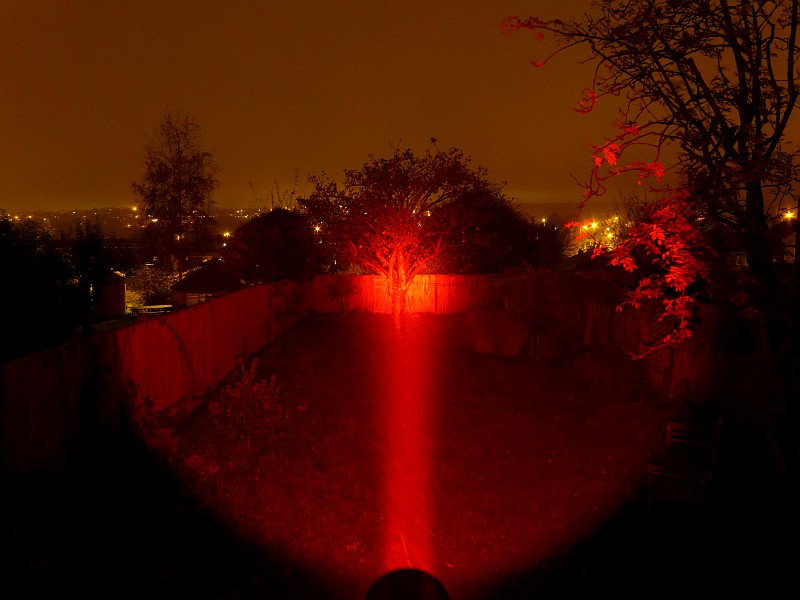
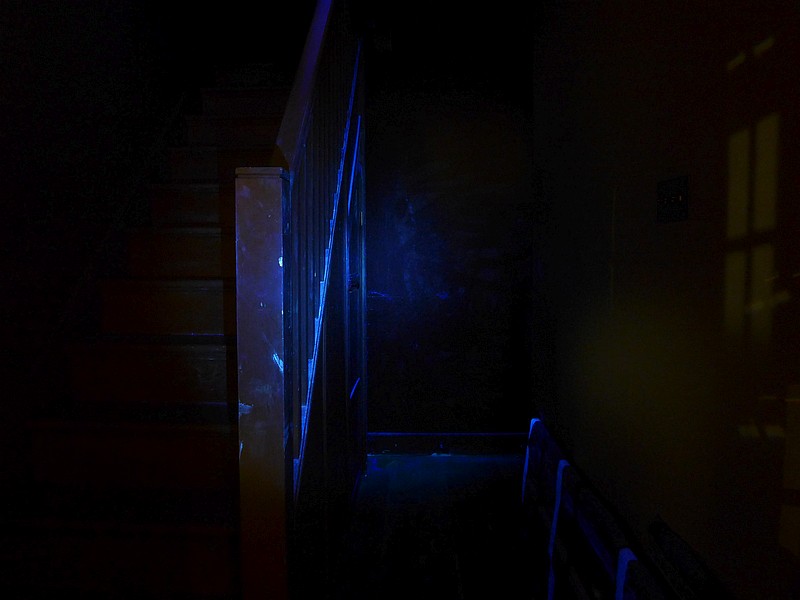
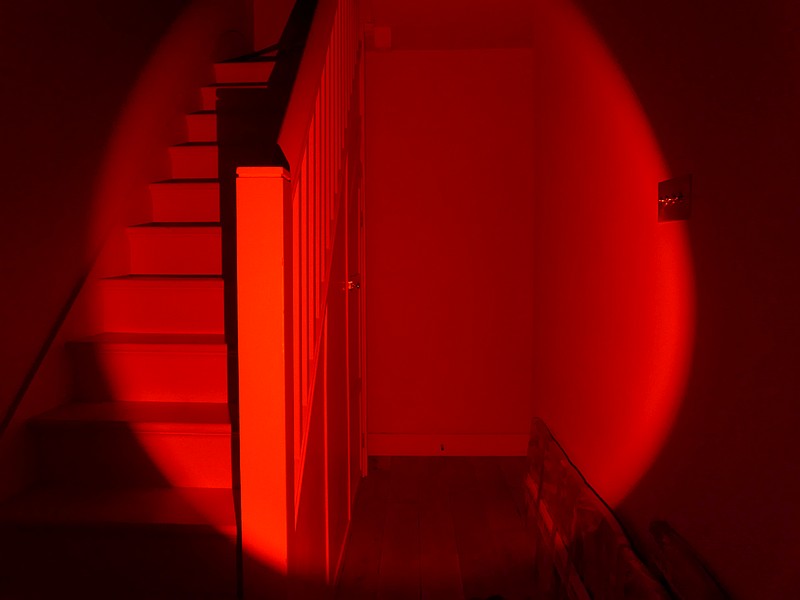
In this set of beamshots, the only outdoor beamshot is of the M7-RD red beam, as the UV lights do not show up anything significant for this type of image. However, where it gets interesting is indoors. For this gallery, the first image is for the M2-OL, which is not pure UV, having some blue light. The next image is at the exact same exposure with the M2-BF that has a filtered output so it is pure 365nm UV light, and the only visible features are those fluorescing in the UV. The last two are of the red beam of the M7-RD.
Special beam galleries:
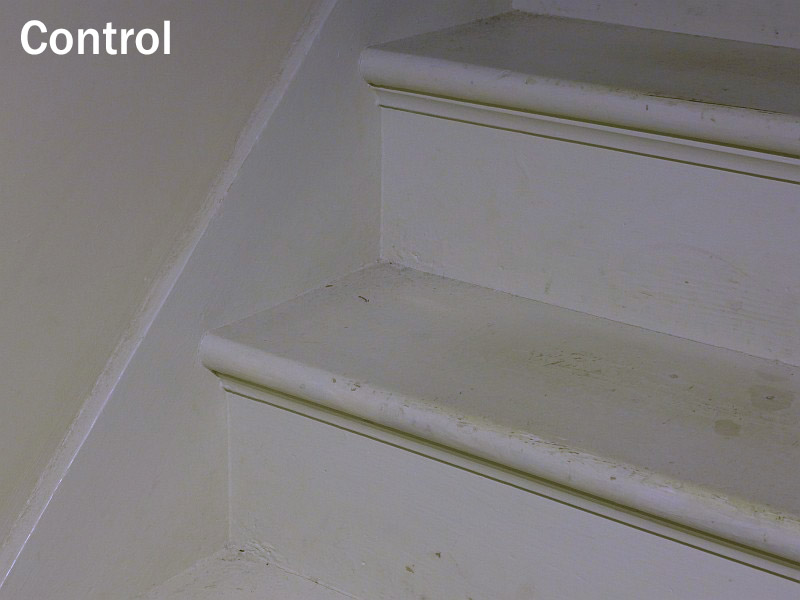
To properly appreciate the output of these dedicated UV lights the next two galleries are needed. In the first gallery are two sets of images, each set of the same scene, starting with a control image using a warm white light, then the M2-OL, and finally the M2-BF. The results are very clear.
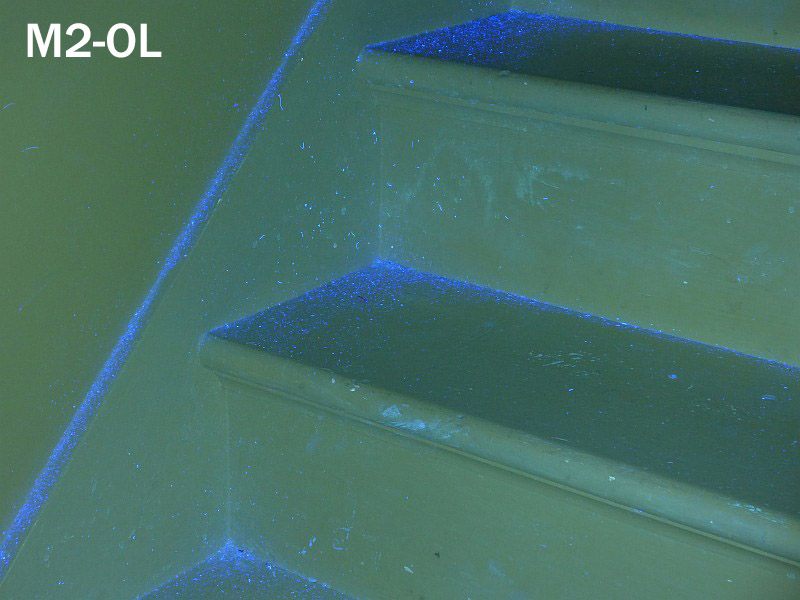

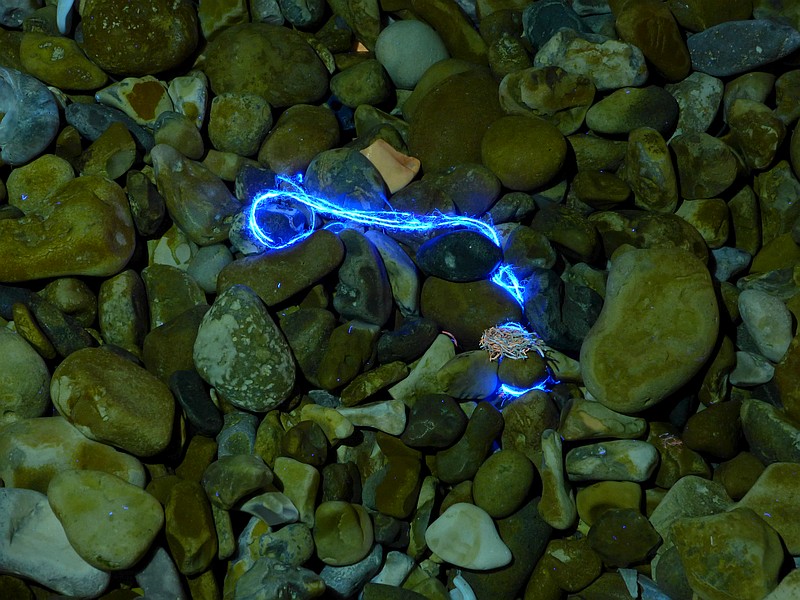
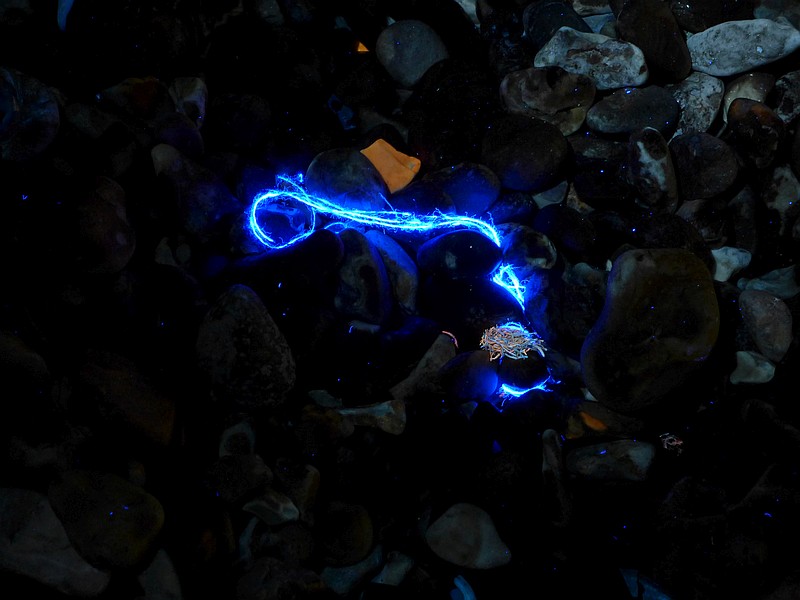
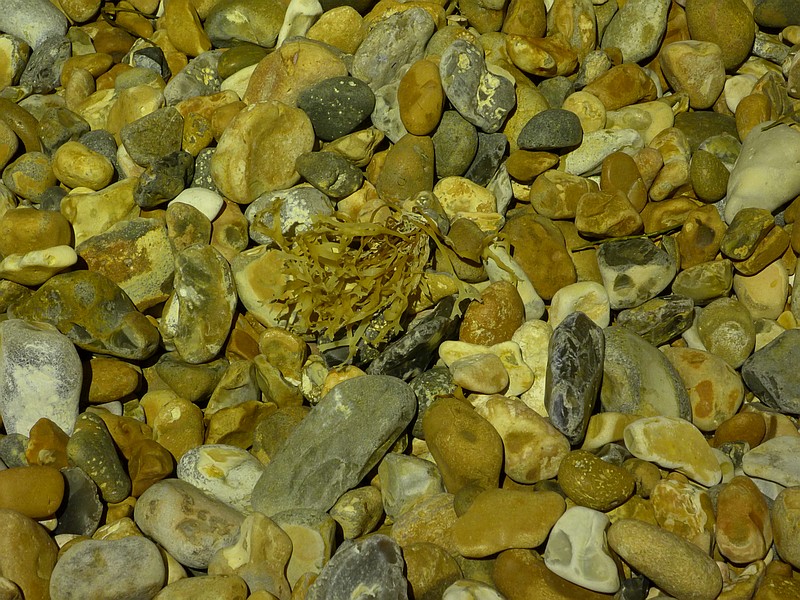
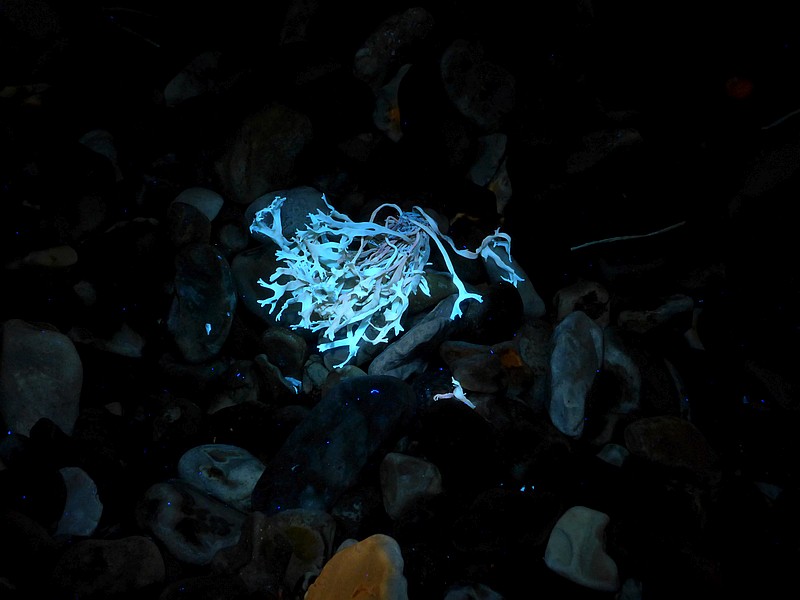
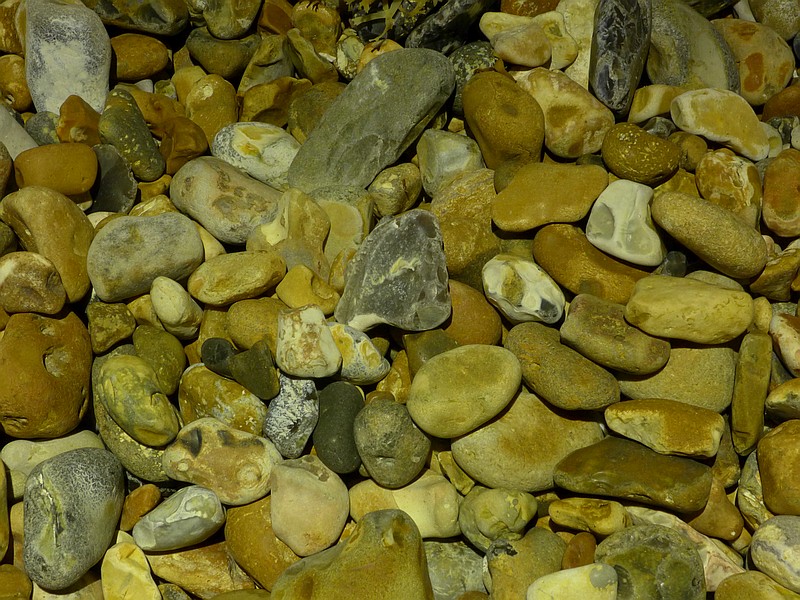
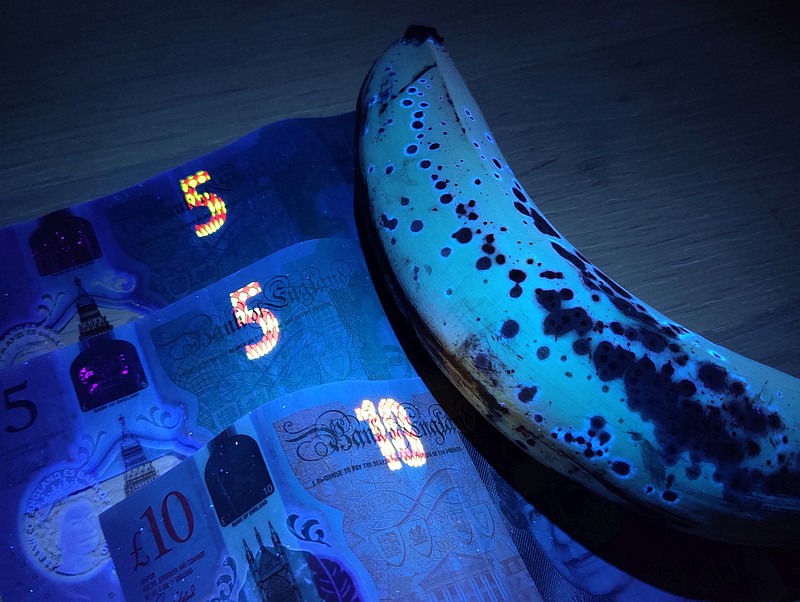
In this second special gallery are two views from a pebble beach, where the confusion of the stones easily hides details that UV can reveal. In this gallery, a control warm white light is used, and the M2-BF. The last image shows bank note security features and the glow around the spots on a banana skin.

Batteries and output:
Please note, all quoted lumen figures are from a DIY integrating sphere, and according to ANSI standards. Although every effort is made to give as accurate a result as possible, they should be taken as an estimate only. The results can be used to compare outputs in this review and others I have published.
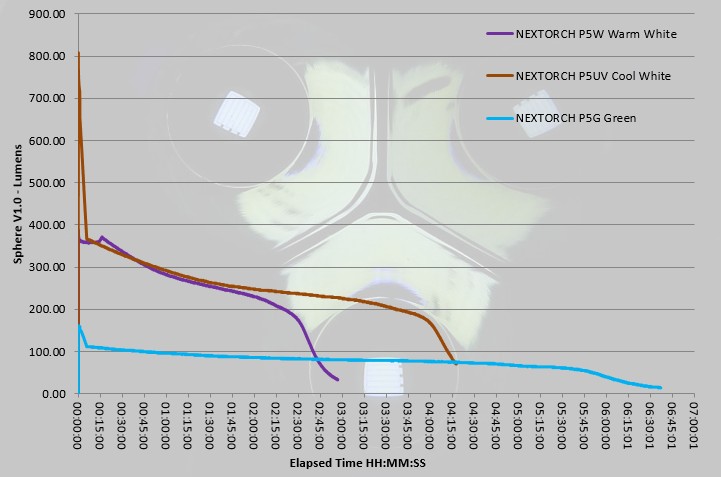
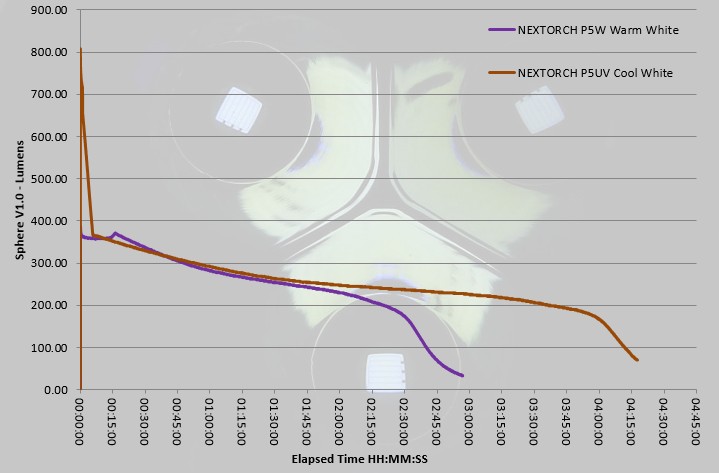
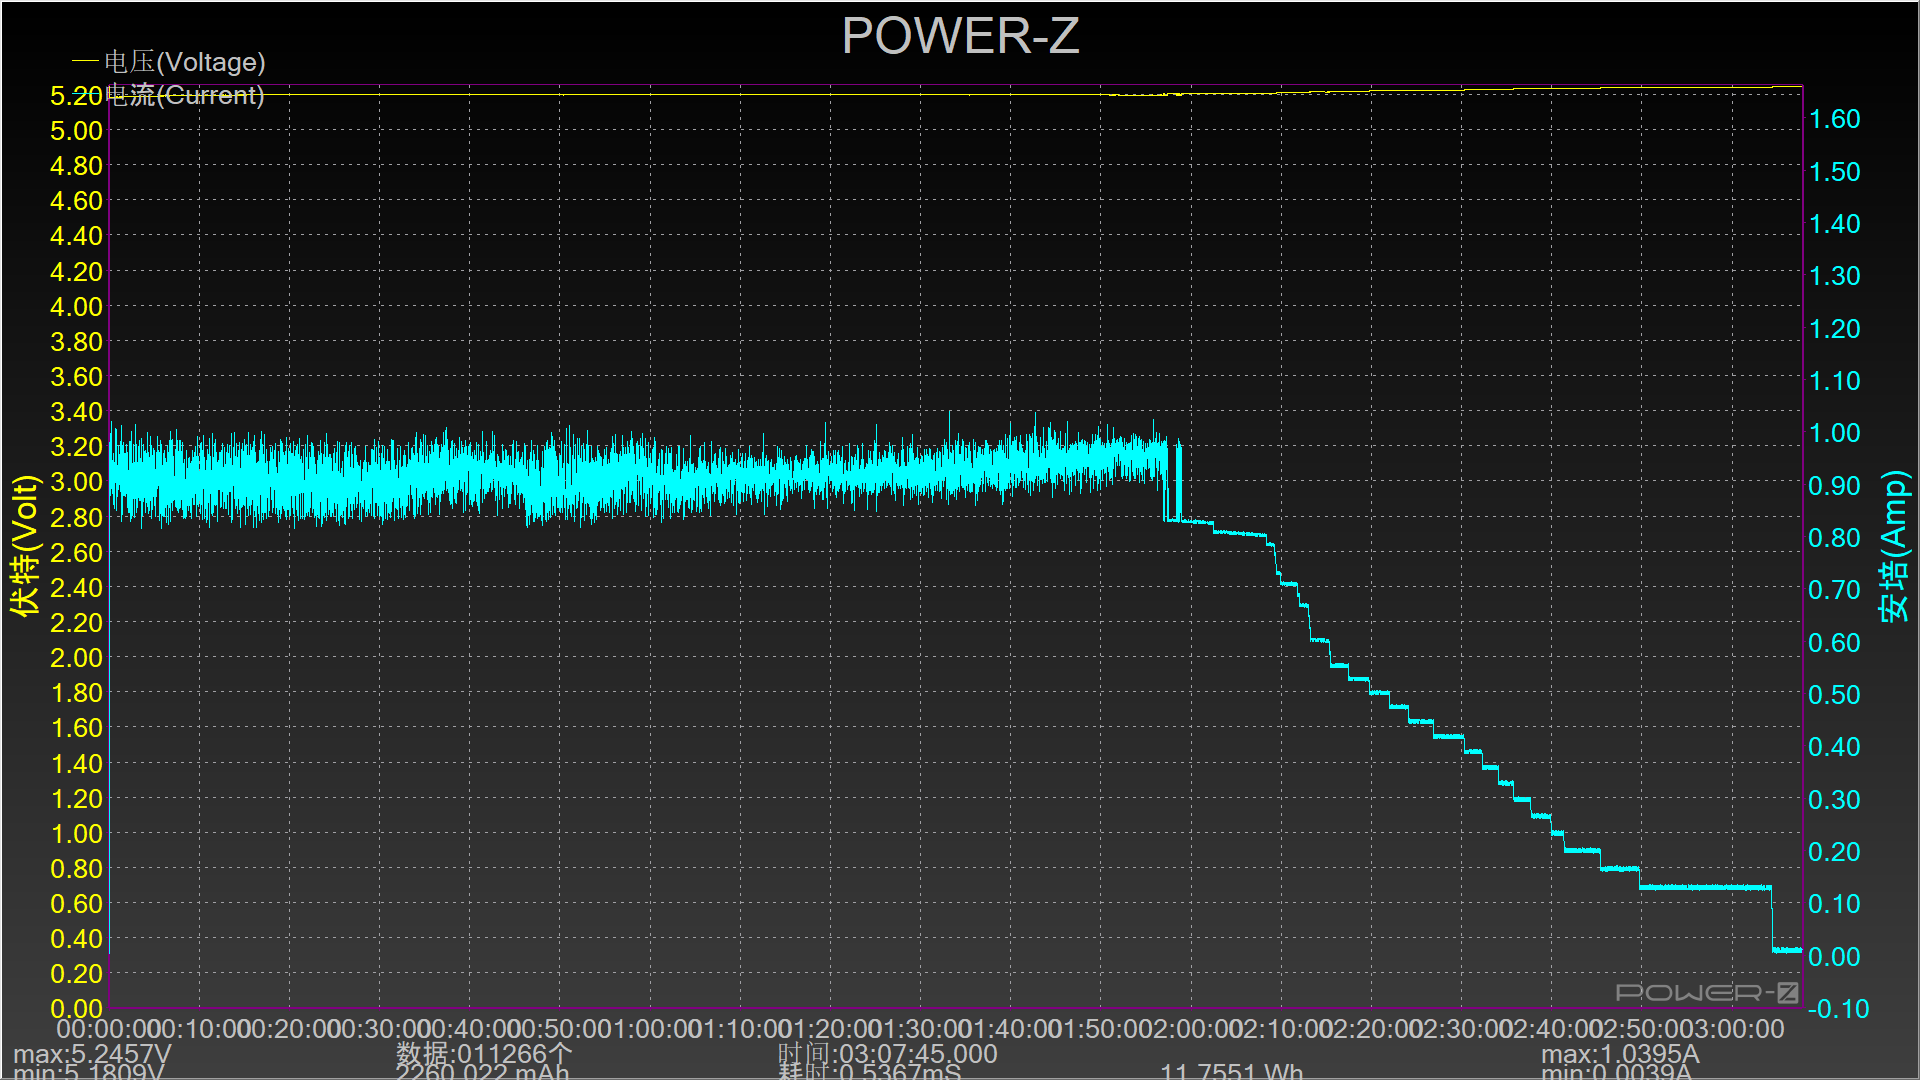
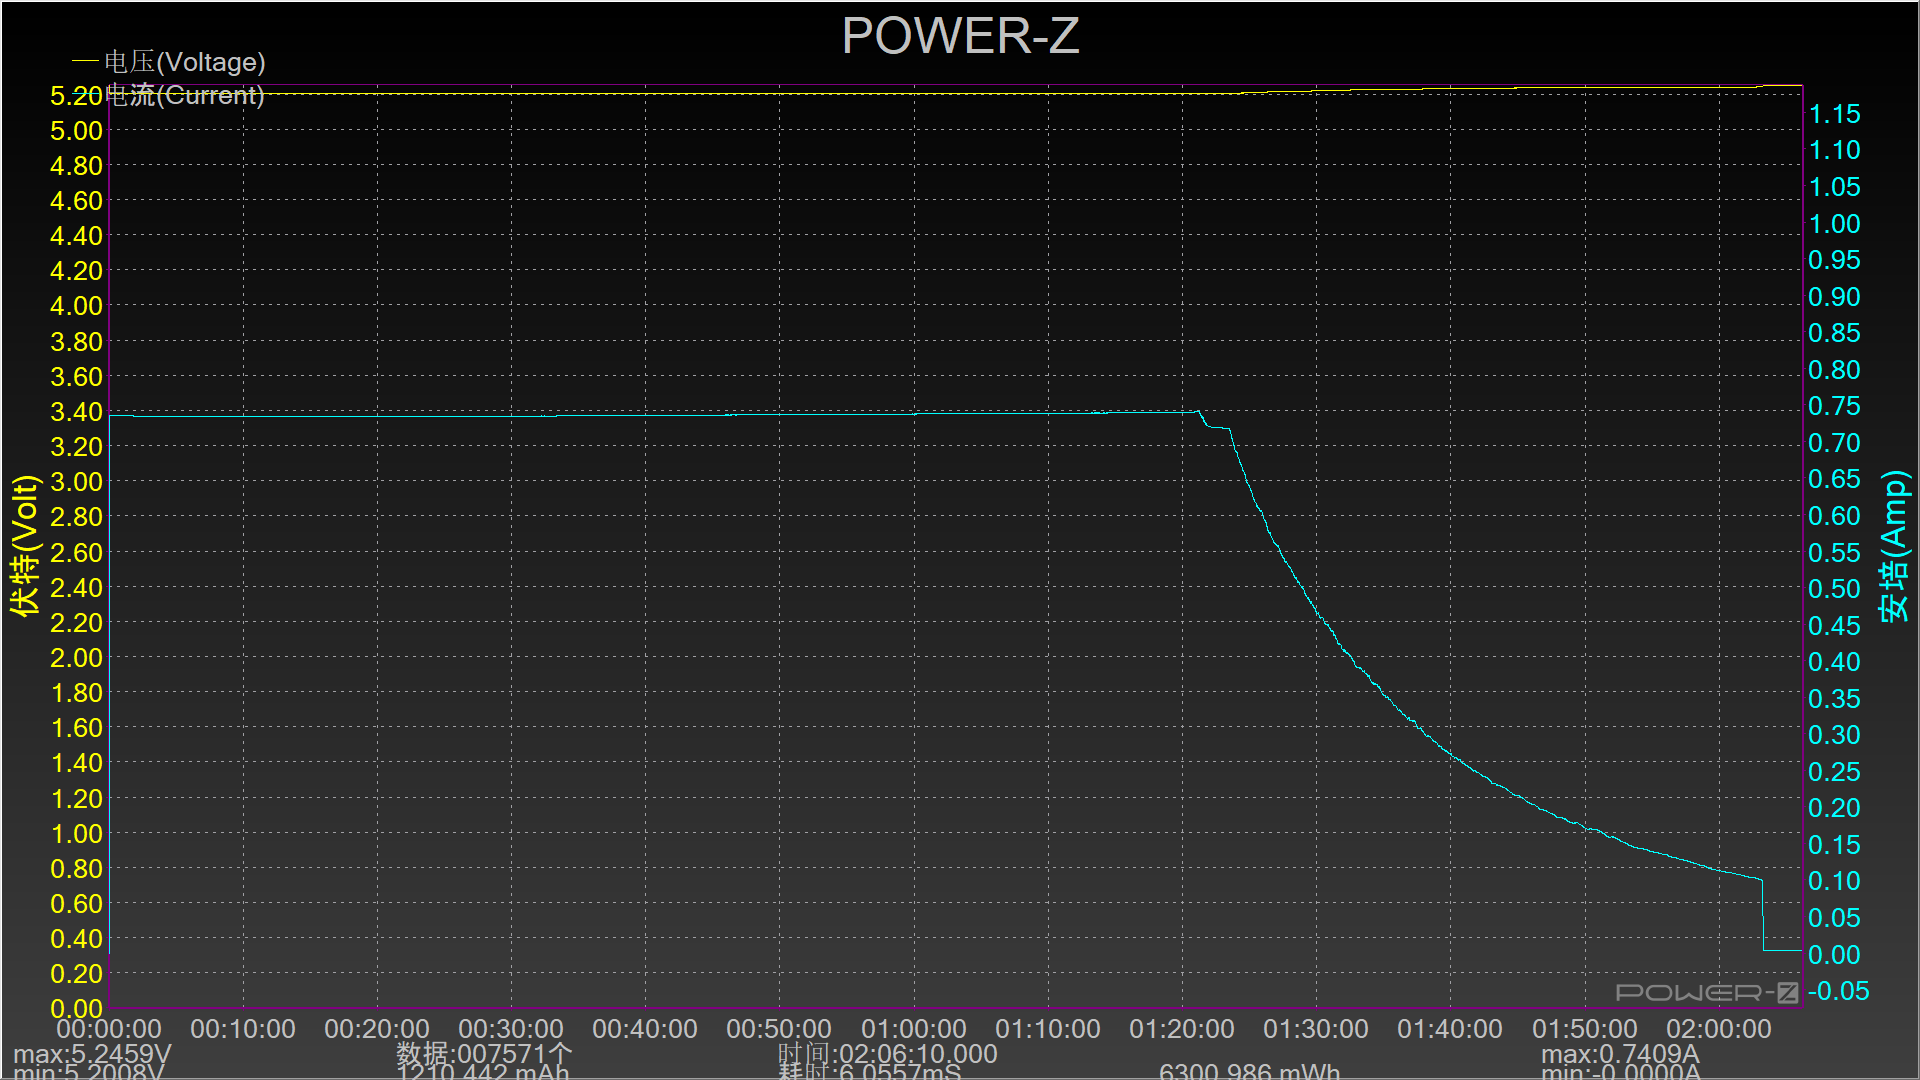
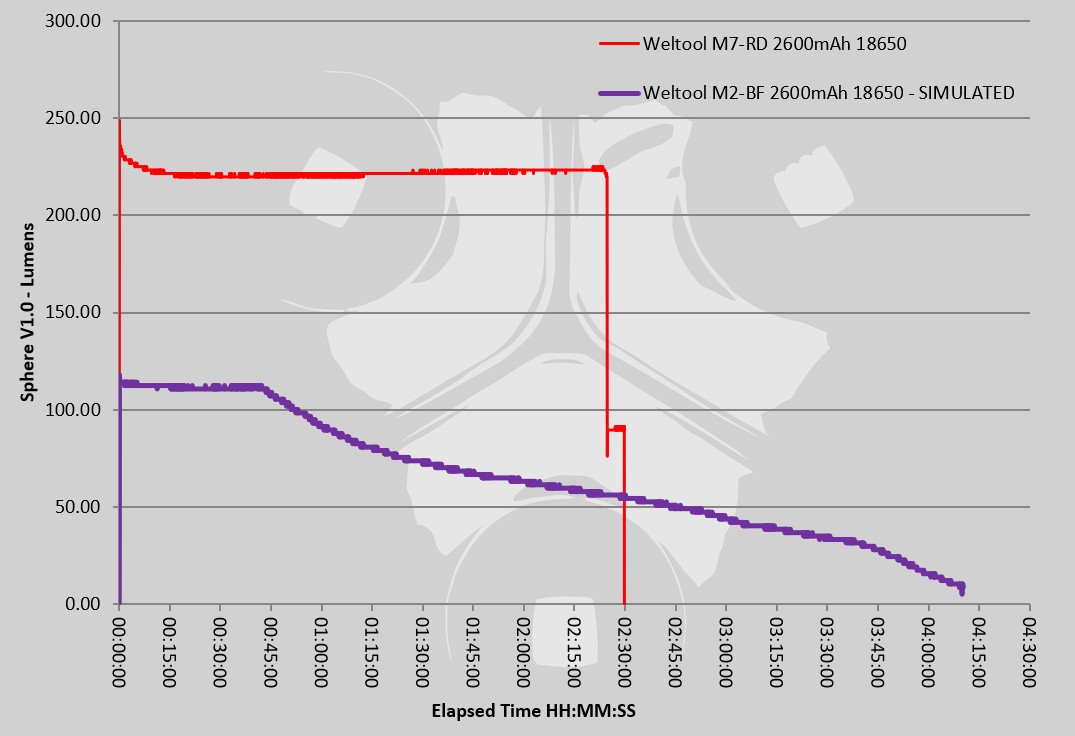
Included here are two charging traces, first for the USB charger and 18650 cell that came with the M2-OL, and second for the USB chargeable 18650 that came with the M7-RD. Lastly is a runtime graph for the M7-RD (which should be showing the actual lumen output), and the M2-BF showing a simulated output. The integrating sphere sensor does NOT measure UV, so in this run for the M2-BF I included fluorescent material inside the sphere to convert some of the UV to visible light. Doing this allows for a ‘relative’ output trace over the full runtime, but is not a measurement of actual lumens.
Troubleshooting
This section is included to mention any minor niggles I come across during testing, in case the information helps anyone else.
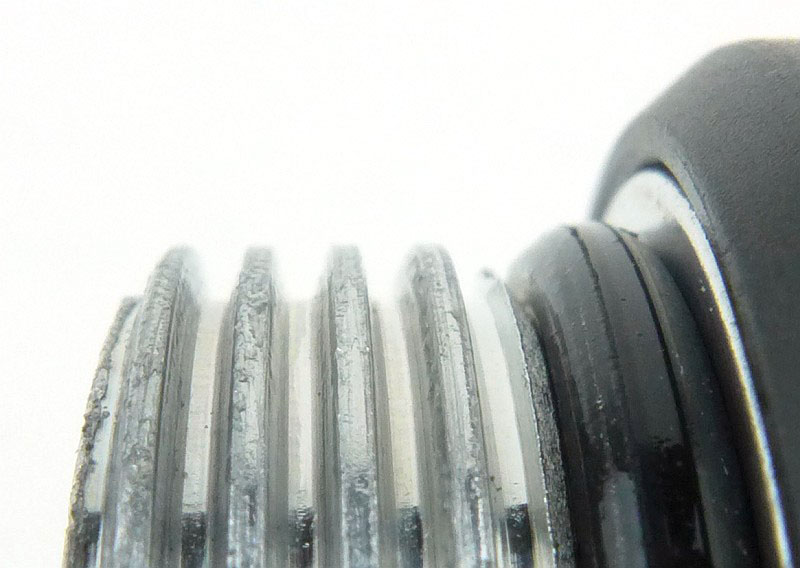
As mentioned in the previous section “Taking a more detailed look at the charger and cells:” The flat-top cell supplied with the M2-OL would not charge in the supplied USB charger. This was because the plastic wrap on the cell left the positive terminal slightly recessed. To allow charging the negative end of the cell just needed to be raised slightly.
Not a big issue and easily rectified. I mention it here in case you find the same and need to use this simple fix.
As per the description of this section, this information is provided in case anyone else finds a similar ‘issue’ that might be fixed in the same way.
The M2-OL, M2-BF and M7-RD in use:
These are specialist lights, so really shine (pun intended) in specific situations. If you are an enthusiast in portable lighting, then you might not really ‘need’ these lights, but they will be great fun to add to your line up.
If you are in need of them for their special purposes, then you have some really strong performers to choose from. Before getting to the model-specific comments, a quick look at their sizes; I am slightly surprised there is so much variation when based on the same body and switch, but each of these three is a different length, and has been fine tuned to the LED and lens configuration. All three lights have two output levels selectable with a quick on-off-on via the forward-clicky tailcap switch; all three start on low if left off for 2s or more.
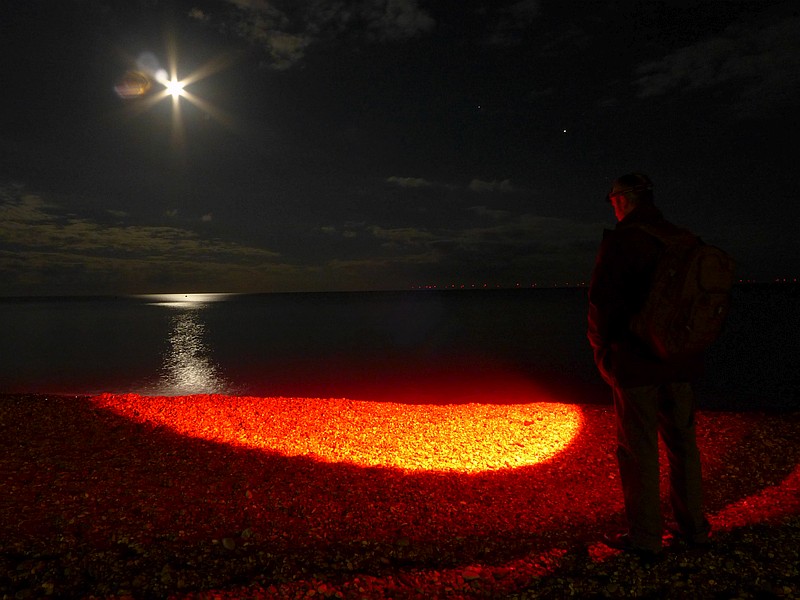
M7-RD RED: Weltool describe the M7-RD as a choice that won’t affect dark adapted eyes. For this I partly disagree; yes, red light does have less of an effect on your night vision, but the M7-RD is very bright, and will still affect your night vision. Use this at a star party (if that is your bag) and you will be shouted at. However, I find it particularly useful for hunting. The quarry I often target does not appear to react to pure red light, and this means I can use a good brightness red light to help me, instead of a super dim light where I’d struggle to see (especially when using a gun light that is much brighter).
M2-OL UV: After looking at the special beamshot galleries, the M2-OL, might seem a lesser choice for a UV light, but the mix of UV with some blue light has a place. It means that you have some ‘supporting’ light to see other features in the scene even if they don’t react to UV. This mix of light is helpful and gives a different view of the area.
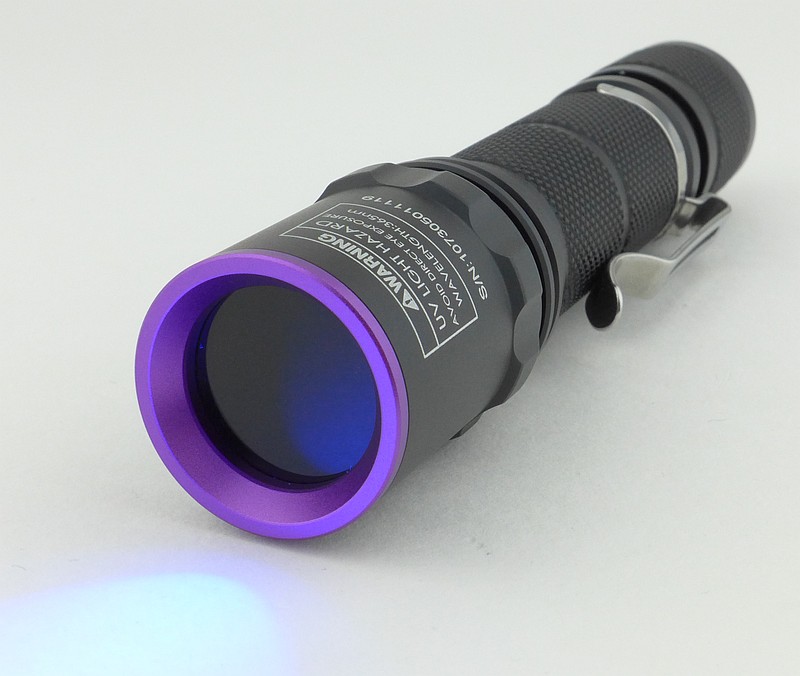
M2-BF: This is the most specialist of the three, as there is a filter lens to remove all but the pure 365nm UV light. If there is nothing to fluoresce, you won’t see anything. In the photo below, the M2-BF is on, but apart from the glow of the paper surface in front of the lens, you might not know it was on at all.
With this super pure UV you can reveal hidden details, and often show things you might rather you hadn’t seen! The M2-BF is the ultimate in true ‘black light’ as long as you don’t need any visible light mixed in.
Review Summary
The views expressed in this summary table are from the point of view of the reviewer’s personal use. I am not a member of the armed forces and cannot comment on its use beyond that covered in the review.
Something that might be a ‘pro’ for one user can be a ‘con’ for another, so the comments are categorised based on my requirements. You should consider all points and if they could be beneficial to you.
_______________________________________________
What doesn’t work so well for me
_______________________________________________
Minor issue with the USB charger and flat-top cell.
M7-RD’s Red output is too bright for saving night vision.
They are 18650 powered only, so no option for primary cells.
_______________________________________________
Things I like
_______________________________________________
Great fit and finish for all models.
Choice of different beam profiles to suit your needs.
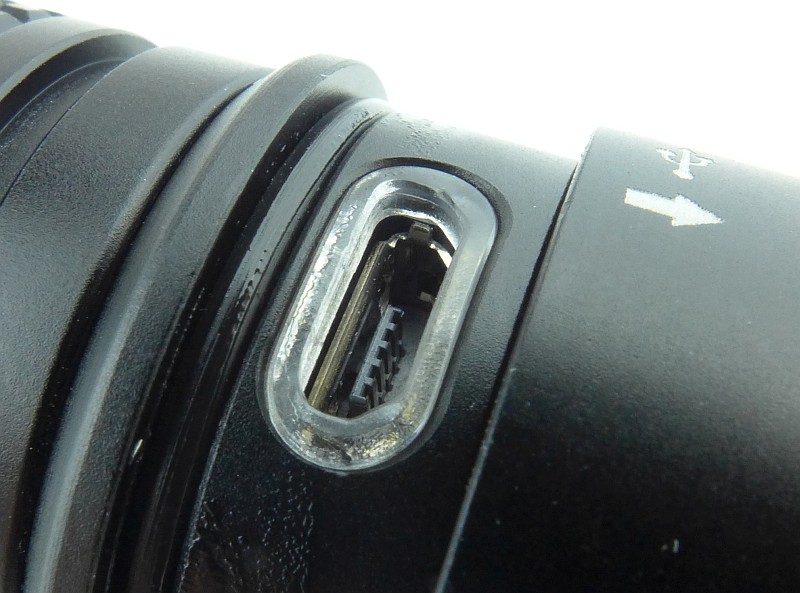
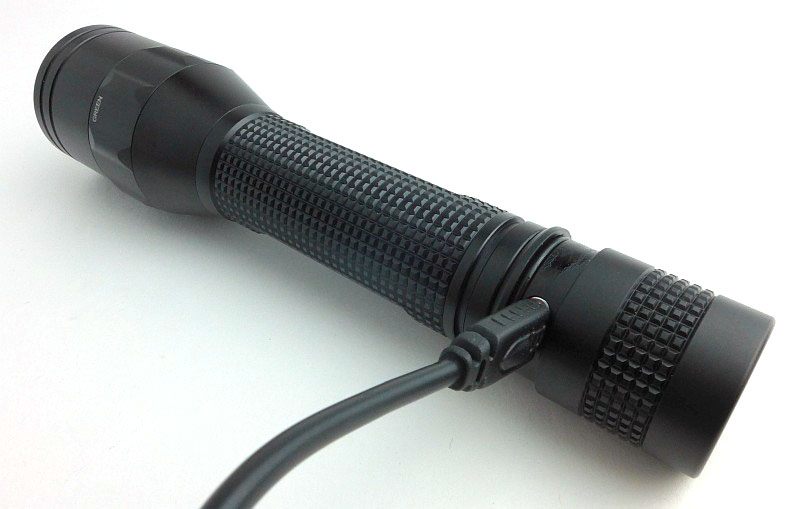
M7-RD has a USB chargeable cell that does not need a separate charger.
M2-OL includes a full kit including a cell and charger.
M2-BF outputs pure filtered 365nm ‘black light’.