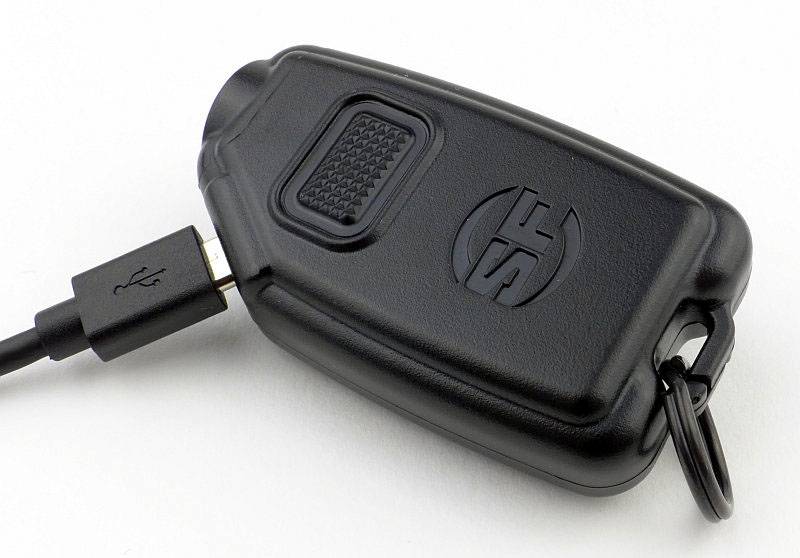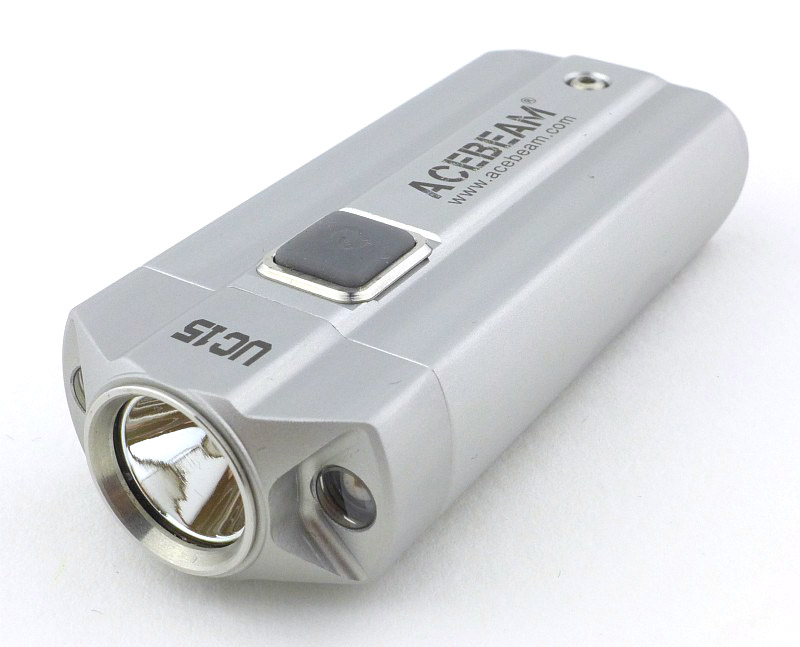
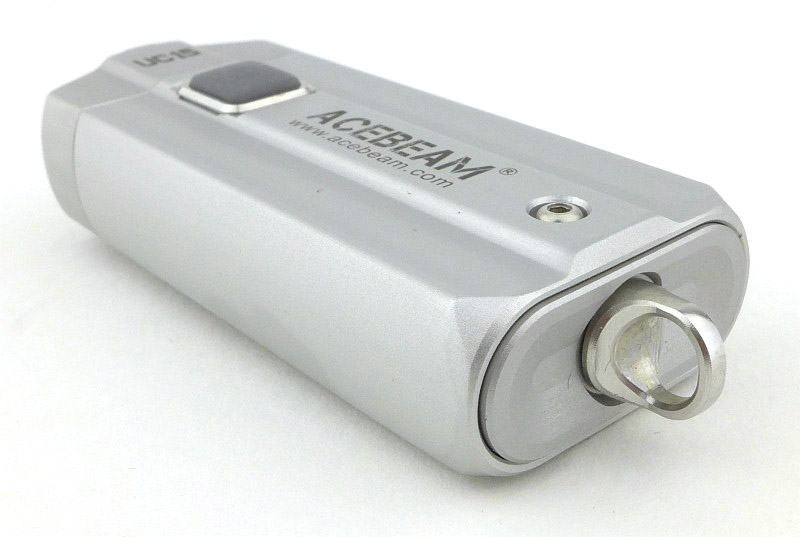
ACEBEAM’s UC15 is a new contender in the keychain light market. The UC15 has a range of capabilities that make it stand out, with white, red and UV beams, and the choice of AAA or 10440 for power. We are certainly spoilt for choice when it comes to keychain lights, in many cases with there being very little to distinguish between them, but the UC15 definitely gives you more. It is one of the larger keychain lights, being in the ‘car key size’ class, many of which have built-in batteries and though those have the convenience of USB charging, they are limited by the capacity of that battery. Not the UC15 as it takes 2x AAA or 2x 10440, but can run on only one cell if needed.
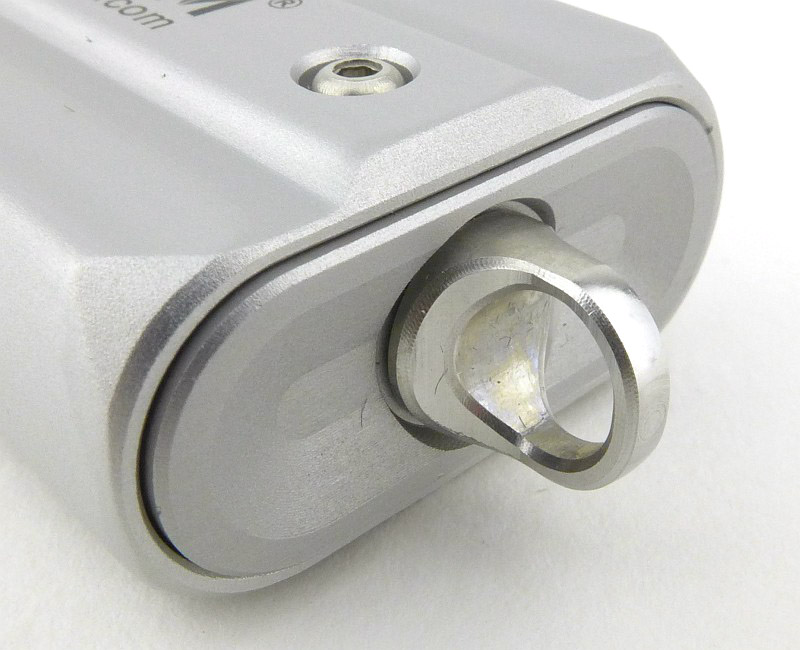
Taking a more detailed look:


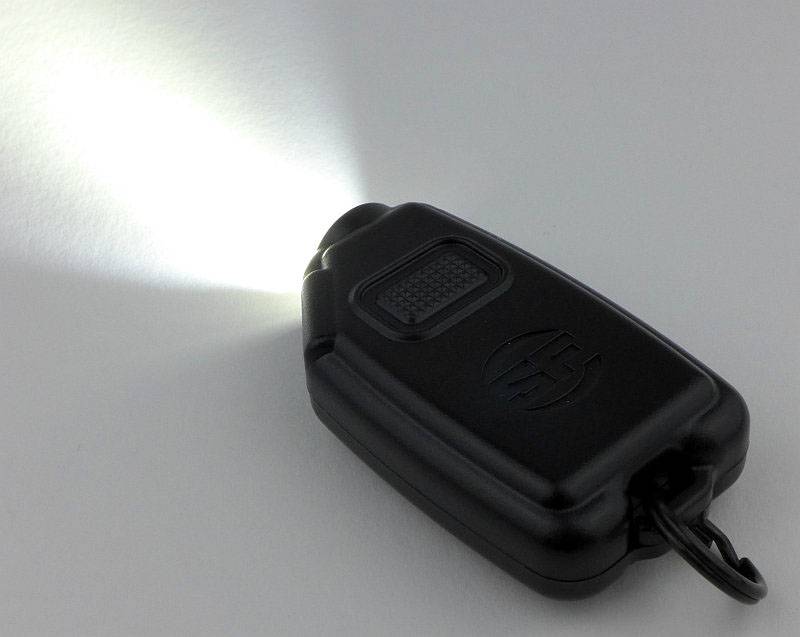
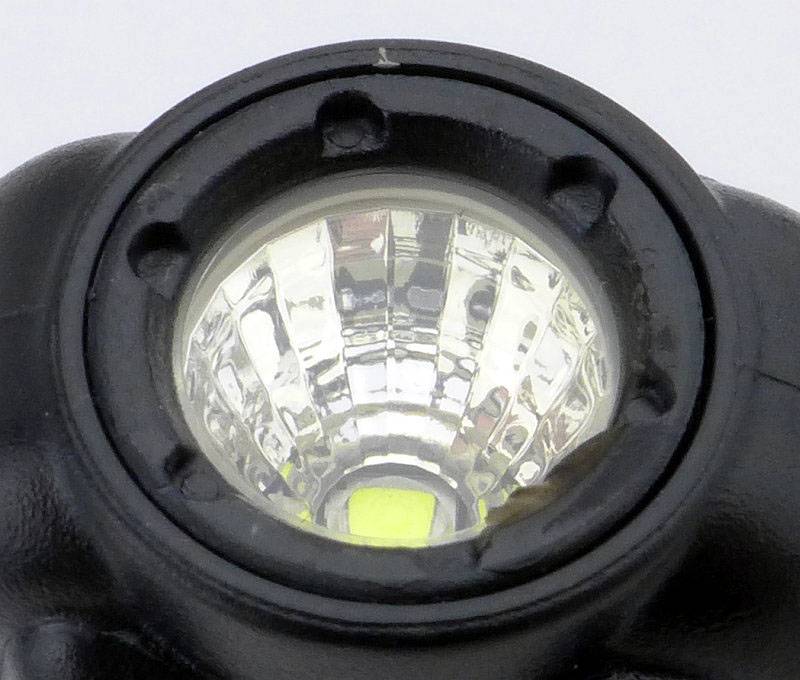
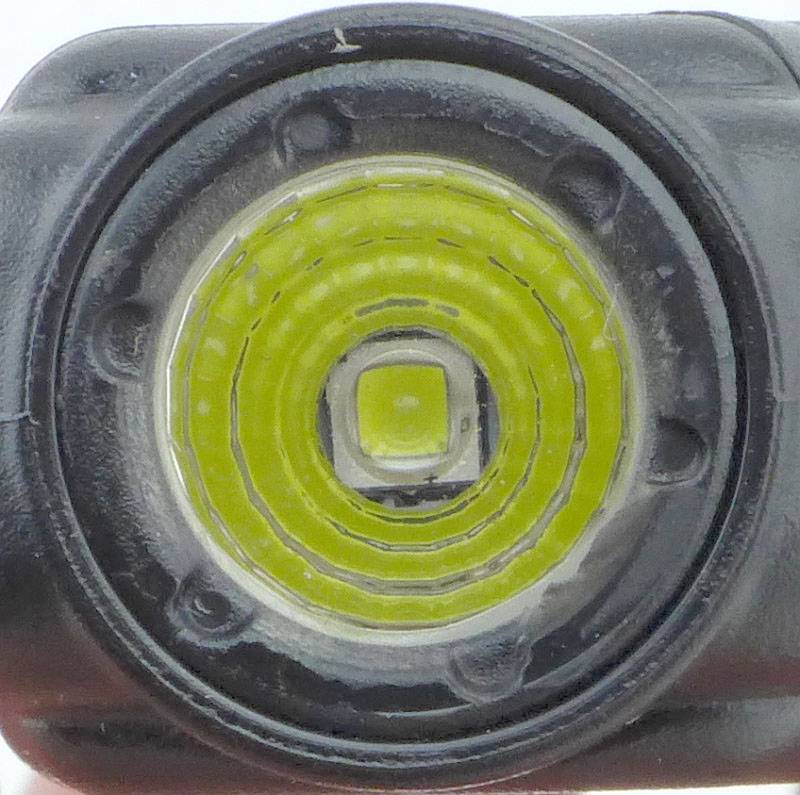
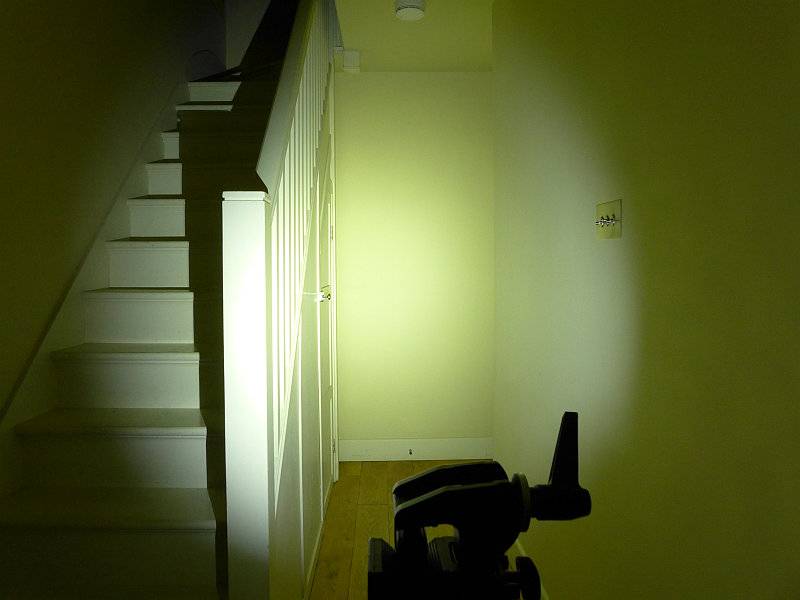
The beam
Please be careful not to judge tint based on images you see on a computer screen. Unless properly calibrated, the screen itself will change the perceived tint.
The indoor beamshot is intended to give an idea of the beam shape/quality rather than tint. All beamshots are taken using daylight white balance. The woodwork (stairs and skirting) are painted Farrow & Ball “Off-White”, and the walls are a light sandy colour called ‘String’ again by Farrow & Ball. I don’t actually have a ‘white wall’ in the house to use for this, and the wife won’t have one!


Modes and User Interface:
ACEBEAM helpfully provided a diagram to help you navigate the UC15’s UI. However, the current firmware version doesn’t quite follow this diagram once you have activated the ‘colour group’.
On one copy of the UI diagram I have made a couple of adjustments, and the reason for these is as follows…
Turning on to Moon mode does NOT ‘activate’ the white group when the current group is the colour group; it only temporarily enters the white group. So, if the colour group was the active group and you turn on to Moon mode, even if you then select another white output level, once you turn the UC15 off, it will revert to the colour group.
From OFF, with the colour group active, the only way to ‘activate’ the white group is via a double click.
If the colour group is active, and the UC15 is OFF, a double click does NOT turn Turbo on, instead it turns on the memorised white level; it then takes one more double click to enter Turbo.


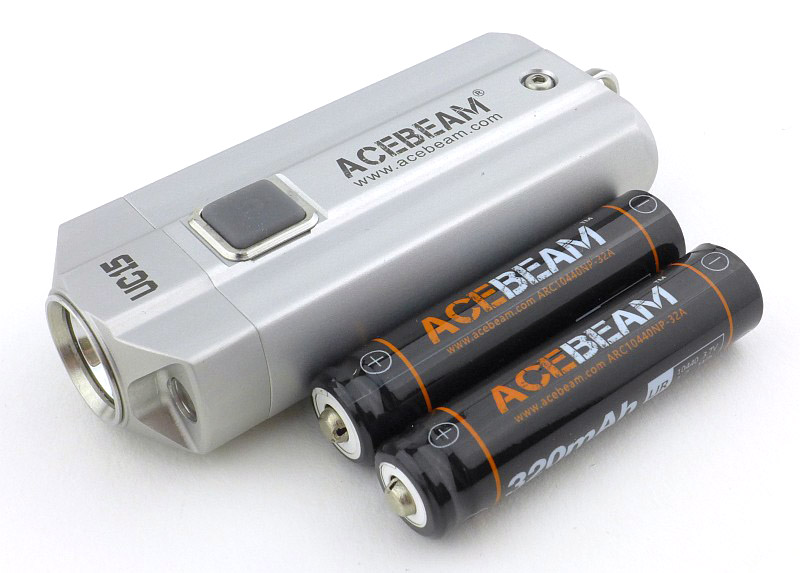
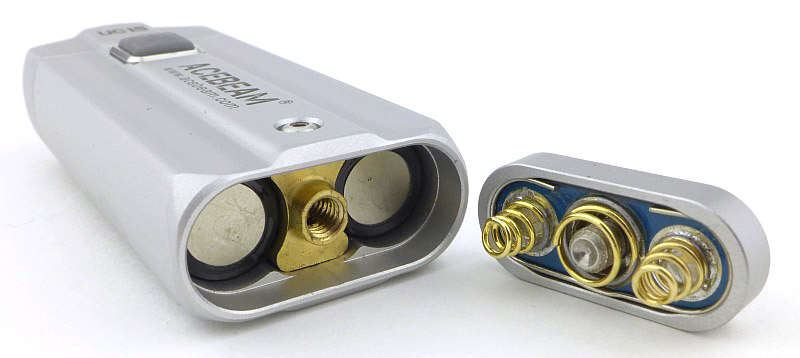
Batteries and output:
The UC15 runs on 2x AAA or for maximum output 2x 10440. These are used in parallel, so you can actually use only a single cell if that is all you have.
To measure actual output, I built an integrating sphere. See here for more detail. The sensor registers visible light only (so Infra-Red and Ultra-Violet will not be measured).
Please note, all quoted lumen figures are from a DIY integrating sphere, and according to ANSI standards. Although every effort is made to give as accurate a result as possible, they should be taken as an estimate only. The results can be used to compare outputs in this review and others I have published.
         ACEBEAM UC15          |   I.S. measured    |  PWM frequency or
     using specified cell      | ANSI output Lumens | Strobe frequency (Hz)
_______________________________|____________________|______________________
  Turbo  10440                 |      679           |
  High   10440                 |      441           |
  Medium 10440                 |      251           |
  Low    10440                 |      109           |
  Moon   10440                 |        5           |
  Red    10440                 |       93           |
                               |                    |
  Turbo  AAA NiMh              |      190           |
  High   AAA NiMh              |       93           |
  Medium AAA NiMh              |       51           |
  Low    AAA NiMh              |       25           |
  Moon   AAA NiMh              |        5           |
  Red    AAA NiMh              |       53           |
There is parasitic drain but is incredibly low. When using 10440, the drain was 3.6uA (22 years to drain the cells), and when using AAA, the drain was 1.1uA (165 years to drain the cells).
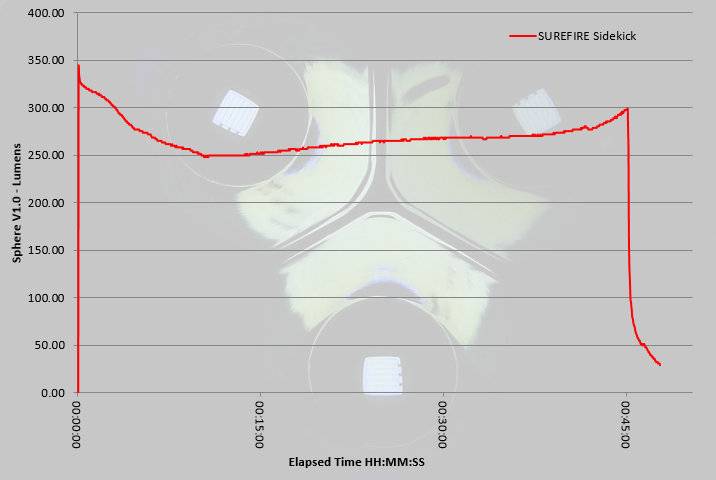
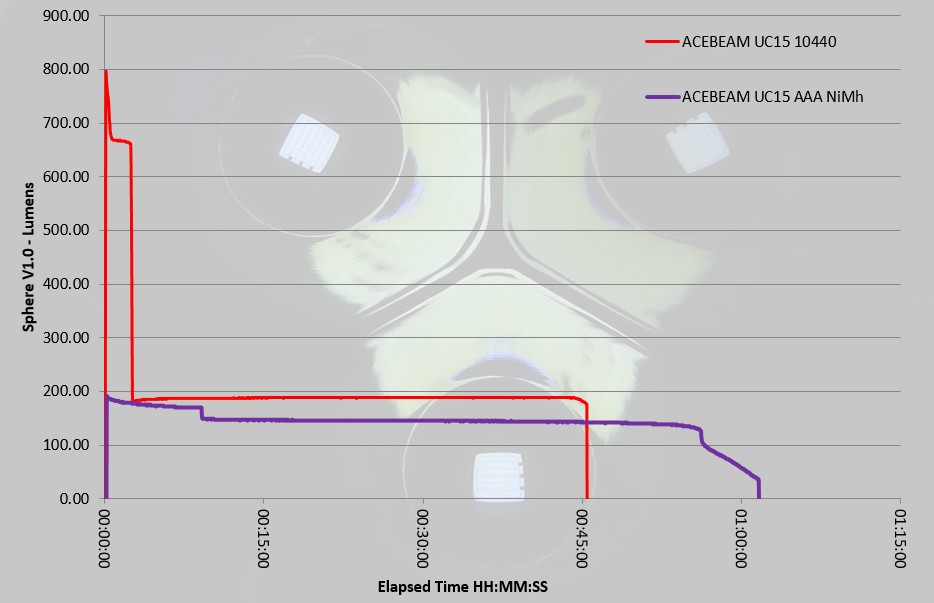
The runtime graph shows the UC15 running from Turbo to the ANSI cut-off for AAA NiMh and 10440. Also included are the manufacturer output specifications.

Troubleshooting
This section is included to mention any minor niggles I come across during testing, in case the information helps anyone else.
The only minor observation to report here was difference in the expected behaviour of the UI, as noted earlier.
As per the description of this section, this information is provided in case anyone else finds a similar ‘issue’ that might be fixed in the same way.
The UC15 in use
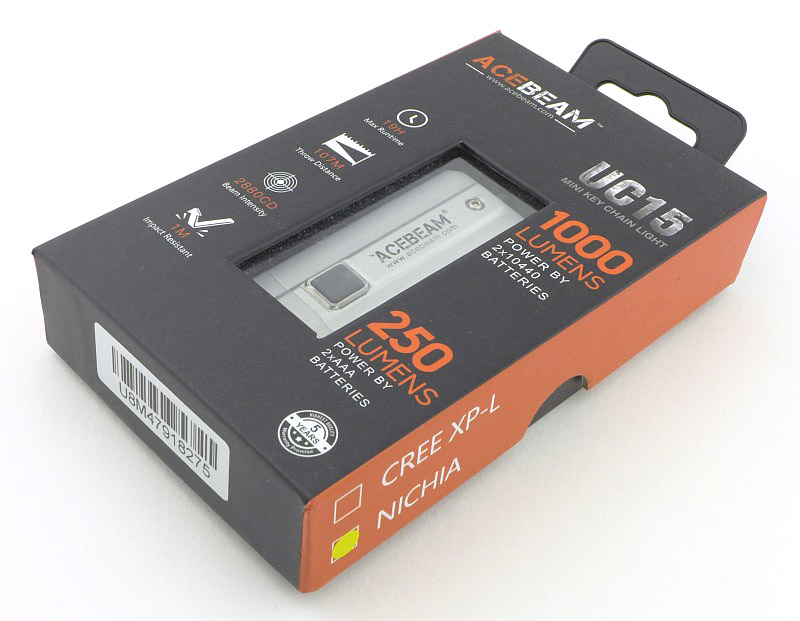
Compared to many keychain lights, the UC15 is a fairly large addition to your key-ring, but it is packed with features and performance. This high CRI Nichia LED version doesn’t quite have the same 1000lm output as the XP-L version, but at around 700lm when using 10440, is very impressive.
Personally I find the levels a bit too bright when using 10440, and I prefer to use AAA, which brings the levels down to a brightness that works better for an EDC light. You have the choice though, a true pocket-rocket, or a seriously useful EDC light. The level chosen for ‘Moon’ mode is more like a low level than a moon mode as at 5lm is too bright for dark adapted eyes.
When it comes to red light, typically this is used to help maintain dark adapted vision. In the case of the UC15’s red output, it is very bright, with nearly 100lms of red when using 10440; this is too much. If you were to go to an astronomy ‘star party’, and broke out the UC15’s red beam, you would be asked to leave – immediately. With the red beam being a specific wavelength (630nm) it is virtually invisible to many night time quarry if you are out hunting after dark, so in this regard is useful. Beyond that, the red could be useful for signaling considering its brightness.
Unlike many ‘UV lights’ the UC15 is a proper UV light using the 365nm wavelength. This has minimal blue light and appears very dim to the eye, until you shine it onto materials that fluoresce. This is particularly obvious with bank note security features. Only true UV brings out their colours and makes them glow brightly.
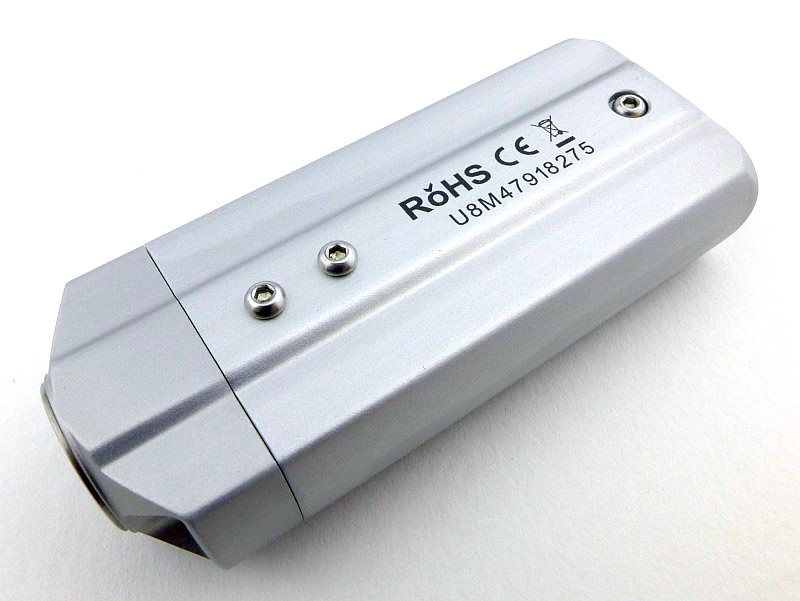
Rated as IP54, I am slightly surprised that ACEBEAM have left the tail-cap without any kind of seal. It might be slightly splash proof, but it is not waterproof. Perhaps a keychain light is not that likely to get soaked (a car key might not like that), but it seems strange not to have a seal.
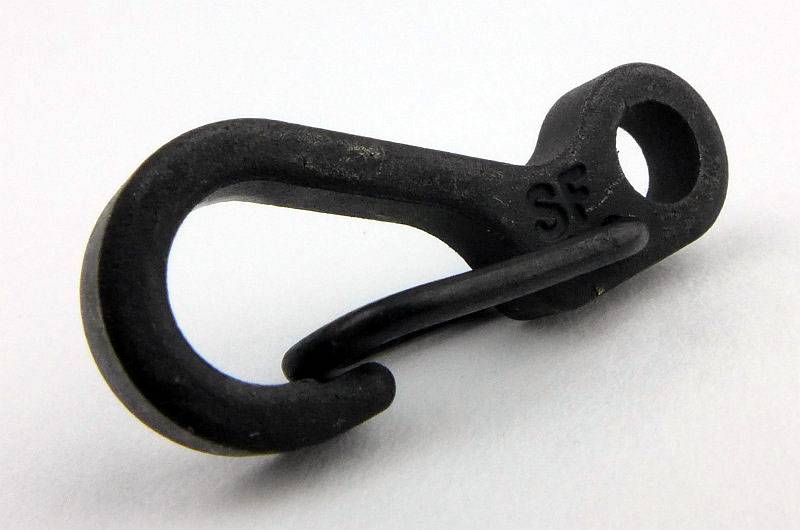
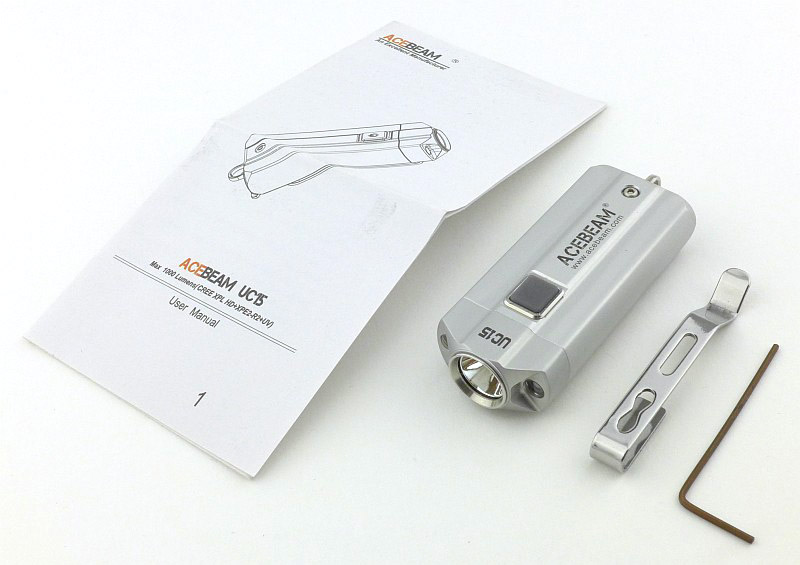
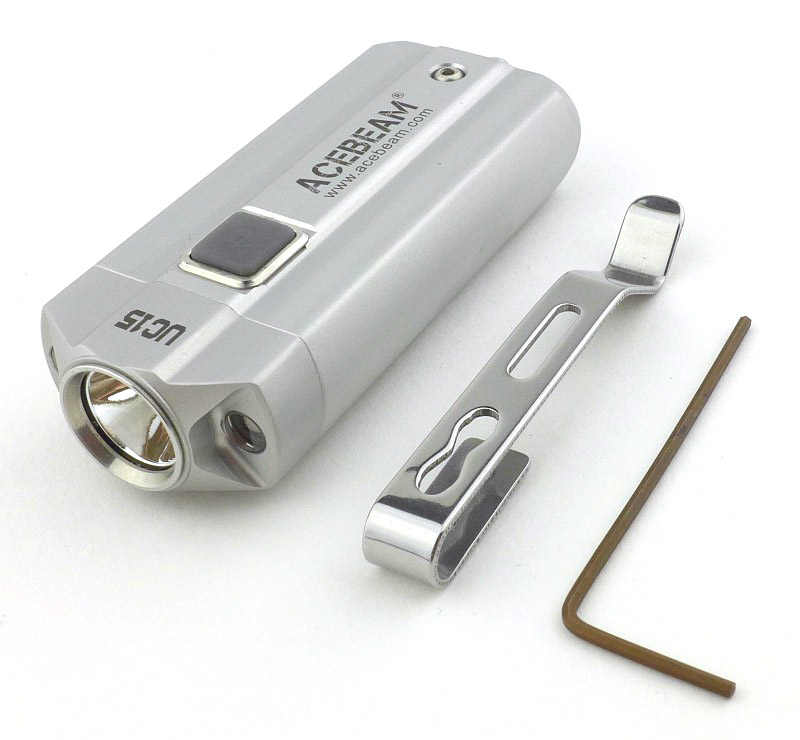
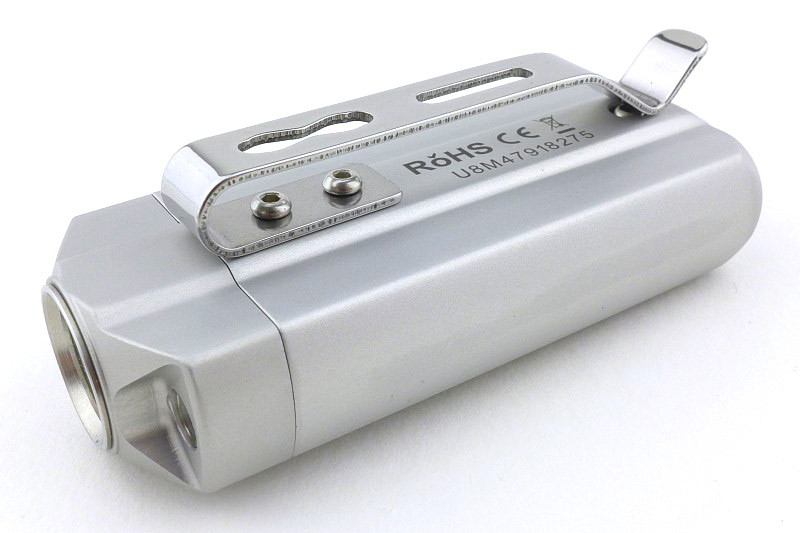
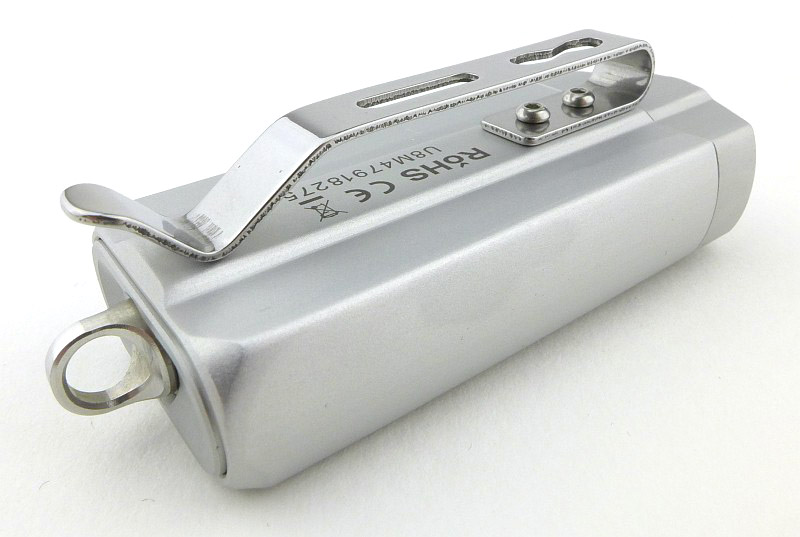
Adding the clip makes it more of a pocket light than a keychain light, but gives you that extra flexibility. With the clip open at the tail-end of the UC15, you can slide it onto the baseball cap peak to use it as a head-lamp. Fitting the clip itself is fiddly. The small screws don’t fit through the holes in the clip, so have to be tickled into position underneath the clip, and then tightened.
Overall the 2x AAA side-by-side configuration makes for a very ergonomic light to use, and with three different beams to choose from, the UC15 is a serious contender for your EDC.
Review Summary
_______________________________________________
Things I like
_______________________________________________
High CRI ~700lm output.
Choice of AAA or 10440 power.
Choice of output levels (based on cell choice).
White, Red and UV outputs.
Good UI (despite minor issue).
Can run on only one cell (as the two are used in parallel).
Very low parasitic drain.
No Pulse Width Modulation.
_______________________________________________
What doesn’t work so well for me
_______________________________________________
‘Moon’ mode is too bright.
Moon mode not memorised.
Red output very bright.
Not waterproof, only water resistant.
Discussing the Review:
The ideal place to discuss this reviews is on a forum. If you started reading the shorter forum version of the review, but followed the link this full exclusive review, please return to that forum to discuss the review there.
If you read the review entirely on Tactical Reviews, please consider one of the following to join in, or start, a discussion.
CandlePowerForums – Flashlight Reviews Section (Largest and Friendliest Flashlight Community Forum)