Inspired by a project to assemble an urban emergency grab-bag / evac-bag / bug-out-bag / go-kit using a maximum 20l rucksack, I chose the Wisport (from Military 1st) Sparrow 16 and 20 rucksacks. This review is to take a detailed look at these bags and their features. As well as the photo galleries there is also a video showing the features of each bag. (Keep an eye out for the emergency bag article, or subscribe for updates to make sure you get notified.)
Diving into the details:
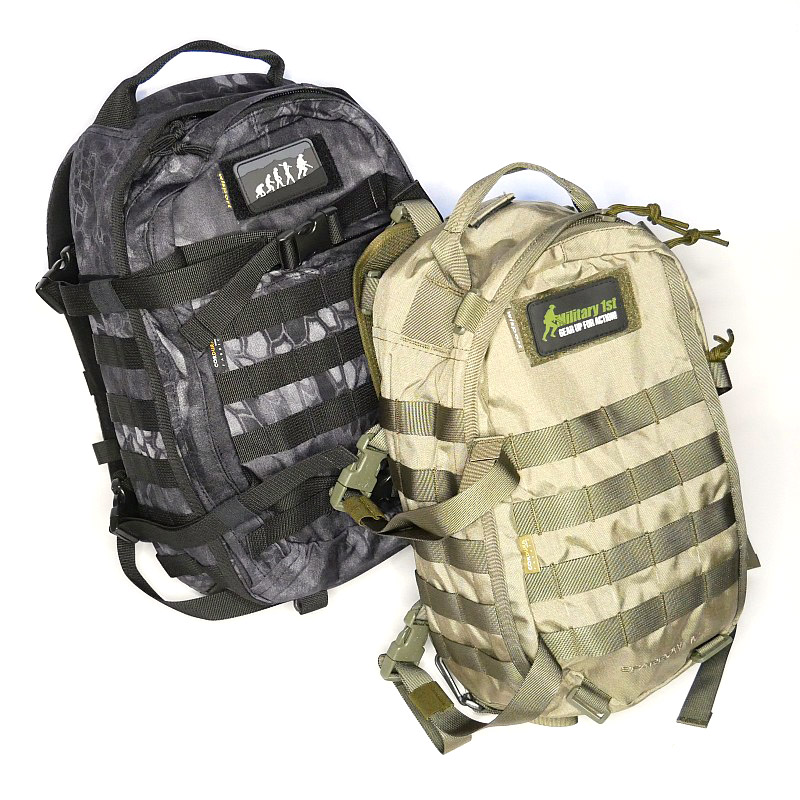
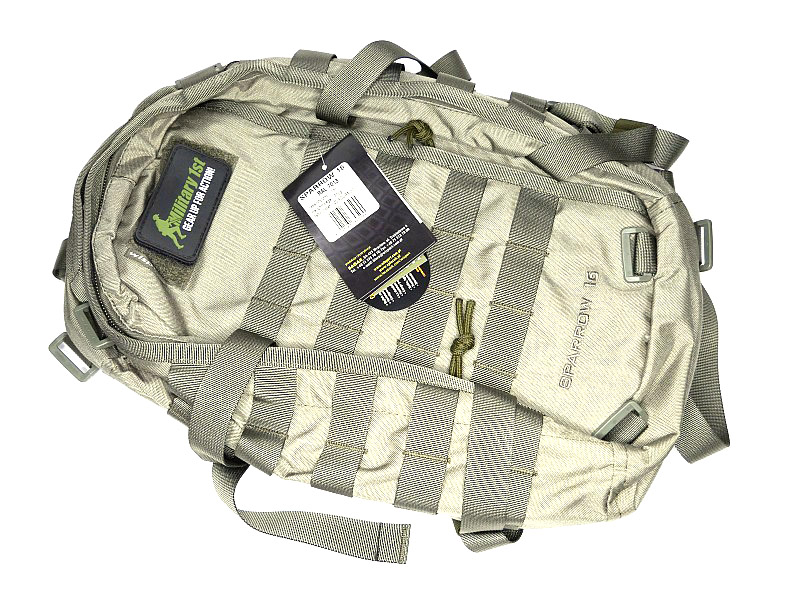
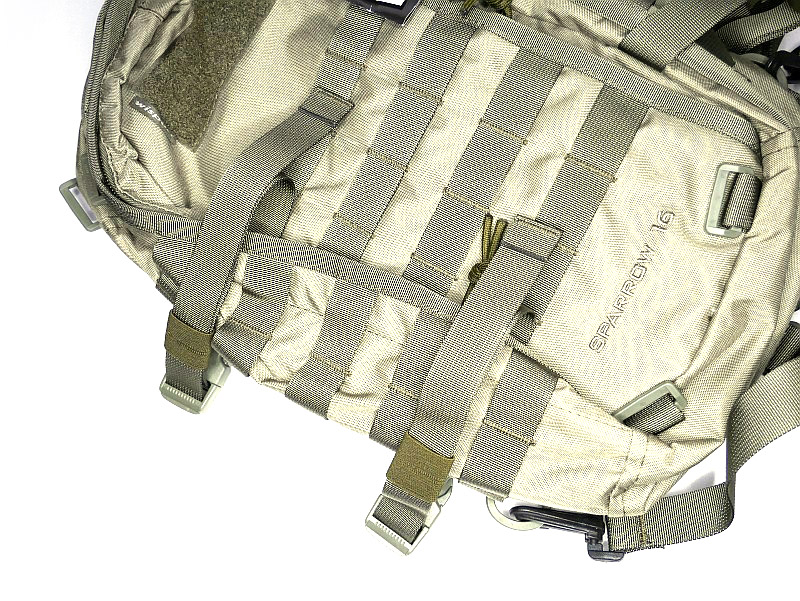
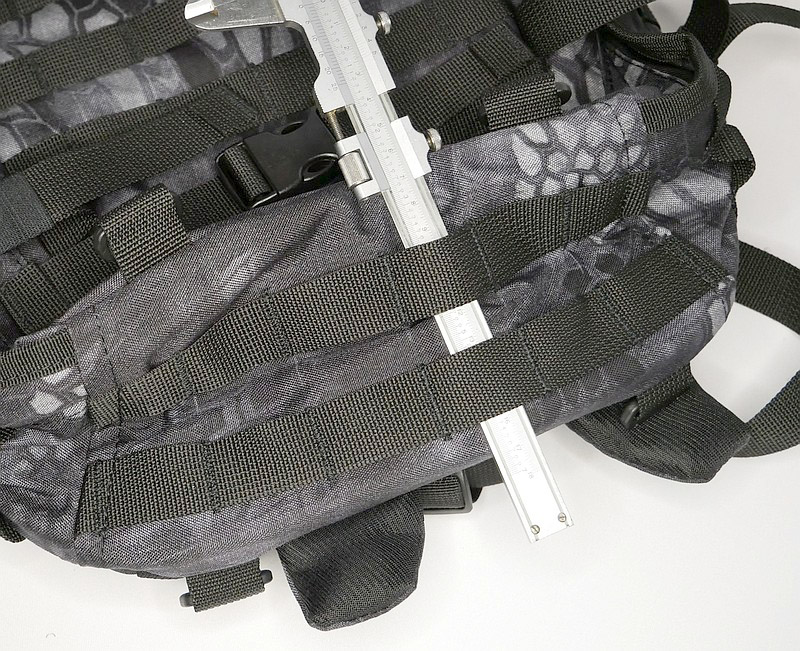
Starting with the smaller Sparrow 16 and the images are split into three galleries to cover the main external features, carry strap details, and the bag’s compartments.
External features:
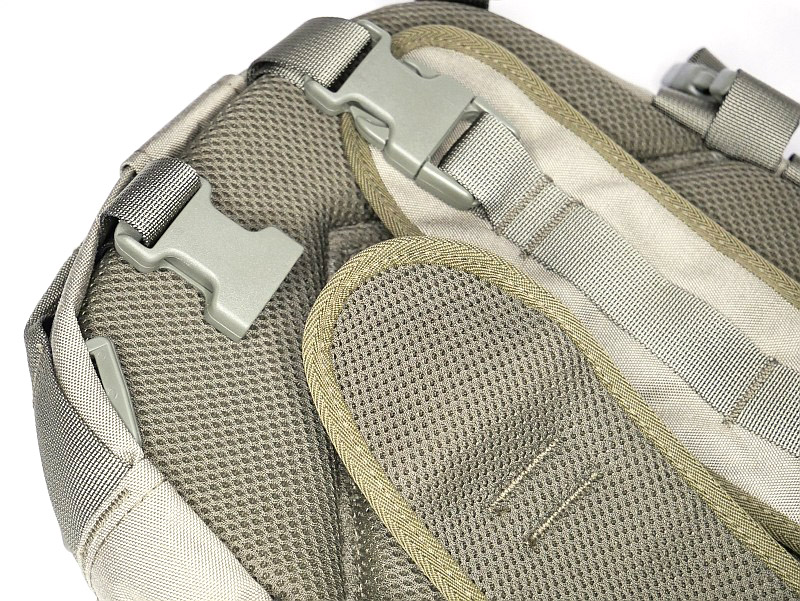
The Sparrow 16 shows how even a small bag, with a few extras on it, can have a pretty impressive carrying ability. Each side of the Sparrow 16 has a set of two compression straps with quick release buckles (as well as MOLLE panels). These make it easy to adapt the bag, stabilise the load or even strap on additional equipment or clothing.
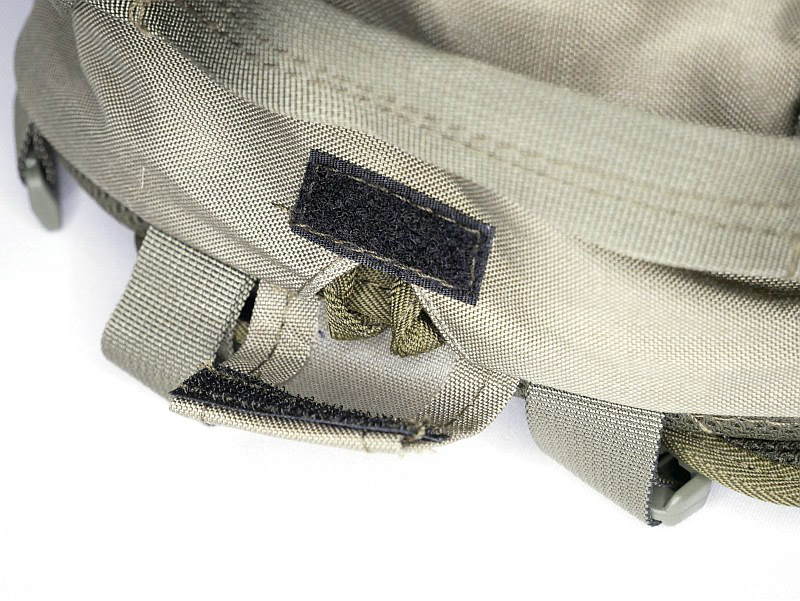
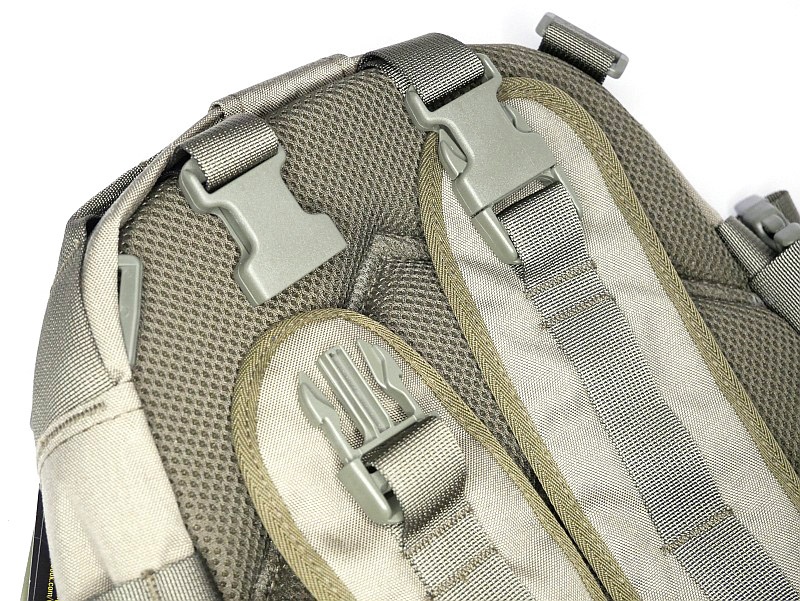
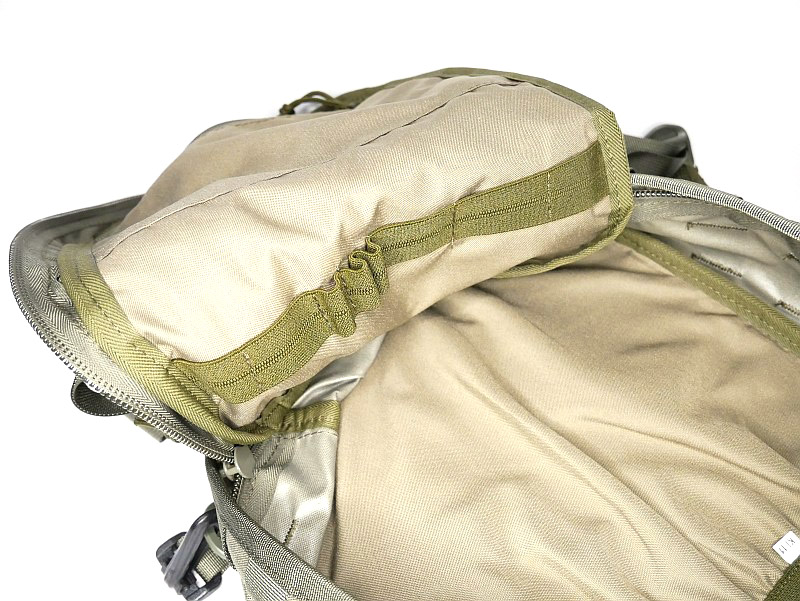
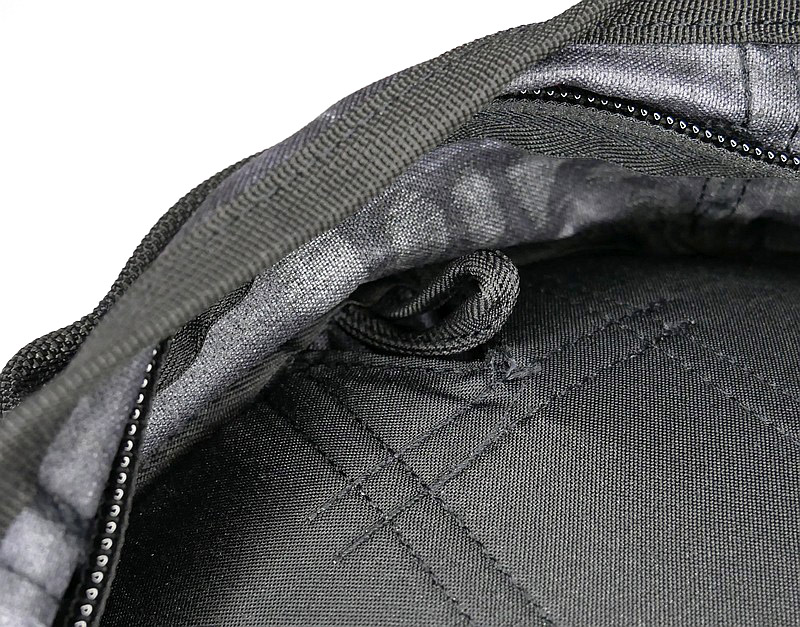
Even though it is a small bag, it has a good comfortable strong top strap. Under this strap is the hydration pouch tube port.
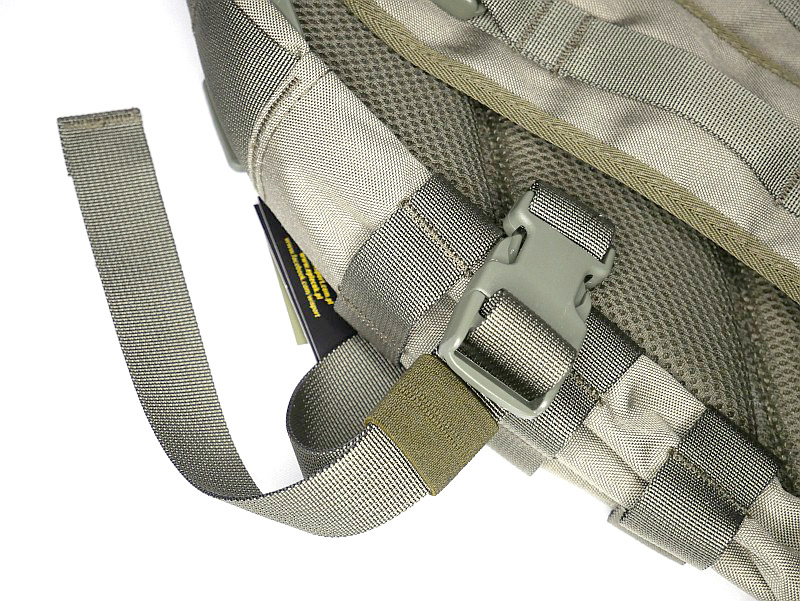


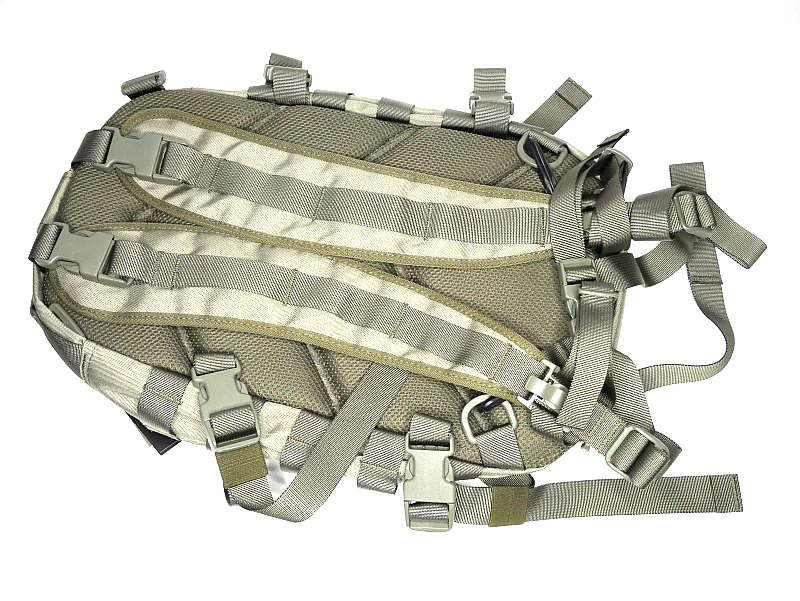
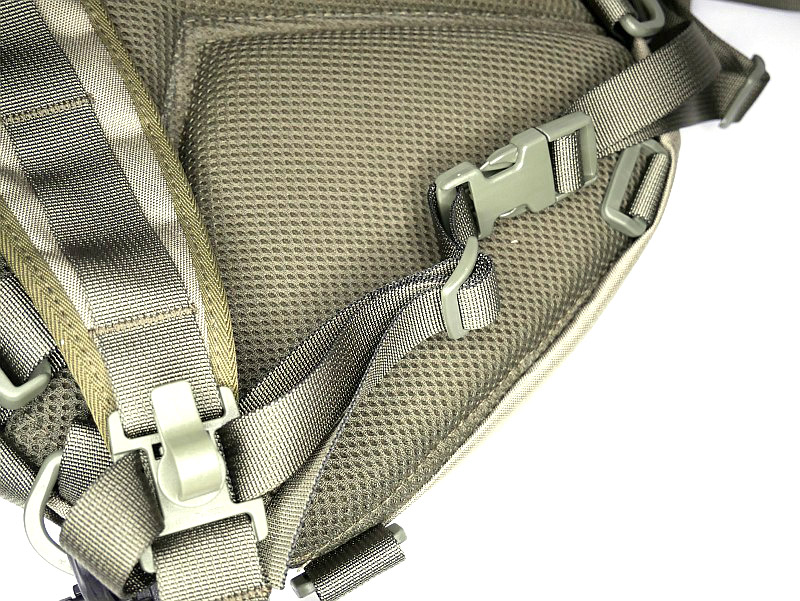
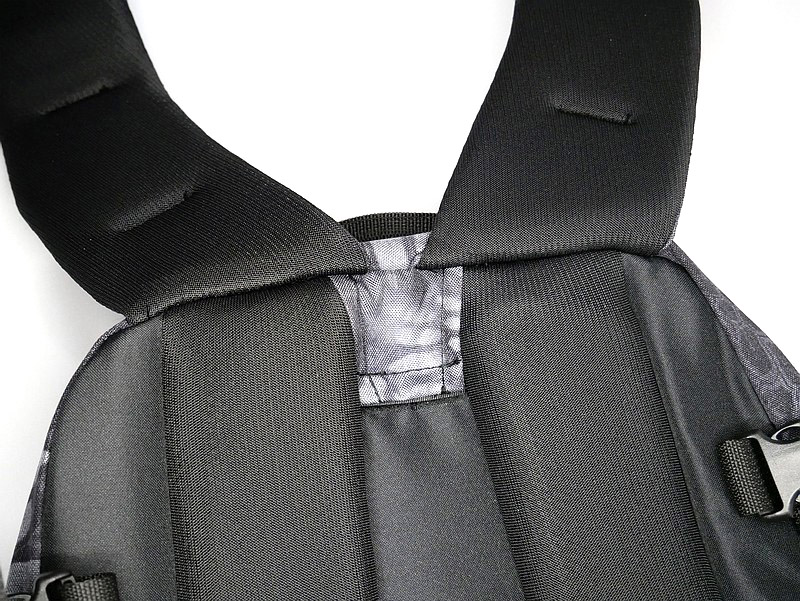
The carry straps:
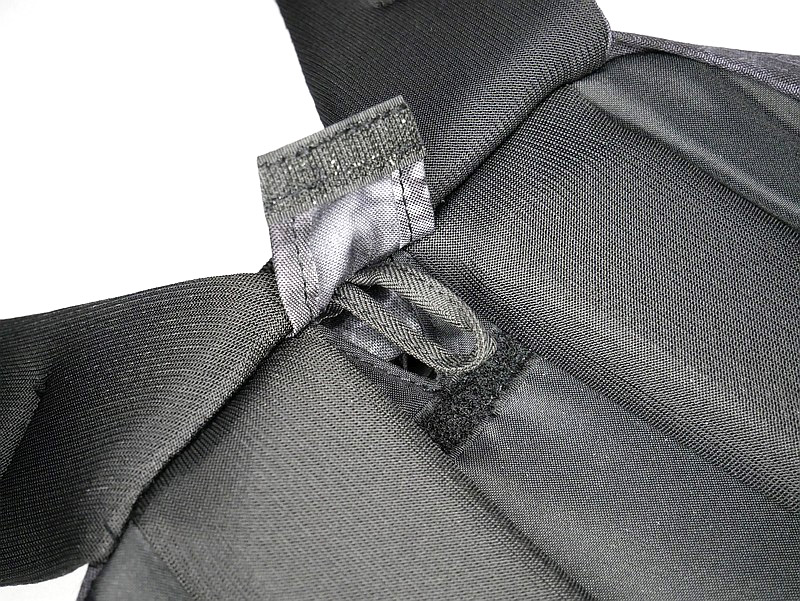
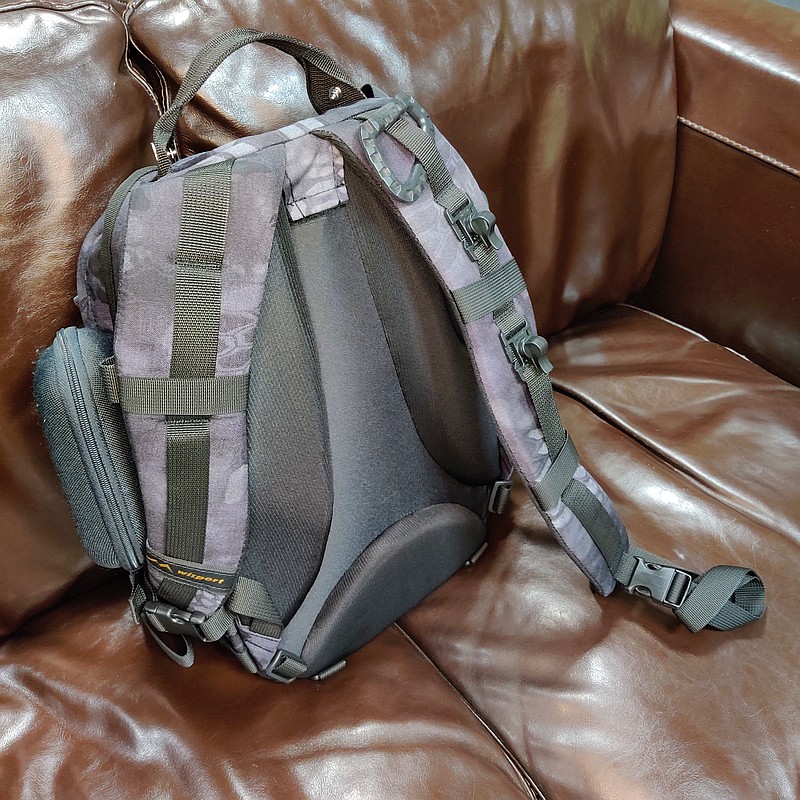
Despite being a small 16l bag, the Sparrow 16 has a lot of details in its design – the carry straps are no exception. Both shoulder straps are fully removable, not just one end of the strap, but both, can be unclipped. You can use remove one strap to make it a neat single shoulder bag (in the way many people carry a rucksack), or both and have a large organiser that you carry with the handle.
Even on this smaller bag there is a chest strap, and the hydration tube clips.


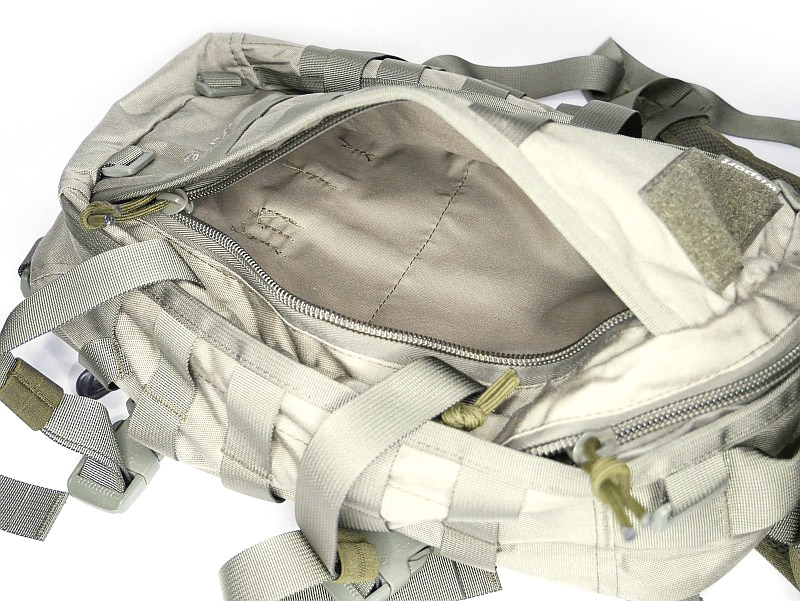
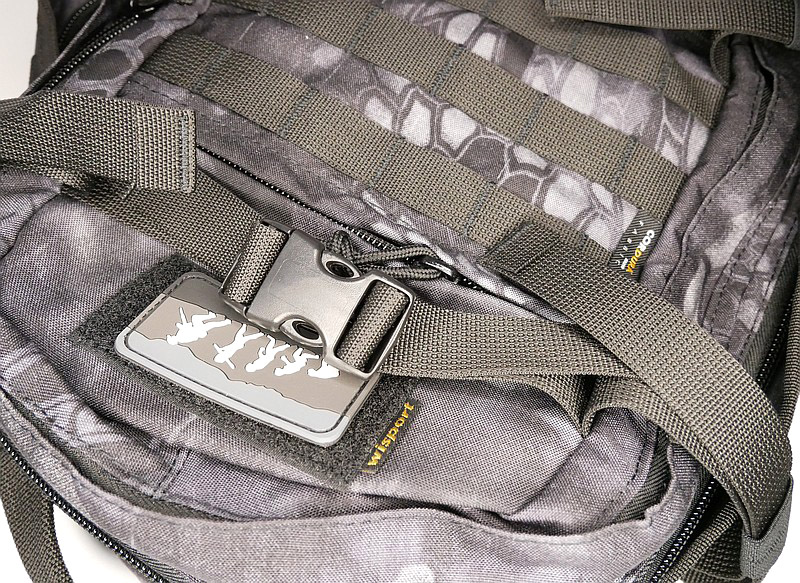
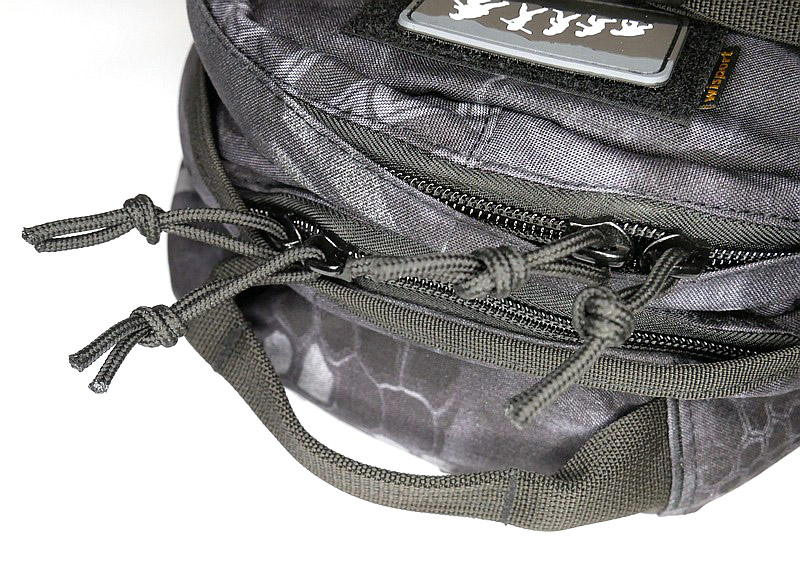
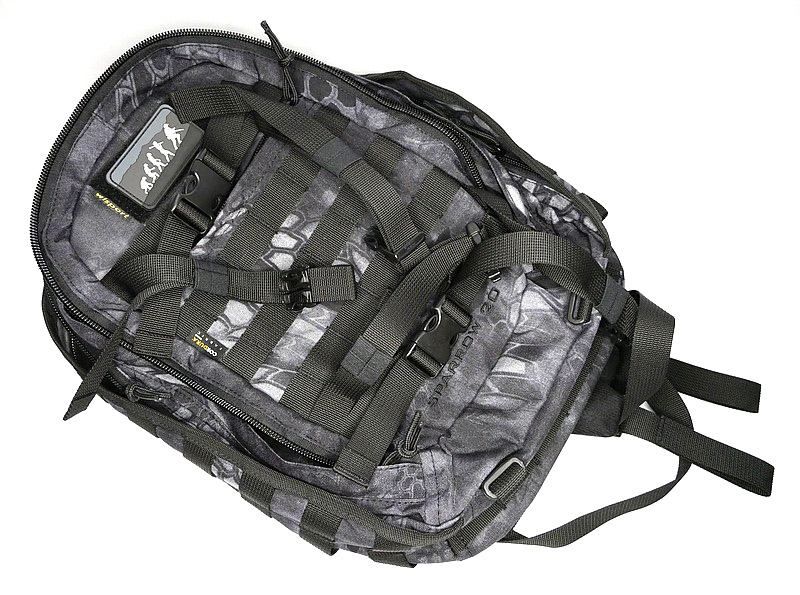
Compartments in the Sparrow 16:
On the very front panel of the bag is a side zip accessed compartment, the same size as the whole front panel. Moving onto the main compartment, which has a full clamshell opening (once you undo the side straps). At the front of the main compartment is a zip up compartment, and below this is an elastic strap with loops for organising items. The back of the main compartment has a pocket with elastic edge, to hold a hydration pouch, or any other flat items.

Moving onto the Sparrow 20.
External features:
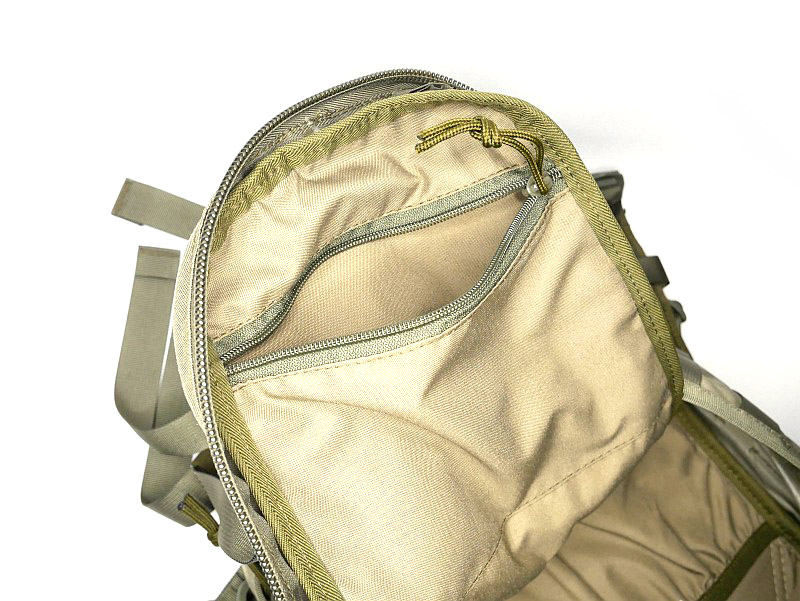
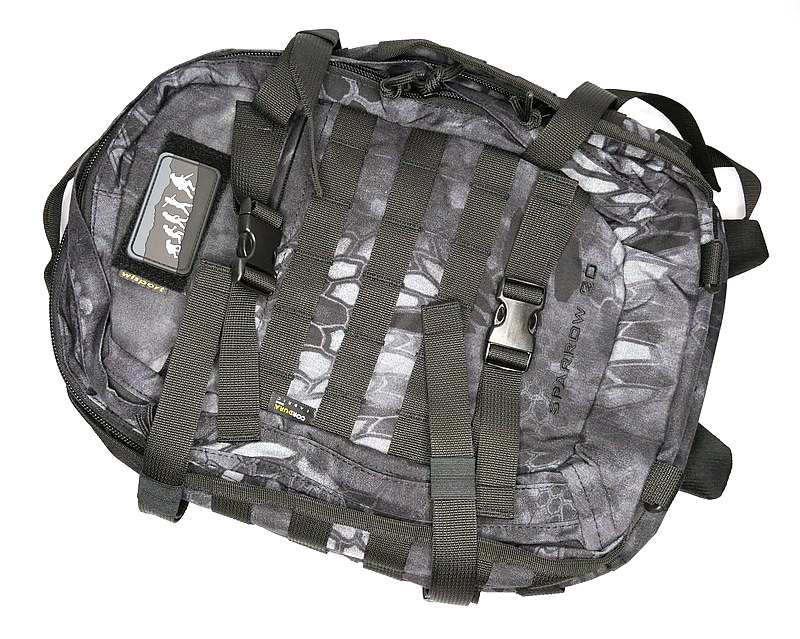
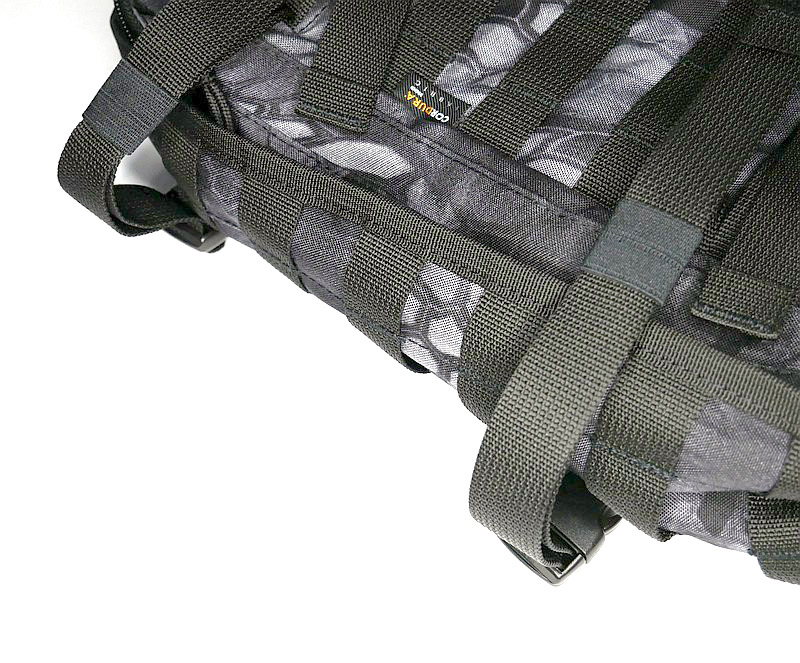
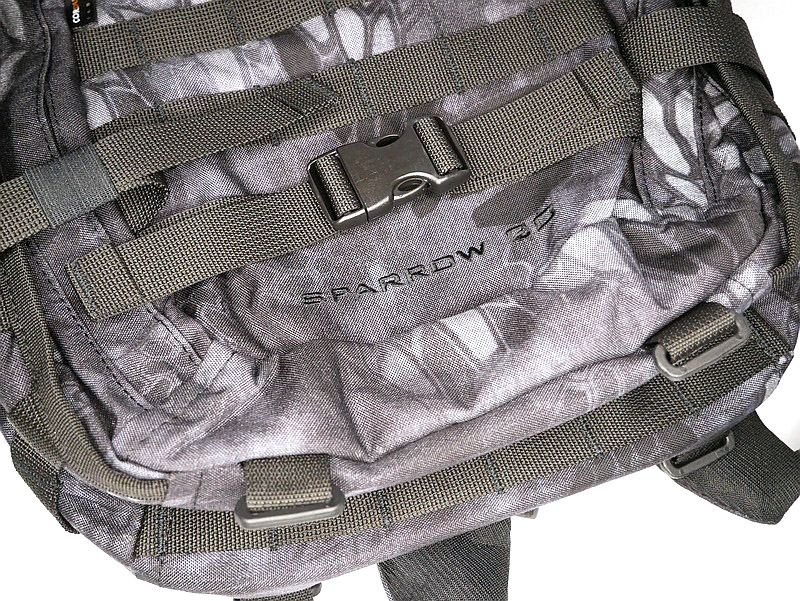
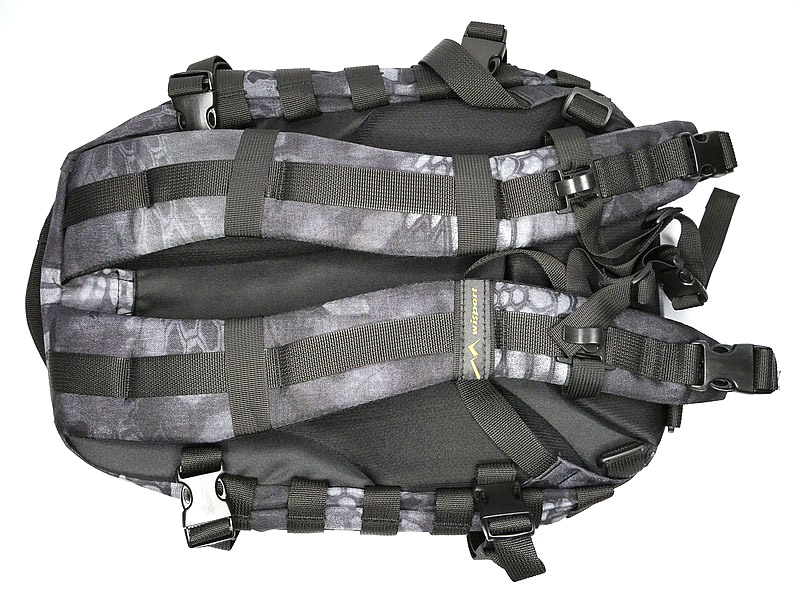
The Sparrow 20 steps up the ‘strappage’ to another level. Like the 16, each side has a set of two compression straps with quick release buckles (as well as MOLLE panels). The front panel has a further two compression straps with quick release buckles, and the base of the bag has both MOLLE webbing and a set of four attachment points for webbing of your own configuration. The front panel also has a top opening zip up compartment. It’s all topped off with a sturdy carry strap.
The carry straps:
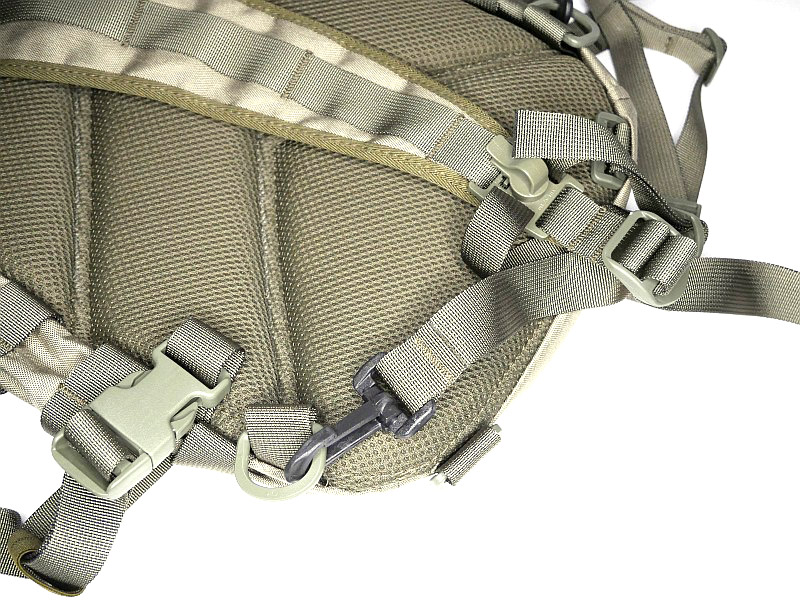
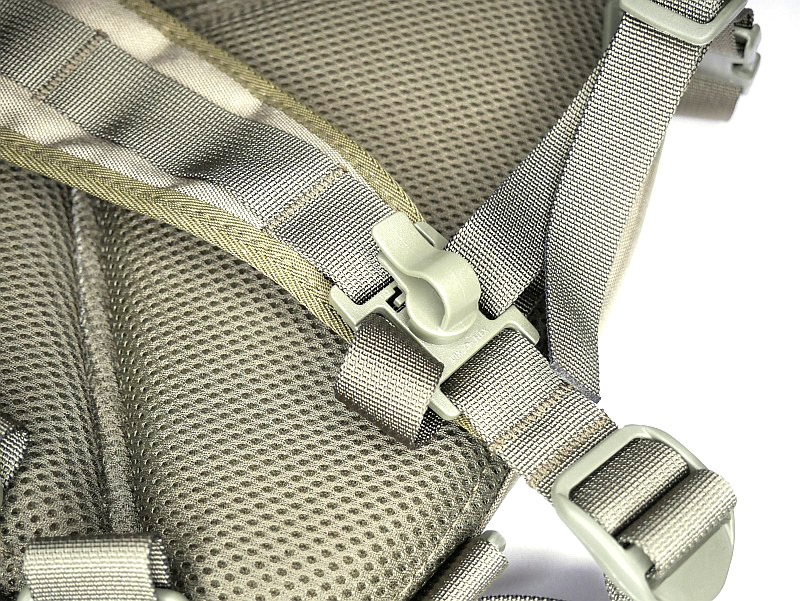
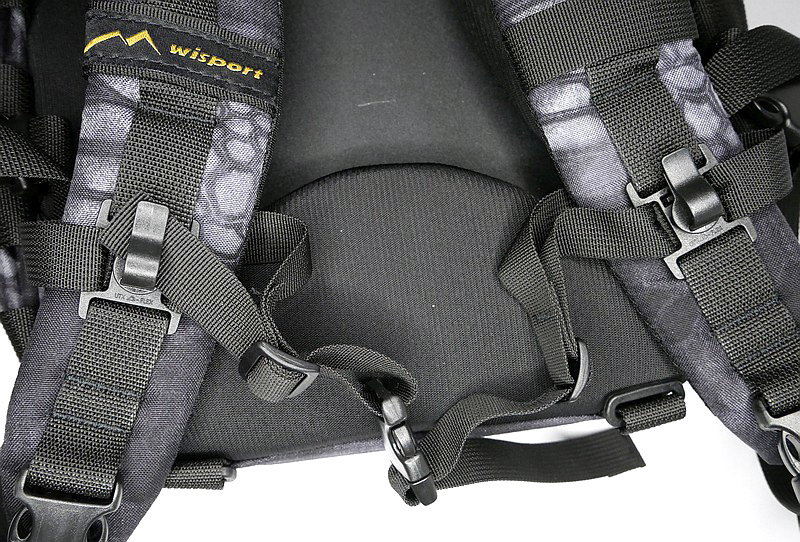
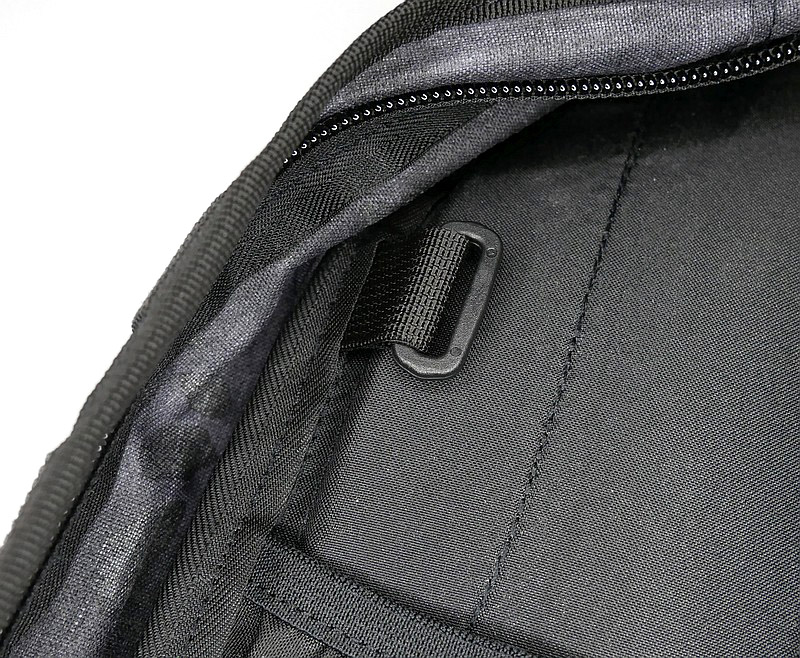
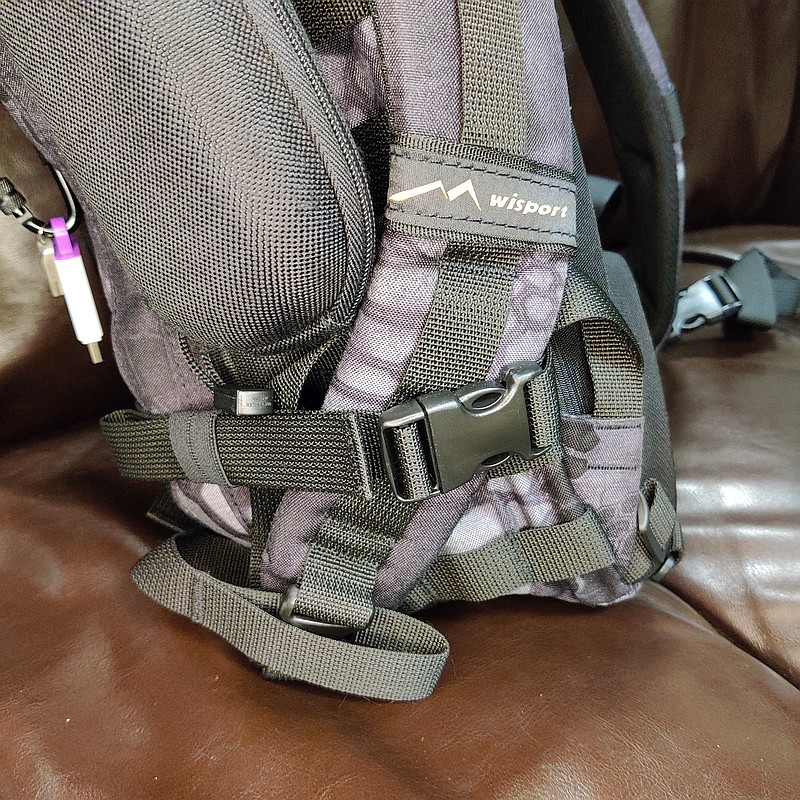
In the case of the sparrow 20, the shoulder straps are much more substantial, wider, and padded. The tops of the straps are fixed, but the bottom have quick release buckles to give you a quick exit from the straps when needed. Under the straps at the top of the back panel is the hydration tube port. The back panel has large padded contours and space for air to flow. At the bottom end of the shoulder straps there is an angled load spreader where it is fixed to the bag. Next to this, on either side, is a webbing attachment point that could be used for fitting a waist strap.
Hydration tube clips sit in the same place on the shoulder straps as the chest strap.


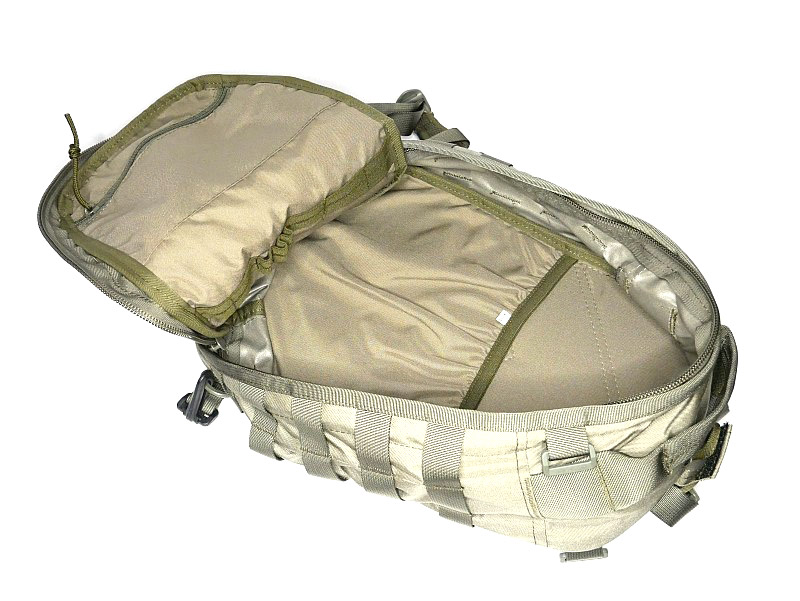
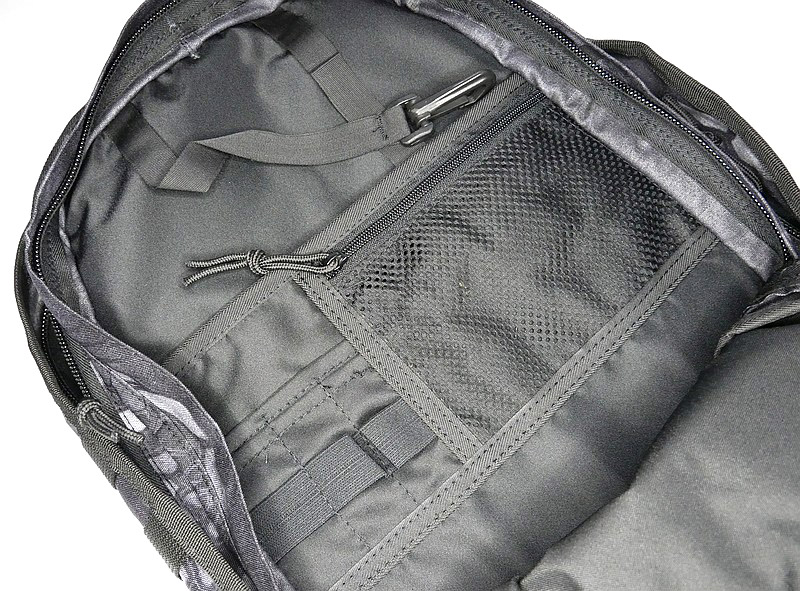
Compartments in the Sparrow 20:
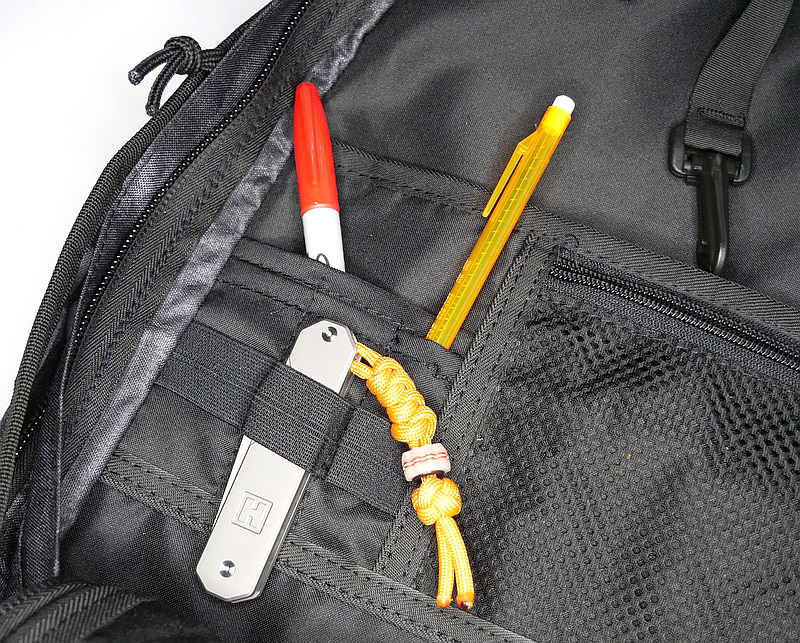
With the extra 4l in space comes a jump in equipment and more organisation. Starting on the front panel is a pocket for very quick and easy access. For the full clamshell opening of the front panel compartment you need to unclip the four side straps. Inside the front compartment is a clip hanger strap and a D-loop hanger strap (for keys and the like), a small organiser panel with pen pockets and elastic strap, a mesh zip up pocket, and an open pouch pocket.
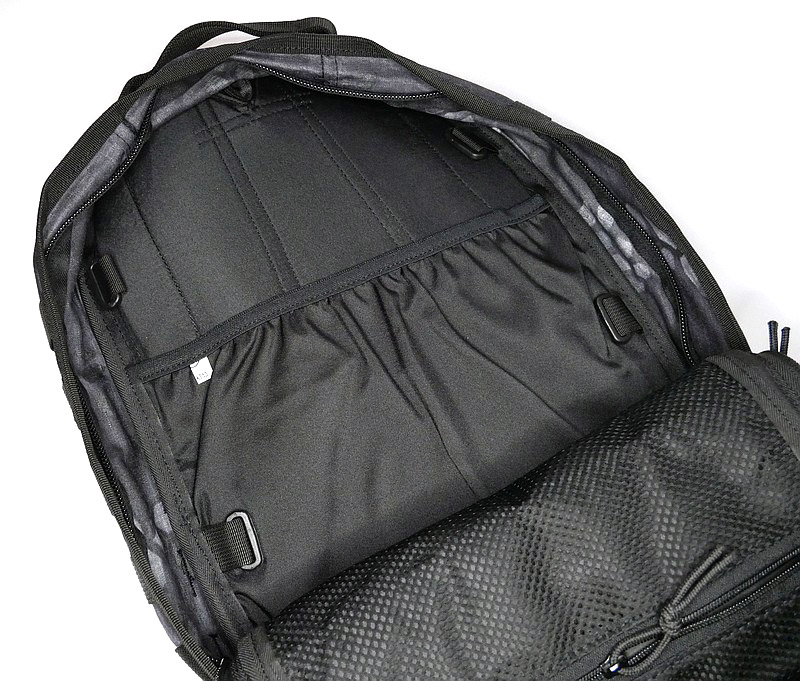
Moving into the main compartment, again with full clamshell opening, and the back has an elasticated pocket for a hydration pouch. Around this are four webbing attachment points so you can add further restraints. Covering the front of the main compartment are two zip-up mesh pockets.


What it is like to use?
To add more of the impression of these bags, this video takes a tour round both the Sparrow 16 and 20.
As the more ‘equipped’ of the two bags, the Sparrow 20 has stepped into my EDC while I develop the bug-out-bag system, so here is a quick look round the way I’m using it.
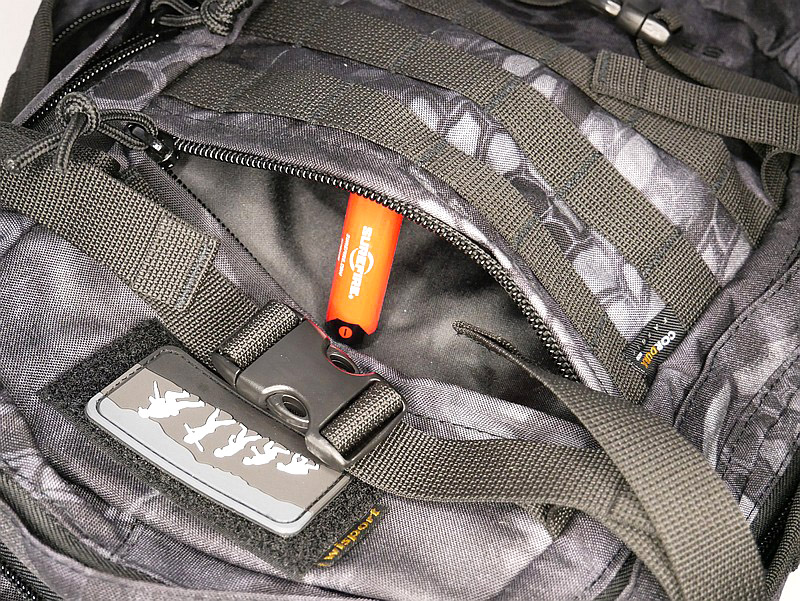
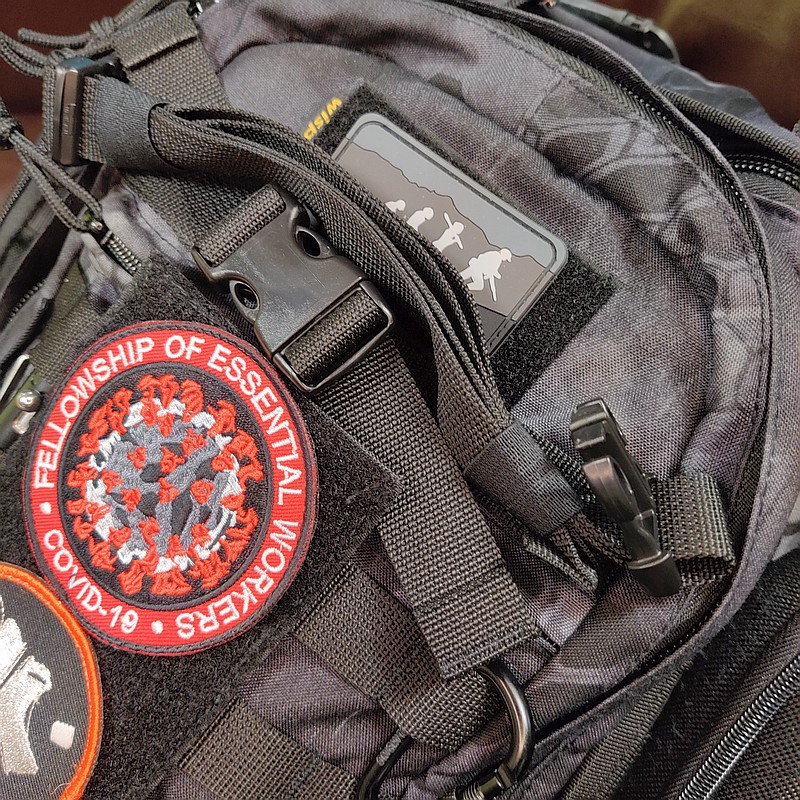
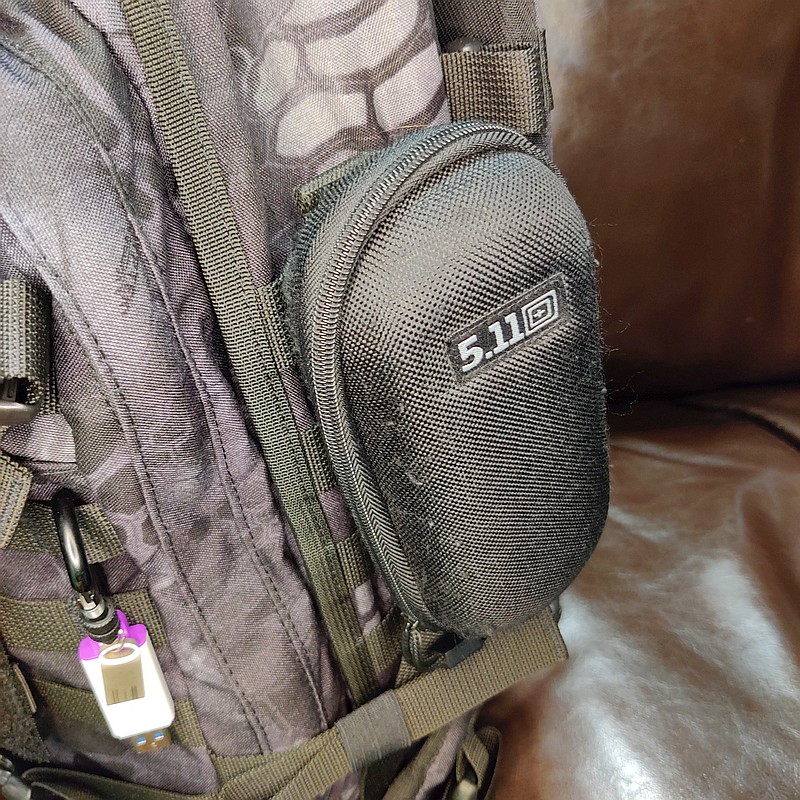
On the front panel I’ve added a MOLLE fixing patch panel to give me more room for velcro patches. There is a torch / flashlight slipped into the webbing to be immediately to hand, but with the top put under the strap above to hopefully stop it falling out by itself.
To keep the compression straps that I’m not currently using out of the way (so the compartments can be unzipped easily), I have actually laid these across each other and used the elastic loops on each strap to hold the other one in place. (Each strap was threaded into the elastic strap loop of the opposite strap.)
On one side panel is a MOLLE glasses case, and on the other are a further two MOLLE pouches. One of these takes my phone and the other has various small items I want within easy reach.
For my EDC use, I only use one of the shoulder straps to quickly pick it up and put it down. The other strap is held neatly out of the way by tucking it into the lower side compression strap.
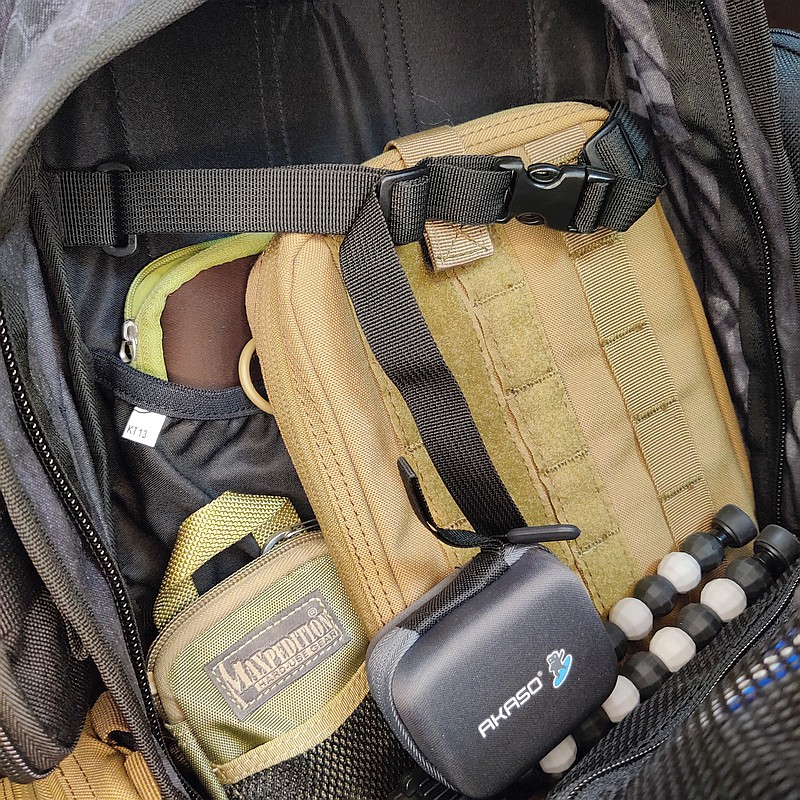
In the front compartment I have medication pouches, two more lights and a pen, plus many ‘useful’ items tucked into the mesh pouch and pocket.
Not being a fan of chest straps I removed this from the bag, however, inside the main compartment are some webbing attachment points, and here I have re-purposed the chest strap inside the main compartment to hold tall items in place. You can see a tablet case, large and small organiser pouches plus an action camera with mini tripod.
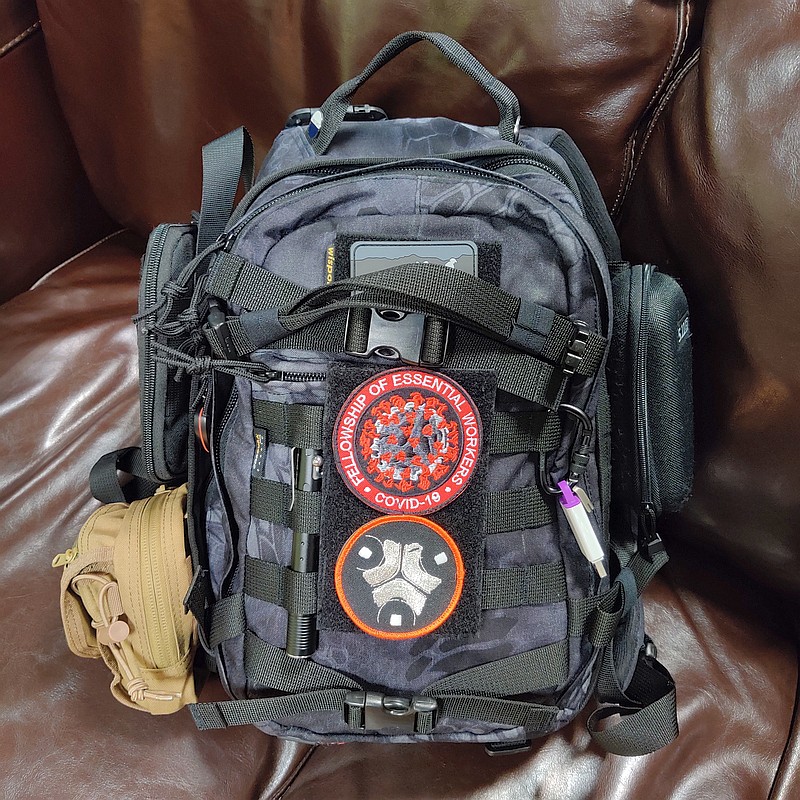


My initial temptation was to cut off a few of the Sparrow 20’s numerous straps to tidy it up. Unused straps can become more of a hindrance than a help. However, I stopped myself; currently the work-arounds I found for the various straps I wanted out of the way are working nicely.
The way I am EDCing the Sparrow 20 should show any potential shoulder strap issues quickly enough, especially considering I’ve made it quite heavy already. No signs of strain or overloading as yet.
So far these bags appear well made, strong and packed full of features.
Review Summary
The views expressed in this summary table are from the point of view of the reviewer’s personal use. I am not a member of the armed forces and cannot comment on its use beyond that covered in the review.
Something that might be a ‘pro’ for one user can be a ‘con’ for another, so the comments are categorised based on my requirements. You should consider all points and if they could be beneficial to you.
_______________________________________________
What doesn’t work so well for me
_______________________________________________
Almost too many straps.
Side straps can prevent easy opening of clamshell compartments.
Main zips a little ‘sticky’ (this may improve with use).
_______________________________________________
Things I like
_______________________________________________
Plenty of Webbing and Straps.
Good ‘organiser’ design features.
Break-out shoulder straps.
Strong top carry handle.
Hydration pouch compatible.
Main compartments have full clamshell opening.
Padded back.
Discussing the Review:
The ideal place to discuss this review is on the Tactical Reviews Facebook Page ![]()
Please visit there and start/join the conversation.