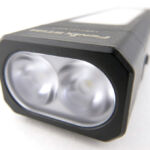
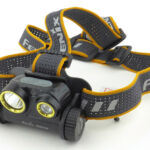
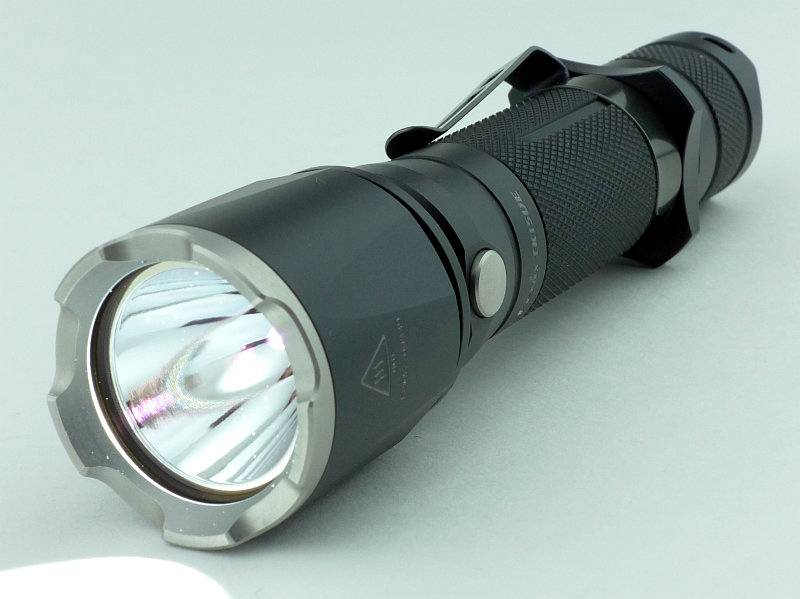
Light Review: Fenix LR40R V2.0

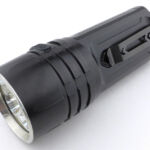
Fenix are updating and upgrading the already impressive LR40R, bringing us the LR40R V2.0. New, intuitive, combined rotary and push button switching design, uprated maximum output power in both light and power bank functions, and a new built-in battery pack with 3 x 5000mAh cells, taking onboard power to the max. Join me in this review of the Fenix LR40R V2.0 to see how it performs.
Review Videos

Starting with a short format sixty second review:


Onto a full video review covering many more details:


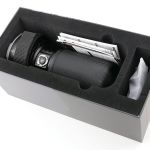
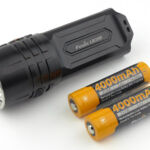
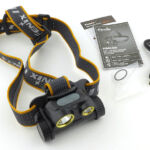
What is in the box?:


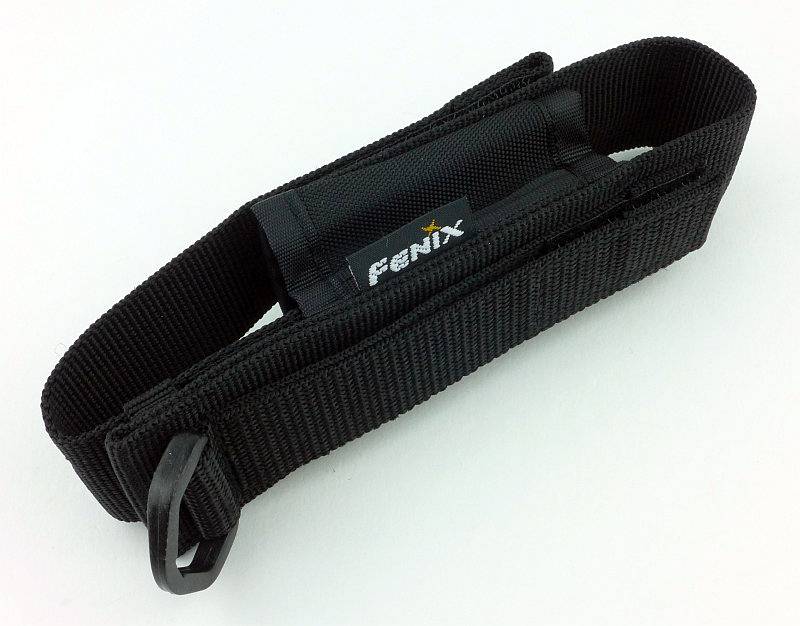
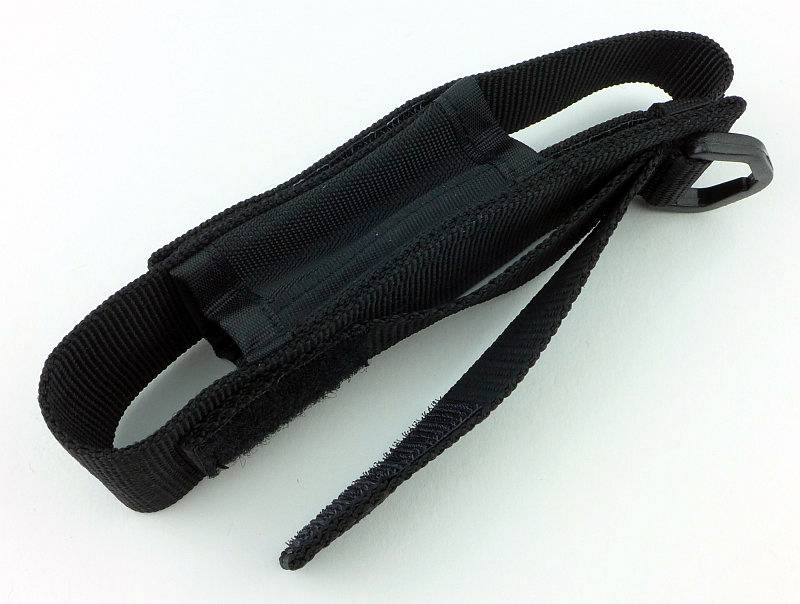
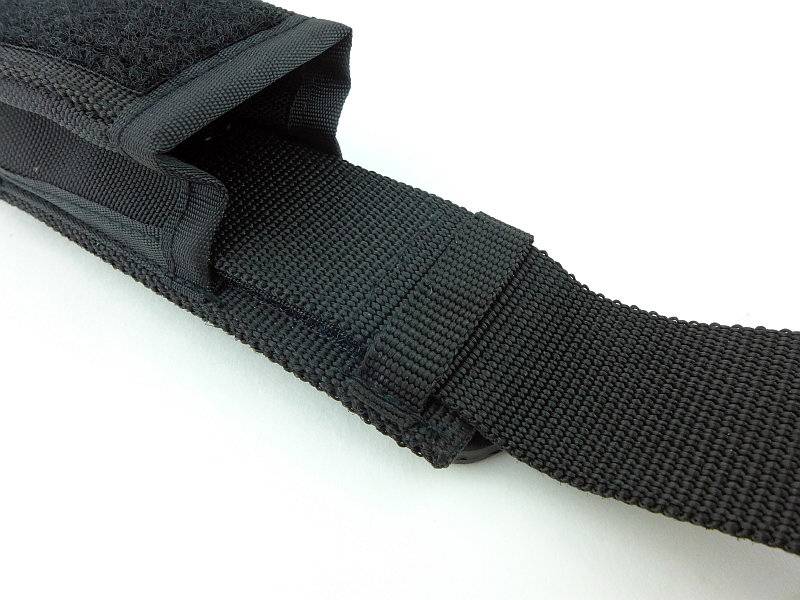
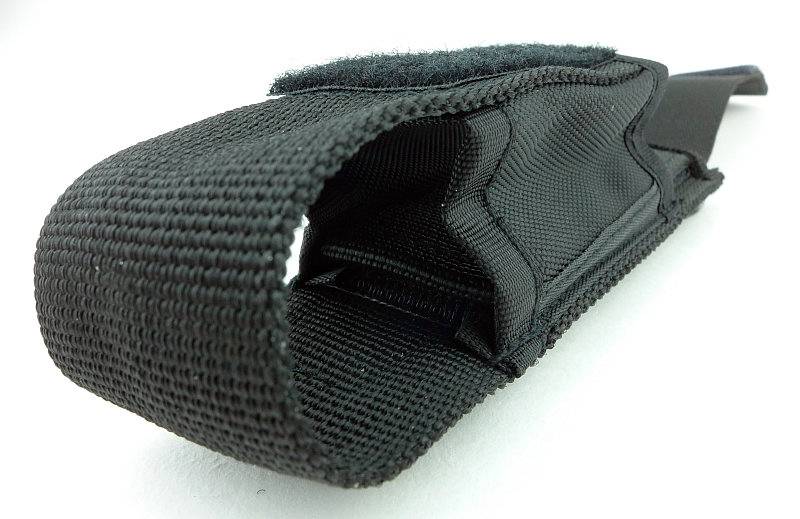
A good look round the LR40R V2.0’s holster – Things to look out for here are:
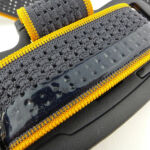
This is a holster style Fenix have used on several lights with larger heads, from the TK35 and many more. There is an adjustable band that fits round the head and can be left snug, or tightened right down. The body of the light slips into a tubular pouch. The holster has a fixed belt loop, Velcro belt loop and a D-loop hanger.


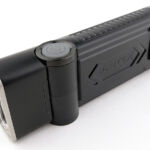
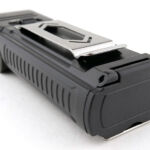
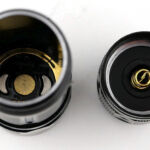
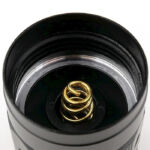
A good look round the LR40R V2.0 – Things to look out for here are:
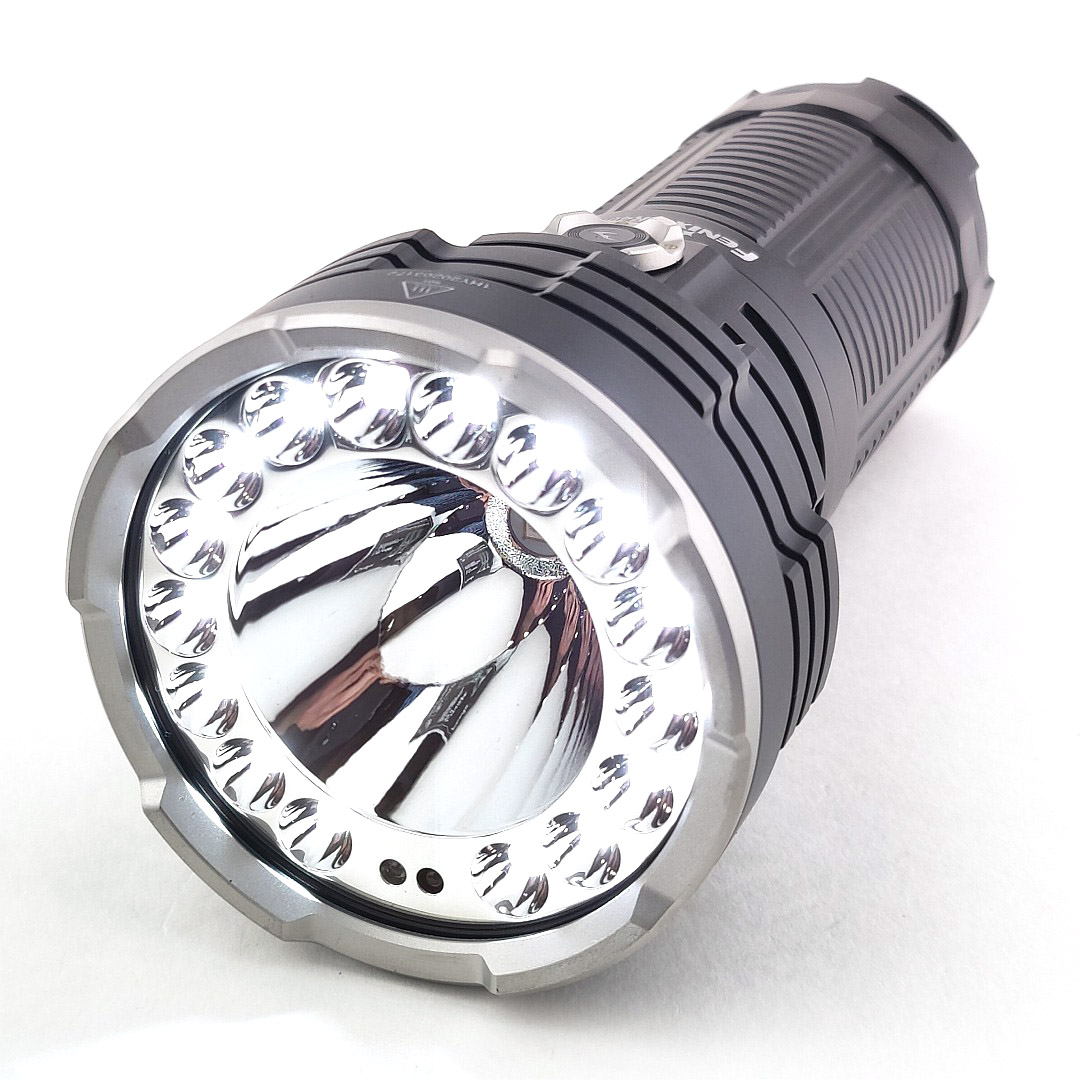
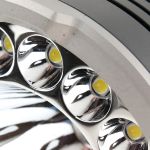
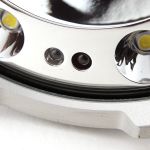
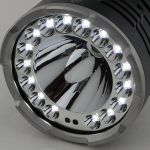
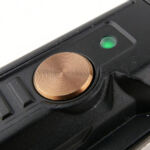
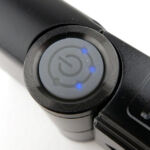
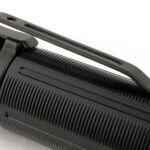
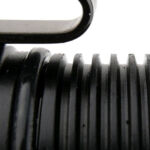
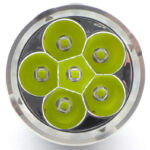
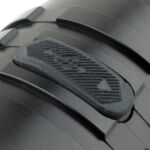
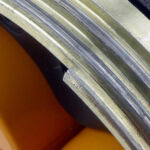
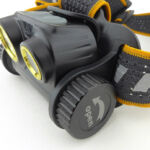
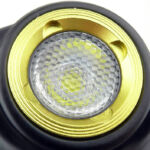
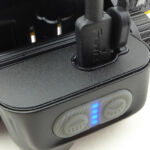
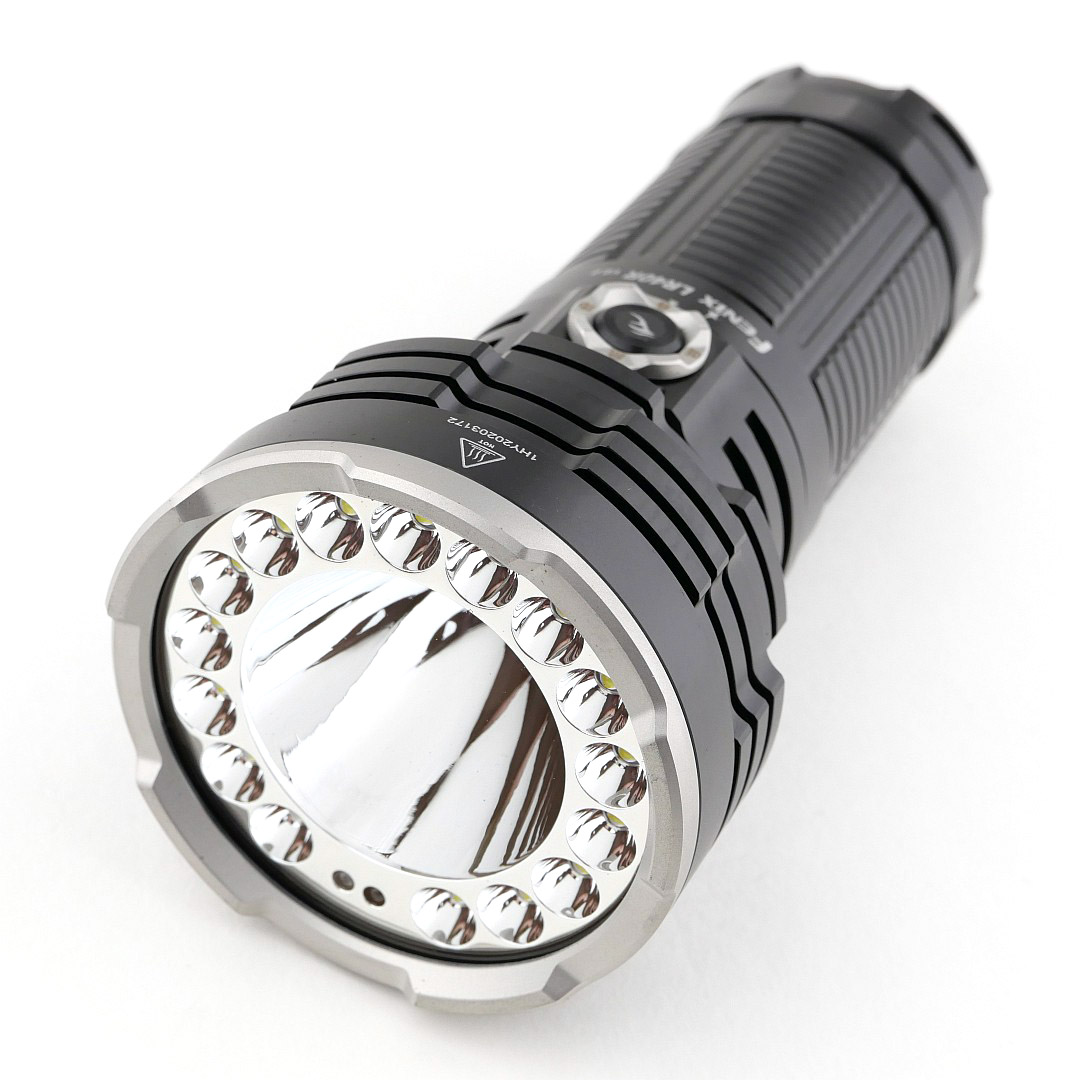
There is a lot to see here. Quickly focusing in on the combined rotary and click switch with charge indicator before moving onto some details of the finish and shaping of the body. Heat-sink fins are thick and shallow, making them very tough. Then the LED and Bezel details, showing the different flood and spot LEDs, plus the safety sensors that you can activate to protect the LR40R V2.0 from damaging object coming too close to it.
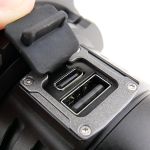
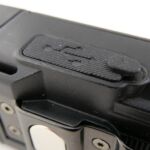
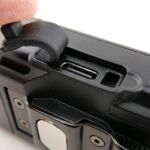
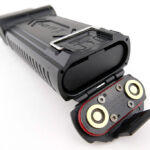
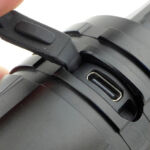
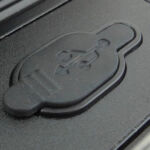
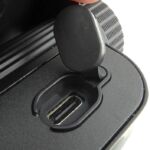
Lastly a few shots of the combined charging and power bank port.


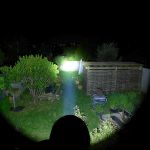
The beam

Please be careful not to judge tint based on images you see on a computer screen. Unless properly calibrated, the screen itself will change the perceived tint.

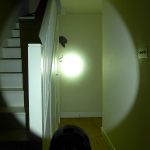
The indoor beamshot is intended to give an idea of the beam shape/quality rather than tint. All beamshots are taken using daylight white balance. The woodwork (stairs and skirting) are painted Farrow & Ball “Off-White”, and the walls are a light sandy colour called ‘String’ again by Farrow & Ball. I don’t actually have a ‘white wall’ in the house to use for this, and my wife won’t have one!

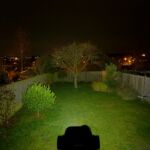
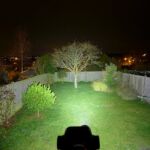
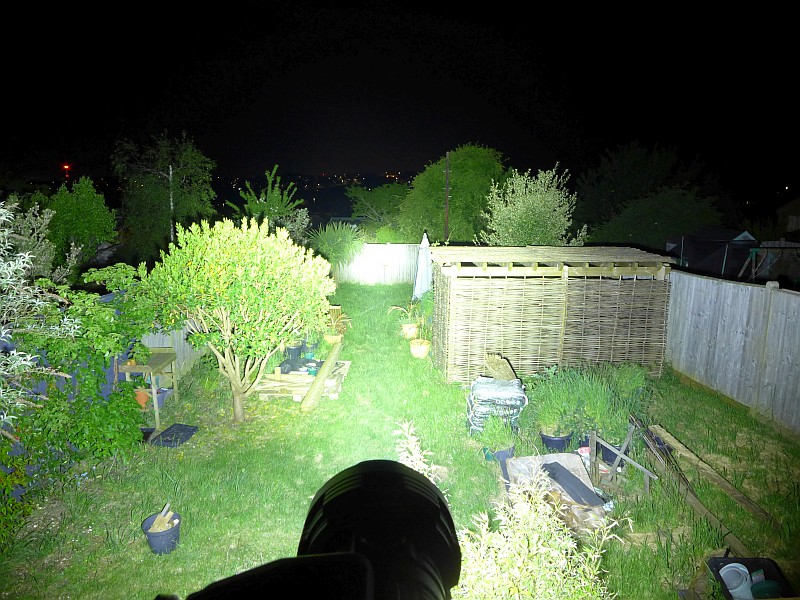
For the LR40R V2.0 beamshots there are the individual spot, flood and then combined flood plus spot beamshots. In all cases the relative exposures are the same to show how the beams compare separately and combined.


Batteries and output:

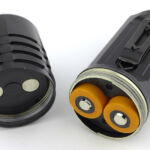
The LR40R V2.0 runs on a built-in battery pack (3x5000mAh) designed to maximise performance for over size (not needing a battery caddy).

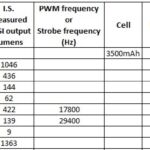
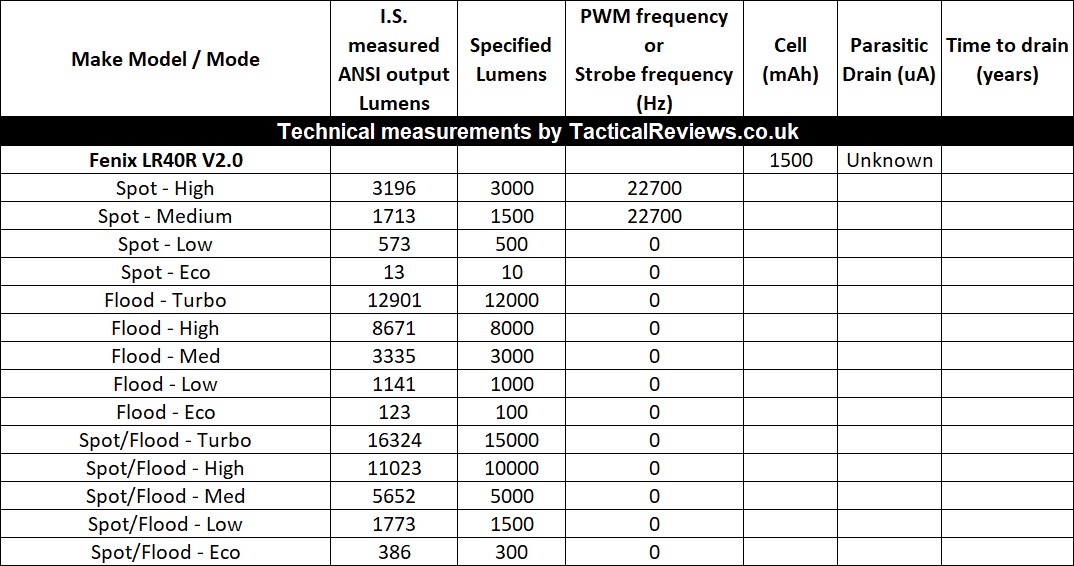
Please note, all quoted lumen figures are from a DIY integrating sphere, and according to ANSI standards. Although every effort is made to give as accurate a result as possible, they should be taken as an estimate only. The results can be used to compare outputs in this review and others I have published.

Take a close look at the headline figure for Spot/Flood Turbo!!
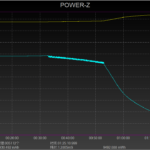
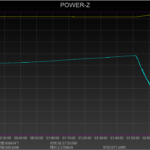
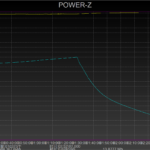
This gallery is packed with performance information.

First is the USB input charging trace, taking the LR40R V2.0 to full charge.
The next USB power trace is the power bank output from the LR40R V2.0, in this case used to charge a Oneplus 9 Pro phone. This is only part of the capacity of both phone and LR40R V2.0 and is only to represent the power bank output.

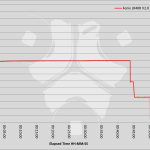
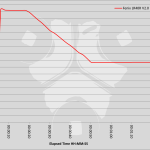
Now comes the full maximum output runtime trace, followed by just the first 60s of the same output.

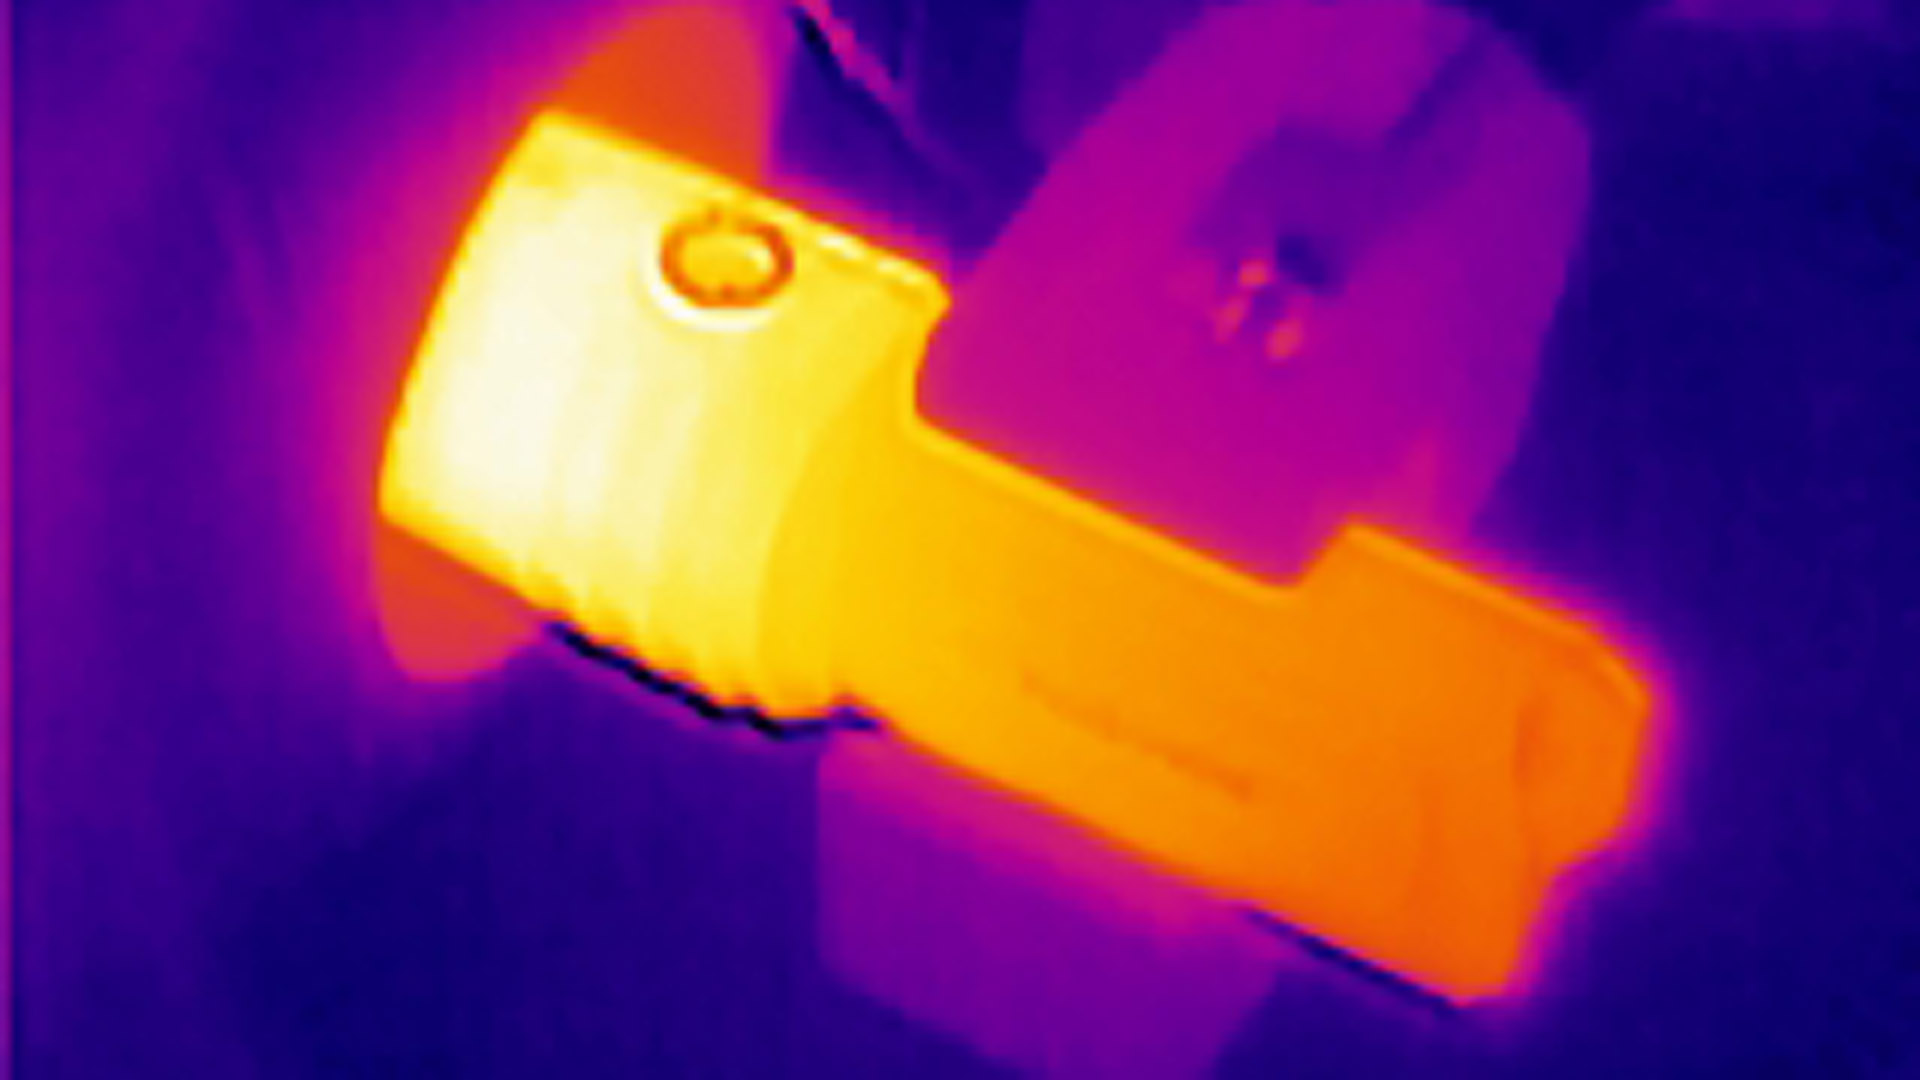
Last are two thermal images, one from the start of runtime where the head of the LR40R V2.0 is hottest, then one which comes near the end of the runtime where in fact the battery pack is hotter than the head as the cells give their last bit of power.


The LR40R V2.0 in use

It is a serious light, for serious use and is both large and heavy, but at the same time, considering its performance, it is very compact. The next gallery below, showns the LR40R V2.0 in my hand (I take XL size gloves), it is perfectly comfortable while being completely hand filling. The weight is were this can become a bit tiring for more extended use. 850g isn’t much carried in a bag or on your belt, but nearly a kilogram filling your hand, and I’ve tended to do a bit of hand swapping when carrying for more than a few minutes.

Just like when deciding if a large camp knife or axe is worth carrying the weight when out in the wild, you will need to positively decide you want to carry the weight of the LR40R V2.0. If you want that 16000lm output, then it is worth the weight.

Multi-function devices tend to make compromises and I do prefer dedicated gear. However, with the LR40R V2.0 the only compromise made with regard to the inclusion of the power bank function is that if you do use this you are taking away your lighting capacity. The power bank output is excellent, the LR40R V2.0 as a power bank is far too heavy for this to ever be a primary function, but as an ‘can also do’ feature is well implemented. I would always prioritise the battery capacity of the LR40R V2.0 for light output, and only if there was really no other choice would I use it as a power bank.

Despite being familiar enough with the controls, I still find myself ‘hunting’ for the output I want. The switch labels are too small to easily distinguish the padlock from the parallel beam lines, spread beam lines or combined straight and spread lines, so whatever setting the ring switch is actually on, you end up turning it one way or the other to find the one you want.
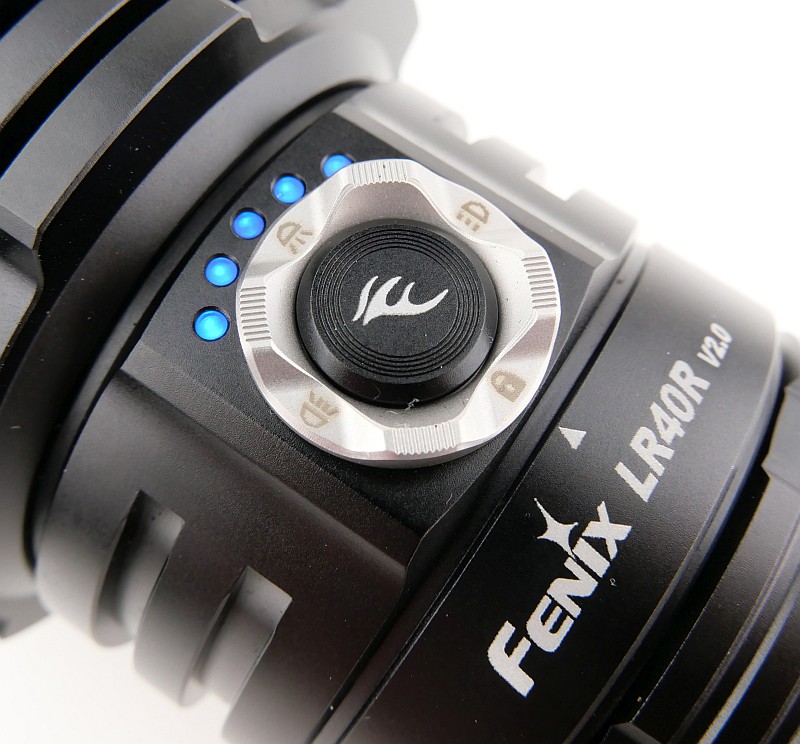
Once you have decided on the rotary switch position you want to use, then swapping to the central click switch (press-and-hold for on and again for off) simplifies the choice enormously, just leaving the brief press (while on) to change output level.

Setting the ring to lockout (padlock) resets the controls, so when you then unlock, you can only initially rotate the selector ring to spot. From locked, this will always go on to the lowest spot mode, a useful reset (however the flood mode and combined flood/spot does remember the level it was last used on).


When you have so much power in such a small package, you do have potential for things to go wrong. The first level of protection is the lockout position on the mode ring. Carrying this light in a bag could be hazardous if it were to switch on, but the LR40R V2.0 has a simple lockout mode.

Add to this another protection feature that is built-in; a feedback sensor, measuring light reflected back at the LR40R V2.0 when the head is too close to a surface. When this protection is activated (it can be disabled), the maximum output is reduced when the feedback sensor is triggered, and automatically increases again once the head of the LR40R V2.0 moves far enough away from the obstruction. This is toggled on and off while in lockout mode; press and hold for 5-10s and two flashes means the protection is enabled, eight flashes means it has been turned off.

16,000 lumens gives you a true wall of light. These output levels totally eclipse the biggest performers of a few years ago. Yes the 16,000 lumens is a burst mode, but the LR40R V2.0 then settles on a solid 9,000 lumens for an extended run – this is the really impressive feat of the LR40R V2.0.
Review Summary
The views expressed in this summary table are from the point of view of the reviewer’s personal use. I am not a member of the armed forces and cannot comment on its use beyond that covered in the review.

Something that might be a ‘pro’ for one user can be a ‘con’ for another, so the comments are categorised based on my requirements. You should consider all points and if they could be beneficial to you.

_______________________________________________
What doesn’t work so well for me
_______________________________________________

Barely distinguishable mode label engravings.
Holster’s head securing strap can be a little fiddly.
Built-in battery ultimately restricts product lifetime.

_______________________________________________
Things I like
_______________________________________________

16,000 lumens burst.
Solid extended run at 9,000 lumens!
Clear 5 segment battery level indicator.
Safety ‘feedback sensor’ output downshifting.
Power bank function (USB-A).
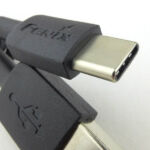
Fast charging via USB-C (QC 2.0 and PD2.0)
Spot mode resets to low after being locked.
Belt holster included.
Light Review: Fenix E35R and E03R V2.0

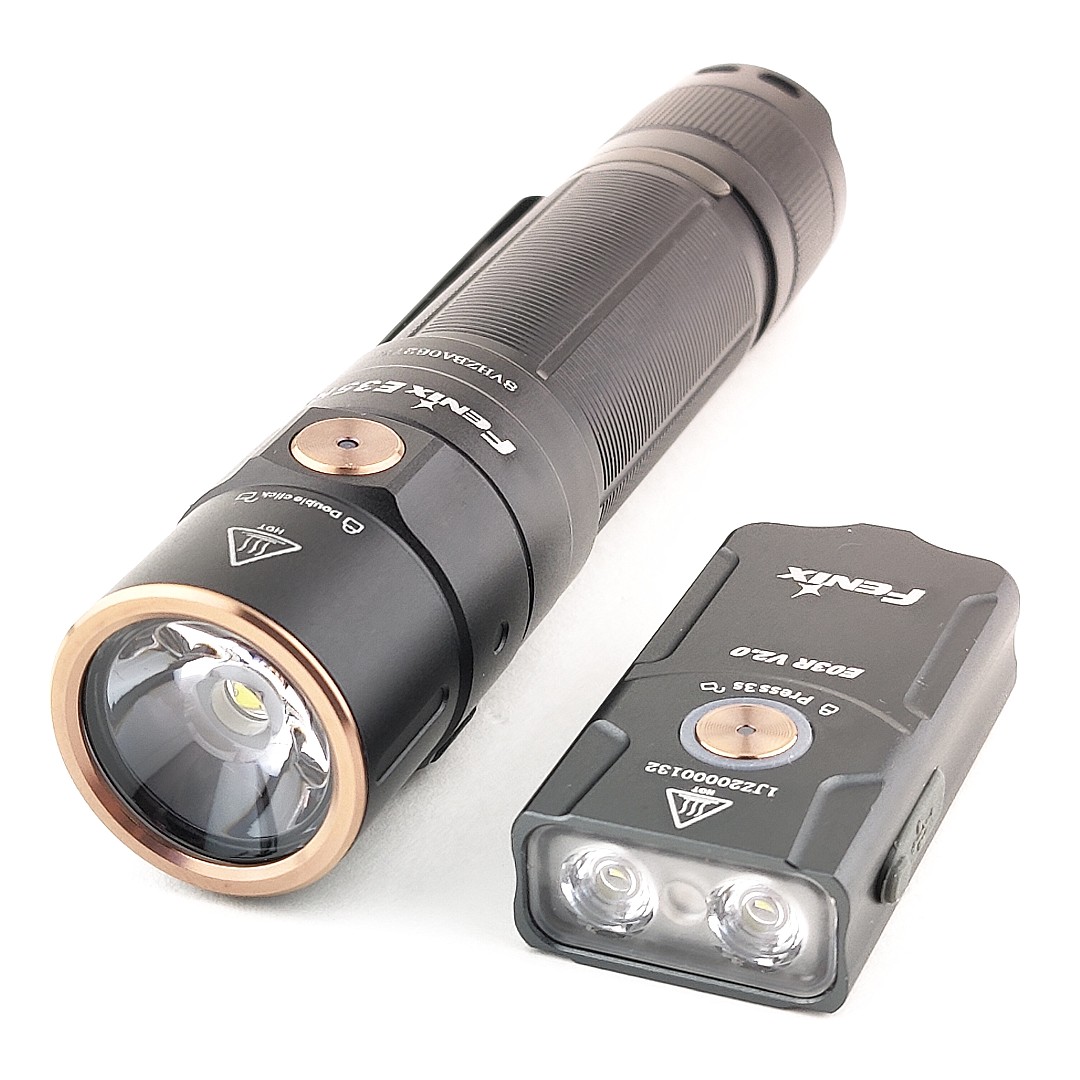
Fenix are updating and upgrading two excellent EDC lights. The E03R V2.0 and E35R build on their predecessors and raise them to a higher level. Join me in this review of the Fenix E03R v2.0 and E35R to see how they perform and what improvements have been made.

Review Videos

For the E03R V2.0 first a short format sixty second review:


The short format sixty second review of the E35R:


Onto a full video review covering many more details of both:


What is in the box?:

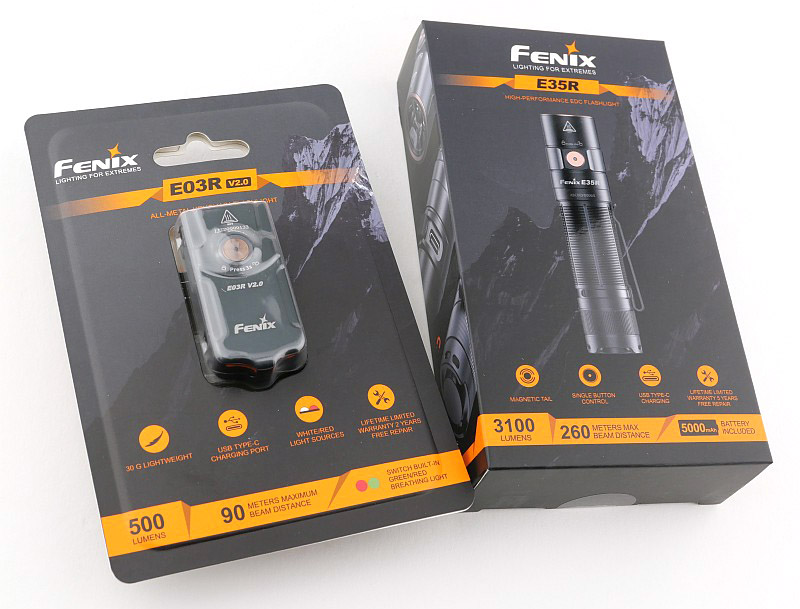
A brief look over the contents of the box for each of these lights. Starting with the E03R v2.0 in its plastic clamshell inner. To remove the E03R V2.0 from the package needs the plastic tie that comes fitted through the lanyard hole. Without this you can’t get a grip on it ton pull it out of the very tight fitting packaging. It comes with a USB-C charging cable, small split keyring and instructions.
The E35R slides out of the outer cardboard box in a plastic tray. This comes with the battery already fitted, a USB-C charging cable, wrist strap and spare o-ring, plus the instructions.


A good look round the E03R V2.0 – Things to look out for here are:
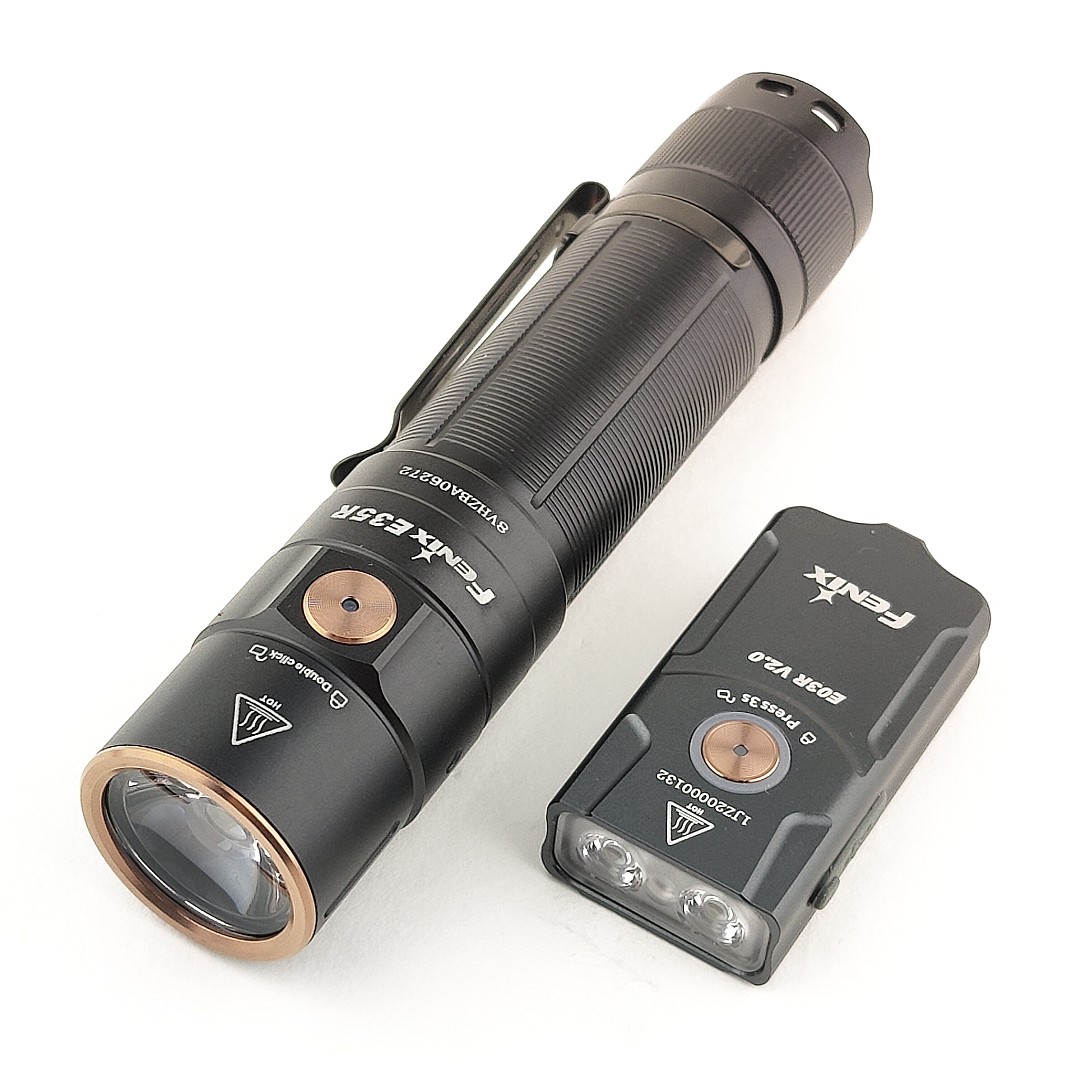
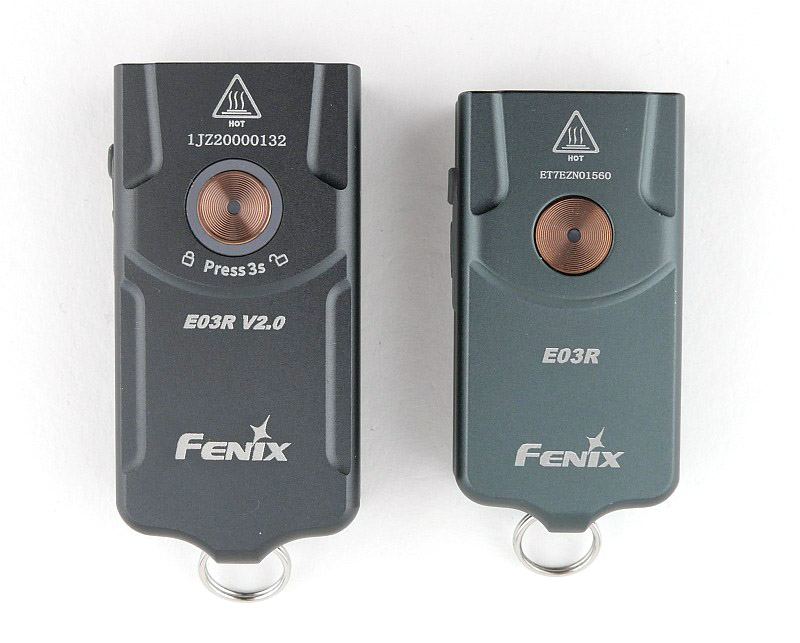
Before anything else, here is a side-by-side of the original E03R and the new V2.0. You can immediately see the increase in size that allows for the uprated output and runtime.

At the front is the twin TIR optic for the main white beam (with central optic for the Red beam). On the side is a rubber port cover for the USB-C charging port. The power switch has an outer illuminated ring. The switch’s centre also has an indicator light for the state of charge. Details of the split-ring keyring are shown.


Taking a more detailed look at the E35R:

The side by side comparison to the original E35 is included in the video earlier in the review. Most noticeable is the addition of the USB-C charging port. Visually, apart from that, the E35R is almost identical to the E35.

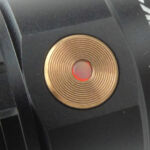
In case you think it is faulty out of the box, Fenix has included a label to remind you to remove the in-transit insulator which protects the E35R from discharging in storage. For the E35R, it is the head rather than tail that unscrews to access the battery compartment. The contacts in the head include physical reverse polarity protection. In the tail is a single strong coil spring to keep the 21700 5000mAh cell in place. The threads are near-square in profile. There is a bronze detail ring round the TIR optic to match the colour of the power switch. To indicate the battery level the centre of the power switch lights up either solid, or a flashing. A steel pocket clip is included. One other addition in the update is the E35R now having a magnetic tail.


The beam

Please be careful not to judge tint based on images you see on a computer screen. Unless properly calibrated, the screen itself will change the perceived tint.

The indoor beamshot is intended to give an idea of the beam shape/quality rather than tint. All beamshots are taken using daylight white balance. The woodwork (stairs and skirting) are painted Farrow & Ball “Off-White”, and the walls are a light sandy colour called ‘String’ again by Farrow & Ball. I don’t actually have a ‘white wall’ in the house to use for this, and my wife won’t have one!

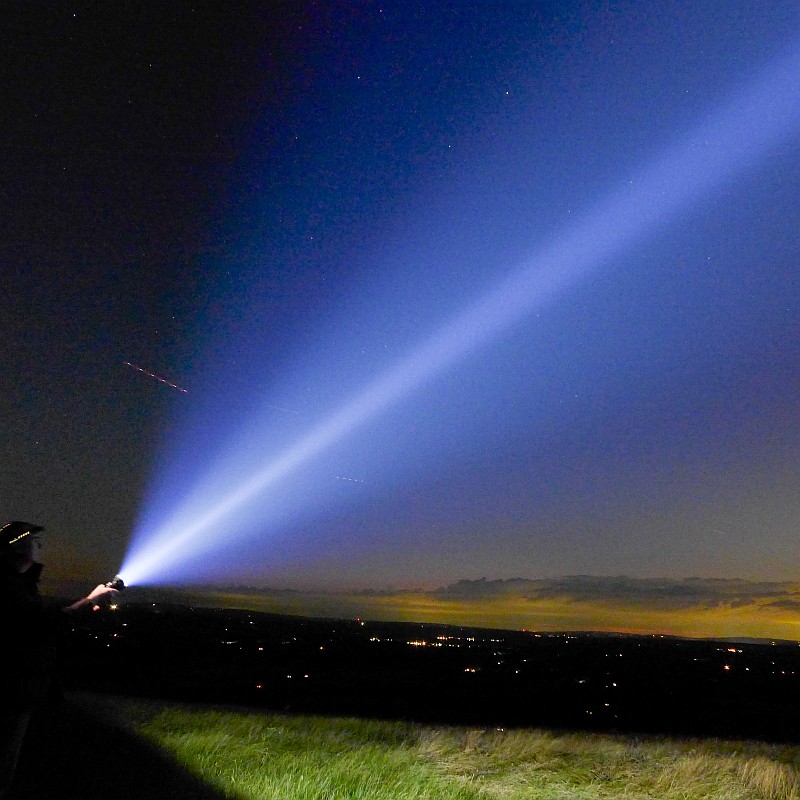
This gallery starts with the E03R V2.0 indoors, white and red beams. The red beam exposure is intentionally longer to show the shape of the beam, not the relative brightness to the white. However, for the outdoor beamshots, the exposure for white and red is similar, and is intended to show the red beam range is, of course, very limited.
Then the last two beamshots are the E35R, showing the very strong performance.


Batteries and output:

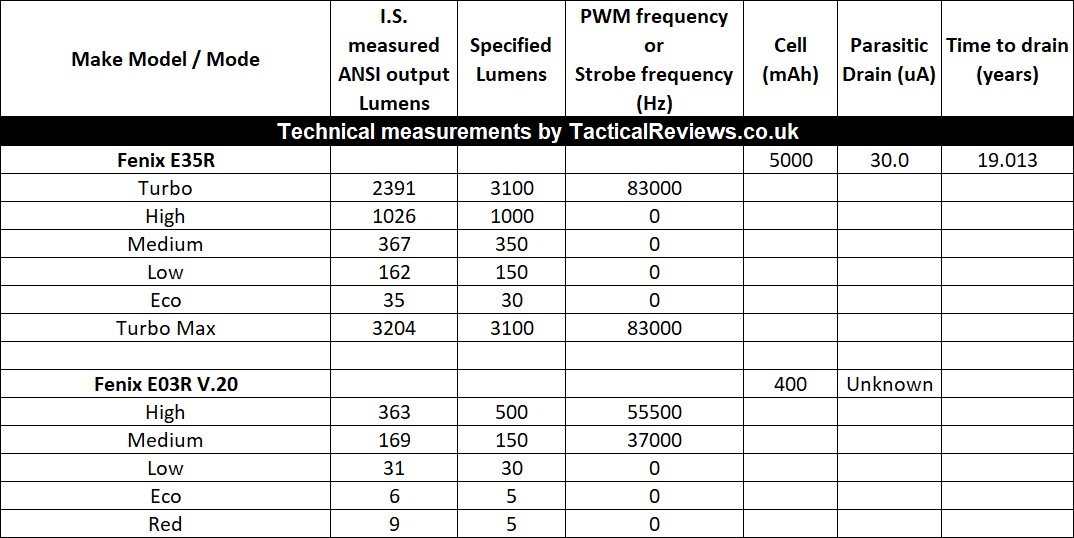
The E03R V2.0 has a built in li-po 400mAh cell, and the E35R runs on a removable 21700 5000mAh cell.

These images are the charging traces for the E03R V2.0 and E35R.


Please note, all quoted lumen figures are from a DIY integrating sphere, and according to ANSI standards. Although every effort is made to give as accurate a result as possible, they should be taken as an estimate only. The results can be used to compare outputs in this review and others I have published.

When carrying out runtime tests, I always use a cooling fan to at least represent some of the cooling provided by your hands, and also the lower temperatures outside. Not using any cooling would be unrealistic.
In this run of the E35R, there were actually three power cuts that stopped the cooling fan running (the logging was running on battery), and this corresponds with drops in the output due to the thermal regulation ramping down the output.
The E03R V2.0 output is very predictable and stable and needs no further comment.
In the gallery, the second image has the times of the power cuts marked so you can see the corresponding drops in the E35R’s output.
Showing just the start of the output trace, the final image in the gallery shows the thermal regulation controlling the output.


The E03R V2.0 and E35R in use

Since Fenix first previewed the E03R V2.0, the debate has been based largely around if they have made it too big for a key chain light. Ultimately only you can make that decision, but I’ve found it a very good size. Being slightly larger it is more readily to hand (easier to get a grip on), and the added functions raise its usefulness even more.

I particularly like the ‘breathe’ modes of the E03R V2.0. A soft locator light which give a confidence that when in an unfamiliar place you can activate the breathe mode and then always be able to find where the E03R V2.0 is.

For a light that is going to be knocking around, and in and out of pockets, the timing of the power switch activation seems spot on. I’ve not had any accidental activations, and not really bothered with the lockout. It is good to have the option, but so far no warm pockets.

Between these two lights, the interface is effectively the same, so it is very natural to pair them. Of course the E35R is a single white light LED that goes up to an amazing 3000lm output.

At that maximum output the E35R does get hot quickly, and as shown in the runtime graphs, cannot be maintained – but take a moment and look at those graphs again. The E35R, with good cooling, is running at over 1500lm for an hour. This is a solid performance for a EDC pocket light.

I would prefer one lower mode on the E35R, but for most people, the available modes are going to work well.

With the power button being relatively low profile, it can be a bit hit and miss to find, especially with gloves. To get around this, what I do is to line up the pocket clip so it is opposite the power switch. You then use the pocket clip to index your grip and find the power switch without looking.

The original E35 was a good powerful compact light. It was just slightly smaller and a little lighter, and just enough light wrapped around a 21700 cell. Fenix have now managed to also squeeze in the on-board charging and magnetic base which are worthy updates and make the E35R a complete package.

So far, on testing the magnetic base of the E35R, I’ve found issues with slippage if put onto a smooth vertical surface. The magnet holds the light, but the finish on the tail is so smooth, if the surface is also smooth the E35R usually slips and slides down. If the magnet is holding a horizontal surface it is very secure. It is less about the magnet’s strength and more about there being enough grip between the E35R and the surface to not slide downwards.

‘New and improved’ is often a false claim, but for this pair of EDC lights from Fenix, it really is.


Review Summary
The views expressed in this summary table are from the point of view of the reviewer’s personal use. I am not a member of the armed forces and cannot comment on its use beyond that covered in the review.

Something that might be a ‘pro’ for one user can be a ‘con’ for another, so the comments are categorised based on my requirements. You should consider all points and if they could be beneficial to you.

_______________________________________________
What doesn’t work so well for me
_______________________________________________

E35R – Could do with a lower mode for household use.
E35R – Tends to slide down smooth vertical magnetic surfaces.
Nothing else for either.

_______________________________________________
Things I like
_______________________________________________

E35R – 3000lm maximum output.
E35R – built around the 21700 cell.
E35R – simple and effective user interface.
E35R – magnetic tail.
E35R – built-in USB-C charging.
E03R V2.0 – ‘breath’ locator beacon mode.
E03R V2.0 – white and red output (and green in breath).
E03R V2.0 – built-in USB-C charging.
E03R V2.0 – great combination of size, weight, power and runtime.

Light Review: Fenix PD36 TAC

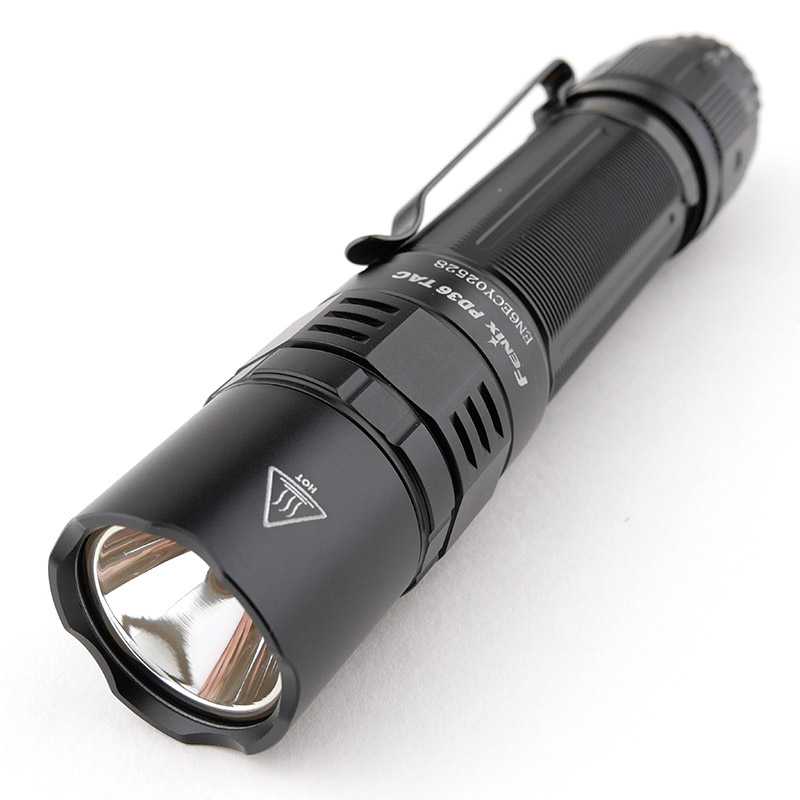
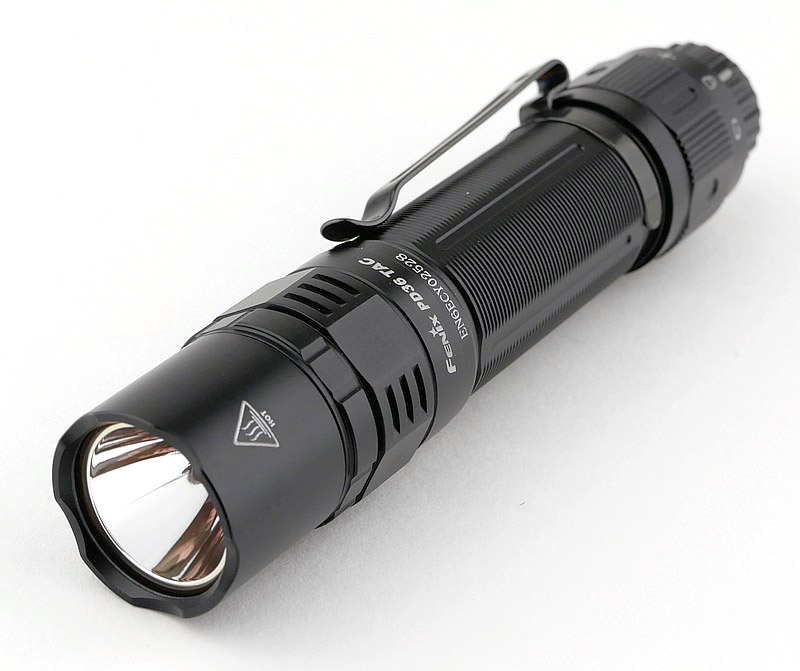
In this review of the Fenix PD36 TAC, I’m going to be taking a detailed look at the details, comparing its performance to the specifications, checking out the beam and how usable it is. The review includes video content as well as photo galleries and technical testing results.
Join me in this look over the Fenix PD36 TAC Flashlight / Torch, a light built around the increasingly common larger 21700 cell (compared to the typical 18650 previously used). This has a specialised tail-cap with physical lockout, dedicated ‘Tactical’ setting, and a normal ‘duty’ multi-mode setting.
Let’s get to really know the Fenix PD36 TAC!

Video Overview

Starting out with the video overview of the PD36 TAC.


What is in the box?:

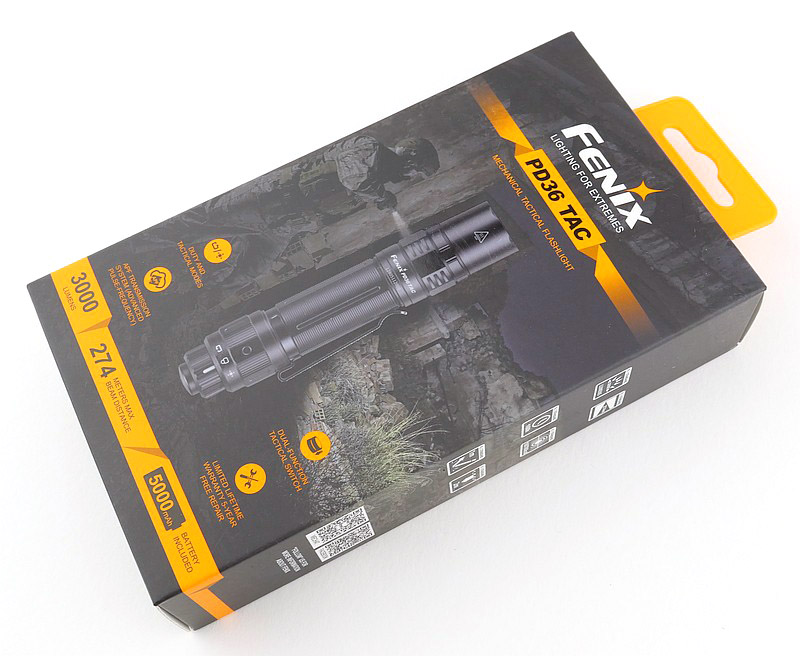
Unpacking the PD36 TAC and its accessories.


Taking a more detailed look at the holster:

Before moving onto the PD36 TAC itself, this is a run round the supplied belt holster.


A good look round the PD36 TAC – Things to look out for here are:
In the gallery are details of the design, the clip, bezel, contacts, threads, battery, and more…


The beam

Please be careful not to judge tint based on images you see on a computer screen. Unless properly calibrated, the screen itself will change the perceived tint.

The indoor beamshot is intended to give an idea of the beam shape/quality rather than tint. All beamshots are taken using daylight white balance. The woodwork (stairs and skirting) are painted Farrow & Ball “Off-White”, and the walls are a light sandy colour called ‘String’ again by Farrow & Ball. I don’t actually have a ‘white wall’ in the house to use for this, and my wife won’t have one!

Below are the indoor and outdoor beamshots giving you an idea of throw and spill. The PD36 TAC has a great balanced beam with great area lighting.


Batteries and output:

The PD36 TAC runs on the supplied 21700 USB-C rechargeable cell.

Please note, all quoted lumen figures are from a DIY integrating sphere, and according to ANSI standards. Although every effort is made to give as accurate a result as possible, they should be taken as an estimate only. The results can be used to compare outputs in this review and others I have published.

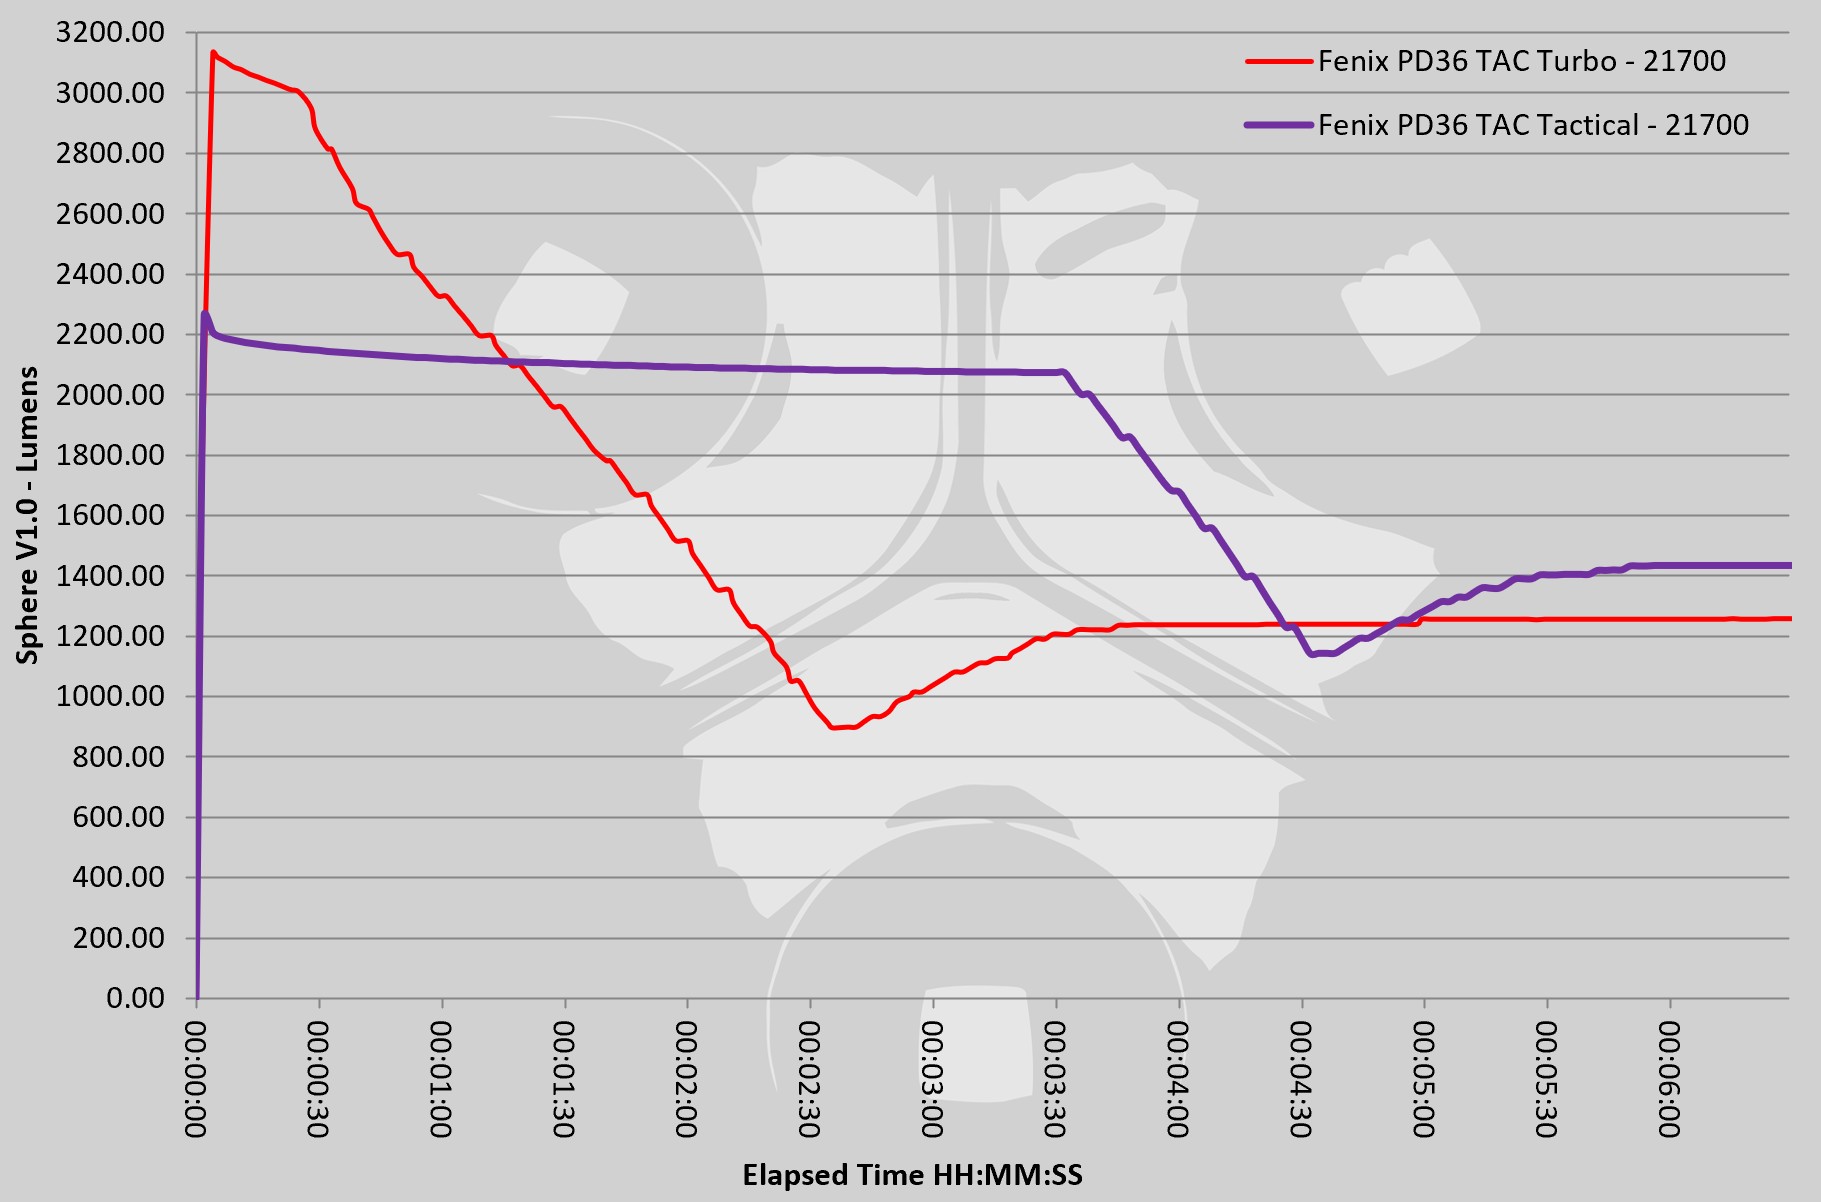
Measured output is a great match for the specifications.

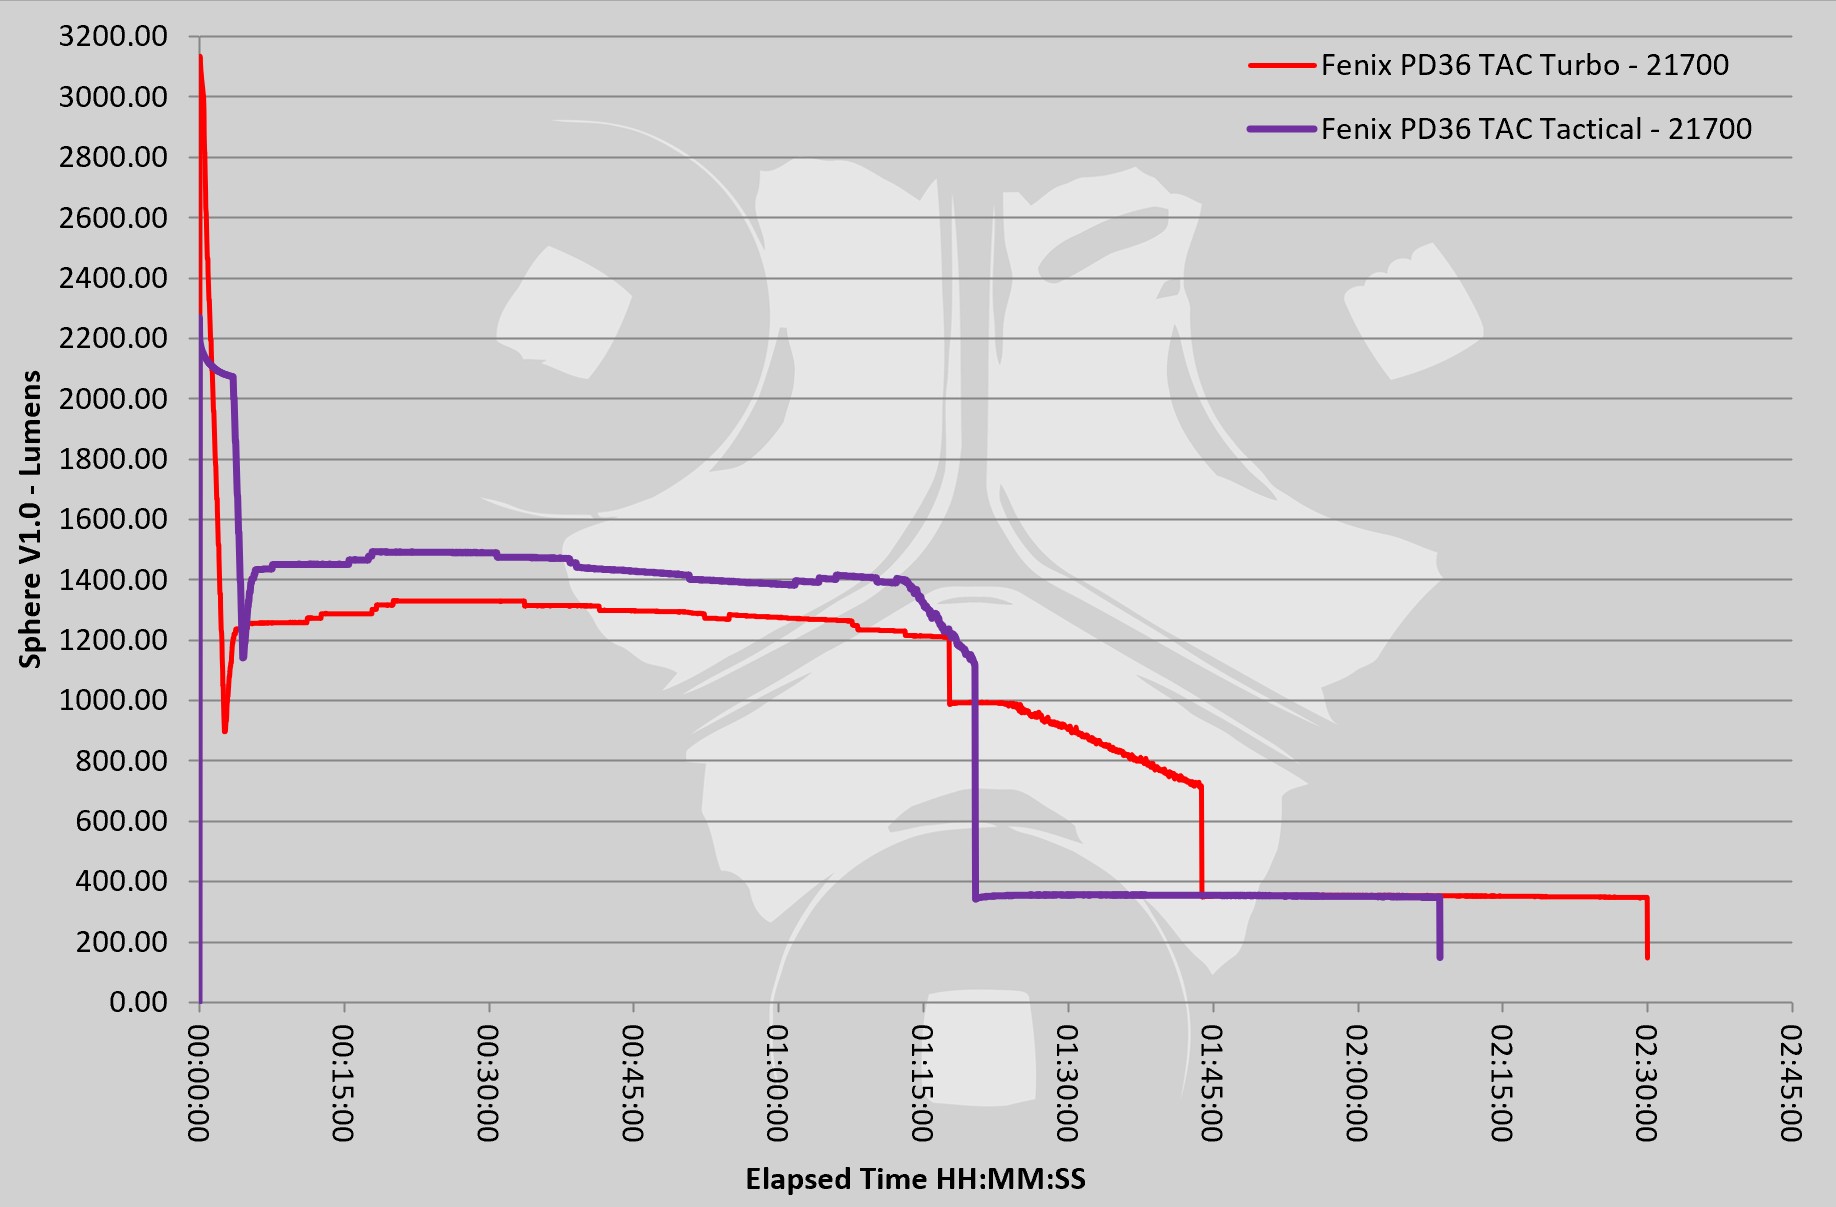
For the runtime graphs, I have included runs for Turbo and Tactical, which have different starting outputs. Also included is a graph of the first six minutes to better show the difference between Turbo and Tactical modes.


The PD36 TAC in use
The general change towards using 21700 cells is great for two reasons; better runtime/output and a comfortable size to hold. If you were completely unaware of the reason the battery tube was larger than previous generations that run on 18650, you would just be thinking the PD36 TAC is nice and comfortable to hold. The fact that it now houses a 21700 cell with that 5000mAh capacity is a further bonus to the comfort in the hand. Win win at this point.

With that greater capacity of the 21700 cell, this compact tactical light can pump out a huge 3000lm. Go back and look at the runtime graphs to see how impressively the PD36 TAC keeps its output going. The output limitation is more down to thermal capacity for longer runs.

This is the first of this style of Fenix tactical tail-cap I have been able to try. It has three functional modes. One is a simple and solid physical lockout. Line the selector ring up with the padlock, and the button does not move.

The selector ring certainly feels secure enough in its positioning that you won’t be accidentally going between locked and unlocked by accident. You pre-select the type of use you want and leave it there. Bear in mind, you can also use this to lock the PD36 TAC on. If you first turn it on to a mode you want and then rotate the selector ring to the padlock, you can’t turn it off again.

Being designed as a ‘Tactical’ light, most users will likely keep it in ‘Tactical’ mode – instant 2000lm output with momentary or latched action. Half press the tail-switch for momentary output, complete the press to latch it on (or just go for the full press to start with). Holding the switch fully in for about 1s and you enter strobe mode.

Move the selector round to the ‘Duty’ mode and you have access to five different output levels. Starting on ‘eco’ the first time you use it, but after that the last used level is remembered. Changing modes requires a half press – this can either be a half press from off and then cycle through modes before latching on, or a half press after turning the PD36 TAC on with a full press, the half presses then cycling through modes. Personally I would have preferred an automatic reset to eco after a few seconds being off as after not using it for a period of time, you won’t know if you had eco or turbo set, and this could be quite a shock.

The Fenix PD36 TAC is a purposeful lighting tool, and can instantly be reconfigured as either a dedicated ‘Tactical’ light or into a multi-mode ‘Duty’ light to fit with your needs.


Review Summary
The views expressed in this summary table are from the point of view of the reviewer’s personal use. I am not a member of the armed forces and cannot comment on its use beyond that covered in the review.

Something that might be a ‘pro’ for one user can be a ‘con’ for another, so the comments are categorised based on my requirements. You should consider all points and if they could be beneficial to you.

_______________________________________________
What doesn’t work so well for me
_______________________________________________

‘Duty’ mode last used level remembered (so could be on eco or turbo).
Tail-switch has a relatively stiff action.
No grip ring provided.

_______________________________________________
Things I like
_______________________________________________

Great area lighting beam profile.
Nearly 3000lm from a compact light.
Three function tail-cap selector ring.
Dedicated ‘Tactical’ mode.
Proper physical lockout.
Uses a large capacity 21700 cell.
Supplied cell has built-in USB-C charging.
Very usable holster supplied.

Light Review: Fenix WT16R and WT20R

I’ve always liked functional lights, those lights that not only give you light, but give you various options for positioning and types of light. Typically they are not the mega-lumen monsters, instead with more modest outputs, but with a focus on utility. One of the latest releases from Fenix is the WT16R which compliments the existing WT20R model, and this detailed review is of the Fenix WT16R and WT20R from the ‘WT’ Work Light series.

A ‘First Look’ Video of the WT16R and WT20R:


A good look round the WT16R – Things to look out for here are:
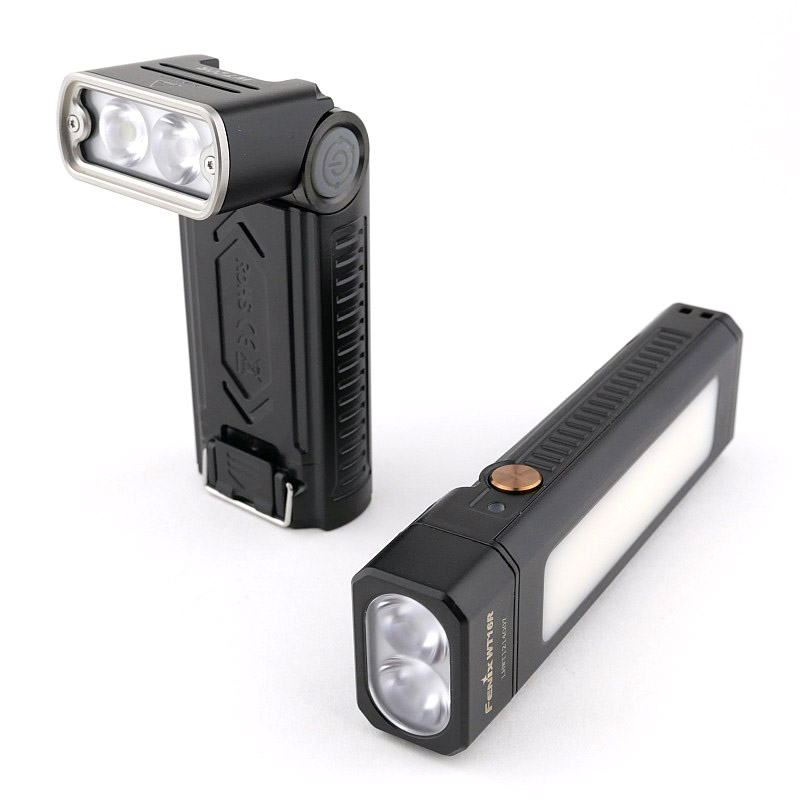
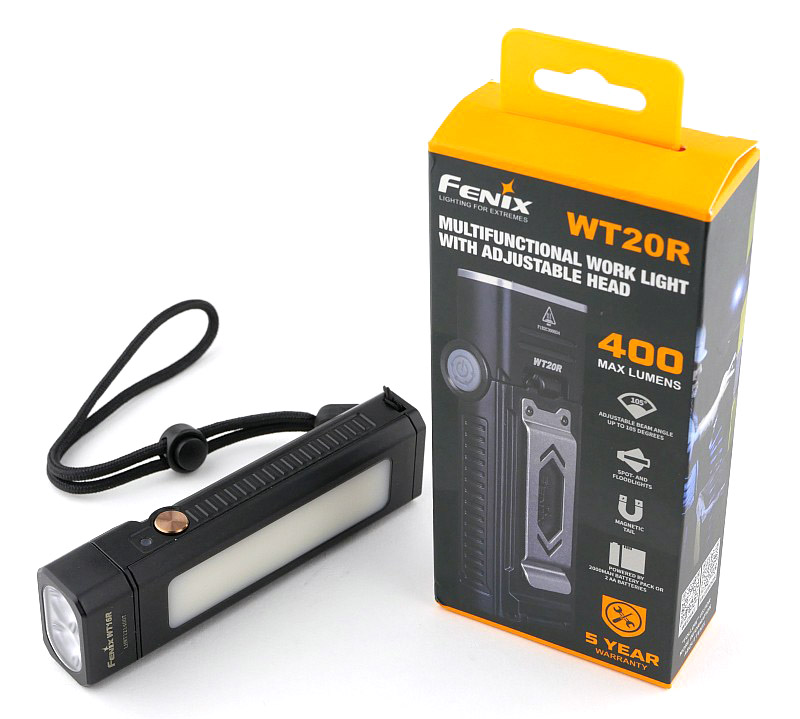
The WT16R on test is actually a pre-production model (but of the final construction), so did not have any packaging. It has a fully fixed body where nothing moves or opens, and has a non-removable built-in USB-C rechargeable cell. The WT16R has a main spot beam at the front and a large side panel to provide area flood lighting (and a flashing amber option). A clip and two magnets allow for various mounting options, and the design allows for free-standing use as well, plus it definitely won’t roll away.


A good look round the WT20R – Things to look out for here are:
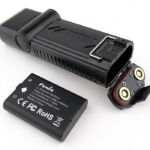
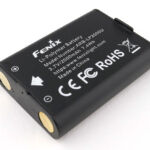
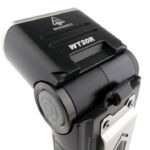
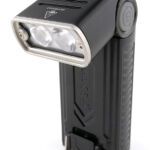
An articulated head, how I love an articulated head. The WT20R has me straight away on that one alone. But then it much more; look out for the illuminated side switch, metal bezel, twin beam types and dual-fuel ability with the supplied li-ion and you can also fit it with AAs (not provided).


The beam

Please be careful not to judge tint based on images you see on a computer screen. Unless properly calibrated, the screen itself will change the perceived tint.

The indoor beamshot is intended to give an idea of the beam shape/quality rather than tint. All beamshots are taken using daylight white balance. The woodwork (stairs and skirting) are painted Farrow & Ball “Off-White”, and the walls are a light sandy colour called ‘String’ again by Farrow & Ball. I don’t actually have a ‘white wall’ in the house to use for this, and my wife won’t have one!

For each of the following galleries the exposure was set to the same to directly compare the two beam types from each light.

WT16R Beamshots
(The WT16R’s flashing amber mode is not represented here.)


WT20R Beamshots


Batteries and output:

The WT16R runs on a non-removable built-in USB-C rechargeable cell, and the WT20R is supplied with a USB rechargeable li-ion cell but can also use AAs.

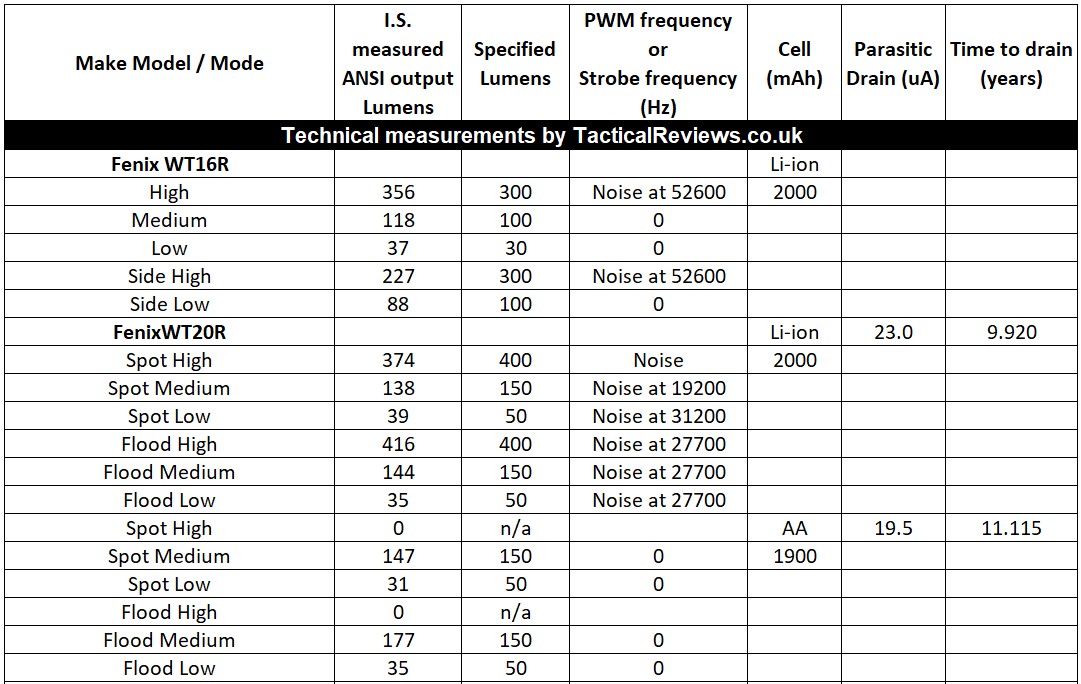
Please note, all quoted lumen figures are from a DIY integrating sphere, and according to ANSI standards. Although every effort is made to give as accurate a result as possible, they should be taken as an estimate only. The results can be used to compare outputs in this review and others I have published.

Note the Parasitic drain of the WT16R cannot be measured, and for the WT20R the li-ion and AA values differ slightly. Also note that when using AAs, the WT20R cannot output on High.

The following gallery has the lumen output graph and USB recharging trace for the WT16R first, then the WT20R. For the WT16R the two traces are the spot and flood beam outputs, and for the WT20R the two traces are for the (higher output) flood beam, but powered with the supplied li-ion cell and then AA Eneloop cells.


The WT16R and WT20R in use:
This gallery actually says without words most of what I want to say, so let’s start with that…


The first of those images shows the WT16R using its tail magnet to give downward facing hands-free lighting from the side panel flood light, along with the WT20R aiming at another area. Then the WT16R on the front of a boiler lighting up the control panel. Remember there is also a second magnet on the clip, so if you needed to tuck the WT16R up under something you can do this as well. Similarly you can use the spot beam if you need the light concentrated in a smaller area.

Onto the WT20R and its articulated head. The gallery has a photo showing the extreme angle range the head can be moved to, it is not just 90 degrees of motion, but 105 degrees of motion from fully straight to a slight downward angle when tail-standing it. Combined with the magnetic tail, the WT20R is a superbly ‘aim-able’ light. You can mount/stand it and then angle the head to put the light exactly where you want it, easily and quickly. You even have a choice of flood or spot beams as well.

These are true ‘working lights’. They are illumination tools, and designed such that you can use them hands-free and put them into difficult locations which you might not be able to with a headlamp.

Using side switches makes the controls very natural to use, the only minor comment I would have on this is that the side the power switch is on is better suited to right-handed use. When using the WT20R with head angled, or the WT16R’s side panel light, for left-handed use this means either using a finger curled round underneath, or a slightly switch on and twist round action. This minor point is unavoidable really, so is not a criticism, more of a consideration.

If you have one or both of these you will wonder why you struggled on with a normal light for so long, when these make mobile task-lighting a breeze.

Review Summary
The views expressed in this summary table are from the point of view of the reviewer’s personal use. I am not a member of the armed forces and cannot comment on its use beyond that covered in the review.

Something that might be a ‘pro’ for one user can be a ‘con’ for another, so the comments are categorised based on my requirements. You should consider all points and if they could be beneficial to you.

_______________________________________________
What doesn’t work so well for me
_______________________________________________

WT16R – has a non-removable cell, so no on-the-go battery changes.
WT20R – the battery door clip can be a bit awkward to release.

_______________________________________________
Things I like
_______________________________________________

WT16R – Side panel flood and Front spot output.
WT16R – Side panel flood also has flashing amber mode.
WT16R – USB-C charging.
WT16R – Ergonomic Side switch.
WT16R – Wide, strong clip.
WT16R – Two different magnetic mounting points.
WT16R – Power level gauge.
WT20R – Beam can be switched from flood to spot.
WT20R – 105 degrees of head articulation.
WT20R – Duel-fuel option of supplied li-ion or AA.
WT20R – Supplied li-ion cell is USB rechargeable.
WT20R – Wide, strong clip.
WT20R – Magnetic base.
WT20R – Ergonomic Side switch.
WT20R – Power level gauge.

 
Discussing the Review:
The ideal place to discuss this review is on the Tactical Reviews Facebook Page
Please visit there and start/join the conversation.

As well as the Tactical Reviews Facebook Page, please consider visiting one of the following to start/join in any discussion.

CandlePowerForums

BudgetLightForum

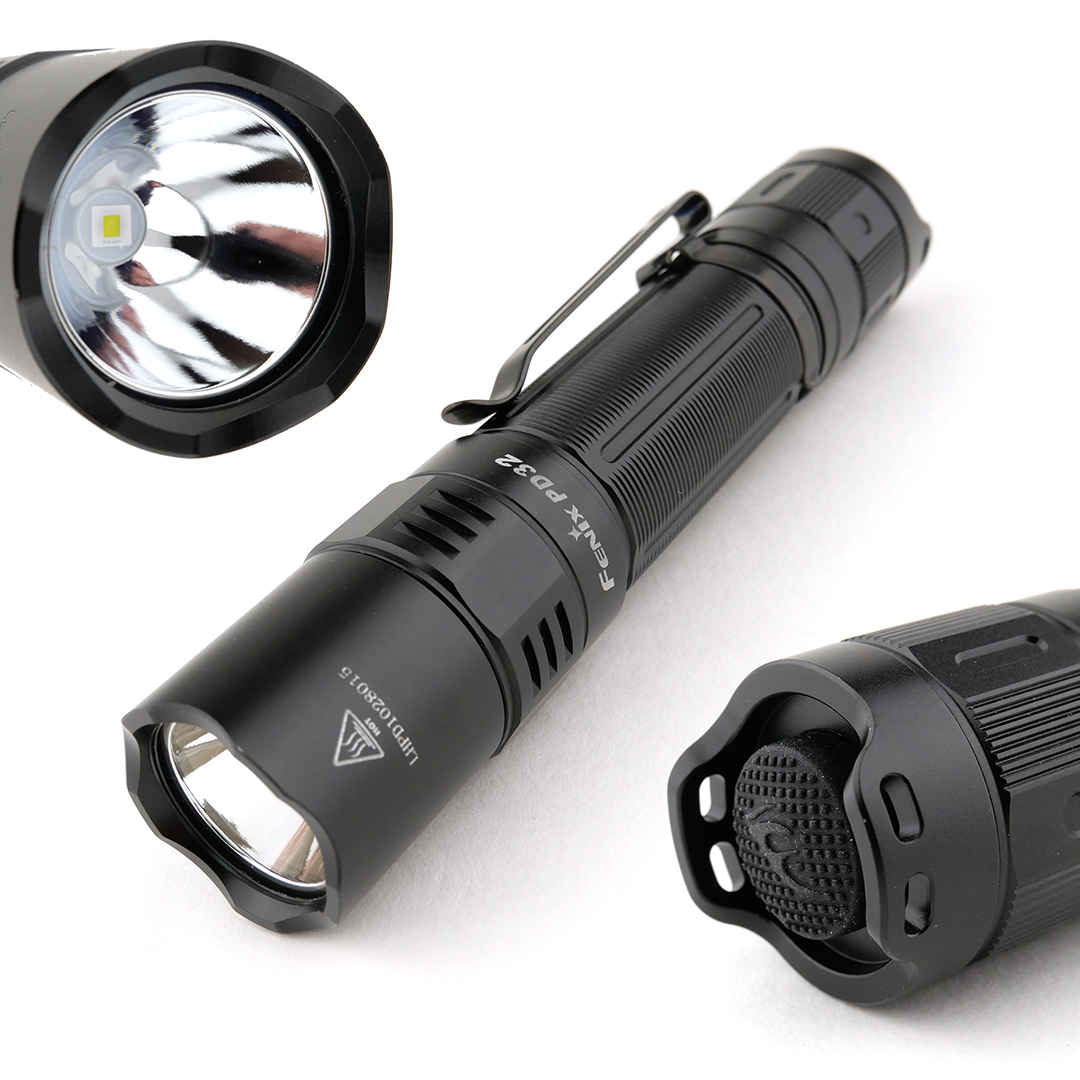
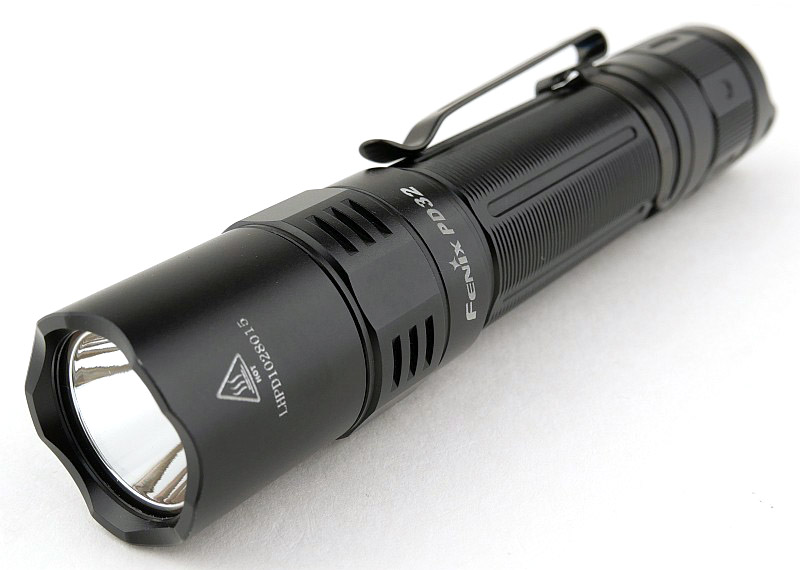
Light Review: Fenix PD 32 V2.0

The Fenix PD32 V2.0 is quite different from its predecessor, with a new soft-action two-stage tail switch instead of the earlier model’s tail and side switch configuration. With this new layout also comes a significant boost in output and a slimmer profile. In this review of the Fenix PD32 V2.0 I’ve tested actual output, runtime and other technical measurements along with detailed examination of the design in video and photos.

A good look round the Fenix PD32 V2.0:
This example was an early final production model and came without the packaging. The video also shows the measurement of parasitic drain.


Gallery of the details:


The beam

Please be careful not to judge tint based on images you see on a computer screen. Unless properly calibrated, the screen itself will change the perceived tint.

The indoor beamshot is intended to give an idea of the beam shape/quality rather than tint. All beamshots are taken using daylight white balance. The woodwork (stairs and skirting) are painted Farrow & Ball “Off-White”, and the walls are a light sandy colour called ‘String’ again by Farrow & Ball. I don’t actually have a ‘white wall’ in the house to use for this, and my wife won’t have one!

The beam is tuned more towards throw, which is quite clear in both the indoor and outdoor beamshots.


Batteries and output:

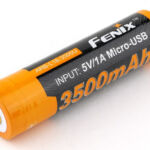
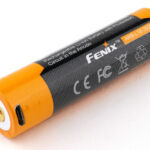
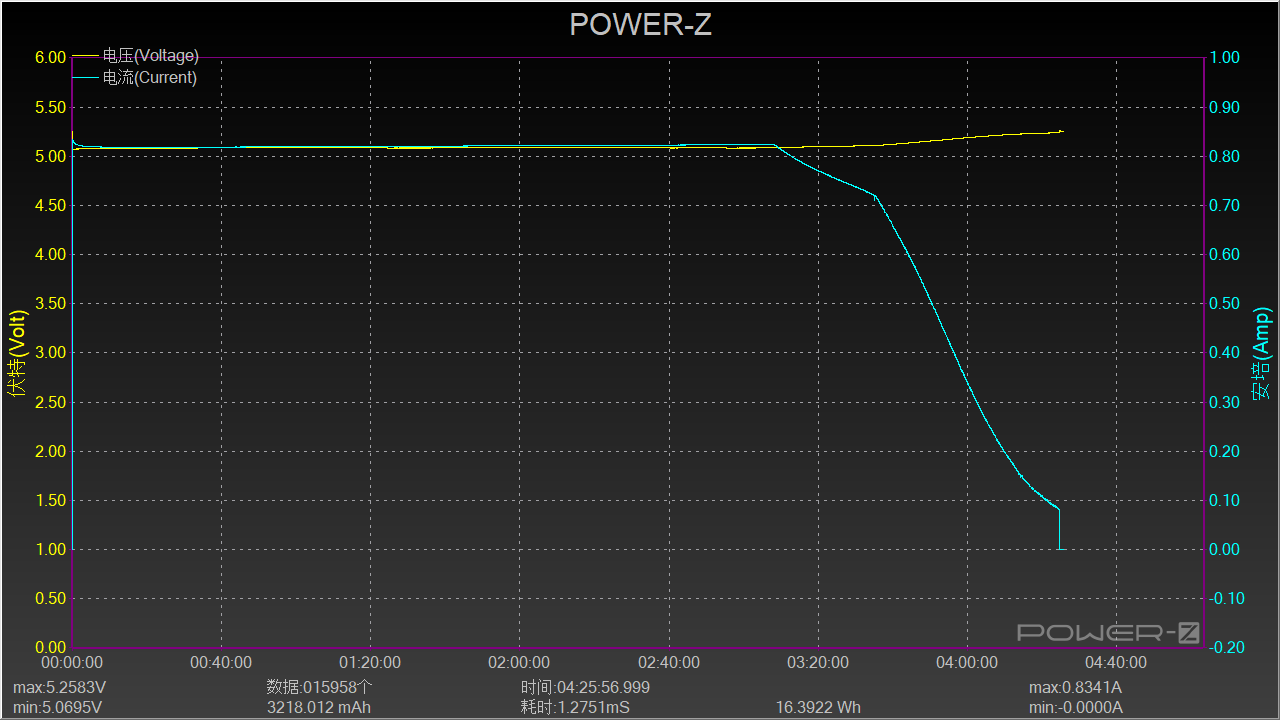
The Fenix PD32 V2.0 runs on a micro-USB chargeable 18650 3500mAh cell. Below is the charging trace for this cell. A full charge taking around 4 hours.

Please note, all quoted lumen figures are from a DIY integrating sphere, and according to ANSI standards. Although every effort is made to give as accurate a result as possible, they should be taken as an estimate only. The results can be used to compare outputs in this review and others I have published.

Of note here are some of the comments in the PWM column. There isn’t any classic PWM but instead a noise remnant in the output meaning there is a slight wavering in the output at high frequency and this is not at all visible.


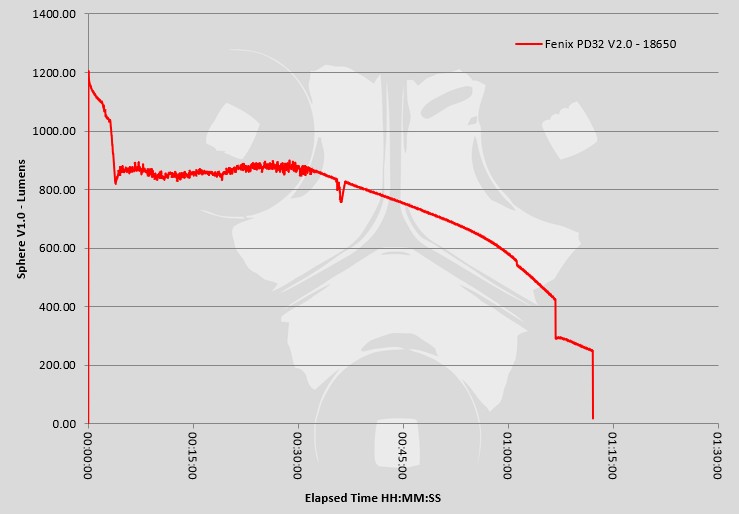
Actual measured runtime output trace for maximum output.


The Fenix PD32 V2.0 in use

Next to a 2xAA light, the single 18650 (or 2x CR123) size of light is one of the best to hold. The Fenix PD32 V2.0 is a very comfortable size and shape with a head not much bigger than the battery tube. General form and size make for a very handy light.


For me, the tailcap layout is a compromise due to having the ability to tail-stand. The raised sections, which also provide lanyard attachment points, do obstruct the tail switch and make it more difficult to access as you have to ‘reach over’ these. For momentary use, this can work quite well as it makes it harder to push far enough for the second stage of the switch.
On a purely ‘tactical’ use case, a two-stage switch (which also changes modes) would not be my choice for a high-stress situation. I’d prefer a single function tail switch with the separate mode switch.
The soft-action of the two stage switch is a nice feature. The second stage, click-to-latch-the-output-ON, is silent. Far too many switches have loud clicks, so this is a breath of fresh air in this sense.
Readers of my other reviews will know I’m not a fan of strobe, and the strobe for the PD32 is accessed with a 0.5s hold of the switch’s second stage. This is a good implementation as you can start with a full power blast of light and it goes into the strobe, so overall a full face of light and then strobe.
Mode spacing feels a bit uneven towards being too bright on the medium mode; my preference would have been more like a 200-250lm – the measured output on medium was 429lm, higher than the specified 350lm.
With a beam profile tuned towards throw, it is still surprisingly useable for closer ranges, and the low mode has been absolutely fine for indoor use. Once you get to the longer ranges outdoor that tuned beam gives you a great reach for a compact light.

Review Summary
The views expressed in this summary table are from the point of view of the reviewer’s personal use. I am not a member of the armed forces and cannot comment on its use beyond that covered in the review.

Something that might be a ‘pro’ for one user can be a ‘con’ for another, so the comments are categorised based on my requirements. You should consider all points and if they could be beneficial to you.

_______________________________________________
What doesn’t work so well for me
_______________________________________________

Slightly restricted access to tail-switch.
Medium mode too high.
Slow recharging using cell’s built-in USB charging.

_______________________________________________
Things I like
_______________________________________________

Soft-action two-stage tail switch.
Silent switching.
Good implementation of strobe.
Well tuned beam profile.
Impressive beam range.
Compact.

As well as the Tactical Reviews Facebook Page, please consider visiting one of the following to start/join in any discussion.

CandlePowerForums – Flashlight Reviews Section (Largest and Friendliest Flashlight Community Forum)

Light Review: Fenix E03R, E28R and E35 V3.0

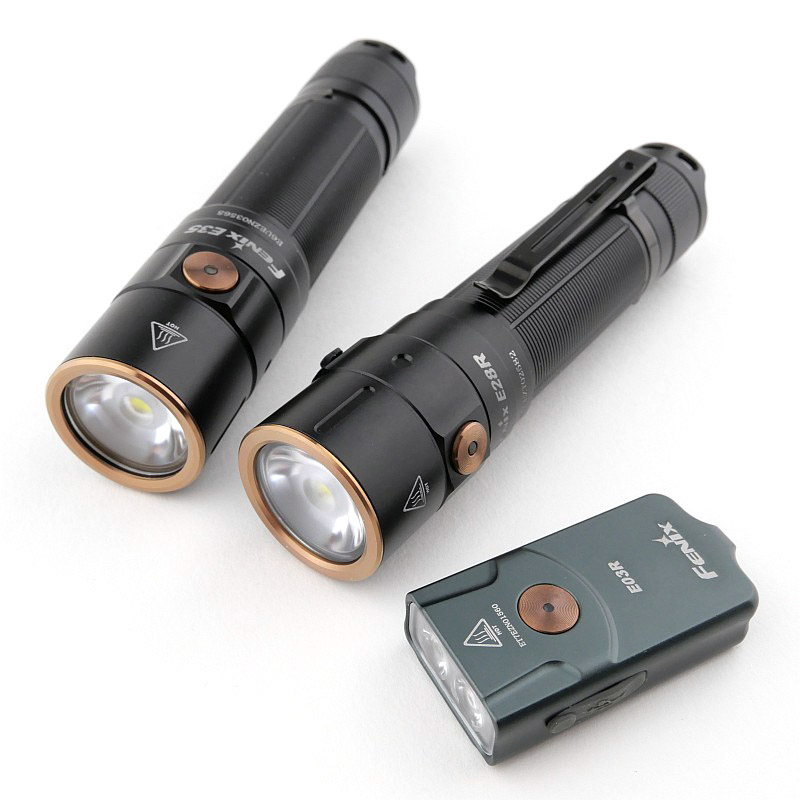
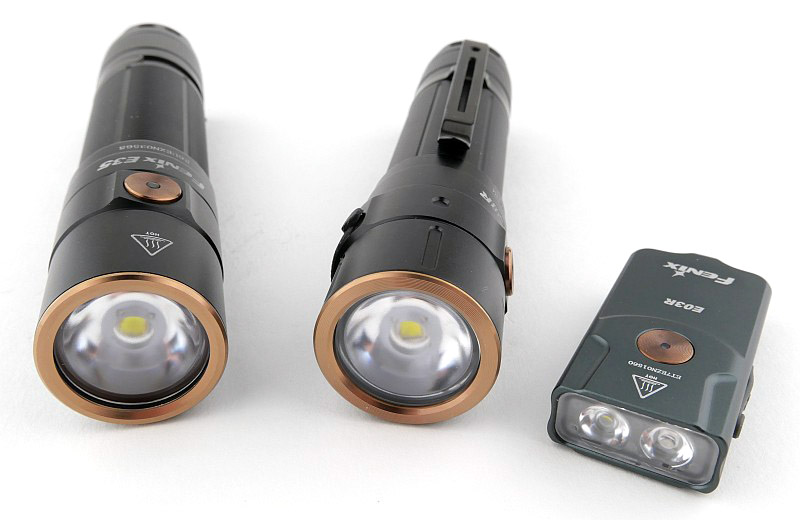
A set of three EDC type of lights from Fenix (see MyFenix in the UK). This is a review of the Fenix E03R, E28R and E35 v3.0 covering a range of power and capacity options. Of these, the E03R has been available for the longest, with the E28R being a recent release and the E35 updated to V3.0 and using the 21700 cell with huge 5000mAh capacity.

What is in the box?:


The beam

Please be careful not to judge tint based on images you see on a computer screen. Unless properly calibrated, the screen itself will change the perceived tint.

The indoor beamshot is intended to give an idea of the beam shape/quality rather than tint. All beamshots are taken using daylight white balance. The woodwork (stairs and skirting) are painted Farrow & Ball “Off-White”, and the walls are a light sandy colour called ‘String’ again by Farrow & Ball. I don’t actually have a ‘white wall’ in the house to use for this, and my wife won’t have one!

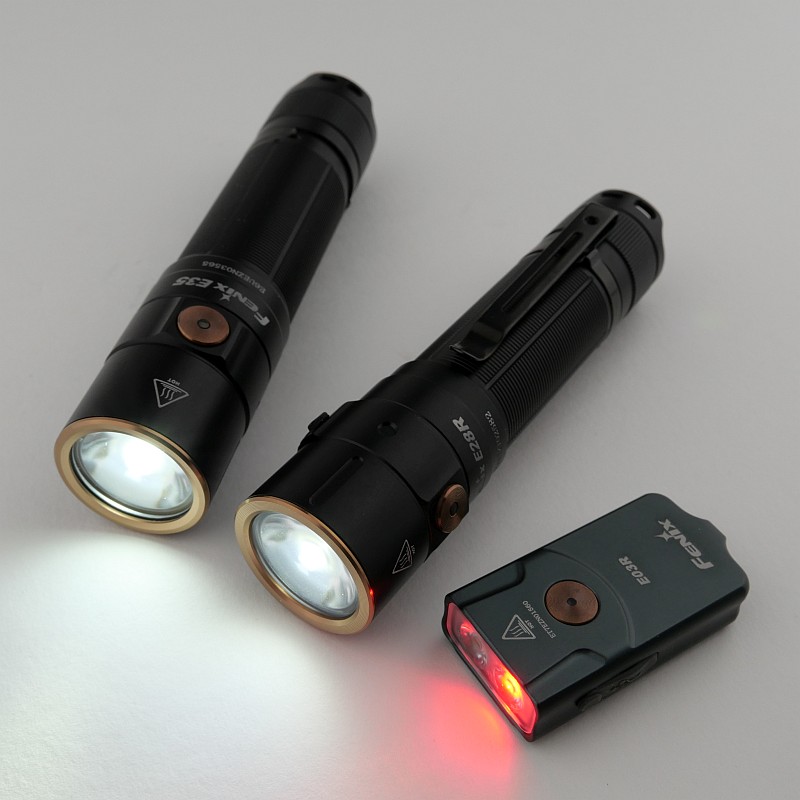
The beamshots are divided into two sets with the indoor and outdoor beams for a more direct comparison. In the indoor set the E03R is first shown with the red beam and then onto the E03R white followed by E28R and E35 V3.0. The same order (minus the red) is used for the outdoor beams.


Batteries and output:

This gallery shows the measured charging current for the E03R, the E28R built-in charging, and the USB-chargeable cell supplied with the E35.

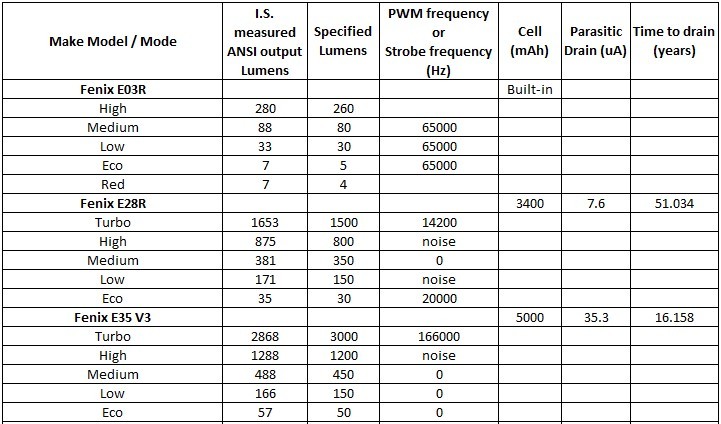
Please note, all quoted lumen figures are from a DIY integrating sphere, and according to ANSI standards. Although every effort is made to give as accurate a result as possible, they should be taken as an estimate only. The results can be used to compare outputs in this review and others I have published.

Parasitic drain of the E03R cannot be measured.

This gallery has two runtime graphs. the first shows all three lights together for the entire ANSI run, the second is just to show the first few minutes of the run.
The E35 is showing clear thermal regulation as it hovers around the 1800lm mark.


Troubleshooting

This section is included to mention any minor niggles I come across during testing, in case the information helps anyone else.

The E28R displays a slight flicker in the main beam once the cell has reached a low enough level that the red switch warning flash is shown. At this point the output is very low and the cell needs to be recharged. The output is still usable but the flicker noticeable. As long as the low battery warning is not displayed this does not happen.

As per the description of this section, this information is provided in case anyone else finds a similar ‘issue’ that might be fixed in the same way.

The E03R, E28R and E35 V3.0 in use

Firstly a look at the relative sizes of these three options. On its own, the E03R is almost too small and easy to drop, but is intended to be attached to something (keys, zipper etc) and once it is, it suddenly comes to life in ease of use. For the other two, Fenix has nicely created the E28R and E35 to be only slightly bigger than the cells they use to power them, so your choice is almost more about the size and capacity of cell you want to have.


The interfaces of all the lights is basically the same apart from the E03R having red light instead of strobe. Press and hold to turn on, tap to change mode and press and hold to turn off. The last used output is memorised apart from the E03R which always starts on low.
A little trick to get the E28R and E35 to start on low is to use the lockout feature (double tap when off, and then double tap again to unlock) as the lowest output is selected when coming out of lockout.
Personally I would prefer an option to allow a single click to turn on as the press and hold is less immediate when using it.
The switch is relatively low profile on all three models, and just by feel, can be tricky to find. The E03R can just be held in a pinch grip and even if the button is underneath it will operate. For the E20R and E35, I found the pocket clip essential for ‘indexing’ my grip and finding the power switch. The clip is free to rotate around the tube, so the alignment can be off if you are not careful. I do like a side switch for daily use.
Beam tint is nicely neutral to warm, with the TIR optics giving a easy to use beam.
When you have the convenience of the built-in USB charging port, the drag of having to unscrew the light to charge the battery (E35) becomes more apparent. Perhaps the E35 v4.0 will have the USB-C charging built into the head like the E28R? Of course this is balanced by the cell having a healthy 5000mAh capacity, so unless you are always blasting the highest output level you should have a good time between charges.
A little note on the E03R red beam. Typically you want to keep light levels low when using red, so it is a pity there is no direct to red option. However, this is easily worked-around by simply holding the front of the E03R against your hand/leg/whatever while holding the power button, and do this long enough to reach the red output before using it. As the majority of use is most likely white anyway, it is no real hardship to do this when red output is needed.

Review Summary
The views expressed in this summary table are from the point of view of the reviewer’s personal use. I am not a member of the armed forces and cannot comment on its use beyond that covered in the review.

Something that might be a ‘pro’ for one user can be a ‘con’ for another, so the comments are categorised based on my requirements. You should consider all points and if they could be beneficial to you.

_______________________________________________
What doesn’t work so well for me
_______________________________________________

Power button difficult to find by feel.
Press to hold delay in switching on and off.
Lowest mode not low enough.

_______________________________________________
Things I like
_______________________________________________

Excellent general purpose smooth EDC beams.
Super tough TIR optics.
Very powerful.
USB-C charging – no separate charger needed.
E03R has choice of red or white beams.
Low parasitic drain.
EDC friendly side-switch.
Lightweight, simple and easy to carry.

 
Discussing the Review:
The ideal place to discuss this review is on the Tactical Reviews Facebook Page
Please visit there and start/join the conversation.

As well as the Tactical Reviews Facebook Page, please consider visiting one of the following to start/join in any discussion.

CandlePowerForums – Flashlight Reviews Section (One of the best known Flashlight Community Forums)
BudgetLightForum.com…where Frugal meets with Flashlight!

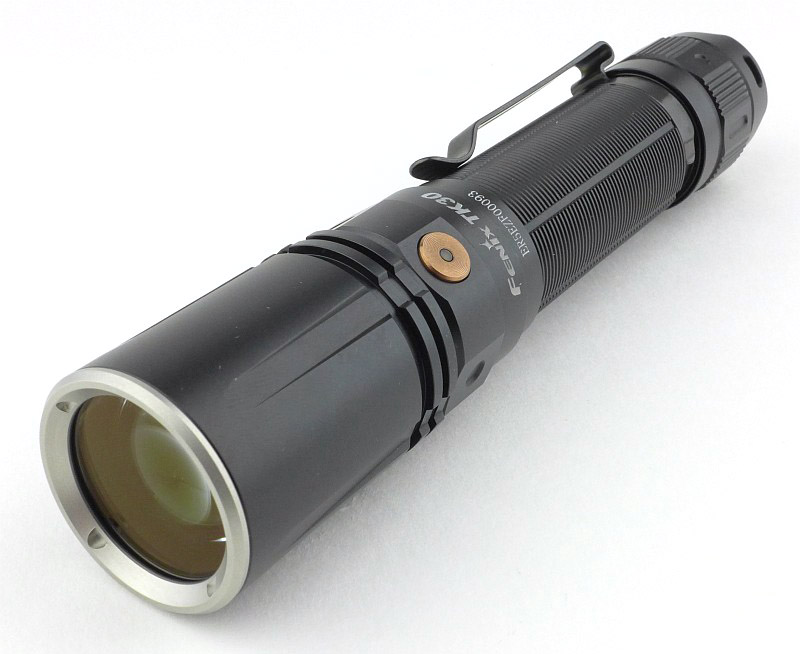
Light Review: Fenix TK30 White Laser LEP

LEP, what is LEP? Laser Excited Phosphor, the new super thrower with a highly focused beam; and I was certainly excited to try out the Fenix (see MyFenix in the UK) TK30 White LEP light. I first came across the concept of LEP to be used as a long range tactical scope illuminator for snipers, and there is no doubt this is a highly specialised type of light. For long range scope illumination it is outstanding, and for the general lighting enthusiast it is a lightsaber, with near laser beam like projection.

First up is a video which covers the basics of a look round the TK30 and some outdoor video to show the incredible beam. This page has a lot more detail including the measured output figures, runtime graph and photos of the beam.

What is in the box?:


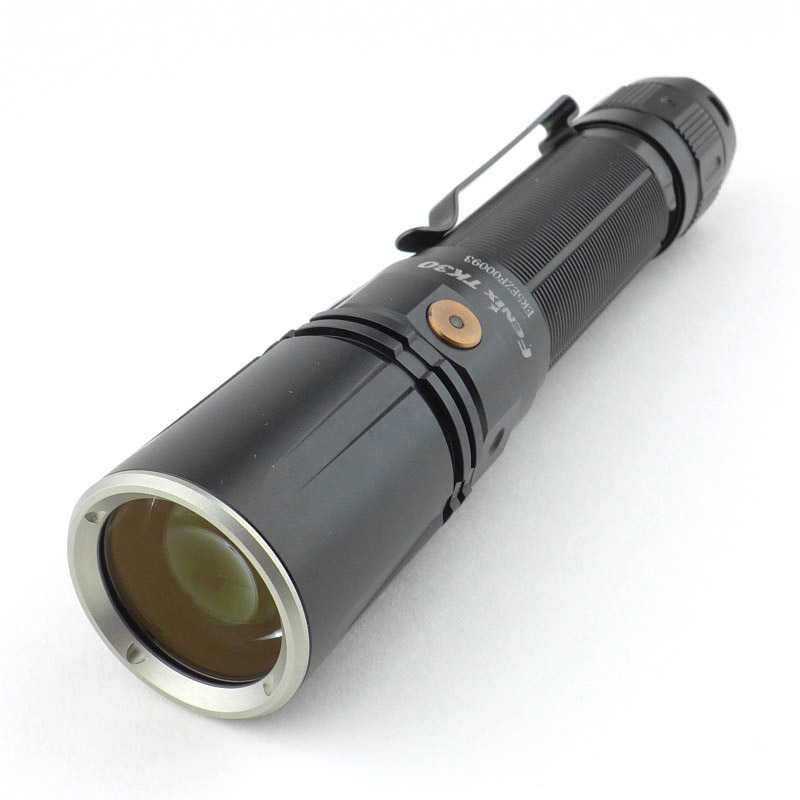
A good look round the TK30 – Things to look out for here are:
The TK30 comes with an excellent belt holster, and a 21700 cell that has a built-in USB-C charging port (in the cell, not the TK30).


The beam

Please be careful not to judge tint based on images you see on a computer screen. Unless properly calibrated, the screen itself will change the perceived tint.

The indoor beamshot is intended to give an idea of the beam shape/quality rather than tint. All beamshots are taken using daylight white balance. The woodwork (stairs and skirting) are painted Farrow & Ball “Off-White”, and the walls are a light sandy colour called ‘String’ again by Farrow & Ball. I don’t actually have a ‘white wall’ in the house to use for this, and my wife won’t have one!

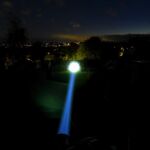
Yes, this really is the beam, not a mistake. There is a small bright spot with all 500lm (422lm measured) in it.


Batteries and output:

The runs on the included 5000mAh 21700 cell.

Please note, all quoted lumen figures are from a DIY integrating sphere, and according to ANSI standards. Although every effort is made to give as accurate a result as possible, they should be taken as an estimate only. The results can be used to compare outputs in this review and others I have published.

Peak Beam intensity measured 469000lx @1m giving a beam range of 1370m!!!

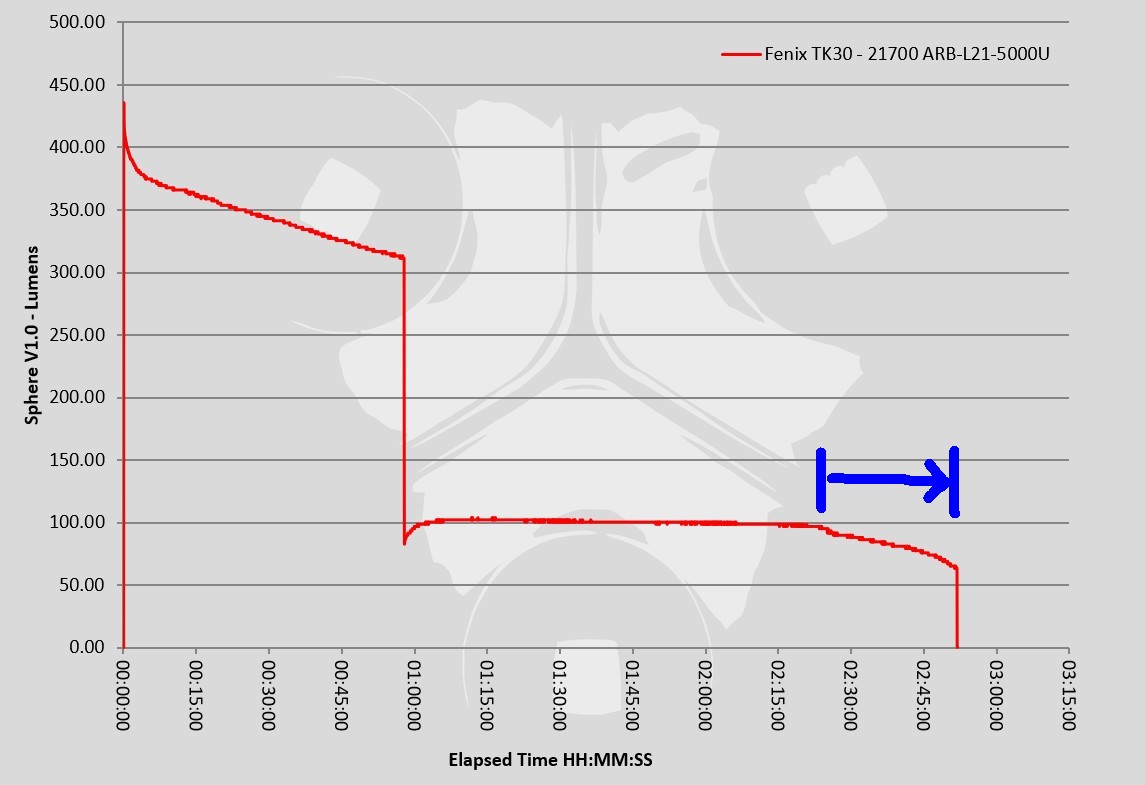
In this gallery are measurements of the built-in USB-C charging for the 5000mAh cell, and the runtime graph (with active cooling).


Troubleshooting

This section is included to mention any minor niggles I come across during testing, in case the information helps anyone else.

It was noted that when the low battery warning is shown with the flashing indicator in the side switch, this makes the main beam output flicker. More on this is included in the ‘in use’ section below.

As per the description of this section, this information is provided in case anyone else finds a similar ‘issue’ that might be fixed in the same way.

The TK30 in use
Let’s first just get the minor quibble out of the way with the output that starts to flicker when the low battery warning comes on. It is shown in the marked copy of the runtime graph and only affects the very last part of the run. I personally take this as a point of the output being so near the end and not able to maintain the full output, that I would want to recharge the battery anyway at this point.

In some ways, the visible beam flickering is only further indication the battery is too low, so is not a problem so much as a ‘feature’. Moving on…

So the operation of the TK30 is just fine, a tail-switch, and a side switch for the mode. Easy and straightforward to use.

Although the high beam output is only in the region of 500lm, I would say that the heat generated and felt at the head of the TK30 is more than I would expect for a 500lm light. But this is no ordinary 500lm light. Inside the head is a UV Laser module that is then illuminating a phosphor surface to produce the beam, so overall it is not as efficient as a typical LED emitter and so generates more heat.

Swapping from the included 21700 cell to an 18650 (with adapter), the runtime is much less, and the lower efficiency of LEP to LED becomes even more obvious. A trade off in efficiency in exchange for a beam unlike any other.

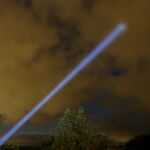
Just take a look through this gallery. (I have used the Moon to cheat with a couple of these, it’s not quite that amazing.)


Review Summary
The views expressed in this summary table are from the point of view of the reviewer’s personal use. I am not a member of the armed forces and cannot comment on its use beyond that covered in the review.

Something that might be a ‘pro’ for one user can be a ‘con’ for another, so the comments are categorised based on my requirements. You should consider all points and if they could be beneficial to you.

_______________________________________________
What doesn’t work so well for me
_______________________________________________

Not really a ‘con’, but a warning – this is a specialist light and is not suitable for general use due to the tiny hotspot and no spill.
Shorter runtime compared to an LED light.

_______________________________________________
Things I like
_______________________________________________

Super focused beam with 1370m throw!
LEP – Laser Excited Phosphor.
USB-C rechargeable 21700 cell and cable included.
Very good belt holster.
It’s just superb fun to have a lightsaber / white laser.

 
Discussing the Review:
The ideal place to discuss this review is on the Tactical Reviews Facebook Page
Please visit there and start/join the conversation.

As well as the Tactical Reviews Facebook Page, please consider visiting one of the following to start/join in any discussion.

CandlePowerForums – Flashlight Reviews Section (Largest and Friendliest Flashlight Community Forum)

Light Review: The 10,000 lumen Fenix LR35R

Can it be true? 10,000 lumens from a light you could fit in your pocket? In this review of the Fenix LR35R I put Fenix’s claimed output figures to the test. As well as this companion review there is a full length video review, with behind the scenes insights into the testing. It turns out that this light went beyond the limits of my test equipment and meant making modifications to allow an accurate reading to be taken.


Here is the video review:

INDEX:
00:00-01:20 Intro
01:20-07:31 Looking over the LR35R
07:31-13:28 Measuring parasitic drain
13:28-19:56 Troubleshooting – comparing cells
19:56-20:43 Troubleshooting – benchmark measurements for sensor modification
20:43-24:28 Modifying the integrating sphere
24:28-26:02 Results – USB charging
26:02-26:57 Results – Thermal imaging
26:57-30:40 Results – Runtime Graphs
30:40-32:11 Results – Beam shots
32:11-33:35 Summary


What is in the box?:
As this is a pre-production sample, there is no un-boxing as only the light was supplied.

A good look round the LR35R – Things to look out for here are:
Be sure to check the video for many of these details.


The beam

Please be careful not to judge tint based on images you see on a computer screen. Unless properly calibrated, the screen itself will change the perceived tint.

The indoor beamshot is intended to give an idea of the beam shape/quality rather than tint. All beamshots are taken using daylight white balance. The woodwork (stairs and skirting) are painted Farrow & Ball “Off-White”, and the walls are a light sandy colour called ‘String’ again by Farrow & Ball. I don’t actually have a ‘white wall’ in the house to use for this, and my wife won’t have one!


Batteries and output:

The LR35R runs on two 21700 cells which can be recharged in the light.

Please note, all quoted lumen figures are from a DIY integrating sphere, and according to ANSI standards. Although every effort is made to give as accurate a result as possible, they should be taken as an estimate only. The results can be used to compare outputs in this review and others I have published.

Before getting onto the output graphs, let’s quickly look at the USB charging graphs. Fenix have use a pulse charging approach which the three images show clearly. Peak charging current is 3A.


And the three runtime graphs which show the effect of the thermal regulation, and how this is countered with stronger cooling.


A thermal image taken during the runtime testing.

The LR35R in use

A real surprise that this output can be achieved in a light smaller than one of my old favourites, the TK35. It does heat up very quickly, and in normal use, hand held, the thermal regulation kicks in much faster than on the runtime graphs which had strong cooling.
The built in charging is very useful, especially as all the 21700 rated chargers I have would not take the long Fenix 21700 cells. It also means you don’t need anything else, and can swap the cells if needed.
As the LR35R is so small, I really wish Fenix had added a lower sub-lumen mode, as for me that would make it a fantastic all-rounder.
Be aware that the headline 10,000 lumens is only short lived, but if you take it down a notch or two, the performance is very very strong.
Beam tint and beam profile are very useable, and overall this is a powerhouse that is easy to live with.


Review Summary
The views expressed in this summary table are from the point of view of the reviewer’s personal use. I am not a member of the armed forces and cannot comment on its use beyond that covered in the review.

Something that might be a ‘pro’ for one user can be a ‘con’ for another, so the comments are categorised based on my requirements. You should consider all points and if they could be beneficial to you.

_______________________________________________
What doesn’t work so well for me
_______________________________________________

Lack of a sub-lumen mode.
Heats up very quickly.

_______________________________________________
Things I like
_______________________________________________

Hits that 10,000 lumen headline figure.
Very strong performance on High and Medium output.
Surprisingly compact.
USB-C charging built-in.
Comes with two high-capacity 21700 cells.
Great Beam tint and profile.

Light Review: Fenix HM65R Headlamp

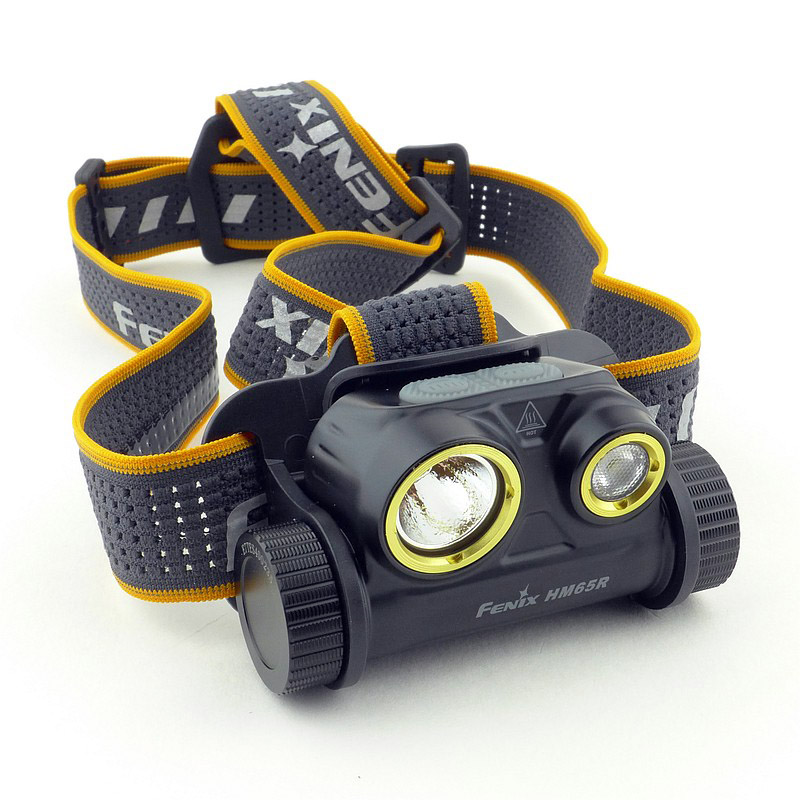
With the HM65R, Fenix have fitted in so much, but have kept this headlamp small and light enough that you don’t have to think twice about taking it with you on any adventure (or even just taking out the rubbish).
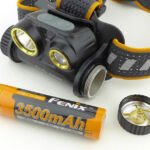
The 18650 li-ion cell used to be the ‘enthusiast’s choice’, being unfamiliar to many users, even more so when strapped to your forehead – not any longer. The Fenix HM65R comes with a high capacity 3500mAh 18650 cell, and there is a built in USB-C charging port. The ONLY thing you need is a USB charger of some kind to open the door to this powerful and capable light.
Join me in this review of the Fenix HM65R to take a look at all the details and how it performs.

What is in the box?:
For maximum stability the HM65R has a top strap, and the full head strap comes assembled and neatly tucked away in the packaging.


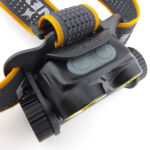
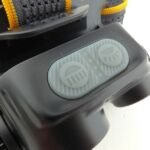
A good look round the HM65R – Things to look out for here are:
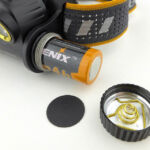
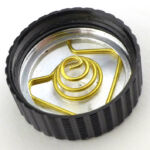
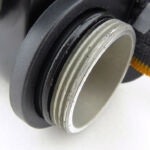
I’m splitting this detailed set of photos into two galleries for a more manageable tour of the HM65R. The HM65R is almost ready to go out of the packaging, but first you need to remove a small insulator that keeps the battery from running down or the HM65R from being turned on accidentally. From the appearance of the threads of the battery tube, you can see that this is made of magnesium, a material chosen by Fenix to shave off a few more grams of weight.


Taking in more details:
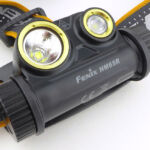
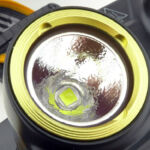
First up in this gallery are the twin lenses – the larger spot emitter with clear lens, and the smaller flood emitter with honeycomb type diffuser lens.
For a more stable fit to your head, the inside of the front part of the headband strap has a grippy strip. Flipping the HM65R forwards gives access to the USB-C charging port and shows the angle adjustment mechanism.


The beam:

Please be careful not to judge tint based on images you see on a computer screen. Unless properly calibrated, the screen itself will change the perceived tint.

The indoor beamshot is intended to give an idea of the beam shape/quality rather than tint. All beamshots are taken using daylight white balance. The woodwork (stairs and skirting) are painted Farrow & Ball “Off-White”, and the walls are a light sandy colour called ‘String’ again by Farrow & Ball. I don’t actually have a ‘white wall’ in the house to use for this, and my wife won’t have one!

For both indoor and outdoor beamshots, the individual spot and flood beams are shown, then (as both can be turned on at the same time) the combined beam. Each of the photos in the set of three is at the same exposure and white balance.


Batteries and output:

The HM65R runs on a supplied 3500mAh 18650 Fenix li-ion cell.

Please note, all quoted lumen figures are from a DIY integrating sphere, and according to ANSI standards. Although every effort is made to give as accurate a result as possible, they should be taken as an estimate only. The results can be used to compare outputs in this review and others I have published.

Take note of the very good (low) parasitic drain measurement.

Also shown in this gallery is a charging graph for the built in USB-C charging. Although USB-C is capable of up to 3A, the HM65R seems to top-out at about 1.4A when charging.


The HM65R in use:

Straight off the bat, the HM65R makes itself a success with the stable and comfortable head strap (with top strap), and the choice of spot or flood beams (or both combined). Then, in using the high capacity 18650, you get a great runtime and powerful output (yet without too much weight), and the built in USB-C charging means you actually don’t need anything else – The HM65R is a complete kit.

There is one thing missing for me though, and that is a very low output. Even 9 lm, and even with this being on the flood beam, it is still too bright for dark adapted eyes. Frequently when I’m using headlamps, I will have dark adapted eyes (waking from sleep, or when I don’t want to disturb others); if only Fenix could squeeze in that lower mode, a sub 1 lm mode for both spot and flood output, it would make the HM65R a fantastic all-rounder.

If you want to go full blast, then your wish is the HM65R’s command – perfect visibility.


It is very helpful having the quick charge level gauge, with just a click letting you see if you will want to top up the battery.

Having used many Fenix headlamps over the years, and many competitors headlamps too, the HM65R definitely goes down as a choice for Pro users. I use the term ‘Pro’ to indicate this is a serious tool, capable of hard work, versatile and something worth investing in.

Review Summary
The views expressed in this summary table are from the point of view of the reviewer’s personal use. I am not a member of the armed forces and cannot comment on its use beyond that covered in the review.

Something that might be a ‘pro’ for one user can be a ‘con’ for another, so the comments are categorised based on my requirements. You should consider all points and if they could be beneficial to you.

_______________________________________________
What doesn’t work so well for me
_______________________________________________

Lacking a sub-lumen output level.
USB-C charging limited to 1.4A.

_______________________________________________
Things I like
_______________________________________________

Independently switch-able Spot and Flood beams.
Stable and comfortable head mount with top strap.
High capacity 18650 cell included.
Built in USB-C charging.
Very low (negligible) parasitic drain.
Nearly 1400 lm combined beam output.
Light weight.

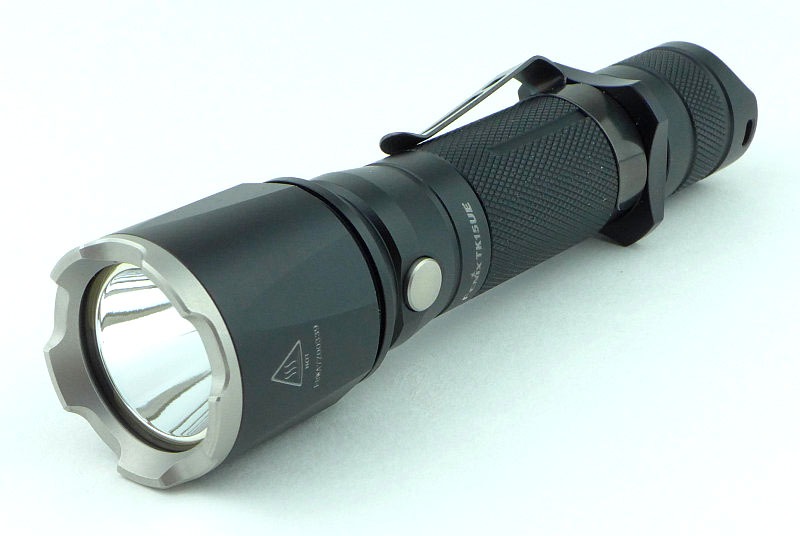
Light Review: Fenix TK15UE (Ultimate Edition)

Fenix have been taking classic lights from their range and creating ‘Ultimate Edition’ versions, pushing their performance to the maximum. The TK15 has now been ‘UE’ed to make the TK15UE with uprated output, throw and a new stainless steel bezel.

 photo 16 TK15UE trailer P1230848.jpg

Taking a more detailed look:

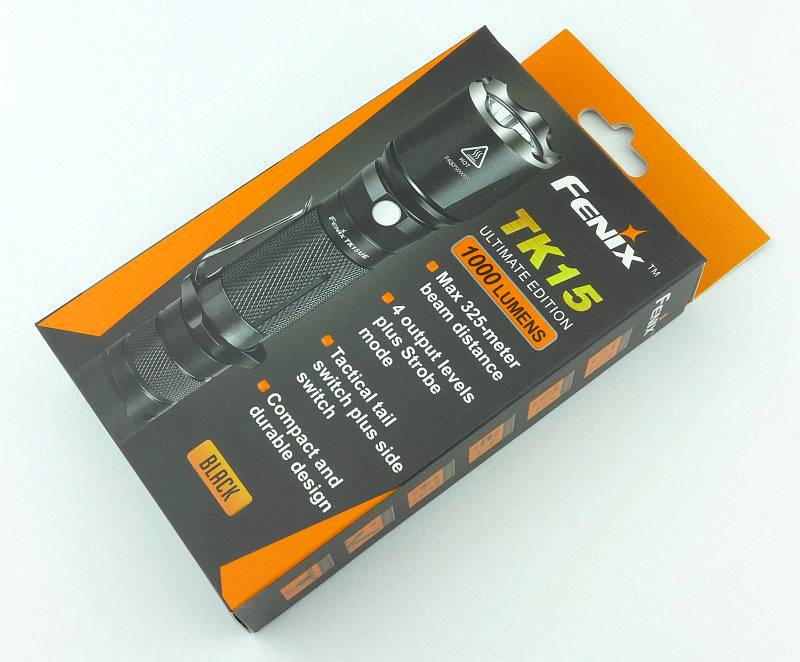
The TK15UE comes in Fenix’s standard packaging.
 photo 01 TK15UE Boxed P1230641.jpg

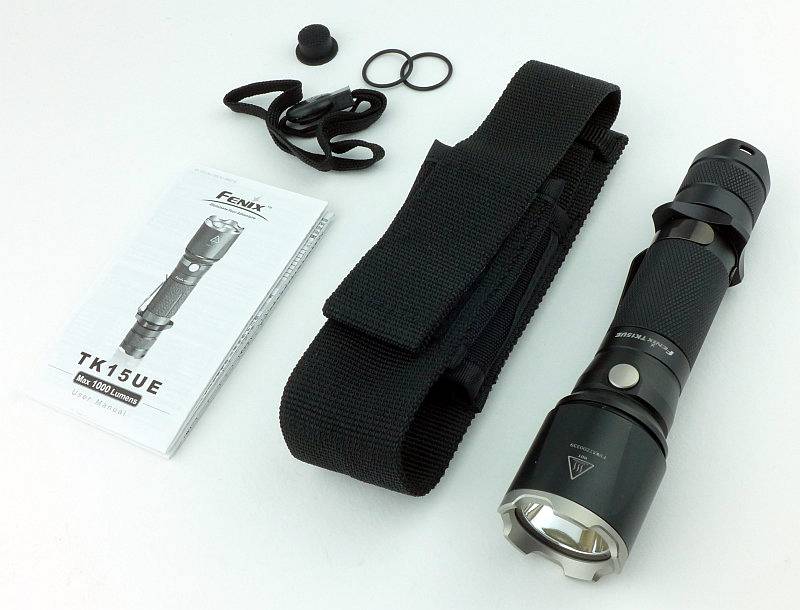
Included with the TK15UE are the instructions, a holster, a lanyard, a couple of O-rings and a spare switch boot.
 photo 02 TK15UE Box contents P1230650.jpg

Before we move on, the holster is worth lingering on a little longer.
 photo 03 TK15UE holster P1230657.jpg

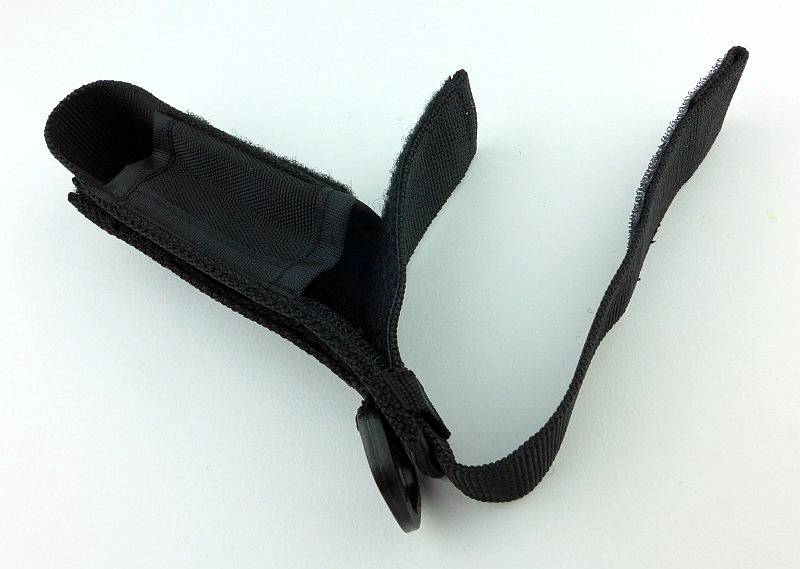
On the back there is a choice of a D-ring, fixed loop, and Velcro closing loop.
 photo 04 TK15UE holster loops P1230656.jpg

There is something a little different here. The holster flap has a retaining strap over it and inside the holster it is fixed with Velcro.
 photo 05 TK15UE holster flap P1230667.jpg

You can just see inside that the flap extends most of the way down the inside of the holster.
 photo 07 TK15UE holster flap adjust inside P1230678.jpg

The entire flap can be undone and either removed or adjusted to loosen or tighten the fit, or even accommodate a different length light.
 photo 06 TK15UE holster flap adjust P1230675.jpg

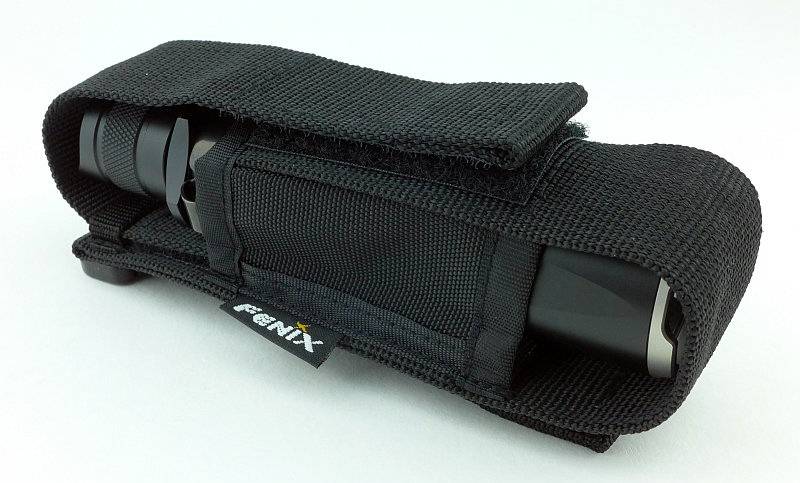
As supplied, the holster is correctly configured for the TK15UE.
 photo 08 TK15UE in holster P1230680.jpg

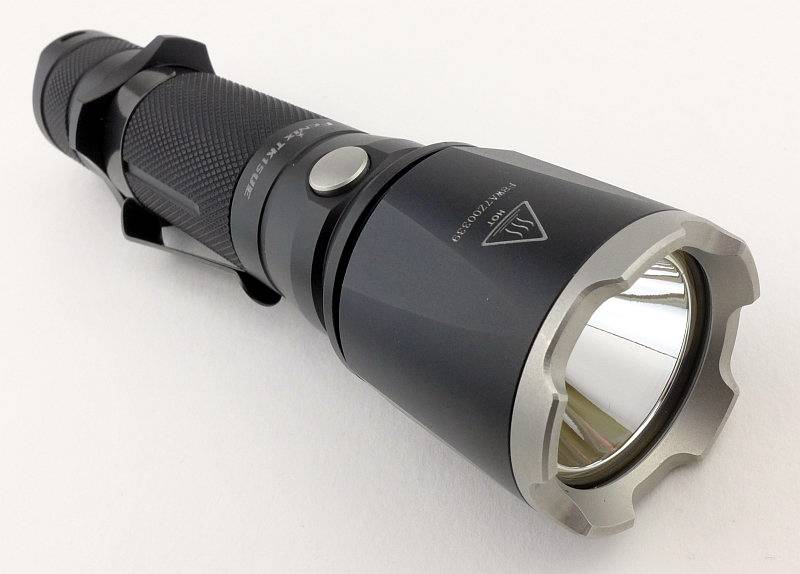
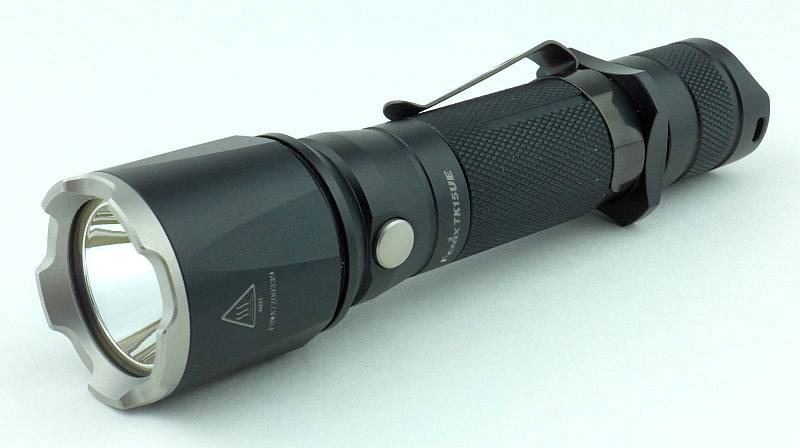
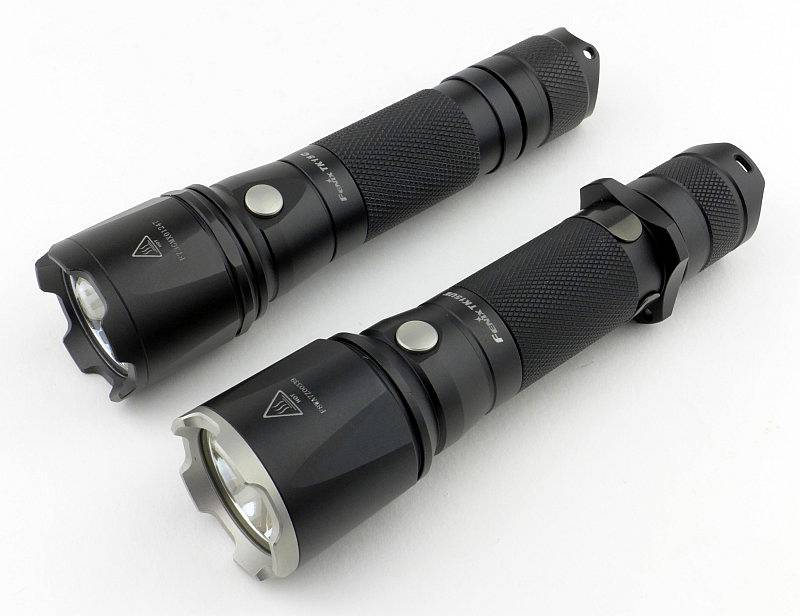
The most obvious sign that this is something a bit different to the previous TK15s is the Stainless Steel bezel.
 photo 09 TK15UE angle P1230689.jpg

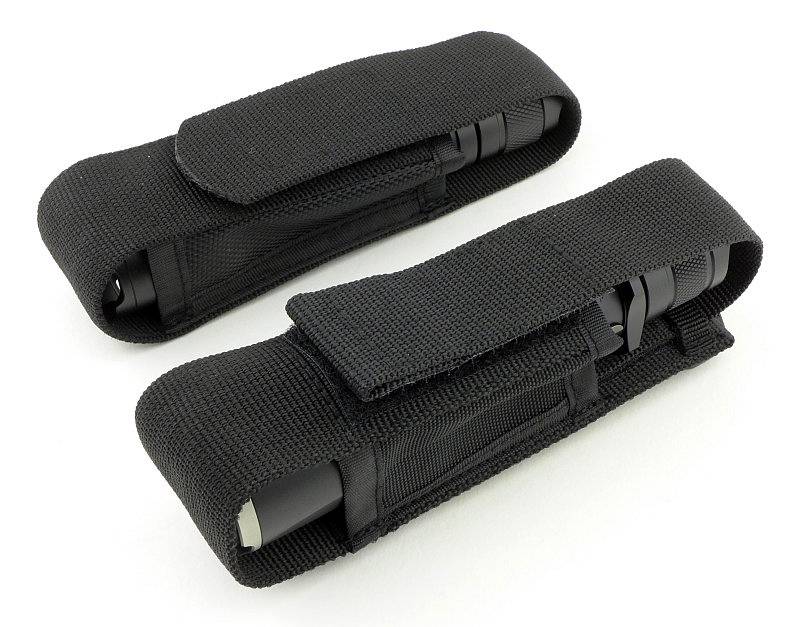
Let’s have a look at how the TK15UE and an older TK15 compare. This is the TK15C. So the holster is more than the basic one the TK15C comes with.
 photo 10 TK15UE compare P1230827.jpg

Dimensions are all very similar. The TK15C I’m comparing with here has had the clip removed as well as the tactical grip ring because it has been used gun-mounted.
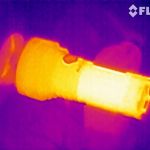
 photo 12 TK15UE compare P1230832.jpg

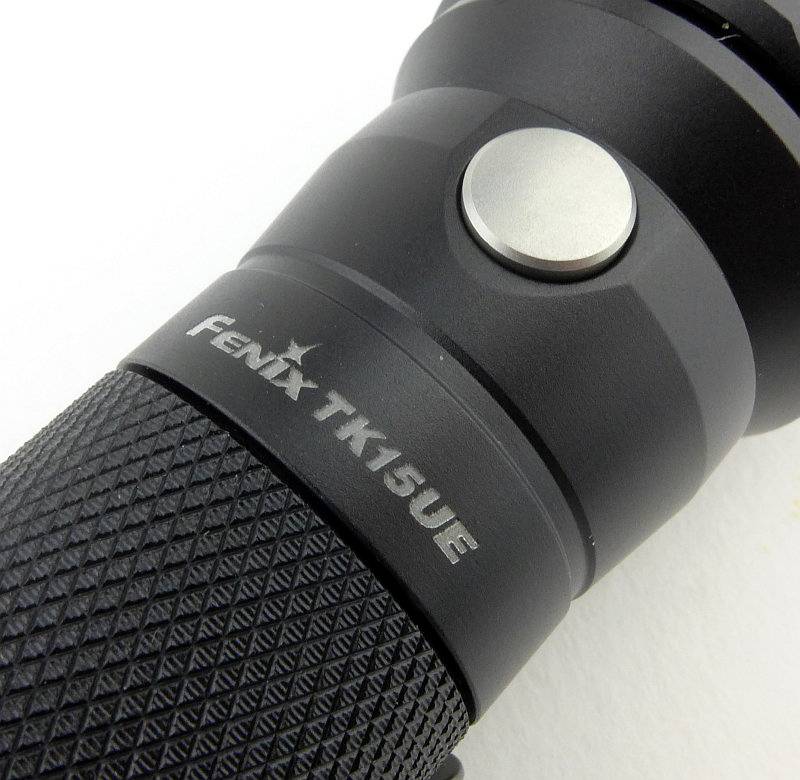
Going in close to the engraving of the model, the knurling and mode switch.
 photo 13 TK15UE switch detail P1230837.jpg

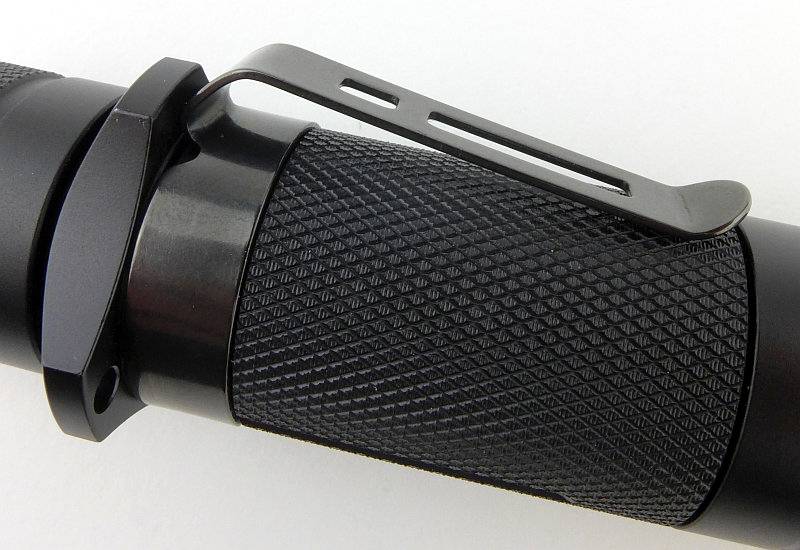
All the edges of the clip are nicely rounded, and there are no sharp corners to eat away at your pockets (just the knurling under the clip).
 photo 14 TK15UE clip detail P1230839.jpg

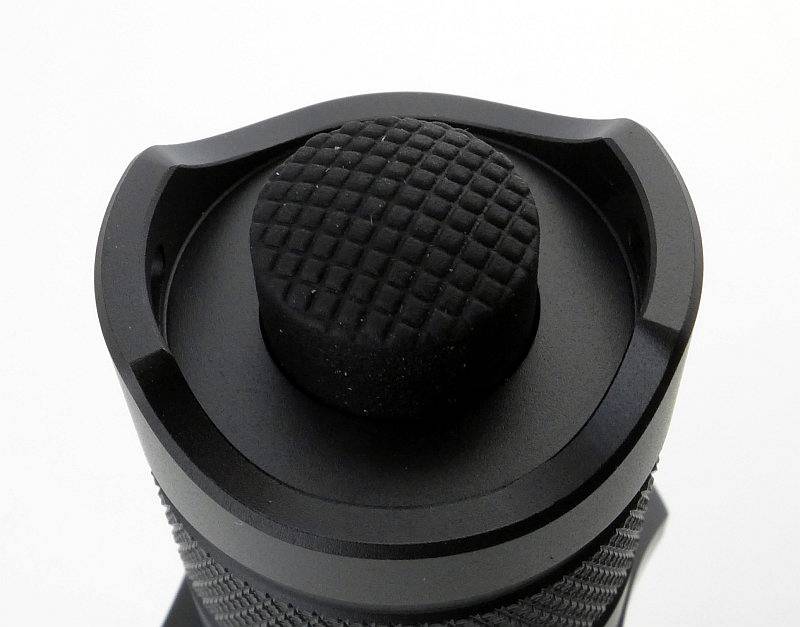
The switch button does protrude, so no tail-standing, and it has two raised areas to provide the switch with some protection from accidental activation.
 photo 15 TK15UE tail detail P1230844.jpg

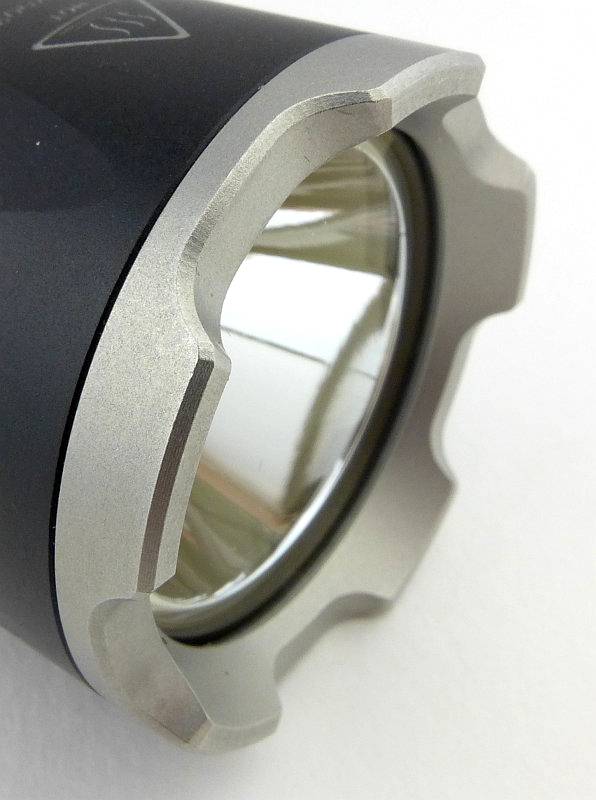
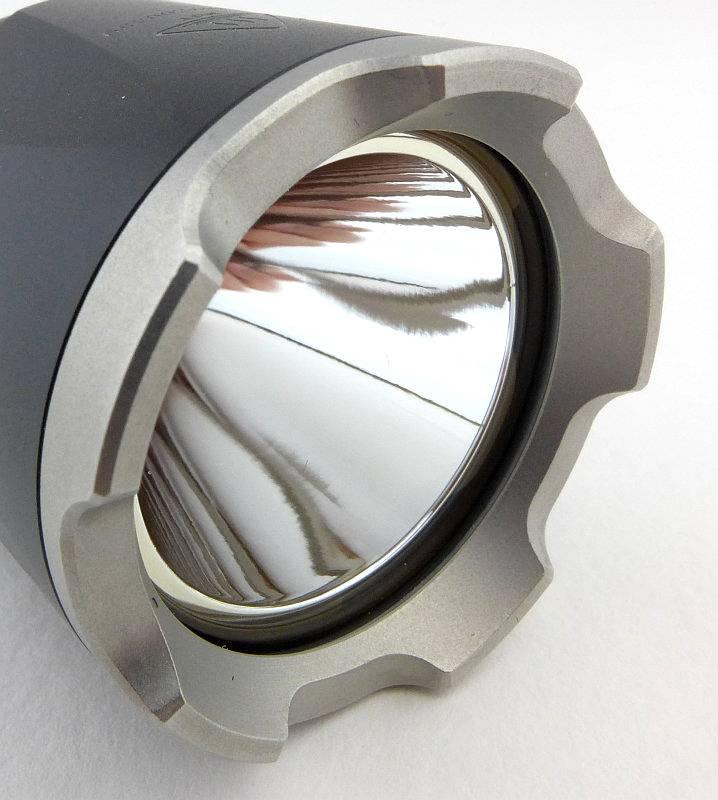
As with the stainless bezels on other Fenix lights, the edges have been bevelled to make them kind to the holster and your pockets.
 photo 17 TK15UE bezel P1230849.jpg

The inner edges of the bezel are crisp without being sharp.
 photo 18 TK15UE bezel P1230852.jpg

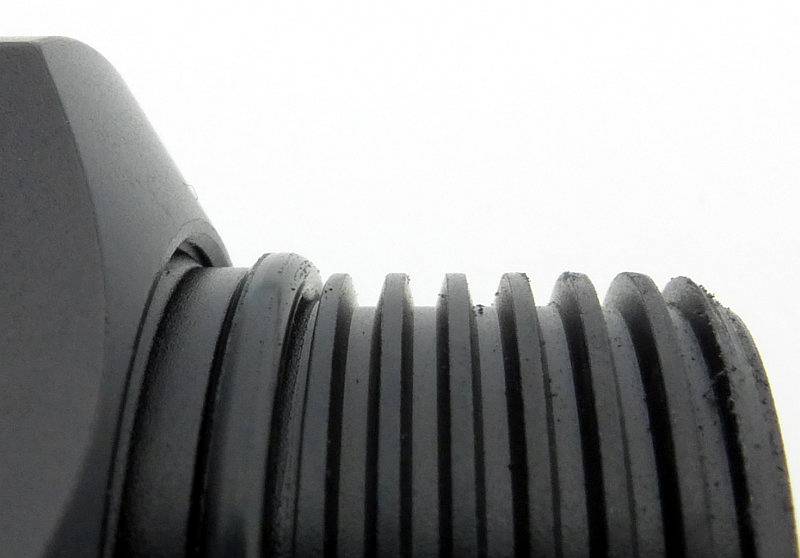
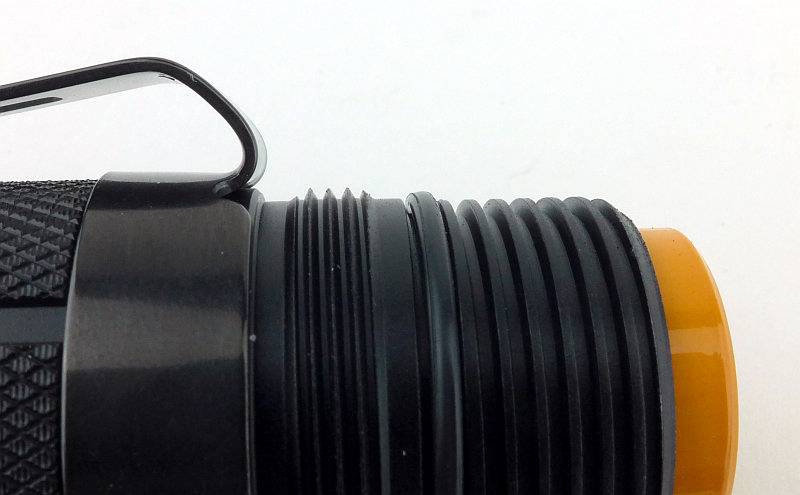
Fenix’s preferred trapezoid threads are used.
 photo 19 TK15UE threads P1230857.jpg

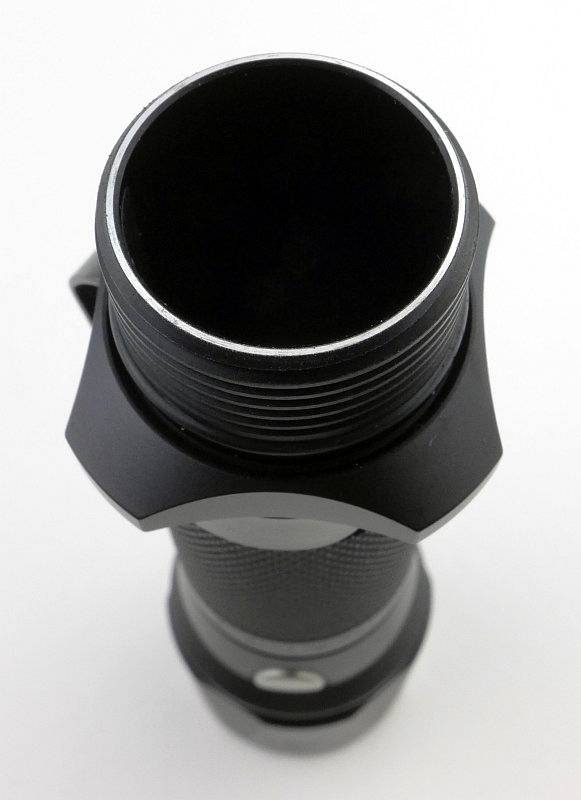
The end of the battery tube is the electrical contact that connects to the tail-cap contact.
 photo 20 TK15UE tube P1230863.jpg

Inside the tail-cap are the battery tube contact and the negative terminal sprung contact.
 photo 21 TK15UE tailcap contacts P1230866.jpg

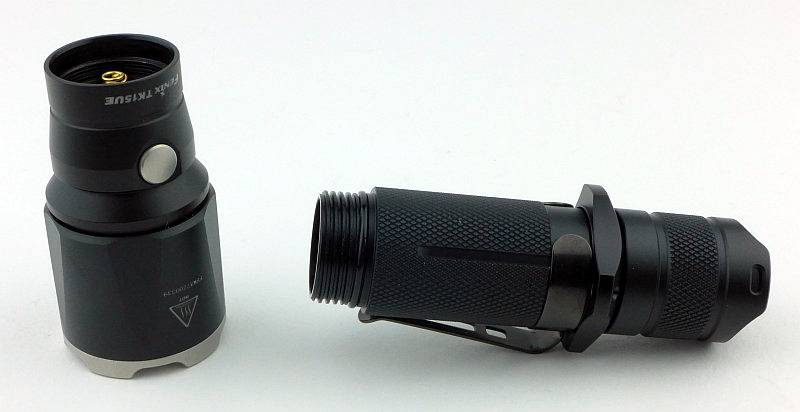
With the TK15UE, the head will unscrew.
 photo 22 TK15UE head off P1230884.jpg

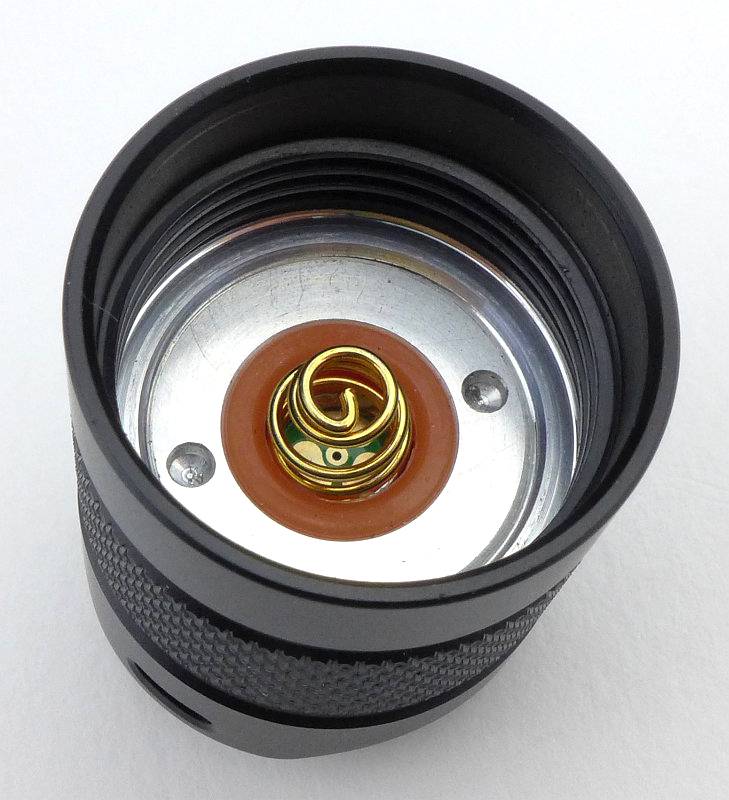
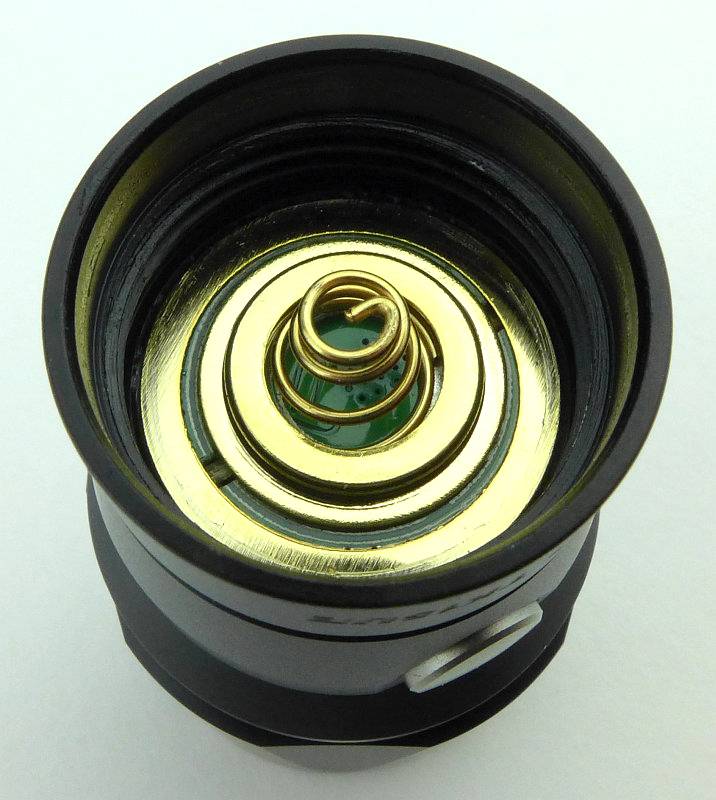
As the battery tube can be removed we can get a good look at those contacts in the head.
 photo 23 TK15UE head contacts P1230885.jpg

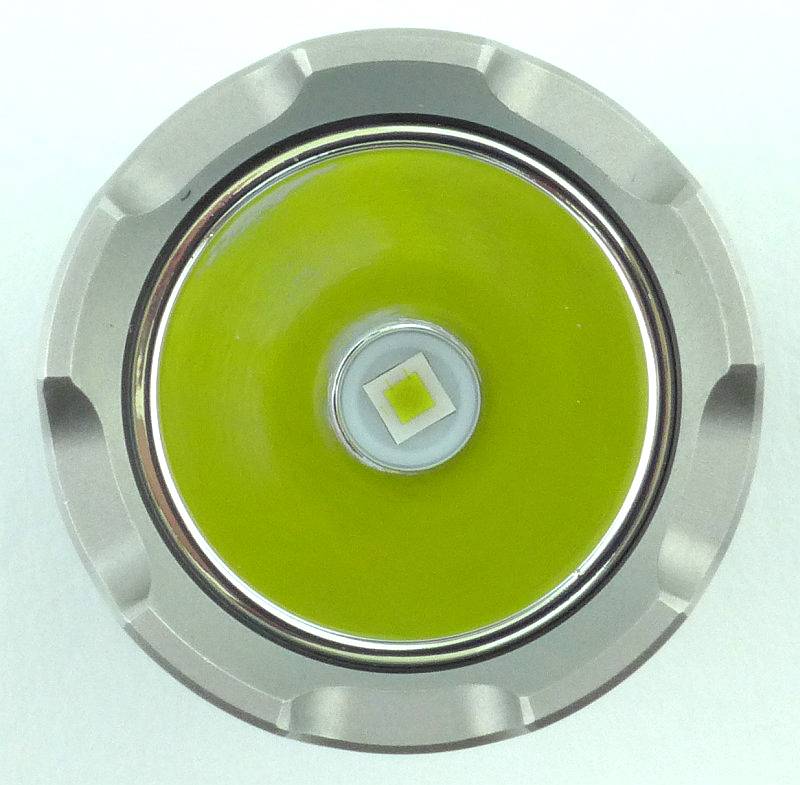
Just like previous TK15 models, the TK15UE has a smooth reflector.
 photo 24 TK15UE reflector P1230888.jpg

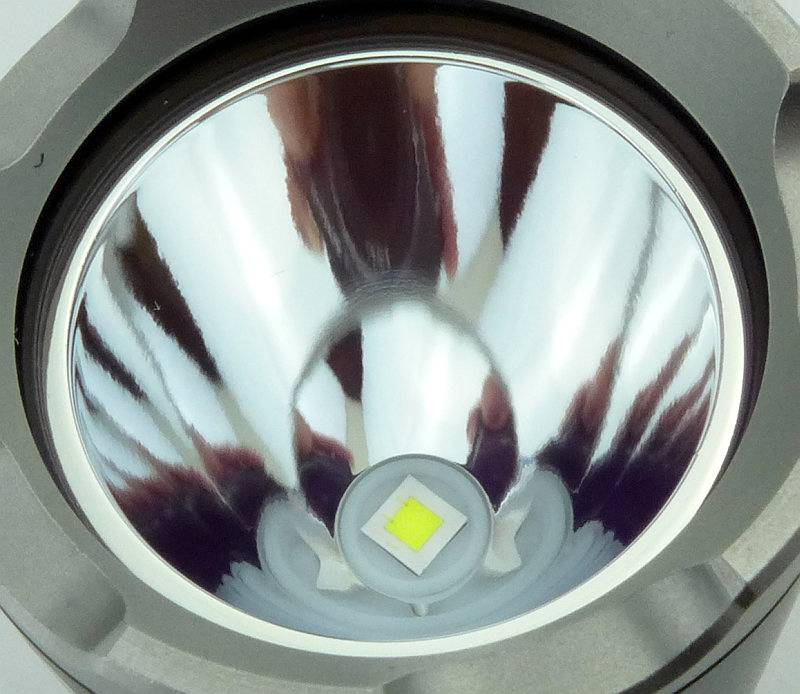
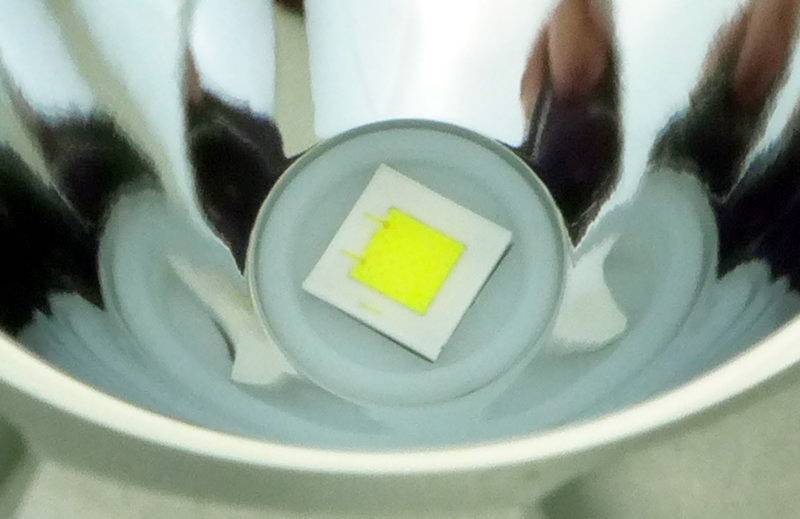
In the centre of that reflector is the CREE XP-L HI V3 LED.
 photo 25 TK15UE LED P1230897.jpg

Looking straight into the TK15UE’s reflector.
 photo 26 TK15UE LED P1230901.jpg

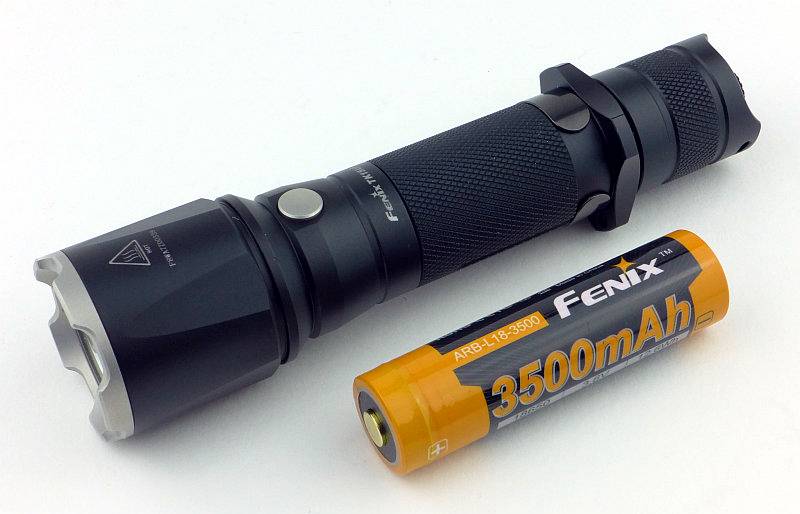
The TK15UE is one of the more compact single 18650 lights. Not as compact as the small-head types such as the PD32, but it does have a big enough reflector to give it some punch.
 photo 27 TK15UE with cell P1230904.jpg

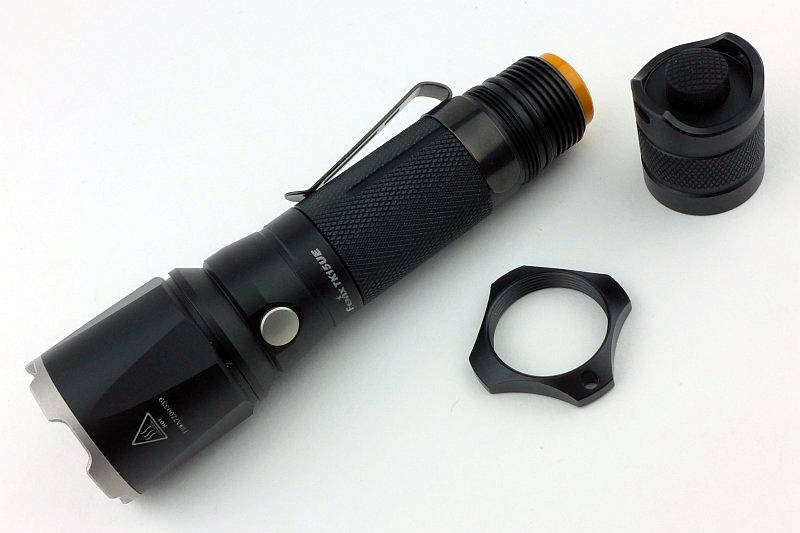
You can take off the tactical grip ring by unscrewing it.
 photo 28 TK15UE ring off P1230910.jpg

Unless you buy the optional thread protector you will see the grip ring threads.
 photo 29 TK15UE ring threads P1230914.jpg

The beam

Please be careful not to judge tint based on images you see on a computer screen. Unless properly calibrated, the screen itself will change the perceived tint.

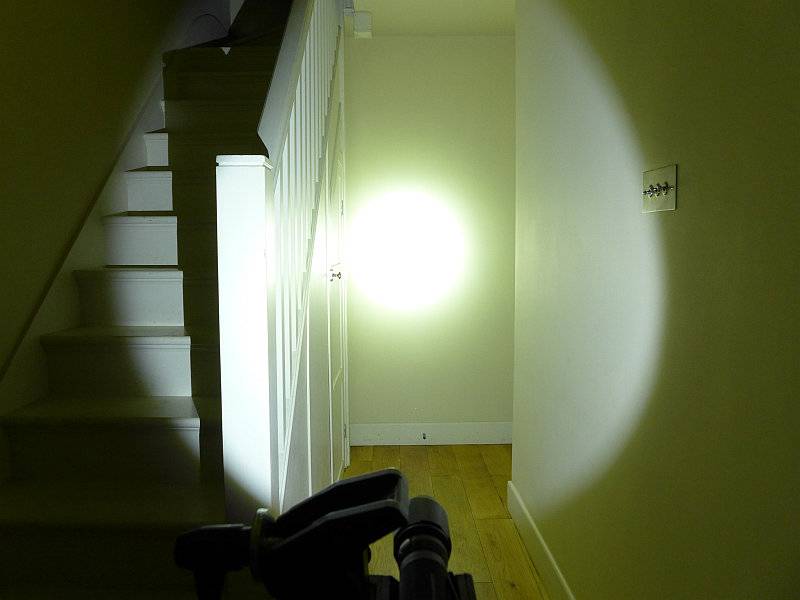
The indoor beamshot is intended to give an idea of the beam shape/quality rather than tint. All beamshots are taken using daylight white balance. The woodwork (stairs and skirting) are painted Farrow & Ball “Off-White”, and the walls are a light sandy colour called ‘String’ again by Farrow & Ball. I don’t actually have a ‘white wall’ in the house to use for this, and the wife won’t have one!

Indoors the TK15UE is not at its best, as it is quite a throw orientated beam. The hotspot is bright and well formed. Spill is relatively dim and narrow but usable. There is enough balance in the beam to make it OK indoors.
 photo 32 TK15UE indoor P1240716.jpg

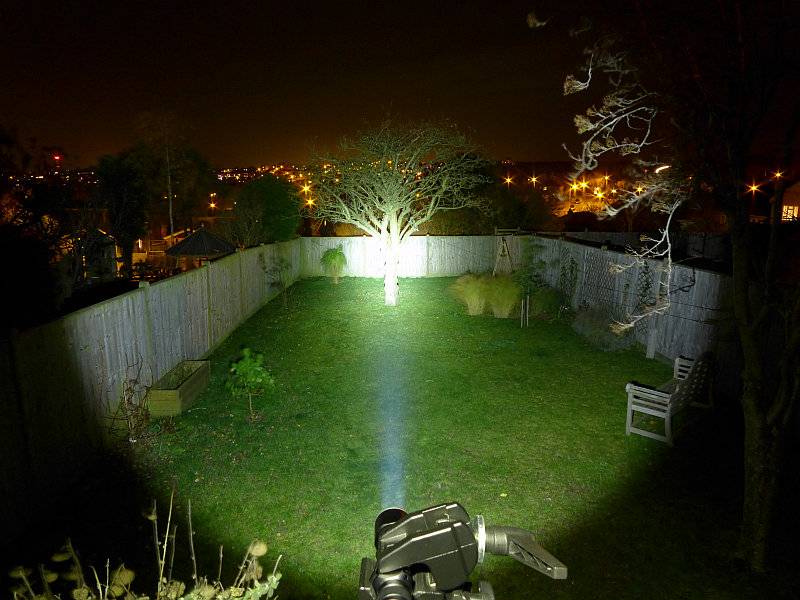
But it is when you get a bit more range that the TK15UE really starts to shows what it is made of. The throw belies its compact size, and with the ‘UE’ upgrade it is a really punchy little light.
 photo 31 TK15UE outdoor P1240668.jpg

Modes and User Interface:

To control the TK15 UE there is the forward-clicky tail switch, and the mode selection switch just behind the head.

Click ON (or half press for momentary action) the tail switch to access the last used constant mode. With the tail switch on, press the mode button to cycle though the modes.

The standard modes are Low, Medium, High and Turbo.

There is a hidden Strobe mode accessed by holding the modes selection switch in for 1s. Strobe is not memorised as a last used mode.

Batteries and output:

The TK15UE runs on 18650 or 2xCR123.

To measure actual output, I built an integrating sphere. See here for more detail. The sensor registers visible light only (so Infra-Red and Ultra-Violet will not be measured).

Please note, all quoted lumen figures are from a DIY integrating sphere, and according to ANSI standards. Although every effort is made to give as accurate a result as possible, they should be taken as an estimate only. The results can be used to compare outputs in this review and others I have published.

___________________________________________ ________________________________ ________________________________
Fenix TK15UE using specified cell I.S. measured ANSI output Lumens PWM frequency or Strobe frequency (Hz)
___________________________________________ ________________________________ ________________________________
Turbo – Fenix ARB-L18-3500 776 0
High – Fenix ARB-L18-3500 377 0
Medium – Fenix ARB-L18-3500 164 0
Low – Fenix ARB-L18-3500 14 0

* Beacon and Strobe output measurements are only estimates as the brief flashes make it difficult to capture the actual output value.

Peak Beam intensity measured 31100 lx @1m giving a beam range of 353m.

There is no parasitic drain.

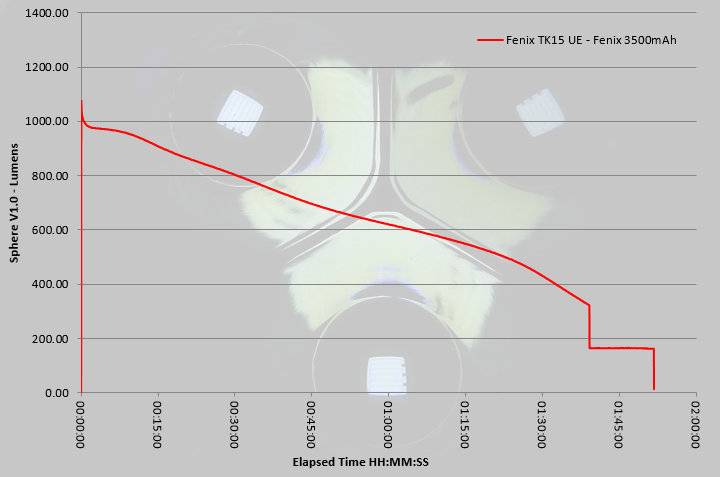
I was slightly surprised by the Turbo output runtime trace as unlike most Fenix lights the TK15UE does not appear to run with a regulated output. The trace was recorded using cooling, so it is unlikely that this is due to overheat protection, instead the TK15UE seems to run at maximum output with that output sagging as the cell becomes depleted. However saying that, you do get a full hour of runtime at more than 600lm, so overall the performance is still good. (This was run using Fenix’s latest ARB-L18 3500mAh cell.)
 photo Fenix TK15 UE runtime.jpg

Troubleshooting

This section is included to mention any minor niggles I come across during testing, in case the information helps anyone else.

No issues were encountered during testing.

As per the description of this section, this information is provided in case anyone else finds a similar ‘issue’ that might be fixed in the same way.

The TK15UE in use

By separating the mode selection to a side-switch Fenix have allowed proper momentary use of that forward-clicky tail switch. This makes for a really easy and intuitive interface and keeps things simple for any user.
Fortunately the strobe mode is reasonably well hidden and is not memorised; I’m surprised anyone still includes strobe. As those that follow me will know, I’m certainly no fan of strobe and most true tactical users I know are aware that if you strobe another person, you strobe yourself as well, so your are better off not using it at all. Thankfully with the TK15UE you need never come across strobe and can use the four constant output modes without tripping over strobe.
The TK15UE manages a balance between hotspot and spill that, although it is more oriented towards throw, is still usable at indoor distances.
When using the holster with the TK15UE inserted bezel-down, the bezel does catch in the holster before getting all the way in. Used bezel-up, this does not happen. It seems to be due to the adjustable flap taking up more space inside so the bezel catches on the inside of the holster. To get it all the way into the holster bezel-down you need to twist the TK15UE as you insert it.
There are smaller single 18650 lights, but the TK15UE is still compact enough to make it easy to carry, yet that slightly larger head is enough to give it a nice strong beam. Even with the upgrades to the head and LED, Fenix have kept the character of the TK15 but made it significantly brighter.
I’ve always felt the TK15 was an unsung hero in the Fenix line-up, quietly getting on with the job while others took the glory. In the Ultimate Edition, the TK15UE can now take some of the limelight and hopefully get a bit more recognition.

Review Summary

_______________________________________________ _______________________________________________
Things I like What doesn’t work so well for me
_______________________________________________ _______________________________________________
Significantly boosted output compared to previous TK15 models. Turbo output not regulated.
Excellent throw from a compact head. Bezel catches in holster when used bezel down.
Simple user interface. Can accidentally hit the mode switch especially if wearing gloves.
Stainless Steel Bezel.

 photo 30 TK15UE angle on P1230918.jpg


Discussing the Review:

Please feel free to add comments to the review, but the ideal place to freely discuss these reviews is on a forum. If you started reading the shorter forum version of the review, but followed the link this full exclusive review, please return to that forum to discuss the review there.
If you read the review entirely on Tactical Reviews, please consider one of the following to join in any discussion.

CandlePowerForums – Flashlight Reviews Section (Largest and Friendliest Flashlight Community Forum)

EdgeMatters – Sponsored Reviews (UK based Forum for Knife Makers and Collectors)