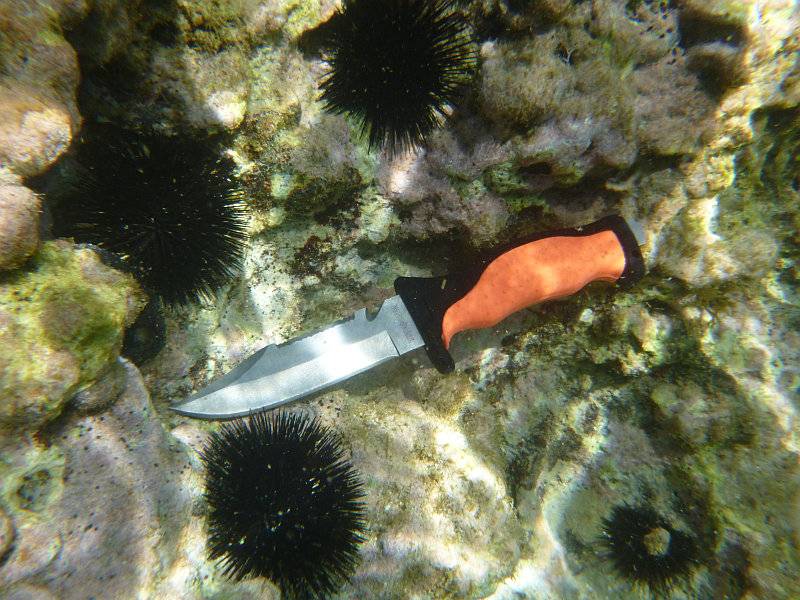
Knife blades and seawater are usually something I do my best to keep apart, but when diving a knife must survive some of the most hostile conditions and its performance can be a matter of life and death.
This Mega Test Review brings together twelve knives from five leading knife brands and puts them to the test in real world conditions covering geometry, corrosion resistance, ergonomics and wet cutting performance, as well as comparing steel to titanium, serrations to plain edges, fixed blades to folders and dedicated line cutters to standard knife blades.
The selection of knives was specifically put together to show as many different aspects as possible and considerations which could be applied to knives not in this review.
Here we go!
The contenders:
First up, the contenders one by one. Due to the sheer size of the Mega Review and the testing, I’ve had to create are additional supporting reviews, knife brand by knife brand, concentrating on some more specific details of each knife. These are now all completed and can be found through the following links:
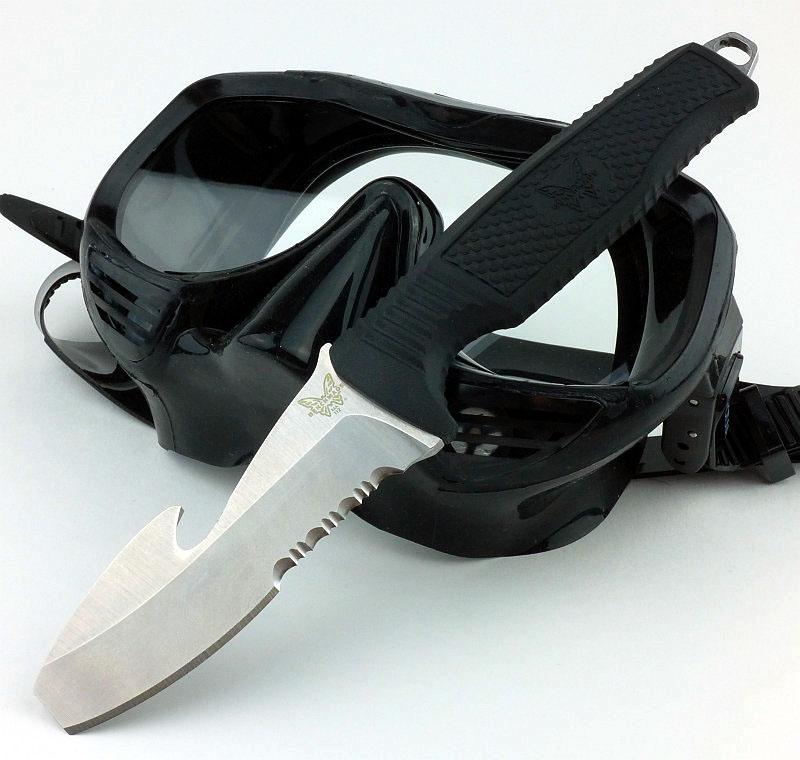
Benchmade 122S H2O – REVIEW ONLINE
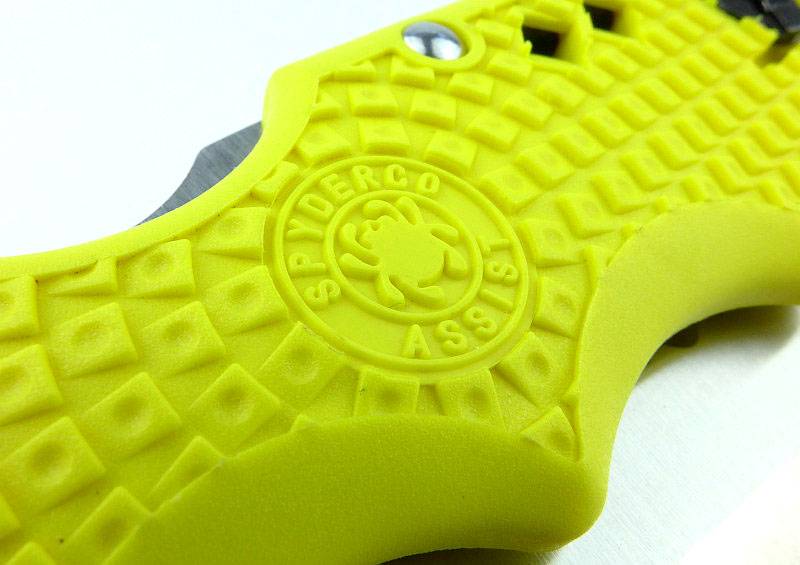
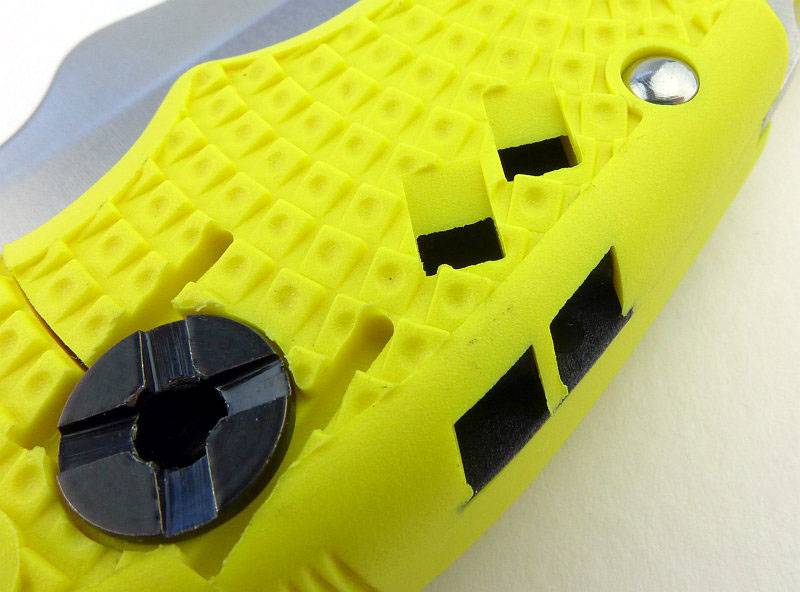
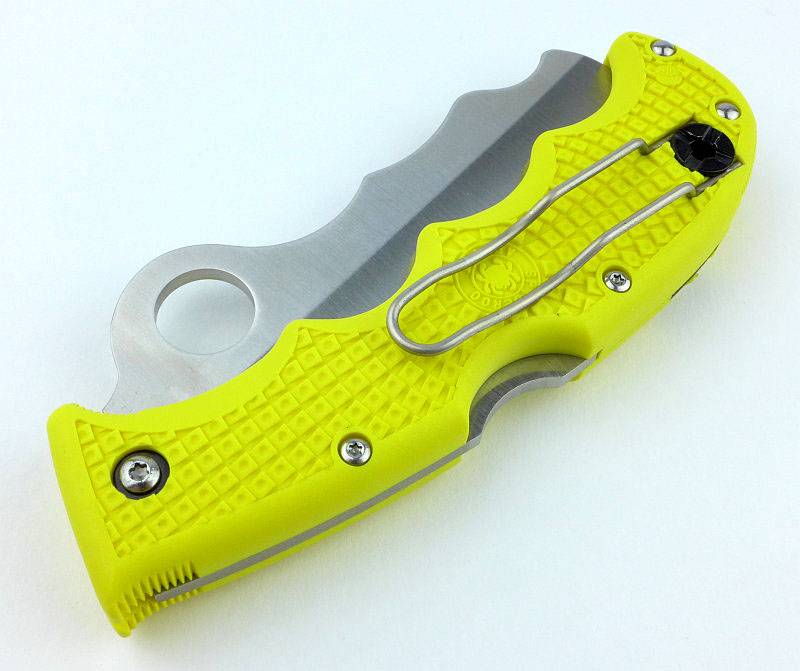
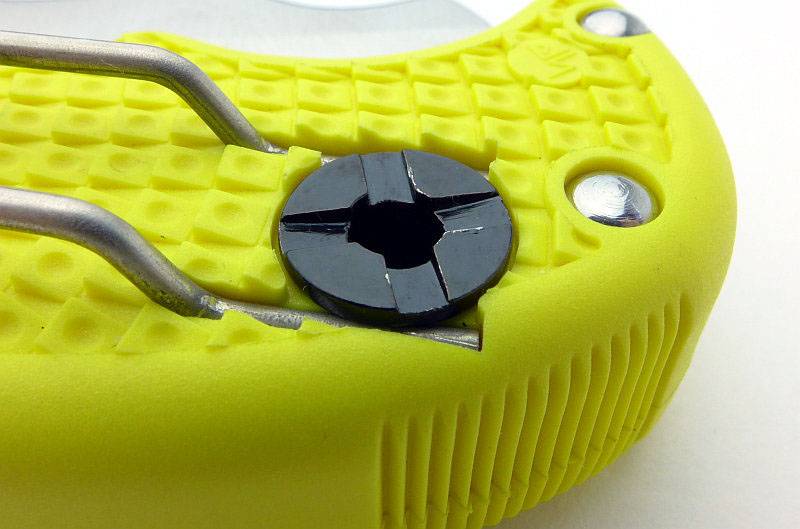
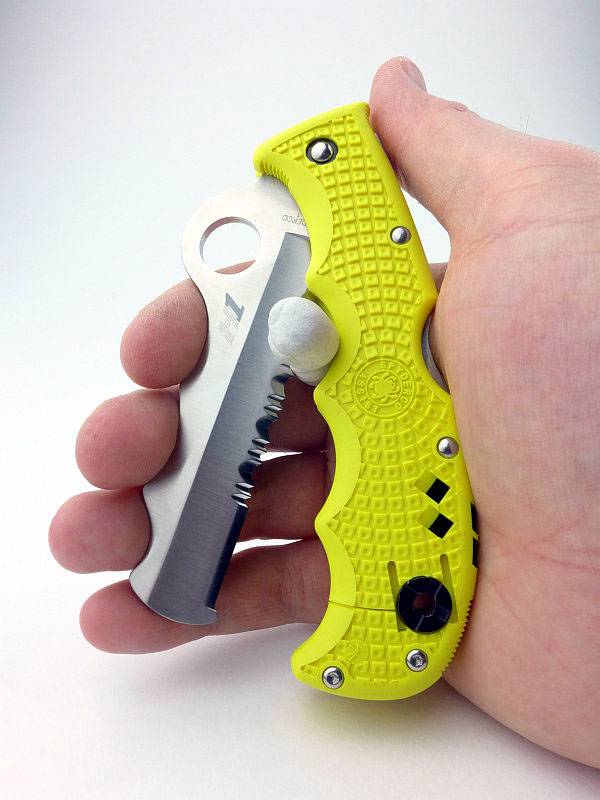
Spyderco Assist Salt – REVIEW ONLINE
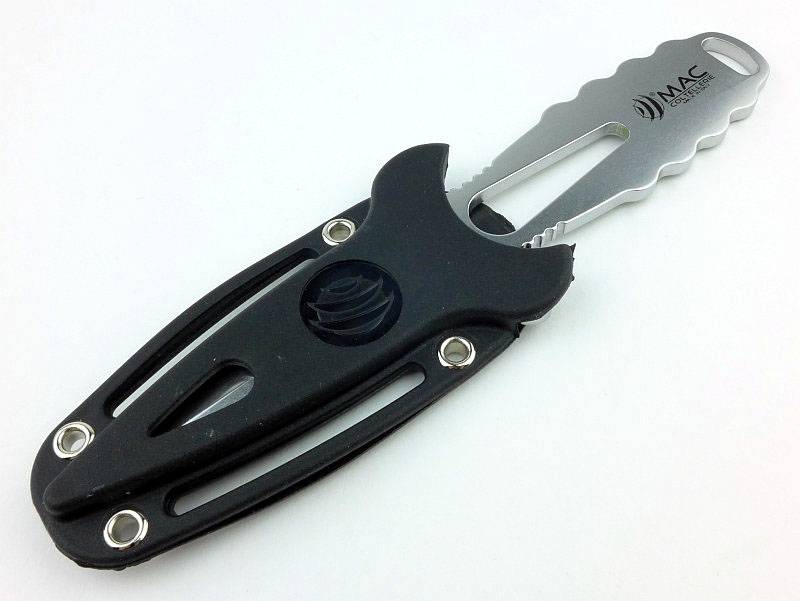
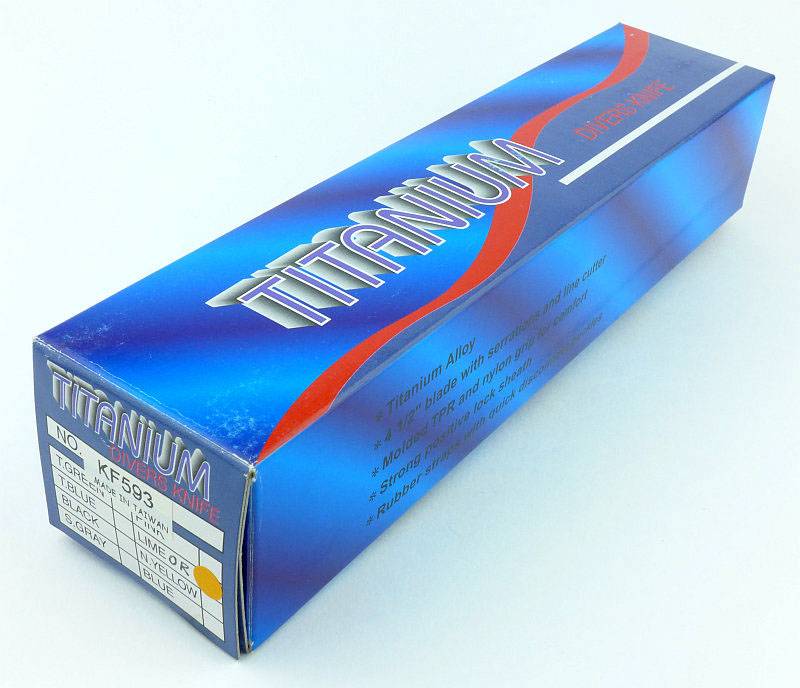
Promate Barracuda Blunt, KF593 Ti, KF090 Seal Folder Ti, KF505 Blunt, KF001 Line Cutter – REVIEW ONLINE
Whitby DK9, DK11, DK511/14 – REVIEW ONLINE
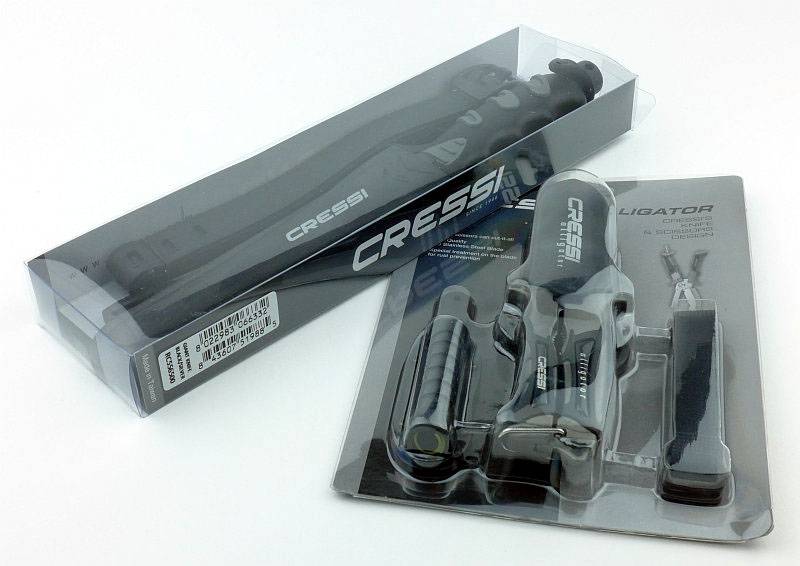
Cressi Giant Knife, Alligator – REVIEW ONLINE
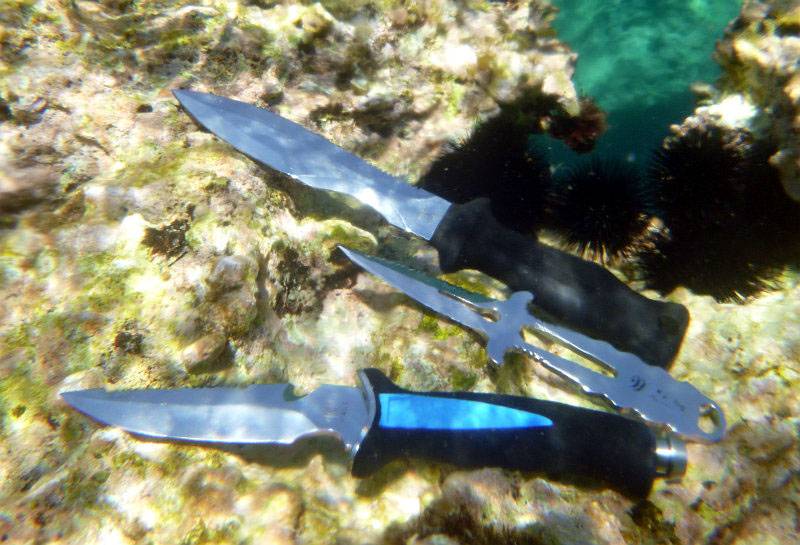
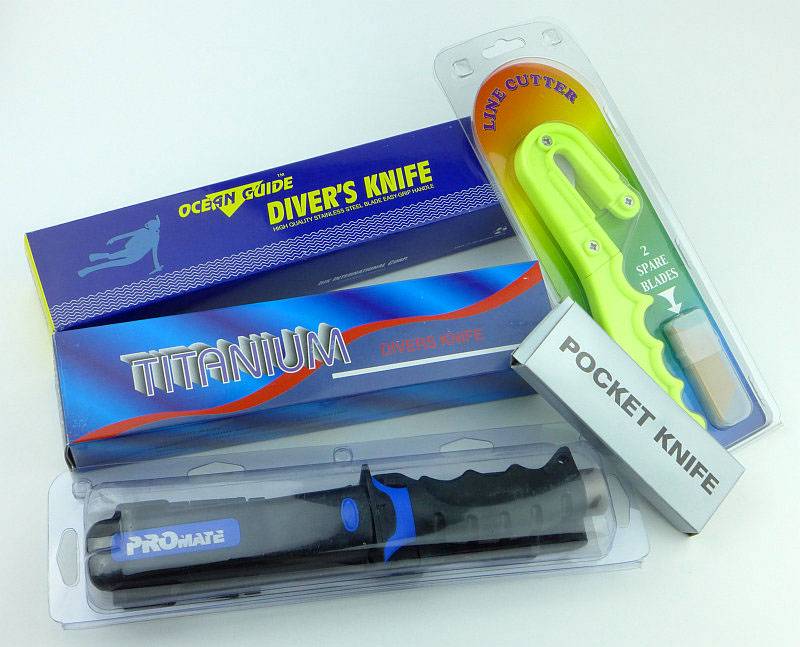
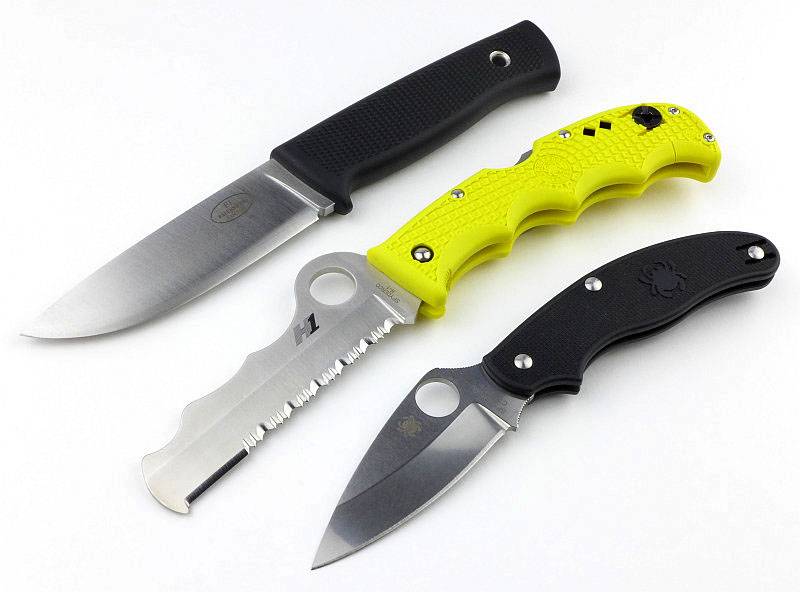
These are the ones that arrived before a diving trip to the Ionian Sea.
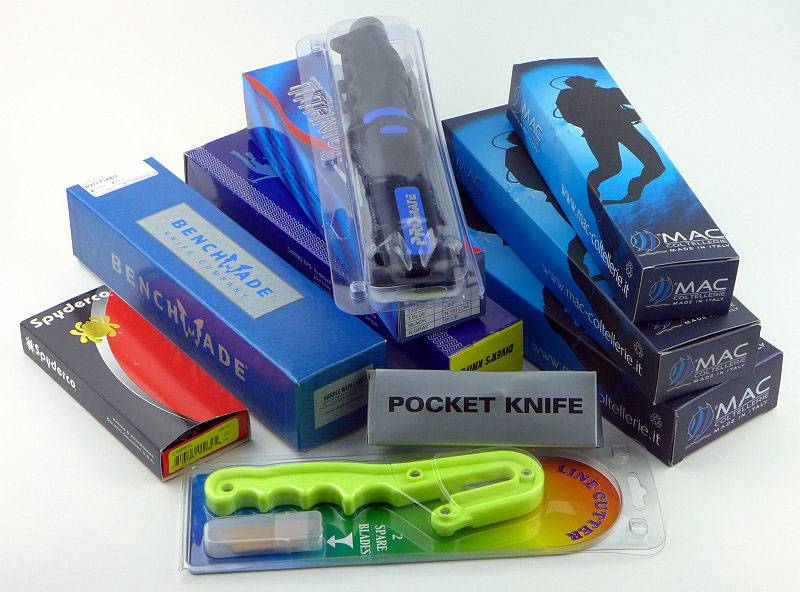
The last minute entries which unfortunately didn’t get to travel as much.
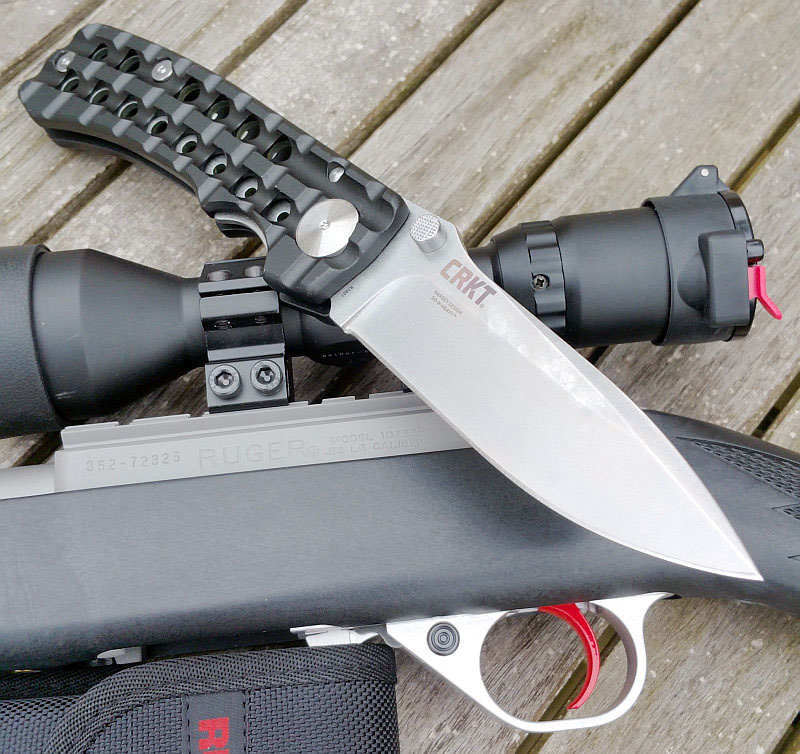
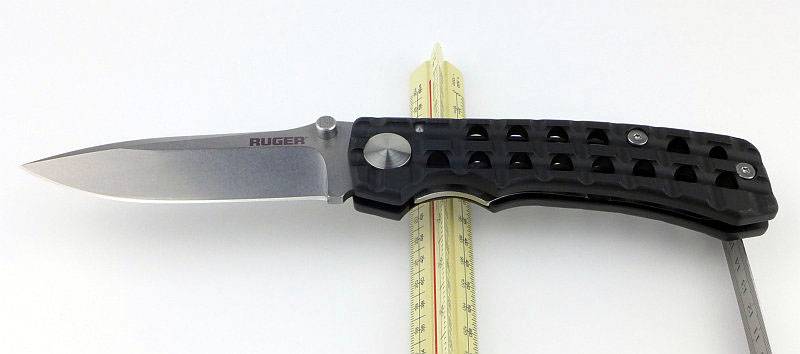
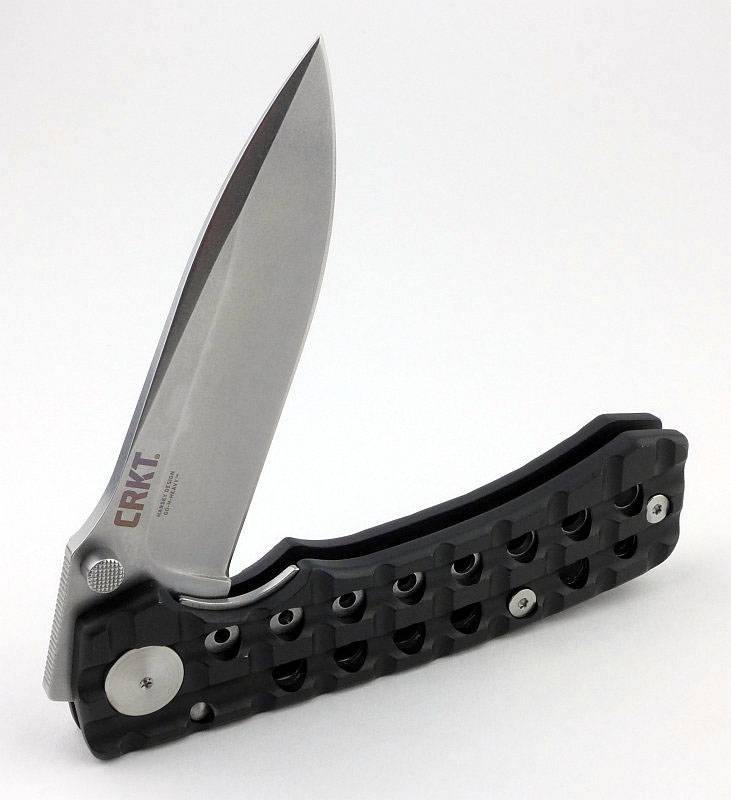
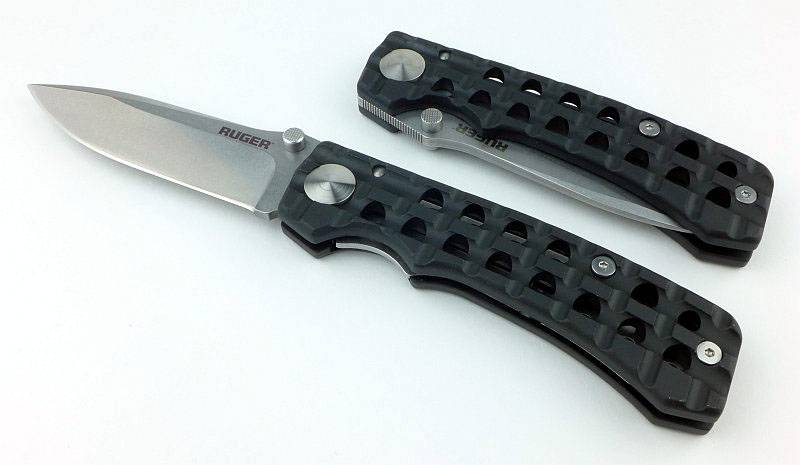
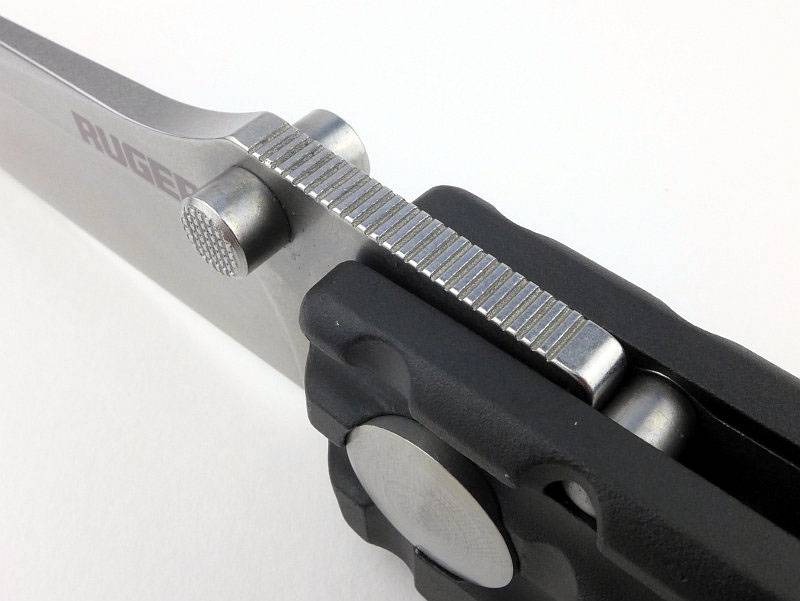
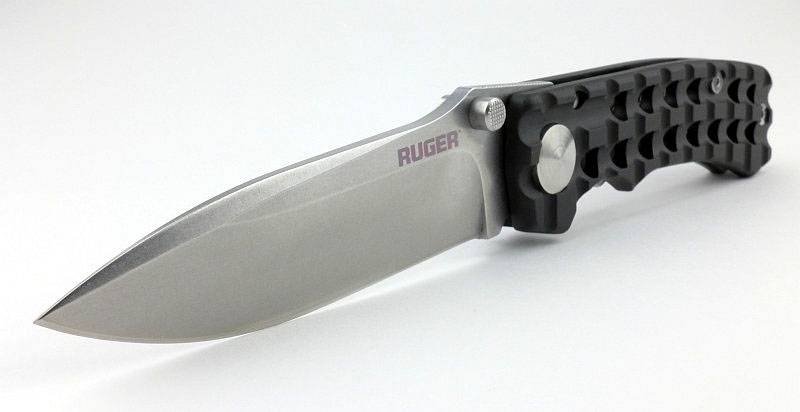
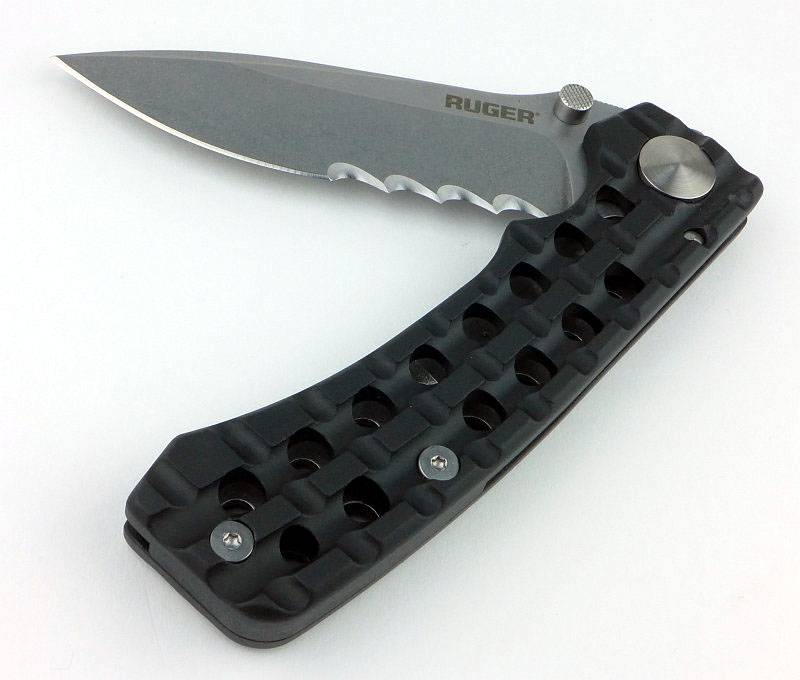
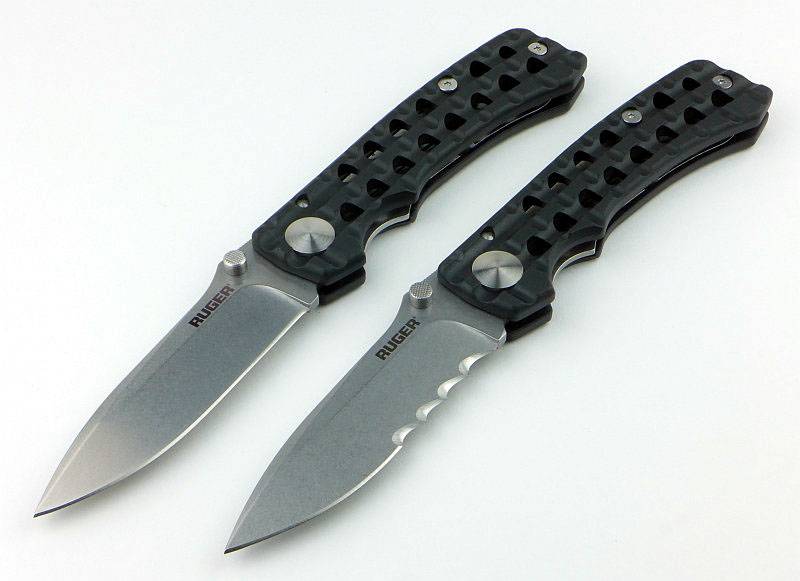
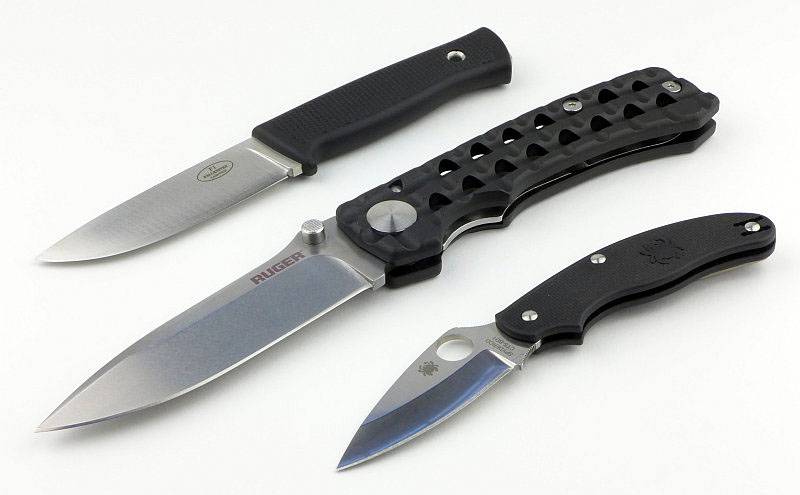
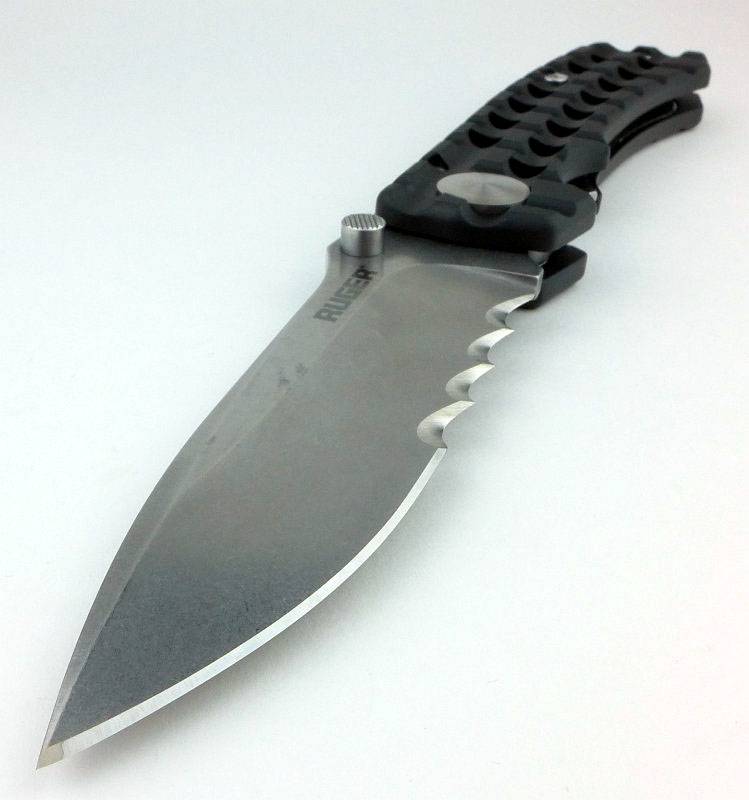
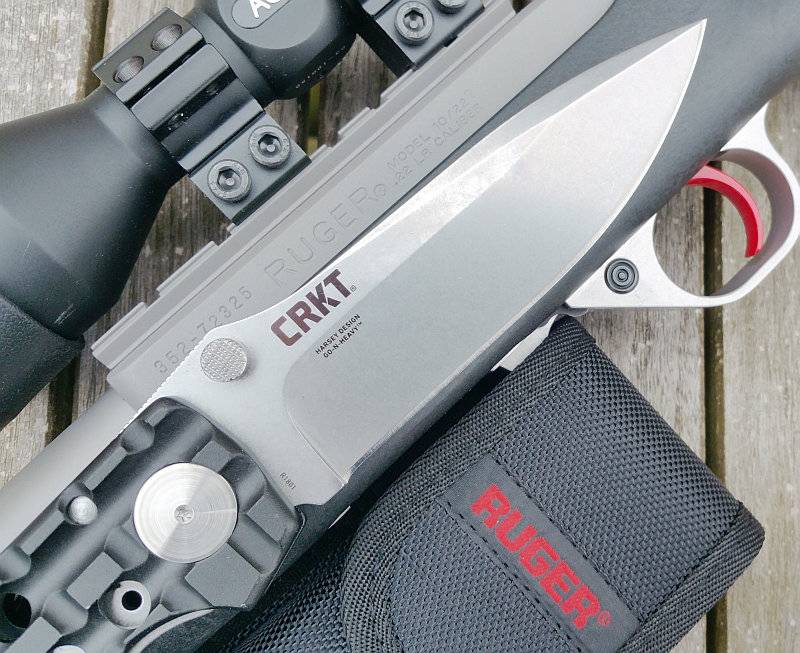
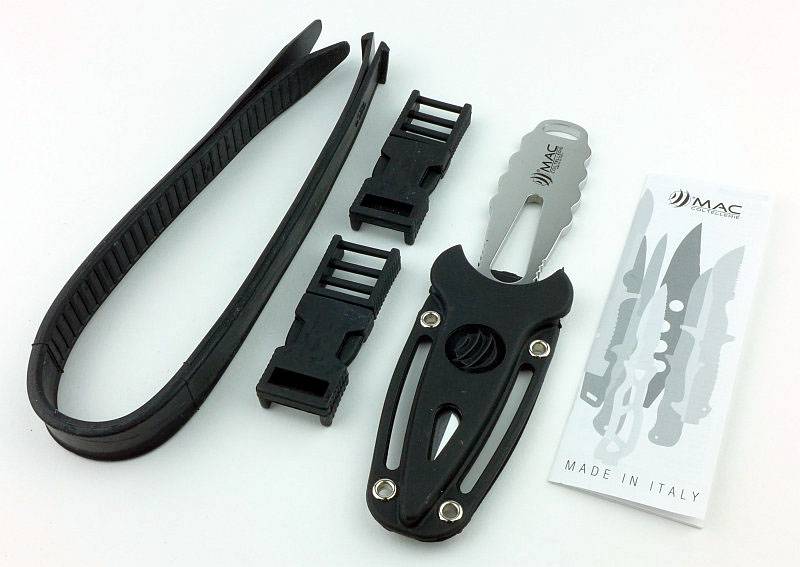
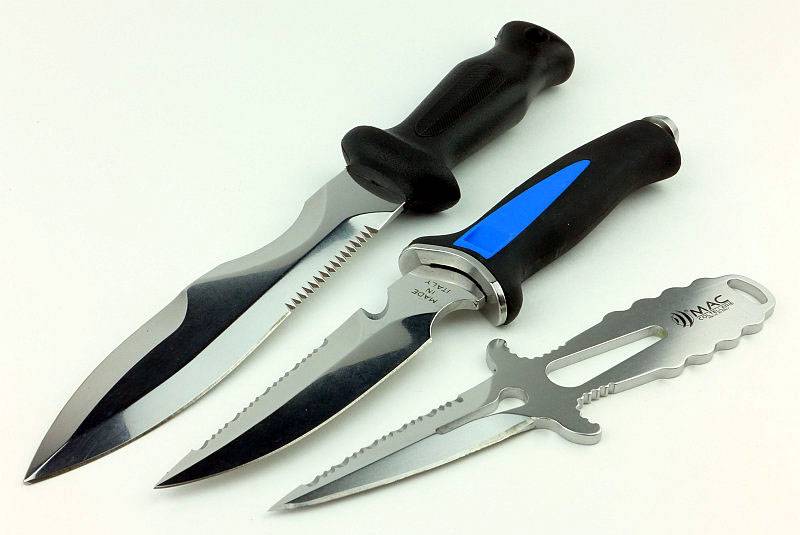
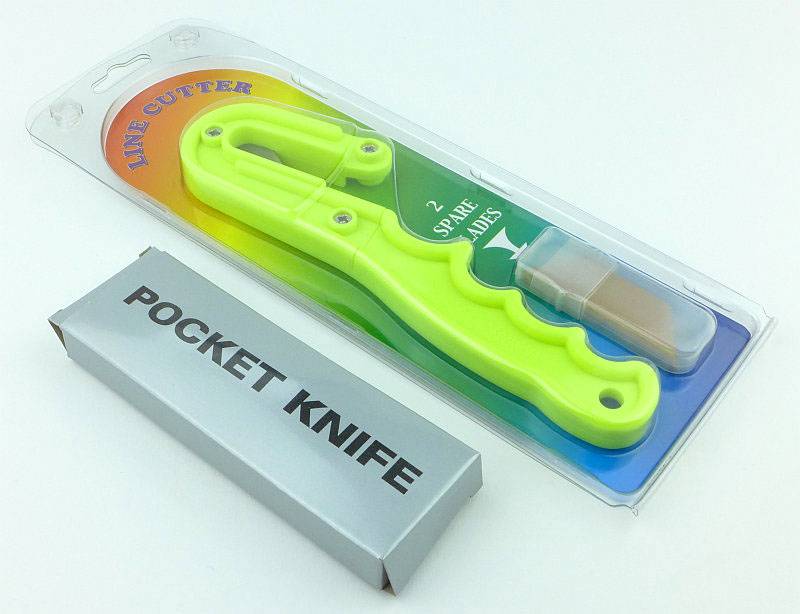
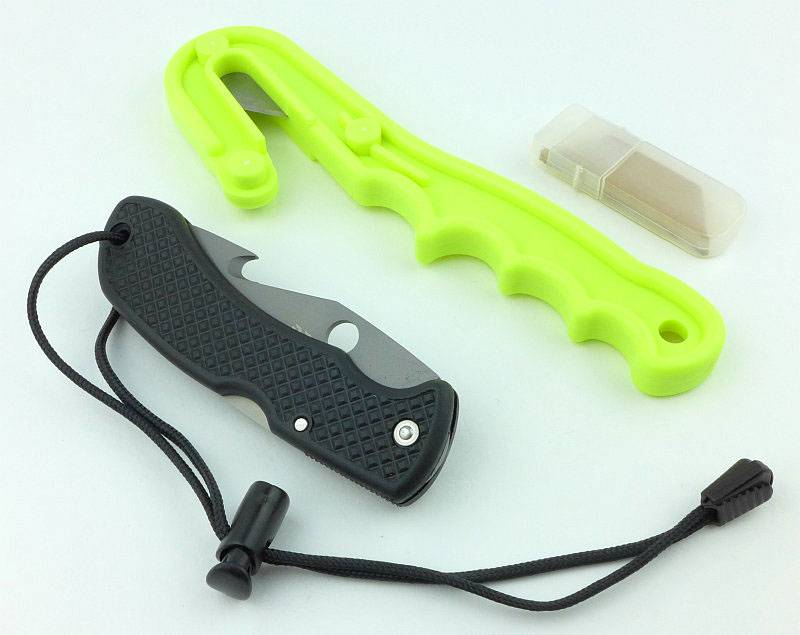
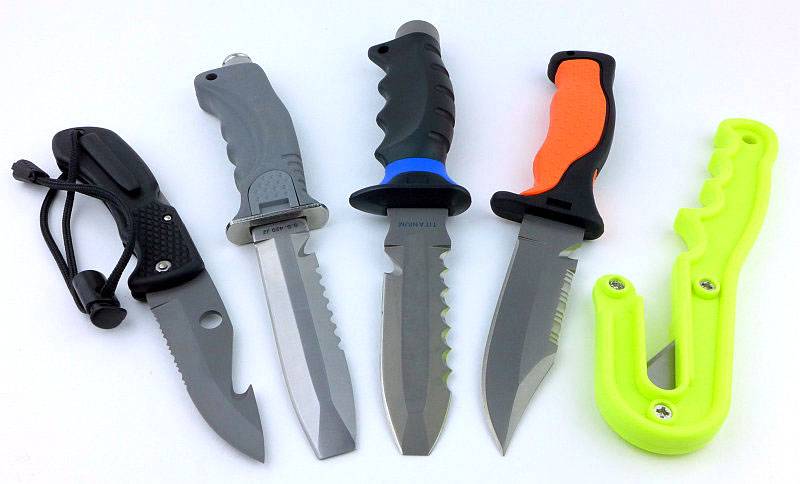
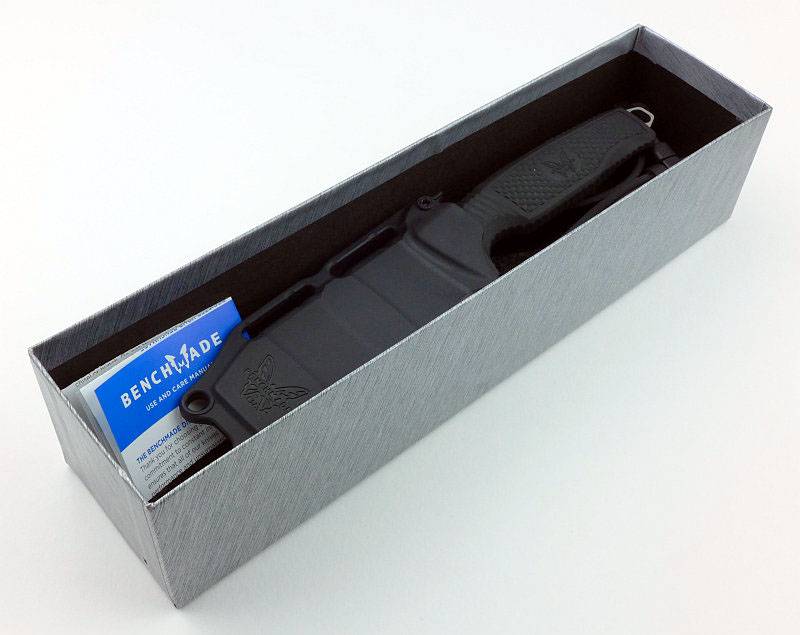
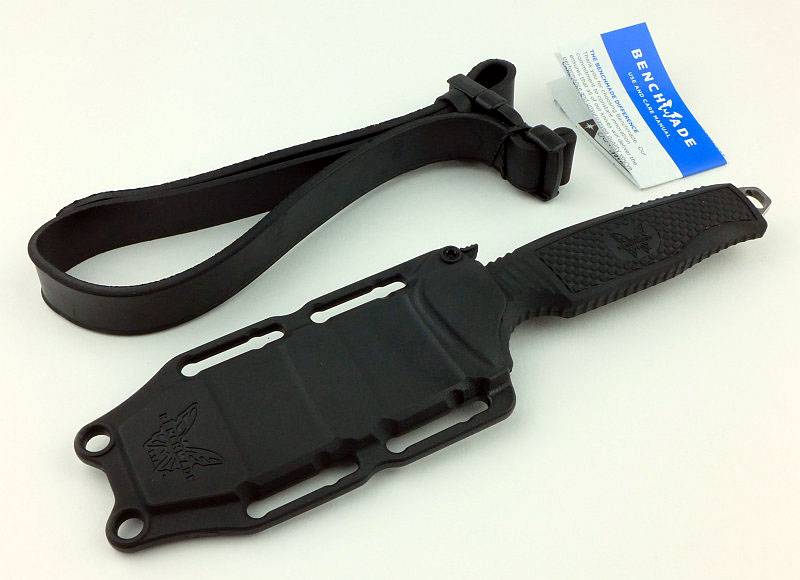
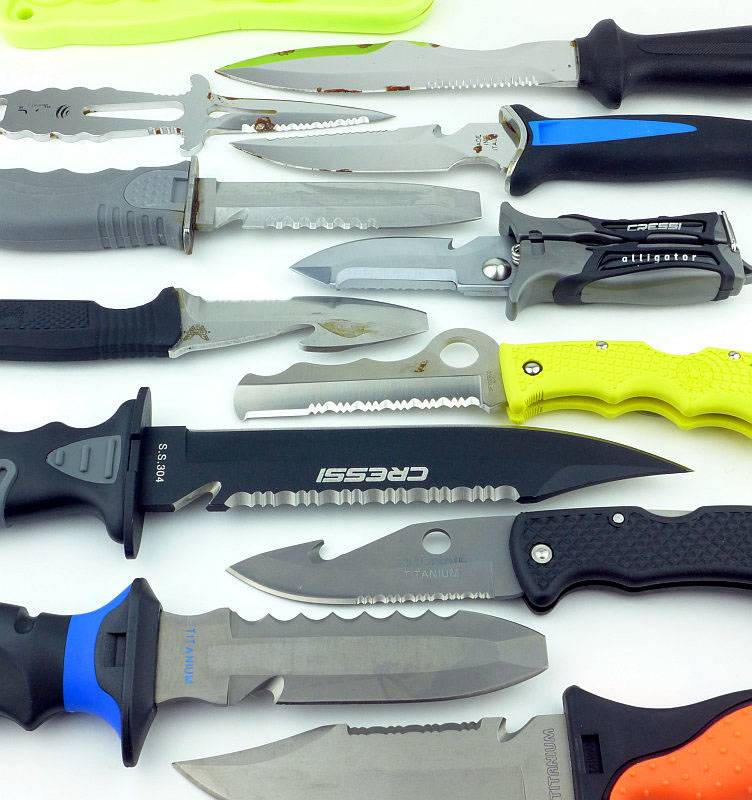
The following photos are of each knife tested.
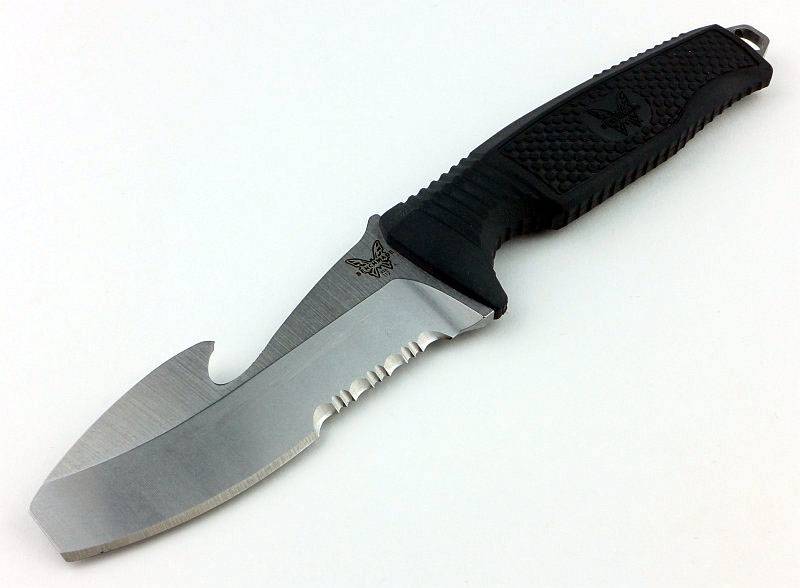
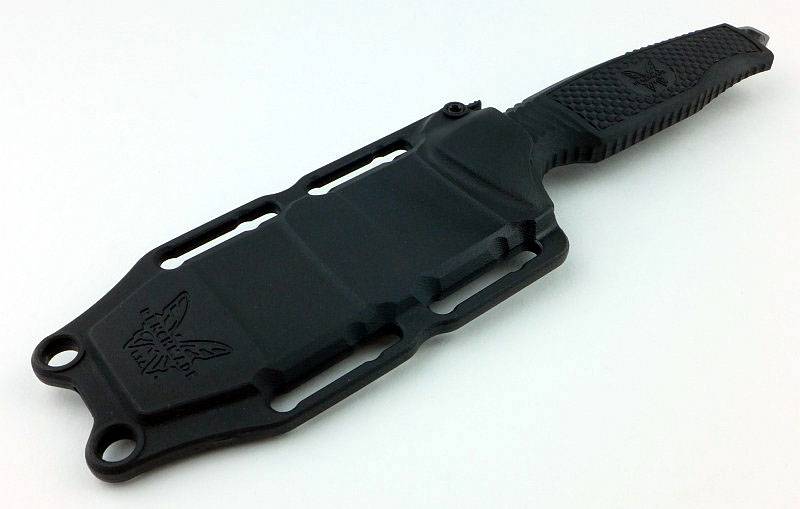
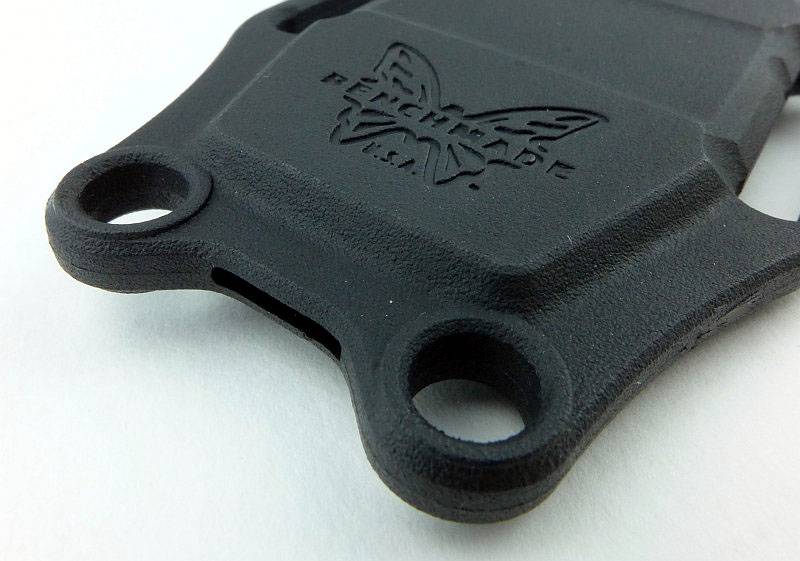
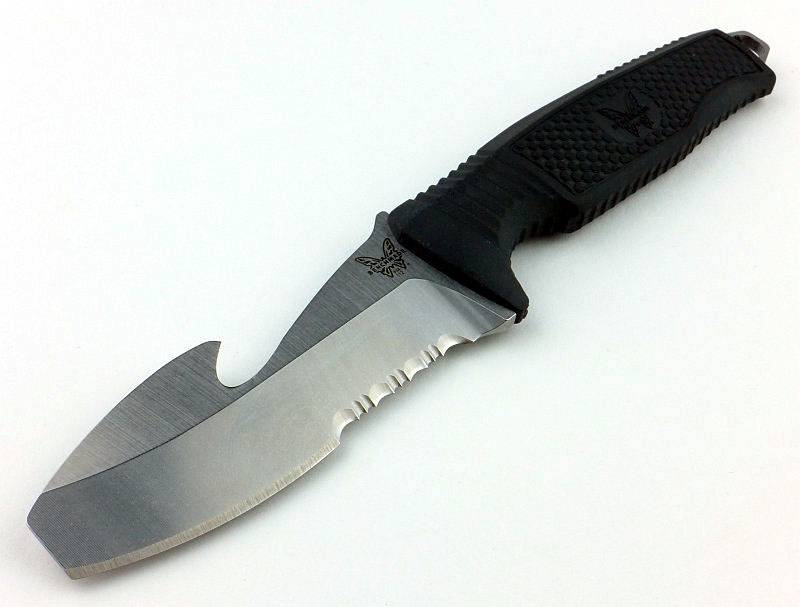
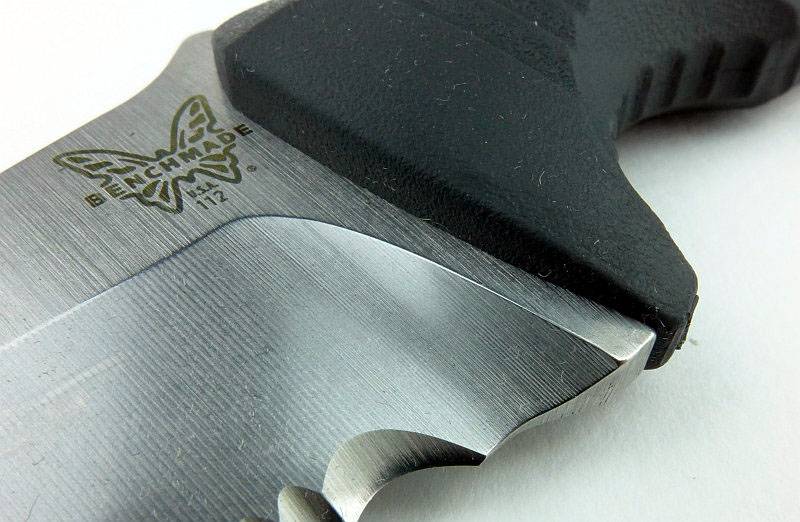
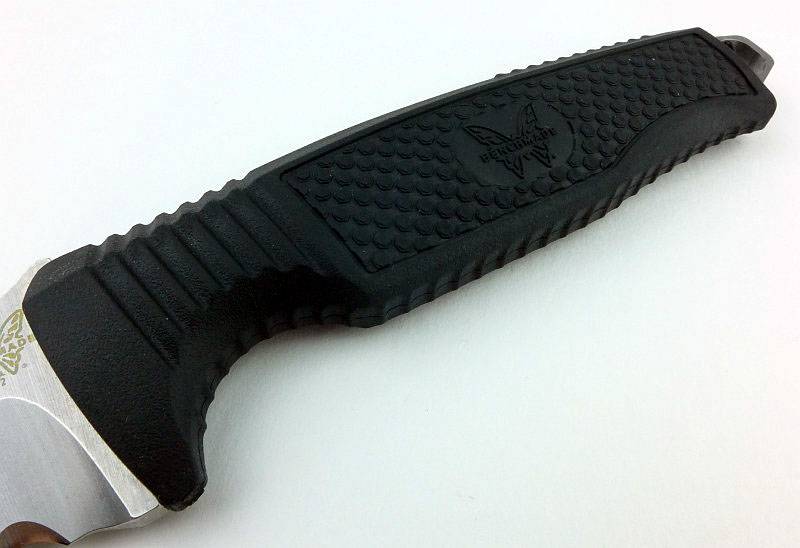
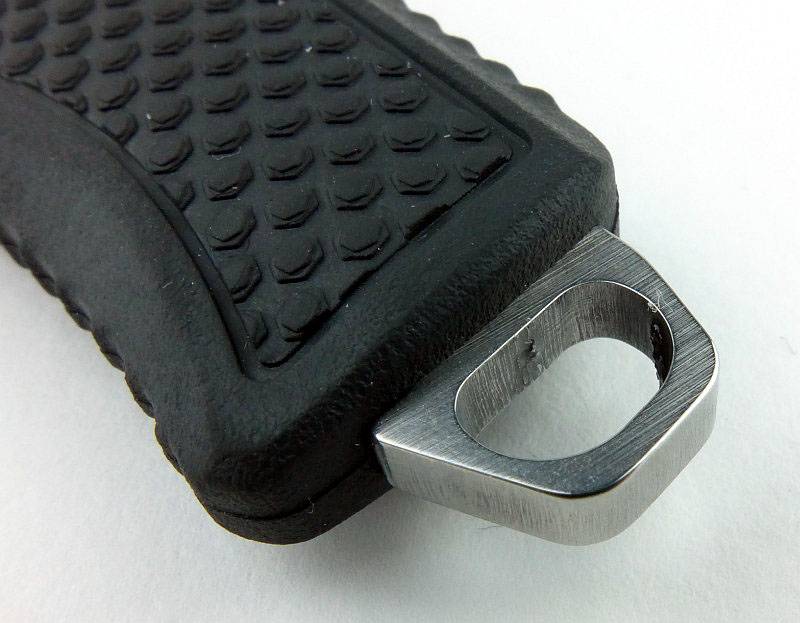
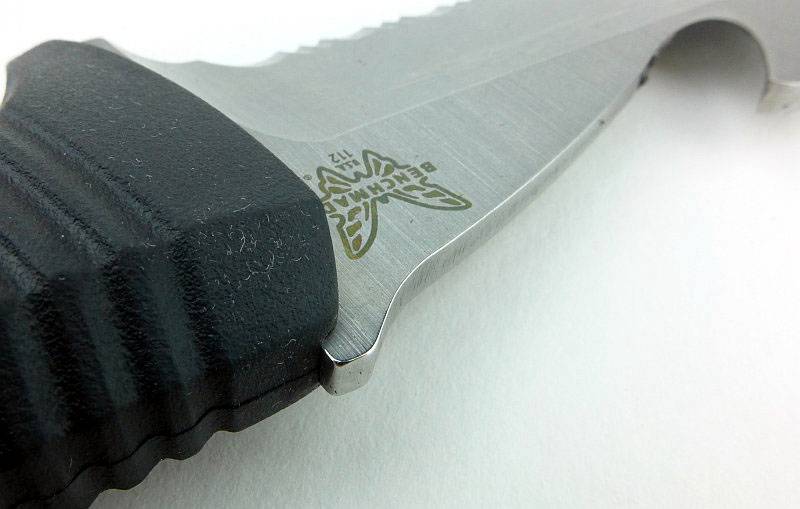
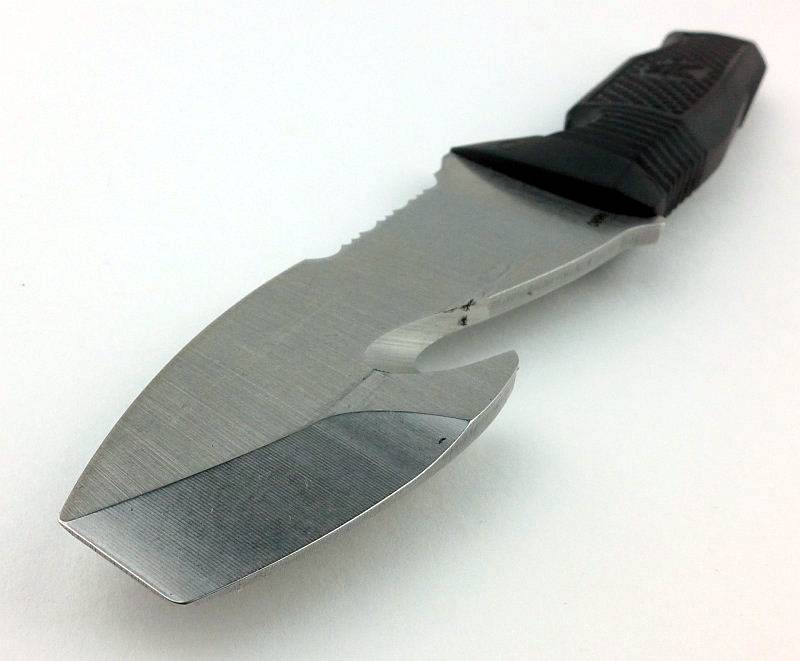
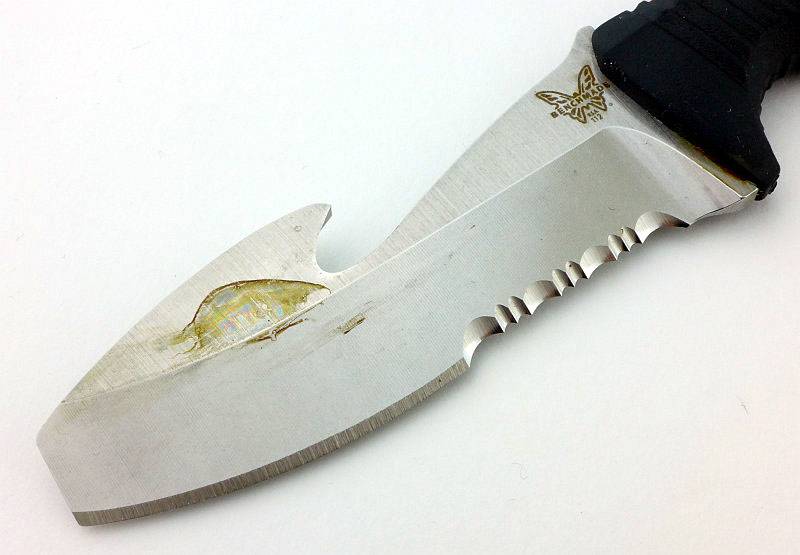
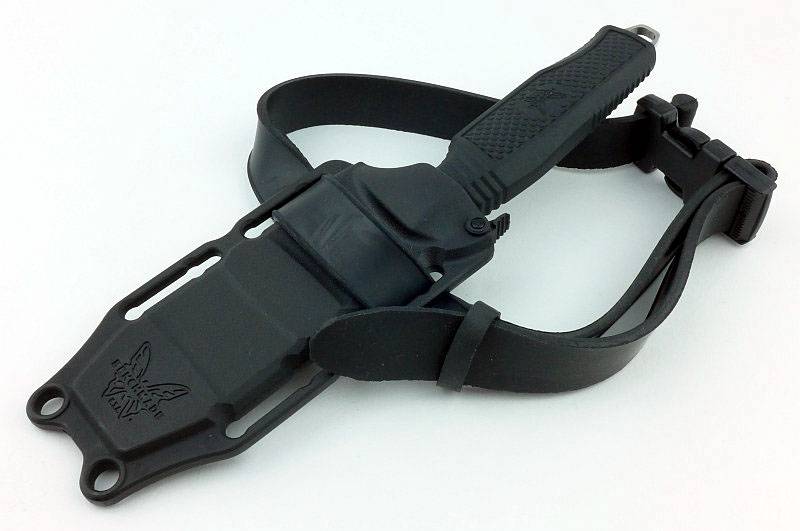
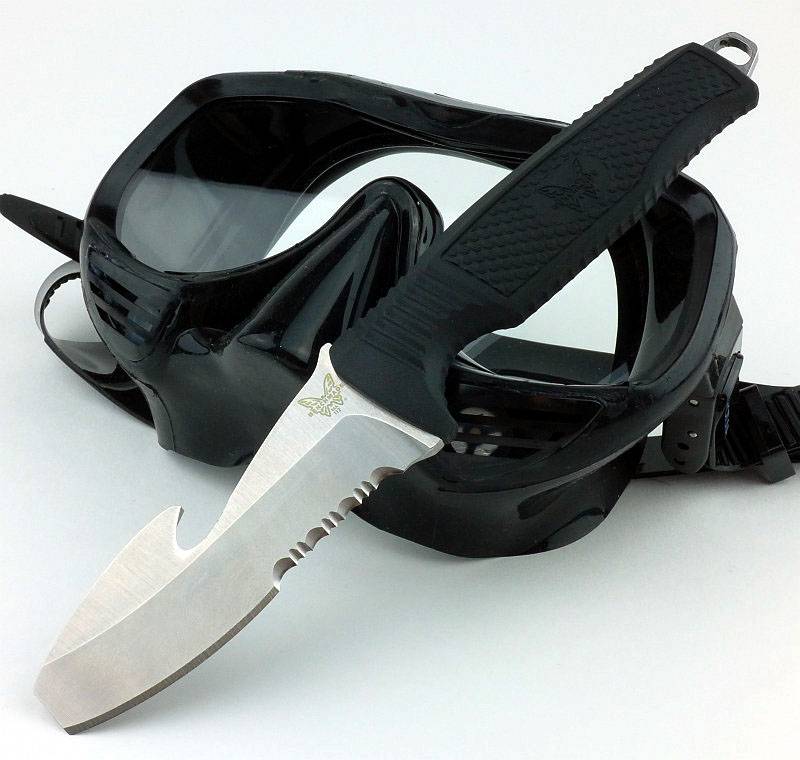
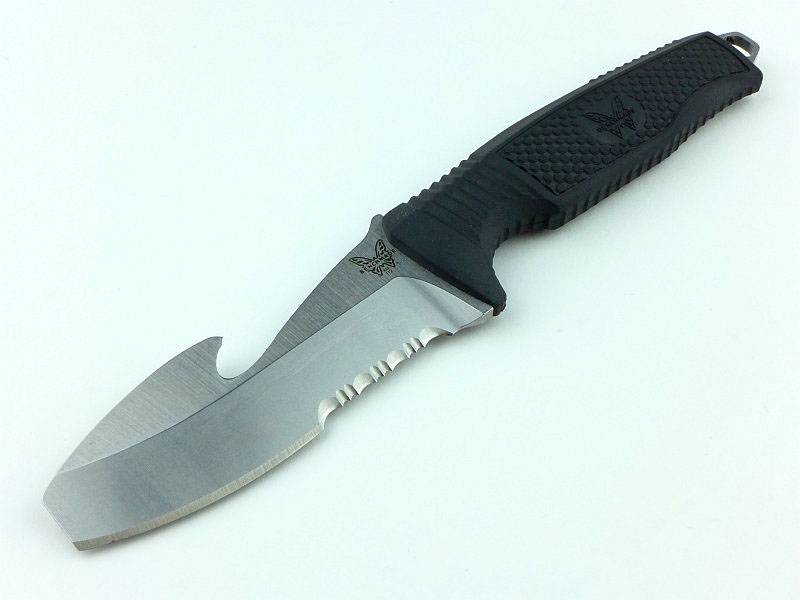
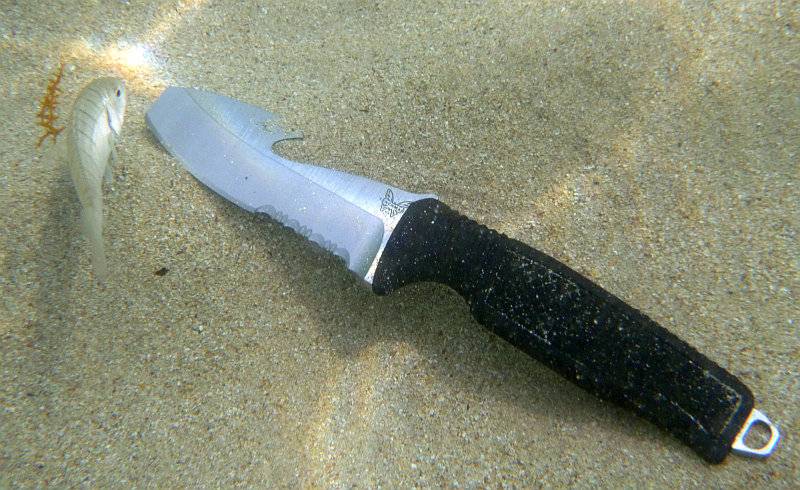
Benchmade 122S H2O
Correction: in the data tables later in the review the 112S is incorrectly named the 112B.
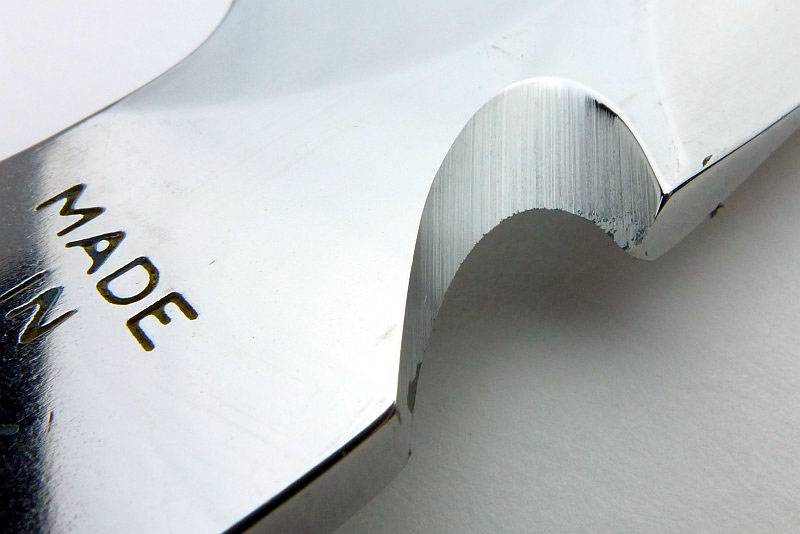
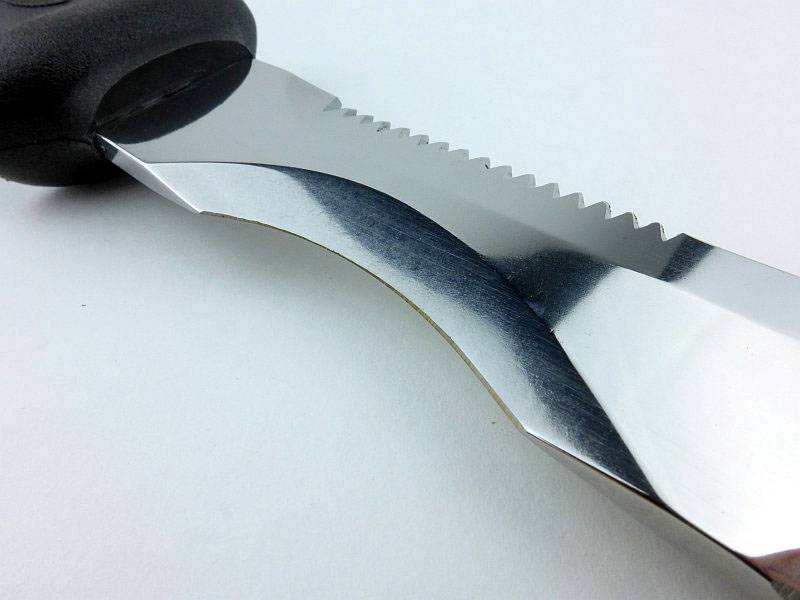
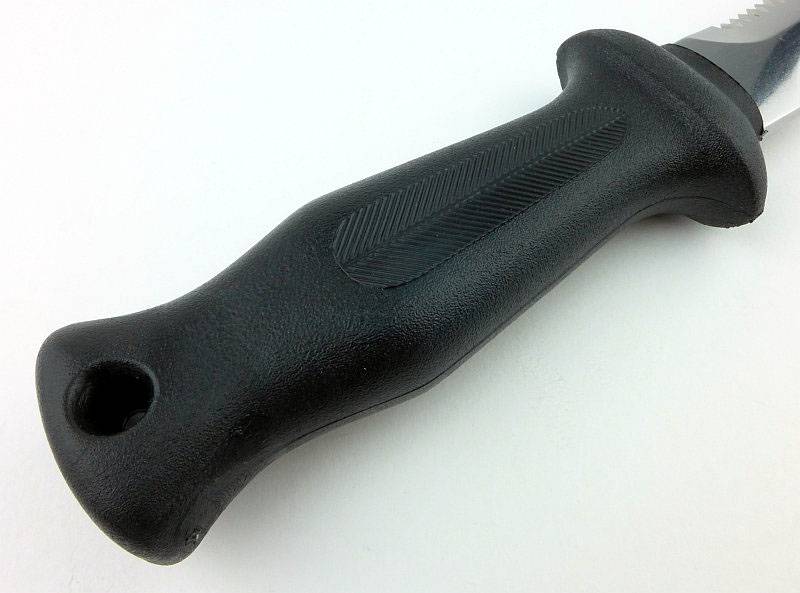
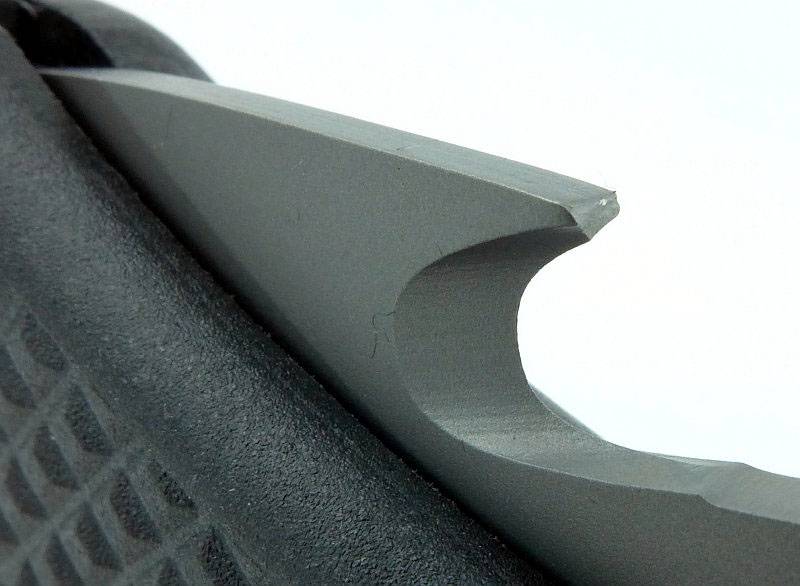
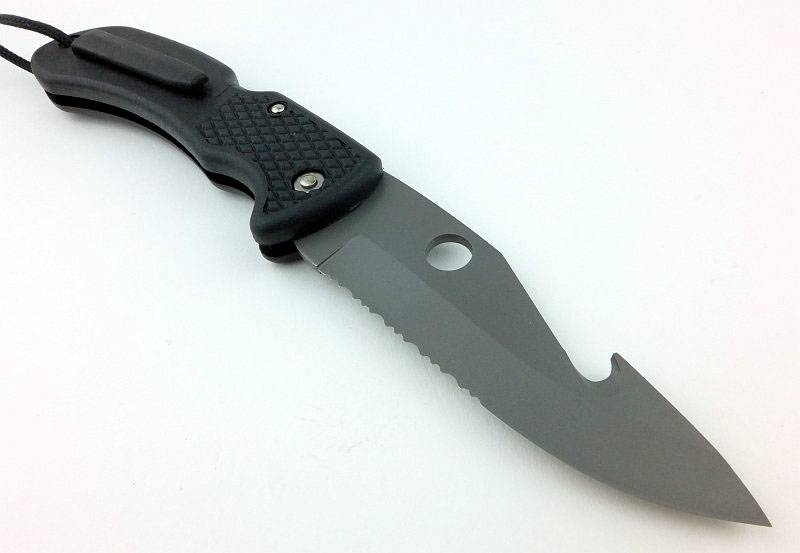
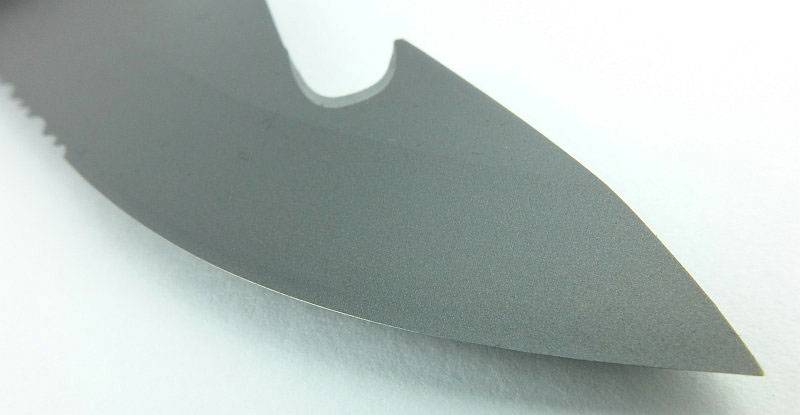
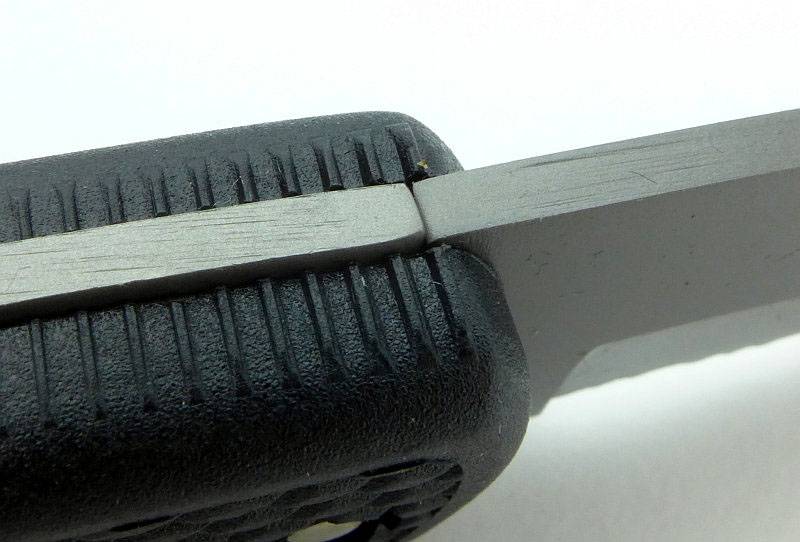
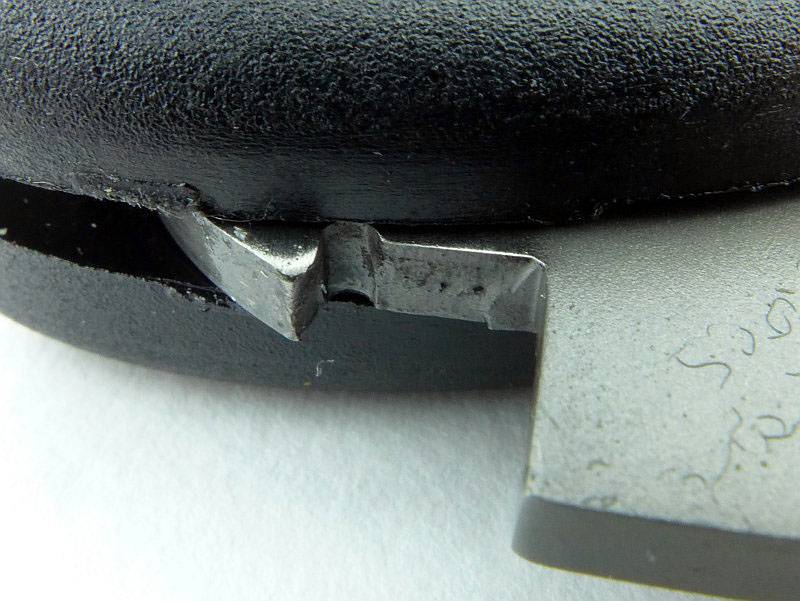
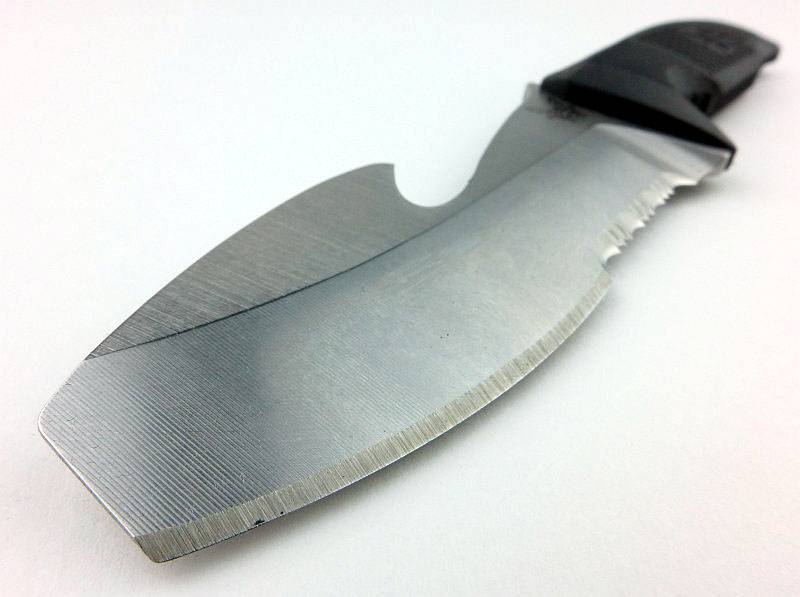
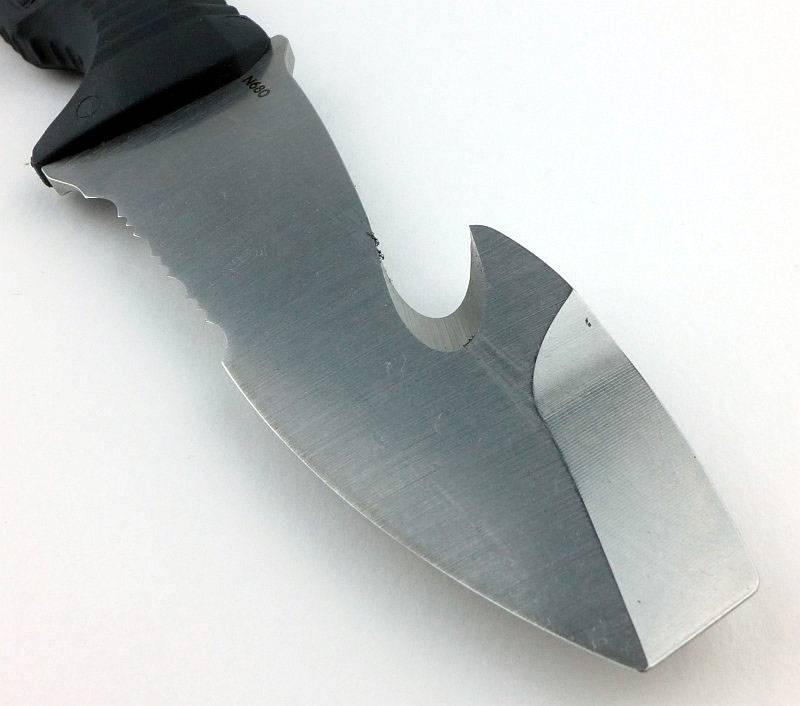
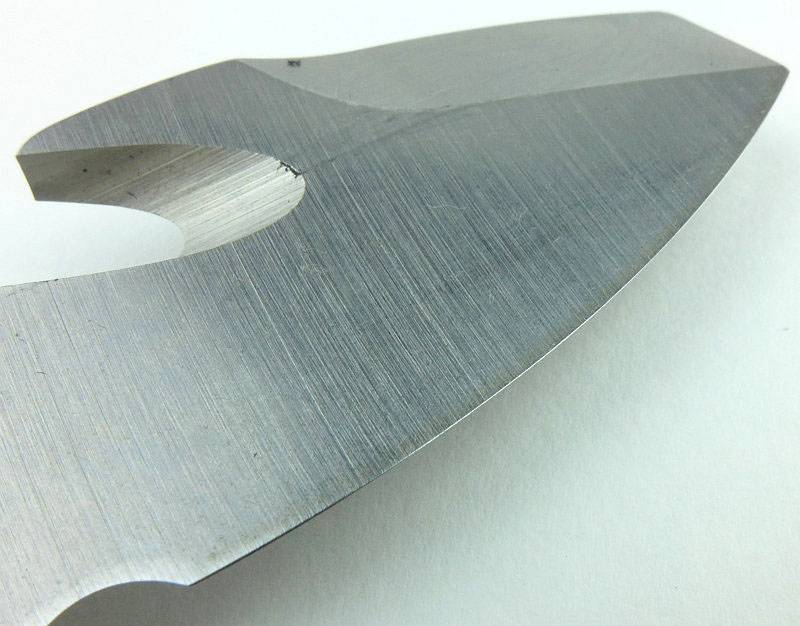
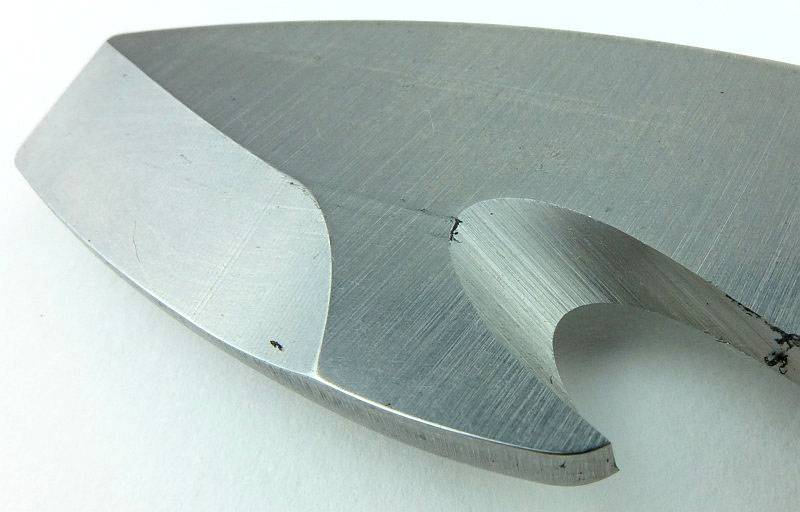
The H2O fixed was originally developed for an elite military program. The knife features a blunt tip, opposing bevel for torsional strength and an integrated cutting hook.
Blade Steel: N680 (57-59 HRC)
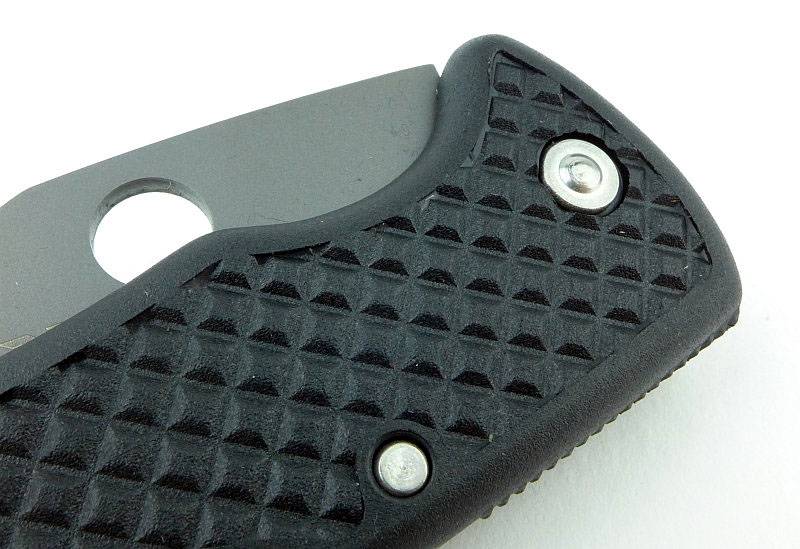
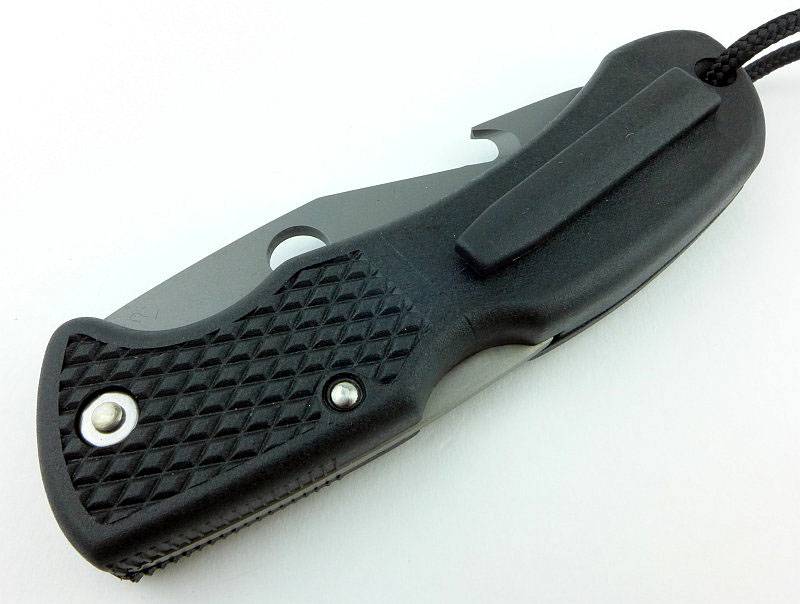
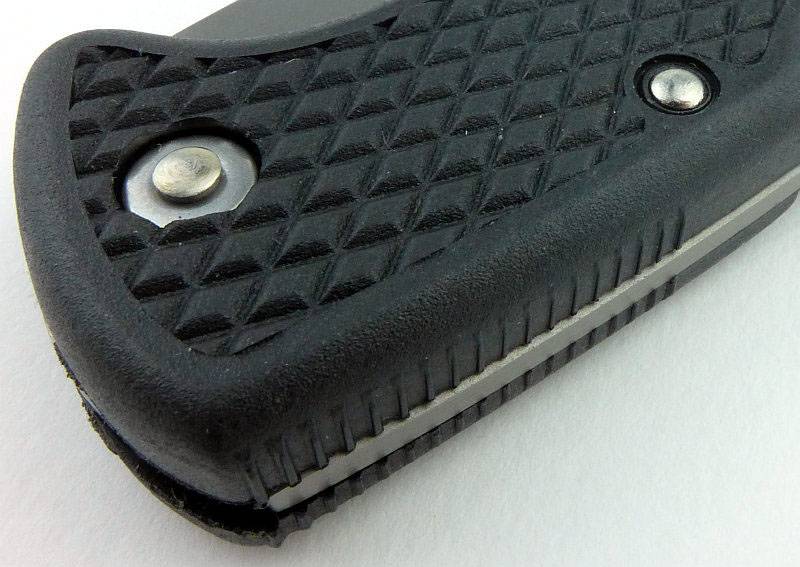
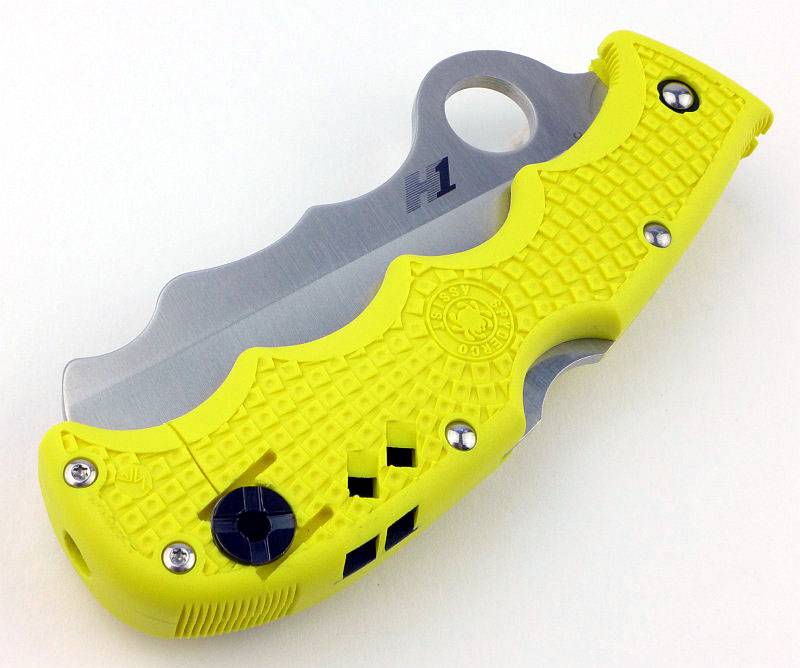
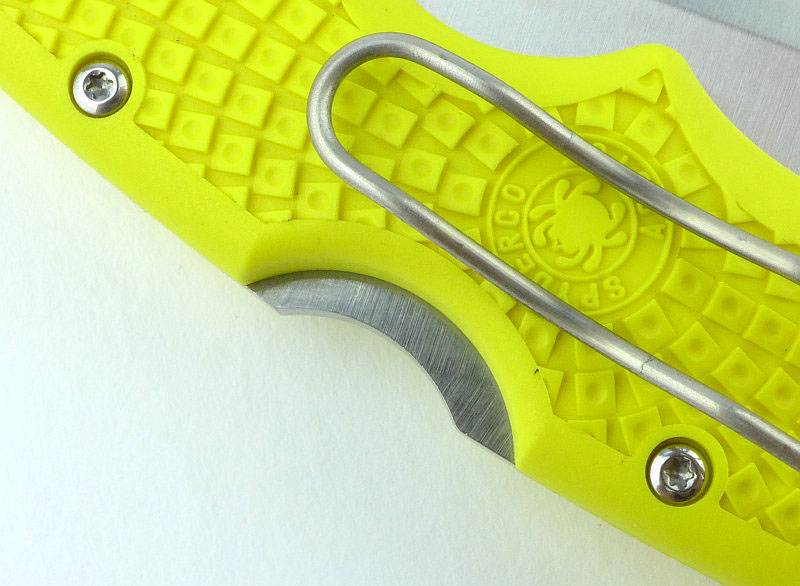
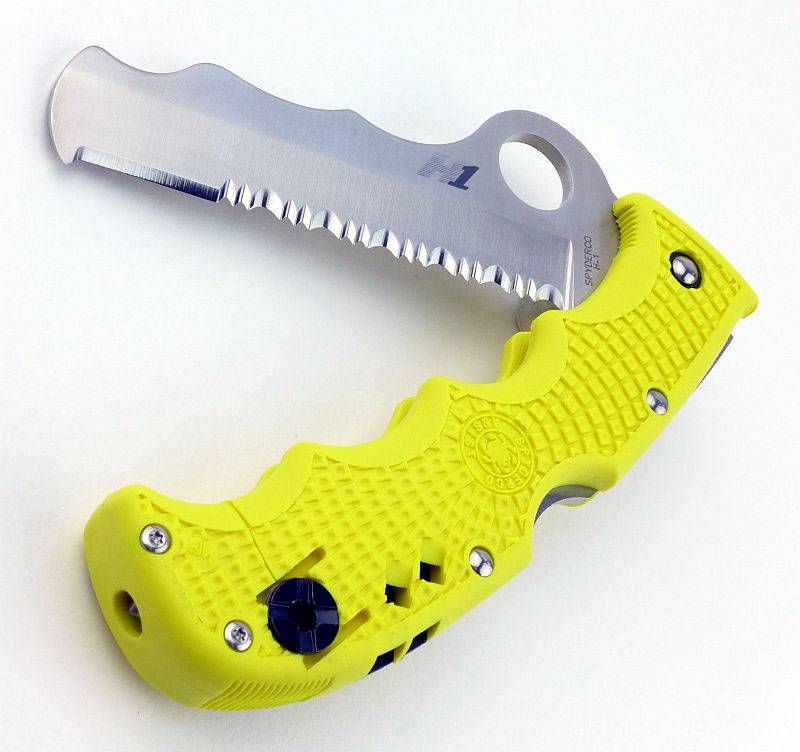
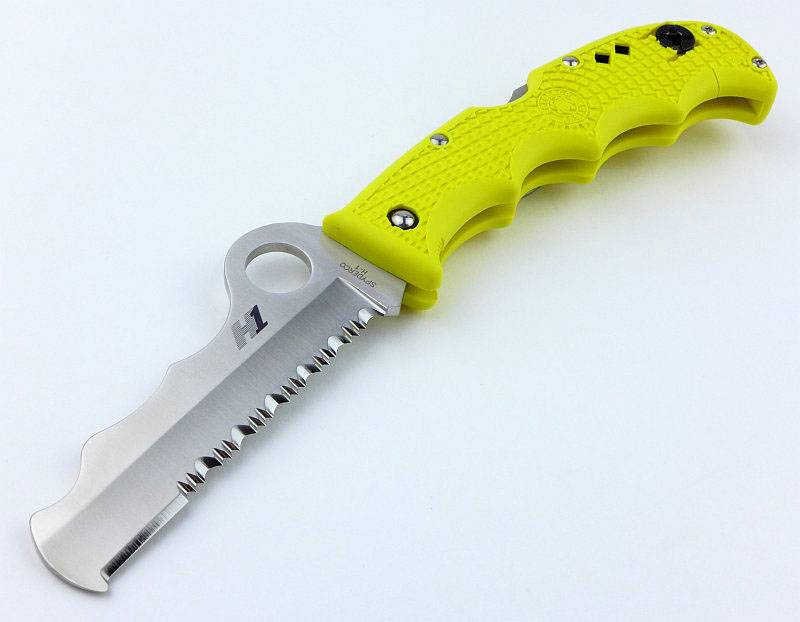
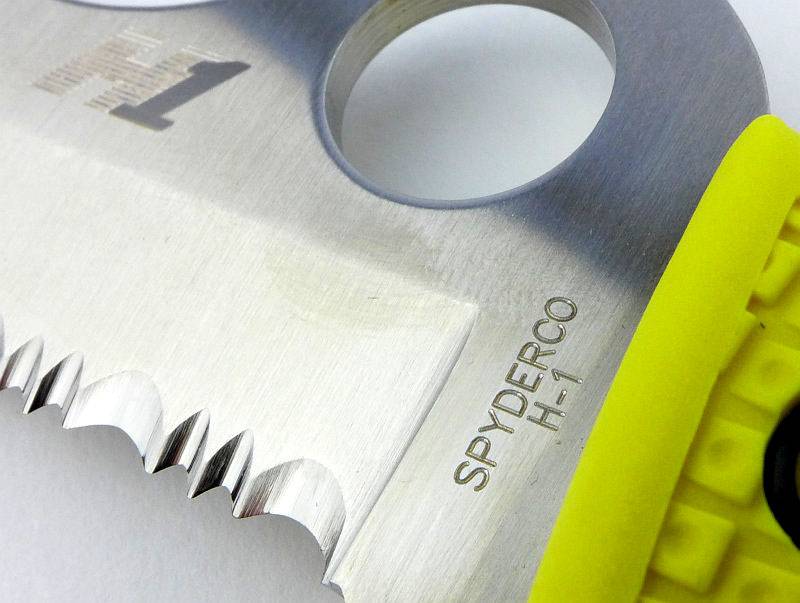
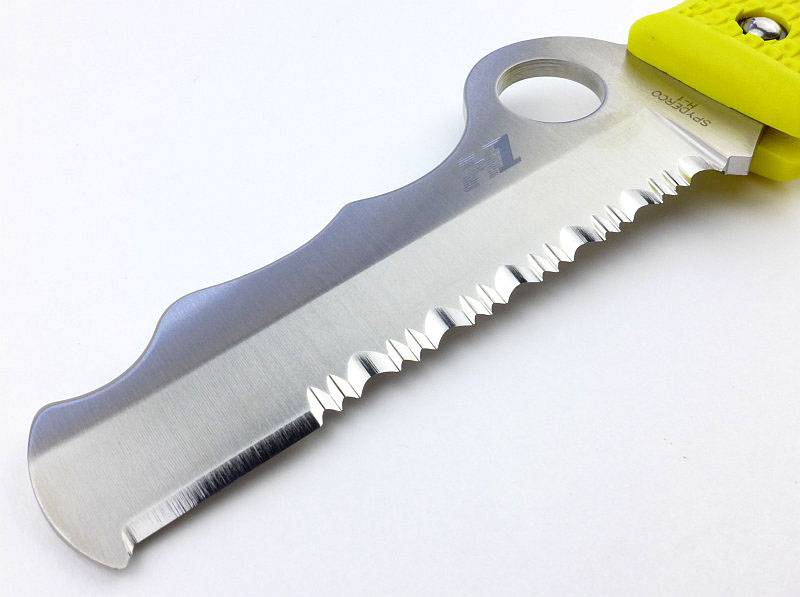
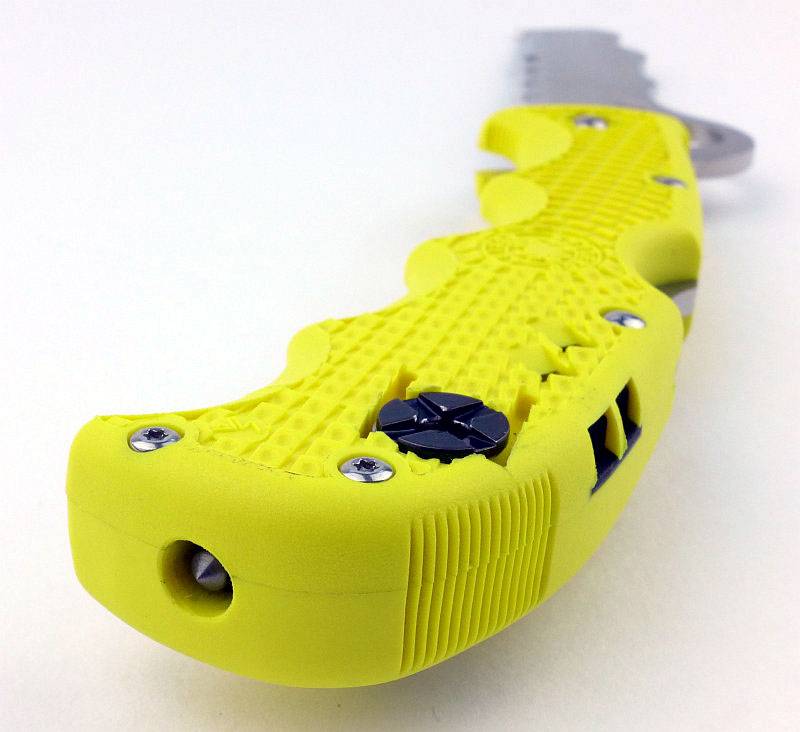
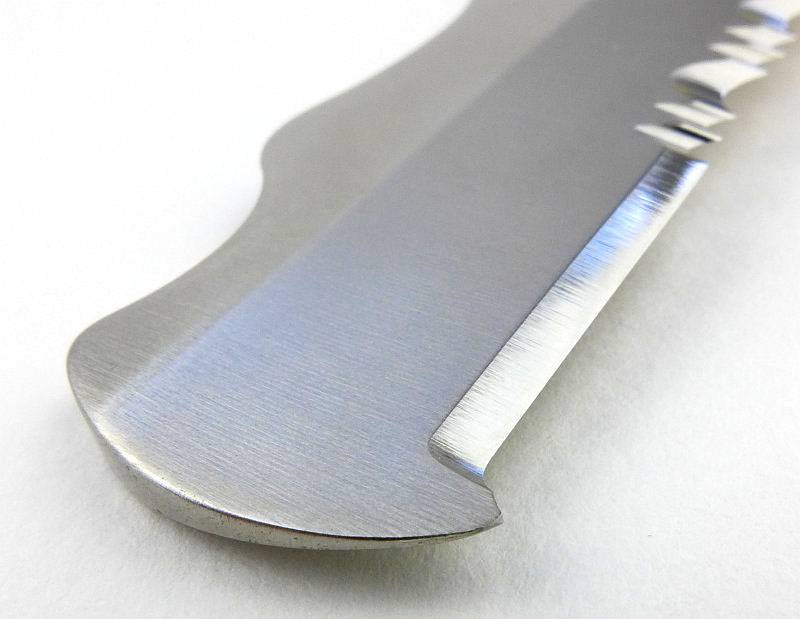
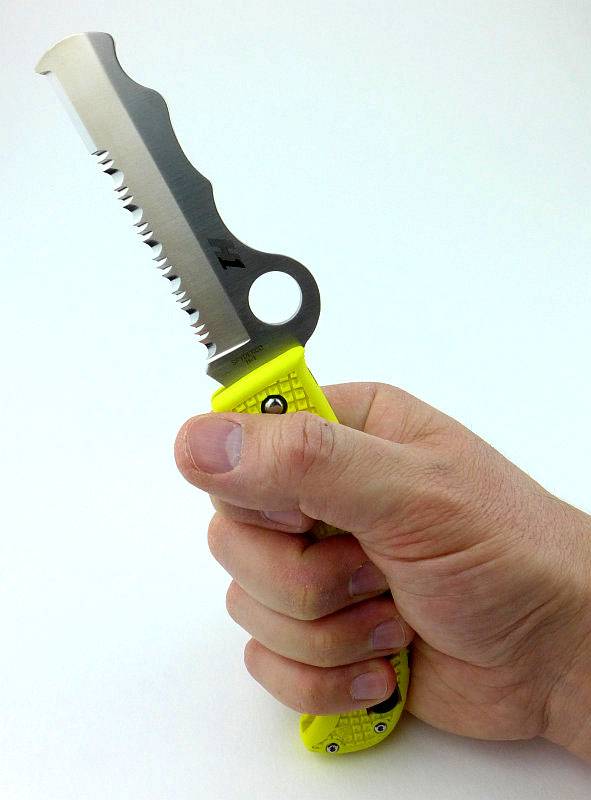
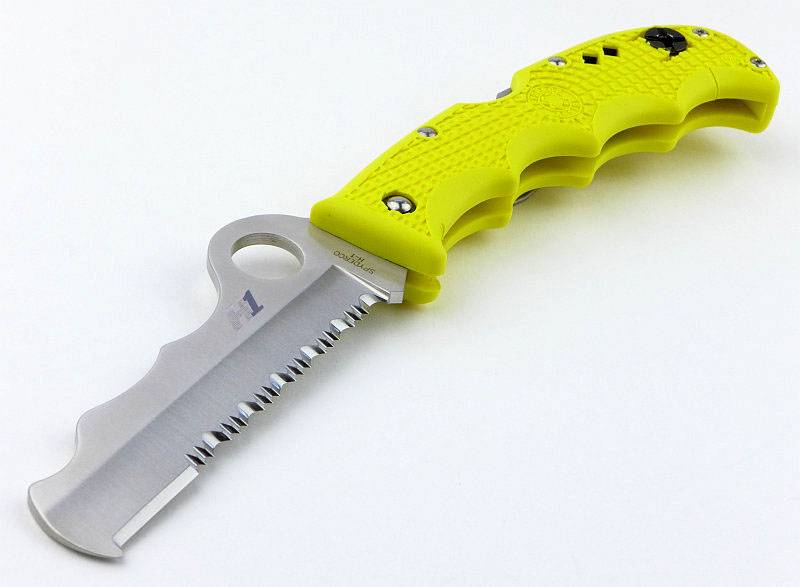
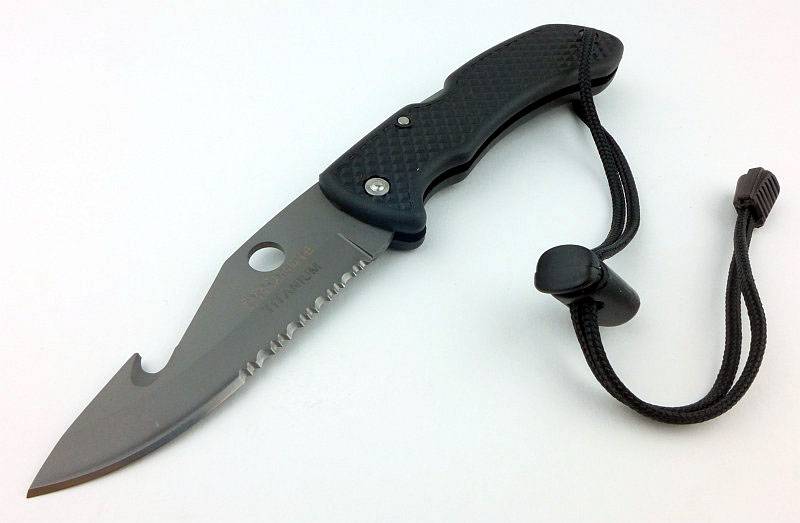
Spyderco Assist Salt
Not specifically a dive knife, the Assist Salt combines the multi-functional versatility of the Assist model with the rustproof qualities of H-1 steel. The defining feature of the Assist Salt is its H-1 steel blade and lock bar. This material uses nitrogen instead of carbon to create a steel that is tough and completely immune to corrosion.
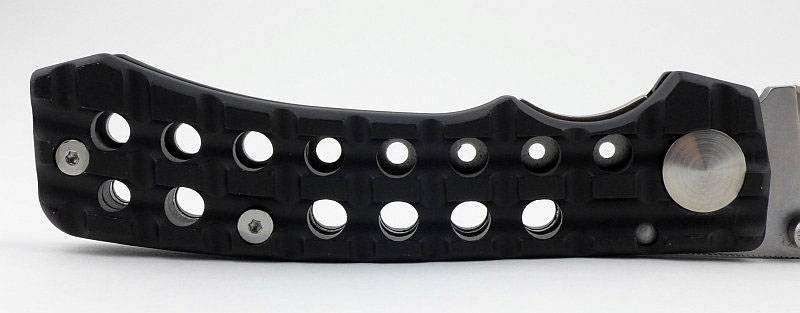
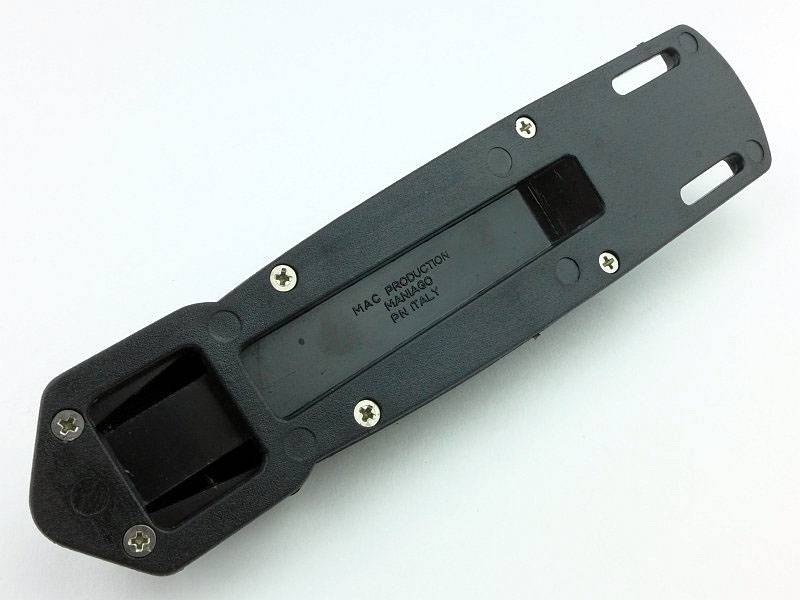
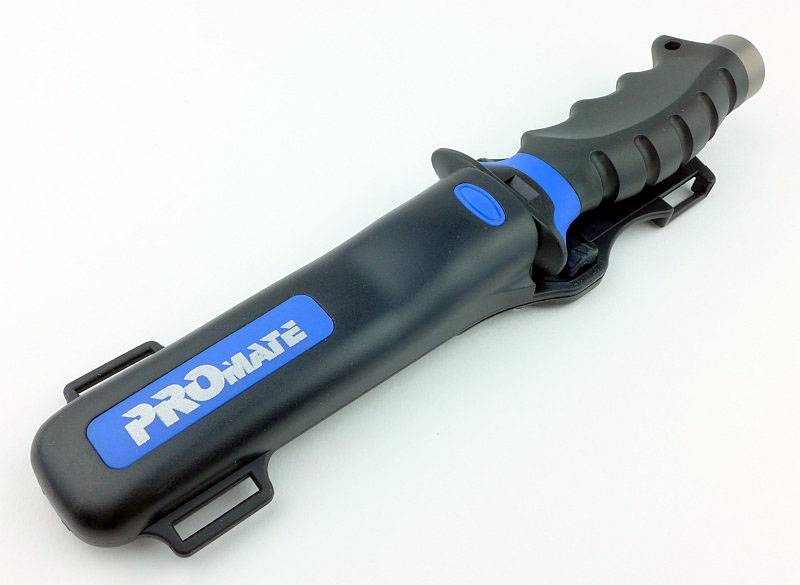
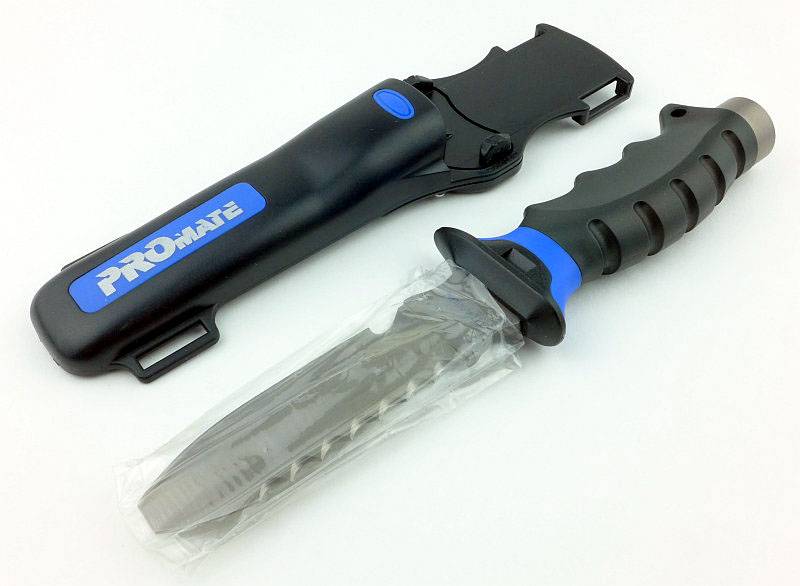
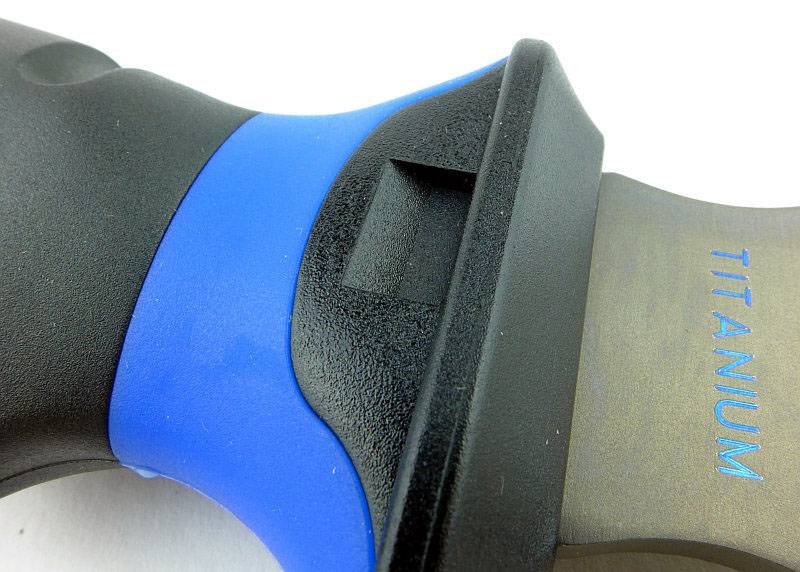
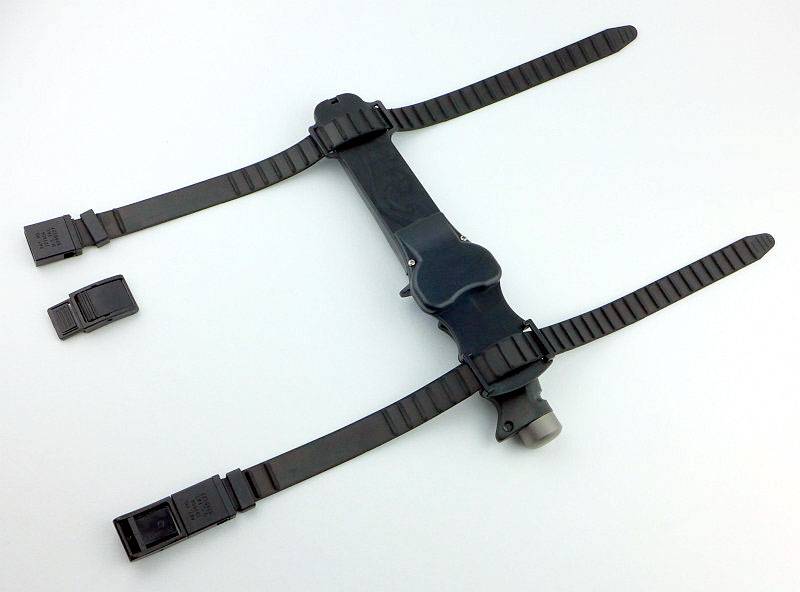
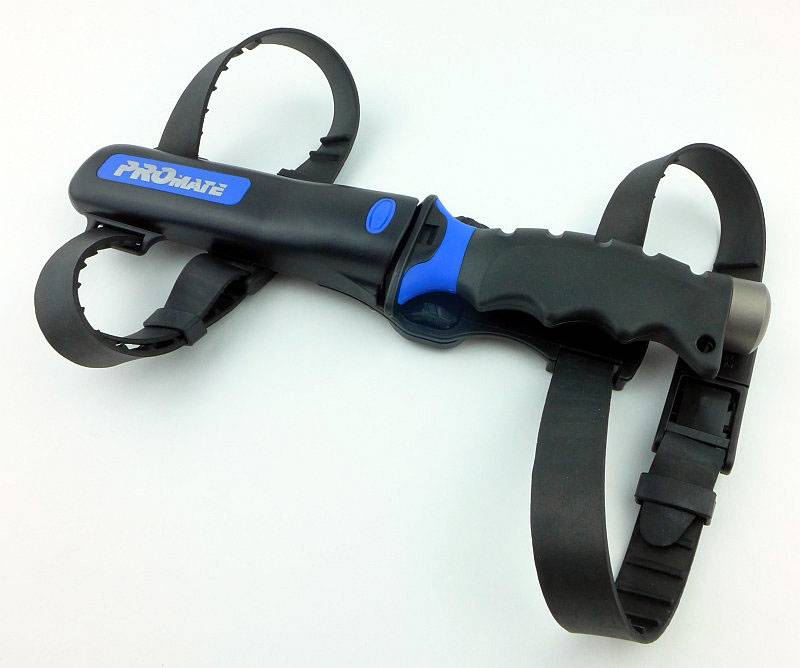
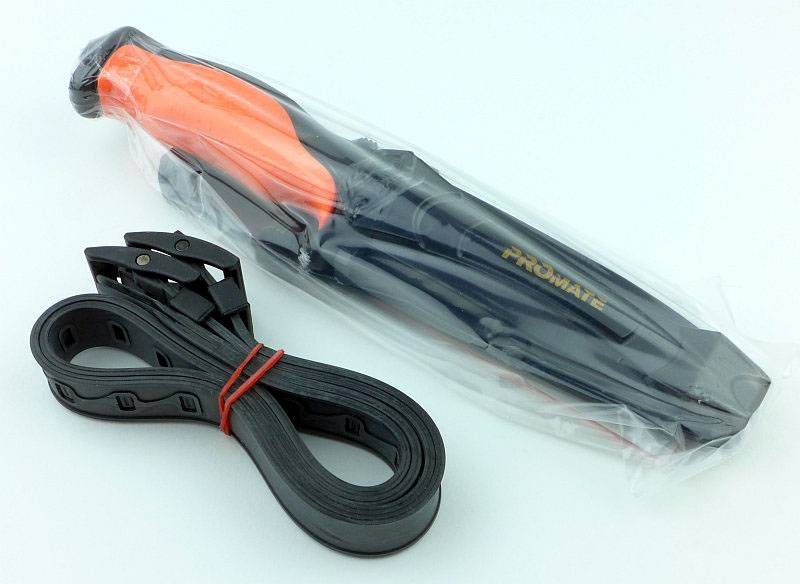
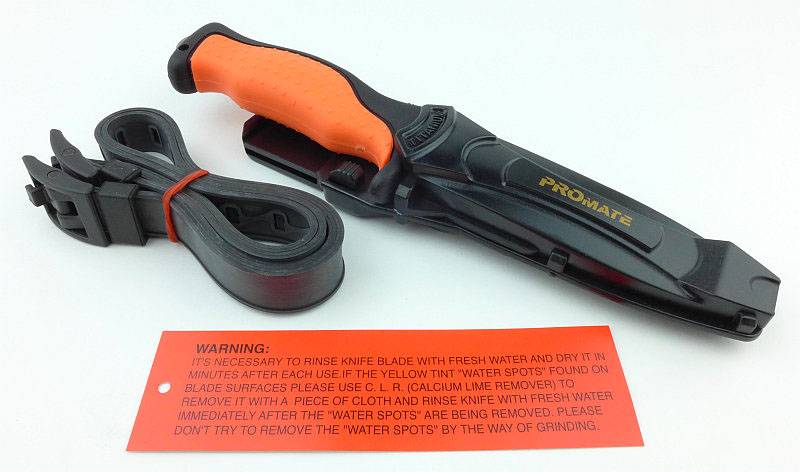
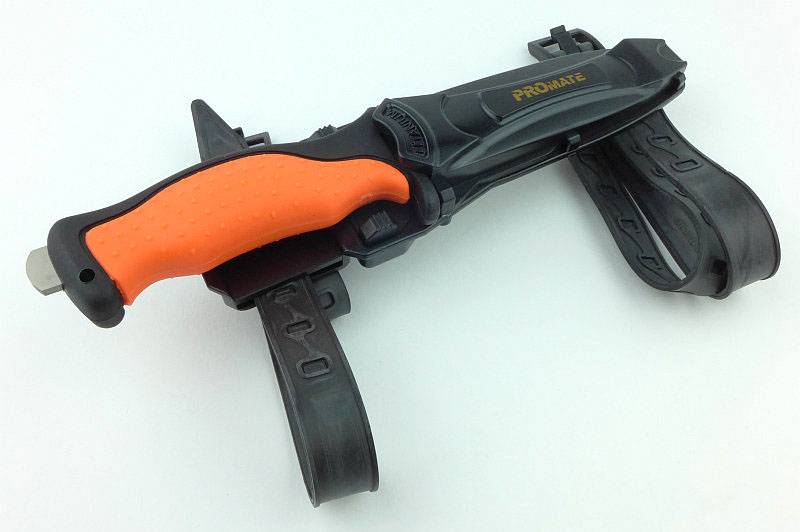
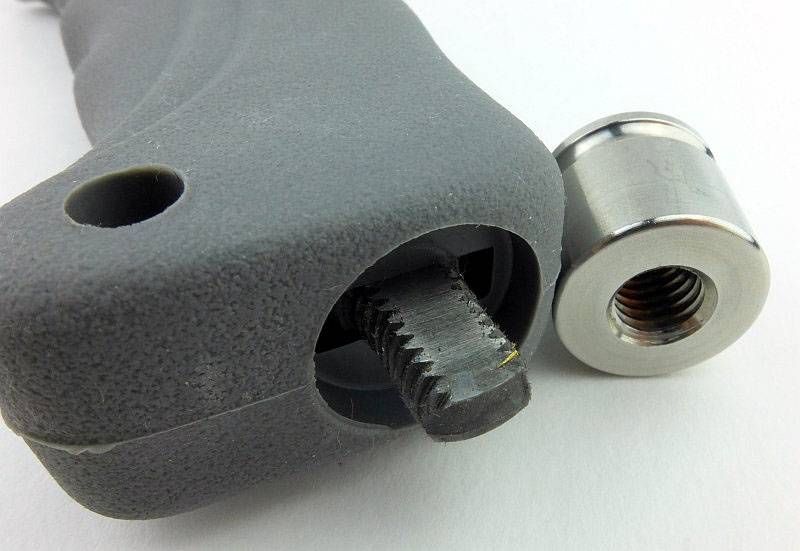
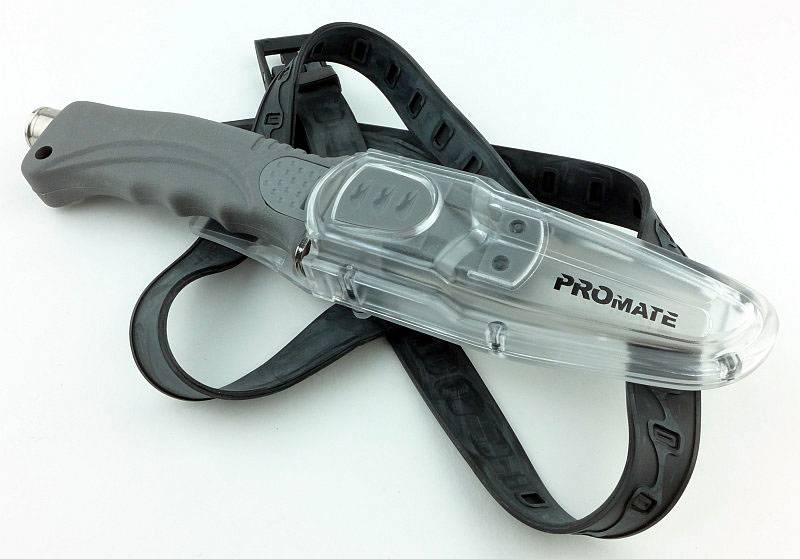
Promate Barracuda Blunt
Made for the professional diver, the Barracuda has a Titanium blade and Titanium hammer on handle bottom. There are quick-release adjustable straps, and though the knife is easy to disassemble it requires little or no maintenance.
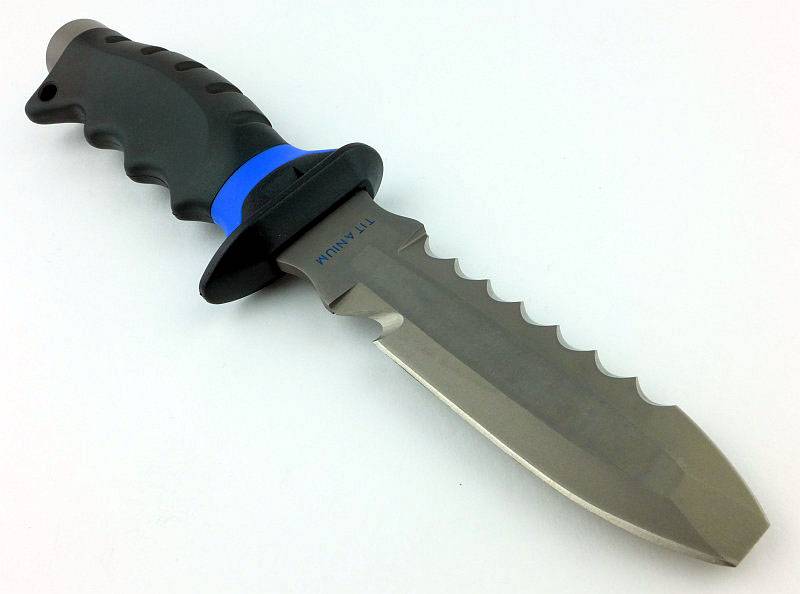
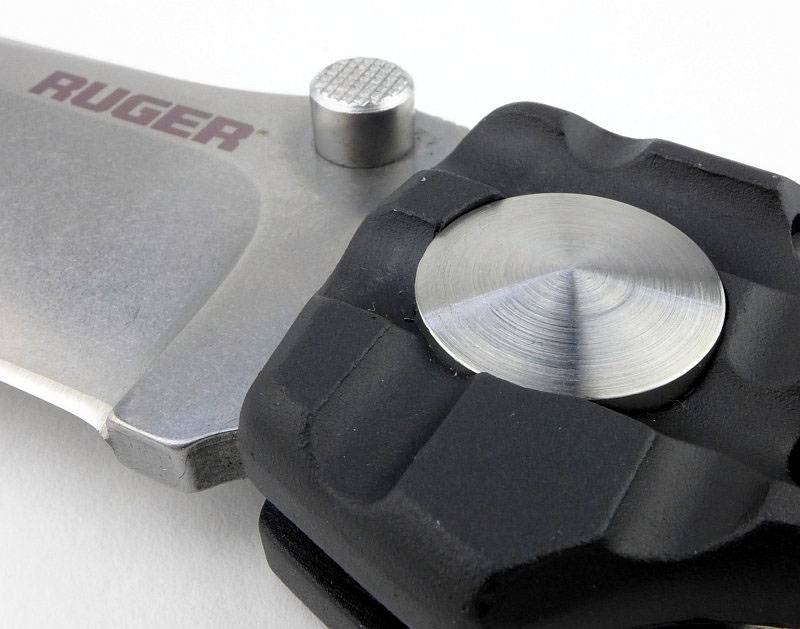
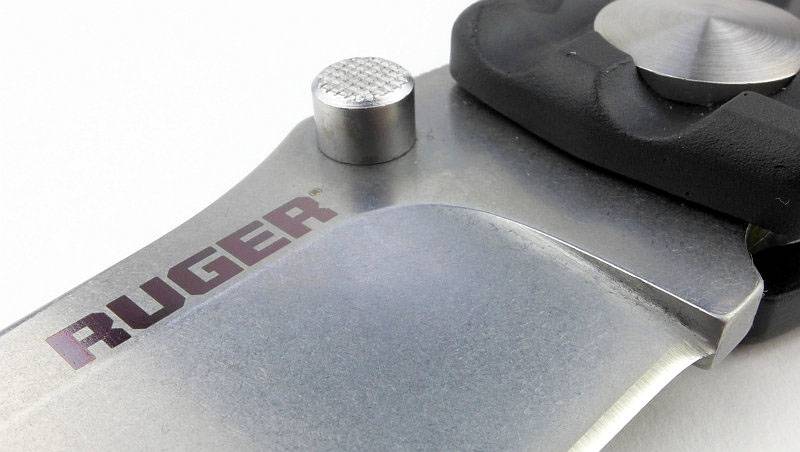
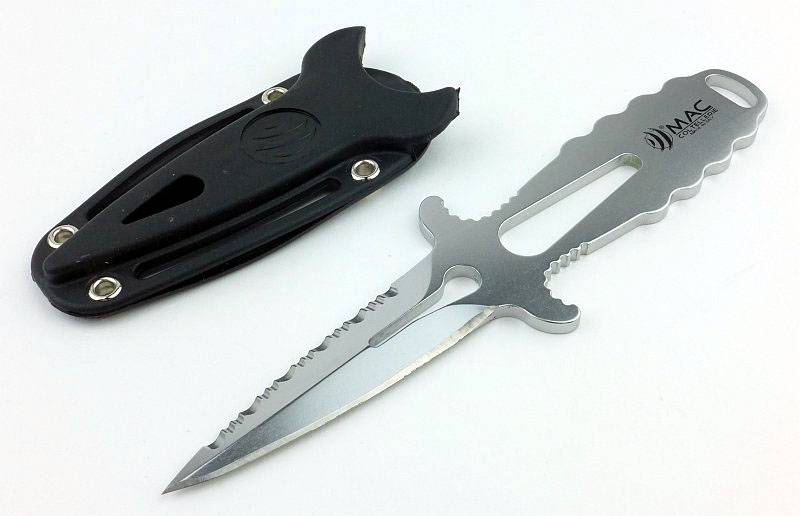
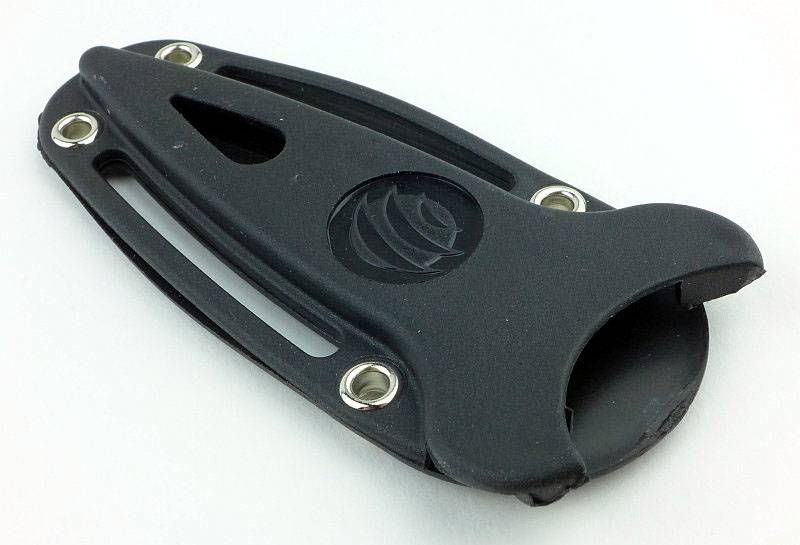
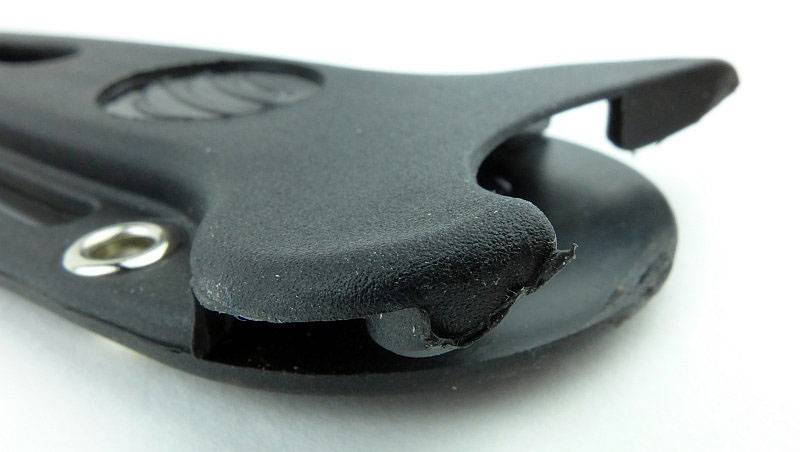
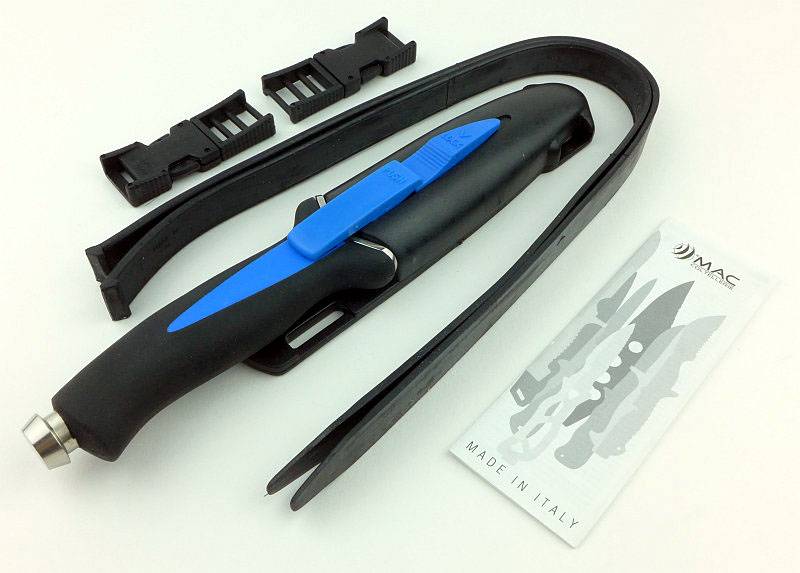
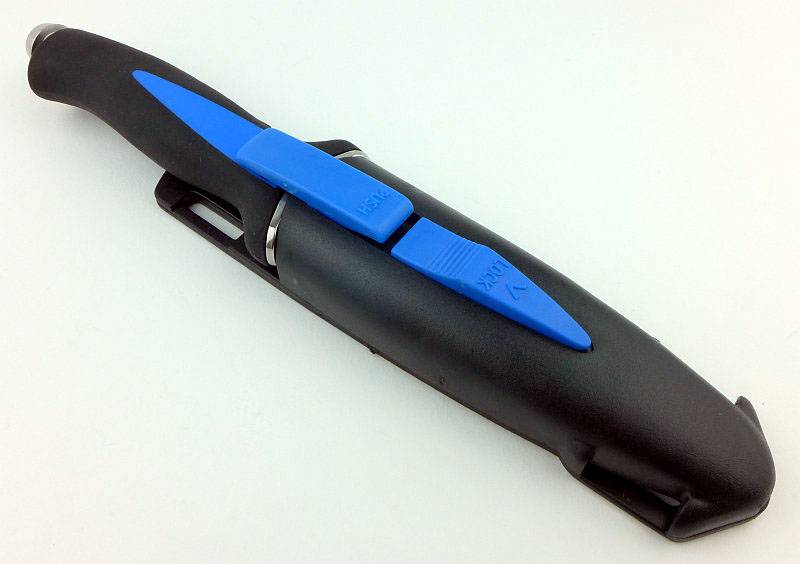
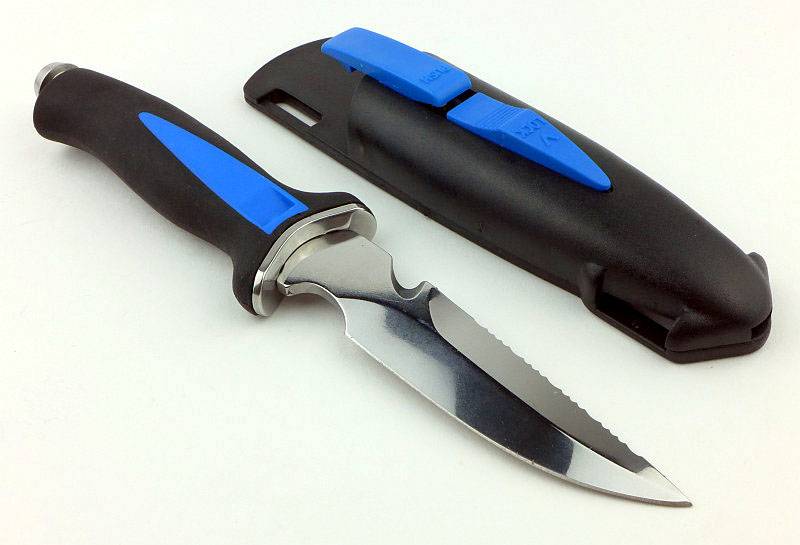
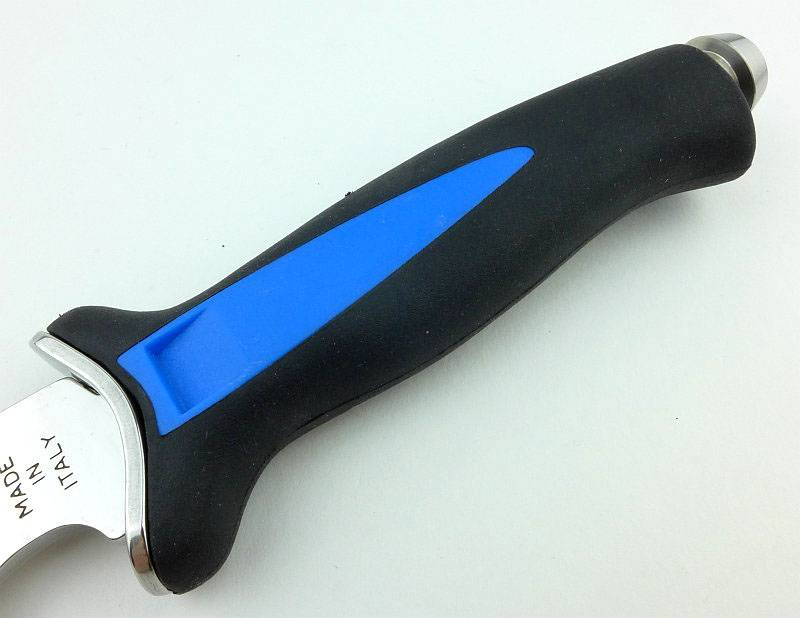
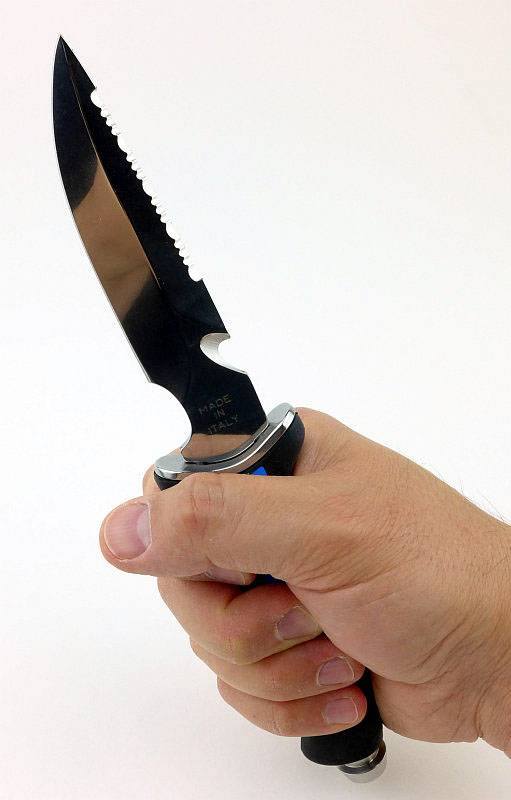
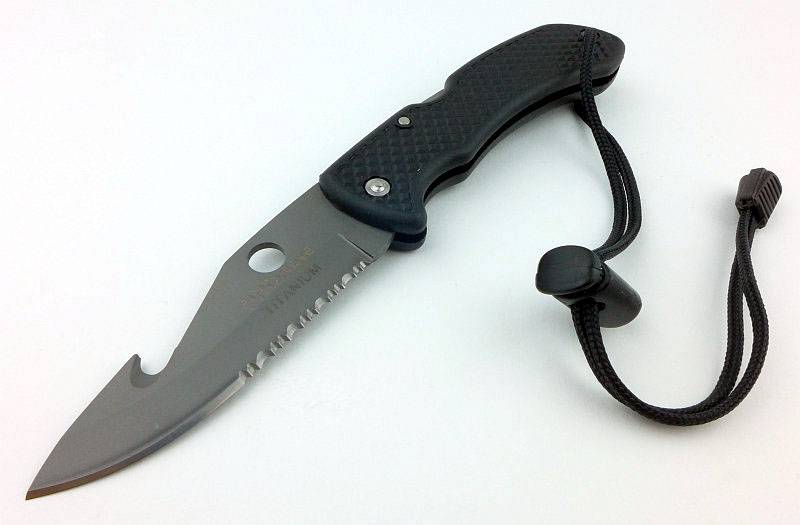
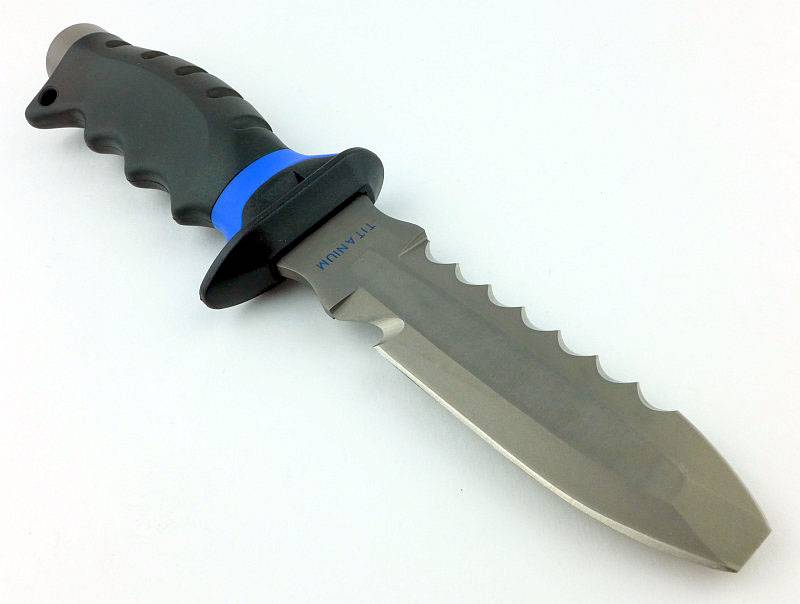
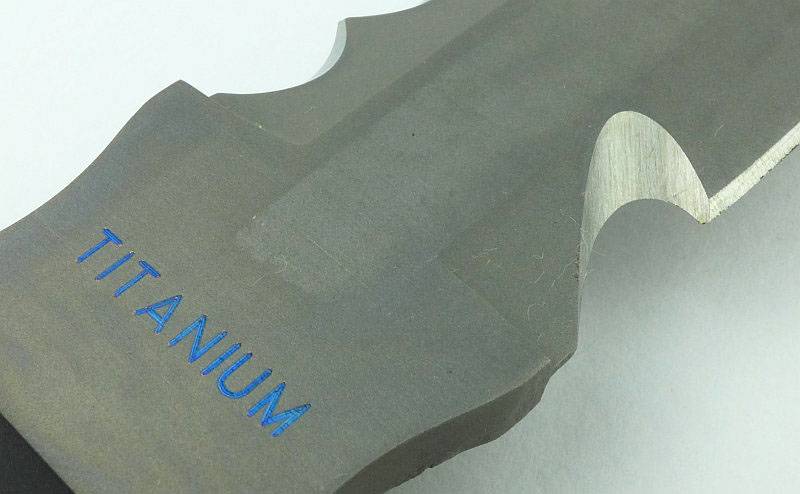
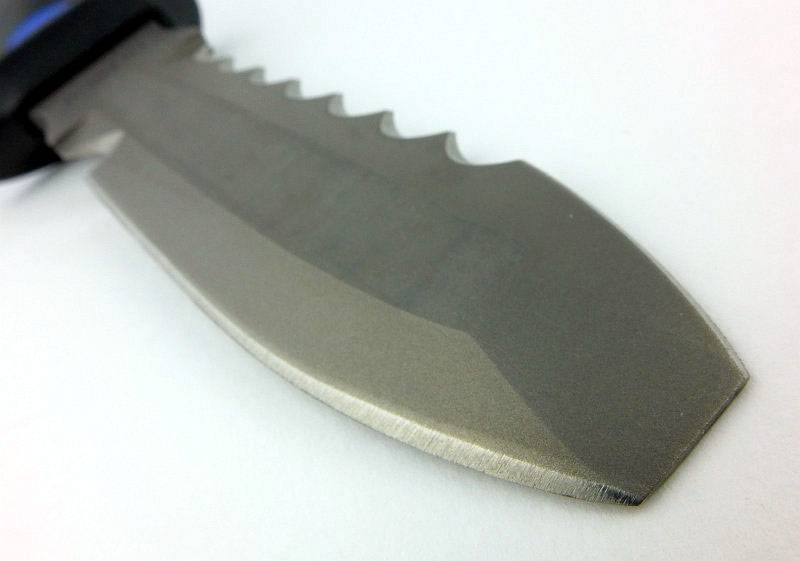
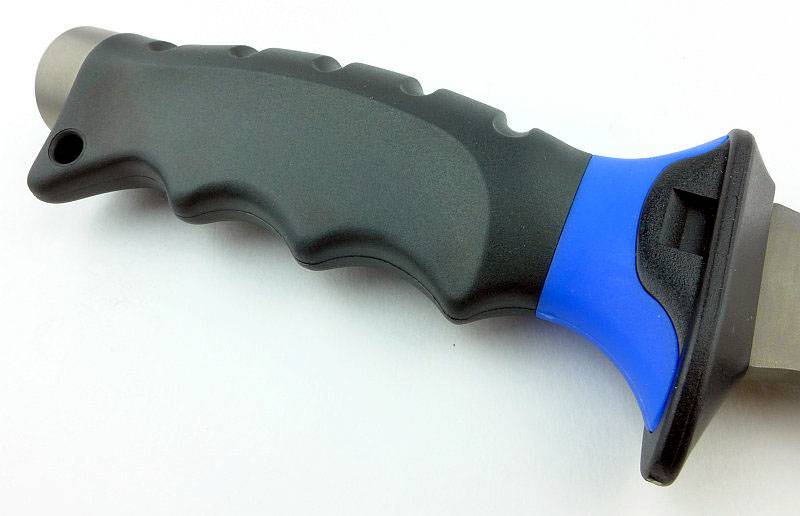
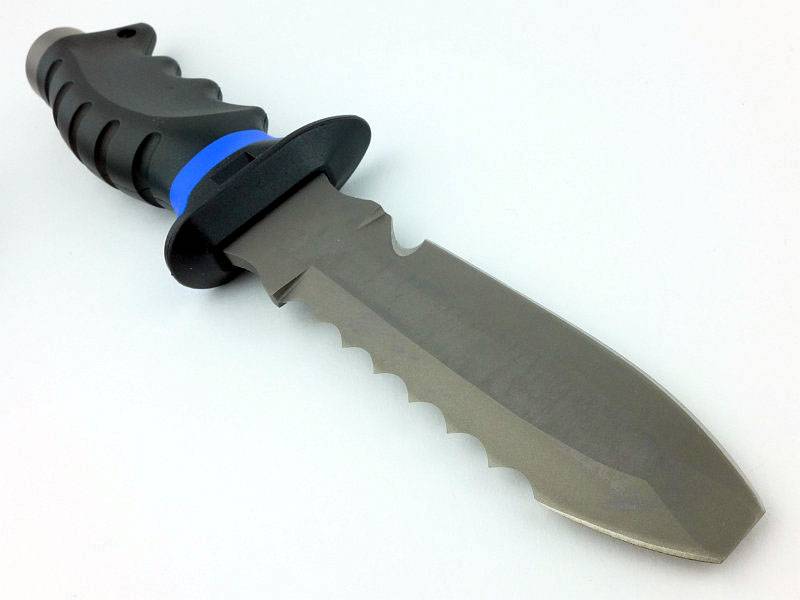
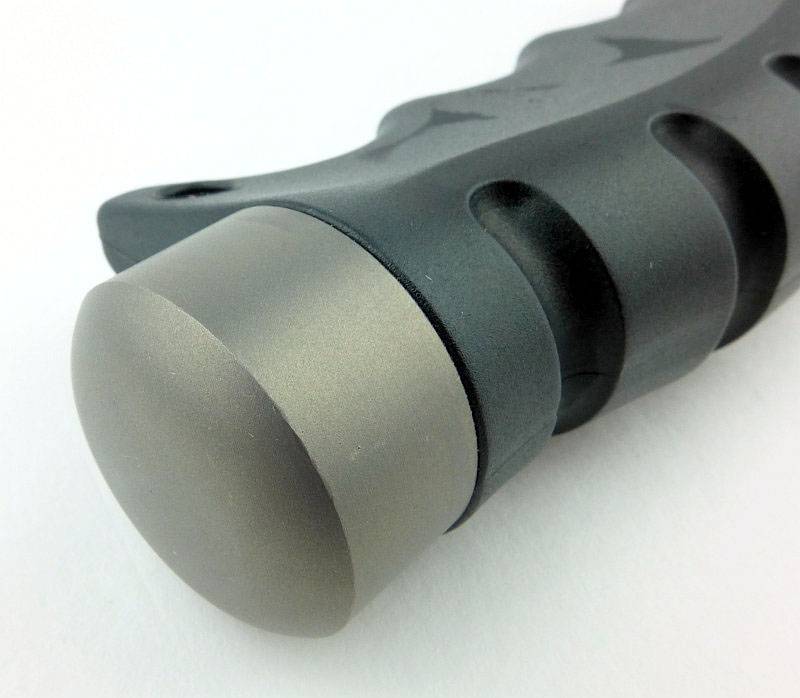
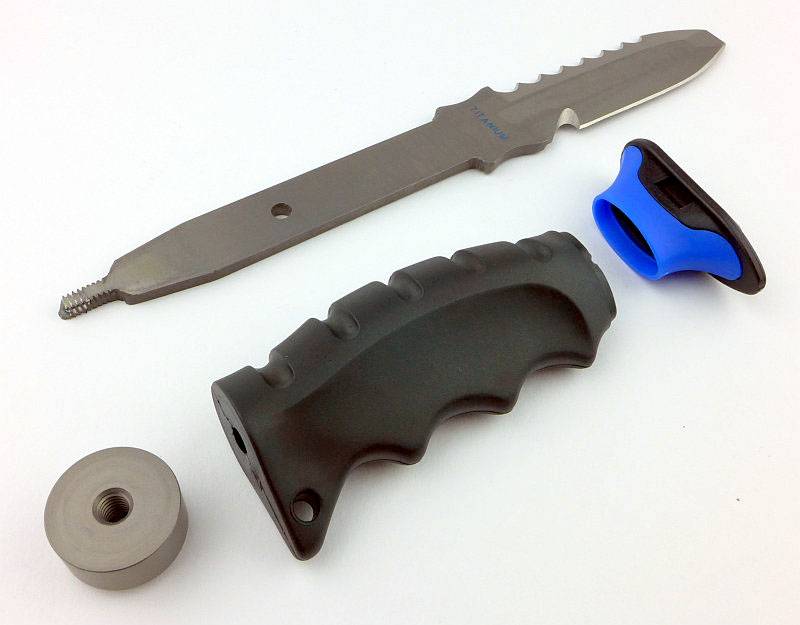
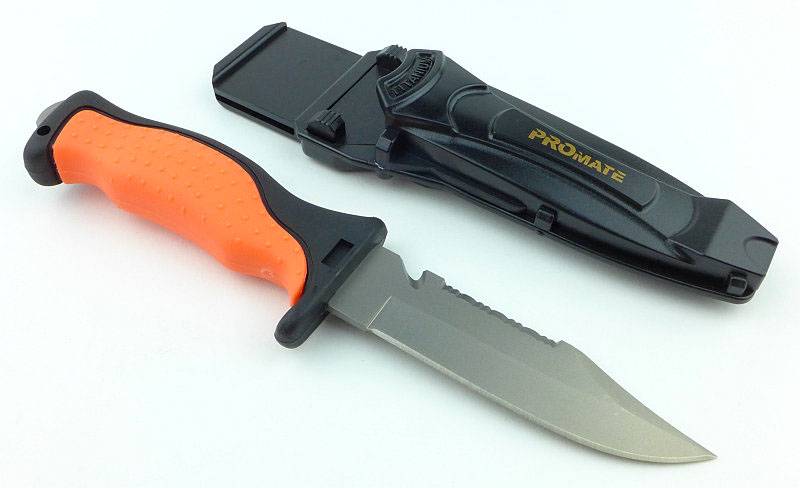
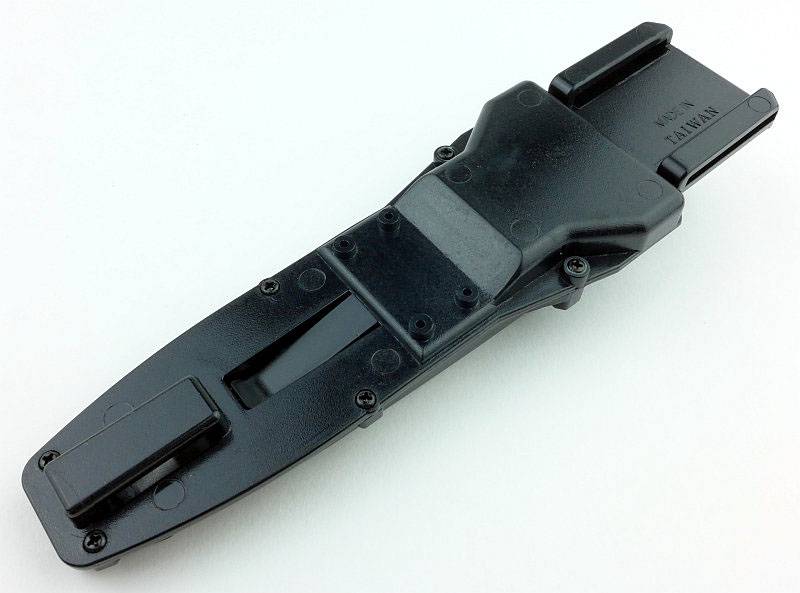
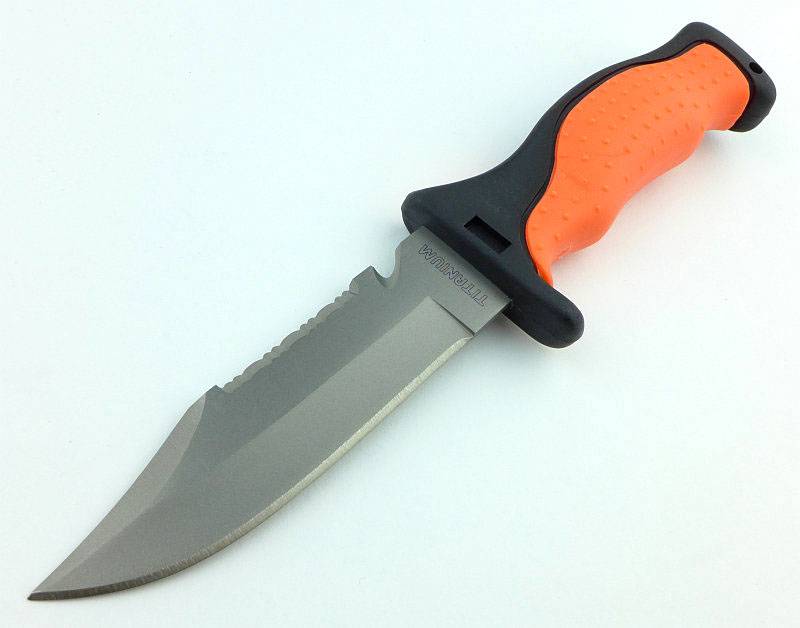
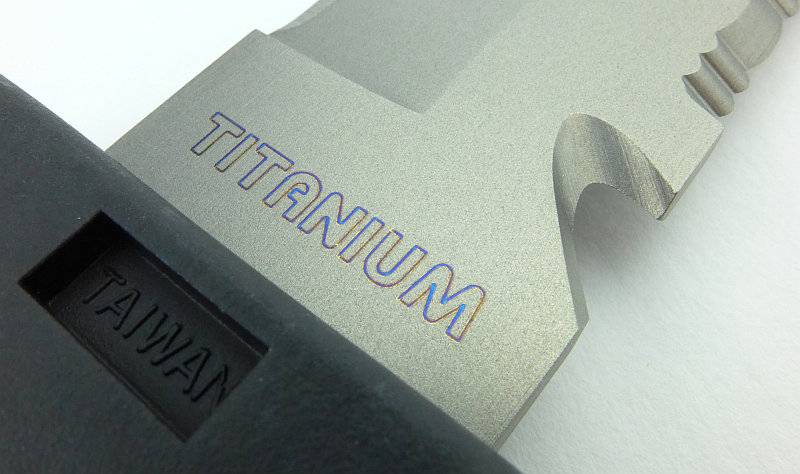
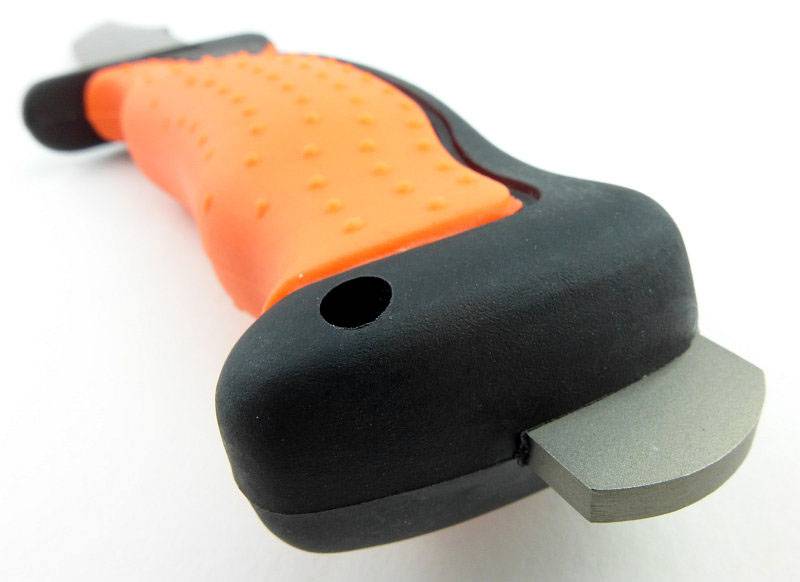
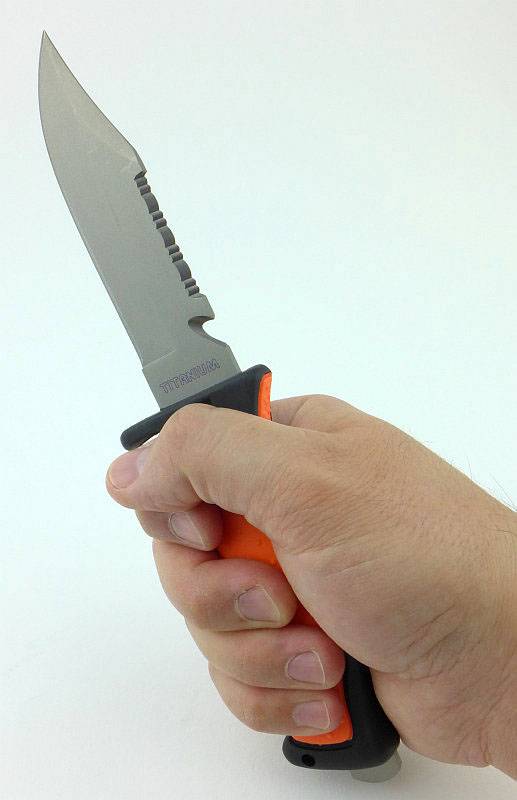
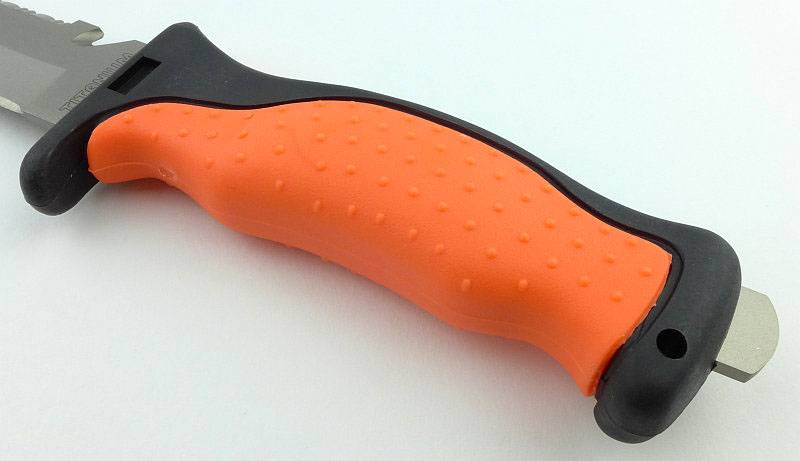
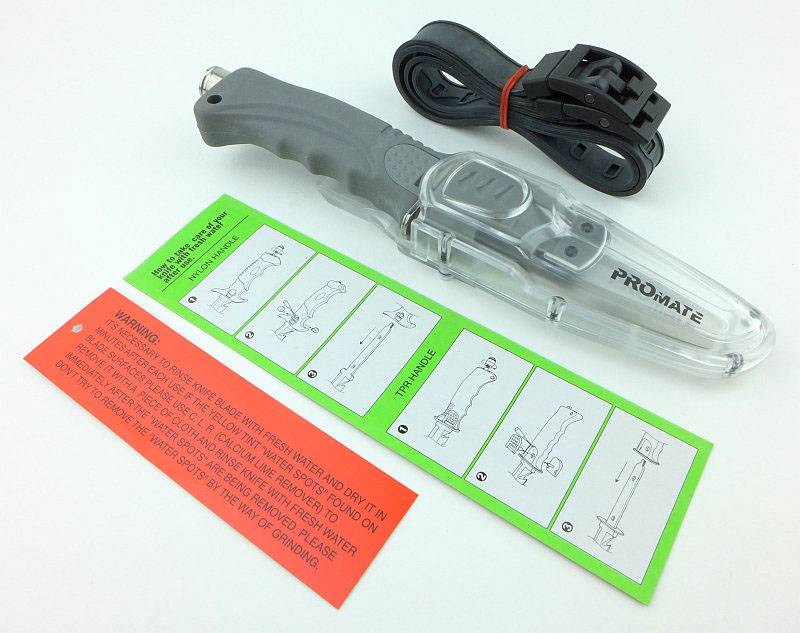
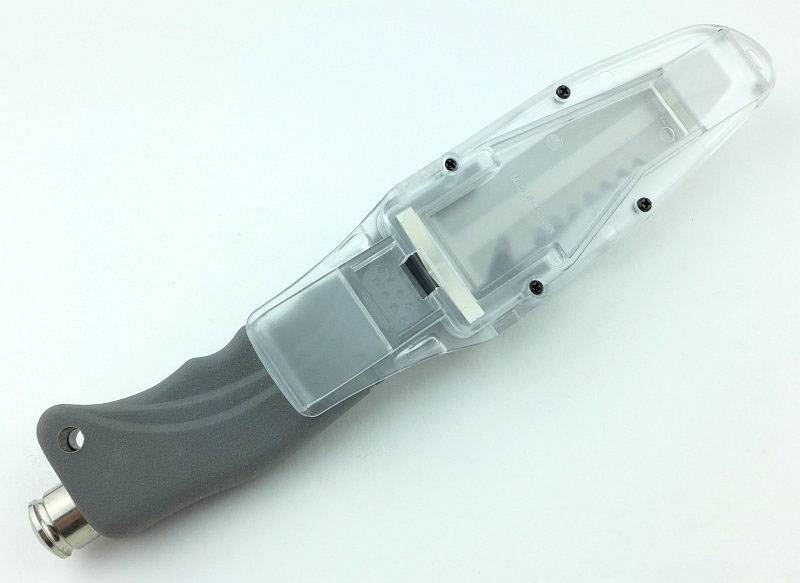
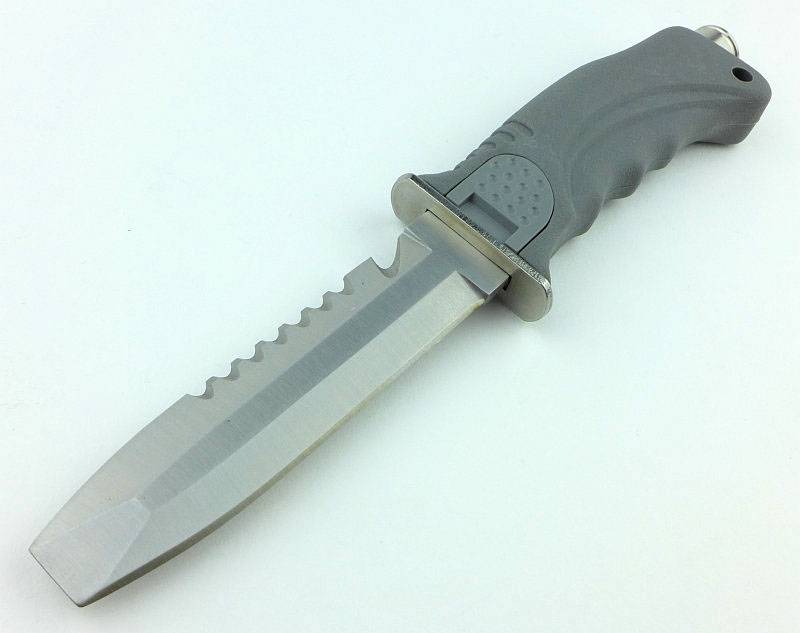
Promate KF593 Ti
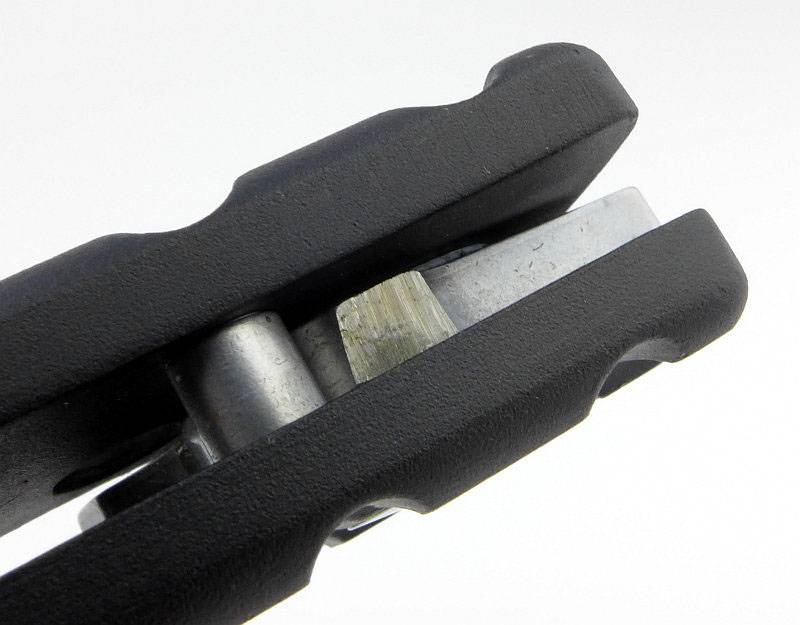
Designed by scuba diver’s for scuba divers, the light weight Titanium blade with easy-grip rubber molded handle requires little or no maintenance. The full tang protrudes through the handle providing a narrow Titanium hammer on the handle bottom.
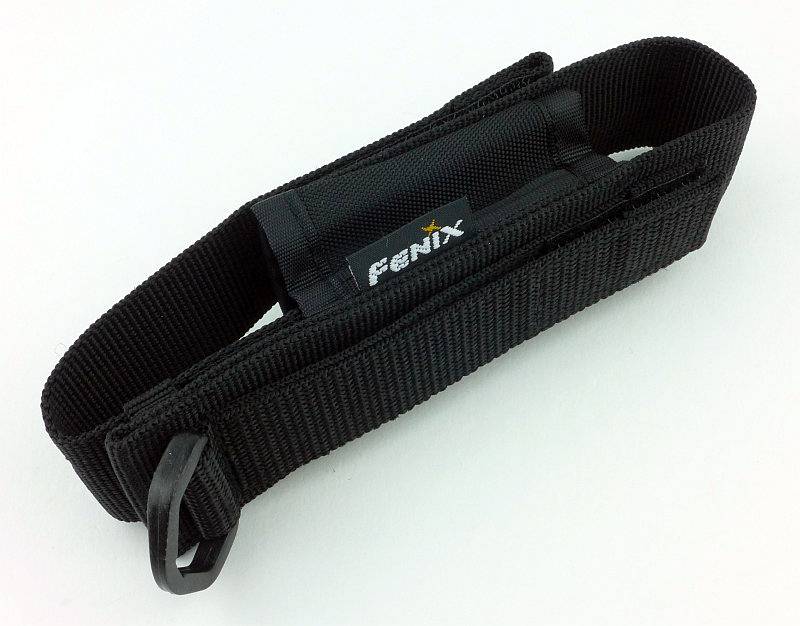
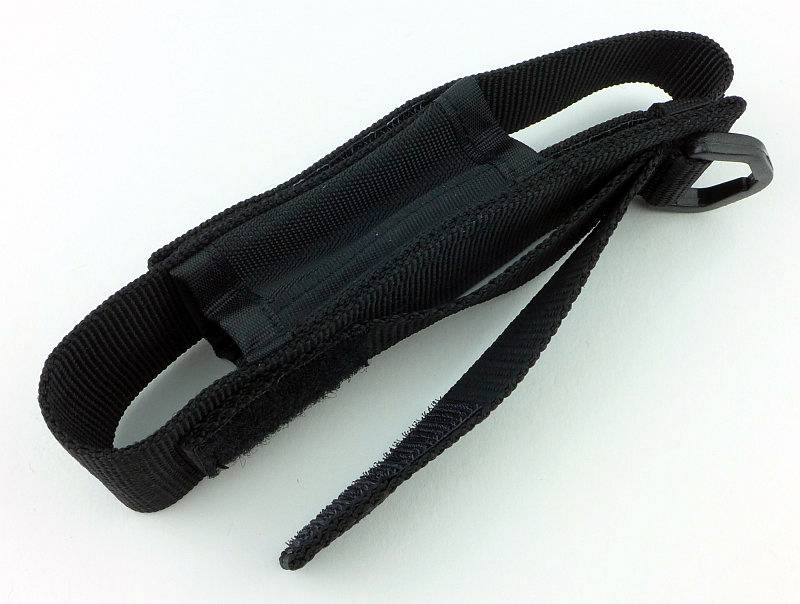
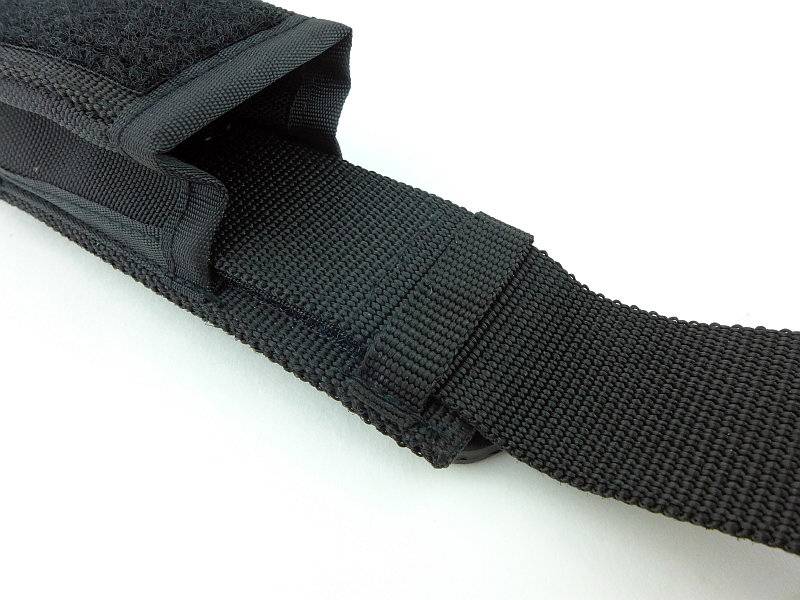
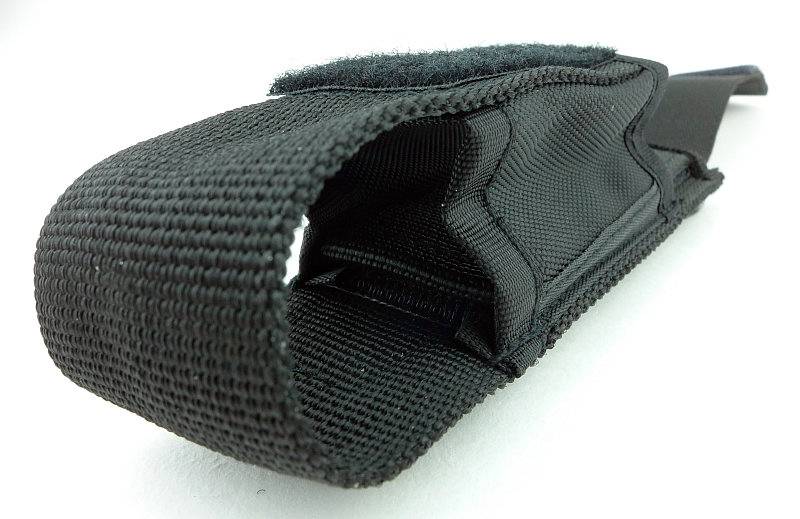
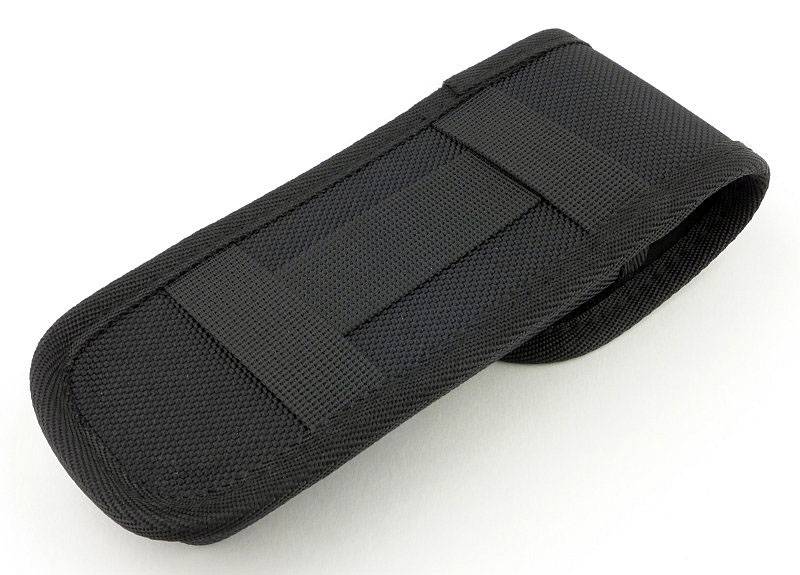
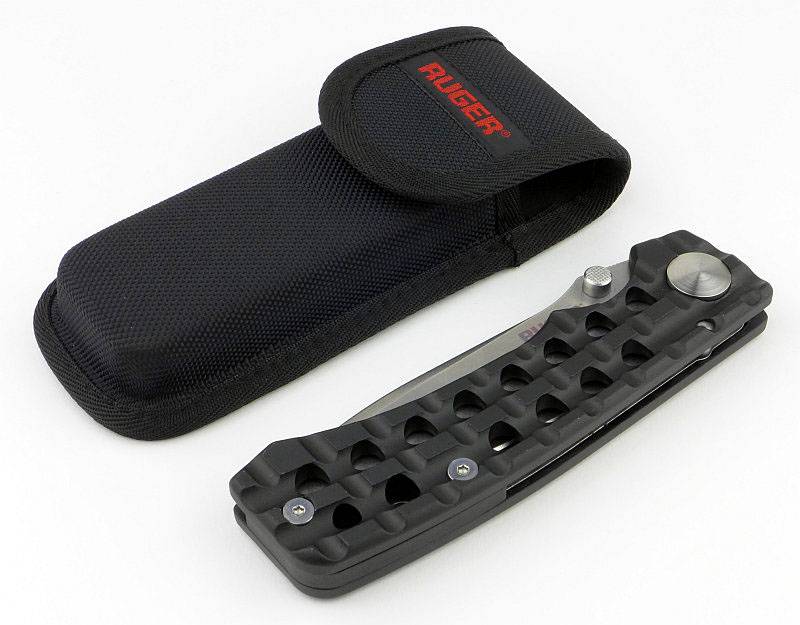
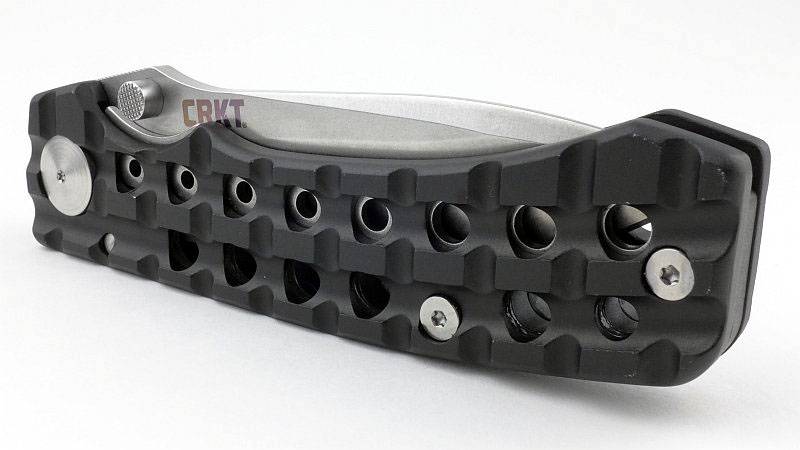
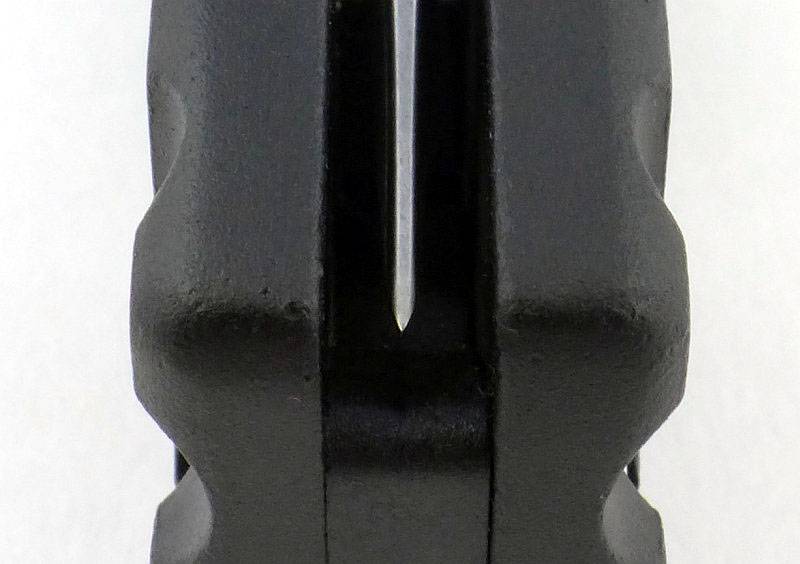
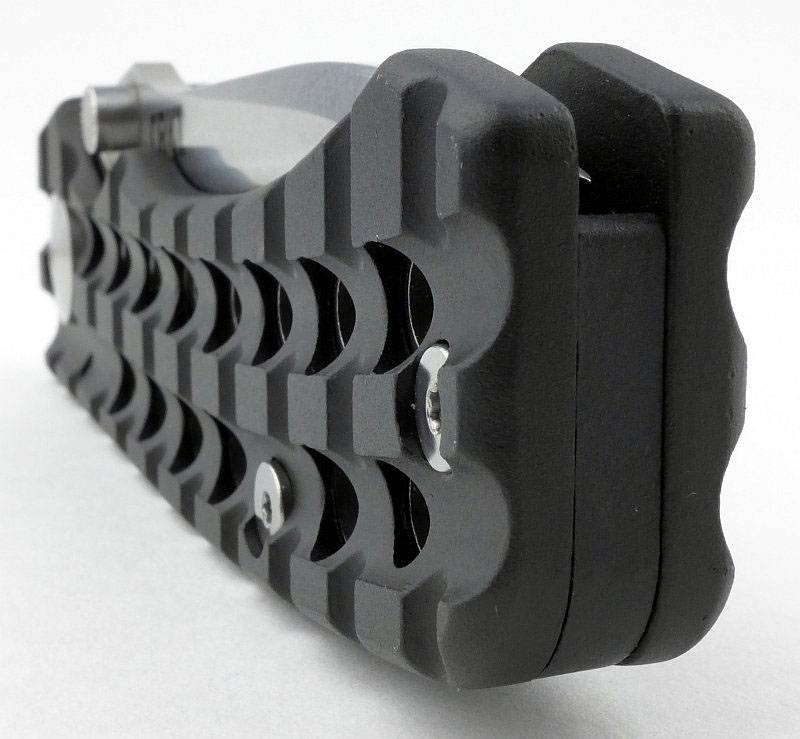
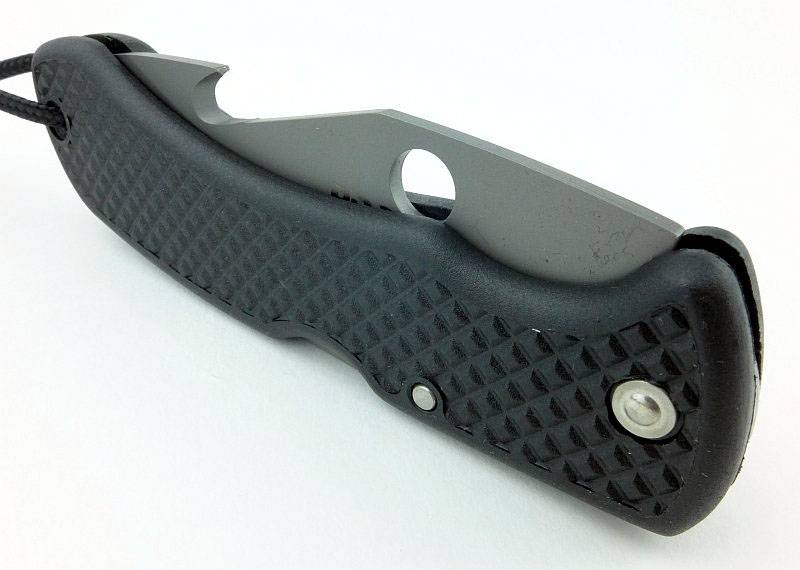
Promate KF090 Seal Folder Ti
Light weight Titanium bladed folder requiring little or no maintenance with an adjustable lanyard for easy carrying.
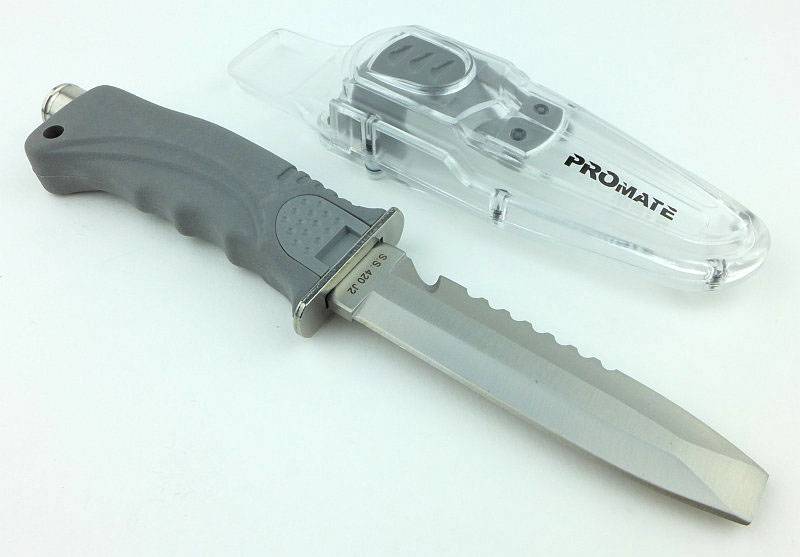
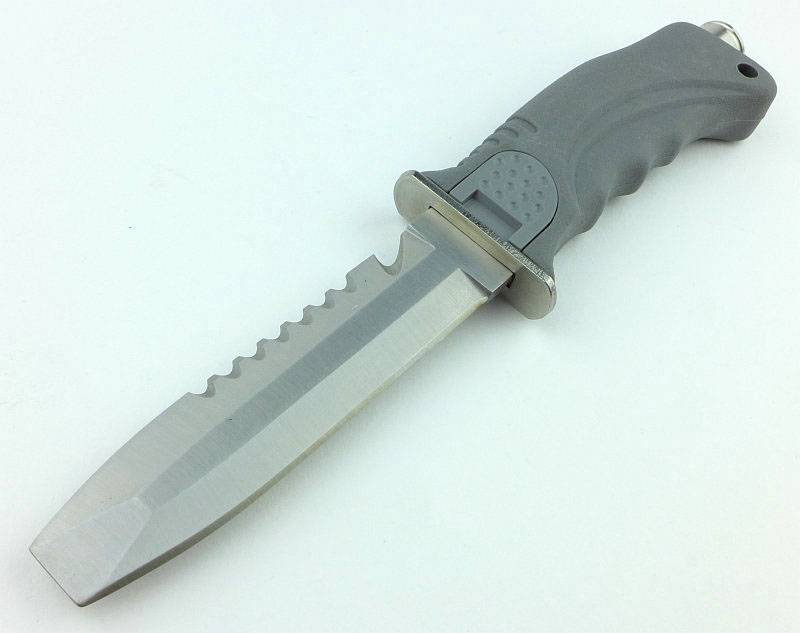
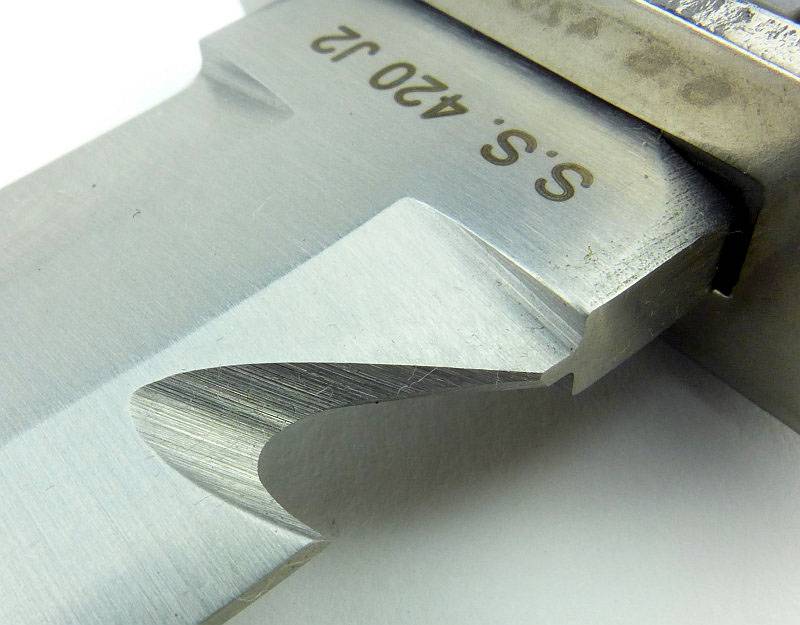
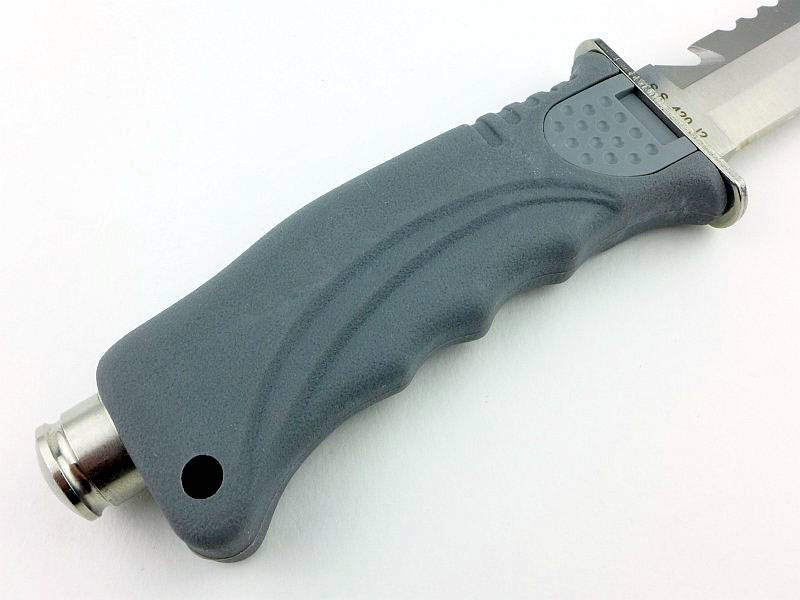
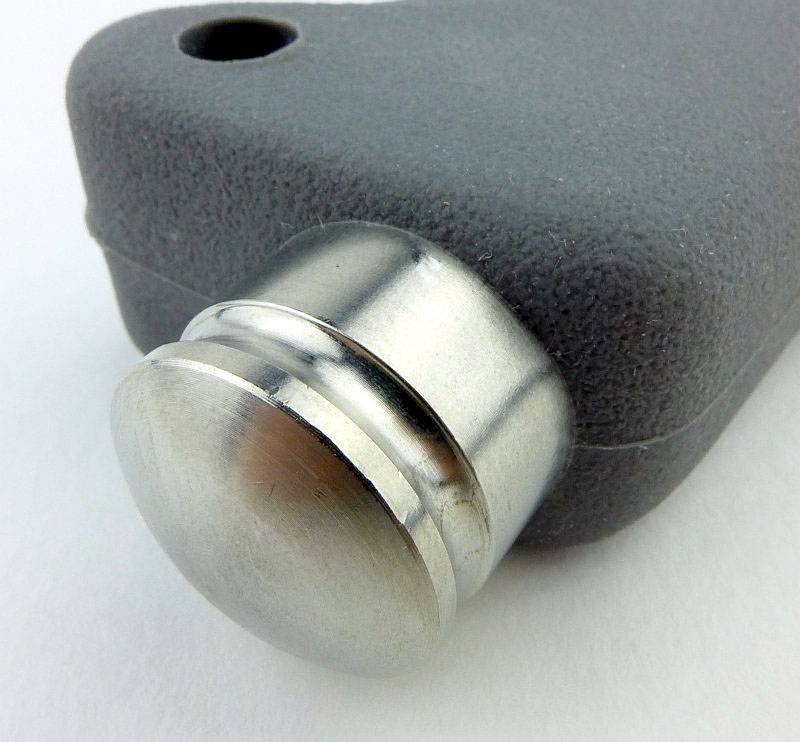
Promate KF505 Blunt
Using a 420 stainless steel blade there is a hammer on the handle bottom and easy-grip rubber handle. The KF505 is easy to disassemble for cleaning and maintenance.
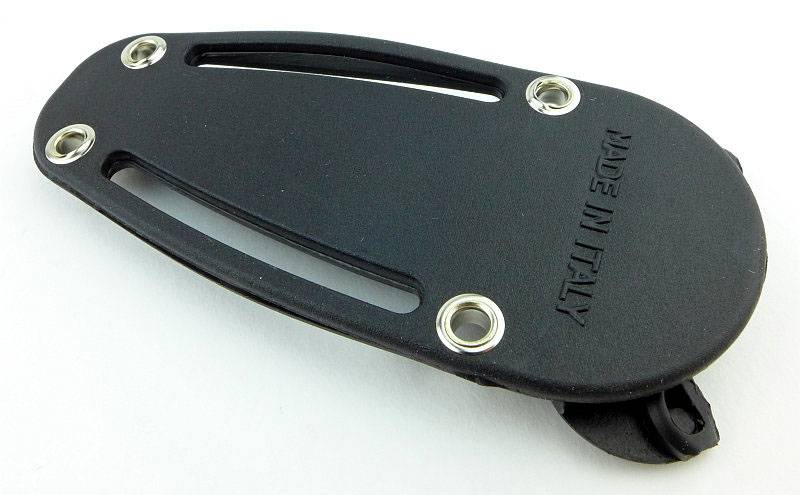
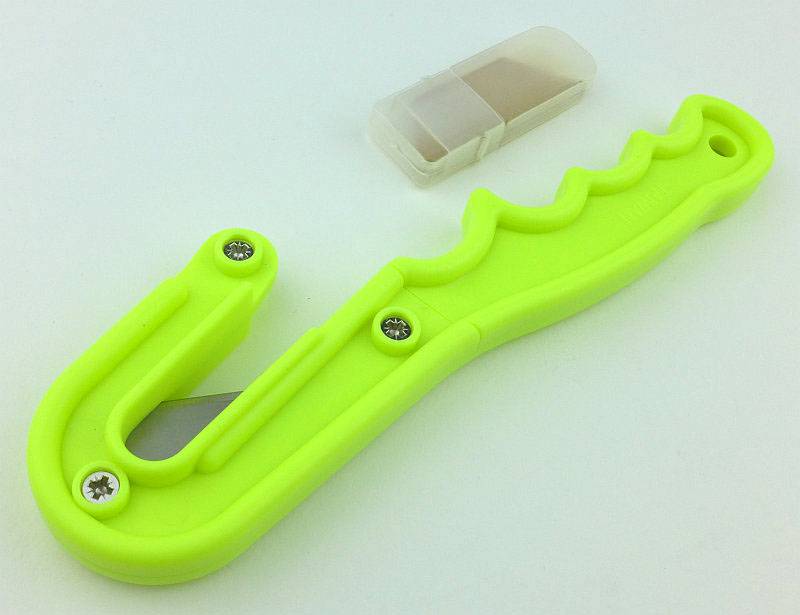
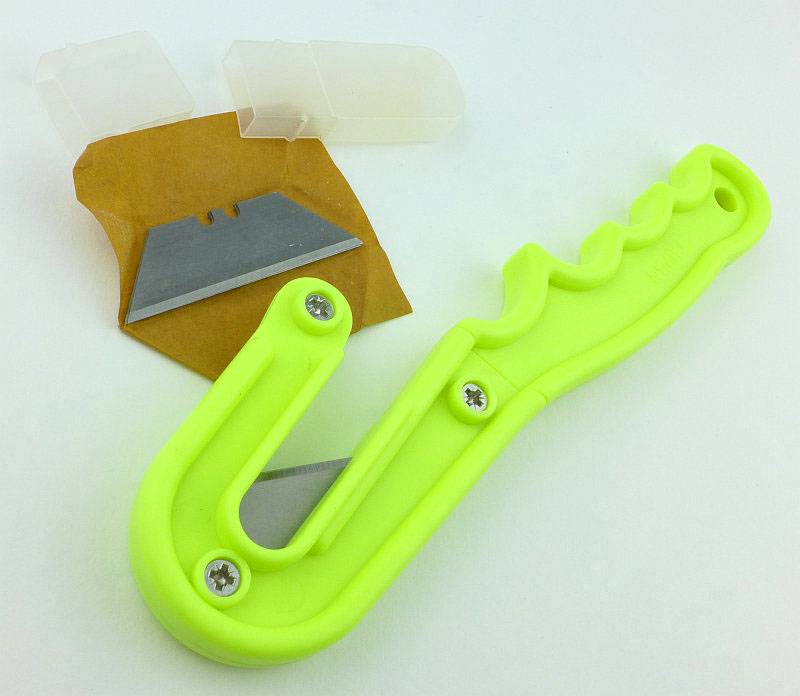
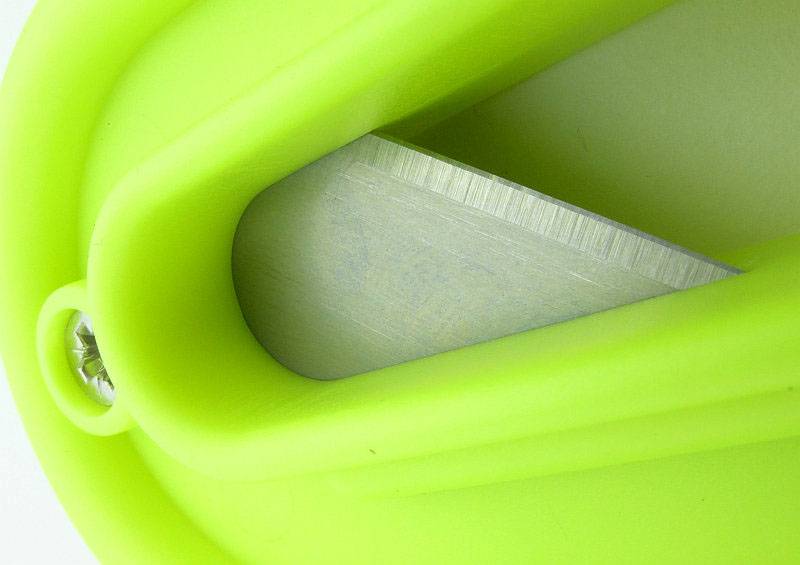
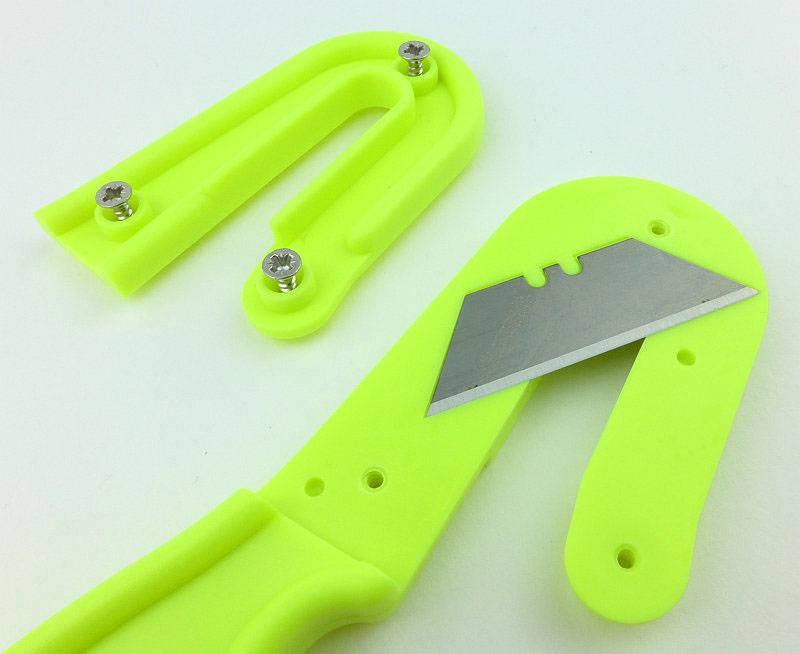
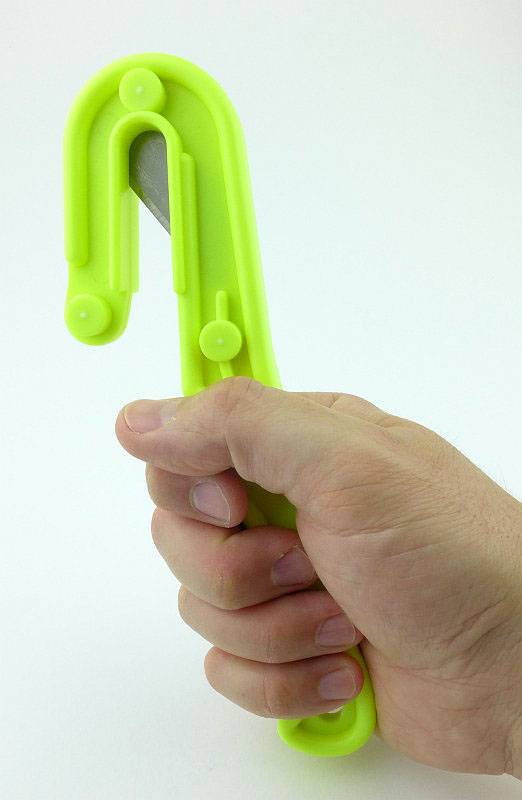
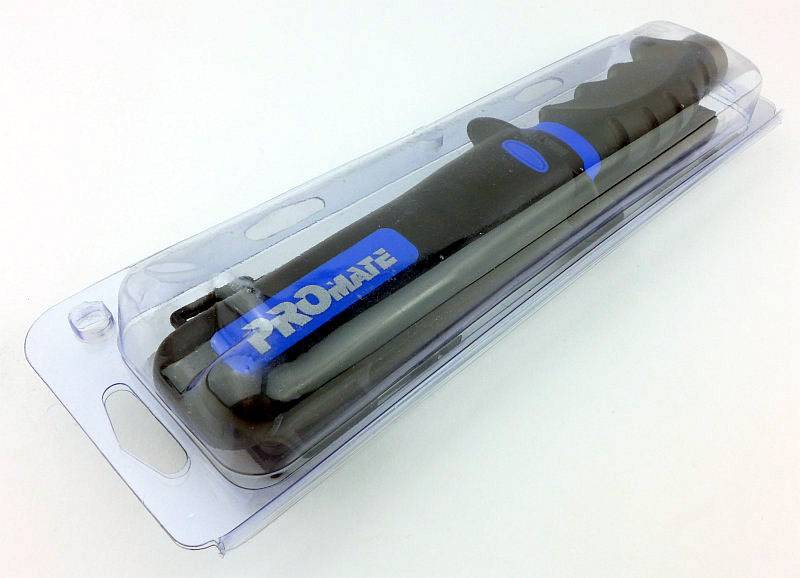
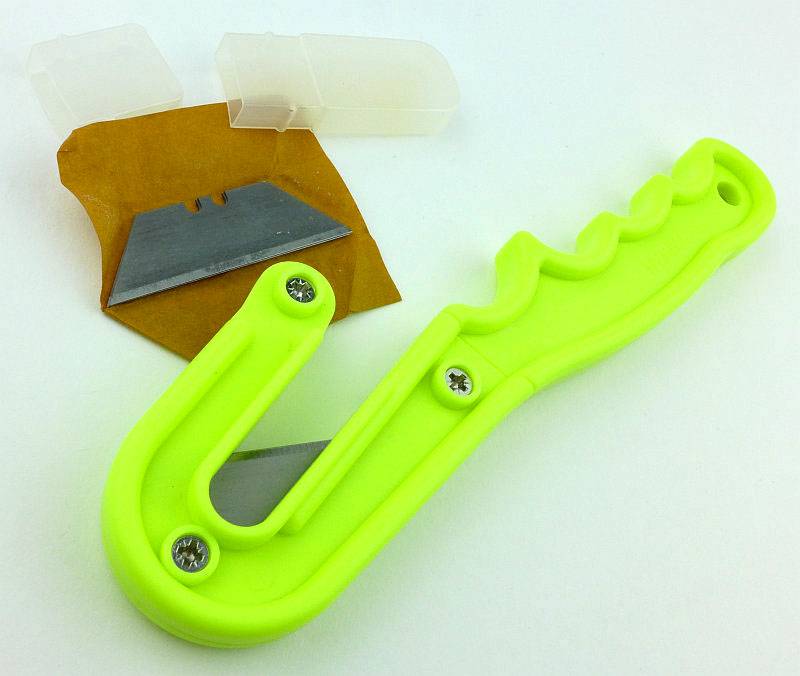
Promate KF001 Line Cutter
Heavy-duty line cutter with easy hold handle. Disassembles to replace the blade and includes 2 replacement blades (standard utility knife blades).
Whitby DK9
2.75” Stainless steel double-edged serrated/plain blade and Stainless steel handle.
Whitby DK11
The Whitby Divers’ Knife DK11 features a double-edged blade with one edge being serrated and the other is a fine edge. In addition to its multi-purpose blade, the Whitby Divers’ Knife DK11 features a hammer hilt, situated within the rubber handle.
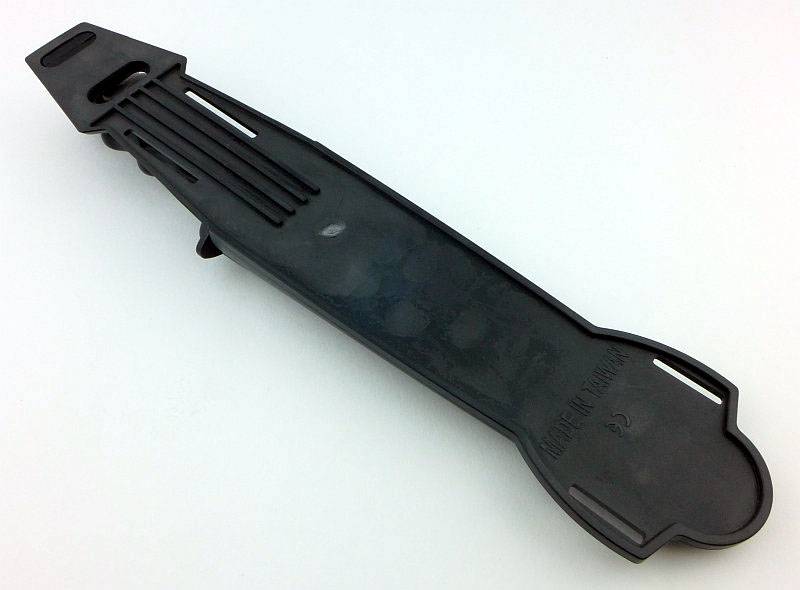
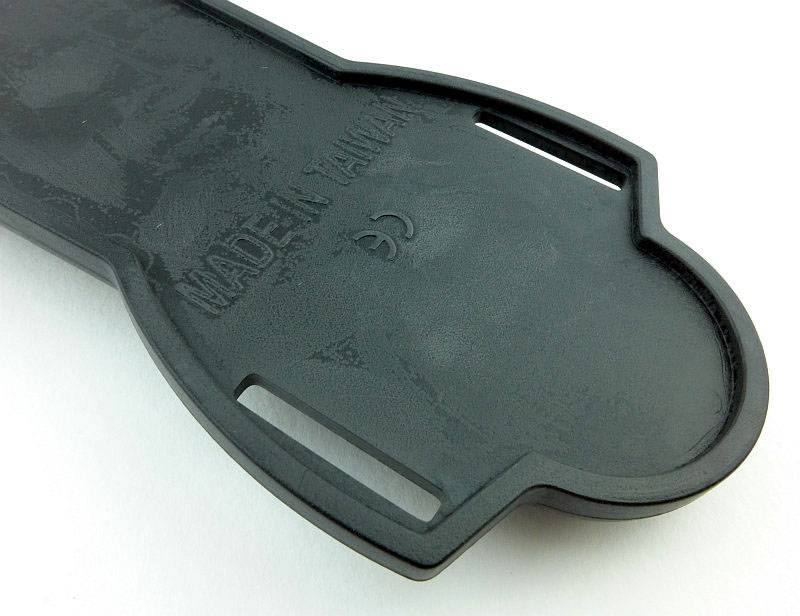
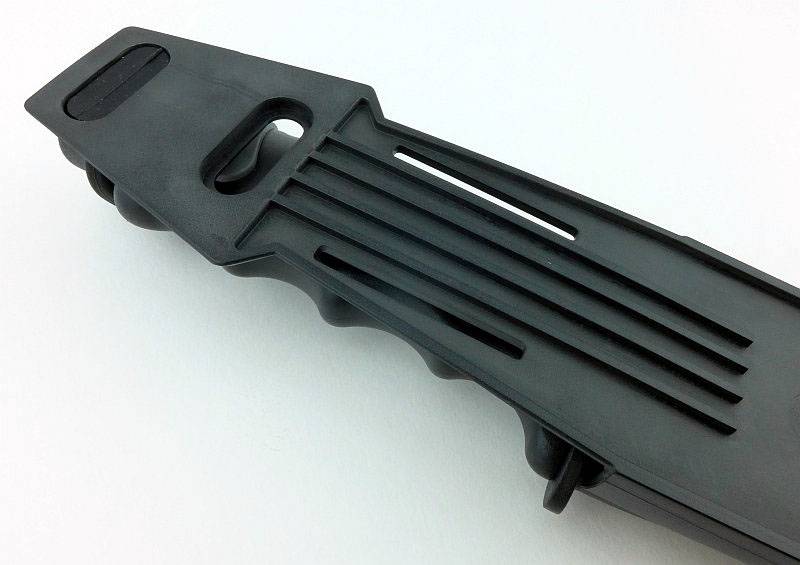
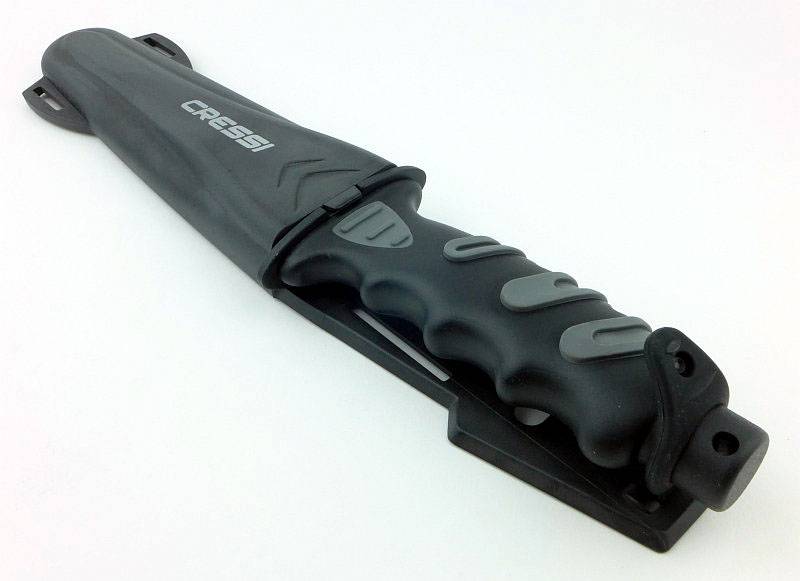
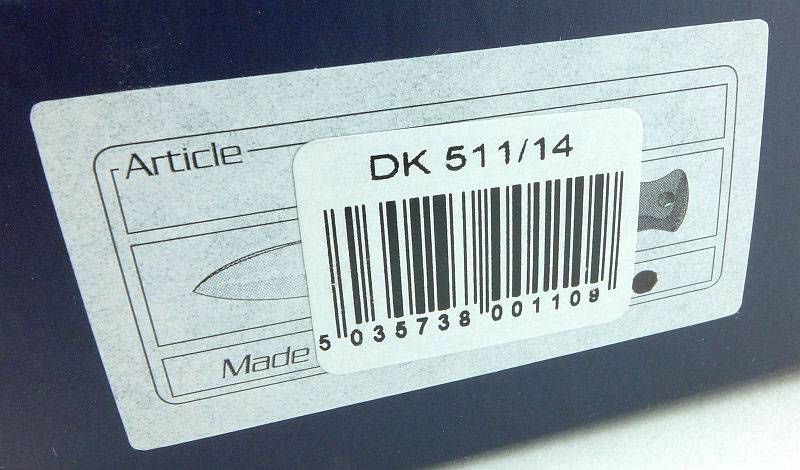
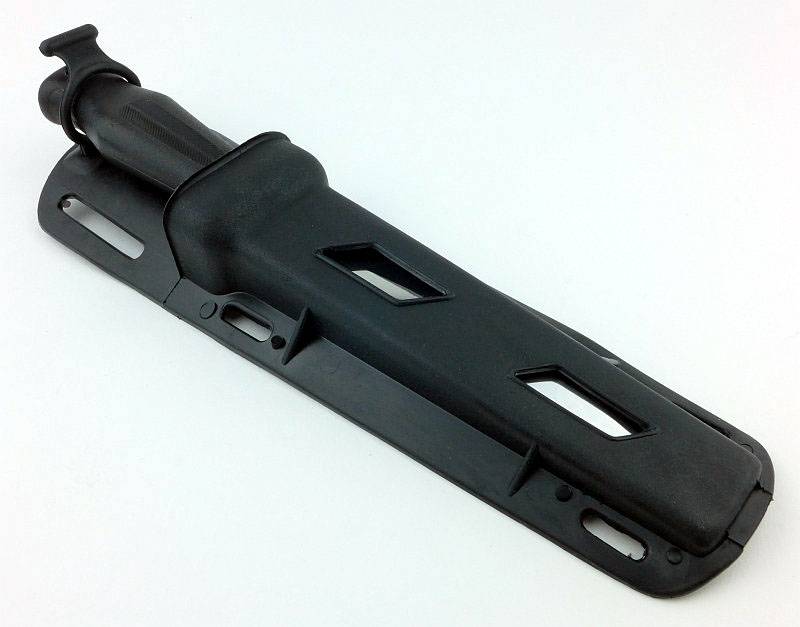
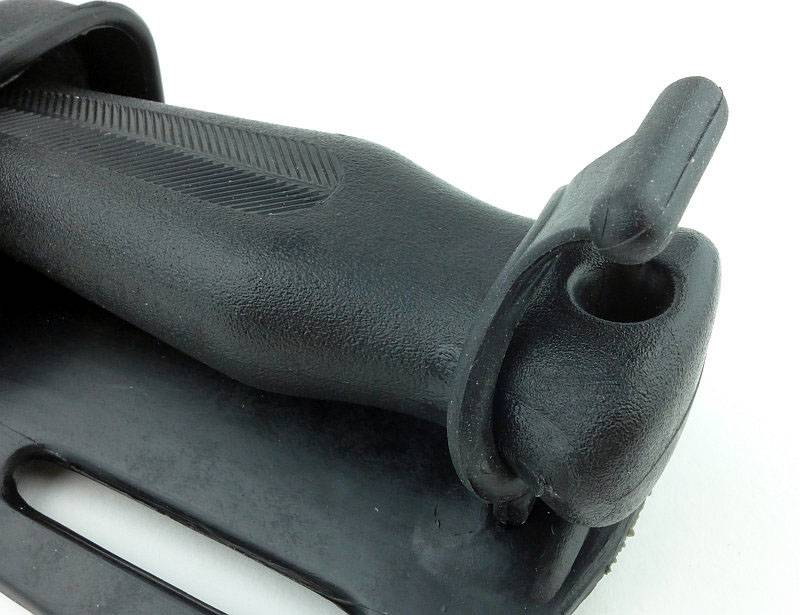
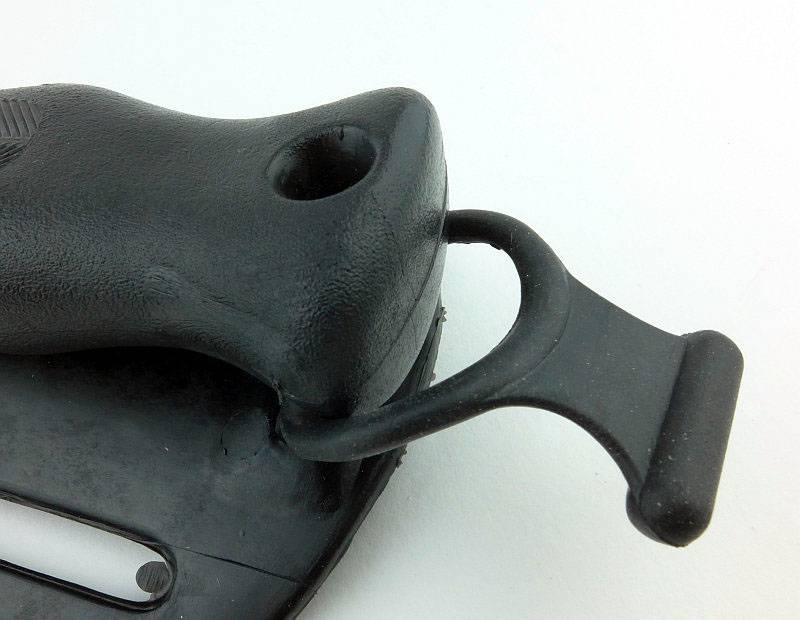
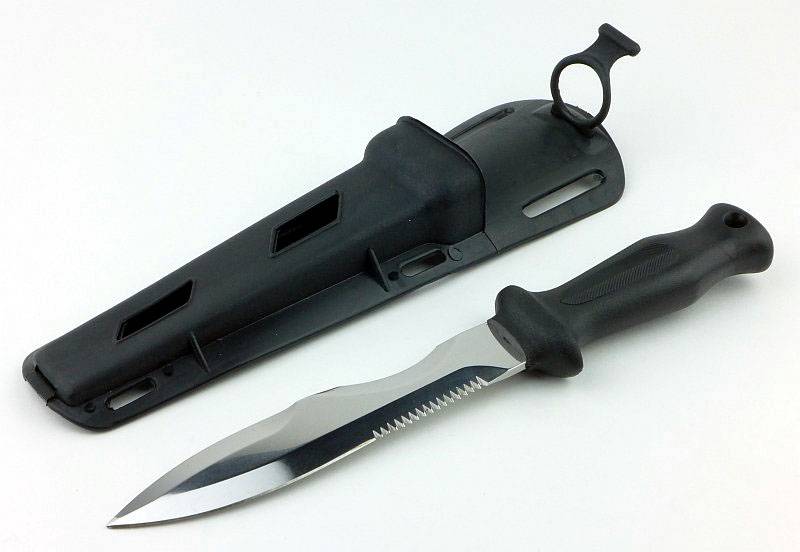
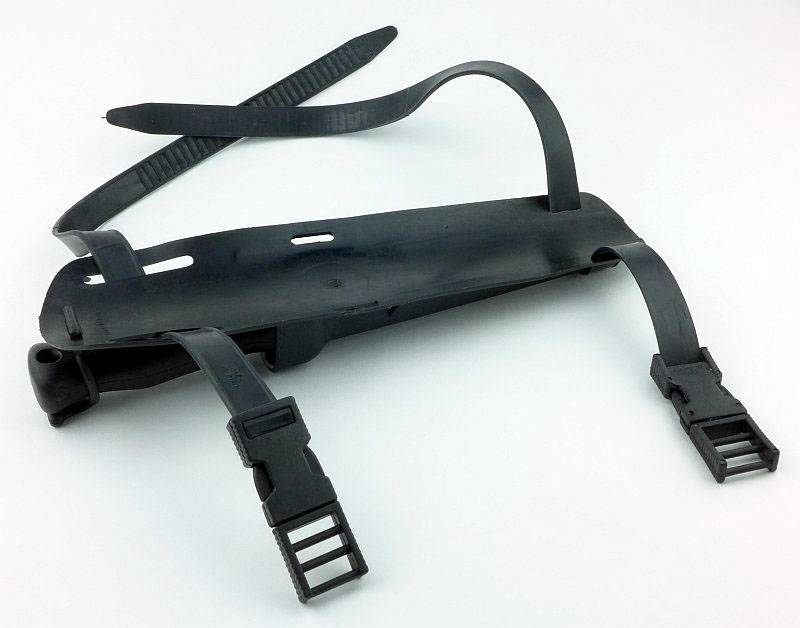
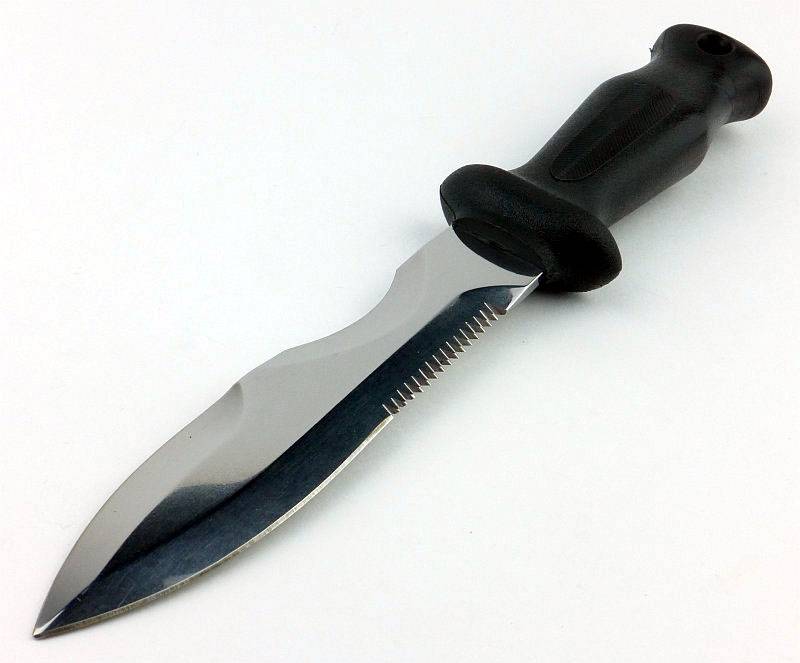
Whitby DK511/14
This Diver’s Knife has a 6.25-inch stainless blade and an overall length of 11 inches. The handle of the Whitby Diver’s Knife DK511/14 is contoured moulded black plastic and the knife is supplied with a plastic sheath with arm/leg straps. A big, traditional, diving knife design.
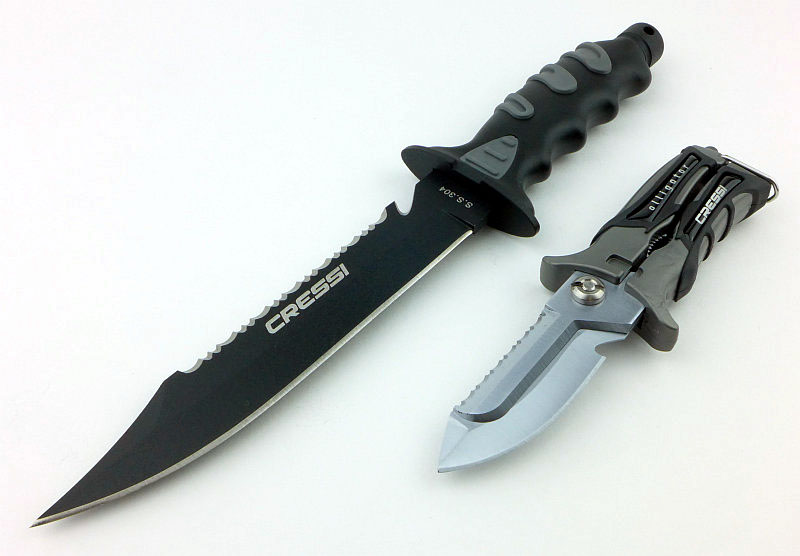
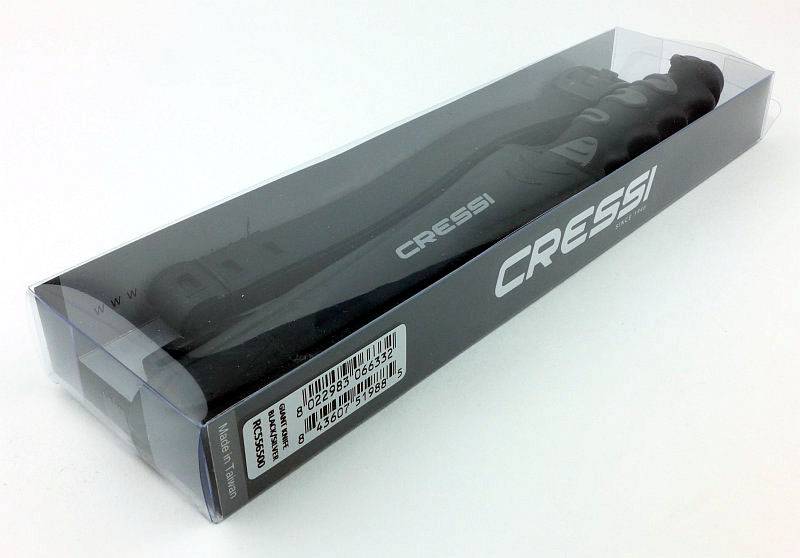
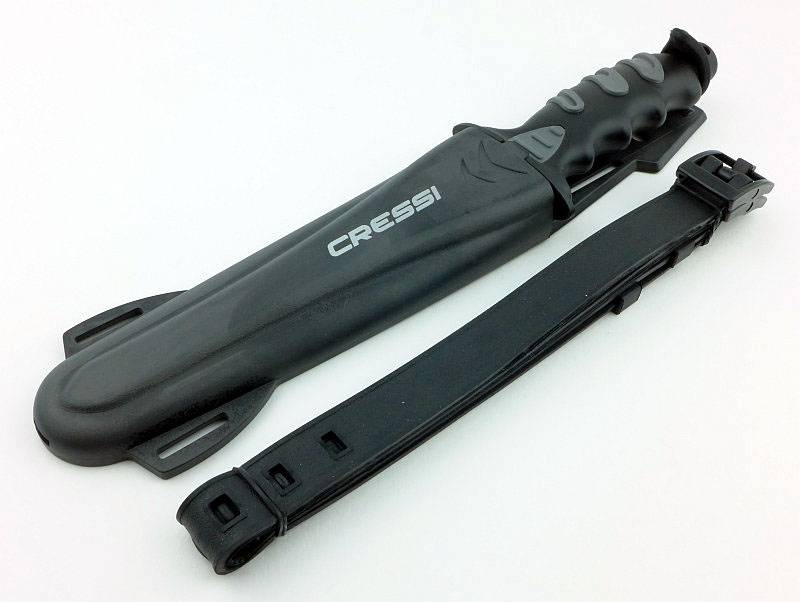
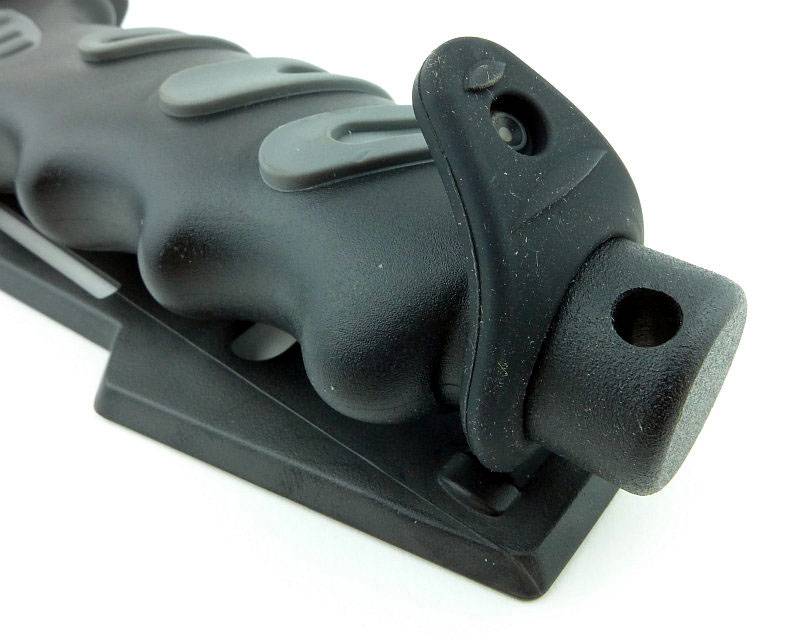
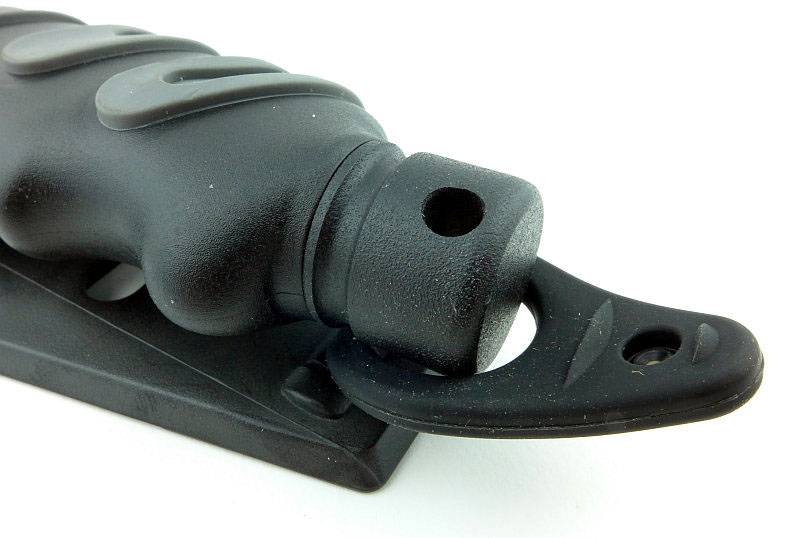
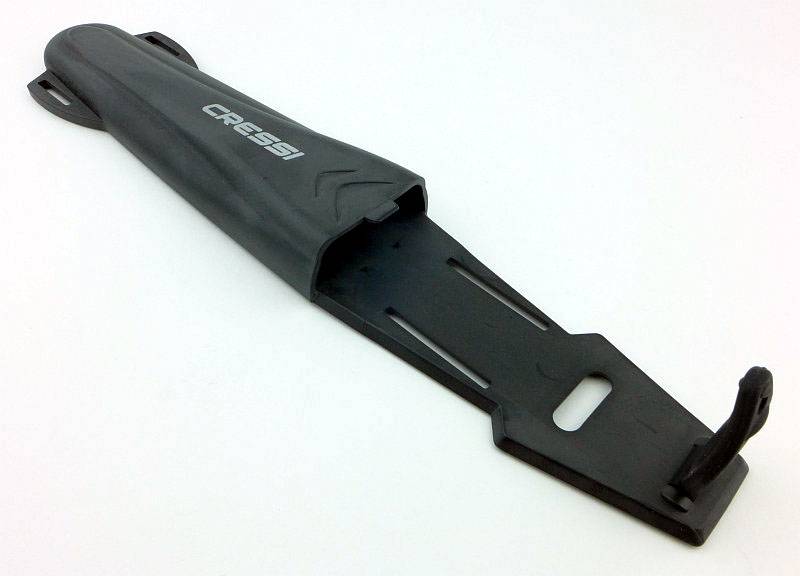
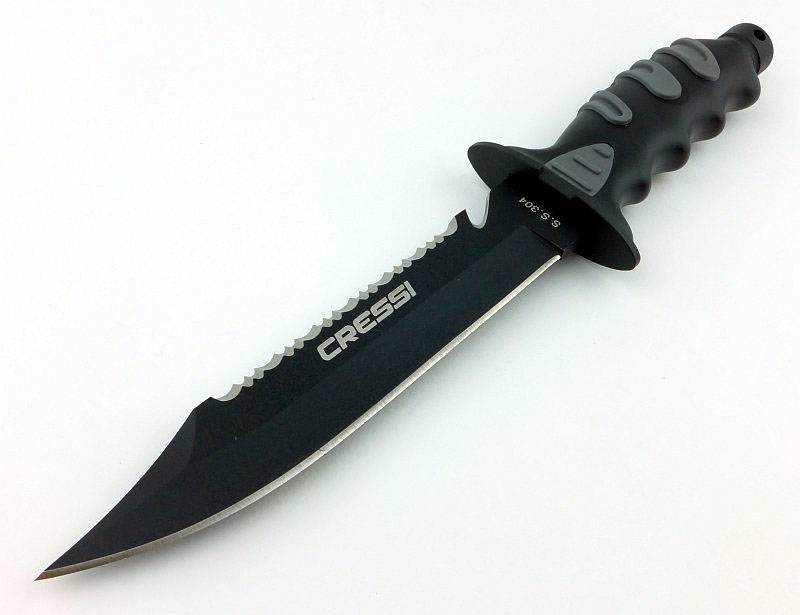
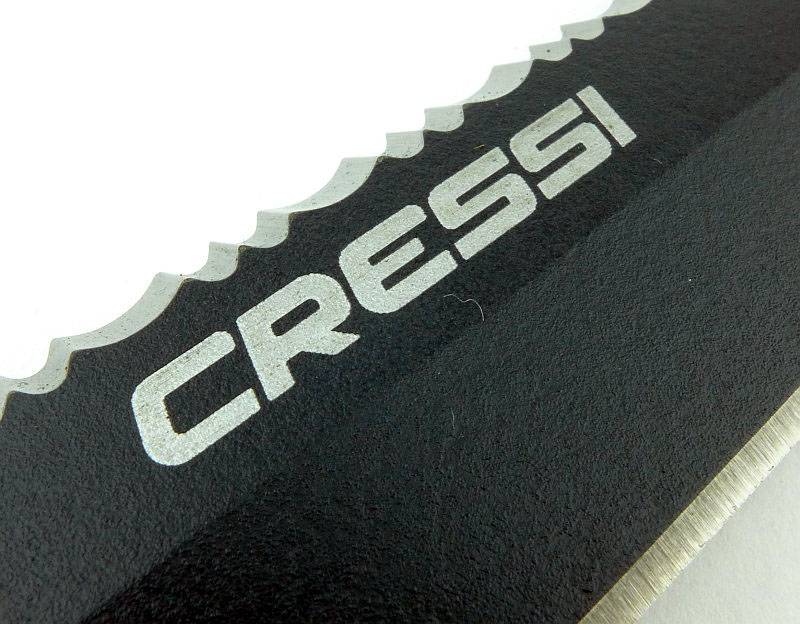
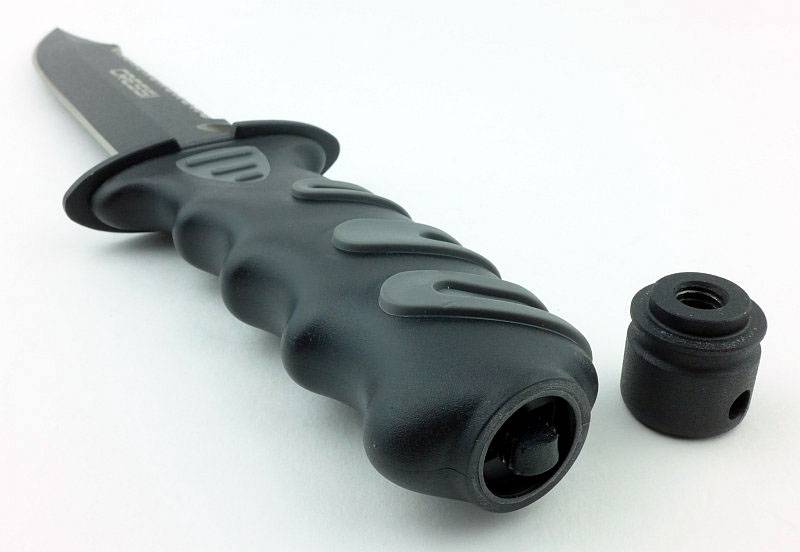
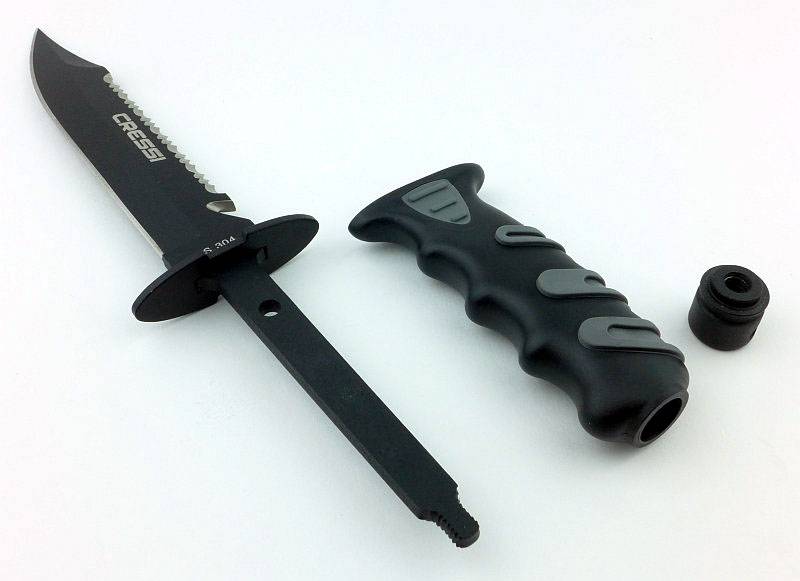
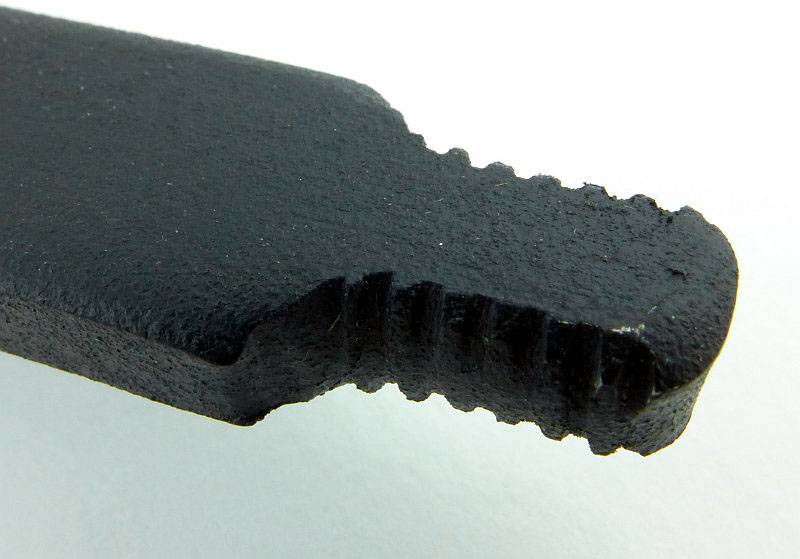
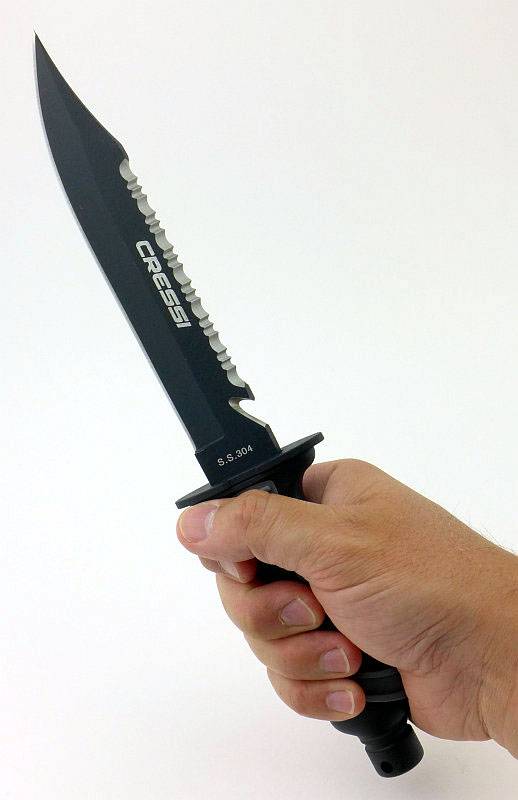
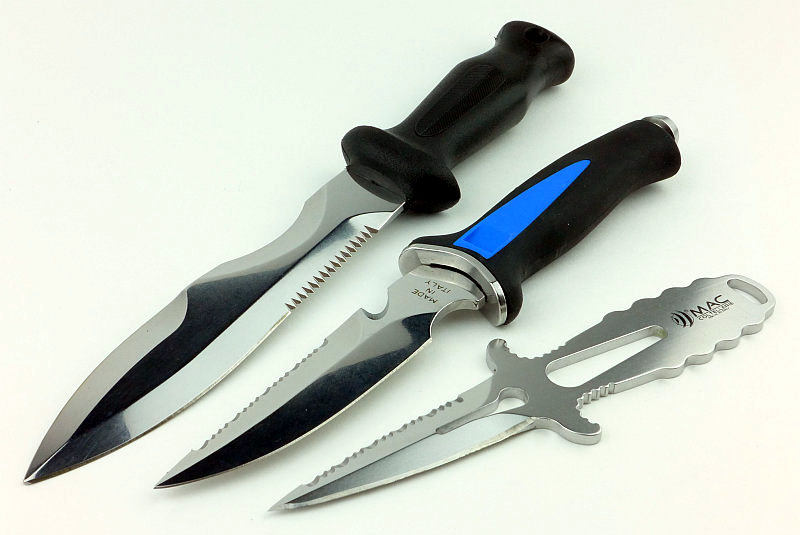
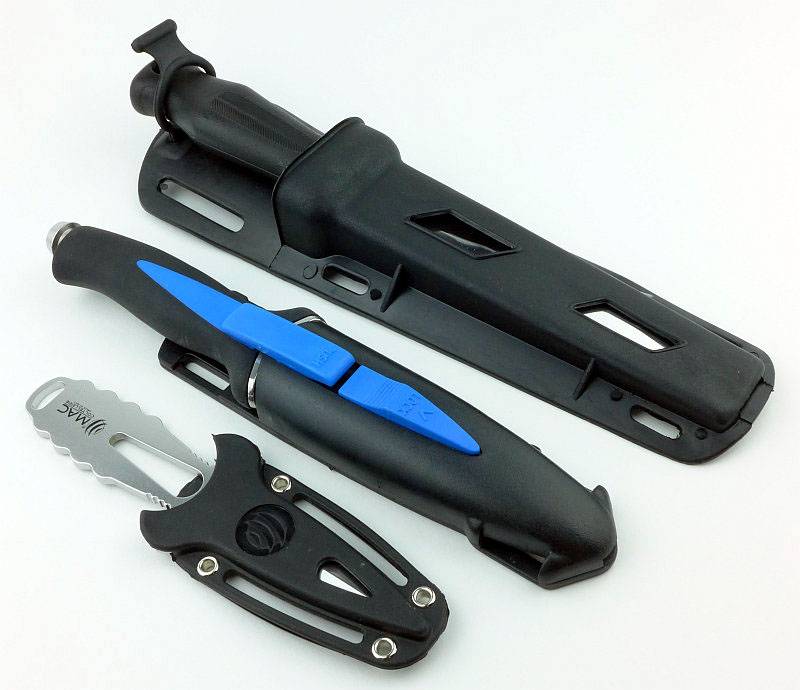
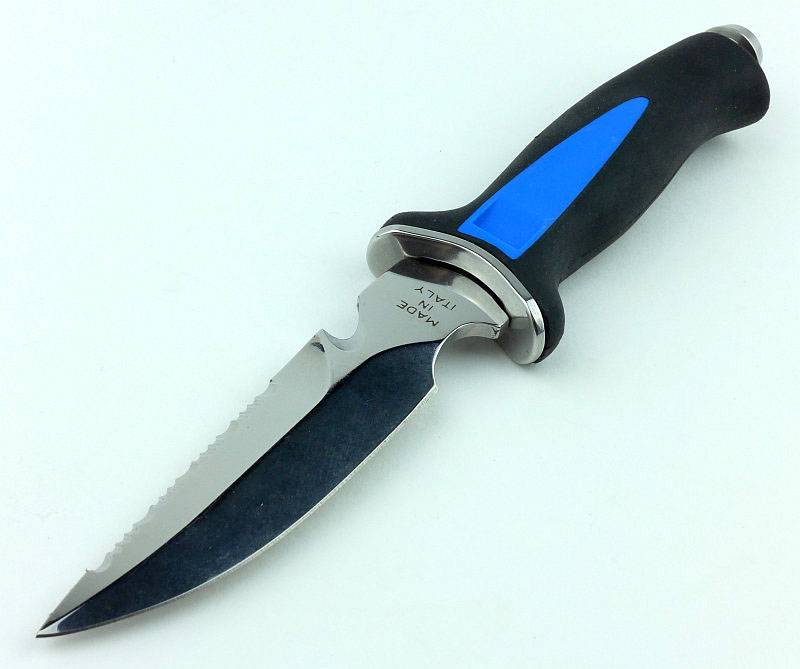
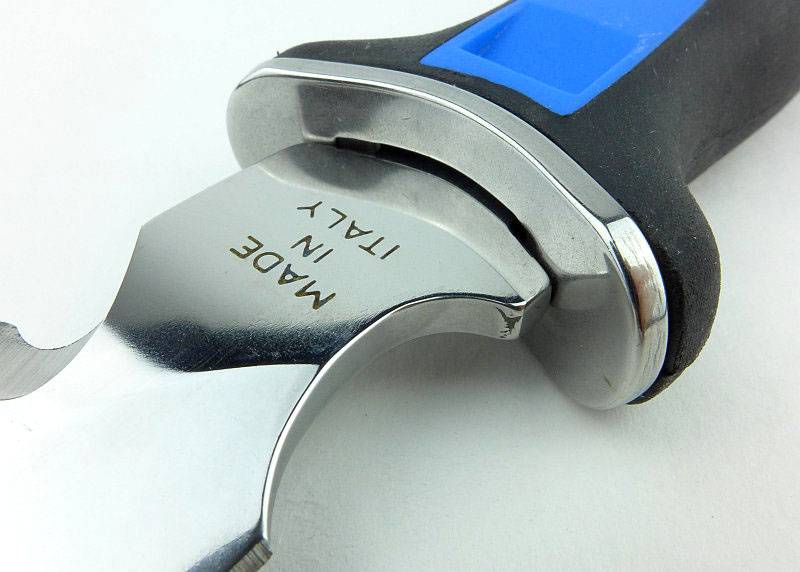
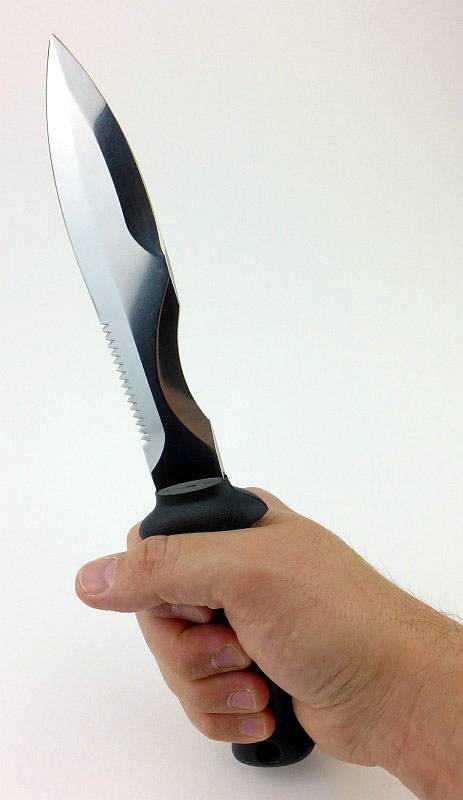
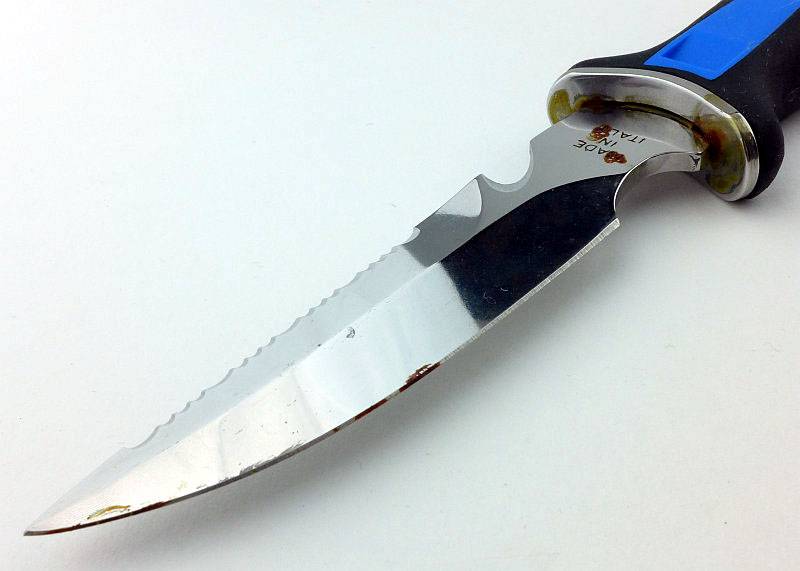
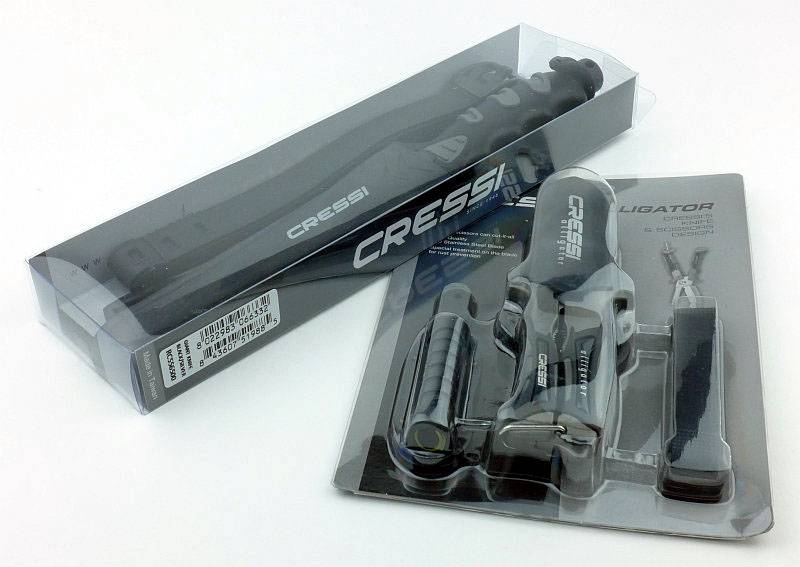
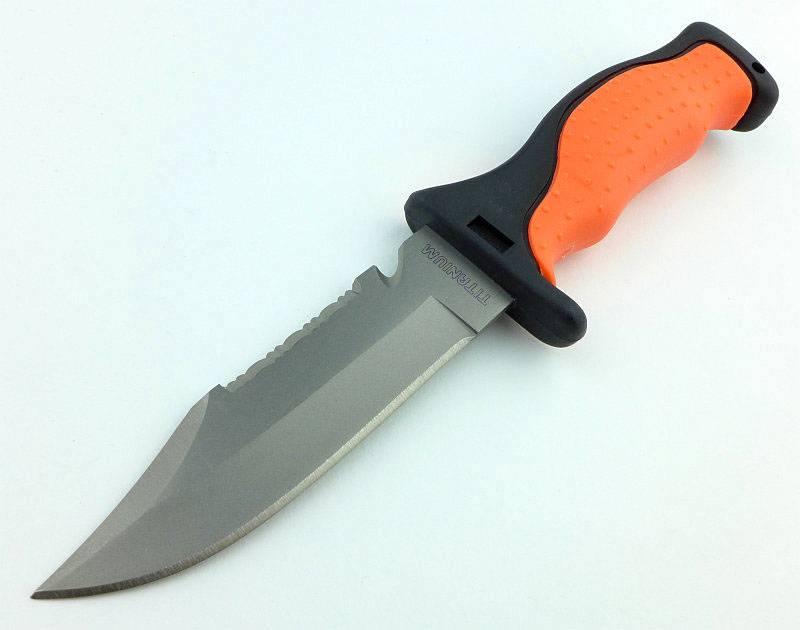
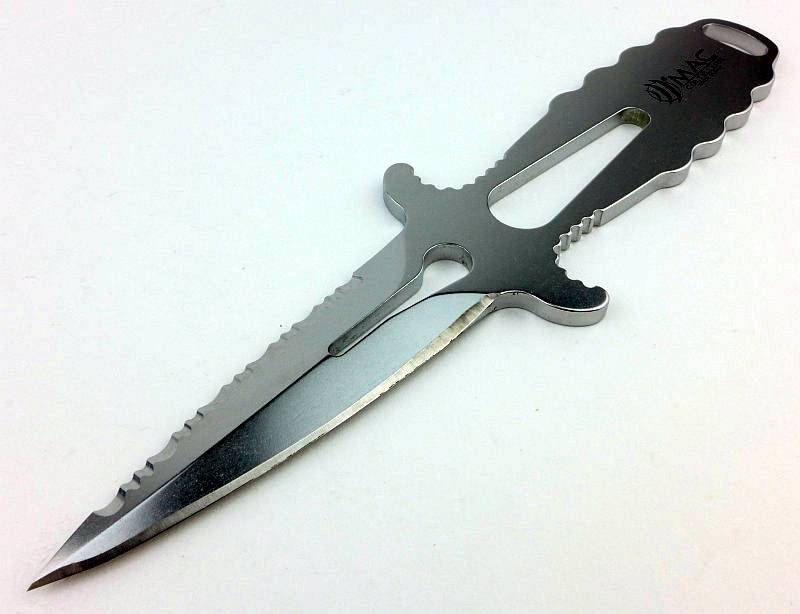
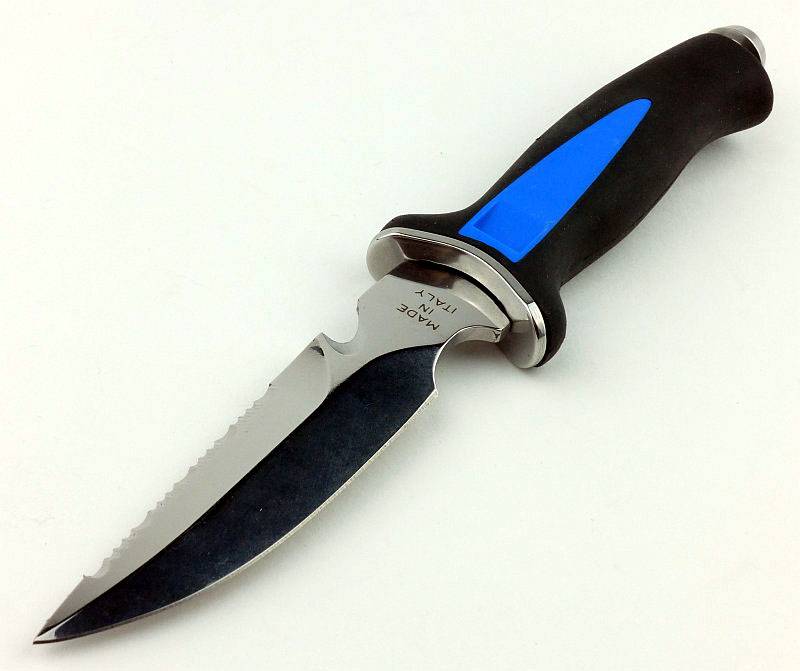
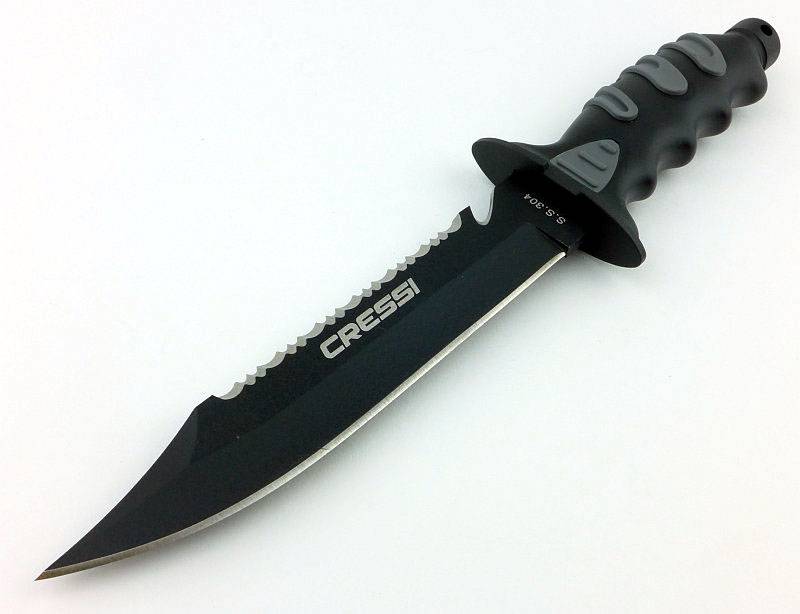
Cressi Giant Knife
This knife has large dimensions that make it particularly effective during use. Perfect as a work tool or for particularly intensive use. Featuring a Japanese 420 Stainless Steel blade with black coating treatment for corrosion resistance.
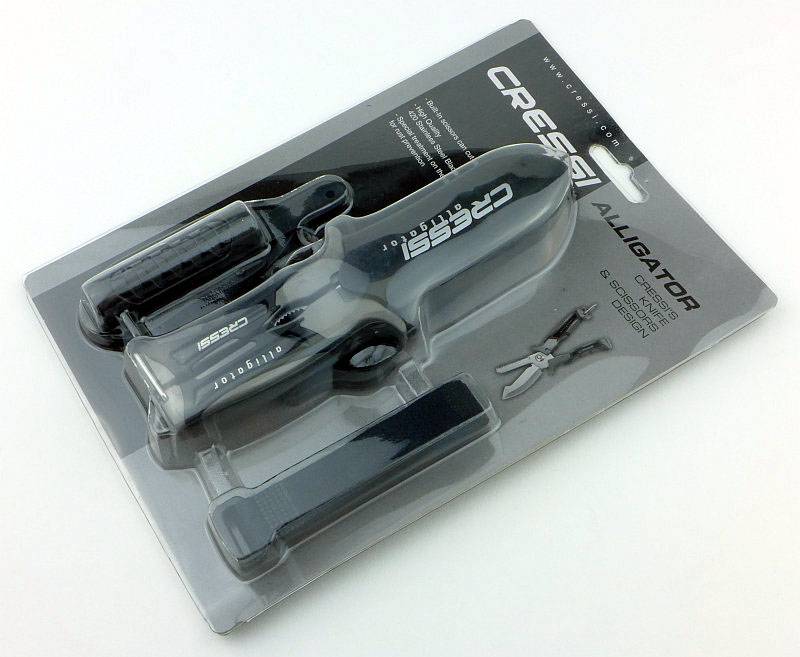
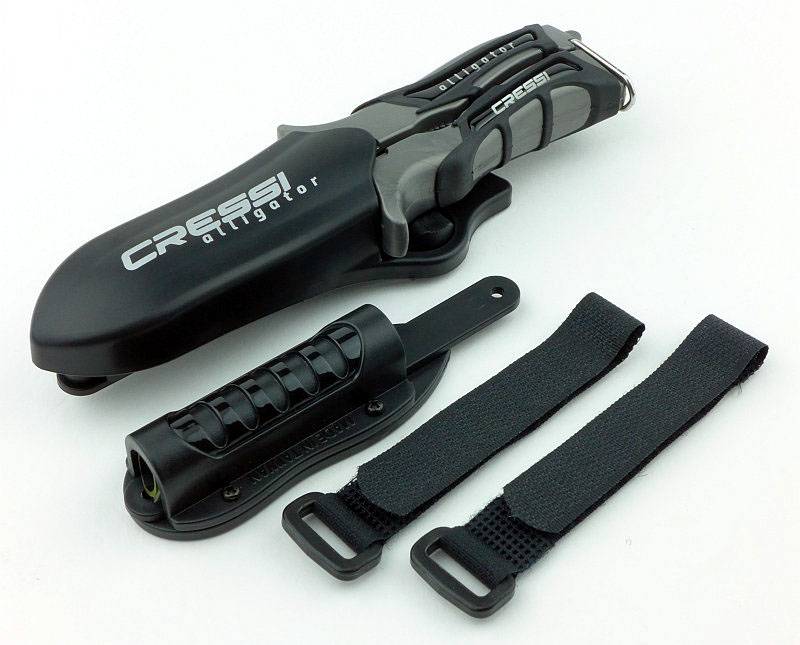
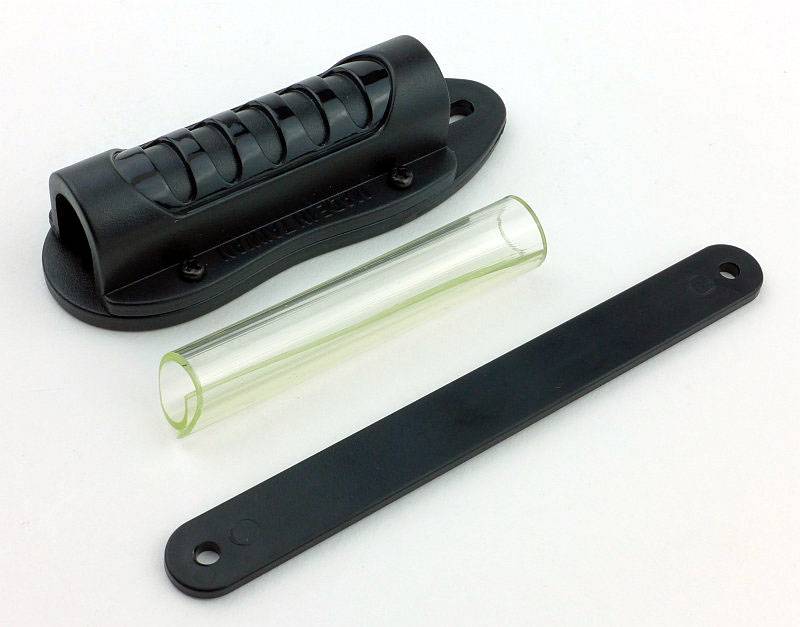
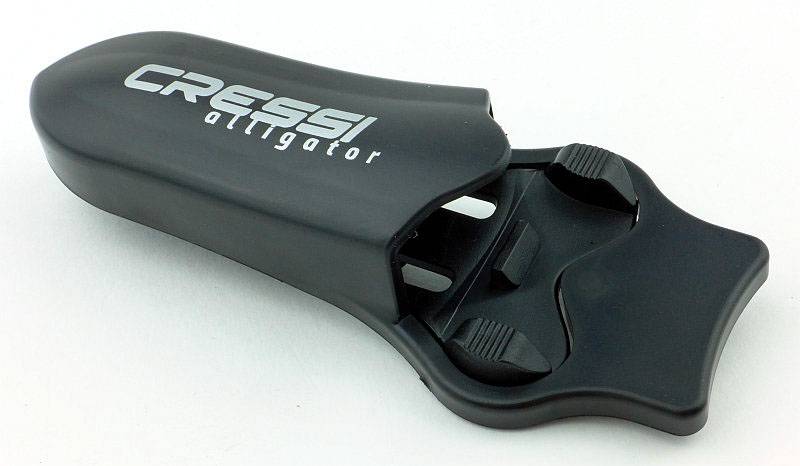
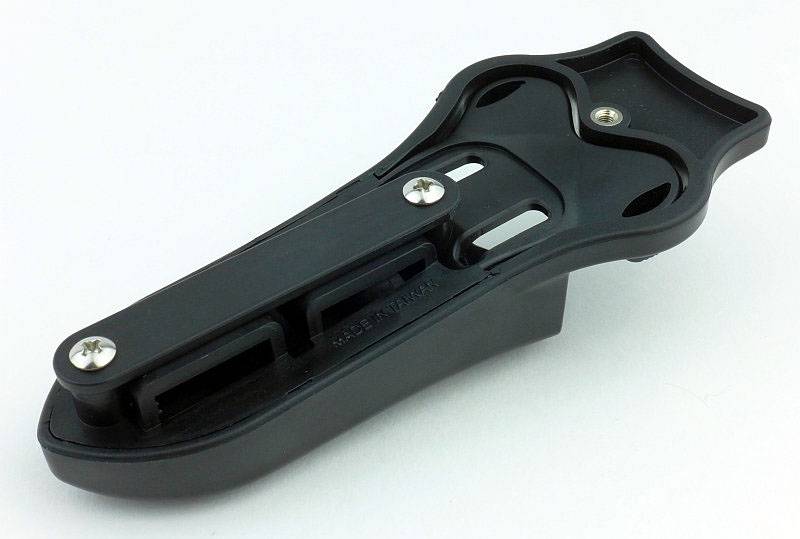
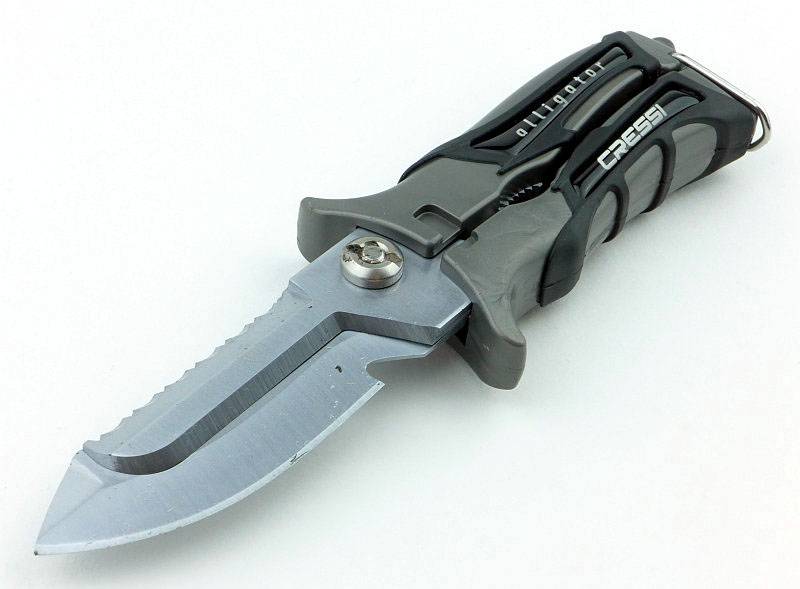
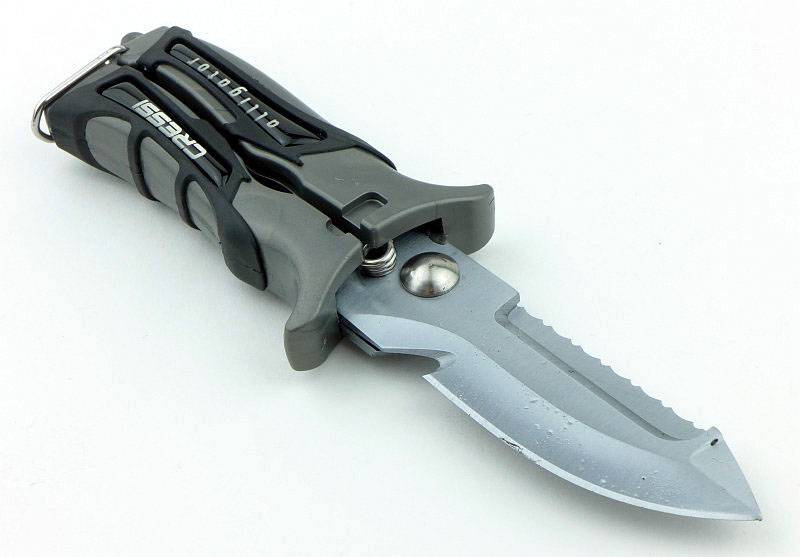
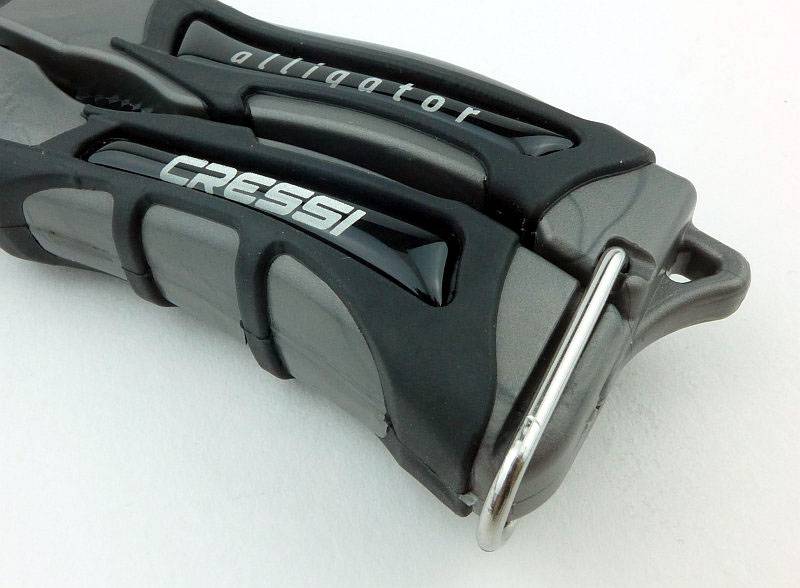
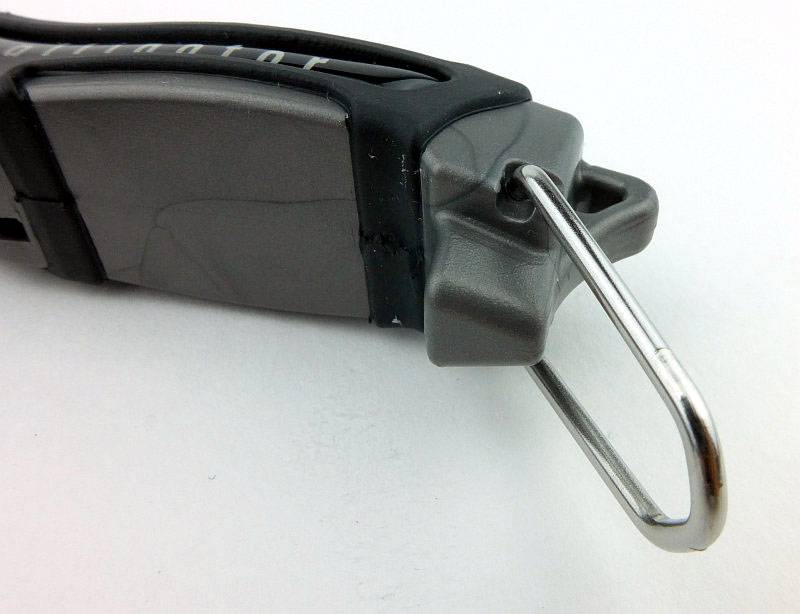
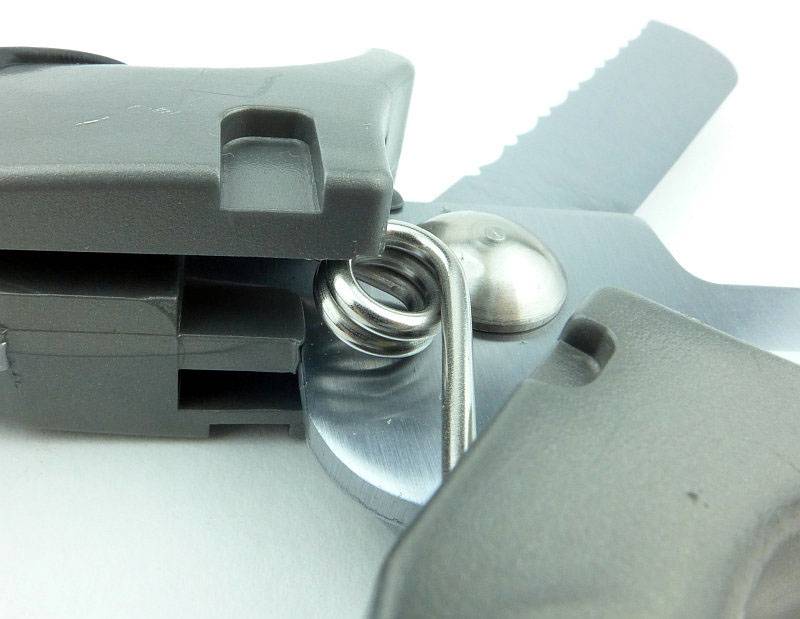
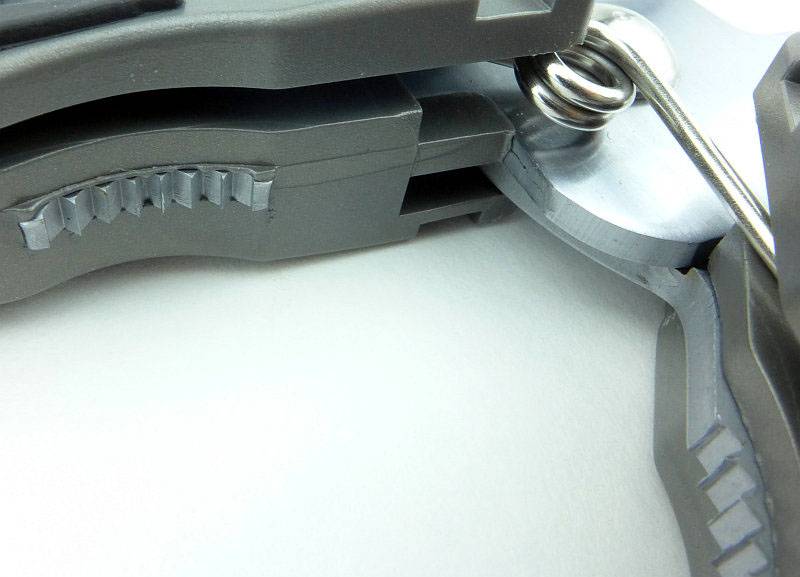
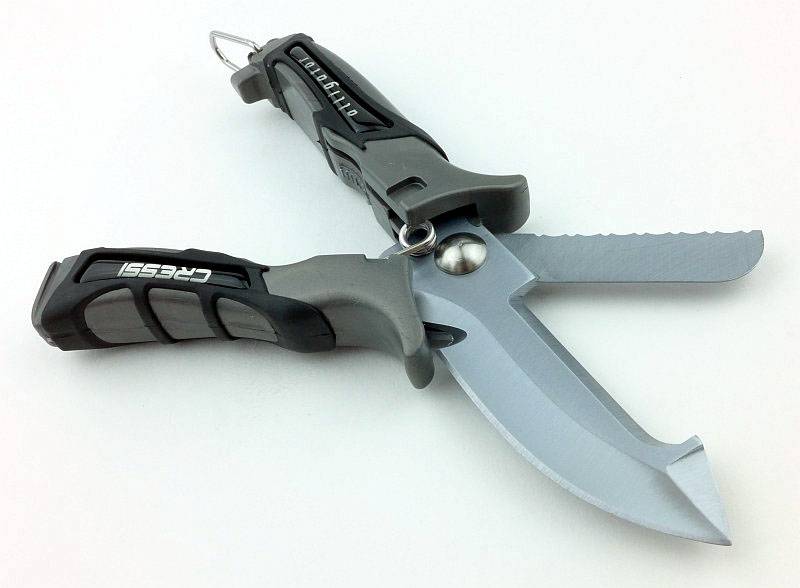
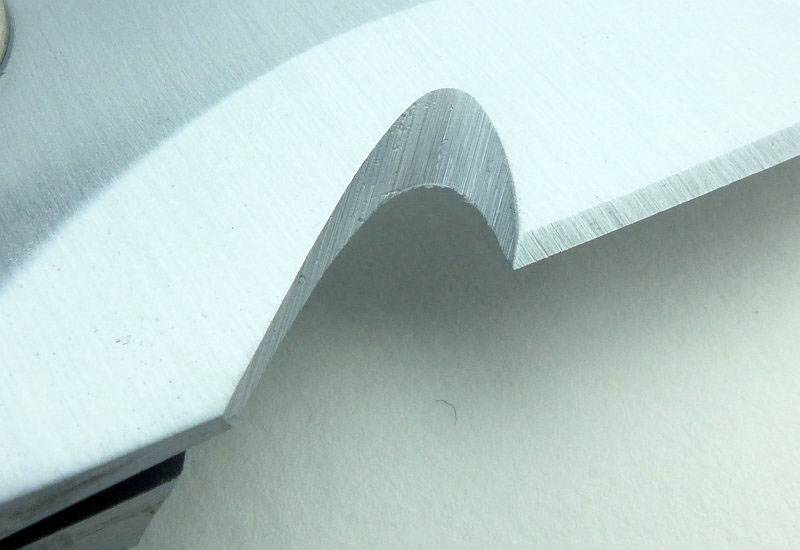
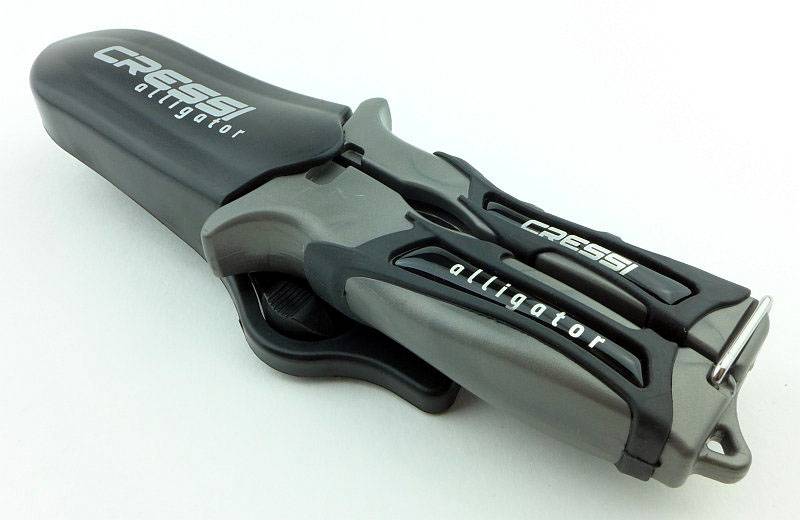
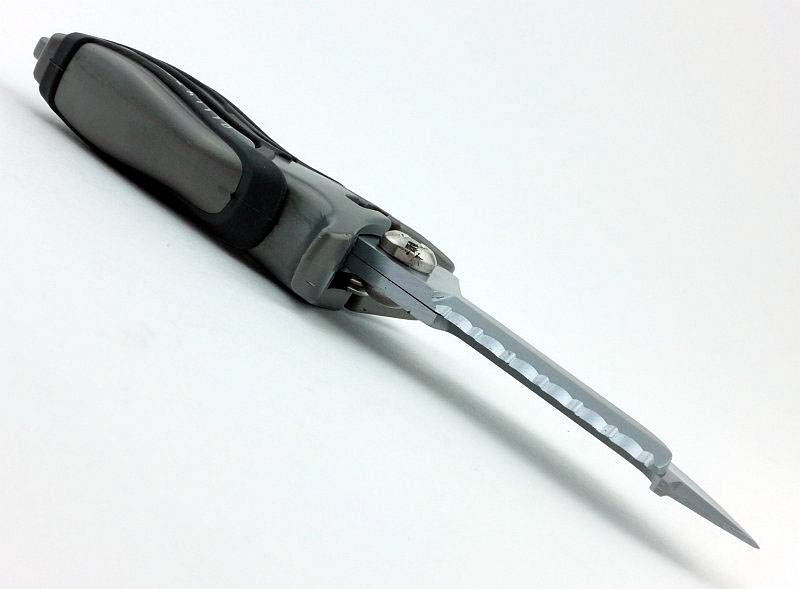
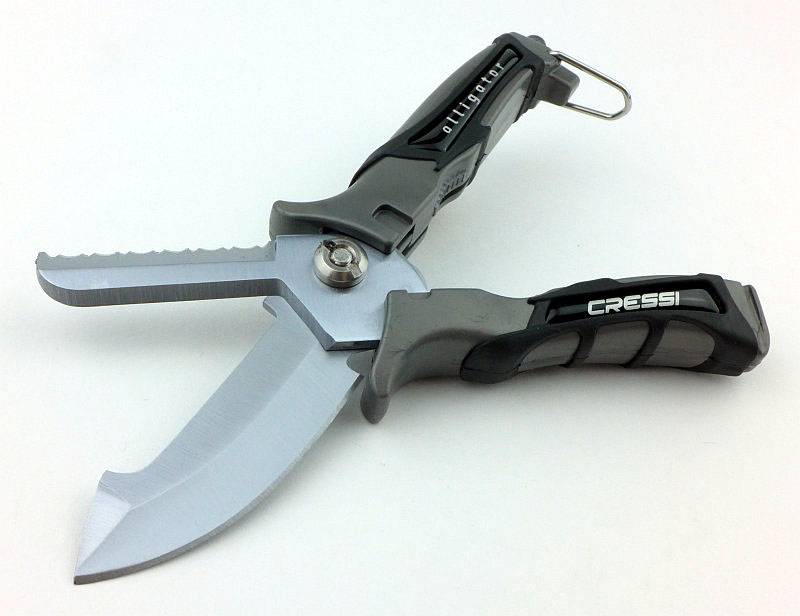
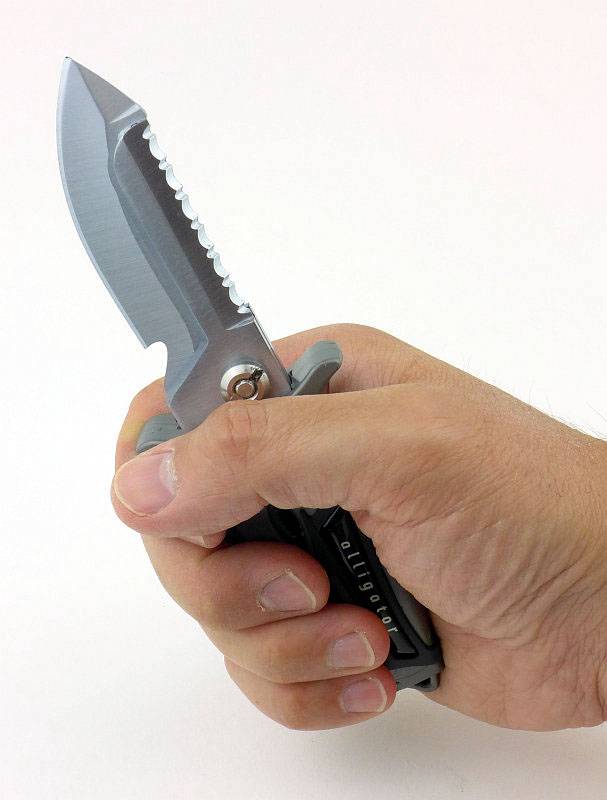
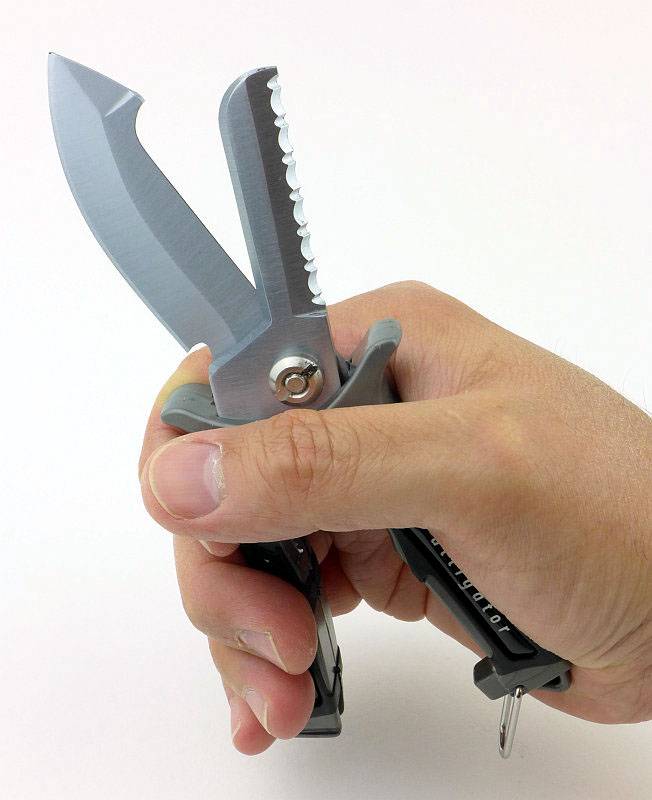
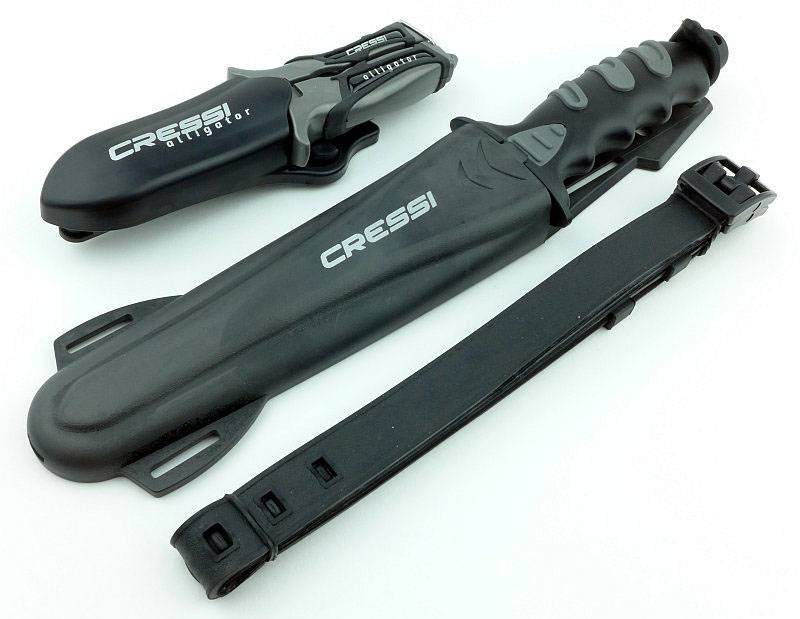
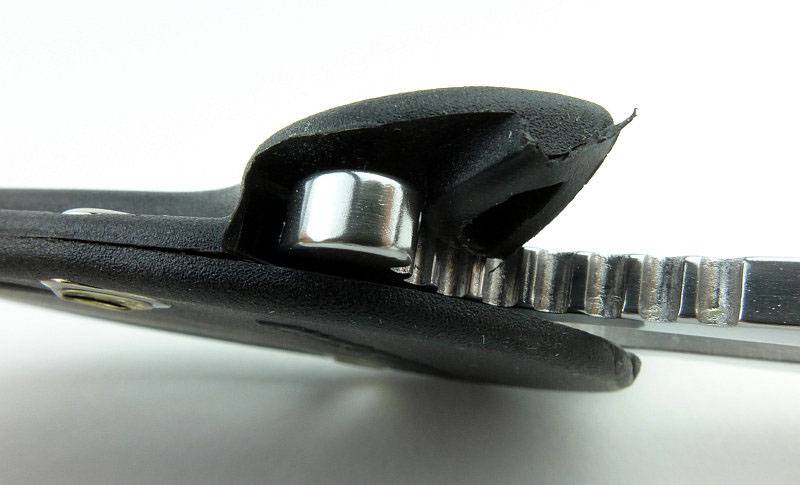
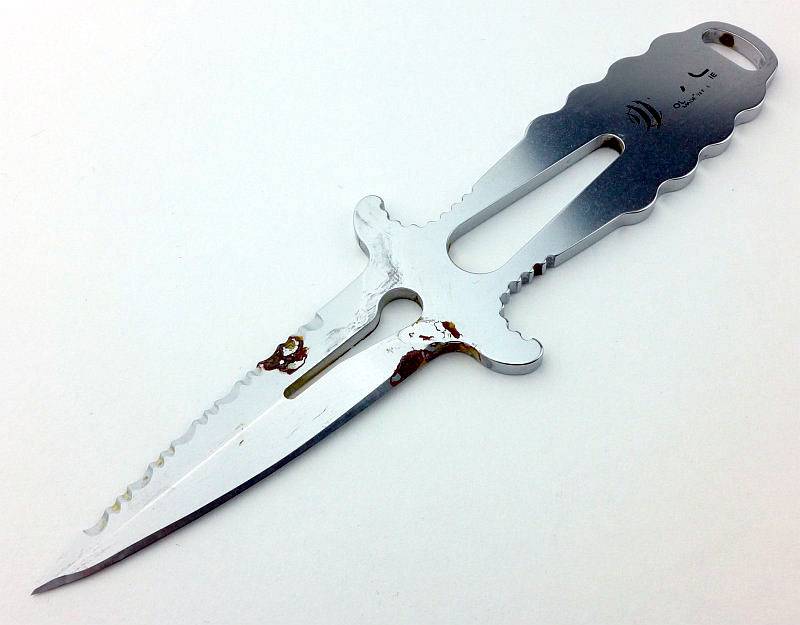
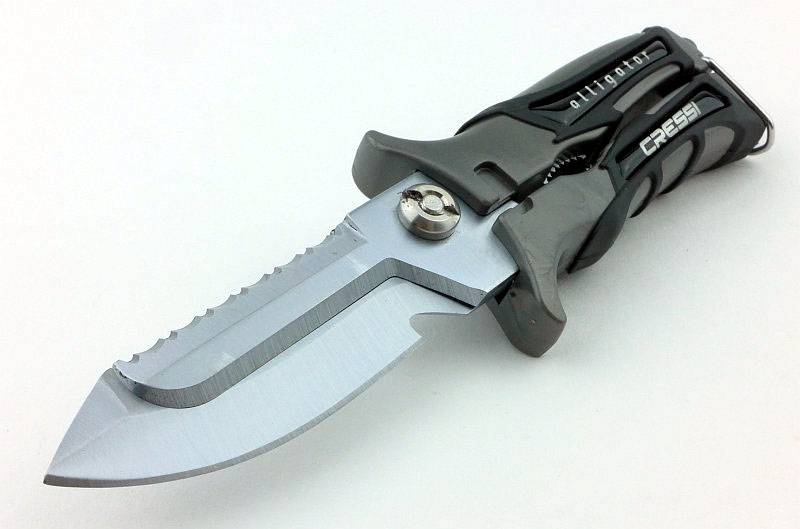
Cressi Alligator
The CRESSI Alligator is a unique tool offering the function of a Knife and Scissors. The 420-Stainless Steel Blade has a Straight and Serrated Edge plus a cutting hook and shears. It comes with a Hose Mount Sheath.
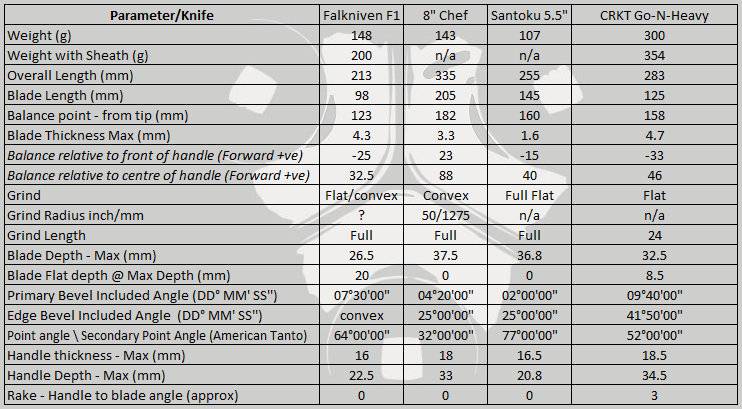
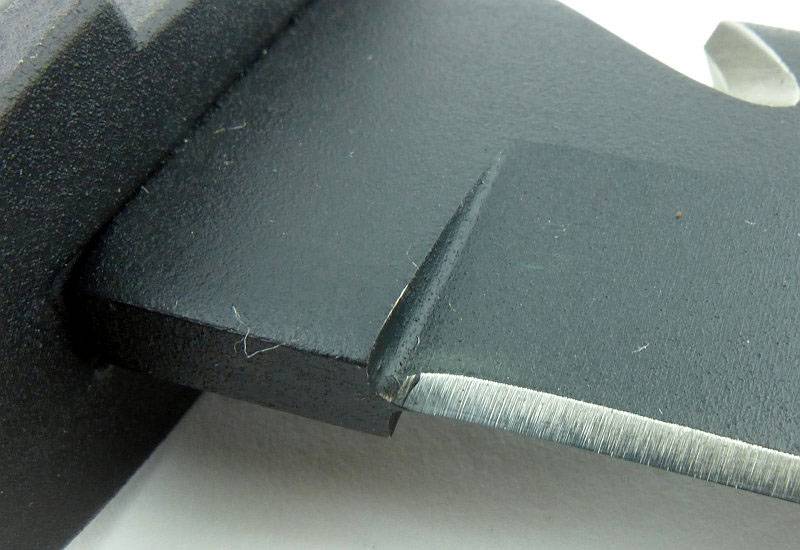
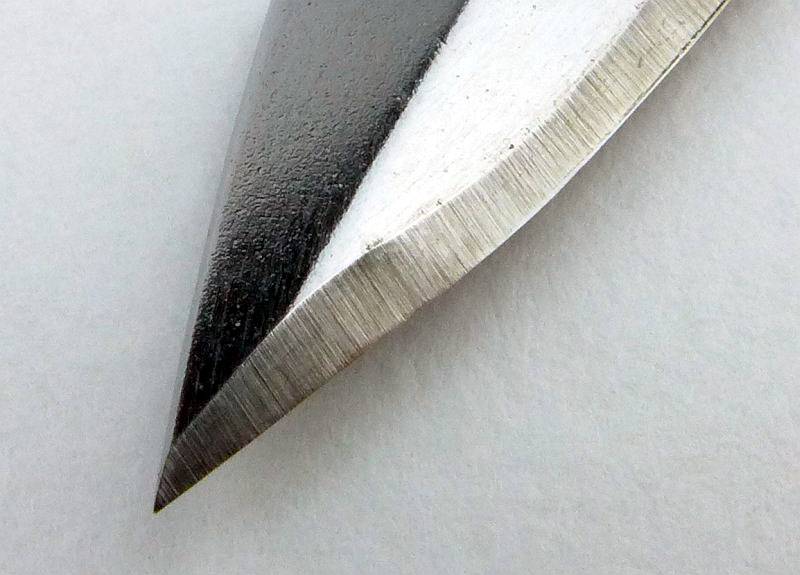
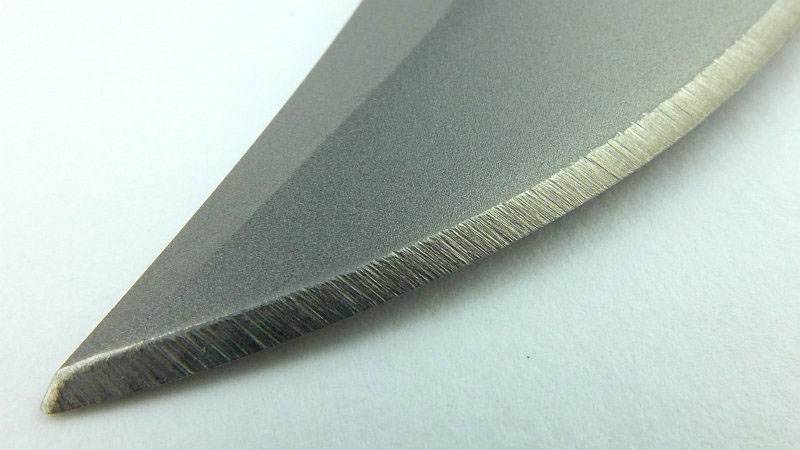
The Blade and Handle Geometry:
Most knife specifications have a basic description of the blade geometry, but in this section I will be taking a more detailed look at geometry and balance.

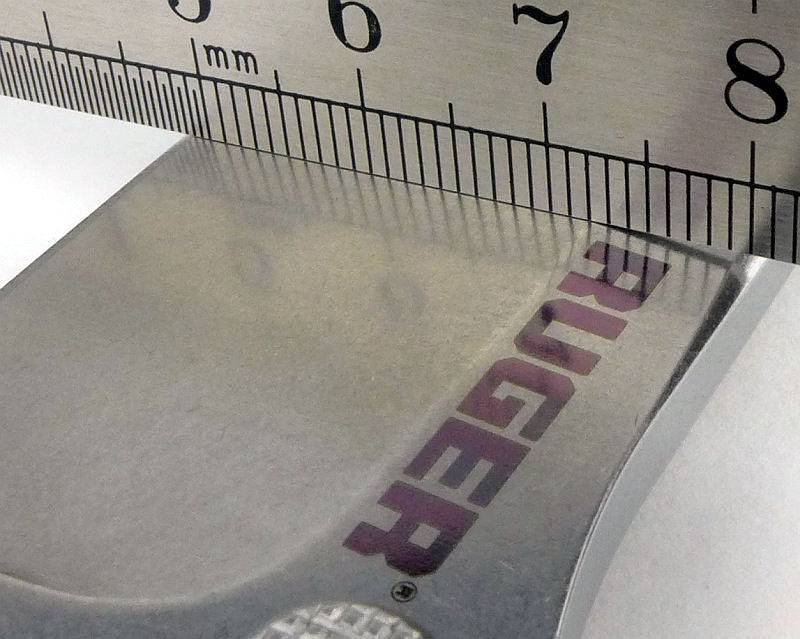
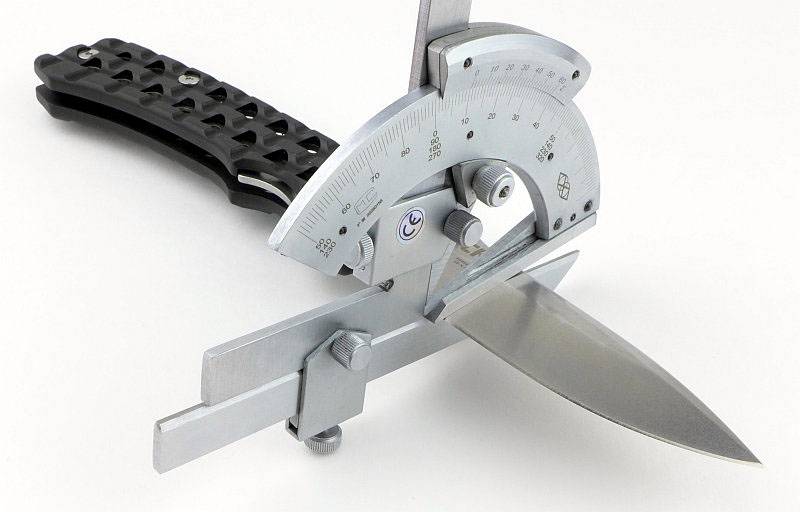
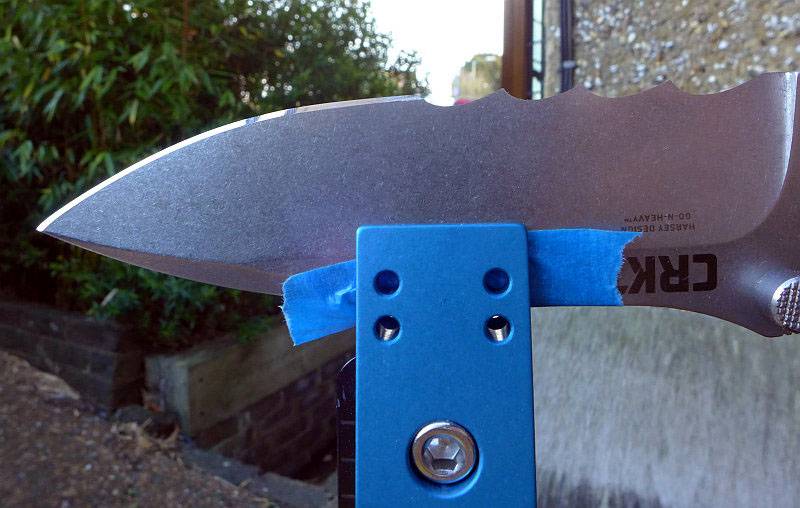
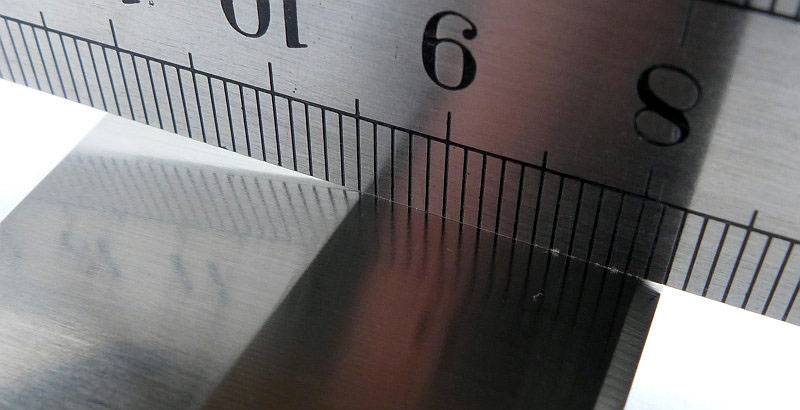
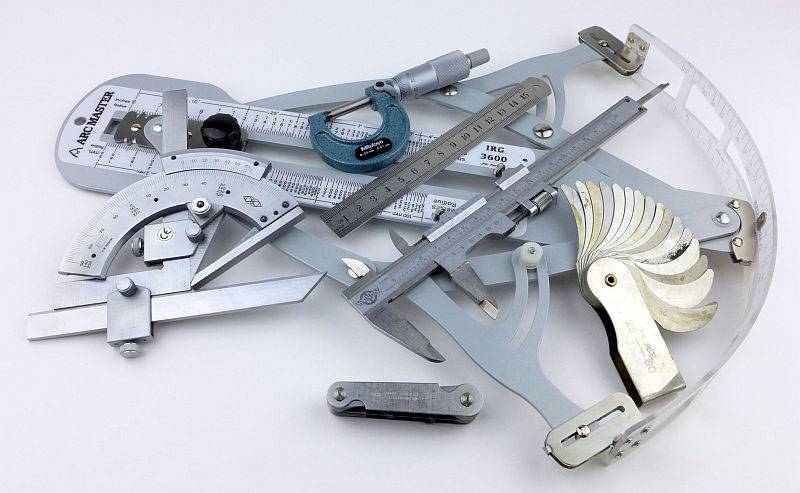
Using a set of gauges and precision measuring equipment including a Vernier protractor, callipers, fixed radius gauges and the unique Arc Master adjustable radius gauge (the one that looks like a crossbow).

Key aspects such as the primary bevel angle, grind type, blade depth, blade thickness, length, weight are detailed, along with balance information.
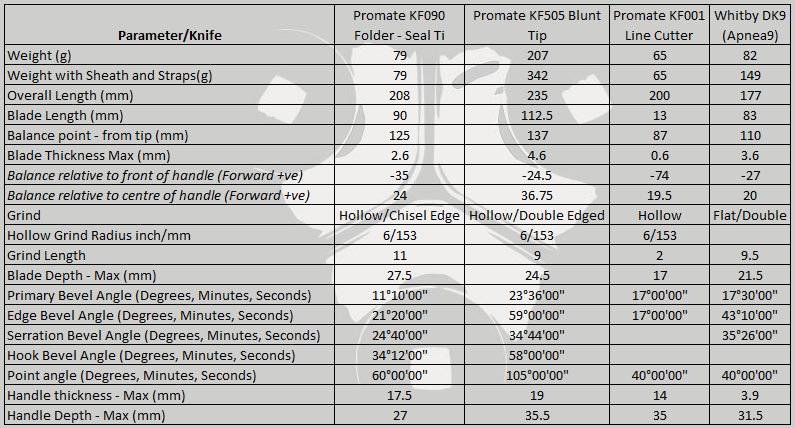
The ‘Balance relative to the front of the handle’ tells you if the knife will feel front heavy, or if the weight is in your hand (a positive value means the weight is forward of the front of the handle). The ‘Balance relative to the centre of the handle’ indicates how close to a ‘neutral balance’ the knife has in the hand.
In the case of full convex grinds the approximate centre of the grind is used for the primary bevel angle estimate.
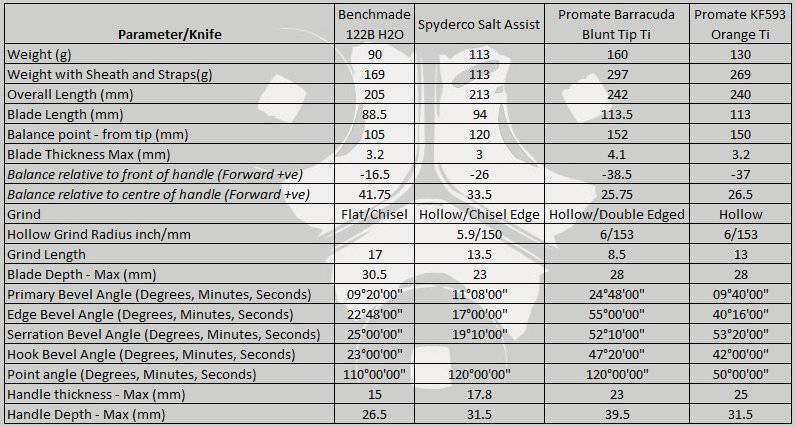
These measurements have been tabulated and are presented in smaller bite size chunks and also in one overall table.
Important – there are critical performance indicators here, in particular the edge angle of the plain edges, serrated edges and cutting hook edges. A larger angle reduces the cutting ability significantly.
The first four knives.
Please note the Benchmade 112S is incorrectly named the 112B in the tables.

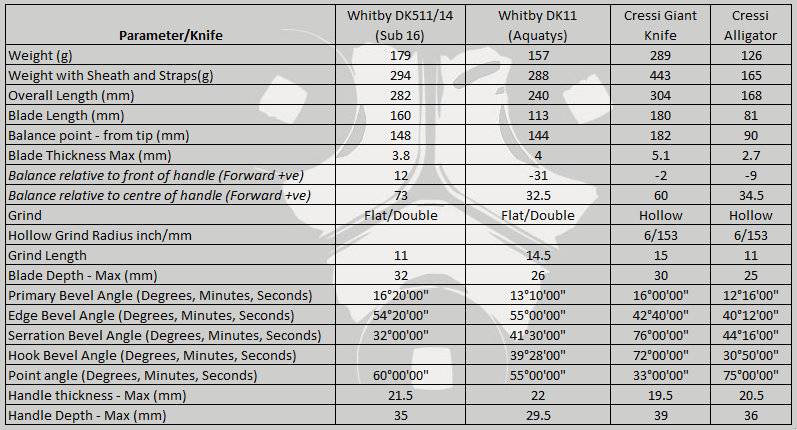
The next four.

And the final four.

For a direct comparison this is the entire table. You might need to zoom in or save the image and view it separately to see all the details.

Corrosion tests:
In this Mega Test Review you get an insight into the full process I carry out for all my reviews, but in particular here we have very specific stages. You have already seen some of the studio photography, and technical testing (the parameters), and now we move onto a critical part of the performance testing preparation.
I have chosen to run the corrosion testing before any measured cutting tests, for the specific reason that you will not normally take a dive knife out of the box and immediately ‘need’ to cut ropes and line with it. It is far more likely you will carry it on a few dives before you really need it to cut anything or free yourself from an entanglement. So the idea here is to look at the cutting performance AFTER the corrosion tests, as if the cutting edge is actually damaged by corrosion, it may well fail you when you really need it.
As it turns out, the initial testing site in the Ionian sea, is one of the saltiest seas in the world with a PSU measurement of 38. This is where we digress into the subject of salinity, but I’ll just mention a few key points in the preparation of the corrosion testing.
The chart below (from World Ocean Atlas 2005 data) shows how the salinity of the sea varies across the globe.
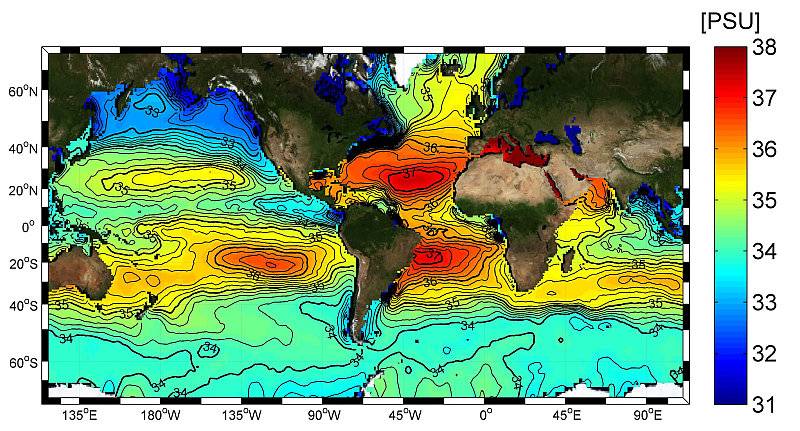
The units are shown in PSU which stands for Practical Salinity Unit. The PSU is derived from the ppt (parts per thousand) value of the salts dissolved in a kilogram of water. On average, seawater in the world’s oceans has a salinity of about 3.5% (35 g/L, 35 ppt, or 599 mM). This means that every kilogram (roughly one litre by volume) of seawater has approximately 35 grams (1.2 oz) of dissolved salts (predominantly sodium chloride NaCl). Average density at the surface is 1.025 kg/l. Seawater is denser than both fresh water and pure water (density 1.0 kg/l at 4 °C (39 °F)) because the dissolved salts increase the mass by a larger proportion than the volume.
And breath….
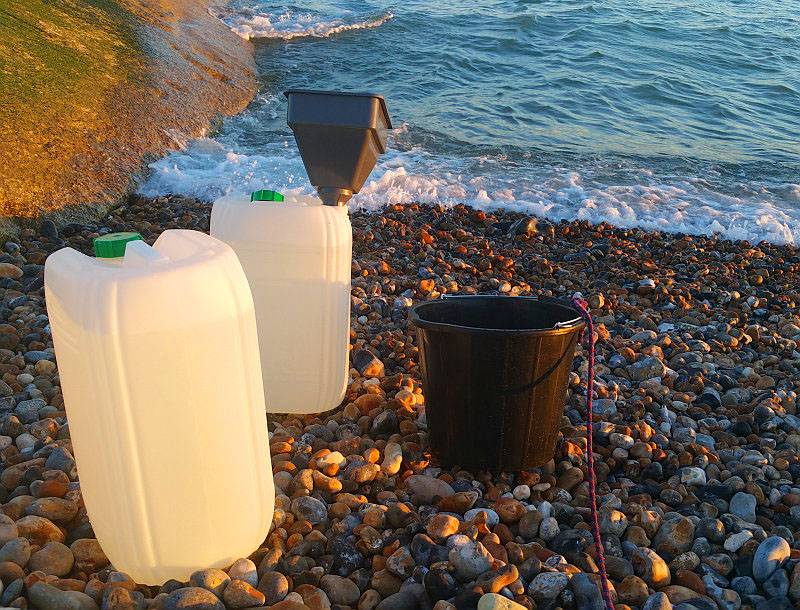
So, due to not receiving all the test candidates before the trip, I needed to replicate the conditions of the initial corrosion tests to keep everything consistent. What I needed was seawater with the same salinity as the starting conditions (also to then be used for the wet cutting tests). This is not as simple as taking tap water and adding salt to it, as the chlorine in the water affects corrosion, and the salts in seawater are not just NaCl. So as a starting point I went to collect some local seawater (from the English channel). This typically has a salinity of 35 PSU, but I was collecting from a beach where rainwater runoff would likely be diluting the salinity.
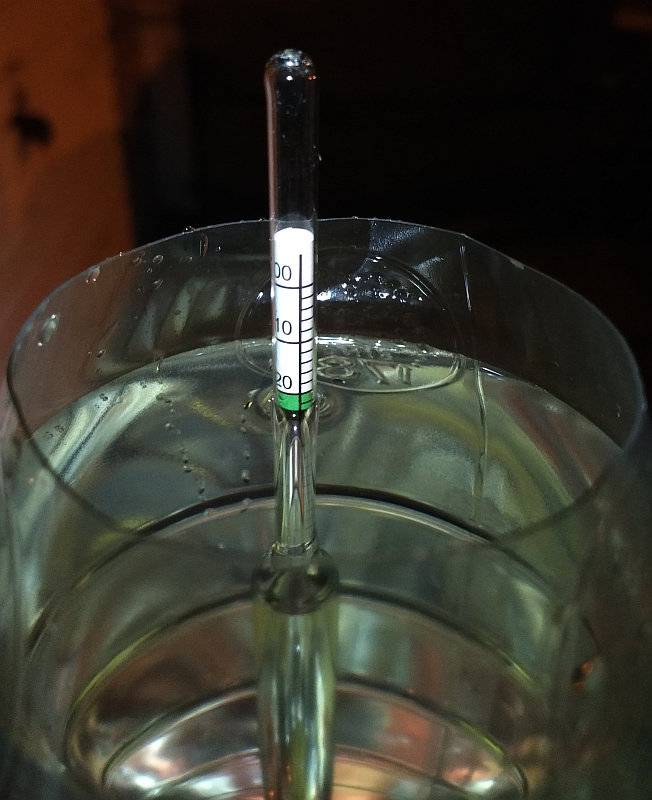
Fortunately thanks to people keeping fish as pets, there are a lot of easy tools for checking this, and the simplest being a hydrometer to measure specific gravity. The one I have used is for owners of salt-water fish and has a green section indicating the correct salinity range. As you can see here, the hydrometer is showing the salinity is at the lower end of the range (as not much green is showing). Reading off the specific gravity, and crucially the temperature as well, a temperature/specific gravity chart was checked showing that this seawater was measured as 29 g/l or 29 PSU.
This meant that to get to 38PSU I needed to increase the salinity. Fortunately pet shops sell ‘Aquarium Salt’ (which is basically dried seawater and contains all the salts in seawater). All I had to do was add a further 9g/Kg of aquarium salt to bring it to 38g/l. After adding the additional aquarium salt and re-measuring, the salinity was indeed at 38PSU.
Now I had suitably salty seawater, I proceeded to replicate the series of immersion tests carried out over the initial two week test period. This was based on the example of a diver spending around 2 hours in the water each day and then taking their gear out and letting the knife drip dry until the next day (or not quite dry). The knives would have a mixed exposure to air and seawater (which as it dries becomes a much higher salinity). Of course the original tests were carried out in much higher temperatures, so an aquarium heater was used to heat the seawater to match the original temperature.
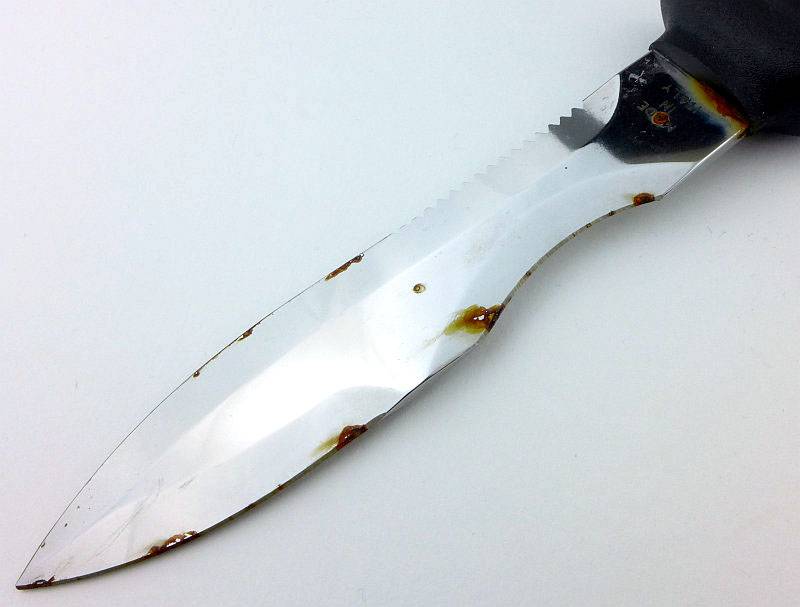
After the full set of corrosion testing, the knives were soaked in freshwater, then the water was changed for a further soak to bring out the salts. The knives were then dried and inspected.
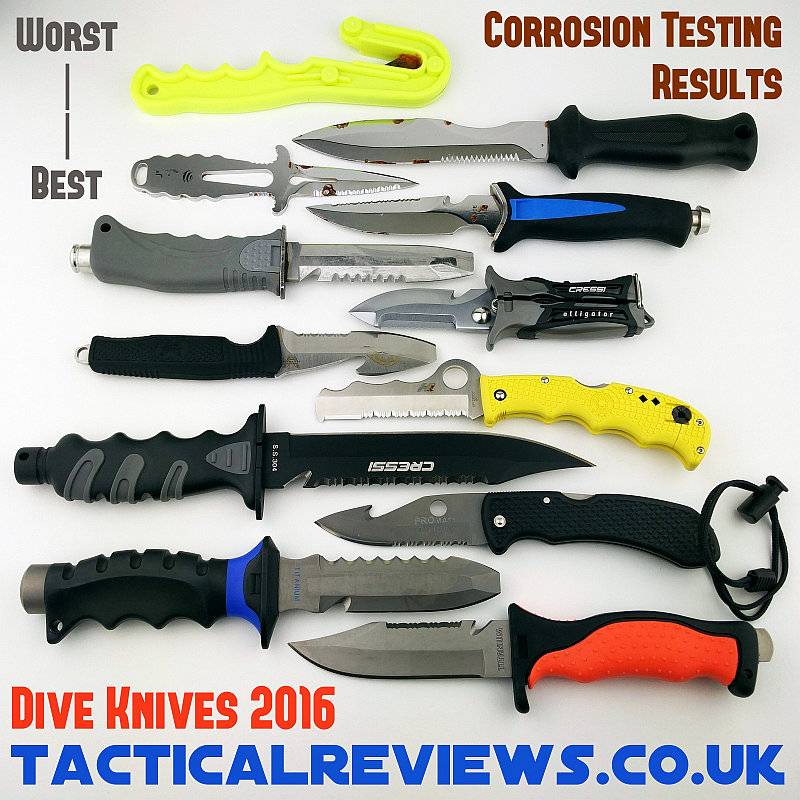
This post from my Instagram feed shows the results in a ranked order. It must be noted that some results were very close, so the top 5 had virtually nothing between them.
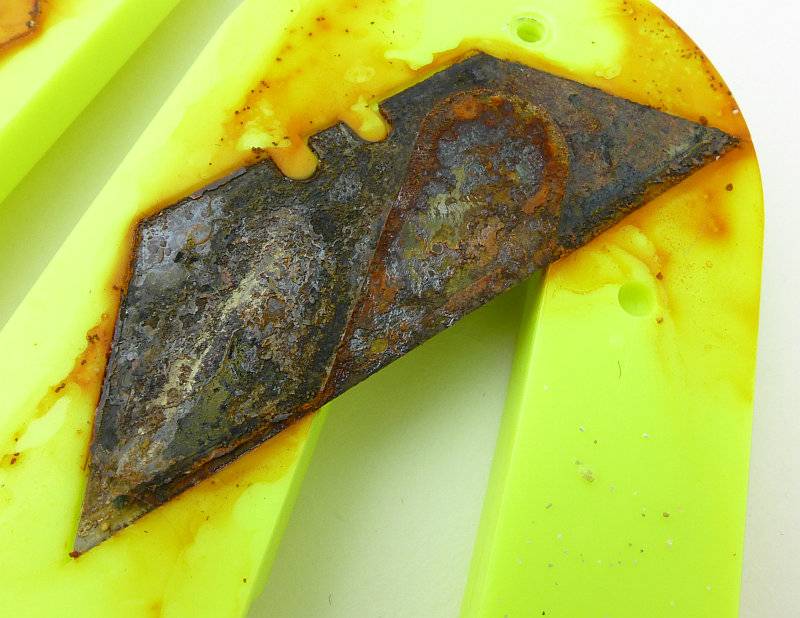
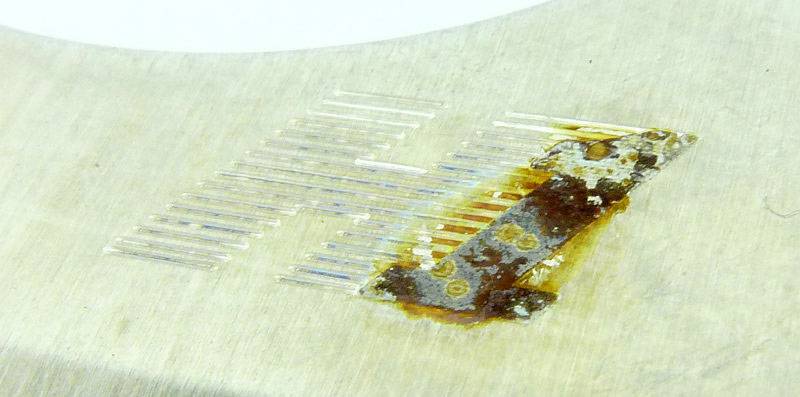
In the final results table, each knife has been given a score out of 25 for its corrosion resistance, so you can find the exact rating in that table, but as a brief description in ranking order:
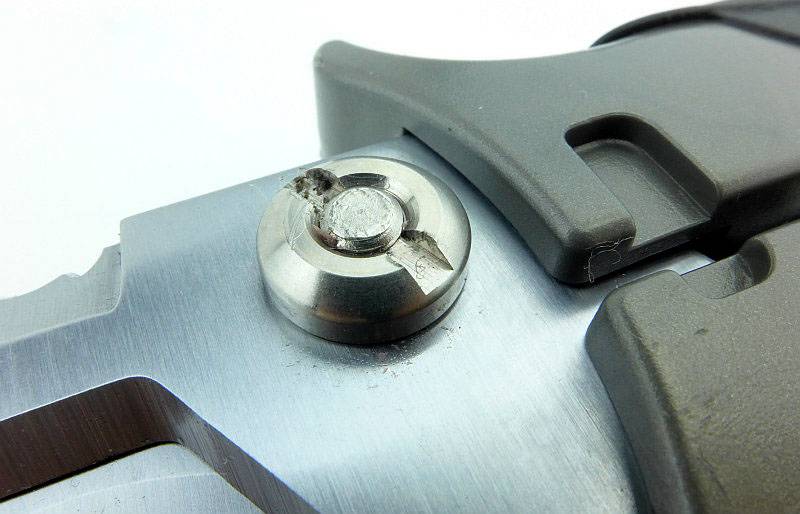
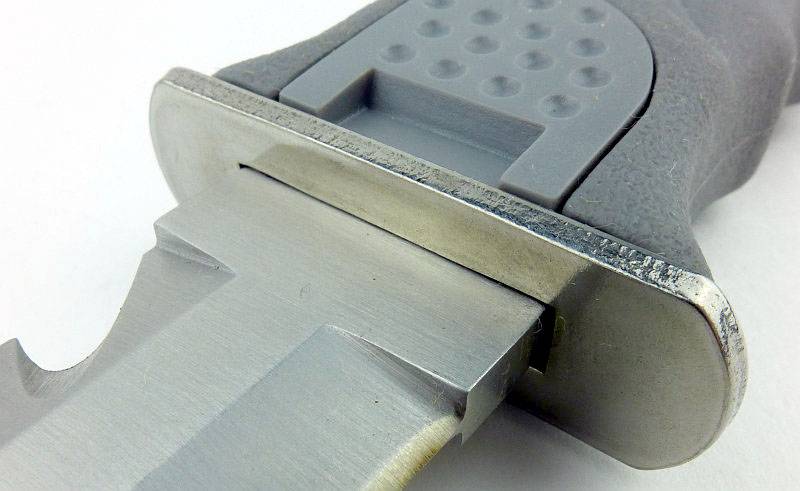
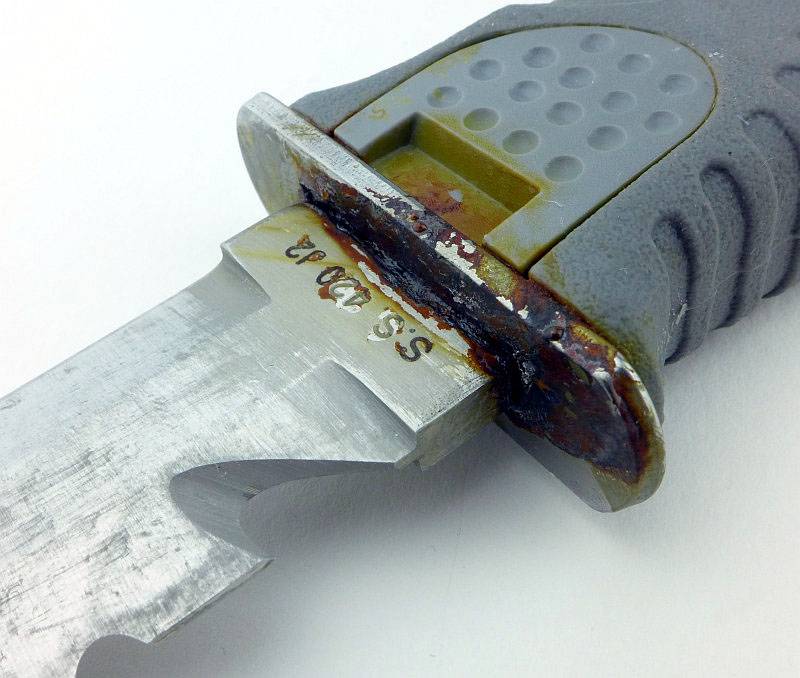
The Promate Titanium knives were spotless (including the sheaths), the Spyderco had only a single spot due to the black text on the blade, and the Cressi Giant was the only standard stainless steel knife to have no visible corrosion. The Benchmade has some light staining, with the Cressi alligator having only light signs of rust. Then things started to ramp up in corrosion. The Promate stainless knife actually had quite heavy corrosion on the guard but very little on the blade. The Whitby knives all had blade and edge rusting. Worst of all was the Promate line cutter, but this used only standard non-stainless utility blades, so no surprise there. These utility blades can of course be easily and cheaply changed.
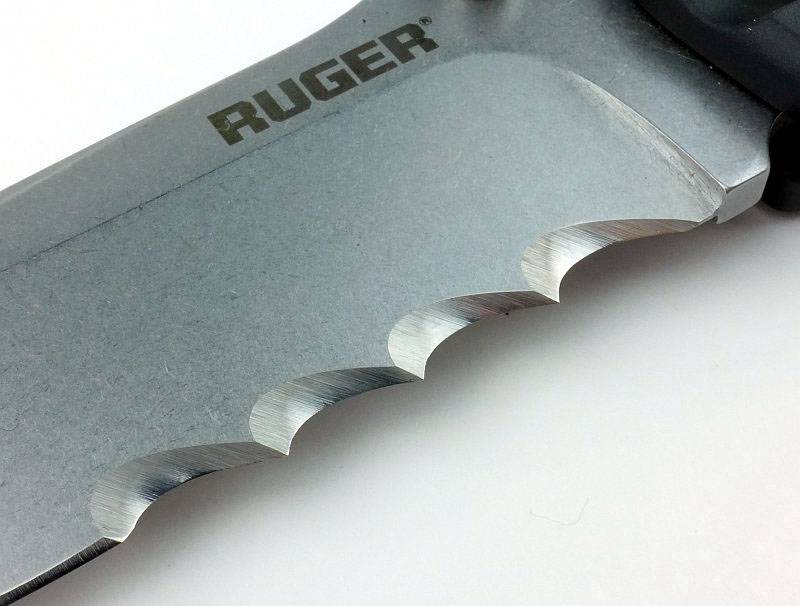
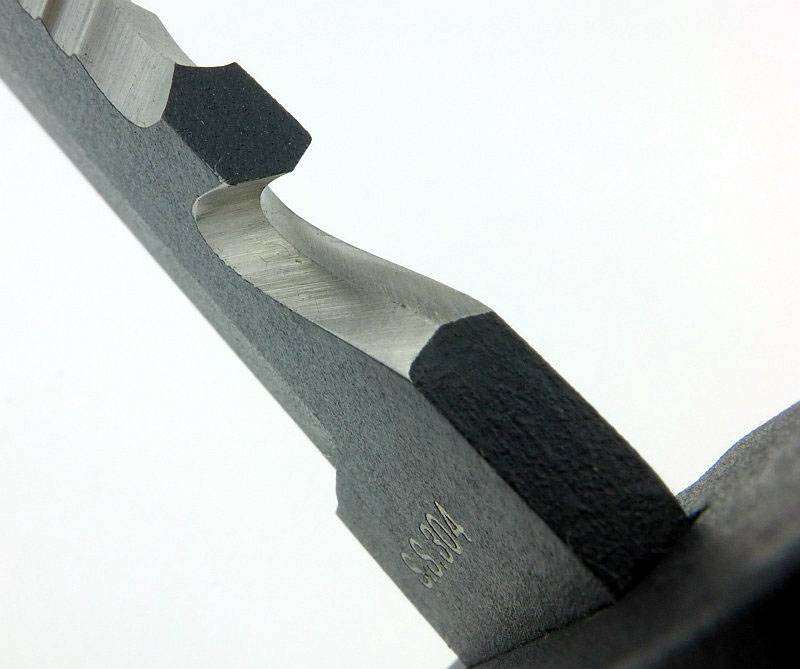
A look at serrations and edge geometry:
There are a few aspects which are important to understand which relate to the design of the serrations and the edge geometry, and which affect cutting performance drastically. Though this is a slight digression to talk about the subject, it will help to explain the cutting test results.
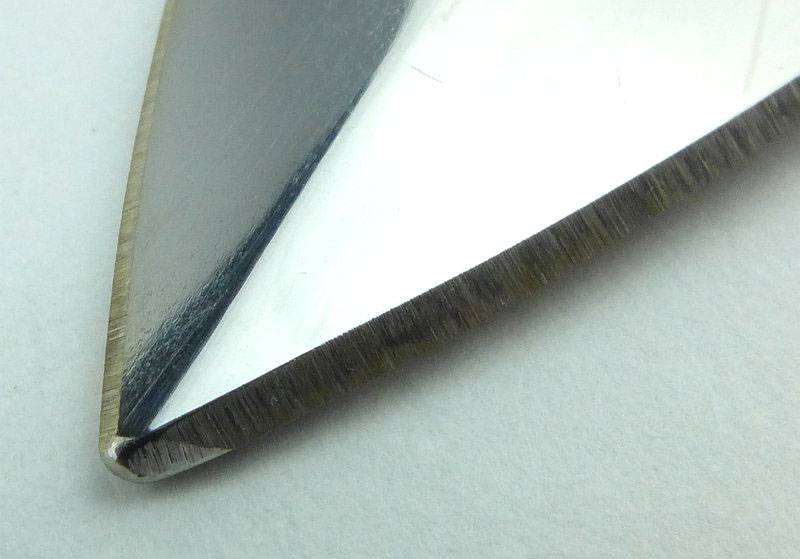
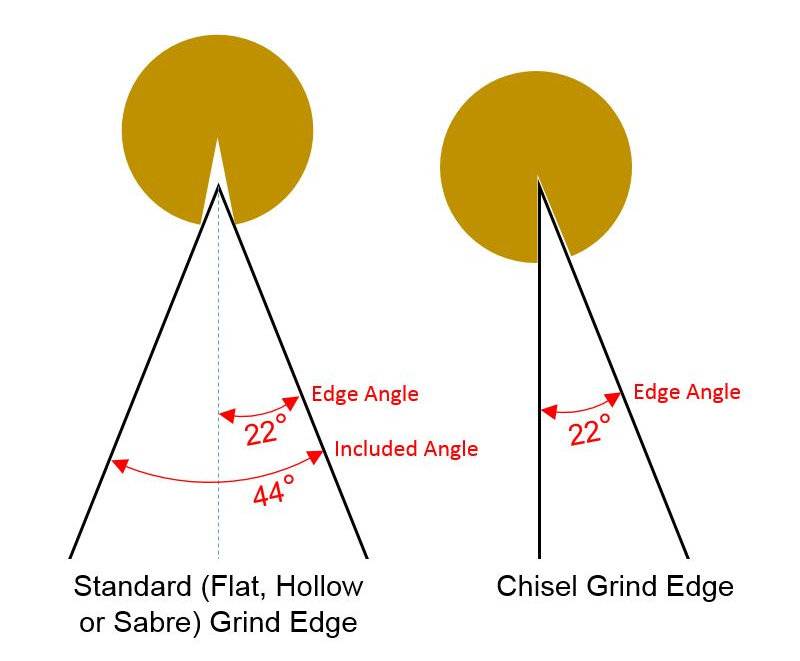
You might have skipped over the ‘The Blade and Handle Geometry’ section, but it is worth noting the details in that table. The edge angle used will give a mixture of ‘sharpness’ and ‘durability’, and the smaller the angle the sharper but less durable it is. In the case of the dive knives here, ‘Chisel’ vs ‘Standard’ grinds have a huge effect for the plain and serrated edges, as well as the cutting hooks.
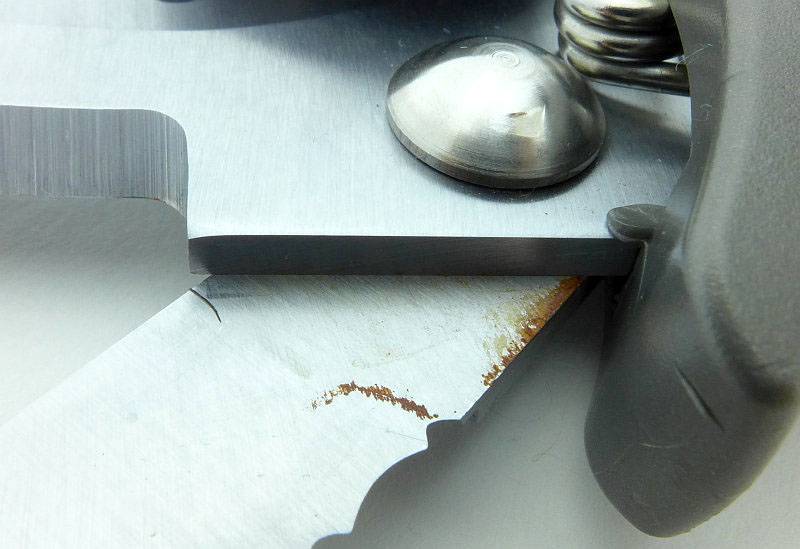
To visualise this, here is diagram of a Single bevel (Chisel grind) and Double bevel (Standard Grind) edge, and both these edges cutting into some material. The Chisel Grind has been sharpened at 22° and as it is a single bevel edge, the total ‘included’ angle is also 22° (22° + 0°). A Standard double bevel edge also sharpened at 22° has an ‘included’ angle of 44° (22° + 22°) and though still sharp, this edge has to part the material much more as it cuts resulting in a much higher cutting force being required to complete the cut.
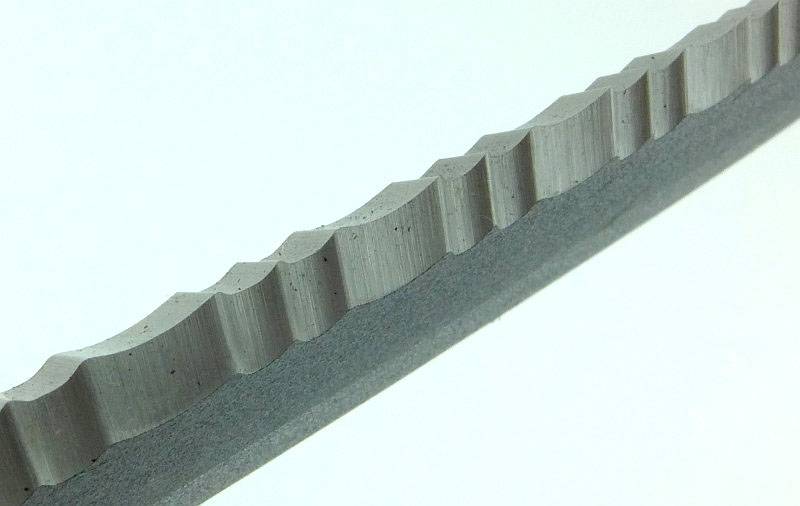
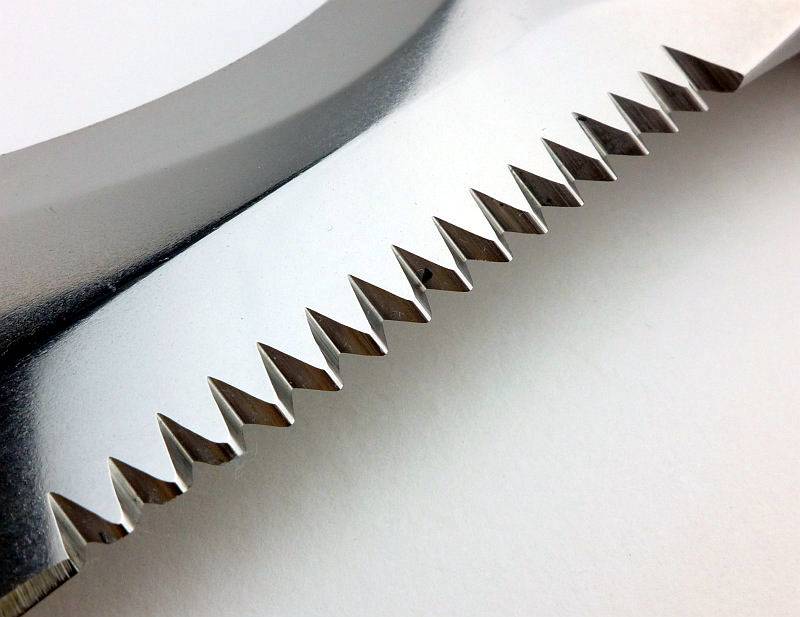
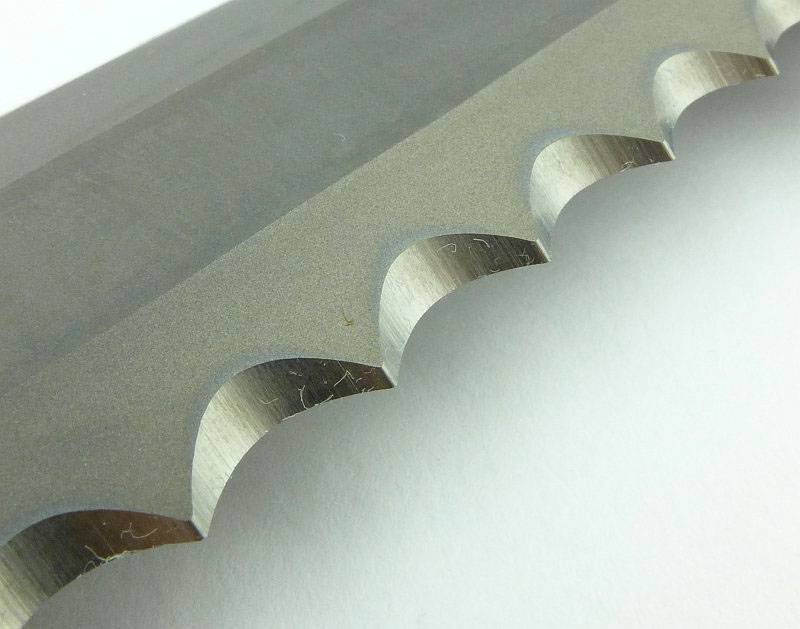
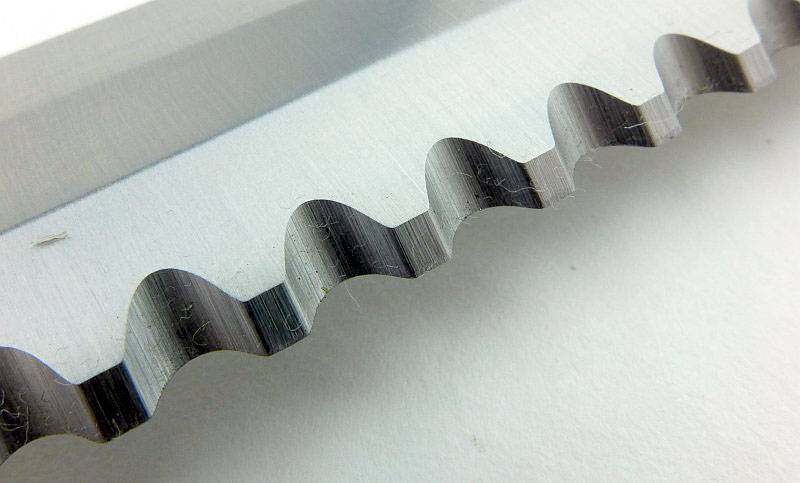
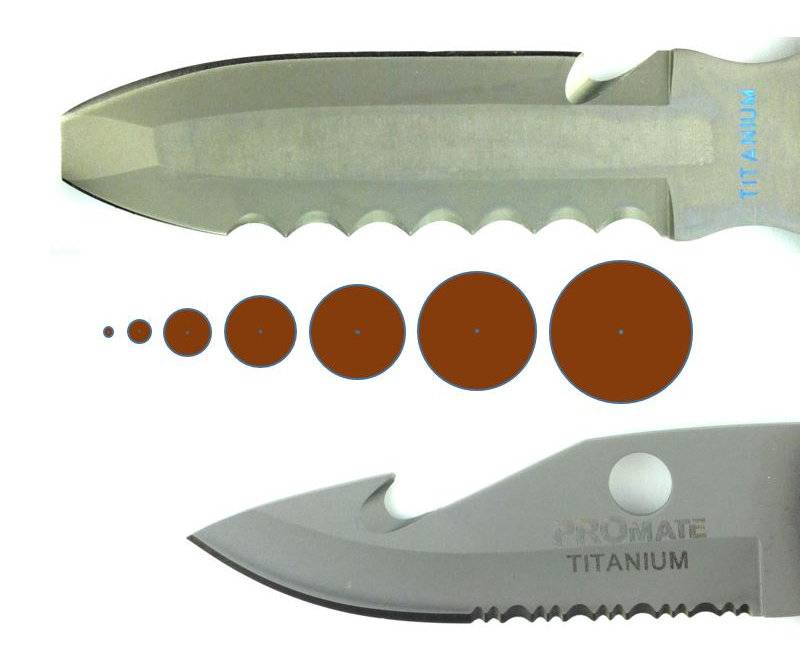
After looking at the edge angle and its effect on cutting force we also need to consider how the size of serrations can make another huge difference in how well the edge cuts.
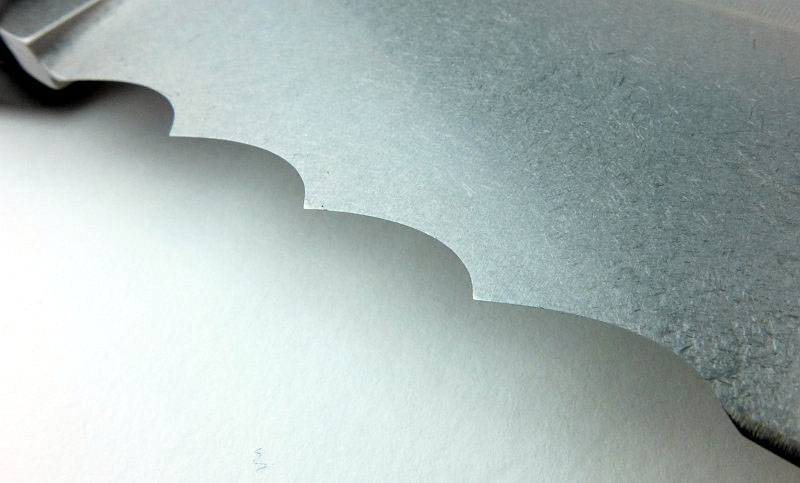
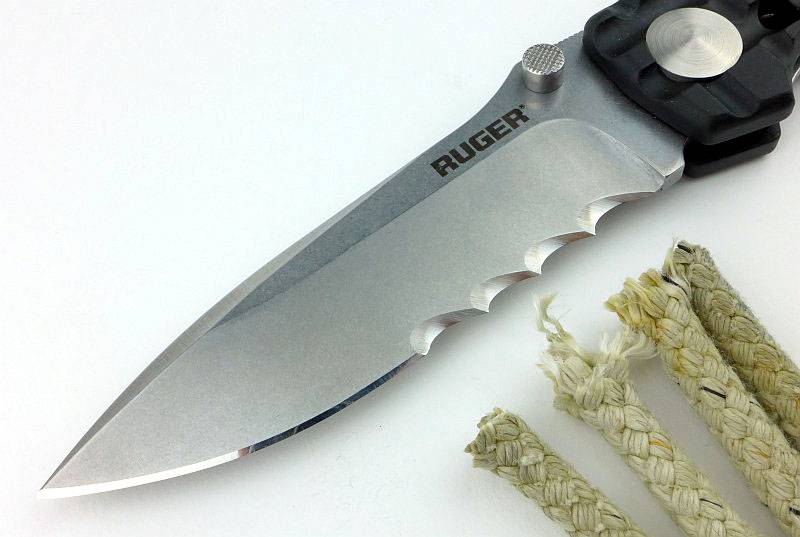
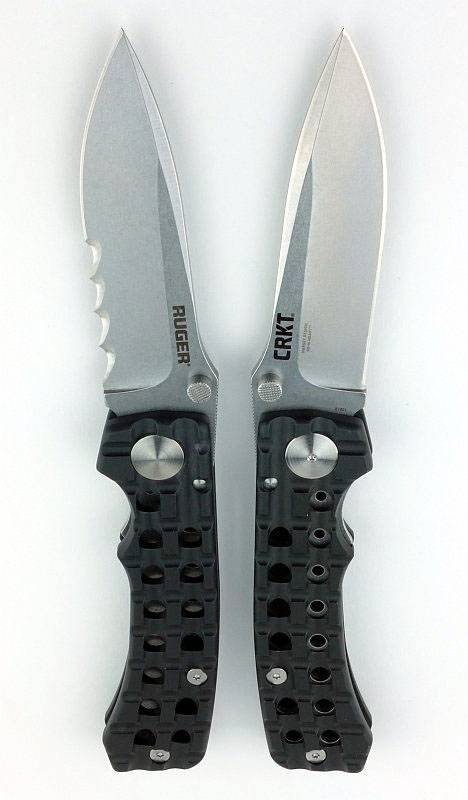
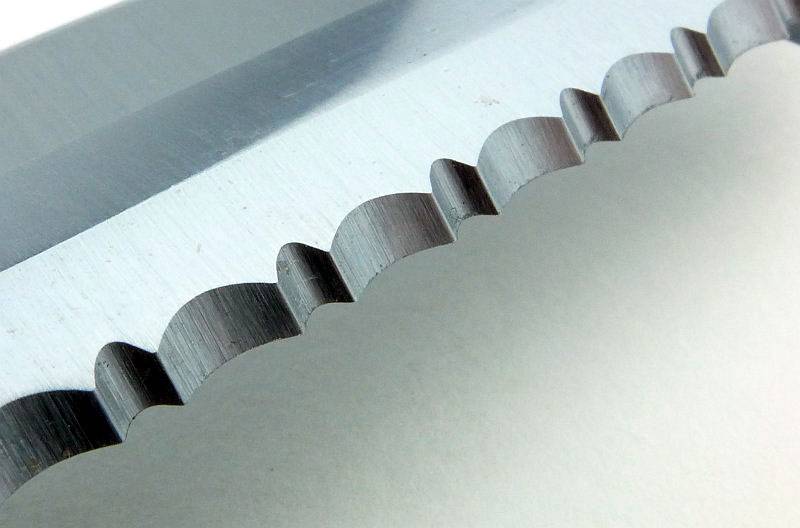
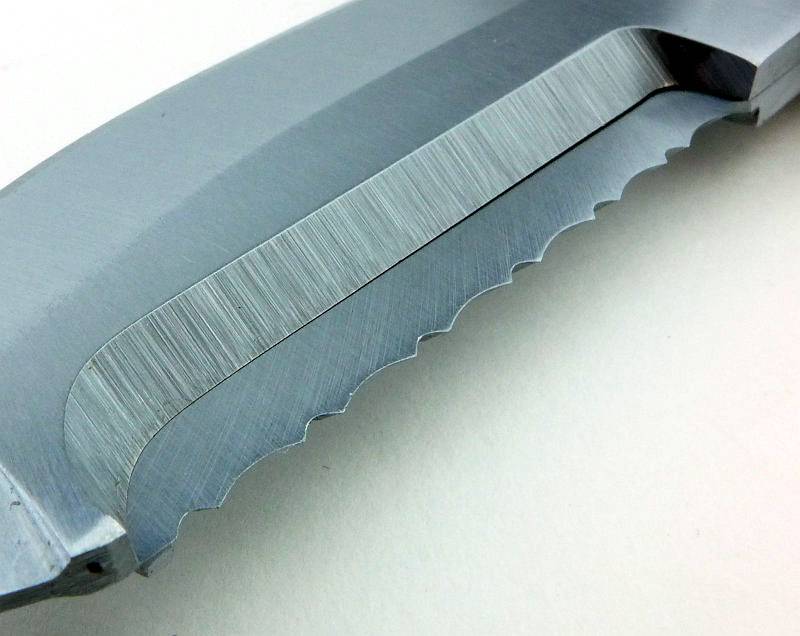
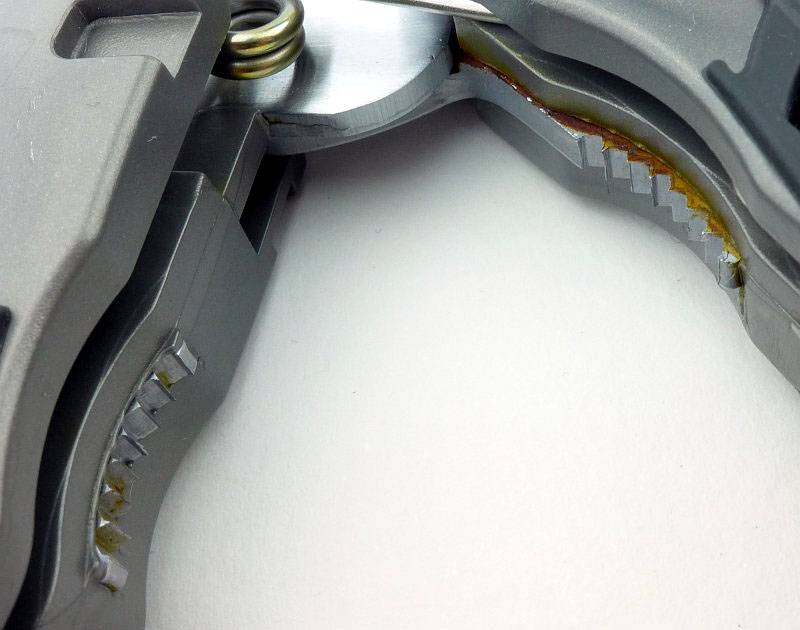
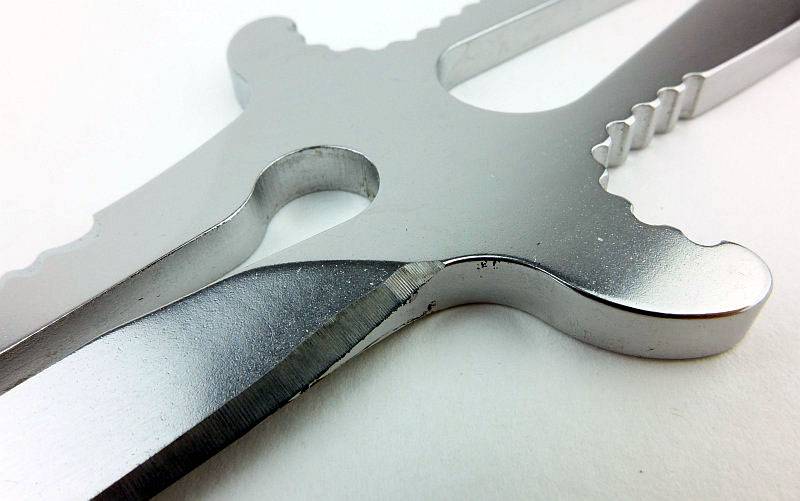
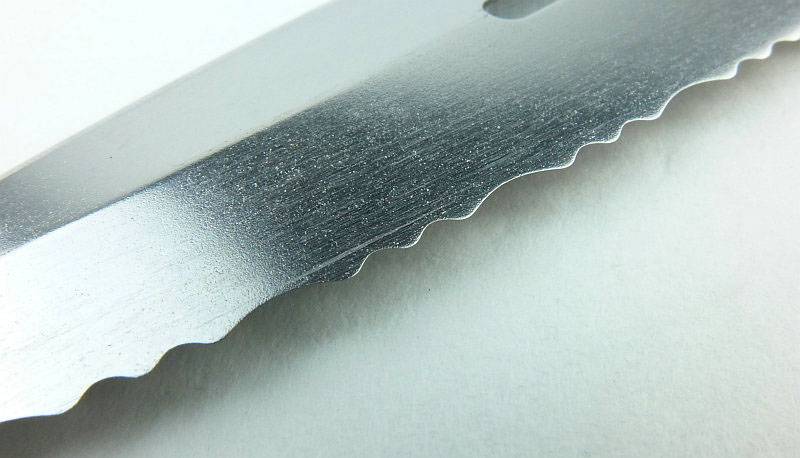
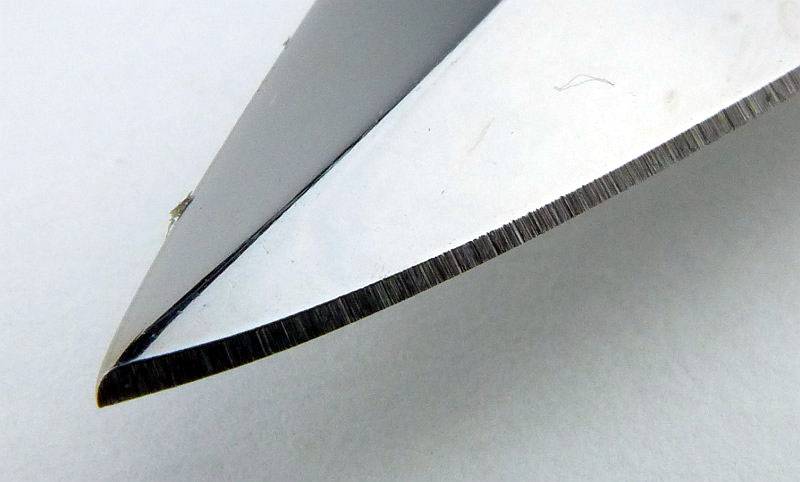
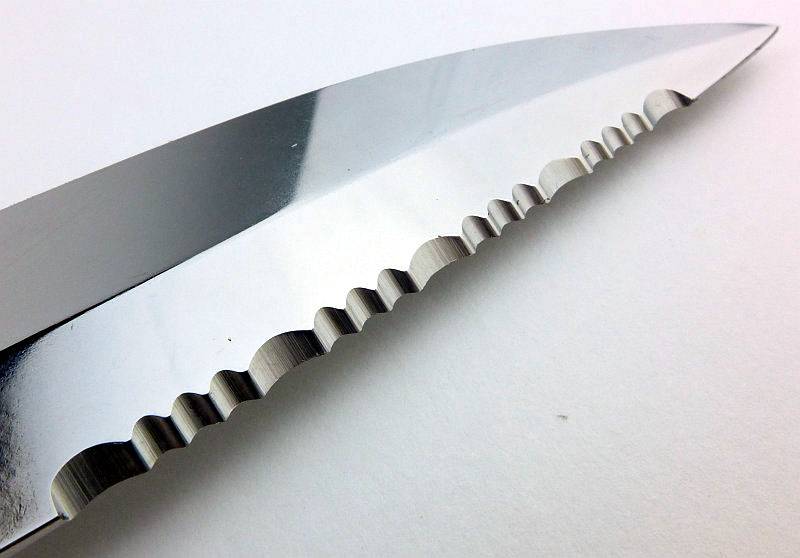
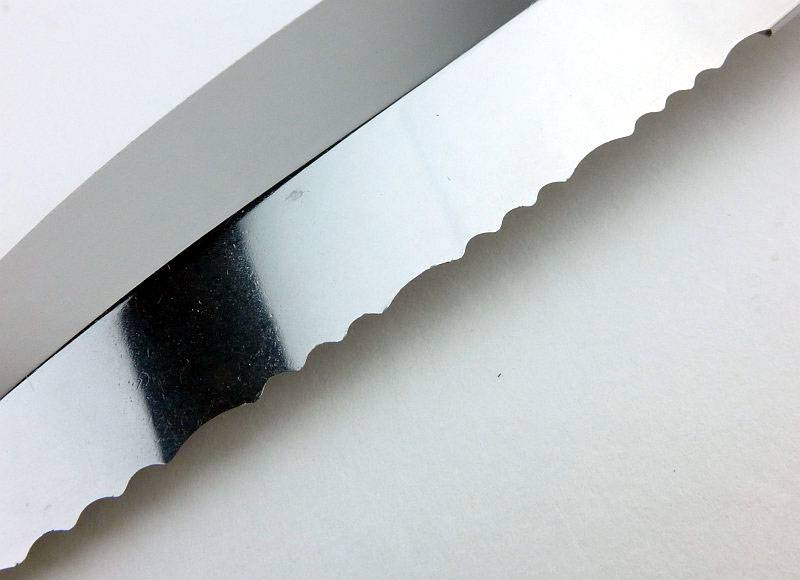
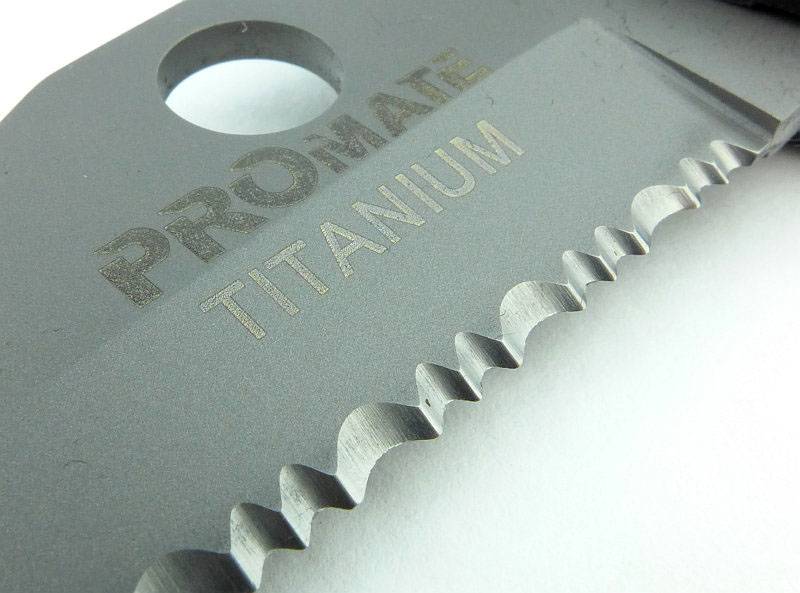
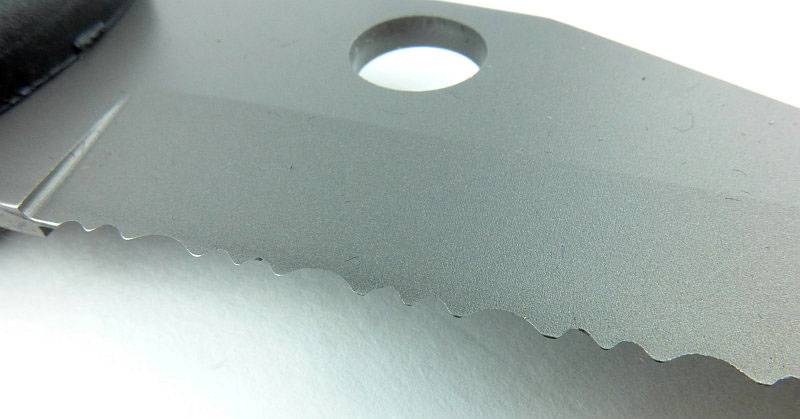
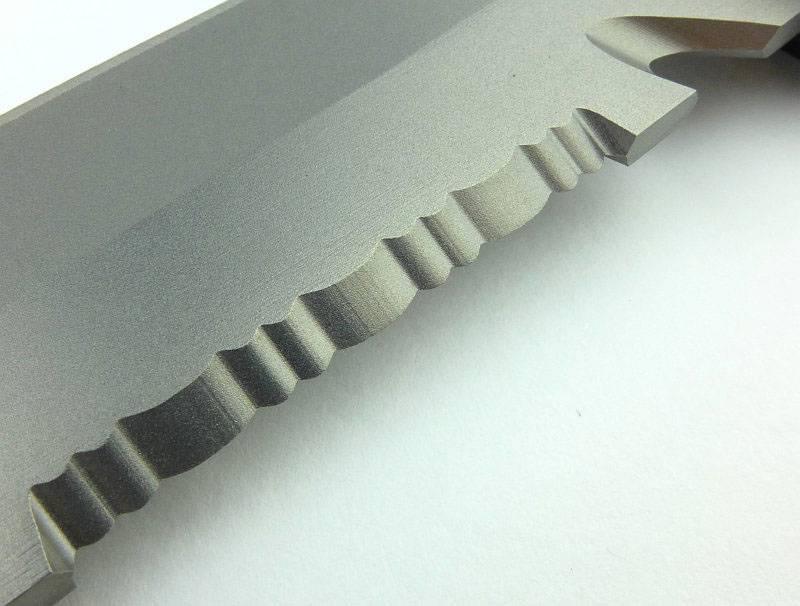
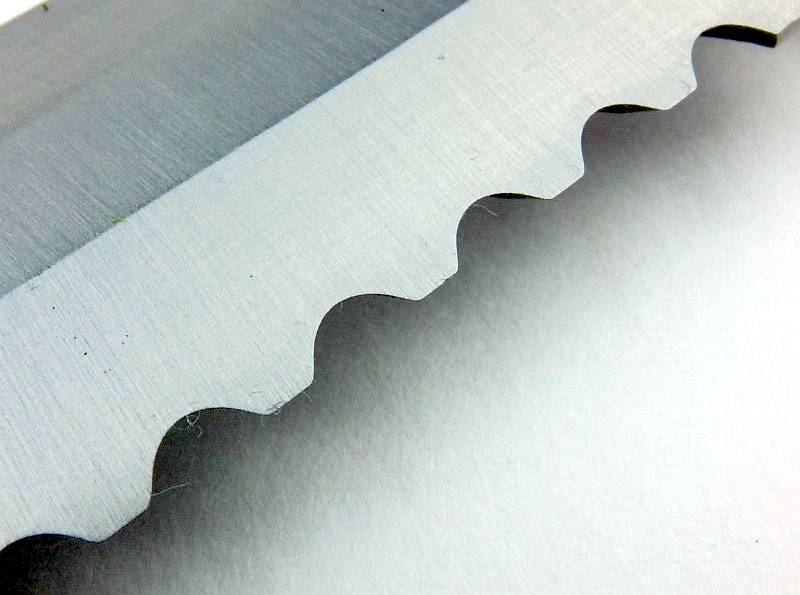
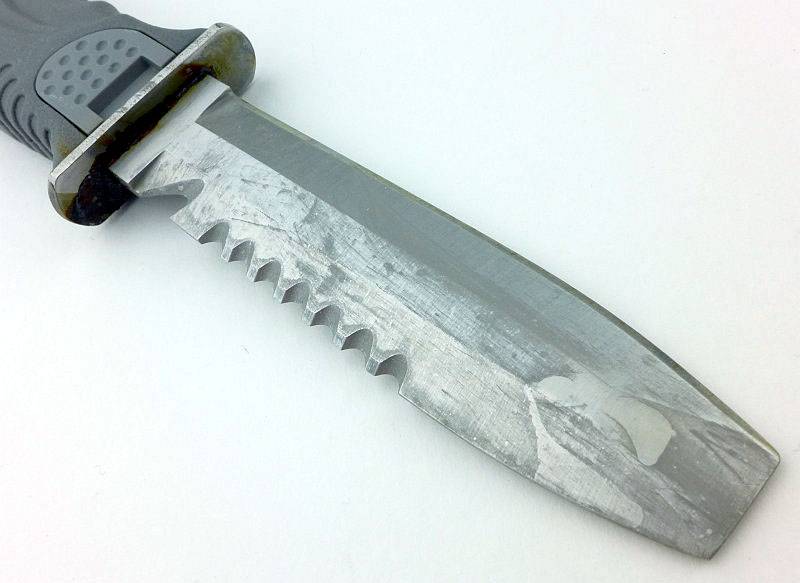
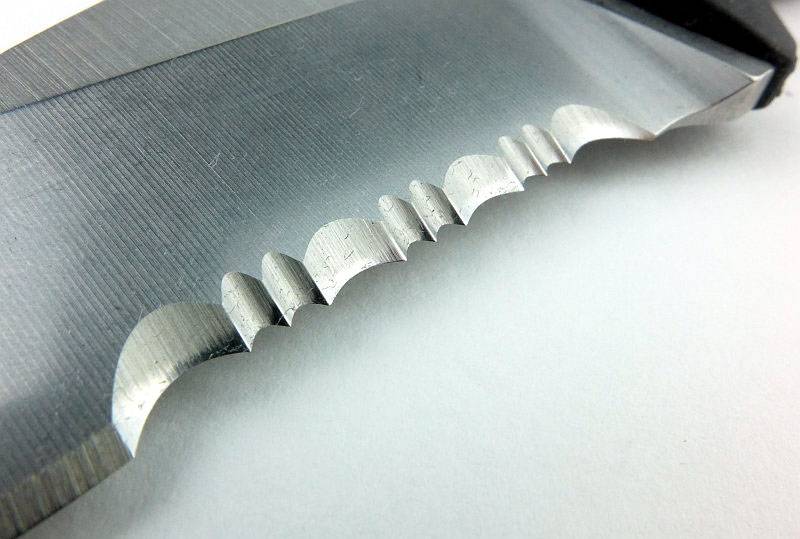
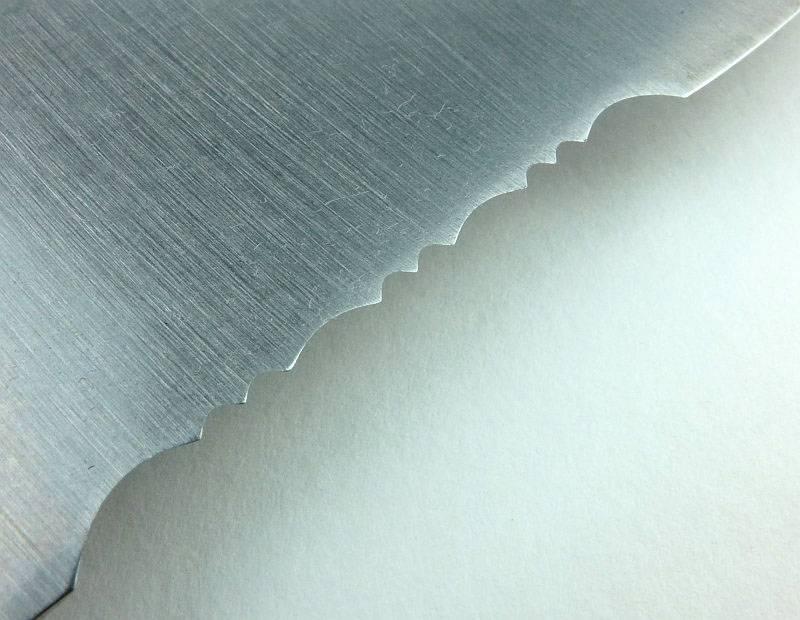
Let’s start by looking at two of the blades on test, one with large scallops for the serrations, and one with two sizes of scallop that are much smaller than the first. Between them are a series of different size rope cross-sections.
Coming from the Latin word ‘serra’ meaning saw, for a serrated edge to start cutting it needs to move over the surface of the rope to allow the teeth to start working, but if the serrations are too large, then instead of moving over the surface and sawing into it, the rope can stick in a single serration making the sawing action difficult. Here we can see how the four smallest rope sizes will catch in these large serrations and only once the rope size increases can the serrations teeth start to work on the rope surface.
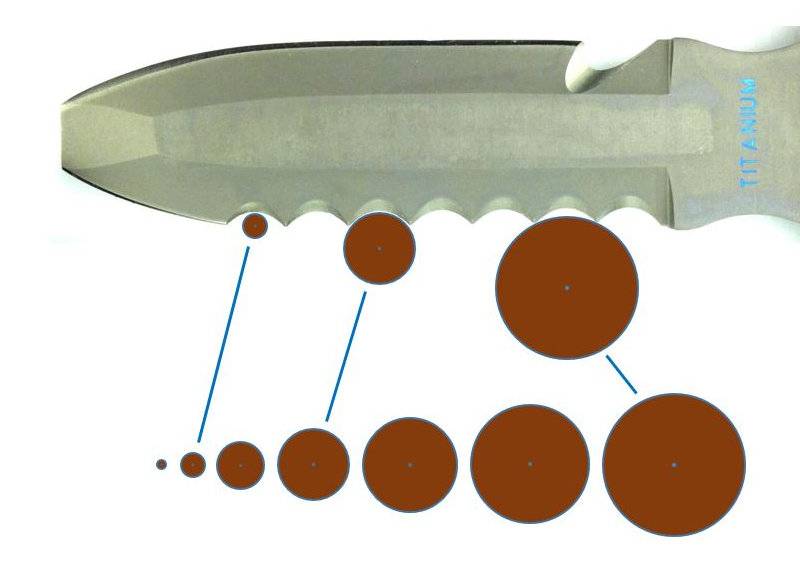
A blade with smaller serrations is able to ride over the surface of much smaller ropes and allowing the sawing action to work. Only the very smallest rope here will catch in the teeth, with the second smallest the smaller teeth can get to work and the cut will progress.
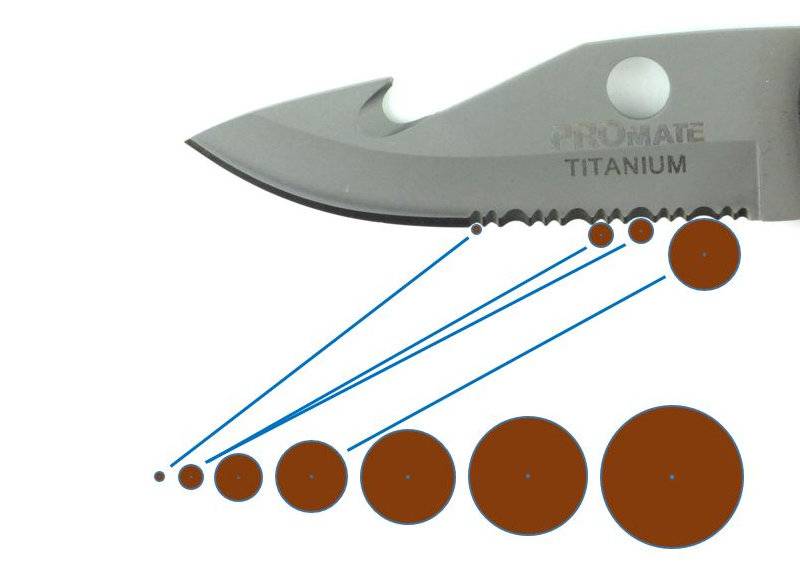
Smaller serrations are definitely more versatile, but are harder to maintain, so you need to find the balance that works for you. In the cutting tests, the size of serrations does have an impact on the results.
Cutting tests:
The testing in this group review is actually my first direct cutting comparison between steel and titanium blades. I had thought there would be a big difference between these blade materials, but in the experimental cutting tests, the Titanium Vs Steel aspect was not directly evident.
If more extended testing had been carried out, where edge durability starts to come into play, then steel would begin to take the lead, but starting with the factory edge and dealing with a reasonable amount of cutting, edge retention was not a factor.
Being a Dive Knife group test, all cutting tests were carried out in seawater with pre-soaked materials. The list of materials to be cut was chosen after consulting active divers to cover the most common cutting scenarios.
To represent discarded and lost fishing hazards the cutting test includes 15lb and 50lb Monofilament plus 15lb and 115lb Dyneema braid (for fishing lines) as well as 2mm Nylon Braid (netting).
3-4mm Nylon Braid represents cave line, 50mm (2″) webbing as if you were having to cut away a BCD, and cable-ties for cutting away items attached to your gear that might be snagged. Lastly a medium 8-10mm rope as this is a very common size.
With the vast majority of my cutting experienced being with dry cutting tasks, the effect of wet cutting on the different materials was actually shocking. Materials that cut so easily when dry became difficult with the lubricating effect of the water. For some fibrous materials there seems to be a strengthening effect as well (which is difficult to explain scientifically), though this might simply be due to the lubrication making them more abrasion resistant. When wet, the materials are more difficult to grip and in the water the entanglement will often be free floating so needs to be gripped to be cut. Altogether this adds up to a challenging cutting experience and one which shows any weaknesses of the tool being used.
Another Instagram feed image which shows some of the cut materials with the knives.
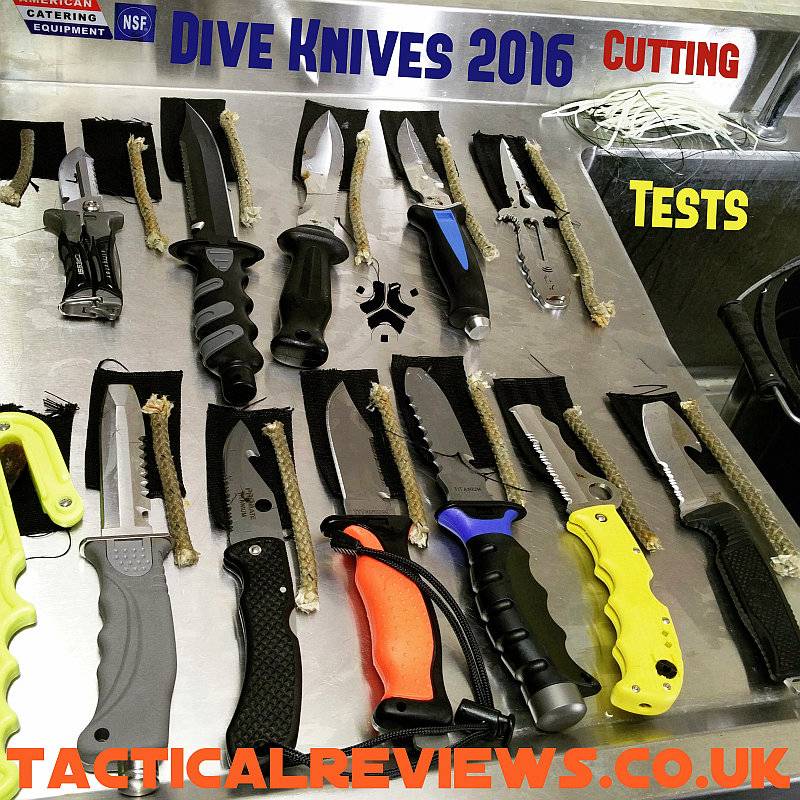
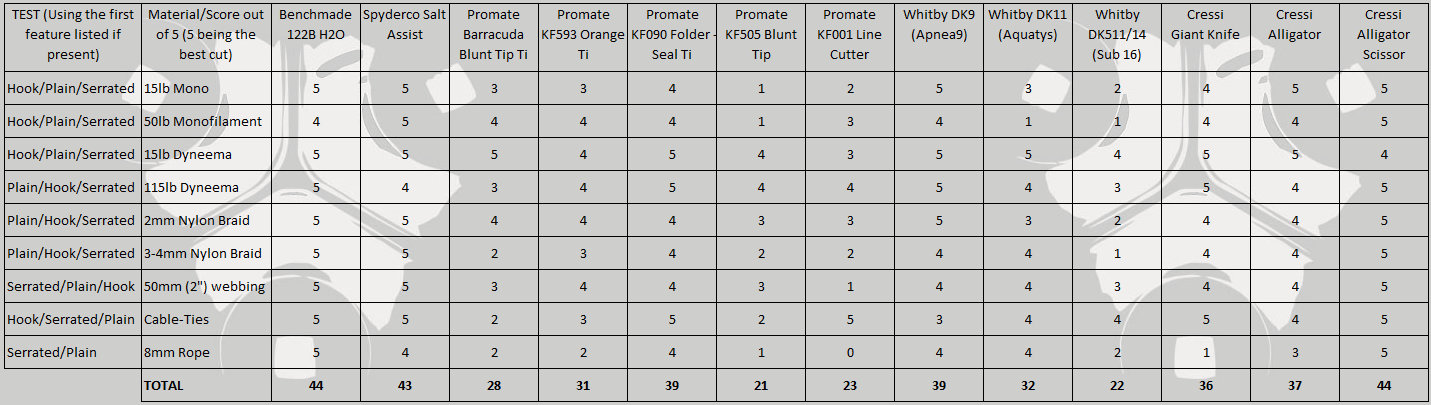
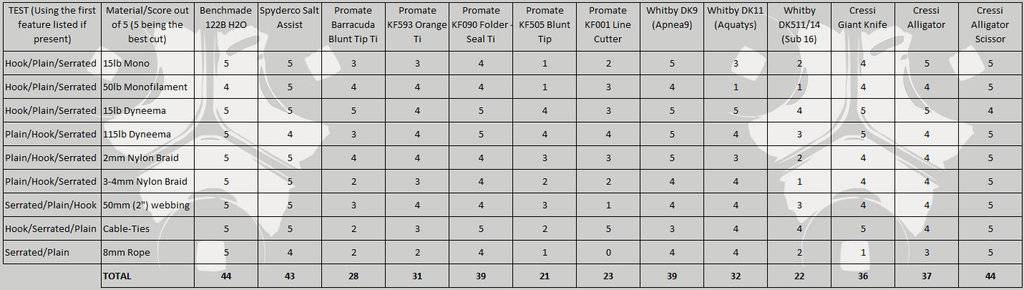
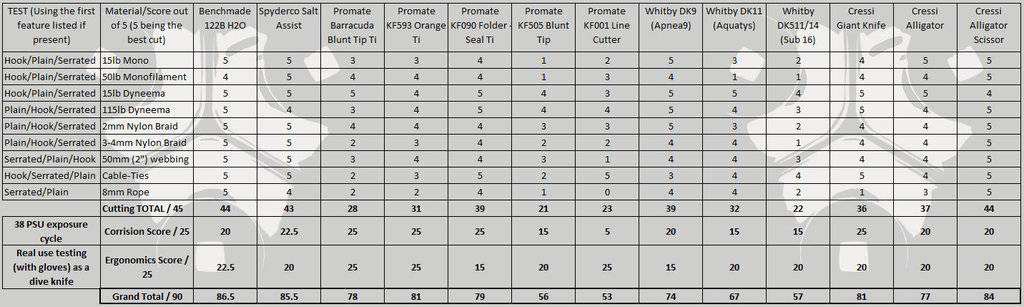
The totals for each knife’s cutting performance are shown in the final full and summary results tables, but here, just the cutting performance of each knife with each material is shown. The score is a 5 for a very easy and clean cut, down to a 0 for a failure to cut the material. A few of the knives were clear leaders in the cutting tests. Remember, this is also with blade edges that have been through the corrosion tests. The Cressi Alligator has two sets of results to allow the knife blade and shears to be directly compared. The shears were top performers in the cutting test, but were also matched by the Benchmade H2O.
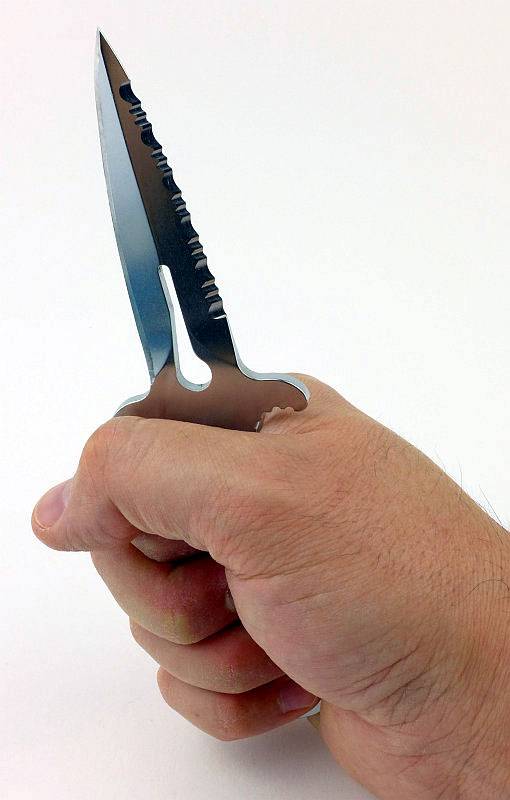
What are they like to use?
A much more subjective section as it is difficult to quantitatively score how each knife is to use. We have considerations such as the leg straps, opening and closing a folder, unsheathing and re-sheathing the fixed blades, size and weight, grip and ergonomics. All of these factors needed to be considered with bare hands and diving gloves, and then translated into an ergonomics score.
There is far too much to cover in this group review, so you will need to refer to the individual reviews referenced at the beginning of this article.
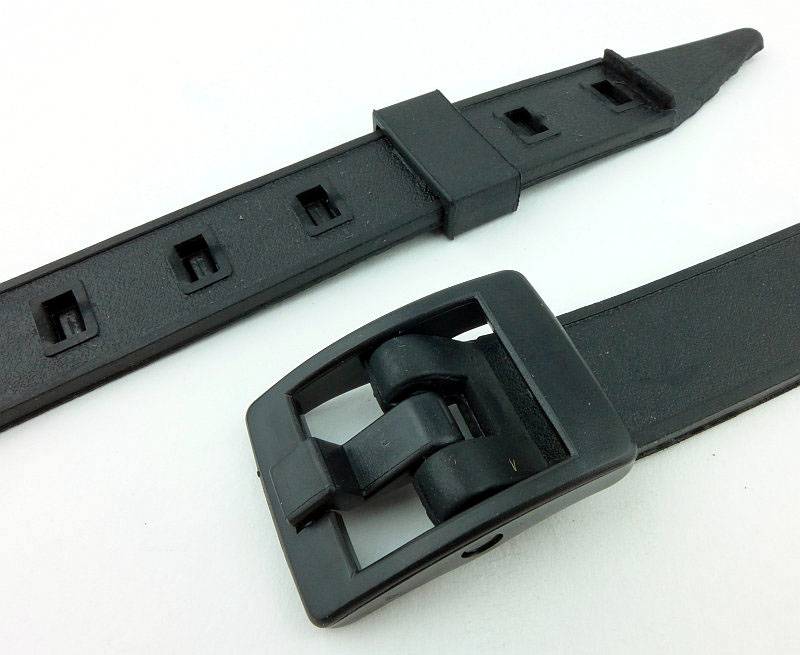
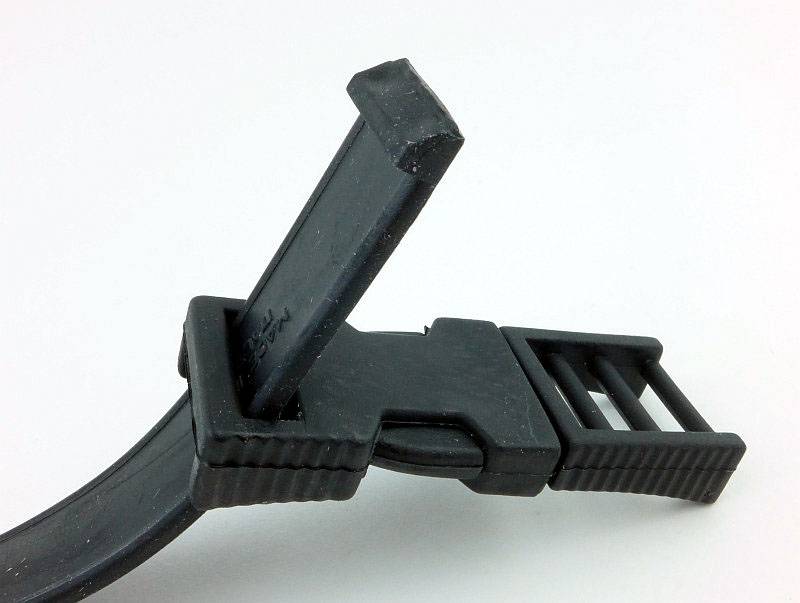
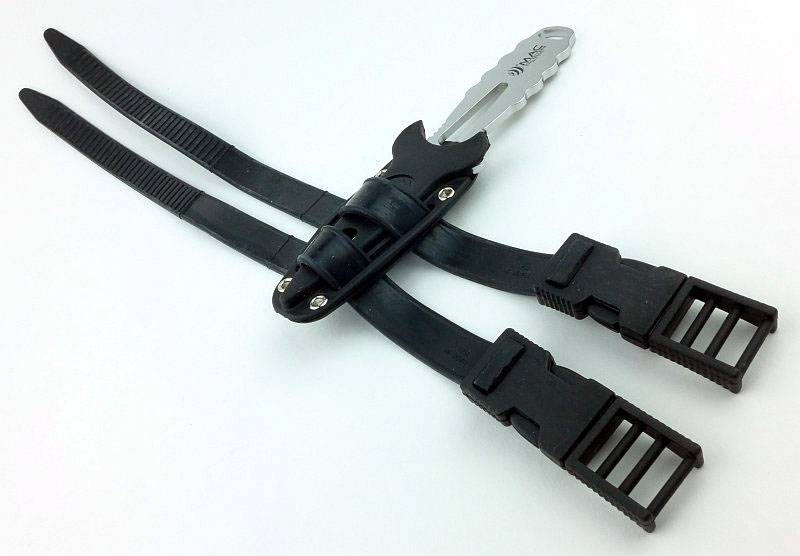
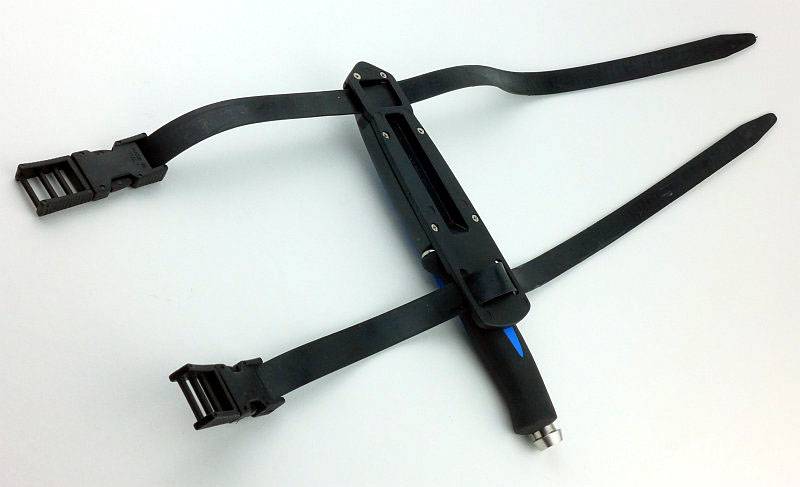
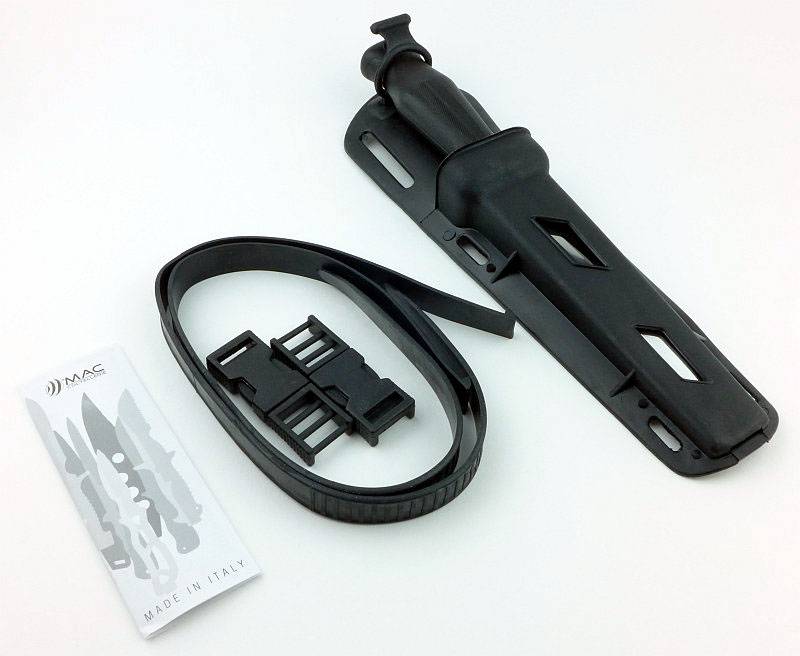
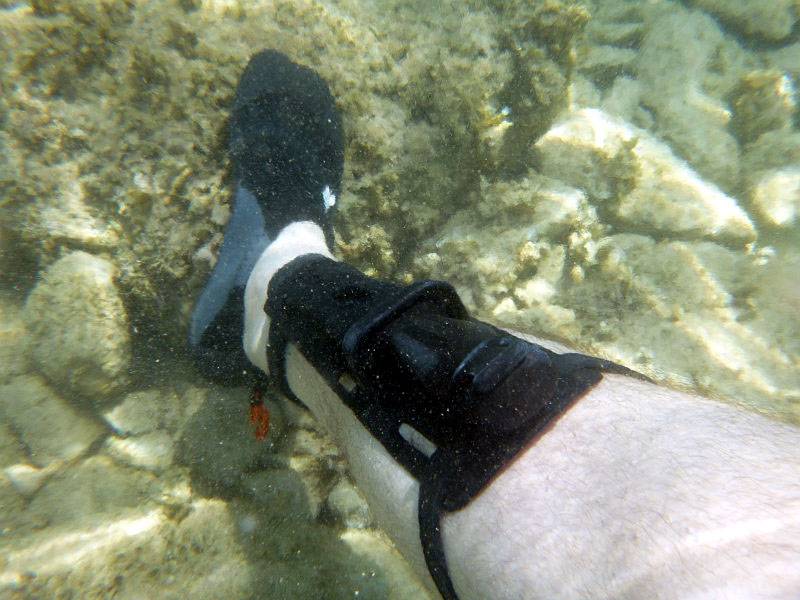
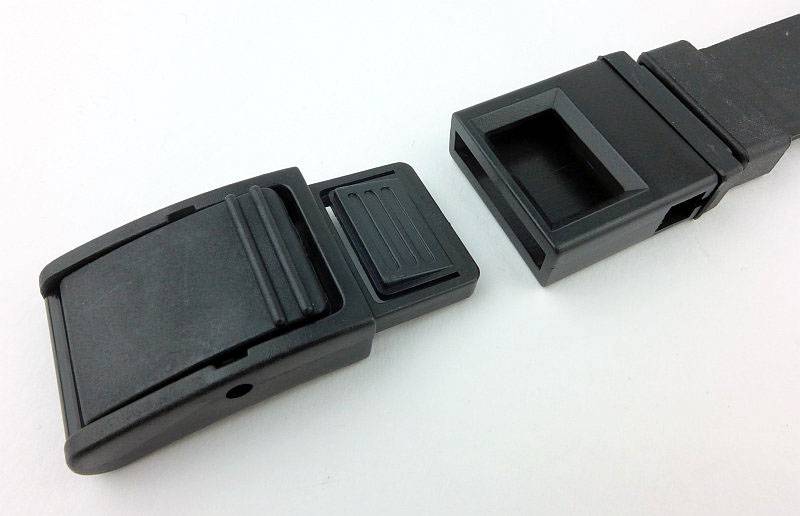
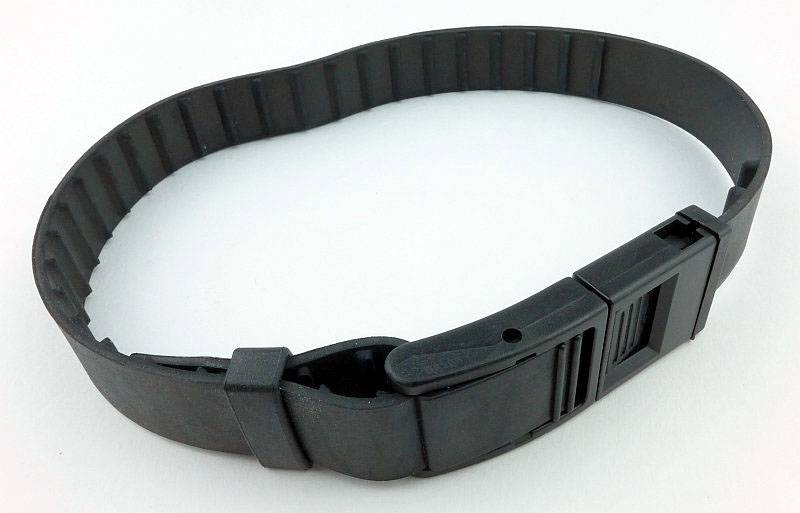
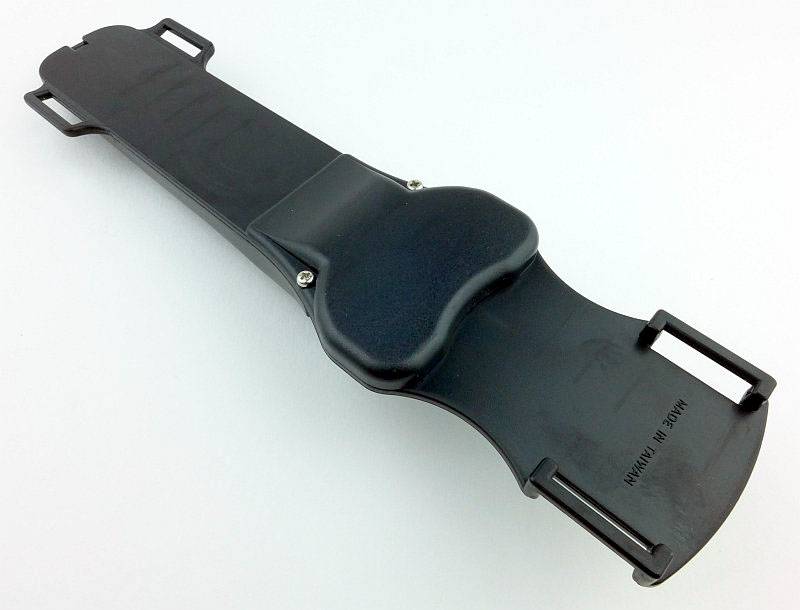
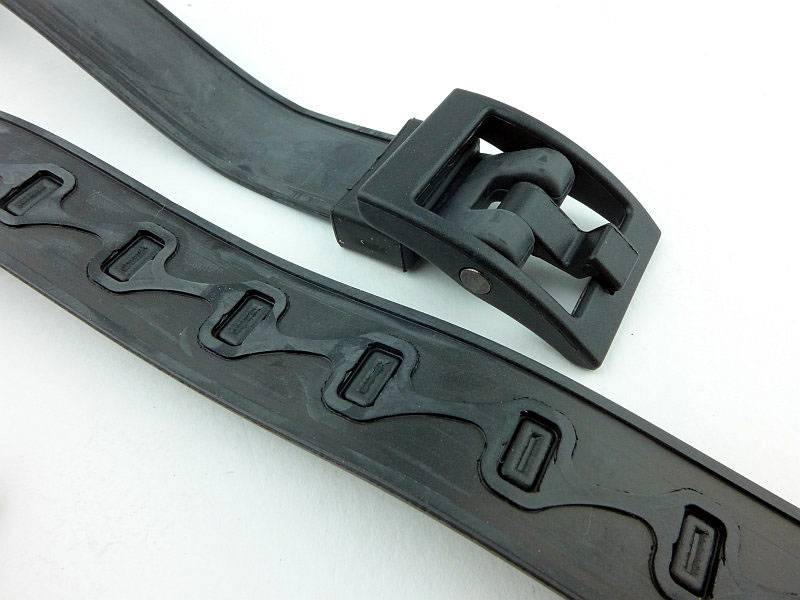
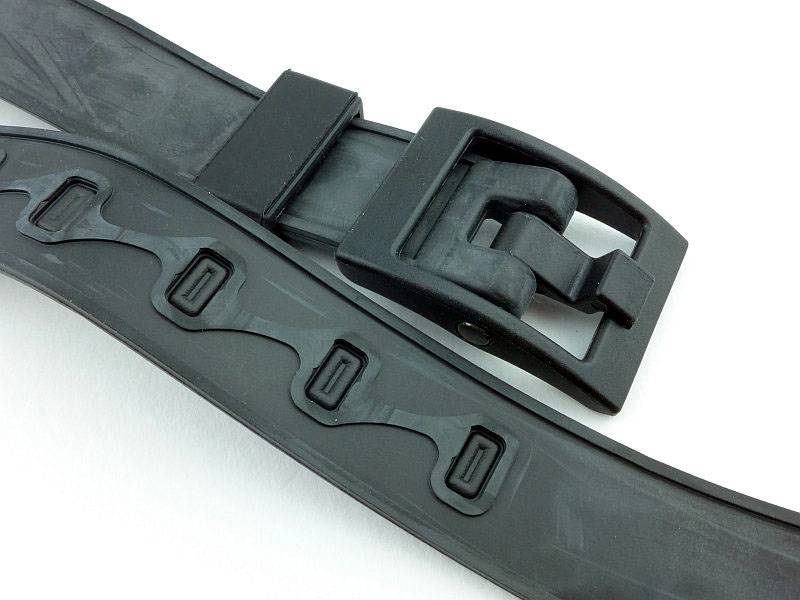
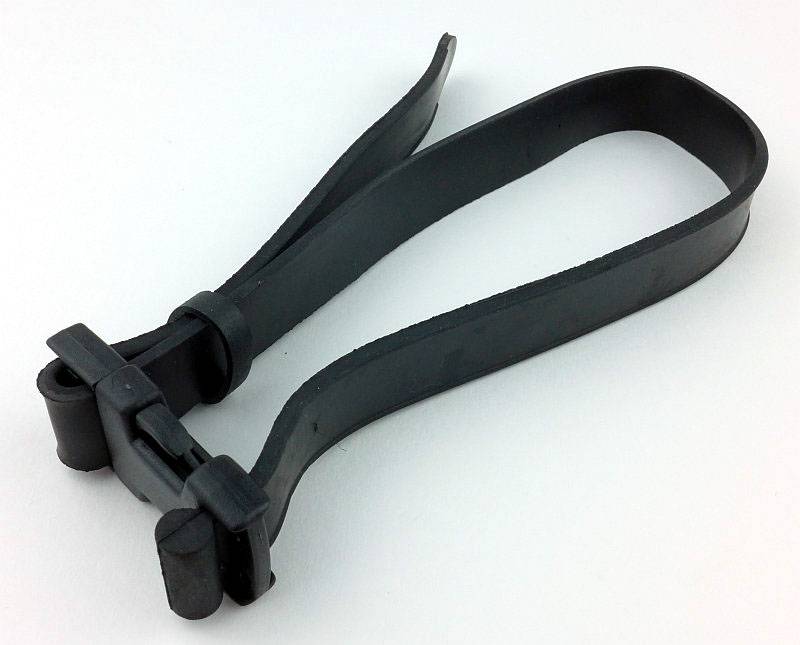
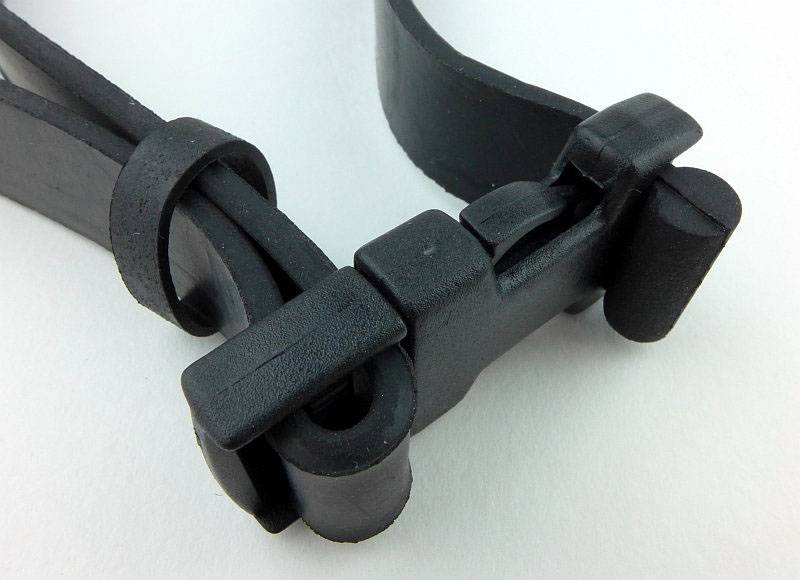
When comparing leg straps, the choice of quick release or buckle fastening will come down to a matter of personal preference. I found that as you need to the fix the strap length for the quick release type, that sometimes the fit was not so good (perhaps if changing leg or even just depending on the temperature), so the standard buckle fitting worked better (despite being slower to fit and take off) as the fit was adjusted for each and every dive.
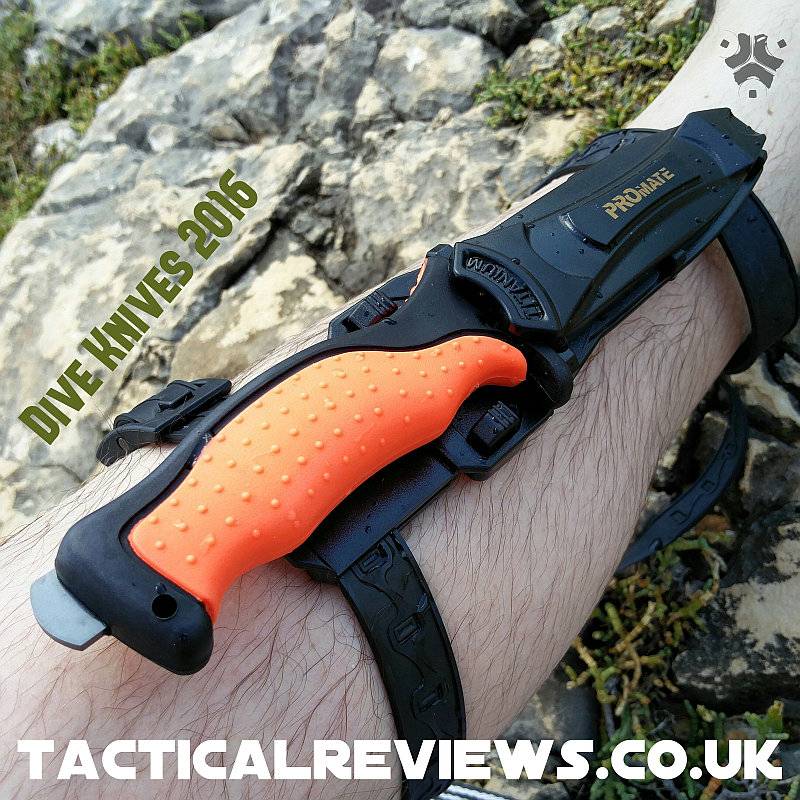
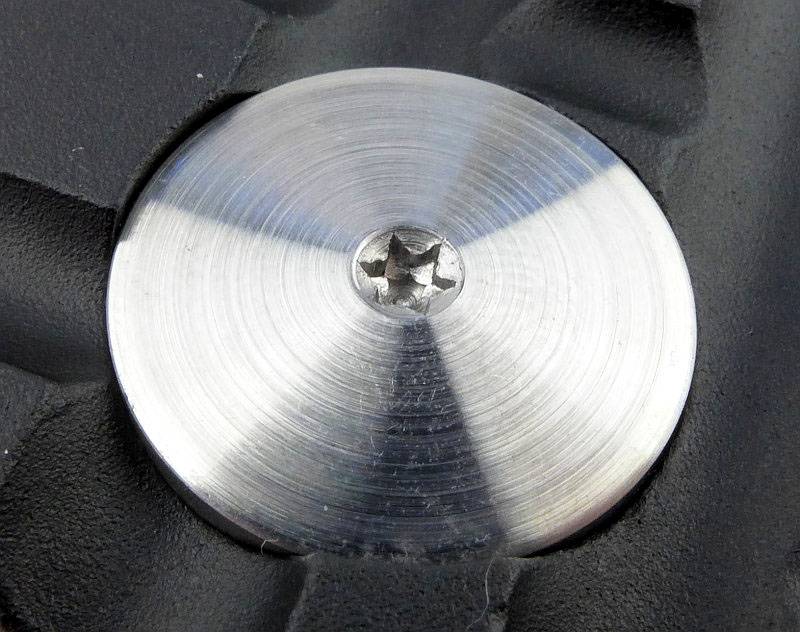
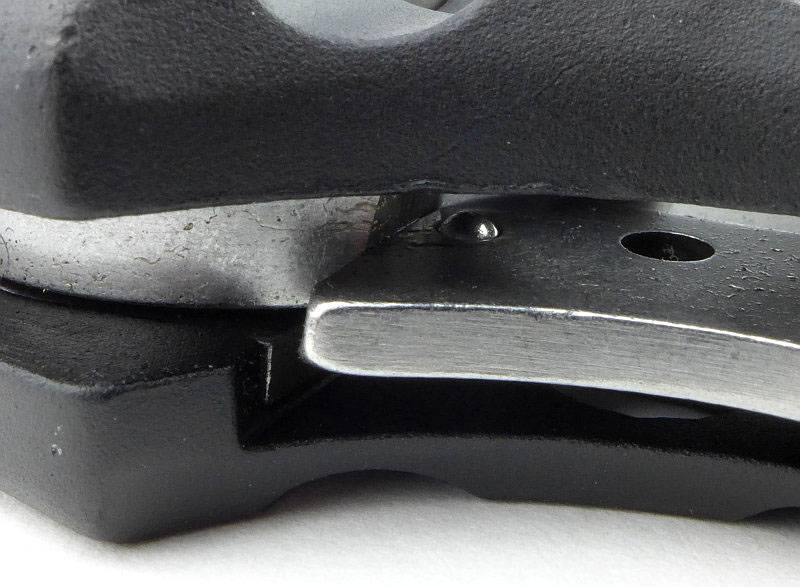
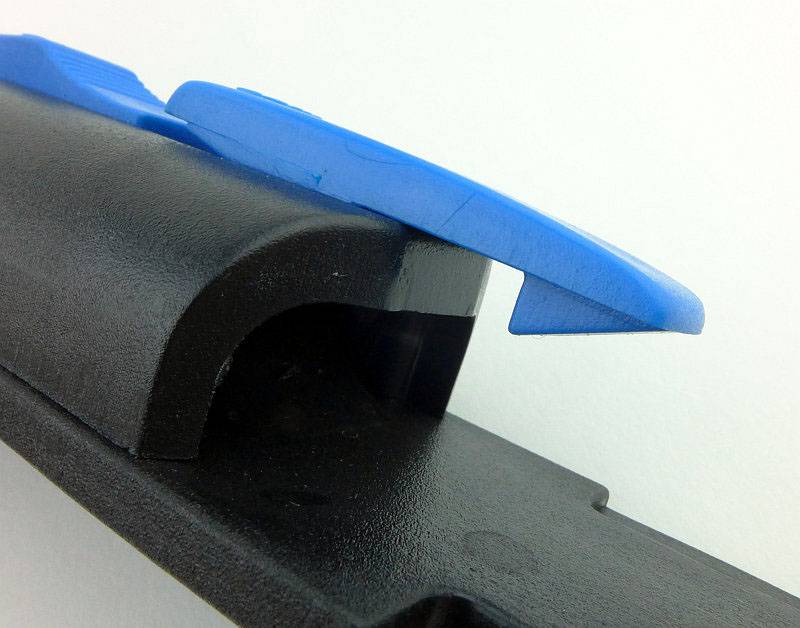
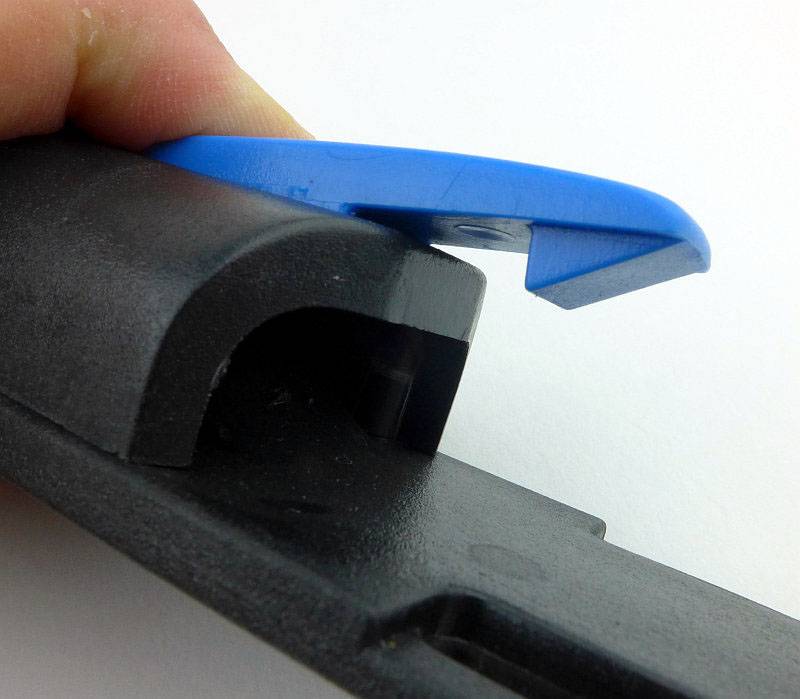
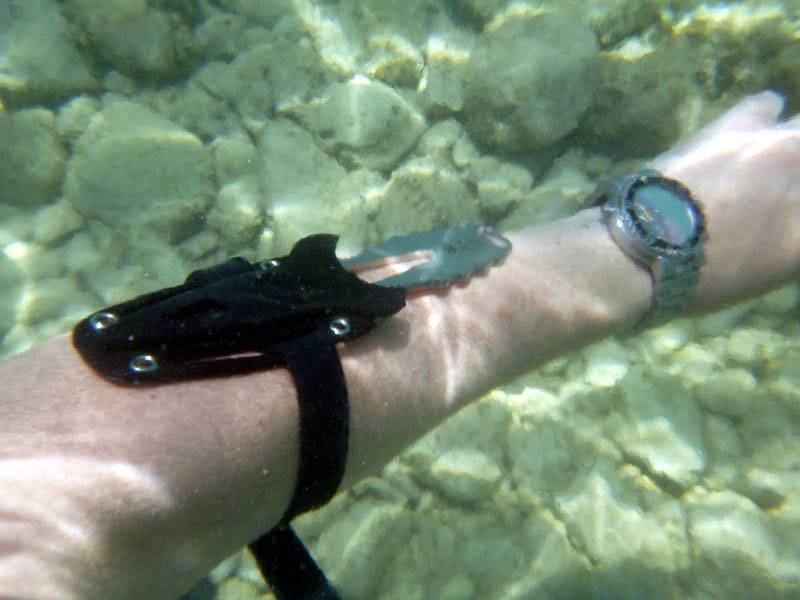
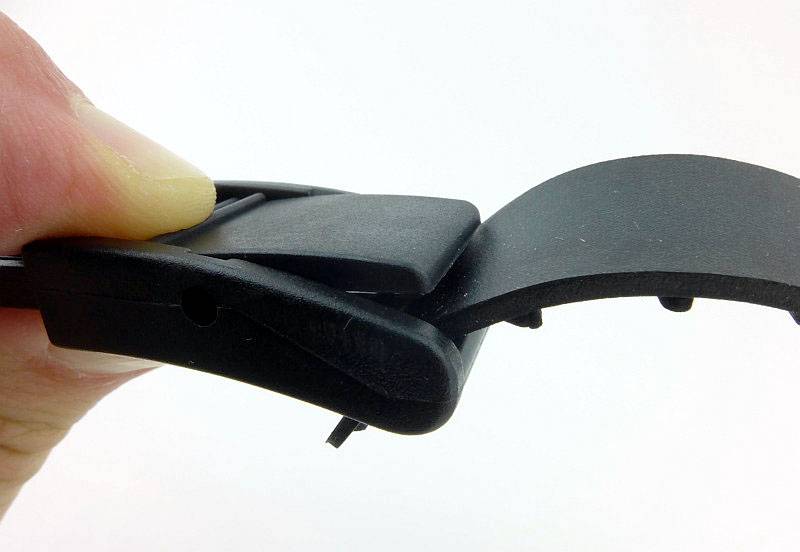
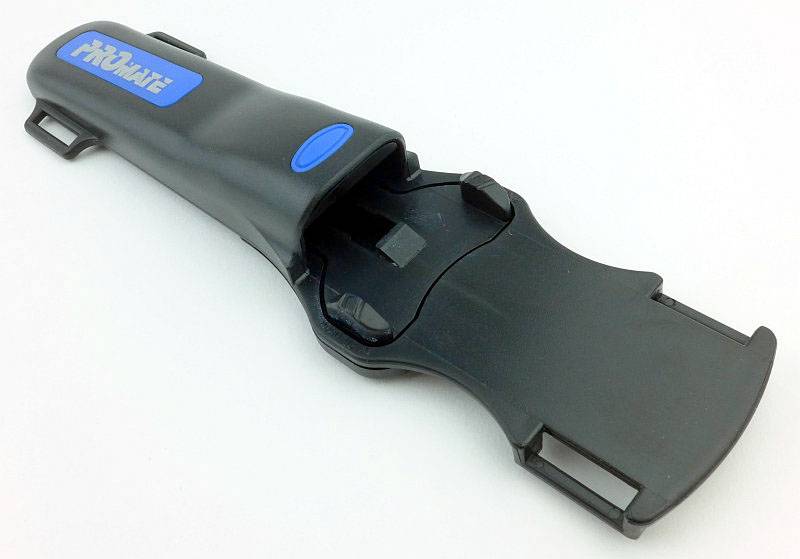
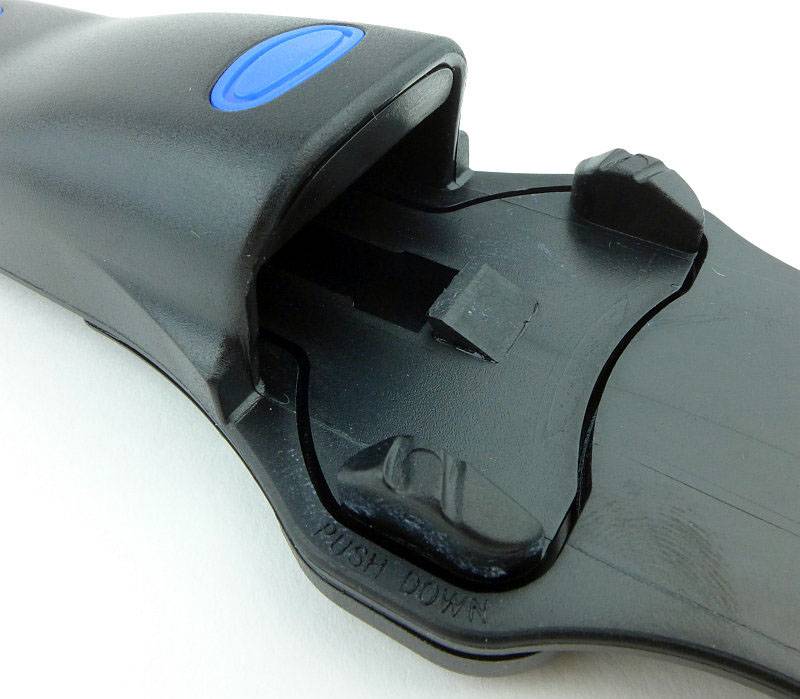
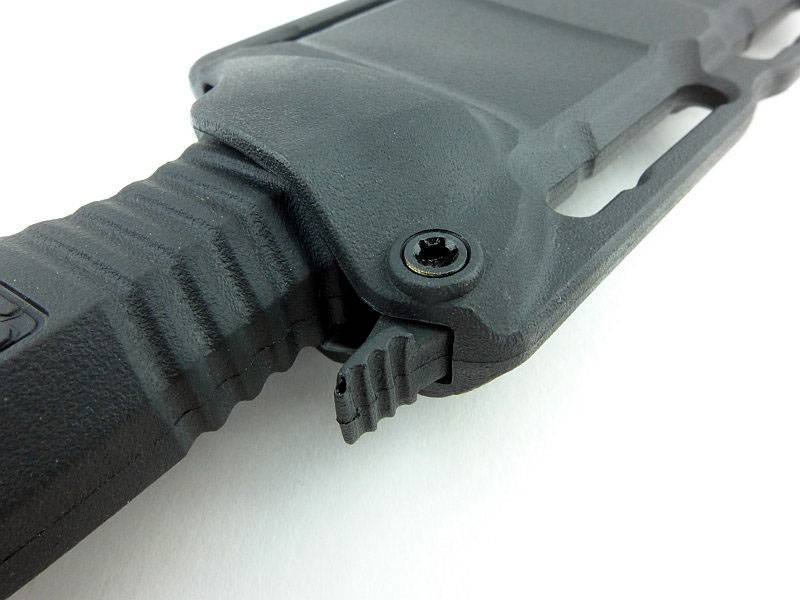
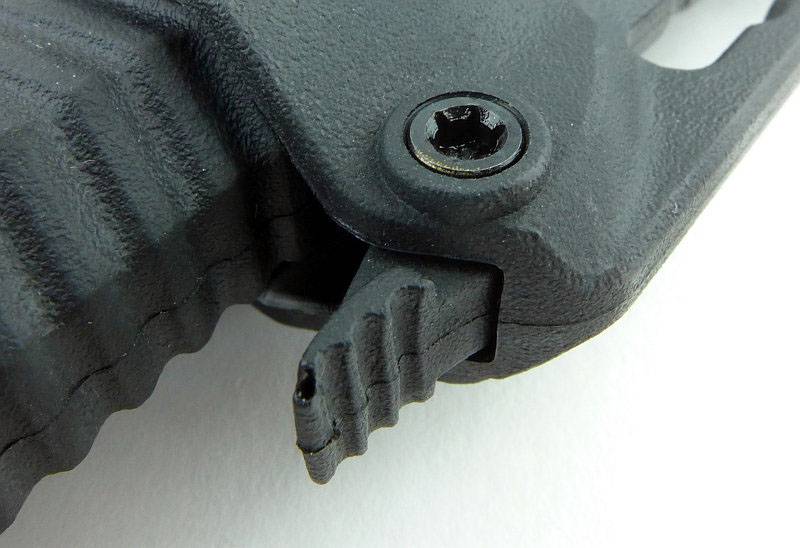
For the fixed blades, retention methods varied with rubber straps, clips and sprung plates all be used. More information on this will be seen in the individual reviews. On dry land all the knives are easy to unsheathe, but once strapped to you and you are free-floating in water, this changes significantly and shows the strengths and weaknesses of each design. Critically can you access the knife with either hand as your handed hand might be the one that is entangled.
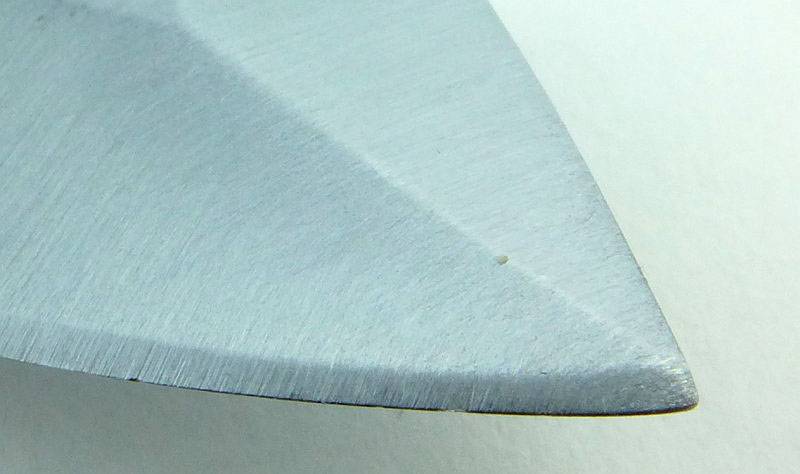
An important consideration is the ease of re-sheathing the knife. This is where you will want to decide if you really need that sharp point or if a blunt tip knife is better.
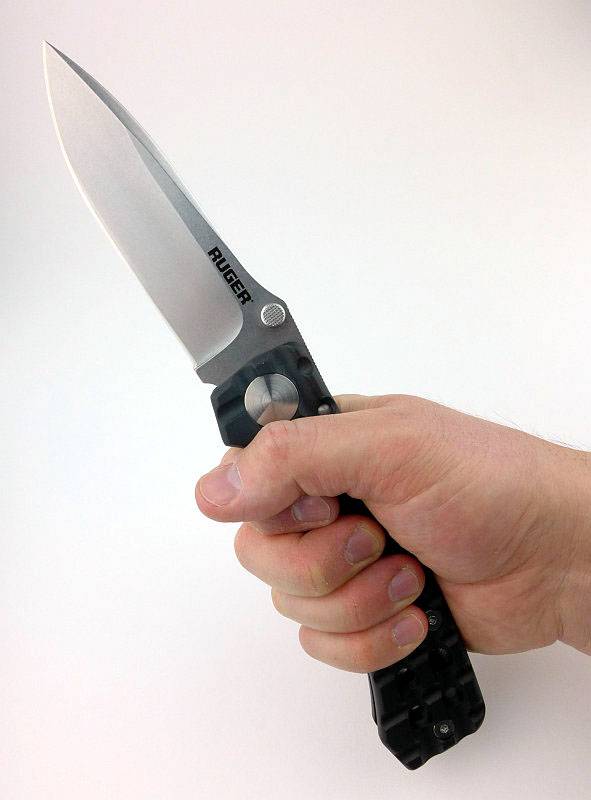
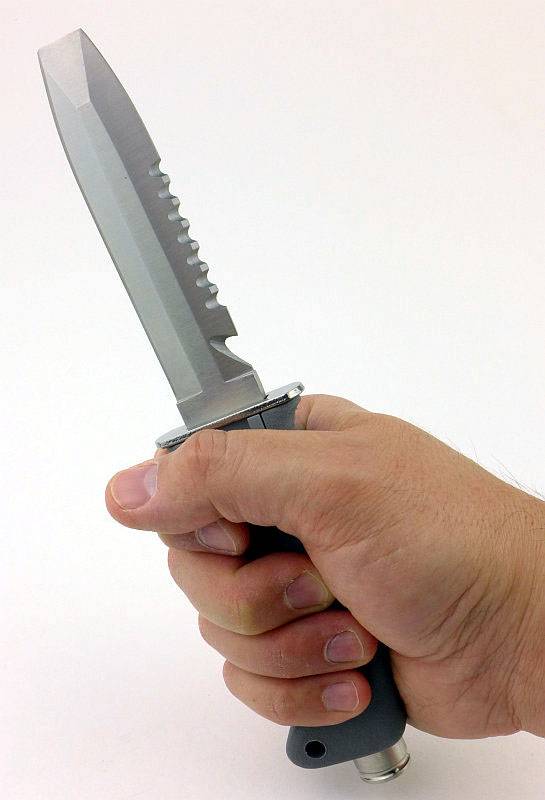
Once in the hand, how good is the grip.
If choosing a folder, how easy is it to open, especially with gloves. Is it a two handed operation?

A lot of factors and only a score out of 25 to work with. These scores are included in the overall results table.
Overall results:
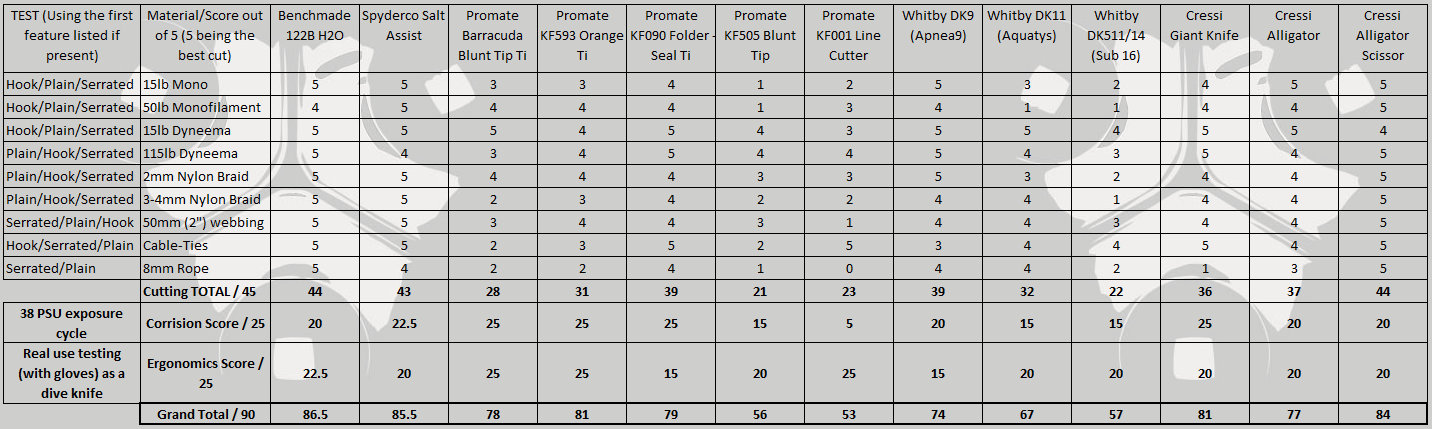
With so much information to present, unfortunately the only way is with a couple of results tables. There are two tables included here, one is the full results table with detailed cutting test results. This is packed with information and you will need to view the image separately (click on it) to expand it and read all the detailed results.
Please note the Benchmade 112S is incorrectly named the 112B in the tables.
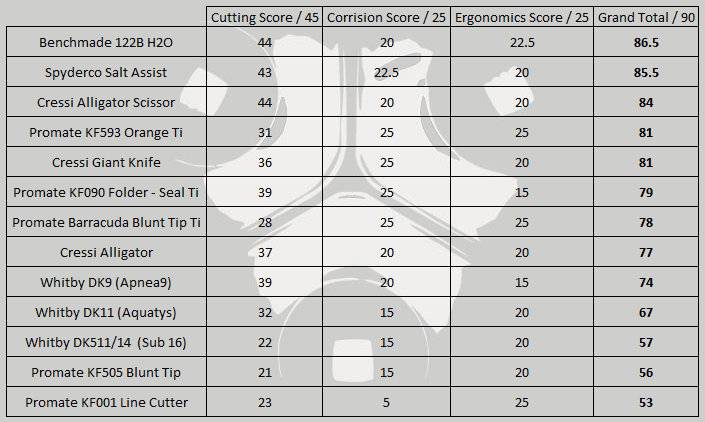
Taking out the detailed cutting test results makes for a more manageable results table, and here the scores have been put into ranking order with the top scores at the top of the table.
Review Summary
Normally I include a Pros/Cons table in the summary, but in this case it is not appropriate (this will be included in the individual reviews). Instead I wanted to mention how to look at these results. You will all have specific needs, you may want a large or small knife, you may absolutely want a knife needing no maintenance (apart from sharpening), you may have a strict budget, or dive in conditions where you often lose knives, so despite what looks like a clear winner in this test you might chose another option.
All the tests in this Mega Review have been carried out with the knives treated as equals, using the same conditions and testing criteria throughout. You may not be surprised to see that the two top scores are from the two most expensive knives, (you really do get what you pay for) which also happen to be from specialist knife manufacturers. Also scoring well are the Titanium blades, even up against steel blades.
I’m purposefully avoiding making absolute conclusions here as the experimental results speak for themselves. The individual reviews will be completed and published as soon as possible and the links will be included at the beginning of this article.
This information should allow you to form your own opinions about what you might look for in a dive knife.
Though I didn’t want to pick one out of these as a winner, there is the question “Do I have a favourite?” – Yes I do. Quite simply for the complete lack of care required in maintaining it, the light weight, the sheath retention and overall package, for me it is the Promate Titanium KF593 Scuba knife. Others come in very close seconds, and are also excellent choices, but if I had to pick one, and have in fact been doing that since the initial testing, it is the Titanium KF593. I also have to give a mention to the Benchmade 112S H2O as if I knew I was going to be doing a lot of cutting, then this knife would overtake the Titanium blade for quality of cut and edge retention. If you follow the philosophy that “one is none, two is one” then, like me, you might carry both of these.
It’s been fun…….
Discussing the Review:
Please feel free to add comments to the review, but the ideal place to freely discuss these reviews is on a forum. If you started reading the shorter forum version of the review, but followed the link this full exclusive review, please return to that forum to discuss the review there.
If you read the review entirely on Tactical Reviews, please consider one of the following to join in any discussion.
EdgeMatters – Sponsored Reviews (UK based Forum for Knife Makers and Collectors)
BladeForums – Knife Reviews (US based Forum for Knife Discussion)
CandlePowerForums – Knife Reviews Section (Largest and Friendliest Flashlight Community Forum)