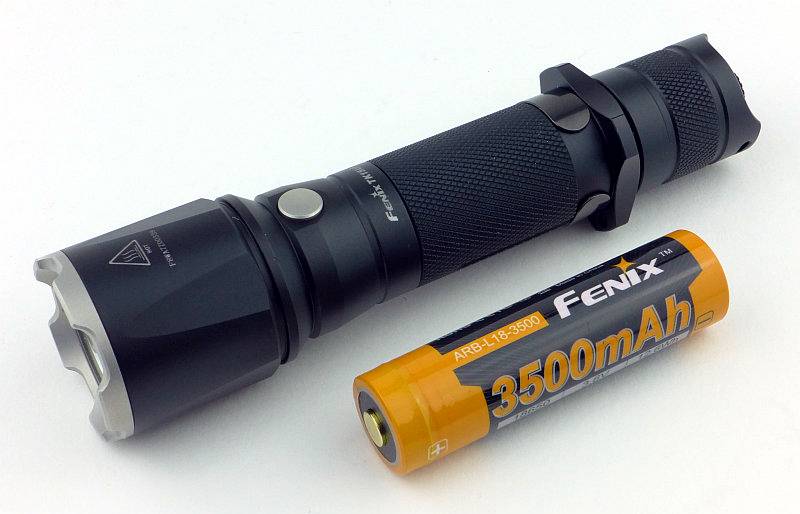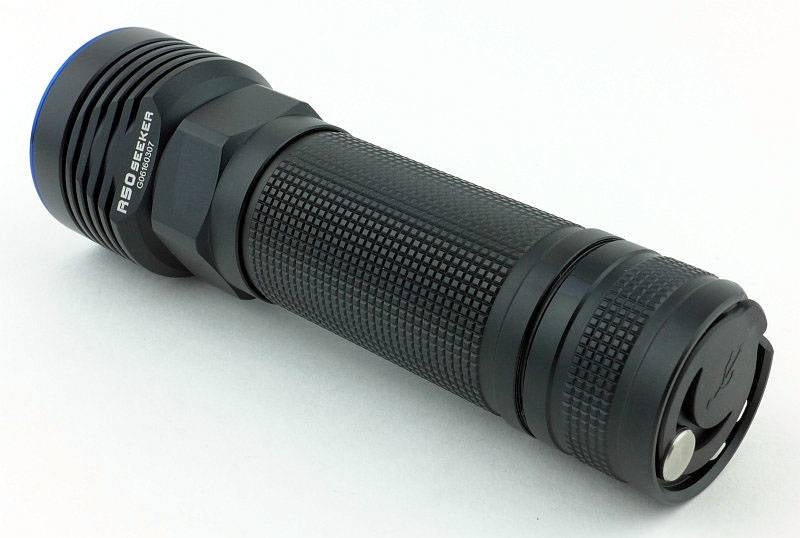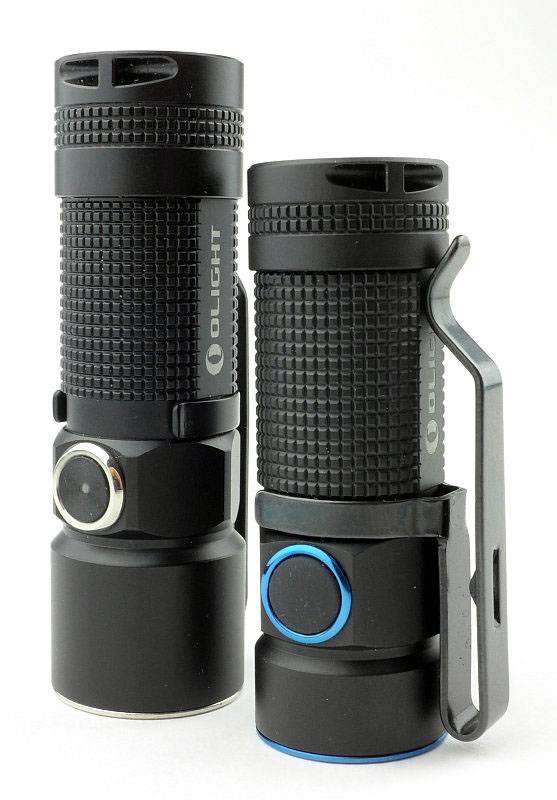
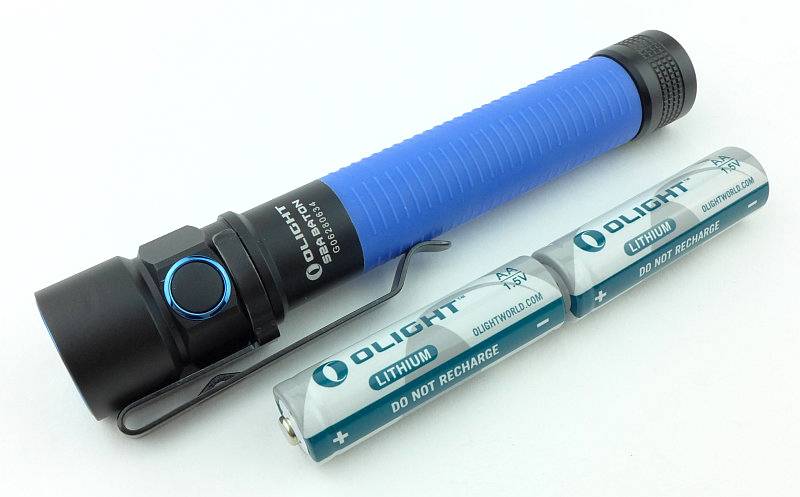
Olight’s Baton line-up gets a 2xAA powered version at last. Though the beautifully compact S1 is a fantastic light (previously reviewed) my personal ideal form factor is the 2xAA for ease of holding yet remaining compact. It also has the added advantage that AA cells are the easiest to come by, so travelling with or gifting this light is trouble free.
Taking a more detailed look:
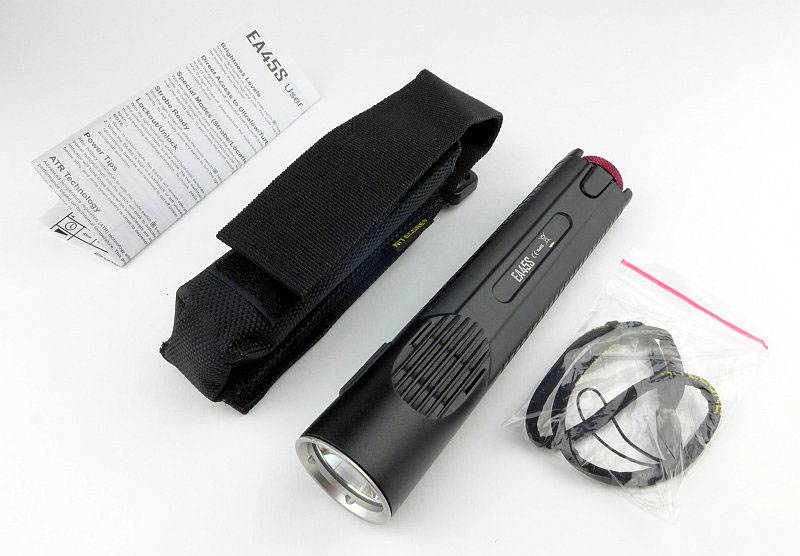
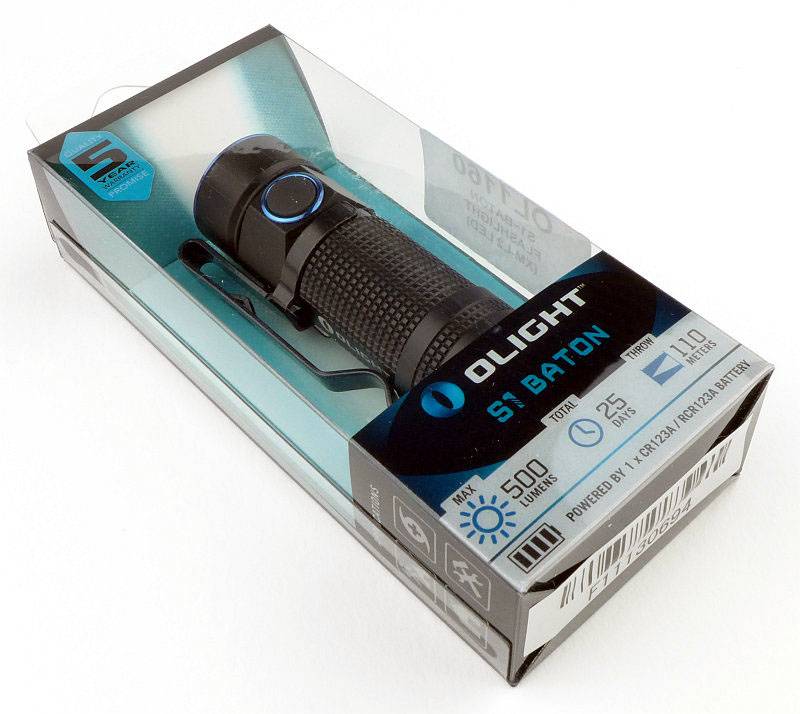
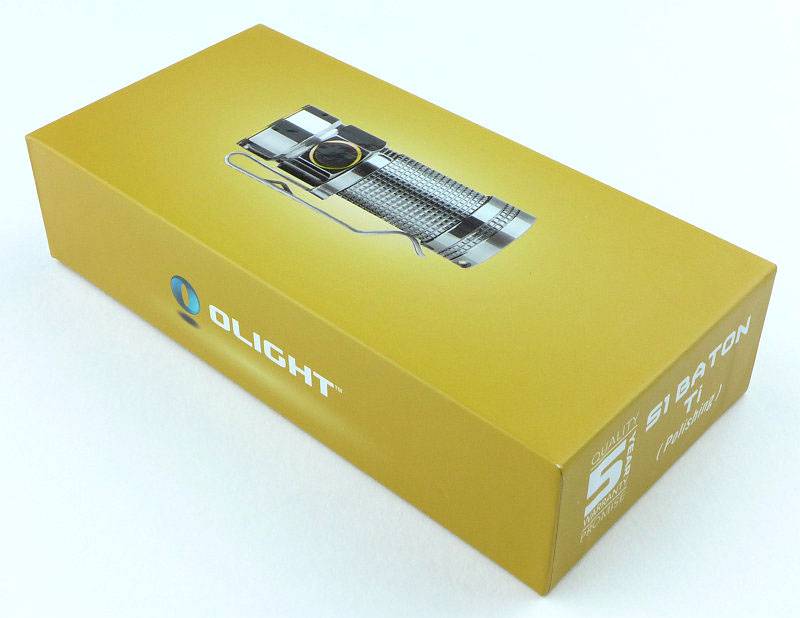
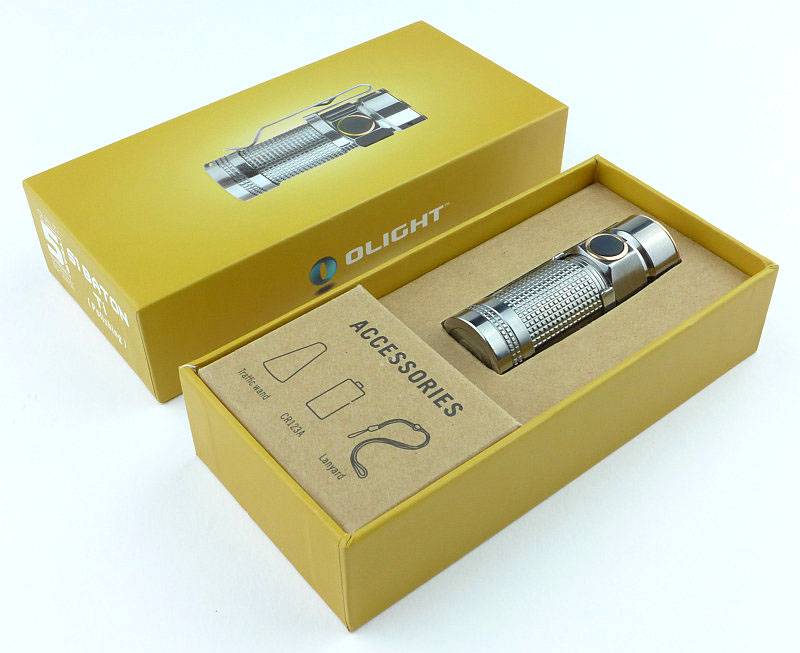
Looking very sharp in a clear plastic box with cardboard insert, you get a good look at the light even before you get your hands on it.

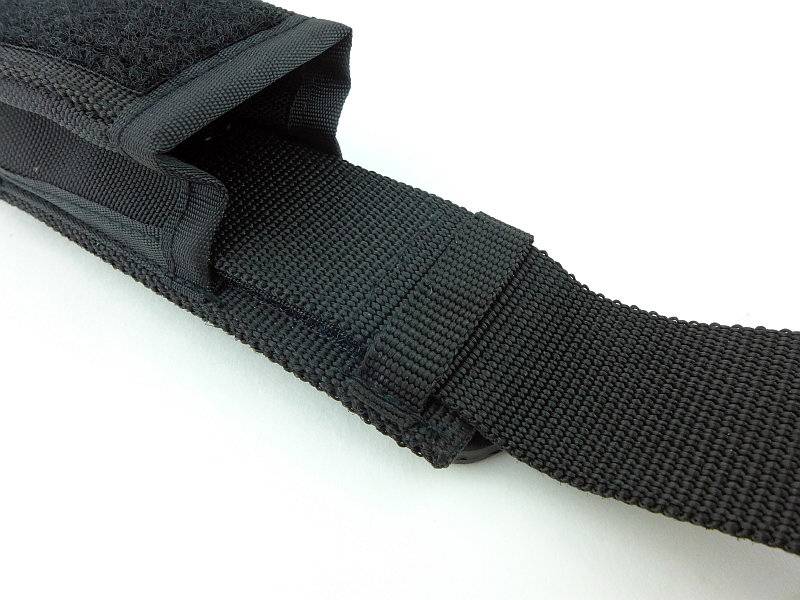
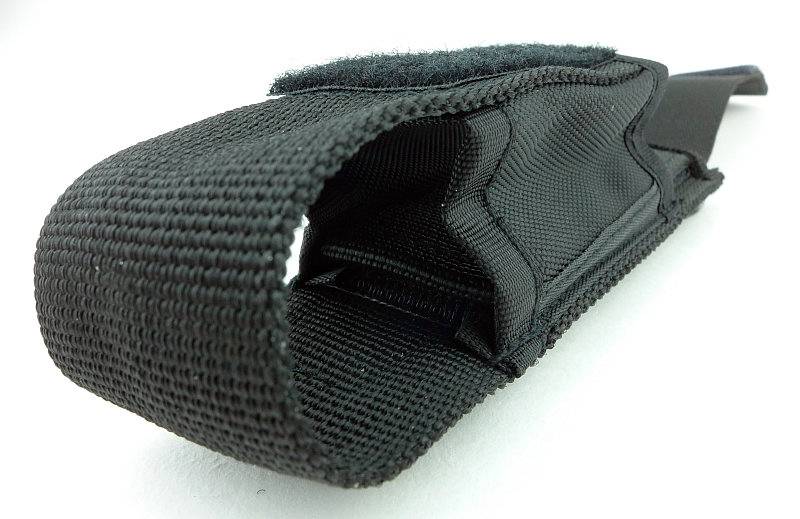
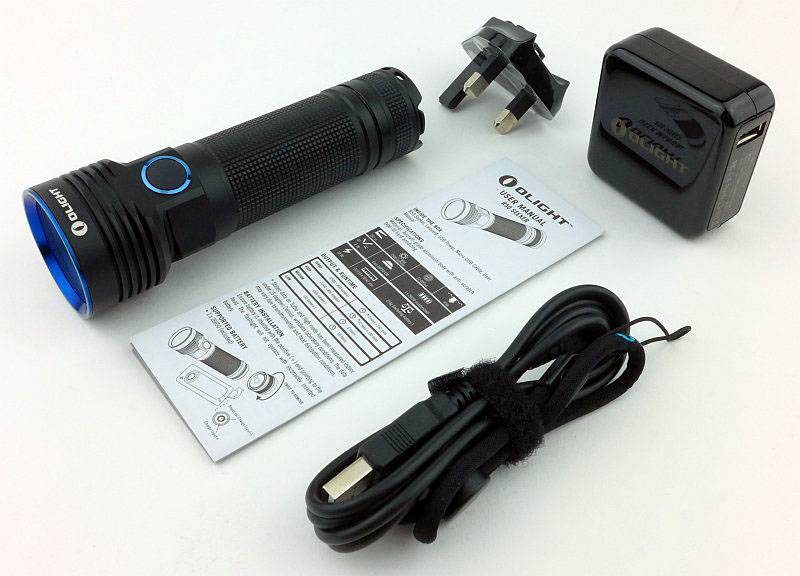
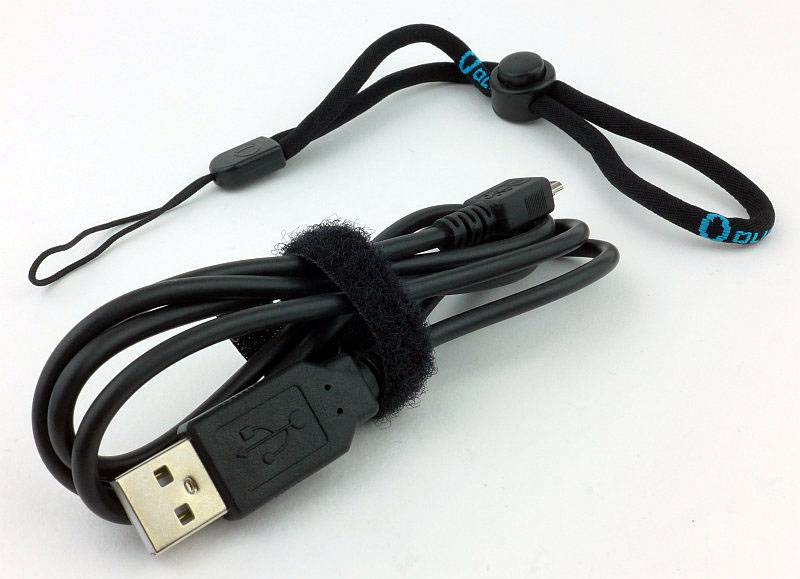
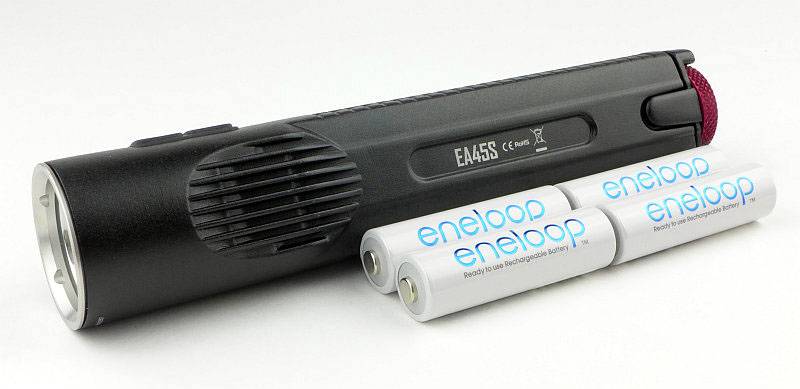
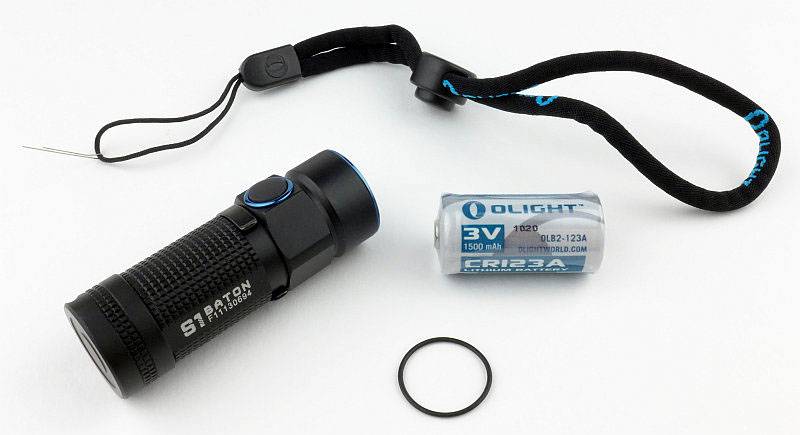
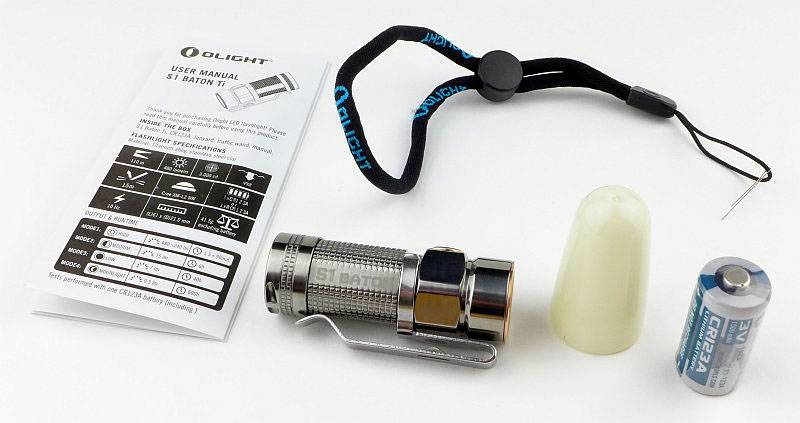
Inside the box is the S2A, a spare o-ring, a lanyard and the instructions.
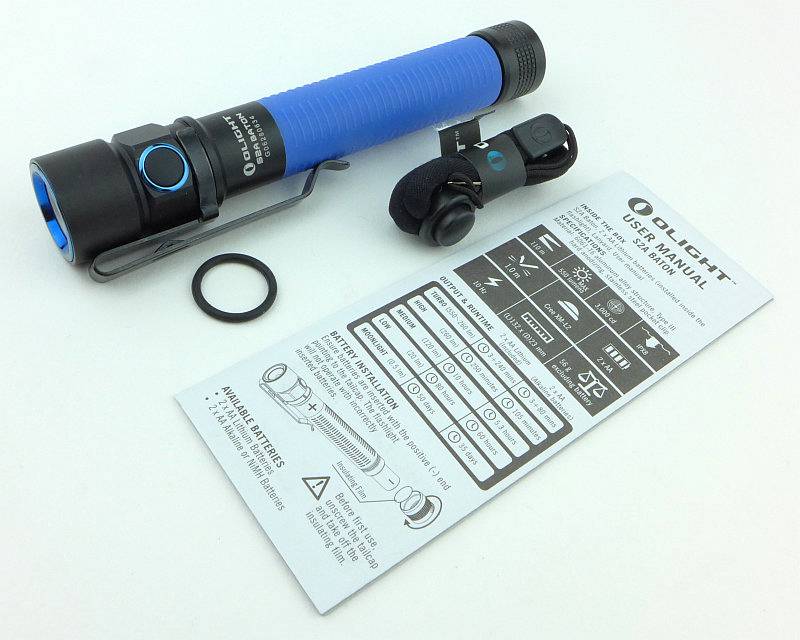
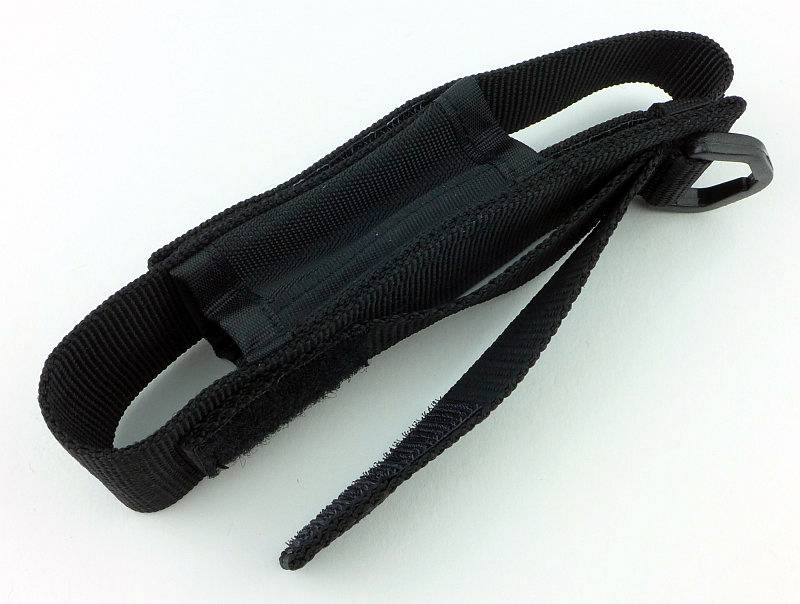
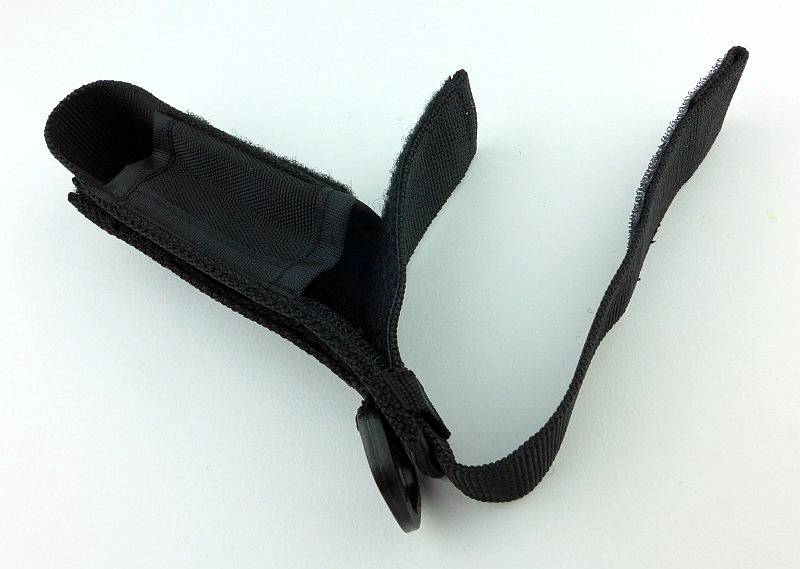
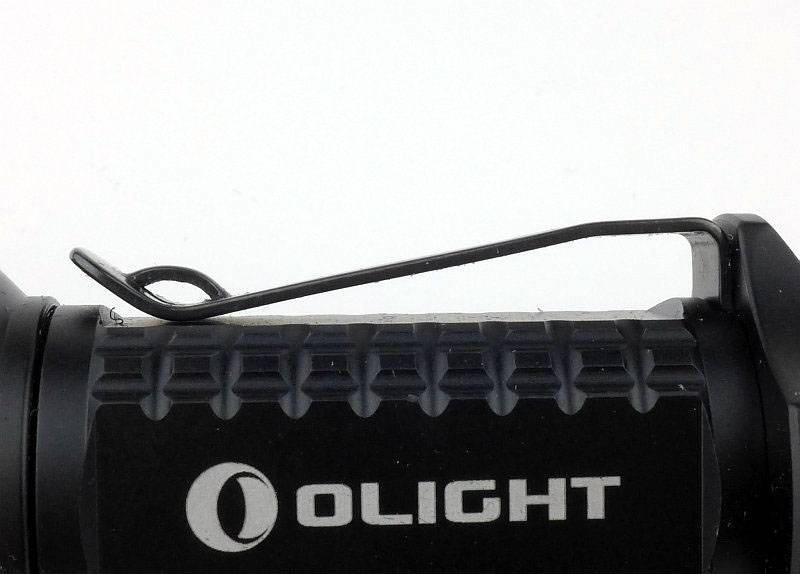
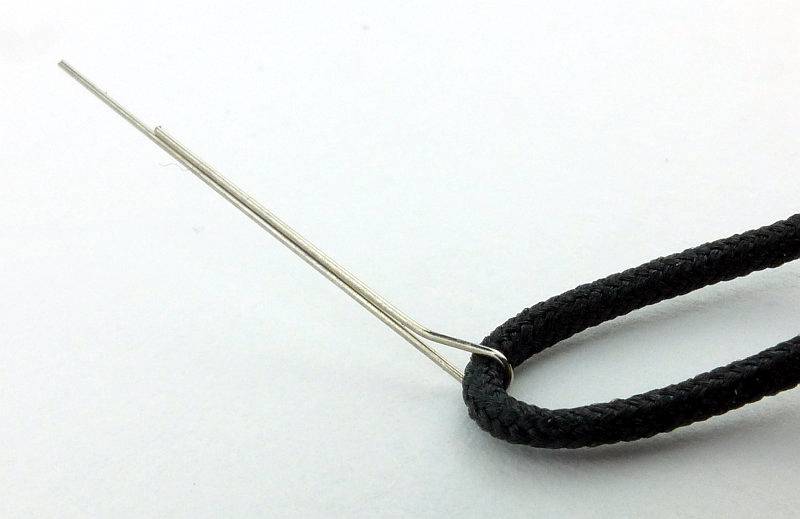
The lanyard has a really nice fabric tube cord and what is that we can see on the attachment loop?
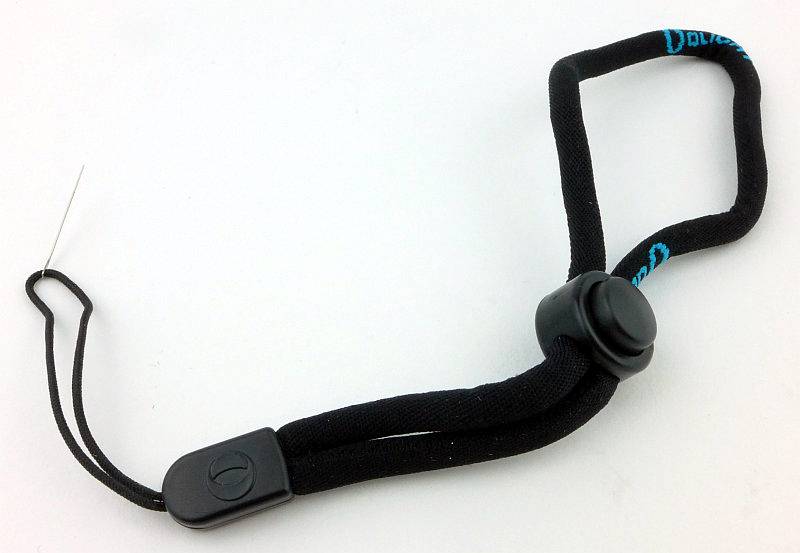
Thank you Olight! It is a wire puller for fitting the lanyard through the small hole in the tailcap. A thoughtful addition and makes life easier. Of course you can do something similar yourself (as I have for some time) but here it is ready to go.
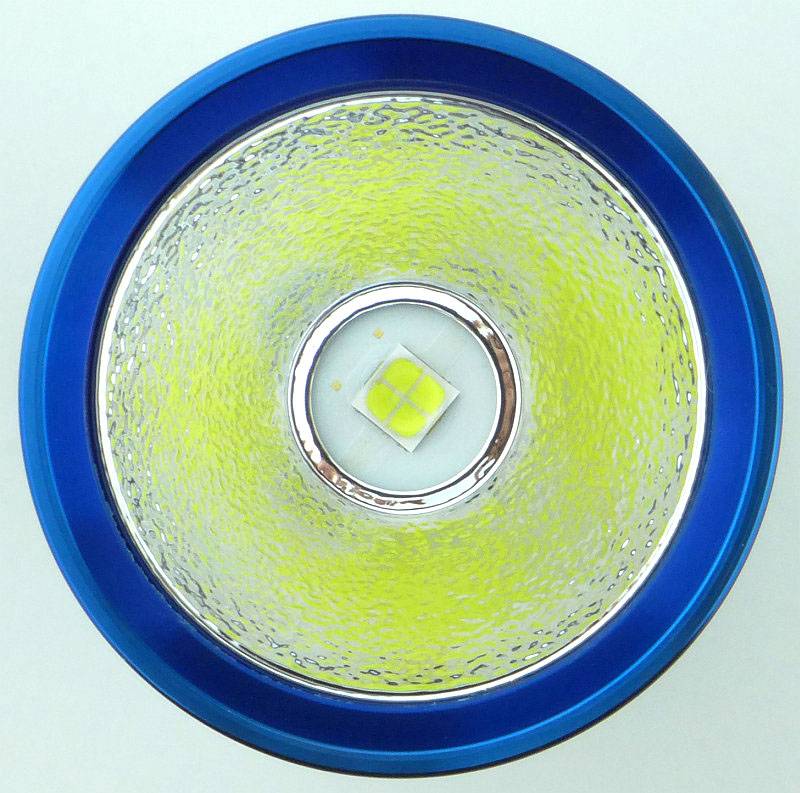
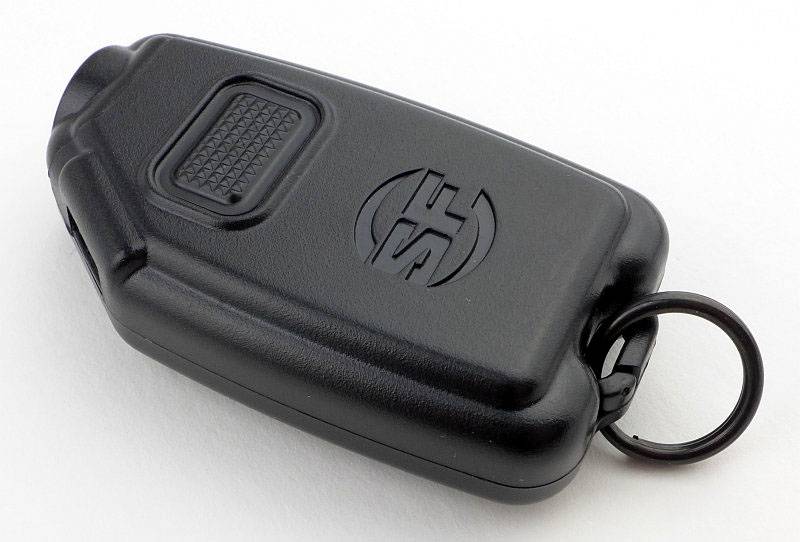
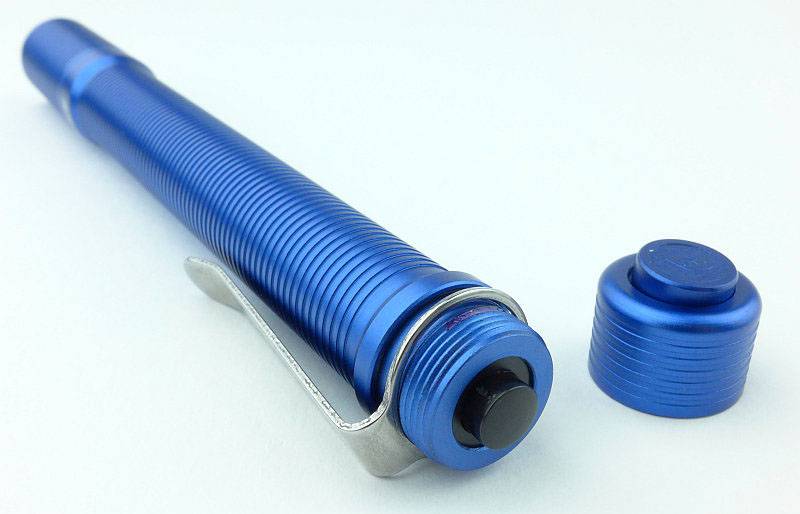
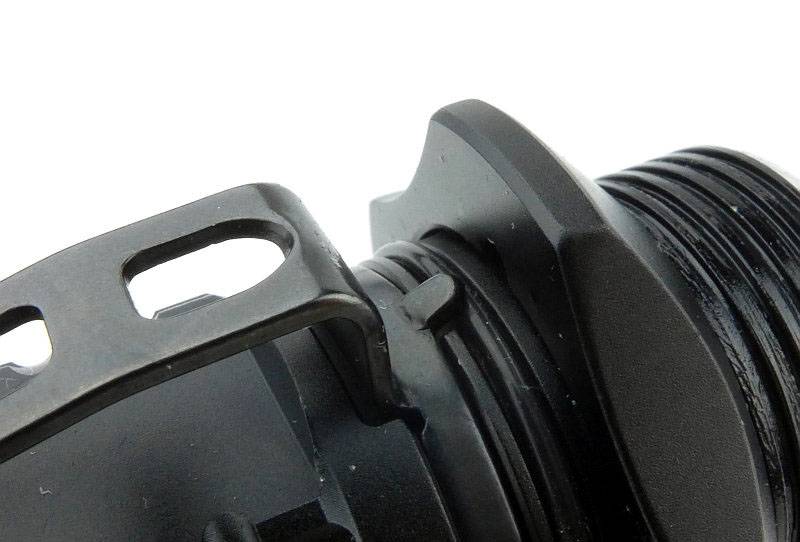
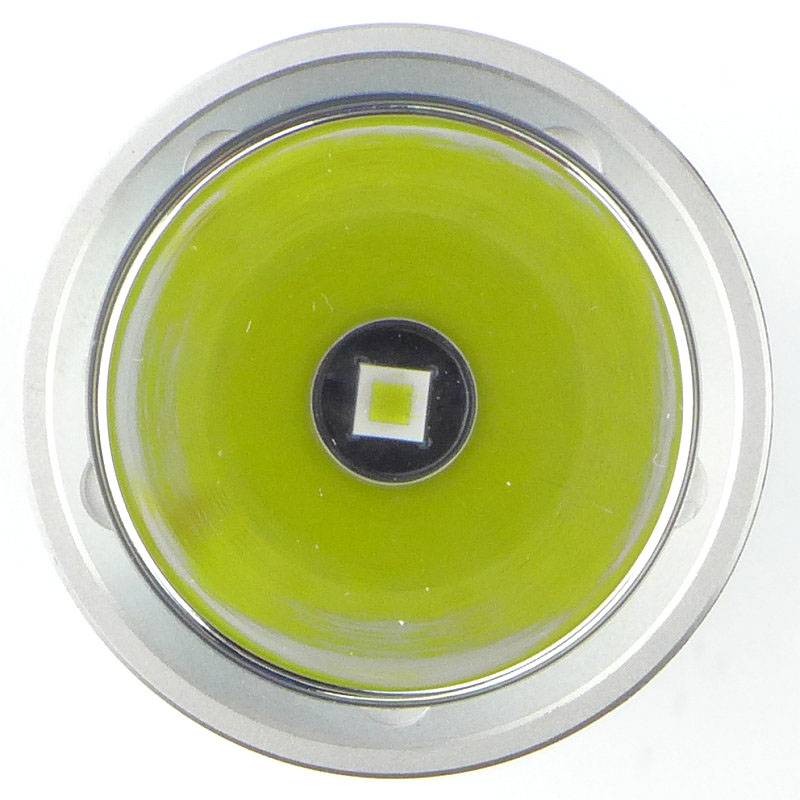
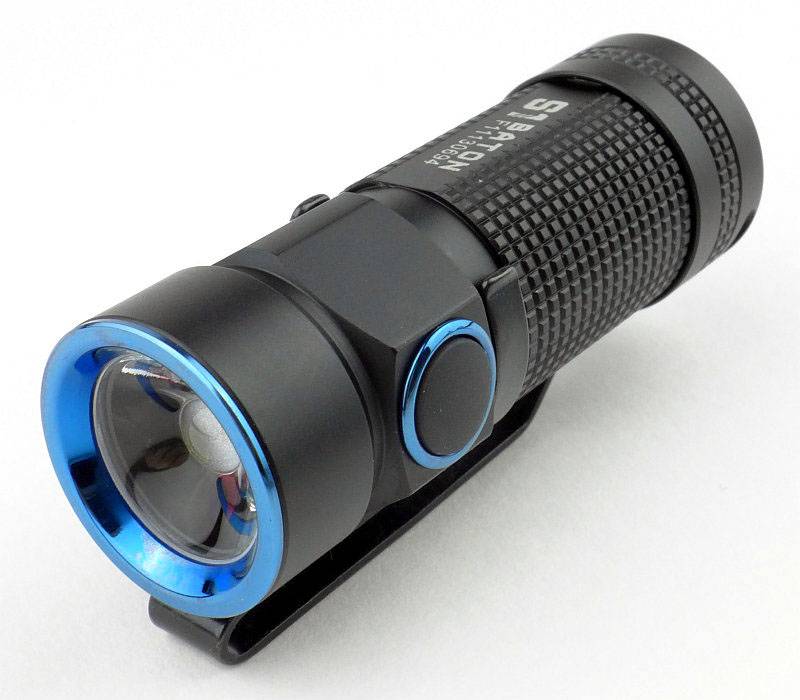
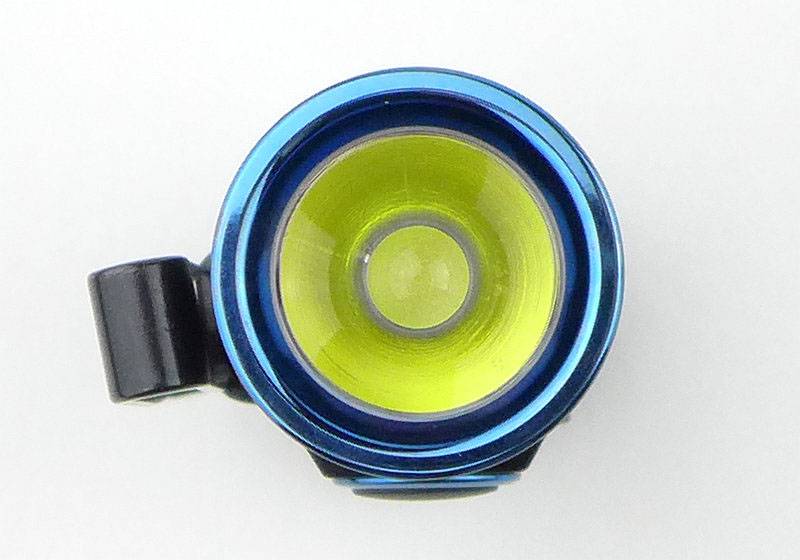
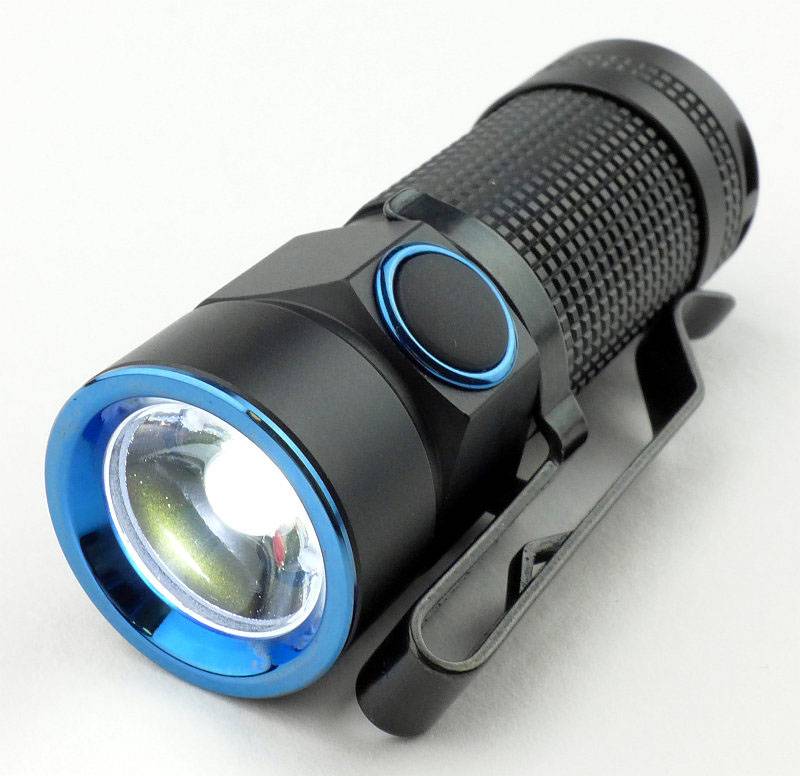
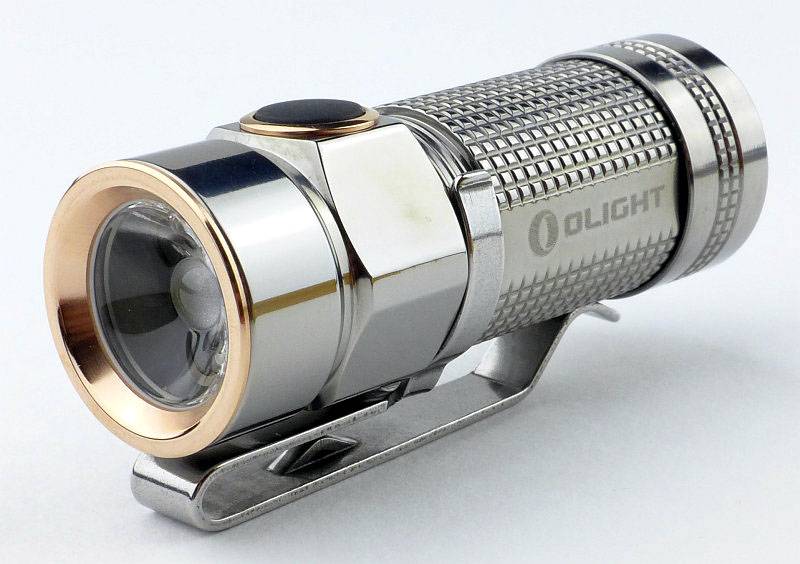
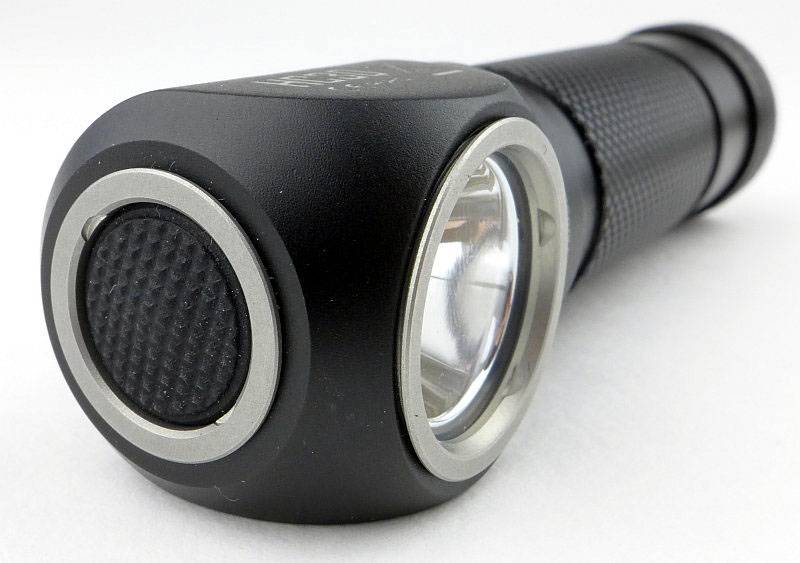
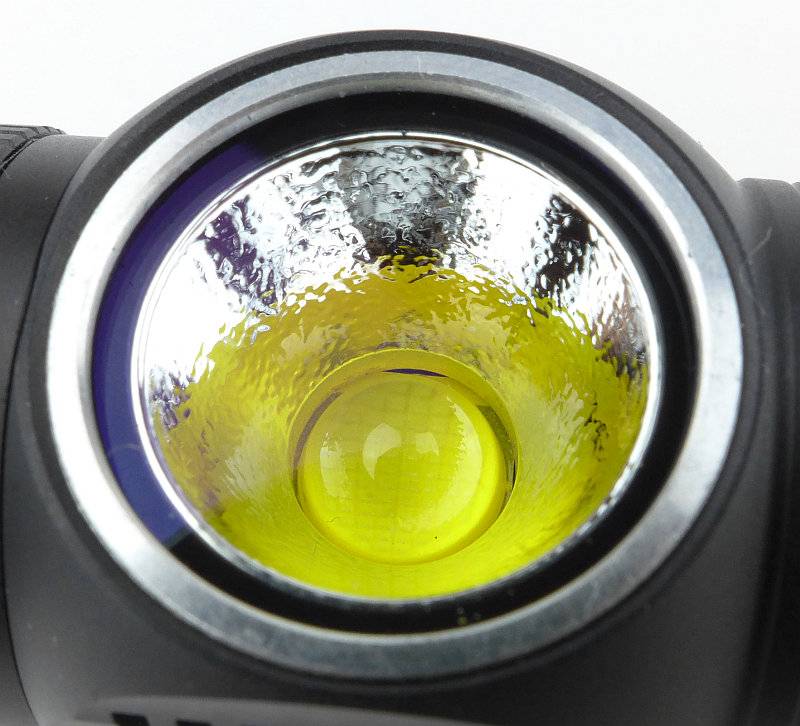
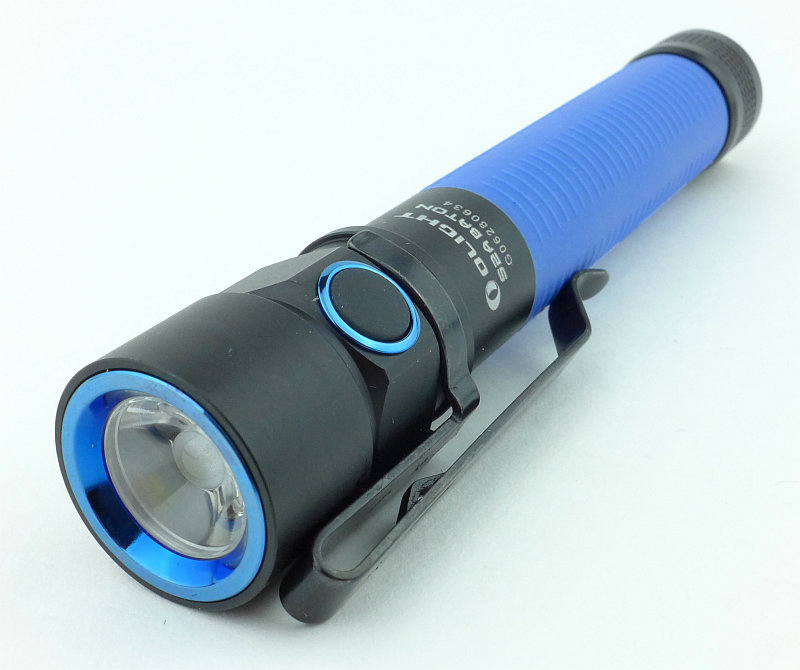
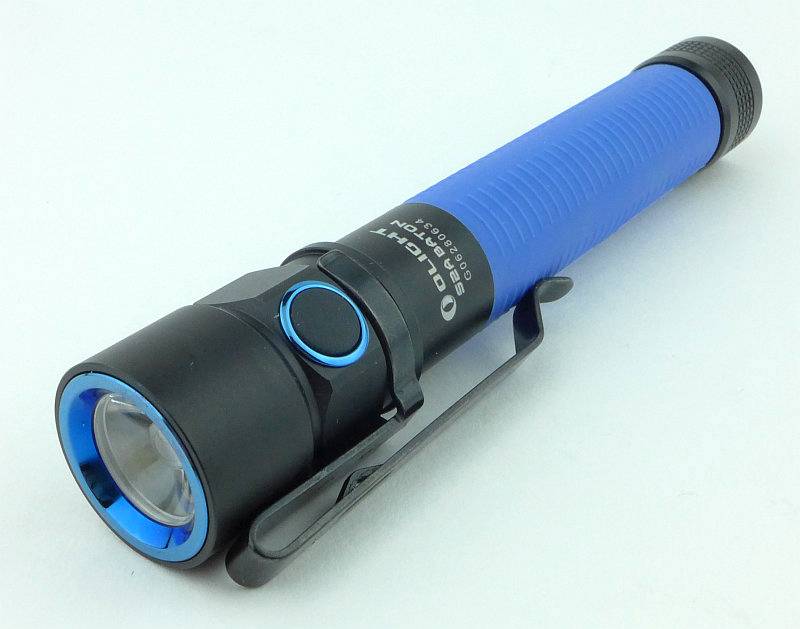
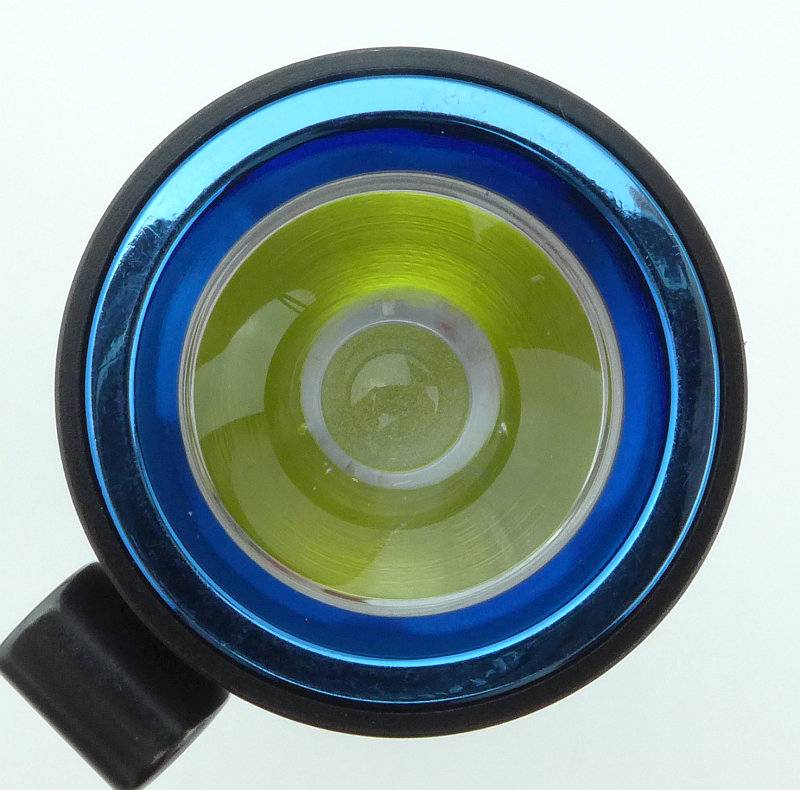
Surrounding the side-switch is a blue PVD ring which matches the bezel.
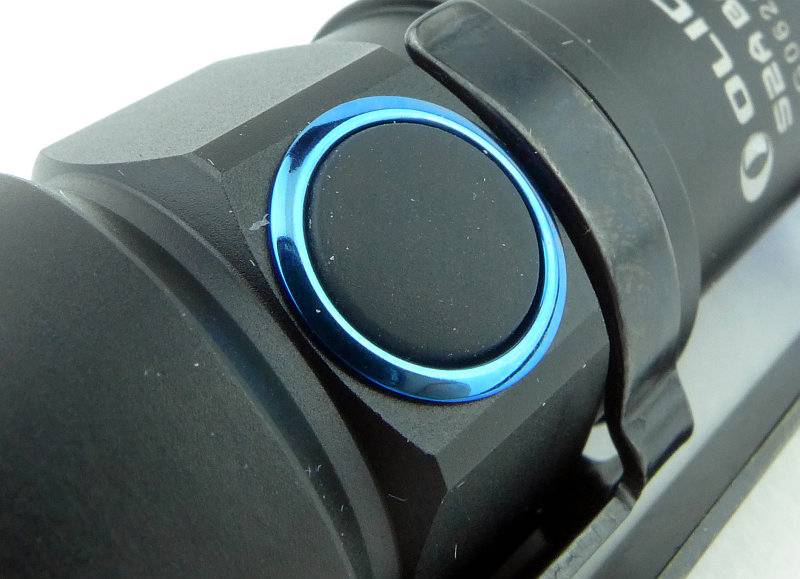
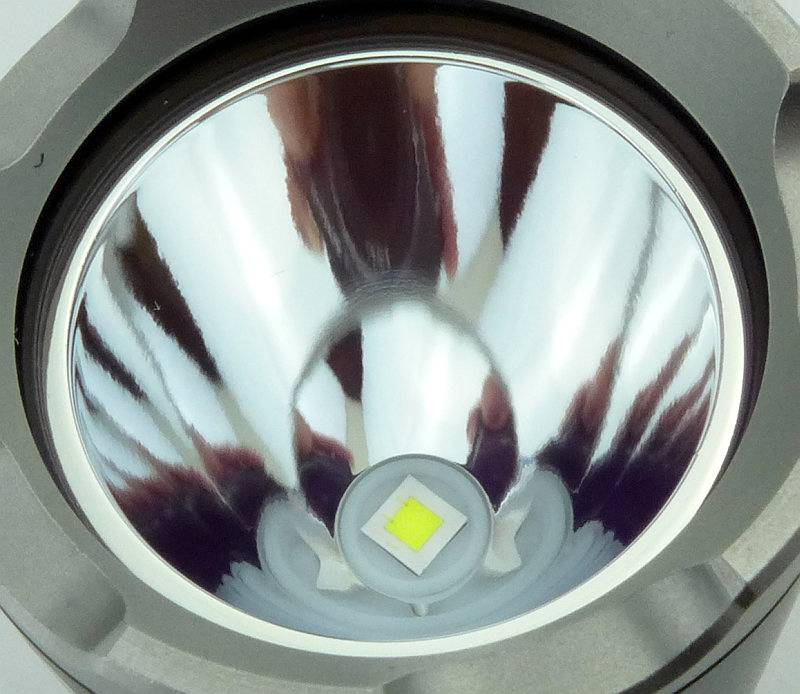
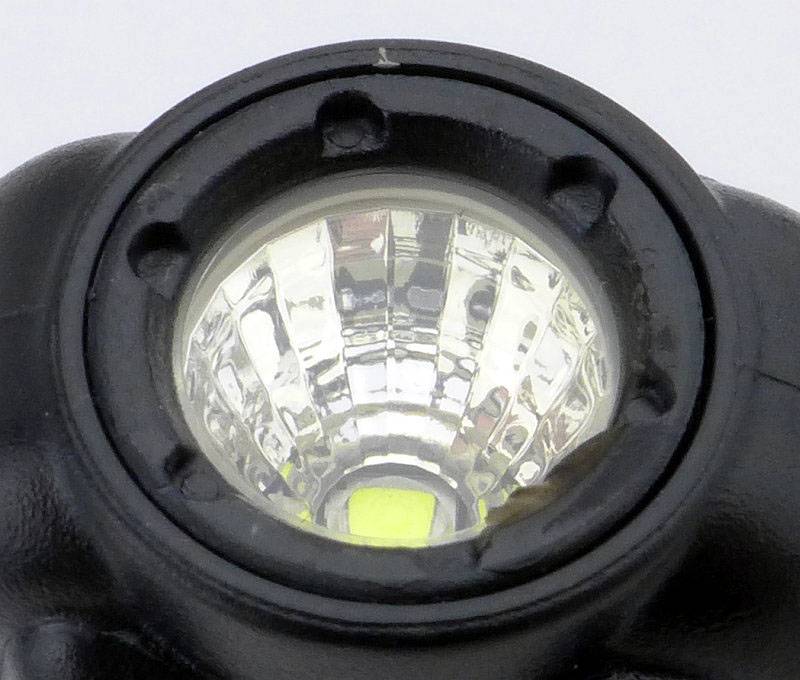
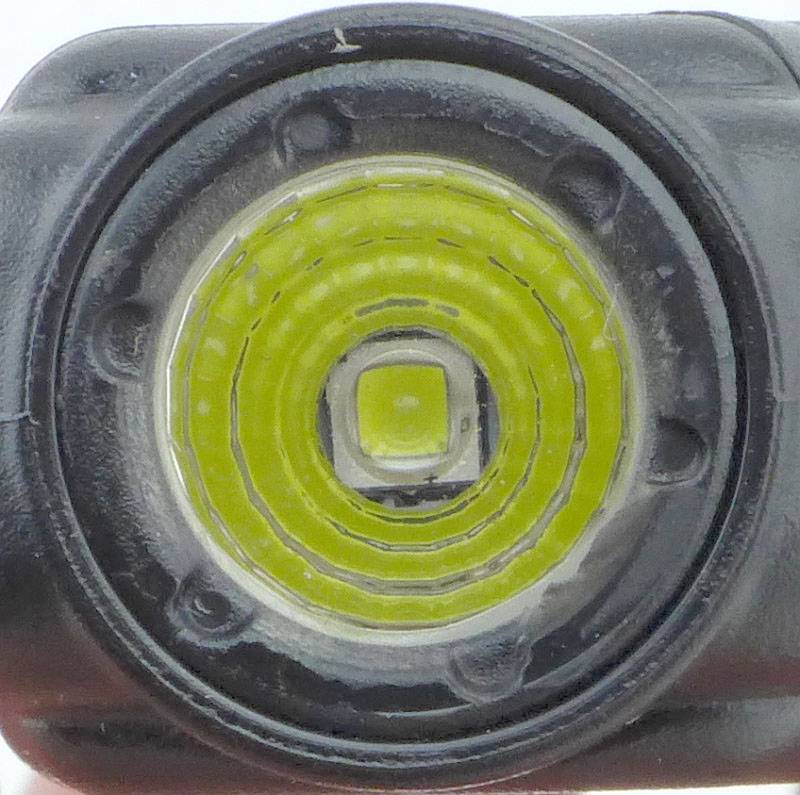
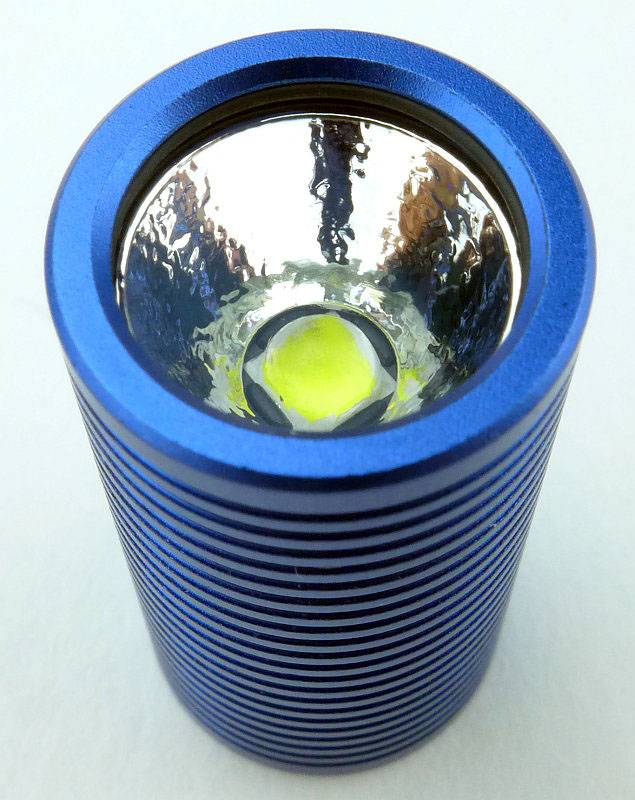
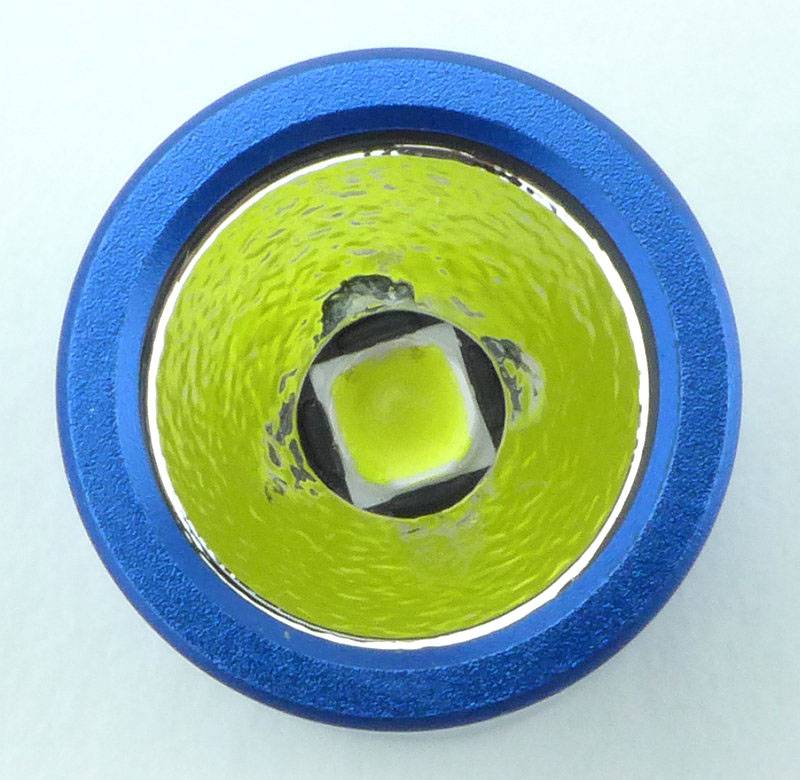
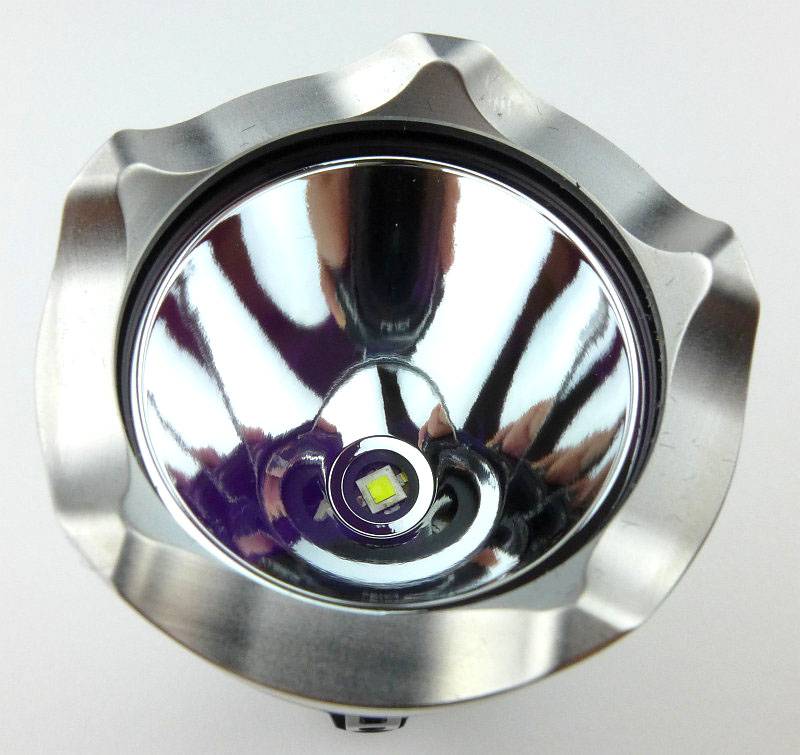
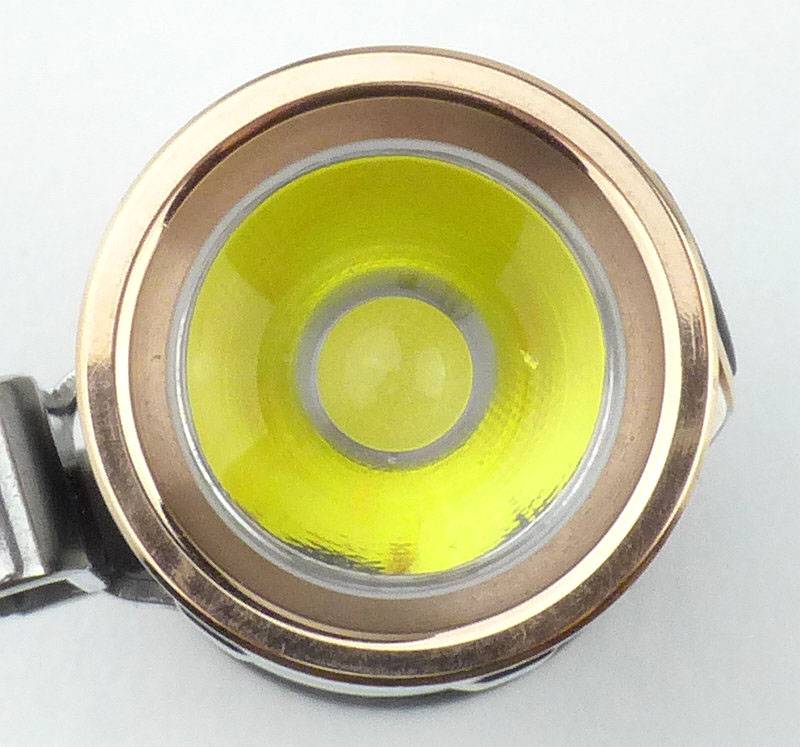
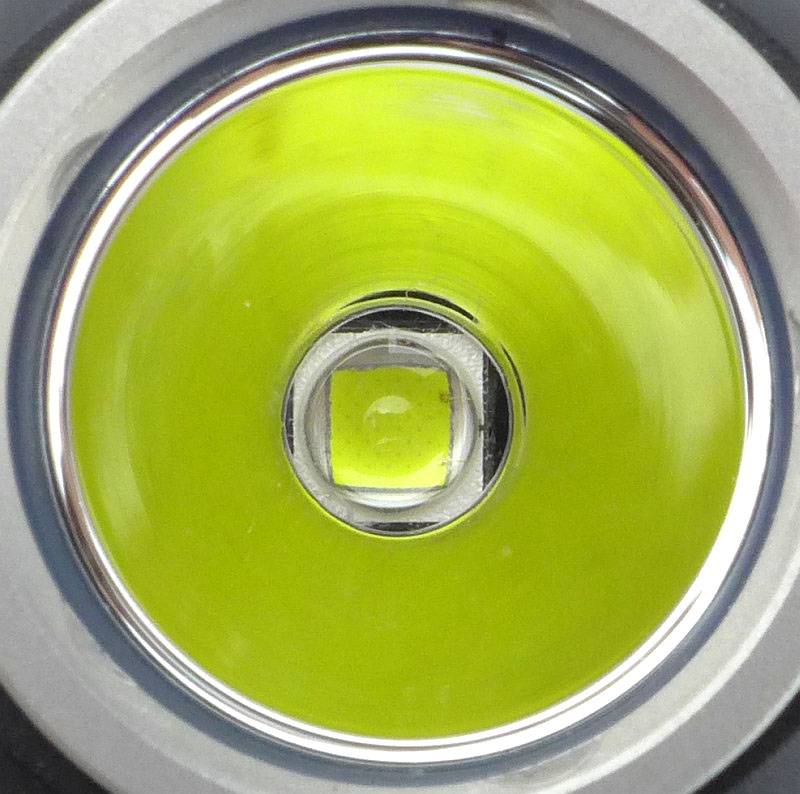
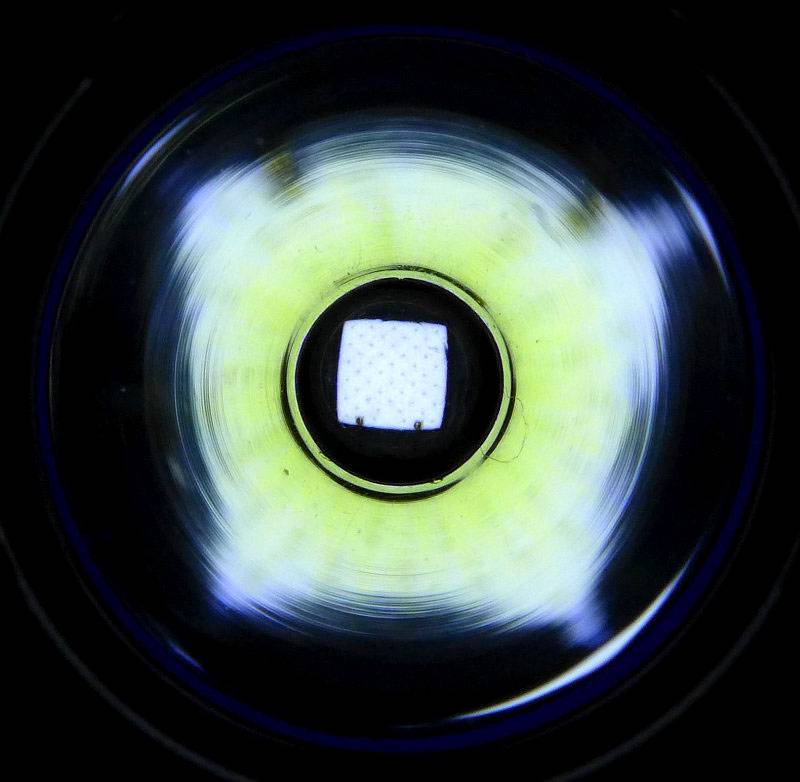
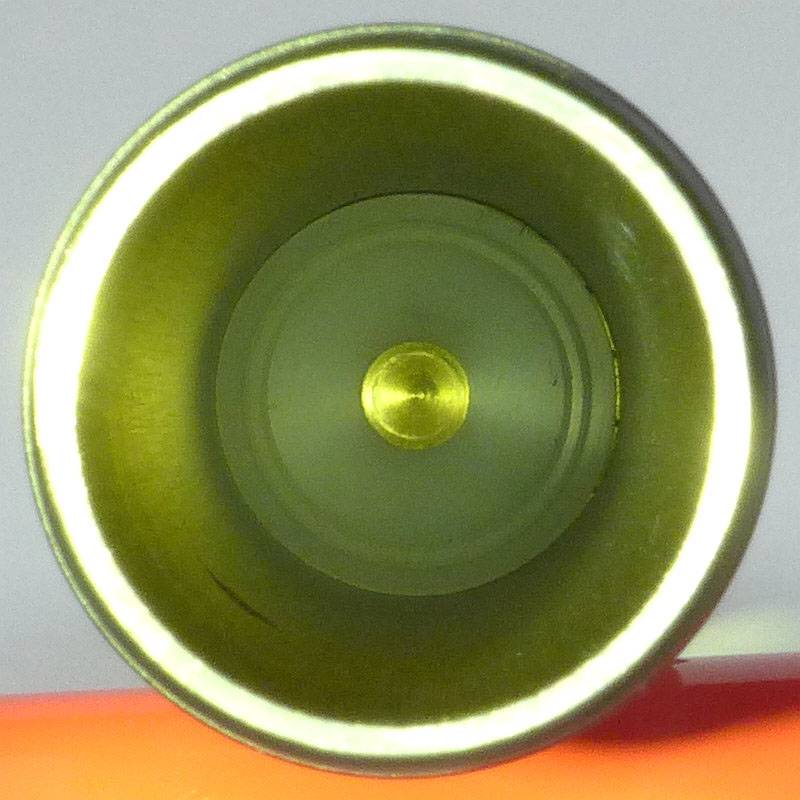
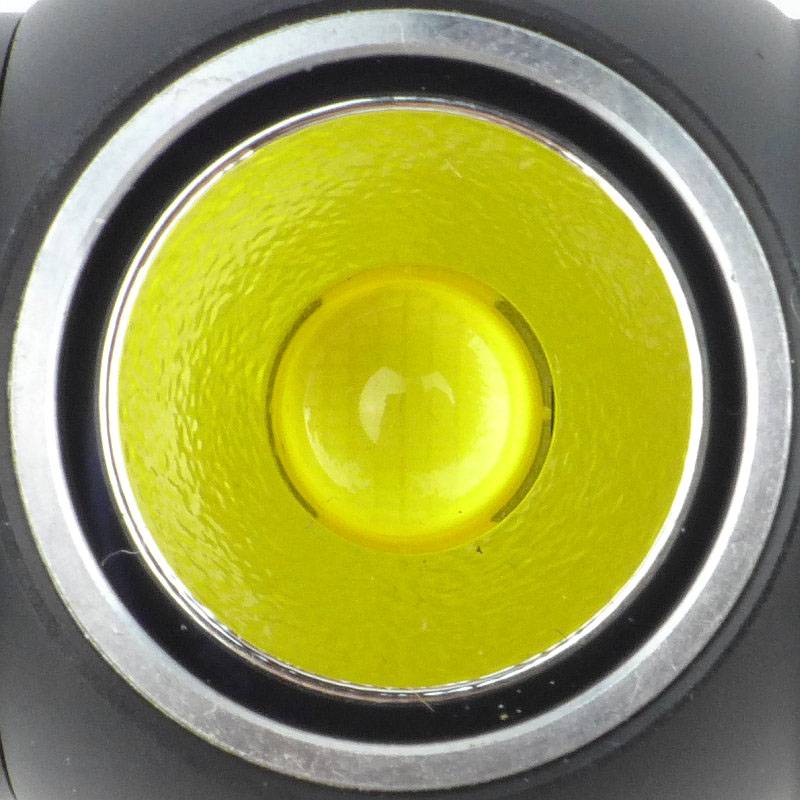
The blue PVD bezel ring surrounds the S2A’s TIR optic.
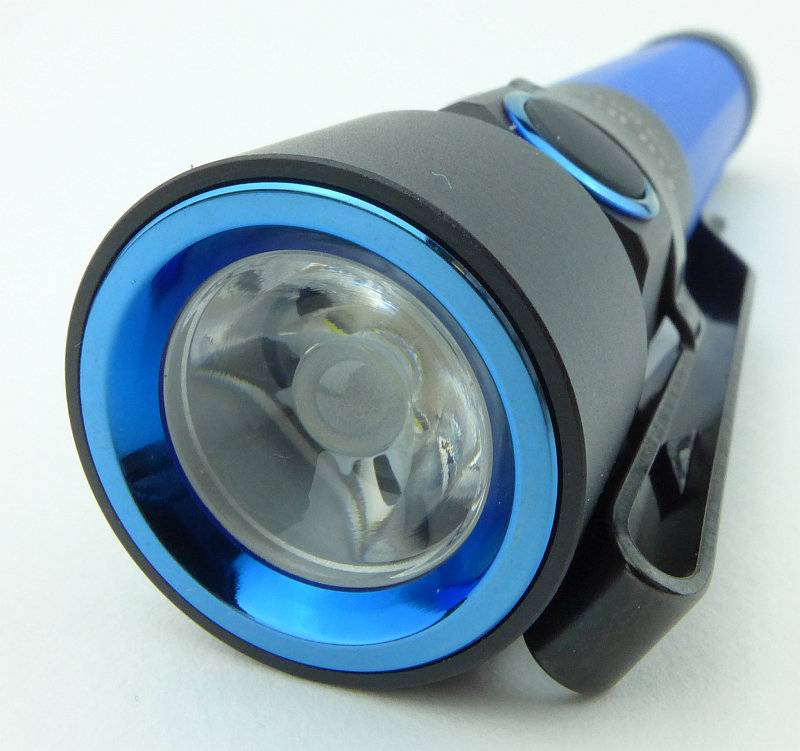
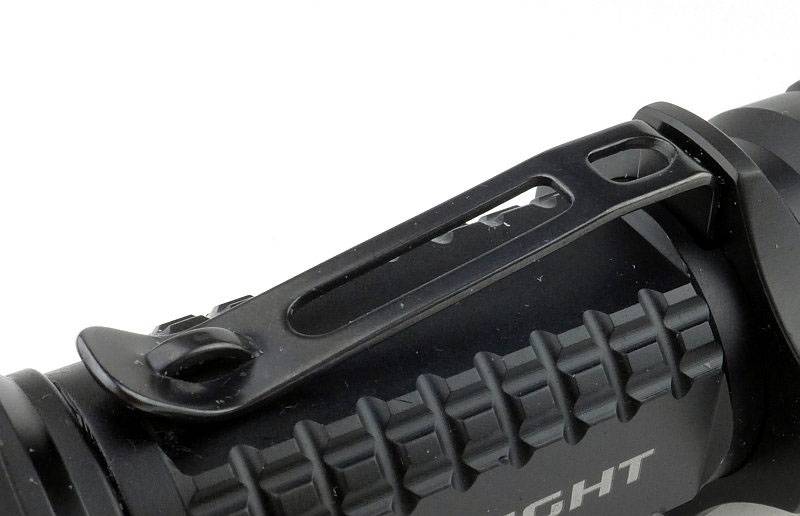
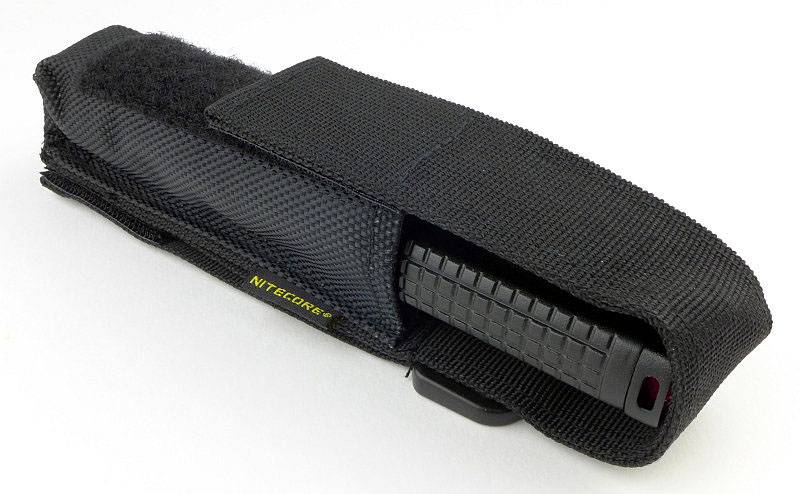
The S2A comes with a deep pocket carry clip which can be removed or swivelled to any position to help you locate the power switch.

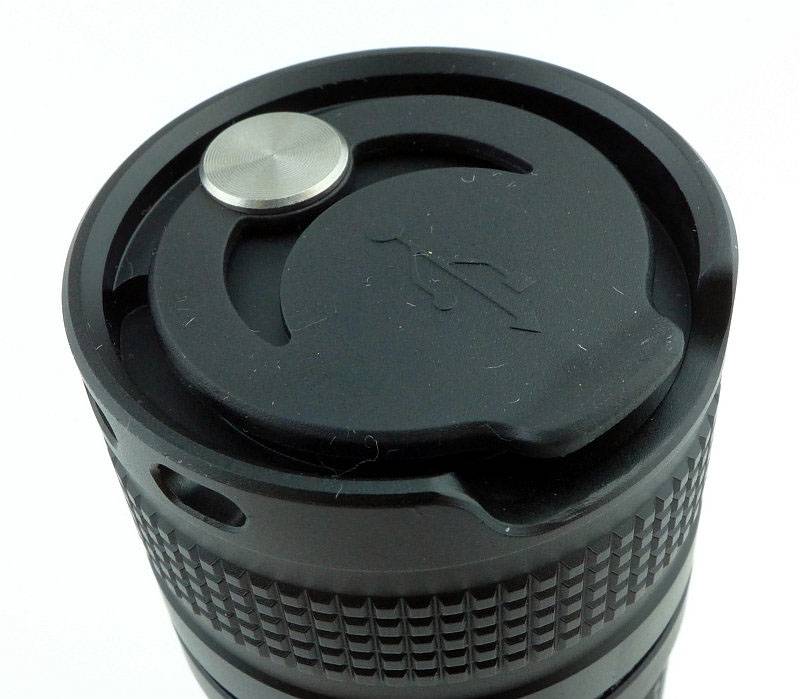
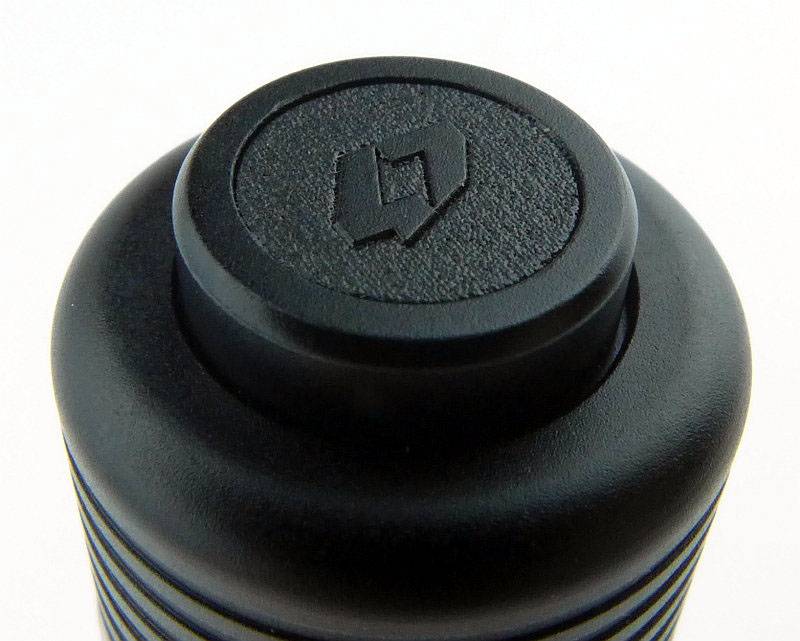
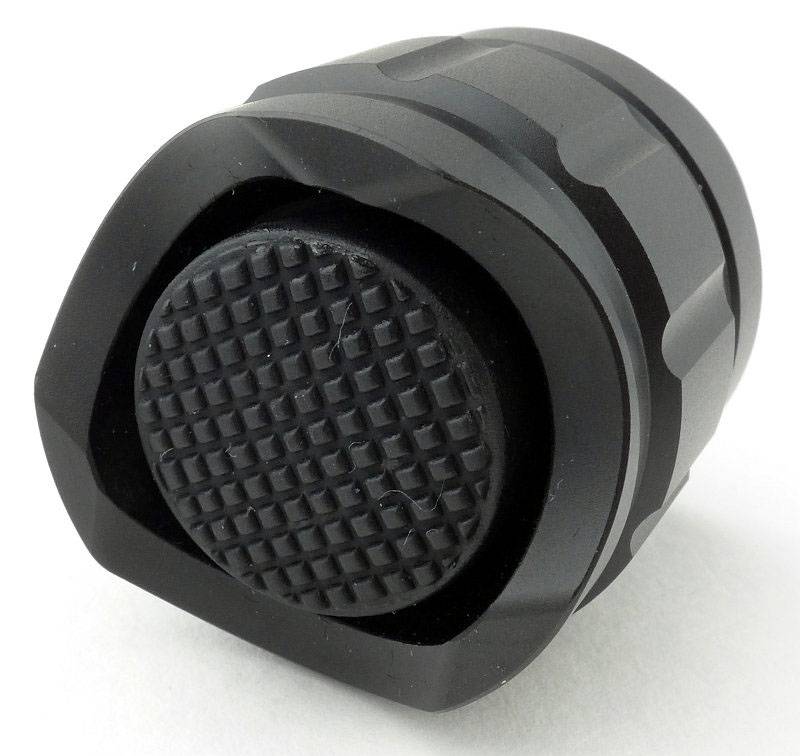
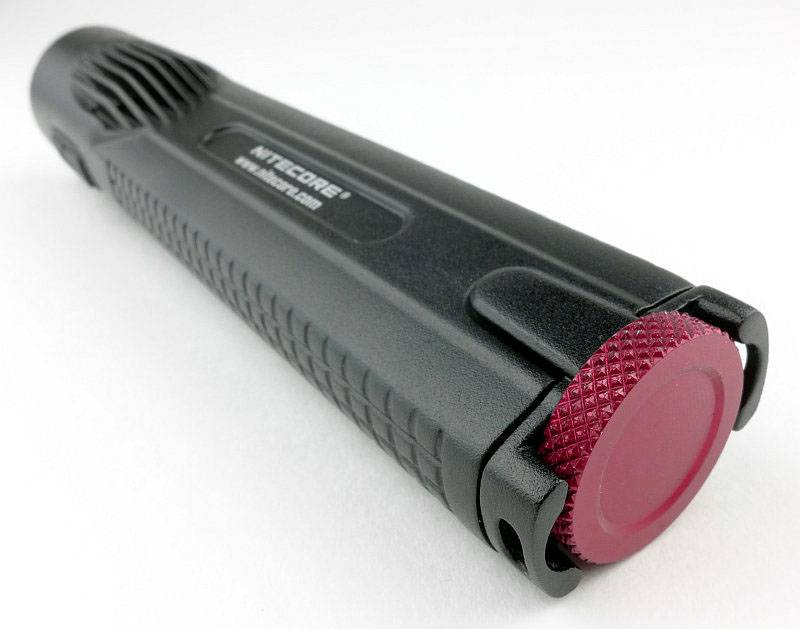
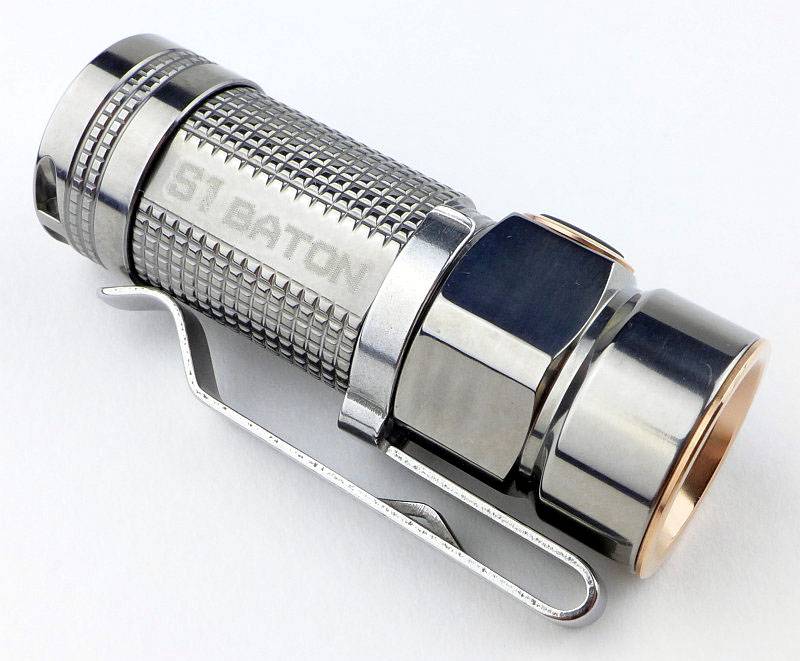
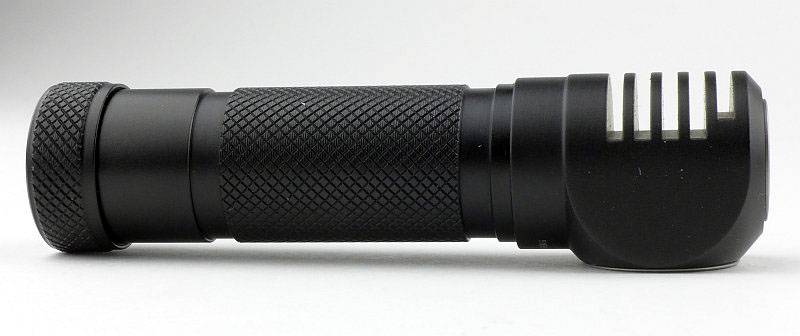
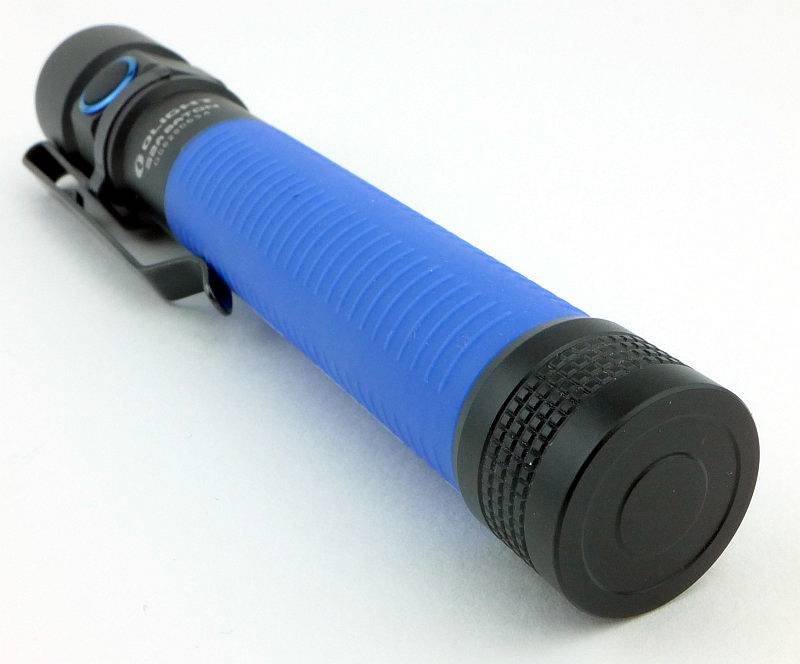
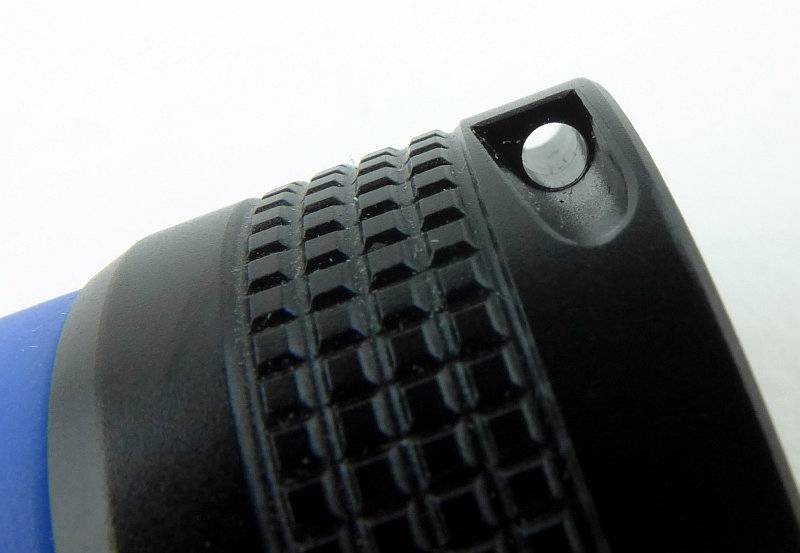
A very plain and compact tail-cap is used as there is no switch to accommodate.
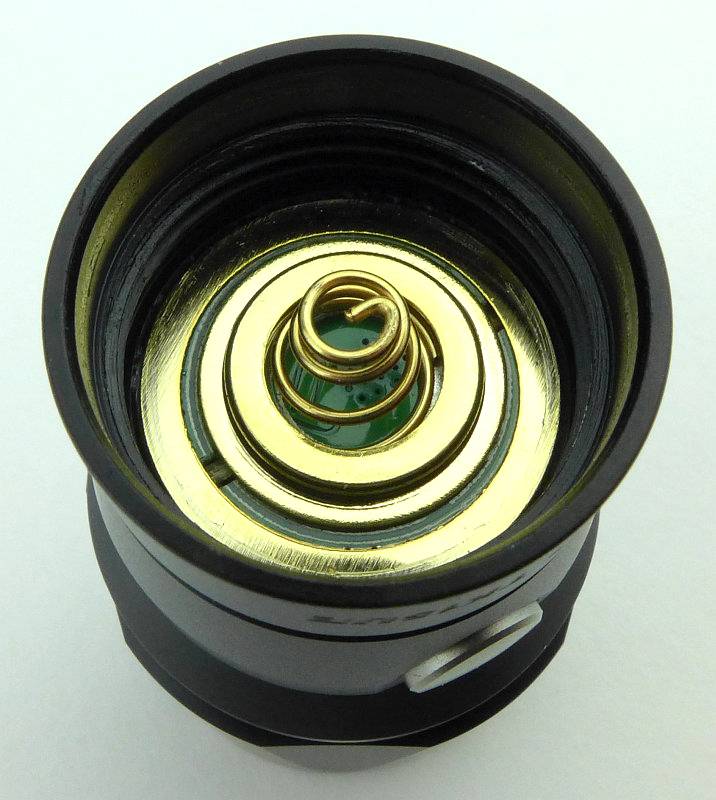
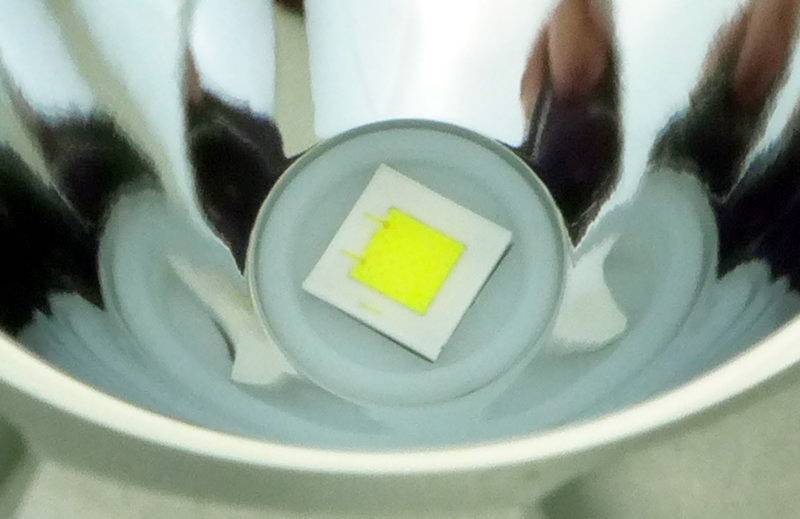
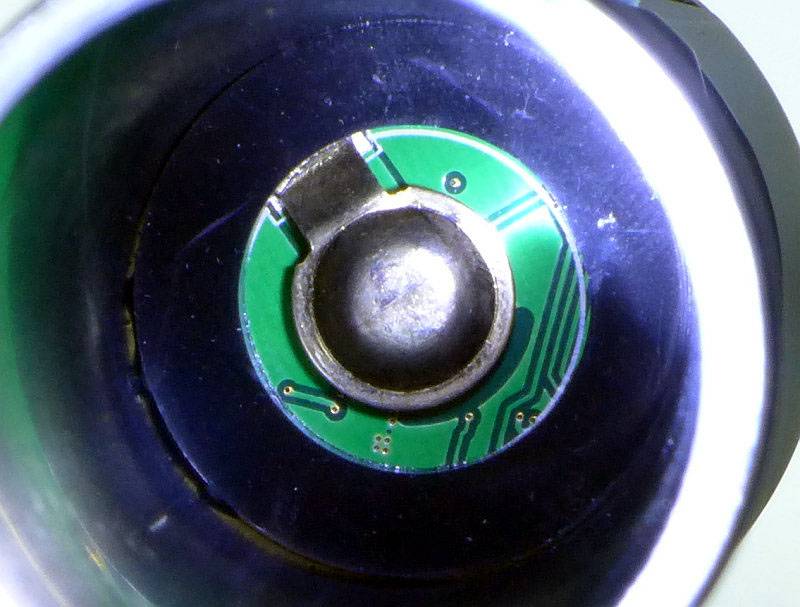
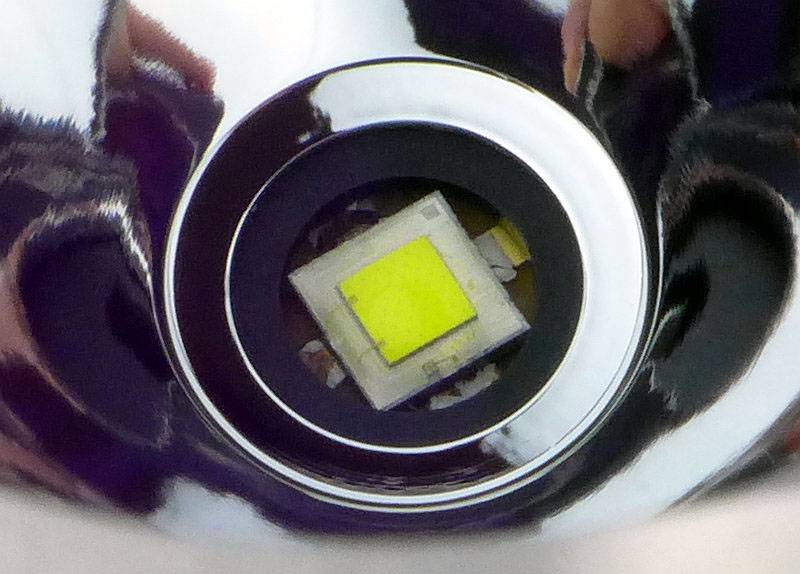
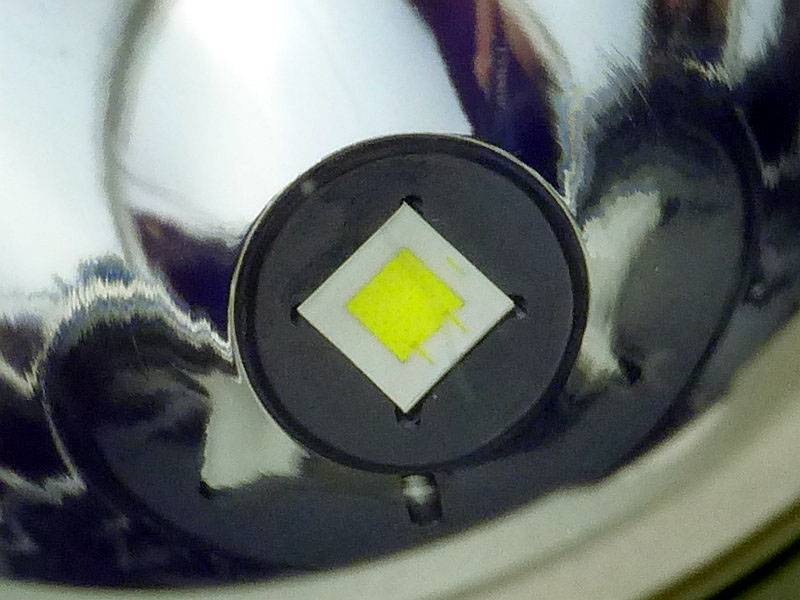
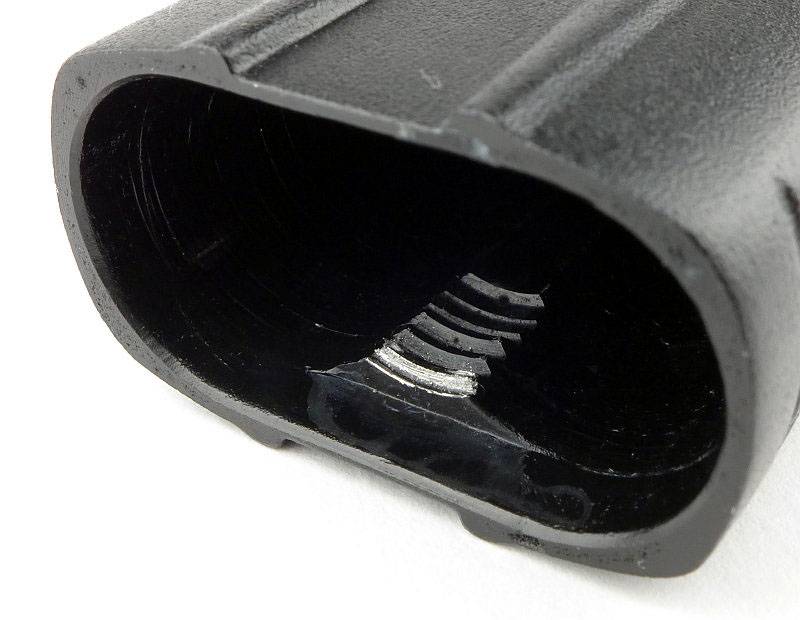
Behind that TIR optic is a XM-L2 LED.
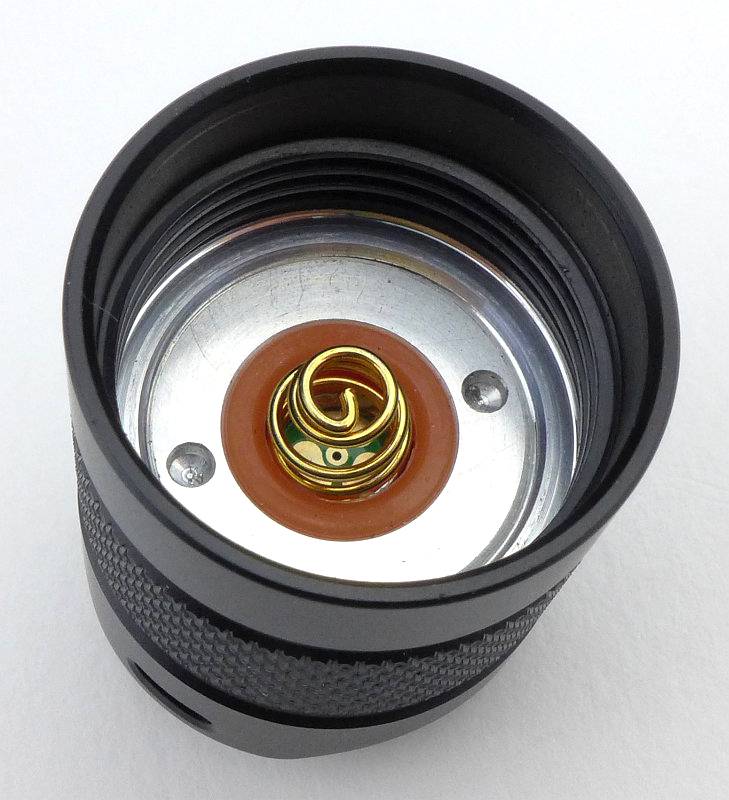
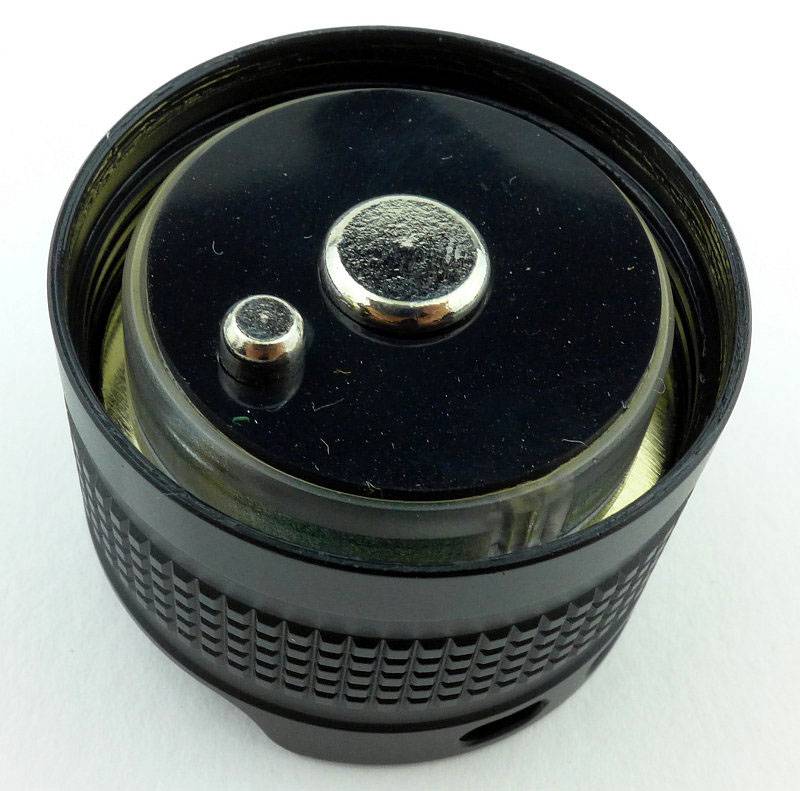
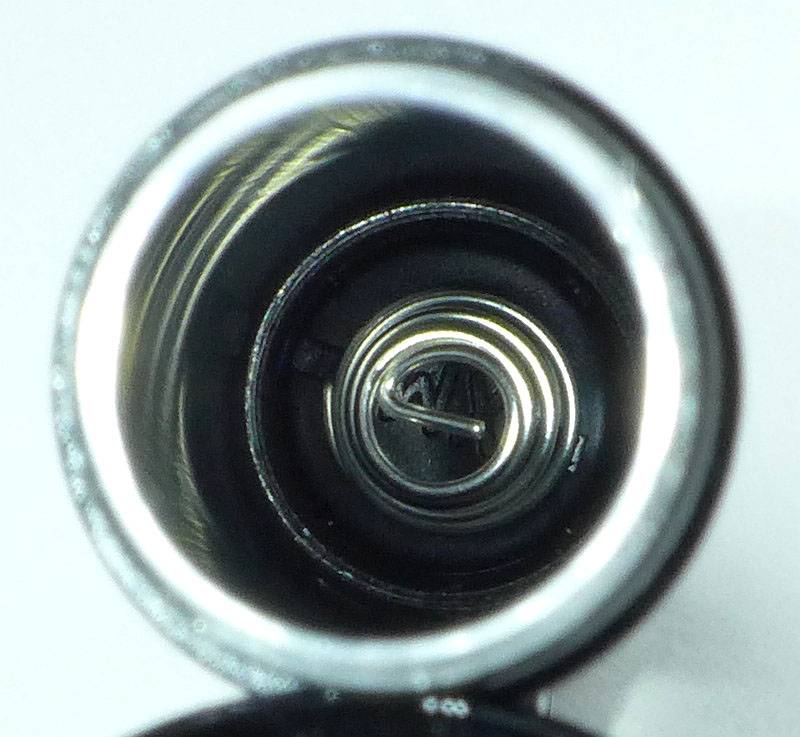
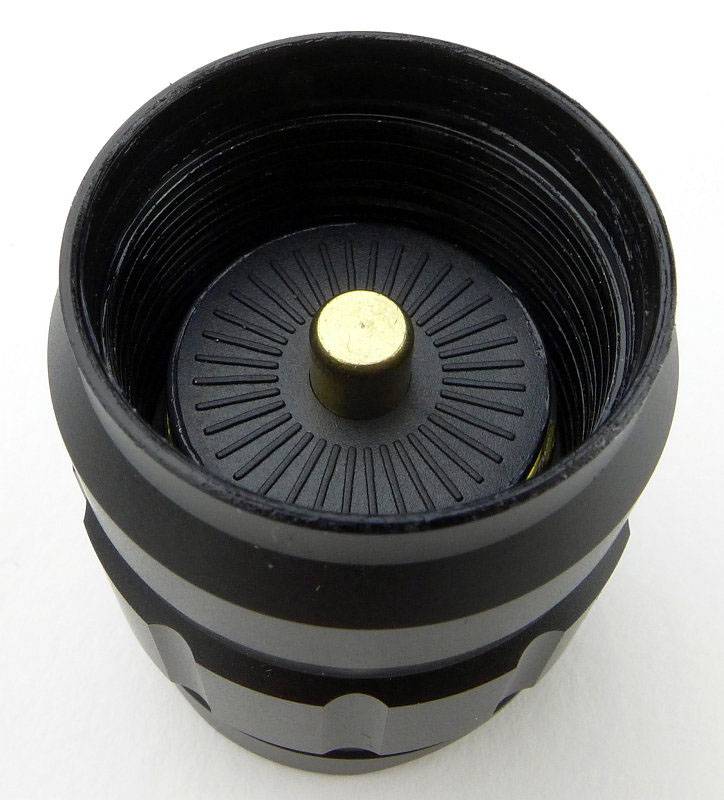
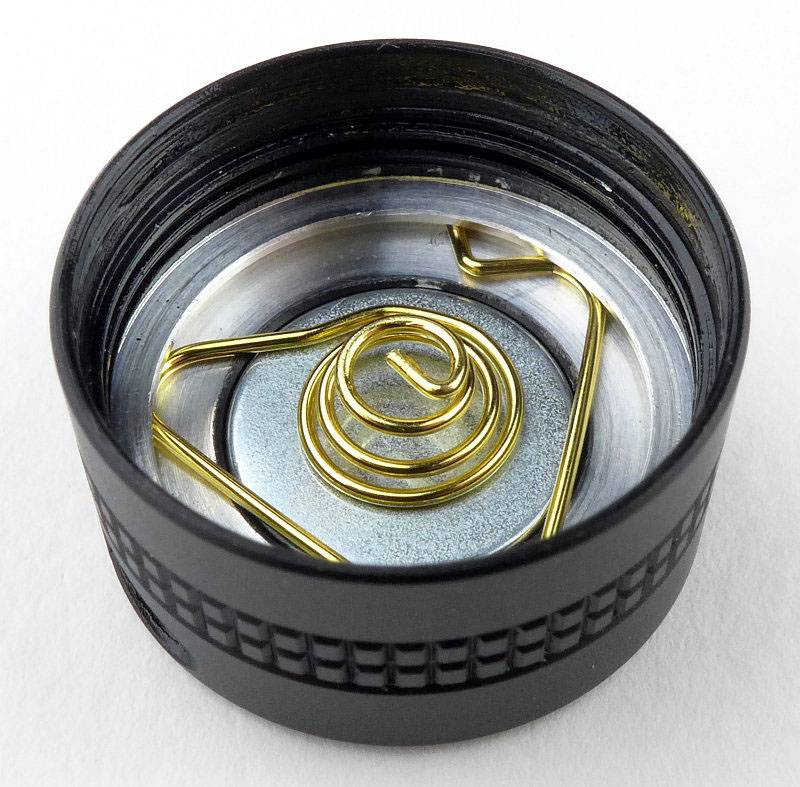
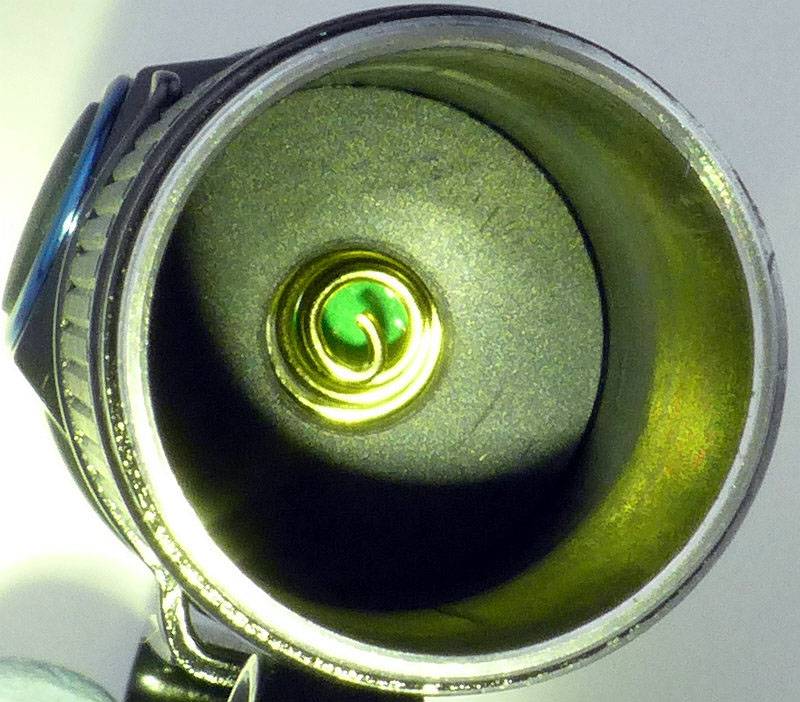
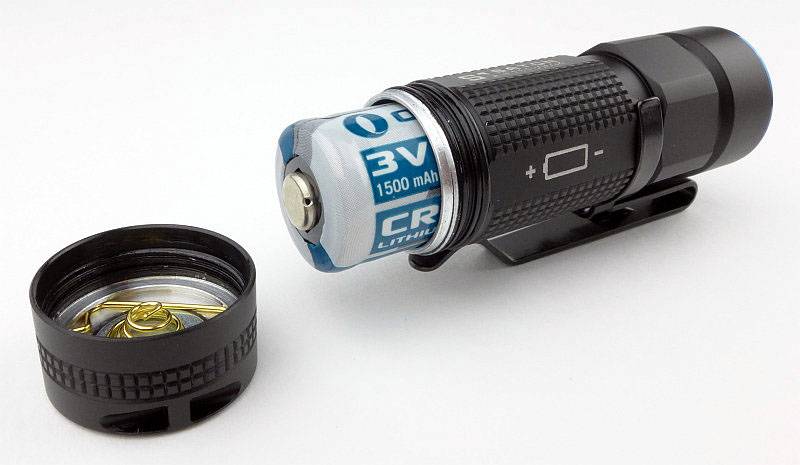
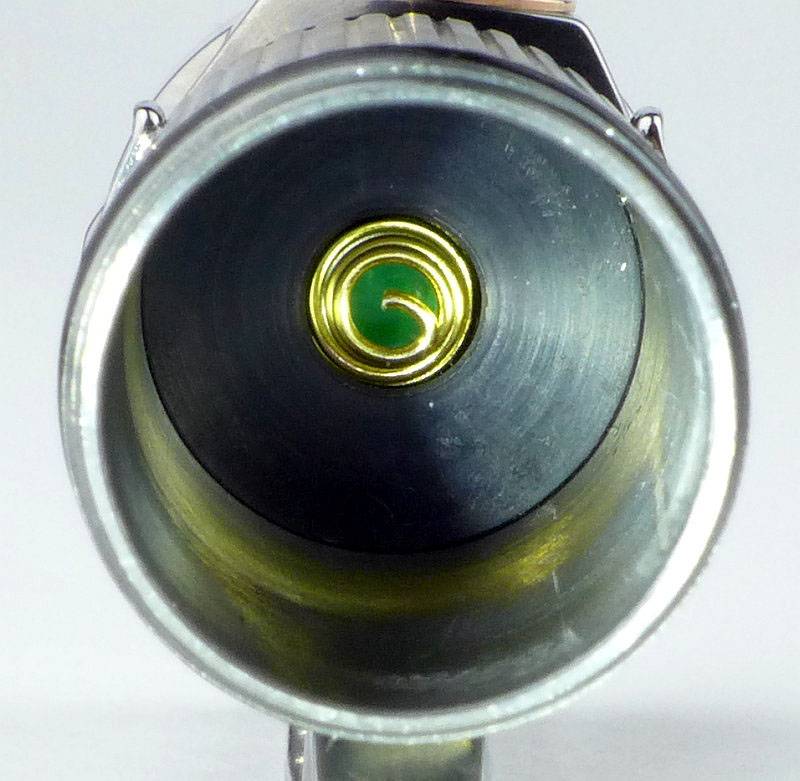
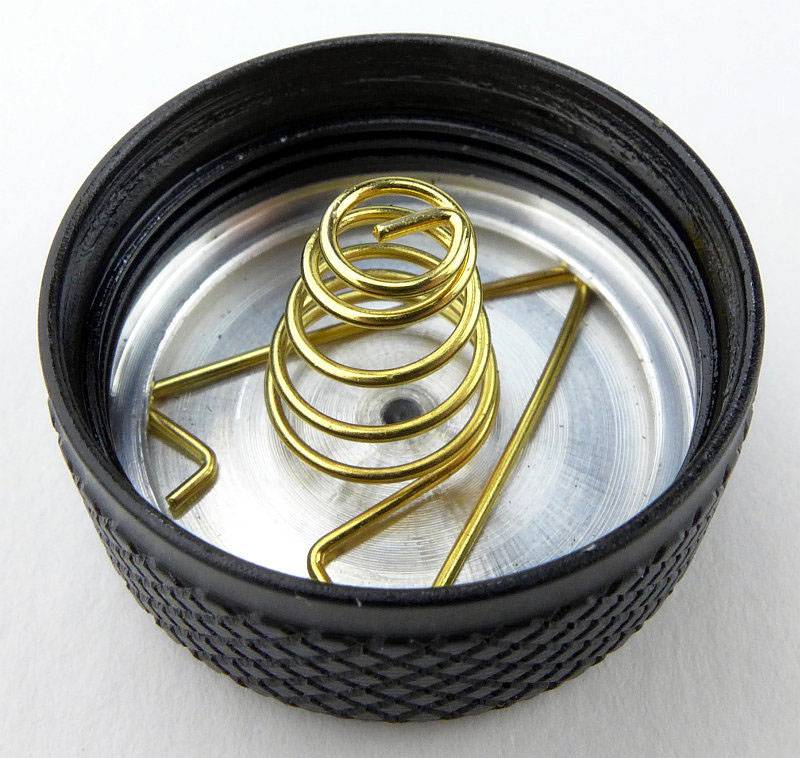
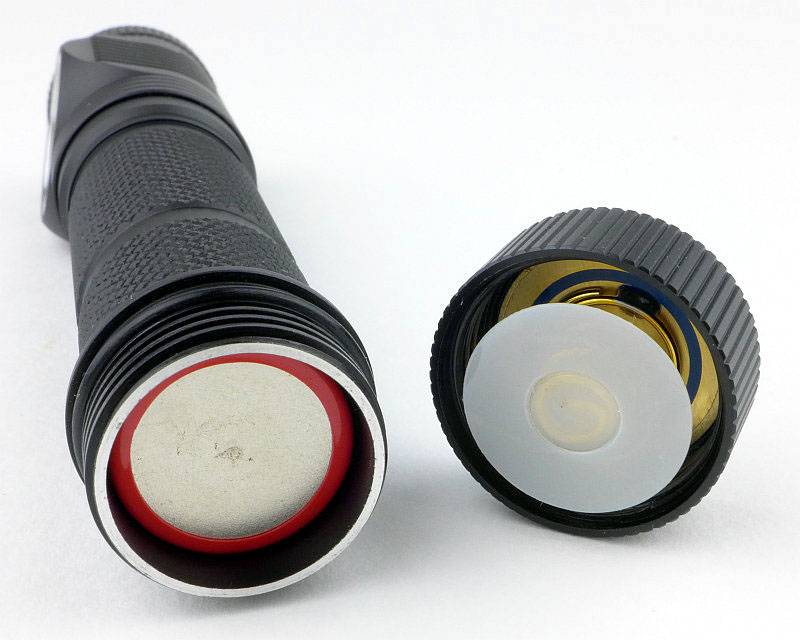
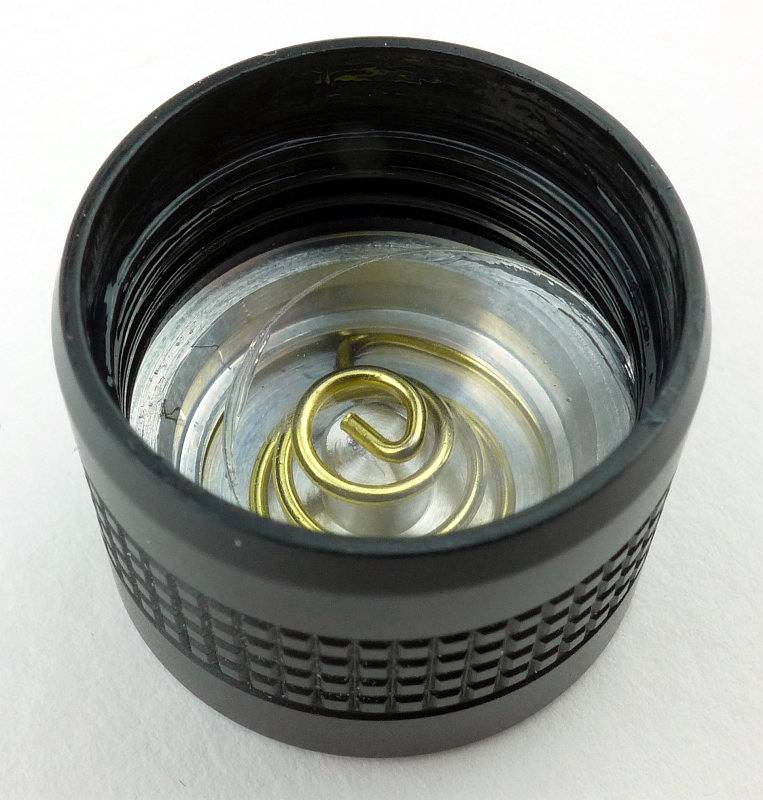
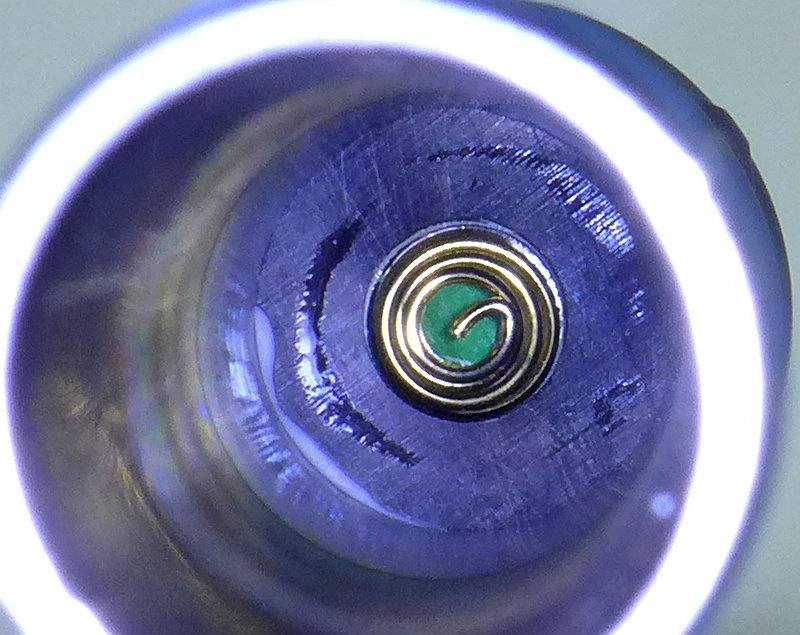
Looking inside the tail-cap. Note, that unlike the S1, the S2A has no magnet, and also shown here is a plastic insulator disc which is present when you get the S2A, as it comes with 2xAA Lithium cells loaded inside.
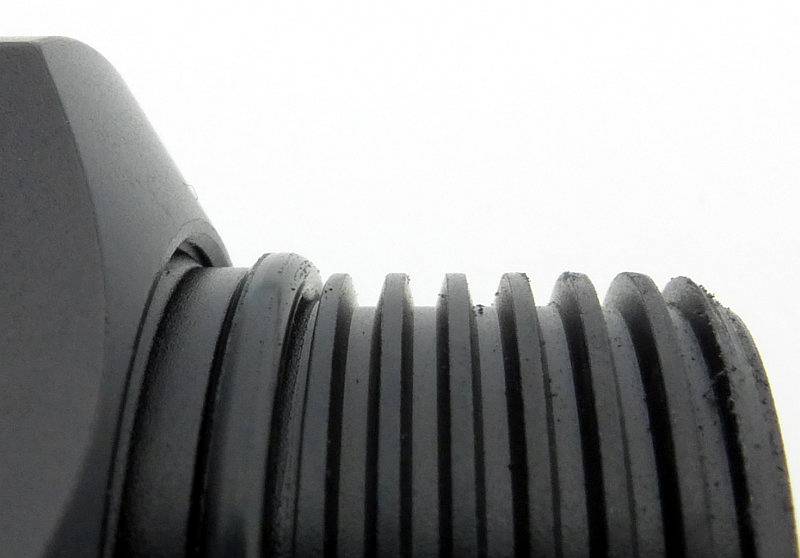
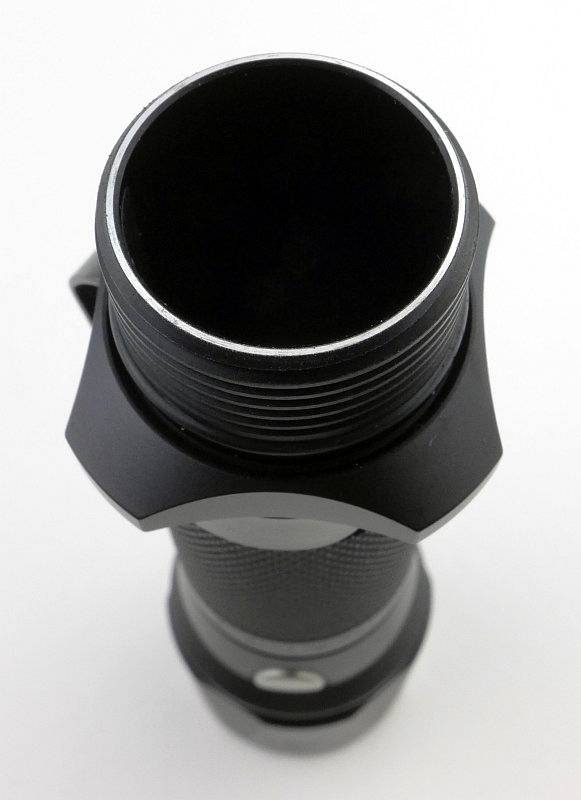
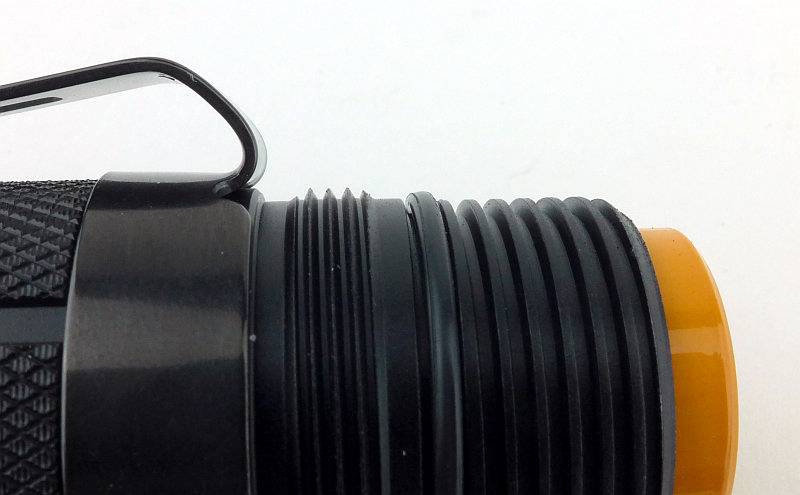
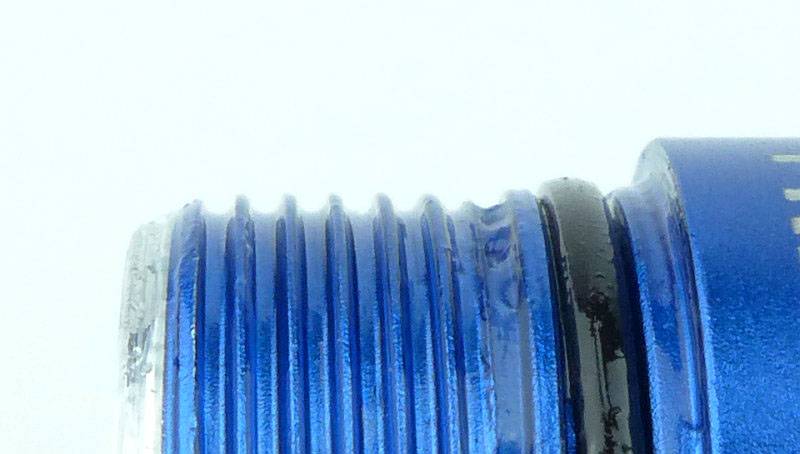
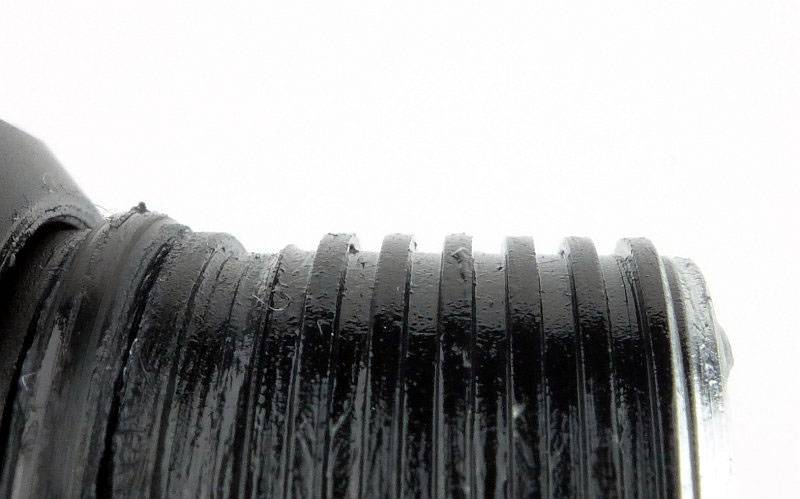
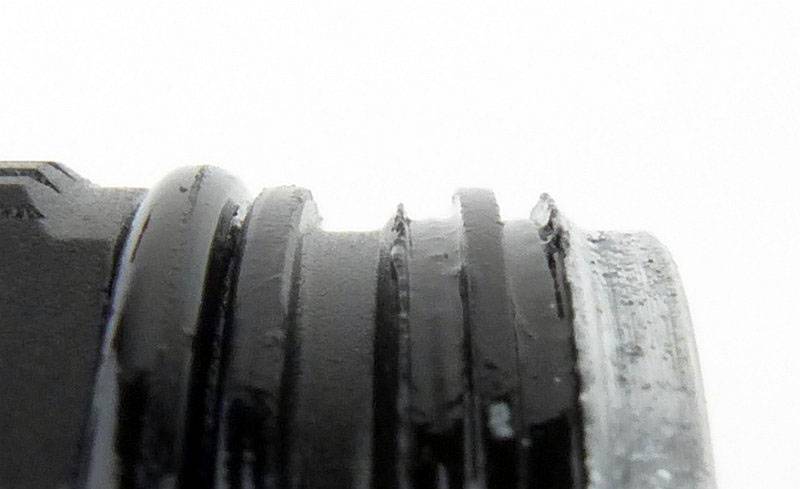
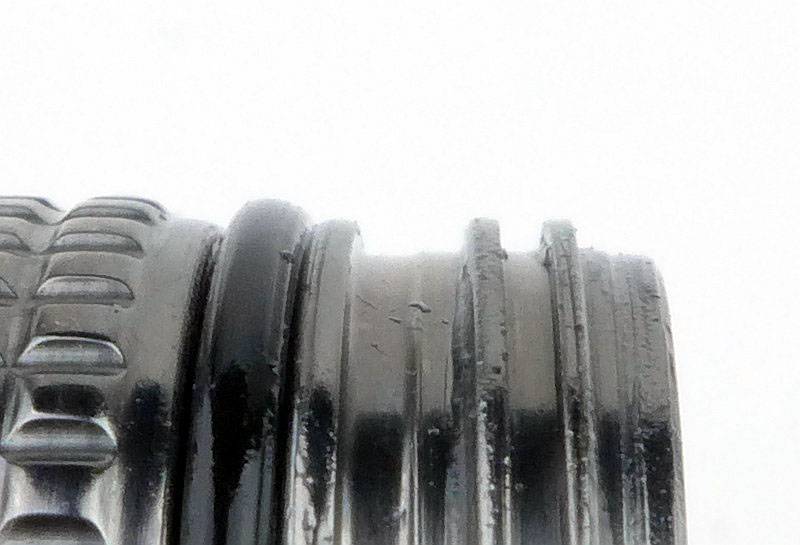
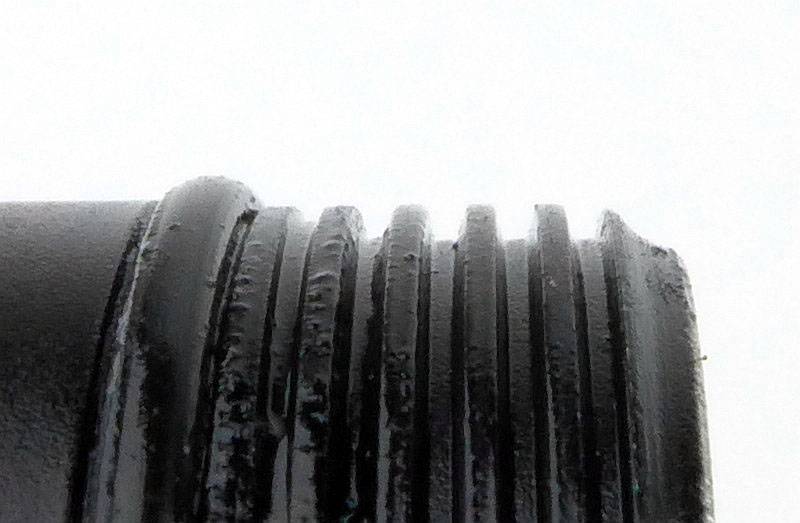
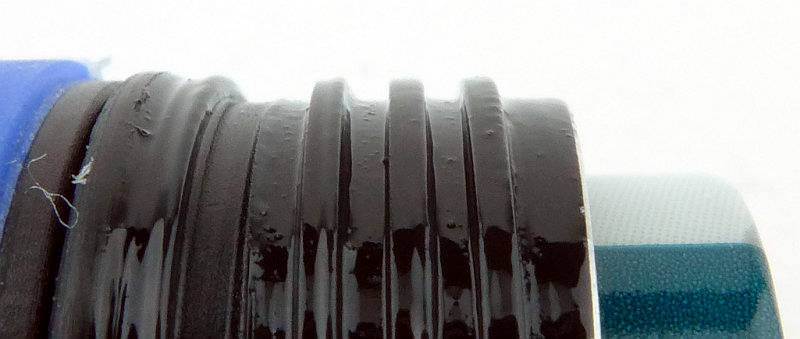
Very neatly cut fully anodised square threads are used.
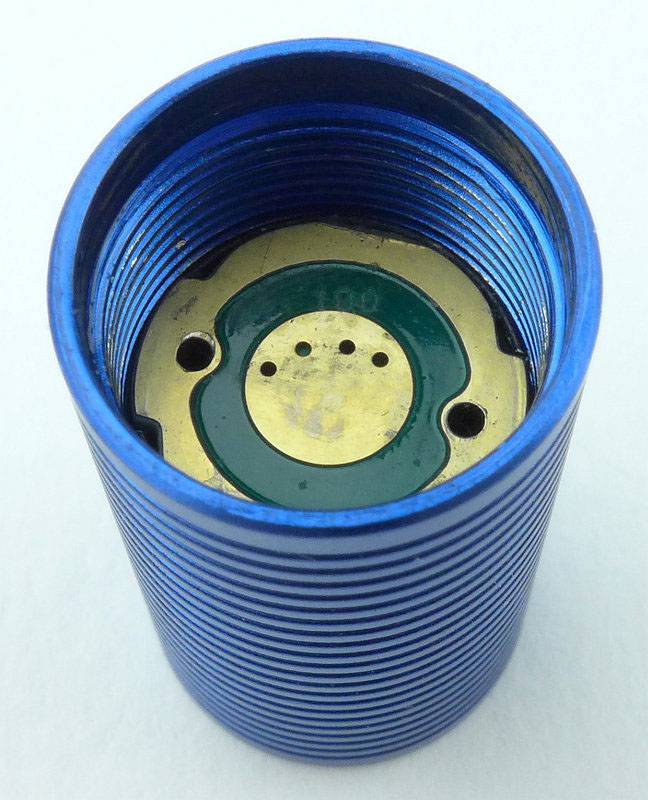
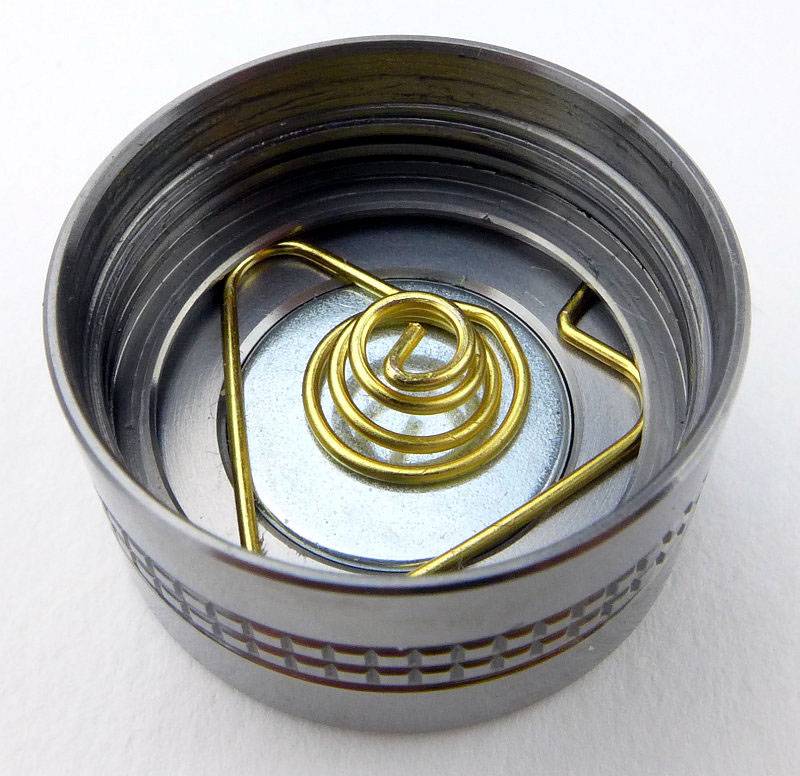
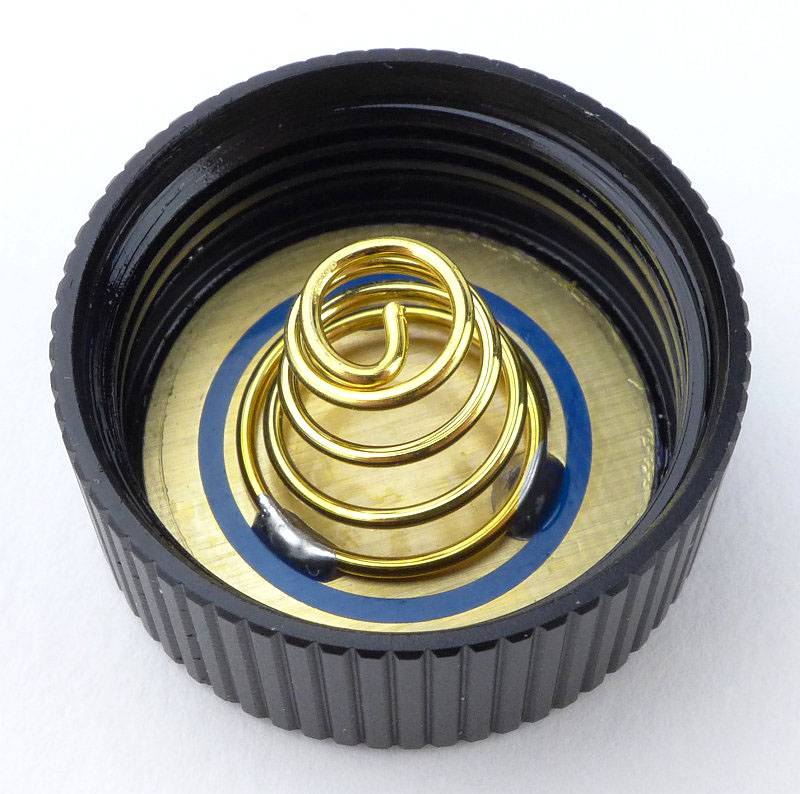
Peering inside the battery tube you can make out the positive contact spring.
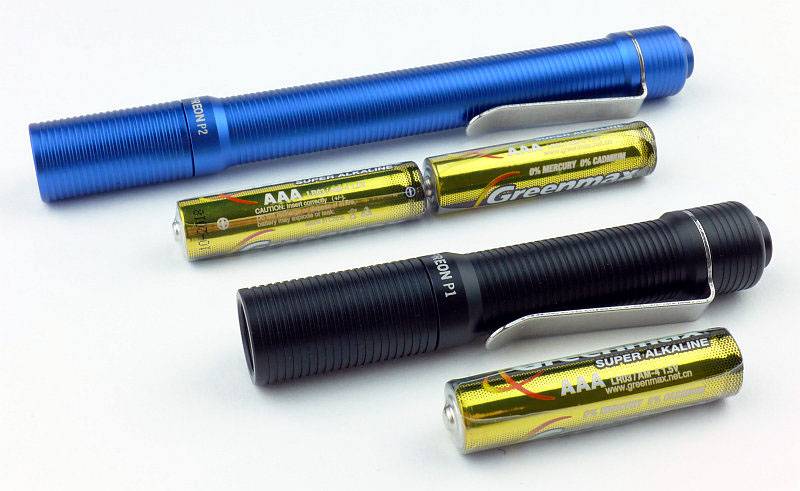
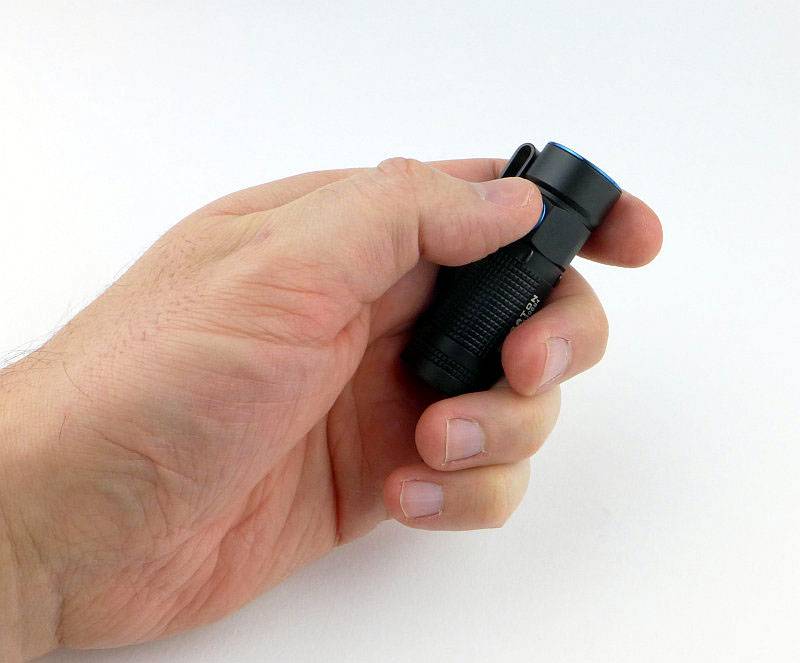
It really isn’t much bigger than the two AA cells that power it.
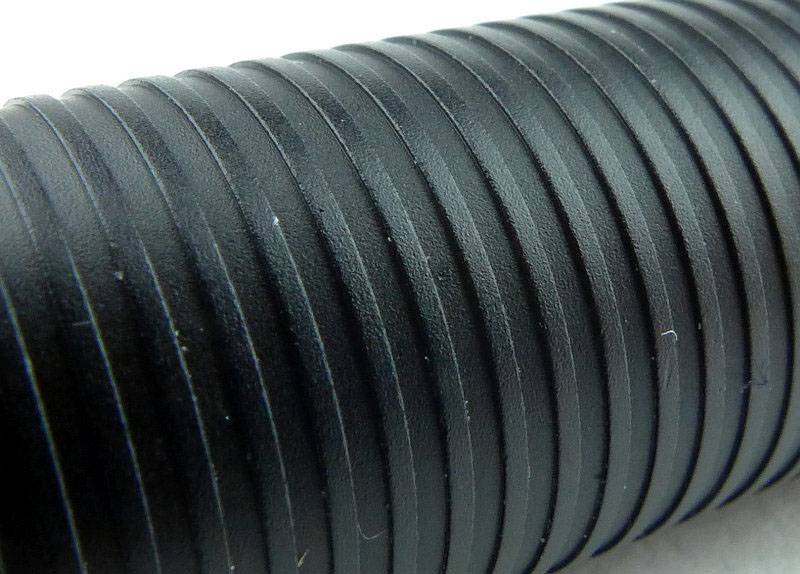
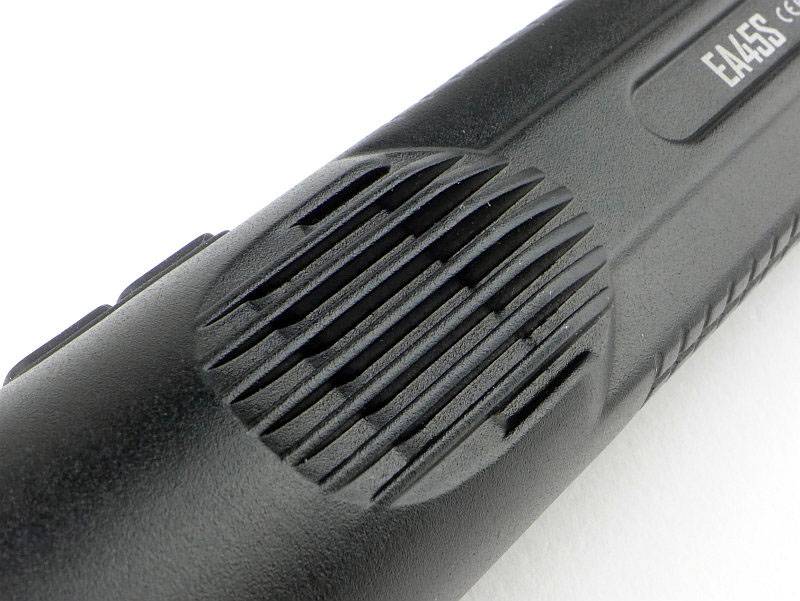
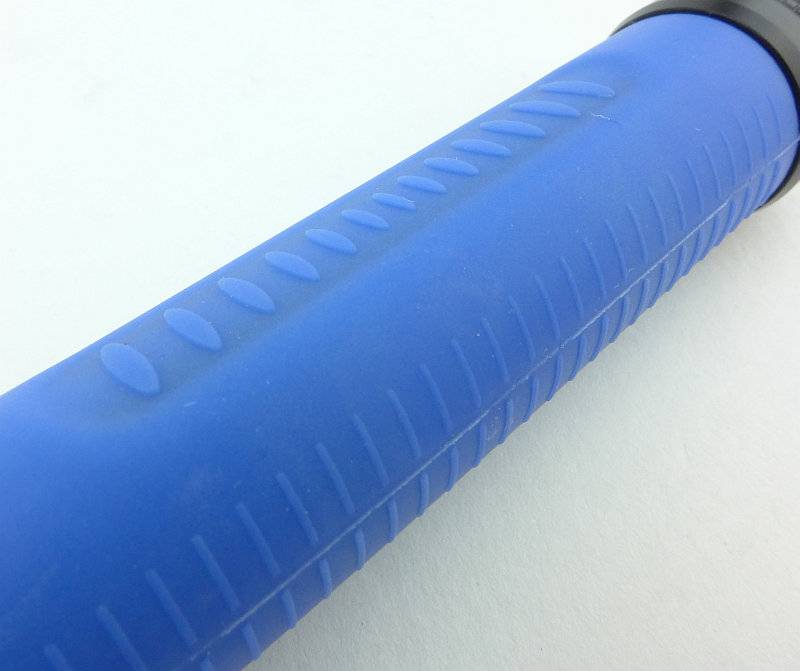
Over the battery tube is a silicon rubber skin-safe grip (more on that later).
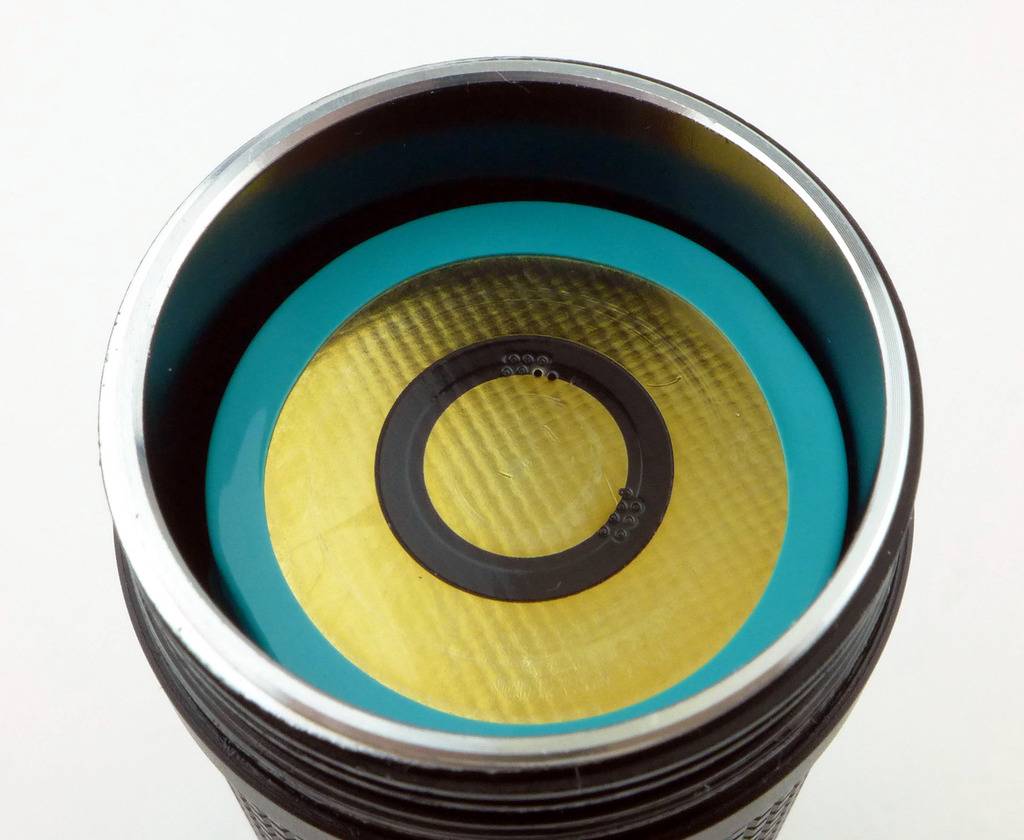
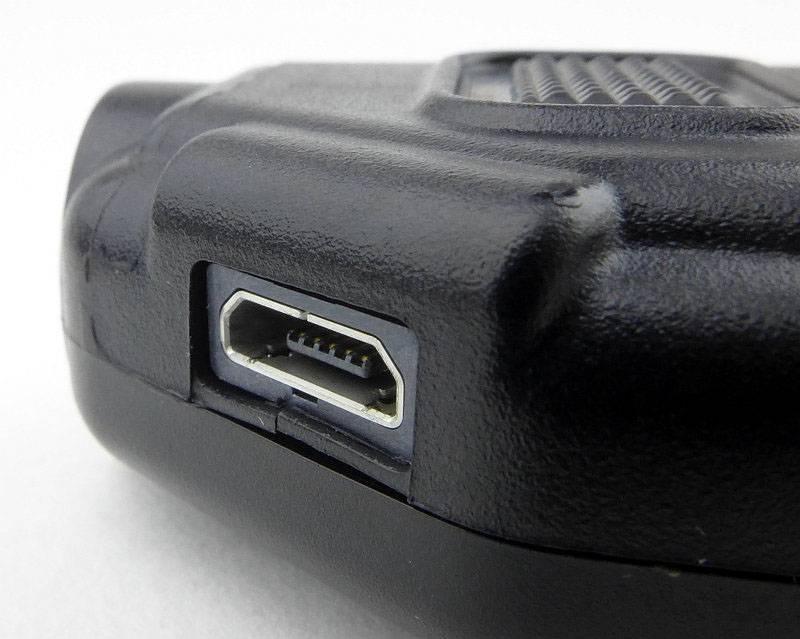
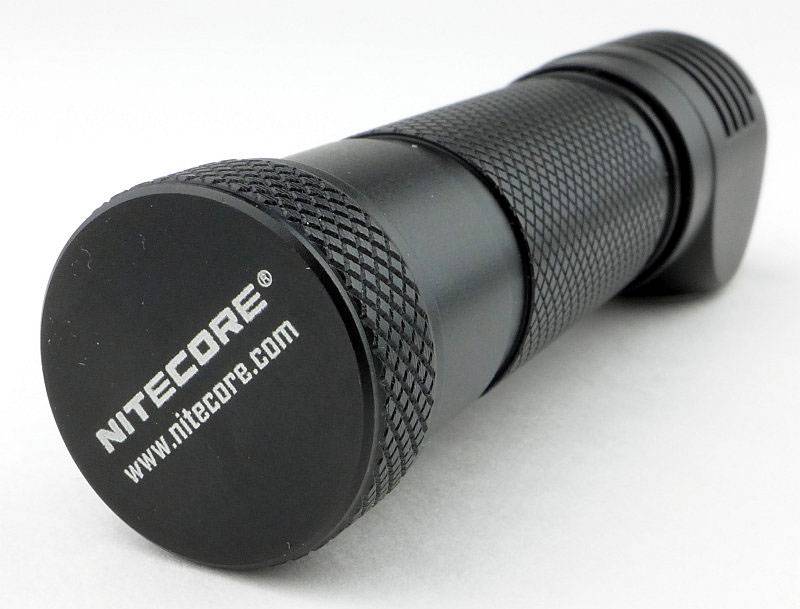
An excellent quality of finish even under closer scrutiny. Here is the lanyard hole in the tail-cap.
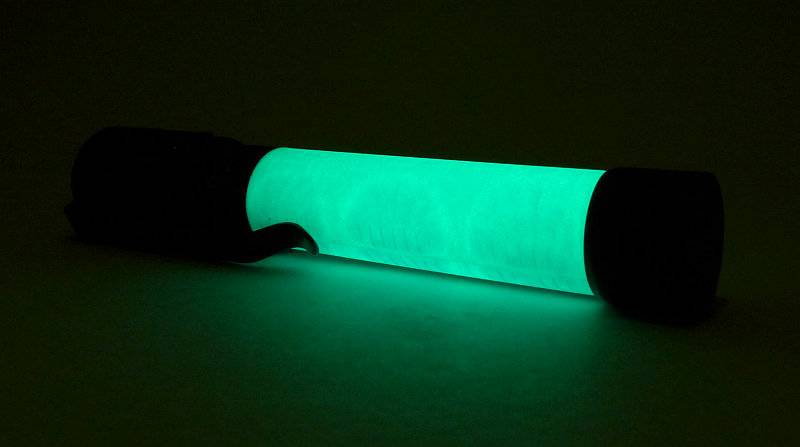
I said we would be coming back to this, the rubber grip. Well, what a nice surprise it was to see that it glows!
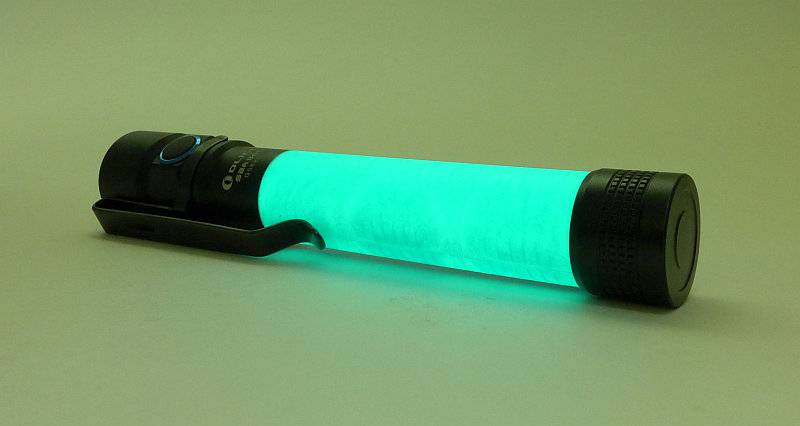
The GITD grip is a very useful location feature.
The beam
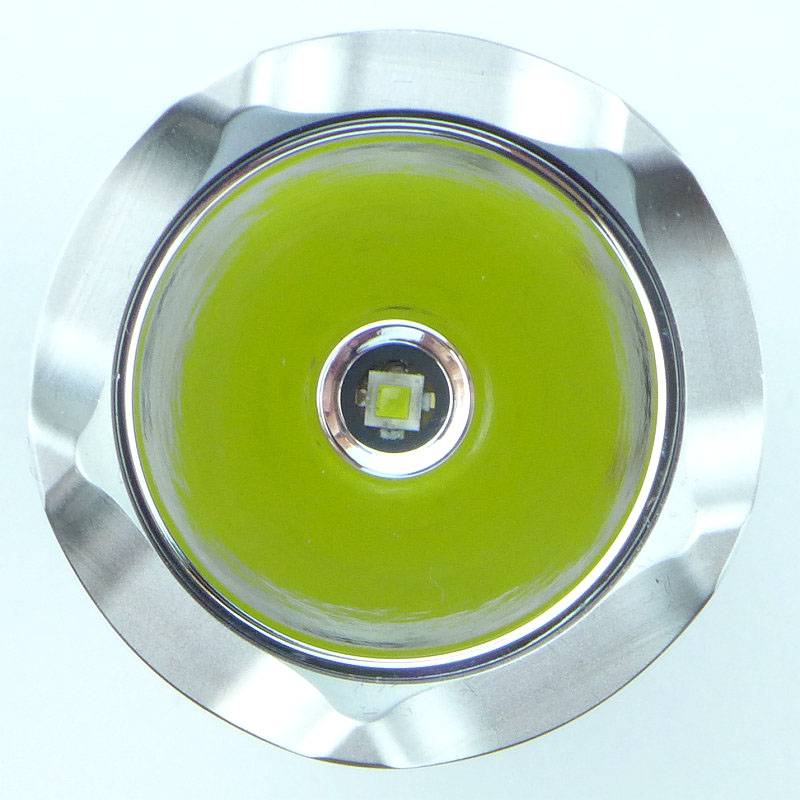
Please be careful not to judge tint based on images you see on a computer screen. Unless properly calibrated, the screen itself will change the perceived tint.
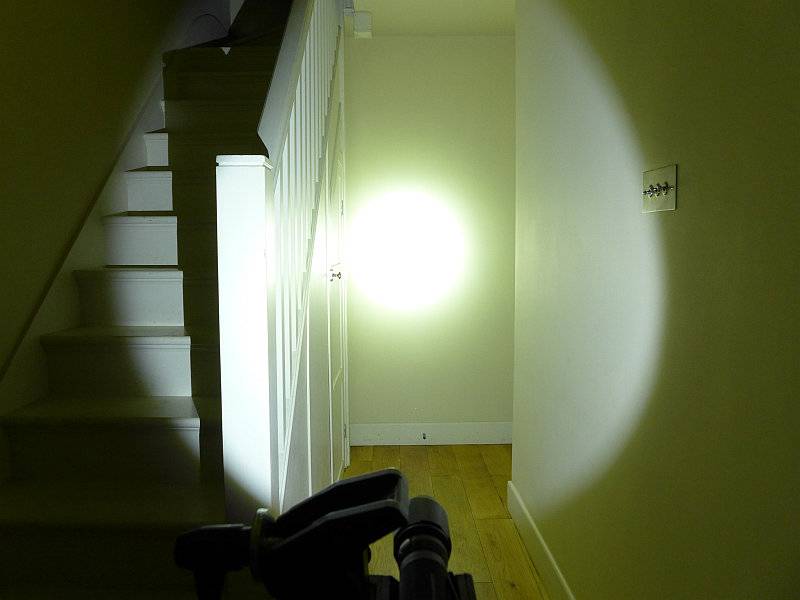
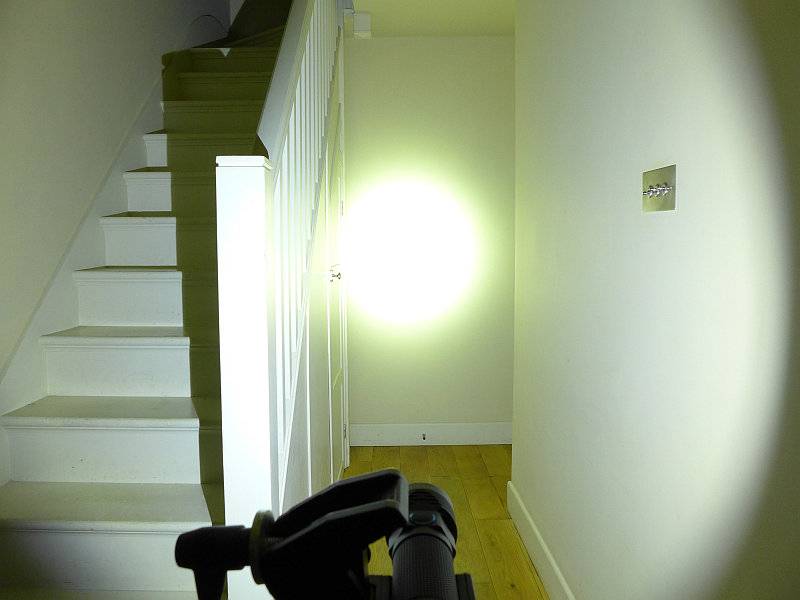
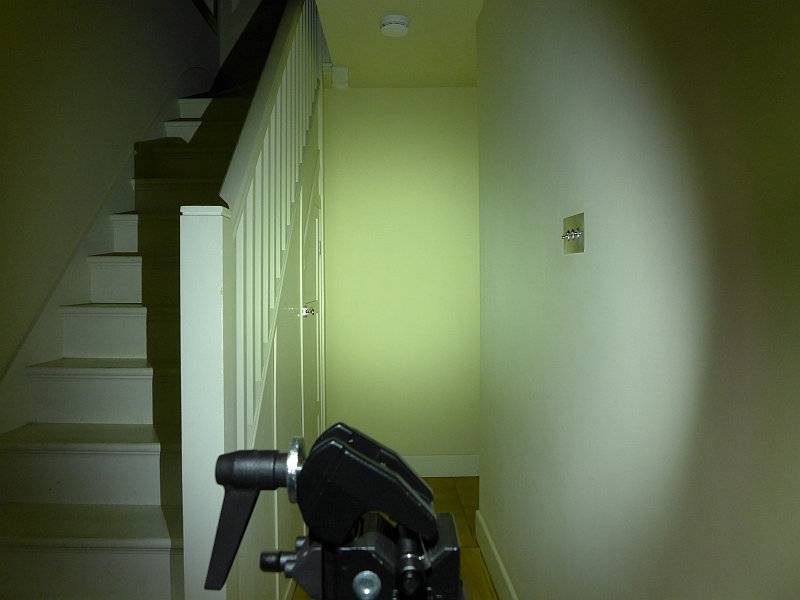
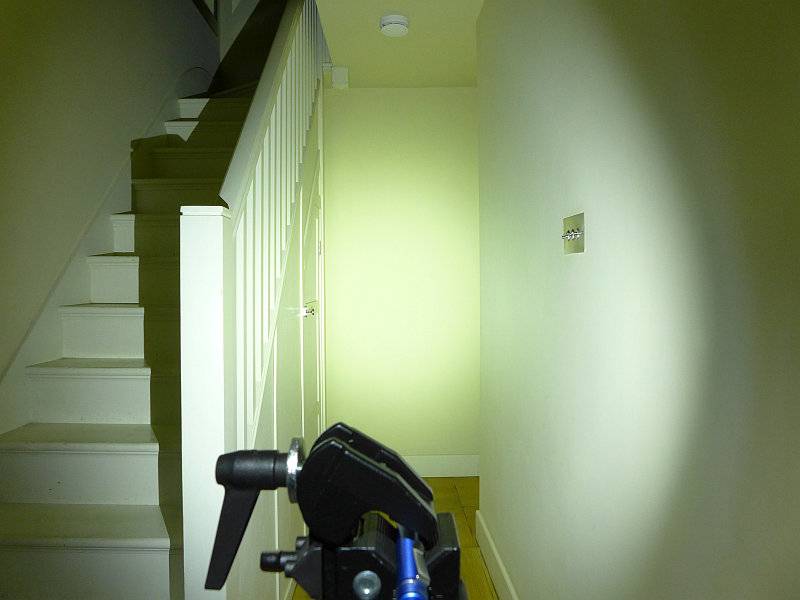
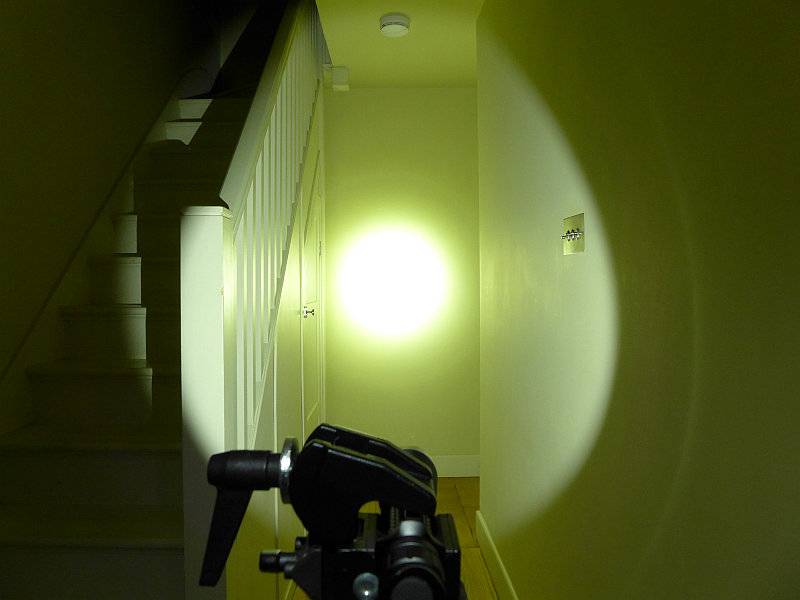
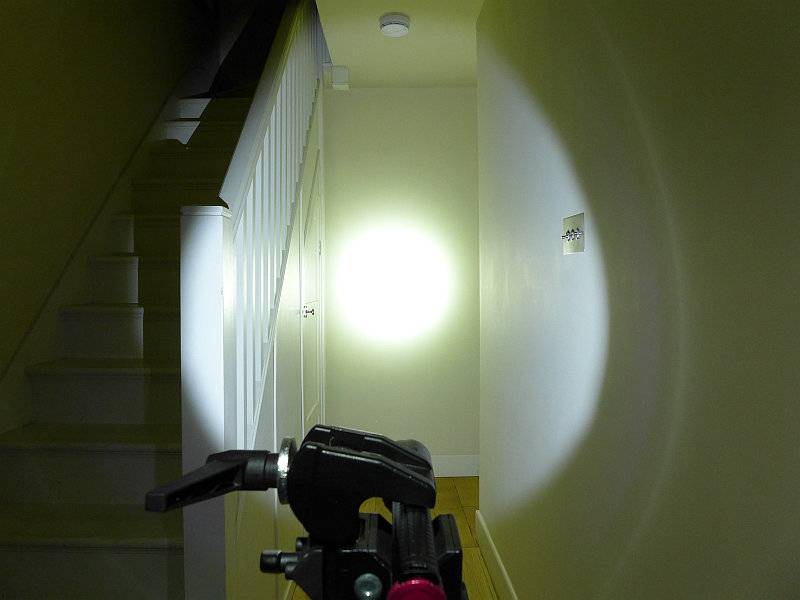
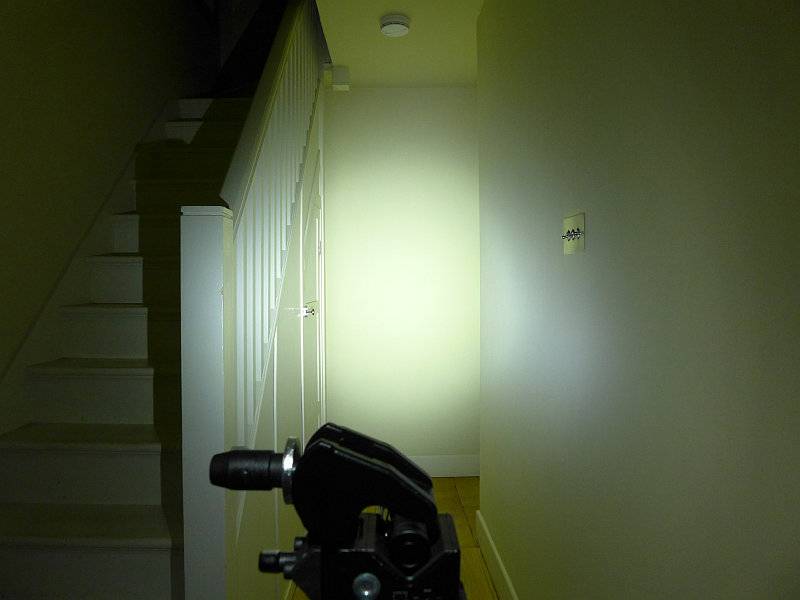
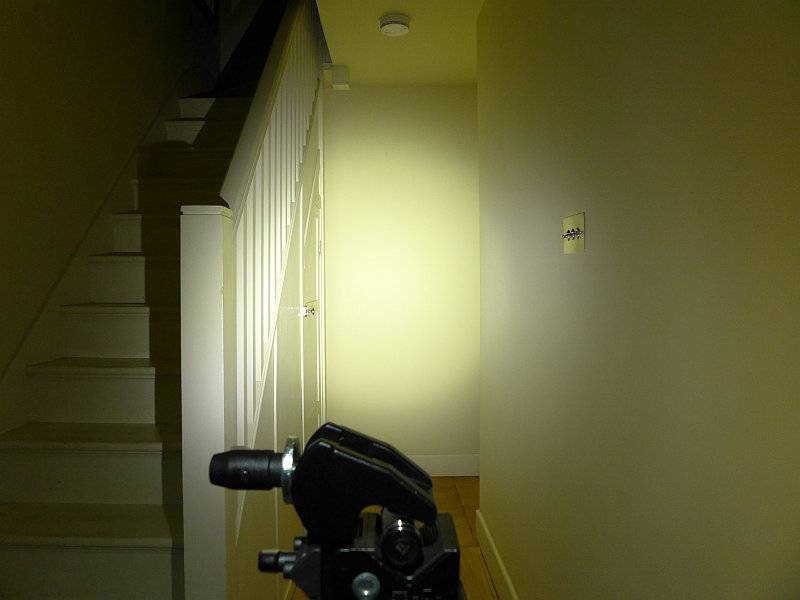
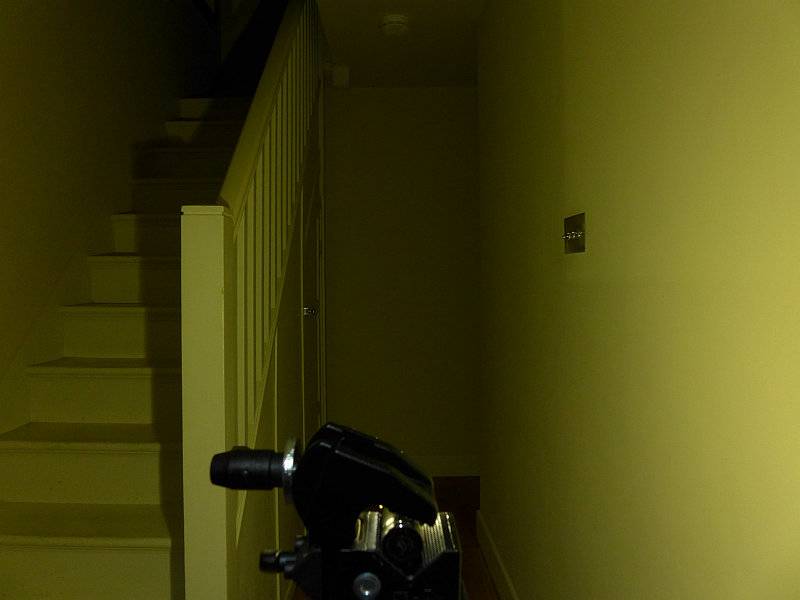
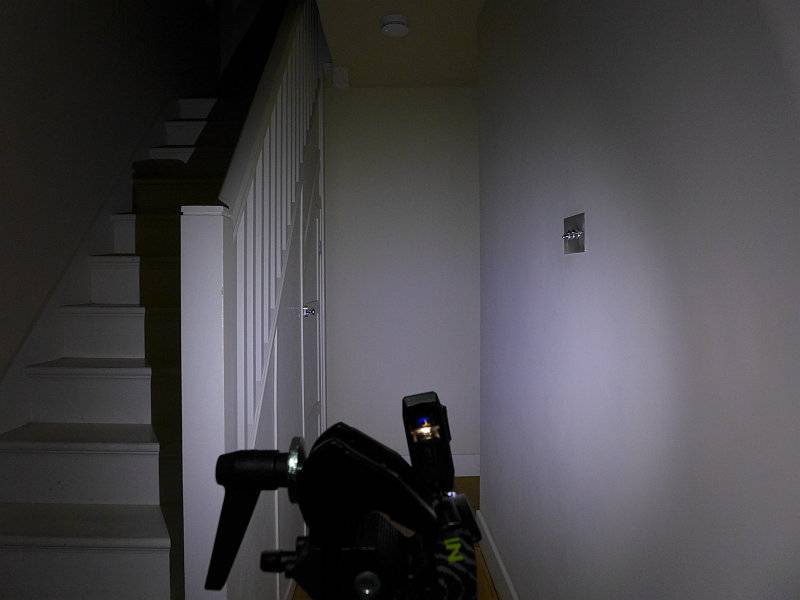
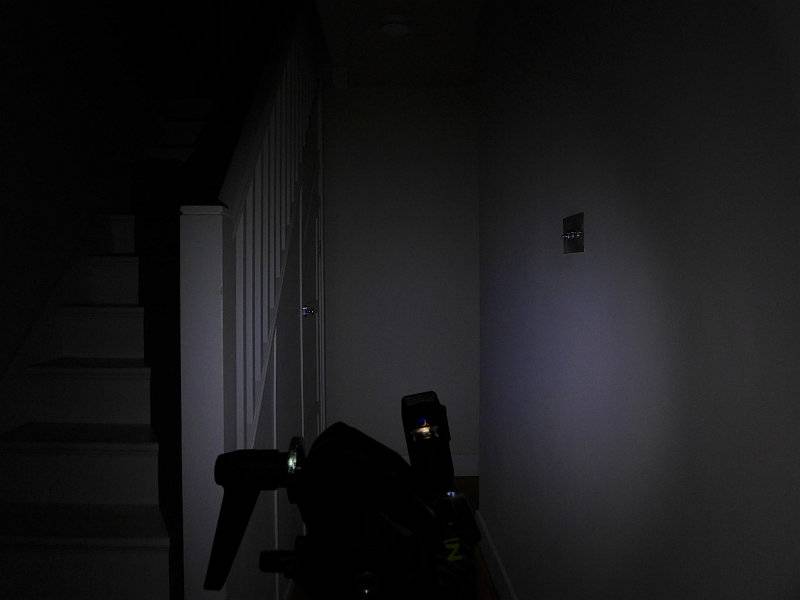
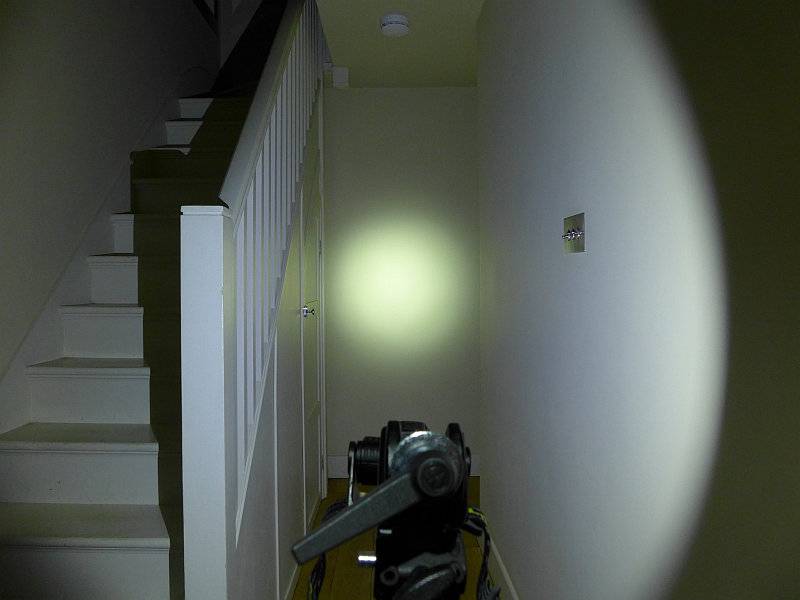
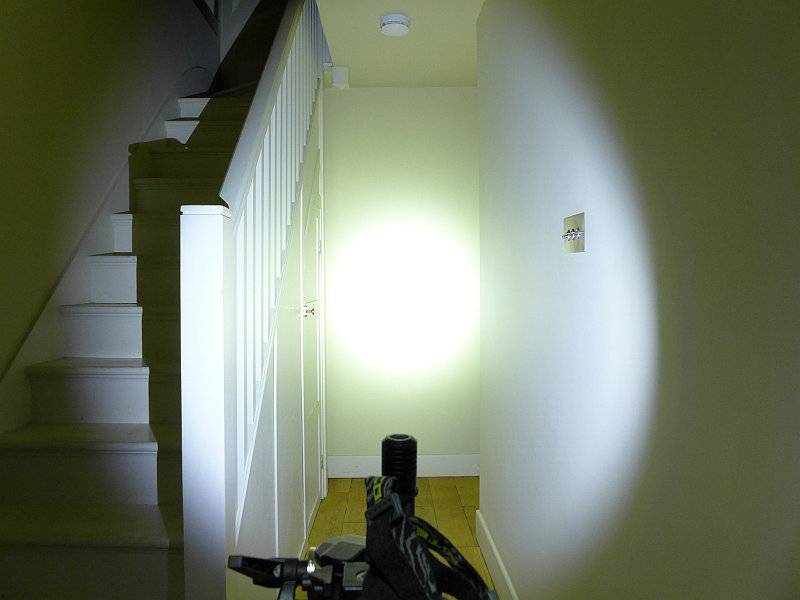
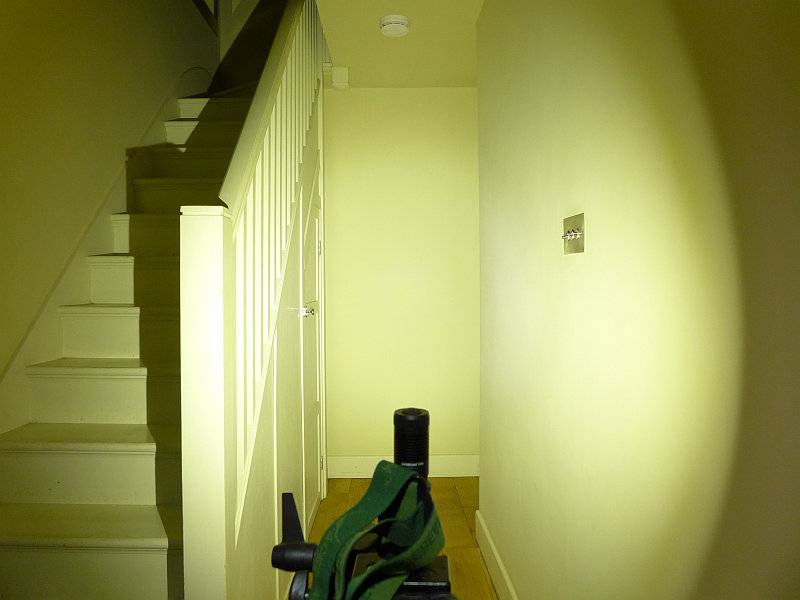
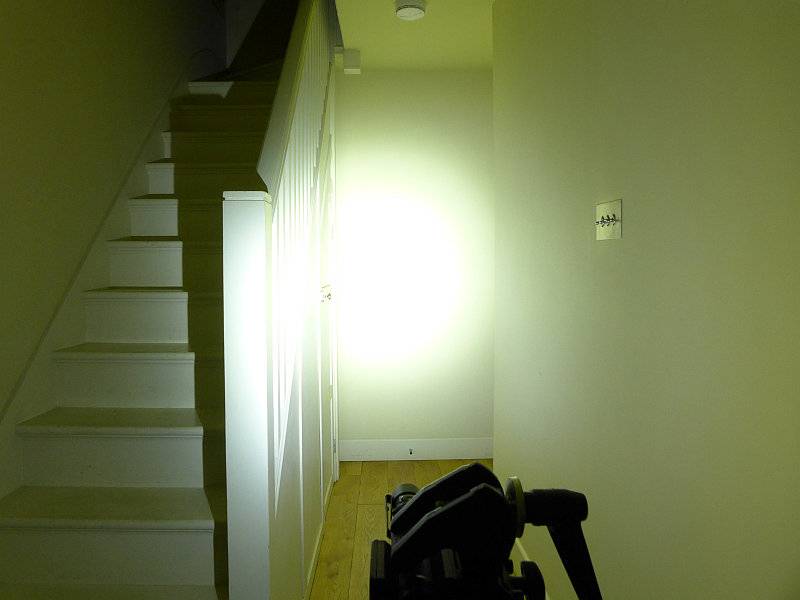
The indoor beamshot is intended to give an idea of the beam shape/quality rather than tint. All beamshots are taken using daylight white balance. The woodwork (stairs and skirting) are painted Farrow & Ball “Off-White”, and the walls are a light sandy colour called ‘String’ again by Farrow & Ball. I don’t actually have a ‘white wall’ in the house to use for this, and the wife won’t have one!
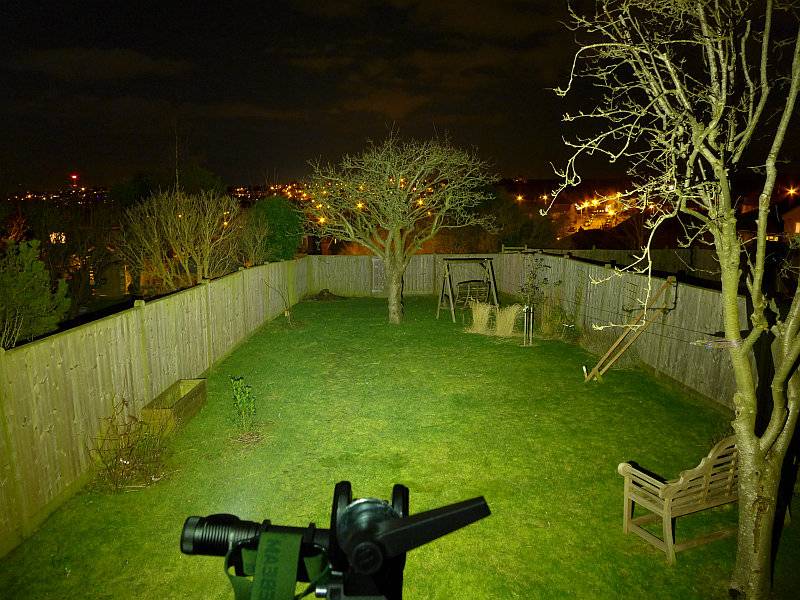
Starting off indoors, the 600lm beam is way more than you need at this range. There is a defined hot-spot with a very wide spill round it.
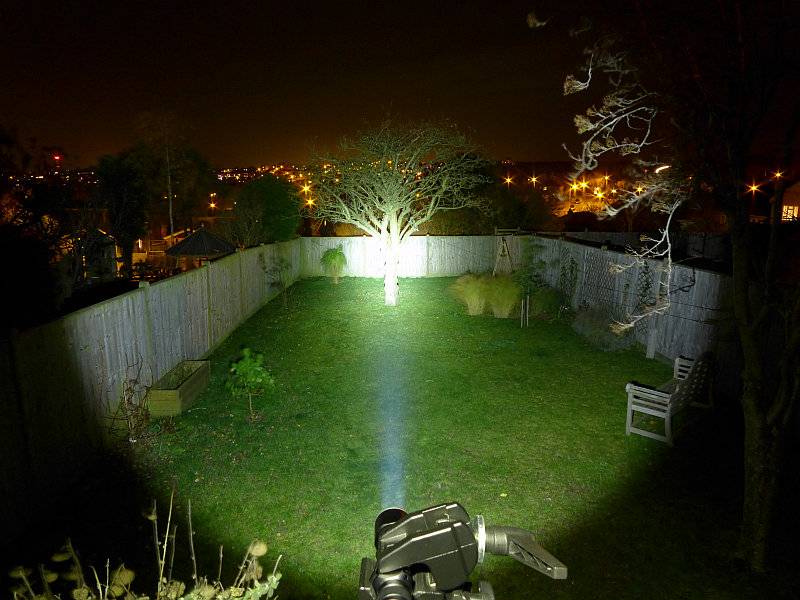
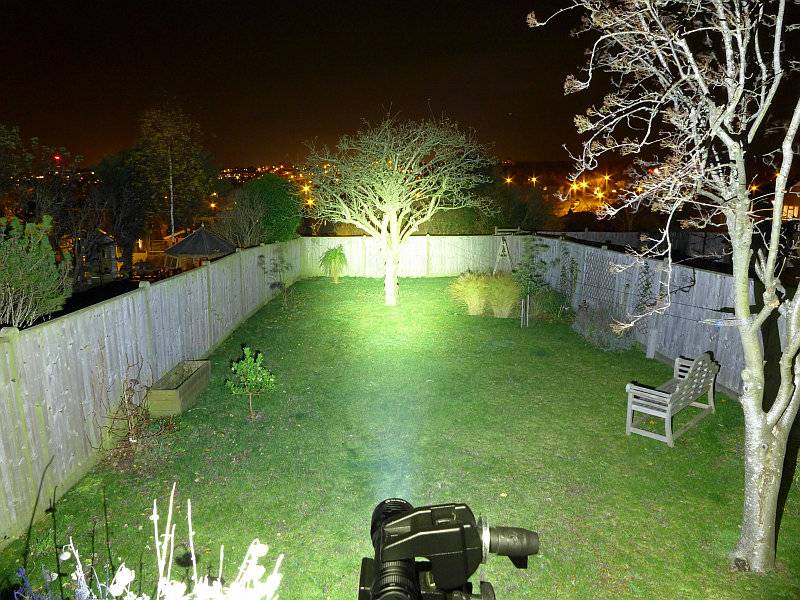
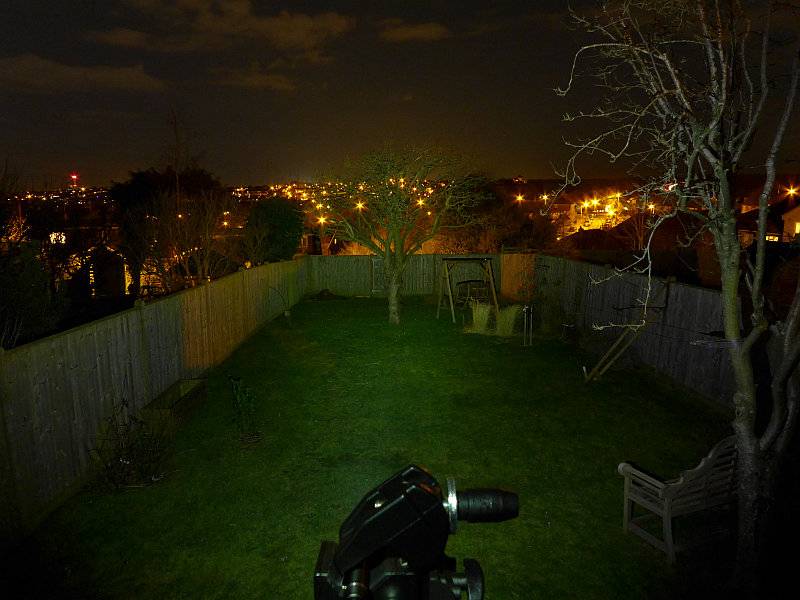
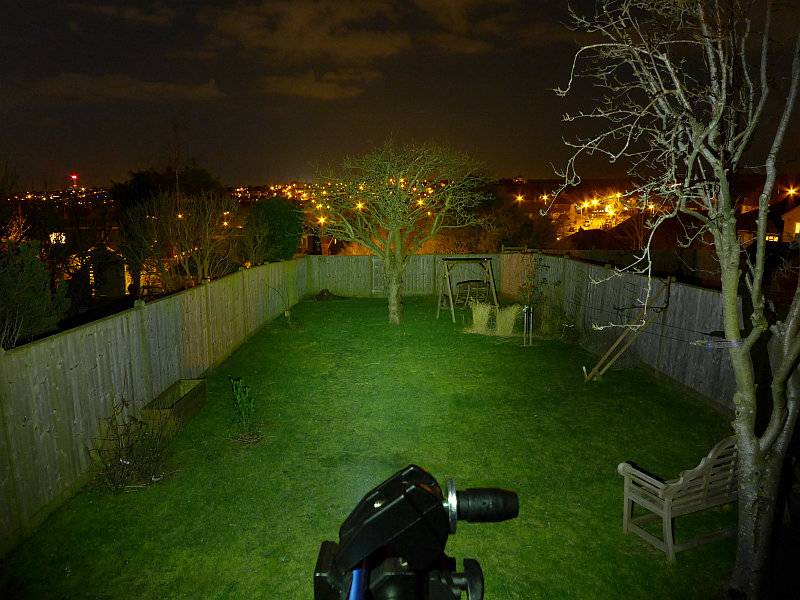
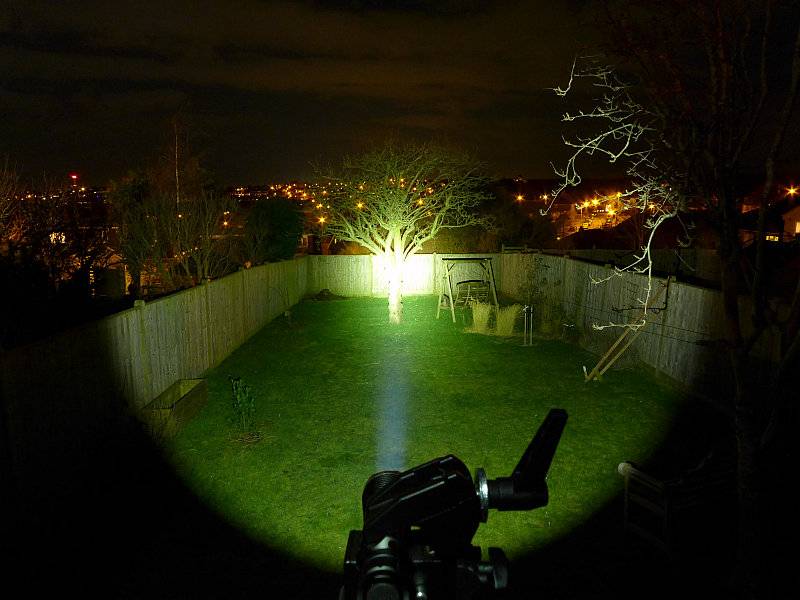
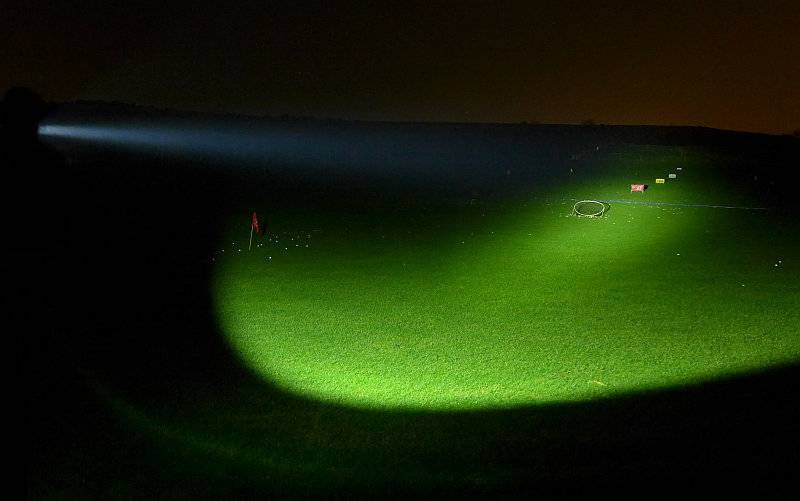
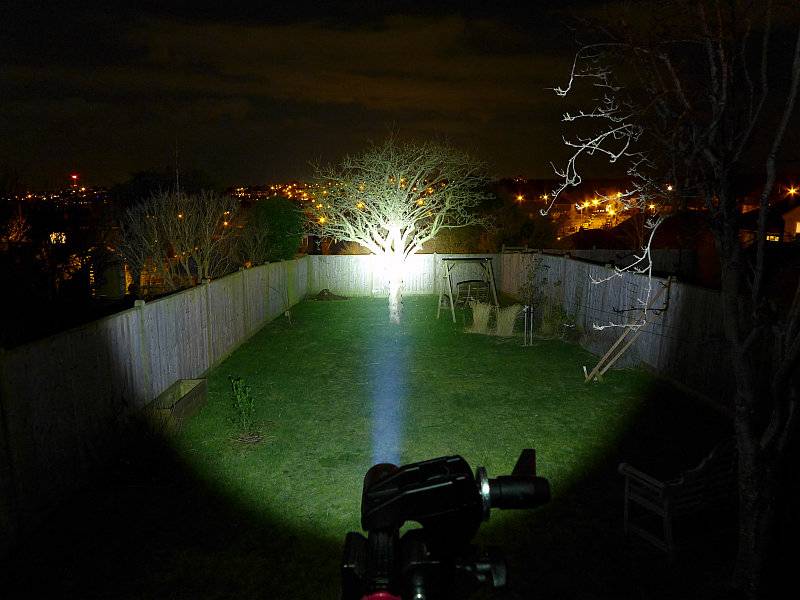
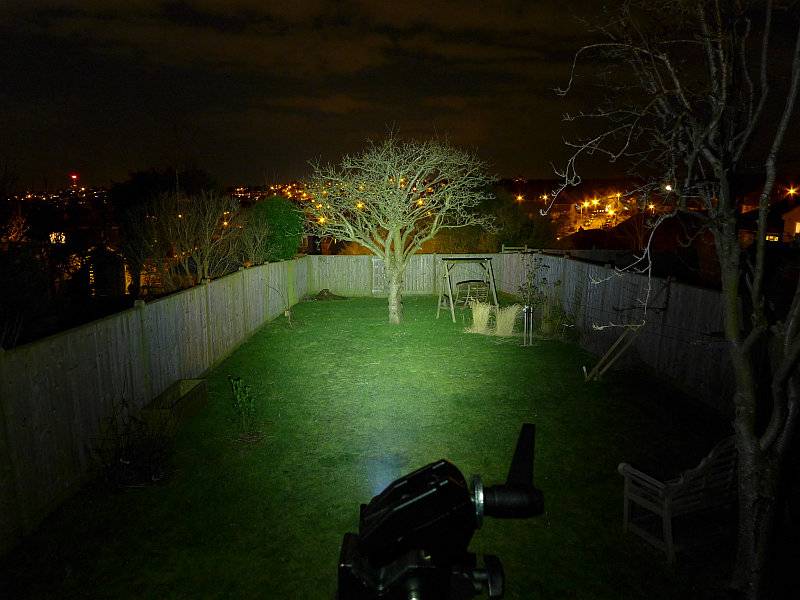
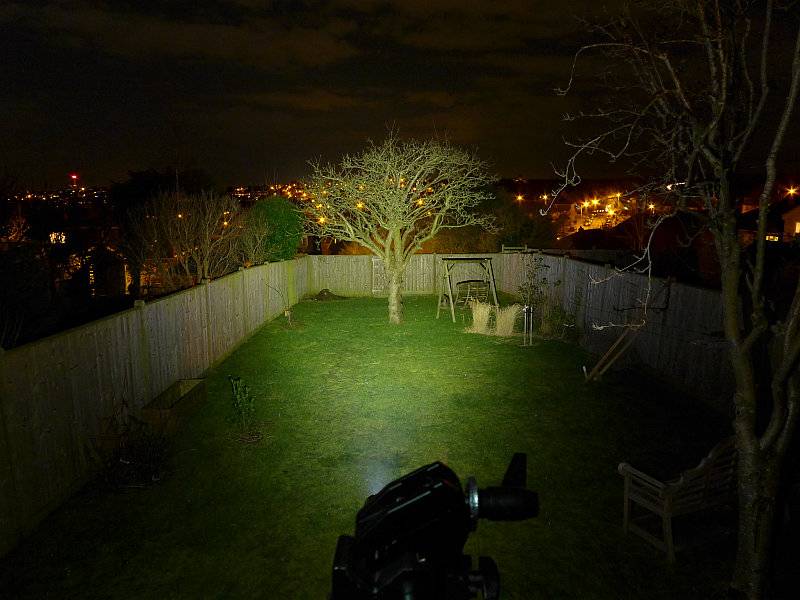
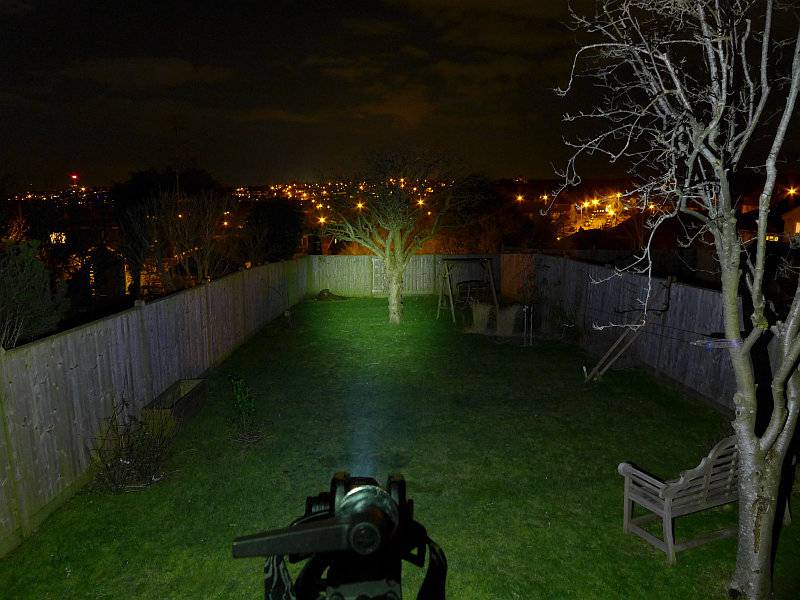
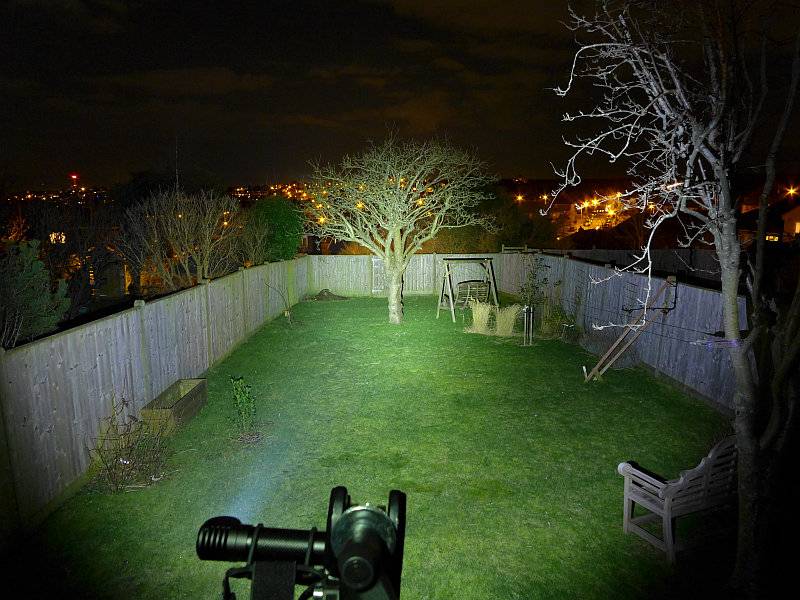
For a 2xAA light the 600lm gives it very good mid-range ability, though the spill becomes much less useful out here, with the hot-spot taking over.

Modes and User Interface:
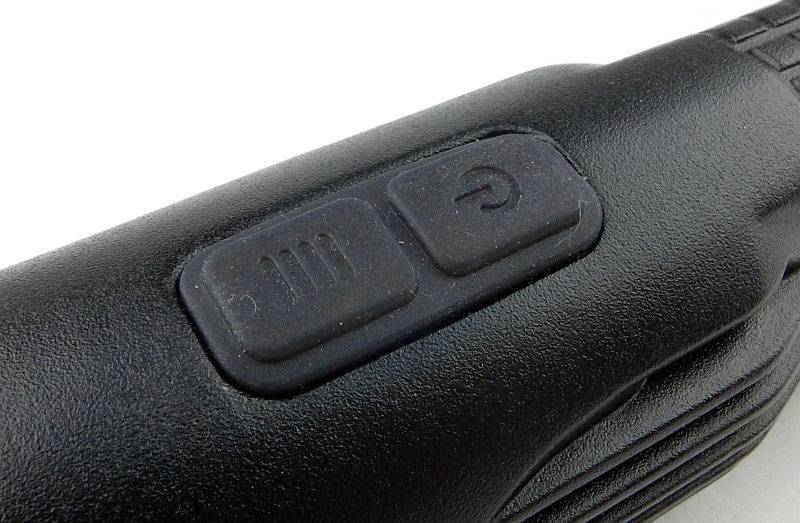
The S2A has six output modes, Turbo, High, Medium, Low, Moonlight and Strobe and a single click-switch on the side.
Basic ON/OFF operation is carried out with a single click of the side switch. The S2A will turn on to the last used constant mode including moonlight (this does not include Strobe).
To change the brightness, while ON, press and hold the switch to cycle through Low-> Medium -> High -> Low -> Medium etc. Release the switch once you have the required output.
There are a few special functions:
Moonlight mode – from OFF, press and hold the switch for 1s until the Moon mode is activated.
Direct access to Turbo – from OFF, double-click the switch.
Strobe – From ON or OFF, triple-click the switch.
Timer – From ON, double-click the side switch. The S2A will blink one or two times. Once means the 3 minute timer is activated, twice means the 9 minute timer is activated. To swap between 3 and 9 minutes timers, double-click the switch.
Timer mode means that the S2A will turn itself off after the specified time, and this can be started from any mode (including Strobe and Moonlight).
Batteries and output:
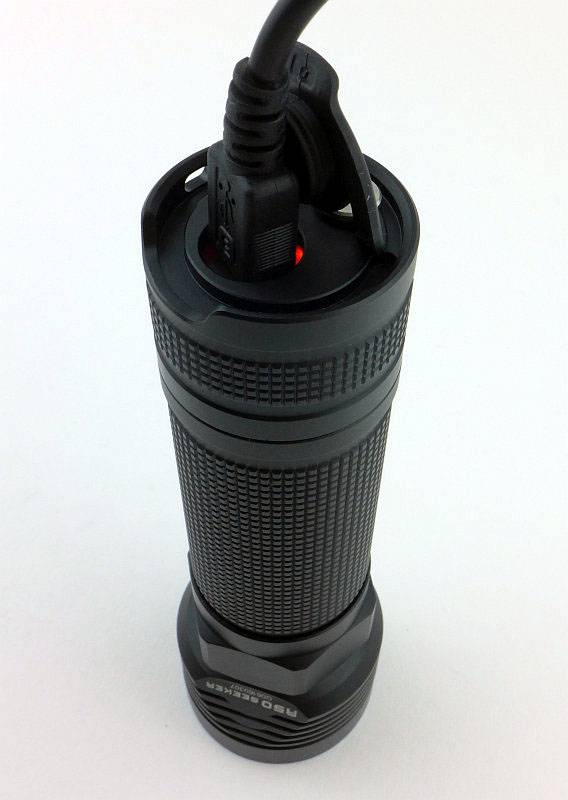
The S2A runs on 2xAA cells either Alkaline, NiMh, or AA Lithium.
To measure actual output, I built an integrating sphere. See here for more detail. The sensor registers visible light only (so Infra-Red and Ultra-Violet will not be measured).
Please note, all quoted lumen figures are from a DIY integrating sphere, and according to ANSI standards. Although every effort is made to give as accurate a result as possible, they should be taken as an estimate only. The results can be used to compare outputs in this review and others I have published.
| ___________________________________________ | ________________________________ | ________________________________ |
| Olight S2A using specified cell | I.S. measured ANSI output Lumens | PWM frequency or Strobe frequency (Hz) |
| ___________________________________________ | ________________________________ | ________________________________ |
| Turbo – AA Eneloop | 596 | 0 |
| High – AA Eneloop | 282 | 0 |
| Medium – AA Eneloop | 132 | 0 |
| Low – AA Eneloop | 17 | 0 |
| Moon – AA Eneloop | Below Threshold | 0 |
| Turbo – AA Lithium | 546 | 0 |
* Beacon and Strobe output measurements are only estimates as the brief flashes make it difficult to capture the actual output value.
Peak Beam intensity measured 3500 lx @1m giving a beam range of 118 m.
There is parasitic drain but is incredibly low at 1uA (216 years to drain the cells).
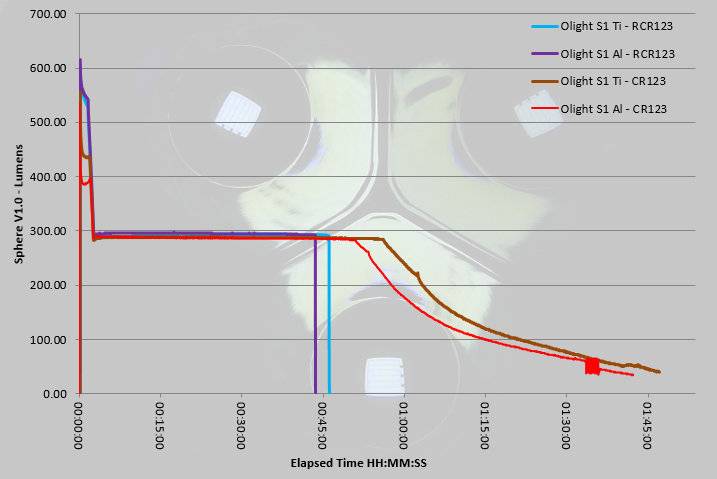
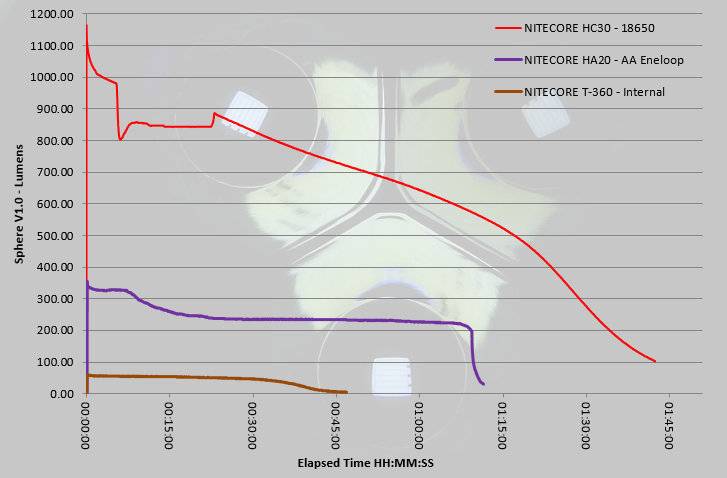
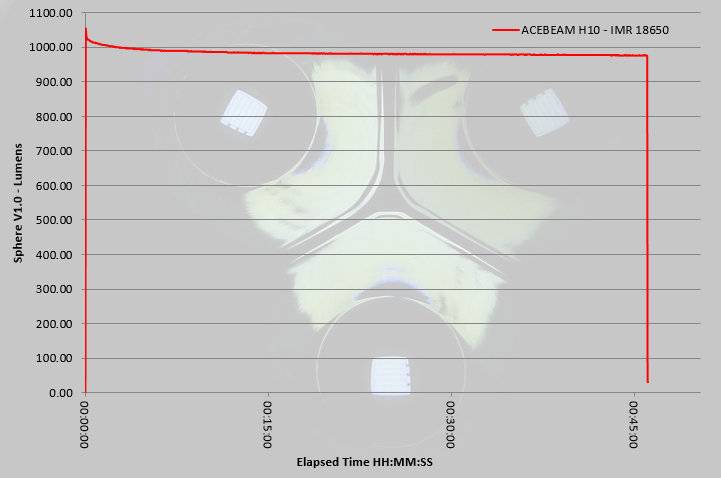
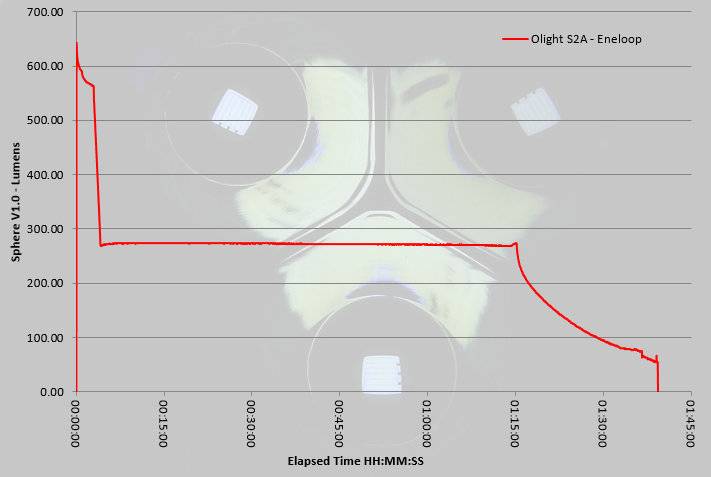
What is very impressive with the S2A is that 600lm Turbo output. This is pushing it for 2xAA, and only with the Eneloops did I get this peak measurement. Like many other lights, the output drops after 3 minutes down to its much more normal 270lm level which the AAs can keep up with. This output is very well regulated for 1h 15m, after which is starts to drop off. There is a sharp cut off around 1h 40m, but you get plenty of warning the output is dropping.
Troubleshooting
This section is included to mention any minor niggles I come across during testing, in case the information helps anyone else.
No issues were encountered during testing.
As per the description of this section, this information is provided in case anyone else finds a similar ‘issue’ that might be fixed in the same way.
The S2A in use
For anyone that has read my other reviews of the Olight Batons, you will already know I think they have got the UI spot on. For non-tactical use, the side switch is king, falling nicely under your thumb and being very natural to use. Then there is the simple control options but that give your direct access to moonlight, Turbo, Strobe and last used modes; what more could you want?
I wouldn’t have thought it, but the timer mode has also proven useful letting you get tucked up in a sleeping bag, or even to give you a way of keeping a rough track of time. I’ve certainly used it that way when only wanting to be out for so long and getting easily distracted, the 9 minute timer switches the light off which I pop straight on again and head back. You are sure to find several uses once you try it out.
Having the rubber grip does make it very secure to hold, and stops it from feeling cold when temperatures are low. The best part of this is the GITD feature. The glow does last several hours, but you will need dark adapted eyes to see it after an hour or so, and it might not make it through a long night. Even so this is a great addition.
The brightness of the hot-spot did surprise me a little as I was hoping for a beam with slightly more flood. (This is a personal preference as unless I want a thrower, I always find full flood easier to use for my needs.) Indoors I have felt some hot-spot blinding and have had to use a ceiling bounce instead of direct illumination. Outside that hotspot does become useful, so there is a good balance making this an all-rounder.
Negligible parasitic drain allows for this to be loaded up and on standby without worrying if your cells are running down, so I applaud Olight for that excellent 1uA drain; I won’t be worried in 216 years time that the cells have run down!
Although I also have a preference for single cell lights, as you don’t have to cell match, the 2xAA format does give you quite a bit more power and runtime plus the benefit of being a good size to hold. This really hits a sweet spot for me in format and usability and is now a favourite EDC light.
Review Summary
| _______________________________________________ | _______________________________________________ |
| Things I like | What doesn’t work so well for me |
| _______________________________________________ | _______________________________________________ |
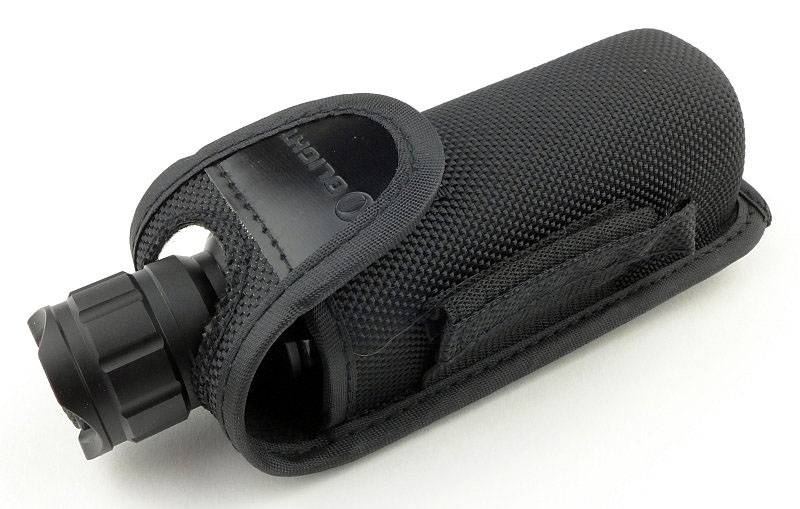
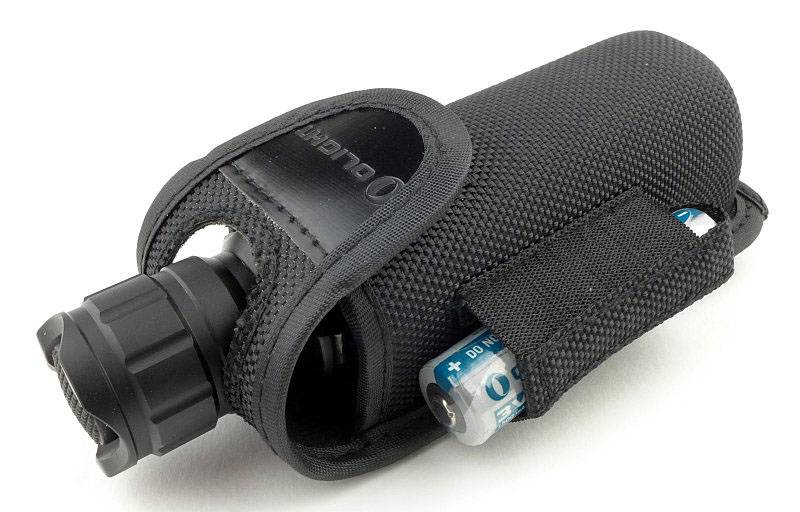
| 600lm output (from 2xAA). | No holster supplied. |
| Side switch. | Hot-spot can be too bright indoors. |
| Direct access to Moonlight, Turbo and Strobe. | |
| Timer function. | |
| Glow-in-the-Dark rubber grip. | |
| AA powered. |

Discussing the Review:
Please feel free to add comments to the review, but the ideal place to freely discuss these reviews is on a forum. If you started reading the shorter forum version of the review, but followed the link this full exclusive review, please return to that forum to discuss the review there.
If you read the review entirely on Tactical Reviews, please consider one of the following to join in any discussion.
CandlePowerForums – Flashlight Reviews Section (Largest and Friendliest Flashlight Community Forum)
EdgeMatters – Sponsored Reviews (UK based Forum for Knife Makers and Collectors)