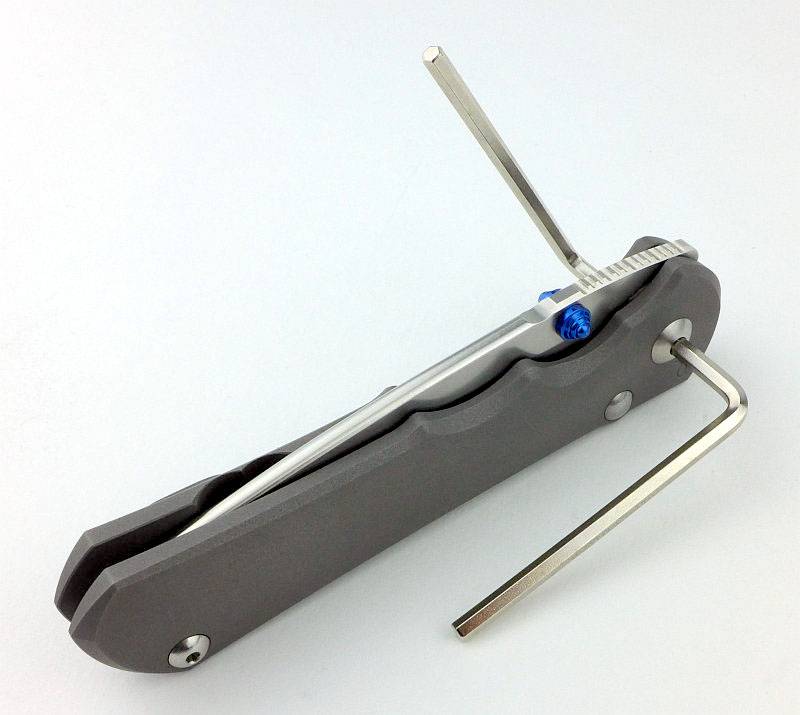
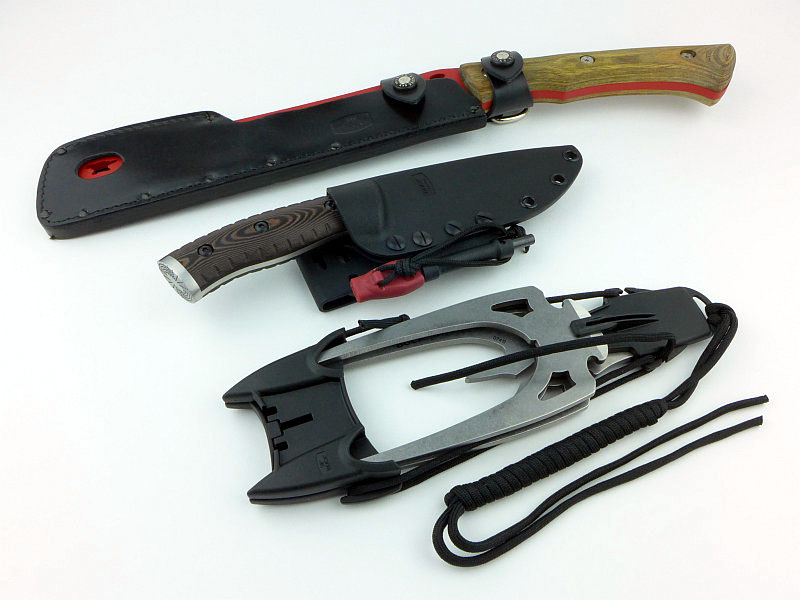
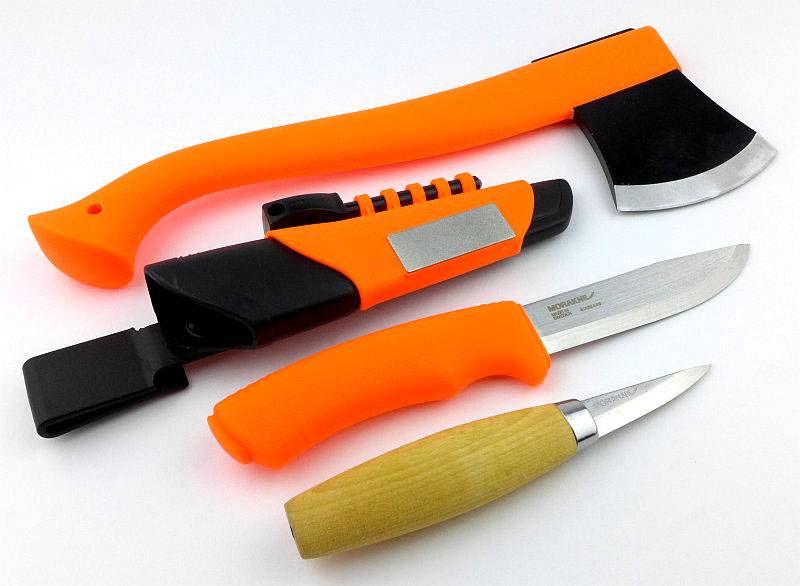
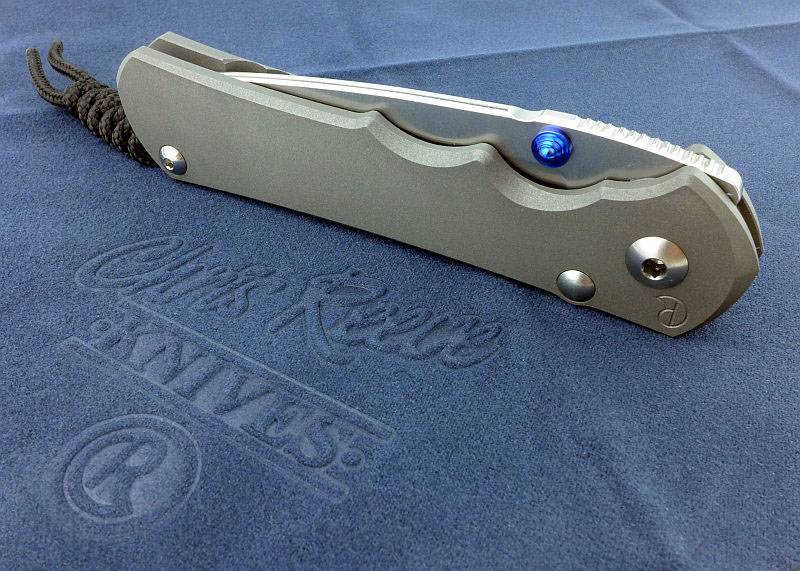
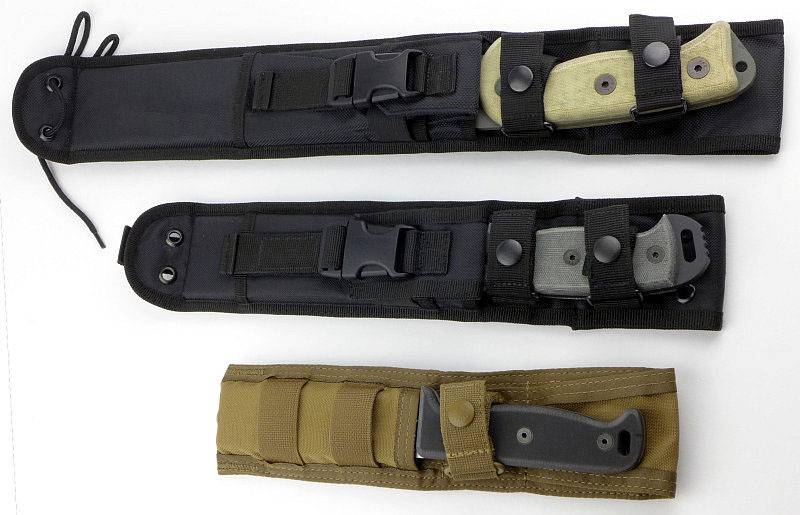
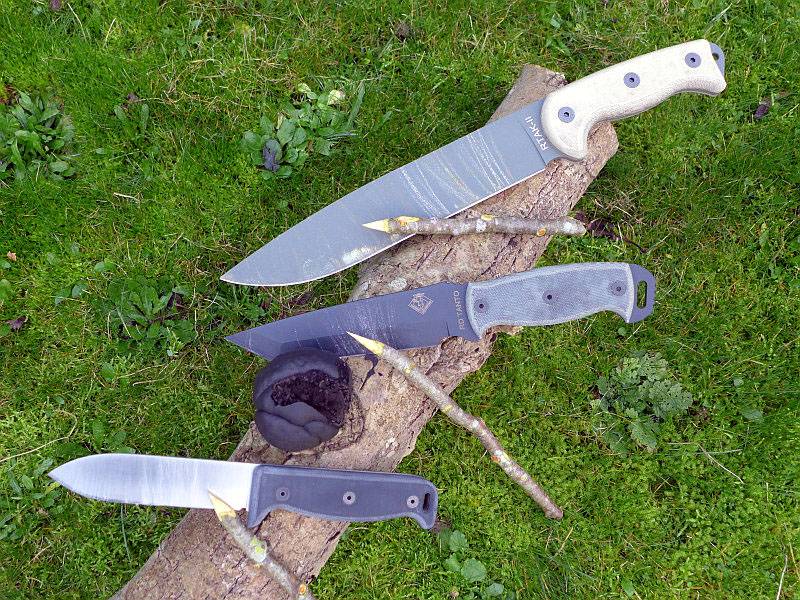
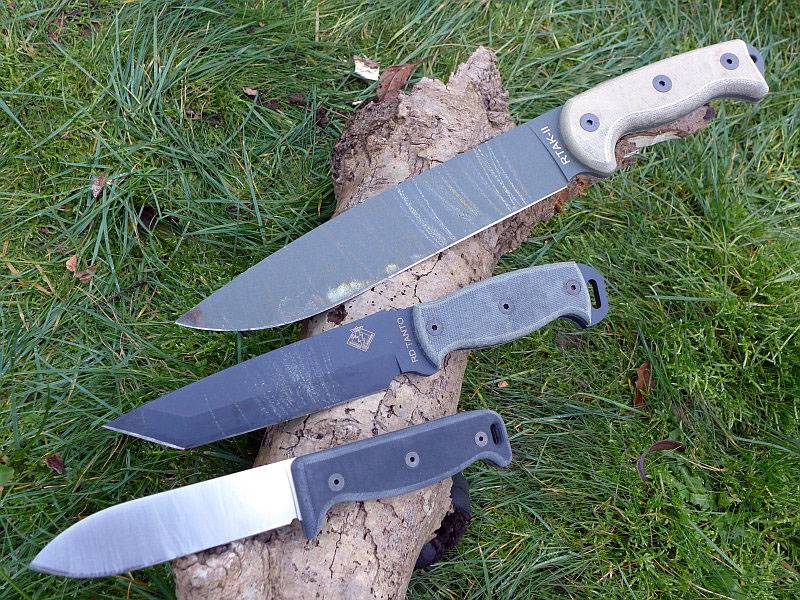
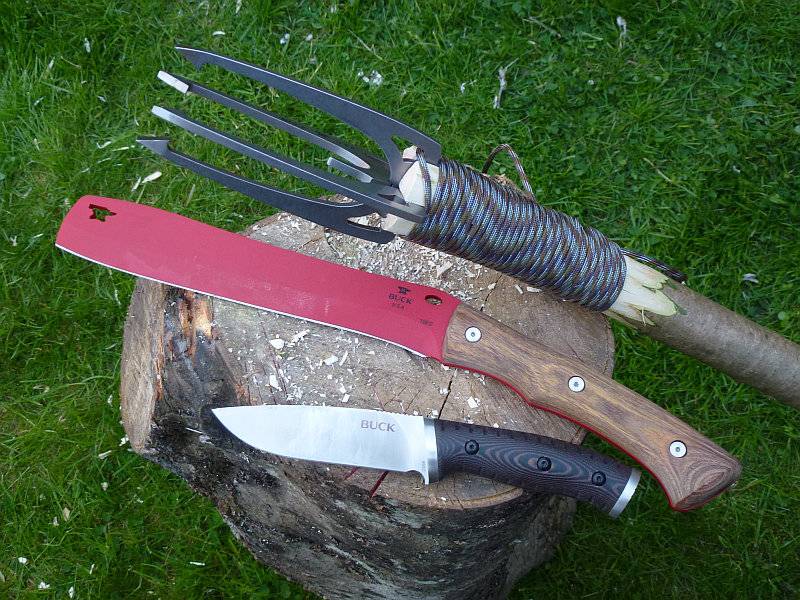
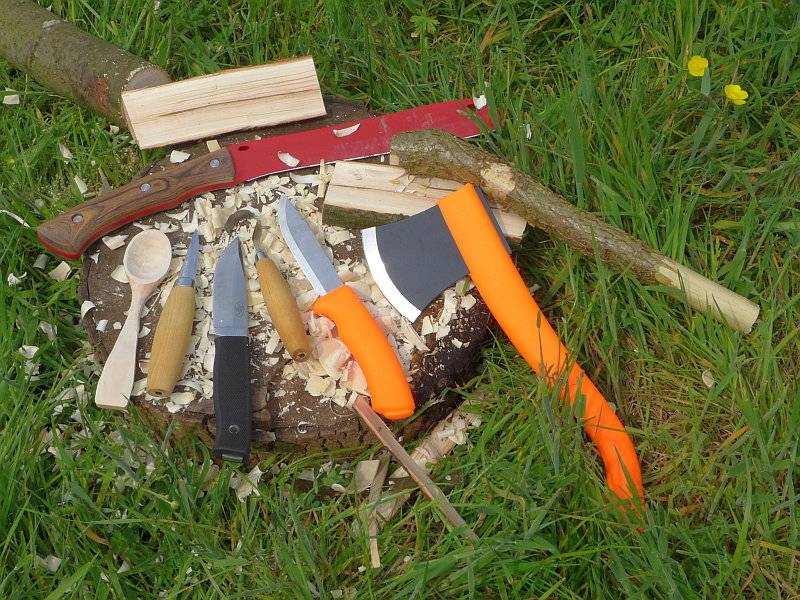
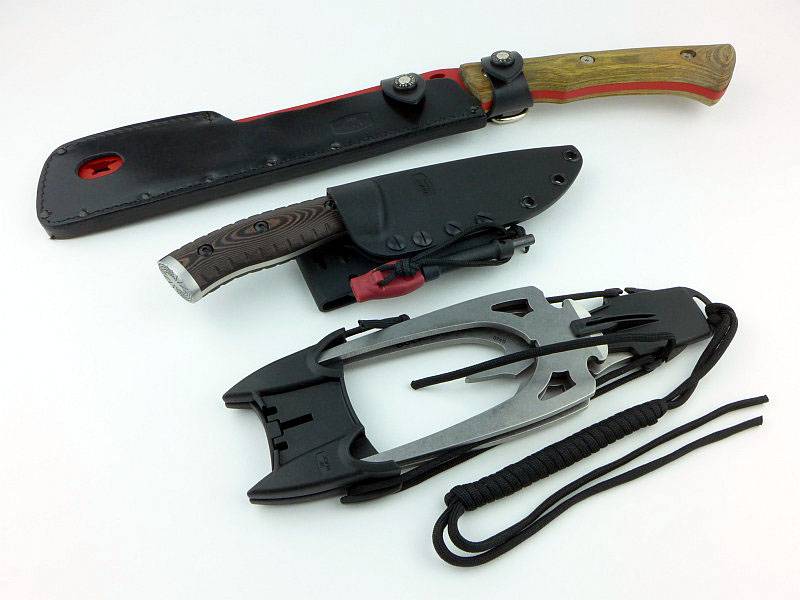
Buck’s Selkirk, Compadre Chopping Froe and Kinetic Fishing Spear were specifically chosen for this review to compliment each other for camp/survival tasks. Following a visit to Buck at IWA 2016 I’ve been able to give these a good workout to see how they fare.
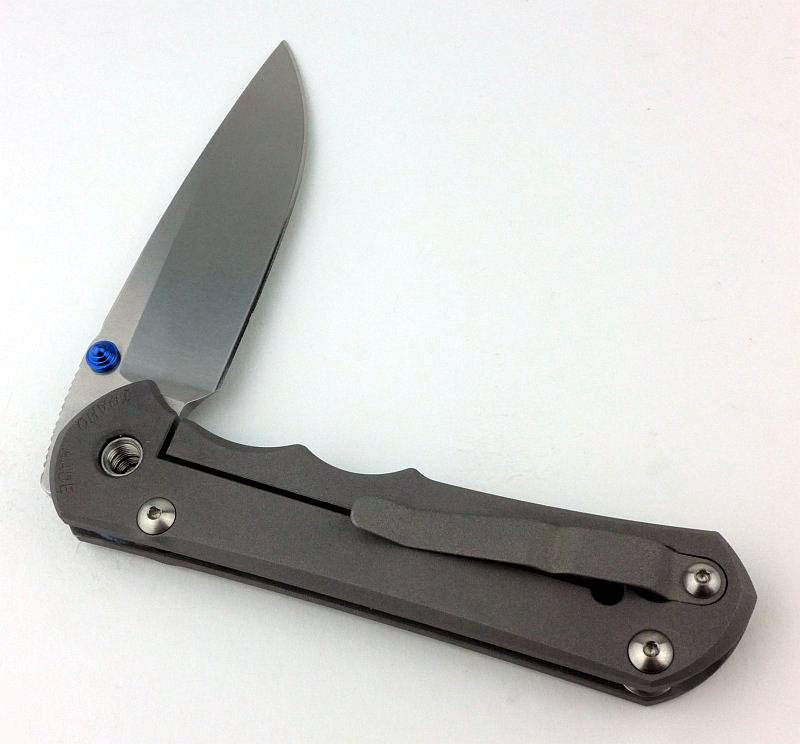
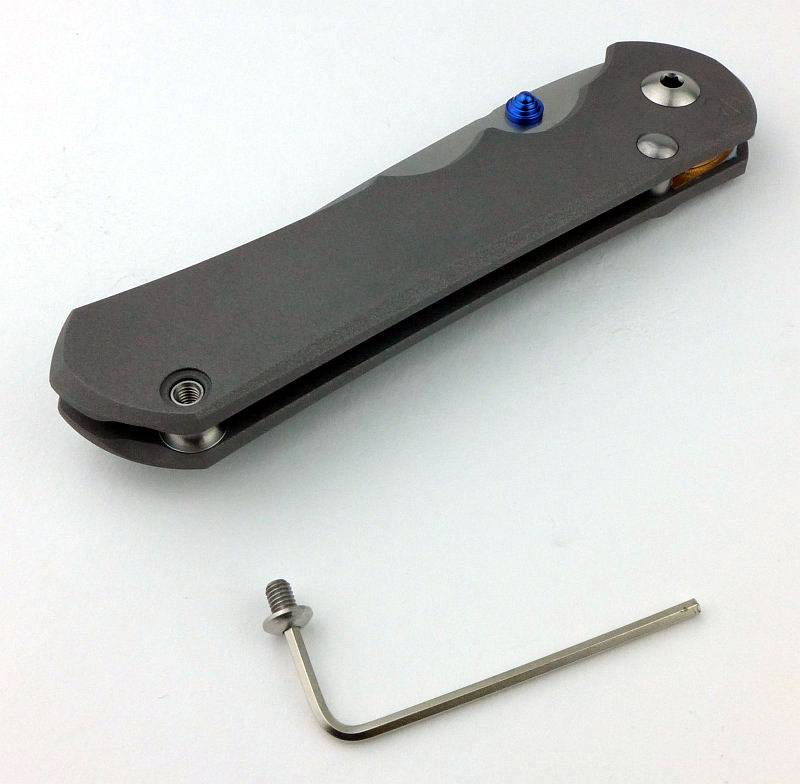
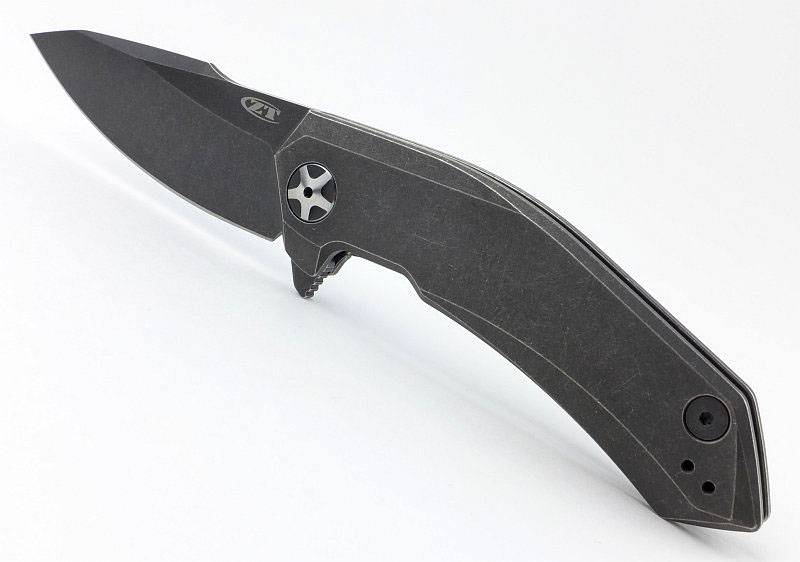
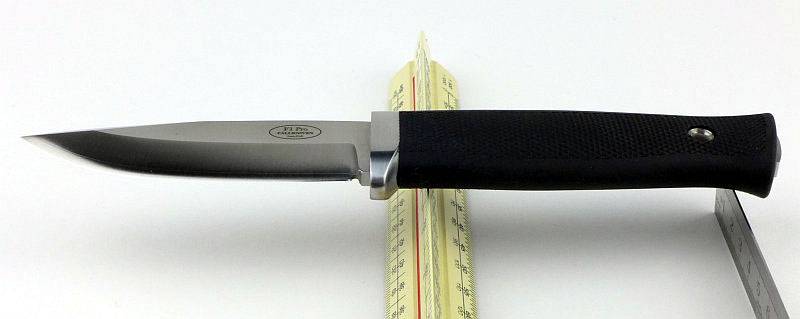
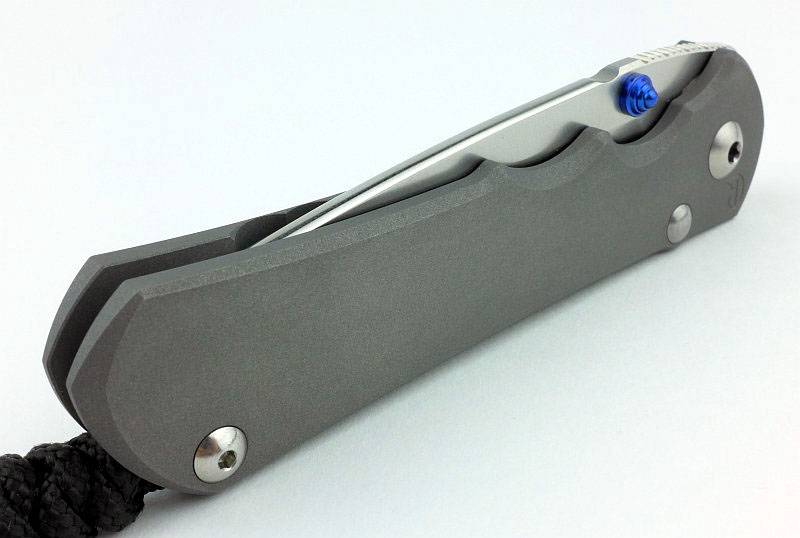
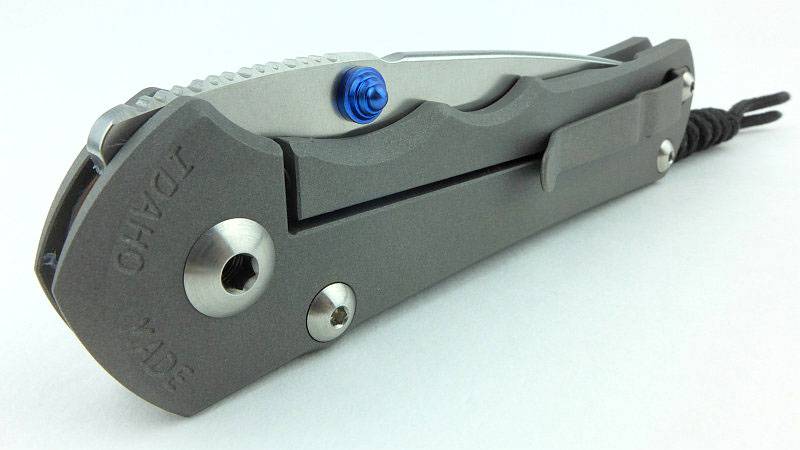
The Blade and Handle Geometry:
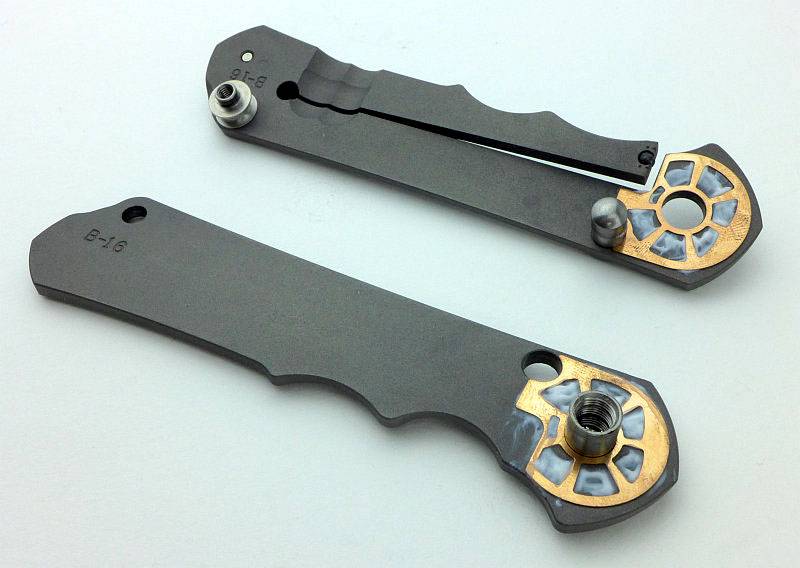
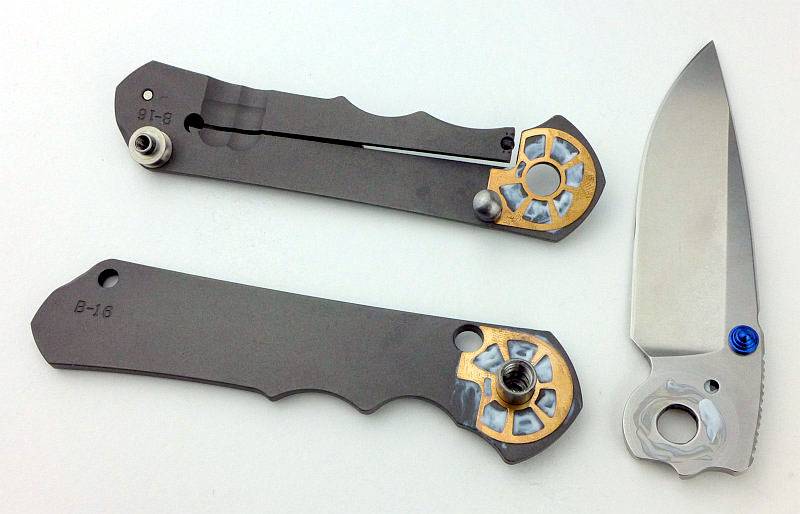
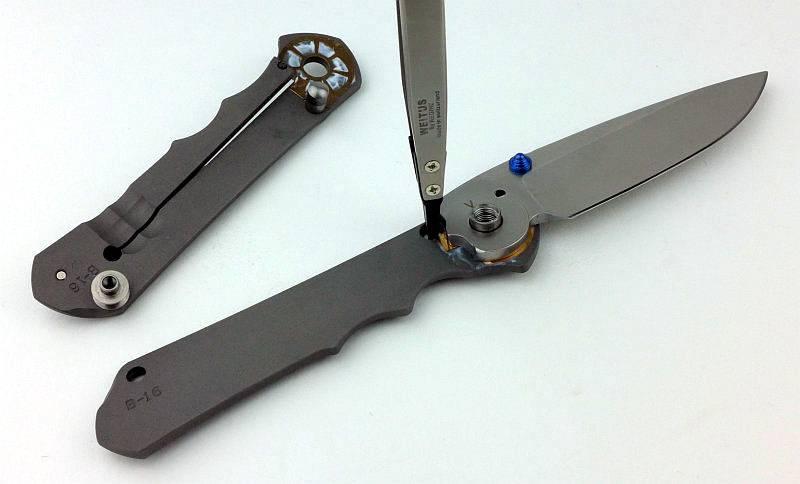
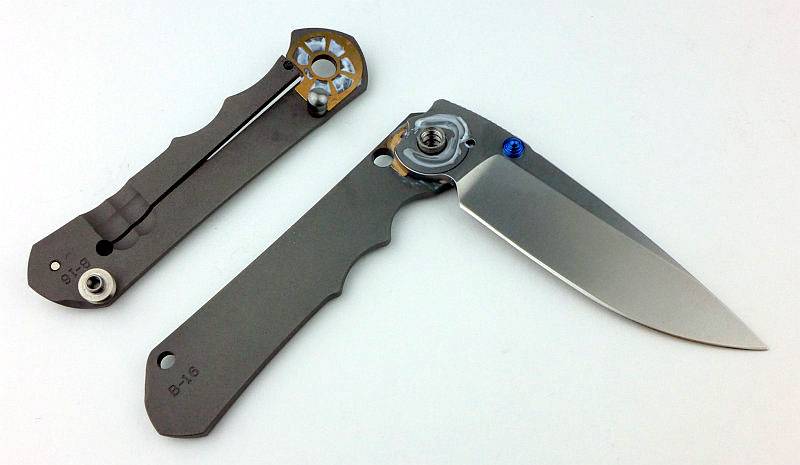
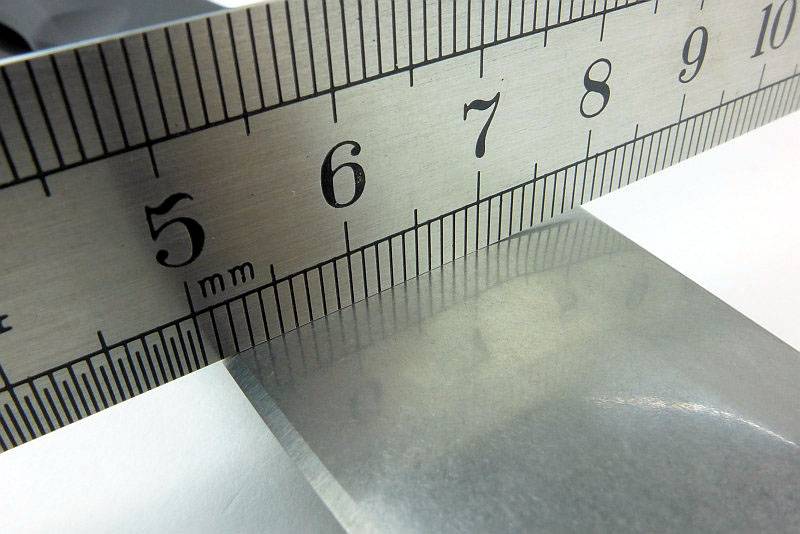
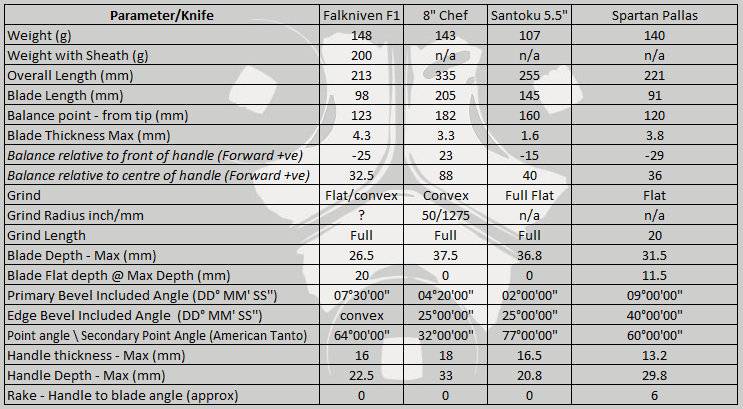
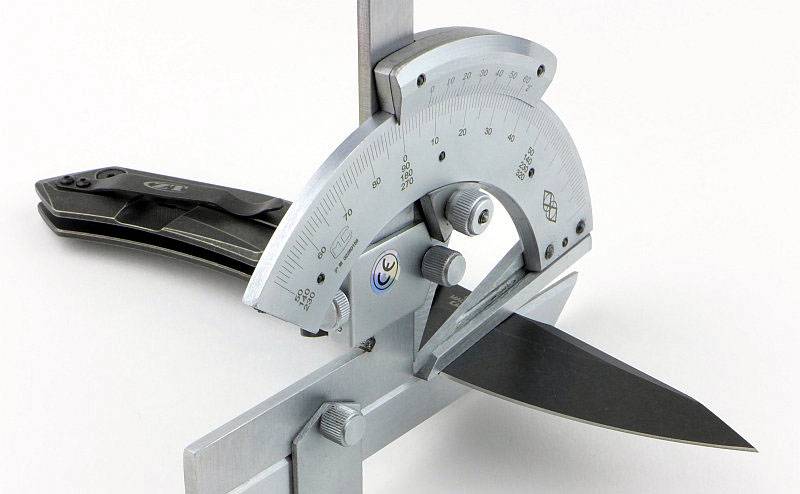
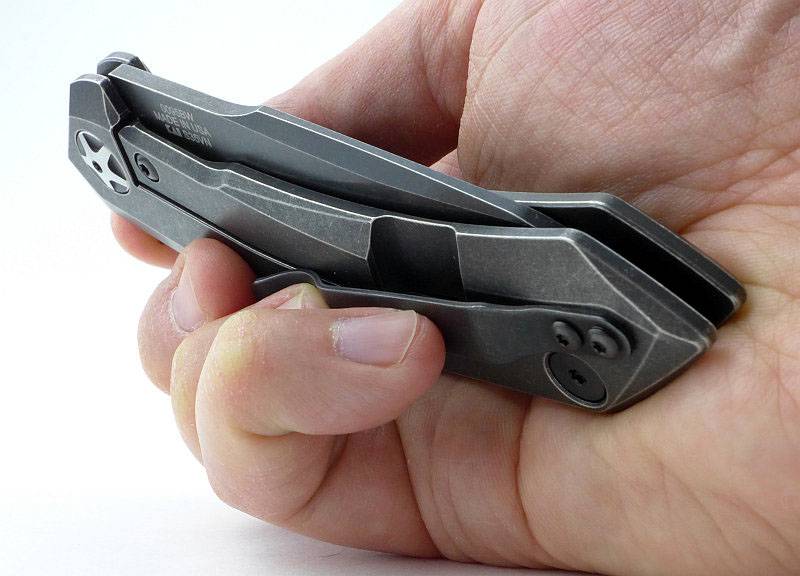
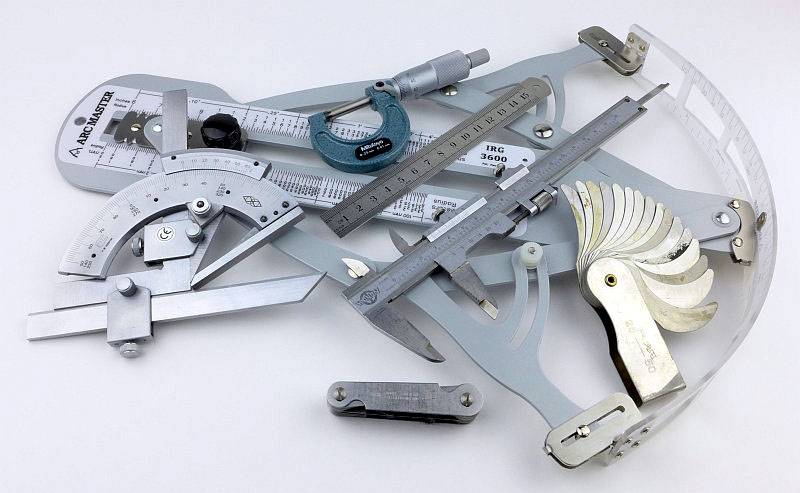
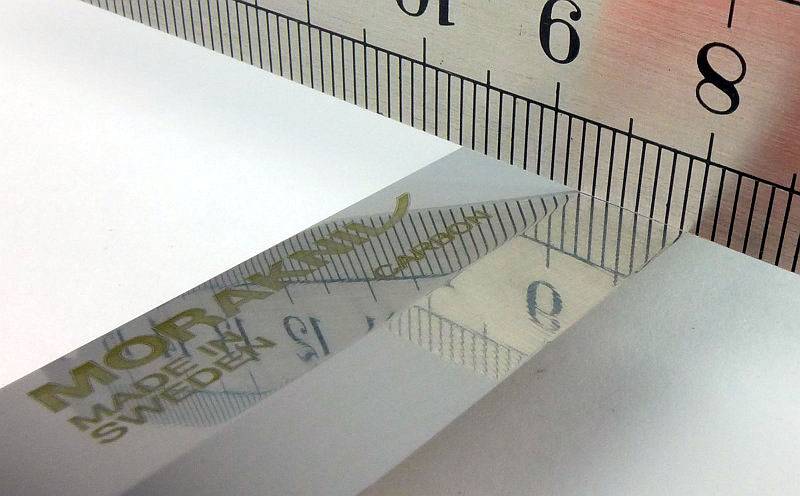
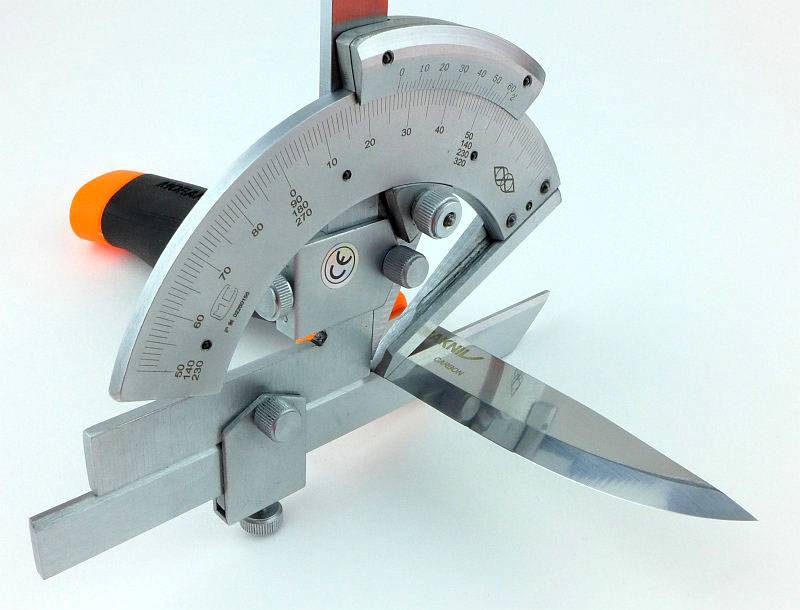
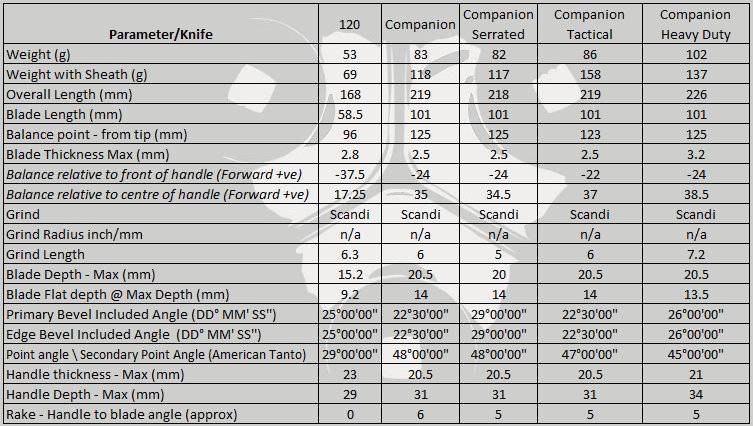
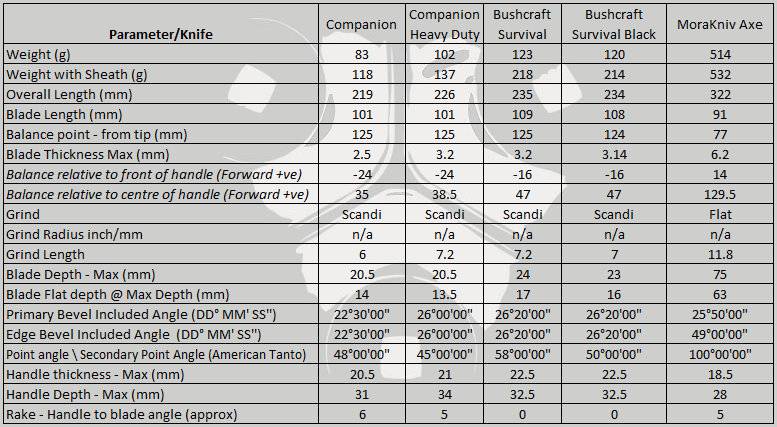
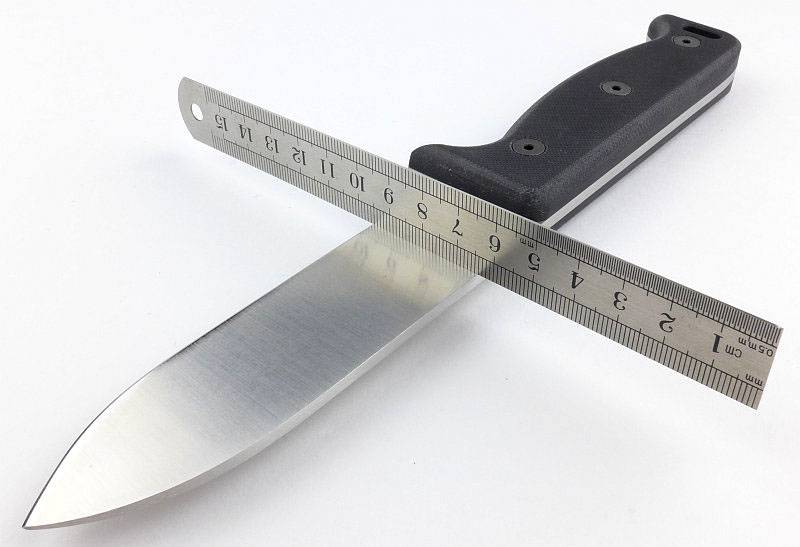
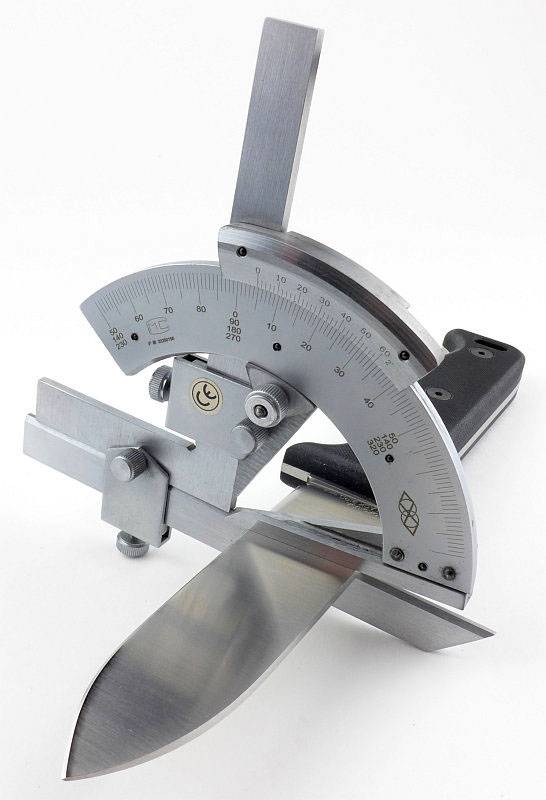
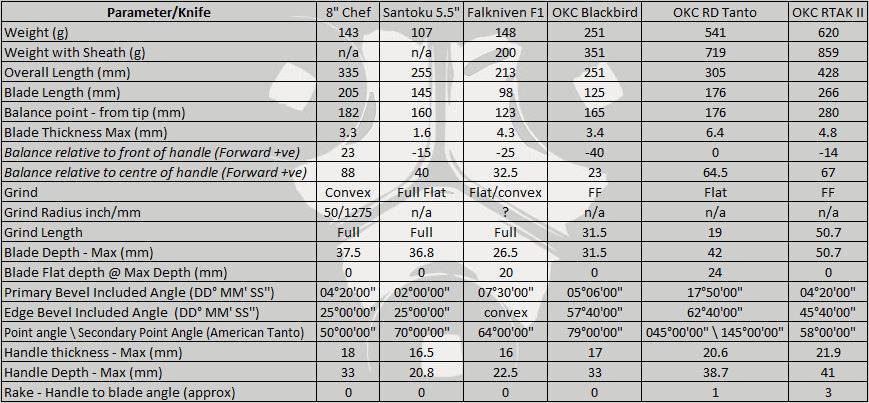
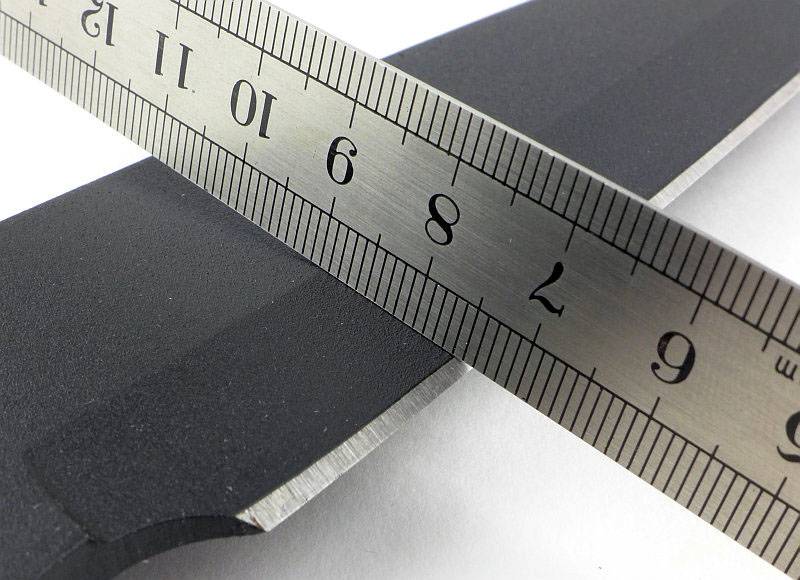
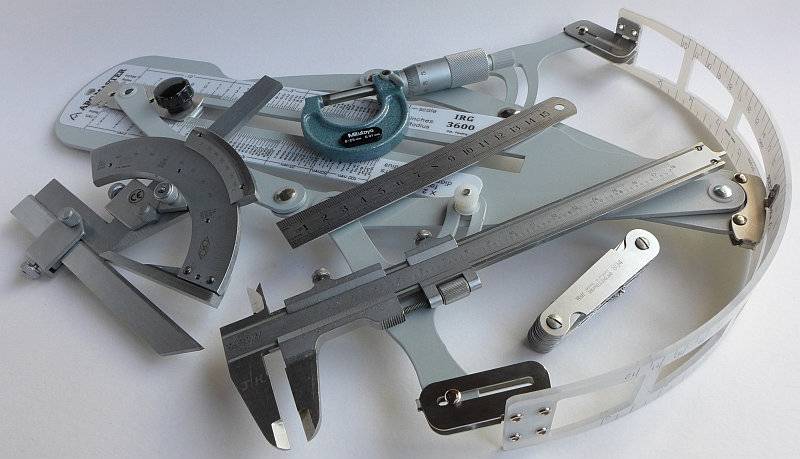
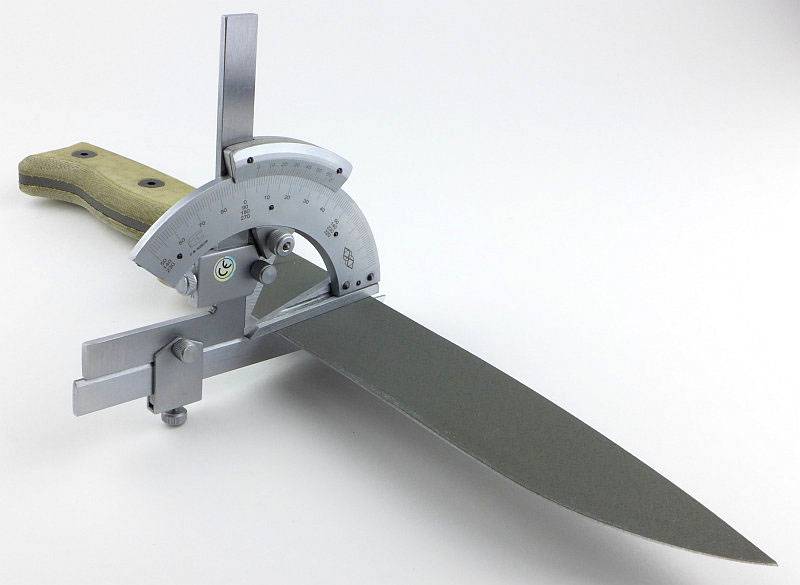
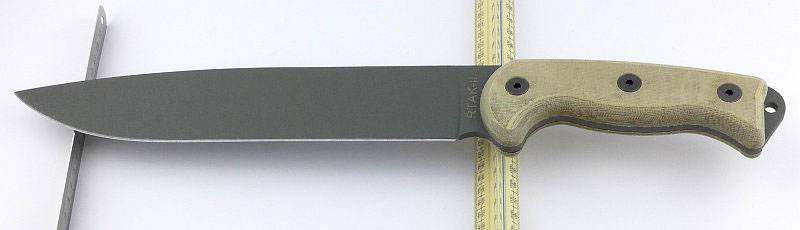
Most knife specifications have a basic description of the blade geometry, but in this section I will be taking a more detailed look at geometry and balance.
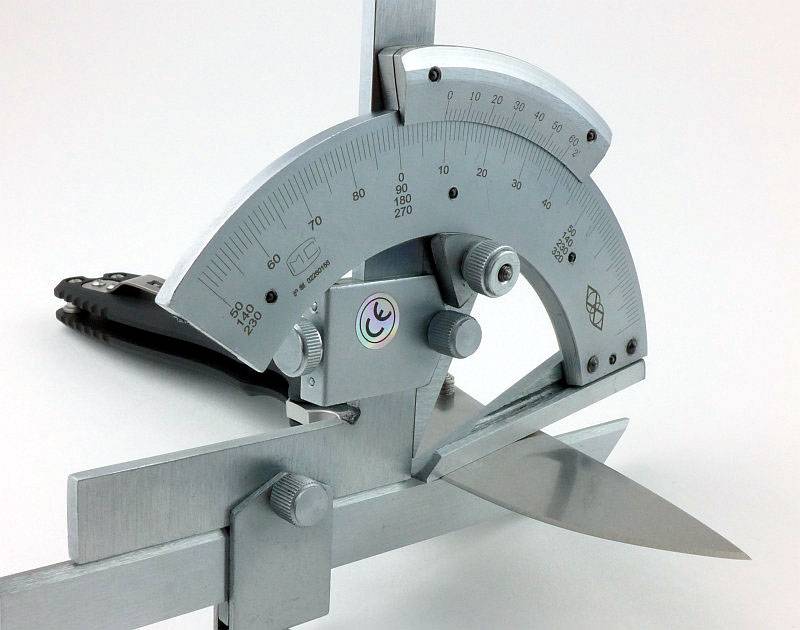
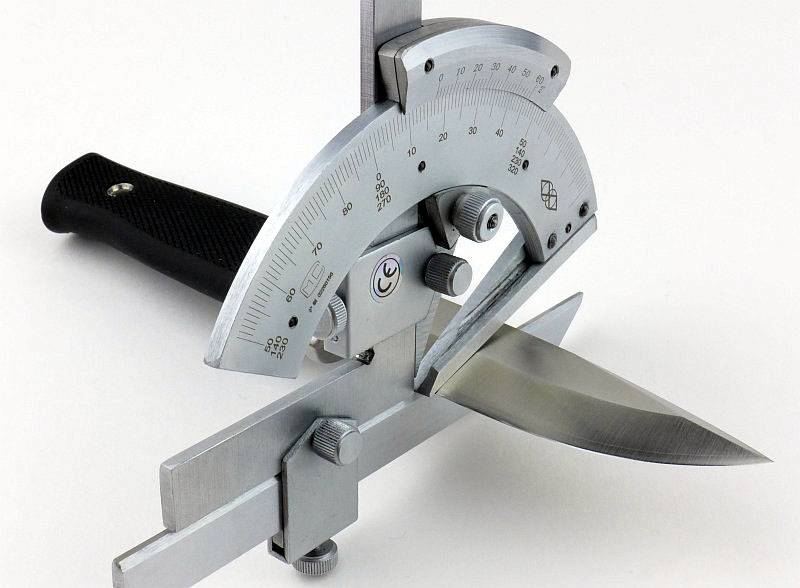
Using a set of gauges and precision measuring equipment including a Vernier protractor, callipers, fixed radius gauges and the unique Arc Master adjustable radius gauge (the one that looks like a crossbow).

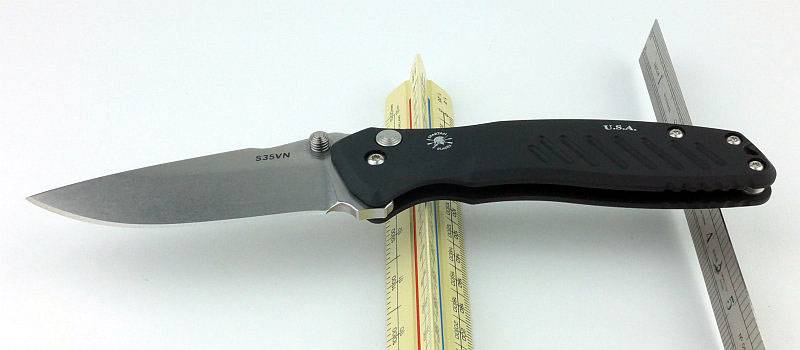
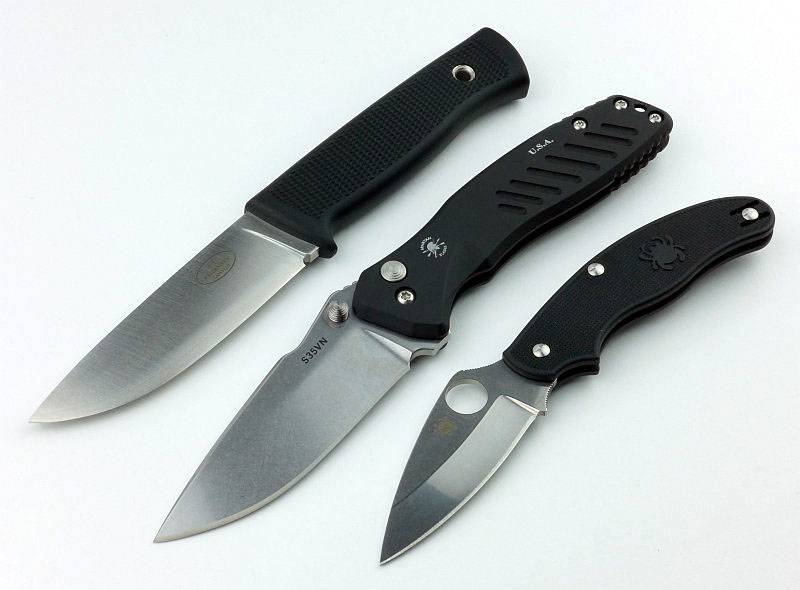
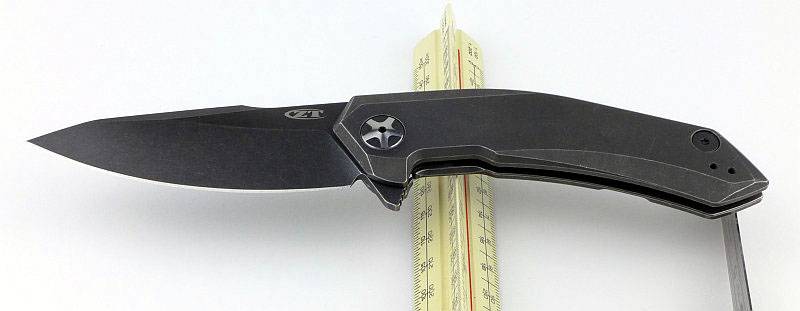
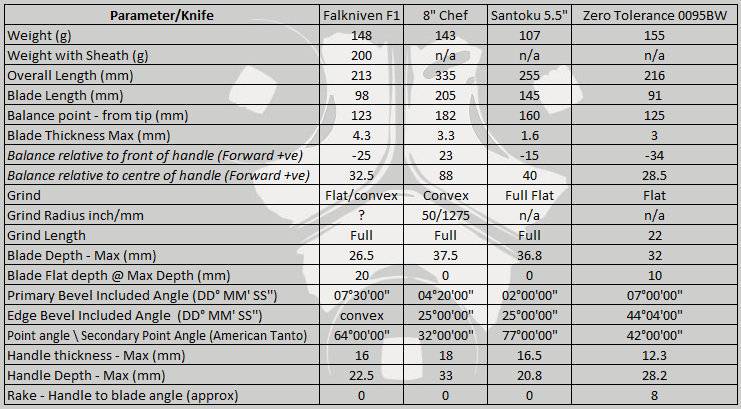
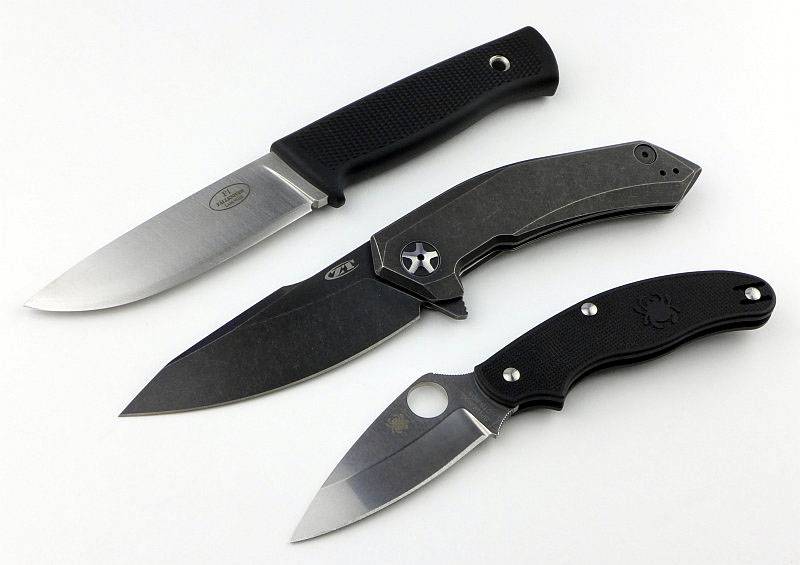
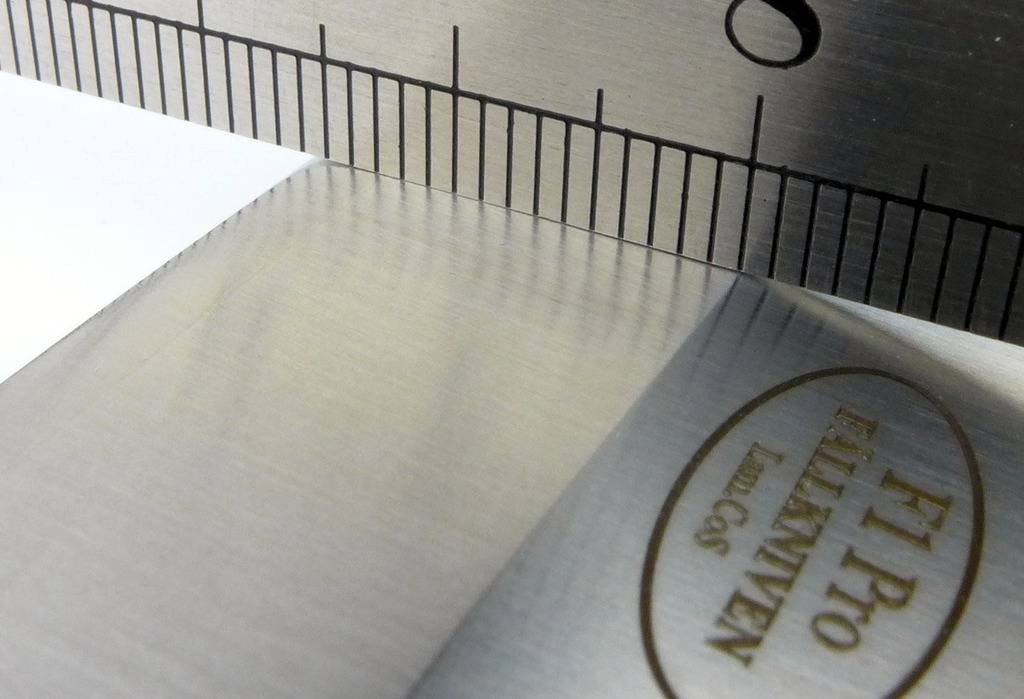
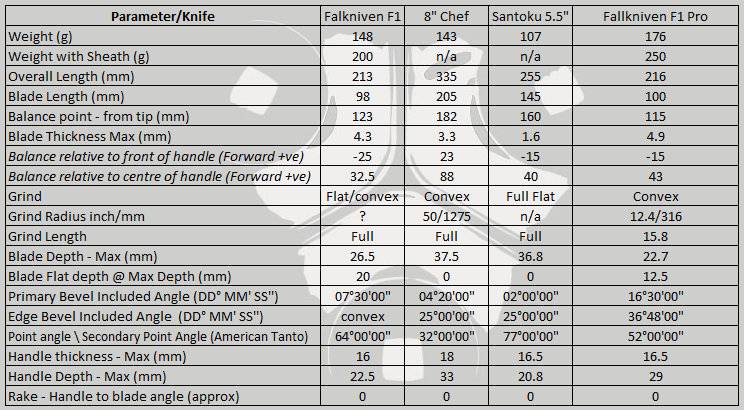
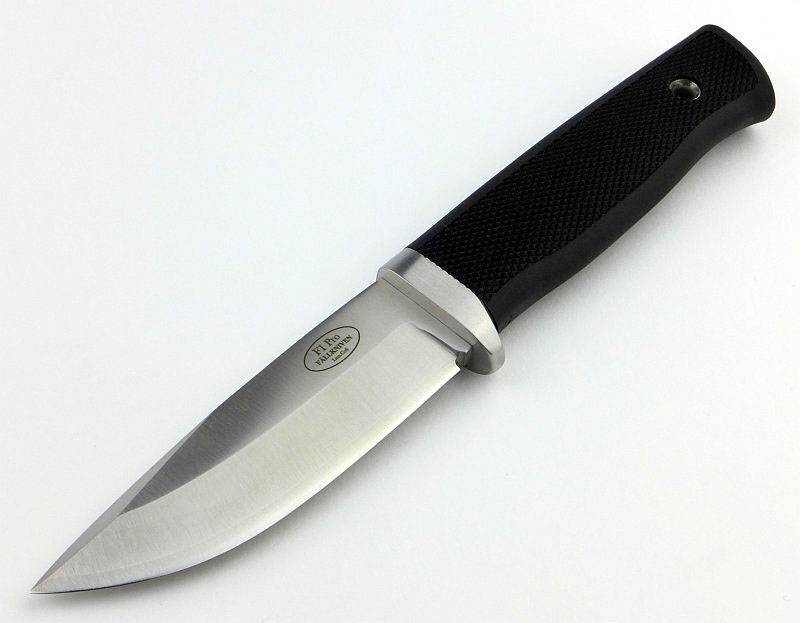
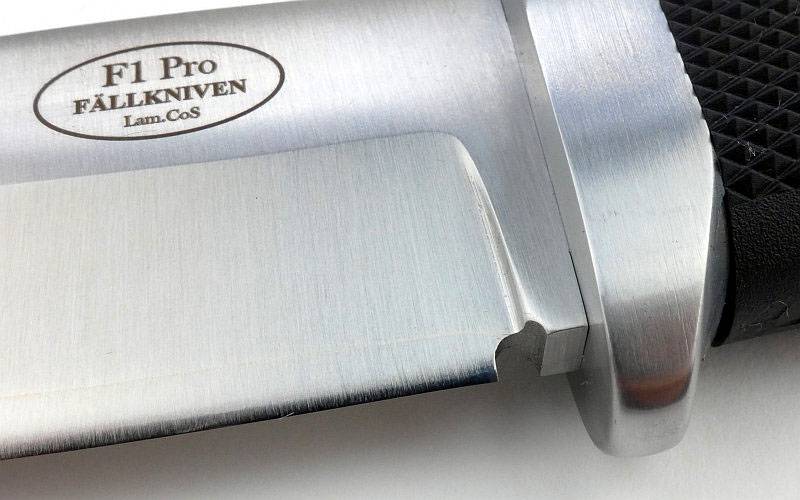
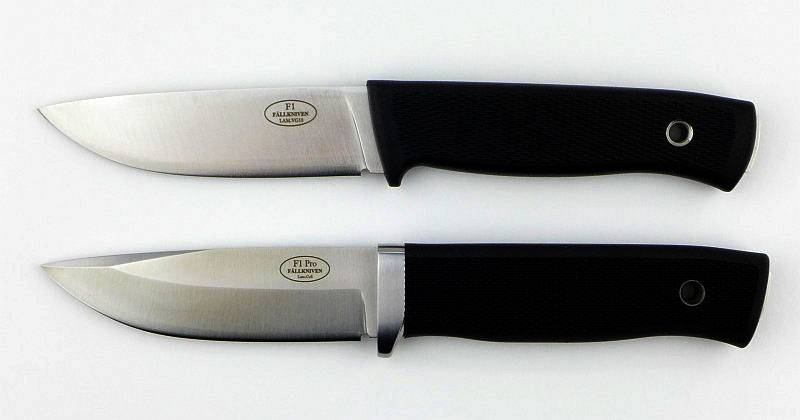
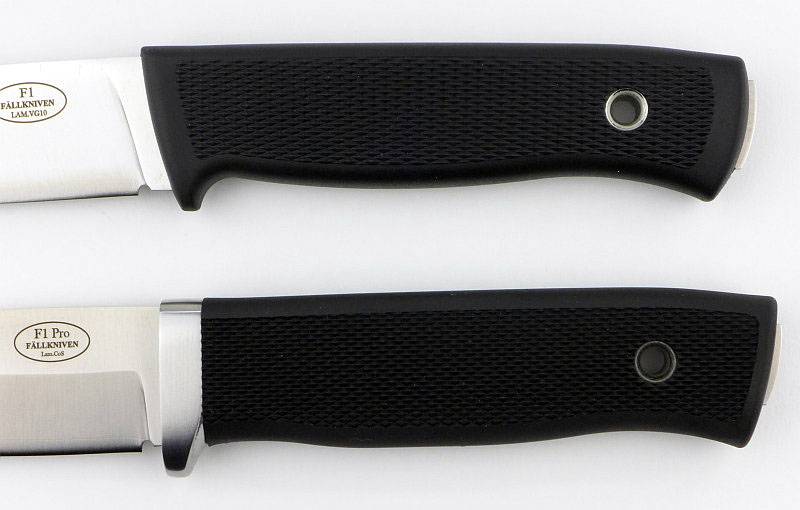
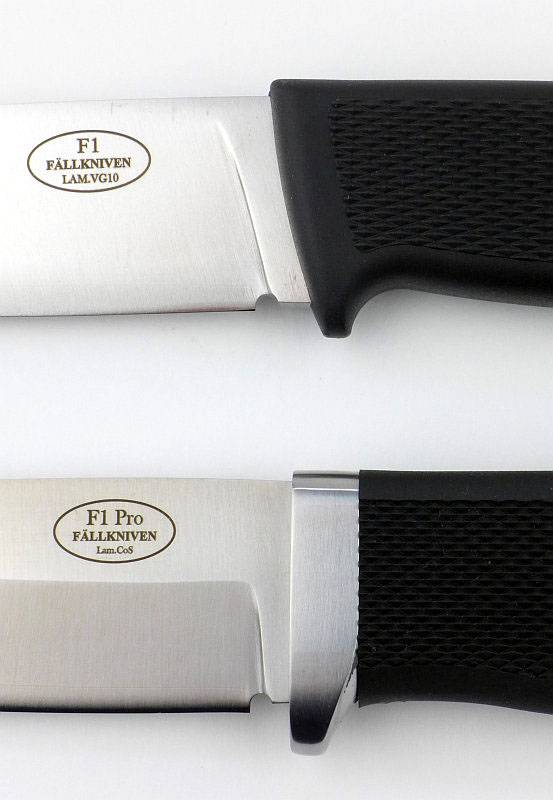
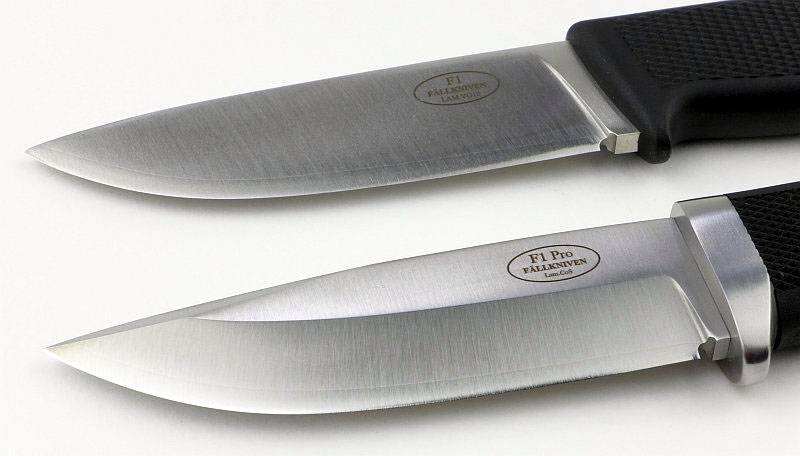
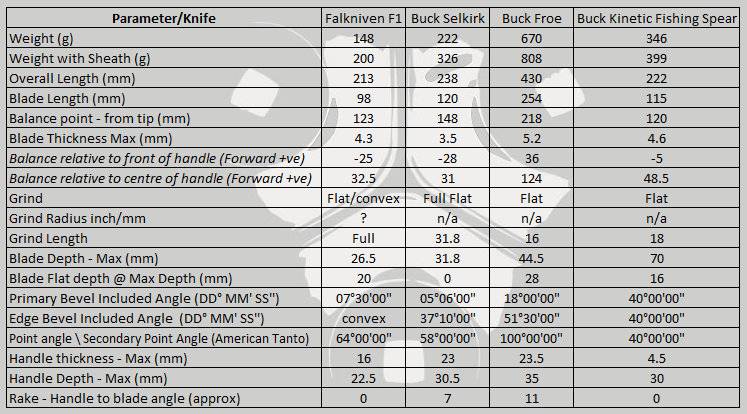
These measurements have been tabulated and are presented along with a few reference blades (8″ Chef’s Knife, 5.5″ Santoku and the popular Fällkniven F1).
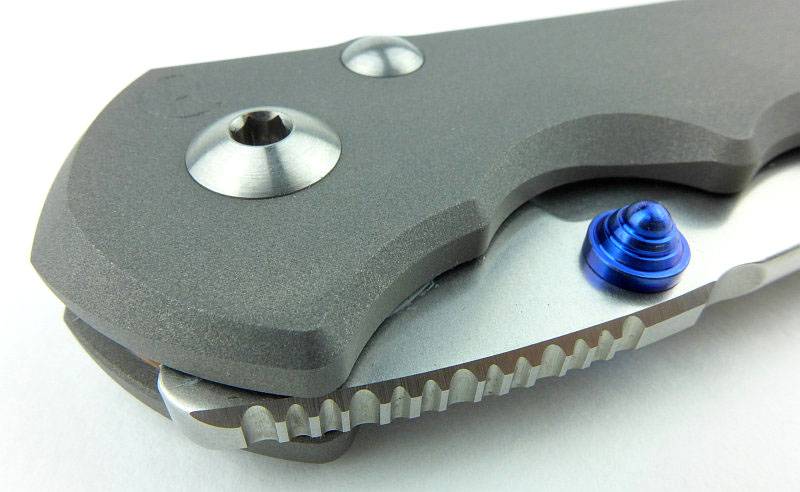
Key aspects such as the primary bevel angle, grind type, blade depth, blade thickness, length, weight are detailed, along with balance information.
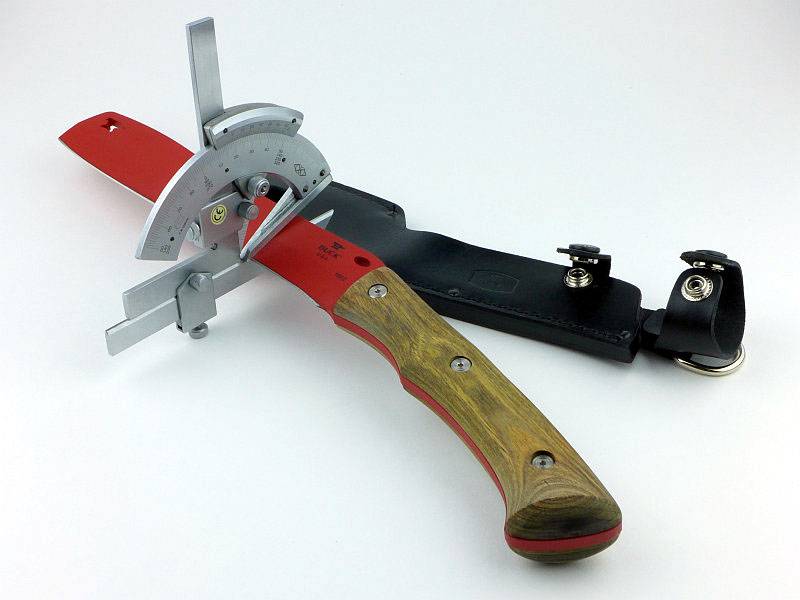
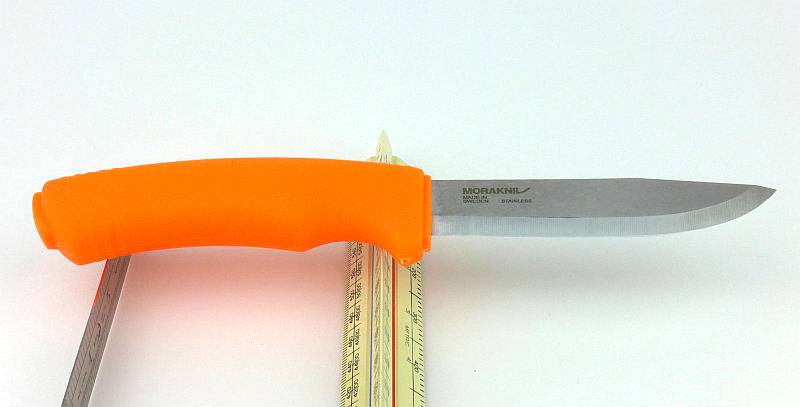
The ‘Balance relative to the front of the handle’ tells you if the knife will feel front heavy, or if the weight is in your hand (a positive value means the weight is forward of the front of the handle). The ‘Balance relative to the centre of the handle’ indicates how close to a ‘neutral balance’ the knife has in the hand.
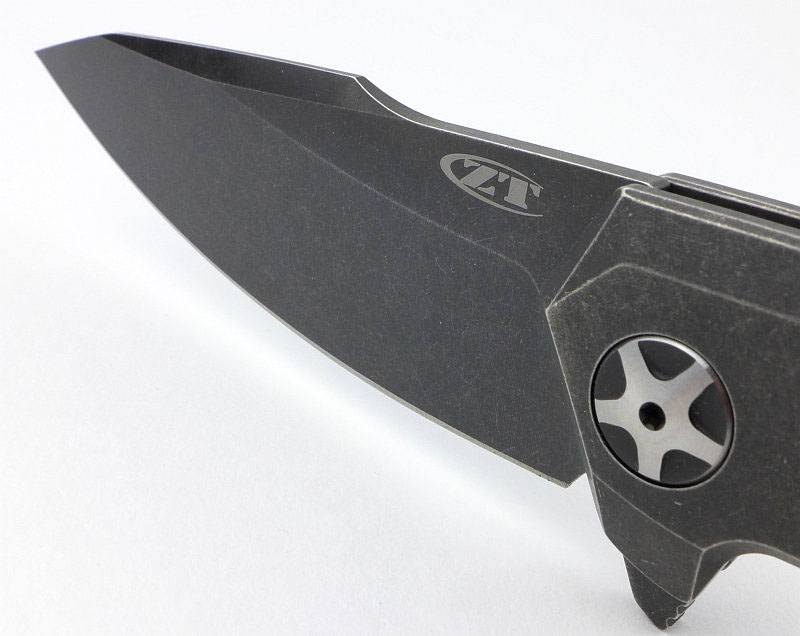
In the case of full convex grinds the approximate centre of the grind is used for the primary bevel angle estimate.
Explained by the Maker:
The reasons for certain design choices may not be clear when simply looking at an object, so this section is intended to give an insight into the thinking behind a design by speaking to the designer themselves.
Unfortunately I can’t always get time with the designer so will use this section to include relevant information about the knife and its designer.
The following comments are noted from a walk-through that Joseph Piedmont kindly gave at SHOT Show.
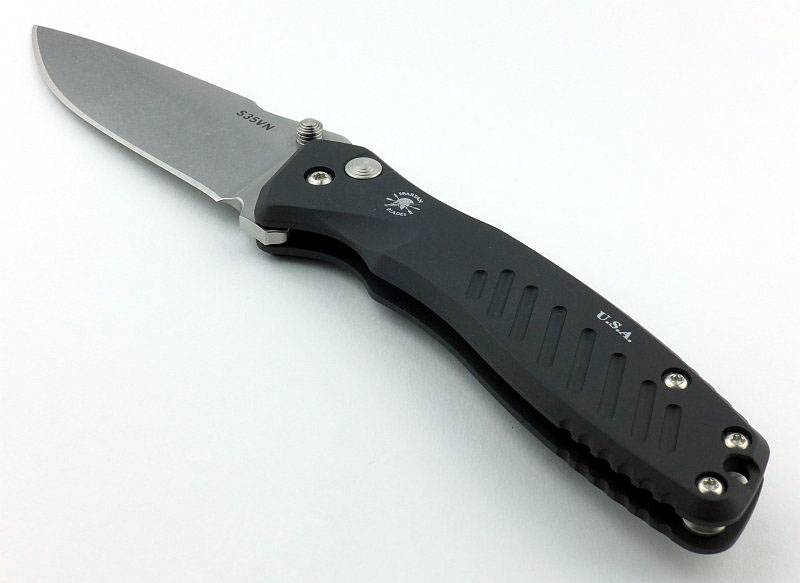
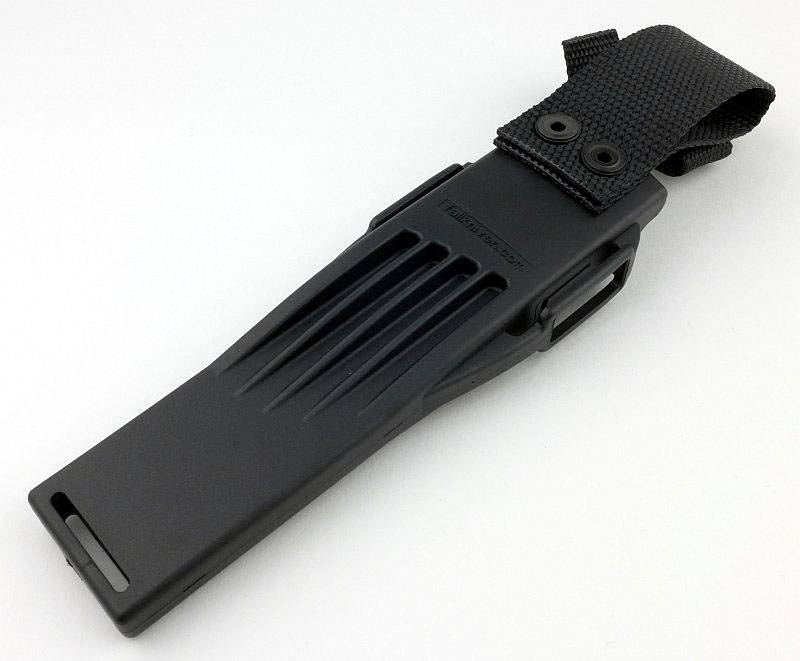
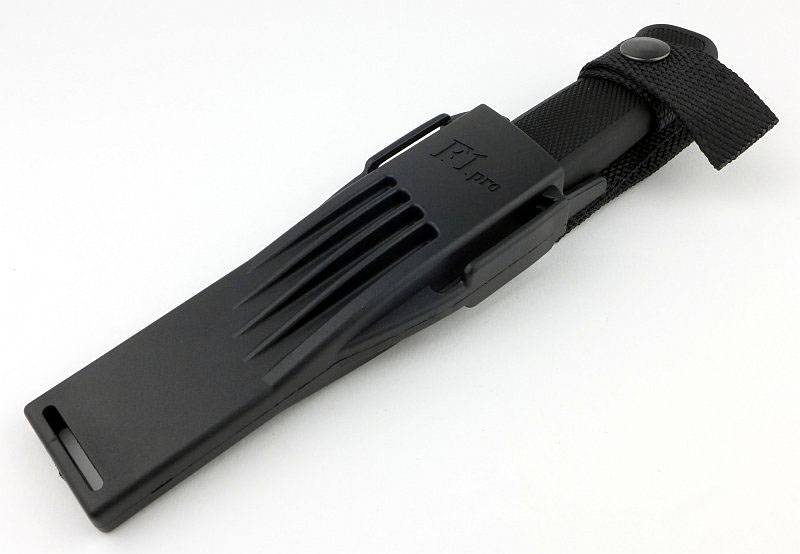
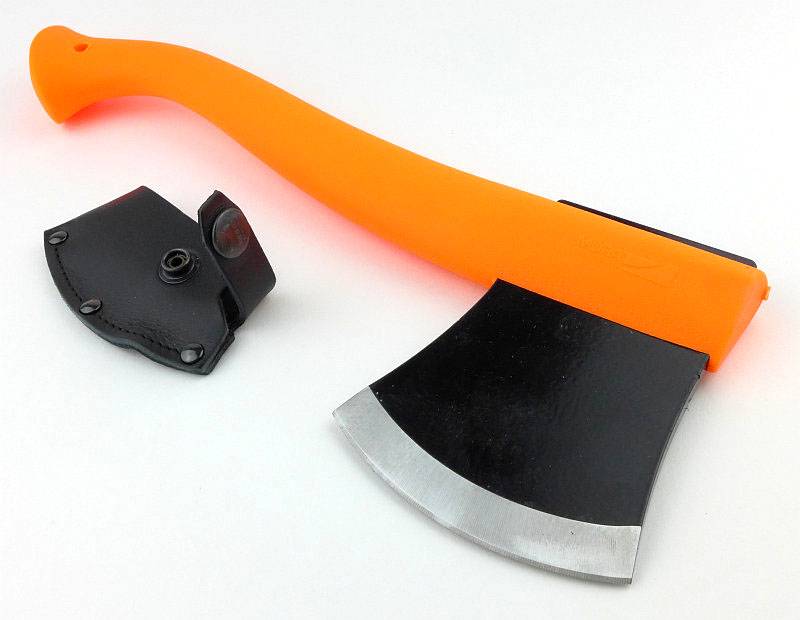
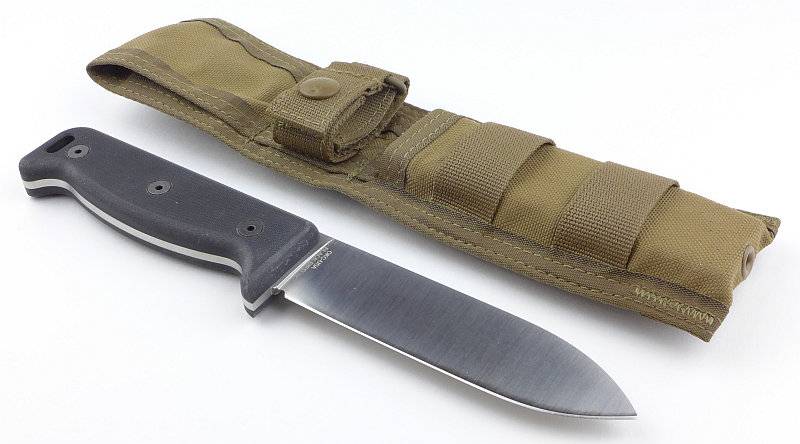
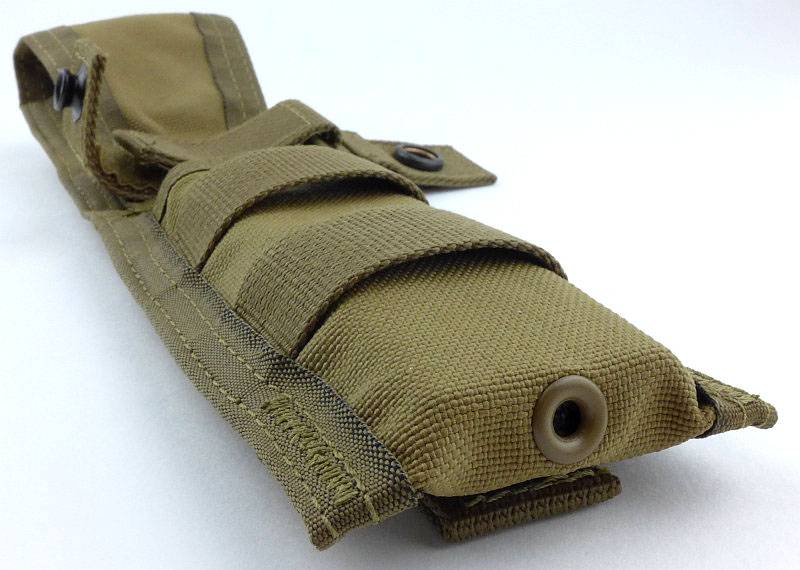
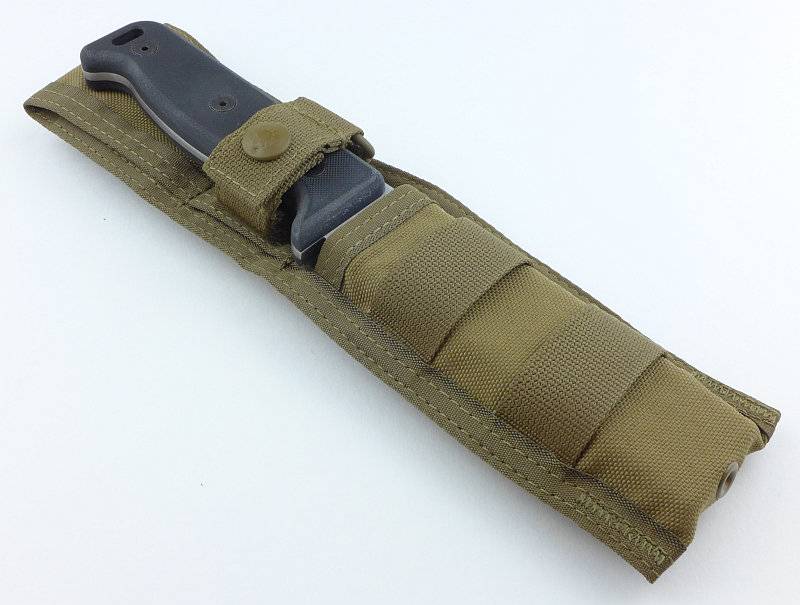
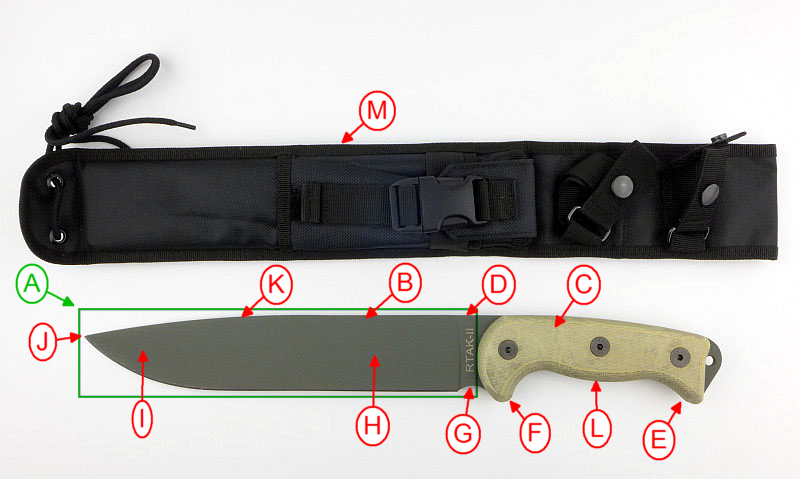
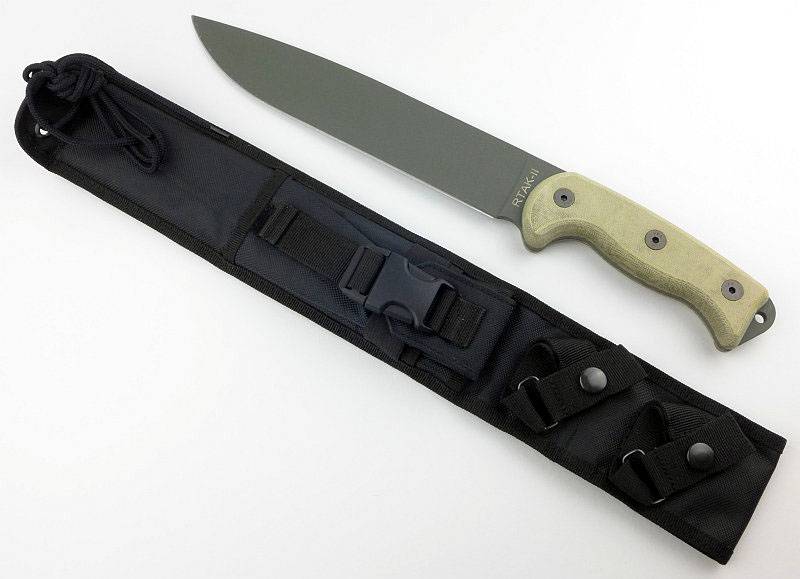
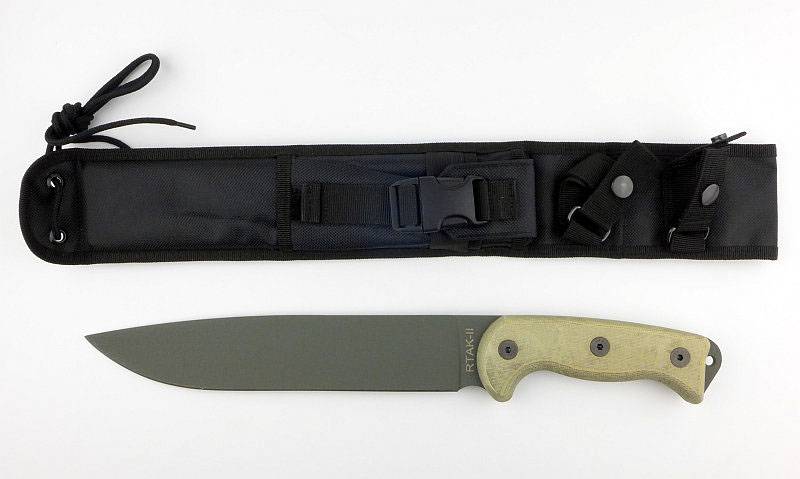
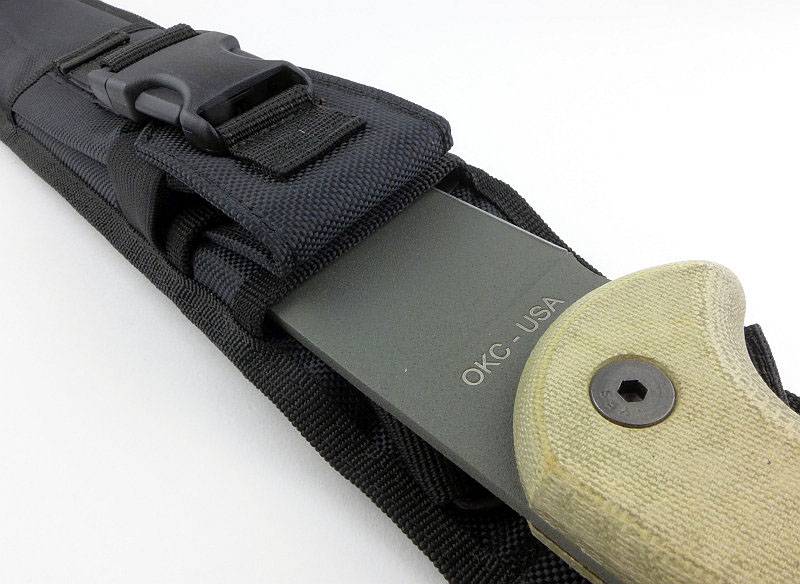
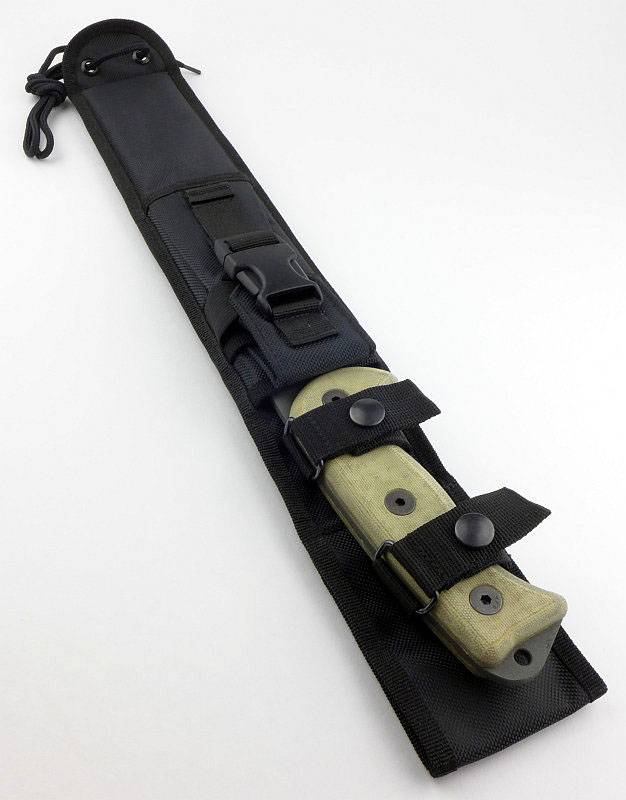
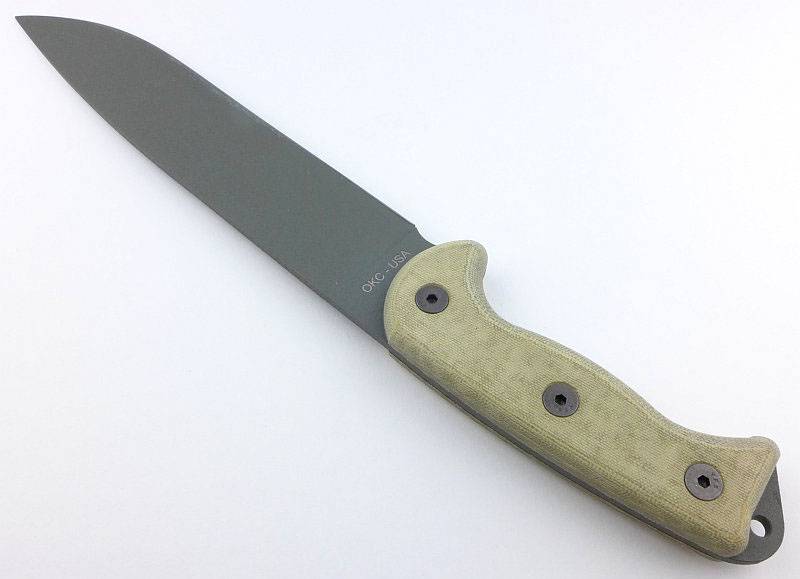
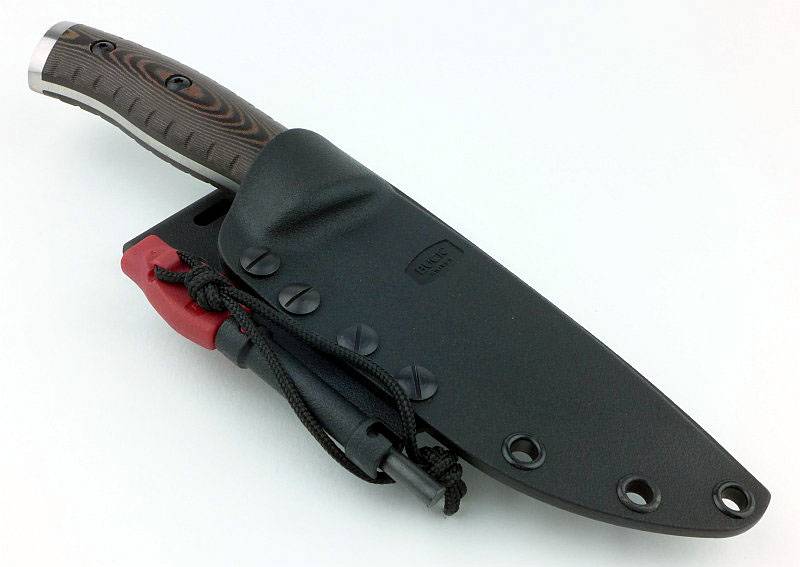
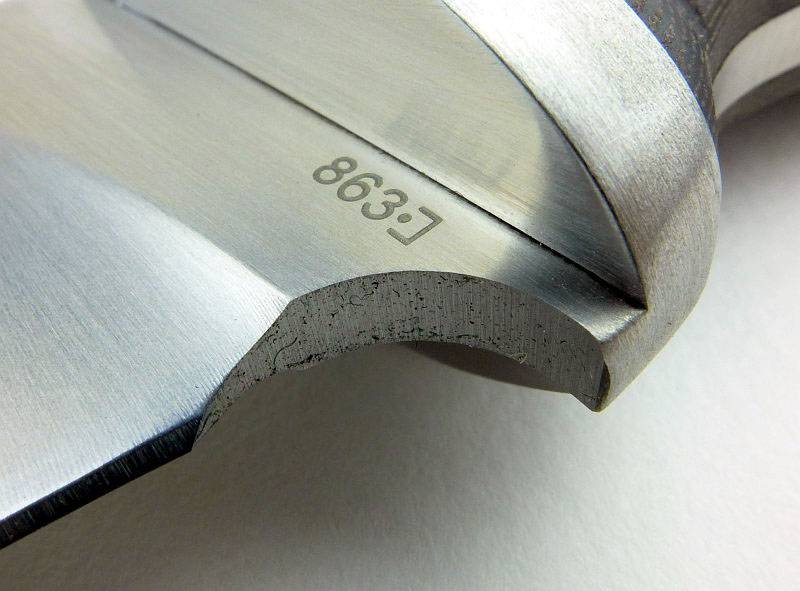
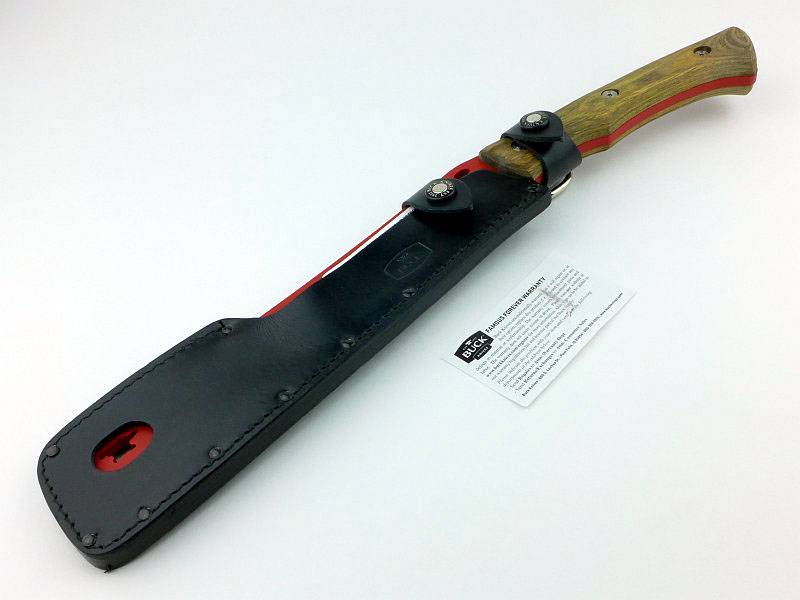
Model 863, the Selkirk is Buck’s new survival knife which includes a fire-rod with whistle for signaling. The sheath is moulded plastic and features multi-carry capability that can be reconfigured to allow for vertical or horizontal carry, and even upside-down as a neck knife.
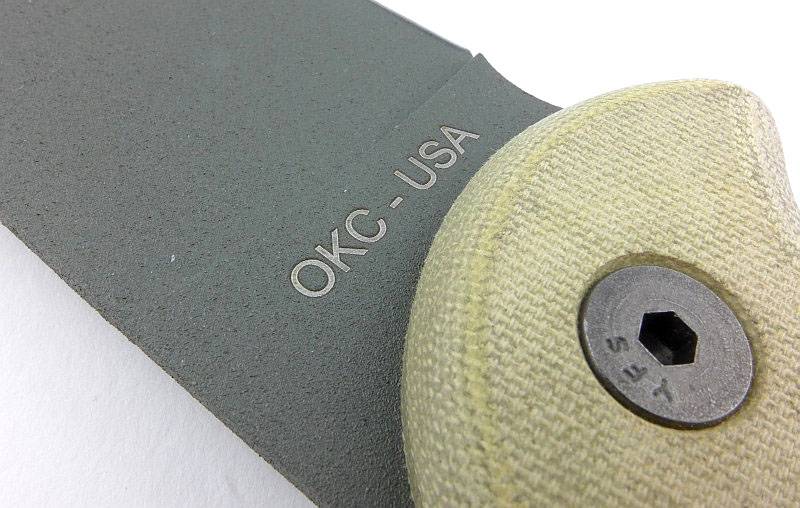
The knife itself is a flat-grind drop-point featuring a guard and a hammer pommel. The handle has custom micarta sides. The choil is left with its sharp ground edge to allow it to be used with the fire-starter and have a nice grip to get good sparks.
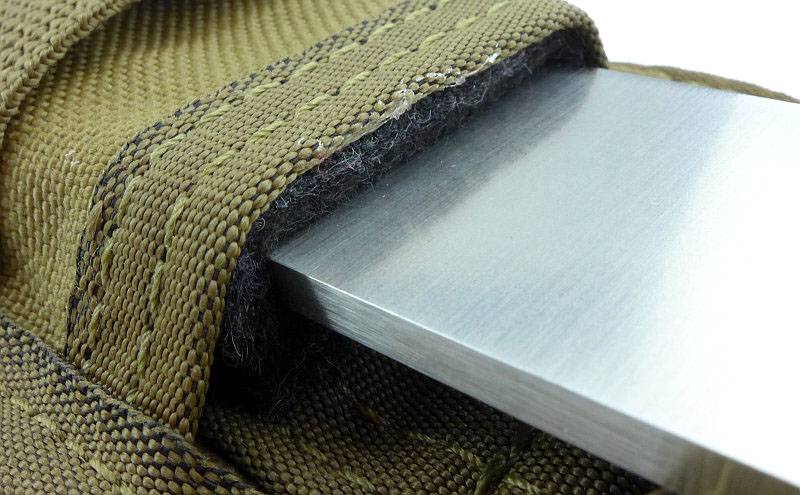
The Selkirk’s sheath has a nice crisp snap-in, really holding the knife, so you won’t have to worry about it falling out.
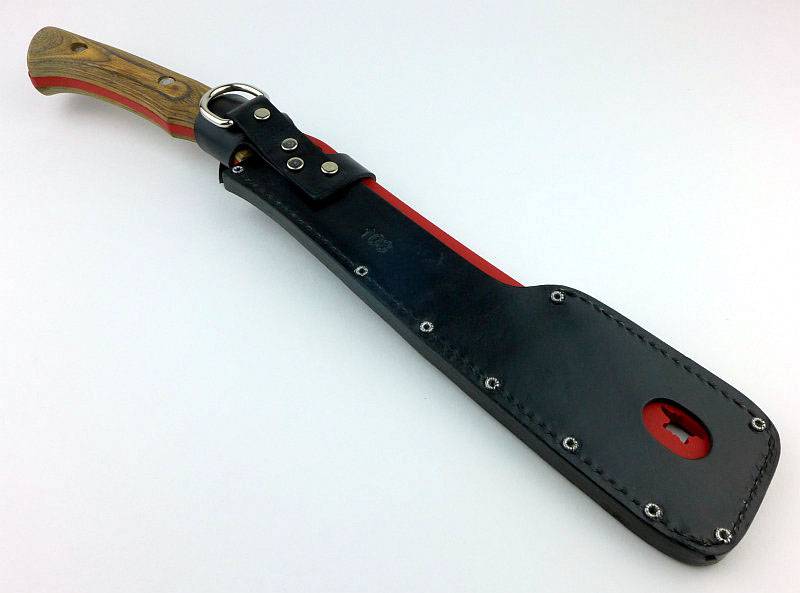
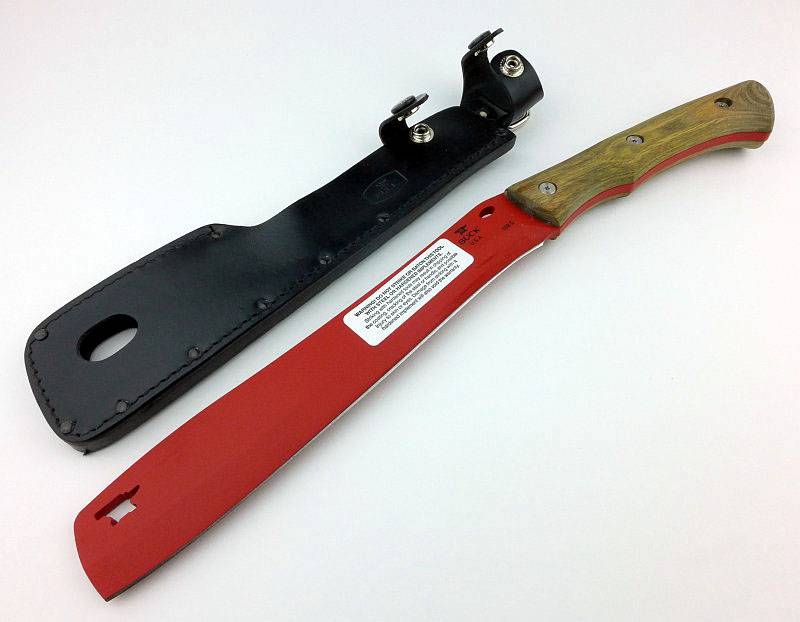
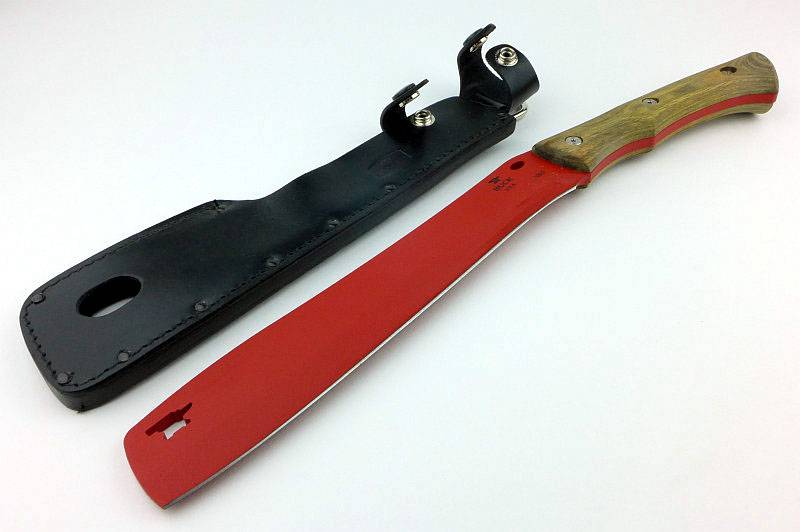
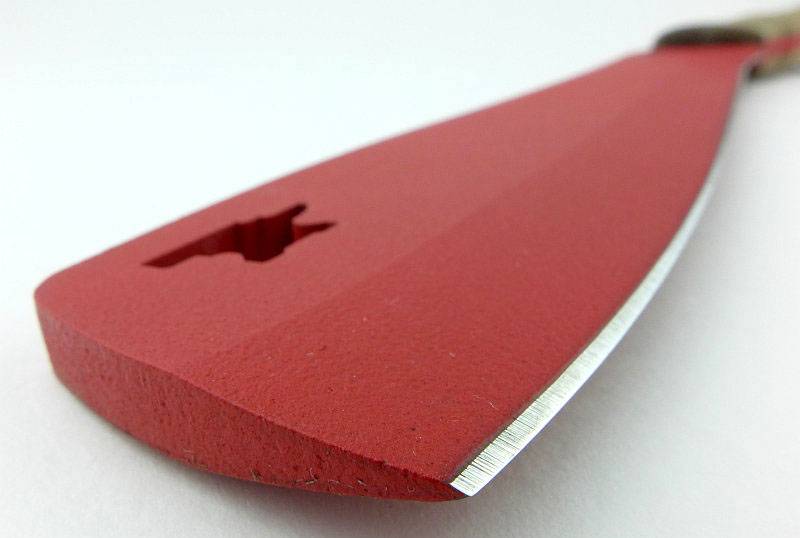
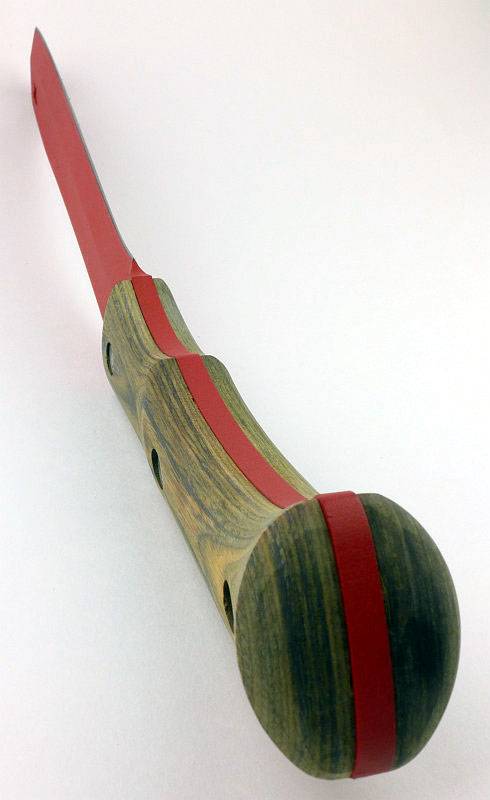
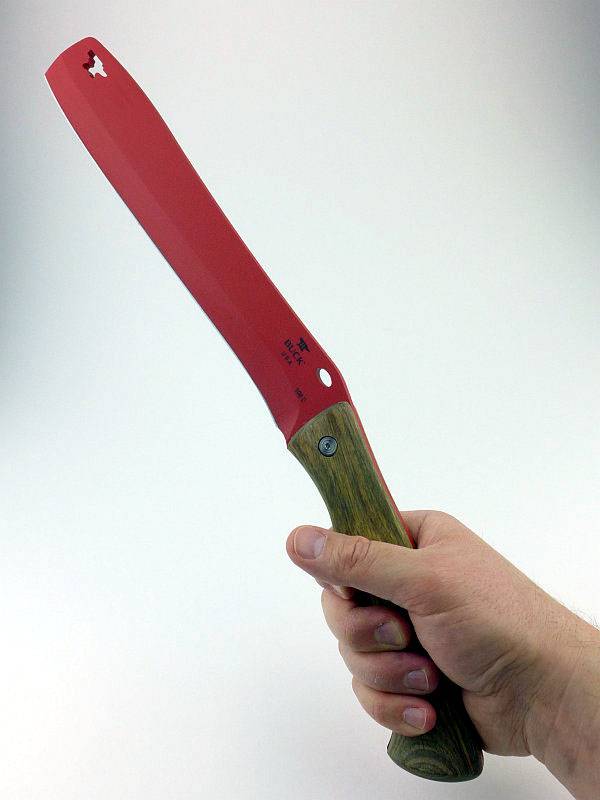
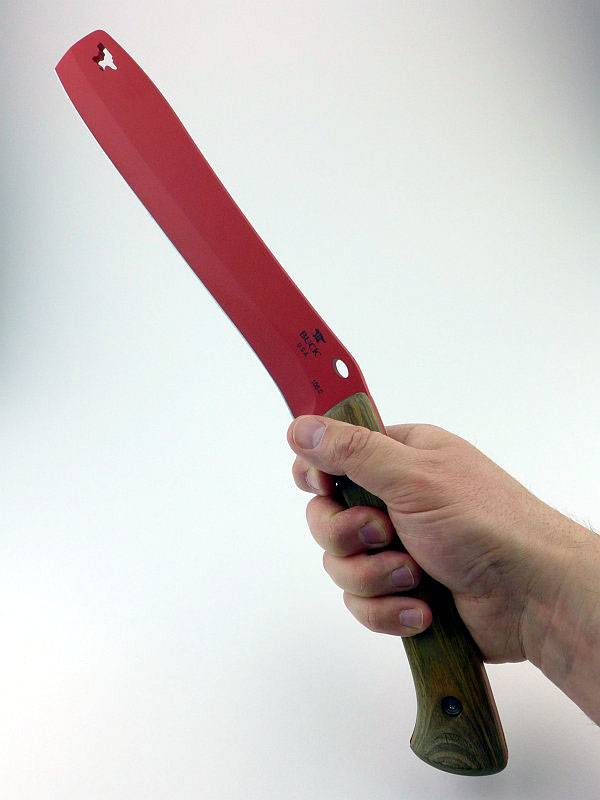
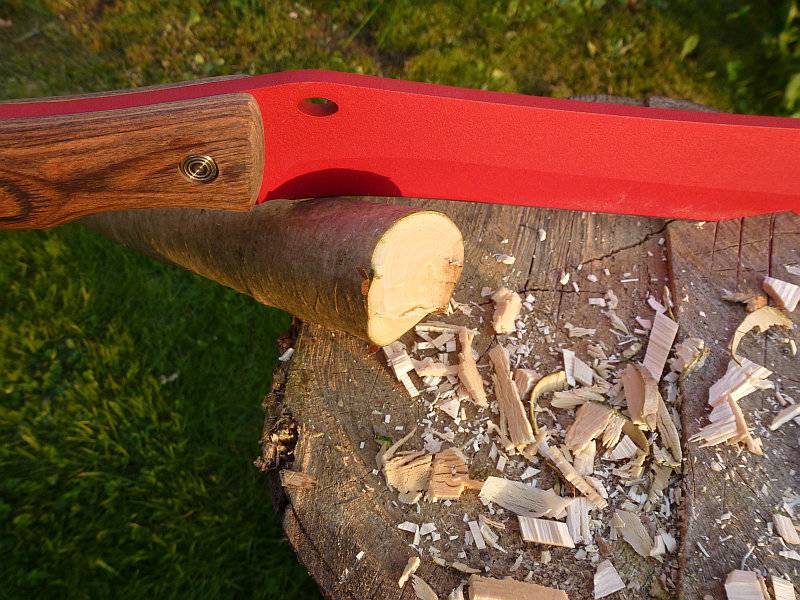
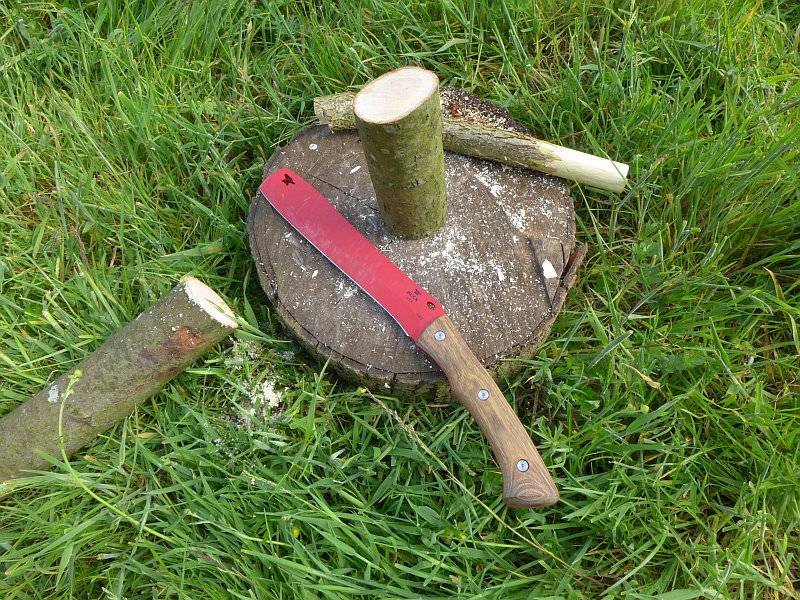
Chopping Froe model 108 is fitted with American walnut handles and a red powder coated 5160 blade. This is part of the camping and outdoor survival series. Red was chosen to tie in camping of yesteryear (where it was common to use red-headed hatchets), with the camping of today.
The knife was modelled from a Scandinavian tool with the same name used to chop kindling. Buck have modified it with the handle and putting a knife edge on it to make it more versatile. (Reader’s NOTE: a traditional froe has a dull edge, a handle at 90 degrees to the blade, and is use for controlling and advancing a split in a piece of wood)
The Buck froe has been given a very steep grind producing a wedge behind the knife edge. When splitting wood, the knife edge starts the cut, but the wedge takes over so the knife edge is not finishing the cut.
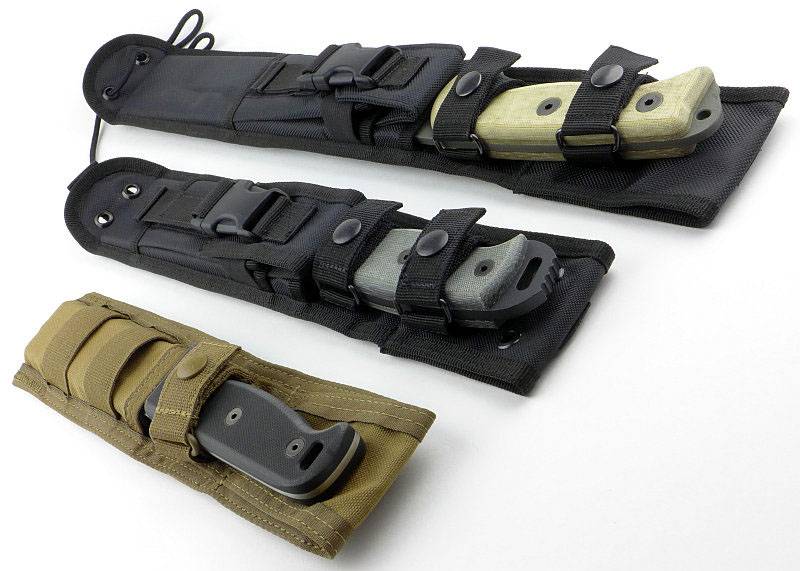
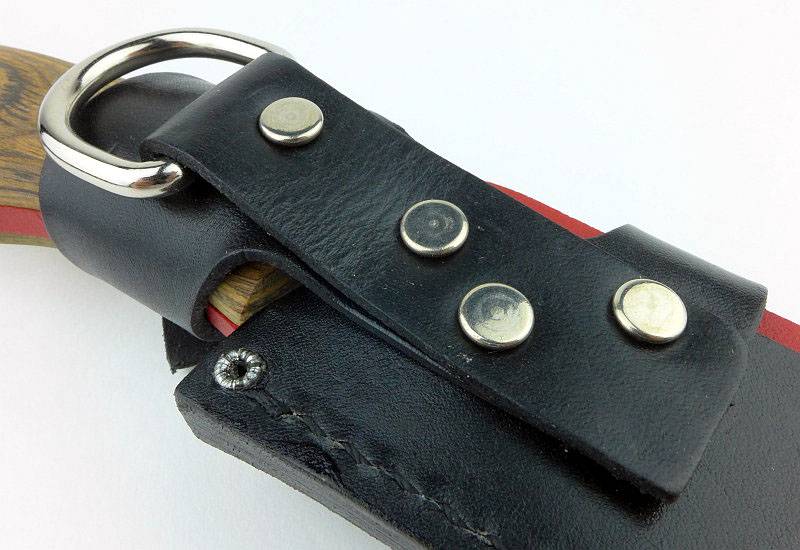
The black leather sheath protects the blade and the D-ring makes it really easy to connect it to your gear or hang it up.
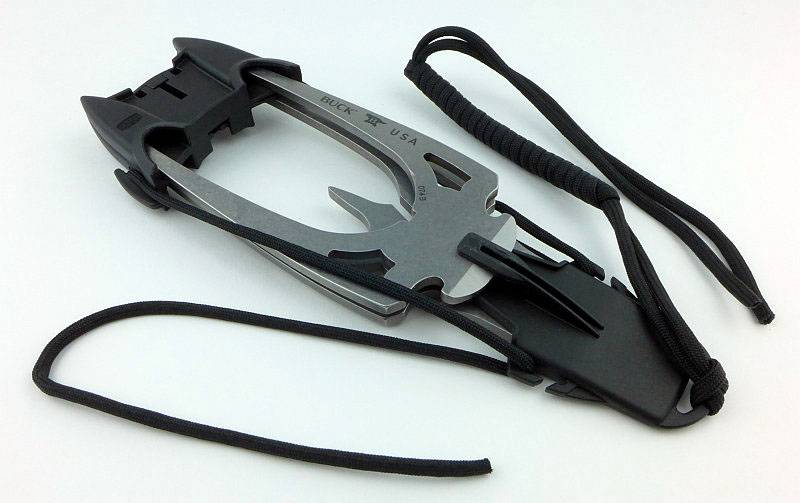
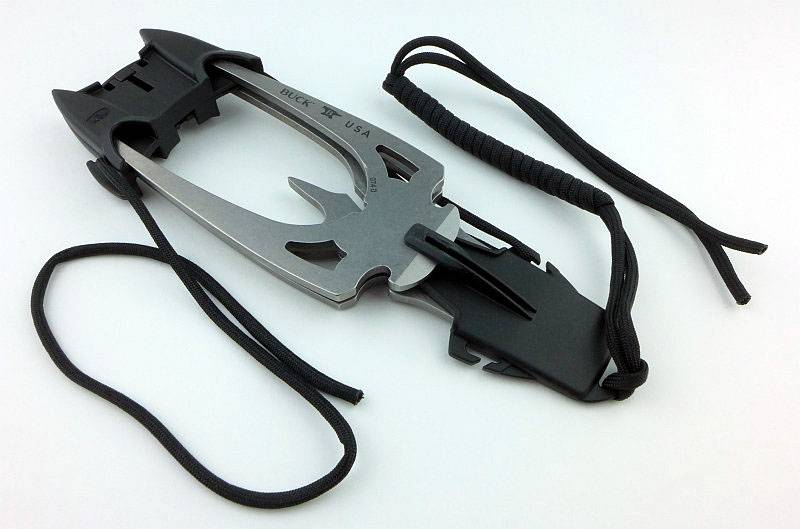
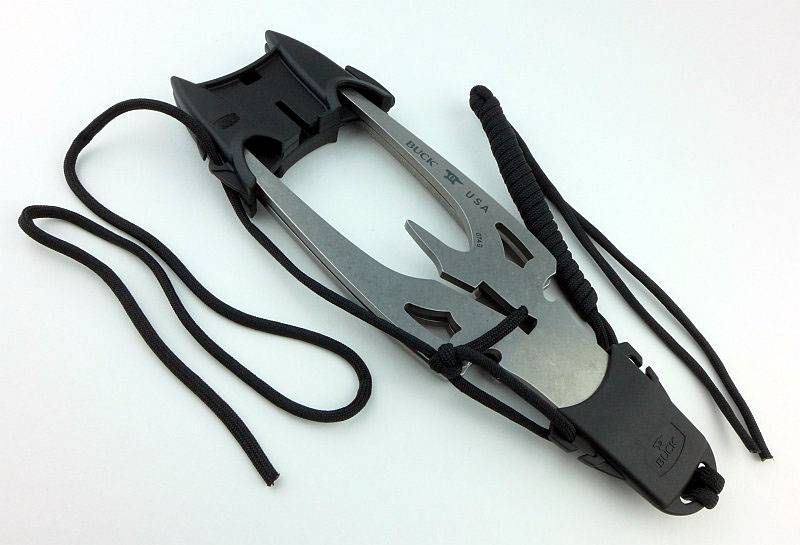
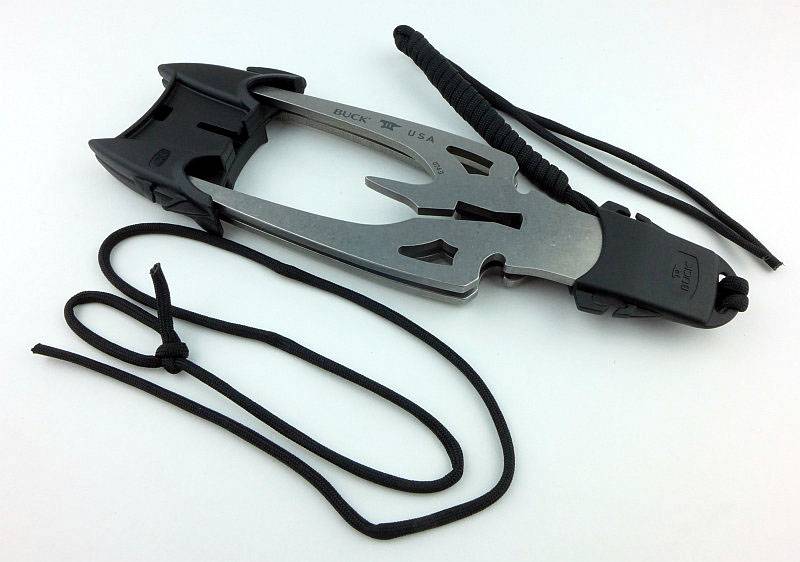
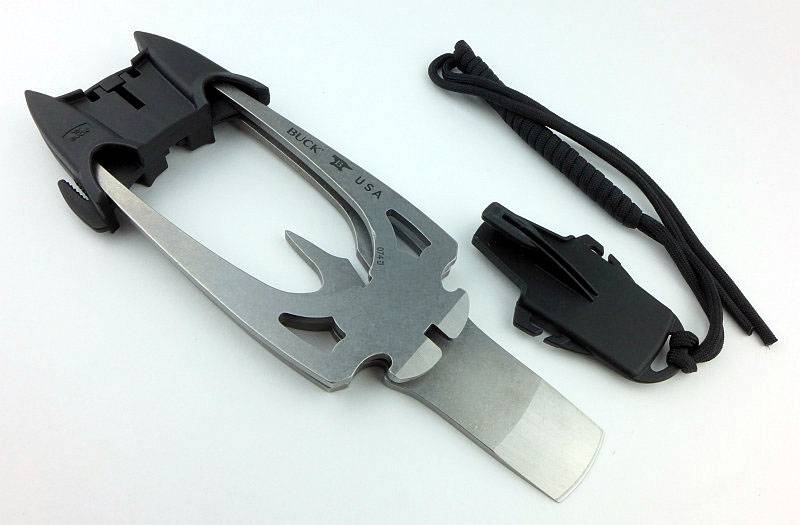
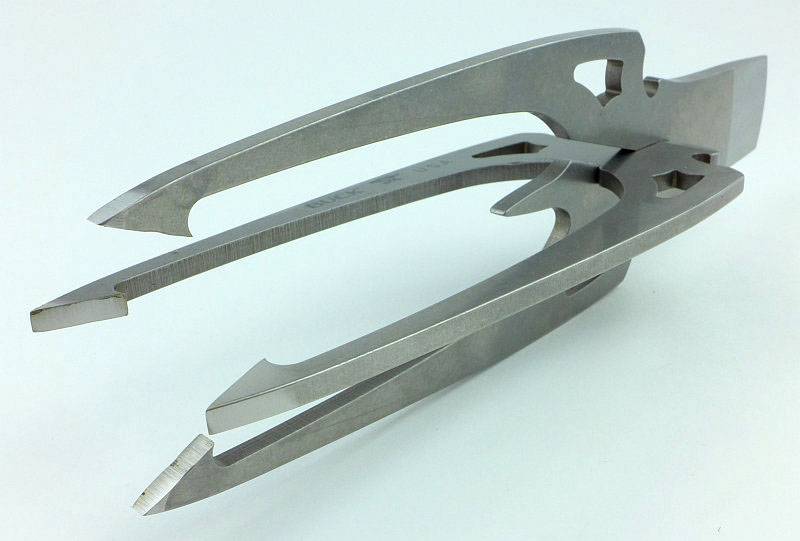
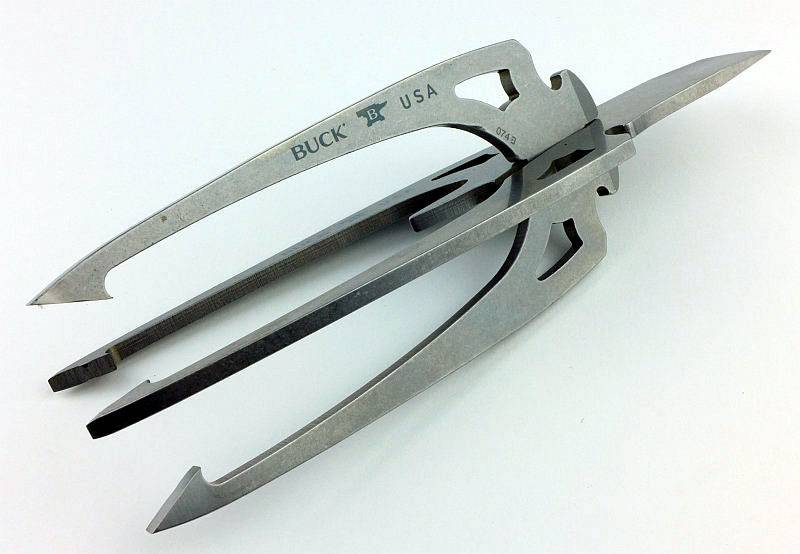
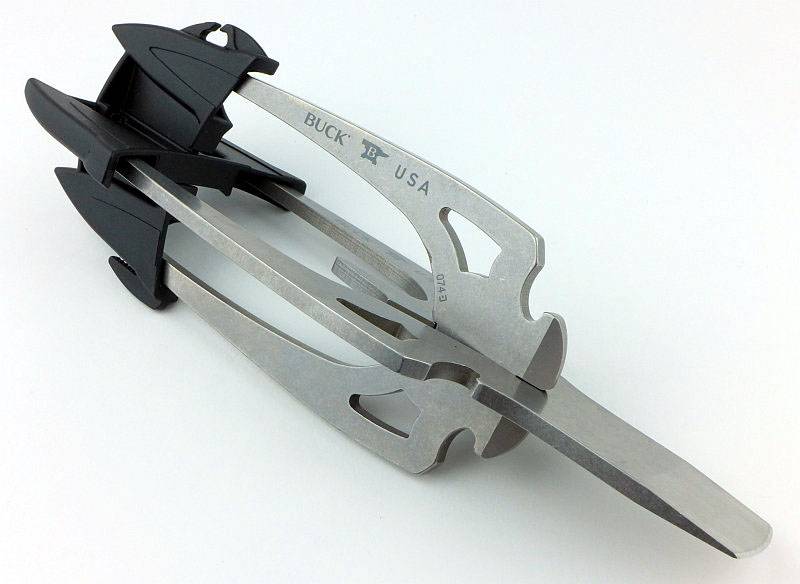
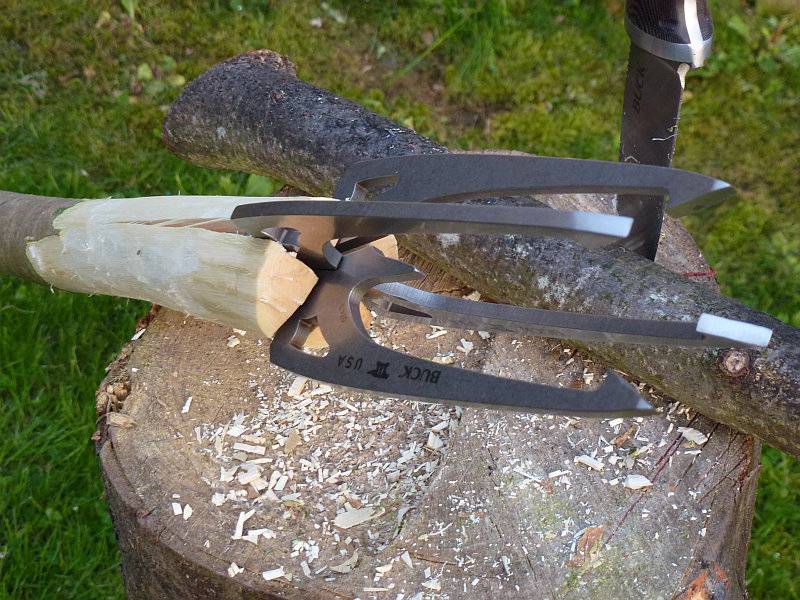
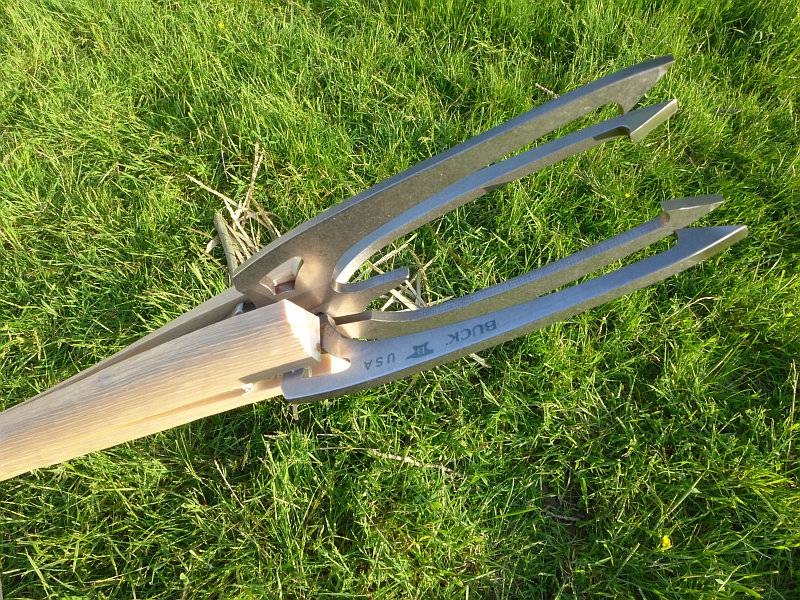
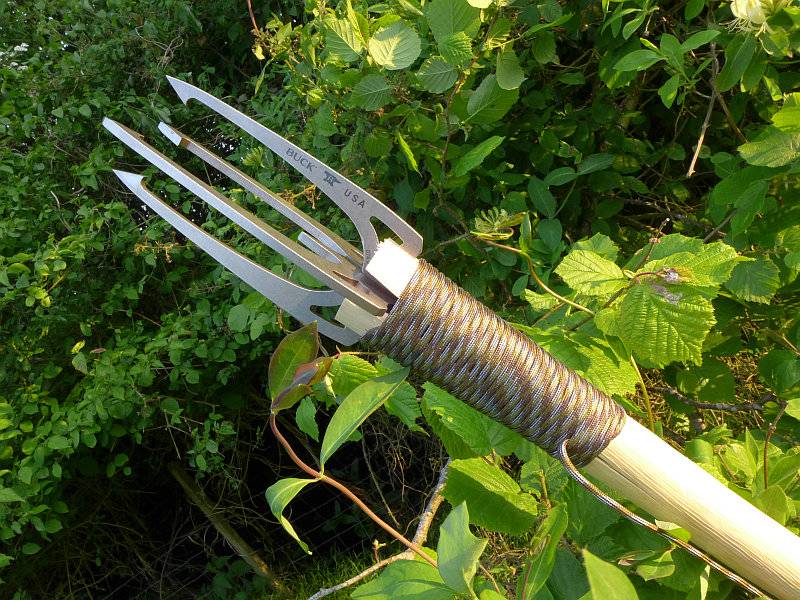
The Kinetic Fishing spear is one of three new spears. This range goes from the smallest, the Hunt Spear, to the Two Tined Gig spear, and finally the 074 Fishing Spear. The fishing spear is the most involved design with two interconnecting pieces. In its folded-flat state the spear is covered front and back by a plastic sheath tied together with paracord. The paracord is held in place with a moulded pinch-grip making it quick and easy to secure and release. The two parts of the spear lock together to form a four point spear. It has the same chisel on the back as the other two spears, and crucially needs to be driven deep enough into the stick to engage the secondary wedge. The beauty of this design is that the sheath parts go from the flat packed configuration into a cross shaped safety cover for the four points when it is mounted.
One trick to be aware of when mounting the spear heads is to wrap the paracord onto the stick before pounding the spear into the end of the stick. This really tightens up the paracord giving a very secure fit.
A few more details of the Selkirk Survival Knife:
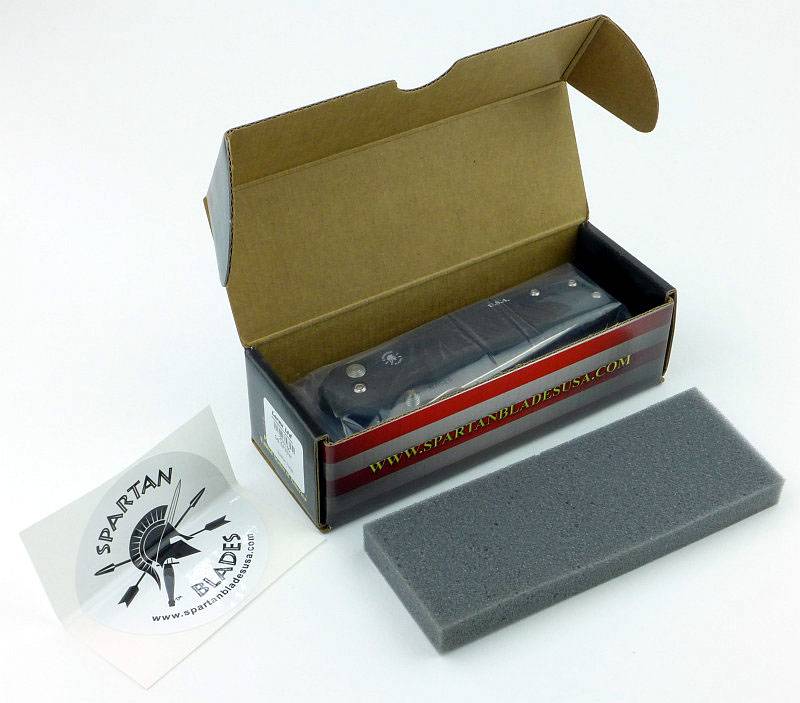
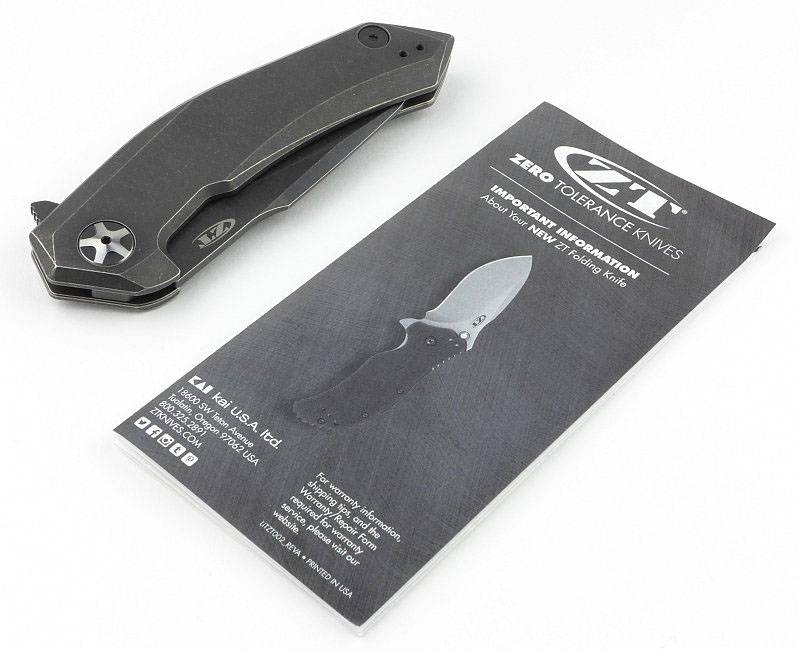
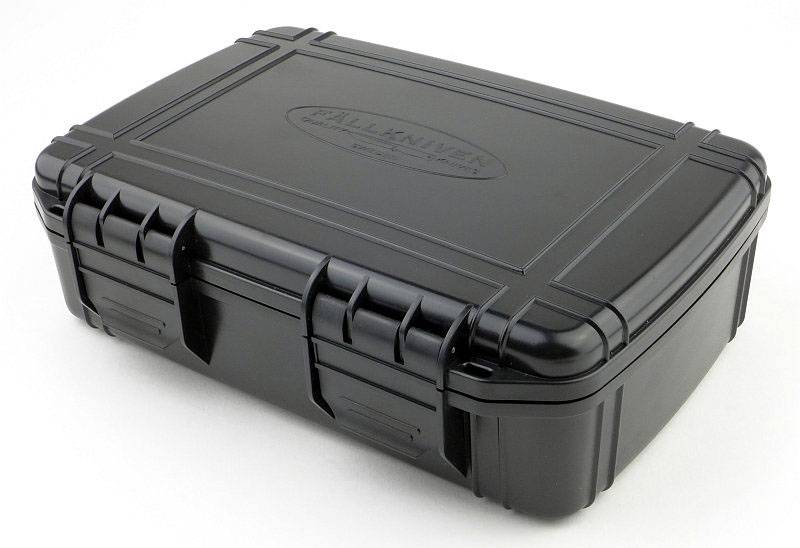
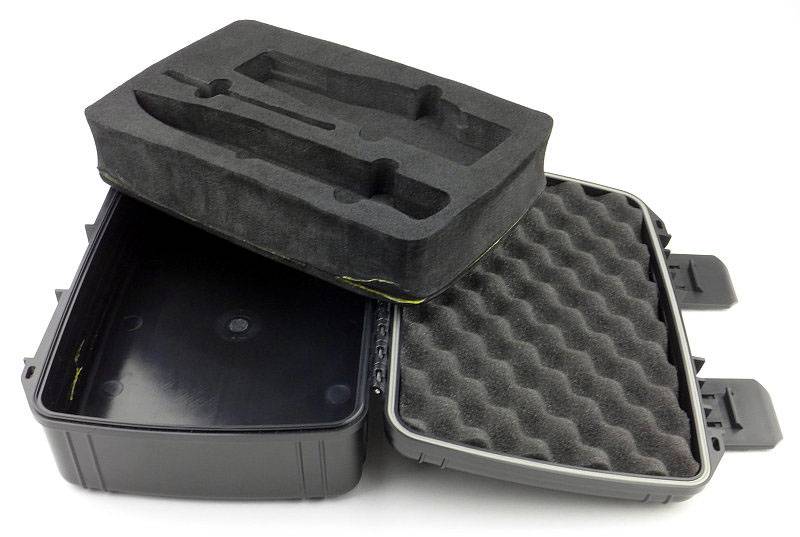
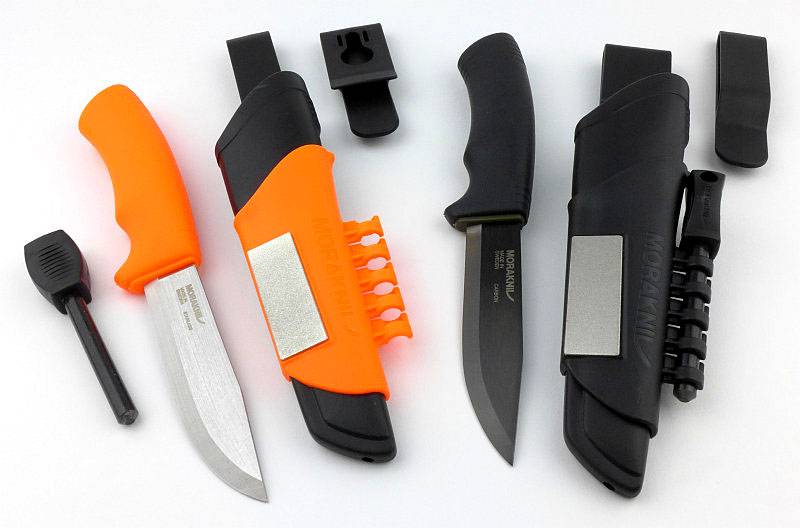
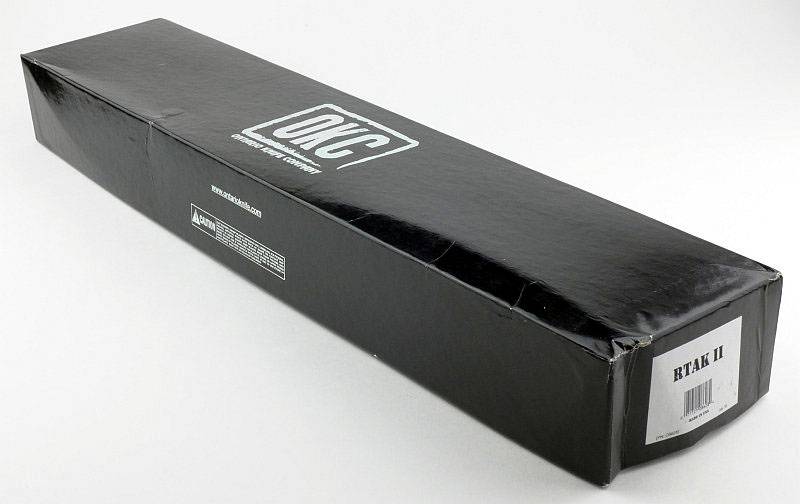
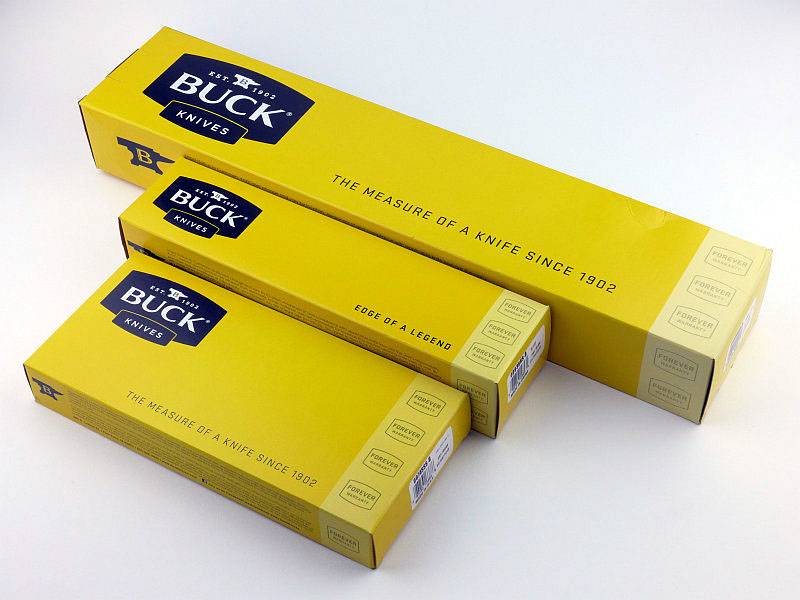
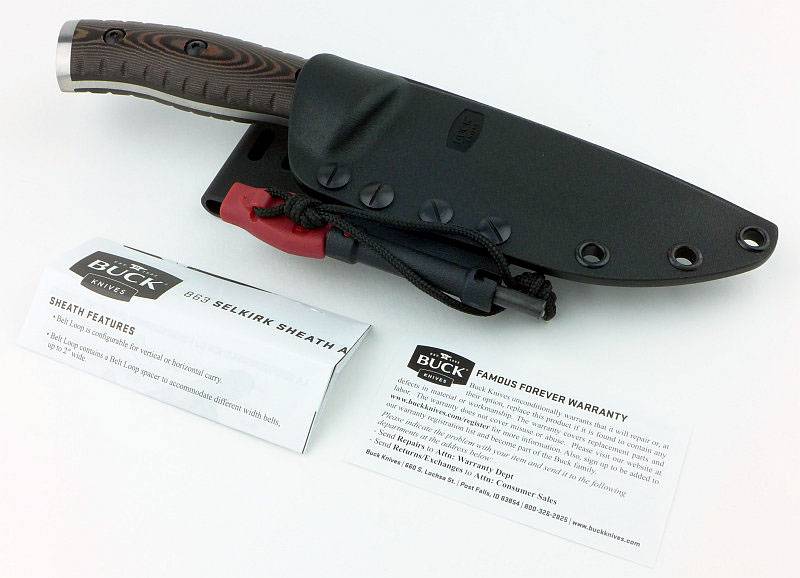
Before concentrating on the Selkirk, here are the boxes for all three together.
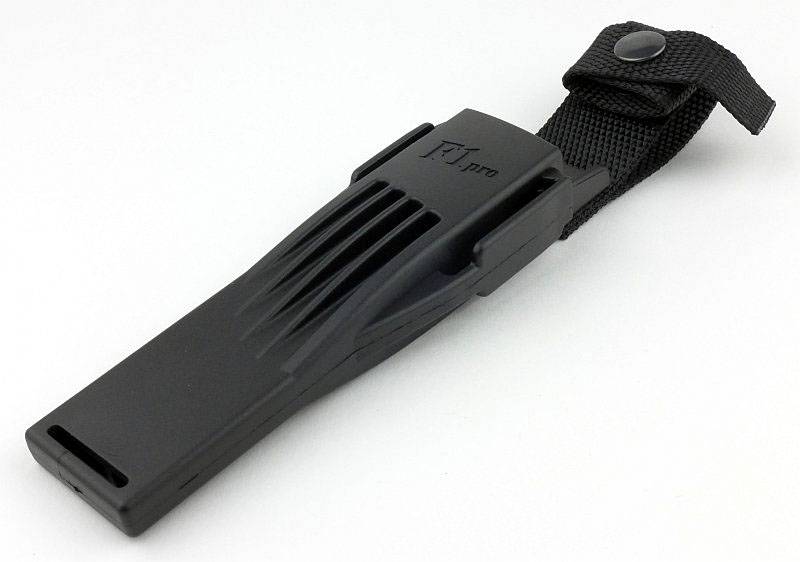
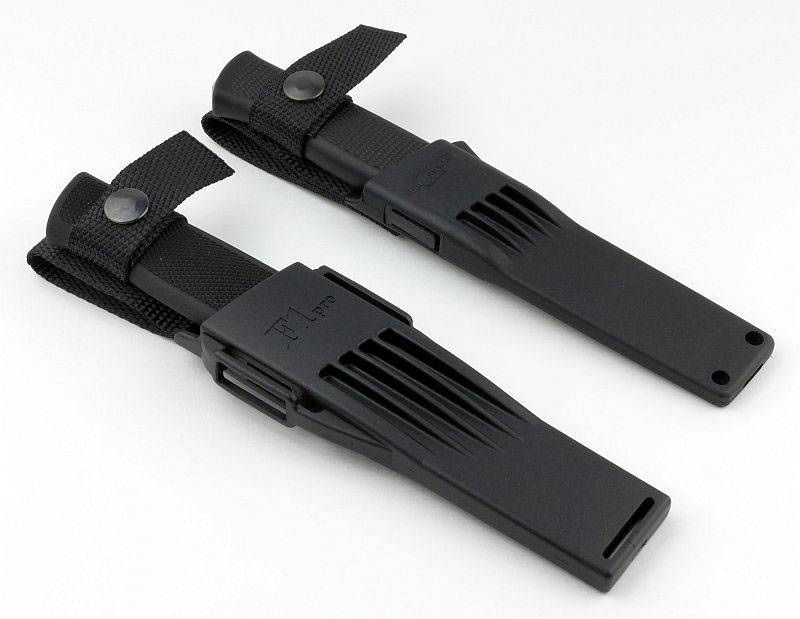
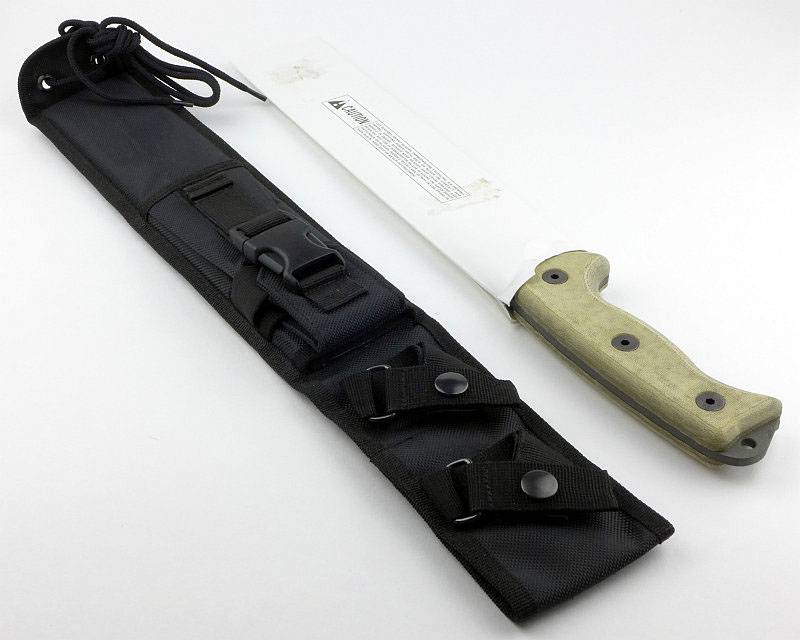
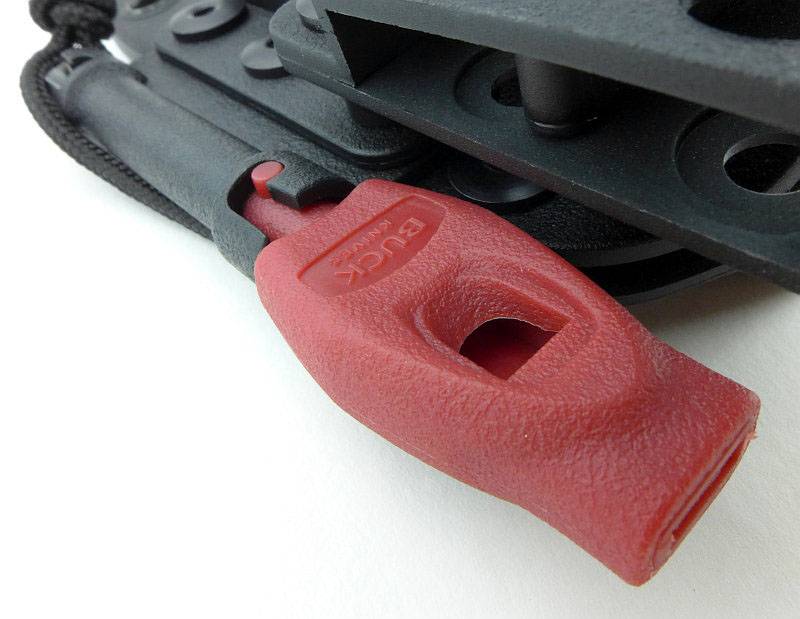
The Selkirk arrives in its sheath with ferrocerium rod and whistle, plus an instruction leaflet for the sheath mounting options and a warranty card.
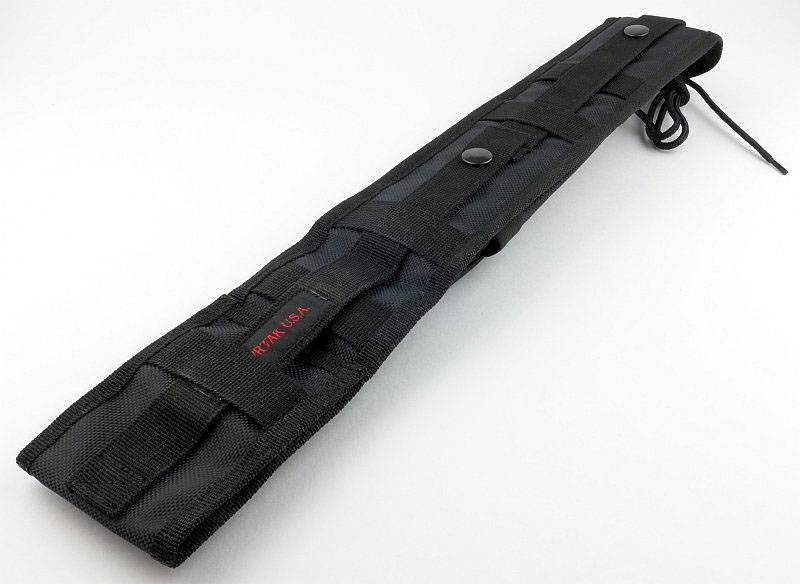
Though it looks like a Kydex type of sheath, it is a moulded plastic.
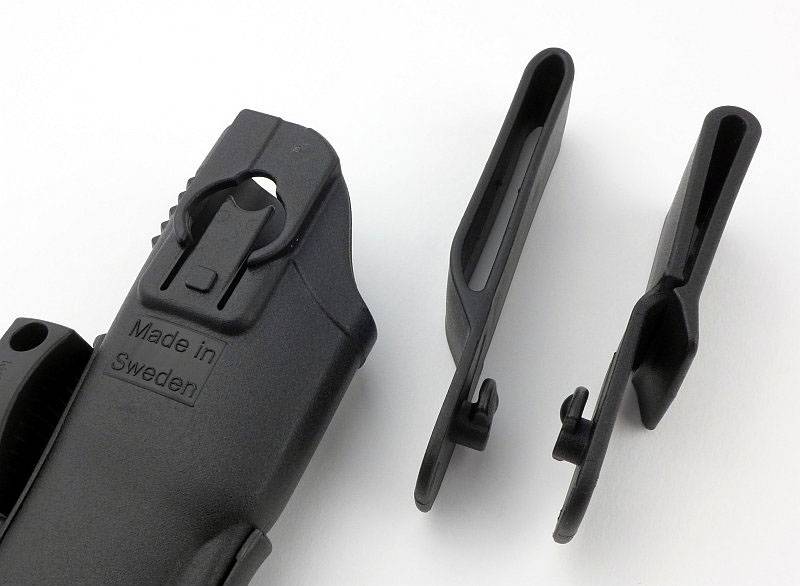
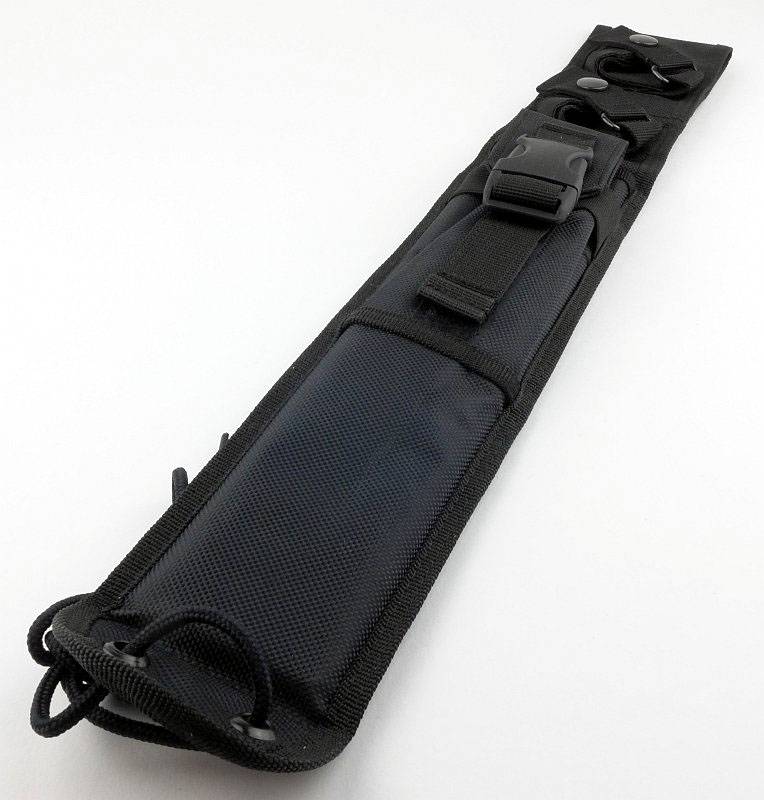
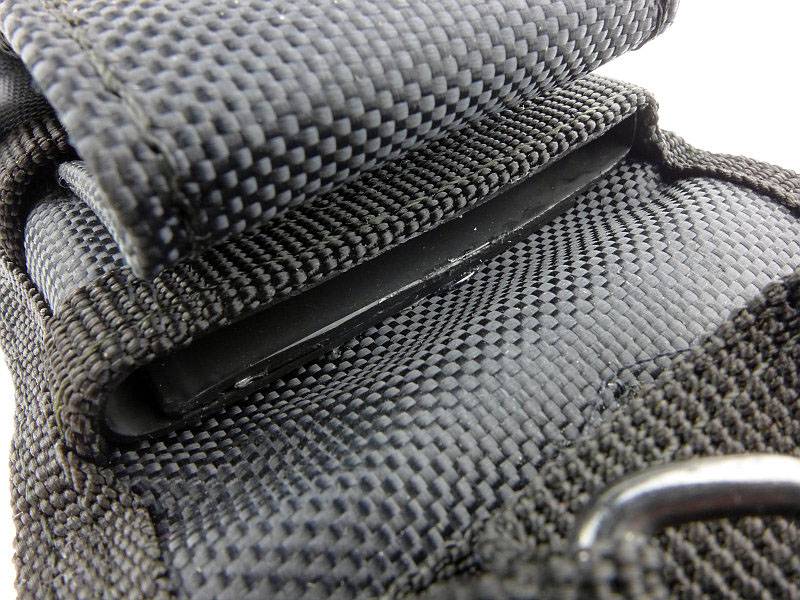
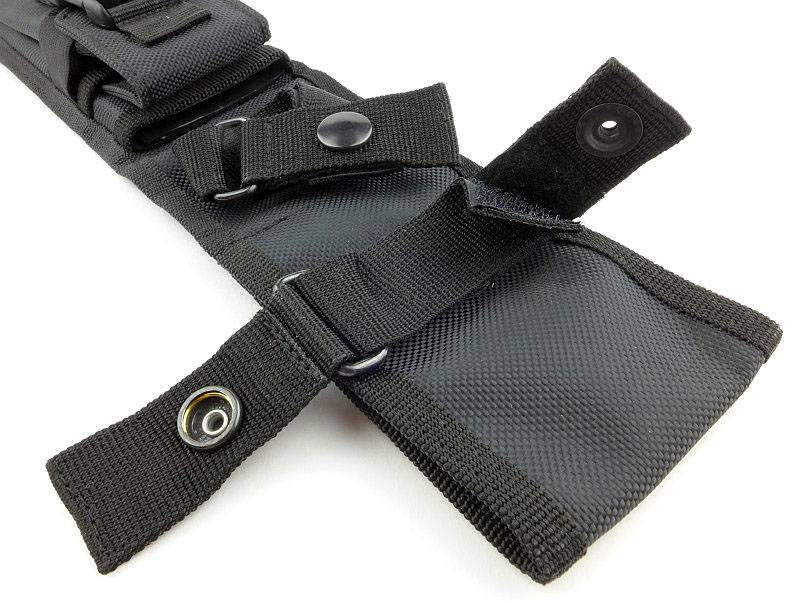
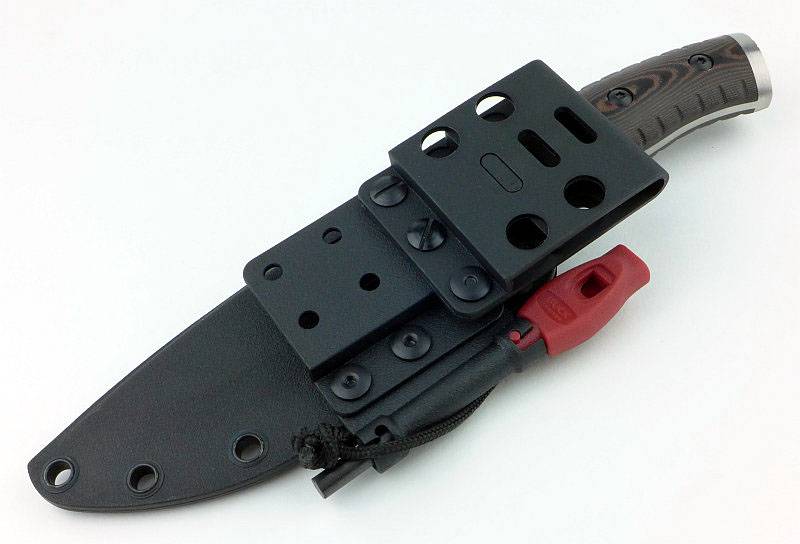
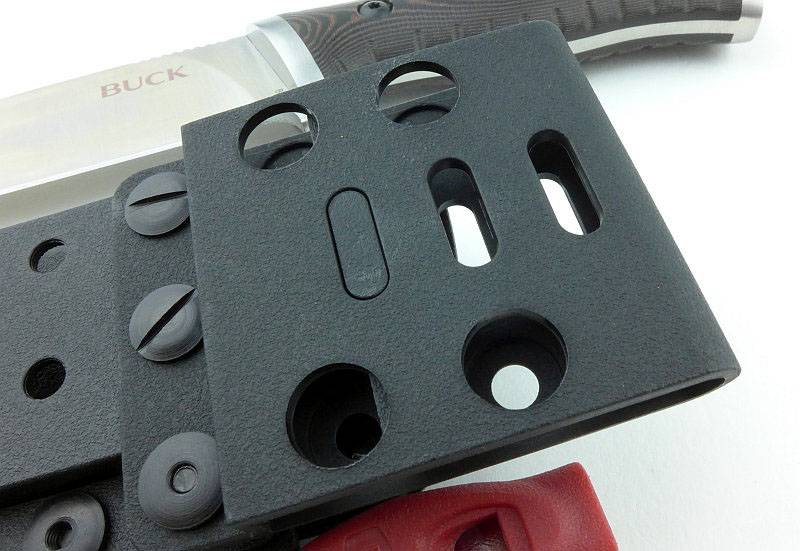
On the back of the sheath, the belt loops can be removed and refitted in different positions.
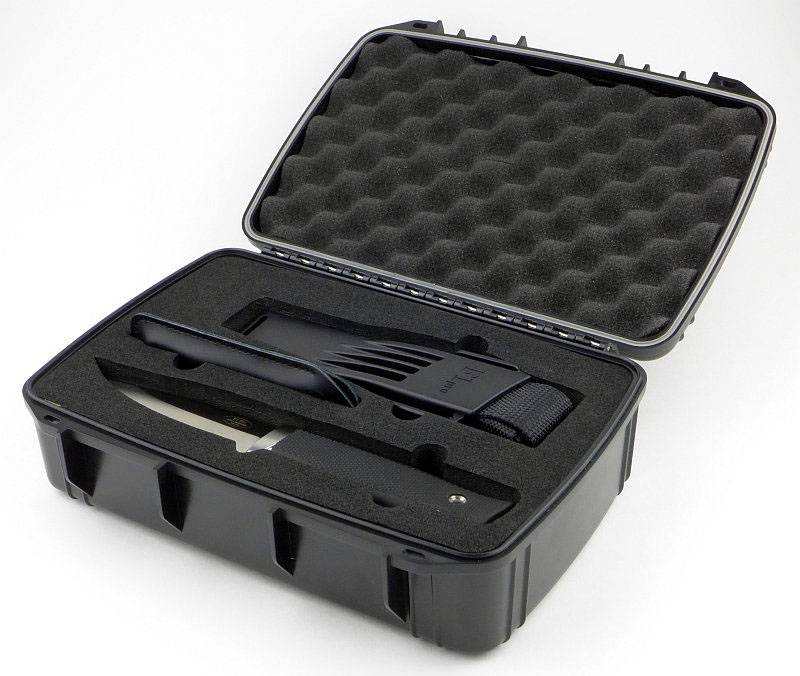
All the components lined up with the sheath, knife and ferrocerium rod/whistle.
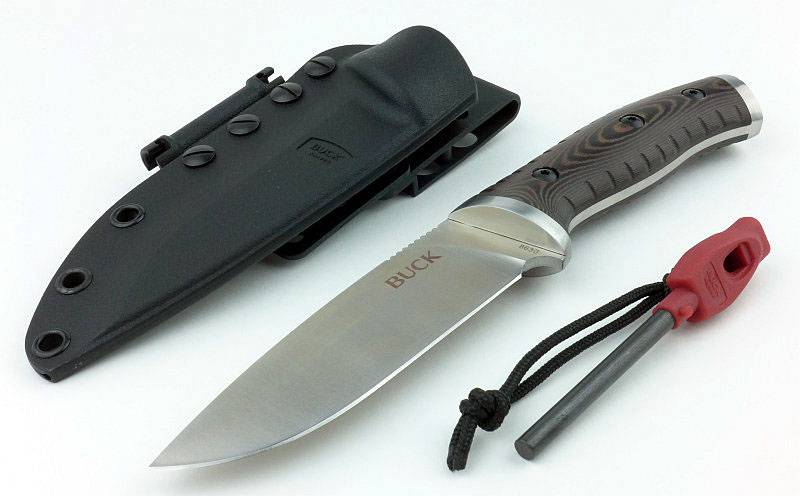
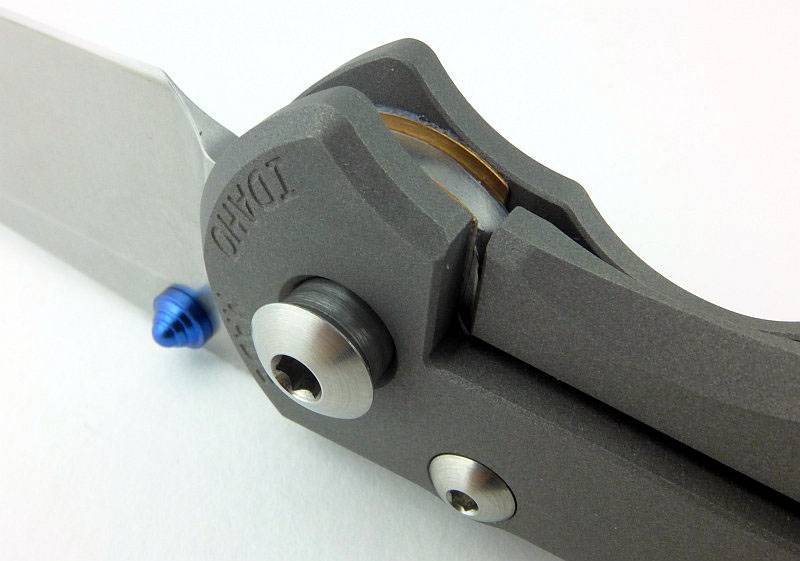
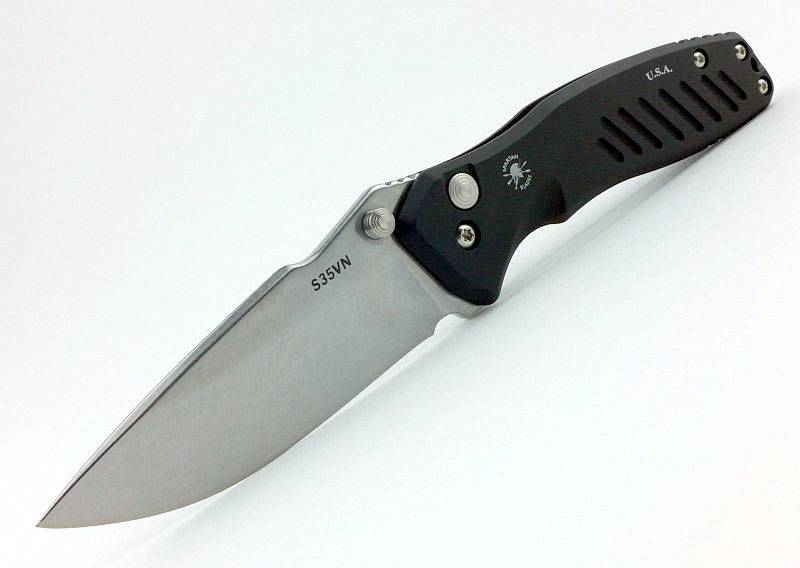
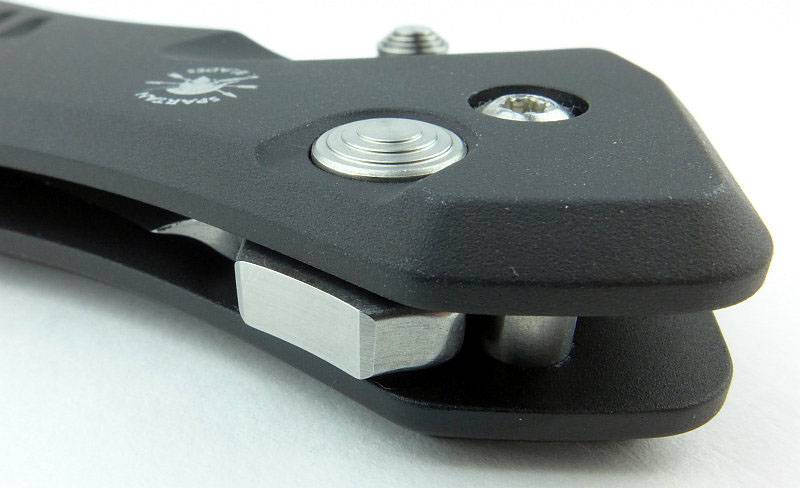
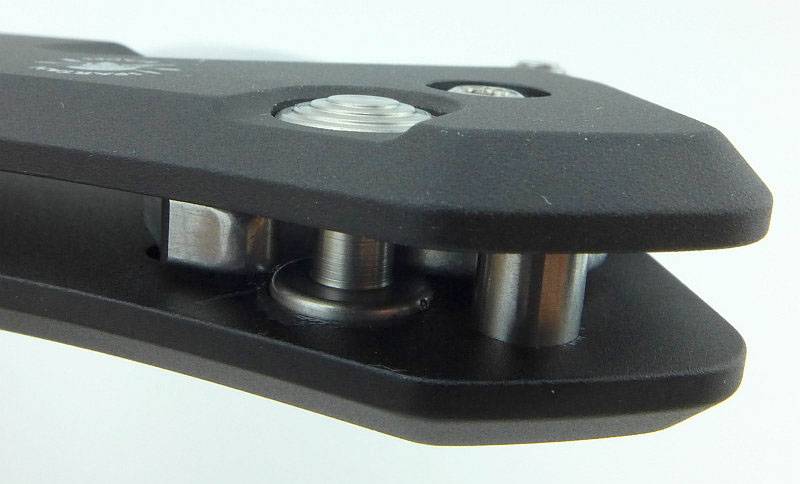
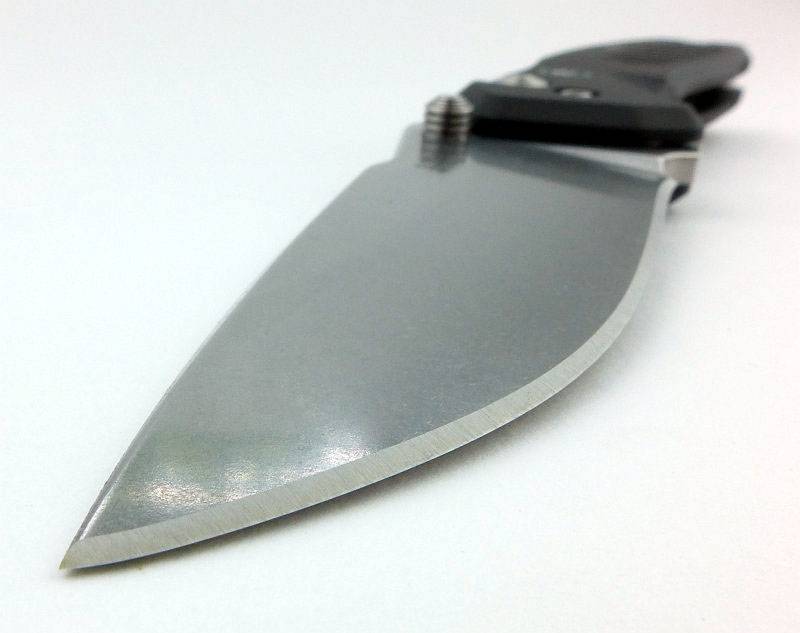
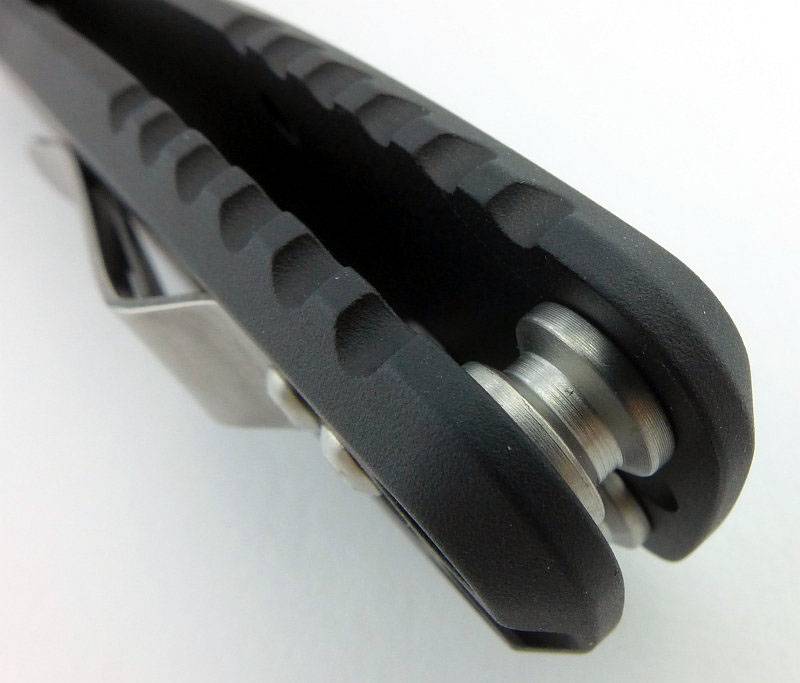
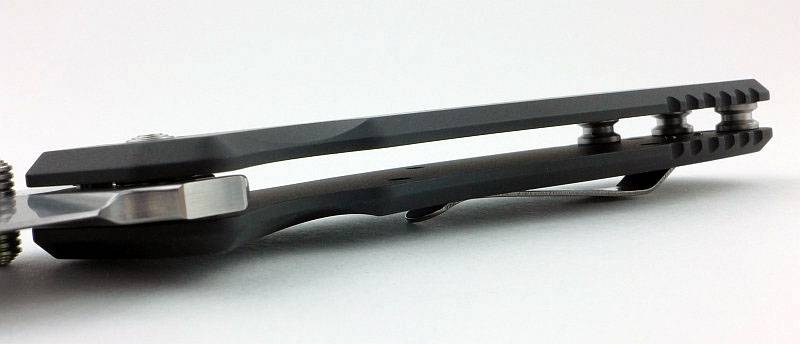
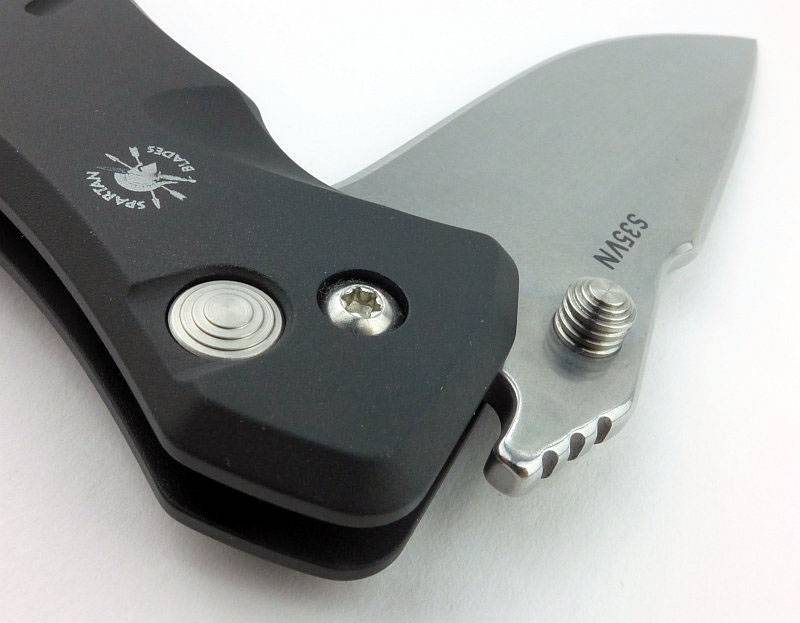
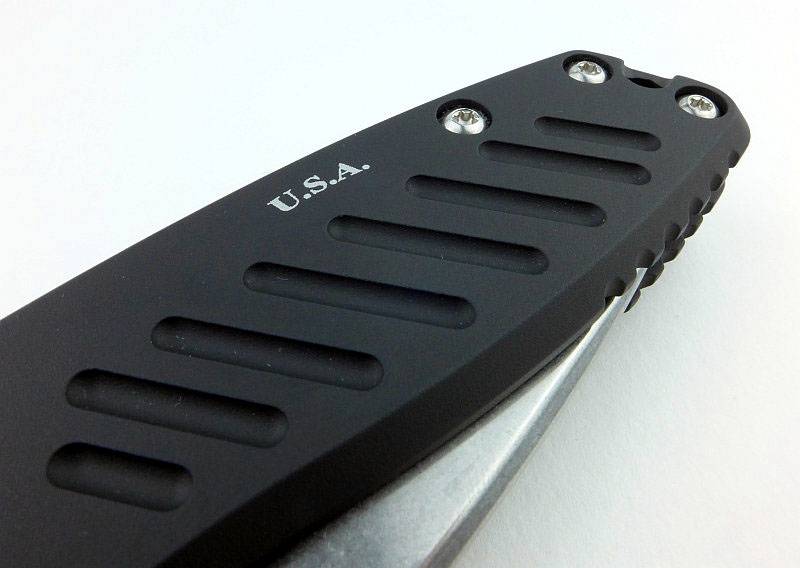
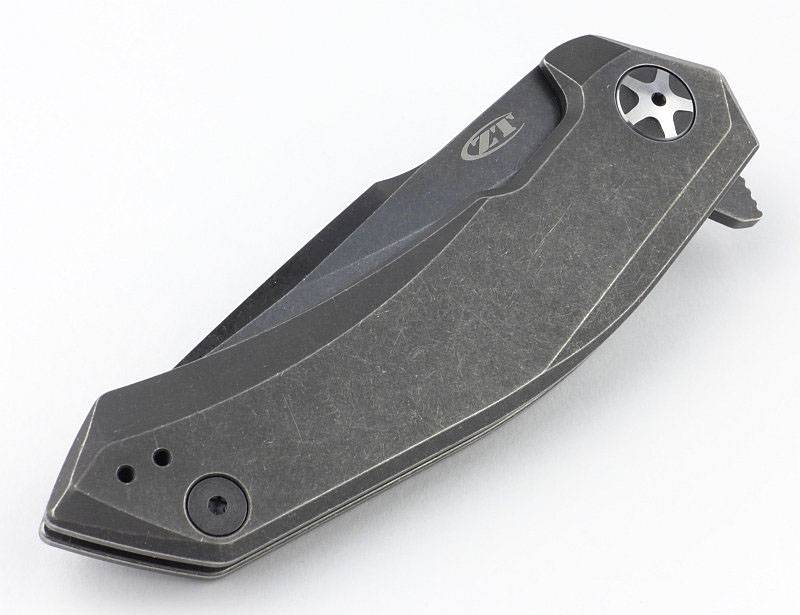
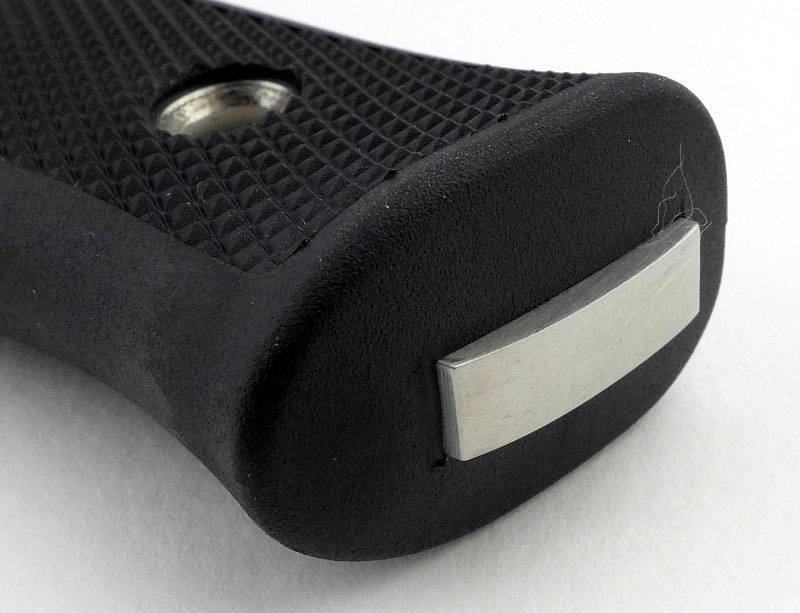
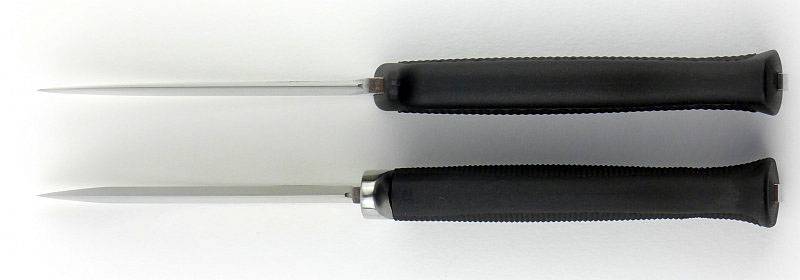
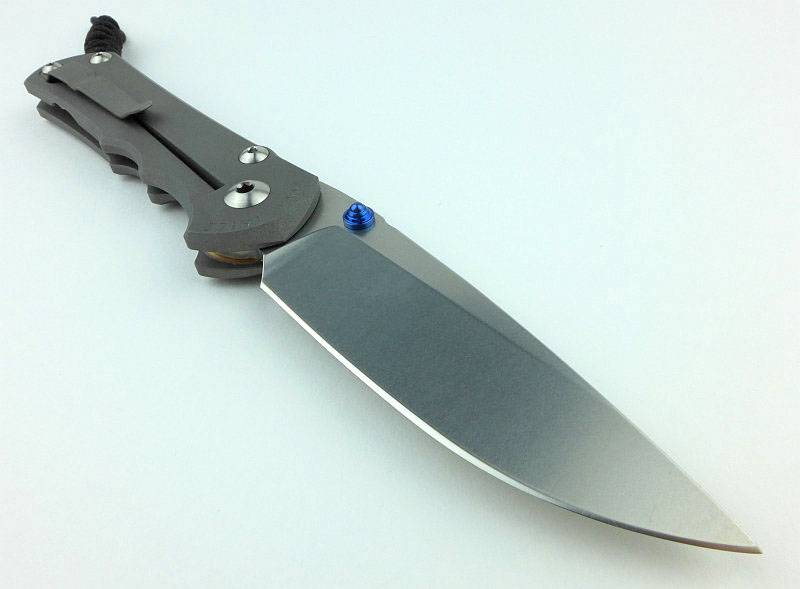
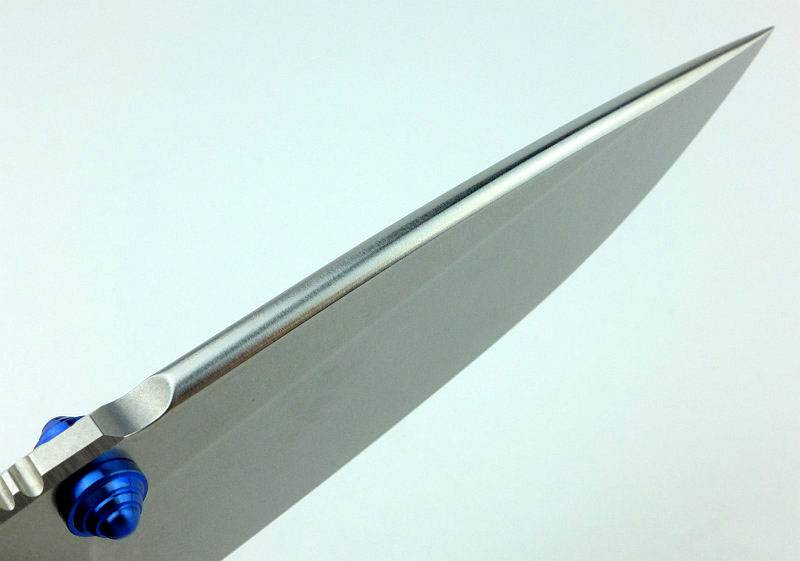
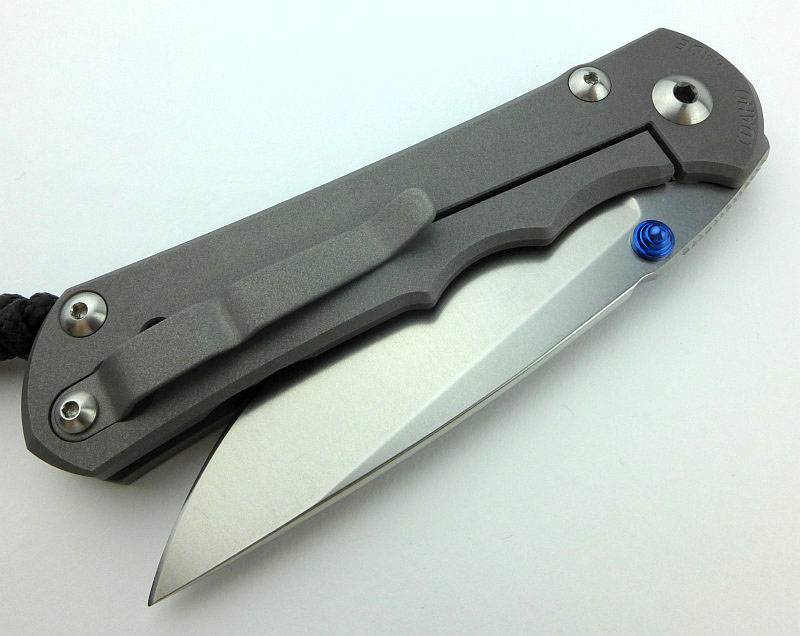
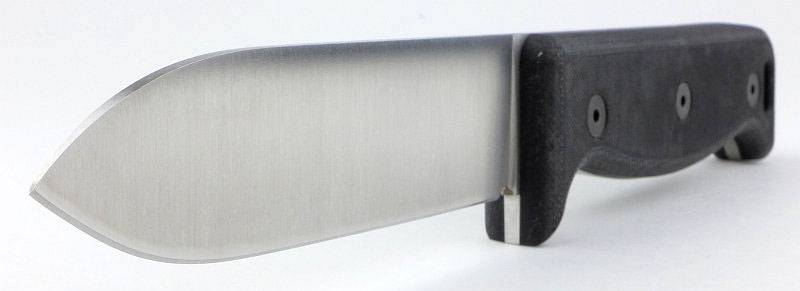
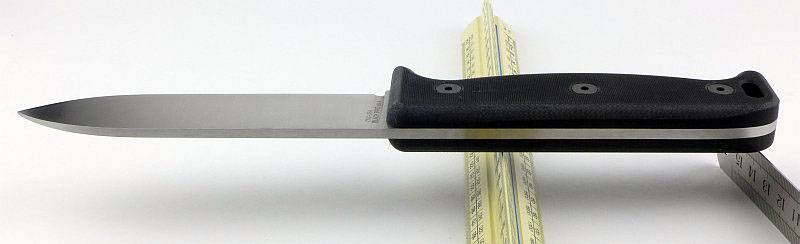
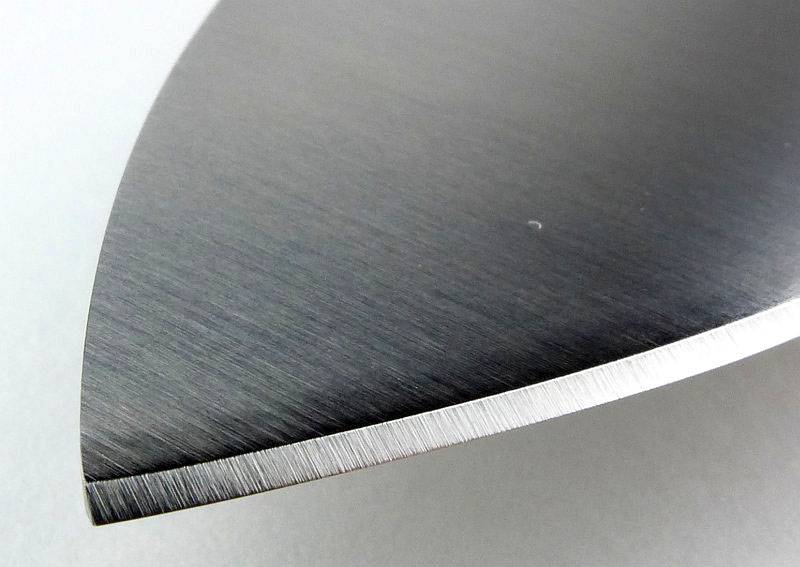
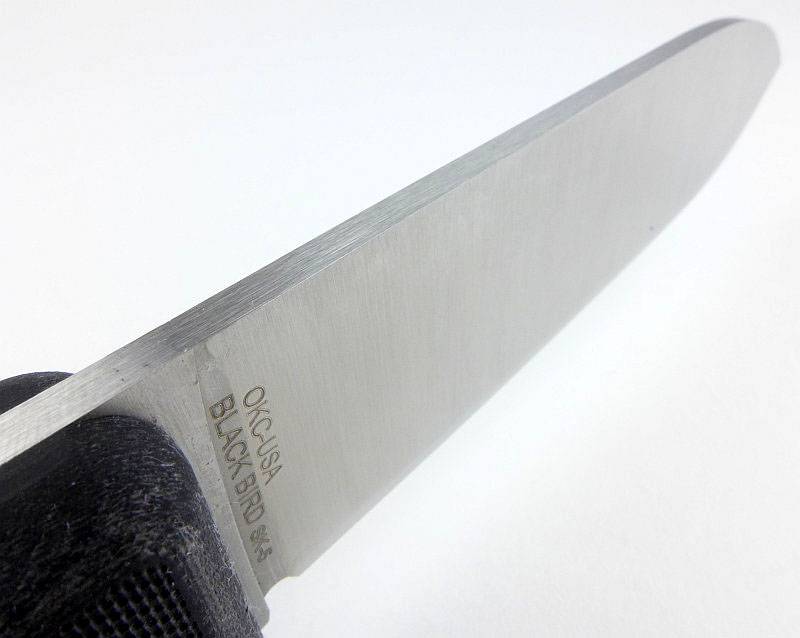
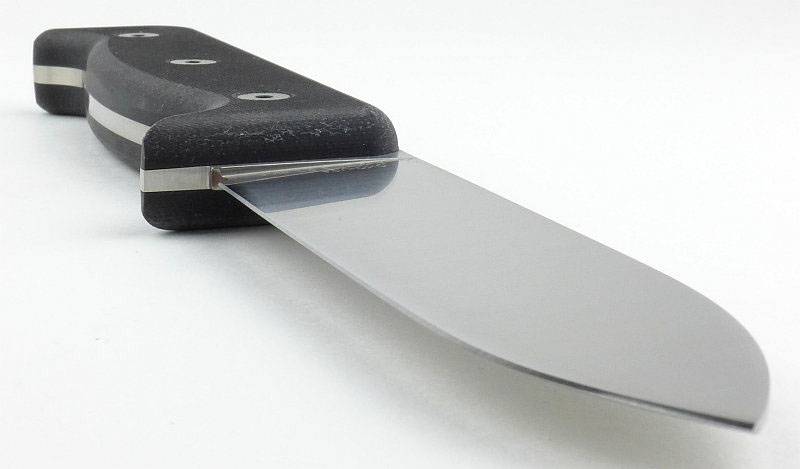
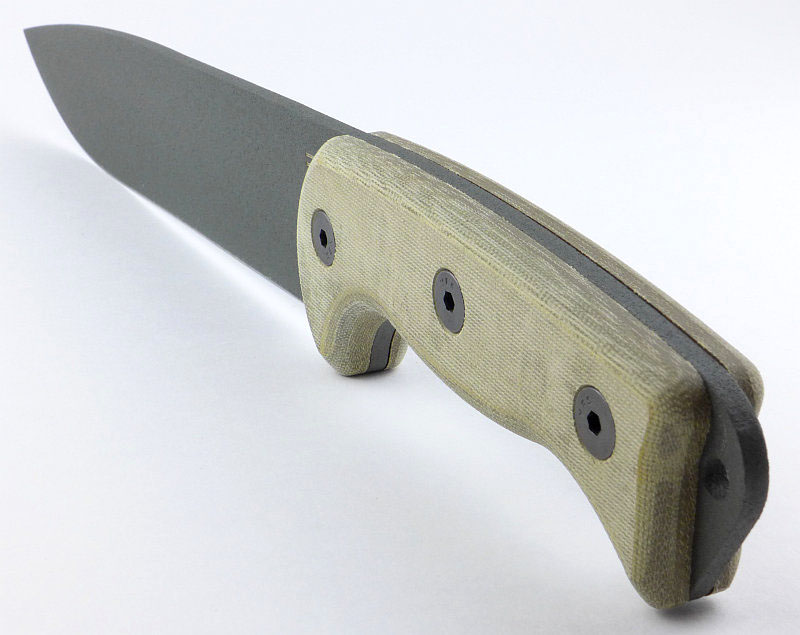
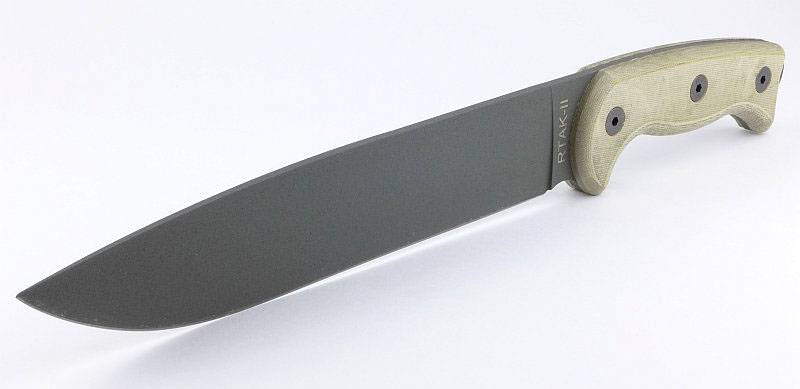
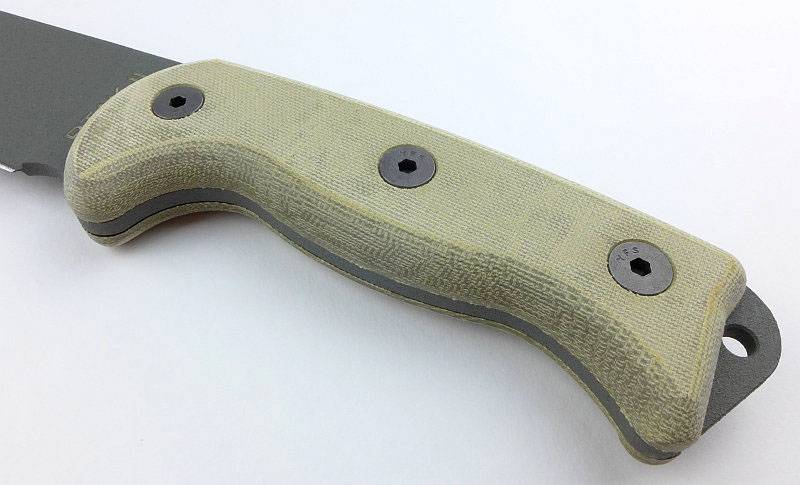
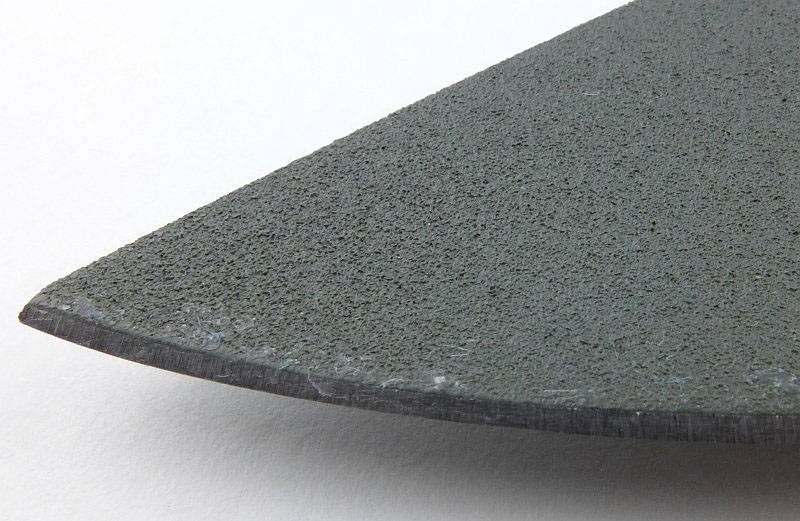
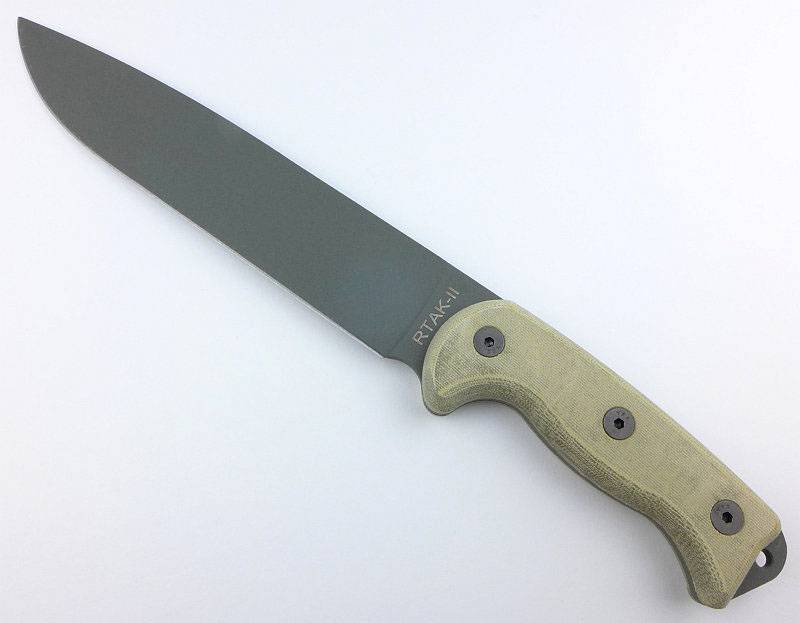
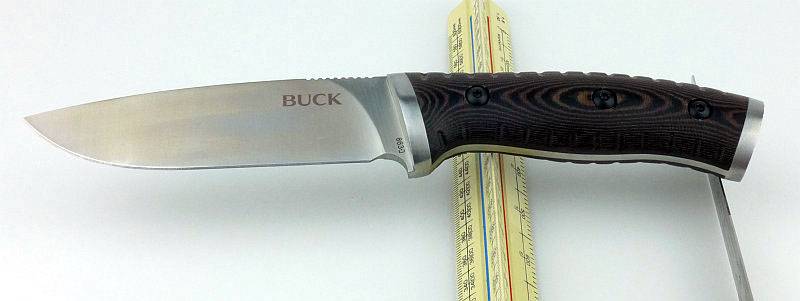
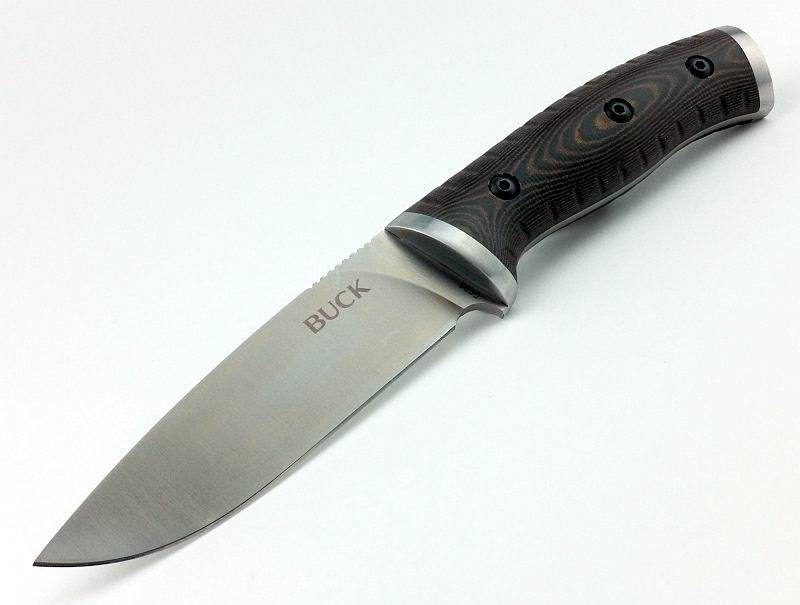
The Selkirk has a nice deep blade with full flat grind.
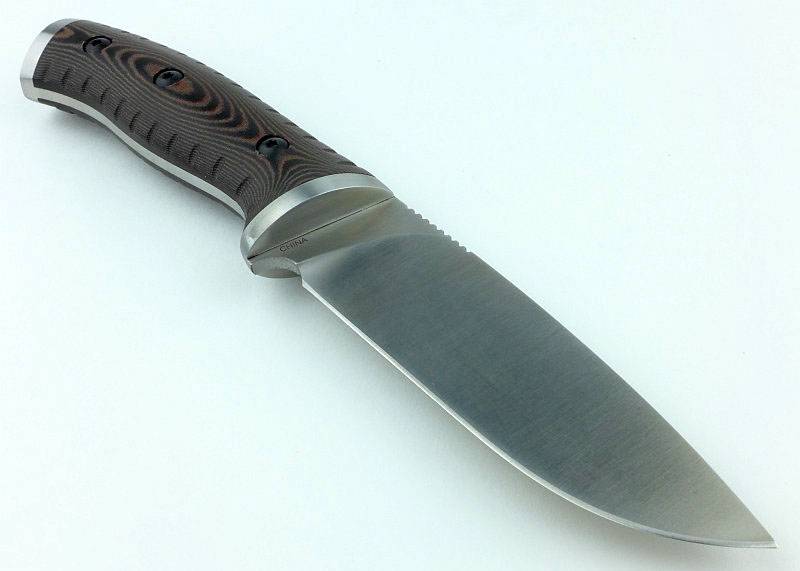
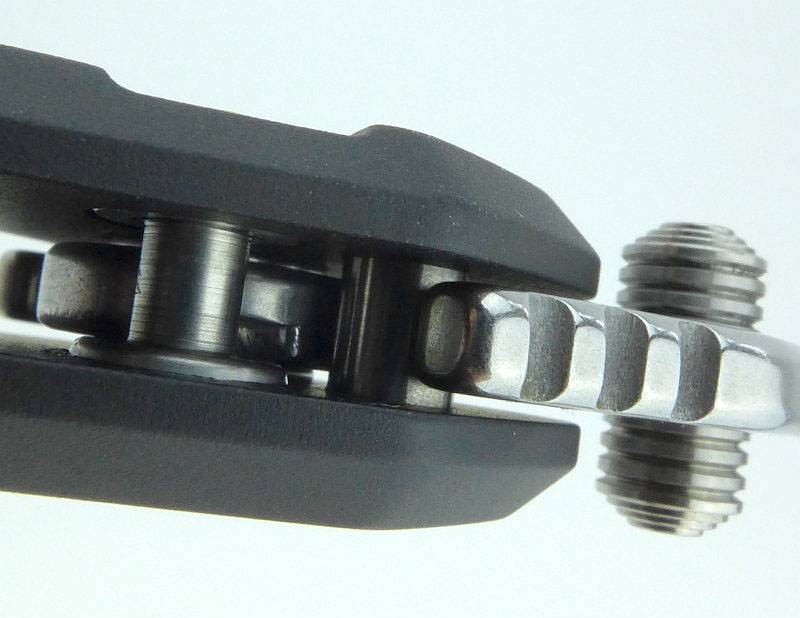
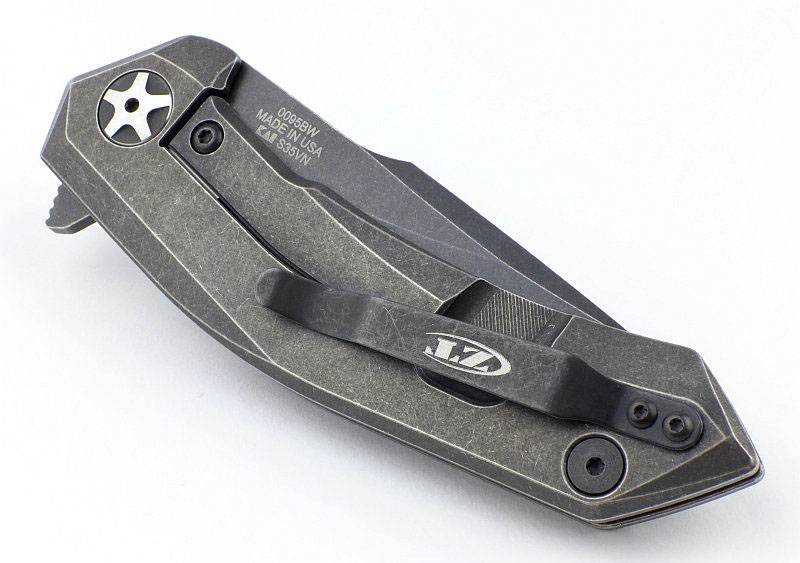
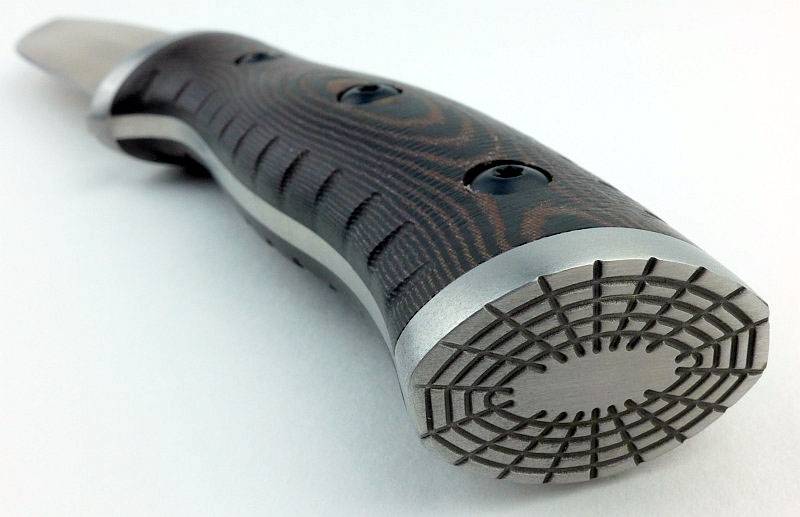
Buck say that the pommel (rear bolster) can be used as an improvised hammer.
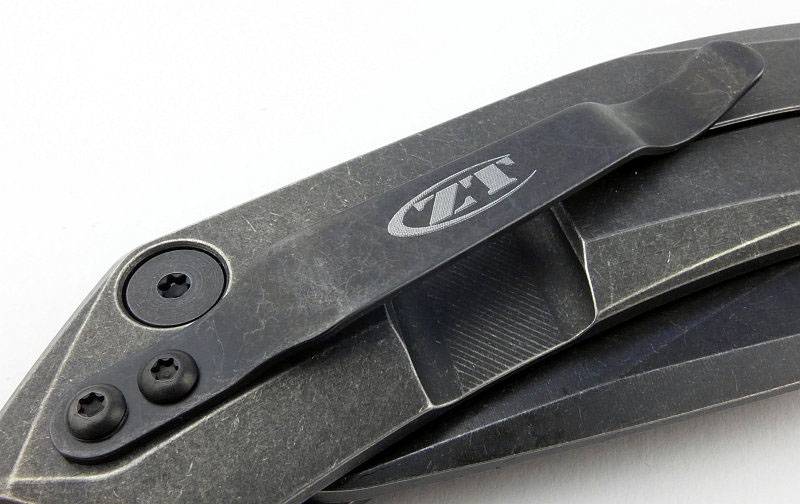
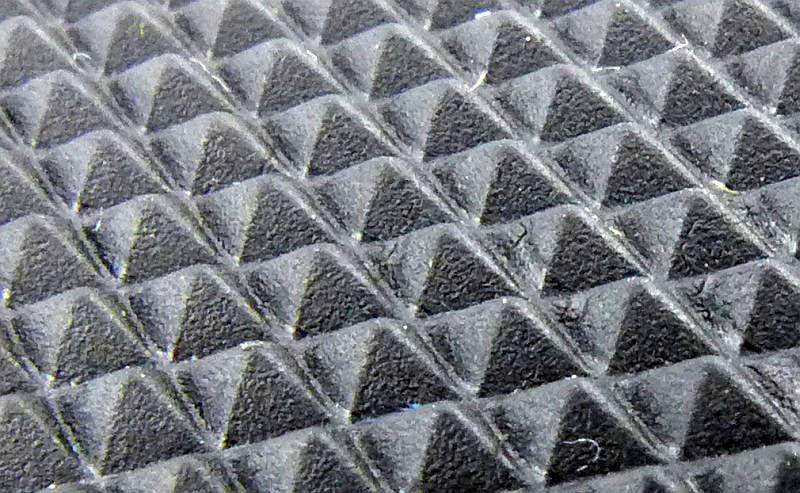
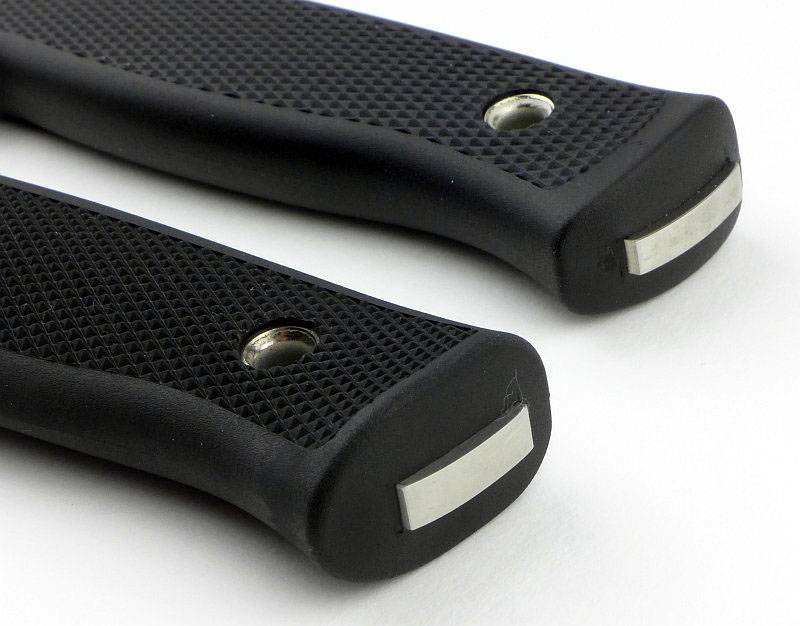
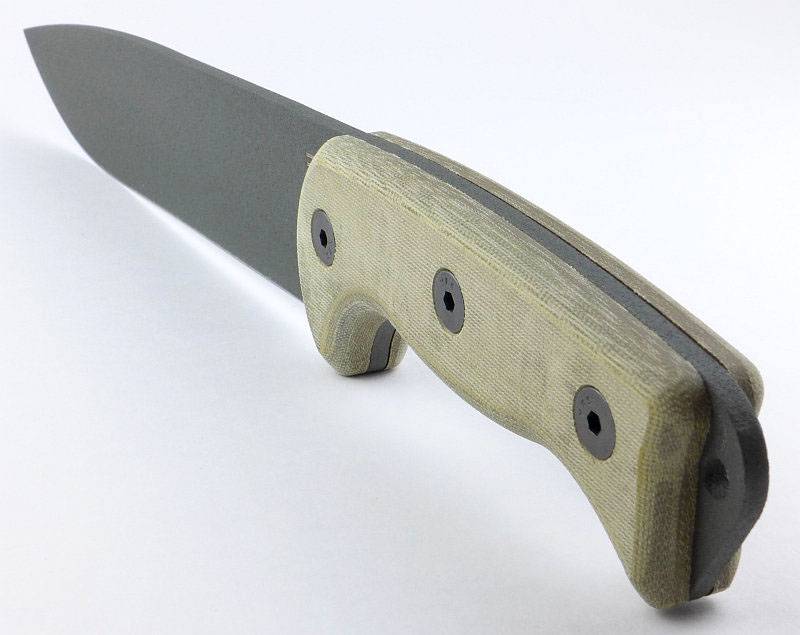
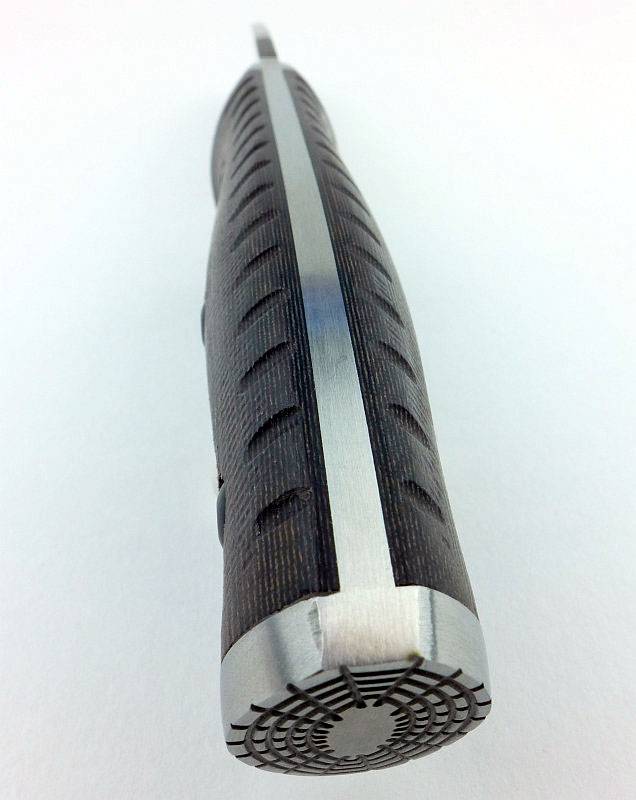
Looking close up at the handle micarta sides you can see the semi-smooth finish and additional grip grooves.
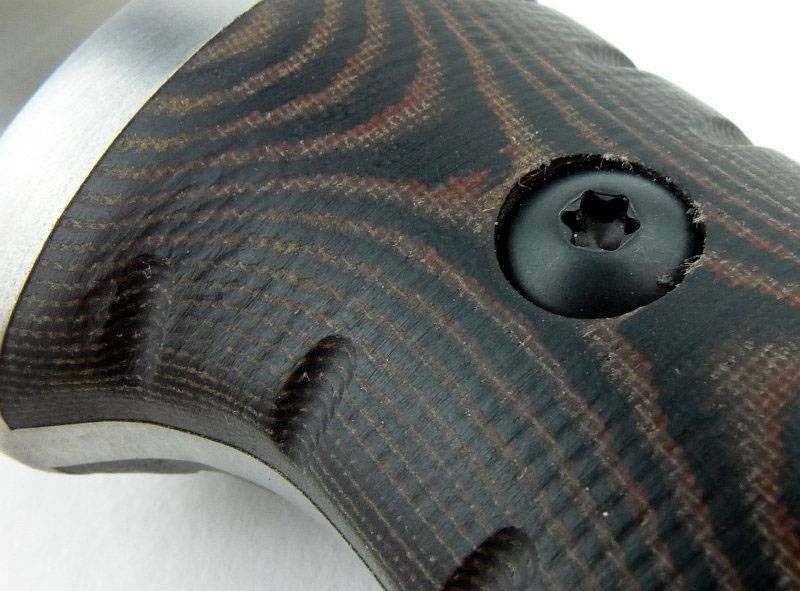
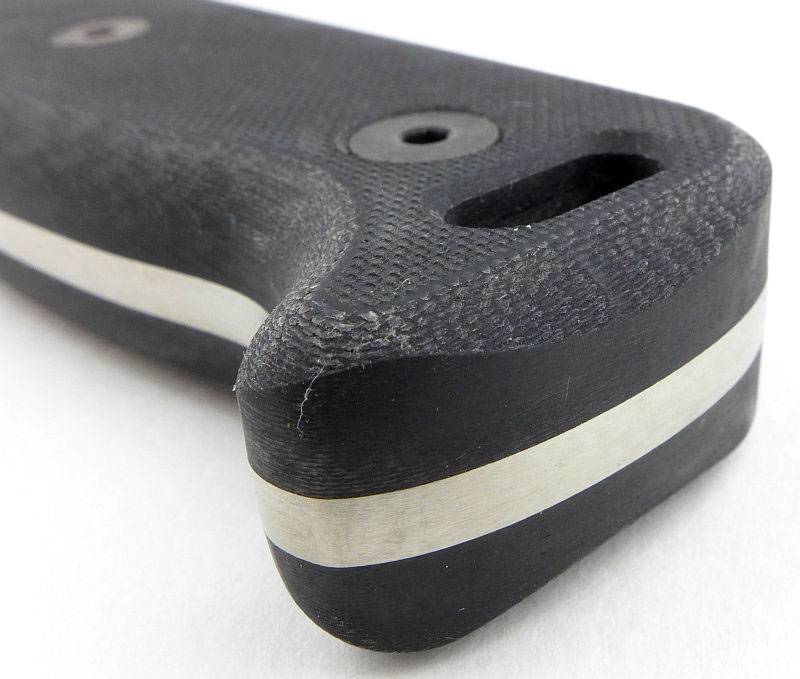
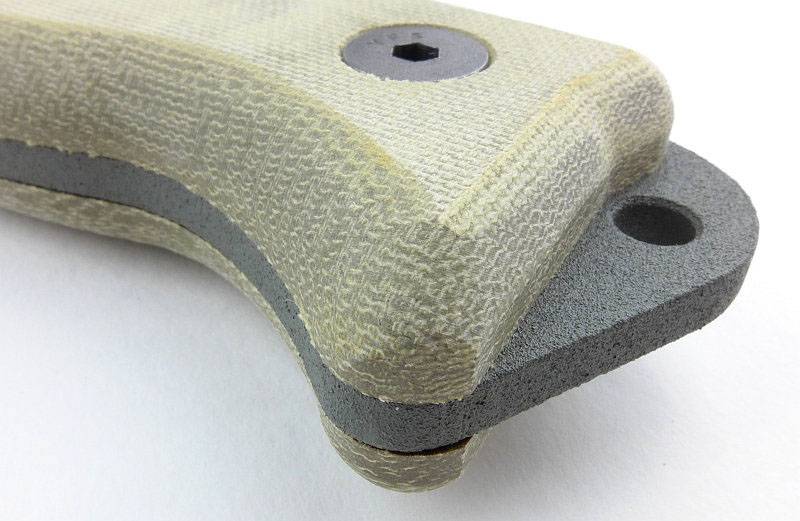
An overall view of the handle. The layers in the micarta act as contour lines showing the shaping.
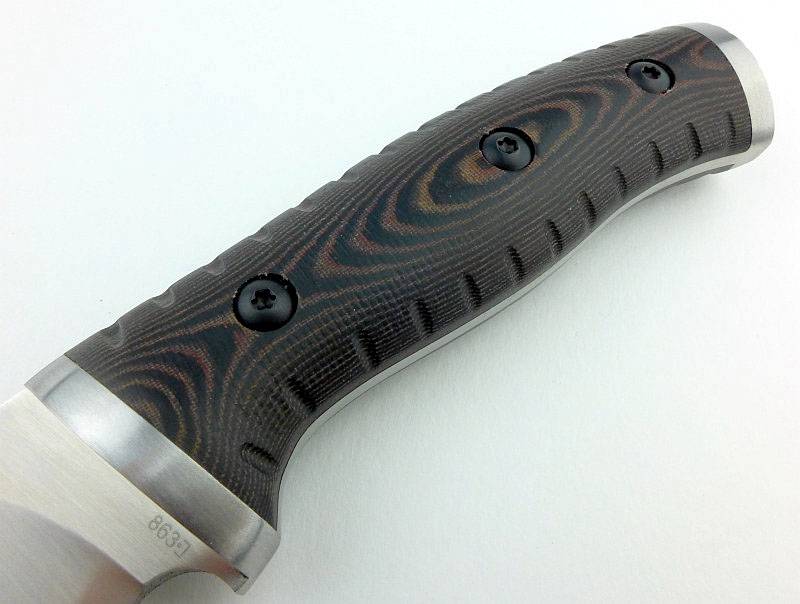
From a different angle you can see the palm swell and grip flaring.
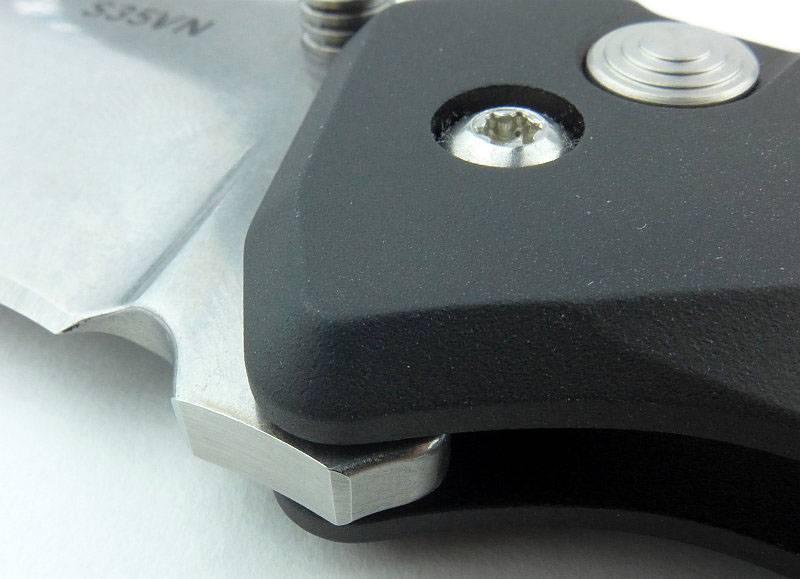
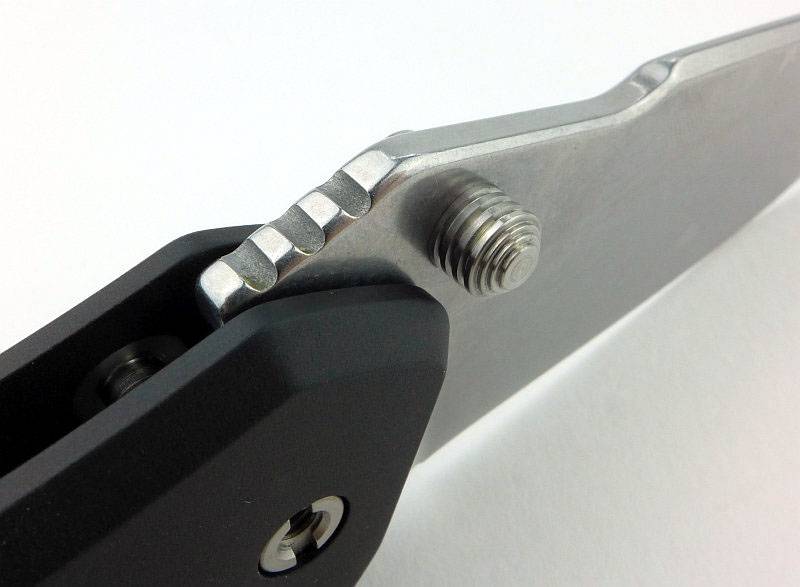
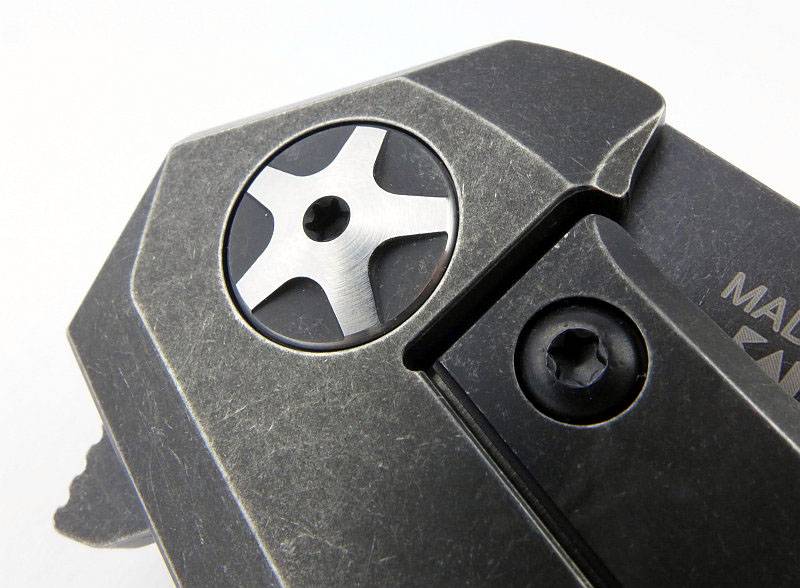
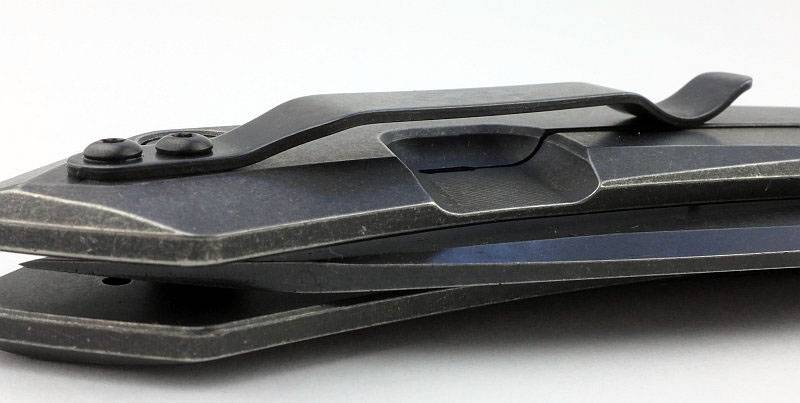
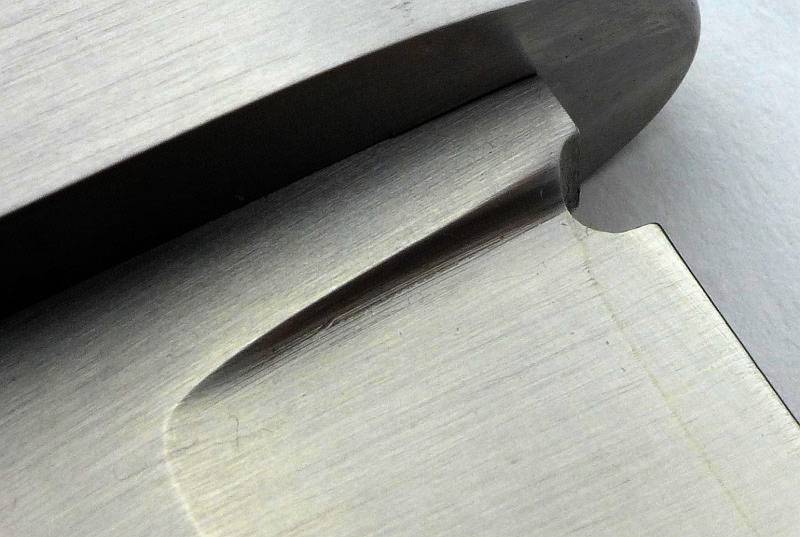
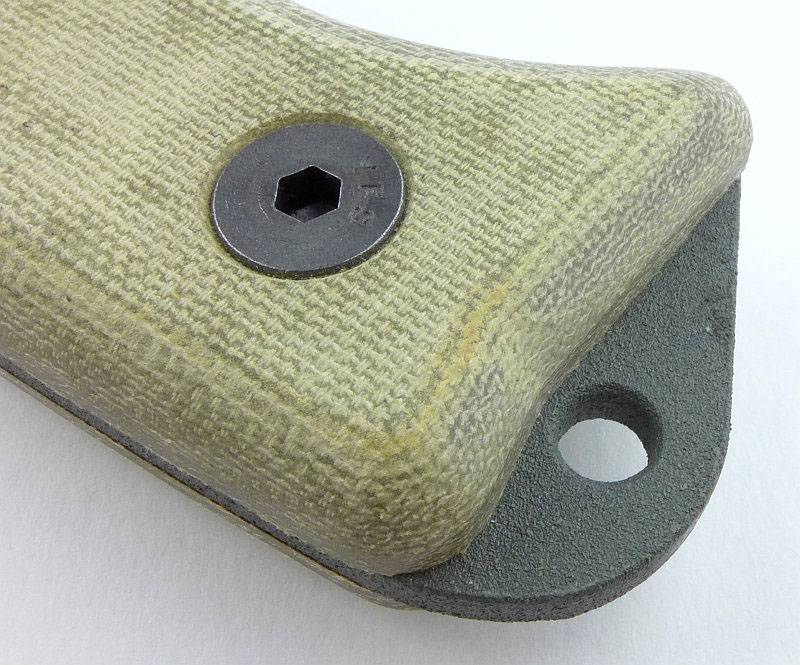
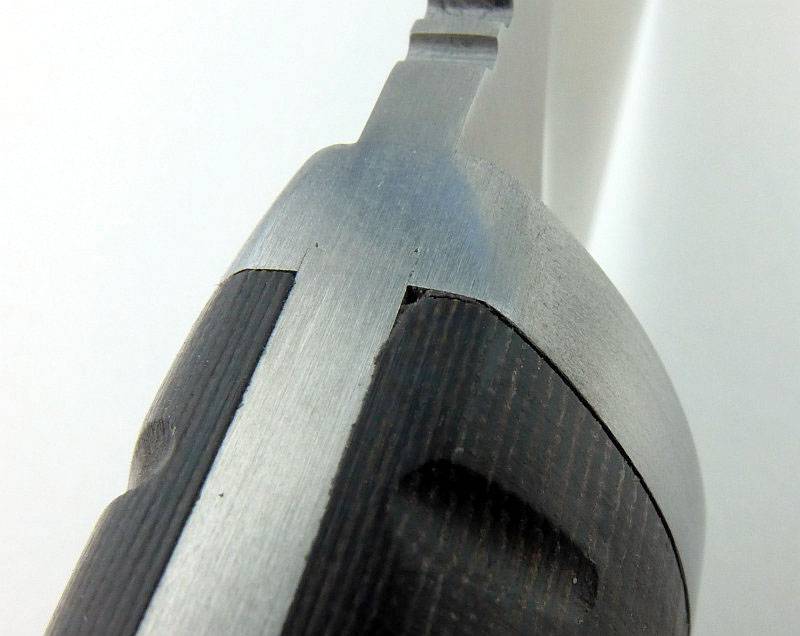
A very close view of the choil and its sharp edges for striking the fire-rod.
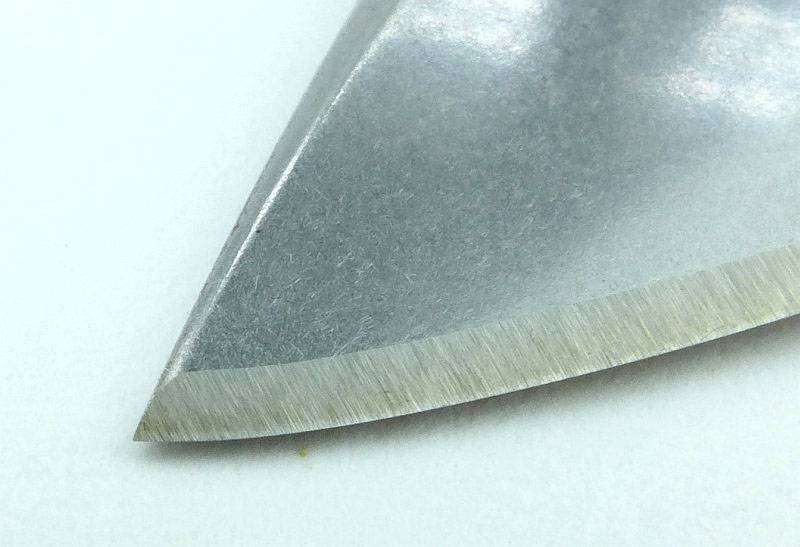
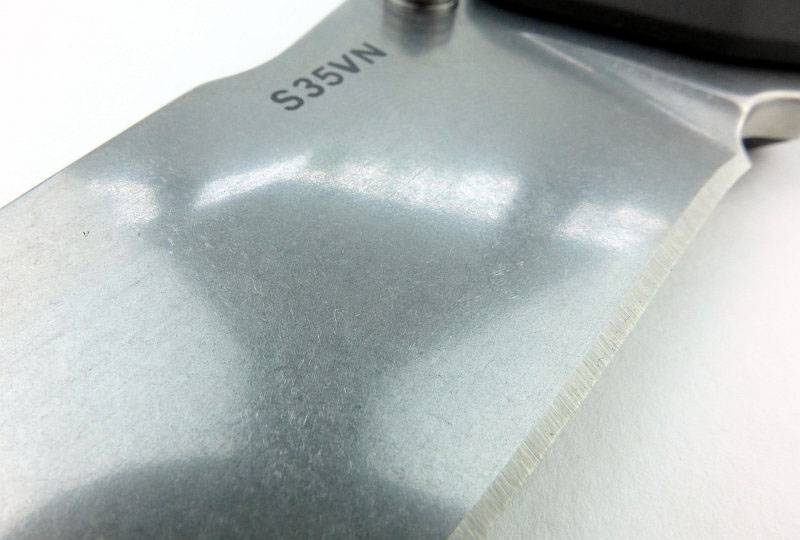
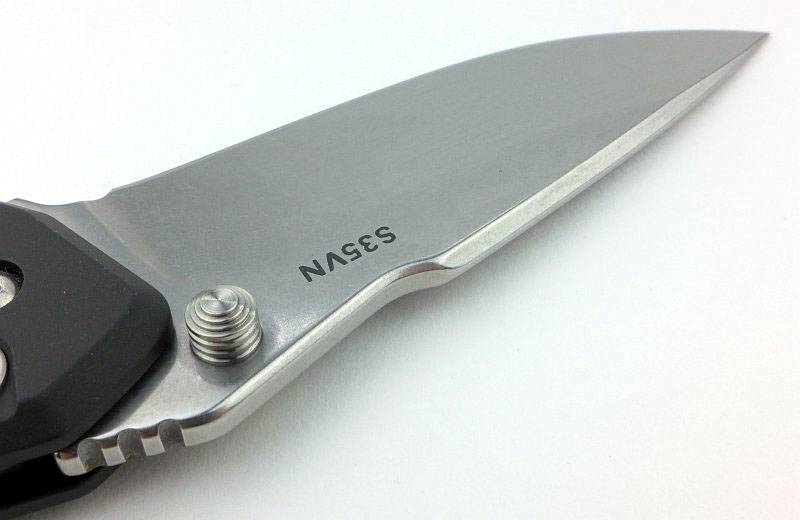
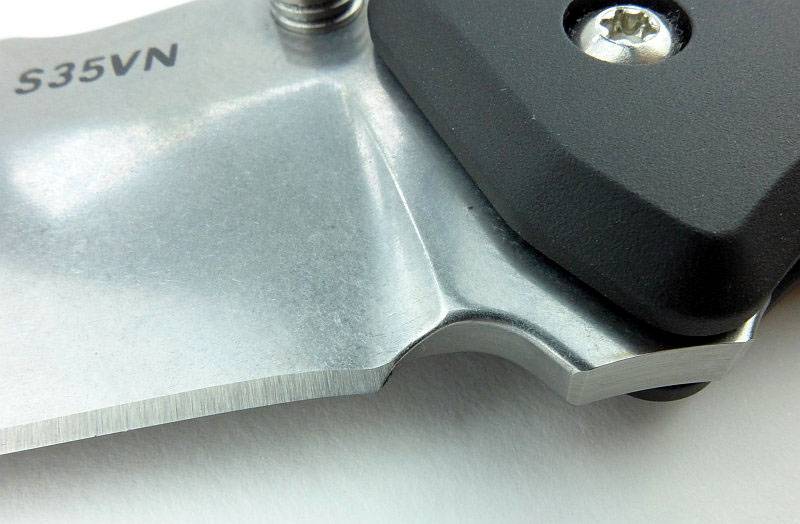
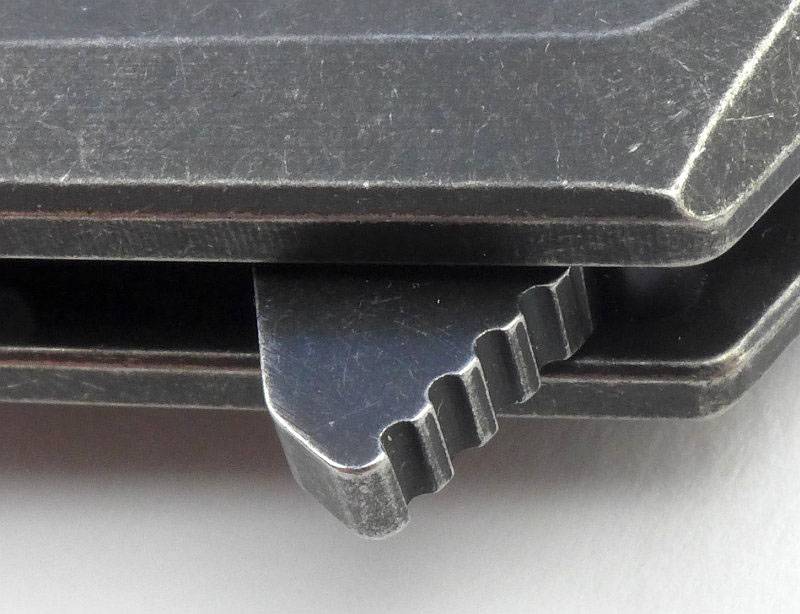
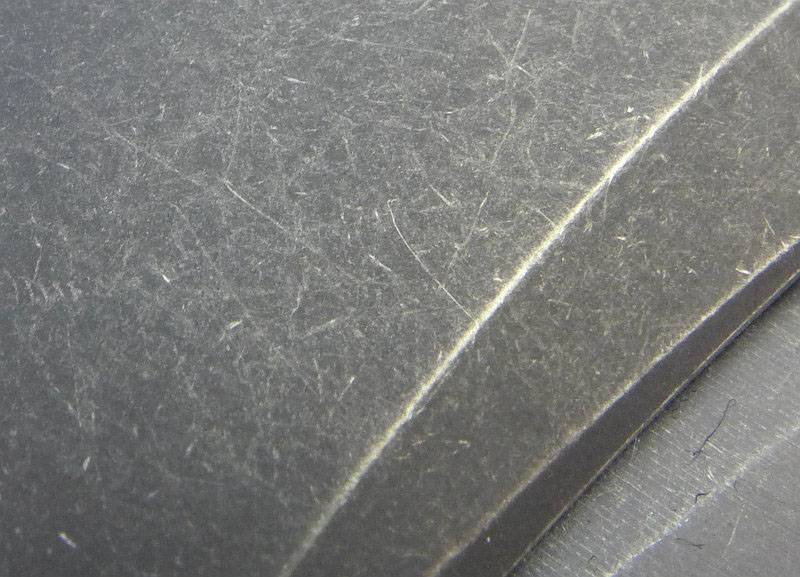
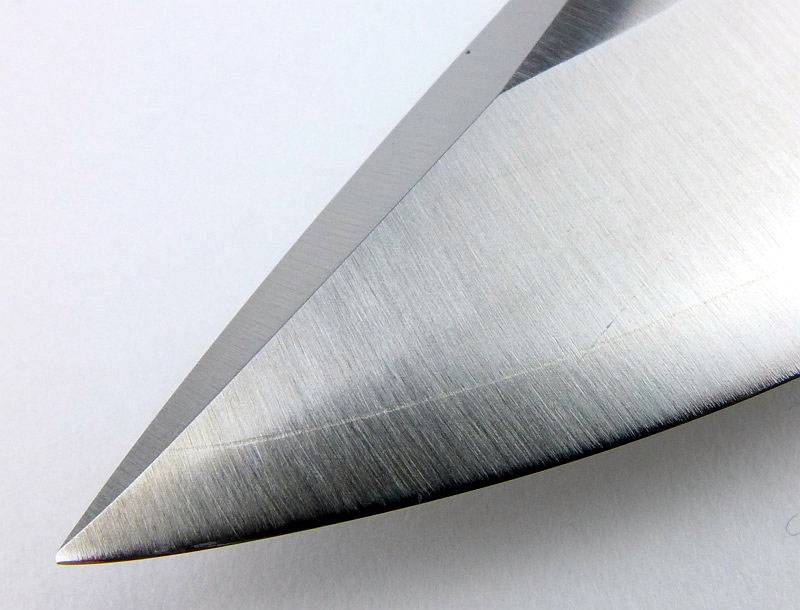
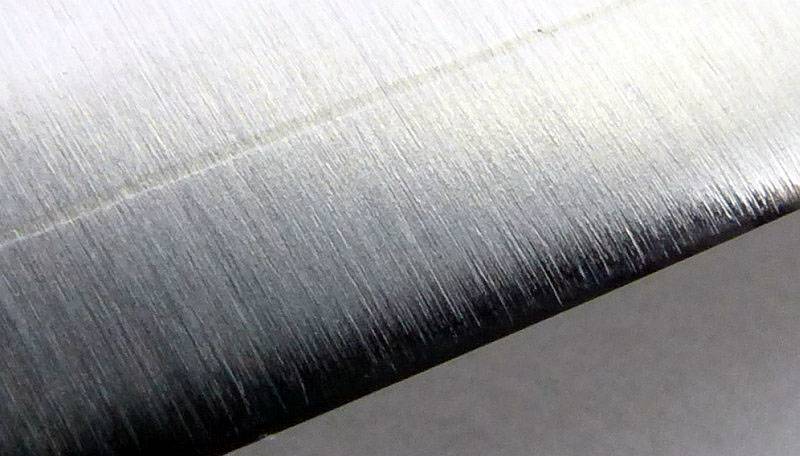
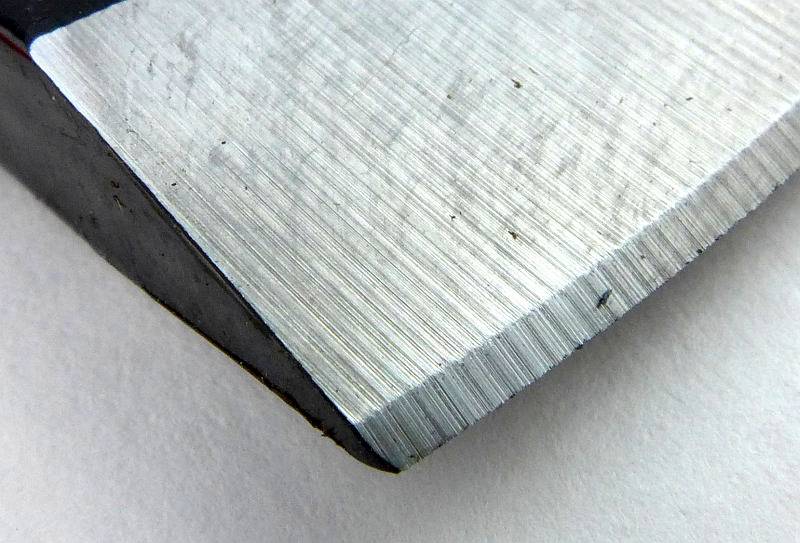
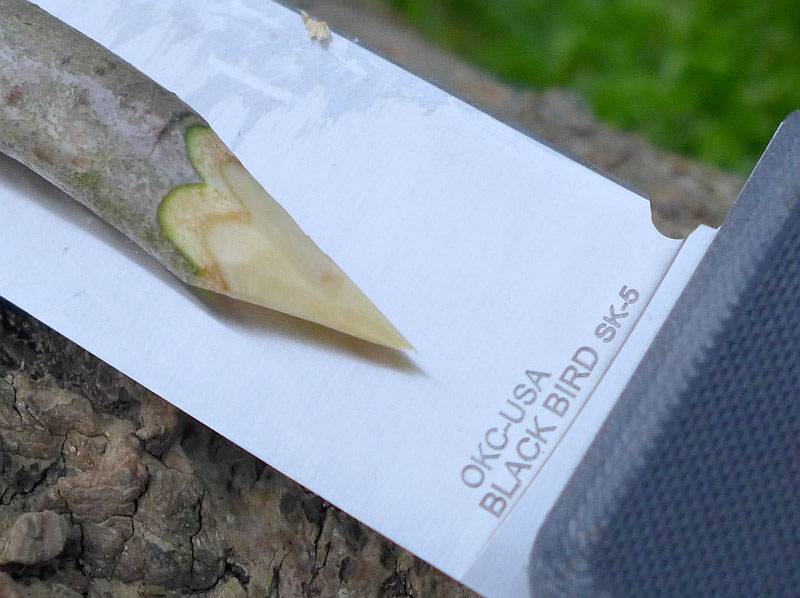
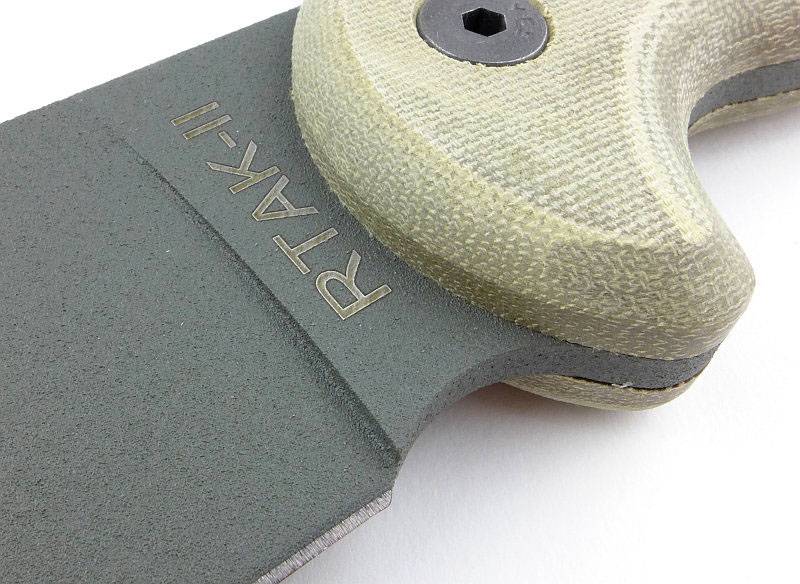
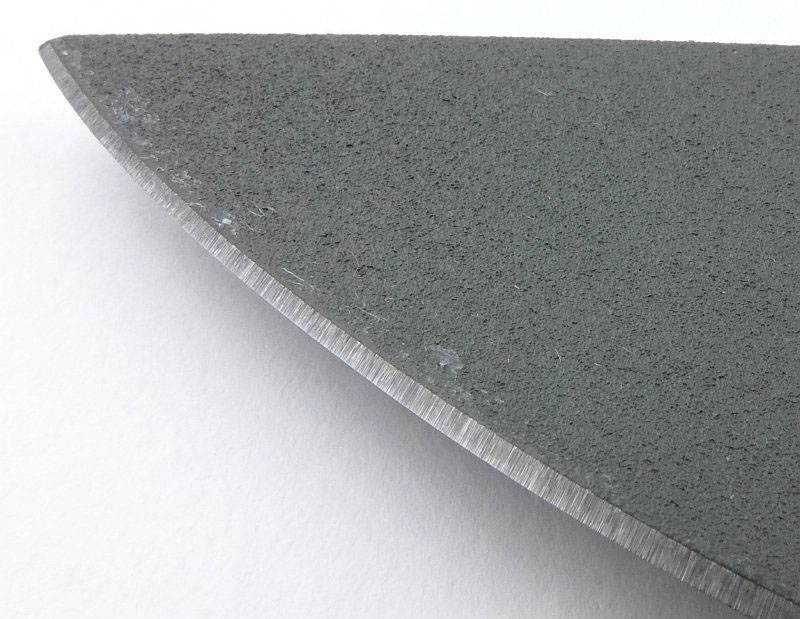
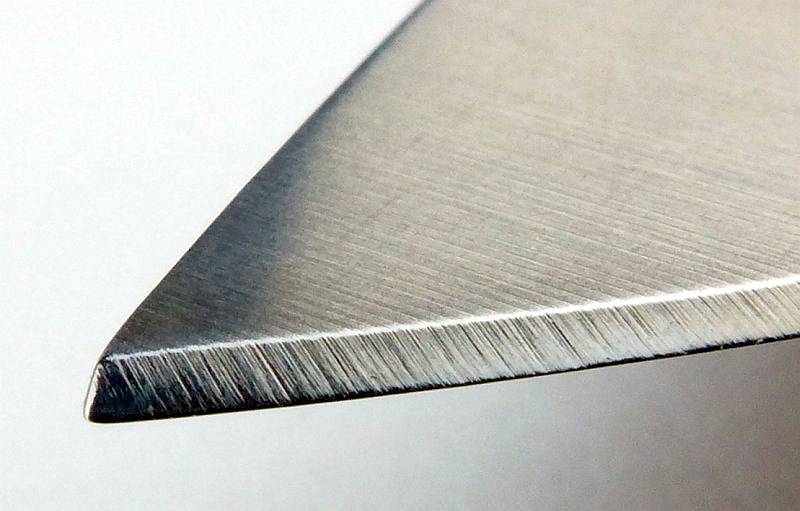
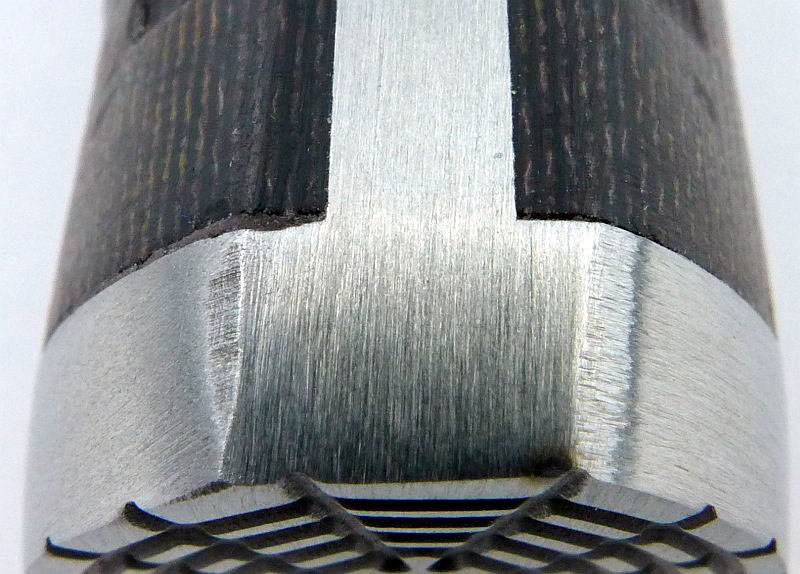
Going closer still for a look at the point and how the cutting edge has been formed from a coarse grit followed by a polishing process.
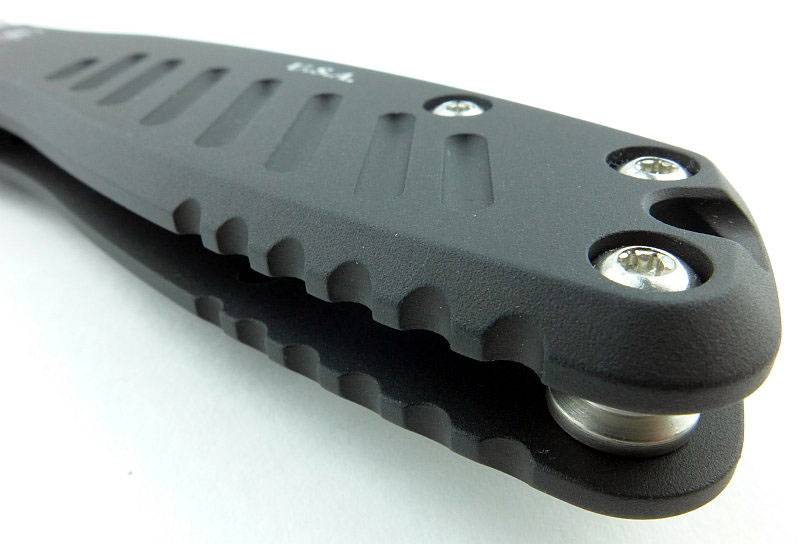
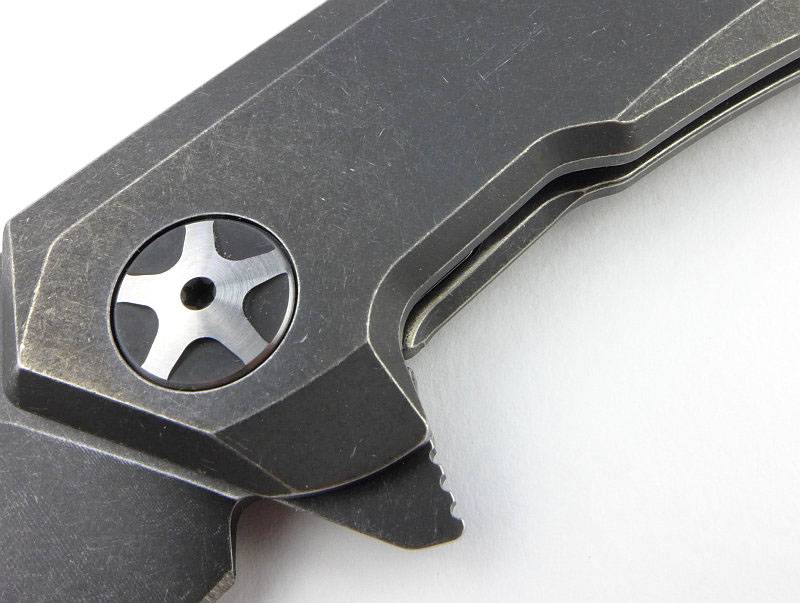
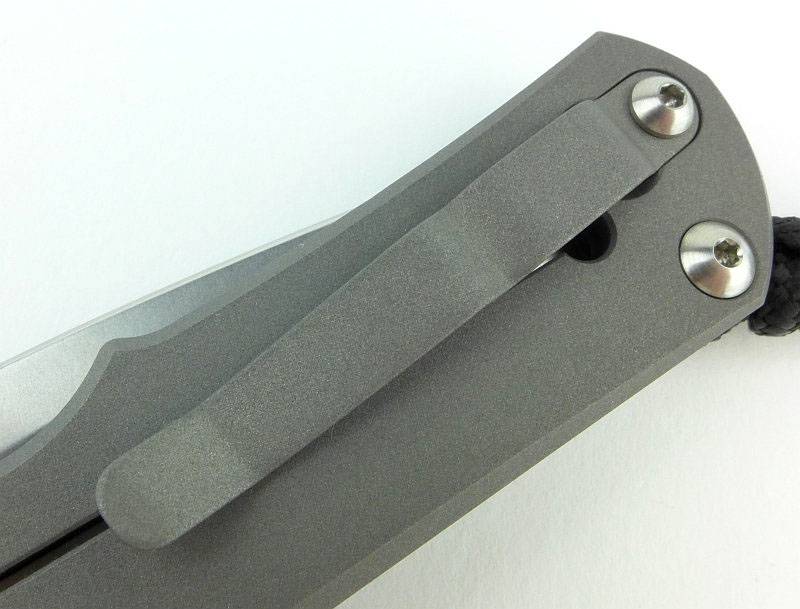
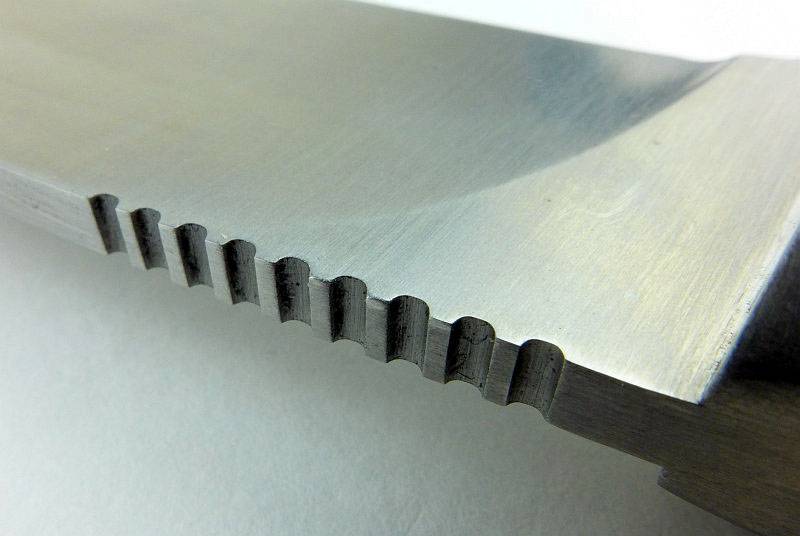
On the spine there is an area of jimping for the thumb to sit on. On this example this was well formed and not too sharp.
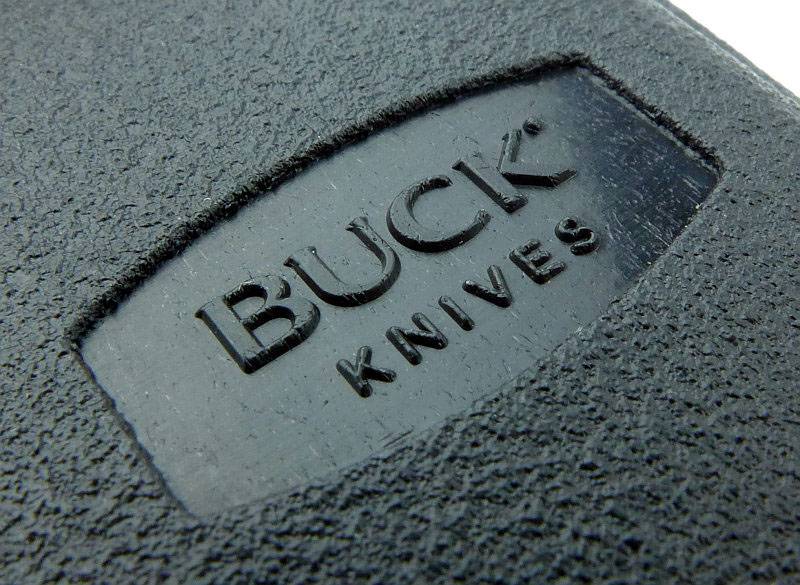
Keeping on the up-close theme, the moulded sheath has the Buck logo moulded into it.
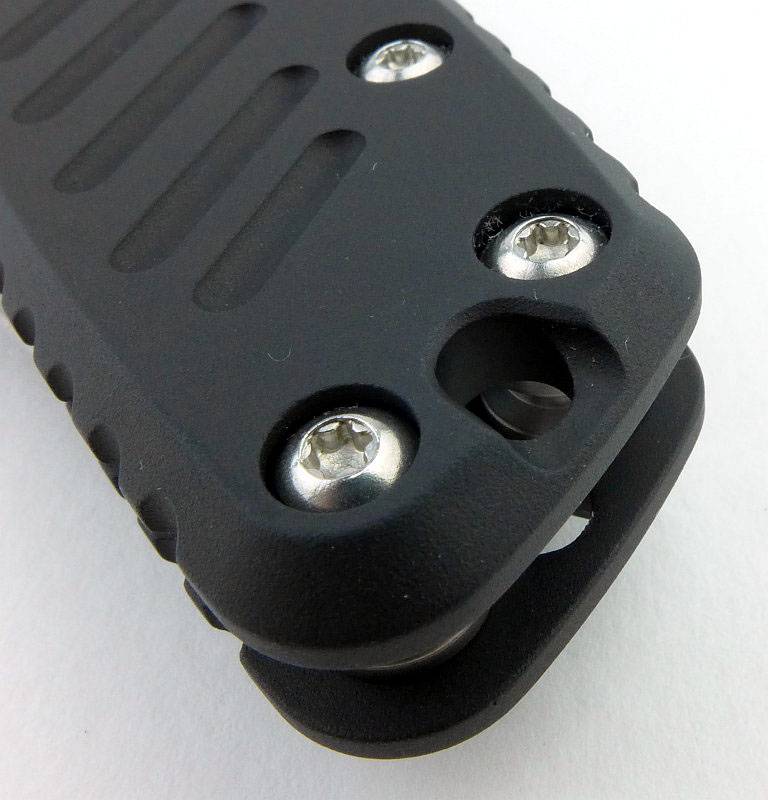
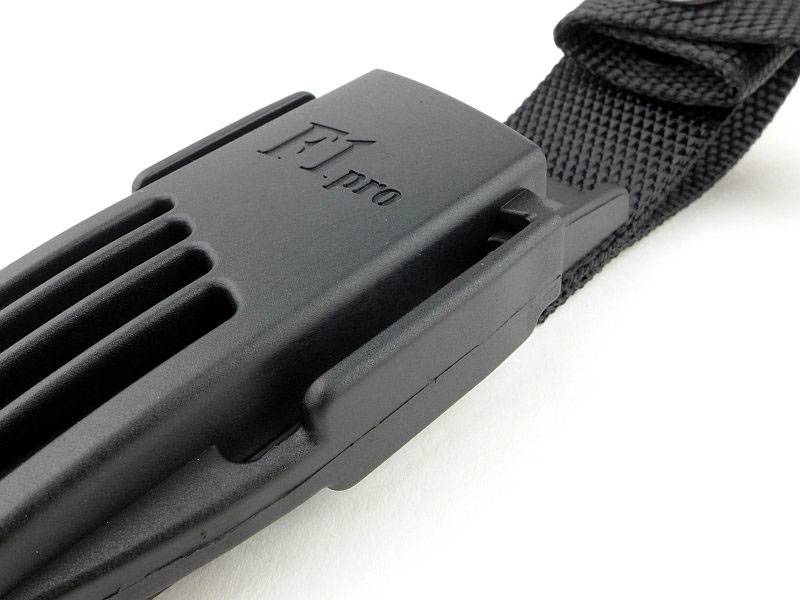
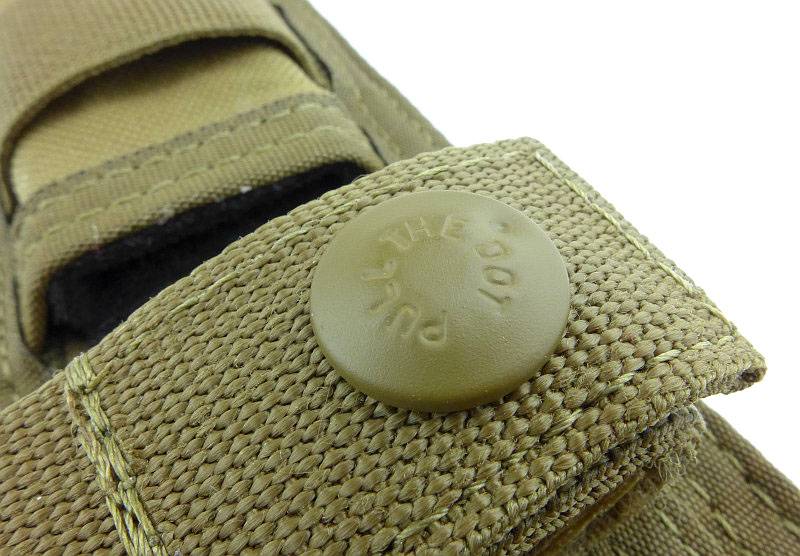
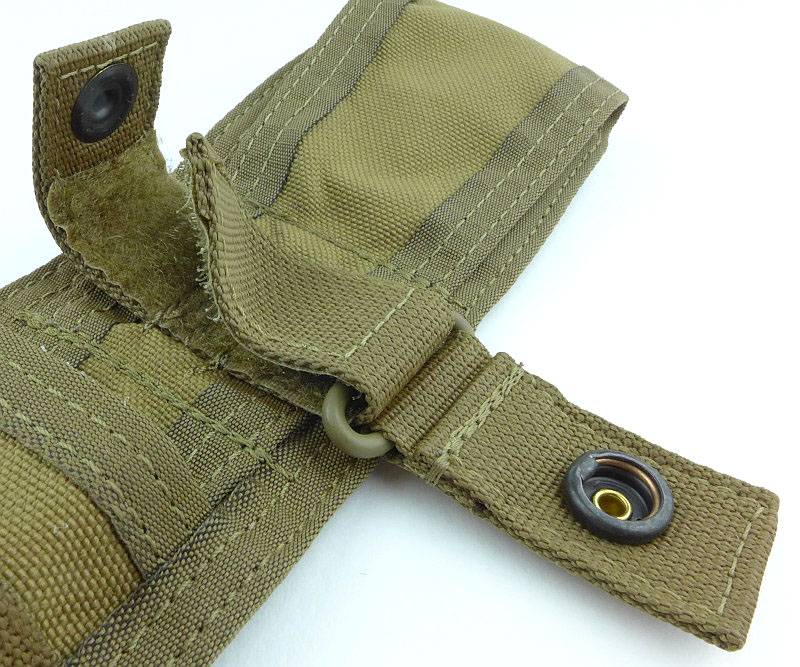
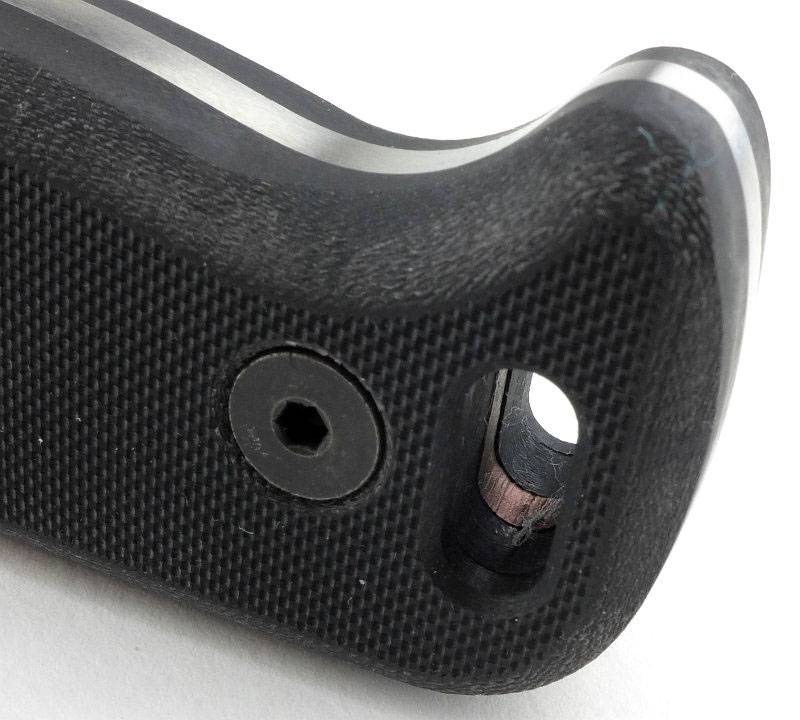
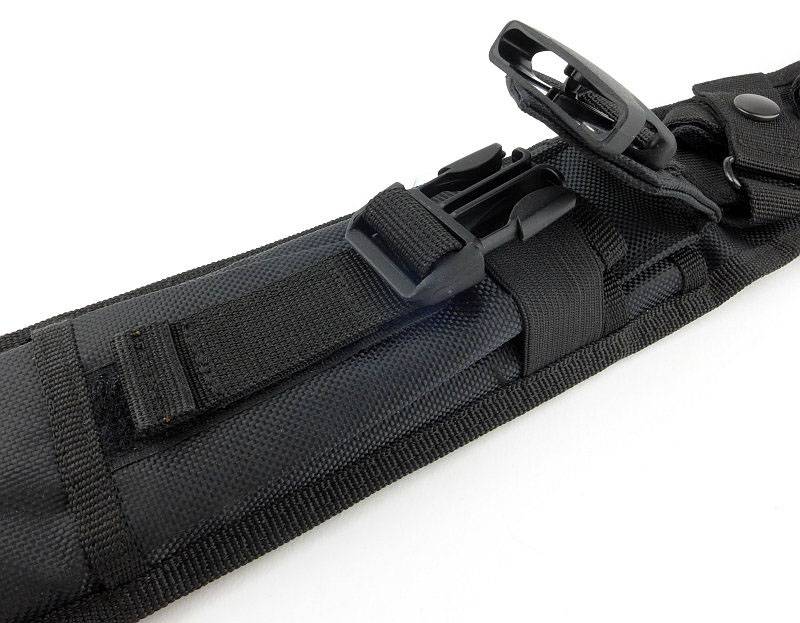
Next to the fire-rod holder are the sheath screws which adjust the retention tension of the sheath. You can change how much force is needed to remove and insert the knife by adjusting these screws.

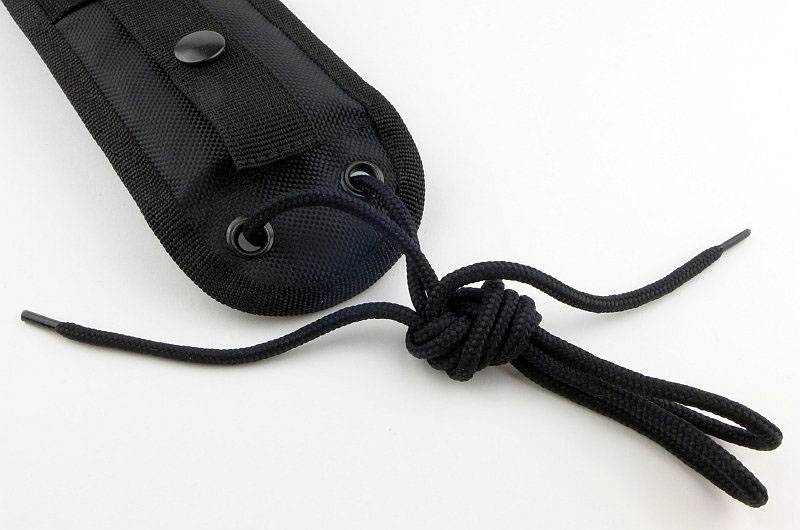
On the lower part of the whistle is a bayonet fitting to hold the fire-rod in place. There is also a cord which can be stretched over the end of the rod to further secure it.
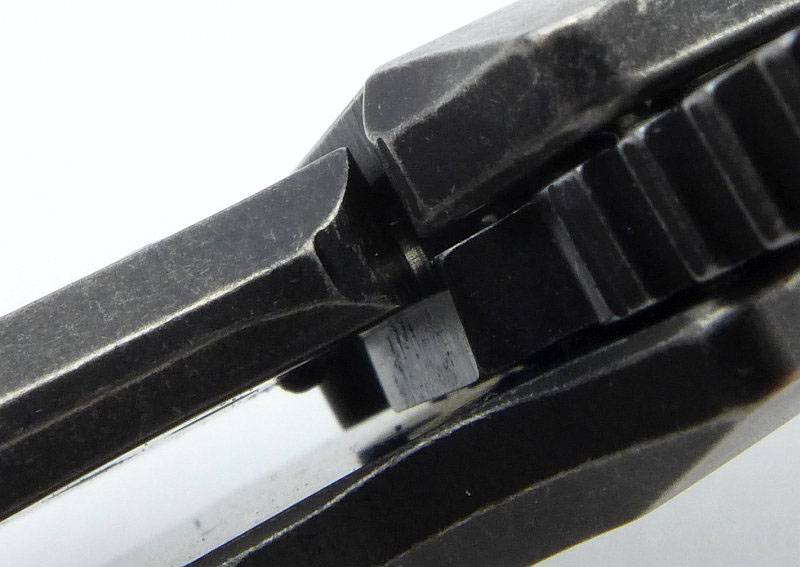
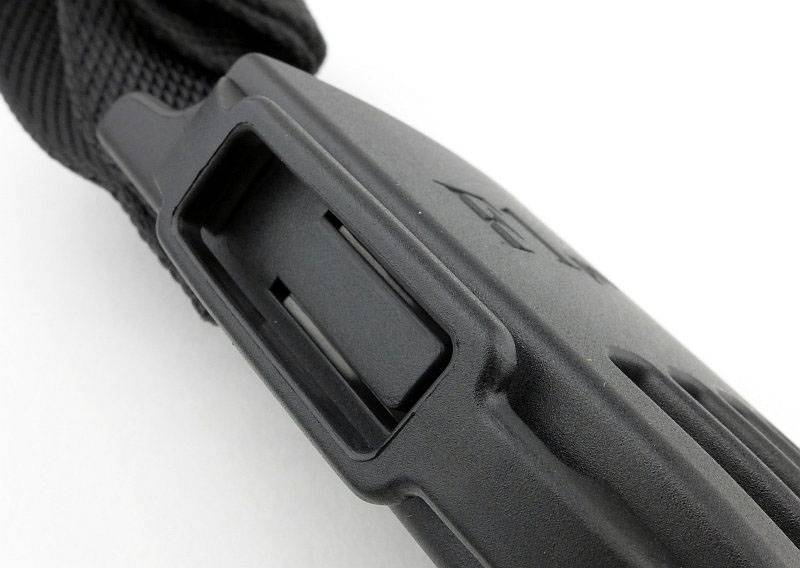
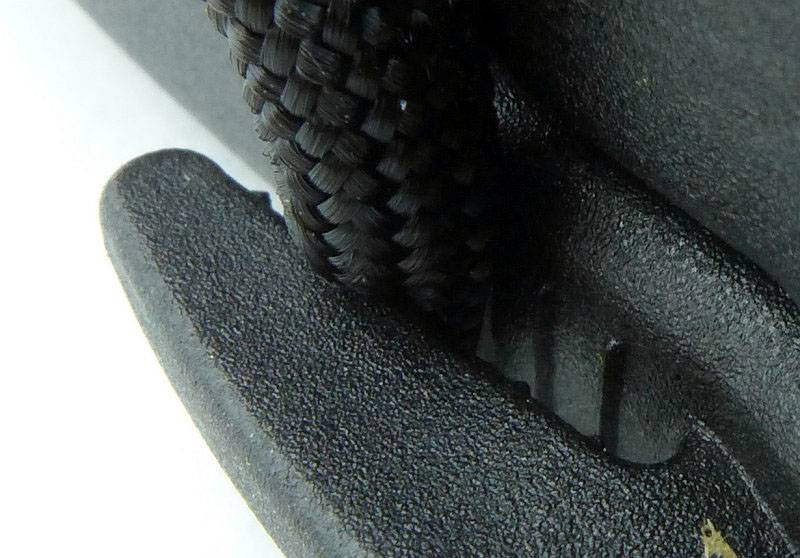
Inside the belt loop is a moveable adjuster block to cater for different width belts.
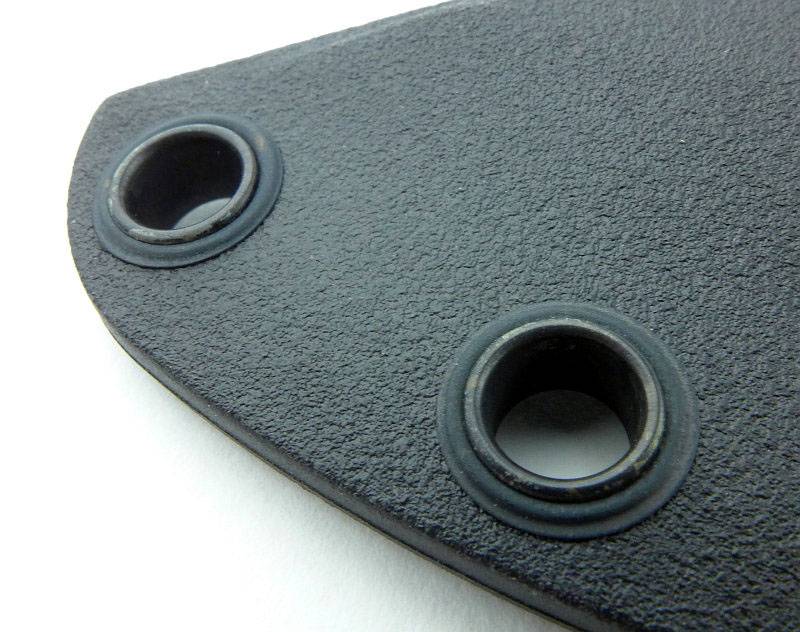
At the tip of the sheath there are metal rivets that provide tying points.
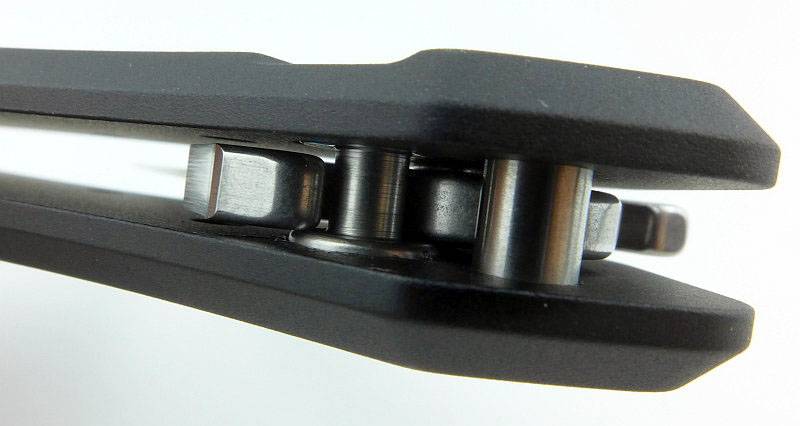
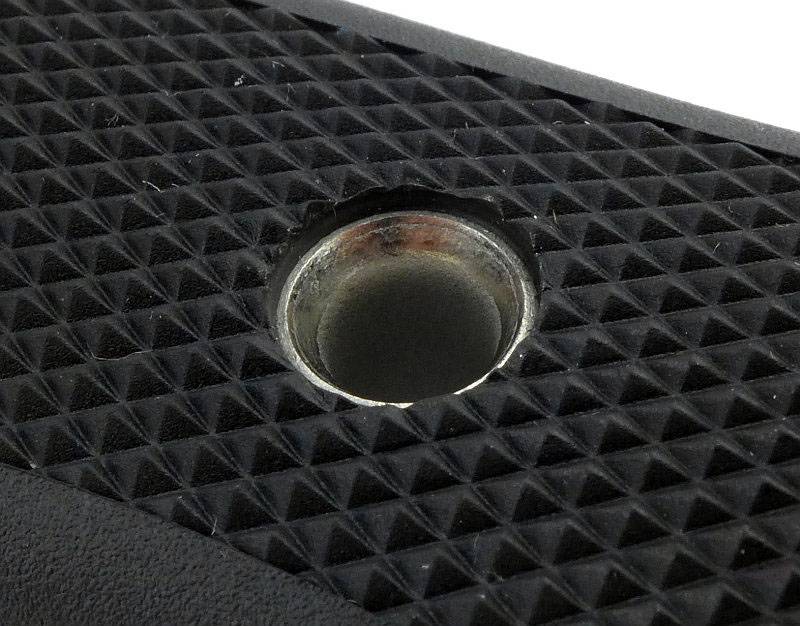
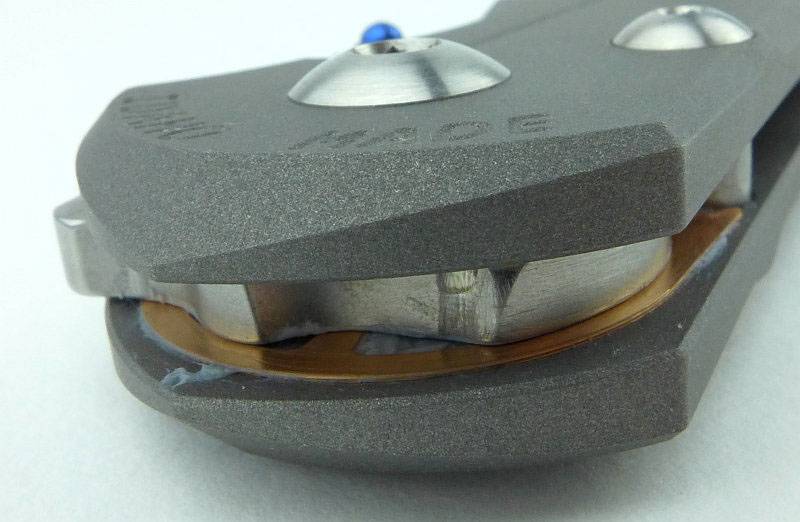
The overall impression of this knife is good, but its mass produced character is visible when you start looking and small details. Here the micarta handle is not a perfect fit.
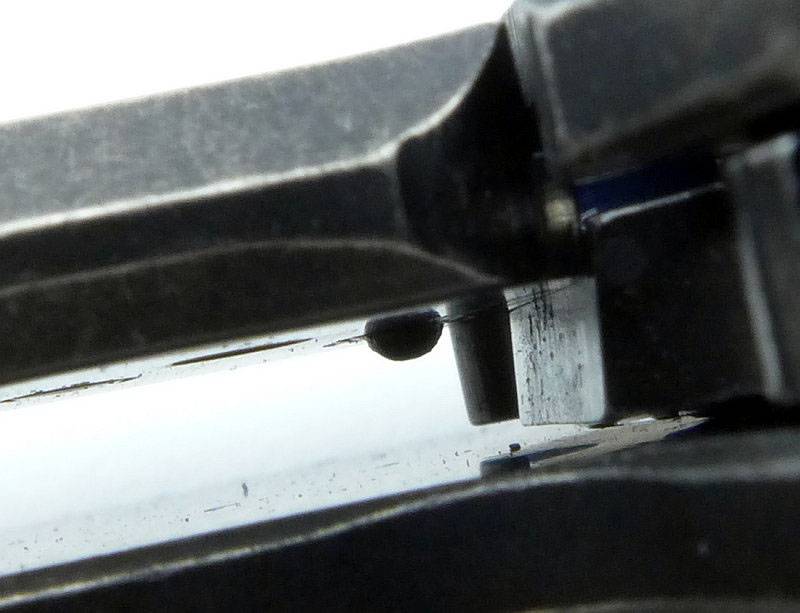
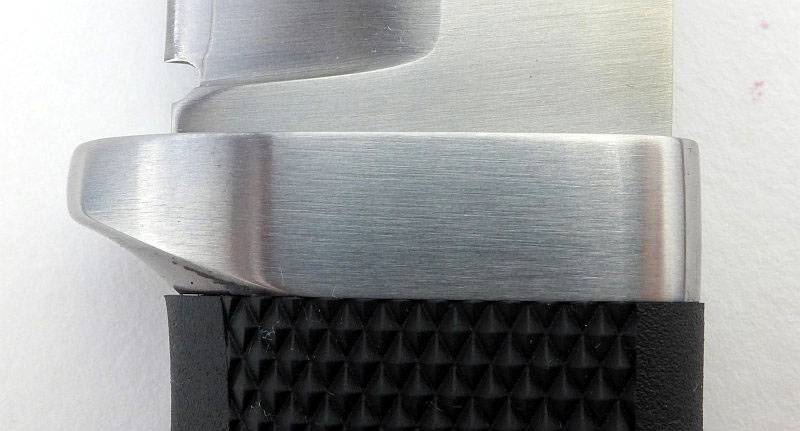
Still looking for flaws, this time at the pommel, the grinding is not that precise and filler appears to have been used between the micarta and steel pommel.
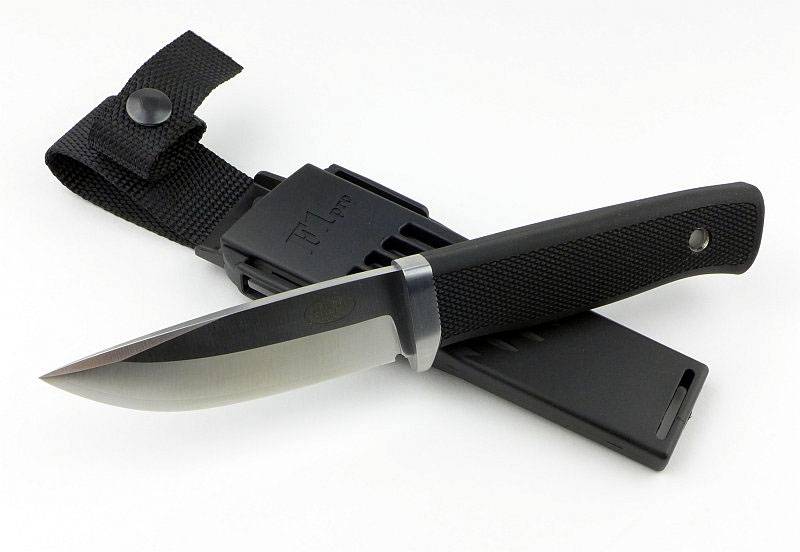
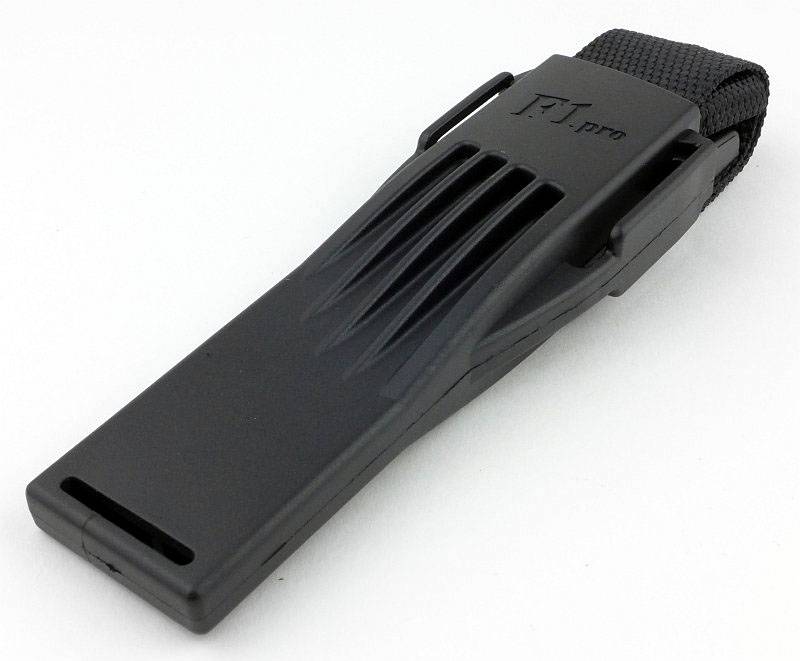
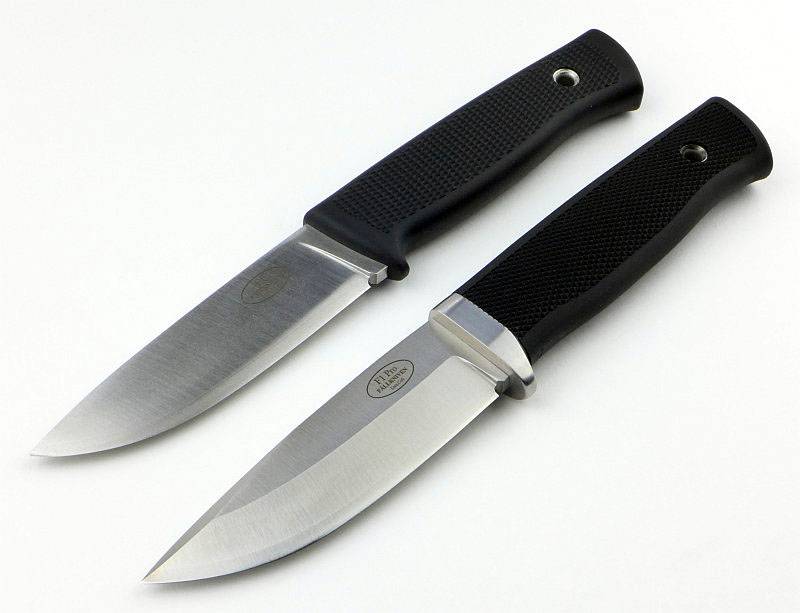
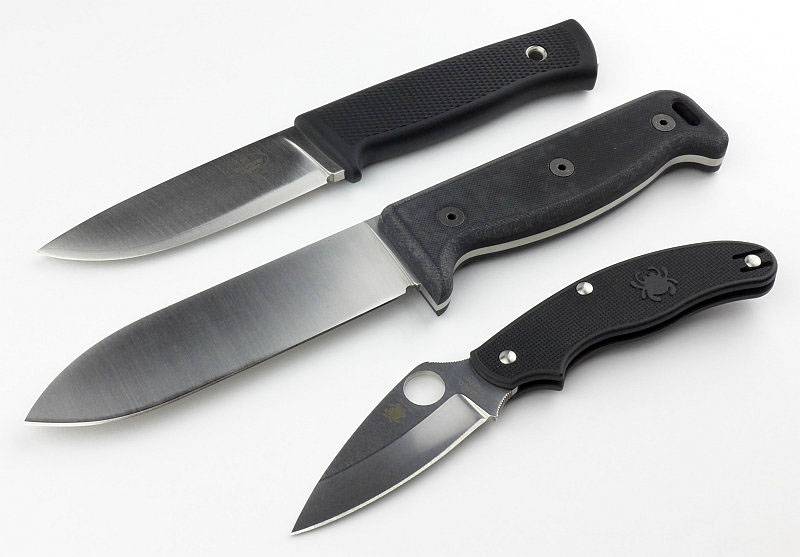
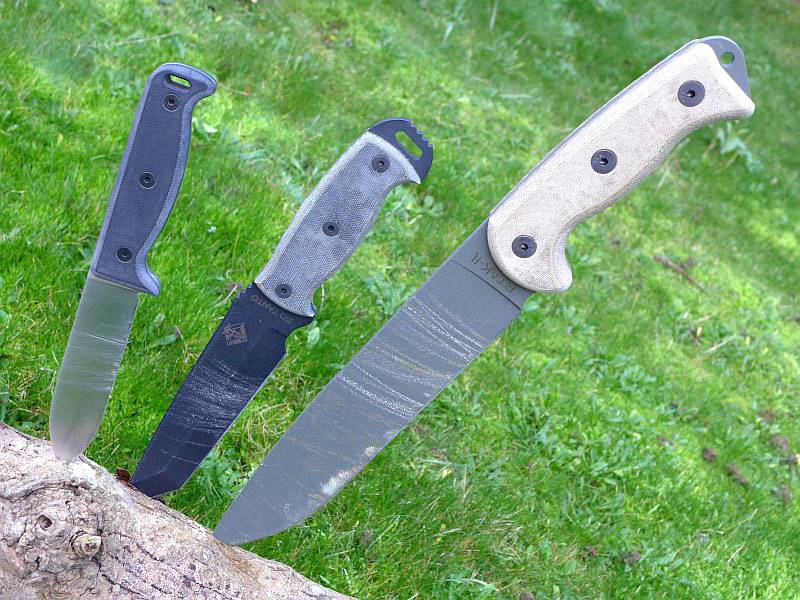
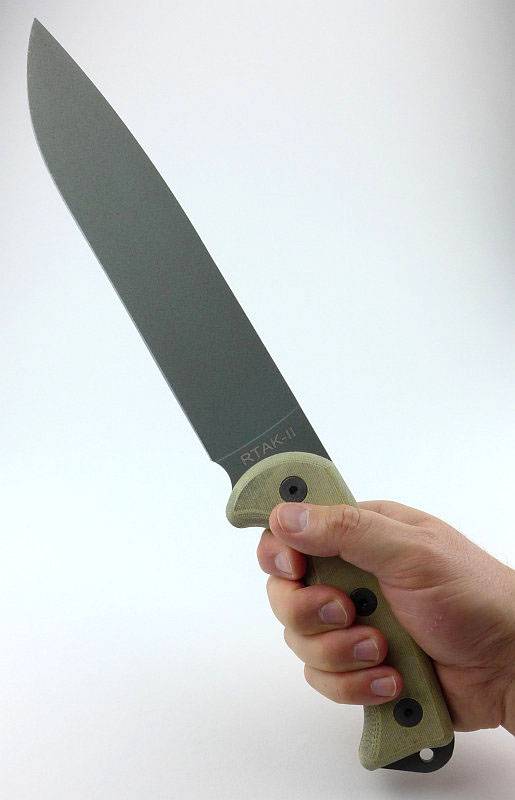
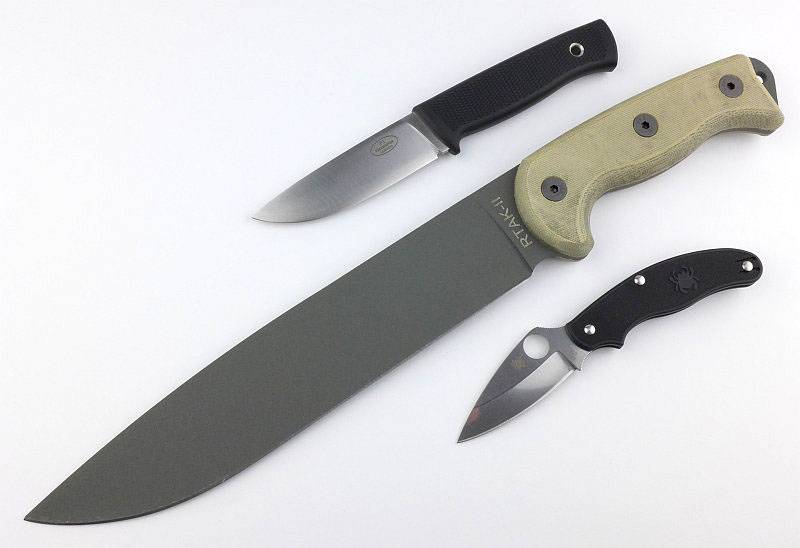
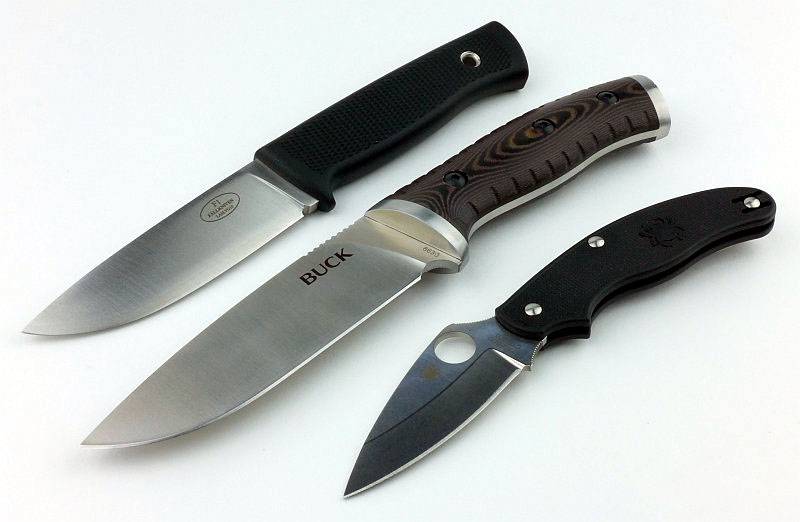
The Selkirk with a couple of other well known knives to provide the scale. (Fällkniven F1 and a Spyderco UK Pen Knife)
One last look at this knife before moving onto the Froe.
A few more details of the Compadre Chopping Froe:
First impressions are really good thanks to the leather sheath the Froe arrives in. The only other item in the box is the warranty card.
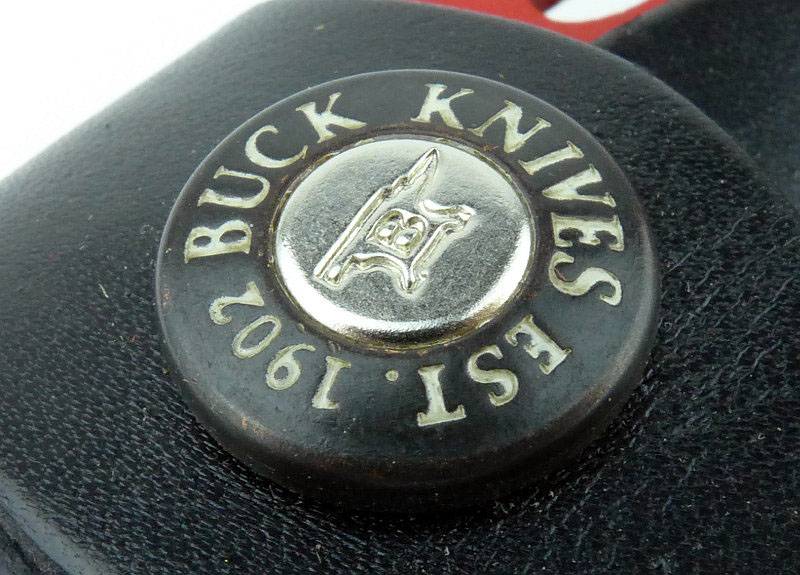
Immediately obvious are some nice touches like the retaining strap’s popper cover having Buck’s logo and name on it.
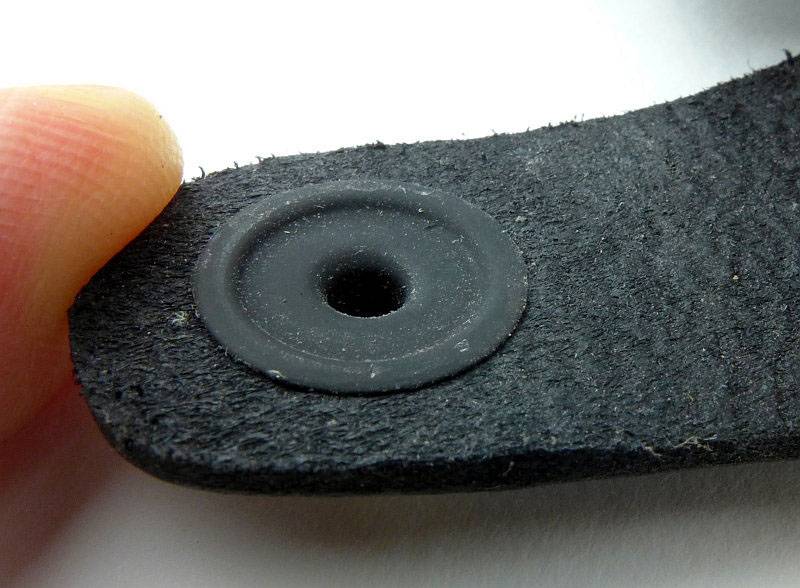
Also of note with the retaining strap is that the metal back of the popper that sits against the handle has been covered to prevent it marking the wooden handle.
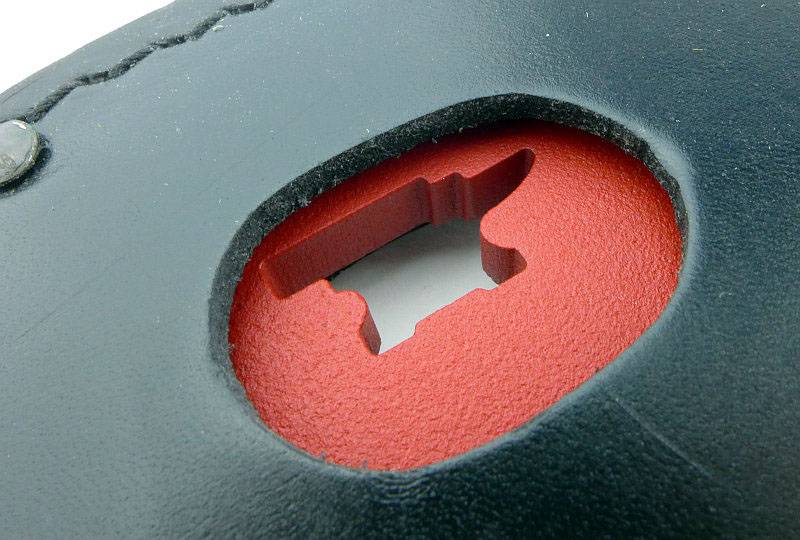
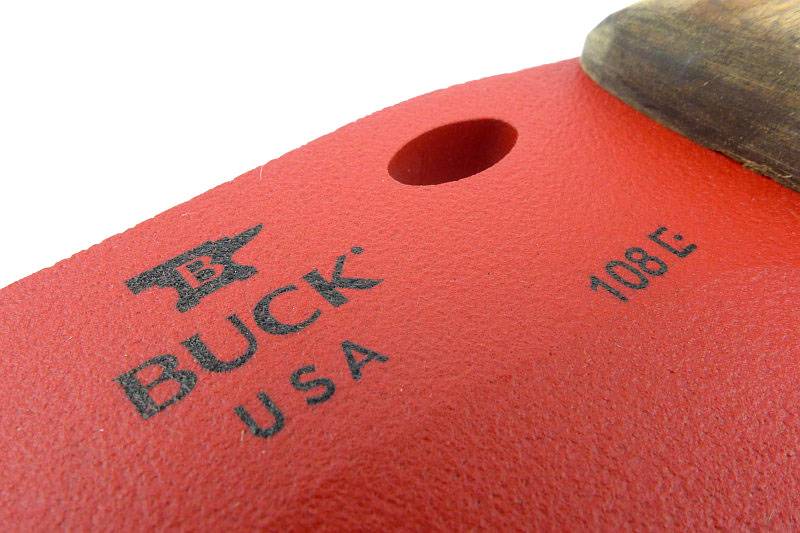
There is a cut-out in the sheath that shows the Buck anvil logo cut into the blade.
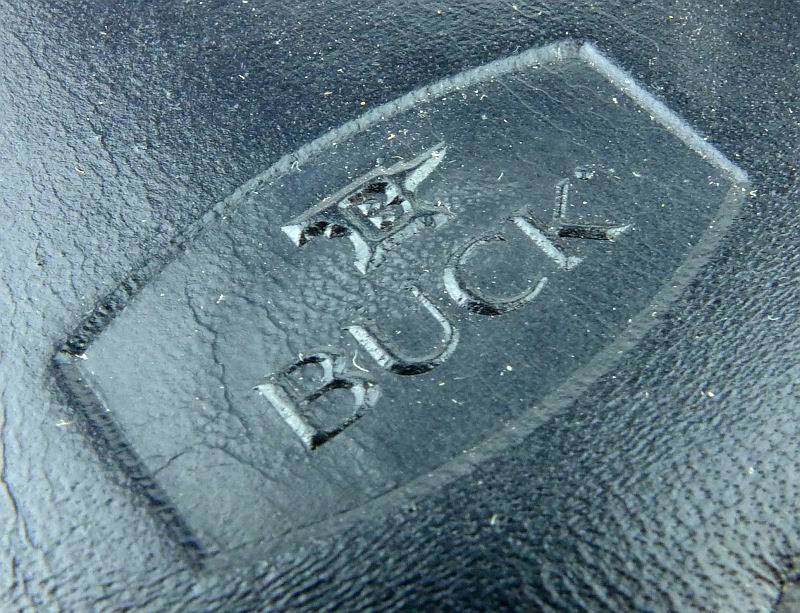
Pressed into the leather sheath is the Buck logo.
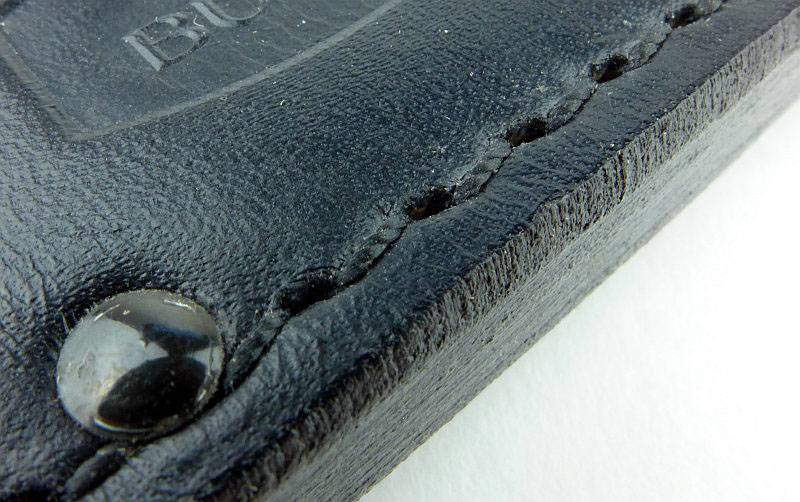
The sheath is well stitched and riveted for extra strength.
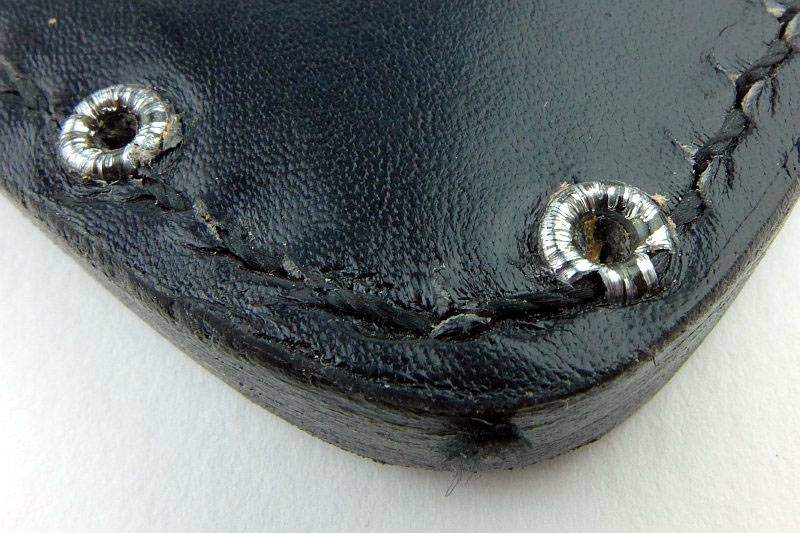
On the back of the sheath the rolled rivet heads are not as neat as on the front, but fit with the rivet colour used for the hanging loop.
The rolled over heads of the rivets on the back of the sheath look like this.
A nice heavy duty D-ring is used for the hanger.
Opening the two retaining straps allows the Froe to slide out.
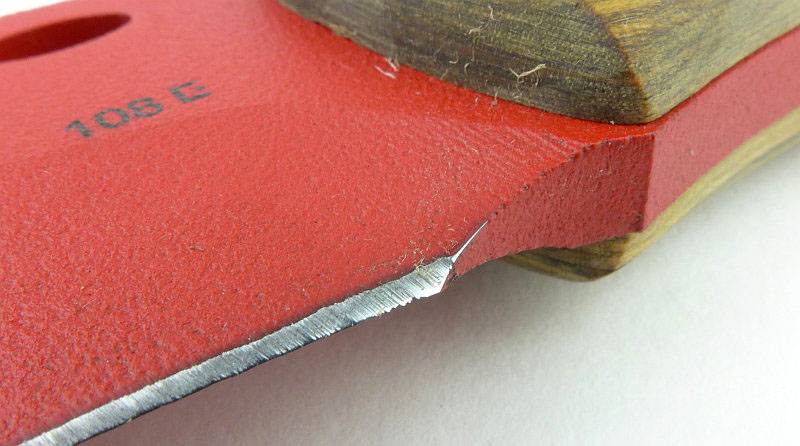
A very obvious label warning you not to strike the Froe’s blade with hardened tools is on the side of the blade. This is no different to traditional froes or any other blade you might baton with.
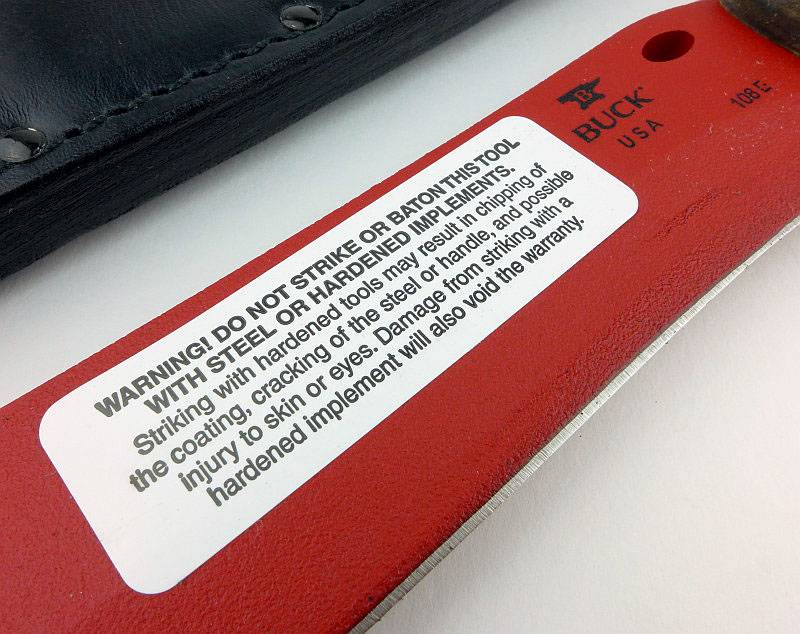
Whipping the label off gives you the full effect of the red powder coating.
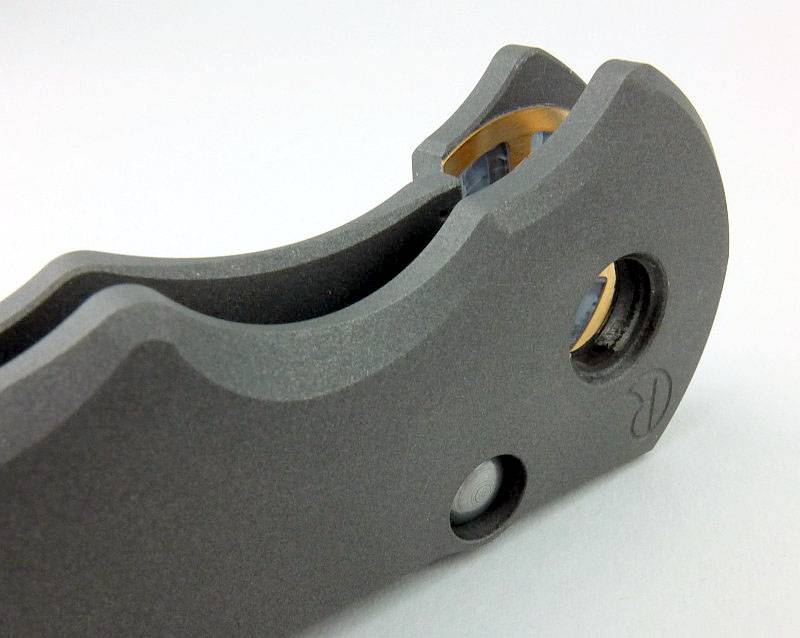
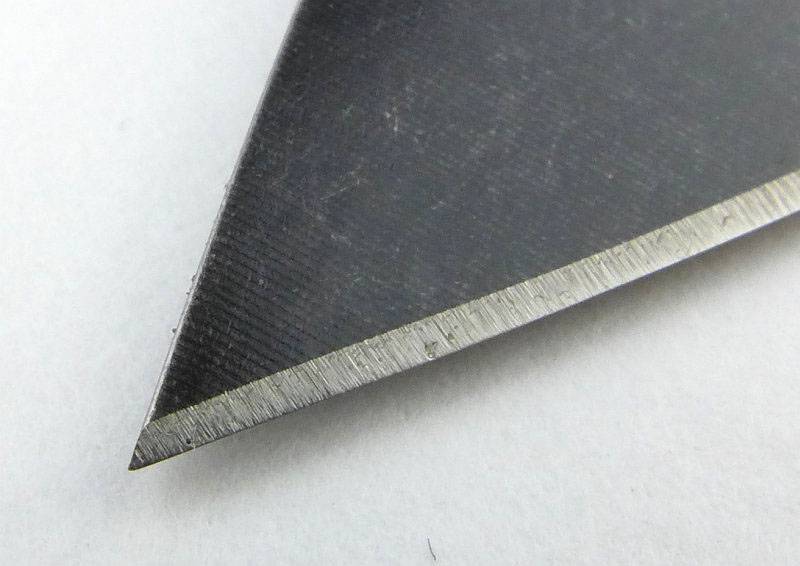
The ‘tip’ of the blade shows the splitting wedge design of the blade grind.
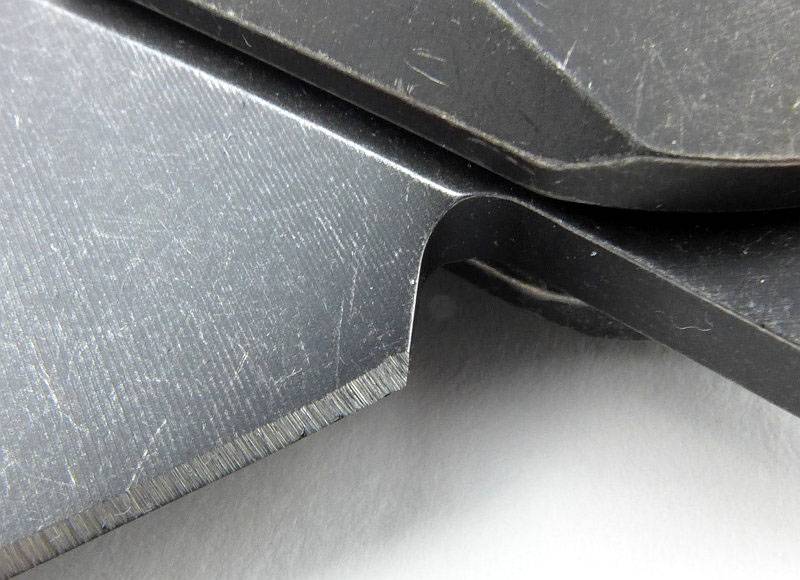
There is a subtle choil next to the handle.
At the top of the blade next to the handle there is a hole in the blade. Though this could be used as a wrist strap attachment point, I would advise you to be very careful if you want to do this as it can become more dangerous than the tool coming out of the hand.
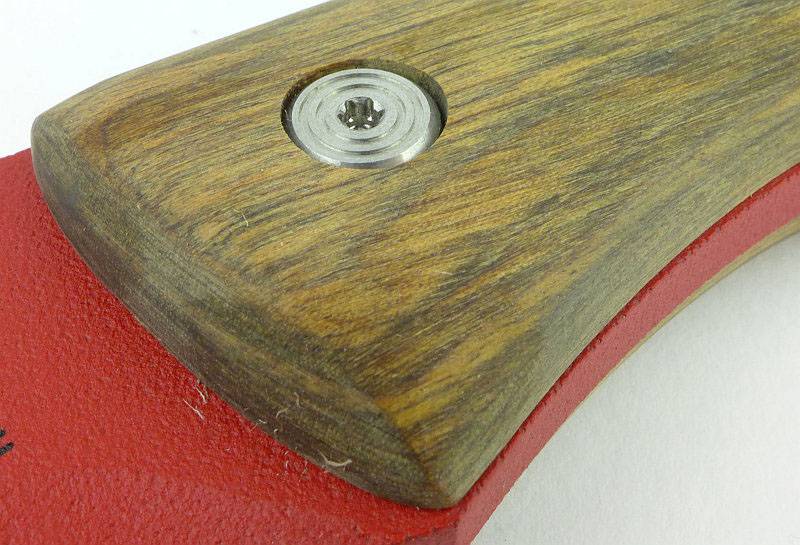
The American walnut handle slabs are held on with nice looking bolts.
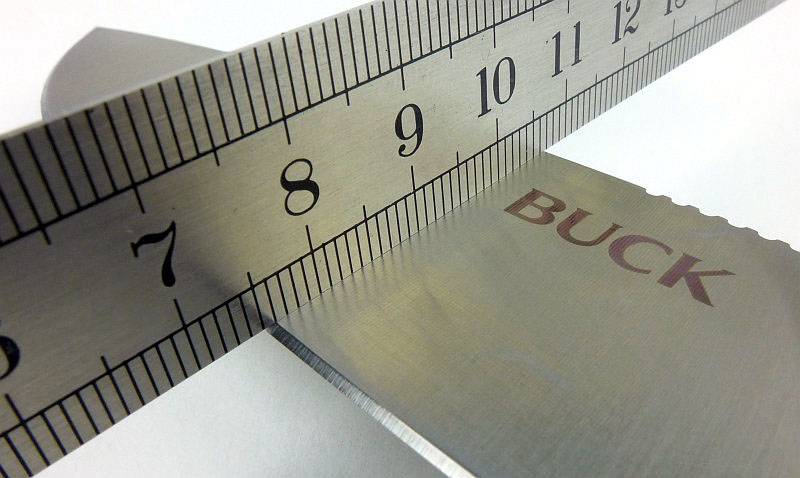
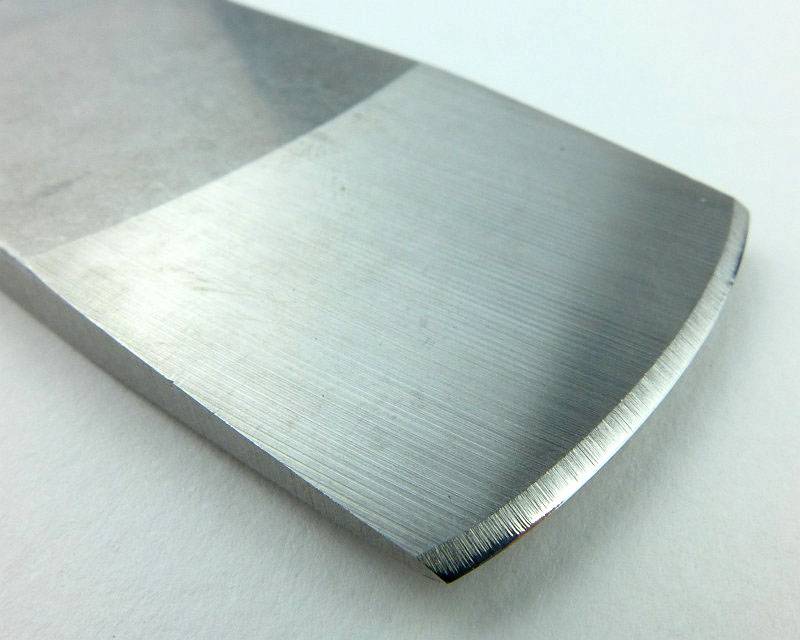
Blade stock used for the Froe is substantial.

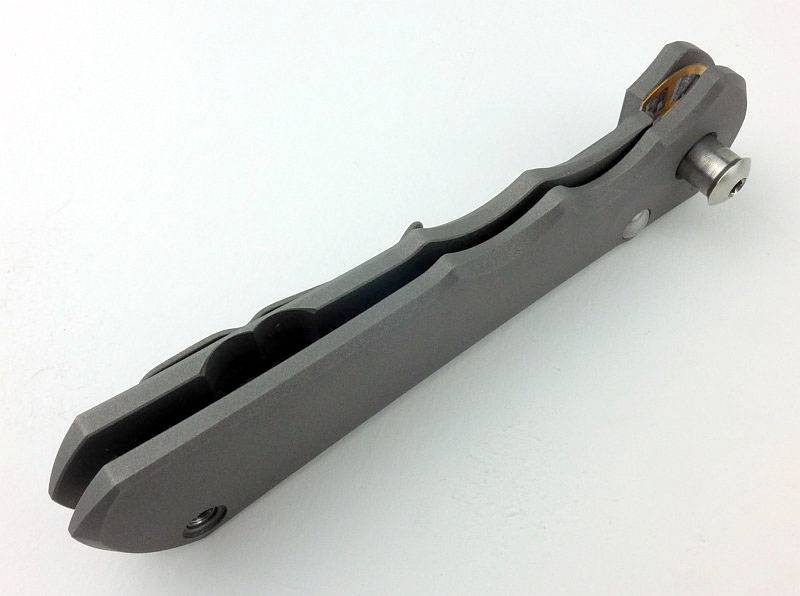
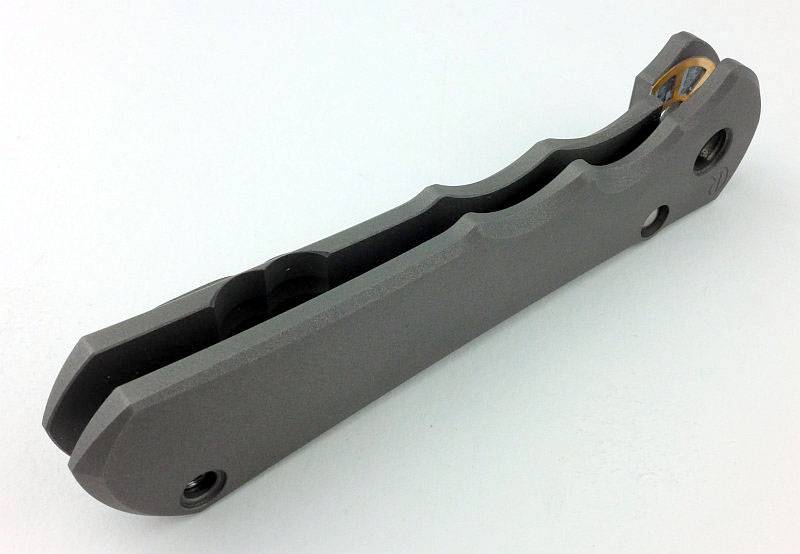
Having a long handle, the Froe can be used with different grips.

looking along the Froe to show more of the contours of this tool.
There is a nice swell at the pommel to prevent slipping, but no striking surface. If you hammer on, or with, this tool you risk damaging the handle. This view also shows the handle is made from plywood, not solid wood, as this will be more resilient and resistant to cracking.

A few more details of the Kinetic Fishing Spear:
And now for something completely different, a fishing spear.
Folding flat, the Kinetic Fishing Spear is very neat in its folded state.
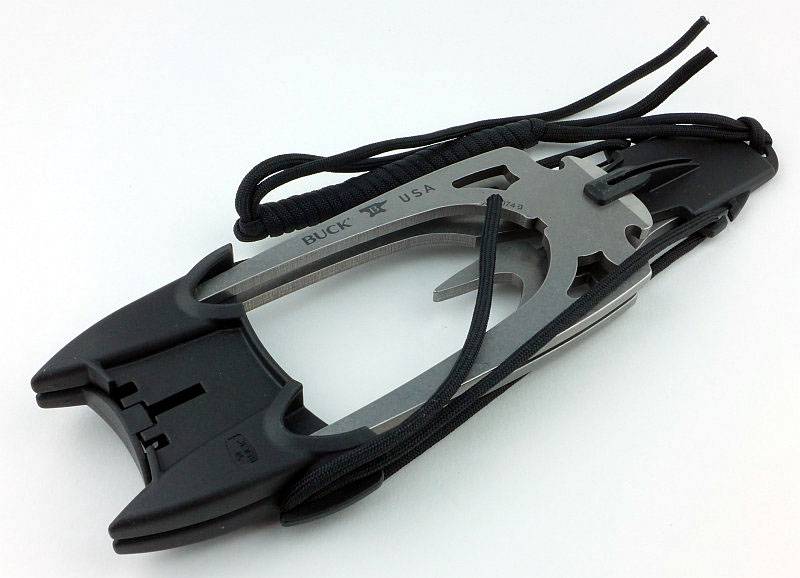
This package is held together by a paracord tie and a pinch-grip.
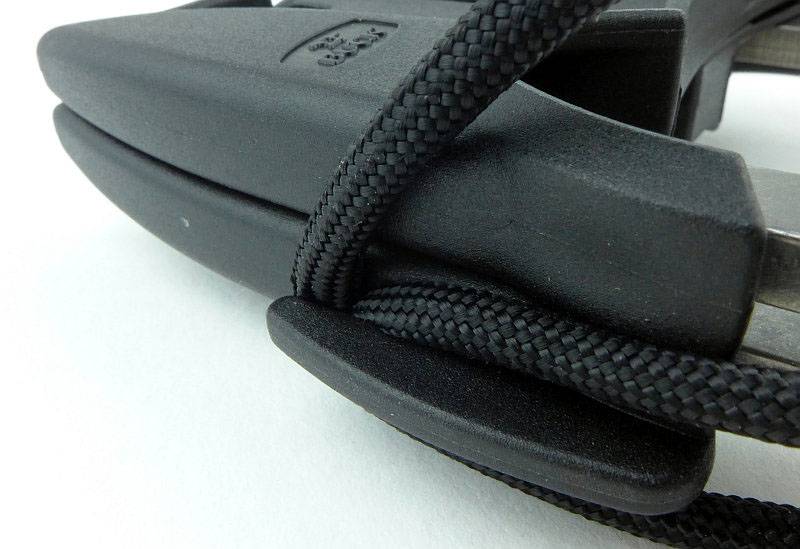
Pulling the end of the cord out of the pinch-grip you can start to unwind it.
Releasing one side of the plastic cover.
The pinch-grip has small teeth to hold onto the cord.
The same piece of cord then releases the other side of the cover.
Fully unwound the cord comes completely off the cover.
Now you can slide off the lower cover.
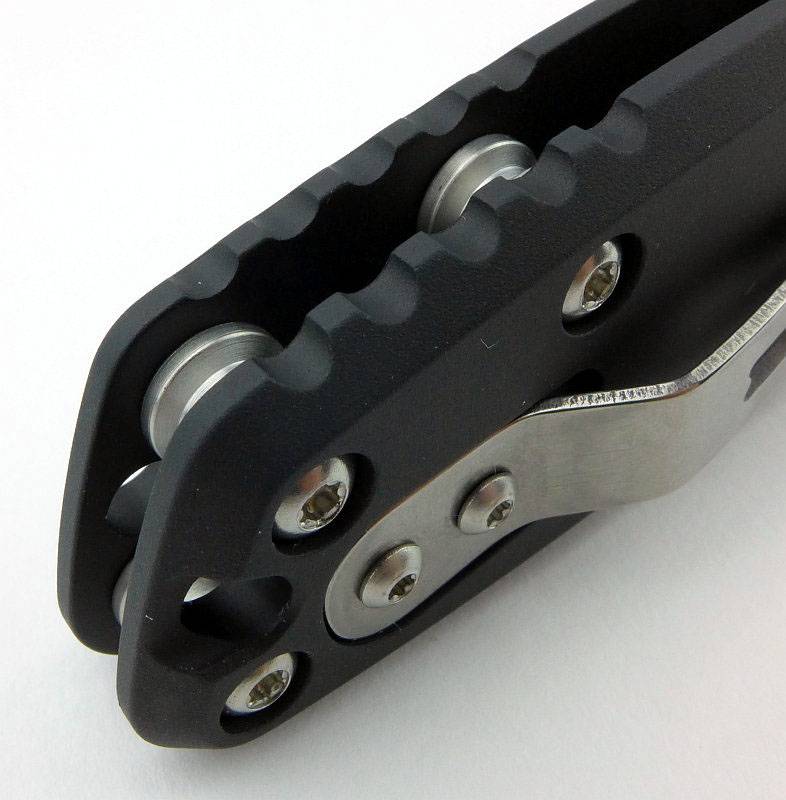
And then the point covers, which also slide apart to give two separate pieces.
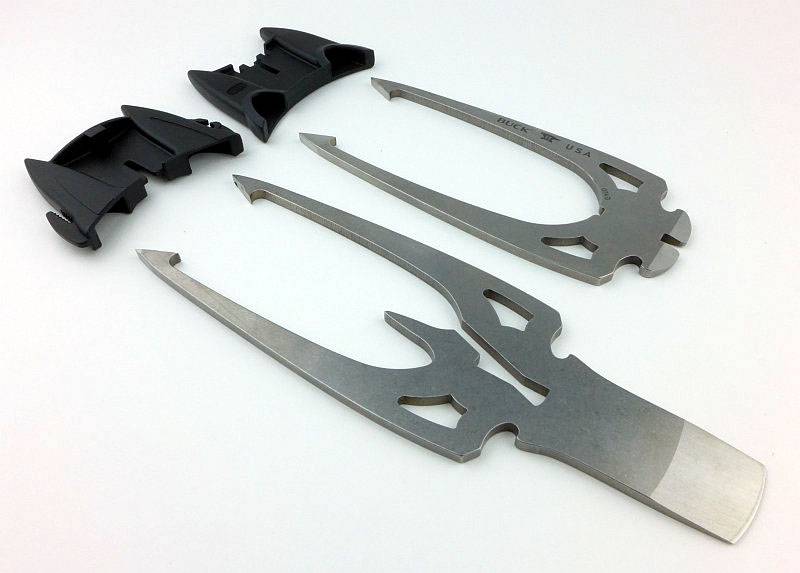
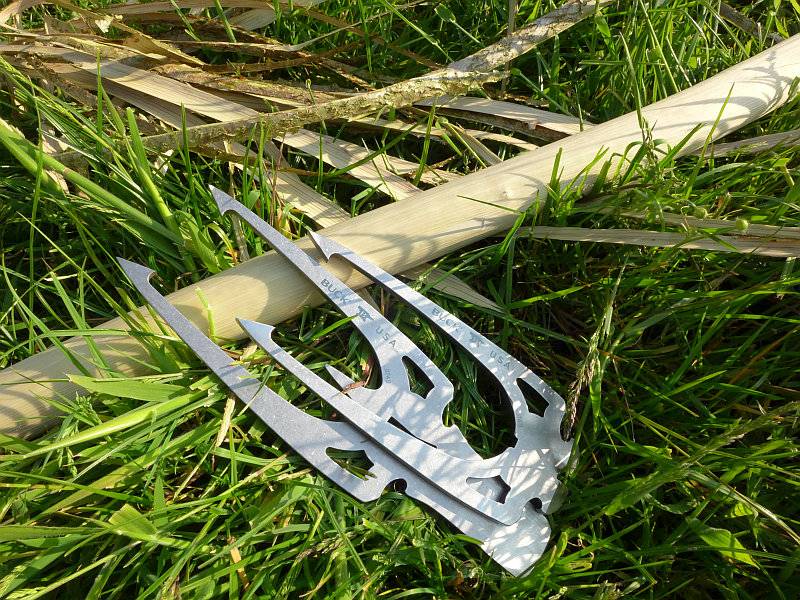
The shorter of the two parts of the spear head slides into a slot in the larger part.
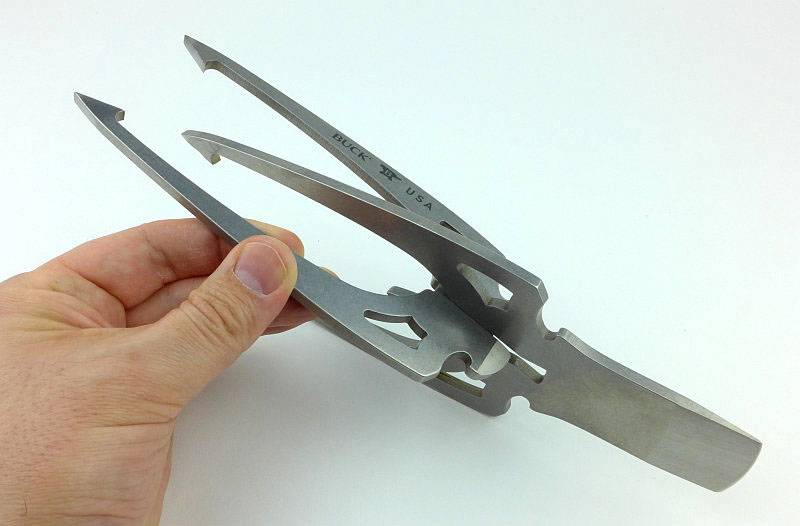
This then rotates into place, and in this position cannot move backwards or forward.
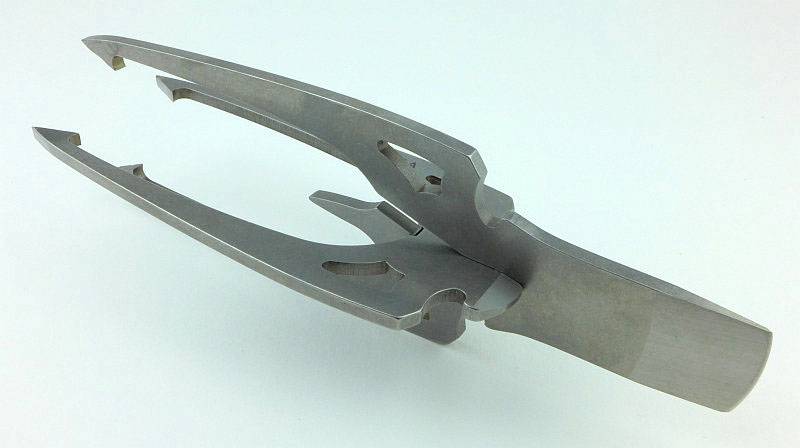
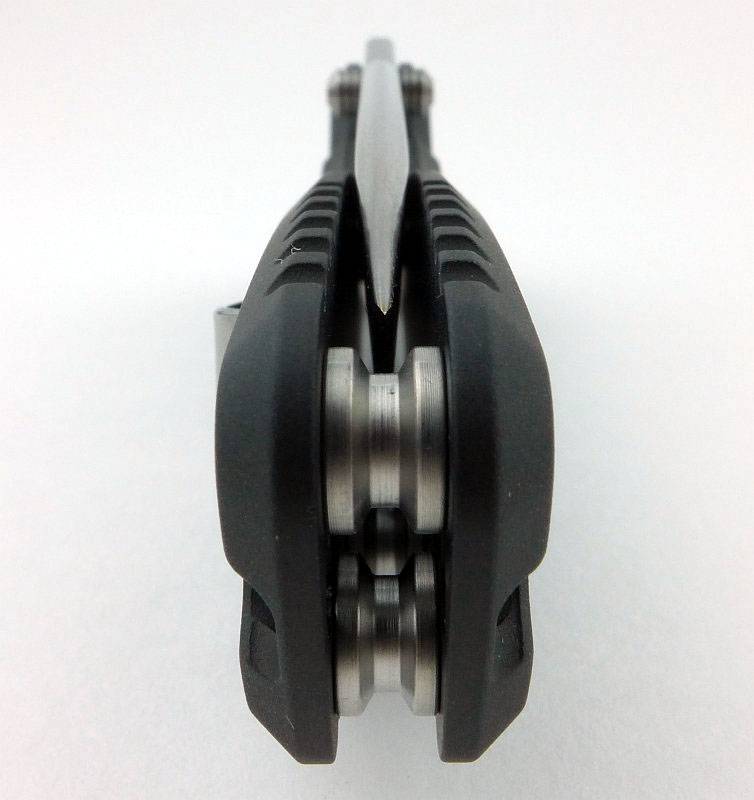
When assembled the spear suddenly looks very capable.
The smaller piece has the Buck logo on it.
As does the larger piece.
A really cleaver feature is that the two pieces of the point guard slide together to form a cross shape.
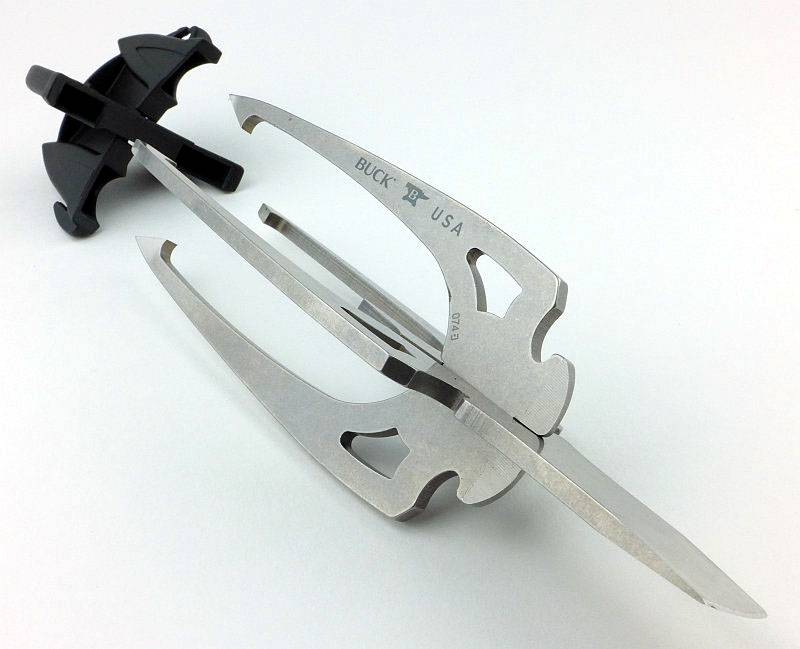
This cross shaped guard can then cover the points of the assembled spear head.
There is a barb on each of the four points.
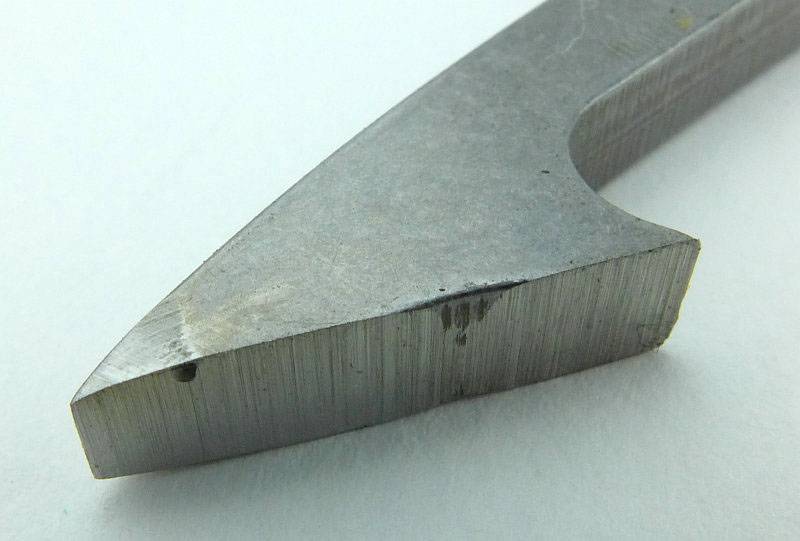
A chisel point is provided on the tang of the larger piece of the spear that can both be used for some of the spear pole preparation, and to make it easier to drive into the end of the pole.
What are they like to use?
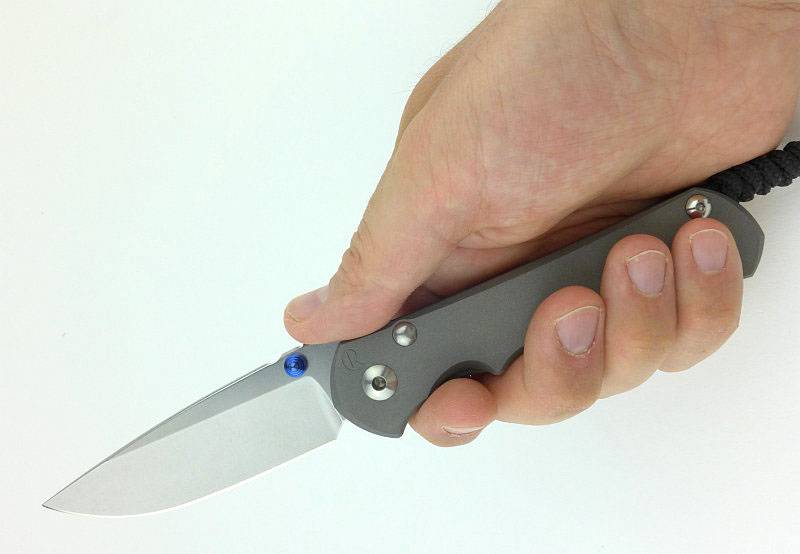
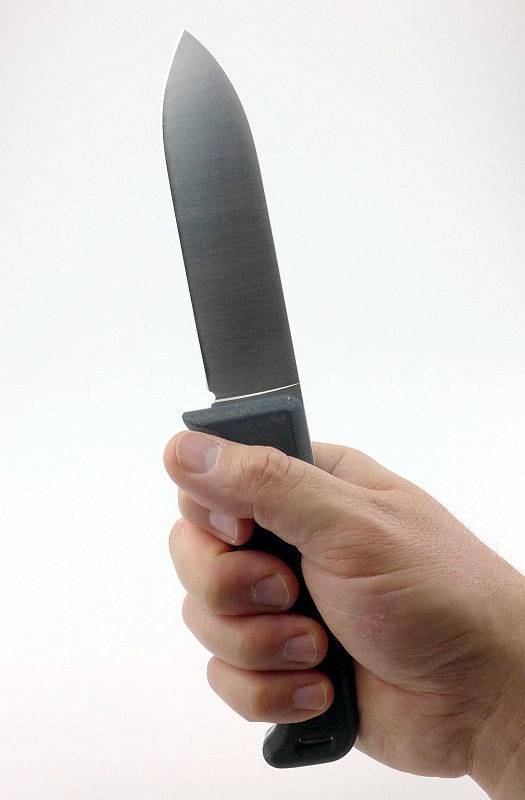
It is not that I expected anything to be bad about the Selkirk, but it has really surprised me just how good it has been for me to use. Not only that, but anyone I’ve handed it to has also been impressed with how good it feels in the hand.
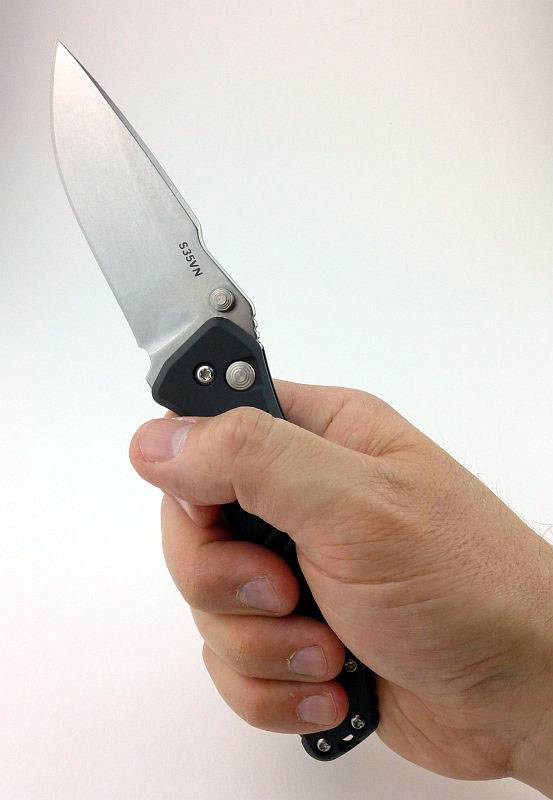
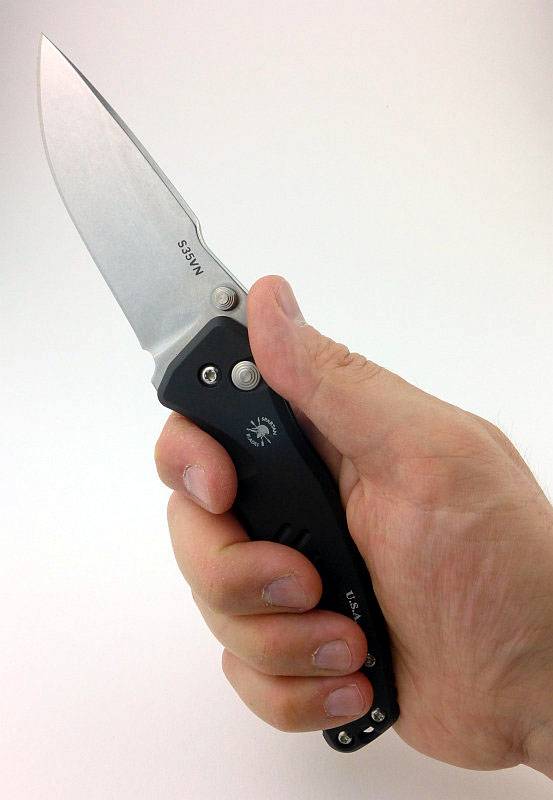
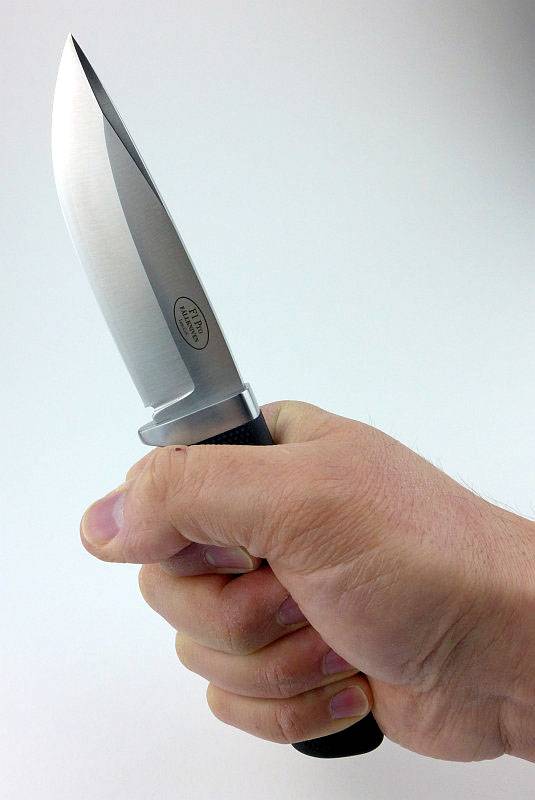
Remembering that I take an XL size glove, this is how the Selkirk looks in the hand.
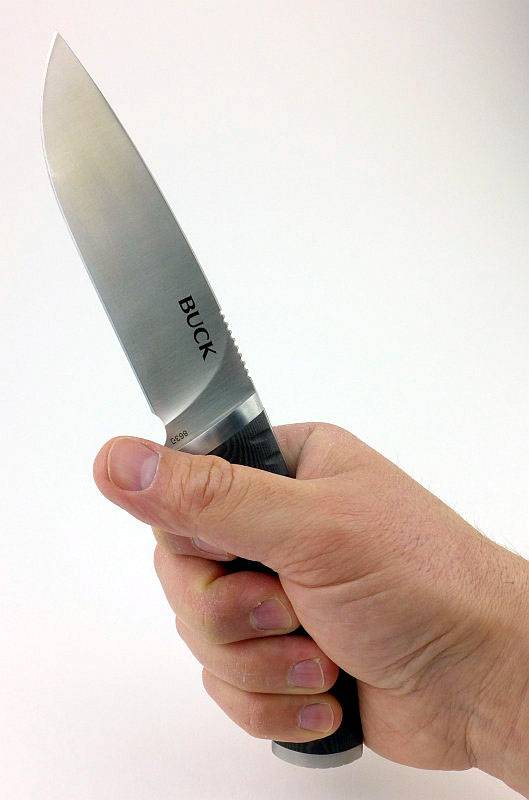
The shaping of the handle is excellent. The palm swell is just enough to sit very naturally, and the curve of the handle allows your hand to work with the Selkirk. Flaring at the front and back of the handle stops you hand moving, and even working hard with this knife on hot days with sweaty hands didn’t cause any issues.
Resting between cutting jobs, the Selkirk just seems to stay in place in a relaxed hand, and when working I was never aware of the handle, instead all my focus was allowed to fall onto the cutting task and directing the blade. I did not expect this level of comfort and control.
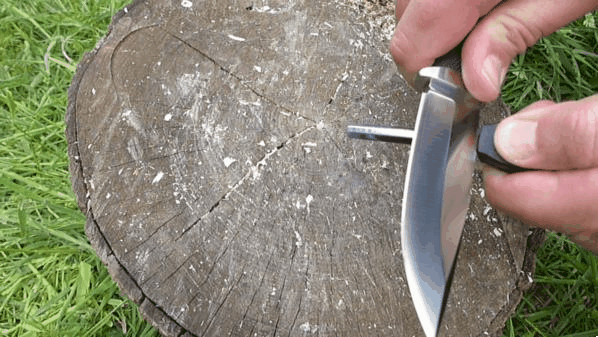
I’m going to look at more of the Selkirk in use later on, but switching now to the fire-lighting capability of the Selkirk, and how well it strikes sparks from the ferrocerium rod.
As the product description from Buck specifically says the choil has been left with a sharp corner to use for striking sparks, I’ll start with this. Once you get through the outer coating of the new rod, you then start to get proper sparks. Using the choil does work OK, but is not that good.
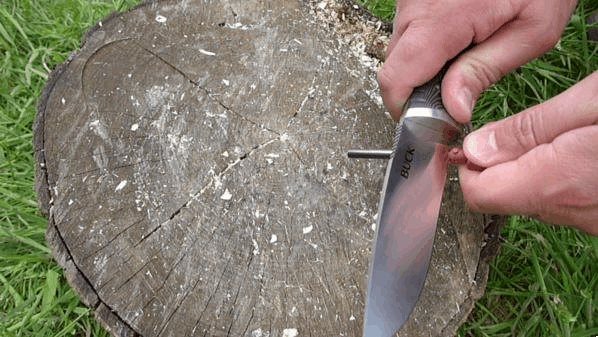
Flip the blade round and use the spine instead and you are rewarded with a bigger shower of sparks. So the specific feature of using the choil to strike sparks is a little redundant. What you do have is a choice of more or less sparks. Striking fewer sparks with the choil will wear the fire-rod away less and may be all you need.

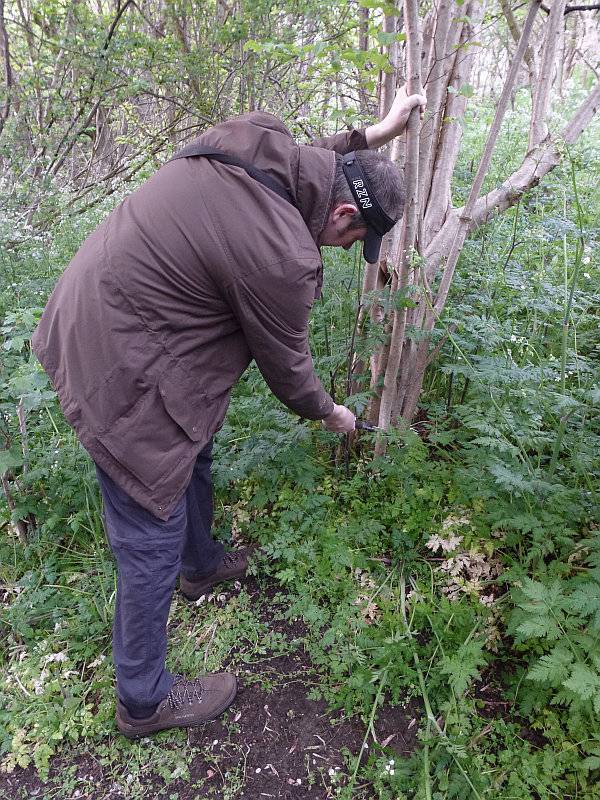
Scaling up in size we have the heavy Chopping Froe. Here the grip is closest to the pommel and gives the greatest striking advantage.
For more control you can grip the Froe handle near the blade. This is good for finer chopping tasks, but the blade edge is not really sharp enough (due to the edge angle) for fine carving or slicing cuts.
When I initially saw the rake of the Froe’s blade, I thought it would be awkward to use, and if working onto a chopping block, the angle does mean you can’t really strike down onto the block and have the edge strike squarely, you always end up cutting into the edge of the block.
Moving to free-cutting when you are chopping through branches or the trunks of smaller trees, then this rake actually ensure the edge strikes at a slight angle which does enhance the cutting power. The Froe is very efficient when used in this way.
The more I use the Buck Froe, the more I would compare it to a hatchet rather than a knife, but a hatchet with a very long edge and which does not need a precisely positioned strike to get a good result. The knife edge, despite being sharp enough, is not well suited to anything but chopping. The blade thickness and steep primary grind make it pretty hopeless for slicing cuts and the overall size/weight and rake make fine work difficult.
Finally a quick mention of the Kinetic Fishing Spear. Unfortunately I’ve not been able to spear any fish with it so far. Not due to always missing, but due to a lack of suitable fishing opportunities. Mounted it seems very capable and with an overall good balance, but unfortunately up to now that is as far as I can comment.
Mounting the Kinetic Fishing Spear
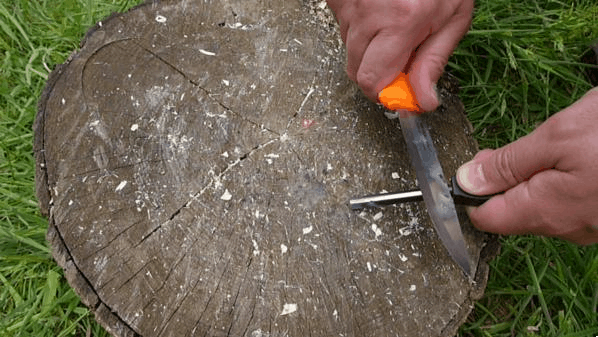
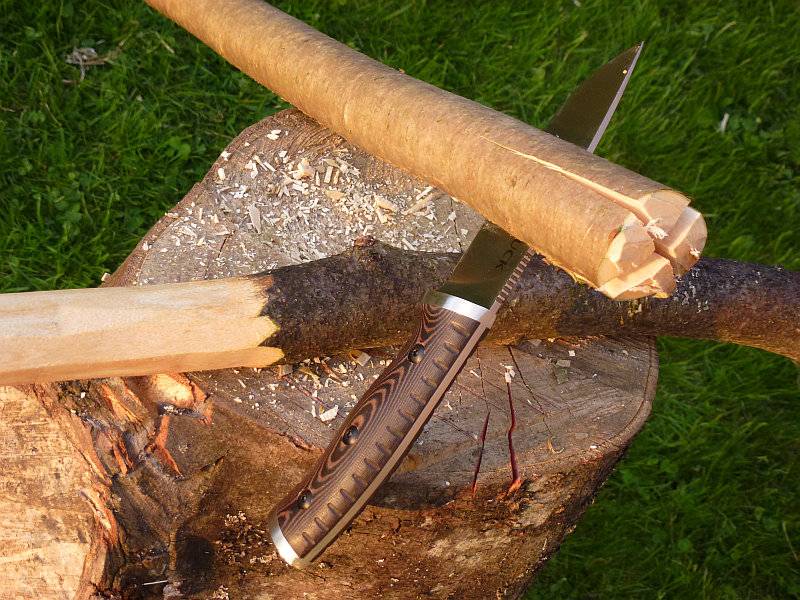
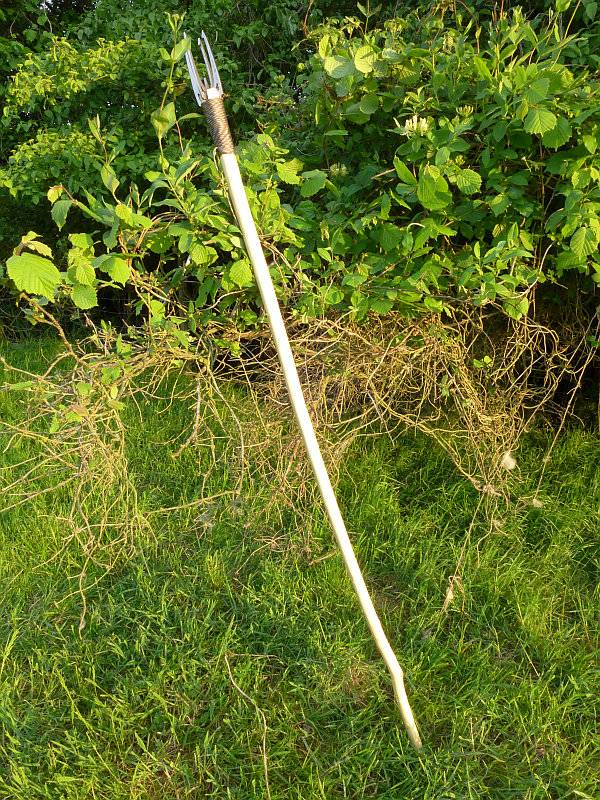
One small project that would cover all three of these Buck products is to make a shaft for the Kinetic fishing spear head. A quick visit to a local wooded site resulted in a pole for a first attempt.
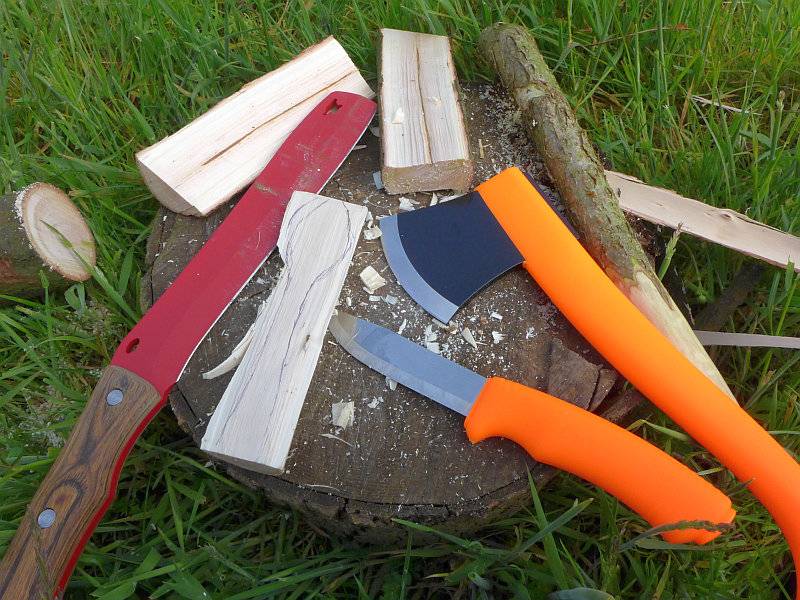
Working onto a cutting block I used the Froe to trim the pole to length and to prepare a baton for later. As you can see here the Froe has cut quite deeply into the edge of the cutting block.
The spear head needs a cross shaped split to fit into. For finer control than the Froe would provide, instead I went for batoning the Selkirk to create the split.
A quick clean up of the end of the pole.

And setting the Kinetic spear head into place.
Then using a cord wrap to hold the spear head firmly. (keeping the cord in a single piece and using a whipping technique to secure the ends.
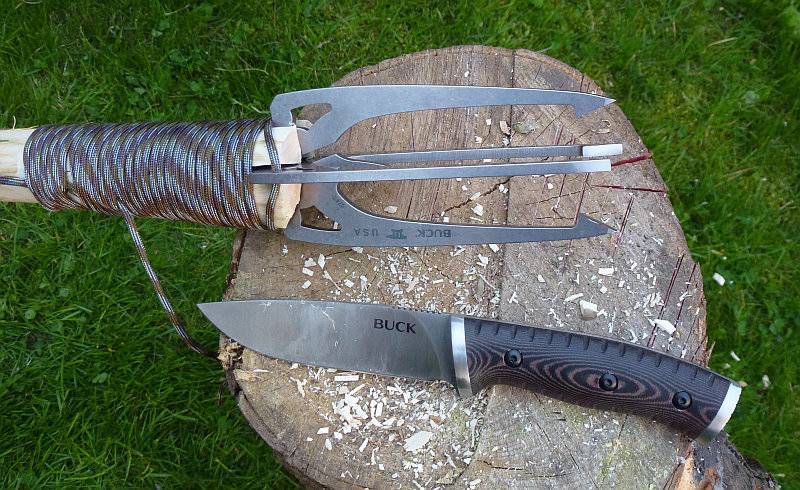
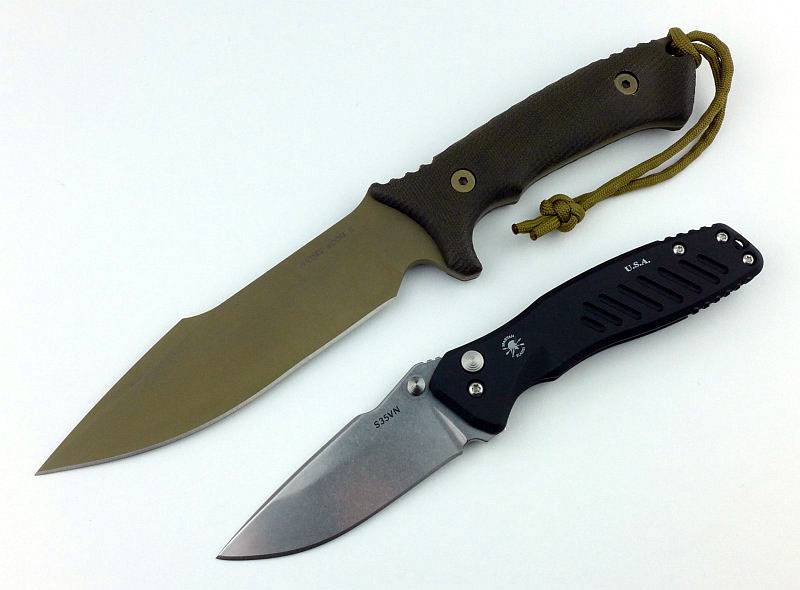
All ready to go, the fearsome Kinetic spear and the partnership of the Selkirk and Froe.
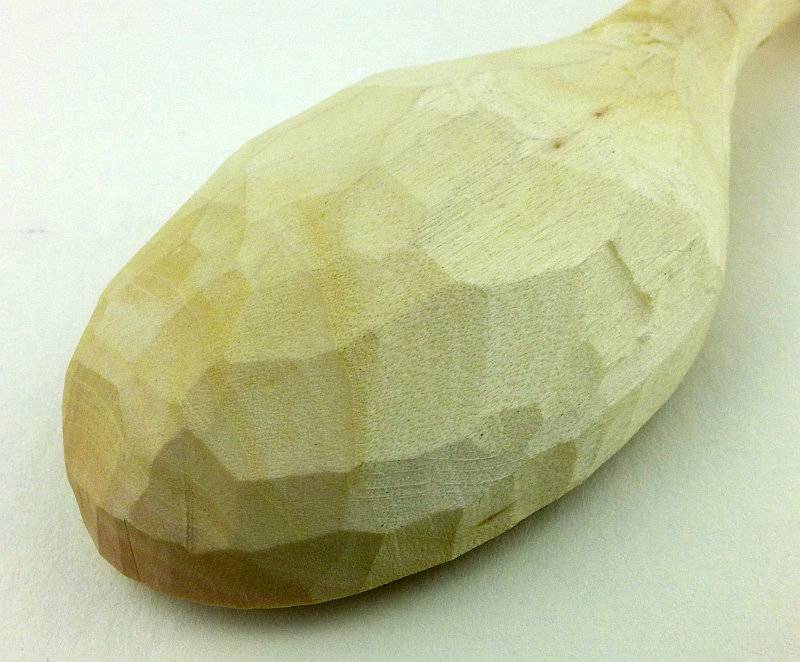
Onto another project, and in this instance I was making a wooden spoon. This requires some careful splitting of a small log, so again I whipped up a baton and used this for making the controlled split with the Froe.
The splitting worked very well and the Froe also did a little rough shaping, before it became a little awkward to use due to the rake.

Other tools were used, but it all started with the Froe.
While things were going well I decided to have another go at the spear’s pole. I found a rather good piece of hazel, and this time cleaned off all the bark with the Selkirk.
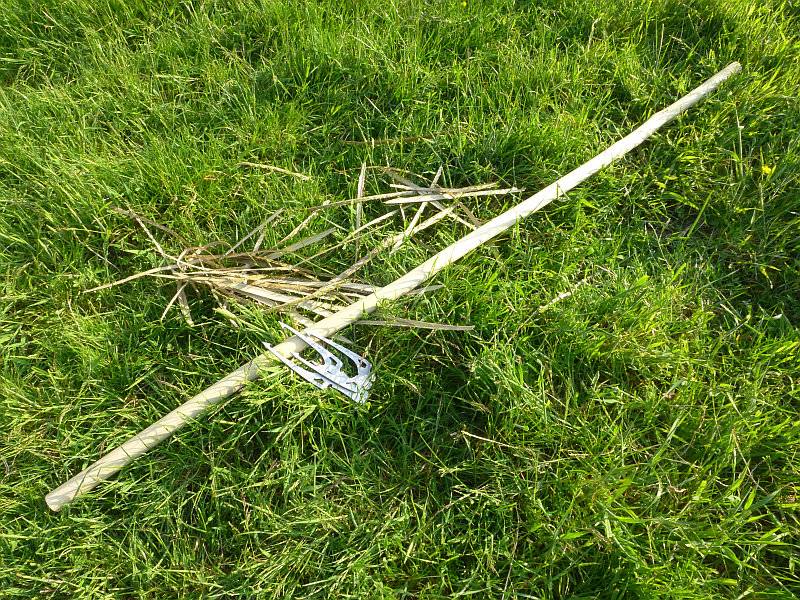
The size of the pole was chosen to suit the tang of the spear head.
Pre-split using the Selkirk, the Kinetic spear head was then tapped into place.
Wrapped tightly with paracord to secure the head. As the wood dries further the cord needs to be re-wrapped to stay tight.
Ready to go, the only issue, no suitable fishing spots round here.
Review Summary
The views expressed in this summary table are from the point of view of the reviewer’s personal use. I am not a member of the armed forces and cannot comment on its use beyond a cutting tool or field/hunting knife.
Something that might be a ‘pro’ for one user can be a ‘con’ for another, so the comments are categorised based on my requirements. You should consider all points and if they could be beneficial to you.
| _______________________________________________ |
_______________________________________________ |
| Things I like |
What doesn’t work so well for me |
| _______________________________________________ |
_______________________________________________ |
| Selkirk – Excellent handling. |
Selkirk – Fit/Finish is not the best. |
| Selkirk – Versatile sheath. |
Selkirk – Ferrocerium rod retention may not be secure if not using the cord loop. |
| Selkirk – All rounder FFG blade. |
|
| Selkirk – Hammer pommel. |
|
| Selkirk – Ferrocerium rod with Whistle. |
|
| Froe – Effective heavy chopper. |
Froe – Relatively expensive. |
| Froe – Great for splitting even large logs. |
Froe – Poor performance for other cutting tasks. |
| Froe – Very sturdy leather sheath. |
Froe – Blade rake is awkward when cutting onto a block. |
| Froe – Long Handle allows different grips. |
|
| Kinetic – Strong construction. |
Kinetic – Requires mounting before it can be used. |
| Kinetic – Guard can be used folded or assembled. |
Kinetic – It is necessary to hammer on the prongs to mount it. |
| Kinetic – Cord is provided. |
|
Discussing the Review:
Please feel free to add comments to the review, but the ideal place to freely discuss these reviews is on a forum. If you started reading the shorter forum version of the review, but followed the link this full exclusive review, please return to that forum to discuss the review there.
If you read the review entirely on Tactical Reviews, please consider one of the following to join in any discussion.
EdgeMatters – Sponsored Reviews (UK based Forum for Knife Makers and Collectors)
BladeForums – Knife Reviews (US based Forum for Knife Discussion)
CandlePowerForums – Knife Reviews Section (Largest and Friendliest Flashlight Community Forum)