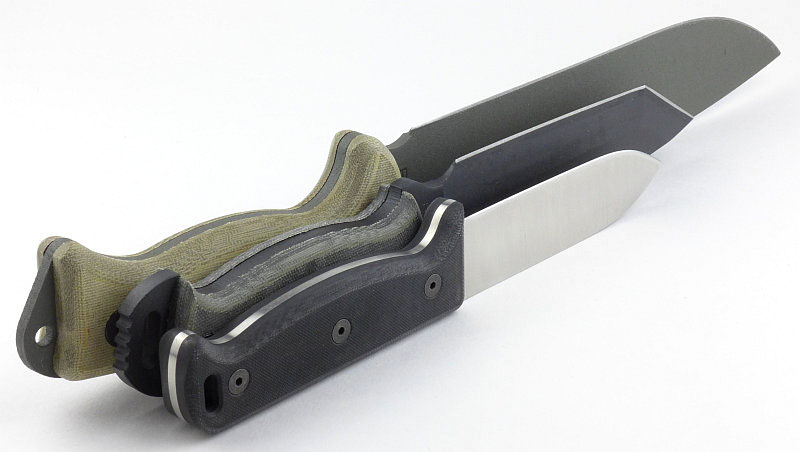
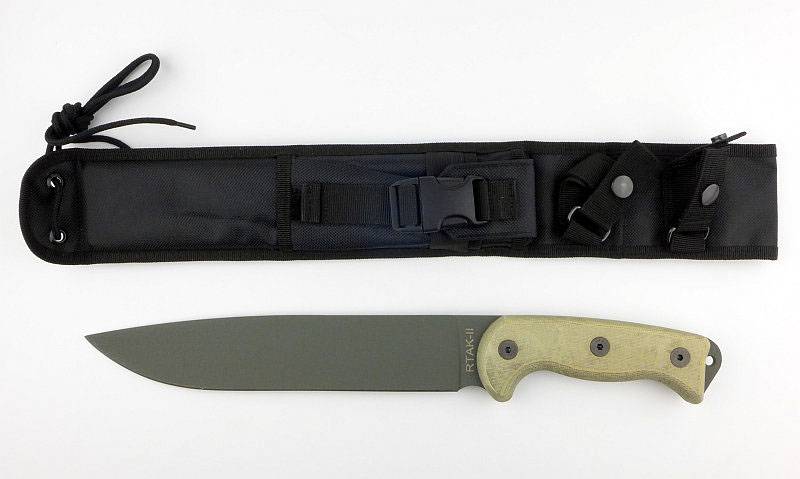
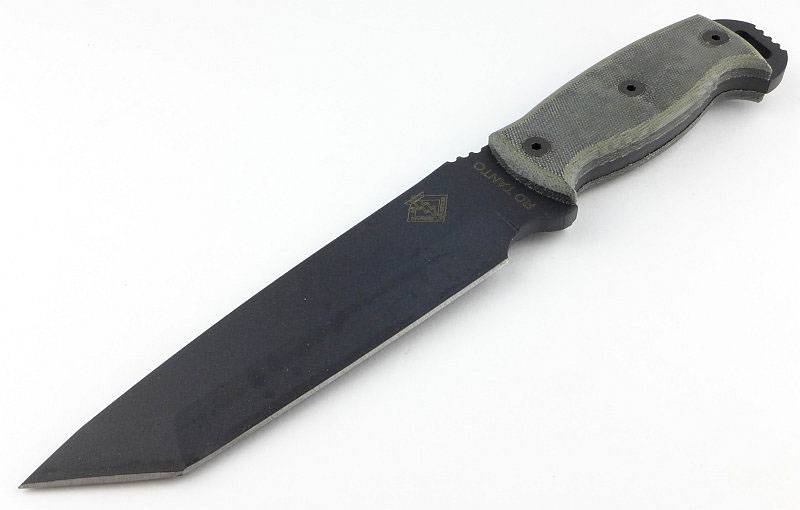
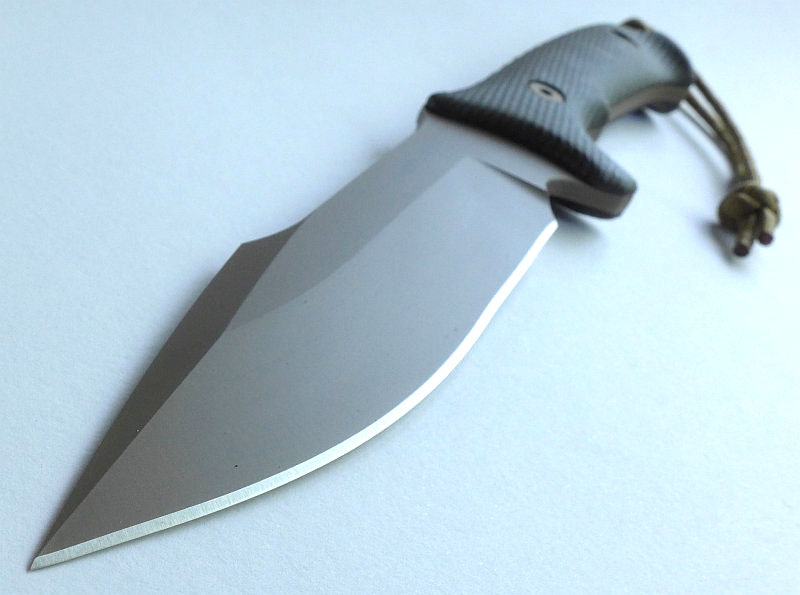
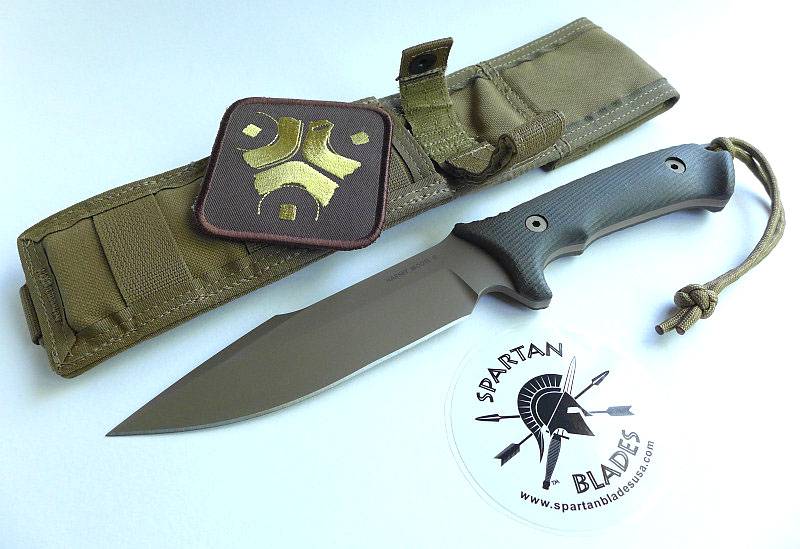
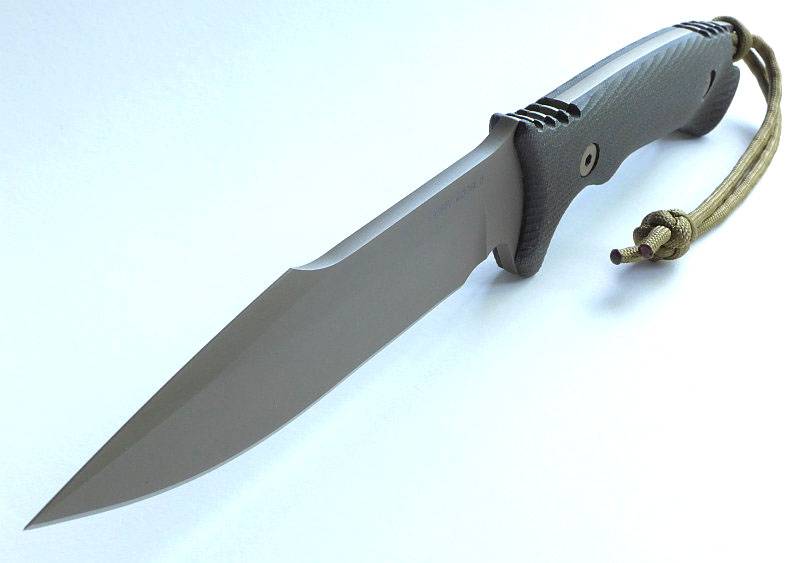
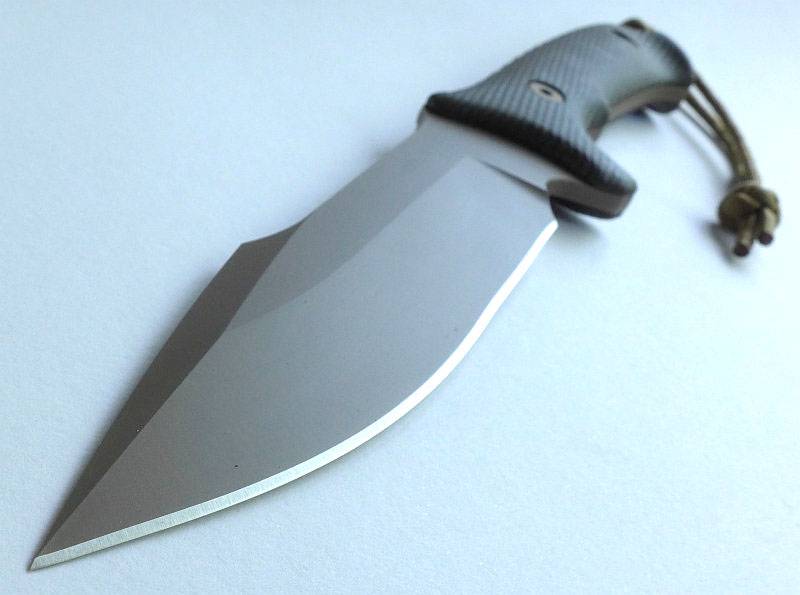
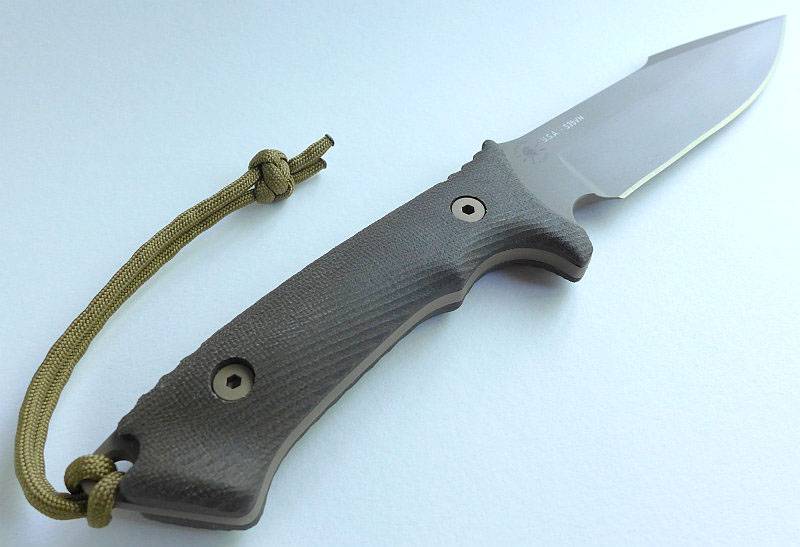
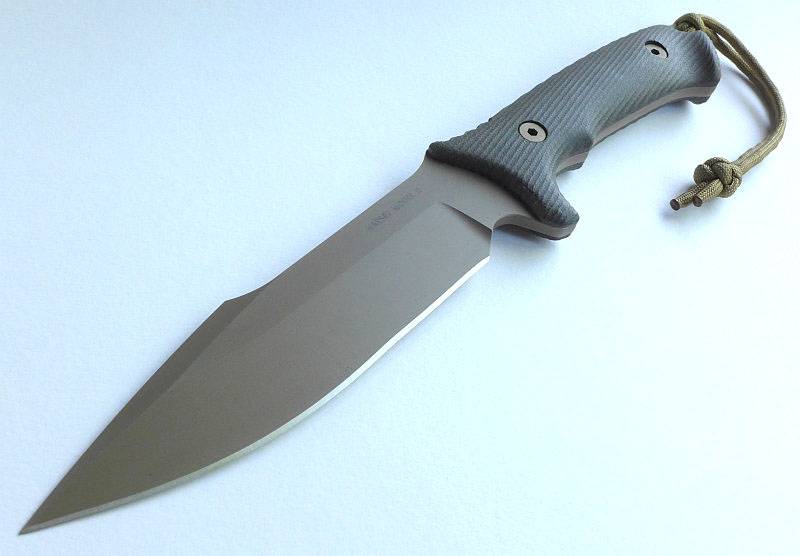
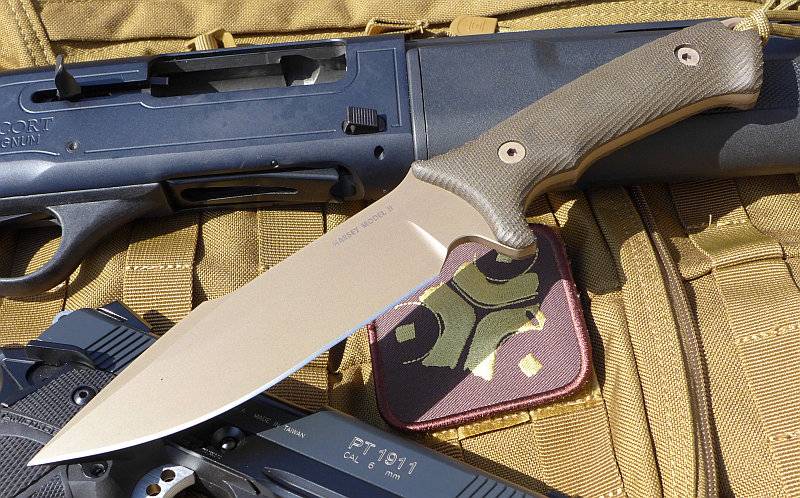
The SPARTAN HARSEY MODEL II is Spartan Blades’ third collaboration with world renowned knife maker, William “Bill” Harsey Jr. The Harsey Model II was designed to be sturdy knife that would serve equally well as both a field and combat knife. The ergonomic and textured canvas micarta handle is specifically intended to provide comfort and confidence of grip.
The Blade and Handle Geometry:
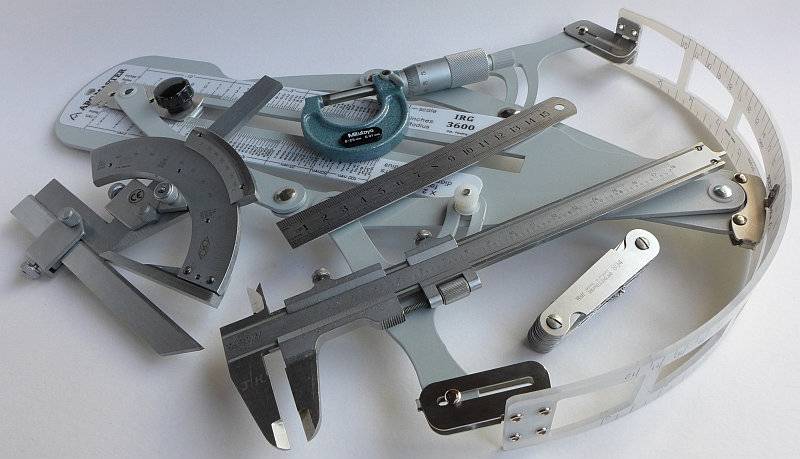
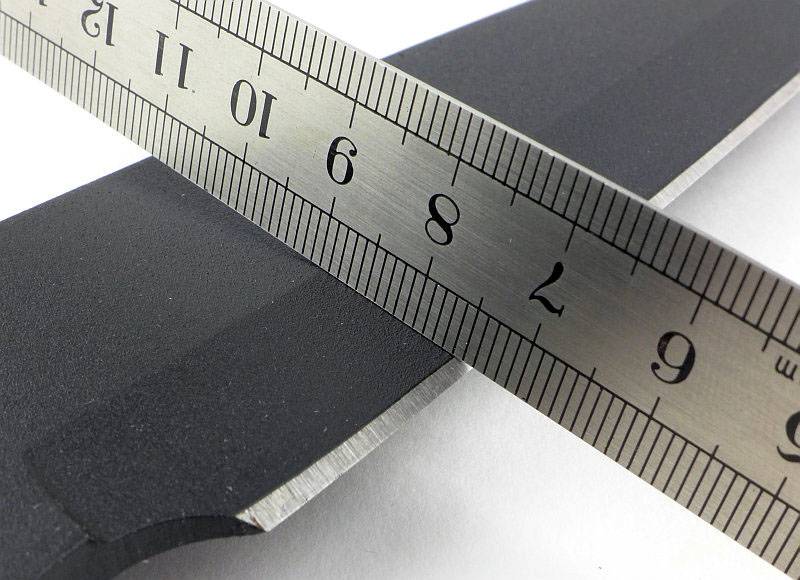
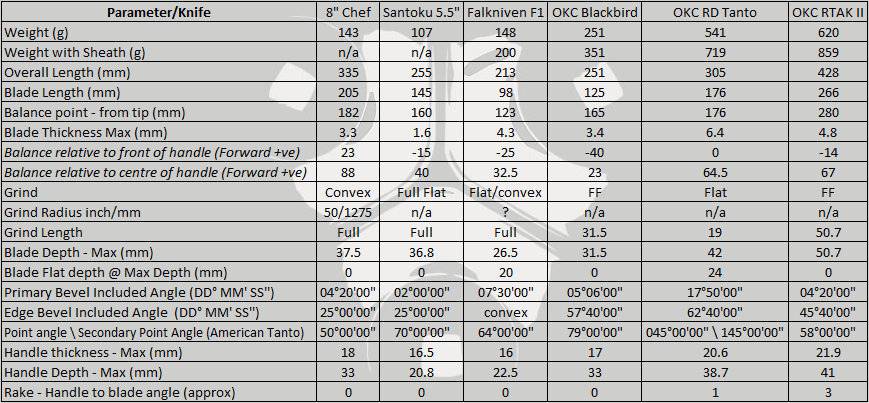
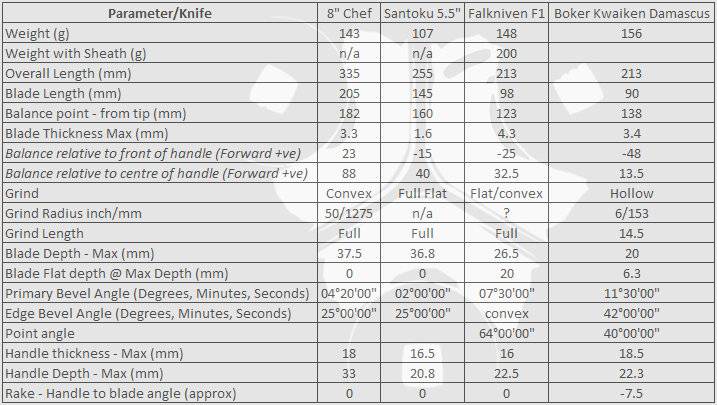
Most knives specifications have a basic description of the blade geometry, but in this section I will be taking a more detailed look at geometry and balance.
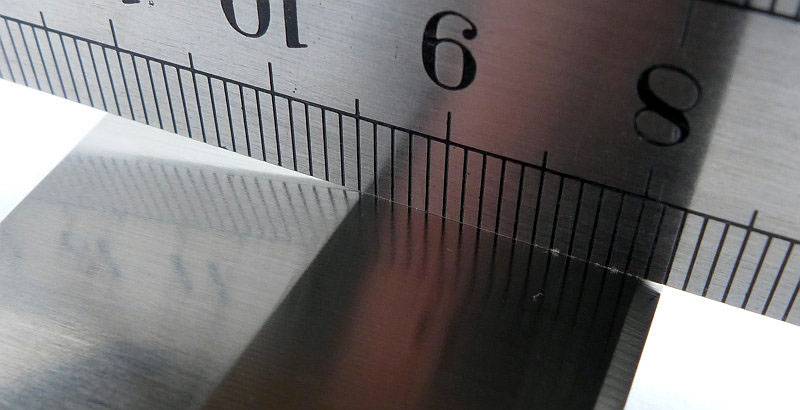
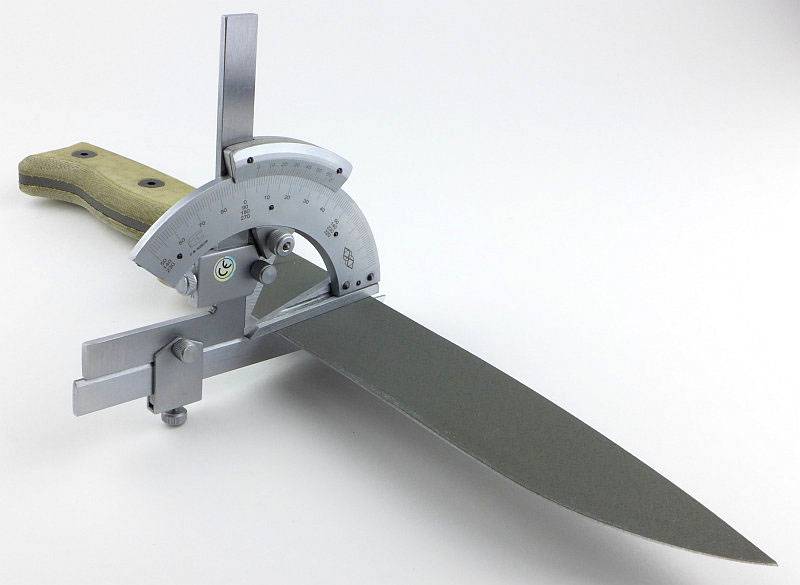
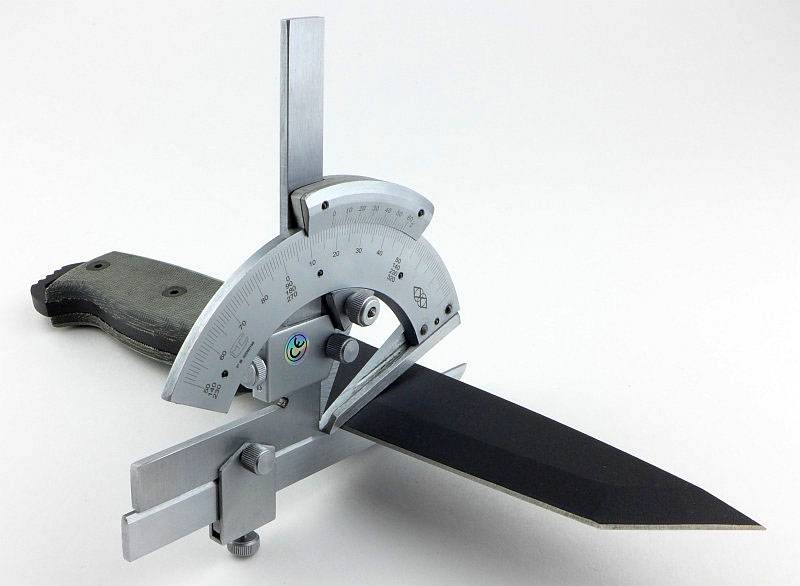
Using a set of gauges and precision measuring equipment including a Vernier protractor, callipers, fixed radius gauges and the unique Arc Master adjustable radius gauge (the one that looks like a crossbow).

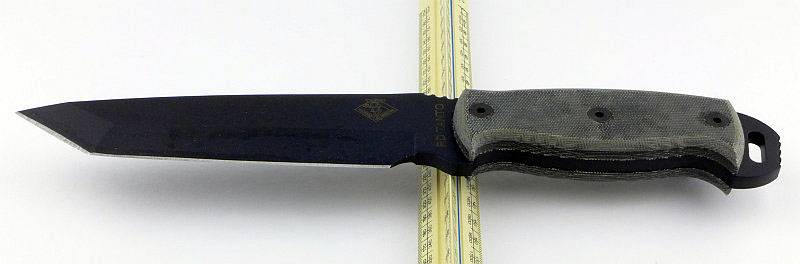
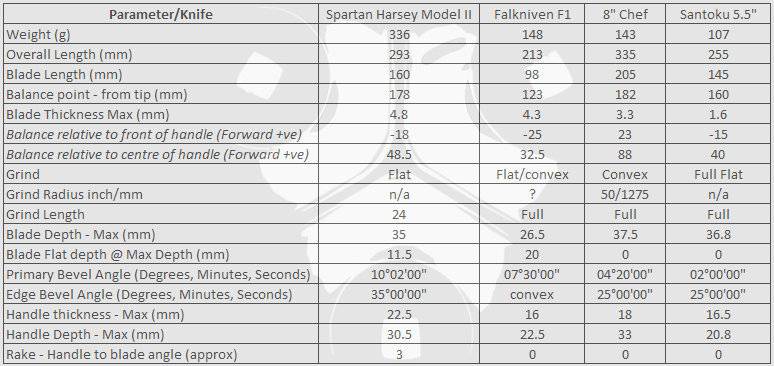
These measurements have been tabulated and are presented along with a few reference blades (8″ Chef’s Knife, 5.5″ Santoku and the popular Fallkniven F1).
Key aspects such as the primary bevel angle, grind type, blade depth, blade thickness, length, weight are detailed, along with balance information.
The ‘Balance relative to the front of the handle’ tells you if the knife will feel front heavy, or if the weight is in your hand (a positive value means the weight is forward of the front of the handle). The ‘Balance relative to the centre of the handle’ indicates how close to a ‘neutral balance’ the knife has in the hand.
In the case of full convex grinds the approximate centre of the grind is used for the primary bevel angle estimate..
The blade is made from S35VN.
Explained by the Maker:
The reasons for certain design choices may not be clear when simply looking at an object, so this section is intended to give an insight into the thinking behind a design by speaking to the designer themselves.
Many thanks go to Bill Harsey (knife designer) and Mark Carey (co-owner of Spartan Blades) for taking the time to explain the details of the knife and sheath design to me.
Though not quoting Bill and Mark directly, the following is an explanation of how the final design was arrived at.
Bill spoke with Spartan about the intended use before he started the prototype process. Having already done the Model 1 limited edition, Spartan Blades told Bill they would like to use handle shape but make it a bit smaller (so it would be more usable for more people). It was decided to shrink handle by 5% and change blade length.
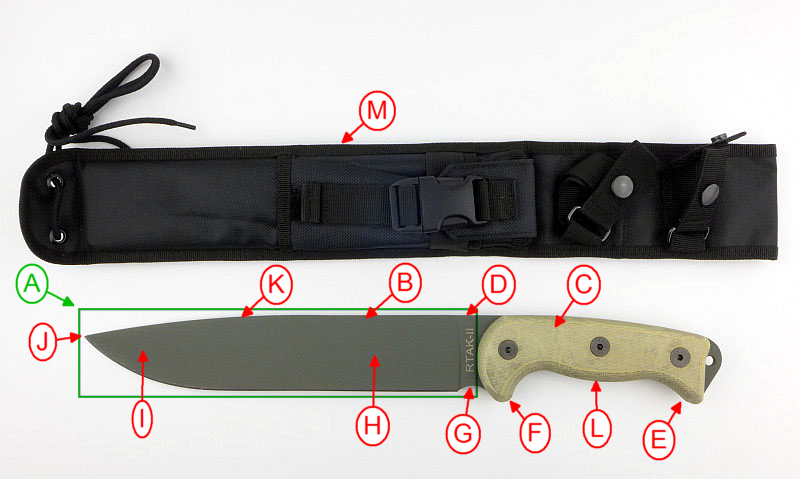
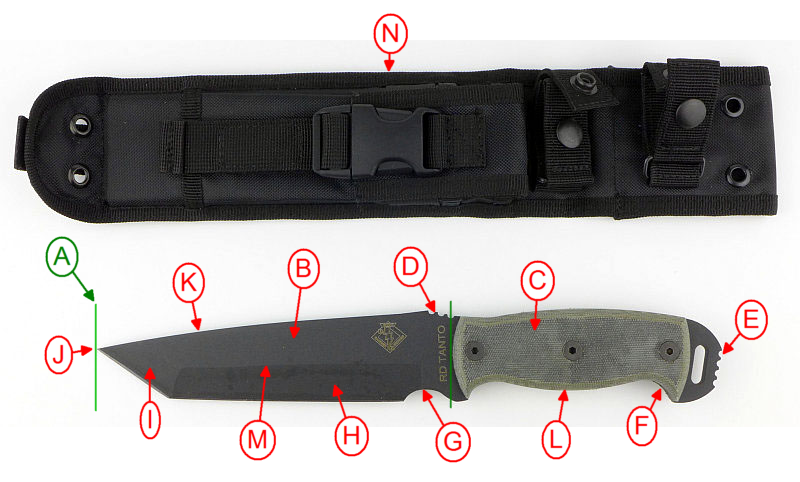
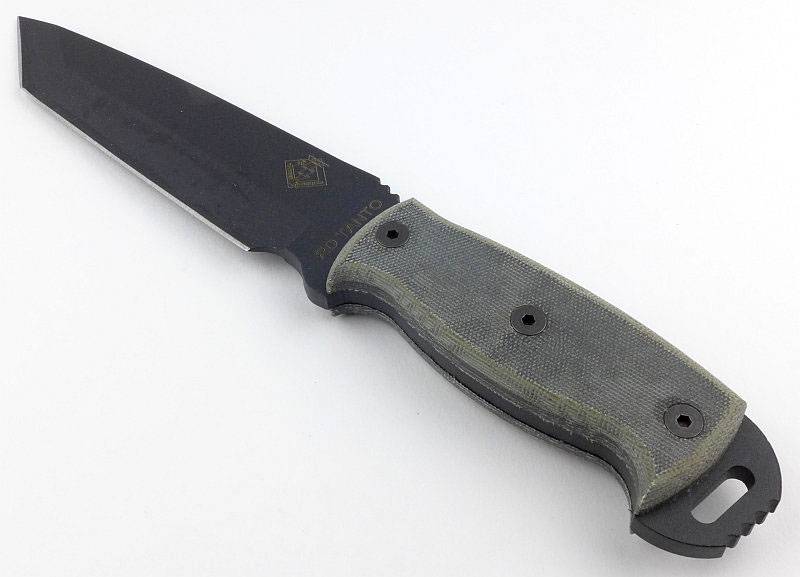
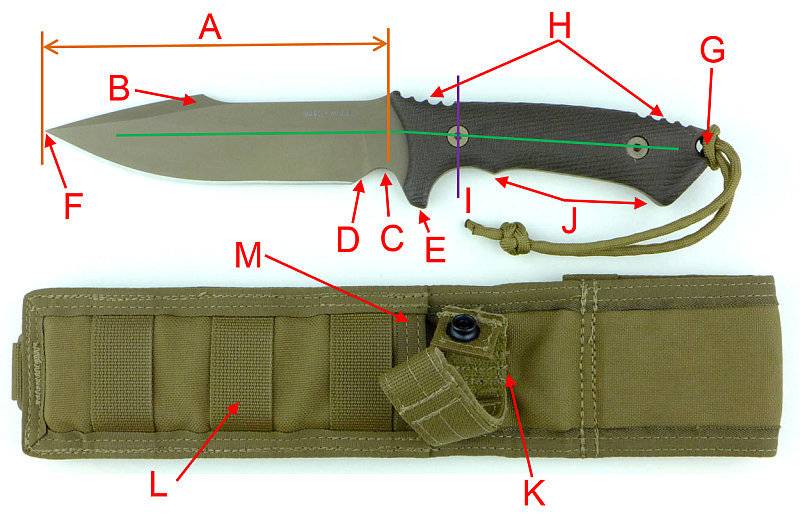
In this case the blade length (A) was chosen to fill a specific gap in the Spartan product line.
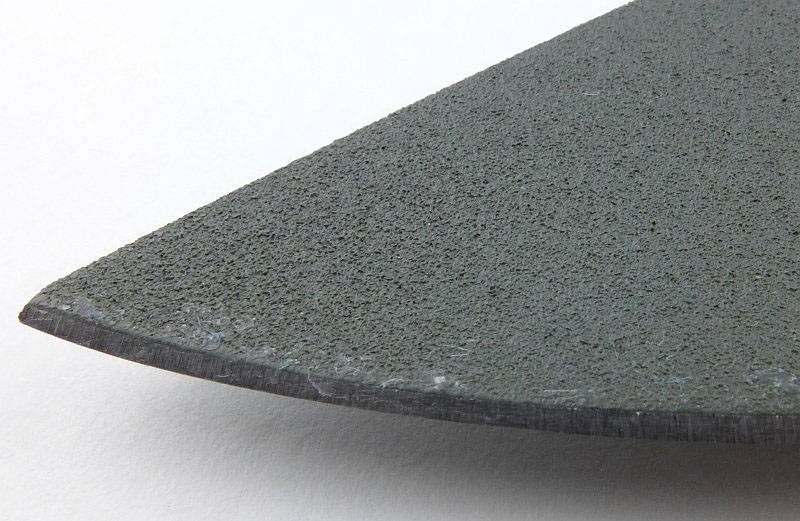
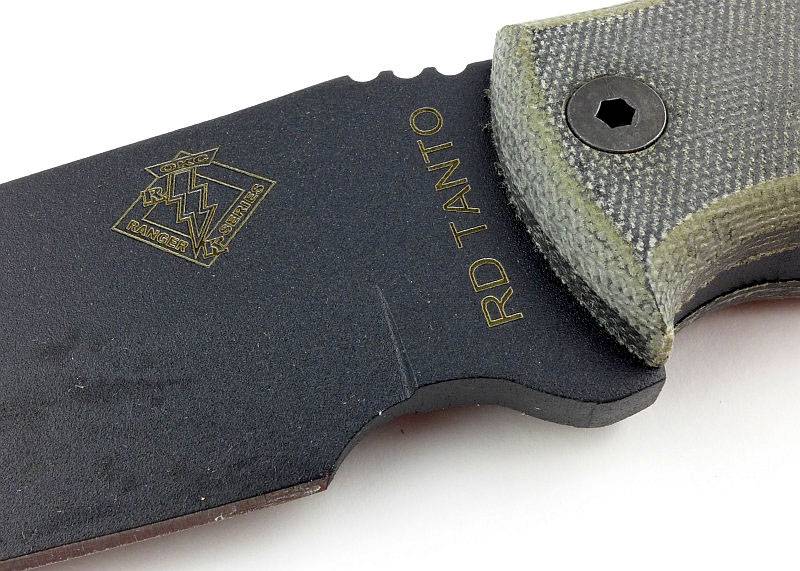
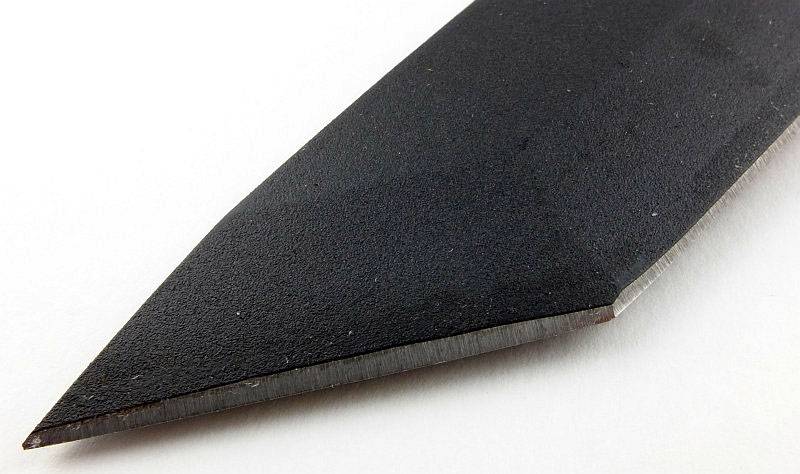
A harpoon point (B) was used to reinforce the point, with the additional blade width used to make point stronger without making it thicker. The unsharpened edge of the harpoon point could be sharpened if required.
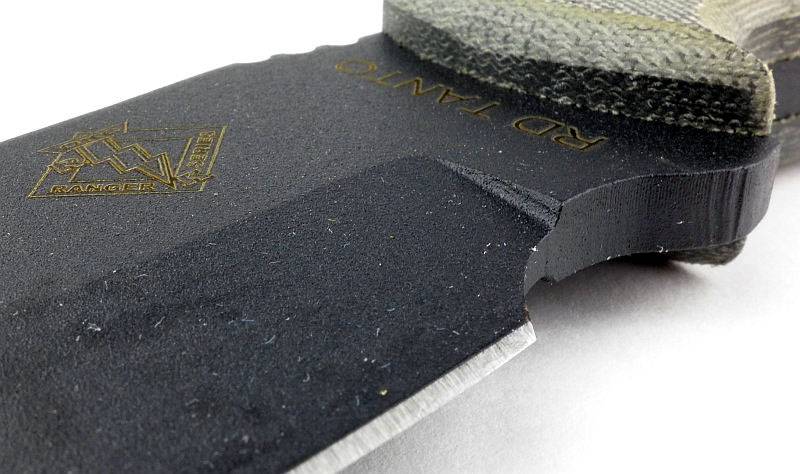
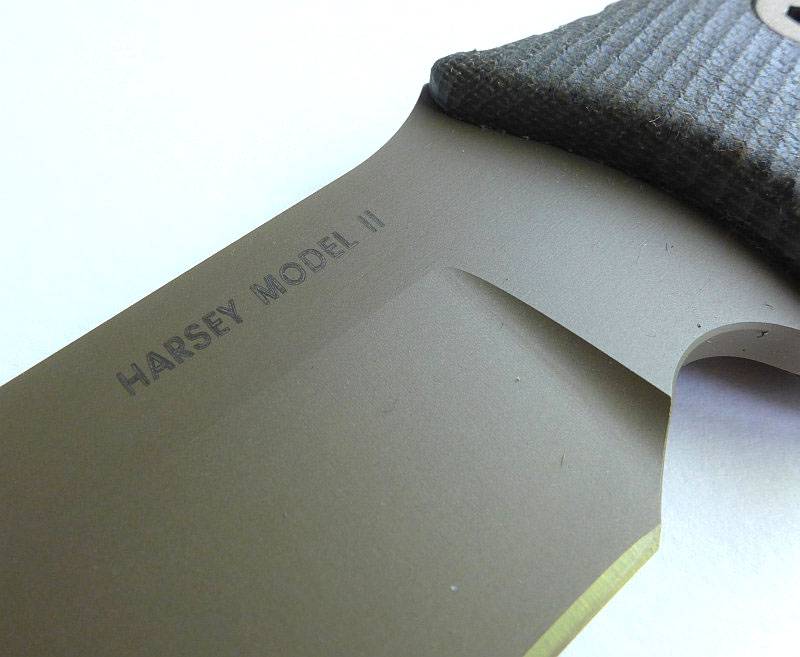
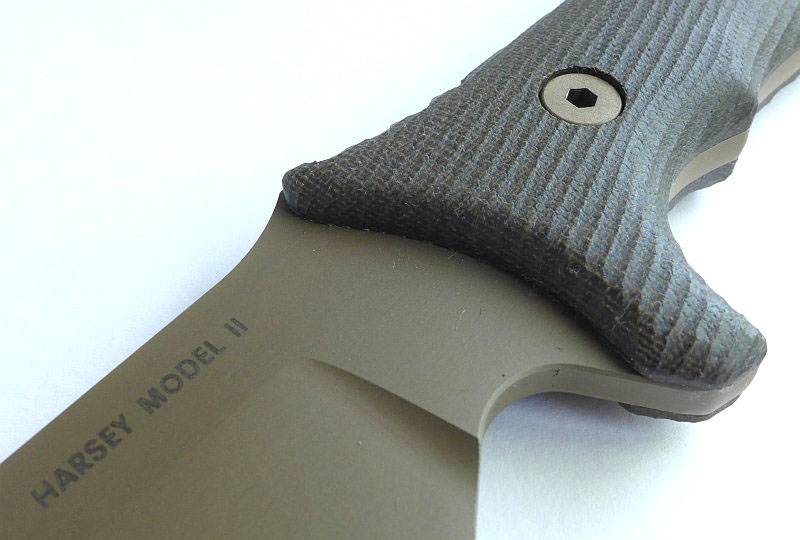
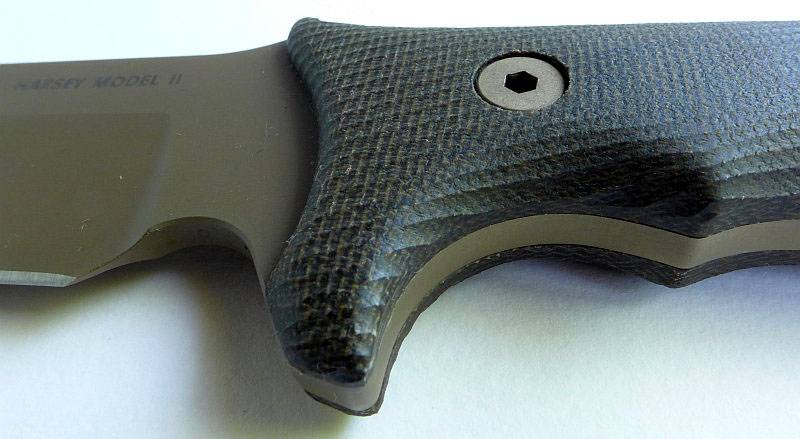
Looking at the area just in front of the guard (C) it might appear to be a finger choil, however, Bill emphasised that this is not a finger choil. Instead it is a relief between the end of edge and front of handle. “Don’t put your finger in it.”
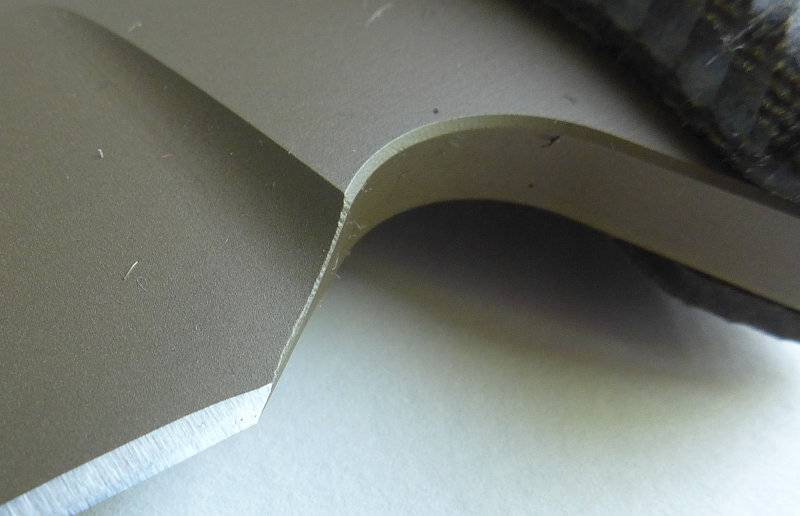
The cutting edge has been pushed away from the plunge line (D), extending the choil. Though this slightly reduces the length of the cutting edge, the knife has the edge where Bill intended it to be on this model. This also takes the end of cutting edge away from the radiused plunge line.
Bill made the guard (E) protrude enough to be useful without getting in the way. (Based on over 30 years of experience rather than any specific guidelines)
As with many of the knife’s ergonomic features, the slight negative rake (F) was chosen by Bill “because it felt right”.
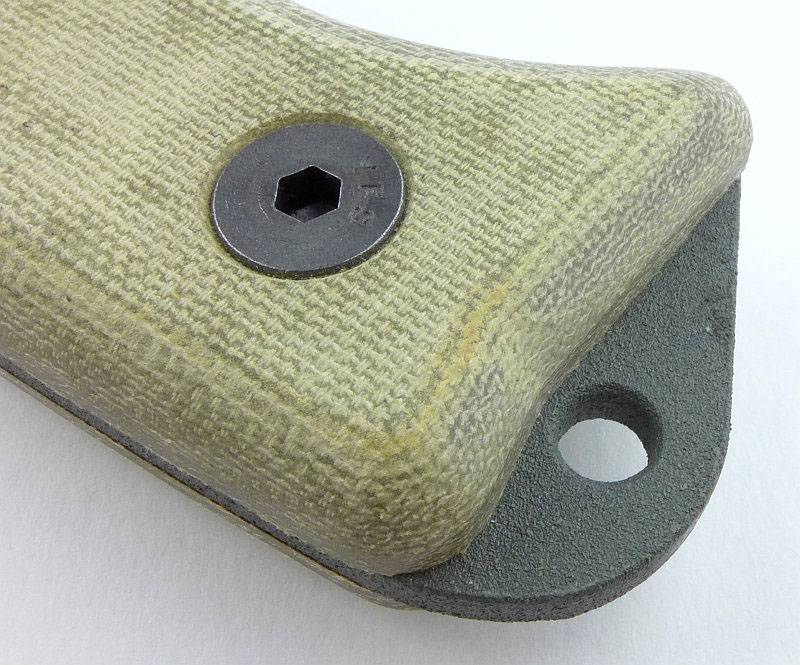
Discussing the single lanyard hole in the butt of the knife (G) and the subject of lanyard use and safety, Bill indicated that this feature is especially useful when working over water, and that ultimately it is the individual owner’s decision of exactly how to use the lanyard when there is a safety aspect to consider (Author’s note – when chopping, use of a lanyard can be dangerous). What was expressly ruled out was the possibility of adding a lanyard hole in the guard.
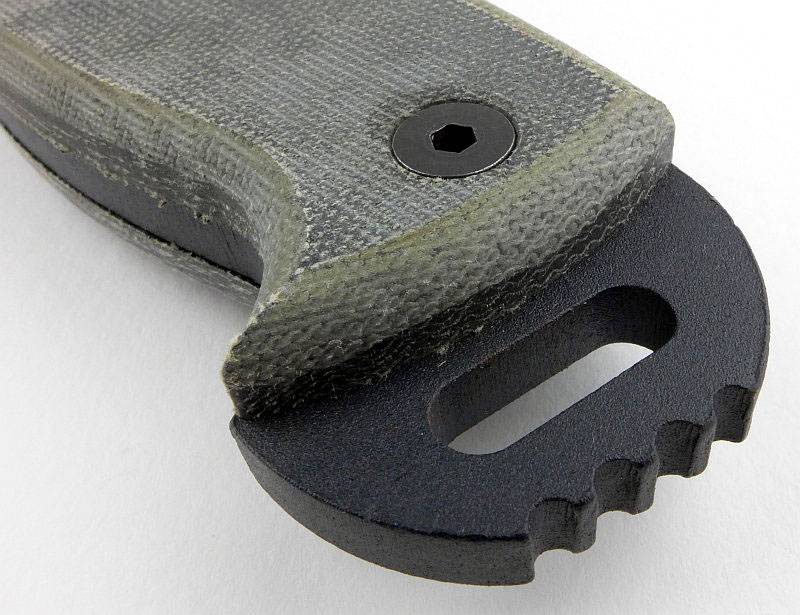
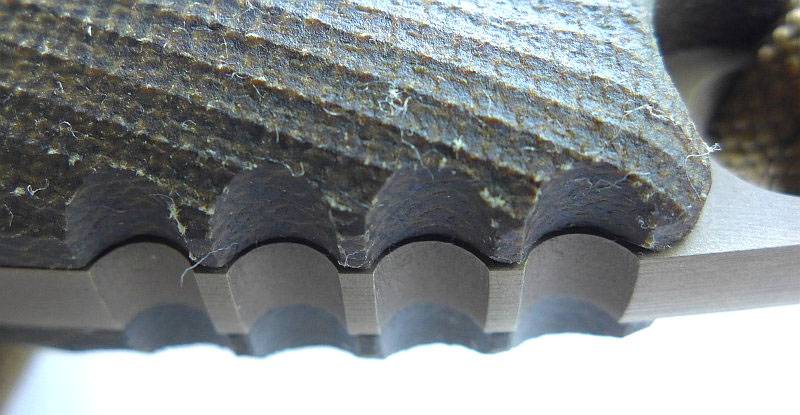
As well as providing grip, the jimping (H) is for tactile reference. Jimping on the rear of the handle is for same reason but when using a reverse grip.
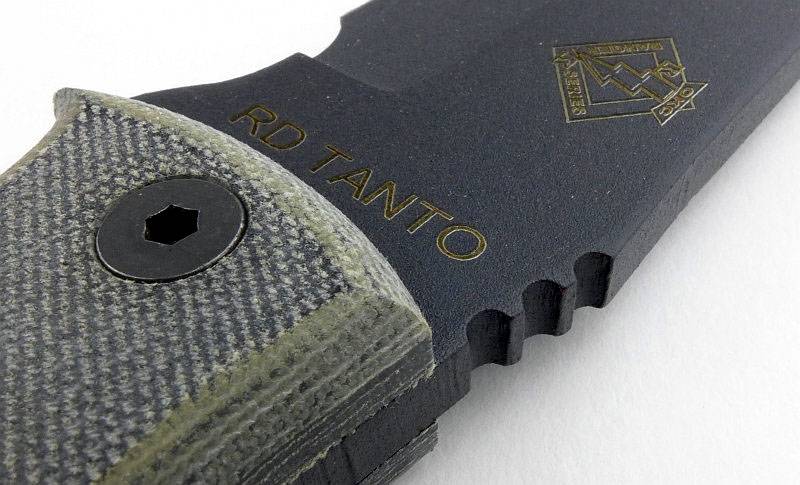
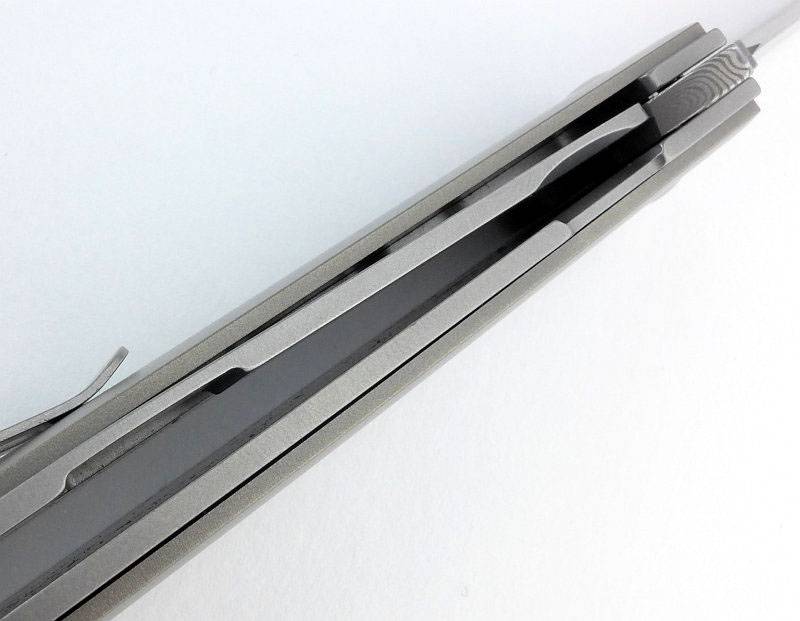
Front jimping.

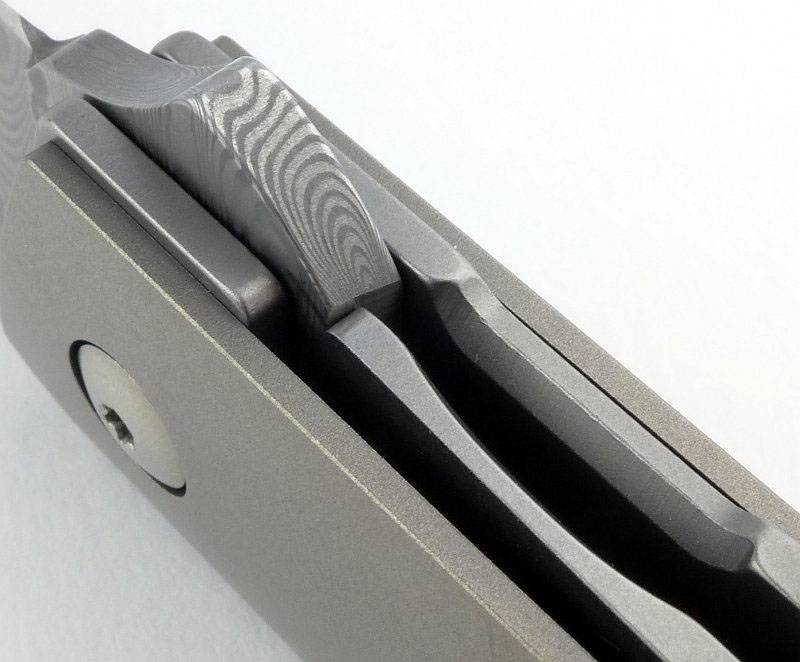
View of both areas of jimping.
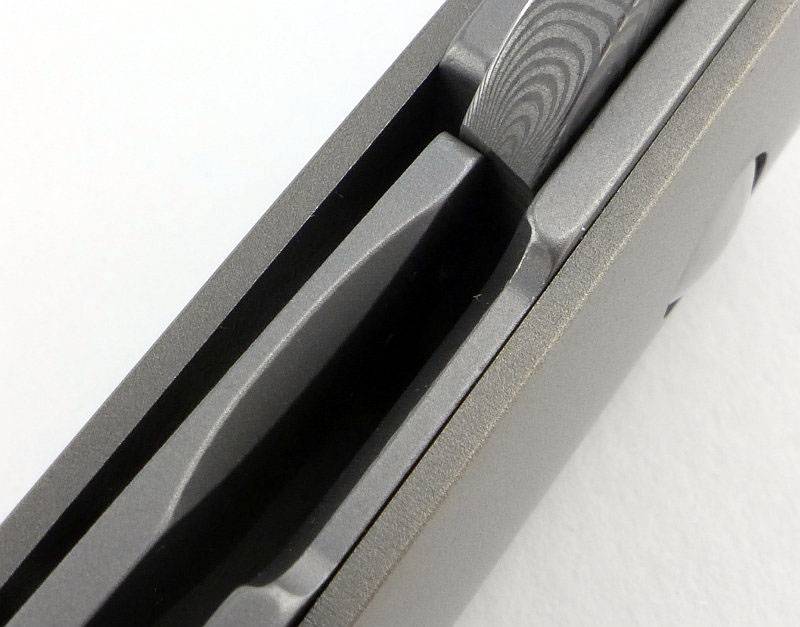
Rear jimping.
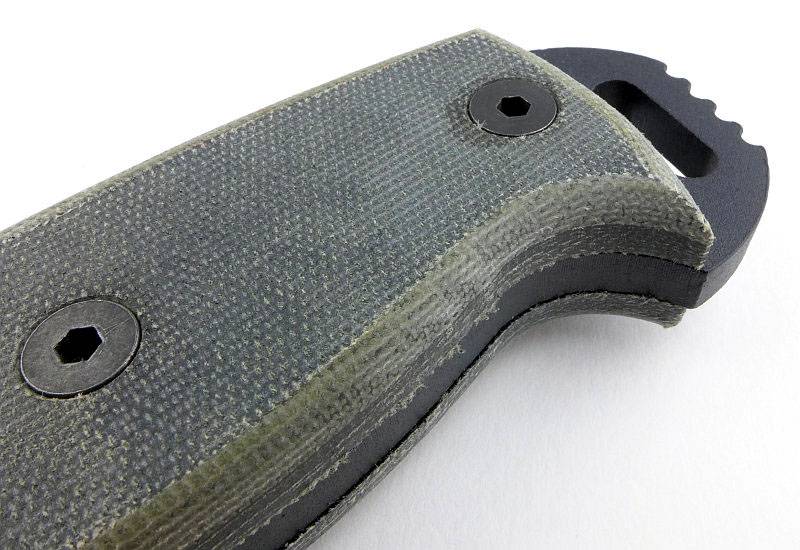
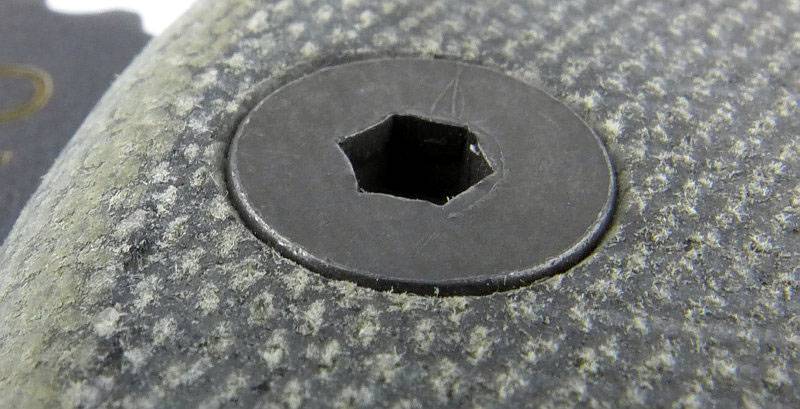
The balance point (I) has been adjusted by selecting appropriate material thicknesses and removing material where it doesn’t need to be (such as drilling the tang).
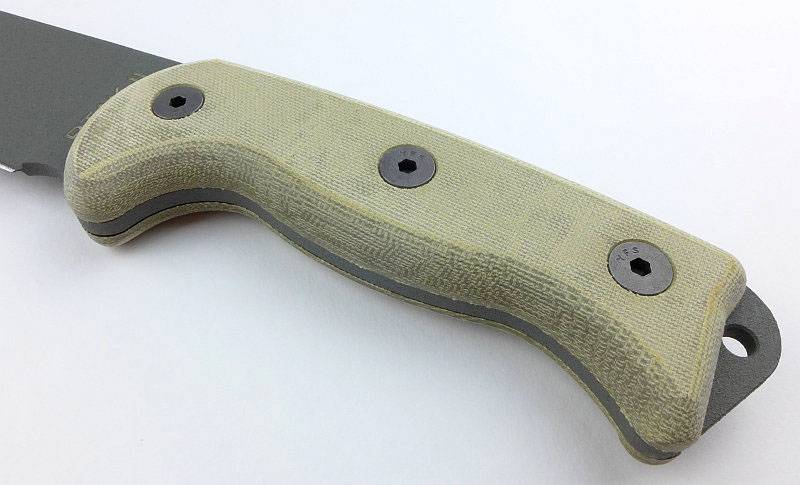
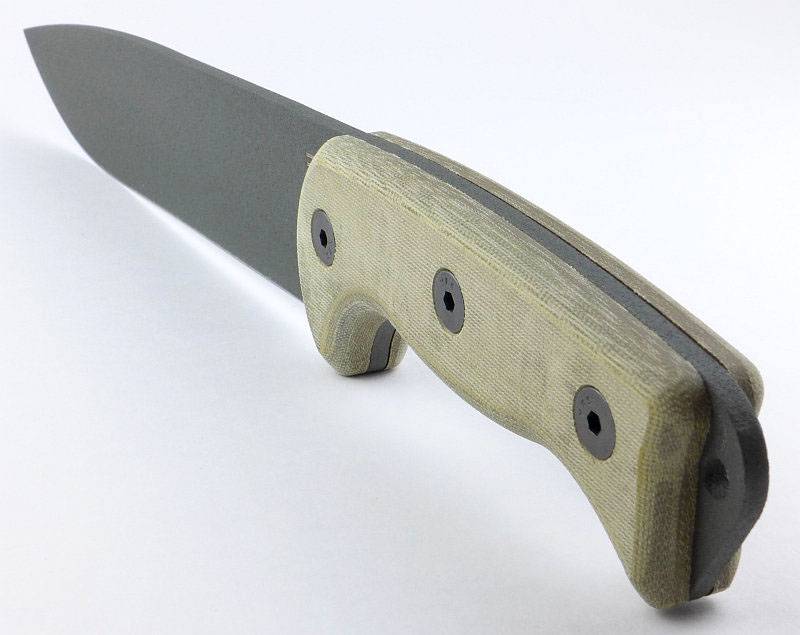
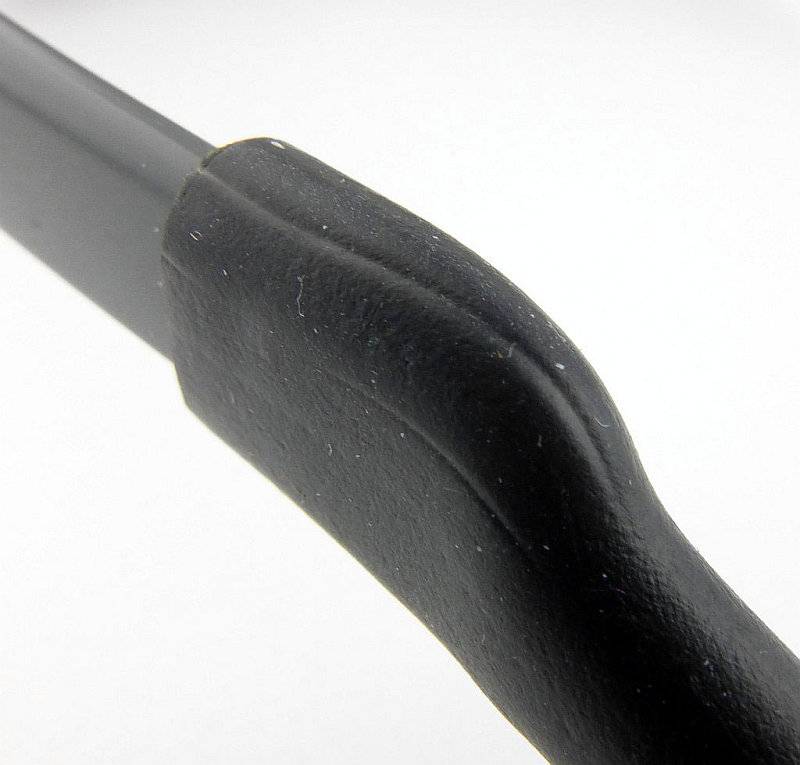
Featuring a fully sculpted handle, the Harsey Model II’s grip is highly functional with finger grips and pommel hook/swell (J). Placement is of these elements is chosen to ensure function even when user is wearing gloves in adverse conditions.
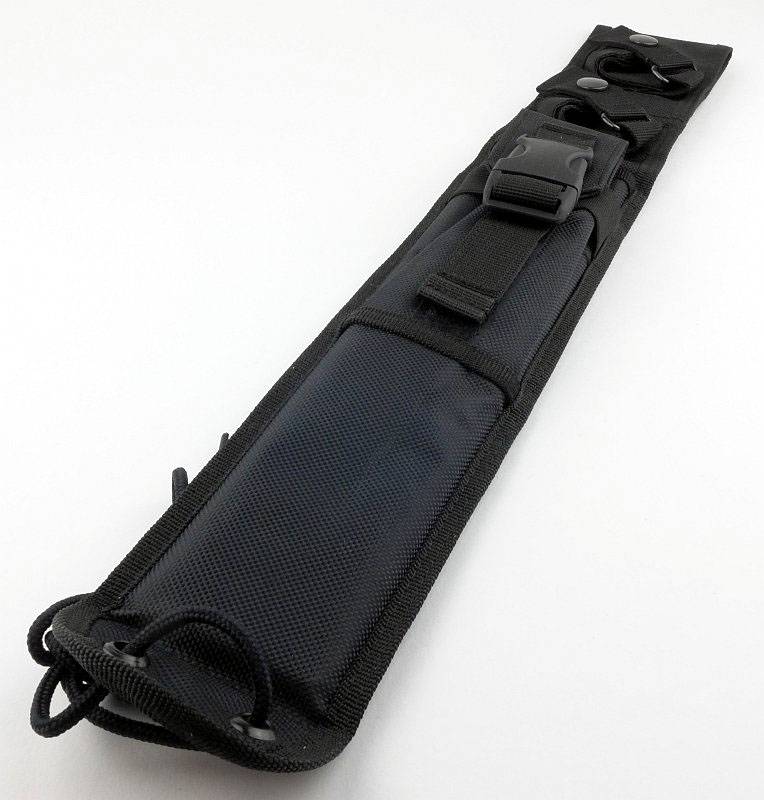
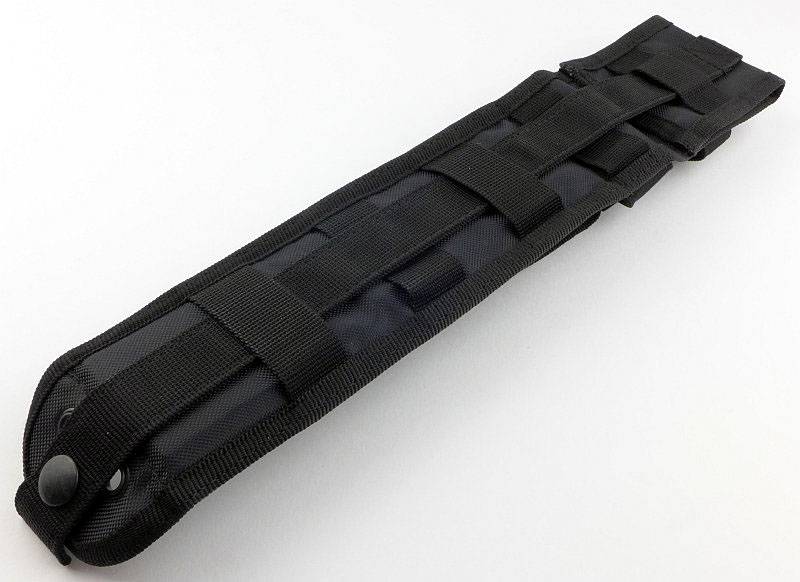
*Now a temporary move to consider the Sheath design details….
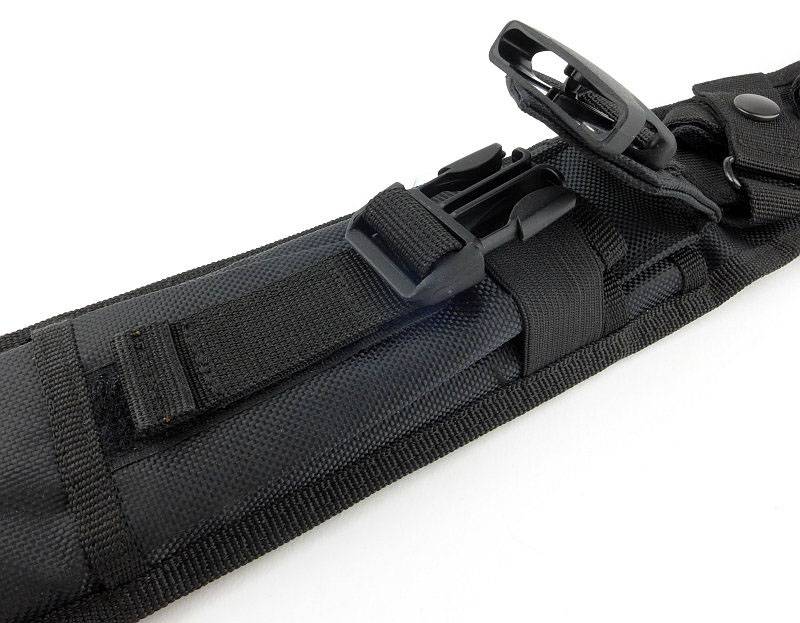
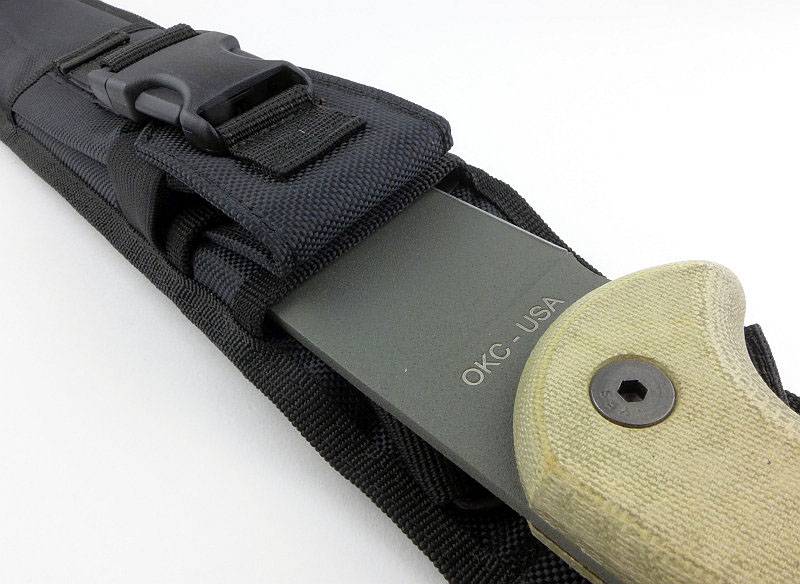
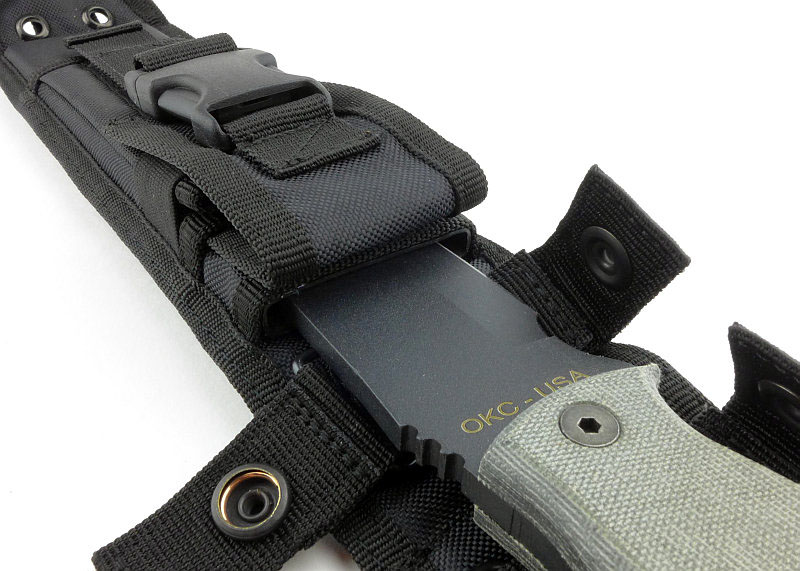
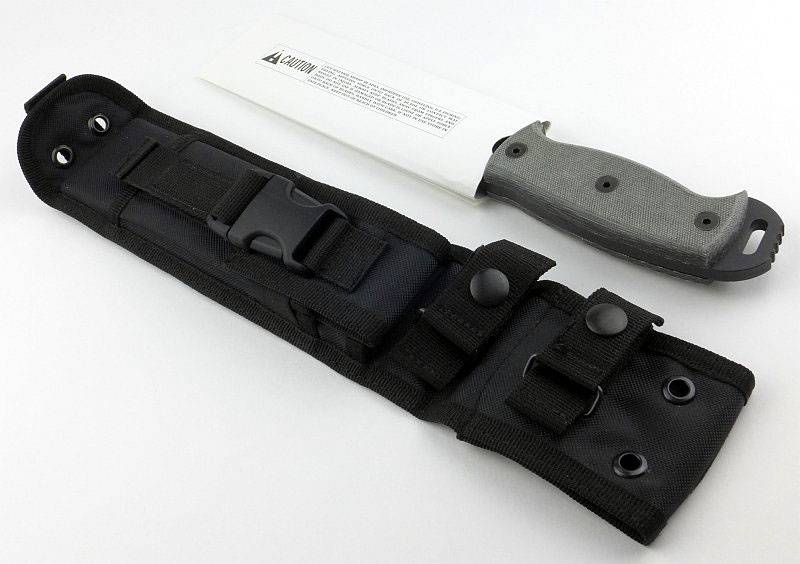
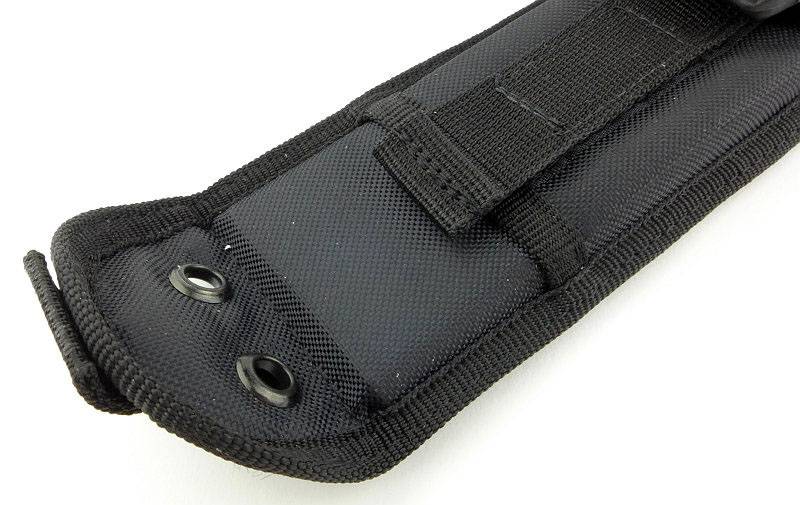
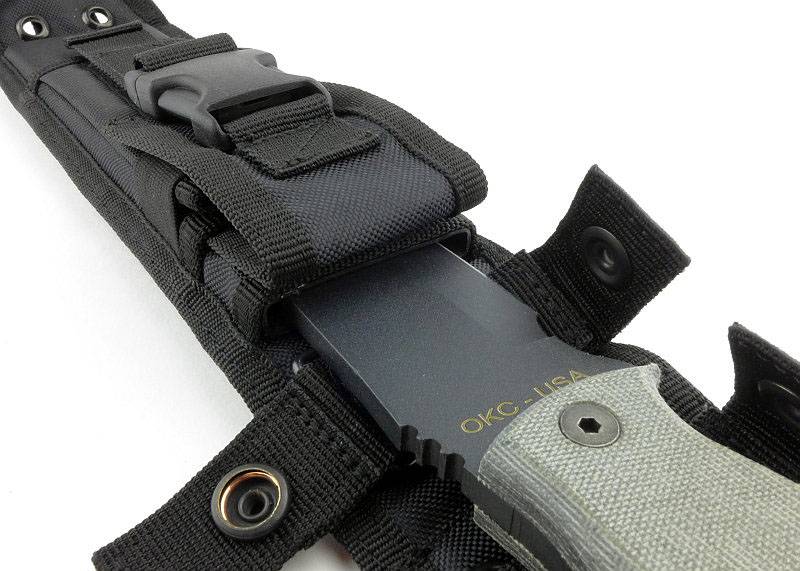
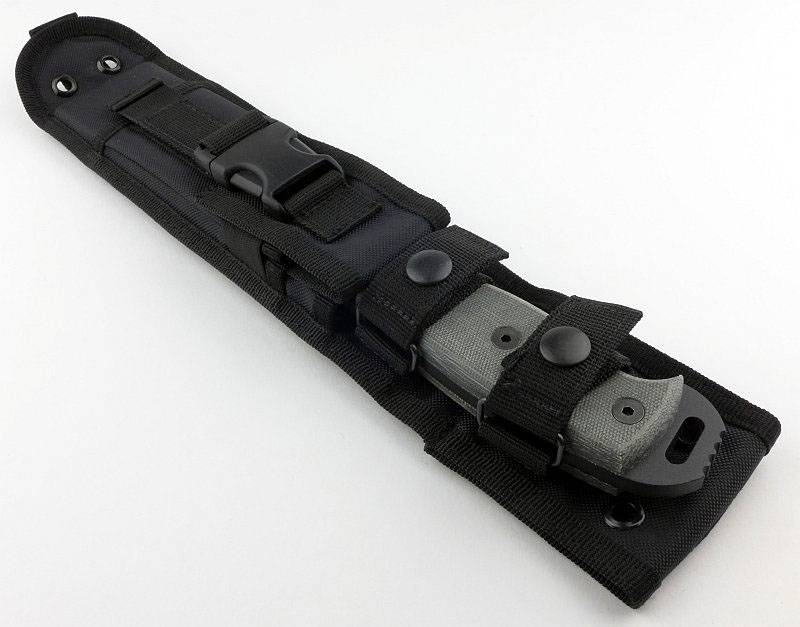
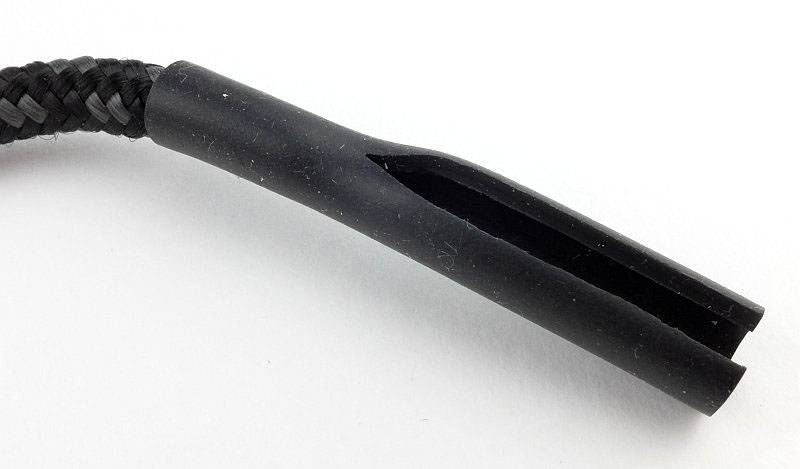
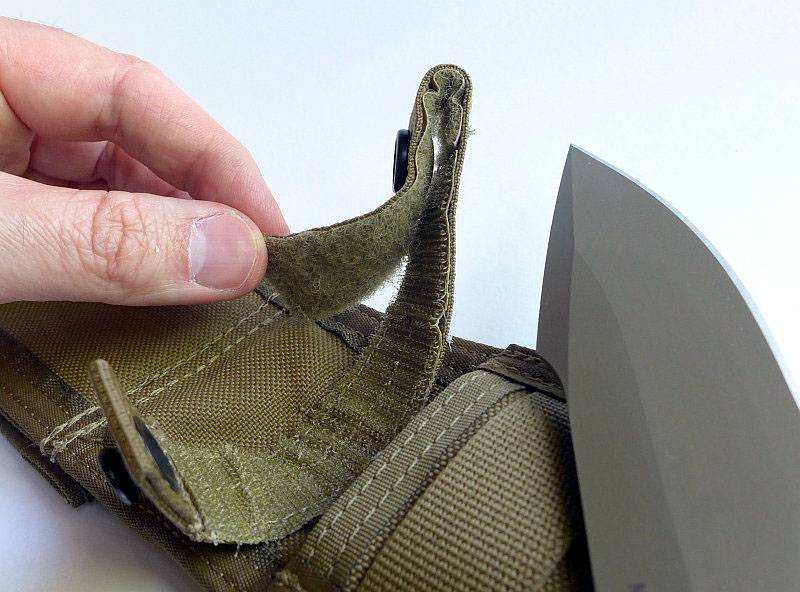
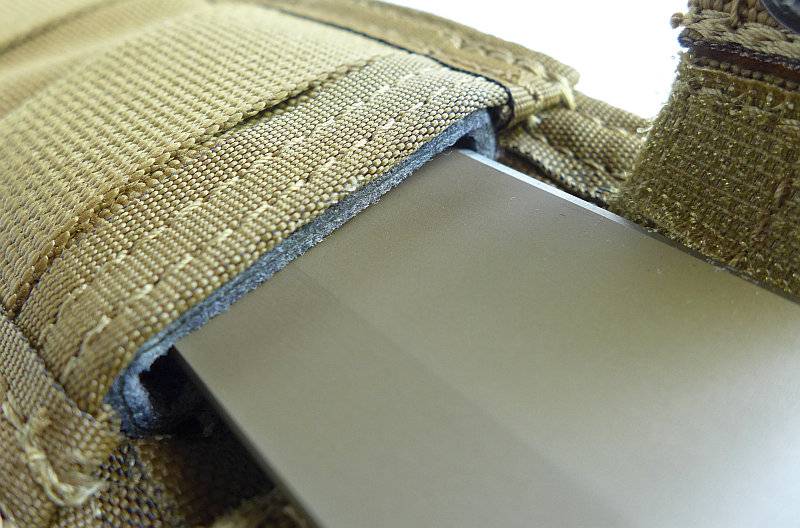
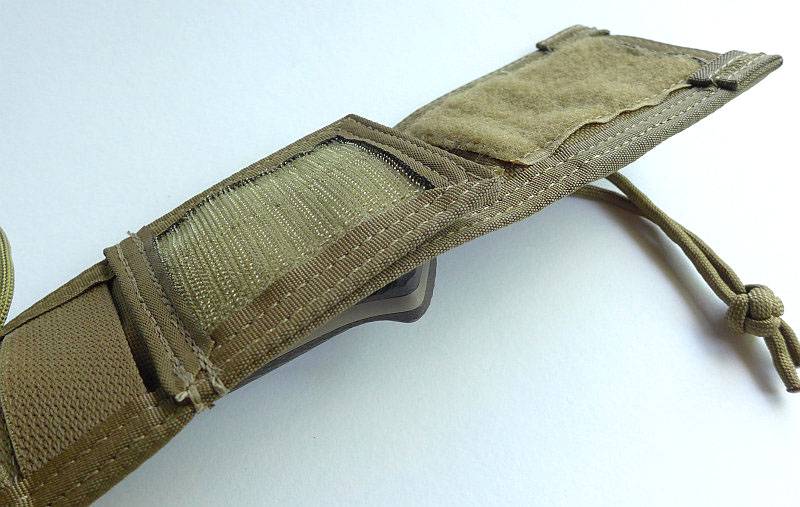
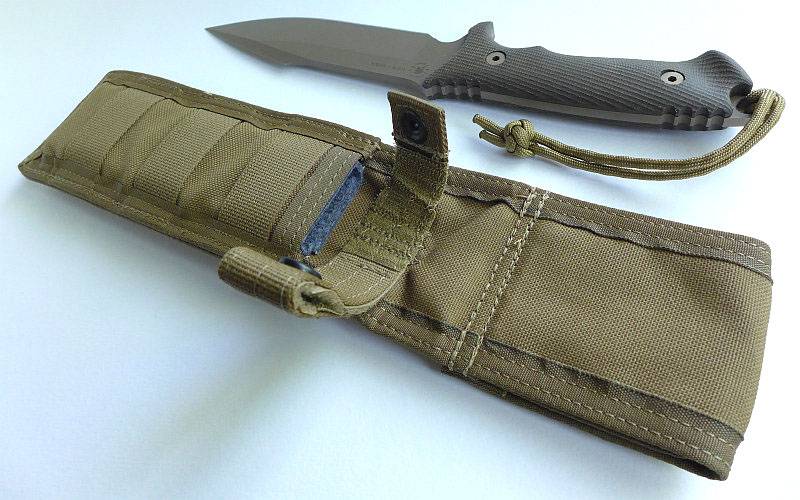
During testing, it was noticed that the position of the strap makes it vulnerable to being cut when inserting or withdrawing the knife.
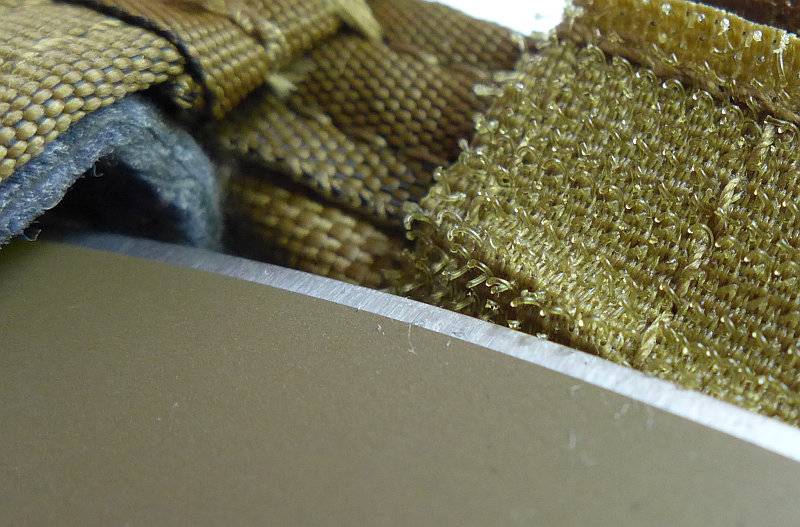
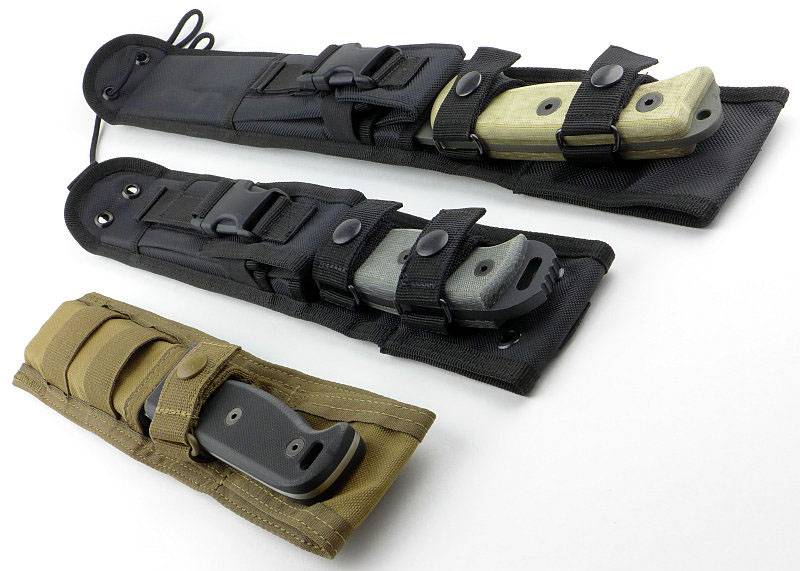
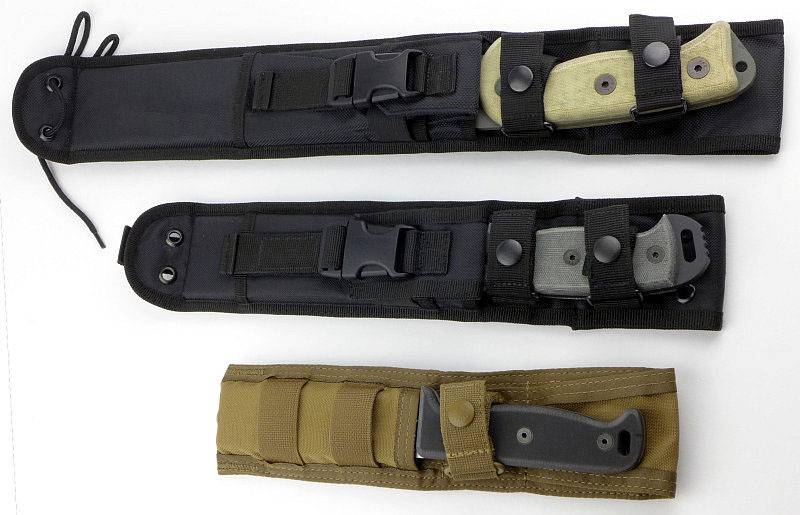
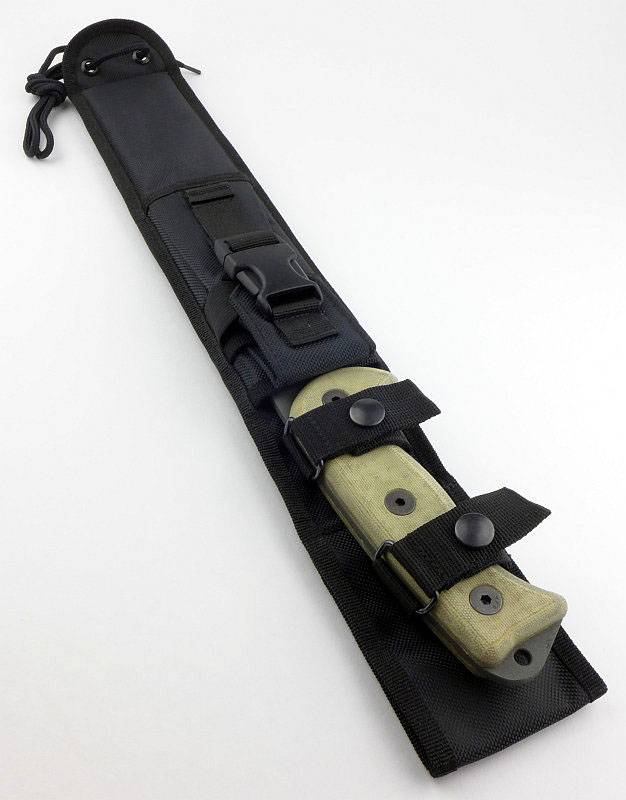
However Mark explained that the retention strap was positioned at handle choil level to insure a good fit and allow the user to get full grip on the exposed handle. The user can then flip the snap closure with their thumb (and sweep the strap out of way with their finger). While a user could cut the retaining strap, it is unlikely if deliberately drawing. The sheath is adjustable to allow it fit a range of Spartan’s other knives.

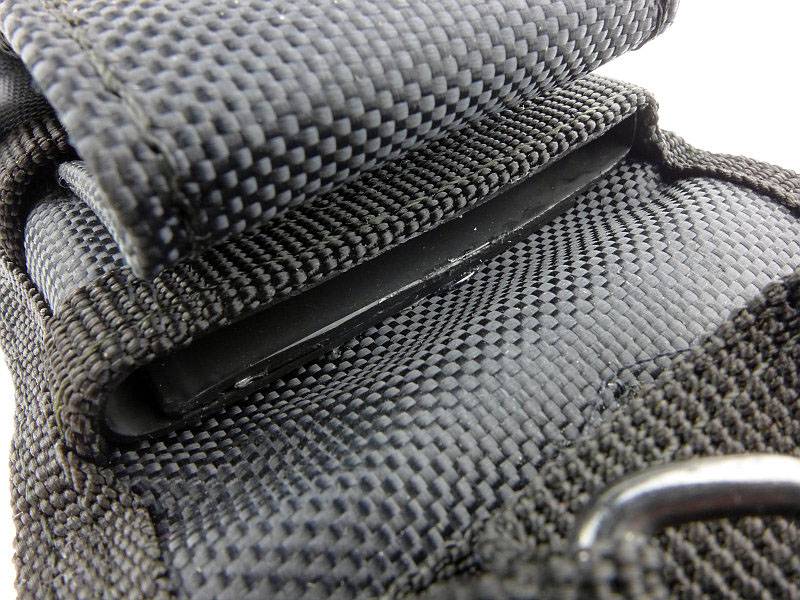
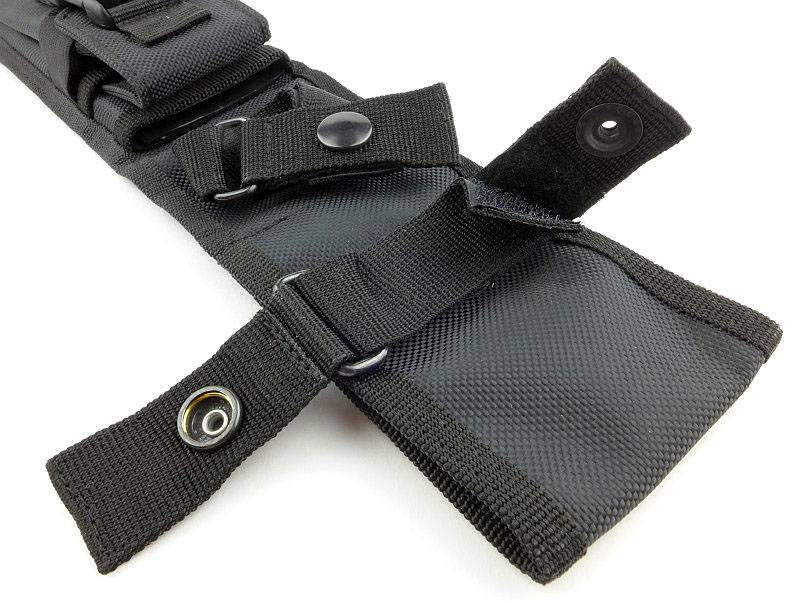
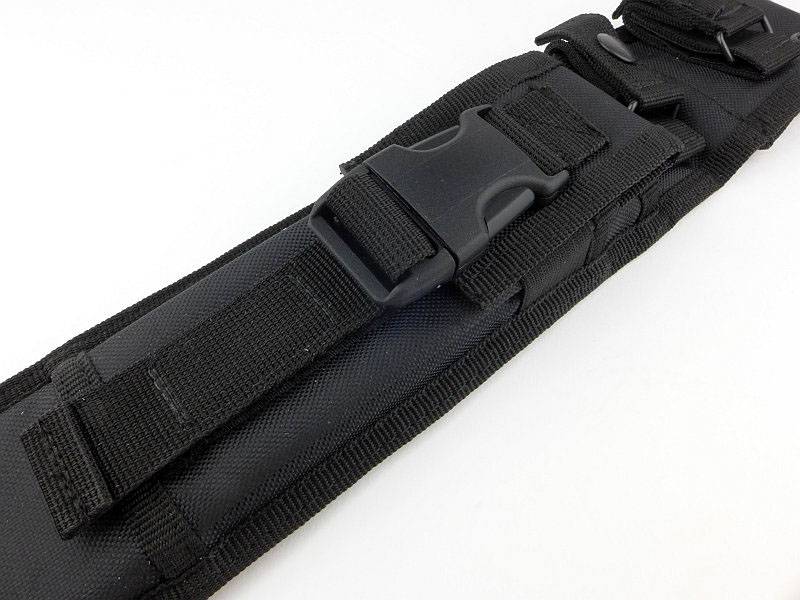
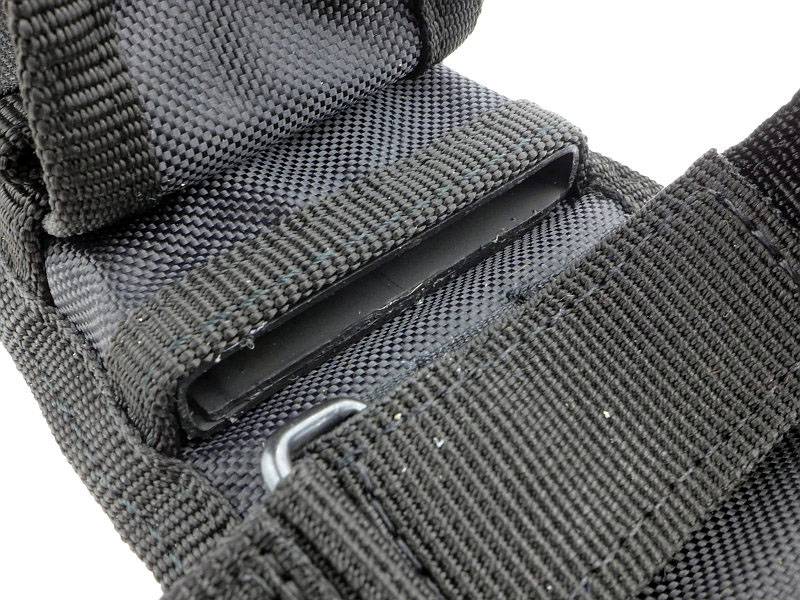
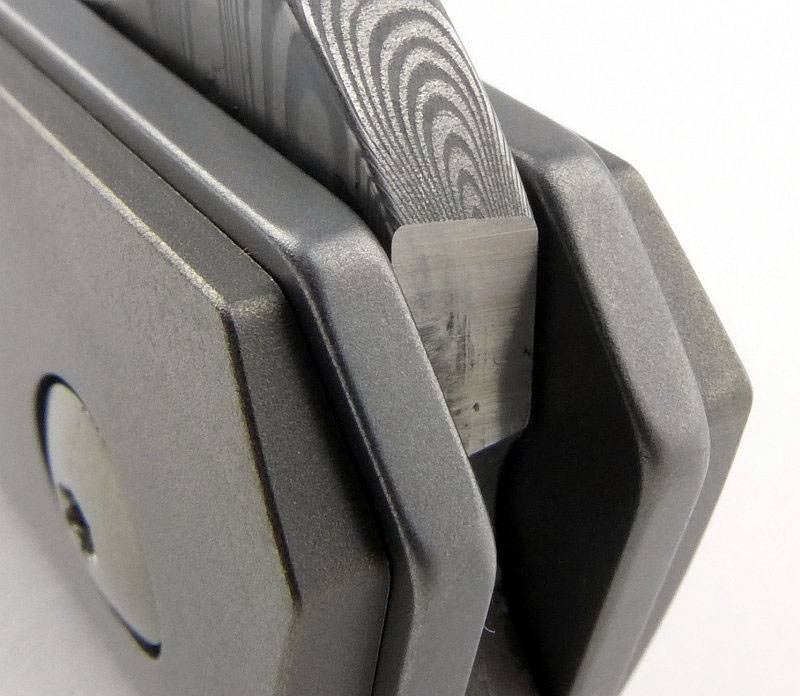
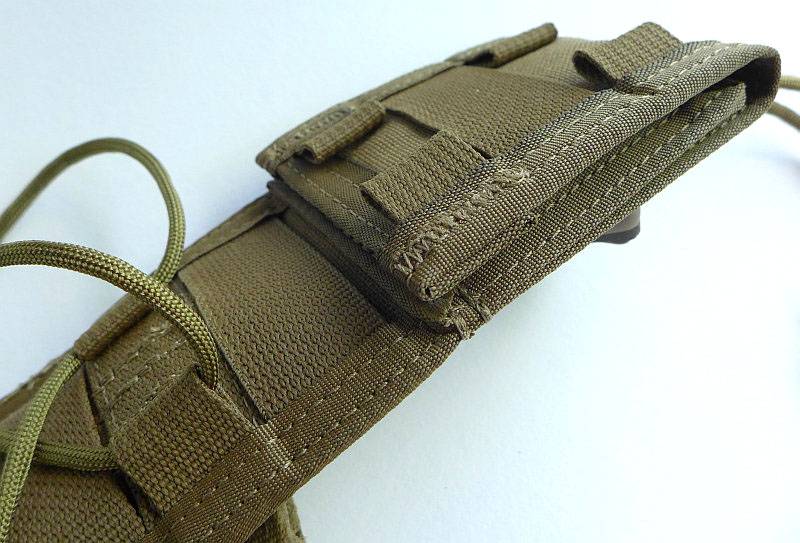
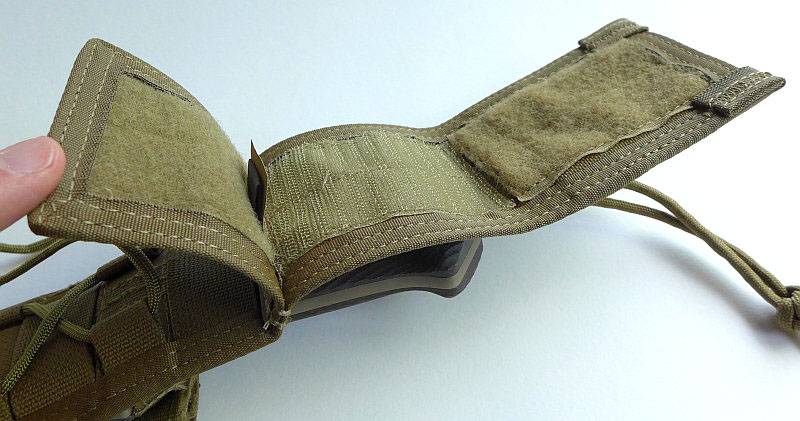
Showing the detail of the retention strap’s adjustment. You can alter the fit, or use it for another knife.
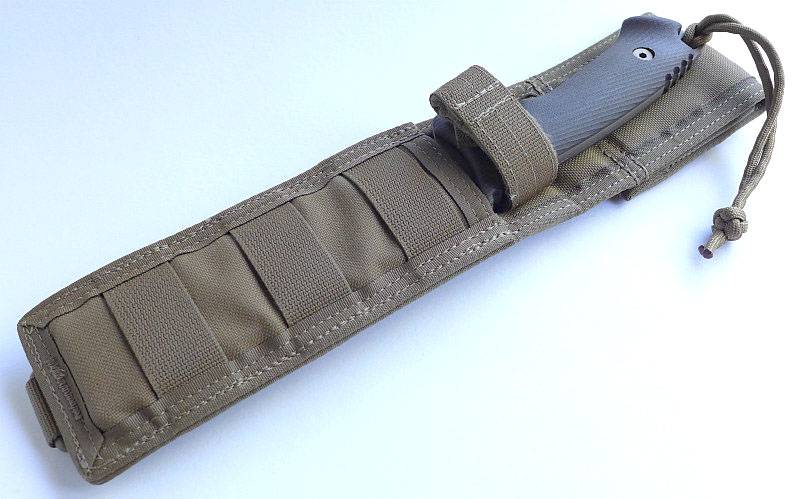
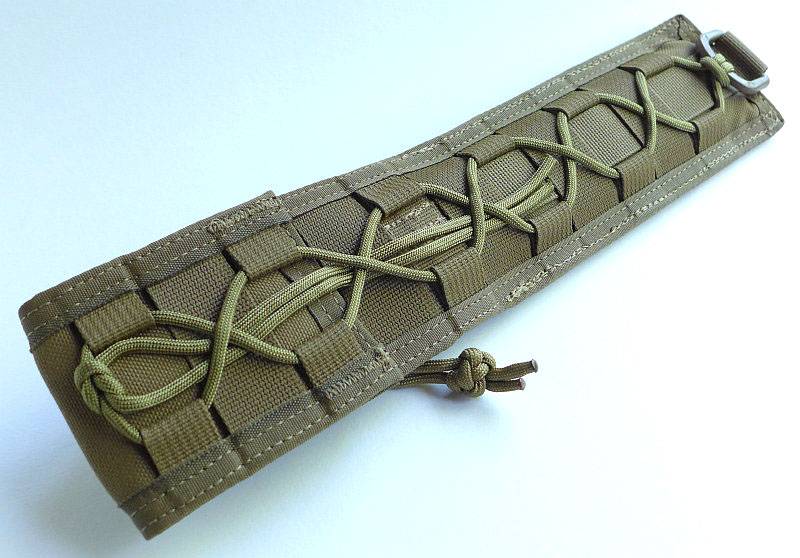
Though limited in space, the PALS webbing on the front (L), can, and has been, used for a small pouch or to place pistol holster over it for chest draw.
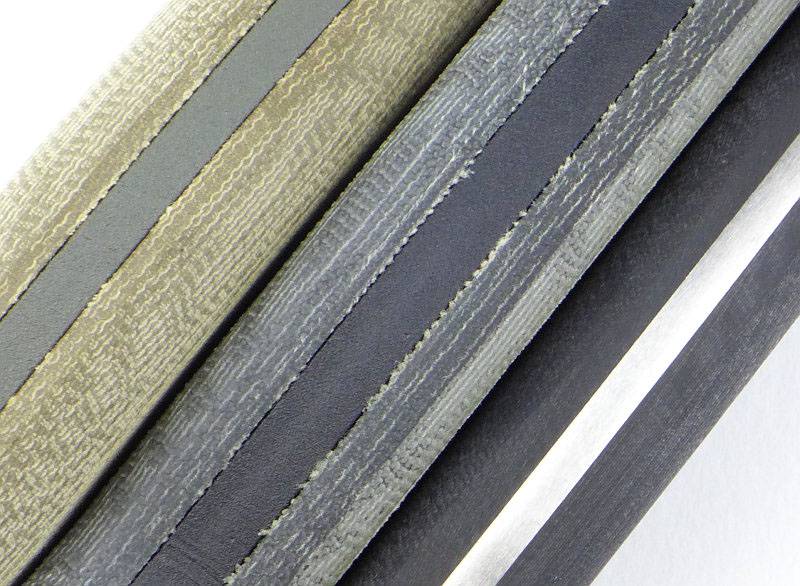
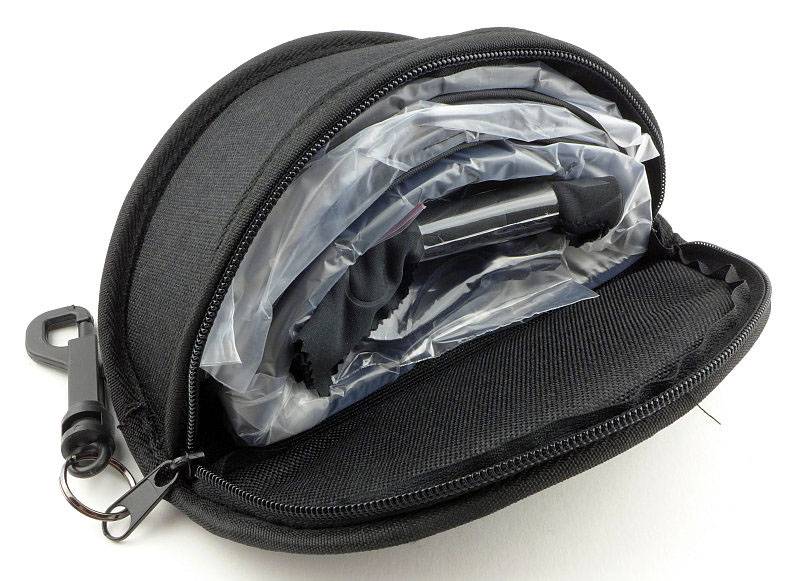
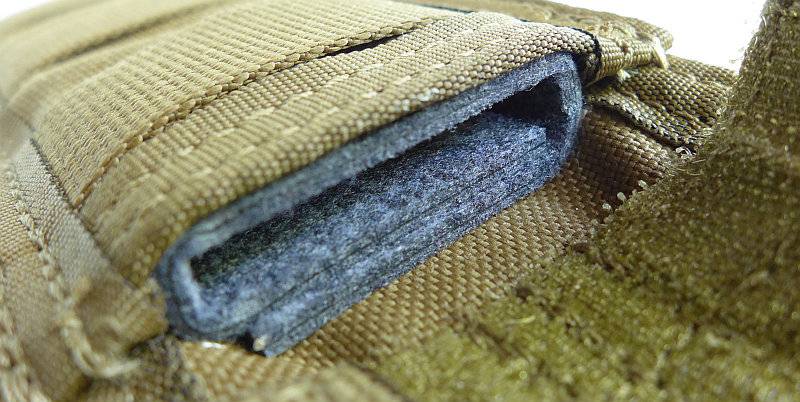
There is a Felt liner (M) inside the sheath. It is made from a recycled kydex like plastic which is laminated between layers of felt. This has the advantage that it provides some retention and is extremely quiet when drawing making it ideal for use in the field as well as when moving as there is no rattle.
A closer look at the liner.
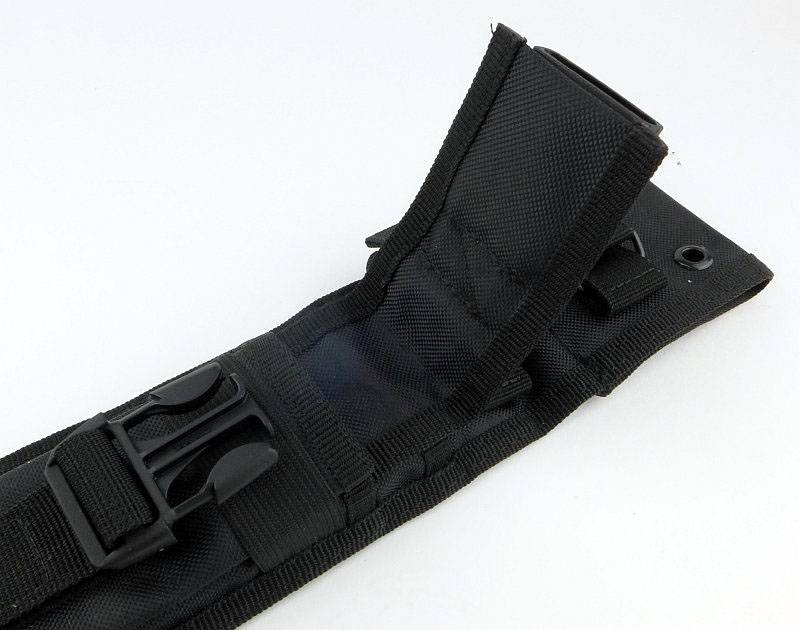
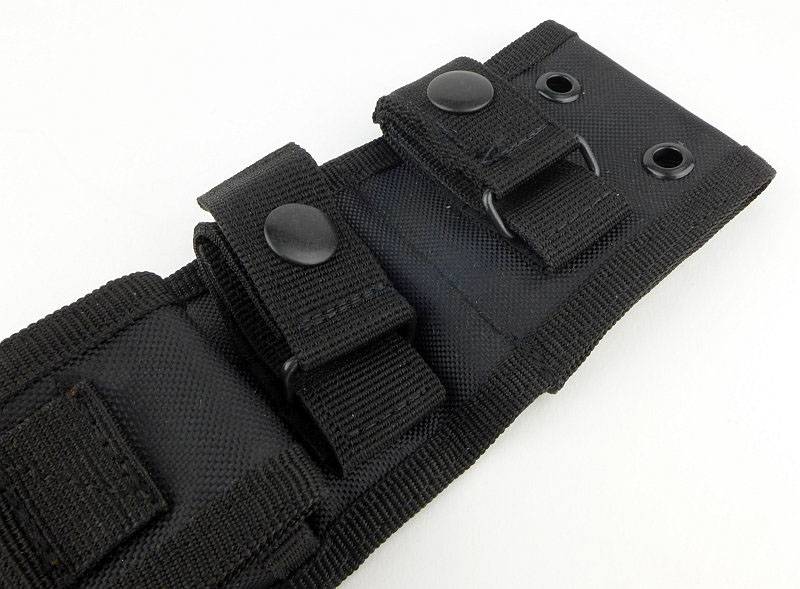
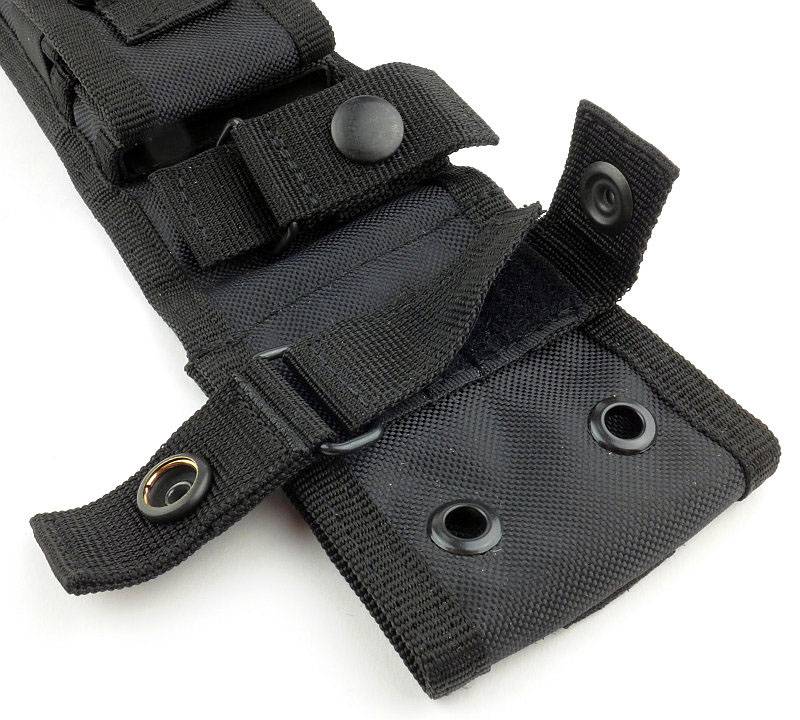
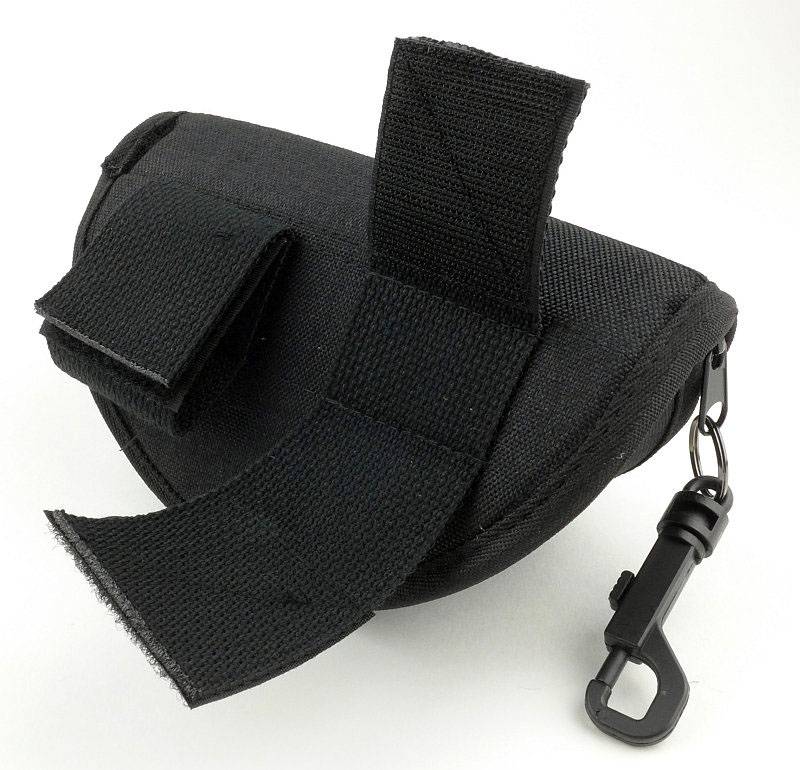
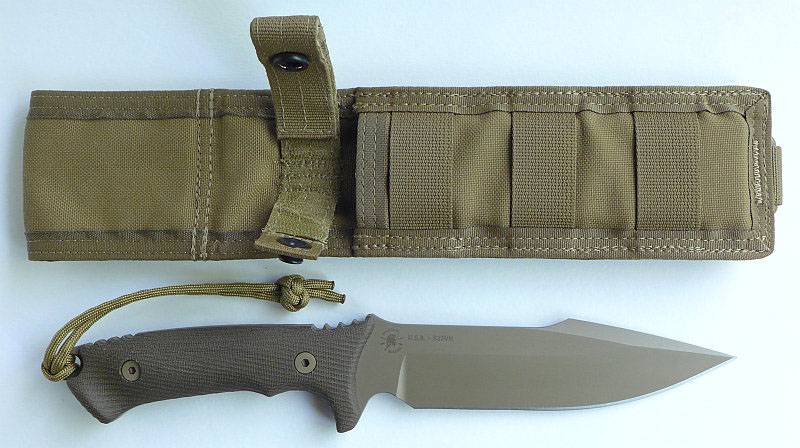
Looking at the back of the sheath:
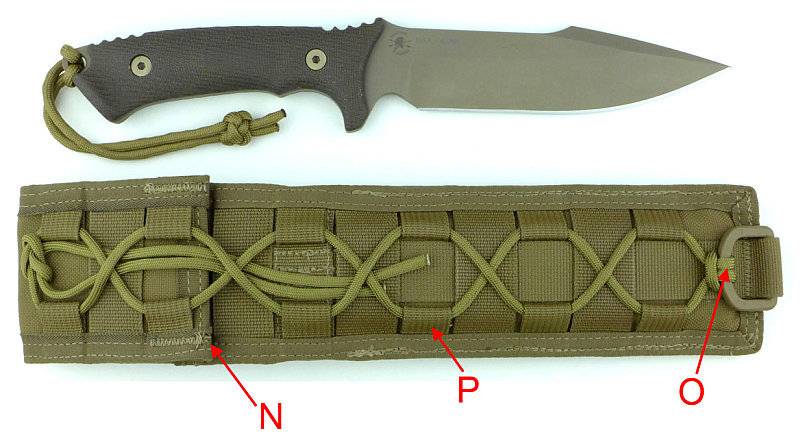
Use of Velcro throughout the entire belt loop (N) allows it to be fitted on a 1”-4” belt width and the Velcro keeps the sheath tight onto the belt whatever its size.
There is Velcro on the outer flap.
As well as inside the actual belt ‘loop’ as well.
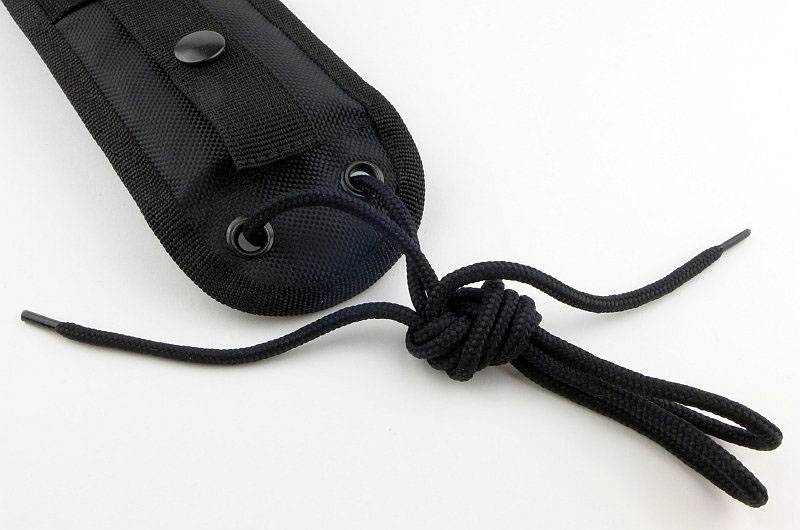
Rather than just using the webbing loop (into which the D-ring is fitted), a D-ring (O) was introduced to provide better directional stability on the leg and allows for other items to be attached.
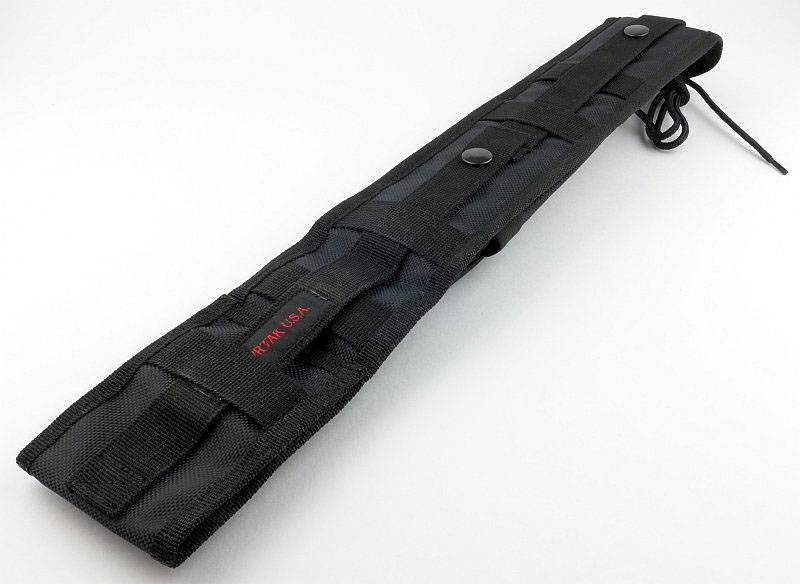
There are copious tie loops (P) on the back of the sheath which allow the leg tie down to act as a way to lace the sheath to a vest or pack in any direction (vertical, horizontal or diagonal) as well as allowing it to be mounted to packs or vehicle roll cages.
For the final part of ‘Explained by the maker’ we return to the knife…
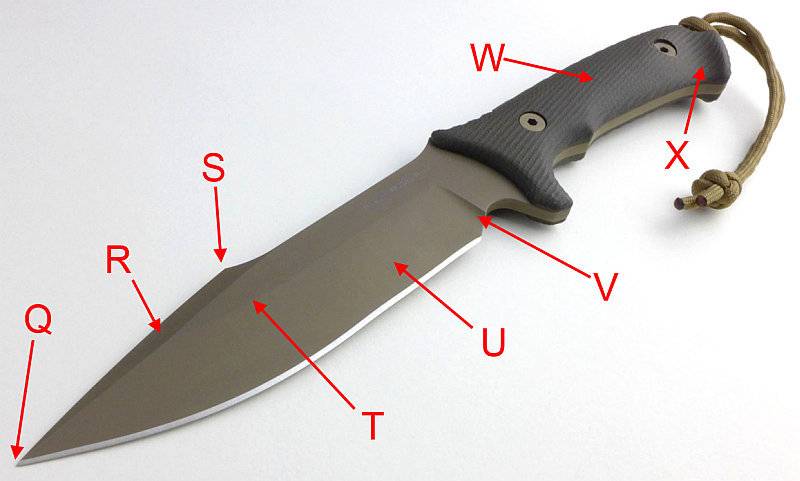
Point position (Q) relative to the centre line gives a best ‘user friendly’ position for most tasks.
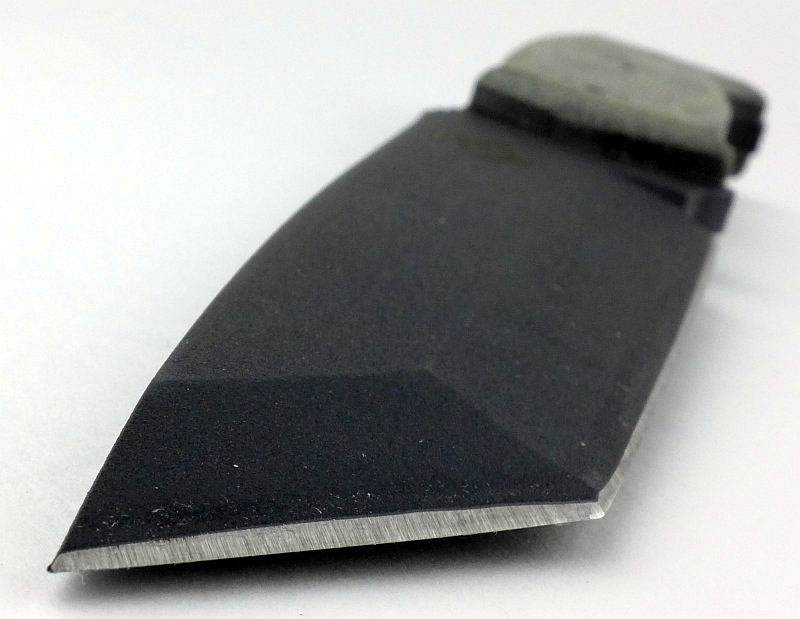
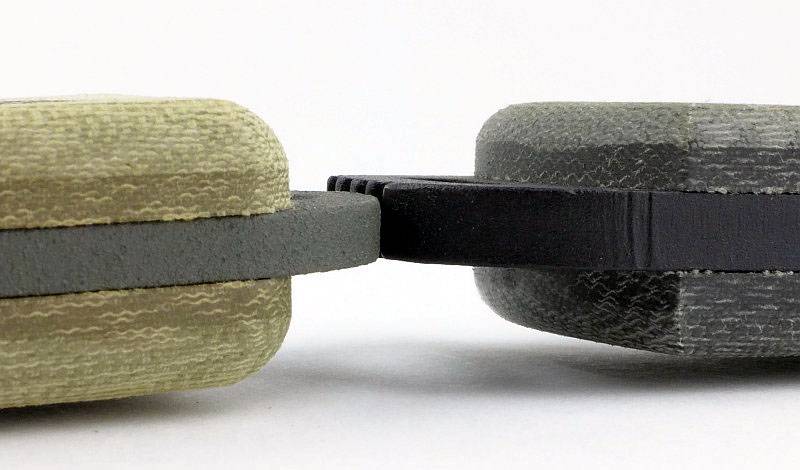
Though supplied unsharpened, the Swedge (R) can be sharpened like an Axe to allow for use in tinder preparation and splitting wood, which saves the main blade from being used for those tasks.
As explained earlier, the harpoon point strengthens the tip. The position of the end of this feature (S) is dictated by overall form and function.
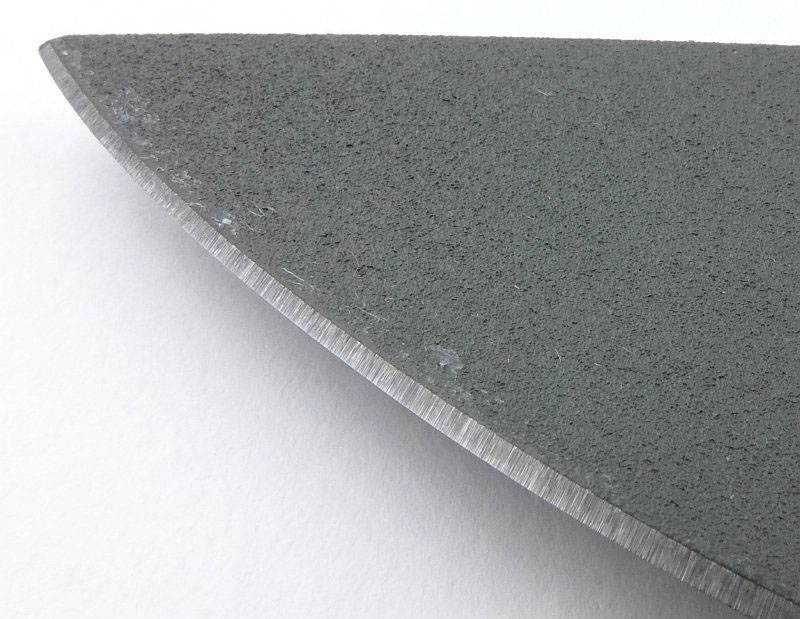
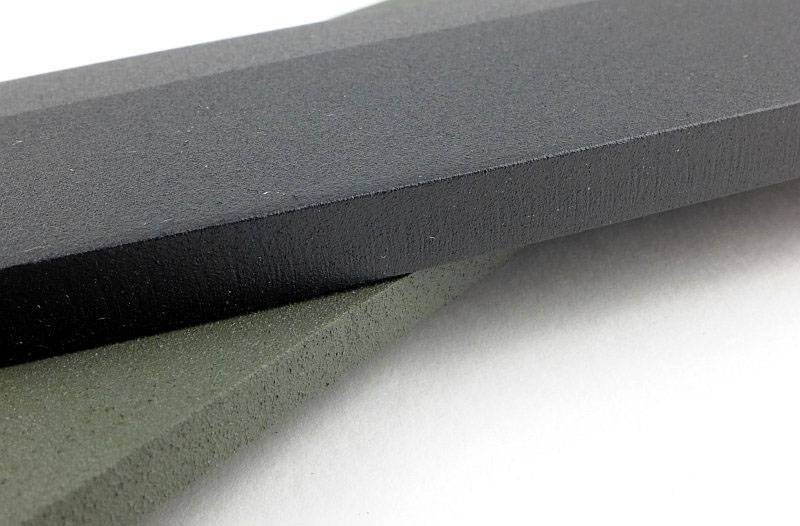
The final height of the grind line (T) is the result of the desired bevel angle intersecting with the 3/16” blade stock. The bevel angle used in the Harsey Model II allows for good sharpness while maintaining toughness.
A flat grind (U) is used purely as it is stronger than a hollow grind, and in this design, strength and durability are key requirements.
Use of a rounded plunge line (V) is related to providing stress relief during the heat treat / cryo process, and ergonomics when using.
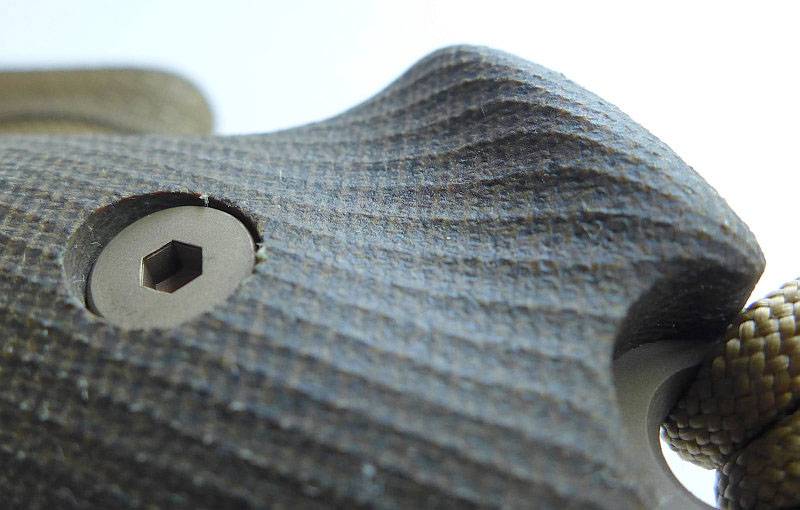
One of the special features of this knife are the sculpted handle scales (W). Spartan Blades scanned a handle Bill had hand ground in the 1970’s that was too hard to make at that time. Both Col Applegate and Al Mar wanted to use it, but at the time technology could not reproduce it – Spartan Blades now have.
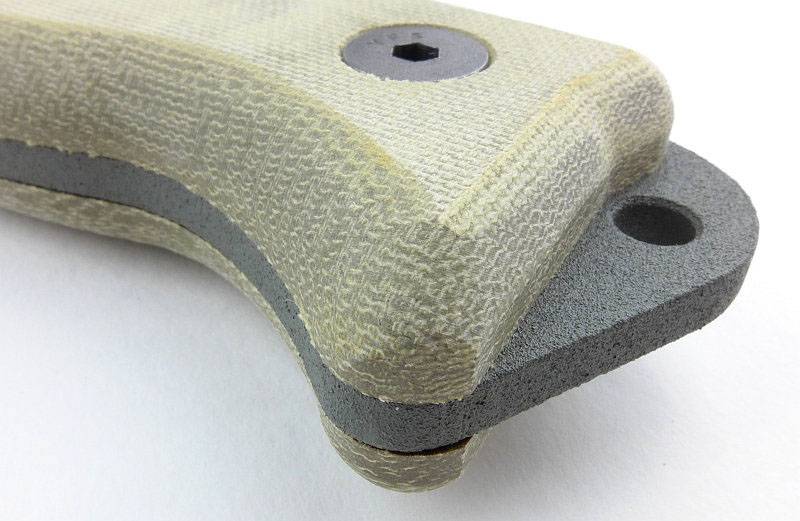
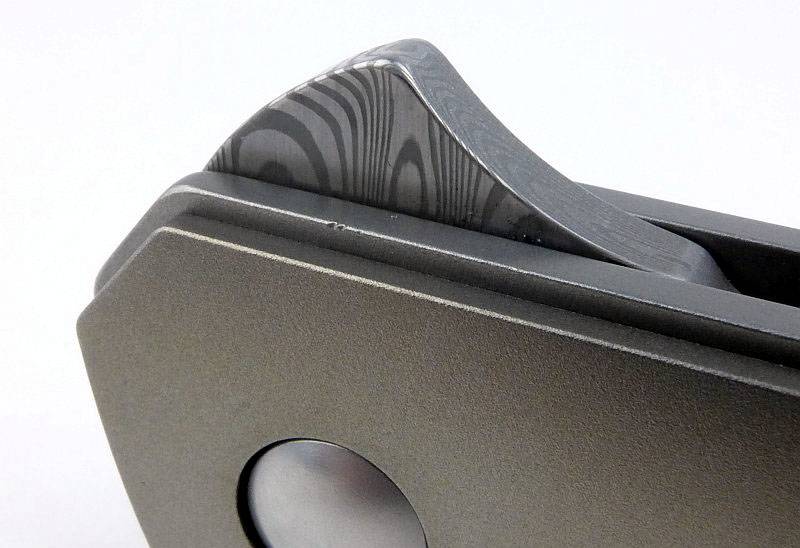
The detailed profiling in the butt swell/hook area (X) where the handle scales have a double-swell with swell in the side profile and top profile, came about over many years with Bill’s own experience combined with feedback from users. It greatly aids grip and general ergonomics for all tasks.
The selected blade steel (S35VN), which is used almost exclusively across the Spartan range, has been a logical choice for Spartan. S30V was the first CPM steel specifically created for cutlery and S35VN, a product improvement, just fits with what most soldiers and outdoorsman want. Good corrosion resistance, excellent edge retention and good toughness. Spartan really like it and it is also a great choice for many users who cannot re-sharpen when deployed for 6 months or a year.
A few more details:
Picking up on a few details not covered during the ‘Explained By’ section.
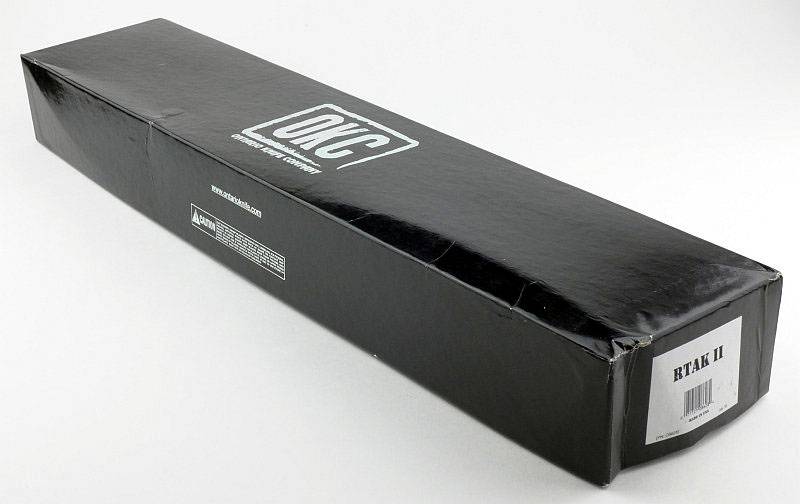
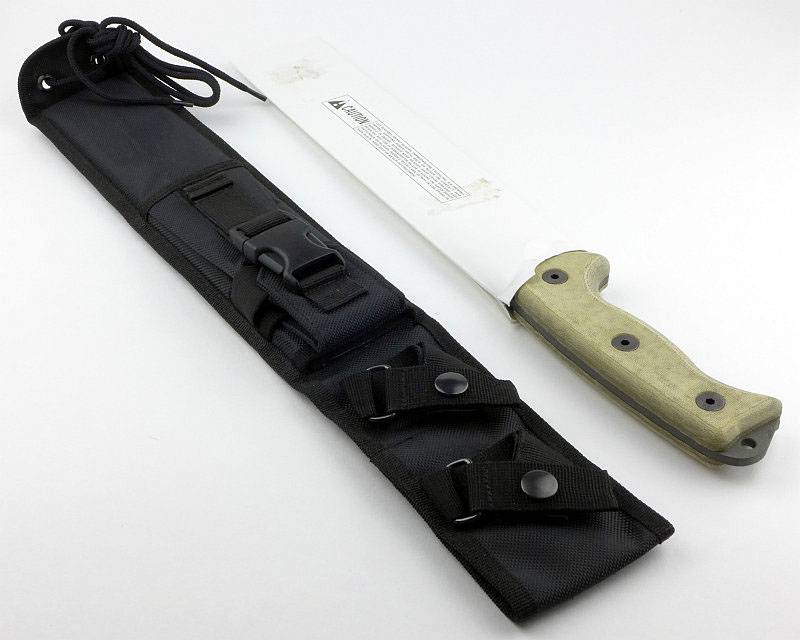
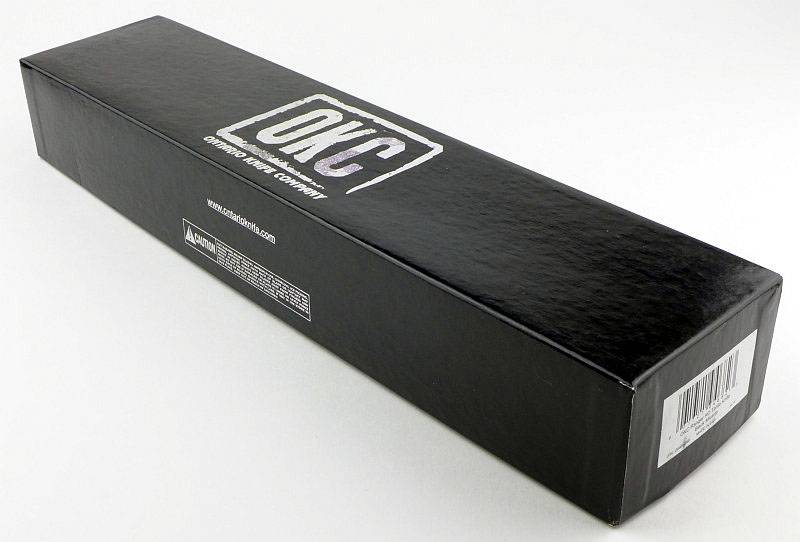
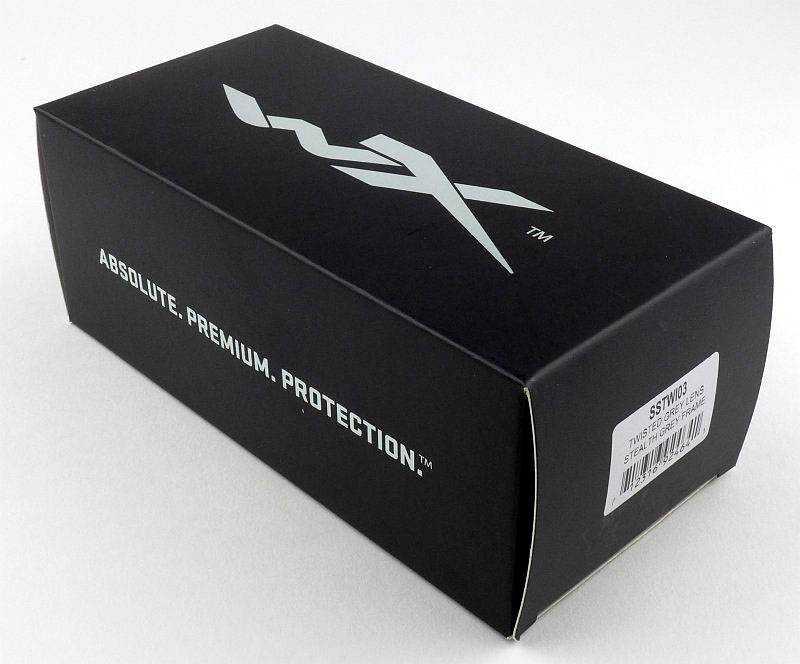
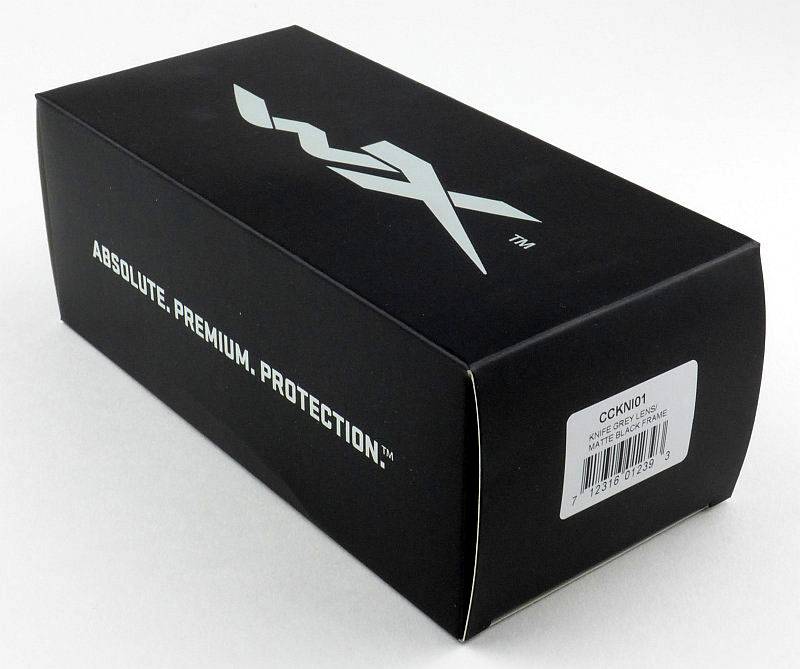
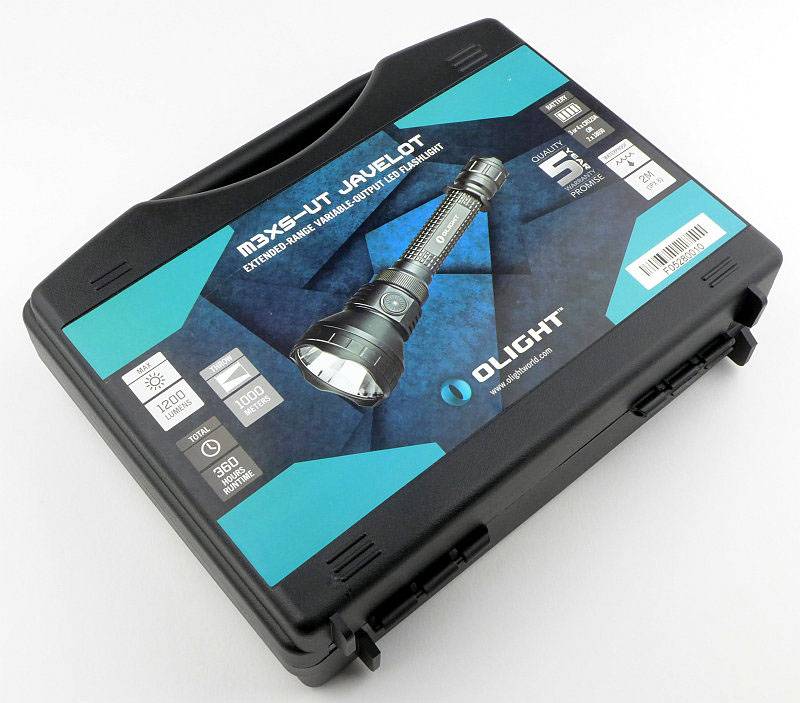
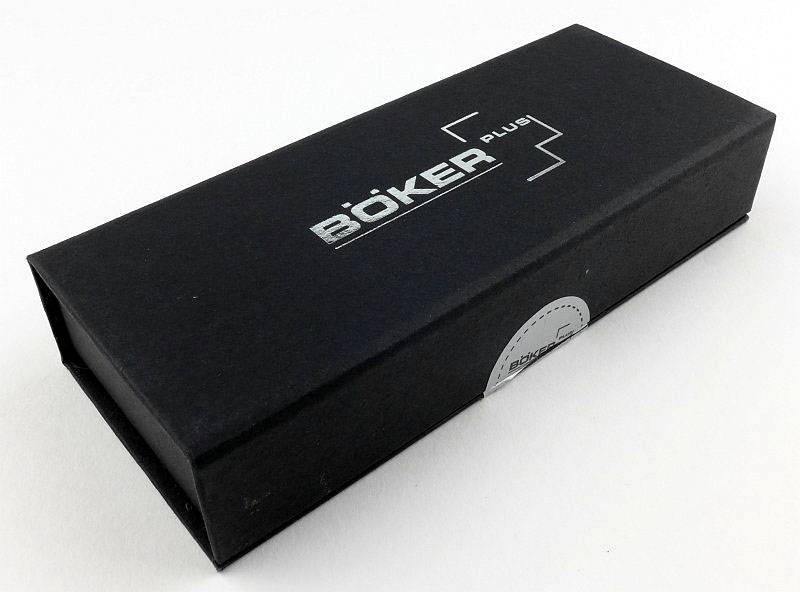
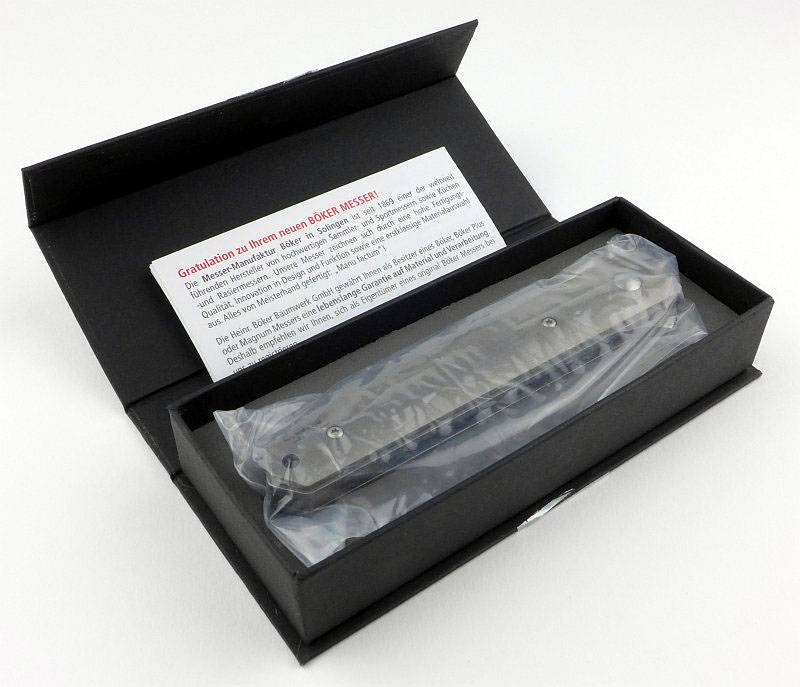
The Harsey Model II is a knife to be used, so the box reflects this simple intent. No fancy presentation packaging, it is a plain box that just gets the knife to you.

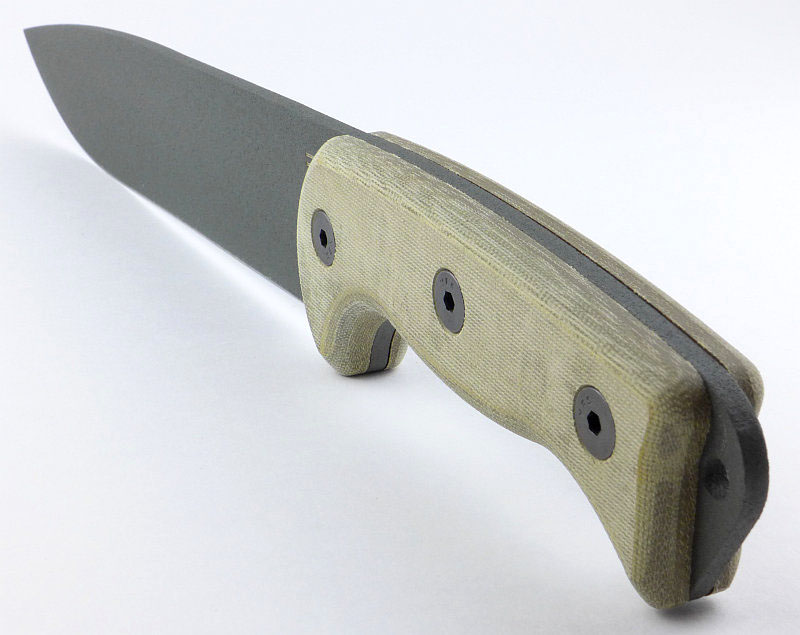
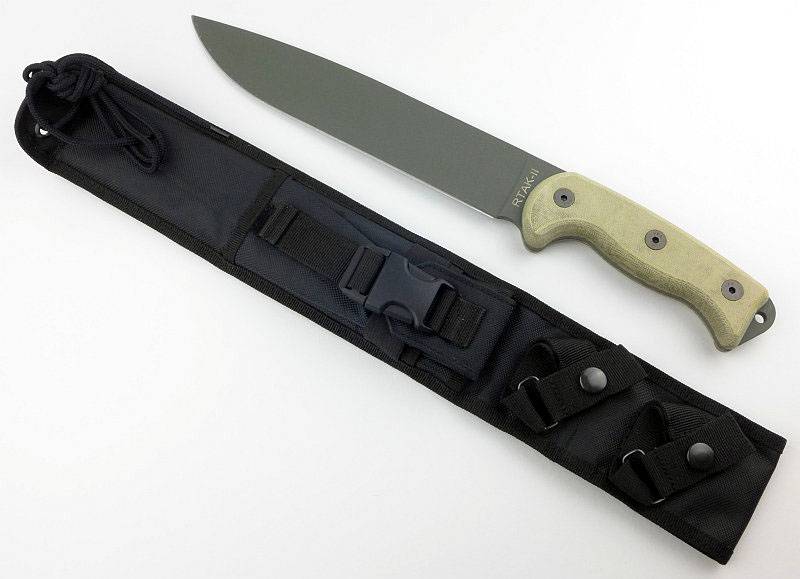
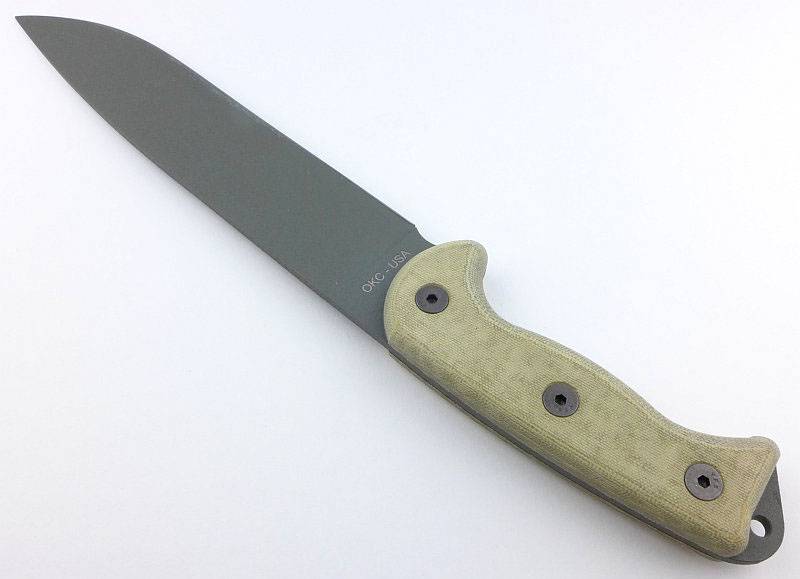
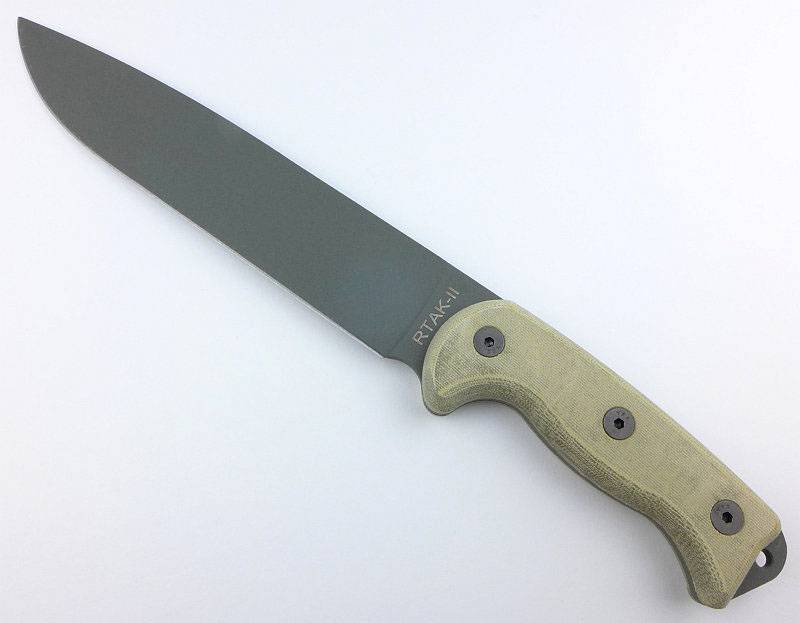
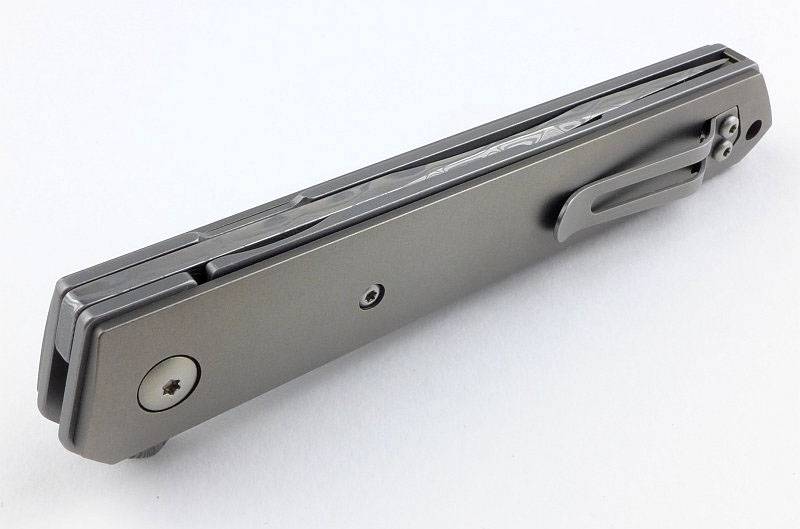
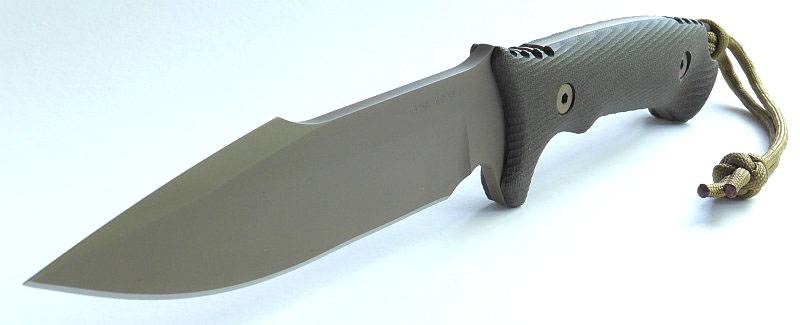
Here is another view of the knife out of its sheath with the felt liner visible.
And the side view of the same.
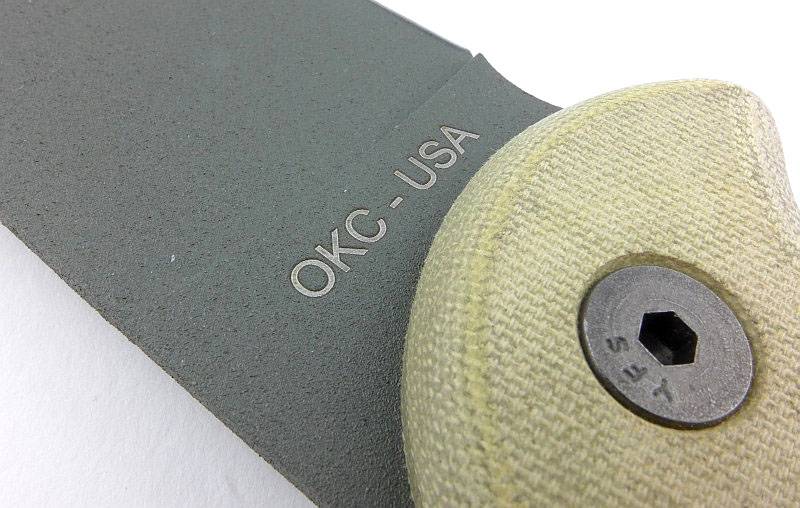
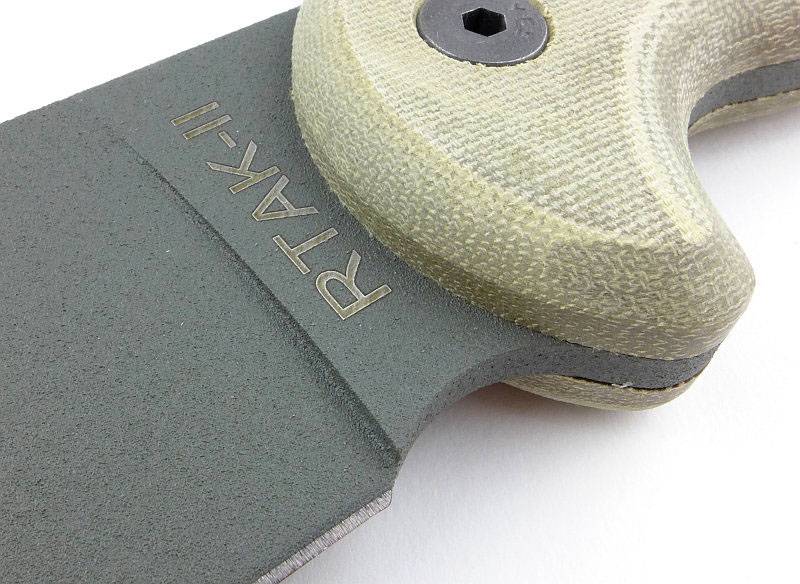
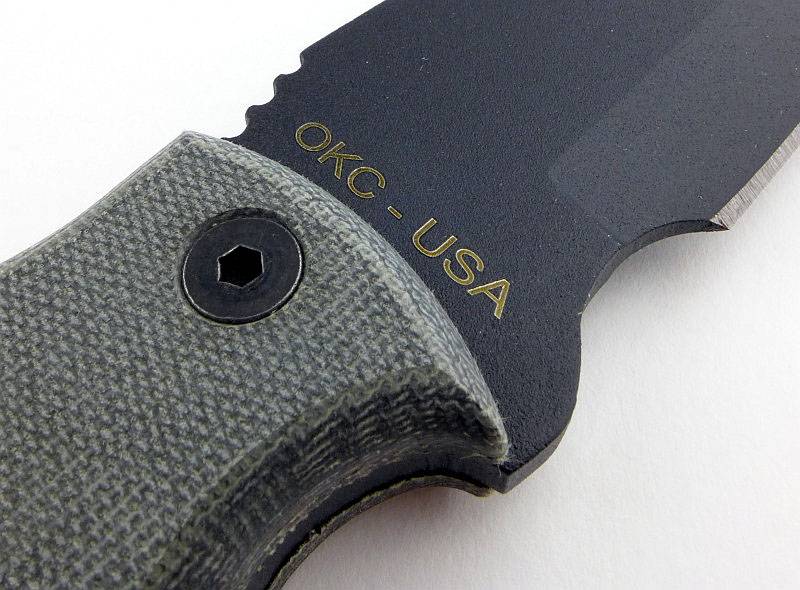
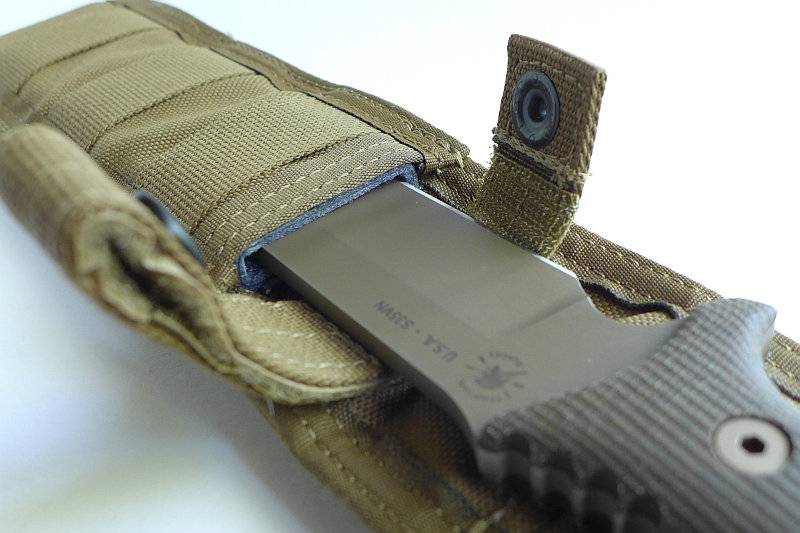
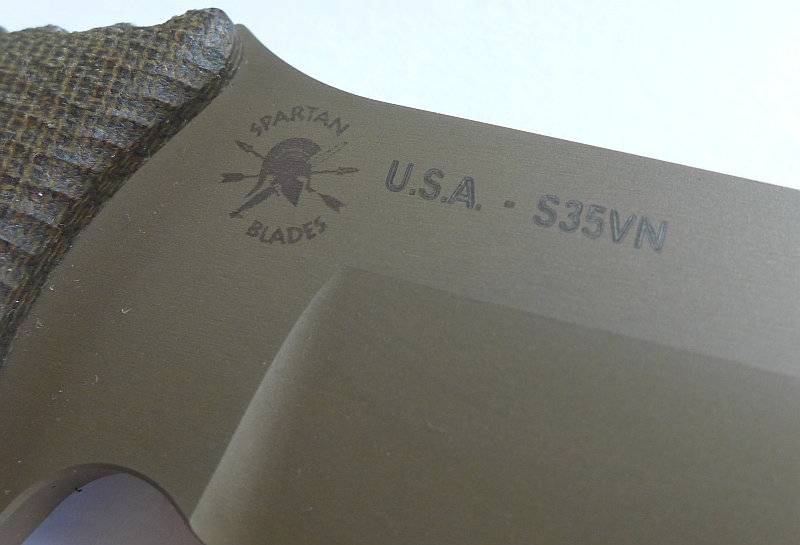
Spartan Blades logo etched onto the blade with U.S.A and the blade steel. This knife is the Flat Dark Earth colour and has a ZrN PVD ‘SpartaCoat’ coating.
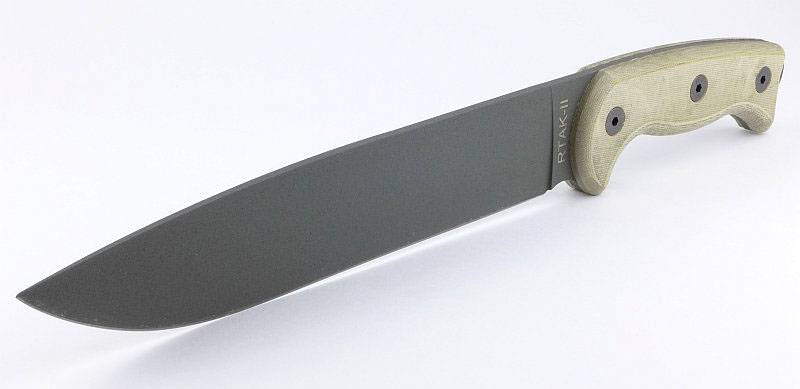
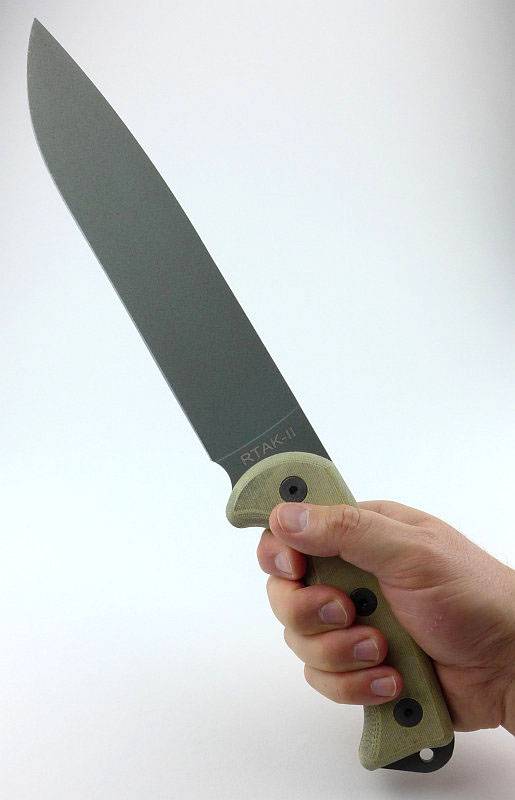
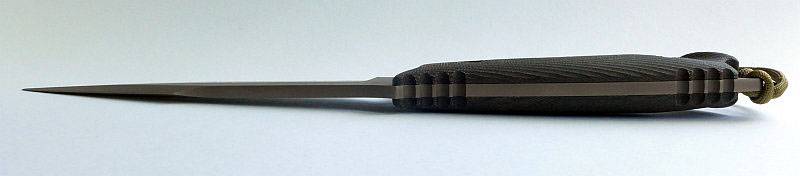
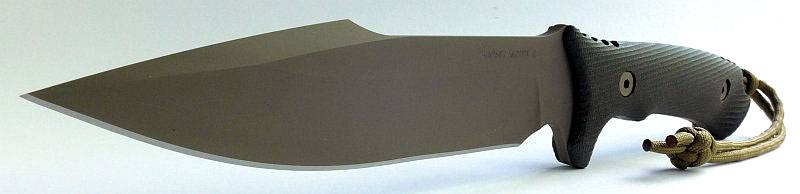
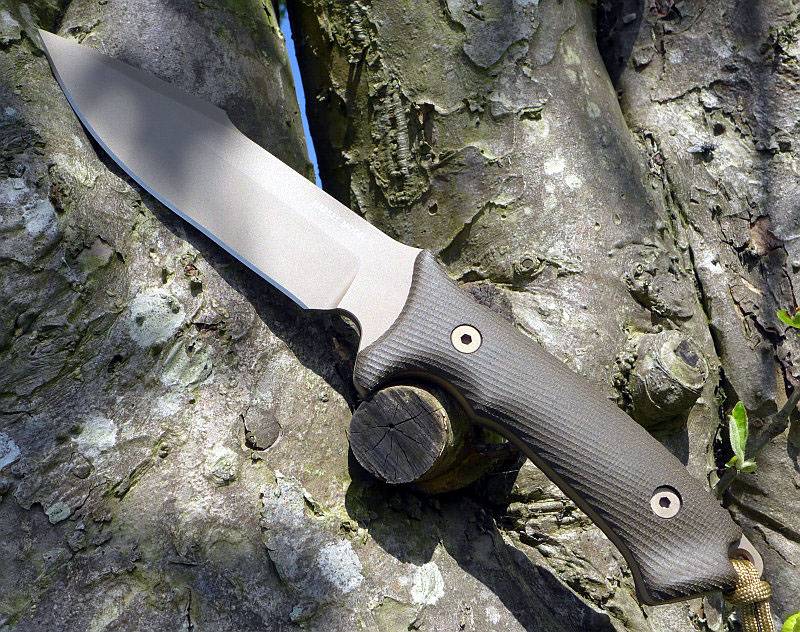
So right now, just bear with me as I’m really just enjoying looking at the blade profile…
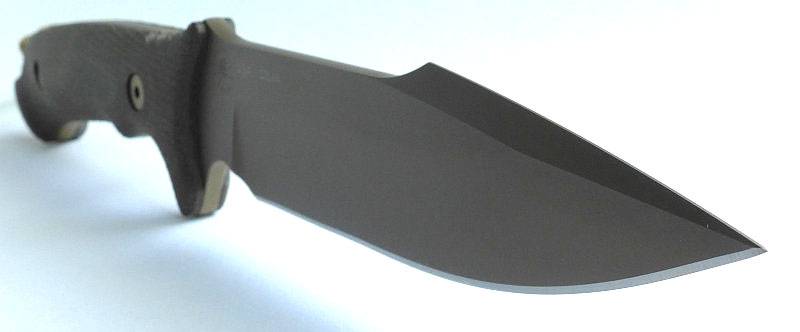
…along with that sculpted grip and harpoon point
Yes, still enjoying that profile…..
The Flat Dark Earth colouring is a very subdued looking finish that fits right in.
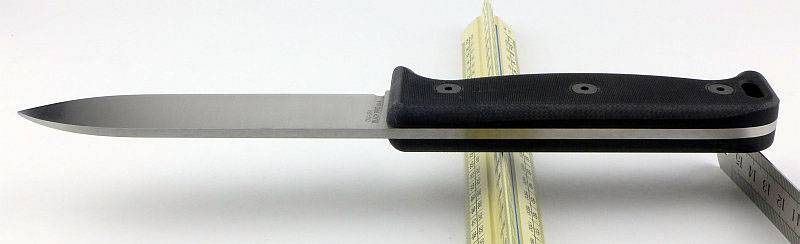
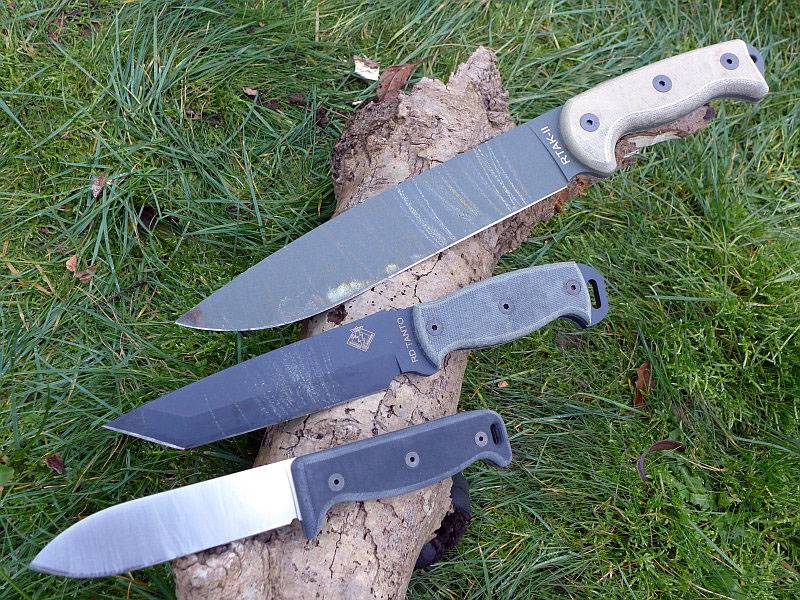
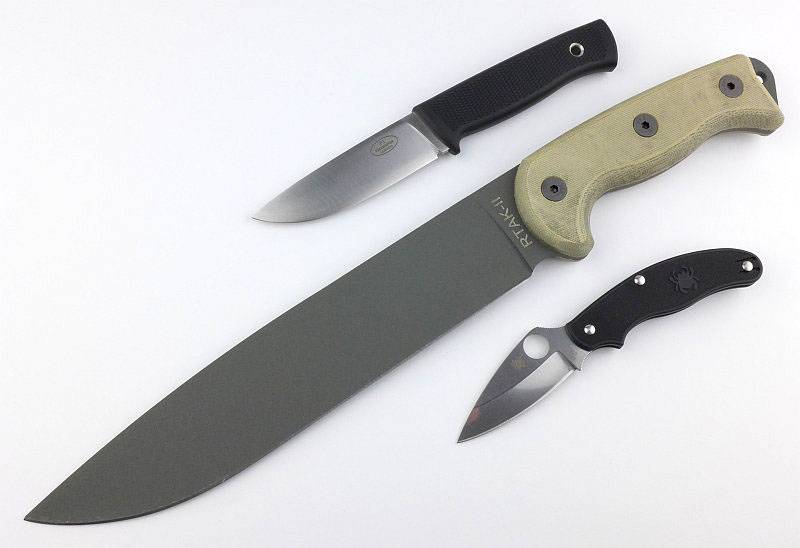
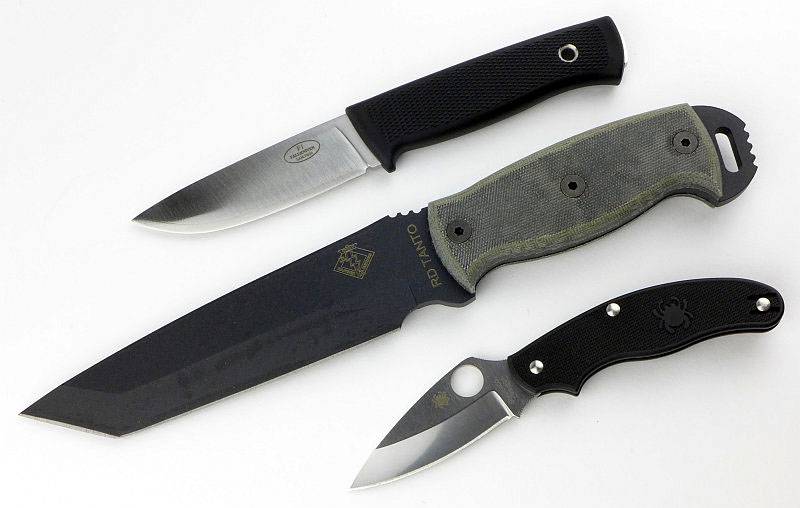
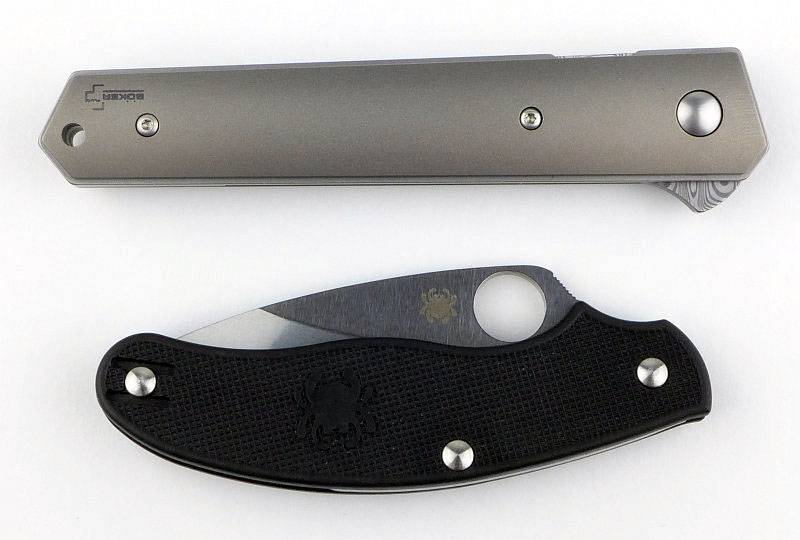
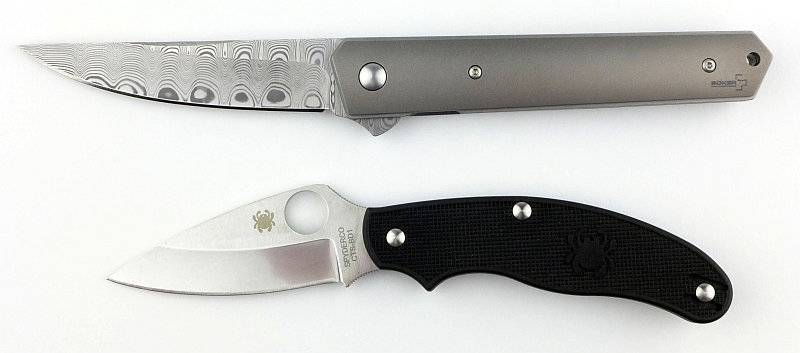
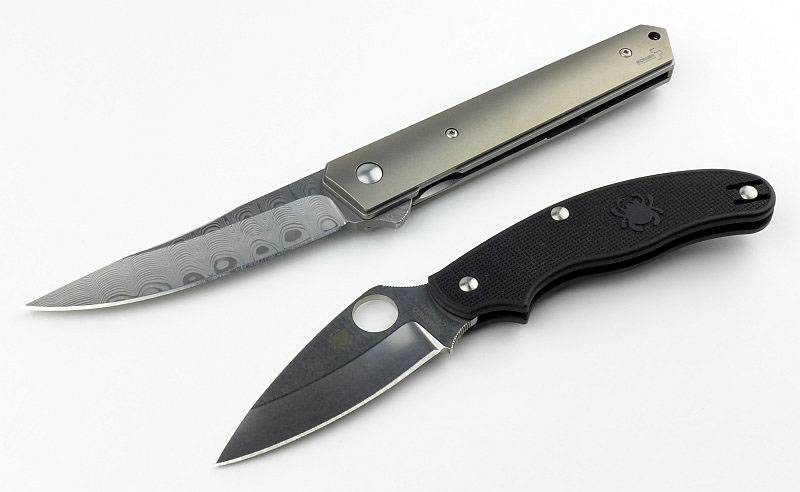
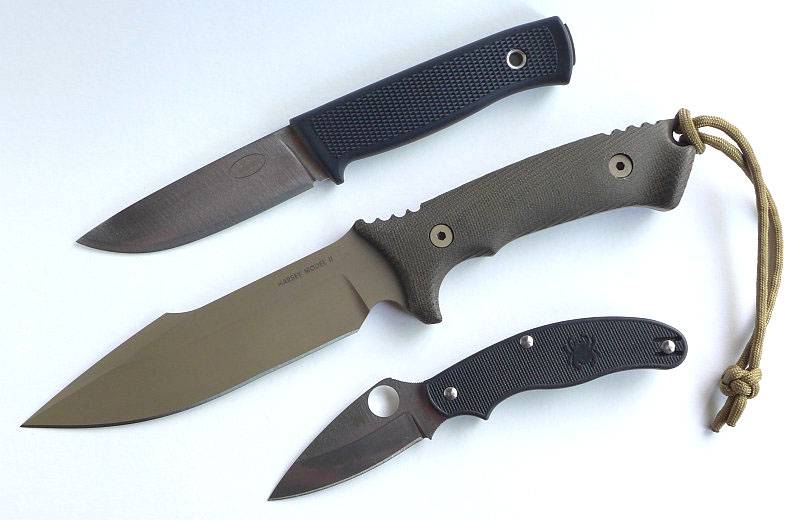
To get an idea of the size of the Harsey Model II, it is shown here with the Fallkniven F1, and Spyderco UKPK FRN.
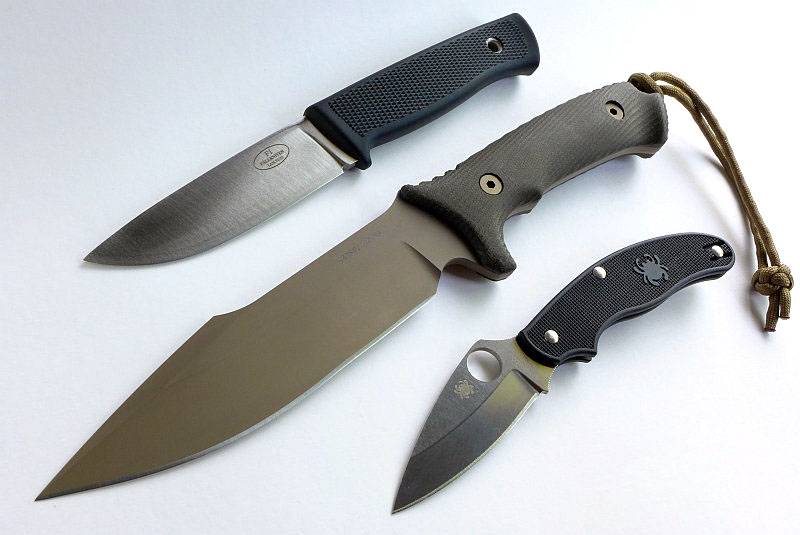
And straight on.
What it is like to use?
This is a knife I’ve loved the look of from first sight of it. However in a tool designed to cut, looks are not everything, and as it happens the Harsey Model II does cuts just as well as you would hope.
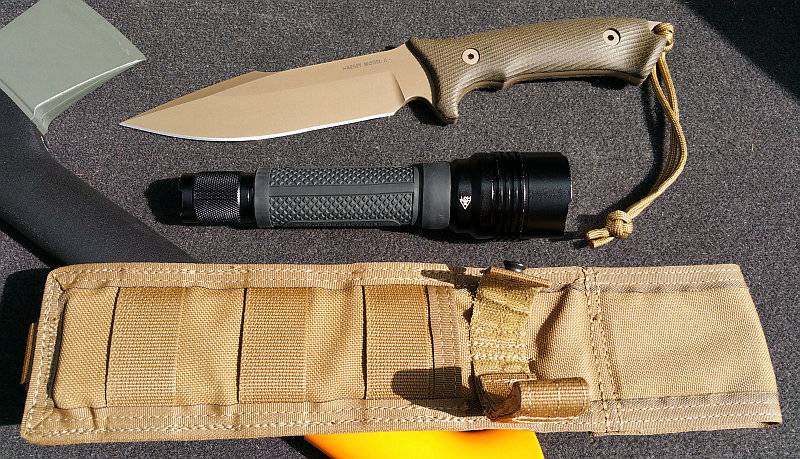
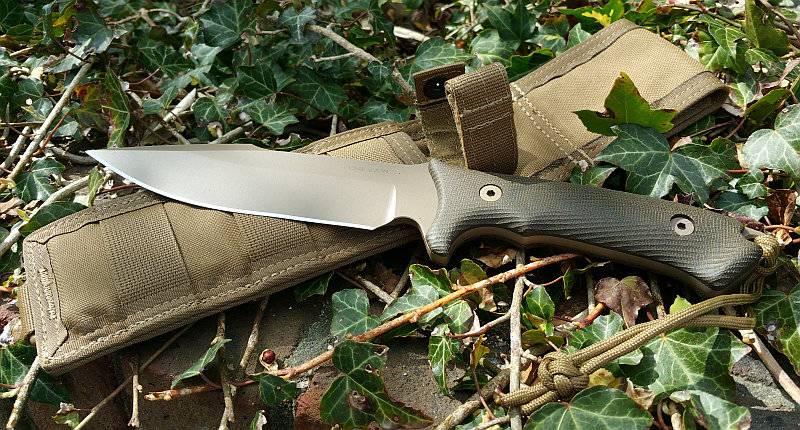
Taking the Harsey Modell II into my daily use gear it has been with me for several months now. (In this photo it is still looking spotless as it had not had any real use at that time).
It has been with me out hunting and on the range.
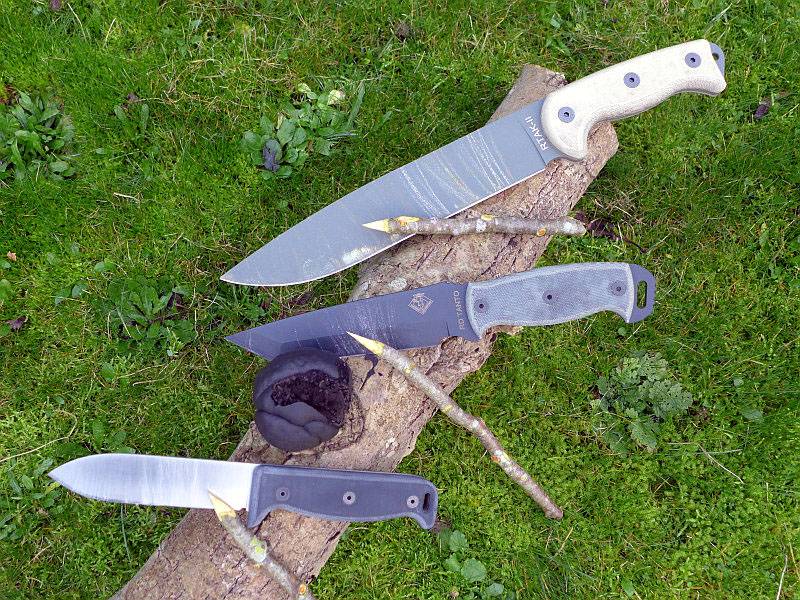
Out and about in the field.
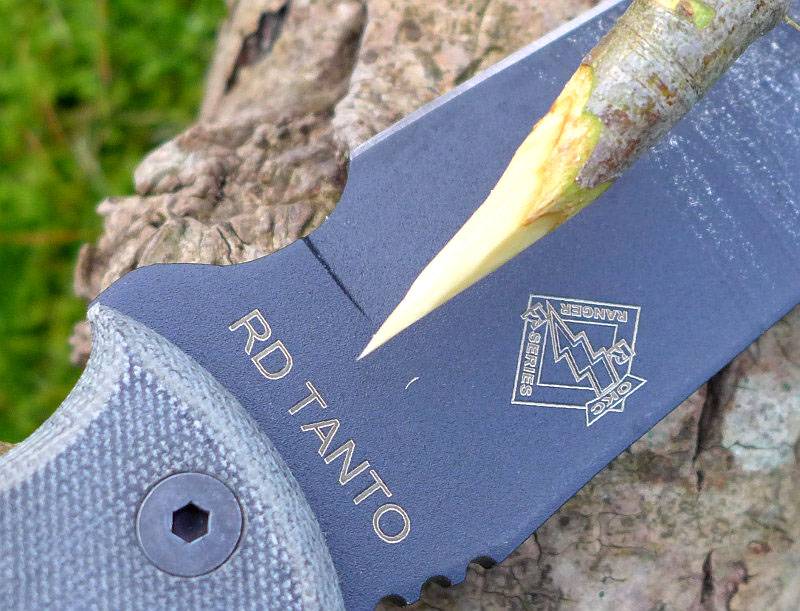
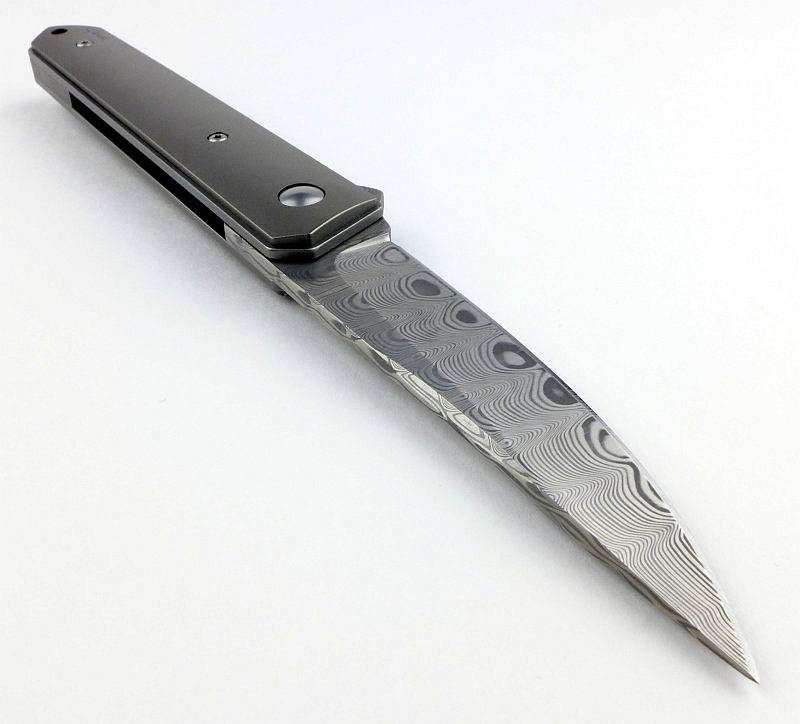
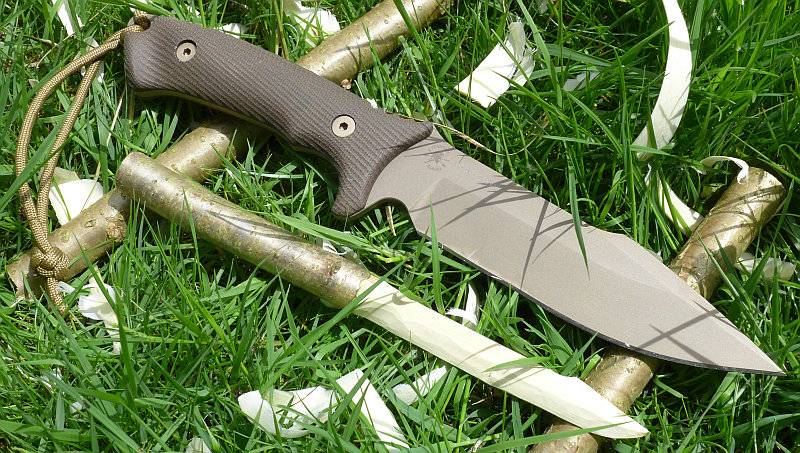
For a sturdy knife, the Harsey Model II worked perfectly well carving and shaping wood. Pictured in the process of making a ‘mini-me’ letter opener…
For some cutting tasks I have found the Harsey Model II a little too ‘pointy’. The tip is very eager to cut and resulted in more aggressive cuts than I intended in certain situations. Admittedly, these are situations I would normally have used a smaller knife with a less prominent point, but I had the Harsey Model II with me, so had to use it.
It is one of the most natural feeling knives I’ve used. The handle’s curves and sculpted profile just fit my hand and allow it act as an extension of my arm rather than a foreign object. The milling lines from the CNC machining of the G10 provide an ideal surface roughness giving excellent grip yet no rubbing. Without gloves, my hand became tired long before I felt any pressure points or anywhere in danger of blistering. With gloves, the limiting factor are the gloves own seam lines which tend to add a source of pressure and rubbing, but what was clearly evident was that the handle works just as well with gloves or without.
Still on my to-do list is to sharpen the harpoon swedge. Though I like the idea, in my normal use, I already find the point very aggressive, so sharpening the top edge as well is only going to make it even more so.
The sheath has proved very versatile in its mounting options, however there are a couple of points I’ve found that don’t seem to work so well. Though any sheath retaining strap can be in danger of being cut, the retaining strap seems to need to be positively pushed out of the way to avoid being cut. Depending on how you mount it this can be easier or quite difficult.
Though it provides a very secure fit, the use of Velcro on the internal part of the belt loop, means that this is quite abrasive on the belt itself and causes fraying on fabric belts and scratching on leather belts. In military applications you probably won’t care, but ‘sporting’ users might.
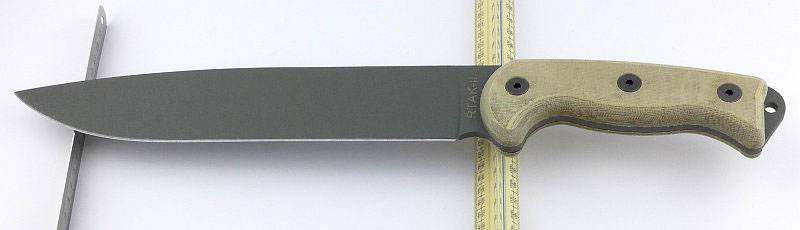
Its blade length, at just over 6”, combined with a great balance makes this a very nimble blade despite its sturdy 3/16” blade stock. I’ve not handled the larger Harsey Model I Limited edition, but think that most users would find the Model II more manageable and useful for general tasks even if they could still get a Model I.
The S35VN is standing up to its promises of edge retention. I’ve not been using it for extended periods of chopping (I use an axe for that), but instead just using it as and when I need to, and so far there has been no need to bother with a strop or otherwise maintain the edge. Only further use and time will tell just how long the edge will last before I need to touch it up. The only maintenance I have done so far is washing various ‘residues’ off the blade.
This knife has made itself a firm favourite of mine due to its excellent handling and balance, and a fantastic grip, not forgetting the excellent steel too.
Review Summary
The views expressed in this summary table are from the point of view of the reviewer’s personal use. I am not a member of the armed forces and cannot comment on its use beyond a cutting tool or field/hunting knife.
Something that might be a ‘pro’ for one user can be a ‘con’ for another, so the comments are categorised based on my requirements. You should consider all points and if they could be beneficial to you.
| _______________________________________________ |
_______________________________________________ |
| Things I like |
What doesn’t work so well for me |
| _______________________________________________ |
_______________________________________________ |
| Sculpted handle |
The point can cut very aggressively |
| S35VN blade steel |
Possible to cut the retaining strap by mistake |
| Versatile sheath |
Belt loop will mark/fray most belts |
| Superb balance |
|
| Jimping for forward and reverse grips |
|