Spartan Blades LLC proudly make “Knives with Intent”, and their Pallas Button Lock folder is no exception, fulfilling its design brief exceptionally well.
The Blade and Handle Geometry:
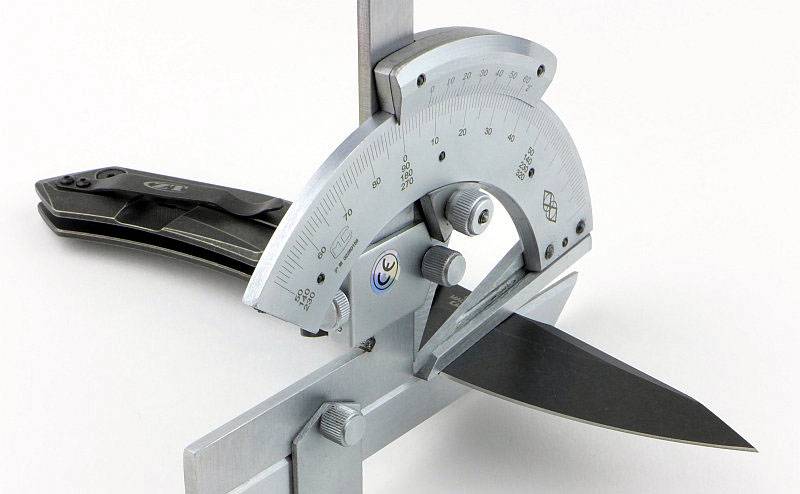
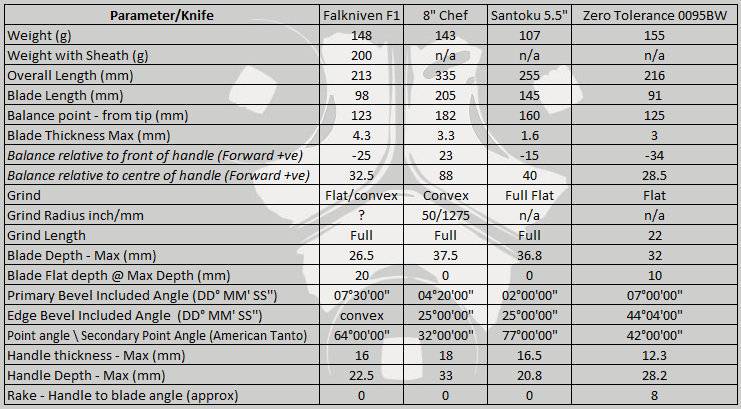
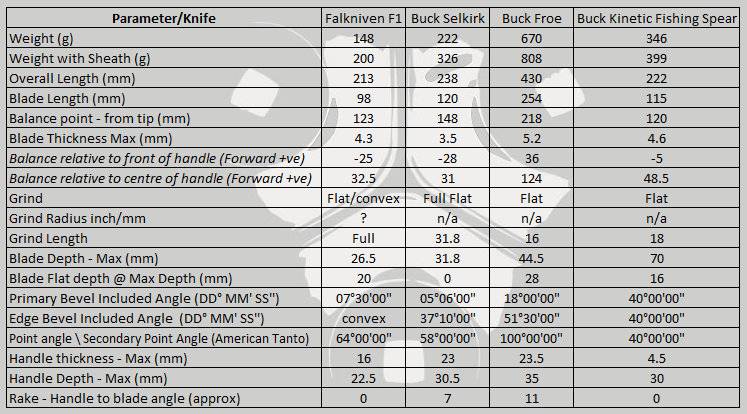
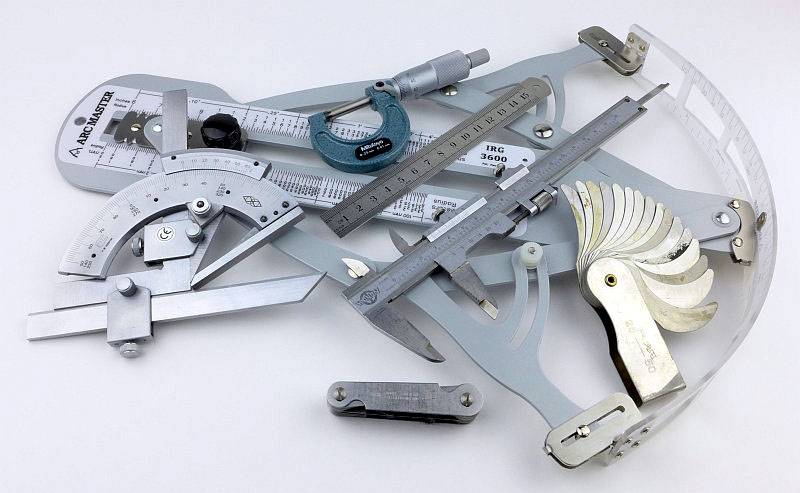
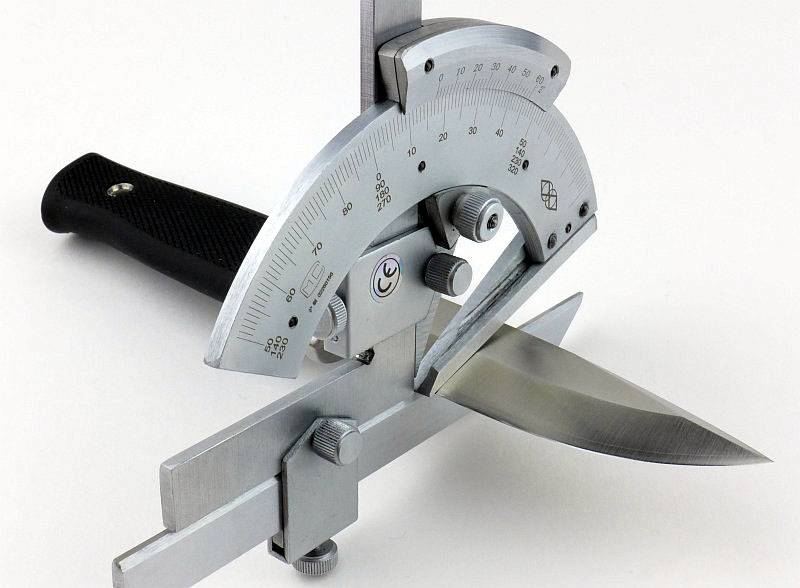
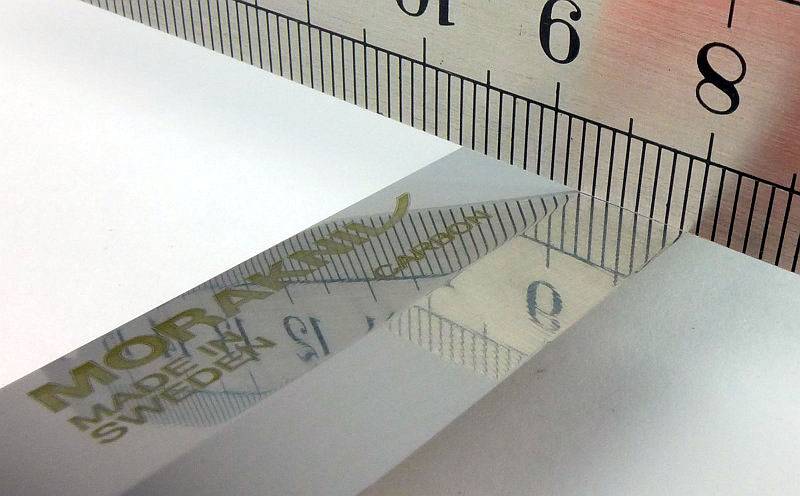
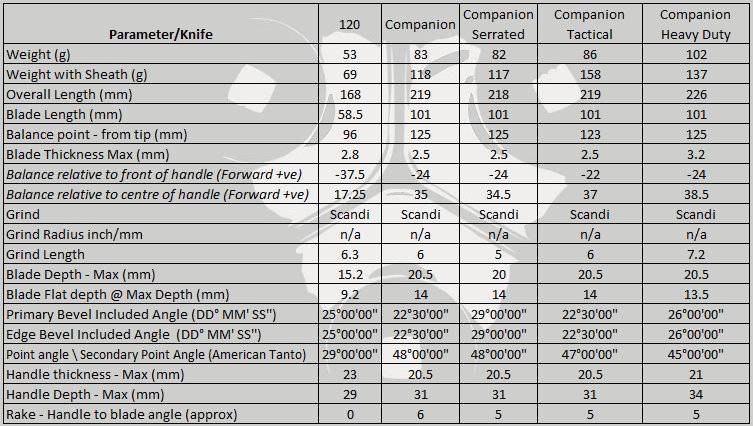
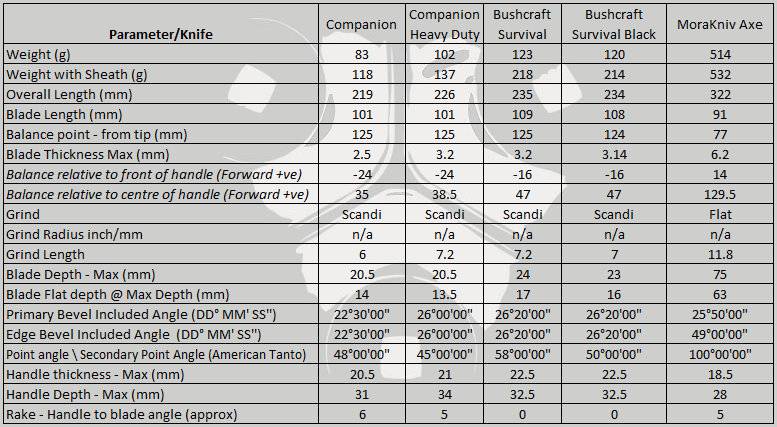
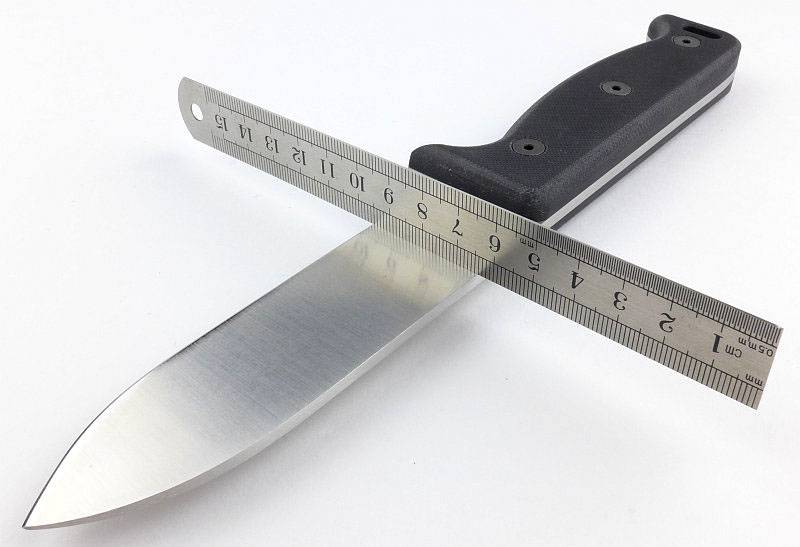
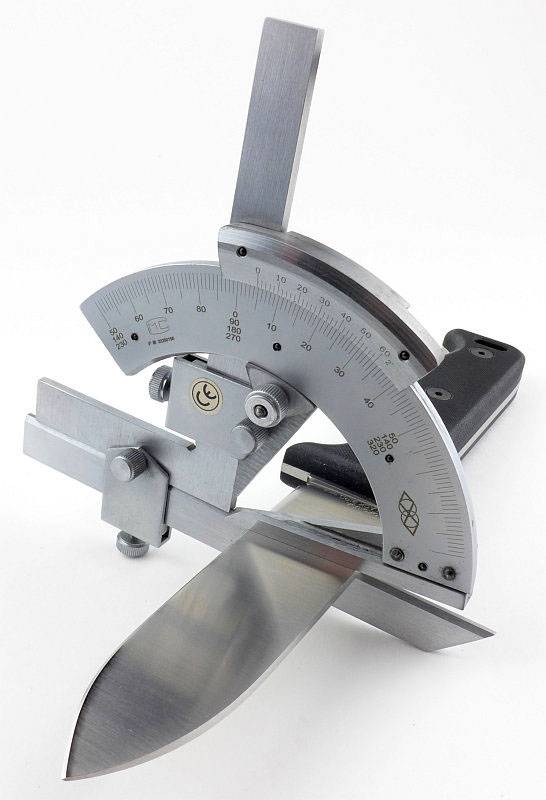
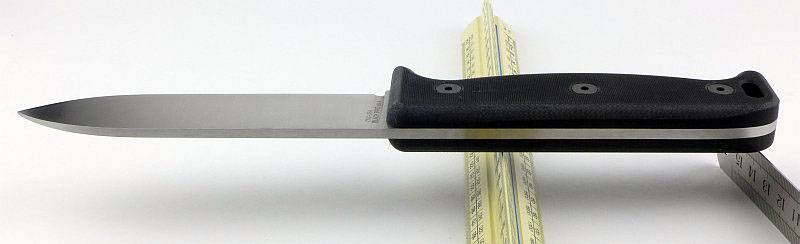
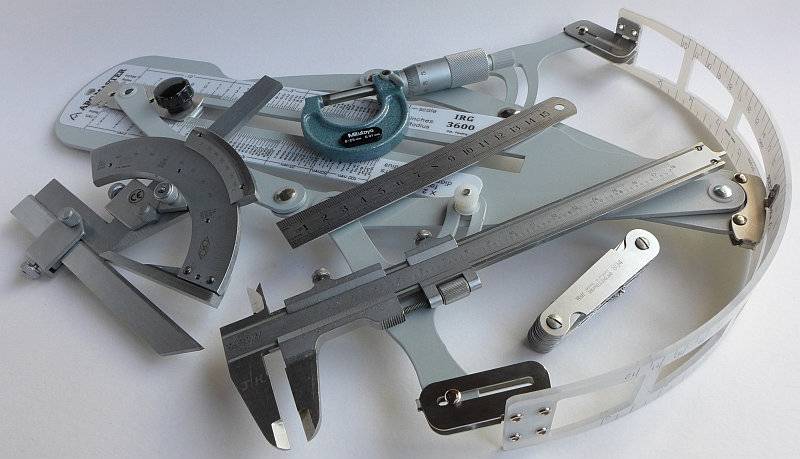
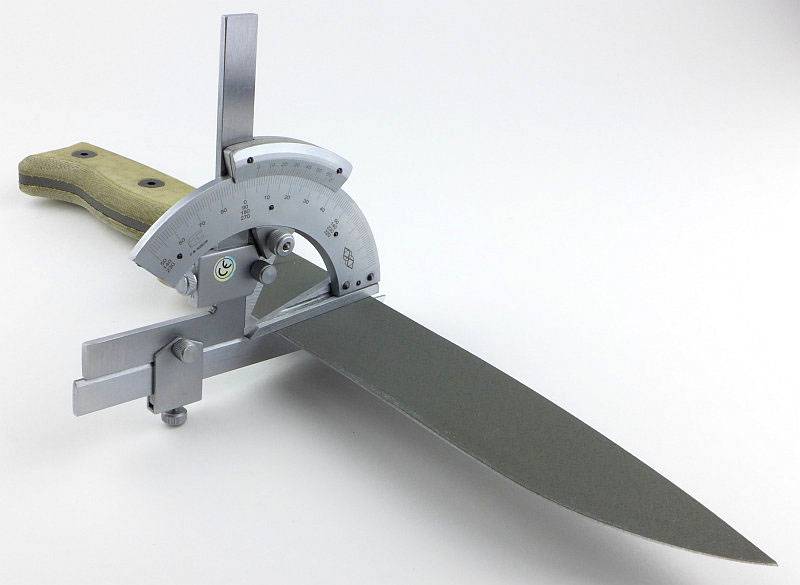
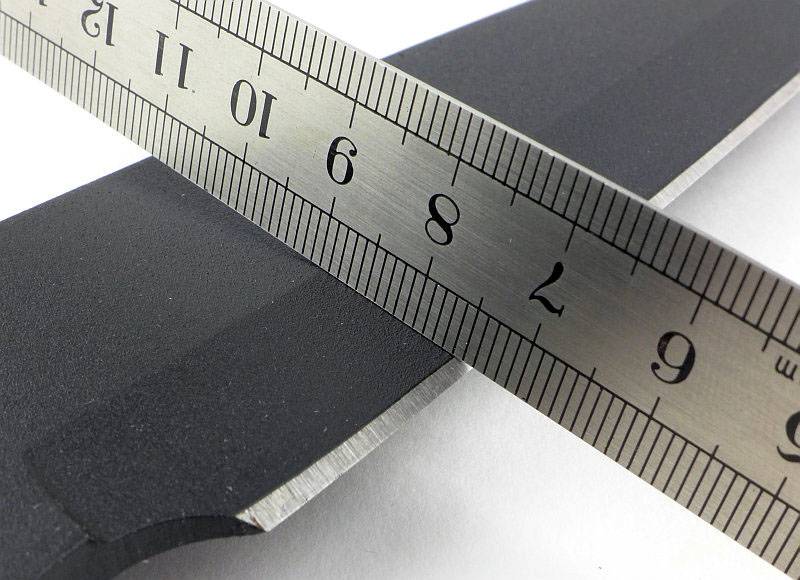
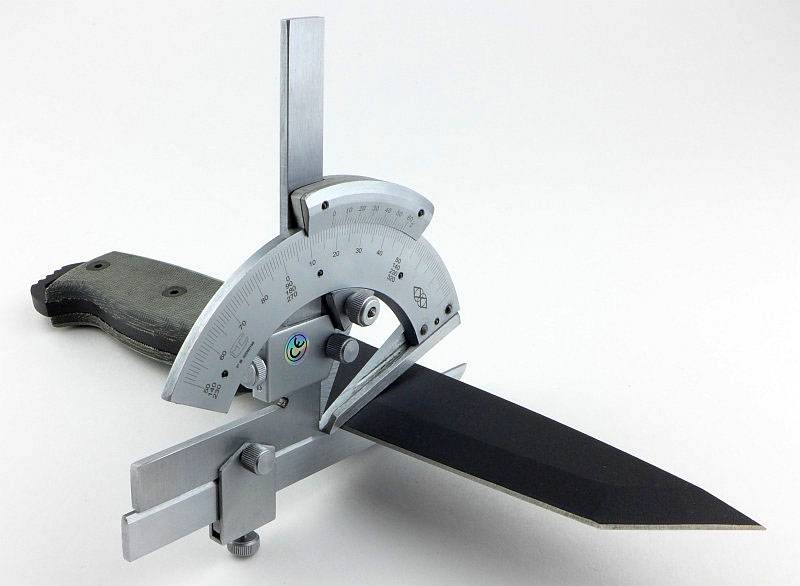
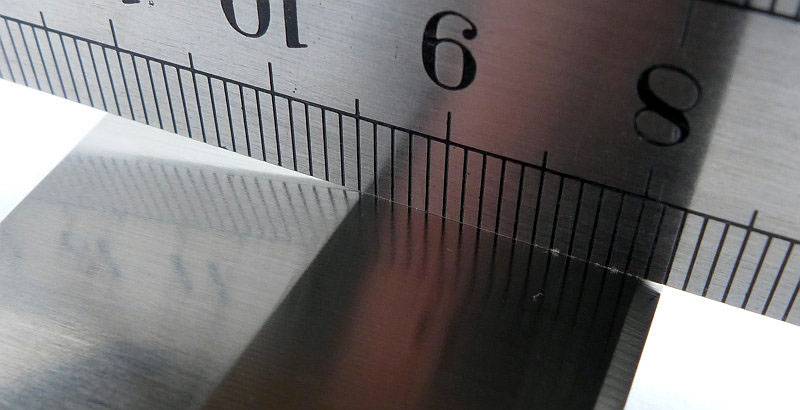
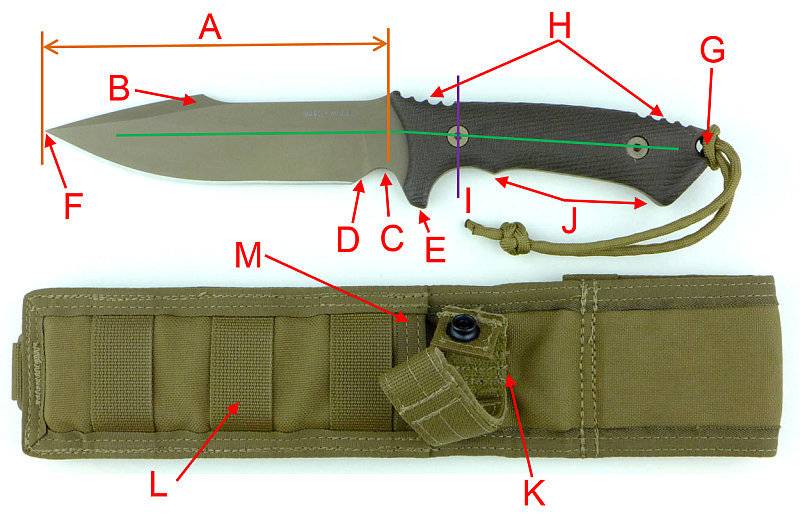
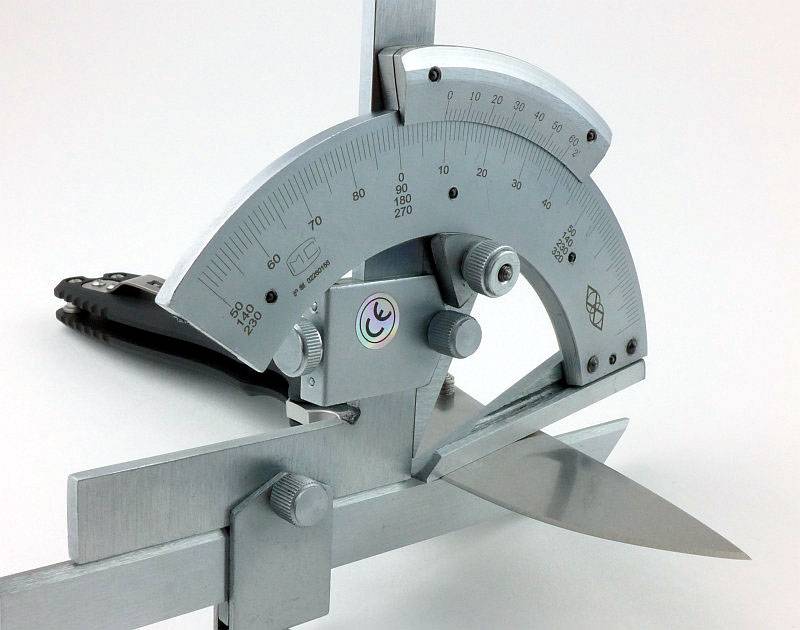
Most knife specifications have a basic description of the blade geometry, but in this section I will be taking a more detailed look at geometry and balance.
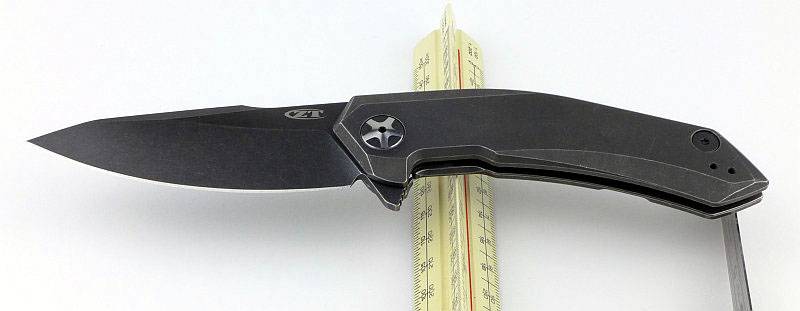
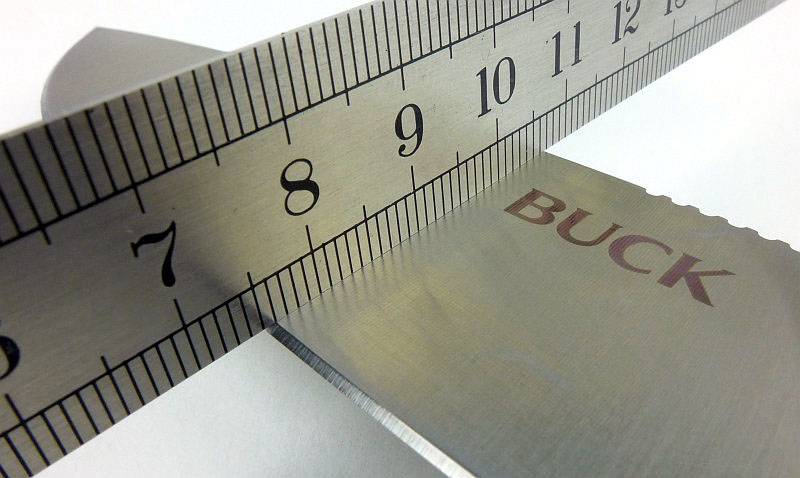
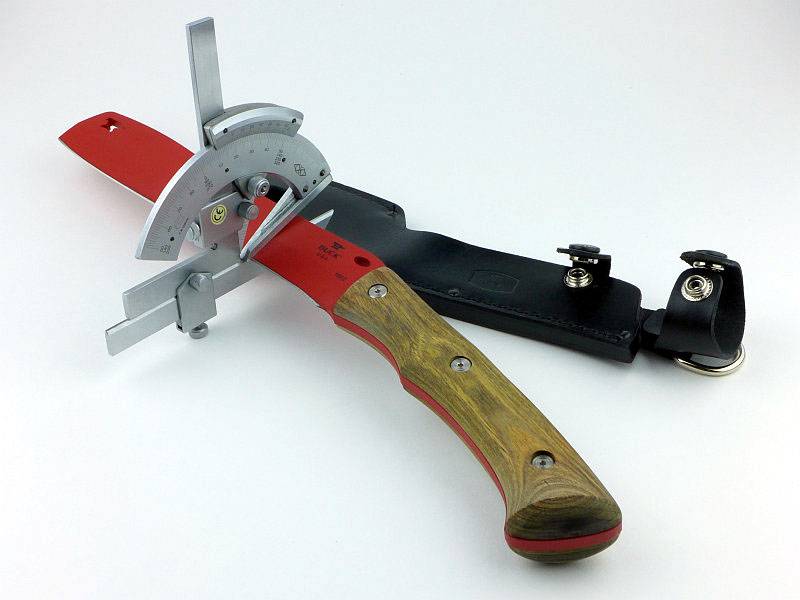
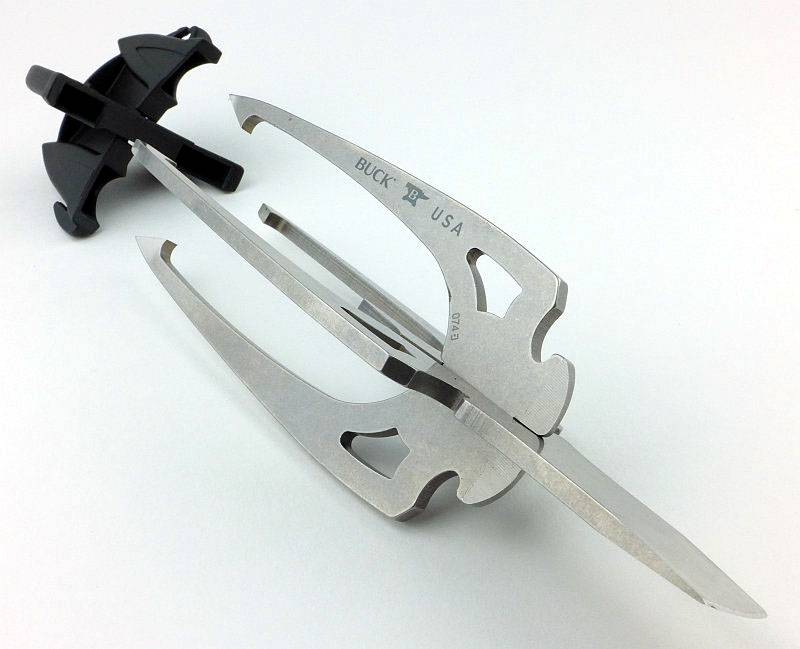
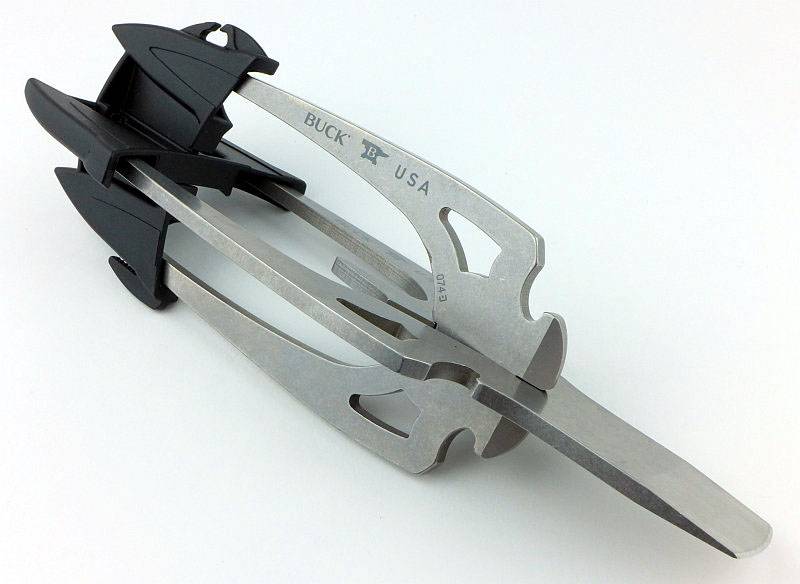
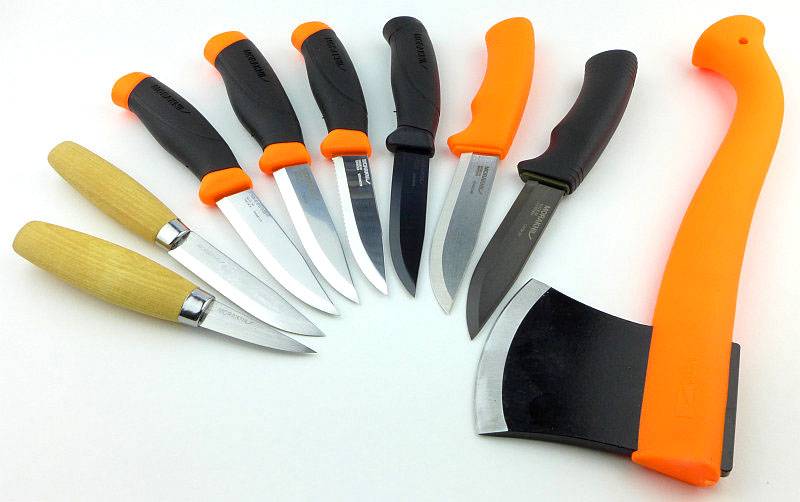
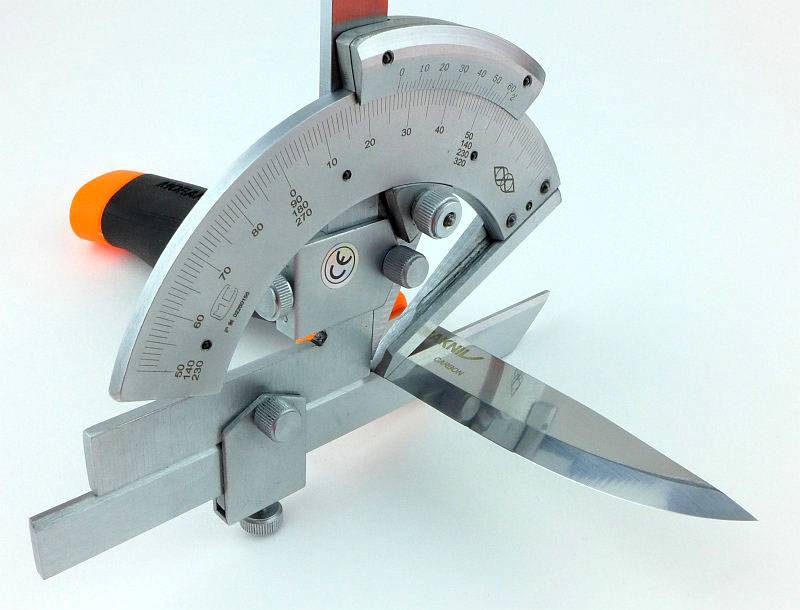
Using a set of gauges and precision measuring equipment including a Vernier protractor, callipers, fixed radius gauges and the unique Arc Master adjustable radius gauge (the one that looks like a crossbow).

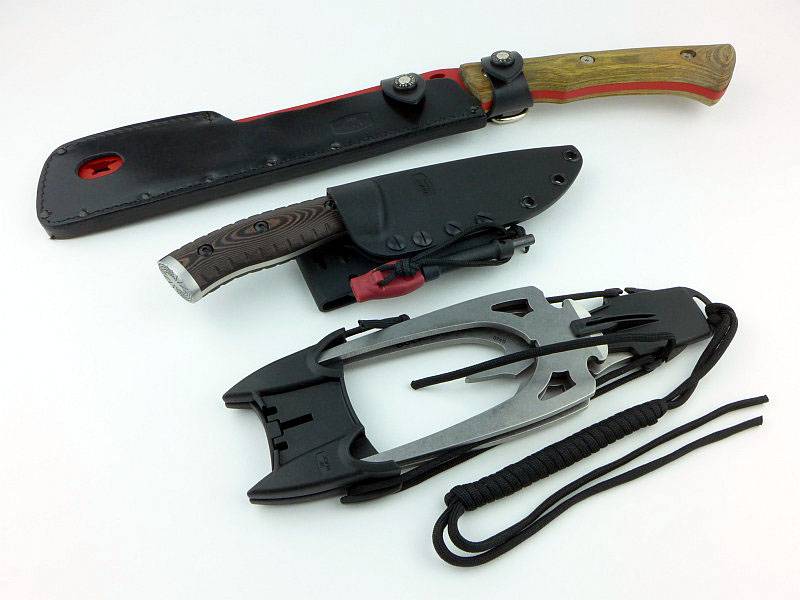
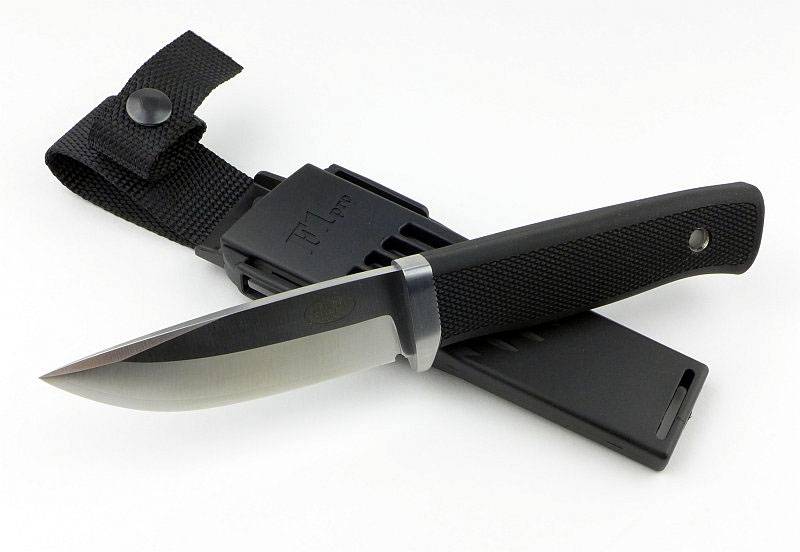
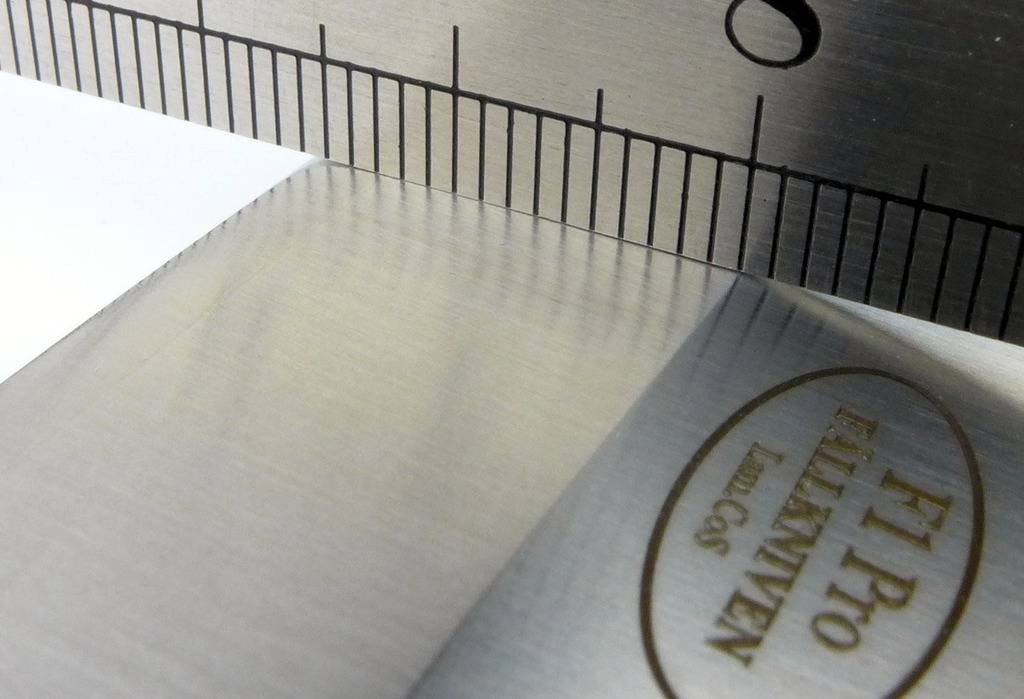
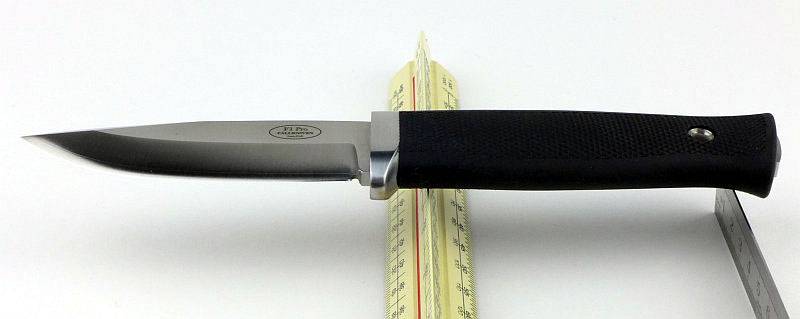
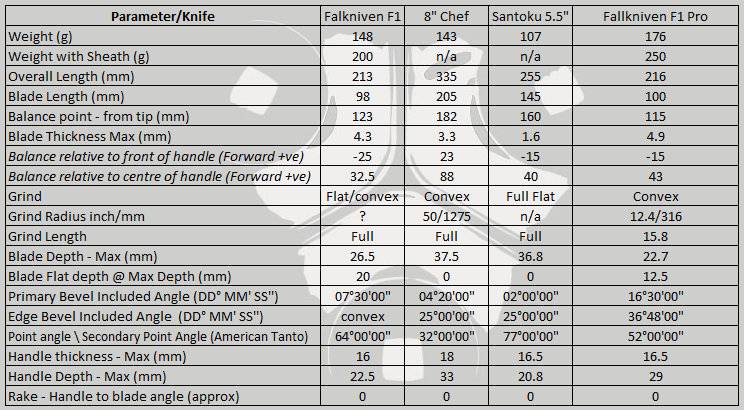
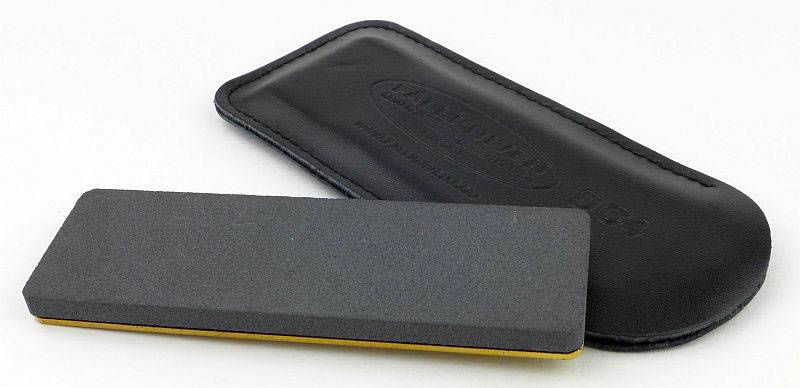
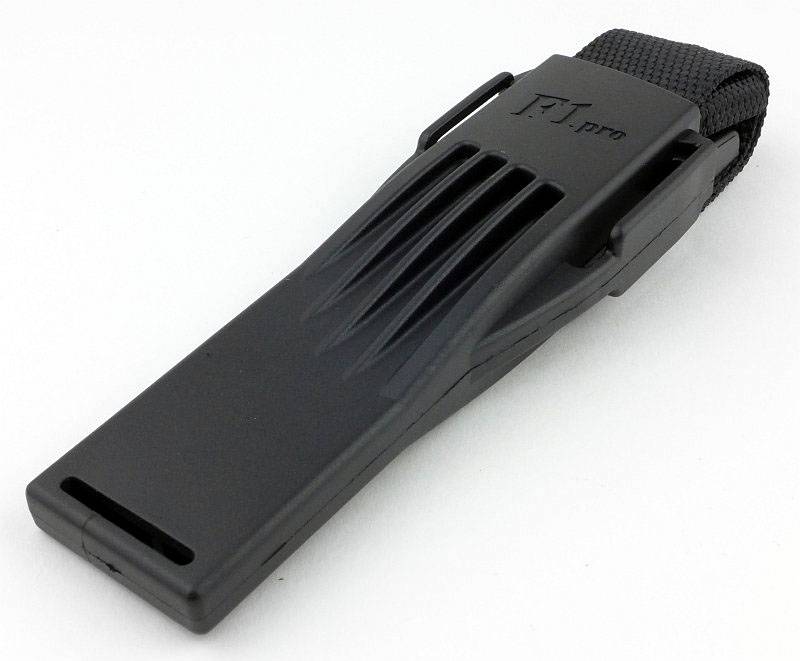
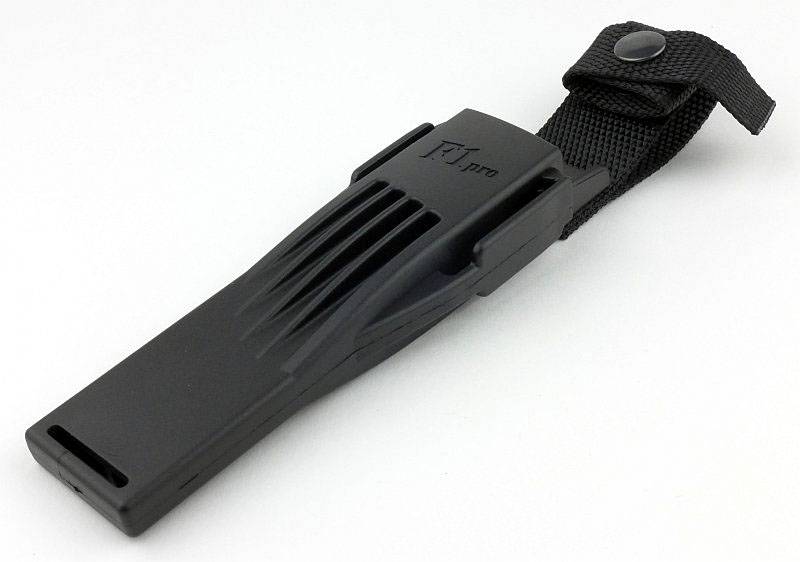
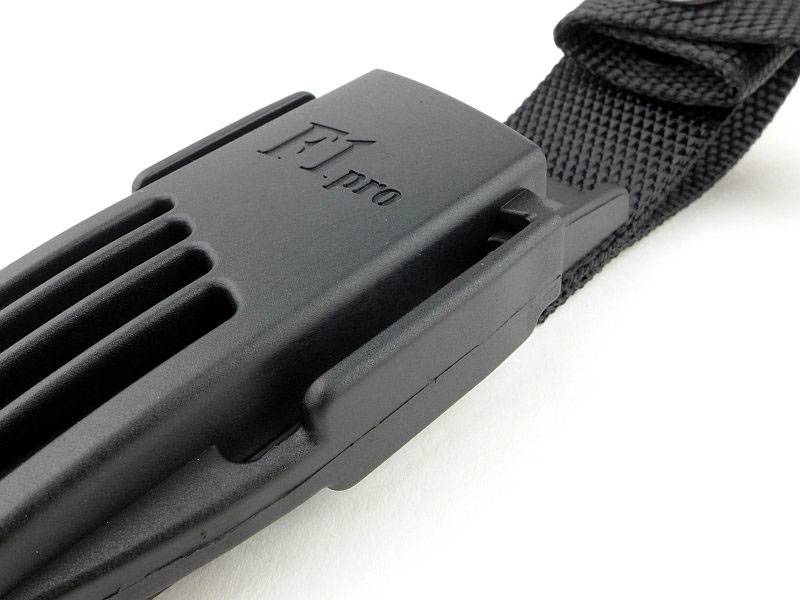
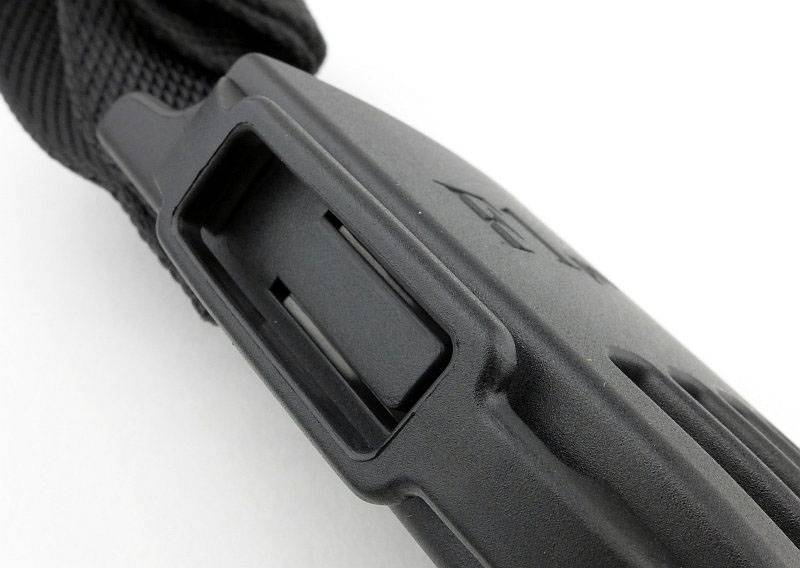
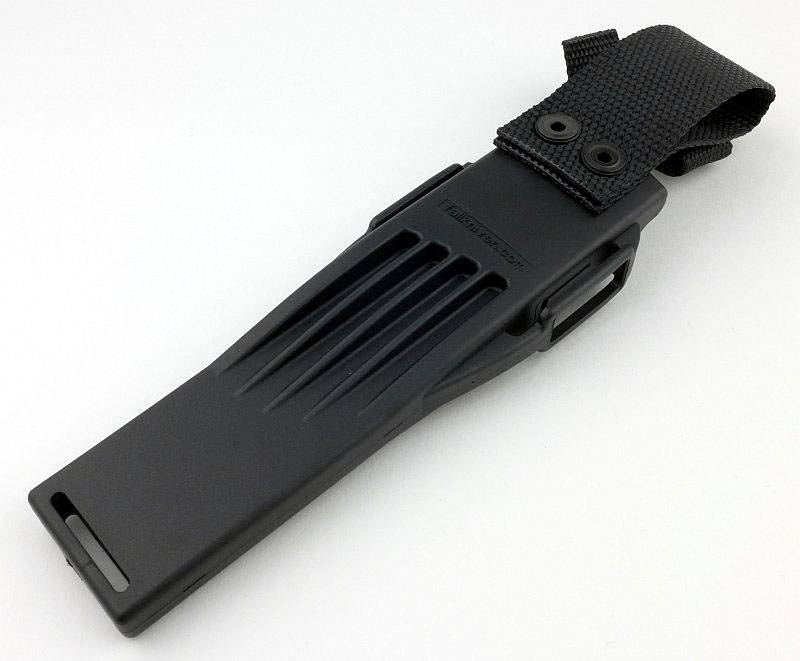
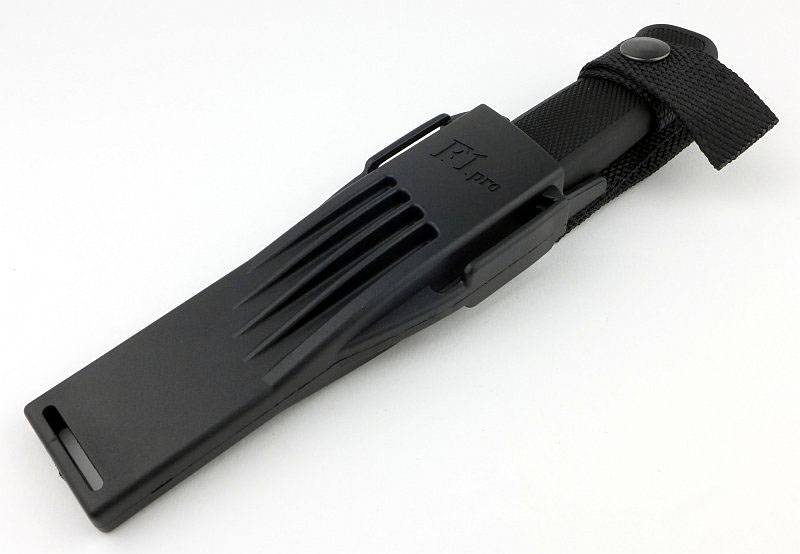
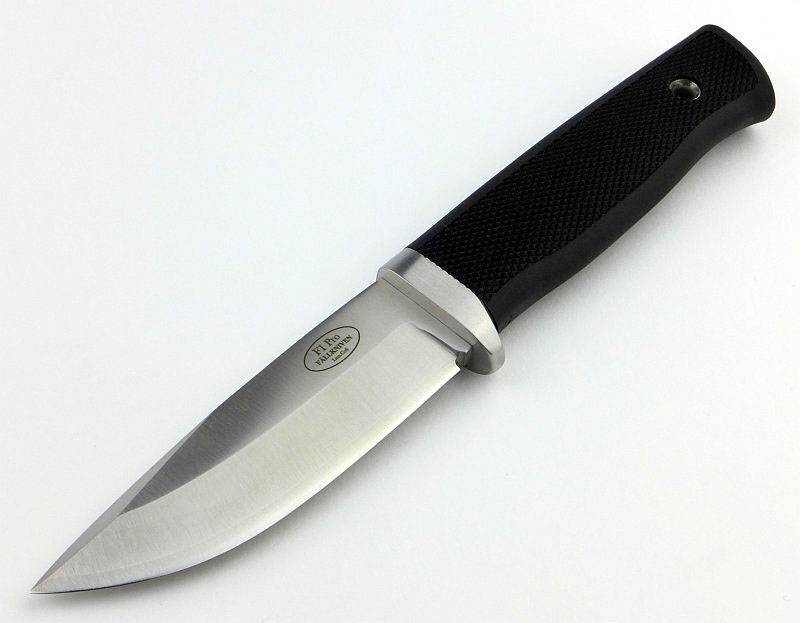
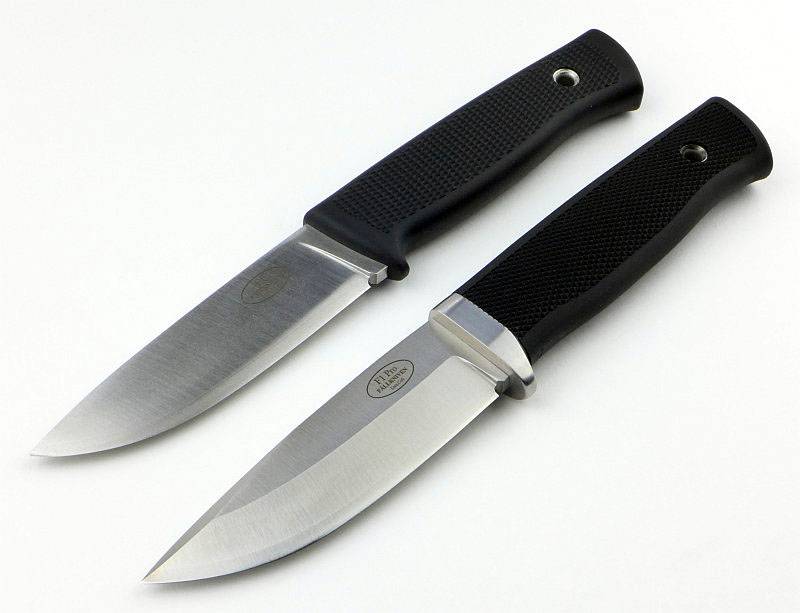
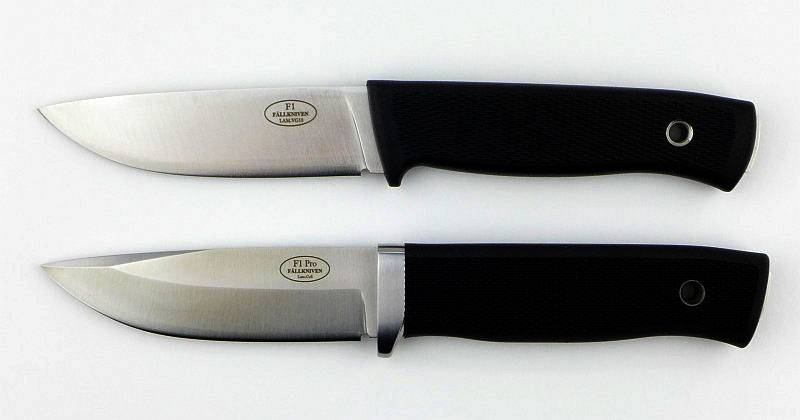
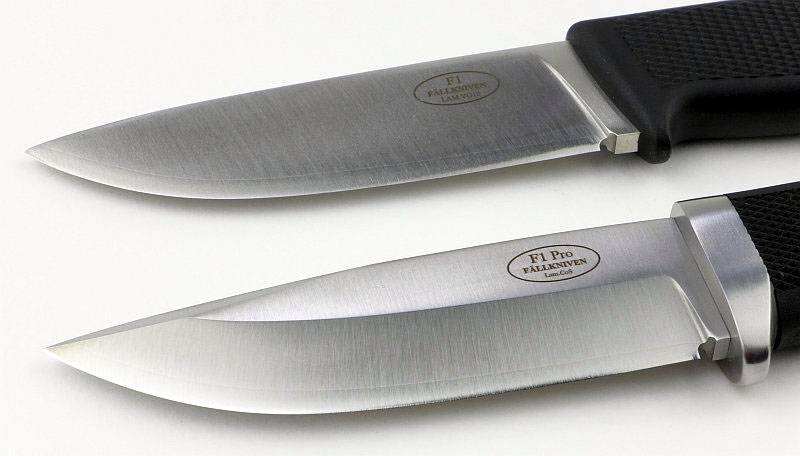
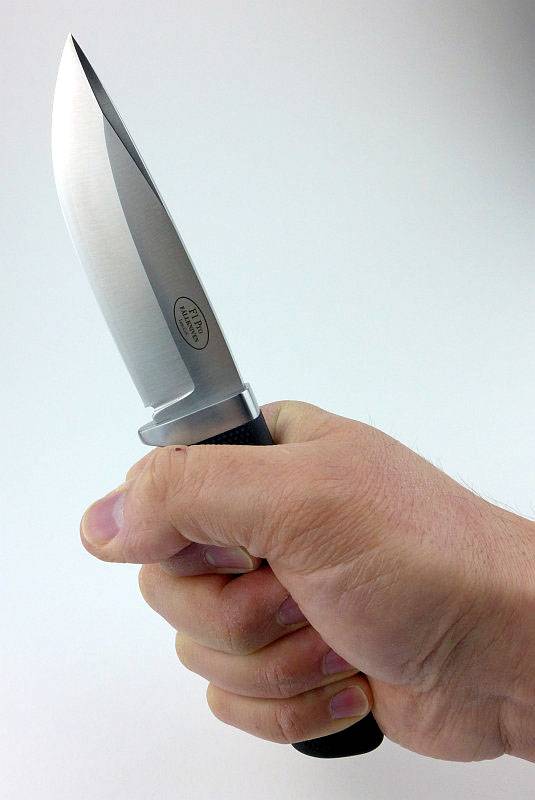
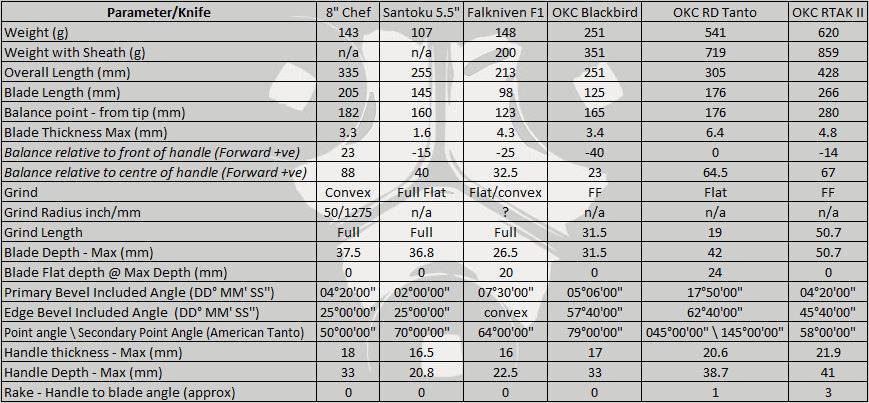
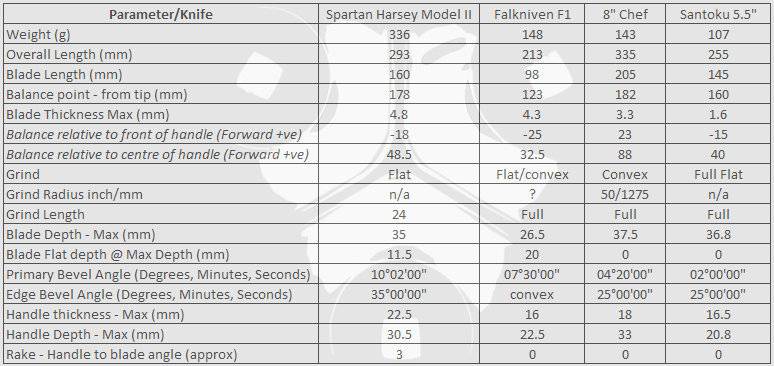
These measurements have been tabulated and are presented along with a few reference blades (8″ Chef’s Knife, 5.5″ Santoku and the popular Fällkniven F1).
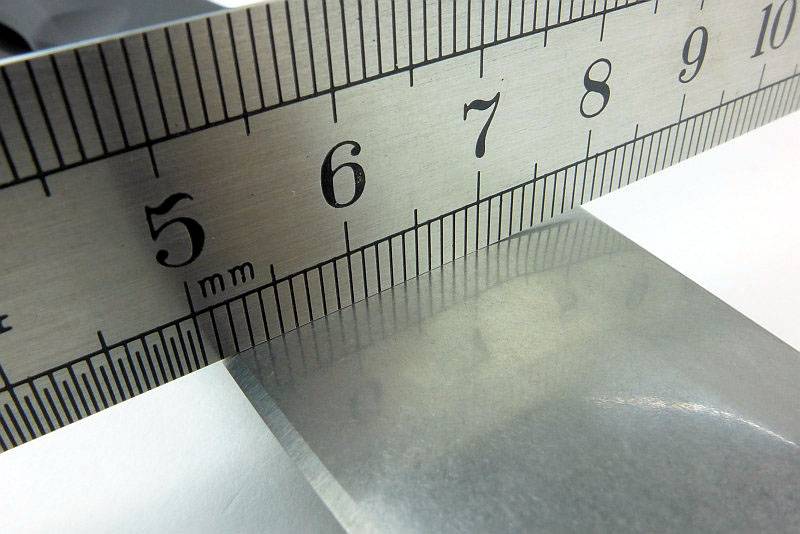
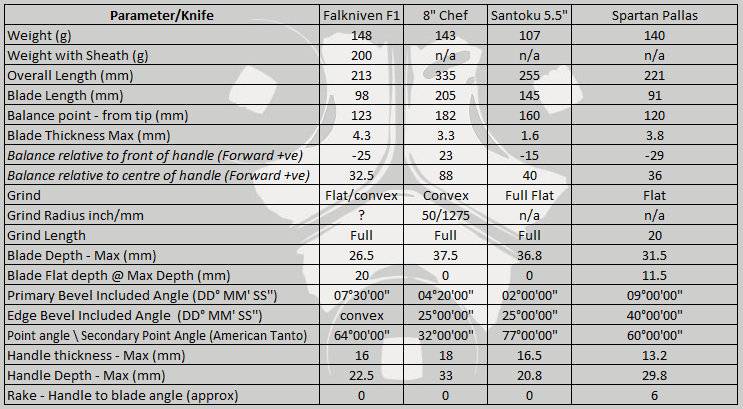
Key aspects such as the primary bevel angle, grind type, blade depth, blade thickness, length, weight are detailed, along with balance information.
The ‘Balance relative to the front of the handle’ tells you if the knife will feel front heavy, or if the weight is in your hand (a positive value means the weight is forward of the front of the handle). The ‘Balance relative to the centre of the handle’ indicates how close to a ‘neutral balance’ the knife has in the hand.
In the case of full convex grinds the approximate centre of the grind is used for the primary bevel angle estimate.
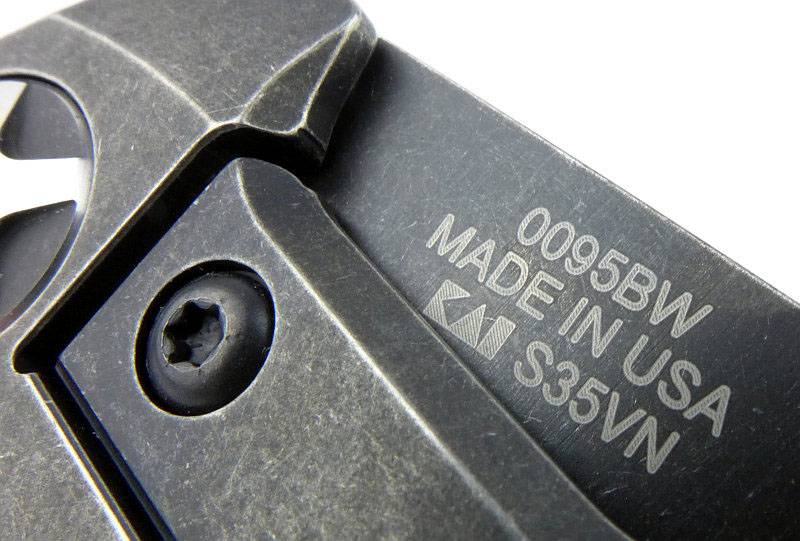
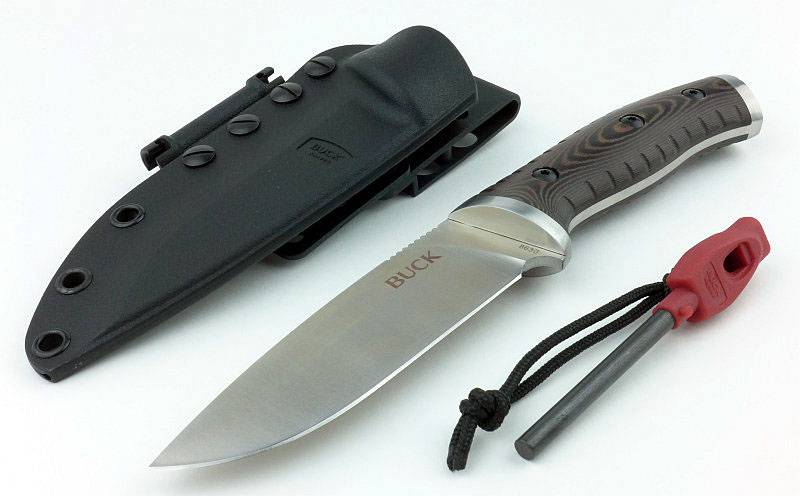
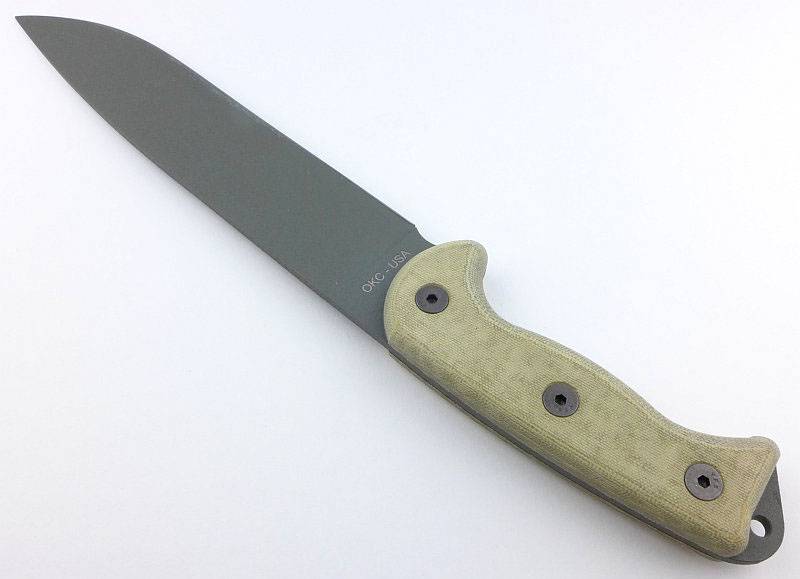
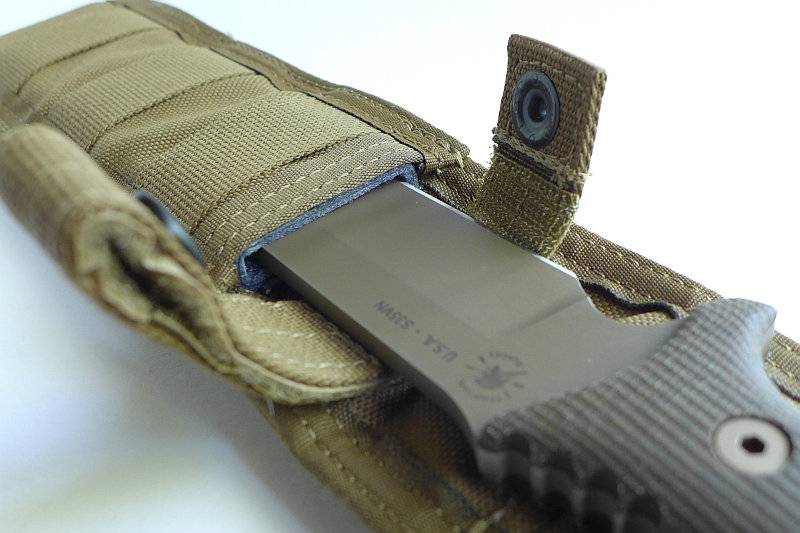
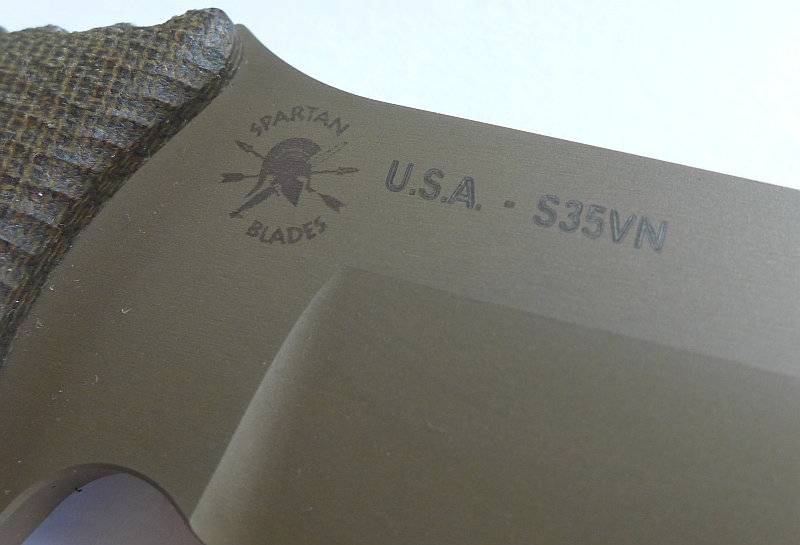
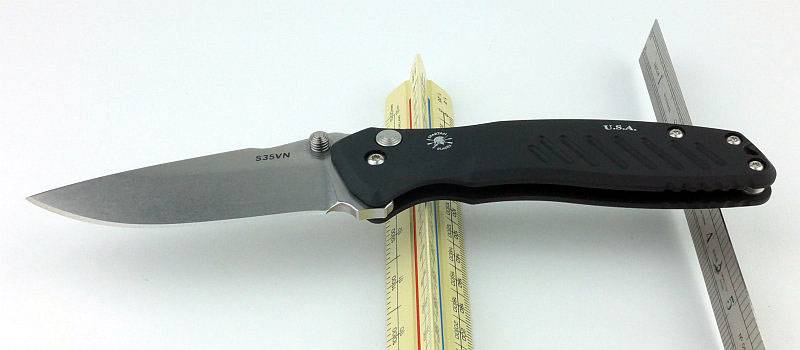
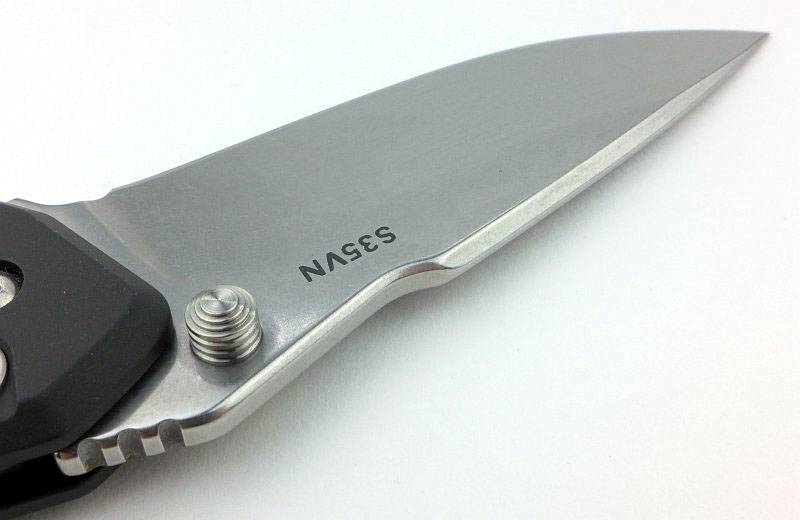
The blade is made from S35VN steel.
Explained by the Maker:
The reasons for certain design choices may not be clear when simply looking at an object, so this section is intended to give an insight into the thinking behind a design by speaking to the designer themselves.
Unfortunately I can’t always get time with the designer so will use this section to include relevant information about the knife and its designer.
Mark Carey (co-founder of Spartan Blades LLC) and I discussed the Pallas at IWA 2016, so I was able to find out a little of the thought processes that brought the Pallas folder into Spartan Blades’ line up.
The knife was actually designed by Spartan Blades’ other founder Curtis Iovito and named after PALLAS (PALE ES), the Titan god of warcraft from Greek mythology.
Mark, as an ex-serviceman himself, is passionate about helping to properly equip those in the armed forces with reliable tools. The Pallas was born out of a relatively simple need for a folding knife that could be easily closed with gloves on, and while being made of premium materials, would stay at an affordable price point.
With most liner or frame lock knives being awkward to close with gloves on, the button lock was an ideal format to make it easy to release the lock with even thick gloves on. For a blade you can rely on, CPMS35VN steel was chosen with a thickness sufficient to make it strong, without being excessively thick or heavy which would impede cutting. The S35VN blade rides on a set of Alpha bearings keeping it slick. To keep weight low and yet not add a high cost, 6061 aluminium was used for the frame along with stainless steel hardware.
In its standard format the Pallas has a flipper tab and thumb stud, either of which can be flicked to easily open the blade. In this review is a special modified version for the UK market. The modification was included following a discussion between Bruce of Heinnie Haynes and Mark, and required the flipper tab to be removed.
This ‘UK’ modified Pallas was created due to the UKBA tightening control over imported knives with quickly deployable blades. Flipper style knives are the primary target.
A few more details:
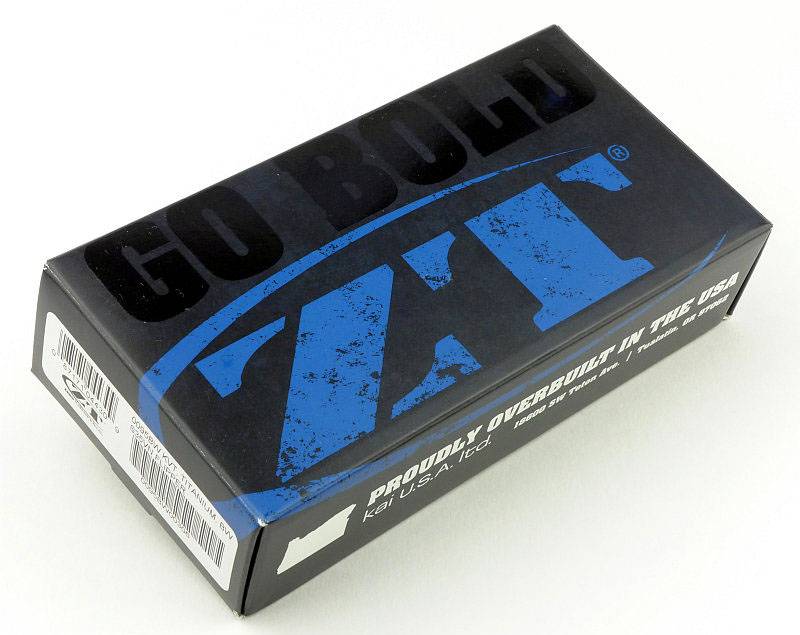
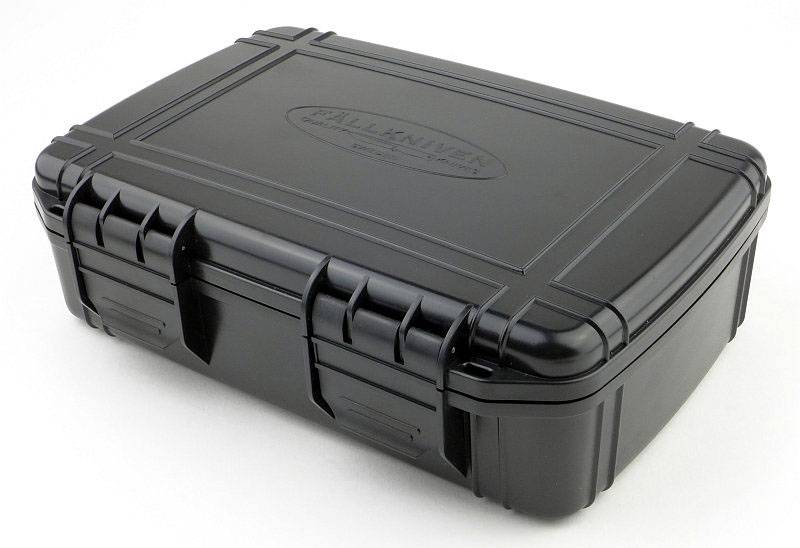
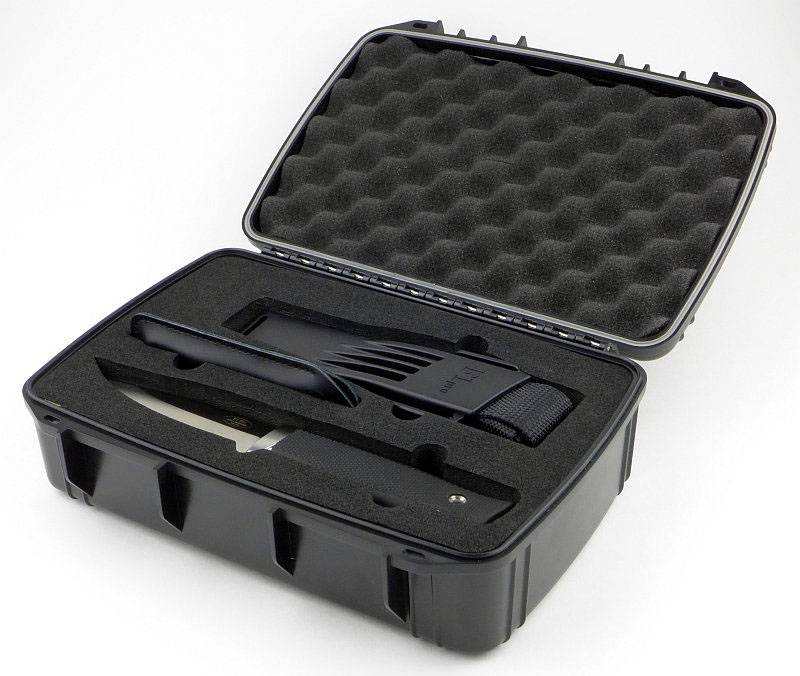
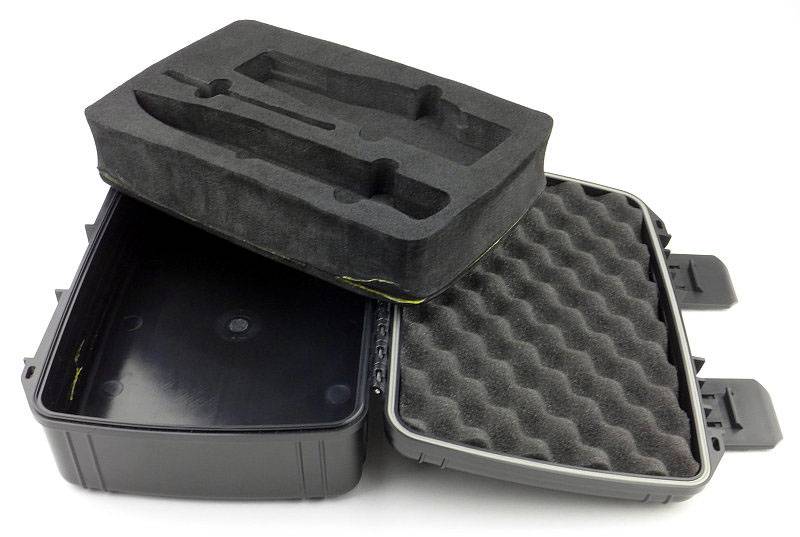
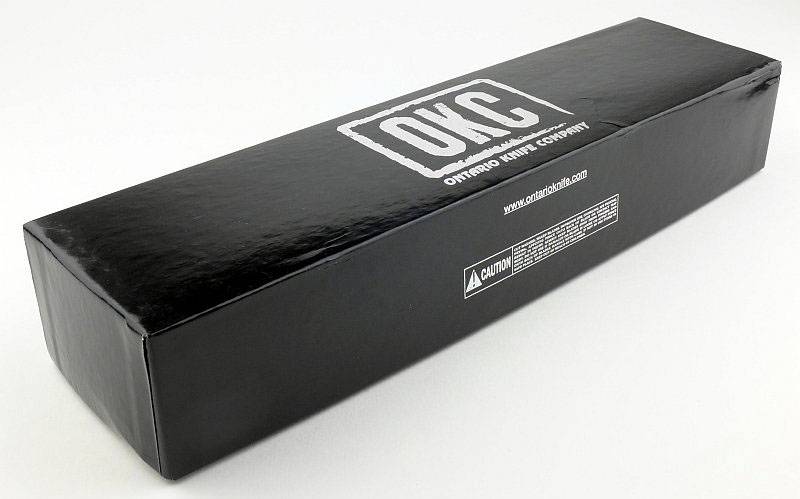
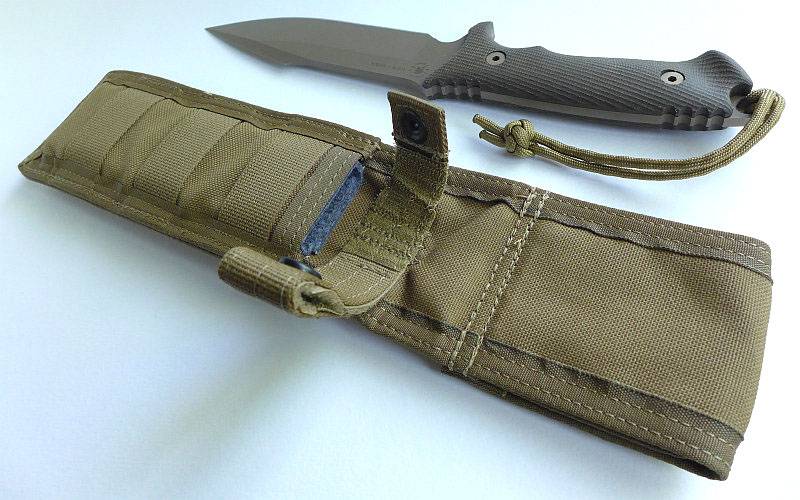
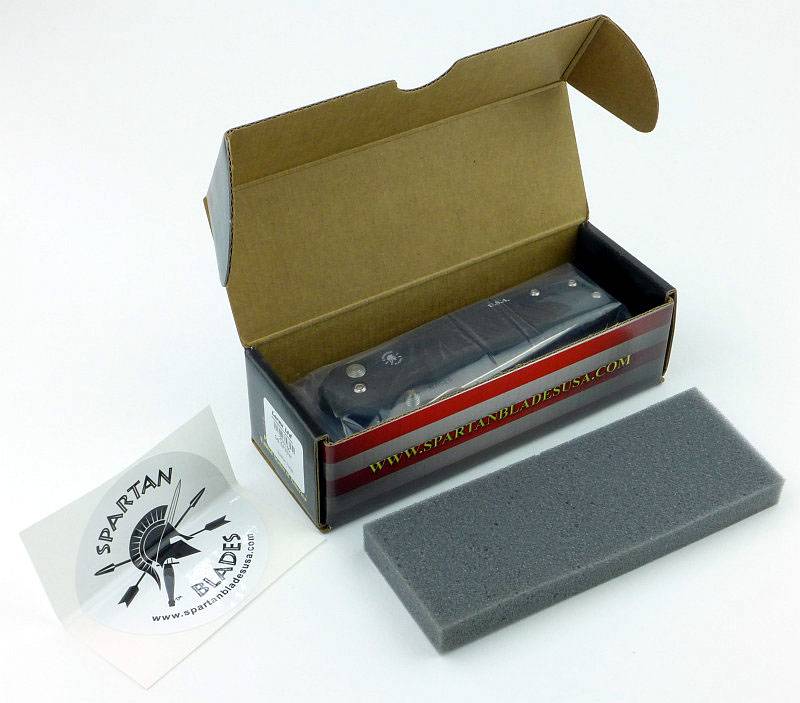
The Pallas box along with a Heinnie Haynes sticker to signify the creation of this ‘UK’ Version of the knife.

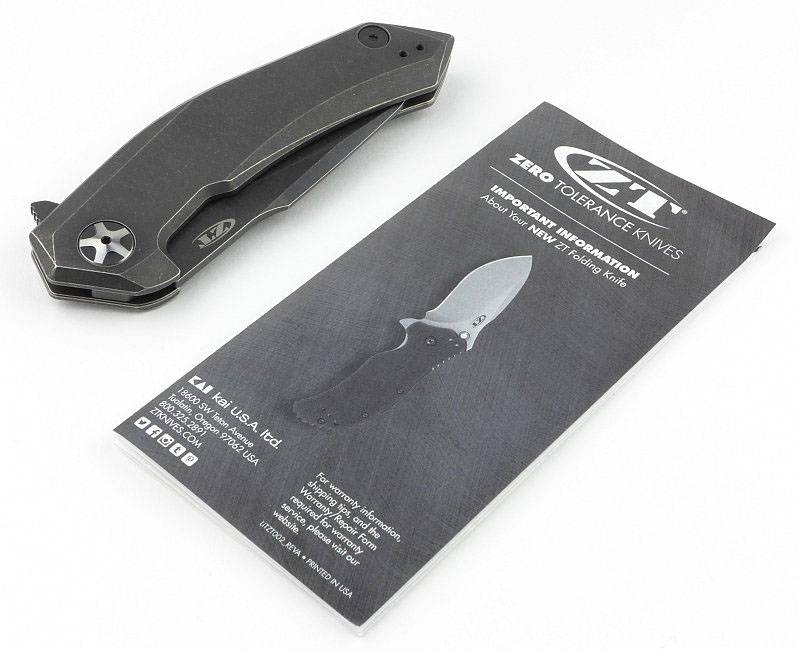
Flipping open the box, and the Pallas is sandwiched between foam liners with a Spartan Blades sticker included.
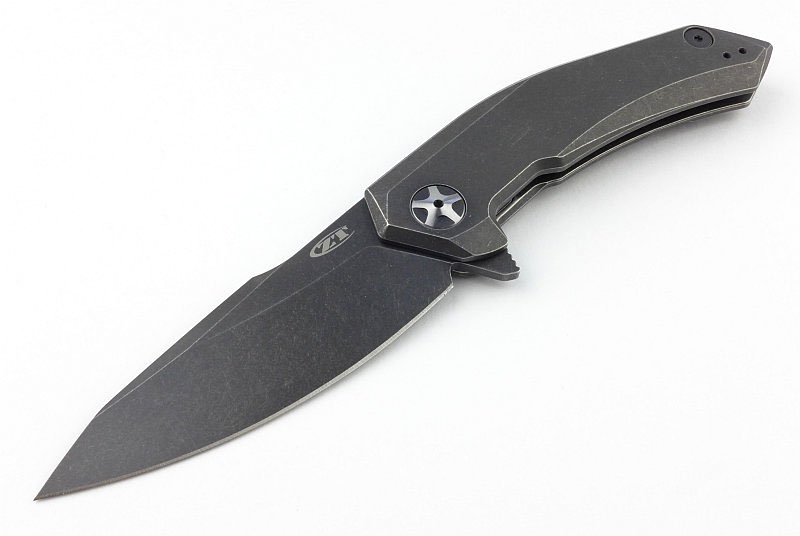
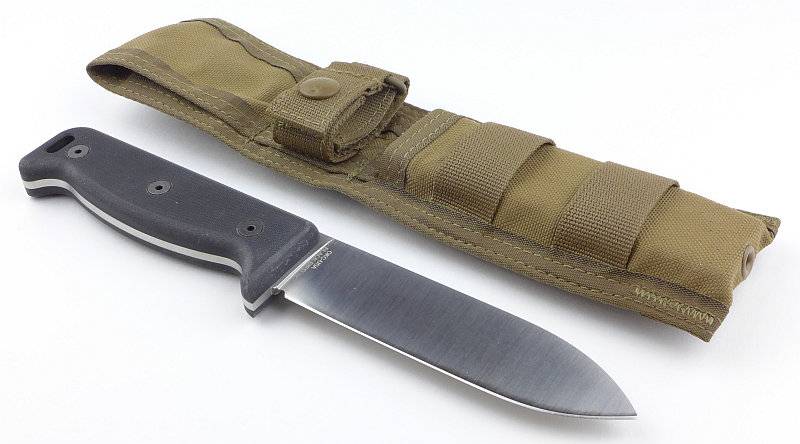
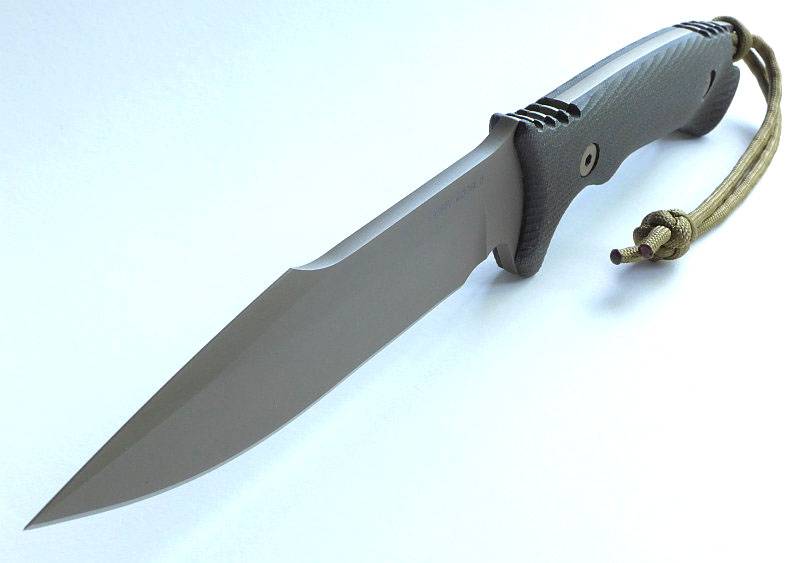
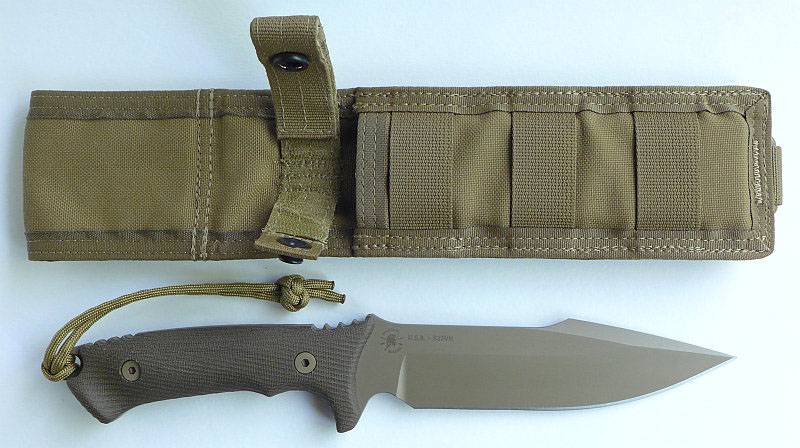
Fresh out of the box, the Pallas.
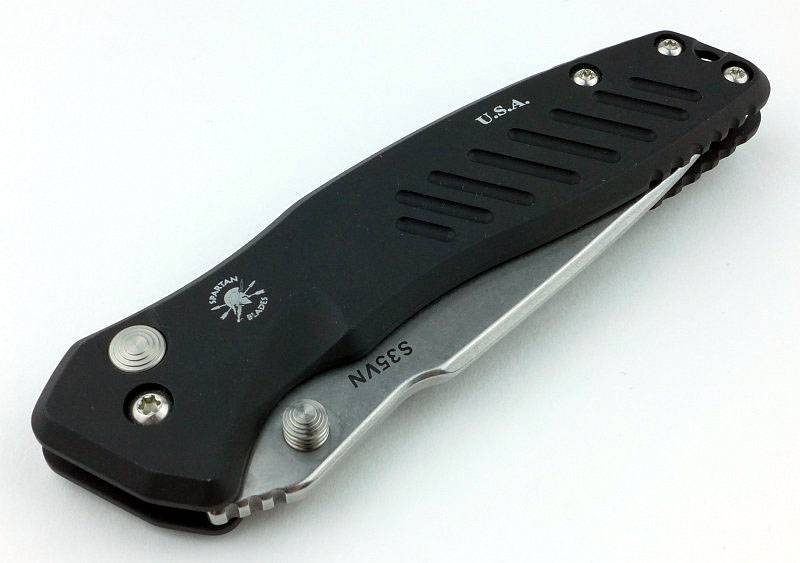
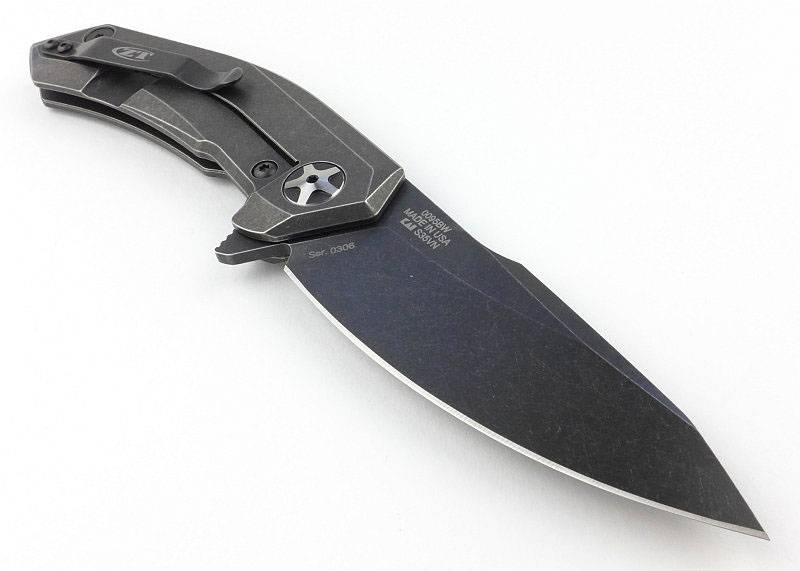
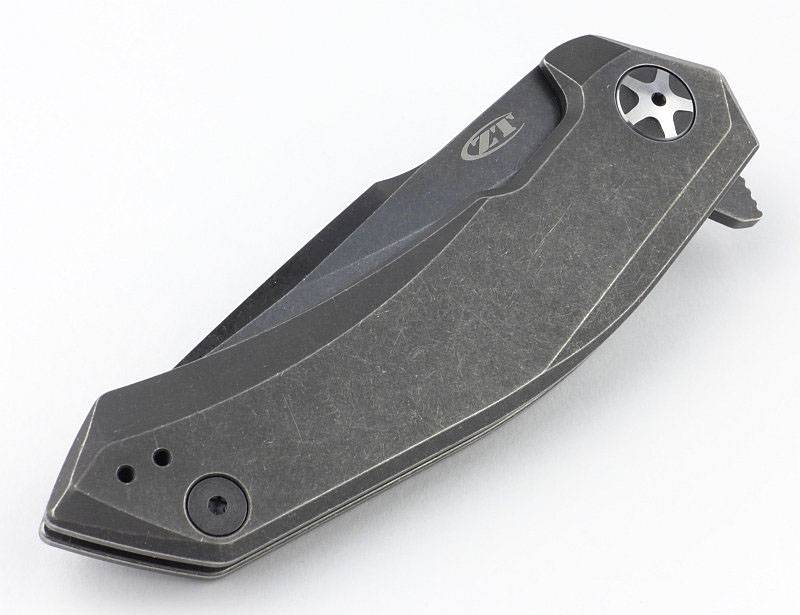
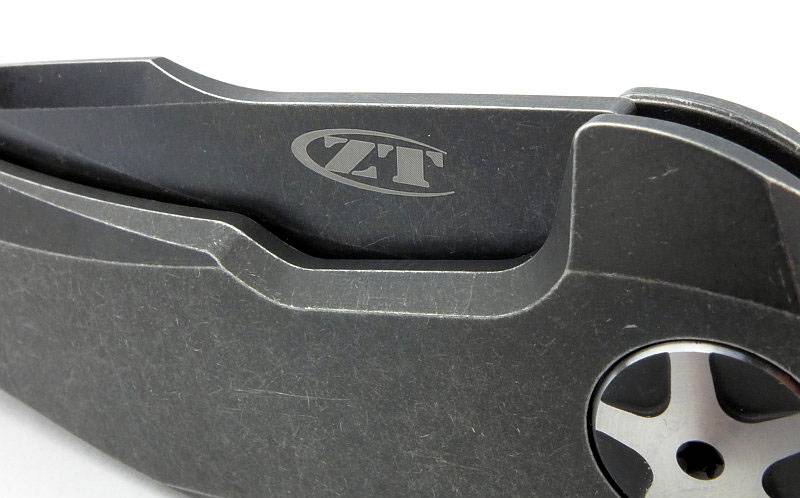
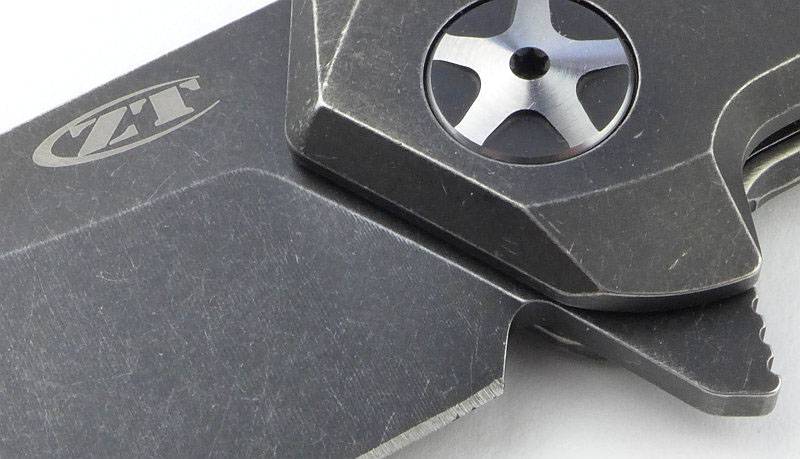
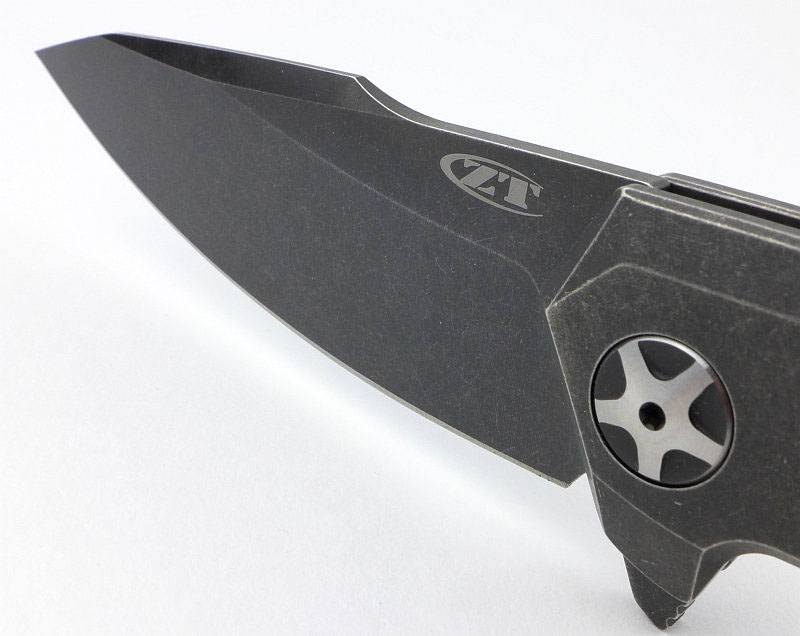
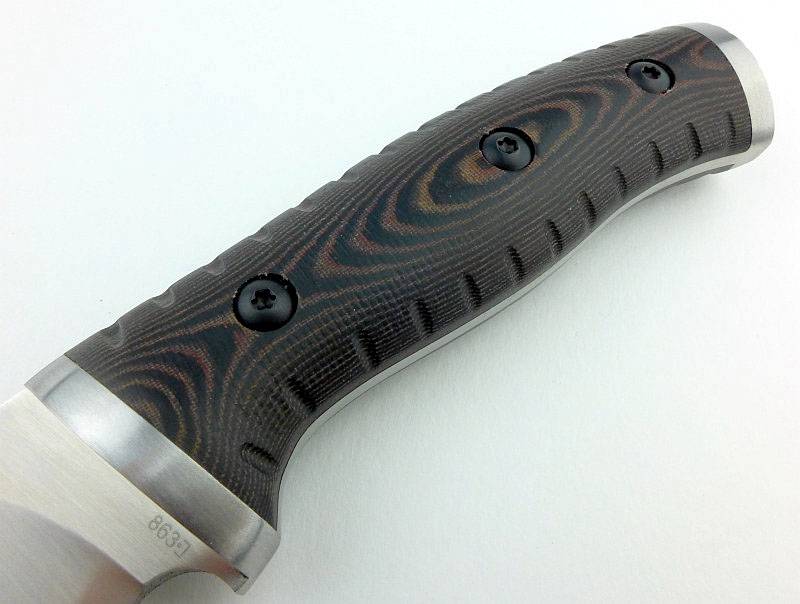
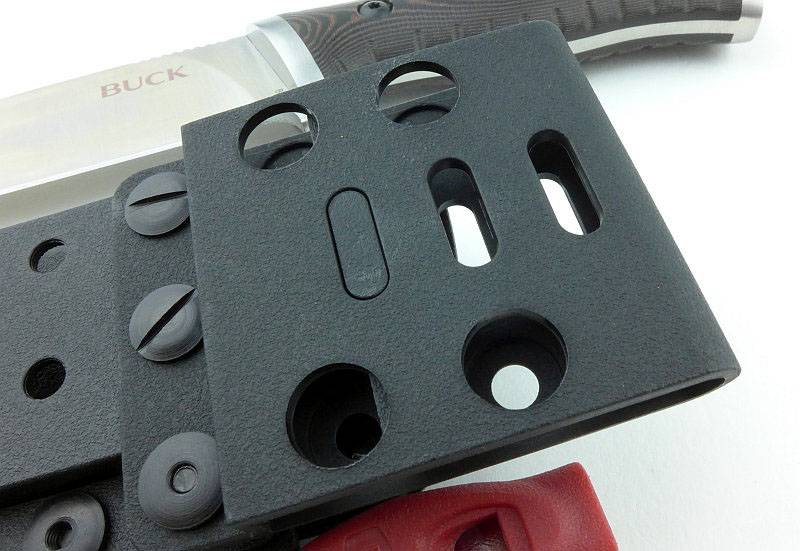
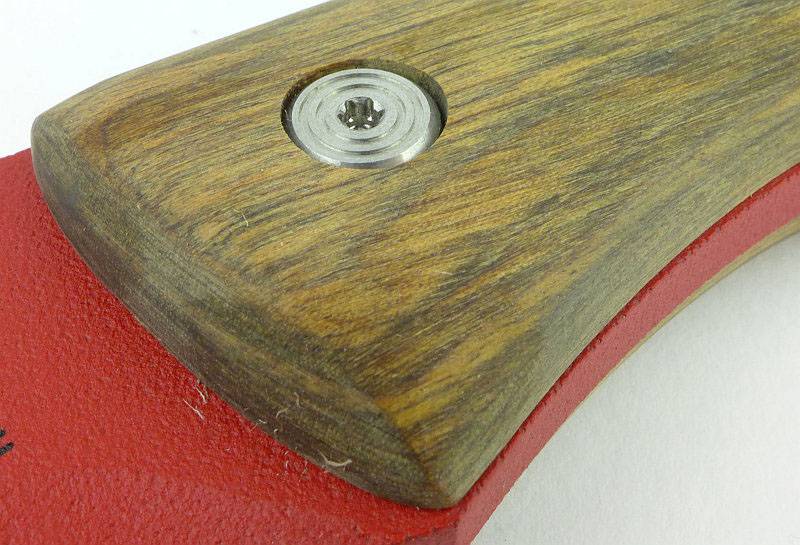
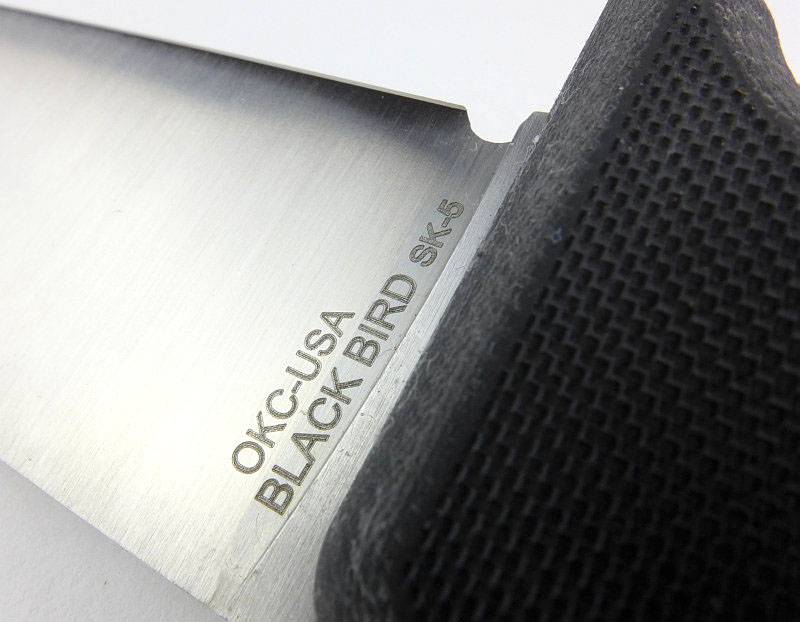
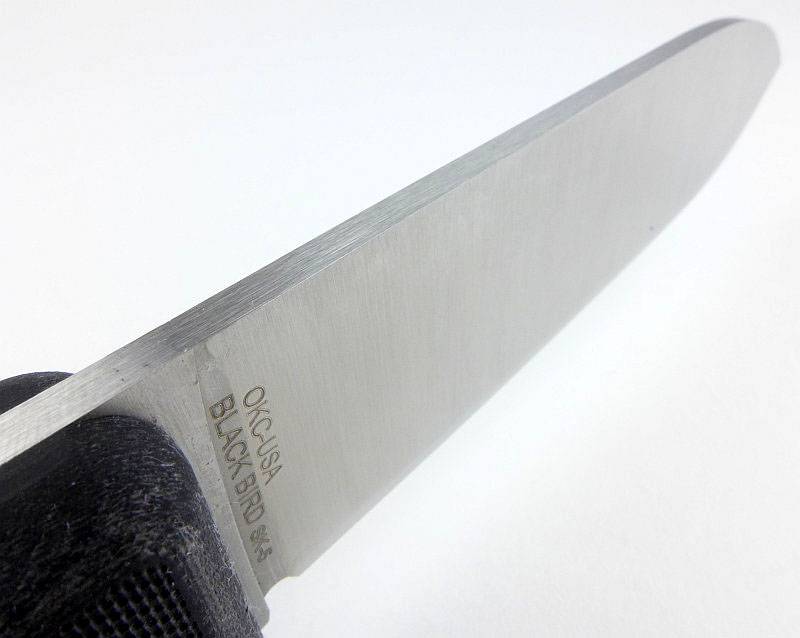
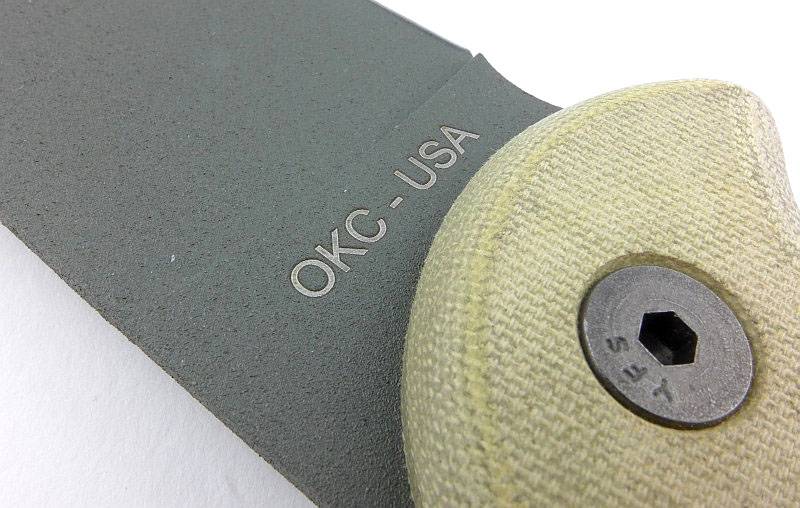
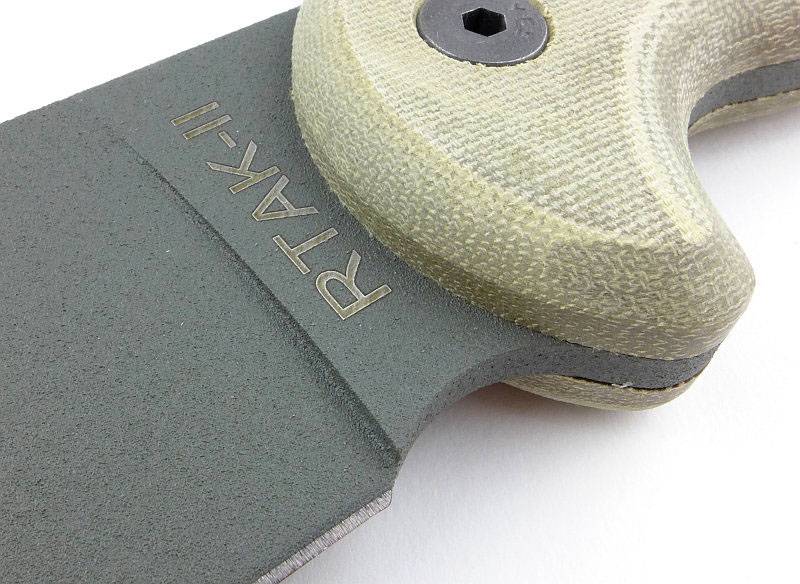
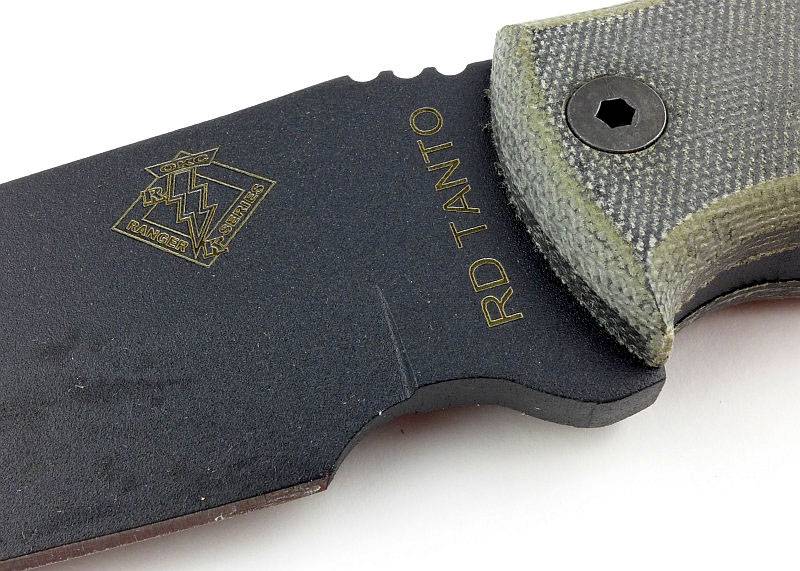
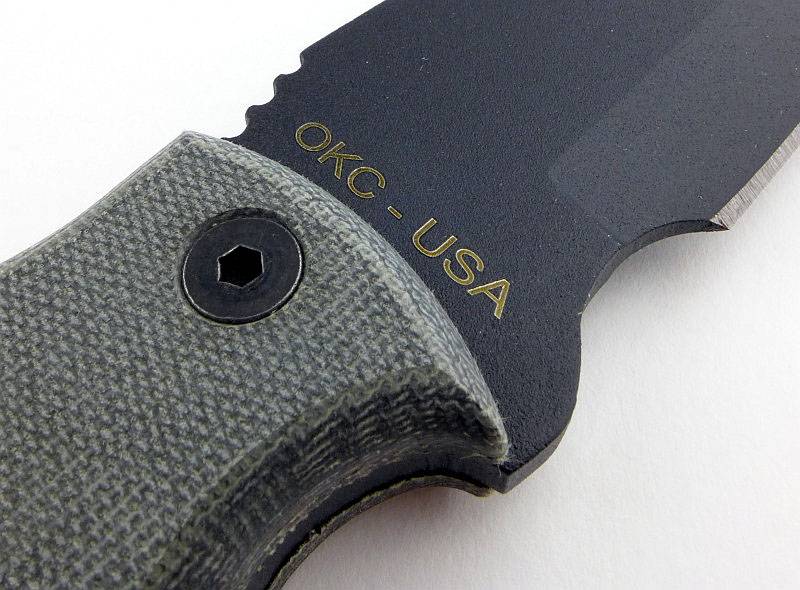
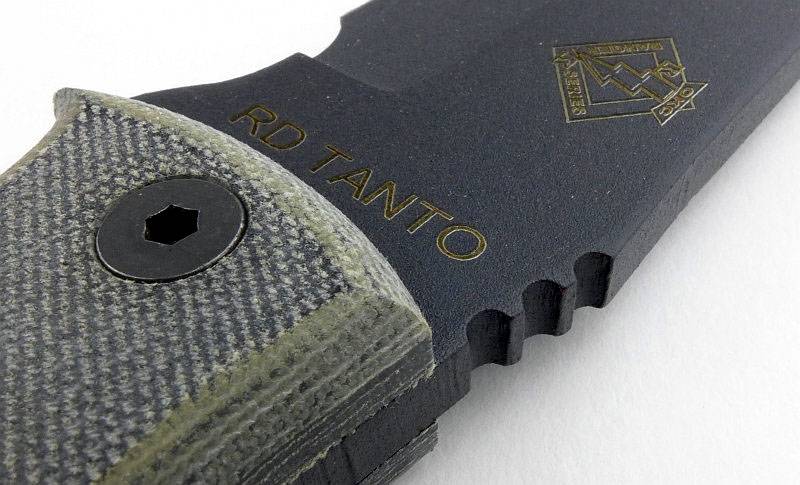
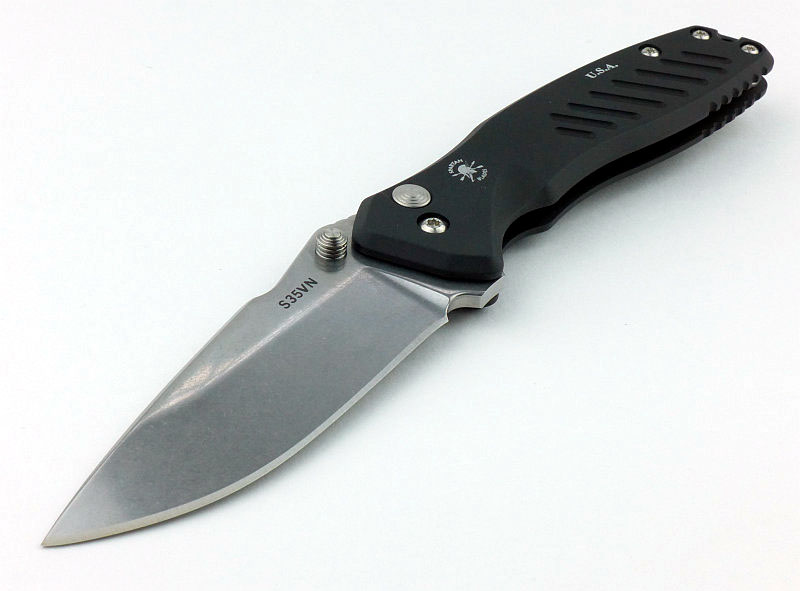
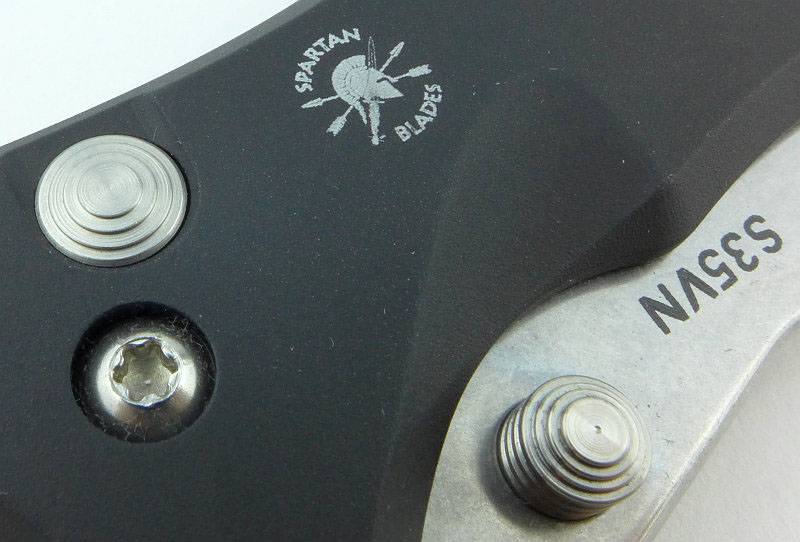
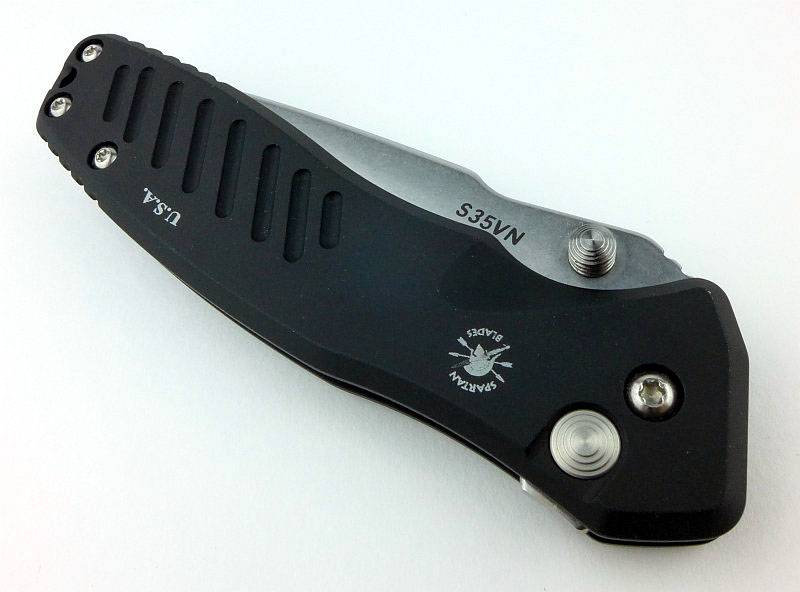
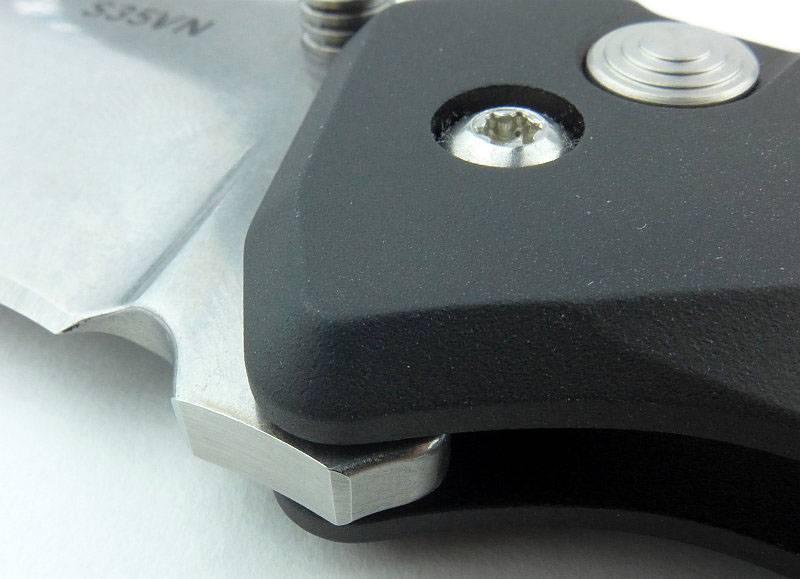
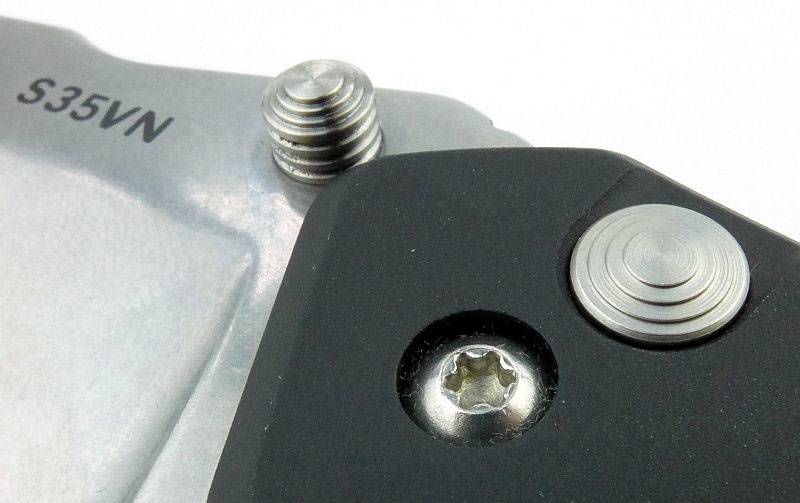
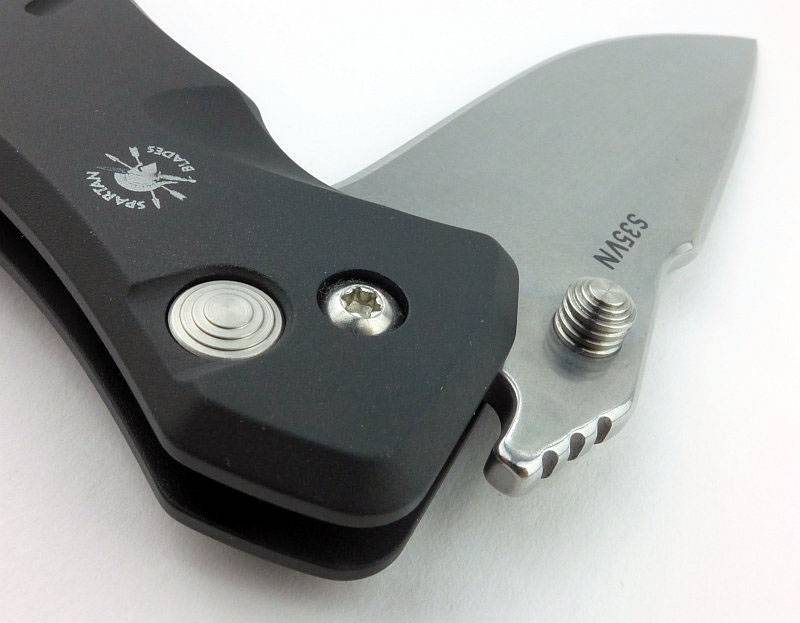
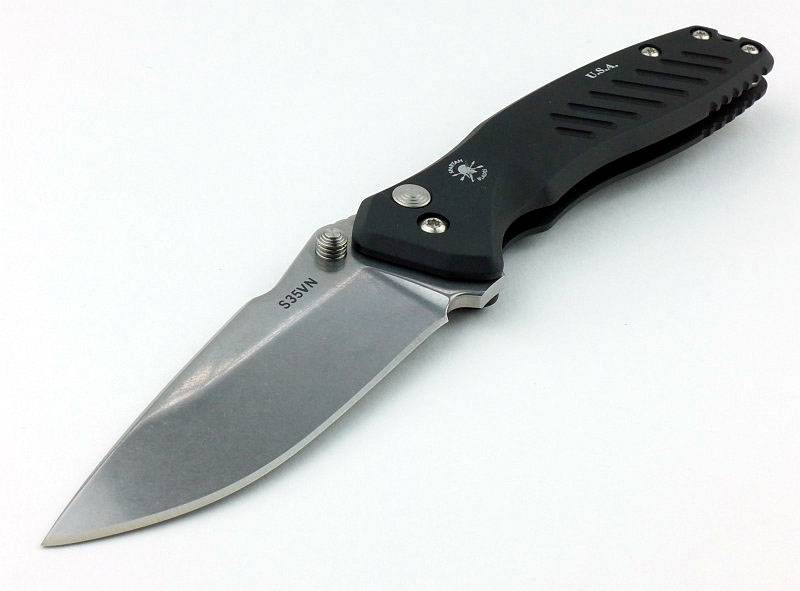
Straight in for a look at three key aspects of this knife, it is made by Spartan Blades (with the logo engraved in the handle), there is a button lock, and the blade is S35VN steel.
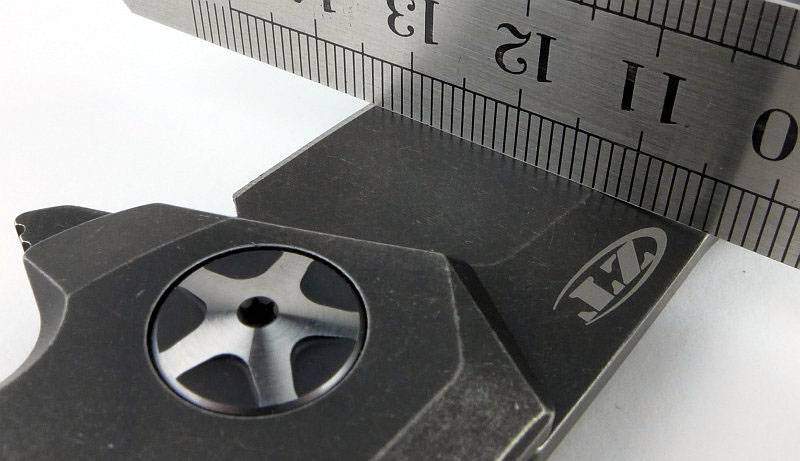
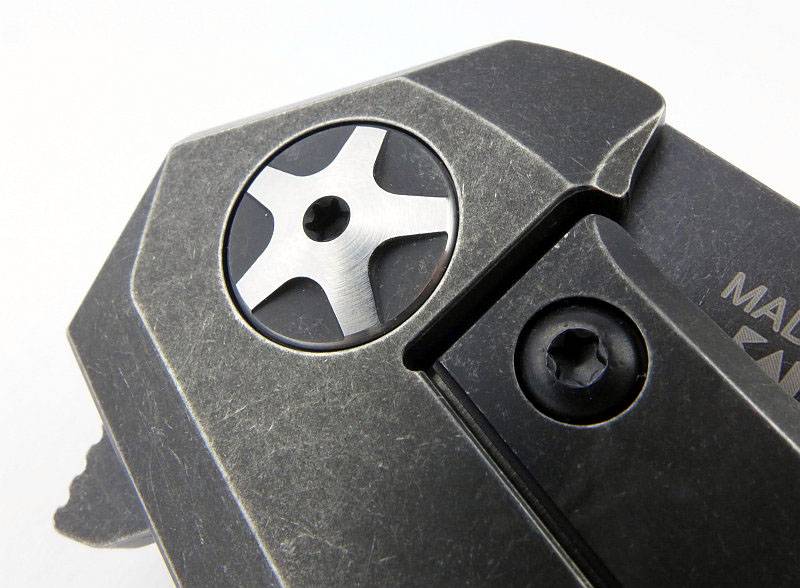
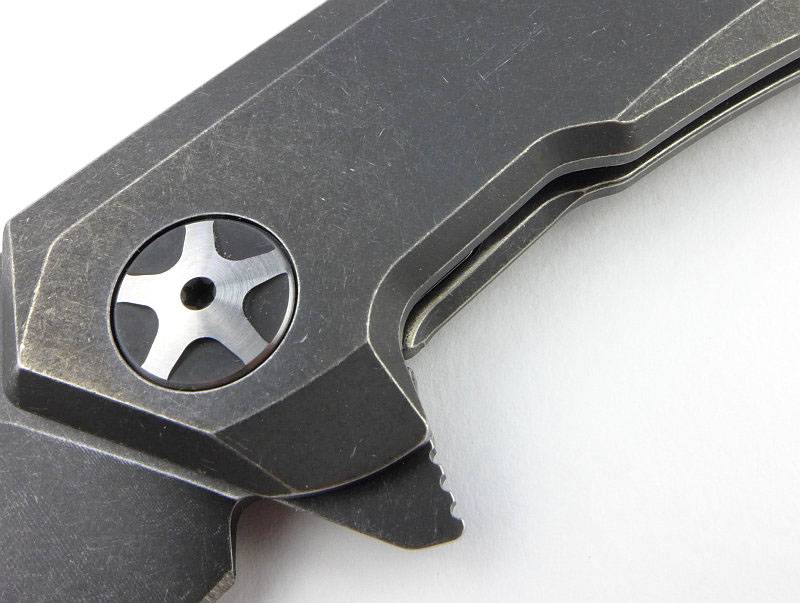
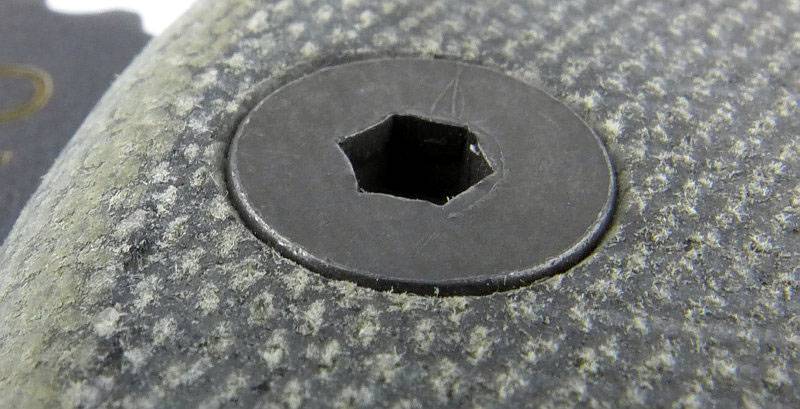
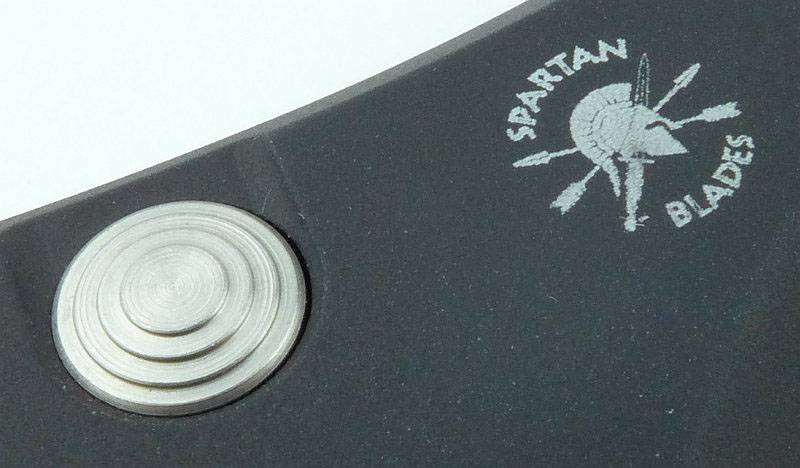
Closer still to the stainless steel button.
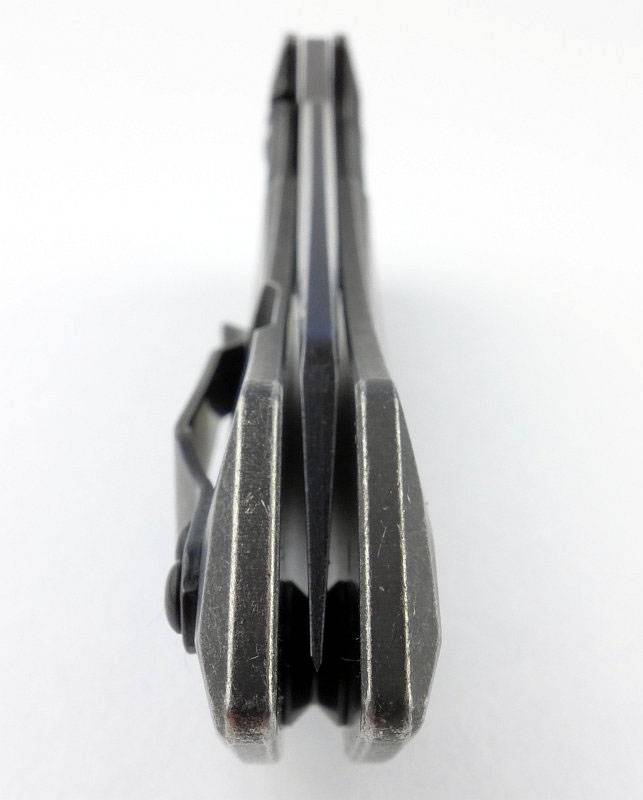
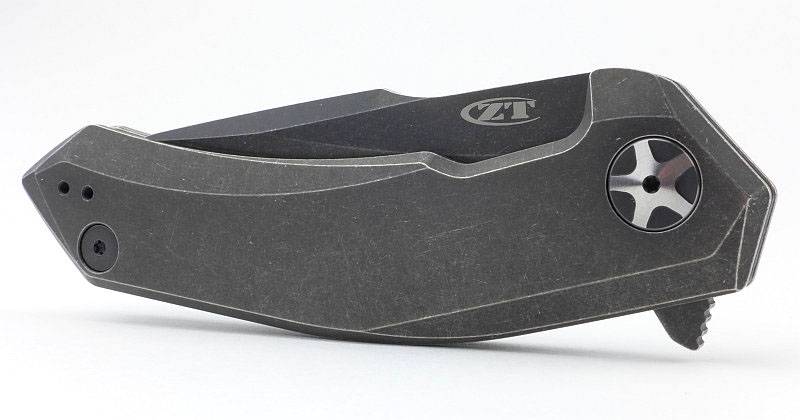
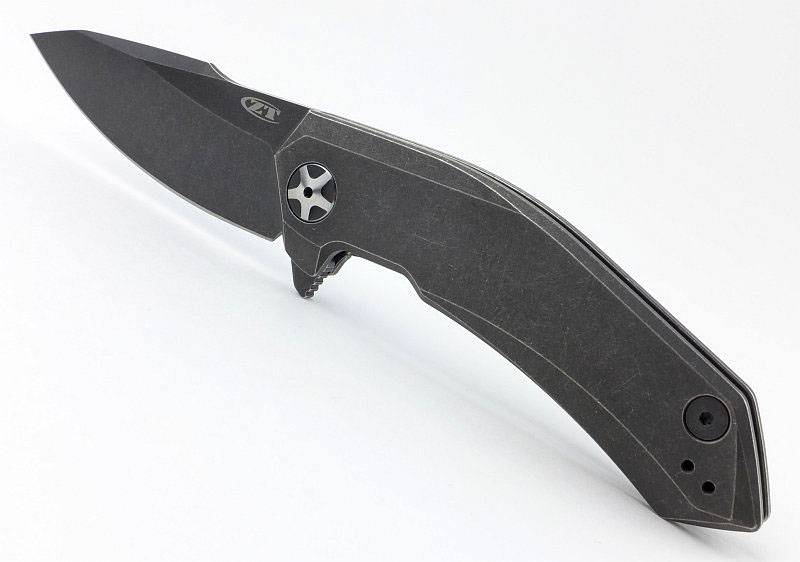
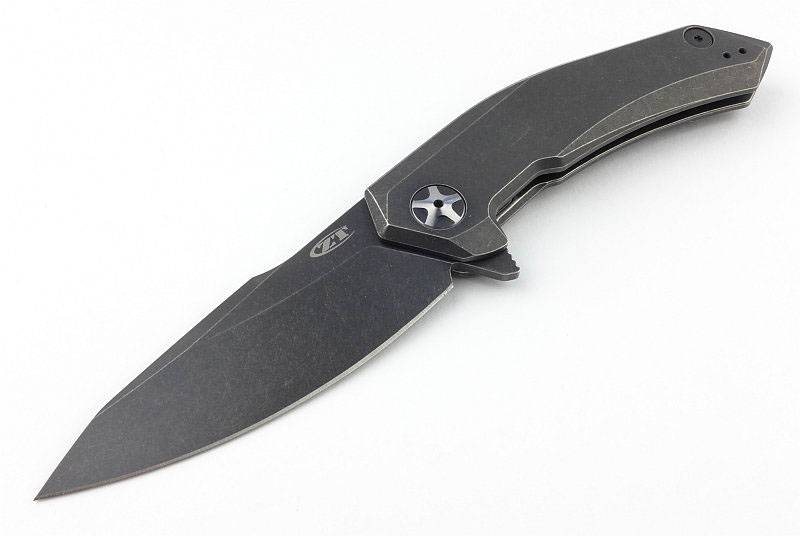
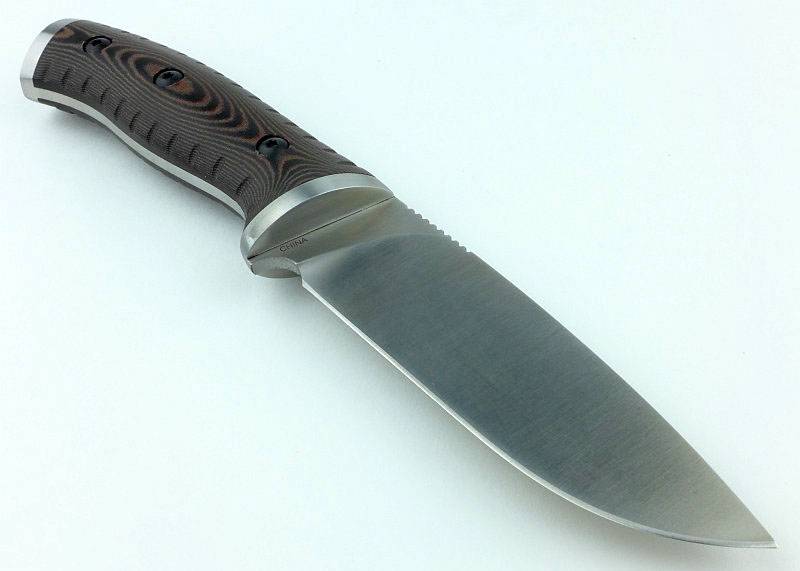
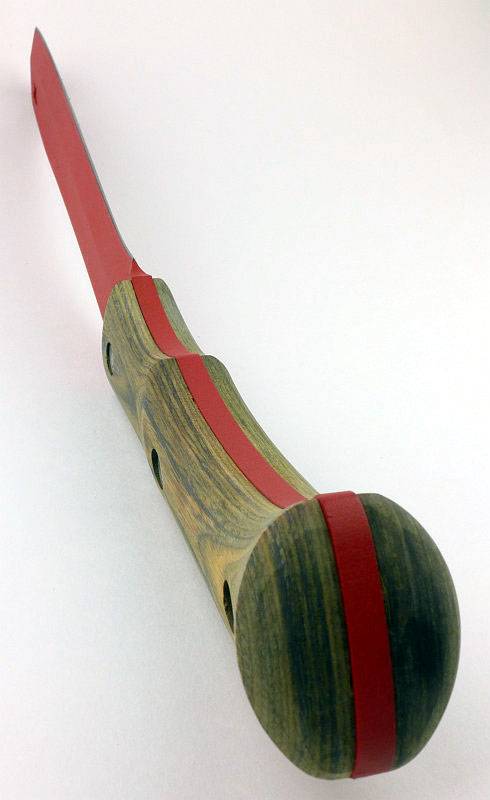
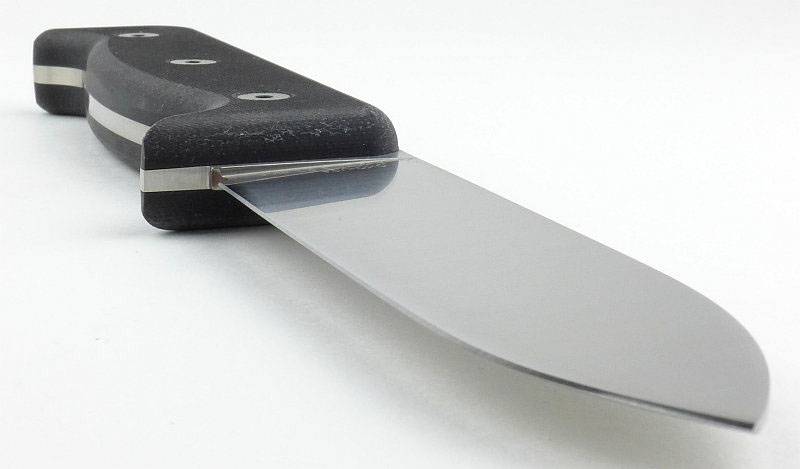
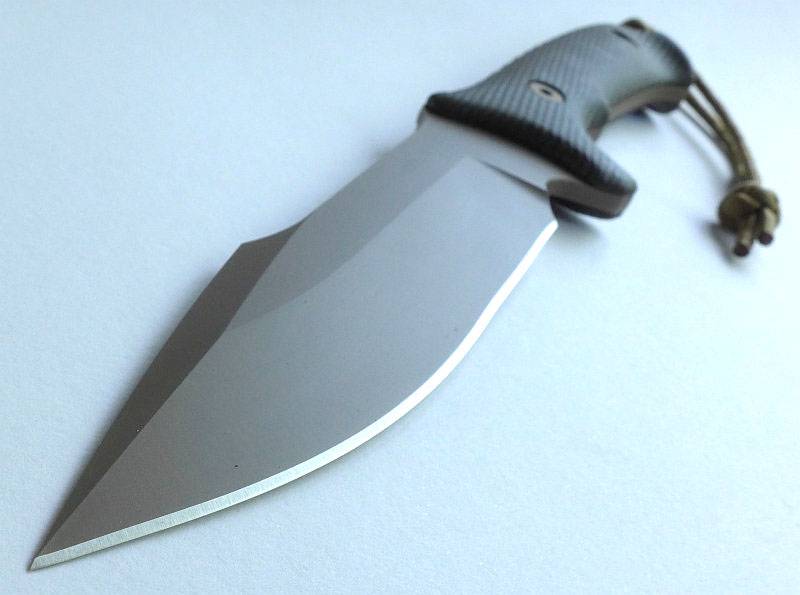
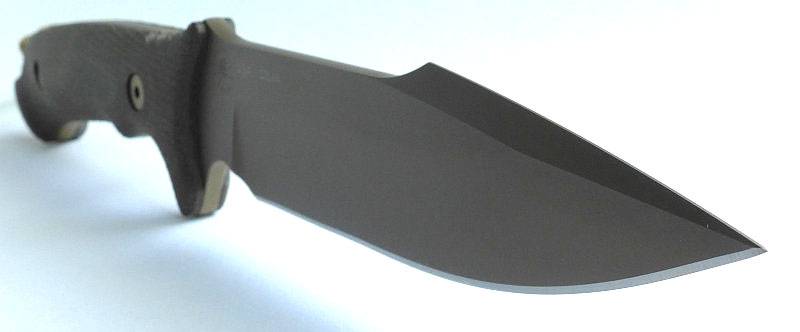
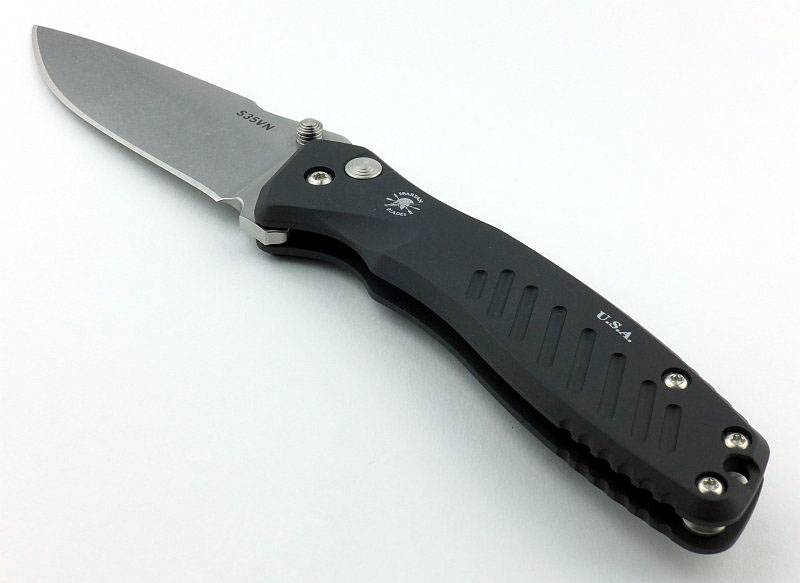
Despite an overall flat cross-section, the Pallas is full of curves that make the design flow and provide its ergonomics.

Note the deviation from a standard Pallas in the there is no longer a flipper tab on this special UK version.
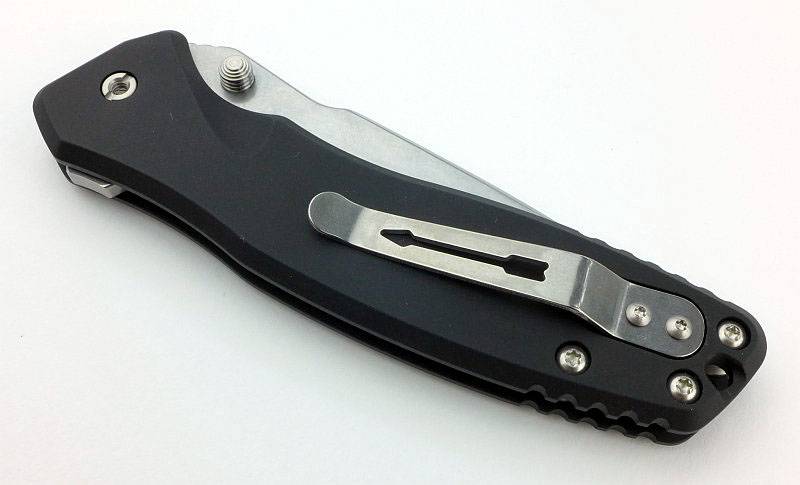
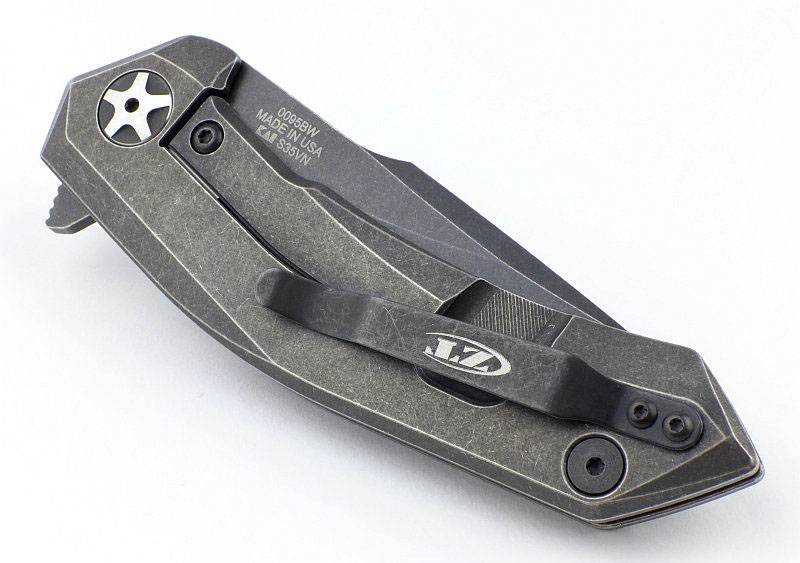
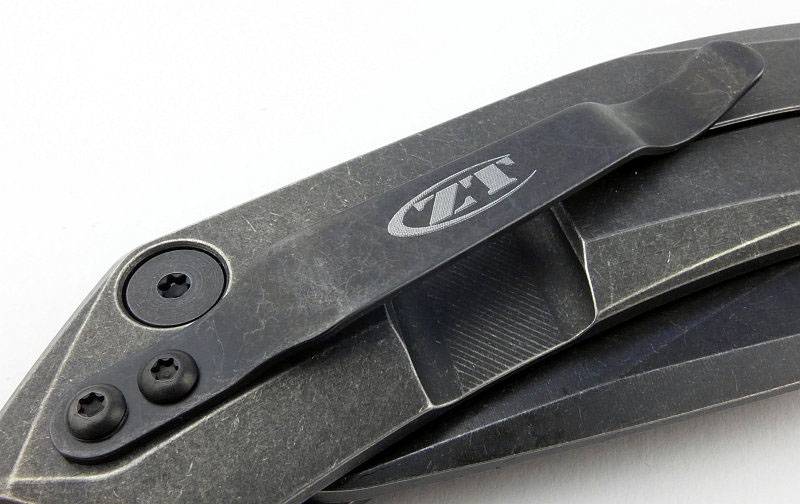
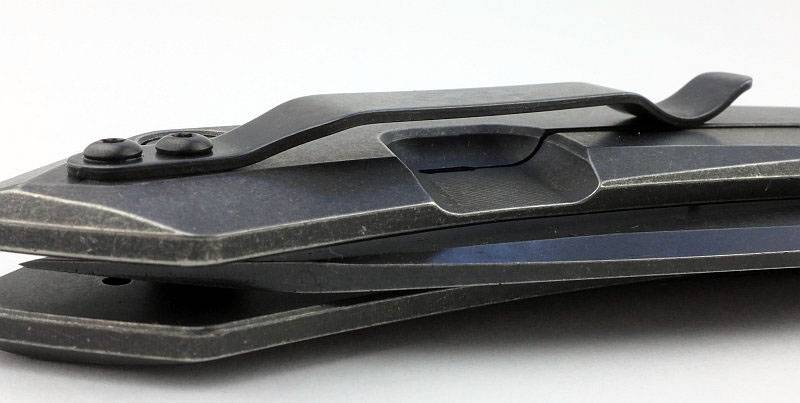
SpartanBlades’ signature titanium arrow pocket clip.
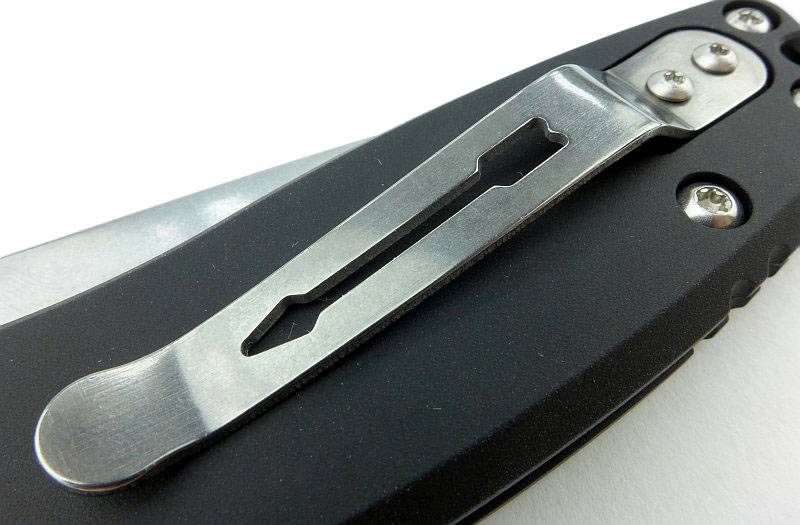
The pocket clip is one sided and cannot be fitted to the side with the lock button.
This is where the flipper tab would be on the standard Pallas.
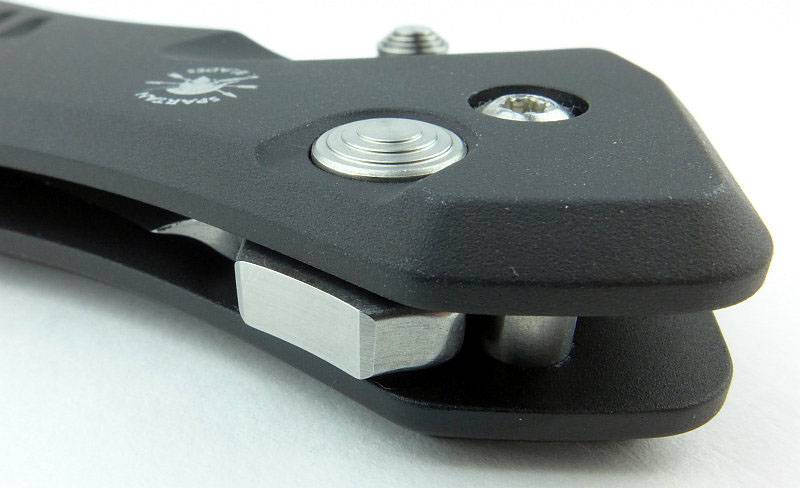
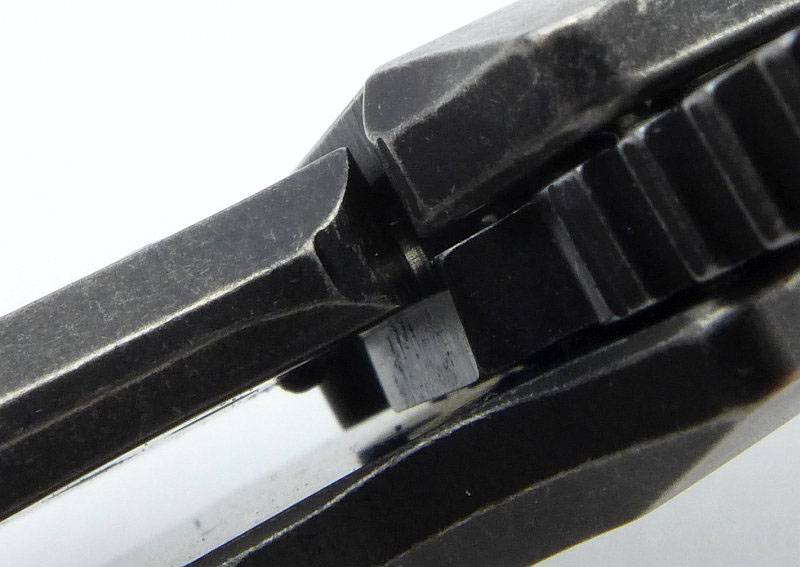
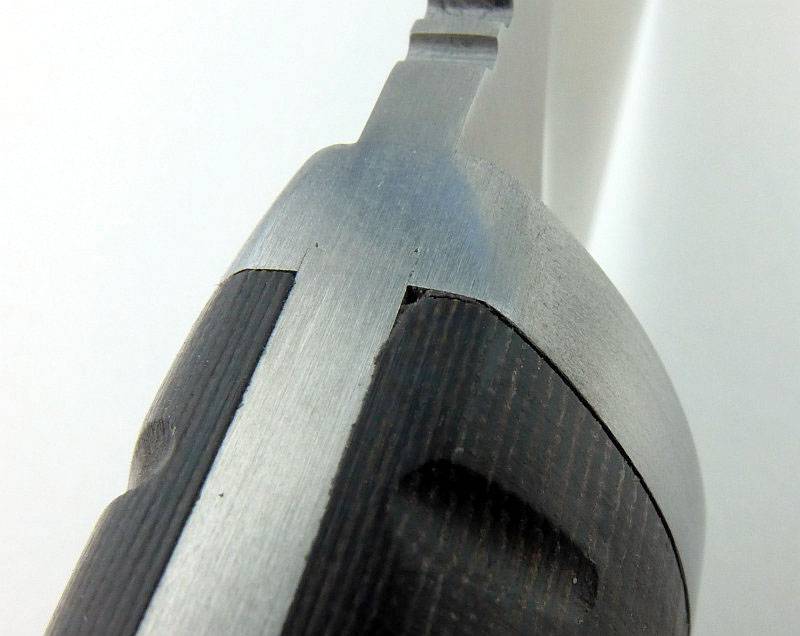
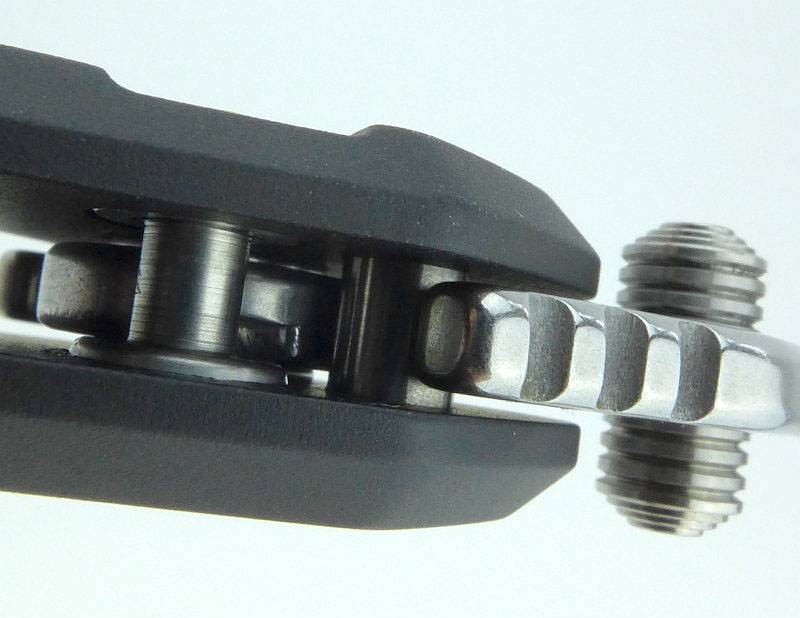
Button locks are far less common in non-autos, than other locking mechanism, so warrants a closer look. Here the blade has been opened slightly to allow the button and its shaft to be seen.
Viewed from a slightly higher angle you can see how the button has been pulled into the handle as the blade starts to open.
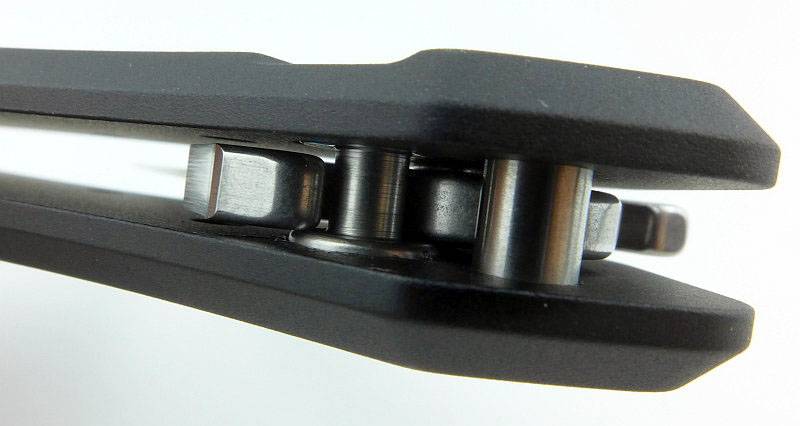
With the blade a little further open you can see the locking notch in the blade into which the button engages. You can see it is just to the right of the blade stop pin.

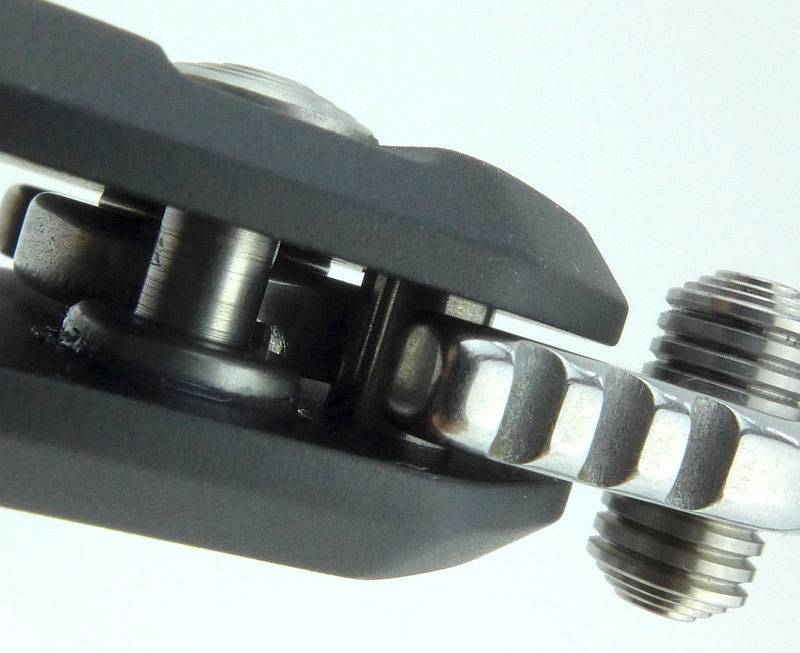
The blade is now nearly fully open and the locking notch has nearly reached the button.
And fully open the button has locked itself into the notch in the blade. The blade has also hit the stop pin and is firmly wedged between the two.
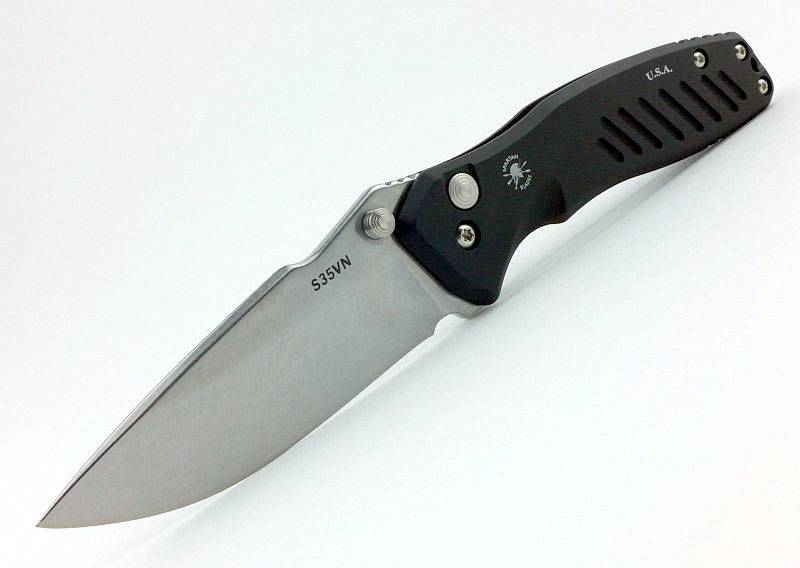
Now the blade is fully open, the UK version trimmed off flipper tab can be seen more clearly.
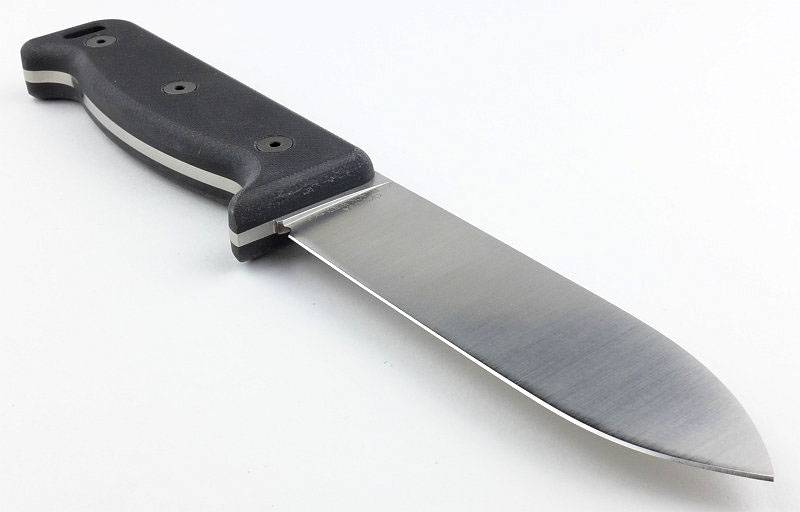
The overall view.
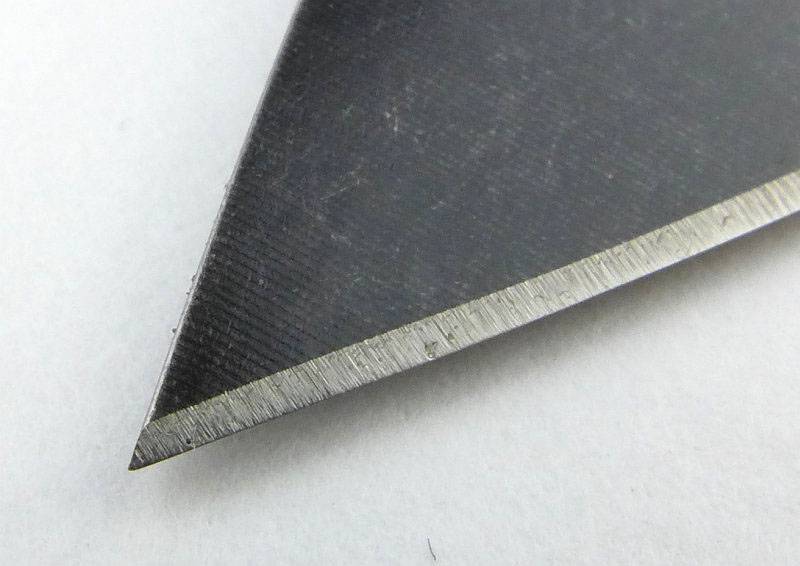
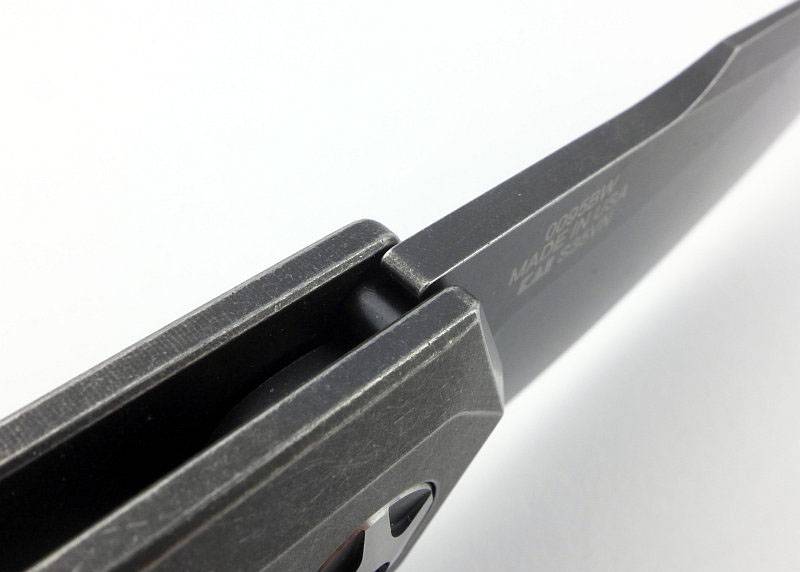
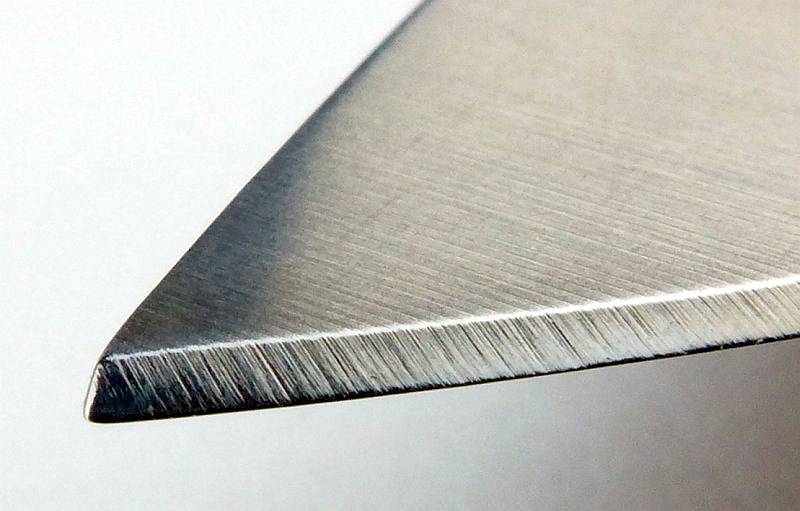
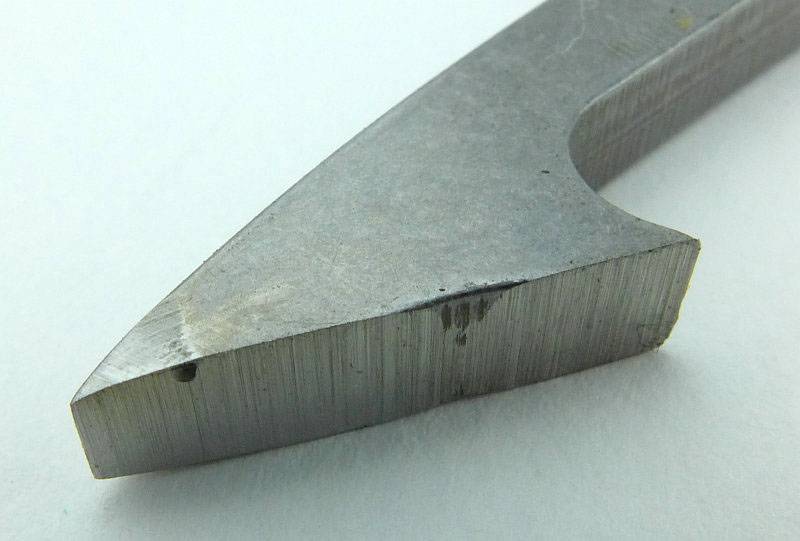
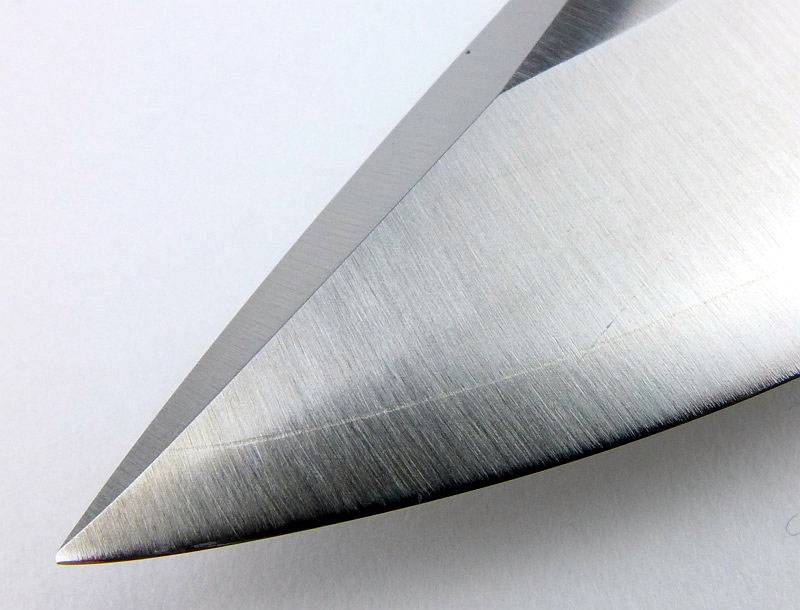
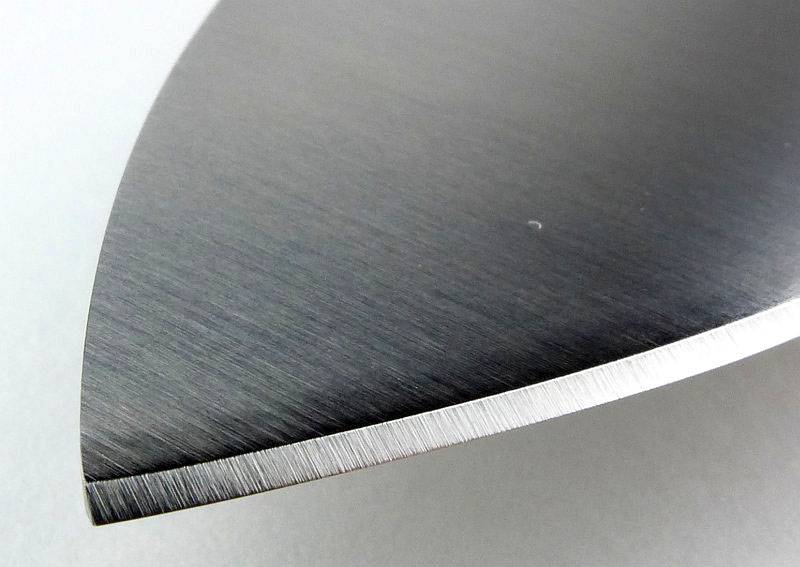
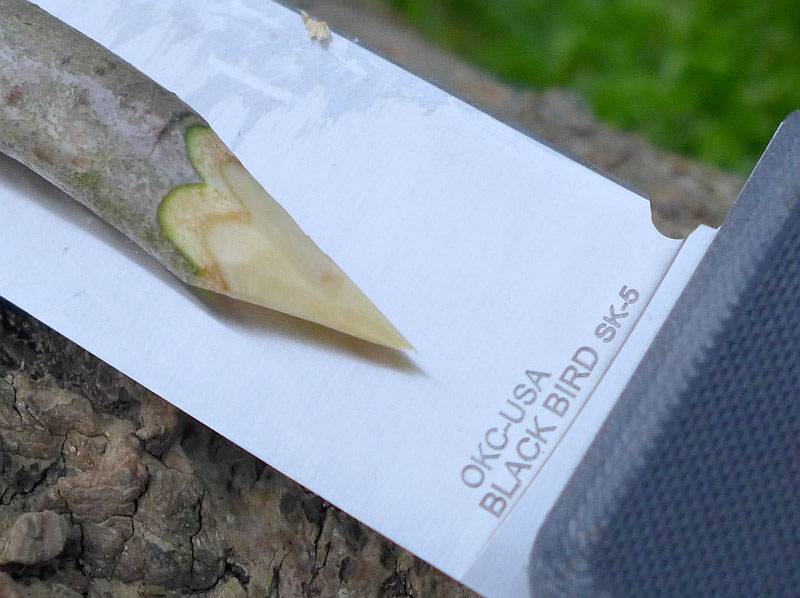
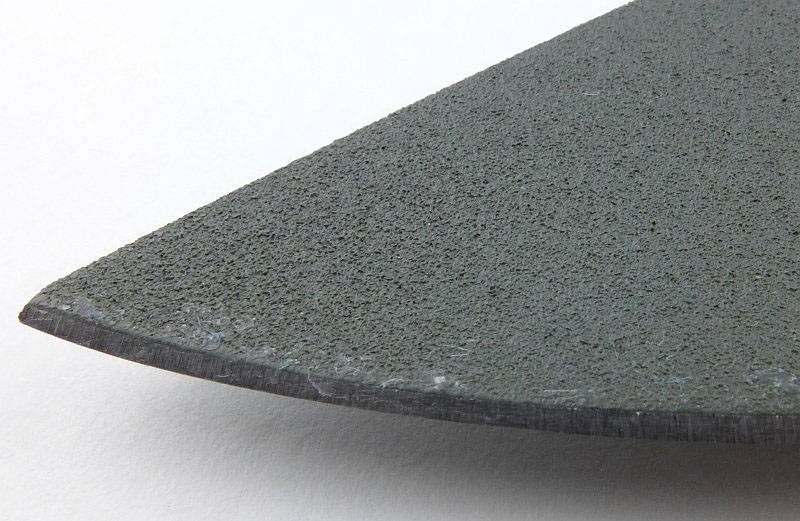
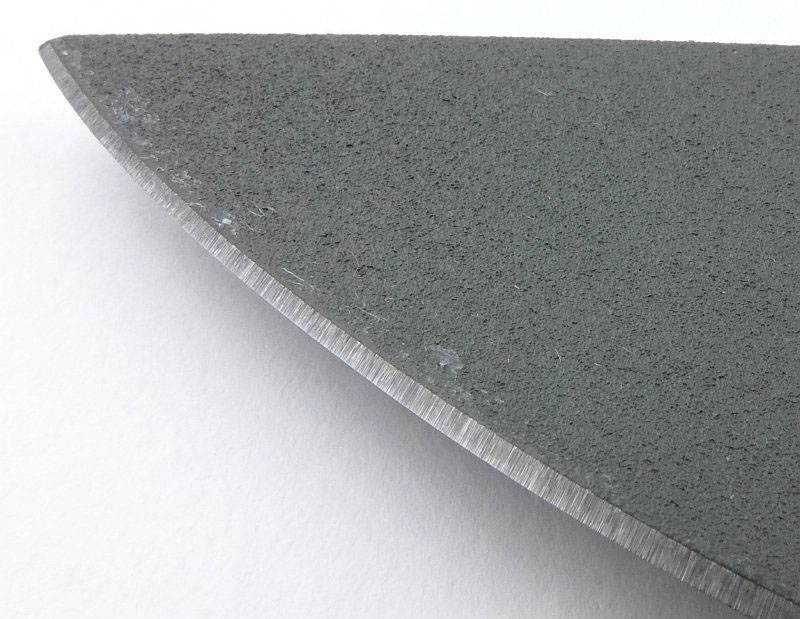
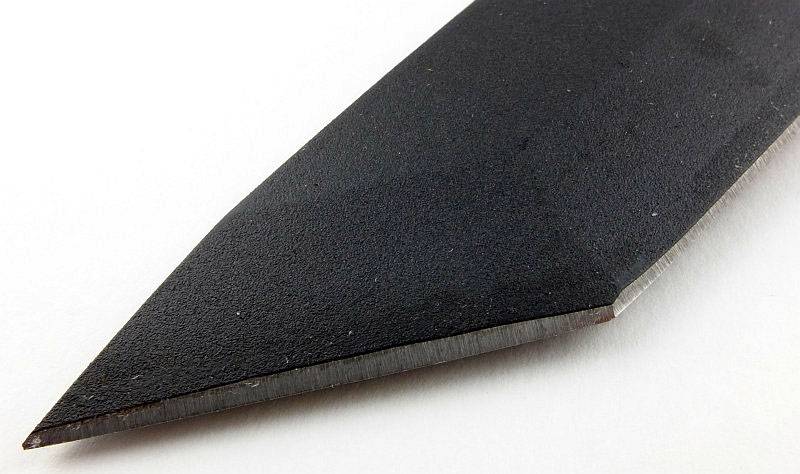
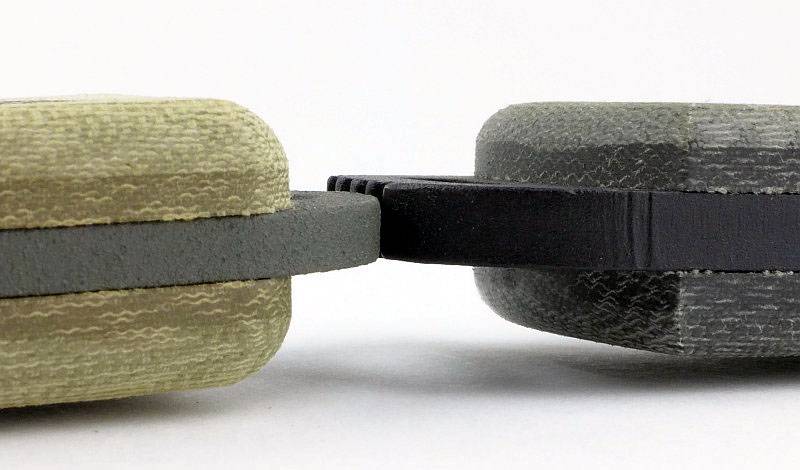
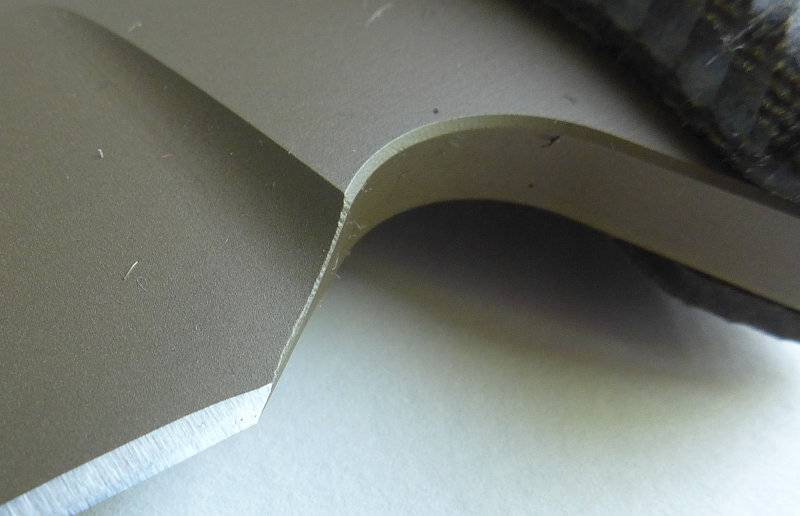
when looking closely at the blade tip you can see the contrast of the crispness of the final edge bevel and the rounded blade spine.
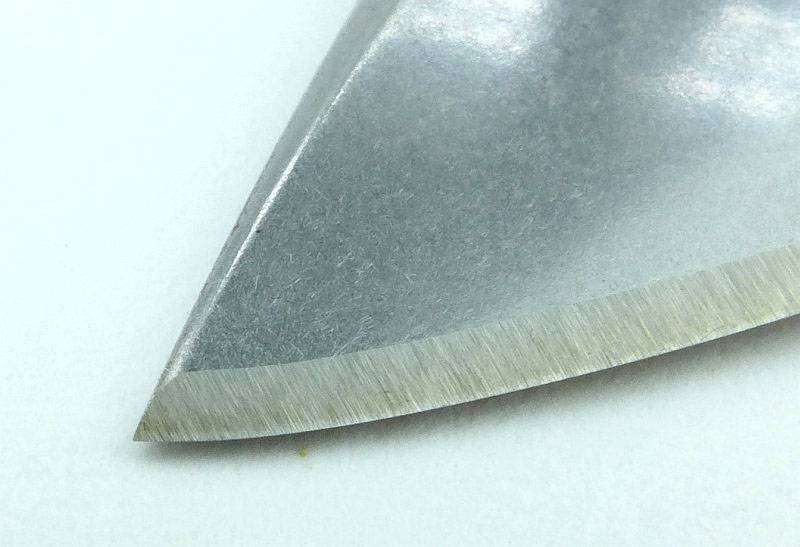
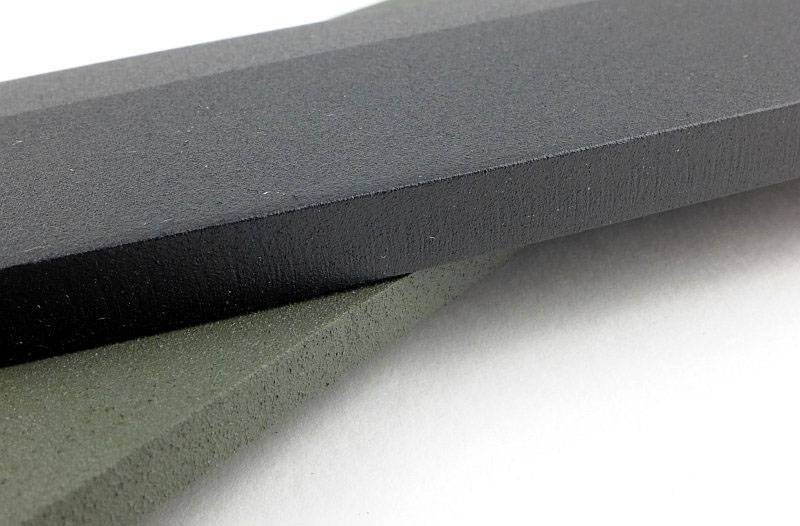
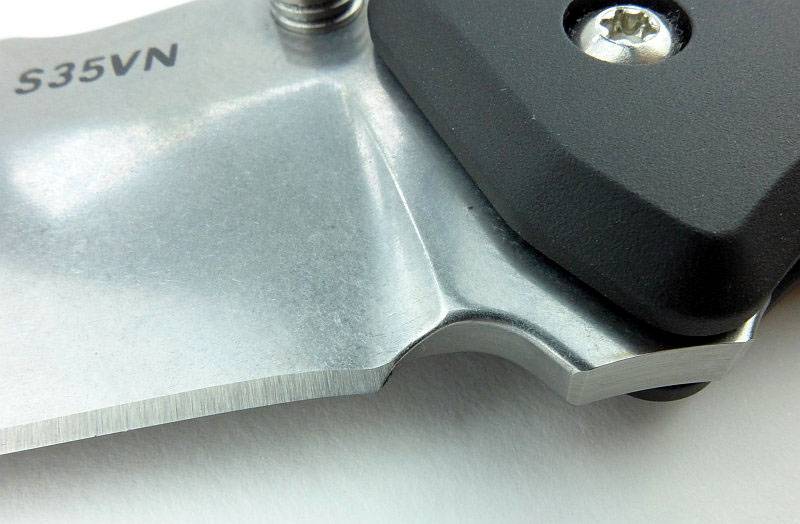
The entire blade surface has a stonewashed finish.
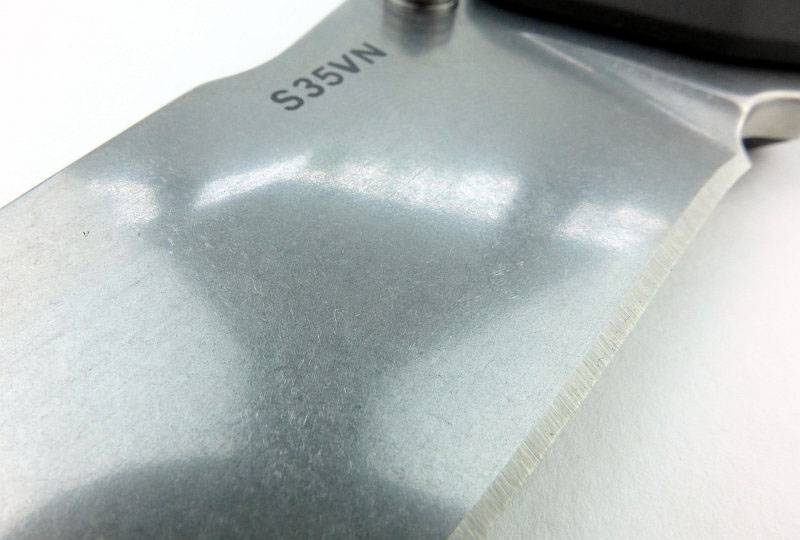
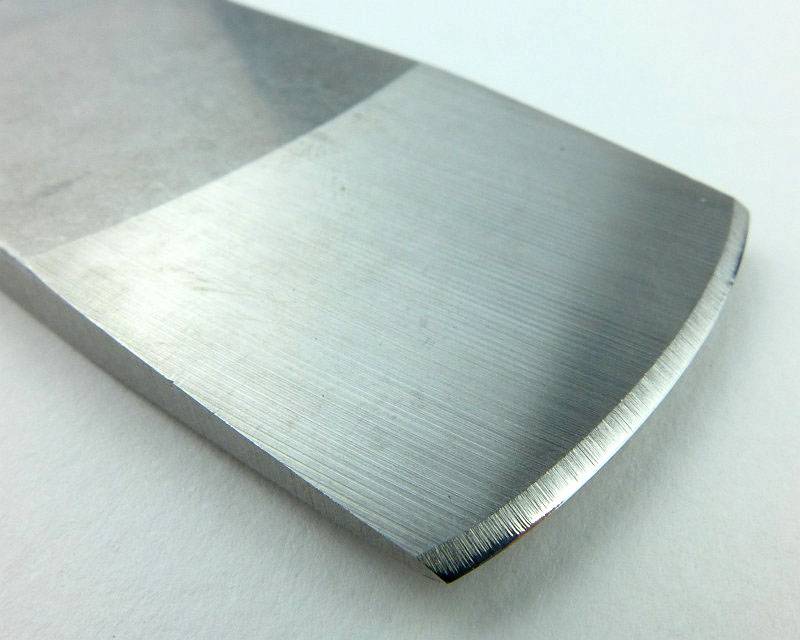
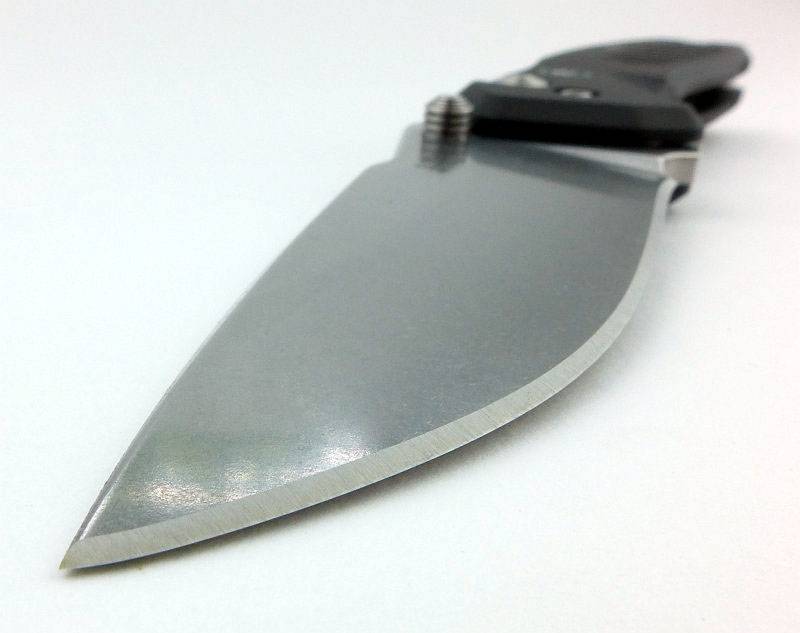
Not quite a full flat grind, the Pallas blade is a high flat grind.
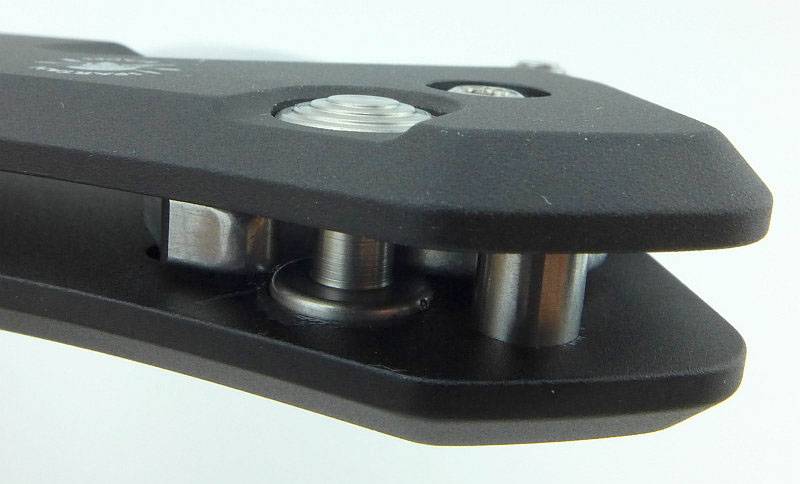
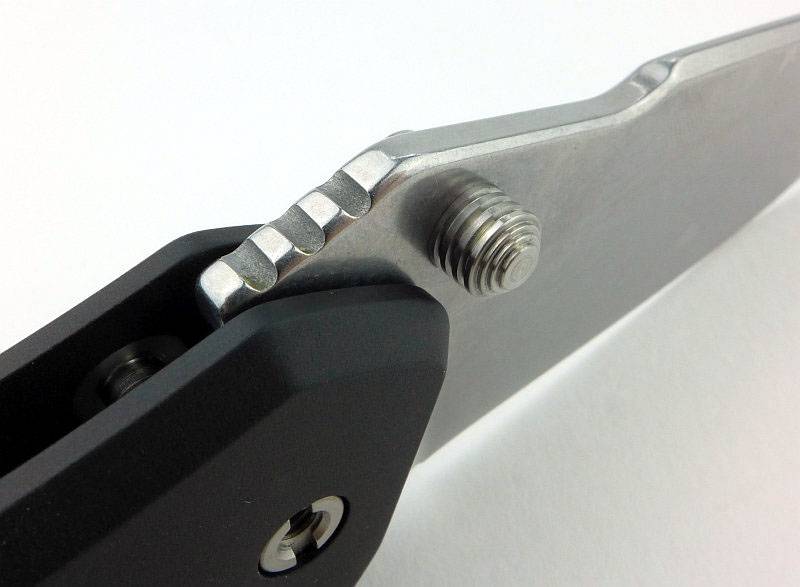
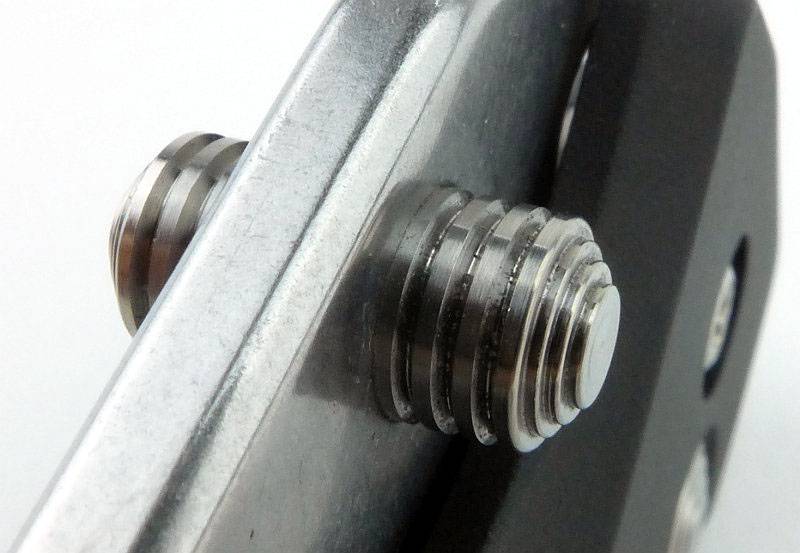
Each side of the pivot bolt is different, with a nut on this side.
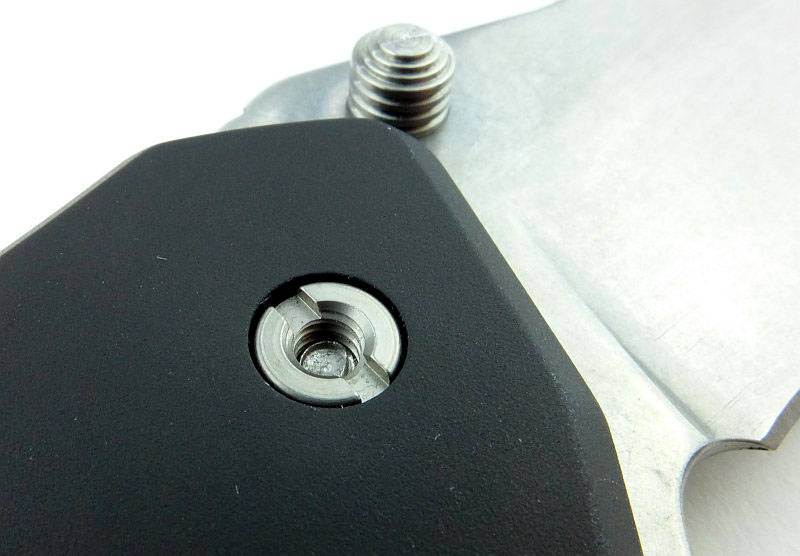
And a torx bolt head on the other side.
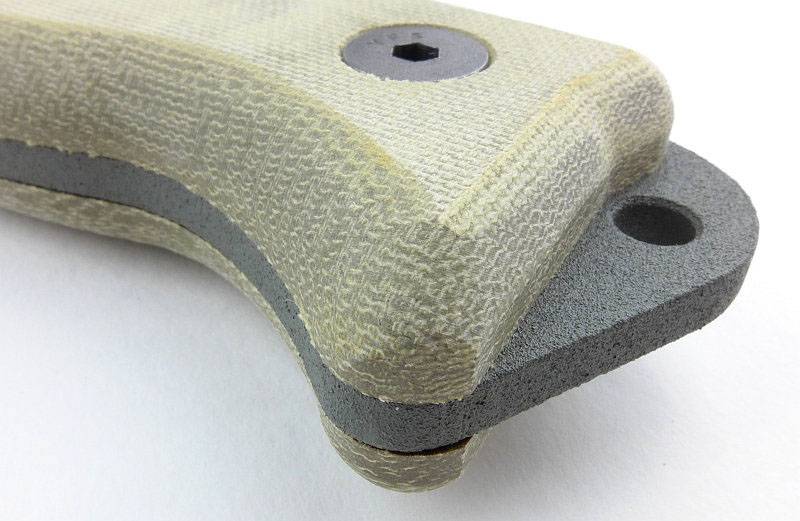
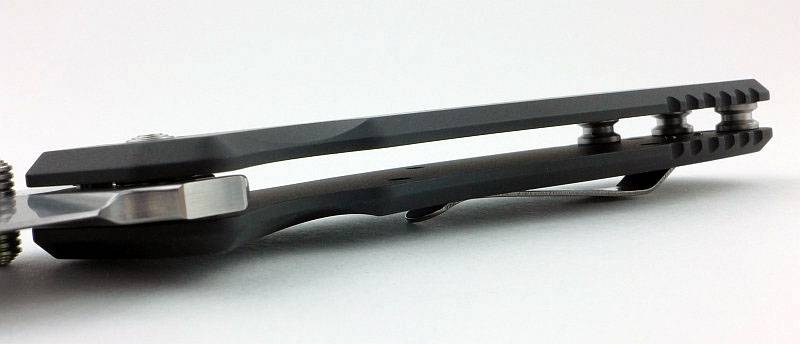
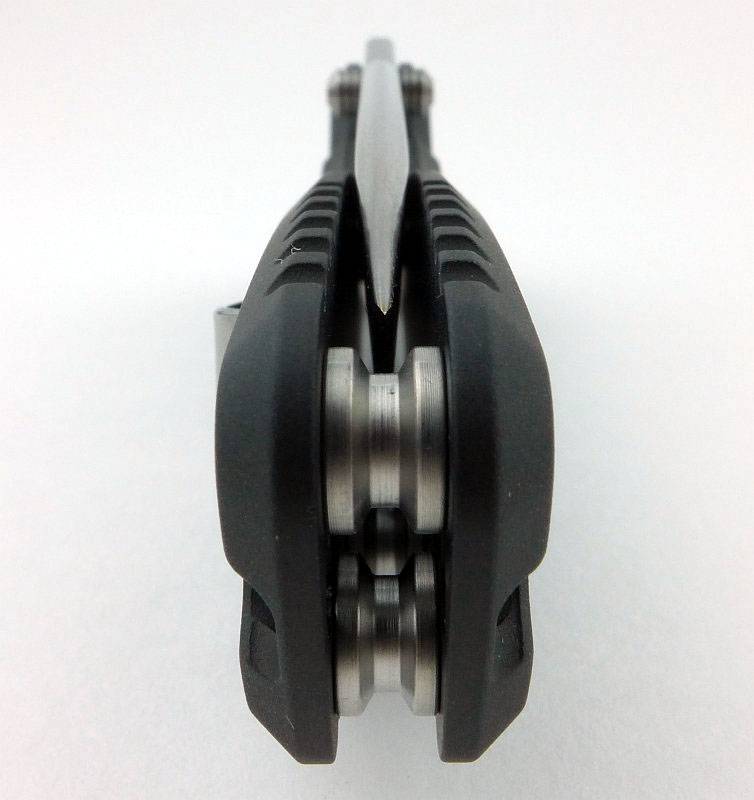
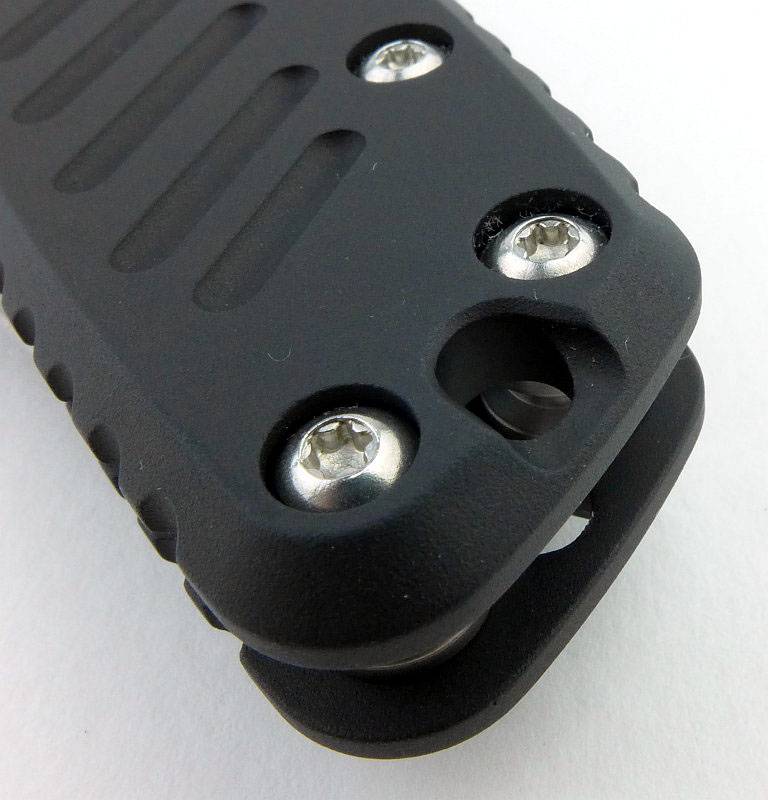
Though they look good, the handle spacers are also a very practical design with wide flats where they contact the handles and a slight waist which will reduce weight without any significant loss of strength.
You can see straight through the handle with the three spacers one end,and the blade pivot at the other.
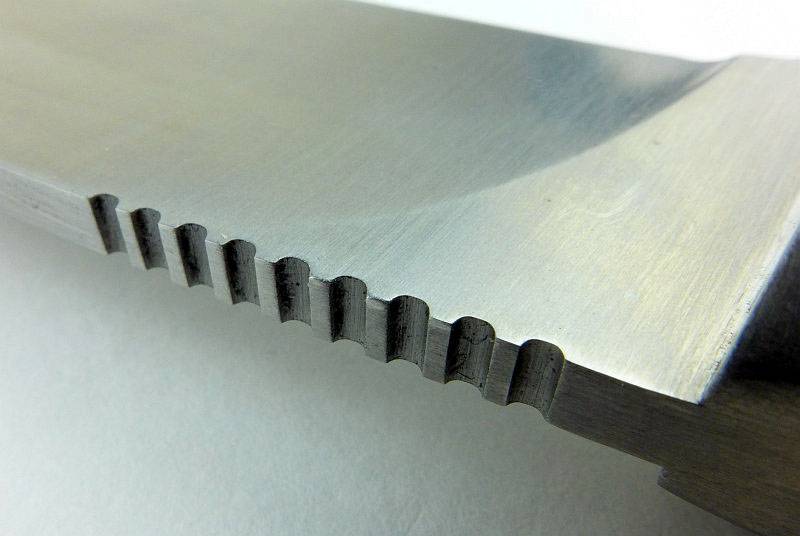
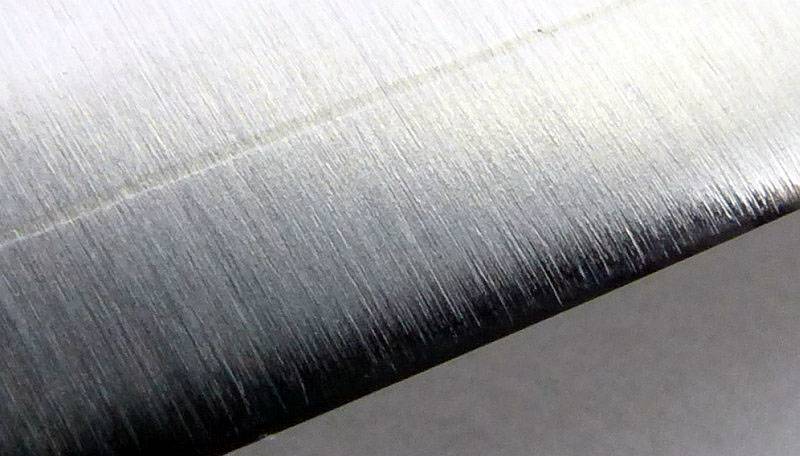
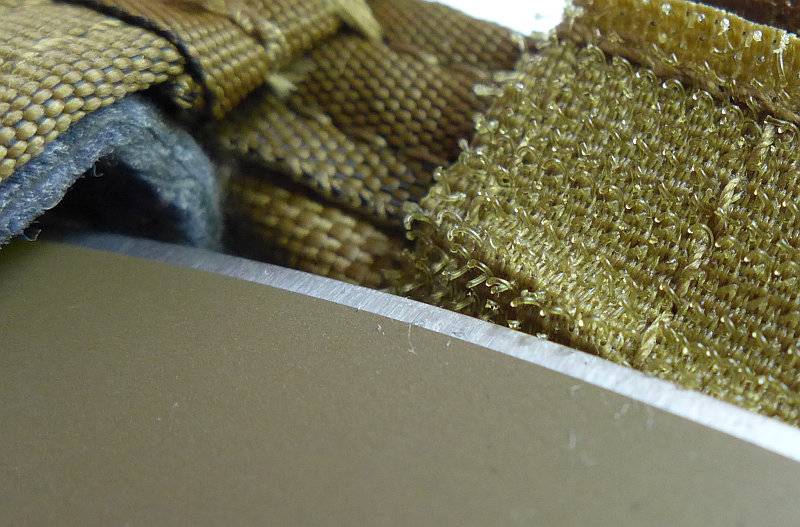
All the edges of the spine are nicely rounded. So you won’t be striking sparks off fire-rods, but you also won’t be fraying your pockets.
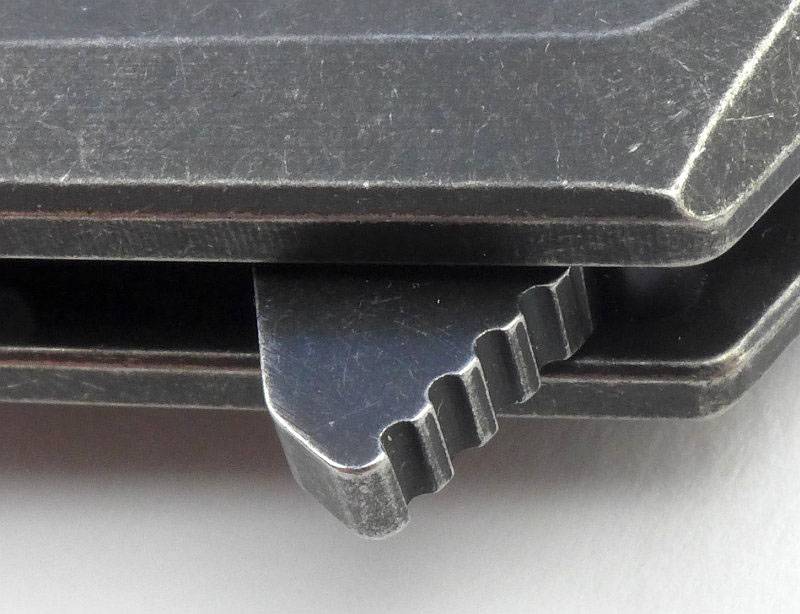
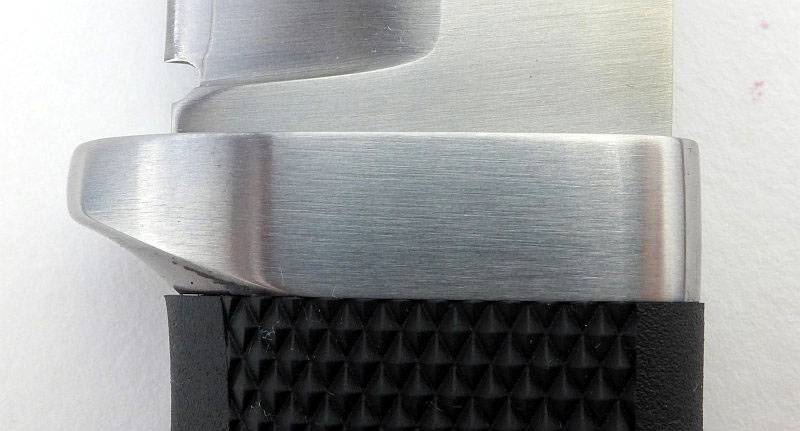
There is a little jimping for your thumb where the blade meets the handle.
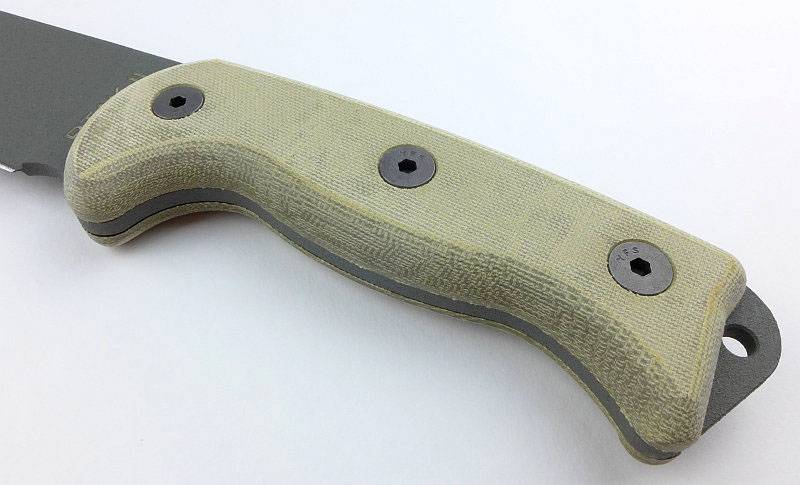
Each side of the spacers are held with torx bolts, as is the pocket clip.
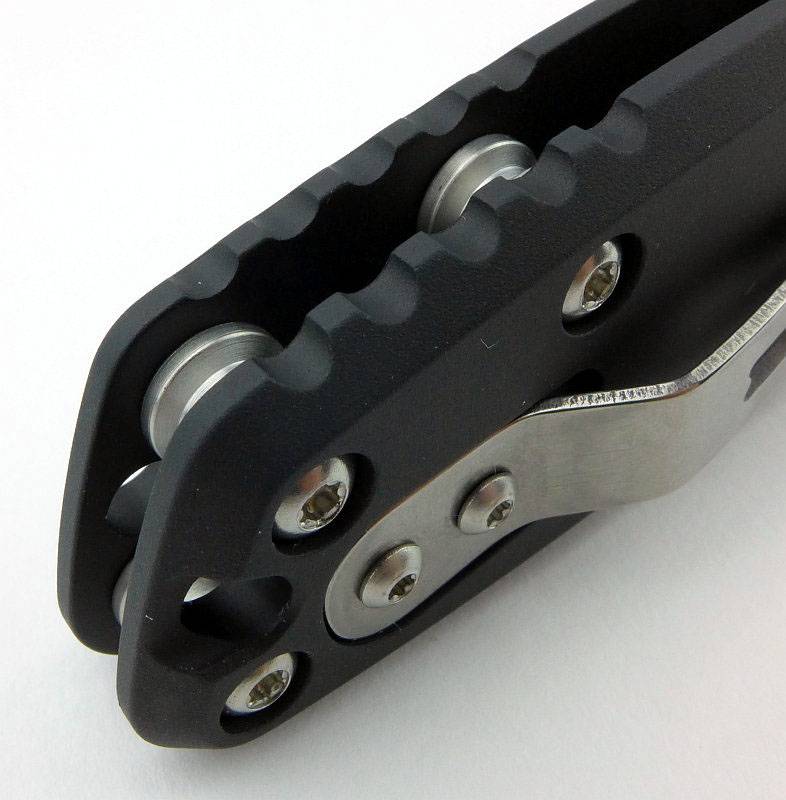
Blade centring is spot on.
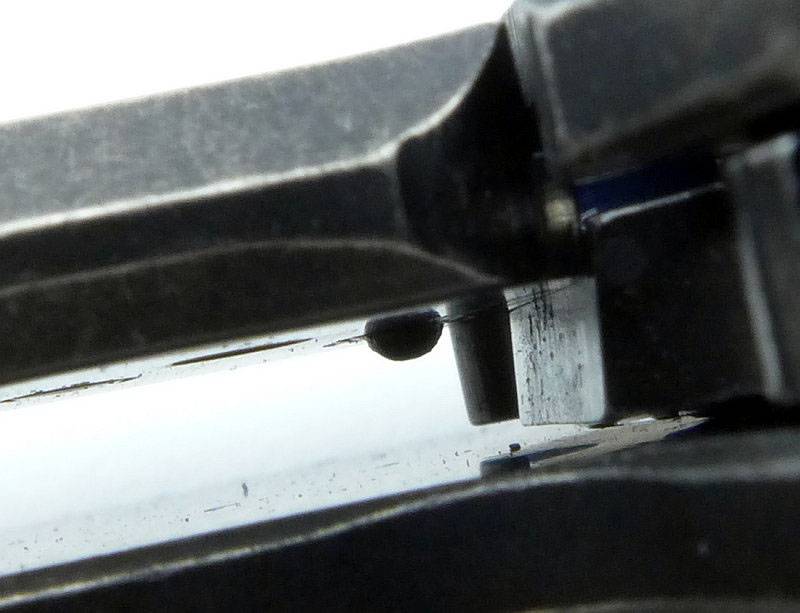
When the blade is between one third and two thirds open you can see the blade-stop hook in the tang of the blade.
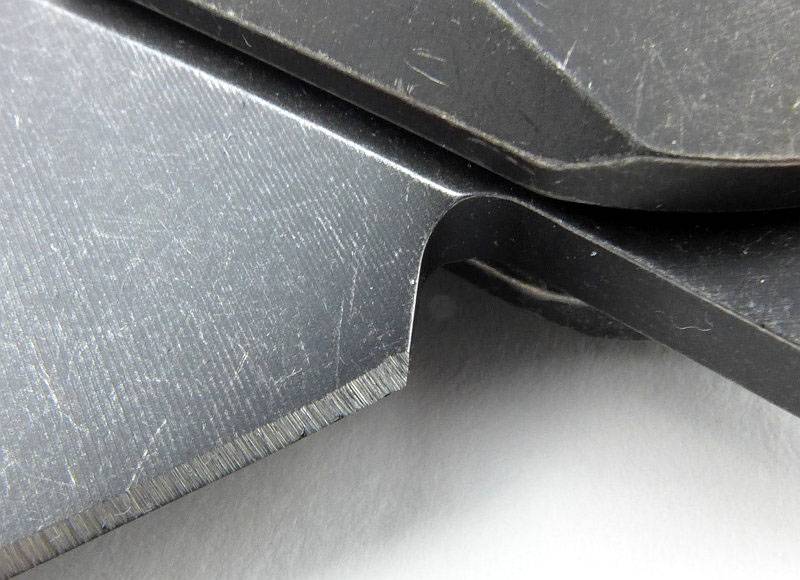
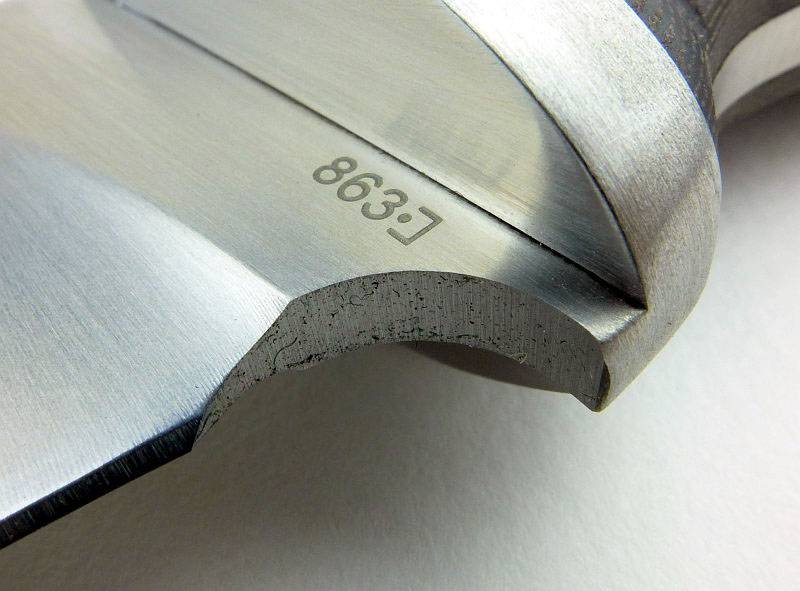
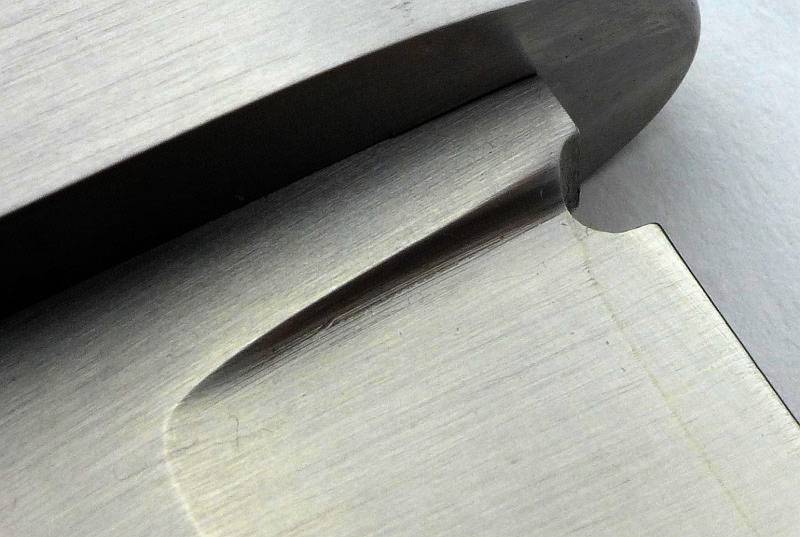
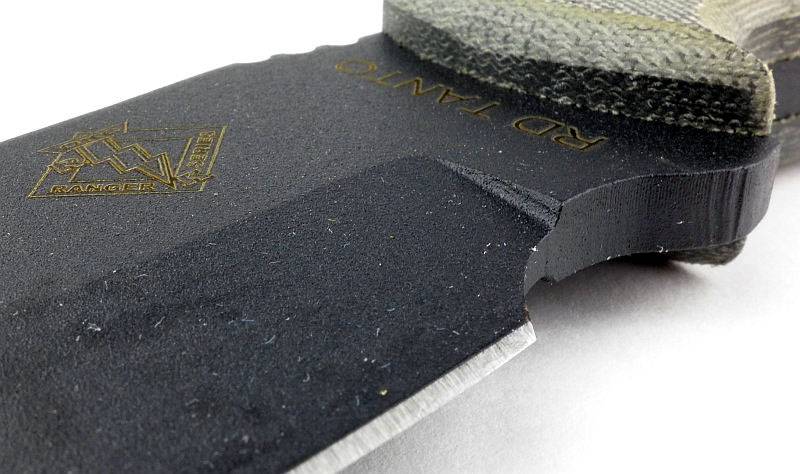
The cutting edge is terminated in a choil, and the plunge line is nicely radiused to reduce stress concentrators.
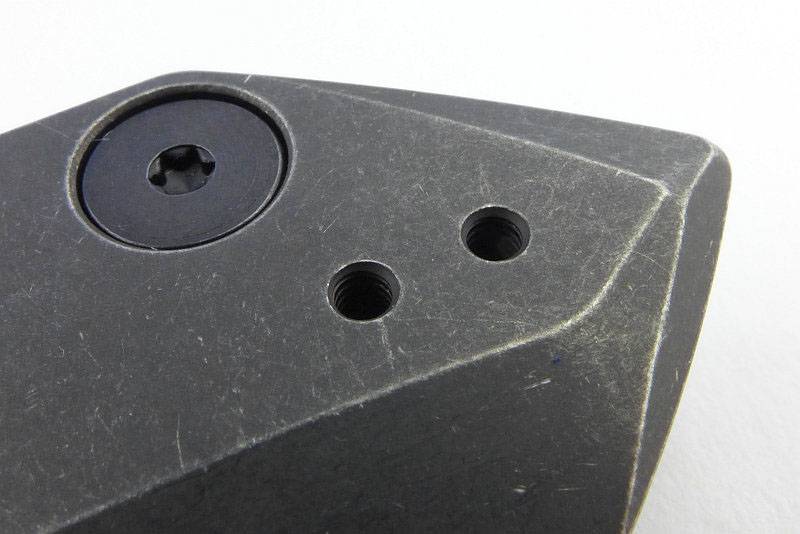
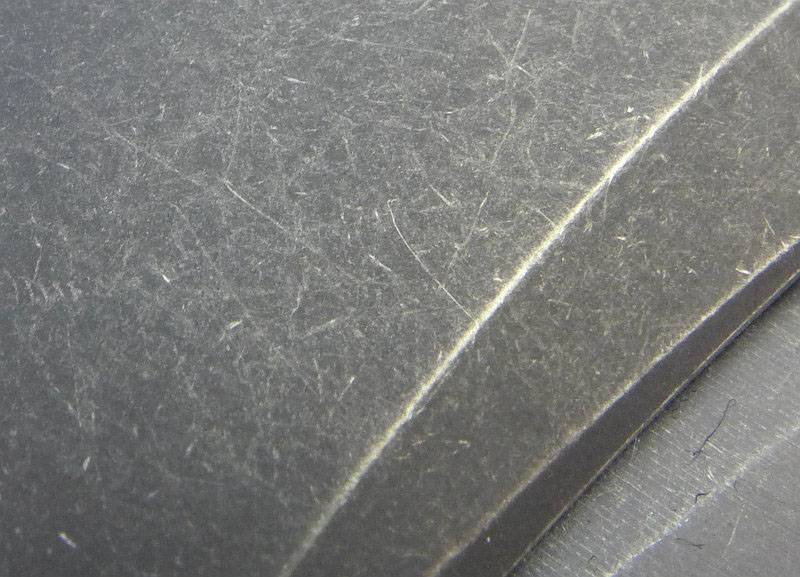
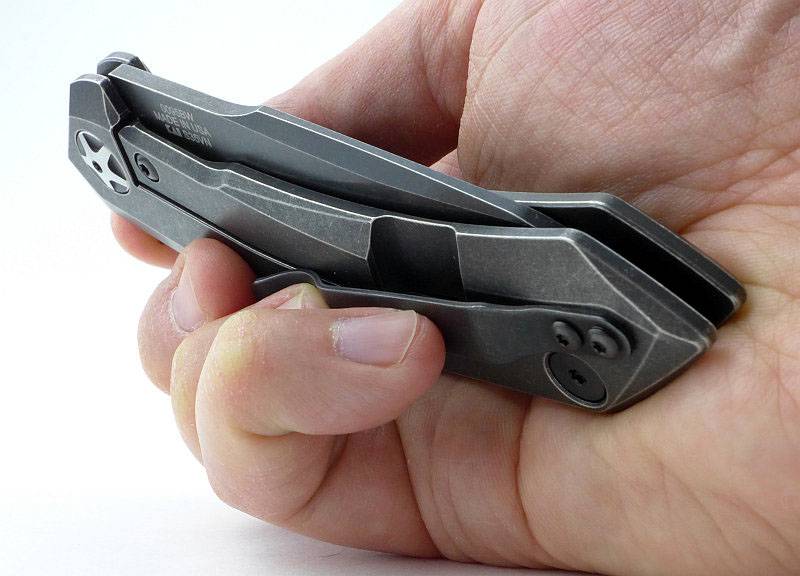
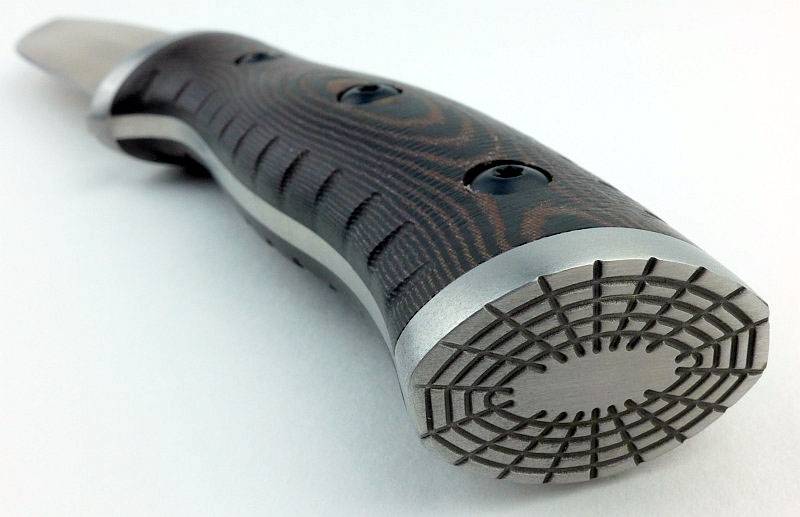
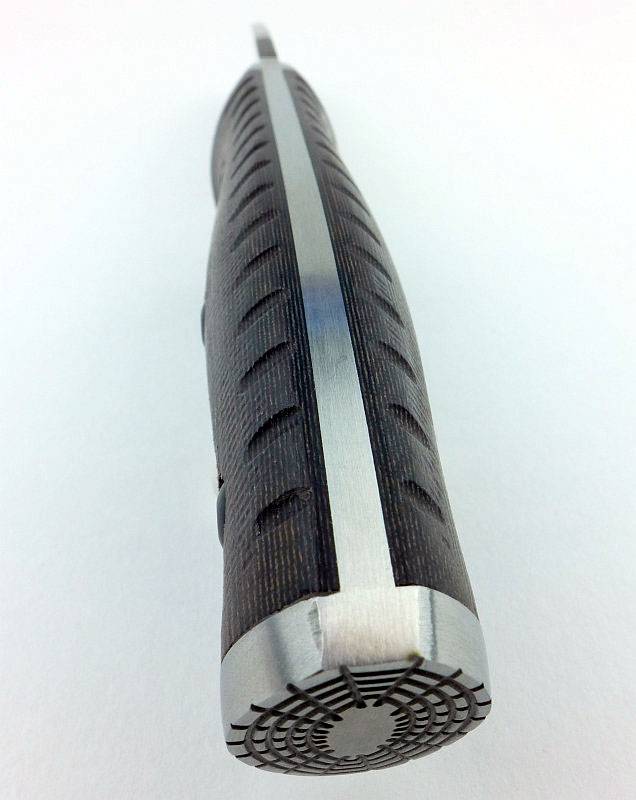
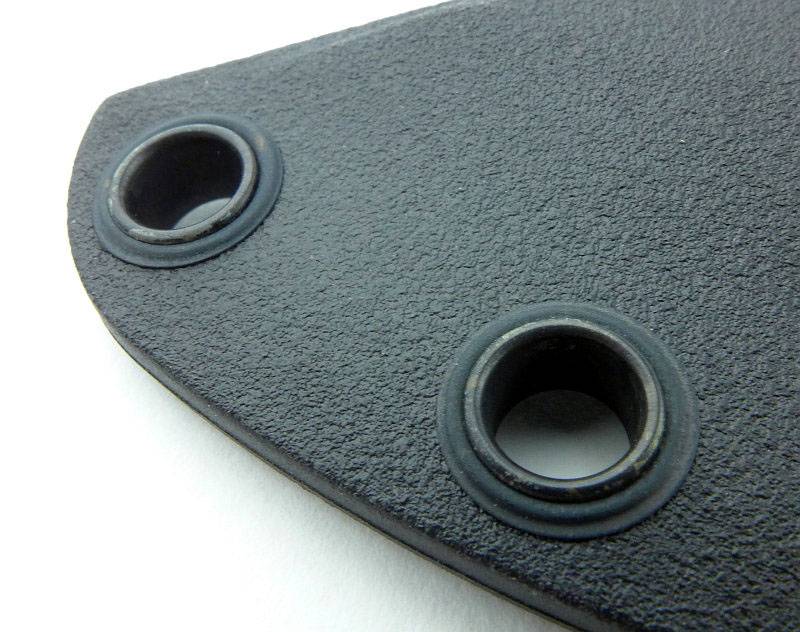
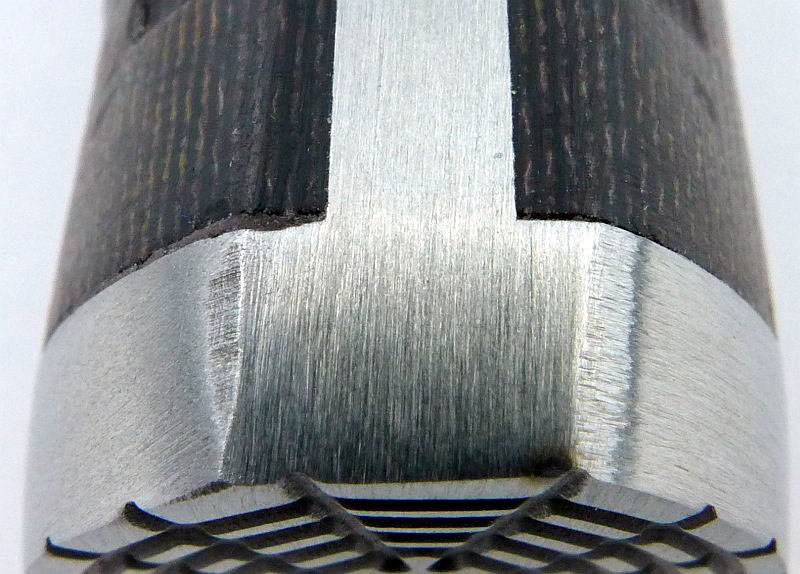
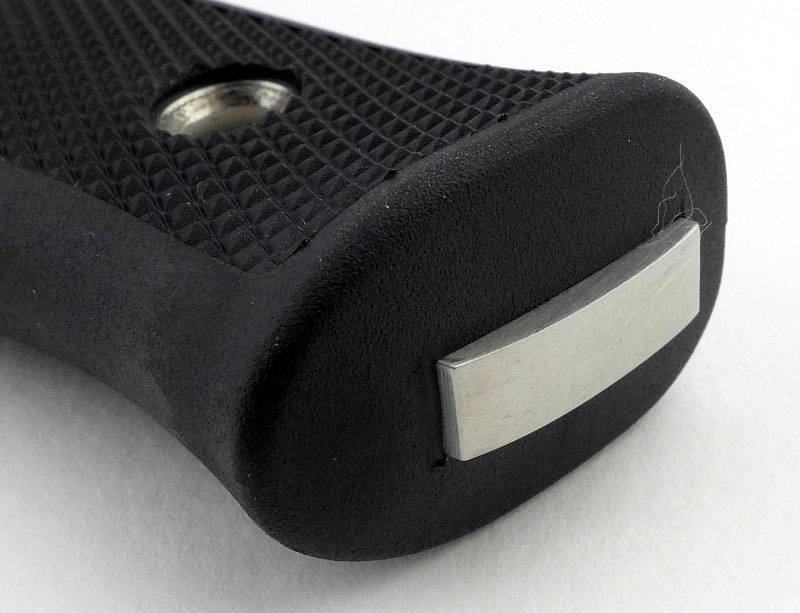
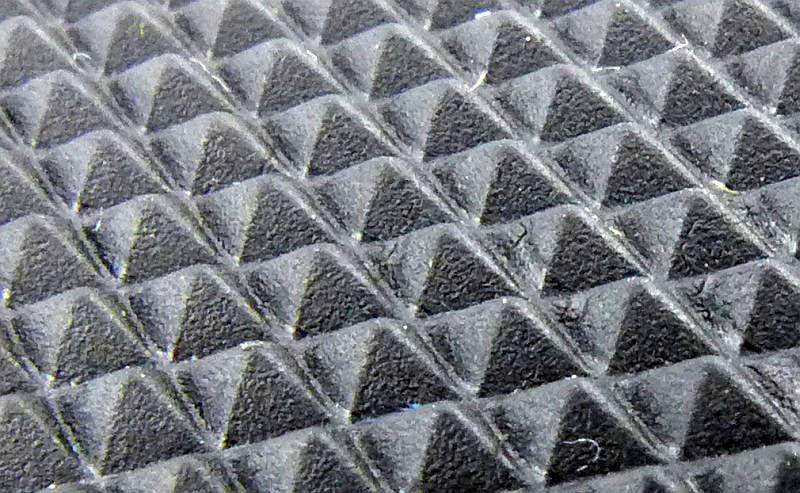
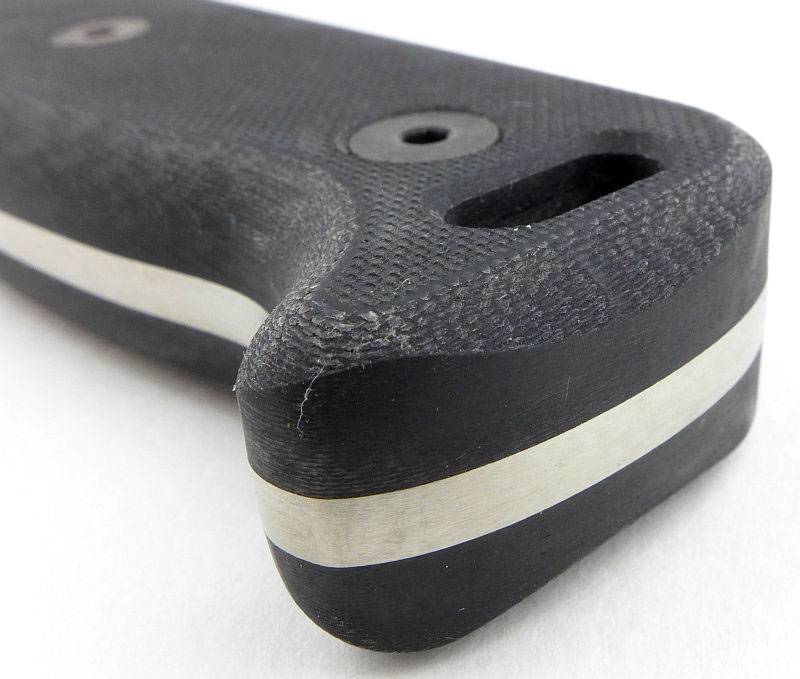
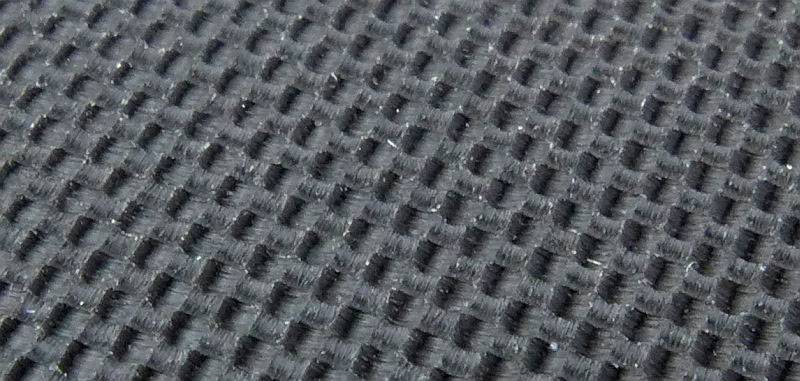
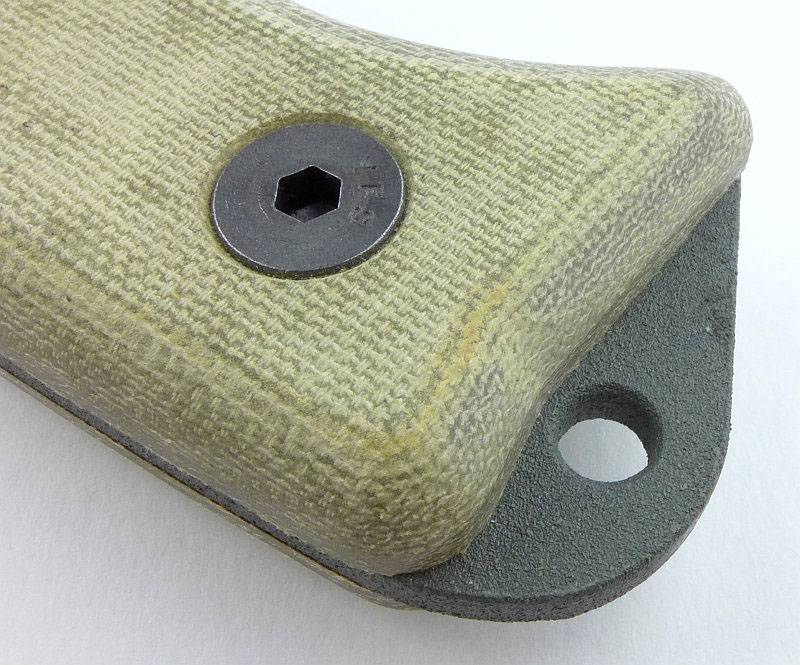
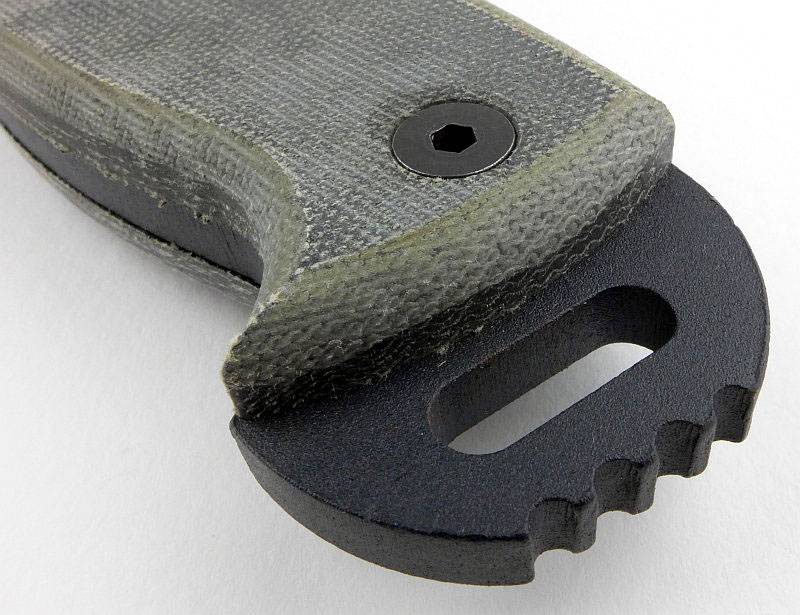
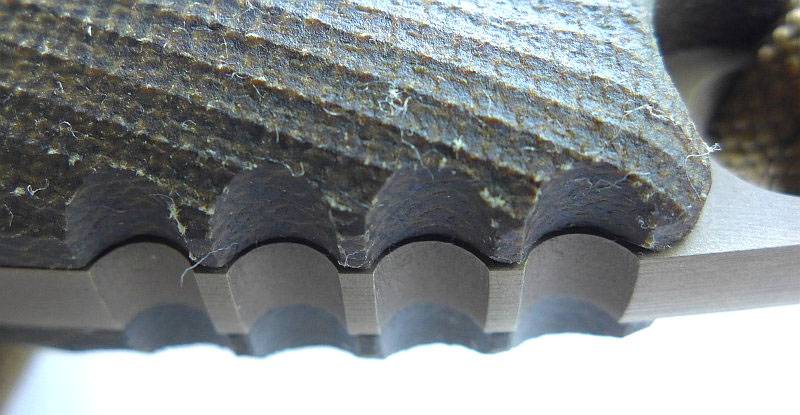
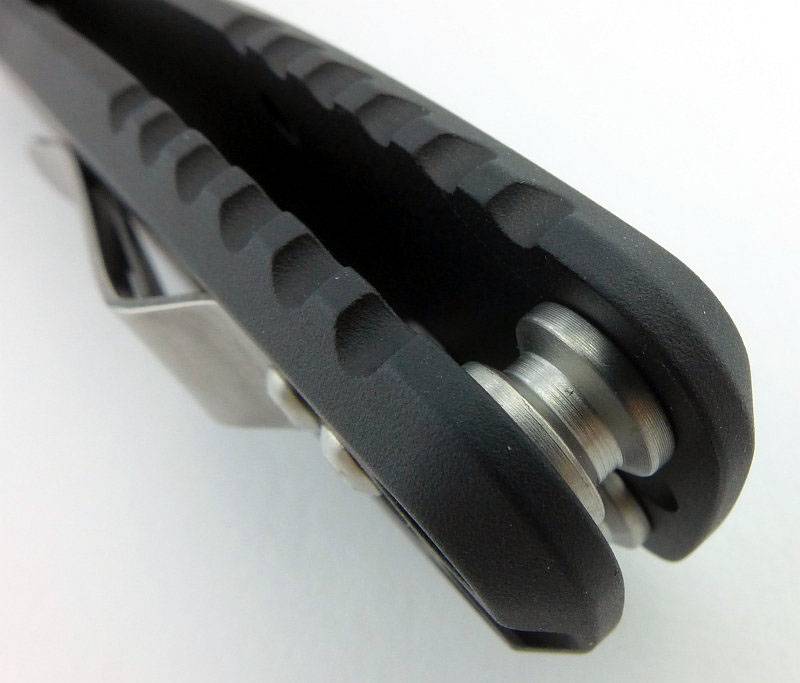
At the butt of the knife handle, there is jimping top and bottom giving a surprisingly useful amount of grip. I’d also take this opportunity to point out the surface texture of the anodised handles. There is a matt finish to the anodising due to what appears to be an underlying bead blasted surface.
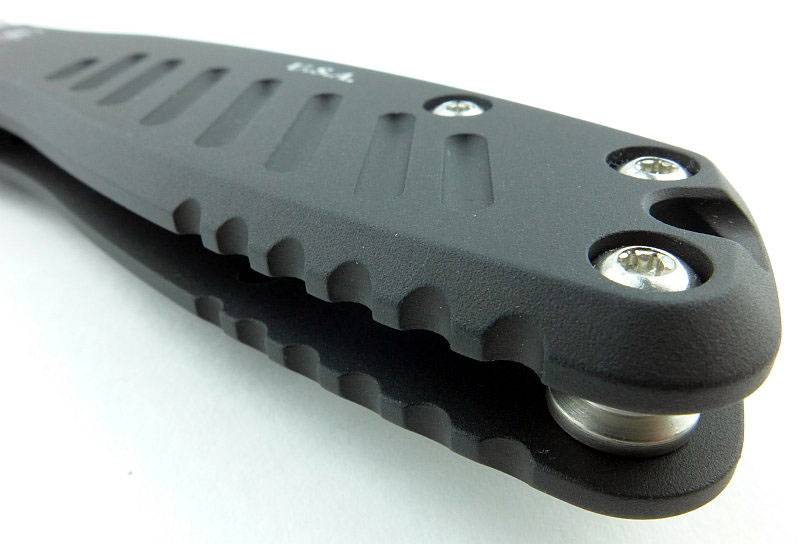
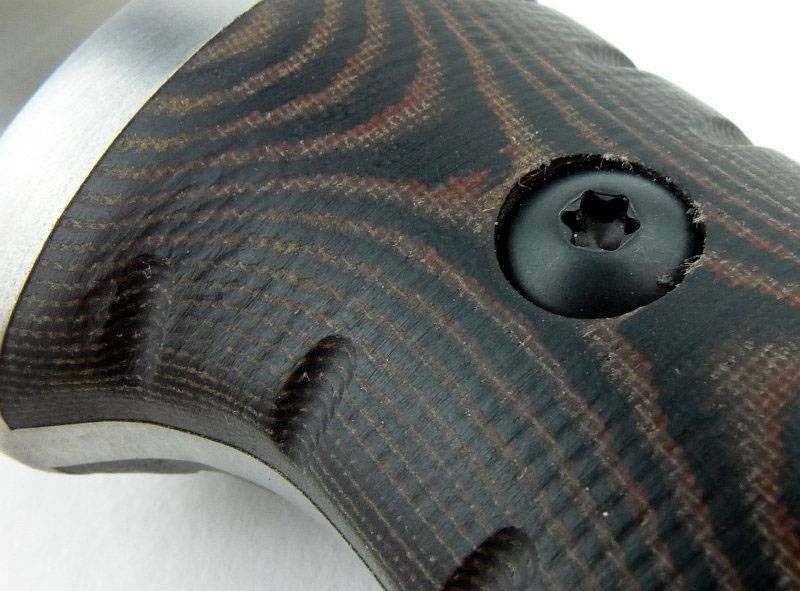
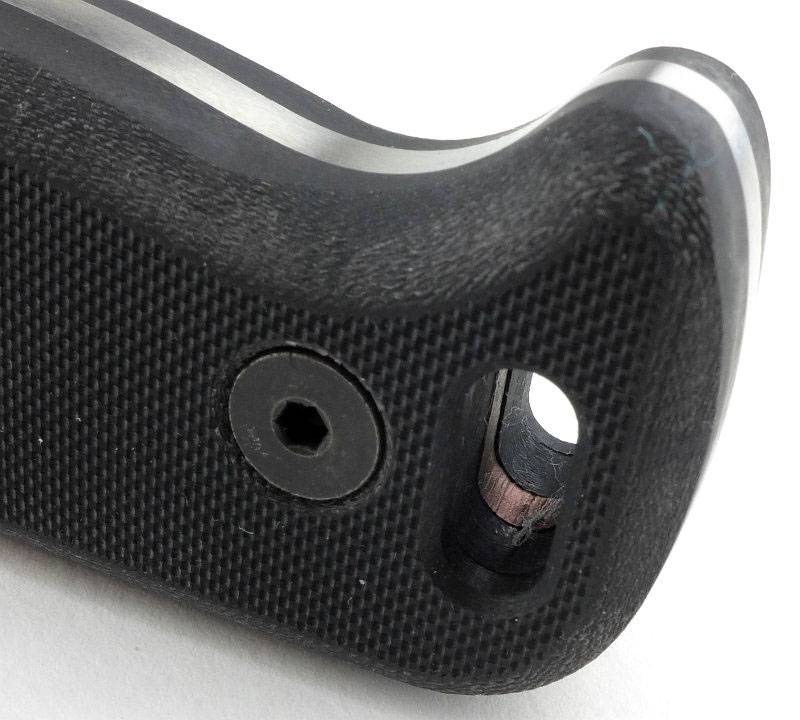
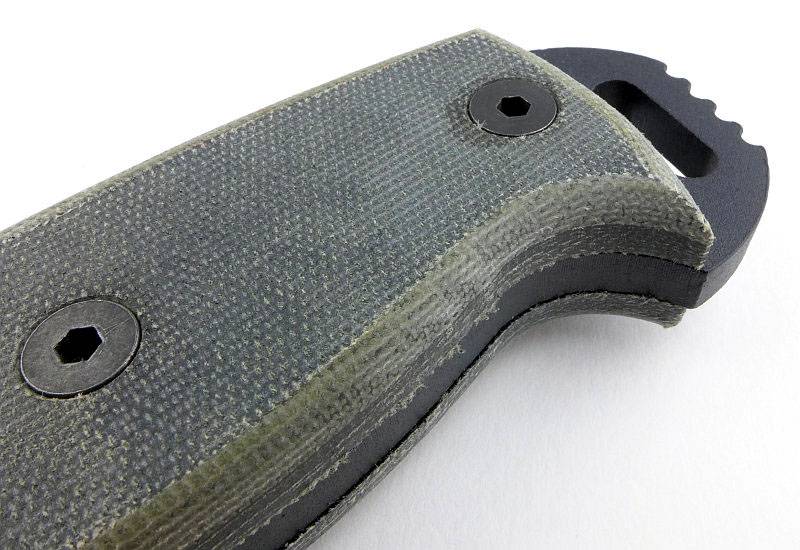
Grooves cut into this side of the handle provide grip where your finger tips press onto the handle. Subtle and effective.
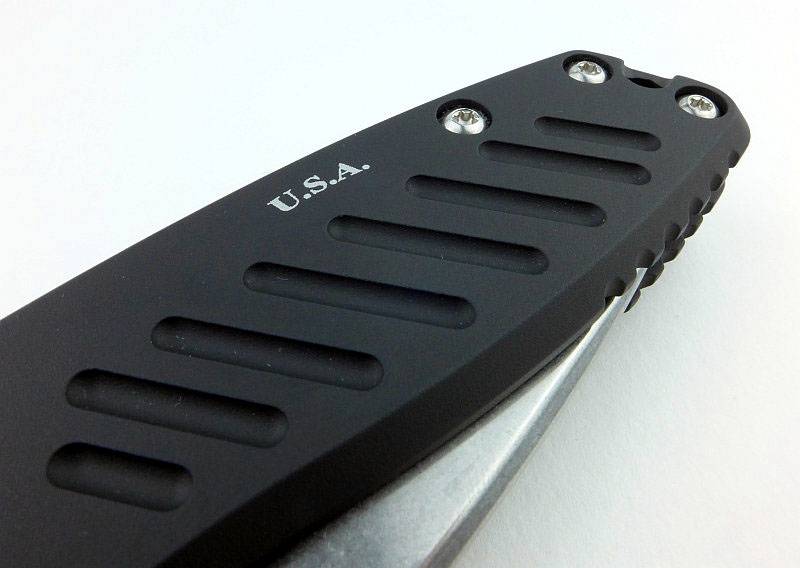
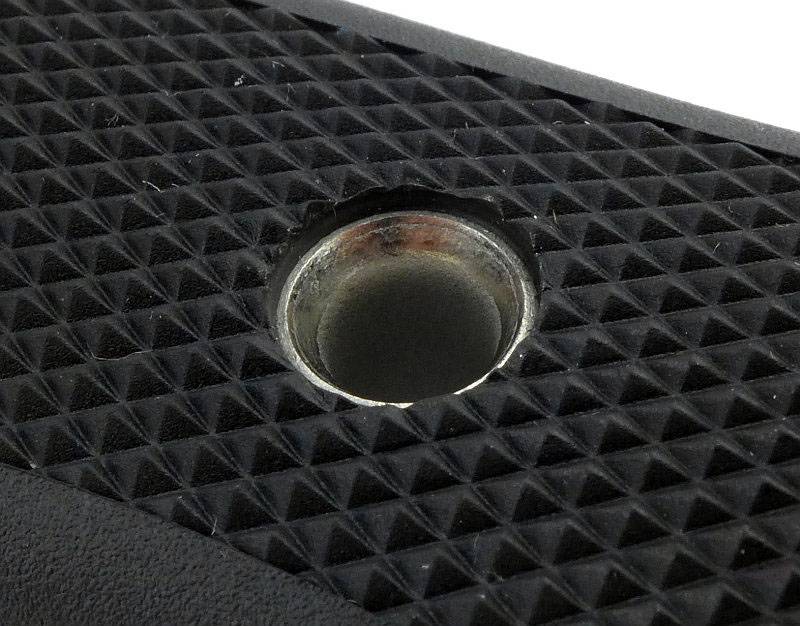
The lanyard hole goes through both handle slabs.
Lastly for this section, a close-up of the thumb stud which looks crisp and precise, yet without any sharp edges on the thumb contact surface.
What it is like to use?
I like a big folder, and though the Pallas is not really big, it certainly is a good size with its 3 3/4″ blade and 8 3/4″ opened length. For a knife of its size with all metal construction, the weight is impressively low making it easy to carry.
Admittedly I was slightly sceptical about the button lock from the point of view of a good tight lockup. Straight out of the box, my fears seemed to be proving true, HOWEVER (and yes a big however) this was only due to two reasons. Firstly without the flipper, I was only opening the blade slowly and the lock was then not engaging tightly, and secondly the button just needed a little use to settle in.
After more use, the lock was engaging tightly even when only opened gently on the thumb stud. So I would recommend all users to start with at least 30-40 good firm flicks open to bed the button lock in. After this the lock has been spot on and rock solid. Even with the UK version you can start to open the blade with the thumb stud, then flick it fully open with your wrist. For those with the knack, so can also flip the blade open using the thumb stud instead of the flipper tab (but be careful as you can easily catch the edge with your thumb doing this).
Another observation that was immediately obvious, is that the blade movement is super slick. Importantly the blade has no side-to-side play, but the movement is so smooth and easy I would go so far as to say it is the smoothest I’ve used to date (and I’ve handles hundreds of folders with and without ball-bearings). This may in part be due to the button lock mechanism allowing the blade tang to move freely, or possibly due to the high level of finish of all the moving parts.
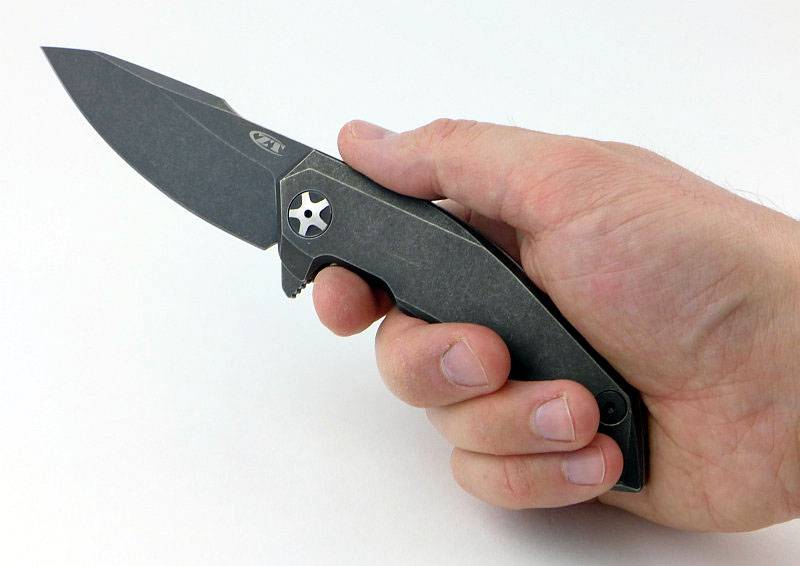
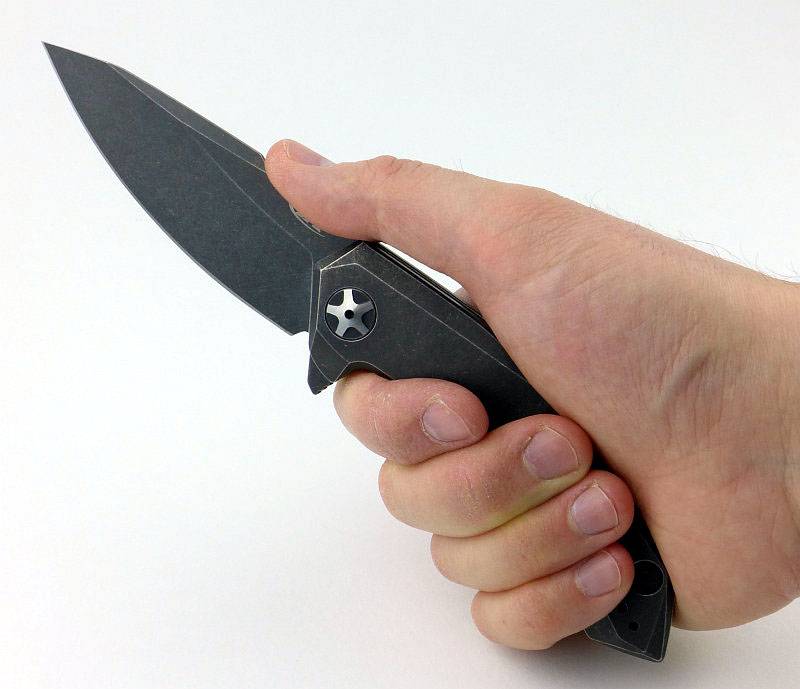
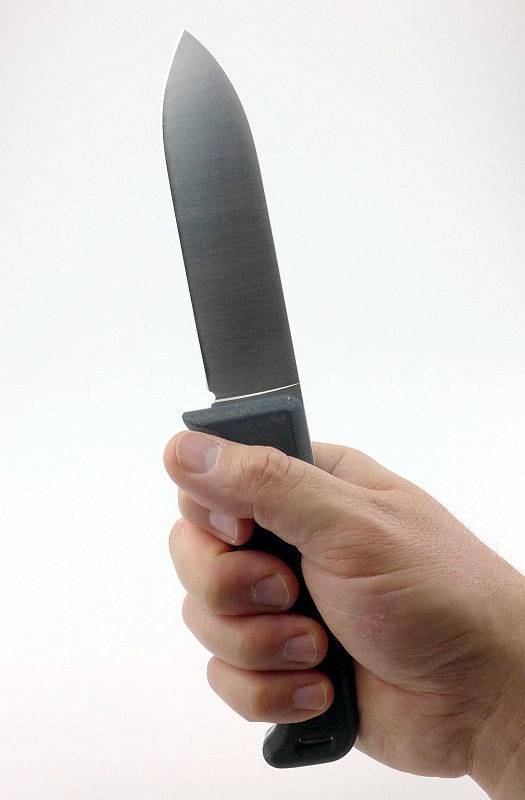
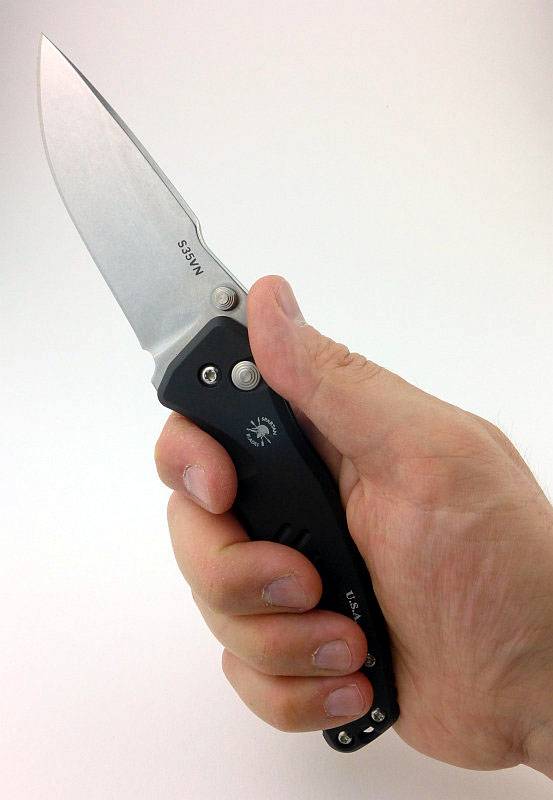
The generous size of the knife means it is a comfortable handful with or without gloves. I would obviously prefer the added protection the flipper tab (finger guard) gives you, but for this UK version it is no less safe than other non-flipper folders.
(I take XL size gloves)
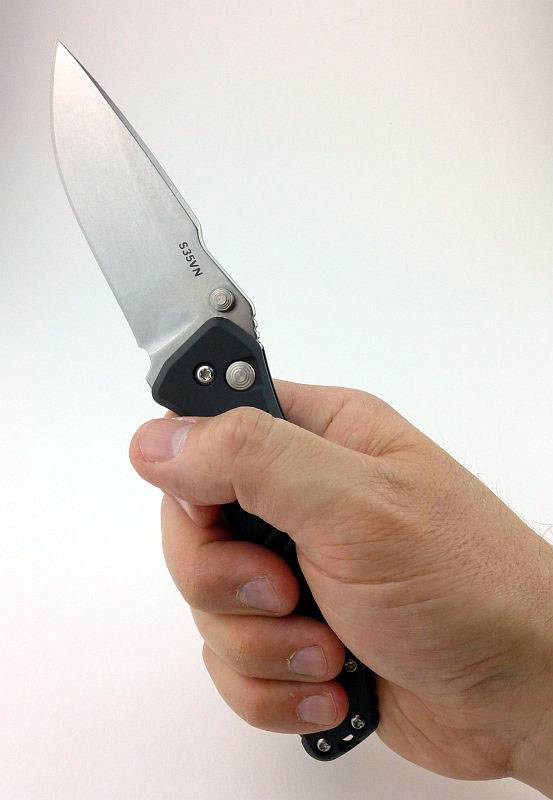
Taking up a thrust hold, the jimping on the blade gives you more grip.
Though this was not the intention of the harpoon style blade, it just happens that for a fine working grip your first finger sits nicely against the harpoon spine. Like this of course you need to watch your thumb doesn’t hit the lock button. (So far I’ve not had any instances of an accidental press of the lock button)

When swapping between grips, your hand seems to fall into place with no adjustment required to eliminate any hotspots. Handle shaping is subtle but certainly works well for me.
With the button lock design being focused on ease of closing with gloves on, it is primarily a right-handed layout with the button being easy to reach with the thumb of your right hand. The clip is also fixed to one side (opposite to the button). The blade has a double-ended thumb stud and there is a depression on both handle sides giving easier access to the thumb stud, so at least for opening the Pallas is suitable for left-handed users as well. Are there any issues for left-handers? No, even using the Pallas left-handed I found the button easy to press with my first finger to close the blade. It is not as comfortable with the clip falling under your finger tips in a left-handed grip, but that is only a minor annoyance.
Another concern I had was of the button being accidentally pressed during use. So far I’ve not come close to doing this as the button appears to be far enough forward you positively have to try and press it. It is perhaps a small risk, but the completely safe and easy one-handed-closing the Pallas allows, has started to make this a firm favourite. While holding the button in, the blade is able to swing freely, so one-handed-closing is as easy as pressing the button and either flicking the blade closed or holding the blade upright and allowing it to swing closed. Many knives open easily, but few close this easily (when you want it to close).
I’m not a fan of pocket clips, and the Pallas clip looks quite thick, but thanks to being titanium, it has an ideal holding tension that is not too strong or weak.
Blade thickness is an excellent compromise between ultimate strength and cutting ability. It is thick enough that in some harder materials you start to feel it binding as the blade grind wedges into the cut, but the high flat grind helps this stay manageable. There is enough steel in the blade that you are not going to be worried about breaking it (unless you try to use it as a pry bar).
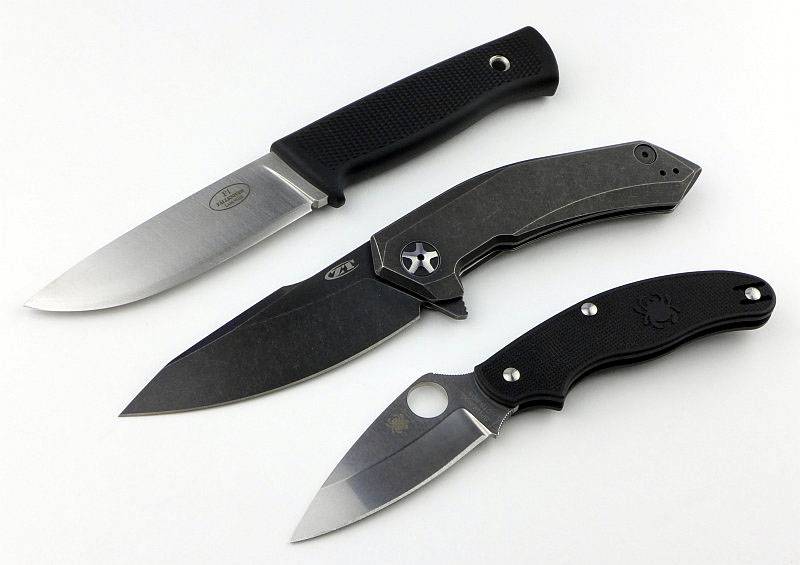
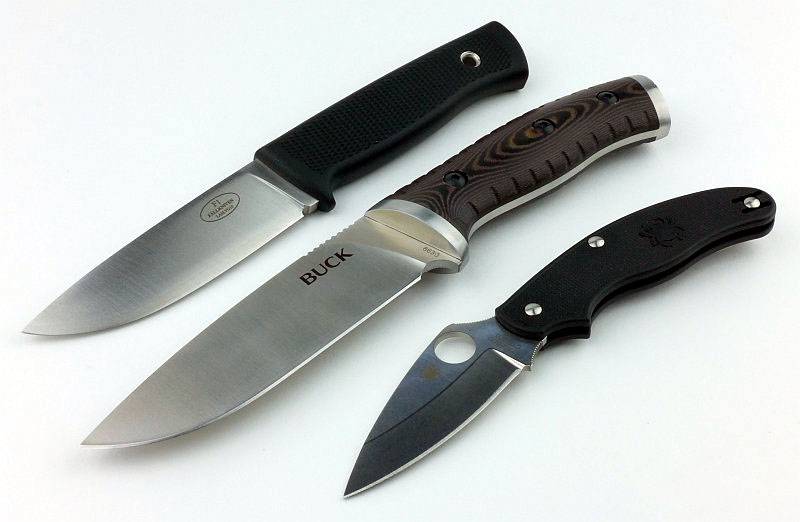
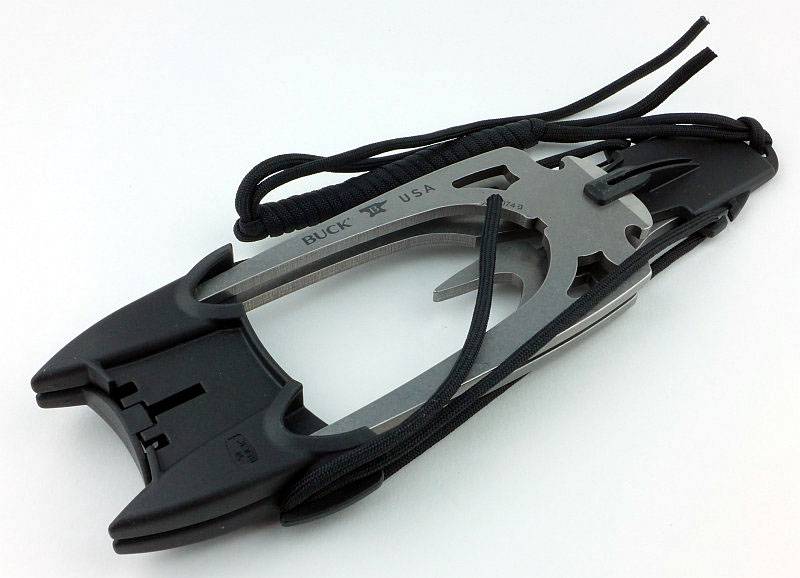
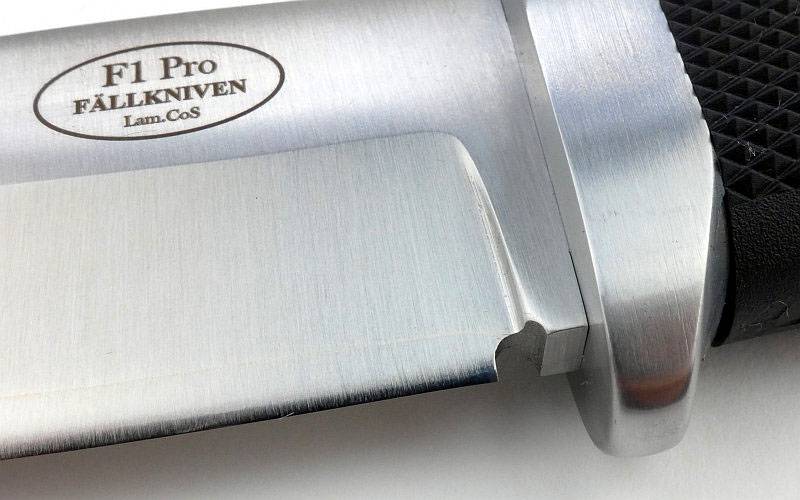
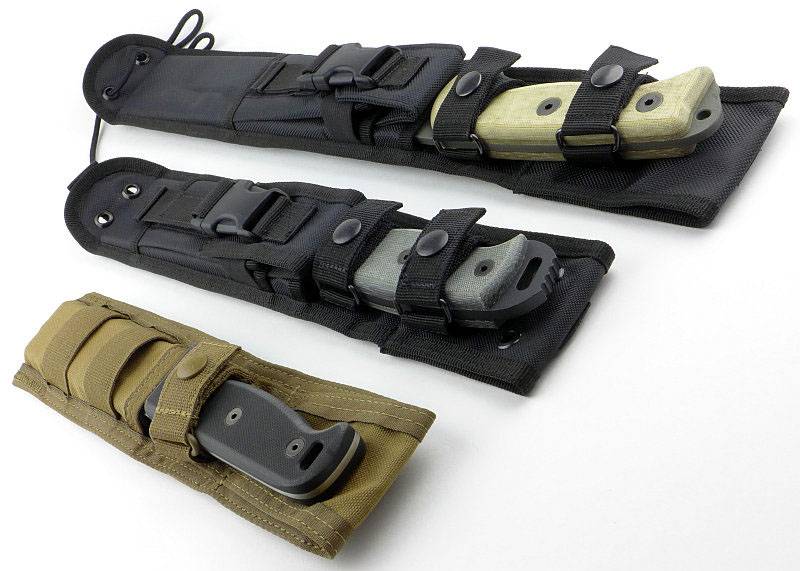
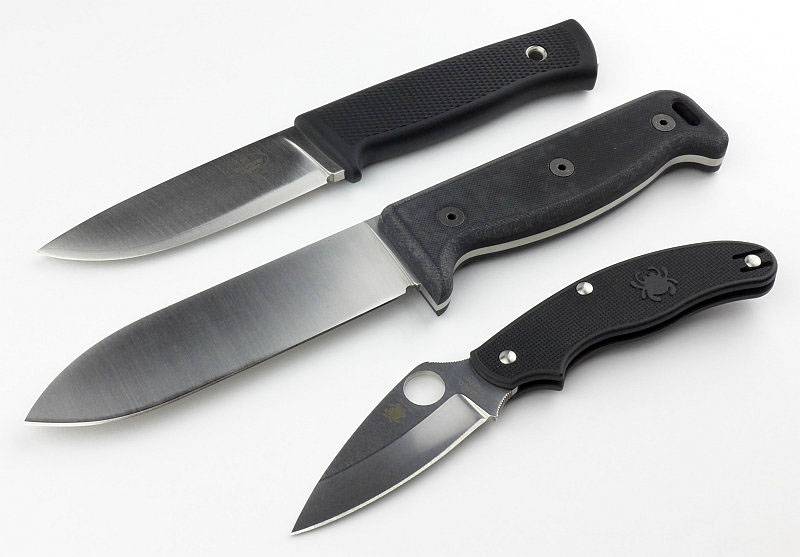
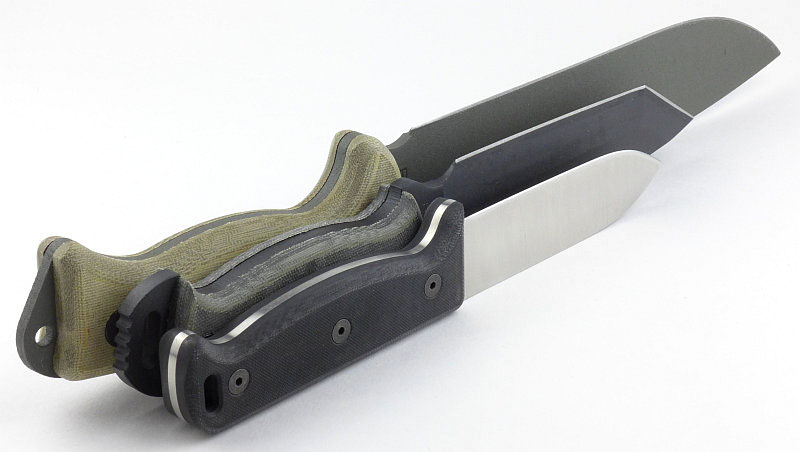
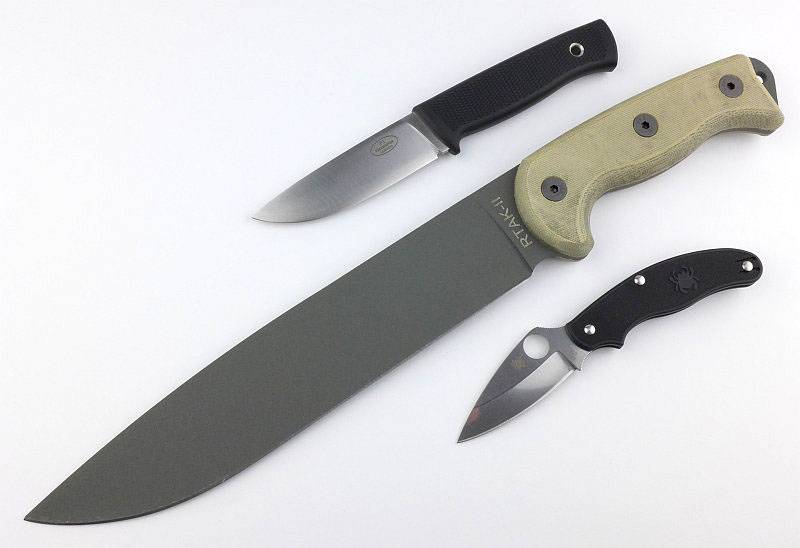
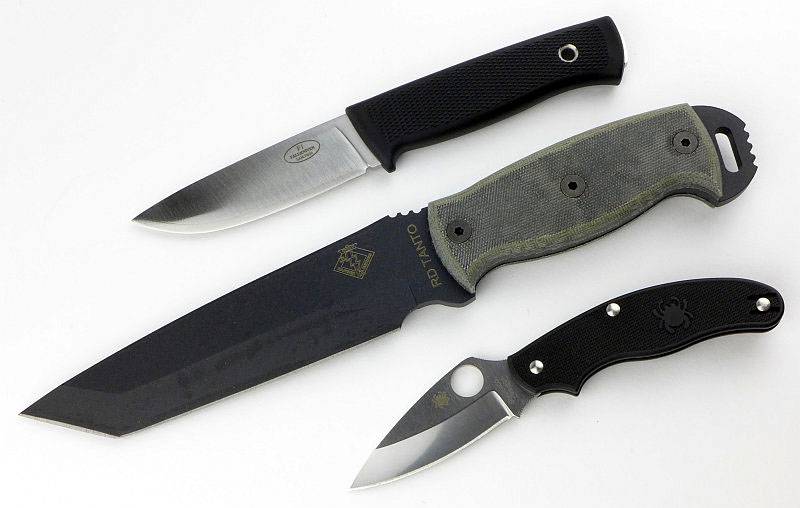
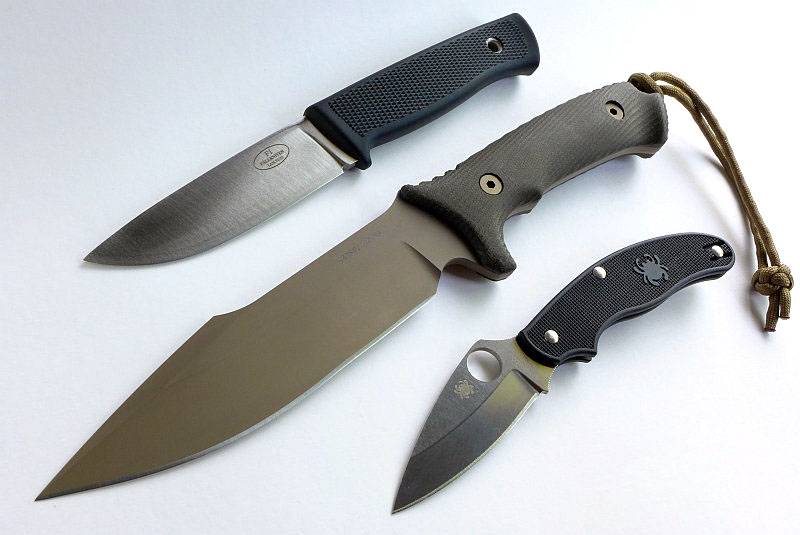
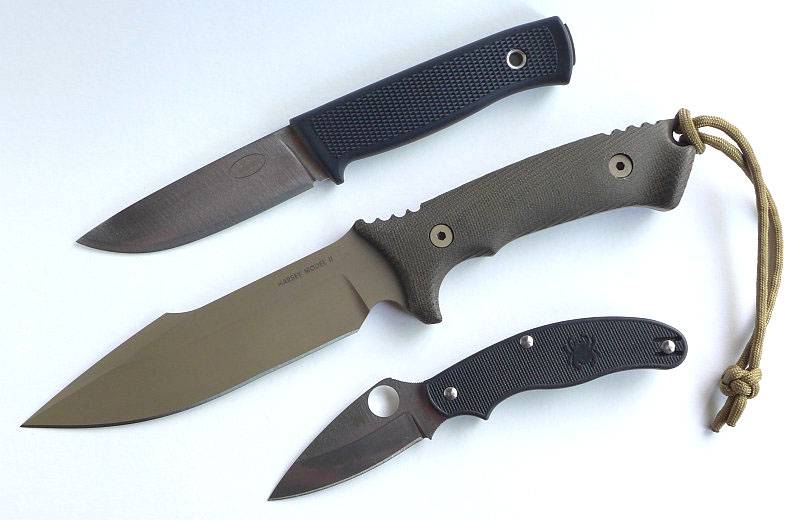
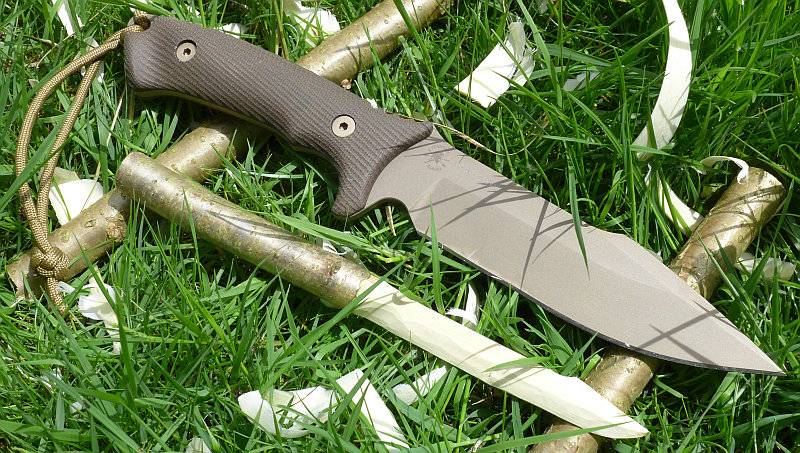
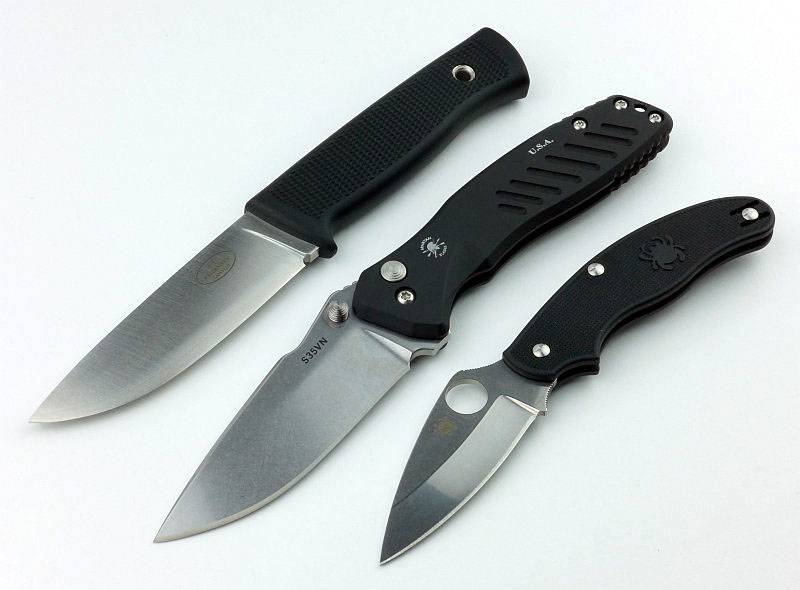
To give another idea of scale, here it is next to the Fällkniven F1 and a Spyderco UK Pen Knife.
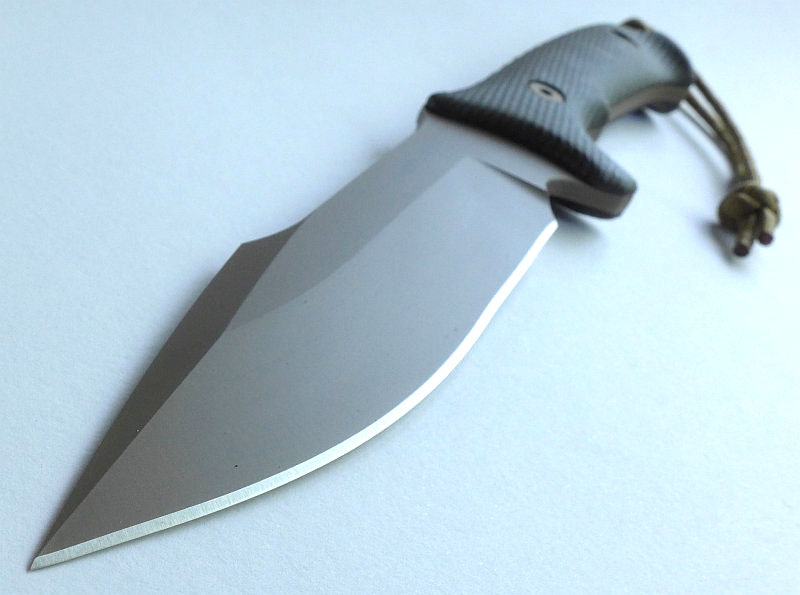
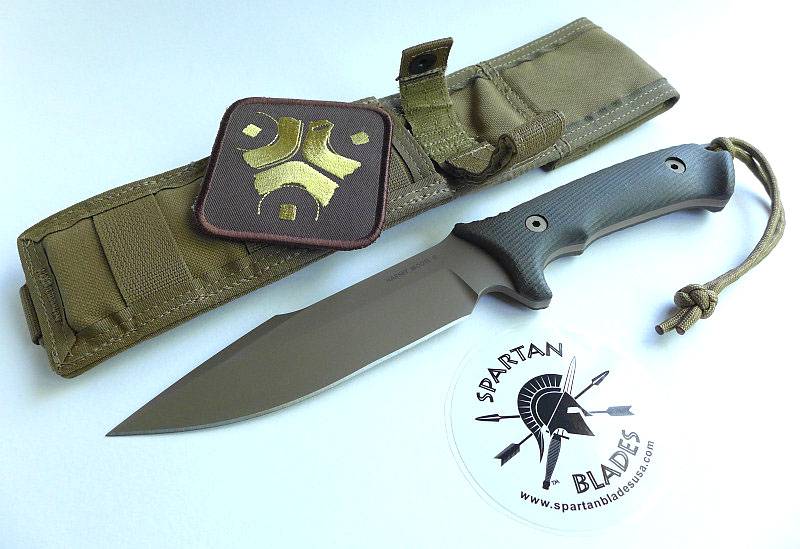
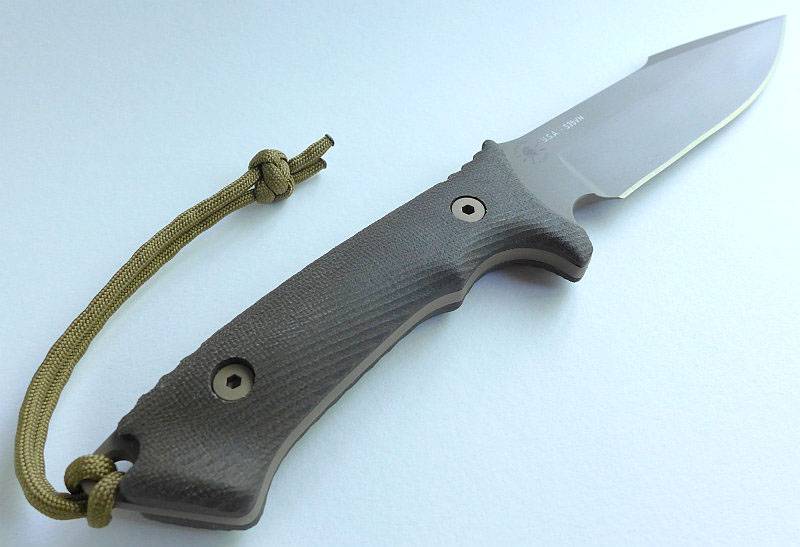
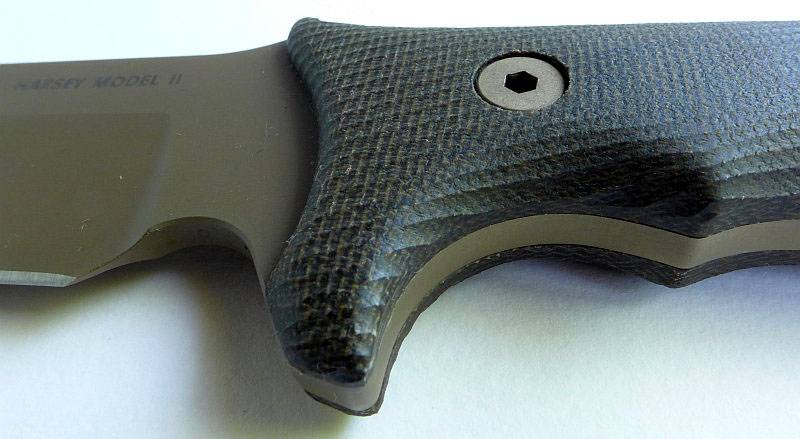
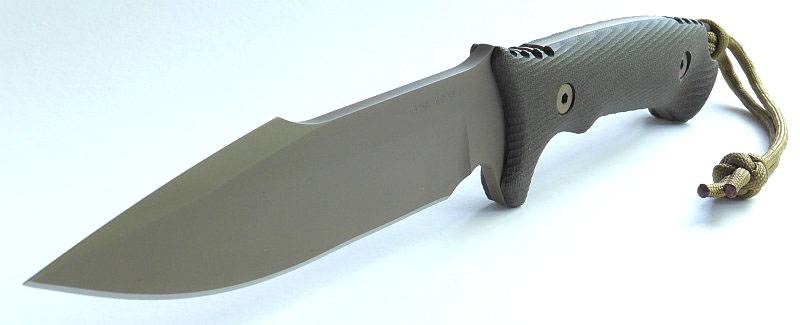
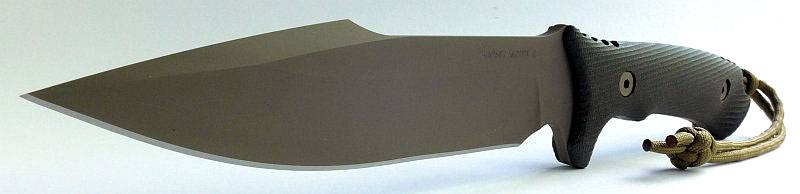
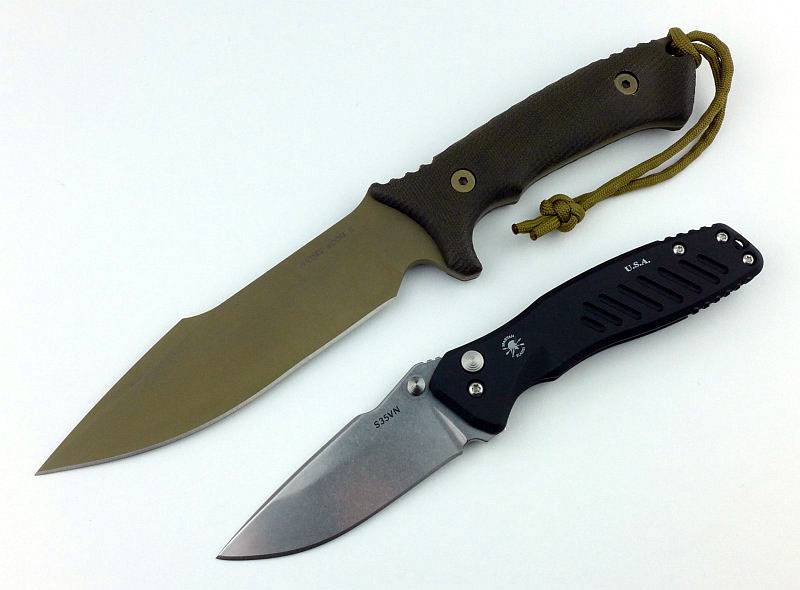
And also shown next to the Spartan Blades Harsey Model II.
Review Summary
The views expressed in this summary table are from the point of view of the reviewer’s personal use. I am not a member of the armed forces and cannot comment on its use beyond a cutting tool or field/hunting knife.
Something that might be a ‘pro’ for one user can be a ‘con’ for another, so the comments are categorised based on my requirements. You should consider all points and if they could be beneficial to you.
| _______________________________________________ | _______________________________________________ |
| Things I like | What doesn’t work so well for me |
| _______________________________________________ | _______________________________________________ |
| Button lock makes blade closing easy, with or without gloves. | Lock initially needs some bedding in. |
| Safe and Easy One-Handed Closing. | Small possibility of accidentally pressing the lock button during use (this did NOT happen during testing). |
| Strong S35VN Blade. | Slightly biased for right-handed users. |
| Lightweight for its size. | |
| Super smooth blade action. | |
| Zero blade play. | |
| Excellent fit and finish. | |
| Titanium pocket clip. |
Discussing the Review:
Please feel free to add comments to the review, but the ideal place to freely discuss these reviews is on a forum. If you started reading the shorter forum version of the review, but followed the link this full exclusive review, please return to that forum to discuss the review there.
If you read the review entirely on Tactical Reviews, please consider one of the following to join in any discussion.
EdgeMatters – Sponsored Reviews (UK based Forum for Knife Makers and Collectors)
BladeForums – Knife Reviews (US based Forum for Knife Discussion)
CandlePowerForums – Knife Reviews Section (Largest and Friendliest Flashlight Community Forum)