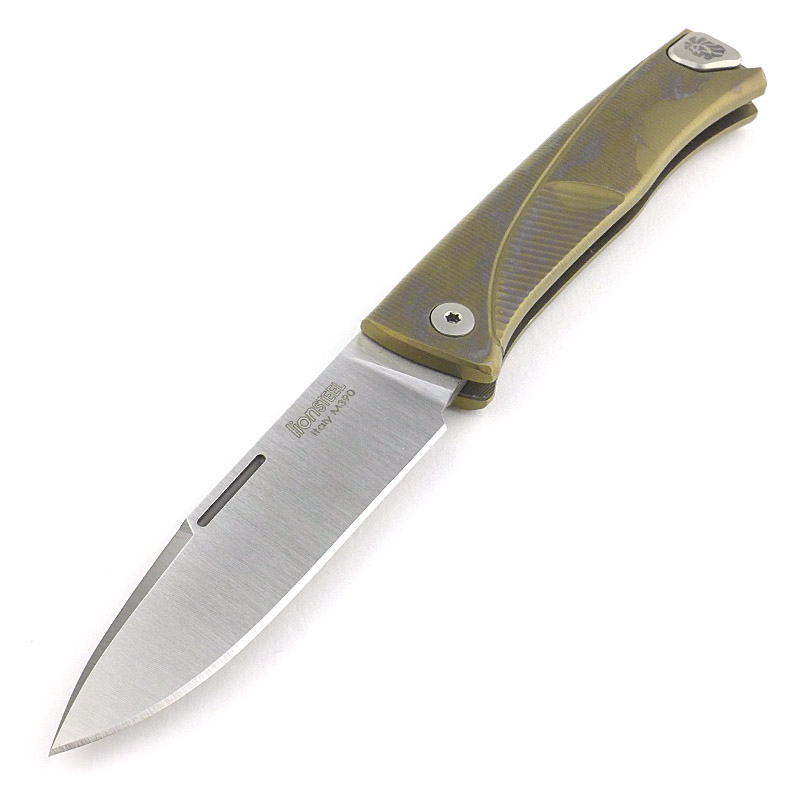
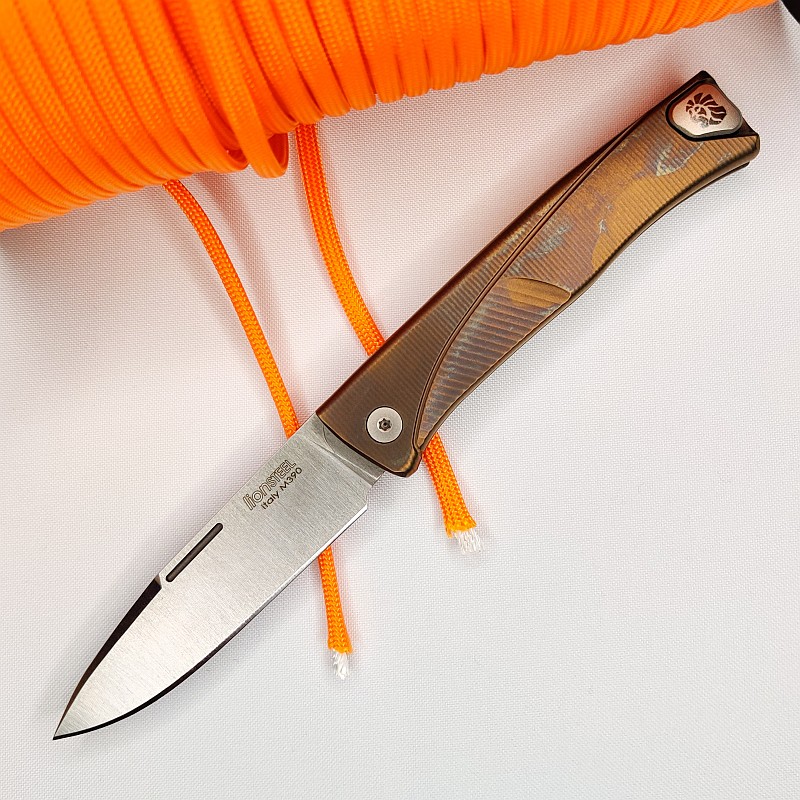
I could not wait to get hold of a lionSTEEL Thrill when I saw it. It’s a slip-joint, and that is part of the attraction, as in the UK, for EDC-legal carry, it has to be non-locking – but there is so much more. The handle and spring are machined from a single solid piece of titanium, it has IKBS pivot bearings, a M390 blade and the stealth ‘hideaway’ pocket clip, making it a fully loaded package. Join me in this review of the lionSTEEL Thrill, a slip-joint pocket knife.
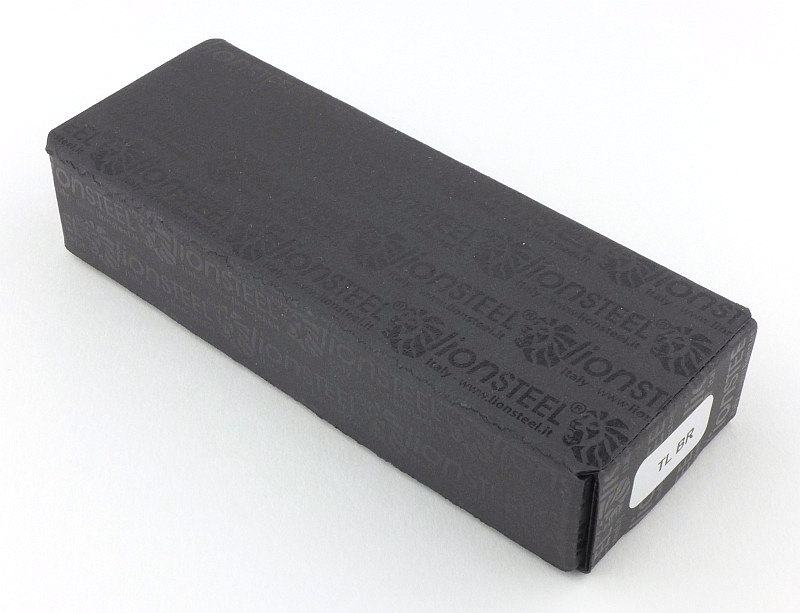
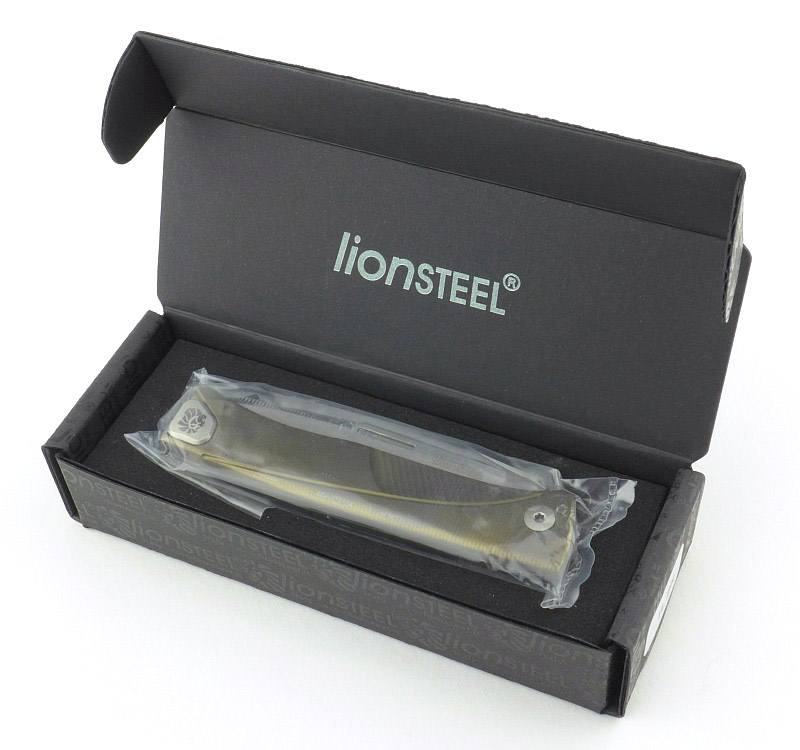
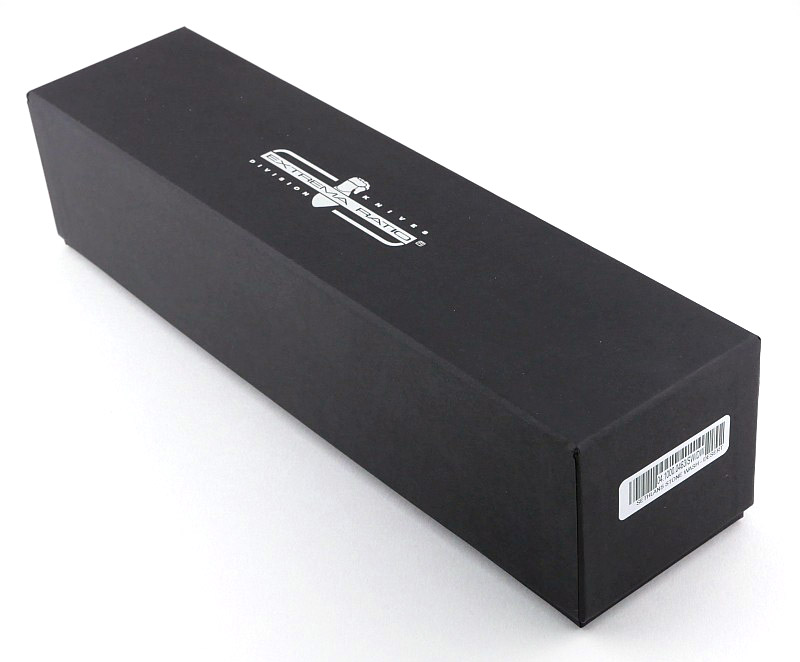
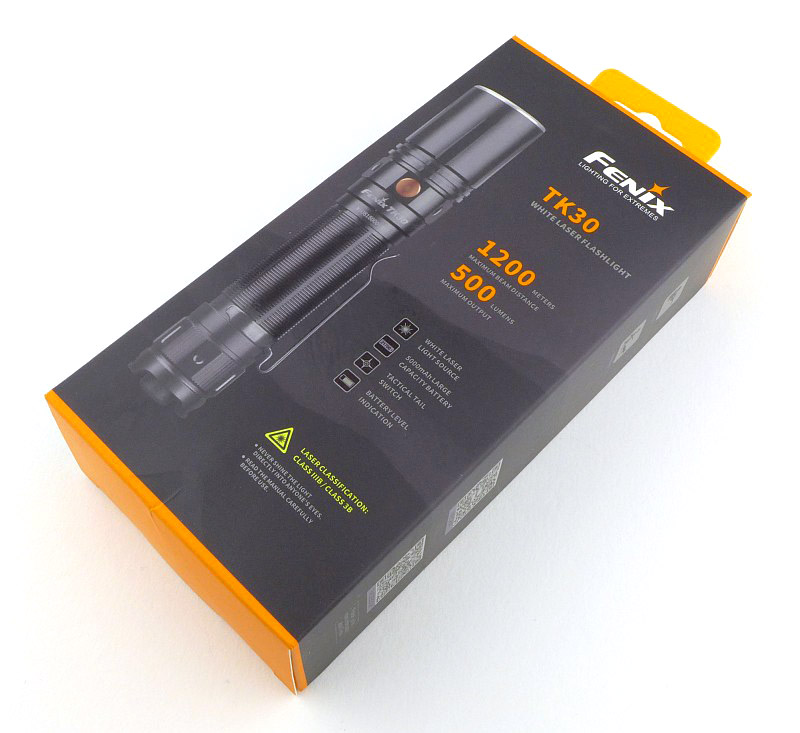
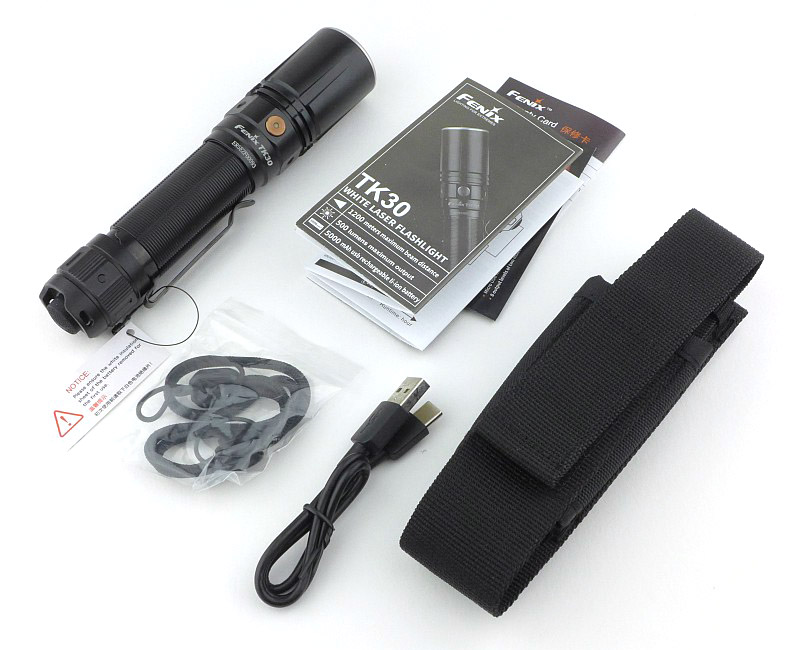
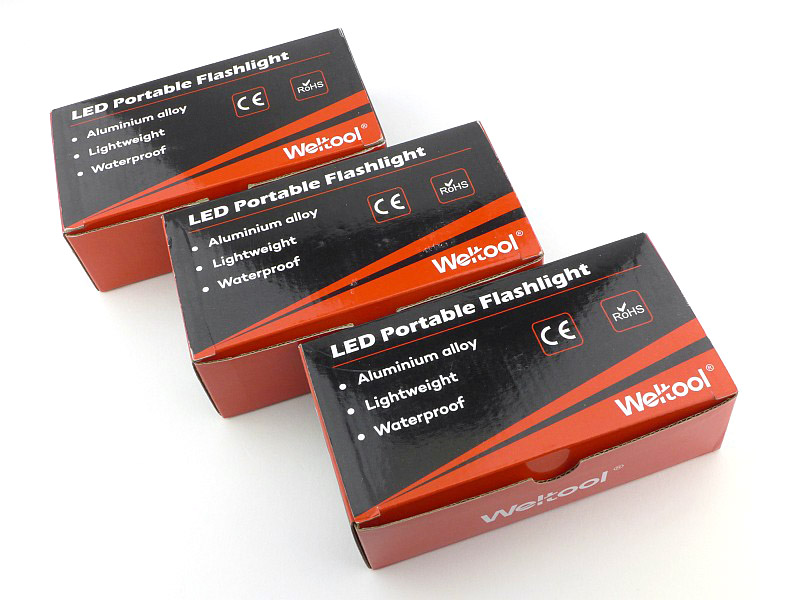
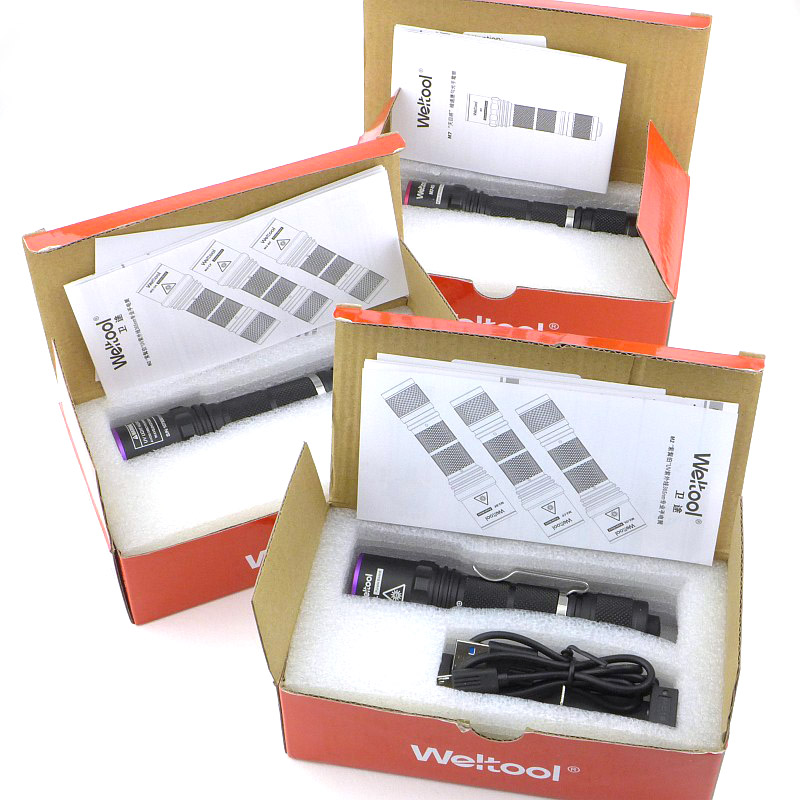
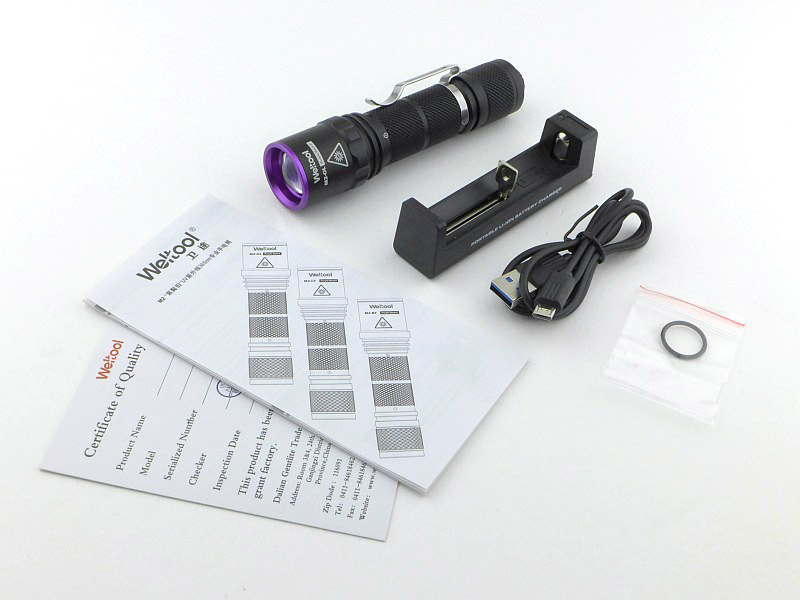
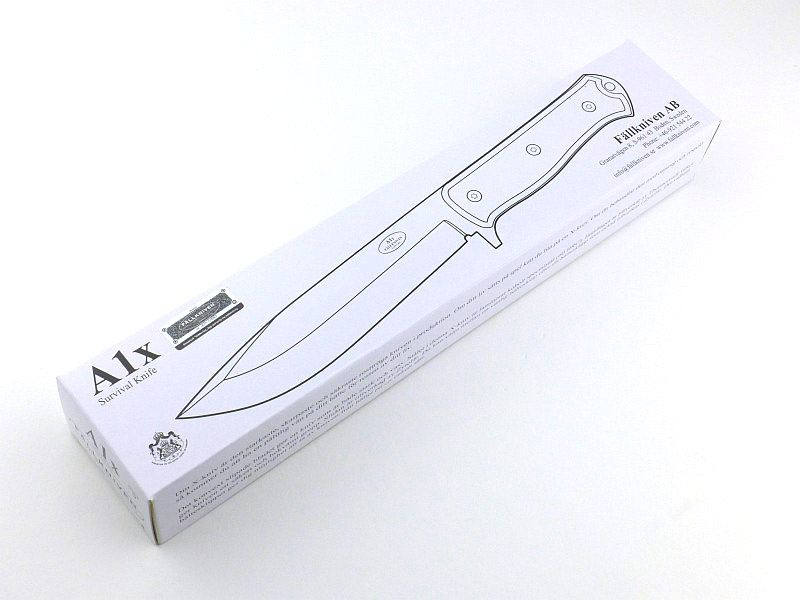
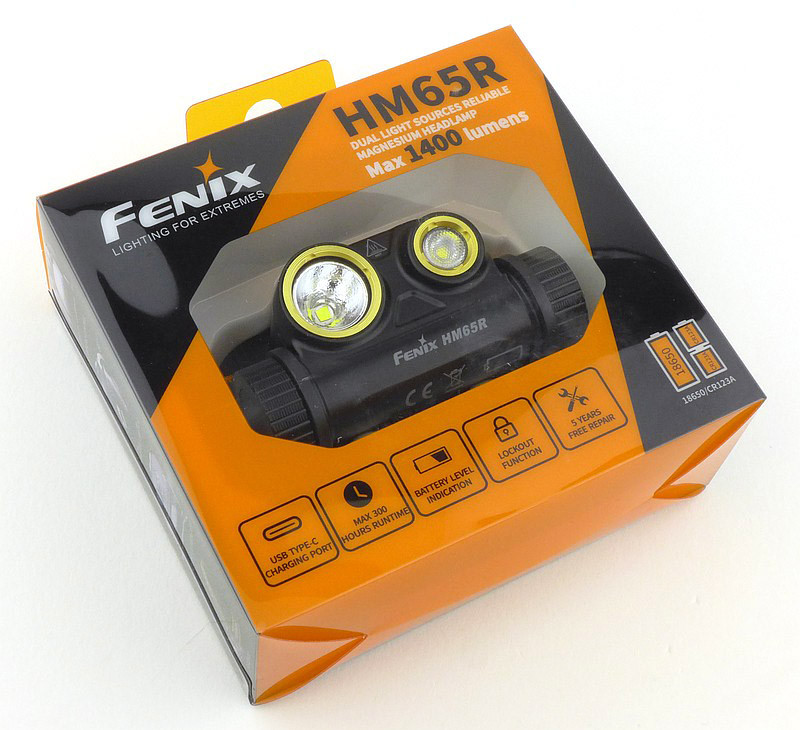
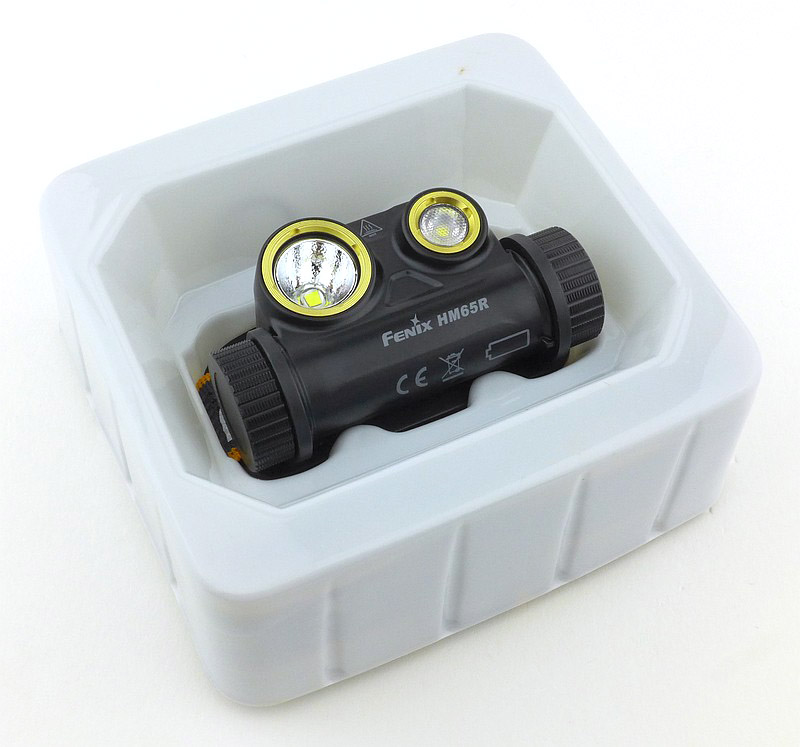
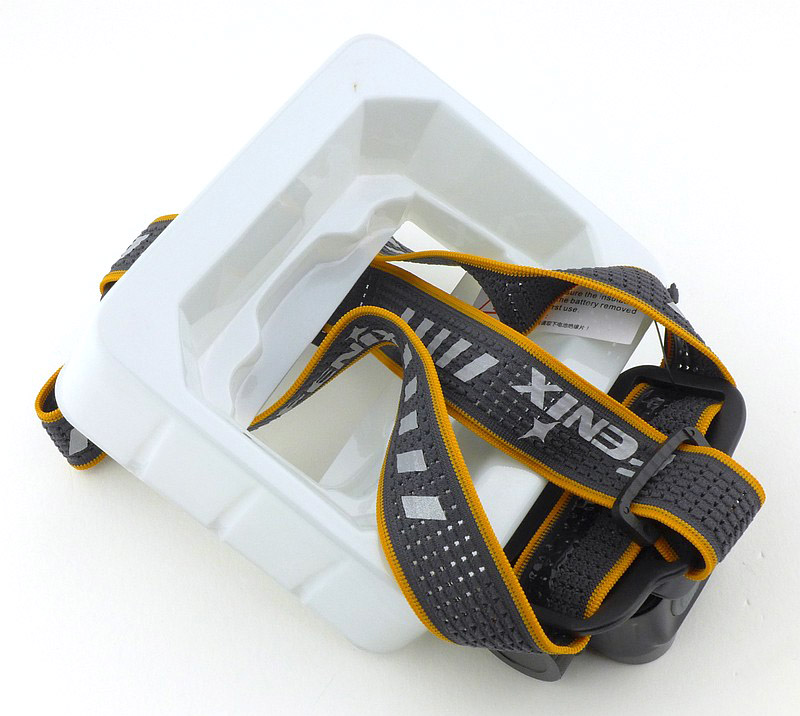
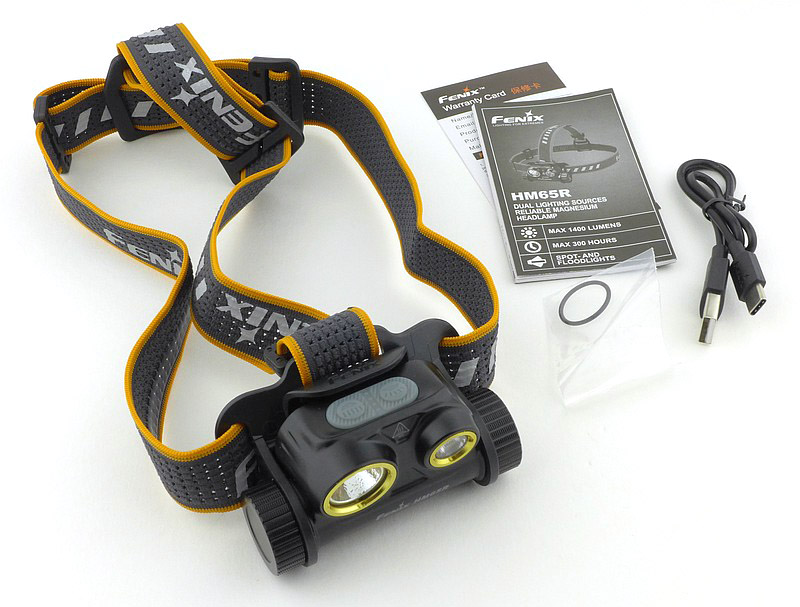
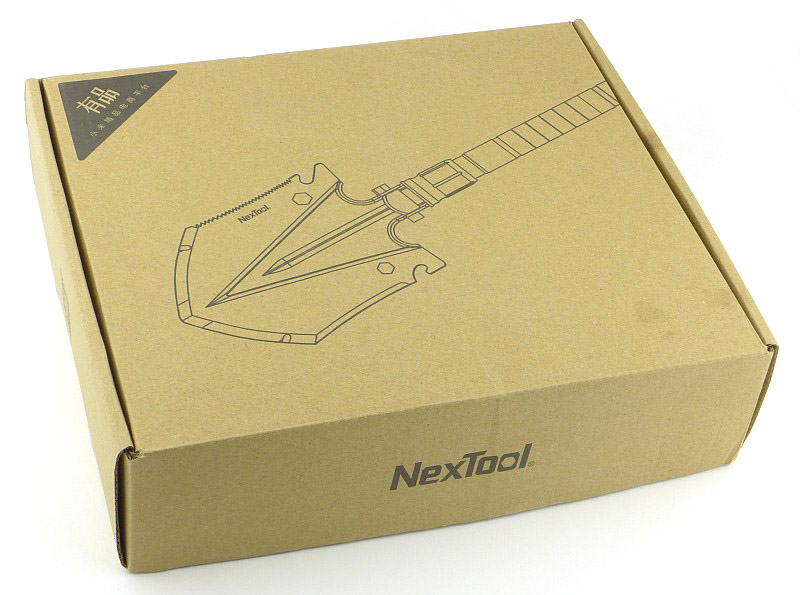
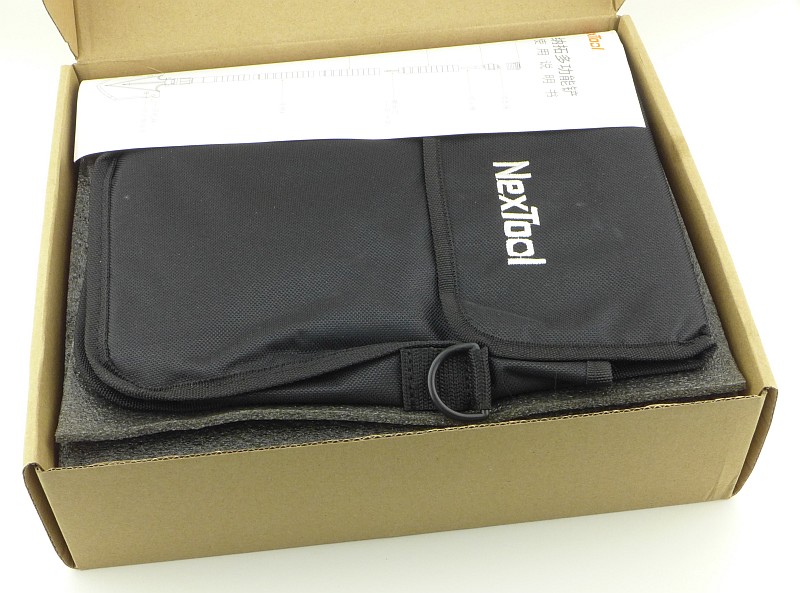
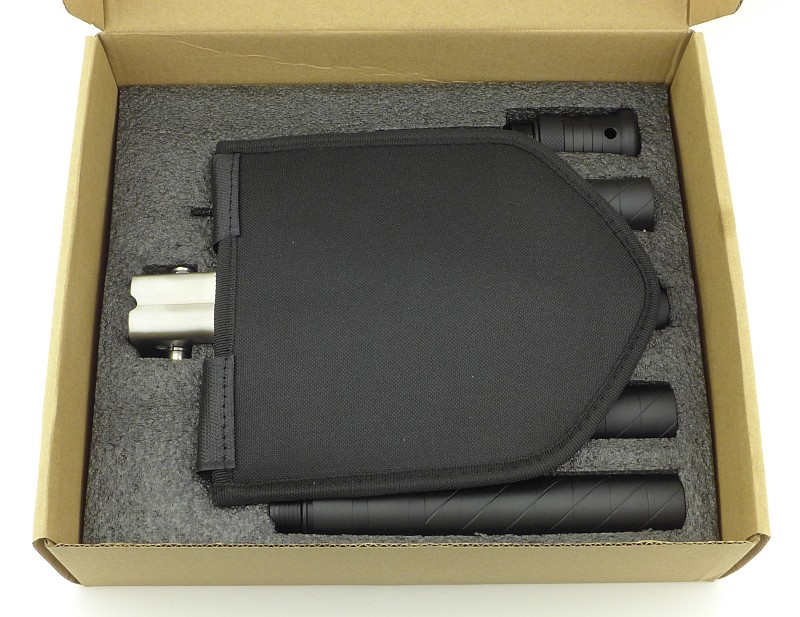
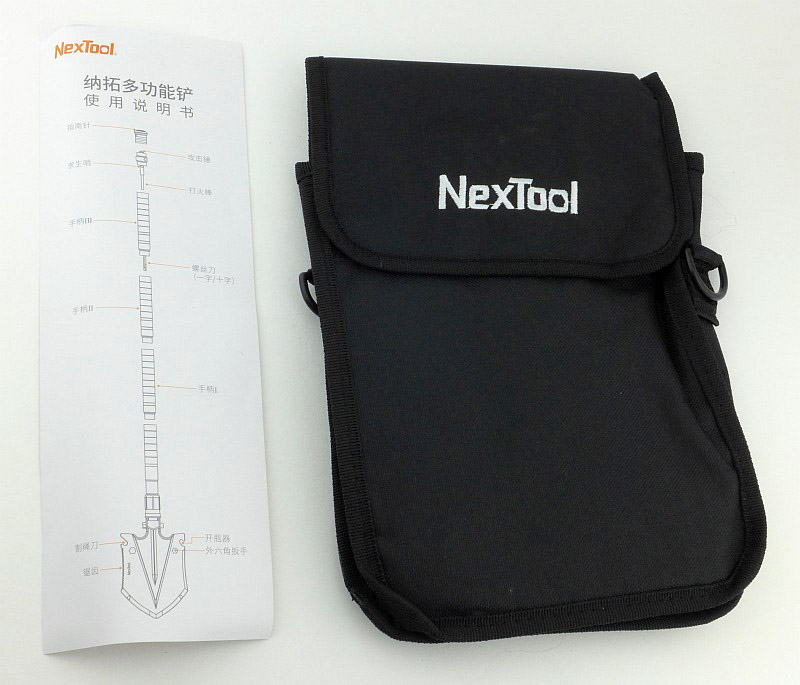
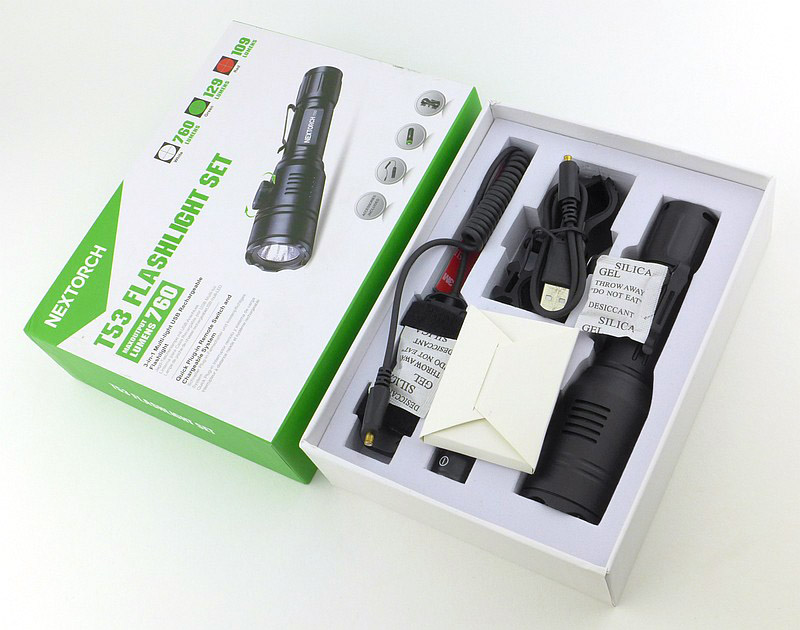
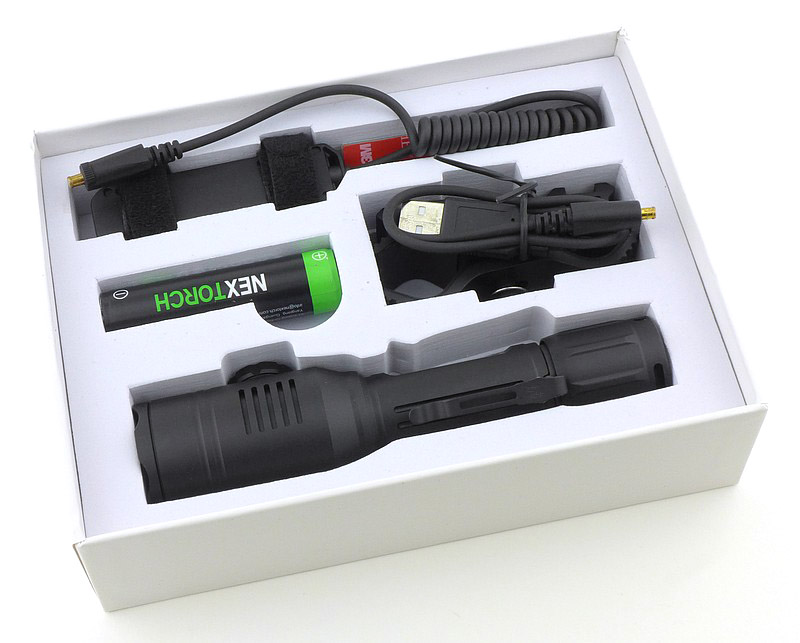
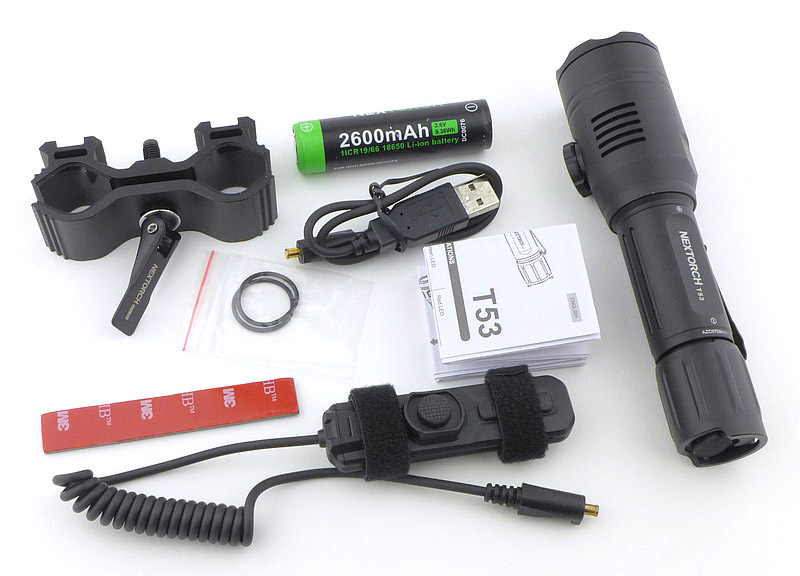
What’s in the box?:
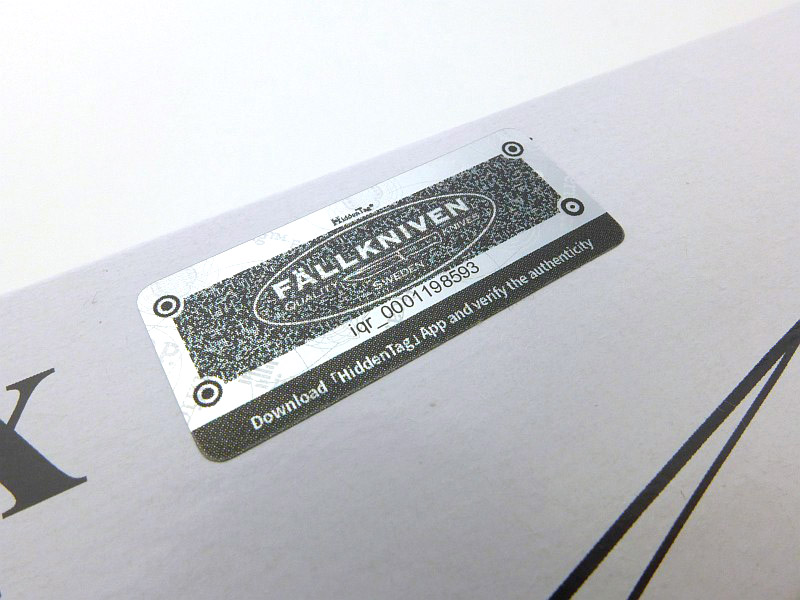
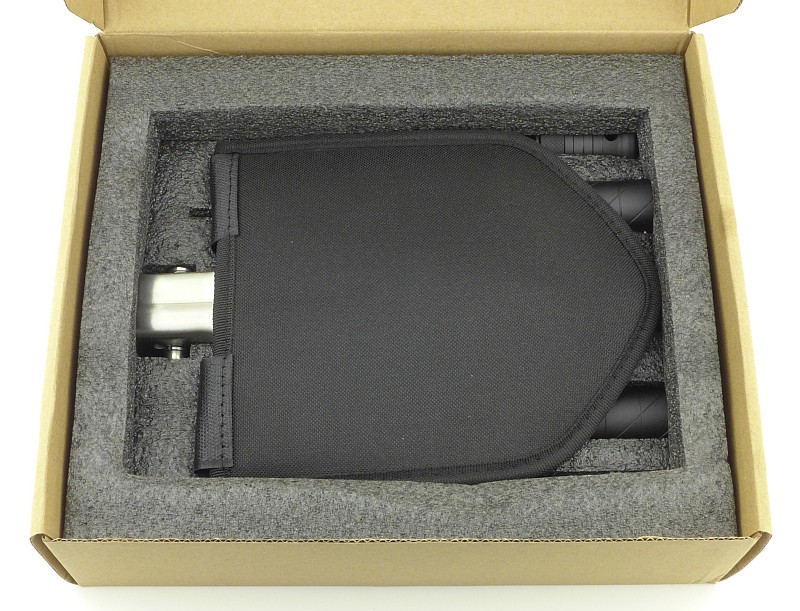
Very well presented packaging.

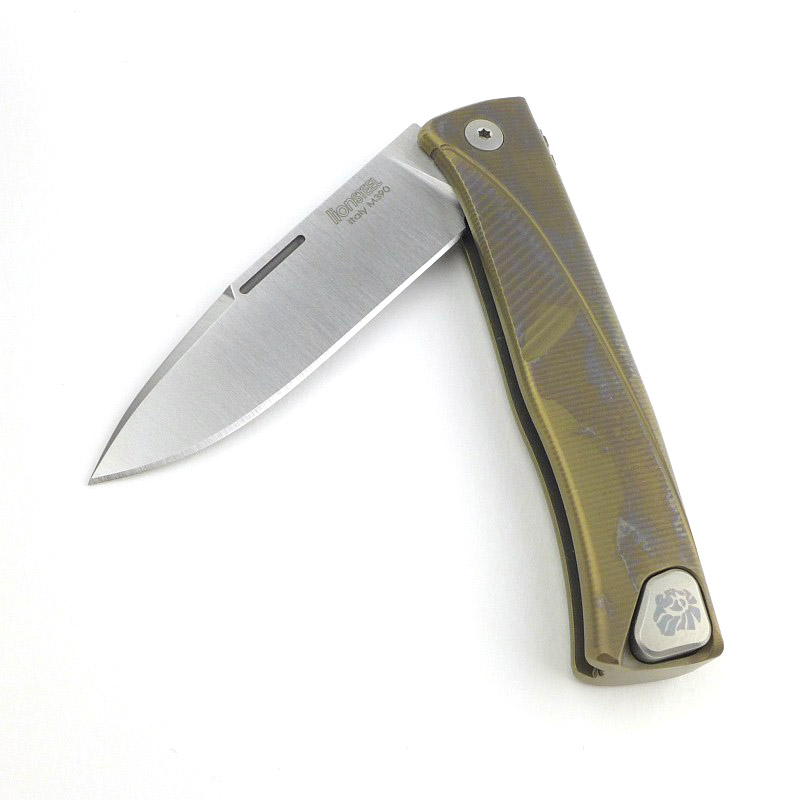
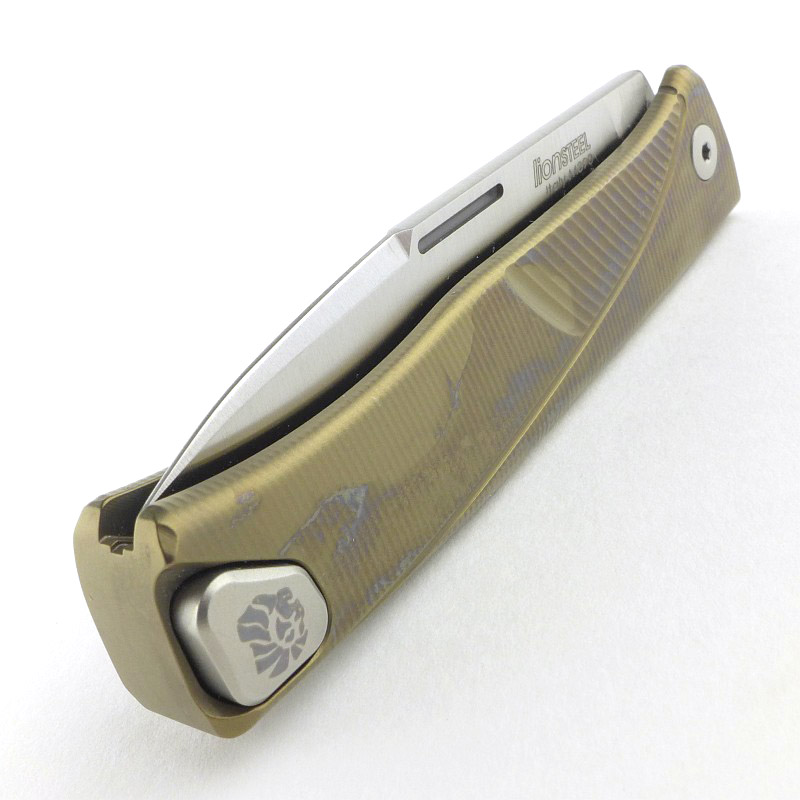
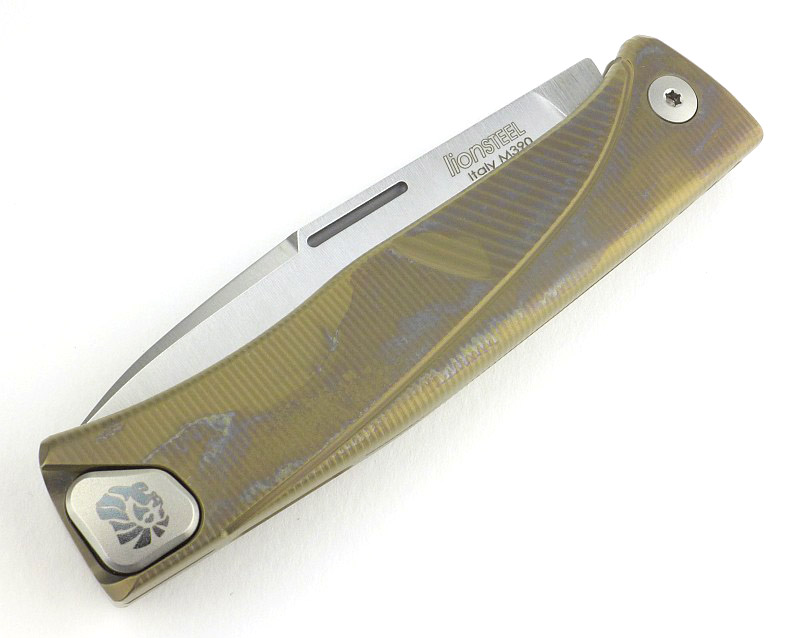
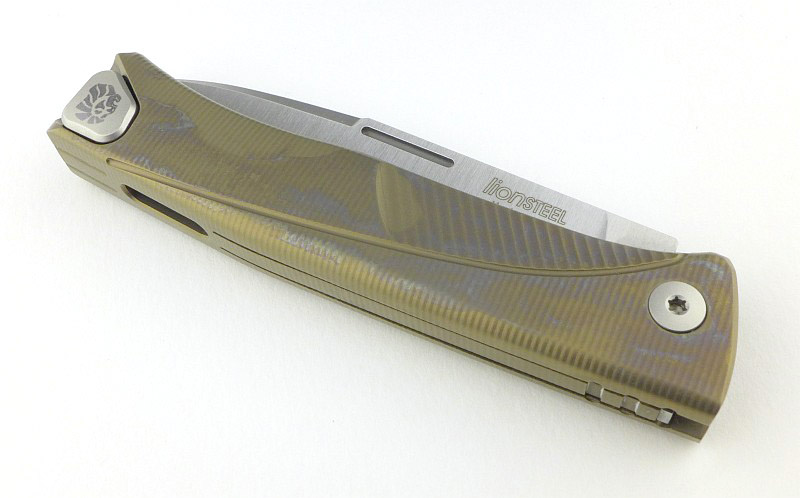
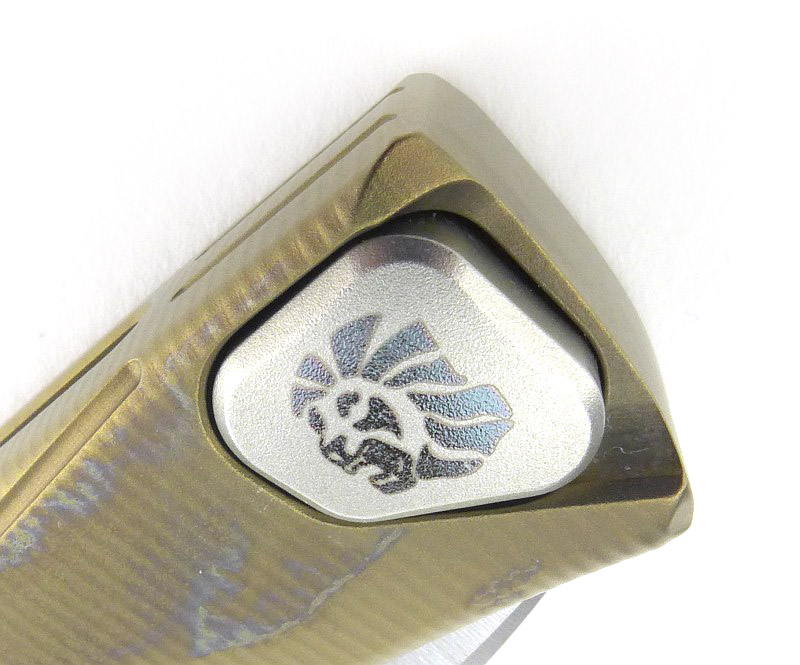
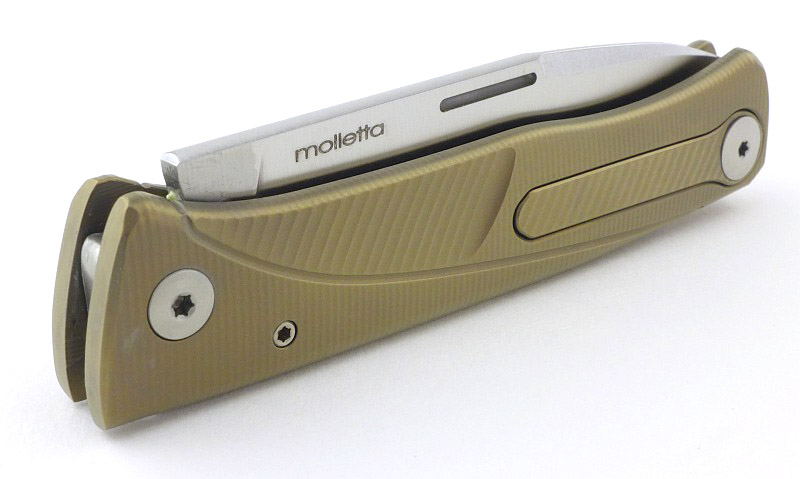
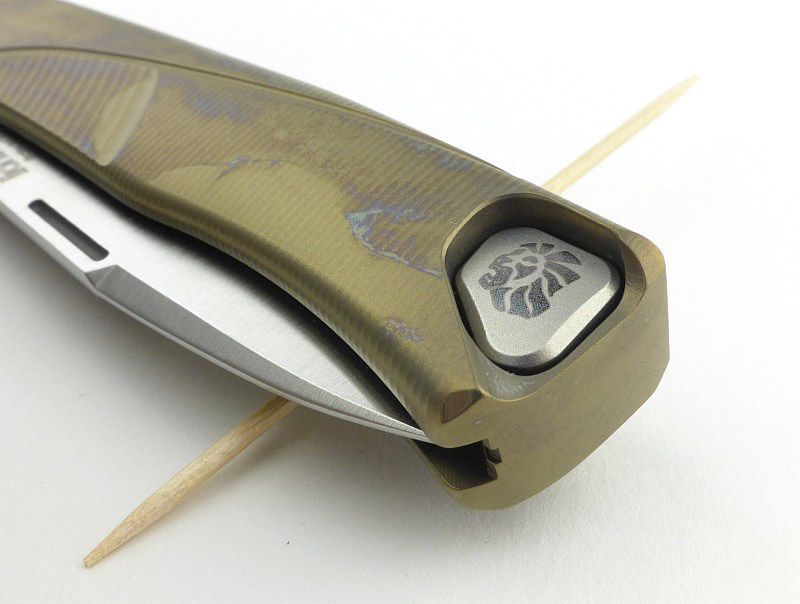
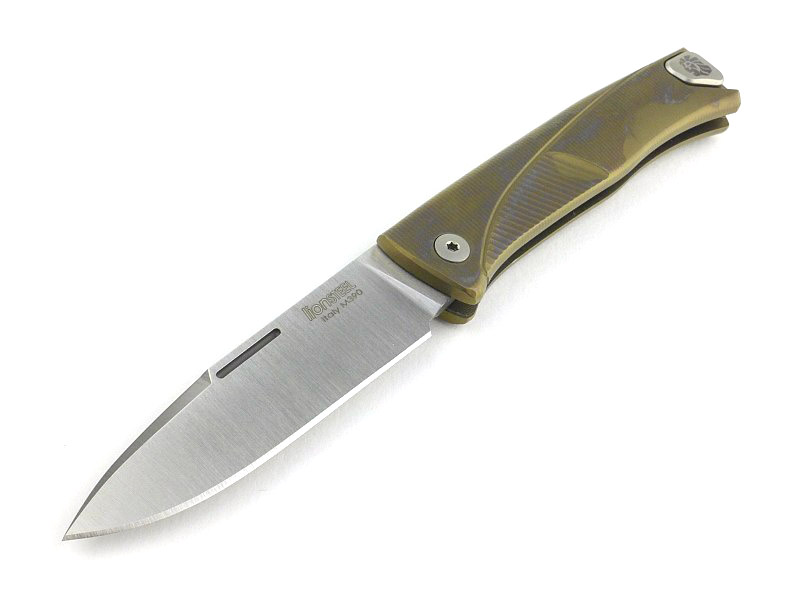
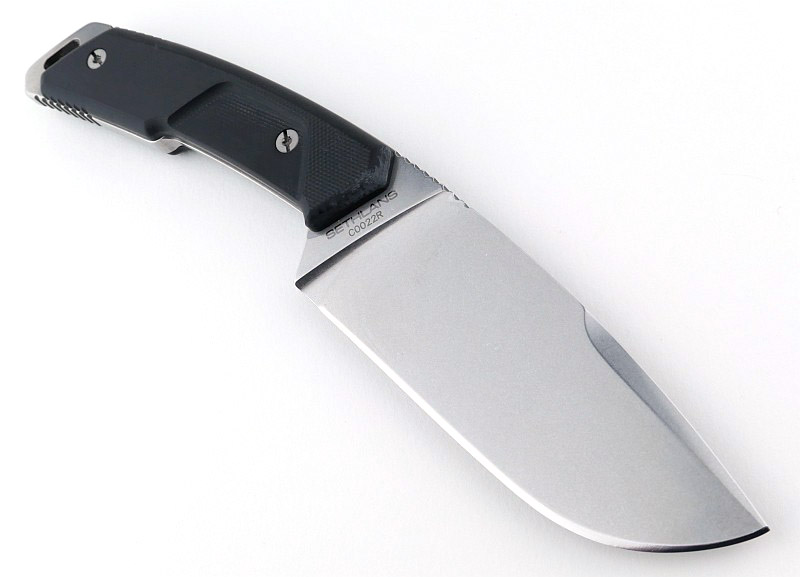
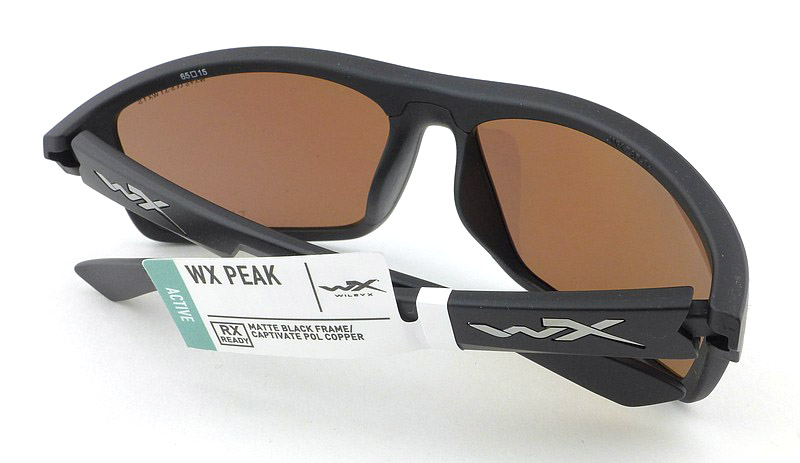
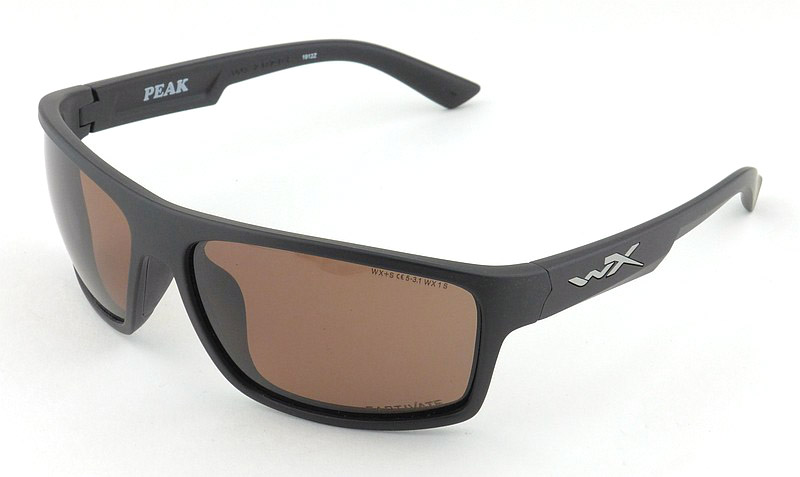
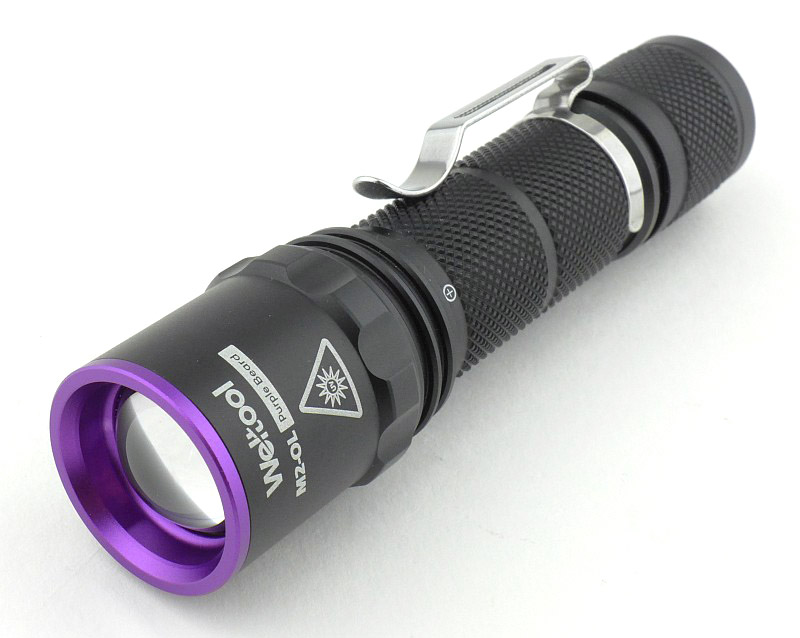
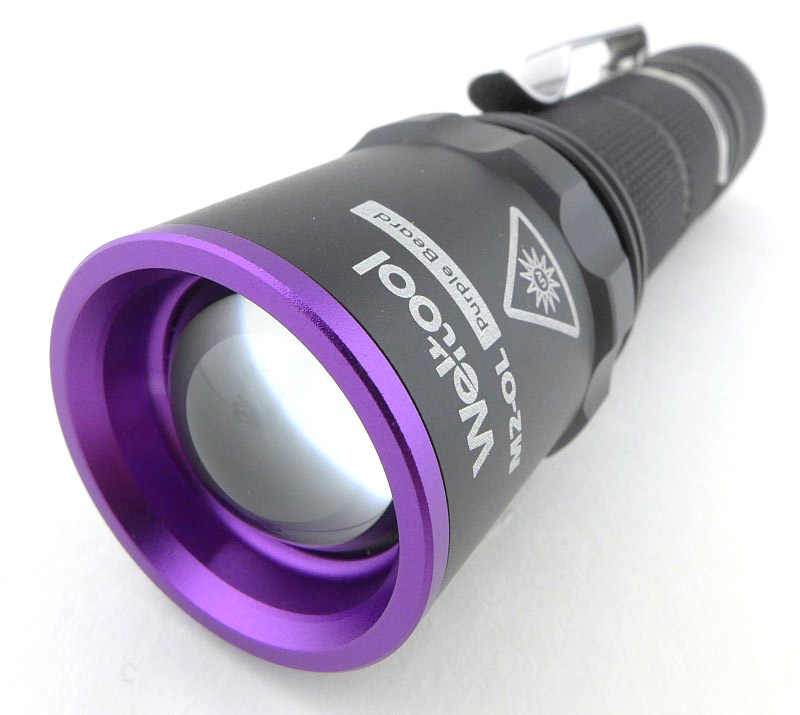
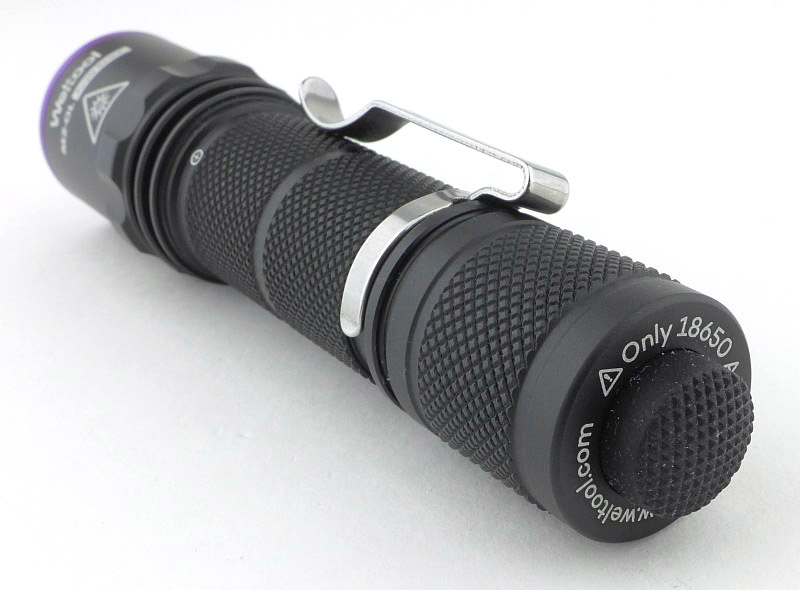
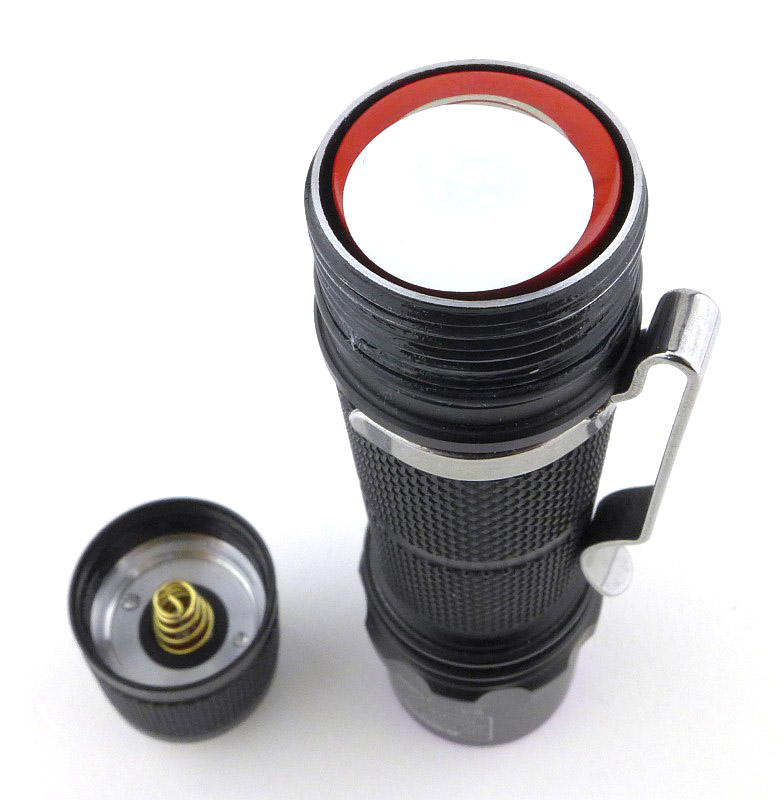
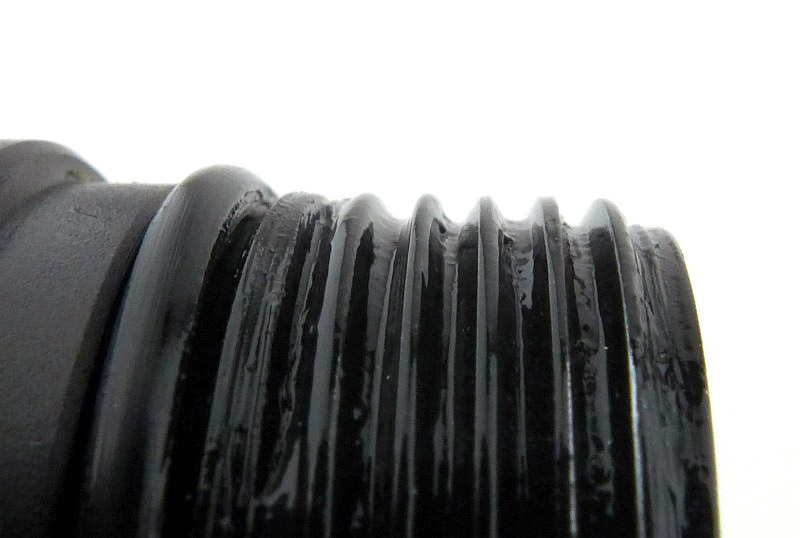
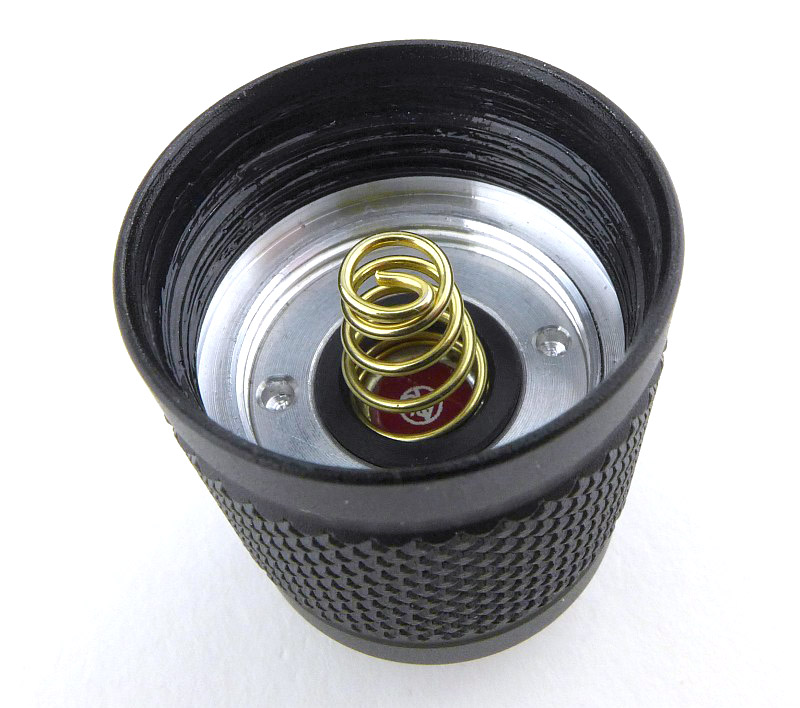
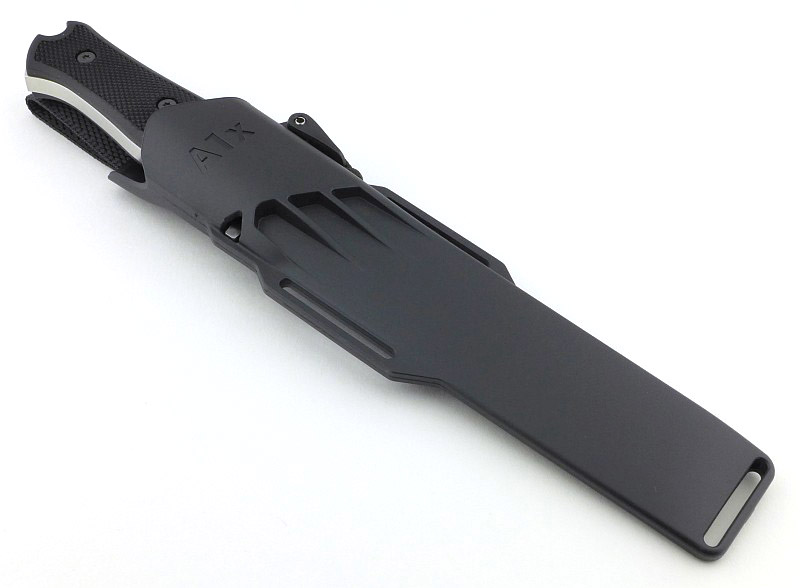
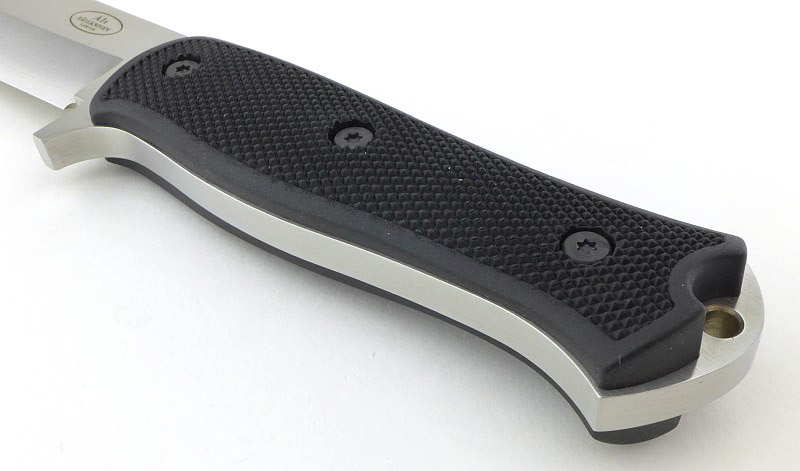
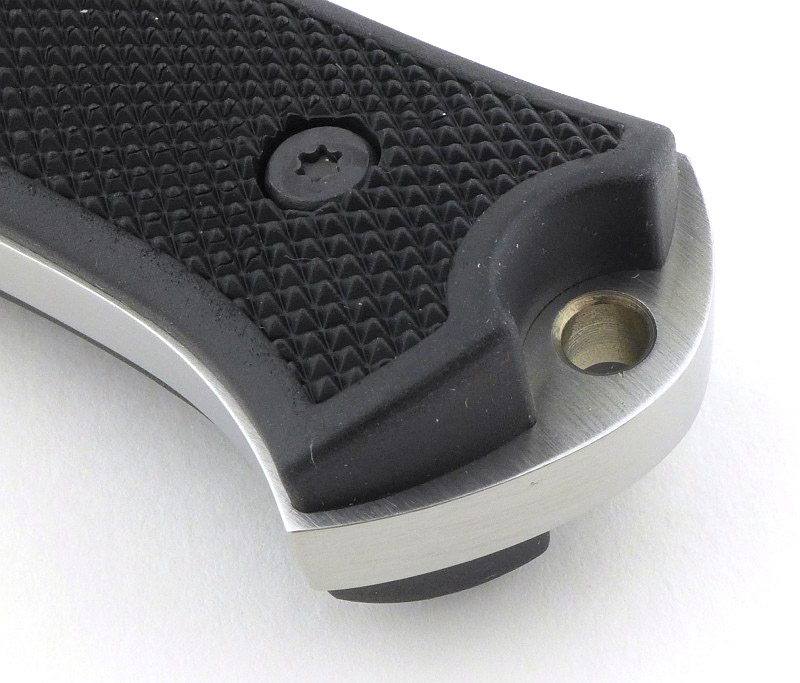
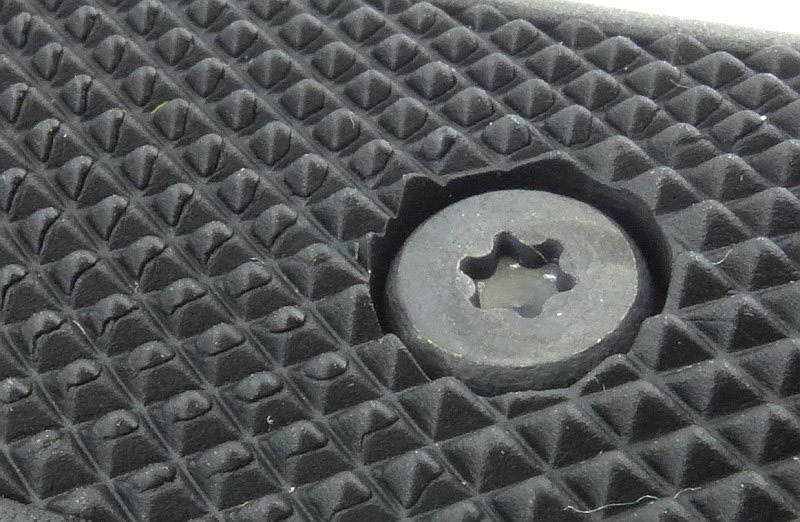
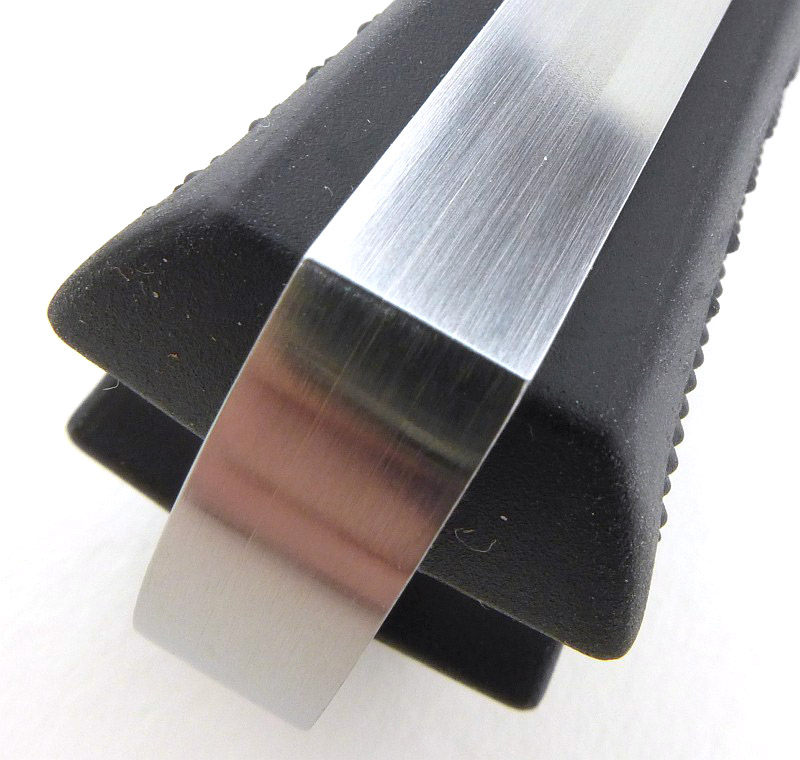
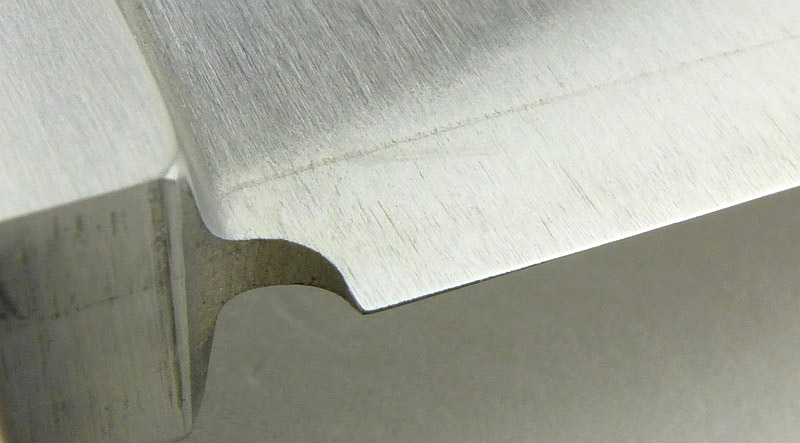
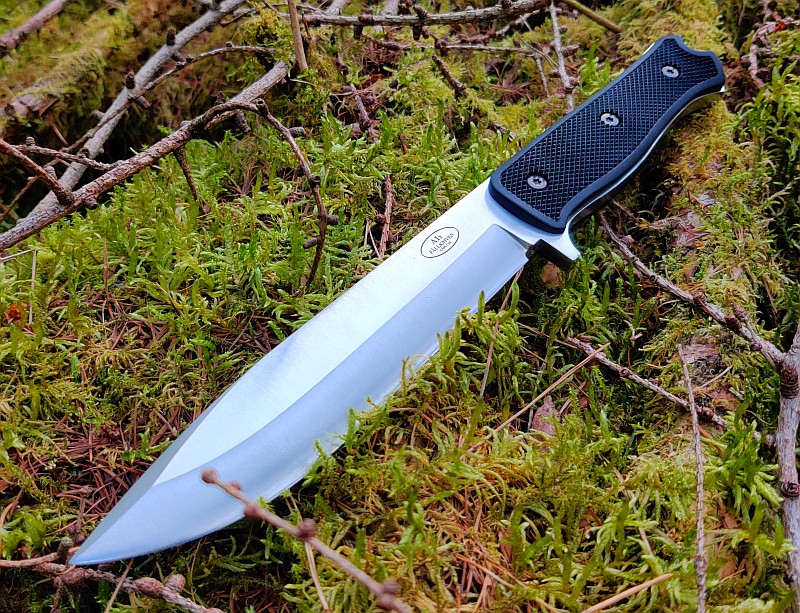
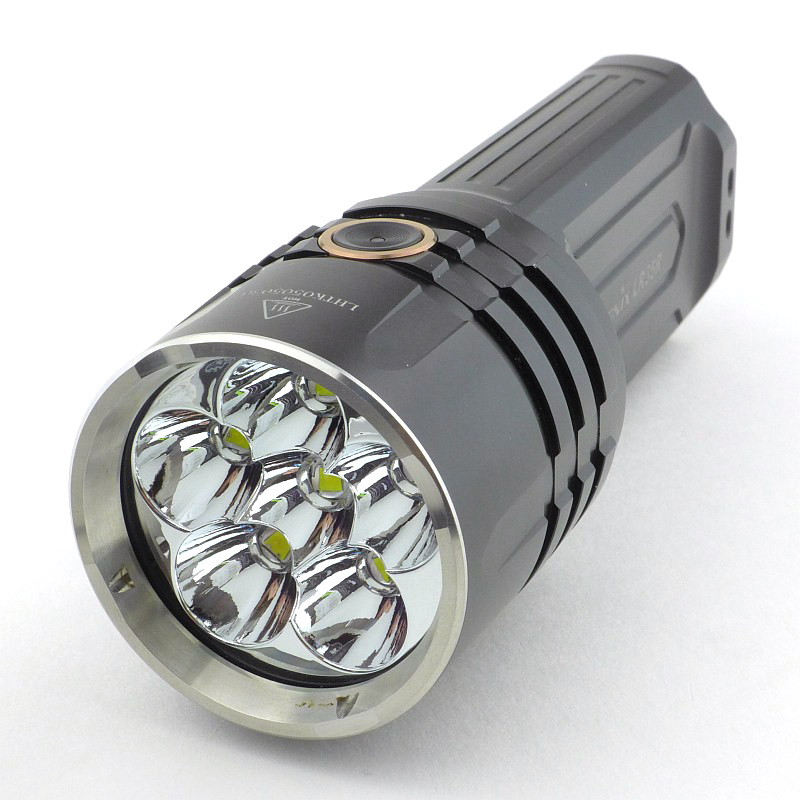
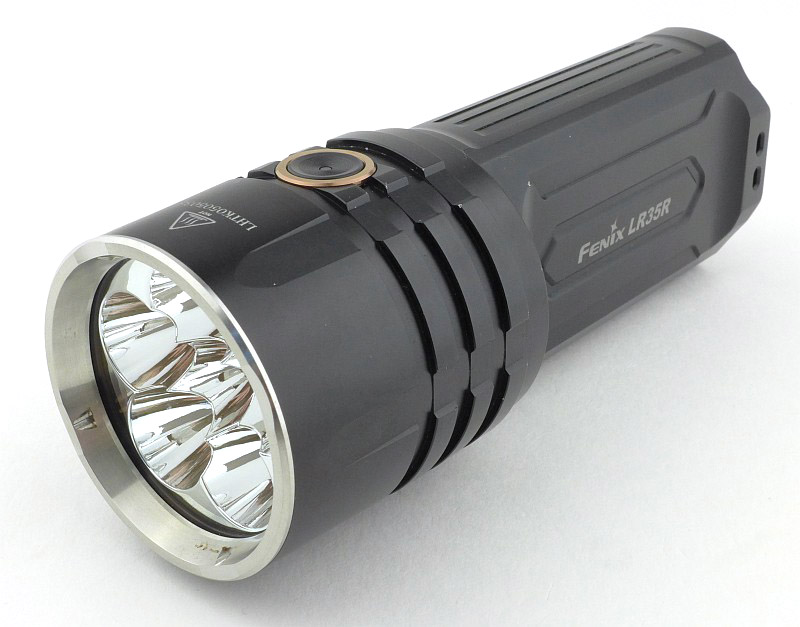
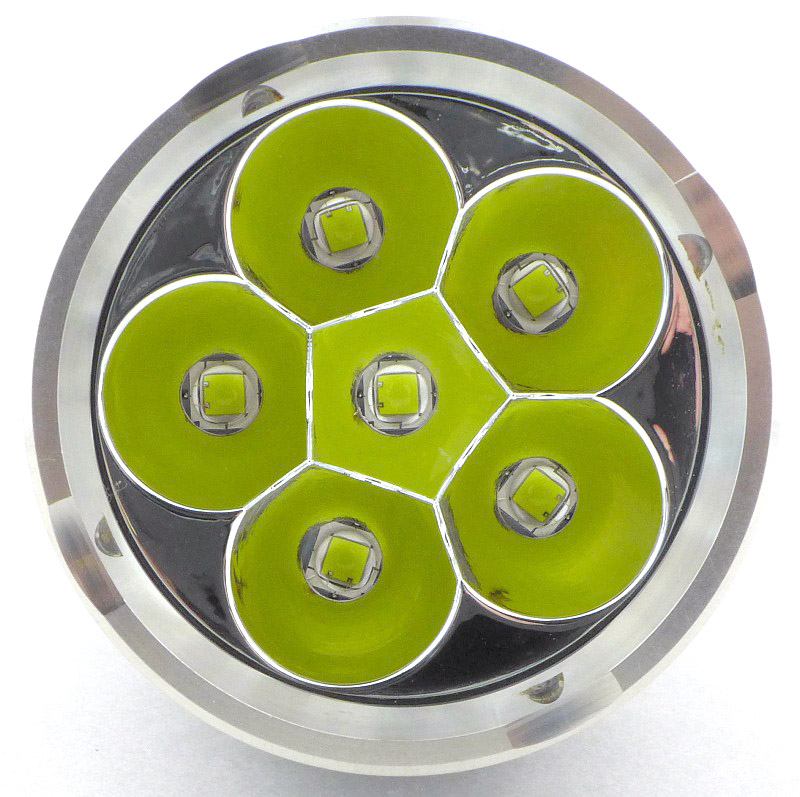
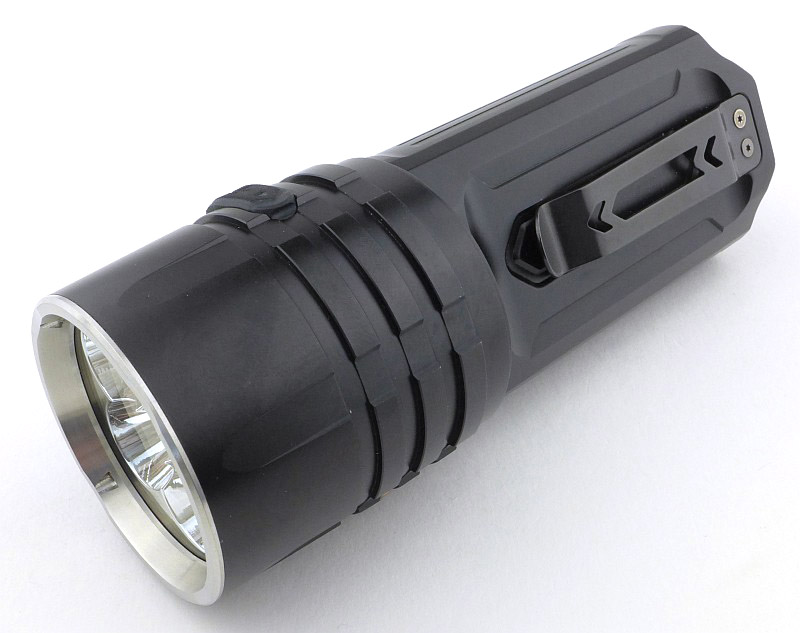
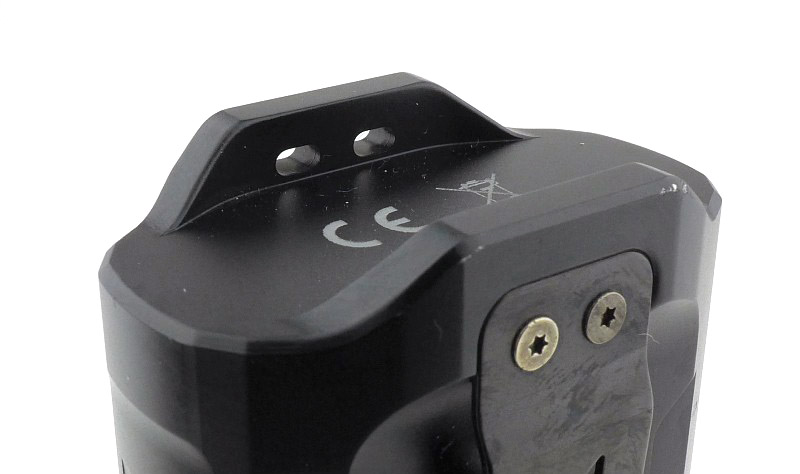
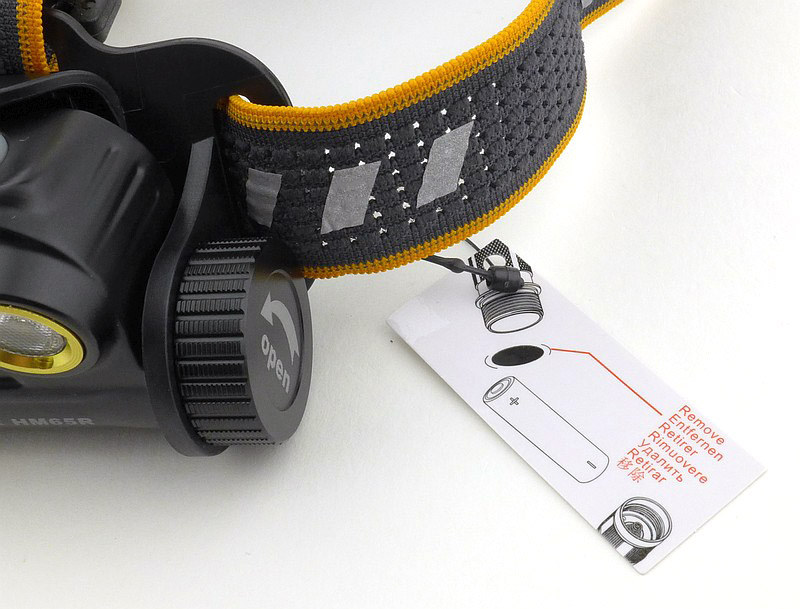
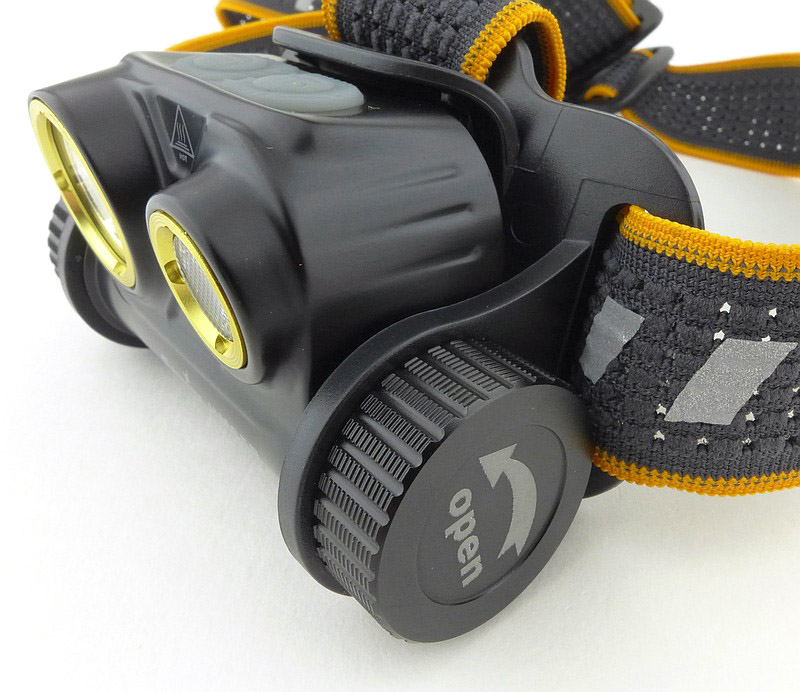
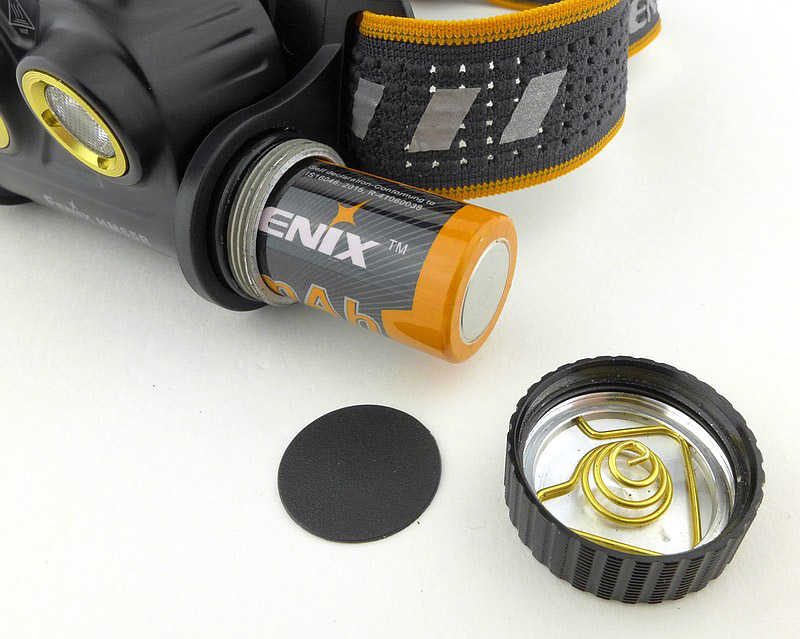
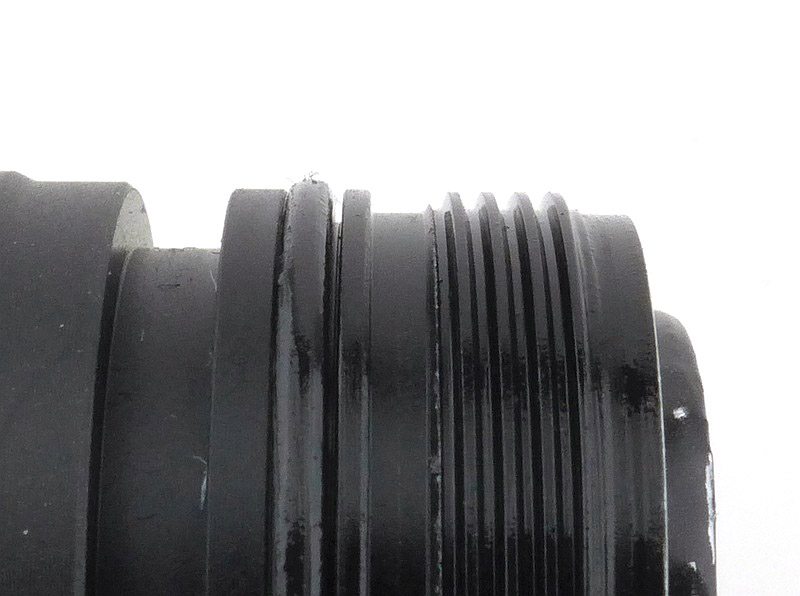
A good look round the lionSTEEL Thrill – Things to look out for here are:
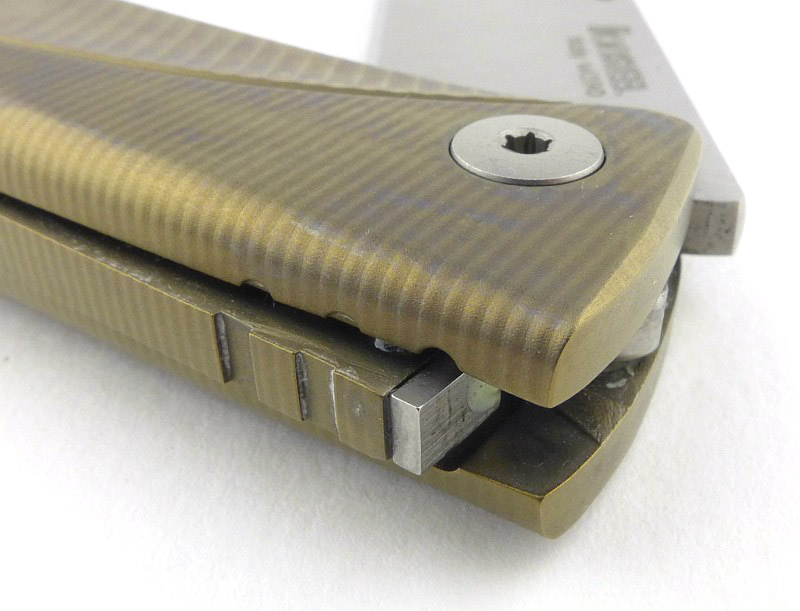
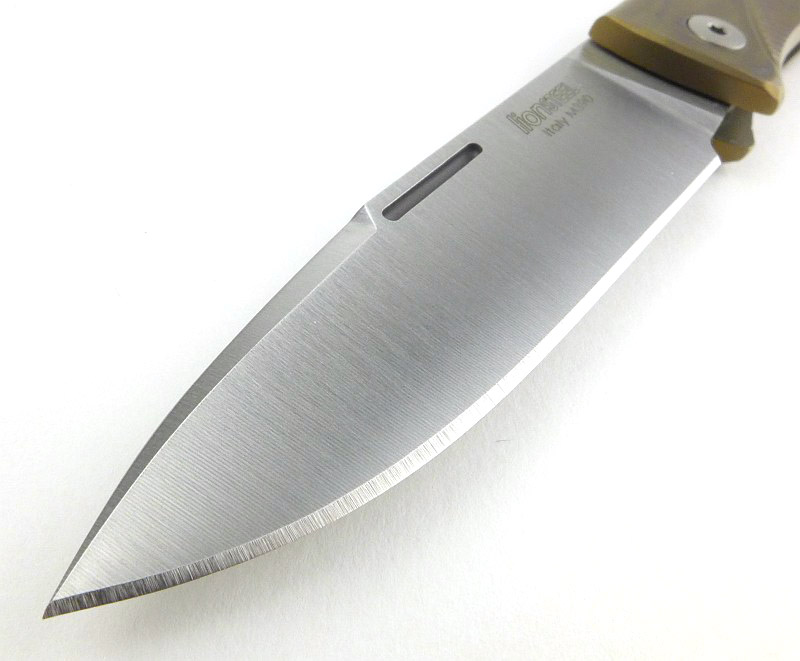
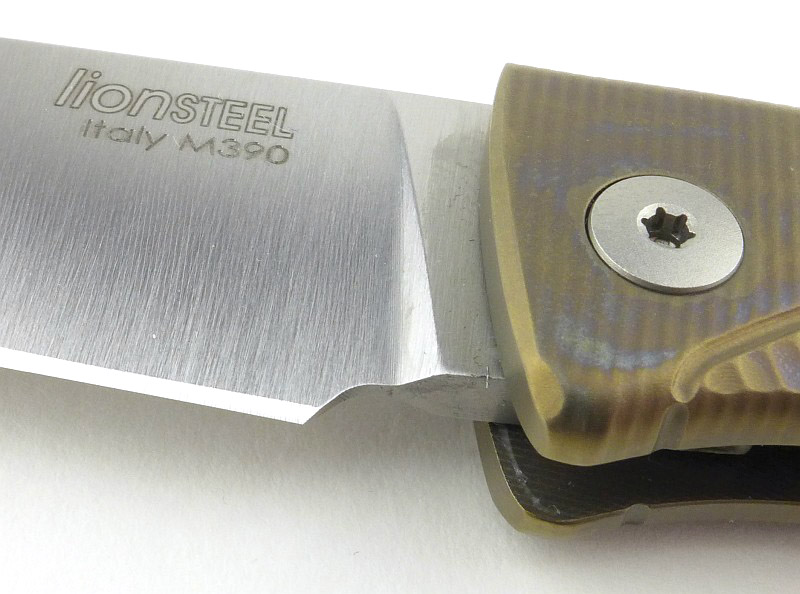
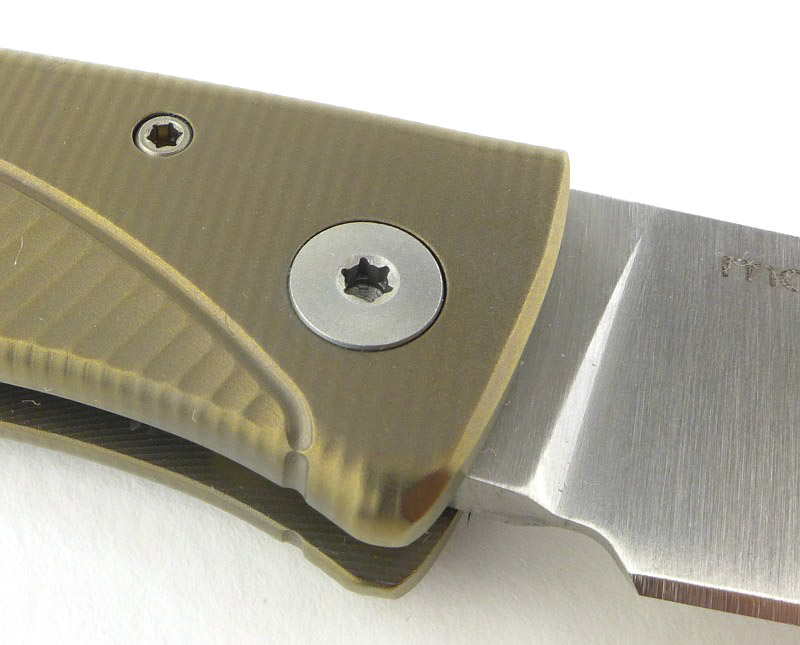
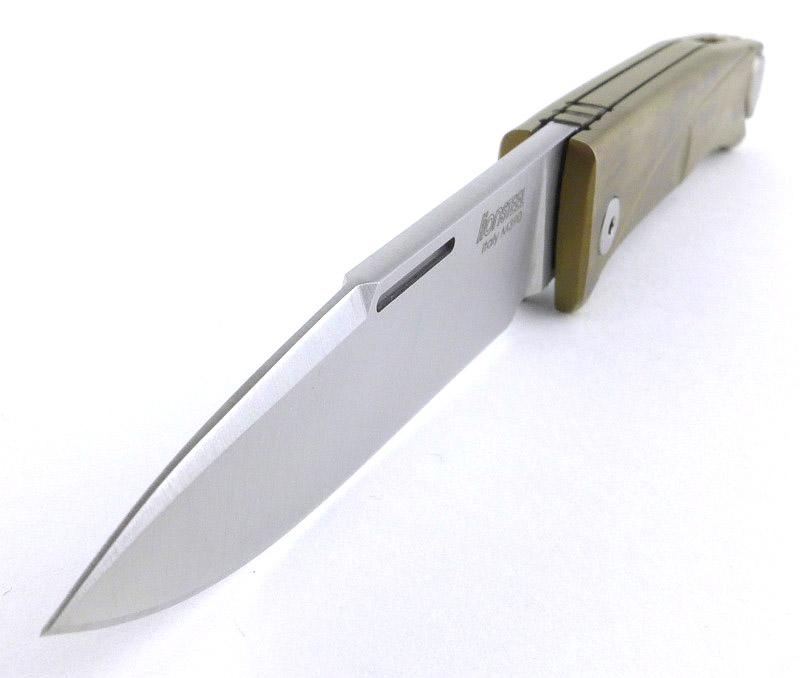
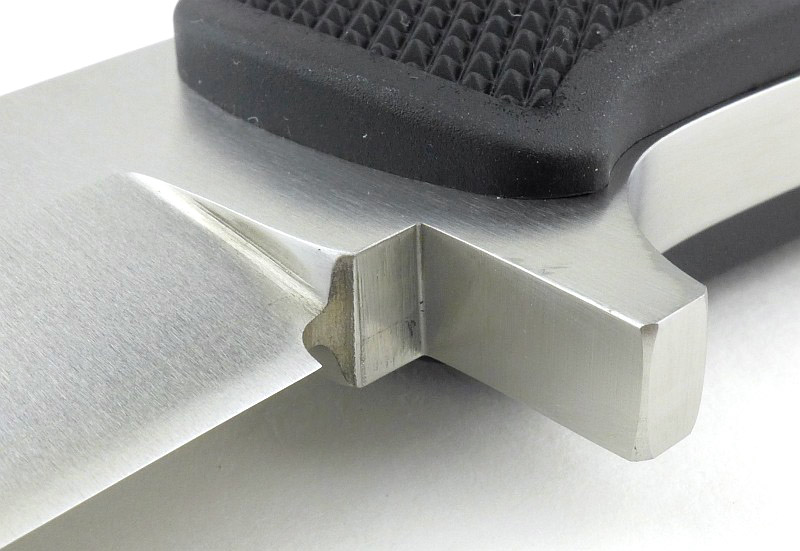
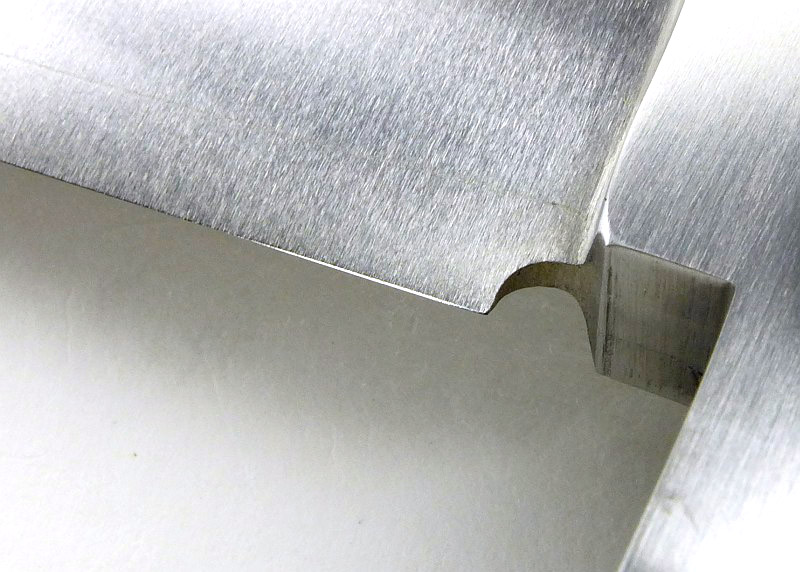
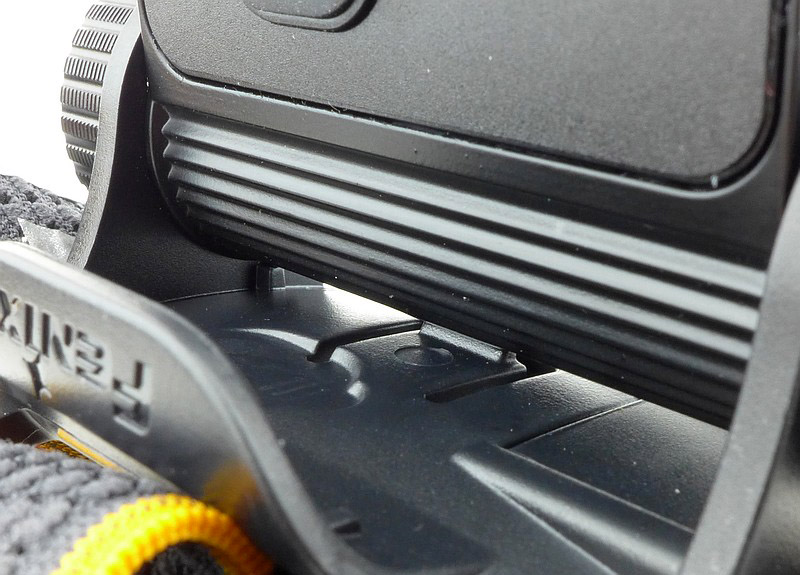
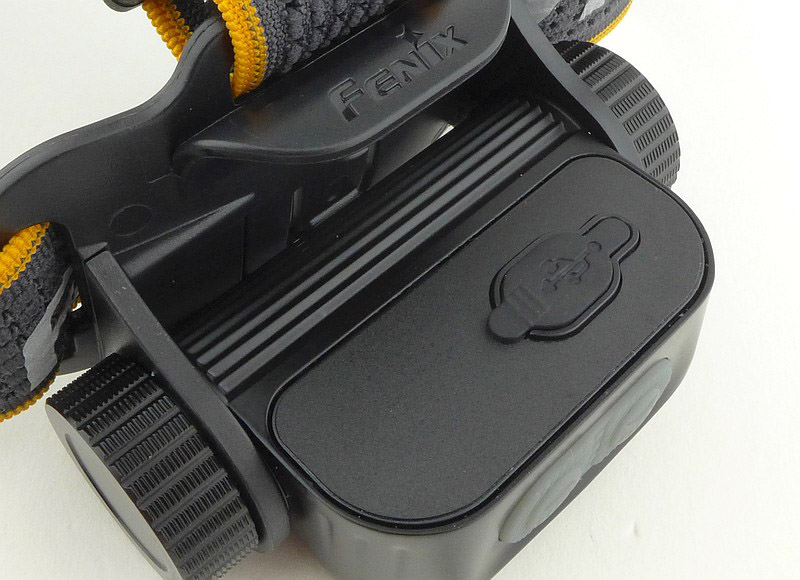
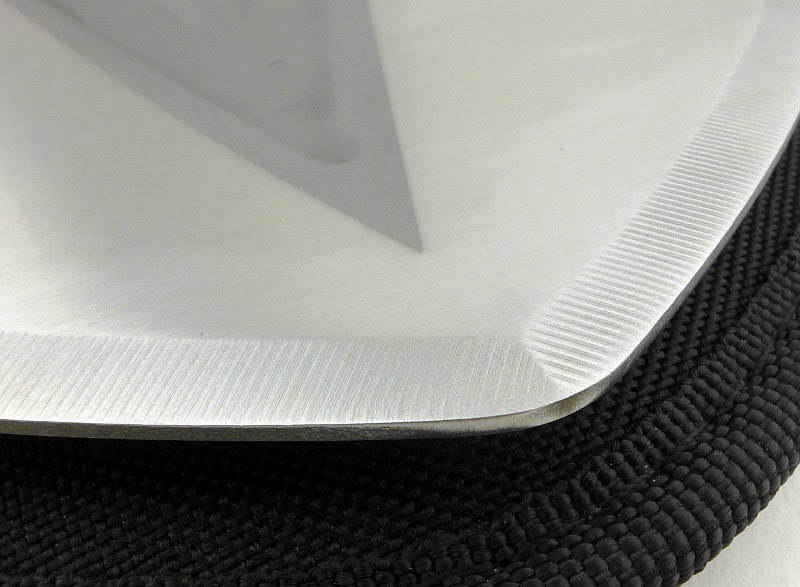
This gallery has a lot to look at (and we take a closer look at the pocket clip separately): the quality of machining and detailing of the solid handle, the steel ‘spring liner’ protecting the titanium spring from the blade tang, fit and finish of the fixings, and machining of the blade.


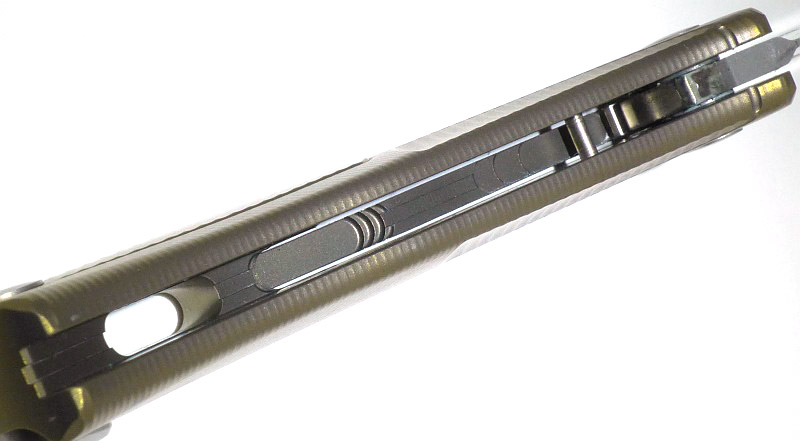
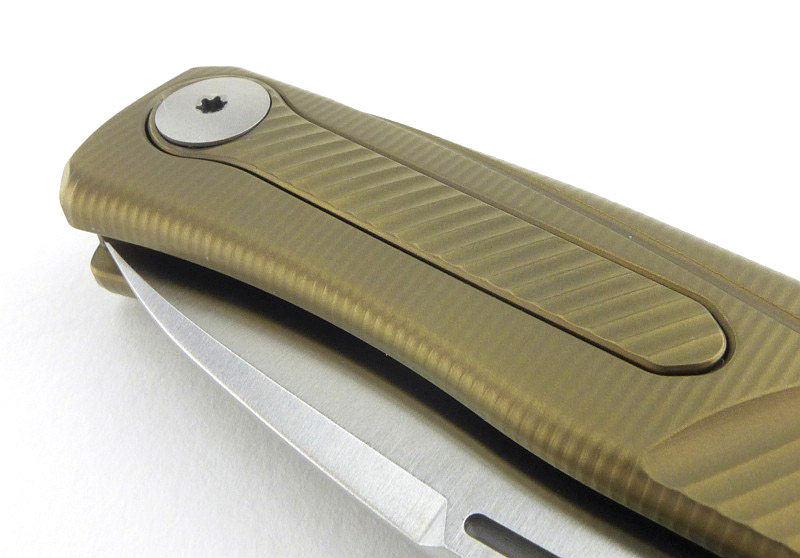
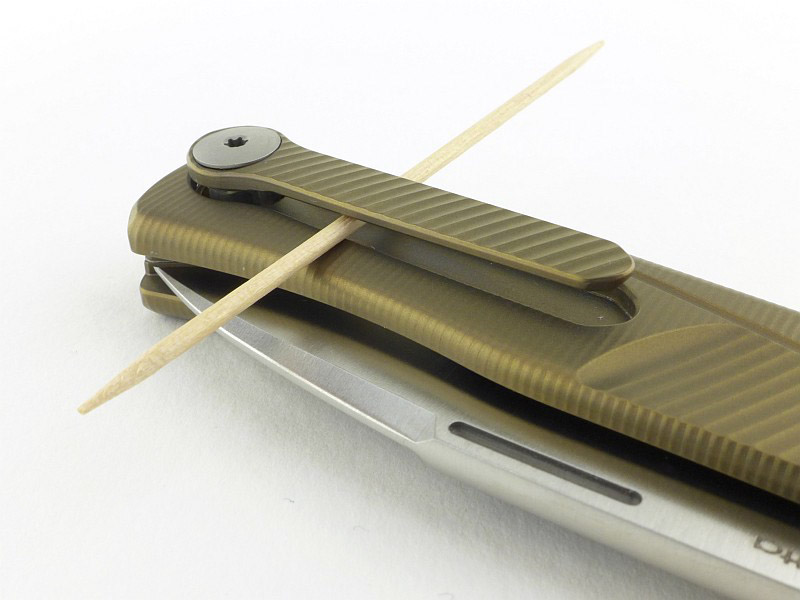
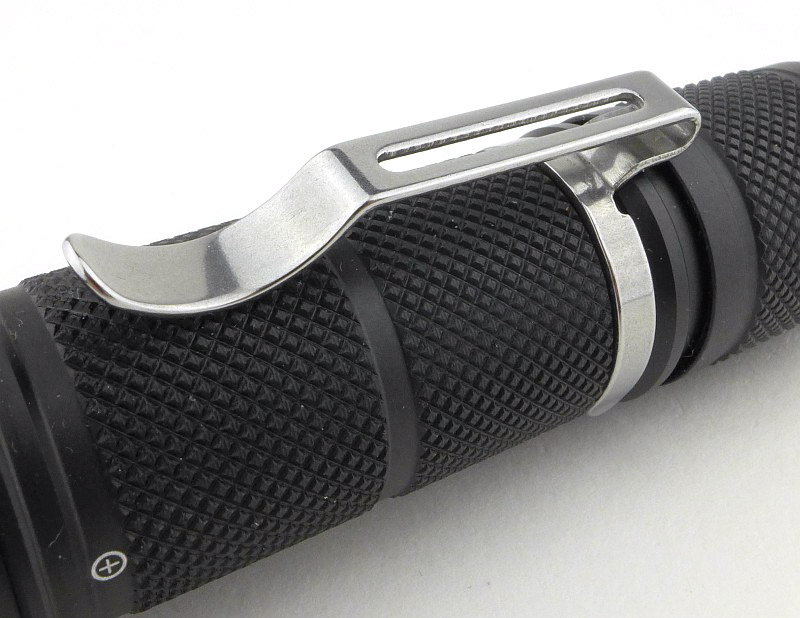
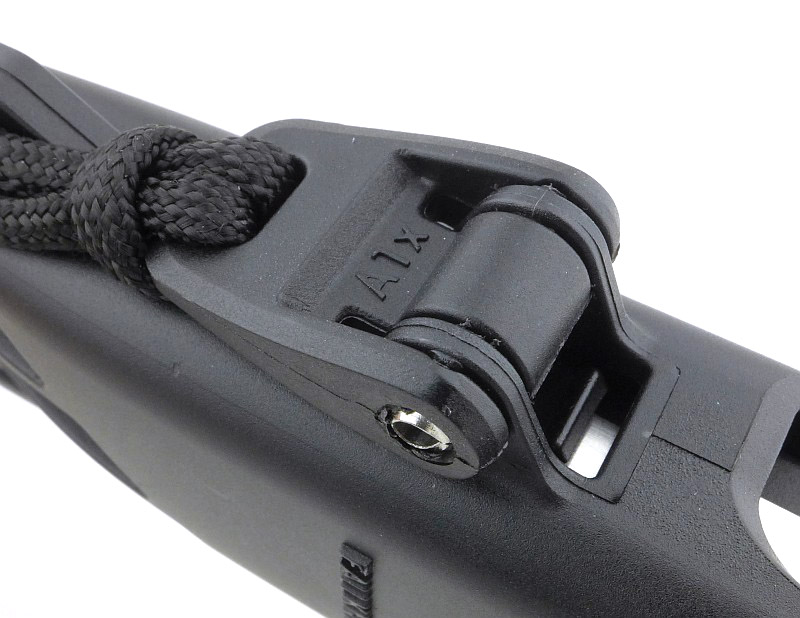
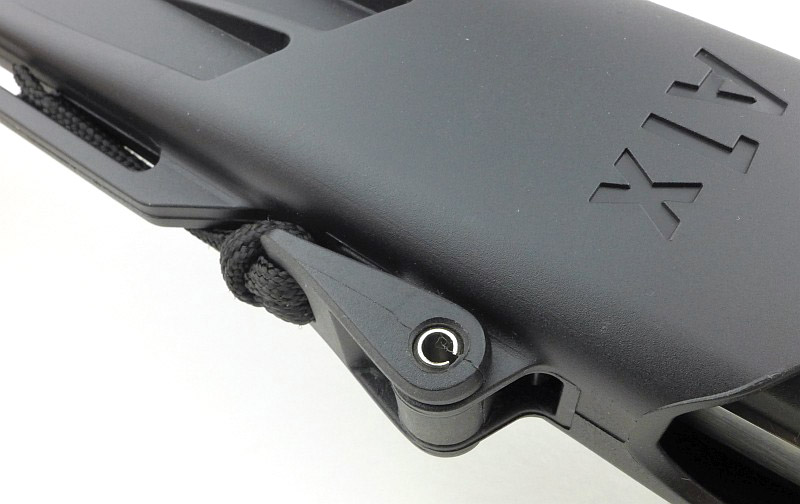
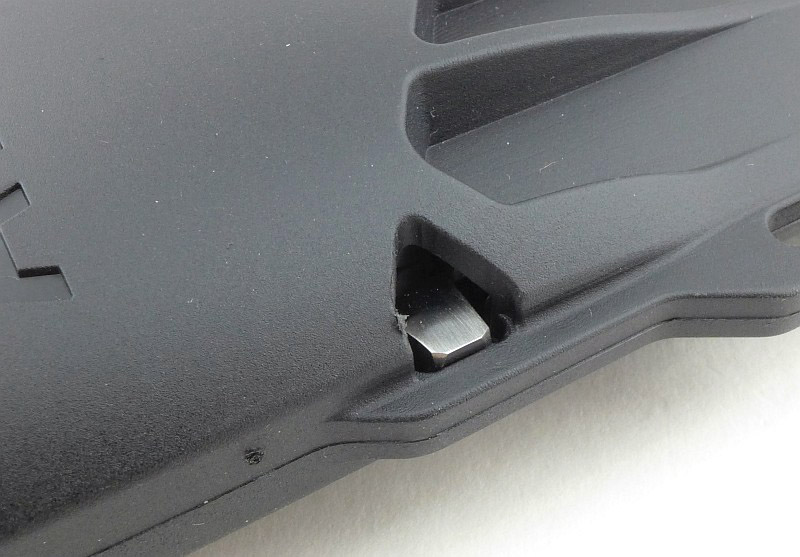
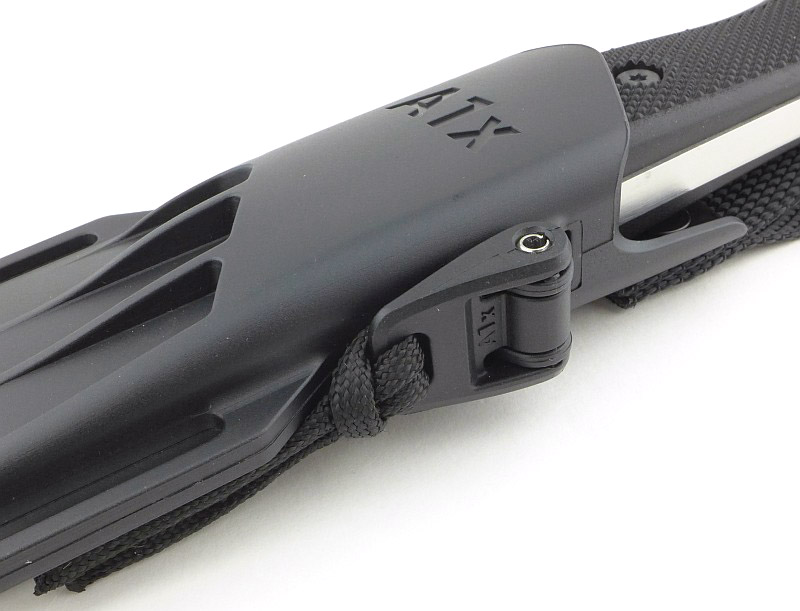
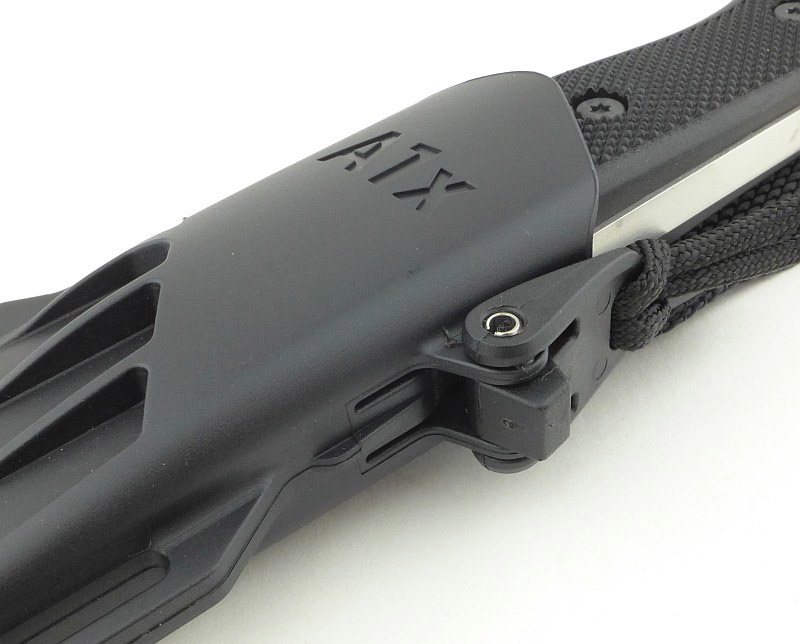
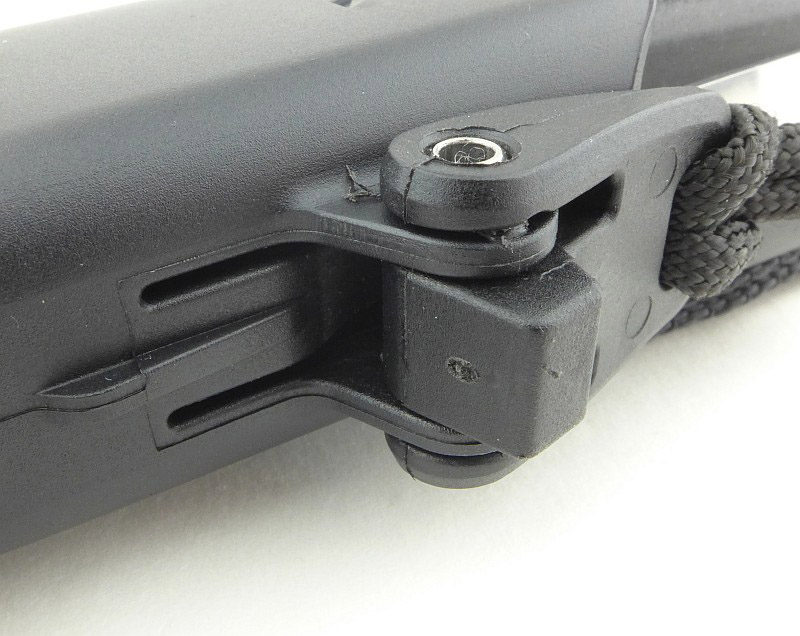
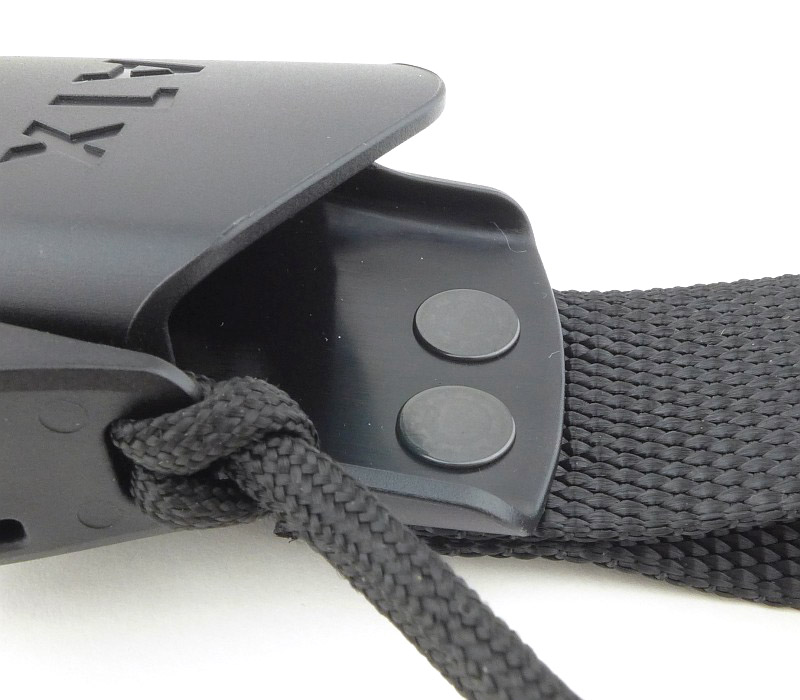
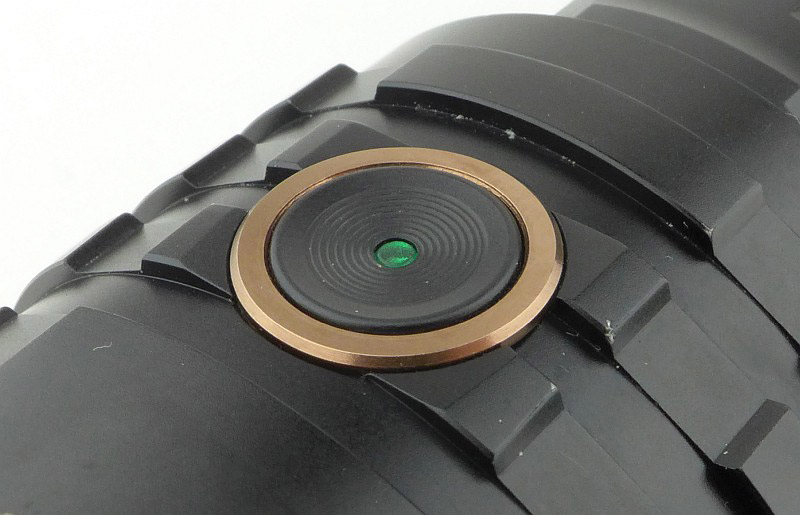
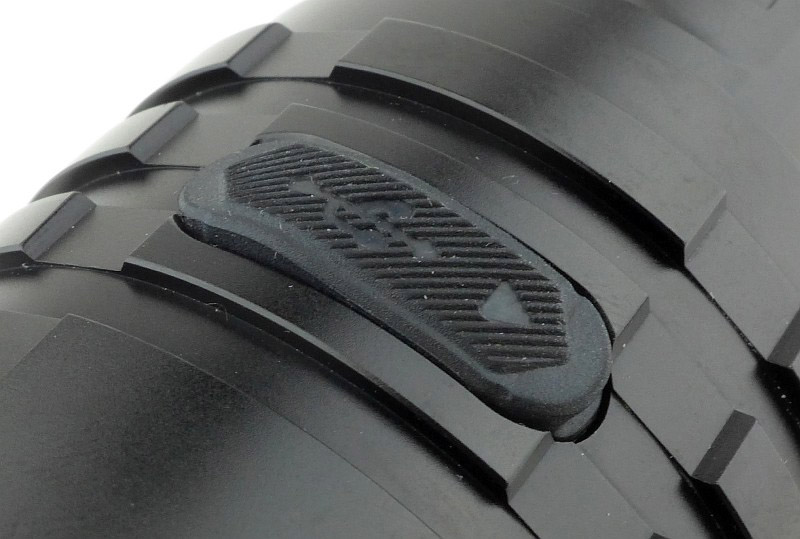
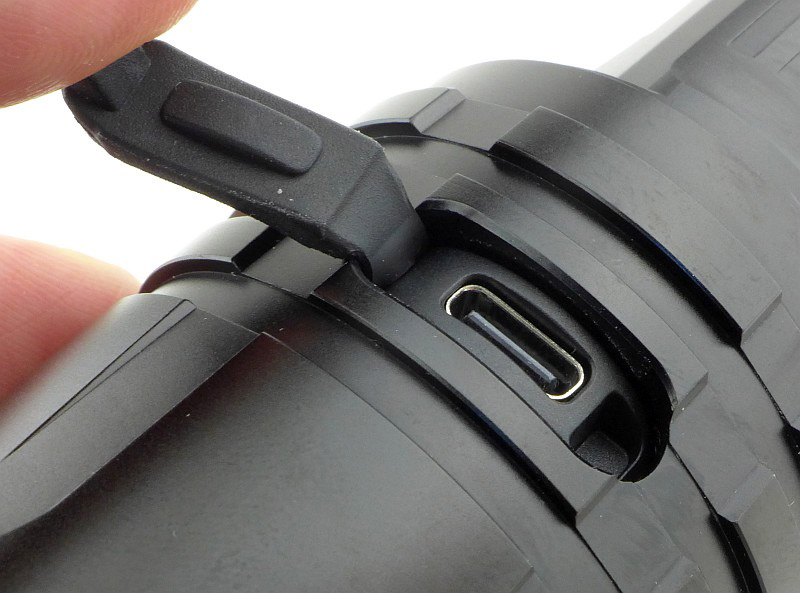
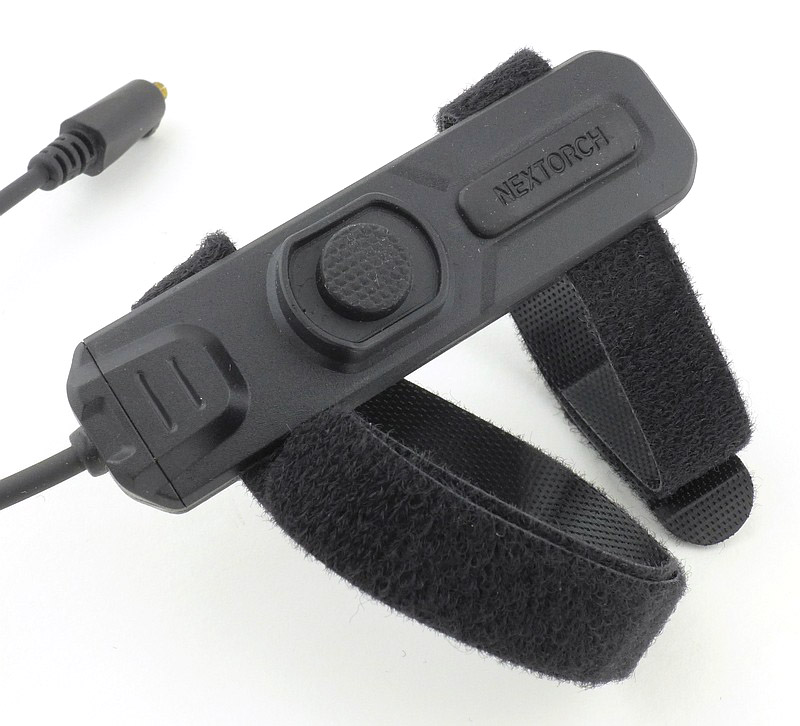
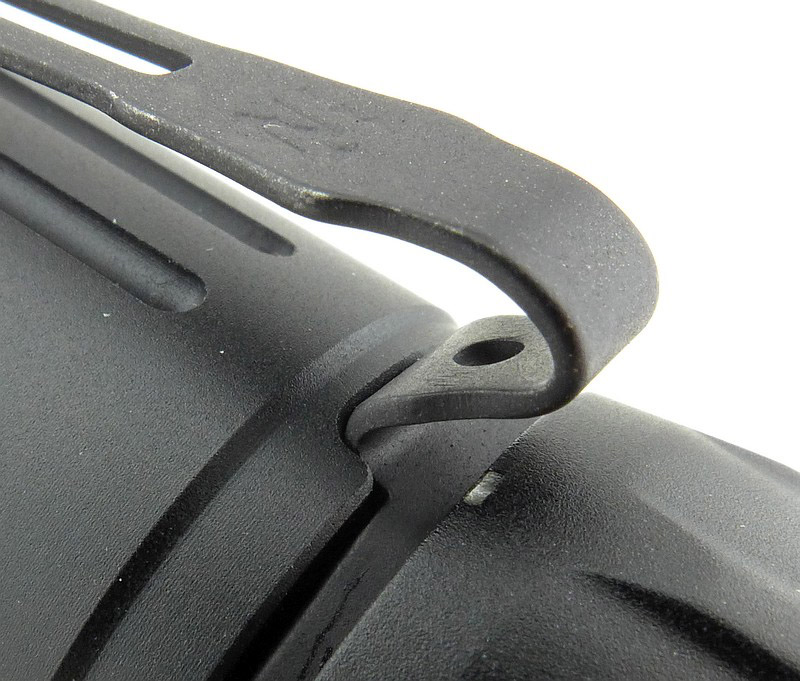
H.WAYL pocket clip:
The Thrill uses lionSTEEL’s ‘Hide What Annoys You’ H.WAYL clip system that allows the pocket clip to sit flush with the rest of the handle, instead of sticking out and sticking into your hand when using the knife. When hidden, you press the button to open the clip and allow it to slip over your pocket.
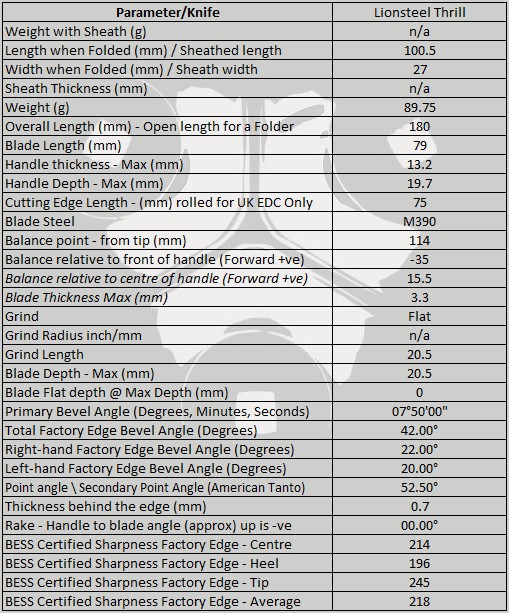
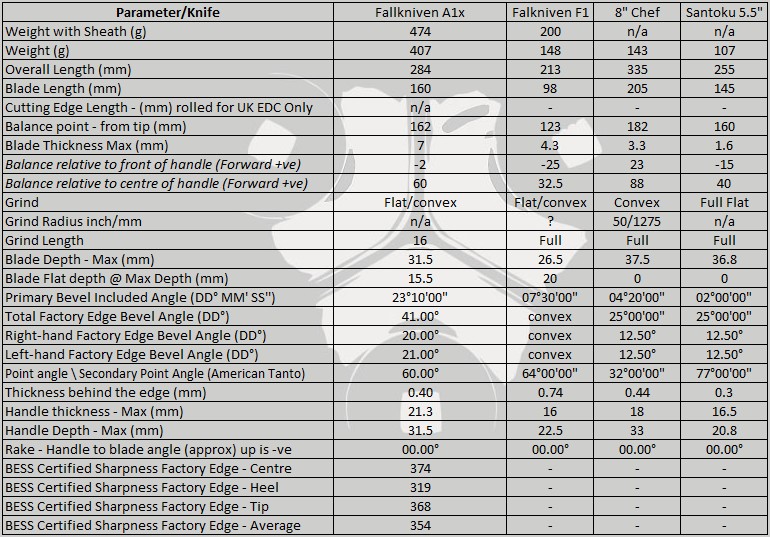
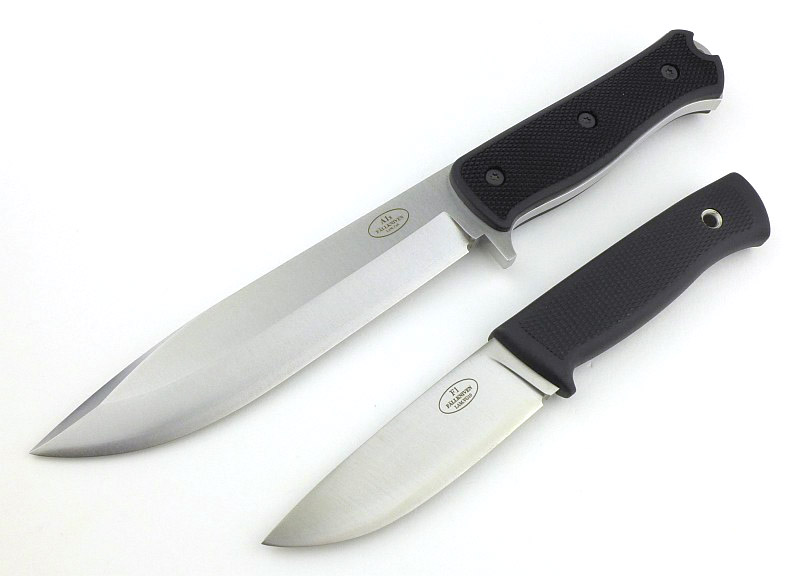
The Blade and Handle – Detailed Measurements:
For full details of the tests and measurements carried out and an explanation of the results, see the page – Knife Technical Testing – How It’s Done.
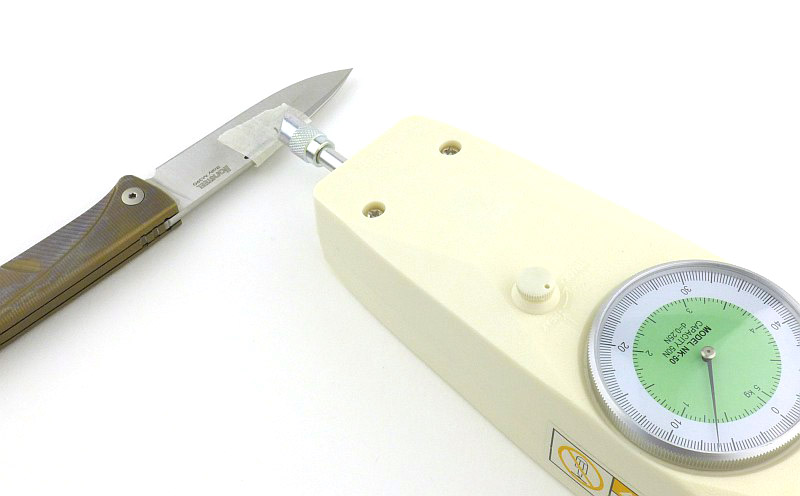
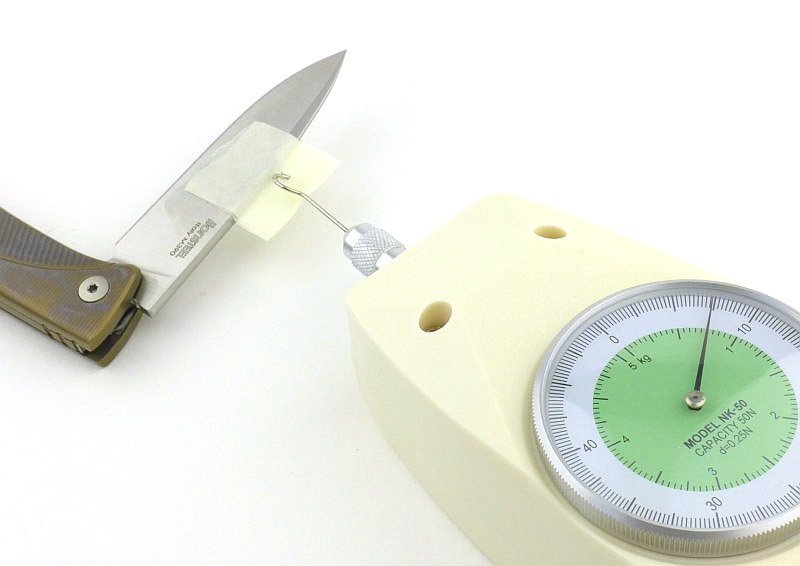
Torque testing:

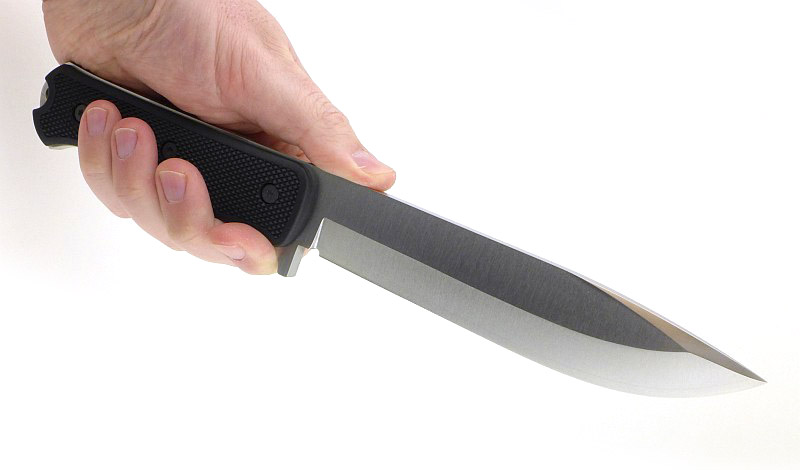
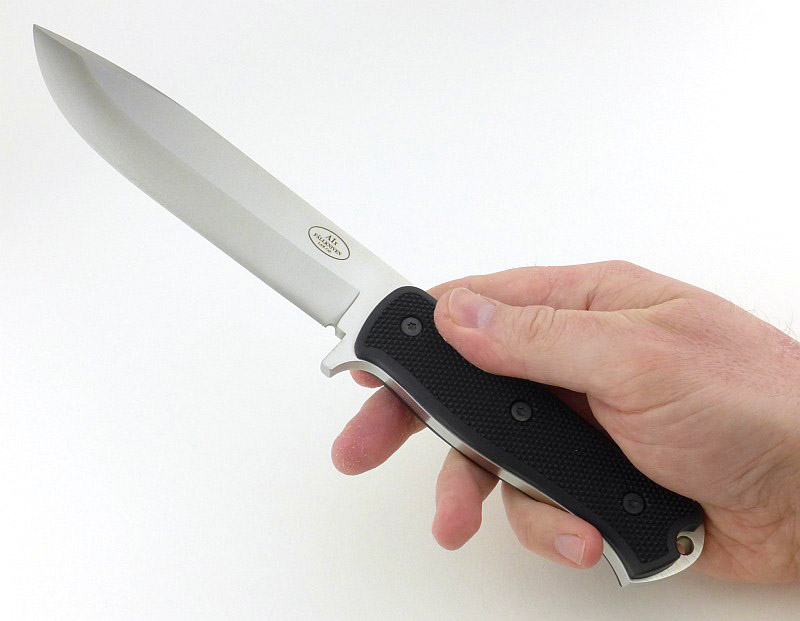
What is it like to use?
There was one thing I just had to include here, which is the sound of the Thrill opening and closing. The combination of the titanium body and steel spring liner gives it a kind of ‘sheeesh sheeesh’ sound I’ve not heard on any other knife. Well here it is, I love it…
That action feels great with the pivot bearings making the motion super slick, yet the spring strength makes the blade feels secure. A half-stop lets you change grip as you open it all the way, keeping control of the blade.
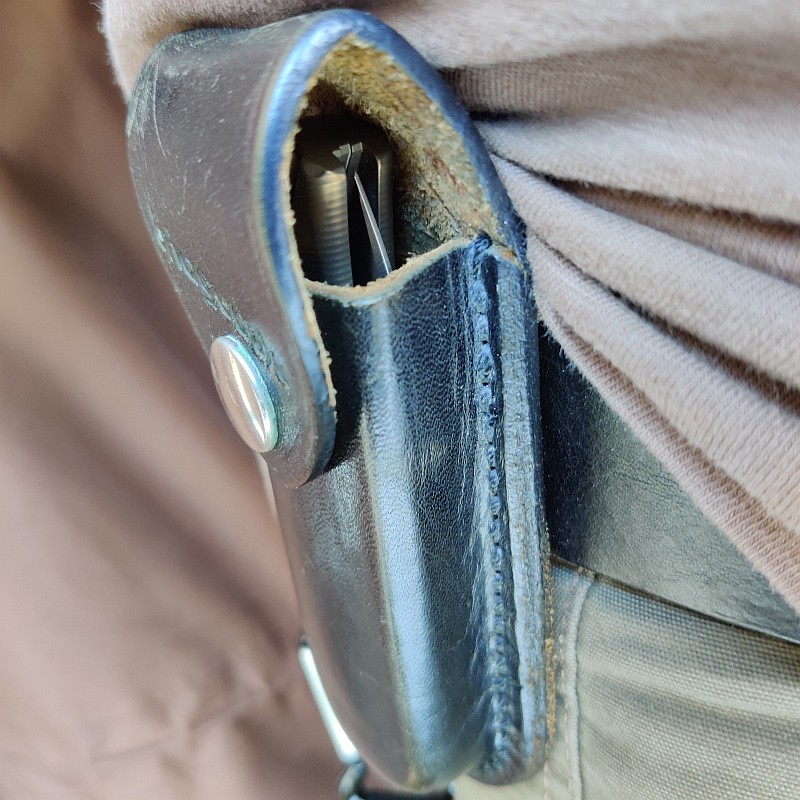
With the H.WAYL clip system, you can completely forget this knife has a pocket clip. Personally I would not want to trust this clip for two reasons; firstly, the clip’s ‘spring’ pressure is provided by the button spring, and this is not very strong (or you would struggle to open it), and secondly, the underside of the clip is straight and smooth, so has no ‘bump’ or texture to resist sliding off a pocket edge (in fact it gets easier to pull off the further up it moves, without that final clinch).
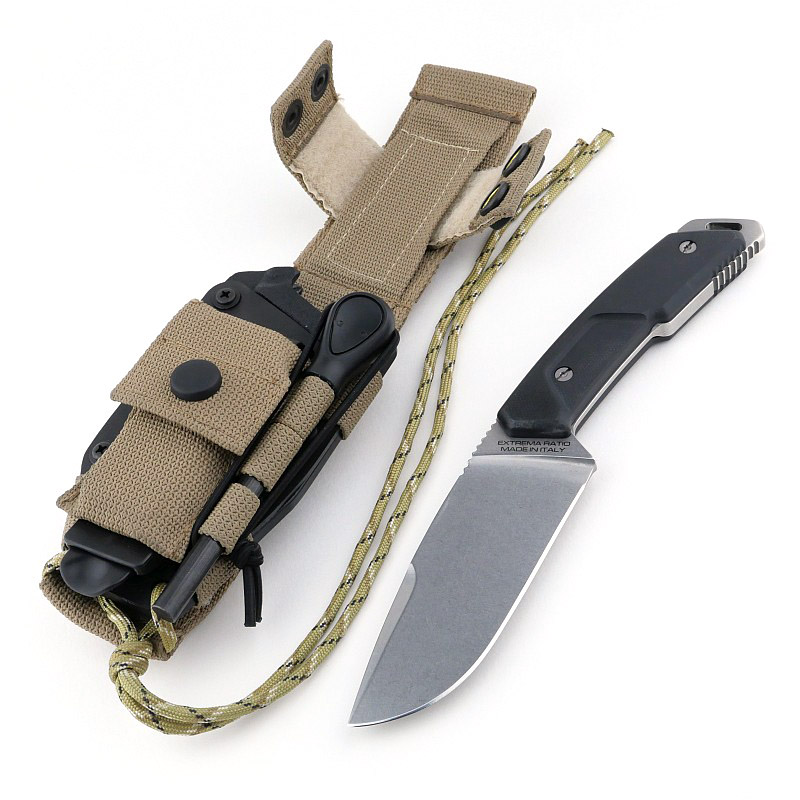
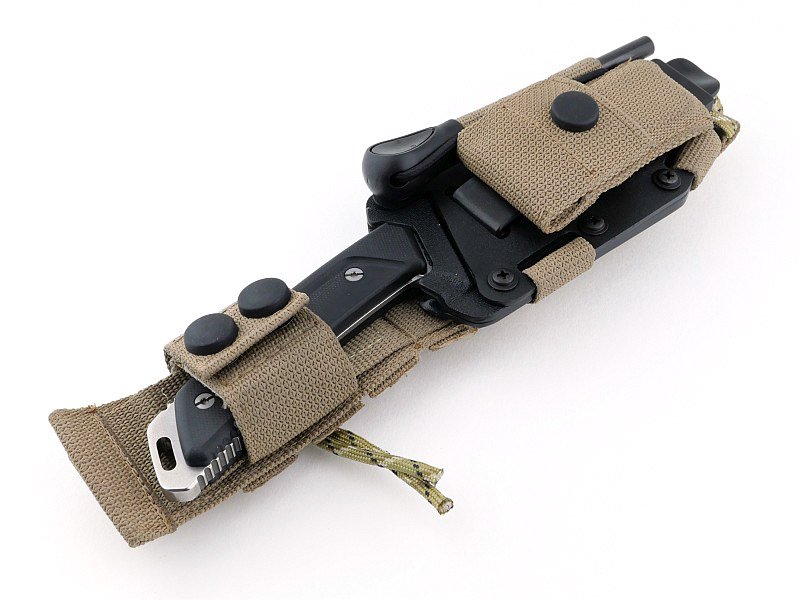
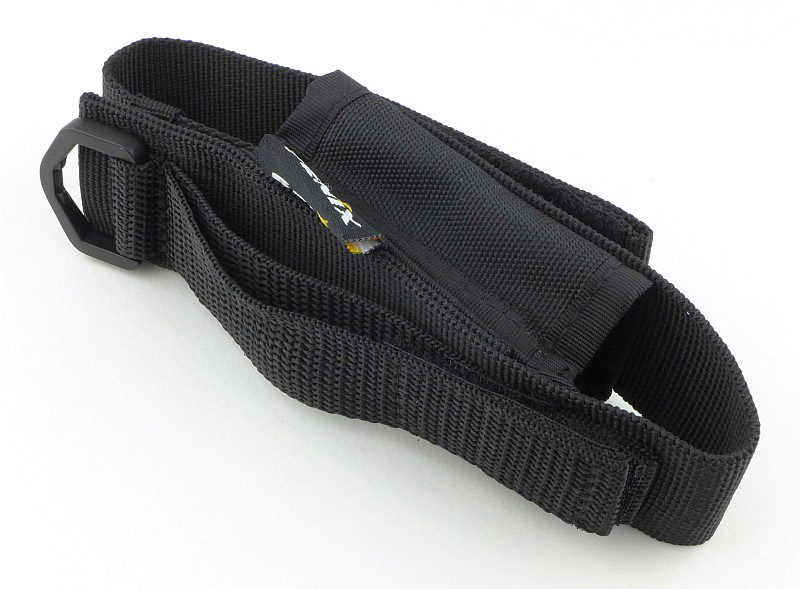
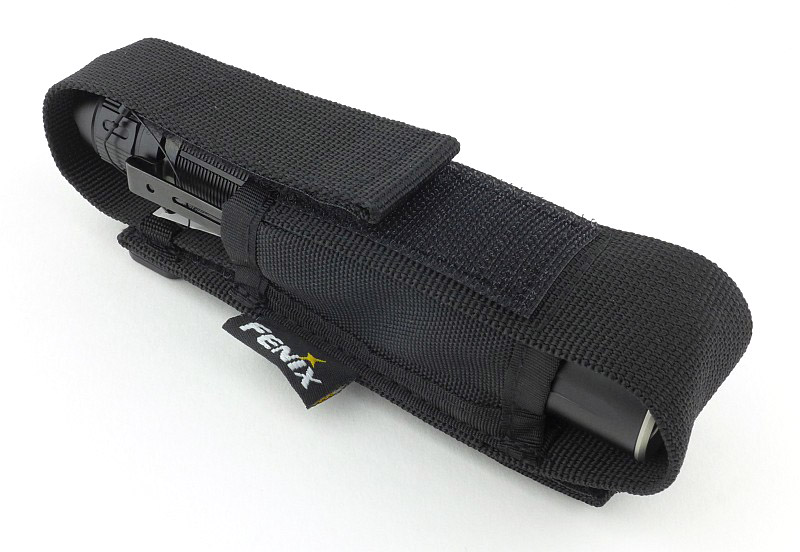
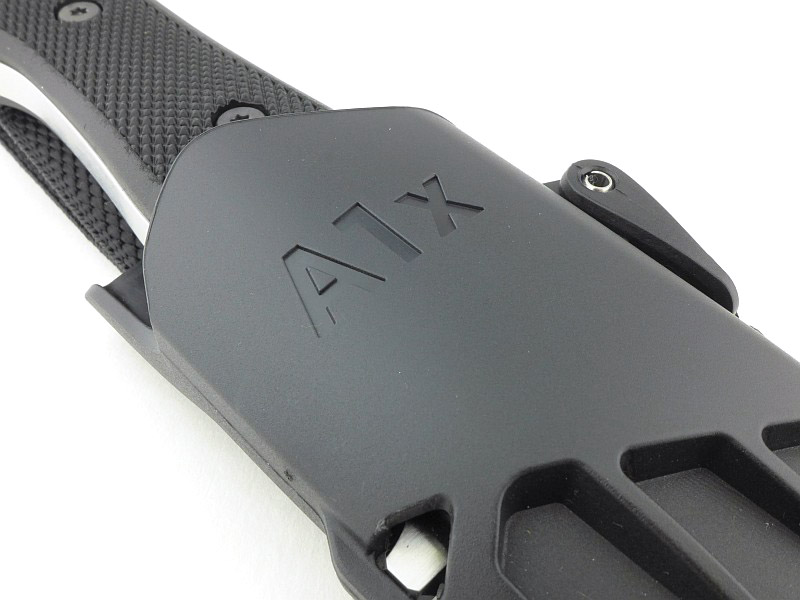
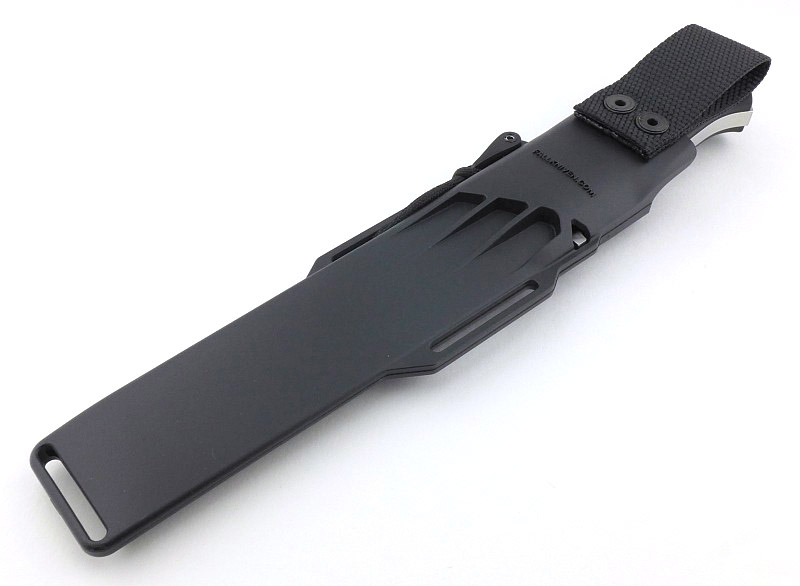
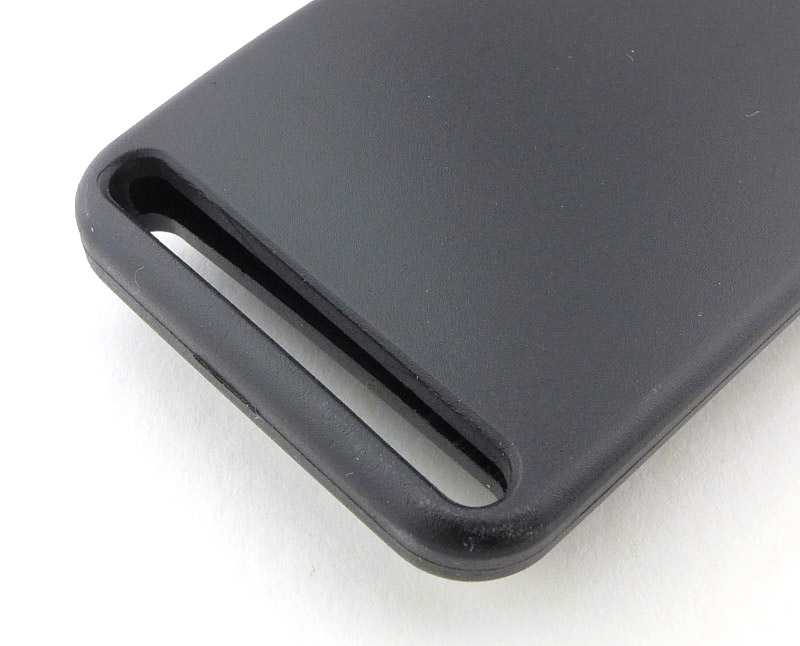
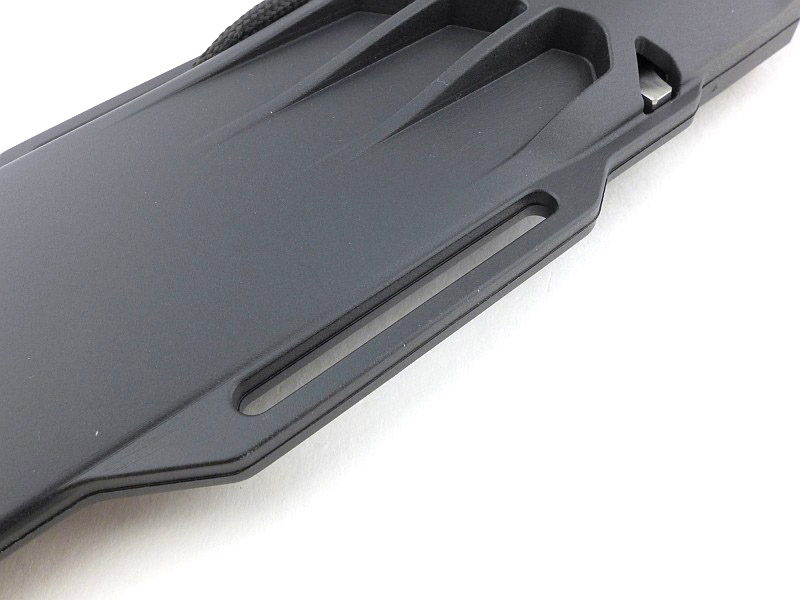
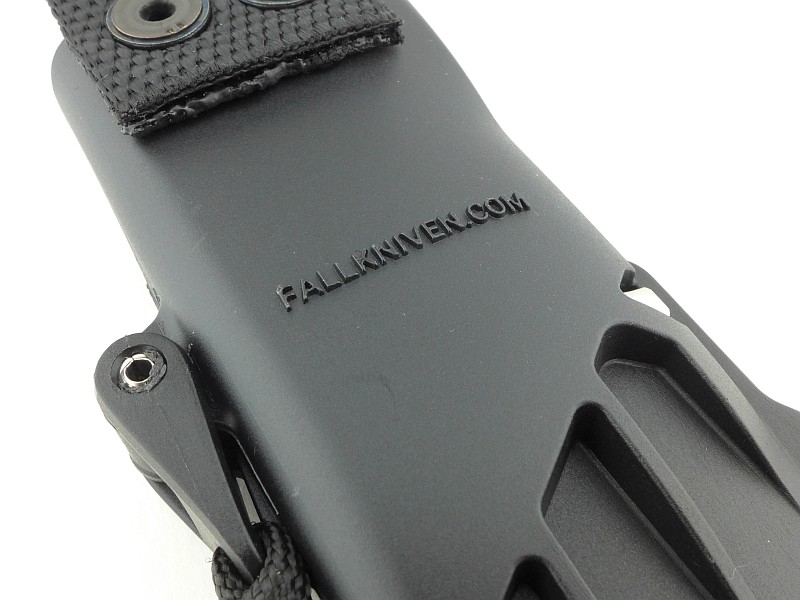
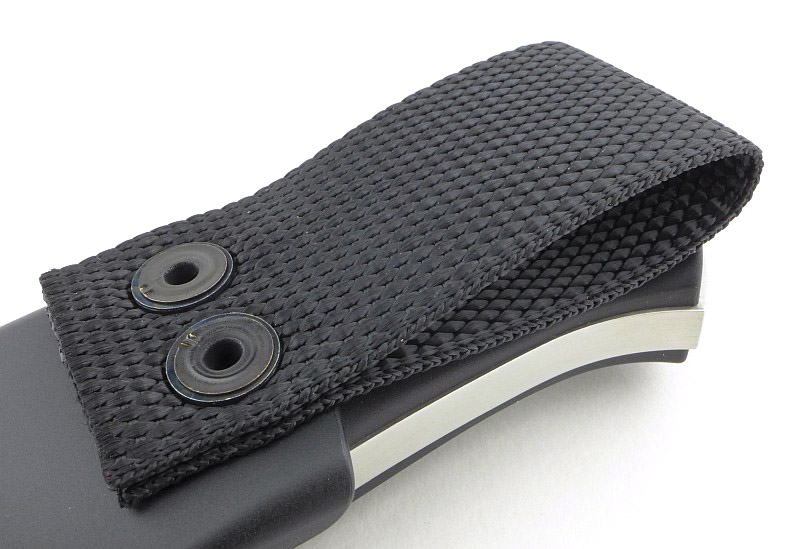
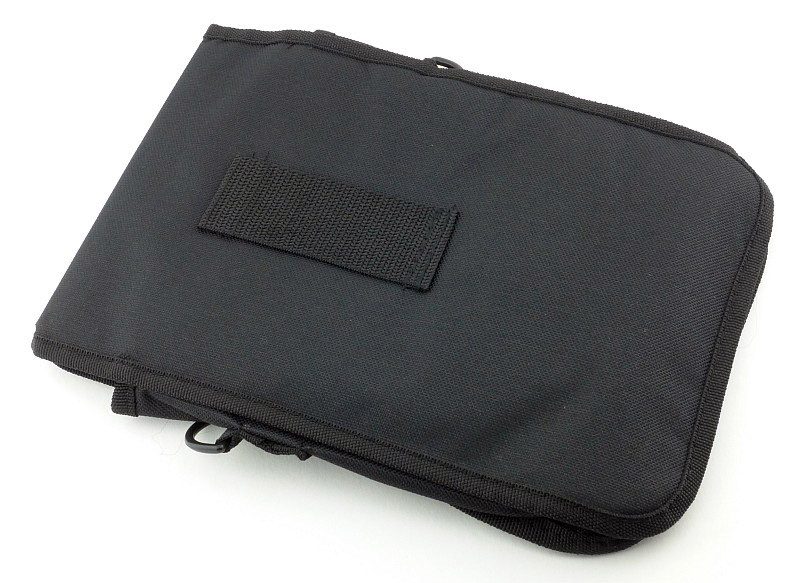
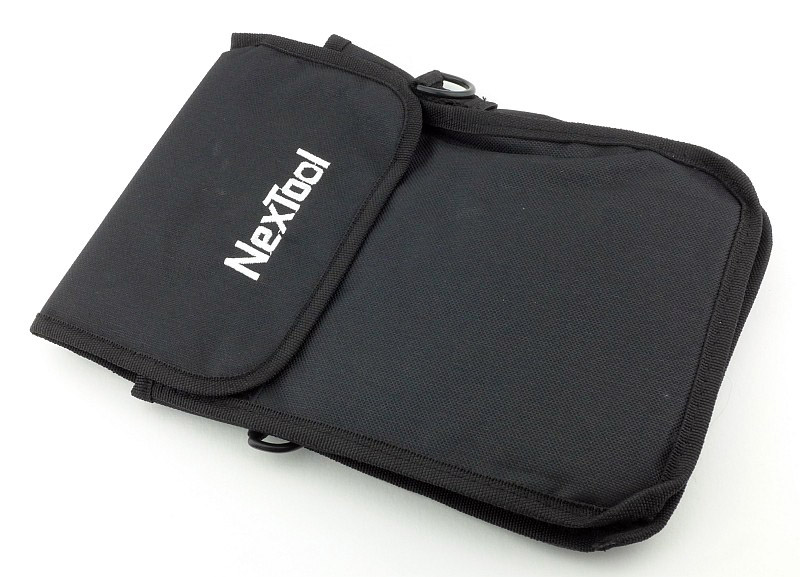
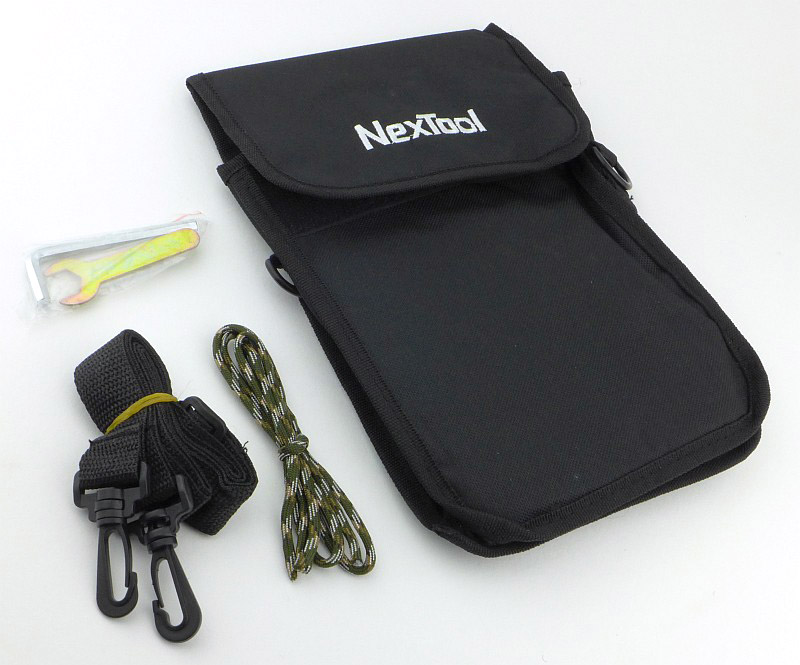
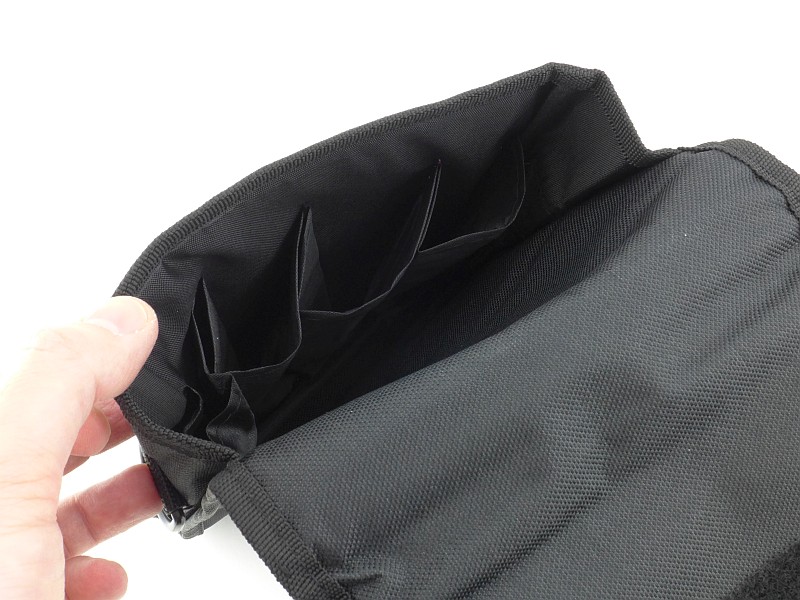
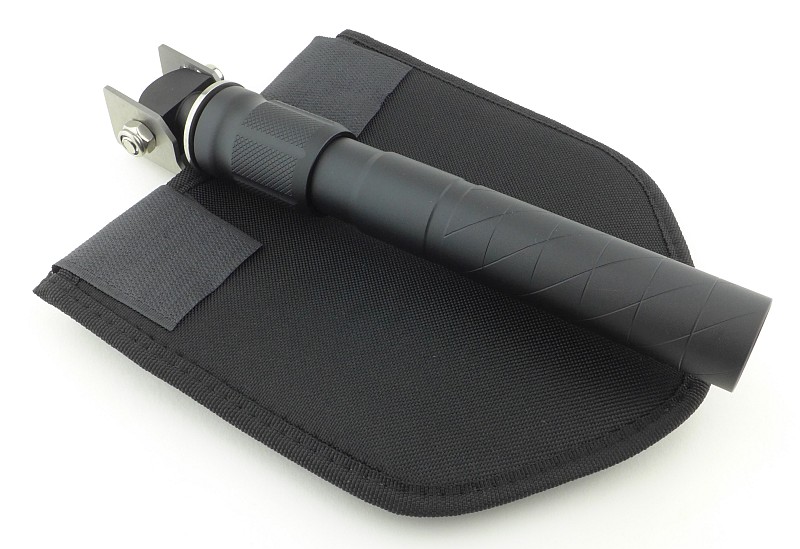
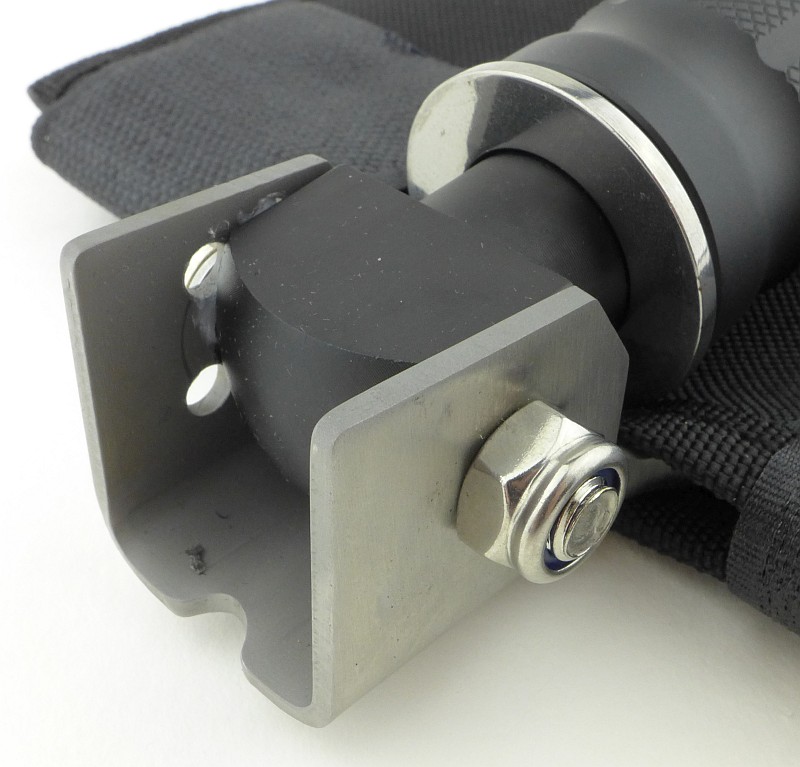
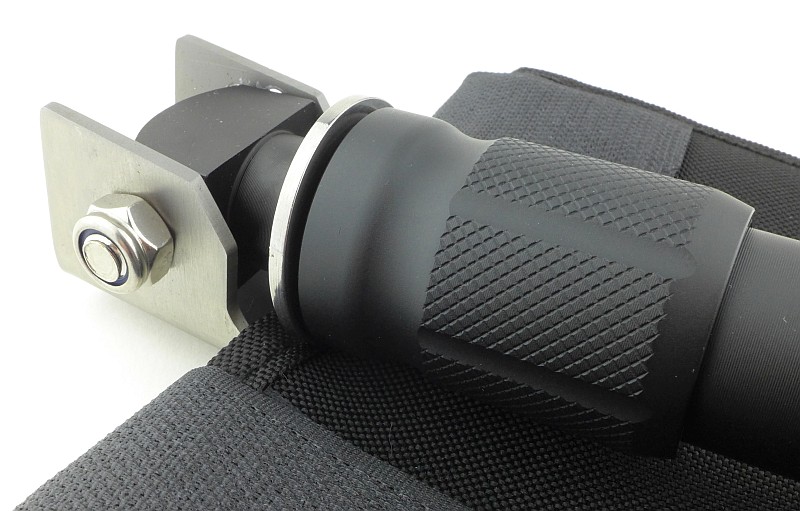
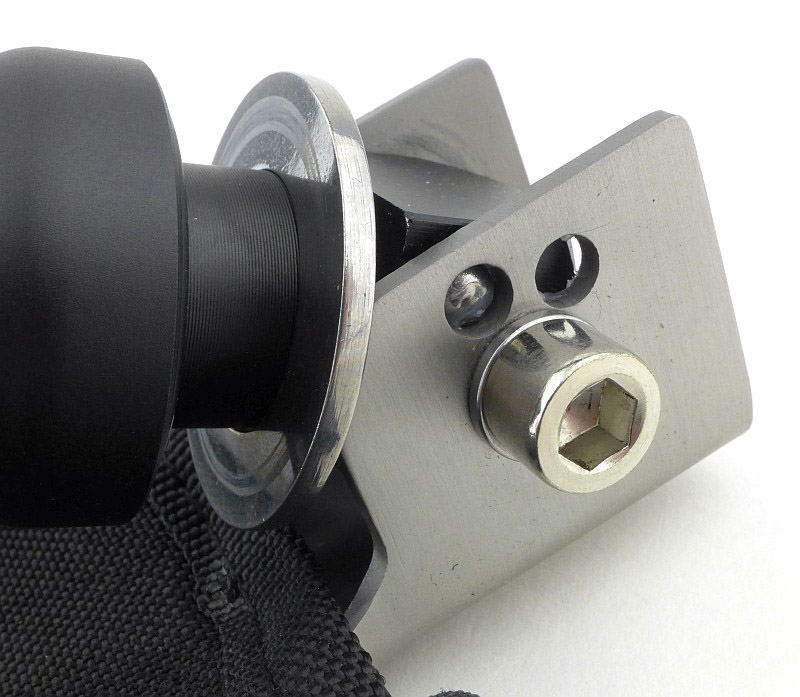
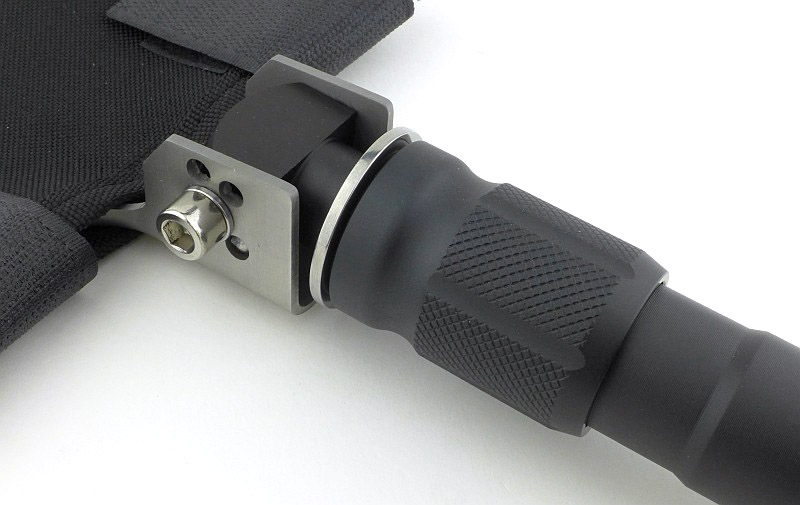
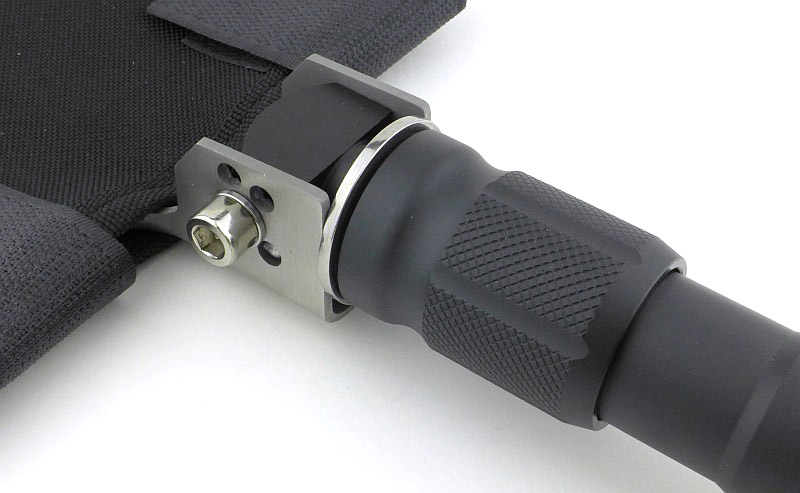
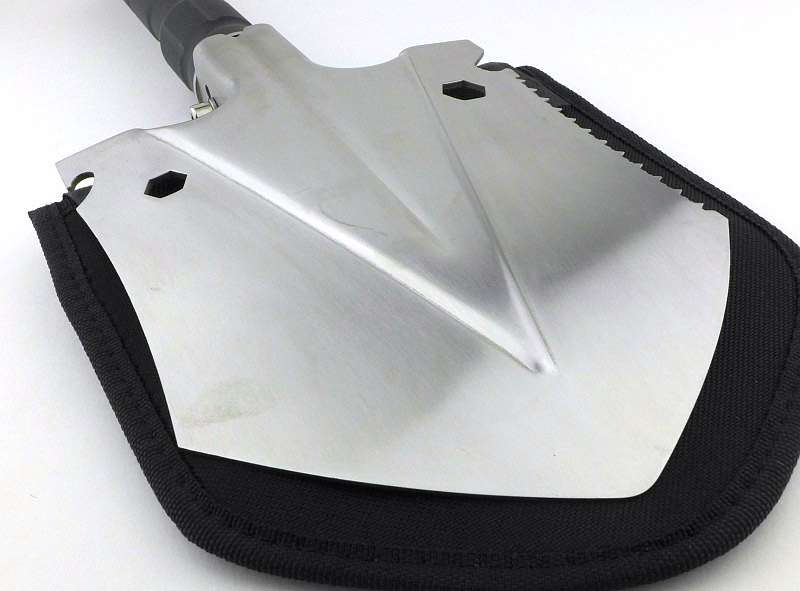
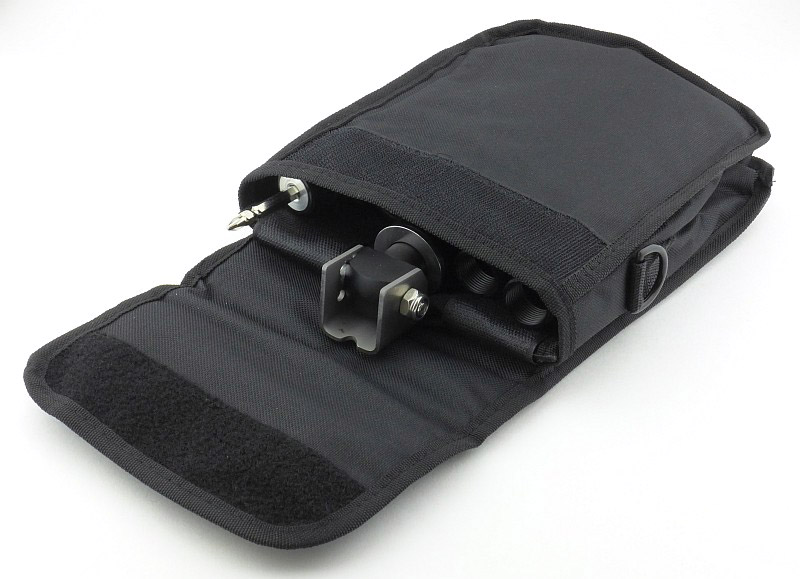
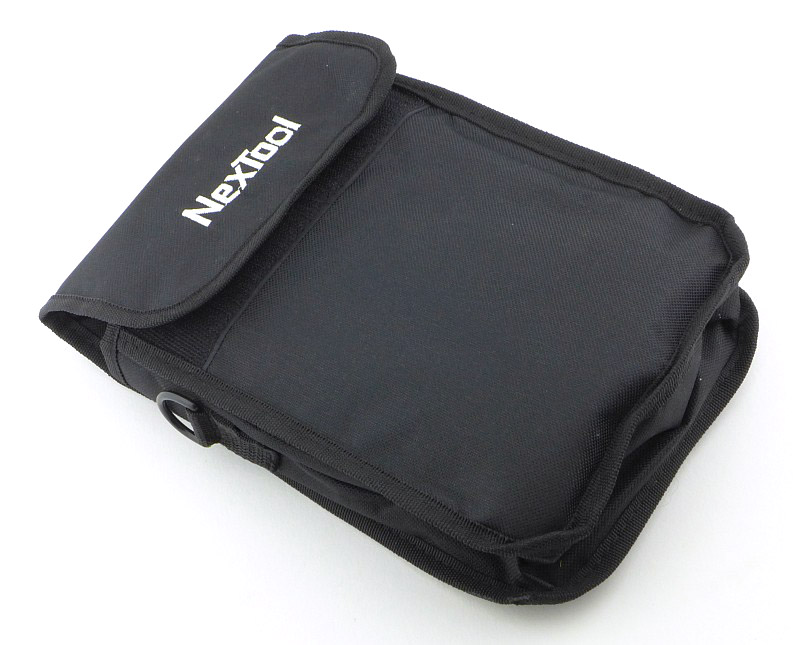
Because of this, and the lack of lanyard attachment, I have taken to carrying this in a belt pouch (as in the gallery below) which has proven to work very well.
My nails are not very strong, so I don’t like to open stiff blades using a nail-nick; there is, however, enough blade accessible when the Thrill is closed to allow me to pinch grip the blade to open it, so it has been completely comfortable to use.
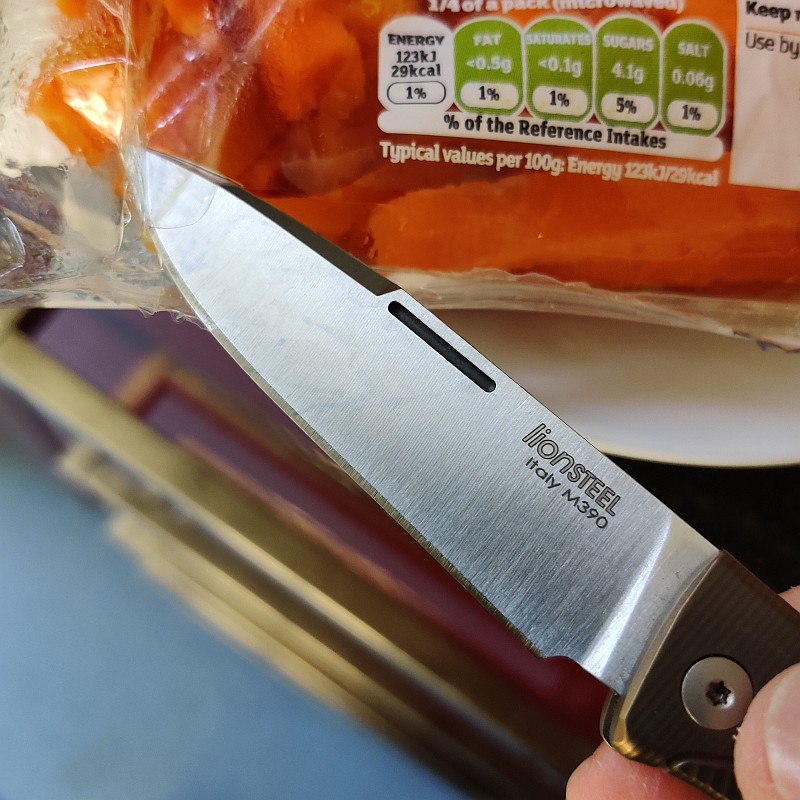
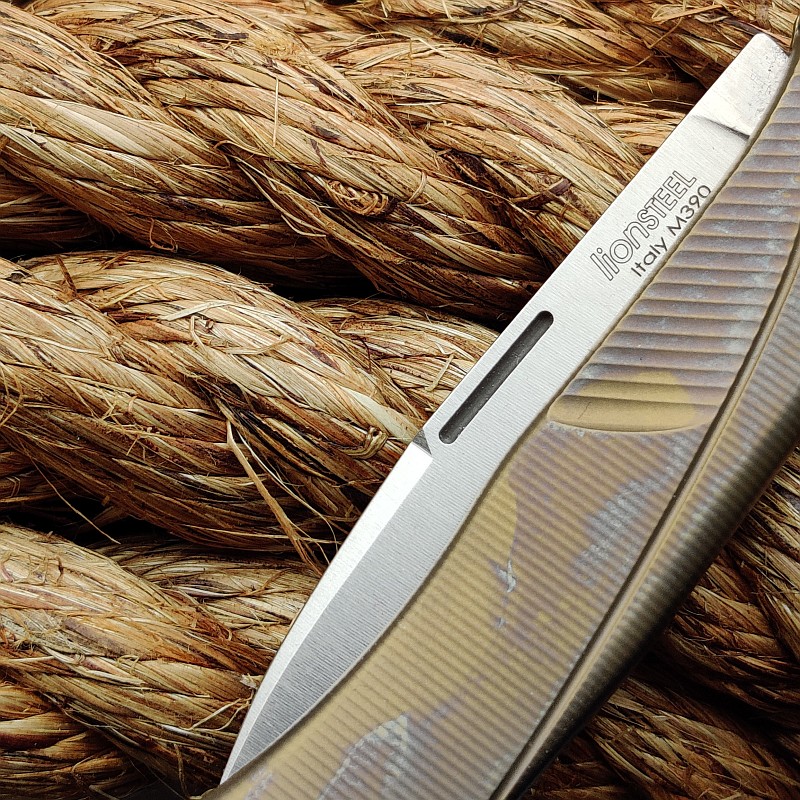
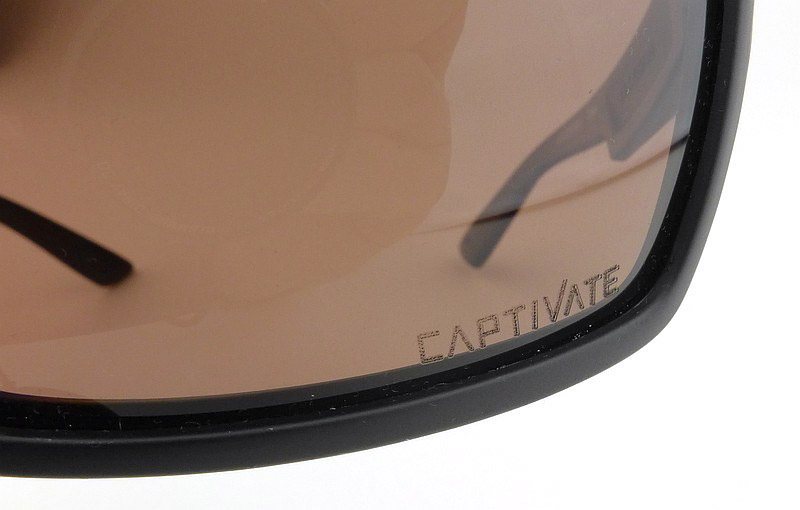
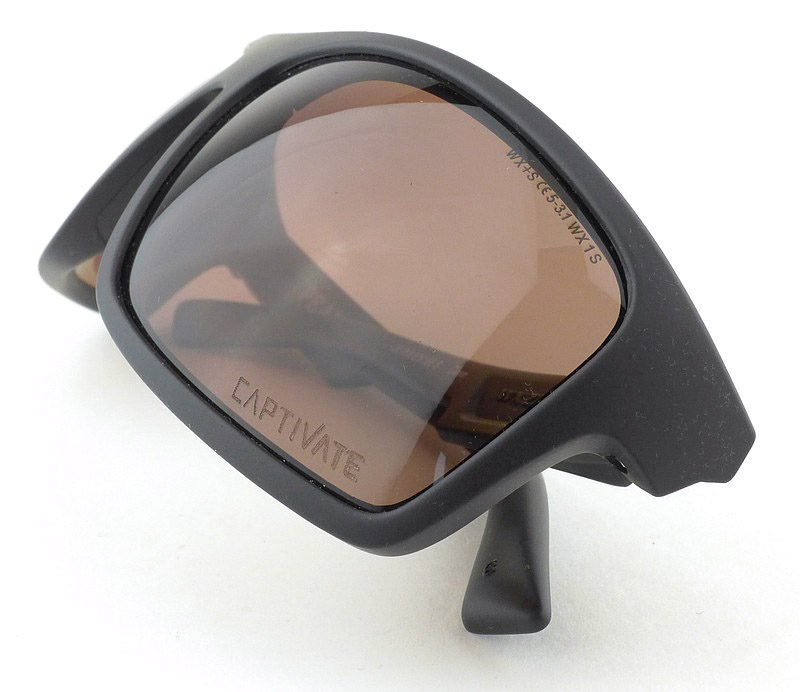
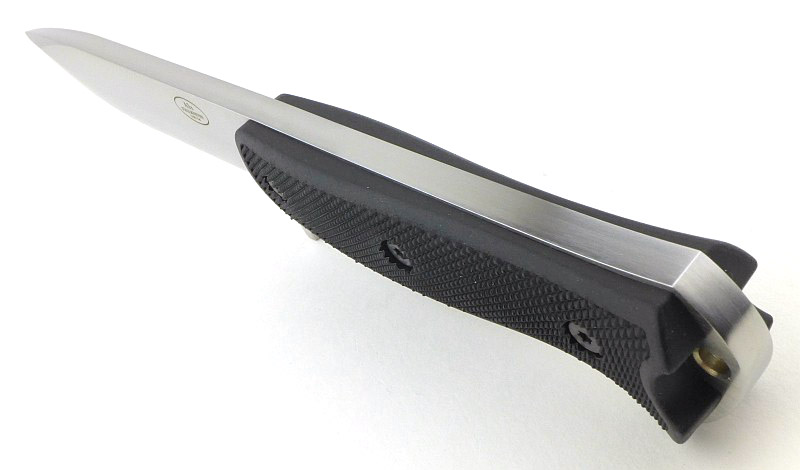
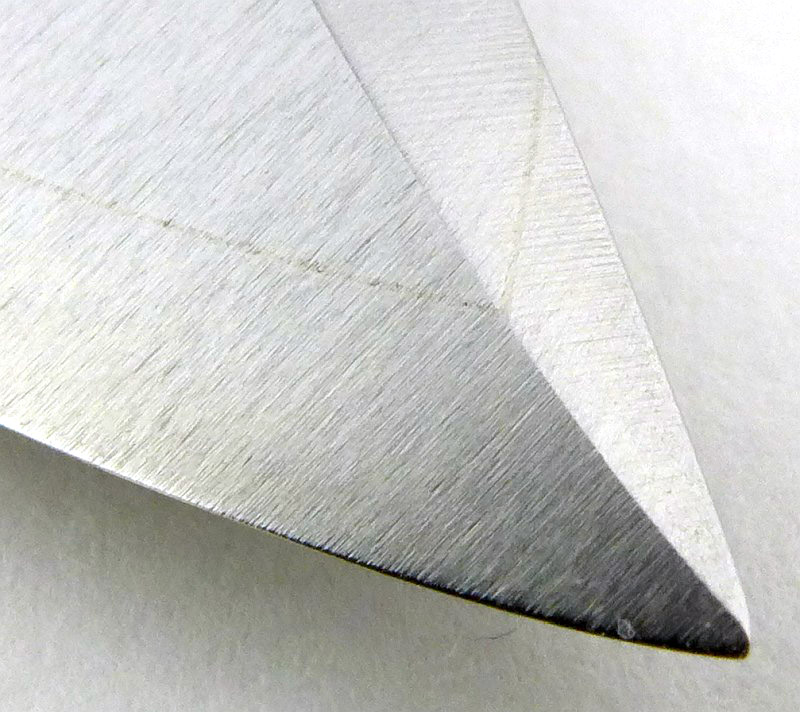
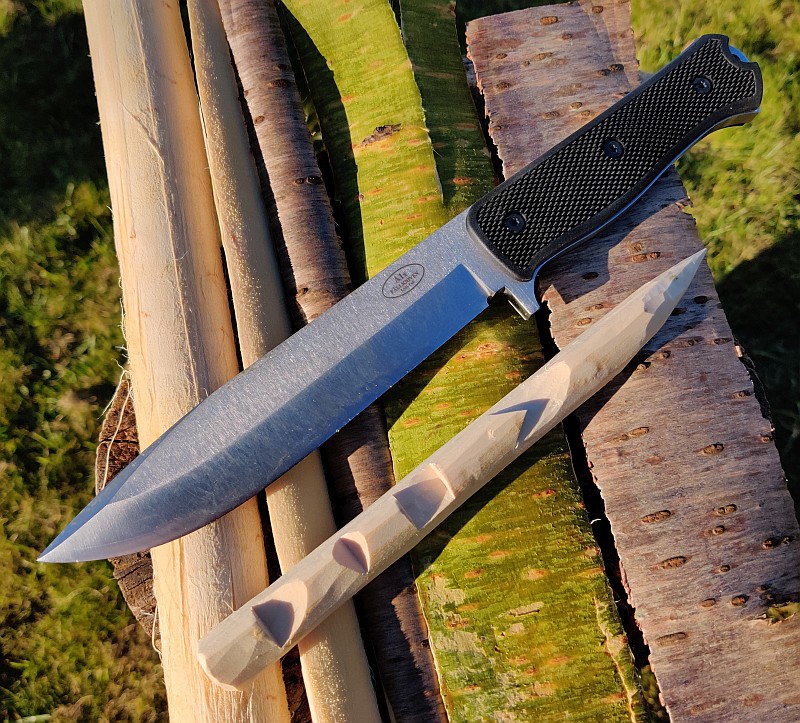
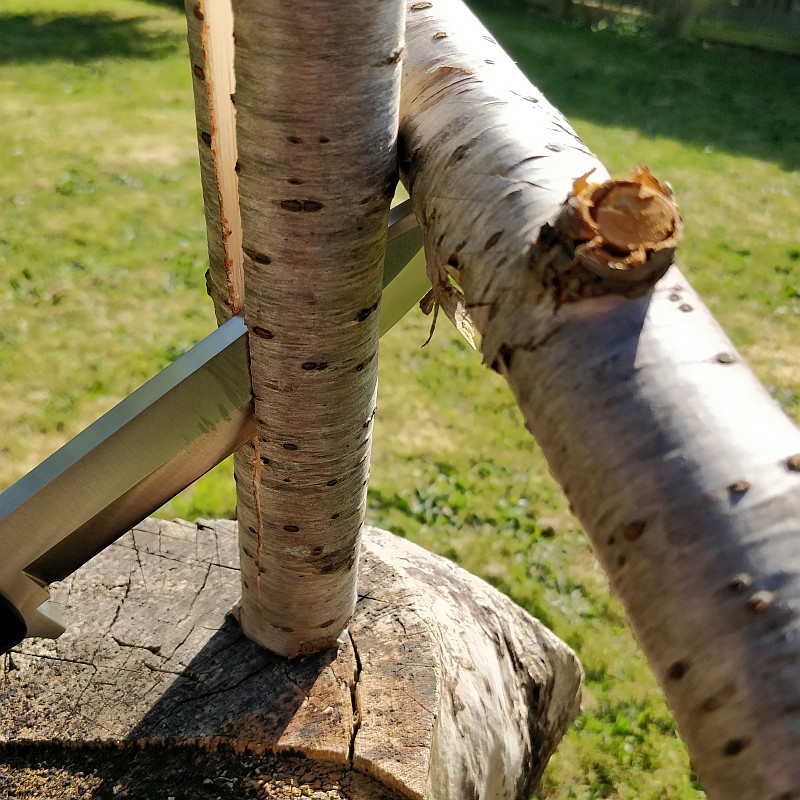
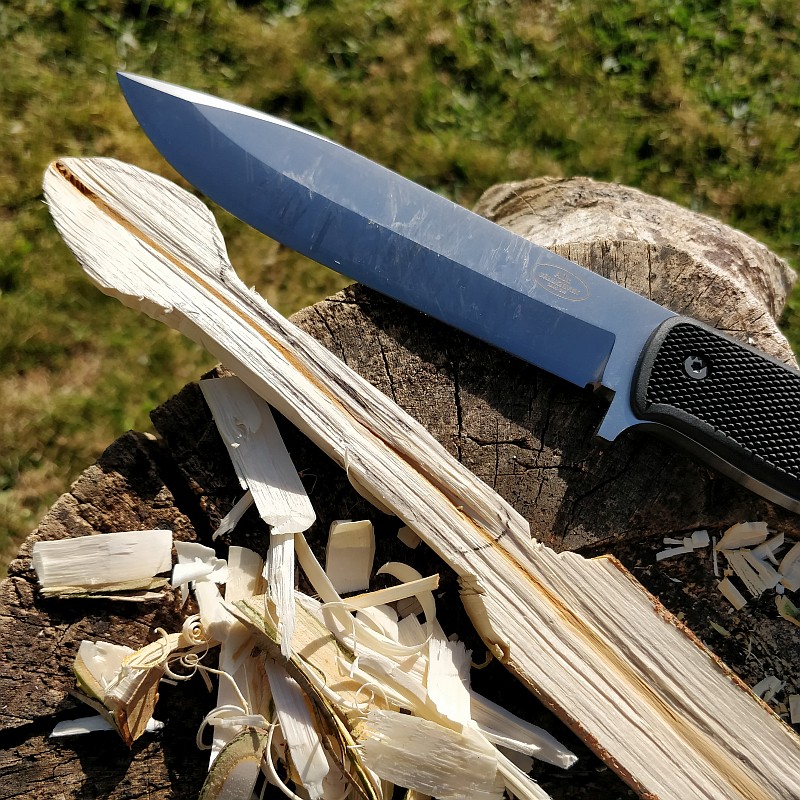
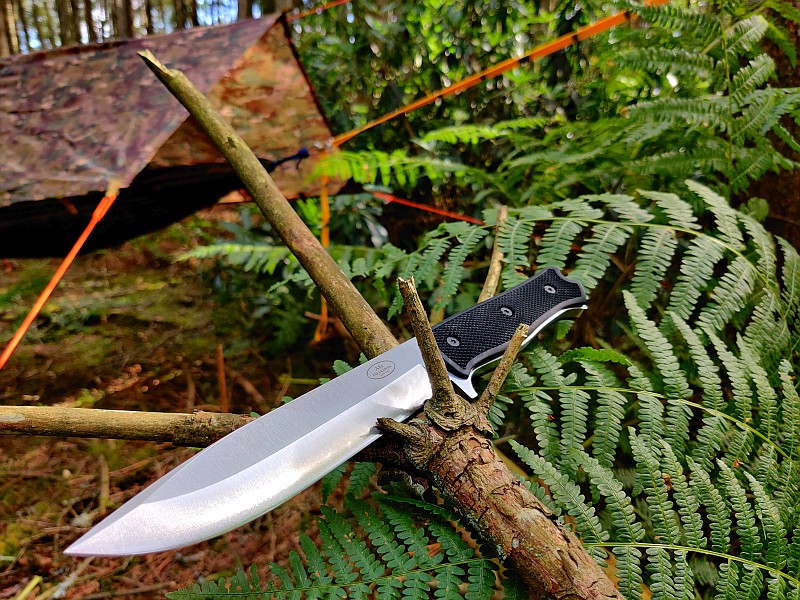
Blade shape and geometry has proven itself time and again. A full flat grind combined with a blade that is not too thick and not too thin, means it cuts really well. The point of the blade punctures eagerly, helped by the narrow point-angle and swedge. (Of course you must always be careful and utilise correct technique when using the point of a slip-joint, as if you get it wrong you can make the blade close on your fingers.)
Being a slip-joint provides you with a freedom to carry the knife that far outweighs any limitations of not having a locking blade.
The Thrill has been my EDC for a good time now and takes all those daily duties in its stride while leaving you with the feeling it IS something special.

Review Summary
The views expressed in this summary table are from the point of view of the reviewer’s personal use. I am not a member of the armed forces and cannot comment on its use beyond a cutting tool or field/hunting knife.
Something that might be a ‘pro’ for one user can be a ‘con’ for another, so the comments are categorised based on my requirements. You should consider all points and if they could be beneficial to you.
I’m starting with what doesn’t work so well, so I can finish on a more positive note 
_______________________________________________
What doesn’t work so well for me
_______________________________________________
Weak pocket clip.
No Lanyard hole.
_______________________________________________
Things I like
_______________________________________________
Lovely action.
Slip-Joint (UK EDC legal).
Firm back-spring pressure.
Versatile blade shape.
Possible to pinch grip the blade to open.
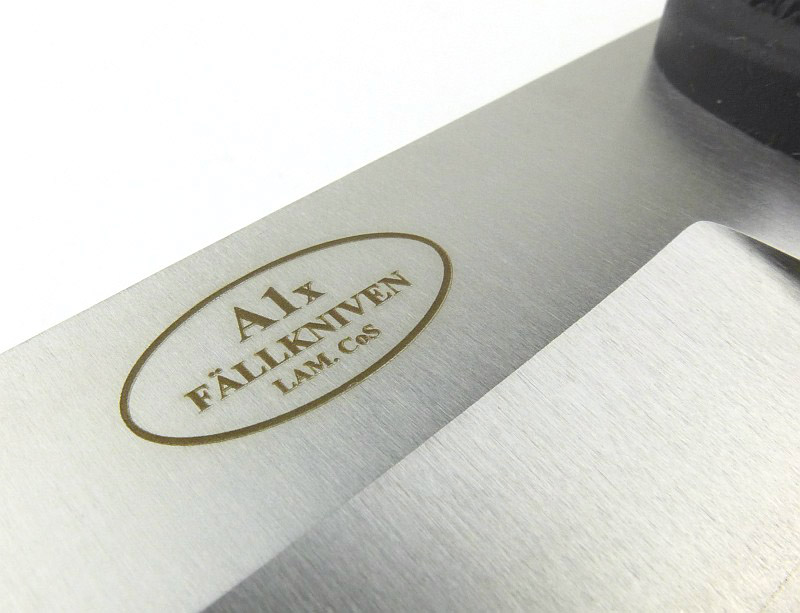
M390 blade steel.
Superb fit and finish.
Single-piece solid handle.
Hideaway pocket clip.
Discussing the Review:
Please visit the Tactical Reviews Facebook Page to discuss this review and start/join the conversation. ![]()


.")