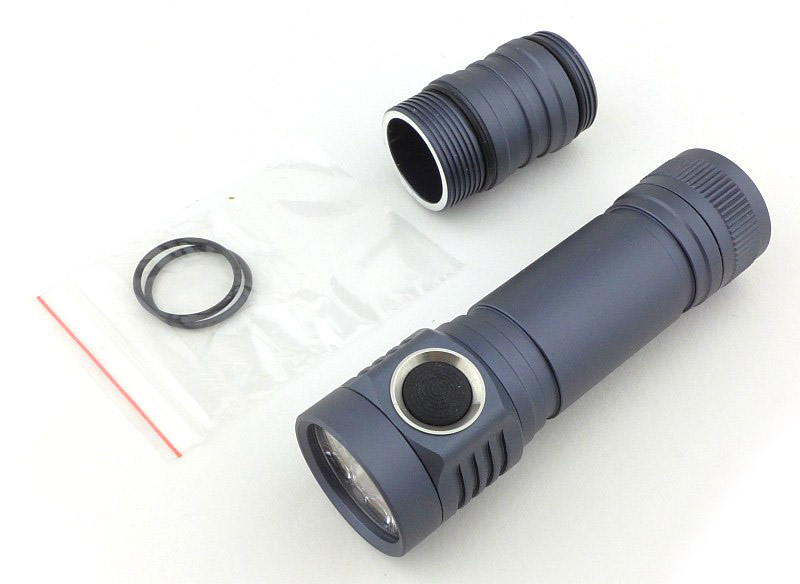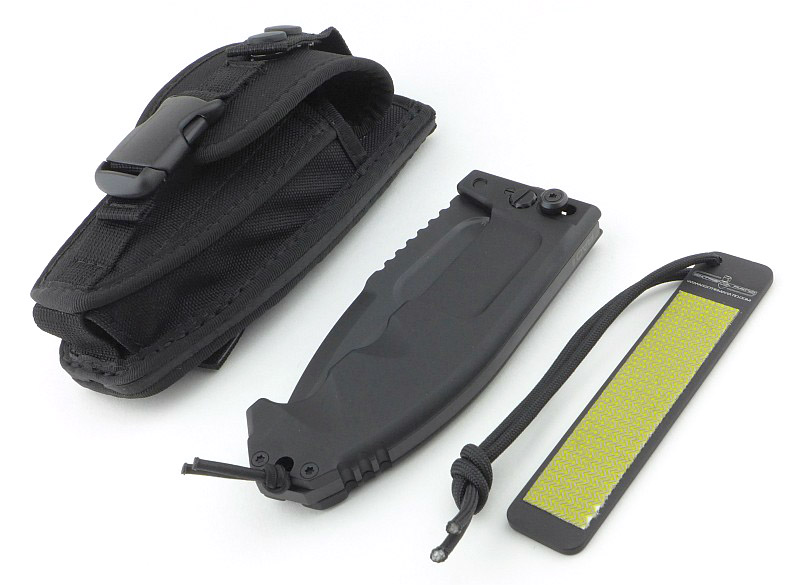
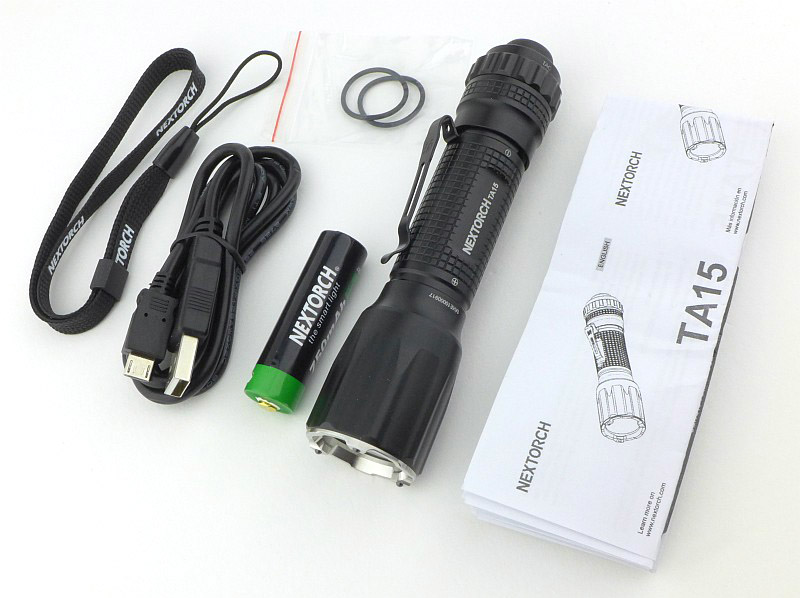
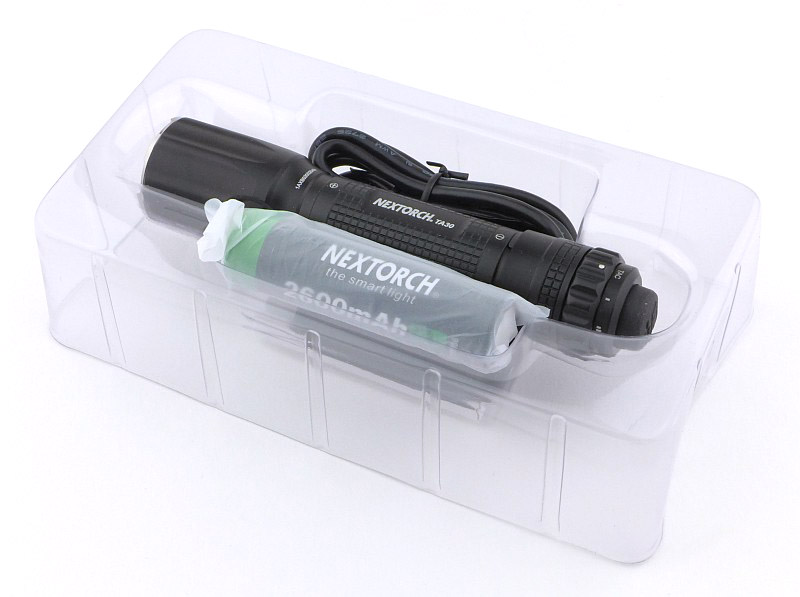
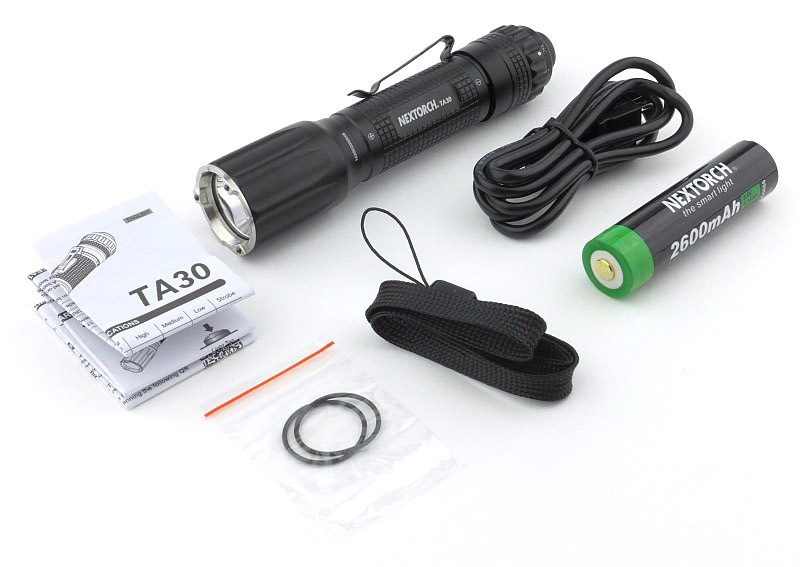
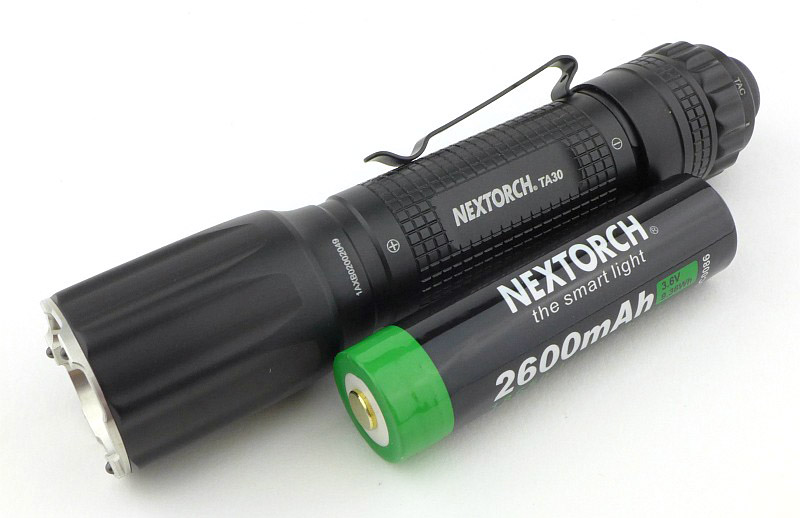
Nextorch have always seemed happy to be a bit different, which is great for us as we get products that are innovative and unusual. This review is of the Nextorch TA15 and TA30 plus the Nextorch FR-1 Tactical Grip Ring. The TA15 supports several different battery types and sizes, and along with the more powerful TA30, has Nextorch’s dual-function tail-cap with magnetic control ring and two-stage button.
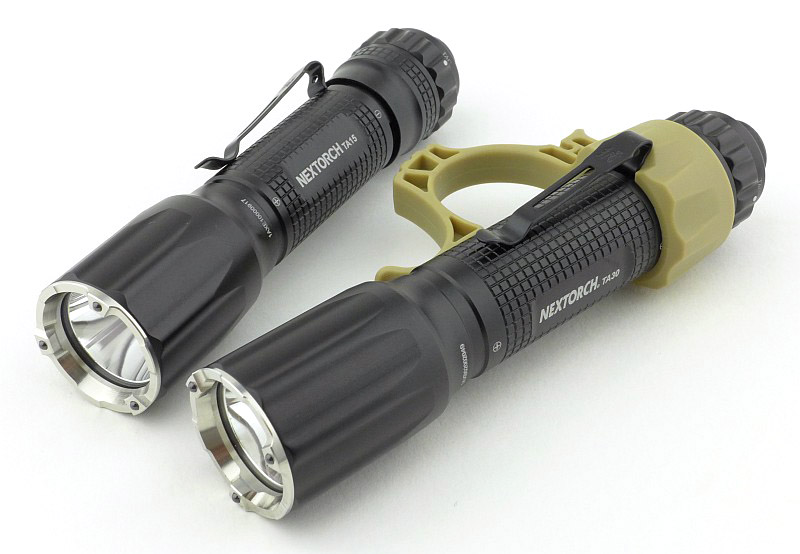
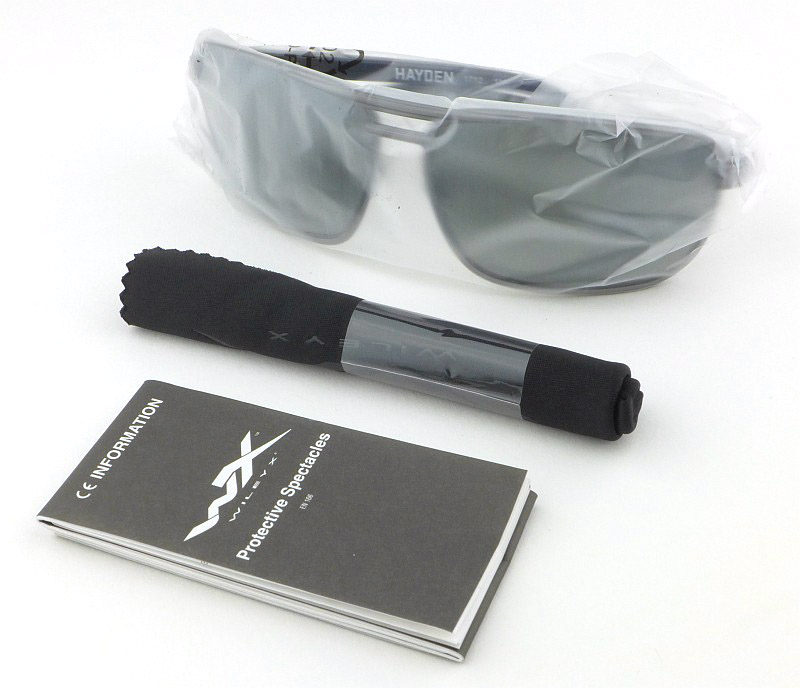
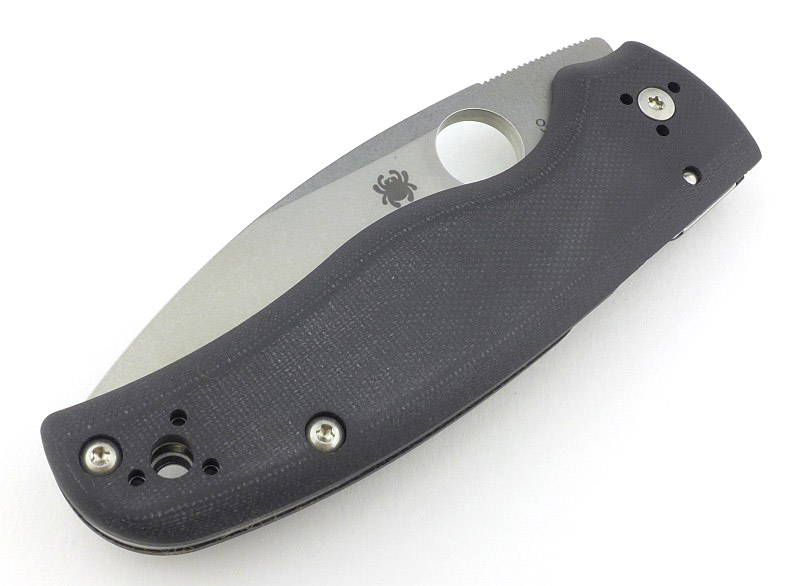
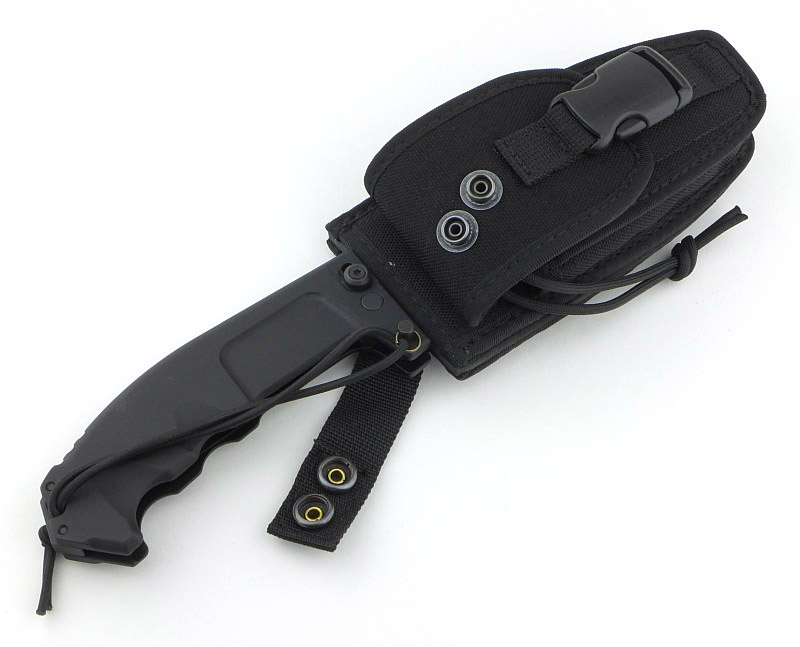
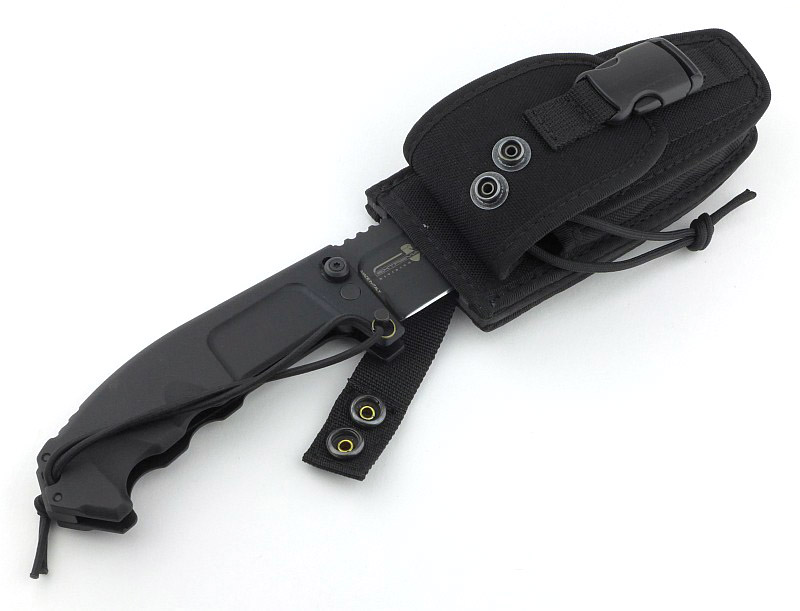
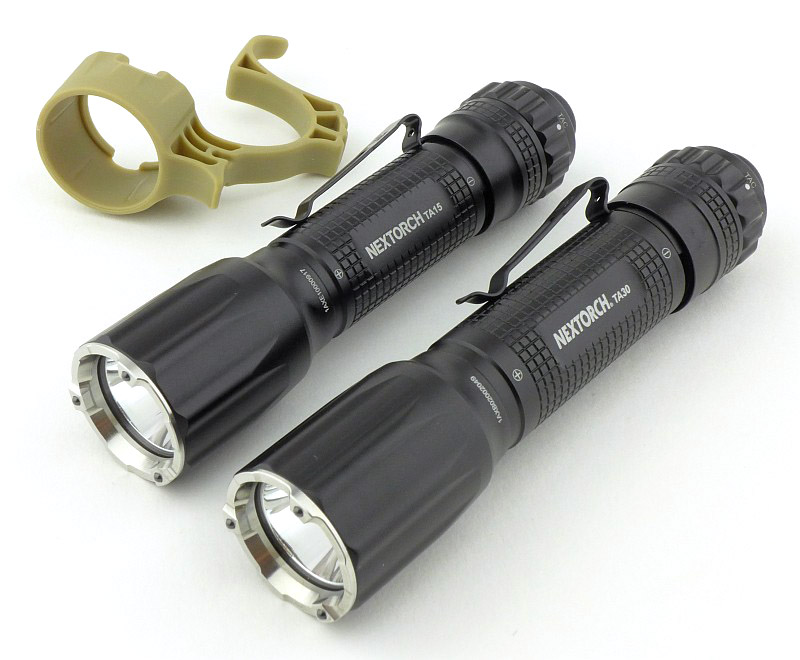
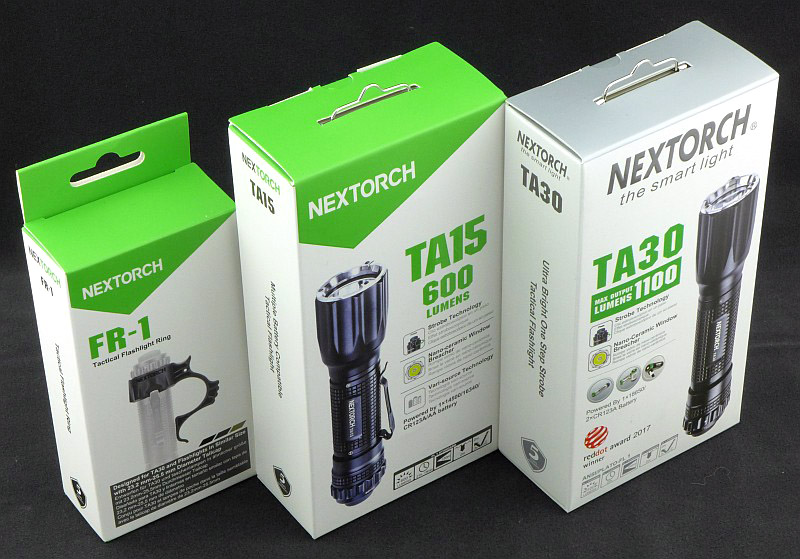
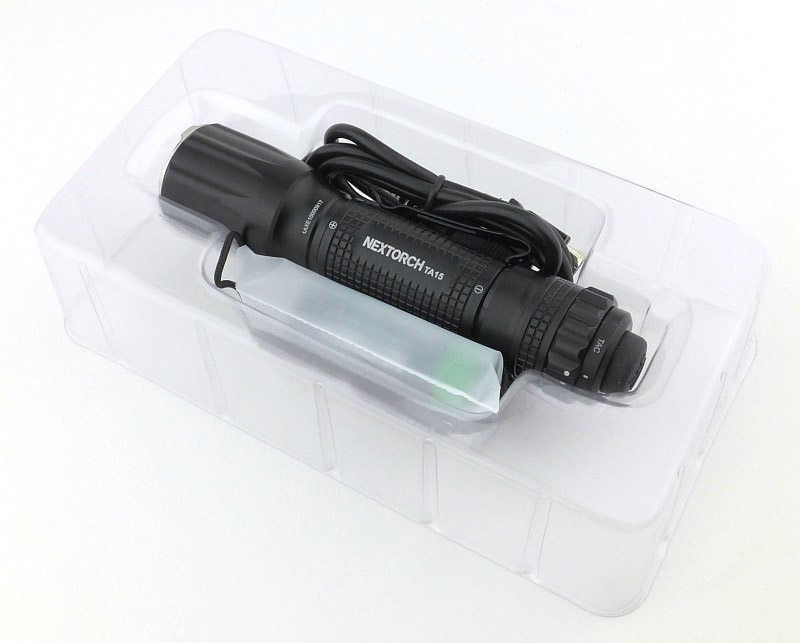
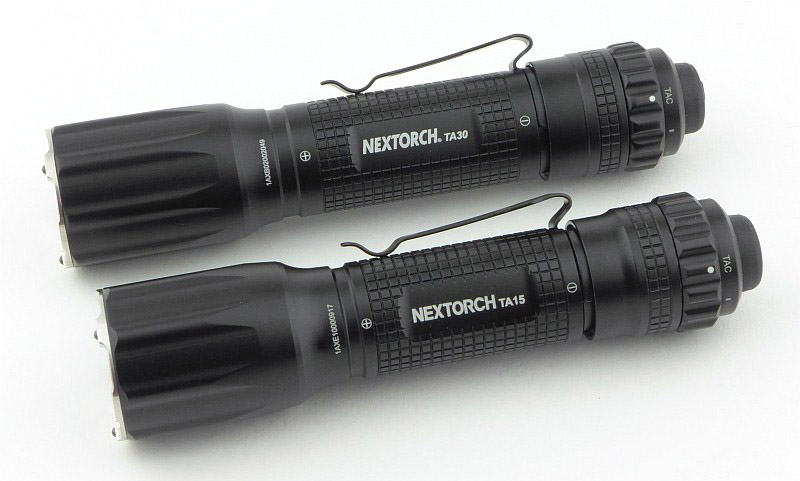
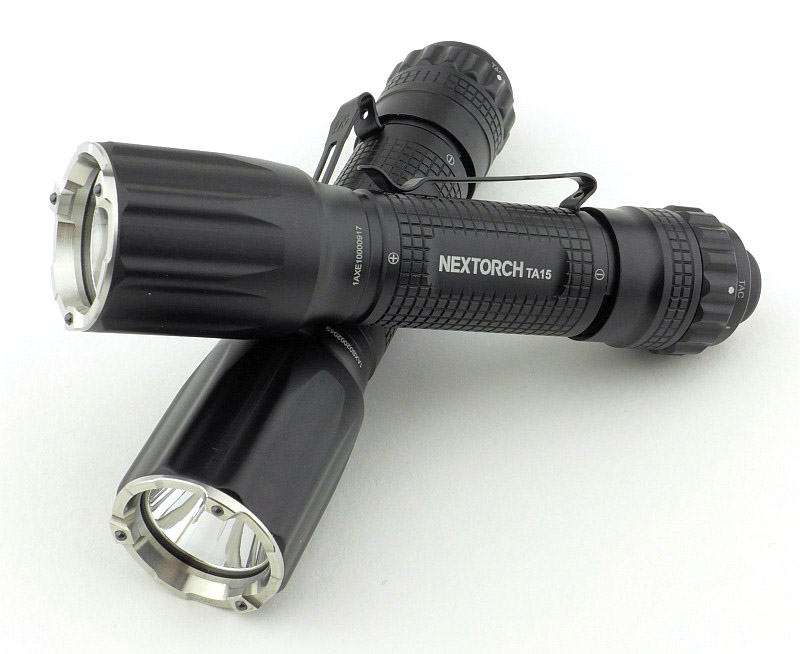
The TA15, TA30 and FR-1 as they arrived.
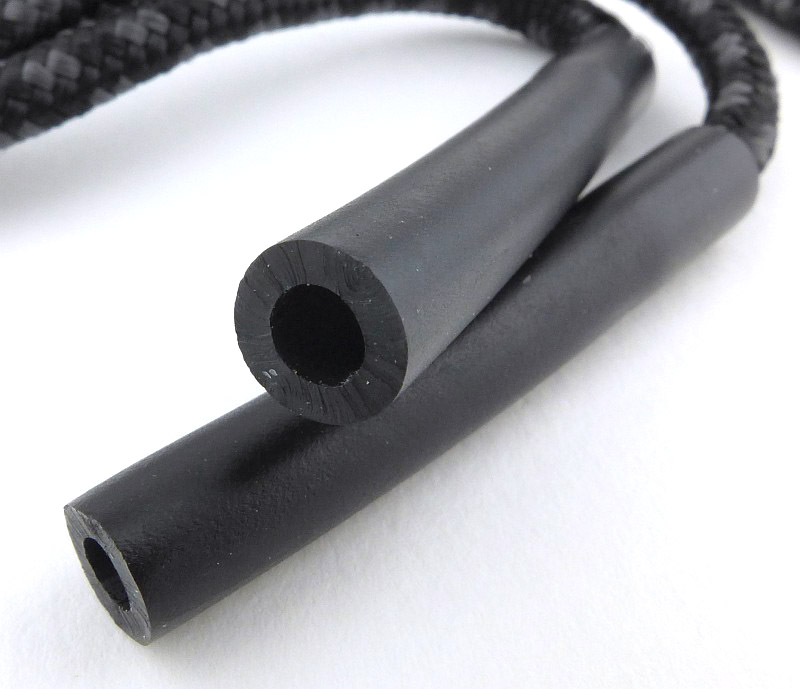
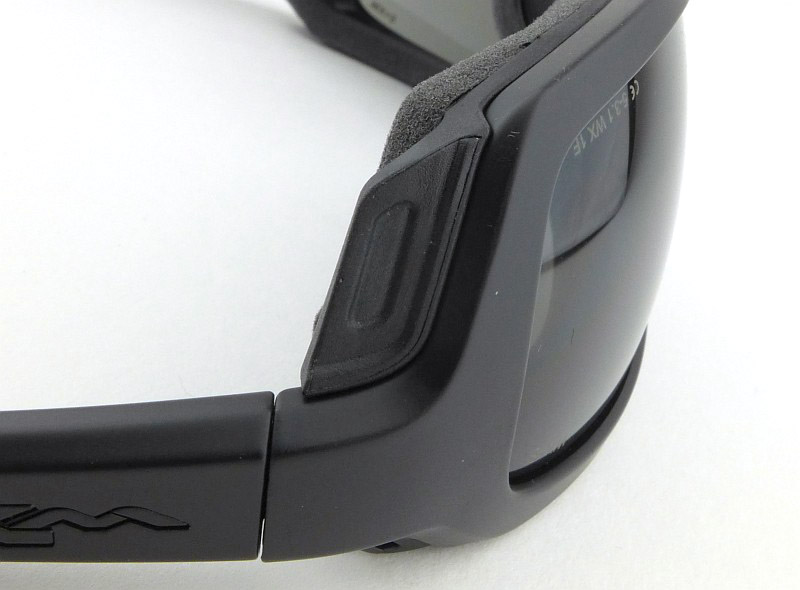
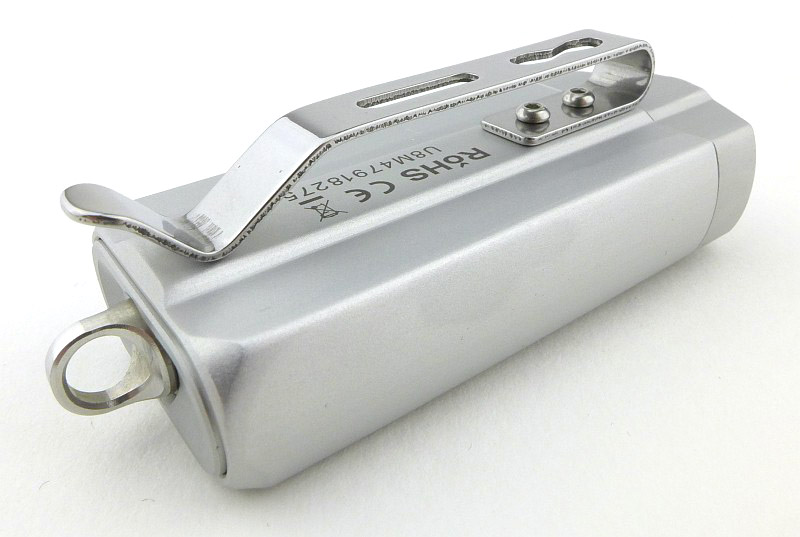
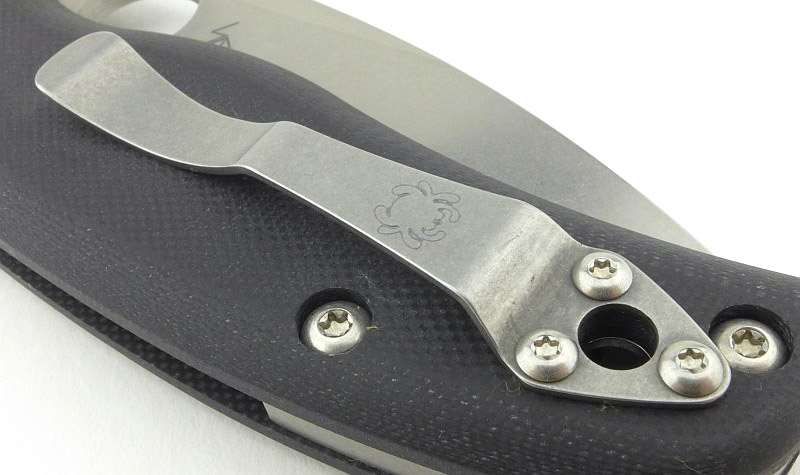
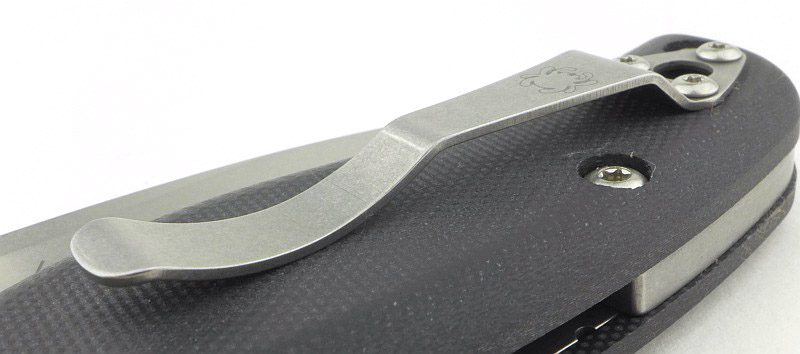
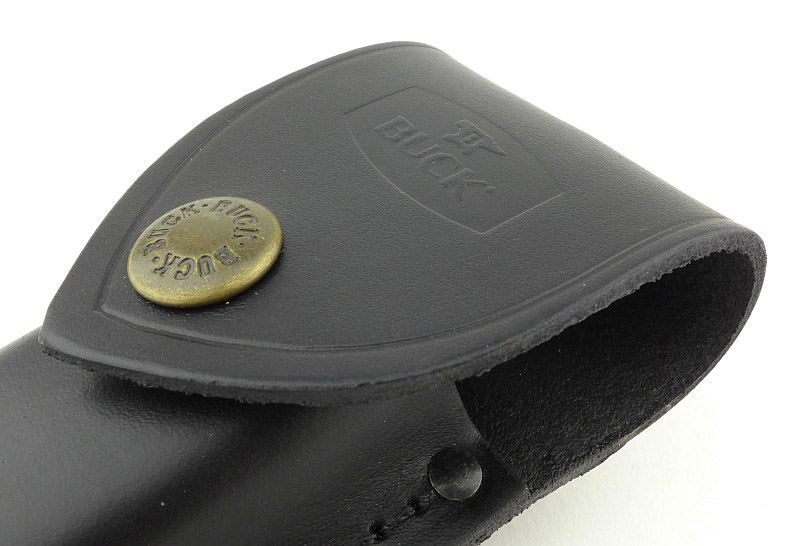
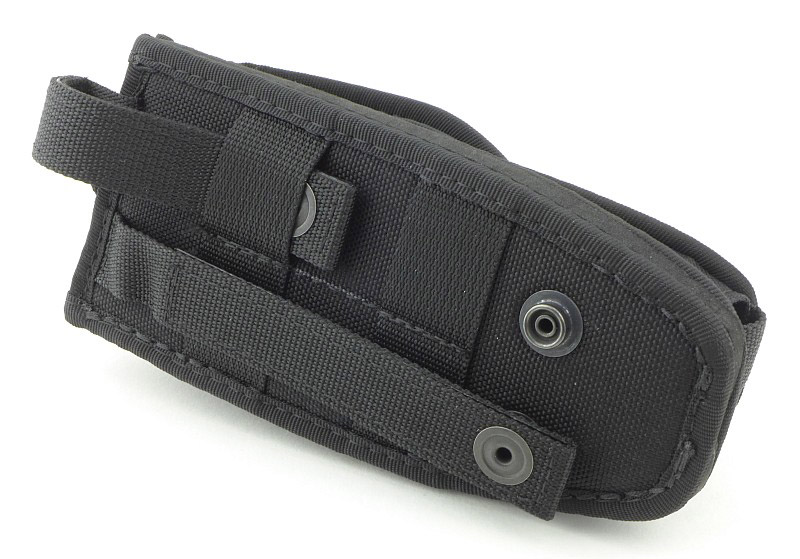
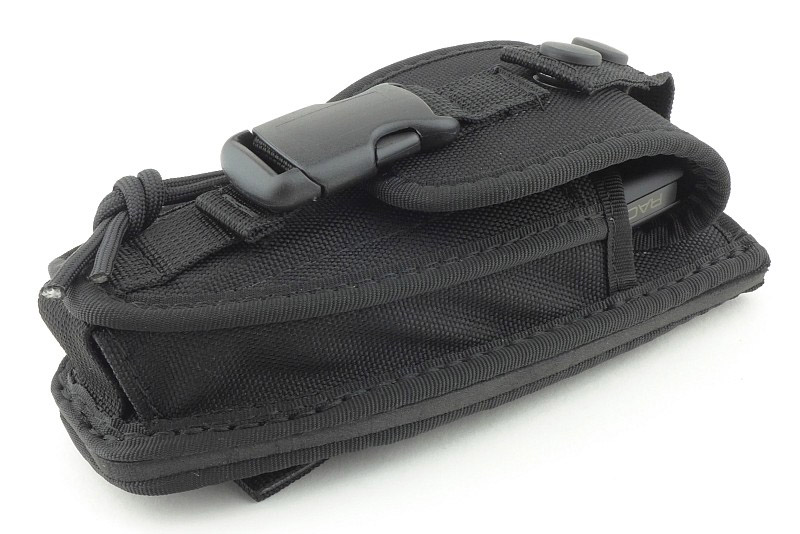
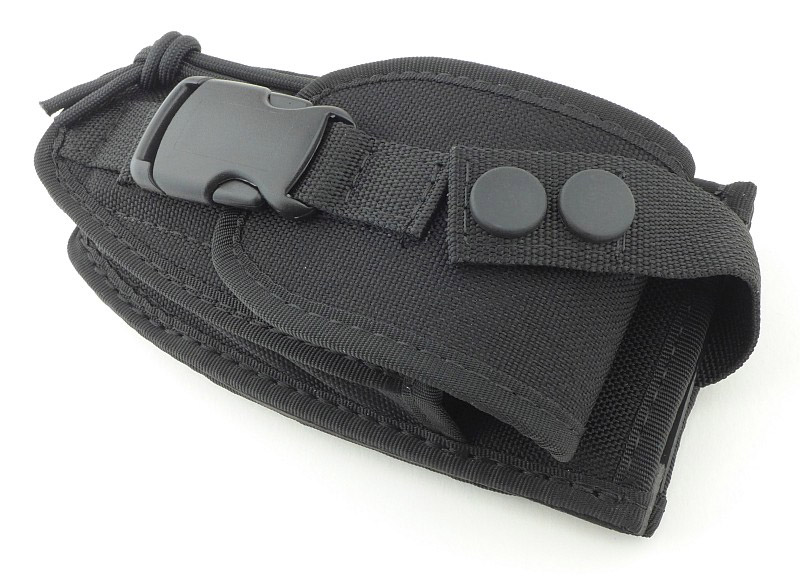
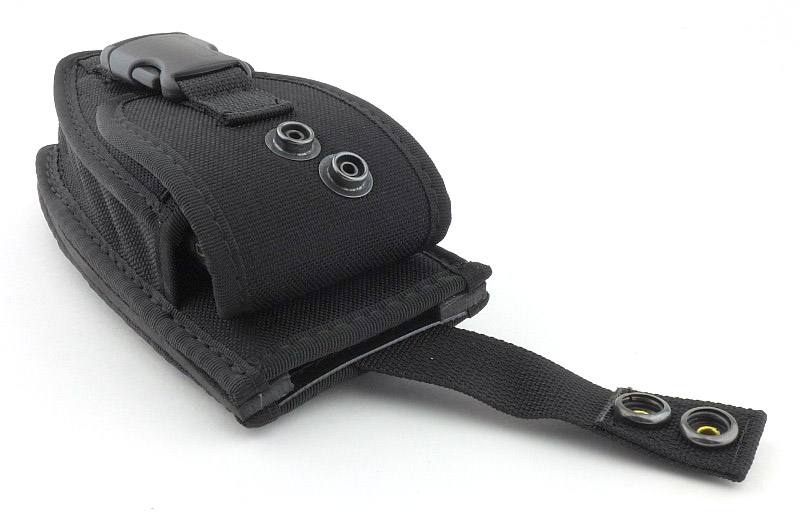
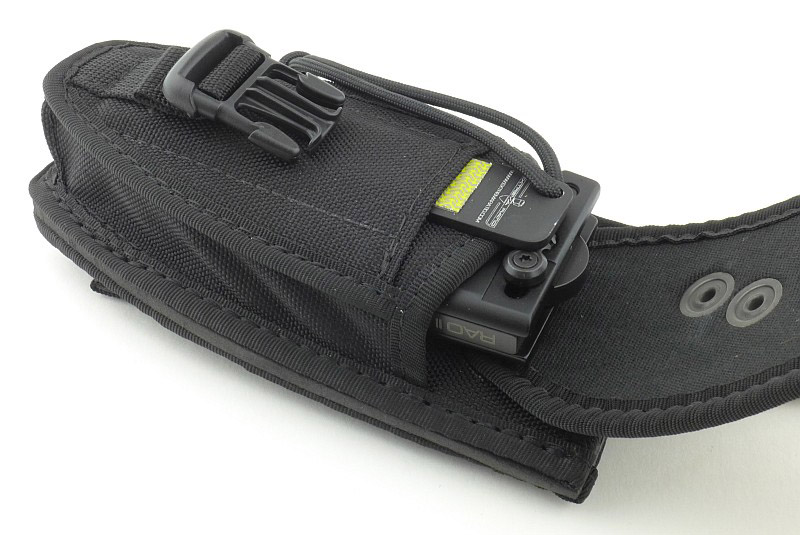
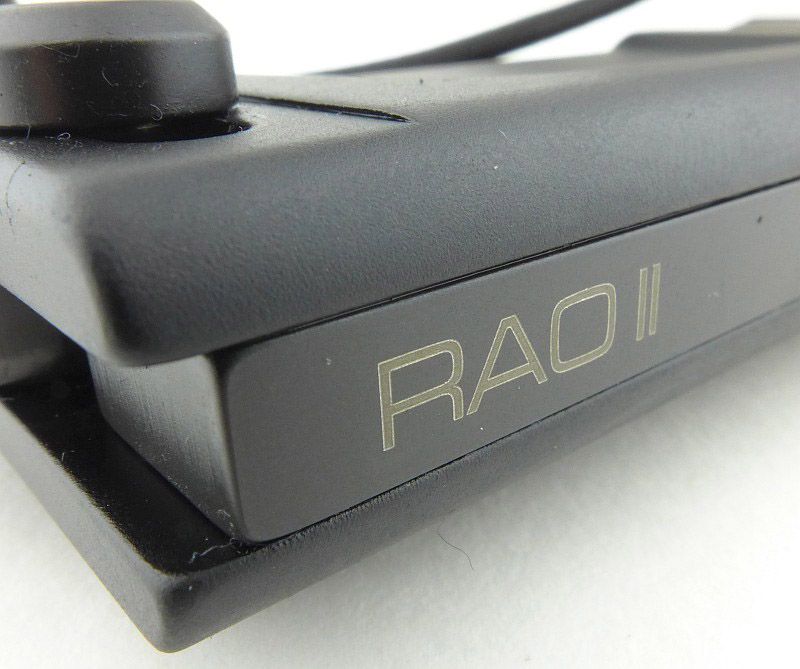
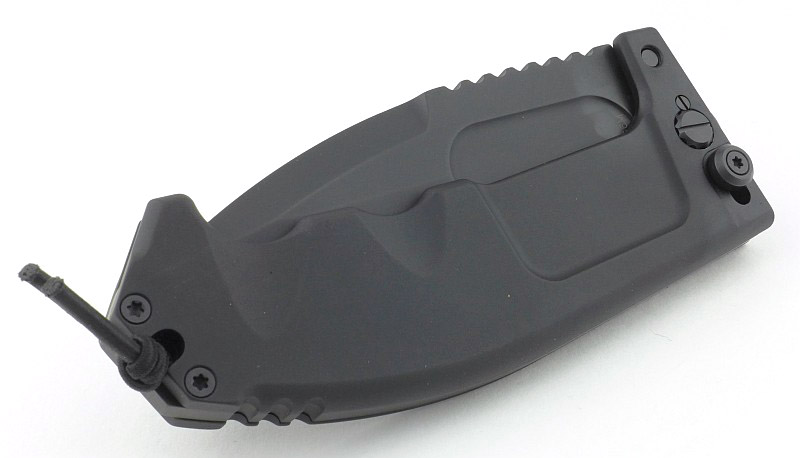
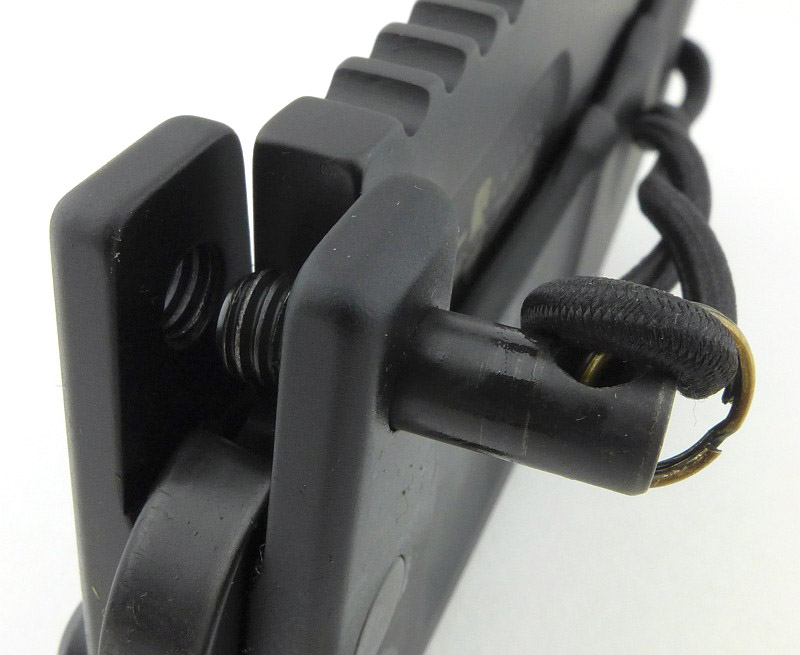
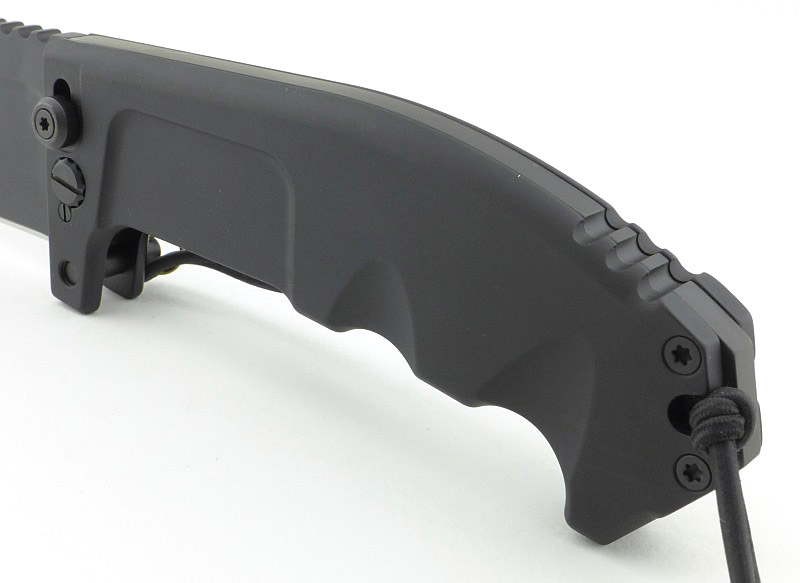
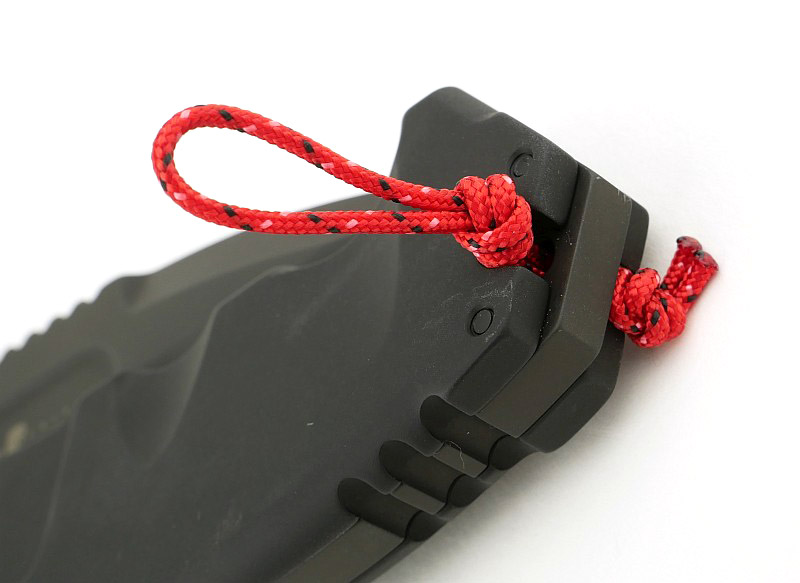
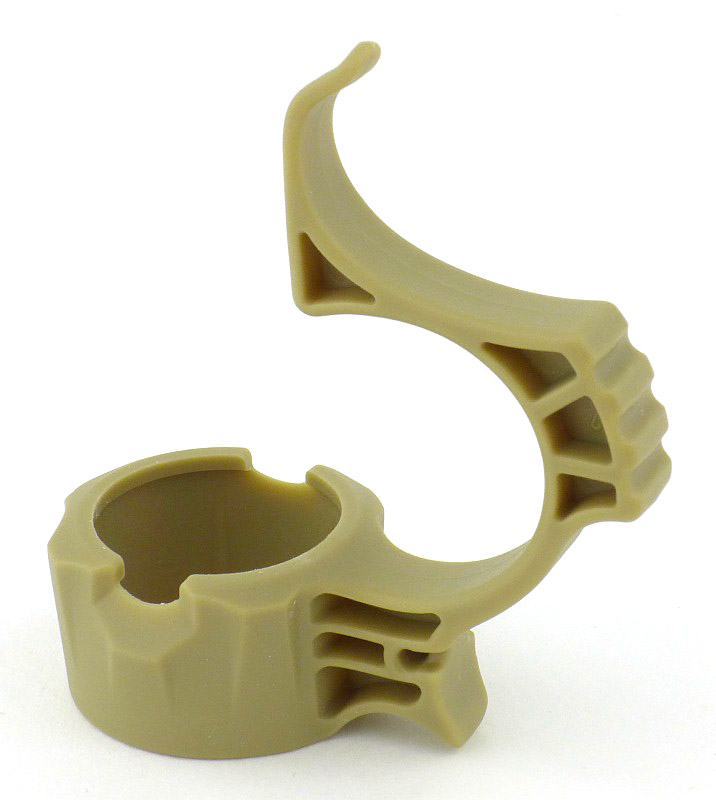
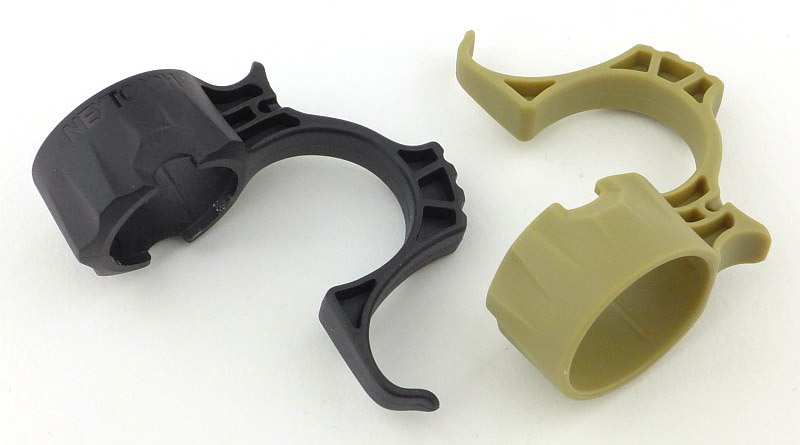
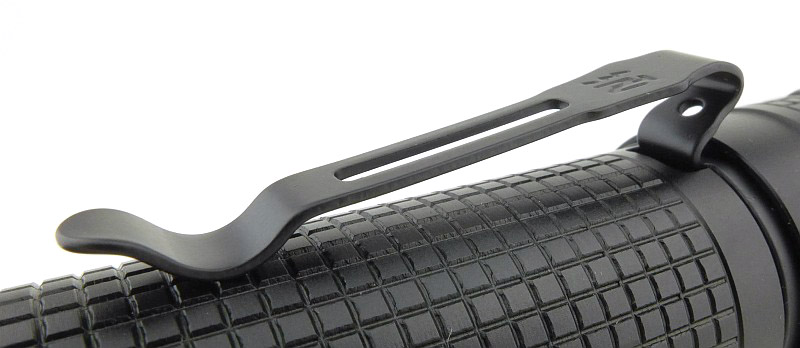
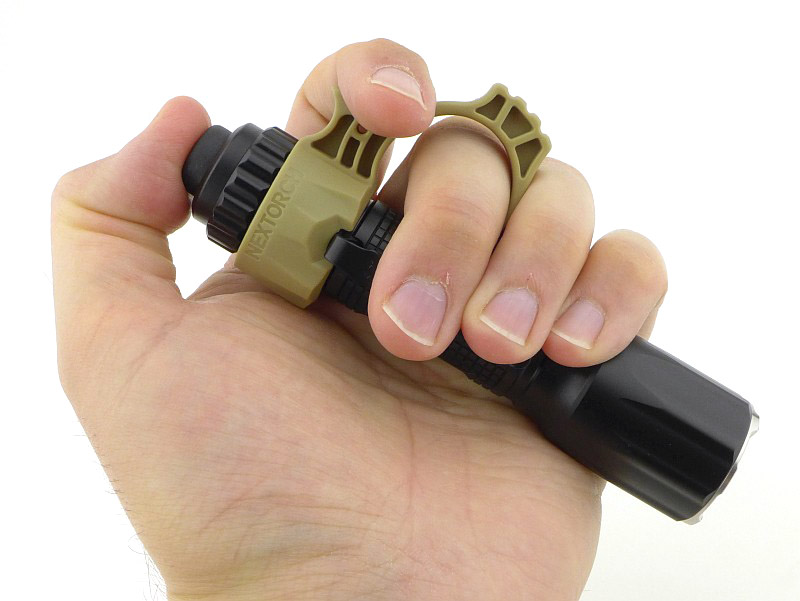
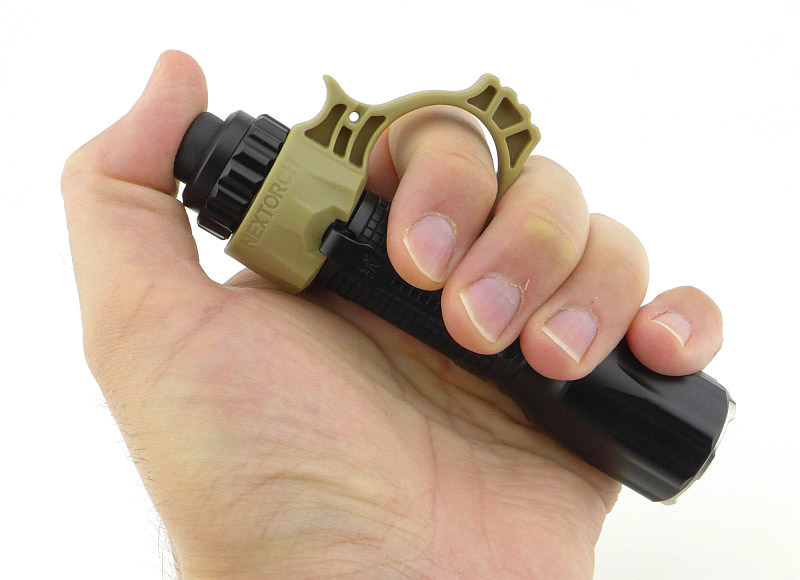
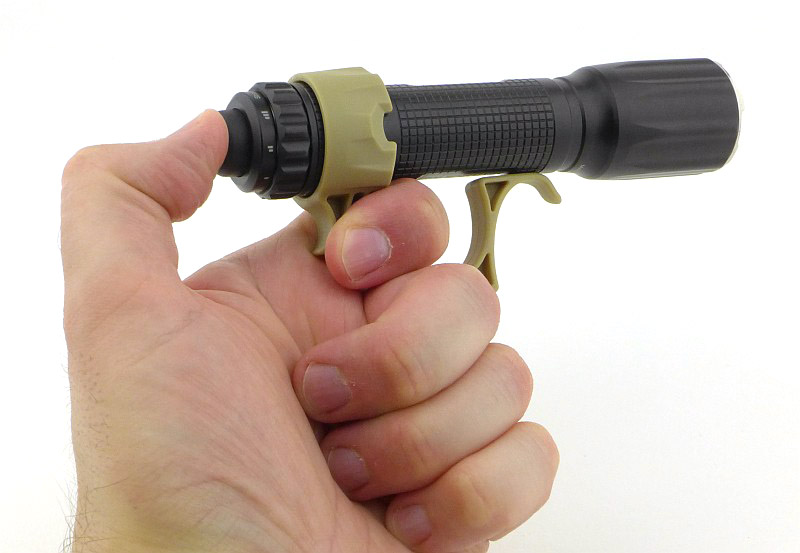
Taking a more detailed look at the FR-1:
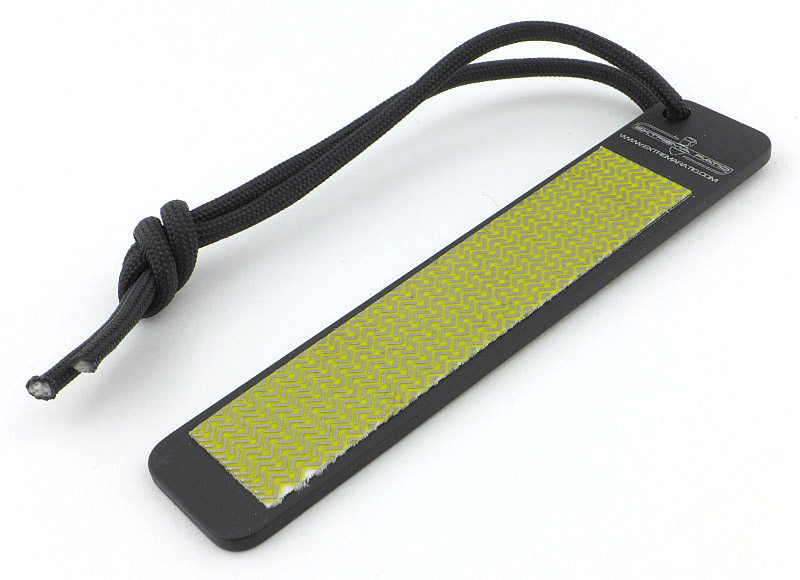
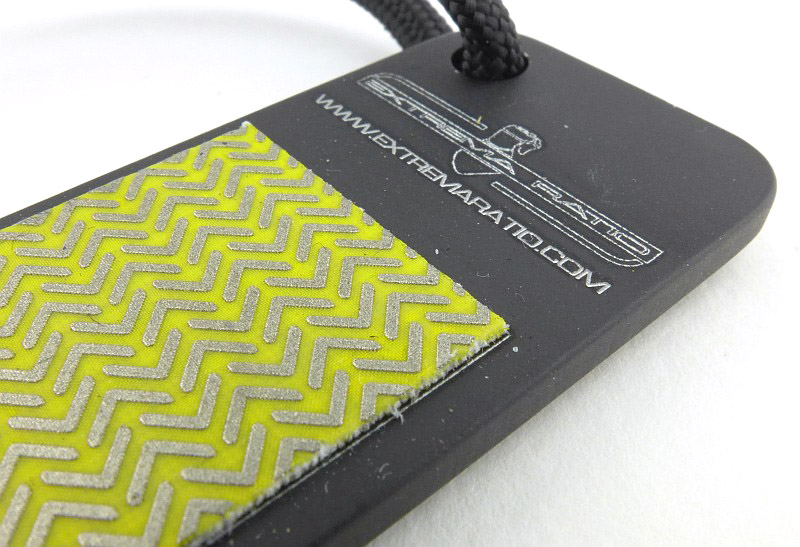
With so much to look at, each model has a gallery of its own. This first one is of the FR-1 Tactical Grip Ring.


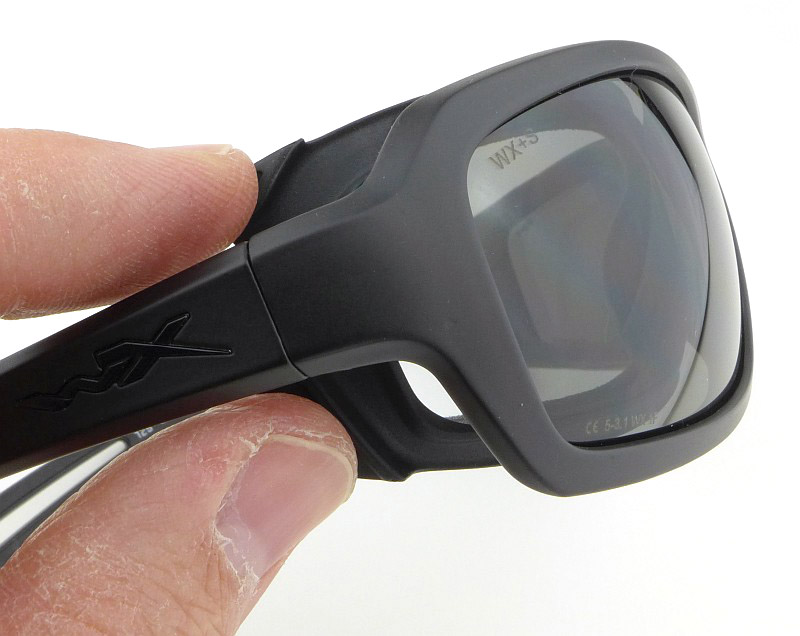
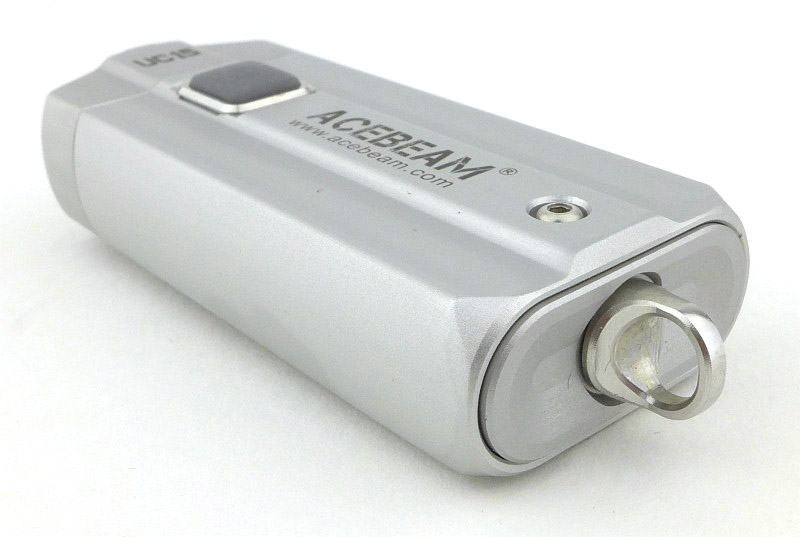
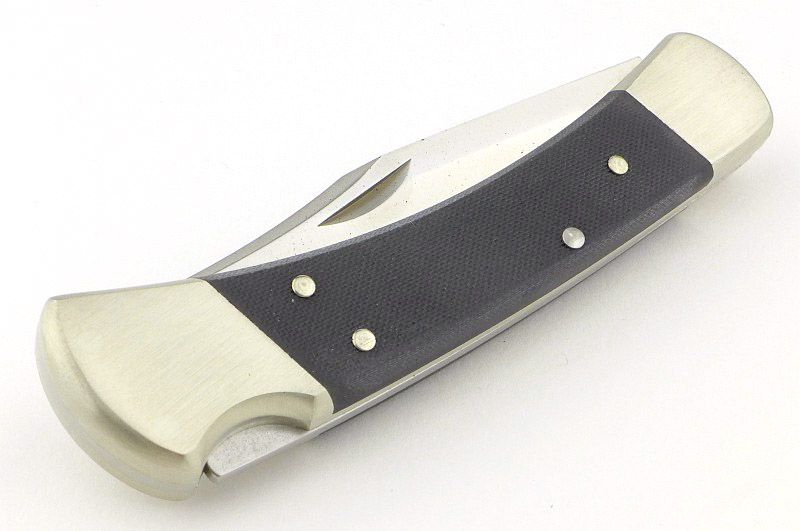
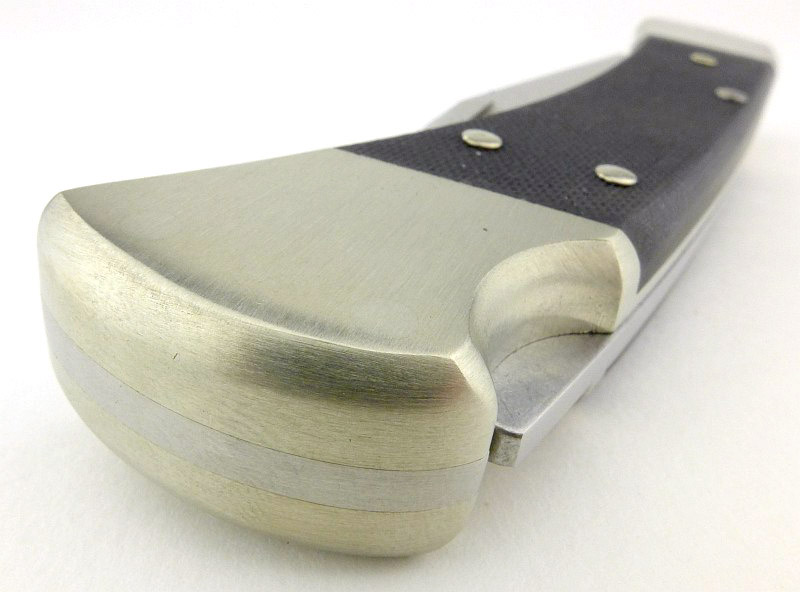
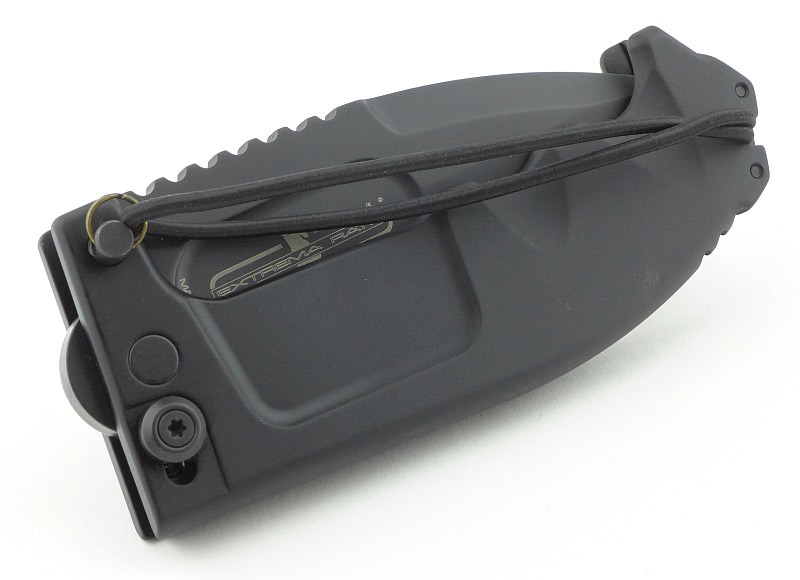
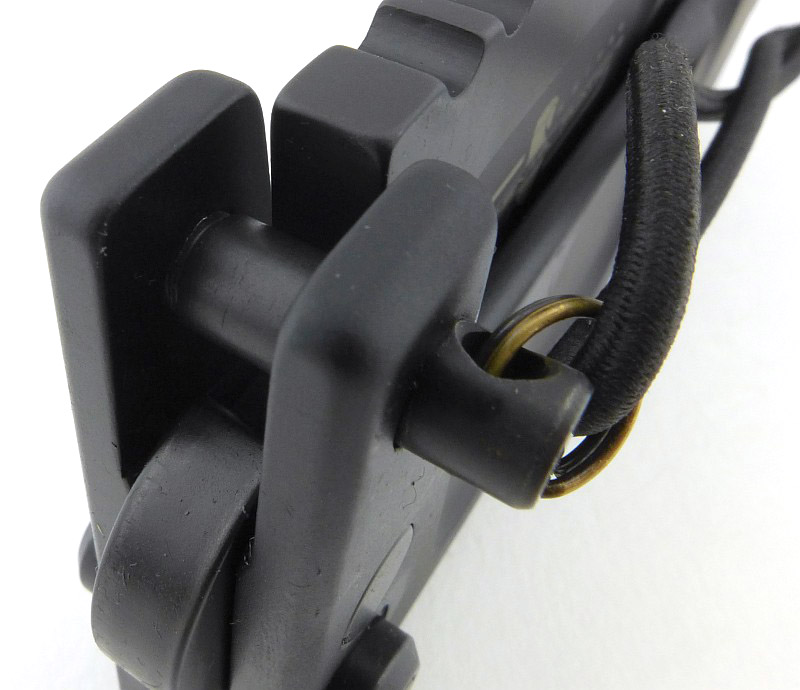
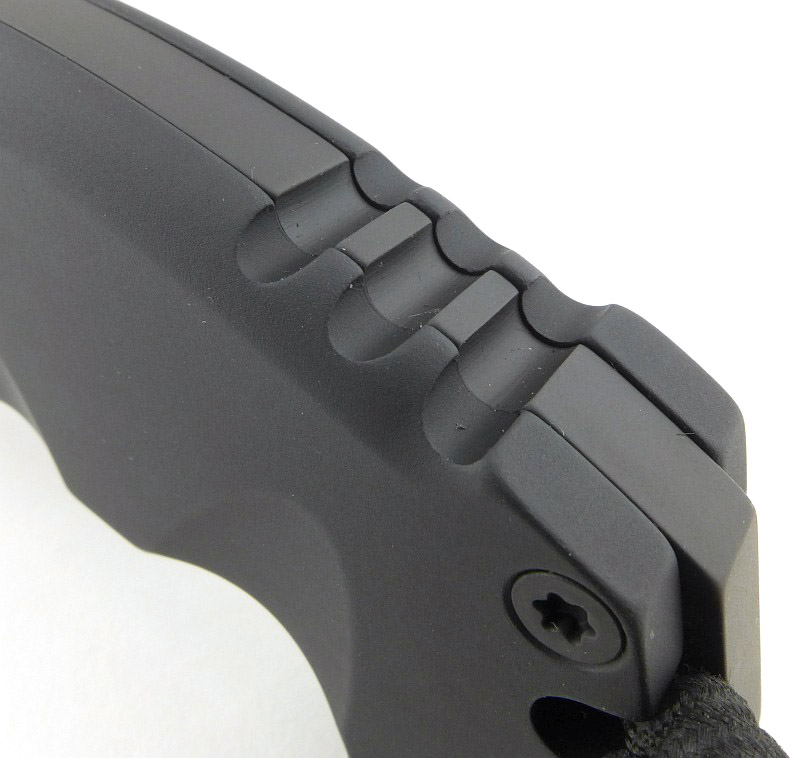
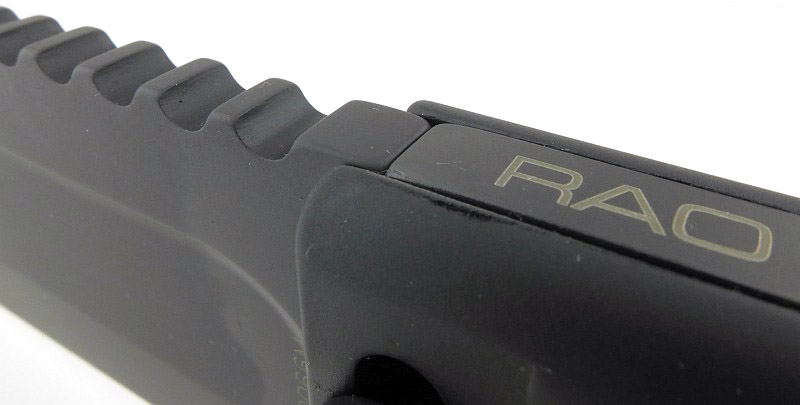
Taking a more detailed look at the TA15:
Next we take a look at the multi-power option TA15.


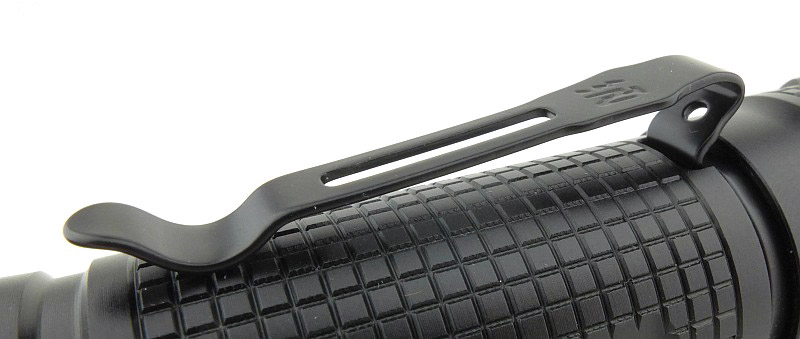

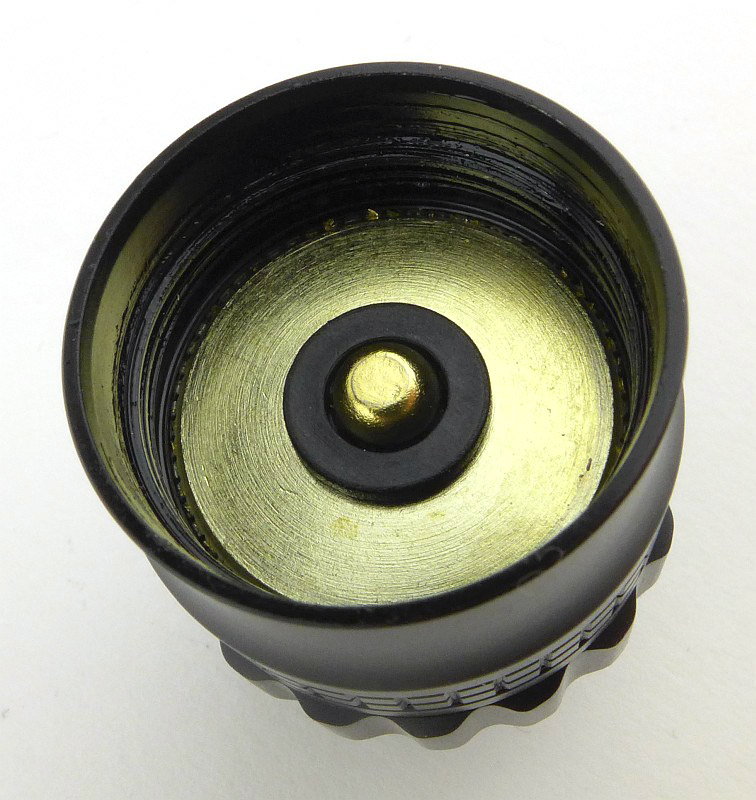


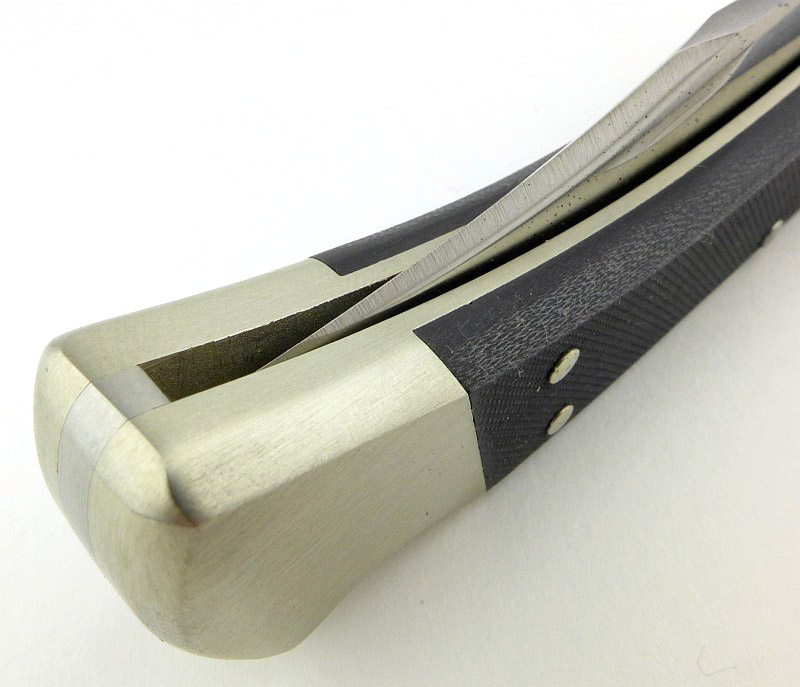
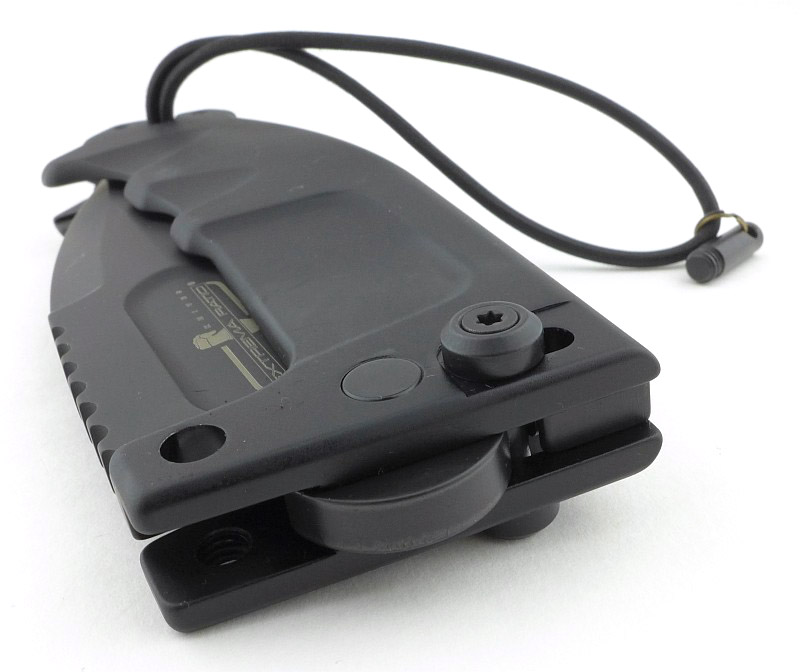
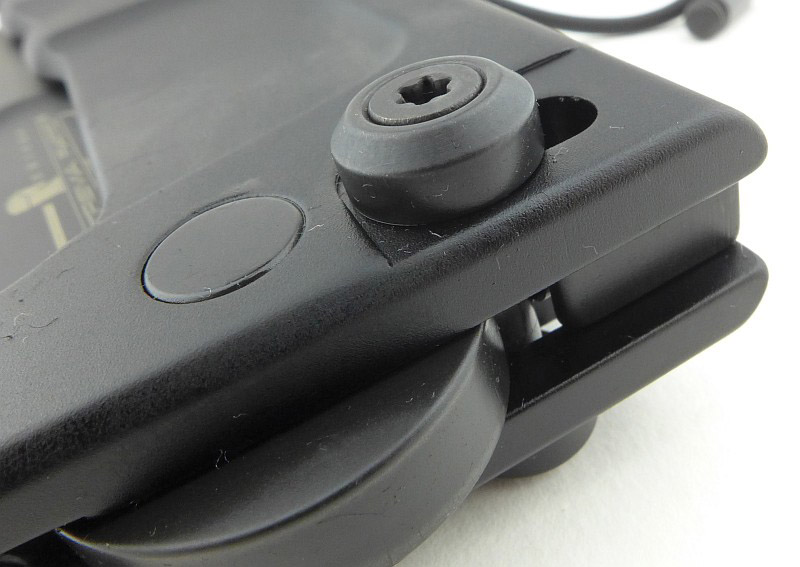
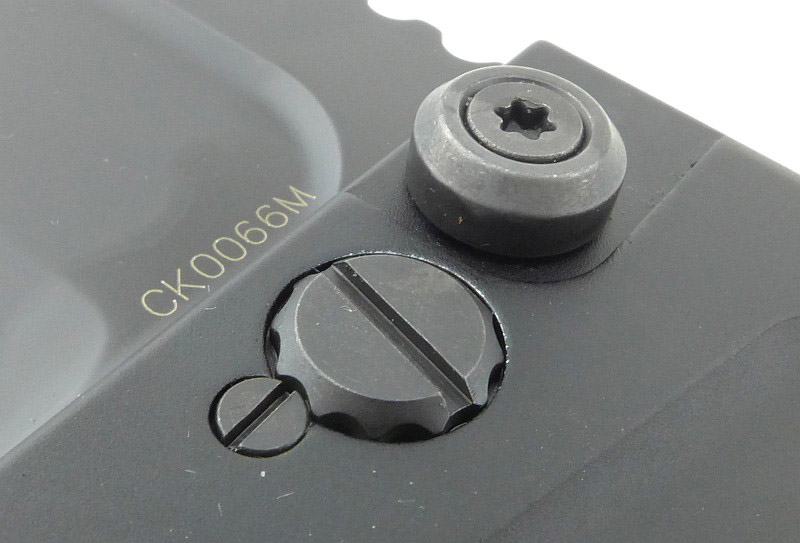
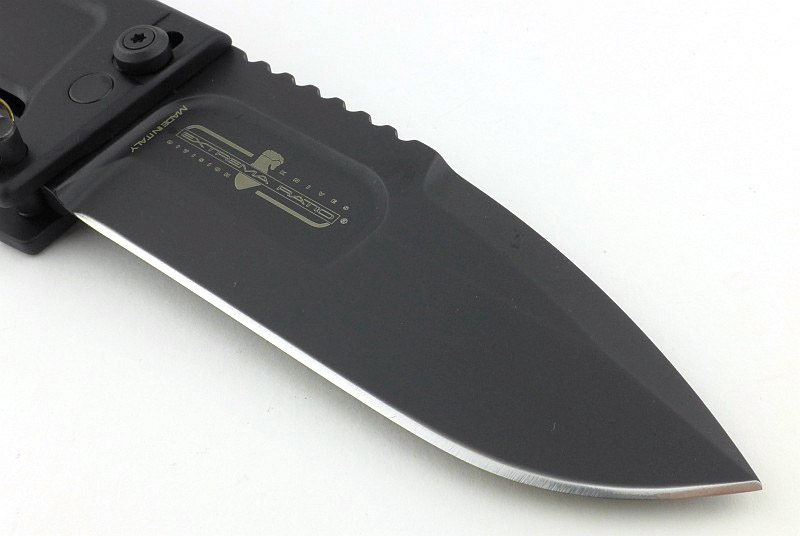
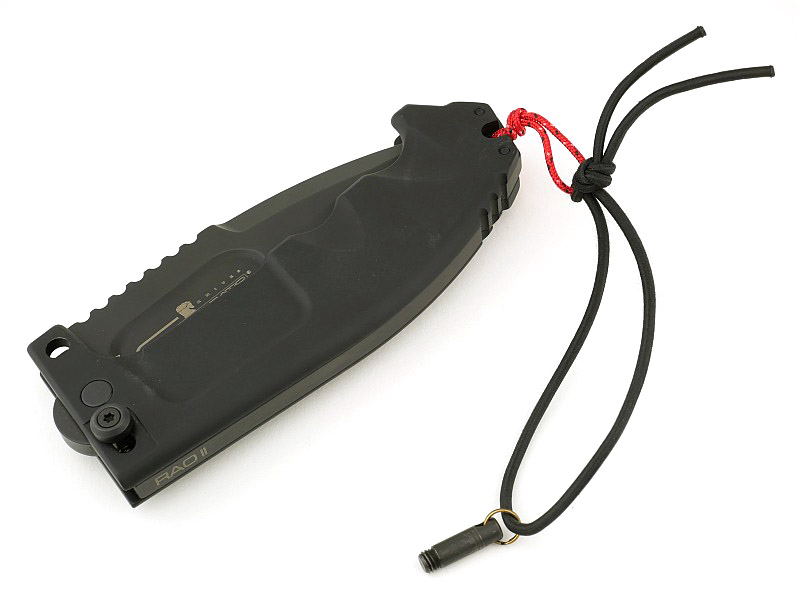
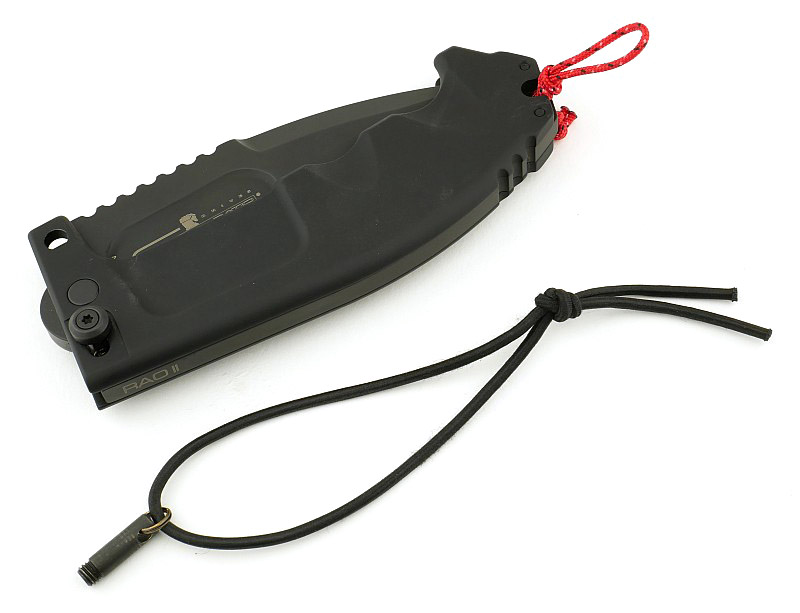
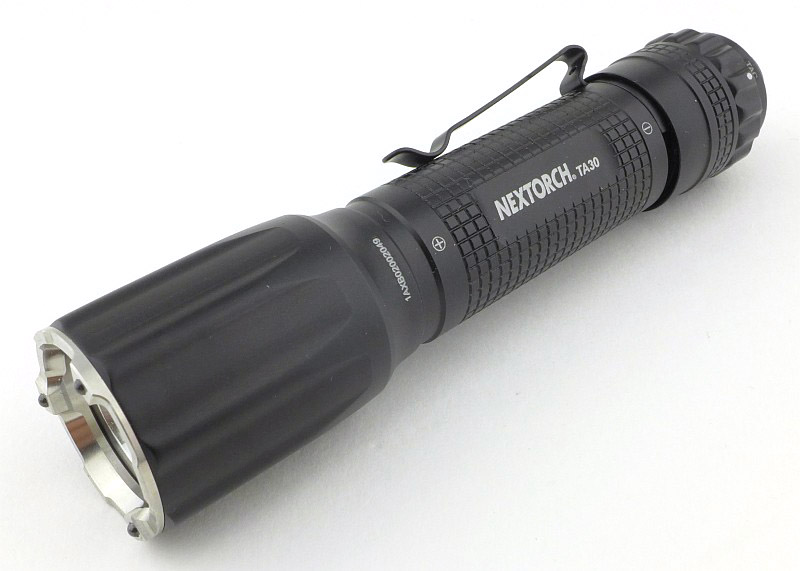
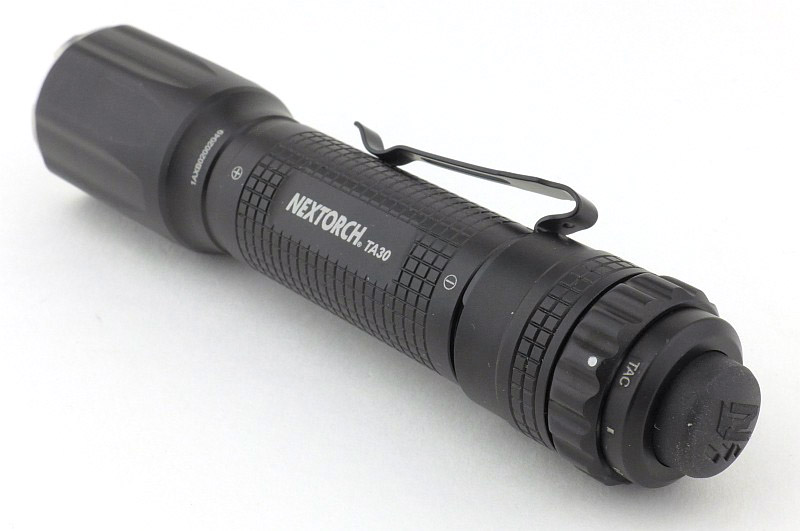
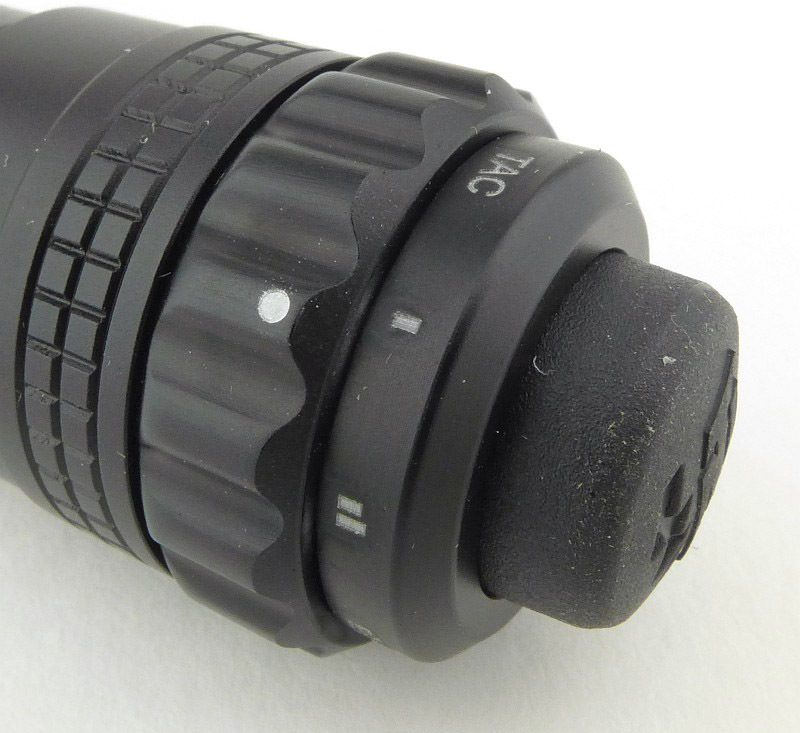
Taking a more detailed look at the TA30:
The slightly larger and more powerful TA30 is the last of the models we are looking at here.


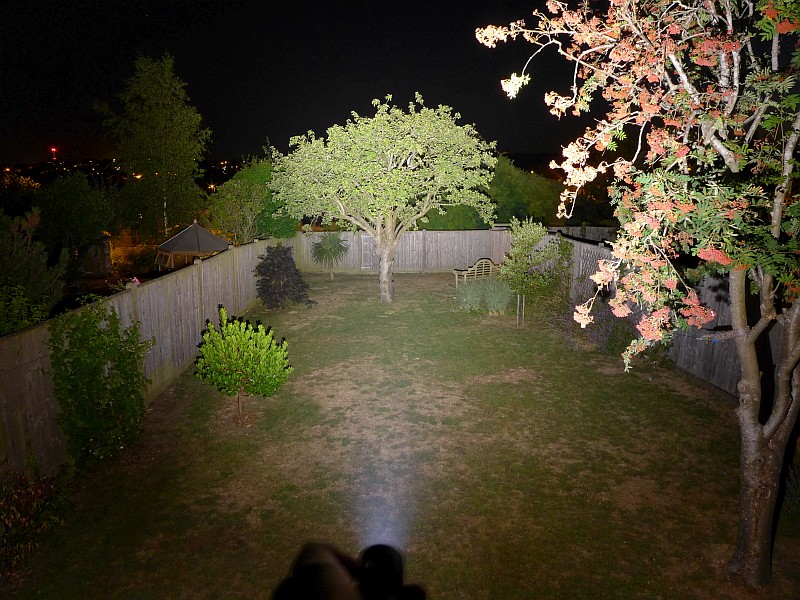
The beam
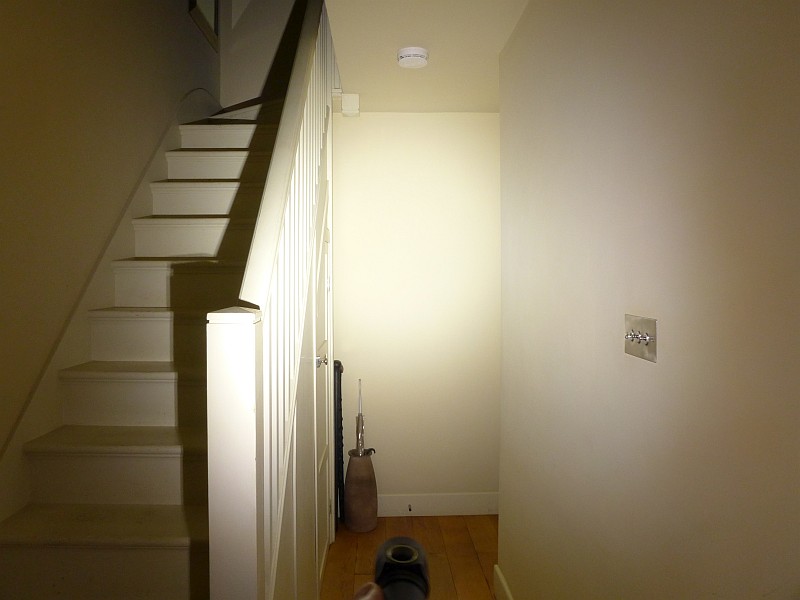
Please be careful not to judge tint based on images you see on a computer screen. Unless properly calibrated, the screen itself will change the perceived tint.
The indoor beamshot is intended to give an idea of the beam shape/quality rather than tint. All beamshots are taken using daylight white balance. The woodwork (stairs and skirting) are painted Farrow & Ball “Off-White”, and the walls are a light sandy colour called ‘String’ again by Farrow & Ball. I don’t actually have a ‘white wall’ in the house to use for this, and my wife won’t have one!
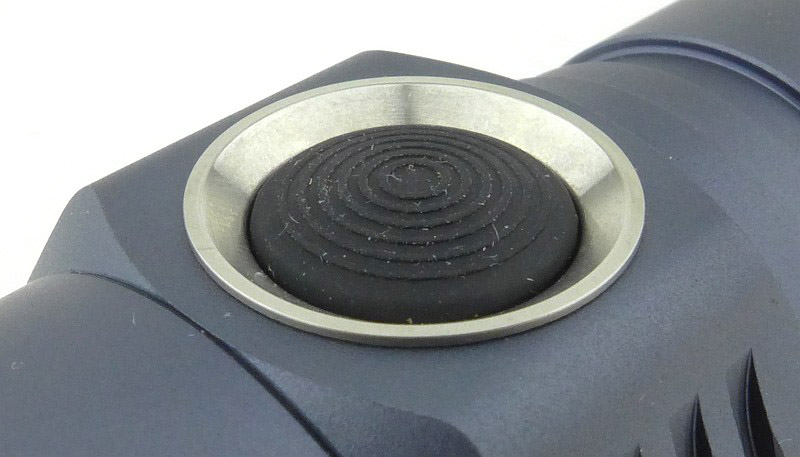
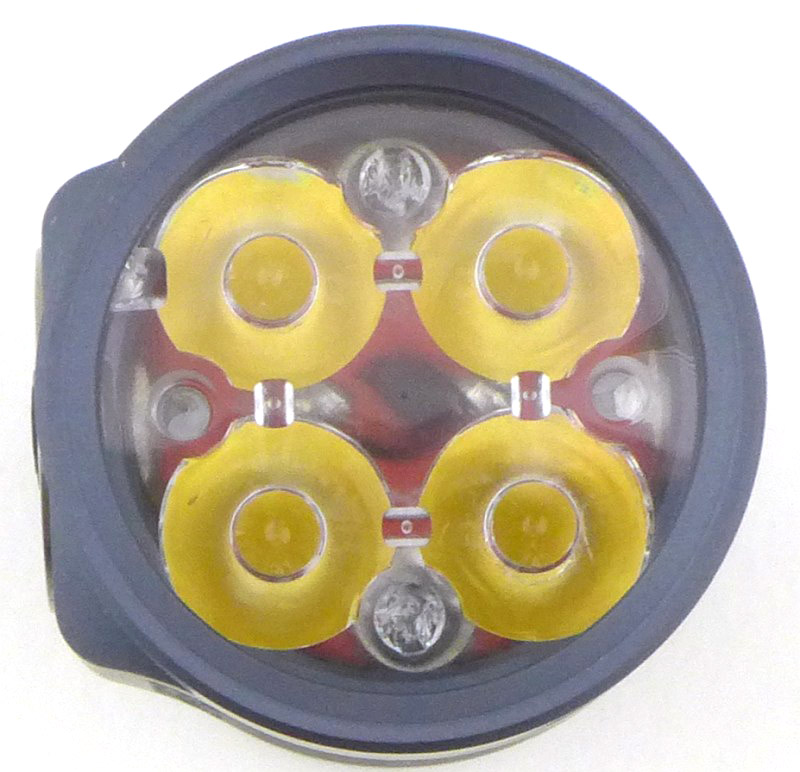
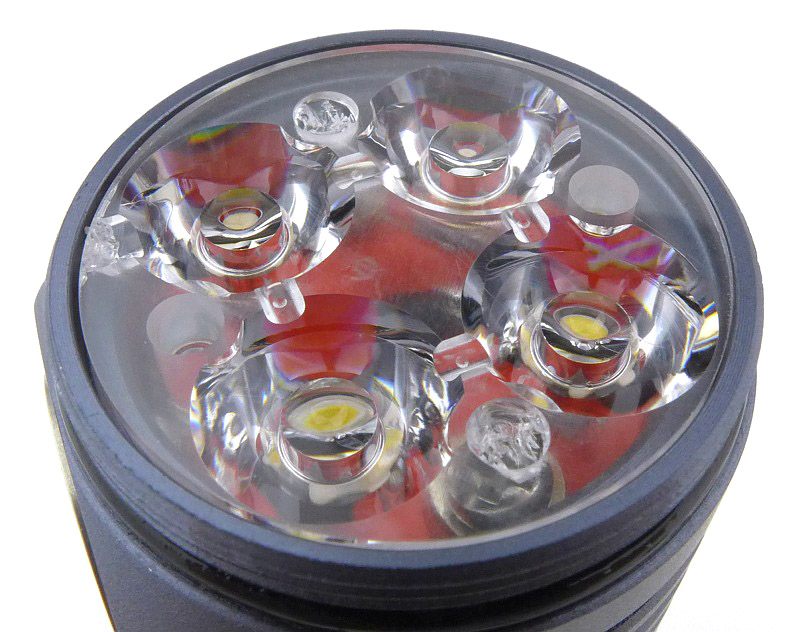
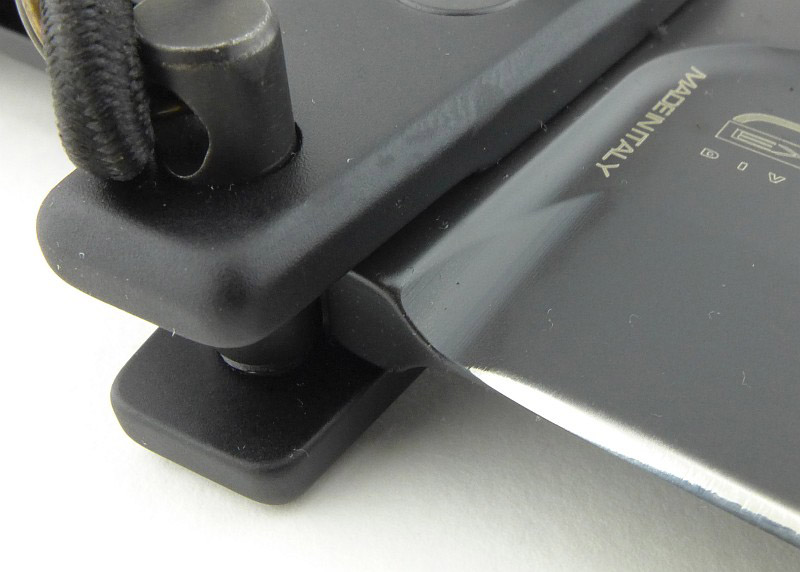
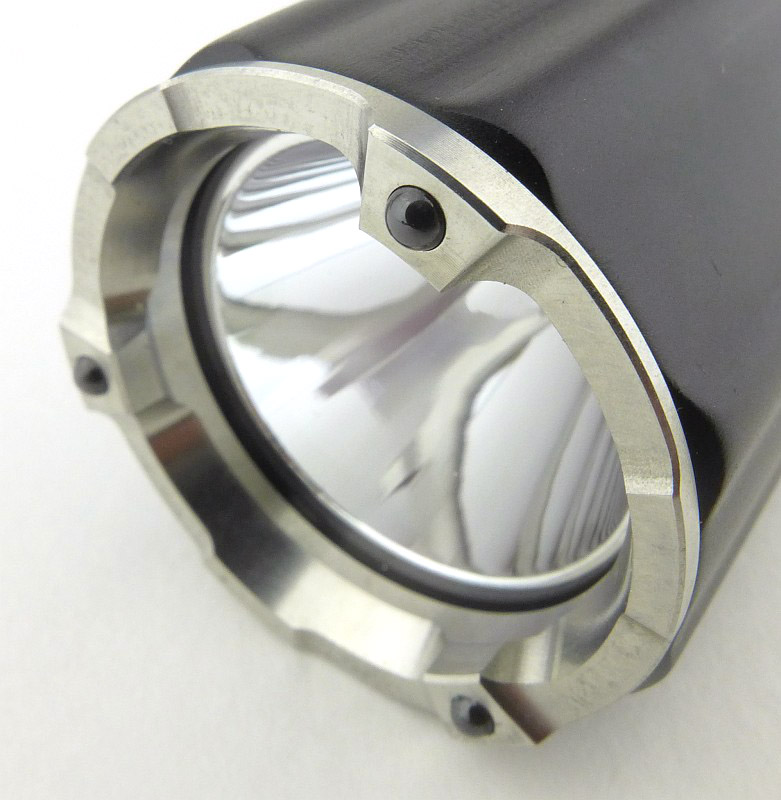
The main feature to note is that the bezel contours where the nano-ceramic glass-breaker balls are fitted do cut into the outer spill of these lights; most obviously on the indoor beamshots.


Modes and User Interface:
In previous reviews I have detailed the actual UI, but with the ease of access to user manuals, this section will now only include observations or differences in the operation.
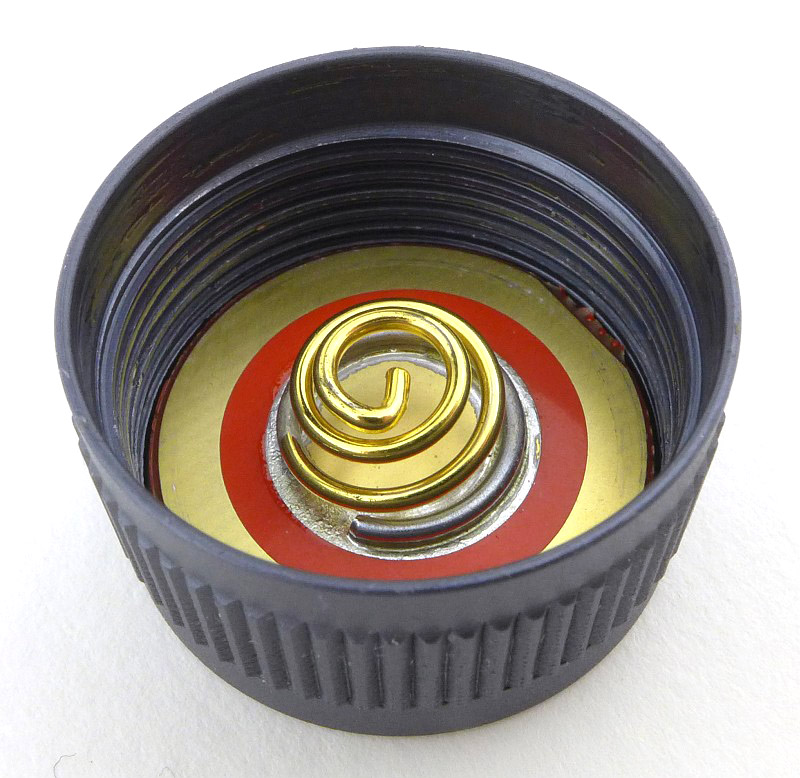
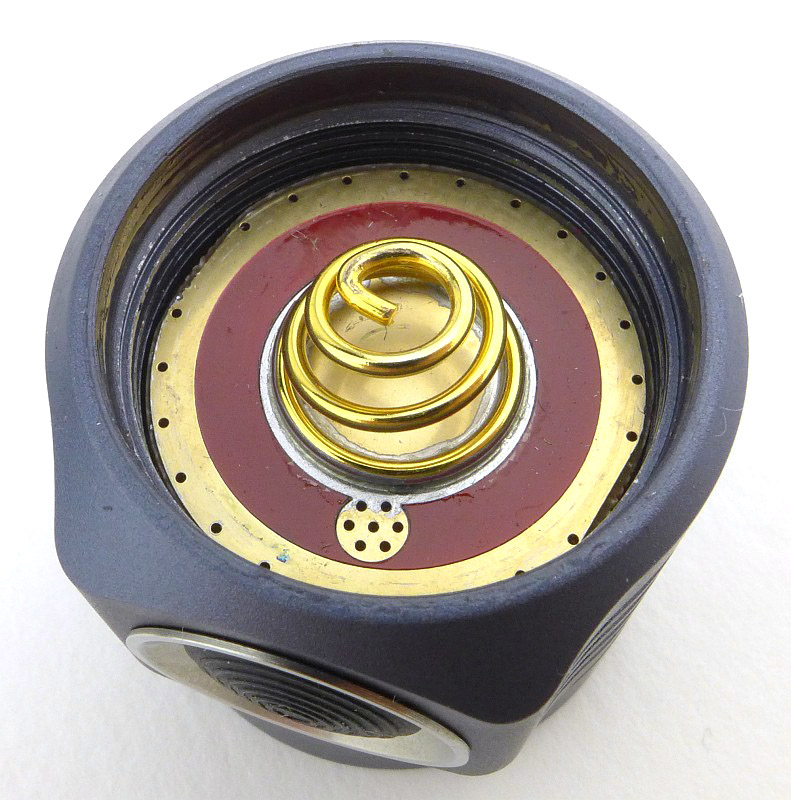
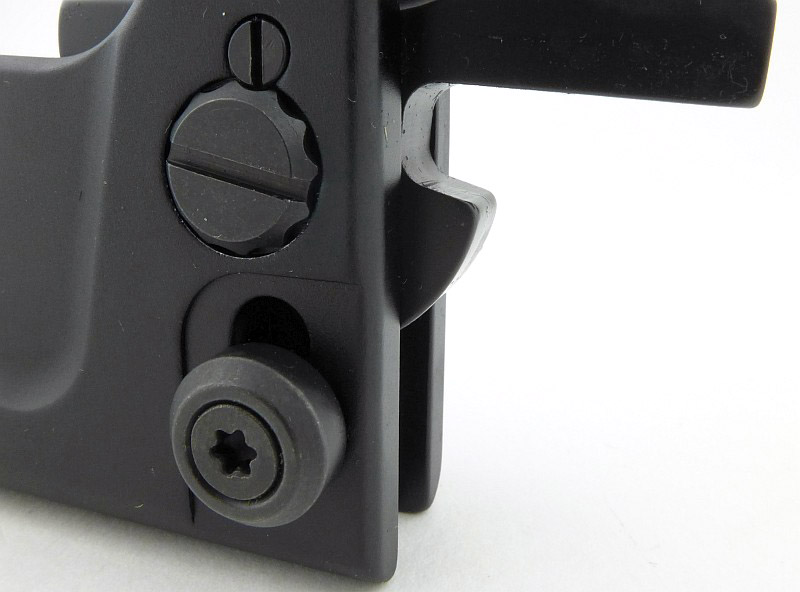
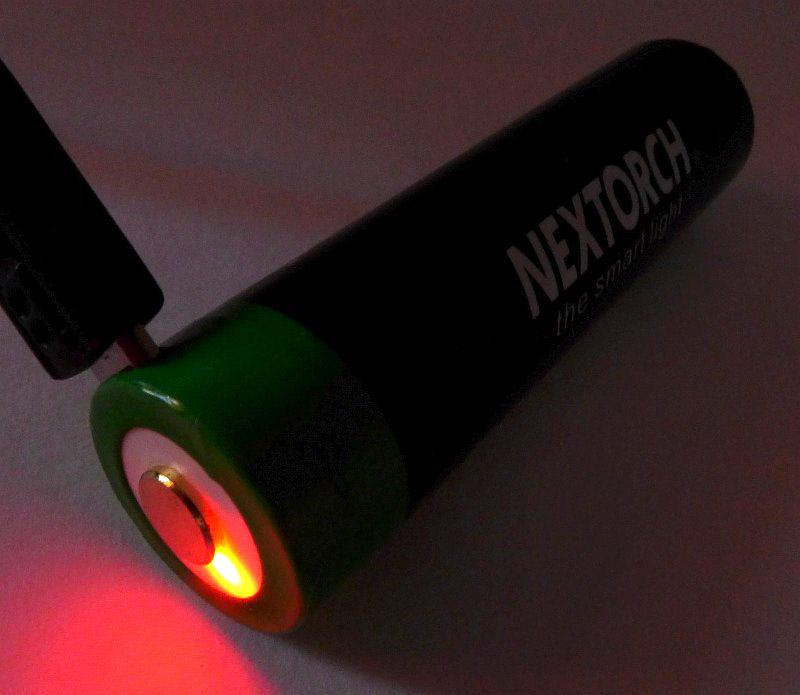
In the process of tightening the tail-cap you also turn the magnetic control ring to the ‘Tac’ position. ‘Tac’ mode is actually ‘Off’ but you have direct access to maximum output from the tail-cap button switch (and Strobe from the second-stage of this switch).
This also means that to change modes using the control ring you are rotating it as if unscrewing the tail-cap. Being used to twisty interfaces where you tighten the tail-cap to turn on and then go brighter this has been counterintuitive for me, and I still find myself twisting it the wrong way when wanting to turn the lower modes off or down.
Unfortunately I can’t see any way round this, as it is completely right that when tightening the tail-cap (after replacing the battery) you want the control ring to be returned to the ‘off / Tac’ position; you just have to try and get used to this.
It also means that when taking the tail-cap off to replace the battery, you generally end up gripping the control ring and twisting this (especially with the FR-1 fitted), so turn the TA15 and TA30 onto maximum or strobe until the tail-cap is loosened enough to lock it out.
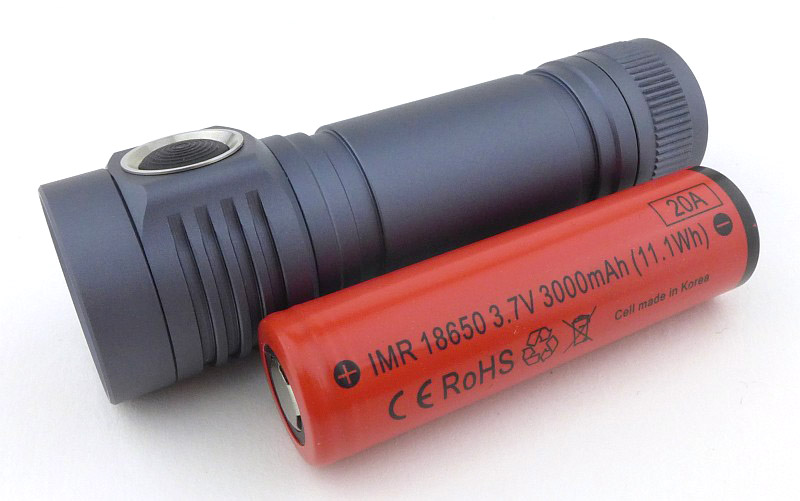
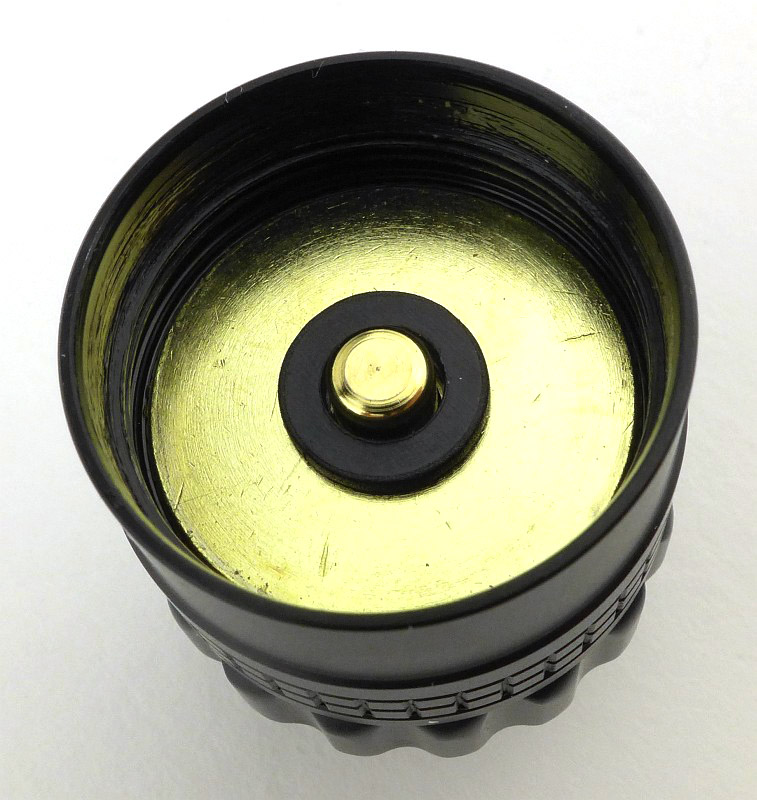
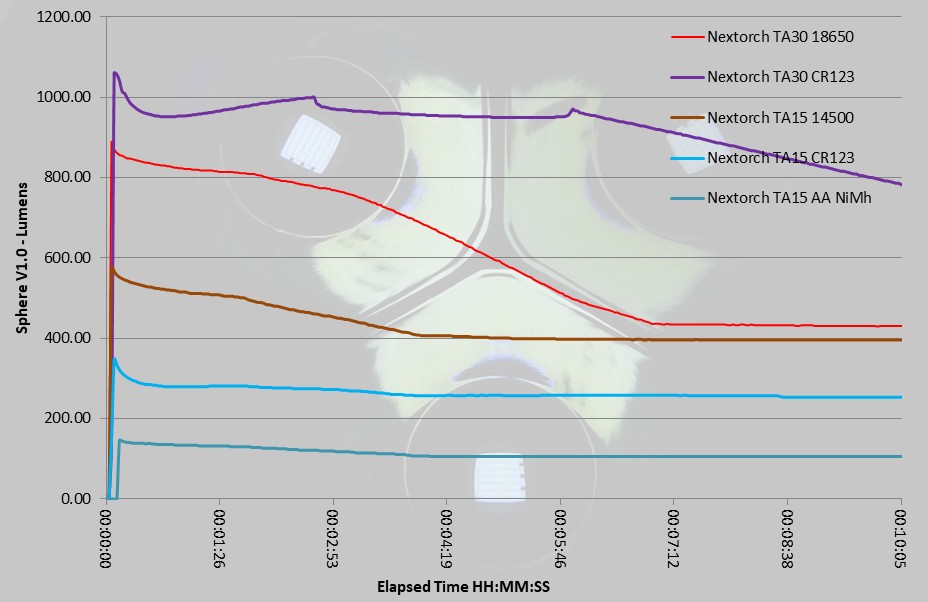
Batteries and output:
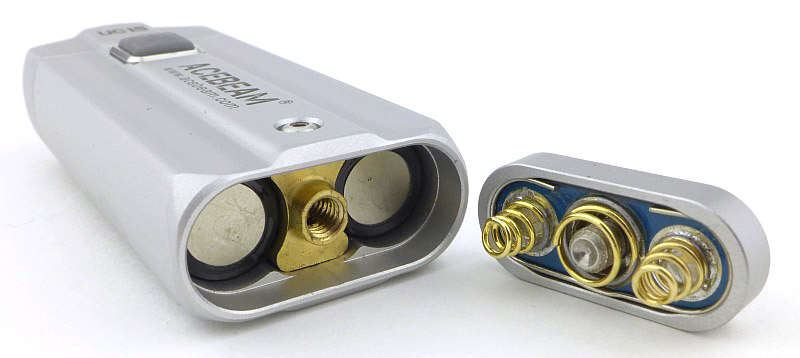
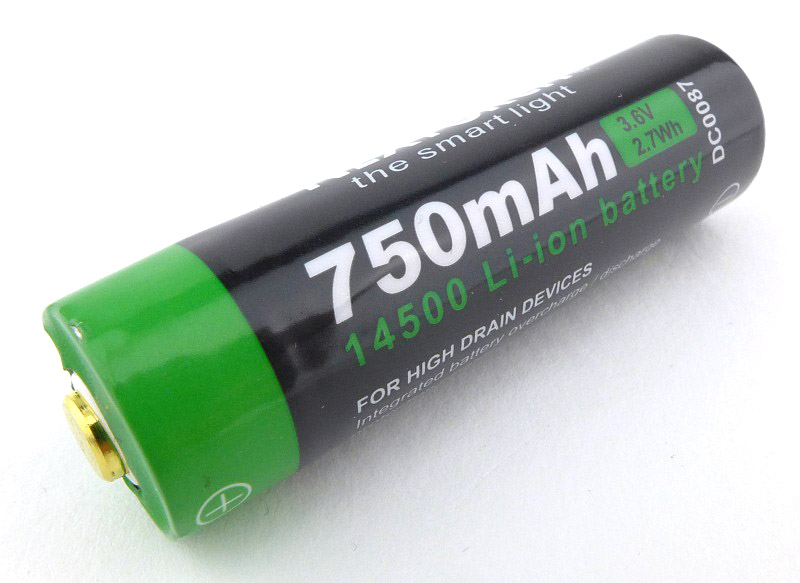
The TA15 runs on 14500, 16340, CR123, AA and though not officially, it can run on AAA.
The TA30 runs on 18650 or CR123.
To measure actual output, I built an integrating sphere. See here for more detail. The sensor registers visible light only (so Infra-Red and Ultra-Violet will not be measured).
Please note, all quoted lumen figures are from a DIY integrating sphere, and according to ANSI standards. Although every effort is made to give as accurate a result as possible, they should be taken as an estimate only. The results can be used to compare outputs in this review and others I have published.
         Nextorch TA..         |   I.S. measured    |  PWM frequency or
     using specified cell      | ANSI output Lumens | Strobe frequency (Hz)
_______________________________|____________________|______________________
    TA15 - 14500 - Tactical    |        547         |
    TA15 - 14500 - III         |        542         |
    TA15 - 14500 - II          |        202         |      15600
    TA15 - 14500 - I           |        32          |      15600
    TA15 - 14500 - Strobe      |                    |      10.4
                               |                    |
    TA15 - CR123 - Tactical    |        313         |
    TA15 - CR123 - III         |        310         |
    TA15 - CR123 - II          |        79          |      15600
    TA15 - CR123 - I           |        11          |      15600
    TA15 - CR123 - Strobe      |                    |      10.4
                               |                    |
    TA15 - AA    - Tactical    |        120         |
    TA15 - AA    - III         |        118         |
    TA15 - AA    - II          |        23          |      15600
    TA15 - AA    - I           |        4           |      15600
    TA15 - AA    - Strobe      |                    |      10.4
                               |                    |
    TA30 - 18650 - Tactical    |        849         |
    TA30 - 18650 - III         |        837         |
    TA30 - 18650 - II          |        151         |      15600
    TA30 - 18650 - I           |        32          |      15600
    TA30 - 18650 - Strobe      |                    |      10.4
                               |                    |
    TA30 - CR123 - Tactical    |        756         |
    TA30 - CR123 - III         |        756         |
    TA30 - CR123 - II          |        153         |      15600
    TA30 - CR123 - I           |        28          |      15600
    TA30 - CR123 - Strobe      |                    |      10.4
* Beacon and Strobe output measurements are only estimates as the brief flashes make it difficult to capture the actual output value.
There is parasitic drain which is different for each cell type used. For the:
TA15 when using 14500, the drain was 11.6uA (8.85 years to drain the cells)
TA15 when using CR123, the drain was 9.2uA (17.36 years to drain the cells)
TA15 when using AA, the drain was 58.6uA (3.7 years to drain the cells)
TA30 when using 18650, the drain was 16uA (18.54 years to drain the cells)
TA15 when using CR123, the drain was 32uA (4.99 years to drain the cells)
The runtime graphs show the full traces, and a zoomed in section of the first few minutes of the run.

Troubleshooting
This section is included to mention any minor niggles I come across during testing, in case the information helps anyone else.
No issues were encountered during testing.
As per the description of this section, this information is provided in case anyone else finds a similar ‘issue’ that might be fixed in the same way.
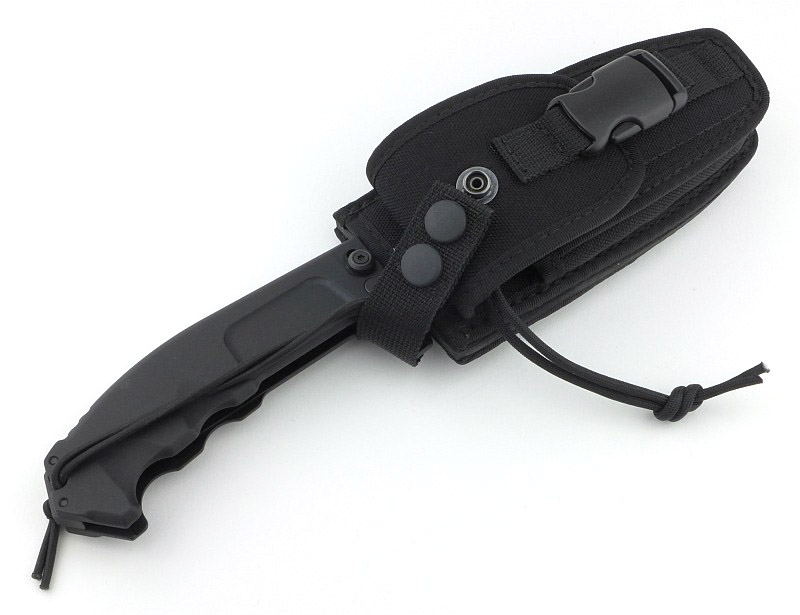
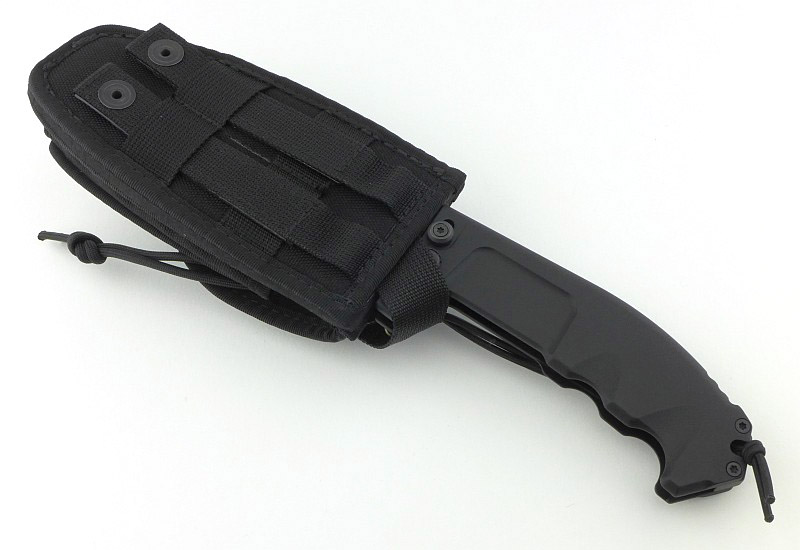
The TA15, TA30 and FR-1 in use
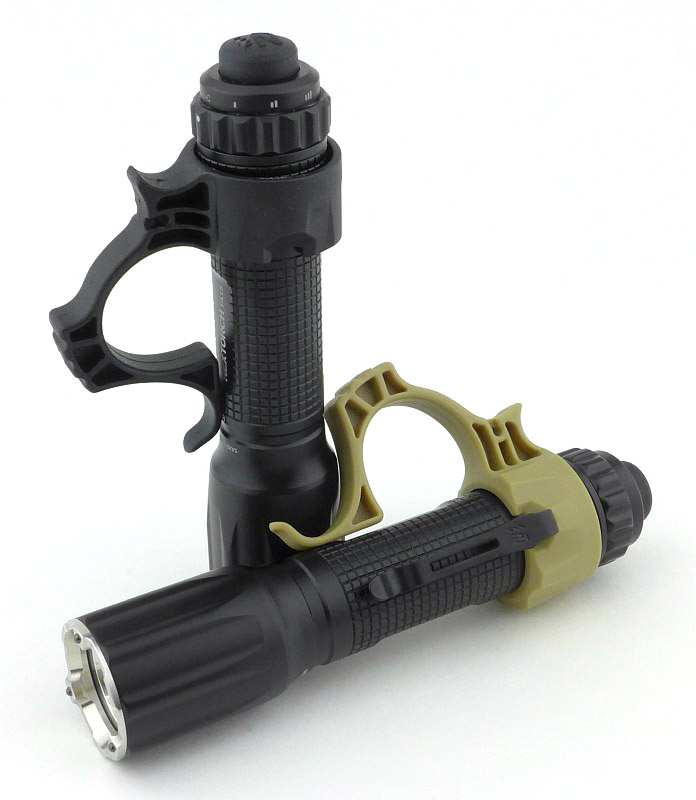
Starting with the FR-1, though described as being suitable for any standard size light (with tail cap of 23.2 mm to 25.5 mm diameter), as yet, I’ve not found any it works with beyond the TA15 and TA30. The tail-cap needs to be bigger than the battery tube, but for most of the lights I have, the tail-cap and battery tube are the same size. It does however work very well with the TA30.
When using the FR-1 and TA30, the FR-1 covers most of the tail-cap, and this means that to loosen or tighten the tail-cap, you have to hold the control ring switch and turn that. It also means that the control ring switch is not as easy to hold as the collar of the FR-1 reduces access to it slightly. Of course it does not reduce access to the tail-cap button switch.
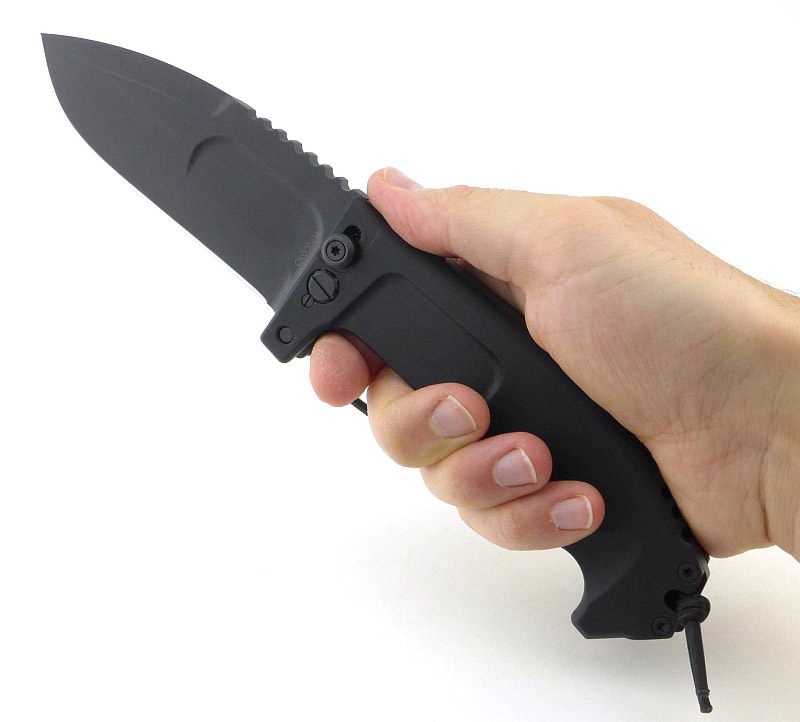
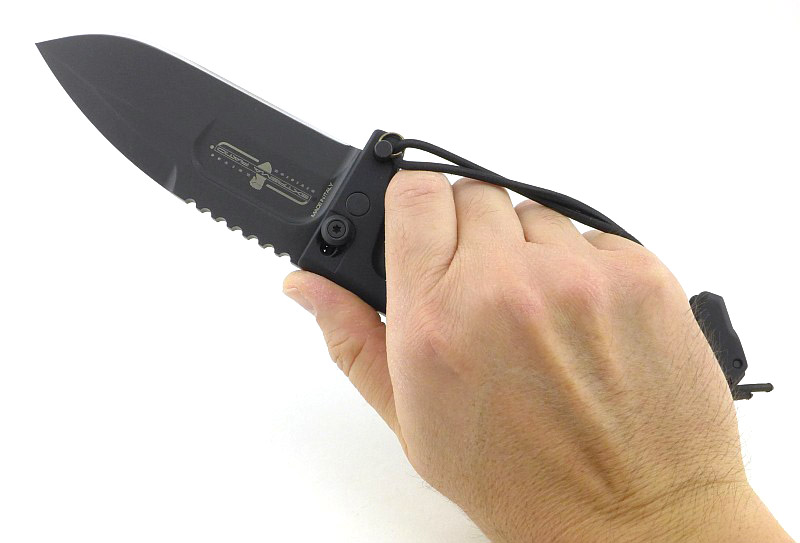
Tactical grip rings do add bulk to a light, but they also give you so many grip options, which is why they are worth their weight in gold. From the simplest concept, that you can hang the light off a finger and actually free up that hand entirely to hold or lift something without putting the light down (think of it like wearing a ring with a very large stone in it). How you now hold it is only limited by your imagination.


Having got to grips with these lights, I am very impressed with the interface. Combining the rotary control ring with the two-stage tail-cap button has worked really well. From any mode, or off/Tac, pressing the button gives you direct access to maximum output. The two stage button switch has a good feel, being neither too stiff or easy to press, making the division between the half press for maximum output and full press for strobe well defined. Snatch the button and you will likely get some strobe, so if this is a big issue you’ll need to go for a single mode light.
Changing from pressing the button to rotating the control ring is natural. However, as explained earlier, the direction of rotation to change modes wasn’t intuitive for me, and I need to think about it.
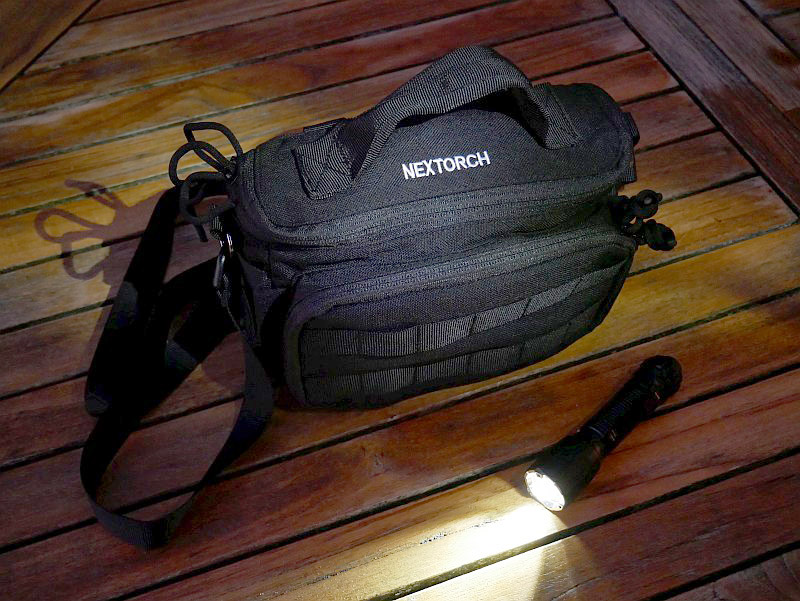
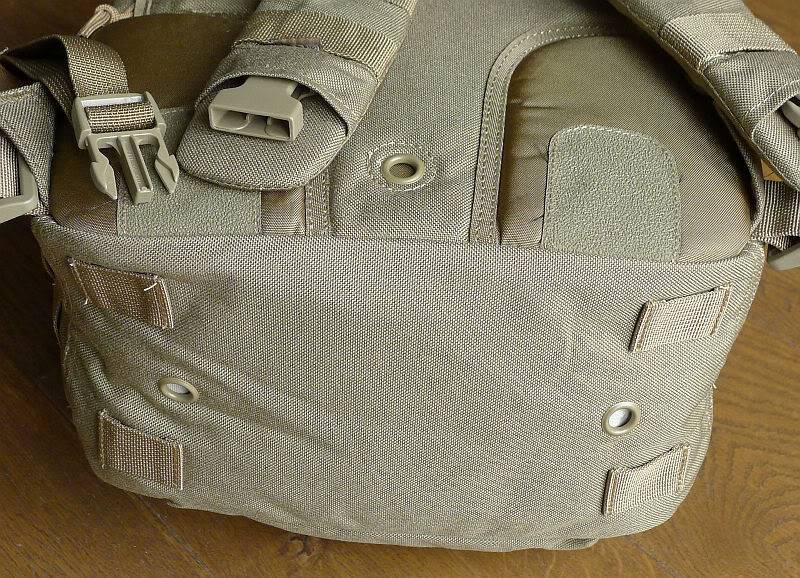
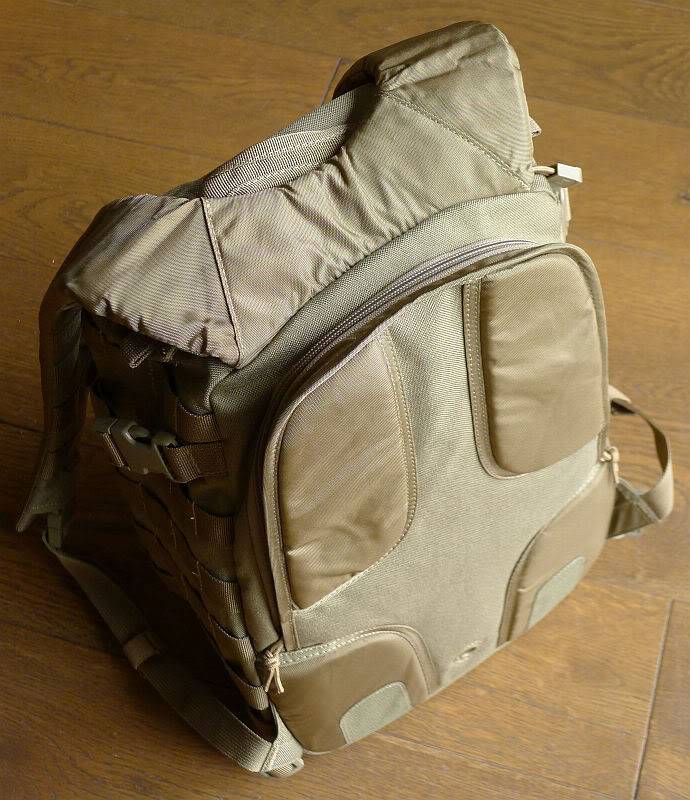
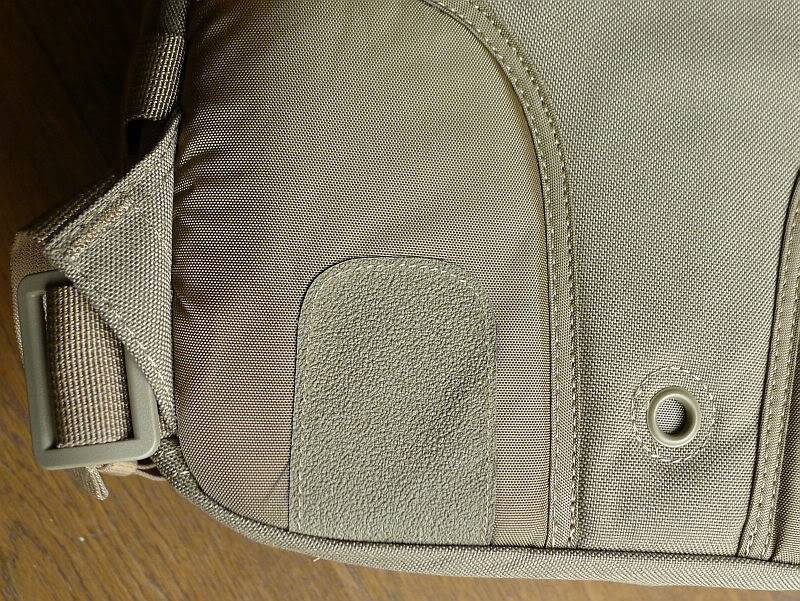
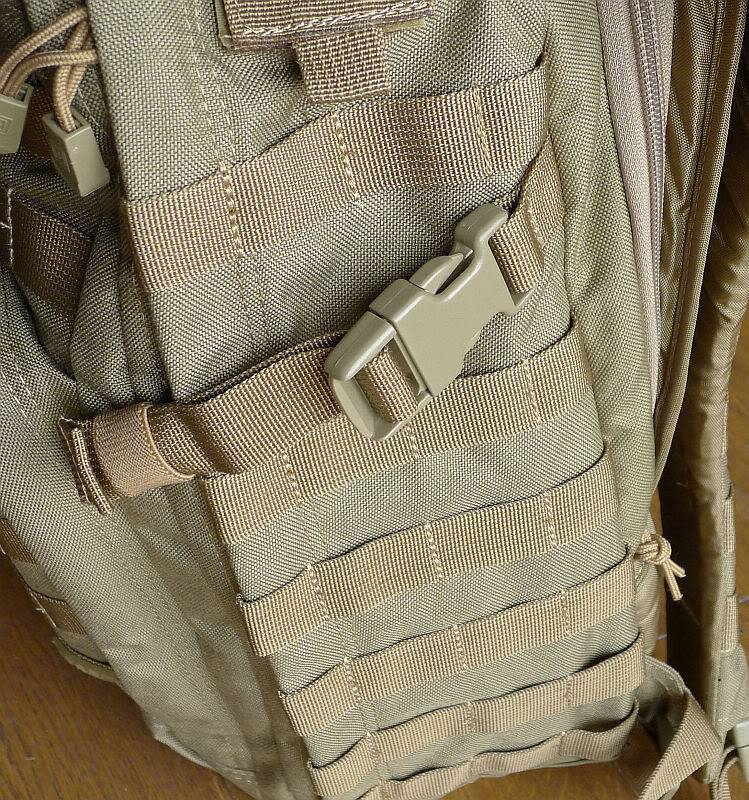
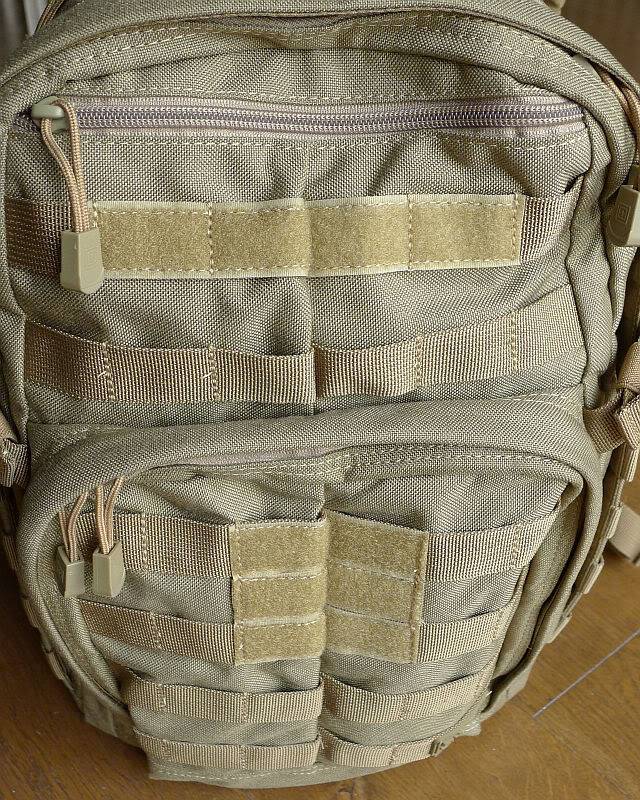
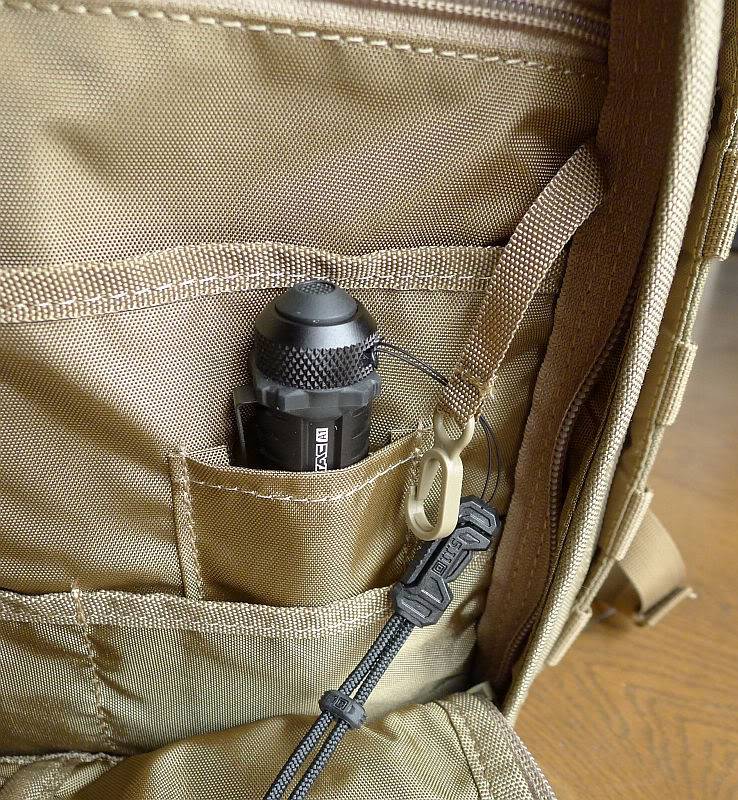
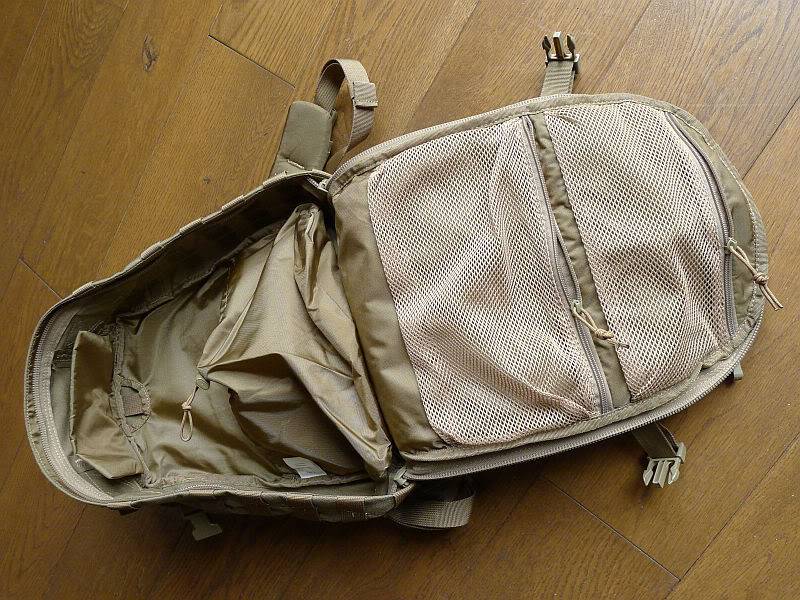
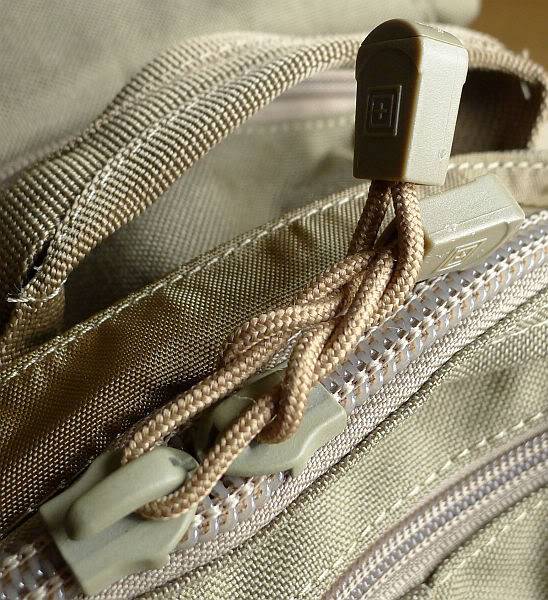
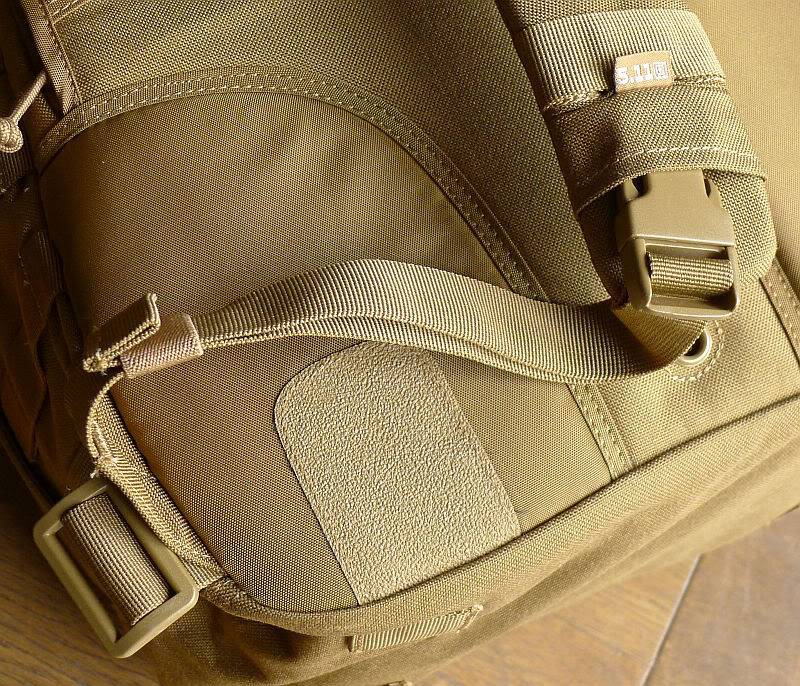
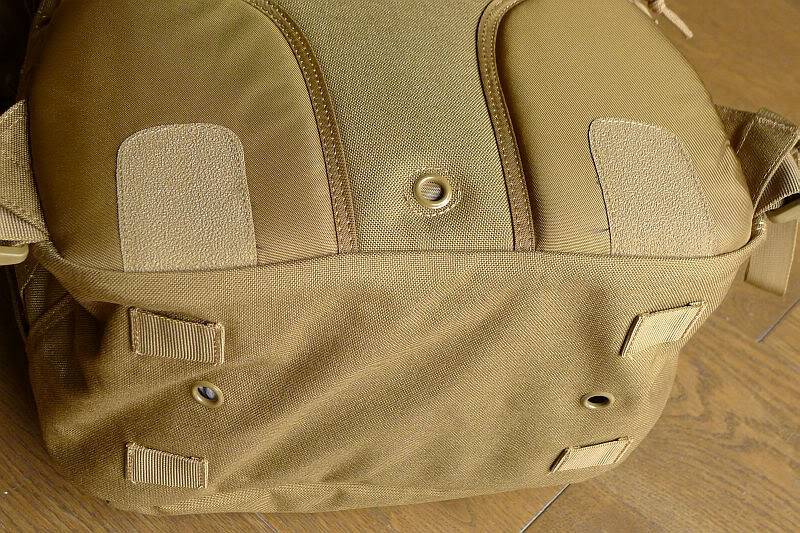
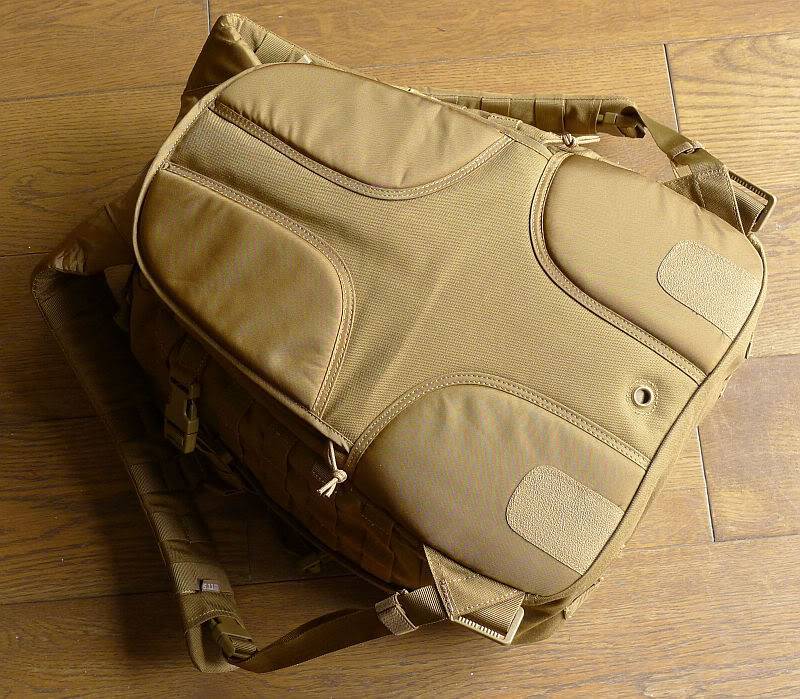
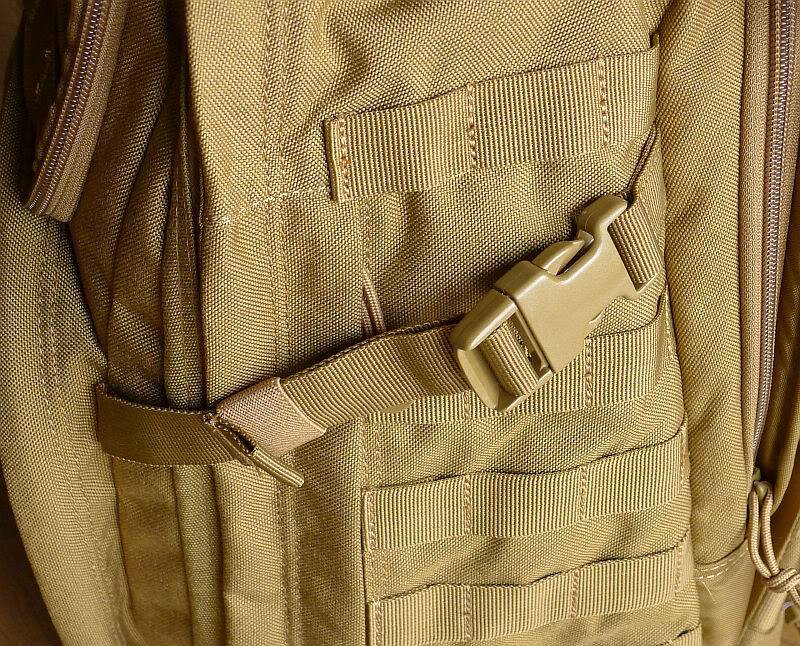
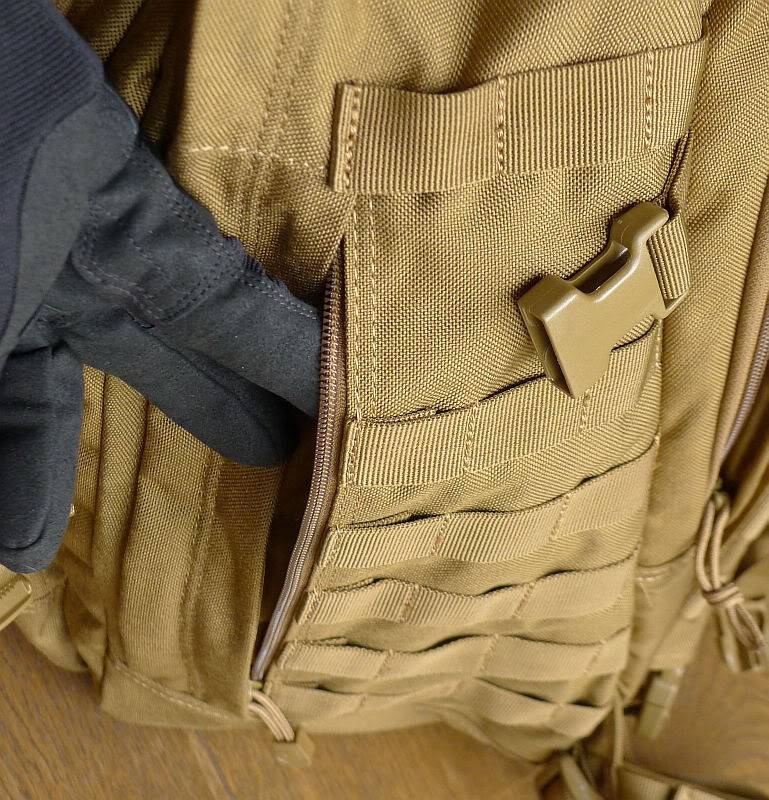
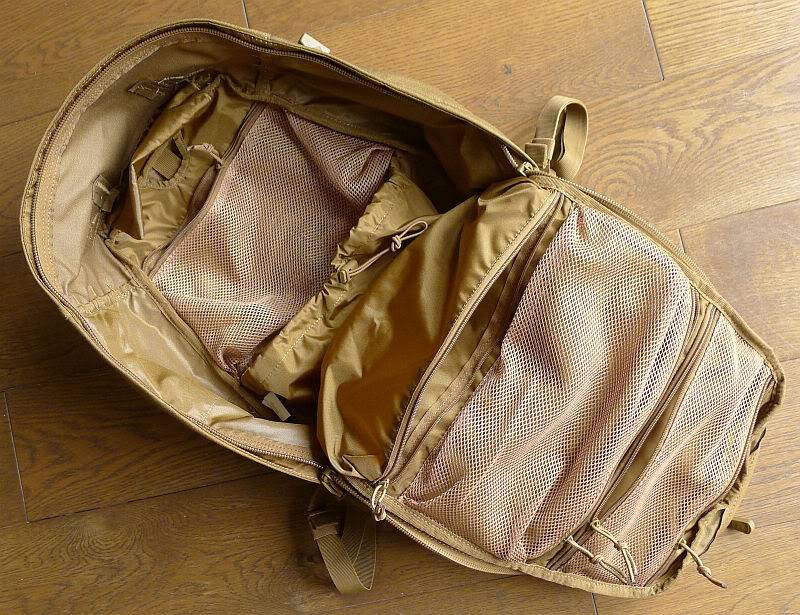
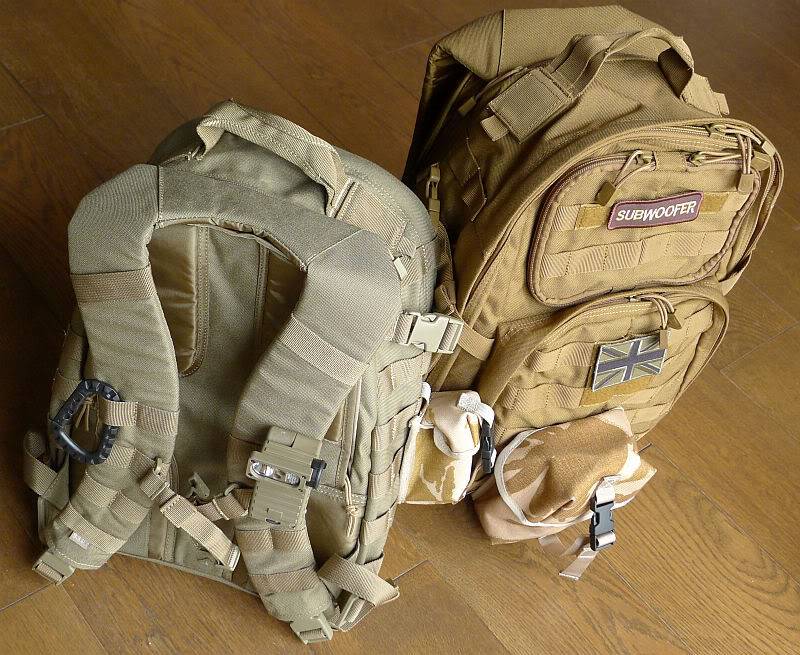
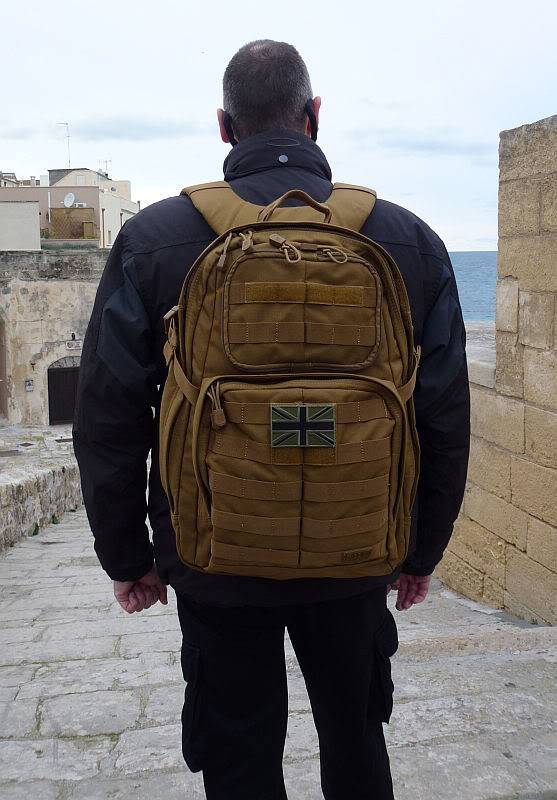
(The TA15 with Nextorch’s new V30 EDC bag)
I like versatility; the TA15 gives you that, and is especially good as a light to have as a backup where you might need to scavenge cells from anywhere. The output does depend on the cells you fit, but this is not only sensible, as it better matches the output to the cells capacity (so not depleting them too fast) but it also lets the user choose their preferred output levels. I prefer lower output levels, so I generally run it on AAs. It really is very useful to be able to feed it such a varied diet, but you can end up with some cell rattle (mainly CR123) due to the mechanism needing to cater for the different cell lengths.
A minor point, which I raised with Nextorch, was that if using NiMh cells, the TA15 will often not switch from off to level 1, but needs to be turned onto level 2 then back to level 1. This behaviour seemed odd and only happened on NiMh AAs, but Nextorch explained that due to the low voltage, the TA15 was automatically going into a sleep mode to reduce drain to a minimum, and would only wake up when turned onto level 2. So this behaviour is designed into the TA15, and is specifically intended to reduce drain.
The TA15 and TA30 use the exact same interface and are in fact almost the same size. They handle very well and are extremely functional.
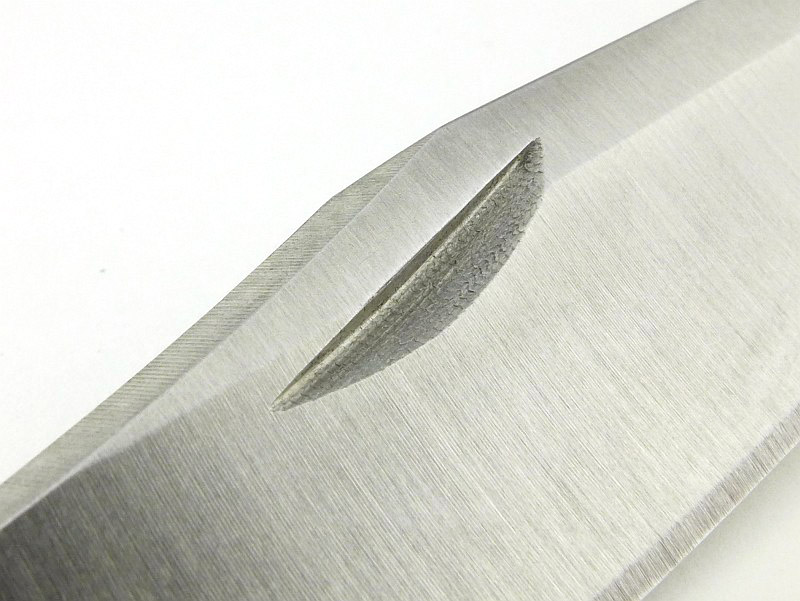
Still looking for an opportunity to try out the glass breakers…
Review Summary
_______________________________________________
Things I like
_______________________________________________
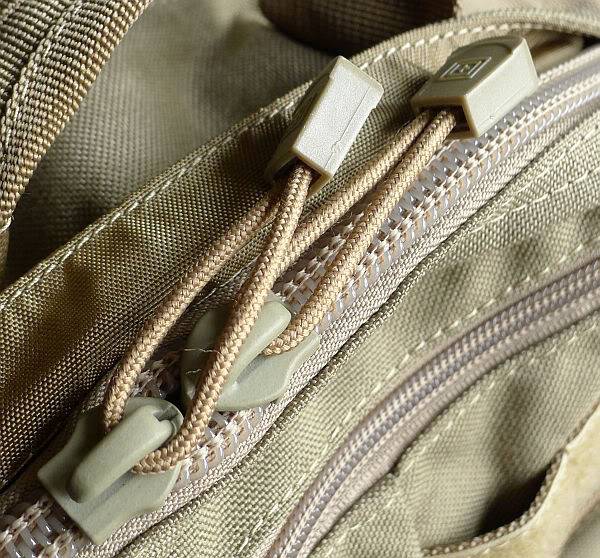
Two-stage tail-cap button.
Rotary control ring.
Multi-cell-type compatibility.
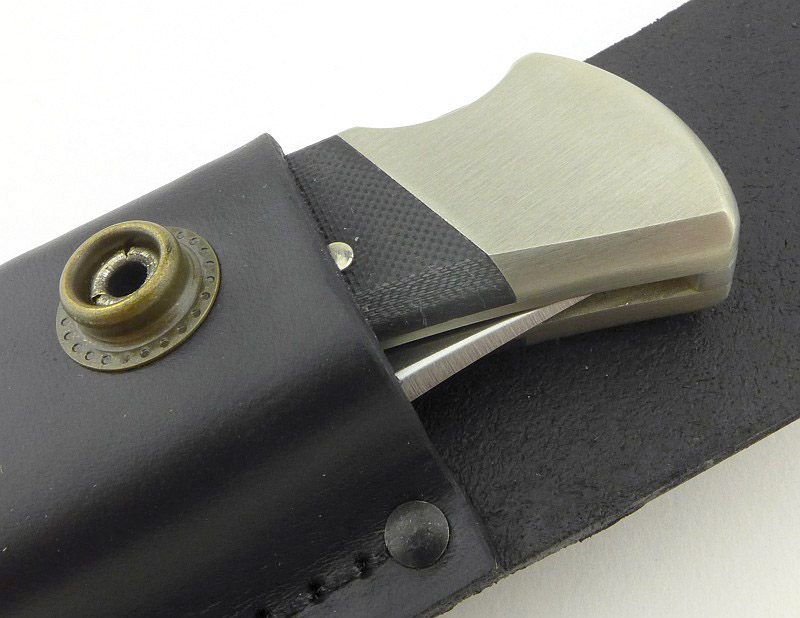
Ceramic glass breakers.
Very useful tactical grip ring.
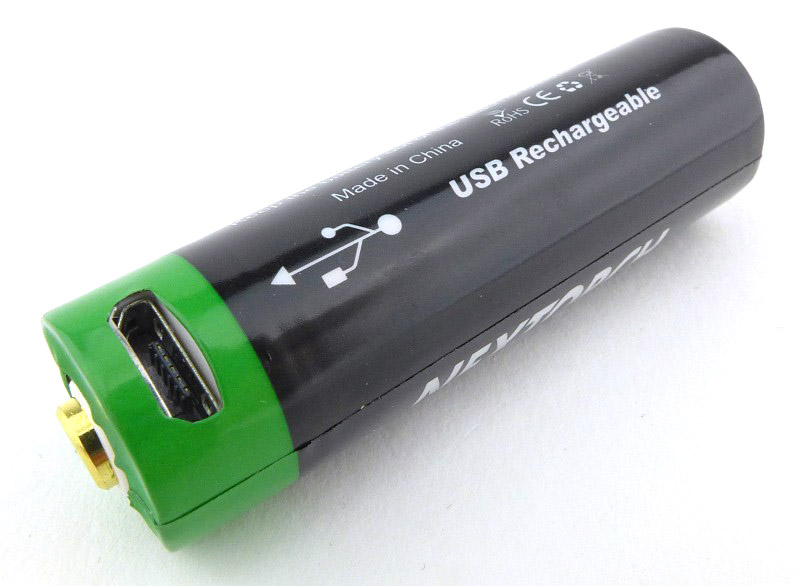
Supplied cells are USB rechargeable.
_______________________________________________
What doesn’t work so well for me
_______________________________________________
Cell rattle with CR123.
The direction of rotation of the control ring has been counter intuitive.
Outer spill beam broken up by glass breaker bezel.
Discussing the Review:
The ideal place to discuss this reviews is on a forum. If you started reading the shorter forum version of the review, but followed the link this full exclusive review, please return to that forum to discuss the review there.
If you read the review entirely on Tactical Reviews, please consider one of the following to join in, or start, a discussion.
CandlePowerForums – Flashlight Reviews Section (Largest and Friendliest Flashlight Community Forum)