NEXTORCH have been working on LED swapping lights for some time, lights that maintain full beam quality; the Dual-Light models were the first of these that I used (like the P5G, P5R etc.). This Light Review is for the T53 hunting light set, that not only has a LED swapping triple colour output mechanism, but also a mount and remote switch.
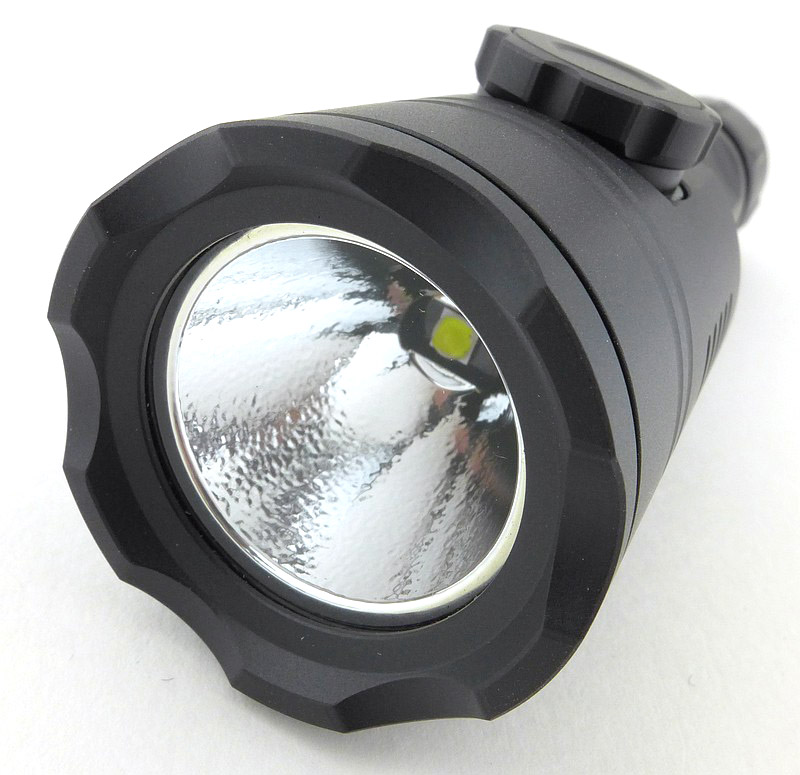
The crucial difference with NEXTORCH’s lights and their LED swapping mechanism being there is no compromise of the reflector or beam. Typically, multiple LED light have the LEDs set into fixed, off-centre, positions in the reflector, compromising the beam. Instead the T53’s chosen LED sits at the reflector’s focal point, and is completely swapped for another LED positioned exactly at the reflector’s focal point… keep reading for all the details.
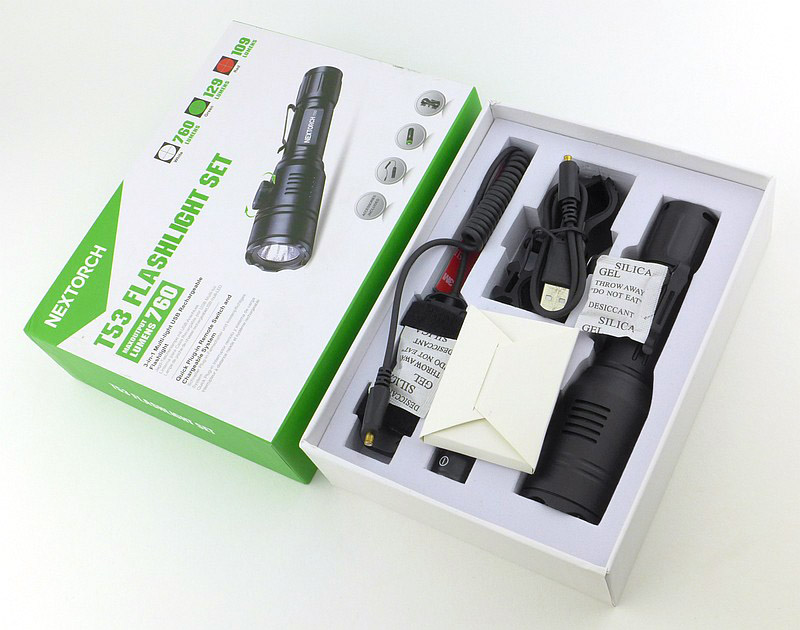
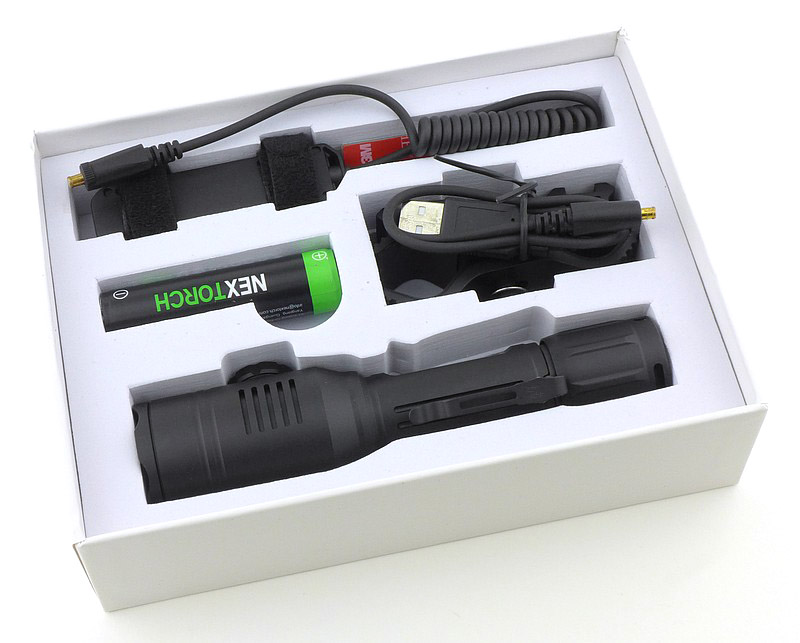
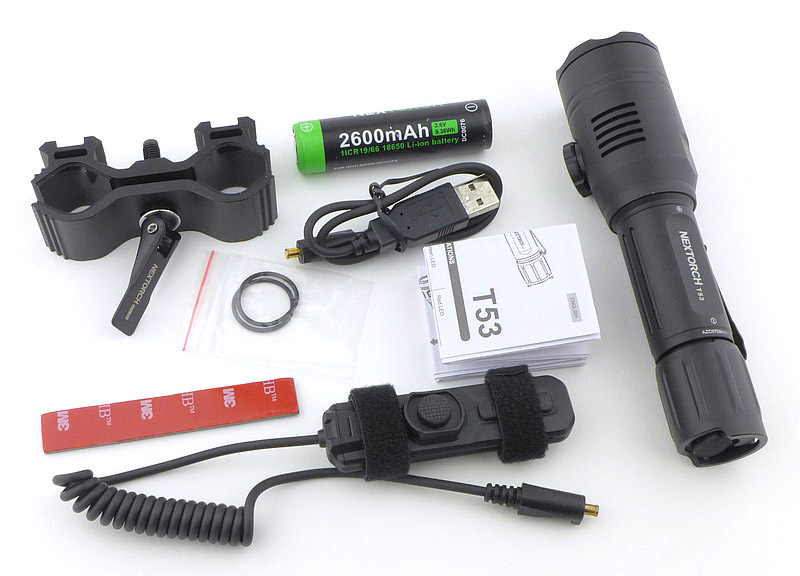
What is in the box?:
A first look at what the T53 set includes, which is all well presented in the box. Everything you need to use it is included.

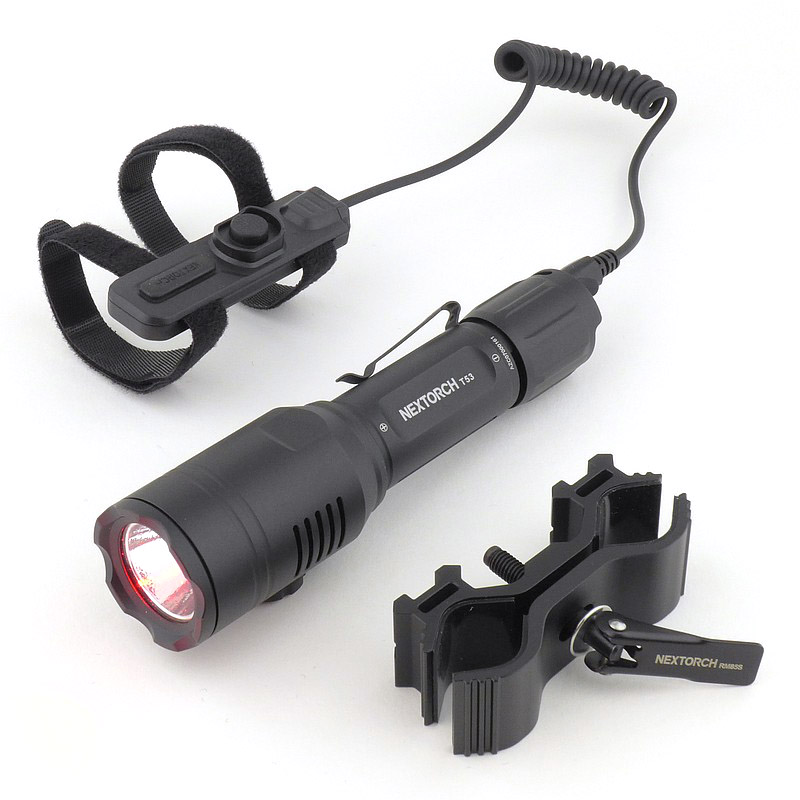
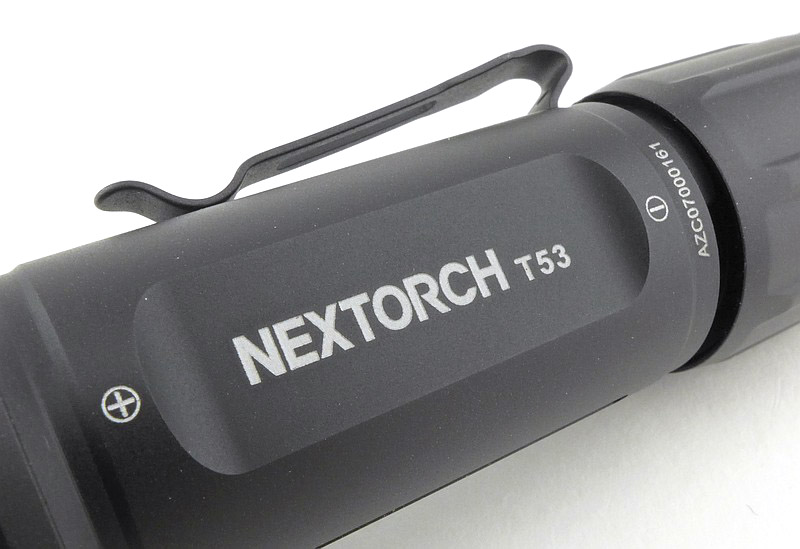
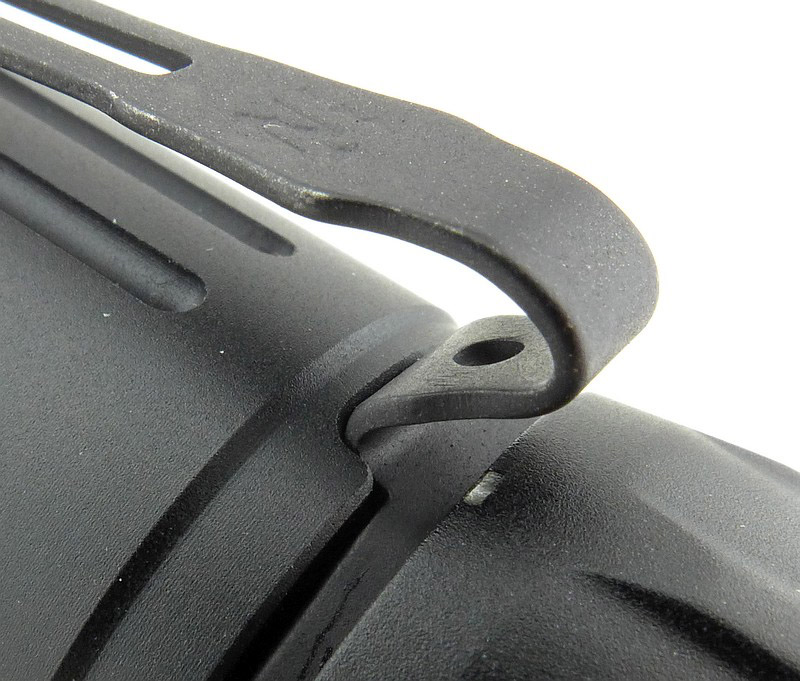
A good look round the T53 Set – Things to look out for here are:
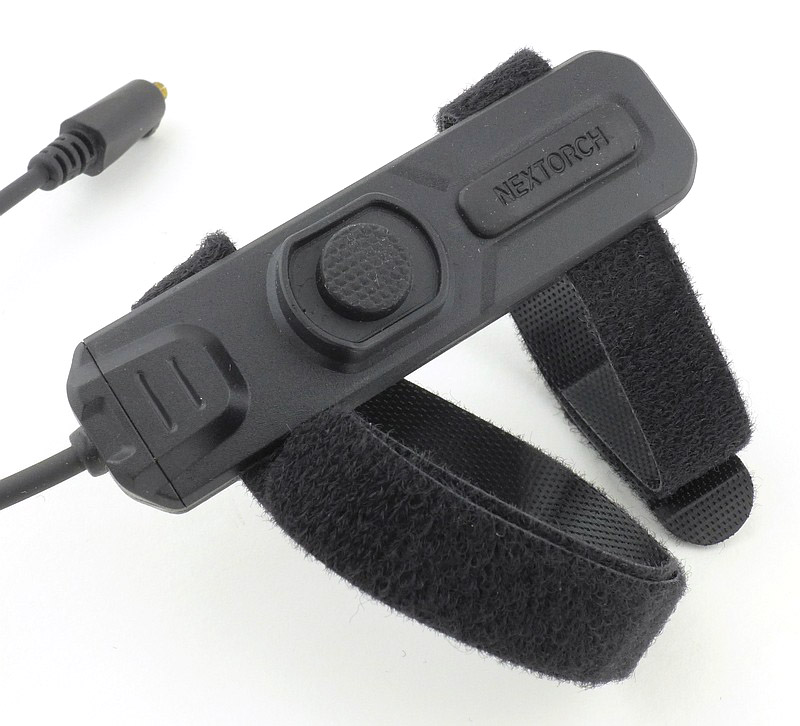
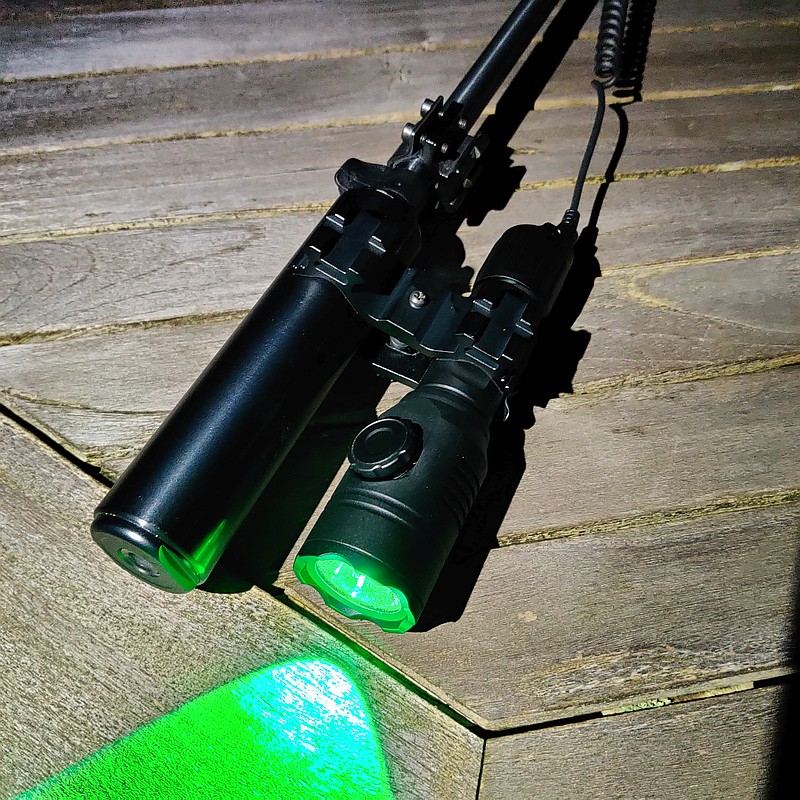
The images take you through the major components and the details of each of these. Starting with the clamp-mount to hold the T53 in various positions on the gun of your choice. It uses a cam-lever to lock into place. The mount also has a couple of small rail mount section so you can add extra accessories. A nice remote switch has both latching and momentary buttons on it, plus hook/loop straps for fitting to the gun.
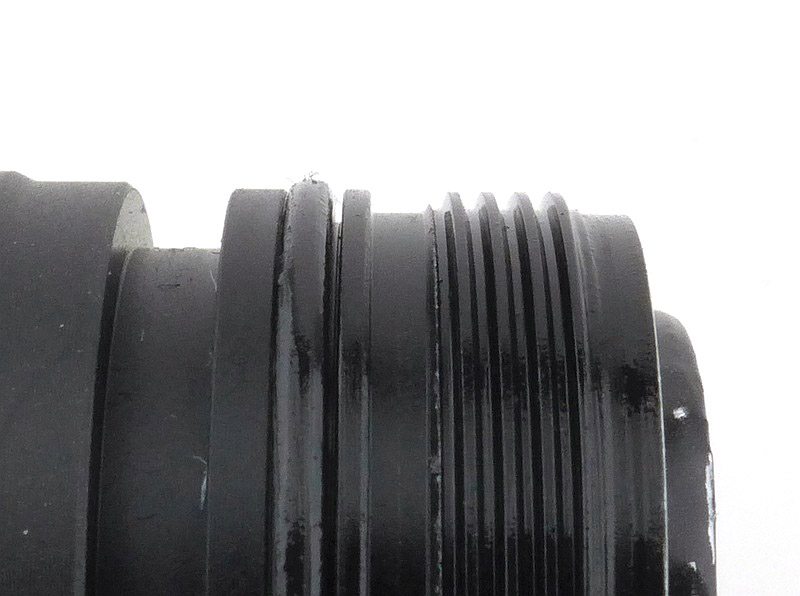
There is a small socket in the tail of the T53 which takes either the charging cable or remote switch. With the appropriate plug in place, it can be rotated to lock it in the socket.


Taking a more detailed look at the LED switching:
This is the magic of the T53 (and other NEXTORCH LED swapping lights). The LED at the focal point of the reflector can be completely swapped for another by rotating the dial on the side of the light’s head.


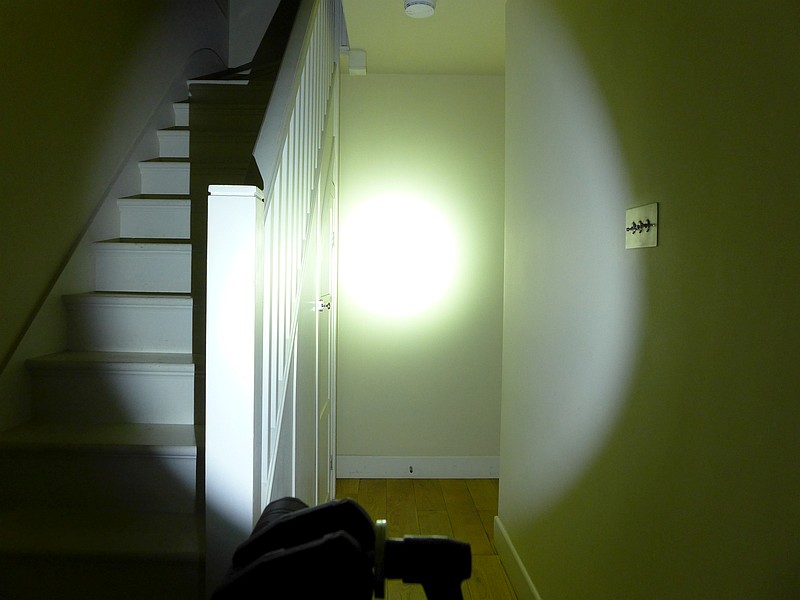
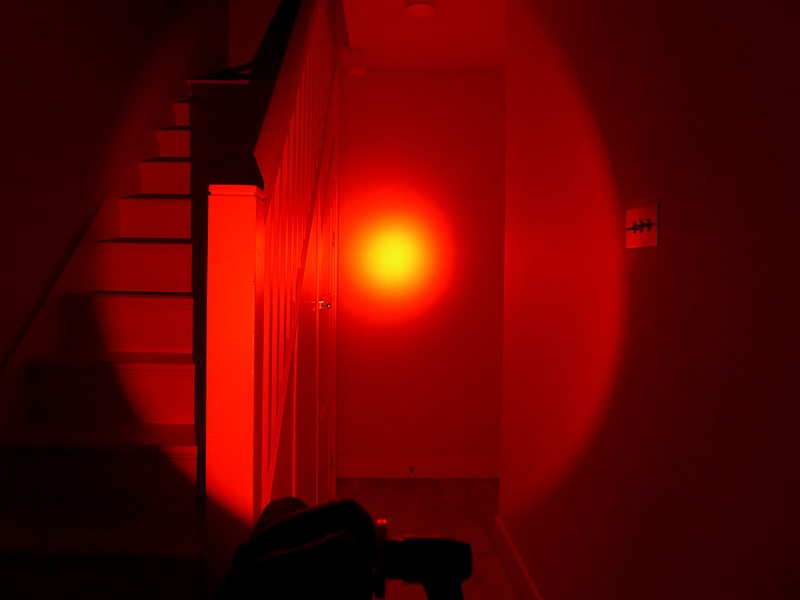
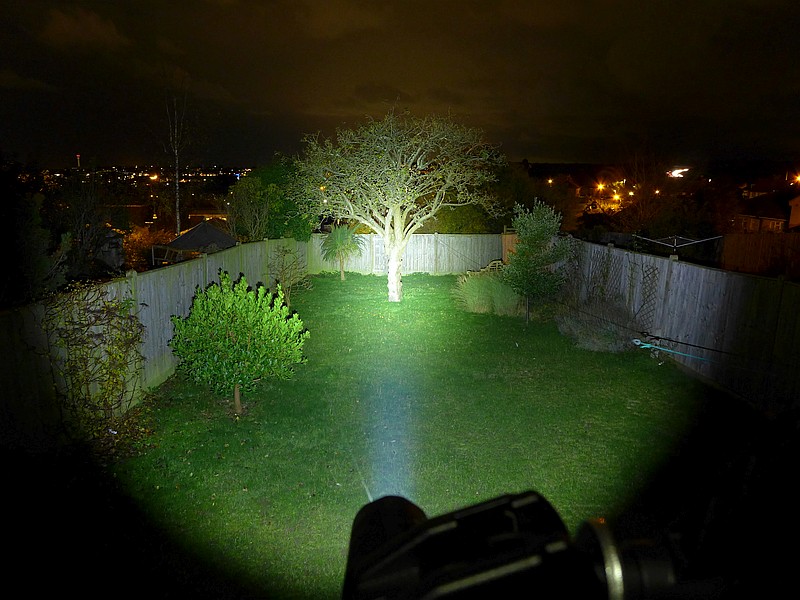
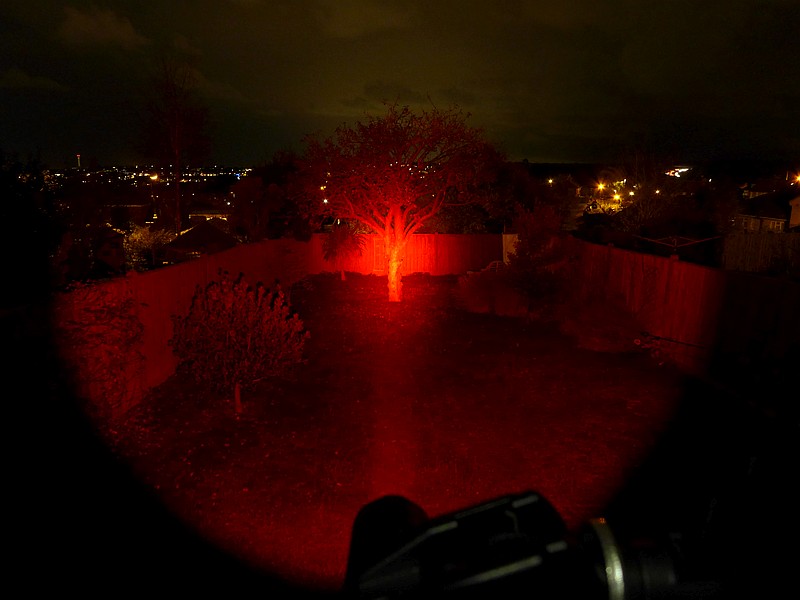
The beam
Please be careful not to judge tint based on images you see on a computer screen. Unless properly calibrated, the screen itself will change the perceived tint.
The indoor beamshot is intended to give an idea of the beam shape/quality rather than tint. All beamshots are taken using daylight white balance. The woodwork (stairs and skirting) are painted Farrow & Ball “Off-White”, and the walls are a light sandy colour called ‘String’ again by Farrow & Ball. I don’t actually have a ‘white wall’ in the house to use for this, and my wife won’t have one!
In this gallery all exposure settings for the set of indoor or outdoor shots are the same.


Batteries and output:
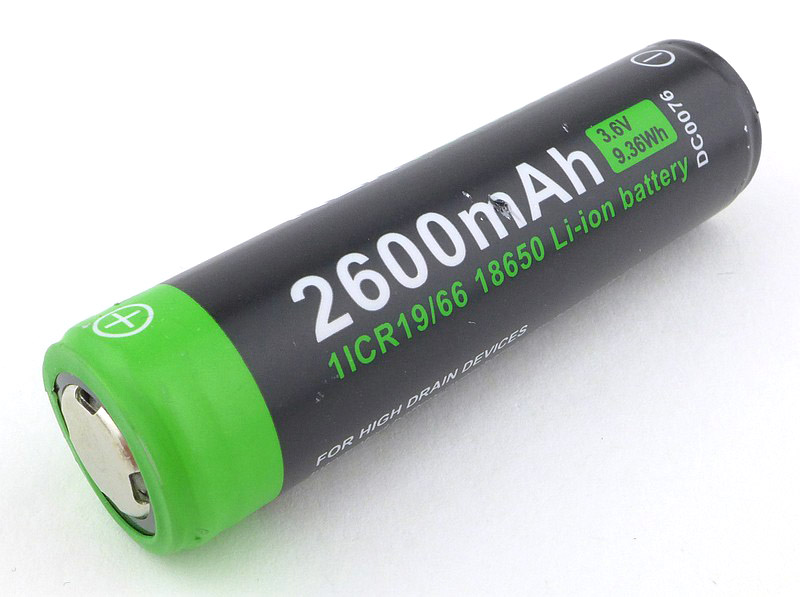
The T53 runs on a supplied 2600mAh 18650 cell.
To measure actual output, I built an integrating sphere. See here for more detail. The sensor registers visible light only (so Infra-Red and Ultra-Violet will not be measured).
Please note, all quoted lumen figures are from a DIY integrating sphere, and according to ANSI standards. Although every effort is made to give as accurate a result as possible, they should be taken as an estimate only. The results can be used to compare outputs in this review and others I have published.
There is parasitic drain – this is included in the table of measurements.
Included in the gallery are the USB charging trace, a table of measured results, and the runtime trace for maximum white output (plus zoomed-in graph for the start).


The T53 Set in use
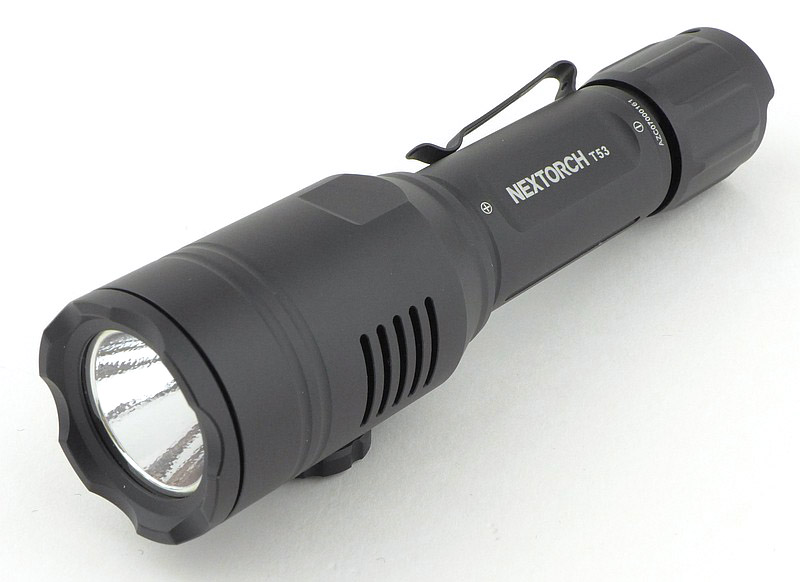
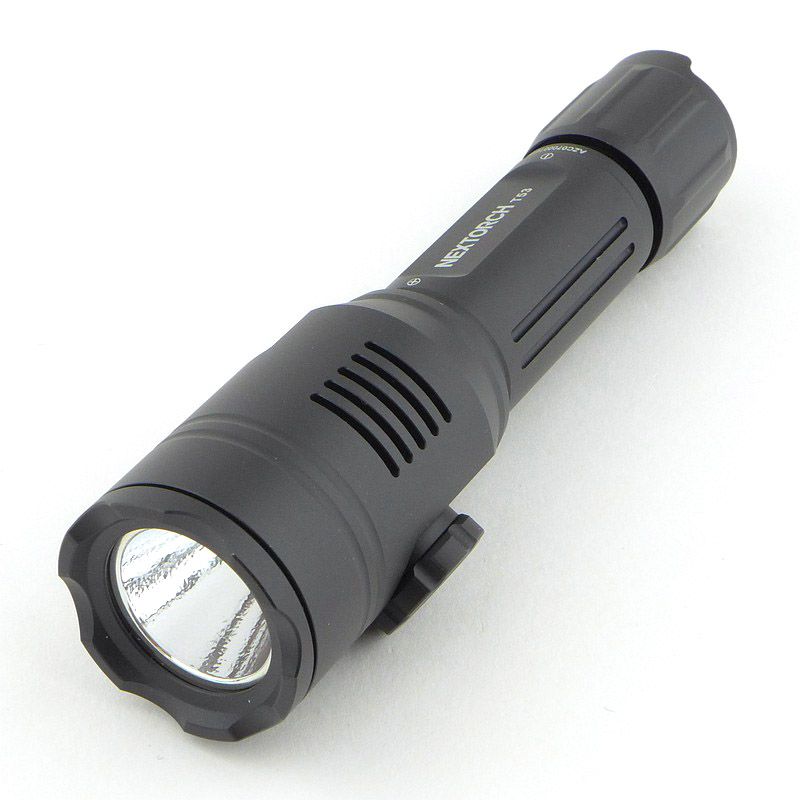
Let’s start with the T53 on its own. NEXTORCH lights always have a nice solid feel, and the T53 is built a little bigger to accommodate the LED swapping mechanism. Just as a single 18650 powered light, it is a little chunky and heavier than if it were only a single LED light. The tail-switch is not what I would term ‘tactical’ as it does not stand proud, making it a struggle to press far enough in to latch on if wearing gloves. This is not an issue at all in normal use, and certainly not a factor when moving to the remote switch.
Charging can be carried out internally using the supplied cable, and when doing so, in this example charged to a healthy 4.18V. Although not quite to 100% capacity, I much prefer this slight lower than 4.20V level as it is better for the life of the cell.
Before moving onto the gun mounting, a quick note on the tail-switch. This functions the same whether the remote switch is connected or not, in fact the two switches overlay their functions.
The tail-switch, if half-pressed, first turns on on high. If double-tapped you get strobe. However if you fully press to click it on, a subsequent half-press changes to low output.
The remote-switch, has a latching switch and a momentary switch. Either switch only gives access to high however many times you tap, you only get high.
Now, for example, if you had the tail-switch strobing, and then use the remote switch it changes to high, and once you turn the remote switch off it goes back to strobe. This is how they overlap each other.
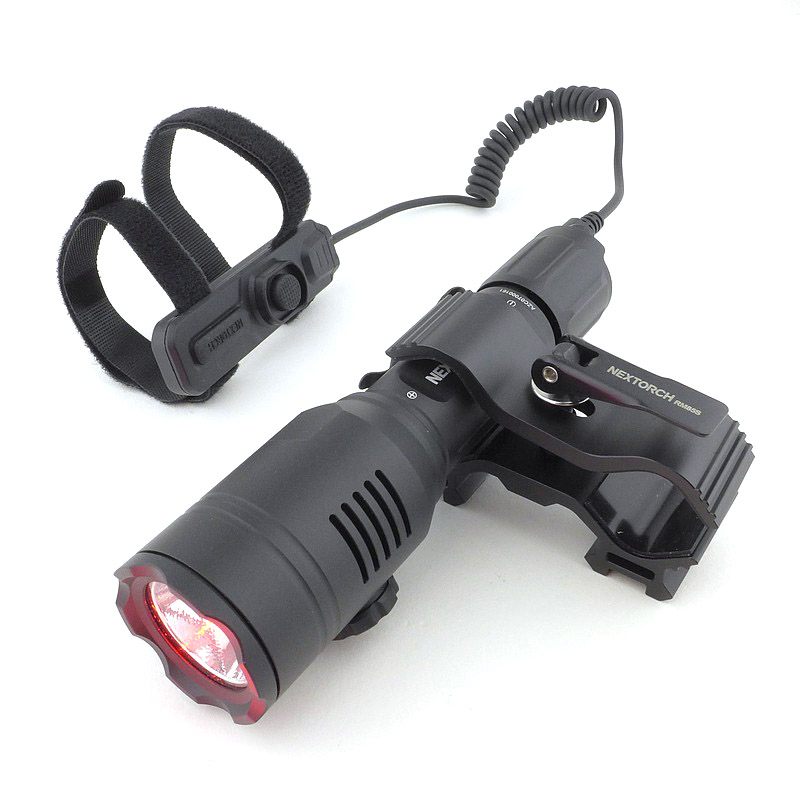
In the next gallery the T53 is mounted onto a Chiappa Little Badger. More often than not, lights like the T53 are described as scope mounted. This is a personal bugbear as I dislike the way the spill light illuminates the gun and this creates a gap in the beam. So I will always, if possible, mount the light to the front of the gun to ensure none of the beam hits the gun. Here I’ve been able to fit the mount to the SAK sound moderator – it fitted, but was getting near the limit.
When fitting the mount, the design makes it very quick and simple to secure. The main adjustment is with the central screw and once snug, locking down the cam latch clamps it nice and tight.
Thanks to the hook/loop straps the remote switch fitted on easily, but larger stocks might prove too large for the straps.
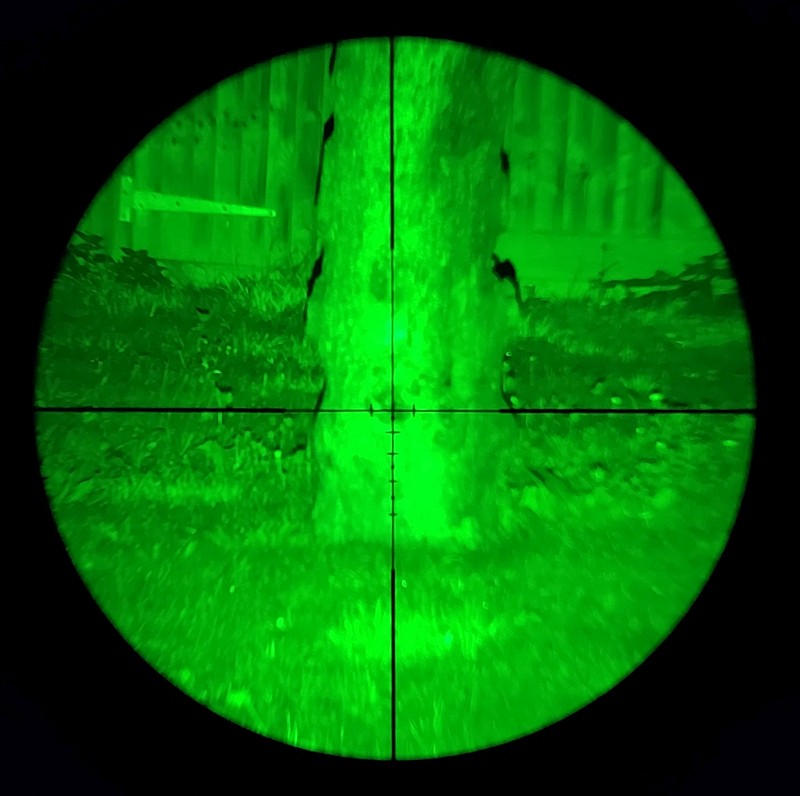
The galley includes actual through-scope views.
.")


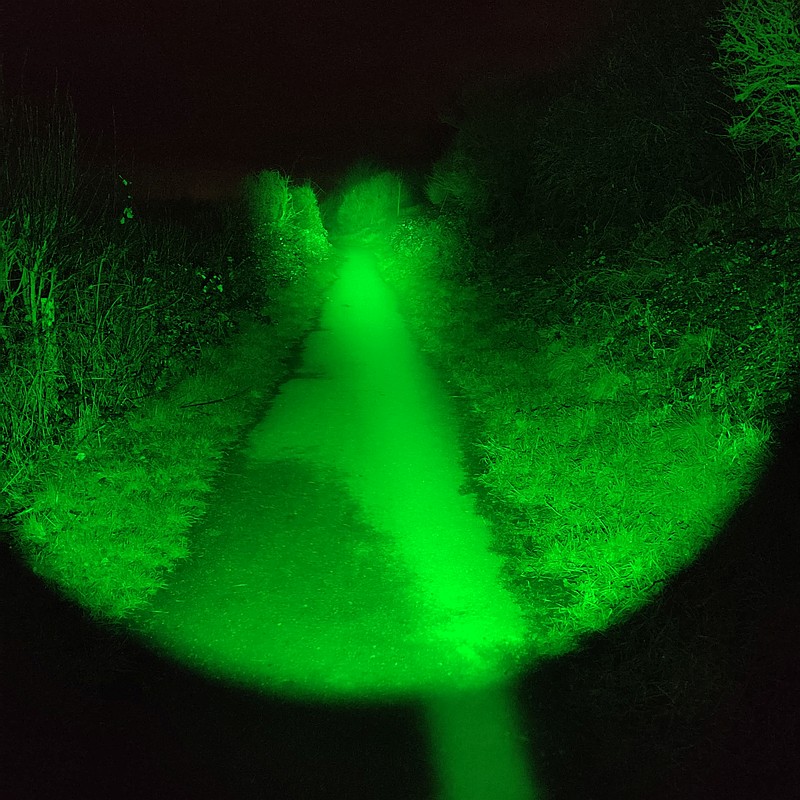
For hunting use, I never looked back once I started using coloured lights, the difference is literally like night and day. There is also a massive difference between filters fitted to white lights, and pure colour LEDs, both in quality and brightness. I have no need to change colours on one outing as the gun is chosen for the quarry, and the colour to match the quarry. In theory I then don’t need the ability to change colour in one light. That said, it means the one light is suitable for all setups, and you won’t bring the wrong one.
Target illumination is very good with all colours, and something I found very useful was the ability to set the low output with the tail-switch and ramp it up to high as needed with the remote switch, then back to low again.
This is a very accomplished package from NEXTORCH.
Review Summary
The views expressed in this summary table are from the point of view of the reviewer’s personal use. I am not a member of the armed forces and cannot comment on its use beyond that covered in the review.
Something that might be a ‘pro’ for one user can be a ‘con’ for another, so the comments are categorised based on my requirements. You should consider all points and if they could be beneficial to you.
I’m trying something slightly different and starting with what doesn’t work so well, so I can finish on a more positive note 
_______________________________________________
What doesn’t work so well for me
_______________________________________________
Tail-switch a little too recessed.
Remote switch straps may be too short for some guns.
_______________________________________________
Things I like
_______________________________________________
LED ‘swapping’ mechanism.
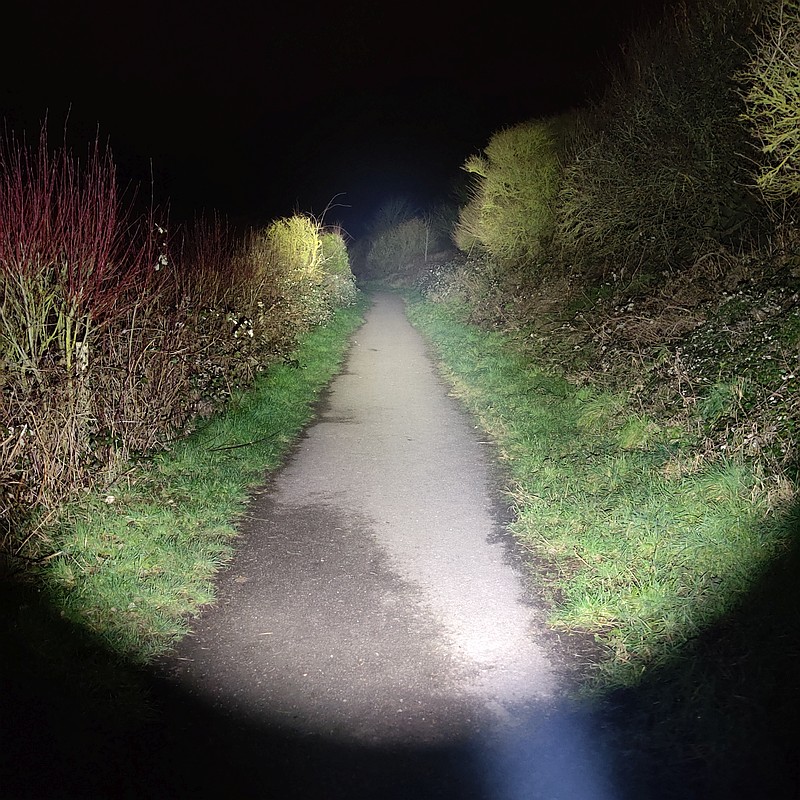
Three colour output, Red, Green and White.
Perfect beam for all colours.
Bright ‘through-scope’ view.
Built in USB charging (needing supplied cable).
Remote switch has momentary and latching switches.
Mount clamp is very secure.
Full kit provided, nothing else required (apart from a gun).
Discussing the Review:
The ideal place to discuss this review is on the Tactical Reviews Facebook Page 
Please visit there and start/join the conversation.
