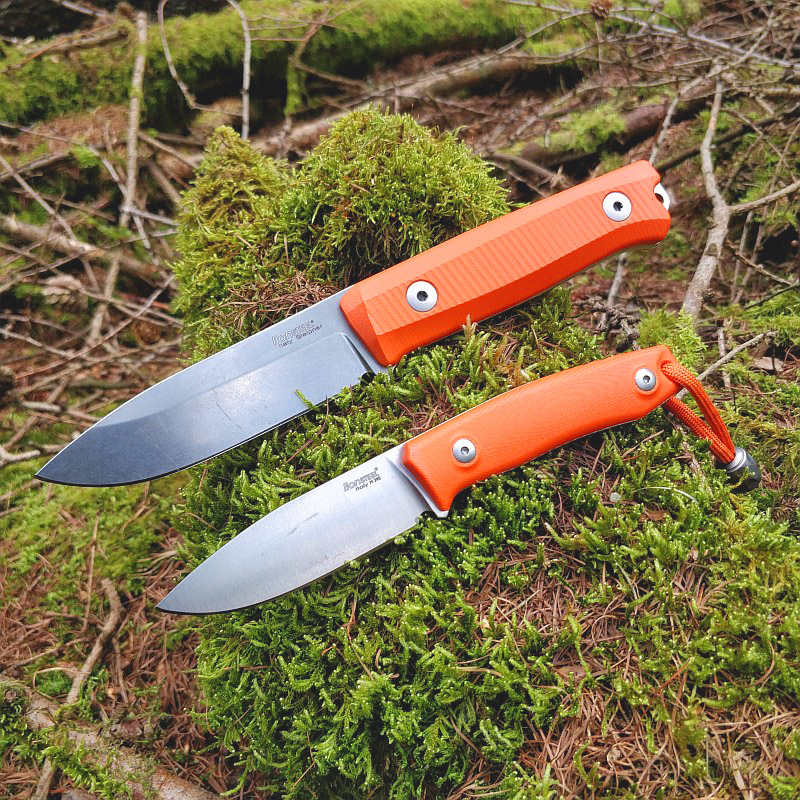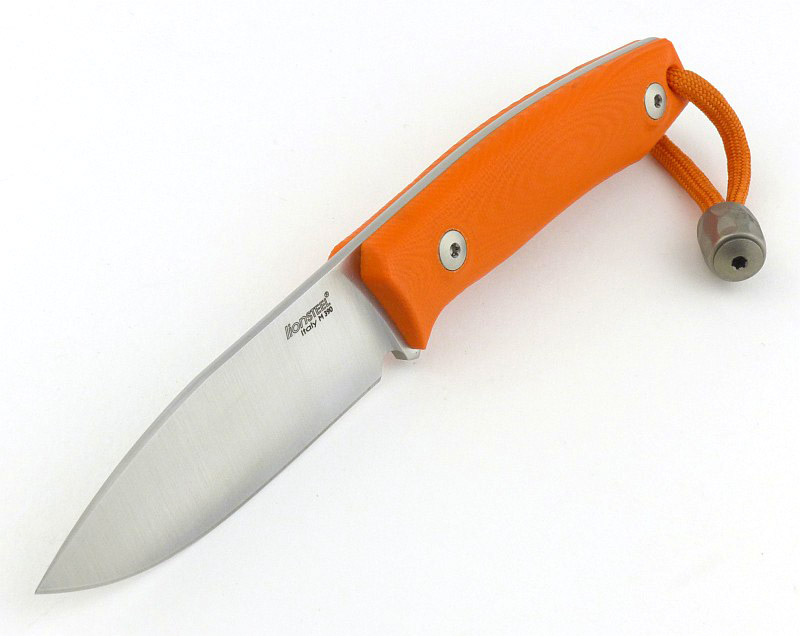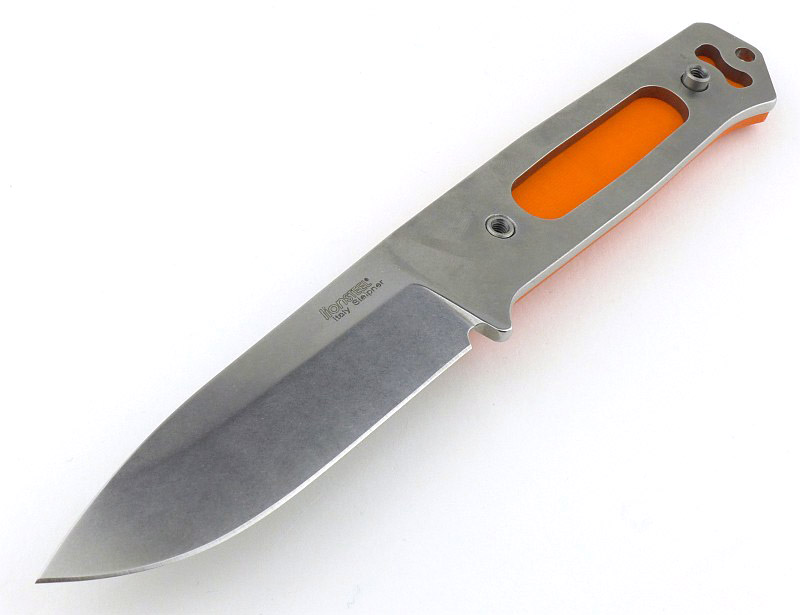
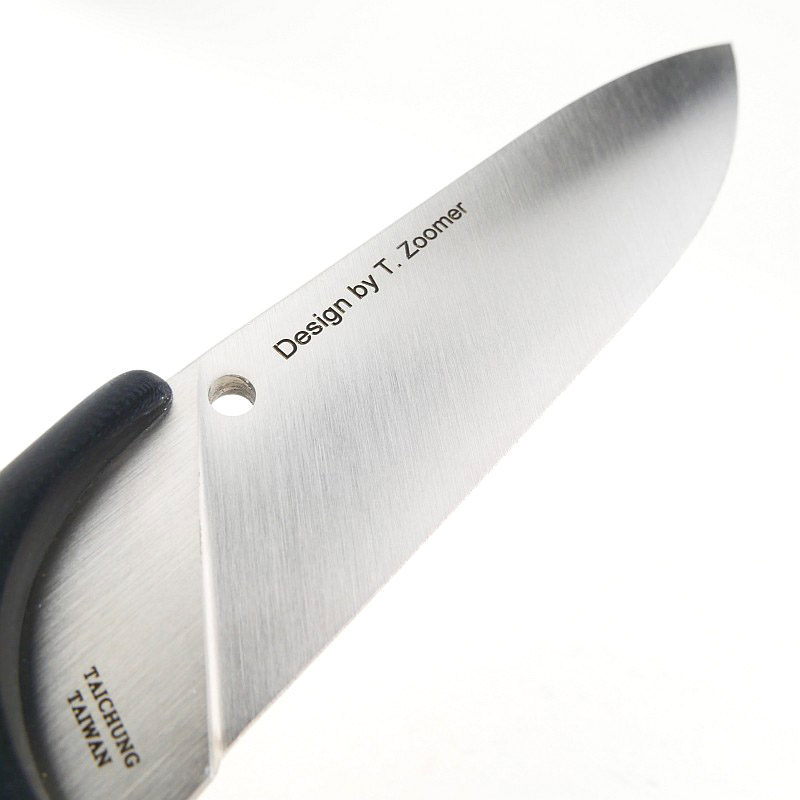
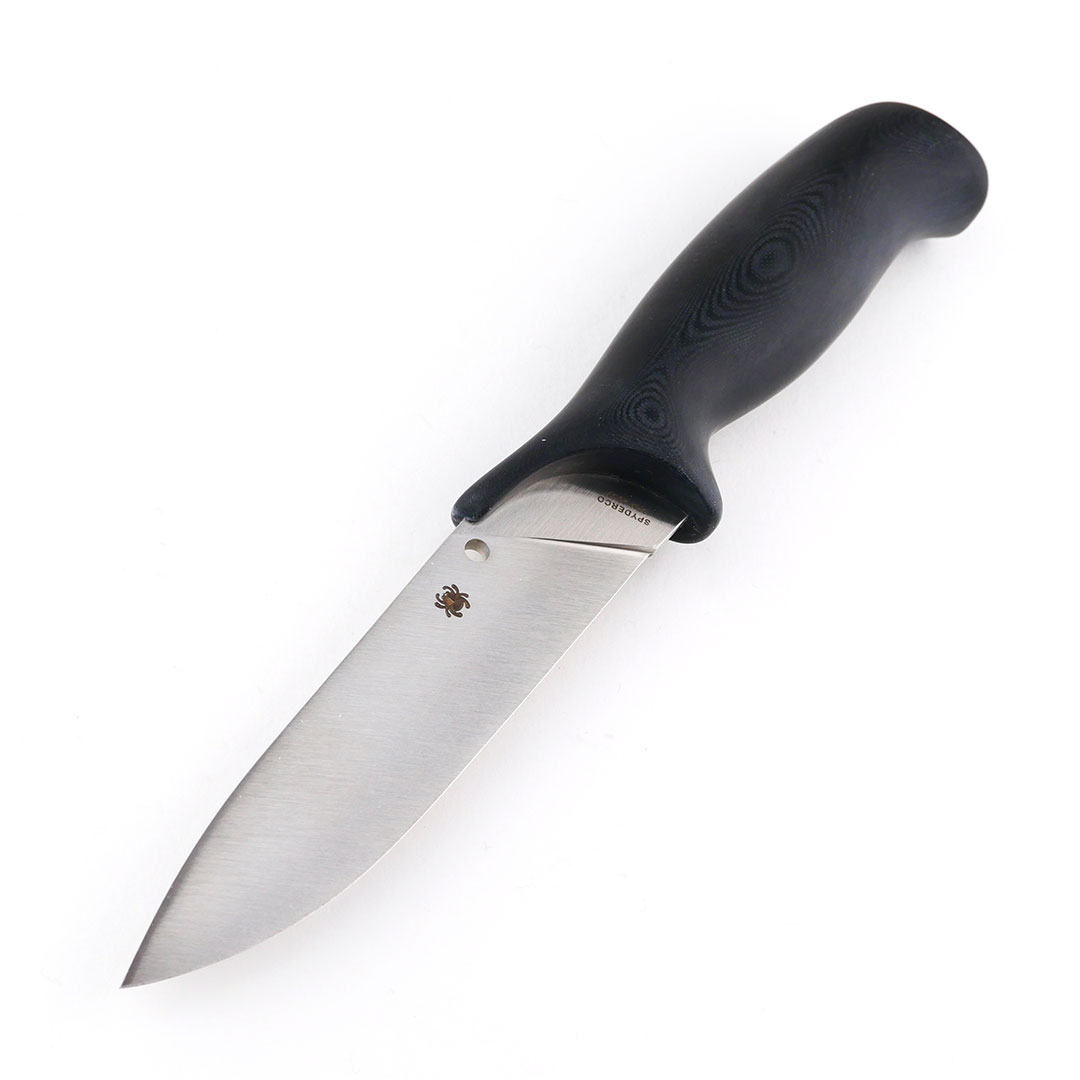
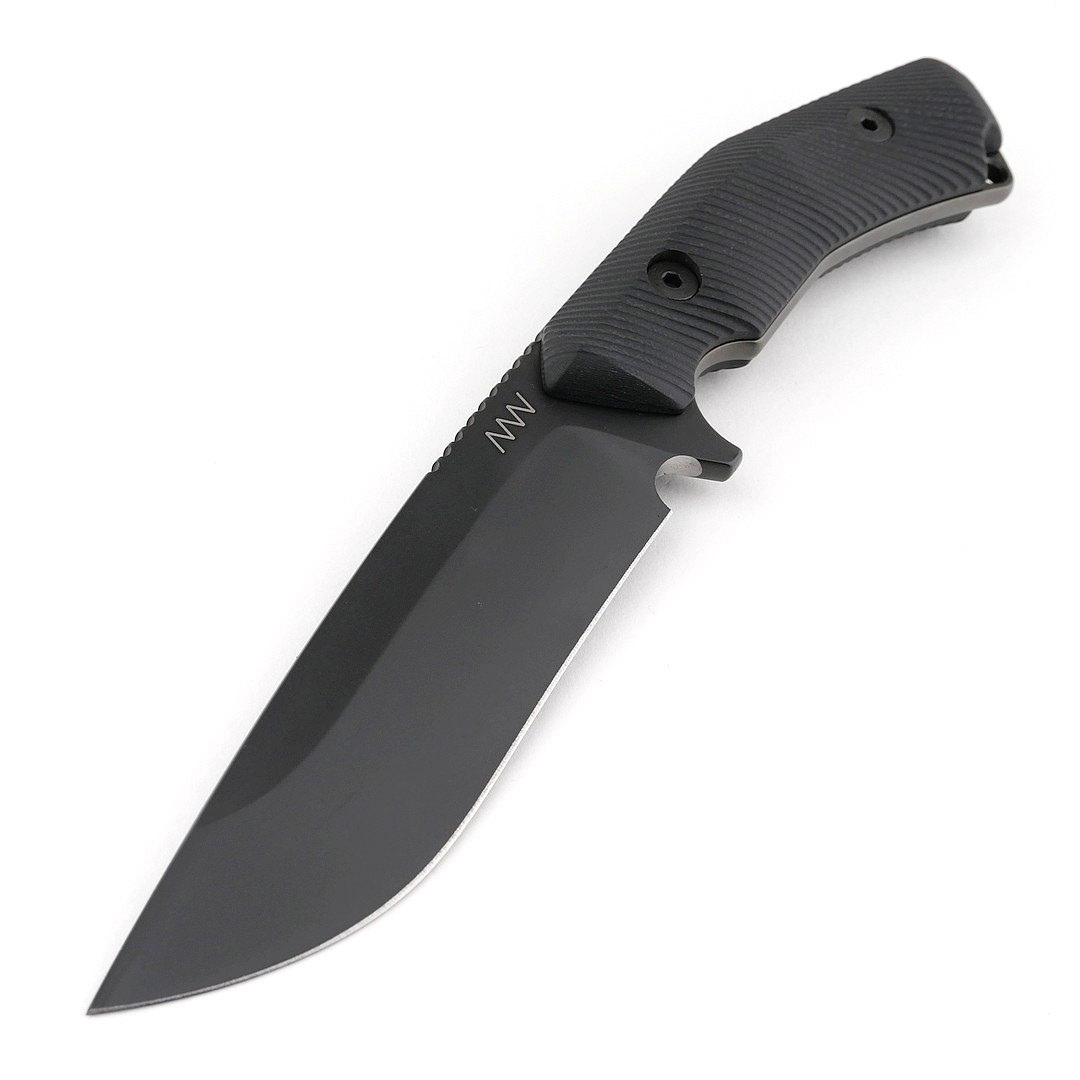
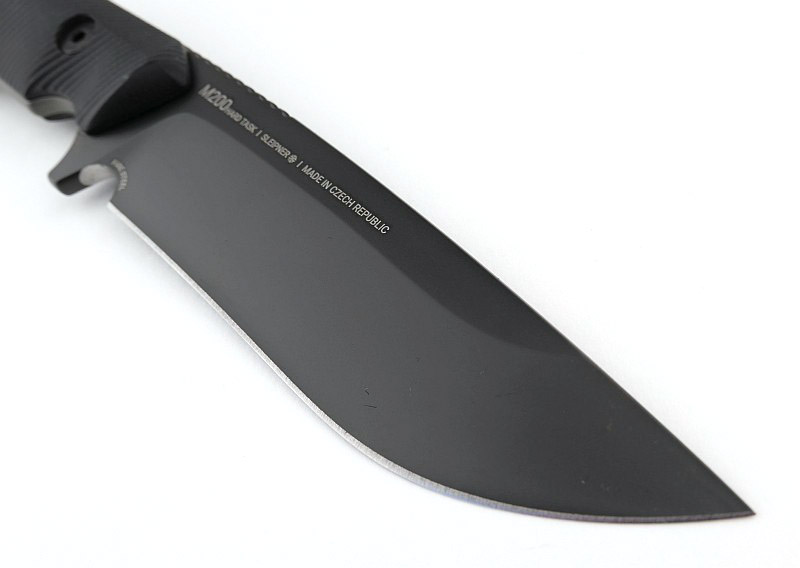
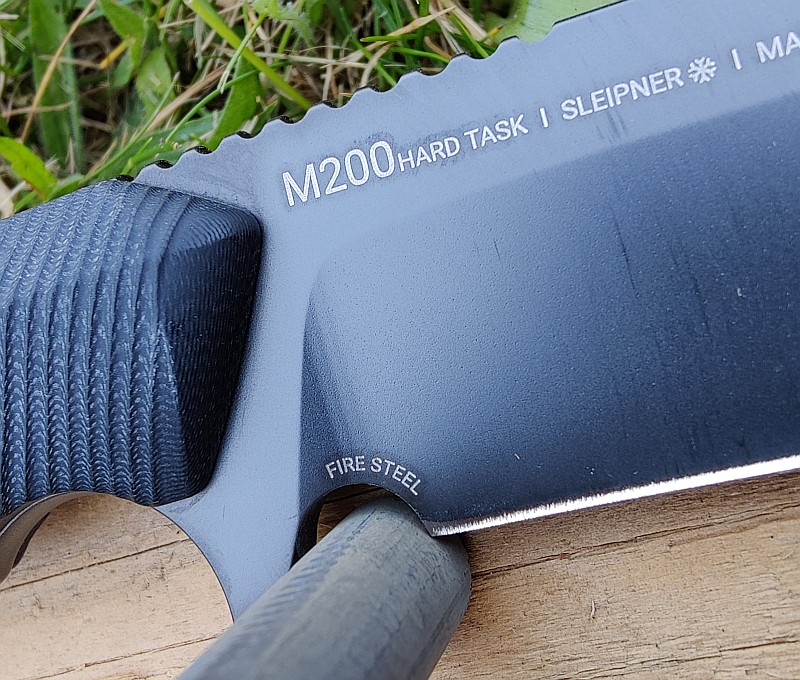
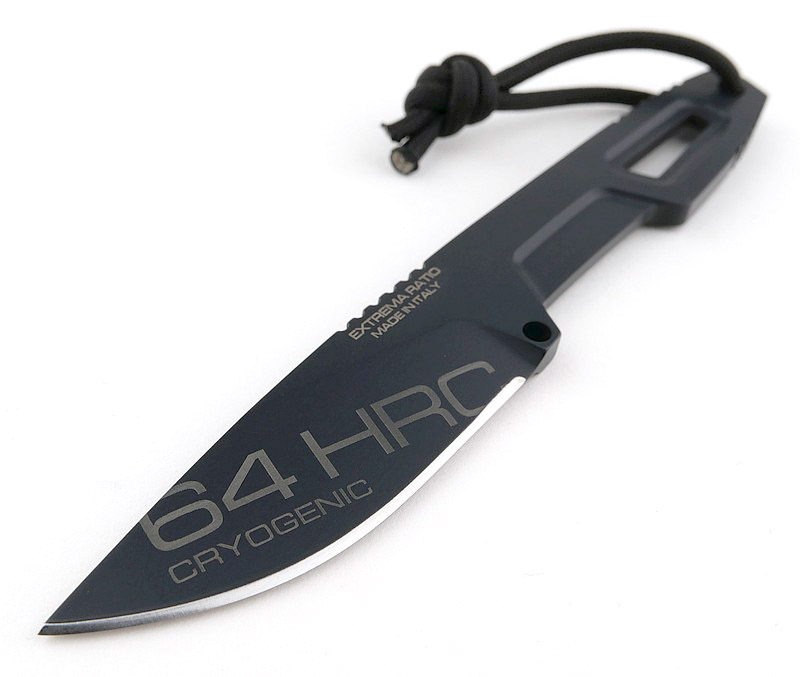
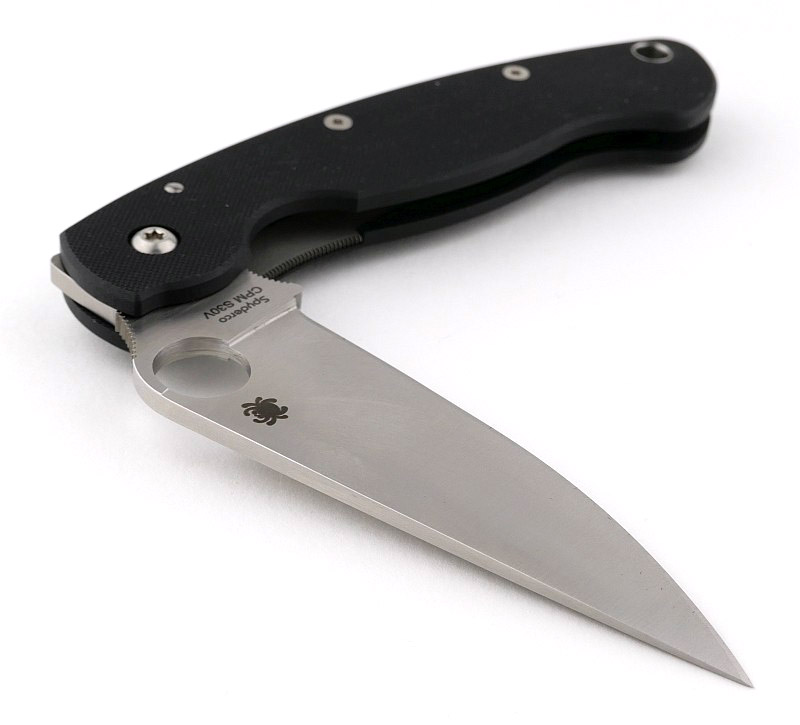
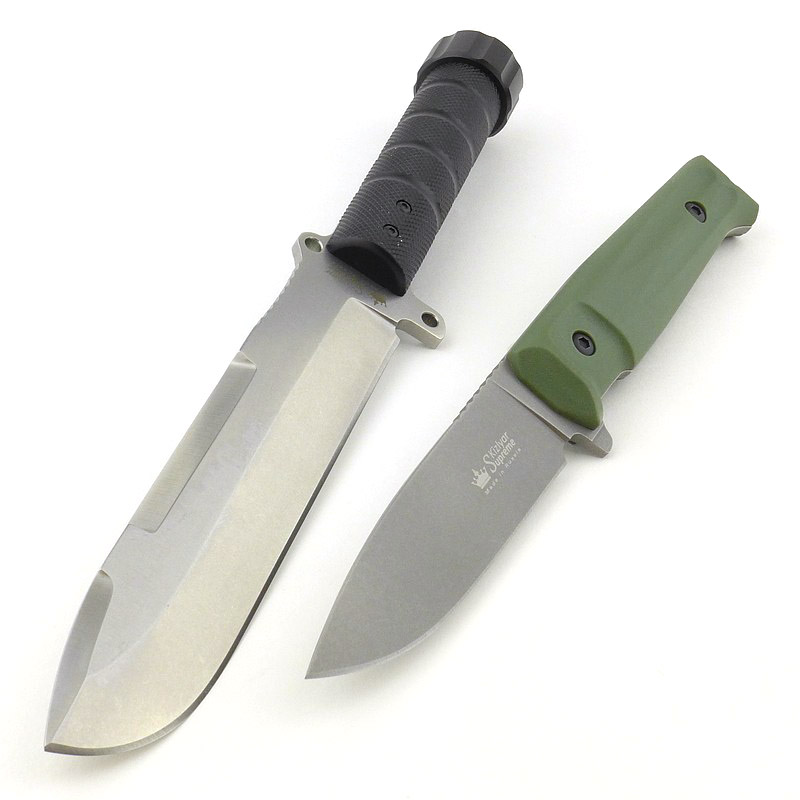
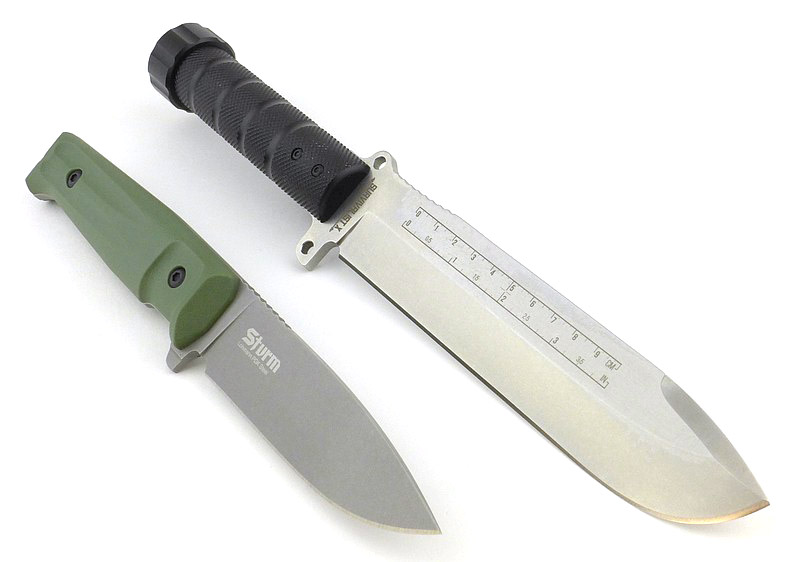
In this Spyderco Zoomer review, we will take in all the details of this innovative fixed-blade knife. The Zoomer was created specifically for bushcraft and wilderness survival, and was designed by Tom Zoomer. It features a CPM20V steel blade with classic hamaguri (convex) grind that ensures a breathtakingly sharp yet resilient cutting edge. Every design detail of the blade, handle and sheath has been considered to maximum comfort and efficiency of use.
Video Overview
This video is a detailed look at the Spyderco Zoomer. In the video we cover the main design details, look very close-up at the knife, and then take Tactical Reviews standard detailed technical measurements.
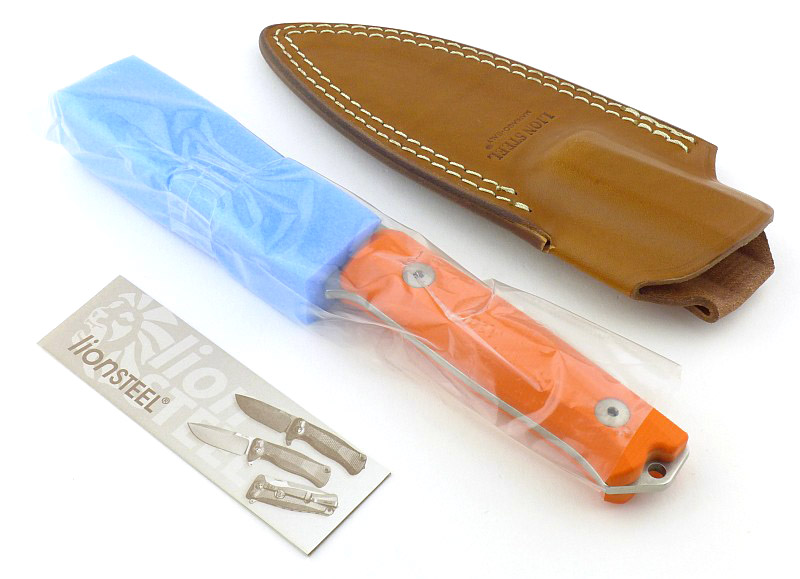
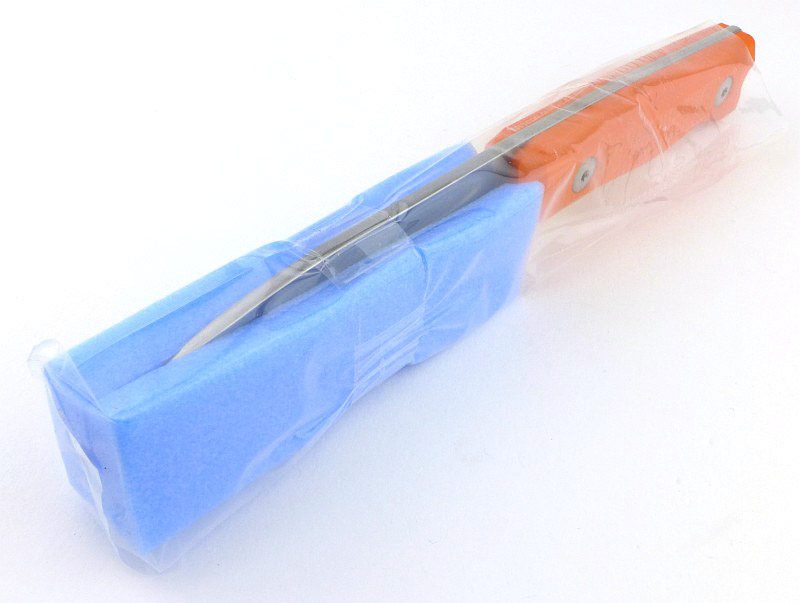
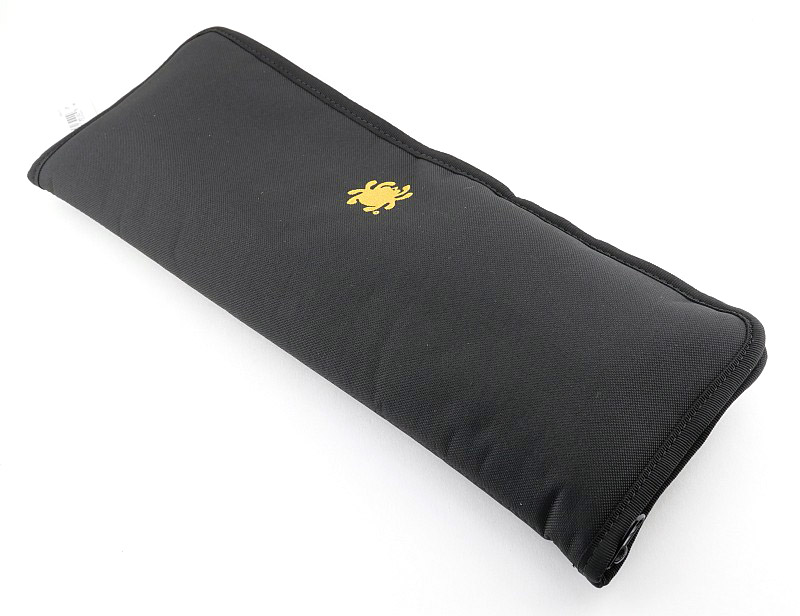
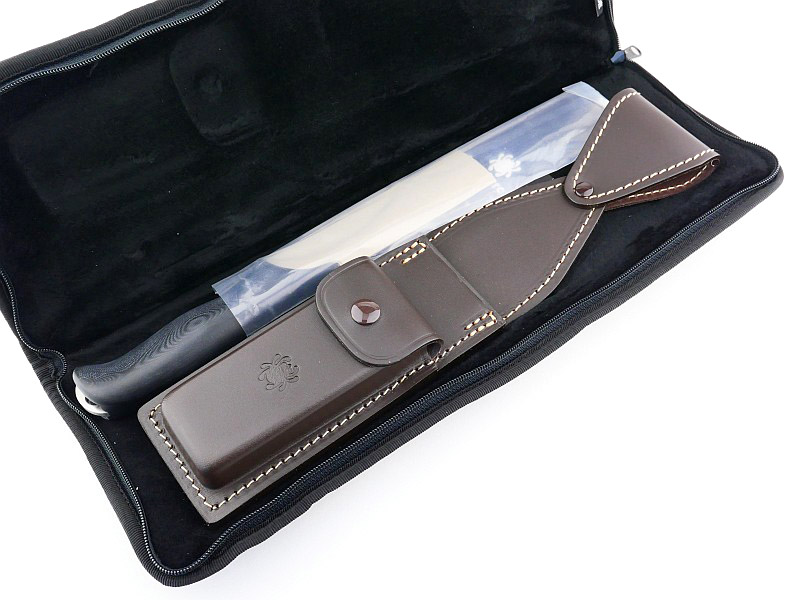
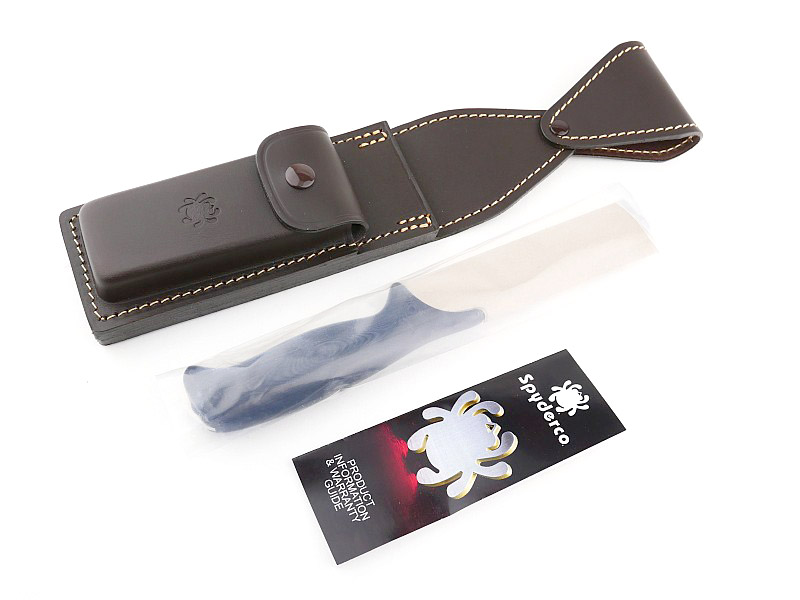
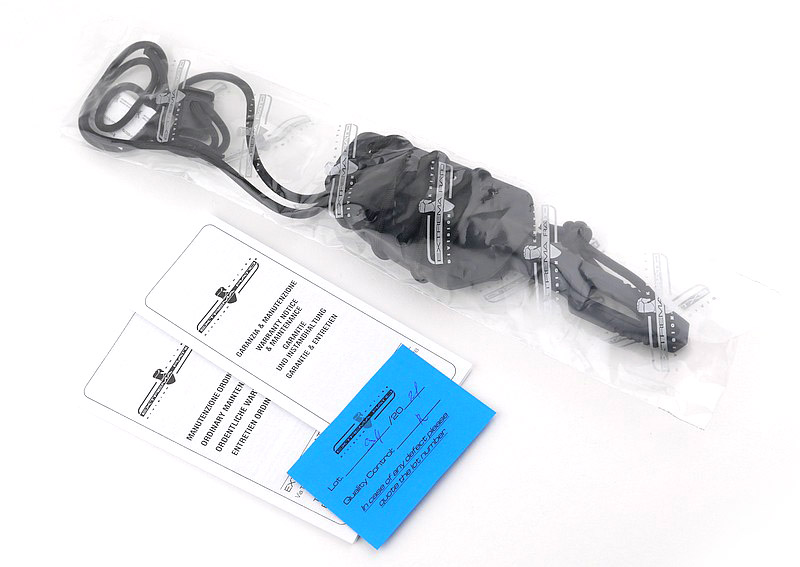
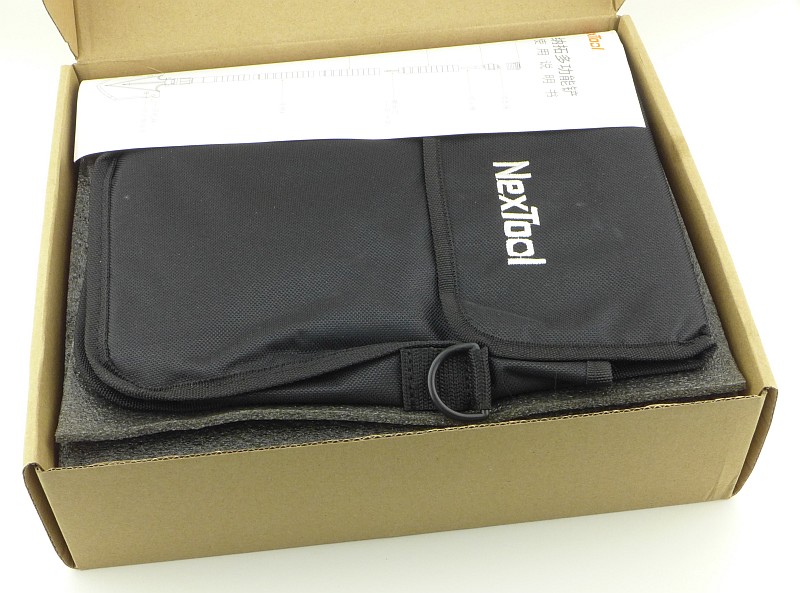
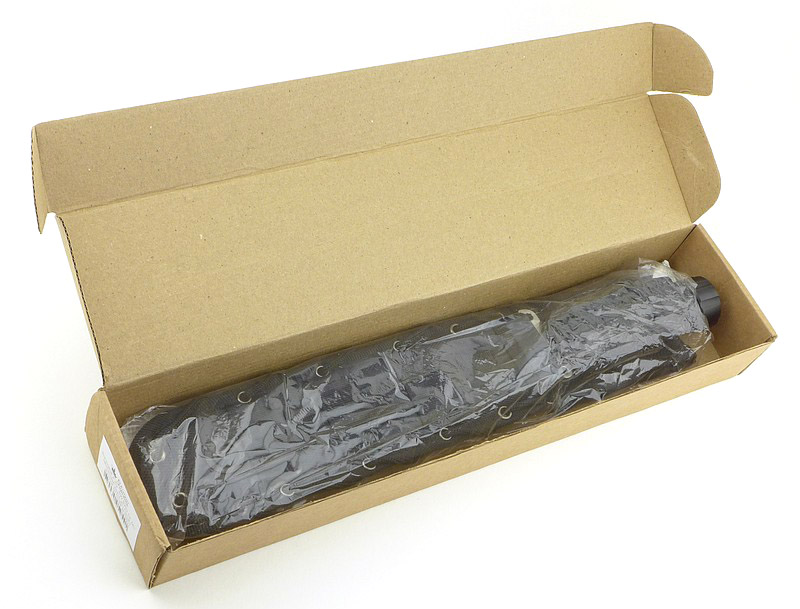
What’s in the box?:
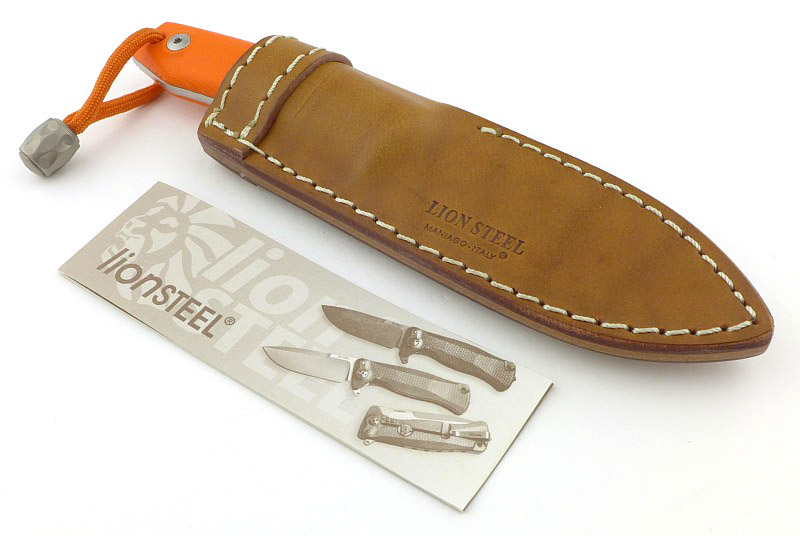
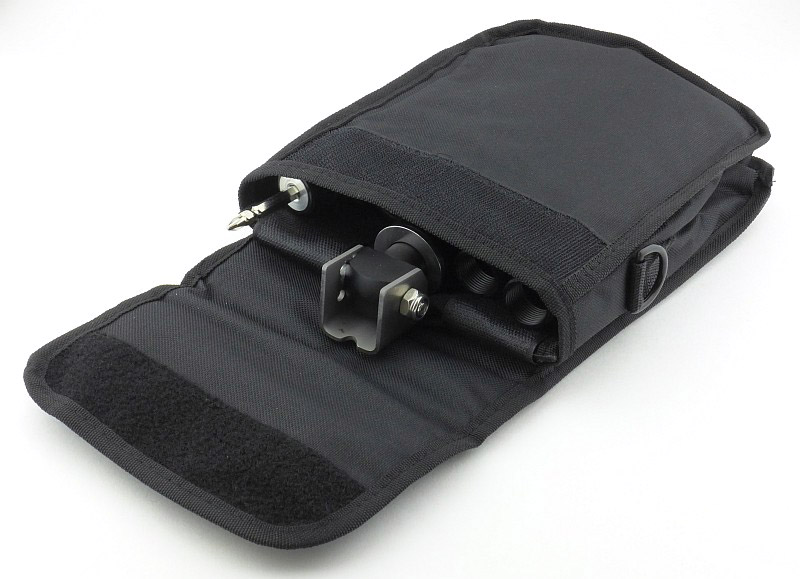
In fact there is no box – the Zoomer is presented in a zip-up pouch large enough to house the sheath and knife separately.

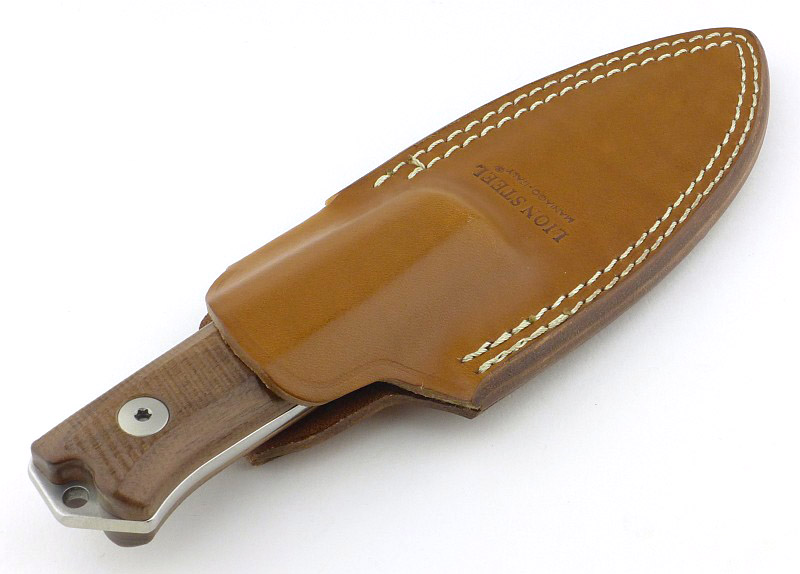
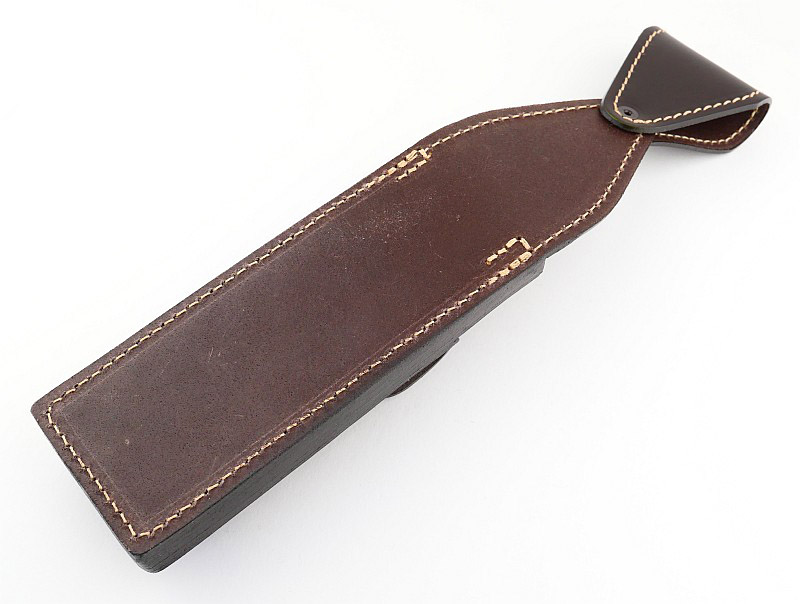
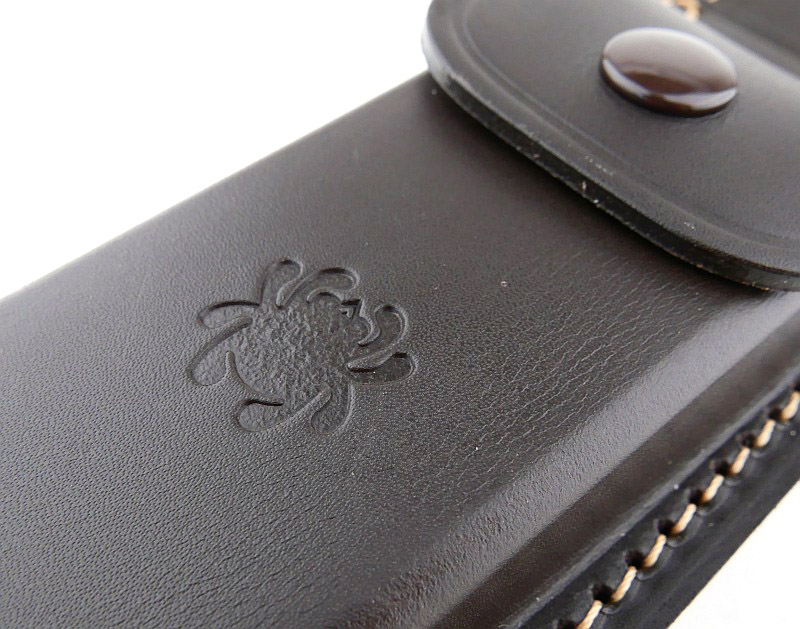
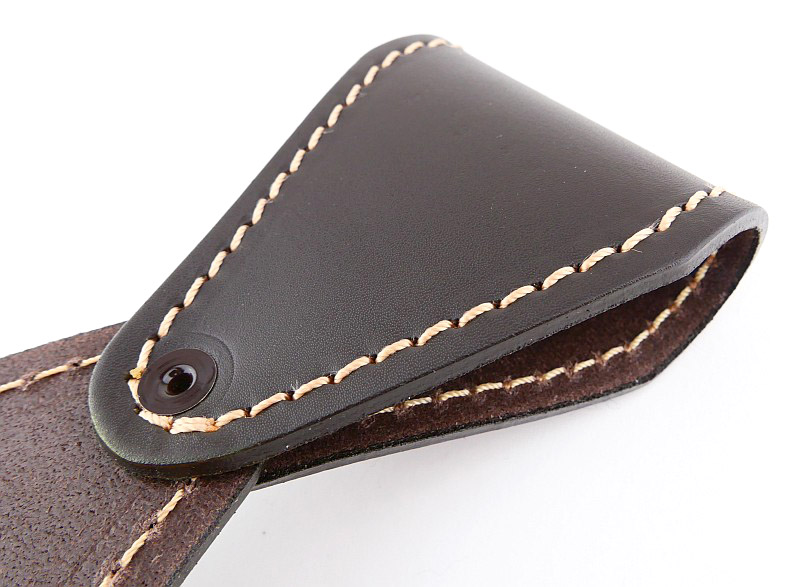
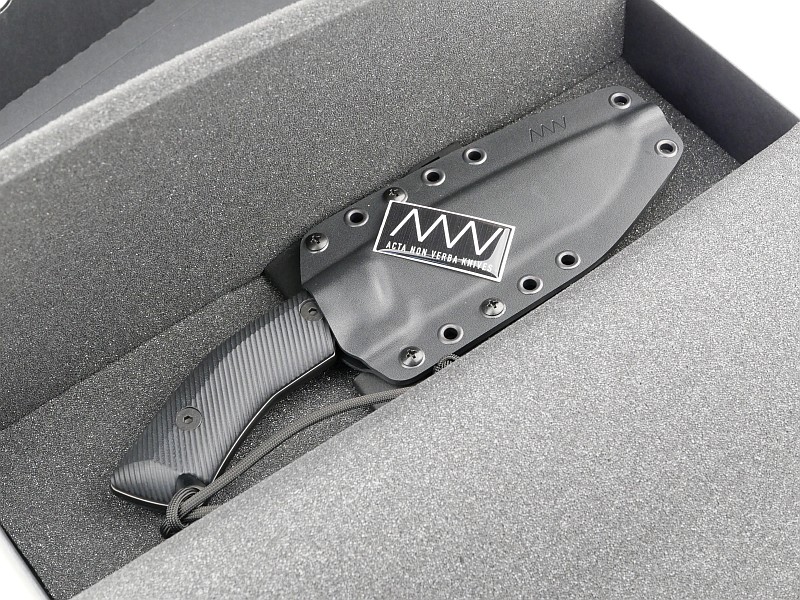
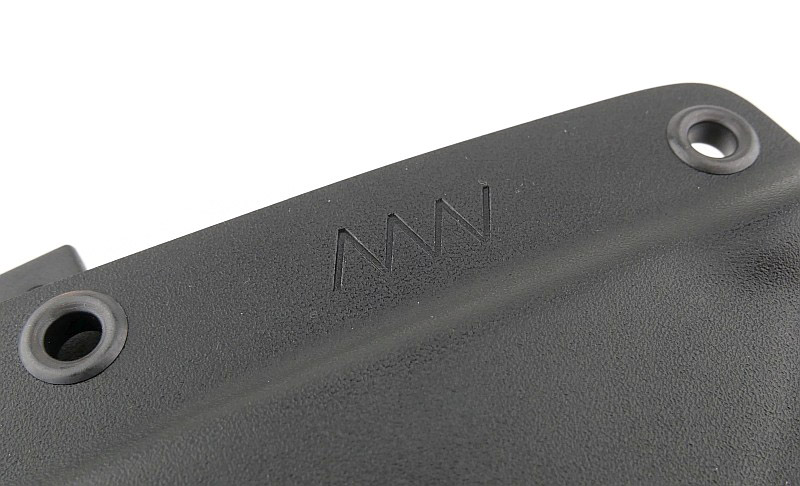
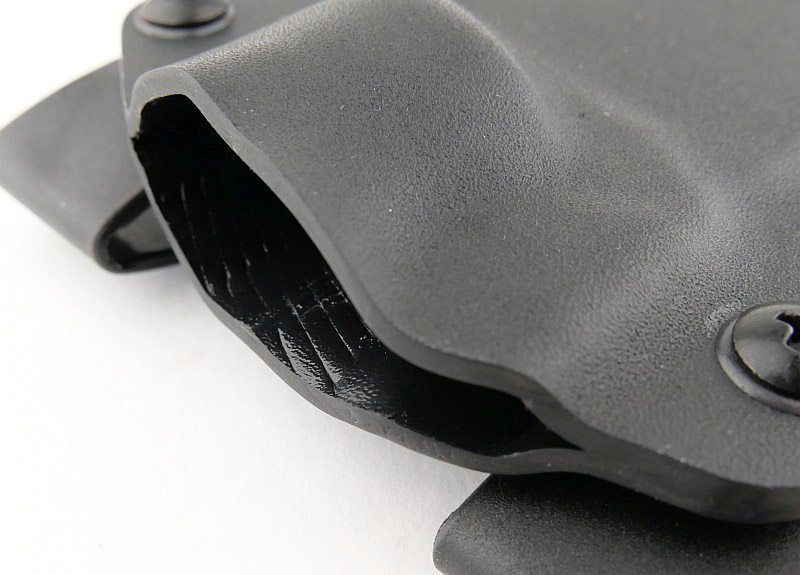
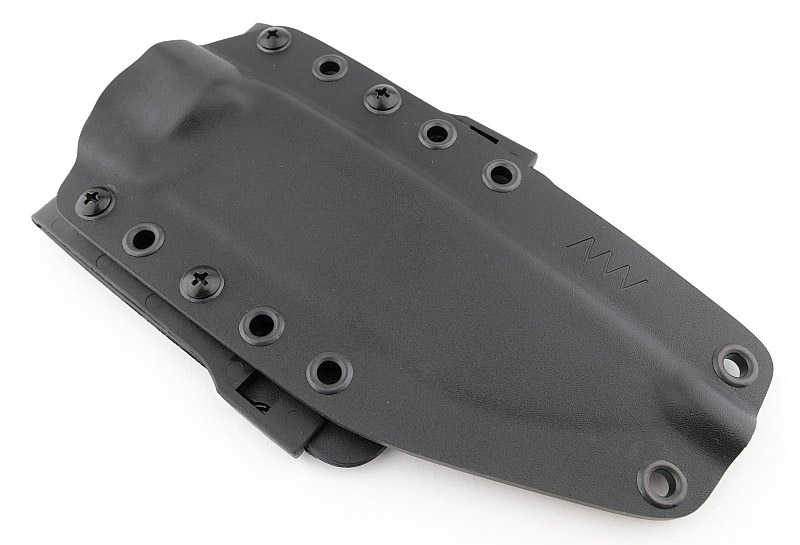
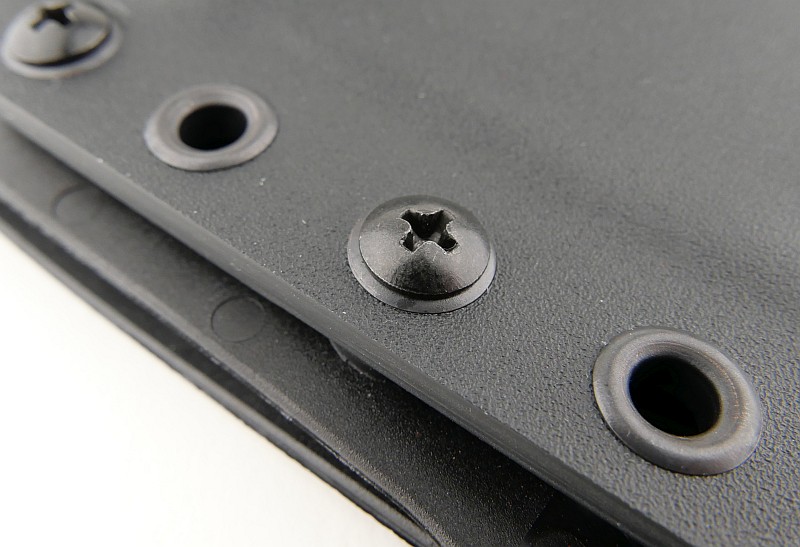
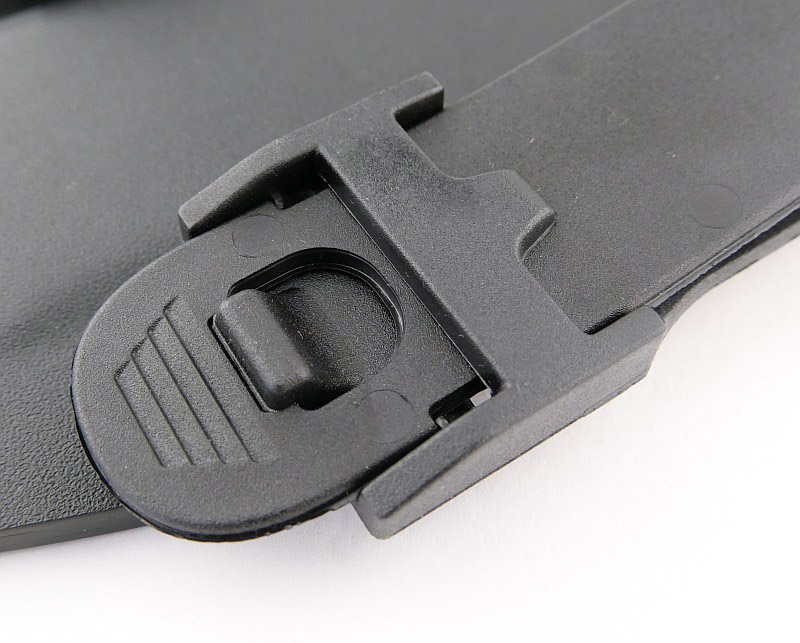
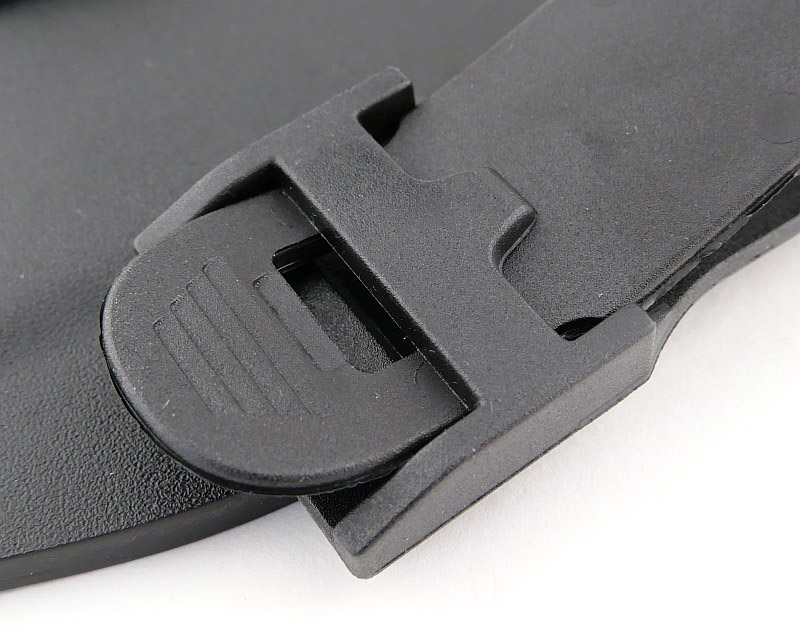
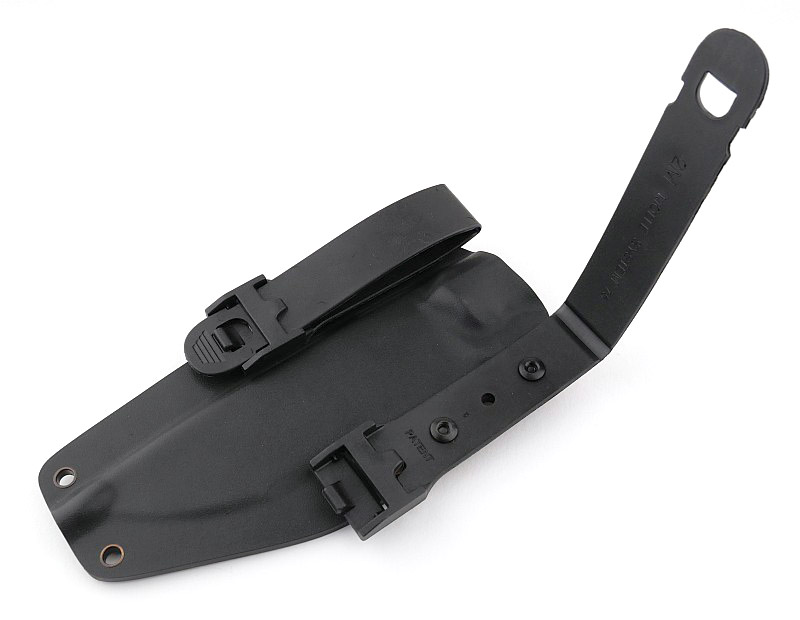
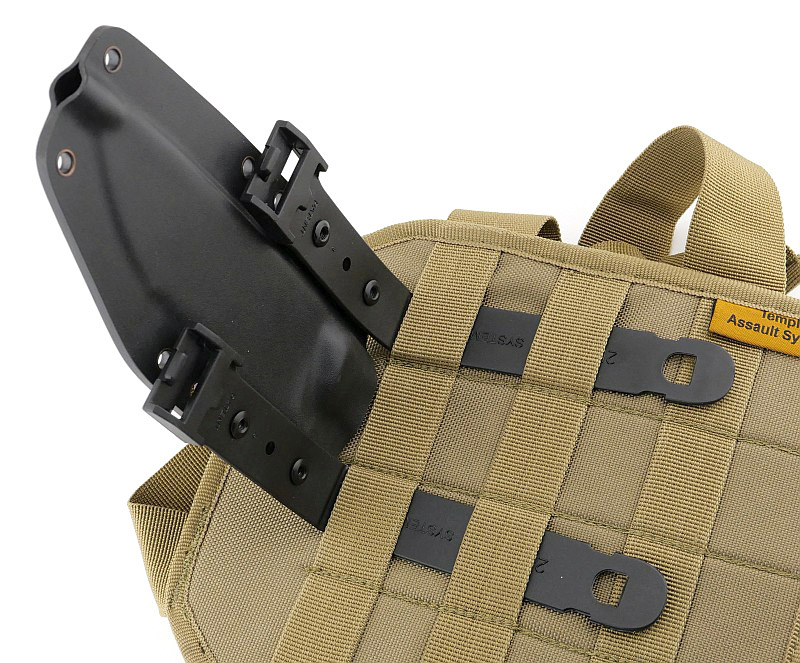
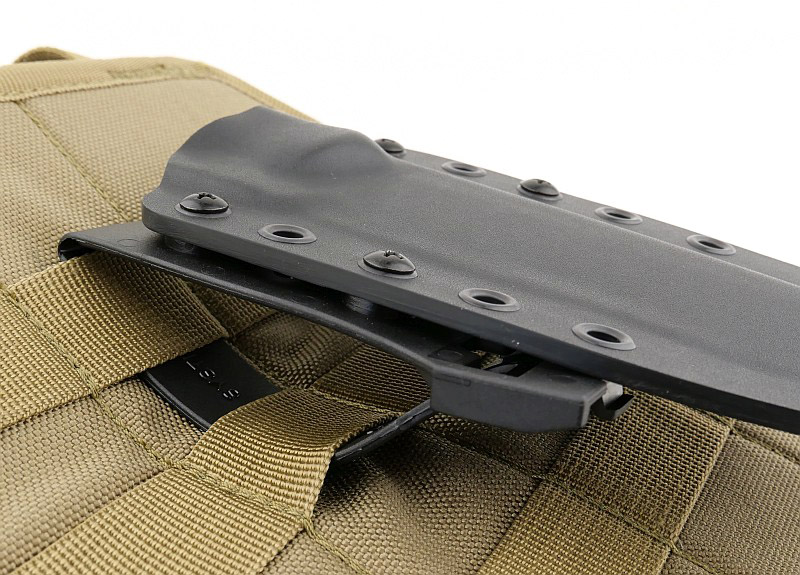
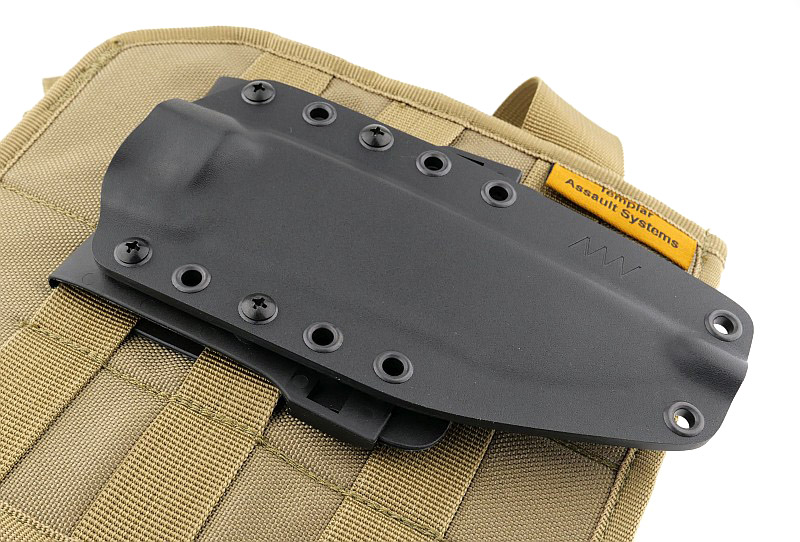
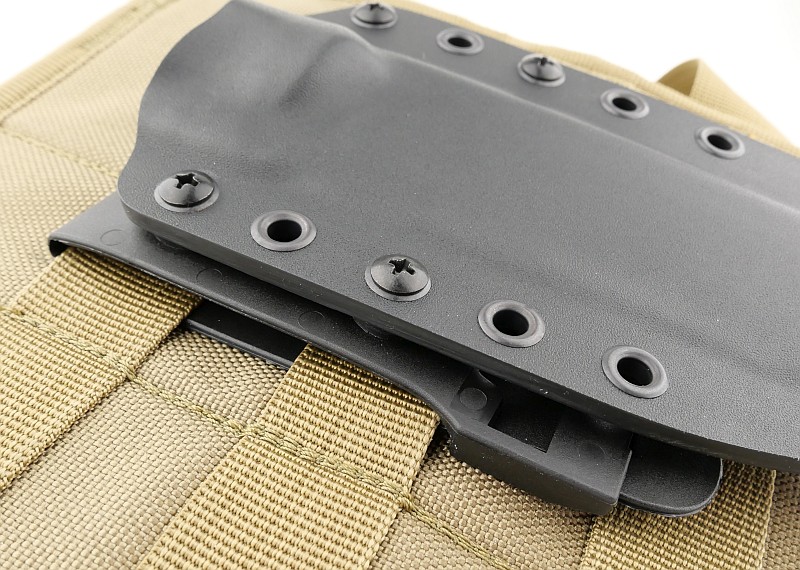
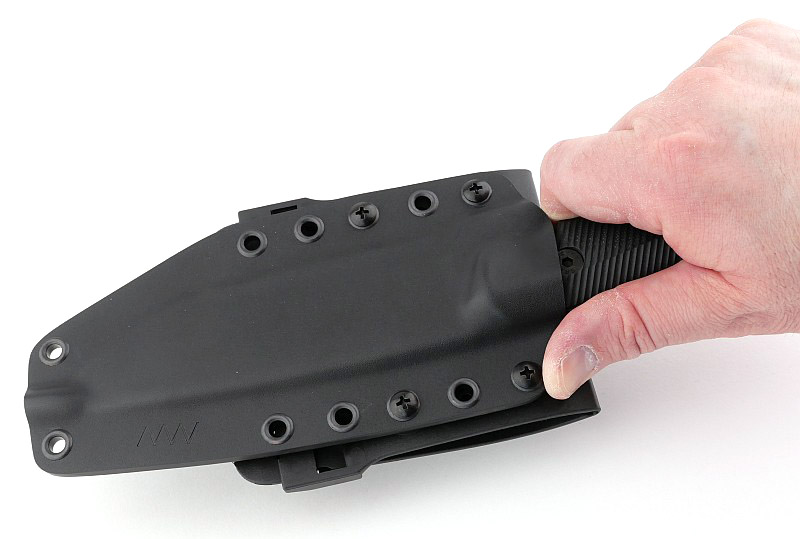
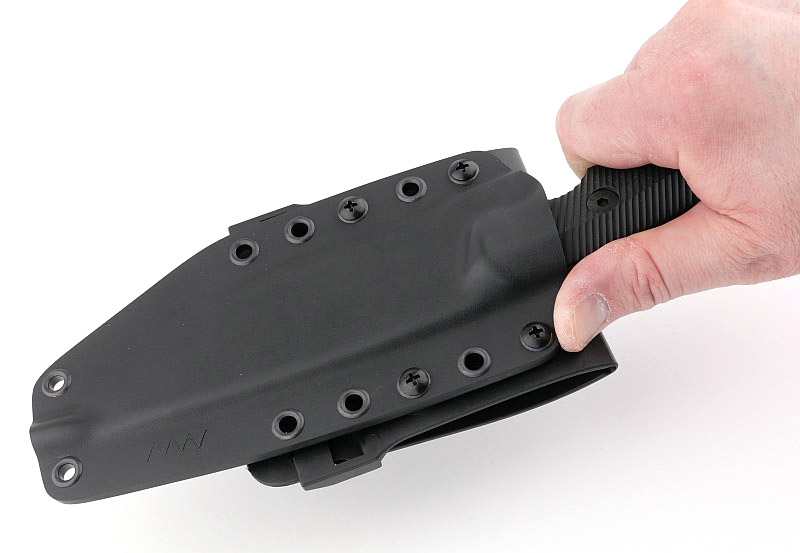
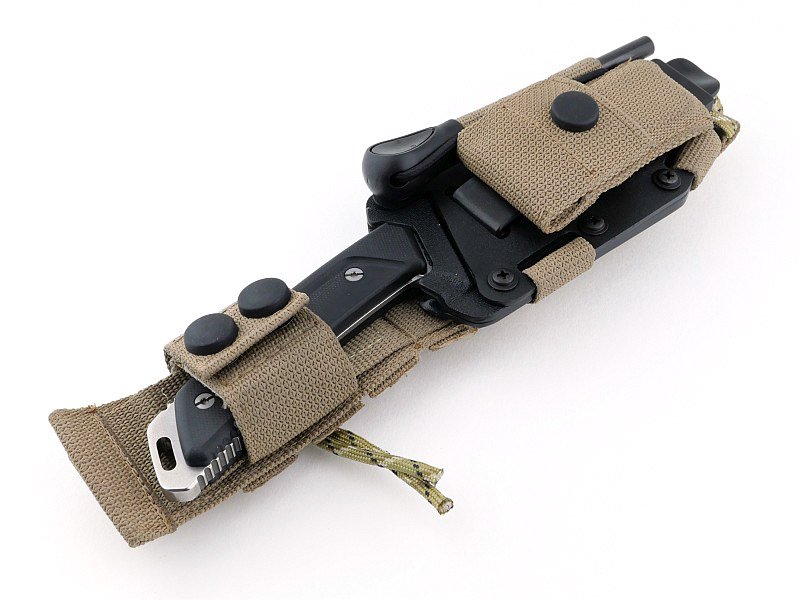
A good look round the Zoomer’s Sheath – Things to look out for here are:
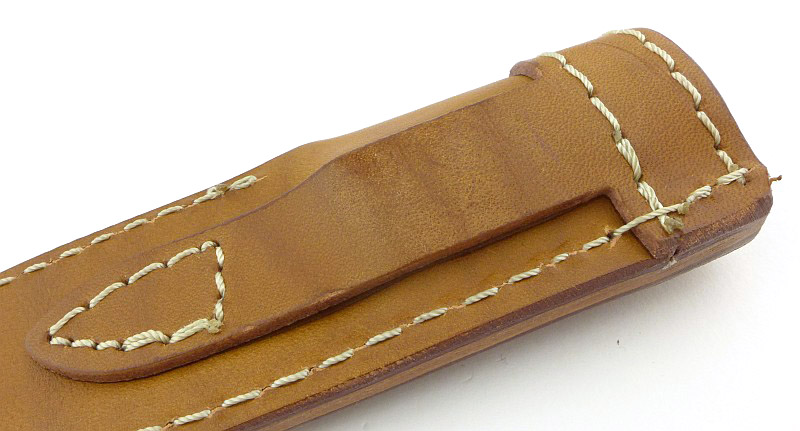
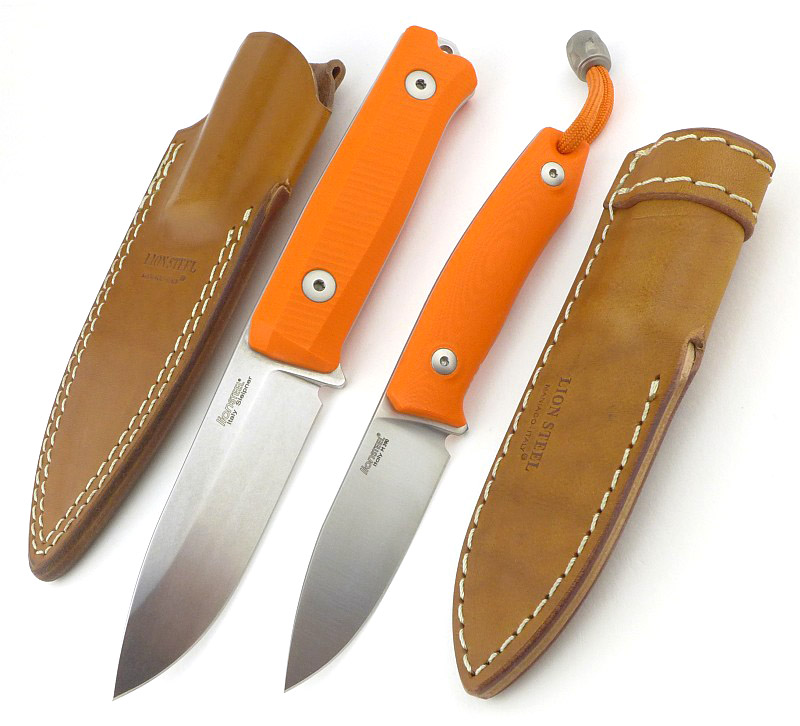
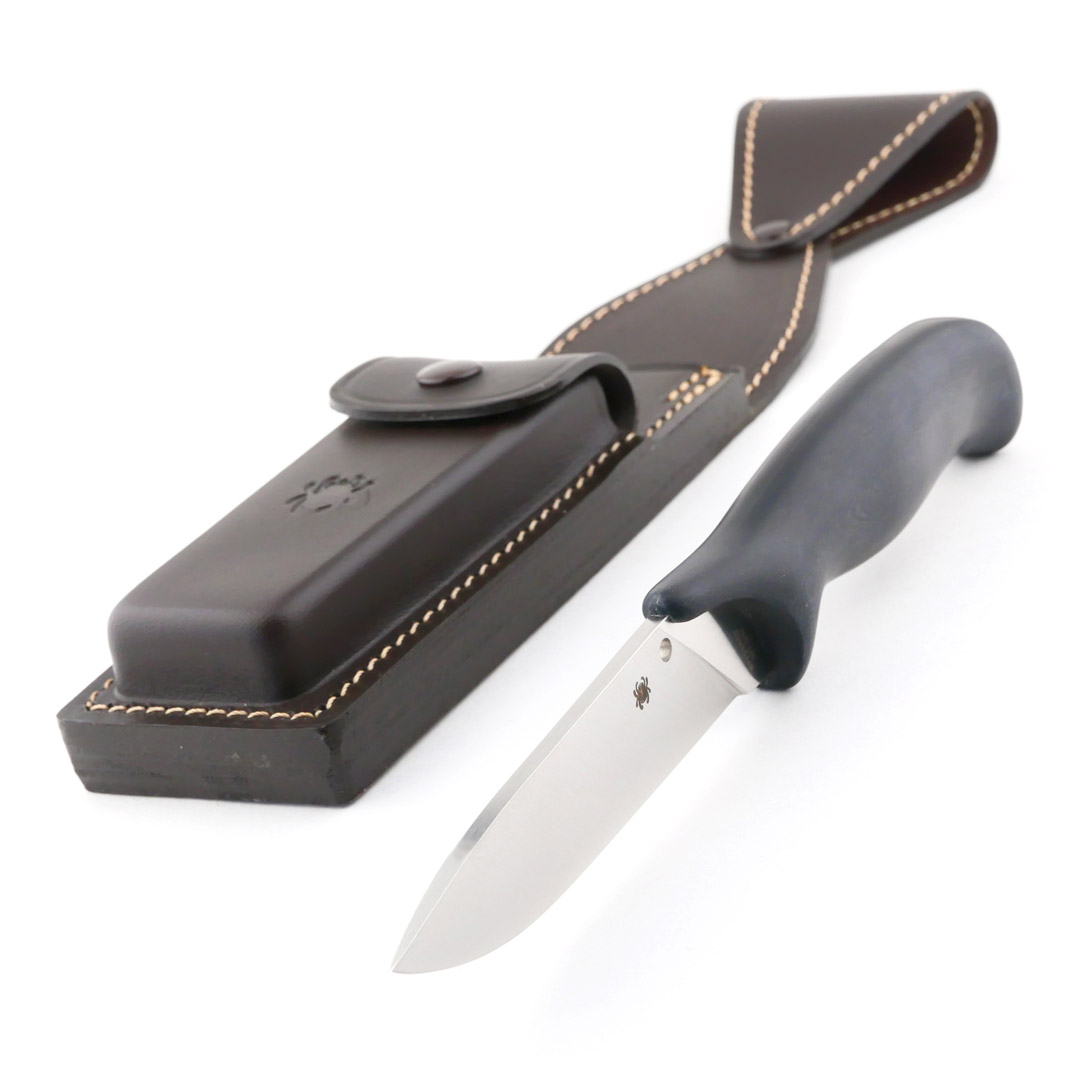
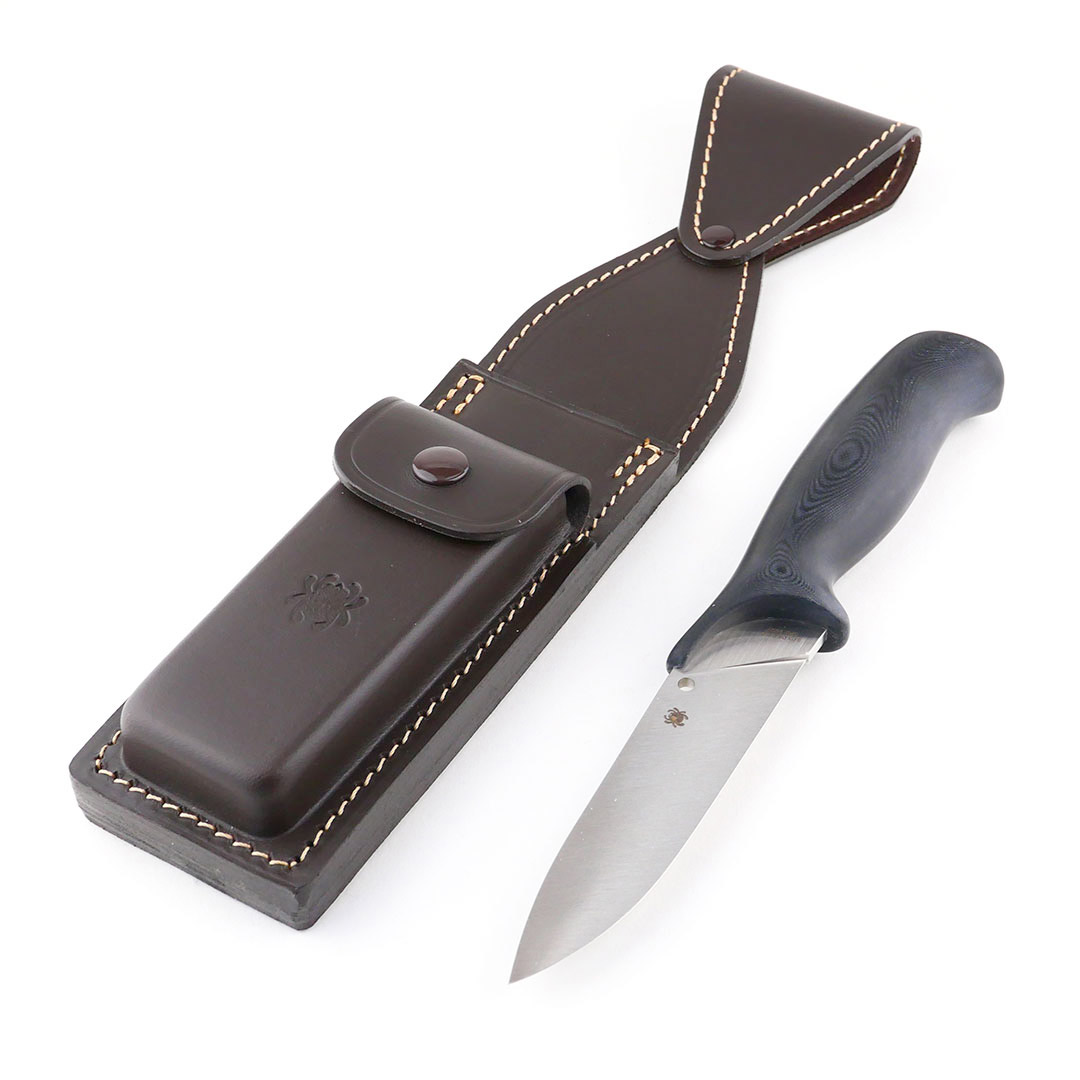
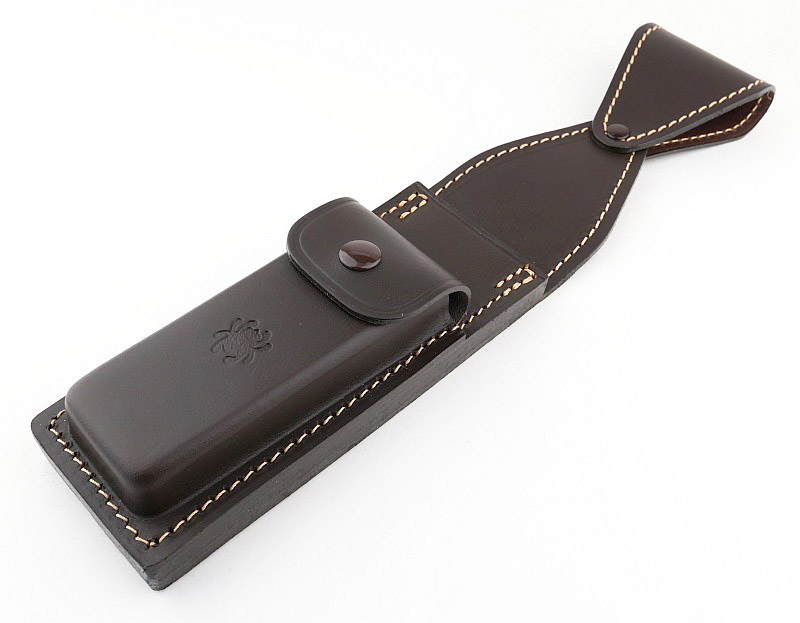
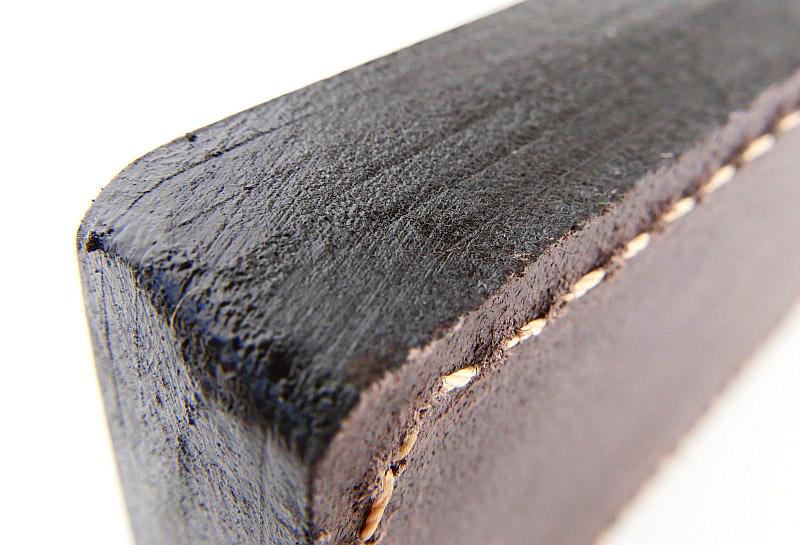
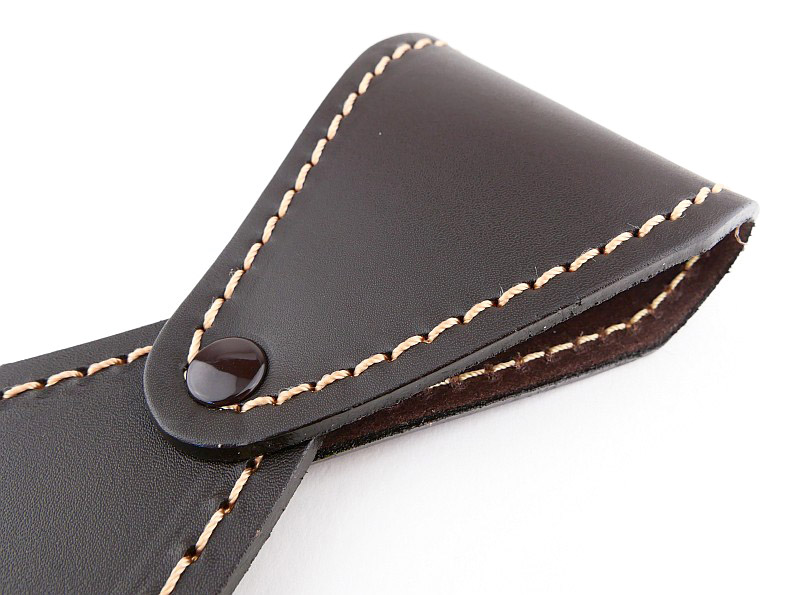
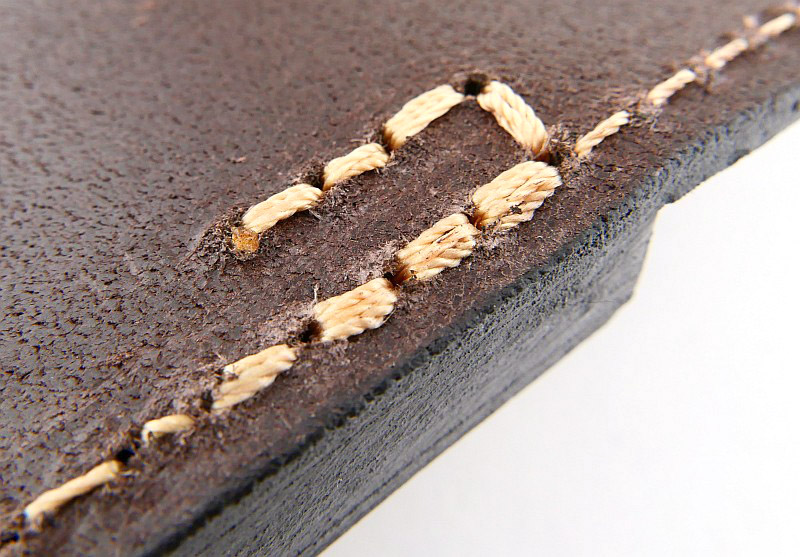
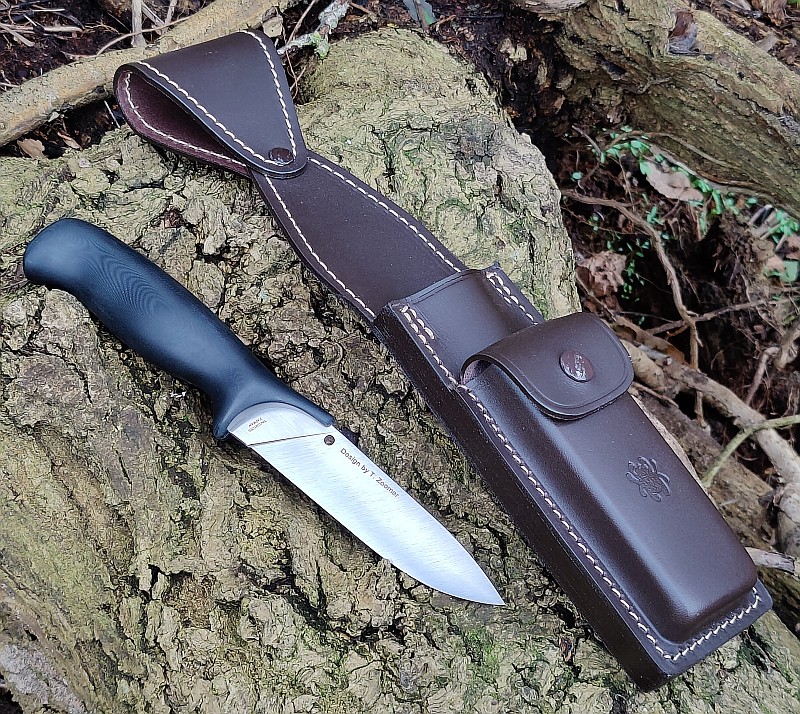
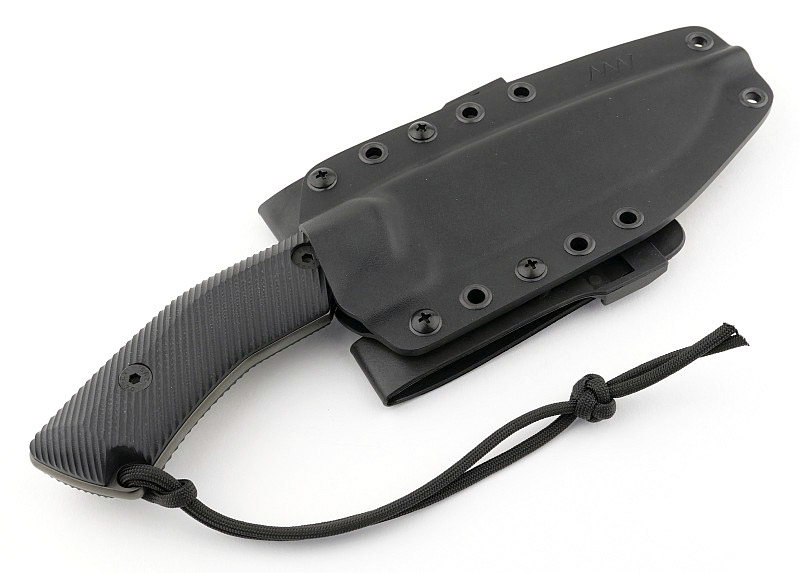
A significant component of the full package; the large leather sheath has been designed to not compromise on functionality at all. A gravity-retained knife-holder, more than a typical sheath, with the belt loop made so it allows the sheath to swing to a vertical position at all times. Constructed of a total of six layers of leather building up the structure and including a front mounted pouch left empty for you to fill yourself.

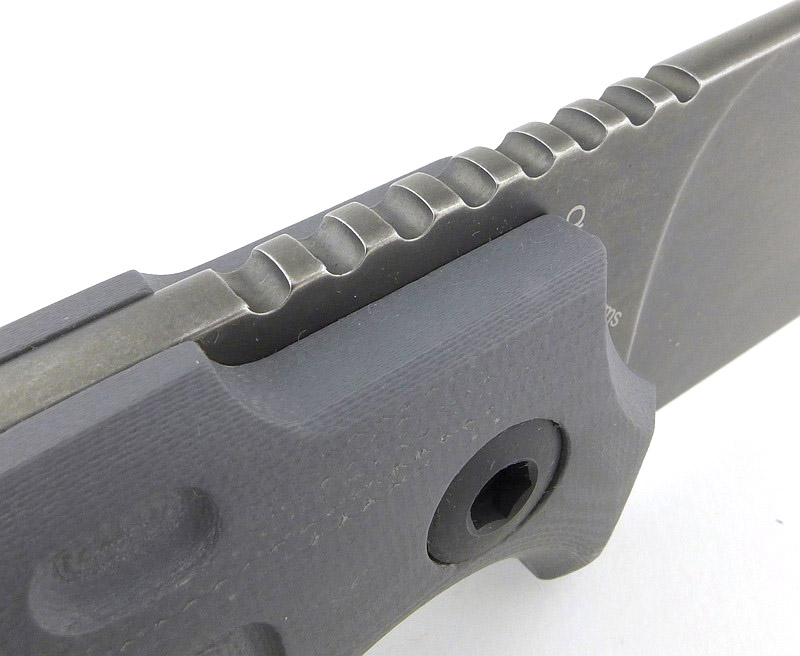
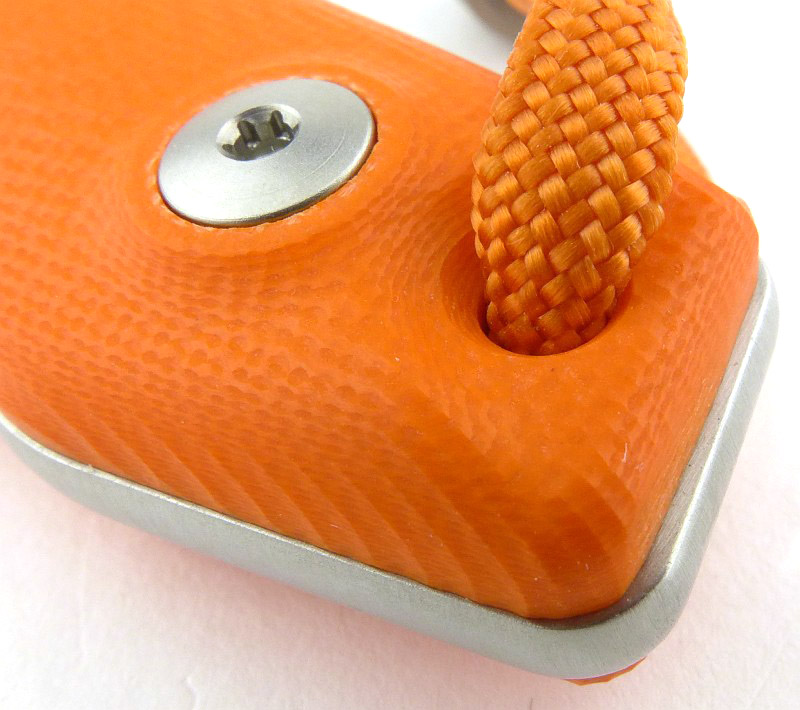
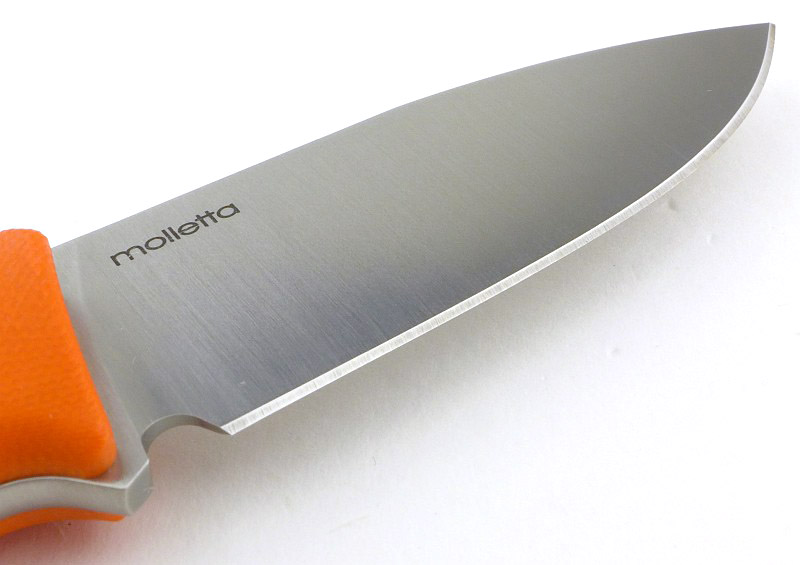
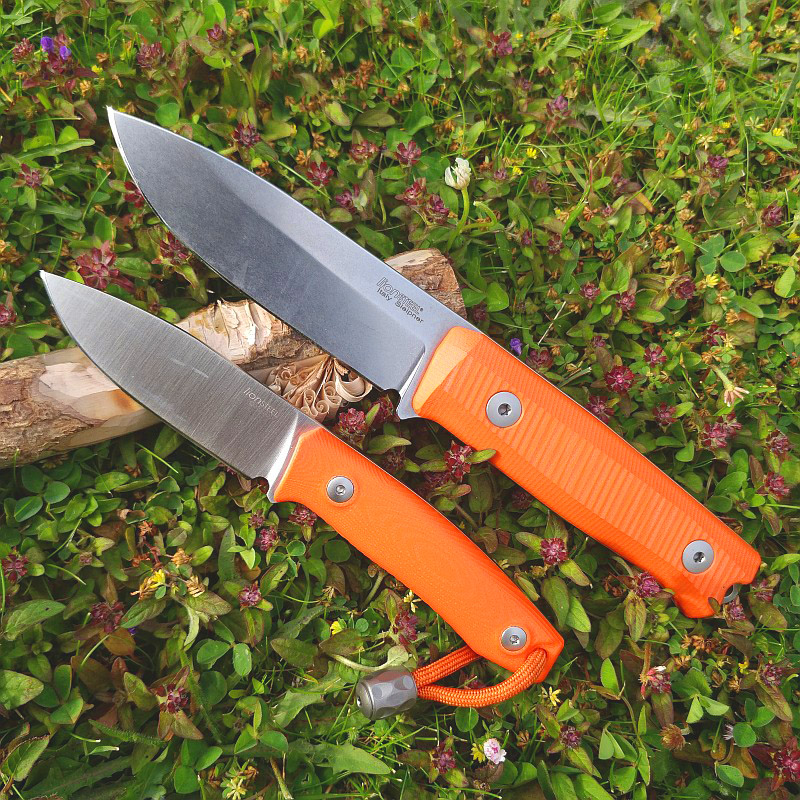
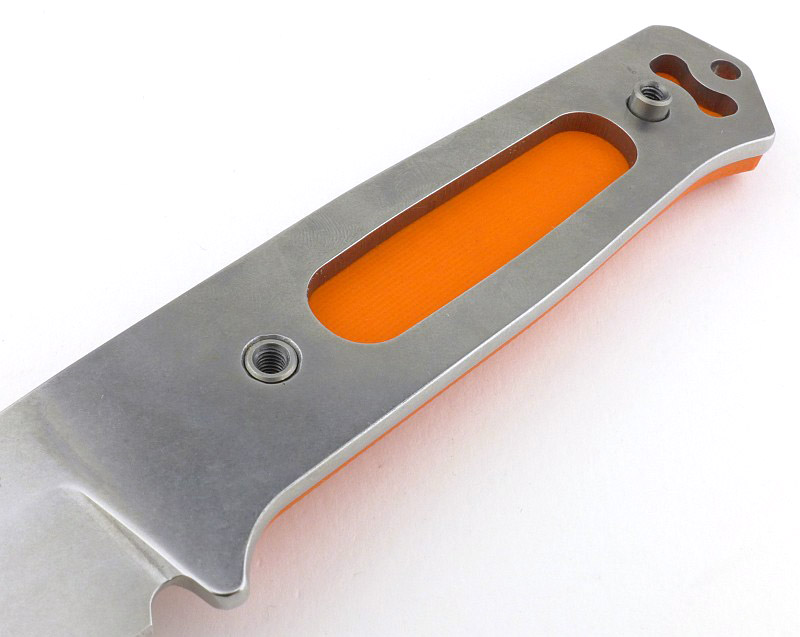
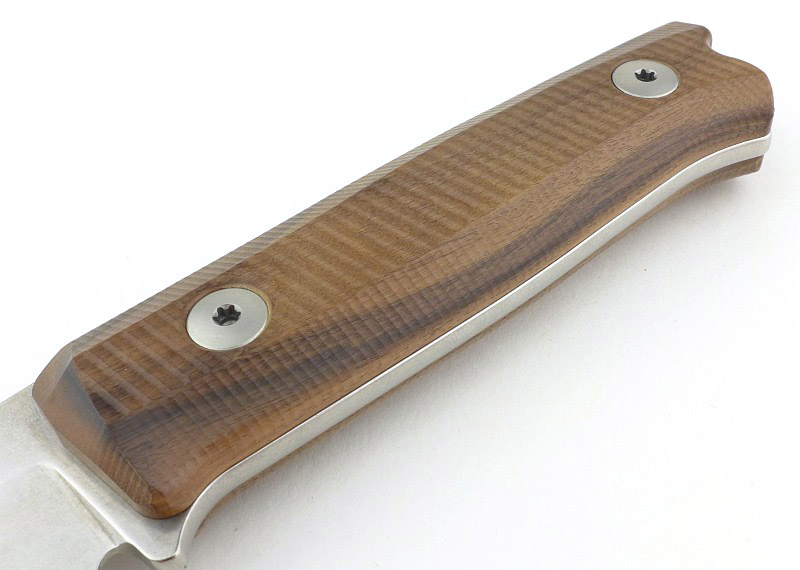
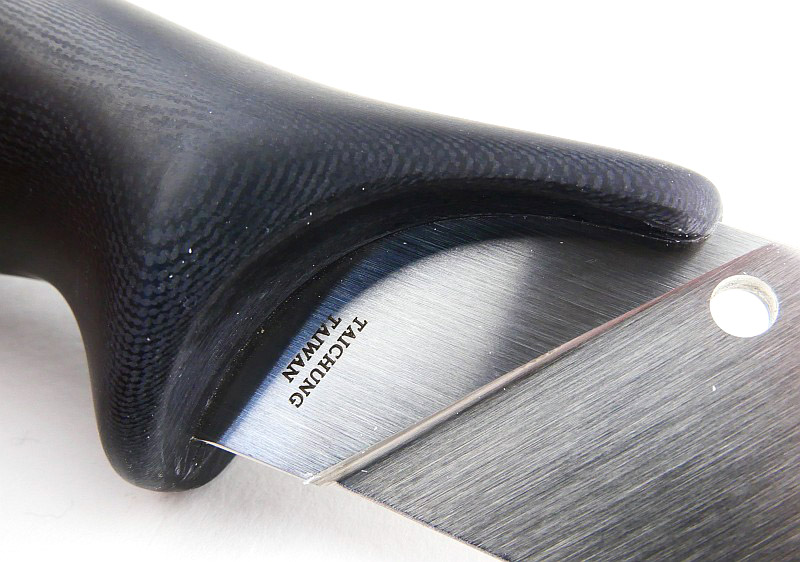
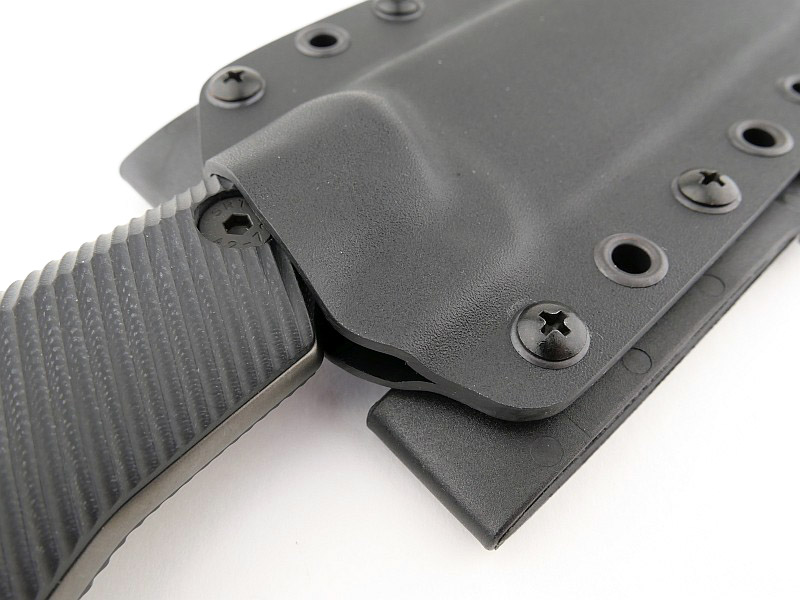
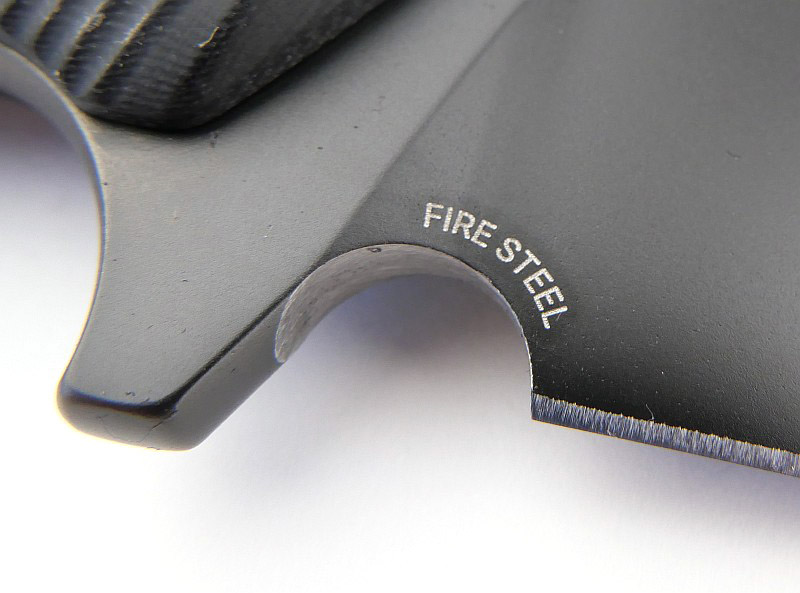
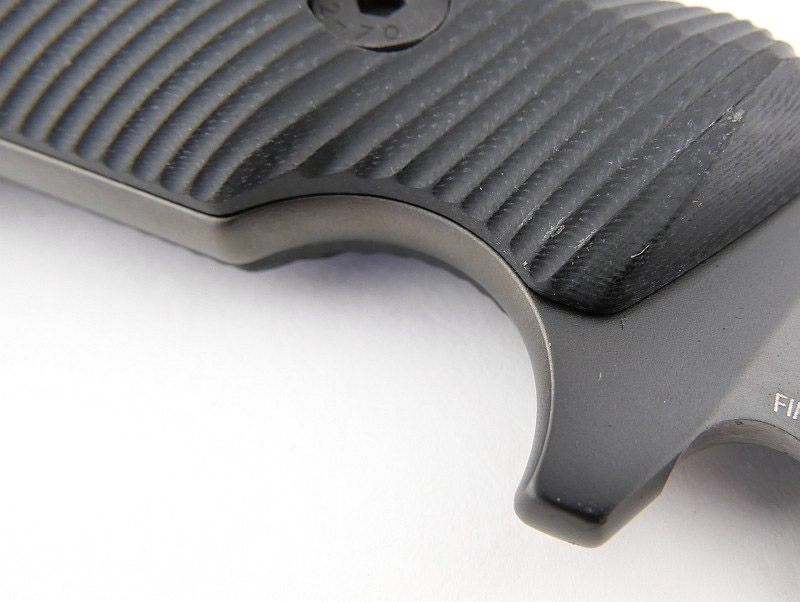
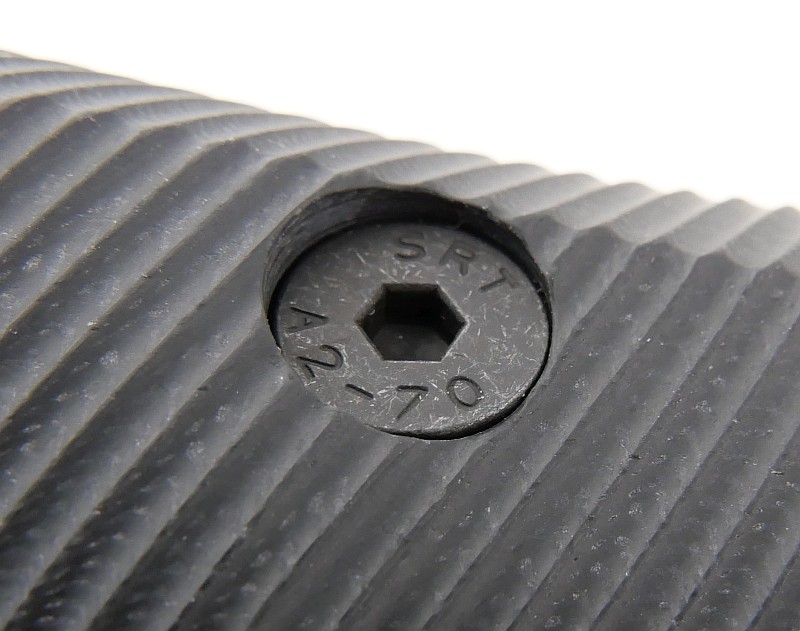
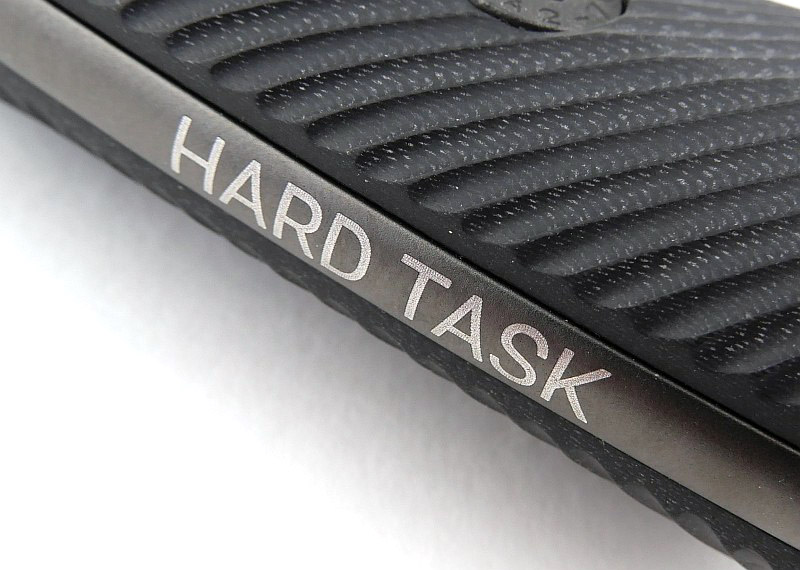
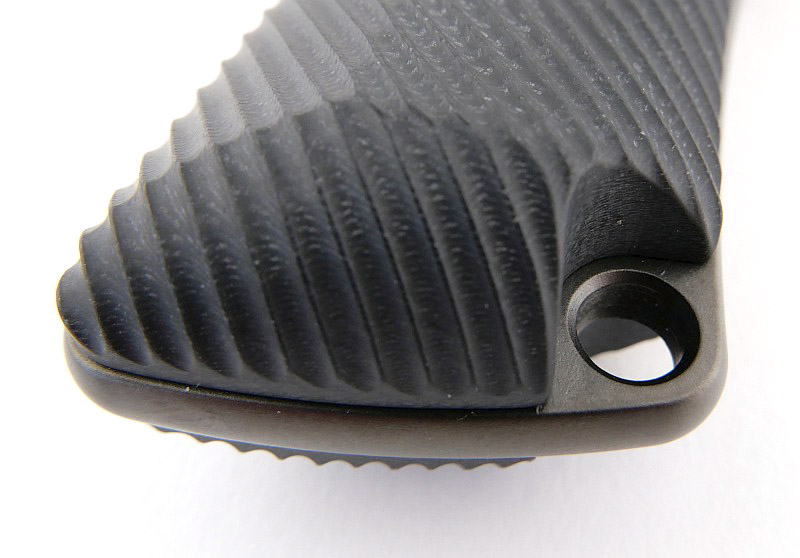
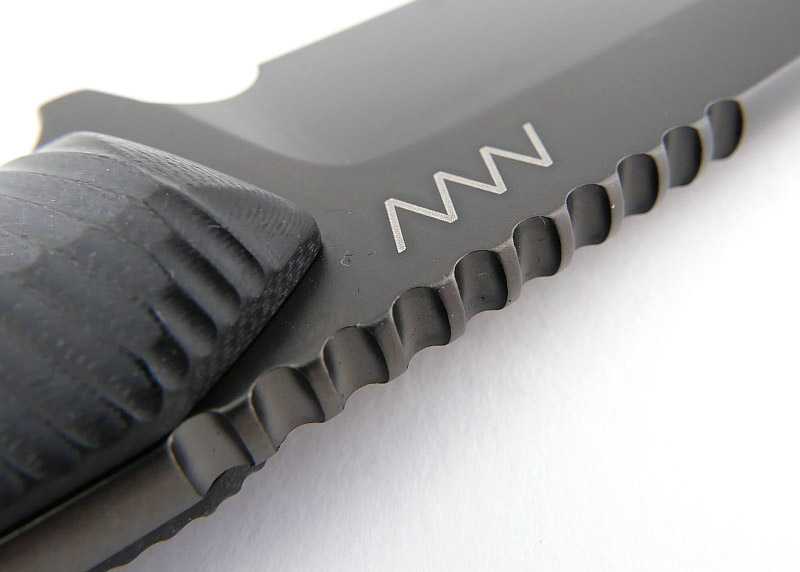
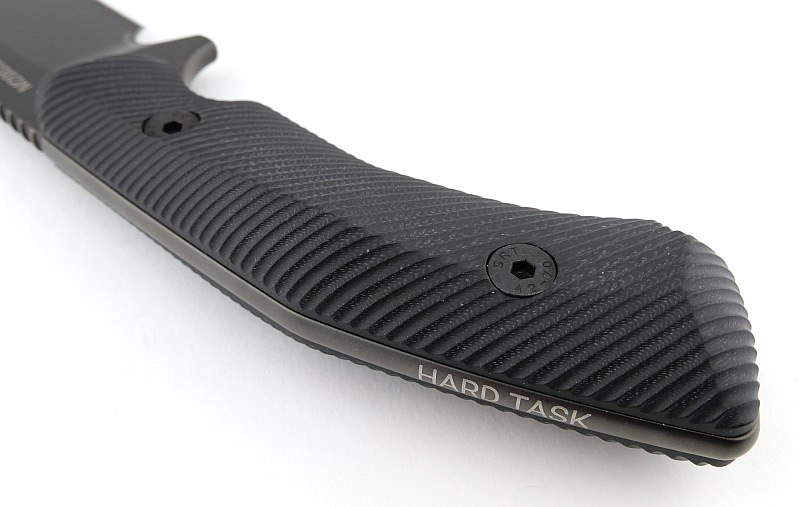
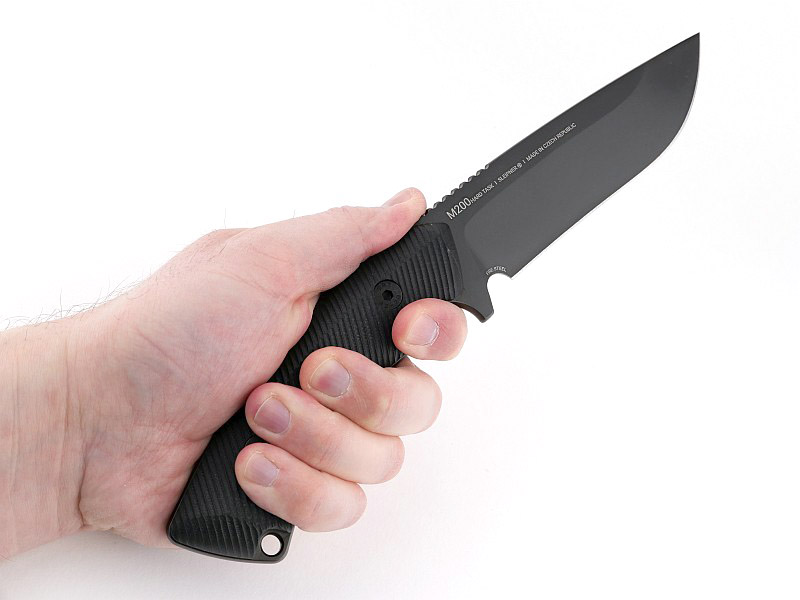
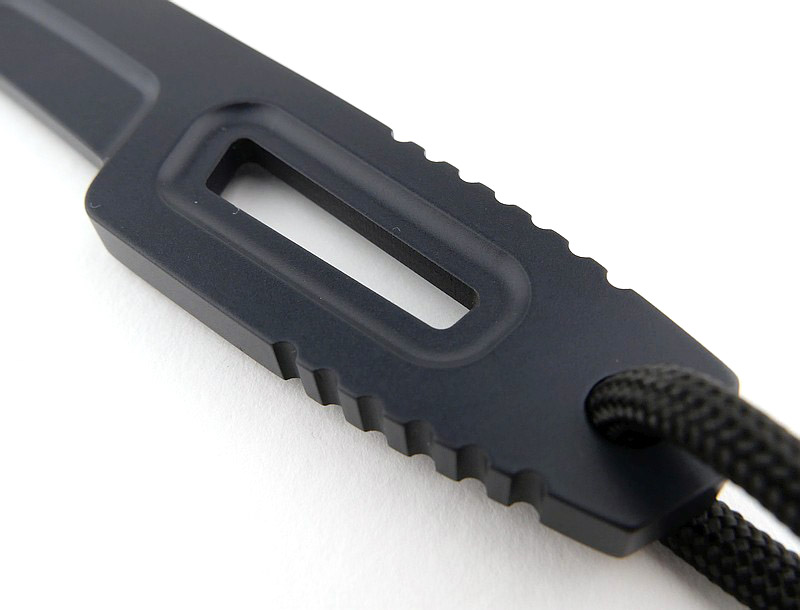
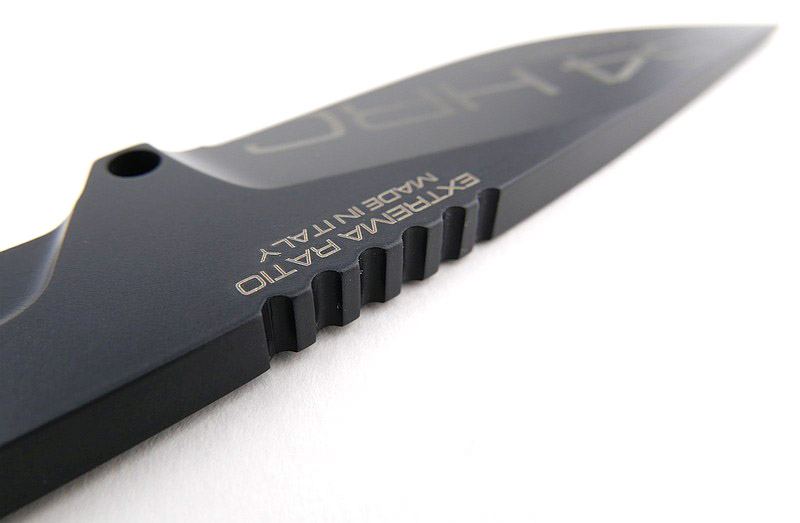
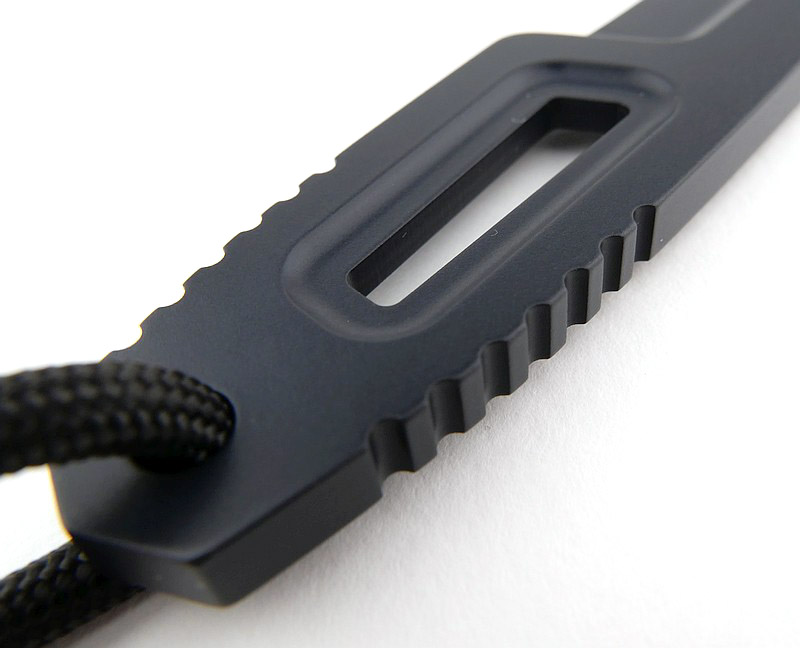
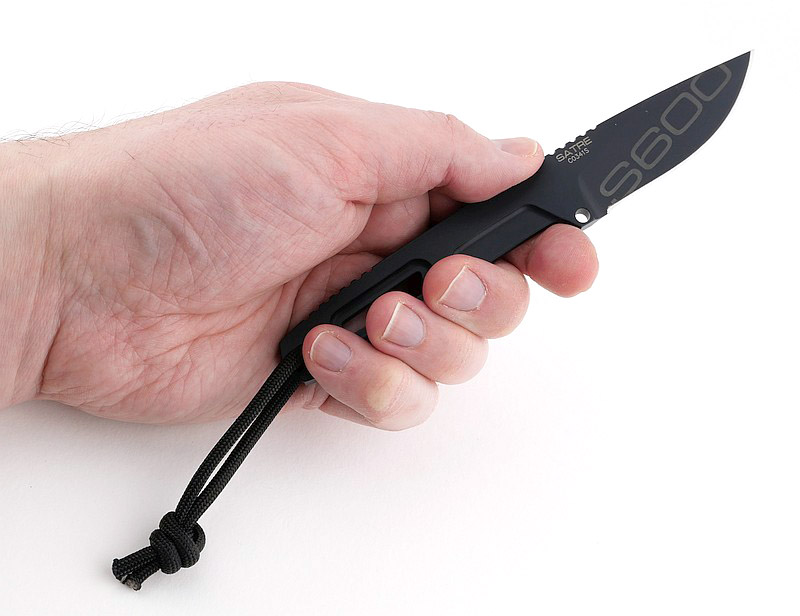
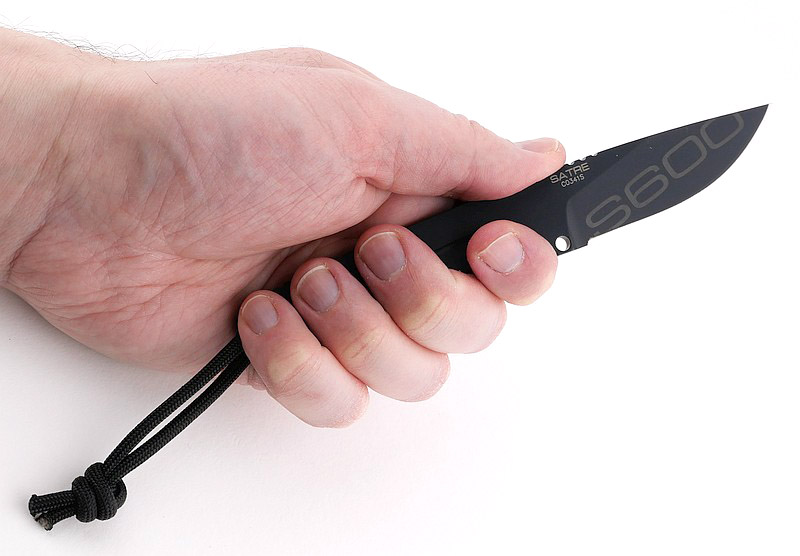
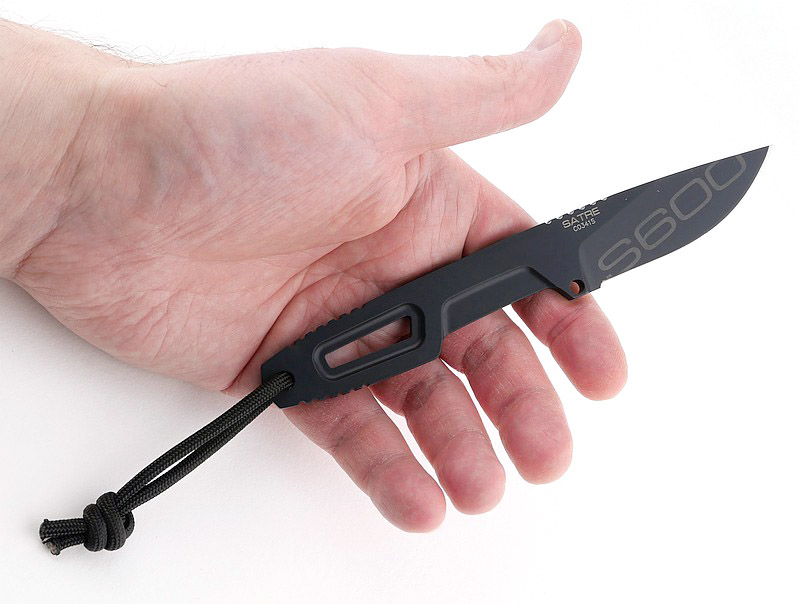
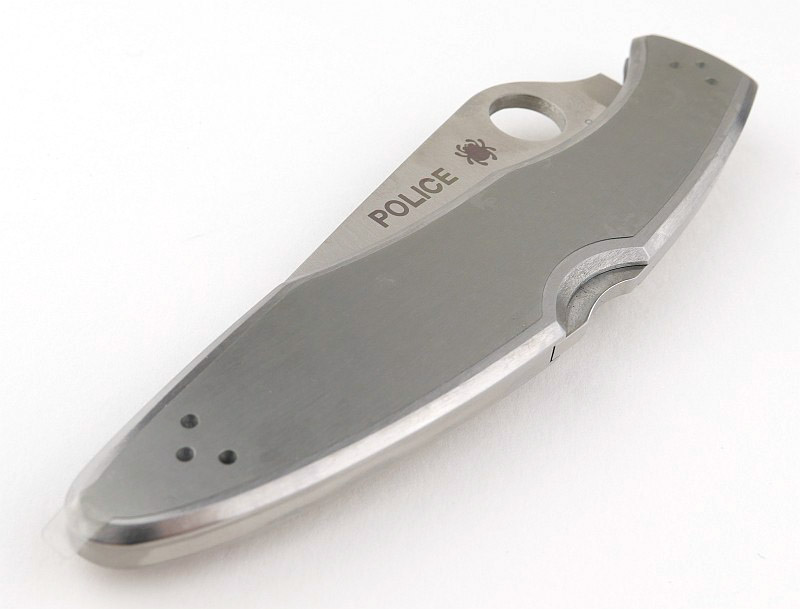
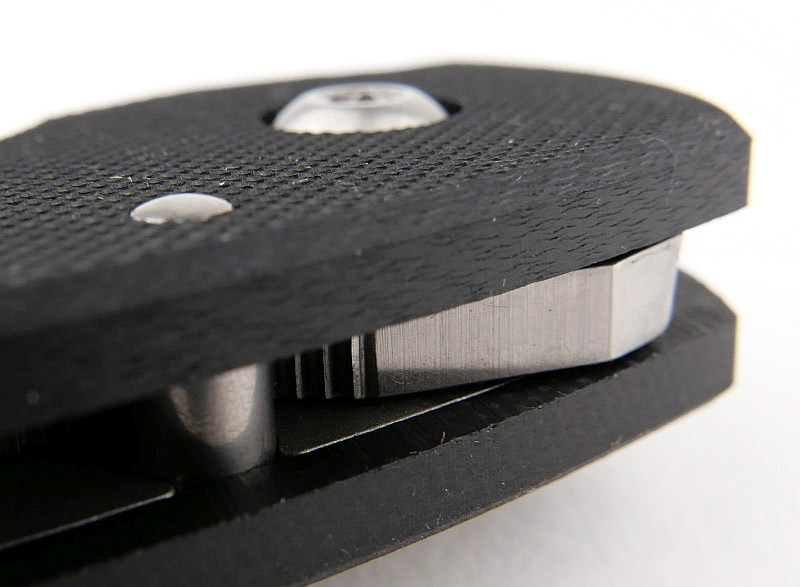
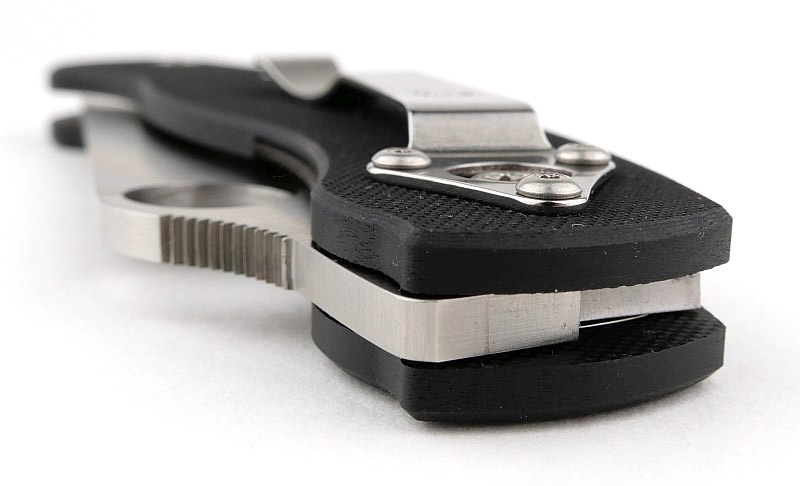
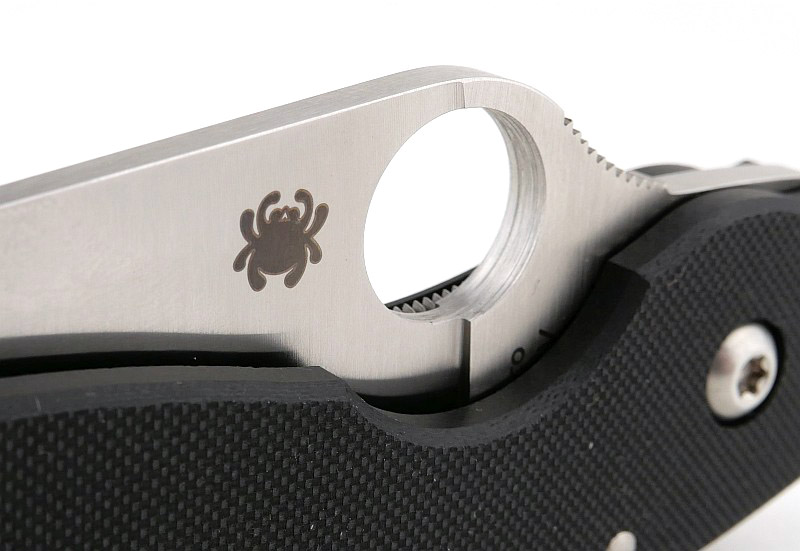
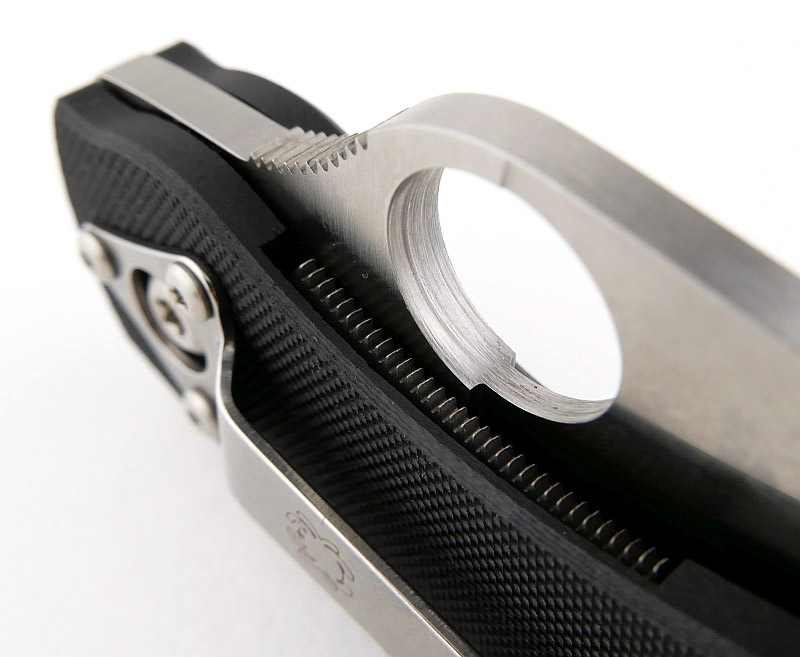
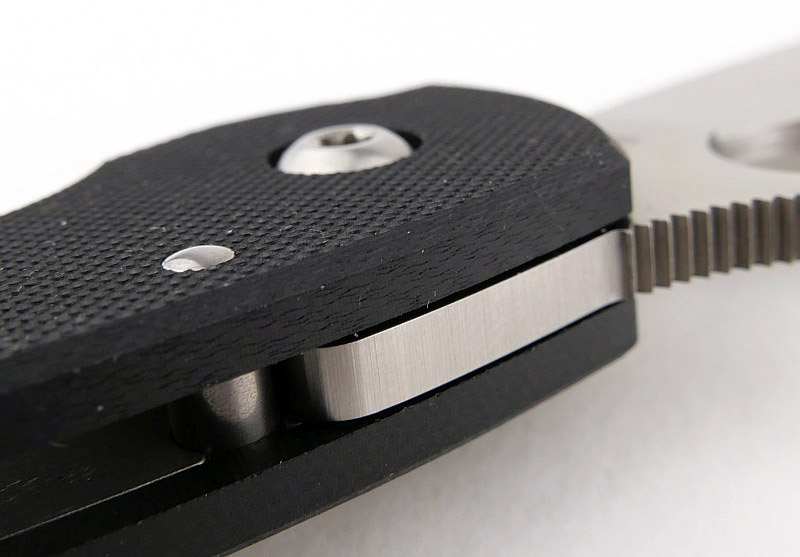
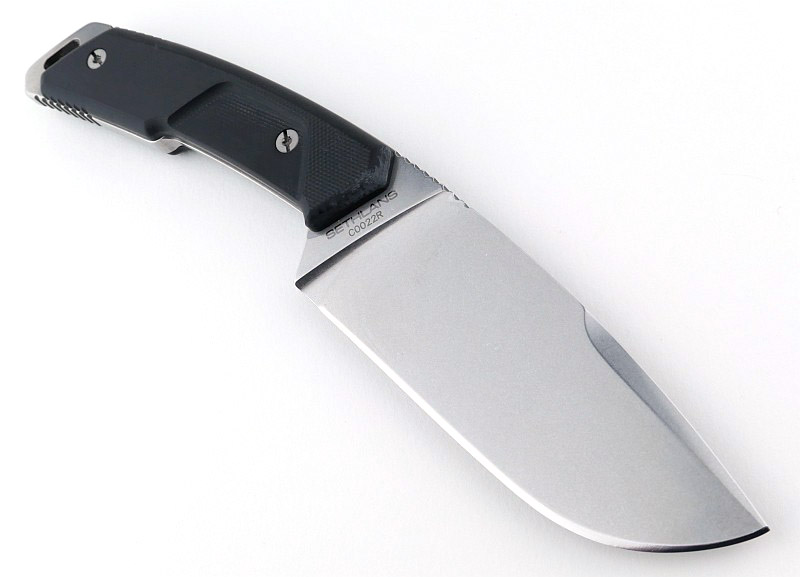
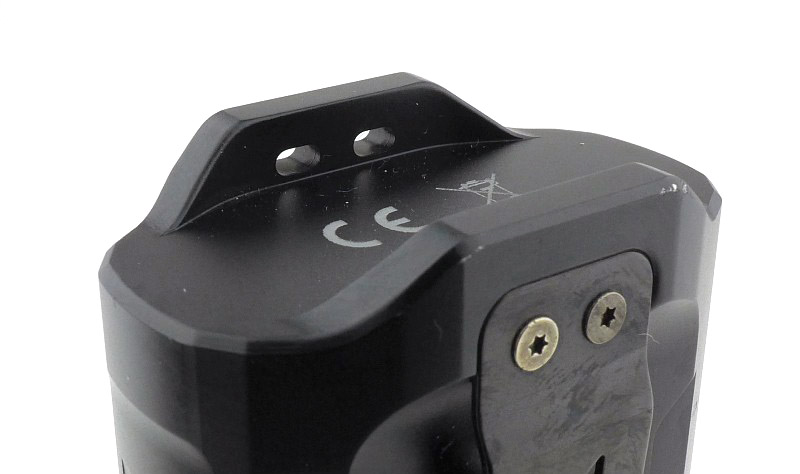
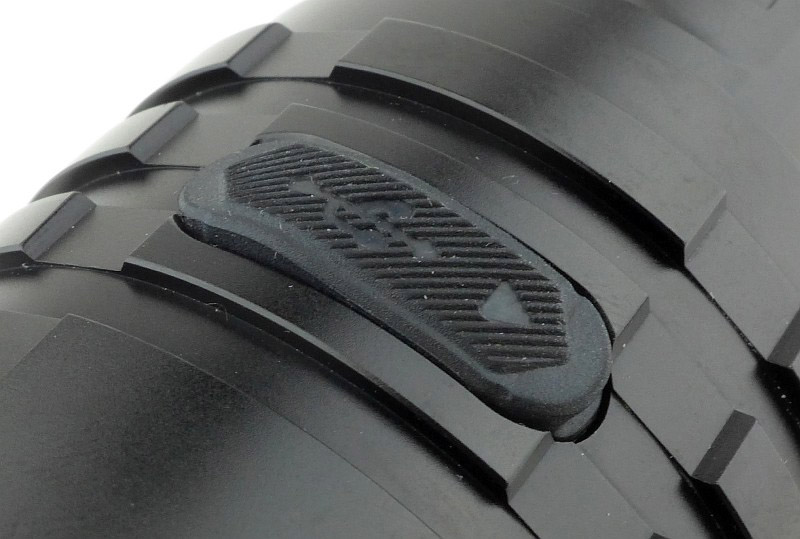
A good look round the Zoomer – Things to look out for here are:
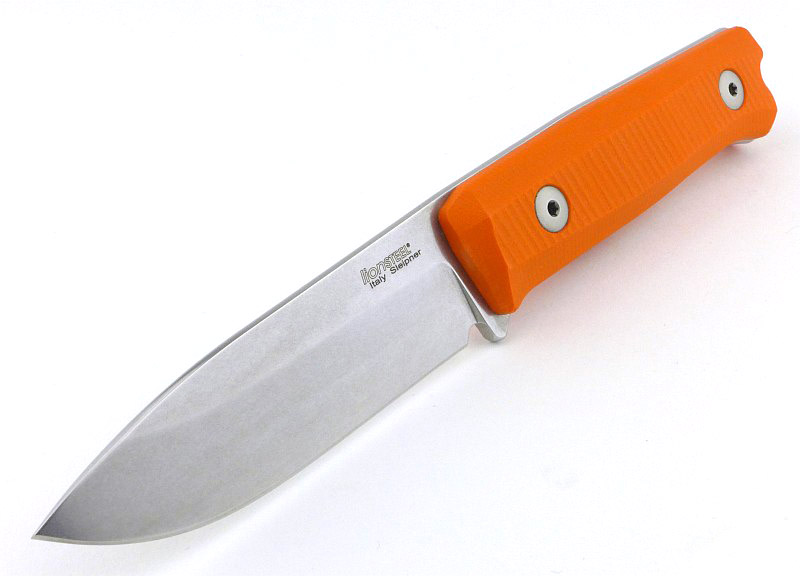
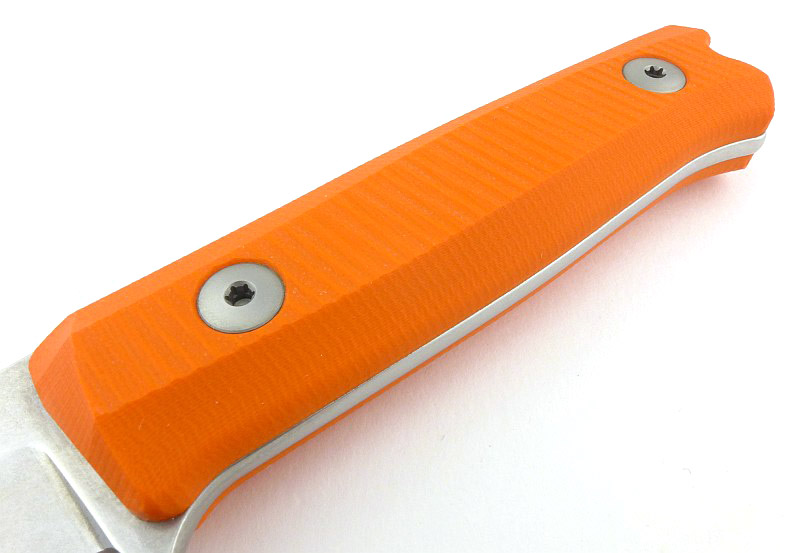
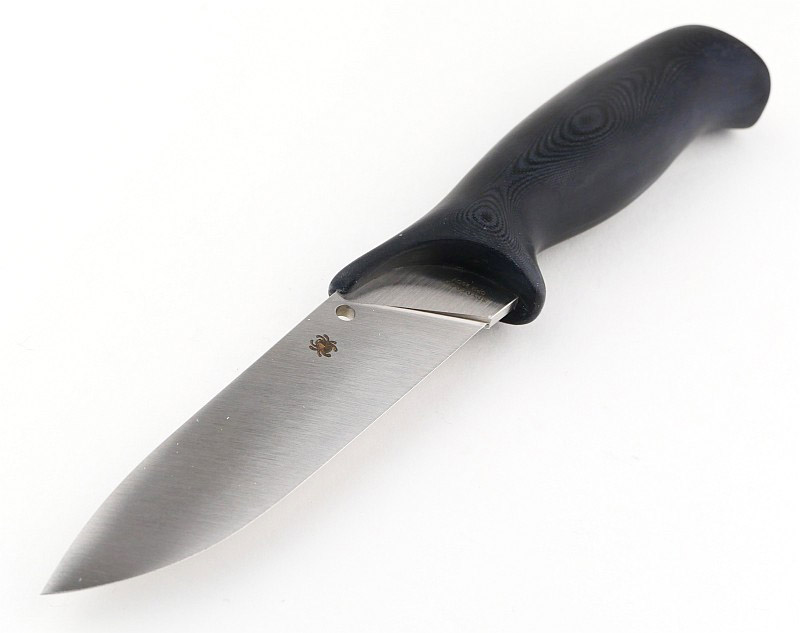
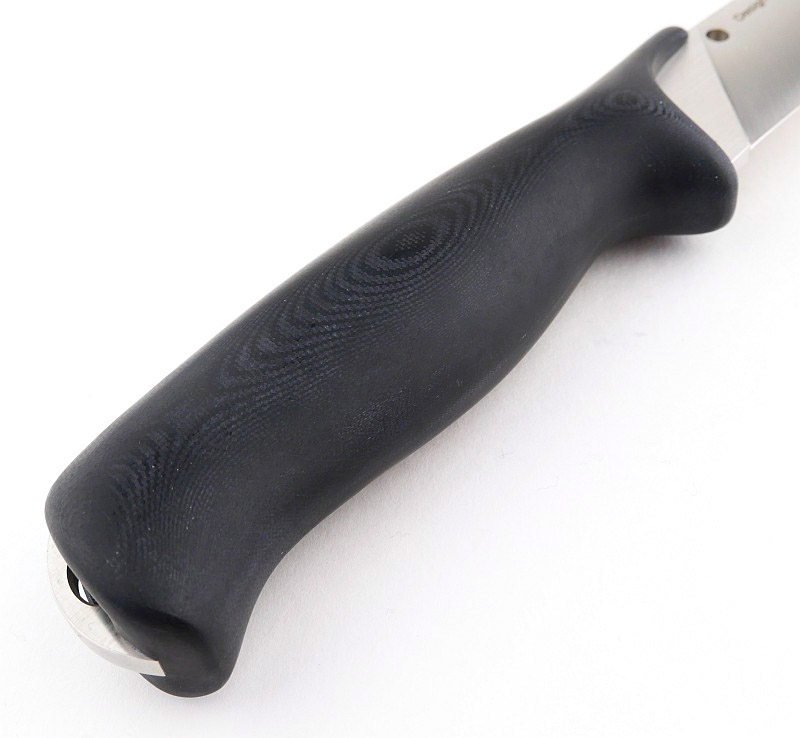
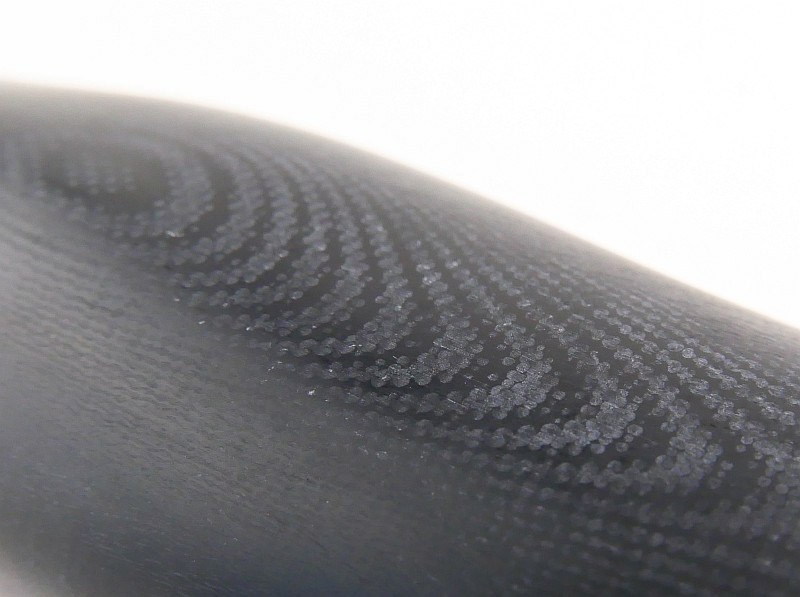
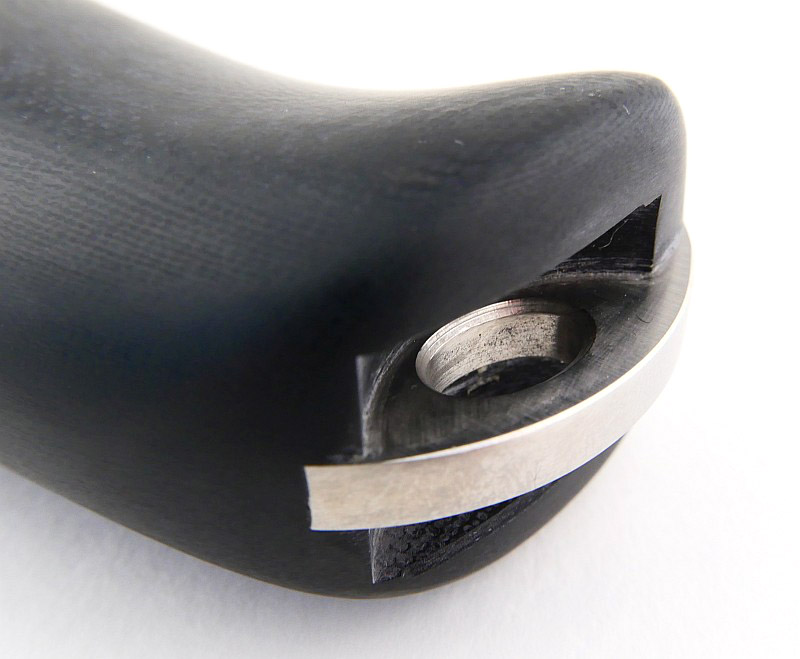
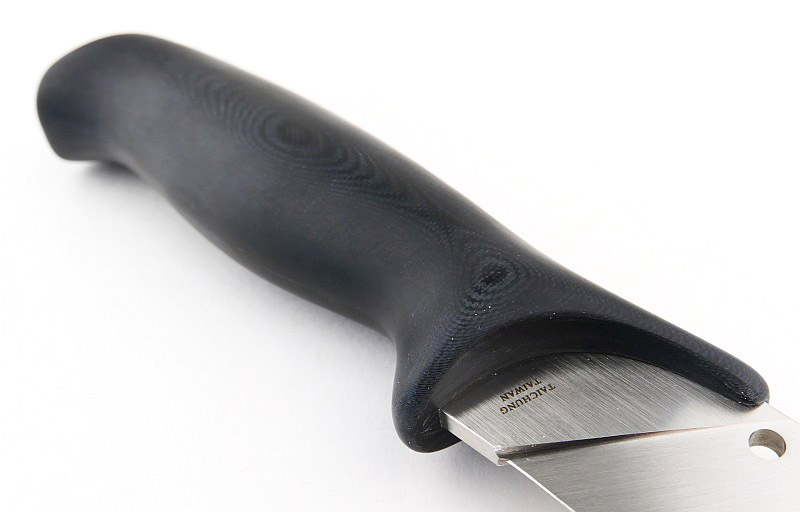
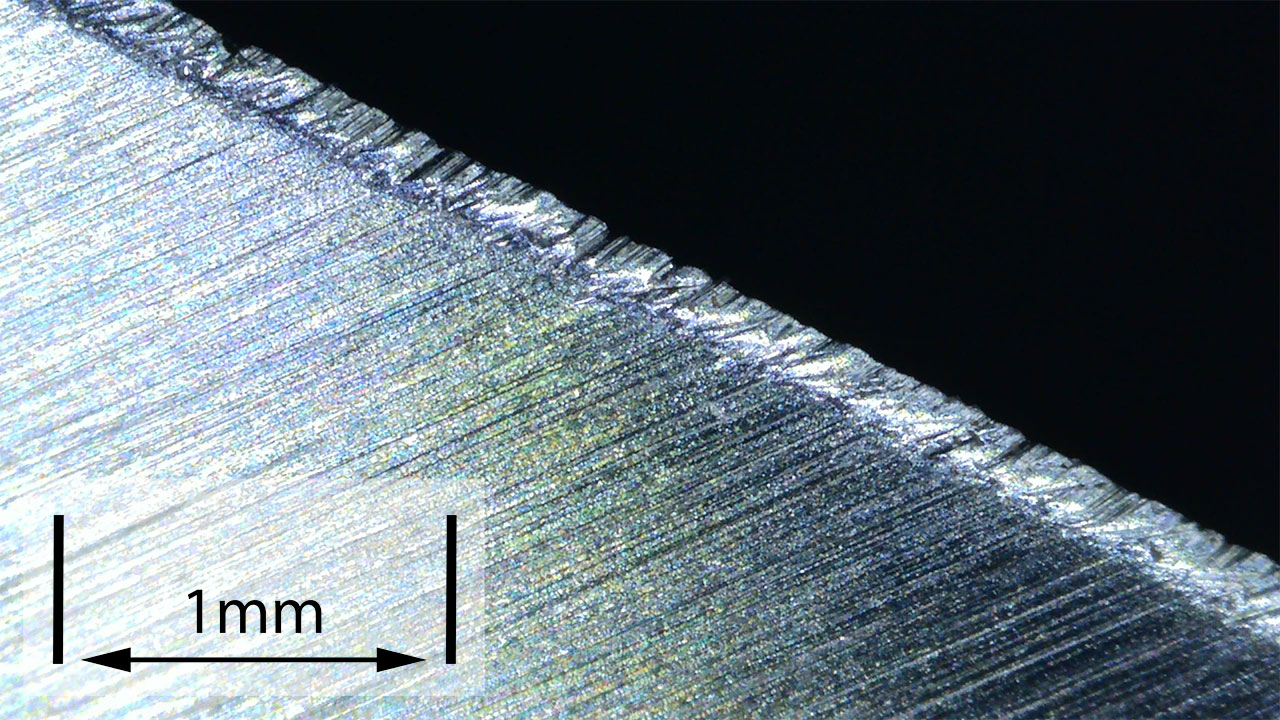
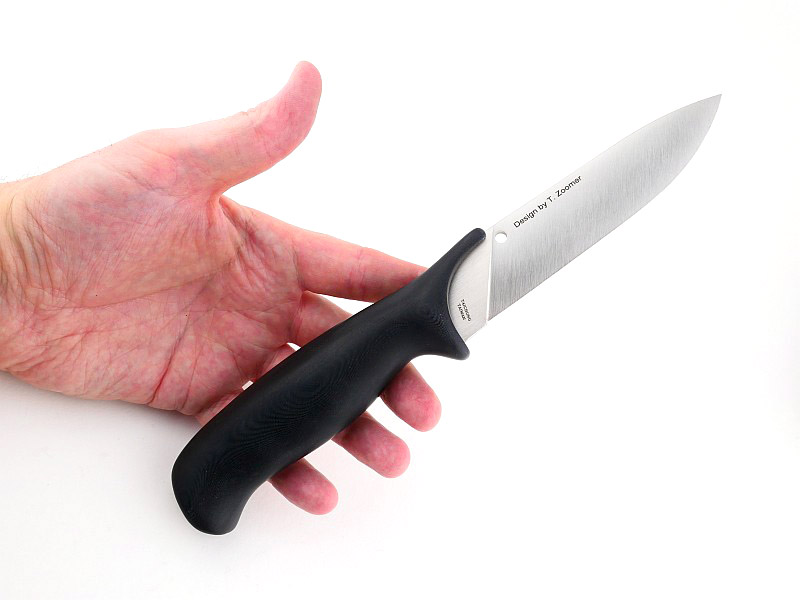
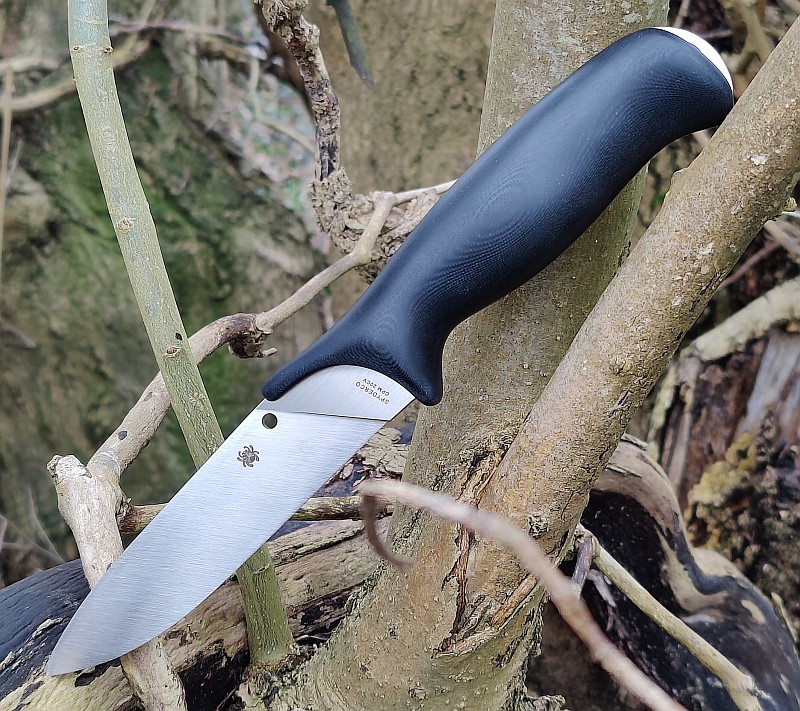
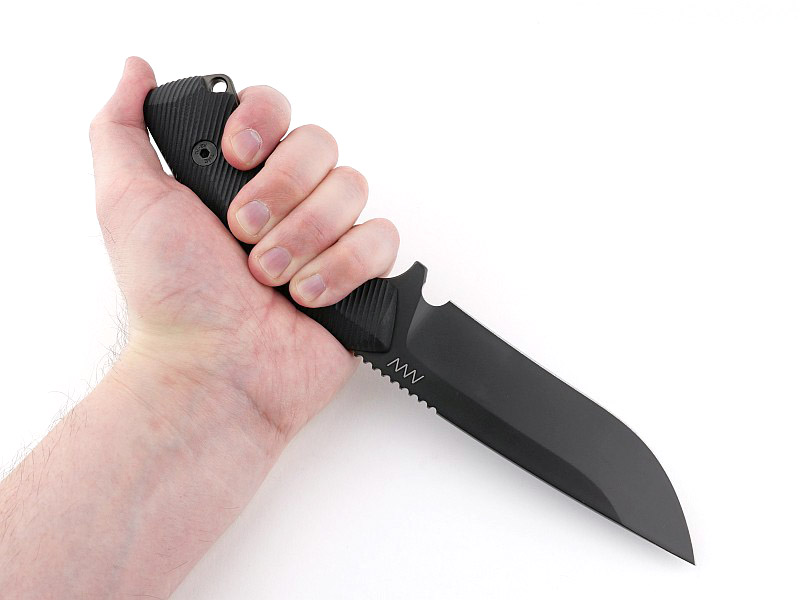
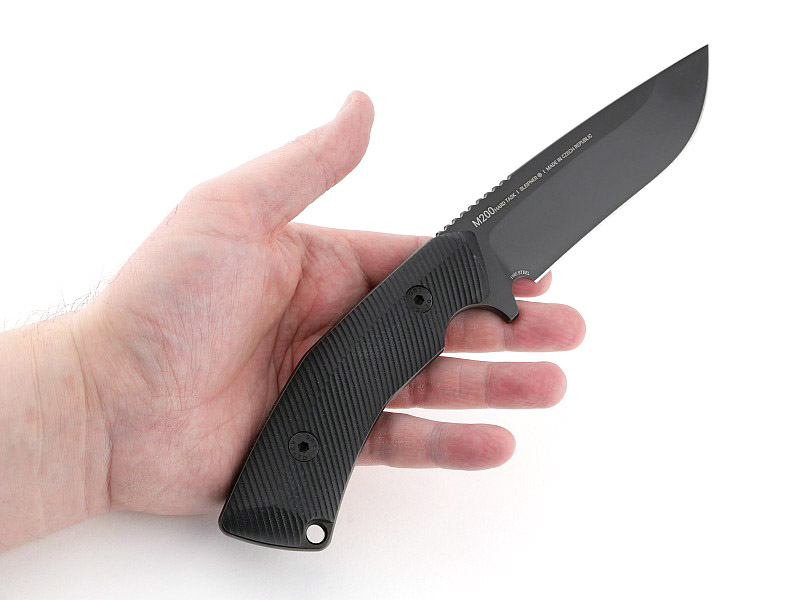
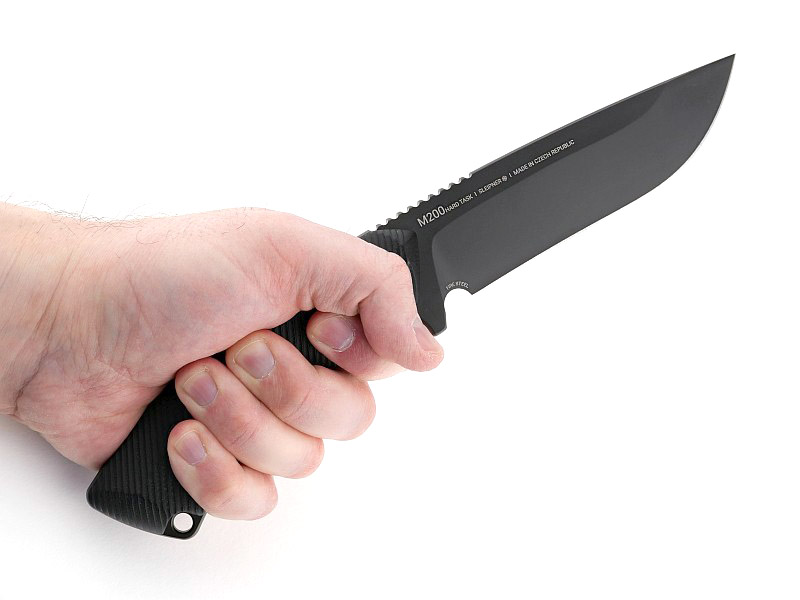
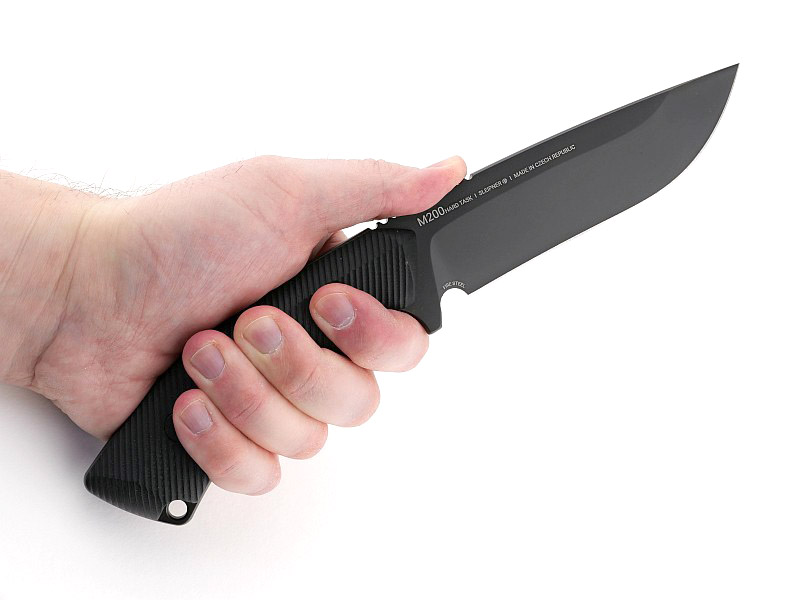
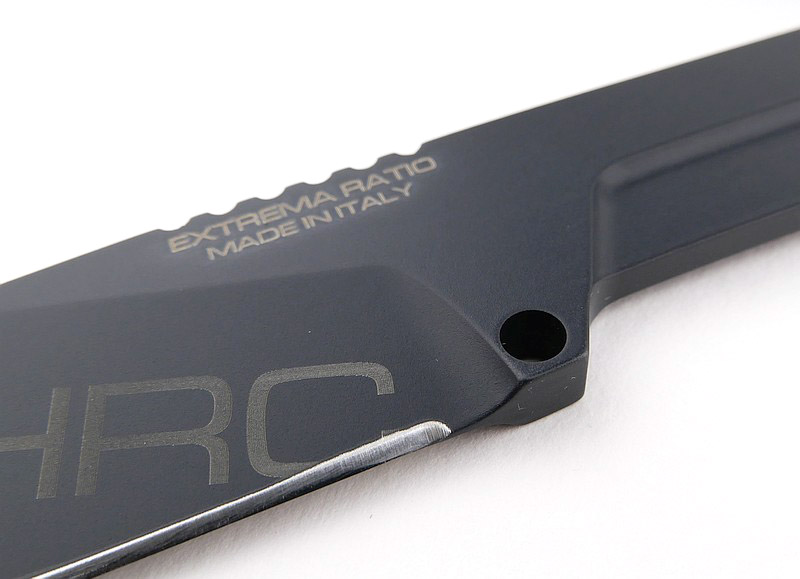
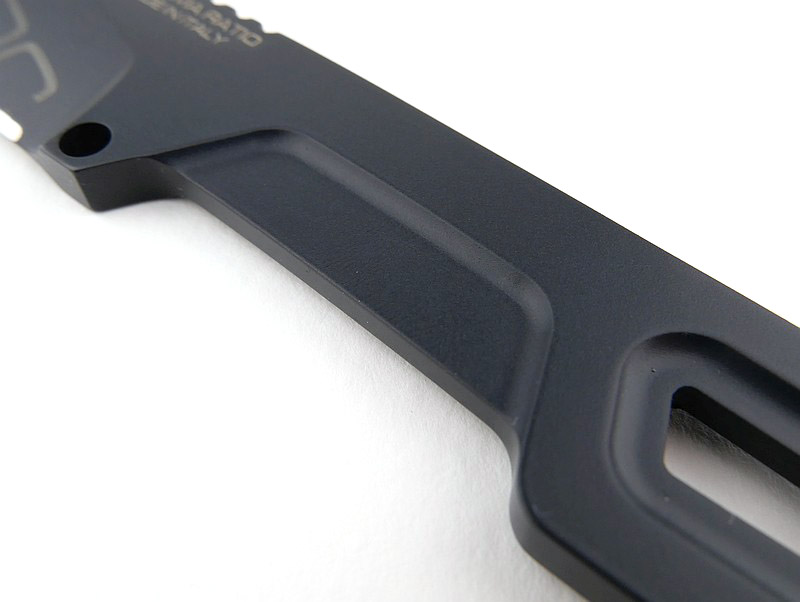
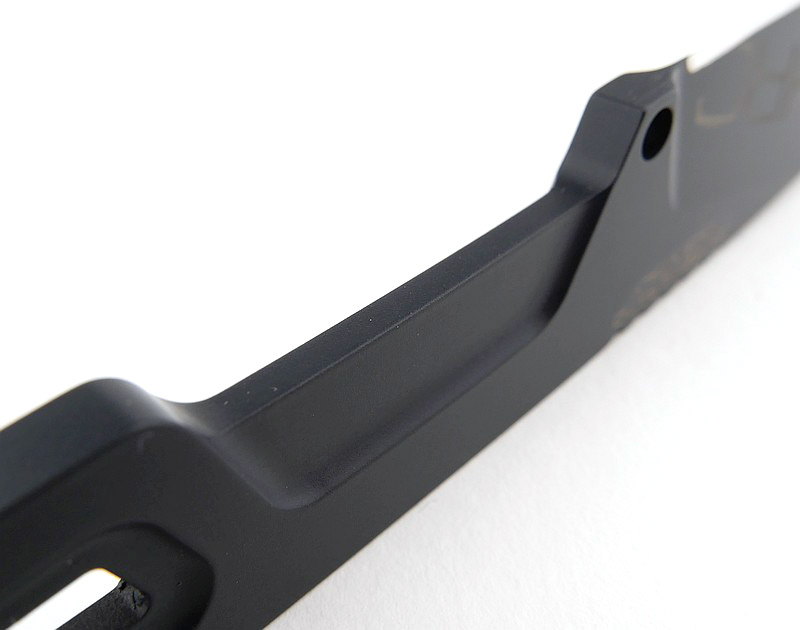
Even before you reveal the blade, the handle of the Zoomer immediately lets you know this is a special knife. Slipping off the blade cover and you can see the elegance of the full convex grind. Incorporated into the solid G-10 handles is an extended thumb support which is combined with a swept back plunge line. These features position the thumb directly behind the cutting edge near the handle for maximum pressure and control in this critical area of the blade.
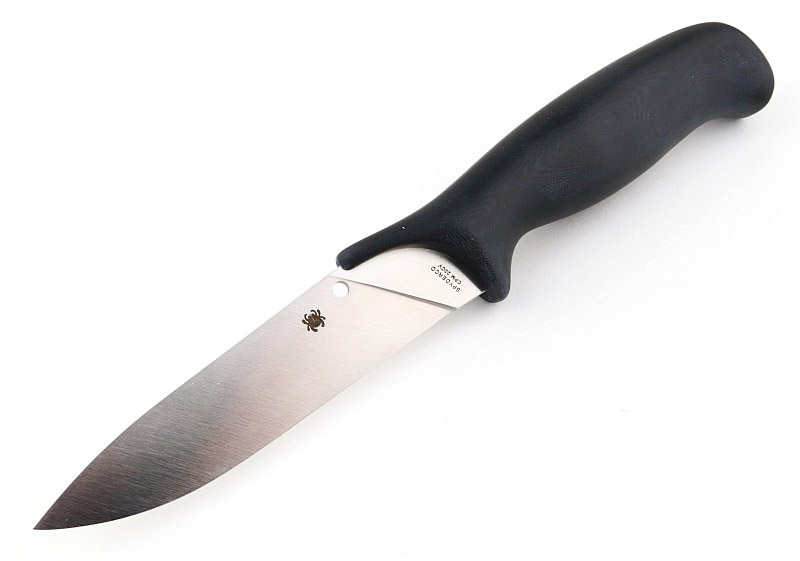


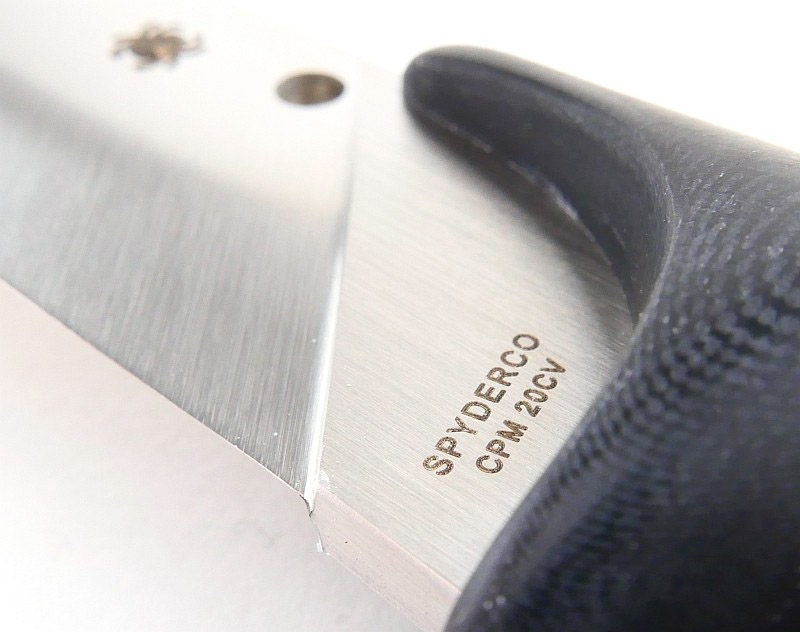

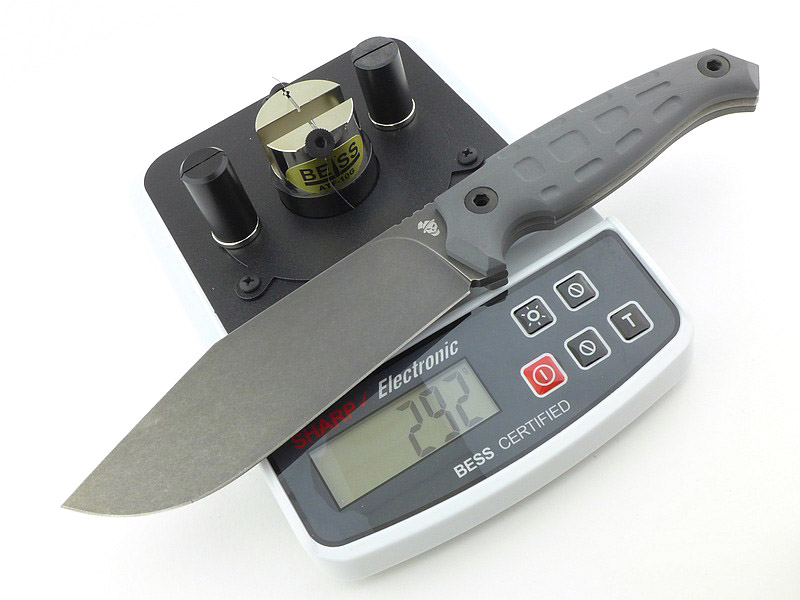
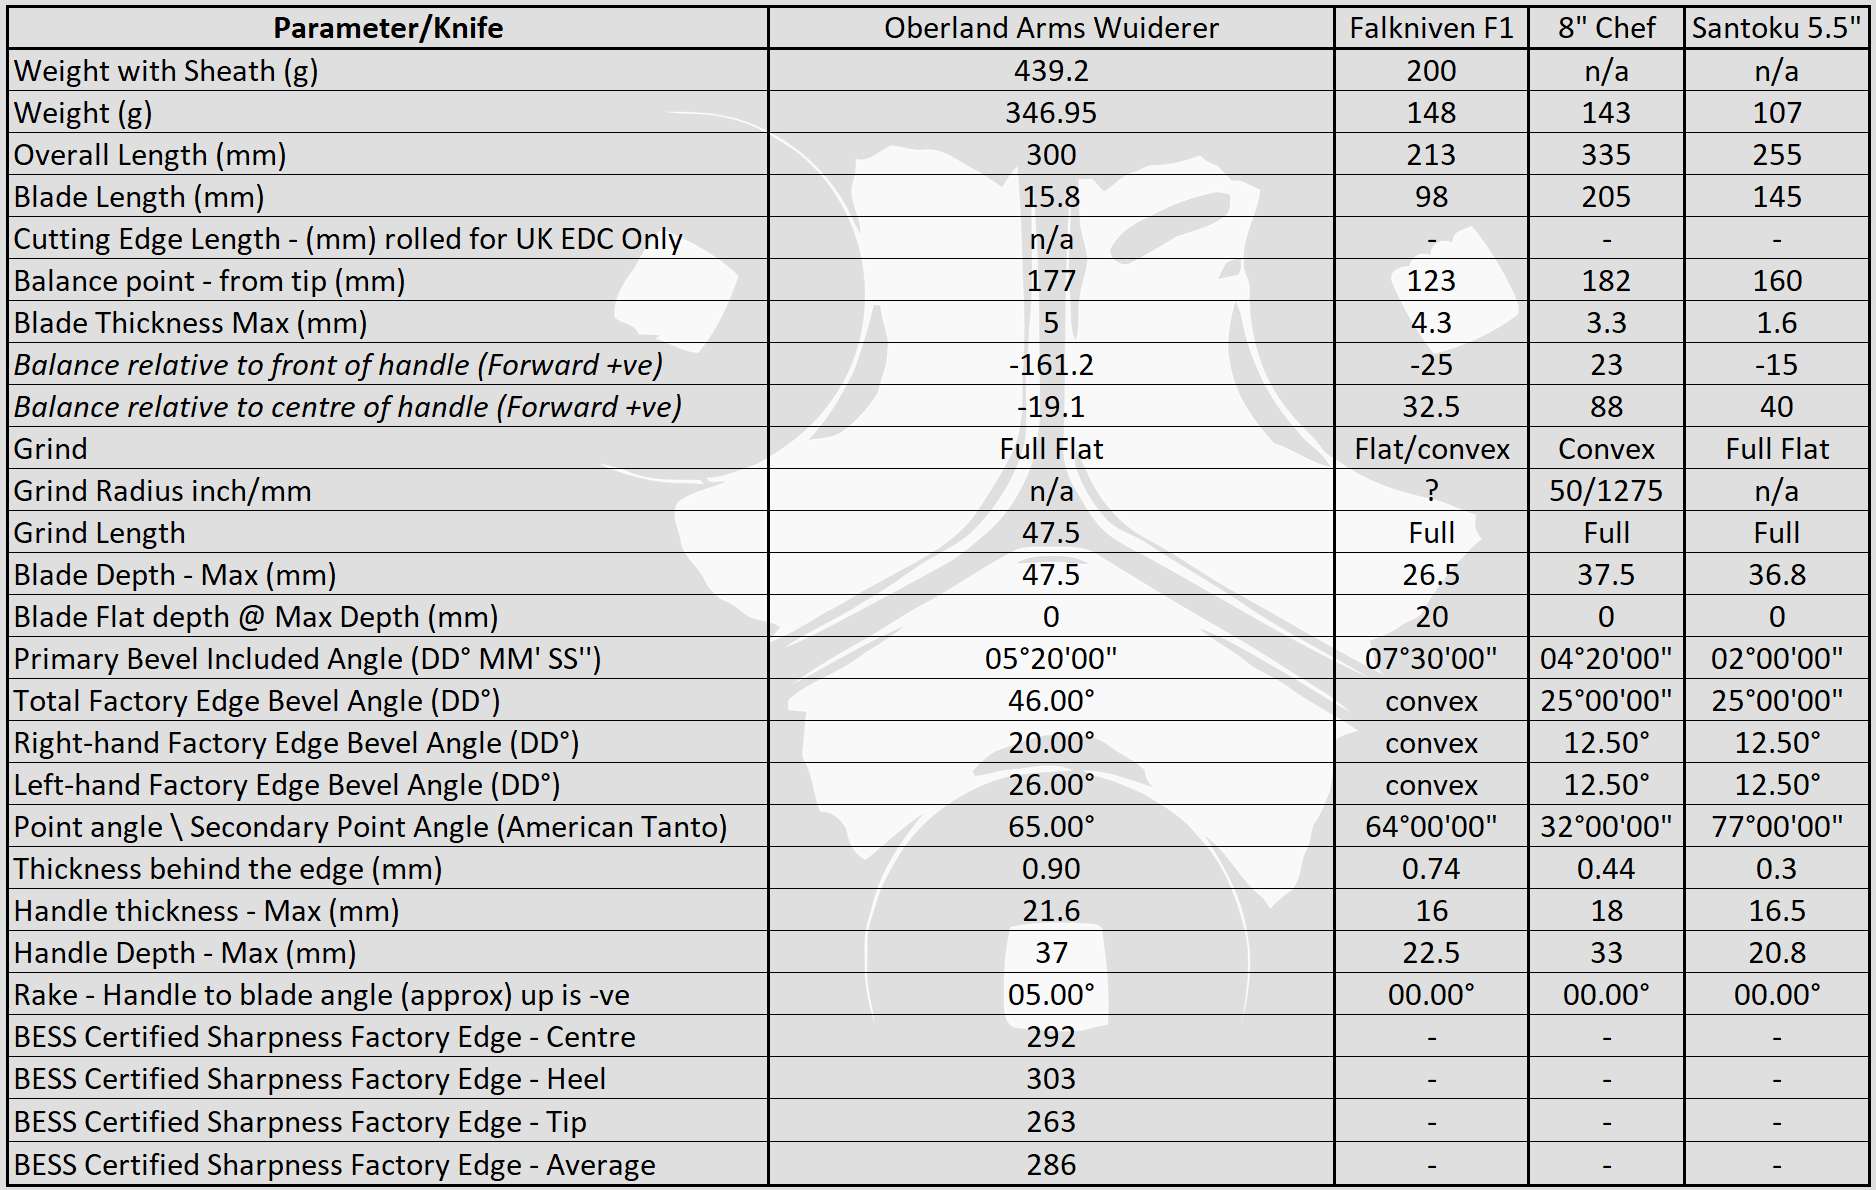
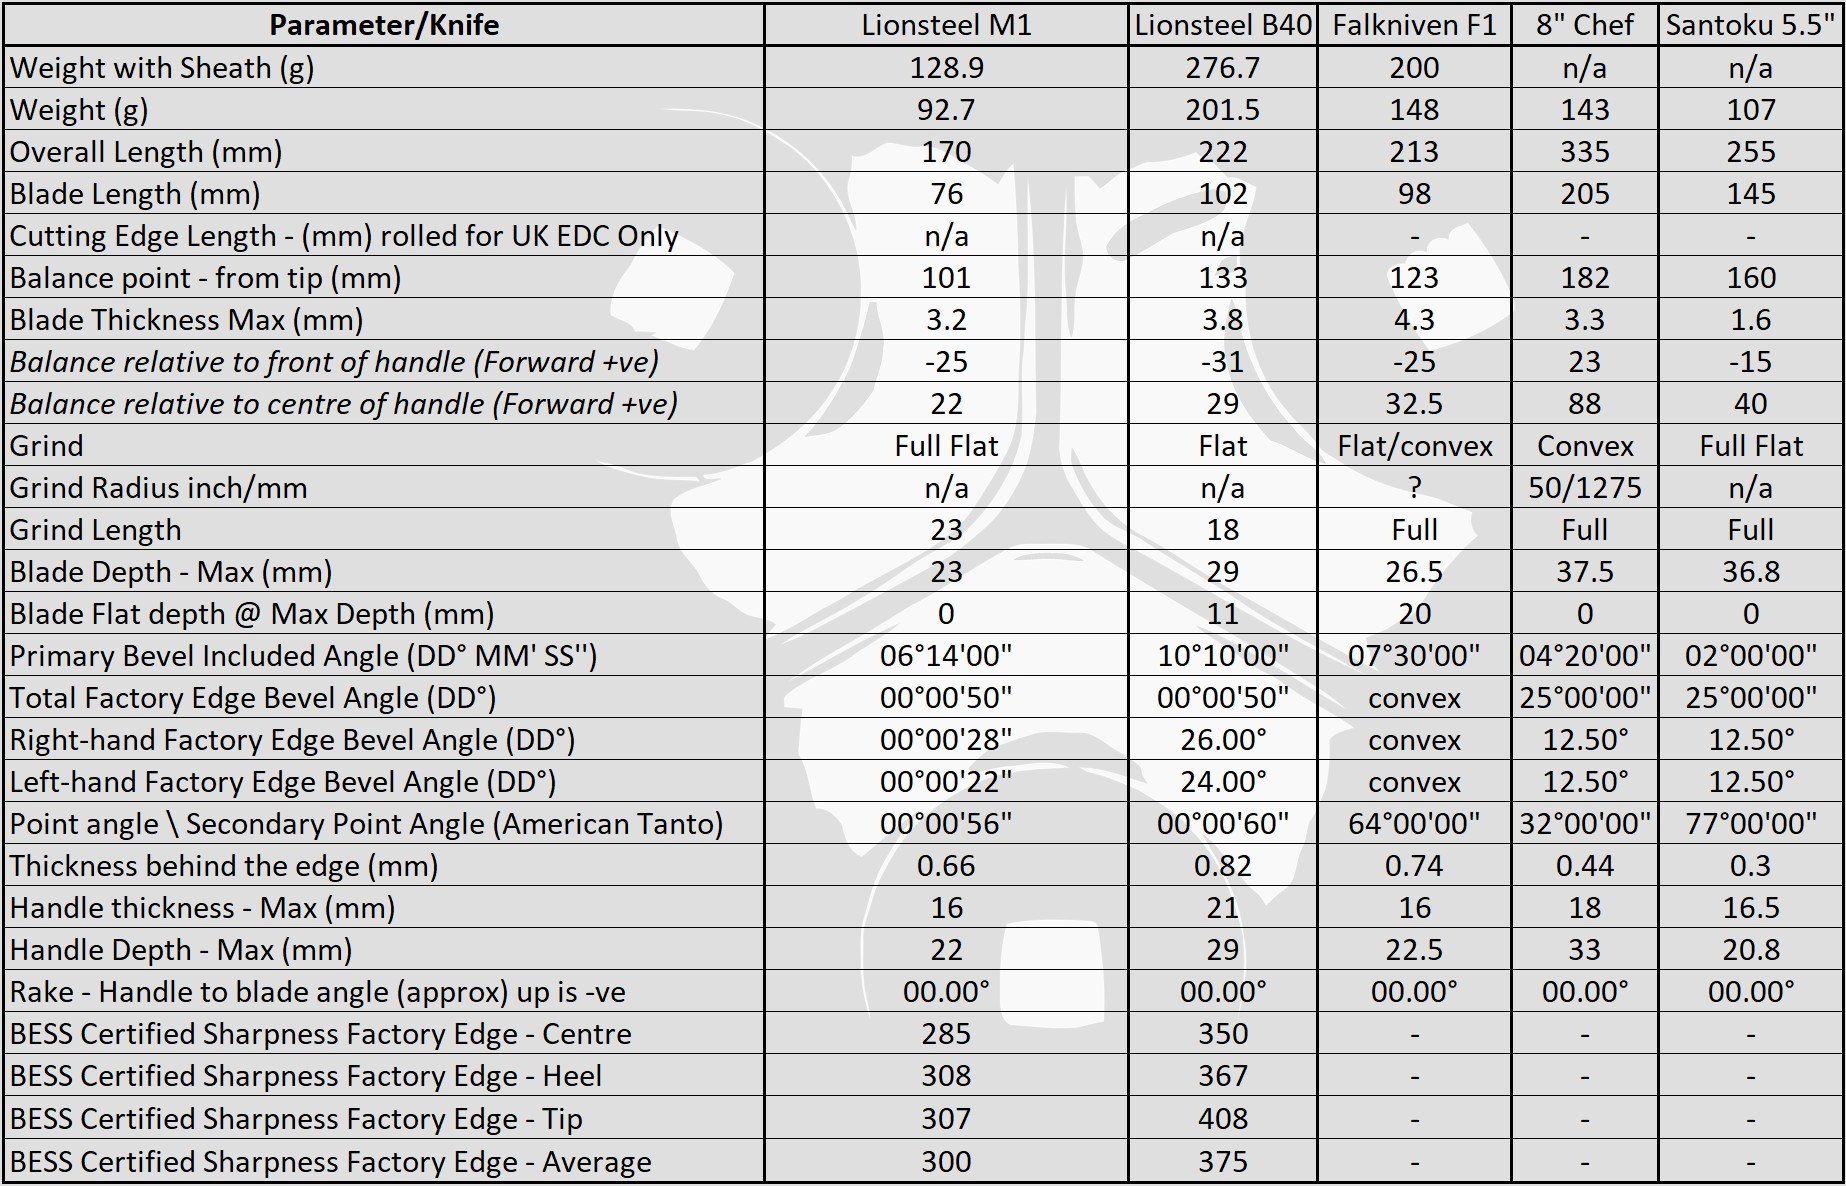
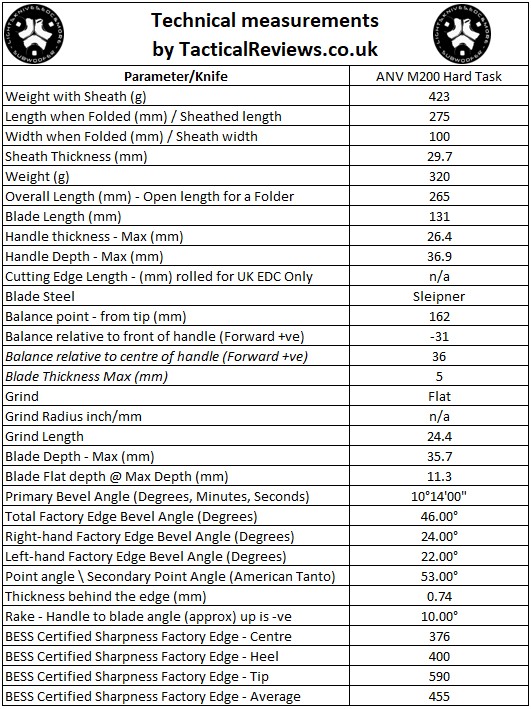
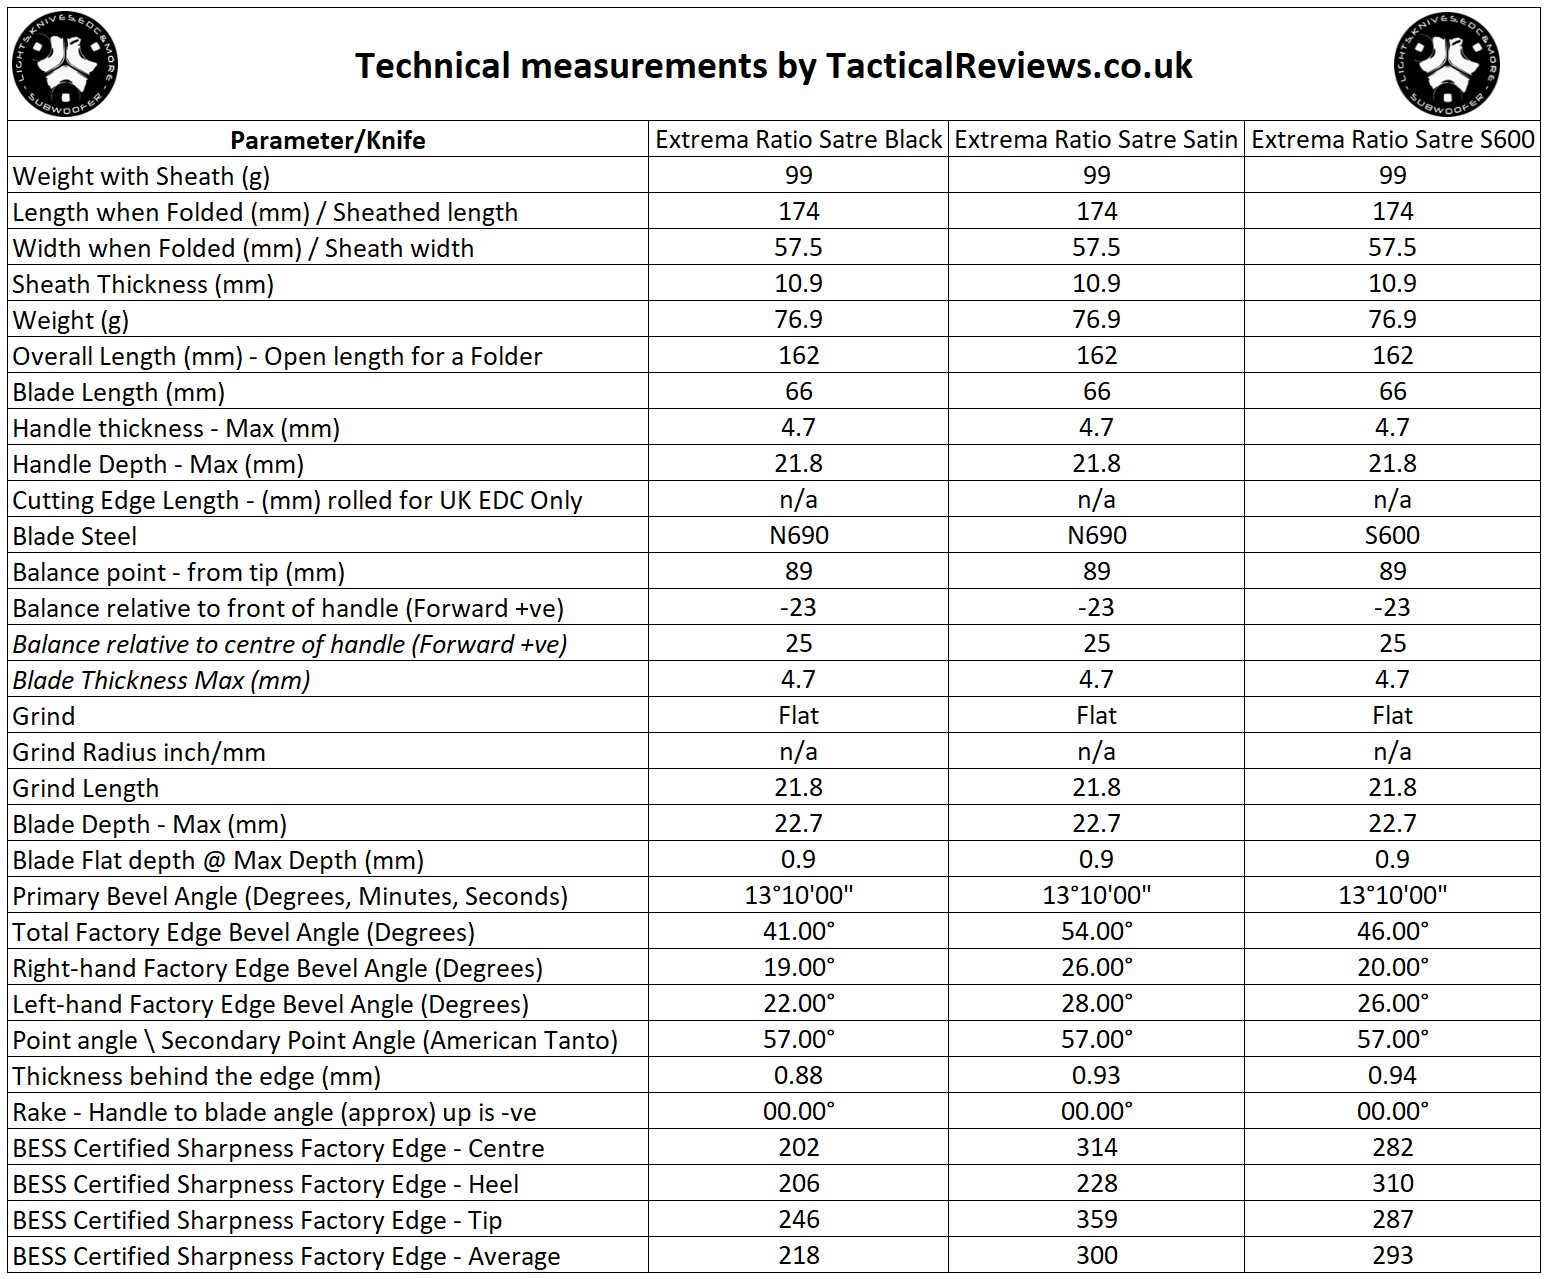
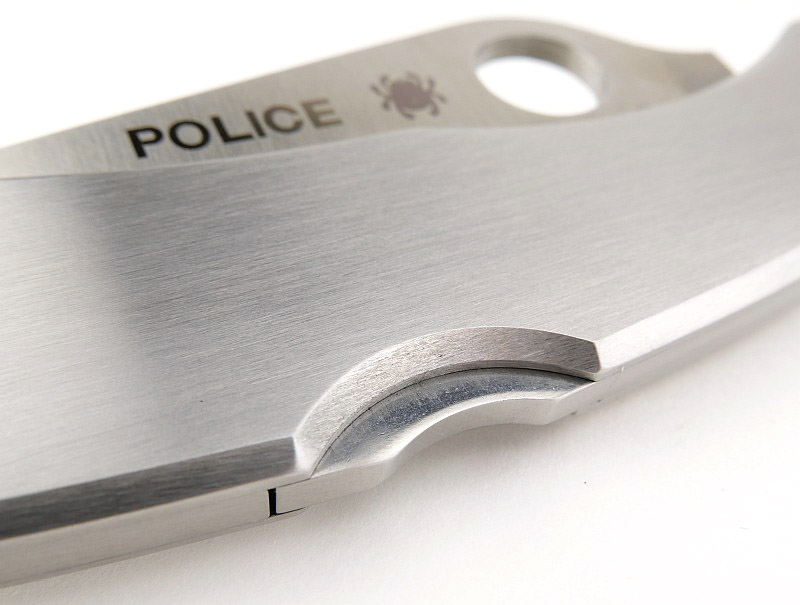
The Blade and Handle – Detailed Measurements:
For full details of the tests and measurements carried out and an explanation of the results, see the page – Knife Technical Testing – How It’s Done.
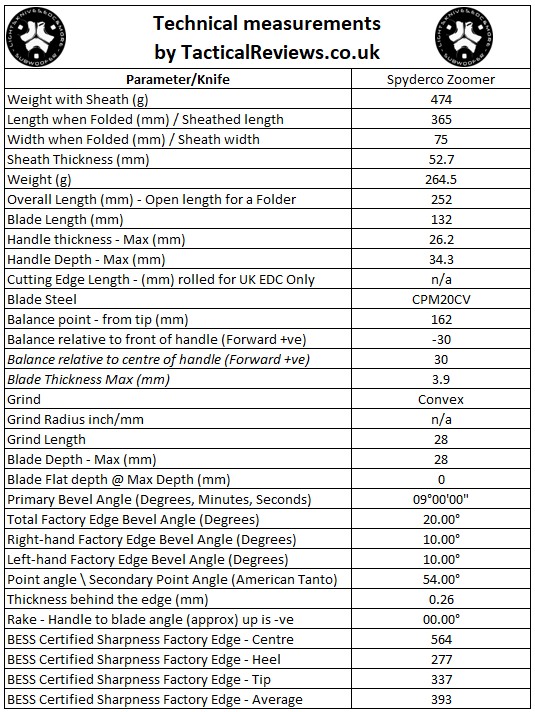
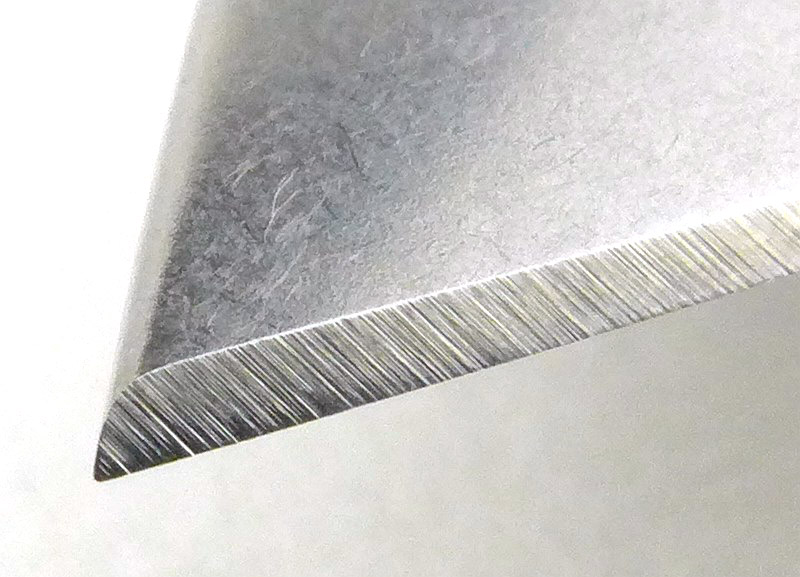
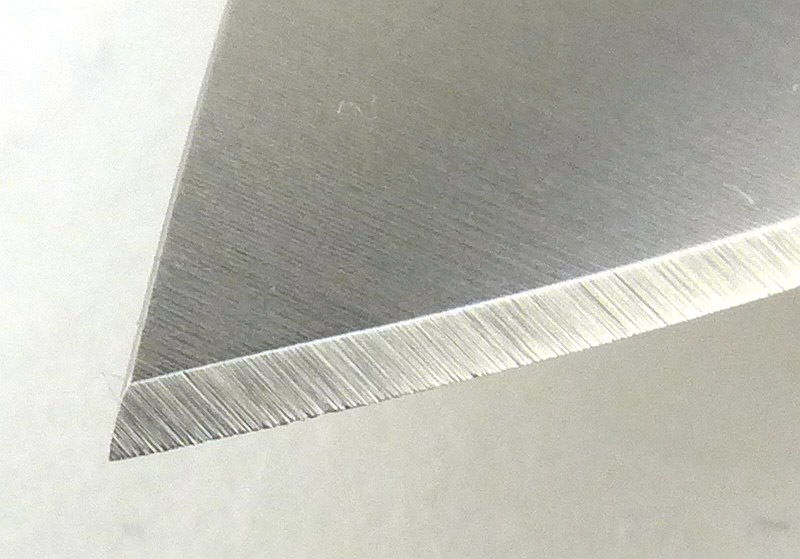
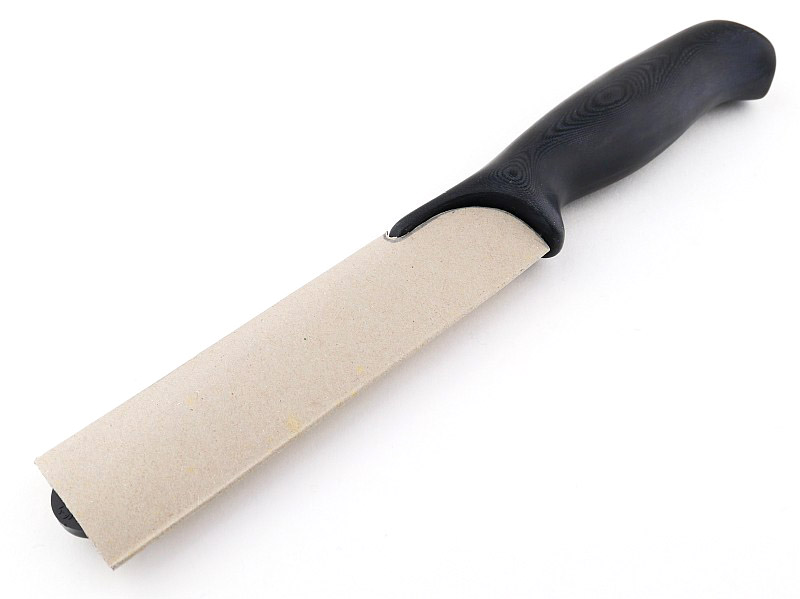
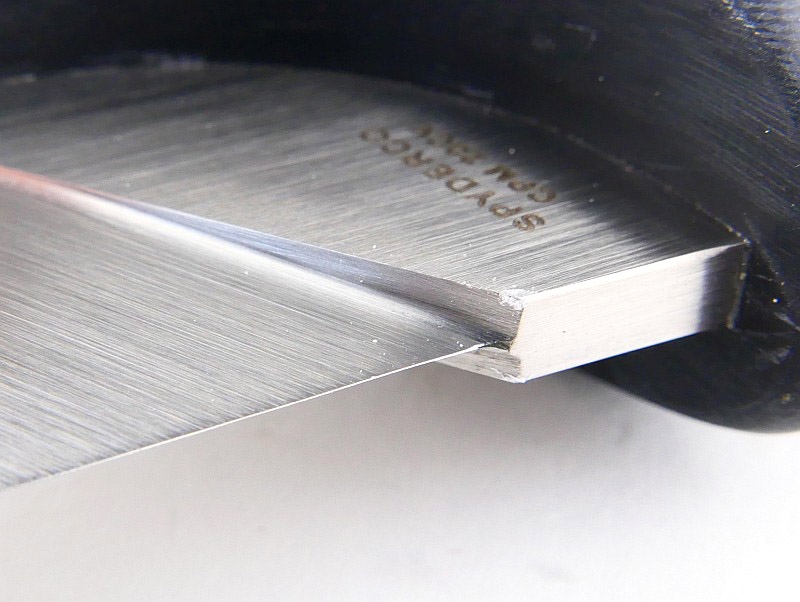
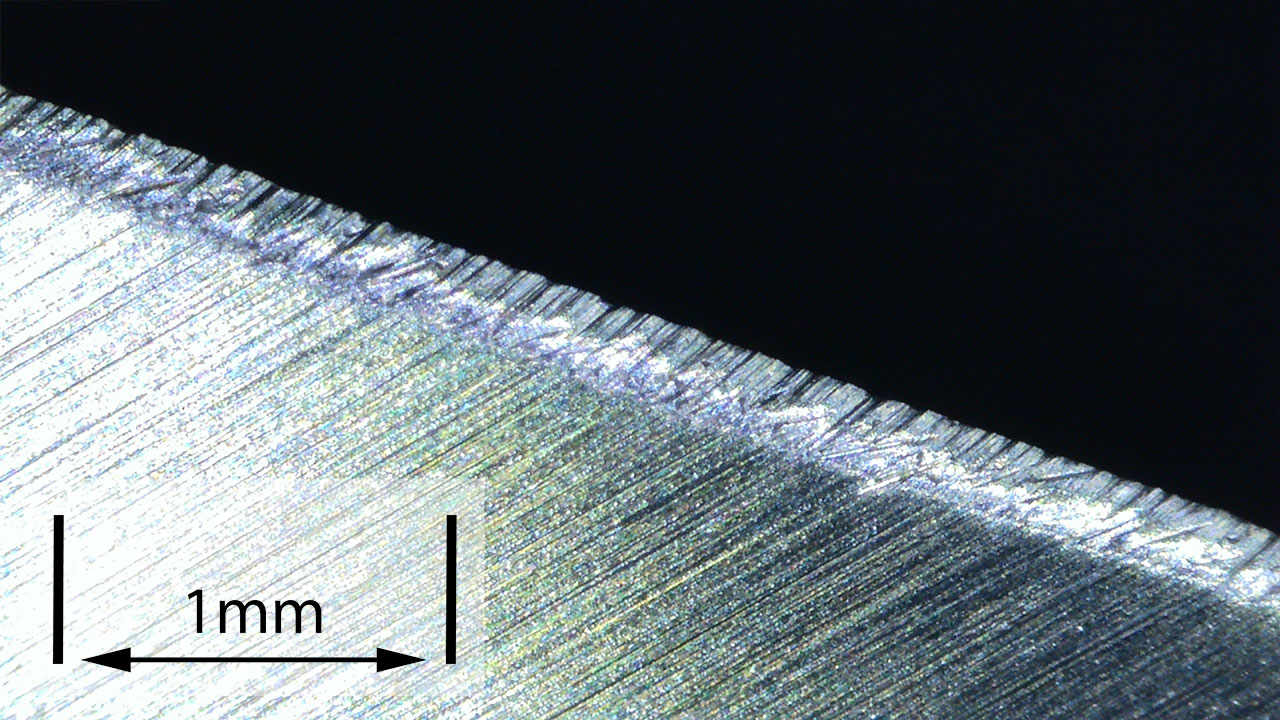
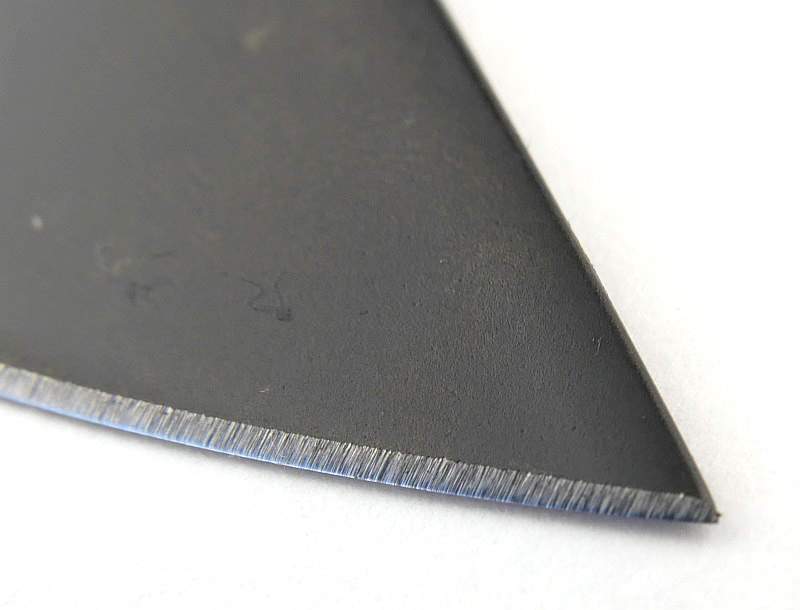
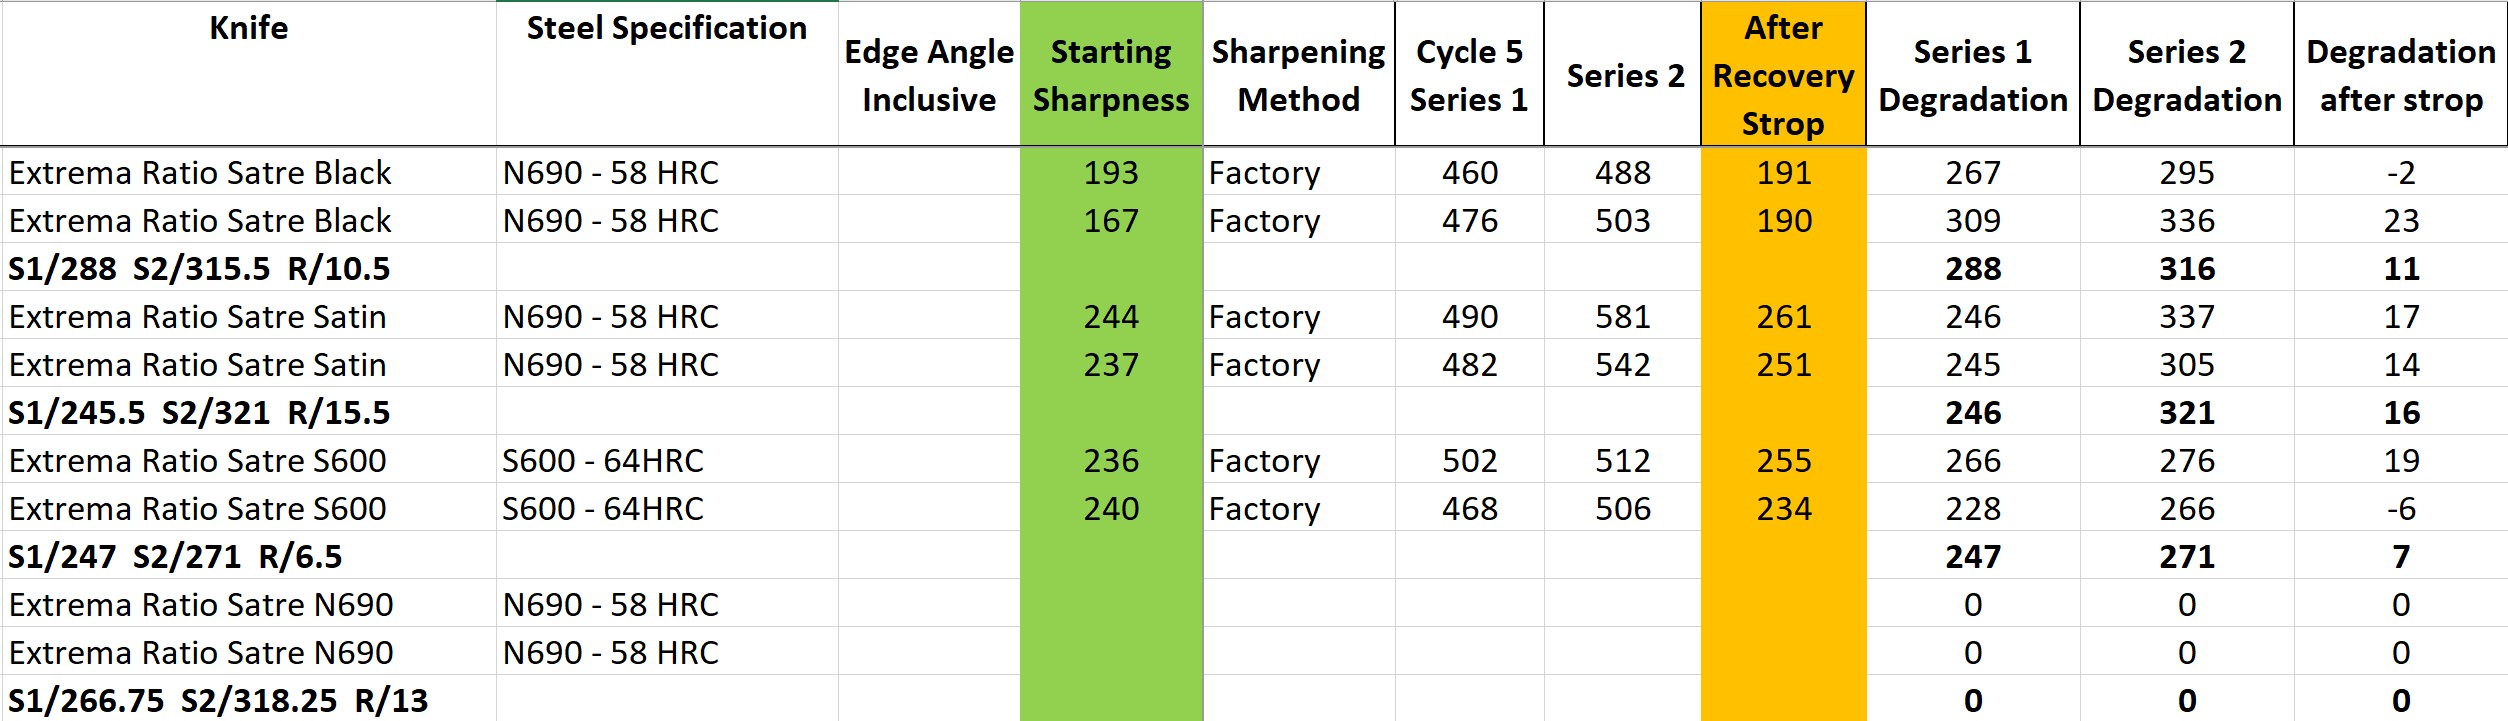
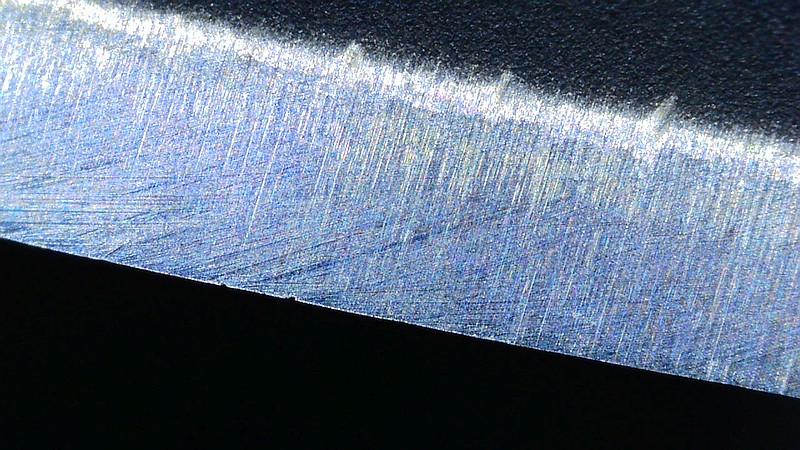
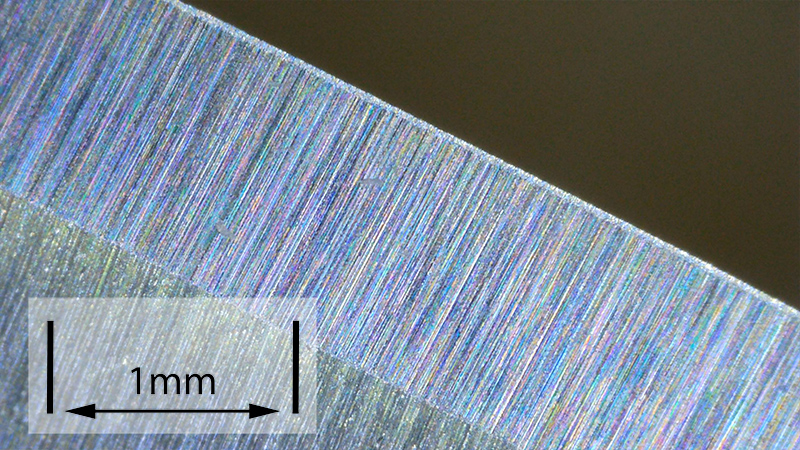
The Factory edge up close:
Followers of Tactical Reviews will know my views on factory edges, but to recap:
Anyone using a knife will need to sharpen it. That first factory edge is just like the first tank of fuel that a new car comes with (or first charge of the battery).
A good factory edge is a ‘nice to have’ but not a ‘make or break’ for a good knife, as you will be putting your own edge onto it soon enough.
The factory edge does however indicate the care a knife maker has put into the final finish.
It is for this reason Tactical Reviews measures factory edge sharpness and specifications, and includes this information in the detailed technical testing.
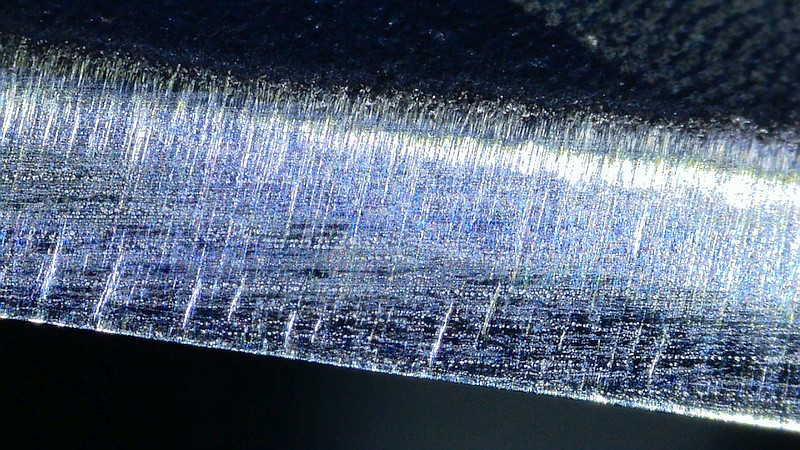
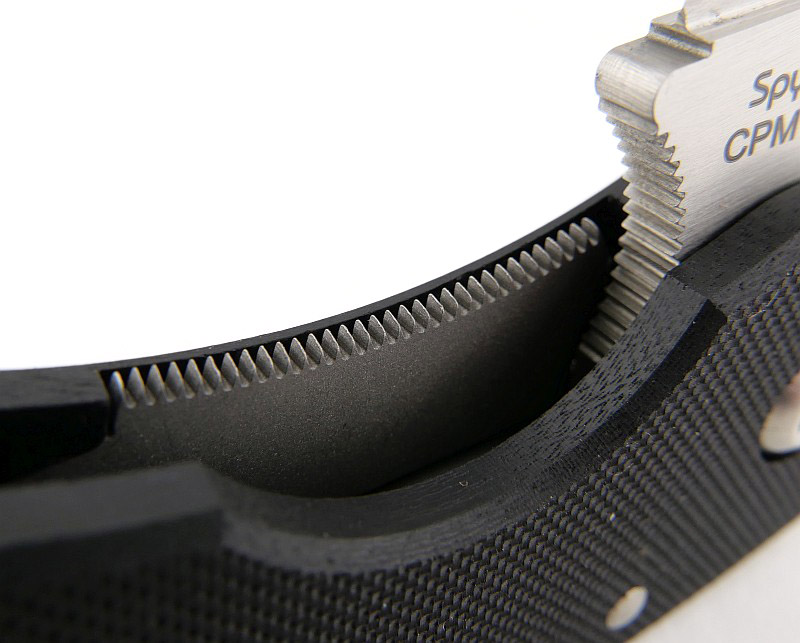
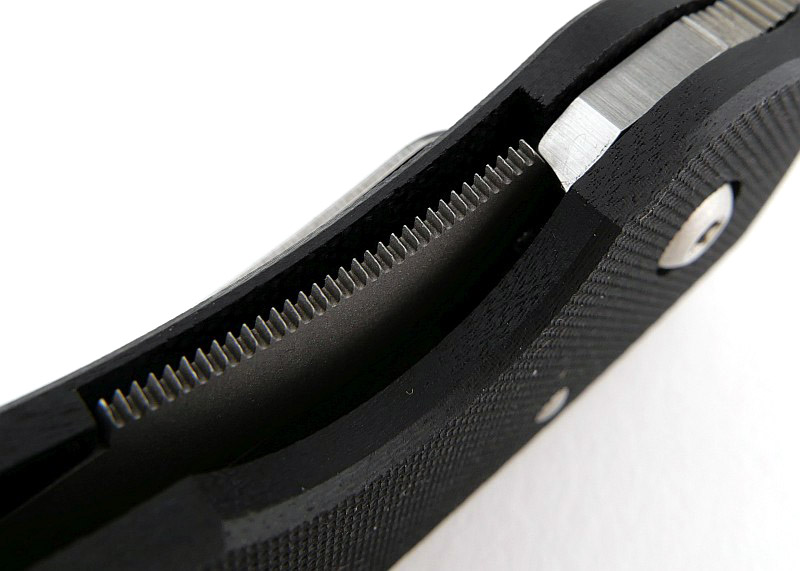
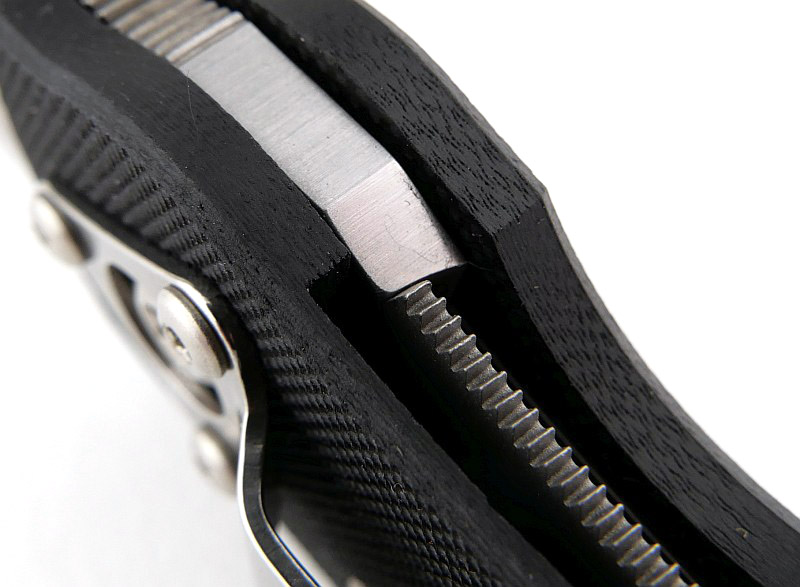
As a further look at the factory edge, this section has been added to include some high magnification photos of the factory edges.
These images allow for a comparison of each side of the factory edge bevel. In this case we now have an explanation as to why the BESS measurements were not as good as the actually cutting ability. The factory edge is full of micro-serrations that make it cut very eagerly, but tend to not measure very well on the BESS scale.
What is it like to use?
An unexpected combination of supreme comfort and solidity seem to emanate from the Zoomer. Compared to most knives, the Zoomer’s sheath feels large and in danger of being unwieldy, but the size and drop-hanger style prove themselves to be a practical working tool.
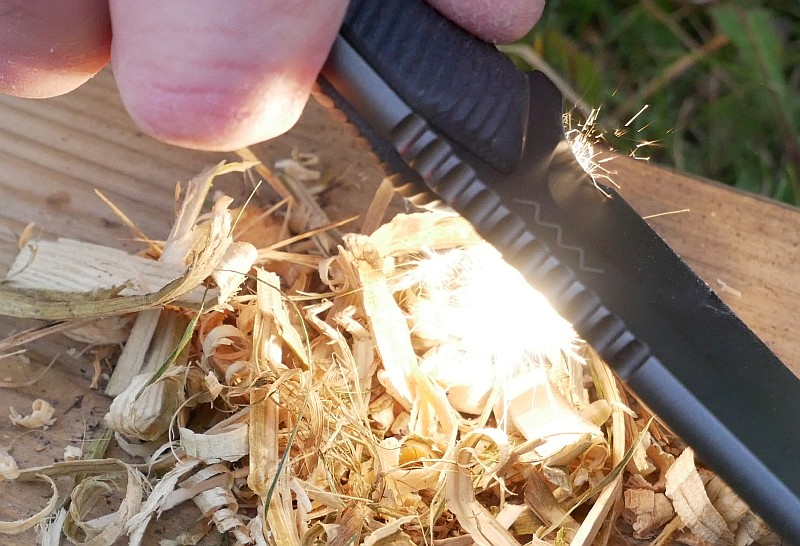
Overall size of the Zoomer puts if right in that ideal all-rounder sizing. Large enough to handle bigger jobs and batoning (though be careful of the extended thumb support), and small enough to stay comfortable for very long periods of use.
Thanks to the convex grind, despite the factory edge sharpness measurements appearing unimpressive, the Zoomer cuts eagerly, and thanks to excellent ergonomics, effortlessly.
Oddly I frequently find myself thinking that the handle of the Zoomer is too comfortable and too smooth. Maybe it’s just the same way pyjamas are ‘too comfortable’.
The Zoomer really does handle like no other knife and actually has zero hot-spots on the grip, zero.

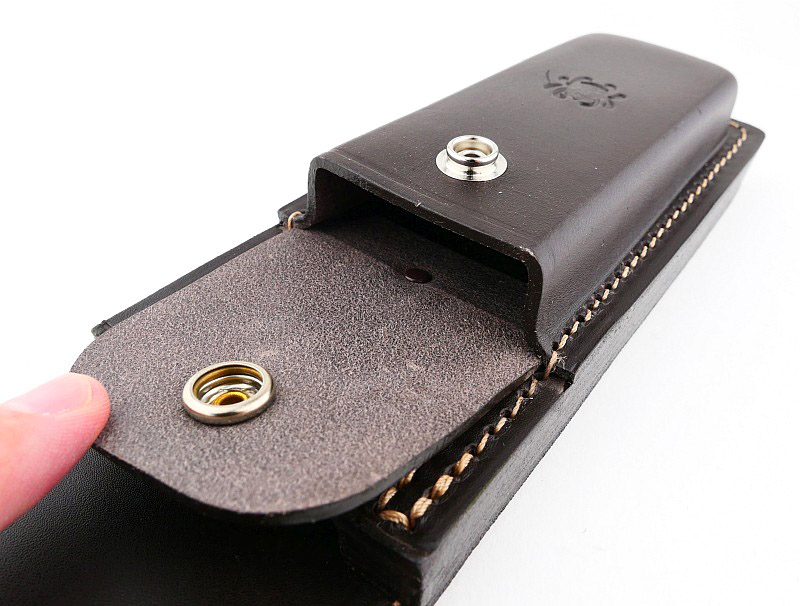
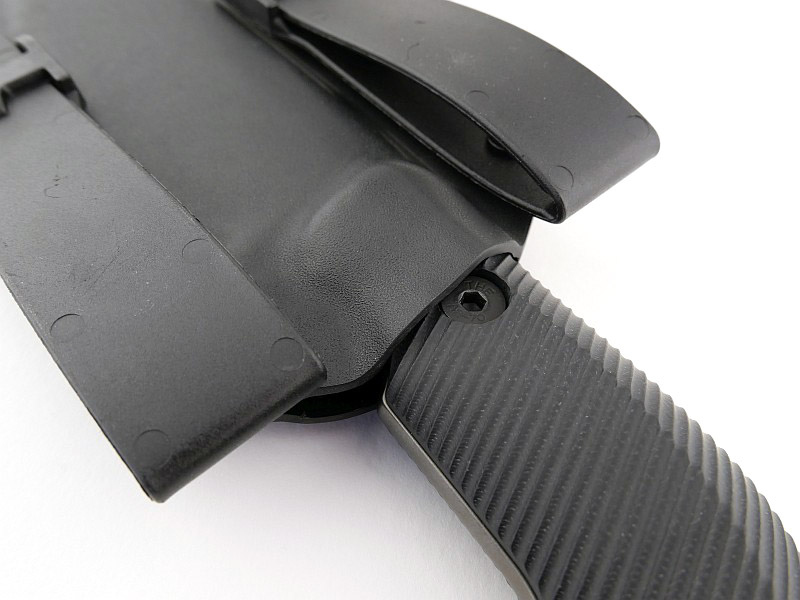
For quick access and easy storage, the sheath works very well, but despite this, I did find it slightly lacking in terms of security.
The weight of the sheath combined with the hanger design, do their best to keep the knife secure, but it is not completely reliable. Initially the sheath has some grip on the knife but with more use this loosened and you end up relying on gravity alone to keeping the knife in the sheath.
I was not happy to rely on this at all times and wanted to carry the knife more securely.
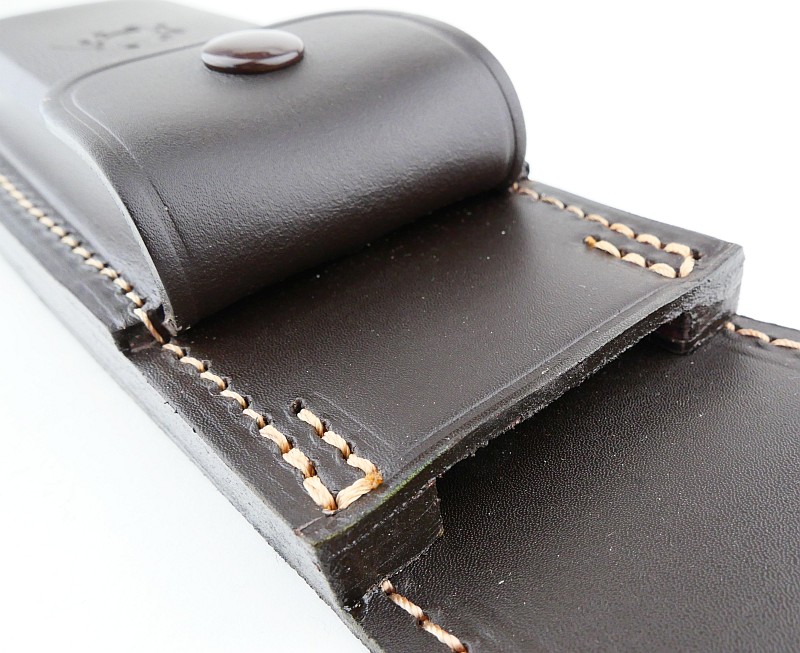
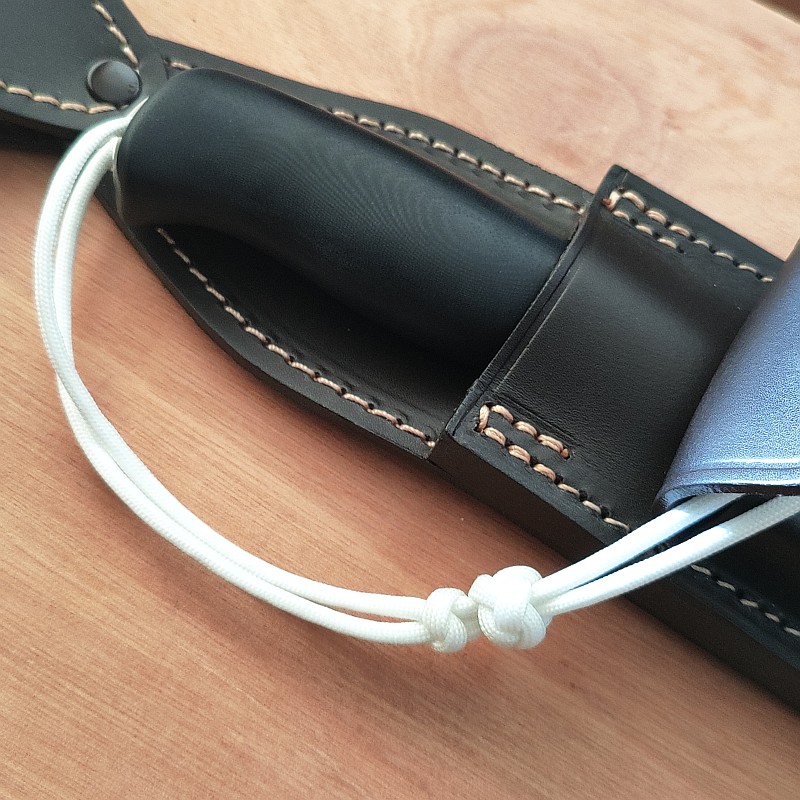
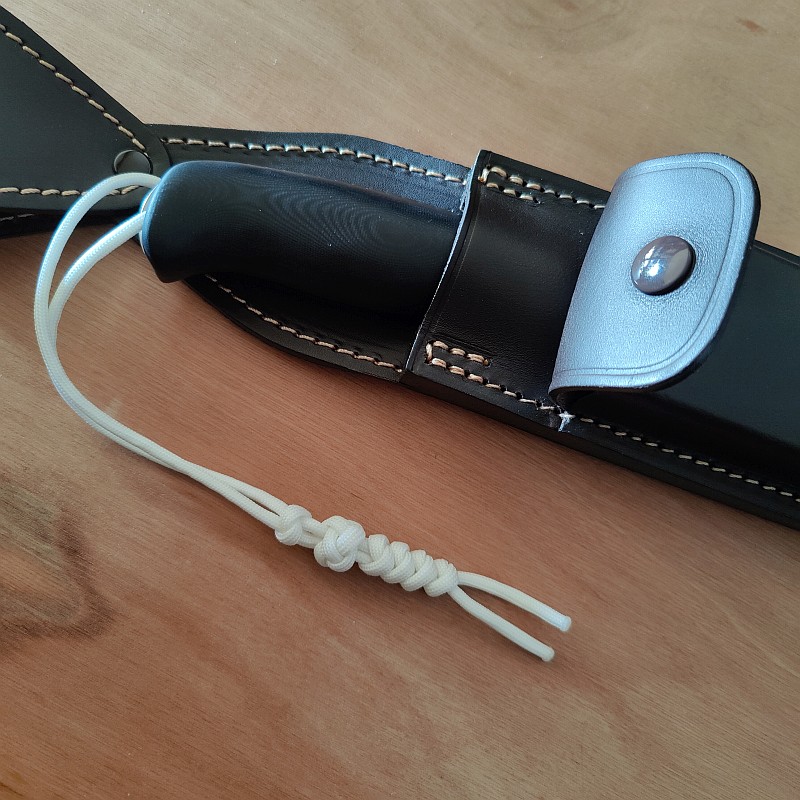
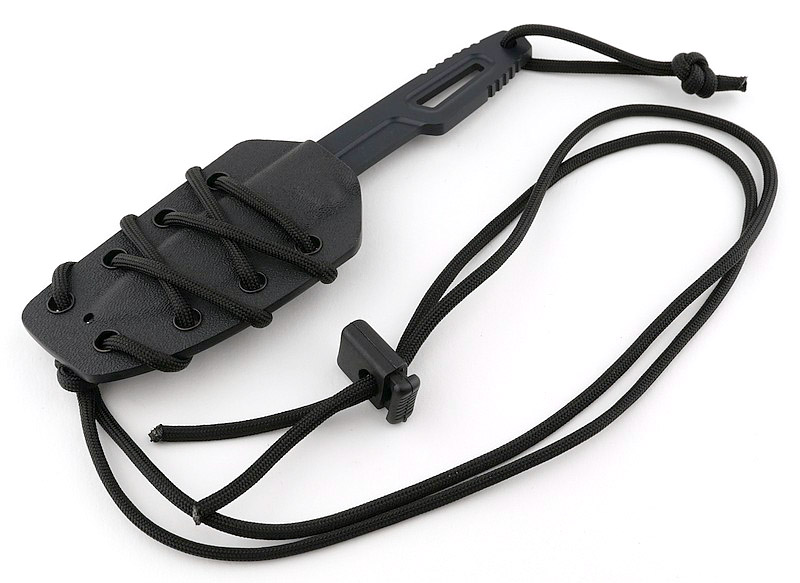
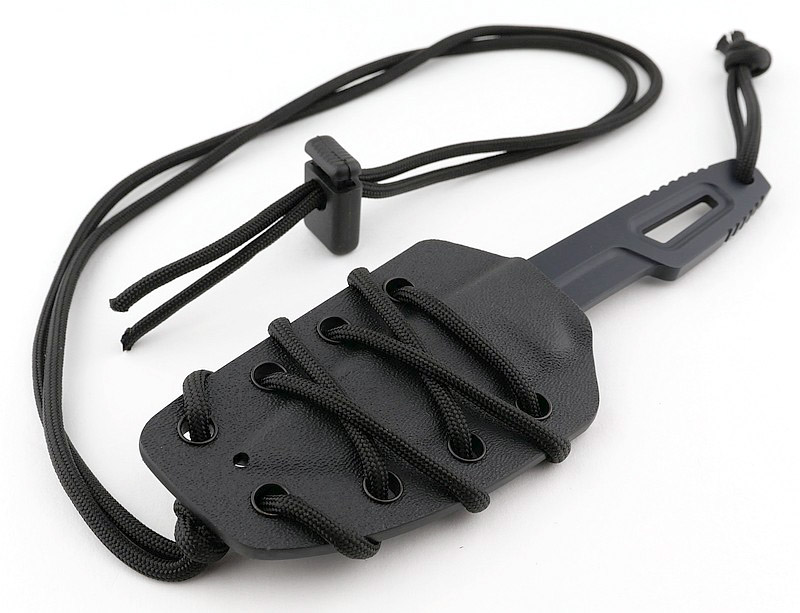
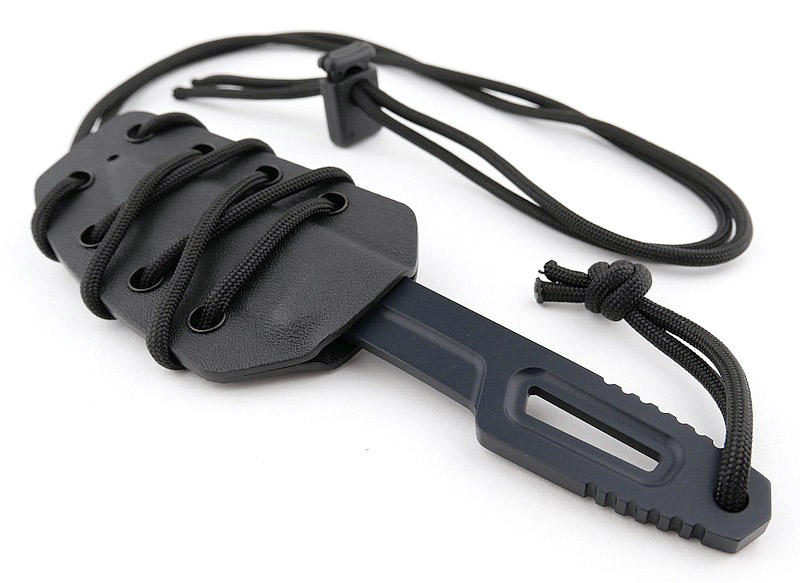
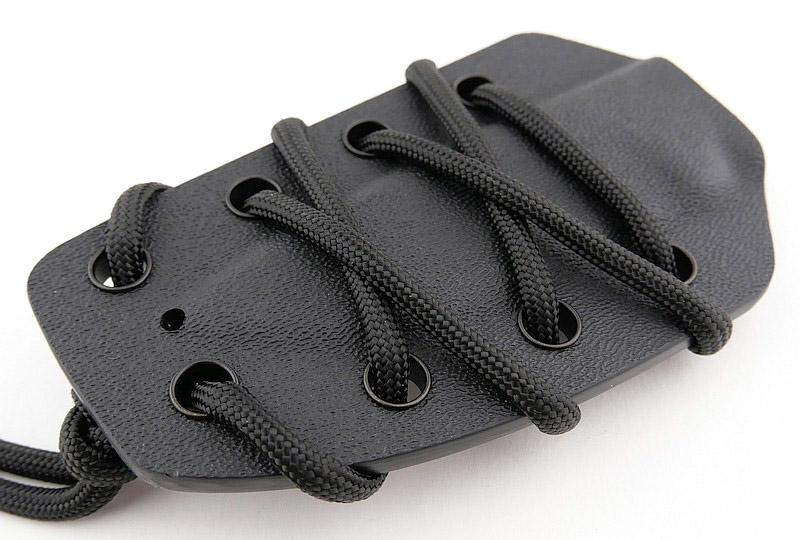
Fortunately the sheath has the front pouch with press-stud fastening. The simplest option would be to have a plain loop of paracord tied such that it went through the lanyard hole and was able to fit around the pouch flap holding the knife in the sheath when the pouch was closed. I found this solution made the loop of cord too long and the opening too large to be of use as a wrist strap.
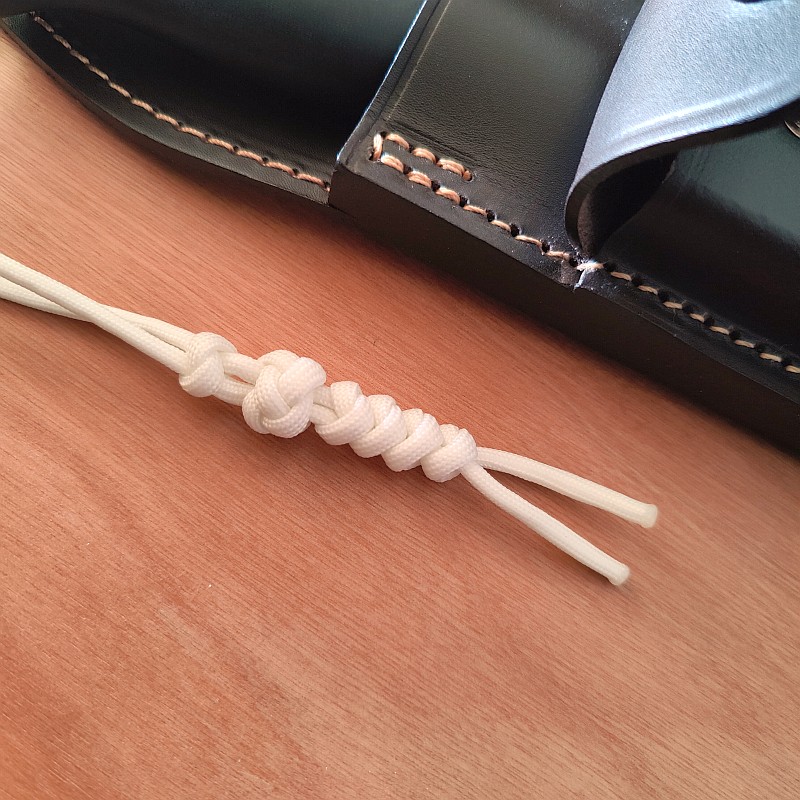
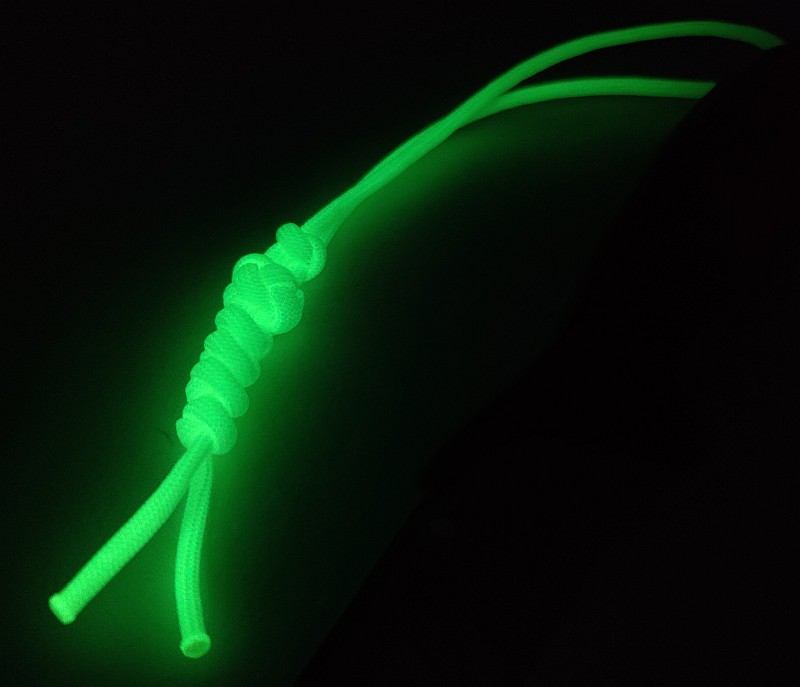
Instead I decided to tie a lanyard that included a few snake knots and the larger diamond knot which could then be tucked inside the pouch and secured by closing the pouch flap. The tying and use of this knife retention idea is shown in the next gallery.
Instructions for tying these knots are on the Tactical Reviews Tying Lanyards Page.
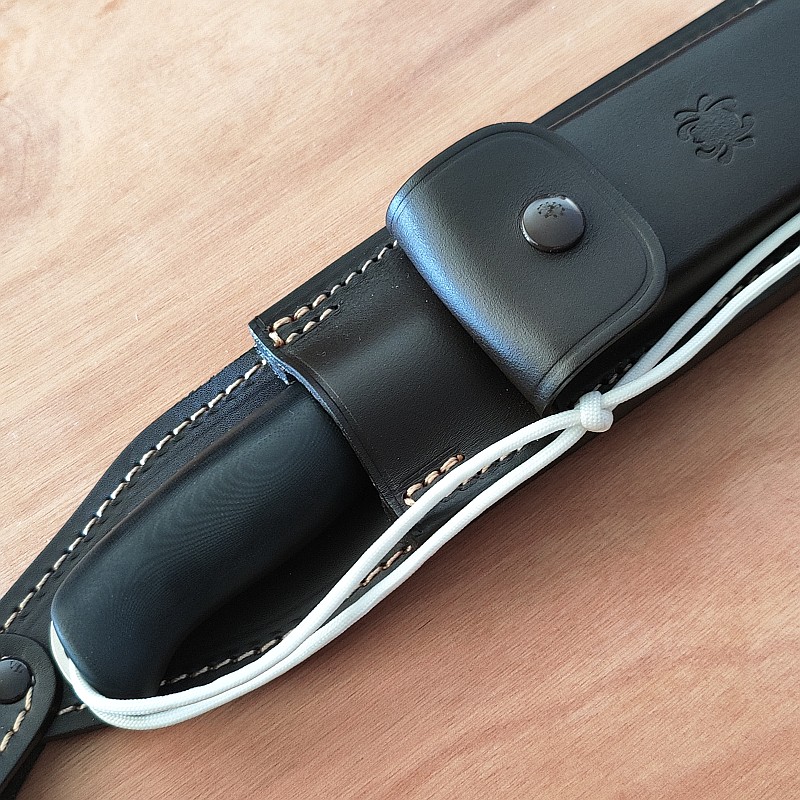

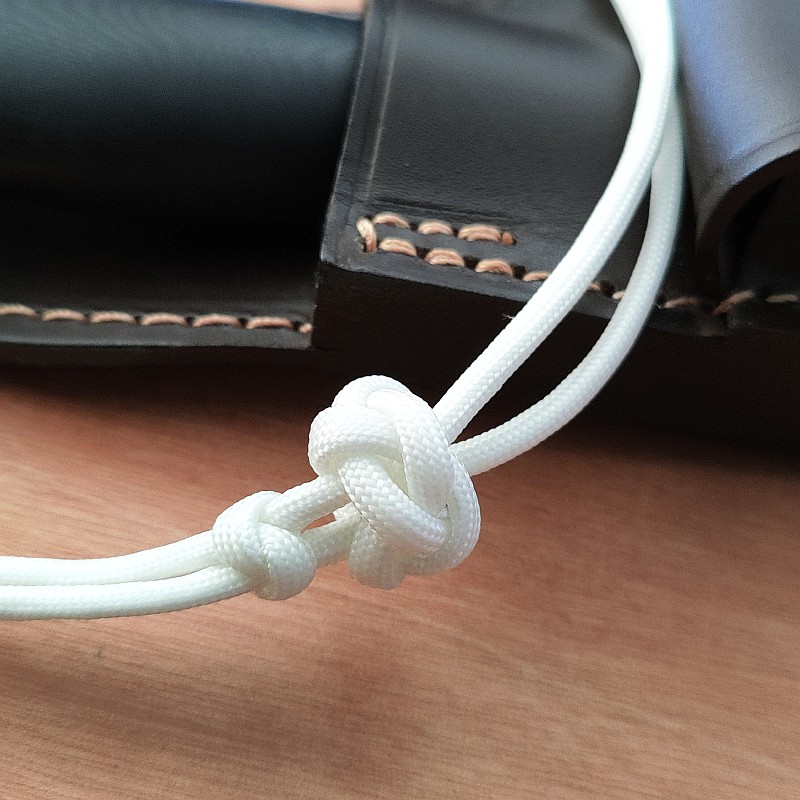
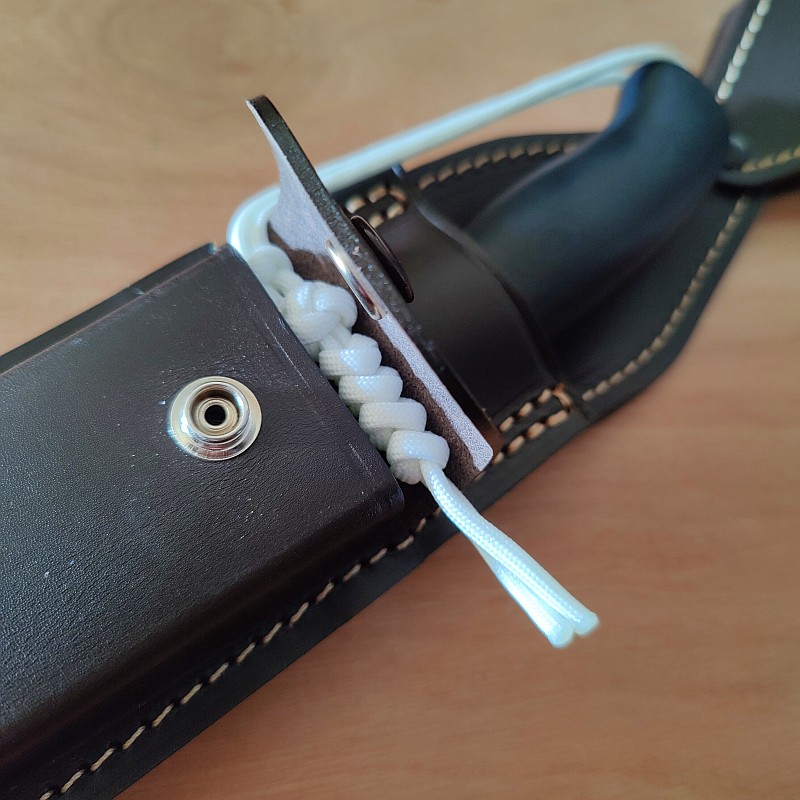
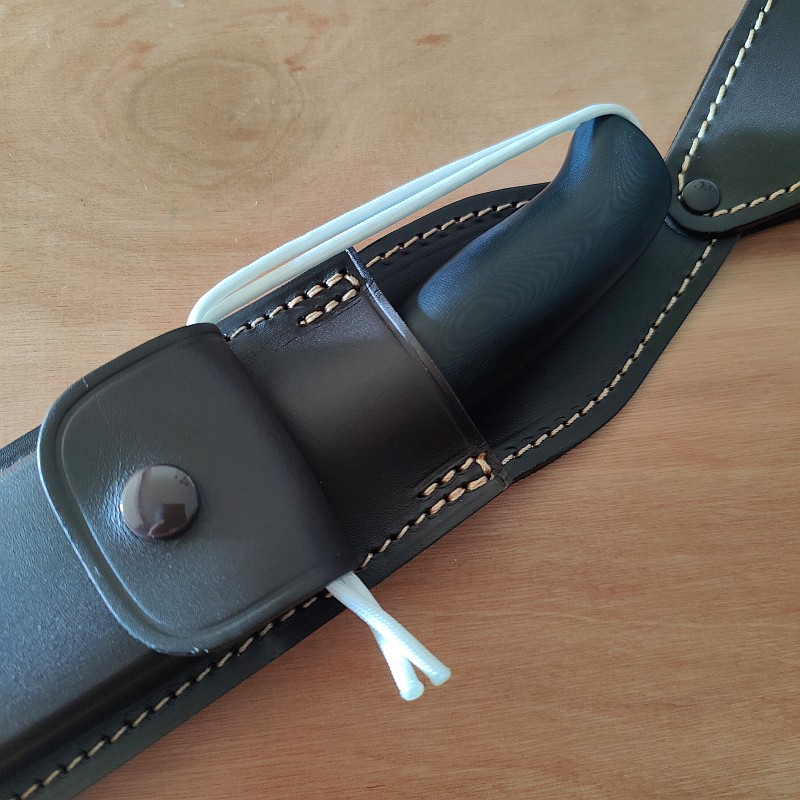
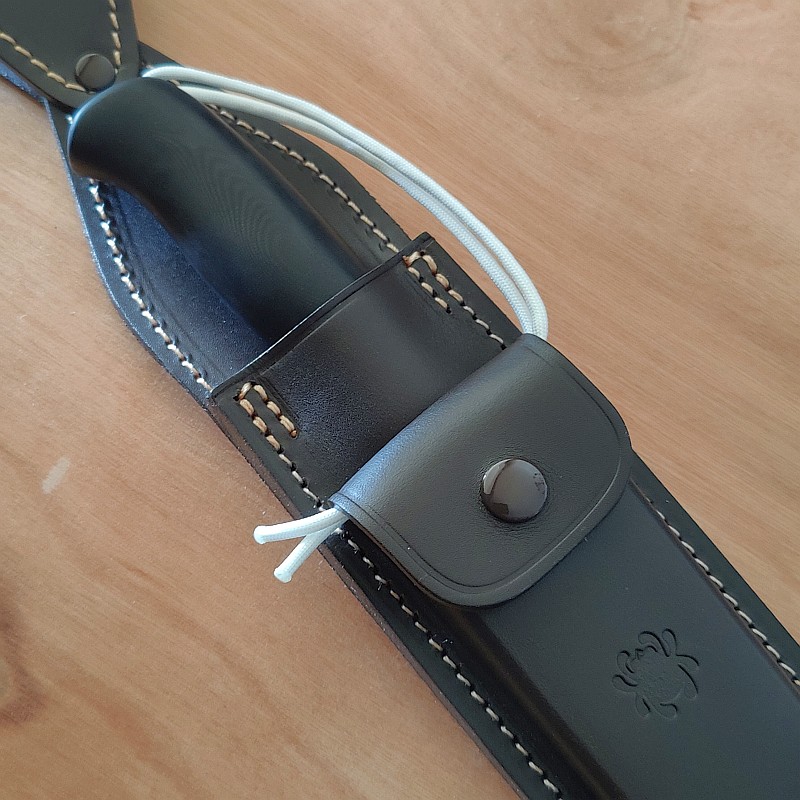
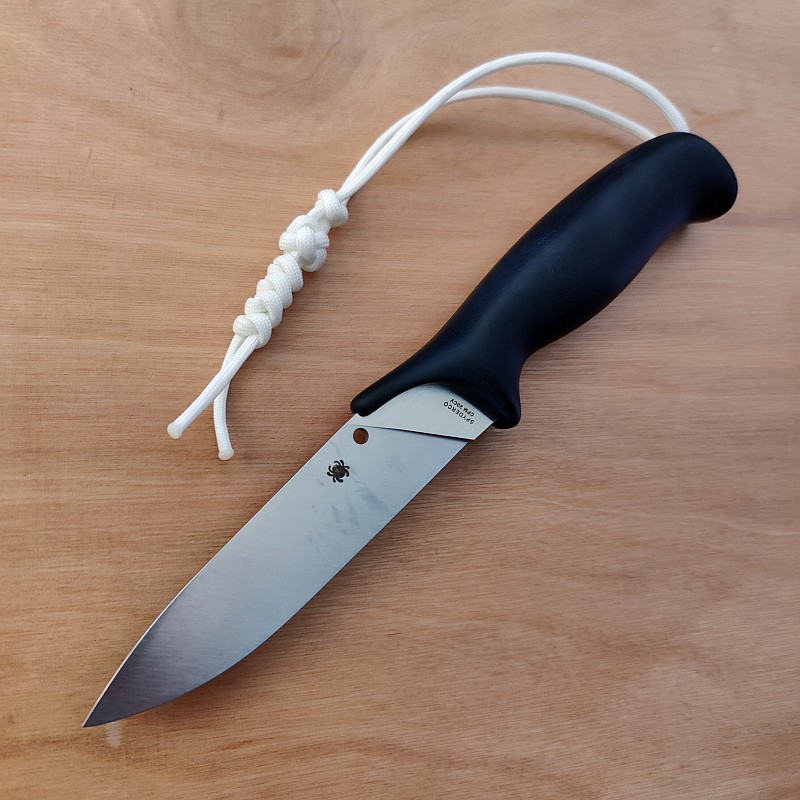
In case you think ‘why did he use white paracord, that will get dirty very quickly?’ – this is why…it is glow in the dark.
Review Summary
The views expressed in this summary table are from the point of view of the reviewer’s personal use. I am not a member of the armed forces and cannot comment on its use beyond a cutting tool or field/hunting knife.
Something that might be a ‘pro’ for one user can be a ‘con’ for another, so the comments are categorised based on my requirements. You should consider all points and if they could be beneficial to you.
_______________________________________________
What doesn’t work so well for me
_______________________________________________
Knife retention relies entirely on gravity.
Handle is very smooth.
Convex edges can be more challenging to maintain.
Large sheath.
_______________________________________________
Things I like
_______________________________________________
Incredible levels of comfort.
Unique extended thumb support placing the thumb directly behind the cutting edge.
Full convex grind.
High ‘availability and accessibility’ afforded by the sheath’s drop-in and pick-up ‘knife pocket’.
Good sized pouch incorporated into the sheath.
Zero ‘hot spots’ allowing very long periods of working.
High performance CPM20V steel.


.")