In this review, the Fox Suru on test is not just any old Suru, it’s the ‘Heinnie Haynes Edition’. As well as having global reach, Heinnie Haynes is the UK’s largest seller of knives and EDC gear. With its roots in the UK market there is particular interest in knives which are UK EDC Legal. There is much confusion over the knife laws in the UK, thanks to plenty of misinformation, despite the law actually being very simple. Sticking to the basics of the law, any non-locking folding knife with cutting edge less than 3″ can be EDCed legally.
The Fox Suru in its standard form is a compact, integral-lock, flipper knife – an almost perfectly unsuitable knife for the UK market, but Bruce from HH had the vision to see great potential in the small robust folder, if only it could be made a flipper-free non-locker. After working out the details with Fox, we now have exactly that, a slip-joint Suru. Though intended for the UK market, the creation of the slip-joint Suru has streamlined the original design and resulted in a knife suitable for users around the world with, or without, similar EDC knife carry restrictions.
A few more details:
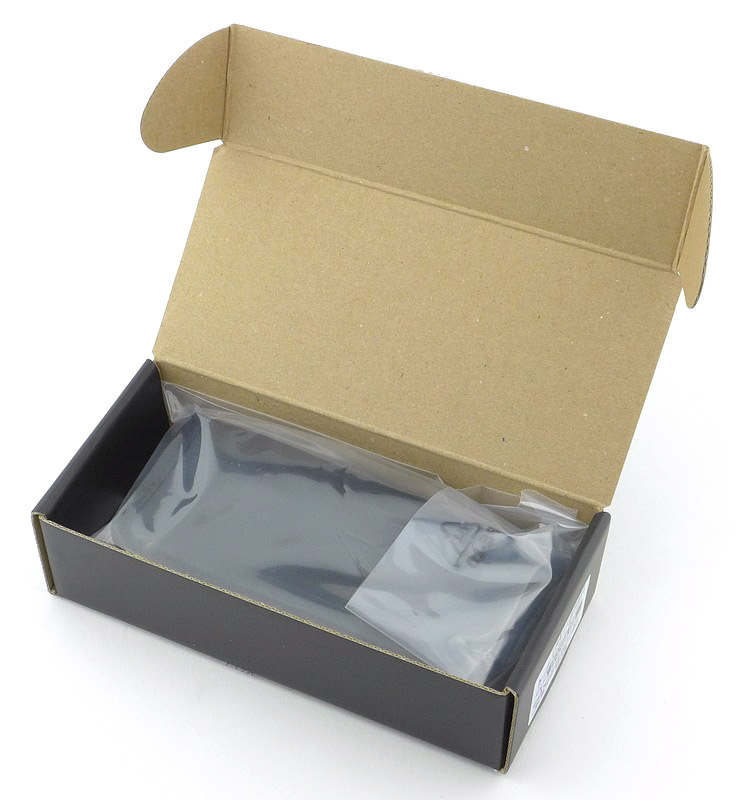
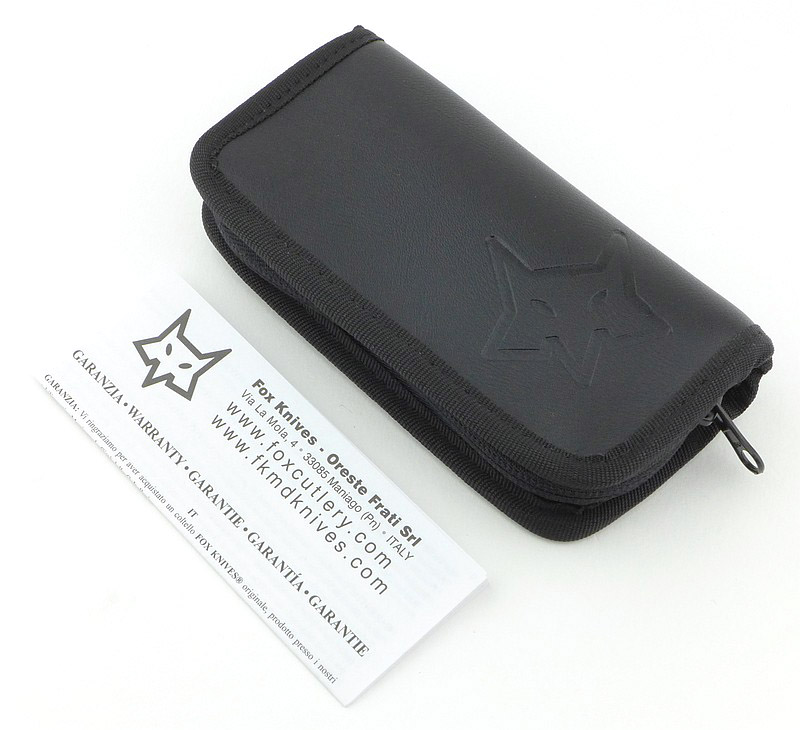
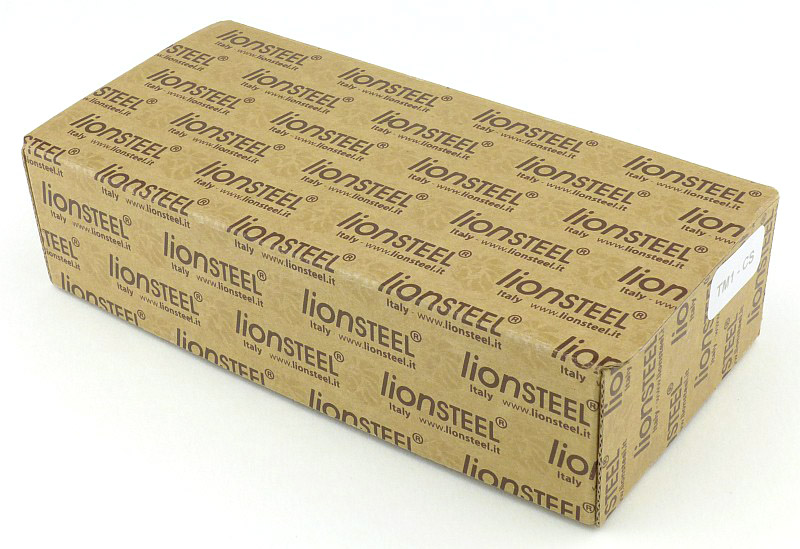
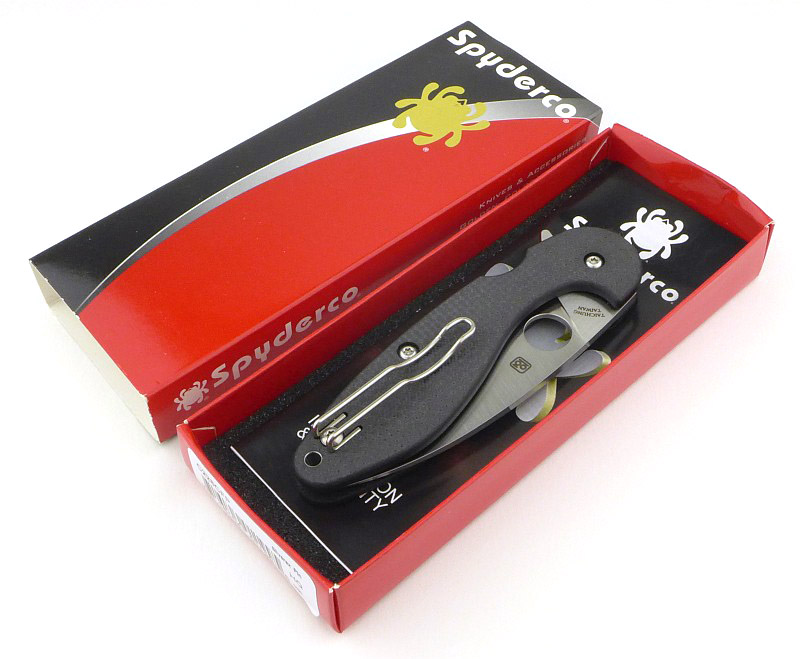
We’ll start of with the presentation of the knife, both from Heinnie Haynes and from Fox. The review sample was sent to me exactly as with any other HH customer order.
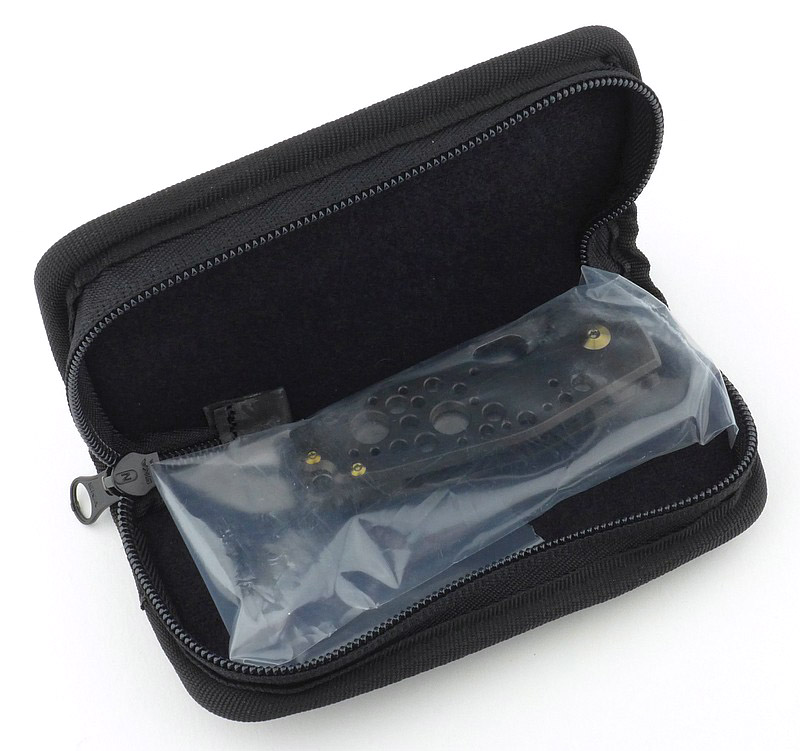
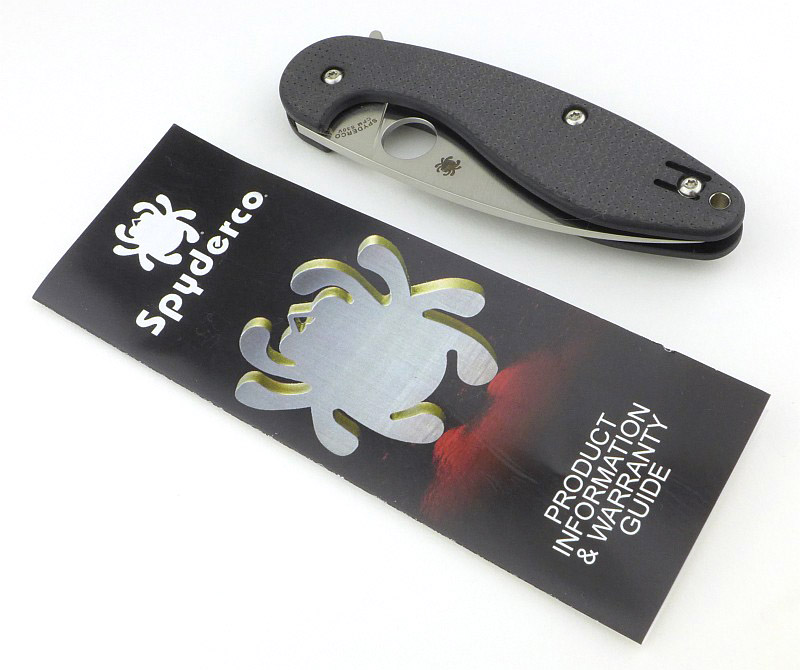
What’s in the box?:


A Couple of Extras:
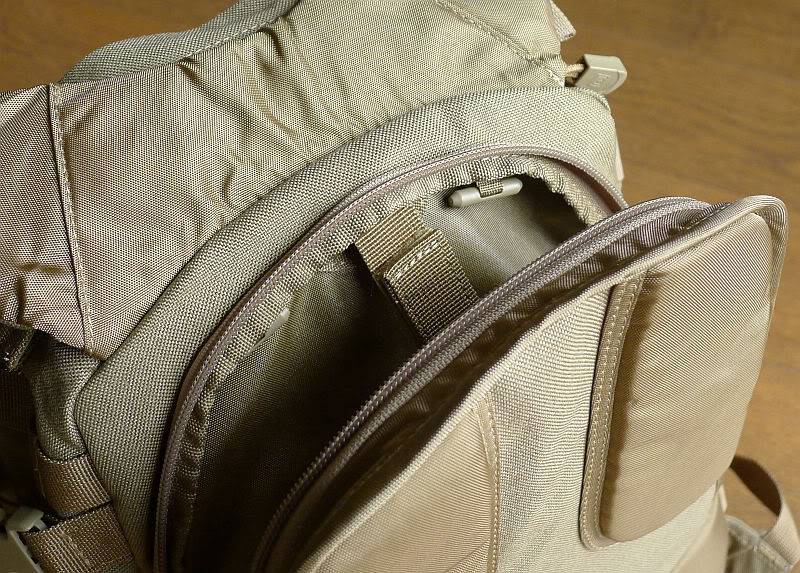
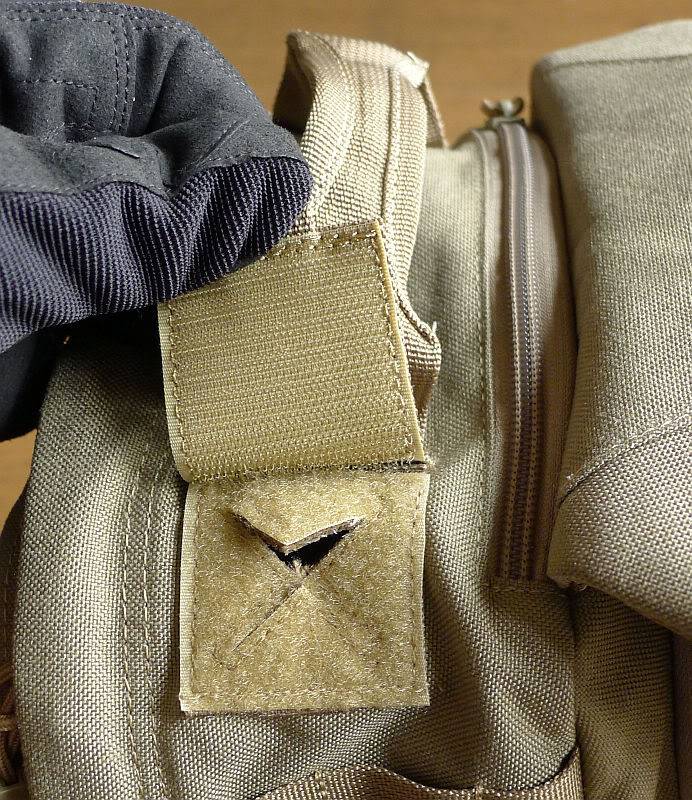
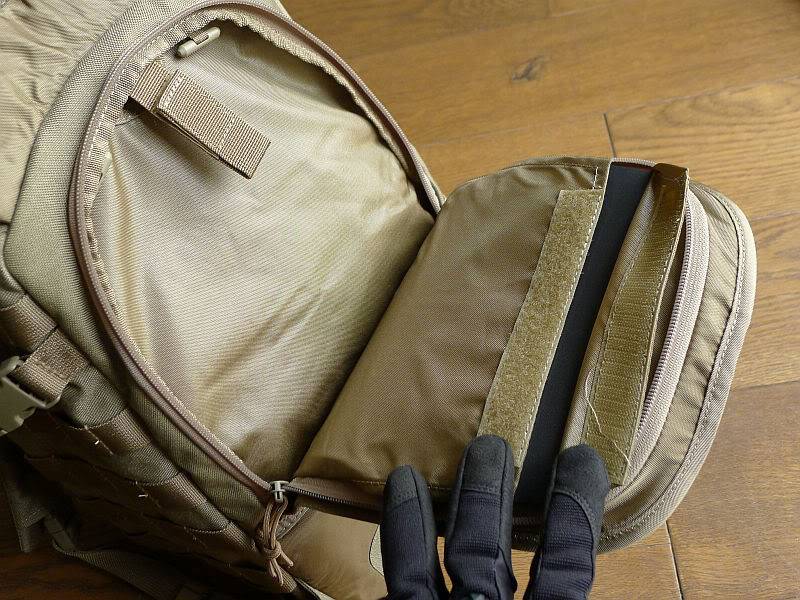
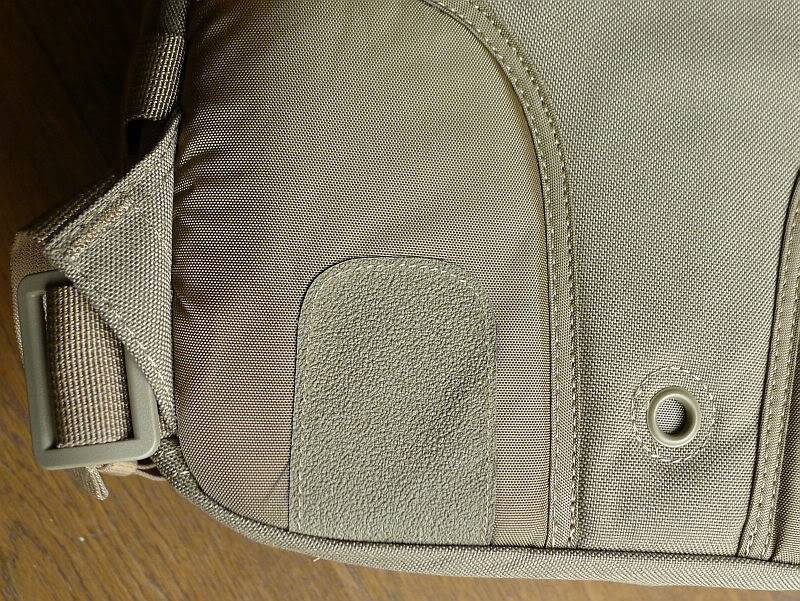
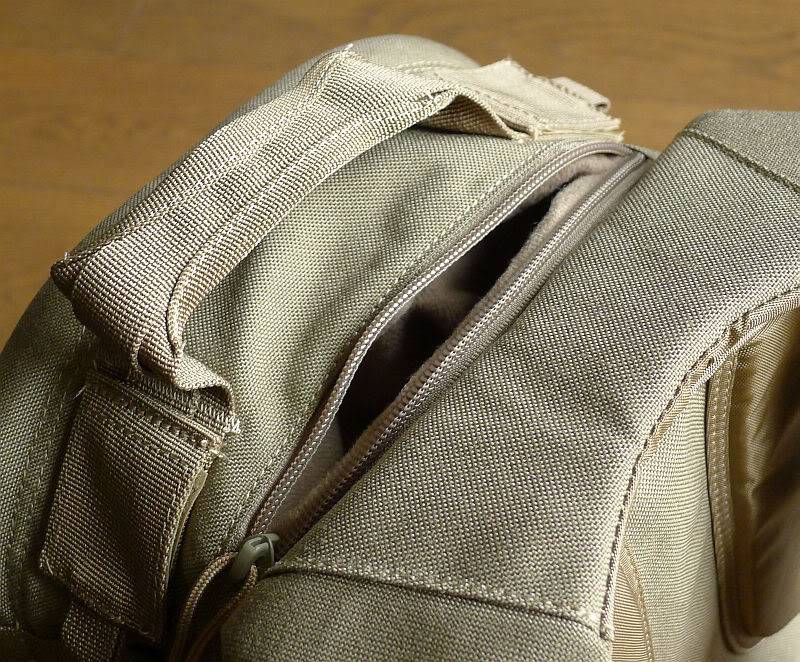
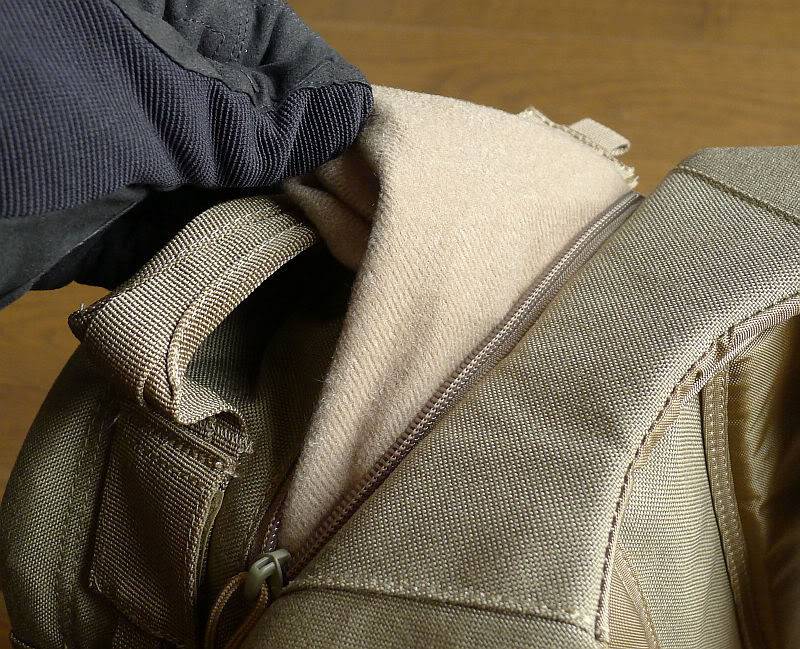
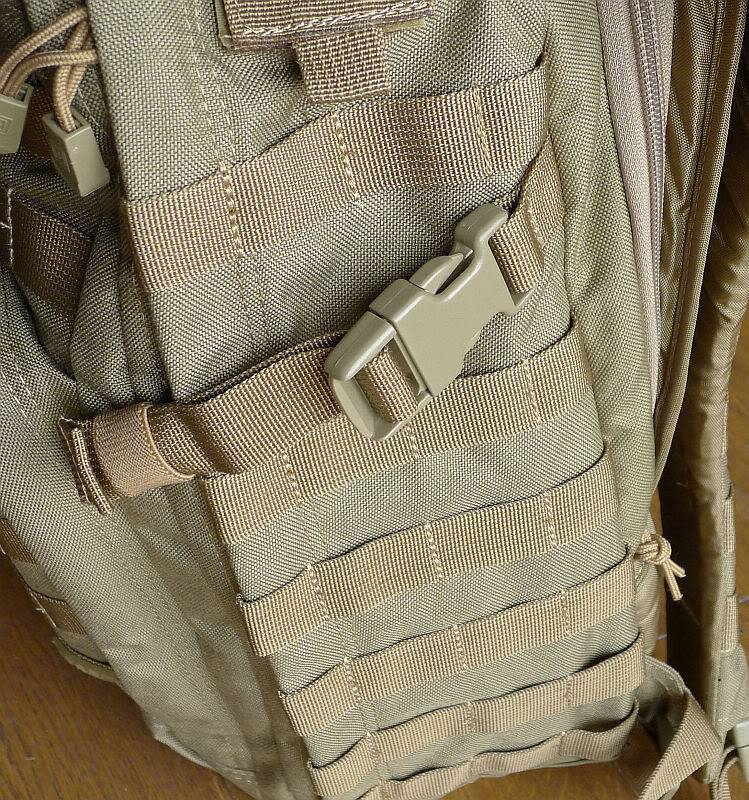
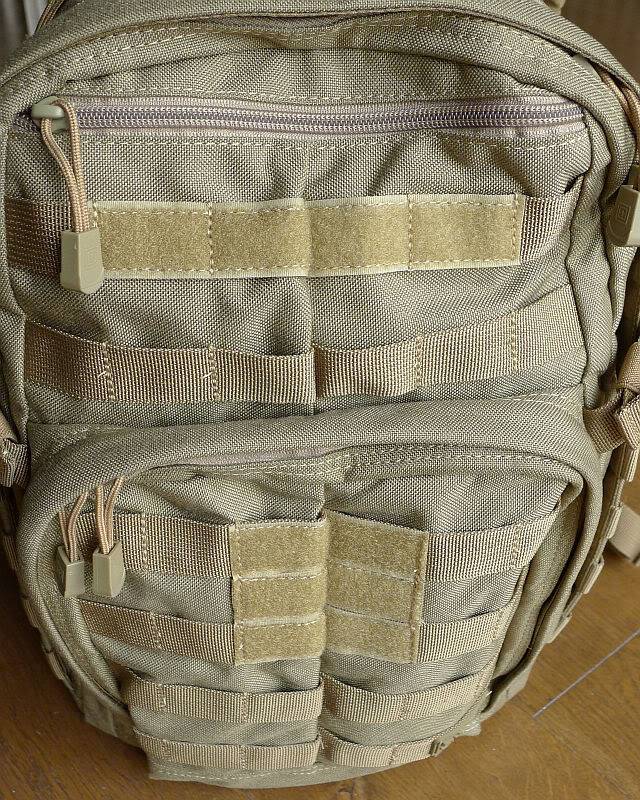
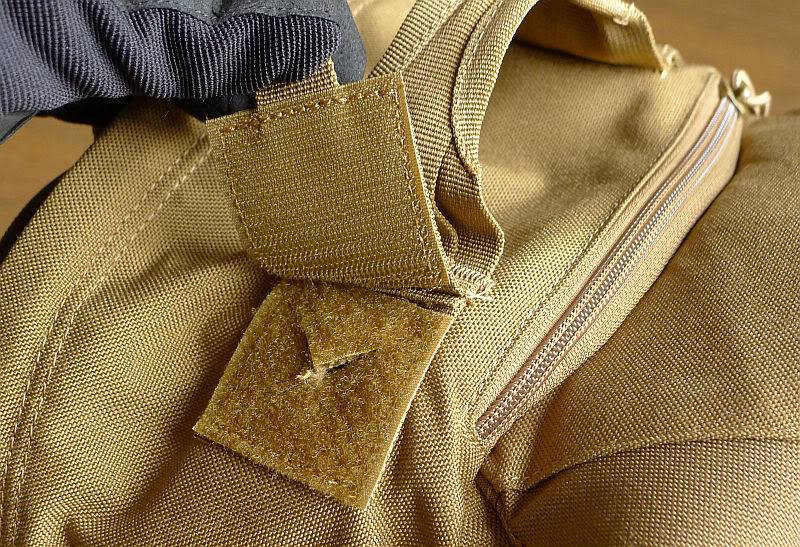
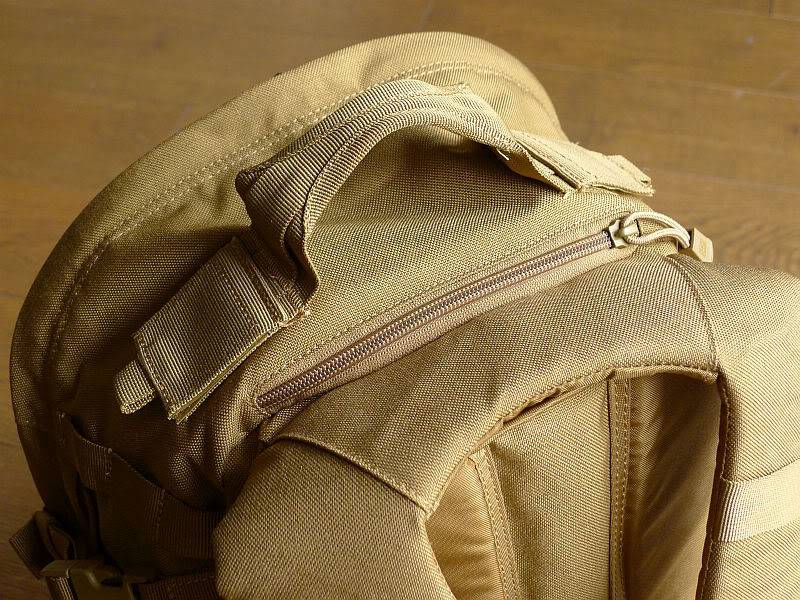
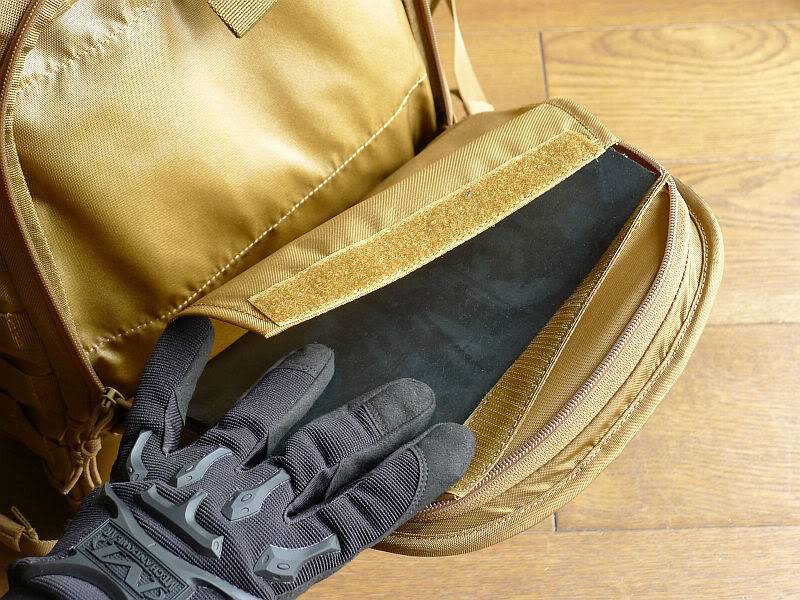
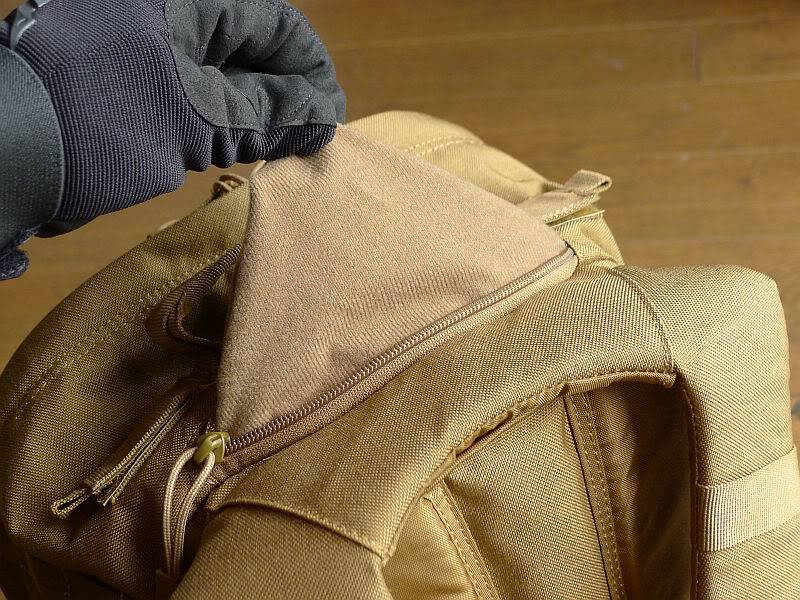
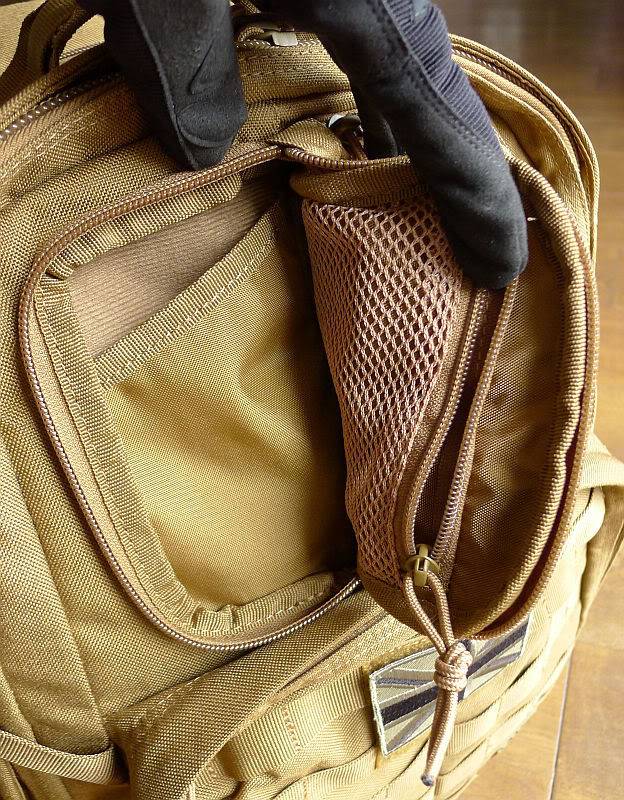
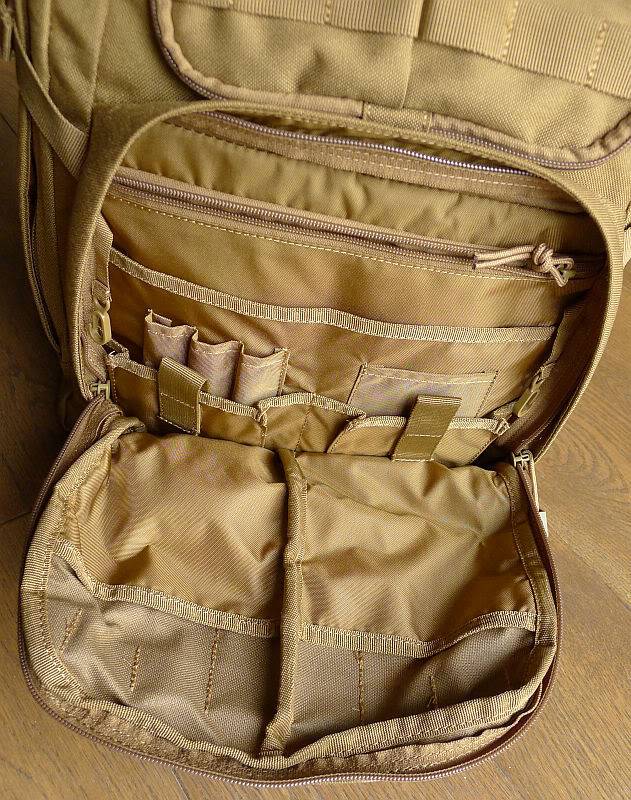
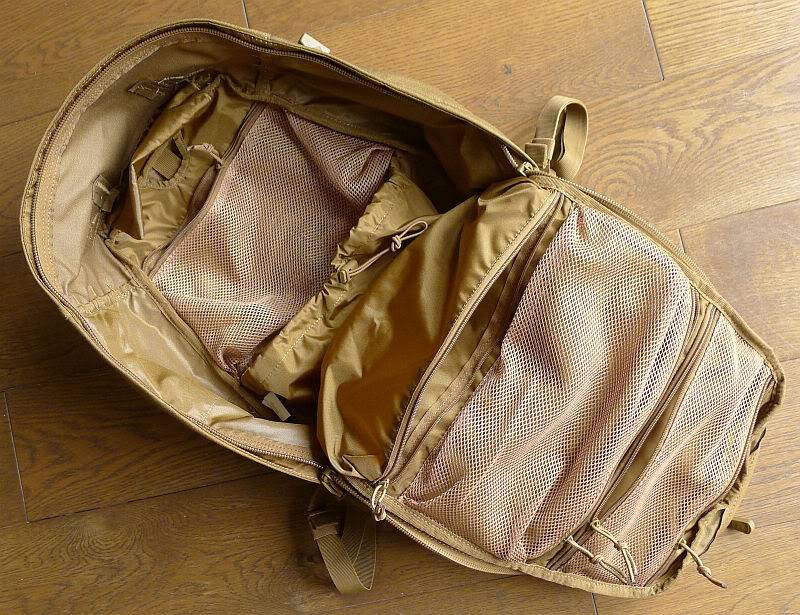
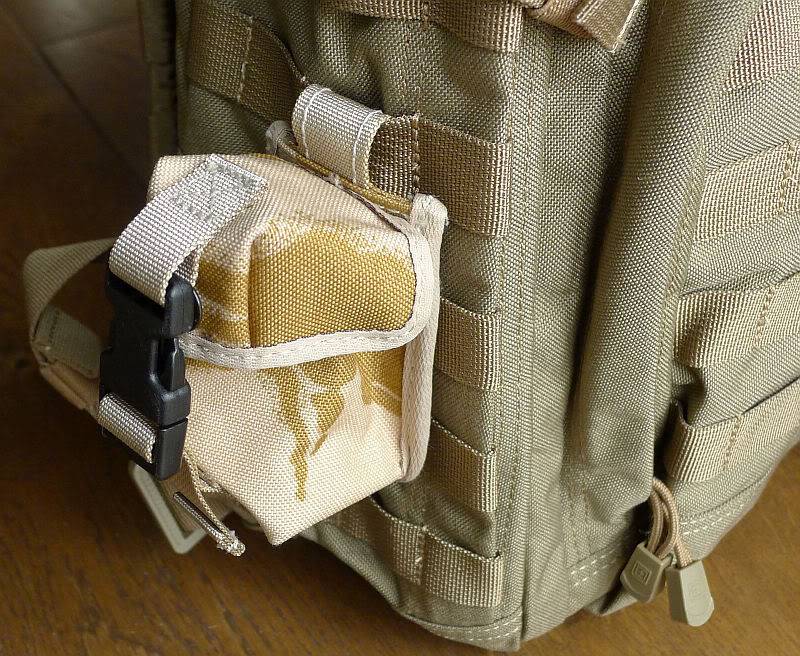
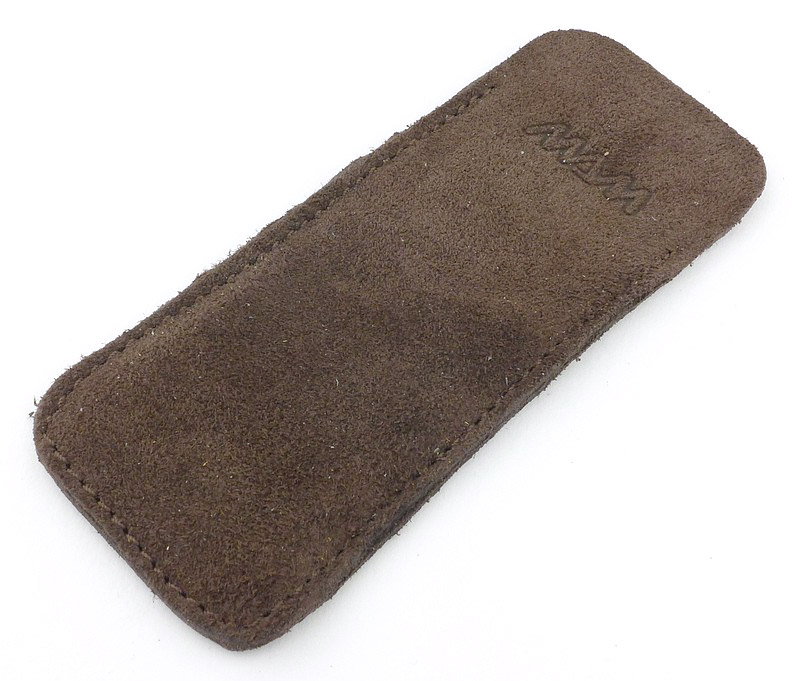
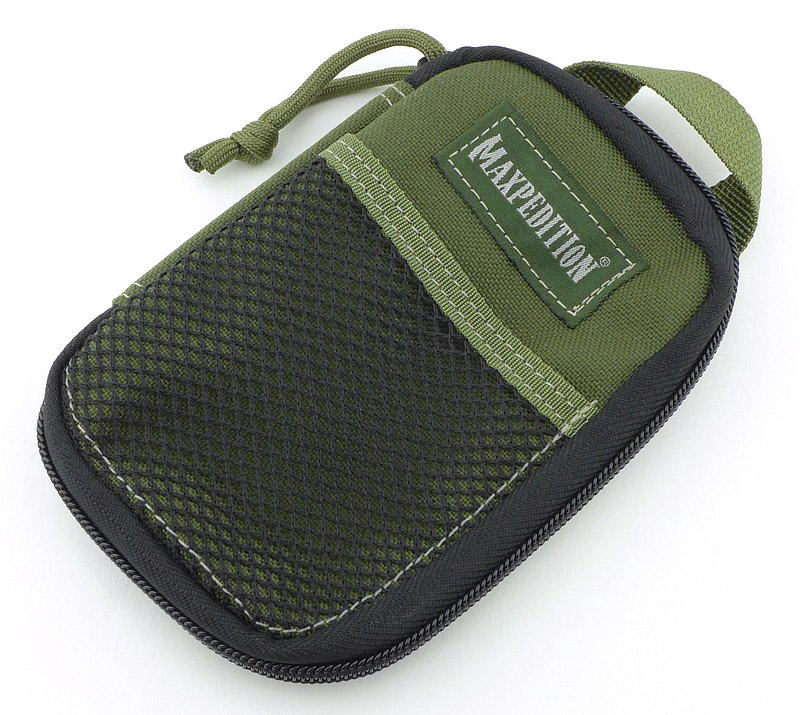
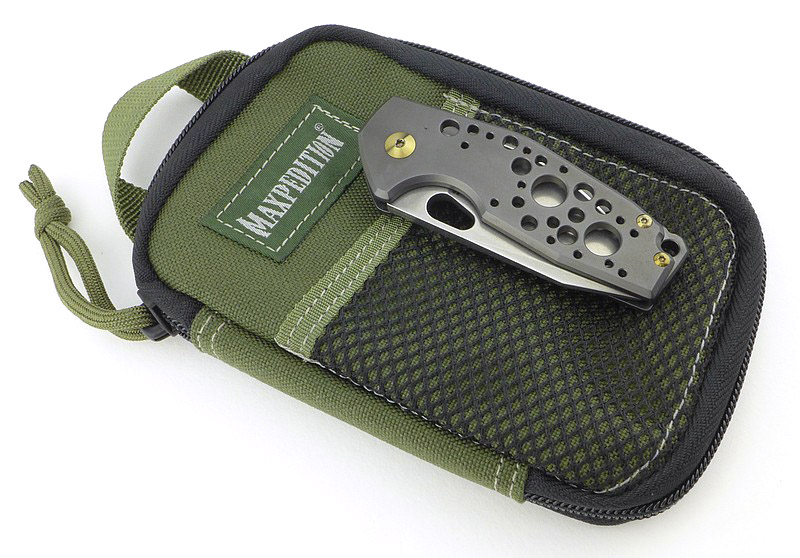
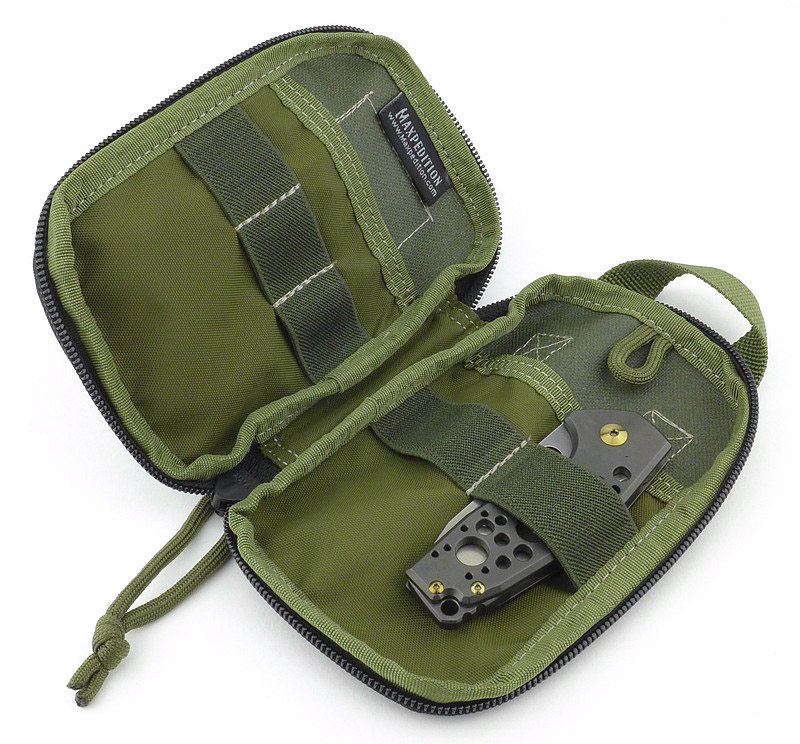
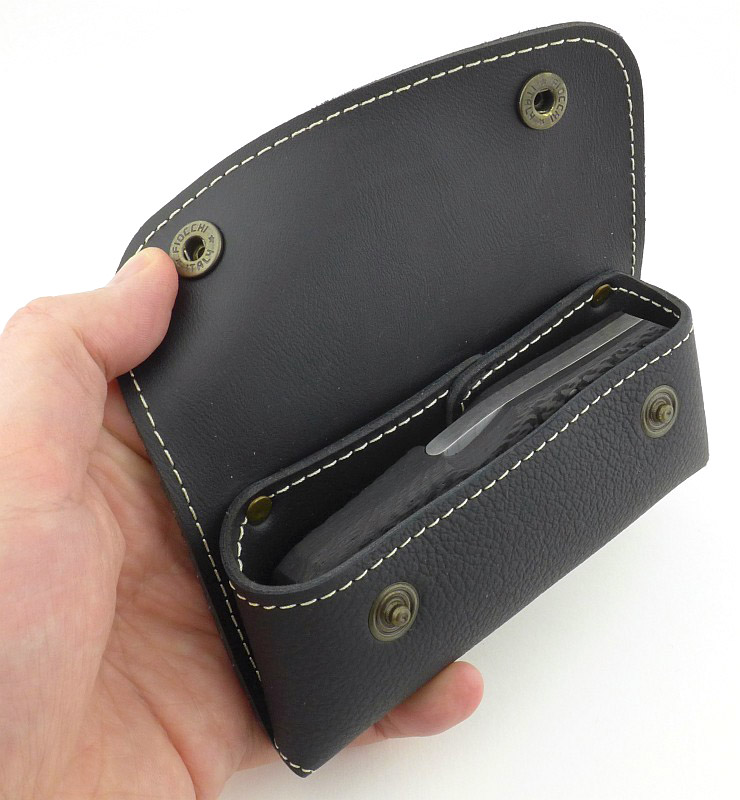
With Heinnie Haynes having so many extras to choose from, also included for use during testing was the MAM slip pouch, and Maxpedition’s Micro Pocket Organiser.

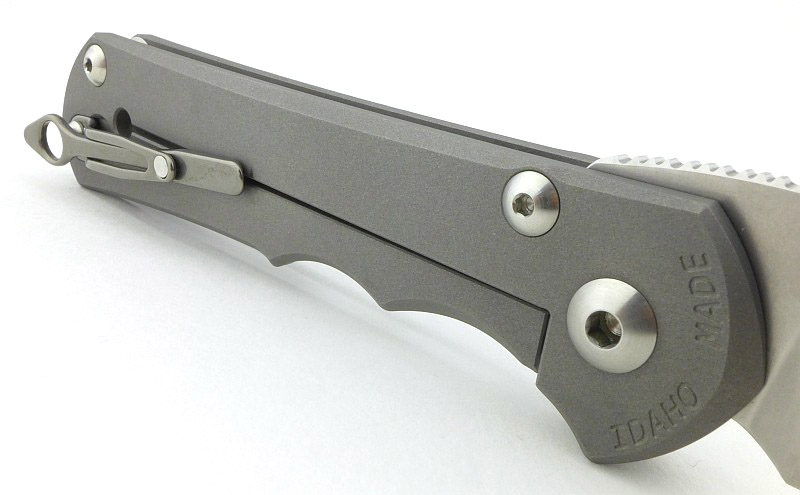
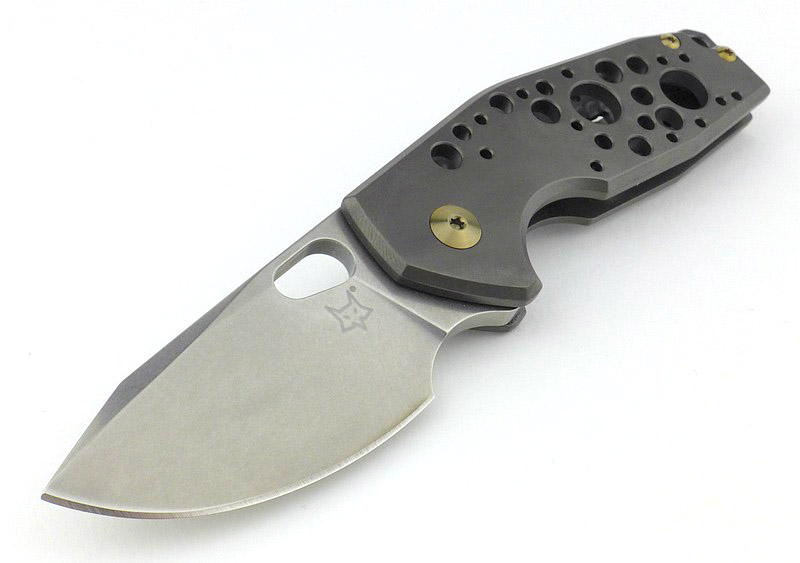
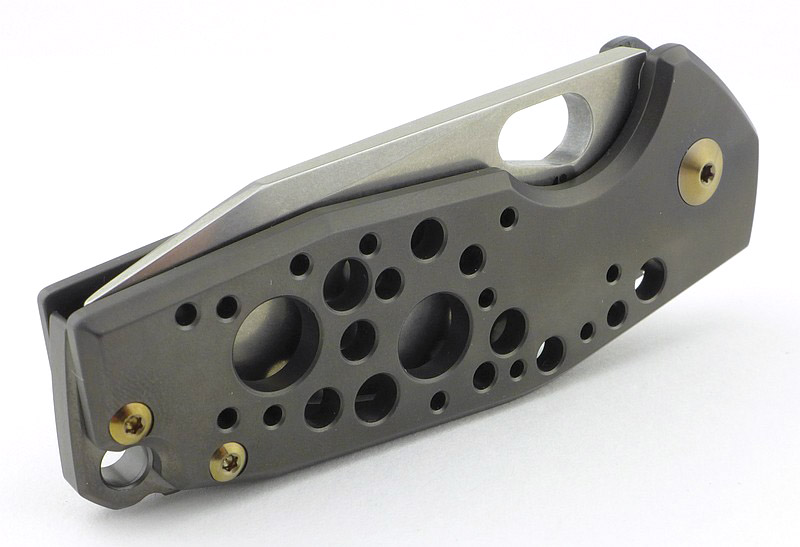
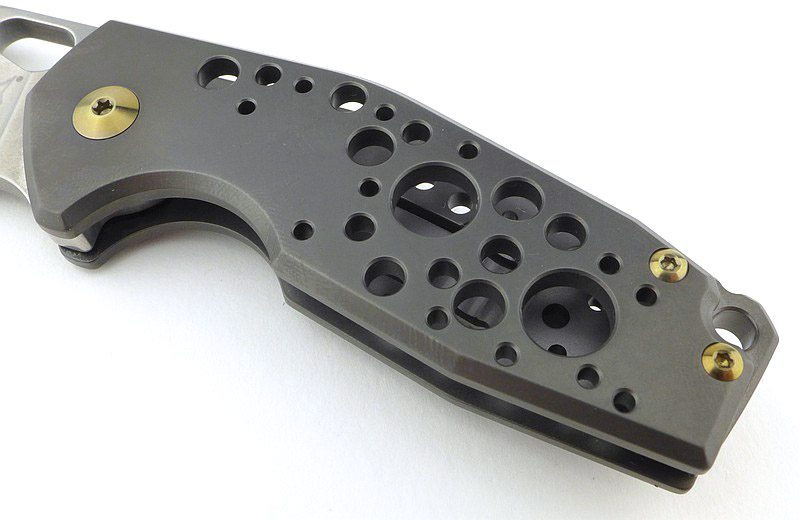
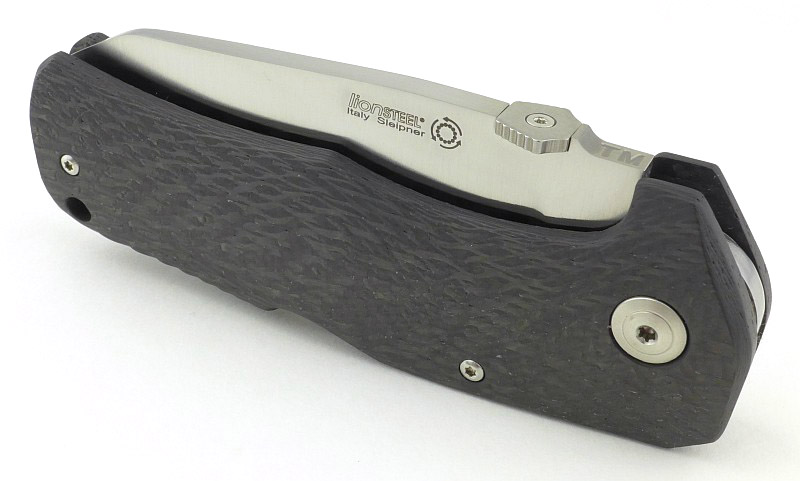
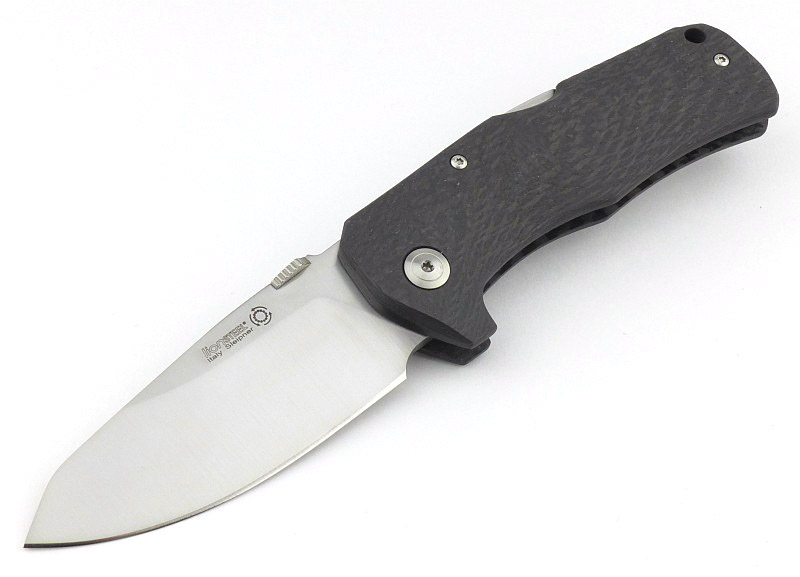
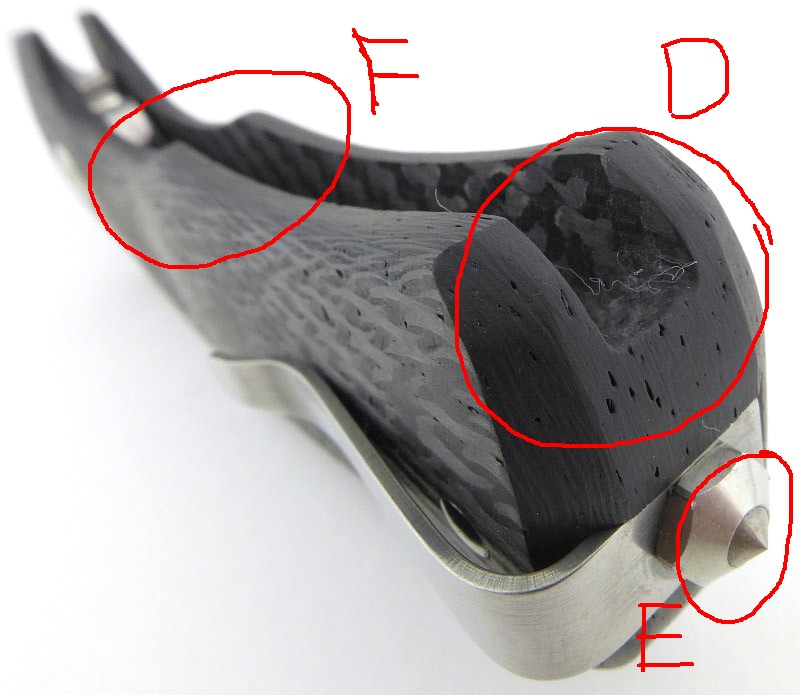
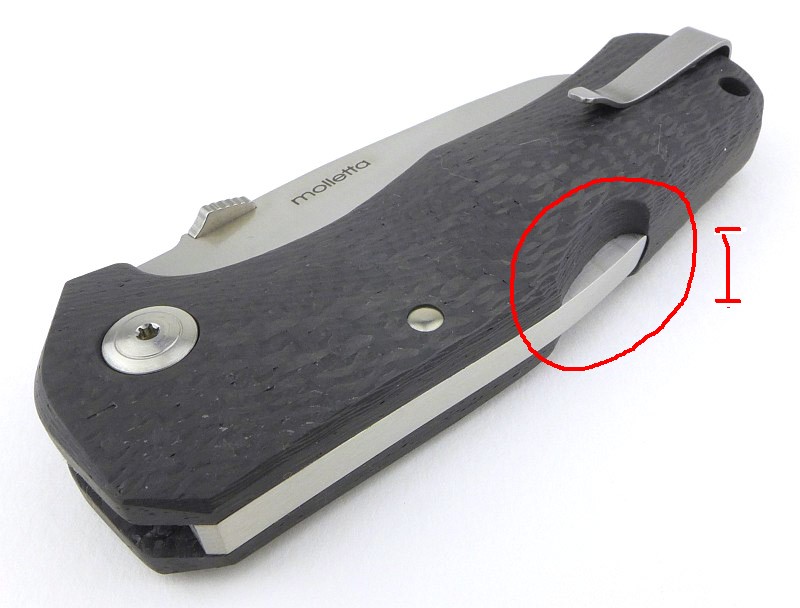
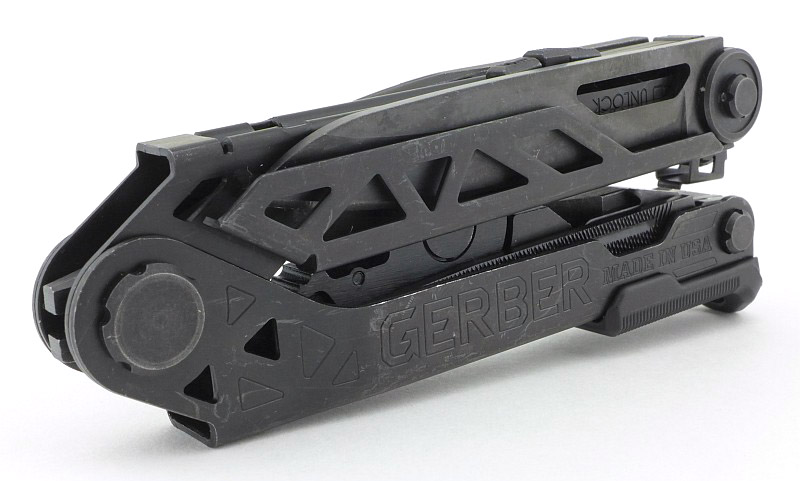
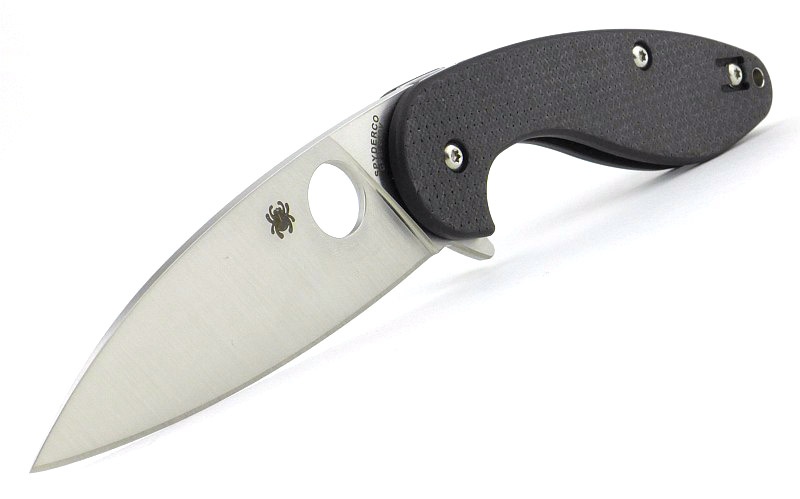
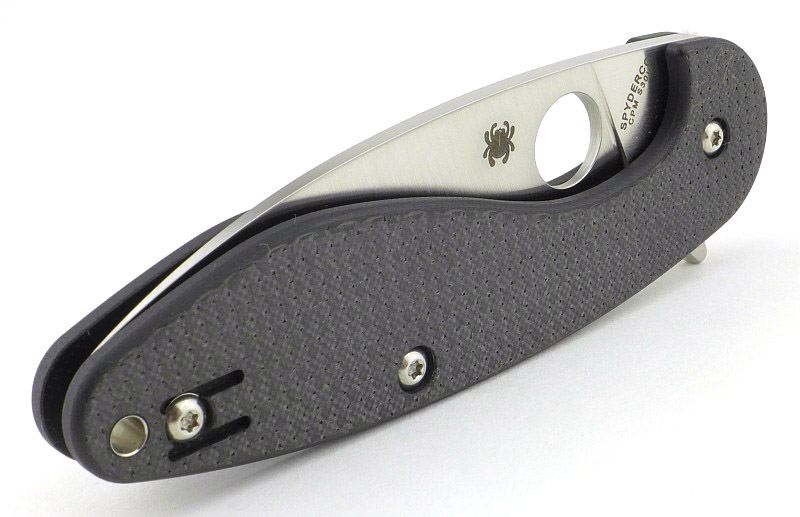
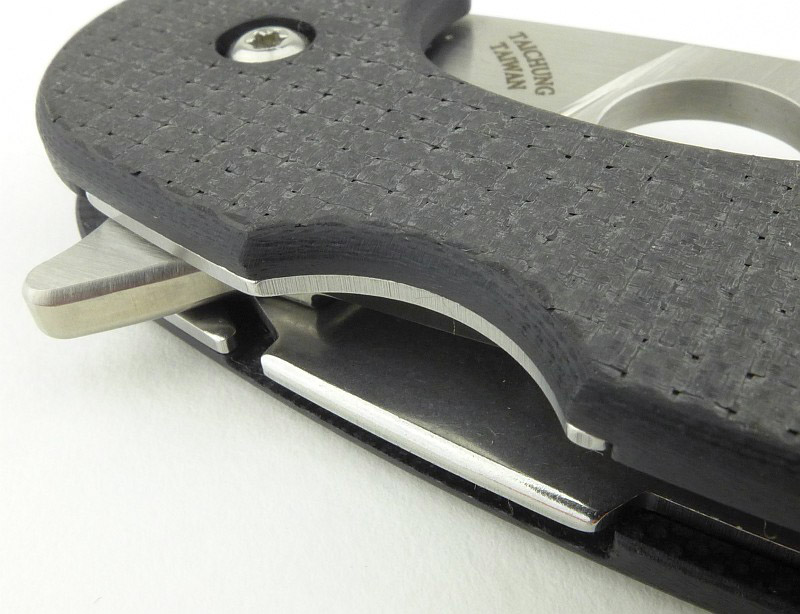
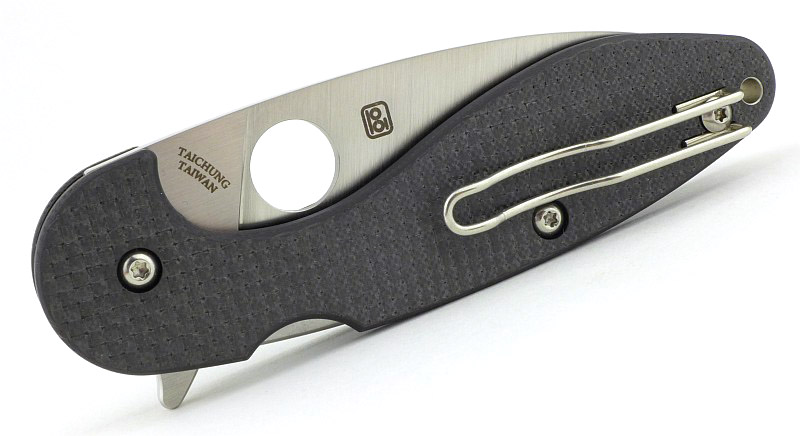
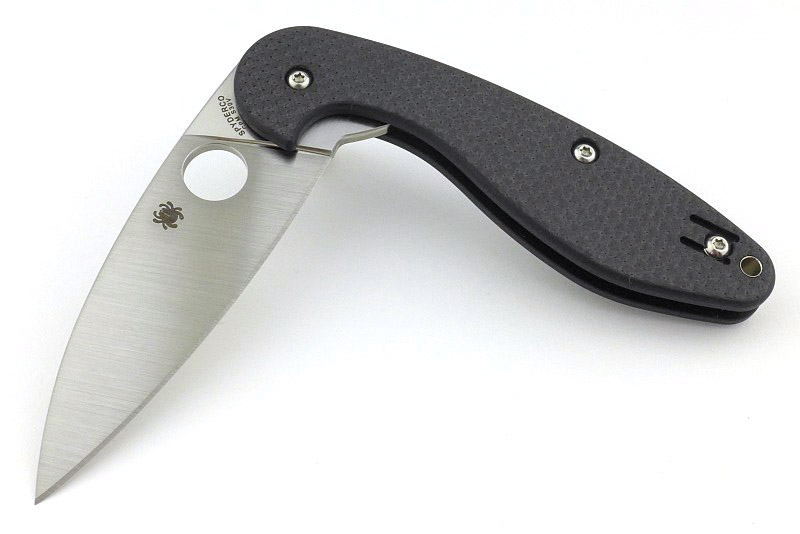
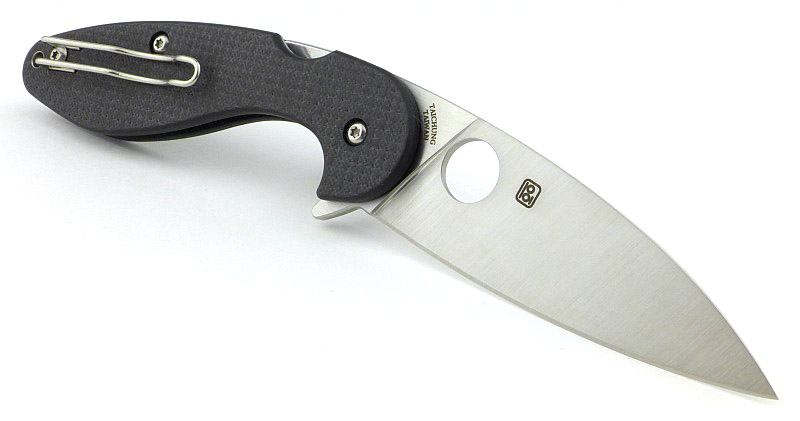
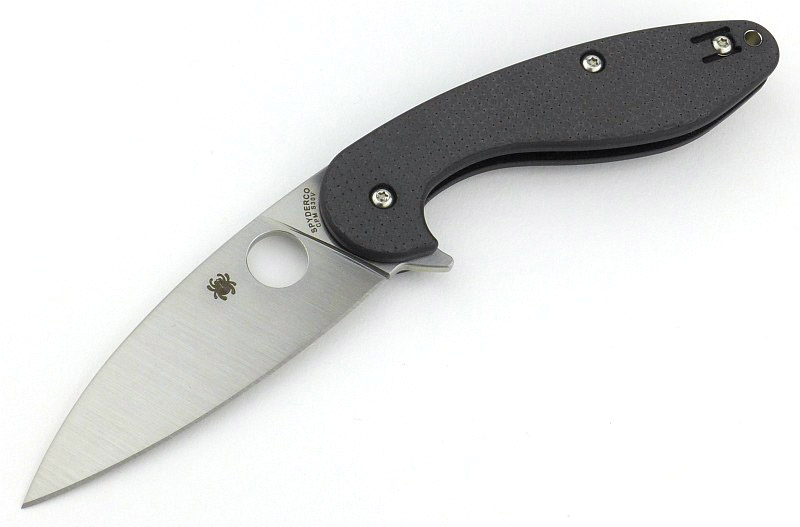
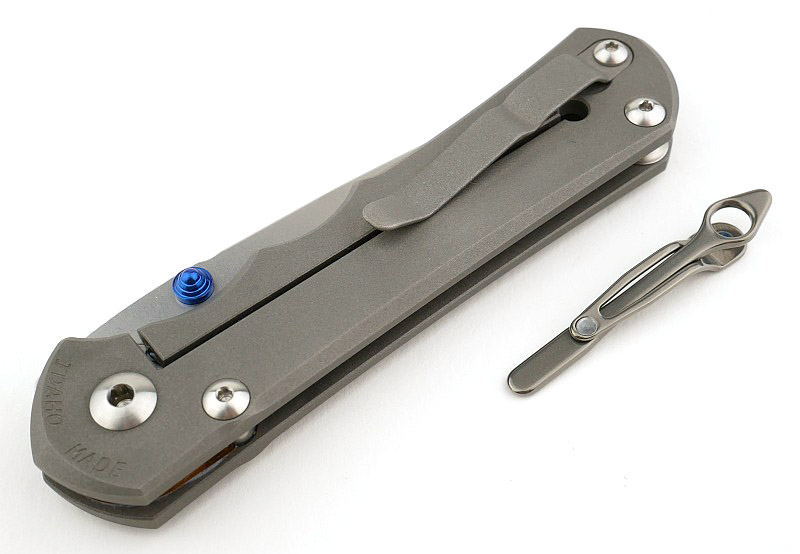
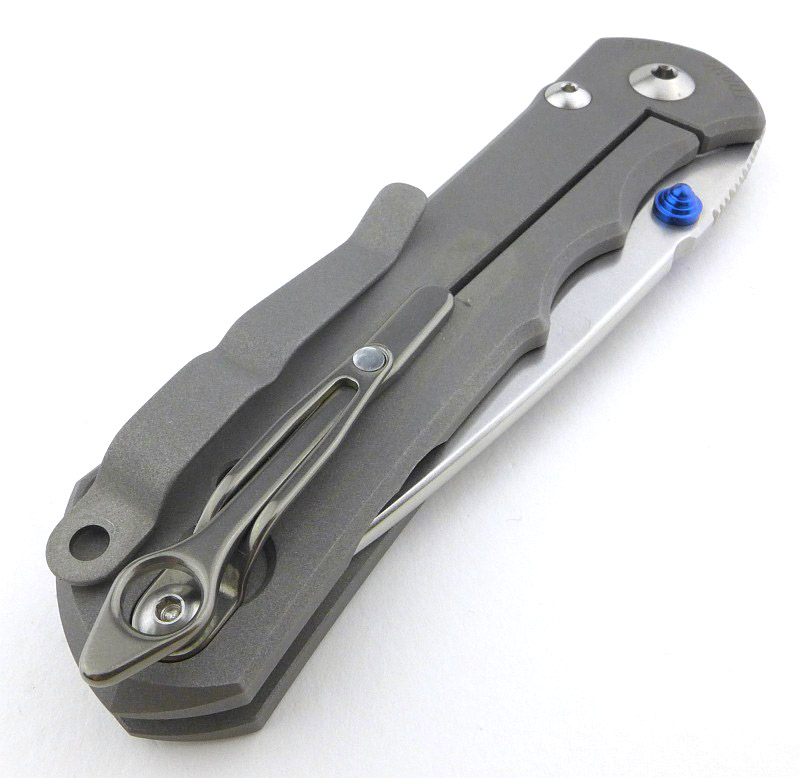
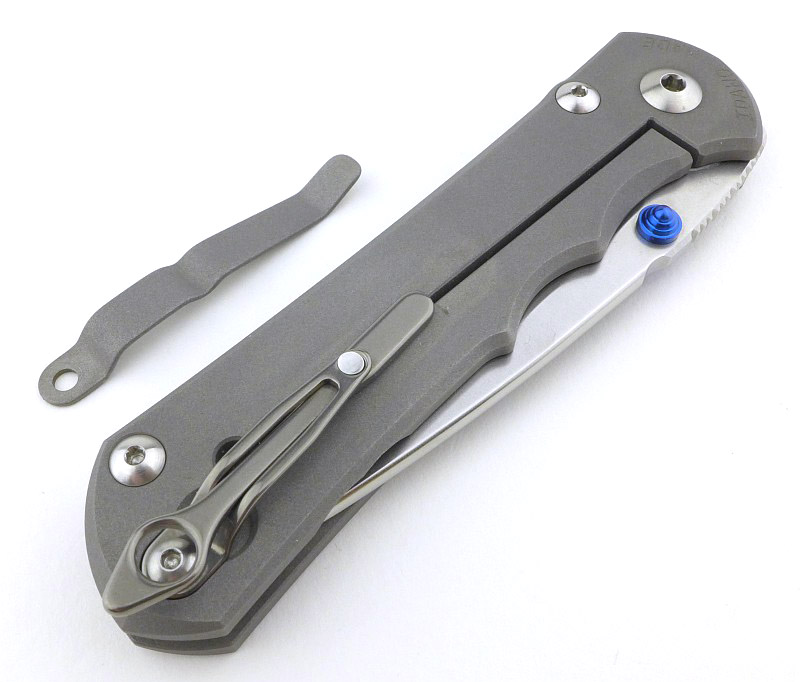
A good look round the Fox Suru Heinnie Haynes Edition – Things to look out for here are:
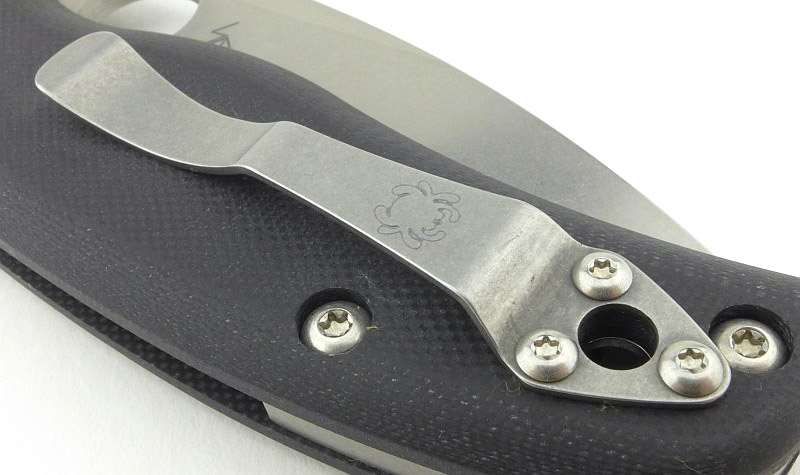
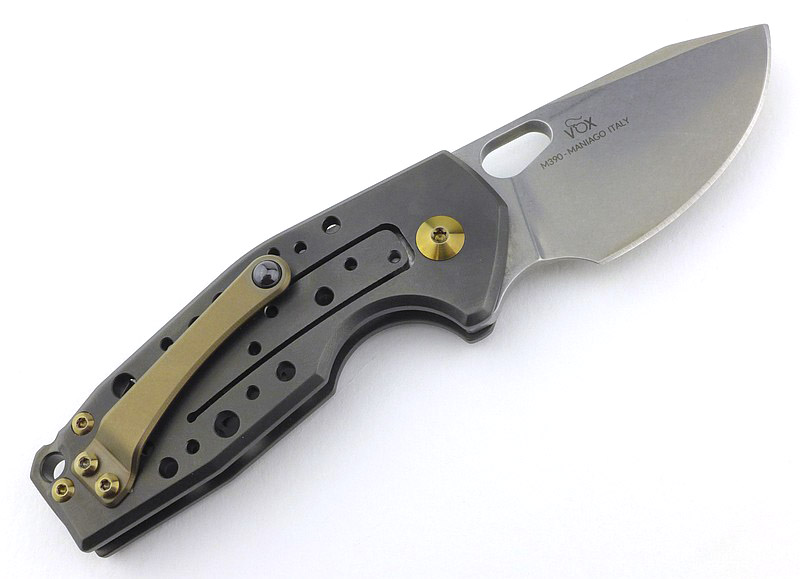
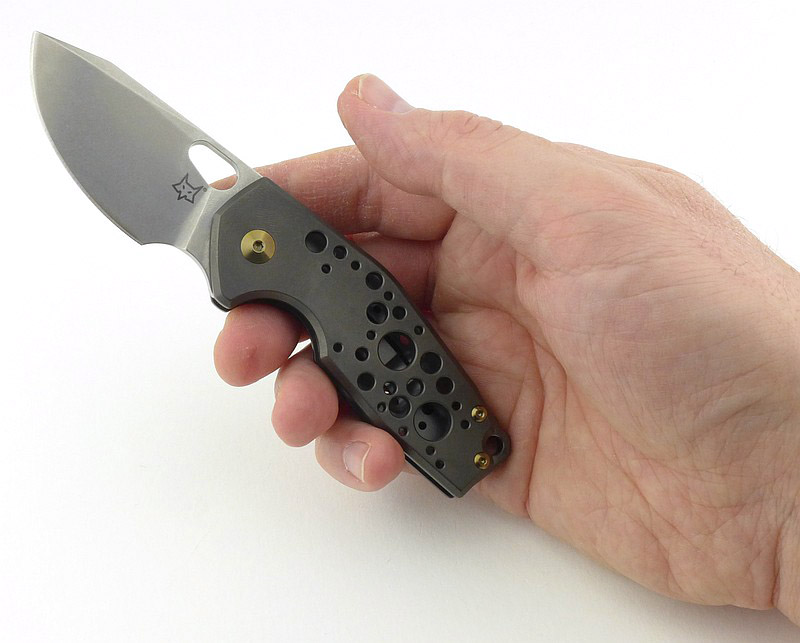
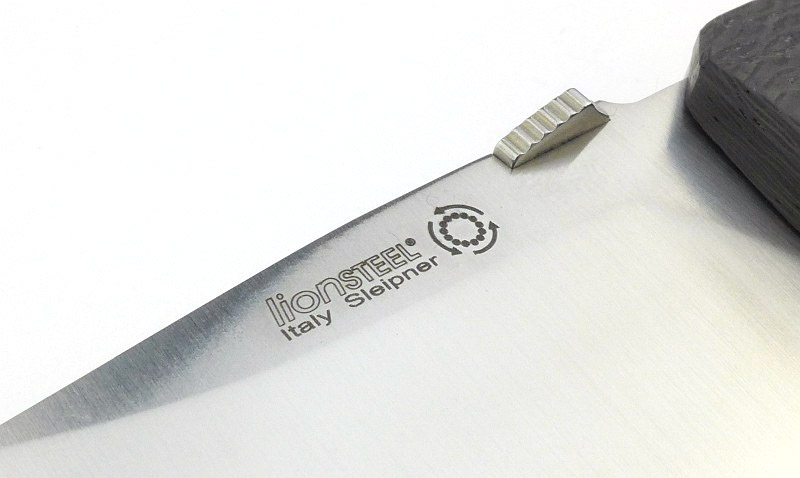
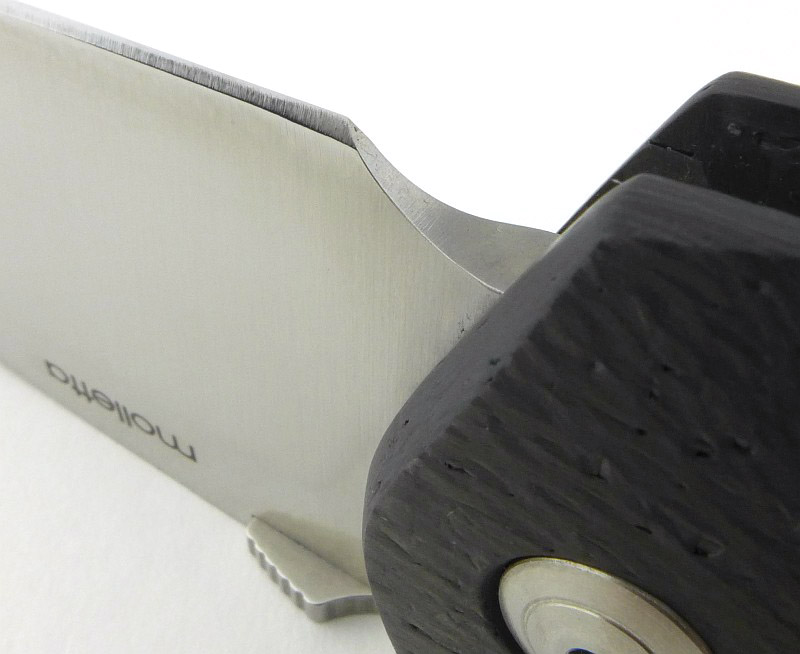
This is one of four different colour options and has a black PVD coated Titanium handle (though this is actually more of a very dark grey) with Bronze coloured hardware. The Heinnie Edition Suru started as the frame-lock flipper Suru, but as you will see, nothing looks out of place, instead appearing as if it had always been designed this way.


Explained by the Maker:
The reasons for certain design choices may not be clear when simply looking at an object, so this section is intended to give an insight into the thinking behind a design by speaking to the designer themselves.
Bruce from Heinnie Haynes took the time to speak with me about the knife.
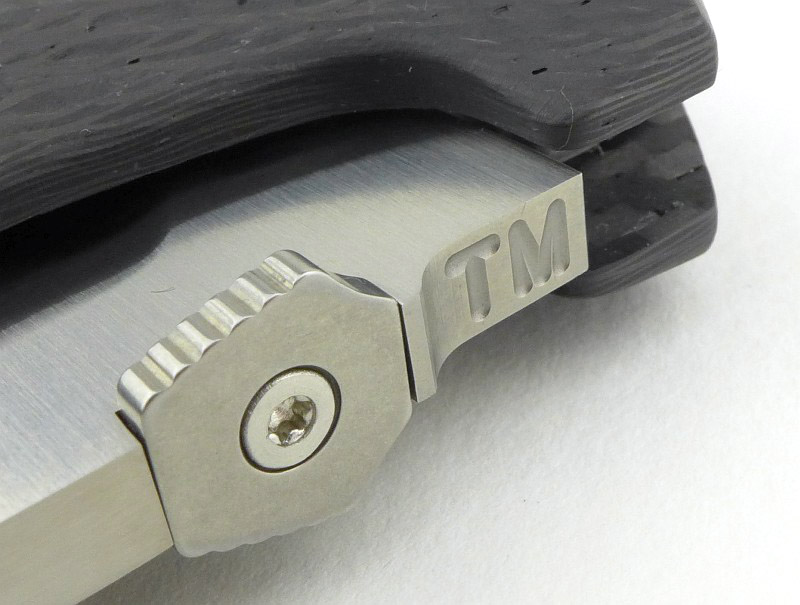
This particular ‘Heinnie Haynes Edition’ actually came about the very day before the Suru won knife of the year at Blade Show 2018. It happens to be Bruce’s favourite size of knife and he particularly liked the solid feel and thick blade coupled with the strong, precise, feel and operation. After seeing and loving the original Suru, with the UK market in mind, Bruce knew that the flipper was going to make it impossible to sell, so asked Fox if they could do a run without the flipper. Fox said they could do that but would need to cut a new blade shape separately, meaning a minimum of 300 being made. At a starting point of 300, with the knife being a lock-knife it would still limit the market for the flipper-free version. So Bruce took it one step further and asked that if a new blade is being made, can’t the rear be extended and an extra detent added. This would be so that the lock-bar doesn’t close behind the blade instead converting it to be non-locking (with detent holding the blade open). Initially Fox were concerned this would make it seem like the knife was ‘broken’ and the lock not working, so were very reluctant. Bruce stuck to his convictions and persuaded Fox to go ahead with the Heinnie Edition.
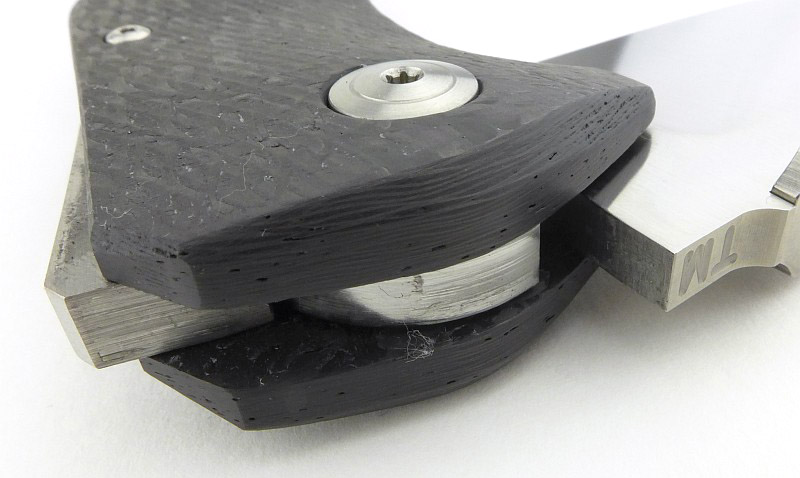
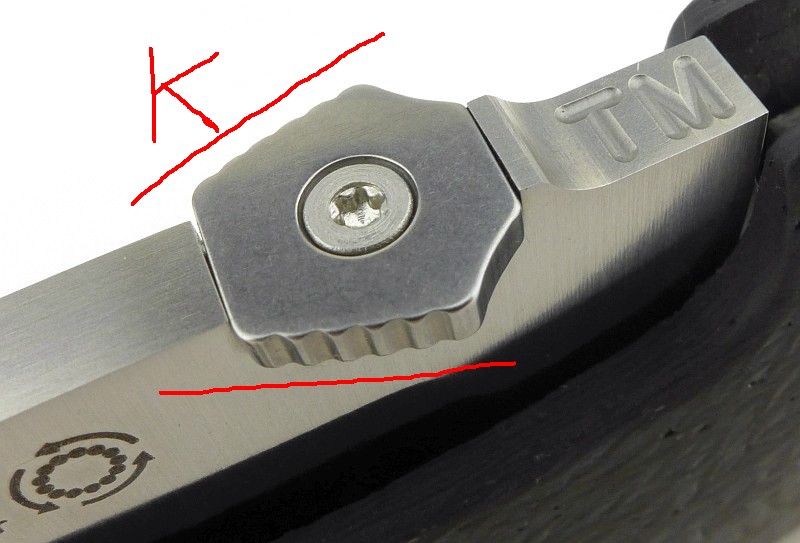
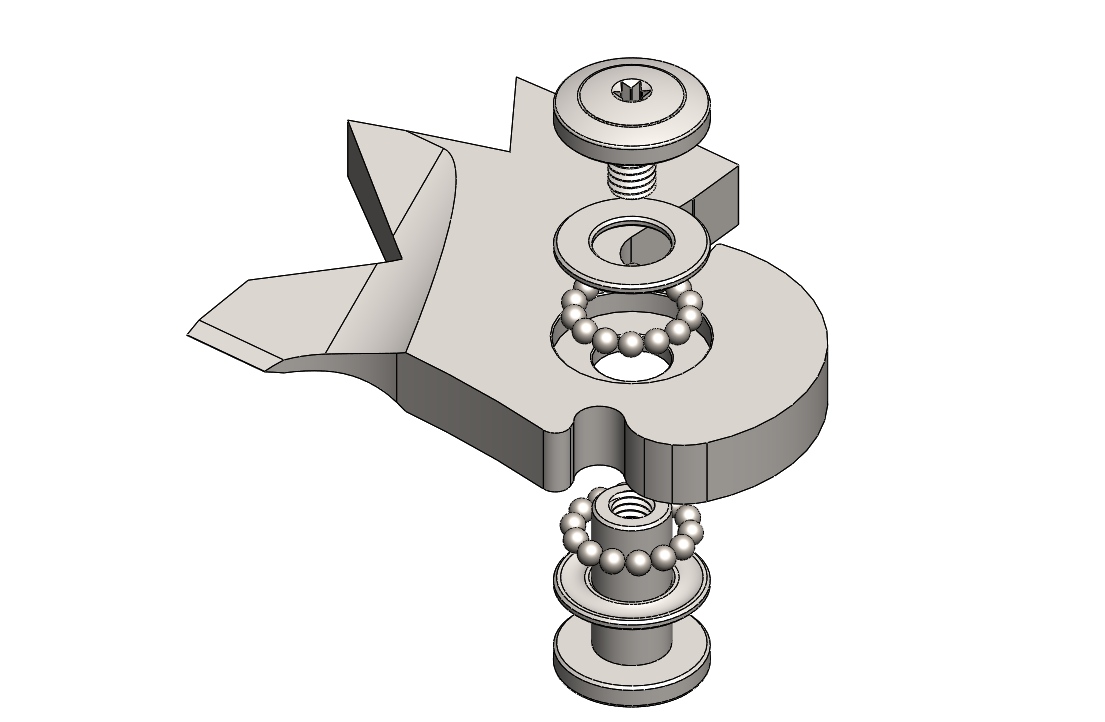
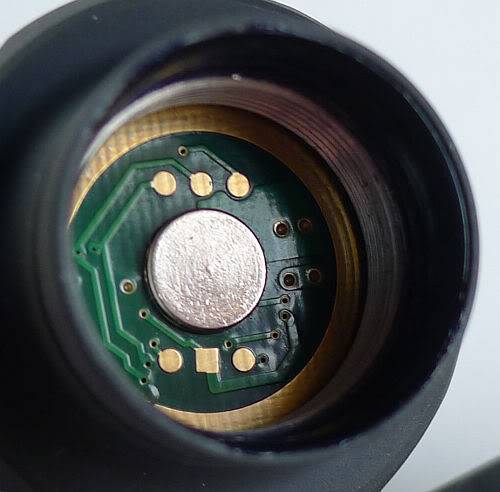
After placing the order, Bruce had to wait for the final production run to actually see the knife he had redesigned; it was a bit nerve-racking opening the first box. When they arrived it turned out that not only had the blade been changed, but the lock-side handle had also been changed and it was no longer a frame-lock handle; instead the detent spring has been moved to the centre of the handle. Bruce originally thought he was asking only for the blade to be changed and felt a little guilty the handle needed to be changed as well; however, the result is even better thanks to this extra work by Fox.
Making this knife EDCable broadens its appeal in the UK market considerably with the relatively limited choice of suitable knives. Being a Heinnie customisation HH currently have exclusive rights to the slip-joint version.
If the current run sells well enough Bruce would like to go for a few more variants than the initial four. Always a bit of a guessing game, the split in sales between these four variants is so far not as originally envisioned. The black/bronze one (in this review) is the most popular, followed by the black/blue and the plain level-pegging in second, with the plain/blue being the least popular (at the time of writing). It was the plain/blue one that Bruce most likes and thought would sell out first.
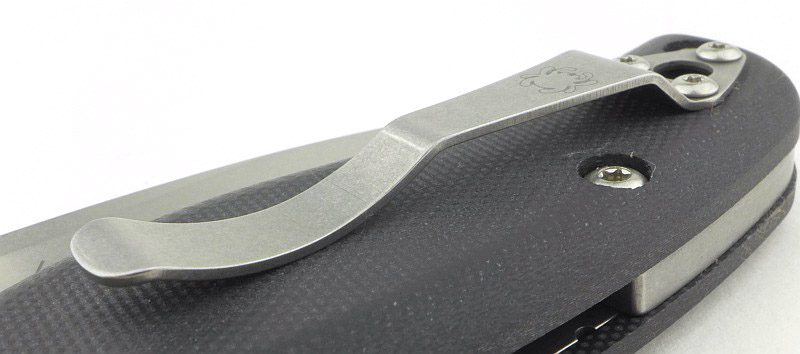
Interestingly, as the number of ‘flipper’ knives is still on the increase, and with this being a genuine problem in the UK, (as it not something that can be sold), Bruce (and I also agree) is starting to see flippers as ugly; the flipper tab sticking out makes the knife ungainly especially when folded. This Heinnie edition of the Suru looks much more streamlined without the flipper tab getting in the way.
The Blade and Handle – Detailed Measurements:
Now even more detailed!
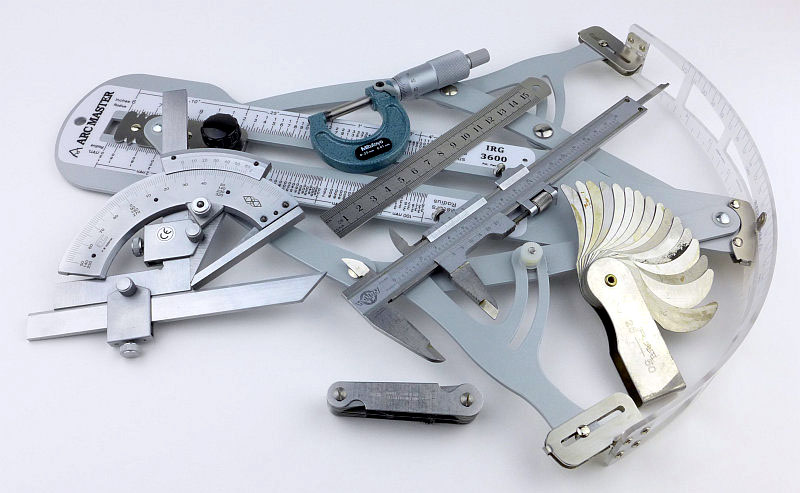
Taking things far beyond most knife specifications, in this section I will be carrying out a detailed examination of geometry, balance, edge bevels, factory sharpness and structural edge testing using the industry leading measuring tools.
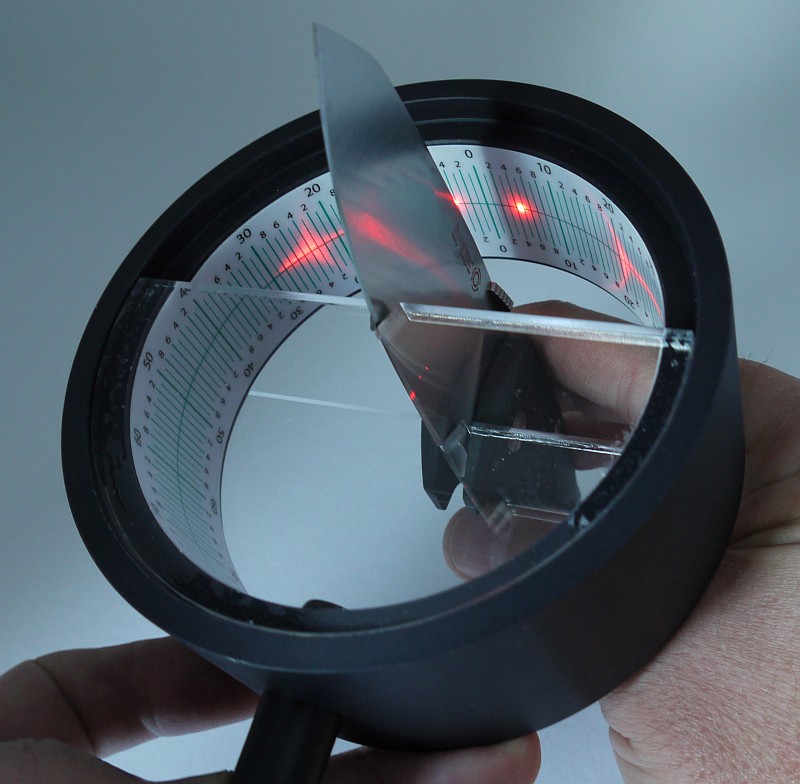
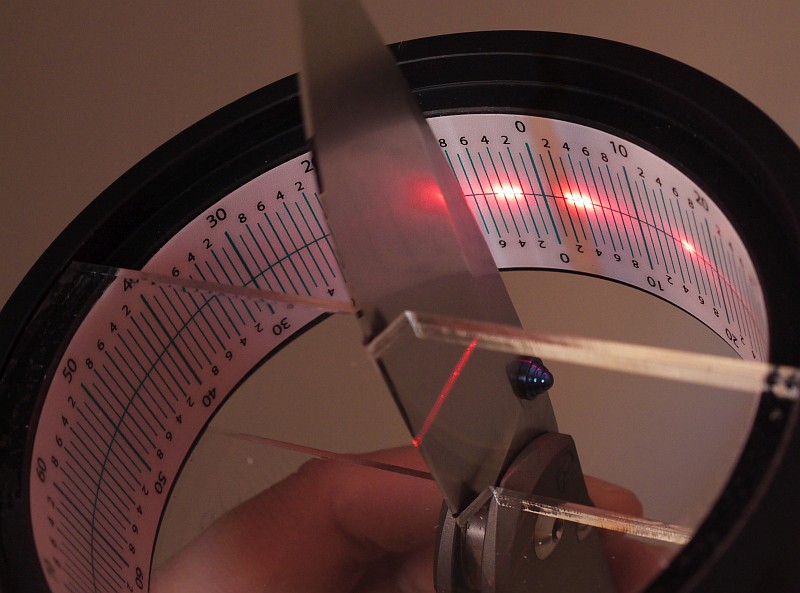
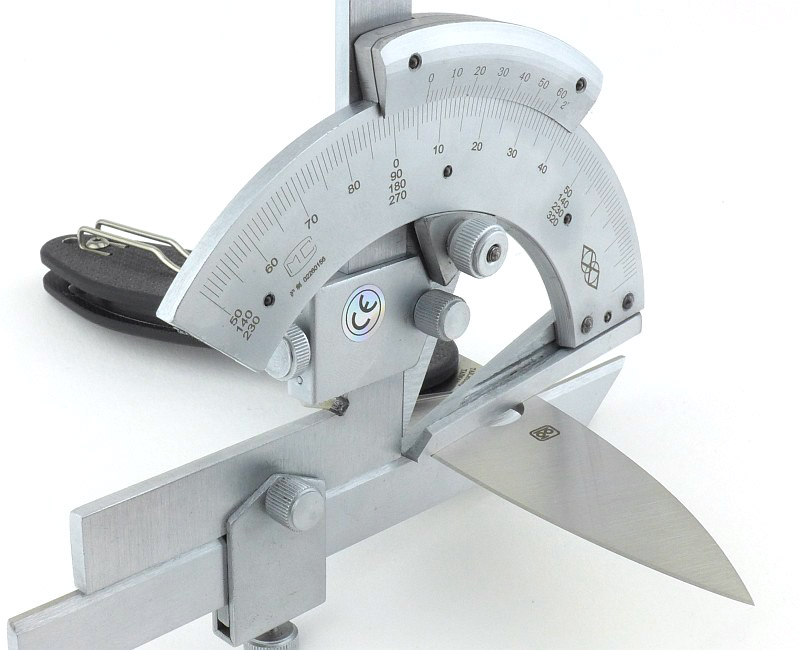
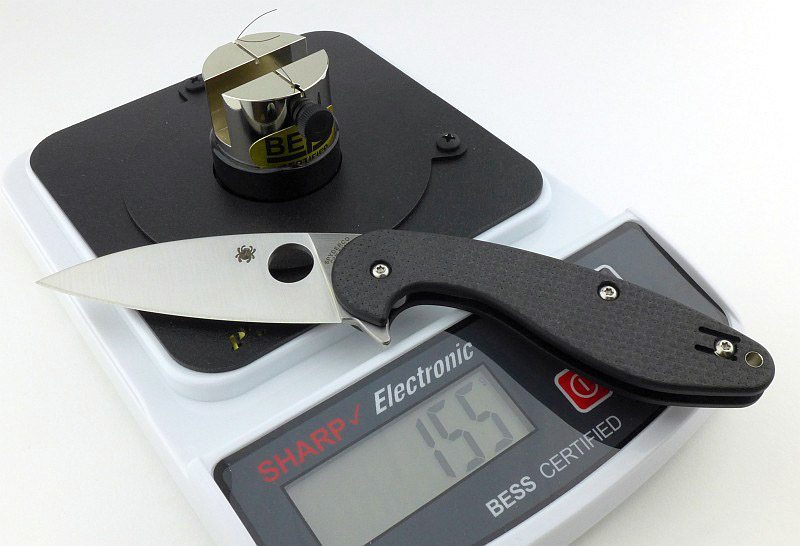
These measuring tools include a Vernier protractor, callipers, fixed radius gauges, the unique Arc Master adjustable radius gauge, Edge On Up’s BESS Certified PT50A and SET tester along with CATRA’s Hobbigoni LASER Edge Protractor.
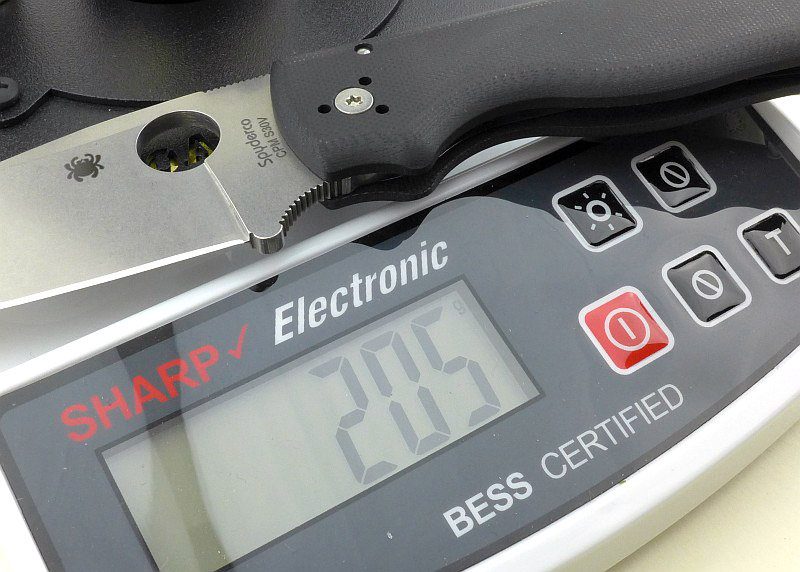
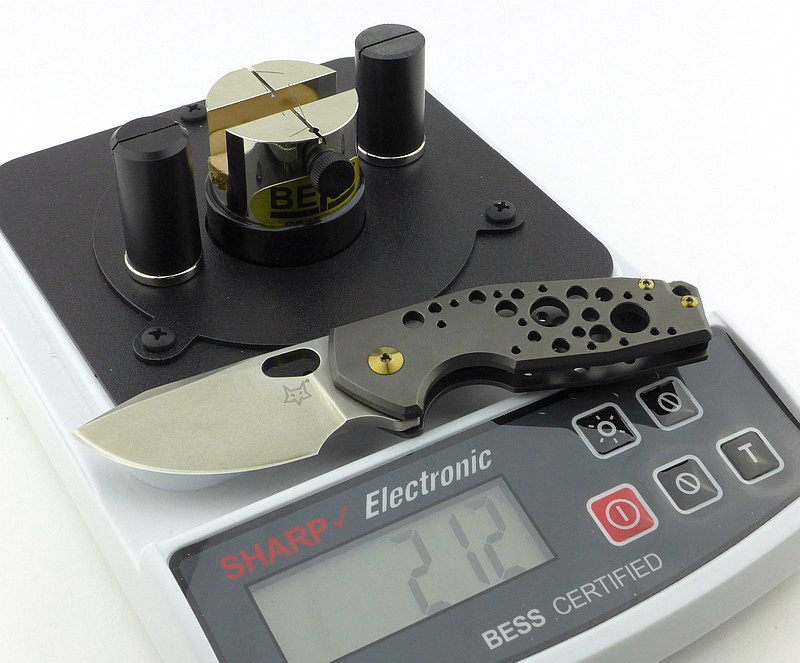
The BESS ‘C’ scale of sharpness (Brubacher Edge Sharpness Scale) will be used to verify the sharpness of the factory edge and allow the knife to be brought to a minimum standard sharpness before testing a blade’s cutting performance.


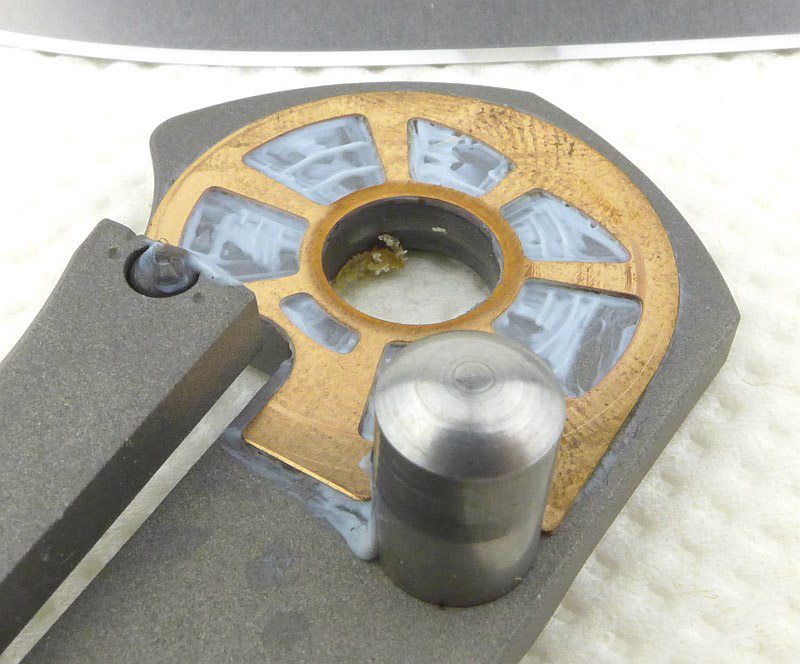
. A precise load (the white tac on the platform is used to adjust the load) applies pressure to an 'impactor'.")


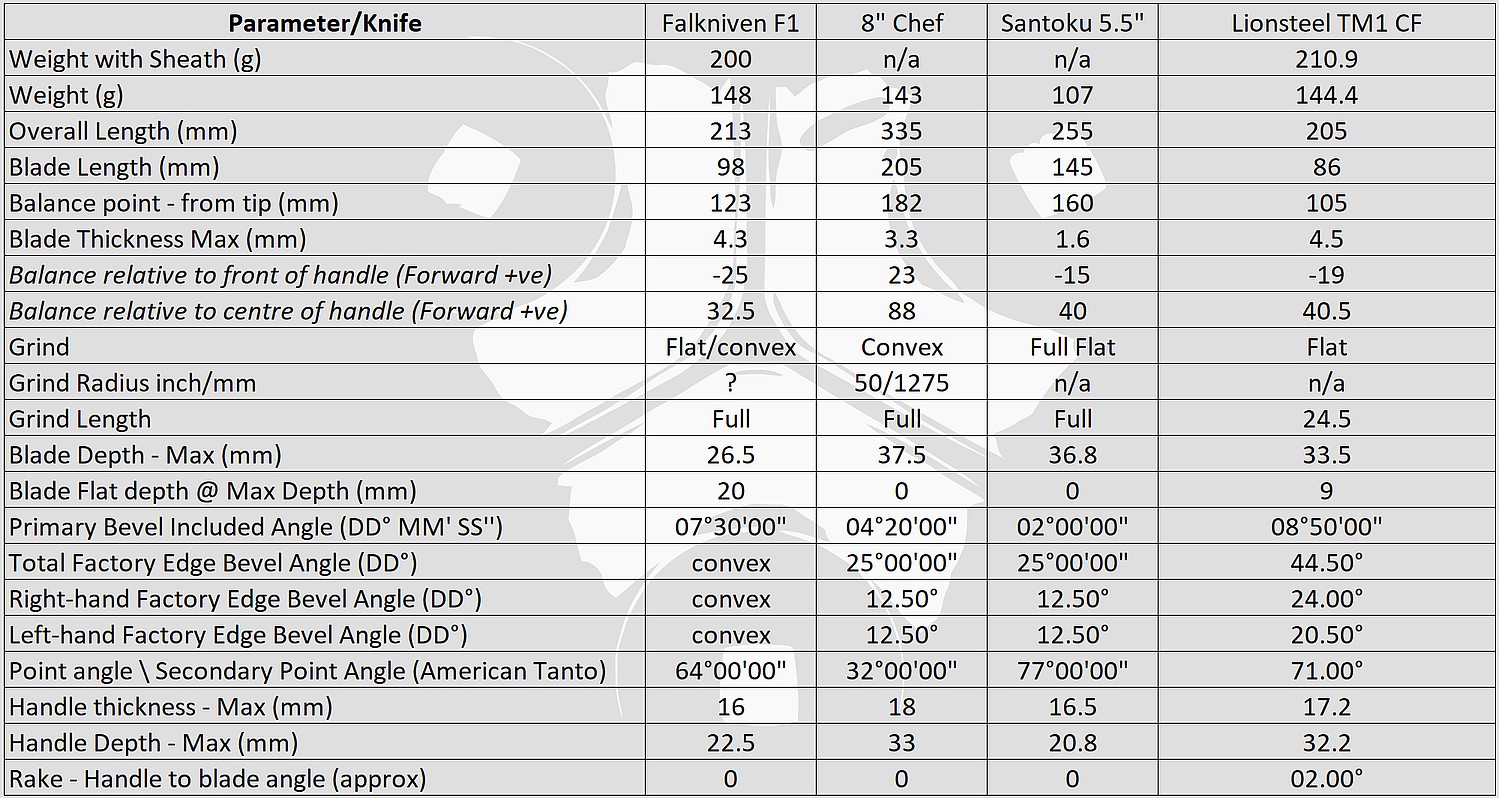
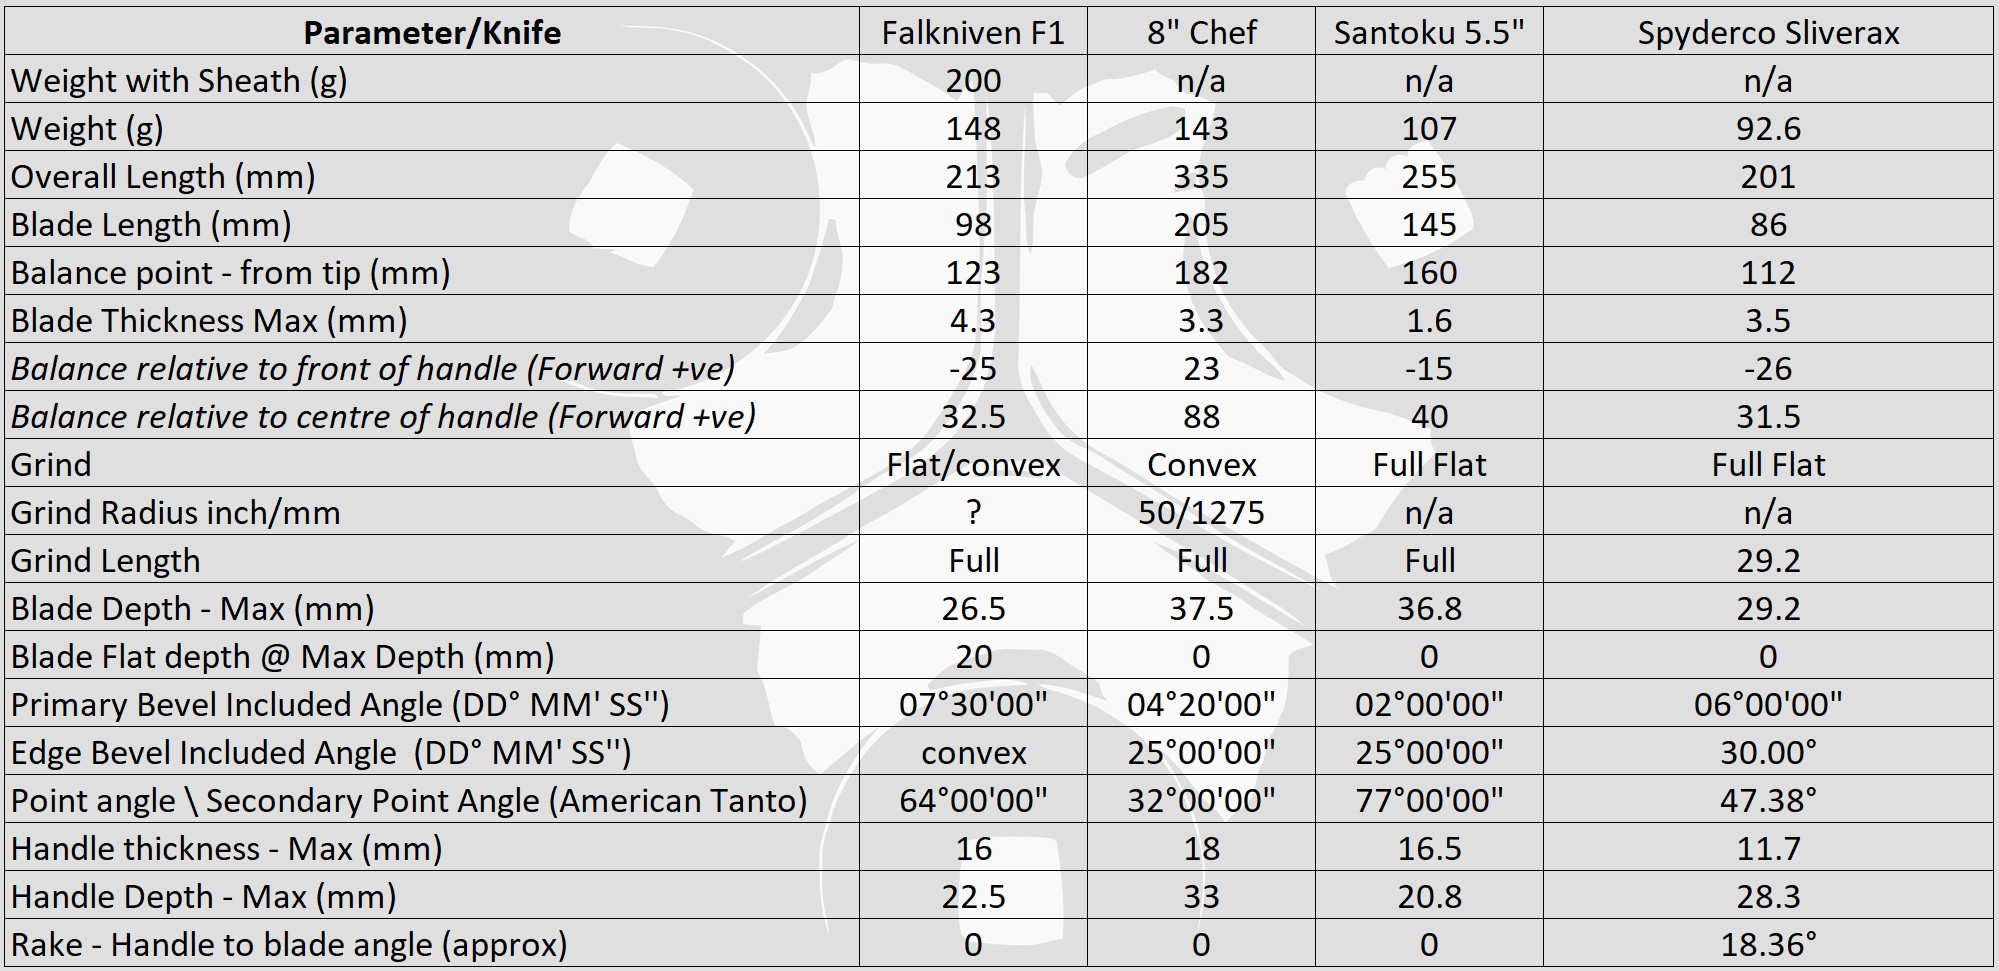
The measurements have been tabulated and are presented along with a few reference blades. The ‘Balance relative to the front of the handle’ tells you if the knife will feel front heavy, or if the weight is in your hand (a positive value means the weight is forward of the front of the handle). The ‘Balance relative to the centre of the handle’ indicates how close to a ‘neutral balance’ the knife has in the hand.


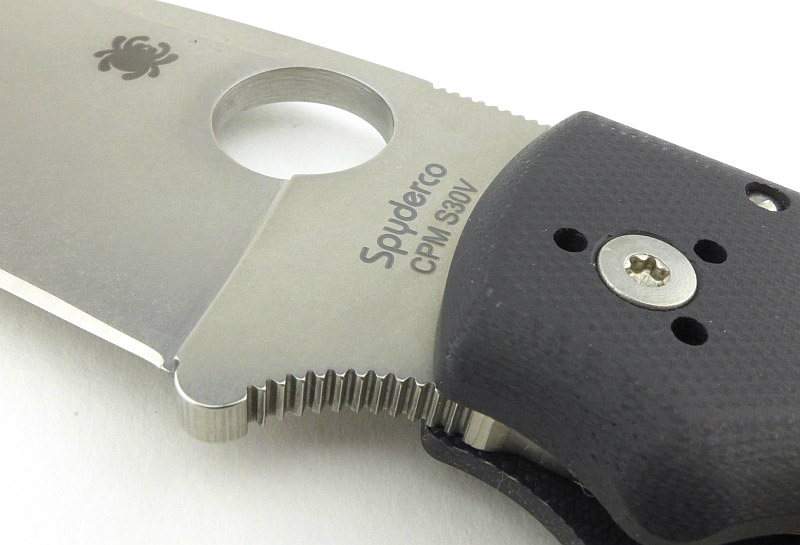
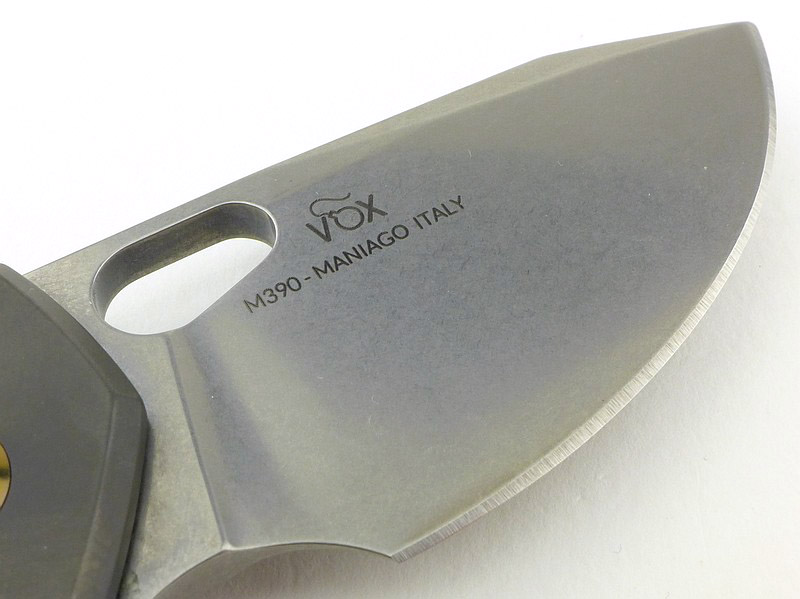
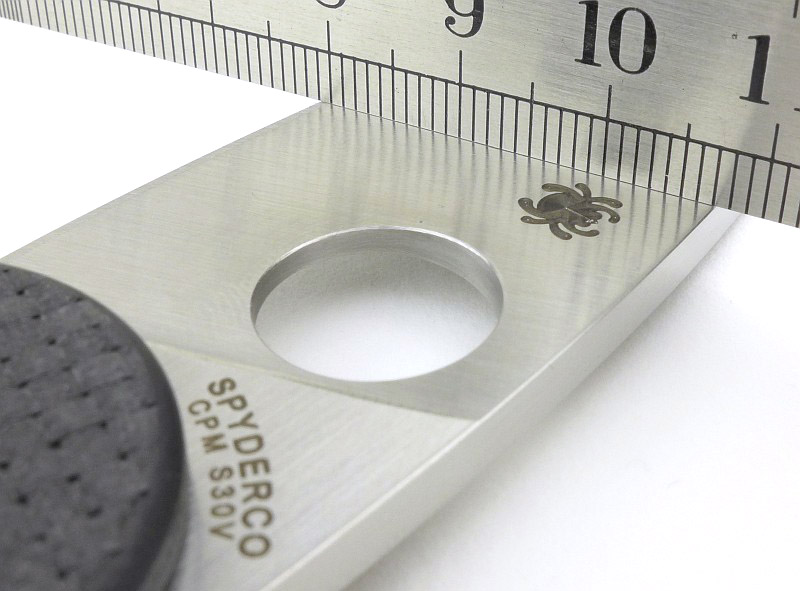
The blade is made from M390 steel.
What it is like to use?
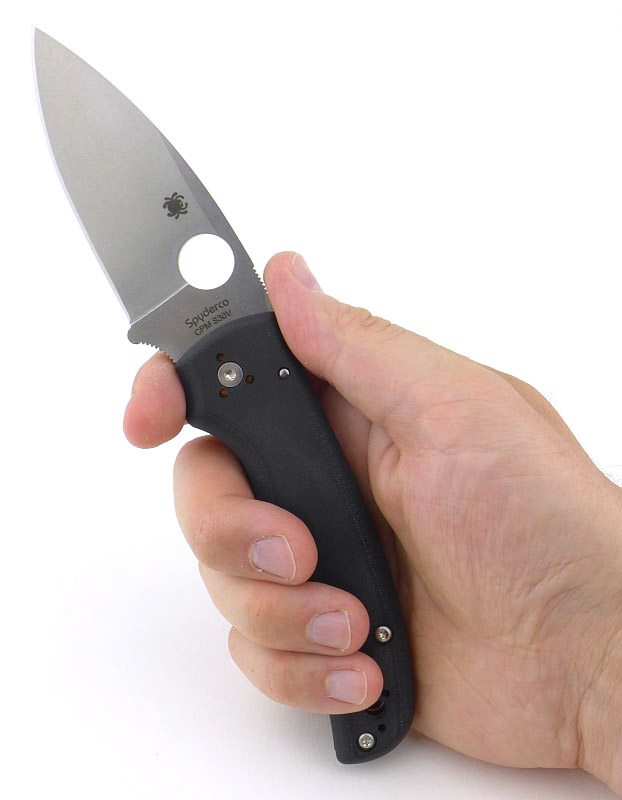
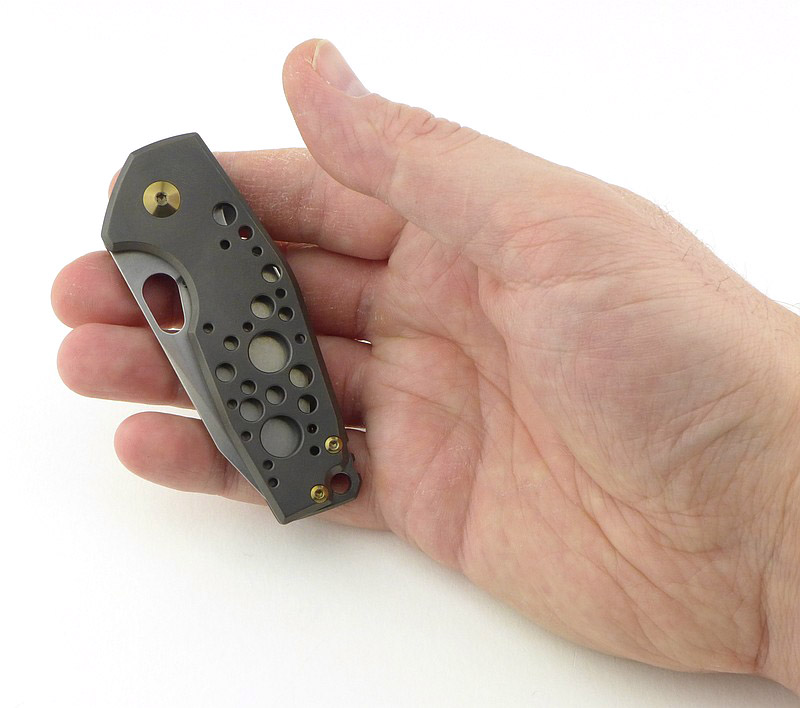
Having not previously handled the original Fox Suru, I was not familiar with the size of this knife. Certainly on first seeing it I was surprised how compact it actually is. From photos of it on its own, there is a sense it is a larger knife. Considering that this is intended to be an EDC knife, that compact size has proven to be a real benefit and just made it an easy carry.
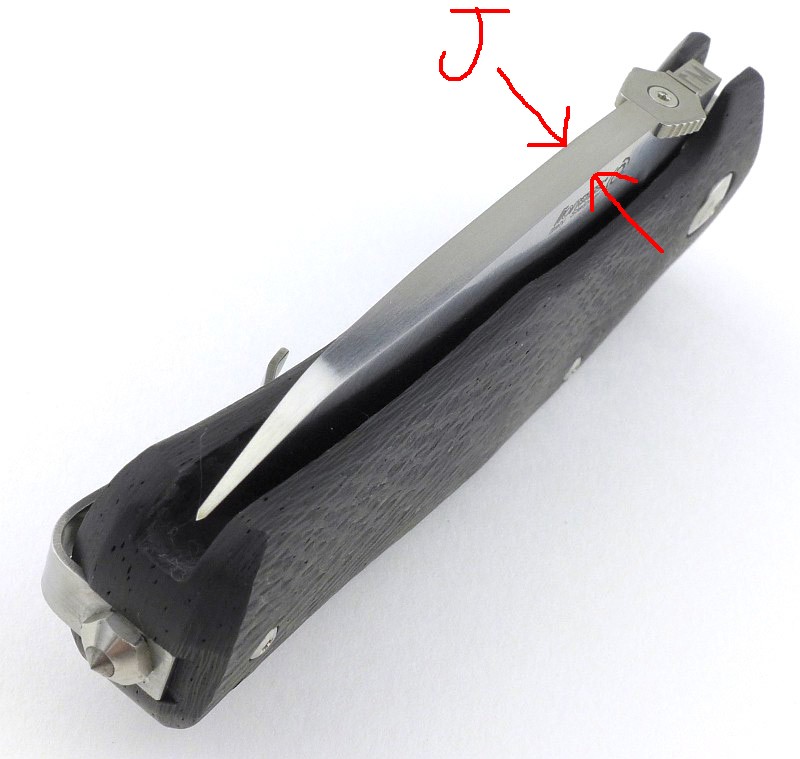
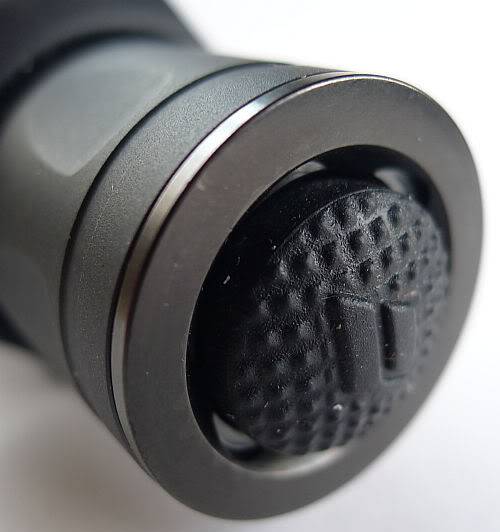
Frequently, frame-lockers can be reluctant to open with the thumb as it is so easy to accidentally apply pressure to the lock-bar and so engage the blade retention detent more firmly. With Fox changing the lock-side handle as they have done, it make this version of the Suru very good at OHO using the opening hole. The action is crisp, with a good snap into the open position.
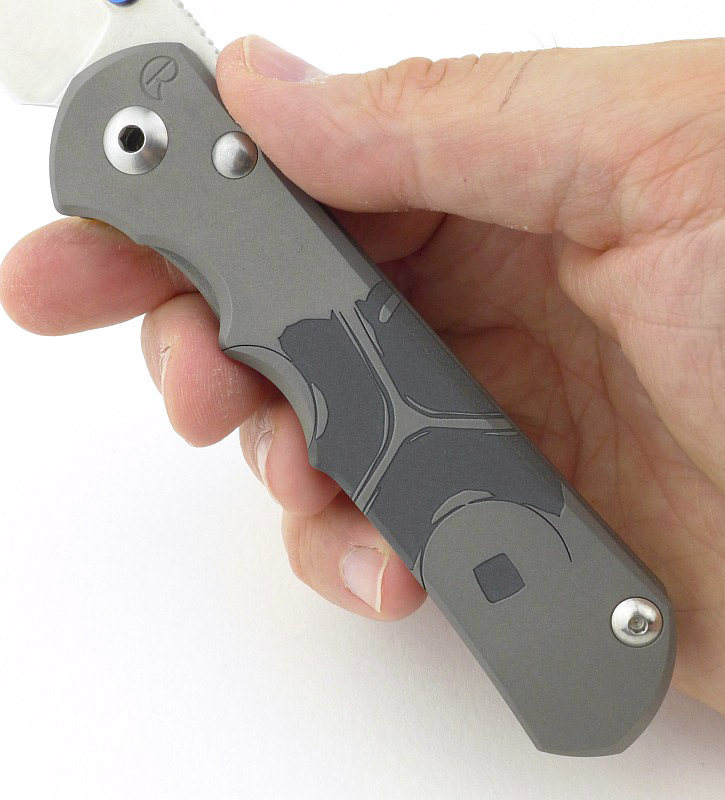
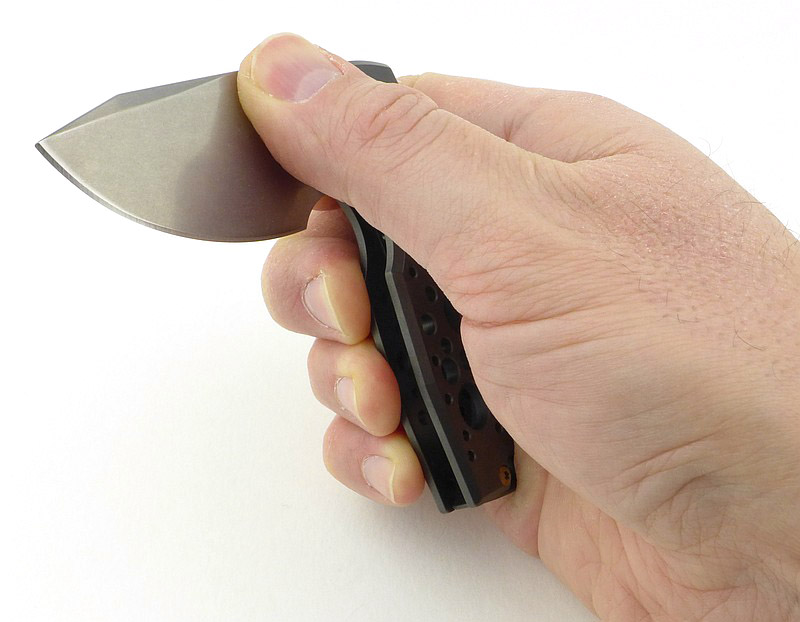
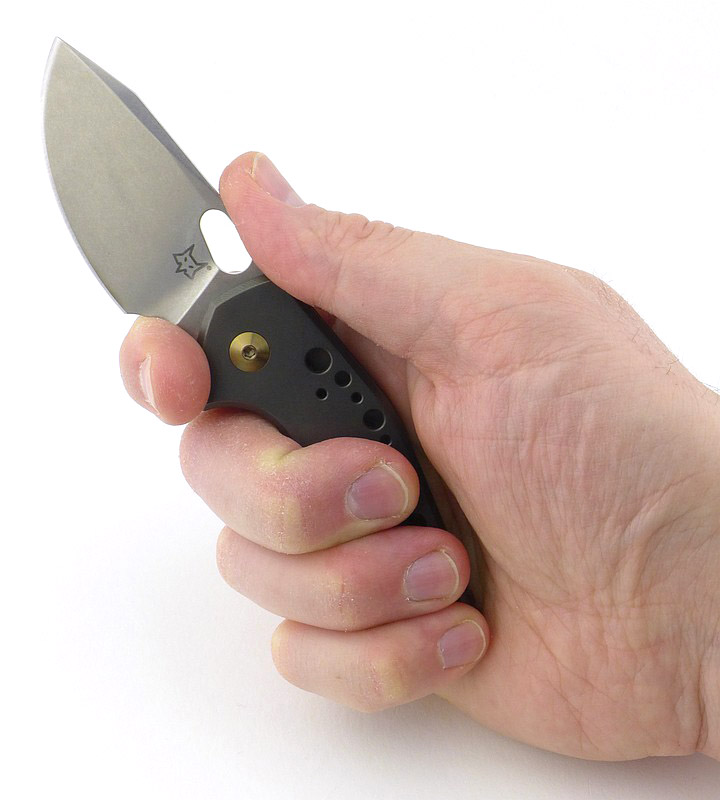
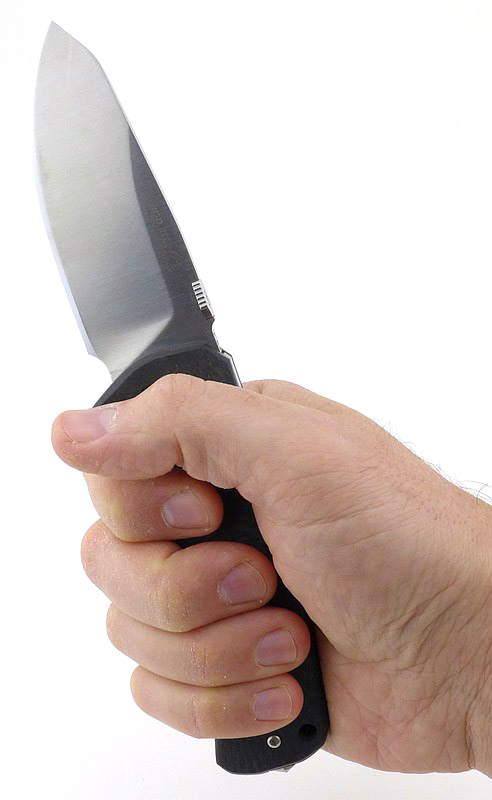
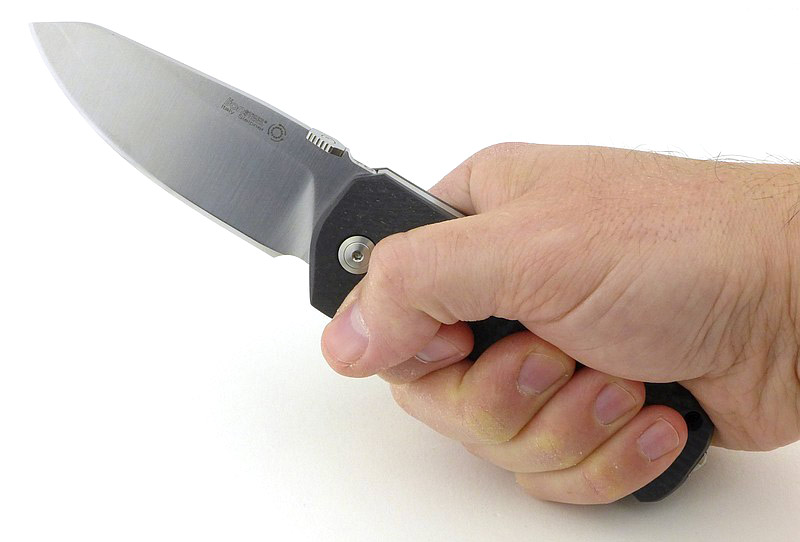
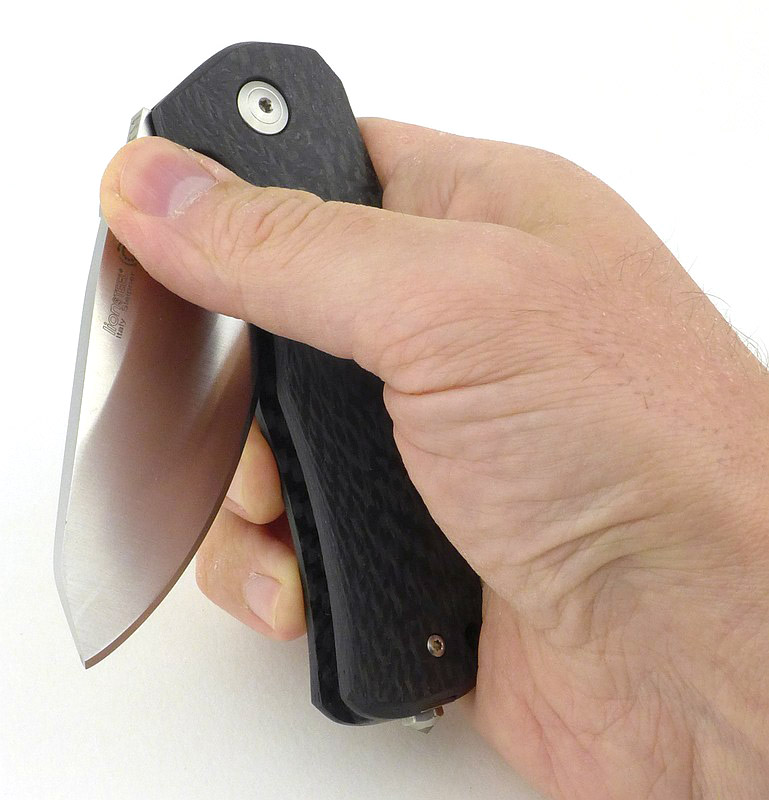
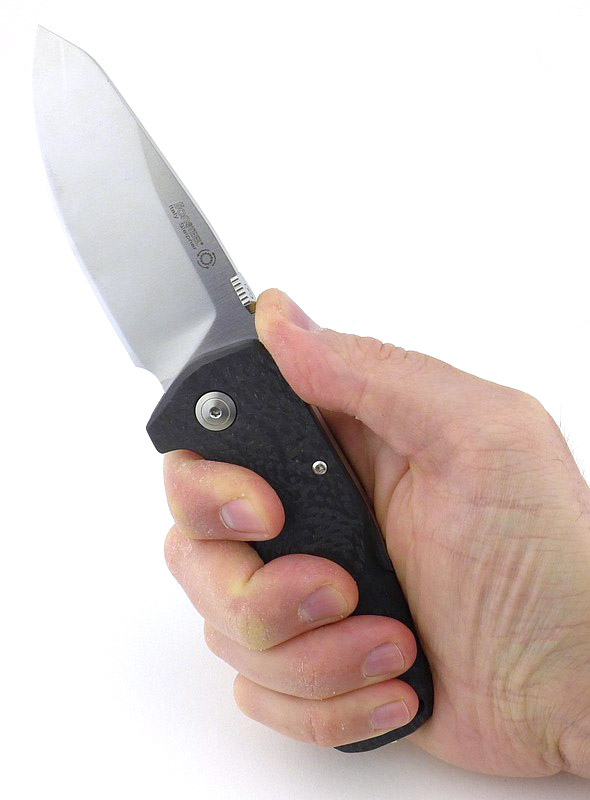
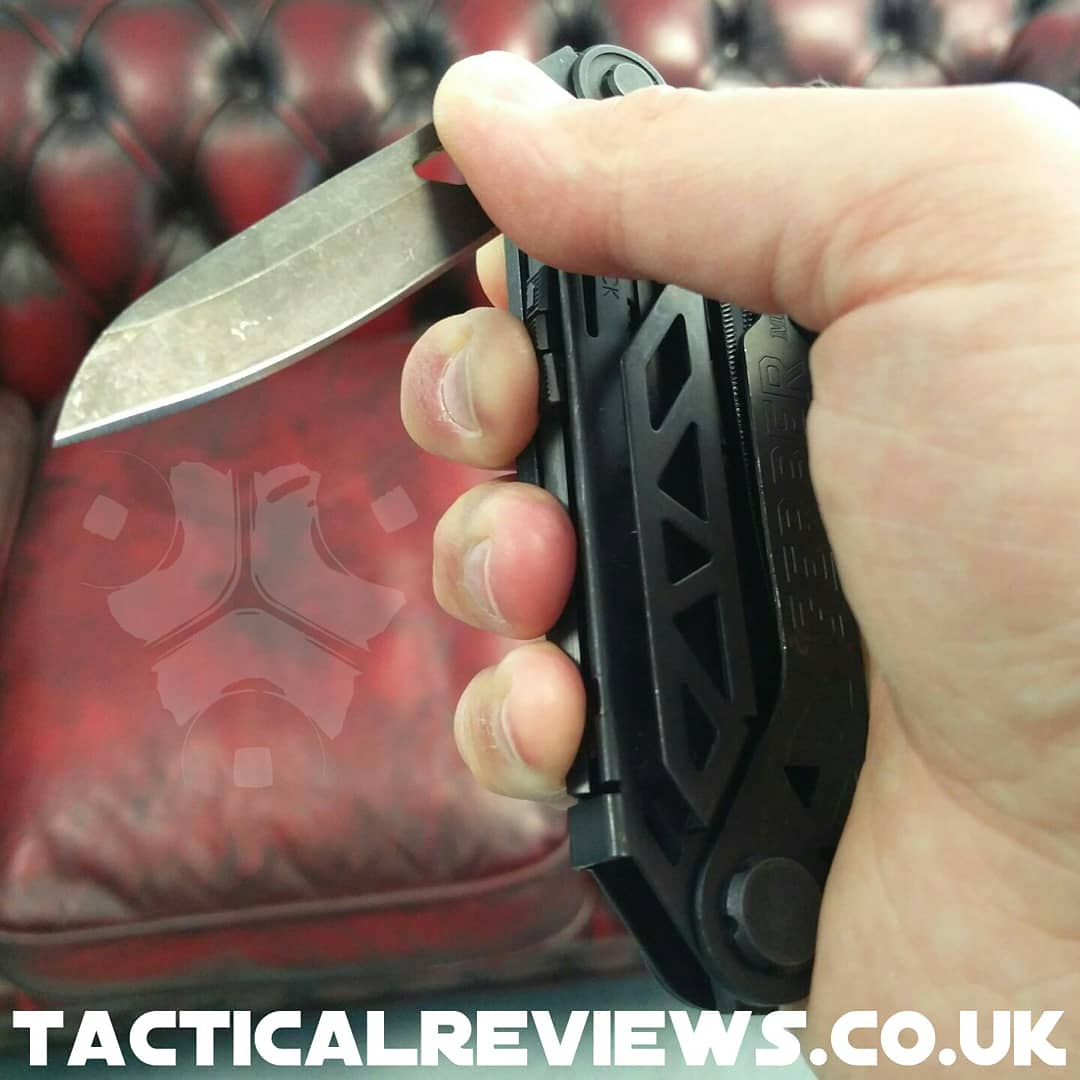
As you can see in these photos, the handle is really a three-finger-grip handle due to its compact size. You have two choices for the normal forward grip, firstly and most naturally, you choke up on the blade with your index finger sitting in the finger choil in front of the pivot with you remaining fingers on the handle. This grip will give you the most control and power, but if you want a little more reach for the blade, you can come back on the handle so your index finger is now behind the pivot. Not as safe (though perfectly safe if using the proper cutting style for non-lockers), but it does give a bit more reach.

Before discussing the next gallery, there was just one minor problem I came across during testing; the blade pivot loosened to the point the blade was quite wobbly and way off centre when closed. This was after a few hundred opening and closing cycles, but I had not thought to check the pivot screw before starting testing, so I don’t know if it was already loose when it arrived. A quick and easy adjustment later using a T9 Torx screwdriver bit, and the pivot was back to how it should be, with the blade having no play and opening smoothly. Concerned it had worked loose during normal use, I went about positively trying to get it to loosen up again and have unrelentingly opened and closed it (having to change hands frequently – and yes it works perfectly left or right handed) hundreds of times. I do apply a reasonable amount of sideways pressure to the blade when OHOing the knife and the pivot has loosened again. Once it starts to get loose, it then loosens even more quickly. Actually this doesn’t really impact on its use, giving you enough warning to tighten it up again before it gets too bad. I think a spot of thread-lock is imminent.
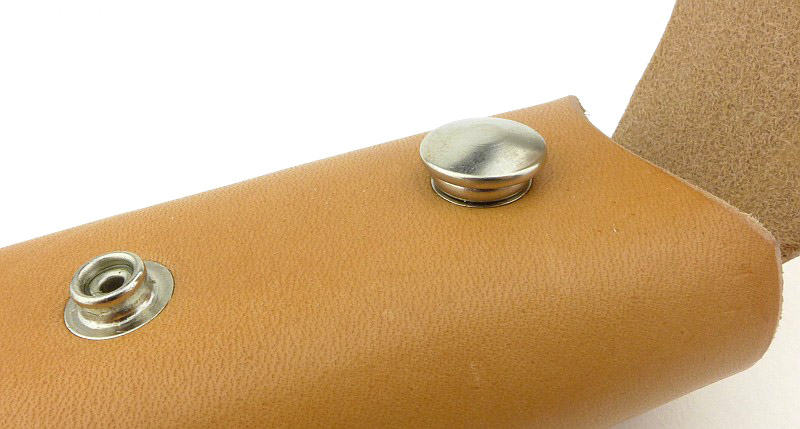
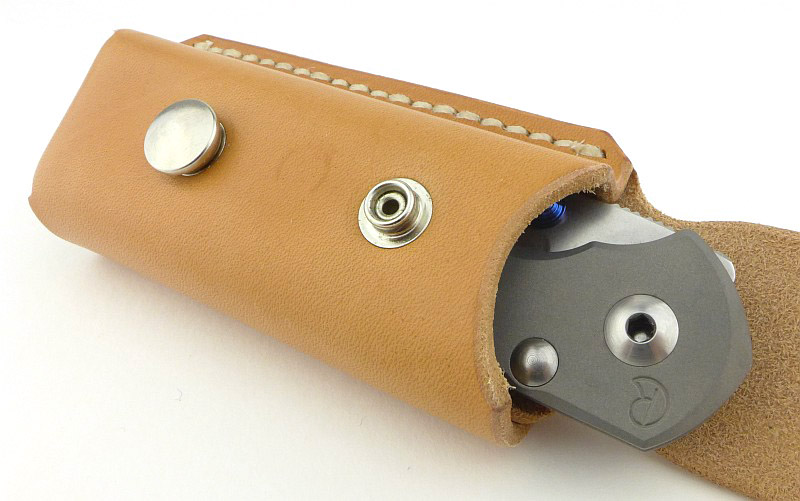
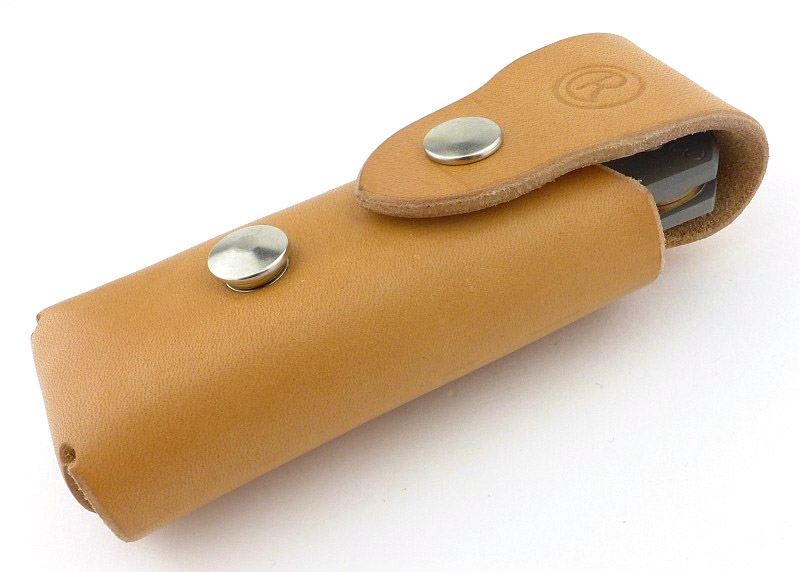
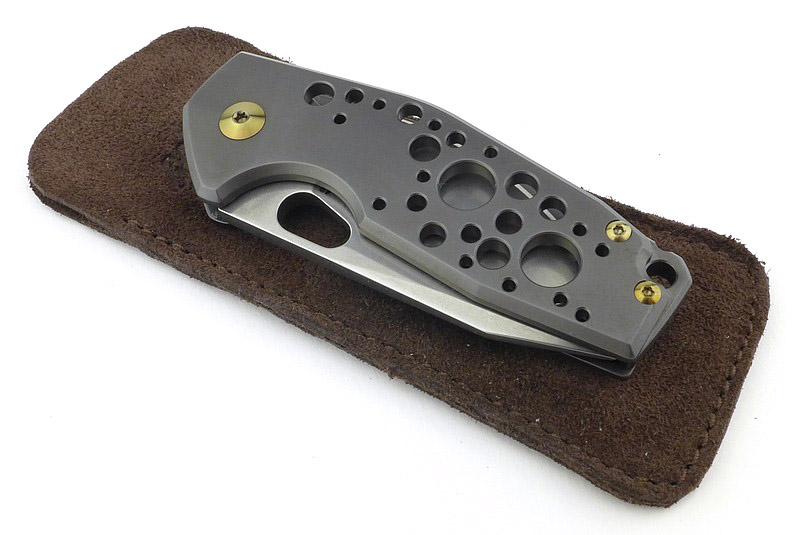
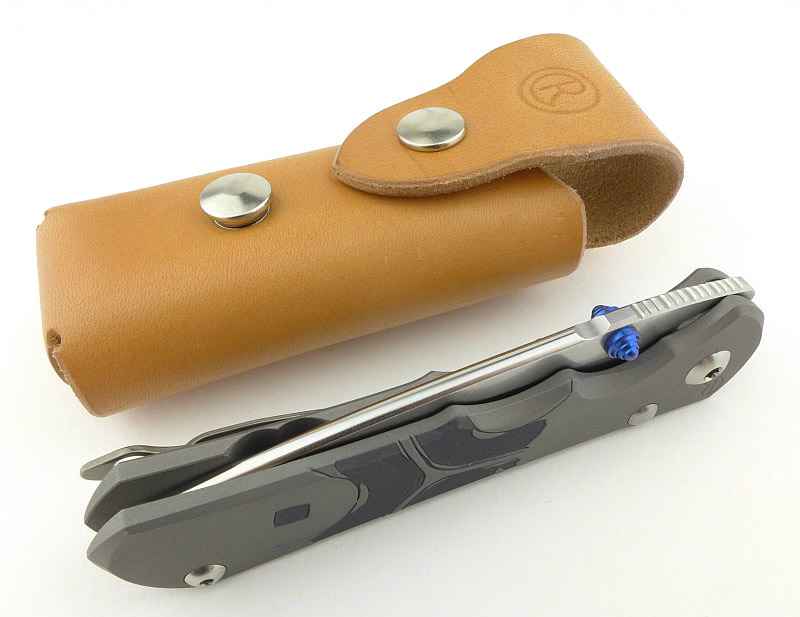
People like to carry knives in a few different ways. I’m not a fan of carrying a knife clipped to the edge of a pocket as I don’t like collecting pocket lint, wearing away the edge of the pocket, and those instances where as you move about and sit down, that a knife can be pushed up and off the pocket edge; lots of knives are lost that way. So this leads me to the two other options here. The MAM slip-pouch is a simple leather pouch to keep the knife dust and scratch free while in your pocket. It is a snug fit for the Suru needing a ‘toothpaste tube squeeze’ technique to get it out of the pouch, and has kept the Suru in perfect condition.
I am frequently swapping coats and bags and tend to loose track of my EDC gear if I have it distributed and doubled-up (tripled etc) across all those coats and bags, so prefer a small organiser pouch that gets moved from coat to bag to bag to coat, and means I know exactly what I’ve got.
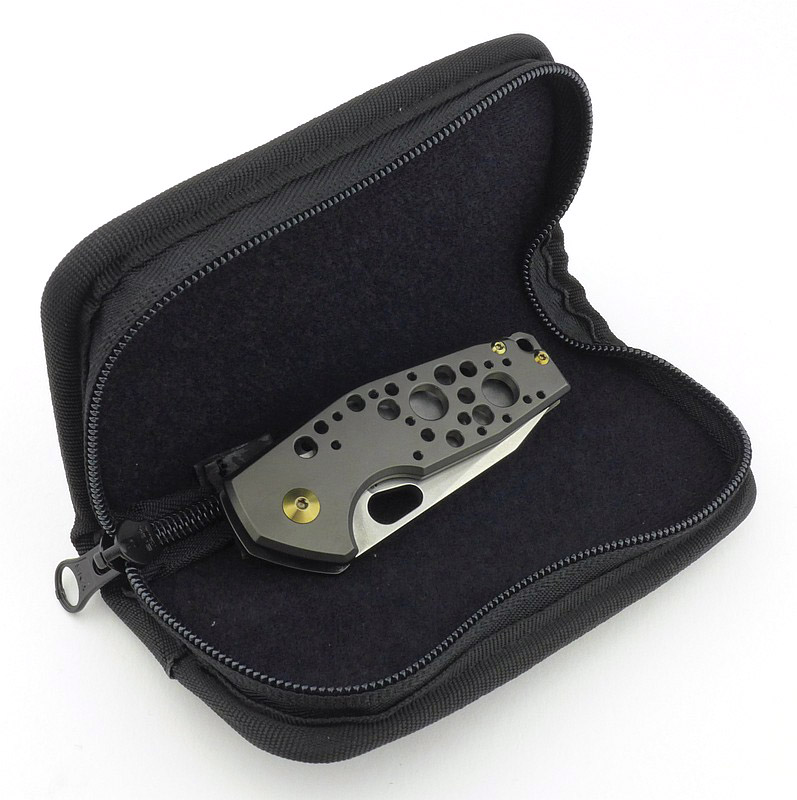
Though the Suru came in a pouch, and that pouch is very nice quality, it is too big for the size of knife. I have re-used that pouch for a much bigger folder.
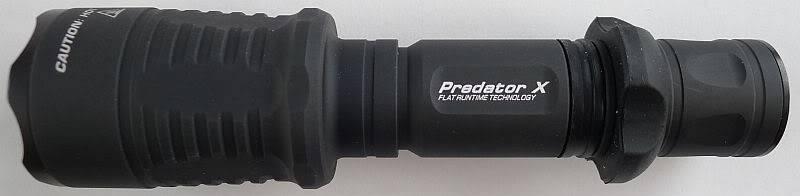
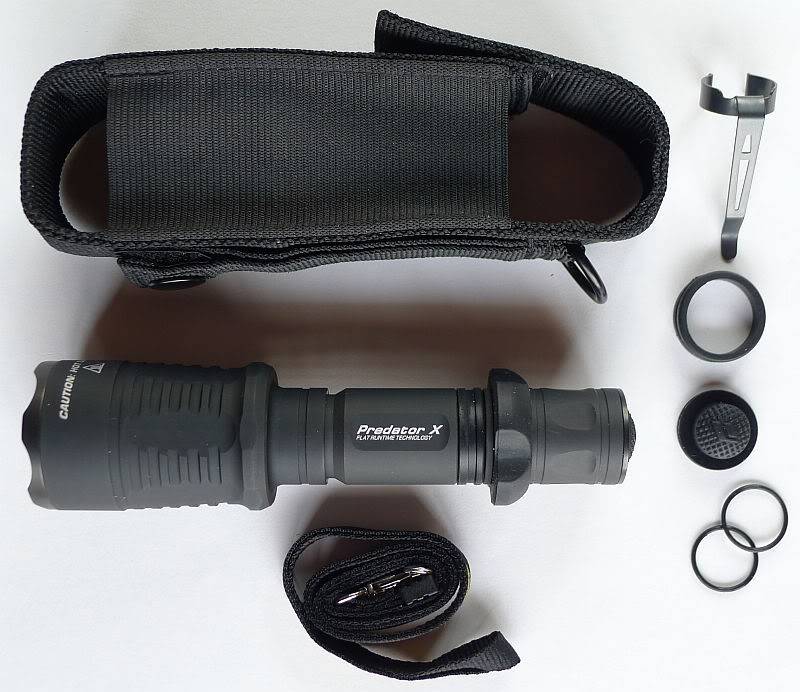
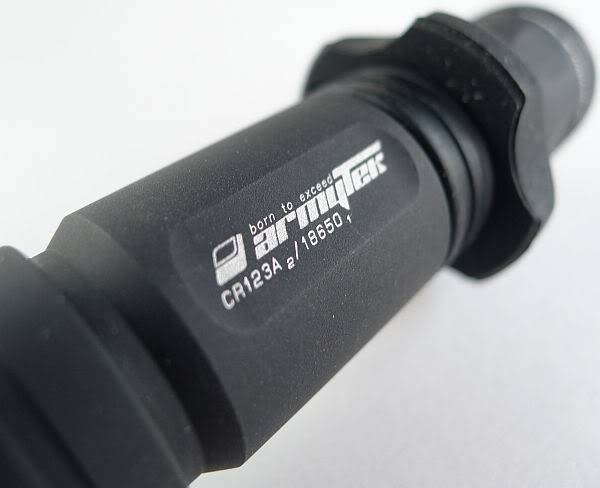
The Maxpedition Micro Pocket Organiser is the best size I’ve found so far. I would prefer it even smaller, as unlike many people I don’t like to cram my EDC pouch full of gear that then rubs up against each other. For me this is the essential ‘knife and light’ combination, placed in the pouch so they can’t make contact. The Suru has mostly been living in this pouch with an Armytek light.
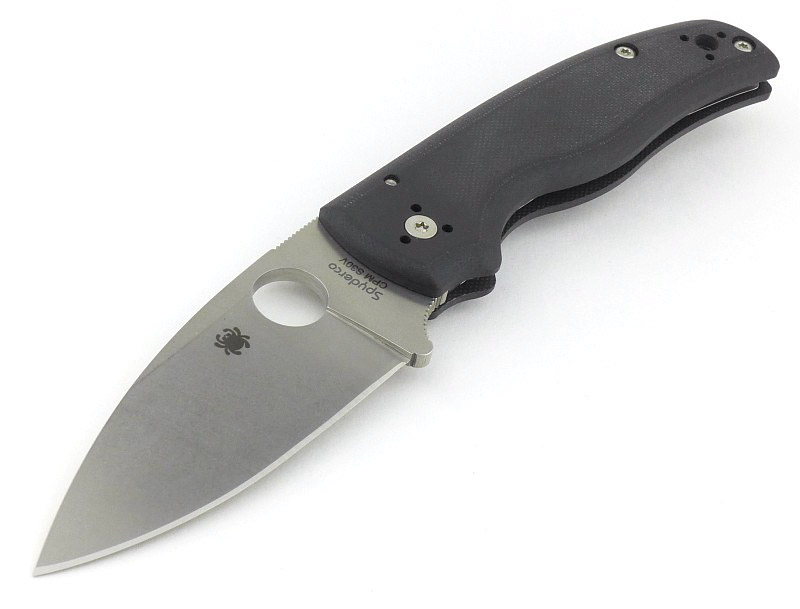
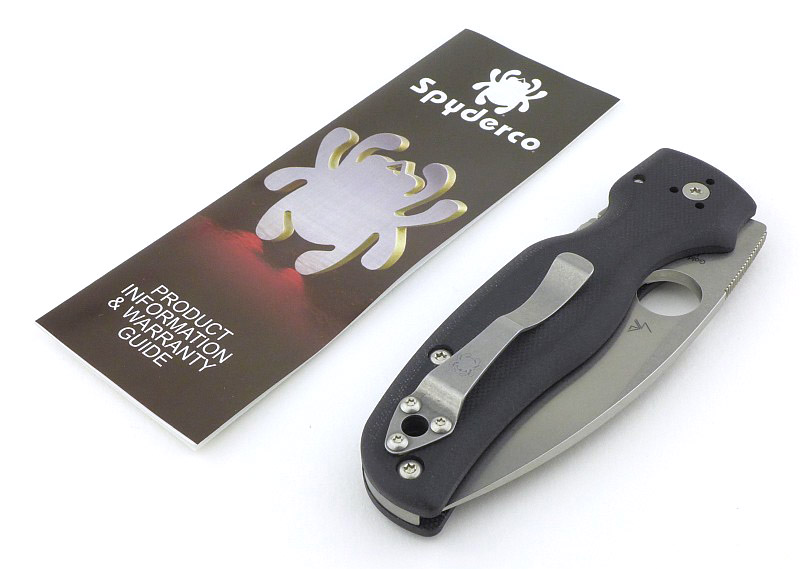
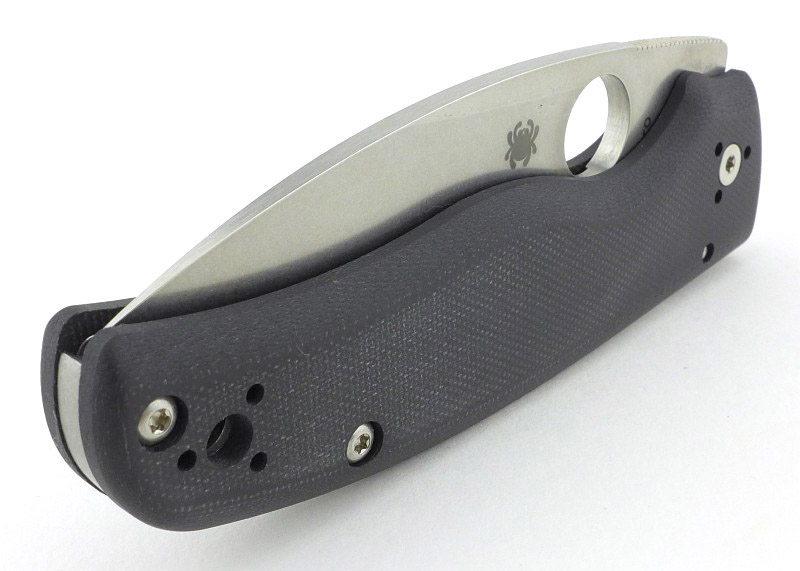
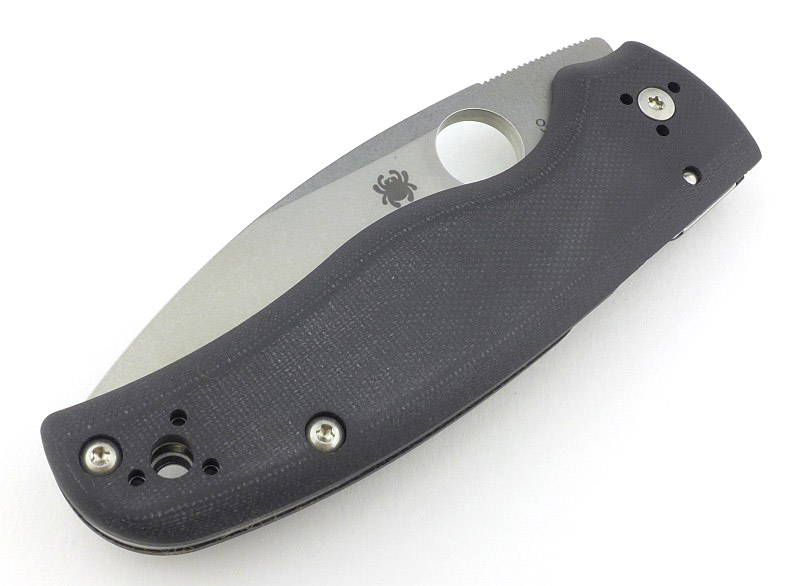
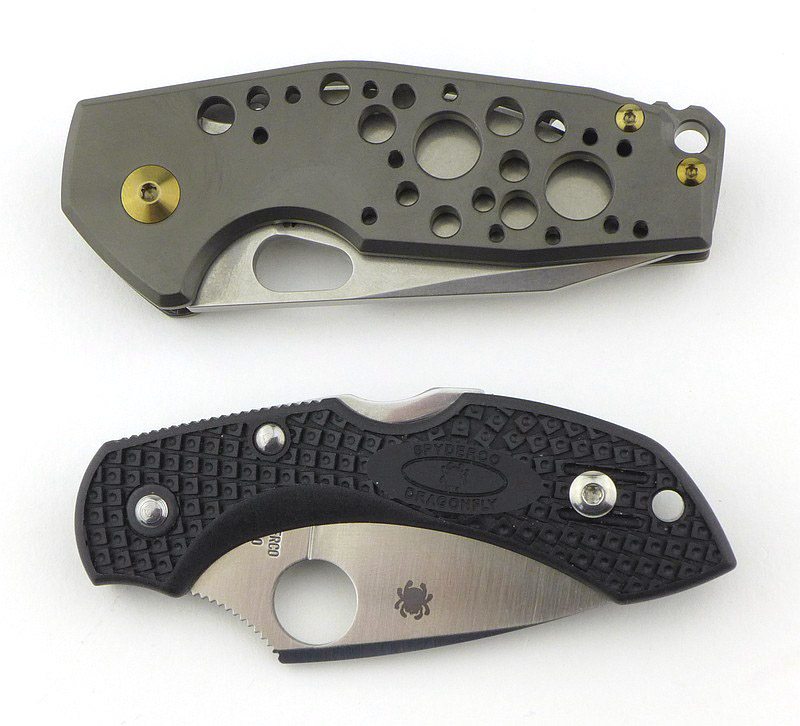
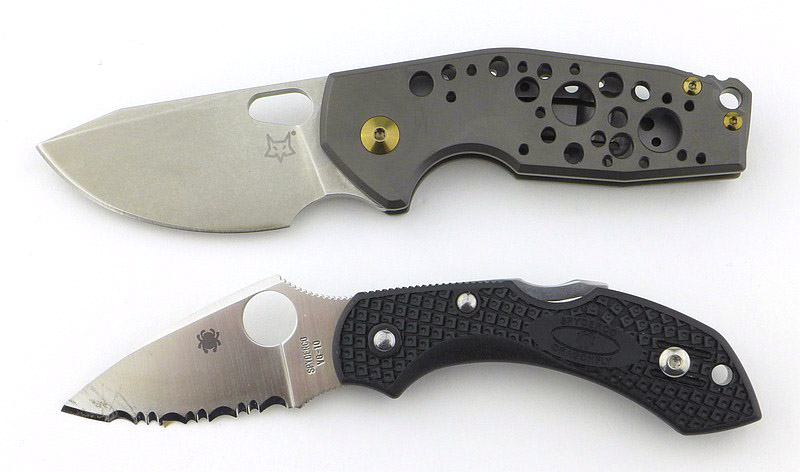
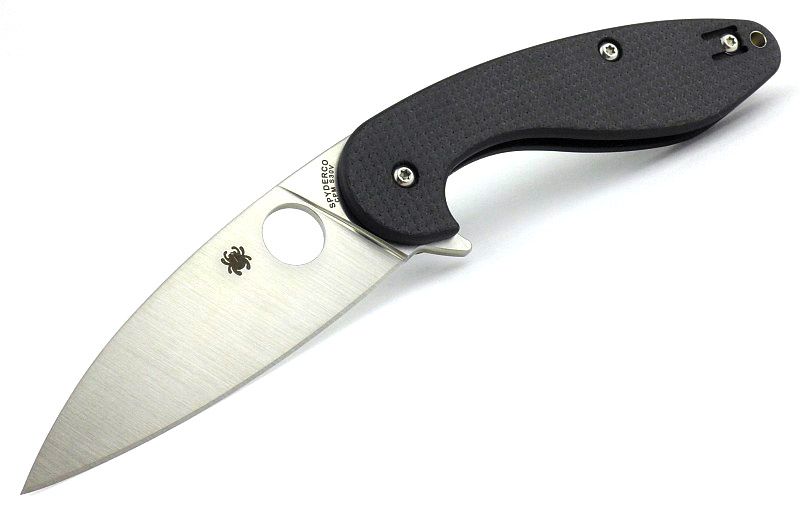
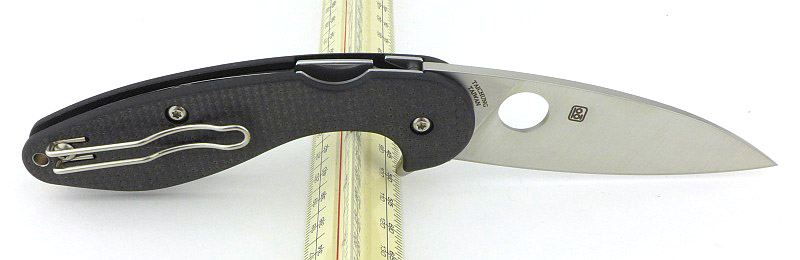
Back onto the subject of size. Included in the gallery are a few size comparison photos with some classic slip-joint knives. There is also a direct comparison with the ultra-light Spyderco Dragonfly II, which you can see is equivalent in size. The Suru has a much more substantial build, with Titanium handles and thick blade, so gives you the feel of a heavier folder in a package that is small enough to easily EDC, yet have enough cutting power to be seriously useful.
These comparison photos also show the non-threatening look of the Suru. SAKs are universally accepted even by extremely-non-knife-people, but many of the UK EDC Legal knives look a little bit too ‘pointy’ to be as easily accepted. The Suru with its wide blade and upwardly sweeping cutting edge has a softer look that is much easier for non-knife-people to be relaxed around.


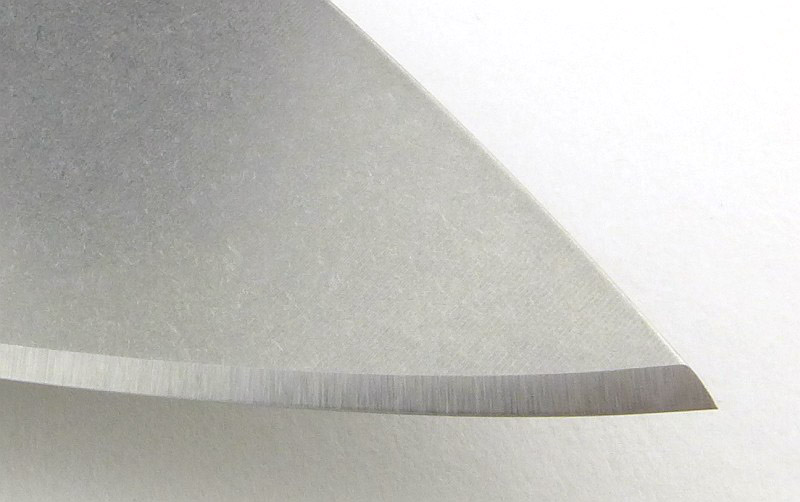
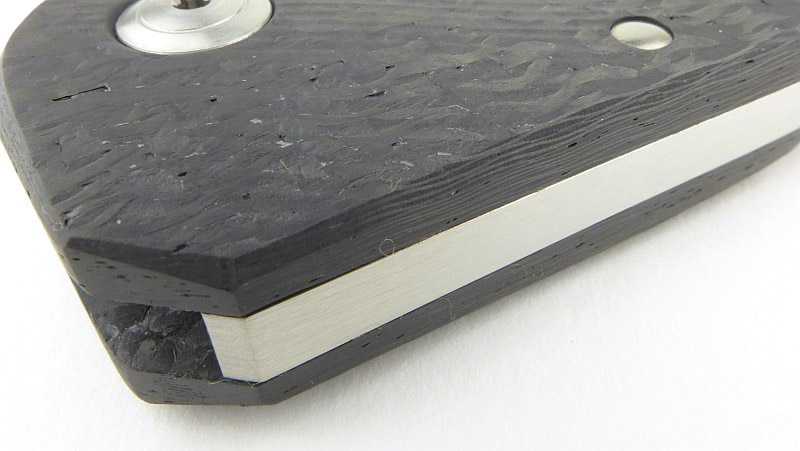
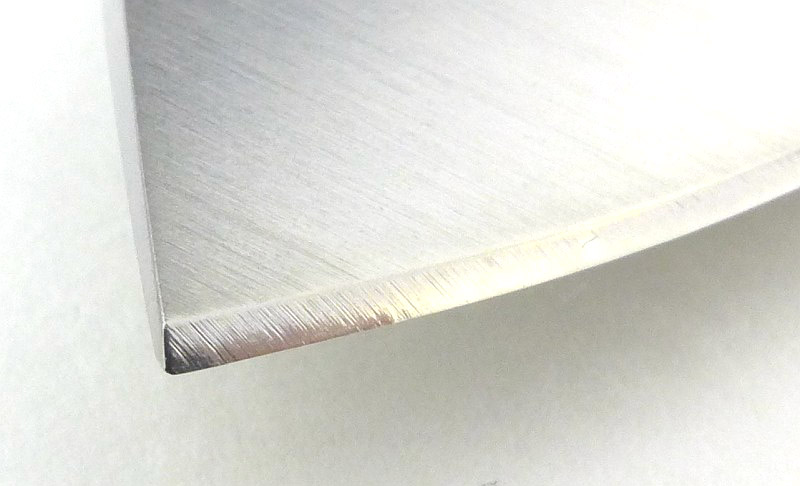
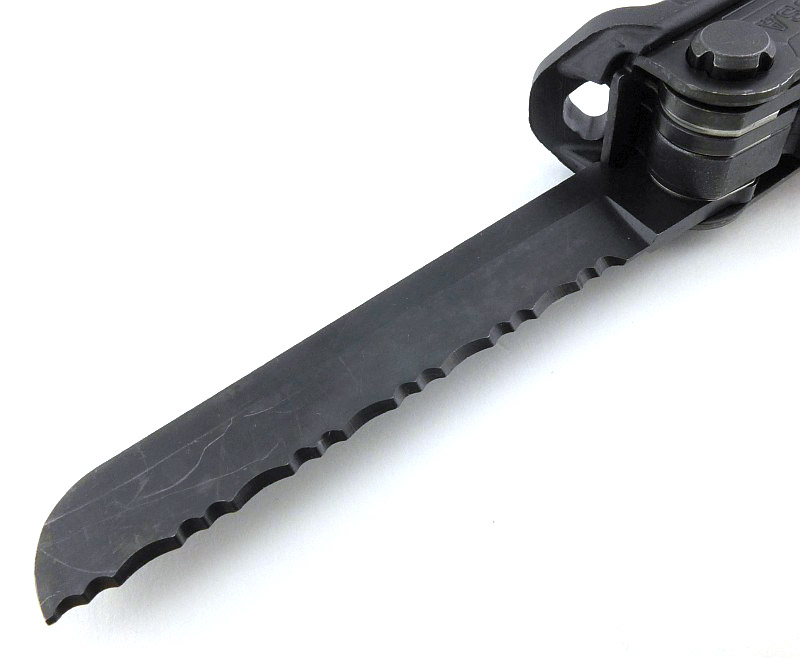
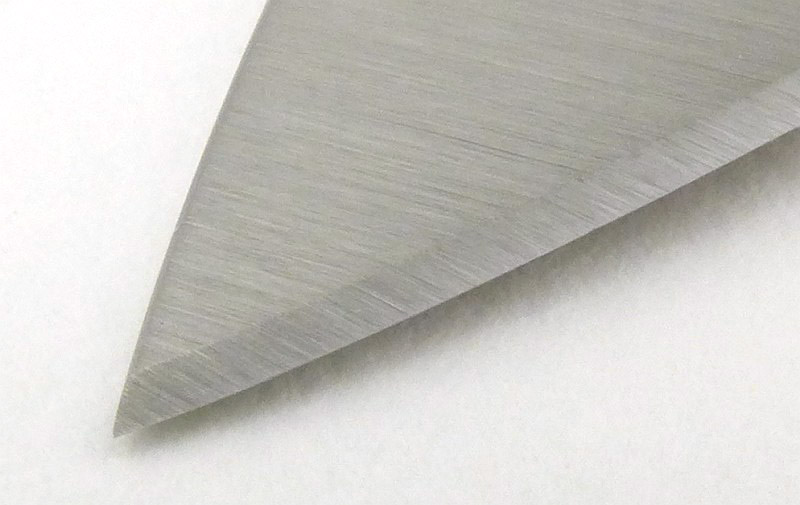
Is a 4mm blade too thick for a folder this size? It certainly could be. The Suru’s blade is however much deeper than your typical folder of this size and with a nearly full flat grind, it means the blade’s primary bevel is a fine enough angle to cut very well. Where you do lose out a little is as you near the blade tip. The primary bevel and thick blade stock combine to give a very strong blade tip, but a relatively thick one.
This brings me onto the factory edge. With the grind geometry, the blade thickness behind the cutting edge increases as you go from the heel to tip. Fox have very neatly executed a factory cutting edge bevel that has a consistent width along the entire edge. Consequently, this factory edge bevel angle changes from 20DPS (degrees per side) at the heel to about 35DPS at the tip. So that is a 40 degree inclusive edge bevel at the heel and a 70 degree inclusive edge bevel at the tip; that is more than I’d put on an axe! Fox did make that edge a good sharpness, but the angle means it is not the most eager cutter. A lot of urban EDC cutting tasks involve the point, and with the factory edge, the Suru comes up feeling lacking. What also doesn’t help is that the point angle is quite wide, and with the upward sweep of the cutting edge to the tip, the cutting edge sits almost parallel to the material being punctured and cut – like this is needs a finer edge to really work.
So, time for a re-profile of the cutting edge, and I’ve take it to 15DPS along the entire cutting edge. The width of the edge bevel at the tip is now four times the width at the heel, but that is the cost of having the consistent edge bevel angle.
With this new edge, the Suru has woken up, and with the point work transformed it has allowed me pay more attention to how well the rest of the blade cuts. With a nicely exposed blade heel (just in front of the finger choil), you can carry out very fine and controlled cuts. Despite the 4mm blade stock, this part of the blade cuts like a thinner blade would.
Having an all metal construction (Titanium handles) the Suru is not a super-light folder. Other knives of a similar size are thinner and lighter, but feel insubstantial in comparison. As a non-locker, it is possible to EDC this knife where other knives cannot go, and even though compact, it has a satisfyingly solid build that gives you the confidence use it for jobs you might otherwise be reaching for a bigger knife to do.
Review Summary
The views expressed in this summary table are from the point of view of the reviewer’s personal use. I am not a member of the armed forces and cannot comment on its use beyond a cutting tool or field/hunting knife.
Something that might be a ‘pro’ for one user can be a ‘con’ for another, so the comments are categorised based on my requirements. You should consider all points and if they could be beneficial to you.
_______________________________________________
Things I like
_______________________________________________
Excellent fit and finish.
Titanium handles.
Solid construction.
M390 blade steel.
Ambidextrous OHO.
Compact.
Non-locking.
‘Friendly’ look.
_______________________________________________
What doesn’t work so well for me
_______________________________________________
Thick blade tip reduces piercing ability.
The blade pivot seems to work loose after a few hundred openings. (Needs some thread-lock)

Discussing the Review:
The ideal place to discuss this reviews is on a forum. If you started reading the shorter forum version of the review, but followed the link this full exclusive review, please return to that forum to discuss the review there.
If you read the review entirely on Tactical Reviews, please consider one of the following to join in any discussion.
BladeForums – Knife Reviews (US based Forum for Knife Discussion)
CandlePowerForums – Knife Reviews Section (Largest and Friendliest Flashlight Community Forum)
The BESS Exchange – A forum discussing technical aspects of sharpness and truly understanding your sharpening process.


.")


 initially comes off enough to make things dirty.")


")


")