For me, Fällkniven‘s U1 pocket knife has been flying under the radar. You might think it is not the most exciting knife, a small slip-joint with simple build, but then again perhaps it is….
Now that I’ve been living with and using this knife for an extended period, I have found it is one of those no-nonsense practical every-day-use knives that just does the job without any fuss.
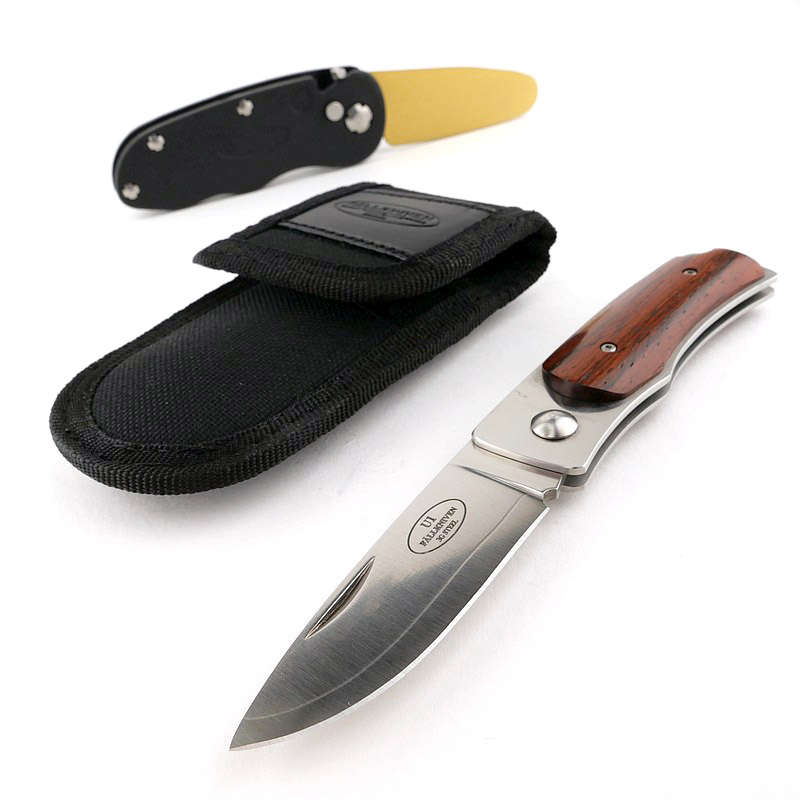
Also seen in this review is the super handy FS3 Flipstone with combined ceramic and diamond sharpening stones.
The Video about the Fällkniven U1 I wasn’t going to make:
Originally I wasn’t going to include a video in this review, but after living with the U1c for several months, I felt compelled to add one. Before getting to the detailed galleries and the rest of the review, here it is:
A few more details:
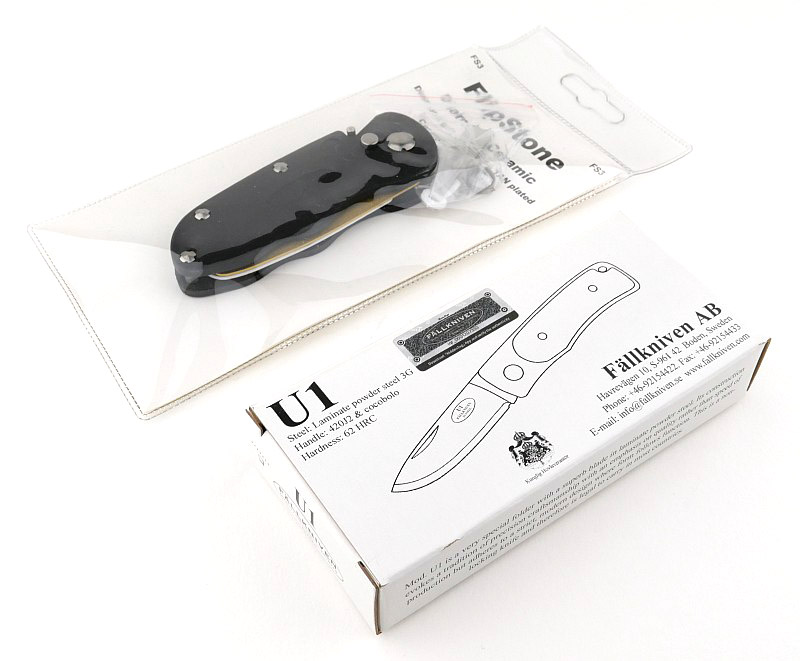
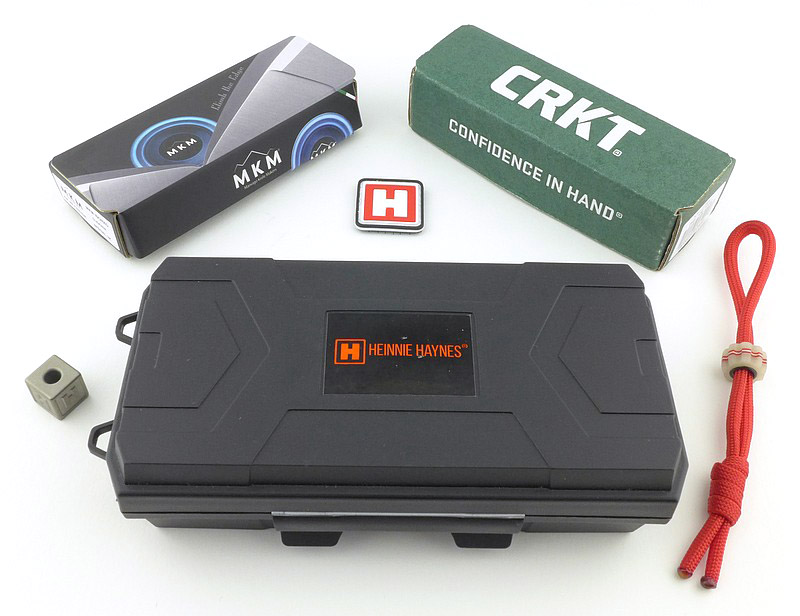
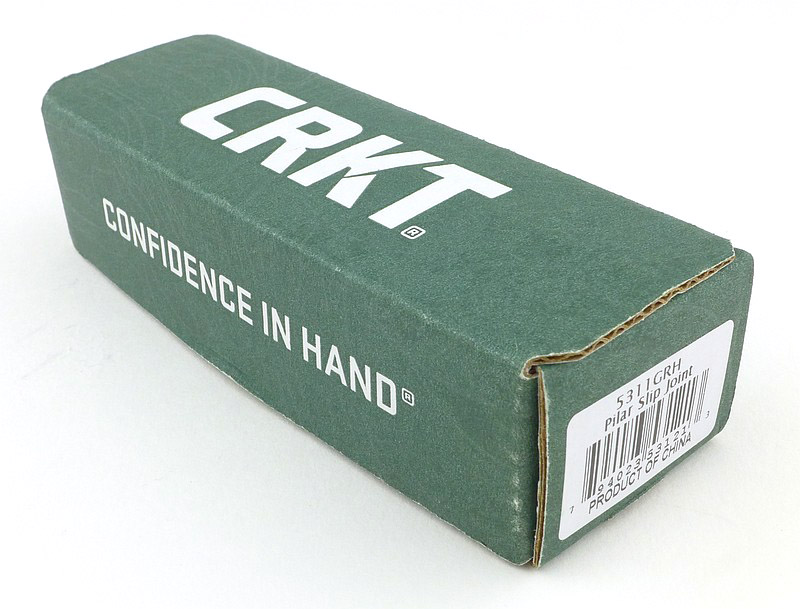
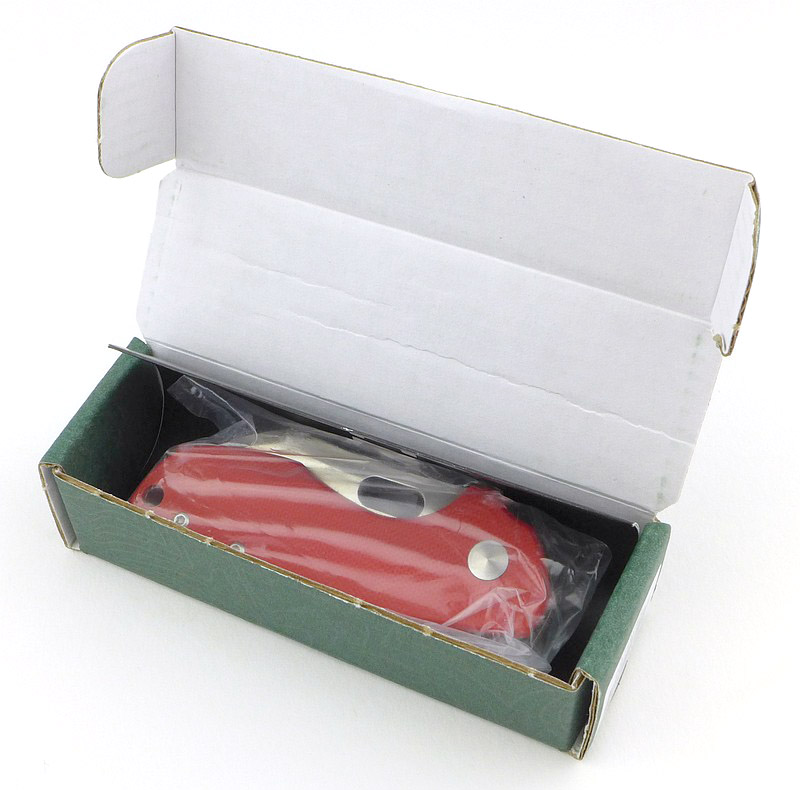
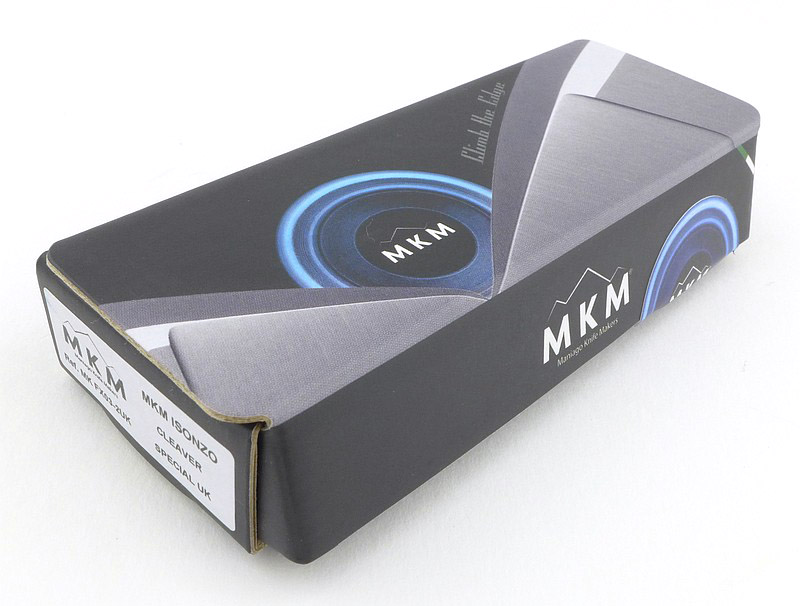
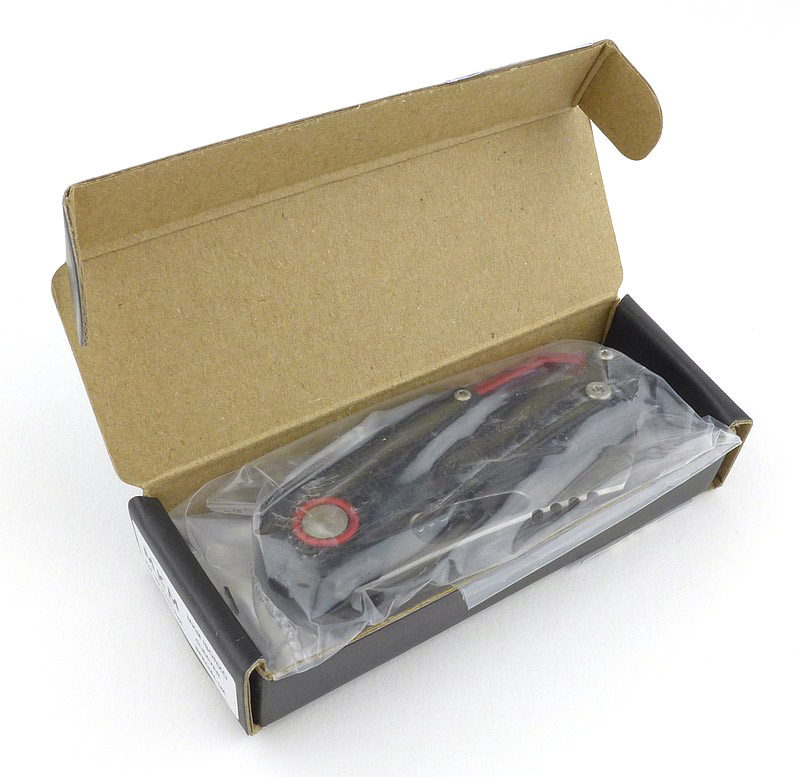
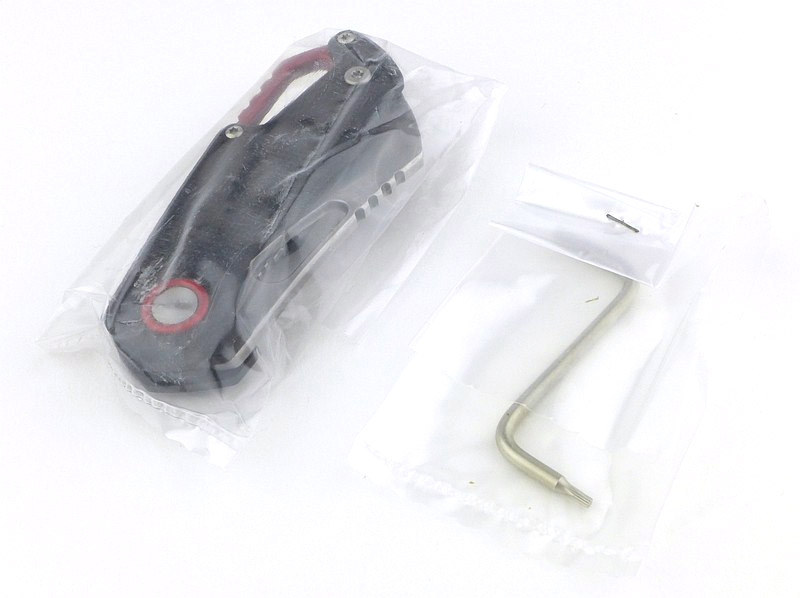
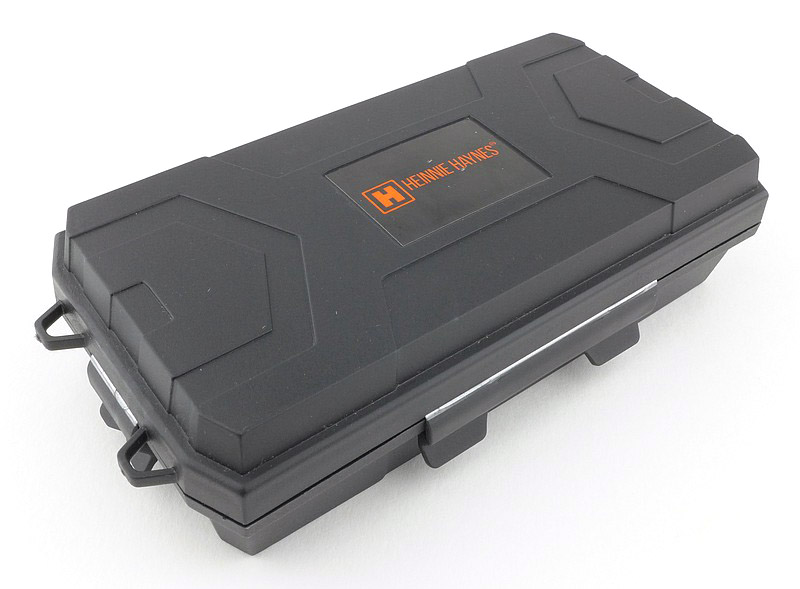
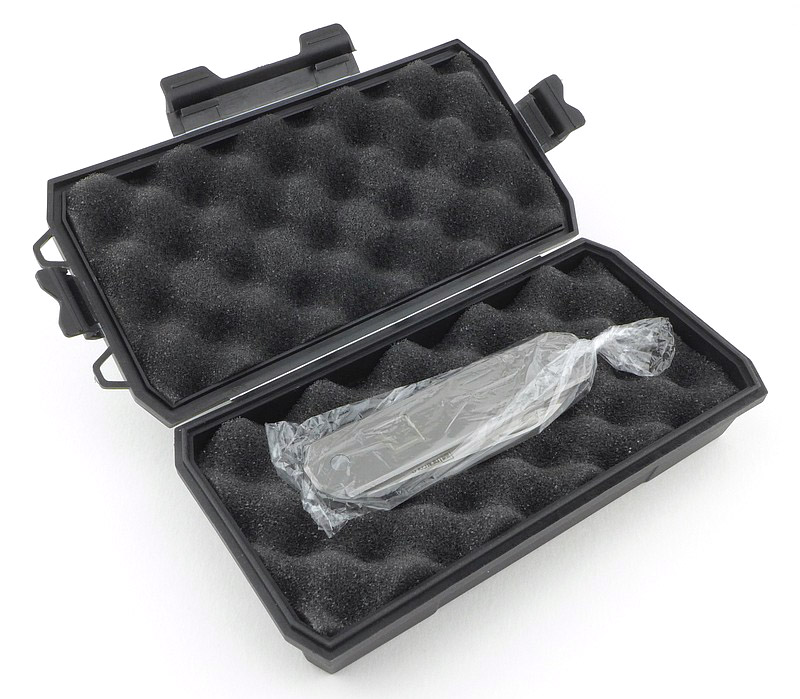
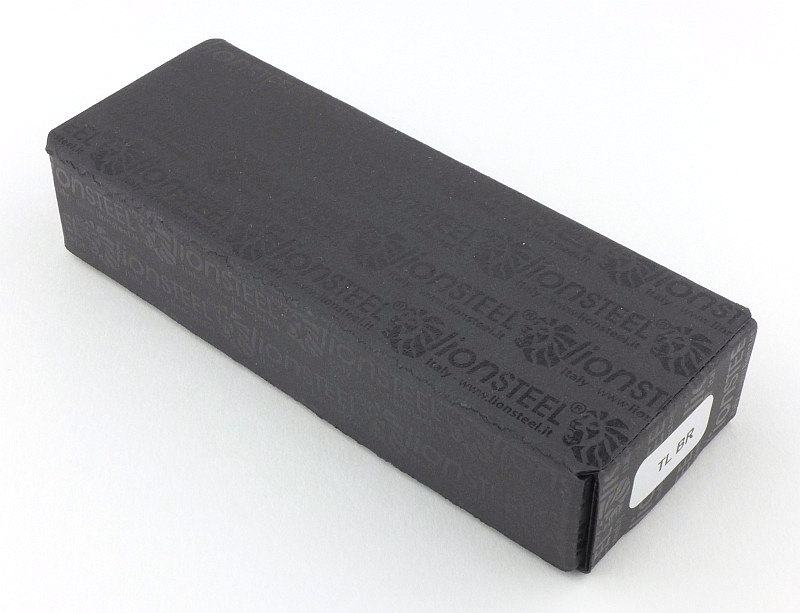
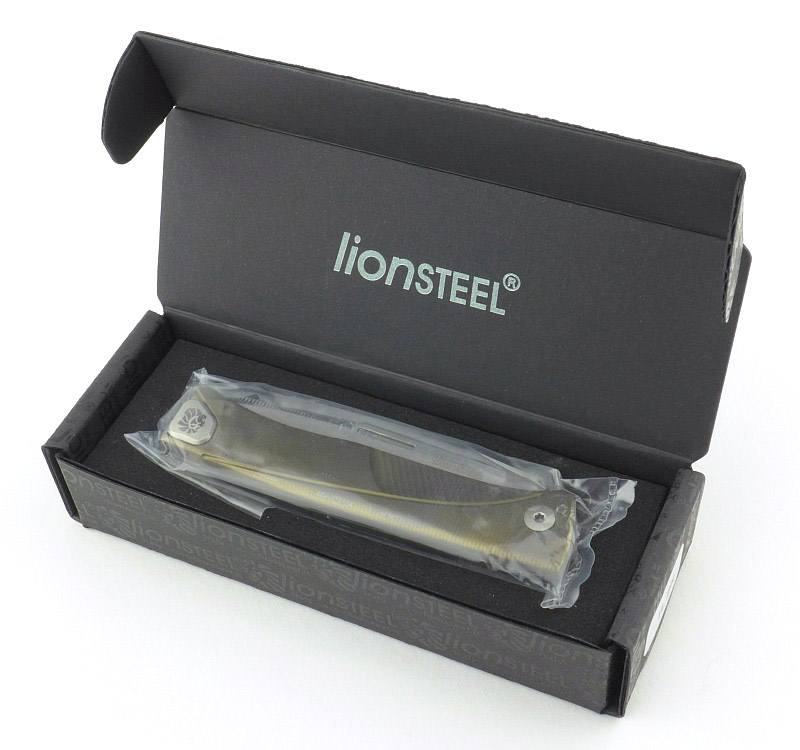
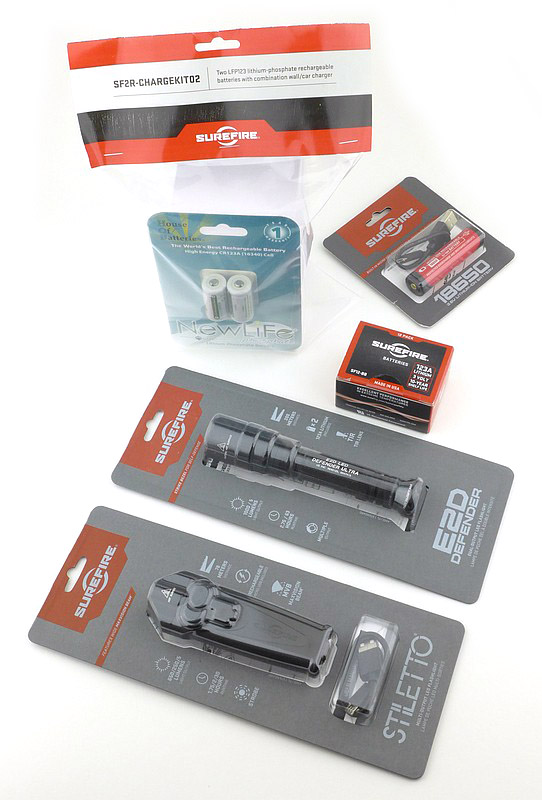
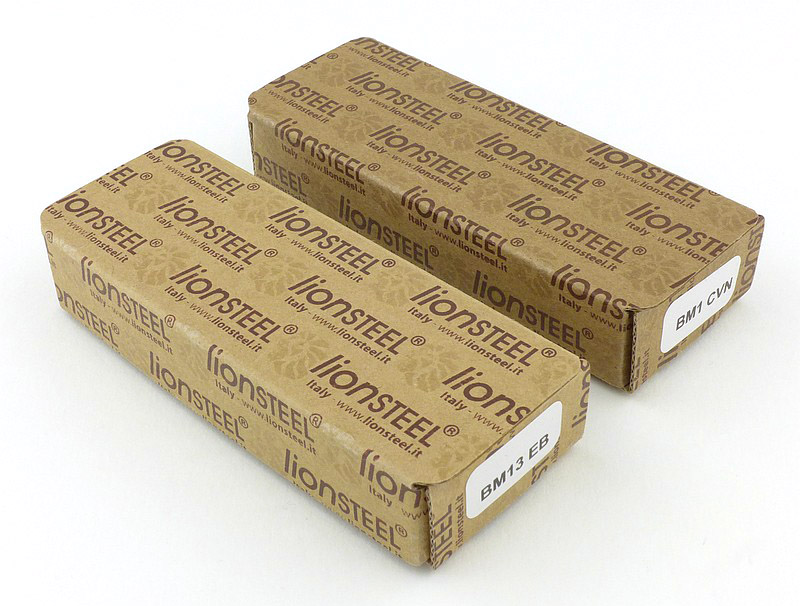
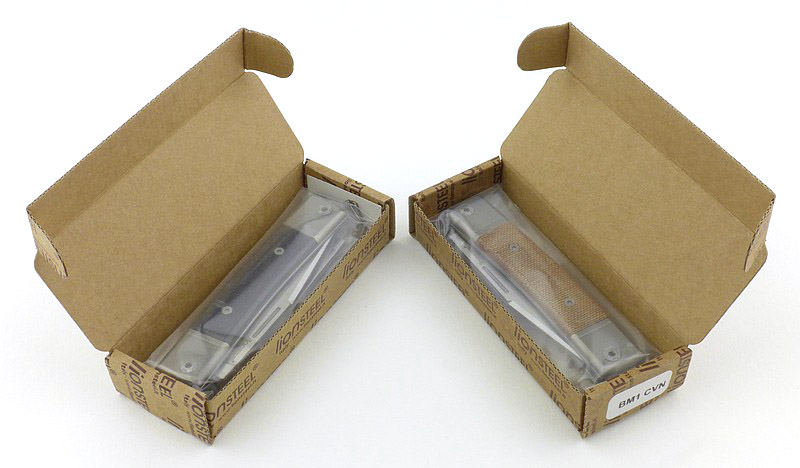
What’s in the box?:
I also got the Fällkniven flipstone at the same time, so you can see it’s packaging here. An unfortunate reality, but the Fällkniven box also has the special authentication label to allow you to confirm it is a genuine Fällkniven. The U1c come in its own dedicated belt pouch.


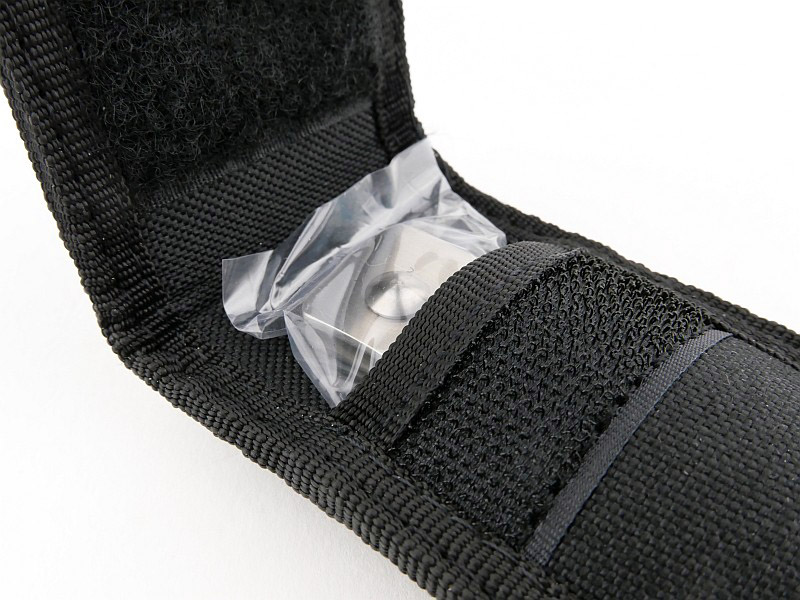
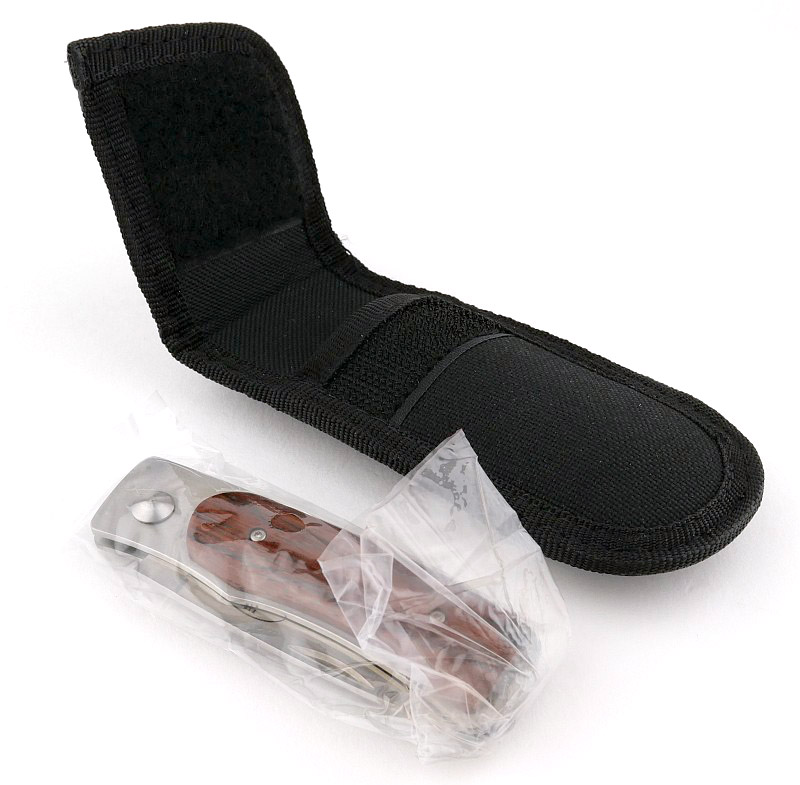
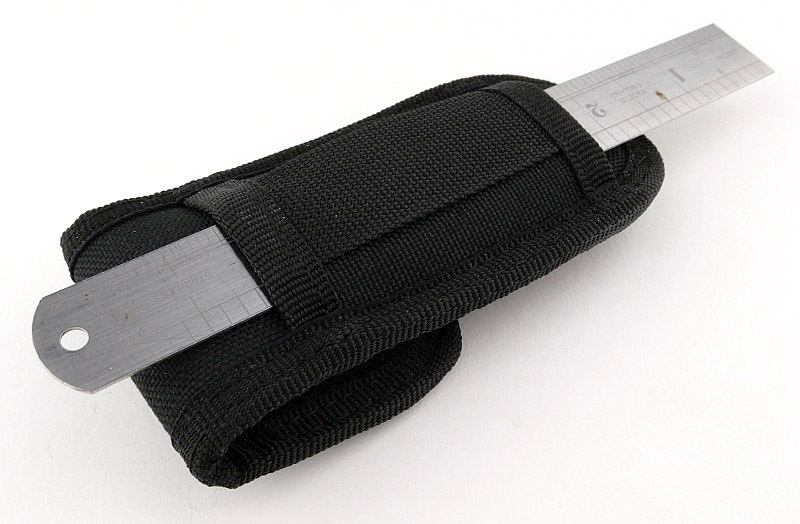
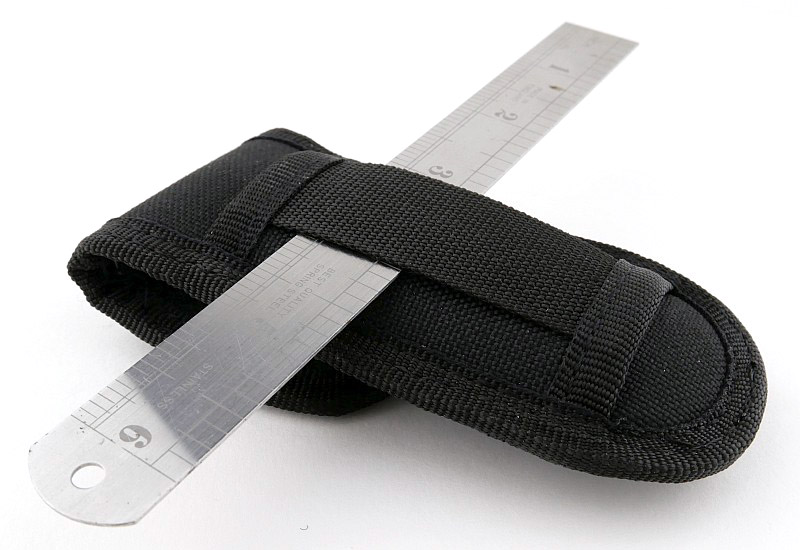
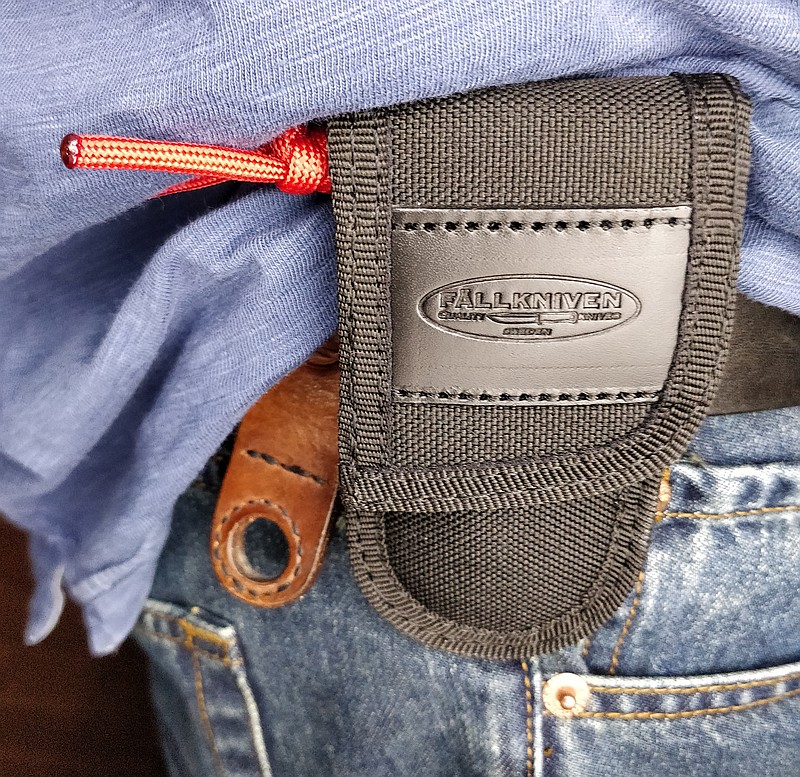
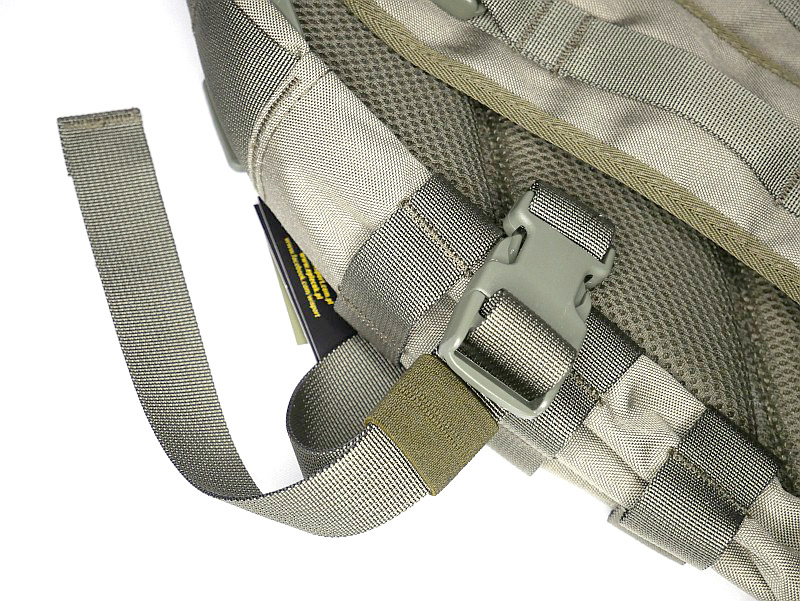
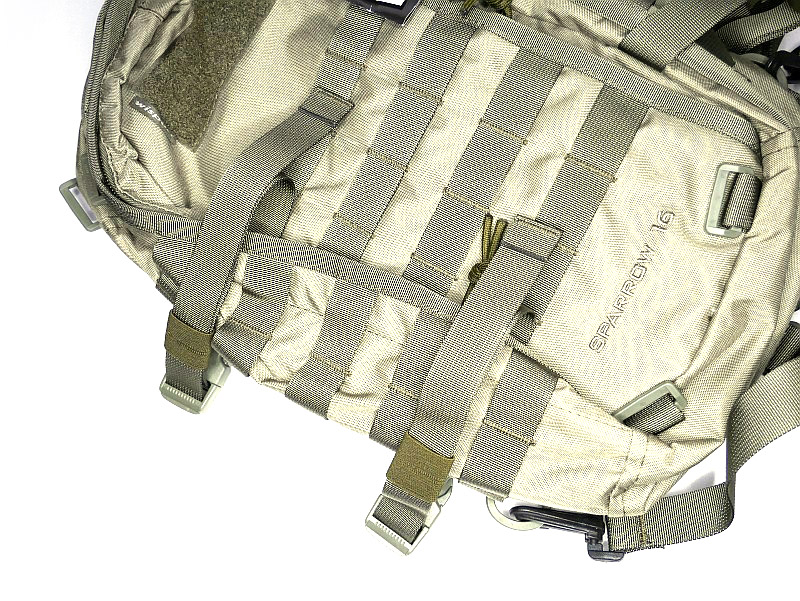
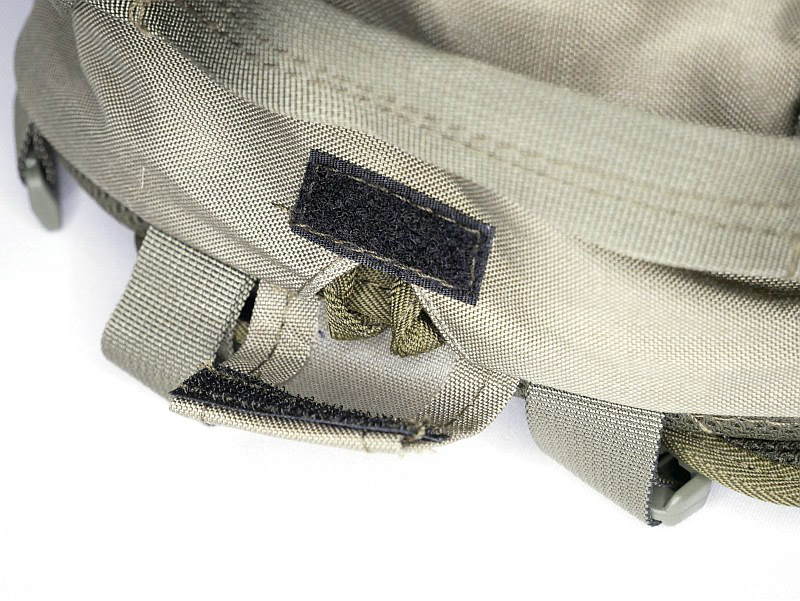
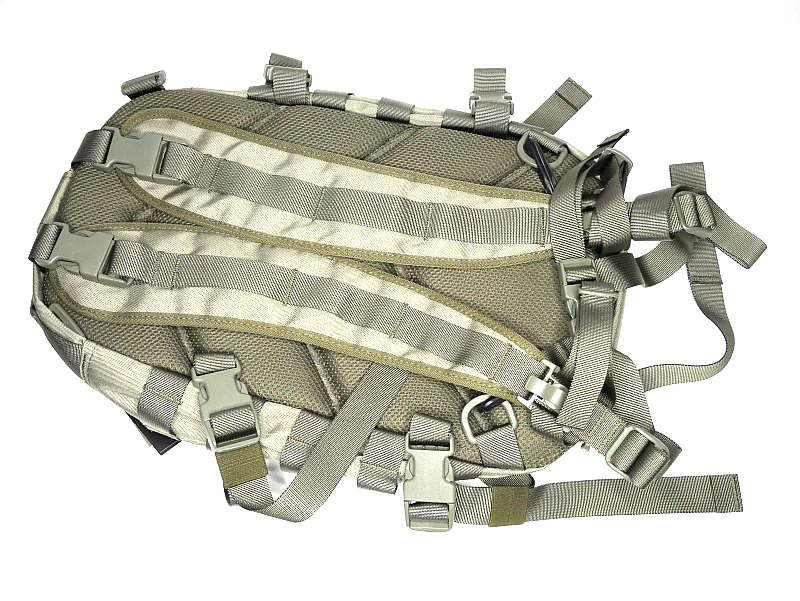
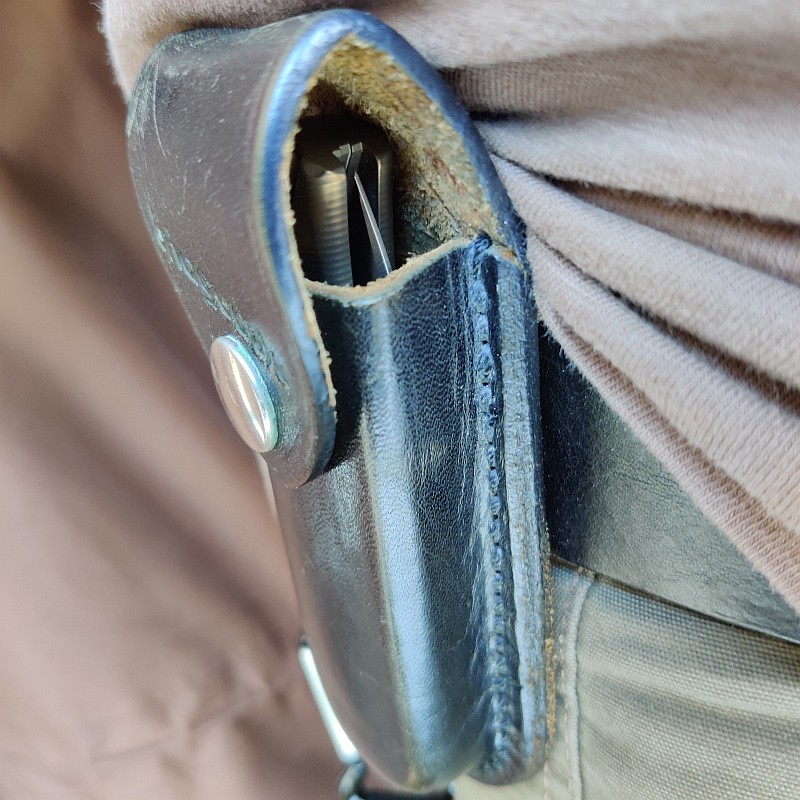
The Belt Pouch:
As with any knife, the sheath or pouch is hugely important for how easy it is to carry and use. The U1 comes with a perfectly matched small fabric belt pouch with velcro closing. The belt loop design allows for vertical or horizontal carry.


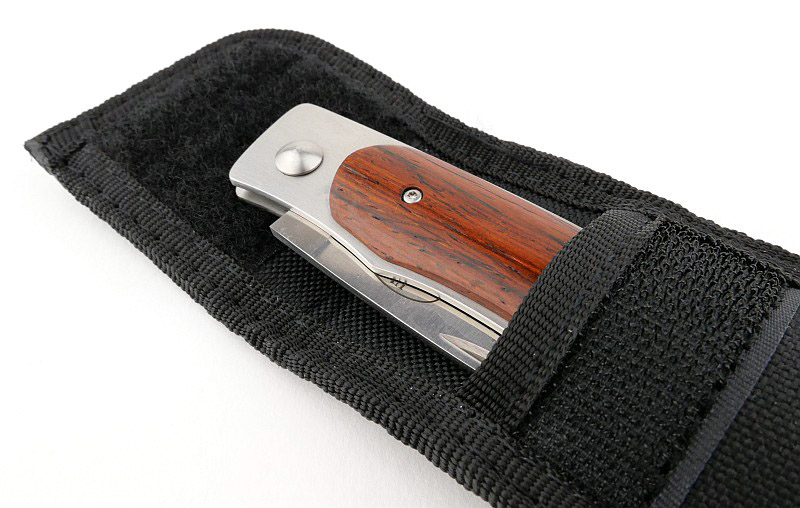
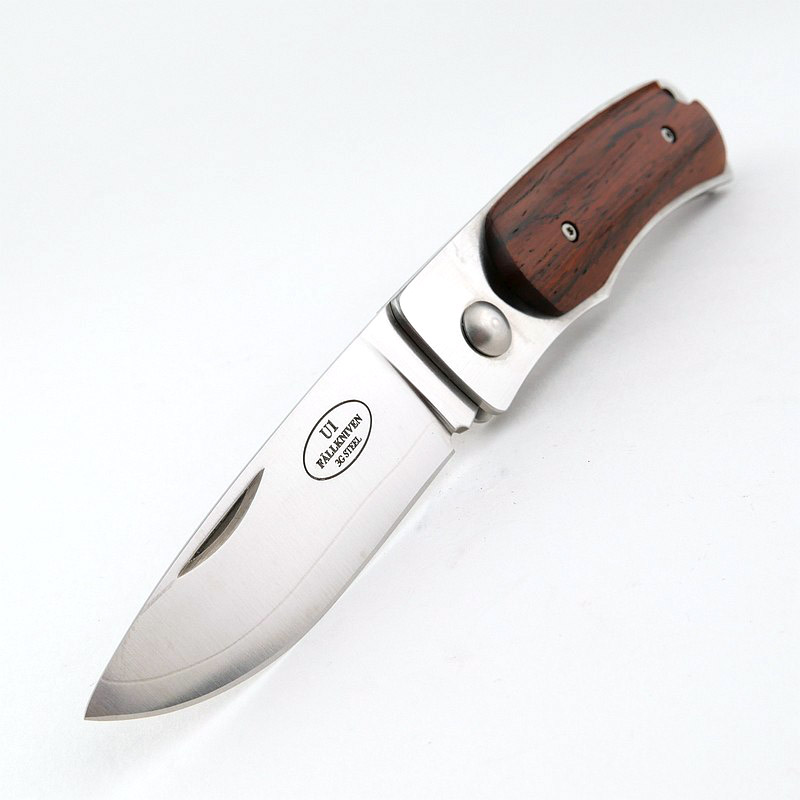
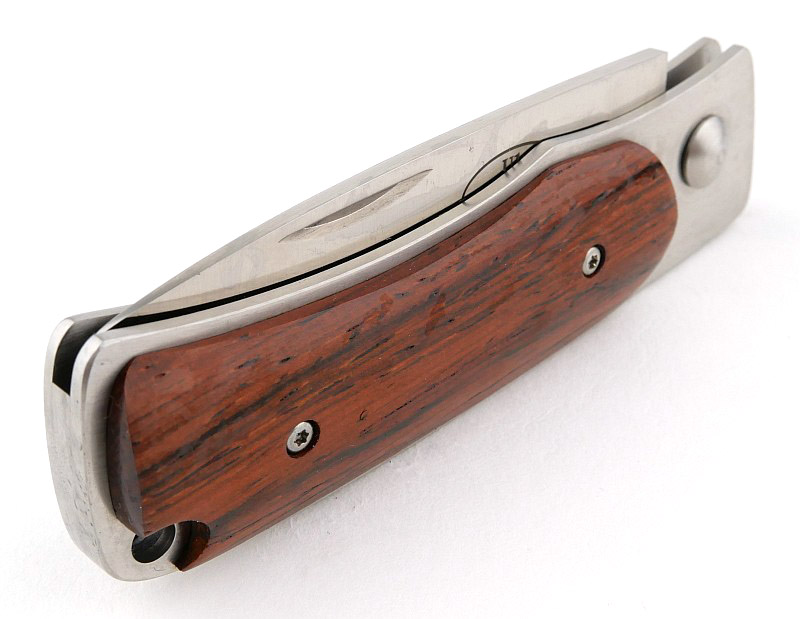
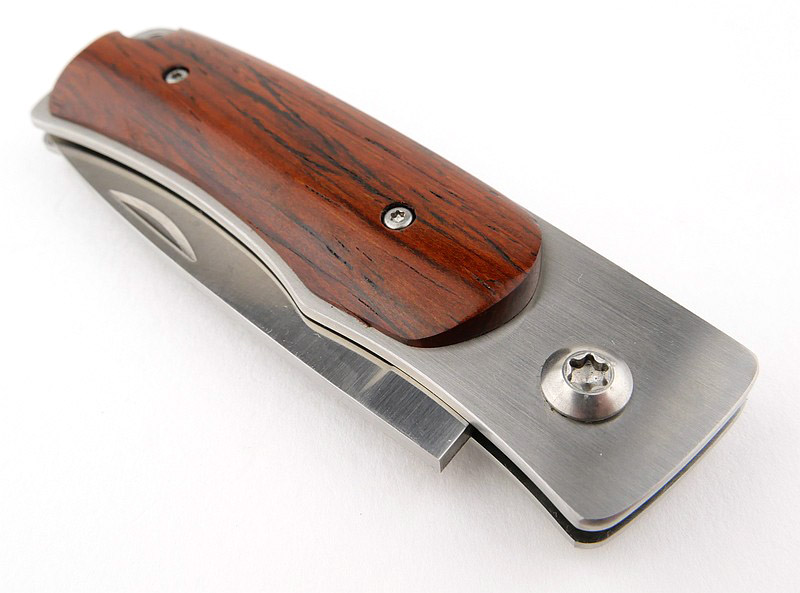
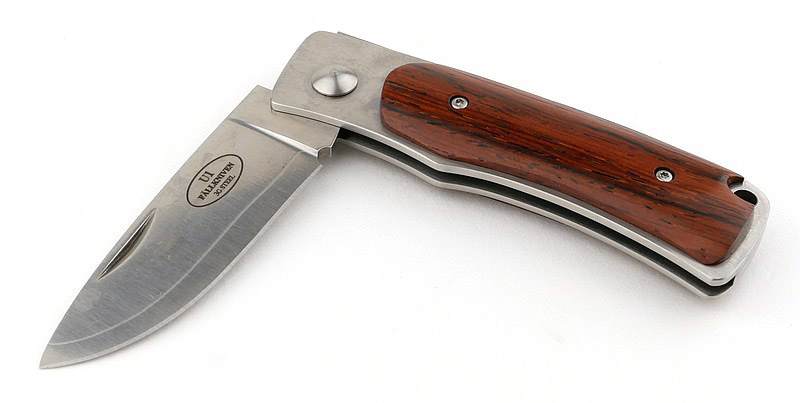
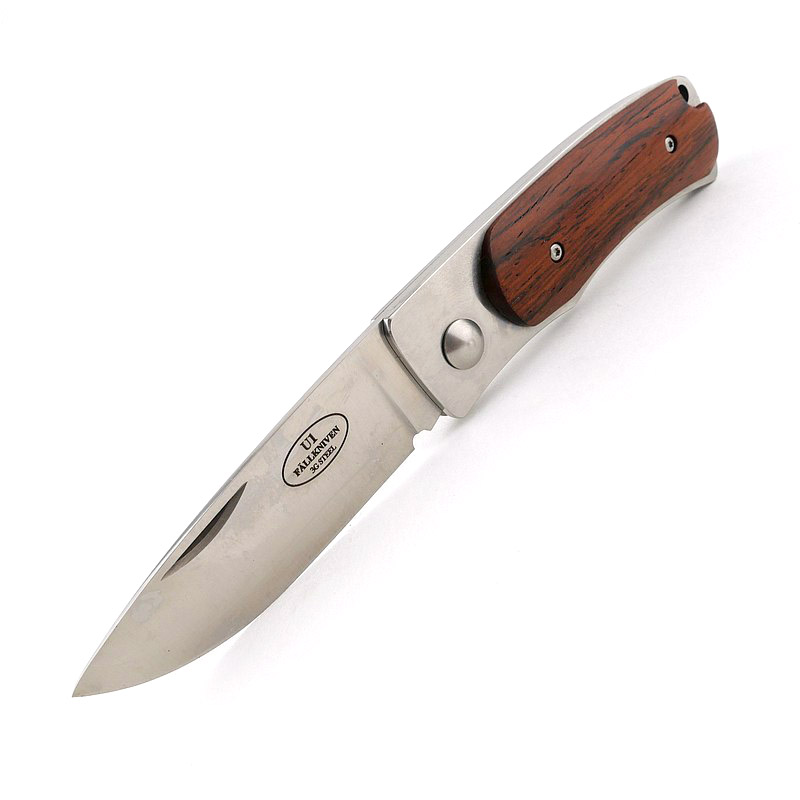
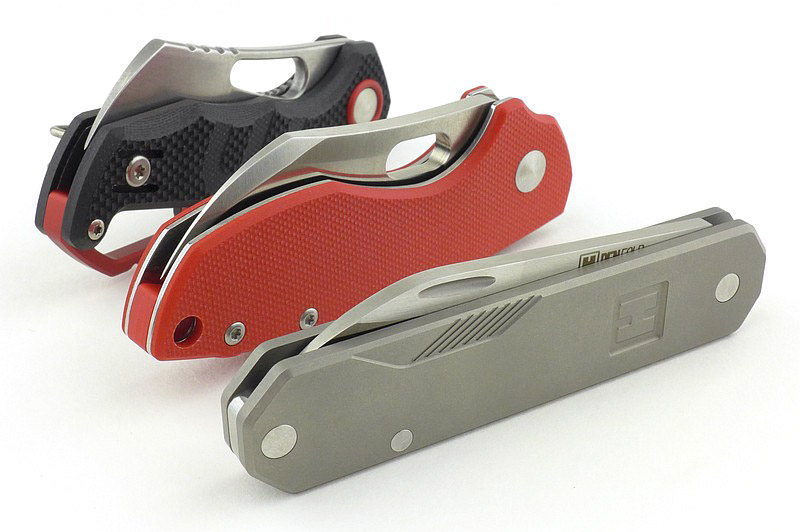
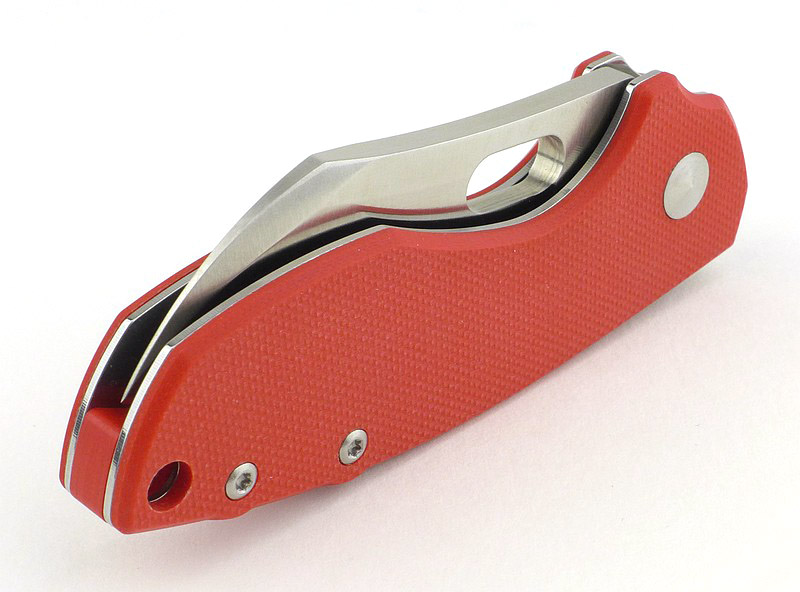
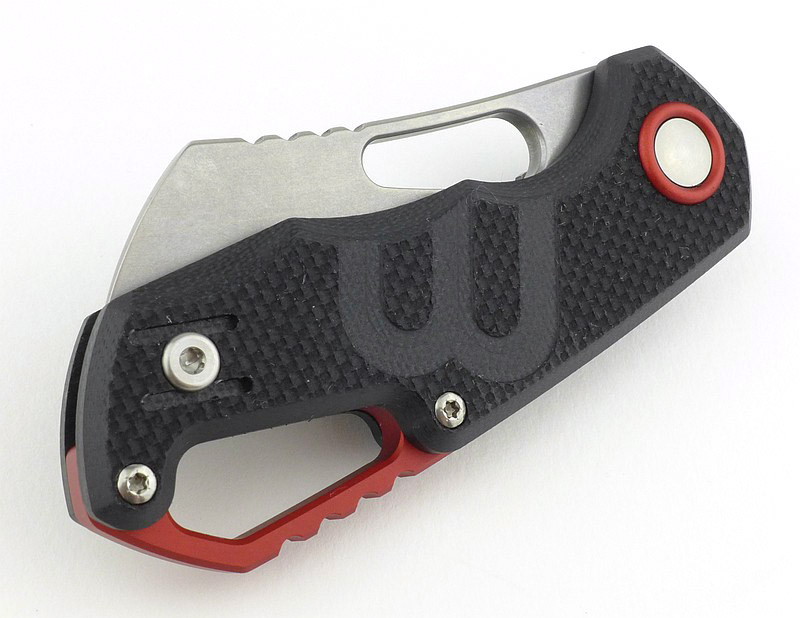
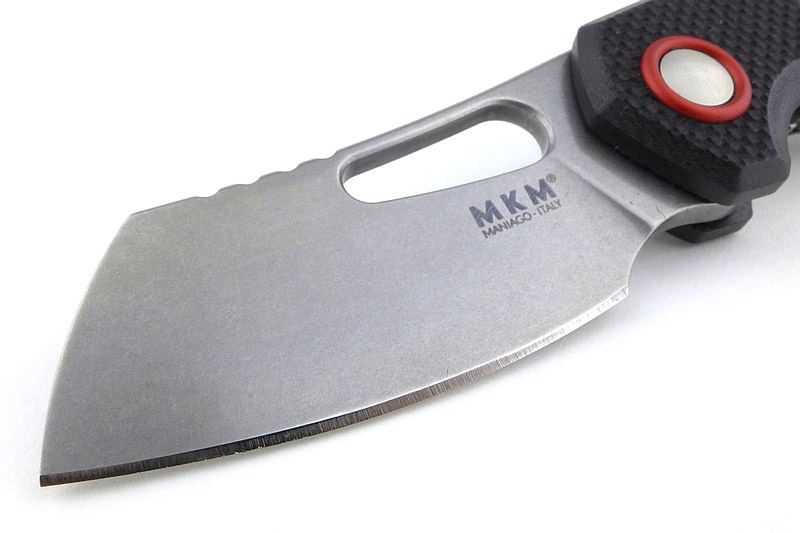
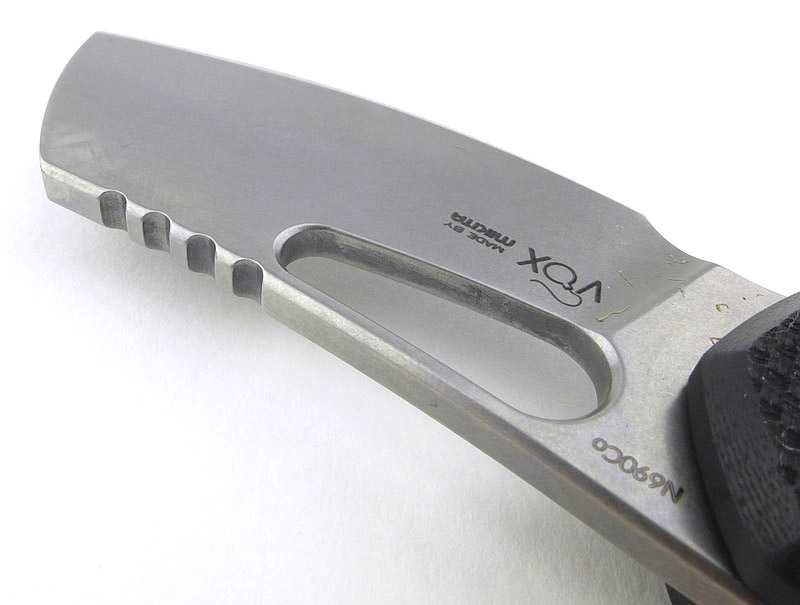
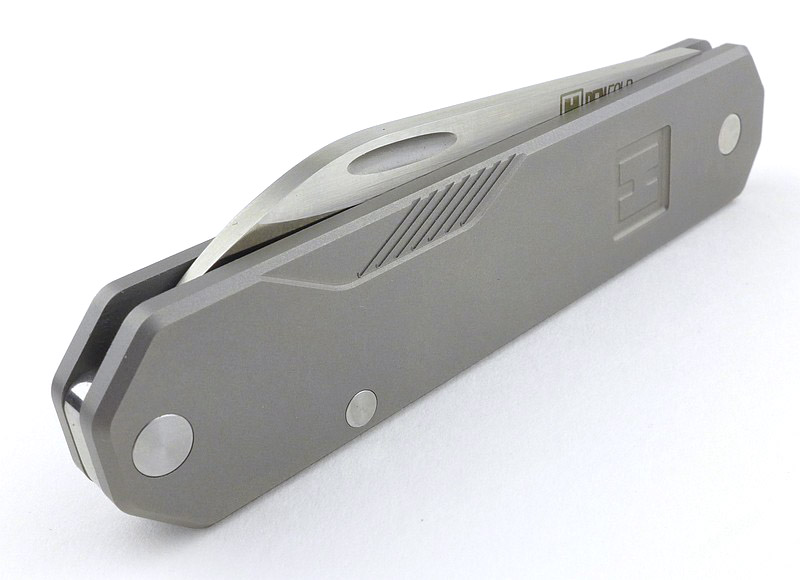
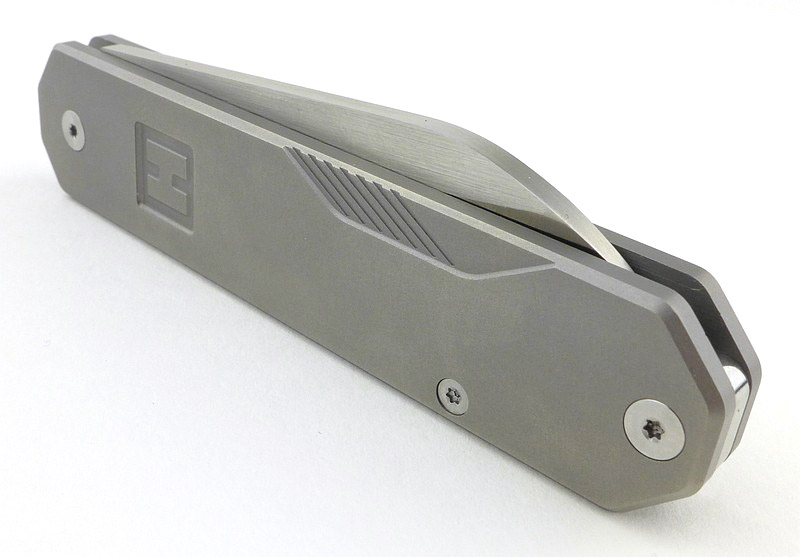
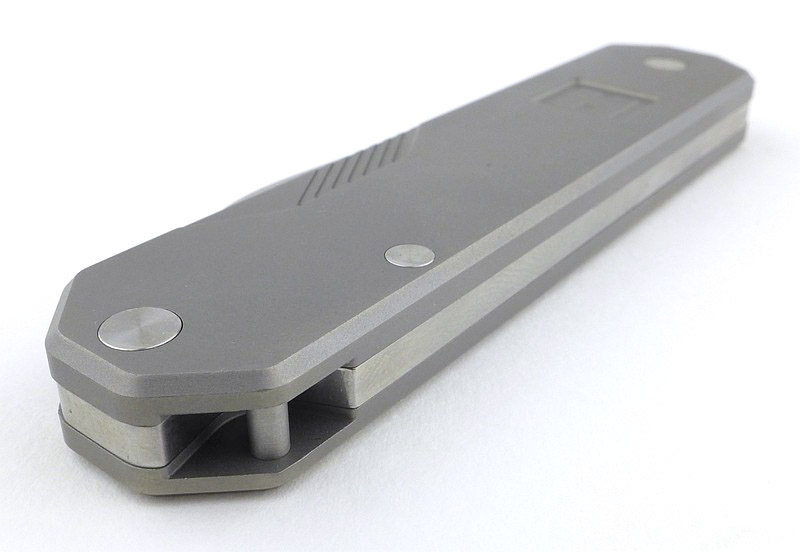
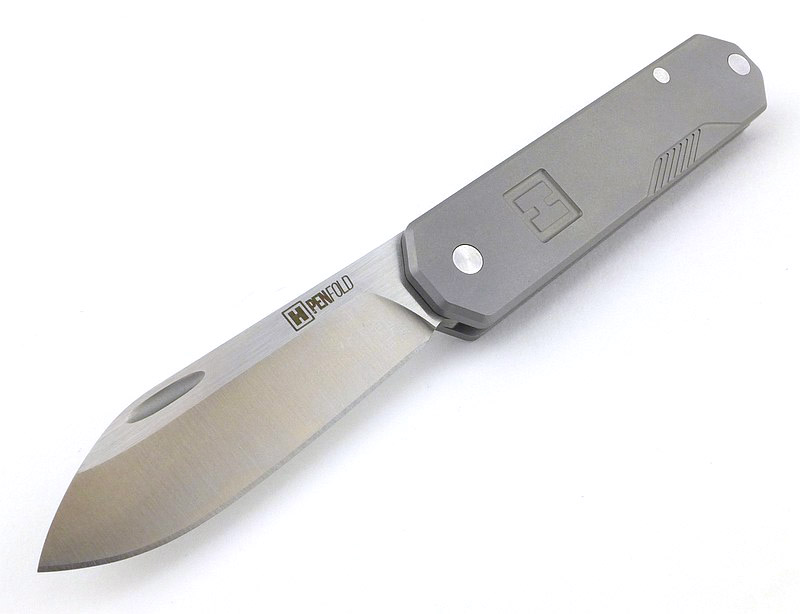
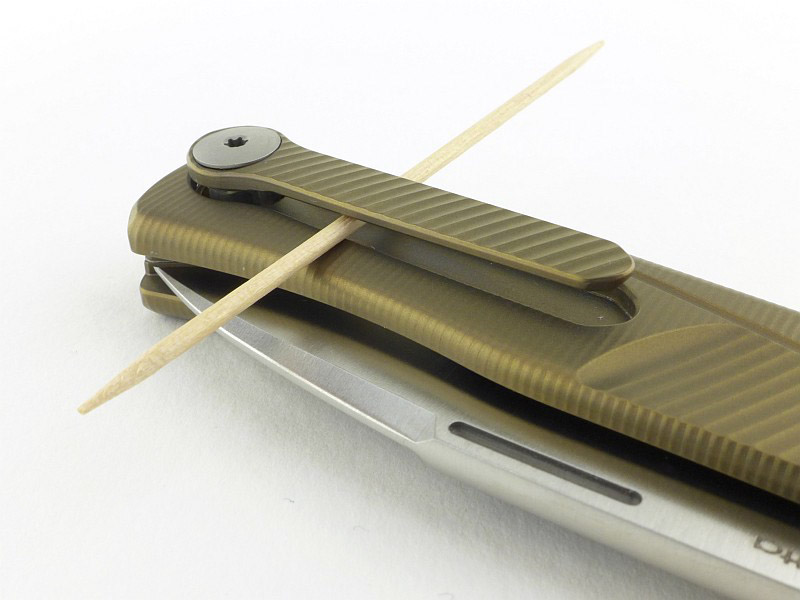
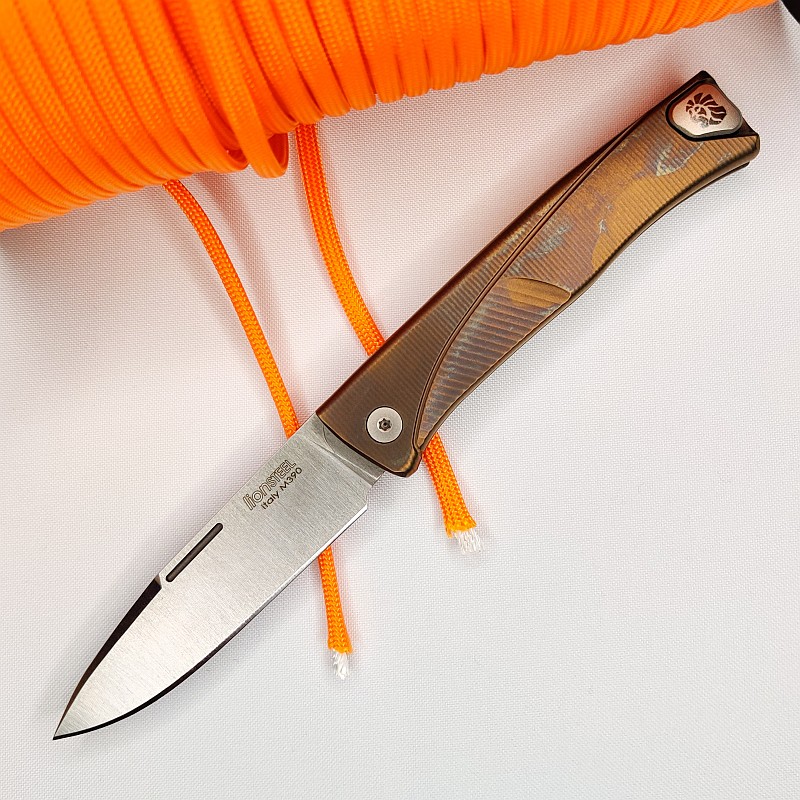
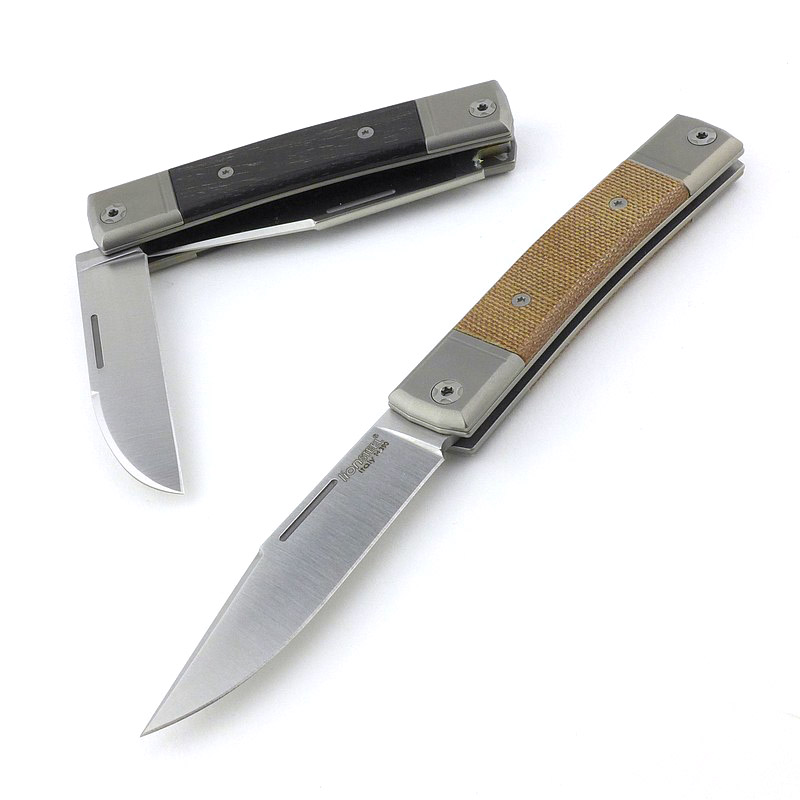
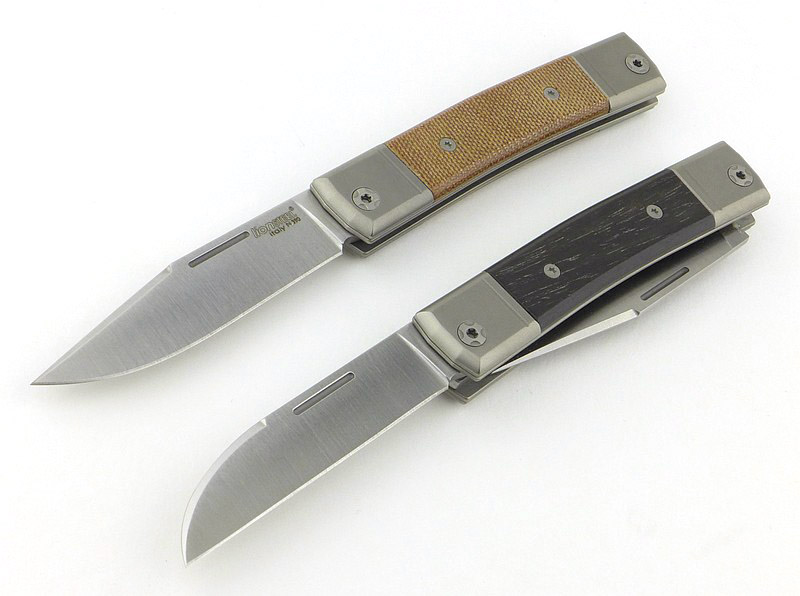
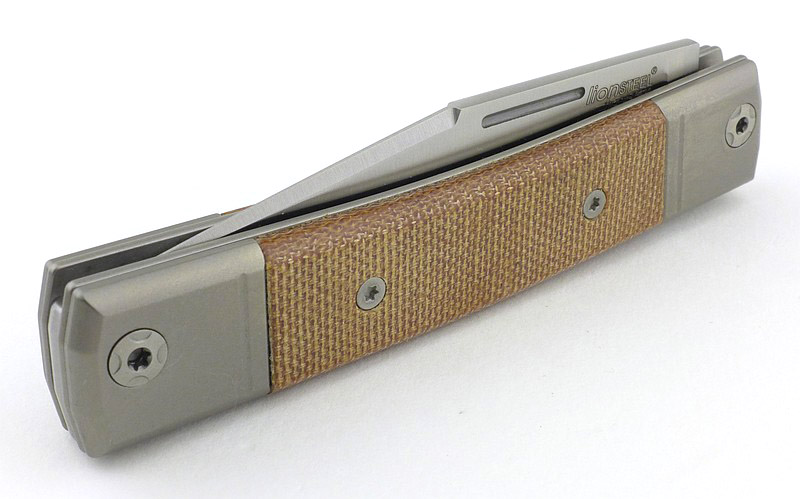
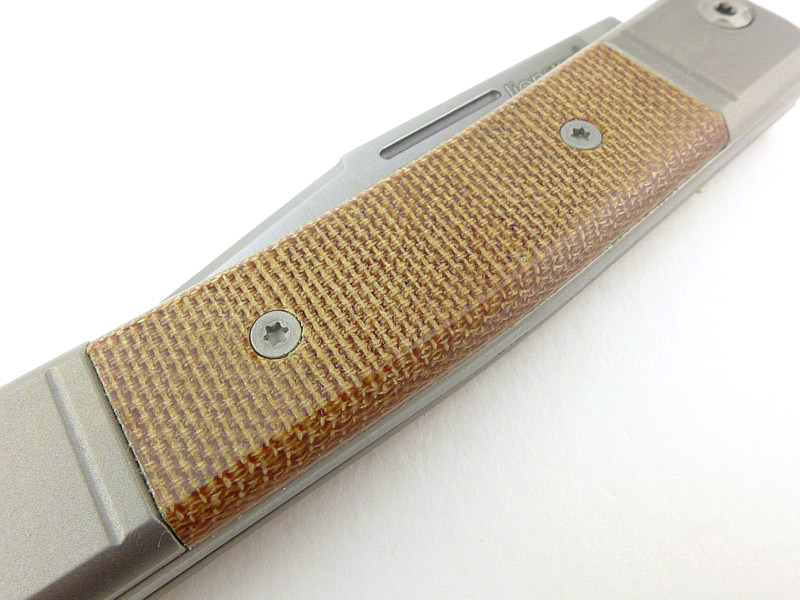
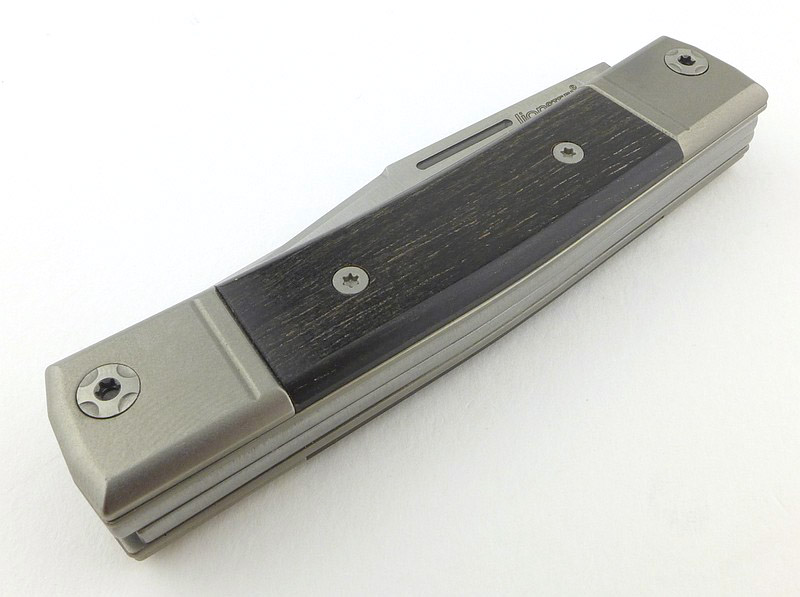
A good look round the Fällkniven U1c – Things to look out for here are:
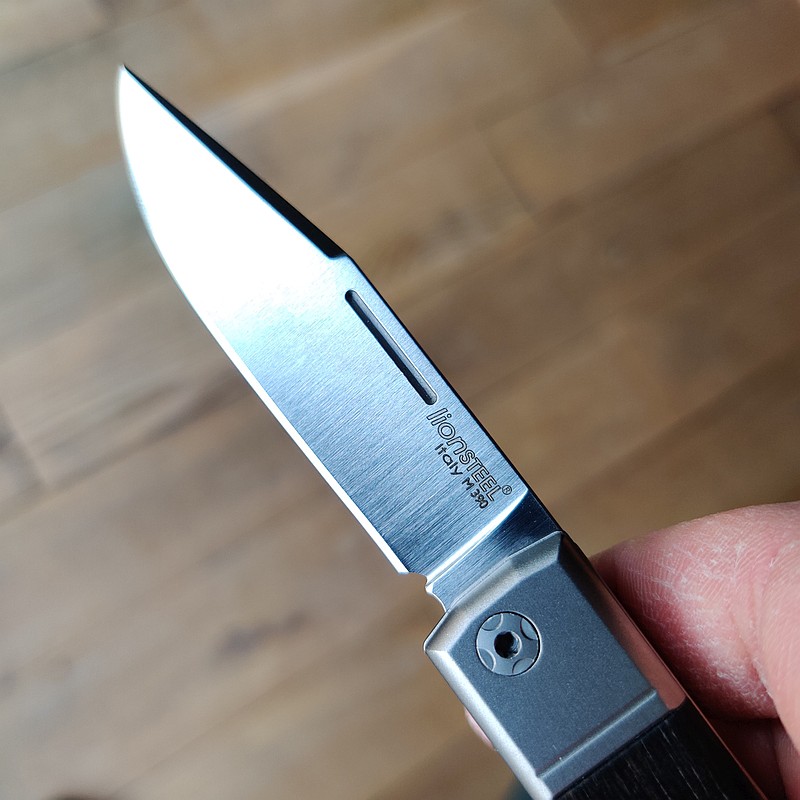
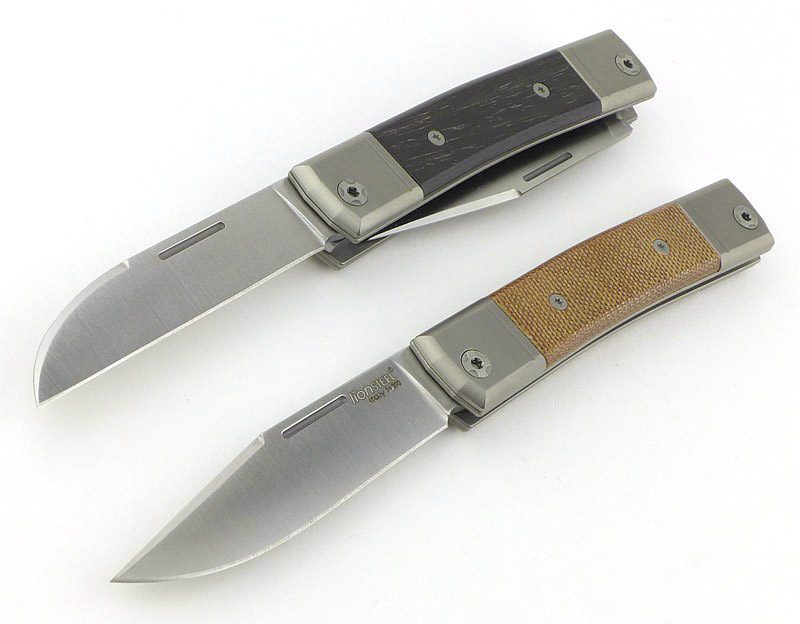
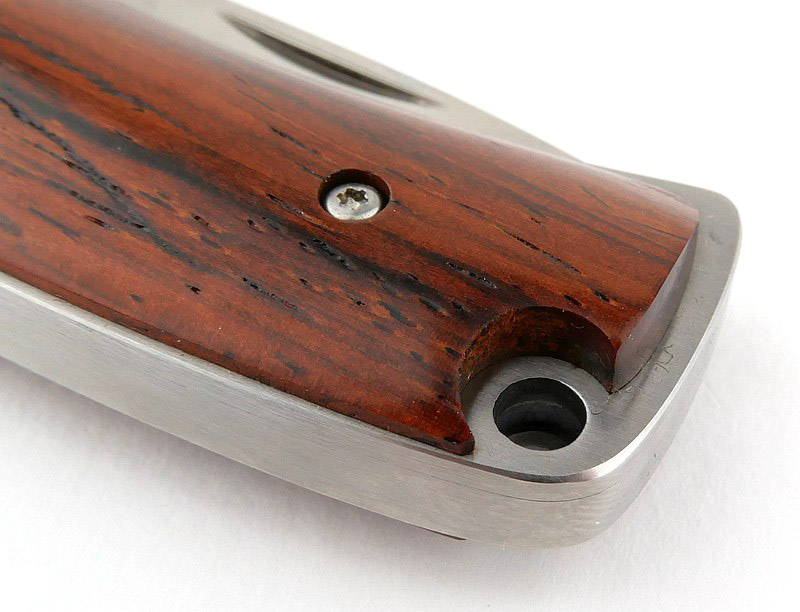
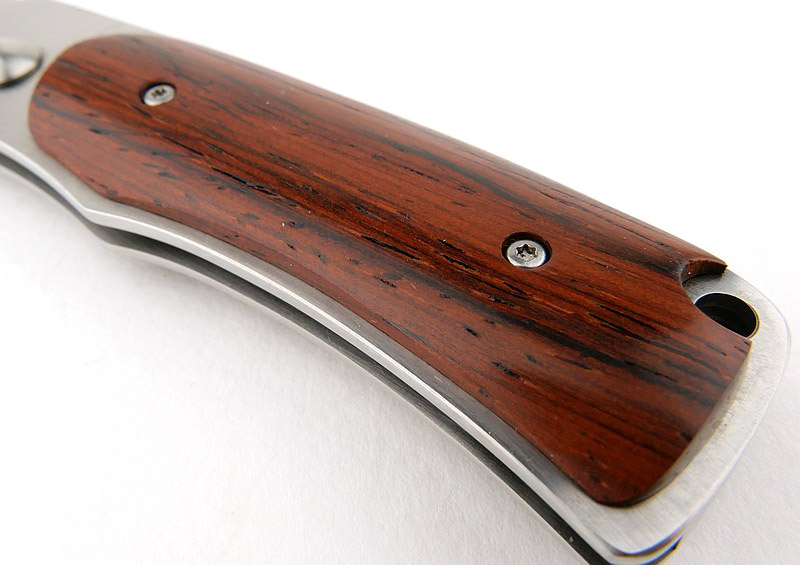
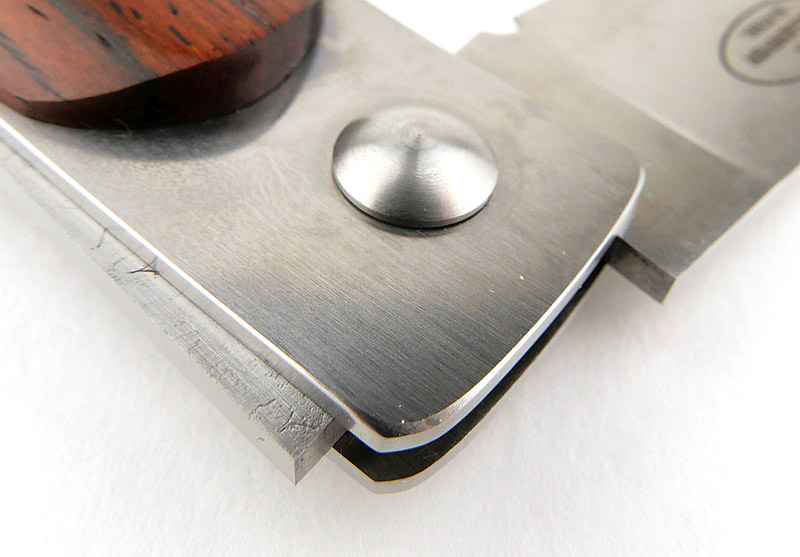
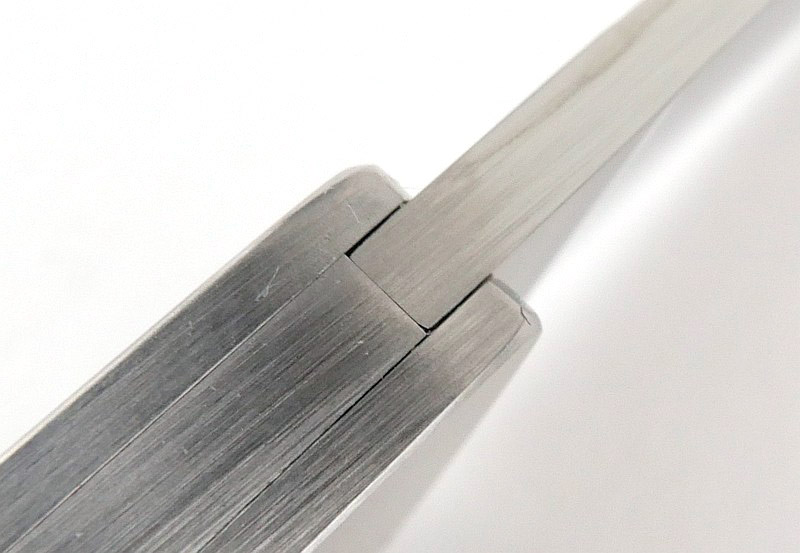
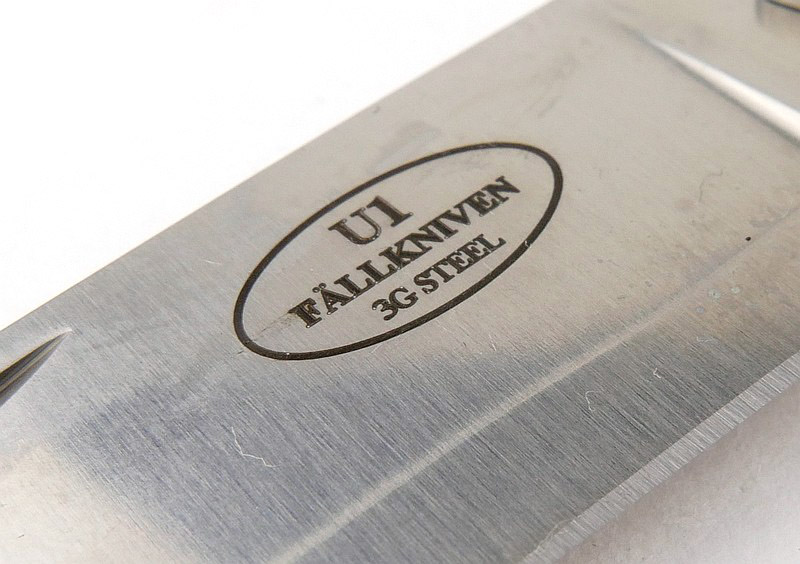
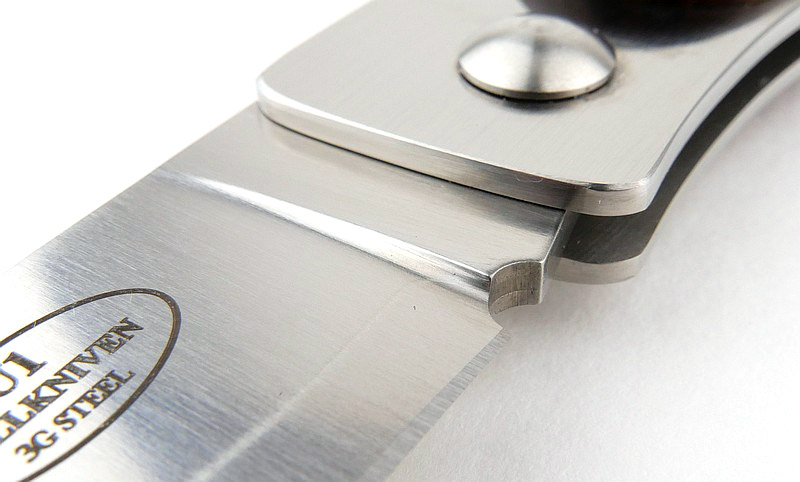
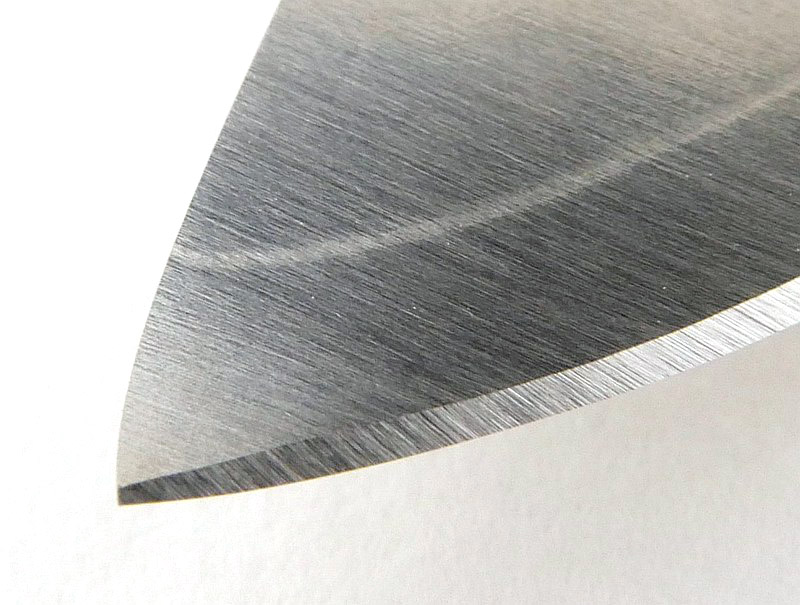
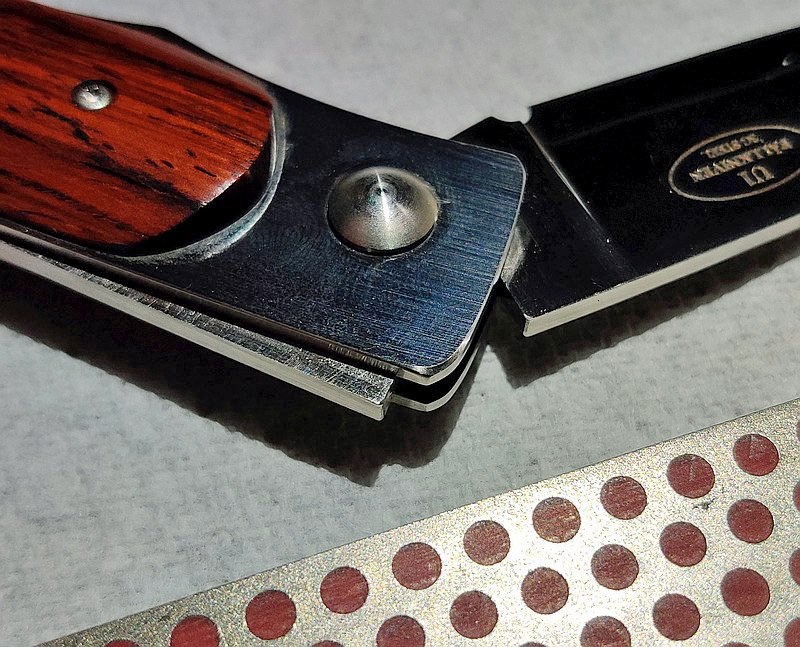
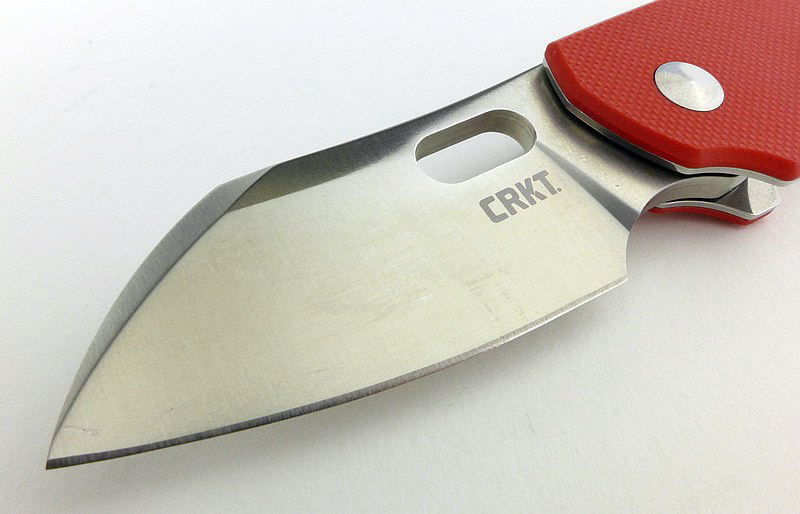
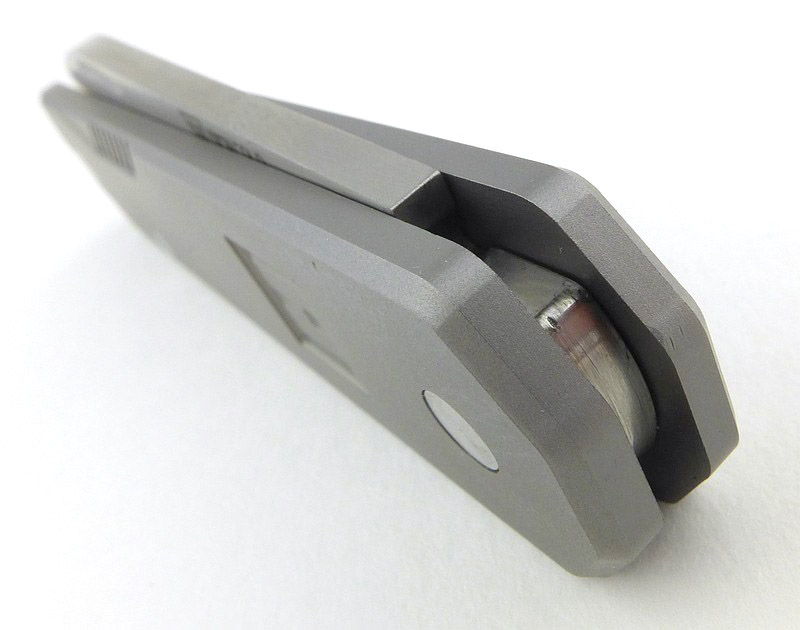
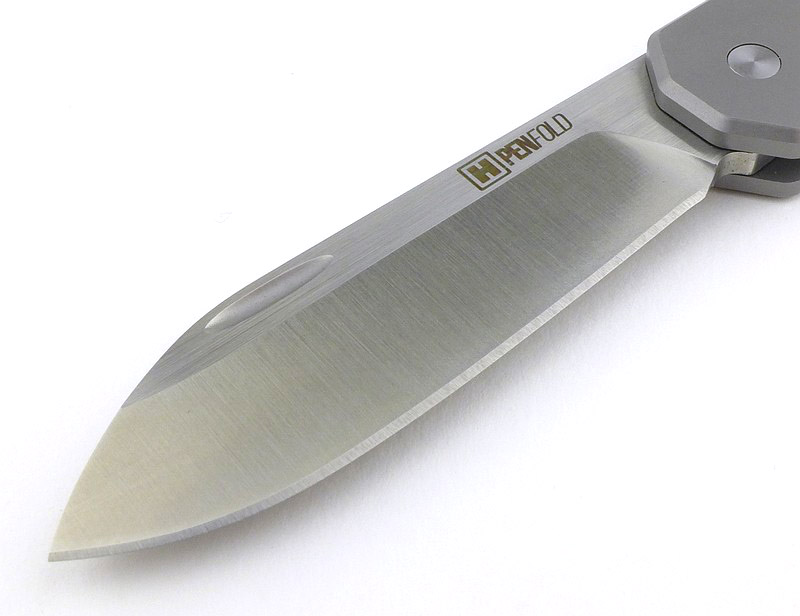
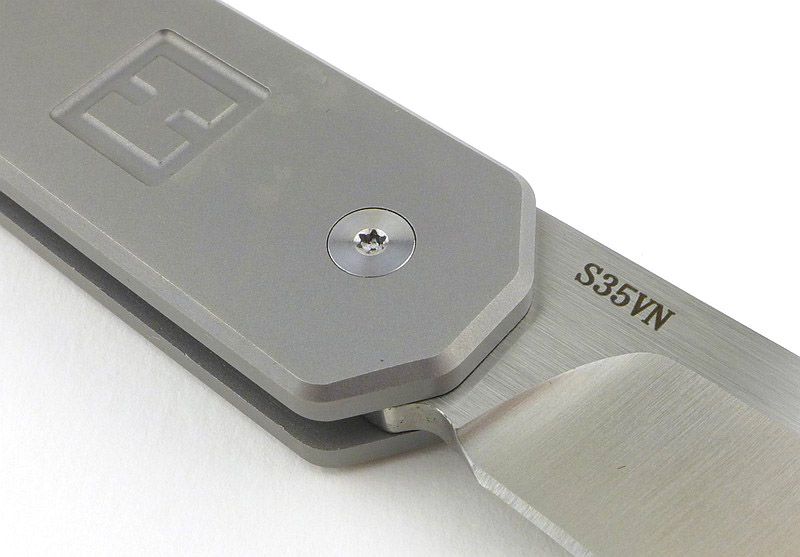
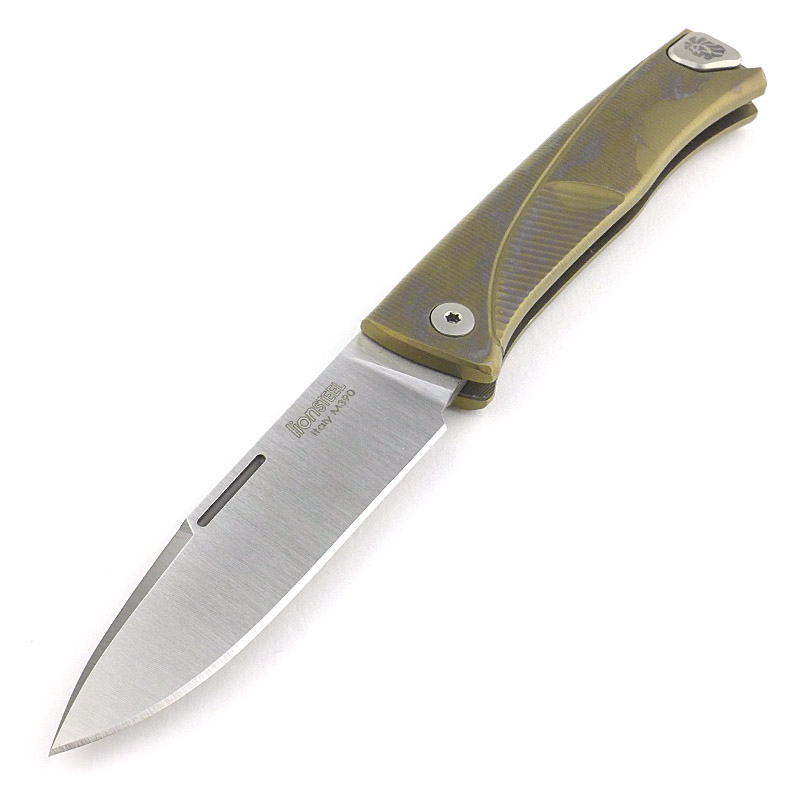
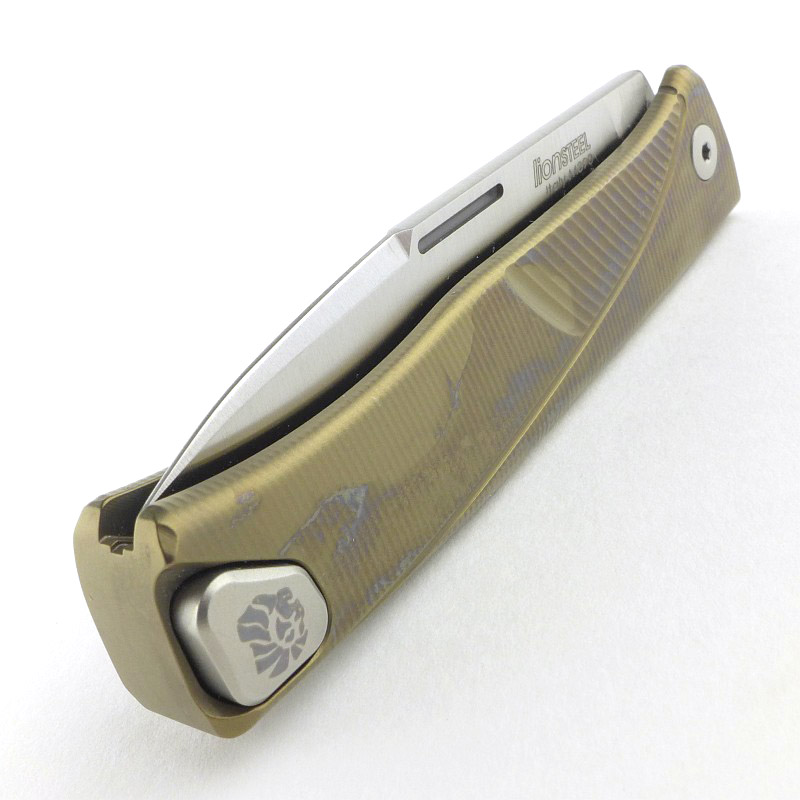
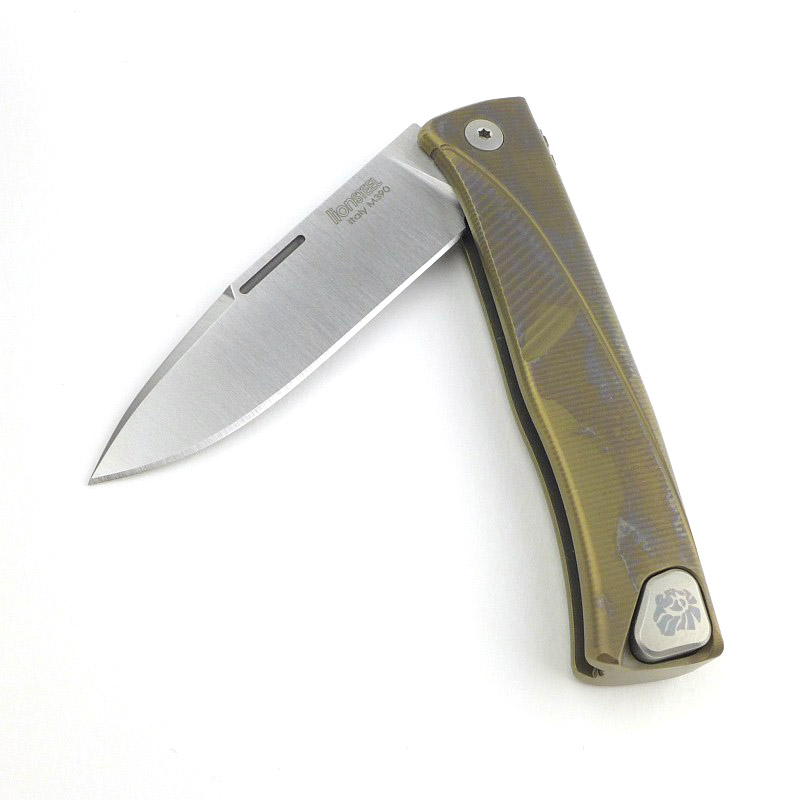
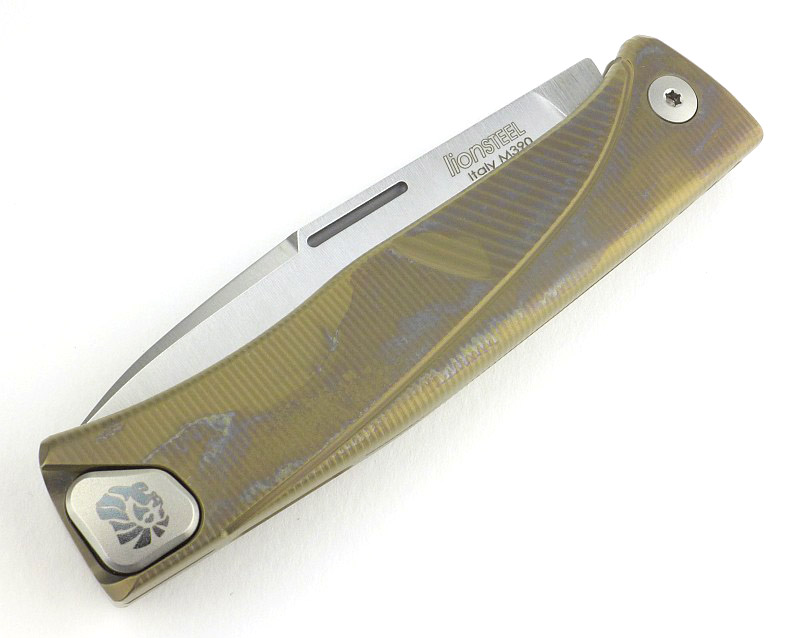
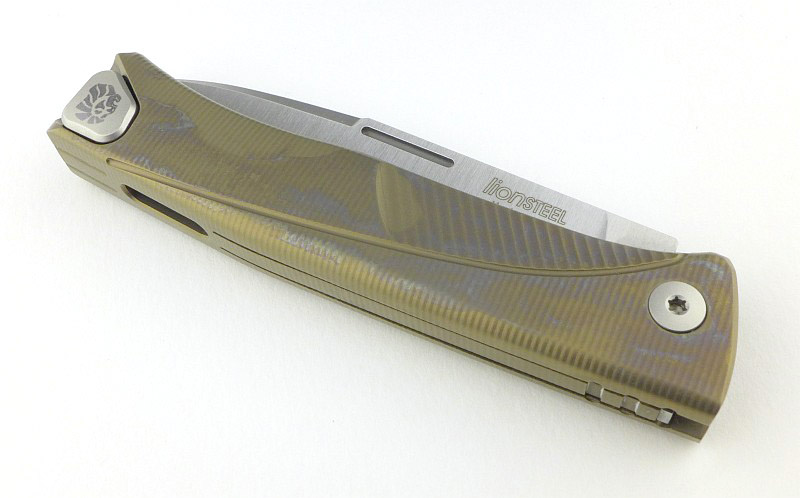
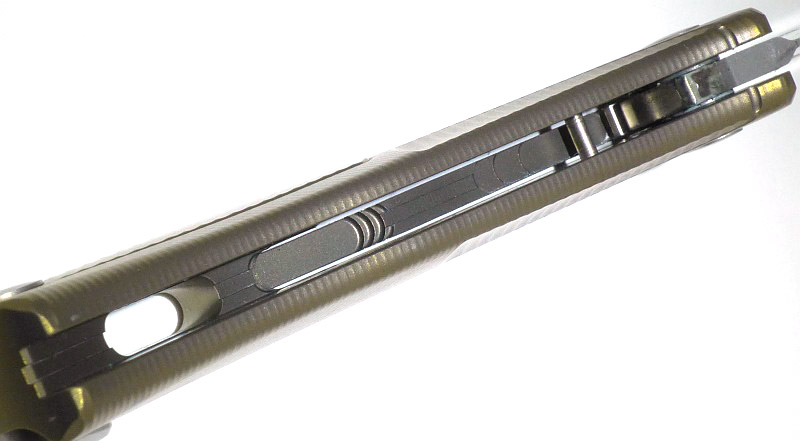
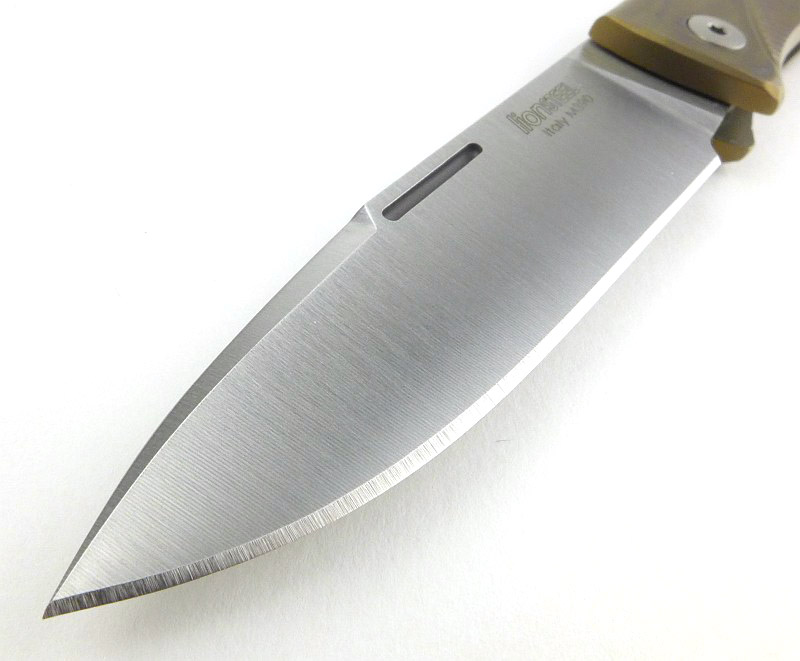
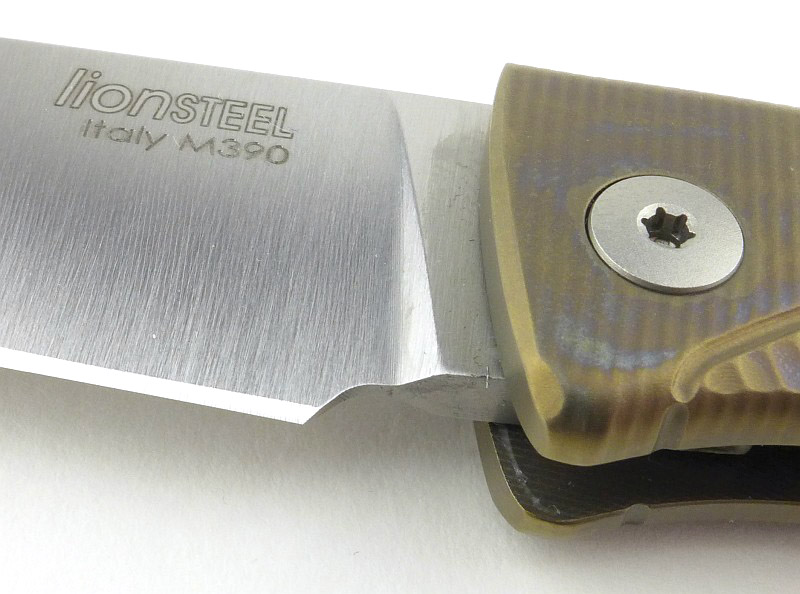
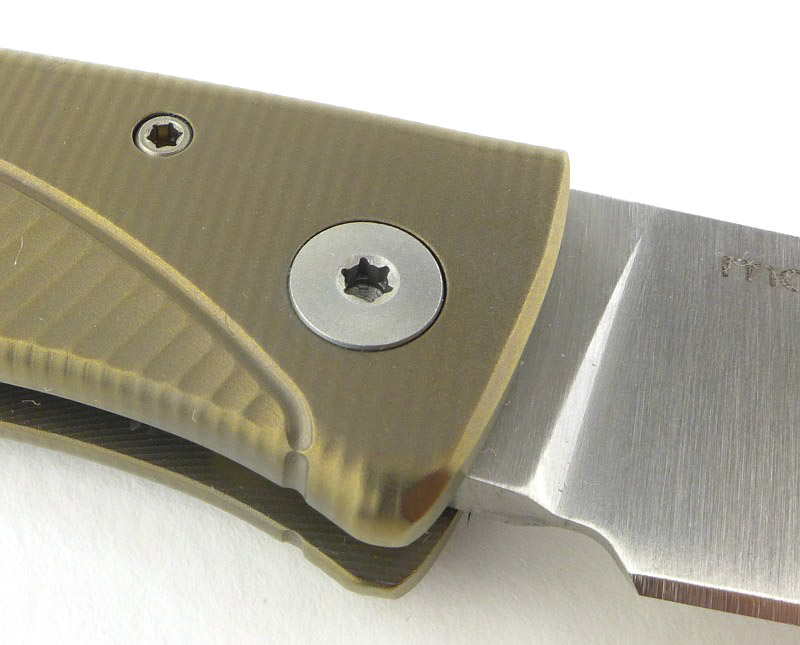
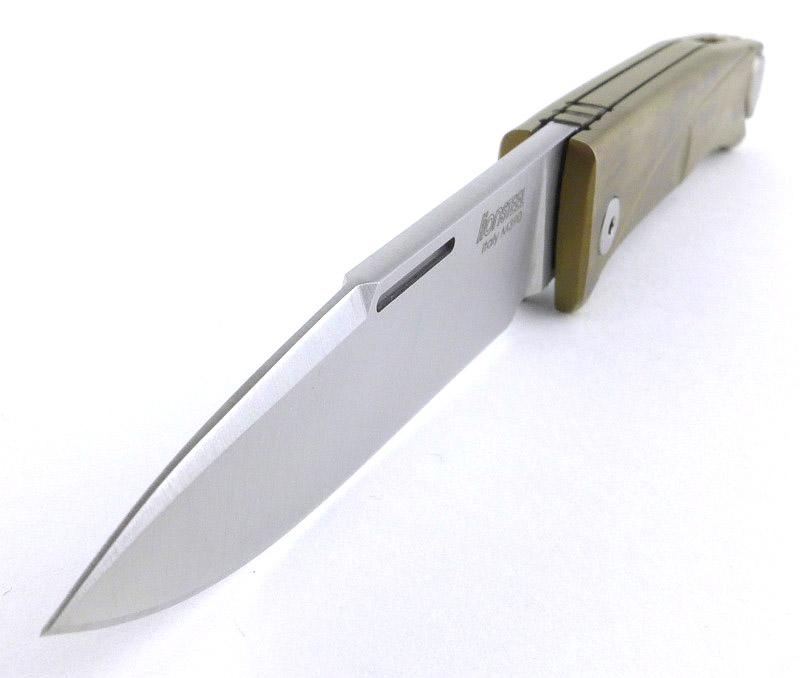
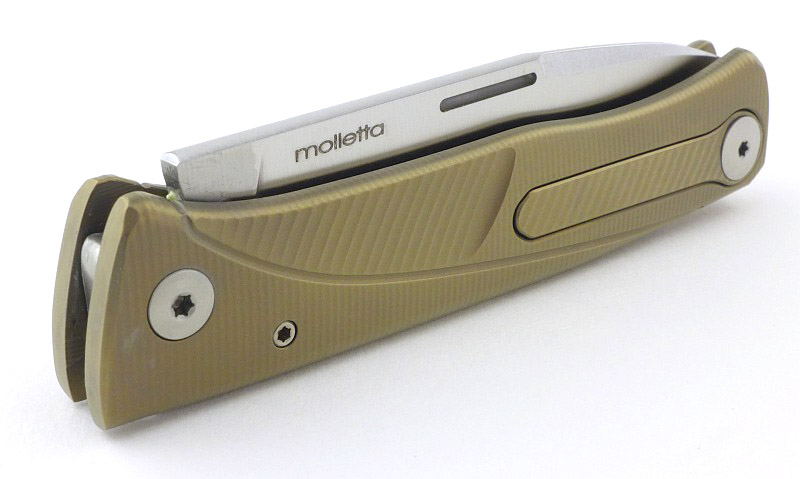
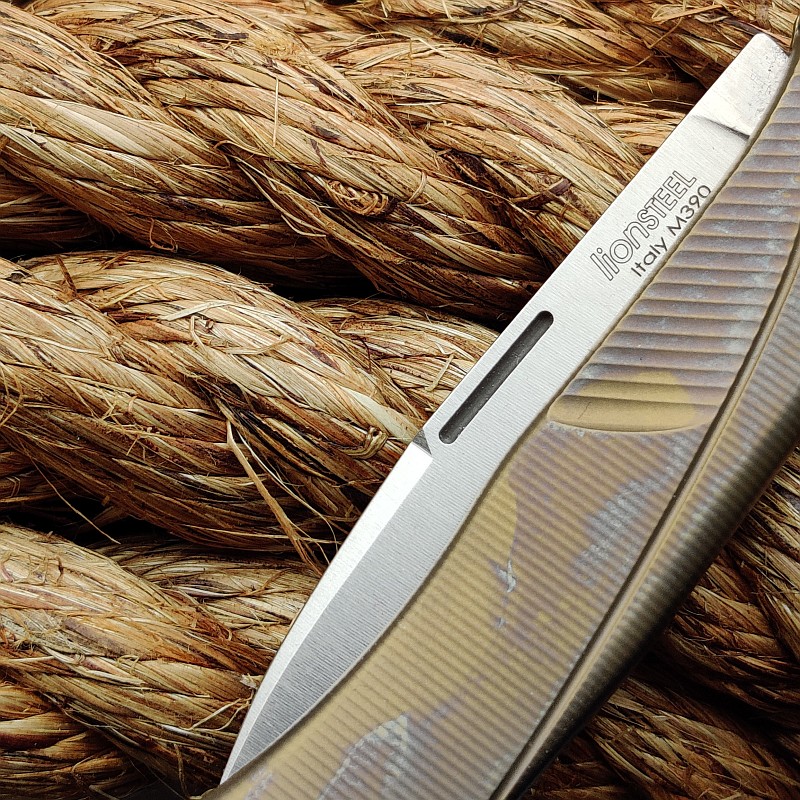
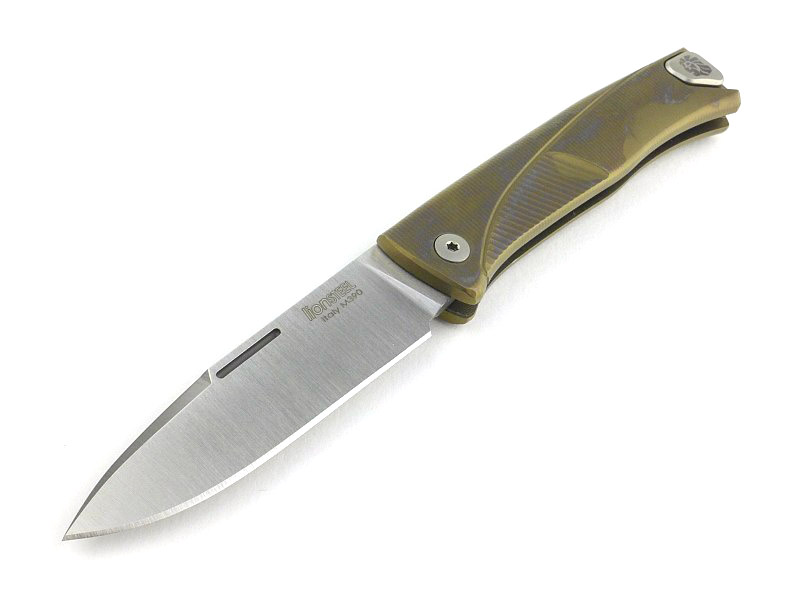
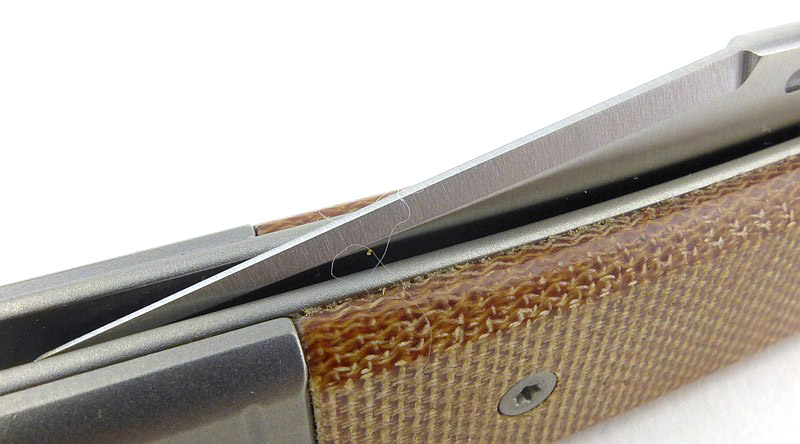
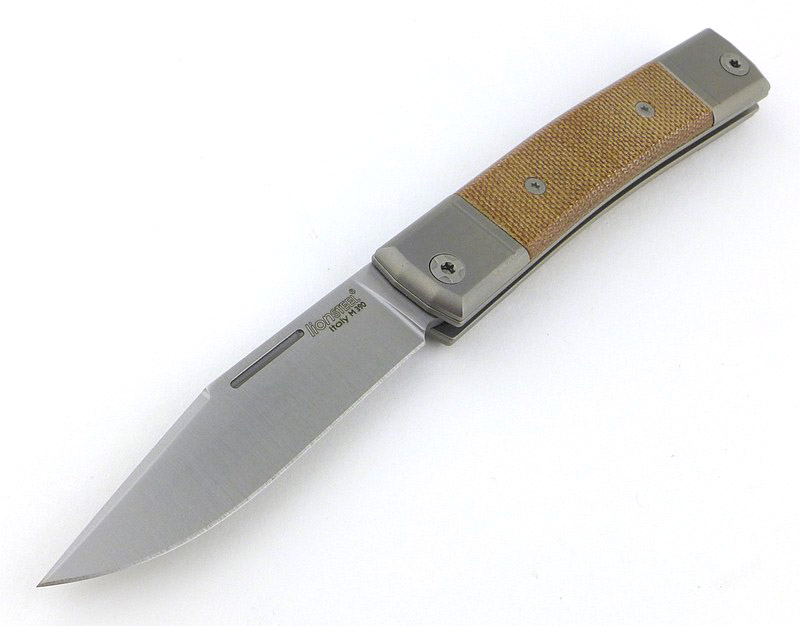
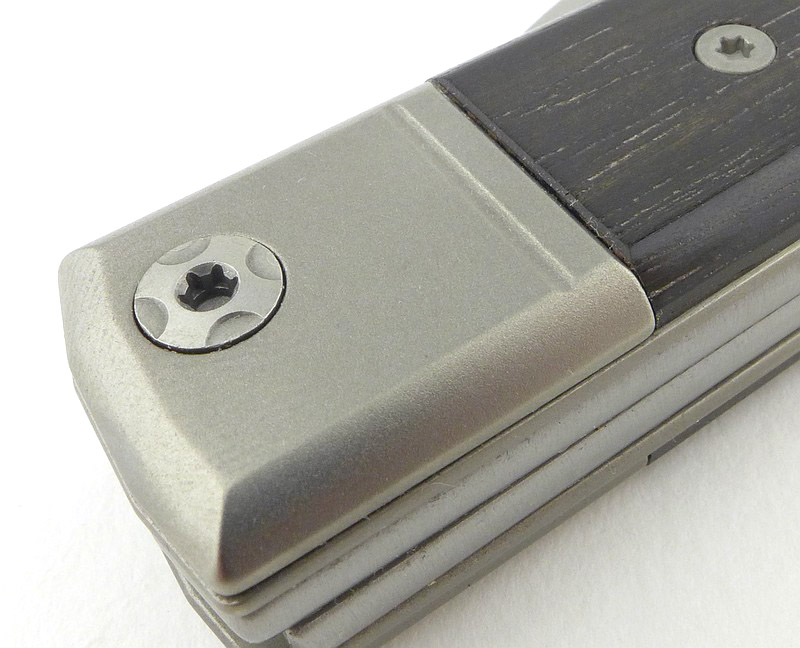
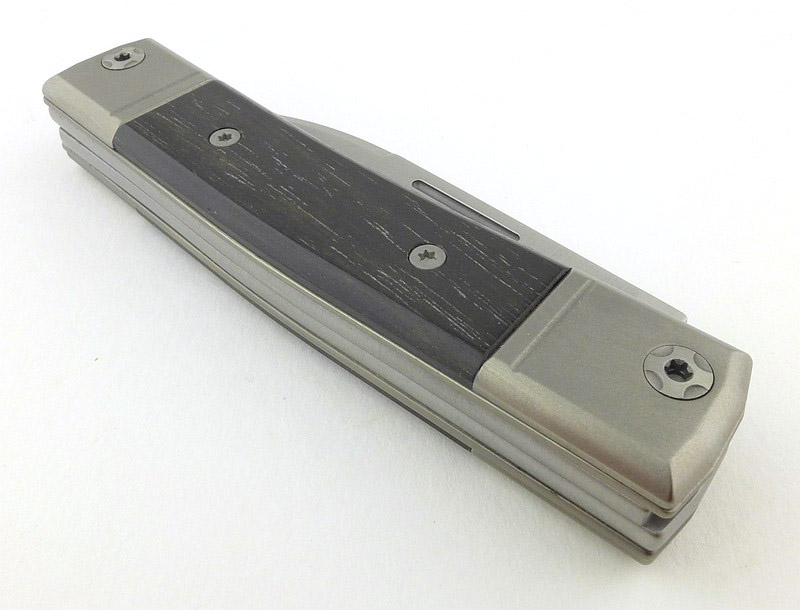
The construction is kept very simple, and is in fact a 100 year old slip-joint design. The blade pivot sits directly onto the handle liners (perhaps not really even ‘liners’ as they are exposed). The wooden grips of the U1c cover around 3/4 of the handle. Fällkniven are steel laminating experts, and the U1c is no exception, with the 3G-steel visibly laminated into the blade core.
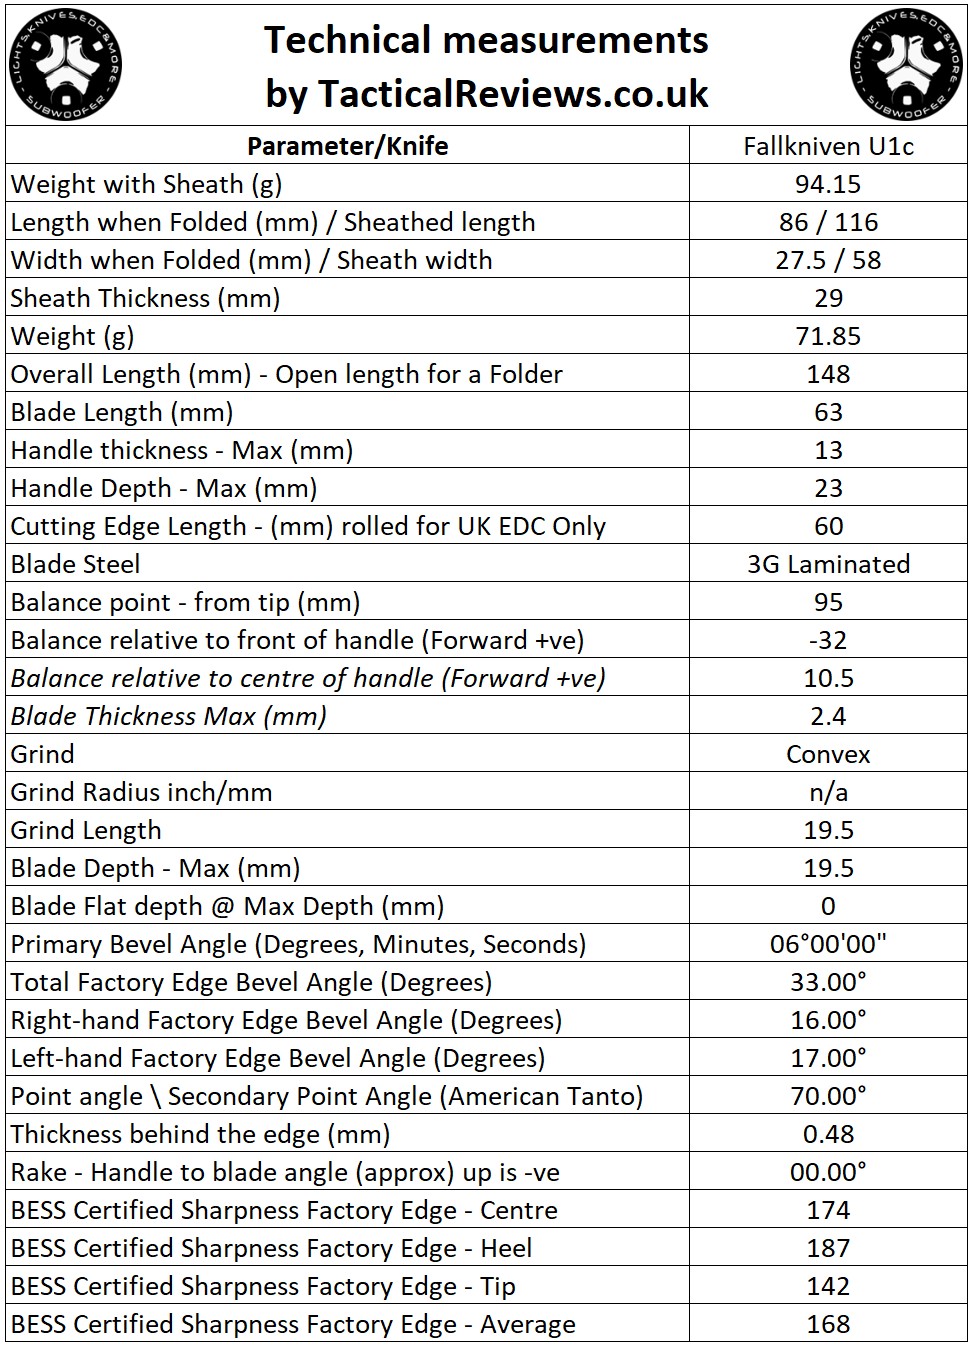
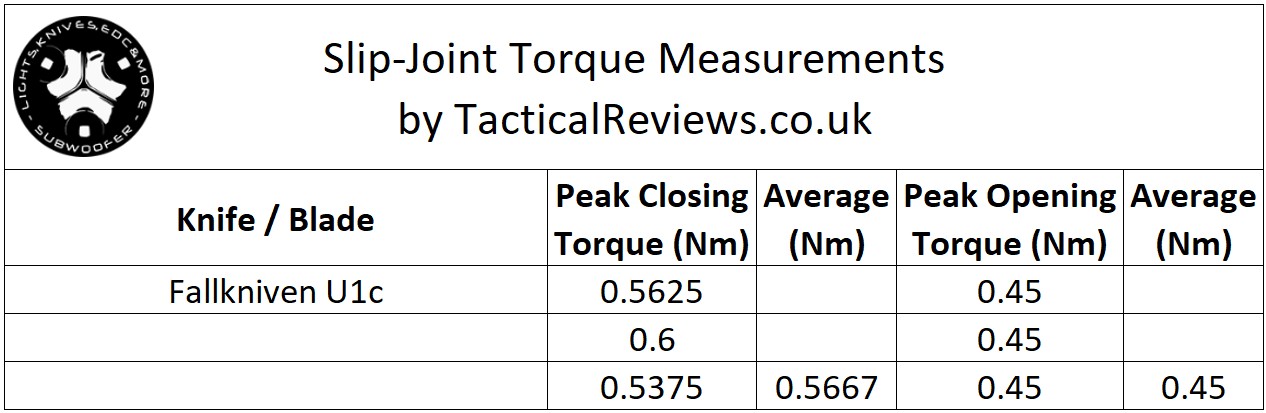
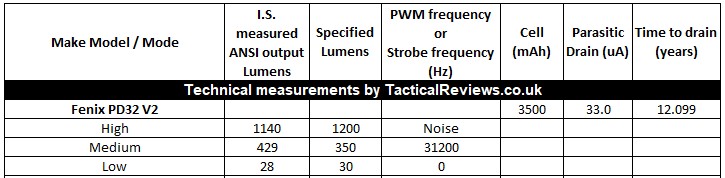
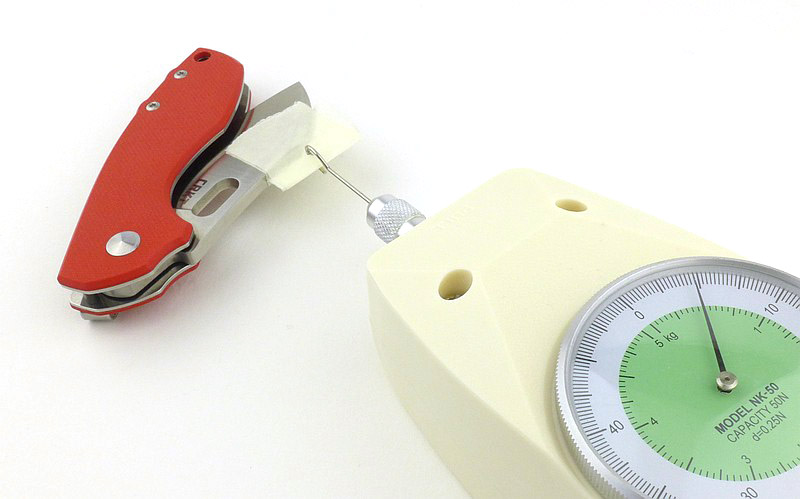
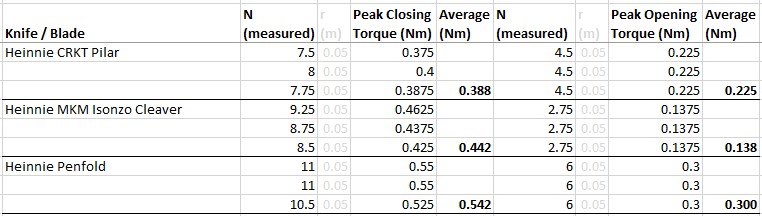
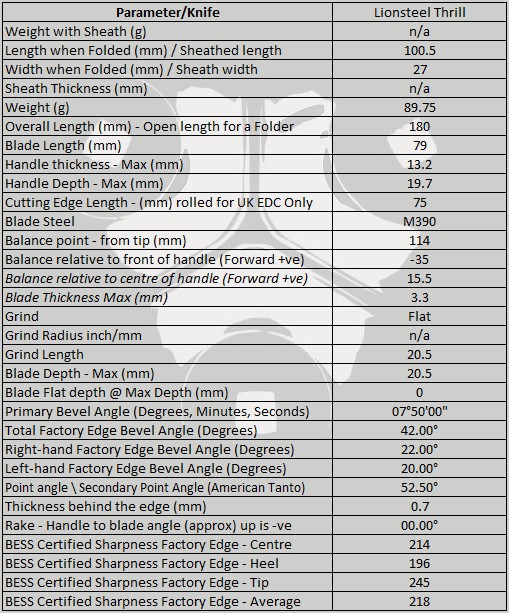
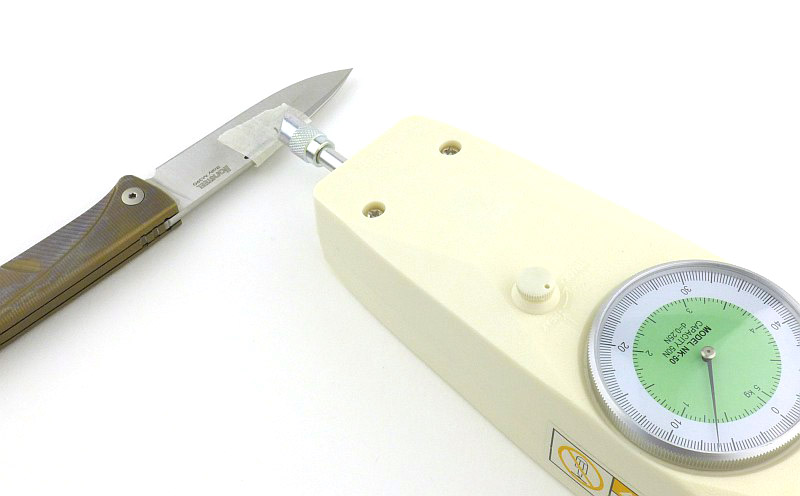
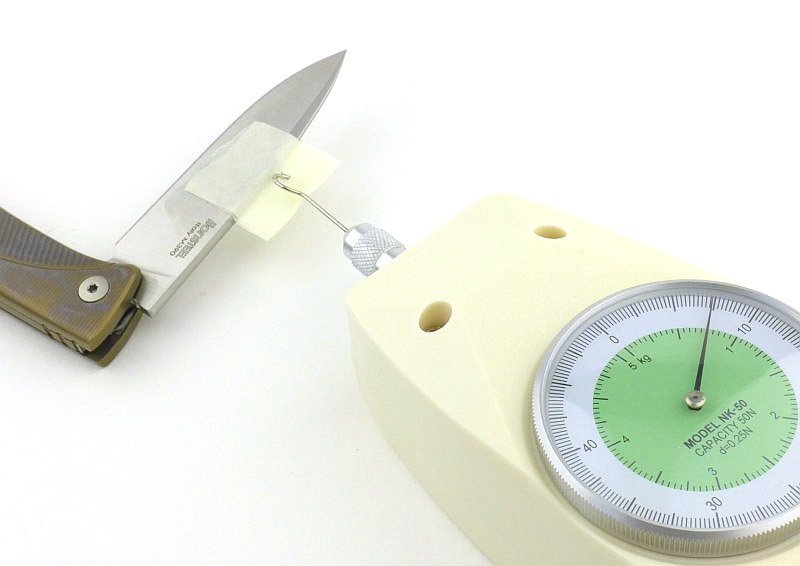
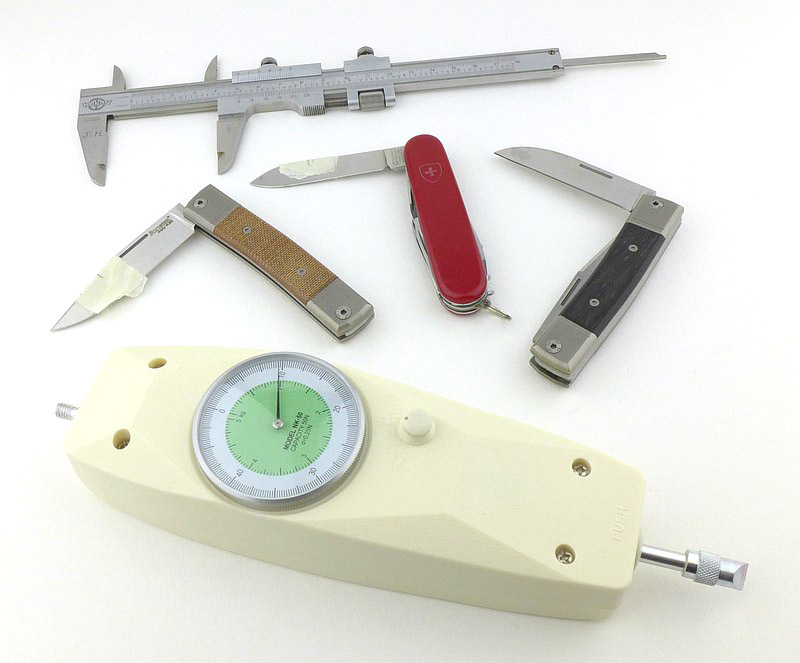
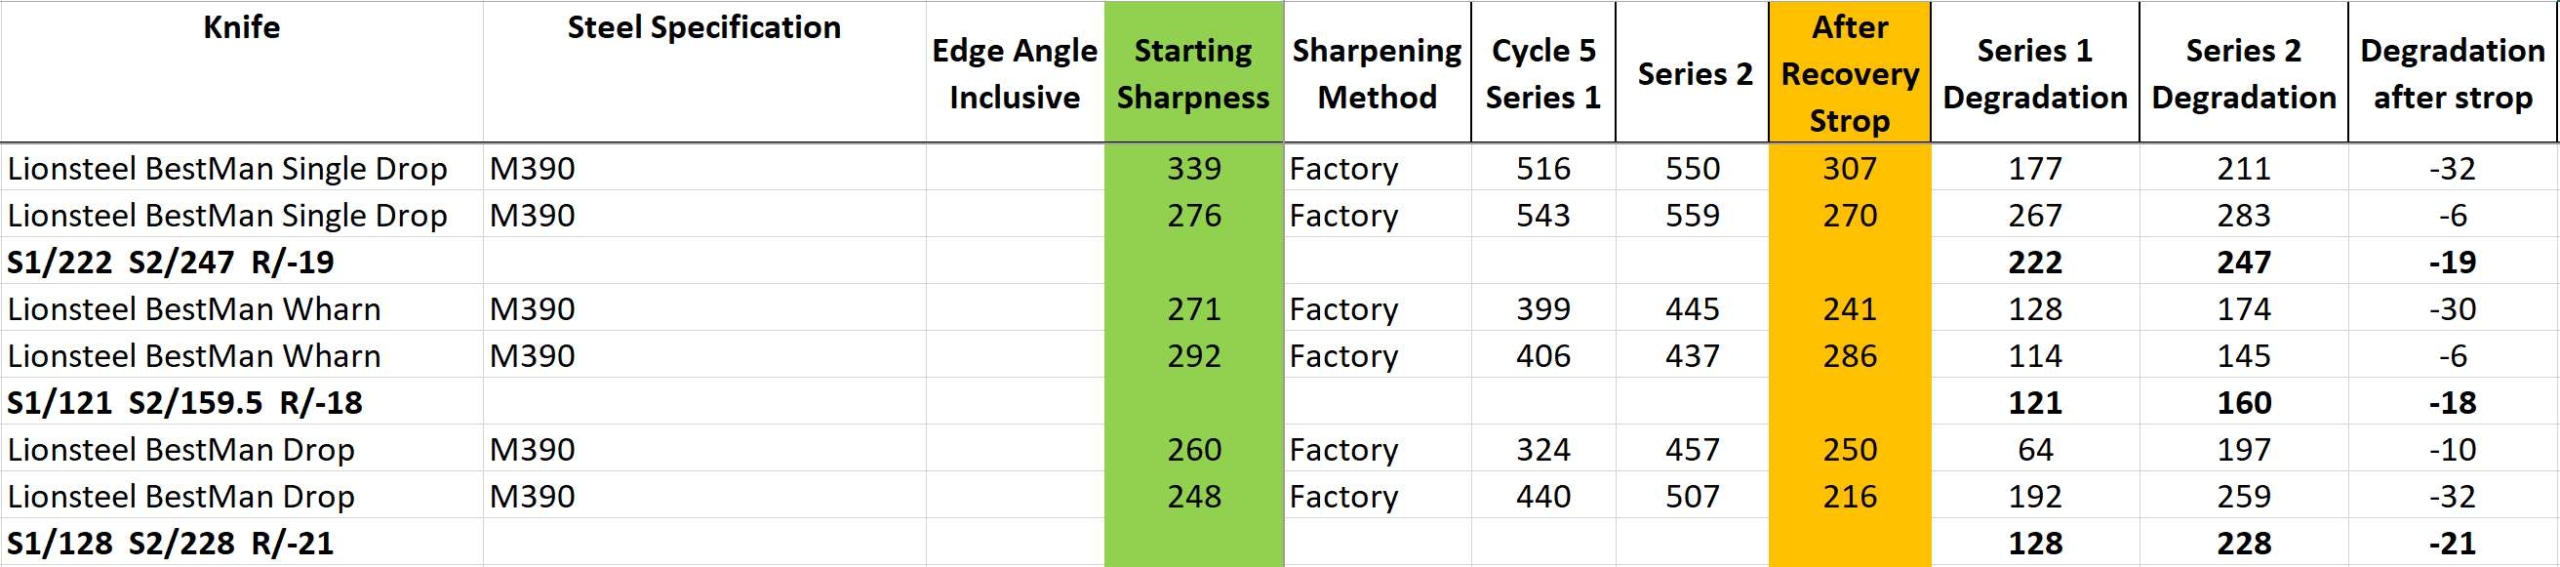
The Blade and Handle – Detailed Measurements:
For full details of the tests and measurements carried out and an explanation of the results, see the page – Knife Technical Testing – How It’s Done.
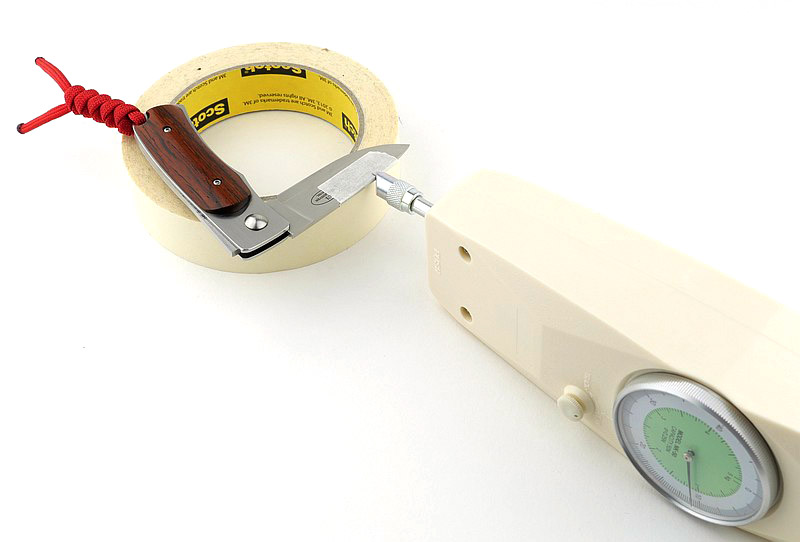
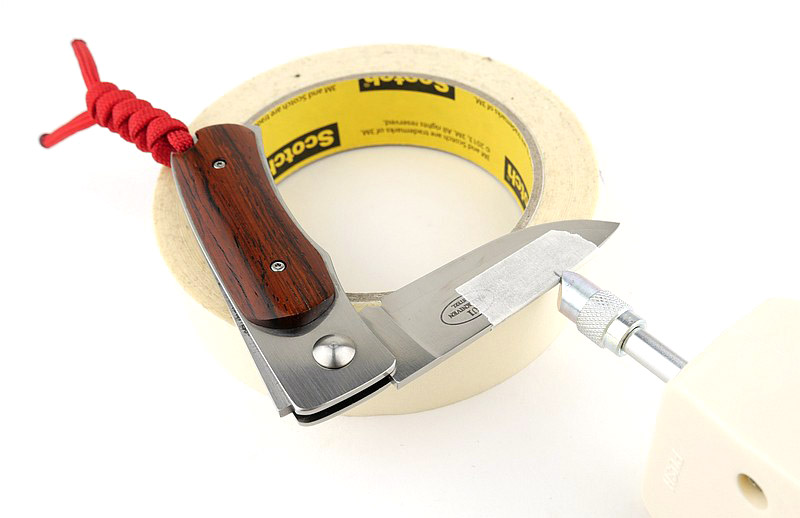
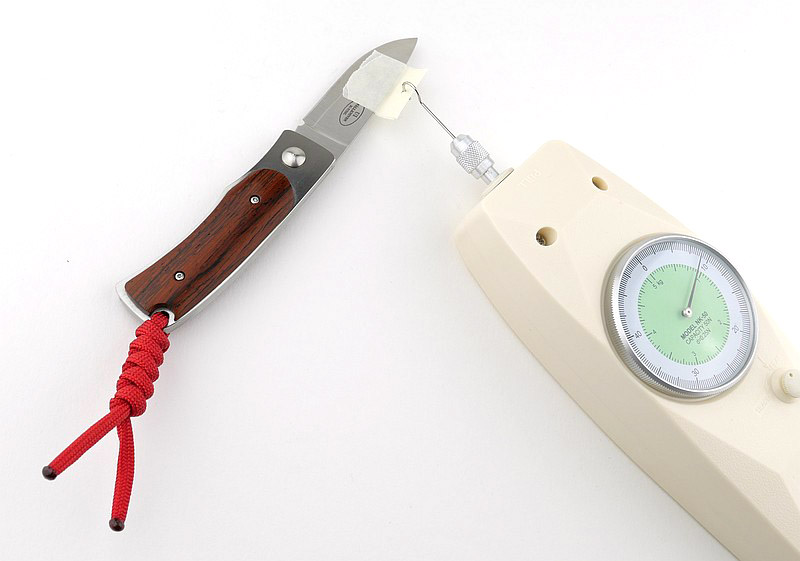
What is it like to use?
It’s a small slip-joint. I say it that way on purpose, as that is the reality – it sounds a bit boring and not worth taking much notice. Yes, it is a Fällkniven, so that does make it more interesting, and it has a 3G laminated blade, so more interesting again.
But, wait, this does not do it justice in the slightest!
Fällkniven say it is a 100 year old design. Designs that don’t work, don’t stick around, and this has been proven to me again and again while carrying this knife. This is not just and EDC knife, it is an EDU knife (Every Day Use – coining a phrase). Carry it and you will use it over and over, every day.
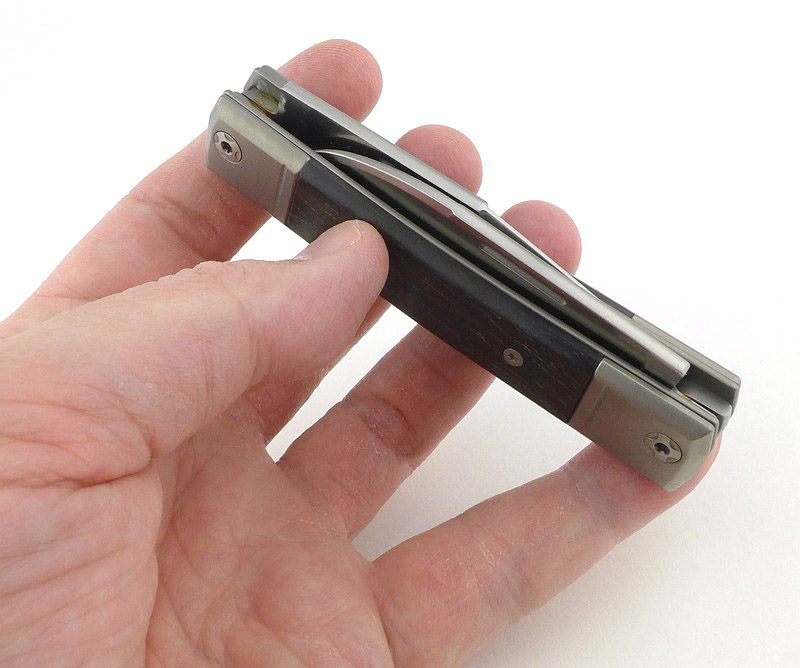
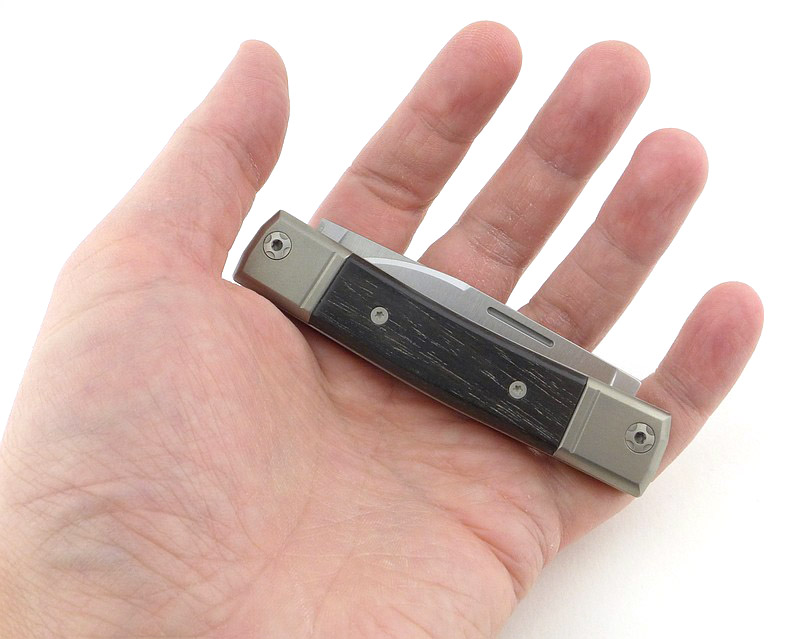
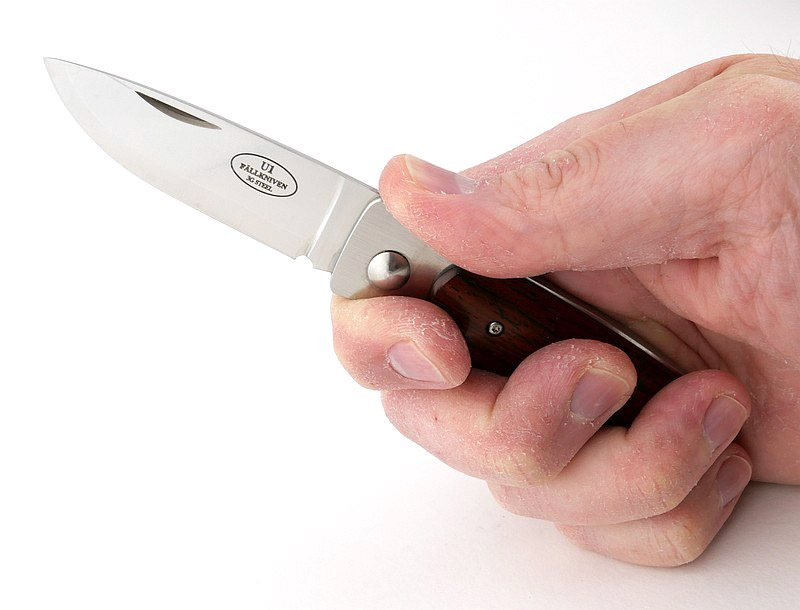
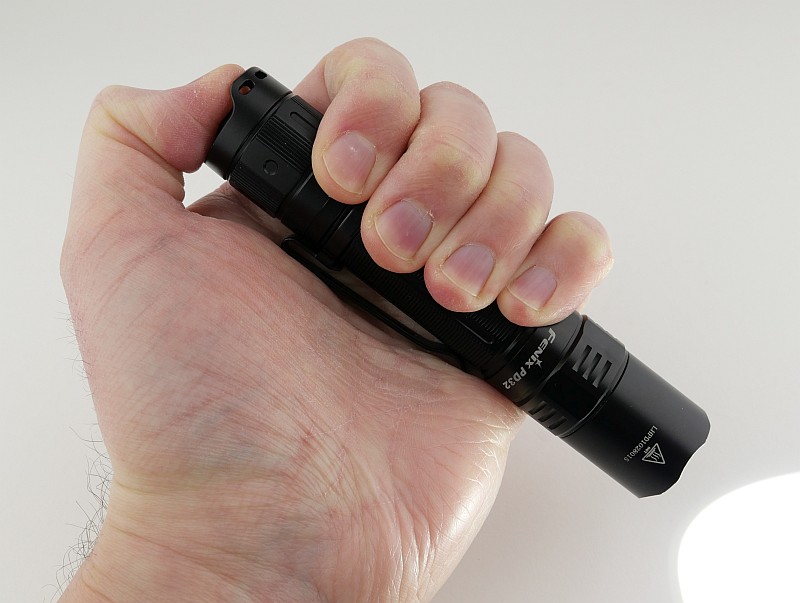
In my hand, it is a three-finger size knife (I cannot get four fingers to fit on the handle). Remember that your first three fingers are where the majority of your hand strength is, so it is not a handicap at all. The size of the knife makes it all the more easy to carry, and this is massively helped by the dedicated belt pouch, which is itself small and easy to forget about on your belt.
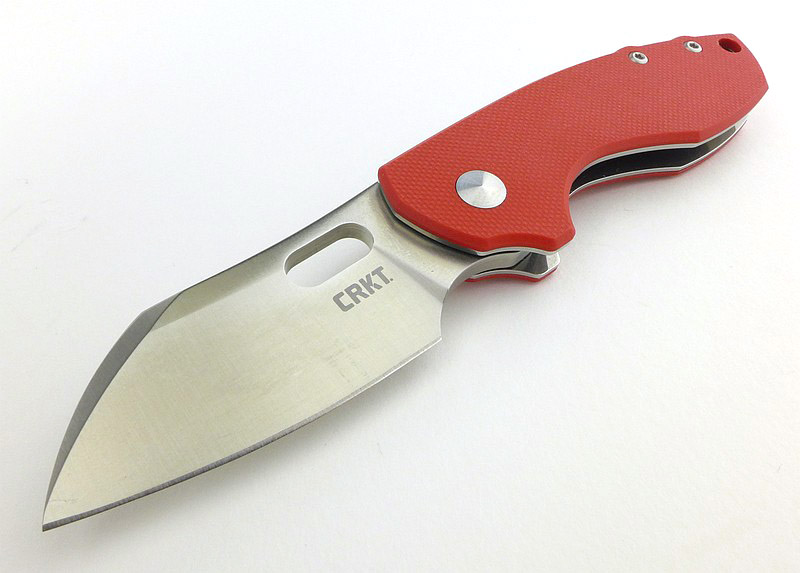
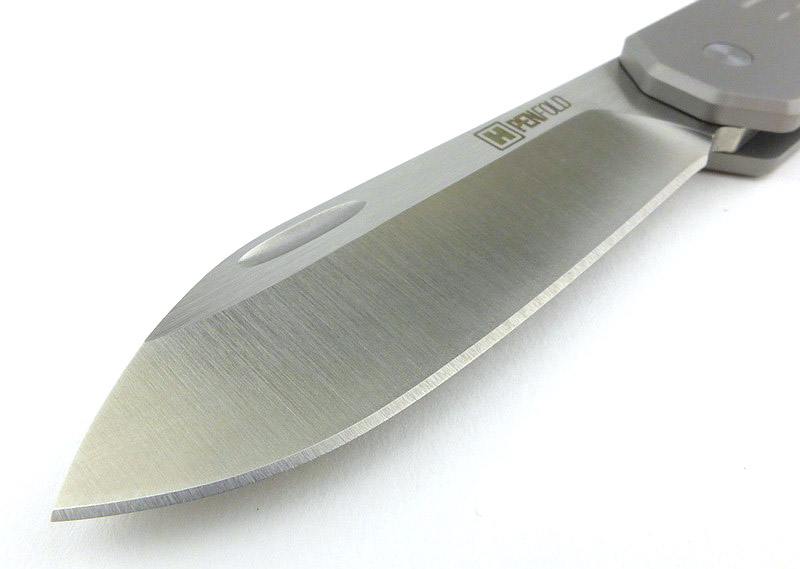
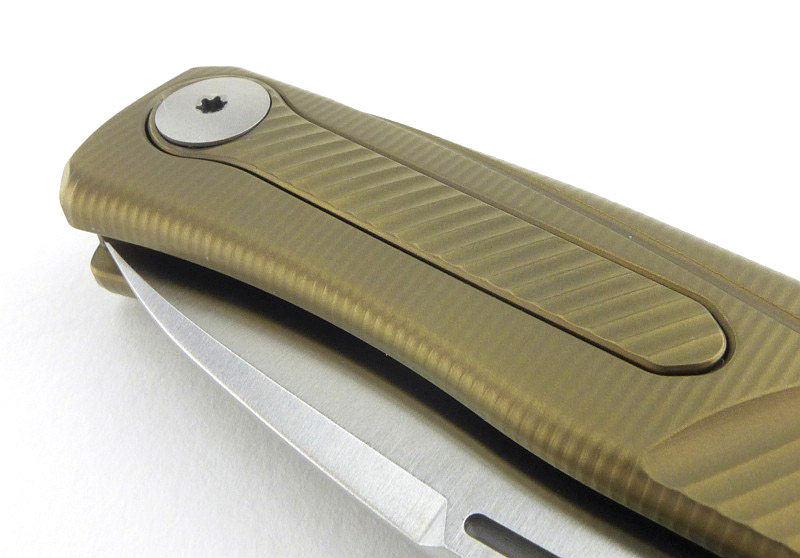
Although there is a double nail-nick (one either side of the blade), I find it easy to open with a pinch-grip on the blade. The action is positive and the blade perfectly secure for every day tasks.
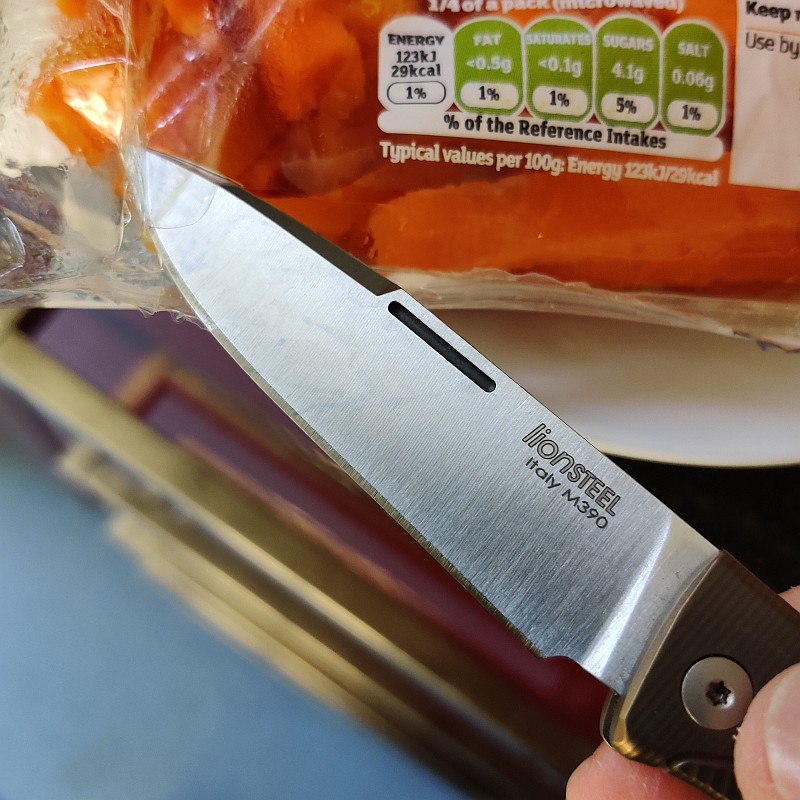
The slight full convex grind on the relatively thin blade allows it to slide through what you are cutting with ease. And that brings me to the 3G steel and the factory edge. Normally in the course of the review testing I will need to re-sharpen an edge, or improve/re-profile it to my liking; over the couple of months I have been using the U1c, it still has a hair popping original factory edge, and I don’t want to re-sharpen it until it really needs it. No noticeable loss in its eagerness to cut from day one – seriously impressed.
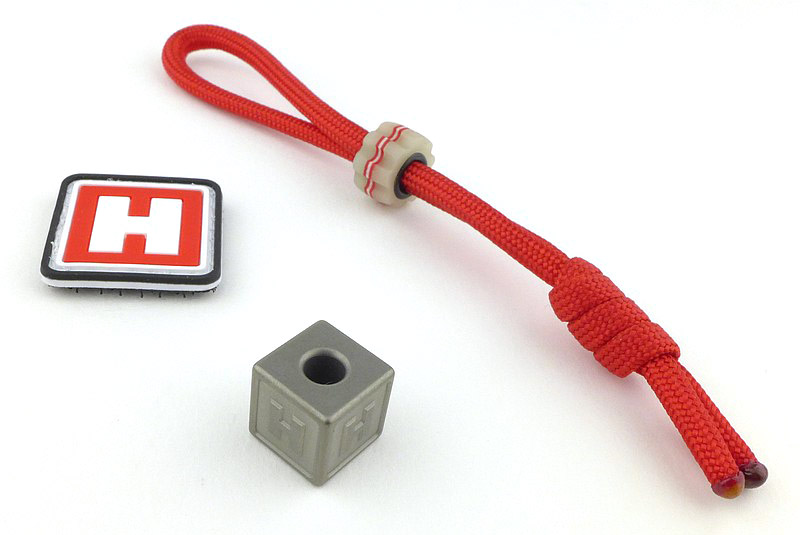
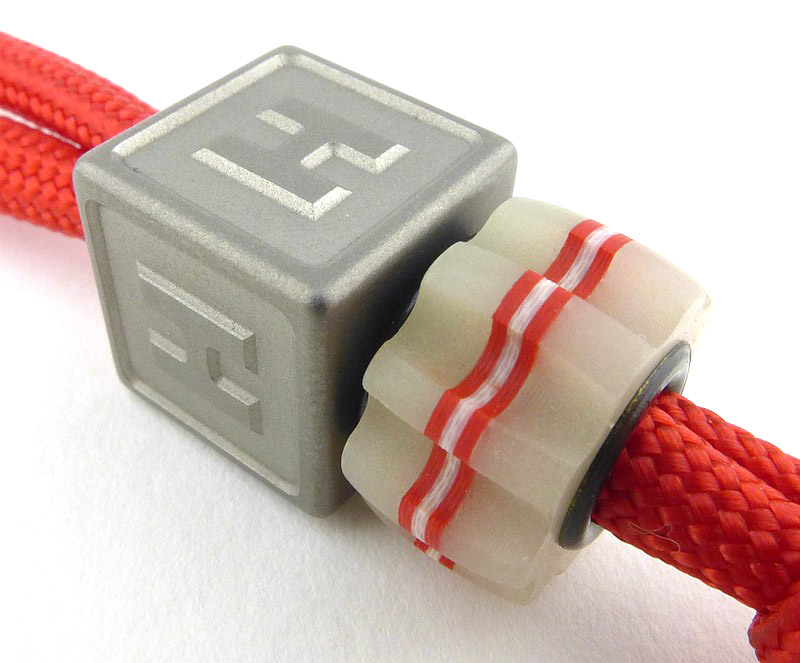
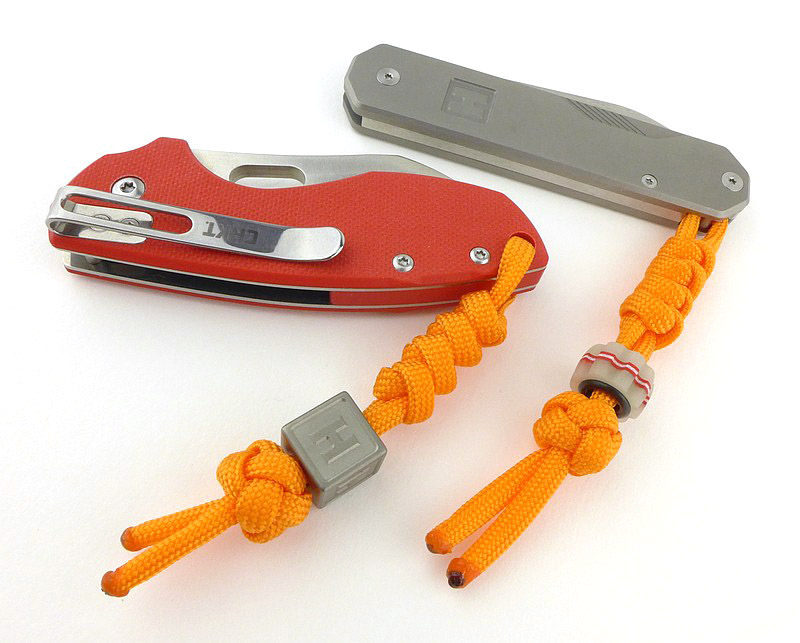
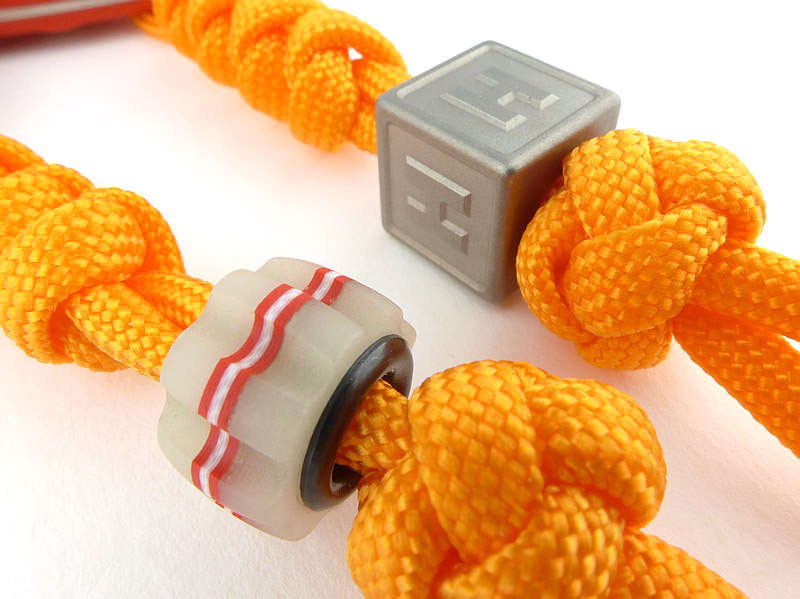
Popping on a small lanyard makes getting it out of the pouch much easier and is well worth doing.


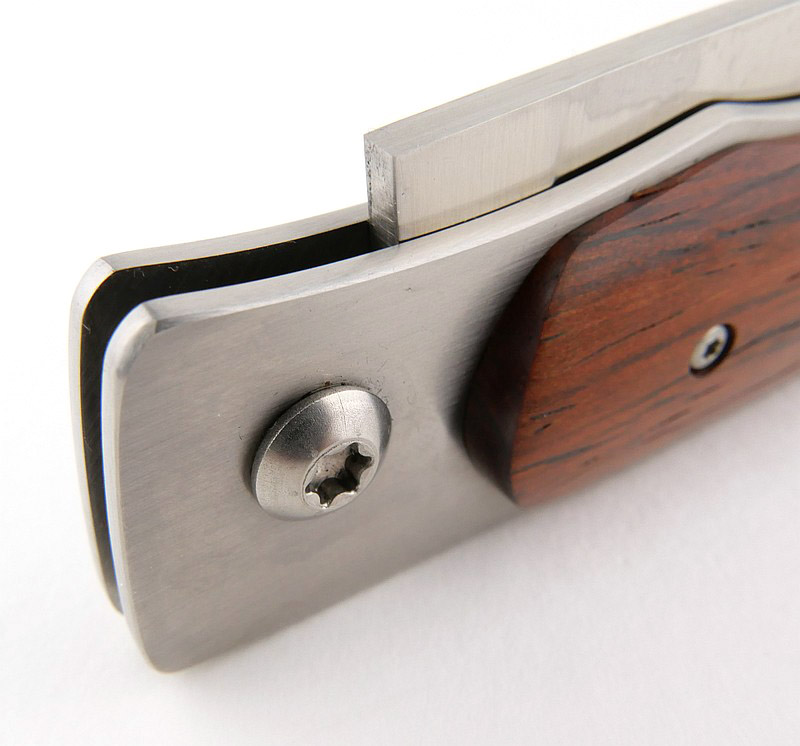
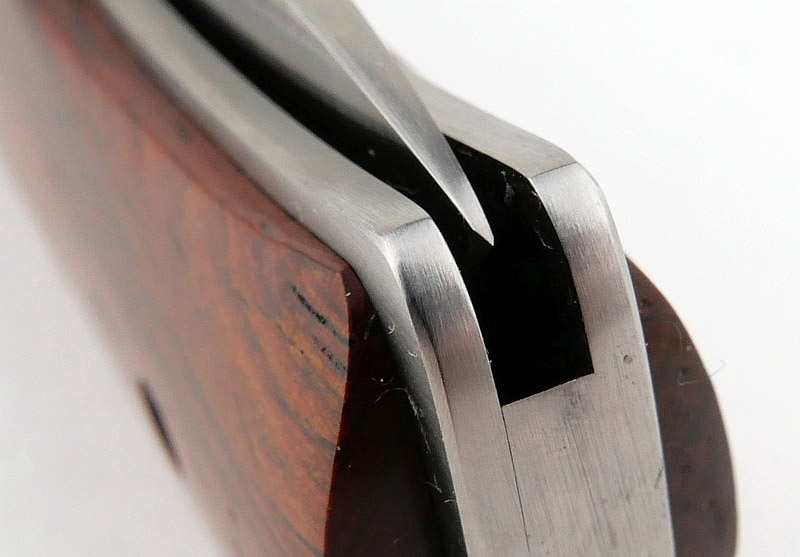
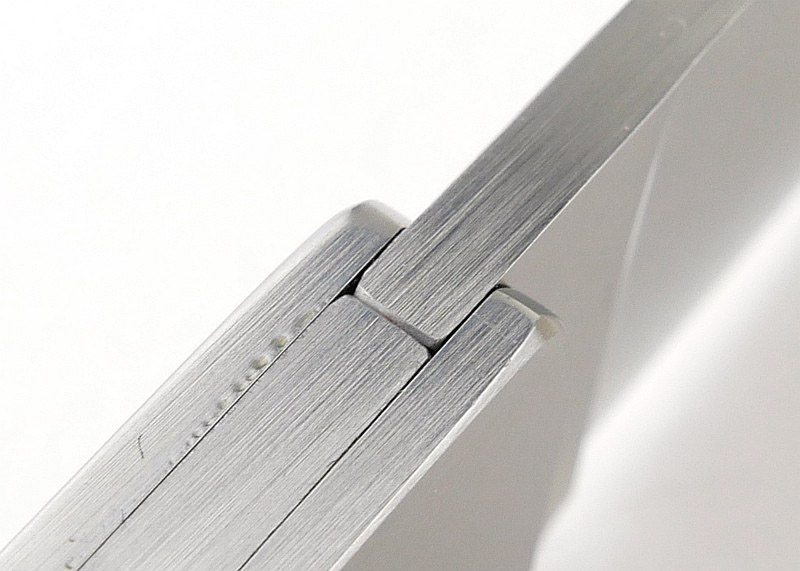
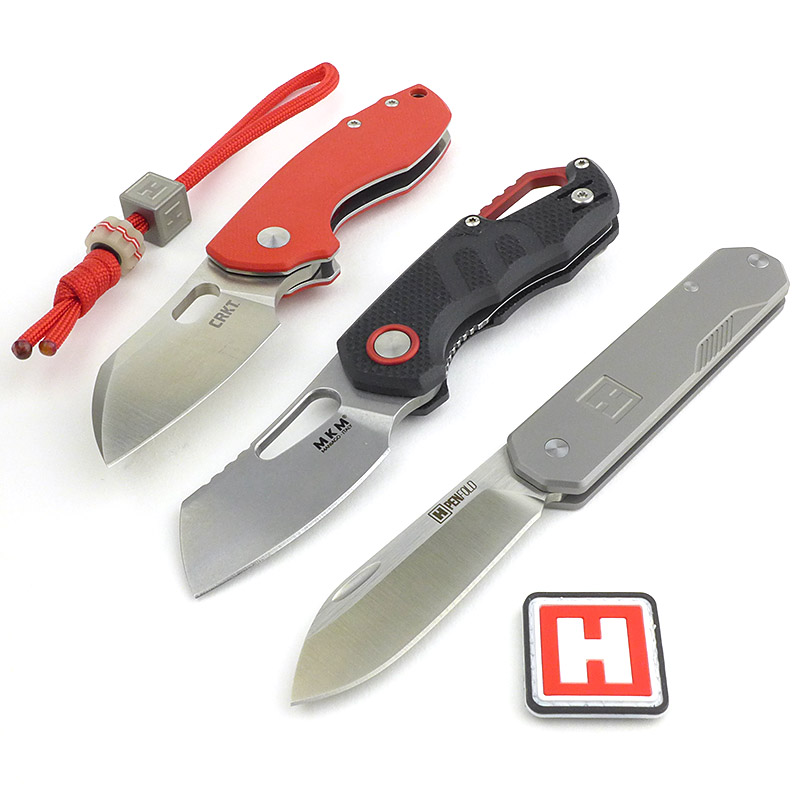
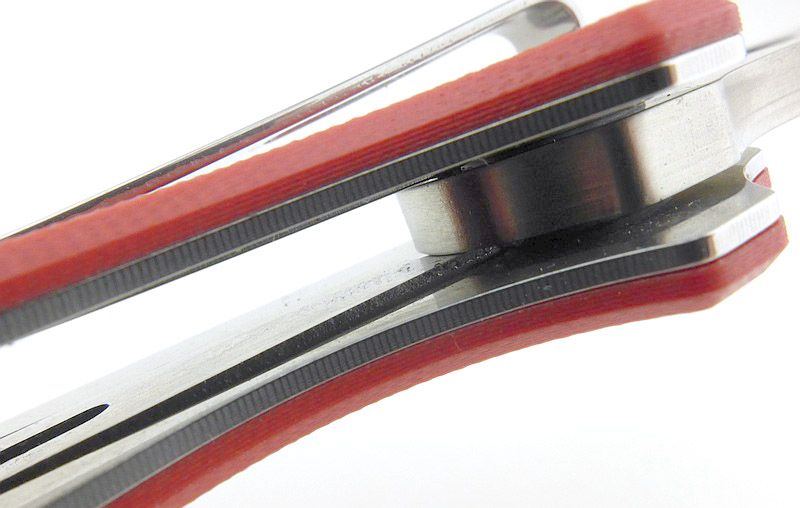
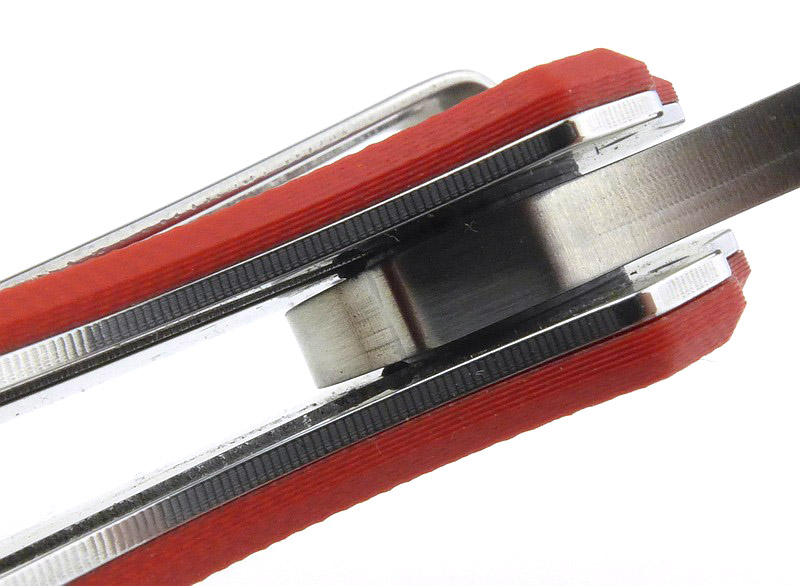
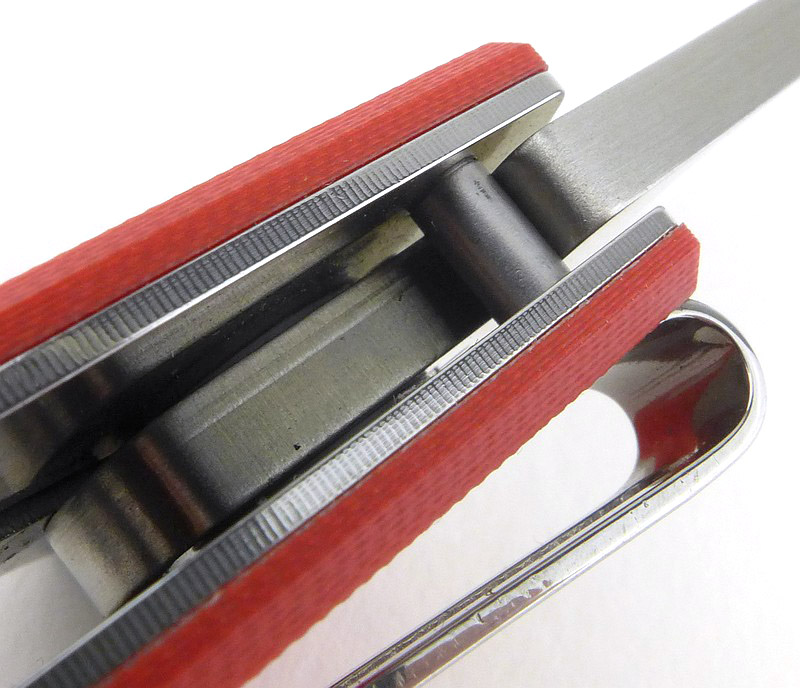
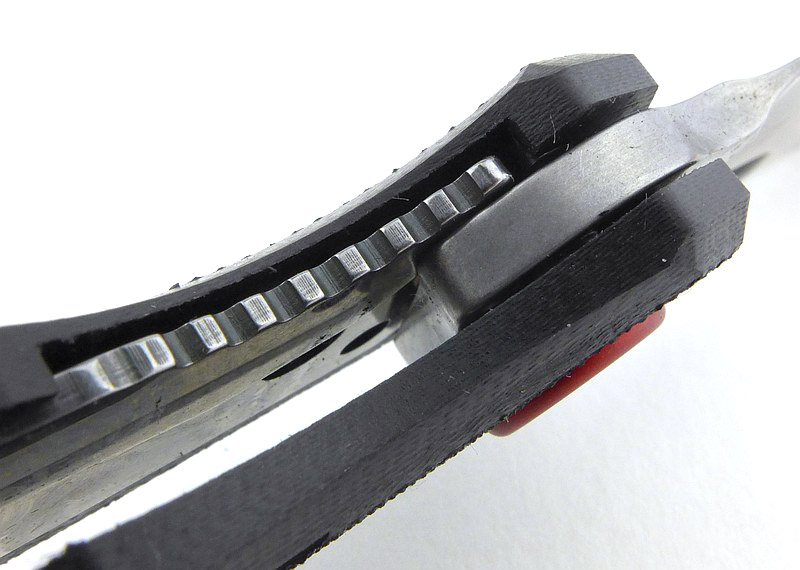
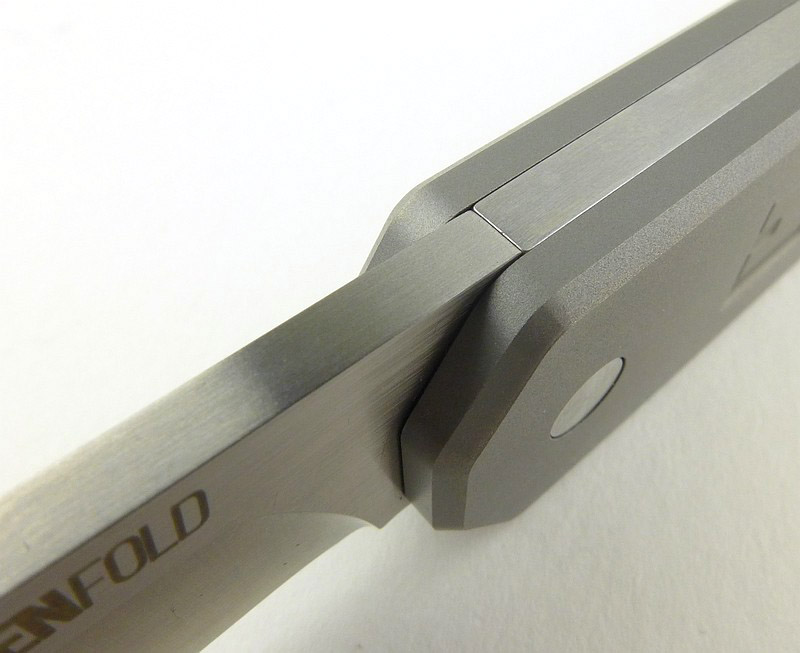
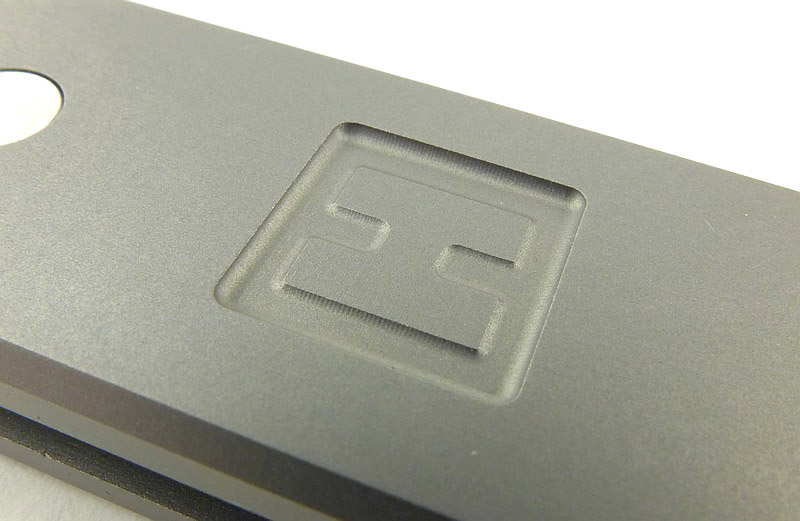
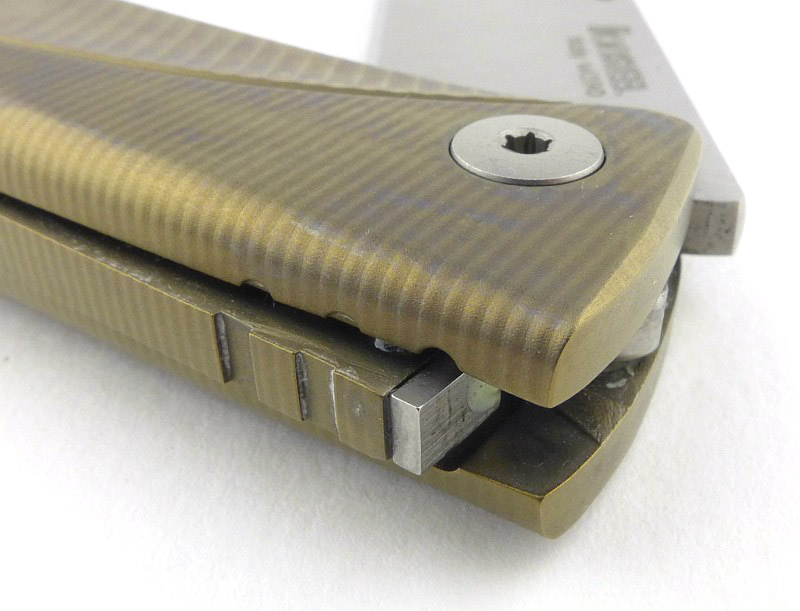
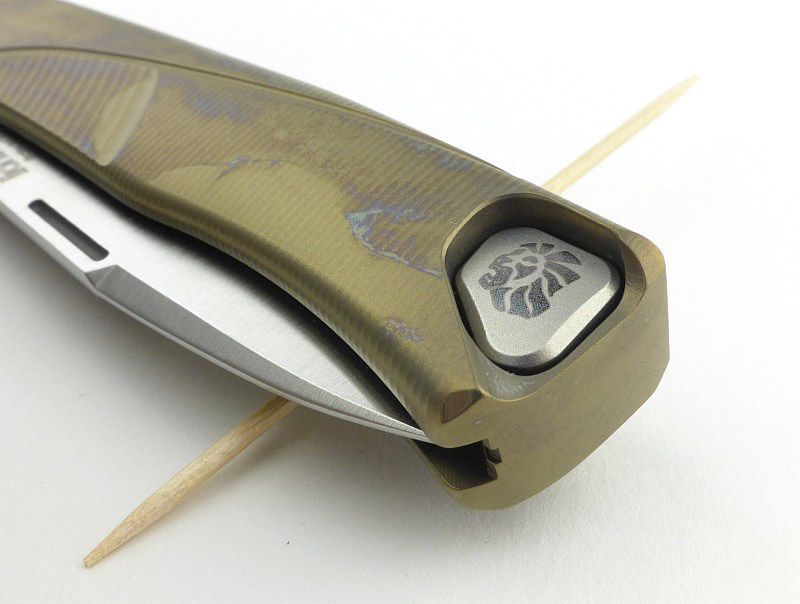
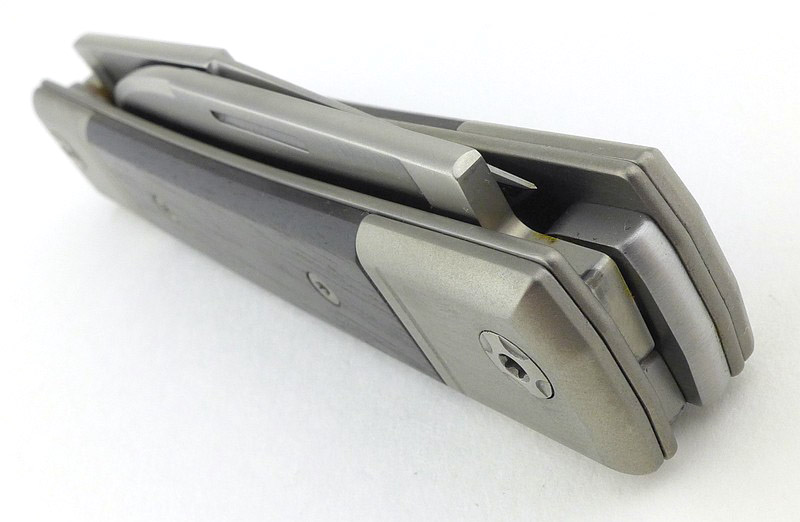
There was something that stopped me loving the U1c straight away, and that was the sharp corner on the blade stop and back-spring. These sharp corners give the ‘H’ it’s precision and clean look, but every time I handled the U1c i kept feeling the catch of these sharp edges and it put me off.
Taking a diamond stone to these corners and just easing them slightly transformed the experience of handling this knife. Only a small thing, but suddenly no catching on these sharp corners, instead just appreciating the size, feel, handling and cutting ability. Such an easy fix, if this little detail did bother you, it is easily resolved and worth doing.
As you have already seen, I ended up making a video I hadn’t intended to, simply because this little EDU knife fell into the U1c-shaped hole we all have in our lives.
Review Summary
The views expressed in this summary table are from the point of view of the reviewer’s personal use. I am not a member of the armed forces and cannot comment on its use beyond a cutting tool or field/hunting knife.
Something that might be a ‘pro’ for one user can be a ‘con’ for another, so the comments are categorised based on my requirements. You should consider all points and if they could be beneficial to you.
_______________________________________________
What doesn’t work so well for me
_______________________________________________
Slight sense of being unfinished with some sharp edges.
Nothing else.
_______________________________________________
Things I like
_______________________________________________
Superb cutting from the thin convexed blade.
3G steel just keeps holding its edge.
Compact three-finger size disappears on your belt.
Comes with excellent belt pouch.
Simple, classic, time-proven design.
Blade can be opened with a pinch-grip.
Firm spring and good resistance to closing.
Discussing the Review:
The ideal place to discuss this review is on the Tactical Reviews Facebook Page ![]()
Please visit there and start/join the conversation.
As well as the Tactical Reviews Facebook Page, please consider visiting one of the following to start/join in any discussion.
BladeForums – Knife Reviews (US based Forum for Knife Discussion)
CandlePowerForums – Knife Reviews Section (Largest and Friendliest Flashlight Community Forum)
The BESS Exchange – A forum discussing technical aspects of sharpness and truly understanding your sharpening process.


.")