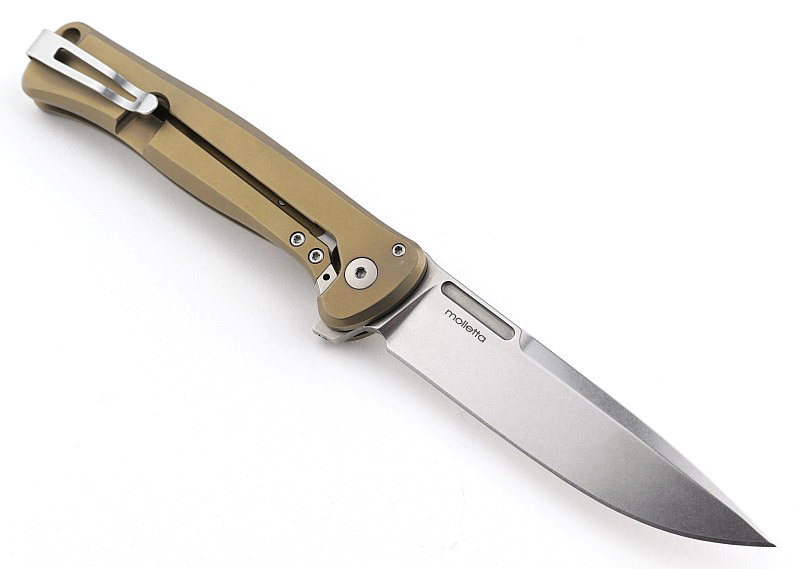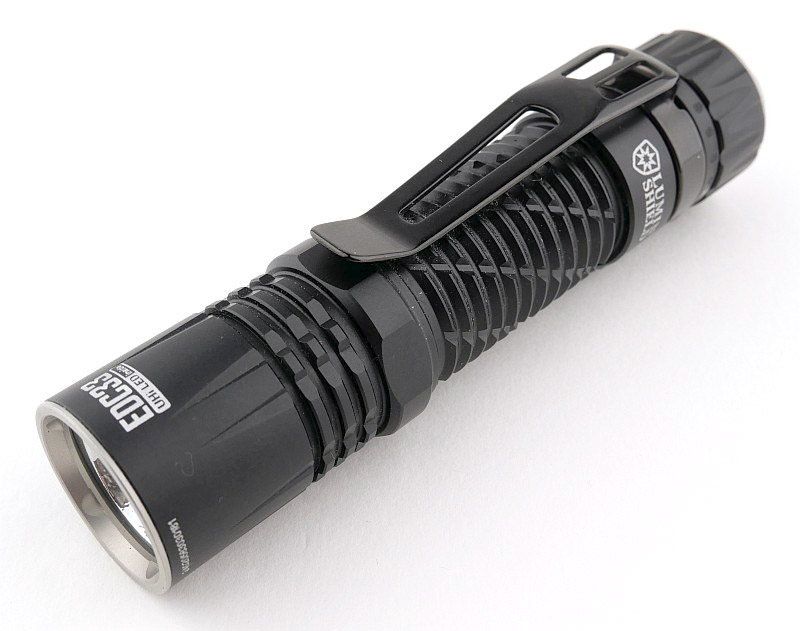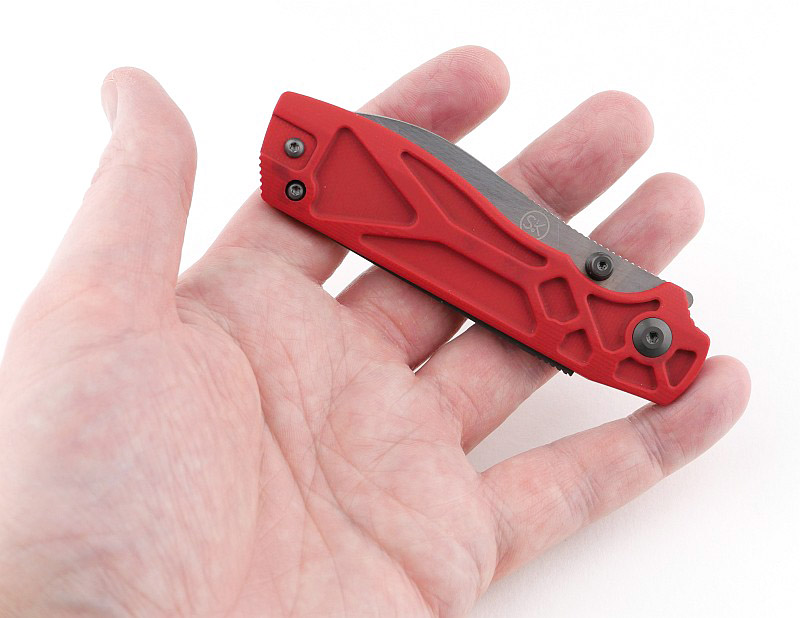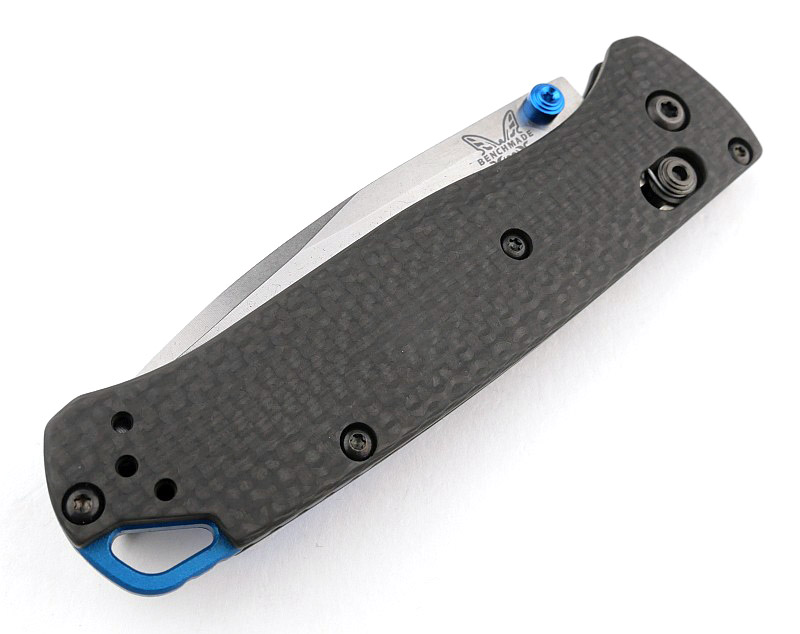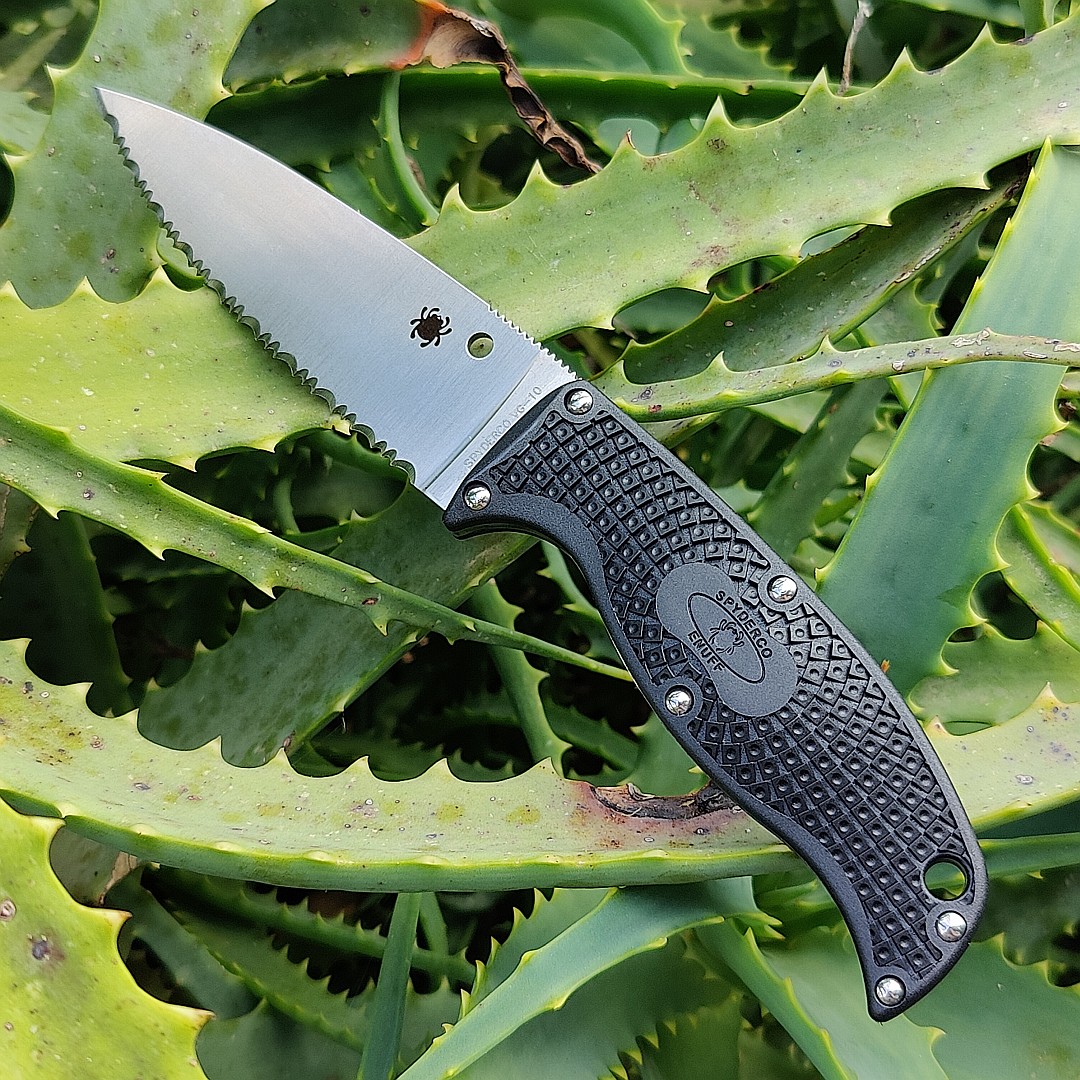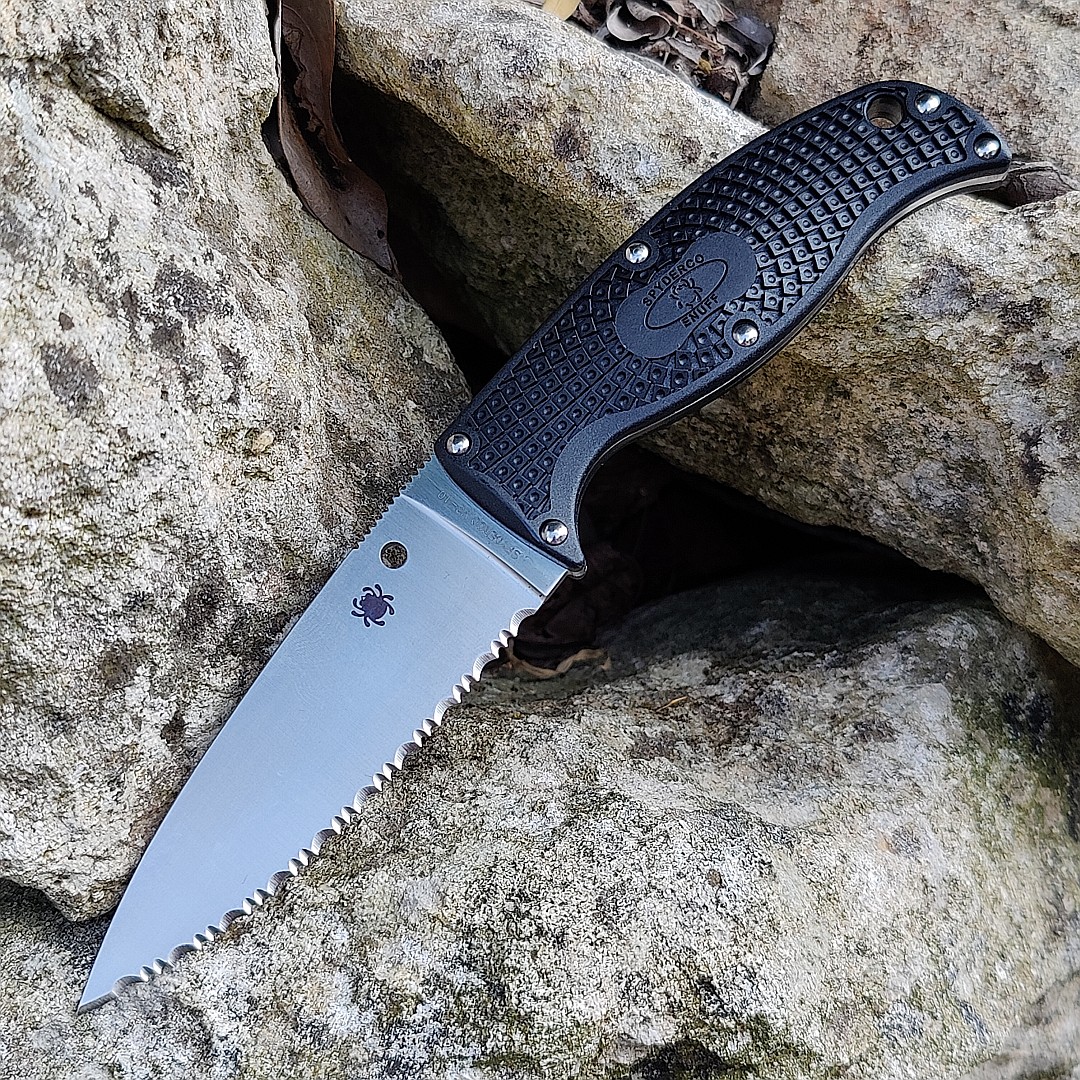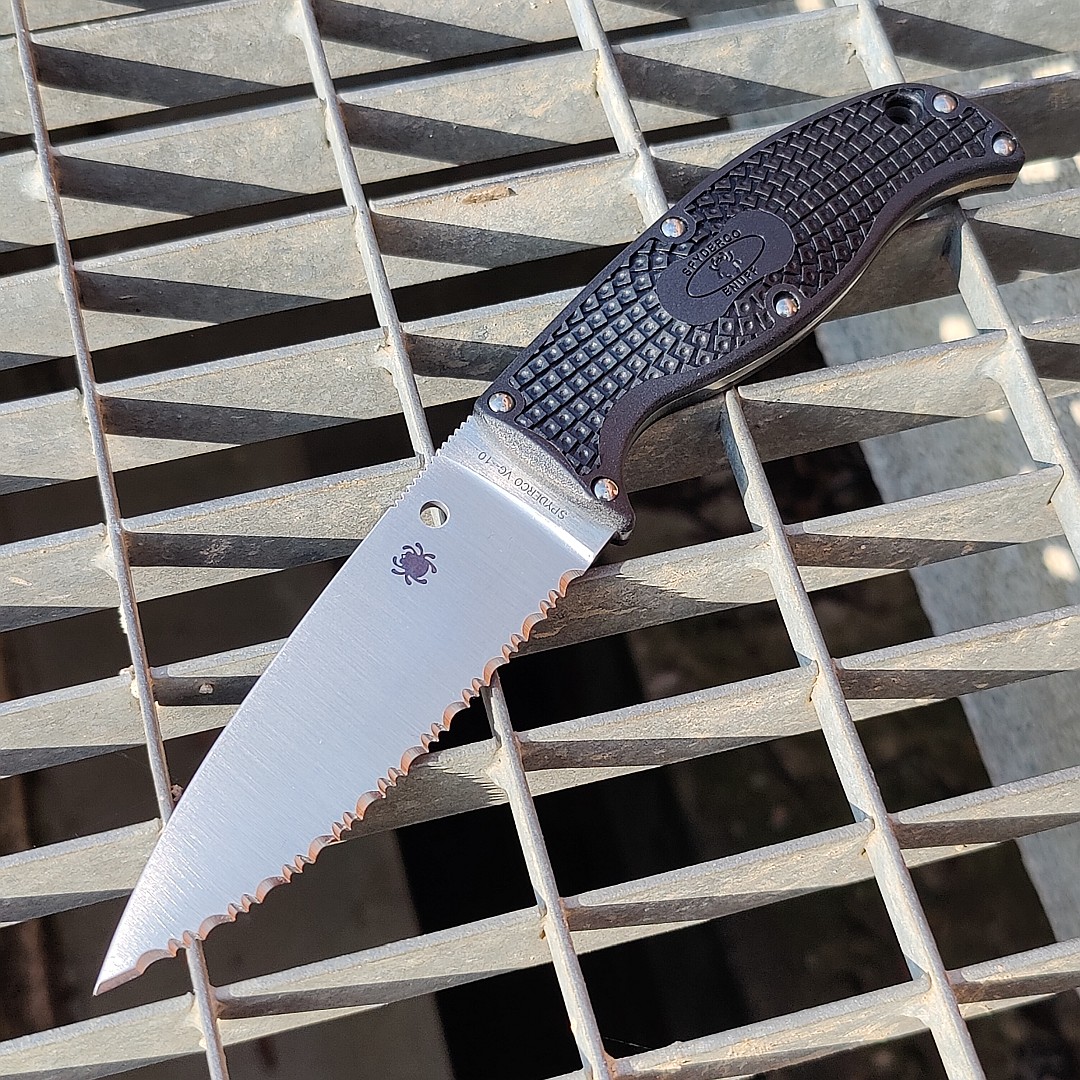
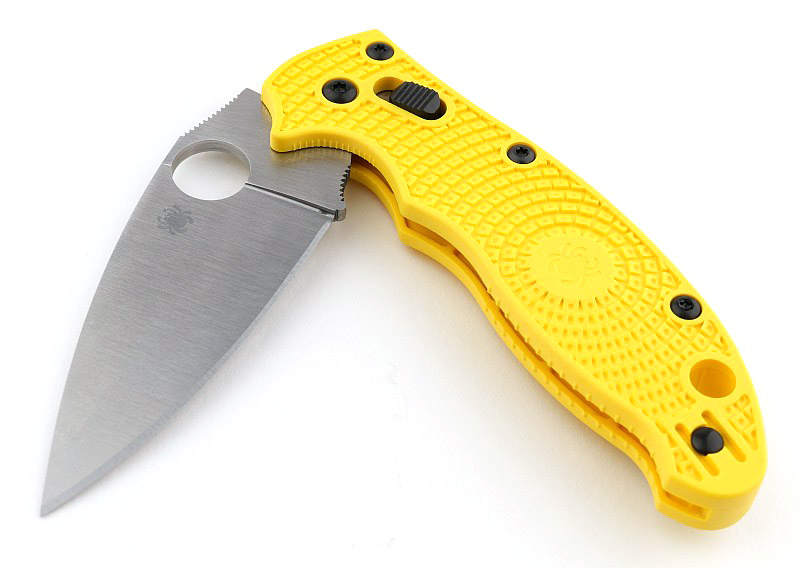
I’m a huge fan of Spyderco’s (ultra-low maintenance) Salt series; join me in a detailed review of the new Spyderco Manix 2 Lightweight Salt. The Manix 2 Salt combines classic signature Spyderco design with MagnaCut blade steel and super-corrosion-resistant handle components and fixings. Using a fibreglass-reinforced co-polymer (FRCP) handle ensures high strength and low weight. This model features a high visibility yellow handle that includes Spyderco’s signature Bi-Directional Texture grip pattern for a very secure grip in all conditions.

What’s in the box?:
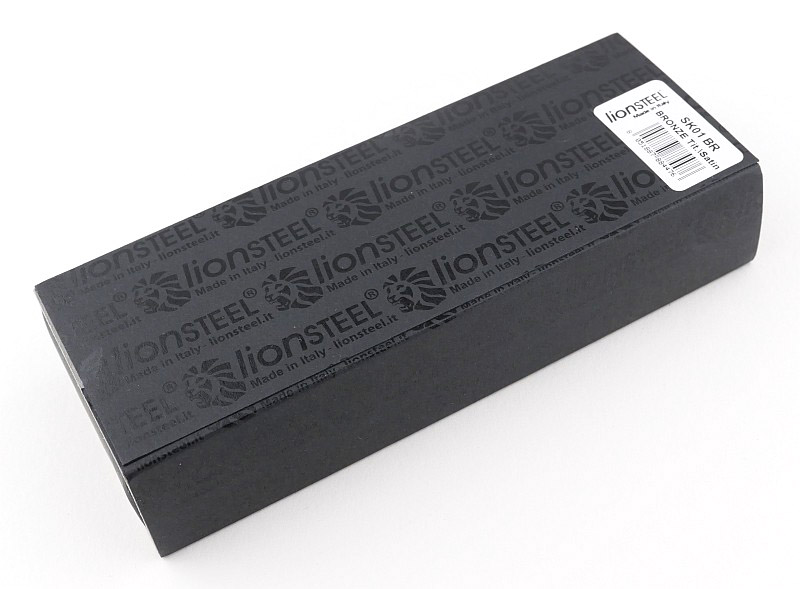
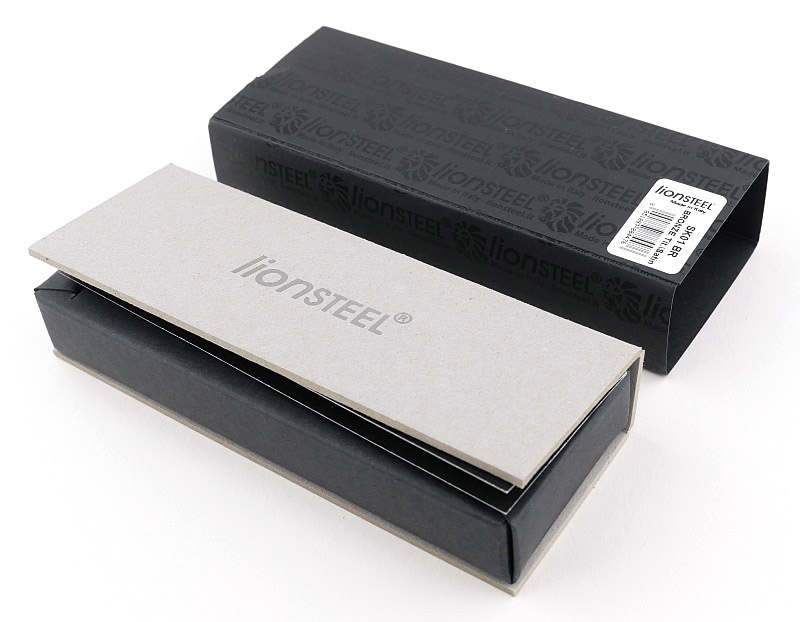
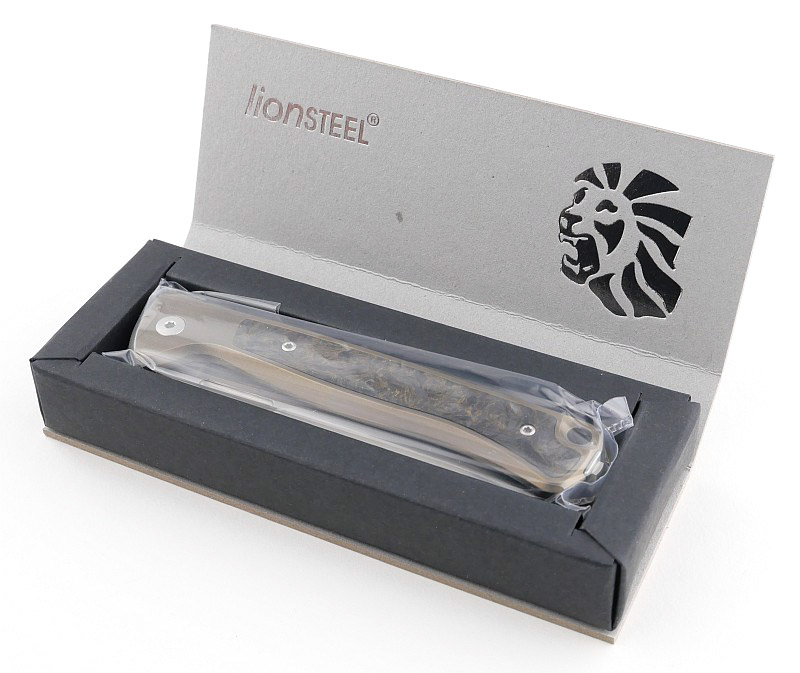
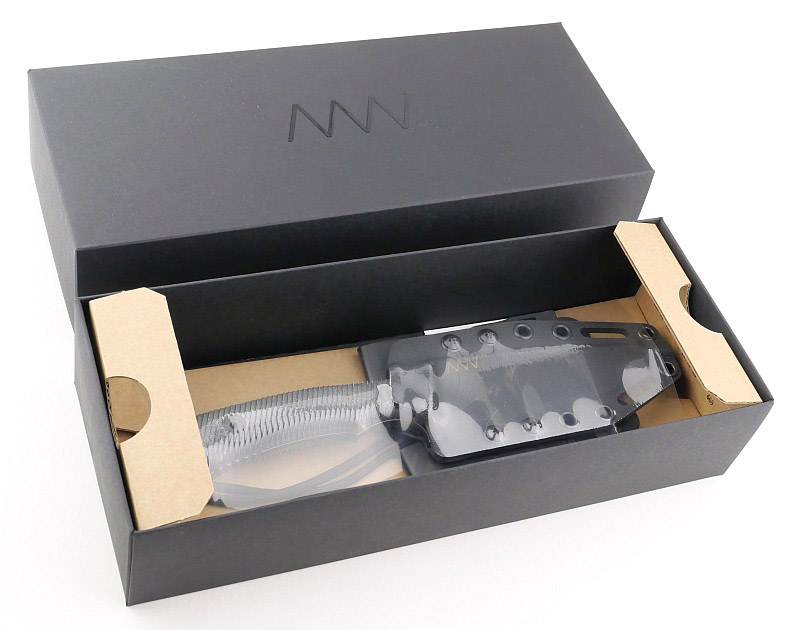
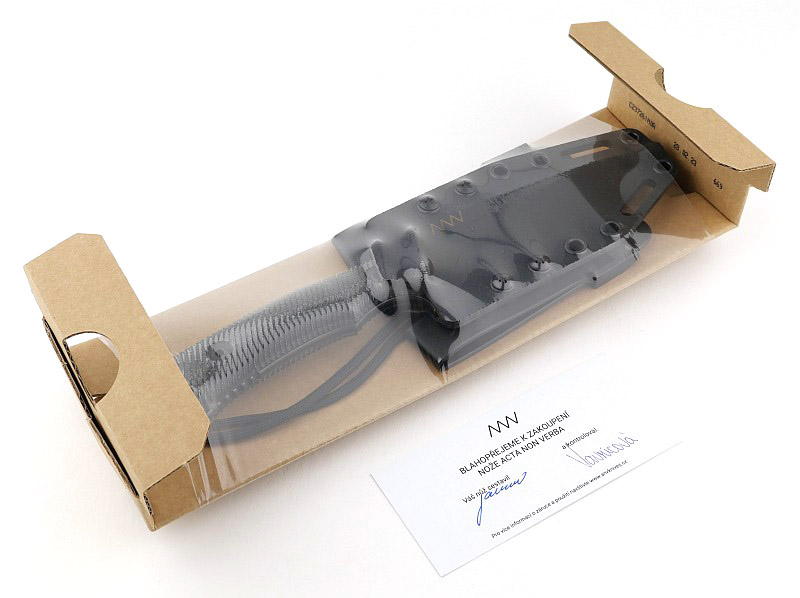
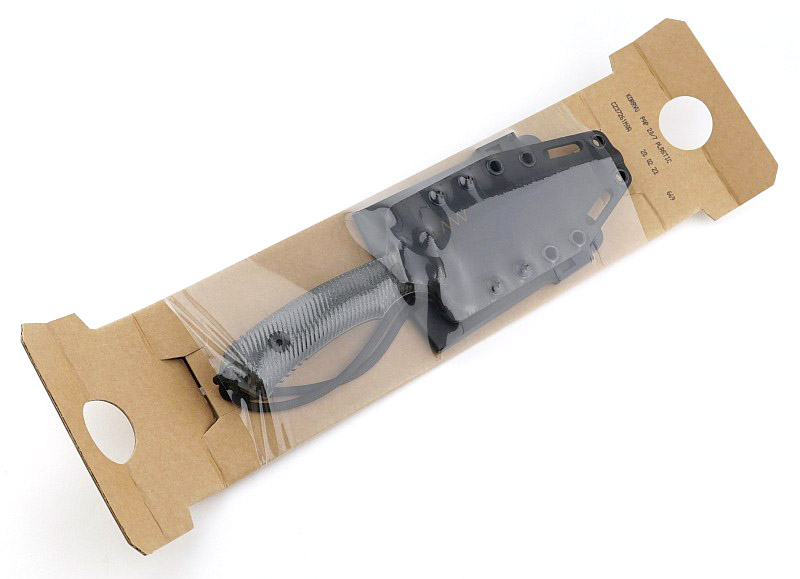
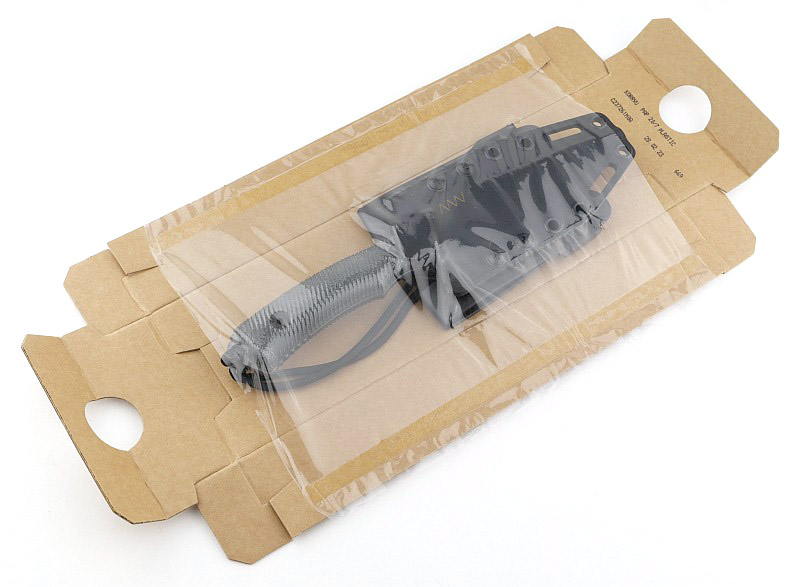
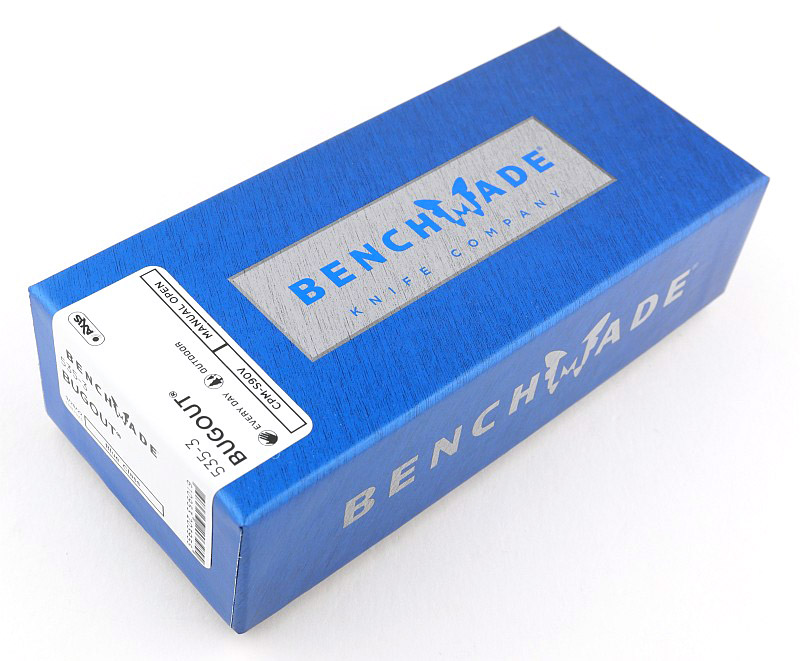
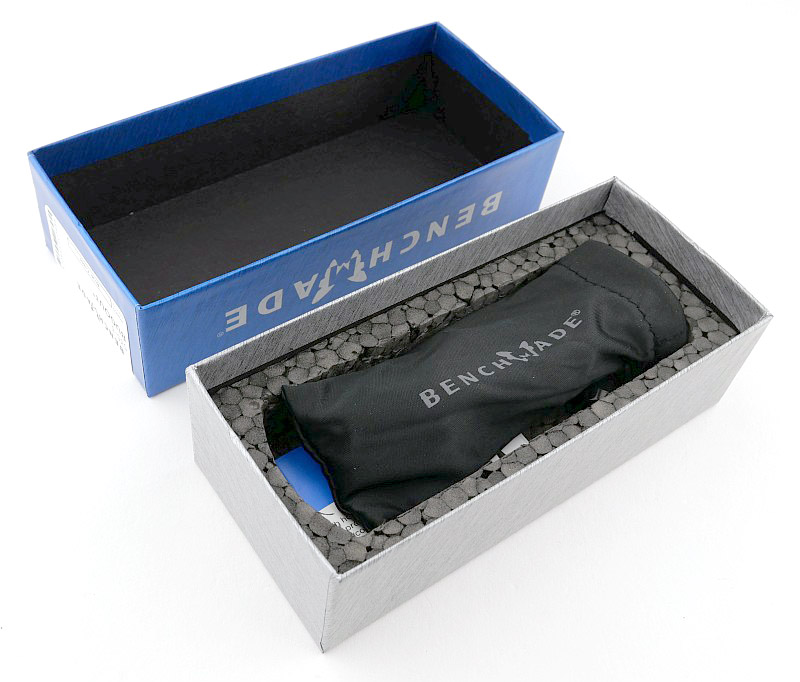
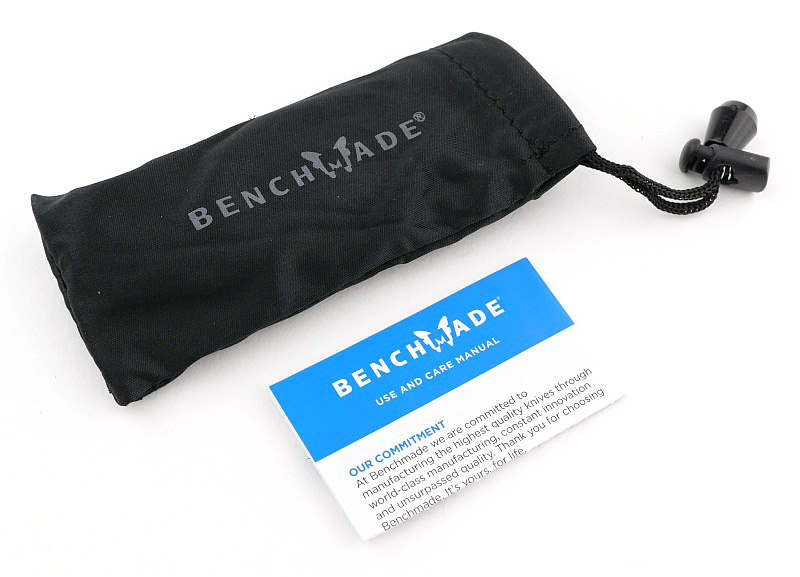
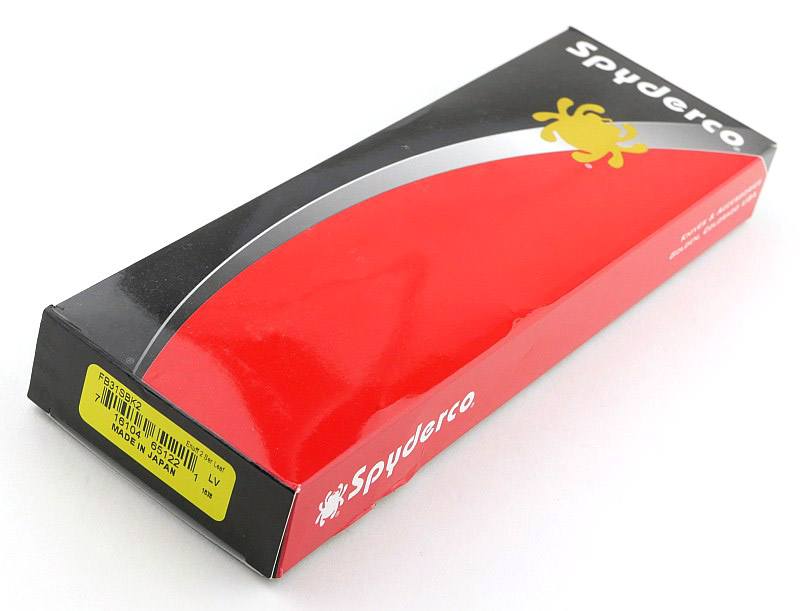
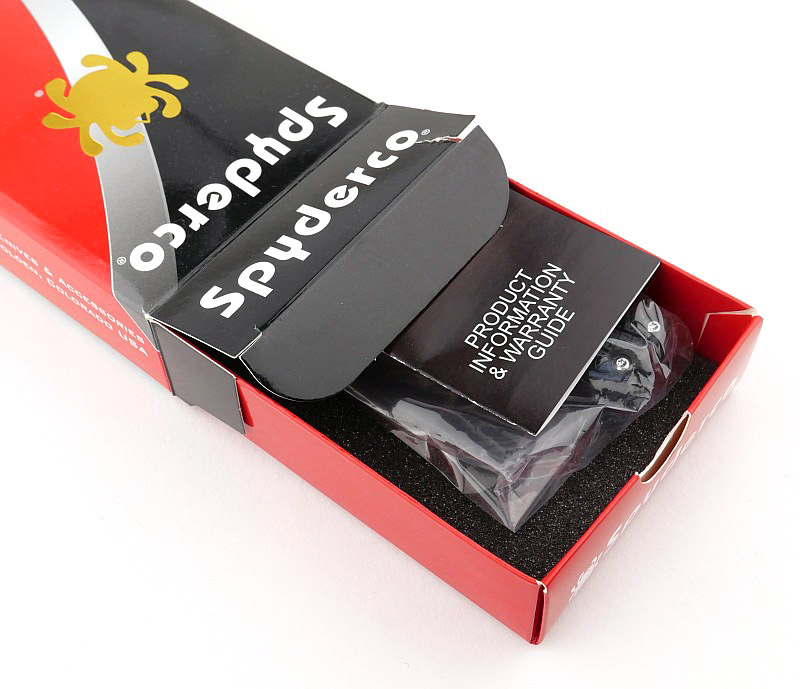
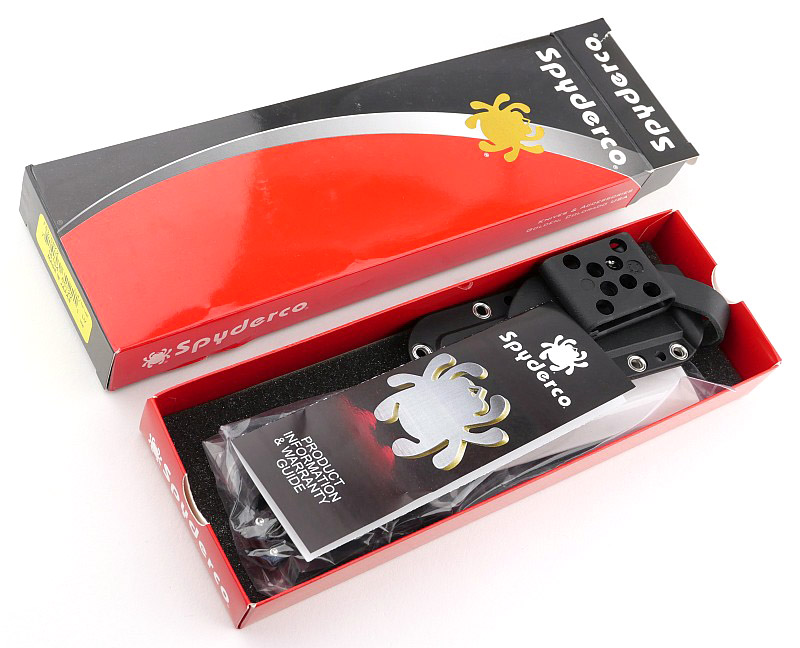
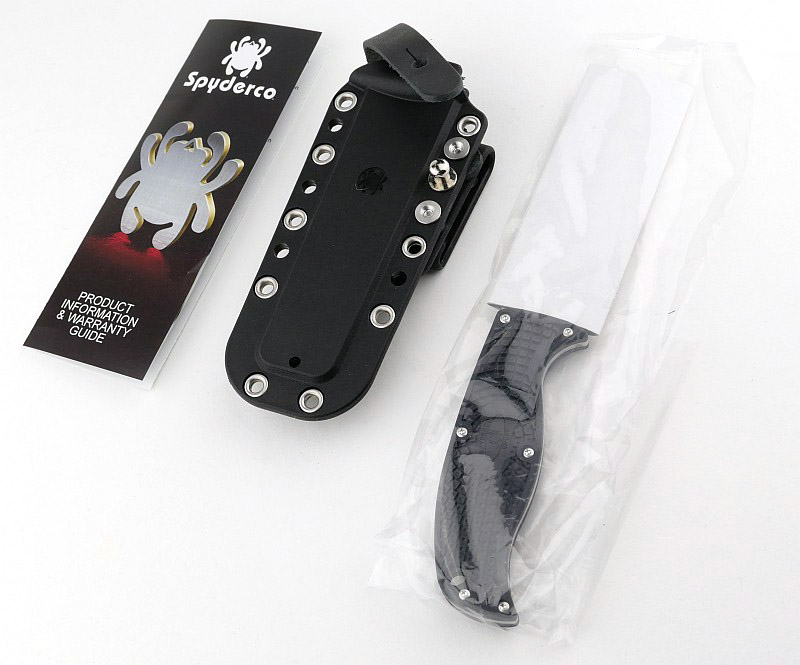
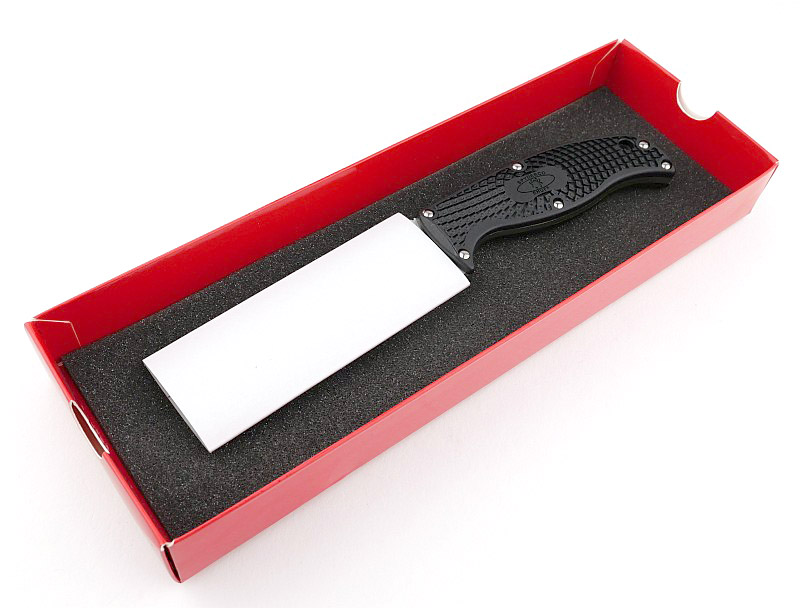
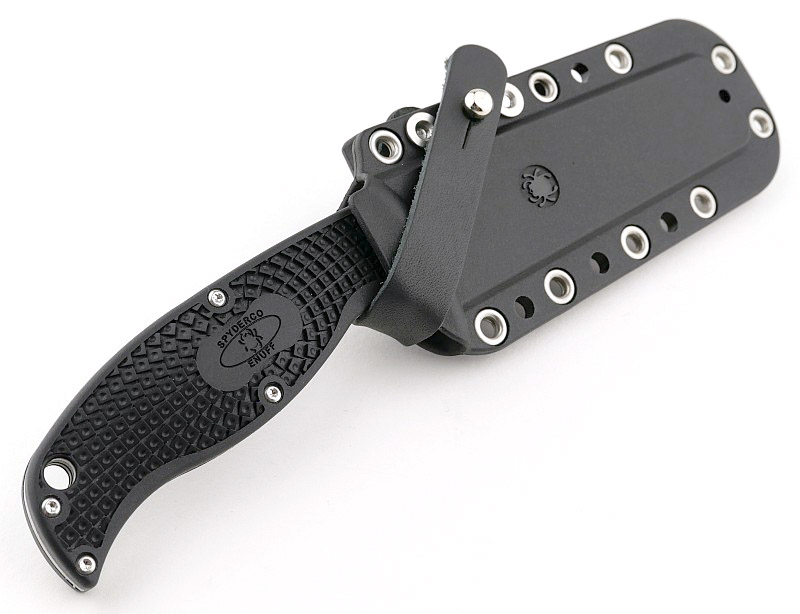
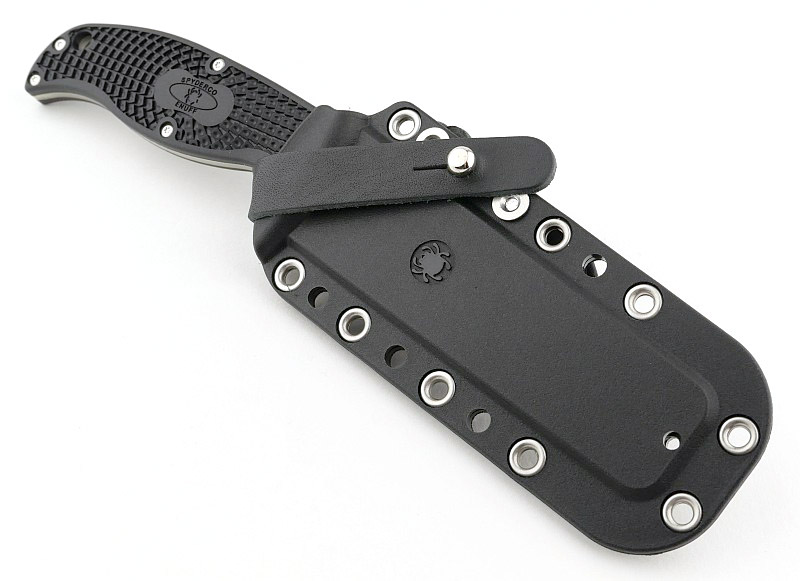
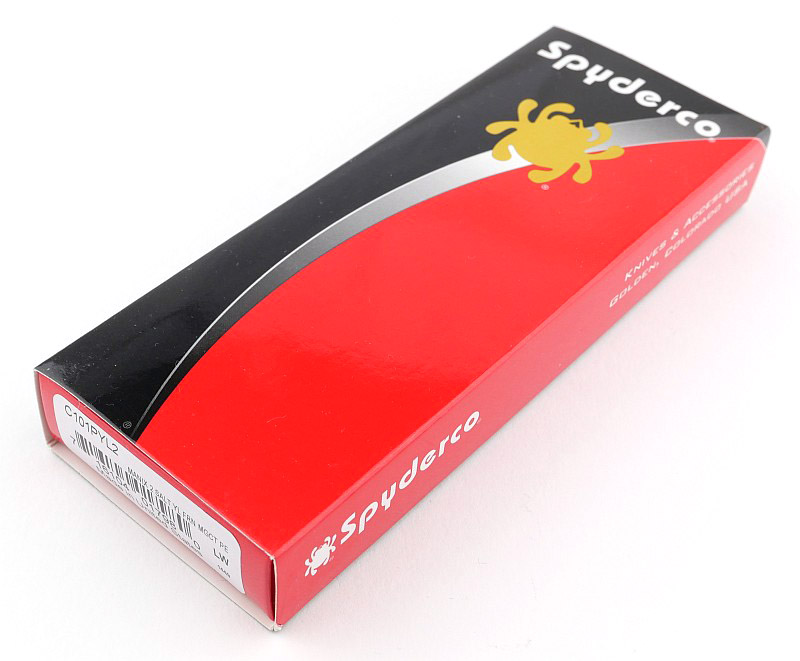
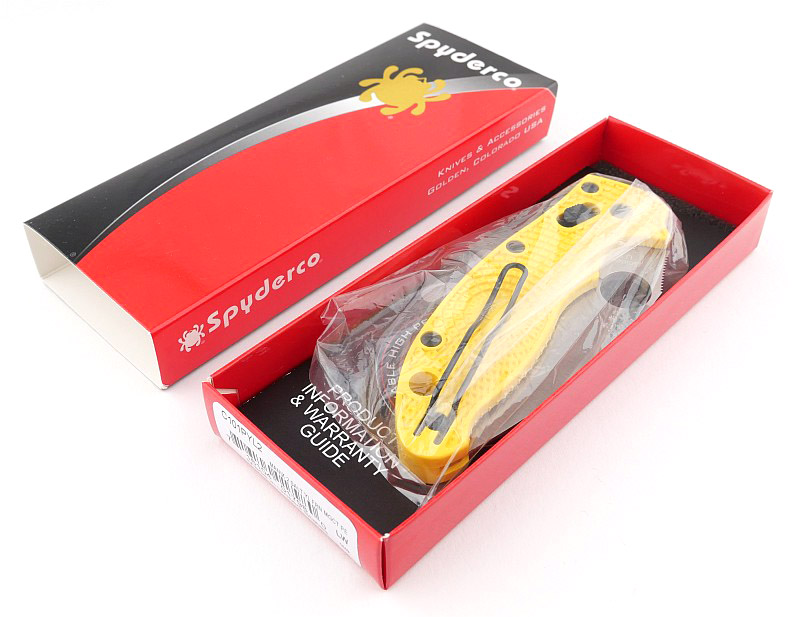
This Manix 2 Salt comes in the familiar Spyderco box. Included with the knife is a sticker and a leaflet about the exact model of knife.

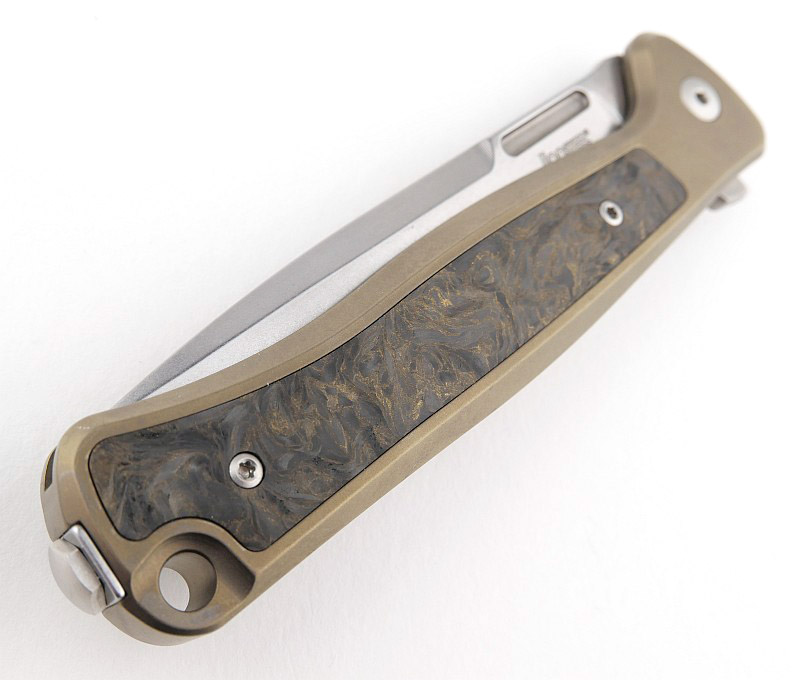
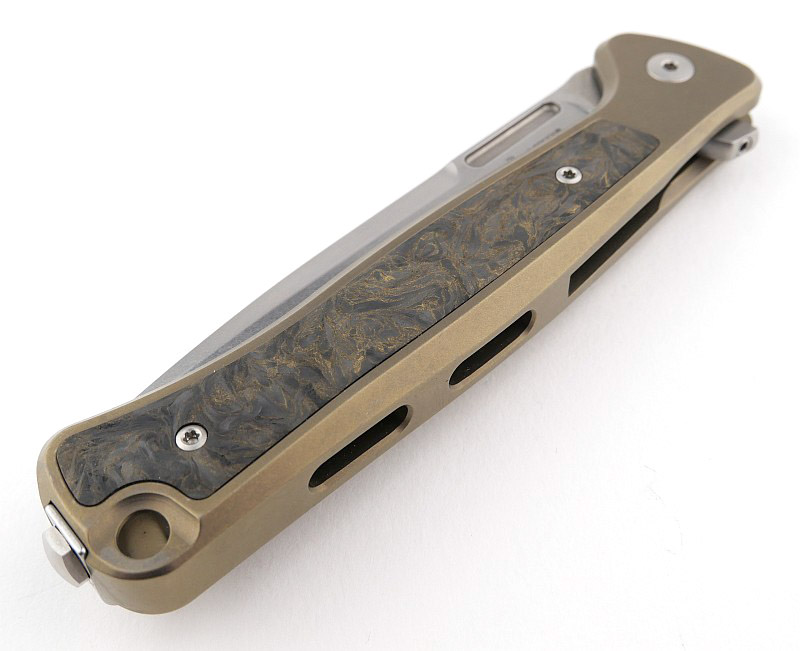
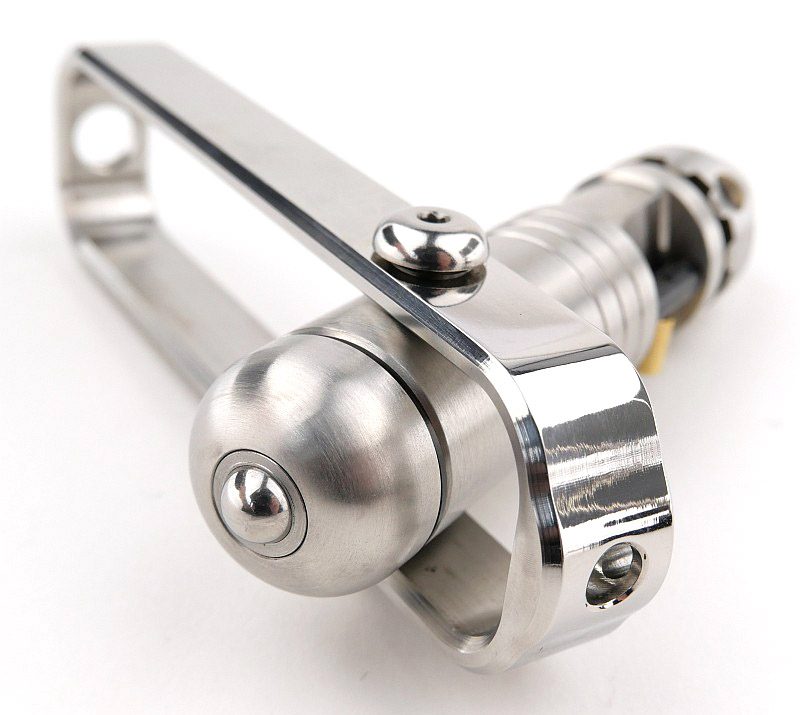
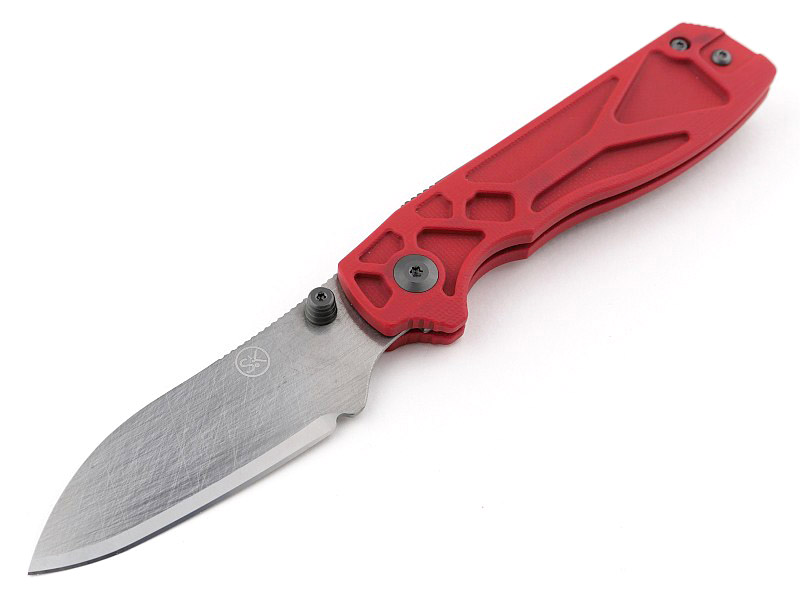
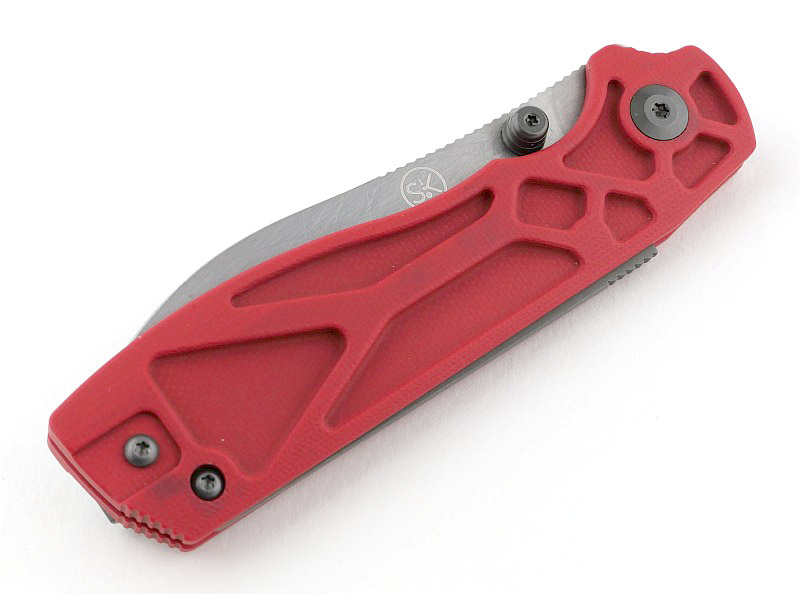
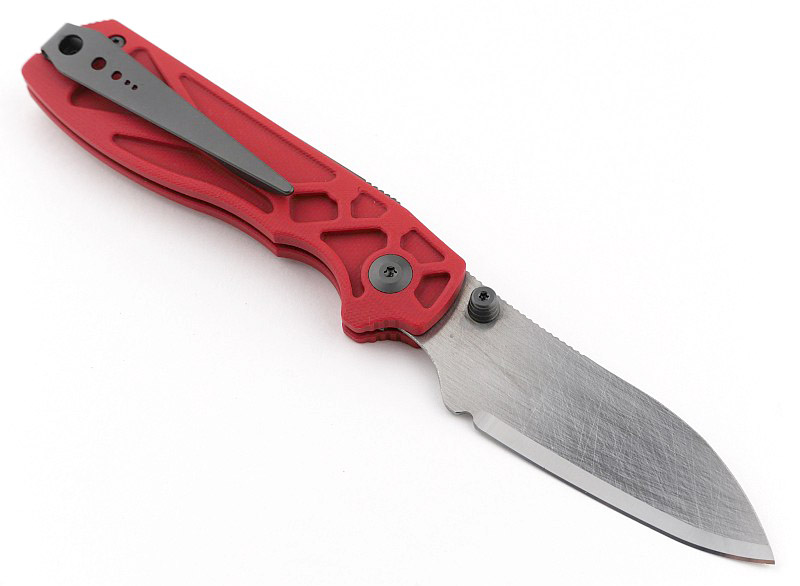
A good look round the Manix 2 Salt – Part 1 – Things to look out for here are:
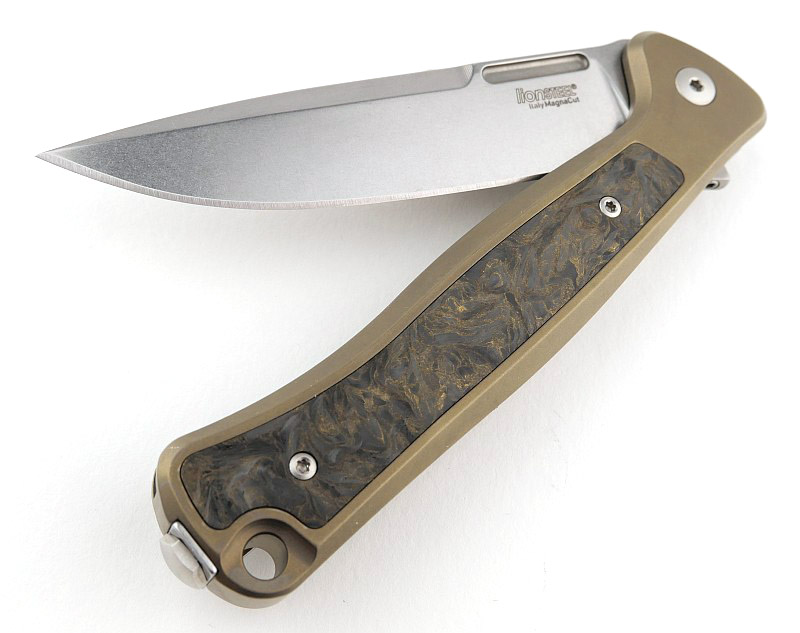
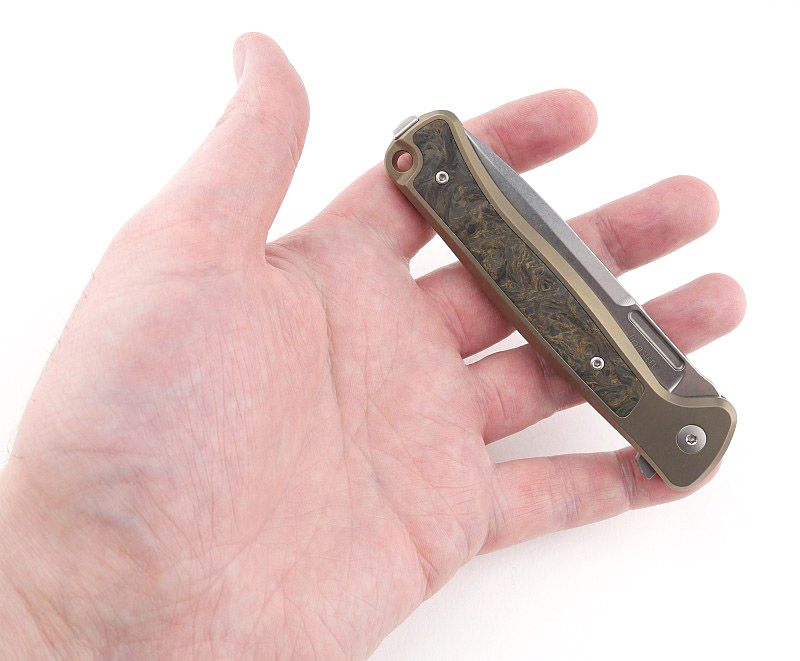
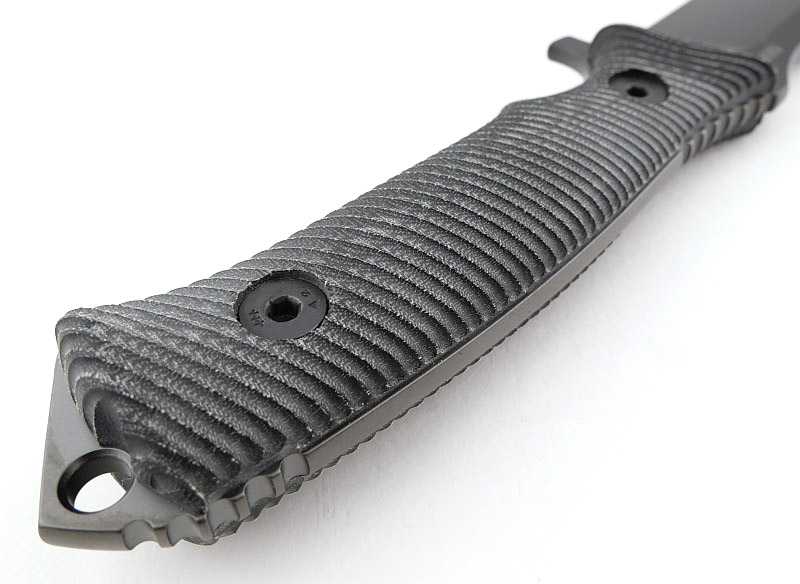
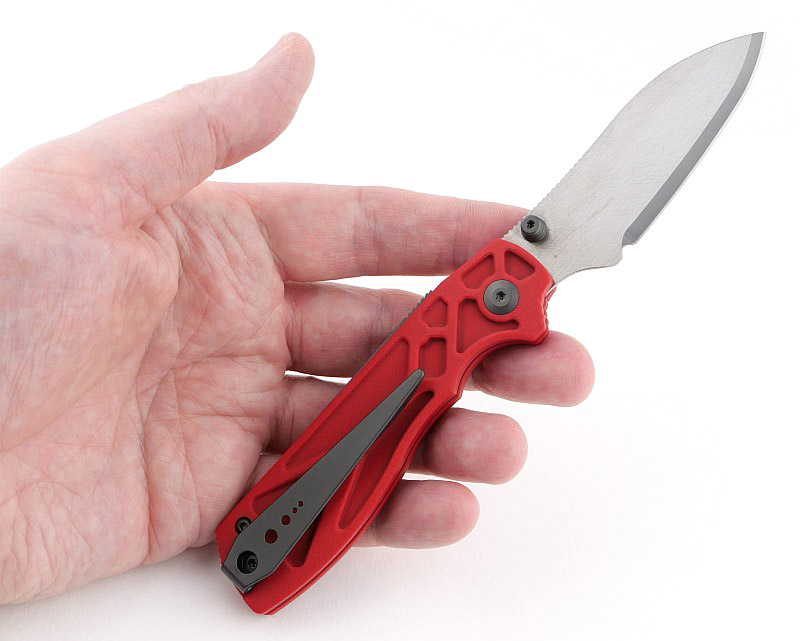
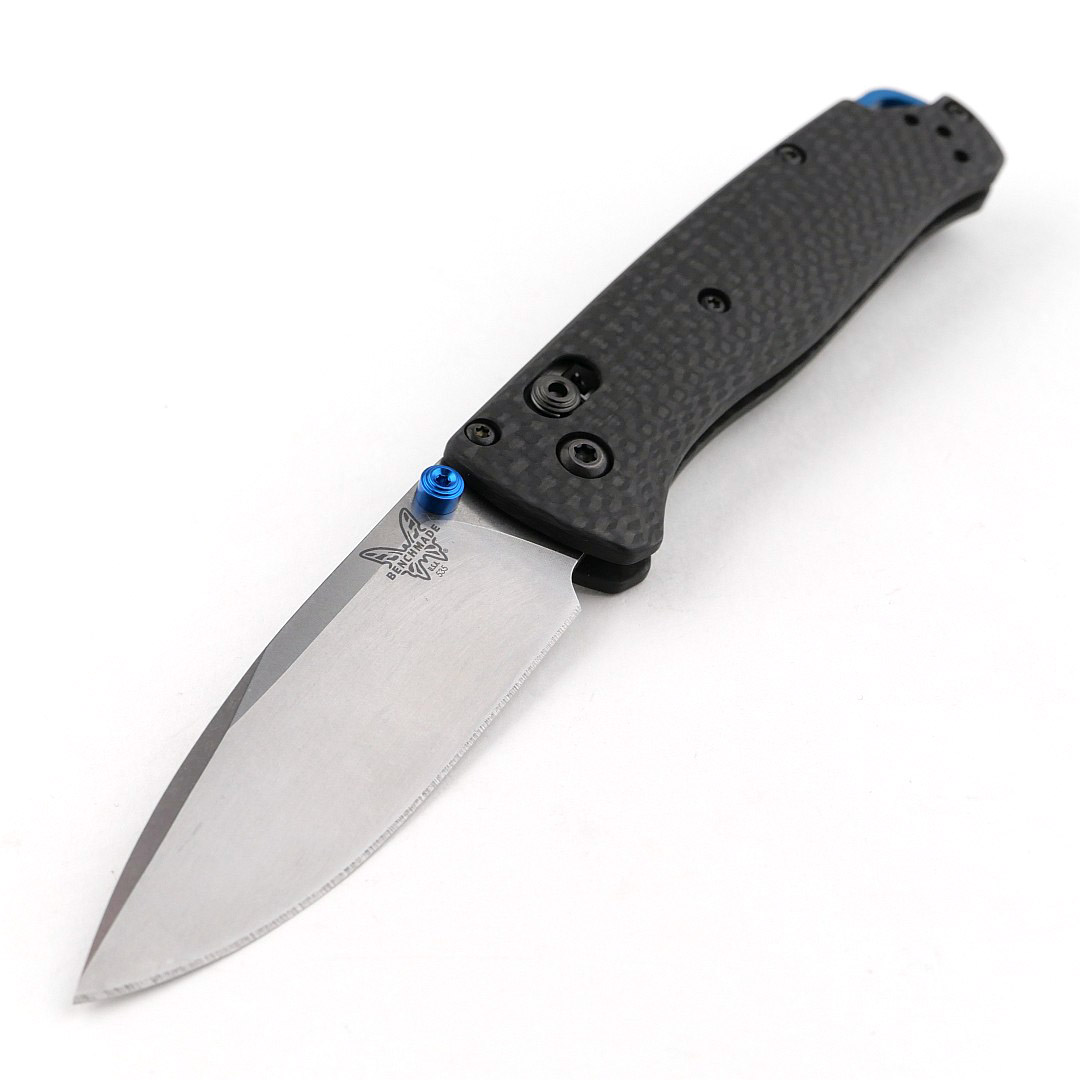
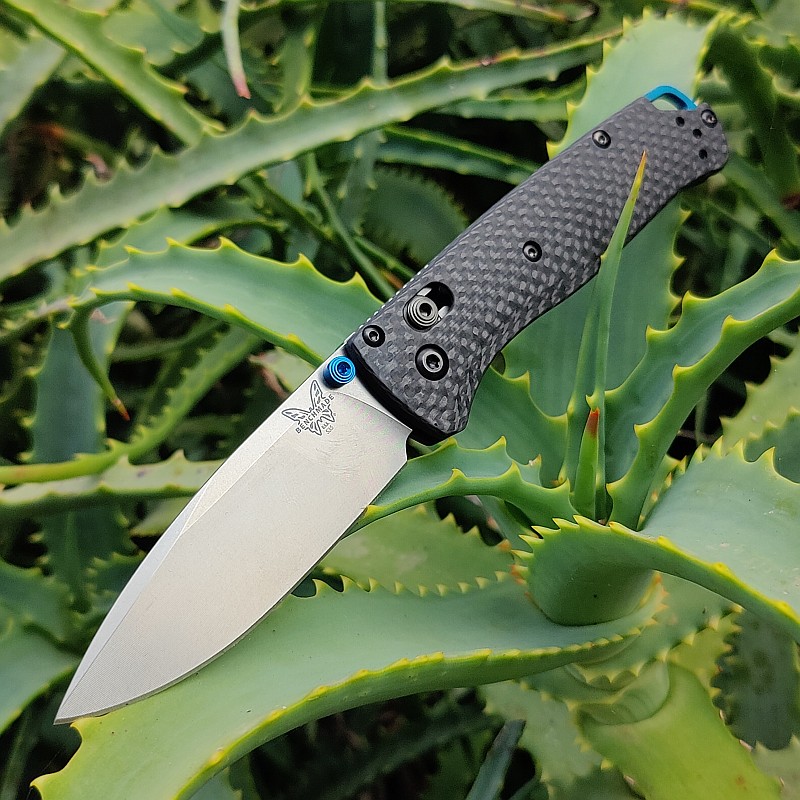
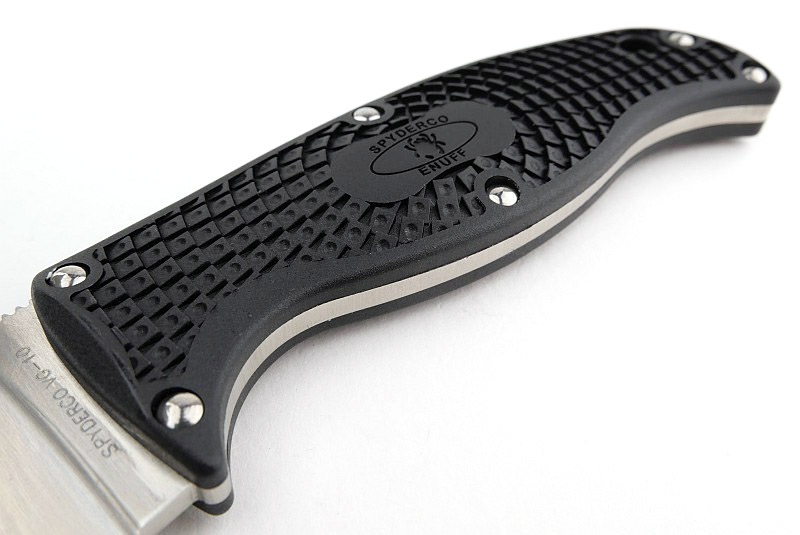
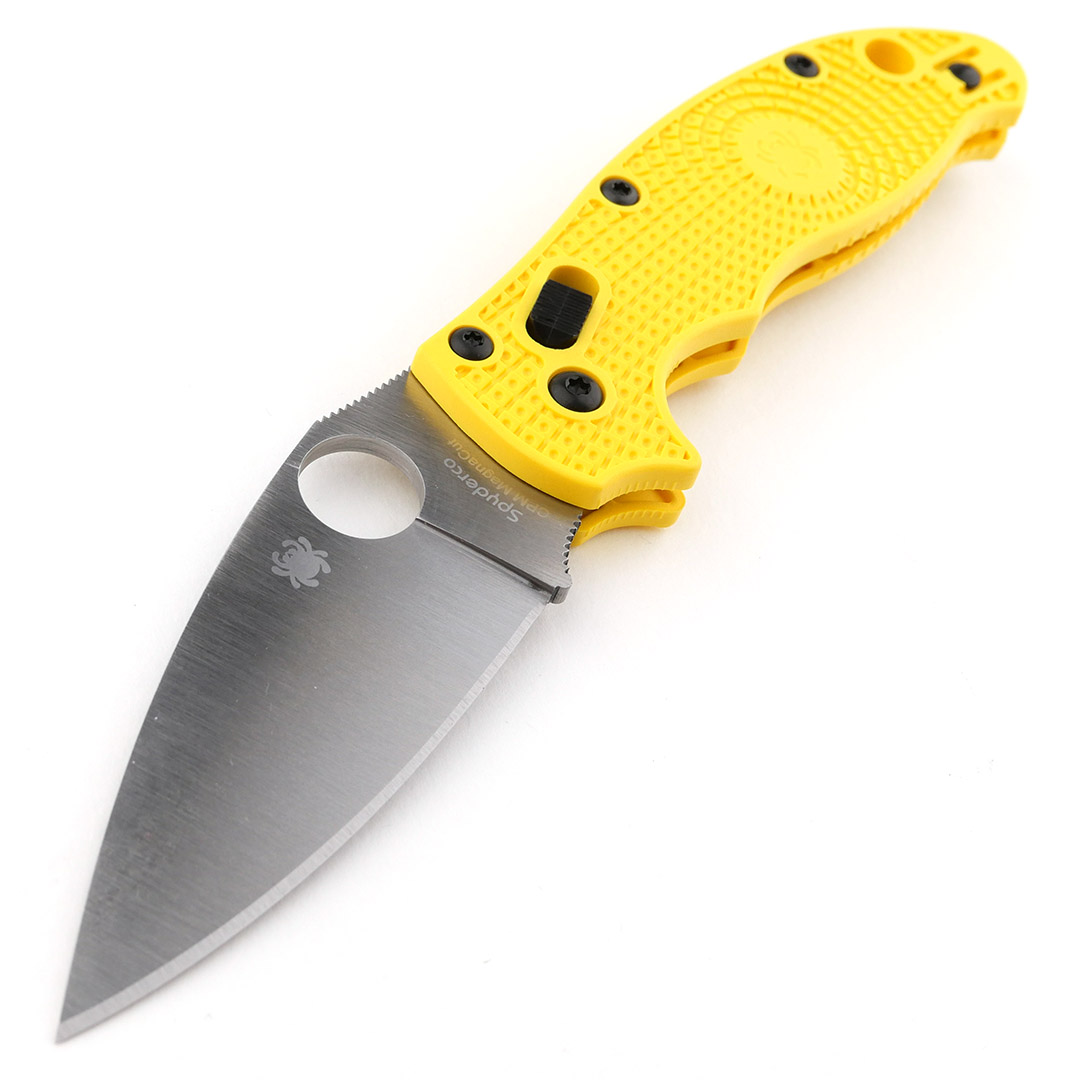
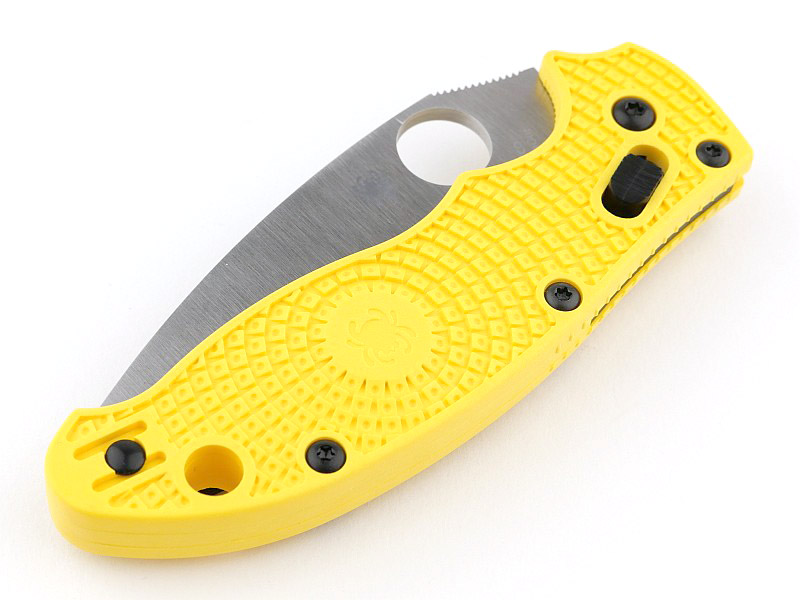
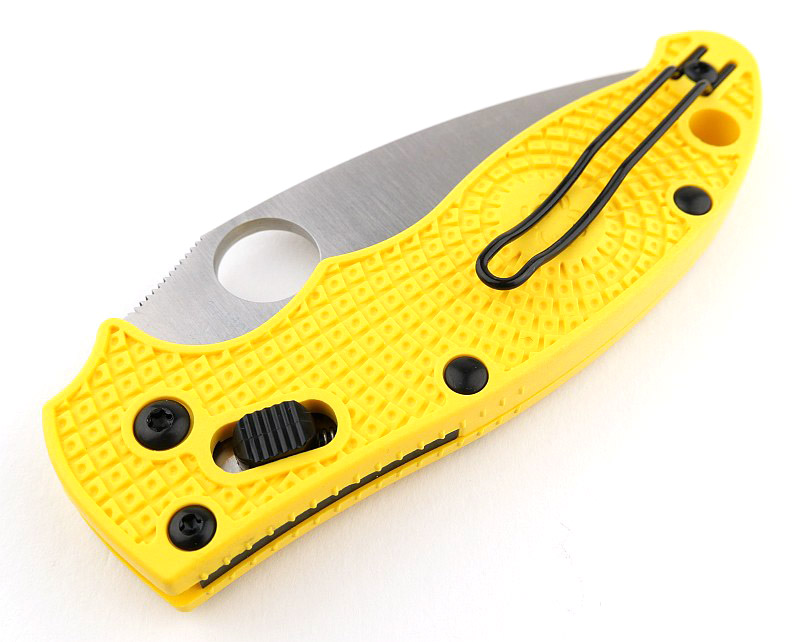
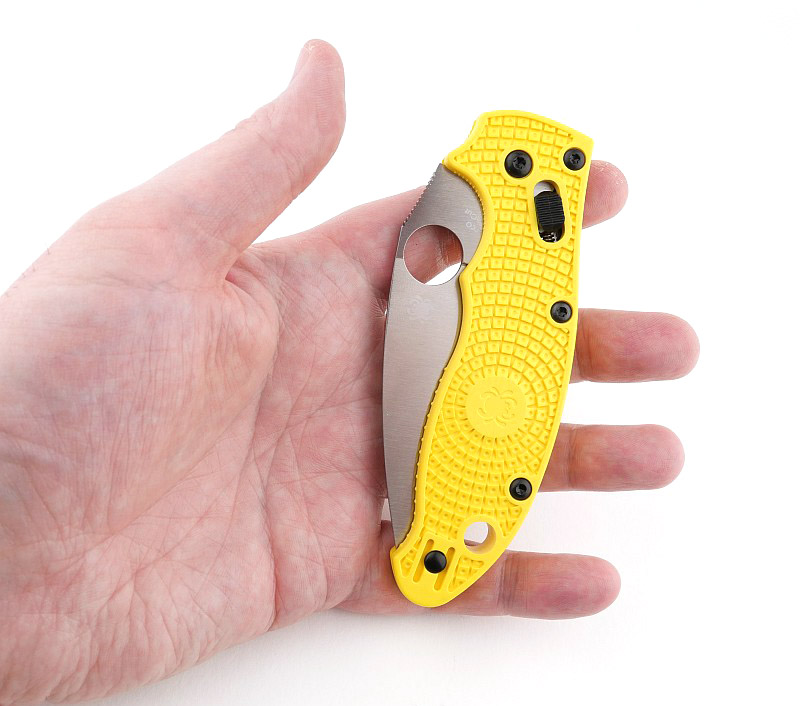
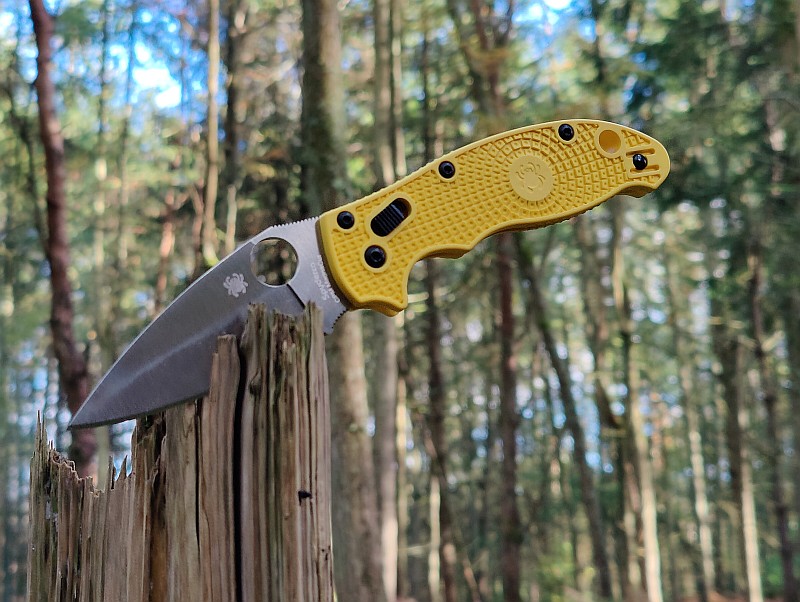
Starting with this gallery showing details of the Manix 2 when folded. The bright yellow handle making this Salt series knife really stand out. So often this high visibility can actually be one of the best safety and survival features, as you are much less likely to lose the knife, and can always spot it quickly when you put it down.
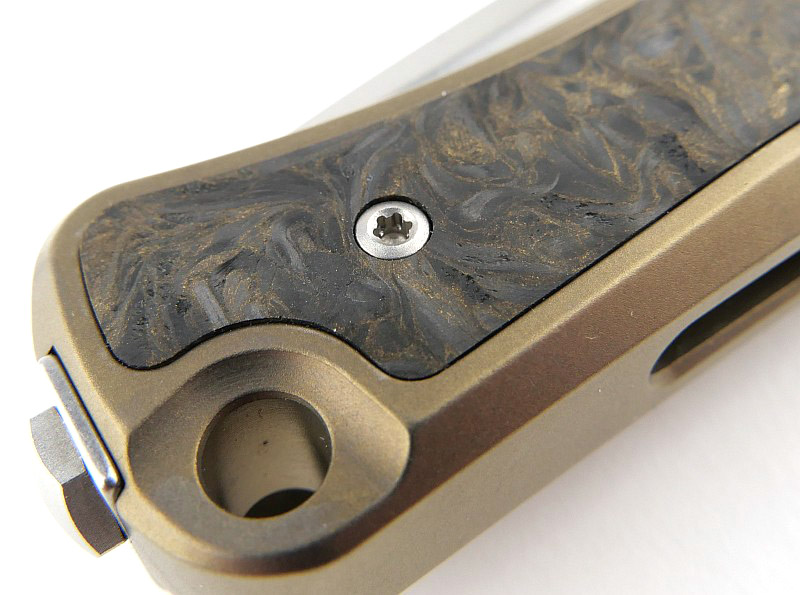
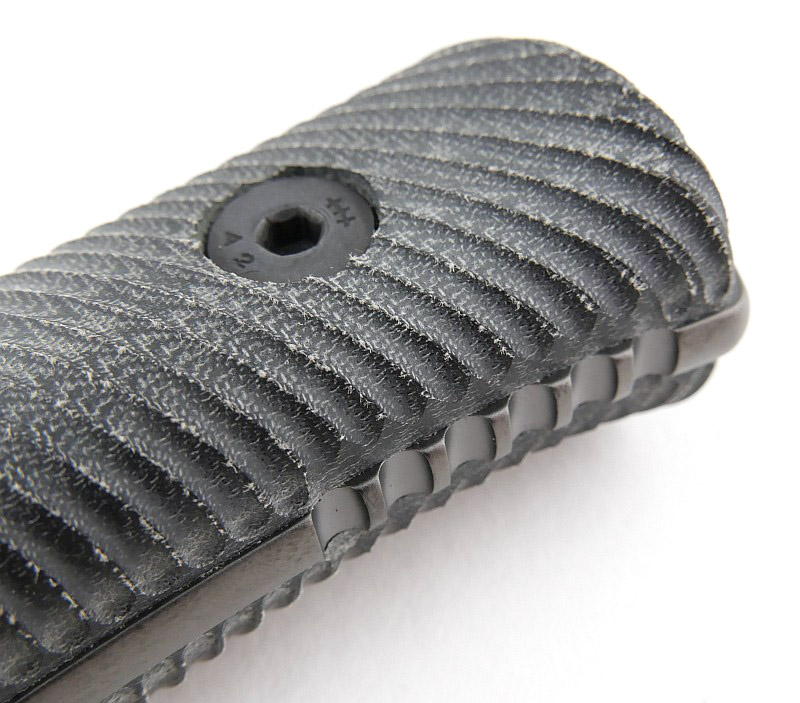
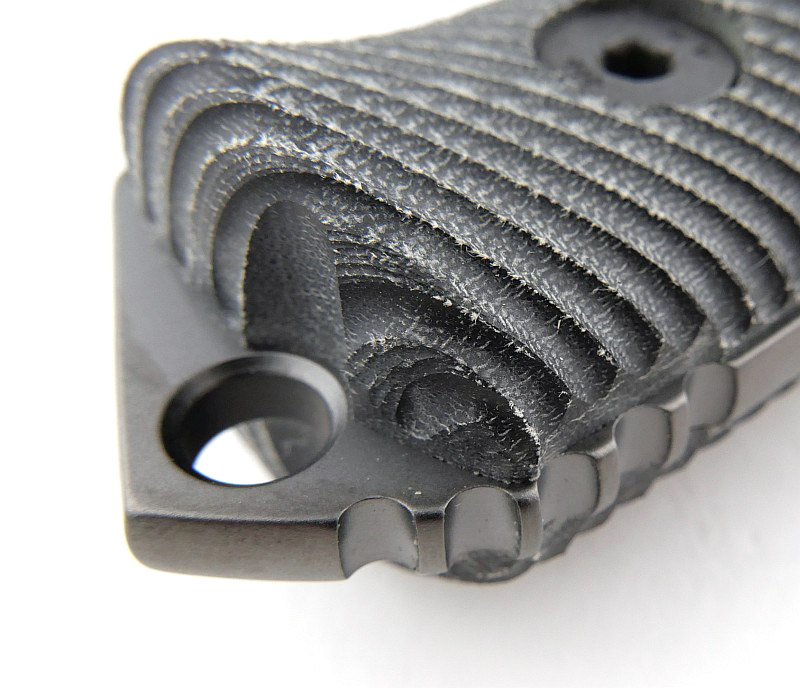
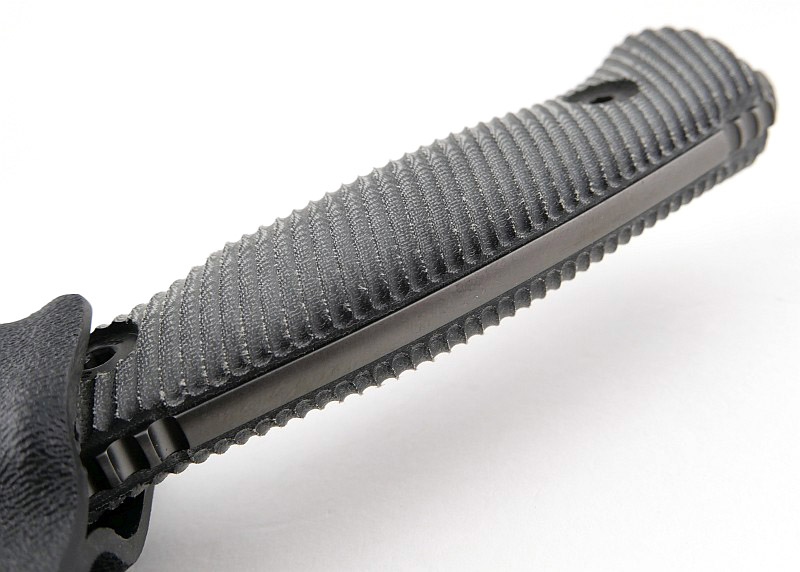
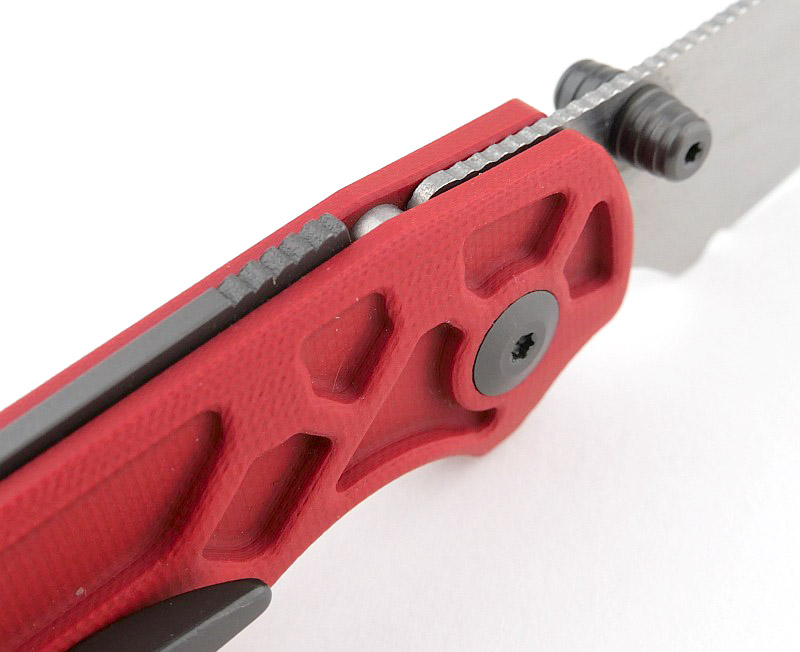
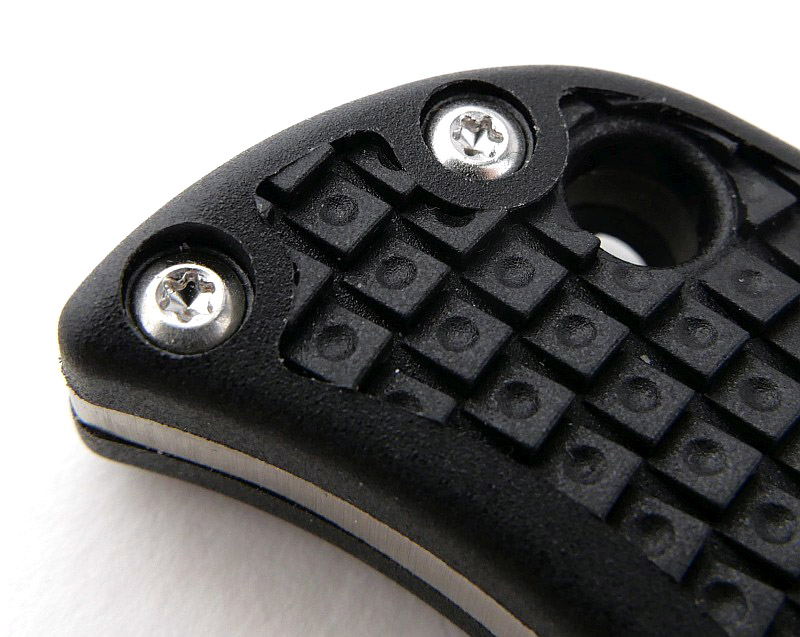
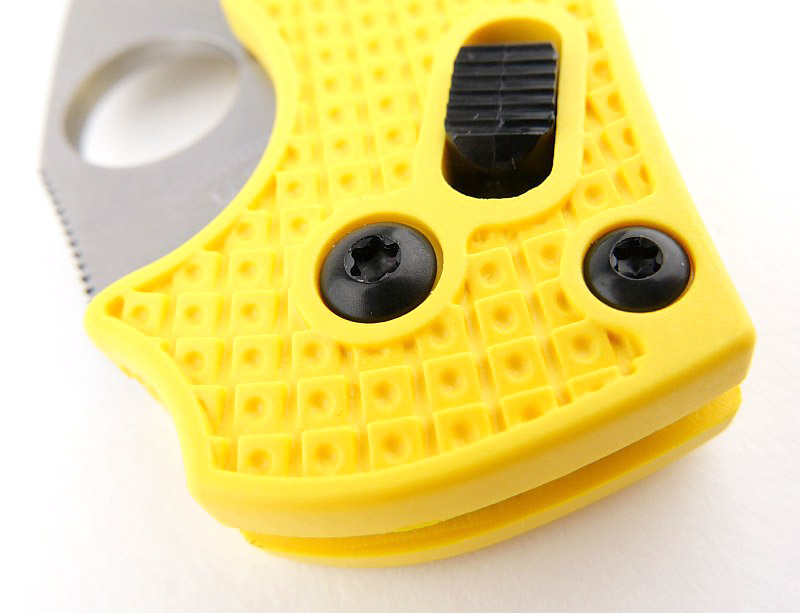
Spyderco have covered the handle with textured grip features, from the signature bi-directional texturing on the main flats of the handle to molded in jimping in several areas.
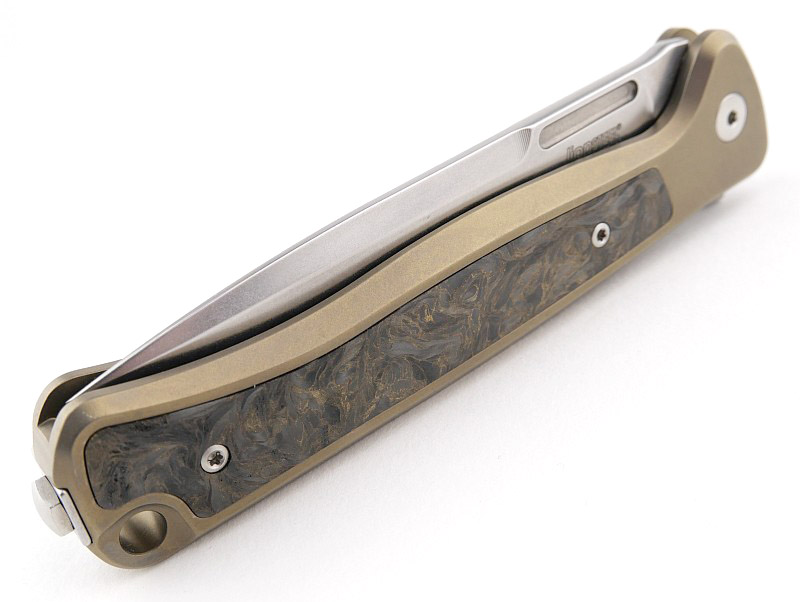
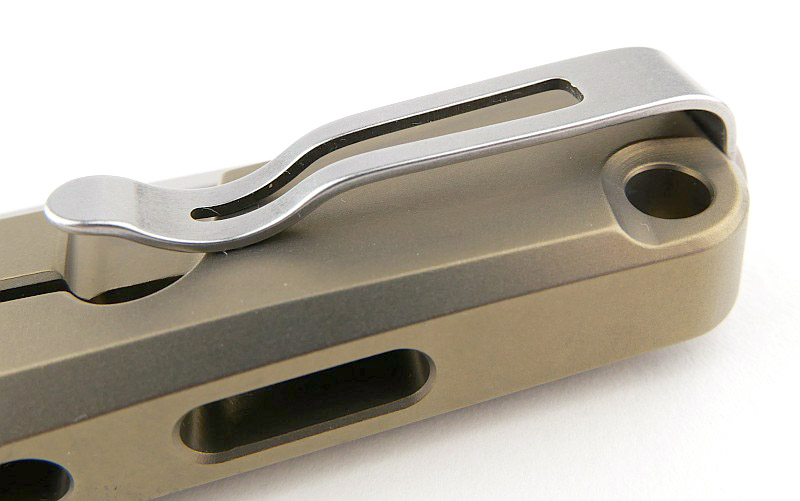
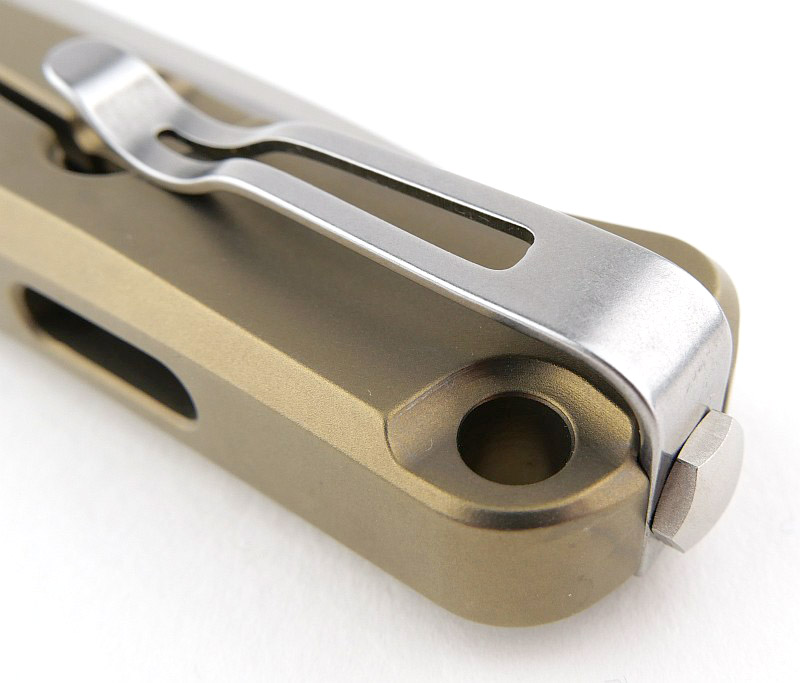
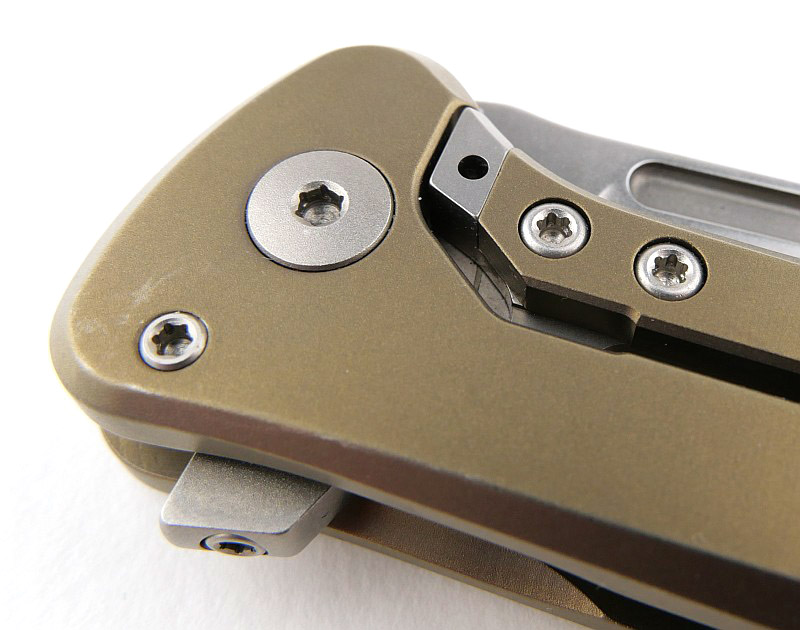
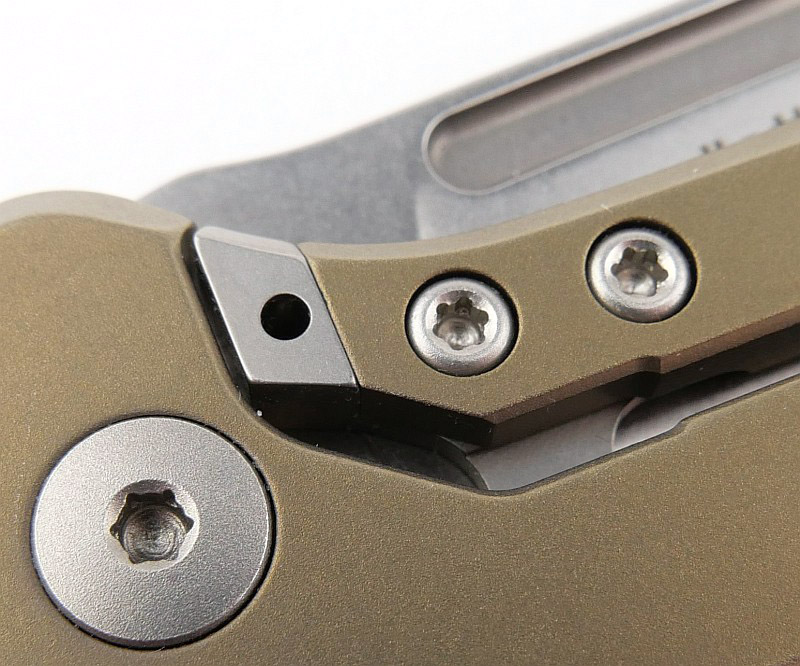
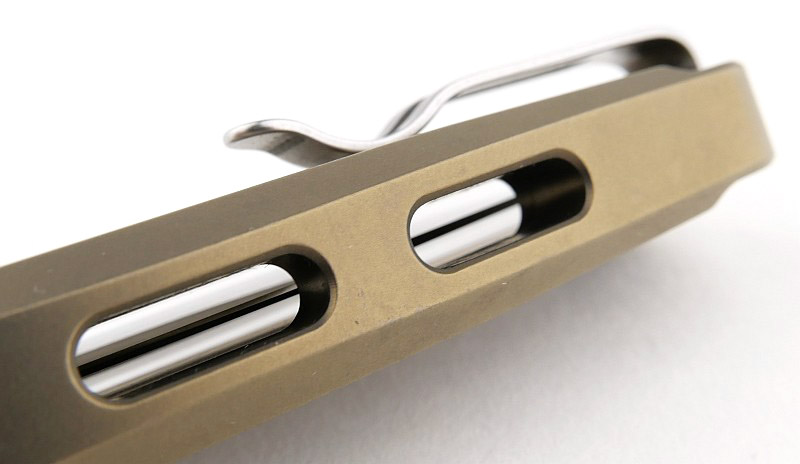
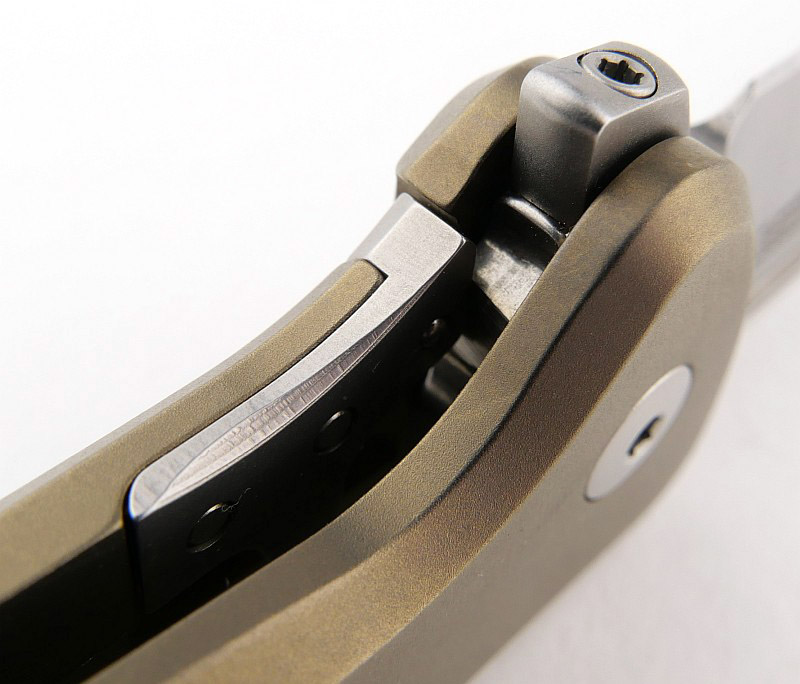
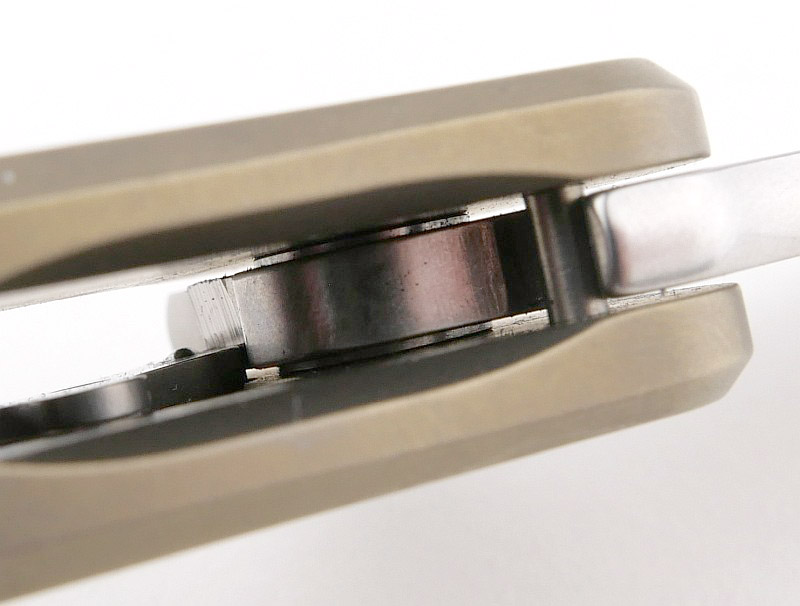
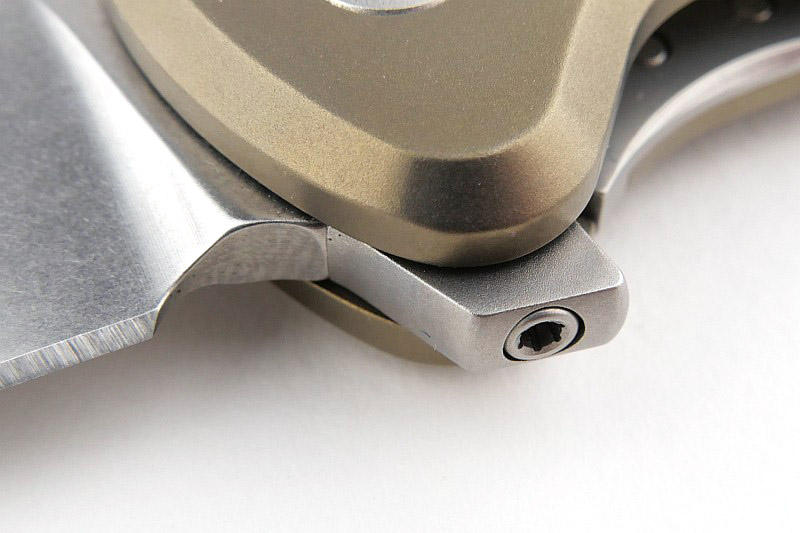
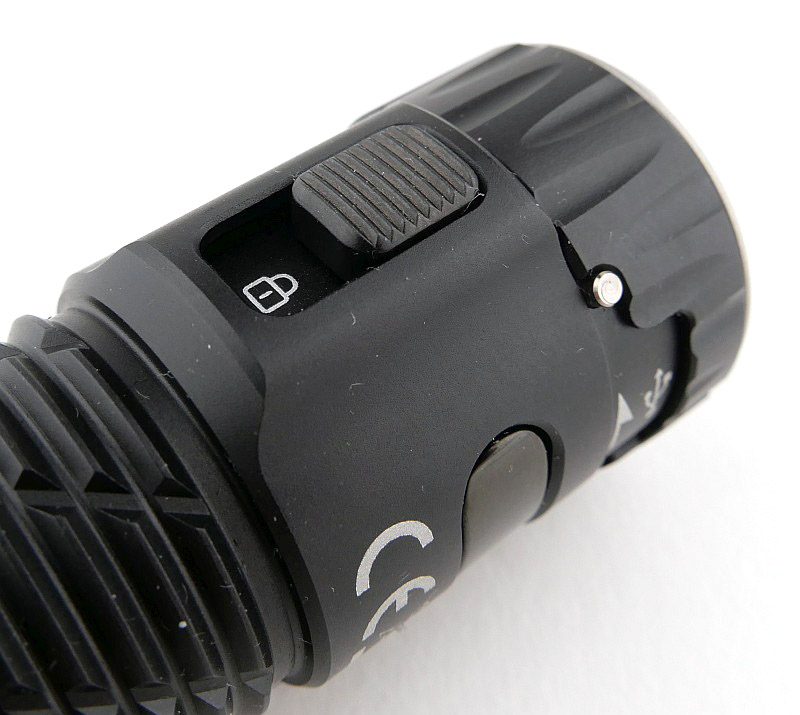
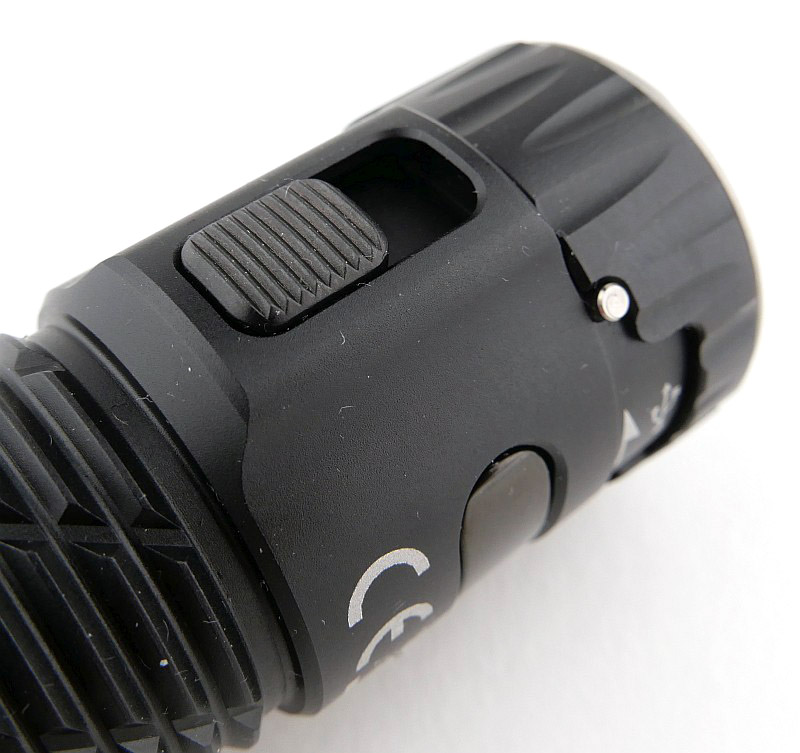
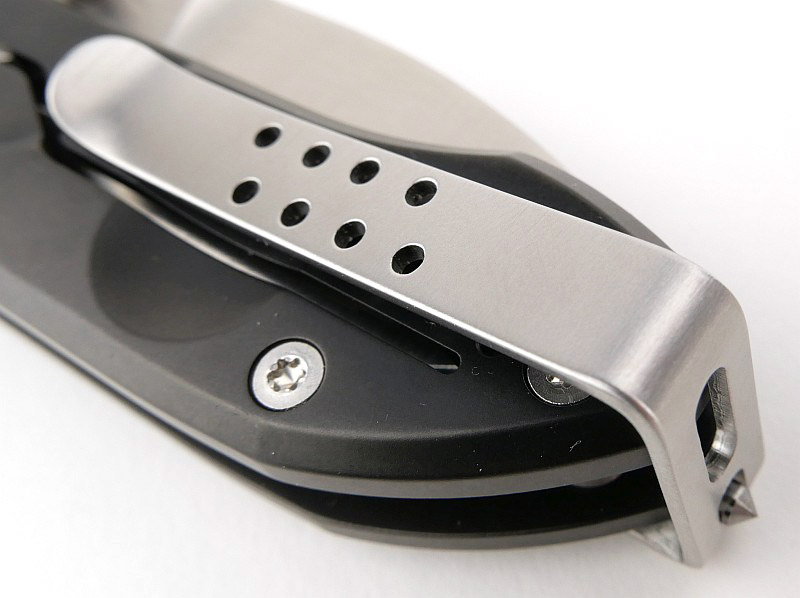
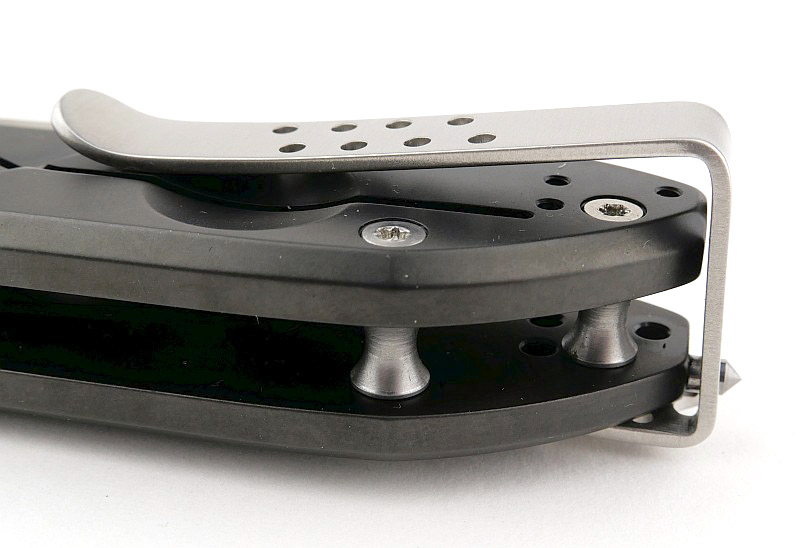
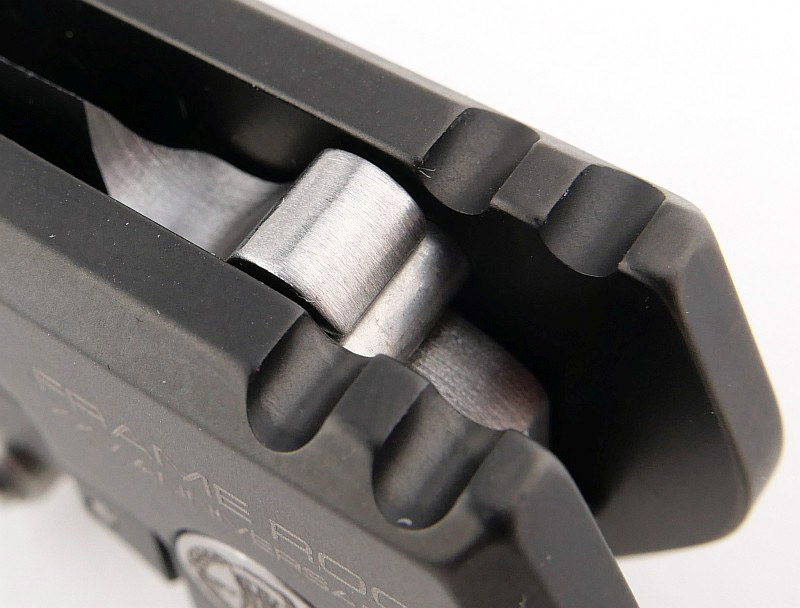
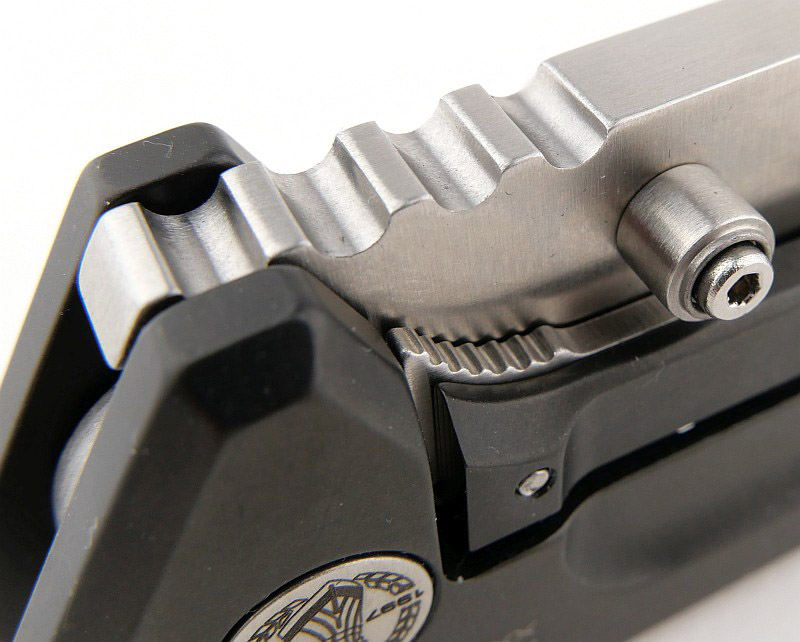
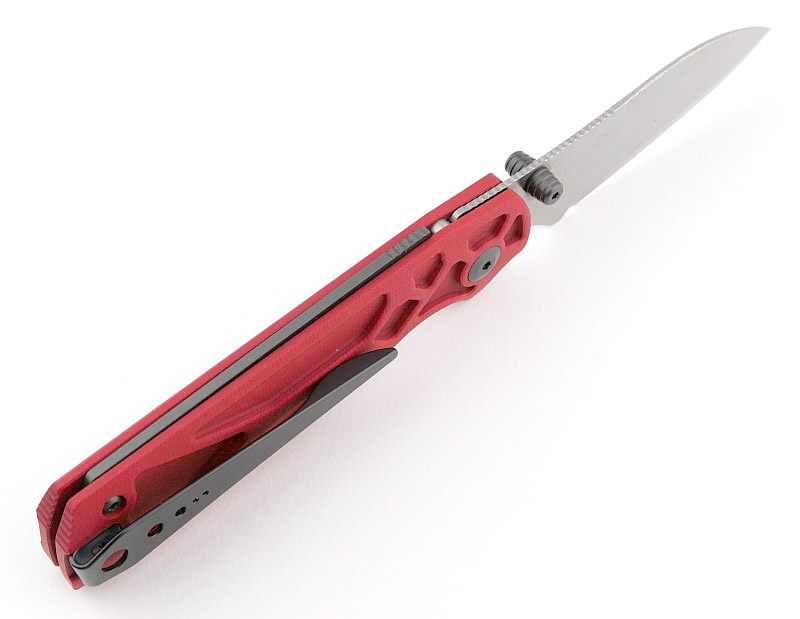
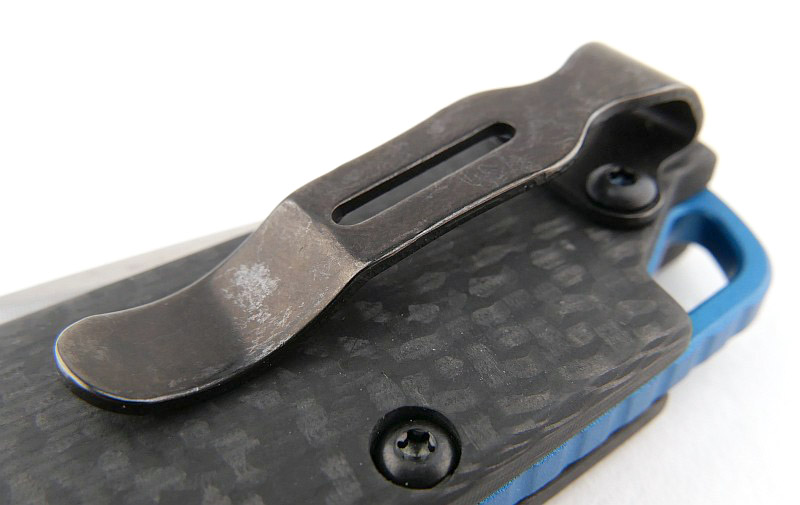
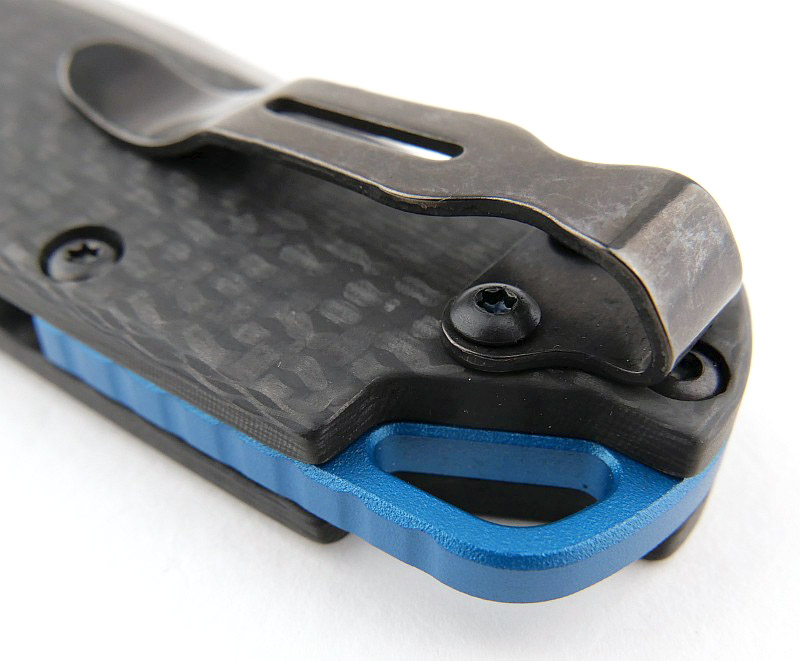
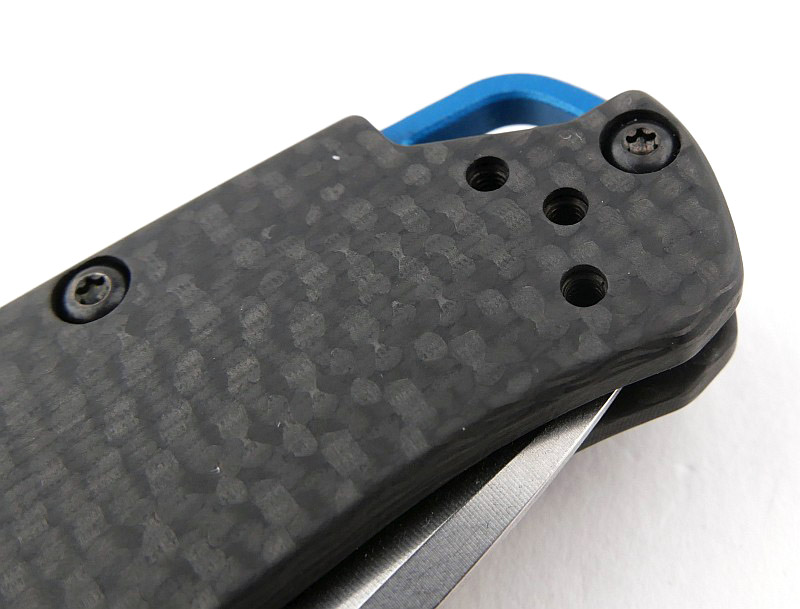
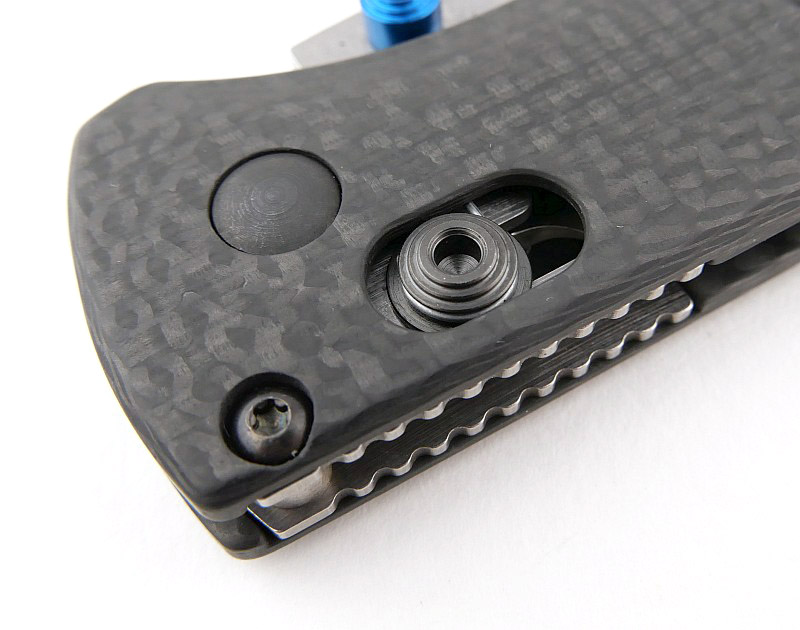
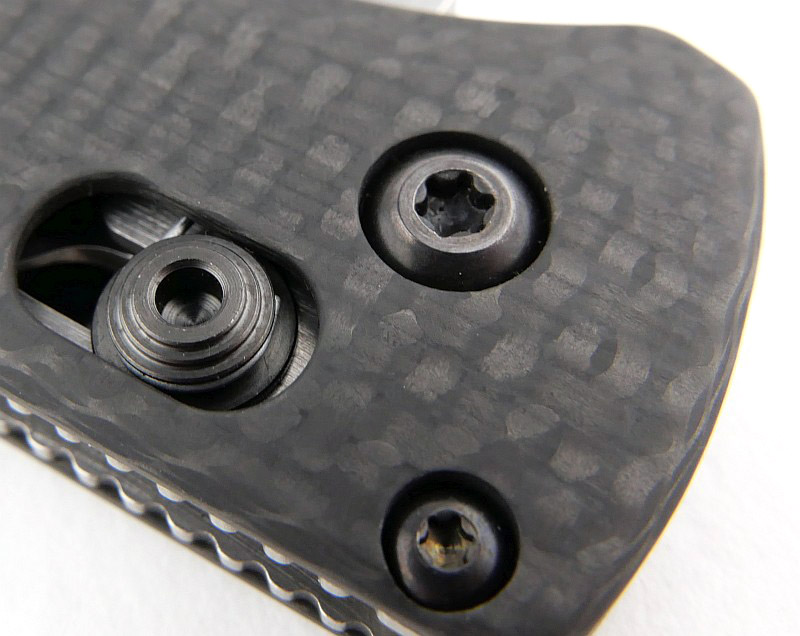
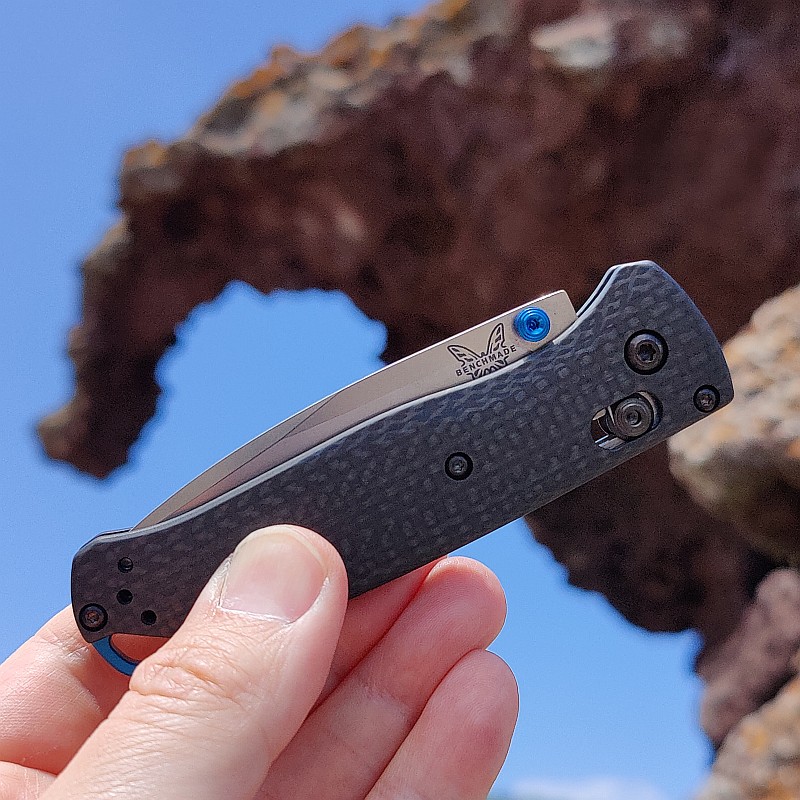
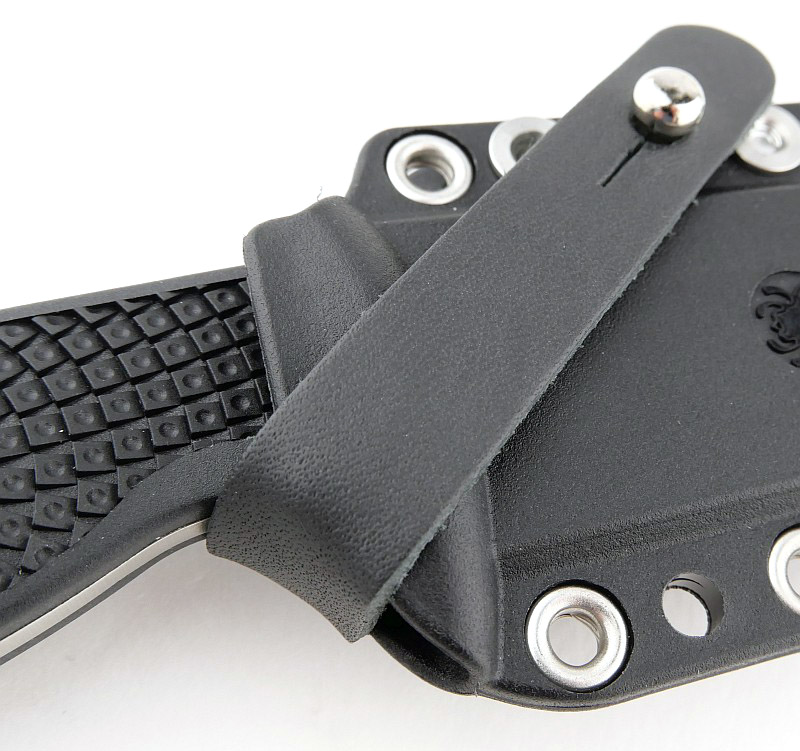
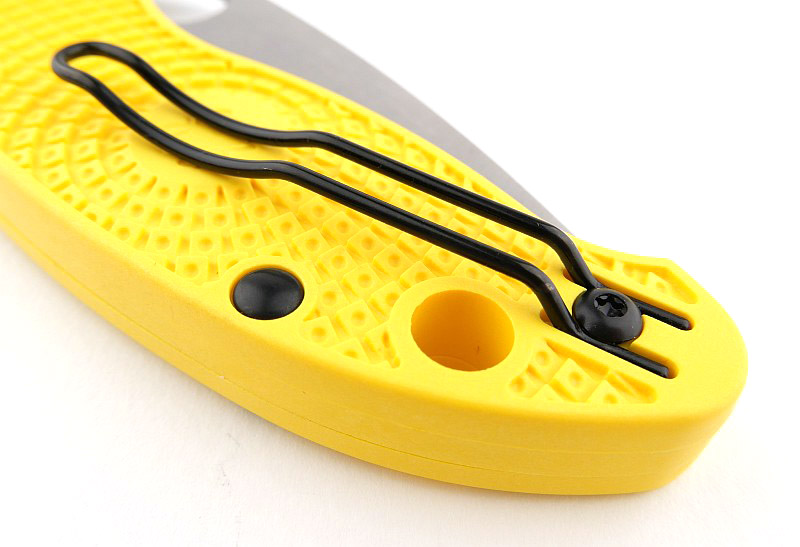
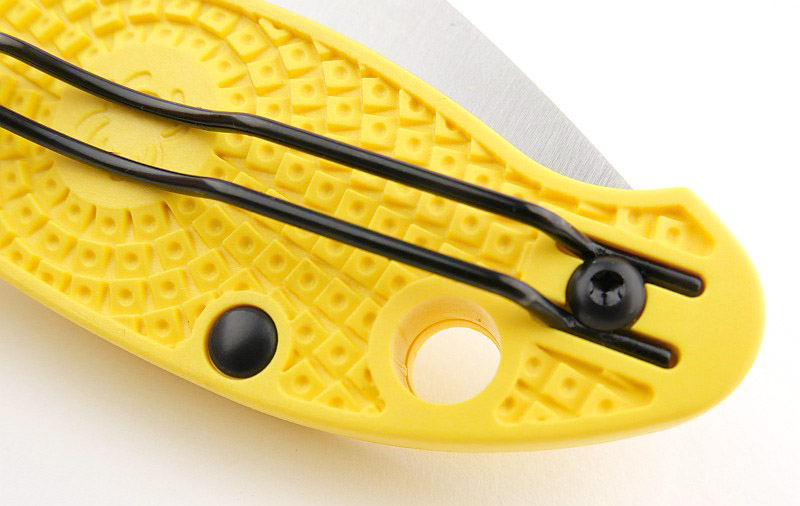
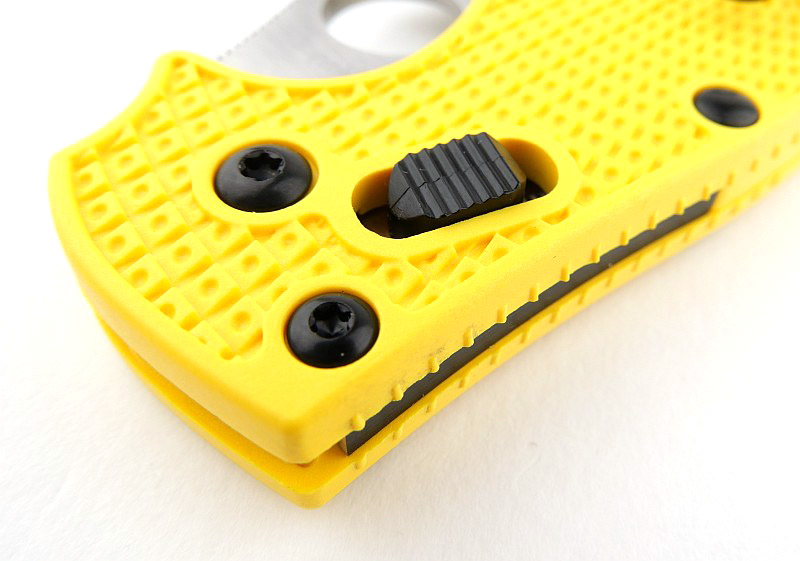
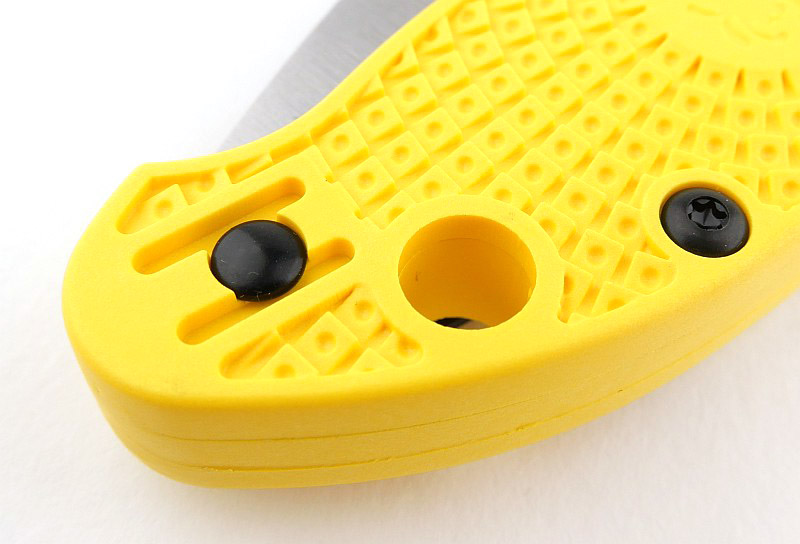
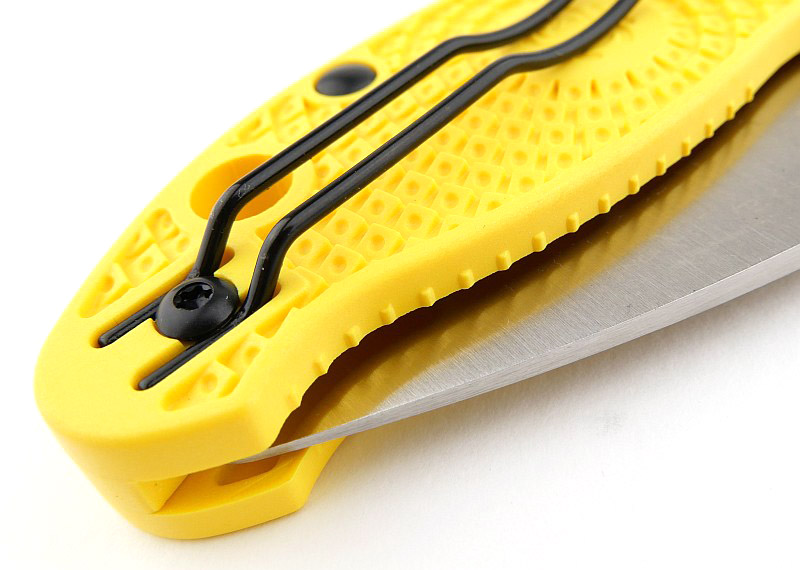
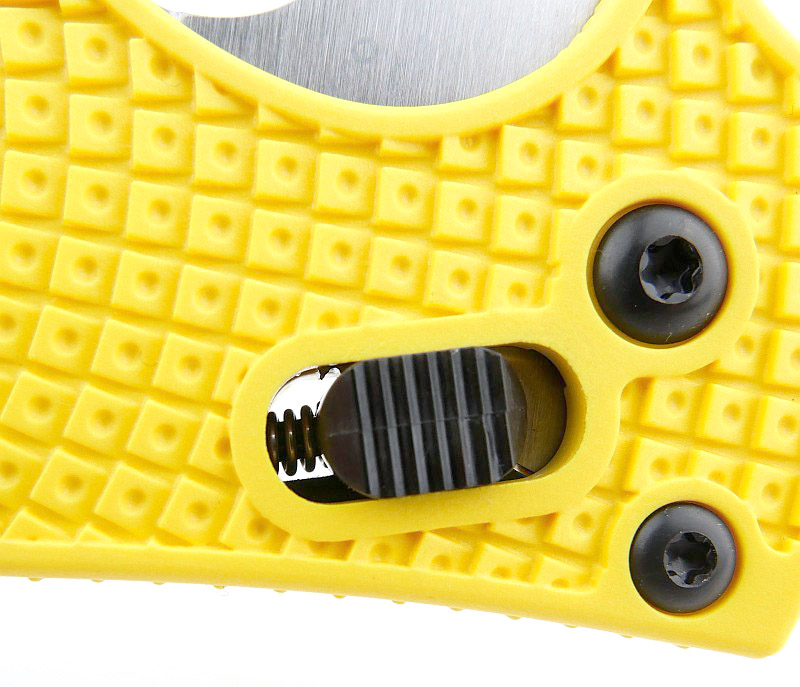
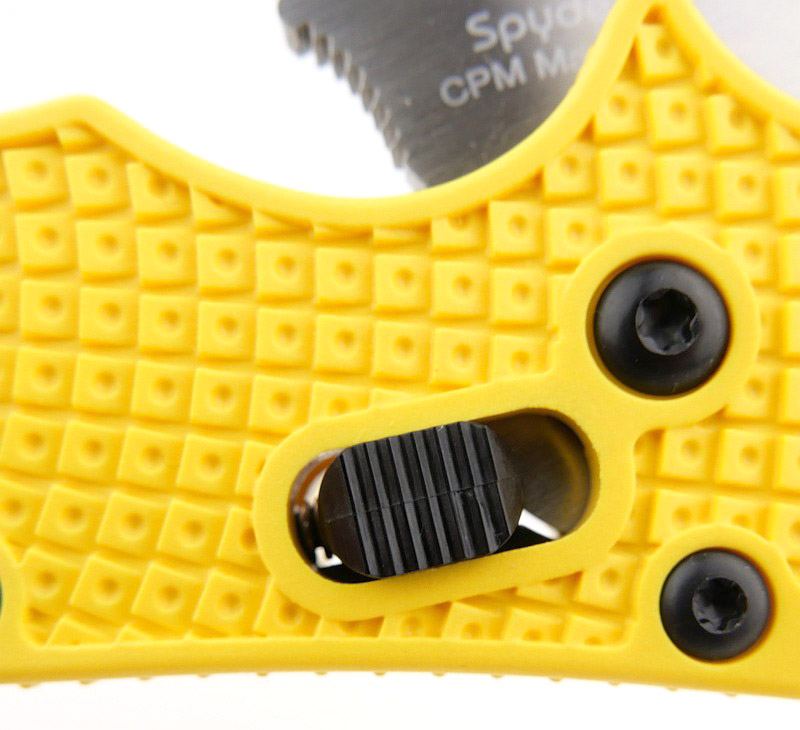
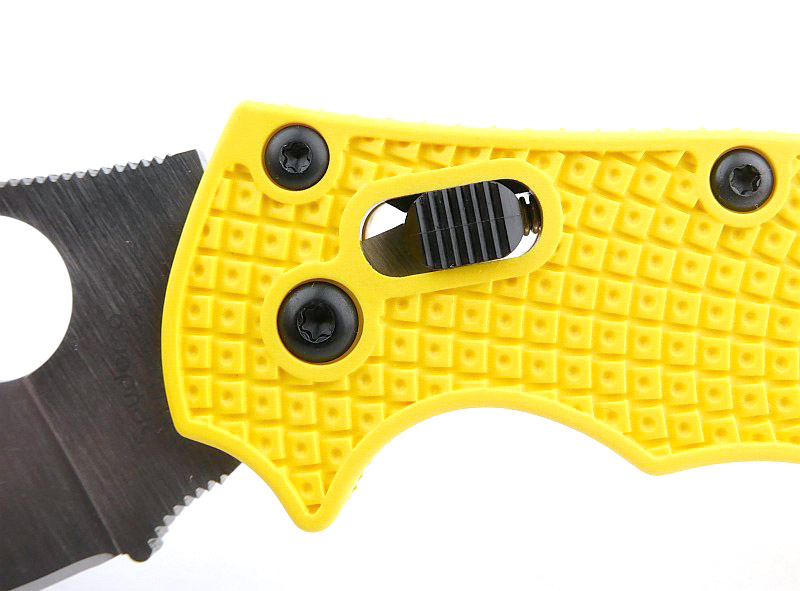
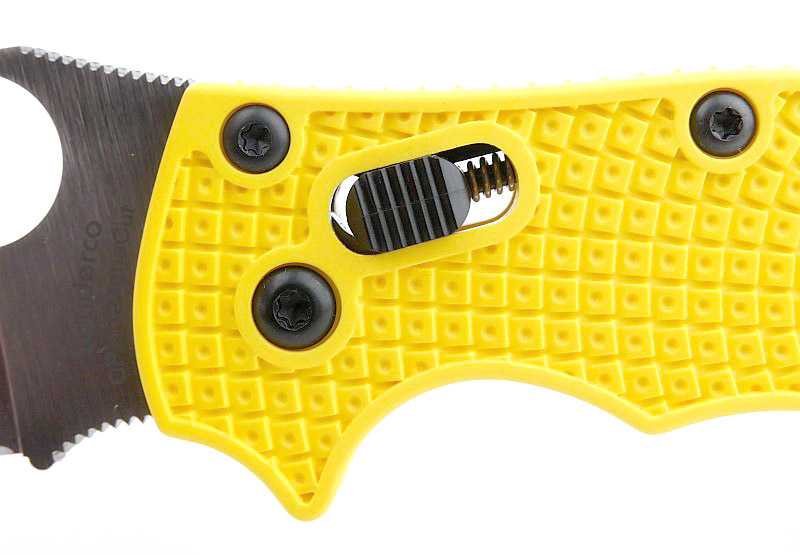
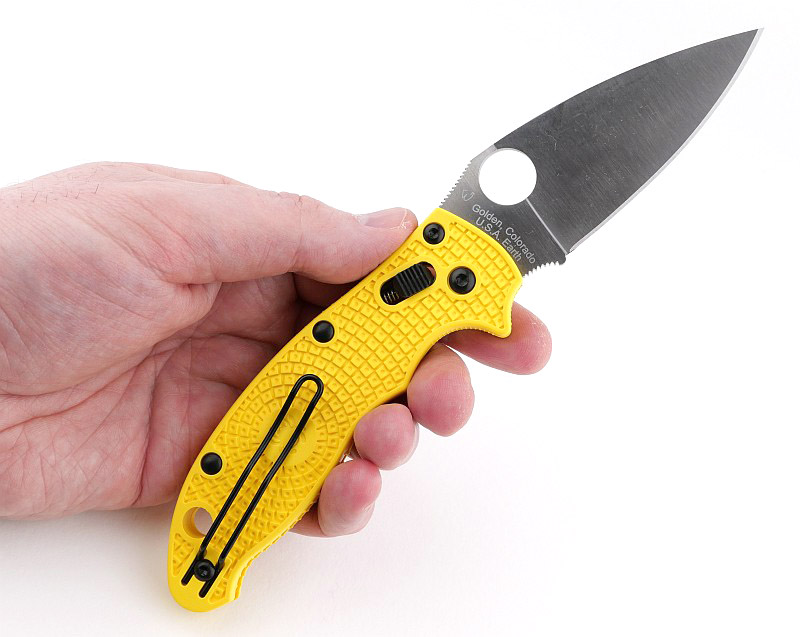
Also featuring another Spyderco signature design element, the tip-up wire spring pocket clip that can be fitted on either side of the handle. The Manix 2 Salt uses Spyderco’s Ball Bearing lock, and this has a black slider that contrasts against the yellow handle. Ending this gallery as the blade is opened.
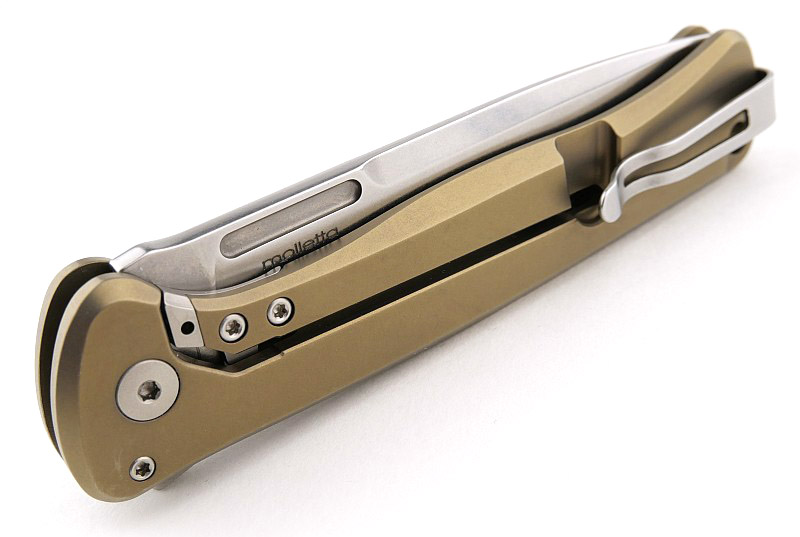
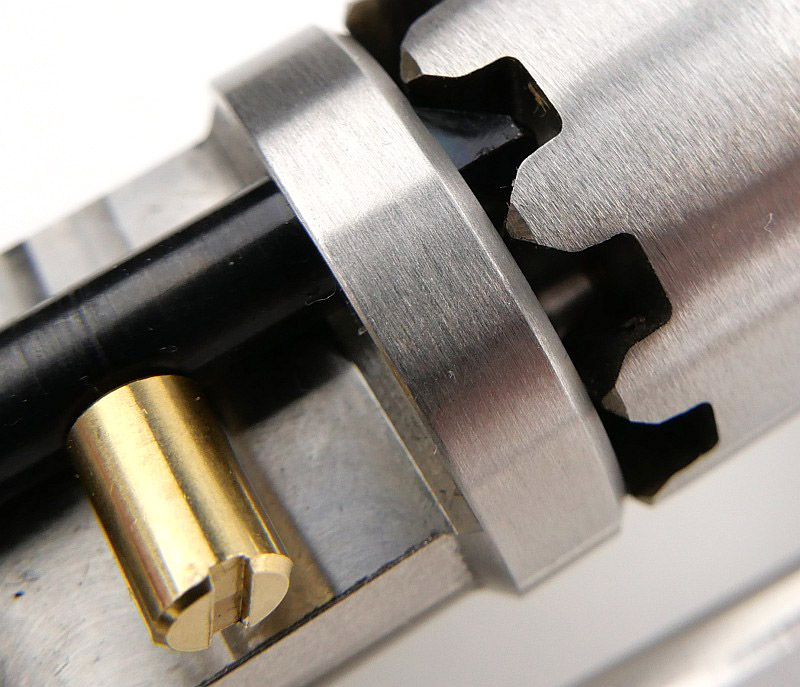
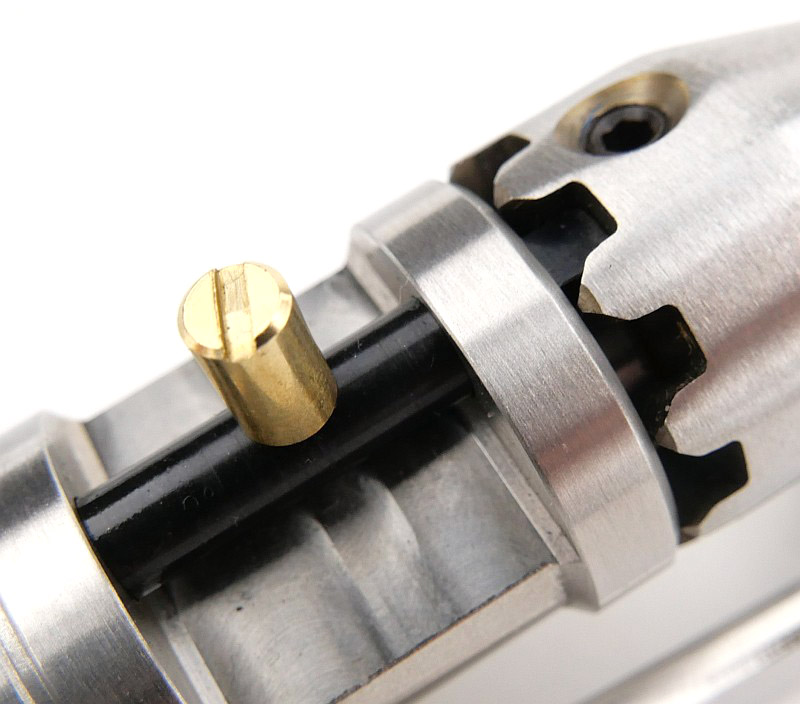
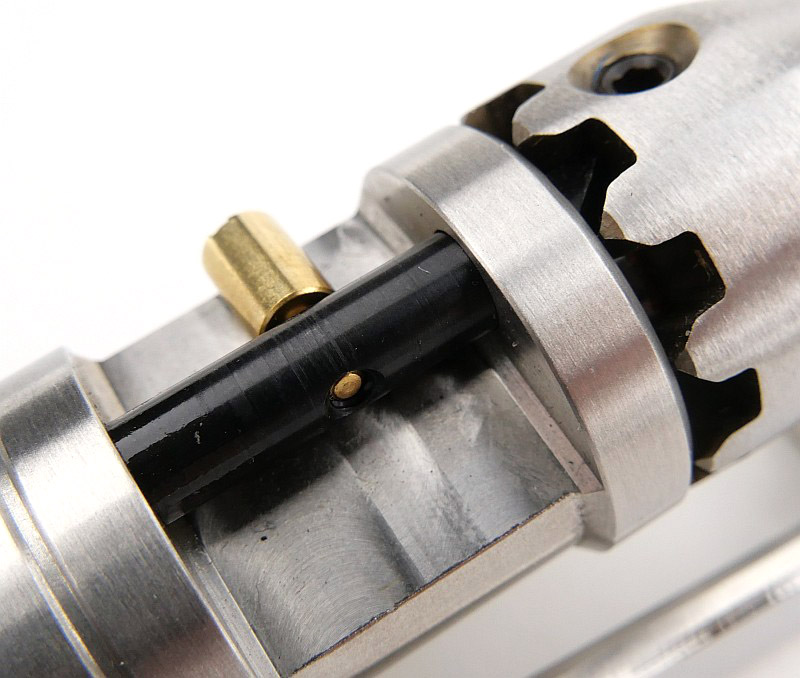
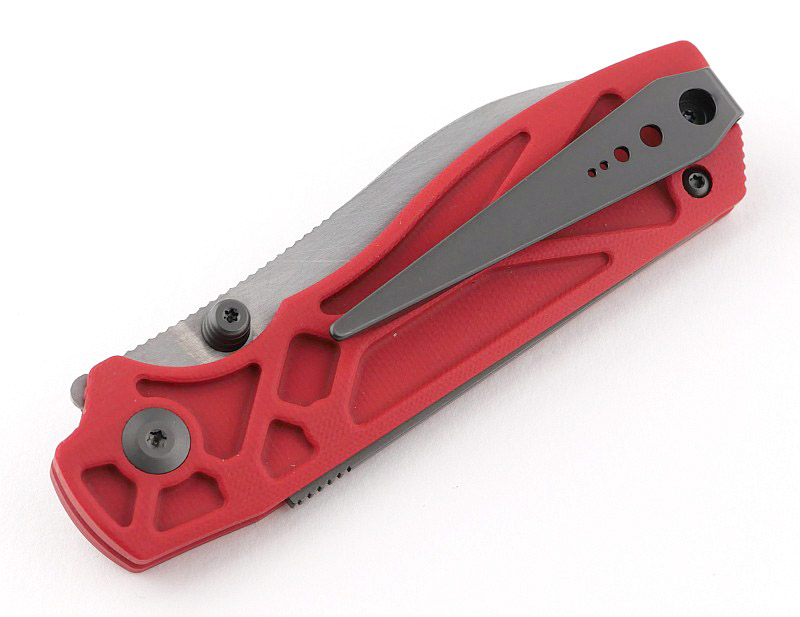
A good look round the Manix 2 Salt – Part 2 – Things to look out for here are:
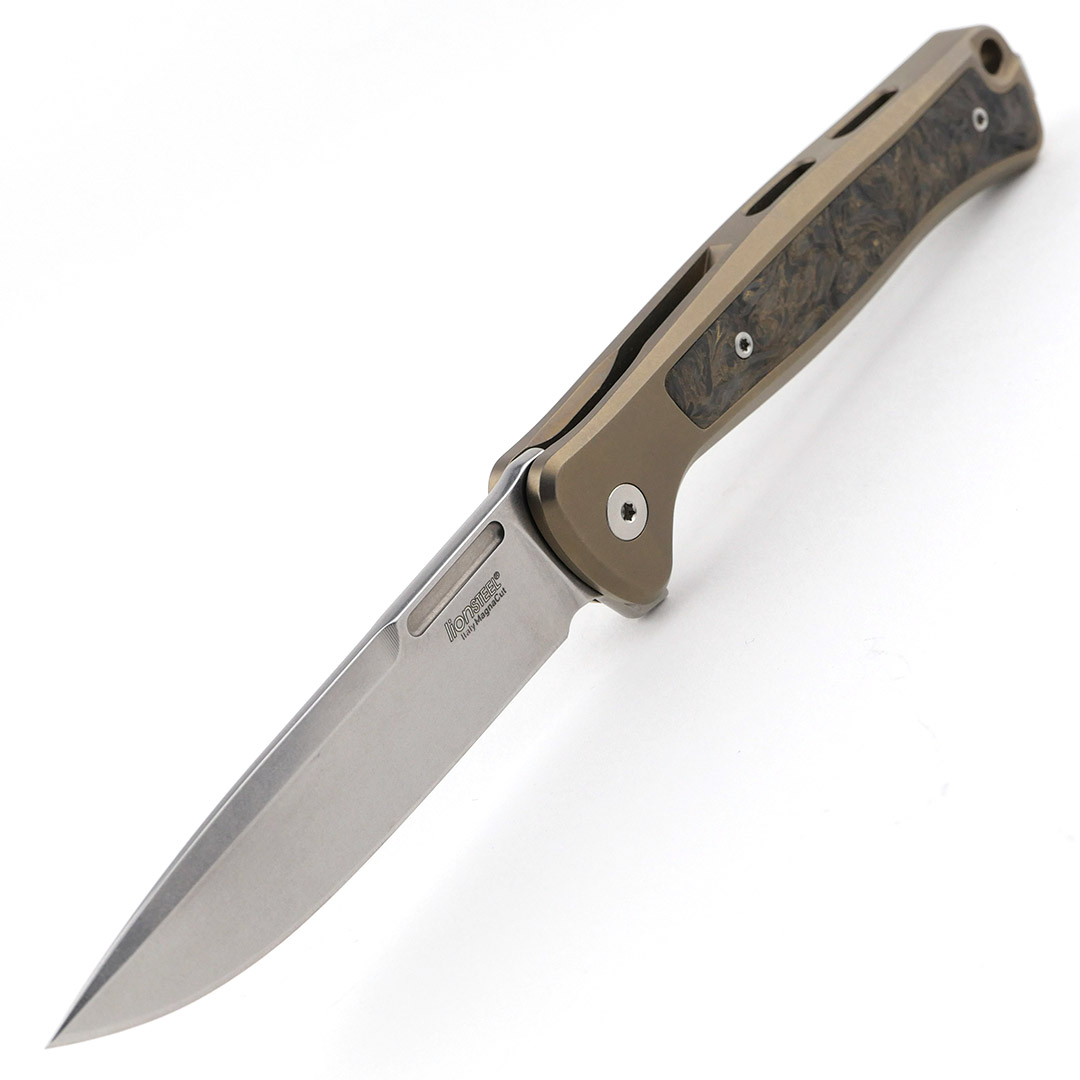
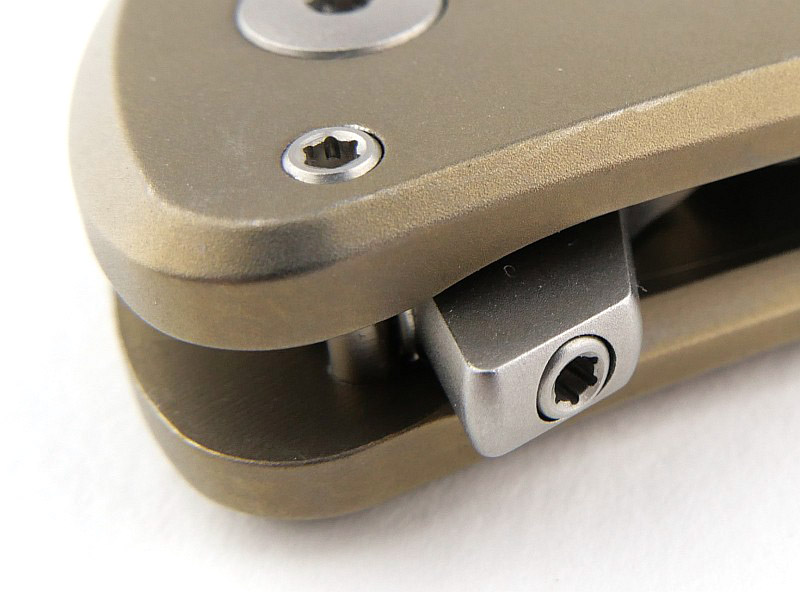
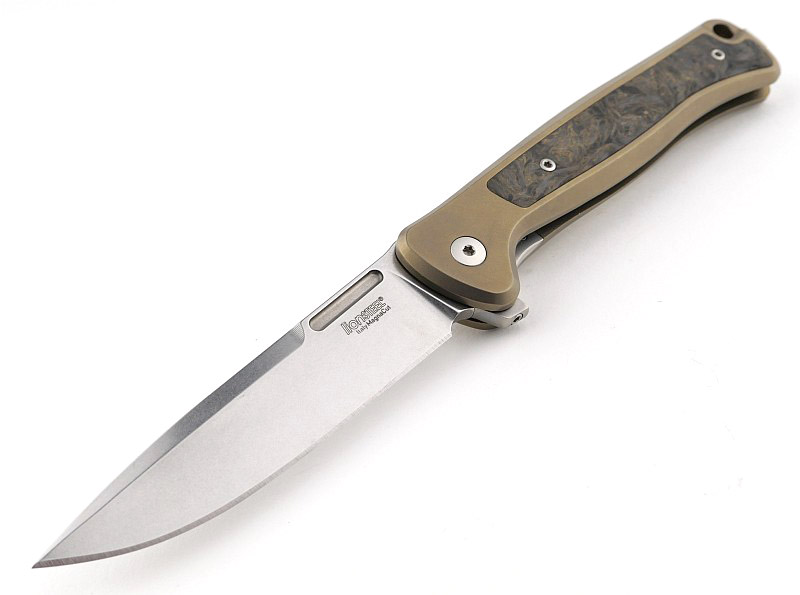
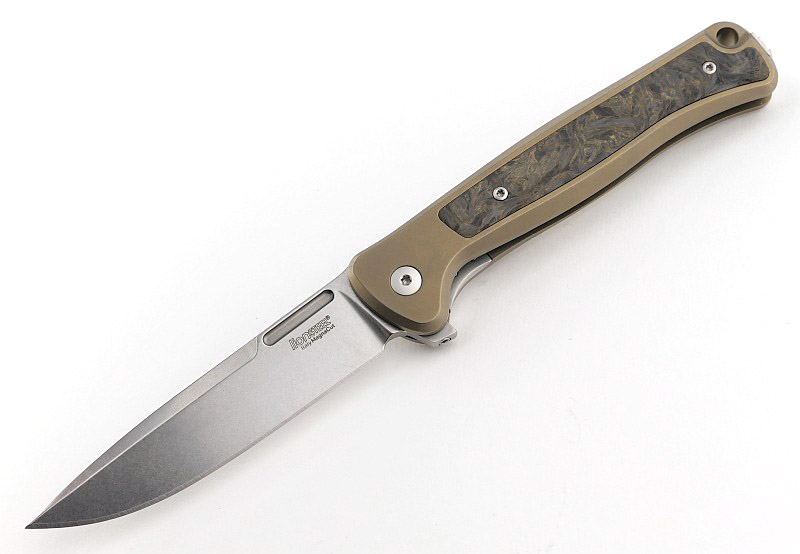
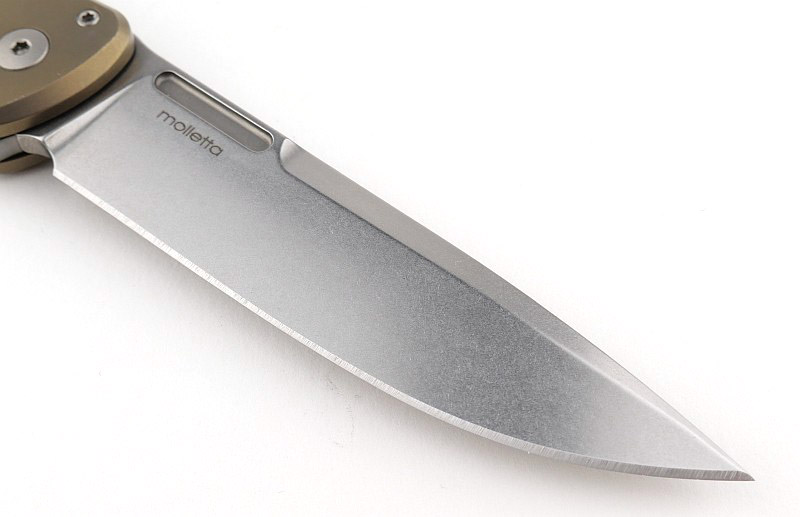
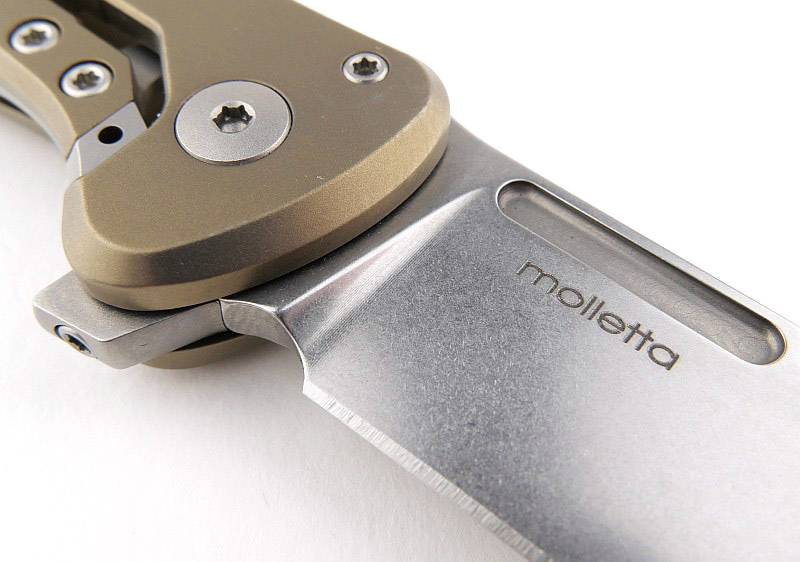
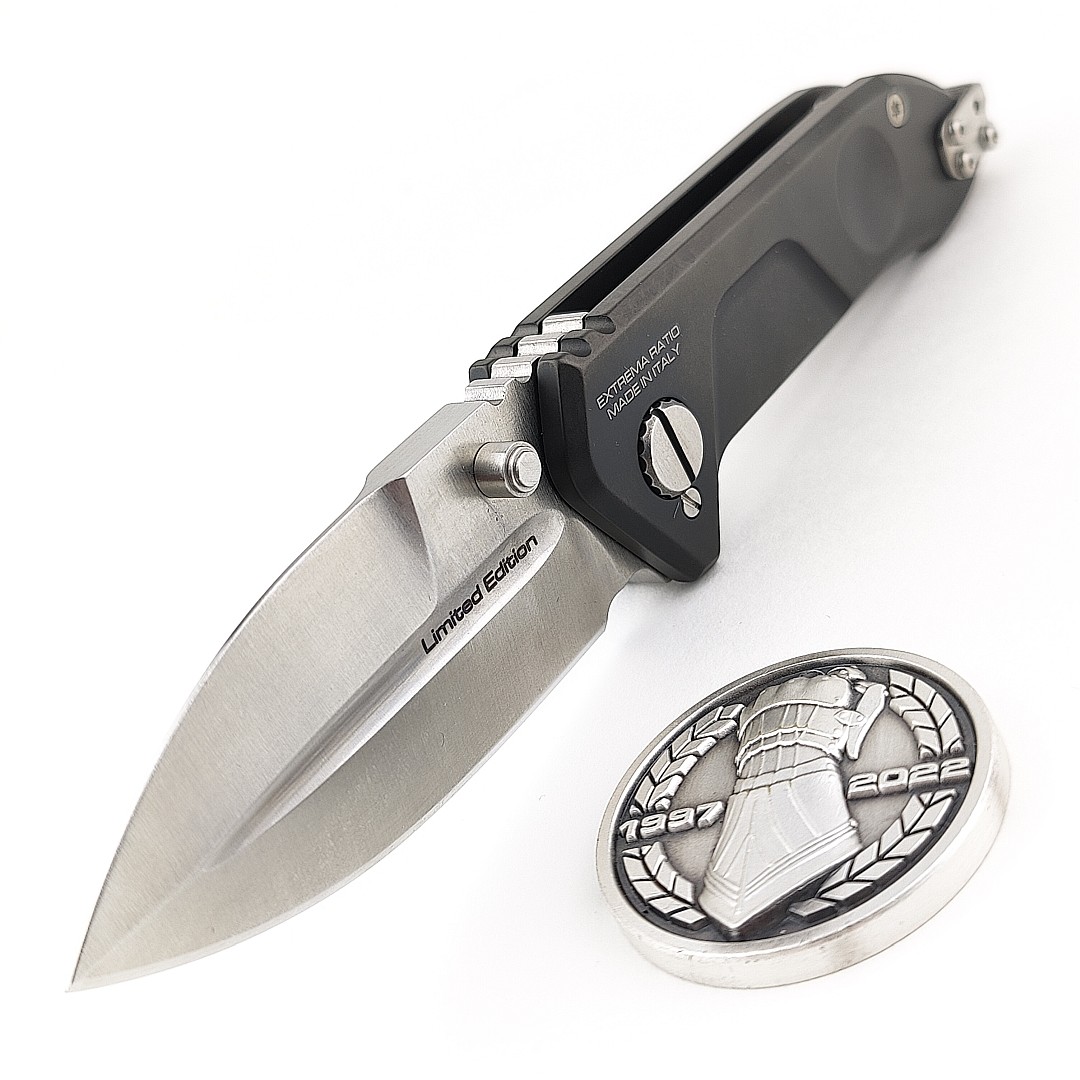
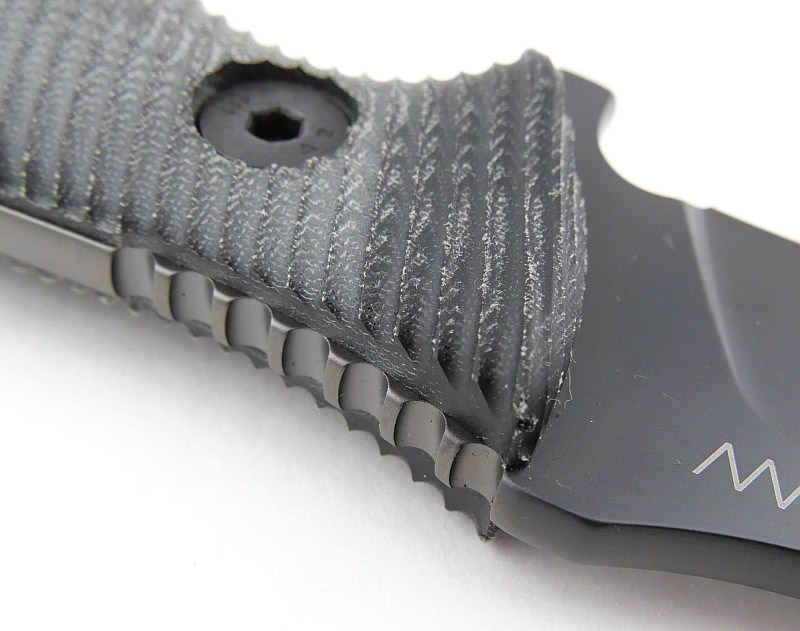
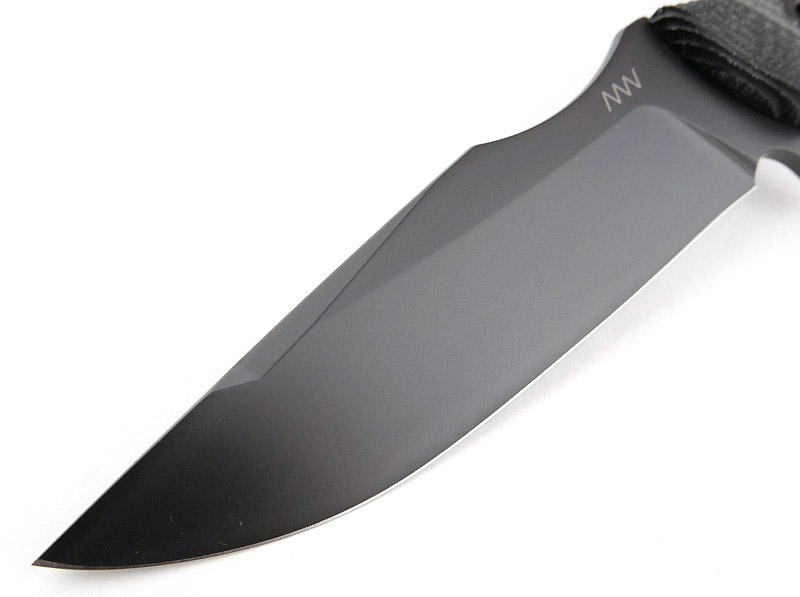
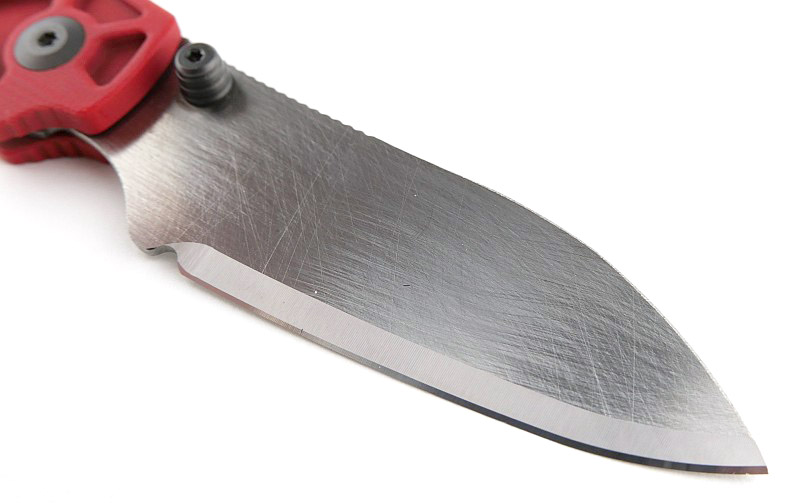
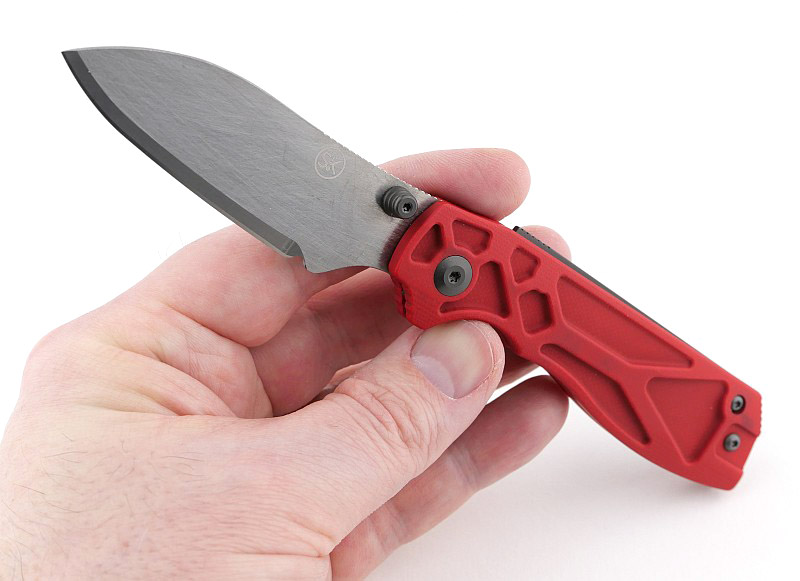
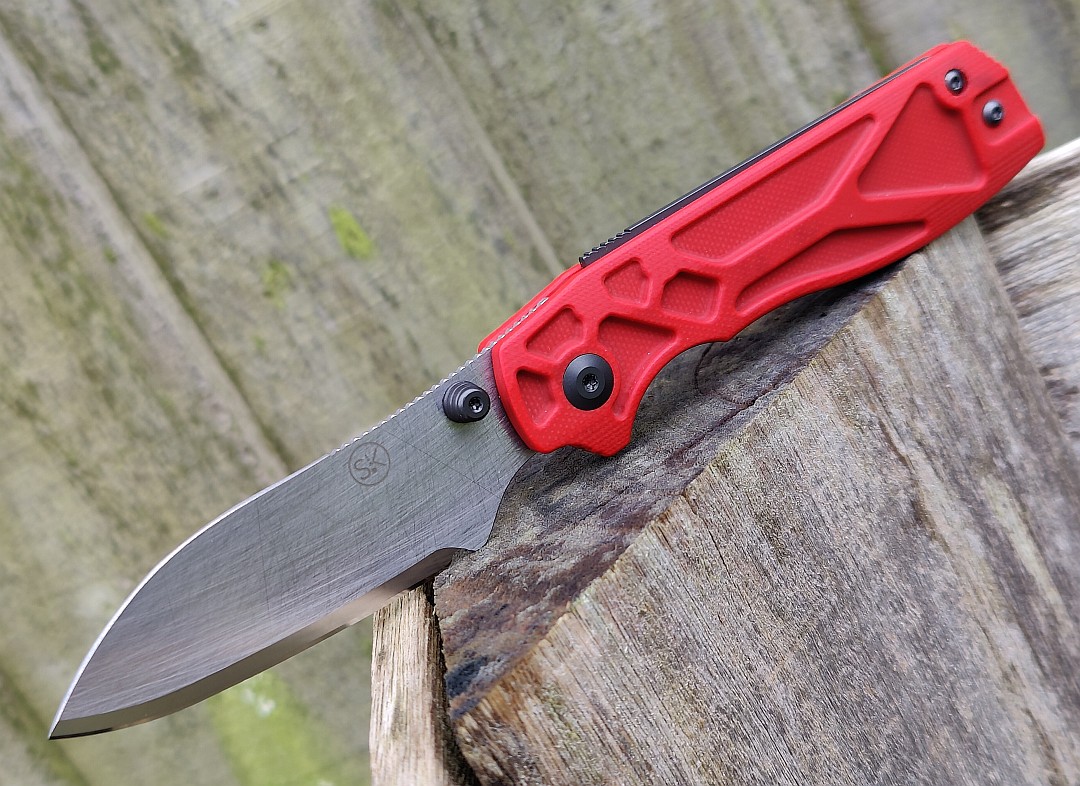
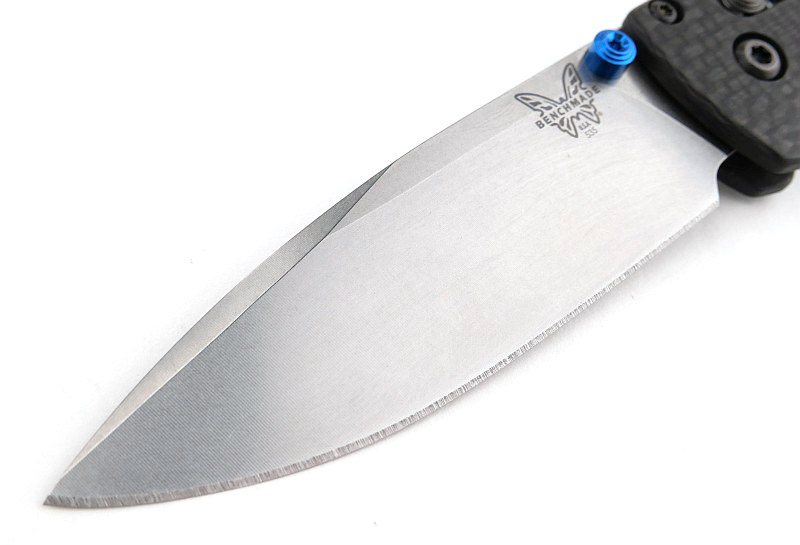
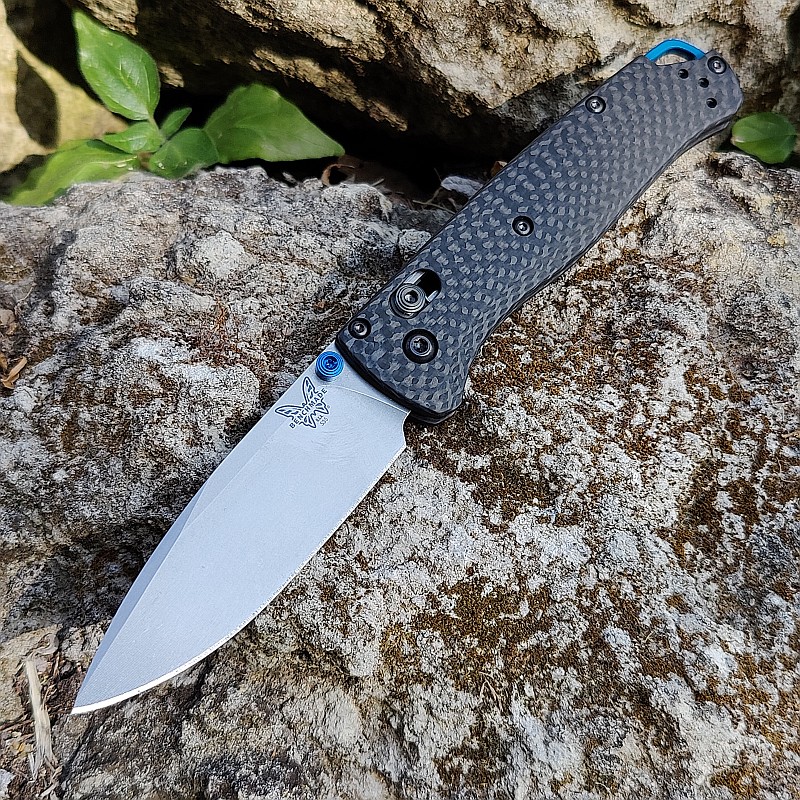
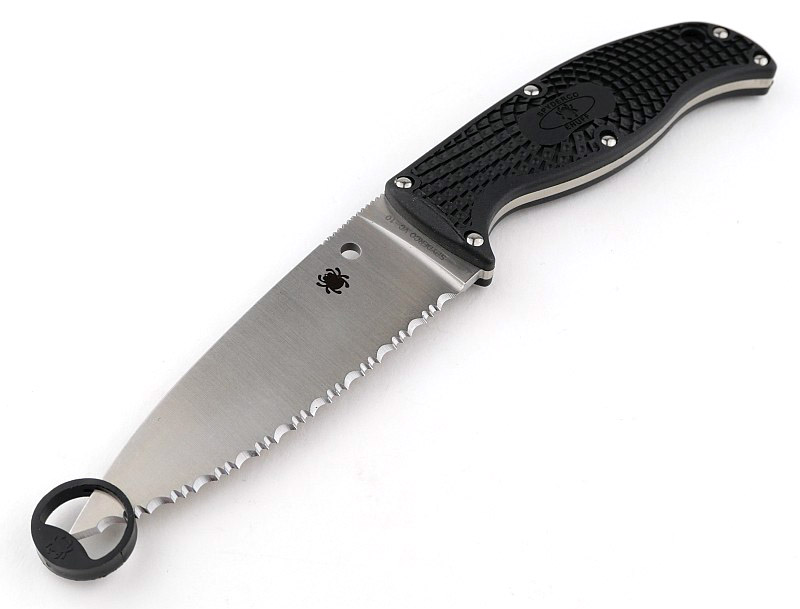
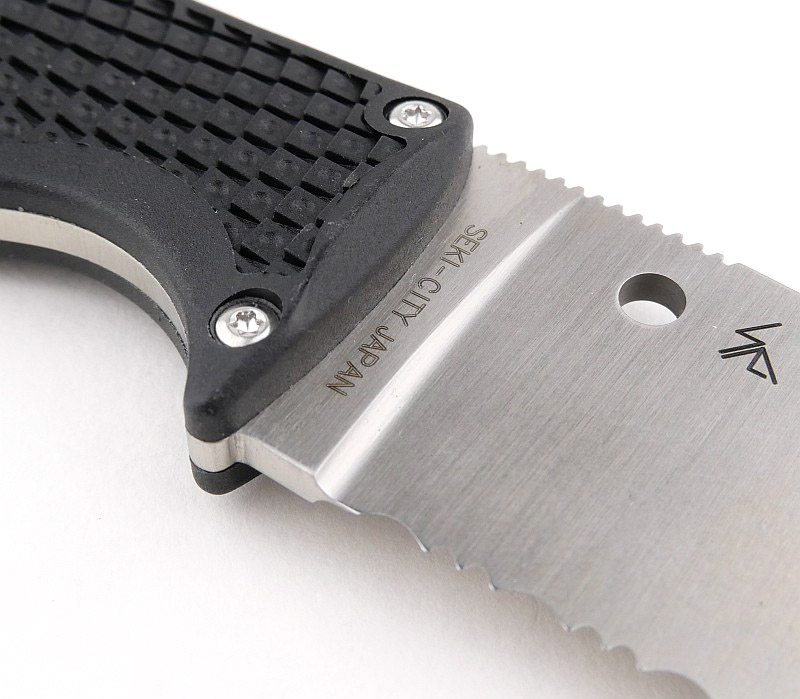
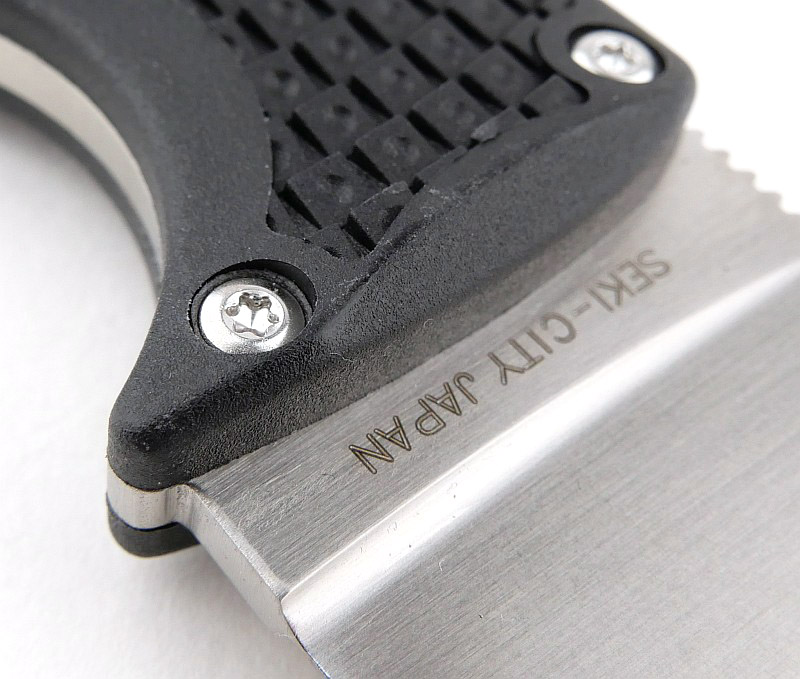
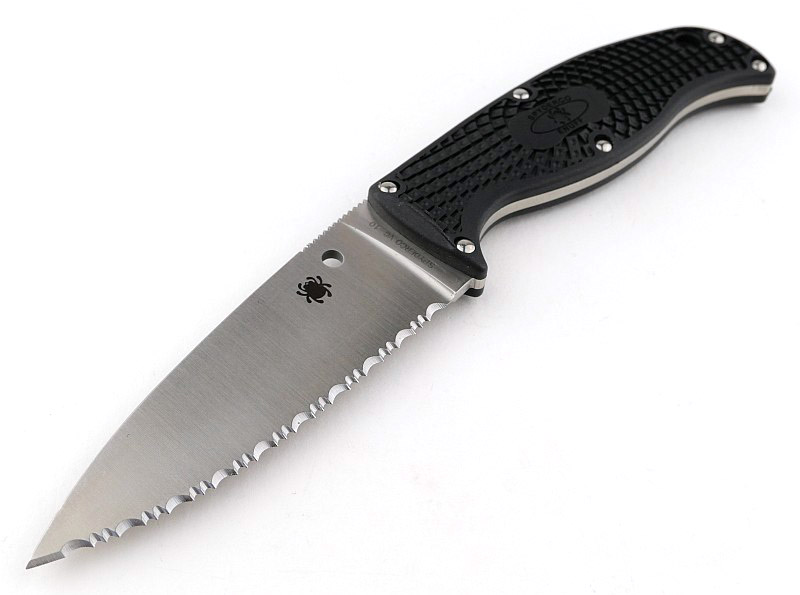
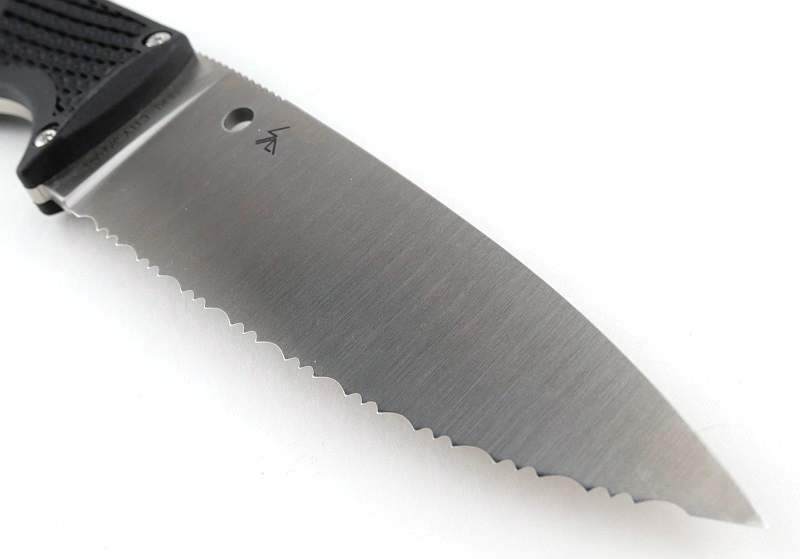
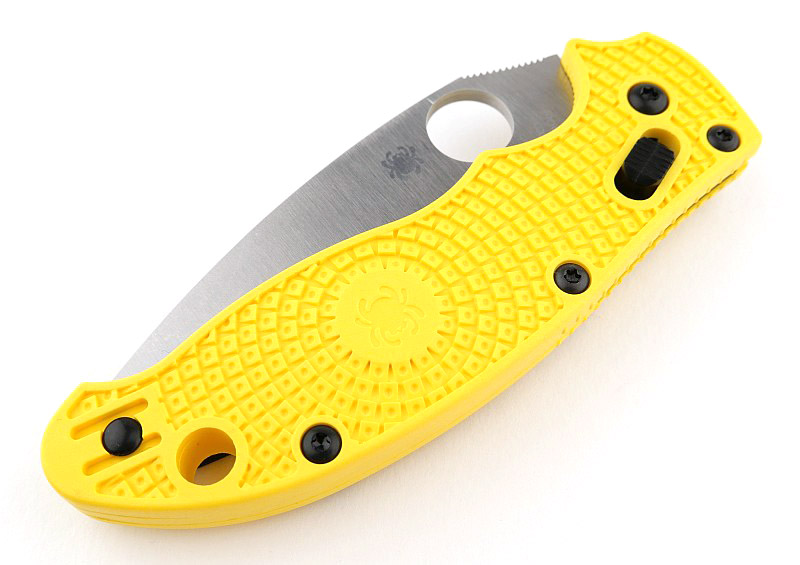
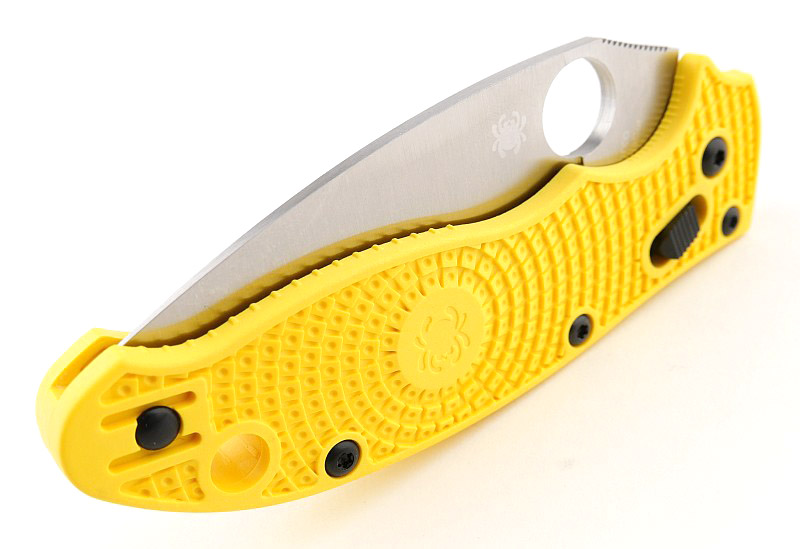
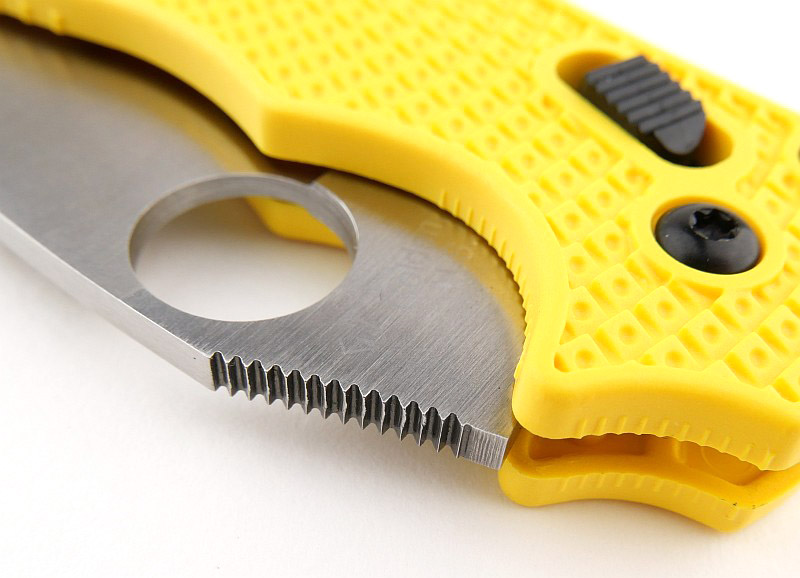
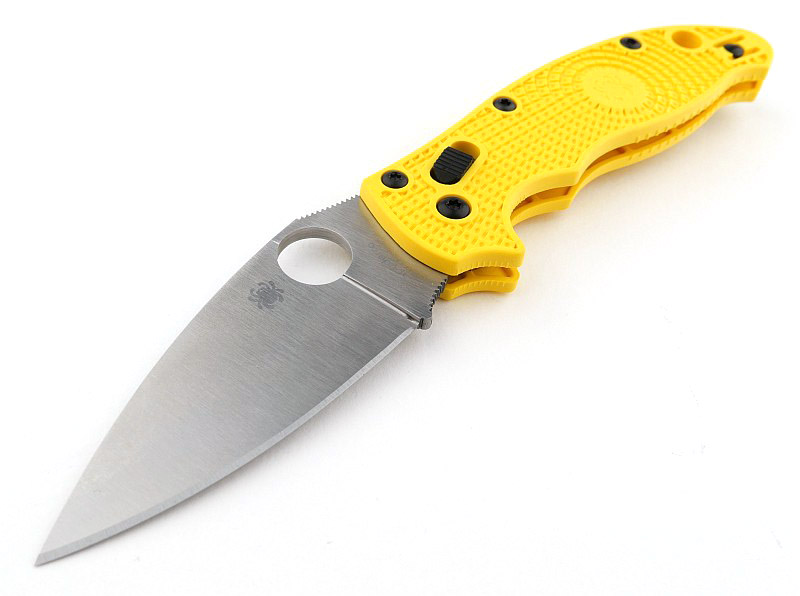
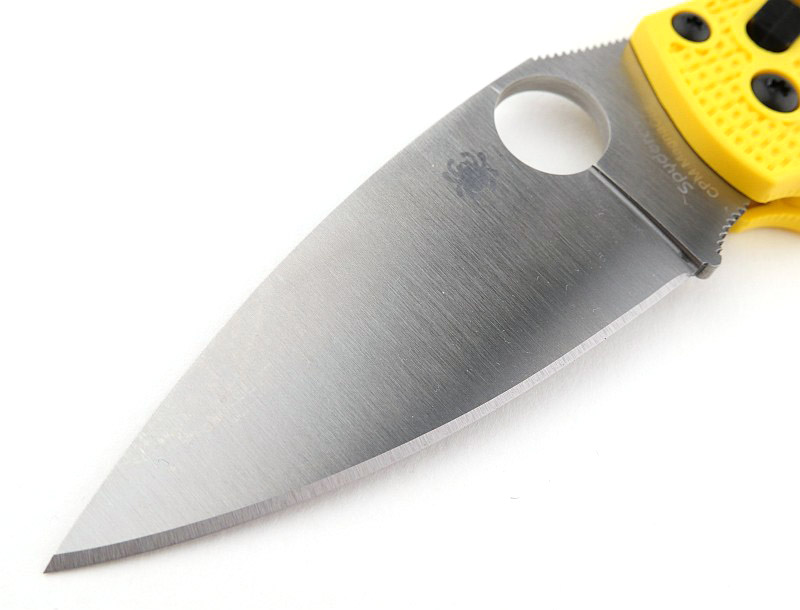
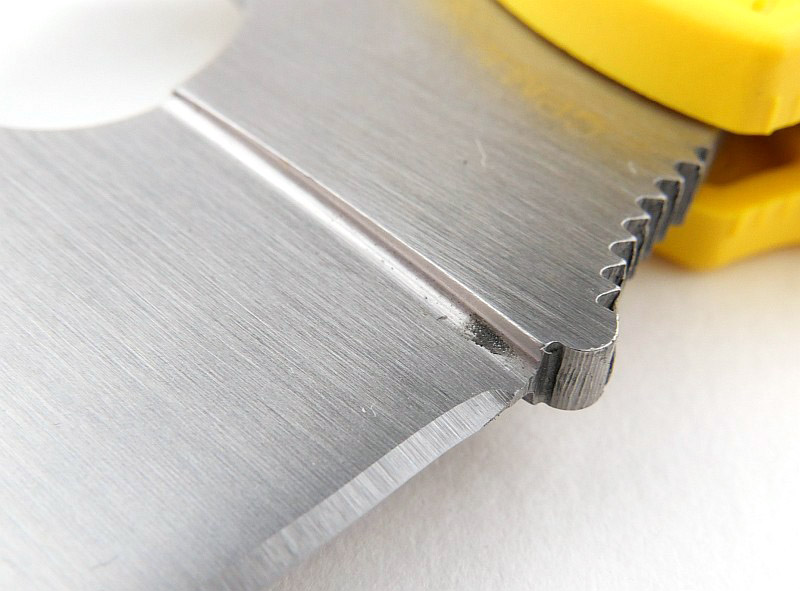
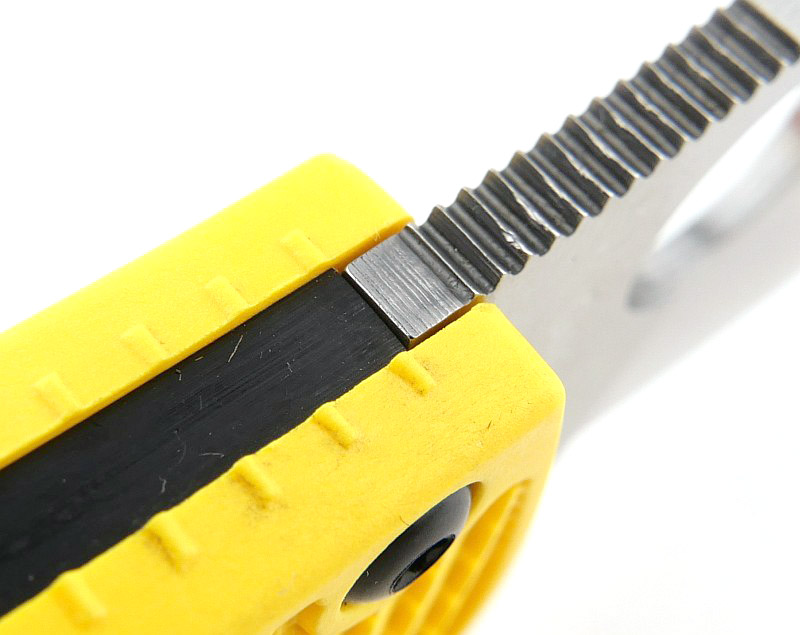
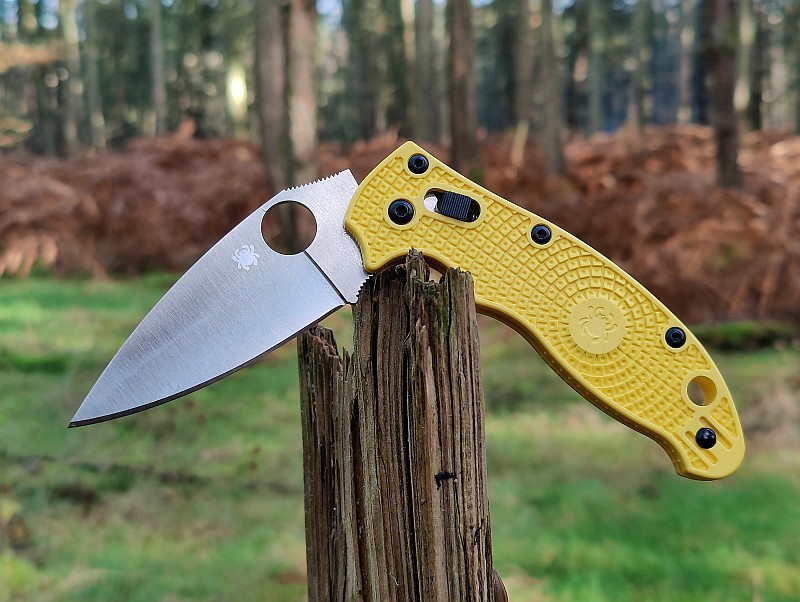
Opening the blade to reveal yet another Spyderco signature design – the full-flat-grind leaf-shaped blade with large opening hole. The lock slider shown at its maximum position, before it springs forward to engage the ball bearing; the coil locking spring is clearly visible.
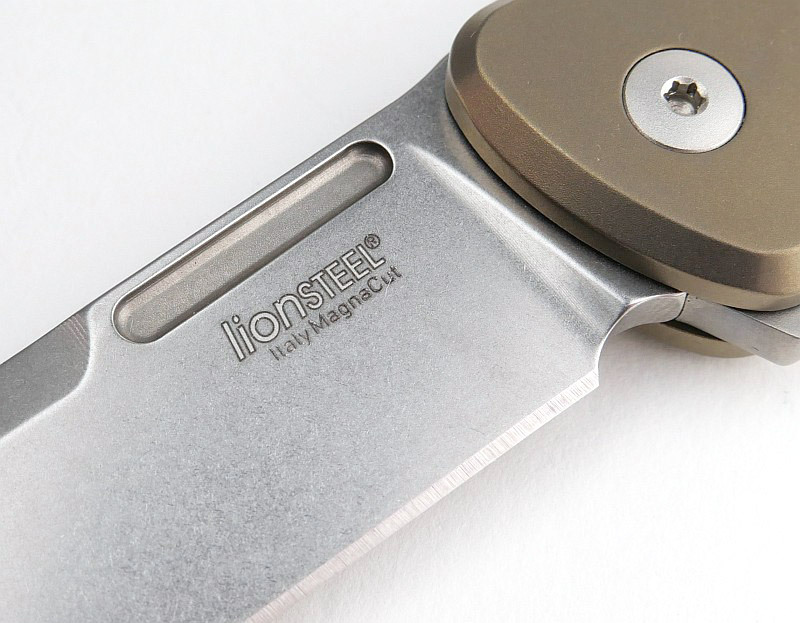
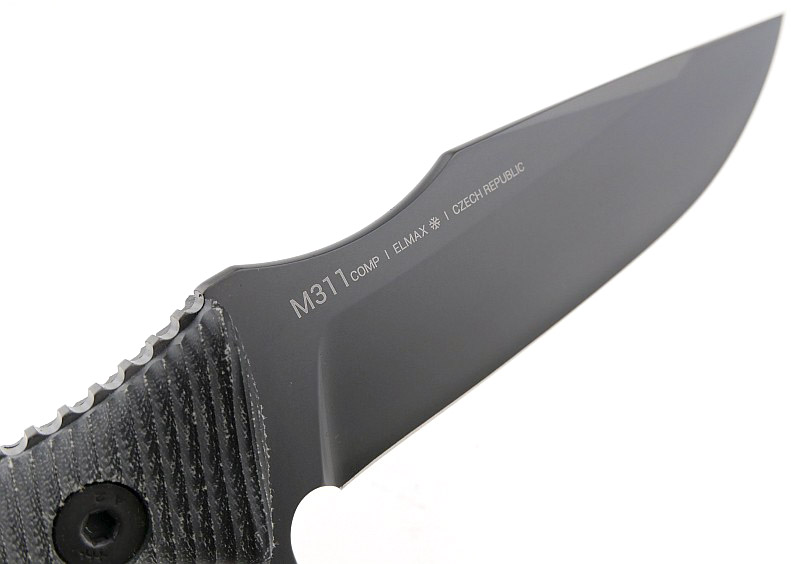
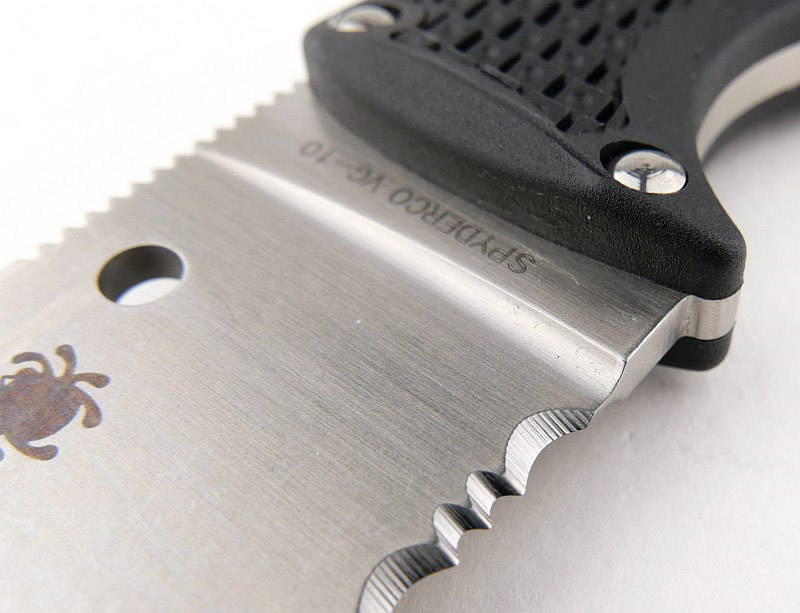
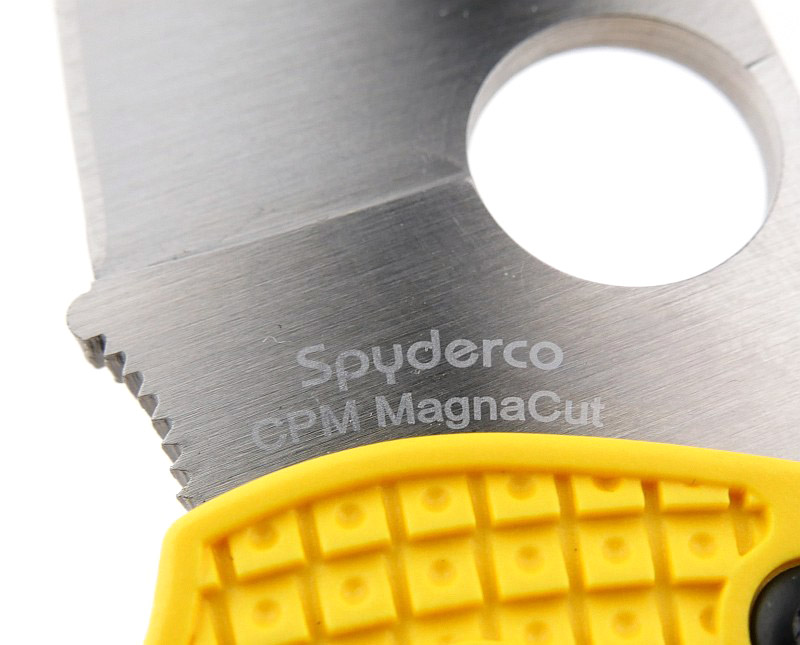
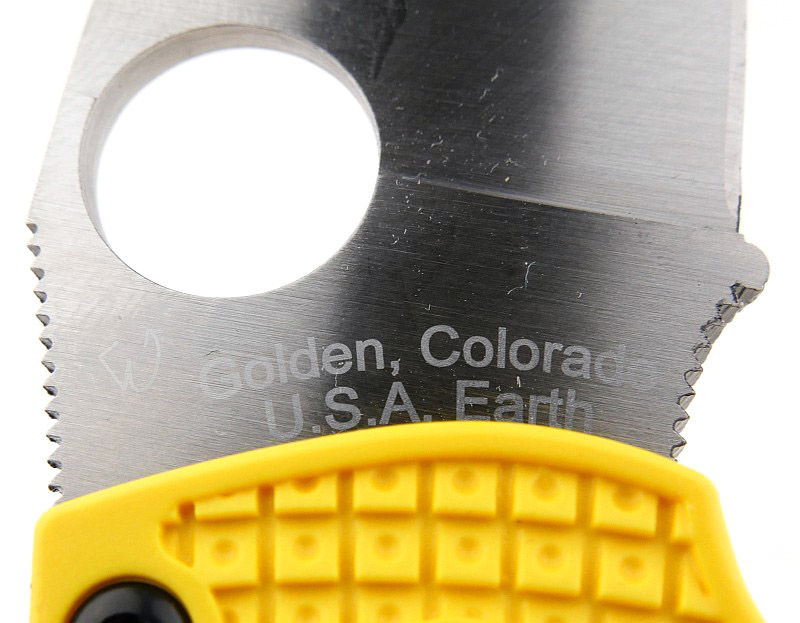
Jimping has been added on the blade next to the handle for both the first finger and thumb to ensure a rock solid grip. This Salt series knife comes in CPM MagnaCut, and when you look at the engraving it is quite different in appearance to most Spyderco’s, even leading some who have seen this knife to question its authenticity. This is not in question as it was handed to me by Spyderco at IWA 2024, so is without question the real deal.
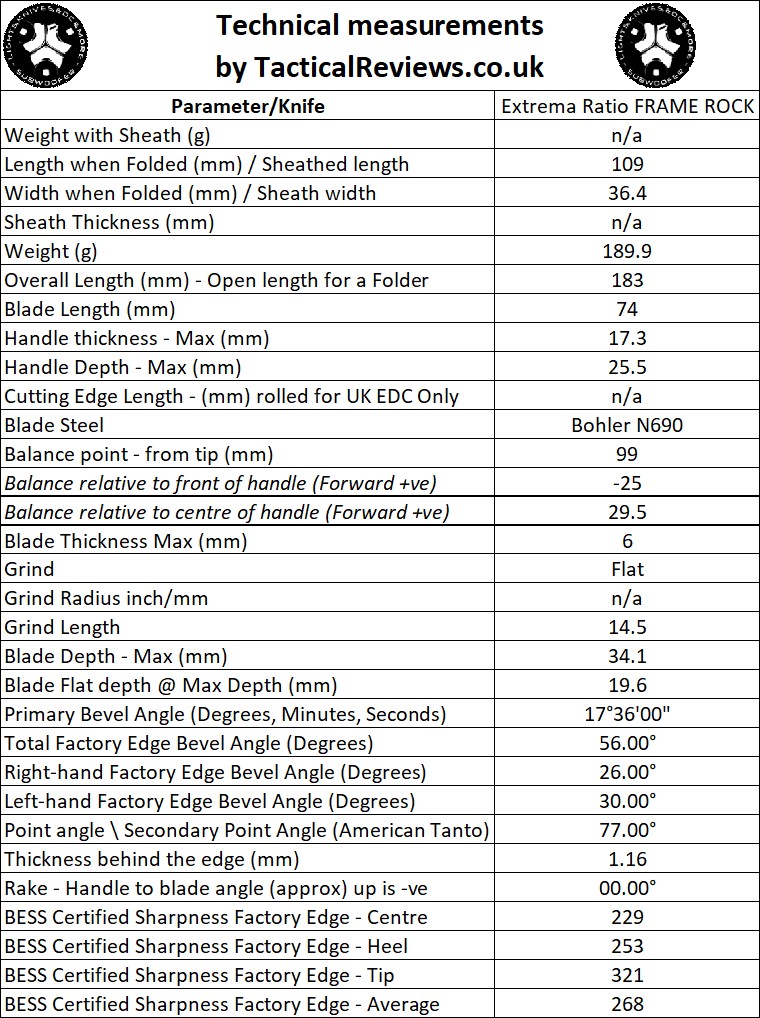
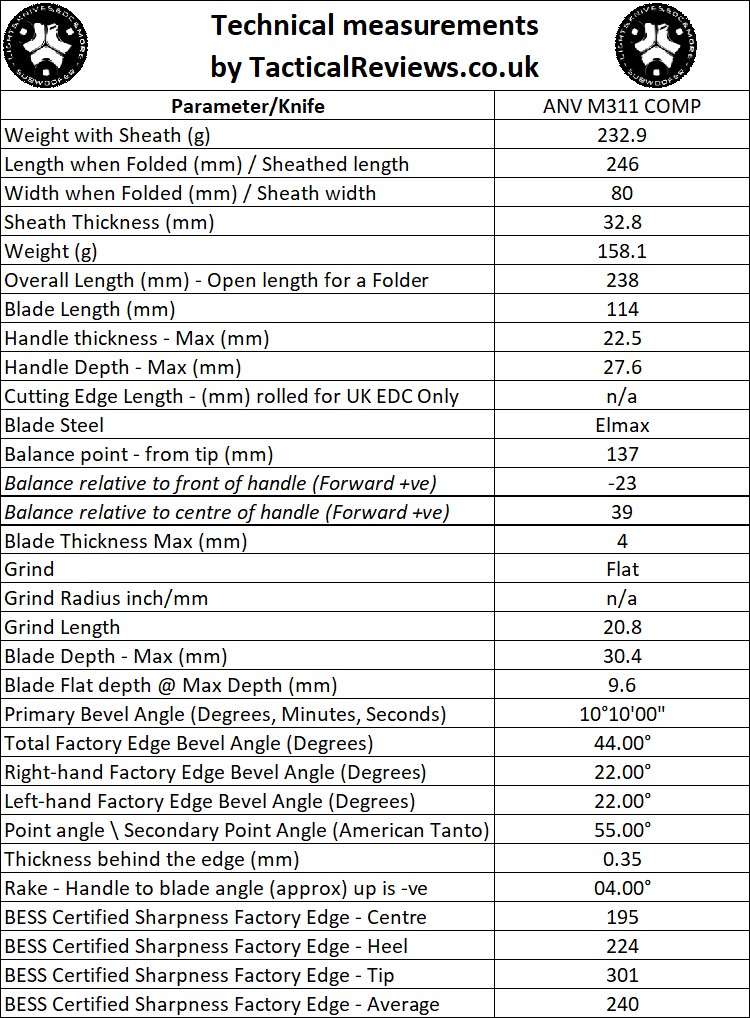
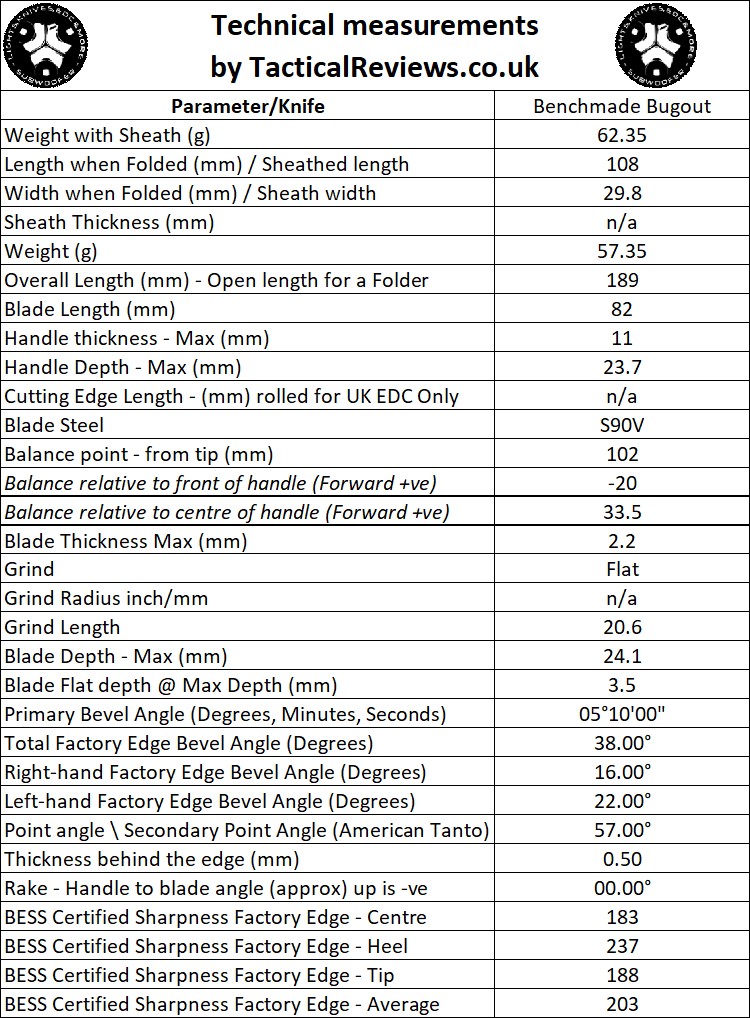
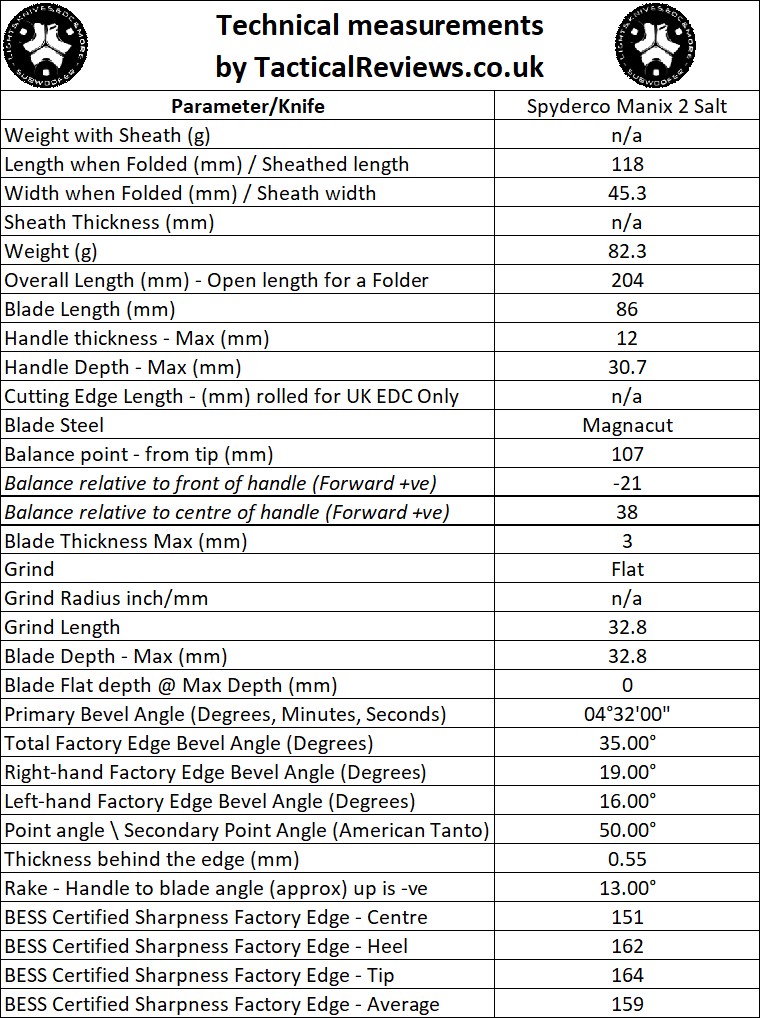
The Blade and Handle – Detailed Measurements:
For full details of the tests and measurements carried out and an explanation of the results, see the page – Knife Technical Testing – How It’s Done.
The blade is made from CPM MagnaCut steel.
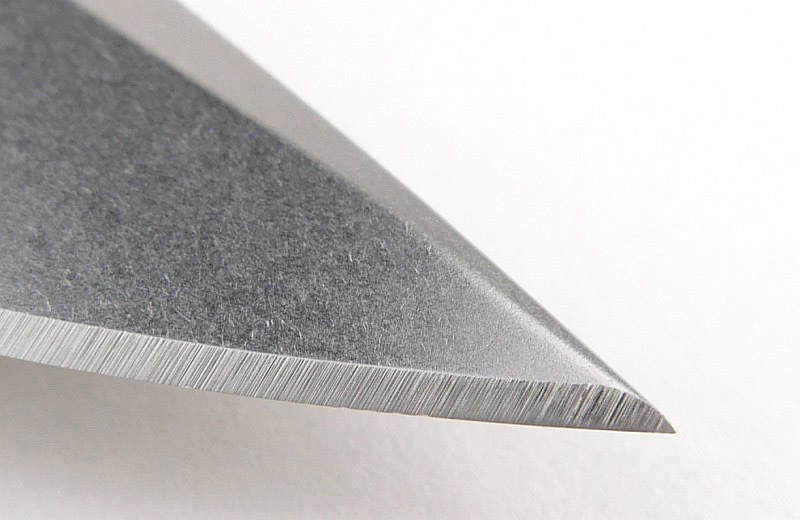
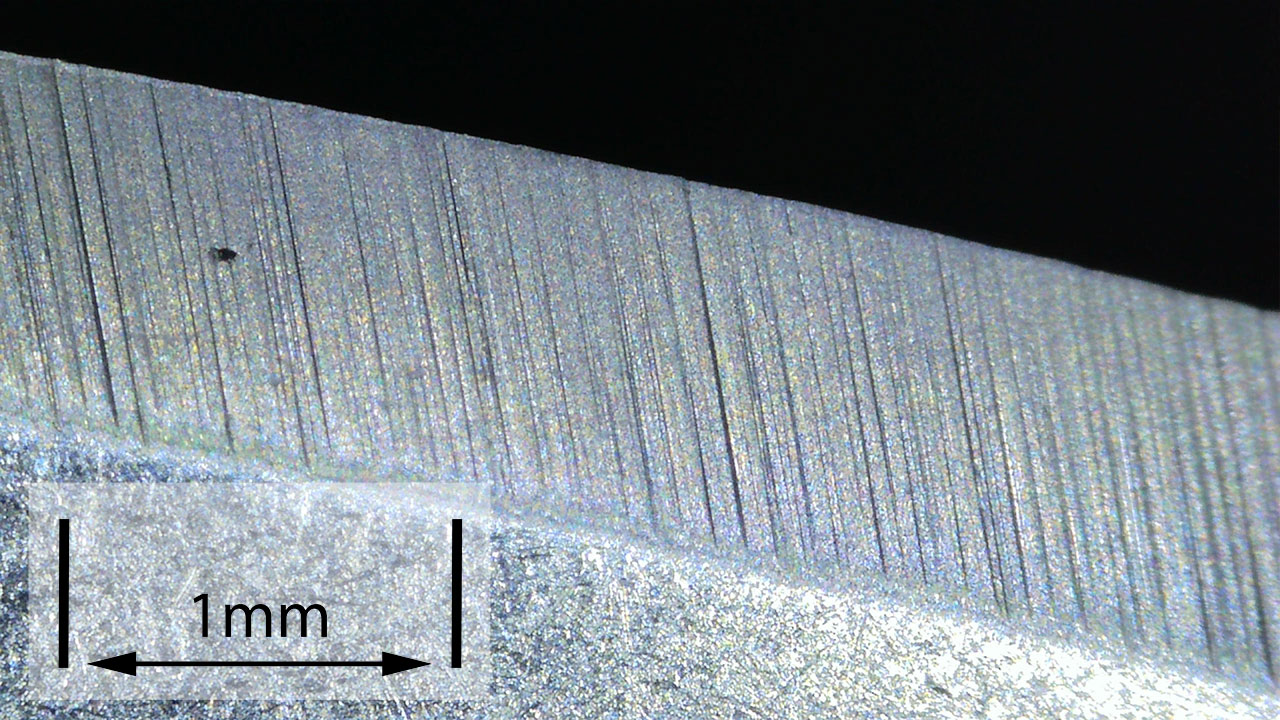
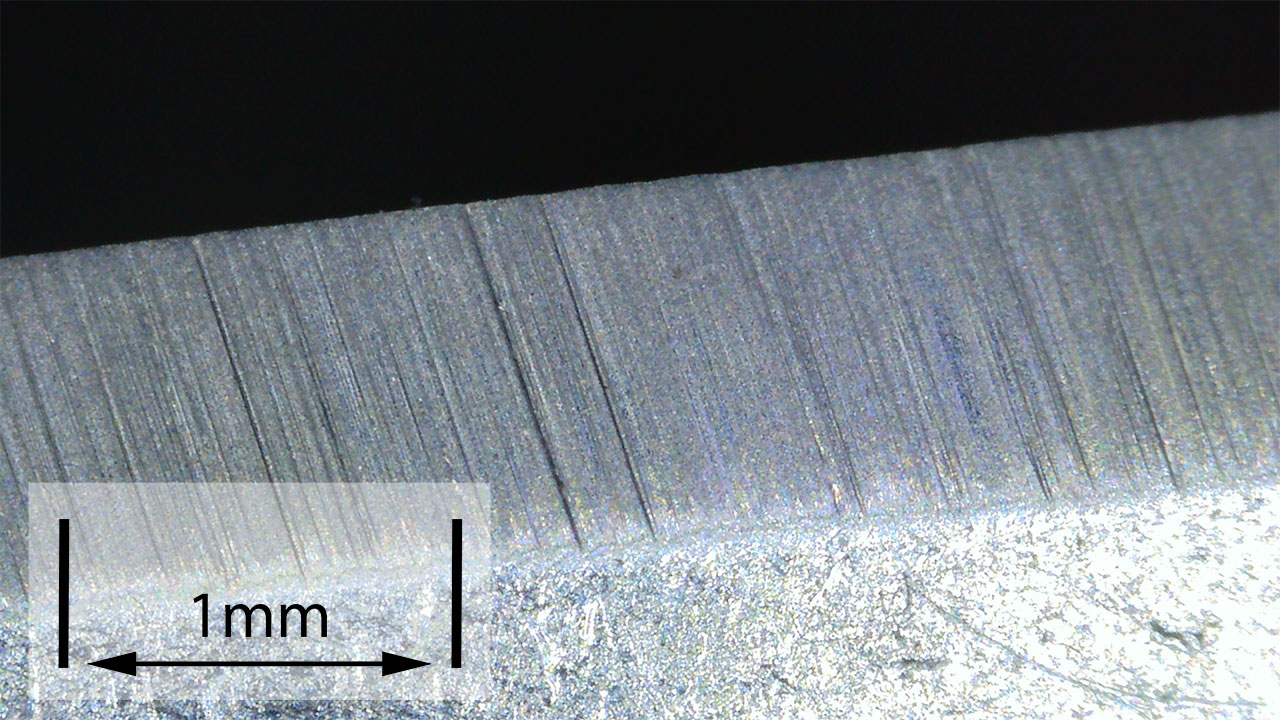
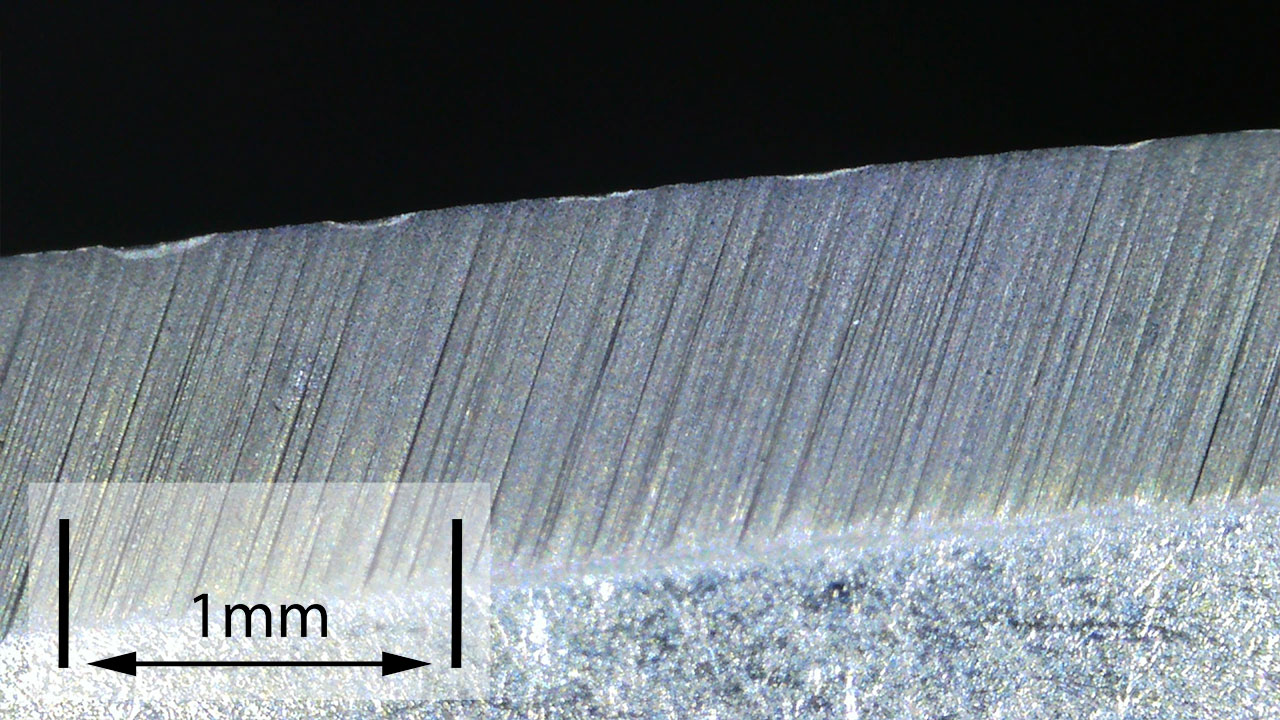
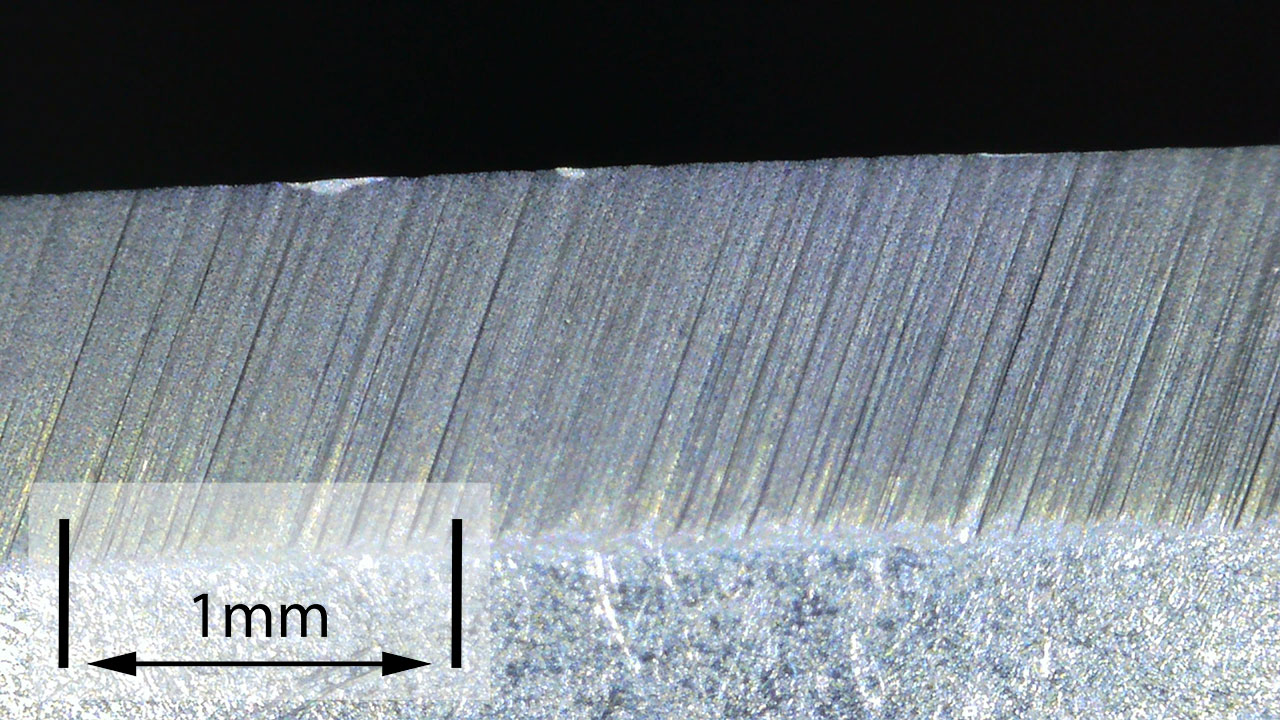
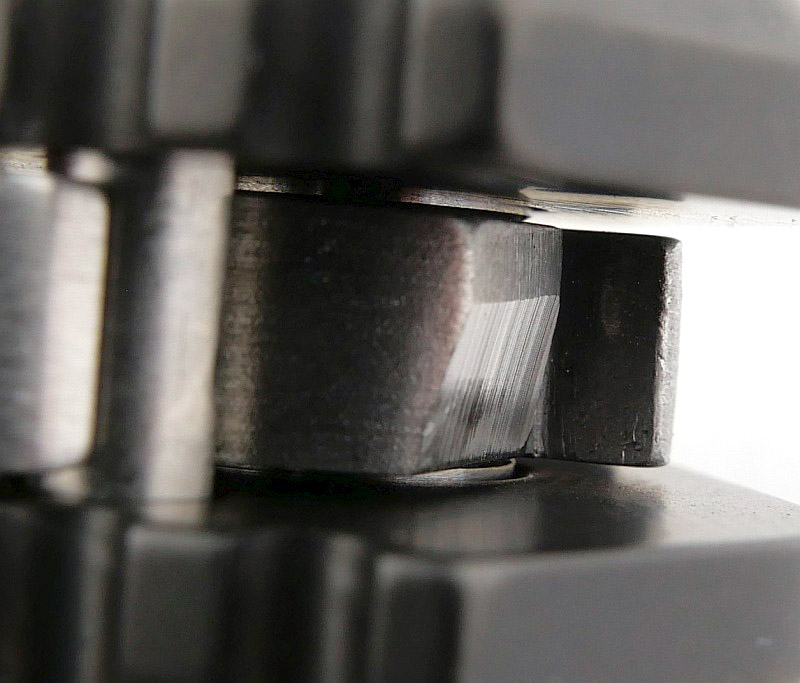
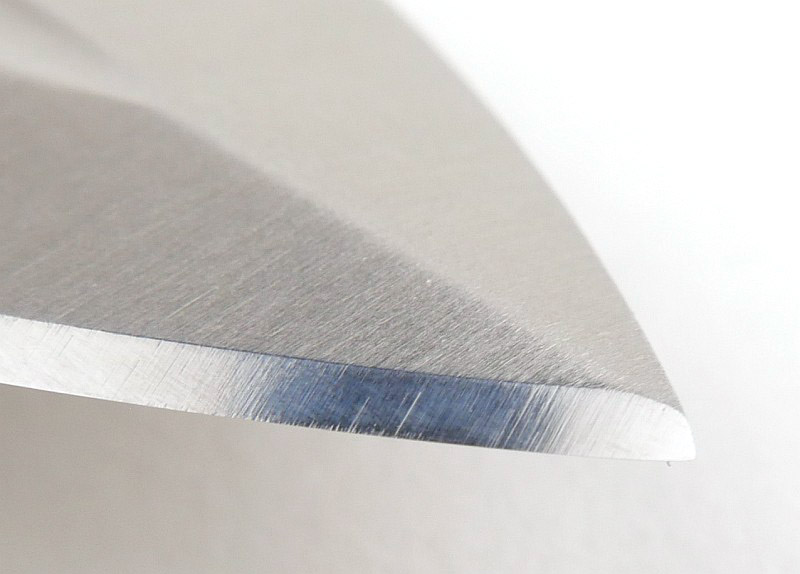
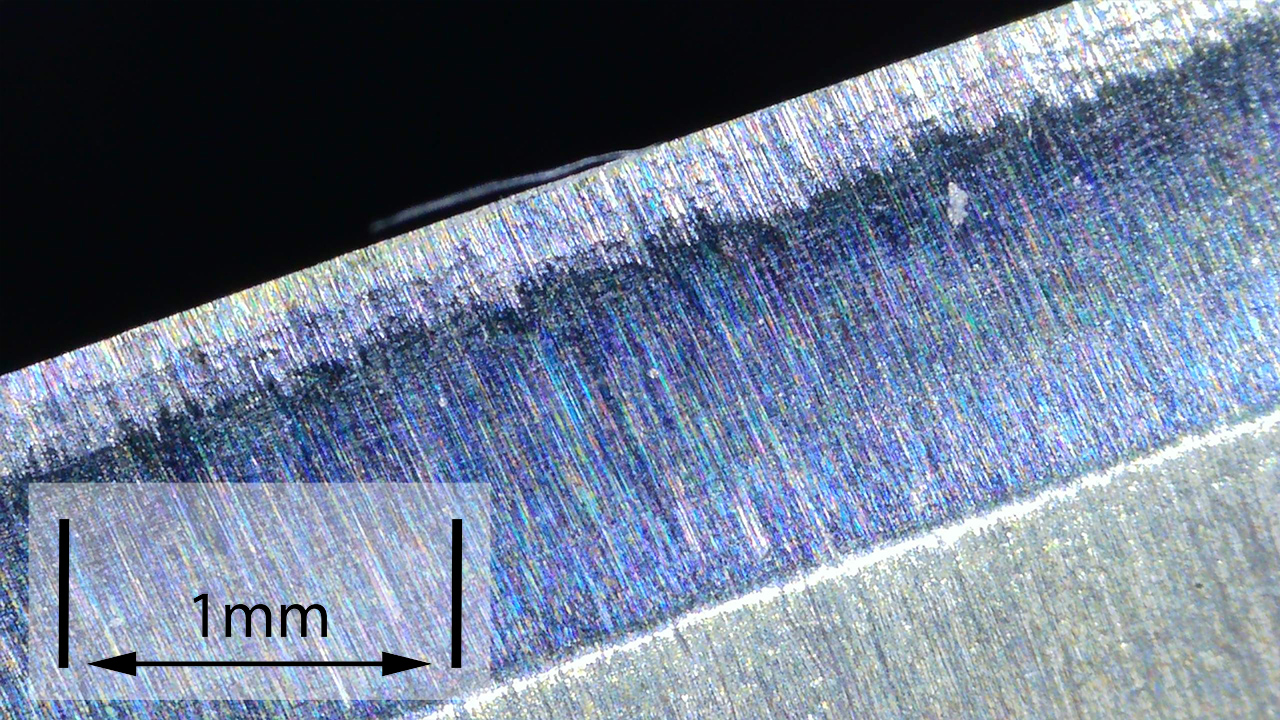
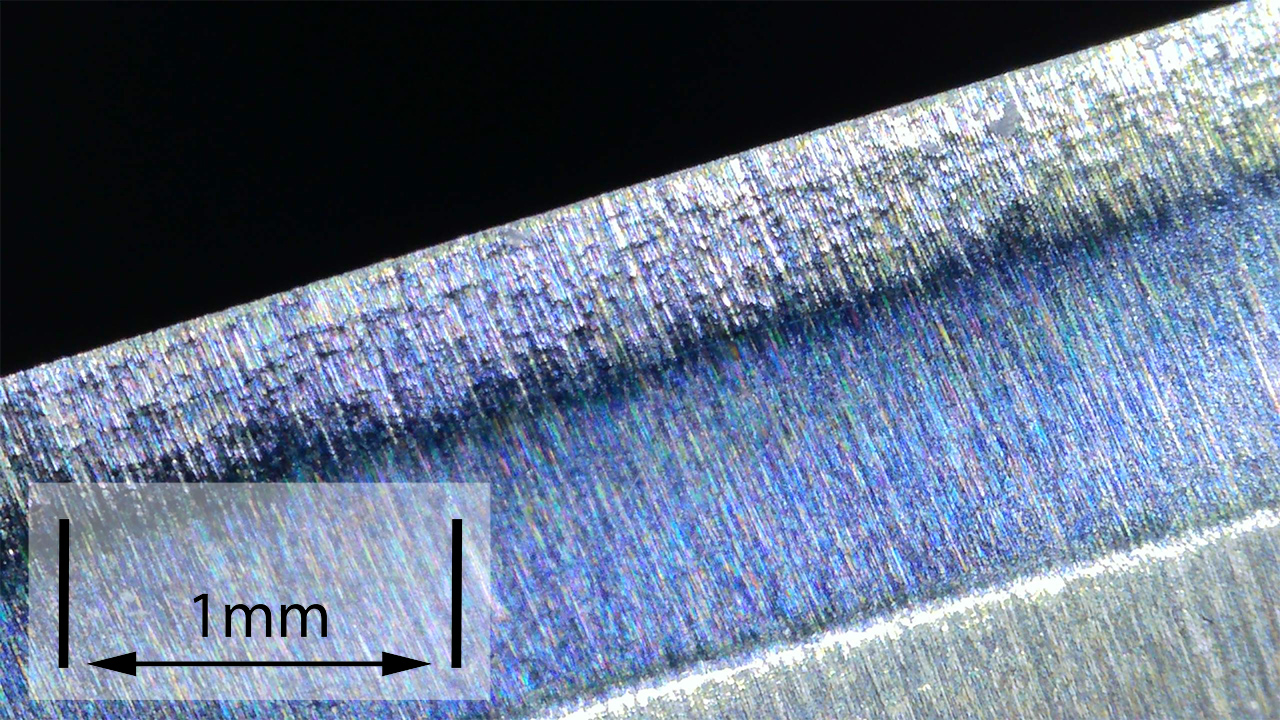
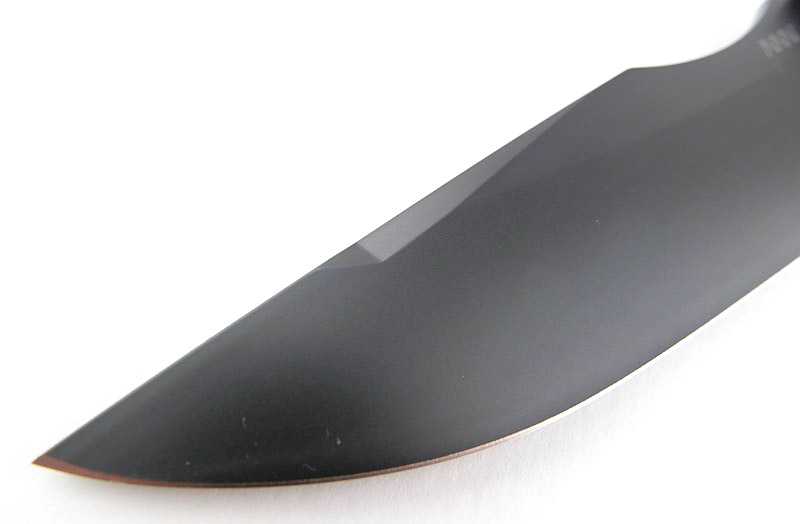
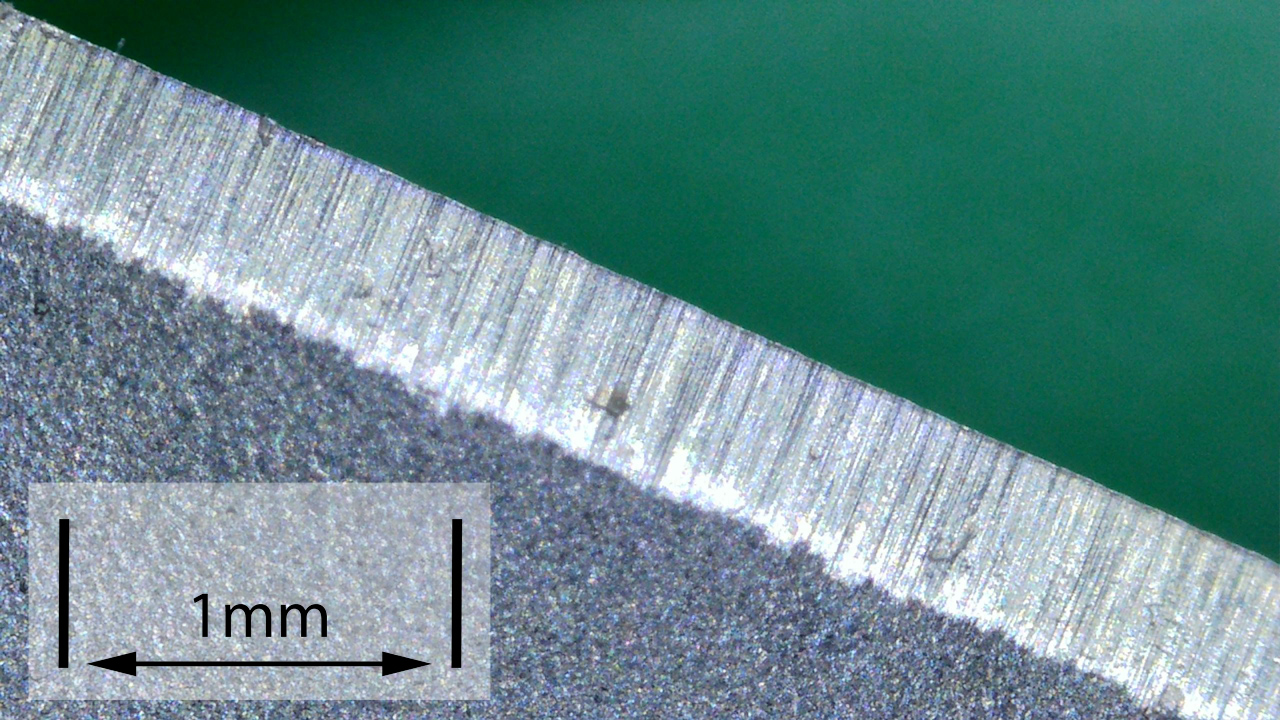
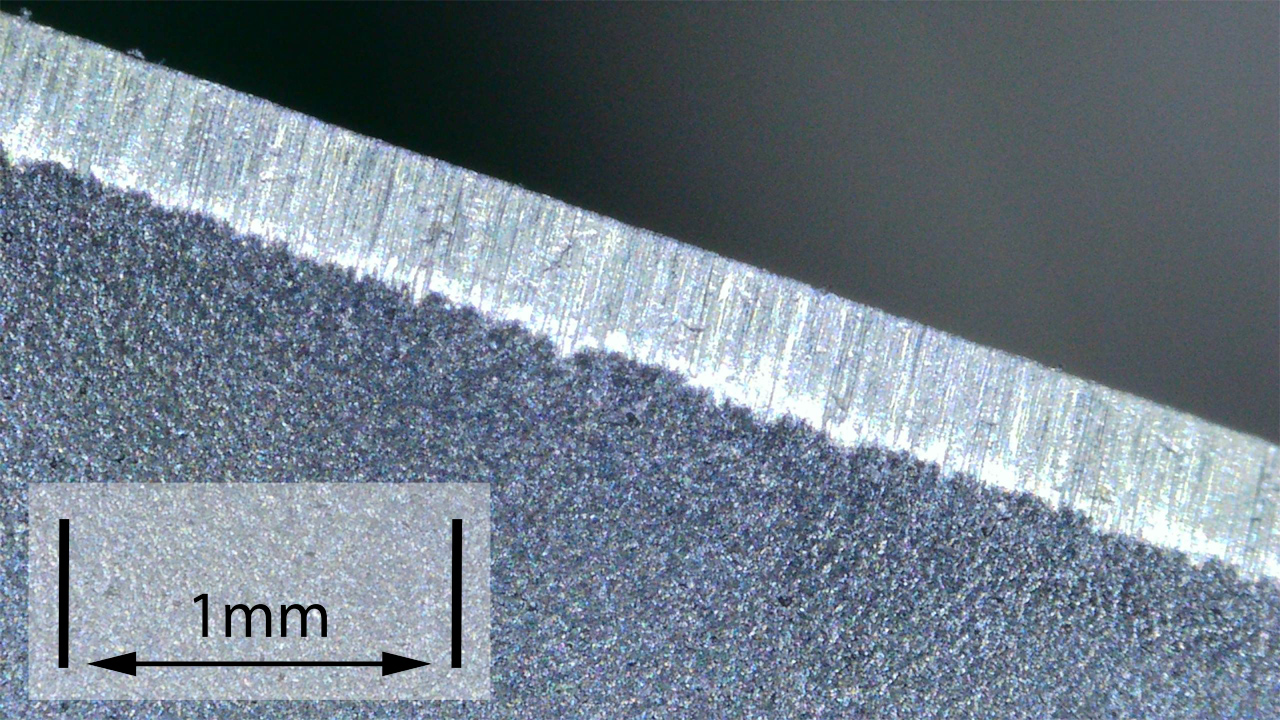
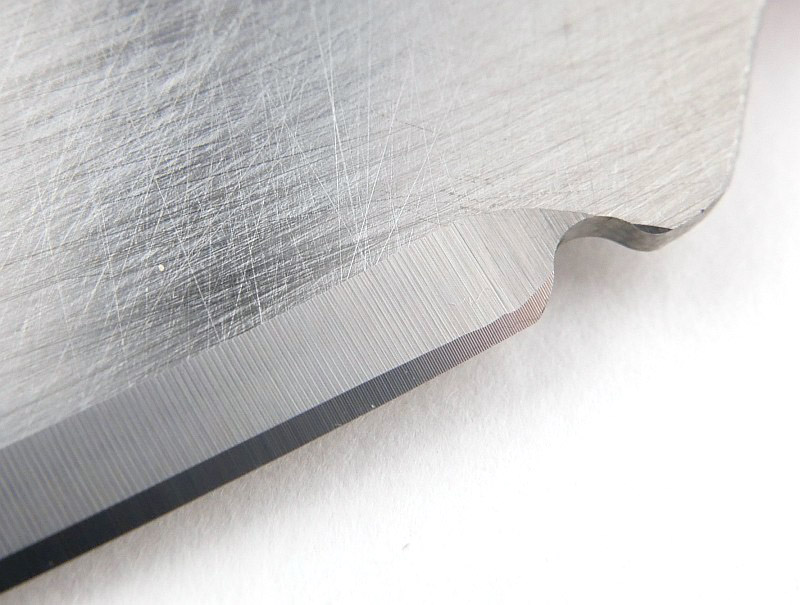
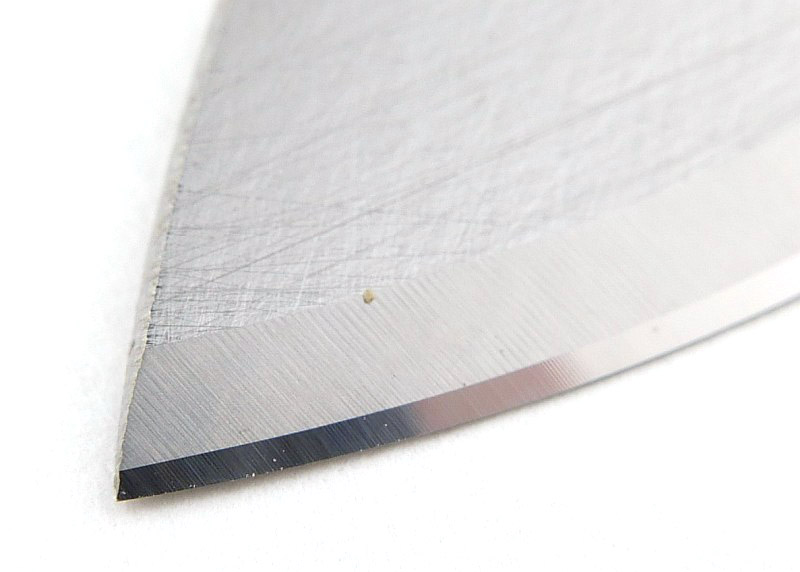
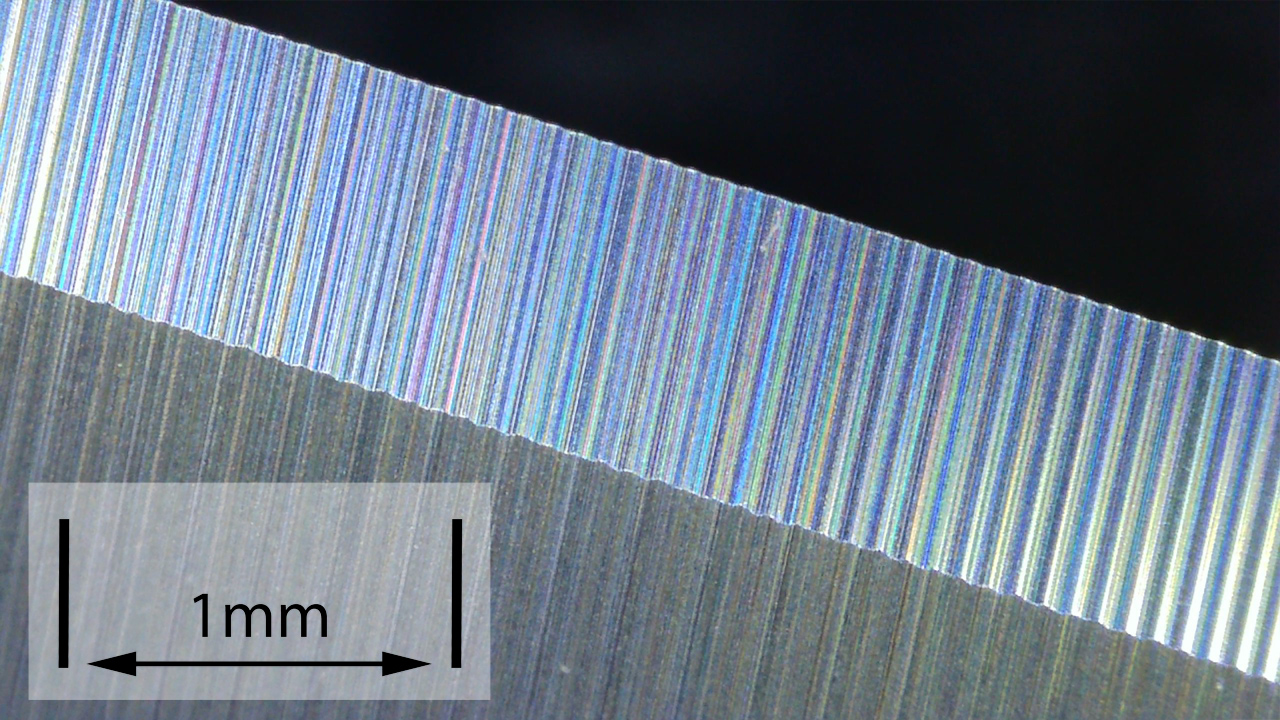
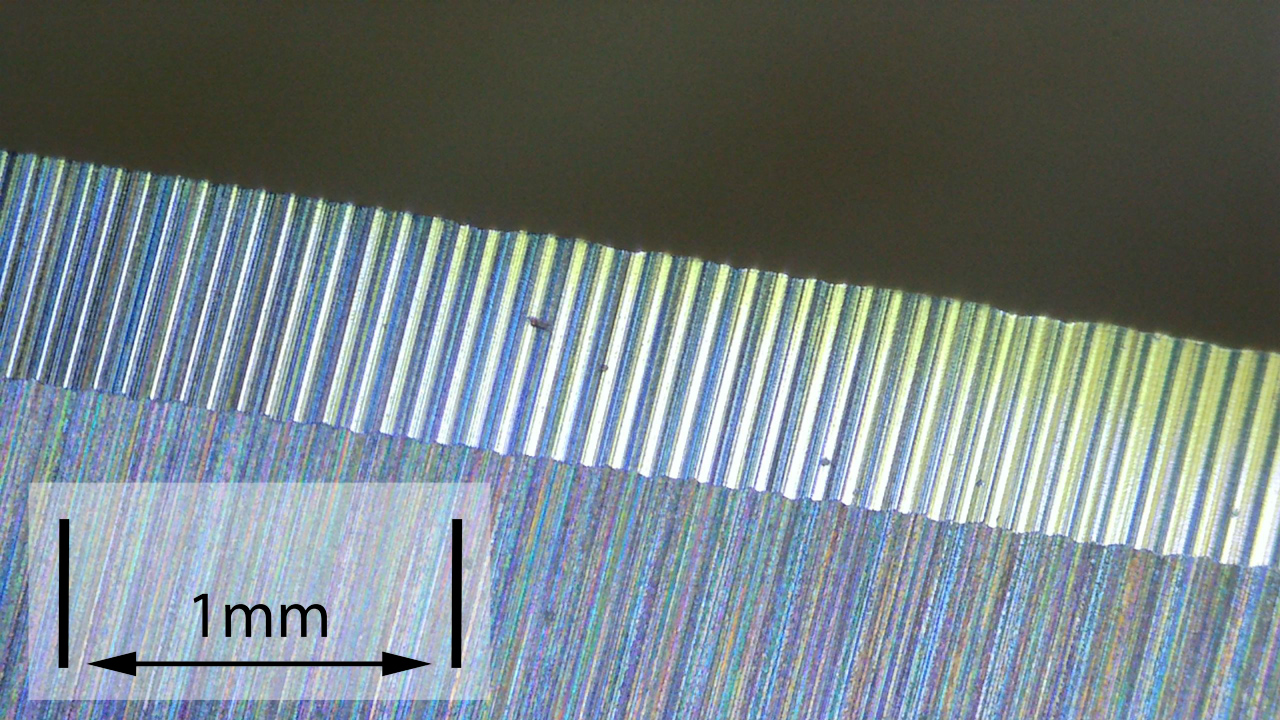
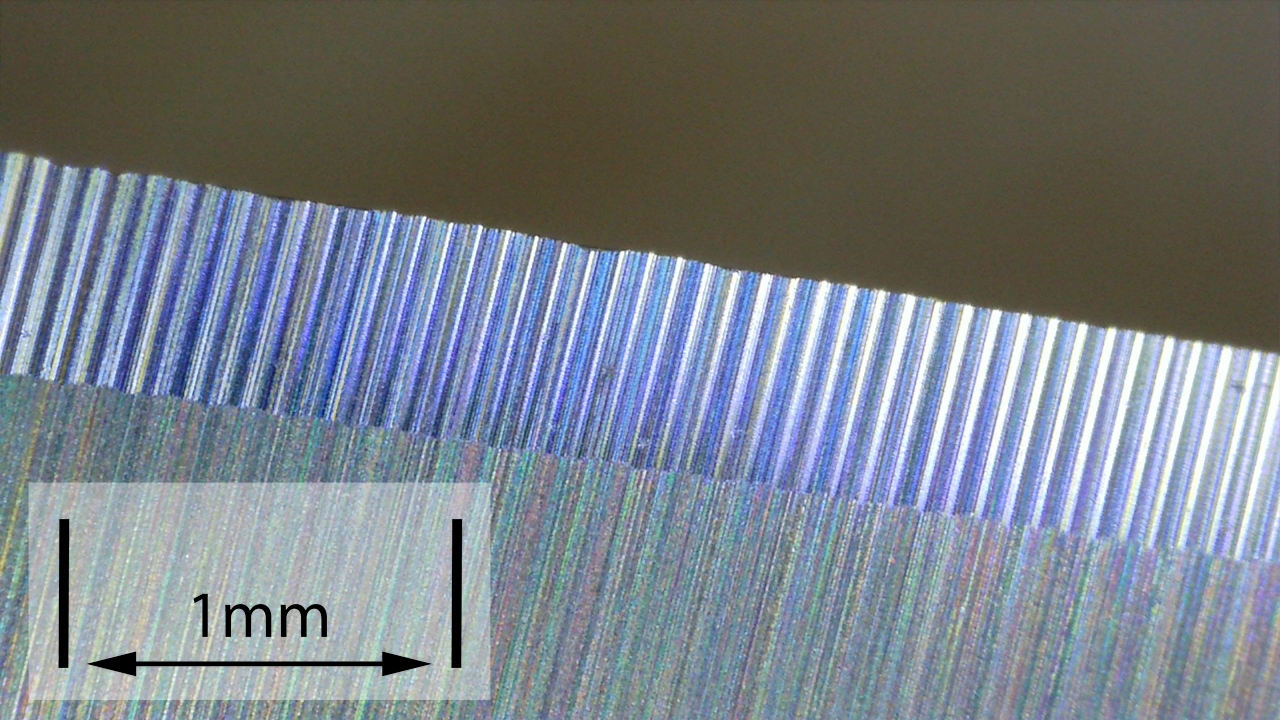
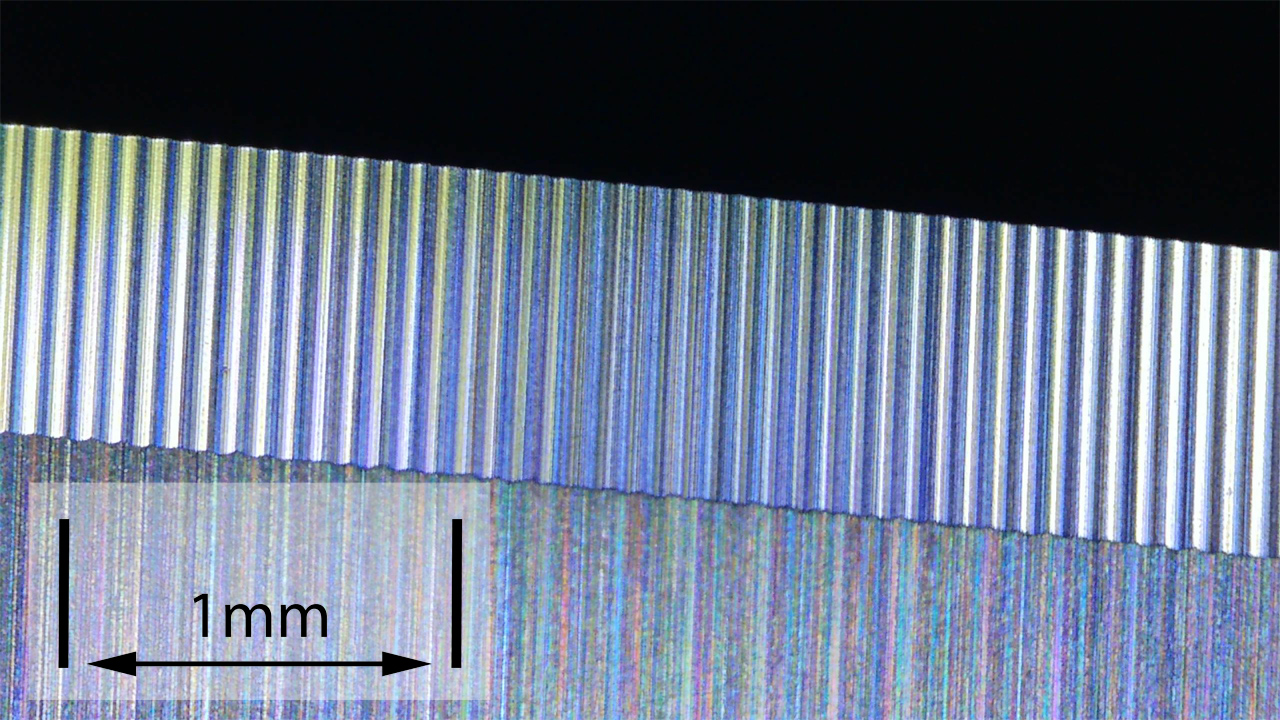
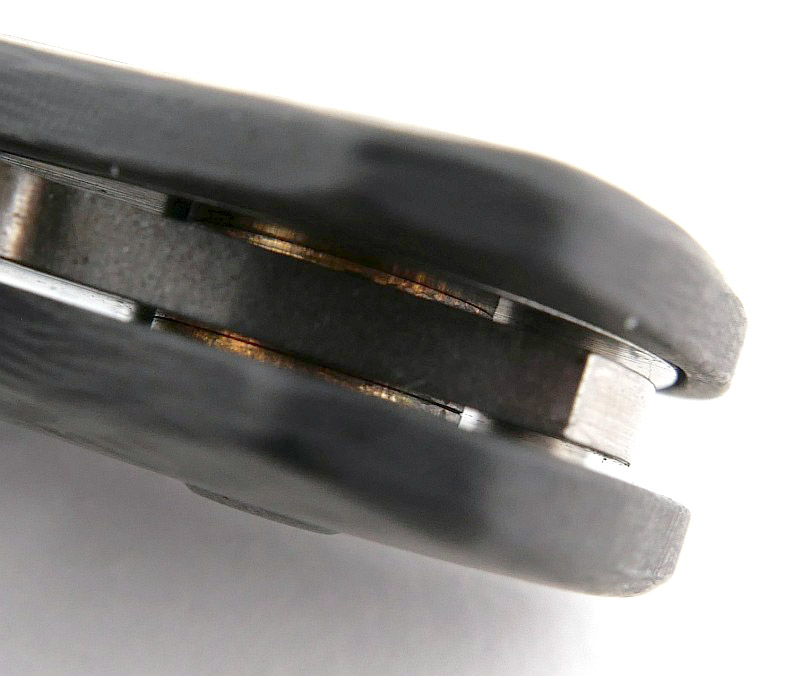
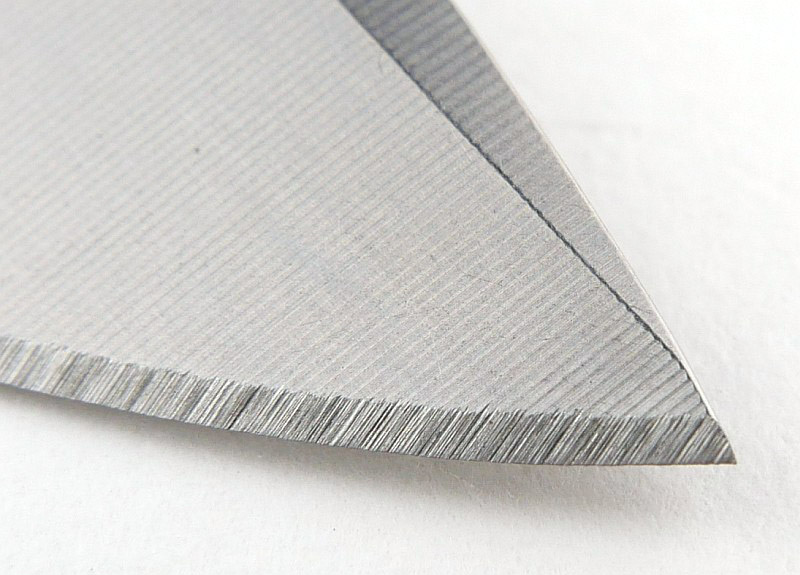
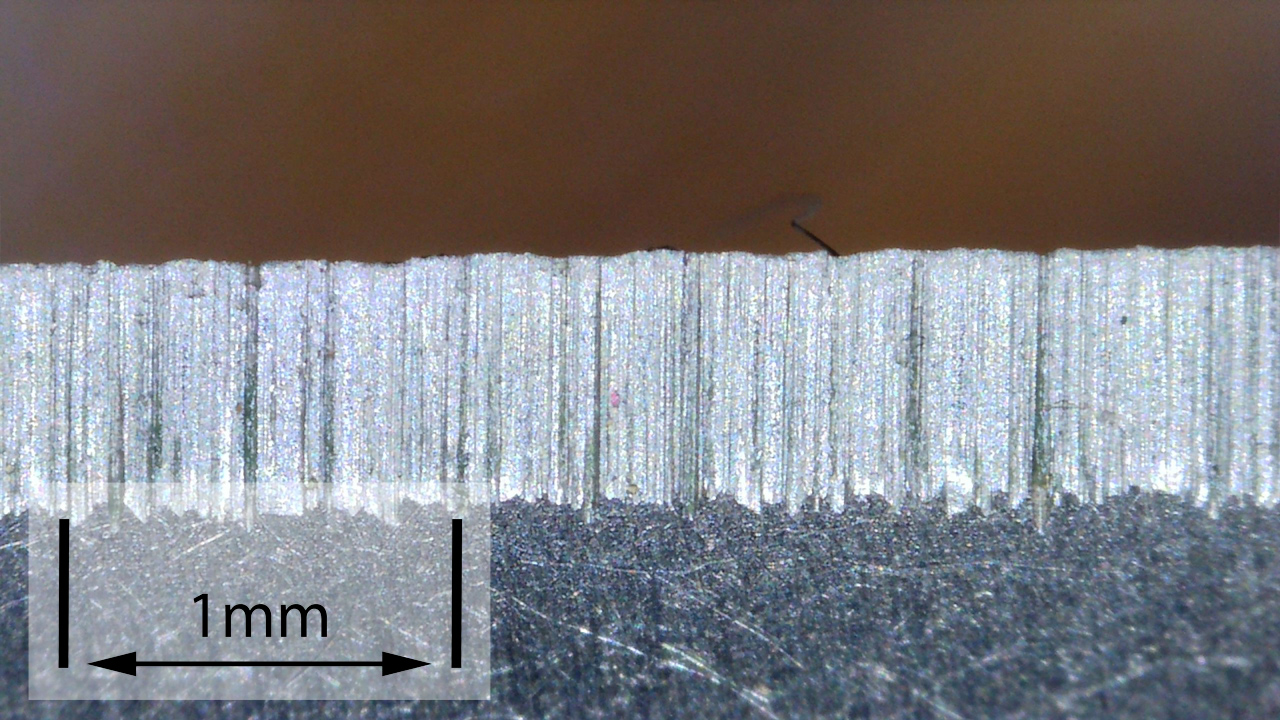
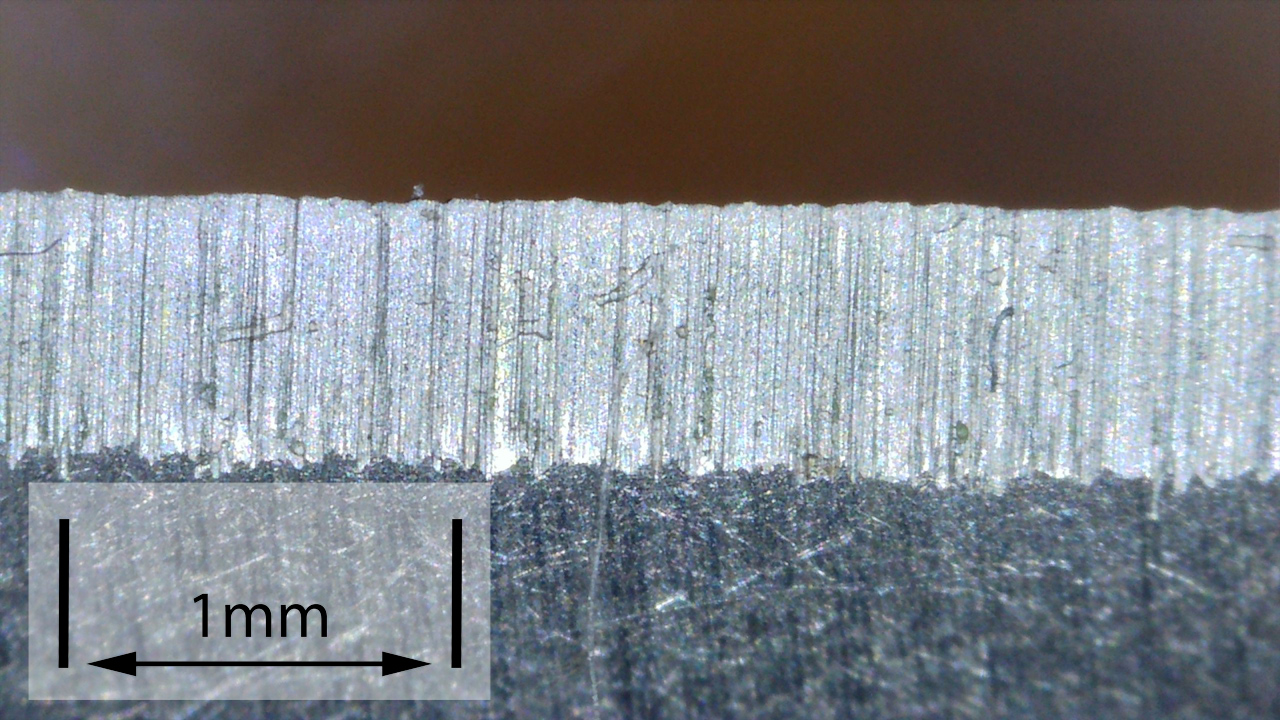
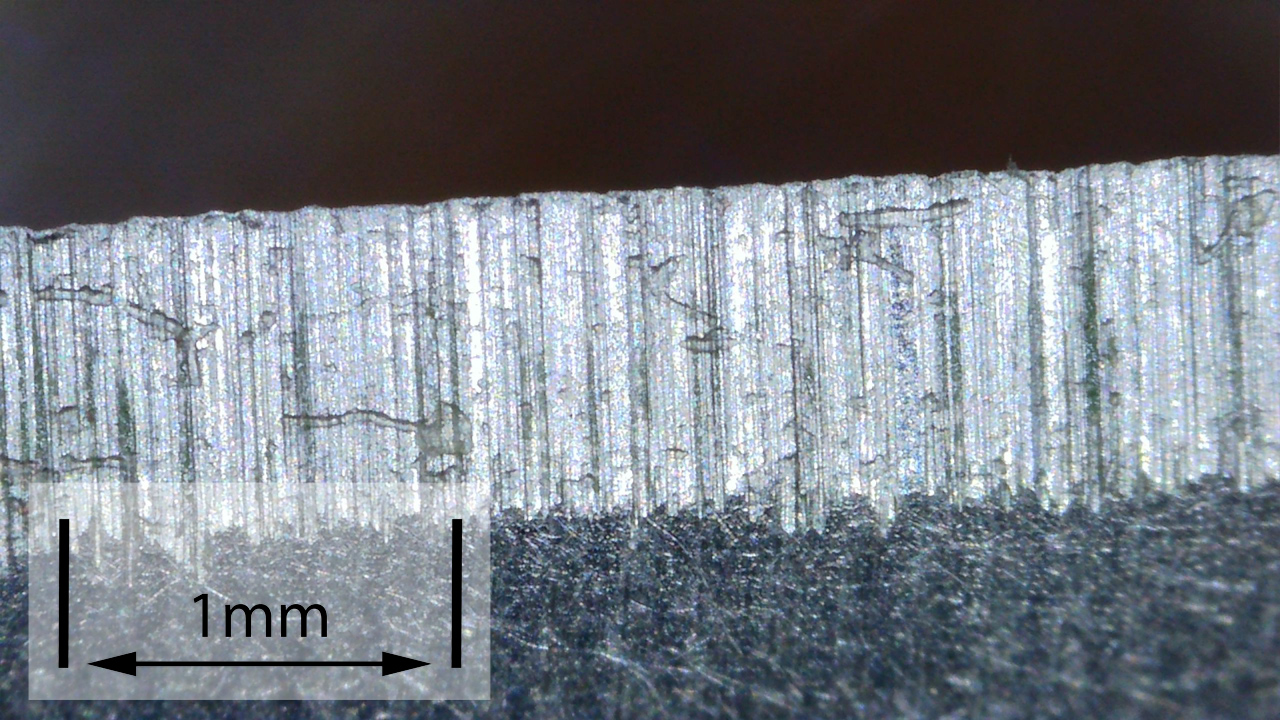
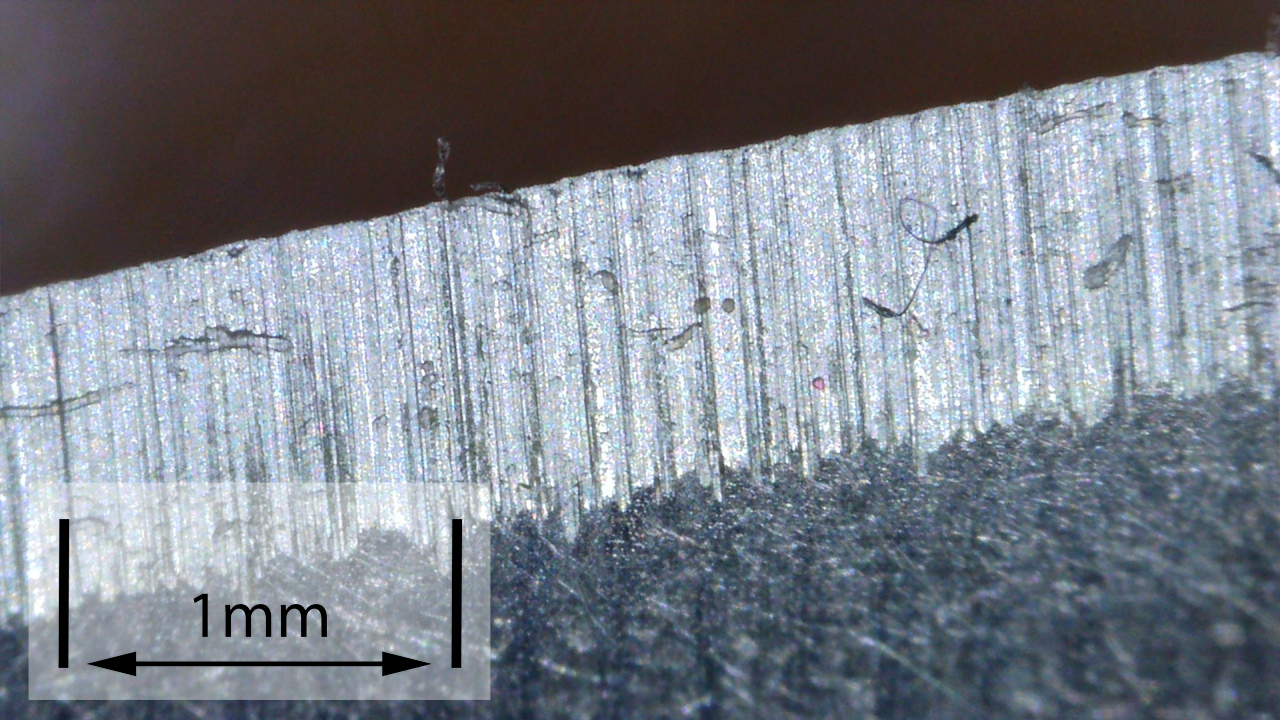
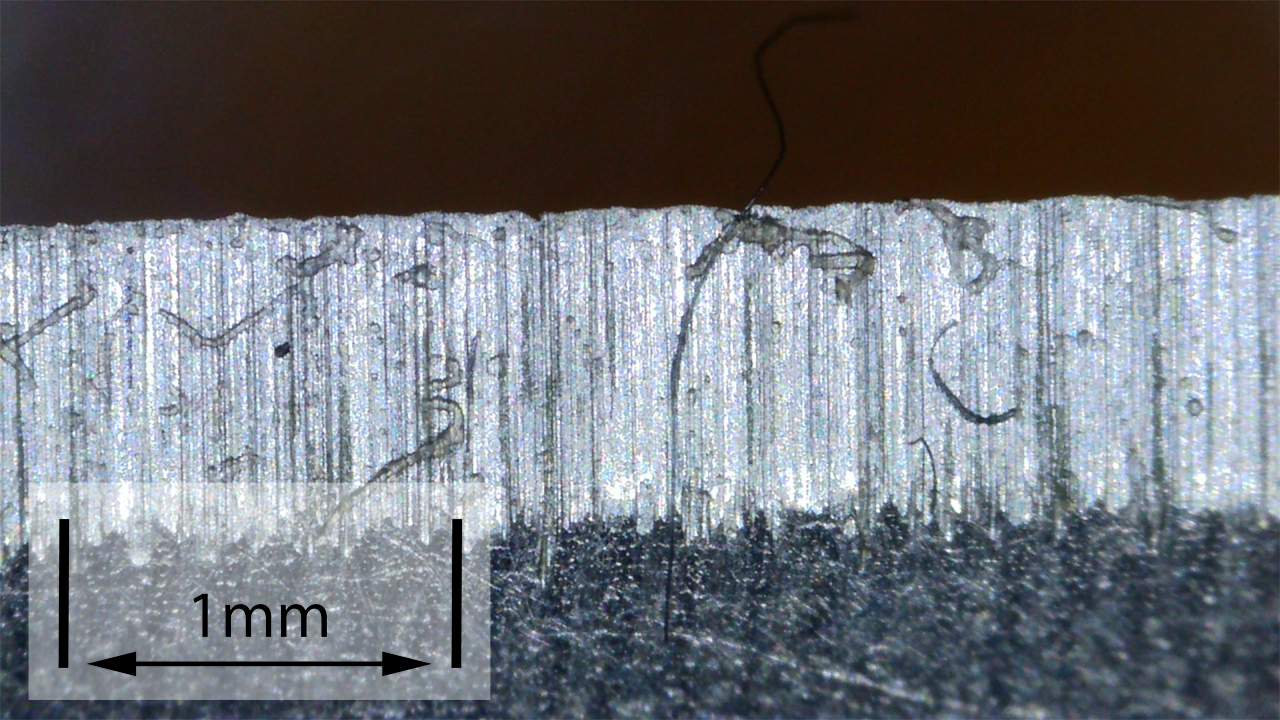
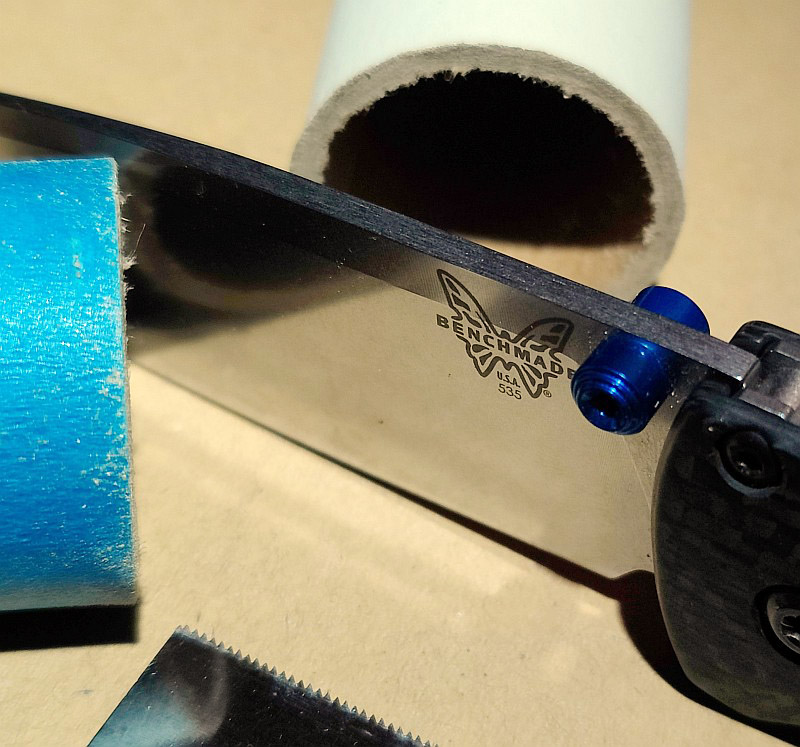
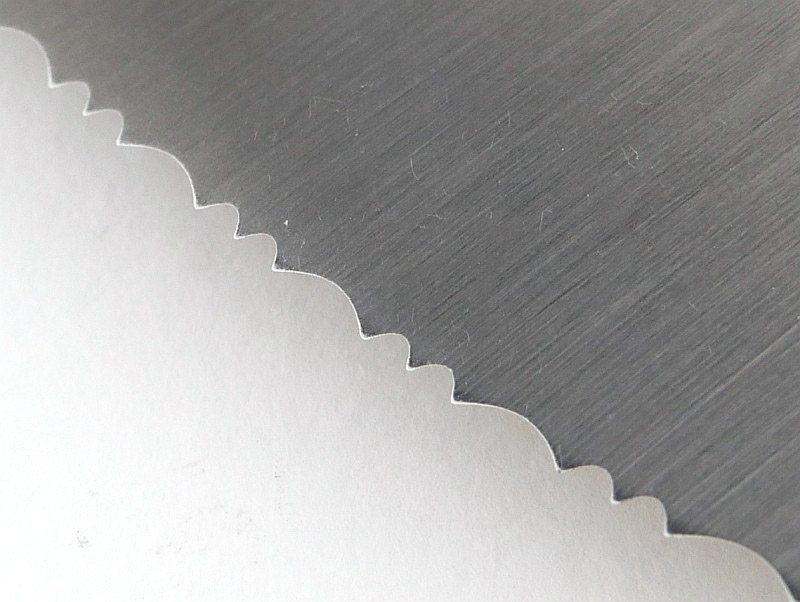
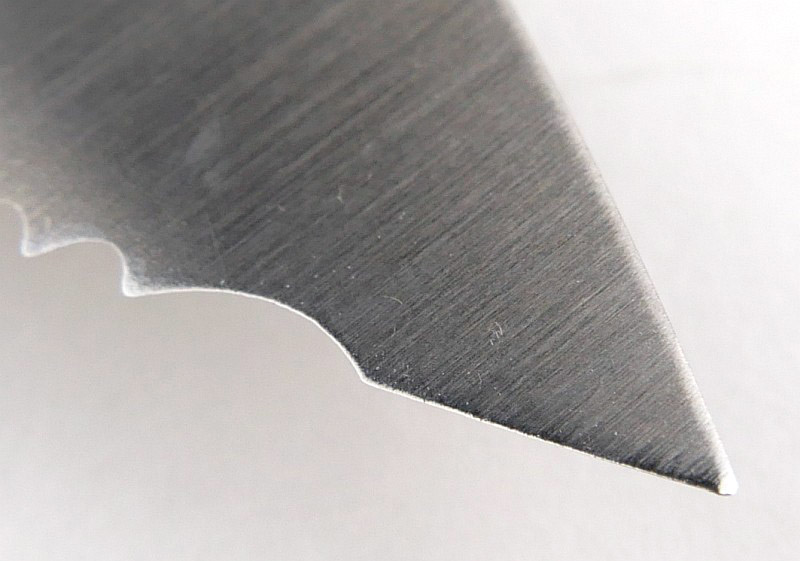
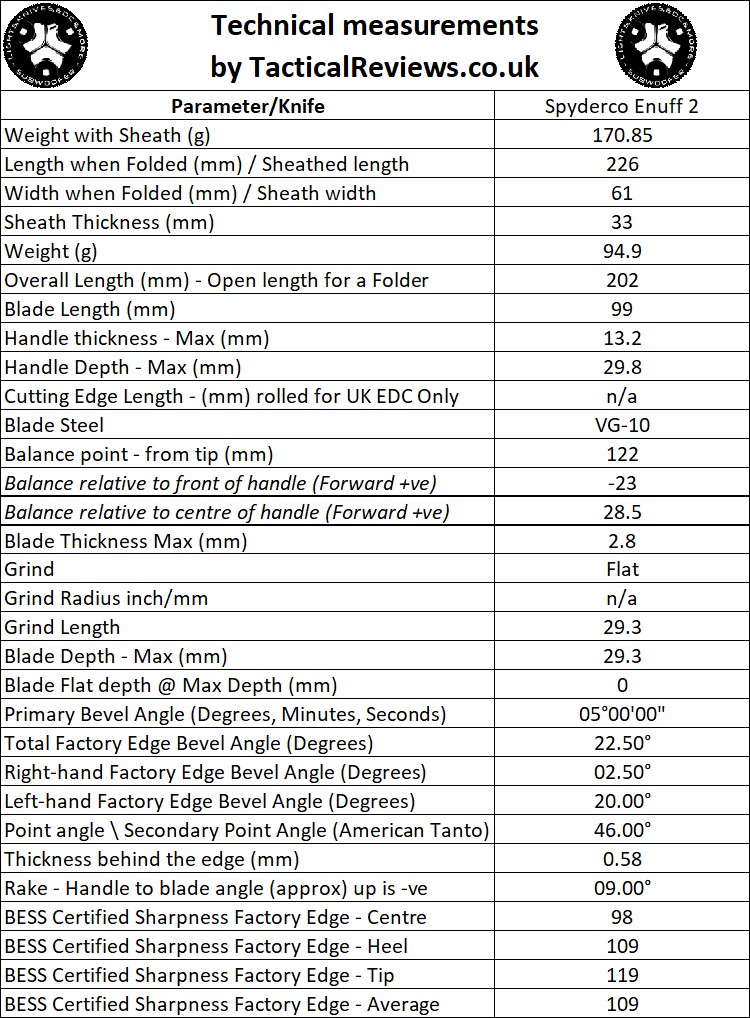
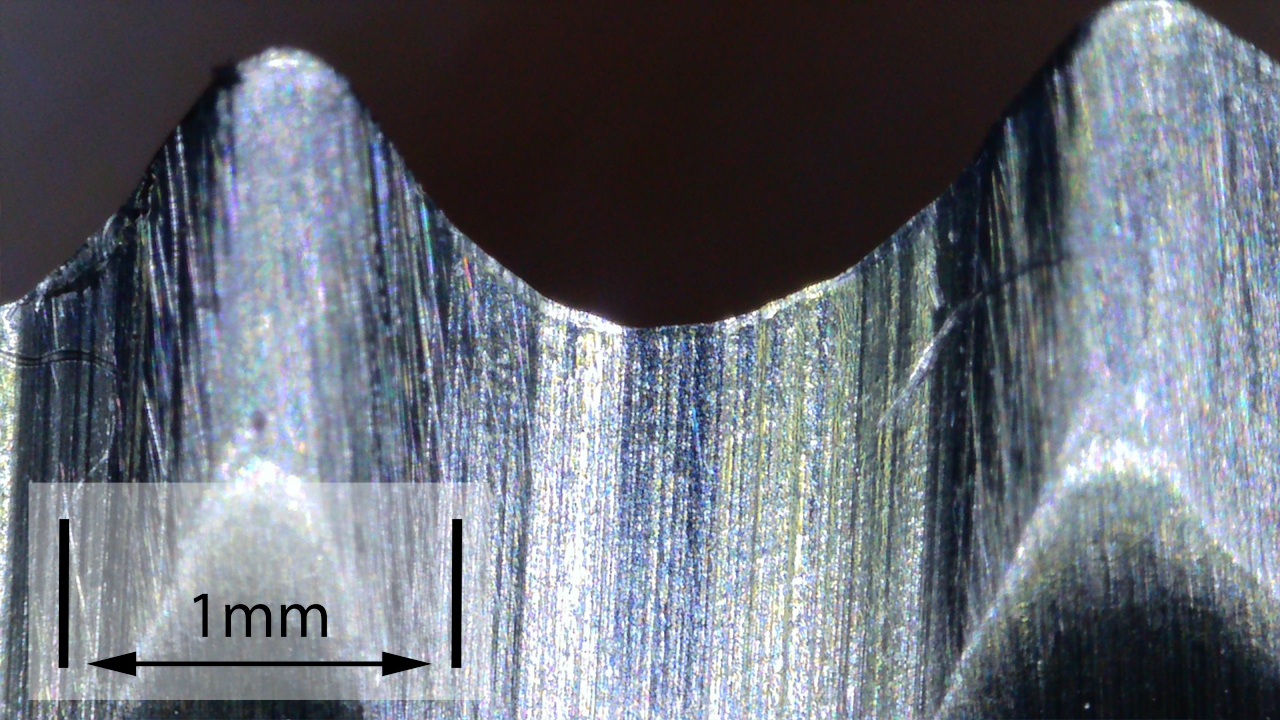
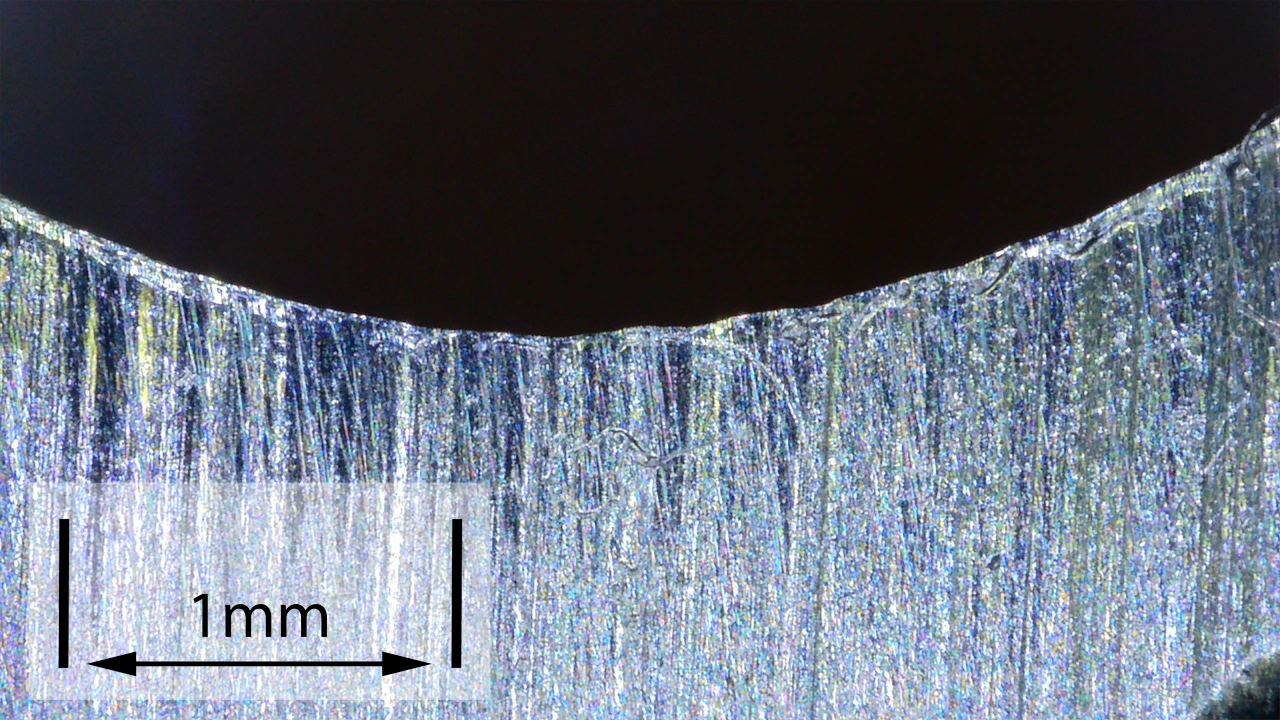
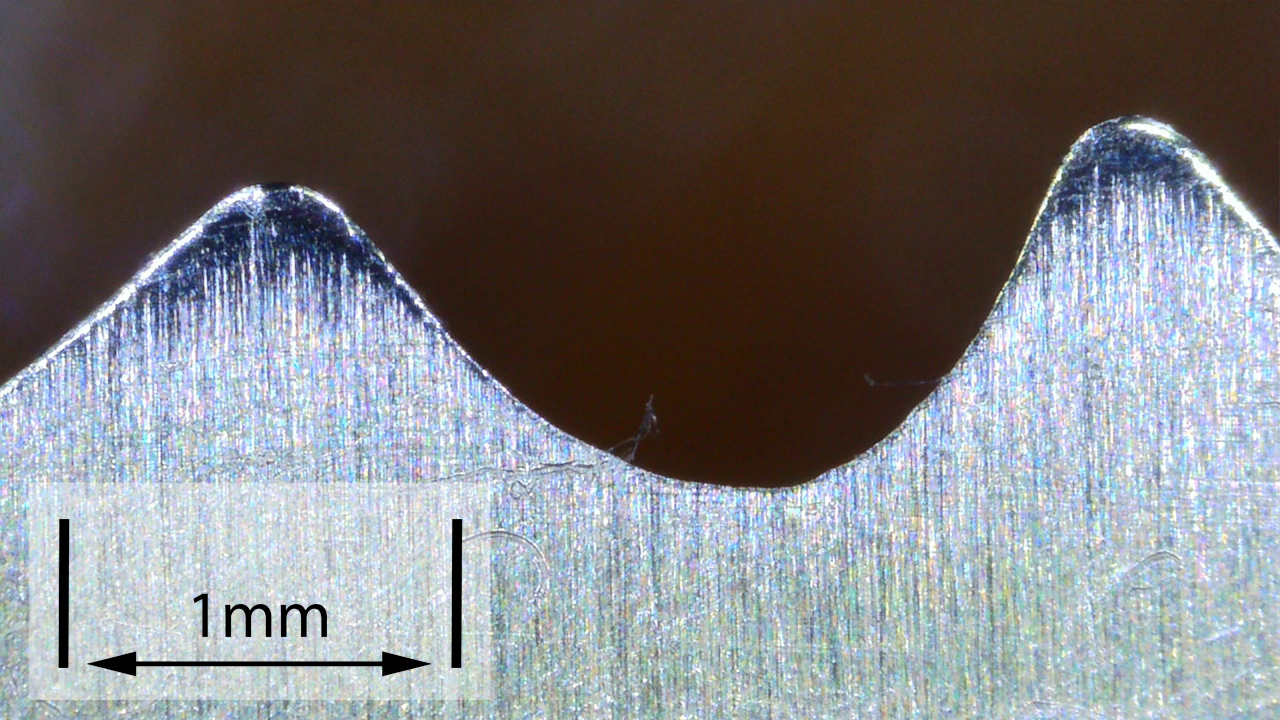
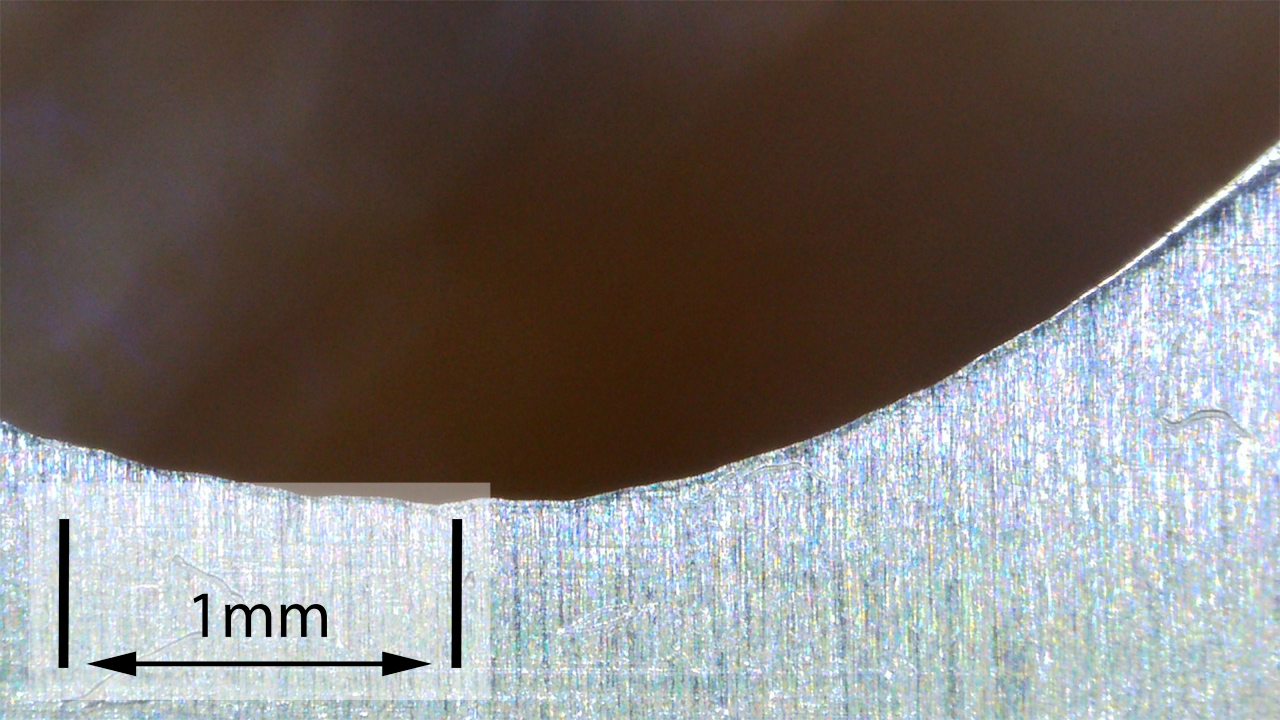
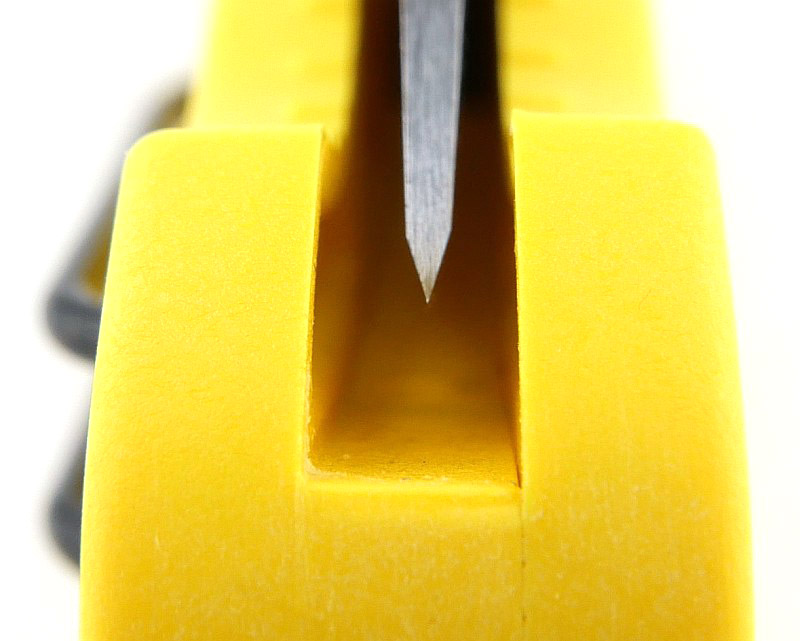
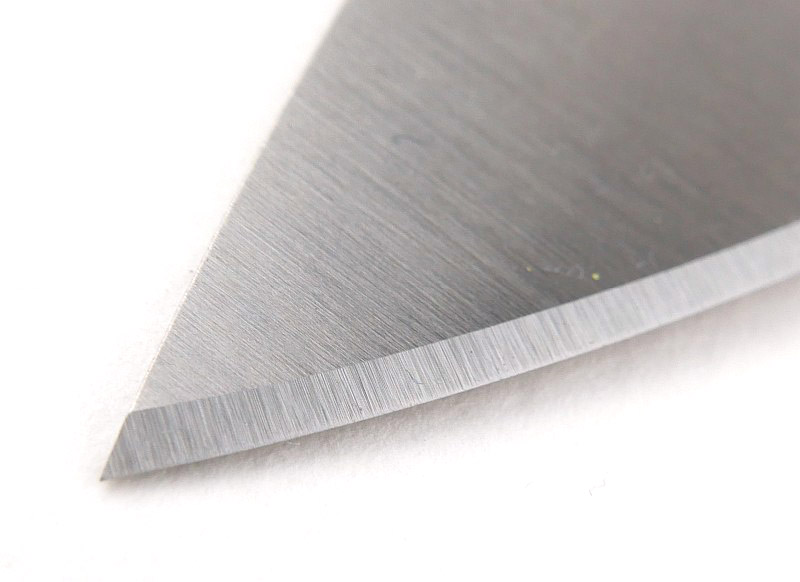
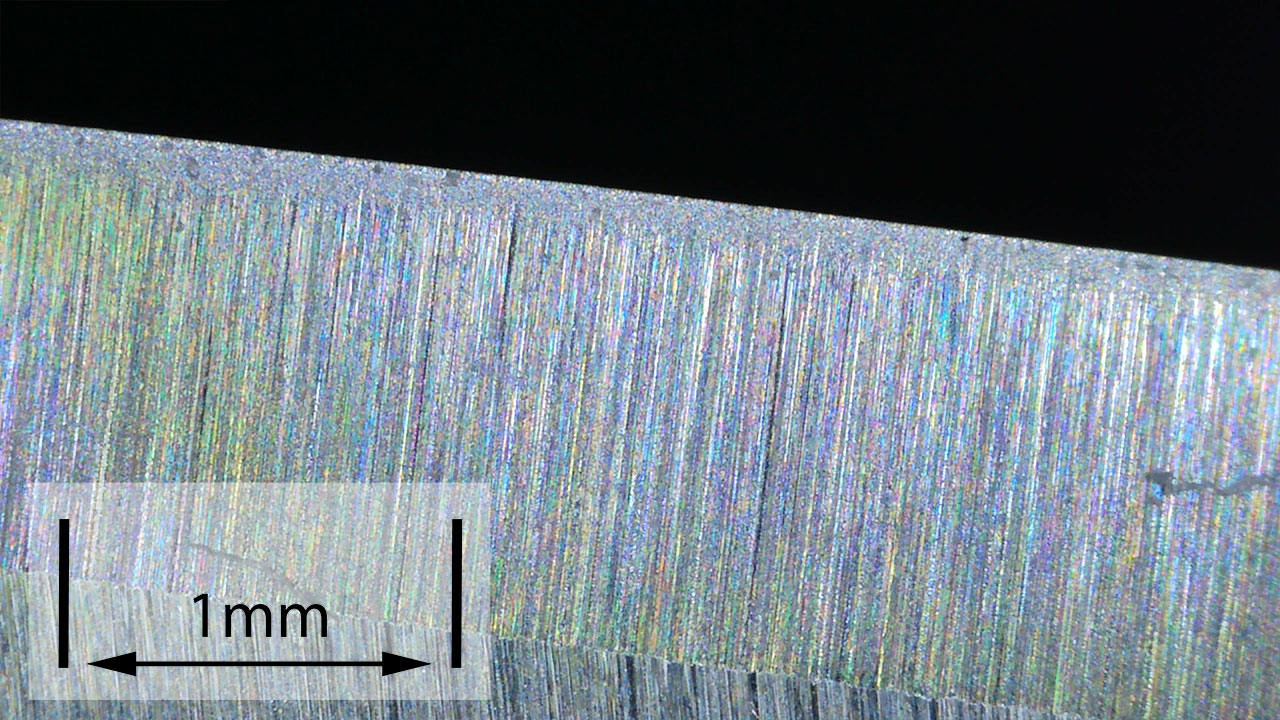
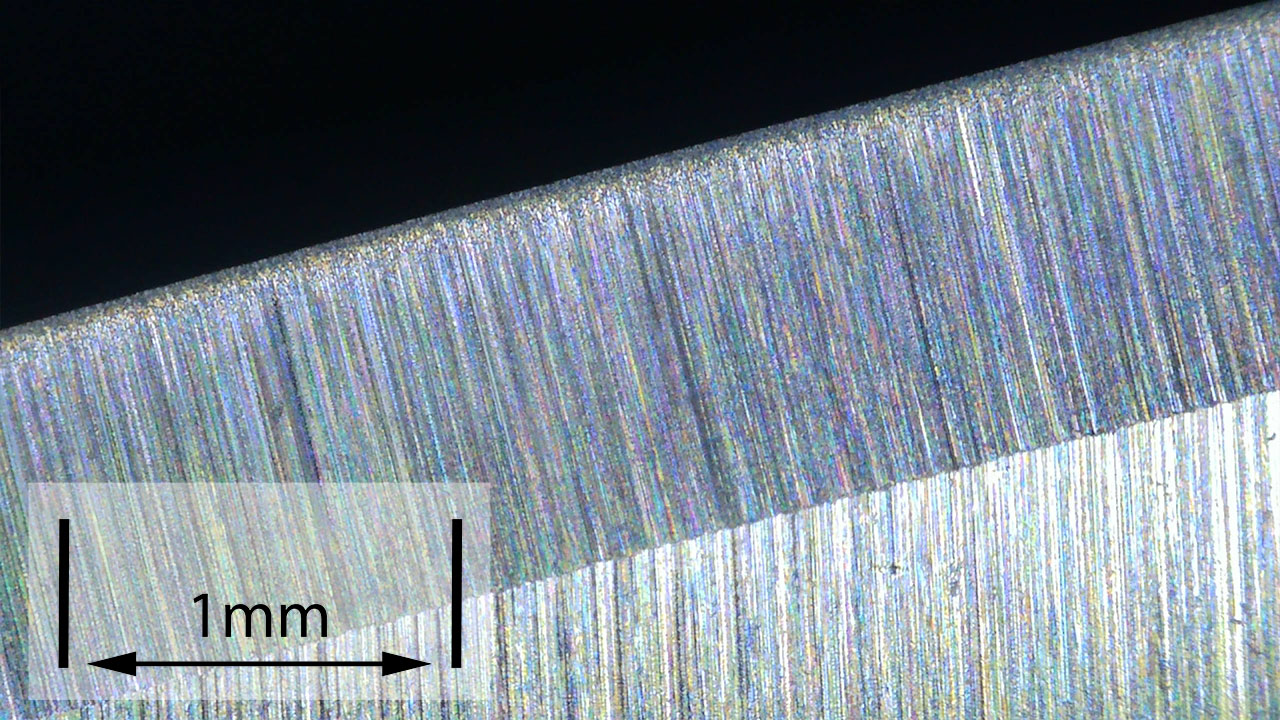
The Factory edge up close:
Followers of Tactical Reviews will know my views on factory edges, but to recap:
Anyone using a knife will need to sharpen it. That first factory edge is just like the first tank of fuel that a new car comes with (or first charge of the battery).
A good factory edge is a ‘nice to have’ but not a ‘make or break’ for a good knife, as you will be putting your own edge onto it soon enough.
The factory edge does however indicate the care a knife maker has put into the final finish.
It is for this reason Tactical Reviews measures factory edge sharpness and specifications, and includes this information in the detailed technical testing.
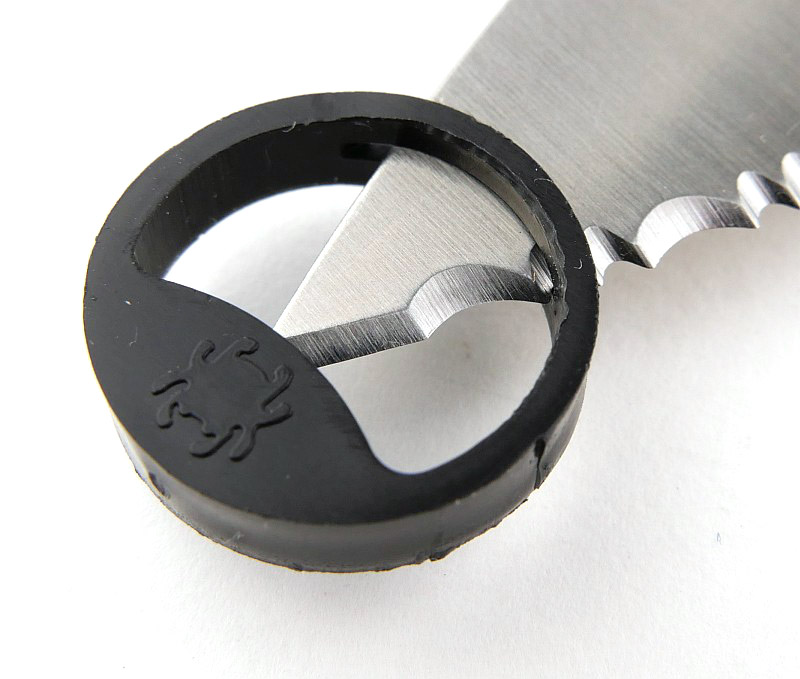
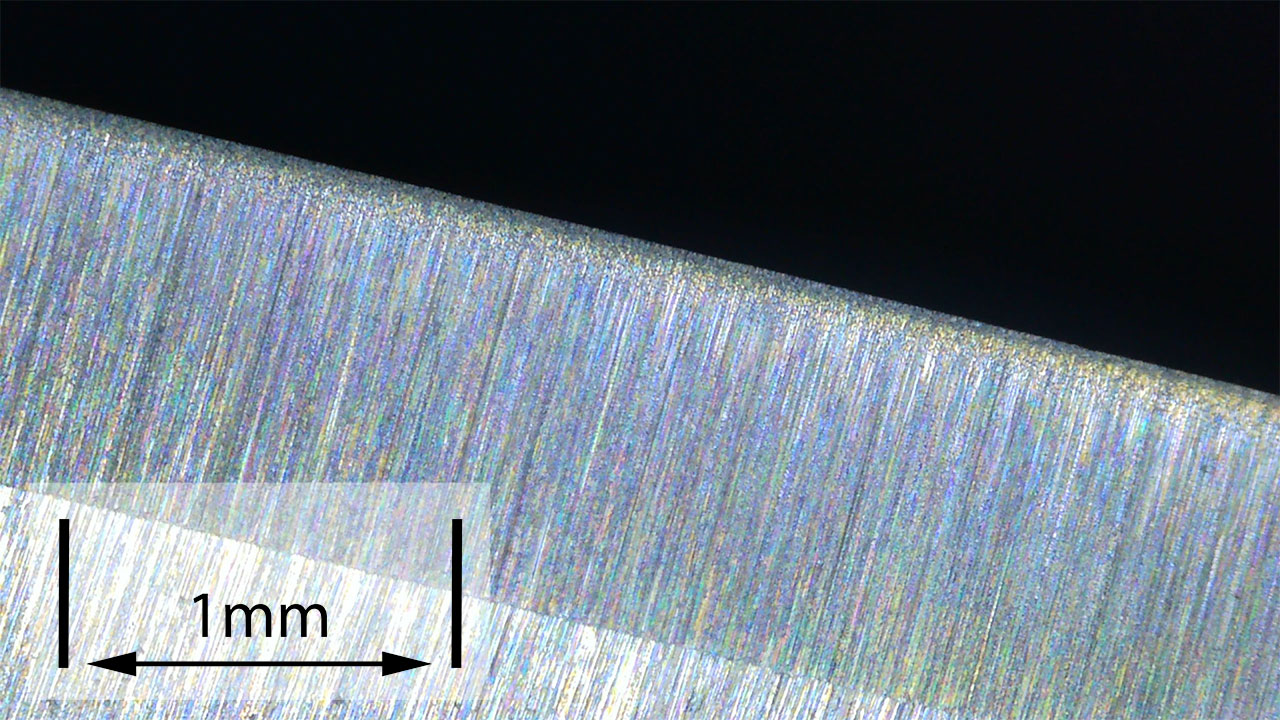
As a further look at the factory edge, this section has been added to include some high magnification photos of the factory edges.
Spyderco reliably produces exceptional factory edges, and this Manix 2 Salt is true to form.

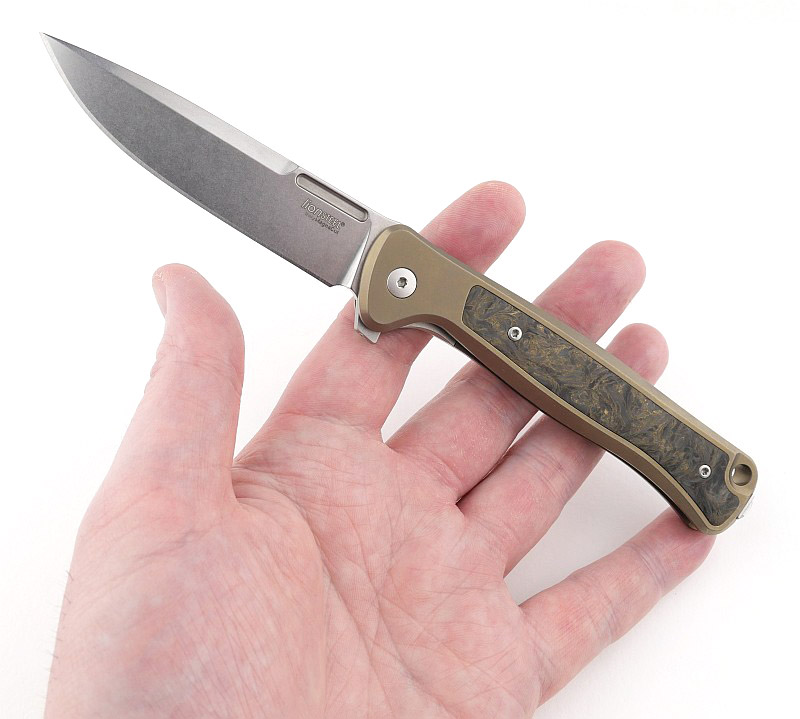
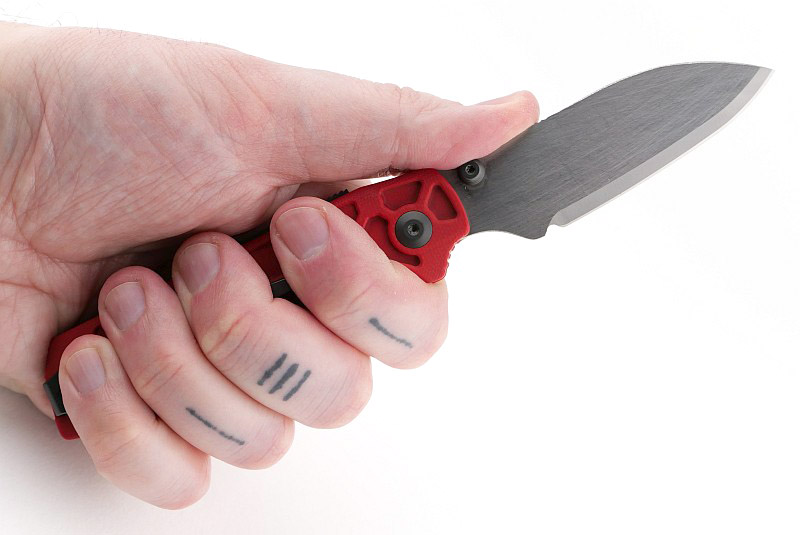
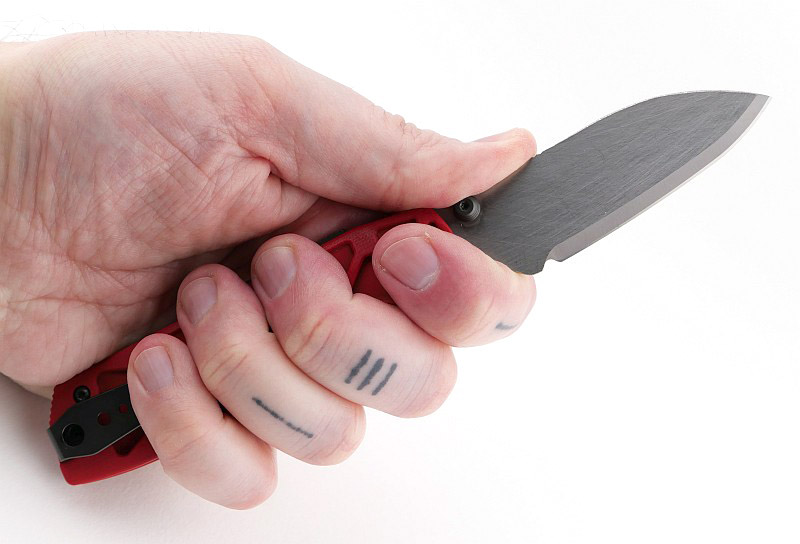
What is it like to use?
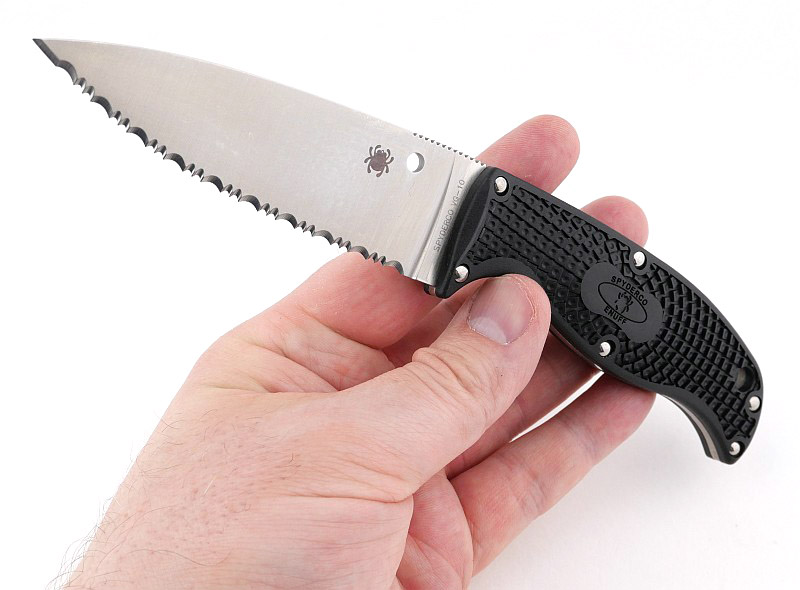
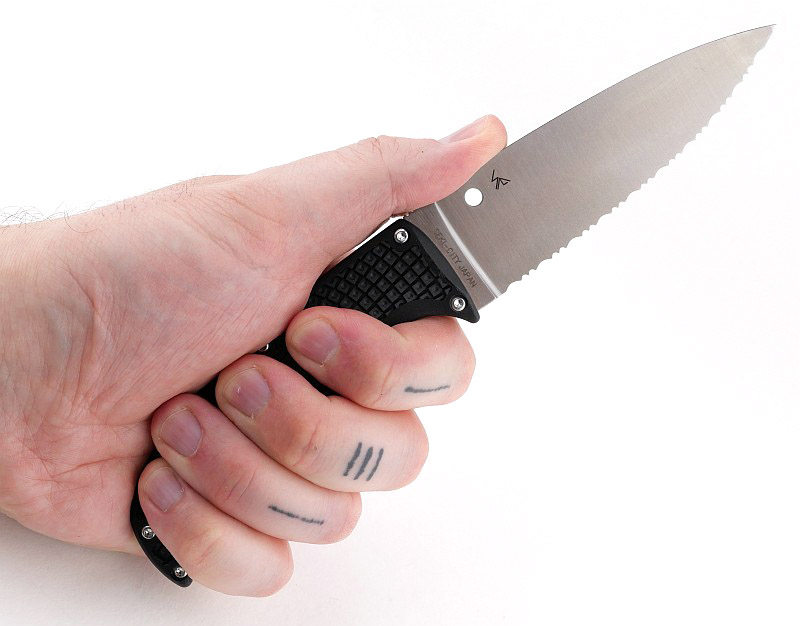
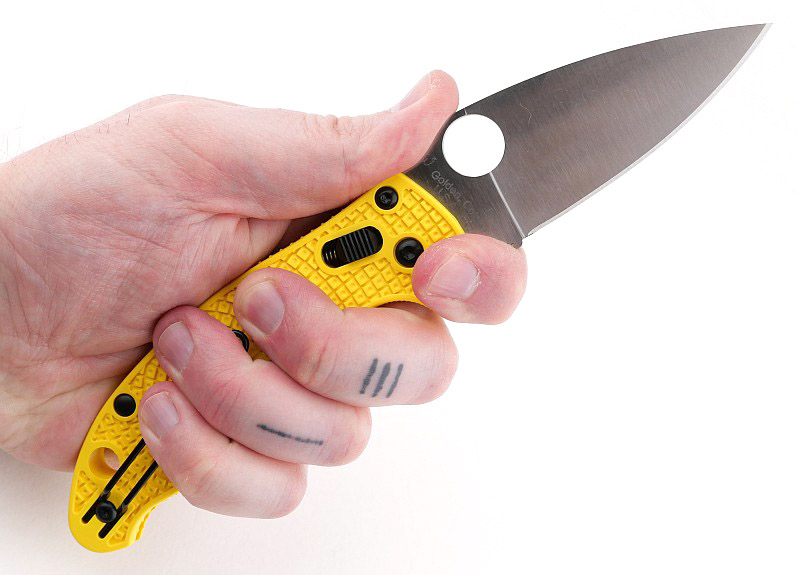
Manix 2 is a generous sized knife, but the FRN handle and lack of steel liners keeps the weight right down, and despite the size is an unobtrusive carry, almost too easy to forget you are carrying it.
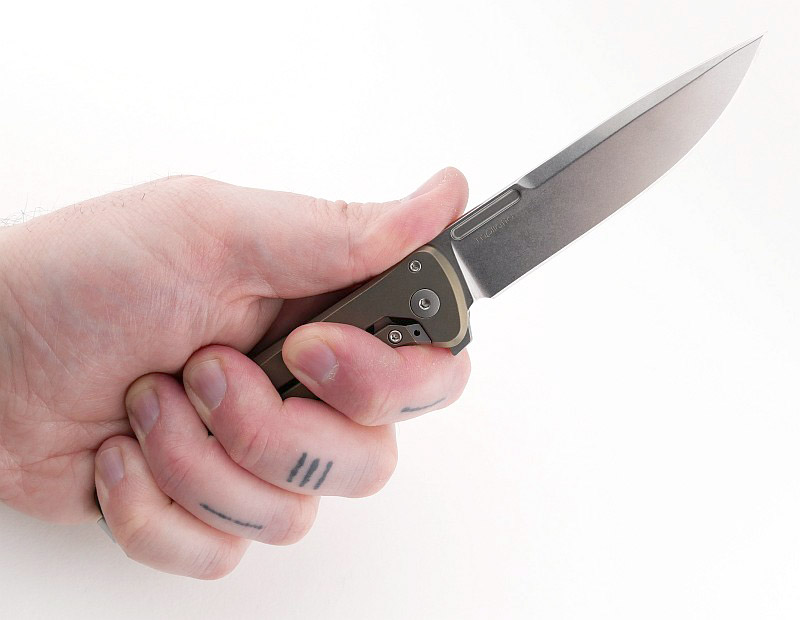
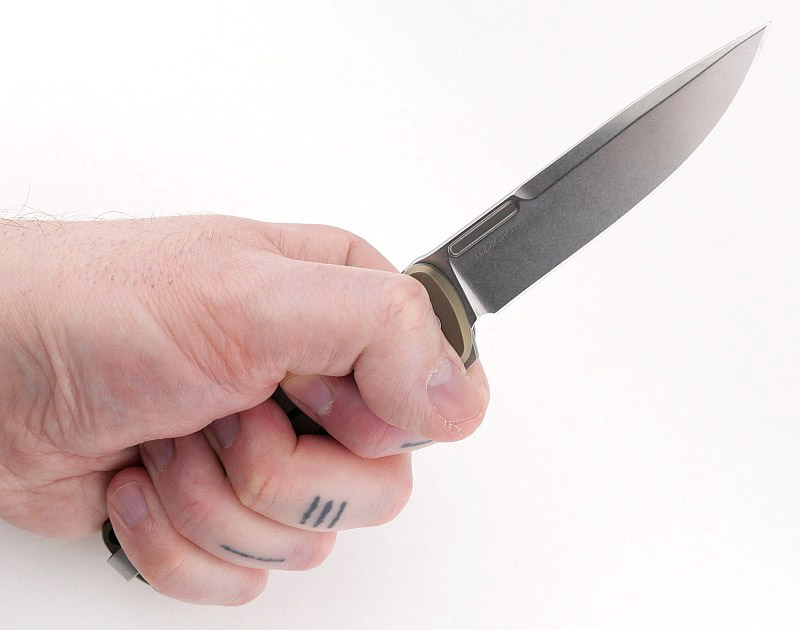
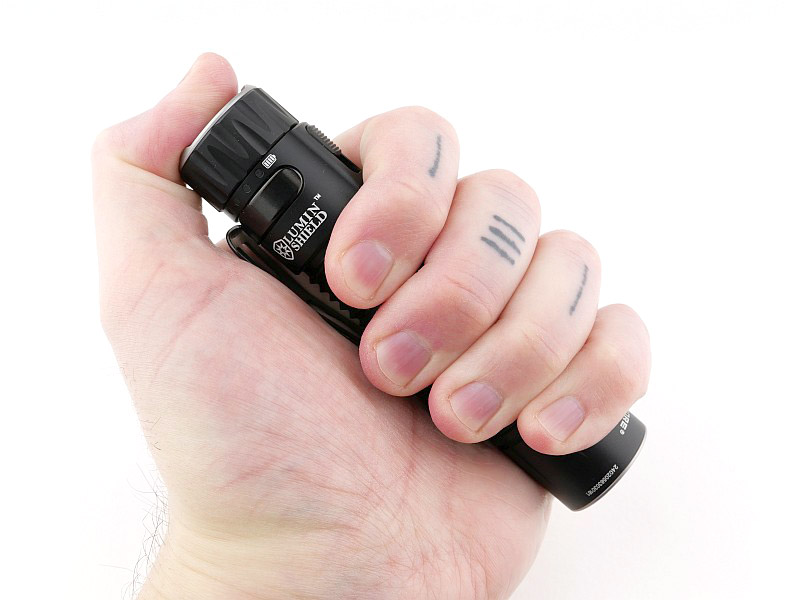
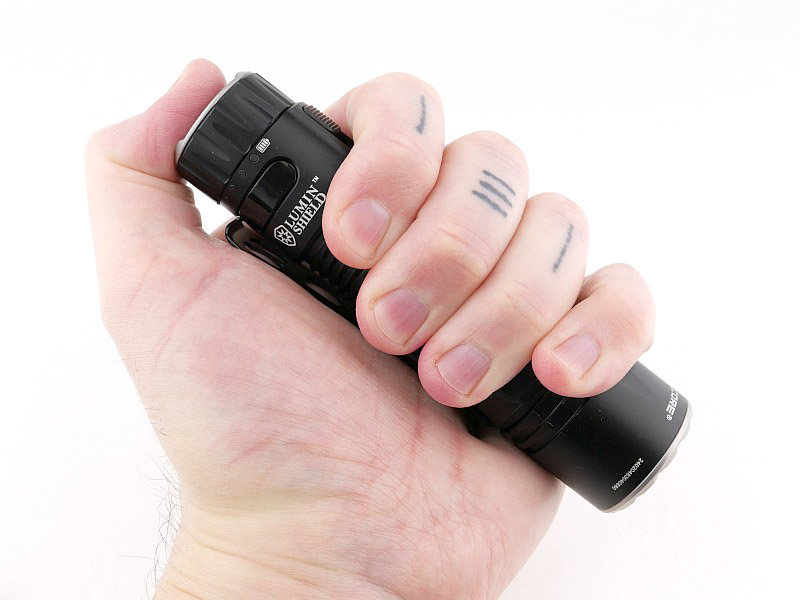
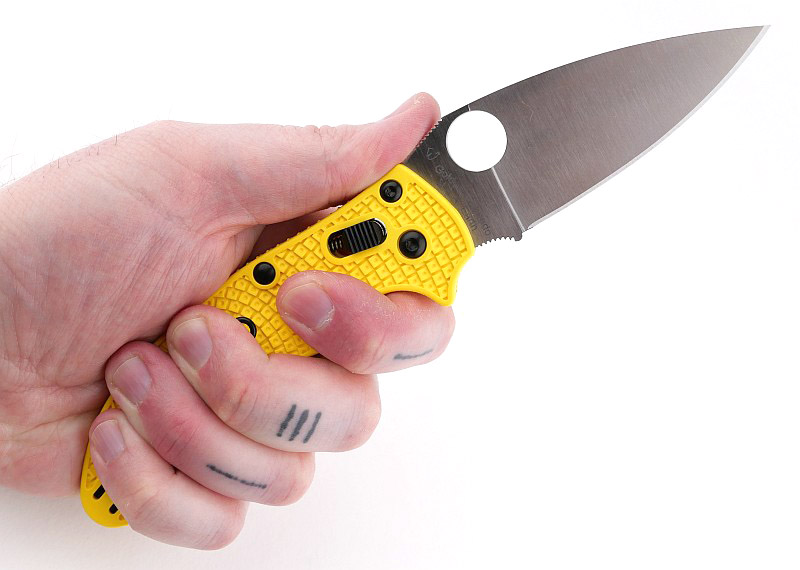
You can see how substantial it looks in the hand (I take XL sized gloves), substantial, but light and comfortable to hold. With the choked up grip position, the knife almost seems to shrink when you adjust your grip for more precise work.
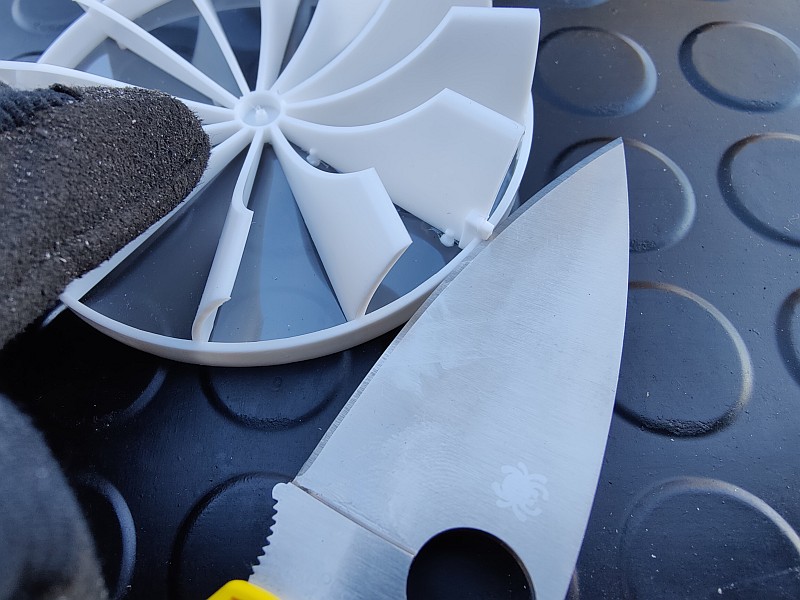
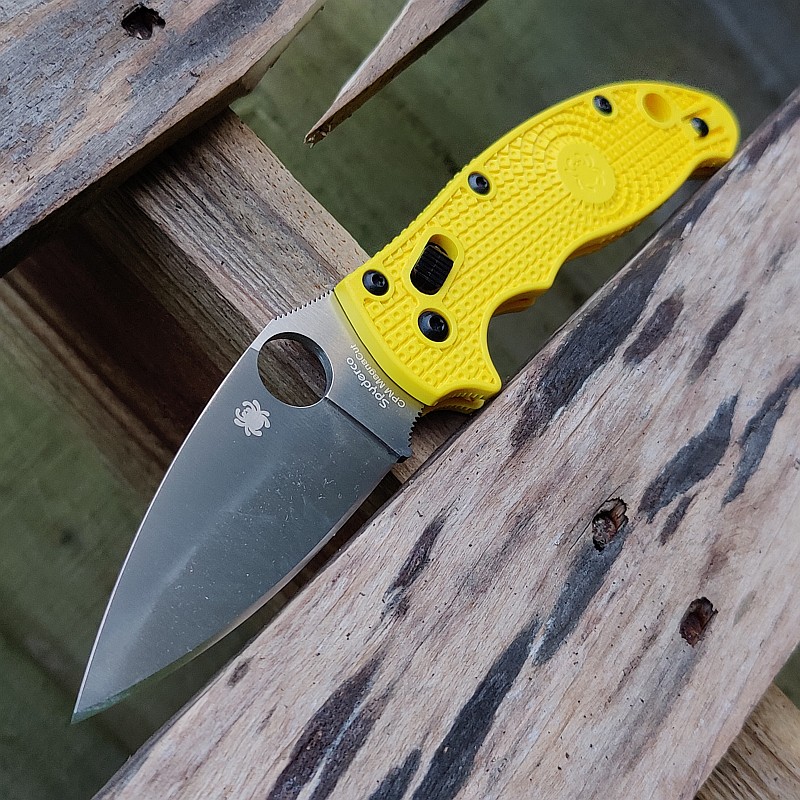
The large leaf-shaped full-flat-grind blade is very very ‘slicey’ and eager to part materials. Just the geometry wants to cut, and partnered with a great factory edge it cuts with ease right out of the box.
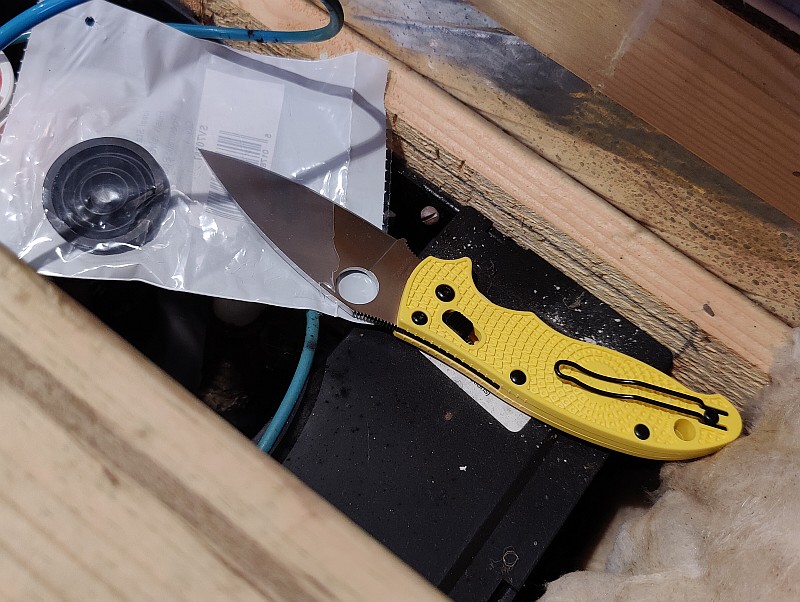
Putting it to good use for a couple of plumbing/bathroom jobs, but not even starting to test the corrosion resistance. Speaking of which I have previously carried out a sea water soak and exposure test on a Salt model, giving amazing results, as the knife was completely untouched by this. I wasn’t set up for this sea water test, so haven’t completed a similar corrosion test, but am confident from previous experience, and the fact this knife uses MagnaCut, that is will also be a waste of time.
Not only does this ‘Salt series’ make a great choice for highly corrosive environments, but it also allows you to have a virtually maintenance-free knife.
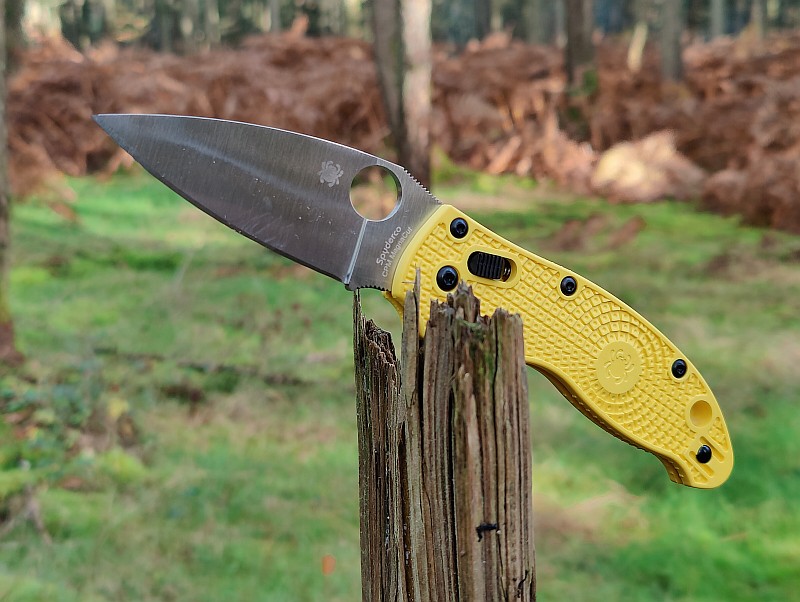
An ideal outdoor companion, with that high visibility handle making it a challenge to lose in the woods. Highly usable, and a real work-horse of a knife that is eager to get on with the next job.
Review Summary
The views expressed in this summary table are from the point of view of the reviewer’s personal use. I am not a member of the armed forces and cannot comment on its use beyond a cutting tool or field/hunting knife.
Something that might be a ‘pro’ for one user can be a ‘con’ for another, so the comments are categorised based on my requirements. You should consider all points and if they could be beneficial to you.
_______________________________________________
What doesn’t work so well for me
_______________________________________________
No sharpening choil. (might be a ‘pro’ for some)
Sides of the blade jimping are a bit sharp.
_______________________________________________
Things I like
_______________________________________________
Completely corrosion free.
Lightweight without sacrificing strength.
Large full-flat blade cuts with ease.
Great size for all-round use.
Secure Ball Bearing lock.
High visibility.
MagnaCut steel.
Ambidextrous pocket clip.
Very accessible large opening hole.
Excellent grip all over and around.
Top-notch factory edge.
Review Videos
Starting with a short format sixty second review:
Onto a full video review covering many more details:
Discussing the Review:
Something new – will it work? A Tactical Reviews Subreddit.
TacticalReviewsChat on Reddit
Please visit there and start/join the conversation.