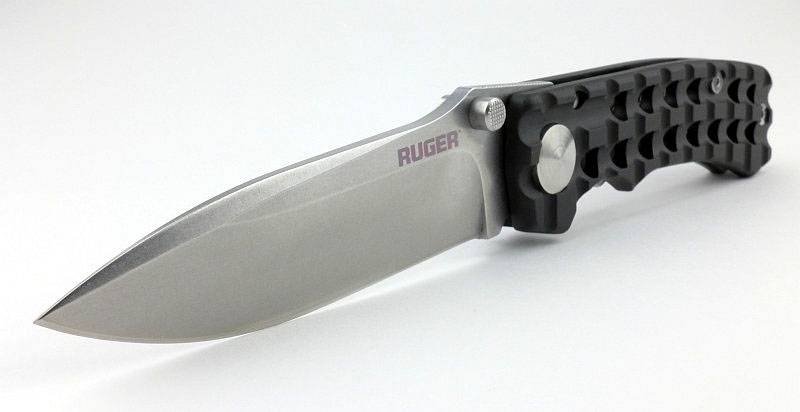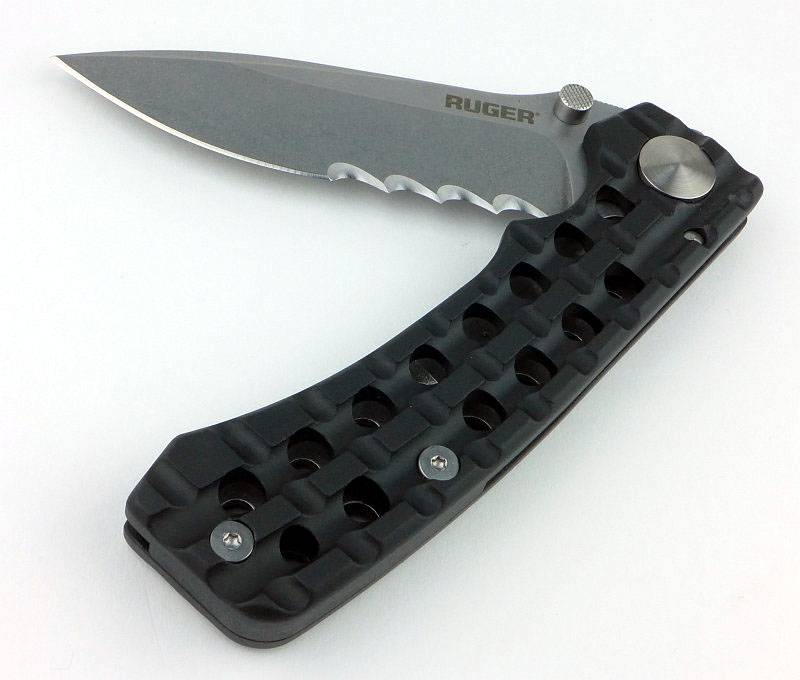
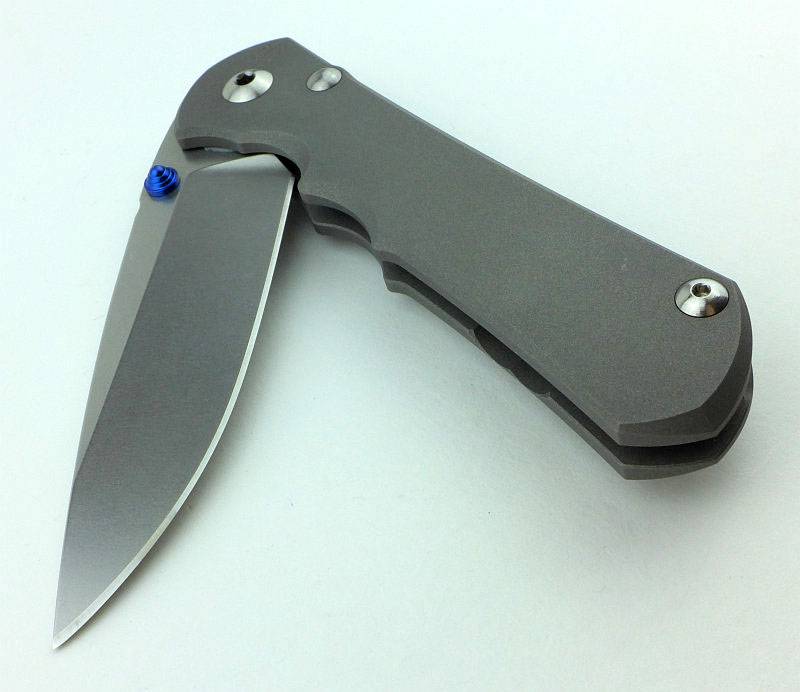
The original Inkosi was launched at Blade Show 2016, and was designed to include improvements to Chris Reeve’s already tried and tested (and industry changing) Sebenza models. Never one to stand still, Chris knew he could improve on his original design with certain key changes to the pivot, bearing, frame and lock. Rather than apply all these changes to the established formula of the Sebenza models, a new line was created to allow these features to be incorporated into the most advanced Chris Reeve folding knife yet. With a trend to smaller more pocketable models, the first Inkosi was created as a compact folding knife, but demand has been strong for a larger version of this knife, and here it is. The Large Inkosi now replaces the Sebenza 25.
The Blade and Handle Geometry:
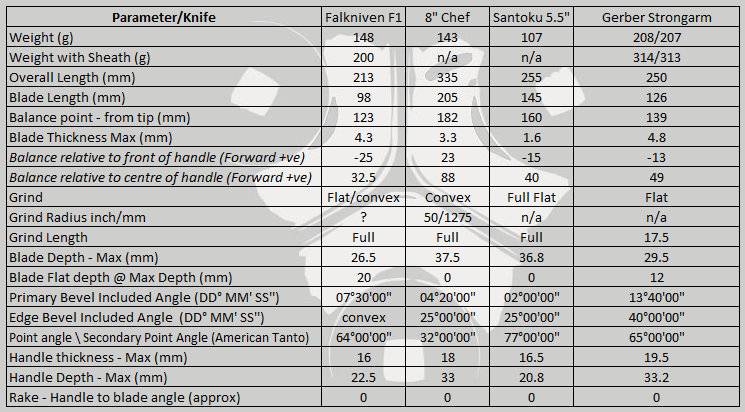
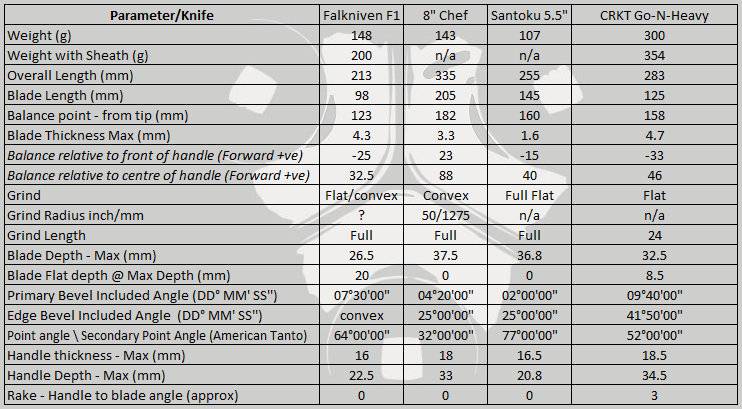
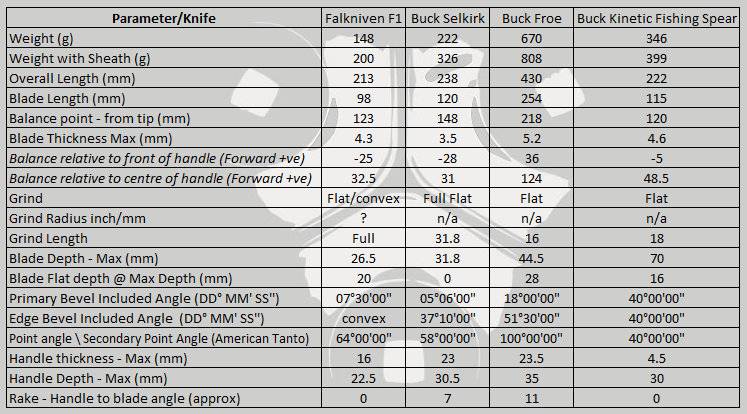
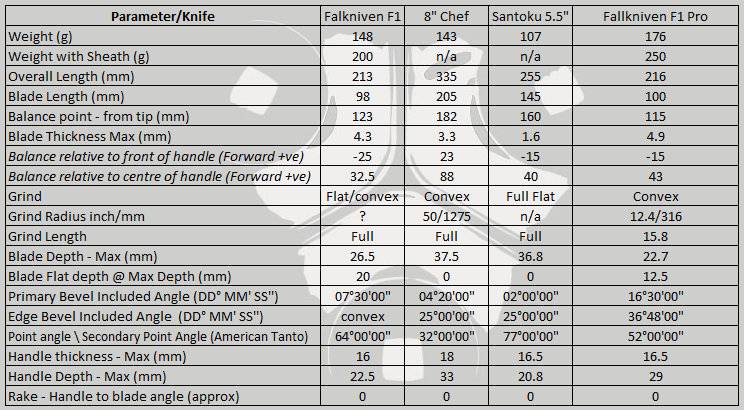
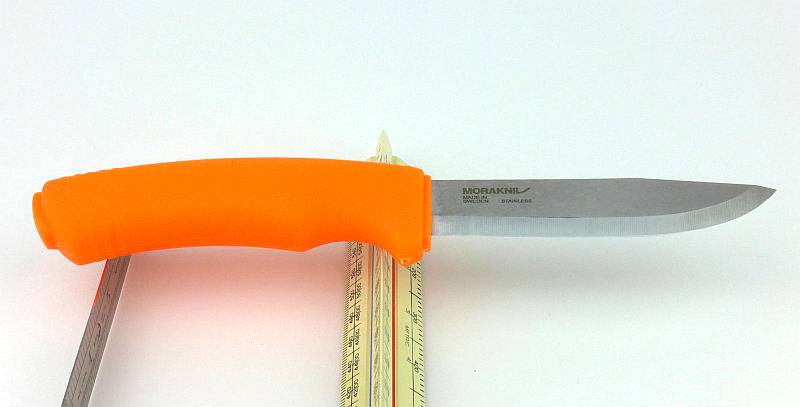
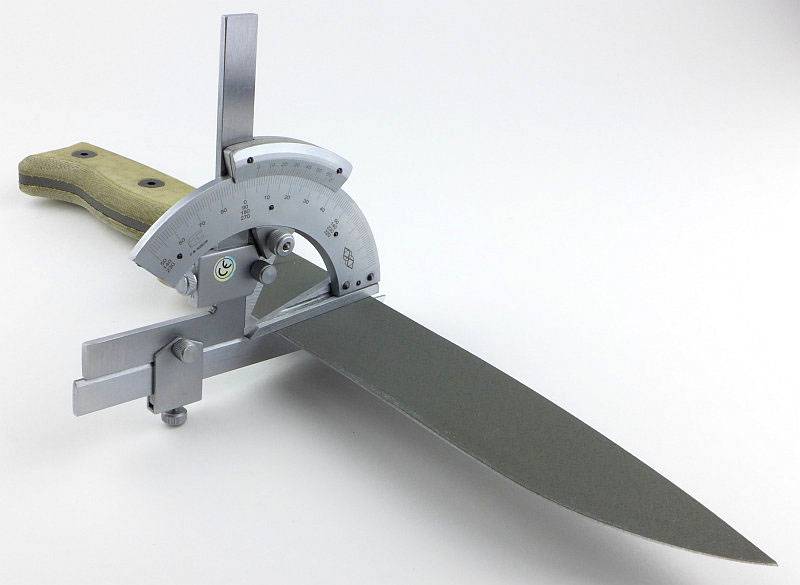
Most knife specifications have a basic description of the blade geometry, but in this section I will be taking a more detailed look at geometry and balance.
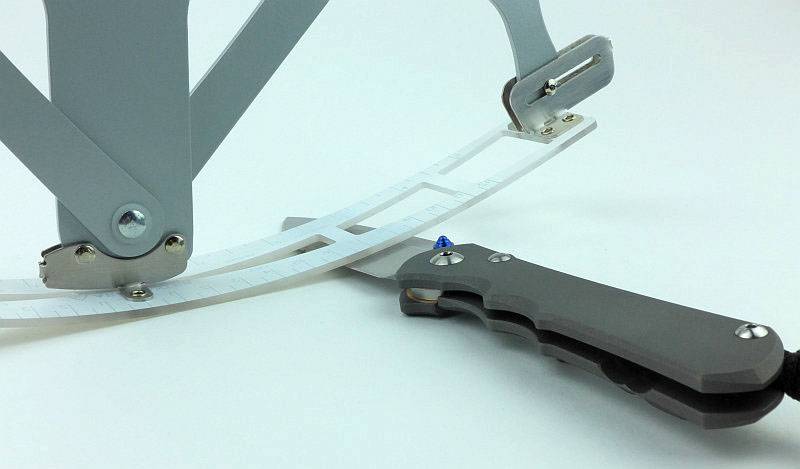
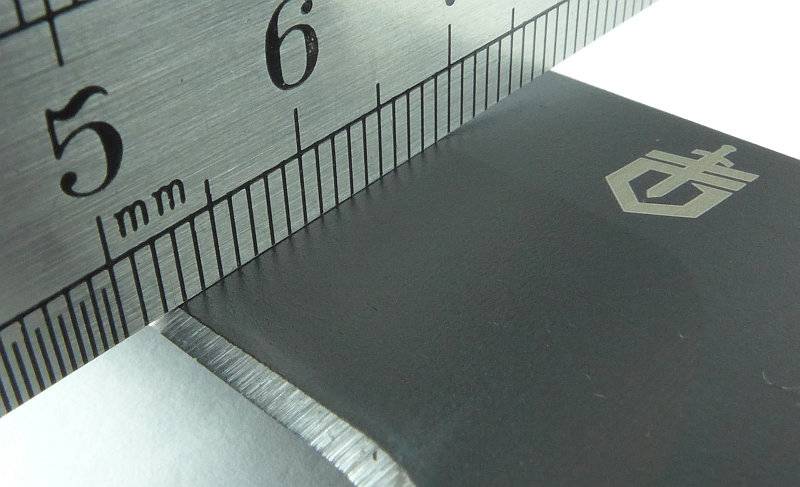
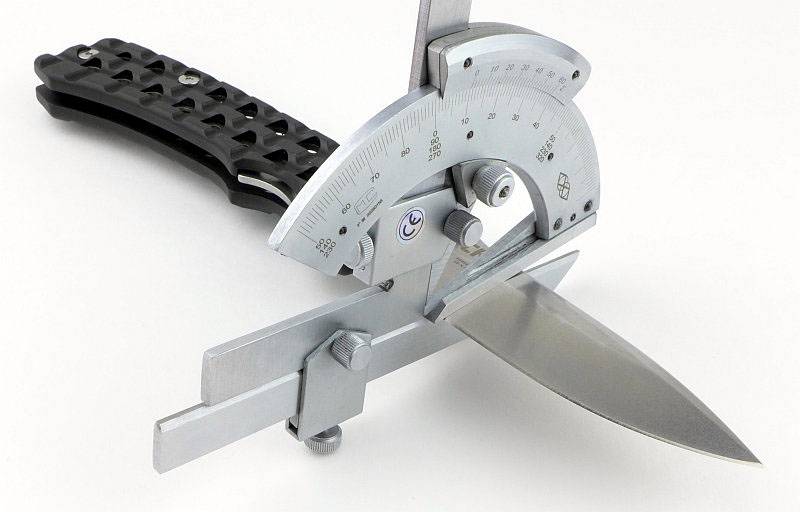
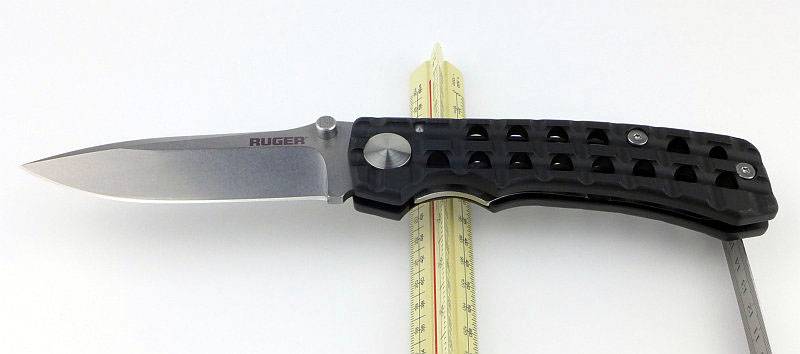
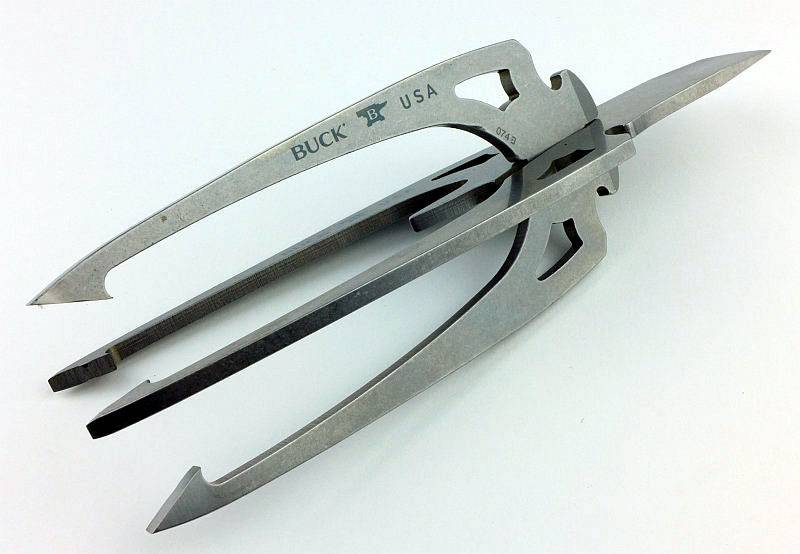
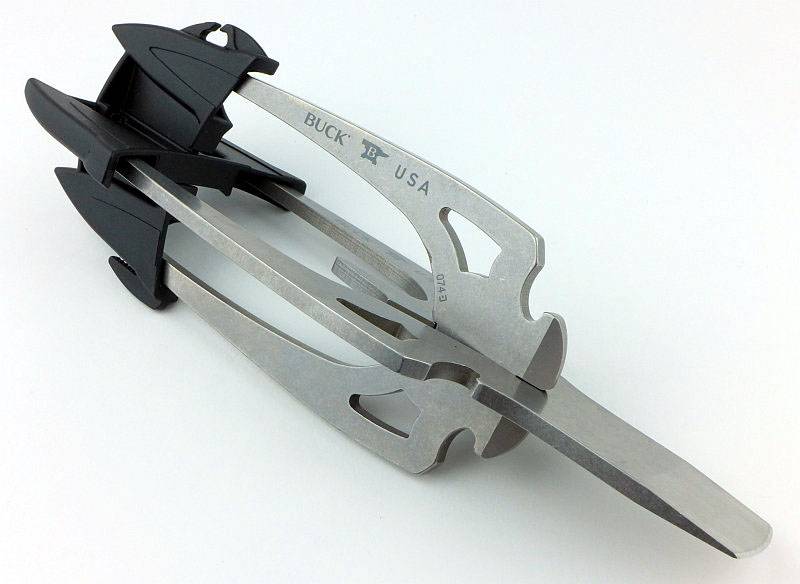
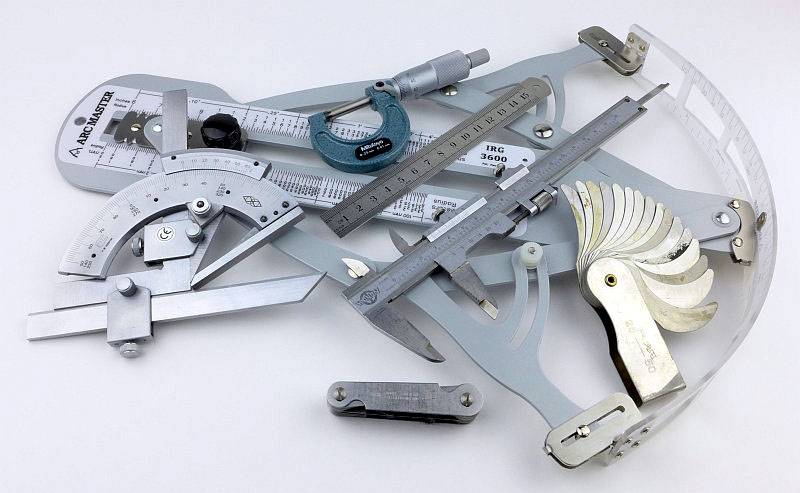
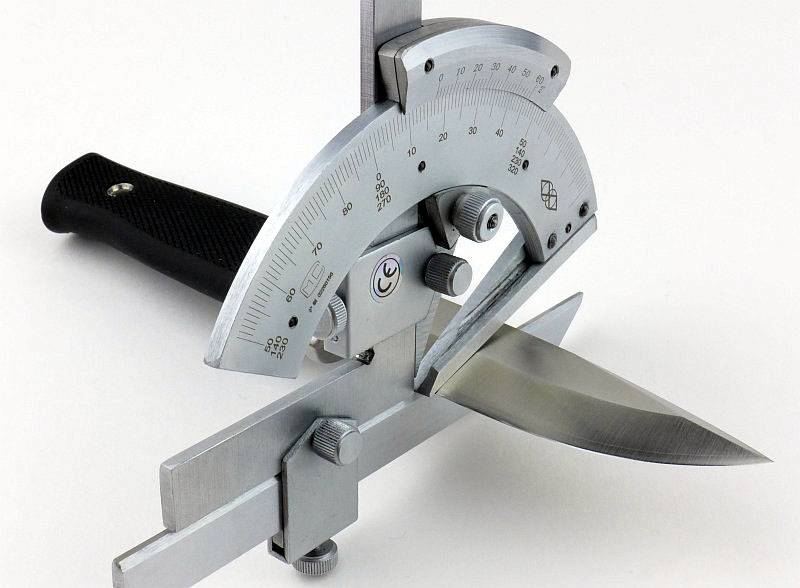
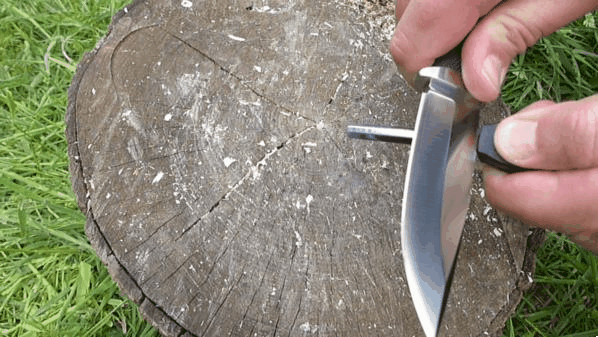
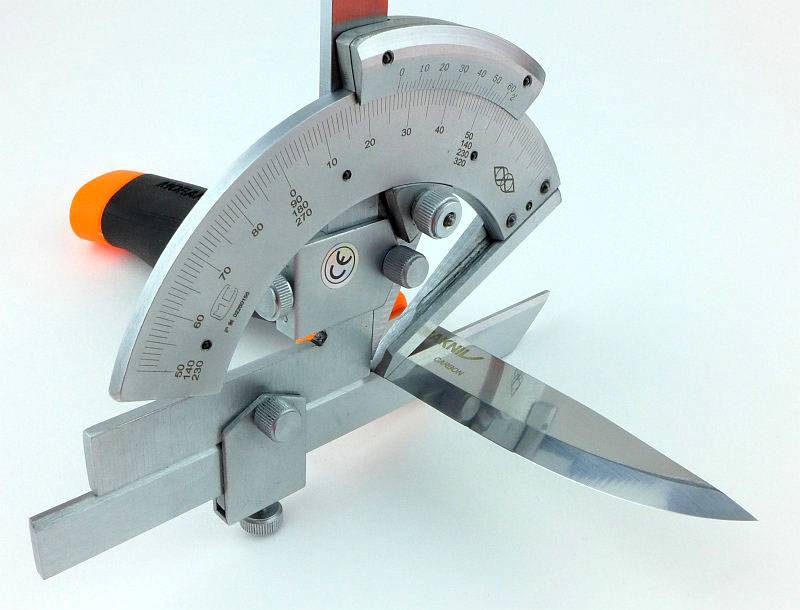
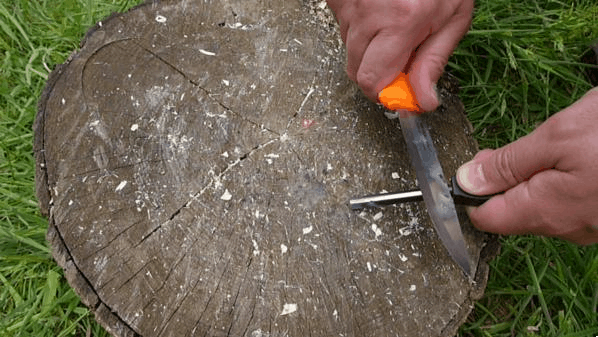
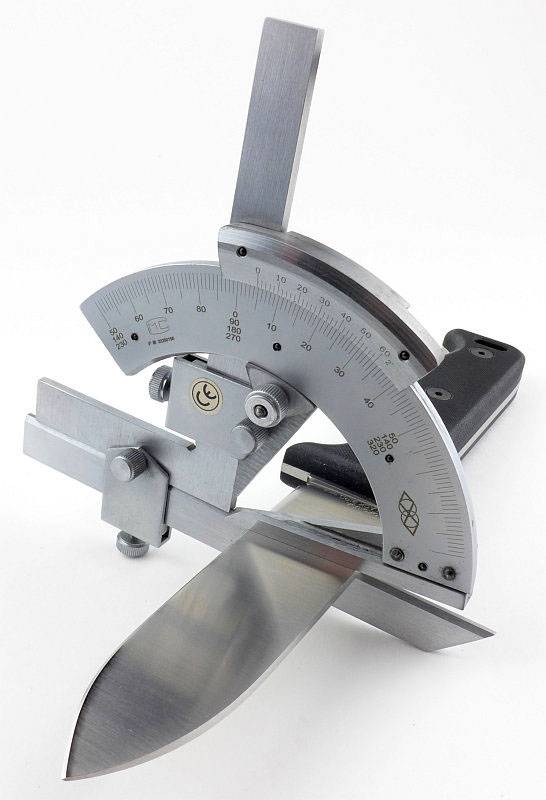
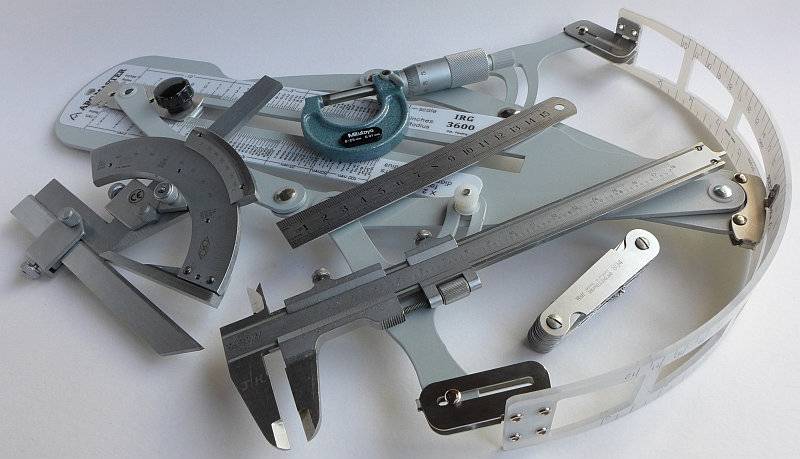
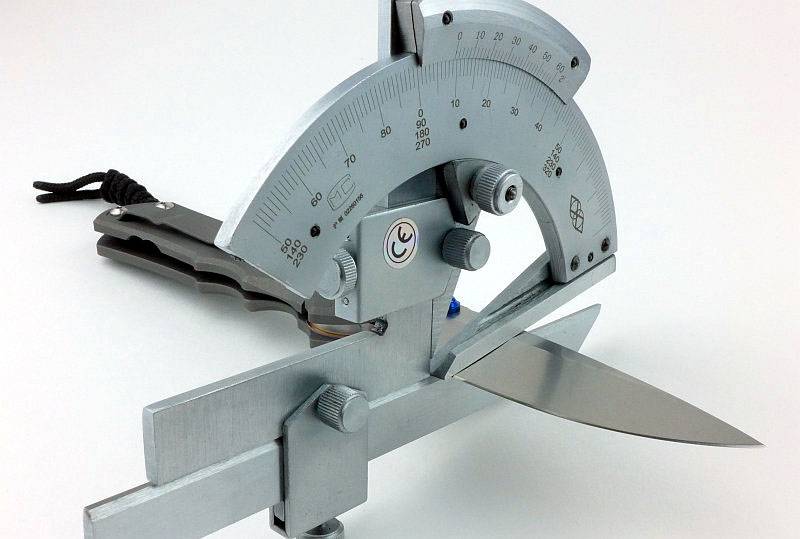
Using a set of gauges and precision measuring equipment including a Vernier protractor, callipers, fixed radius gauges and the unique Arc Master adjustable radius gauge (the one that looks like a crossbow).

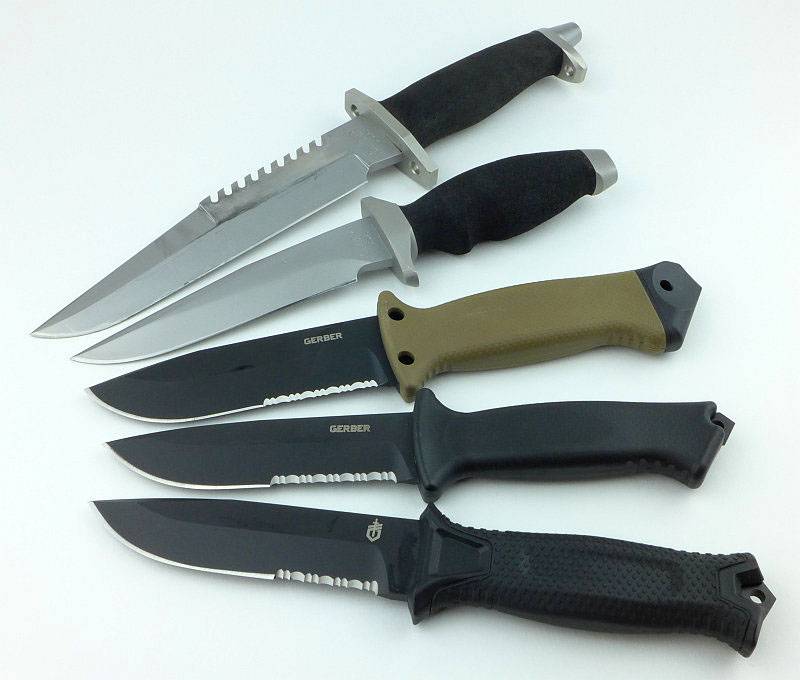
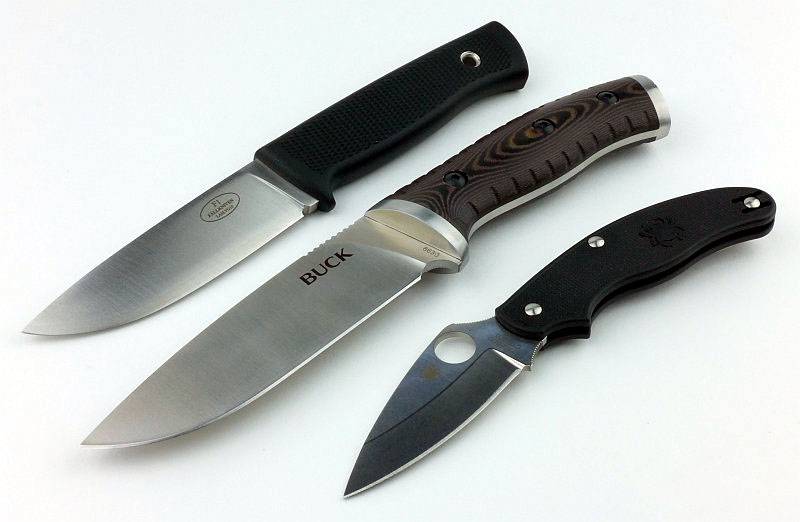
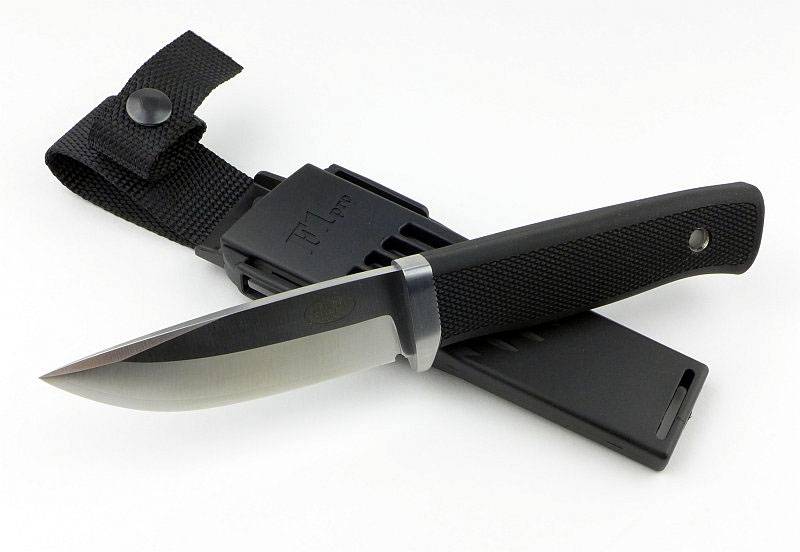
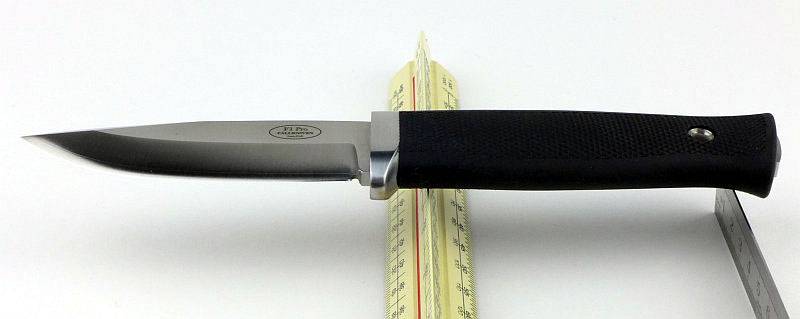
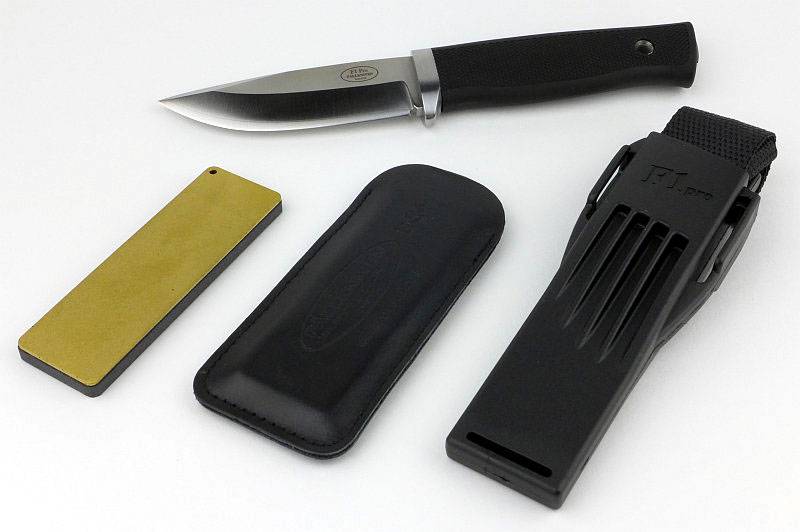
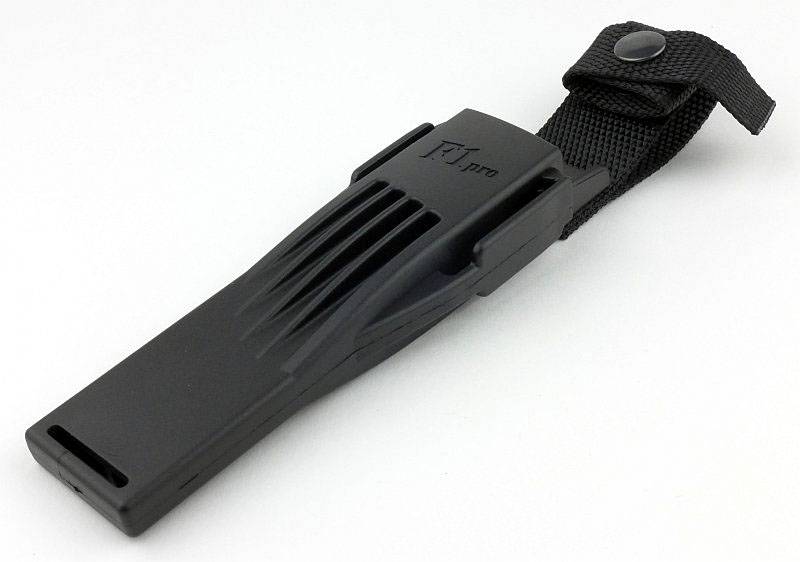
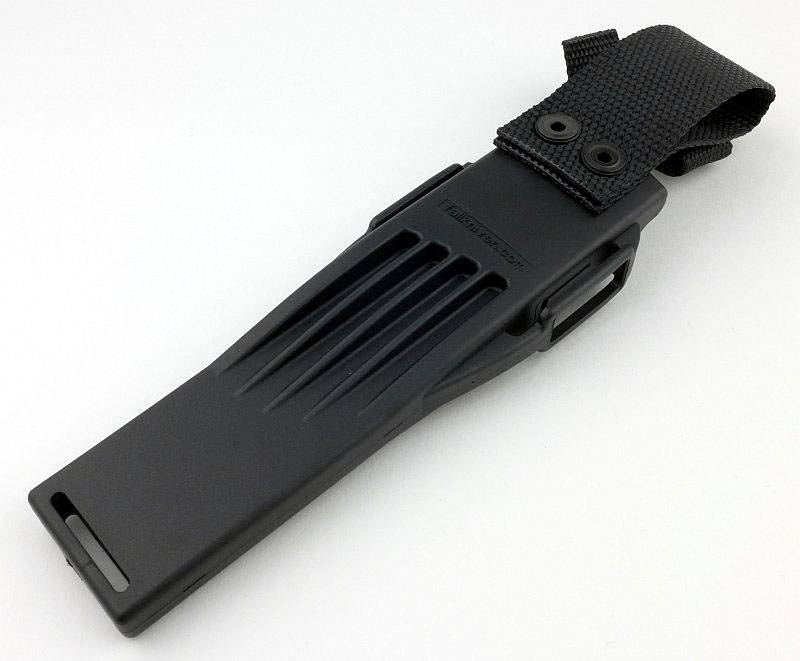
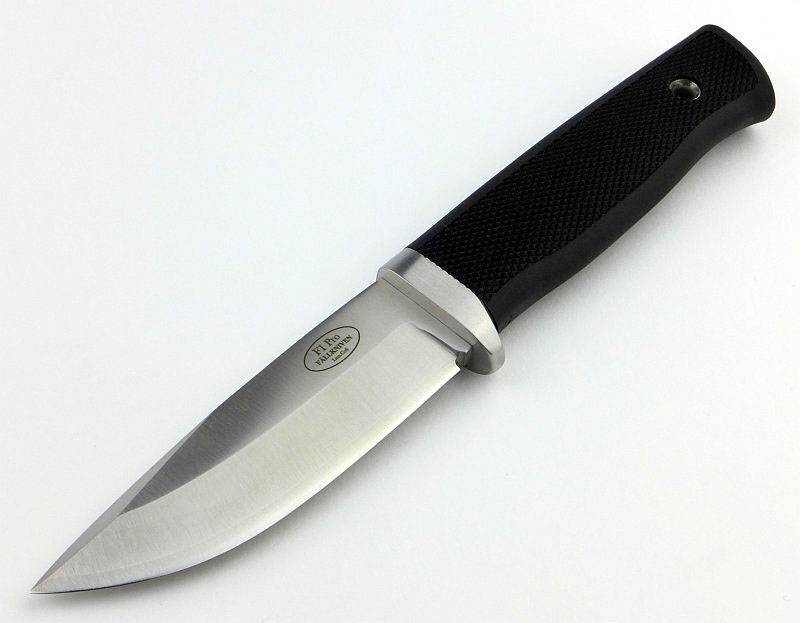
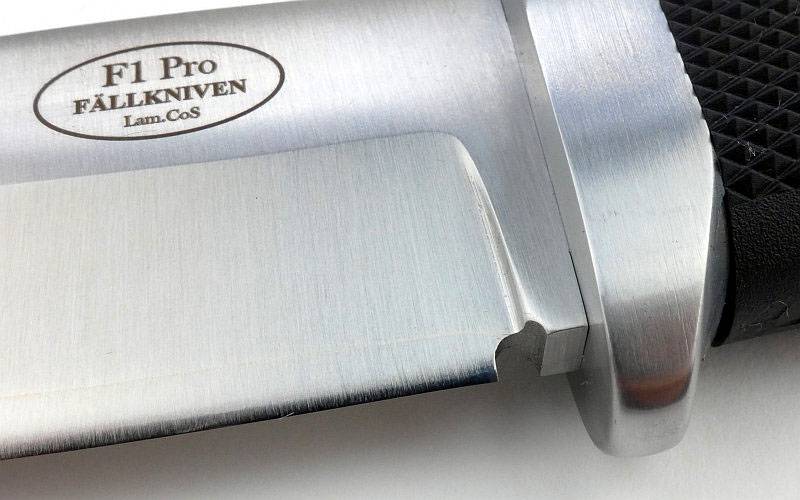
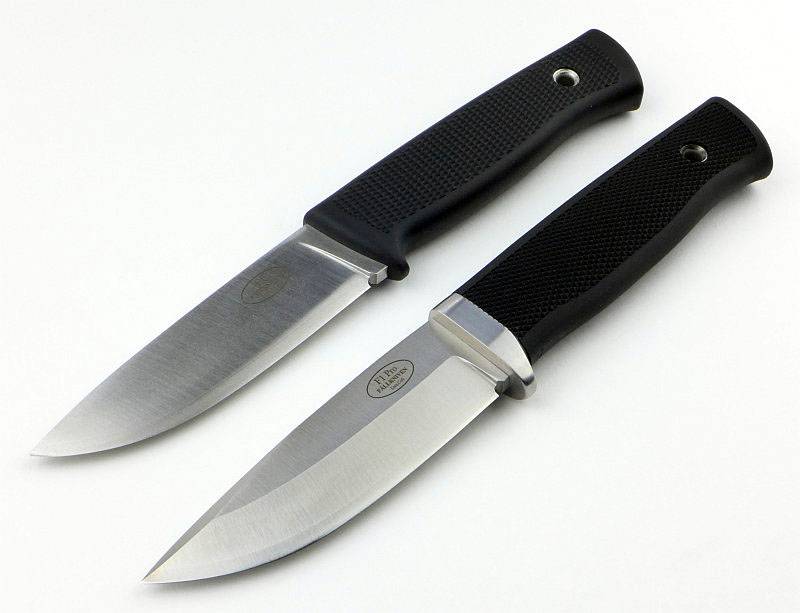
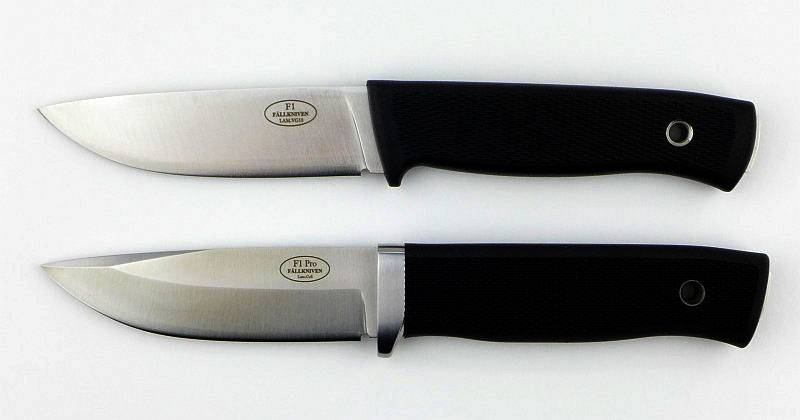
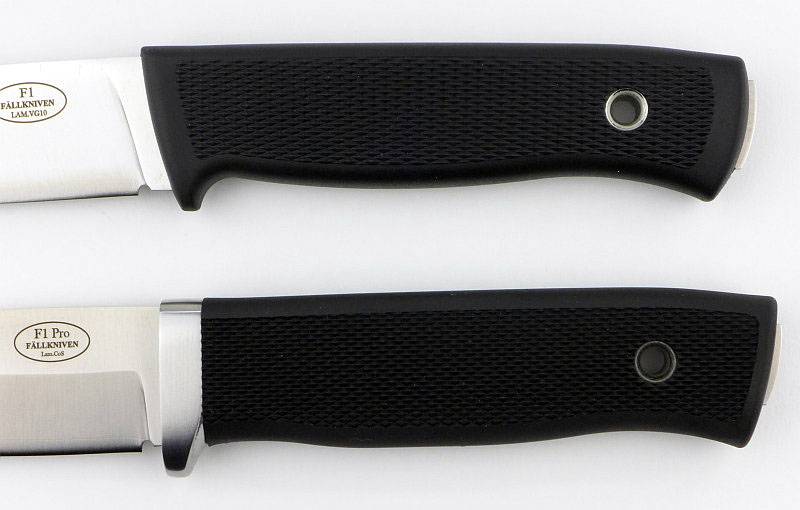
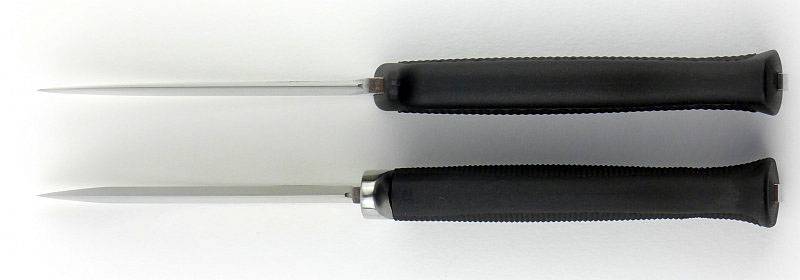
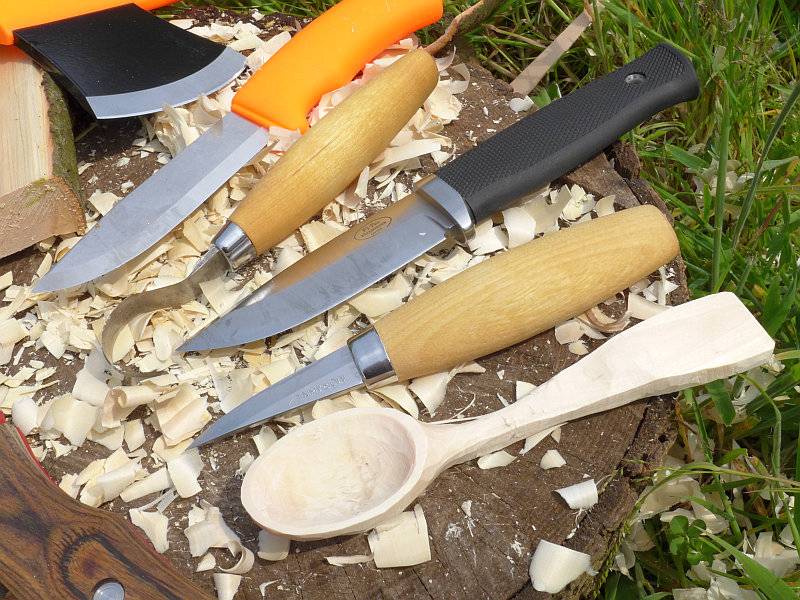
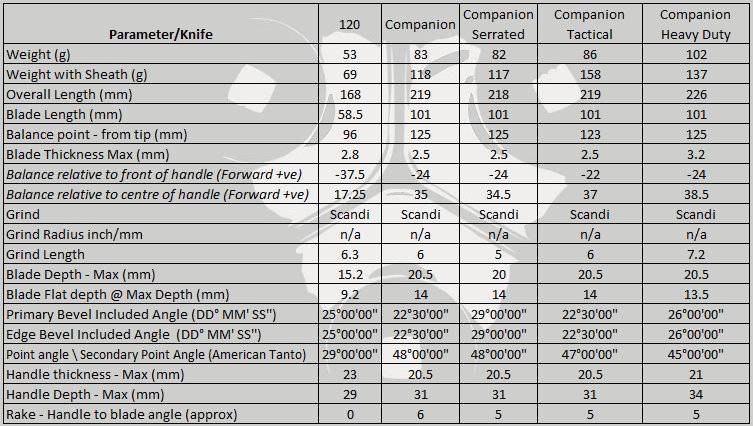
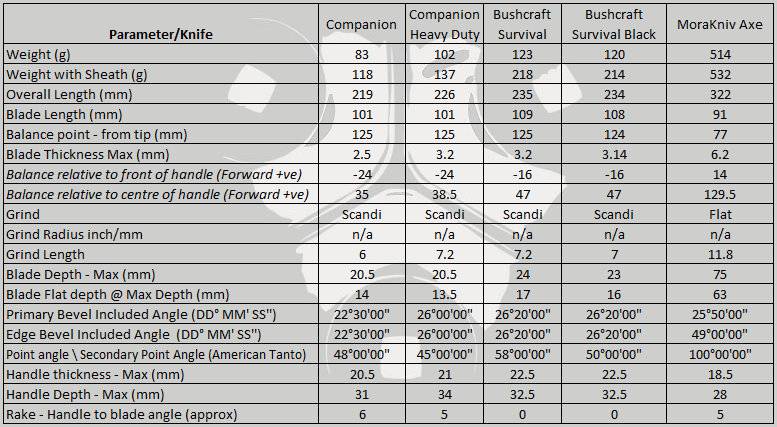
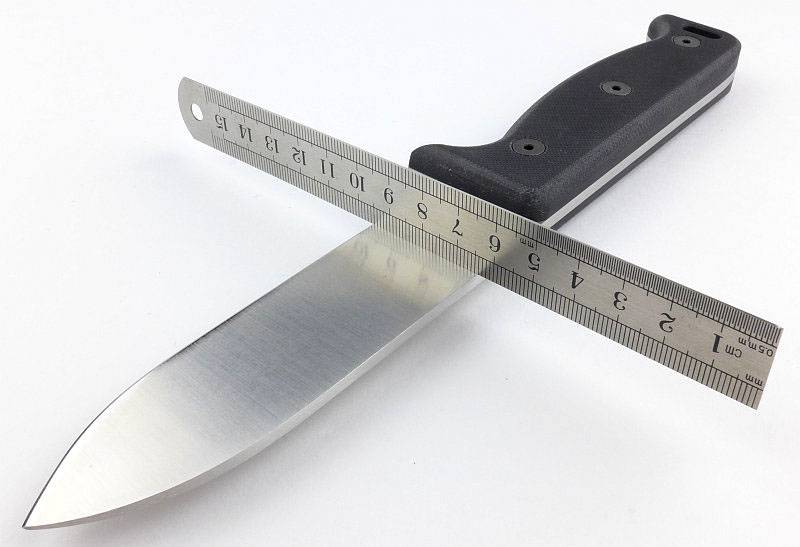
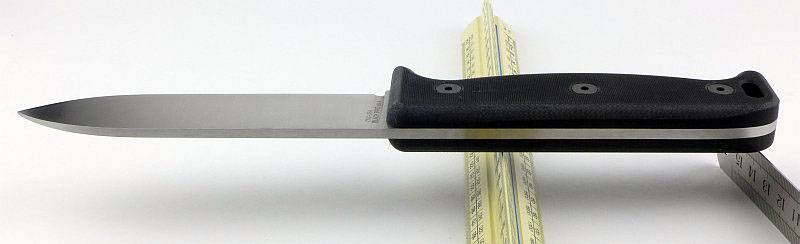
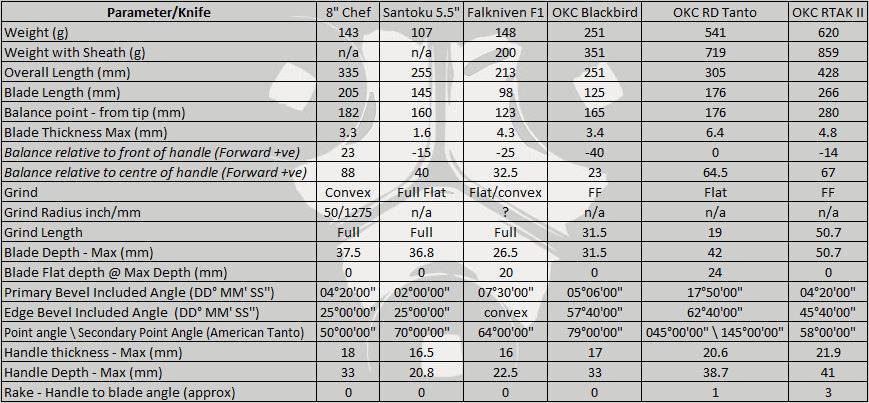
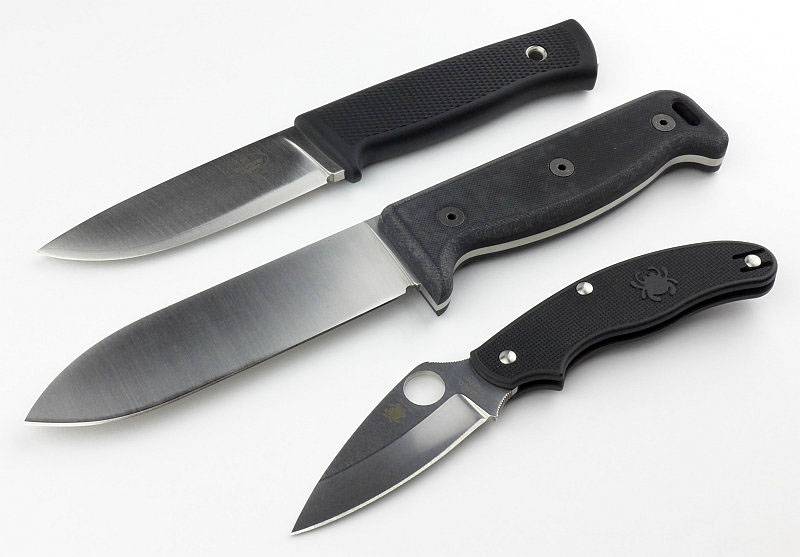
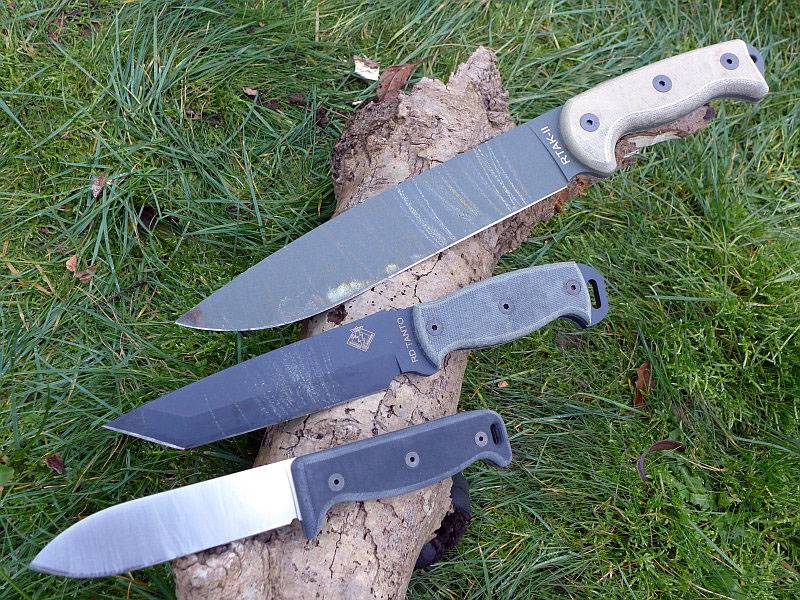
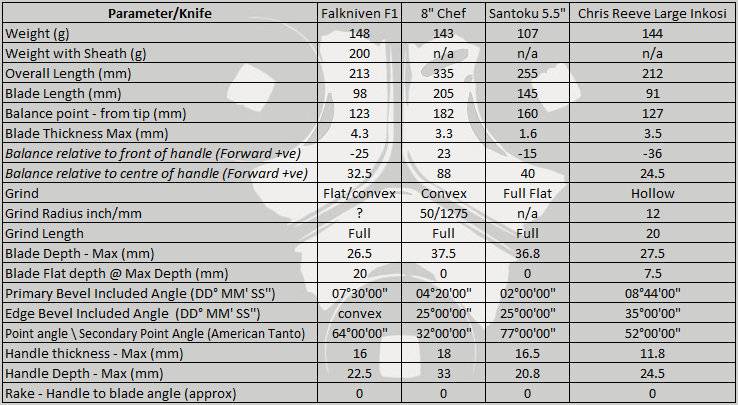
These measurements have been tabulated and are presented along with a few reference blades (8″ Chef’s Knife, 5.5″ Santoku and the popular Fällkniven F1).
Key aspects such as the primary bevel angle, grind type, blade depth, blade thickness, length, weight are detailed, along with balance information.
The ‘Balance relative to the front of the handle’ tells you if the knife will feel front heavy, or if the weight is in your hand (a positive value means the weight is forward of the front of the handle). The ‘Balance relative to the centre of the handle’ indicates how close to a ‘neutral balance’ the knife has in the hand.
In the case of full convex grinds the approximate centre of the grind is used for the primary bevel angle estimate.
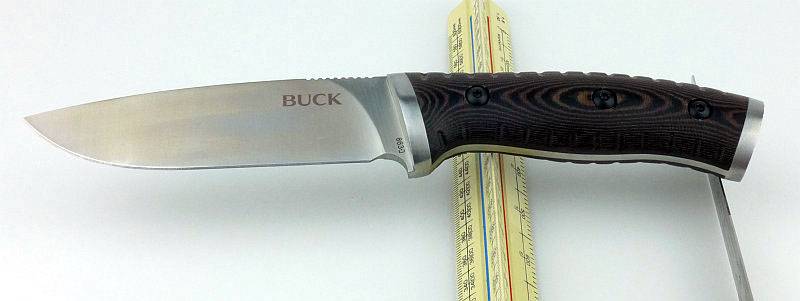
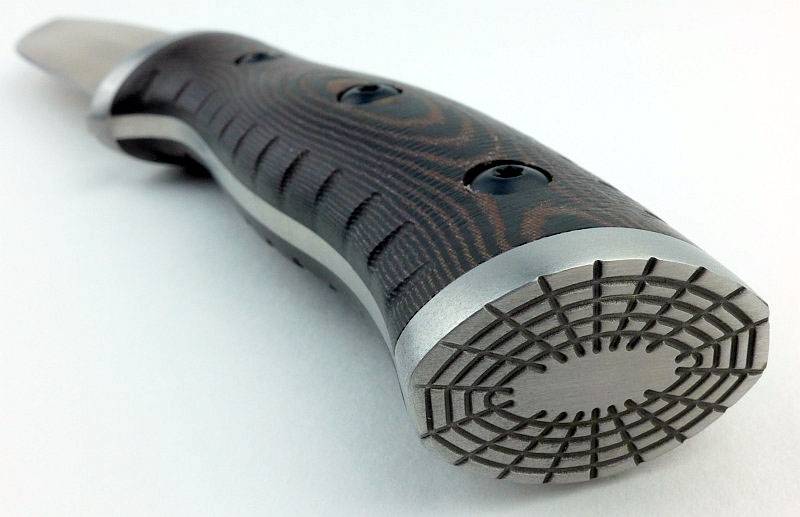
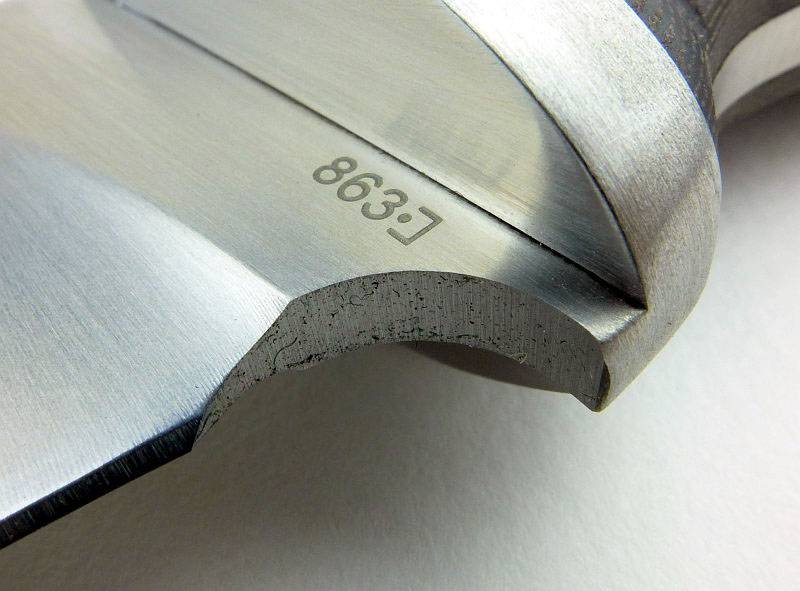
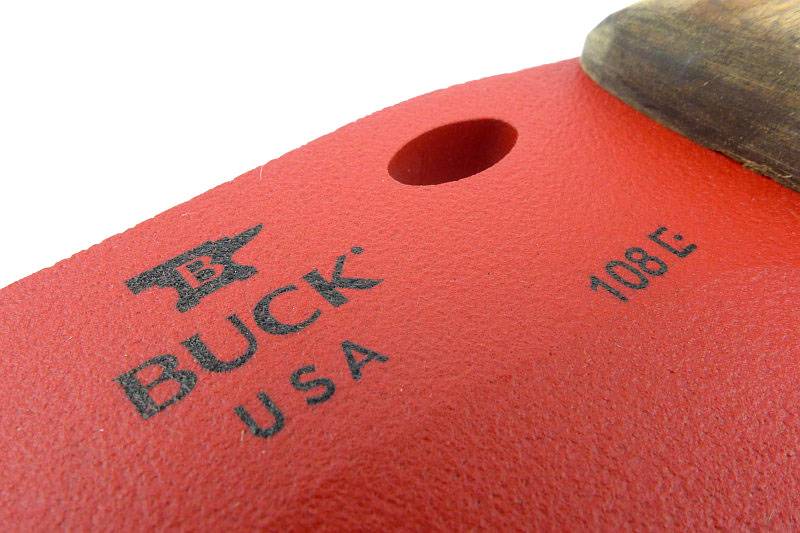
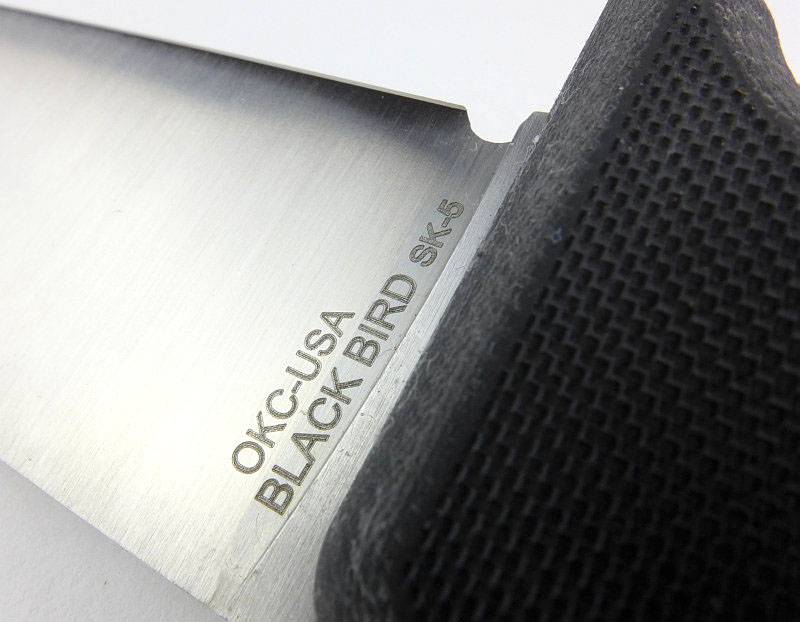
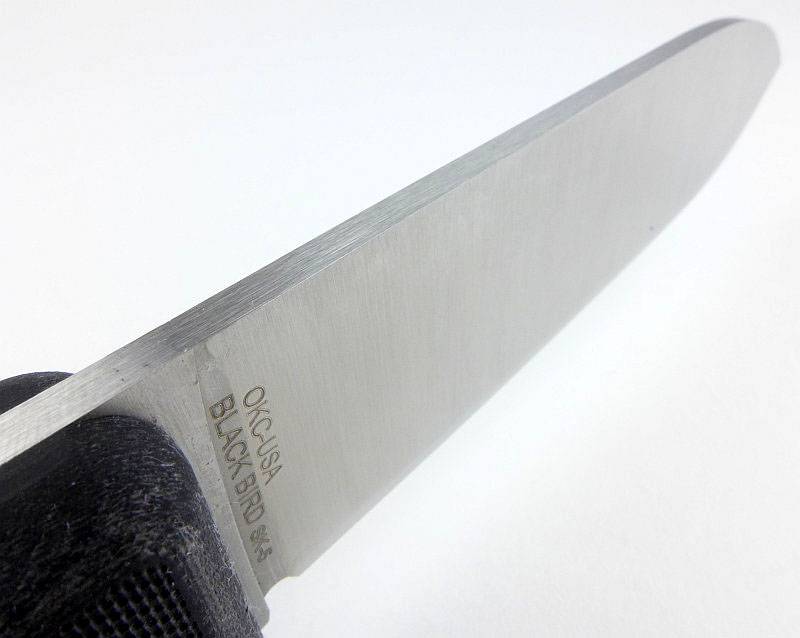
The blade is made from S35VN steel at 59-60RC.
Explained by the Maker:
The reasons for certain design choices may not be clear when simply looking at an object, so this section is intended to give an insight into the thinking behind a design by speaking to the designer themselves.
Unfortunately I can’t always get time with the designer so will use this section to include relevant information about the knife and its designer.
The history of this review goes back to before the release of the Large Inkosi and to IWA 2016 where I was fortunate to be able to speak to Tim Reeve about the Inkosi. It was during this discussion that Tim told me the Large Inkosi was in development. My own preference is for a larger lock knife, so I couldn’t wait for the Large Inkosi to be released.
Tim talked me through the design improvements introduced with the Inkosi which actually include all the major parts, the pivot, bearing, frame and lock.
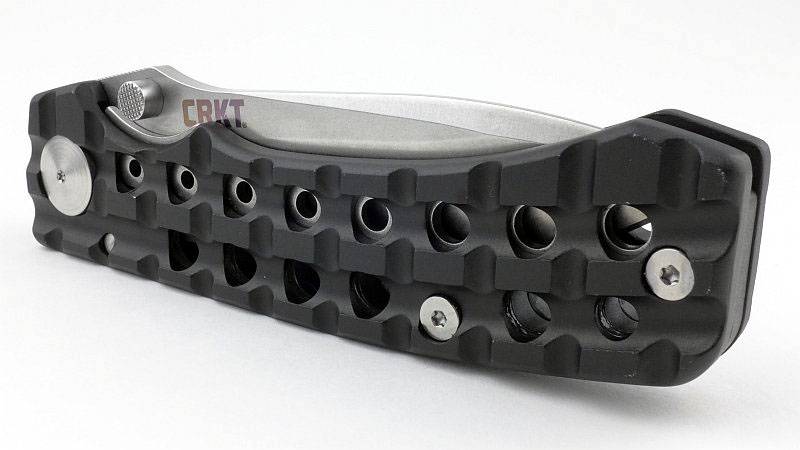
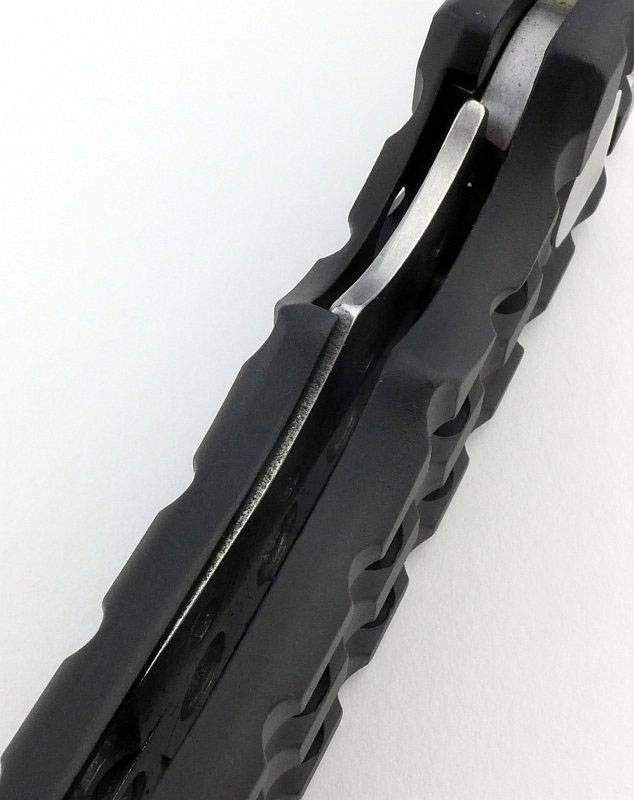
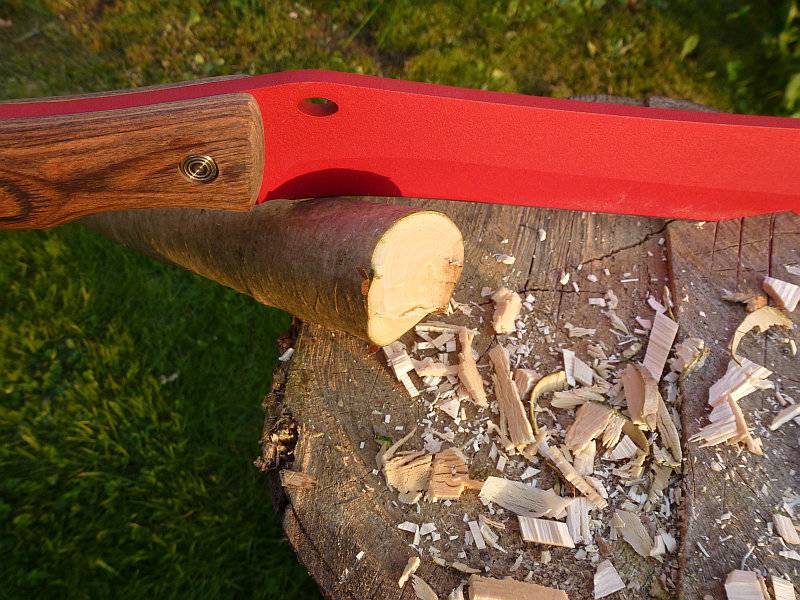
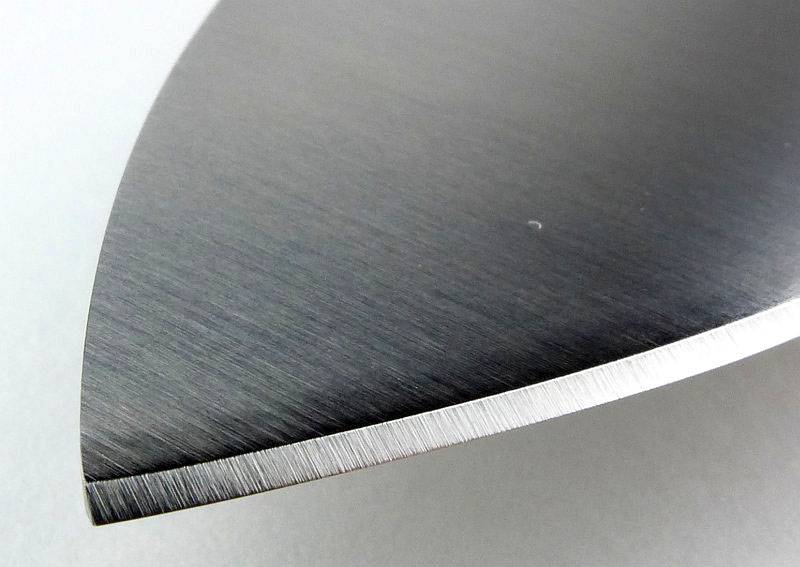
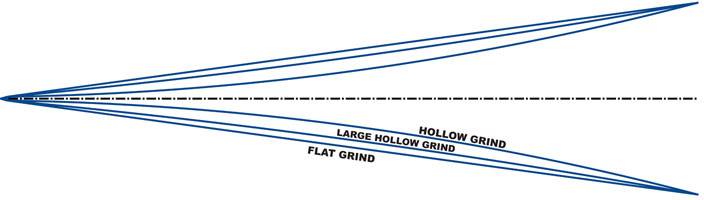
There is one feature of the Large Inkosi which is not new, but is worthy of mentioning as it is now a CRK design feature that was introduced in the Sebenza 25, the ‘Large Hollow Grind’. The shape of this grind is itself not new, having been common when you go back to older production methods. Before grinding wheels were mass produced in smaller sizes, blades were ground on much larger wheels than are generally used today. Modern grinders tend to have smaller diameter wheels, so hollow grinds have become deeper and more pronounced. This has given the hollow grind its very sharp thin edge, but a blade which hangs up on the shoulders of the hollow grind when cutting deeply. With the growing popularity of the full flat grind, thanks to its smooth cutting action, the modern hollow grind has been losing traction.
That said, both hollow and flat grinds have their place and individual benefits. When looking to make the folding knife as useful as possible, CRK didn’t just follow the trend of going one way or the other, but instead wanted a blade that blends the best of hollow and flat grinds. Using a much larger wheel to grind the blade results in a ‘Large Hollow Grind’ which is almost flat, but slightly hollowed. This stops the blade hanging like a hollow grind would, and allows for more sharpening cycles before the blade edge starts to thicken up. This image (borrowed from CRK) shows how the ‘Large Hollow Grind’ fits between flat and hollow grinds.
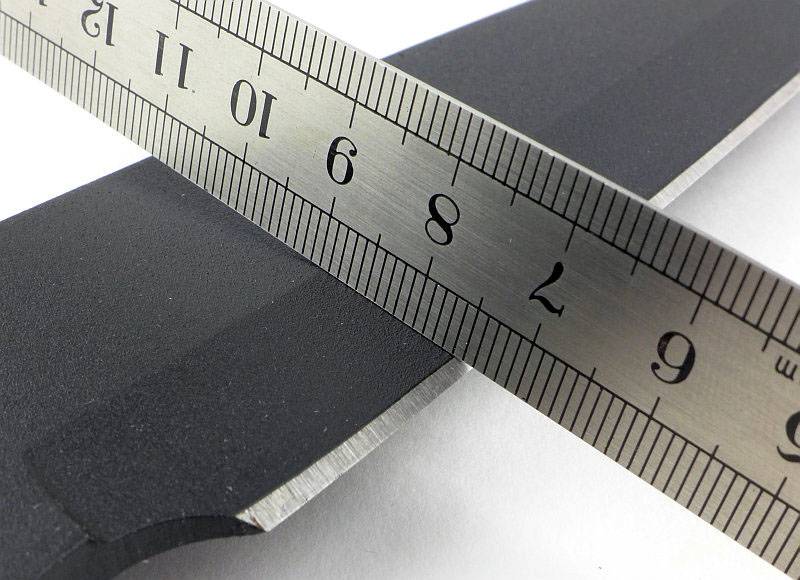
Here you can see the slight dip of the grind with a flat edge lying across it.
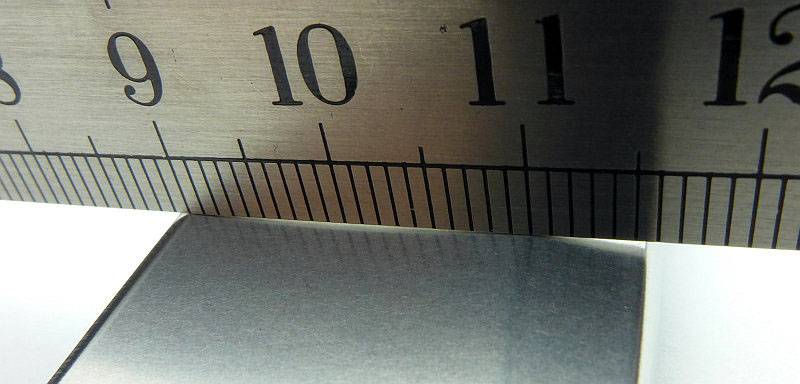
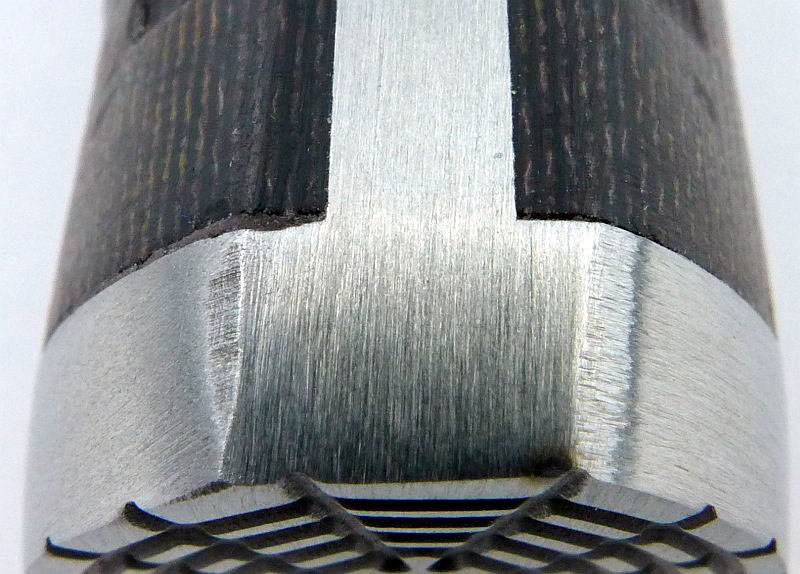
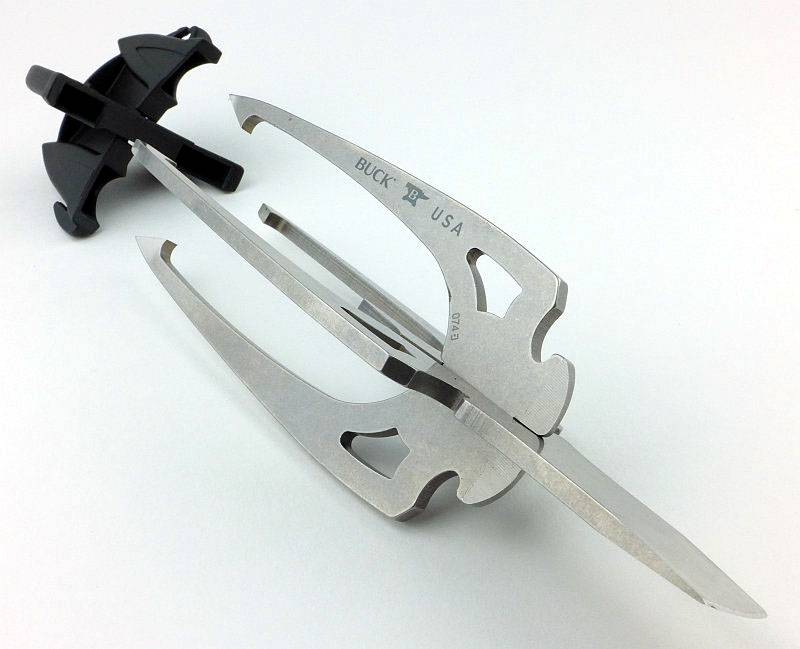
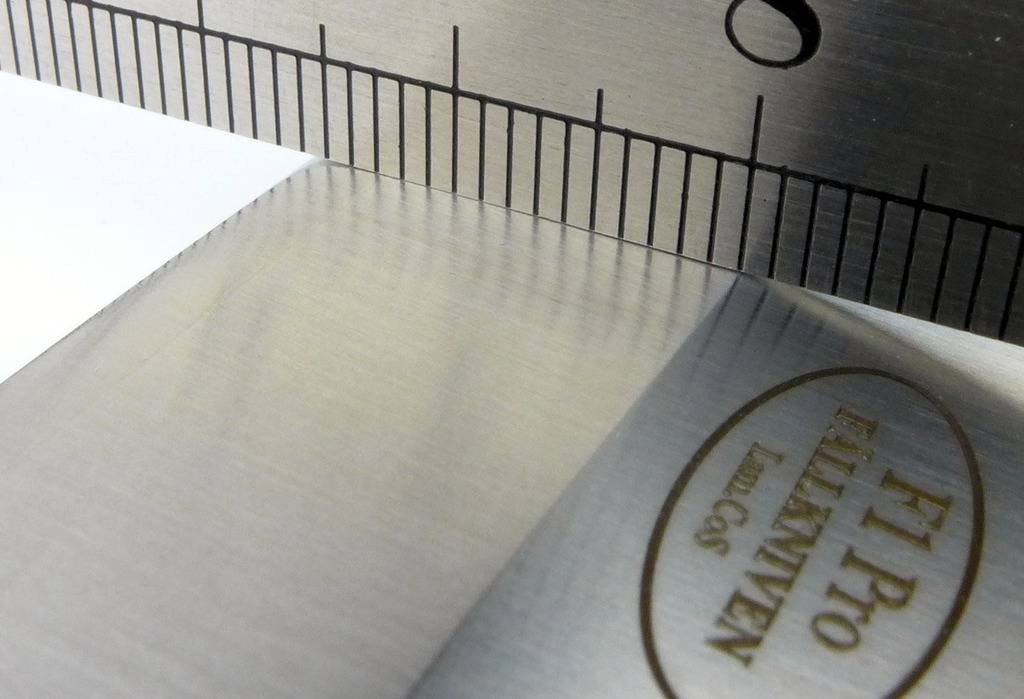
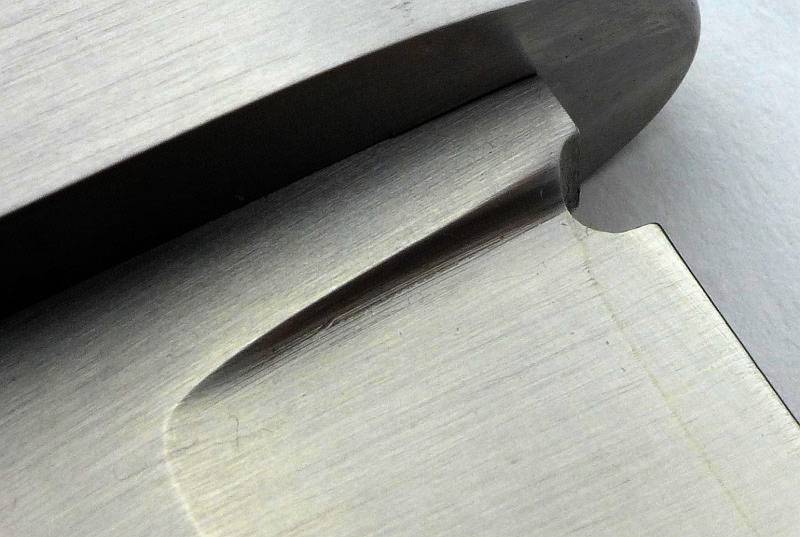
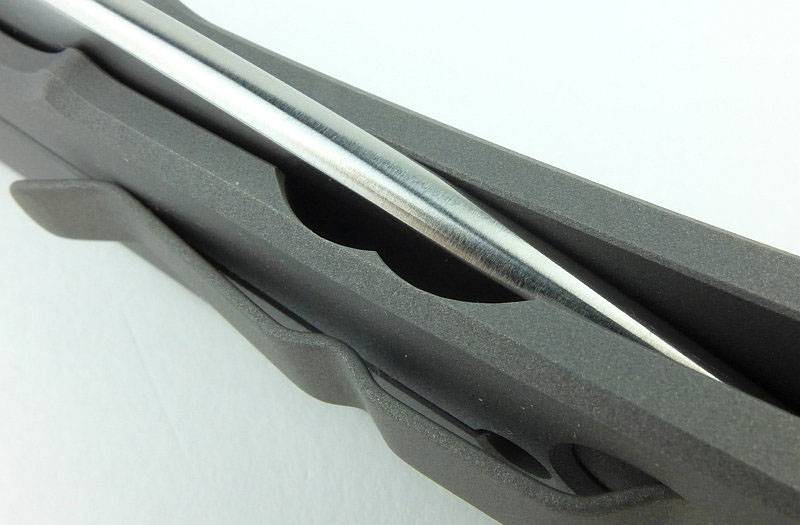
In the previous section ‘The Blade and Handle Geometry:’ you could see the size of the hollow grind being measured with the Arc Master radius gauge. This is a closer look at the measuring arc sitting in the hollow grind with the gauge set at 12″ radius, so a 24″ wheel has been used for this grind.
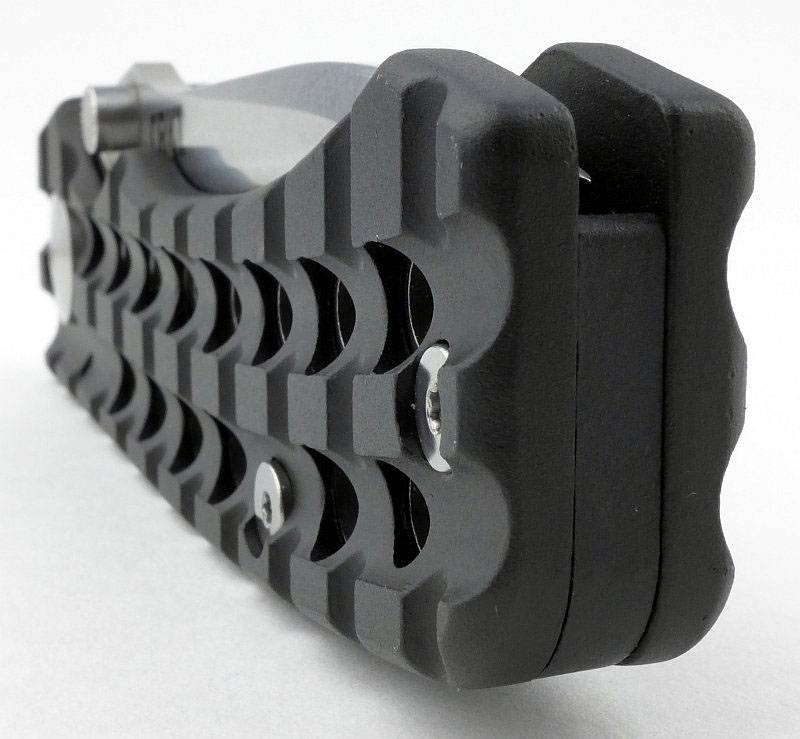
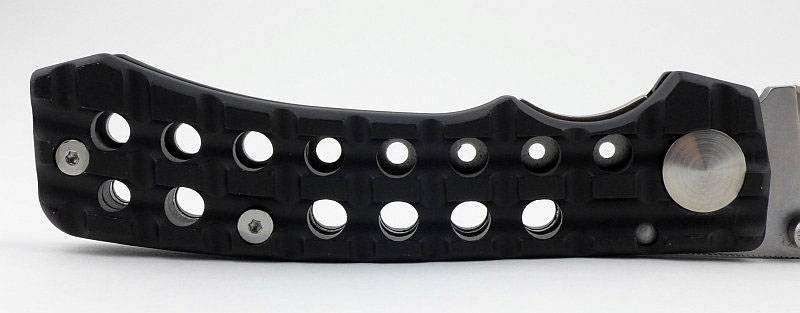
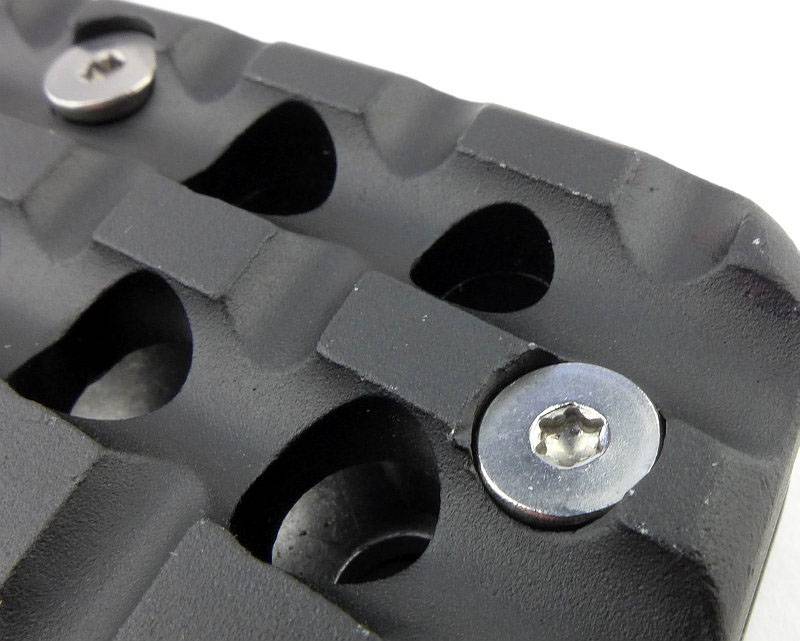
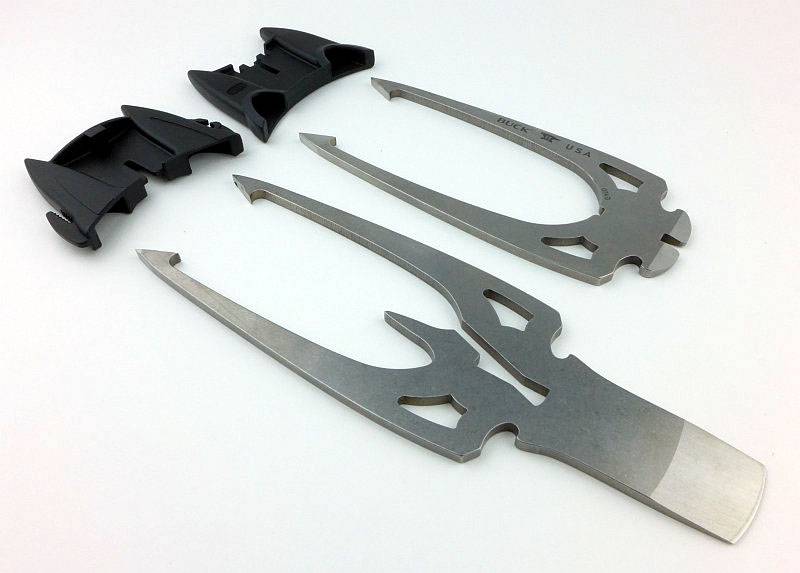
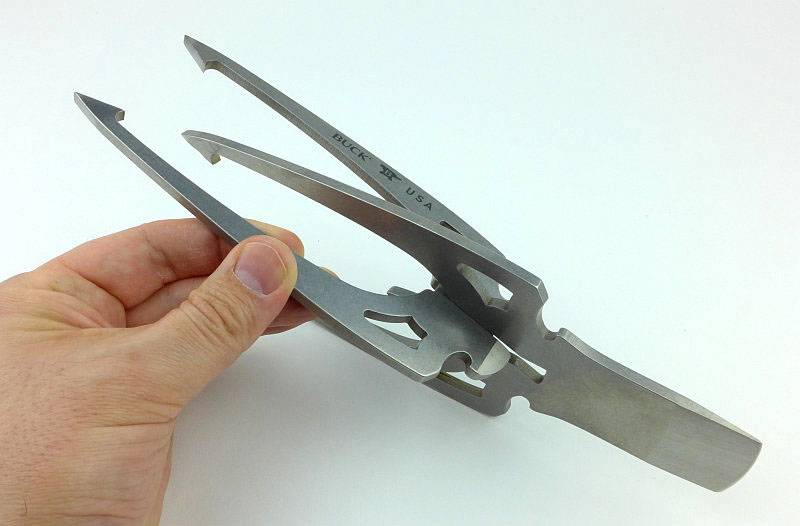
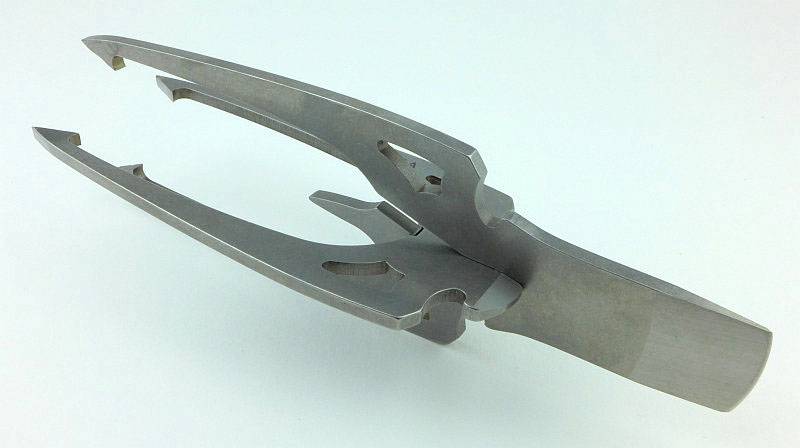
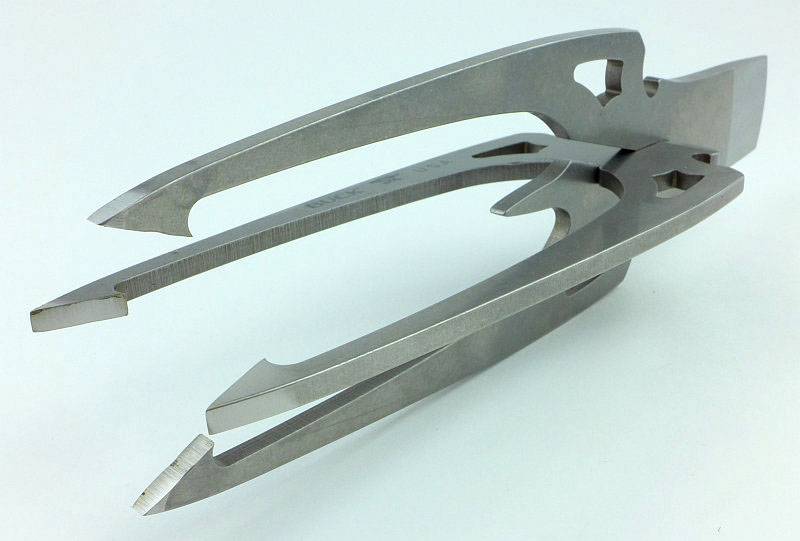
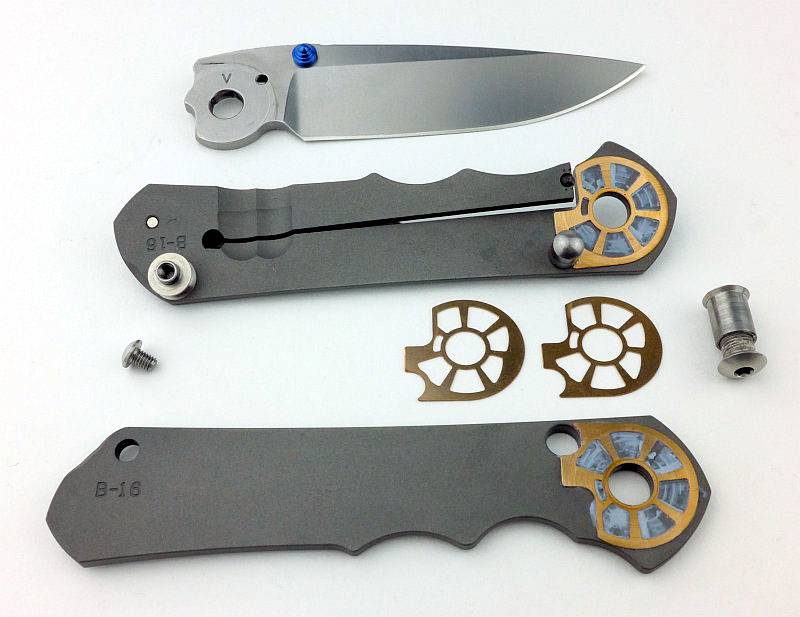
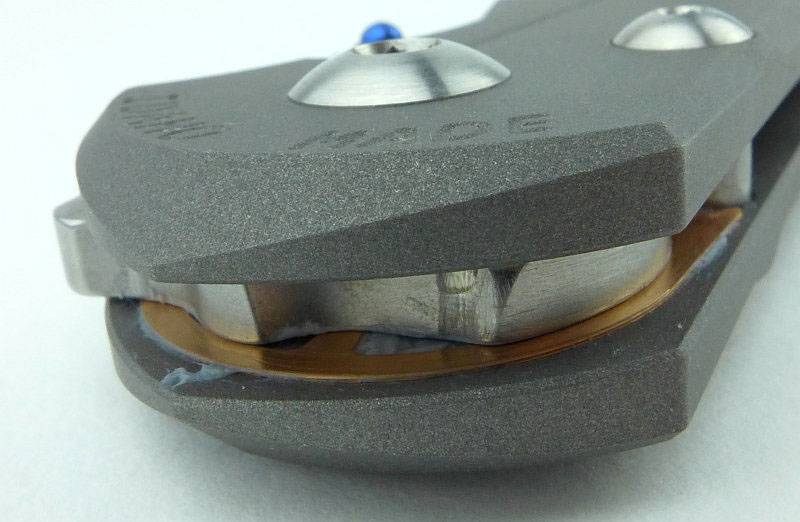
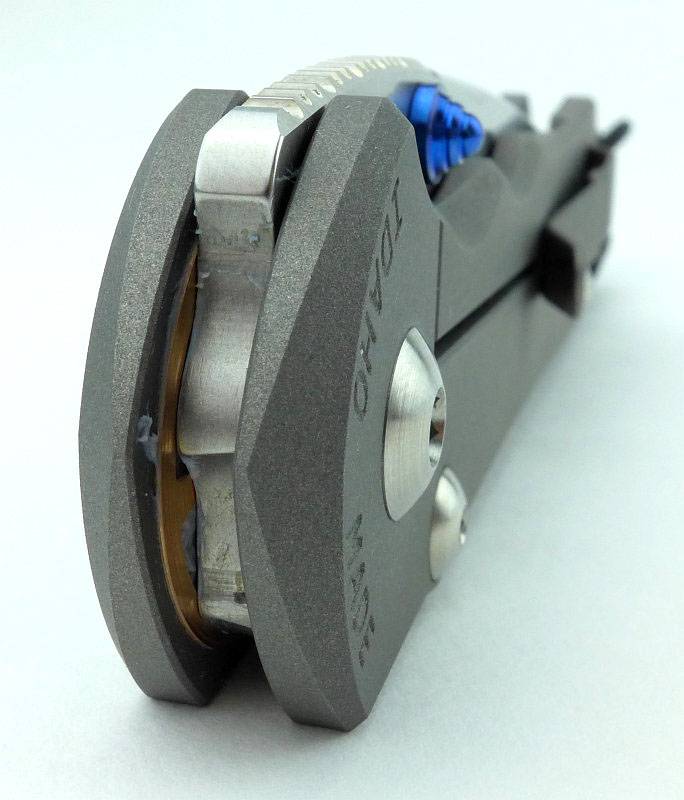
This next image is a big hit of detail as it shows the Large Inkosi almost fully disassembled. For the moment there are two specific details I’d like to focus on and they are the large pivot and shaped phosphor bronze washers.
In earlier designs, the size of the washer on the lock side was limited by the end of the lock bar and if the washer were to have a cut out, it might rotate and then interfere with the lock. In turn, the size of the washer limited the size of the blade pivot, as if the pivot were made larger, the washer would become smaller and provide less support to the blade.
Taking the washer to the maximum size allowed by the handles means it can then be shaped to locate on the blade stop pin and not rotate into the way of the lock bar. It also allows the washers to be the same both sides bringing equal stability to each side of the blade.
Now that the washer has broken free of the earlier limits, it is possible to increase the size of the blade pivot and so increase the strength of this joint.
However, all this extra contact area increases friction with the blade tang, making the knife more difficult to open, so large perforations have been added to the washers to reduce friction without weakening the support of the blade. The perforations also store more lubricant and offer space for small particles of dirt to move away from the contact surfaces of the blade and washer, helping to prevent blade from stiffening up over time.
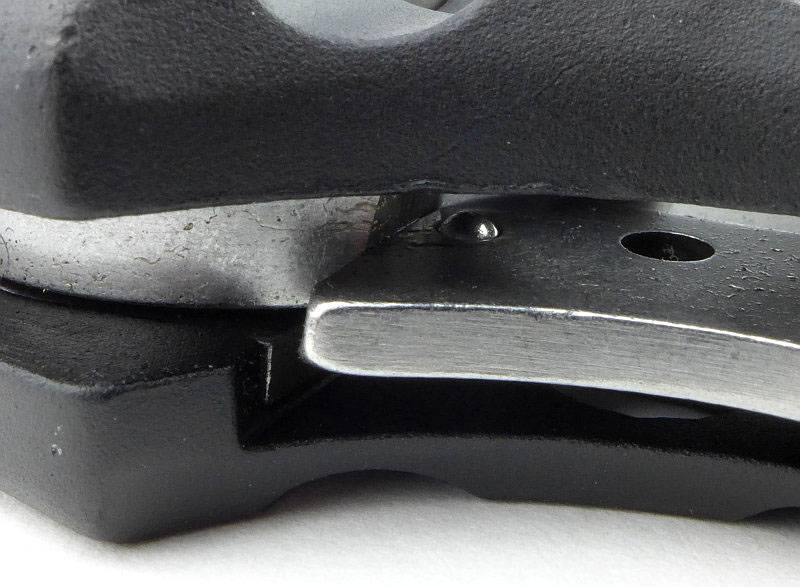
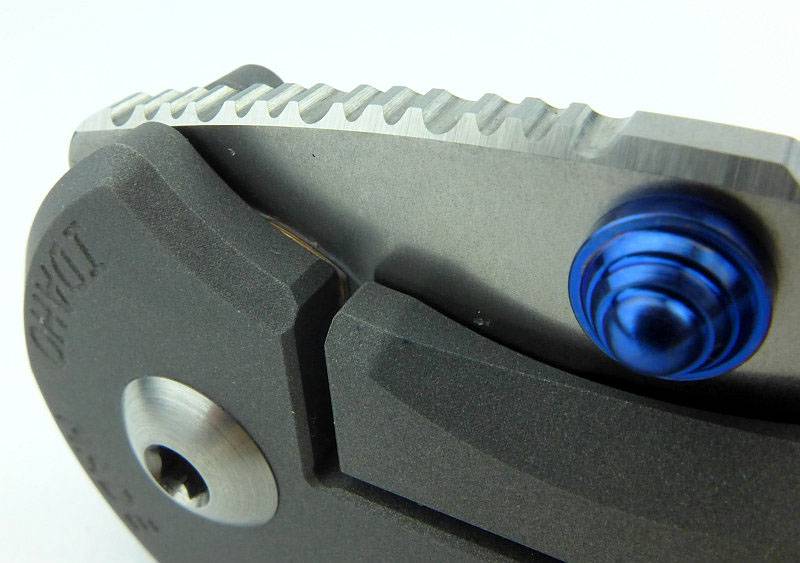
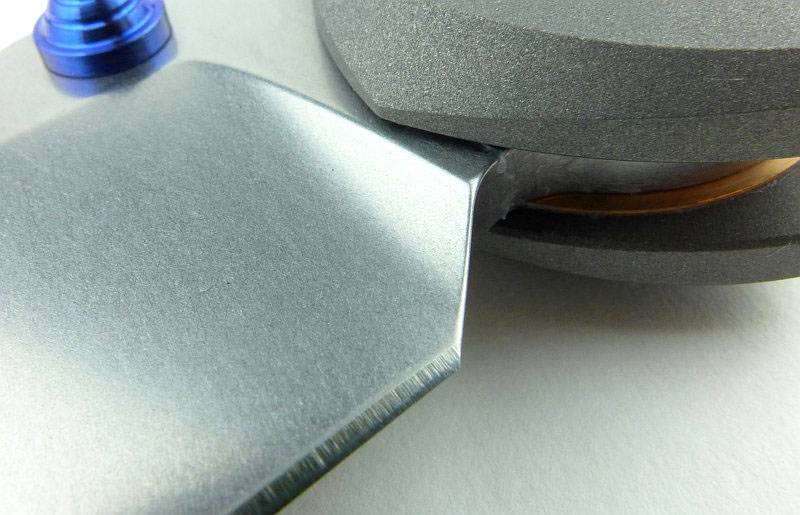
Only with the knife fully disassembled can you get a really good look at another design feature, the ceramic ball used in the lock.
Other integral locks use either the titanium itself or an insert of hardened steel for the locking surface. Looking to improve on both if these and increase the service life, CRK have employed some of the hardest material available, ceramic.
A one-eighth inch ceramic ball with hardness of 97RC acts as the interface between the lock bar and the blade tang. It also doubles up as the detent ball that holds the blade in the closed position. Due to the detent now becoming the locking surface as well, you get a uniquely smooth feel when opening the Inkosi. For just about every other integral/liner lock, when the blade is nearing fully open, the detent ball clicks as it drops off the locking surface of the blade tang. Only after this pre-lock click does the actual lock click into place. It means you get this double click as the blade is opened into the locked position. With the Inkosi, when you start to use it, you’ll notice the absence of this pre-lock click as it is not what you are used to. You open the blade and the only click is the lock bar falling into place. This is only possible with the dual purpose ceramic ball.
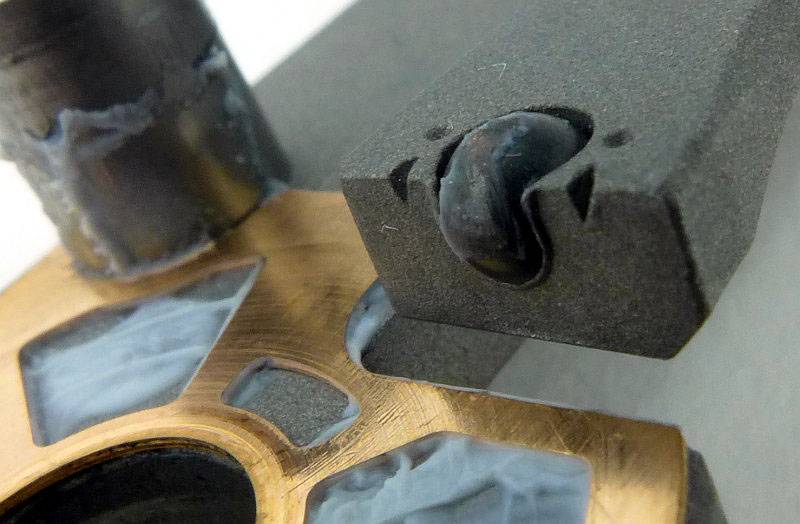
Unlike a standard lock interface, which uses two flat surfaces, we now have a round ceramic ball which would create a point-contact on the blade tang, so instead of having a flat locking surface on the blade tang, the Inkosi has a rounded groove with the same curvature as the ball.
The ball and groove mate securely and this interface also stabilises the lock bar as it can’t flex away from the handle. (NOTE: since the review sample was provided, CRK have found the ball track groove on the tang to be unnecessary, so it is no longer included on current production Inkosi knives.)
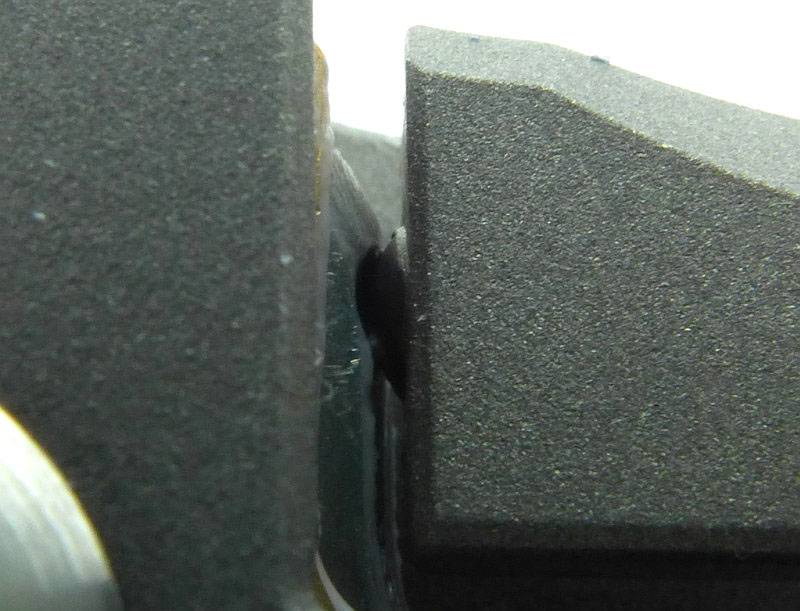
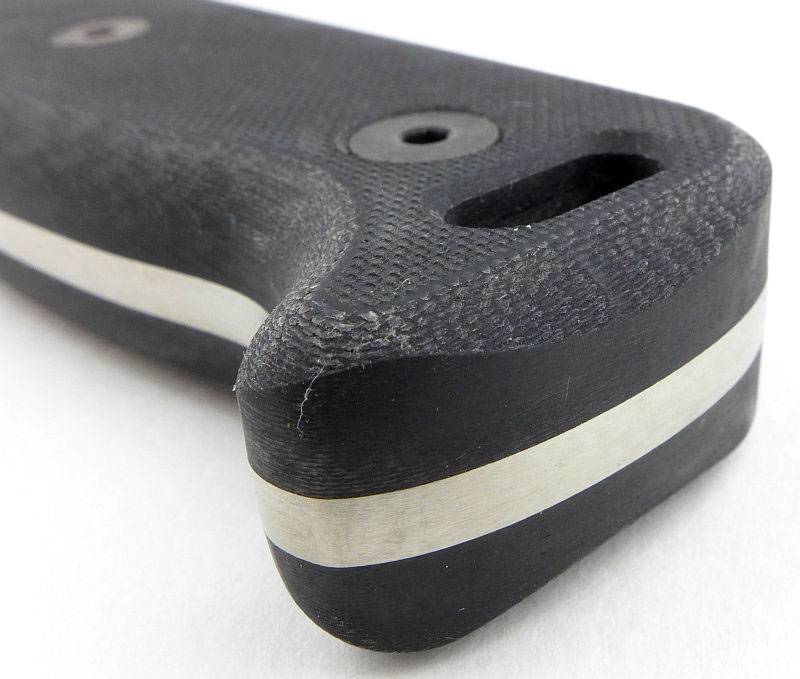
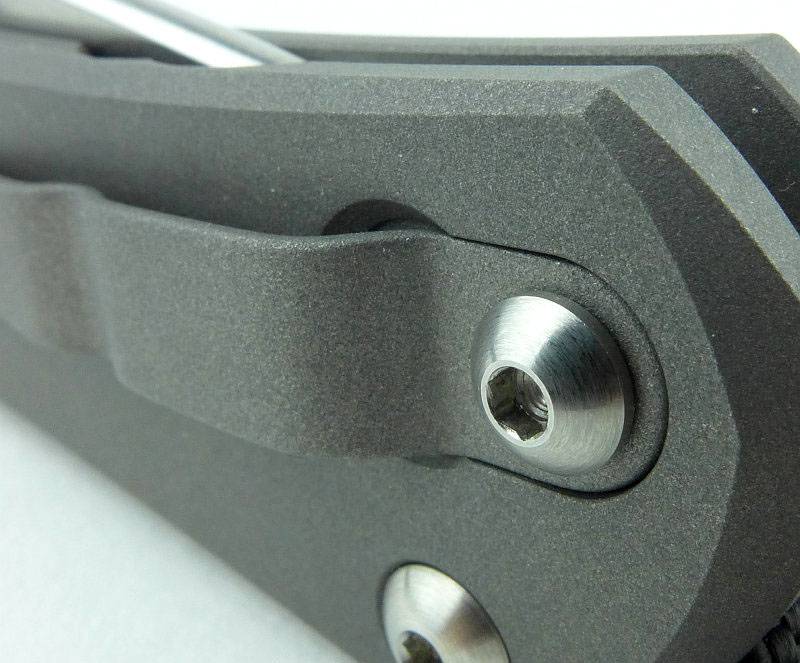
Another innovation in the Inkosi is the slip-through stop-pin in the frame. One end of the stop-pin is secured to one side of the frame with a bolt, but the other end simply fits through a hole in the front of the frame and is not fixed in place.
Of course this only works as well as it does due to the high precision of the fit of the stop-pin on the floating side, and this configuration provides an excellent advantage in the operation of the knife.
Traditionally the stop sleeve, which spaces the frame/handle parts, needed to be very precisely sized to ensure that the fit of the assembled knife was tight, but not too tight. If that stop sleeve is a touch too wide you get blade play.
With the slip-through stop-pin, the advantage is that the front face of the handle can move along it as you set your pivot tension. The Sebenza has a stop sleeve that has to be machined to a width accurate within a few tenths of a thousandth requiring a lot of fitting to ensure the knife operates as it should.
From a manufacturing perspective, this feature removes the need for the fitting of the stop sleeve, however, the main advantage is really for the owner of the knife, as the slip-through stop-pin guarantees that even once the knife wears in, the action can always be set perfectly, with no blade play and perfect washer contact, just by adjusting the pivot; the stop-pin will never need any adjustment because it is self adjusting.
A few more details:
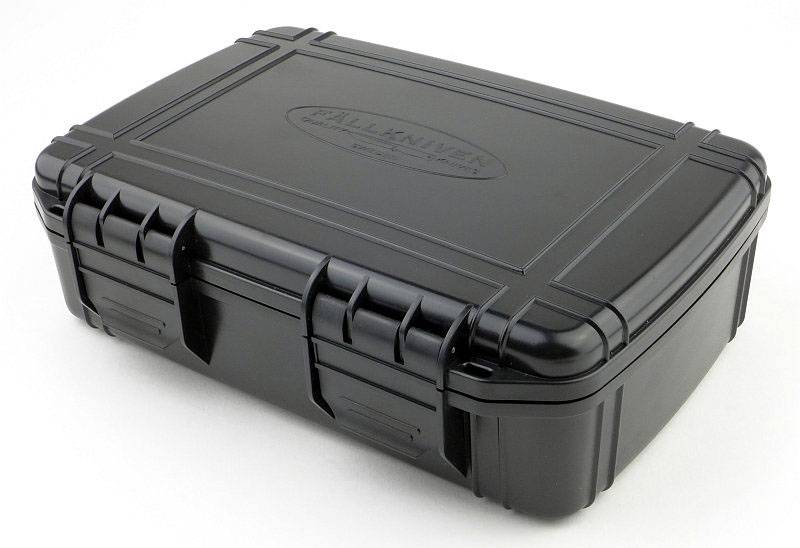
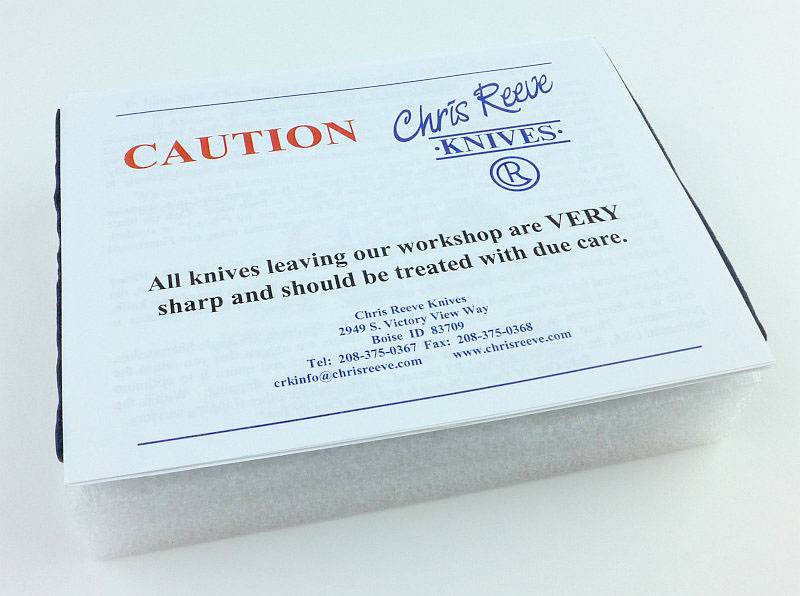
Amazing how this box generates a real sense of anticipation and excitement. (NOTE: CRK have subsequently updated the packaging.)
Personally, I’m not sure a knife should come with a warning it is sharp, but there it is.
The birth certificate of one of the first Large Inkosi knives.

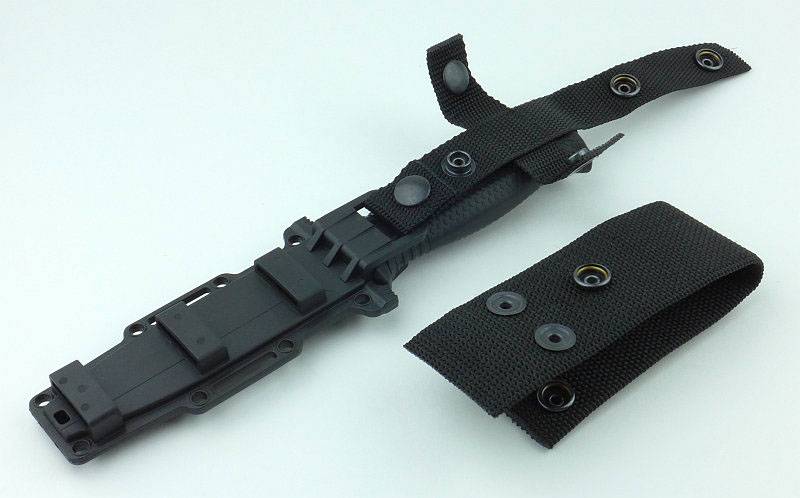
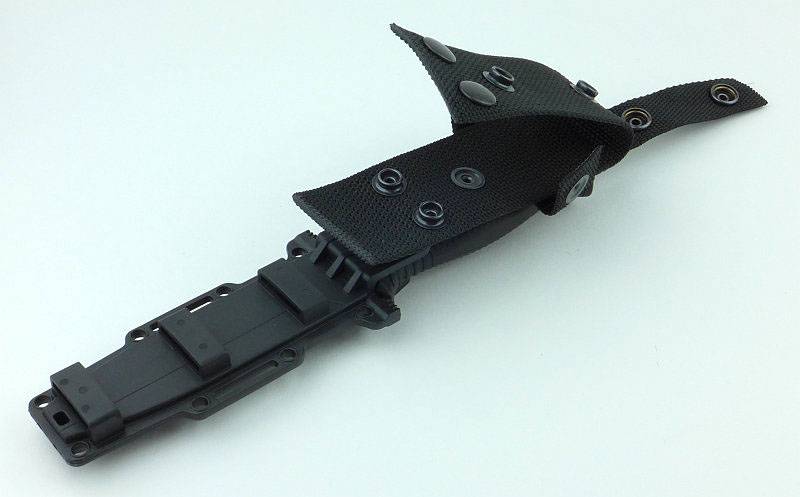
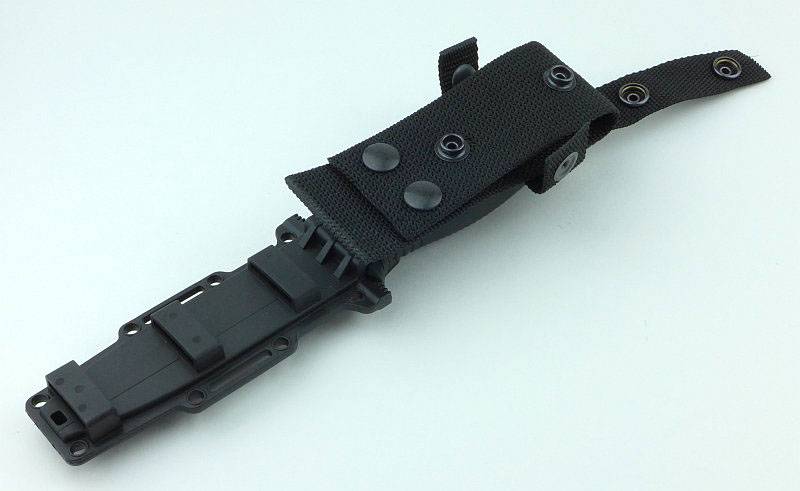
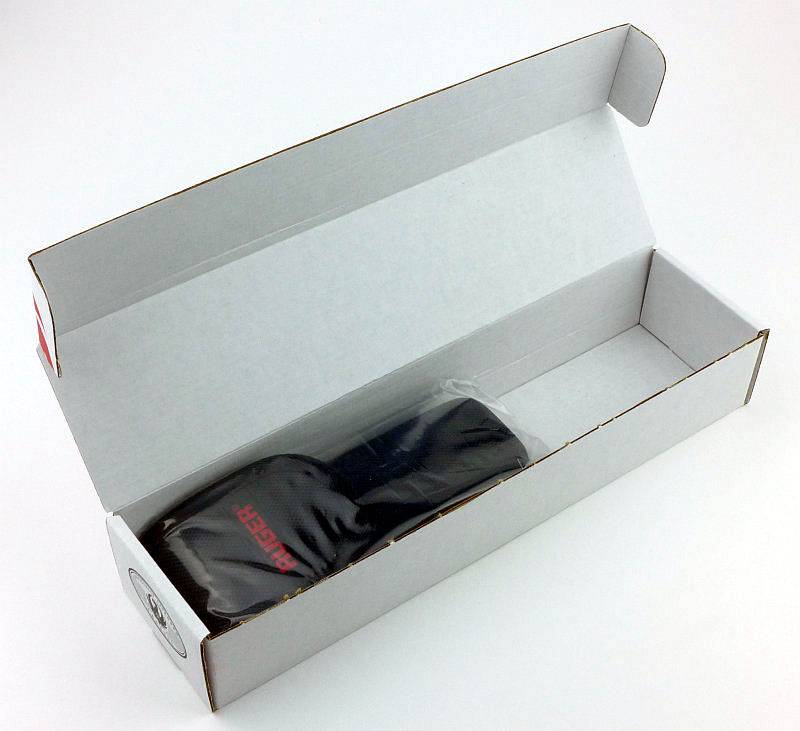
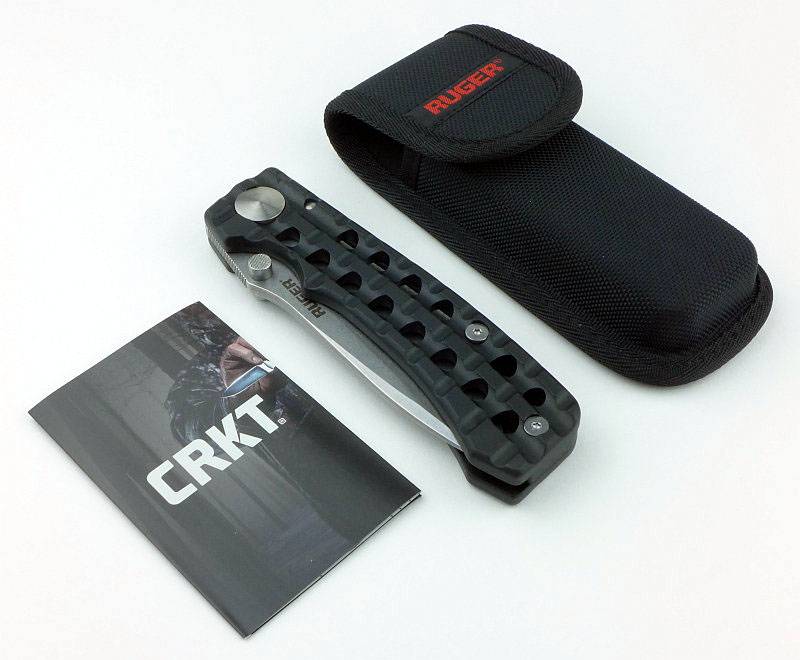
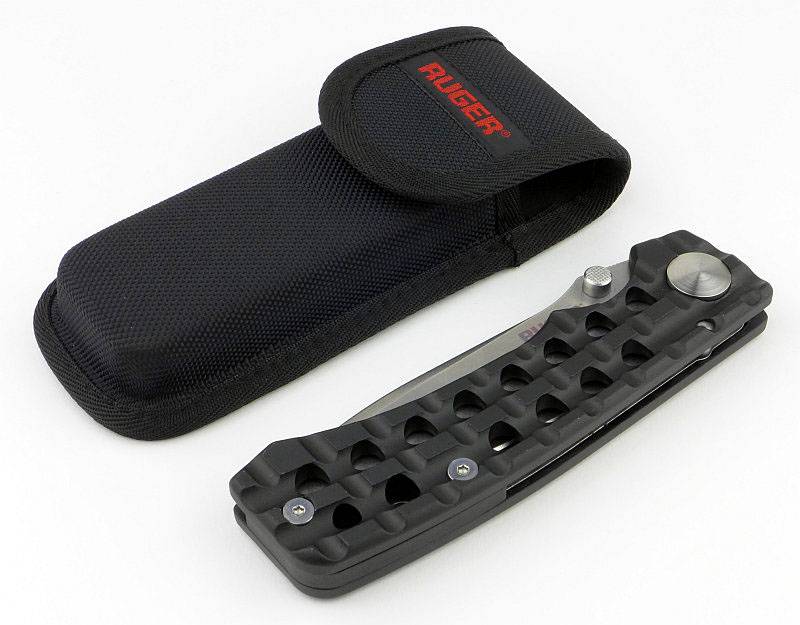
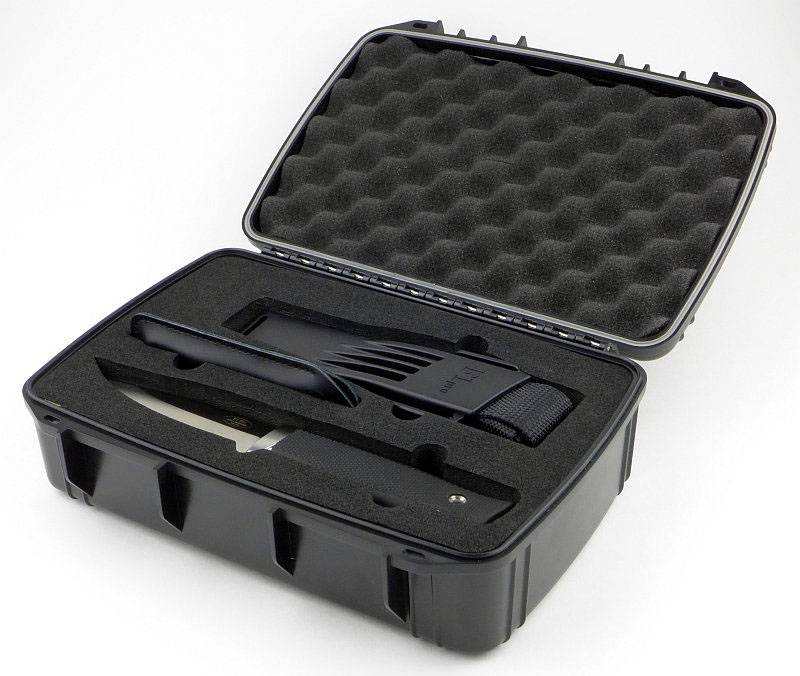
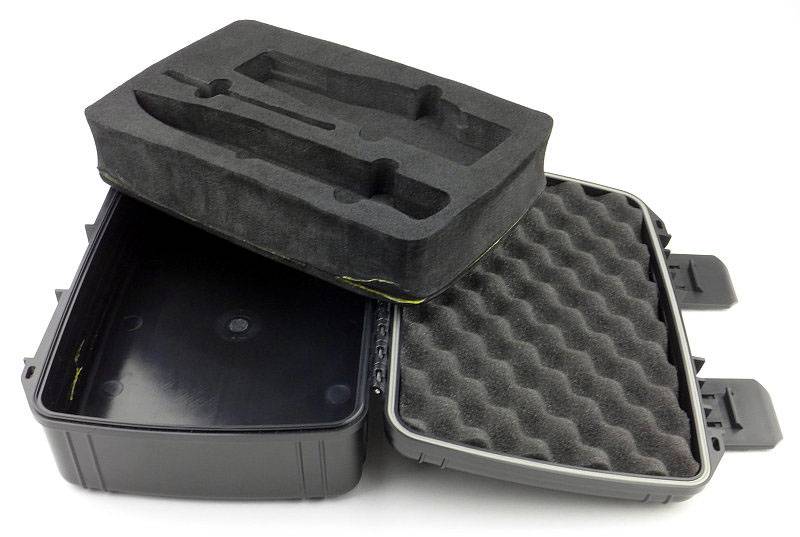
Nestled into a foam liner is the Large Inkosi and some accessories.
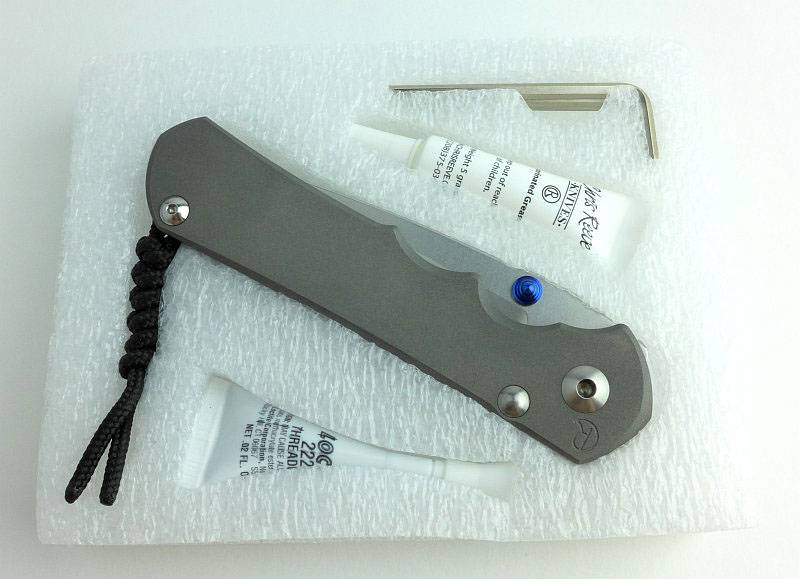
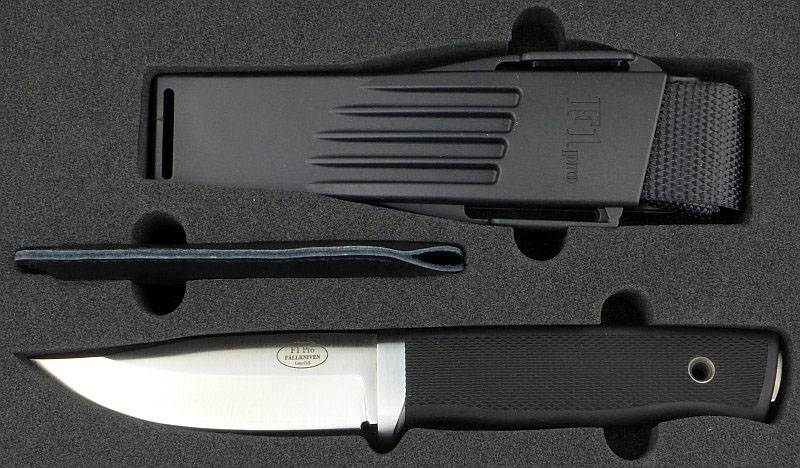
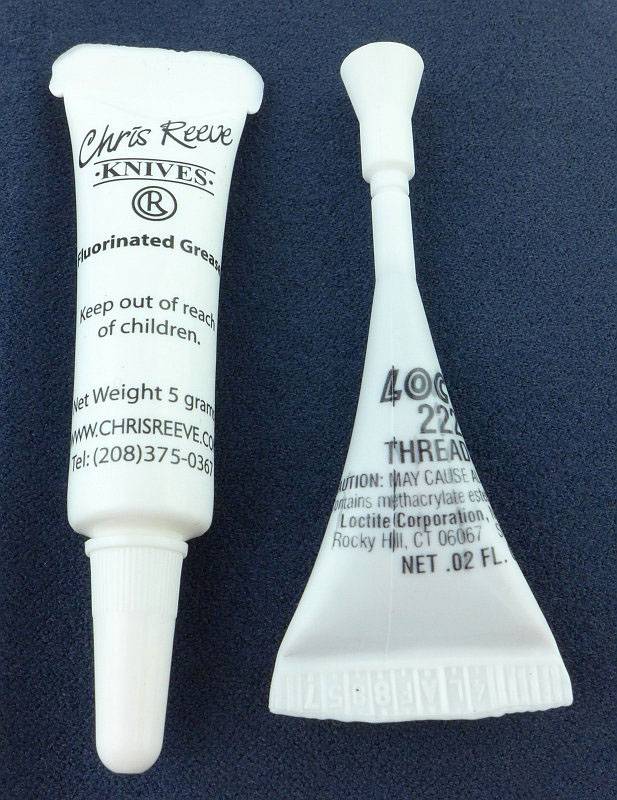
Along with the Large Inkosi you get a CRK cleaning cloth, two Allen keys for the pivot and one for the spacer and stop-pin bolts. there is also a tube of grease and thread-lock, giving you a full service kit.
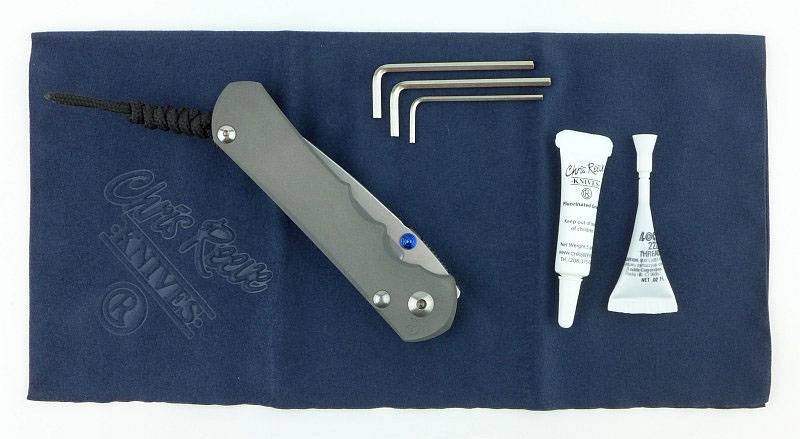
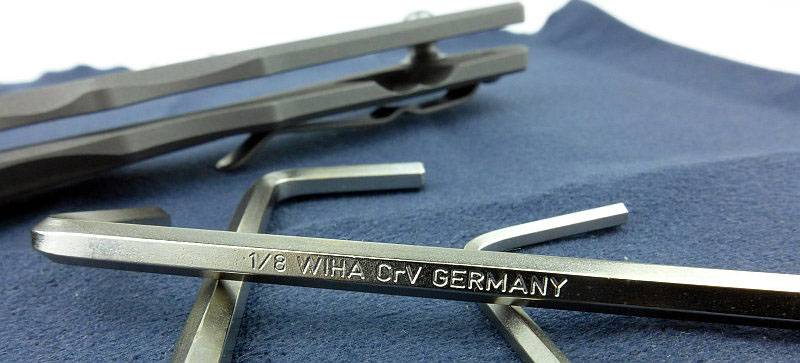
Not to skip over this too soon, please note that these are not unbranded tools, you get WIHA Allen keys.
The grease is a fluorinated grease and thread-lock is Loctite 222.
There is something special about that box-fresh CRK knife.
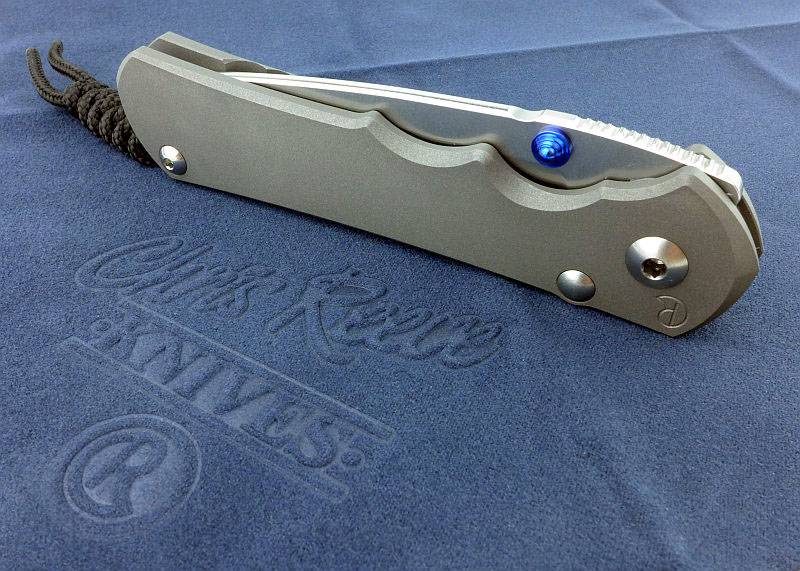
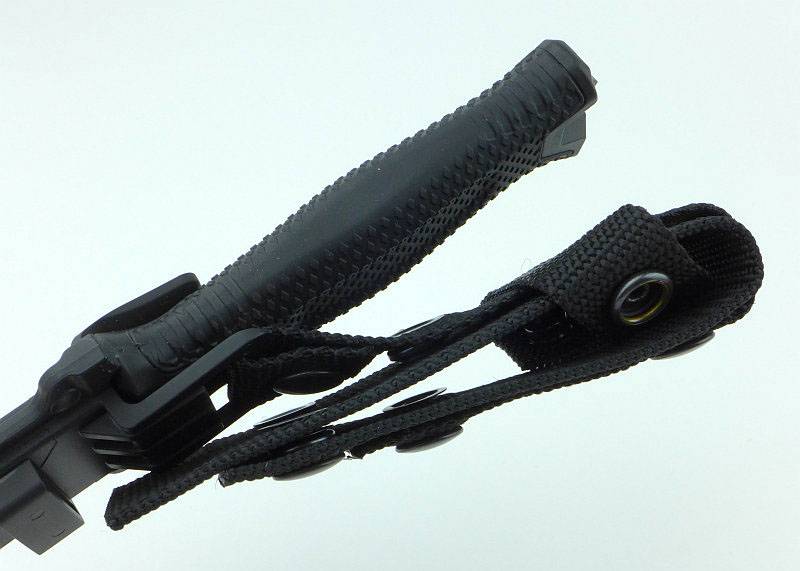
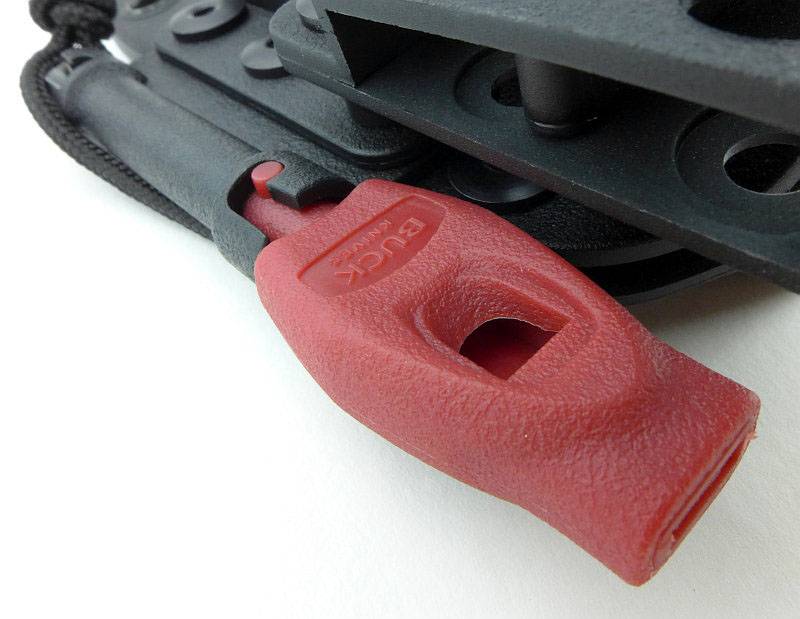
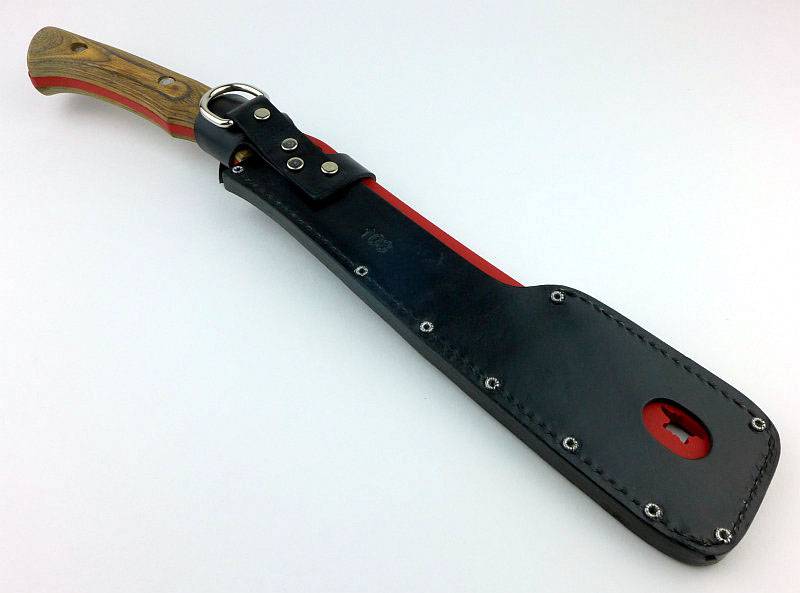
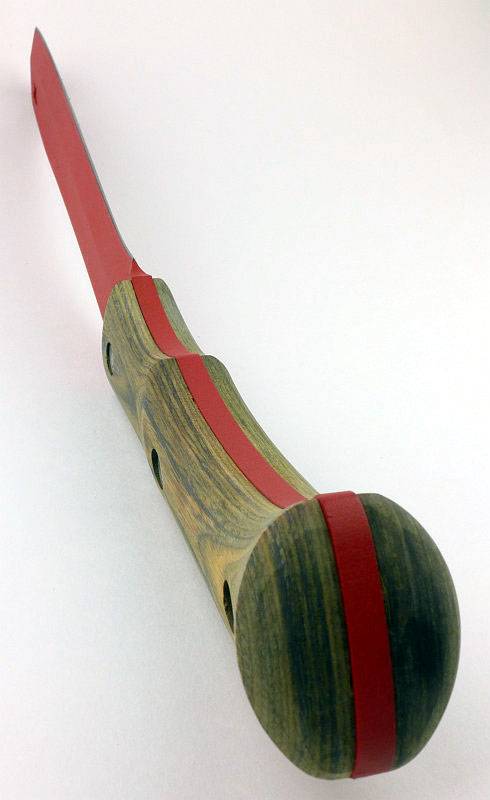
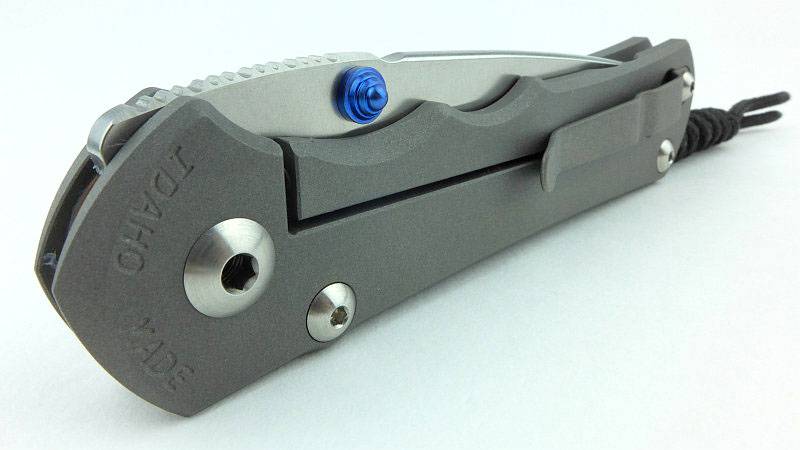
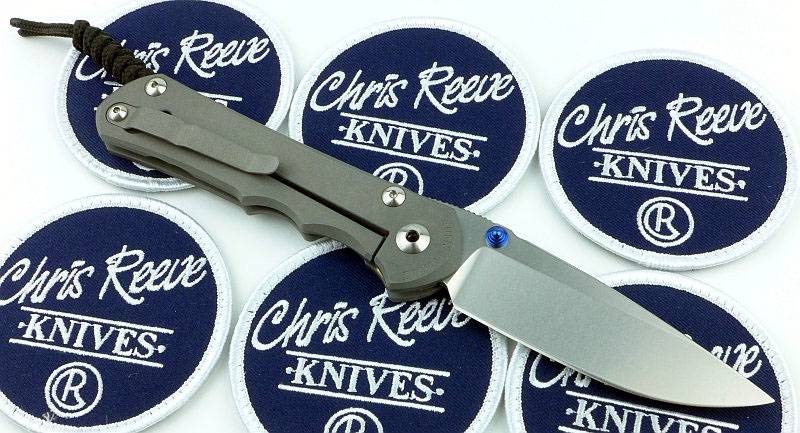
The Large Inkosi arrives with a knotted cord lanyard already fitted to the knife.
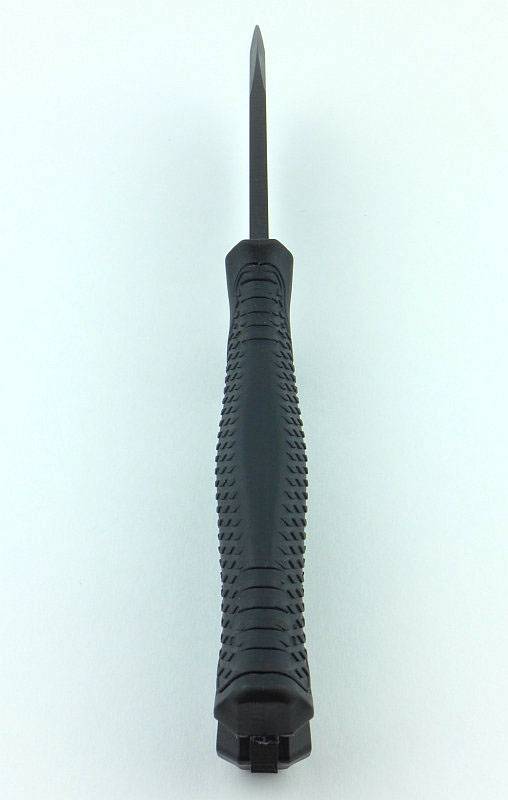
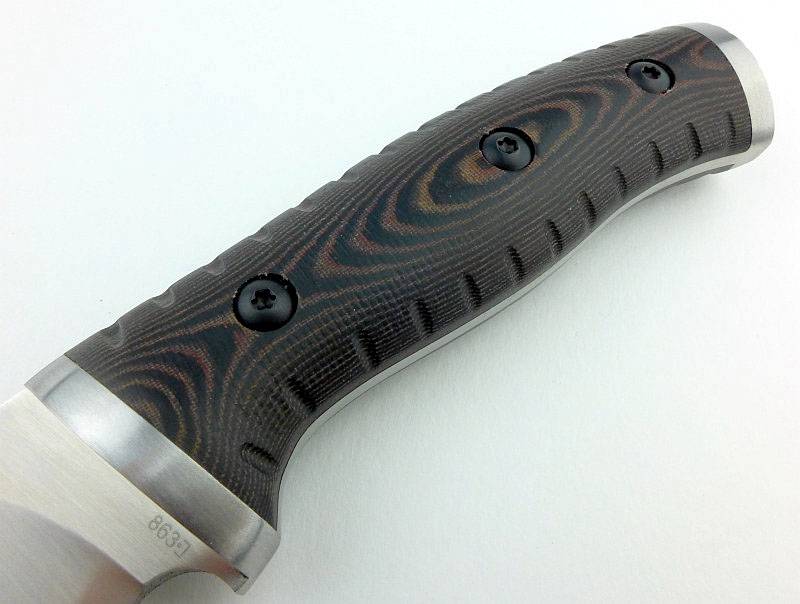
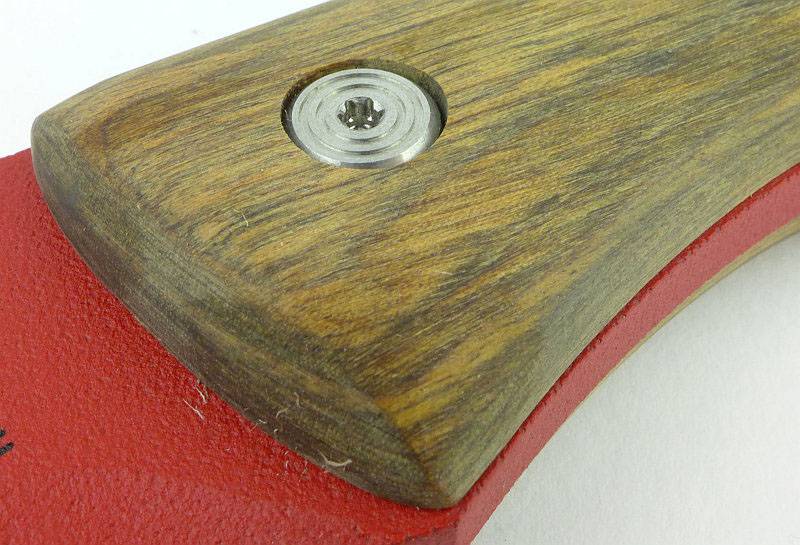
As with the Sebenza 25, the Inkosi has finger grooves in the handle.
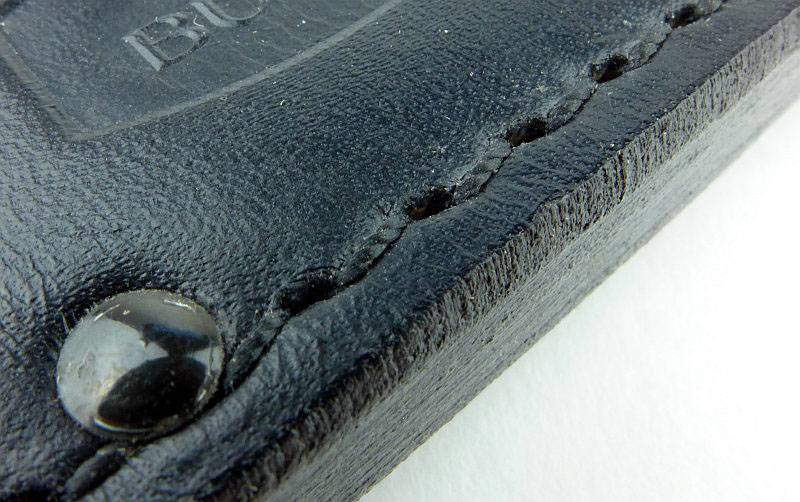
Fit, and finish is flawless, just as you would expect with CRK.
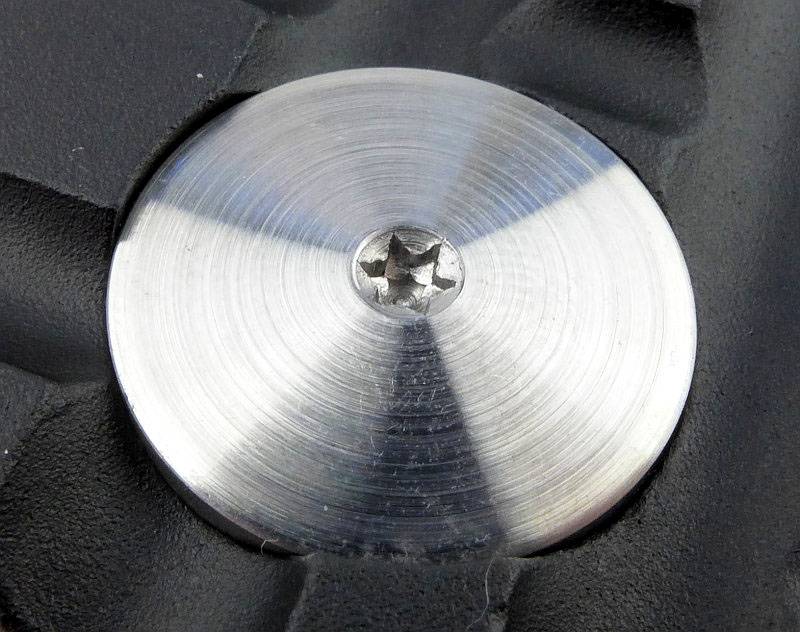
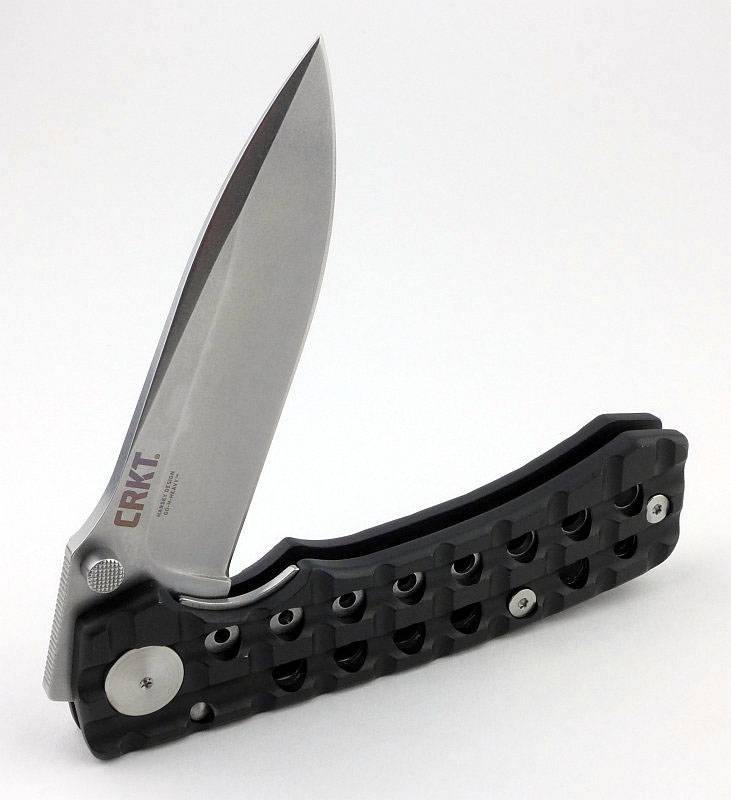
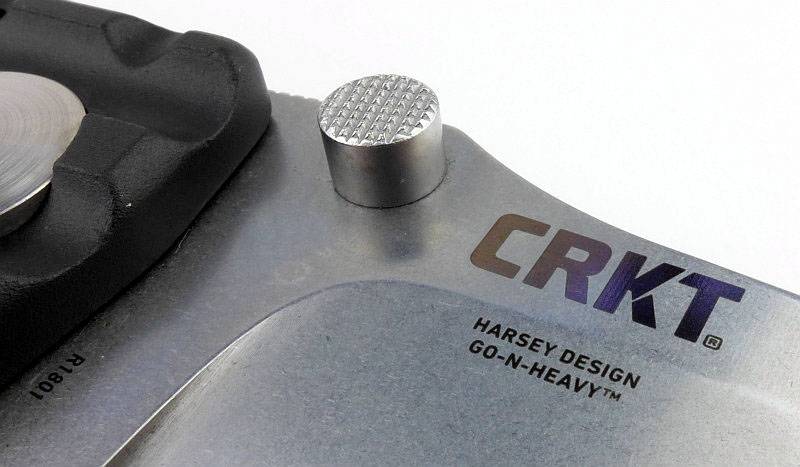
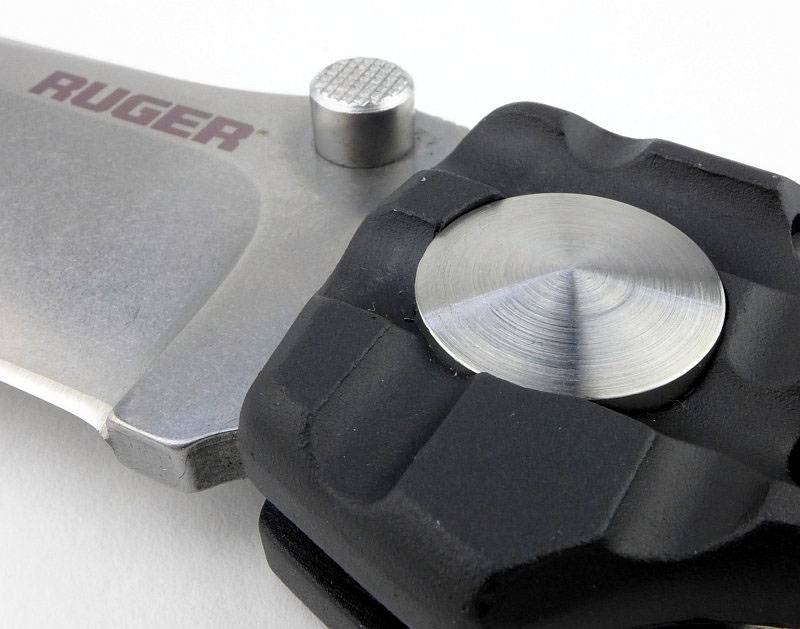
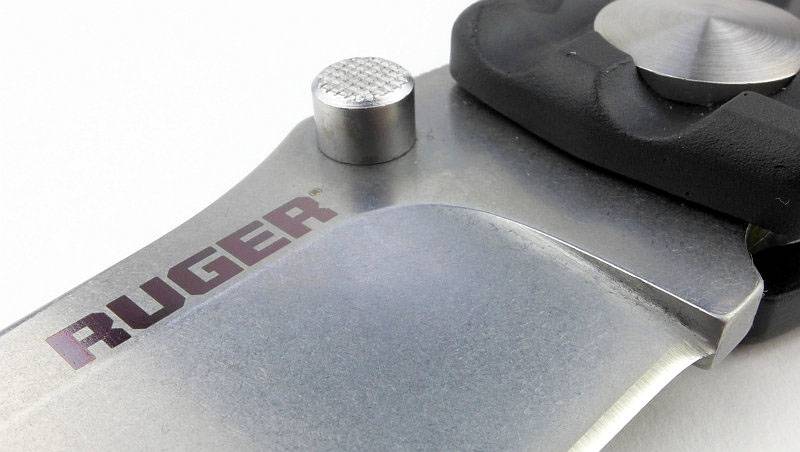
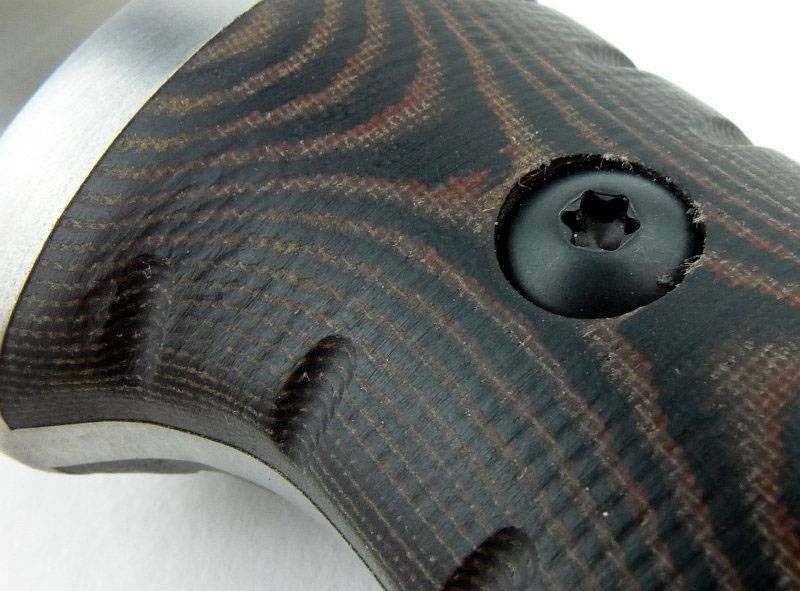
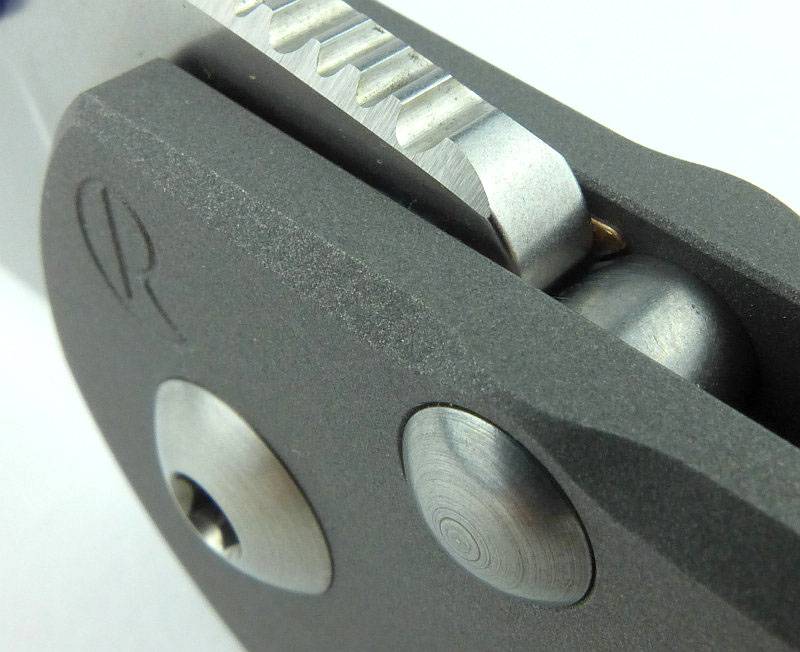
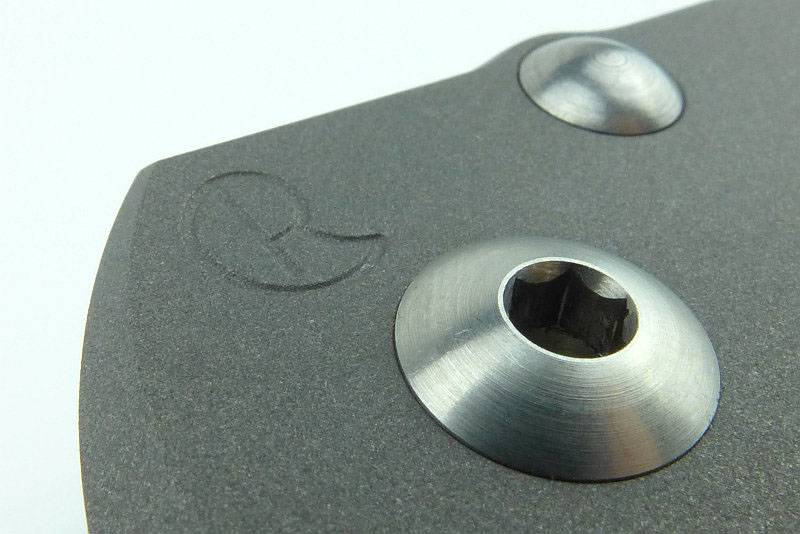
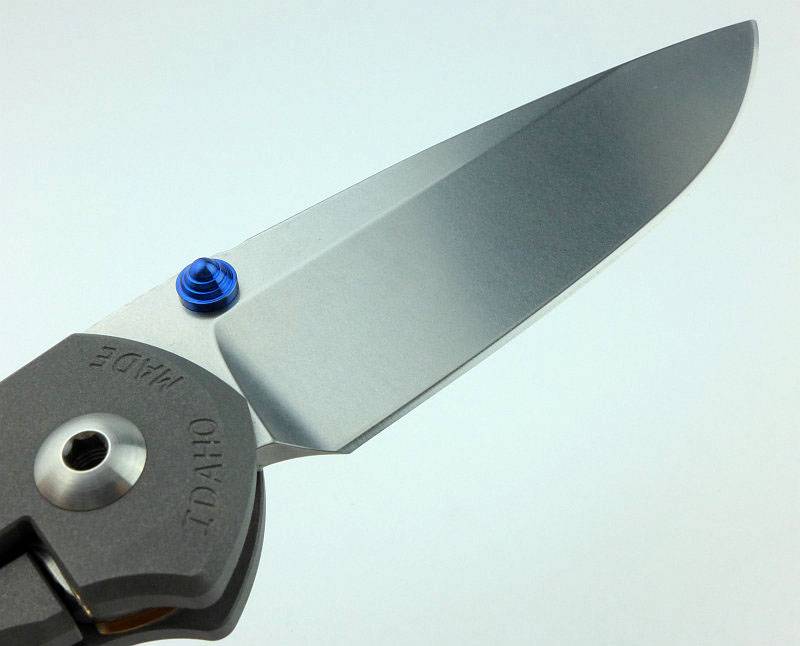
The understated logo sits next to the large pivot bolt.
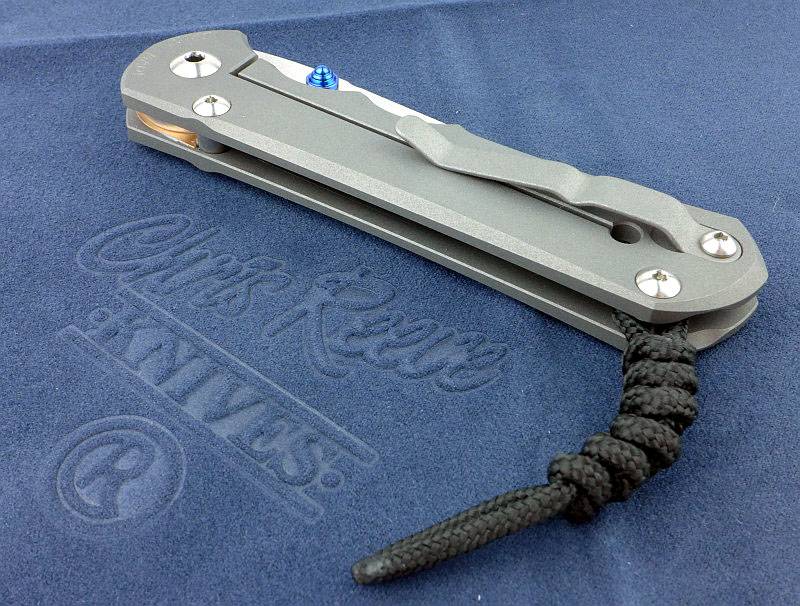
Switching to the back of the frame and you can see the left-hander’s thumb stud, but there is less space between it and the lock bar than for the right-handed thumb stud.
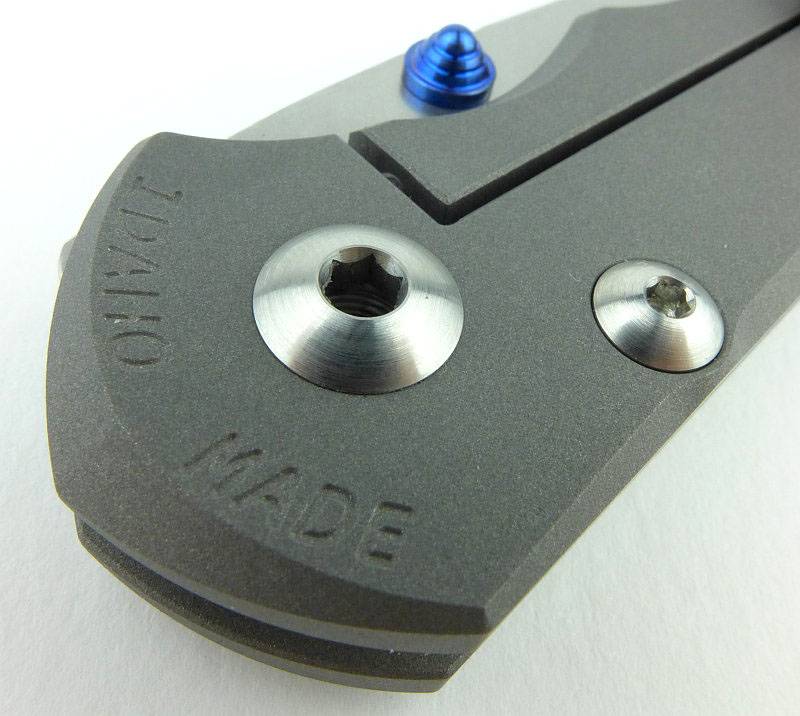
On the back, the pivot bolt looks identical. You can also see the stop-pin bolt as the stop-pin is only fixed to the back of the frame.
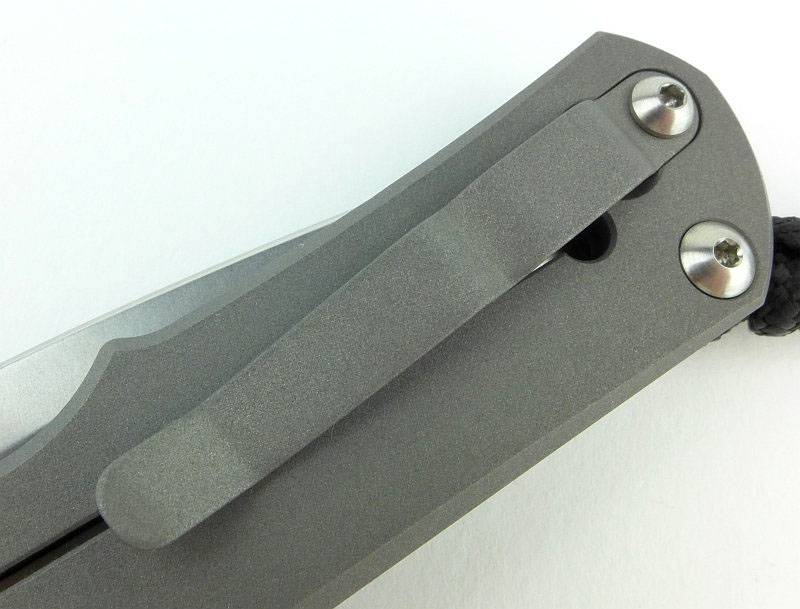
Start casting your eyes towards that pocket clip.
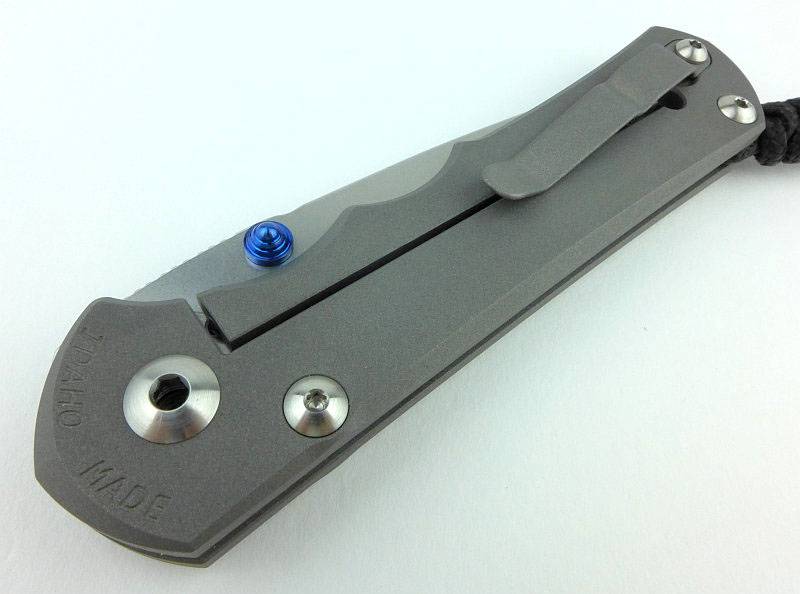
Another part of the CRK folder design that has changed is the movement of the clip so that it sits directly onto the frame instead of onto the lock bar. This ensures no additional pressure on the lack bar which might make opening the knife more difficult.
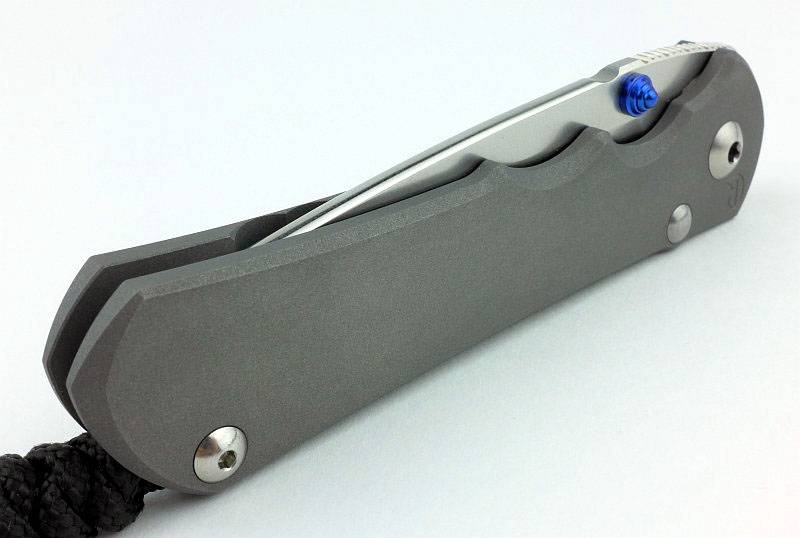
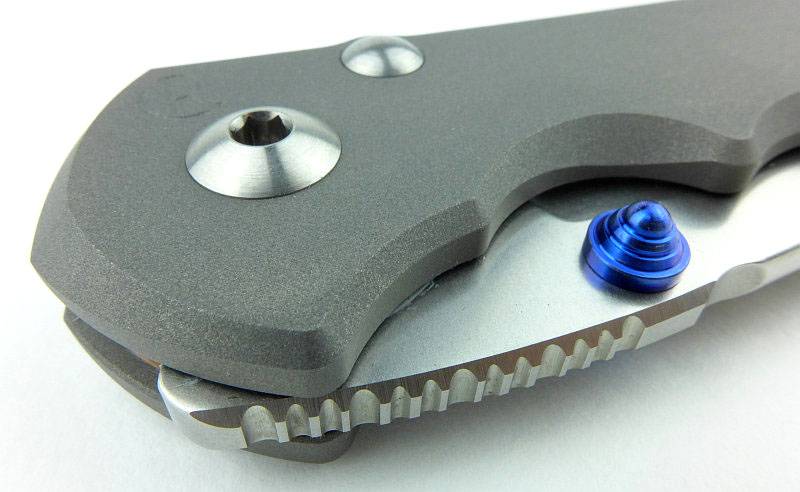
Giving excellent grip, there is a section of asymmetrical pattern jimping on the thumb ramp.
A single bolt holds the clip in place and can easily be removed if you prefer not to have a clip.
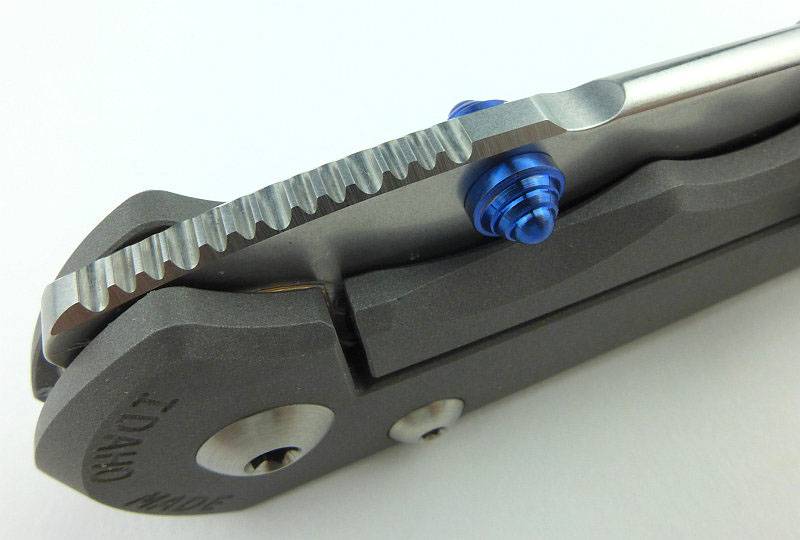
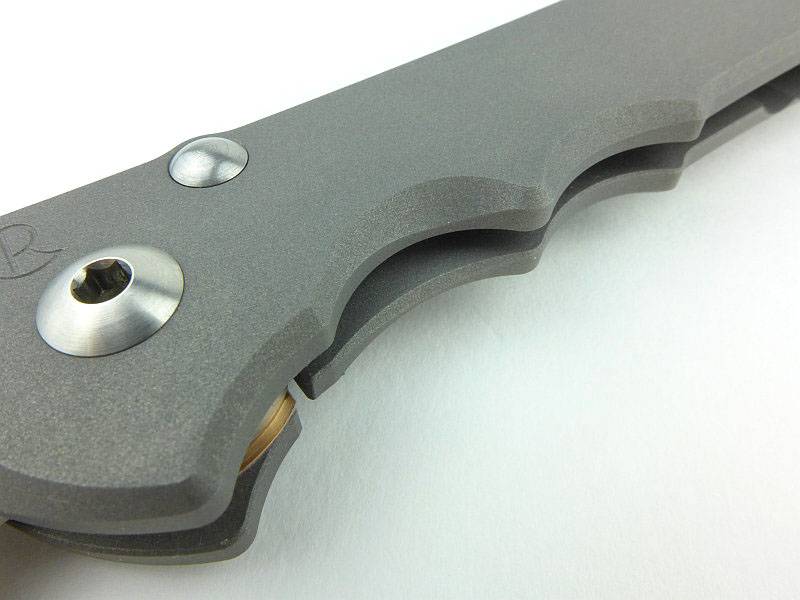
To create the lock bar spring, two large radius scallops are cut out of the bar.
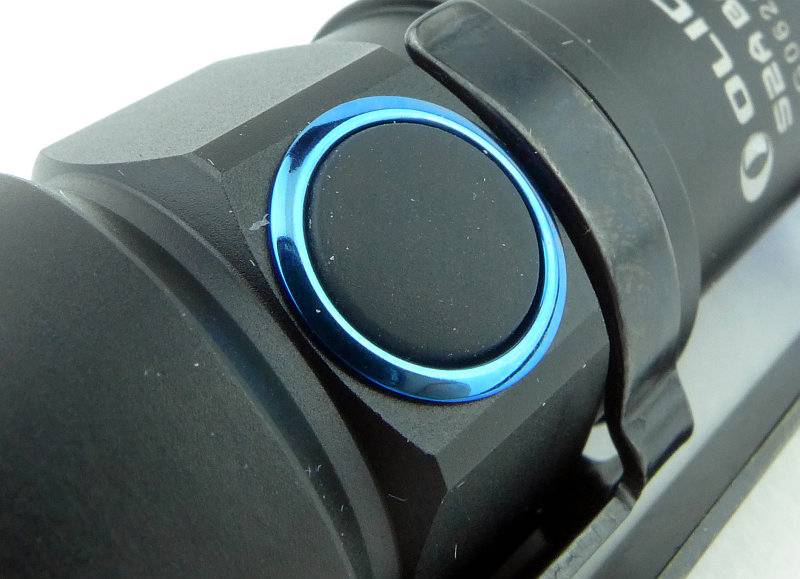
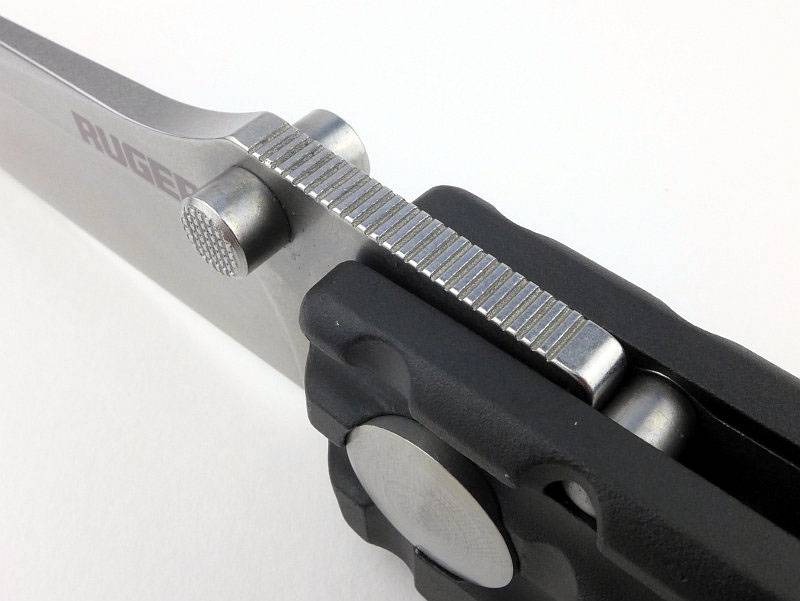
Providing the spot of colour, the ambidextrous thumb stud is blue PVD finish.
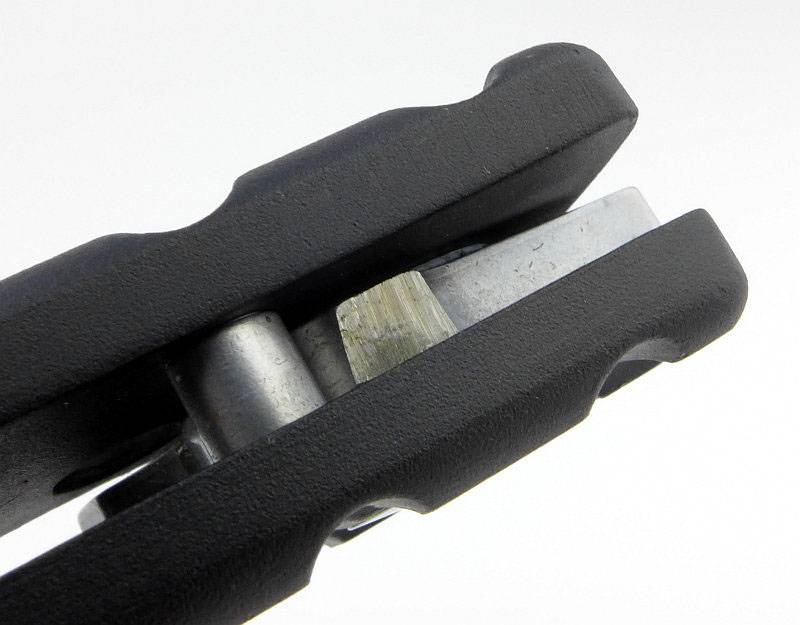
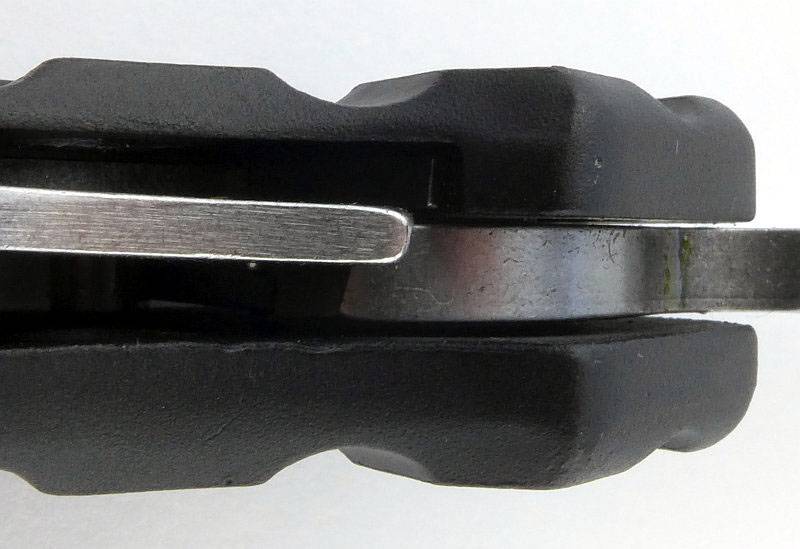
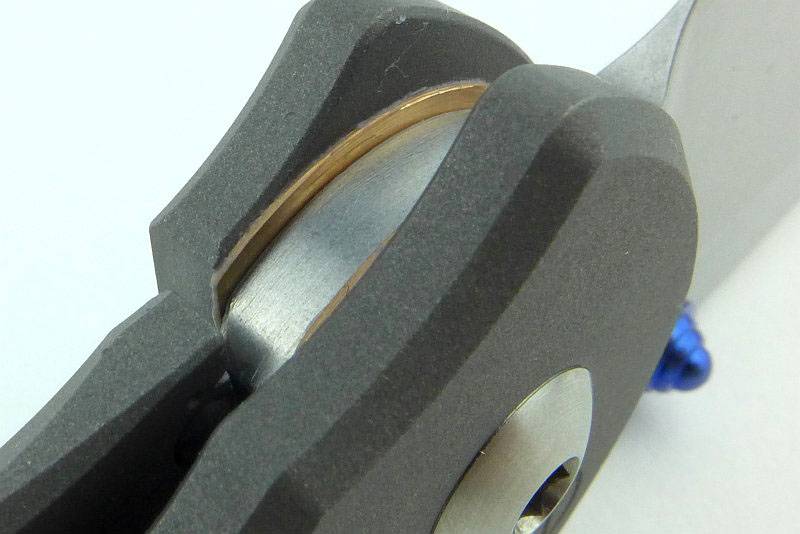
With the blade partway open, here you can see the ceramic ball is out of the detent hole and sitting on the side of the blade tang. Like this the lock bar now stands slightly proud of the frame.
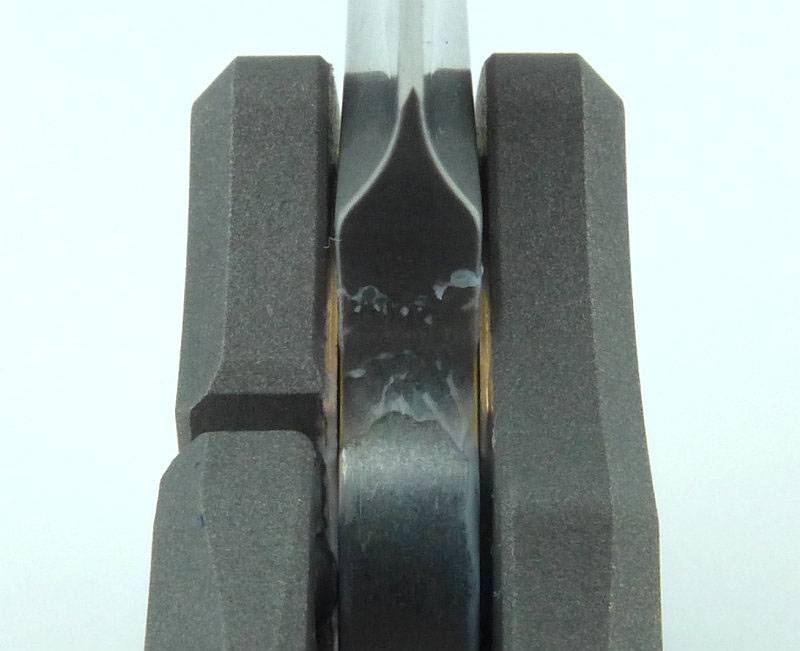
When the lock engages, the lock bar has clearly moved into the frame. Also note here how the washer is actually larger than the blade tang.
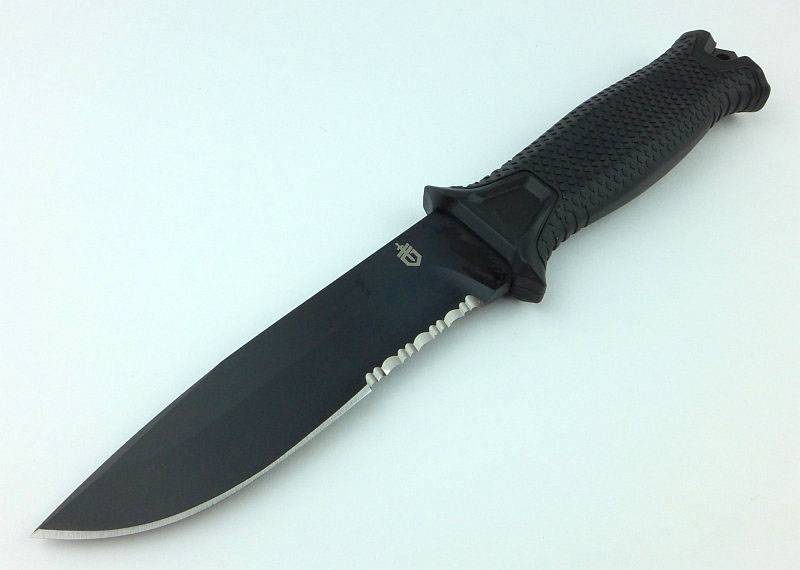
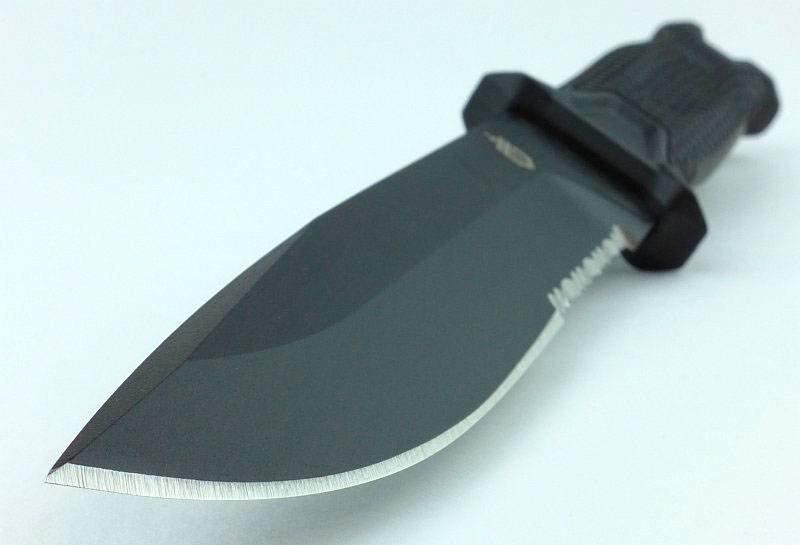
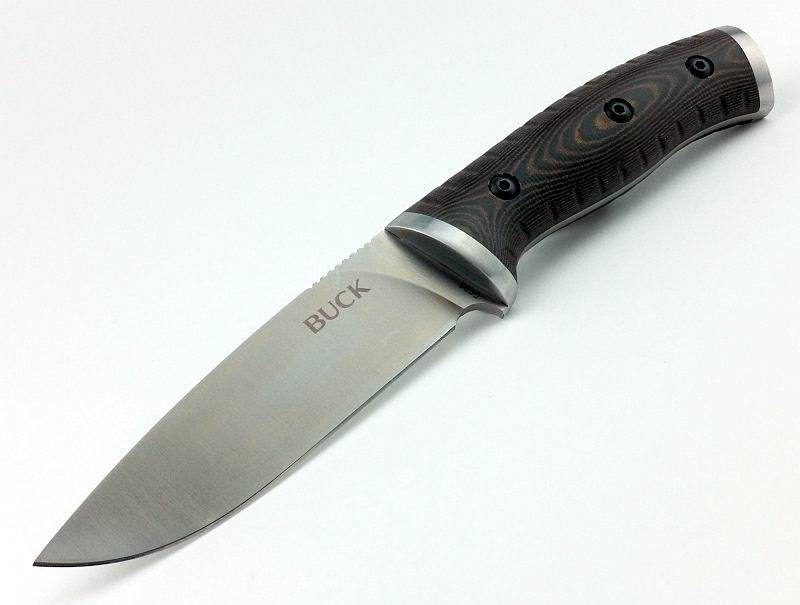
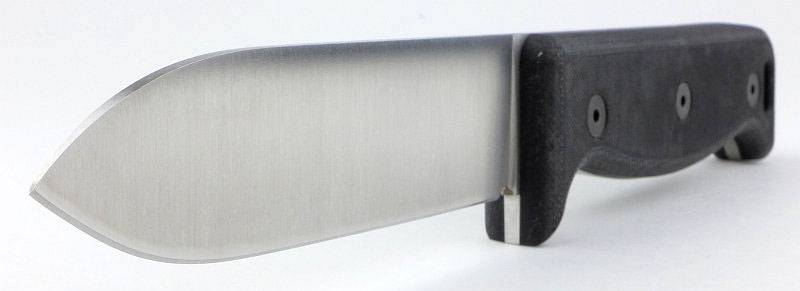
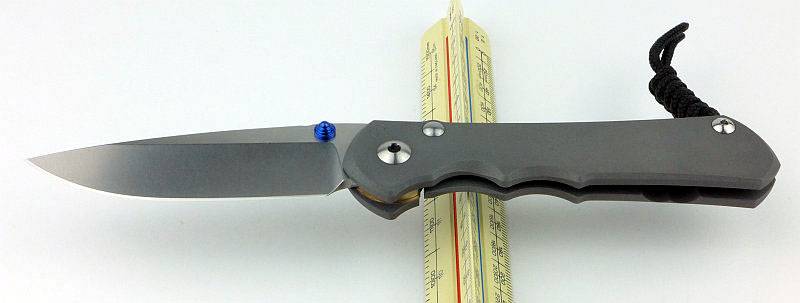
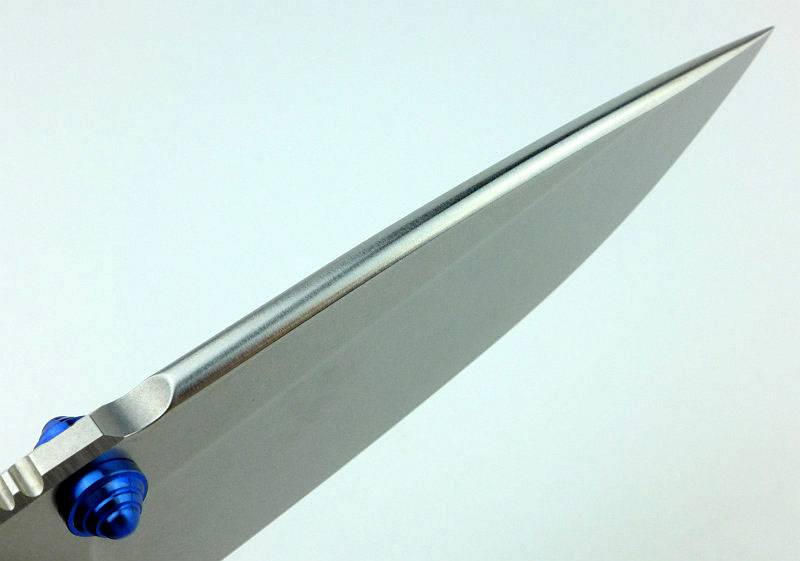
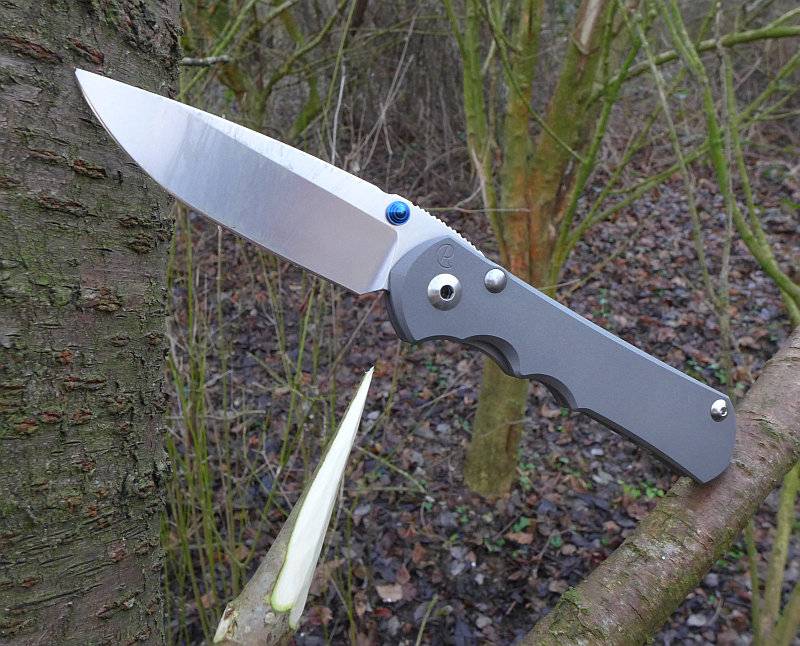
The blade has a beautifully even stonewash finish.
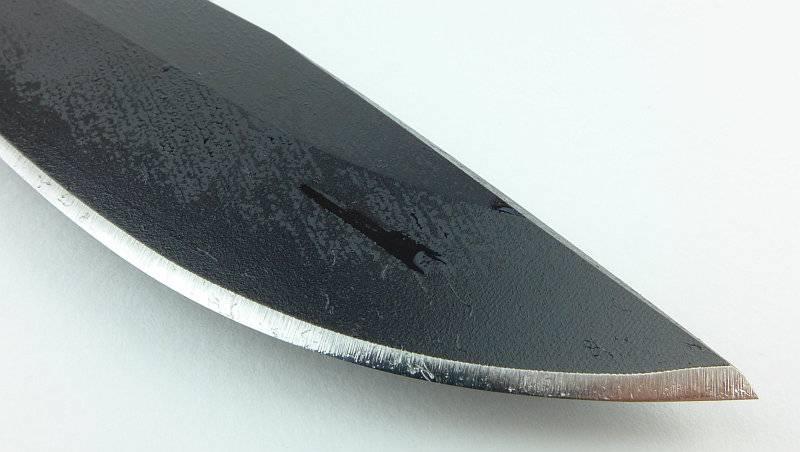
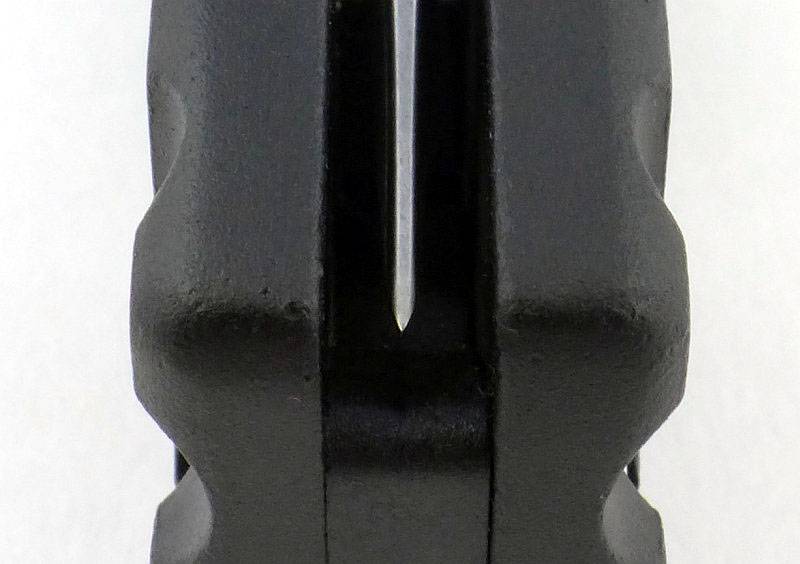
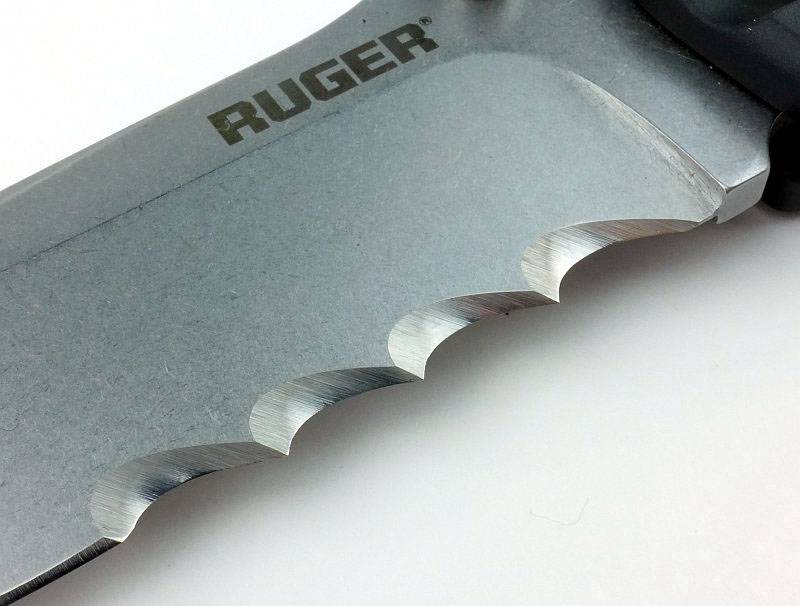
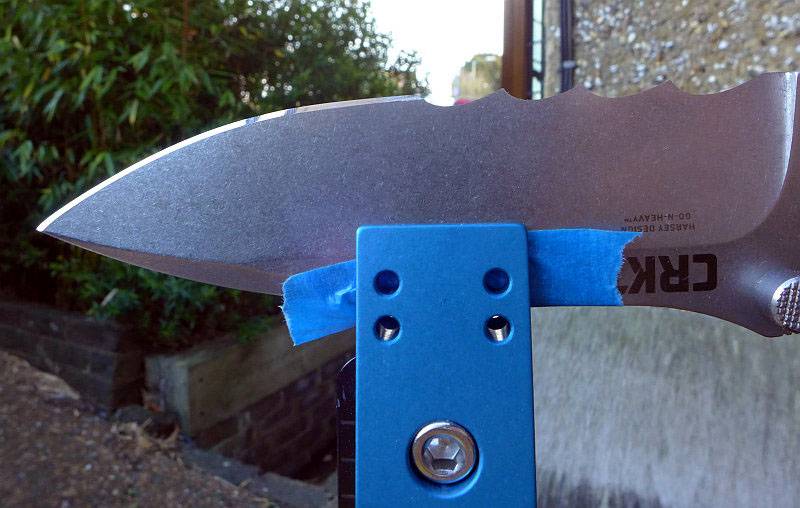
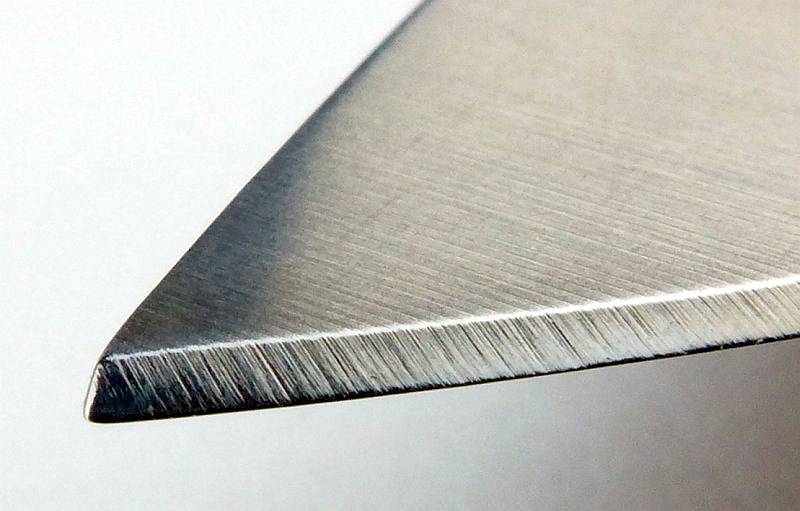
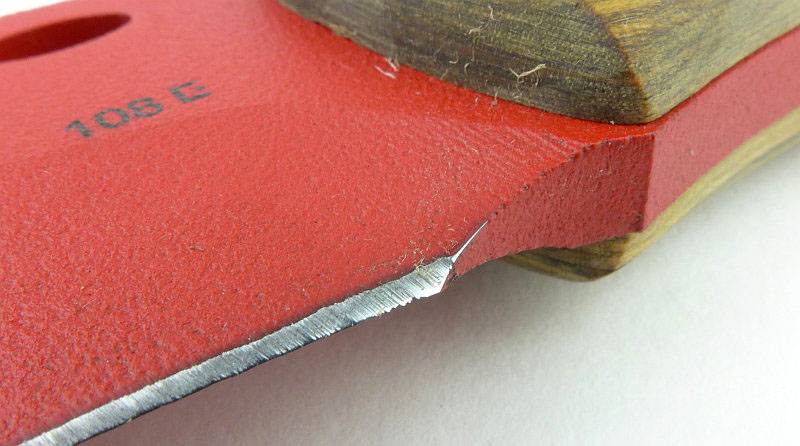
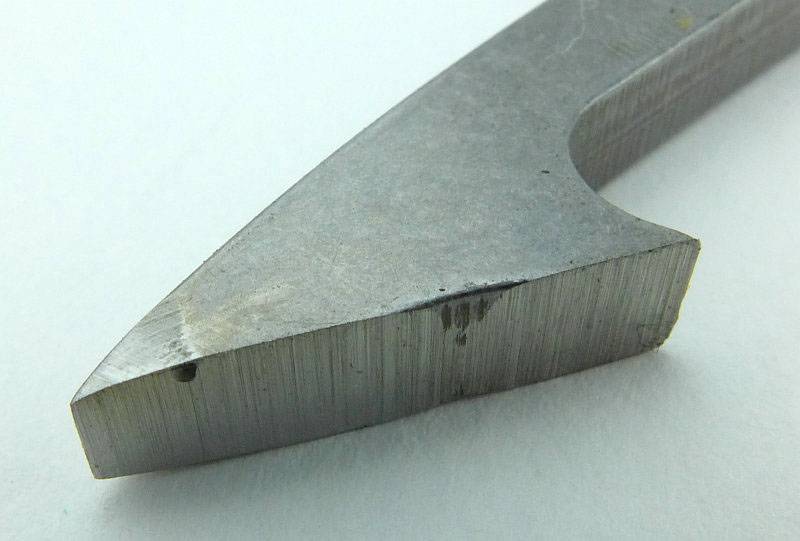
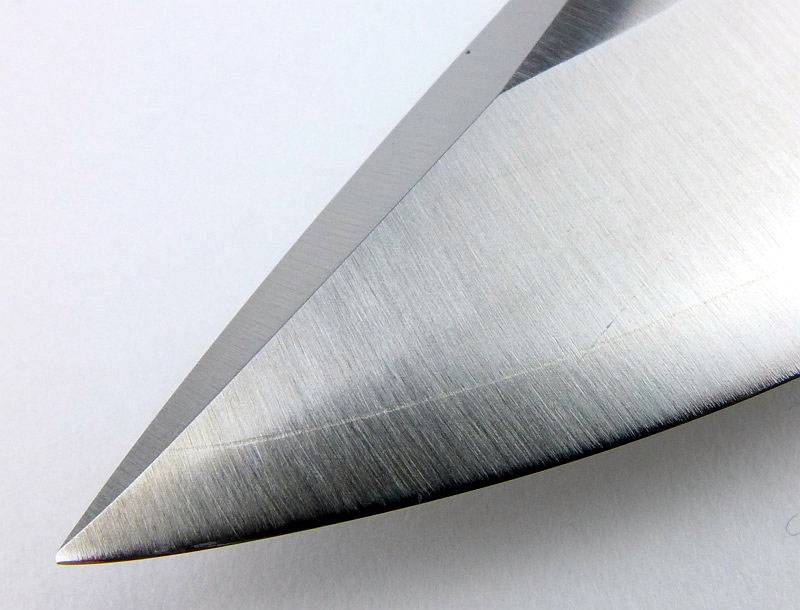
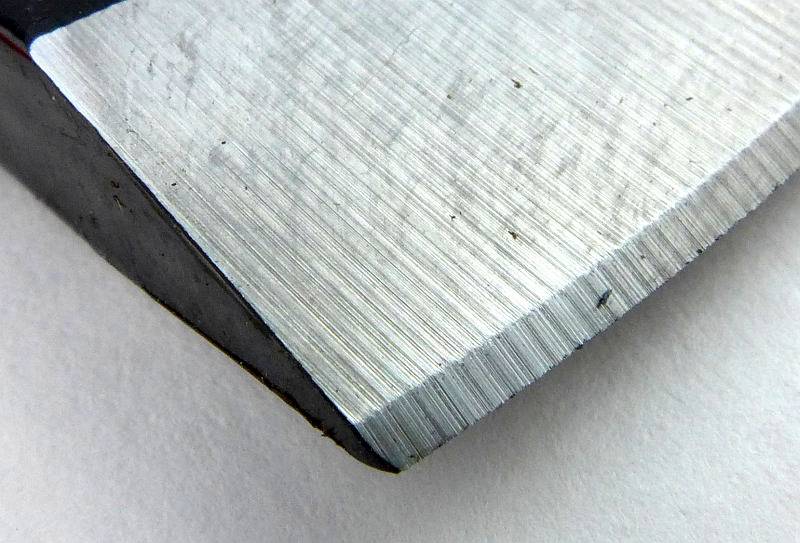
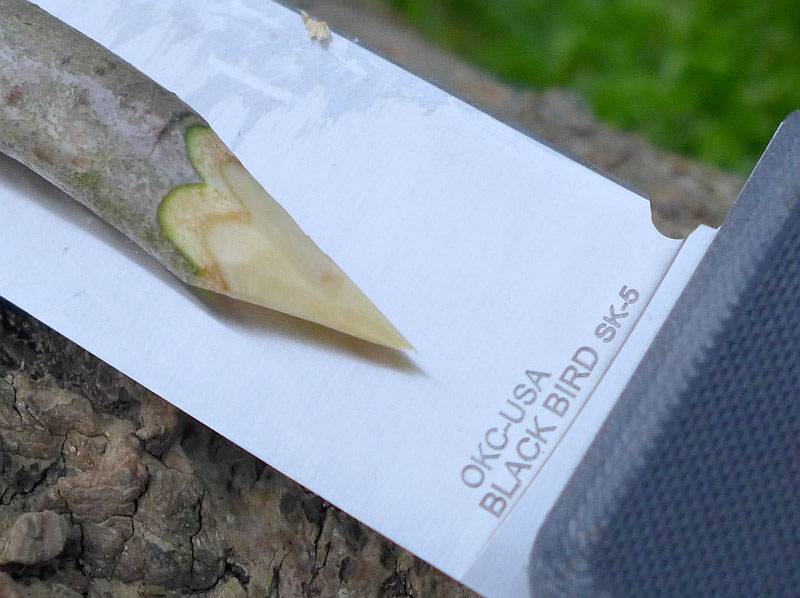
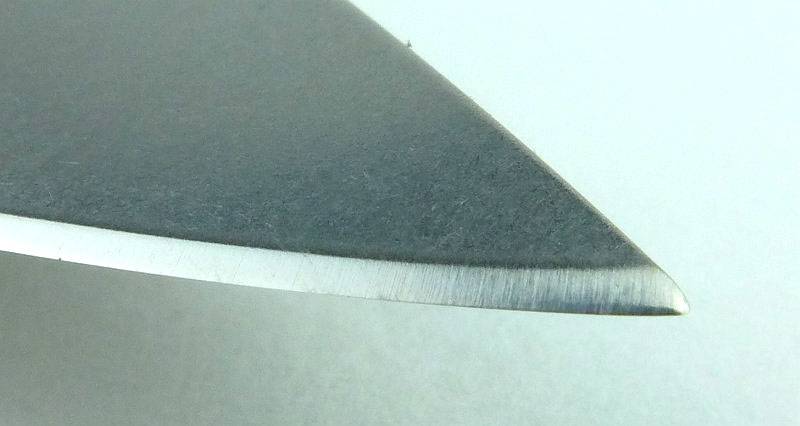
Zooming in to the blade tip.
With the blade now open, both sides of the finger grooves can be seen. The first finger groove is deeper on the front of the frame giving right-handers easier access to the thumb stud.
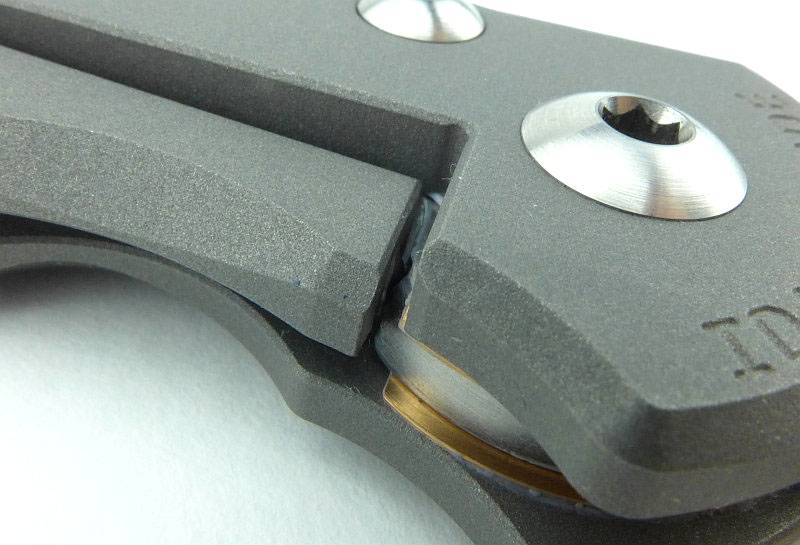
In the assembled knife you can see how the over-sized washers are fitted to the lock bar cutout in the frame.
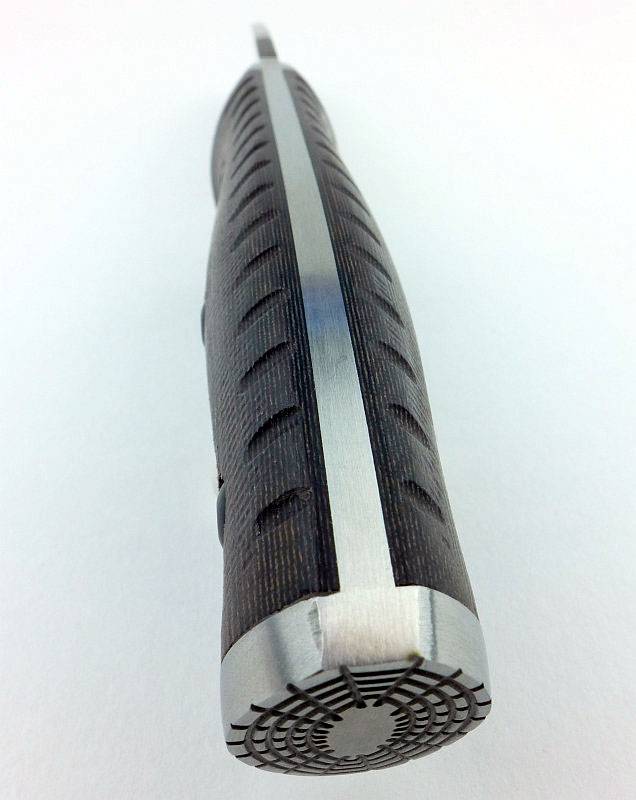
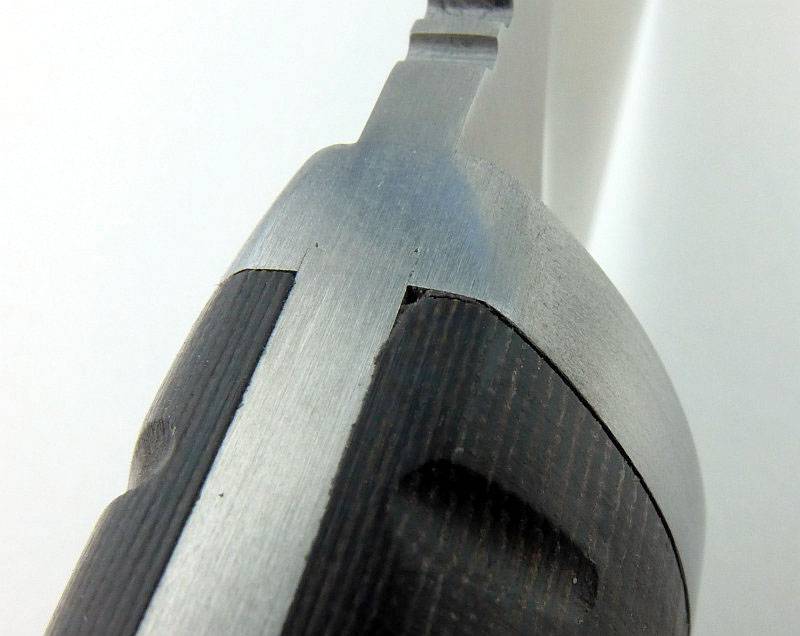
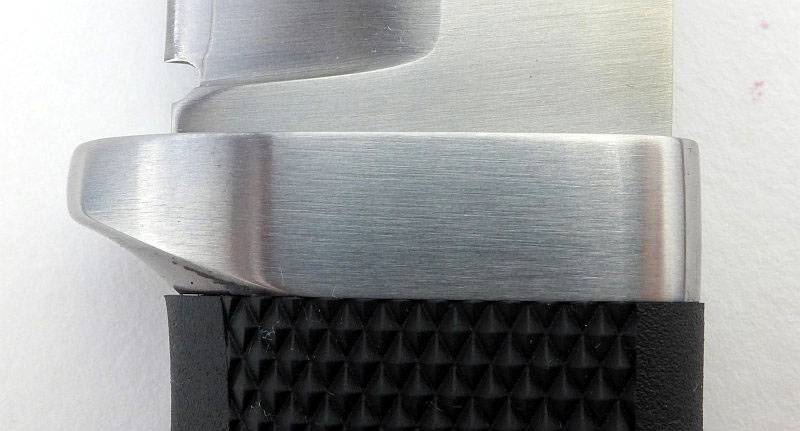
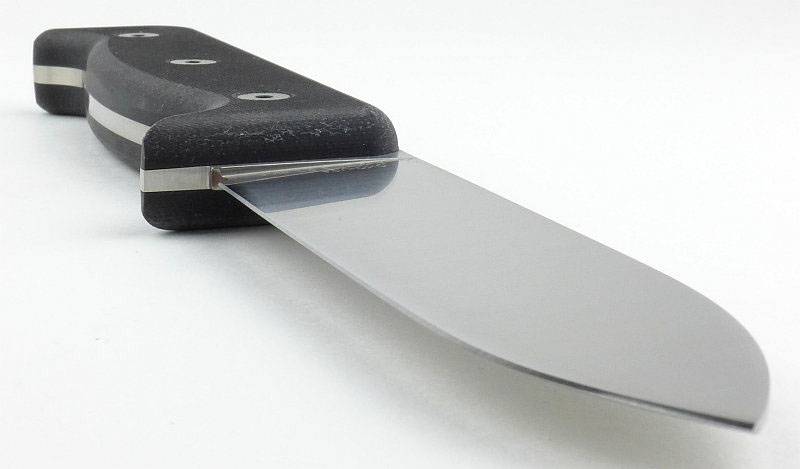
A nicely radiused plunge line takes you from the blade grind to the full thickness of the blade tang.
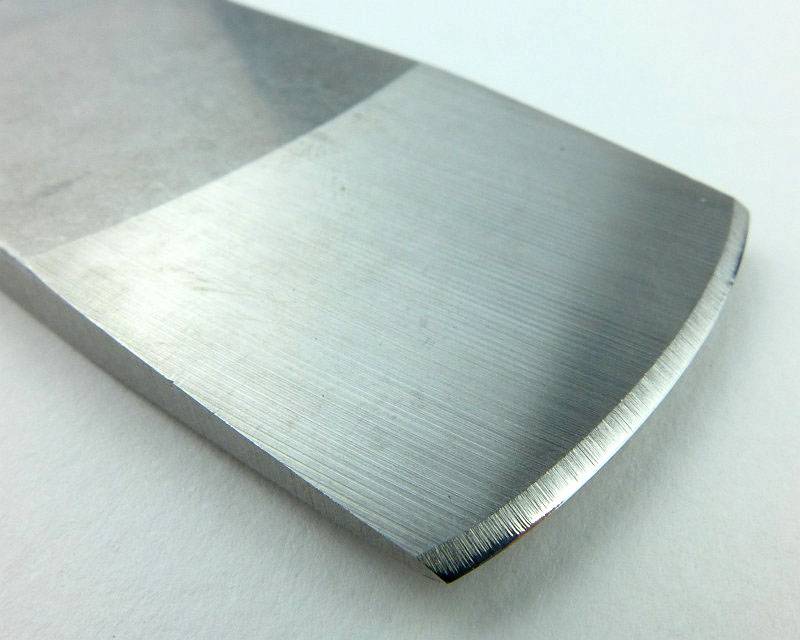
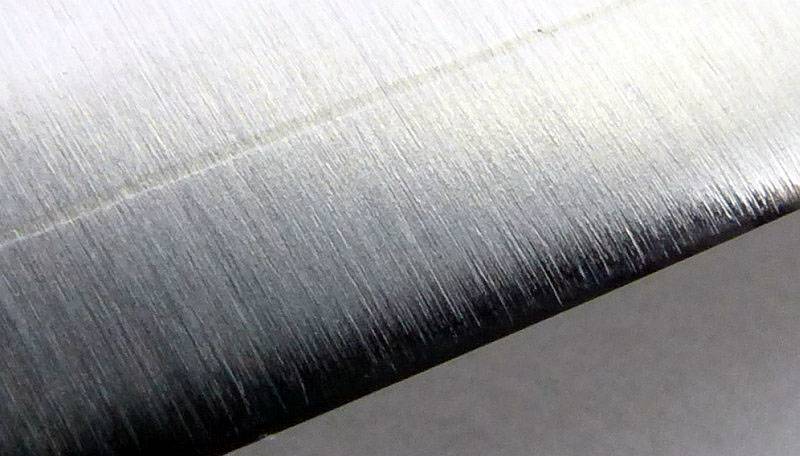
Though it looks almost like a flat grind, the large hollow grind is noticeable as the light plays on the blade. (Of course it would help if this image was animated, but it is not.)
There is a gentle curve to the blade spine which is very comfortable to press on. It does mean you won’t be striking sparks of a ferro-rod with it.
A close-up look at the thumb stud.

On the first run of Large Inkosi knives the washer perforations were a little too large and could be seen when the blade is closed. Not a functional issue, but a potential point for dirt to collect. This washer design has been updated now.
CRK have really got it spot on with the pocket clip. I generally don’t like them because they are never quite right, mainly too aggressive. In this case the tension is soft enough to be easy to use, but strong enough to hold. The bead blasted surface finish of the frame and clip give plenty of hold without being too abrasive.

What it is like to use?
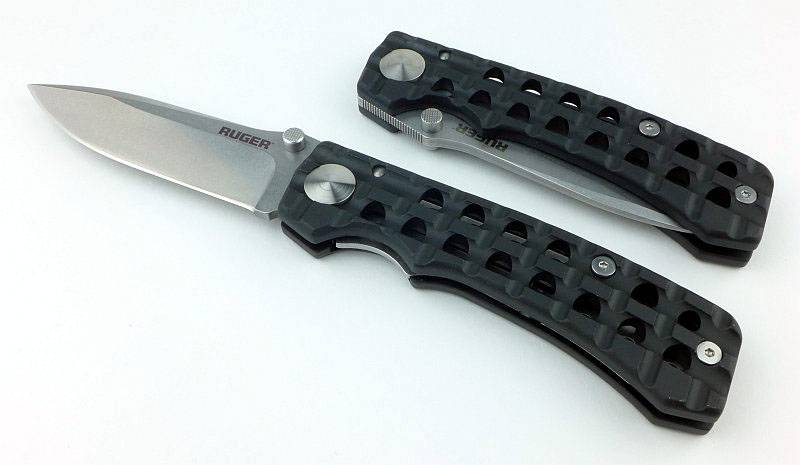
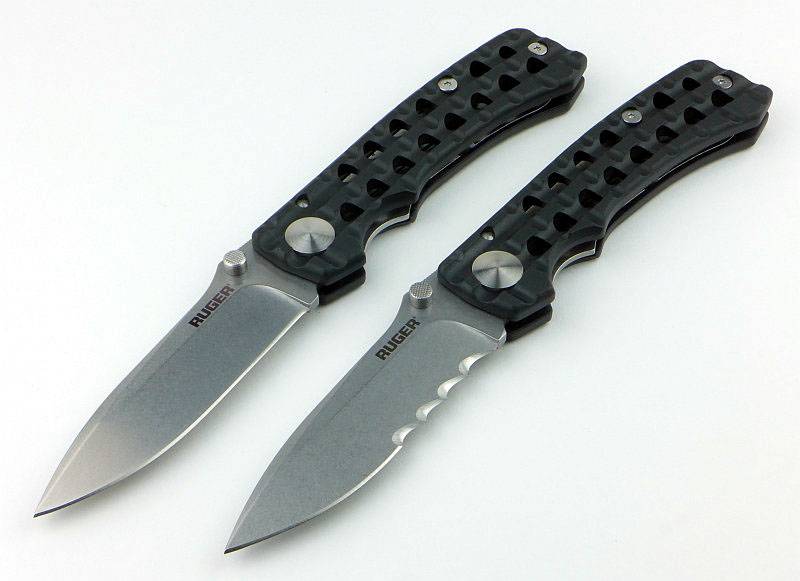
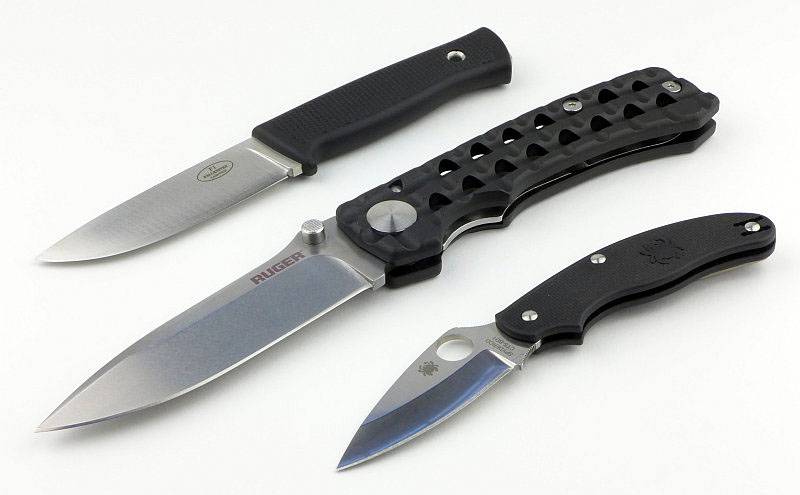
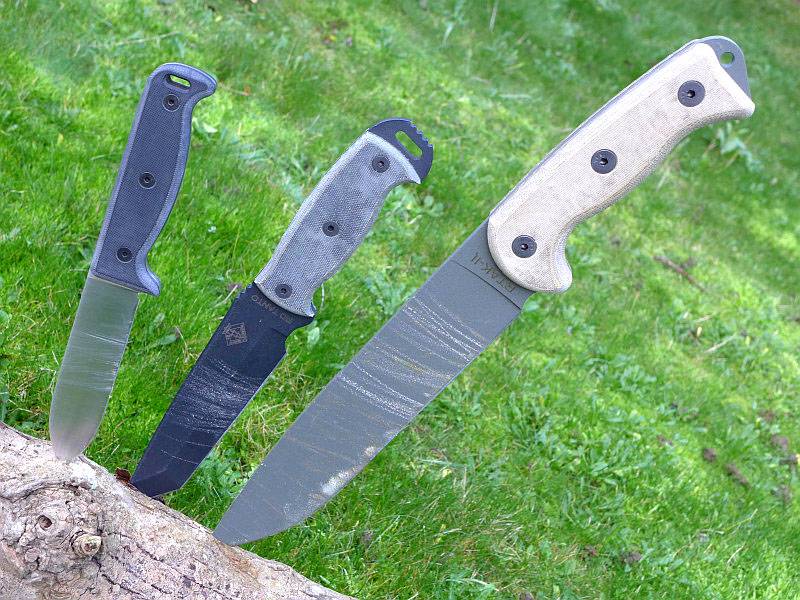
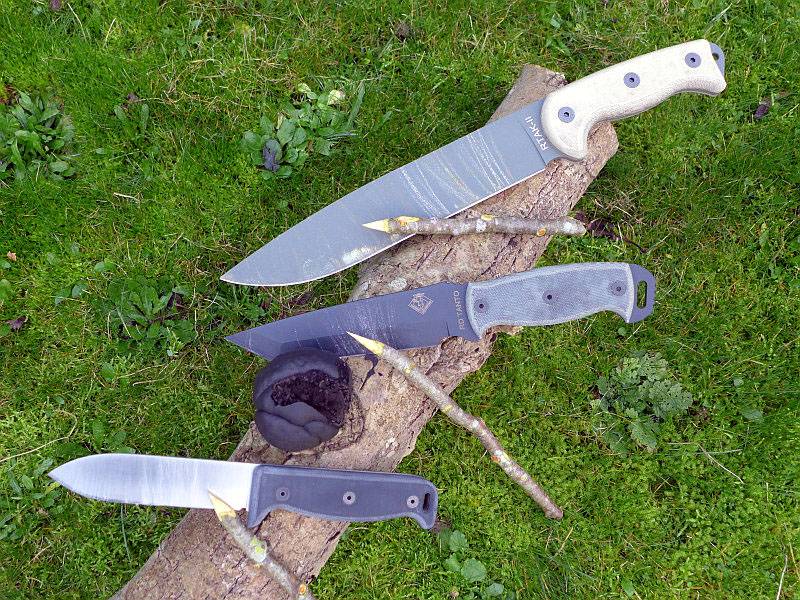
Ok, so this is the Large Inkosi, but how big is ‘Large’? I’ll start with my standard comparison, so here it is next to the Fällkniven F1 and a Spyderco UK Pen Knife.

Then just for gratuitous CRK viewing, here it is with a Pacific.

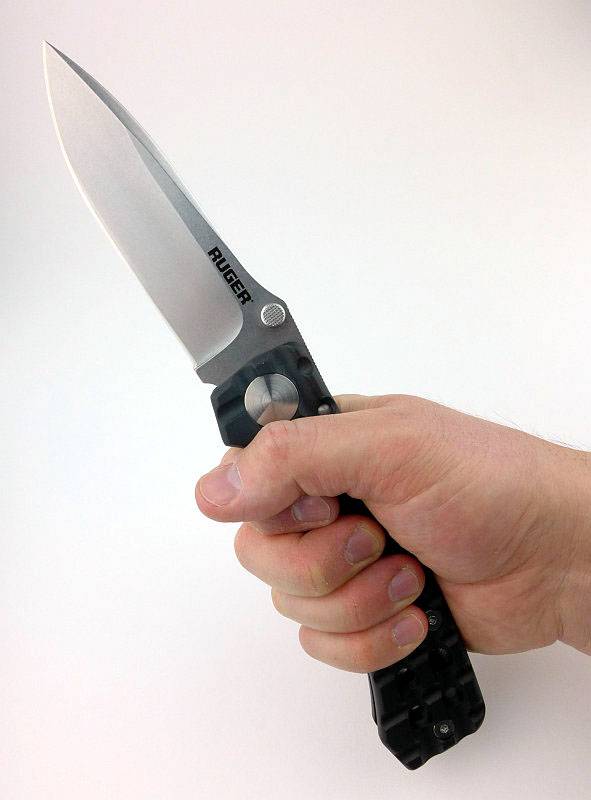
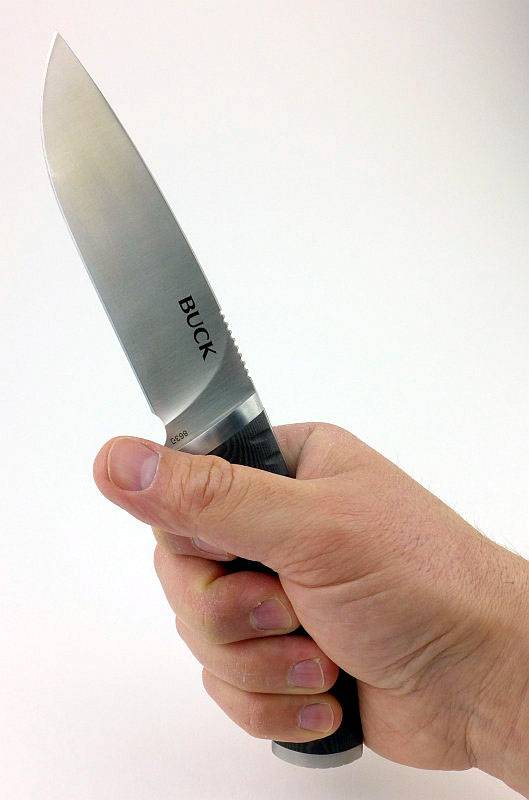
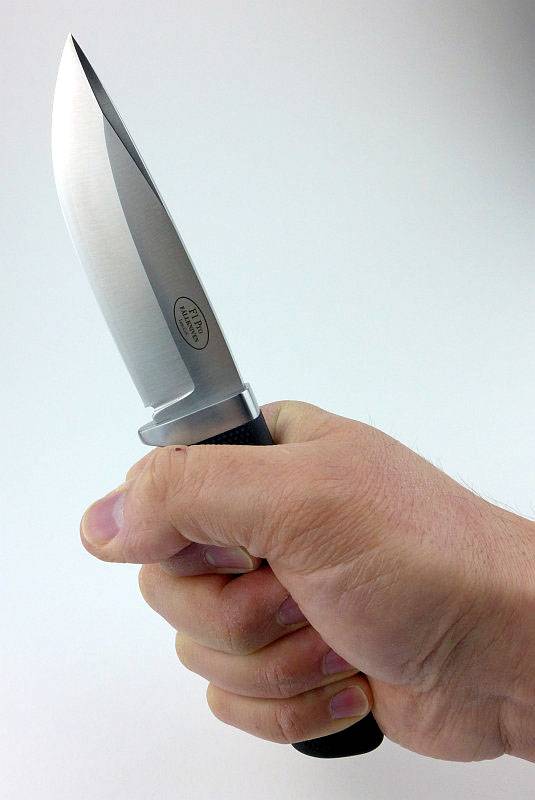
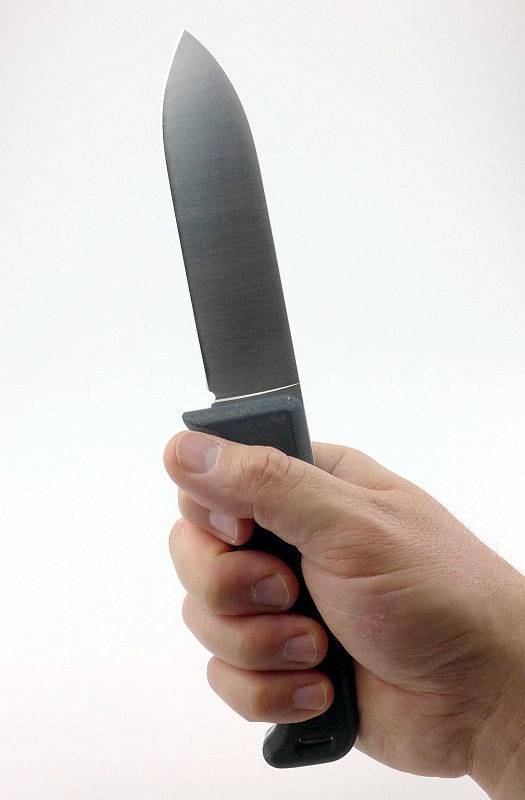
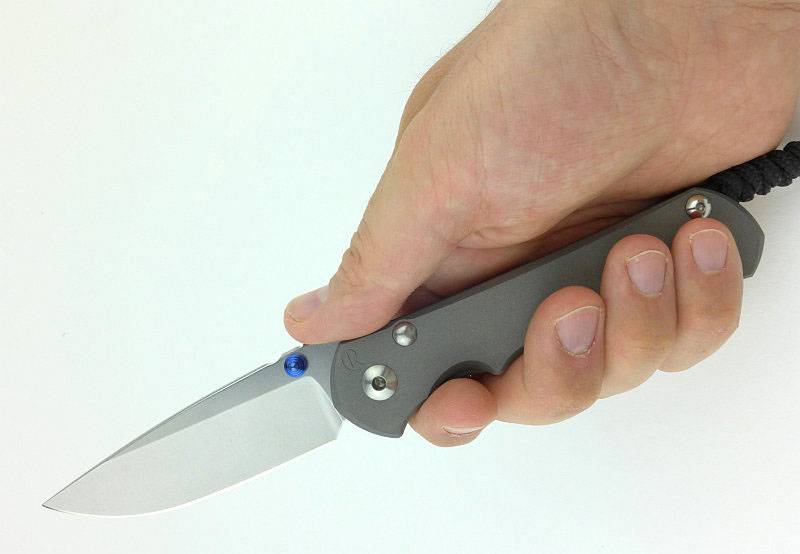
And in the hand. (I take XL size gloves). So it is not really all that large, it is just the larger size of CRK folder. While we are looking at it in the hand, I’m going to mention those finger grooves. It often seems that the Sebenza 21 vs 25 debate has been very polarising with owners being adamant that the they love or hate the 25’s finger grooves. I was concerned they might be problematic, but for my XL size hands, I can happily say that in all the time I’ve been using this knife I have actually not noticed the finger grooves. Clearly this is a good sign as the knife was secure in my hand but without anything digging in.
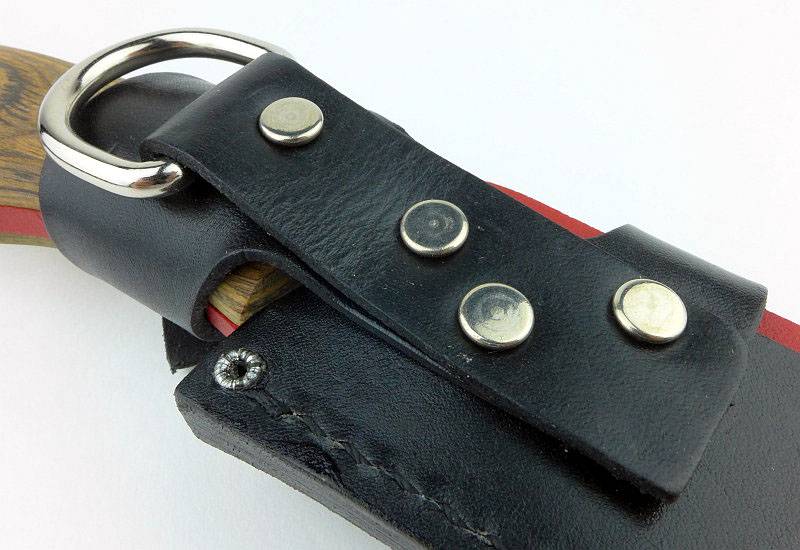
Lanyards, hmmm. Not my thing. So this was to come off, but I thought I would just note down how it was tied so I could put it back.
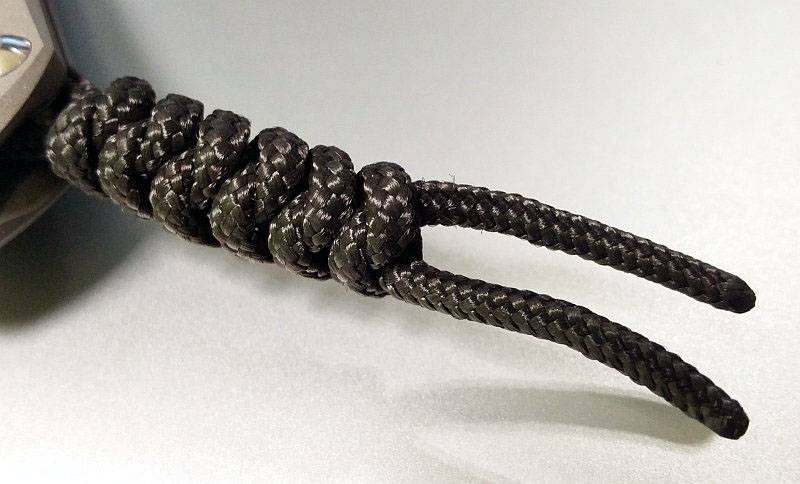
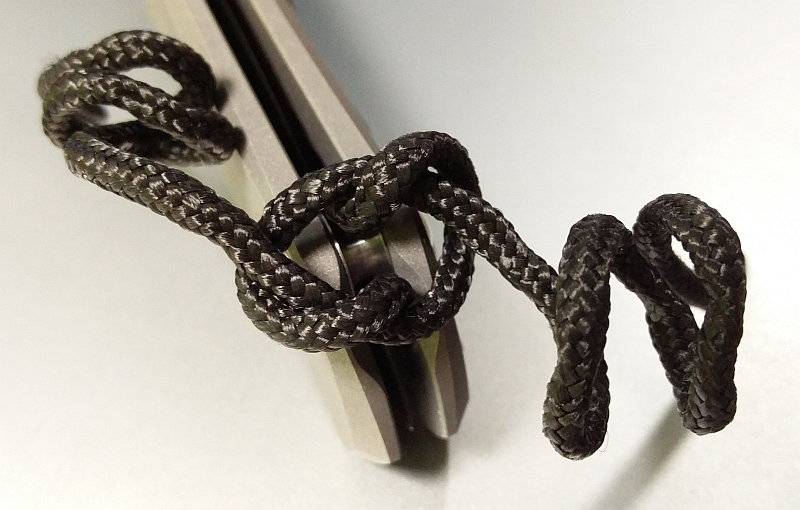
Loosening the first knot shows it is tied like this.
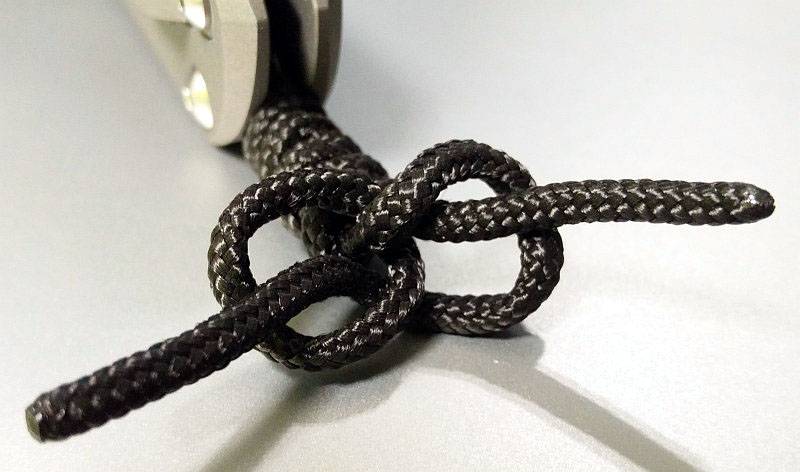
And repeated all the way back to the first knot round the frame spacer. And with that removed I started putting the knife to work.
Although serviceable, I’m afraid the factory edge didn’t have quite enough bite for my liking, so it had a session on the Wicked Edge. Much better!
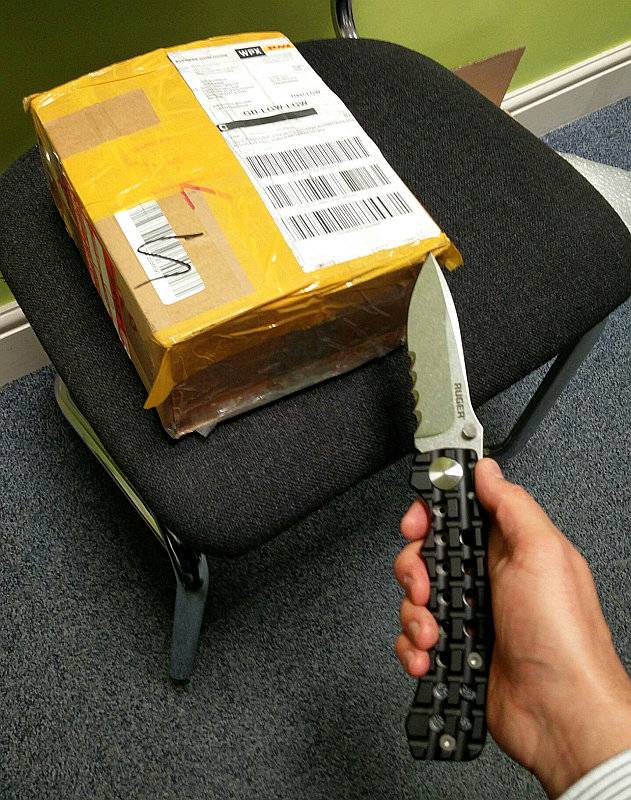
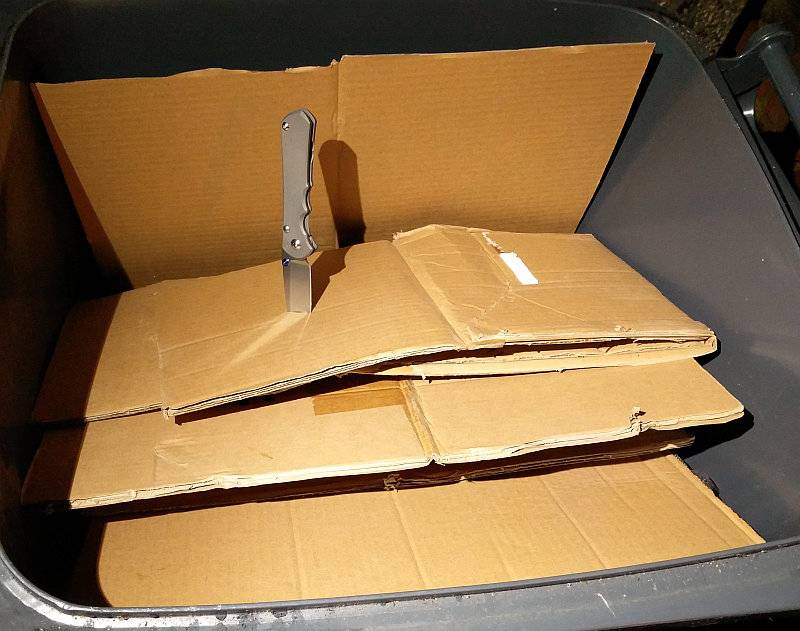
Recycling day was much more interesting now. Here was a large heavy duty box needing to be broken down. Made from ‘BC’-Flute double-wall heavy duty shipping cardboard, this was a bigger job than the average box.
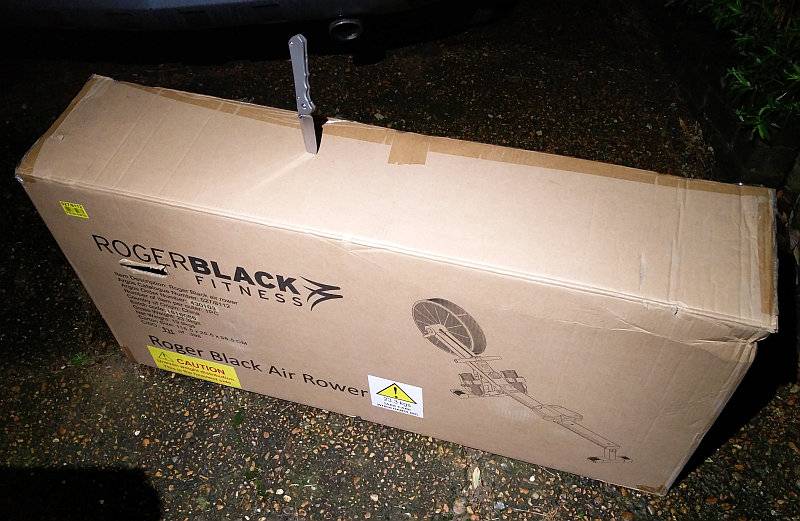
Done. That was easy and enjoyable. Give me another to do.
The last cut through this was crisp as the blade slid through with ease. Feeling just as smooth in the cut as a full flat grind, possibly even smoother as there is less blade to material contact than with a FFG.
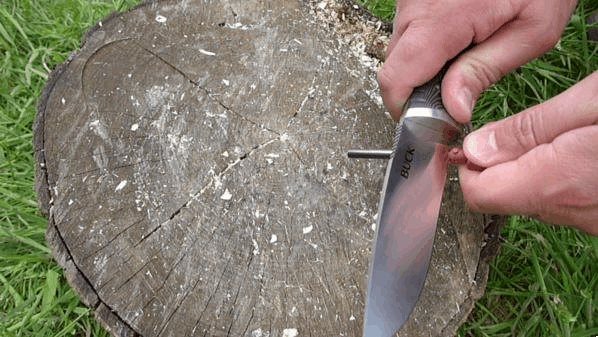
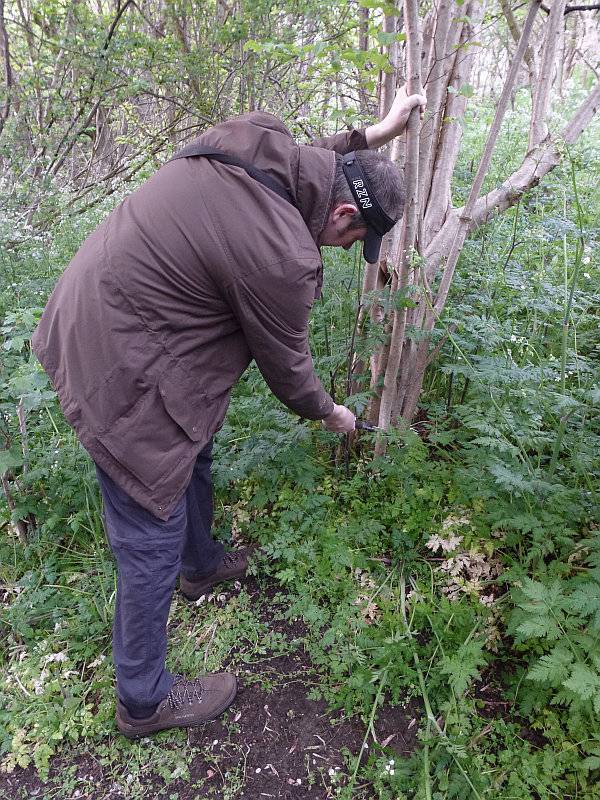
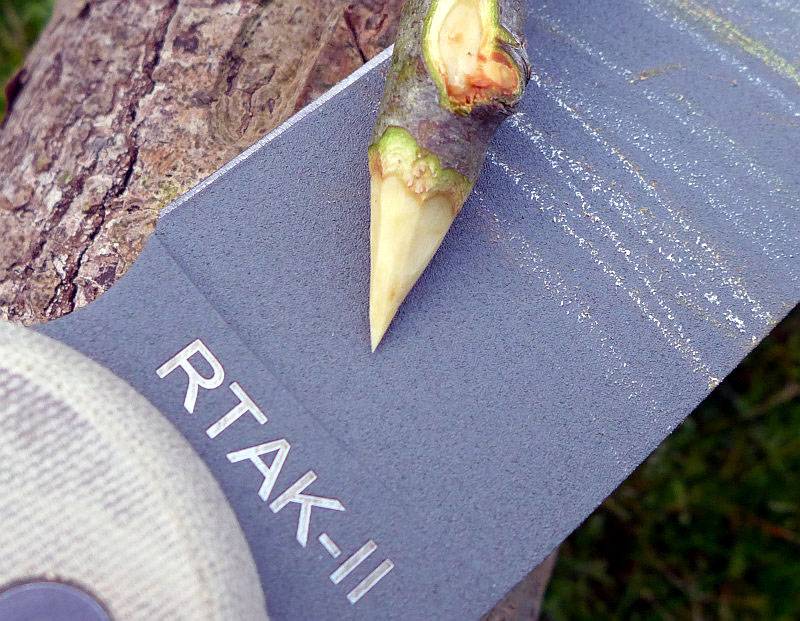
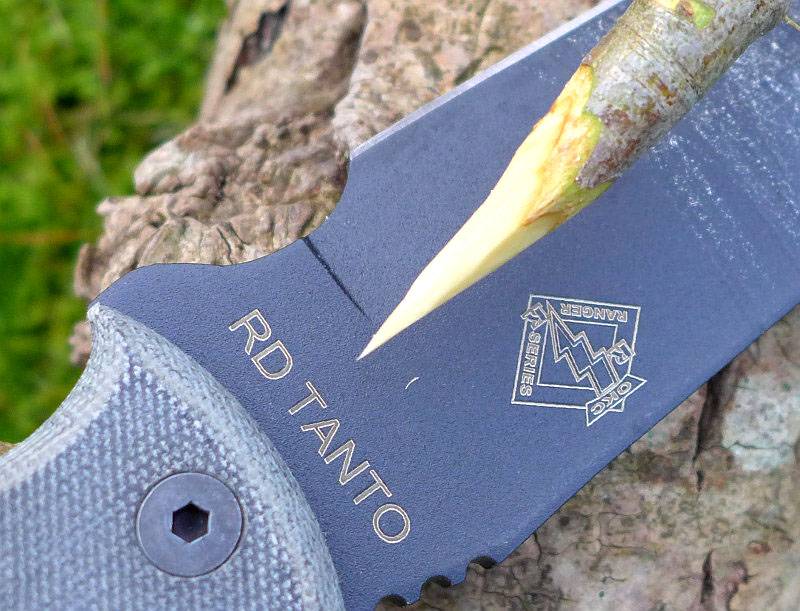
Outdoors and the Large Inkosi makes quick work of wood carving. Even when applying a good force to the cut, the finger grooves in the handle were not noticeable.
CRK have taken their already time-tested design and made several improvements to it, improvements you might never actually notice in real world use, unless you push the knife to its absolute limits. I suspect many CRK owners appreciate knowing that the knife is as good as it can be and that if they really did need to push it further than normal, it won’t let them down.
The Large Inkosi is the next generation of a classic folding knife from CRK, and has been designed with such a thorough and thoughtful attention to function and detail that it is more than just a knife; it is a highly desirable object and a pleasure to use.
Review Summary
The views expressed in this summary table are from the point of view of the reviewer’s personal use. I am not a member of the armed forces and cannot comment on its use beyond a cutting tool or field/hunting knife.
Something that might be a ‘pro’ for one user can be a ‘con’ for another, so the comments are categorised based on my requirements. You should consider all points and if they could be beneficial to you.
| _______________________________________________ | _______________________________________________ |
| Things I like | What doesn’t work so well for me |
| _______________________________________________ | _______________________________________________ |
| CRK Build Quality. | Slim metal handle not ideal for extended use. |
| Ceramic ball lock interface. | Thumb stud access poor for left-handers. |
| Large pivot. | Exposed washer perforations can accumulate dirt. |
| Oversized phosphor-bronze washers provide enhanced blade support. | |
| Slip-Through Stop-Pin ensures perfect frame/washer/tang alignment. | |
| Large Hollow Grind gives a blend of flat-grind and hollow-grind benefits. | |
| Only two bolts need to be undone to service the knife. | |
| Finger grooves and thumb-ramp jimping give excellent grip. |
Discussing the Review:
Please feel free to add comments to the review, but the ideal place to freely discuss these reviews is on a forum. If you started reading the shorter forum version of the review, but followed the link this full exclusive review, please return to that forum to discuss the review there.
If you read the review entirely on Tactical Reviews, please consider one of the following to join in any discussion.
EdgeMatters – Sponsored Reviews (UK based Forum for Knife Makers and Collectors)
BladeForums – Knife Reviews (US based Forum for Knife Discussion)
CandlePowerForums – Knife Reviews Section (Largest and Friendliest Flashlight Community Forum)