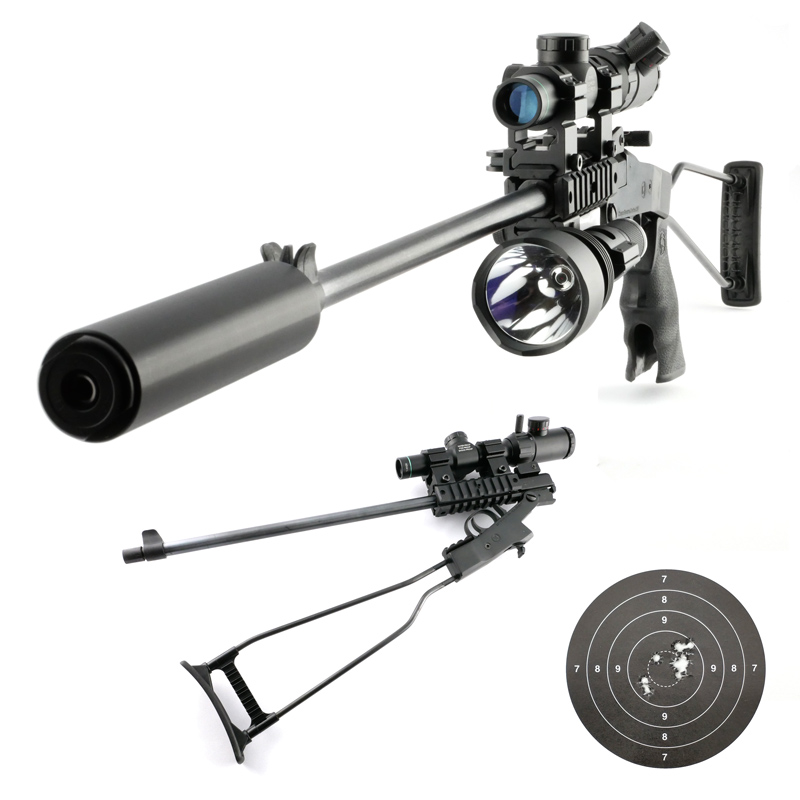
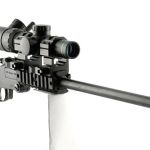
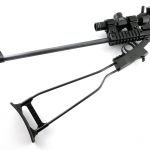
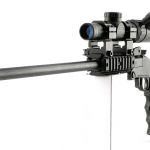
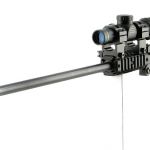
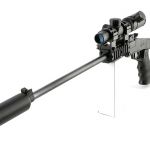
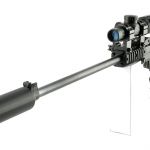
Gear (Gun) Review: Chiappa Little Badger Pt.2 – Fully Loaded!

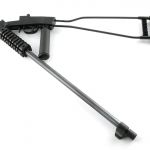
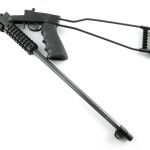
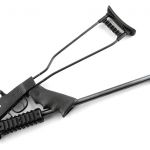
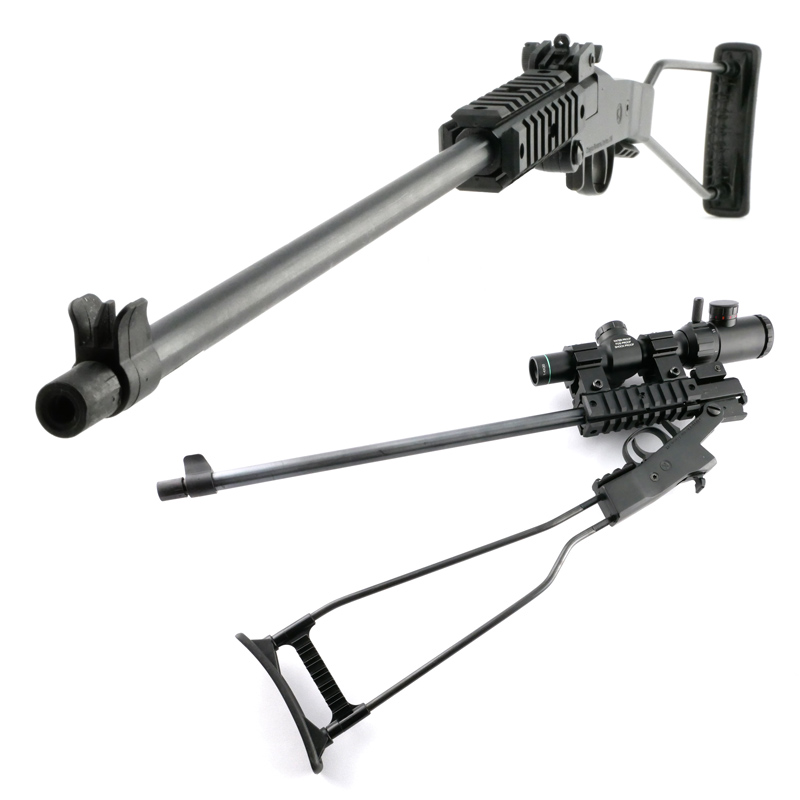
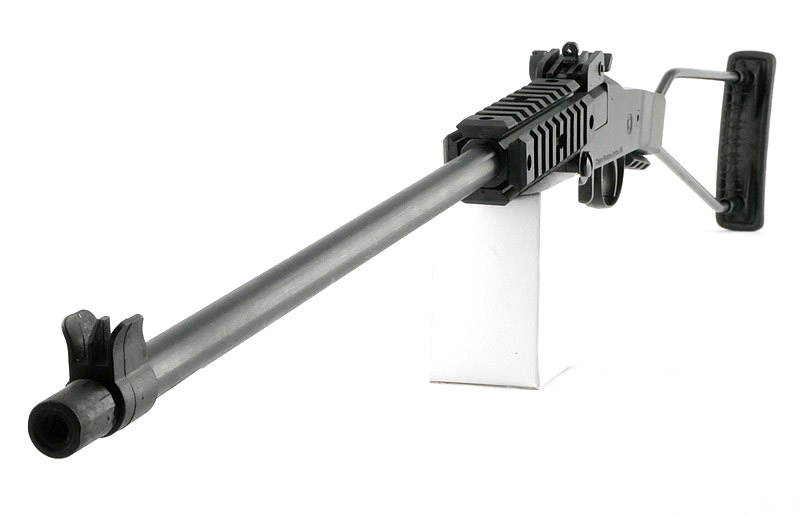
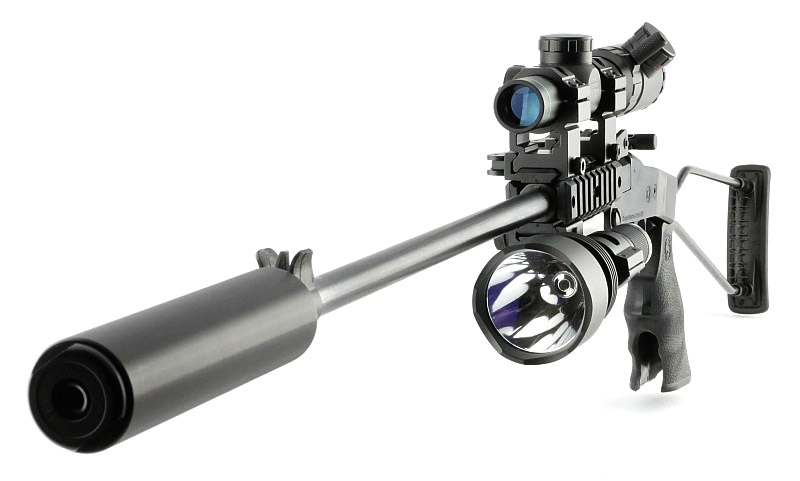
‘Fully Loaded’ – This is the second part of the Chiappa Firearms Little Badger Folding Survival Rifle Review, and follows on from Part 1 which introduced this handy little gun. In Part 2 I’ll be covering more details of the Little Badger accessories, how they fit and perform, and a nice modification that, for me, transformed this rifle.

The accessories in detail:

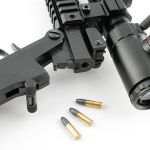
Keep an eye out for the comments on each image. Some of the key points to look out for are:

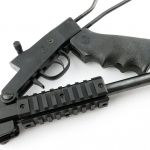
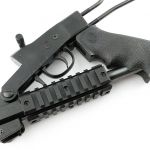
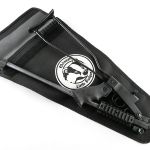
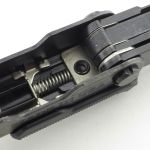
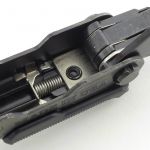
The effect add-on handles have on folding the rifle, and how easy they are to fit and remove.
A compact scope (from In Your Sights) really does make all the difference in sighting.
Subsonic .22LR plus a moderator really makes for a great combination.
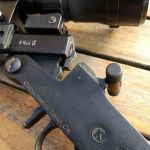
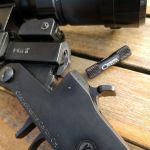
The hammer extension, which seems such a great idea to improve ease of cocking the hammer, might not work as well as hoped.

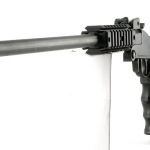
This gallery will show how they all fit together.


Bringing it all together:

So far the photos have been from an initial studio shoot, but now we are moving onto areas which are being re-visited based on using the Little Badger, plus a game changing modification of one of the accessories.

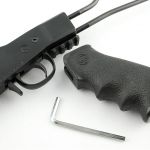
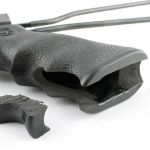
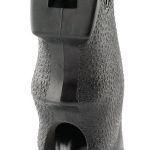
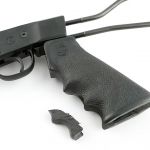
That modification is of the pistol grip – check the gallery for more.


What it is like to use?

Taking the fully loaded (in terms of accessories) Little Badger for a few range sessions resulted in some unexpected troubleshooting (pun intended)!

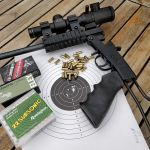
Knowing how different guns seem to prefer different ammunition, sometimes not the ‘best’ quality ammo, I went with a selection of usually reliable options.

A Slight Issue – easily resolved:

Comfort and stability were all good, but I found myself struggling to get my test groups shot, as there were SO many misfires. Change ammunition, try again, check the firing pin and hammer, try again.

Normally after waiting for a potential hang-fire, I rotate a misfired round so the firing pin can strike a fresh part of the rim. In some cases I did this six times. With the external hammer, I could of course simply re-cock it and go again without opening the action. This turned out to be the way to get a reliable ignition on all misfires.

This second strike also led me to the misfire being due to a light-strike. Why though? After considering all the options it seemed that possibly the extra weight of the hammer extension might be slowing the hammer speed and reducing the inertia of the hammer striking the pin. OFF with that extension and ON with the shooting. Every strike was now a reliable ignition. A pity, but at least the Little Badger was not at fault.

Range:

With the open sights and their limited adjustment, the accuracy was limited too. It felt that the 25yd range would be the most I would take on a live target. With the (max 4x magnification) scope fitted, 50yd would be a comfortable rabbit range, but with the results of the paper target grouping, I would not be happy extending this out to 100yds.


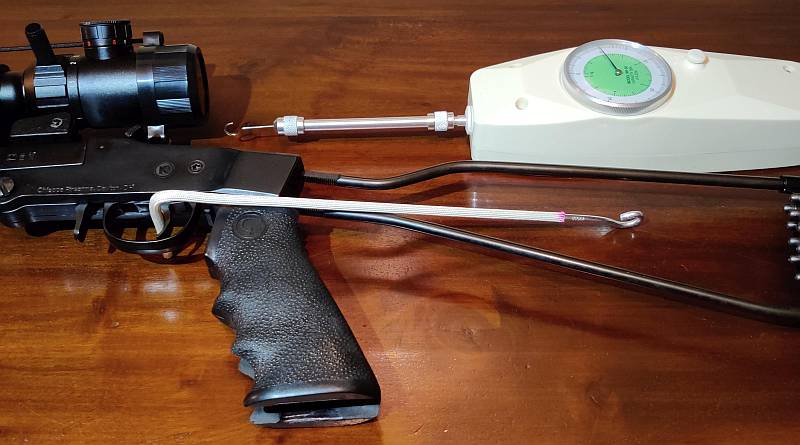
Trigger pull was very good considering the price of this gun. Not quite a glass rod breaking, but smooth, consistent and a good weight. Taking an average and carefully measuring using a force gauge and custom trigger hook, this trigger is breaking at 2.3 lb.

One of the complete joys with this rifle is how easy it is to carry. There are definitely days when I’m not really on serious vermin duty, so might not want to bother taking my usual semi-auto, but the Little Badger comes along without any stress.

Using this excellent little gun also proved to me that if that ‘prepping’ type scenario were to come about, this is the gun I would grab. It is not weighing me down much and the ammo goes a long way. Easy to carry, compact, simple and reliable (without that hammer extension).

The Transformative Modification:

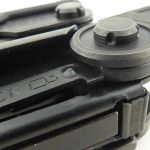
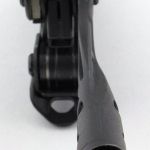
Of the two options, the serious pistol grip is actually a grip made for the Chiappa MFour Semi-Auto rifle. This is the reason it gets in the way of the folding action, it was not actually designed for the Little Badger, but is simply a tried and tested grip that certainly improves the handling.
Making this existing MFour part into a grip specifically designed for use with the Little Badger and allows the full folding action is that transformative modification.
By cutting a slot into the pistol grip I have allowed the rifle to still fold fully. WHAT a DIFFERENCE that pistol grip makes to the handling of the gun. It adds so much stability and control over the bare rifle I would not think twice about having it fitted. If you can make the same modification I highly recommend doing it.

Review Summary

The views expressed in this summary table are from the point of view of the reviewer’s personal use. I am not a member of the armed forces and cannot comment on its use beyond that covered in the review.

Something that might be a ‘pro’ for one user can be a ‘con’ for another, so the comments are categorised based on my requirements. You should consider all points and if they could be beneficial to you.

_______________________________________________
Things I like
_______________________________________________

Super folding action.
Very compact.
Plenty of rails to add extras on.
Light weight.
Simple, reliable mechanism.
Good trigger pull.
Everyone on the range loved this.

_______________________________________________
What doesn’t work so well for me
_______________________________________________

The hammer extension causes light-strikes.
The two pistol grip options interfere with the folding.
Plastic ejector – I’d prefer this to be metal.


Discussing the Review:

The ideal place to discuss this review is on the Tactical Reviews Facebook Page
Please visit there and start/join the conversation.

Gear Review: Nordic Heat Handwarmer and USB Powerbank 10,000mAh

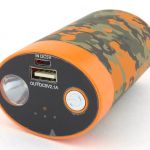
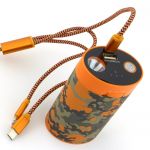
After just popping by for a chat with the nice folks of Nordic Heat at IWA, I found myself leaving with their Large Handwarmer / USB Powerbank. In this review of the Nordic Heat 10,000mAh Handwarmer and USB Powerbank, as well as getting a good feel for it, I have carried out some detailed measurements of output performance for both the heating and USB powerbank.


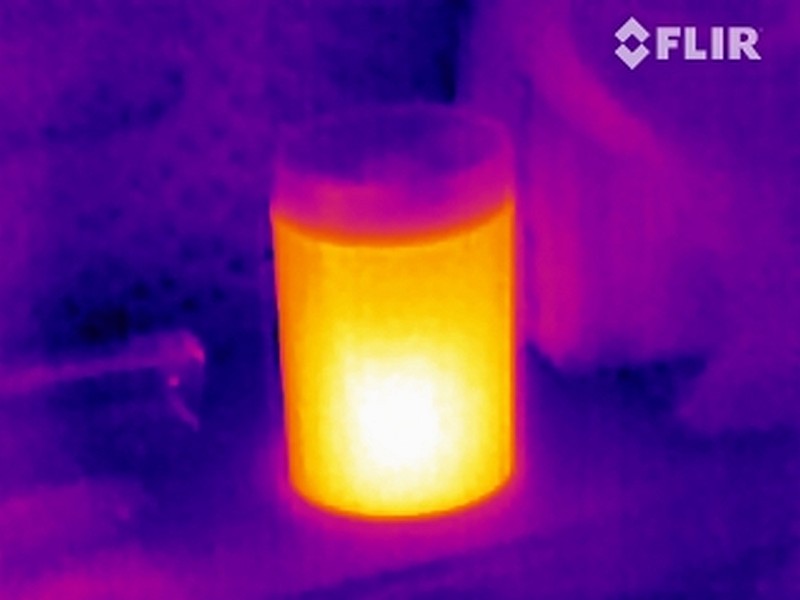
Thermal image taken with FLIR Scout TK

A few more details:

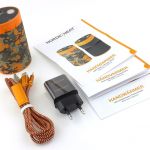
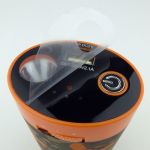
What’s in the box?:

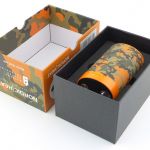
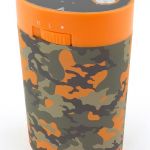
This is how the Large Handwarmer / USB Powerbank arrives.


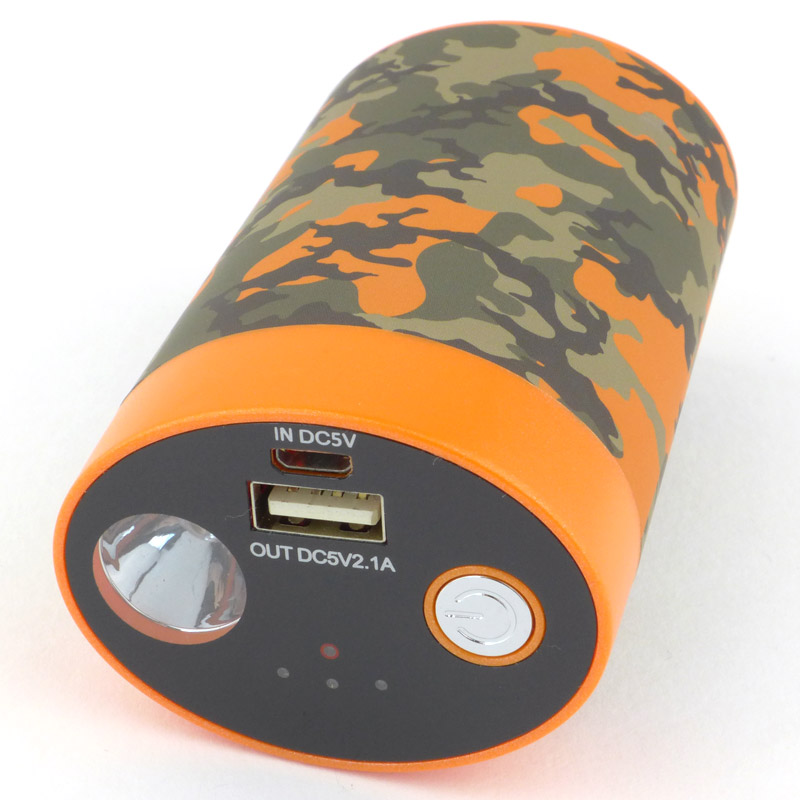
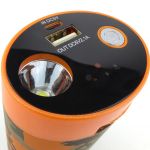
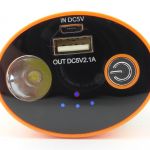
A good look round the Handwarmer / USB Powerbank:

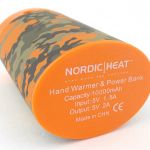
It’s a simple concept really, it gets hot, and can charge your phone (or other USB device). Here are the details.


In The Laboratory:

For these tests, I wanted to measure the actual performance of the USB powerbank aspects and then move onto the heat output.
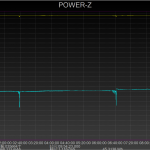
First are a couple of USB power traces for both charging using the supplier charger and cable and then with the powerbank discharging into a large load, again using the supplied cable.
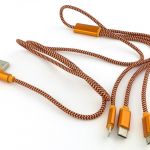
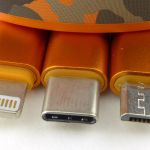
Being a special triple connector cable, I suspect there is some intentional throttling as it only charges at 1A, and for the output it only manages around 1.3A with the supplied cable.


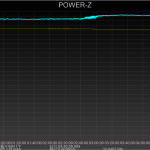
Now, putting aside the supplied charger and cable and recharging with a high power USB charger (6A) and high current cable, the powerbank charges at 2A.

Then seeing what output we get using a high current USB-A to USB-C cable into the large load. Now the powerbank outputs 2.4 – 2.5A. From the graph it does look like this is pushing the output to its limits as we see some power switching noise, but a very solid performance.


A measurement I was not able to make a graph of is the cumulative output measured charging phones. This came to 32.873Wh or 6913.2mAh.


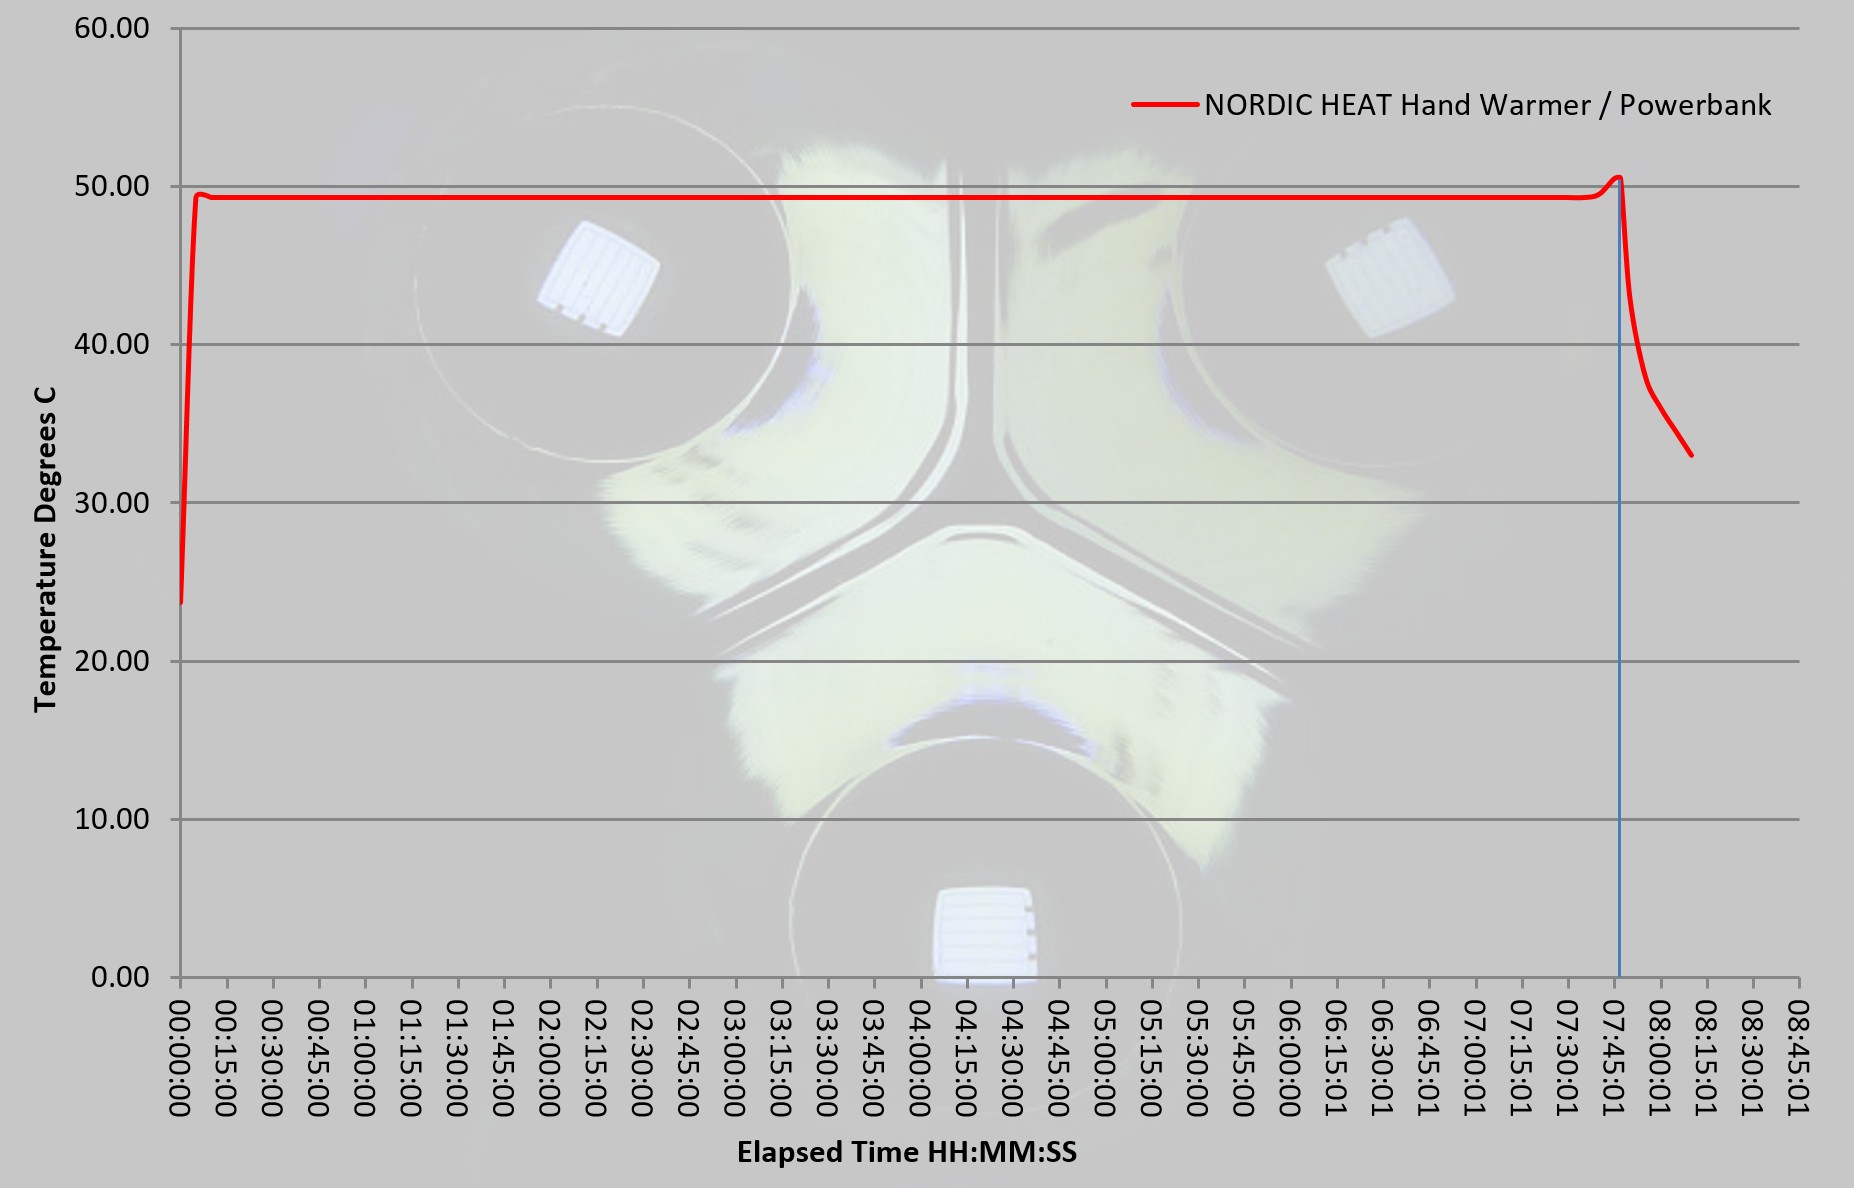
To test the heating output of this handwarmer, a dual probe digital thermometer was used to measure the ambient and surface temperature of the handwarmer. This allows the ambient temperature to be taken away from the surface temperature to remove external temperature variations. The measurements were logged (by video) and used for this graph.

The temperature shown is Degrees C above ambient, and as you can see the output is fantastically stable.

What it is like to use?

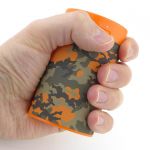
Nordic Heat have two sizes of handwarmer/powerbank. As you can see, this larger version, is a good handful for a hand that takes an XL glove size. The smaller version might be a better fit for some, but this does compromise on heating time and USB output power, a compromise worth considering.

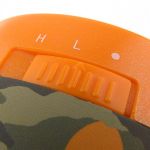
There is a built-in light which you access via the power button. It can make the handwarmer into a torch with a very long runtime. A useful and usable addition. Just remember that you are taking from the available power for hand warming or device charging.

Our growing reliability on mobile phones and tablets makes powerbanks almost a necessity, especially in remote areas. Performance as a powerbank is good (see the technical testing section), and you can power up devices with a solid 2A output.


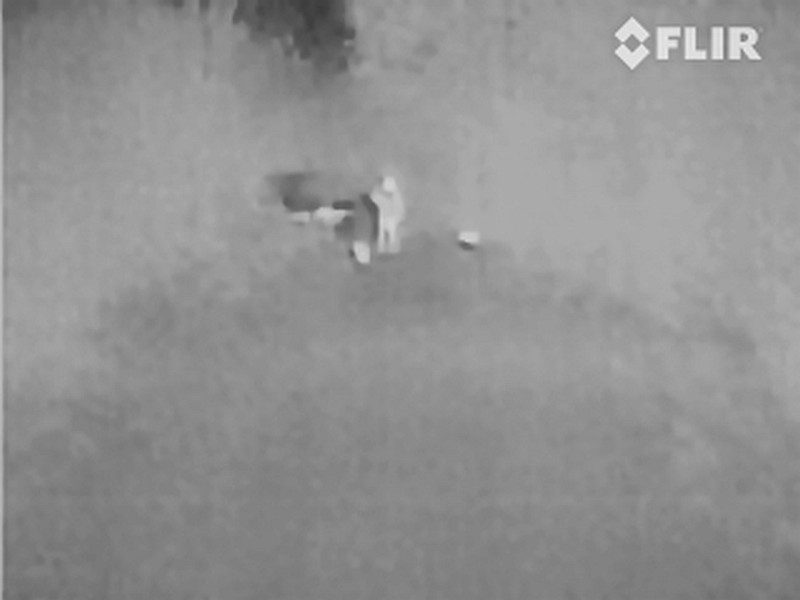
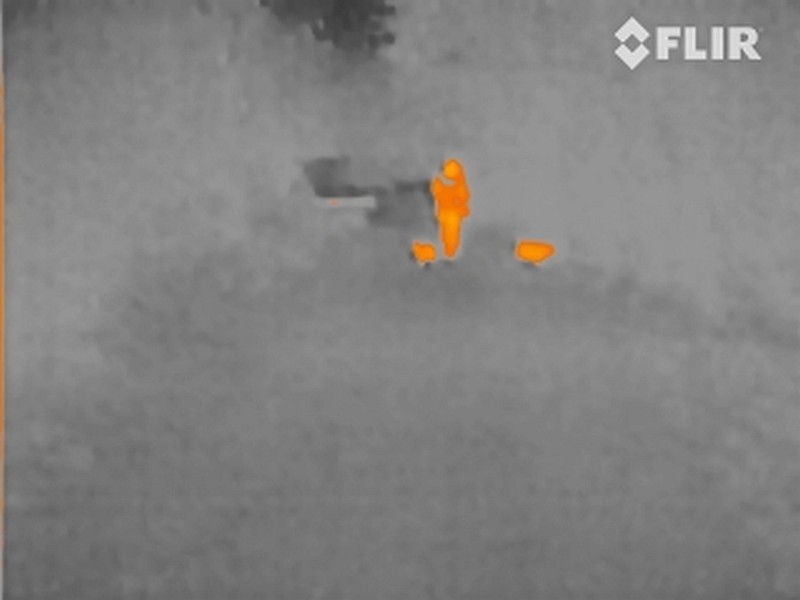
Not quite qualifying as technical testing, I thought it was important to check the heat distribution of the handwarmer to ensure it didn’t have cold spots or problems with heat distribution. So for this I aimed a FLIR Scout TK at it. In this set of images, we start with a control shot with the handwarmer off and left to reach ambient temperature. There is little contrast in the image as there isn’t really any heat gradient apparent. After switching on the handwarmer and leaving it to get up to temperature the heated portion stands out clearly. The heat distribution is nice and even and extends fully over the body, with only the unheated plastic top remaining cooler. In the last image I put my warm, uncovered, hand into view to show how the handwarmer is properly above body temperature and will provide good heating.


Do you need one? Well, do you have a USB powered mobile device – then that is yes for its powerbank capability. Do you like cold hands and feet? No, then that is yes for the handwarmer / heating facility.

Why did I say feet? During testing I found that this wasn’t just something to take when venturing outdoors, but any time you want a heat pack. I’ve used it to warm up my feet in a cold bed, to apply heat to a pulled muscle, to preheat hands prior to putting non-heated gloves on, and generally provide comfort where a bit of warmth helps.

The on-demand heat is where this wins over every other heating option. No boiling water, microwaving gels, lighting a fuel catalyser, just switch on and off as required, anywhere.

Review Summary

The views expressed in this summary table are from the point of view of the reviewer’s personal use. I am not a member of the armed forces and cannot comment on its use beyond a cutting tool or field/hunting knife.

Something that might be a ‘pro’ for one user can be a ‘con’ for another, so the comments are categorised based on my requirements. You should consider all points and if they could be beneficial to you.

_______________________________________________
Things I like
_______________________________________________

Good battery capacity.
2A+ USB output.
Over 7.5h heating on a full charge.
Excellent heat distribution.
Useful to also have a light.
Comes with cable and charger.

_______________________________________________
What doesn’t work so well for me
_______________________________________________

Supplied USB cable seems to limit output to 1A.
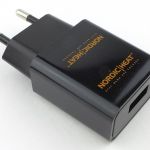
Supplied charger only provides 1A.

Gear/Gun Review: Chiappa Little Badger Pt.1 – Folding Survival Rifle

This is Part One of a two part review featuring the Chiappa Firearms Little Badger folding survival rifle. Ever since I first saw this rifle, it’s been in my sights for an in-depth test and review. The Little Badger has a charm and practicality in its simplicity and easy of carry, and I can’t help but be reminded of the classic 1973 film ‘The Day of the Jackal’.
In this, Part One, of the review we start with a good look round the Little Badger, then onto the official accessories from Chiappa, and finally a cracking little 1-4×20 scope from In Your Sights, that has been a great match for this excellent super-light rifle.

The details:

First view:

The folding rifle as it arrives.


A good look round the Little Badger – Things to look out for here are:

Taking in all the details and options for add-ons. Moderator threading, open sights, rails, action and initial adjustments.


Little Badger Accessories:

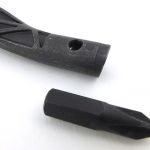
Chiappa offer several accessories for the Little Badger including a cleaning kit handle, hammer extension and pistol grip.


A suitable scope – In Your Sights ATOM 1-4×20:

Being a small and light rifle, it needed a suitable compact scope, and in my search for an ideal match I came across the IYS (In Your Sights) ATOM 1-4×20 compact zoom rifle scope. This gallery gives you a good look round, and through, the scope.


And there is more in Pt 2:

It’s not over yet! There has just been too much to look at all in one go.
Please see ‘Fully Loaded!’, Part 2 of this review for, Modifications, What it is like to use?, Test Results and the Review Summary.


Discussing the Review:

The ideal place to discuss this review is on the Tactical Reviews Facebook Page
Please visit there and start/join the conversation.

CLASSIC Gear Review: Leatherman TREAD

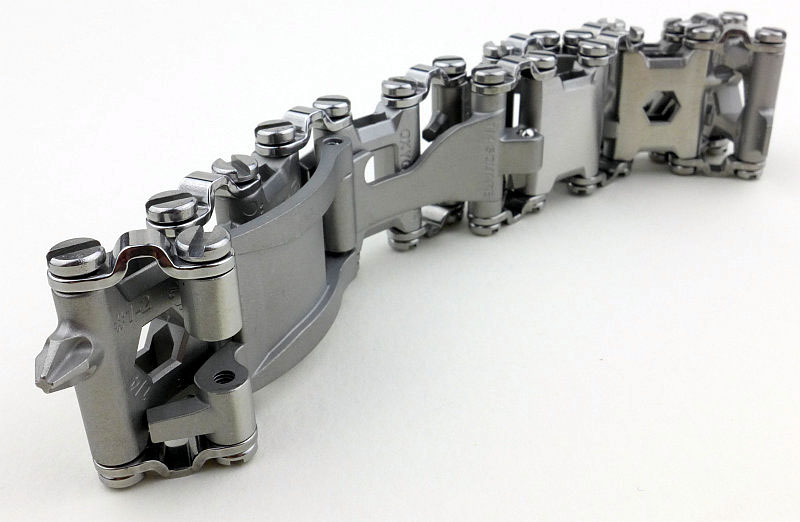
Another in the Classic Review series, this one is from February 2016 – The idea for the TREAD came about following Leatherman’s CEO Ben Rivera being stopped by Disneyland’s security for carrying a Skeletool. This started the design process which resulted in the first usable wearable multi-tool which should also be ‘security friendly’.

When he returned from his trip, Rivera started wearing a bike chain bracelet to see how it would feel. As the idea took shape, he brought his idea to the engineers at Leatherman who helped make it a reality.

Taking a more detailed look:

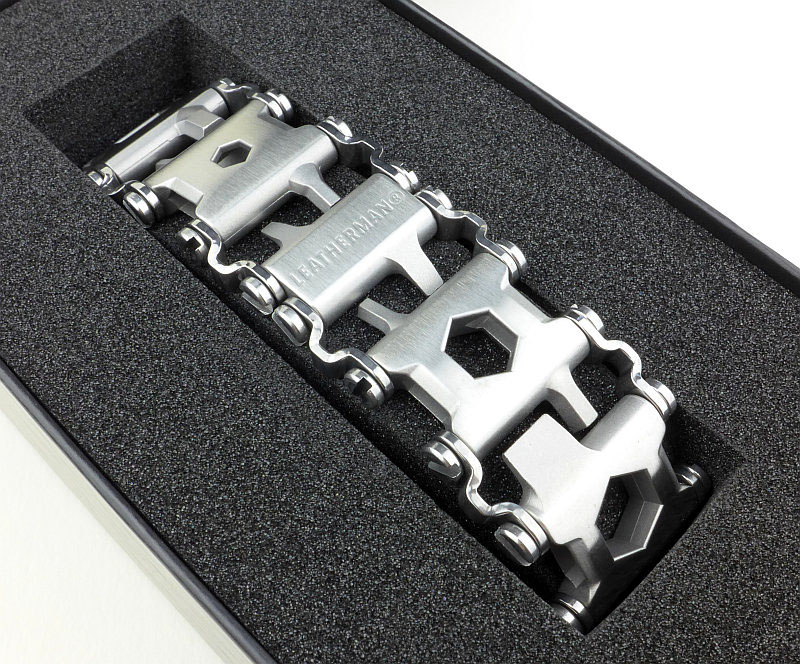
For what will become obvious reasons, the presentation of the TREAD is very much like a watch.

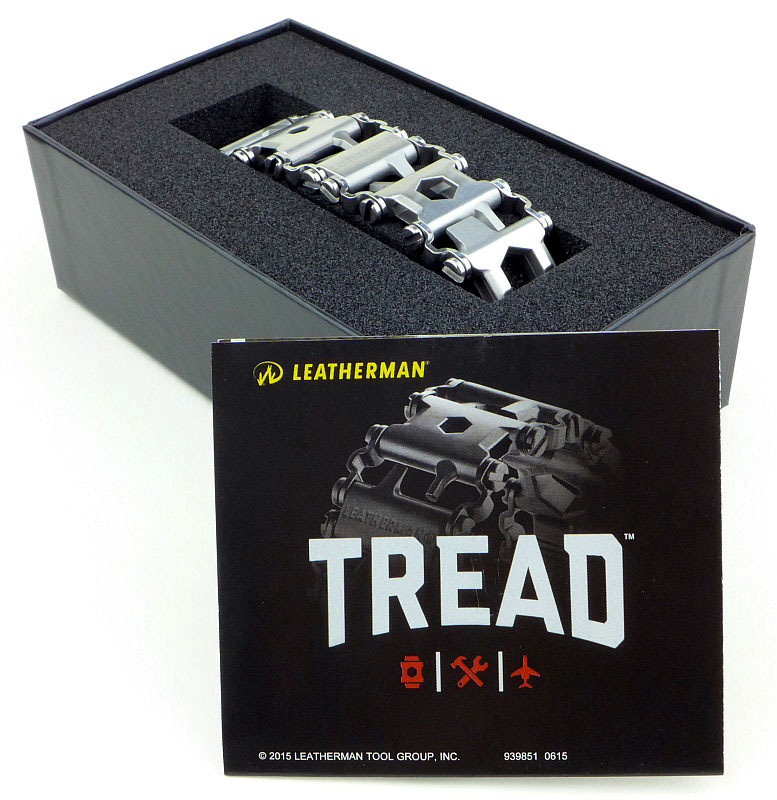
No bits and pieces in the box, simply the TREAD and a leaflet.

The packaging keeps the links from rubbing against each other as the TREAD comes on a foam mount.

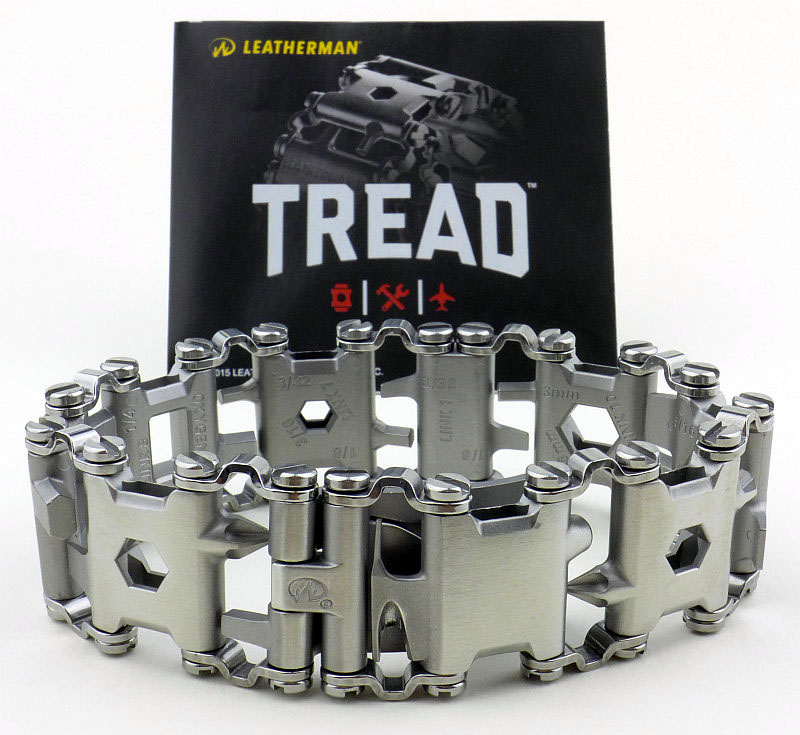
Fresh out of the box.

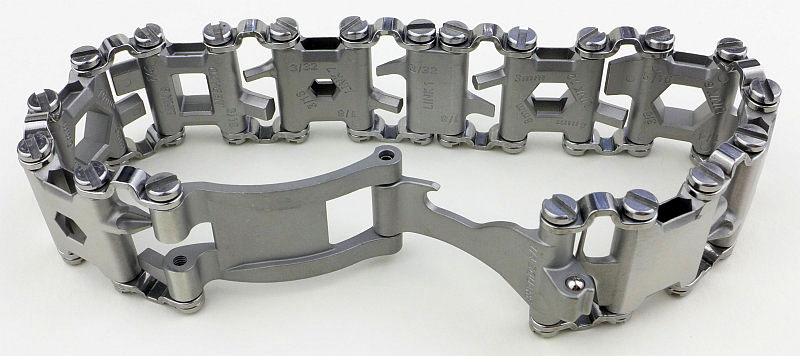
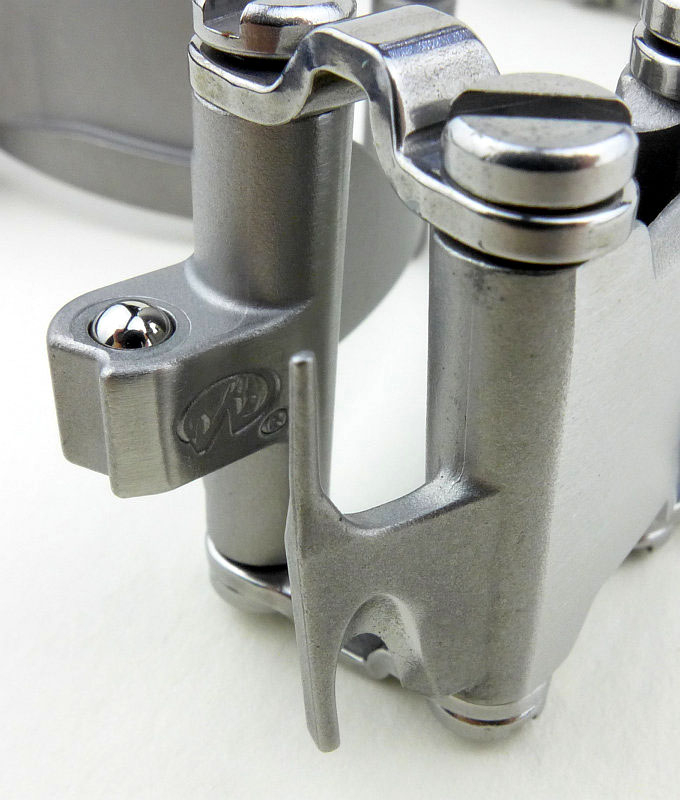
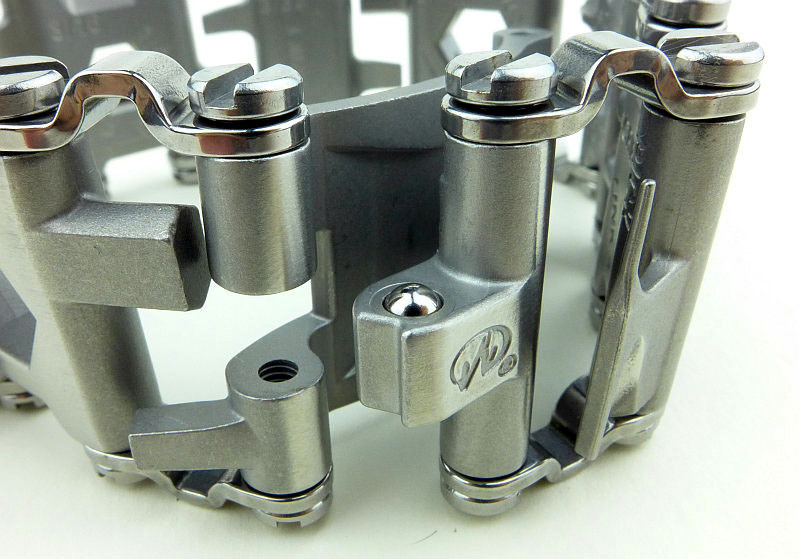
The clasp is an ingenious combination of a sprung ball detent retainer and a tool.

A closer look at the clasp fastener on which there is a small version of the Leatherman logo.

Jumping straight to what the TREAD is all about with one tool deployed and ready to drive a Philips screw.

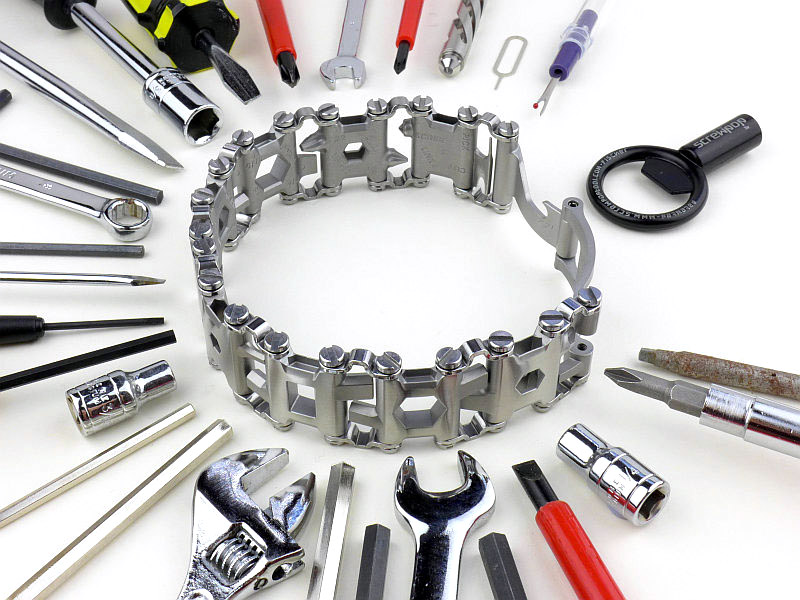
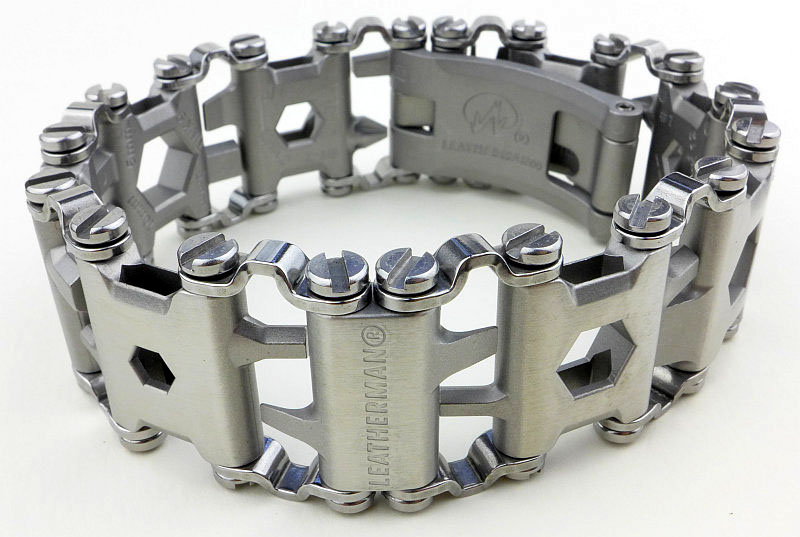
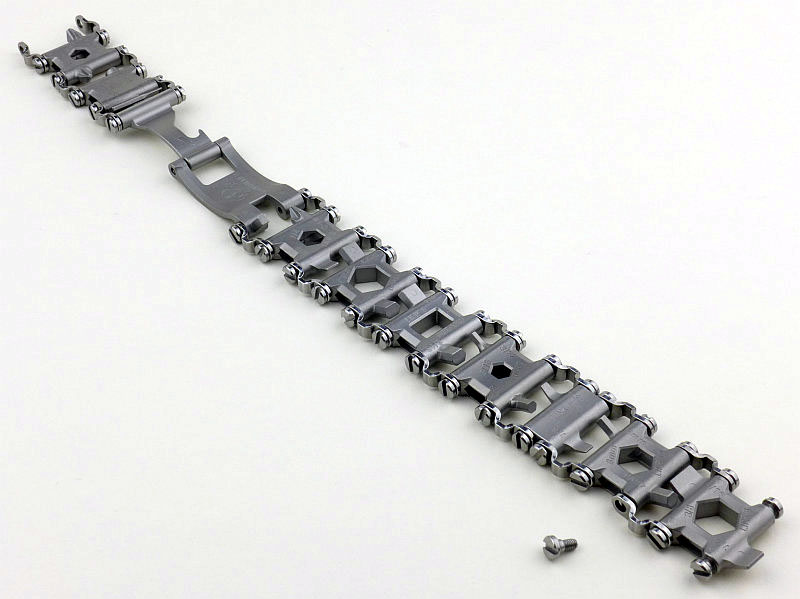
Out of the box the TREAD includes all the tools and links. Like this it is a little on the large side.

You can adjust the size of the TREAD by removing links. There are only two sizes of link which change the size by either 3/4″ or 1” (including the link bars). Most of the links are 1”, with only the one smaller size link.

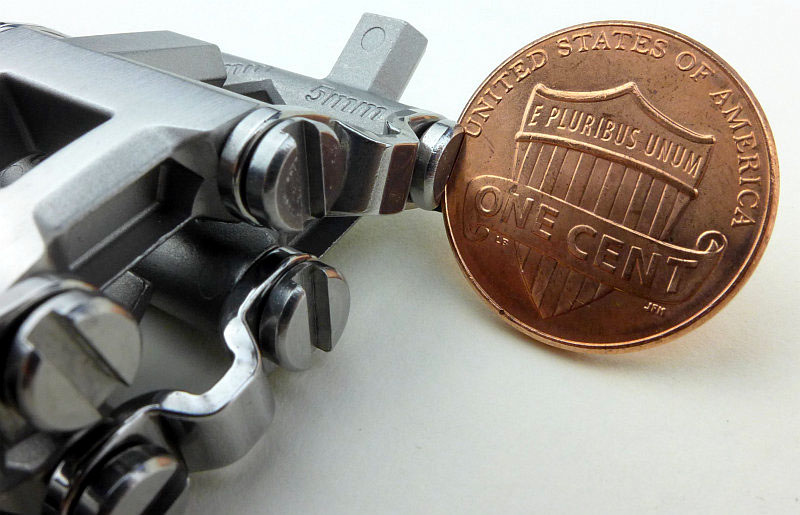
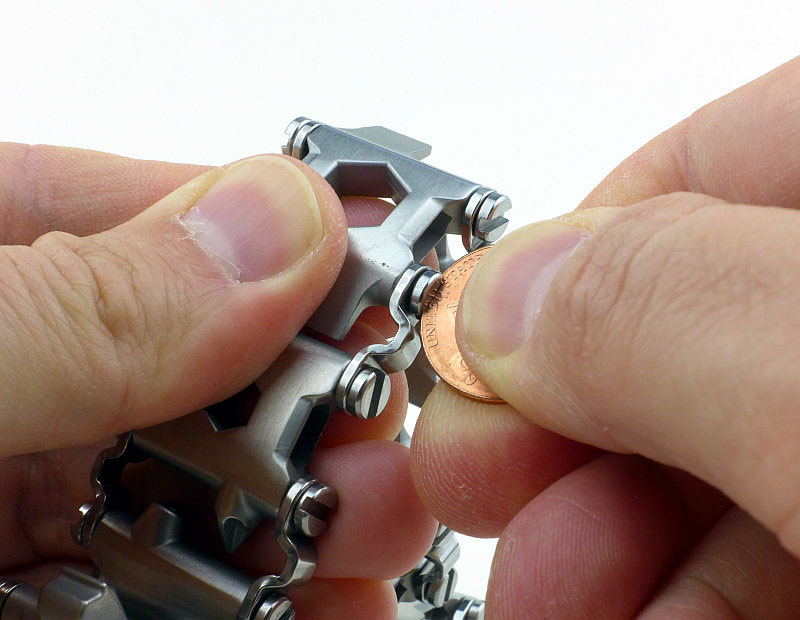
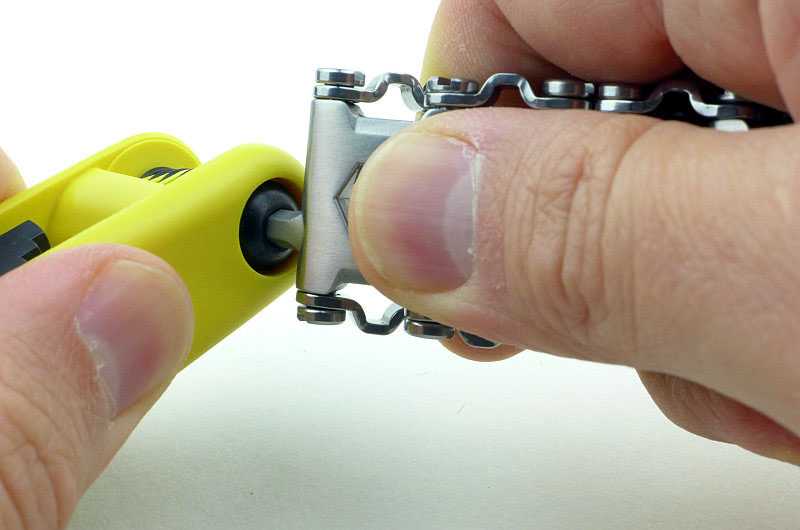
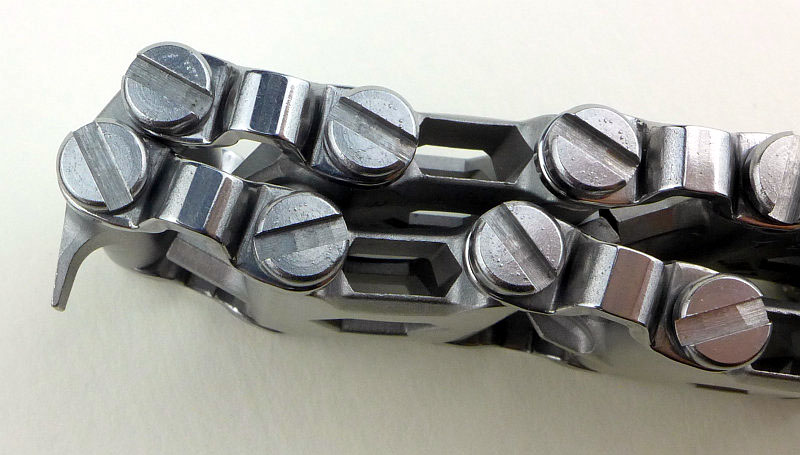
Looking at the TREAD, adjusting it might seem slightly ironic as you need a screwdriver to undo the link screws. However, cunningly, Leatherman have made the slot in the screw the right size for a small coin such as a 1 cent coin. This has the added advantage of using a copper screwdriver so making it impossible to mar the screw head.

Let’s run through the adjustment process…

To start with take out two screws to open up the bracelet. Then start to remove the screws for the link you are removing.

What you need to do when resizing is to pick the link you are going to do without. For me I started with the largest flat screwdrivers, which is why I opened up the bracelet at this point.

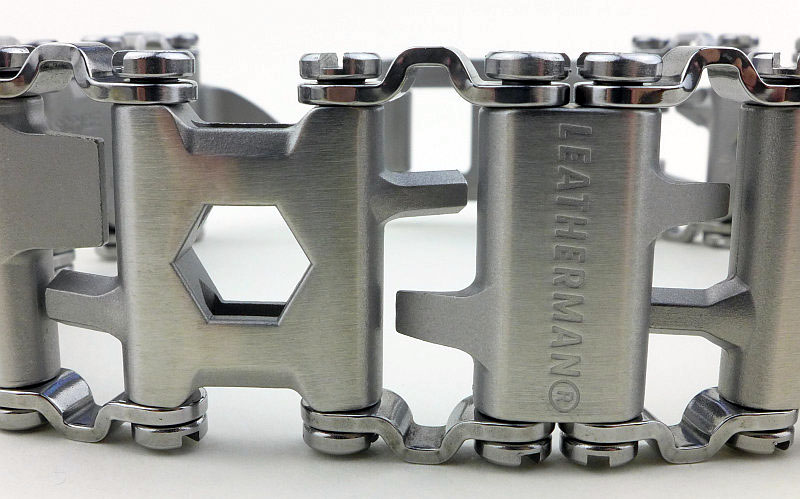
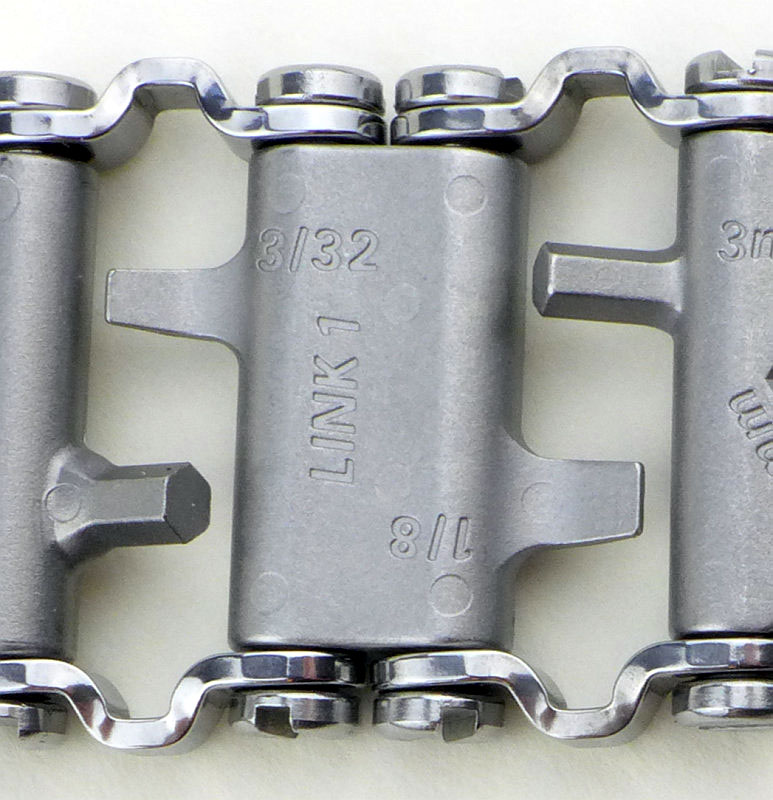
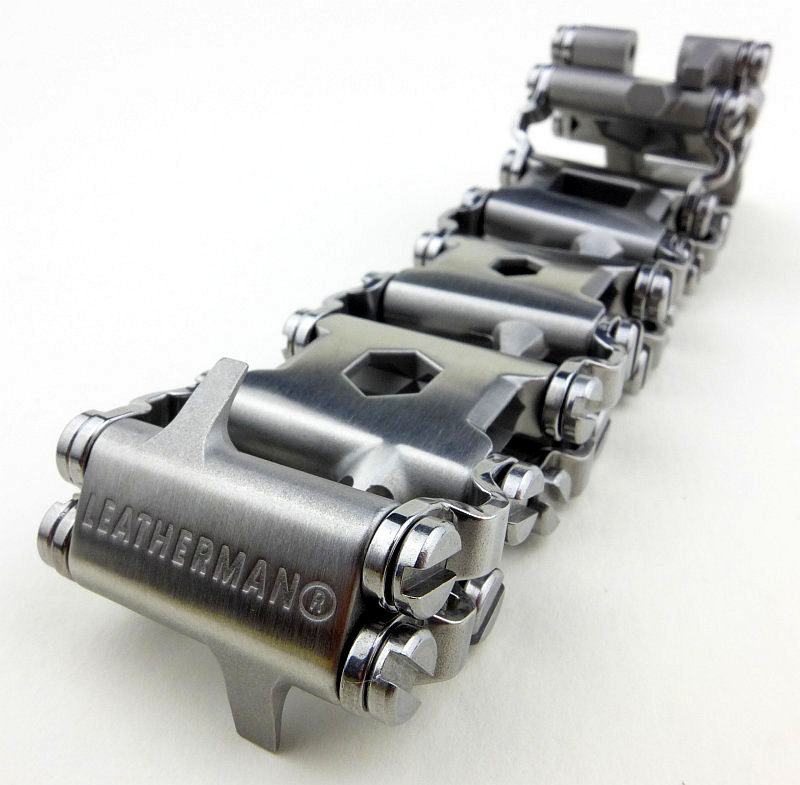
While we are on this subject, we had better have a look at the links. Link #1 is the small sized link and has the two small slot screwdrivers and has ‘Leatherman’ on the outside.

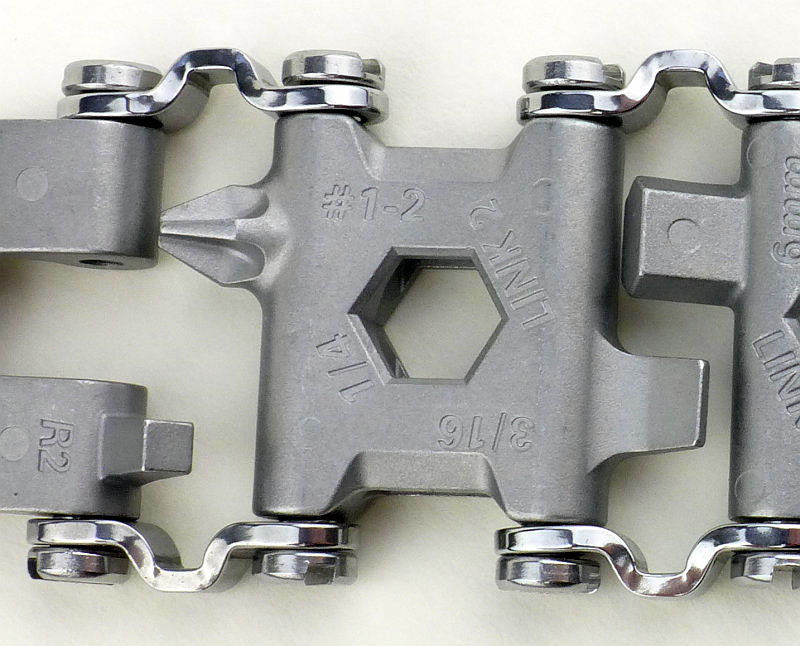
Link #2 has a 3/16 slot screwdriver, Philips PH1-2 and 1/4 box wrench. Also note the clasp’s square driver bit (R2) bottom left in the photo.

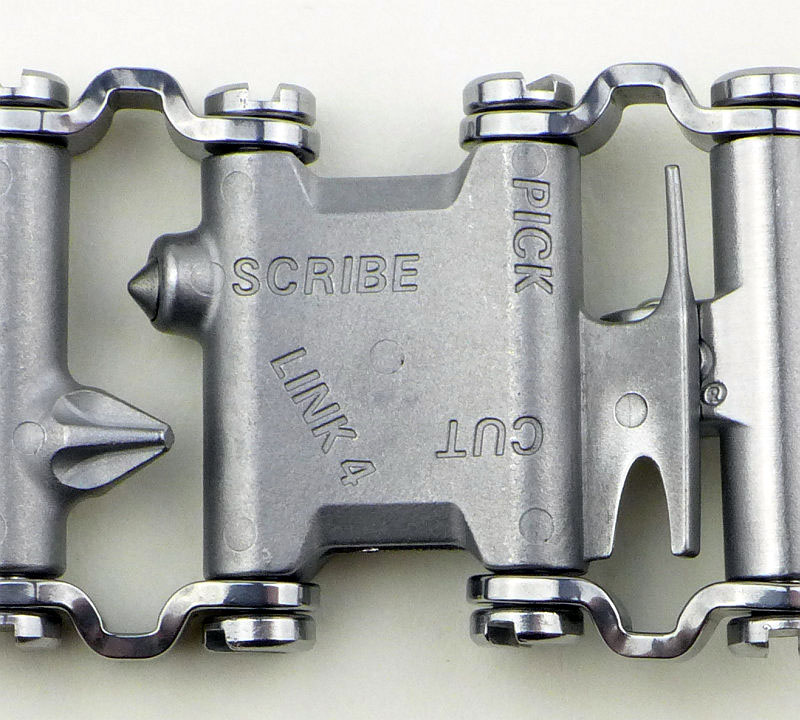
There is no Link #3 in this sample instead we skip to Link #4. This has a small cutter, pick for mobile phone SIMs and a scribe. Underneath the pick and cutter is the clasp’s 1/4″ square drive for small sockets.

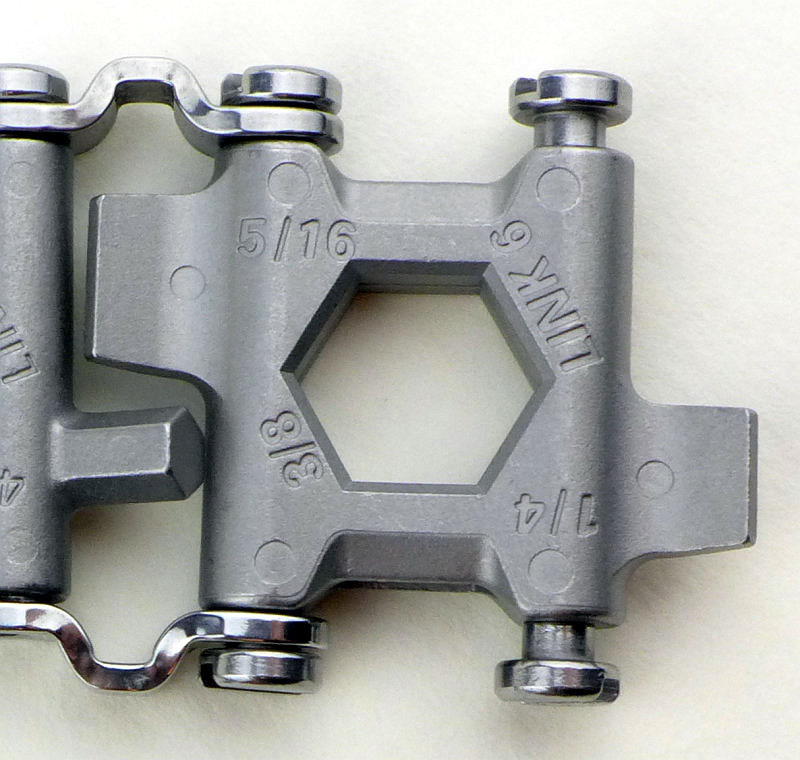
With no Link #5 we move onto #6 which has a 1/4 and 5/16 slot screwdrivers and a 3/8 box wrench.

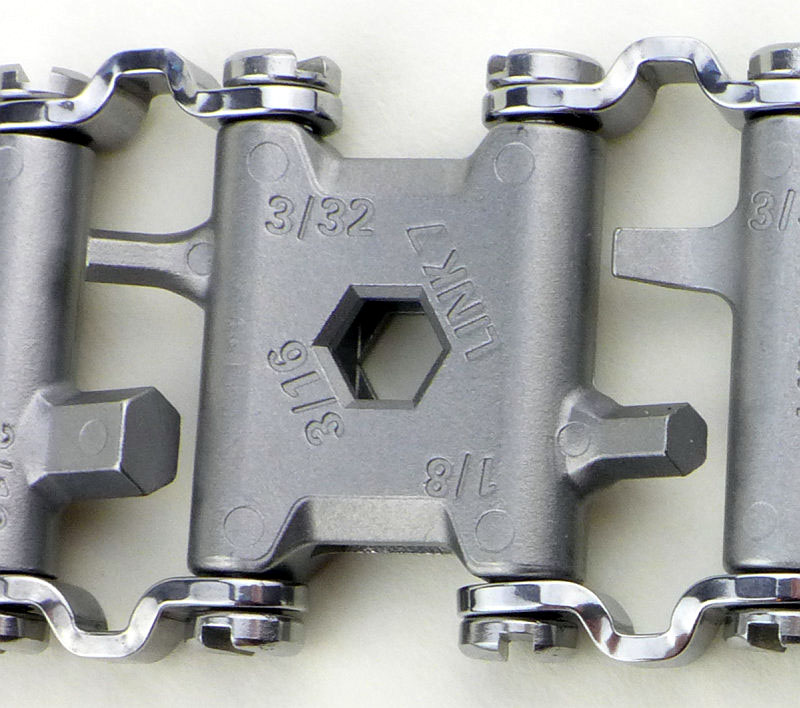
Link #7 has 1/8 and 3/32 Allen keys plus a 3/16 box wrench.

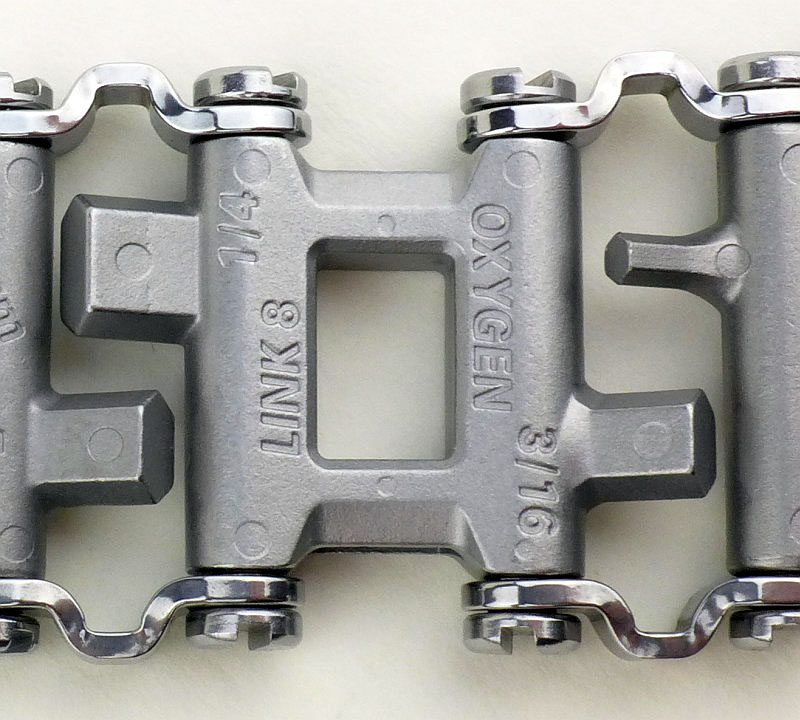
Link #8 has 3/16 and 1/4 Allen keys (which are taking on a ‘flat’ appearance) plus an Oxygen wrench.

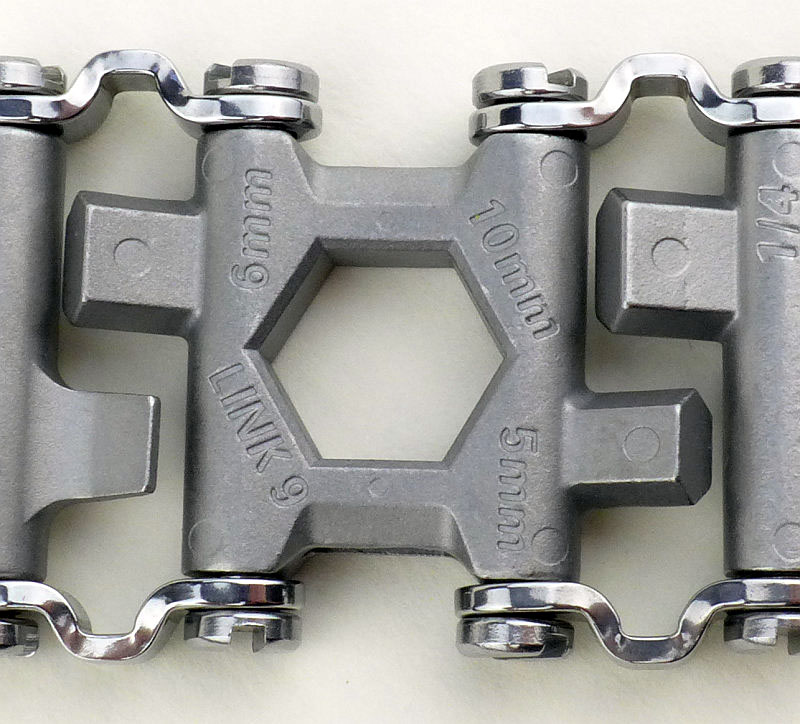
Link #9 goes metric with 5mm and 6mm Allen keys and a 10mm box wrench.

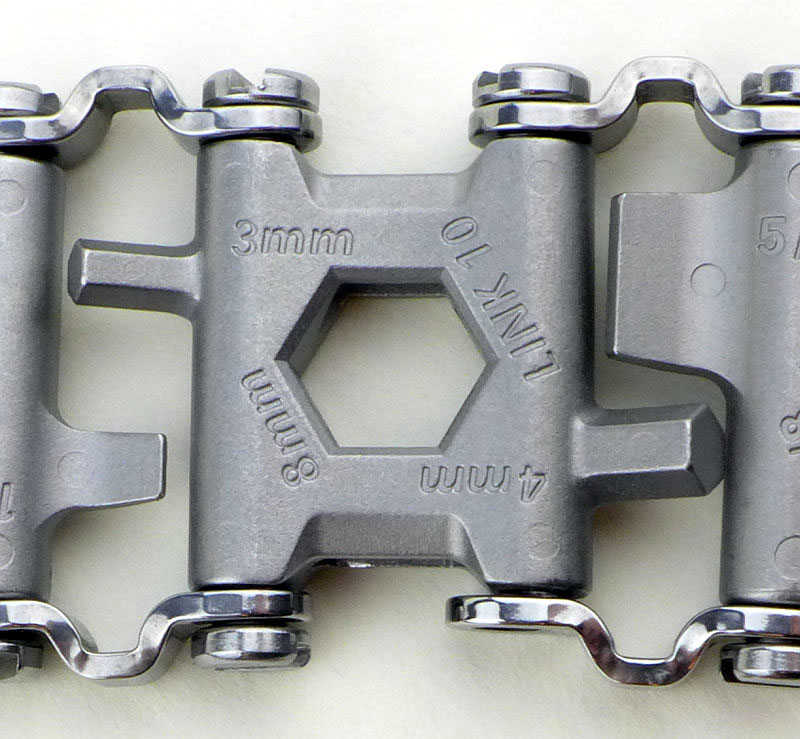
Link #10 stays metric with 3mm and 4mm Allen keys and an 8mm box wrench.

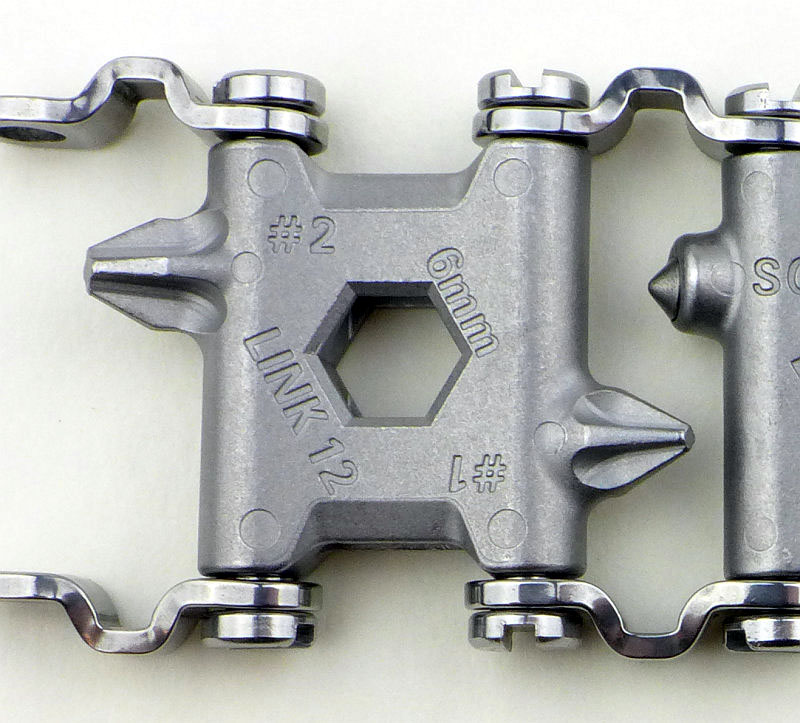
No link #11, so we skip to #12 which has PH1 and PH2 Philips screwdrivers and a 6mm box wrench.

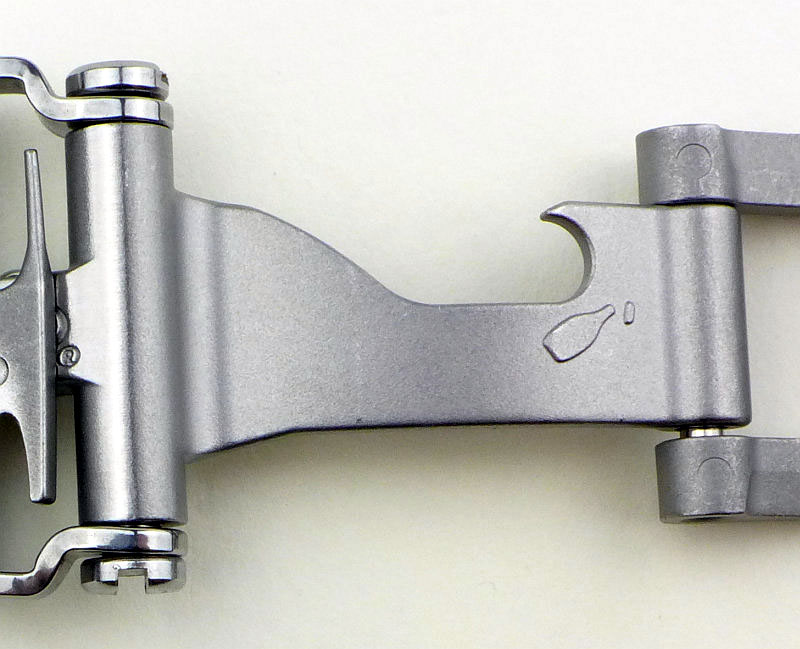
Then we have the clasp. In the middle is a bottle opener.

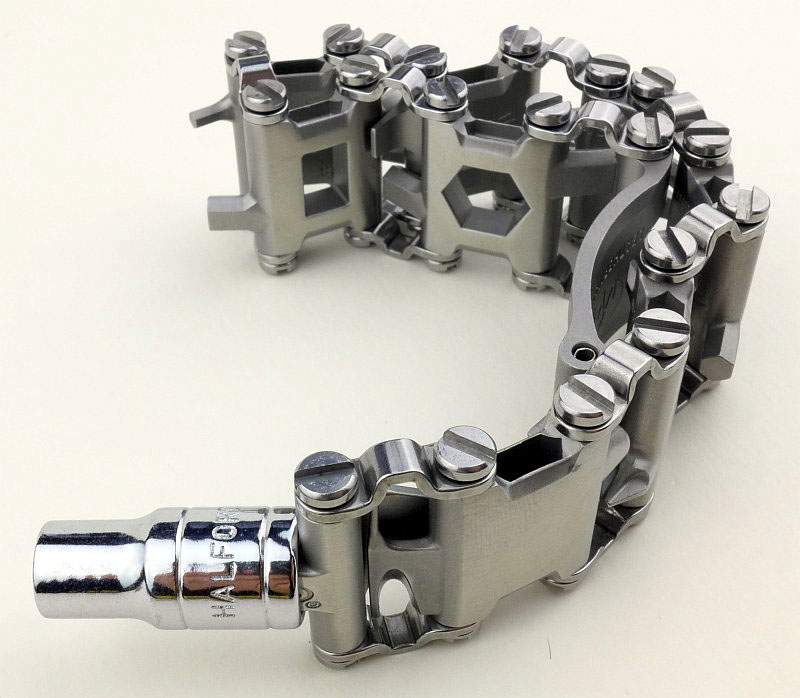
The clasp also has the previously mentioned 1/4″ socket driver and R2 square driver.

Just showing the 1/4″ socket driver with a socket fitted.

Pause for breath….

OK and back to the resizing. This is the final configuration I had to go with; going to the next smaller size involved removing the small link, at which point the TREAD was overly snug and got much too tight when I got hot.

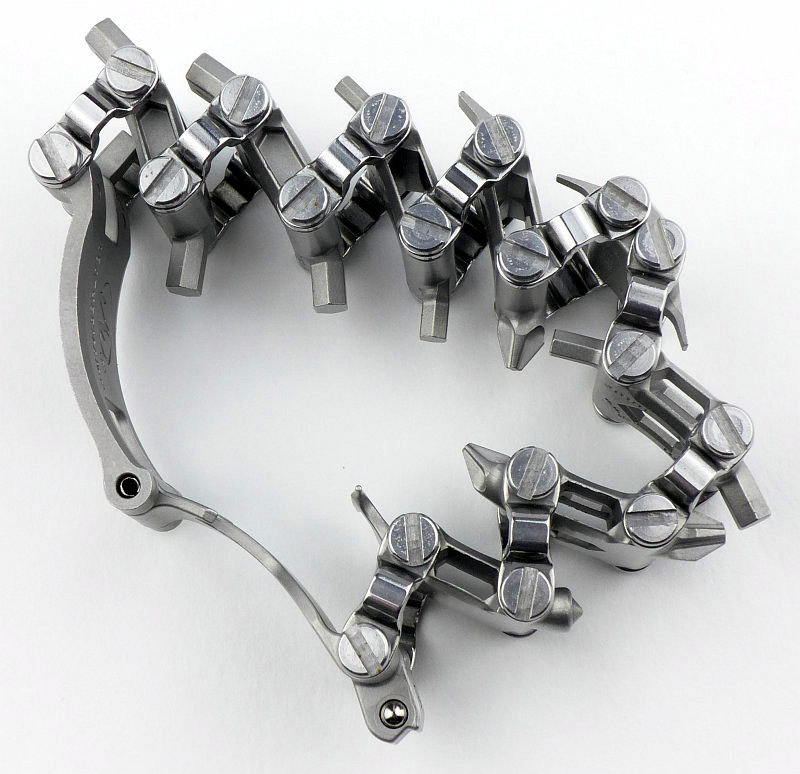
Though it doesn’t show the tool in the centre of each link, here is a quick overview of all the bits.

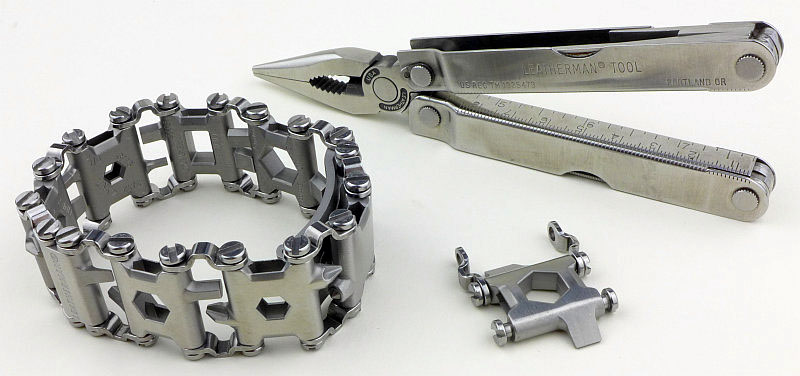
Multi-tools have come a long way thanks to Leatherman, here we have old and new multi-tools with 25 years between them.

Troubleshooting

This is a new section I am adding to mention any minor niggles I came across during testing, in case the information helps anyone else.

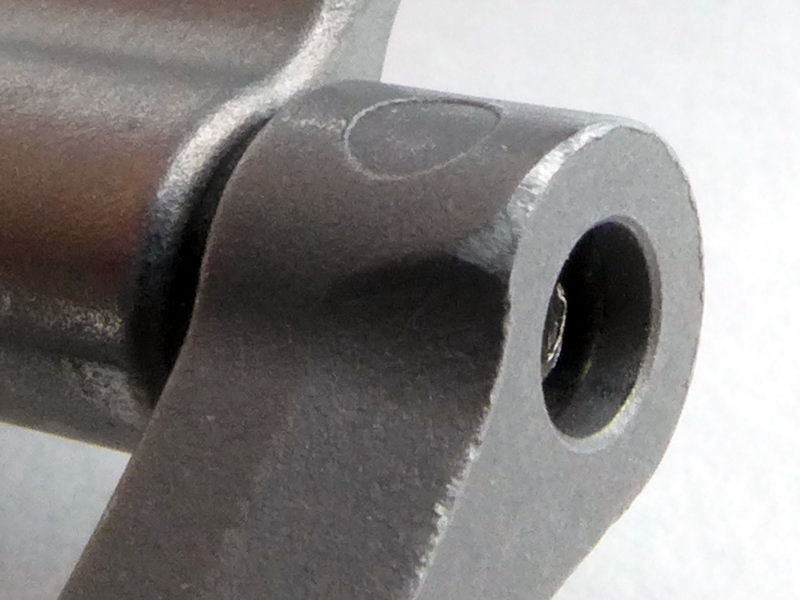
Though technically no issues were encountered during testing, I did find it necessary to take off a few sharp corners (more on why in the ‘in use’ section).

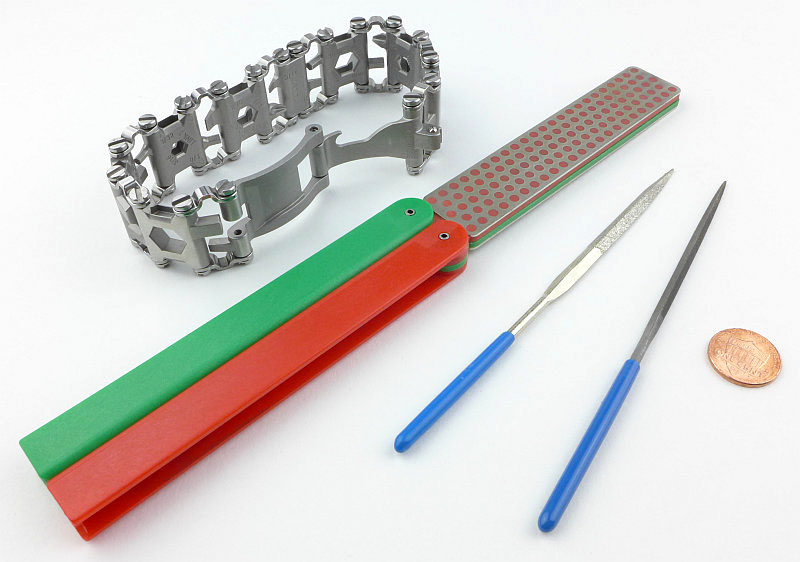
I had to break out a selection of files from a standard needle file, diamond needle files and a DMT Diafold sharpener to work on pretty much every single screw. The slot cut into the screw head has sharp edges and corners which I needed to ease.

The edges of the clasp also had a bit of a tidy up.

None of this was absolutely necessary but for me improved comfort and usability significantly.

As per the description of this section, this information is provided in case anyone else finds a similar ‘issue’ that might be fixed in the same way.

The TREAD in use

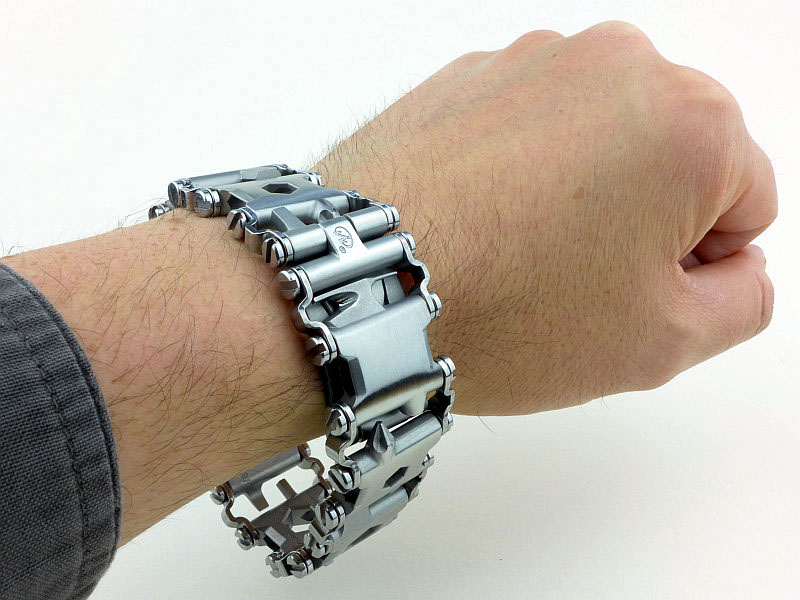
You can view the TREAD in different ways. It might simply be ‘Man Jewellery’ or genuinely an Every Day Tool. How well you get on with it will also depend on several factors, from the actual size of your wrist, to if you are happy wearing something reasonably heavy on your wrist (like a big diver’s watch).

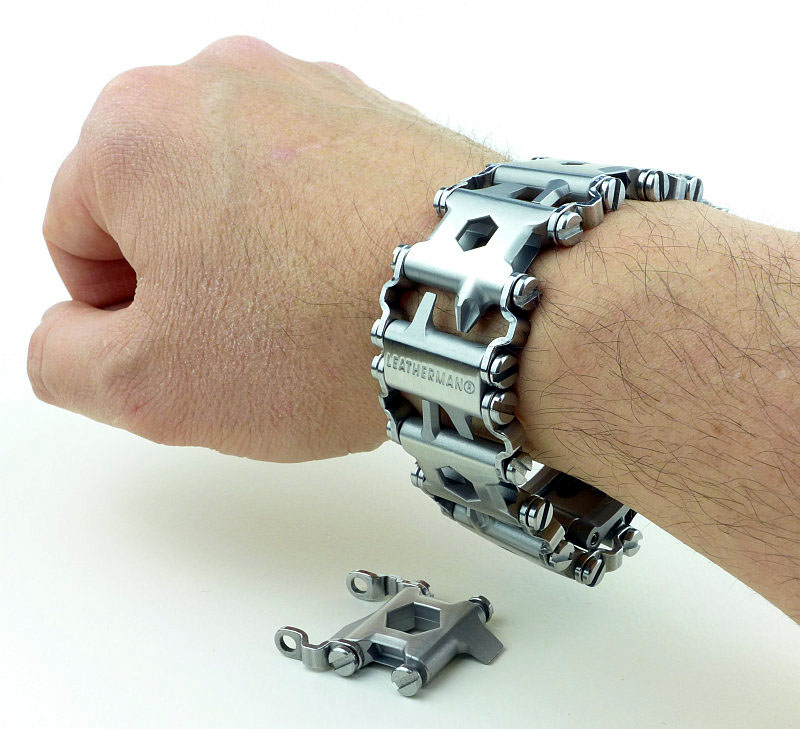
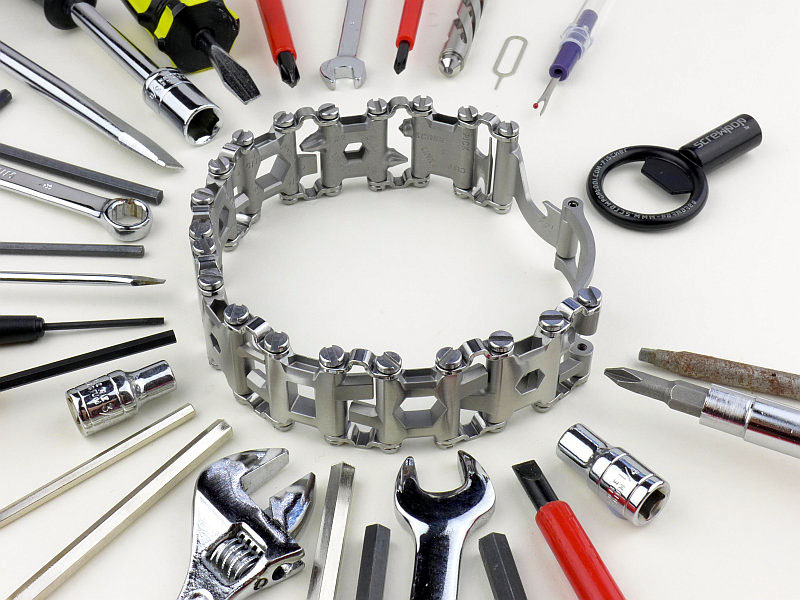
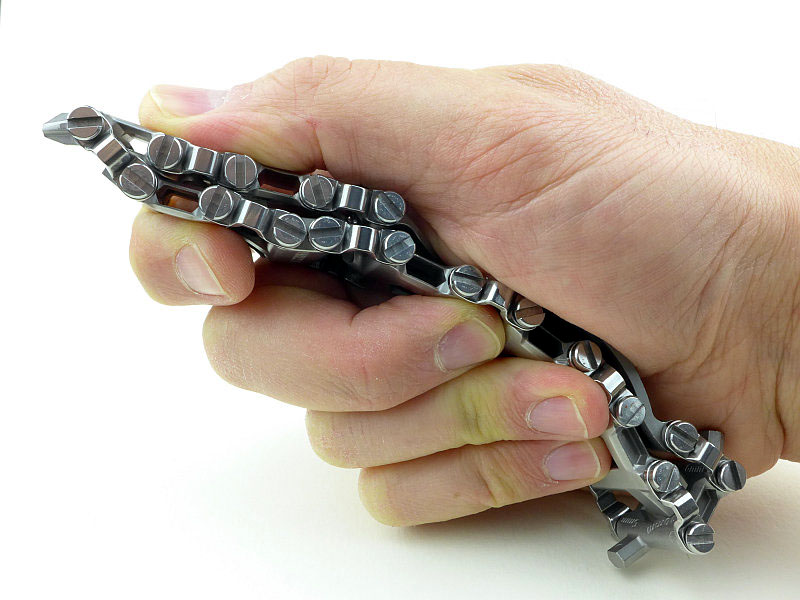
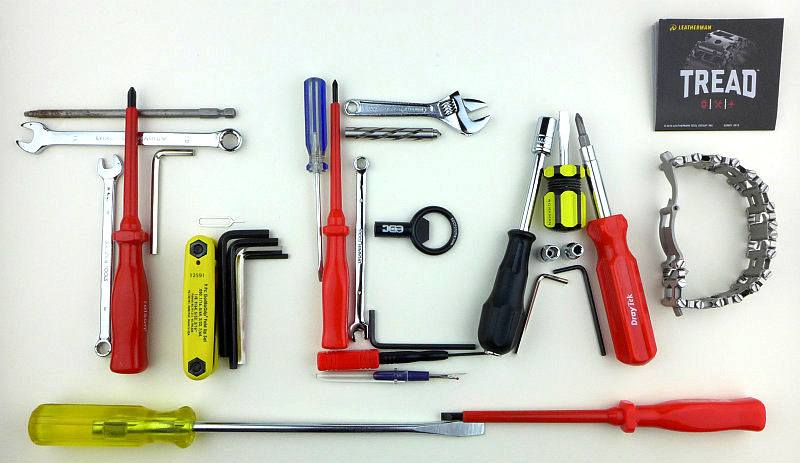
First of all though, just look at what you are carrying on your wrist with the TREAD (the adjustable wrench represents an Oxygen wrench), so the burden, if it is a burden, may just be worth it.

Leatherman are working on a watch for the TREAD to be a strap for. This has always seemed the most logical approach to me as a watch wearer, as with no additional burden my watch strap suddenly becomes useful.

In the meantime though we have the TREAD as shown here, and for me the main issue has been of fit. Leatherman state it can be adjusted to 1/4″ increments, but this is not true. There are two link sizes, 1” and 3/4″ which are indeed 1/4″ different. So if you substitute one of these links for the other it will be a change of 1/4″. However this relies on those two links being available , which they are not always going to be. Take the example, that for me to wear the TREAD I consider the two small screwdrivers as essential. This means I have to keep the 3/4″ link in place so can now only adjust the size in 1” increments. This is a very coarse adjustment.

Unfortunately this coarse fit adjustment has led to several issues. Firstly the tread now sits onto my hand when my arm is down, and secondly, but more importantly it now clashes with all long sleeved tops and jackets.

In the previous section I showed the filing I did. The reason for this was that the TREAD’s sharp corners were not out of the way near my wrist, but instead rubbing on any long sleeve I wore. I was not prepared to shred my sleeves, so had to take action with the files. If the fit had been closer to my wrist, I don’t think this would have been a problem at all.

So moving beyond this, when the weather was warm enough not to wear long sleeves, the TREAD was much easier to live with and I was able to make it part of my EDC.

At first it might seem awkward and odd to have a flexible screwdriver handle, but the Tread works surprisingly well in the hand allowing you a firm grip.

I might be wrong, but I feel the TREAD is really only for light duty jobs, and if winding up the force you need to be careful not to over stress the links and bend the jumper bars.

The two smallest screwdrivers are my most used part of the TREAD. But being on the only small link has two consequences. First is the limited size adjustment by having to keep this one link.

The second is that the blade can only be moved out to the side and not as much as the other screwdriver bits, limiting access.

Access is another consideration. If the screw head is recessed at all, the bits on the TREAD will not reach it, so the TREAD is only suitable for surface mounted screw heads.

With all of that said, the TREAD is oddly alluring and both demands to be worn and to be toyed with like an ‘executive toy’. Its true usefulness will be entirely dependent on how often you need access to any of the tools on the TREAD. I can personally go days or weeks without needing any of these, but then go days in a row constantly needing various tools (however I did find the small cutter incredibly useful even when I didn’t need any of the other tools). If you use any of these tools daily, I’d say the TREAD is an absolute winner in terms of convenience. It also has a seriously manly bling factor and has people doing double takes as they realise it really is a working tool.

Leatherman has said it is working on improving the fit and on a watch face to go with the TREAD. These additions/improvements will take the TREAD to a new level of integration and usefulness.

Review Summary

_______________________________________________ _______________________________________________
Things I like What doesn’t work so well for me
_______________________________________________ _______________________________________________
Always on you tools Size adjustment is too coarse to get a good fit
User can choose which tools to keep Screw heads and clasp have some sharp edges
Doubles as ‘Man Jewellery’ Possibility of overloading with the larger tools
Airport security safe (so far)
Replaces up to 29 tools (depending on wrist size)

Gear Review: Nordic Pocket Saw (Pocket Chainsaw)

Over the years I’ve used all sorts of two-handed flexible pocket saws, but none as effective as the Nordic Pocket saw pocket chainsaw. Many ‘survival’ pocket saws are wire, and tend to tear or abrade rather than cut. What caught my eye with the Nordic Pocket saw was the sawdust flying from the cut just like a petrol chainsaw – this flexible saw actually cuts.

So why not stick with a rigid bladed folding saw? Flexible saws give you amazing versatility, much larger capacity of cut, and the ability to cut high, out of reach, tree limbs using cord to extend the handles and a throw-line to pull the saw into place.

A few more details:

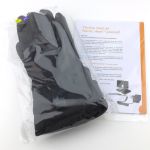
What’s in the box?:


A good look round the Nordic Pocket Saw – Things to look out for here are:

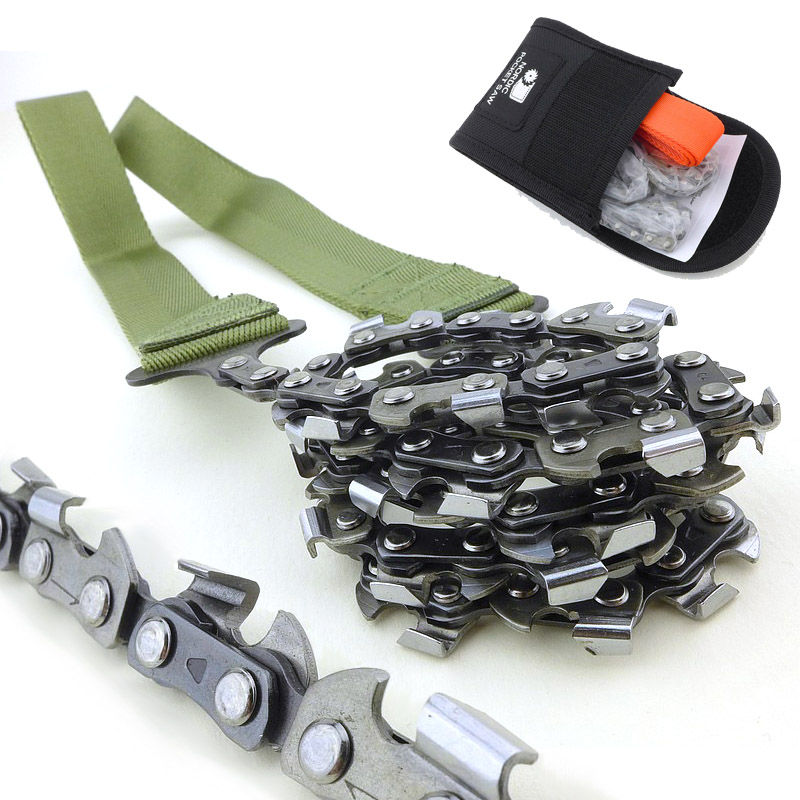
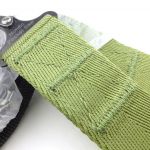
You can see the quality of manufacture throughout this set of images. The hand strap uses a strong webbing with plenty of stitching to reinforce it. The chain links both move freely and also with minimal play meaning it stays nicely aligned in the cut, but can be coiled neatly for storage.


What it is like to use?

Being such a dynamic saw to use, it is really best to show it in action, so here is a short video that should give you a very good idea of what it is like to use, and how to get the best from it.


What may or may not be apparent in the video is that it can be quite hard work. As the saw really bites in, and properly cuts chips of wood out (and the cut is quite wide), the effort level is relatively high. Unlike other pocket saws, you can do a two person cut where you each hold one of the handles and get into a sawing rhythm (so as to not jam the chain). Like this you can motor through even large logs, at least sharing the work load.

Hand-in-hand with this is that the workpiece does need to be well secured. The sawing action pulls on it pretty hard. In the video, the ground based cut I showed, had me standing on the branch (all 92Kg of me) and it still wanted to move about. The smaller the diameter of the branch being cut, the more awkward this can become, and is where a folding rigid saw becomes a better option.

At some point (I’ve not got there yet) the saw will need a sharpen. I’m assuming a normal chainsaw file will do the job.

The Nordic Pocket Saw is so easy to carry it can easily become part of your basic kit even when you are not planning any larger cuts.

Review Summary

The views expressed in this summary table are from the point of view of the reviewer’s personal use. I am not a member of the armed forces and cannot comment on its use beyond a cutting tool or field/hunting knife.

Something that might be a ‘pro’ for one user can be a ‘con’ for another, so the comments are categorised based on my requirements. You should consider all points and if they could be beneficial to you.

_______________________________________________
Things I like
_______________________________________________

It really cuts – the chips fly!
Can cut much larger logs than with other pocket saws.
Very compact and easy to carry.
Belt pouch provided.

_______________________________________________
What doesn’t work so well for me
_______________________________________________

Logs being cut need to be well secured.
Requires high levels of effort.
Not so well suited for smaller branches.

Gear Review: NORDIC HEAT Heated Glove Liner (Thin)

Having been thoroughly impressed by NORDIC HEAT in previous years at IWA, at IWA 2018 I made sure to visit them to be able to talk directly about their thoughtful approach to electrically heated clothing; plus I wanted to take the opportunity try some of their products at the show. I was so impressed, I came away with some NORDIC HEAT gloves to take a more in depth look at.

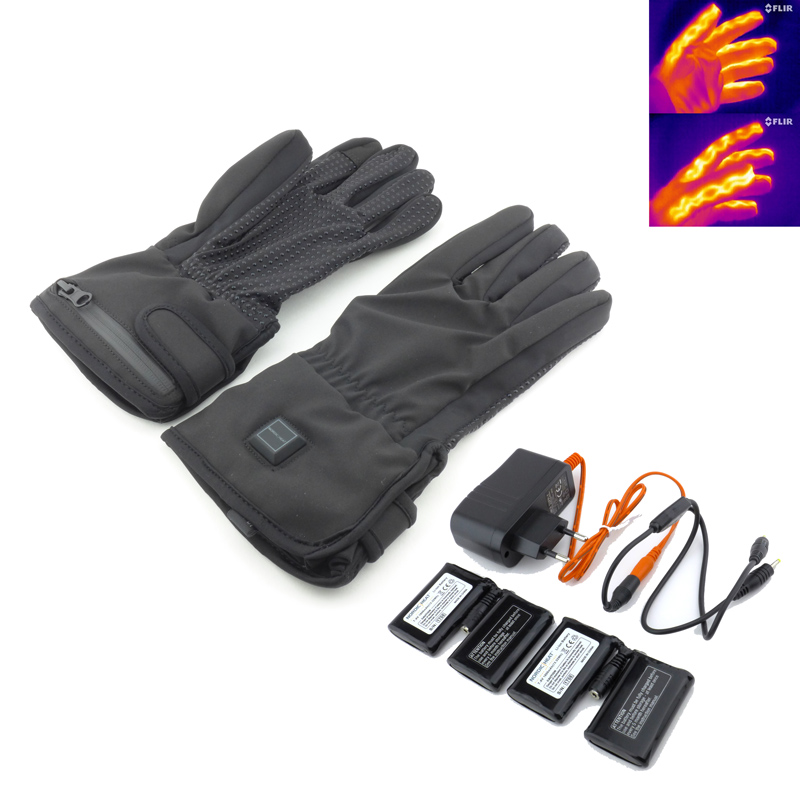
In this case the I’m testing the Glove Liner (Thin) gloves which are the lightest-weight gloves in the NORDIC HEAT range. They give you the option to use them on their own as lightweight heated gloves, or are thin enough to be worn under outer gloves, adding heating to otherwise unheated gloves.

A few more details:

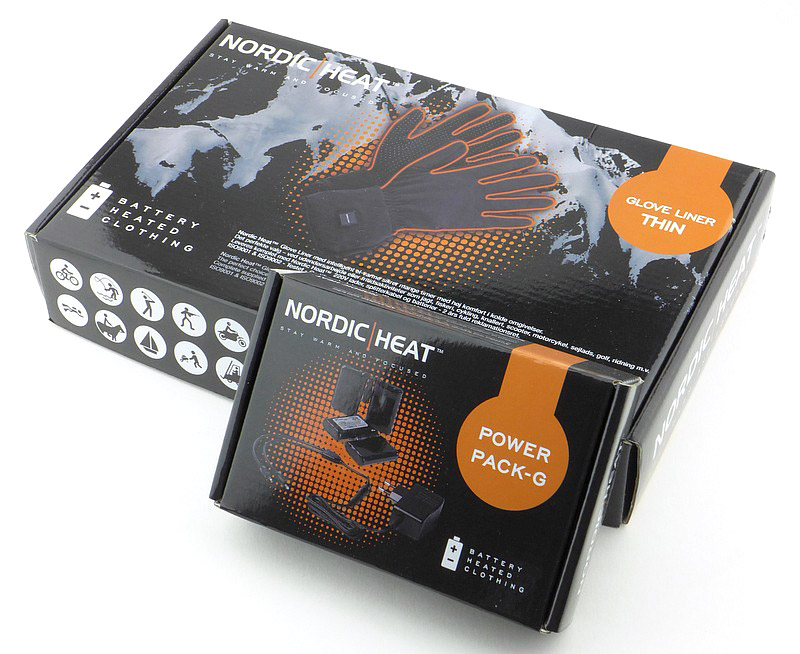
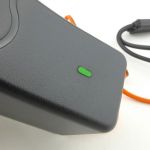
NORDIC HEAT Power Pack-G:

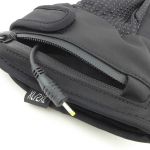
In their logically thought out approach, the whole system is modular and the power packs and charger come as a set to be combined with various items of heated clothing.


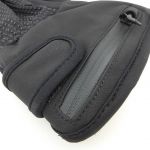
A good look round the NORDIC HEAT Glove Liner – Thin – Things to look out for here are:

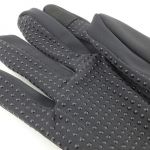
Despite being a lightweight glove, the construction is solid and attention to detail in the fit and comfort is excellent. The entire inner surface has rubber dots to really add grip, plus there is a touch screen compatible pad on the index finger.
NOTE: (Added at the request of NORDIC HEAT) – NORDIC HEAT recommend fitting the battery pack the other way up to the way shown in the photos. They intend for the power cord to go straight down into the glove rather than being looped round.


What it is like to use?

On this subject of heated clothing, I am reminded of a quote from The Hitchhiker’s Guide to the Galaxy by Douglas Adams:
“one of the lingering questions on NowWhat is how the boghogs manage to stay warm in their skins. It says “if anyone had wanted to learn the language of the boghogs, they would have discovered that they don’t and are just as cold and miserable as everyone else”.”
And this is simply because in the past you had only one choice in the cold, and that was to try and reduce how cold you were with more clothing – ‘try’ being the operative word. Once cold starts to set in, the body reduces blood flow to the extremities and they get even colder. So really you were just a certain level of cold, but didn’t have much choice so got used to the discomfort.
Heated clothing provides us with benefits beyond simply the comfort of feeling warmth; it keeps us functional longer in more extreme conditions.
I use it in a few different ways, all of which are subtly different. These are also based on the fact that there are batteries which will run out, so you can’t simply run them all the time.
The first of these ways of using them involves actively combating the cold to stop it setting in. This is where you start off with the gloves on, and turn them on before even going out into the cold. Keeping the hands warm with heating from the very start means you maintain the best dexterity as long as you have battery power for the heating.
Second, and for me a very important way of using them, is for recovery. There are situations where it is not practical to use the heated gloves initially, and other gloves are used. Inevitably the cold starts to creep in and your hands become colder and colder. Once you reach a certain point you really need to recover. Swapping to the heated gloves and using them to bring back the circulation gets you ready to go again. As these glove liners are not themselves thermally insulated, on their own they do not provide much protection beyond keeping some cold air off the skin, and certainly don’t help with holding very cold tools or touching cold surfaces beyond the active heating provided to the side of the fingers. This is why I frequently use other thicker gloves, most of which are not large enough to allow the use these as glove liners, mainly due to the battery pack bulk, so the ‘recovery’ approach is very helpful.
Third on the list is preparation for the cold environment. We are not always warm to start with and the other gloves you are going to use might be chilled; you can use these heated gloves to give you hands a real boost to start with. The non-heated gloves can then be warmed with body heat from this pre-warming and the circulation boost.
You may find different ways to work with them, but this is what has been good for me.

Though I’m going to move onto observations that are more specific to these gloves, there is one characteristic I need to mention which is the same for all heated gloves that have their own battery packs. Having the battery pack in the cuff gives the gloves a strange balance, bulkiness and heavy feel. In the case of these glove liners, this is even more pronounced as the gloves are lightweight, but it is the same in all heated gloves. The bulk at the cuff tends to interfere with your watch; I frequently go without a wristwatch when using heated gloves. This is something you need to accept if you want the benefits of independently powered heated gloves.

The next comments are supported by the photo gallery coming up next –
Thoughtfully, even though these are called glove liners, a touch screen compatible index finger tip has been included. Though it doesn’t look conductive, it certainly works. Be aware however that, just like every other touch screen compatible glove, the finger contact area is pretty big and imprecise. It is more of a case of being able to answer a call without taking off the gloves than being able to make a call. There is not enough precision to tap on a number or name in a list. Certainly useful if you accept the limitations.
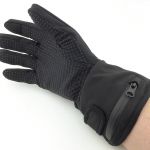
Overall comfort is excellent and the fit is good. In this gallery the first three photos of the glove being worn are without the battery fitted. Skip forward past the photos showing the button illumination to see the bulk added by the battery pack. You get used to this bulk quickly, but it requires some consideration.
It is nice that the power button itself is directly illuminated. When first turned on (using a long press), the first of the three modes is high. To cycle through medium, low and back to high you briefly press the button. A long press is then needed to turn them off again.
Last in the gallery are some thermal camera images of the excellent design of the heating in NORDIC HEAT’s gloves. Each finger is surrounding with heating elements which are clearly visible. Frequently, heated gloves only heat the back of the hand, meaning there is only heating on one side of the fingers. NORDIC HEAT’s method applies heat to two sides of the finger getting more heat in.


Using the FLIR Scout TK thermal camera again to shoot some video, this shows the gloves heating up from cold and those excellent heating elements.

Video Edited with – Cyberlink Director Suite 5 (PowerDirector 16 and AudioDirector 7)
Camera – FLIR Scout TK    

How long do they run?:
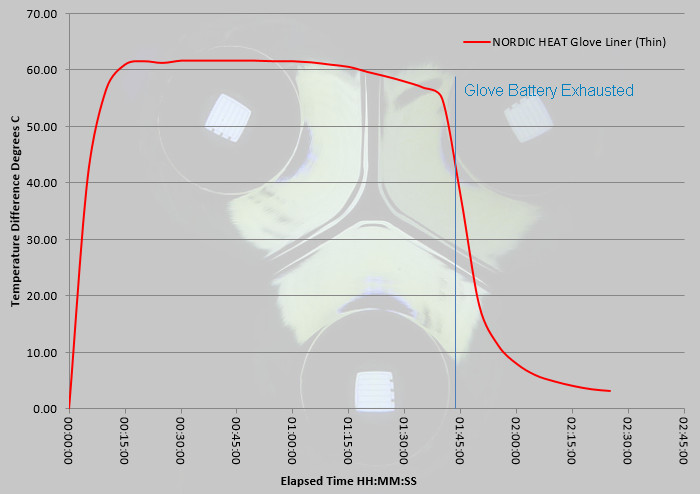
Using a dual thermal probe to measure the ambient temperature and the temperature in the middle finger of one glove, the time/temperature graph was plotted of the difference between these two temperatures. This was carried out in a cool but sheltered area on HIGH mode.
One glove ran out of power at 1h43m and the other at 1h46m.
Recharging the batteries from completely flat takes around three and a half hours (3h33m for one and 4h07m for the other).
The charging indicator on the charger will be solid red if both batteries are connected and charging, and solid green if they are both fully charged. If the indicator light is flashing red, this means that one battery is charged and the charger is “waiting” for the second battery, or only one battery is connected for charging.

In the graph below, the line marking ‘Glove Battery Exhausted’ is the time when the power light went out.

Some Modifications:
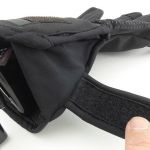
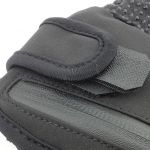
There is only one aspect of these gloves that didn’t work for me, and that was the cuff adjustment tabs. With the batteries adding bulk to the cuff, you really need to open the cuff adjuster to put them on, and then do it up again.
For the first hand this is fine, operating the cuff adjuster with bare hands is no problem, but then we get to the second hand, and now we are using the gloved fingers to grip the tab.
Immediately, as you do up the cuff adjuster, you find the Velcro hook part grabs the fabric of the thumb doing it up. This quickly starts to ‘fluff’ up the thumb fabric and is going to wear it out much faster.
Worse than doing it up, is trying to get hold of the cuff tab to undo it. You really have to press the thumb into the edge of the tab to get hold of it, and so onto the Velcro hooks. This is when the thumb fabric sticks to the hooks and has to be ripped off them.
All it really needs is a little grip tab (which has no Velcro and extends enough to grip with the gloves on) to allow you to get hold of it, so I got out my ‘Velcro control pack’ to make one. As I find the tendency of Velcro hook material to grab things quite annoying I have a selection of hook and loop strips (my ‘Velcro control pack’) that I can cut to size to cover up excessive hook material or in some cases extend it.
The following gallery steps through what I have done for each cuff adjuster. A simple job that took five minutes to do, and has transformed the fitting and removal of these gloves.


Review Summary

The views expressed in this summary table are from the point of view of the reviewer’s personal use. I am not a member of the armed forces and cannot comment on its use beyond a cutting tool or field/hunting knife.

Something that might be a ‘pro’ for one user can be a ‘con’ for another, so the comments are categorised based on my requirements. You should consider all points and if they could be beneficial to you.

_______________________________________________
Things I like
_______________________________________________

All fingers heated on two sides.
Touch screen compatible index finger.
Turns onto maximum power.
Simple and reliable interface.
Adjustable cuff.
Good grip.
Dual purpose, liner or lightweight glove.
Modular design for use with other NORDIC HEAT products.

_______________________________________________
What doesn’t work so well for me
_______________________________________________

Cuff adjuster tab too short and difficult to get hold of.
Batteries can be fiddly to fit into the pocket.


Discussing the Review:

The ideal place to discuss this reviews is on a forum. If you started reading the shorter forum version of the review, but followed the link this full exclusive review, please return to that forum to discuss the review there.
If you read the review entirely on Tactical Reviews, please consider one of the following to join in, or start, a discussion.

BladeForums – Knife Reviews (US based Forum for Knife Discussion)

CandlePowerForums – Knife Reviews Section (Largest and Friendliest Flashlight Community Forum)

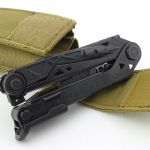
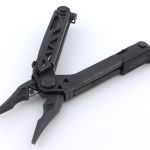
Gear Review: Gerber Center-Drive Multi-Tool

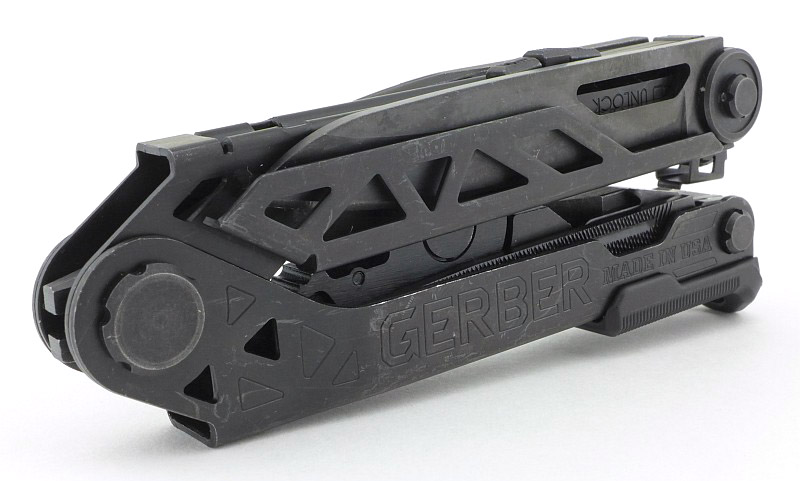
Gerber’s Center Drive multi-tool may be one of many in the highly competitive multi-tool market, but its name clearly tells you what its key design feature is. Gerber have gone all out with the capabilities of the built-in screwdriver bit holder, along with considering the ergonomics when using a screwdriver which has a multi-tool as the handle. So Gerber aligned the axis of the bit holder to be as close to the centre line of the tool as possible. The Center-Drive tool also includes a larger than normal knife blade, powerful sprung pliers with replaceable wire cutters plus even more.

A few more details:

We’ll be taking a good look round this tool, first what is in the box, then focusing on the headline feature before taking in the rest of it.

What’s in the box?:


The driver in the Center Drive:


A good look round the Gerber Center Drive – Things to look out for:

With the featured functions of the bit driver and large knife blade, the Center Drive has an asymmetrical layout with one handle carrying these features on the outside, and the other handle having further tools folded into the inside; this gallery takes you around all of these.


What it is like to use?

Having seen some less than positive comments about this tool, I felt the need to address these first before going into more on how I have been getting on with it. In particular I wanted to mention the often overlooked aspect that a multi-tool, by its very nature is a jack-of-all-trades and as such a-master-of-none. All tools have their limits and it is up to the user to apply appropriate force and use the tool in a reasonable way. Multi-tools will get you so far, and are a tool-kit in one package, they can’t do it all. In every job I’ve used the Center Drive for I’ve not been trying to push it to its limits; heavy jobs need dedicated tools. Use it appropriately and enjoy the benefits.

With that said, there is one design aspect you should be warned about. The knife blade has an opening hole for one-handed use, however there is a high likelihood you will cut yourself if you use it. In the sample on test, the knife blade has a good resistance to movement (which helps keep it closed) and this requires a certain amount of force to rotate the blade open. This amount of force pushes the thumb quite hard onto the side of the blade, so much so the cutting edge touches your skin. Initially I found small skin flaps forming on my thumb, then realised where they came from. Check the images I took from my Instagram posts on this in the gallery below an you will see what I mean.


With all that out of the way we can look at what makes this tool particularly good. Personally, my main uses of a multi-tool, in order, are as a screwdriver, then the pliers, the file, pry-bar, awl, after which it depends on the tool, and as I carry a dedicated knife, using the multi-tool knife is generally only a last resort backup.

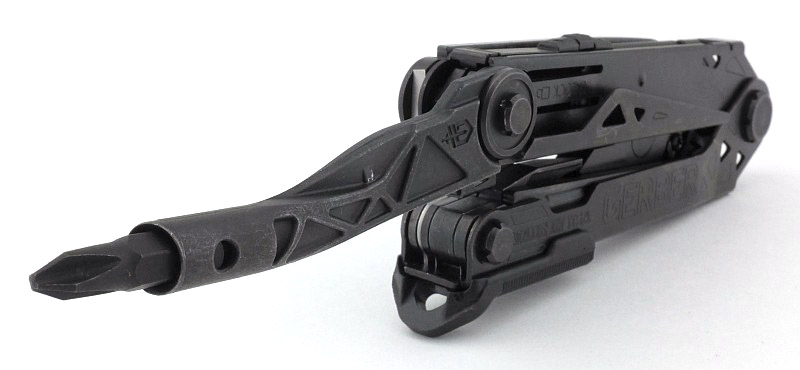
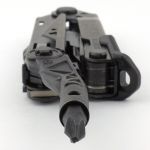
So my most frequent need will be for the screwdriver tool, and the Center Drive has an extended, centred, standard 1/4″ Hex bit-holder. That is something to take in and consider. No special bits are required, any 1/4″ Hex bits you have can be used. The first thing I did was pop a PZ2 (not supplied) into the bit holder as this is my number one bit type used. Multi-tool screwdrivers are often awkward to use as they are generally to one side or other and not that long; not so with the Center Drive. The extended bit holder make it so much easier to see the screw head, and access internal screws, or those near a corner. Clearly with a folding tool like this you can’t 100% centre the bit holder, but it is centred in relation to the widest part of the tool, and this makes it much easier to use. This is the best built-in multi-tool screwdriver I’ve used.

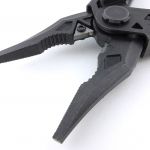
Onto my second most needed tool, the pliers. Since I first used sprung pliers (probably some jewellers pliers), it makes non-sprung pliers seem a pain to use, especially when manipulating the work piece. Having OTF pliers, the Center Drive is able to have sprung pliers (the unfolding type of multi-tool pliers typically have no spring), and thanks to the spring just become an extension of your hand, allowing you to focus completely on the work.

As you might expect from a multi-tool file, it is not that sharp, but it lets you take off those rough edges from softer materials and non-ferrous metals well enough.

One disappointment is the serrated knife blade, which, in this example, is blunt. The cutting edge has the same black coating as the blade, making it appear as if it never got a final sharpen.

The awl has no sharp cutting edge, so is really just a metal spike, useful for all sorts of little jobs. Next to this is one of the best prying tools I’ve seen on a multi-tool and will get into narrow gaps as well as being able to lift small nails.

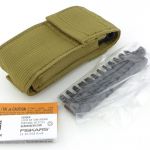
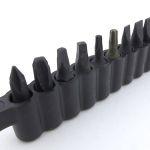
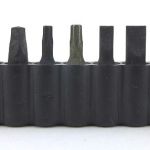
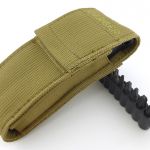
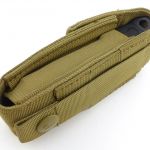
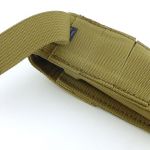
All of this is no good if you don’t have it with you. The included pouch has two compartments, one for the set of bits, and one for the tool. Should you want to go lower profile, you can leave the full set of bits out (still having two in the tool itself) and the pouch slims down – belt or MOLLE mounted you’ll have it with you.

Review Summary

The views expressed in this summary table are from the point of view of the reviewer’s personal use. I am not a member of the armed forces and cannot comment on its use beyond a cutting tool or field/hunting knife.

Something that might be a ‘pro’ for one user can be a ‘con’ for another, so the comments are categorised based on my requirements. You should consider all points and if they could be beneficial to you.

_______________________________________________
Things I like
_______________________________________________

Centred, extended, 1/4″ standard Hex bit holder.
Spring loaded Out-The-Front pliers.
Versatile prying tool.
Quality carry pouch.
Replaceable wire cutter.

_______________________________________________
What doesn’t work so well for me
_______________________________________________

One-Handed-Opening the main knife blade can cut you.
Serrated blade was blunt.


Discussing the Review:

The ideal place to discuss this reviews is on a forum. If you started reading the shorter forum version of the review, but followed the link this full exclusive review, please return to that forum to discuss the review there.
If you read the review entirely on Tactical Reviews, please consider one of the following to join in, or start, a discussion.

BladeForums – Knife Reviews (US based Forum for Knife Discussion)

CandlePowerForums – Knife Reviews Section (Largest and Friendliest Flashlight Community Forum)

CLASSIC Gear Review: 5.11 Tactical RUSH 12 and 24 Backpack (MOLLE/PALS compatible)

This review of the 5.11 Tactical RUSH 12 and 24 backpacks is a classic from 2013, and is the first in the Classic Series of reviews to be published on Tactical Reviews. The original versions of the Classic Series Reviews used a well known image host who will be cutting off the visiblity of 3rd party hosted images at the end of 2018.

For this review I am testing and comparing two of 5.11’s tactical MOLLE backpacks (well PALS really – but we’ll come back to that), the RUSH 12 and RUSH 24.

These two sizes cover the requirements of the average every-day-user for day trips, commuting, camping, hunting etc. Of course the expandability afforded by the integrated PALS system makes these backpacks all the more versatile.
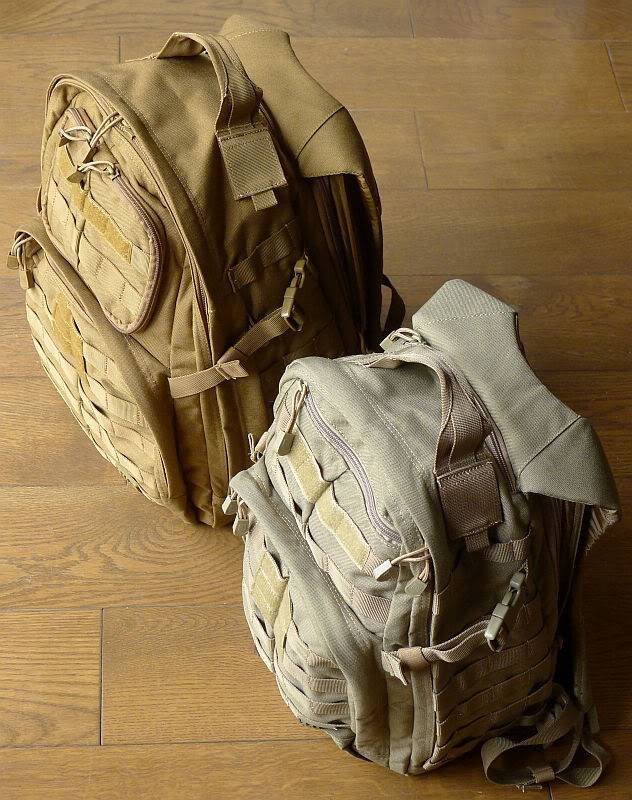
The model suffix, 12 or 24, of these RUSH backpacks indicates the number of hours you are carrying provisions for, so the RUSH 12 should carry the items you need for a 12 hour outing, and the RUSH 24 covering your needs for a 24 hours out and about. These are reasonable guidelines, especially considering the expandability of the packs and options to add MOLLE/PALS system pouches and tie on other gear.

I have previously looked at a couple of lights from 5.11 Tactical, the ATAC A1 and A2 (1 AA and 2 AA versions) and
ATAC L2 (2xCR123/RCR123), which proved to be great quality and very reliable, and backpacks look like they will live up to the same standards.
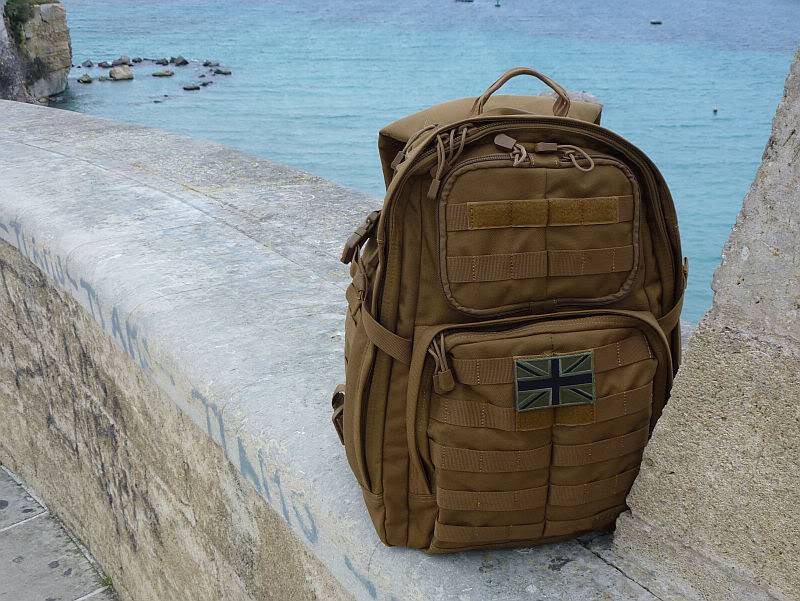
Initial Impressions:

‘Quality’, ‘solid build’ and ‘feature packed’ are the over-riding impressions that come to mind when you first get hold of the RUSH 12 and 24. This is certainly reinforced by the weight of the empty bags, roughly double the weight of an average rucksack. However the reasons for this extra weight are the heavy duty materials and construction used to make these along with the designs being packed with useful functional features.

Side by side:

The more I’ve used these two backpacks, the more I appreciate how much thought has gone into their design. Before I delve deeper into the design features of each of them, I wanted to start with a quick look round the RUSH 12 and 24 side-by-side to give an idea of how they compare.

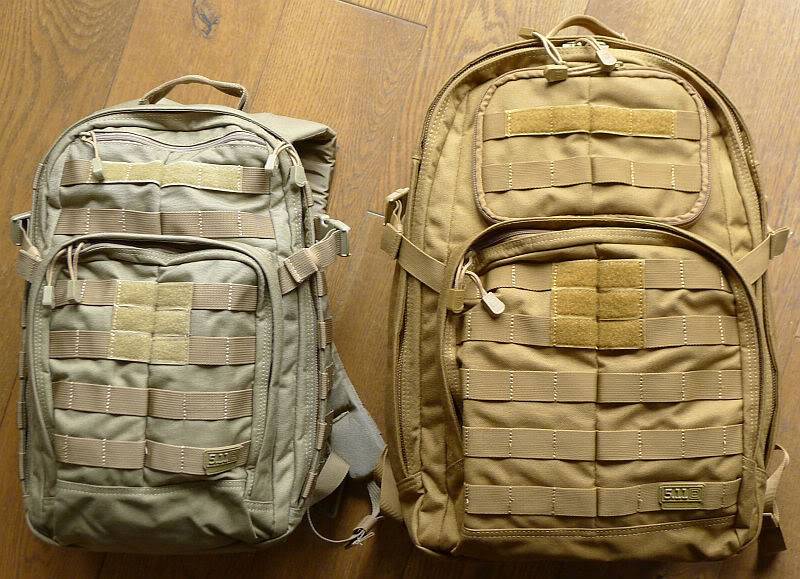
On the left is the RUSH 12 in Sandstone (328) and on the right is the RUSH 24 in Flat Dark Earth (131). For colour comparison, the photo was taken in daylight with the camera set to daylight white balance.

The size difference is clear with the RUSH 12 having a capacity of 21.2 litres and the RUSH24 32.7 litres, so the RUSH 12 is has about 2/3 the capacity of the RUSH 24. The main compartment of the RUSH 12 is 45.7cm tall with the RUSH 24 being 50.8cm tall, and the RUSH 12 is 27.9cm wide compared to the RUSH 24 at 31.8cm wide.
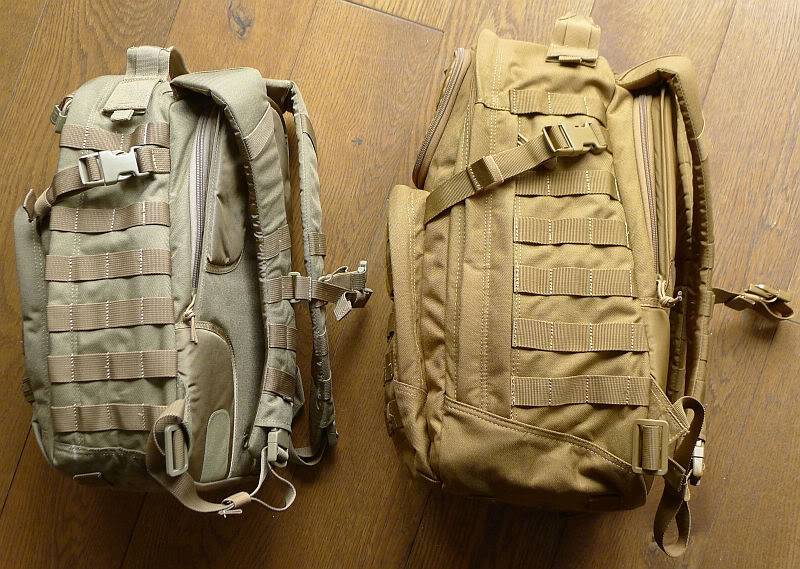
The side view shows extra depth of the RUSH24 which has about 5cm deeper.
The straps are in proportion to the overall backpack dimensions, so the RUSH 12 will suit the smaller framed individual.

Comparing the schematics:

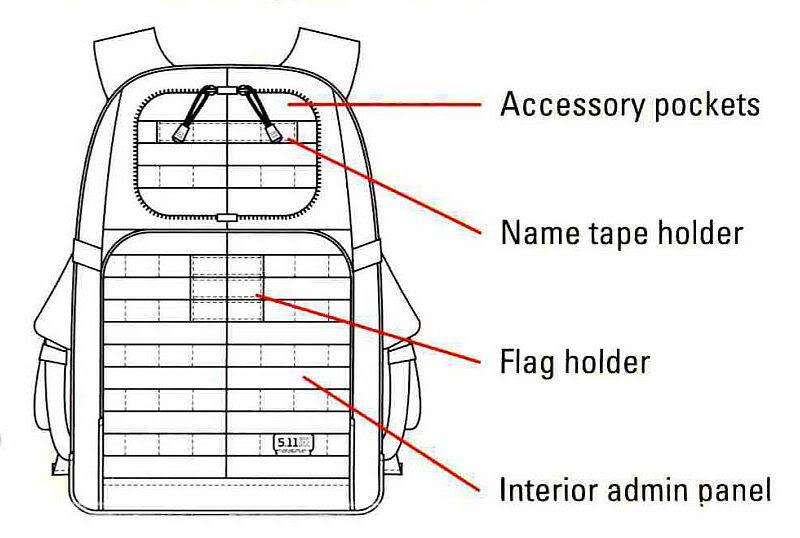
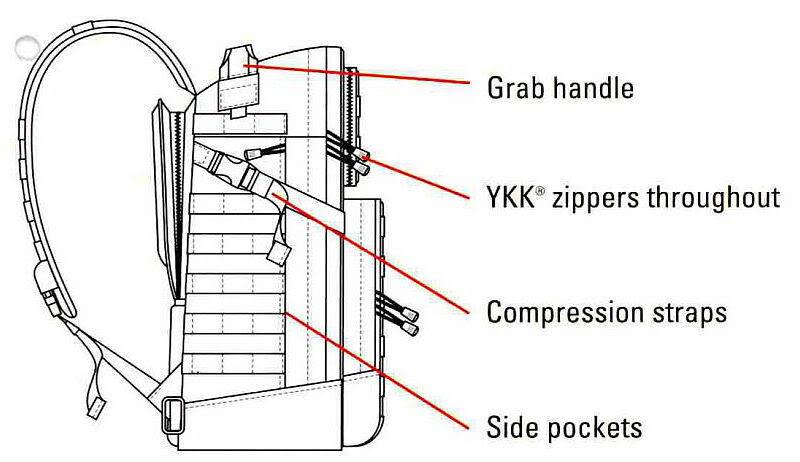
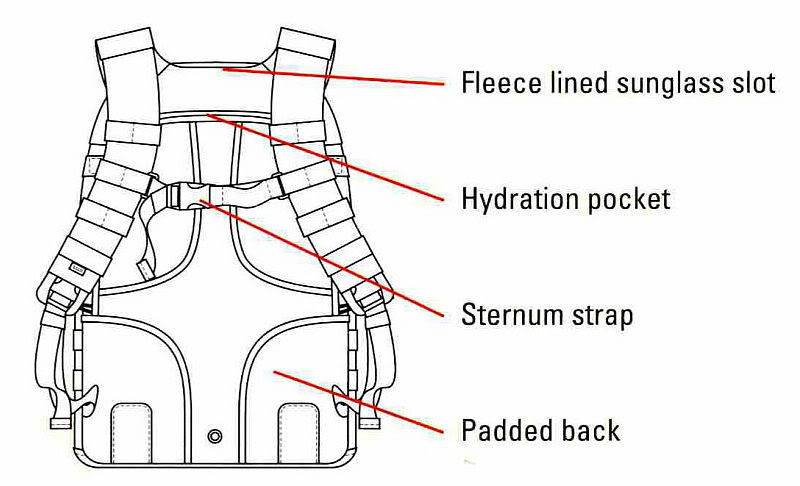
Each of the RUSH backpacks comes with a tag which has a helpful set of schematics which do not appear to be published on 5.11’s website. The schematics also provide an excellent comparison between the two sizes and their main features.
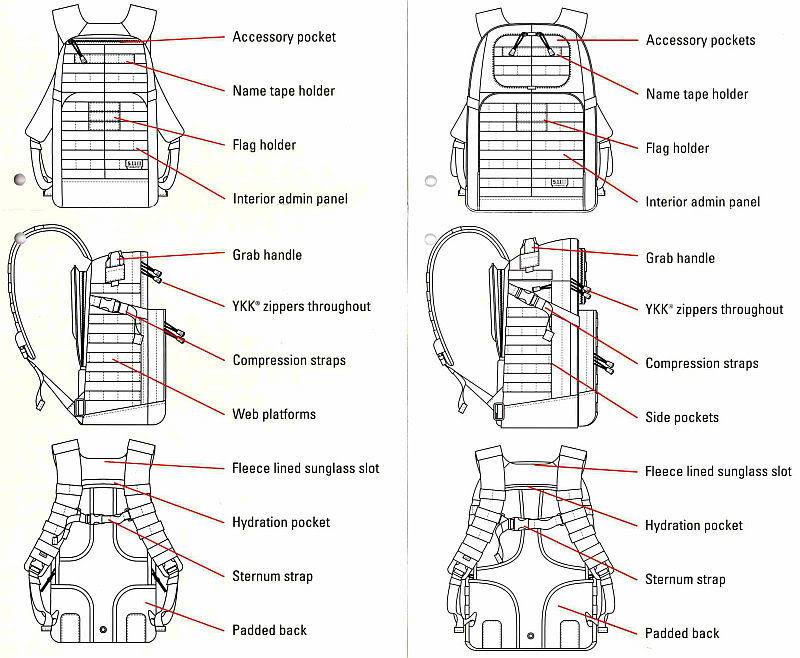
Weighing the empty bags, the RUSH 12 comes in at 1200g and the RUSH 24 at 1670g. This compares to a typical 30 litre rucksack at around 750g.

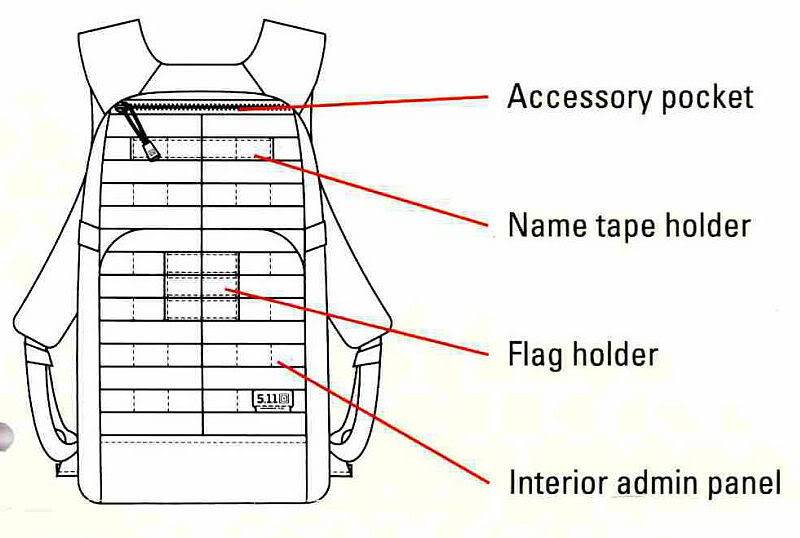
Looking closer at the RUSH 12’s schematics. The representation of the PALS/MOLLE webbing on these schematics give a good idea of the relative sizes of the RUSH 12 and 24.
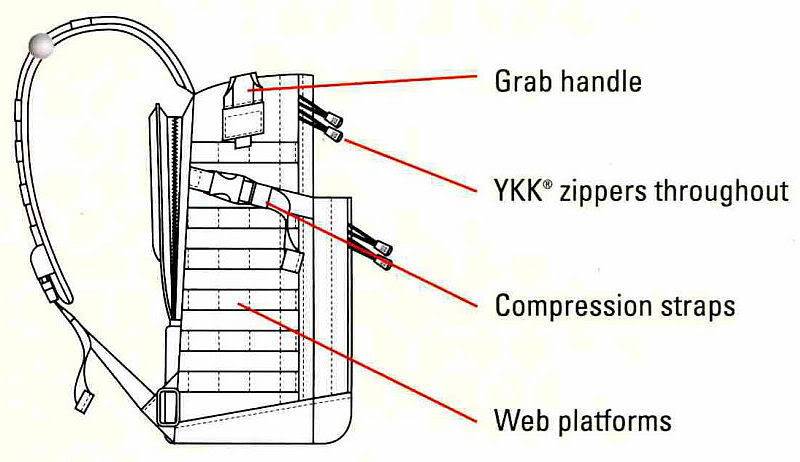
With side view
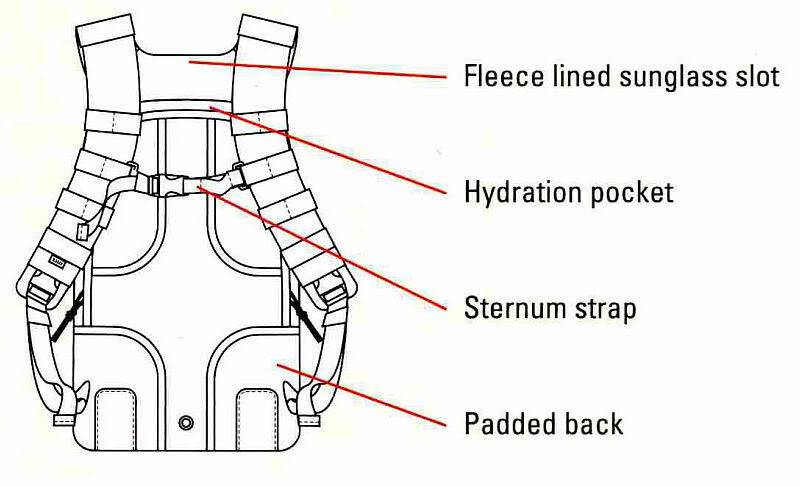
And back view
Then the RUSH 24 and the schematic making it easy to compare layout and size.
Side view.
And back view.
The RUSH 12 in detail:

As each of these RUSH backpacks is packed with so many features, I need to take a closer look at each one separately. The RUSH 24 will be covered in the next section.

Even something as simple as the sternum strap has several special features.

The strap is attached using C-loops which allow it to be easily removed and repositioned higher or lower on the shoulder straps to suit your requirements.

The free end of the length adjustment strap is held neatly by an elasticated keeper, and the strap itself has an elasticated section to provide some give for extra comfort.
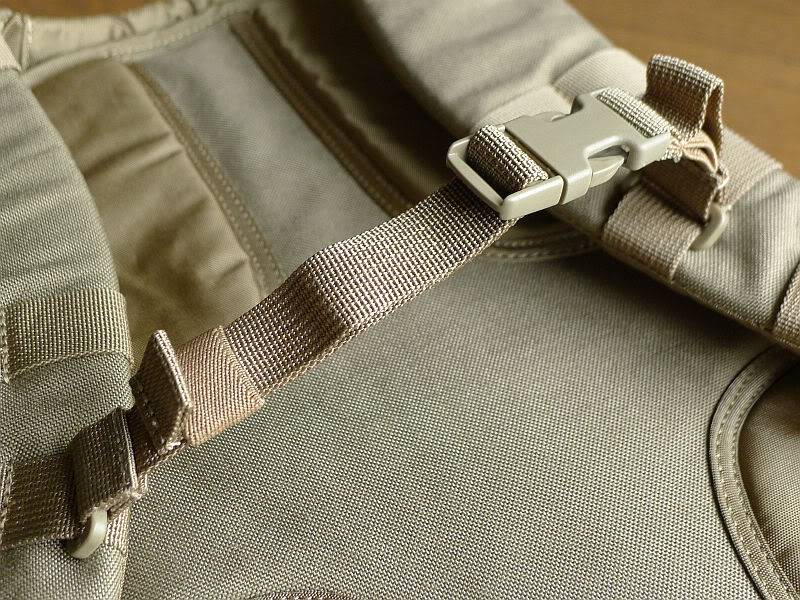
Both RUSH backpacks have Dura-flex side release buckles incorporated into the shoulder straps. This simple design feature provides two major benefits most other packs are missing. Firstly, in general use, this makes removing a heavy pack much easier. Simply unclip one strap (or both), and then swing the pack off the other shoulder without having to struggle to get your arm out of the strap. Secondly, as the pack is covered in lashing points and PALS webbing, it has lots of possible points to get hung-up on obstacles. The side-release clips in the straps allow for an instant release from the pack if you ever get caught up on anything.

5.11 mention the Dura-flex hardware in the straps, but don’t seem to highlight this fantastic feature.

Also visible is a plain buckle that allows a hip belt to be attached.
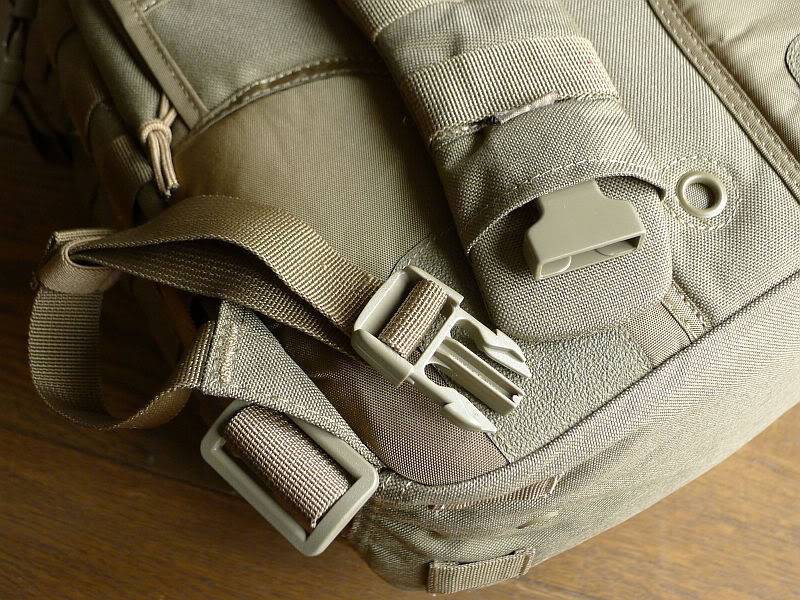
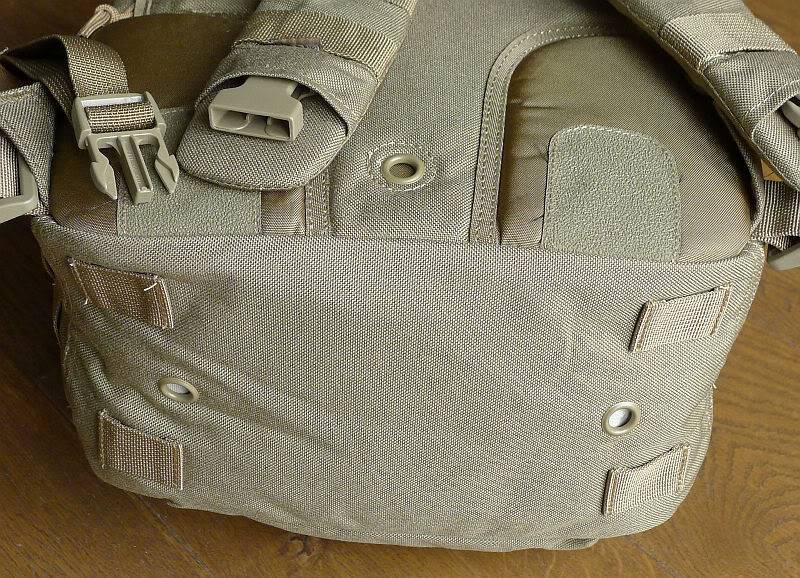
In the base of the pack there are two drainage holes, and this most recent version of the RUSH 12 includes four lashing points on the bottom.
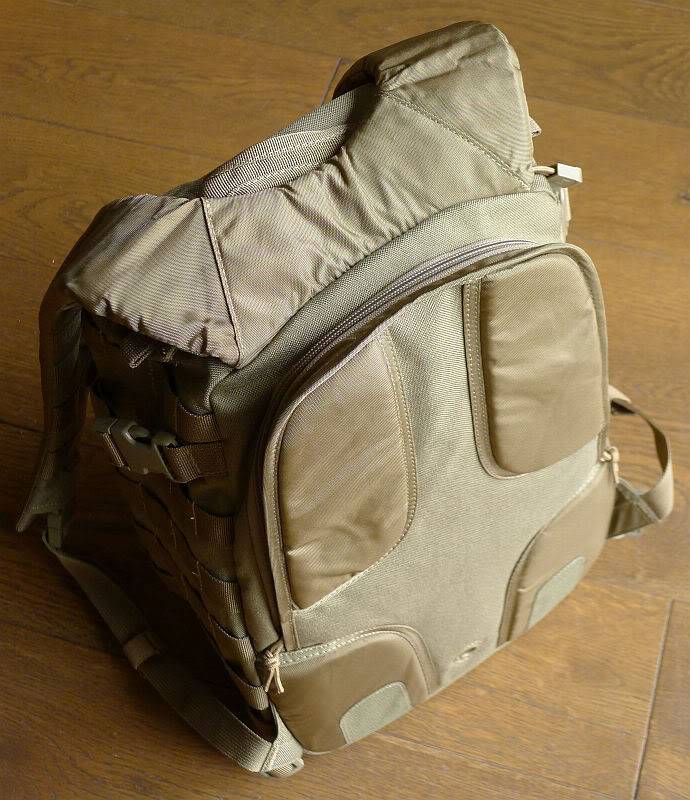
Folding the shoulder straps over the main pack reveals the hydration pocket zip.
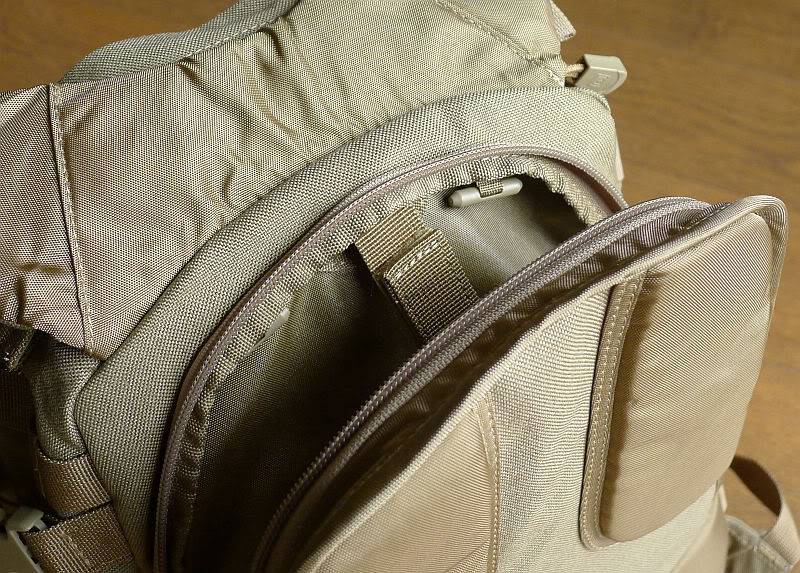
A hydration bladder can be fitted and secured using the two toggles or suspension strap. The drinking tube is then fed through the top of this pocket and into the main compartment.
From the main compartment the drinking tube can be fed out of either port (one each side of the grab handle), before being routed under the webbing on the shoulder straps.
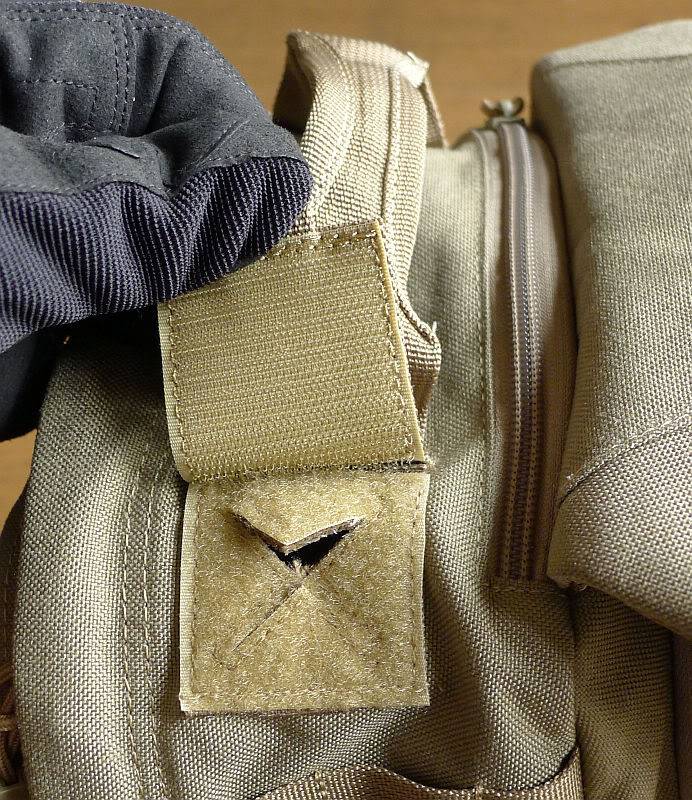
Inside the hydration bladder pocket, the back support padding and reinforcement can be accessed and removed if desired.
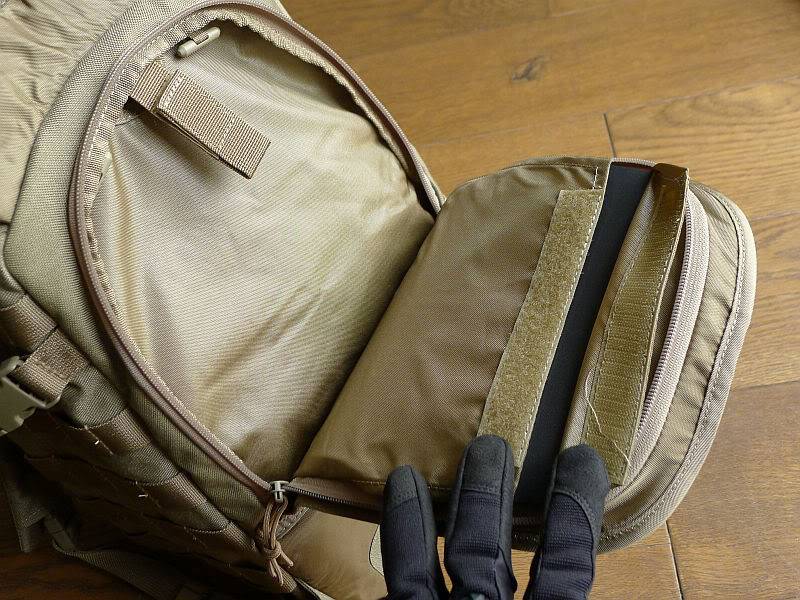
The padded back of the pack has two textured grip pads to help prevent the pack moving in use and between these is the drainage hole for the hydration pocket.
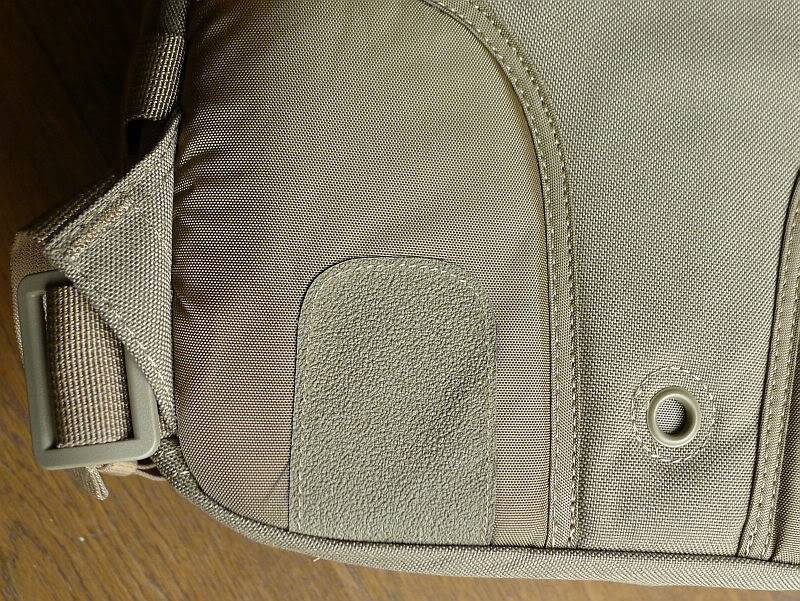
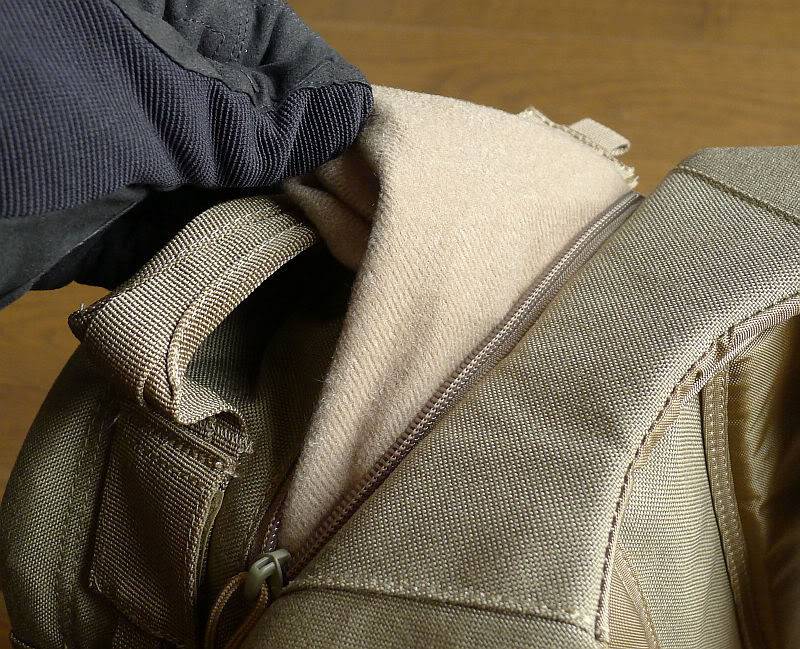
Just next to the grab handle is a small fleece lined zip pocket perfect for sunglasses or small electronic devices that you want to find quickly.
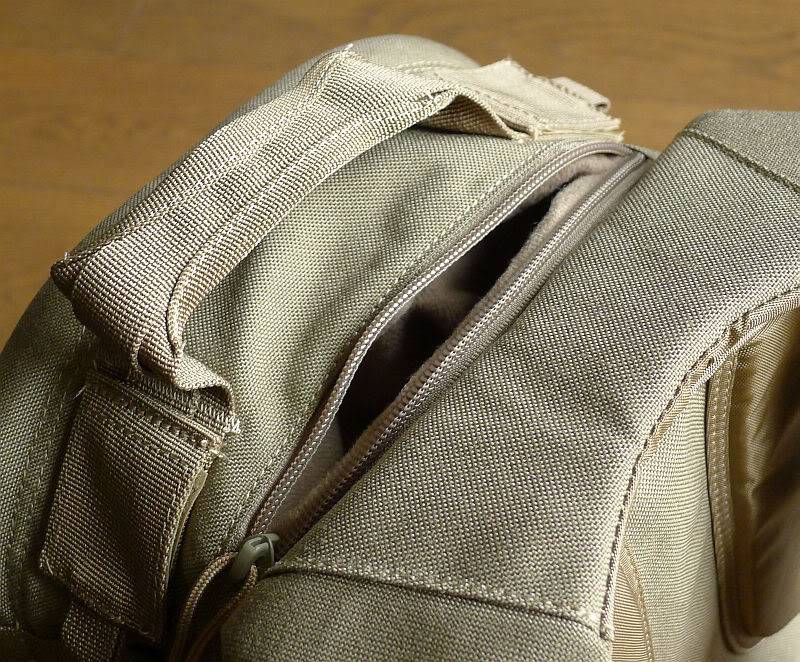
The pocket is pulled inside out here to show the lining and depth.
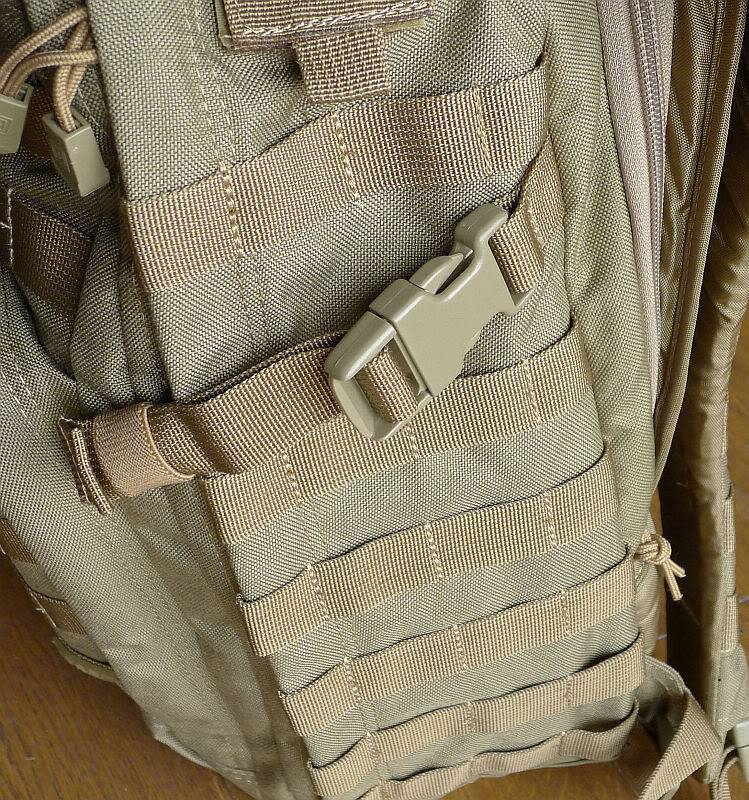
Each side of the pack has a compression strap with elastic keeper to tidy the loose end, and a series of PALS webbing provides mounting options. The RUSH 12 is constructed of durable water-resistant 1050-denier nylon.
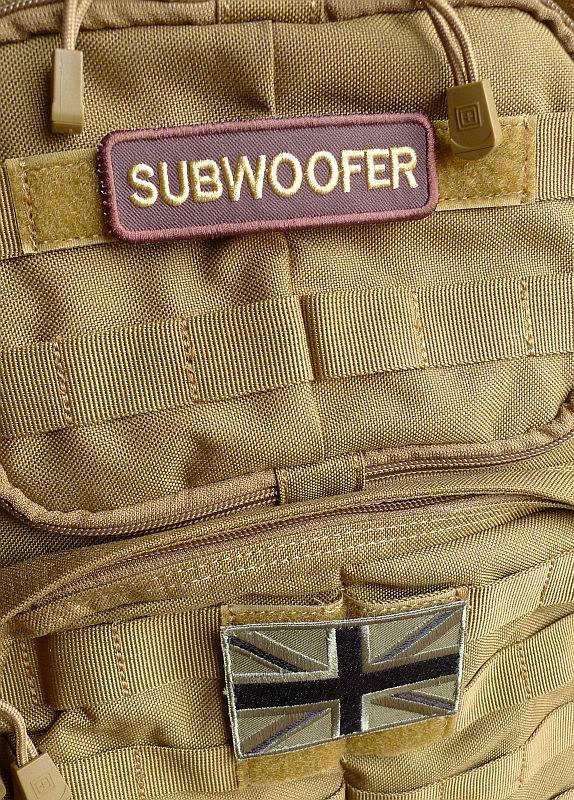
As well as more PALS webbing the front of the pack has a Velcro panels for a name patch and flag.
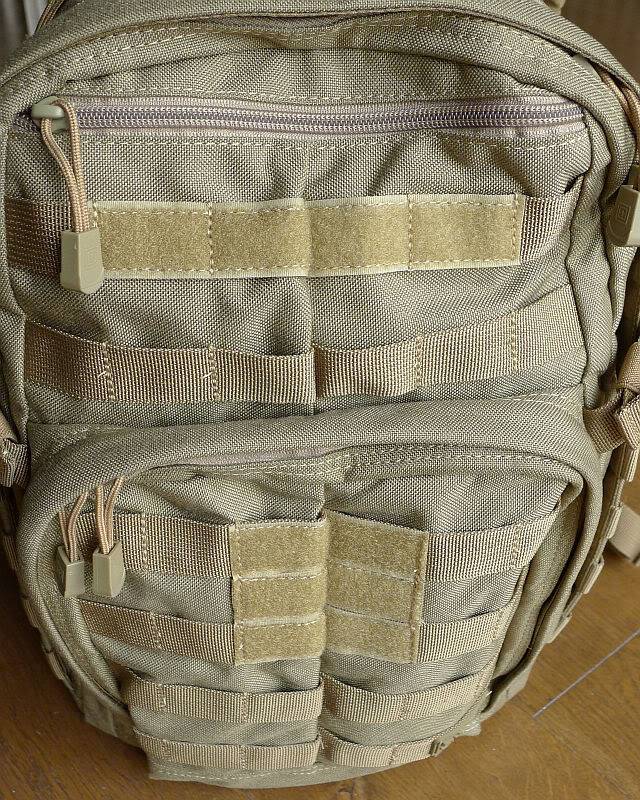
These Velcro panels allow you to personalise your pack.
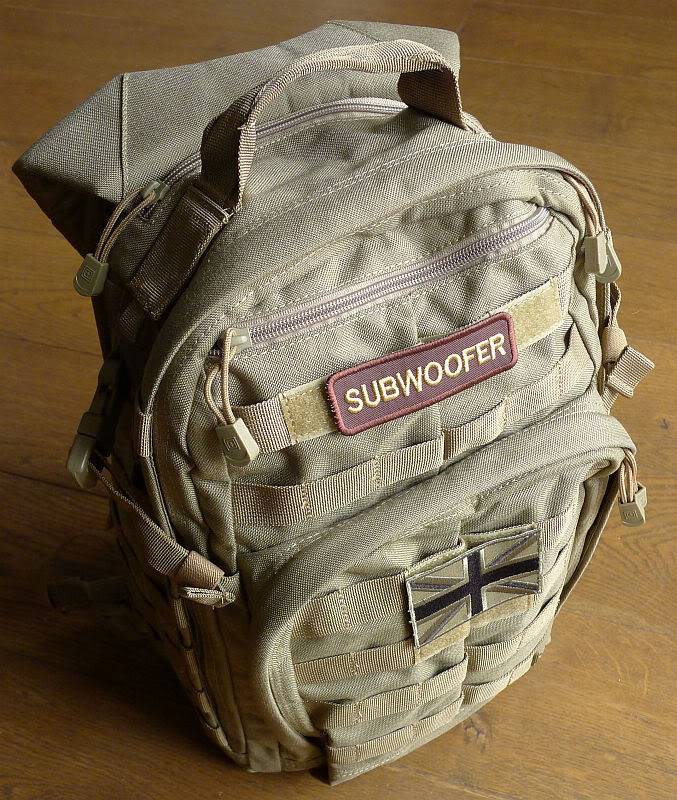
At the top of the front panel there is a simple single compartment.

Below this is the main admin panel which has a further zip compartment and several organiser pockets.
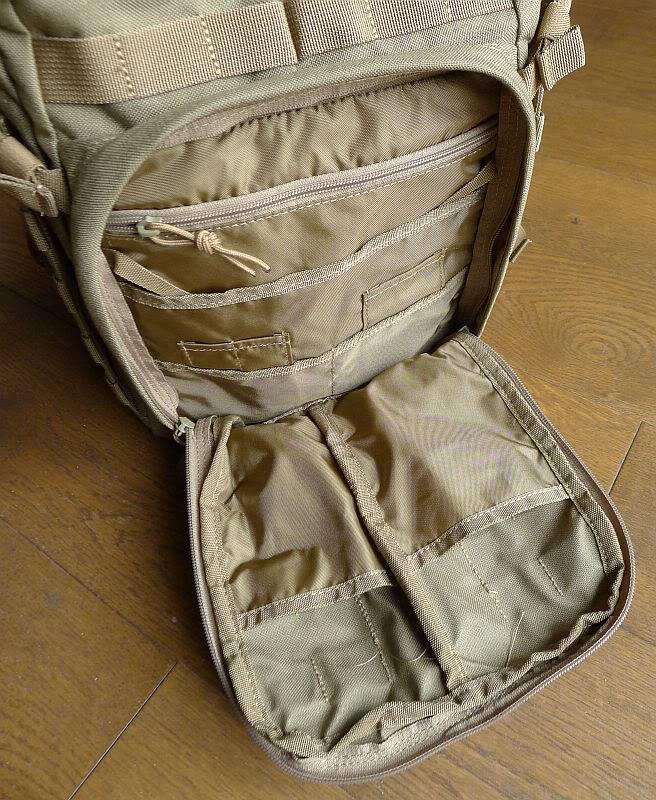
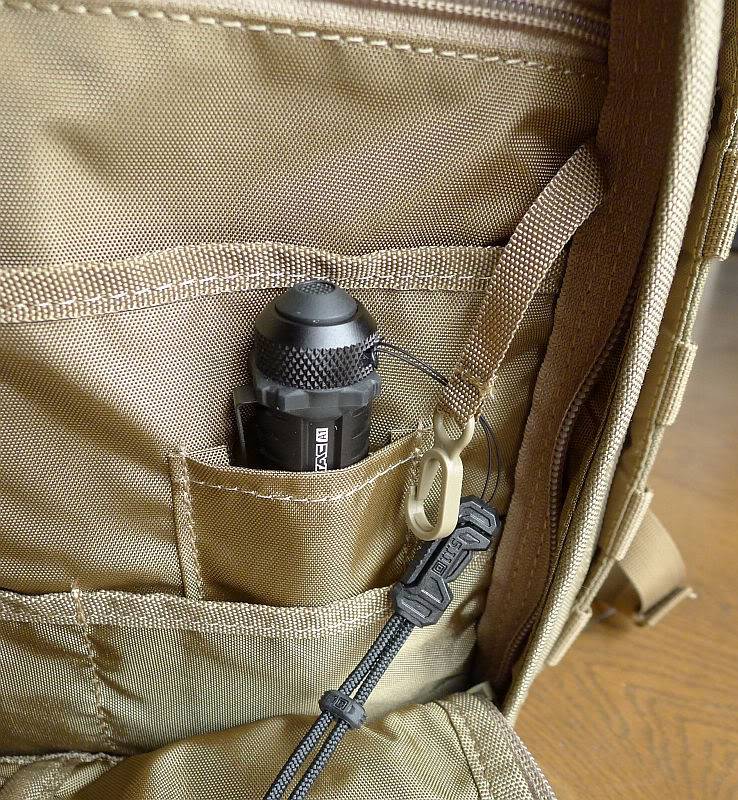
Also incorporated are a couple of key keepers
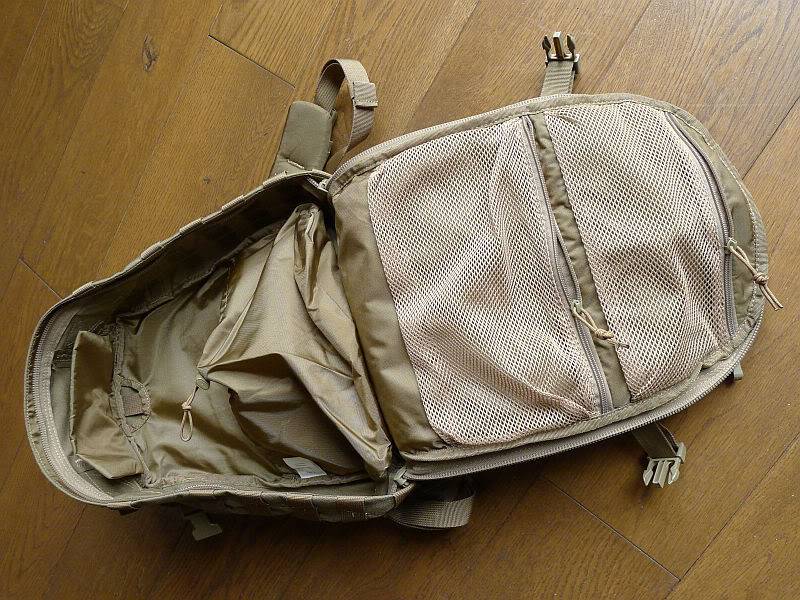
Unlike most backpacks, the RUSH backpacks feature full clamshell opening of the main compartment. The back of the front panel has two mesh compartments and the main compartment includes a large pocket with bungee clinch top.
Keeping things secure:

Before moving onto the detailed look at the RUSH 24, there is a feature common to both RUSH 12 and 24 worth noting.

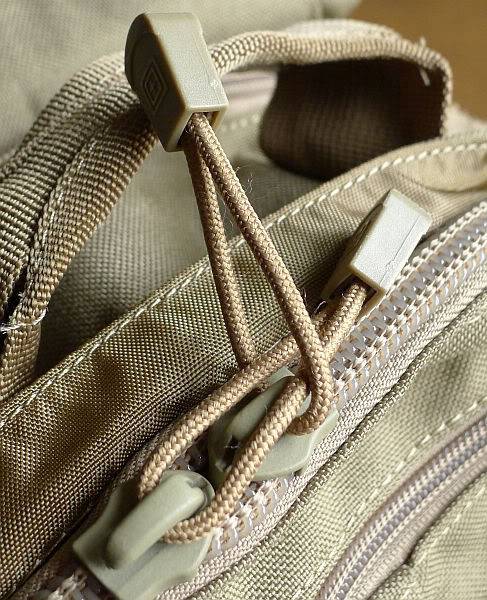
All zips are self-repairing YKK zips which have large glove friendly tags. These type of tags allow you to secure the zips together to prevent the pack opening unexpectedly.

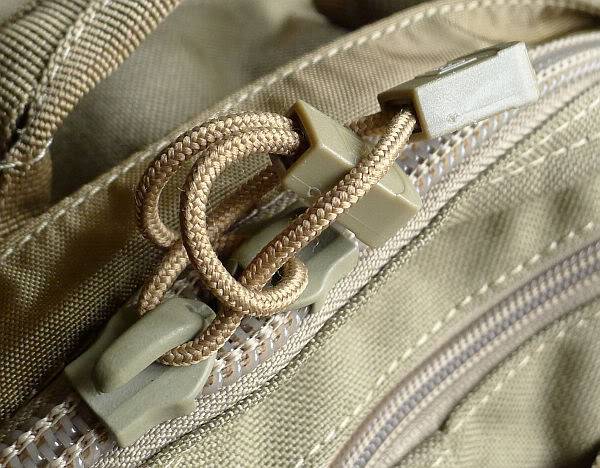
Doing this is simple once you are used to it and well worth doing. Hopefully this series of photos will explain.
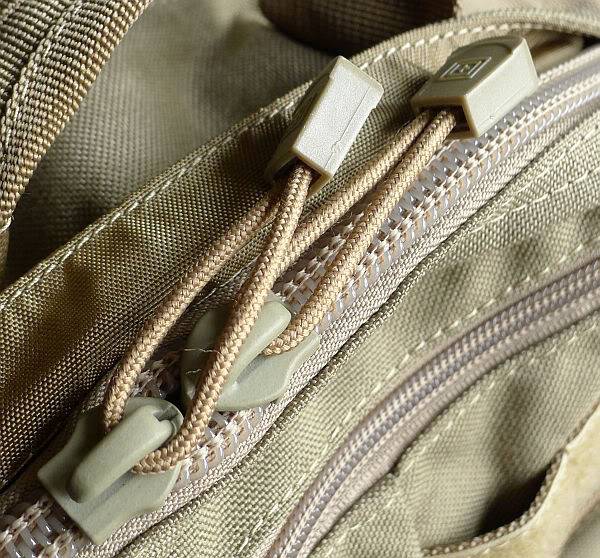
First feed one tag (A) through the other (B).
Then feed B though A
Pulling B far enough through that you can…
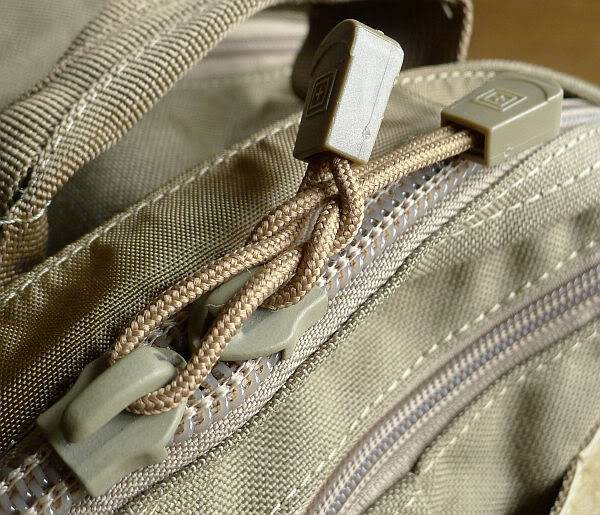
…then pass A back through it
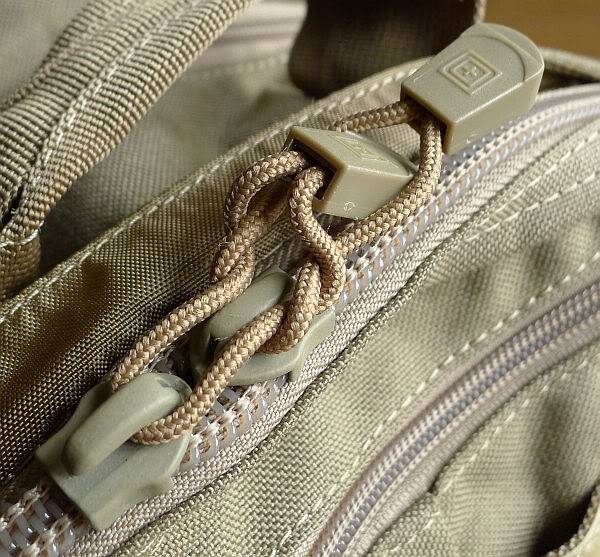
Finally pulling tight.
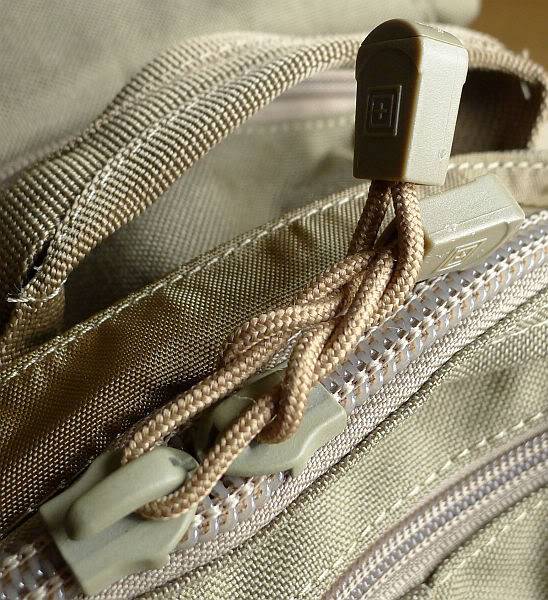
Using this method of passing one tag through the other again and again allows you to secure the compartments from accidental opening without any other hardware.

The RUSH 24 in detail:

Having already covered the RUSH 12 in detail, may of the same features can be seen on the RUSH 24, plus a few more.

The sternum strap is attached with C-loops and has an elasticated keeper, and the strap itself having an elasticated section to provide extra comfort.
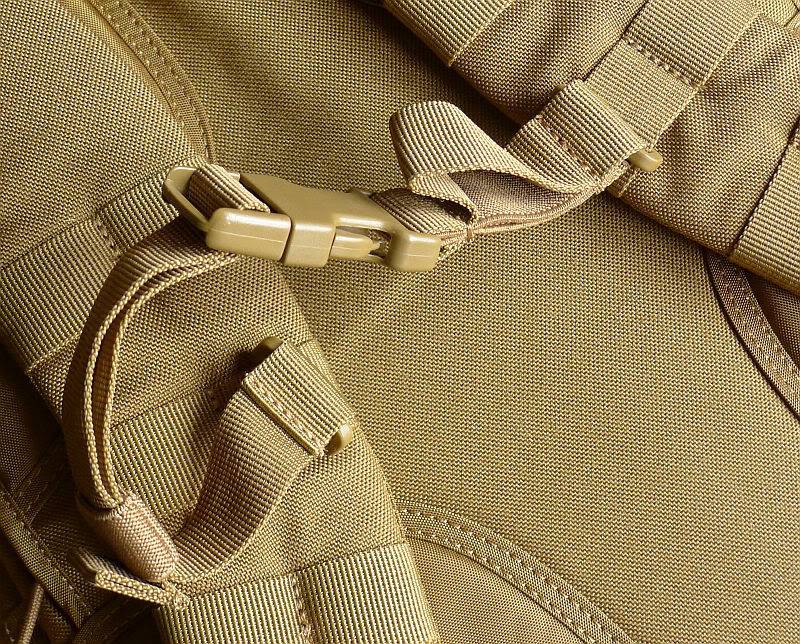
Dura-flex side release buckles are incorporated into the shoulder straps allowing the shoulder straps to be opened for easy removal of the pack, or an instant release from the pack if you ever get caught up on anything.

Also visible is a plain buckle that allows a hip belt to be attached.
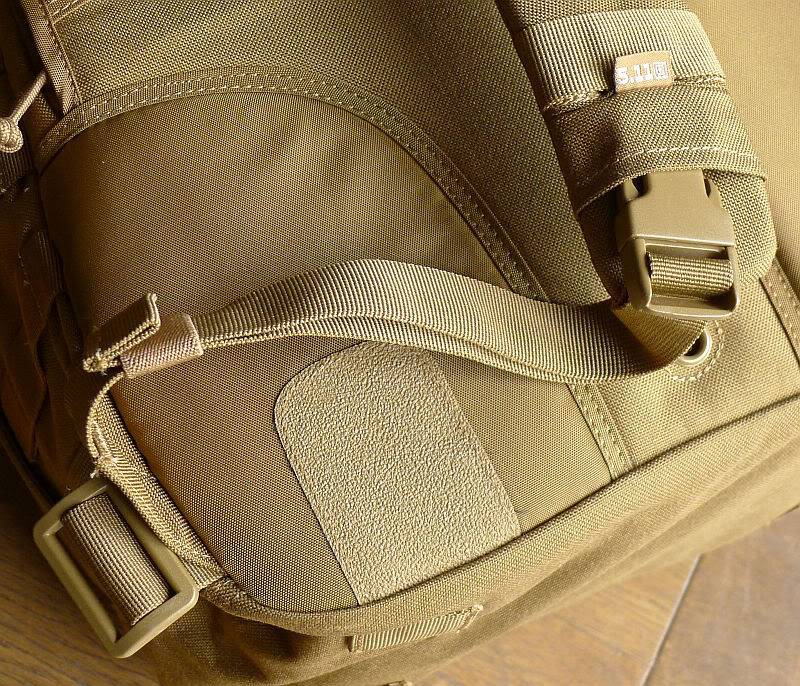
In the base of the pack there are two drainage holes, and this most recent version of the RUSH 24 includes four lashing points on the bottom.
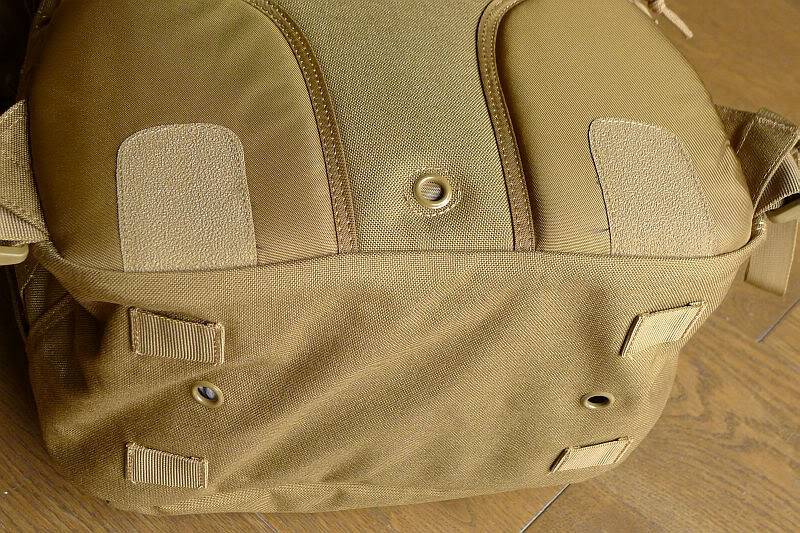
Folding the shoulder straps over the main pack provides easy access to the hydration pocket. The padded back of the pack has two textured grip pads to help prevent the pack moving in use and between these is the drainage hole for the hydration pocket.
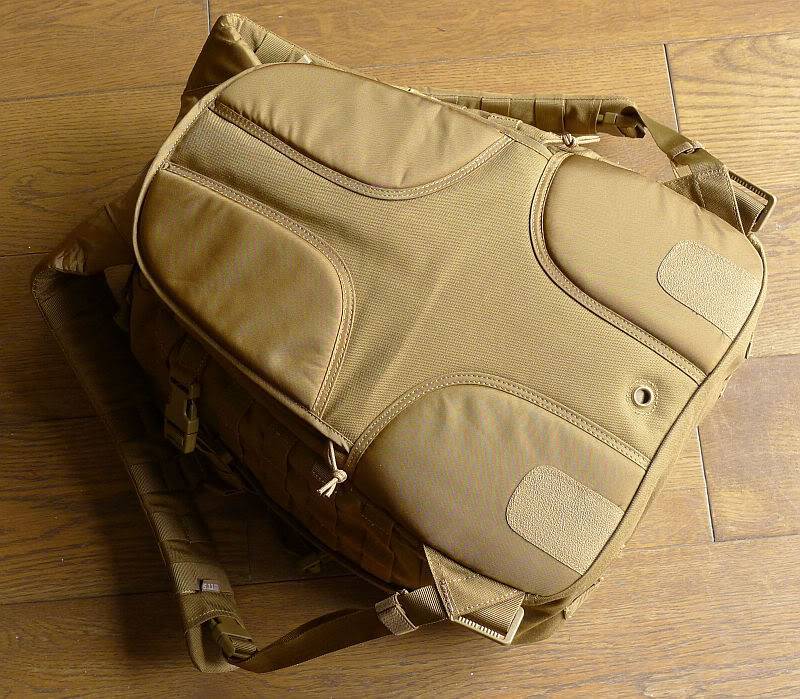
A hydration bladder can be fitted and secured using the two toggles or suspension strap. The drinking tube is then fed through the top of this pocket and into the main compartment.

From the main compartment the drinking tube can be fed out of either port (one each side of the grab handle), before being routed under the webbing on the shoulder straps.
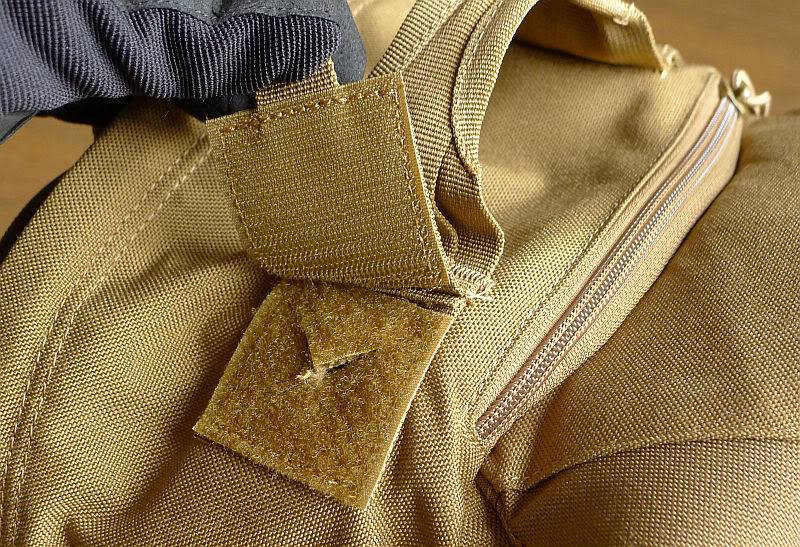
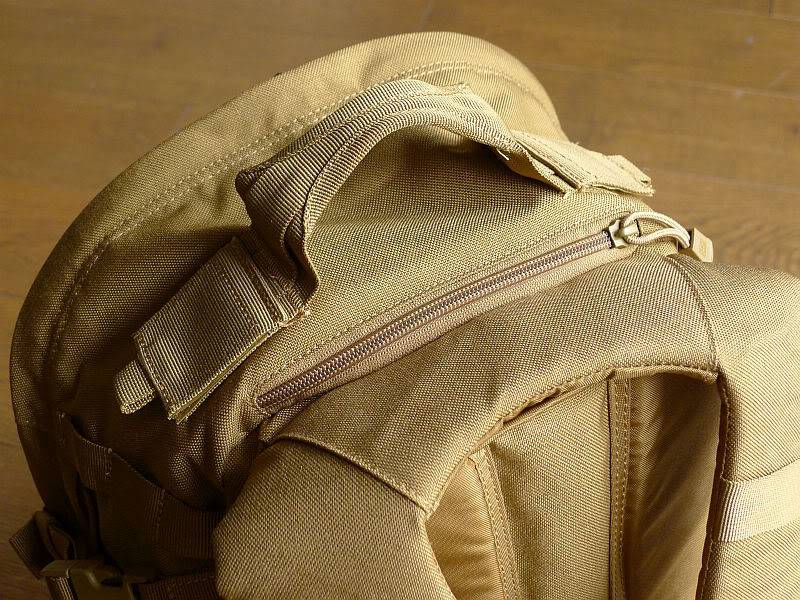
The grab handle is very strong and stitched firmly to the top of the bag.
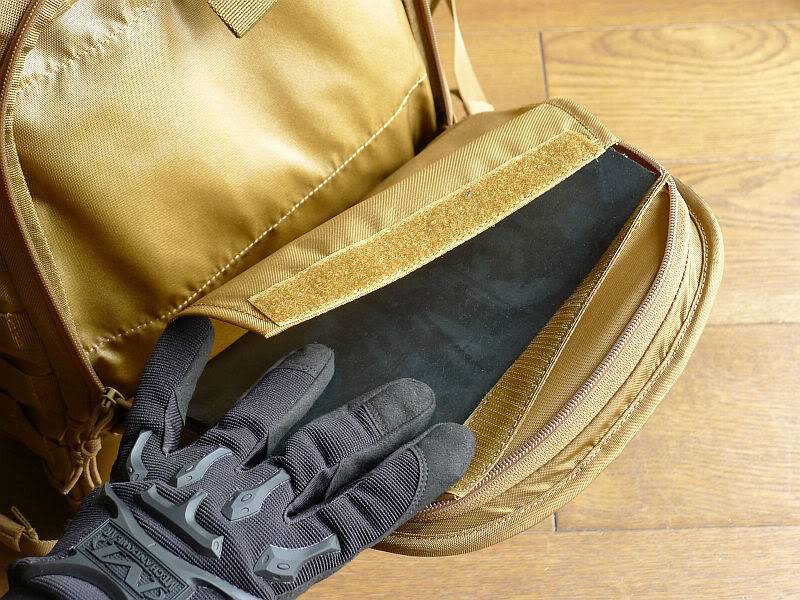
Inside the hydration bladder pocket, the back support padding and reinforcement can be accessed and removed if desired.
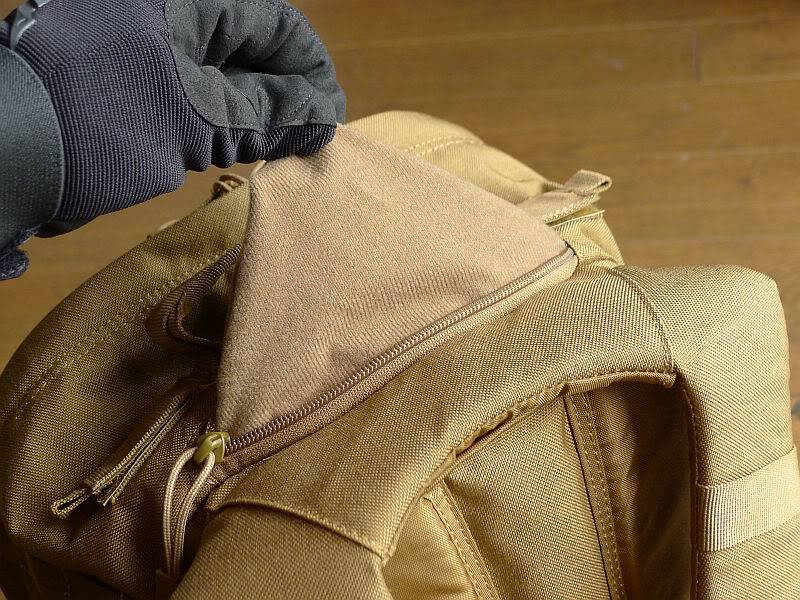
Just like the RUSH 12, next to the grab handle is a small fleece lined zip pocket perfect for sunglasses or small electronic devices that you want to find quickly. Here the pocket is pulled inside out here to show the lining and depth.
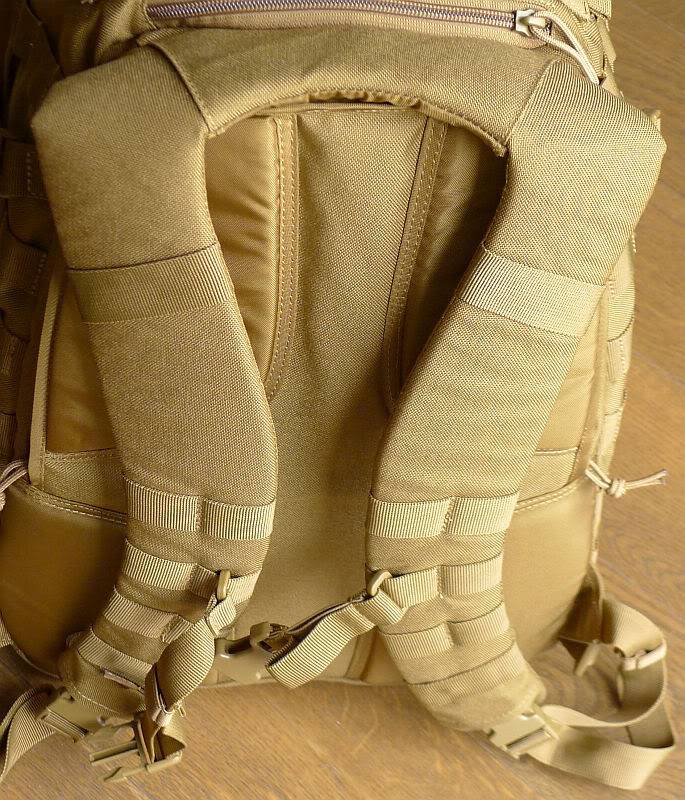
The shoulder straps have a yolk system to spread the load, and densely padded straps to make carrying even heavy loads comfortable.
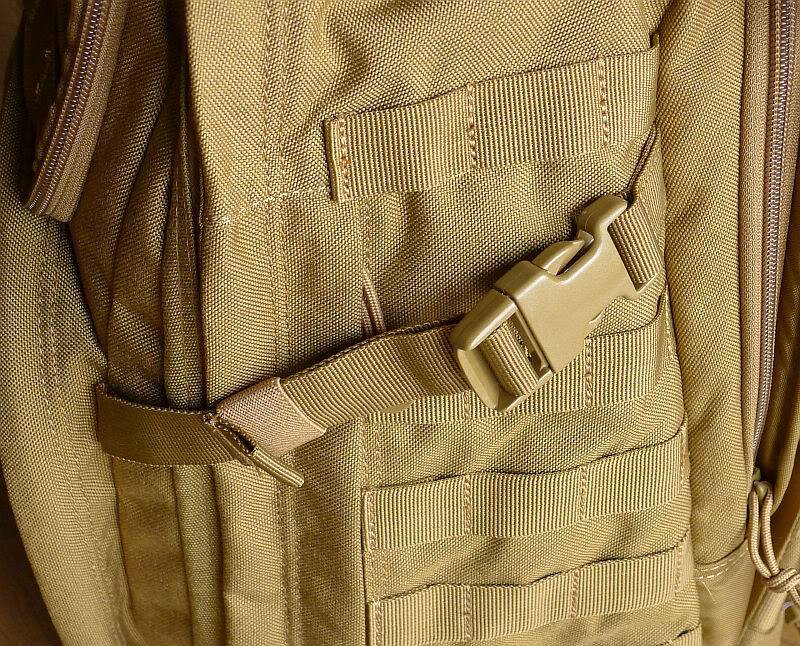
Each side of the pack has a compression strap with elastic keeper to tidy the loose end, and a series of PALS webbing provides mounting options. The RUSH 24 is constructed of durable water-resistant 1050-denier nylon.
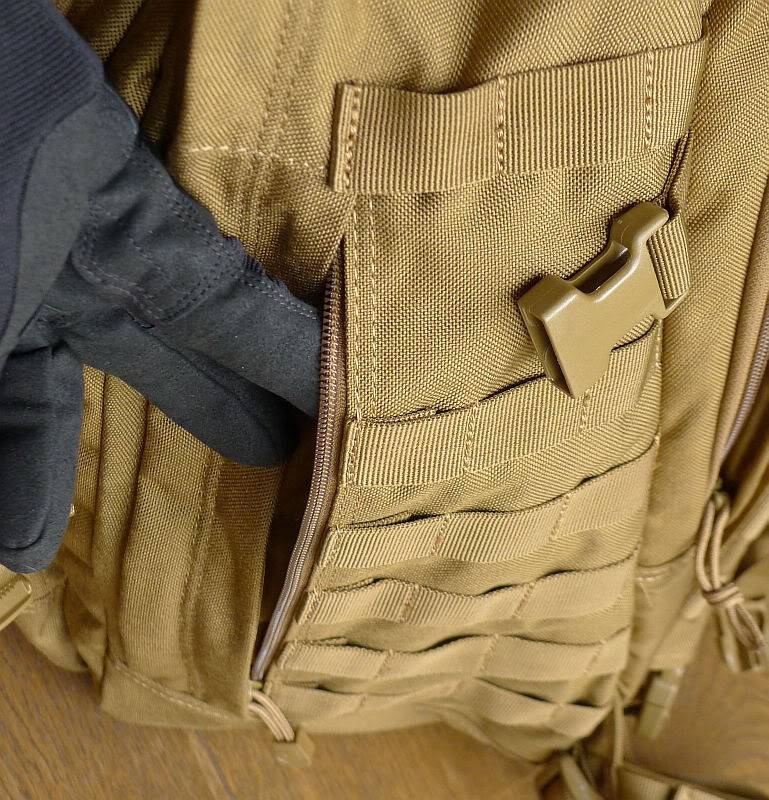
The RUSH 24 also has a side pocket (which the RUSH 12 does not).
As well as more PALS webbing the front of the pack has a Velcro panels for a name patch and flag allowing you to personalise your pack.
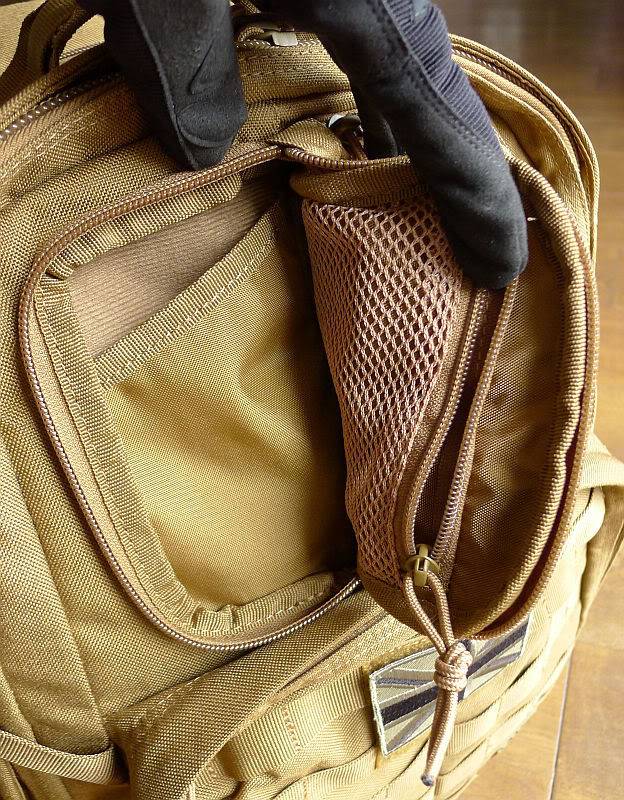
Instead of the simple single compartment of the RUSH 12, the RUSH 24 has a double sided compartment (here one side is shown open) where each side has a fleece lined pocket and a zip up mesh pocket. This gives three separated storage areas on each side of this top section.
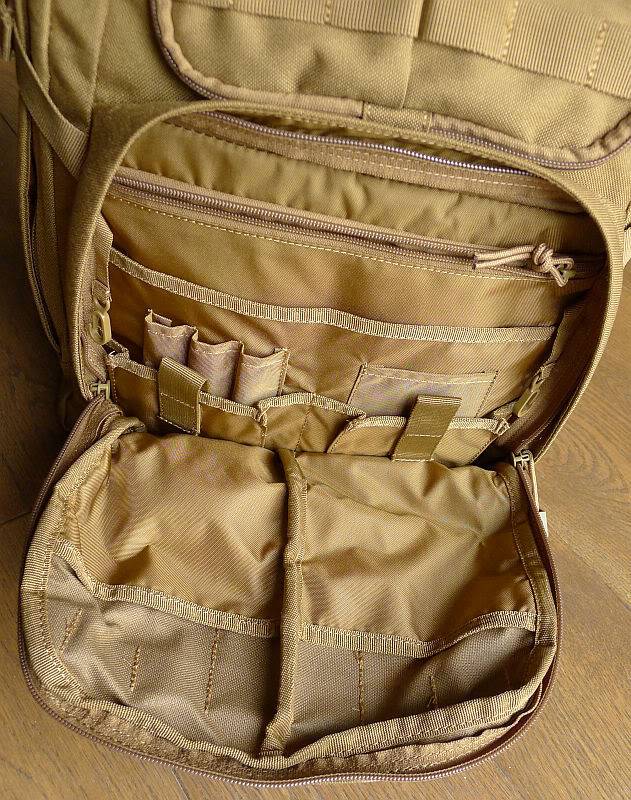
The large admin panel includes a further zip closed pocket and multiple sections and two key keepers for organising the contents.
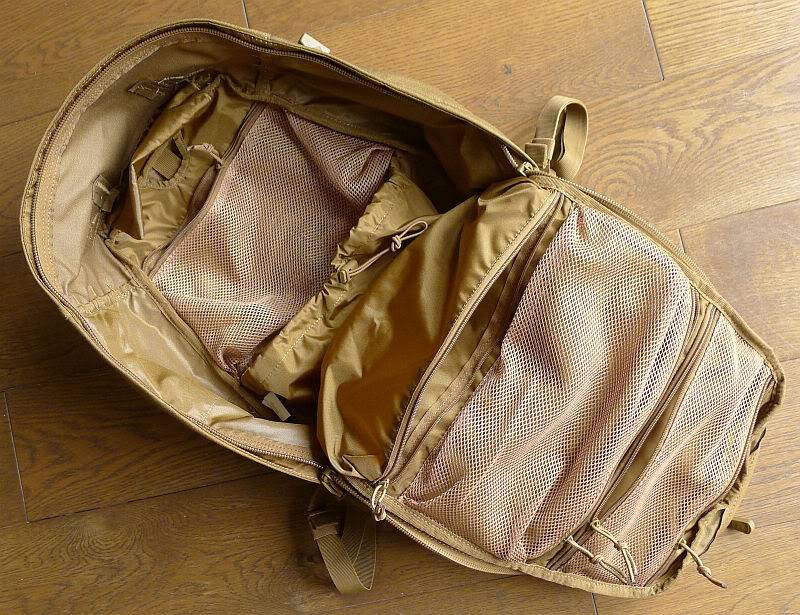
Inside the main compartment (with full clamshell opening), the RUSH 24 has two more compartments than the RUSH12. On the back of the front flap there are two mesh compartments and a further zip pouch below these. The main compartment includes a large stuff-pocket with bungee clinch top and above this another mesh zip closed compartment.
MOLLE/PALS and what this means for the user

Already highly featured backpacks, the RUSH 12 and 24 are expandable thanks to the incorporated PALS webbing.

Most people are familiar with the more commonly known MOLLE (pronounced Molly) system used by armed forces around the world.

MOLLE stands for MOdular Lightweight Load-carrying Equipment, and refers to the entire system made up of many components.

Part of the MOLLE system is PALS which stands for Pouch Attachment Ladder System, and takes the form of the 1” webbing you see on ‘MOLLE compatible’ gear. The webbing straps are fitted with 1” spaces between them and stitched on at 1.5” intervals to provide a flexible attachment framework.

Most of the time I’ve been using the RUSH 12 and 24 in their basic form, tending to use the PALS webbing to attach items using karabiners or lashing them on, but have also tried them out with a variety of pouches attached.

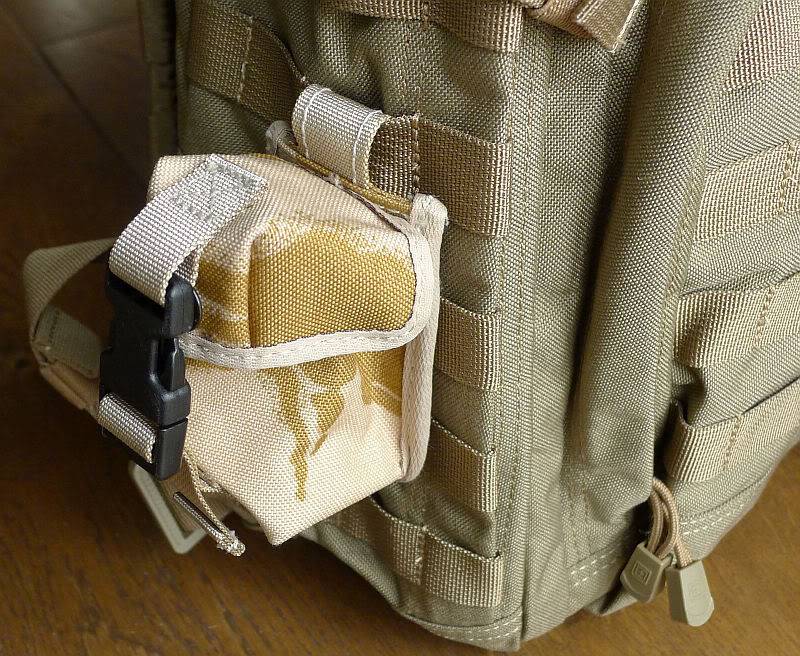
Here the RUSH 12 has a small pouch (British Army issue) fitted to the side panel. This has now been replaced by a larger utility pouch.
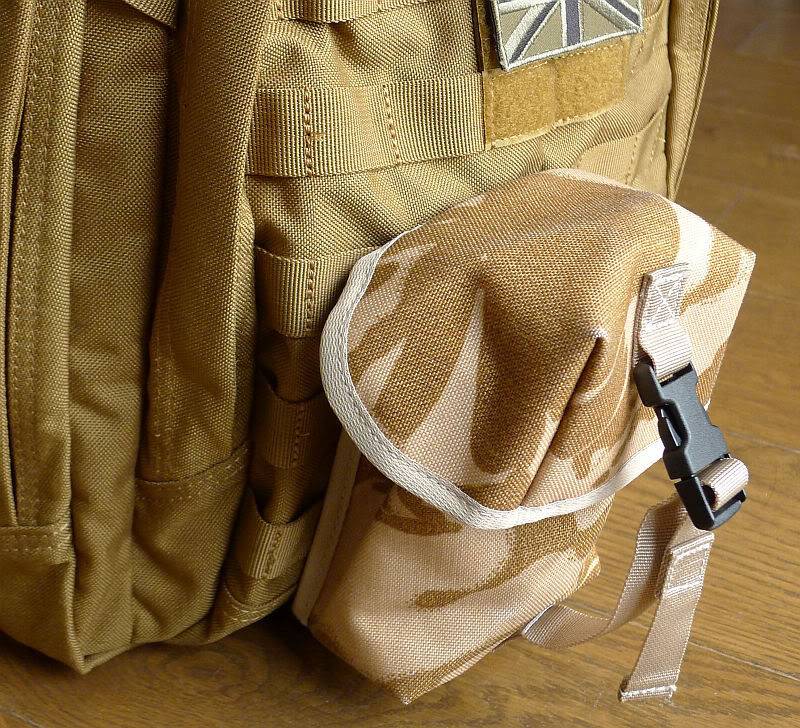
On the RUSH 24 a small utility pouch has been fitted to the front panel.
The best aspect of this feature is its flexibility. If one pouch configuration isn’t working for you, take them off and rearrange them until you find one that works.

What are they really like to use…

Since prehistoric times, the backpack has been the fundamental load carrier for most activities, and a good one can make all the difference.
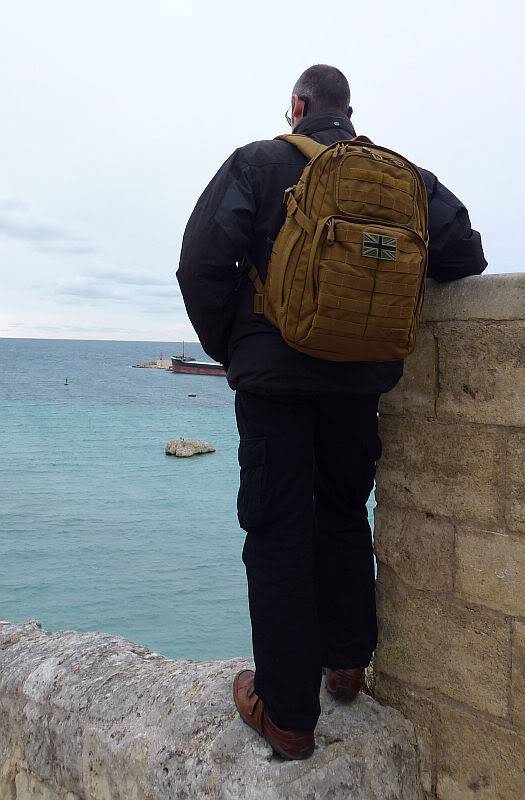
Both the RUSH 12 and 24 have been improved on from their first versions, based on real user feedback, so are now a mature design, and this is obvious when you use them.

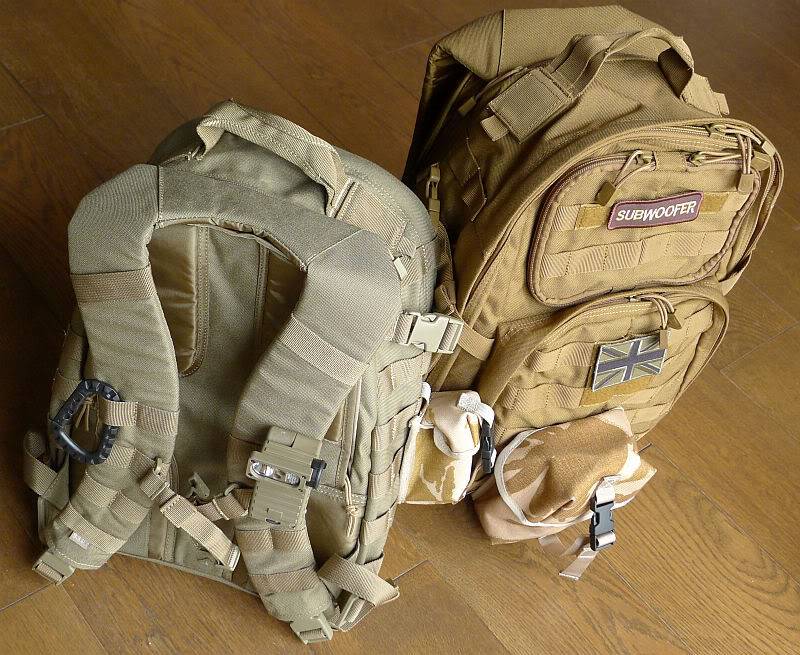
Of the two, the RUSH 12 is the one I grab for most frequently for general day trips. I’ve moved the small pouch from the side onto the left hand shoulder strap and a larger utility pouch onto the left side. The right hand strap has a polymer karabiner for hooking on a compact camera, and if it’s dark, a torch like the Sidewinder shown here is often added.
All the small touches, like the elastic keepers for tidying up all the strap ends, the well laid out pockets, and compartments, and the fully organised admin panel make it easy to locate all the bits and bobs that always seemed elude me and take ages to find when using standard backpacks. Everything is to hand and organised.

The side-release buckles in the shoulder straps now seem to me an essential feature. Why don’t all backpacks have them? With these, there is no more struggling to take a pack off, and instant release to get unloaded or escape the pack in an emergency is straight forward.
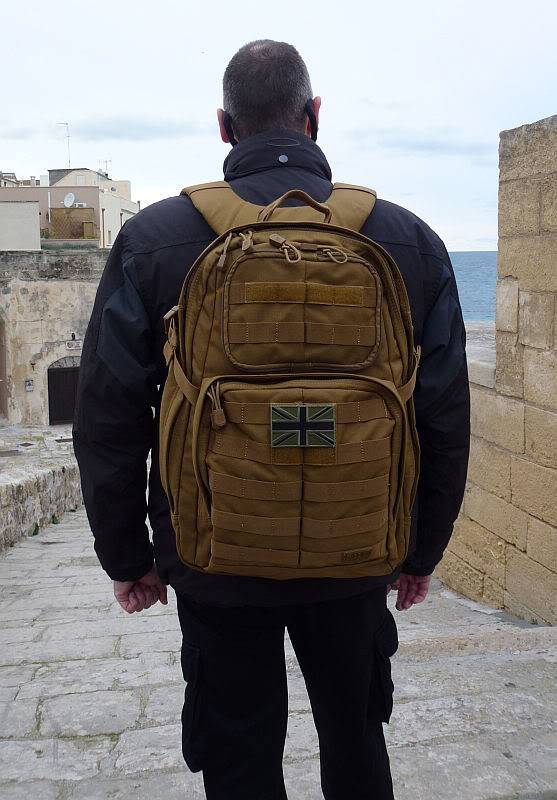
On a recent trip, the RUSH 24 was carefully packed to keep within the airline’s specified dimensions (56x45x25cm). If filled to capacity the 25cm limit could be exceeded, so the contents needed to be arranged neatly. This was made very easy thanks to its clamshell opening, and it then came with me as cabin baggage. In this instance the RUSH 24 was loaded with 10Kg of equipment which almost disappeared once on my back. All the pockets and compartments kept various documents and passes close at hand and perfectly organised.

Even going through security became a breeze as my pockets simply transferred to the various compartments around the RUSH 24. Onto the conveyor for scanning and the clamshell lets me take out the laptop and liquids in a flash, and back in again after the scan.

The only time I noticed the weight of the pack was when I had to use the grab handle or when putting it into the overhead lockers.

Once you’ve tried a RUSH backpack, you won’t want to go back to anything else. If you are in the market for a backpack, the RUSH might seem quite expensive, but just look back over the features crammed into each version. All those pockets, compartments, straps, buckles and PALS webbing don’t come for nothing and in the RUSH 12 and 24 (and presumably the 72 as well) have been put together in a robust package with quality materials. You certainly get what you pay for.

These RUSH backpacks will be trusted companions on many adventures to come, and many more mundane trips as well.
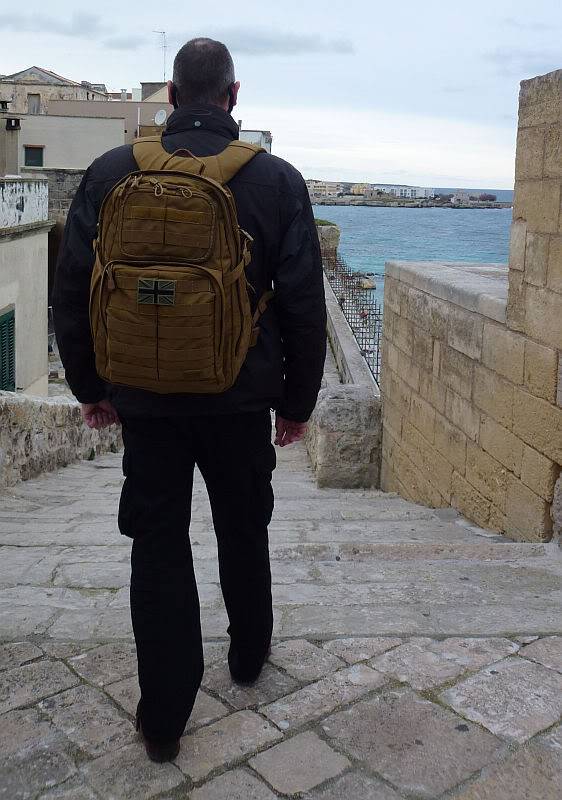
Test samples provided by 5.11 Tactical for review.
Gear Review: FLIR Scout TK Thermal Camera

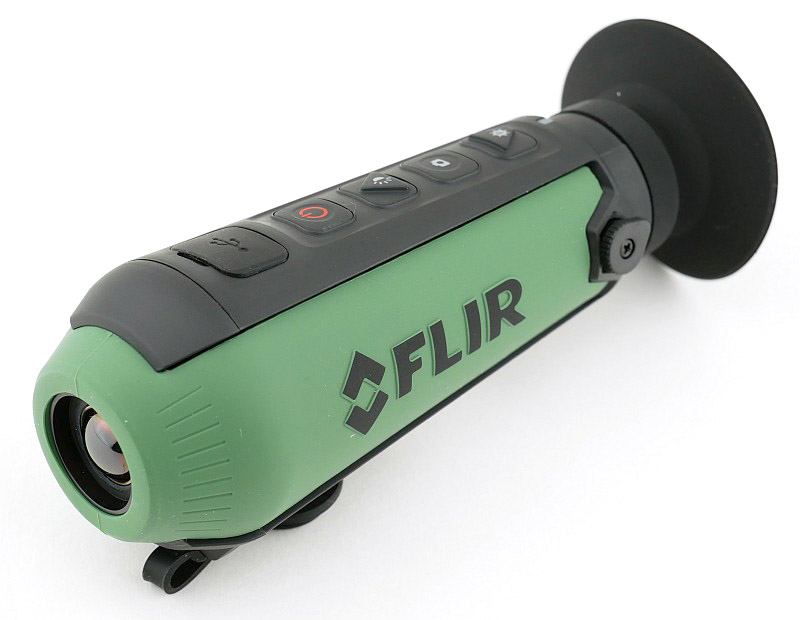
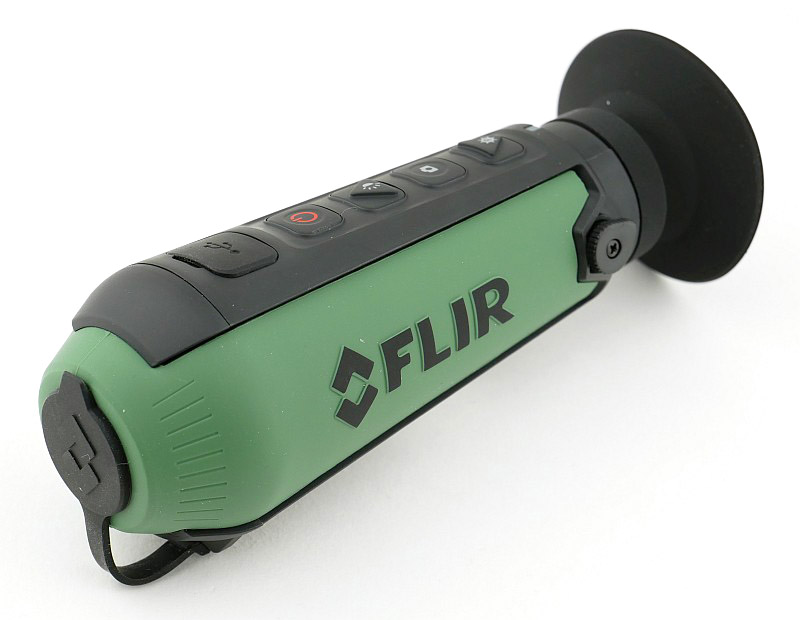
FLIR are a leading manufacturer of thermal imaging sensors and thermal cameras, and though this technology still remains relatively expensive, FLIR have been producing consumer devices that bring thermal imaging within reach for everyone. In this review we are looking at the Scout TK, FLIR’s palm-sized self-contained thermal vision monocular, which reveals details of your soundings and helps you see people, objects and animals up to 100 yards away.

A few details:

When working out the best order for the content in this review, I’ve settled on a good look around the Scout TK before diving into the how and what of thermal cameras. So here we go with the details of this handy scope style camera.

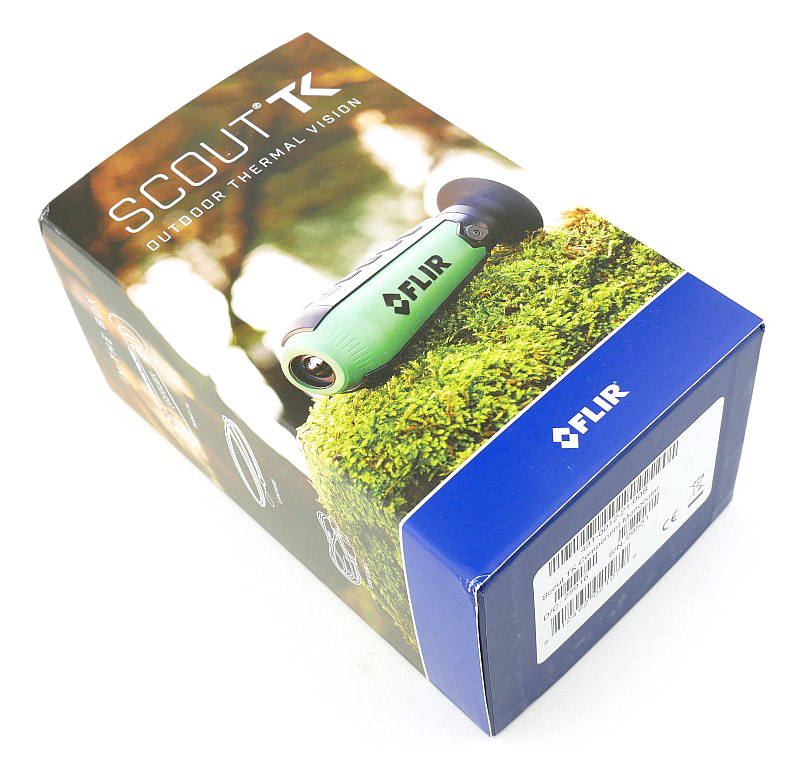
You are greeted by a well presented box with over-sleeve.

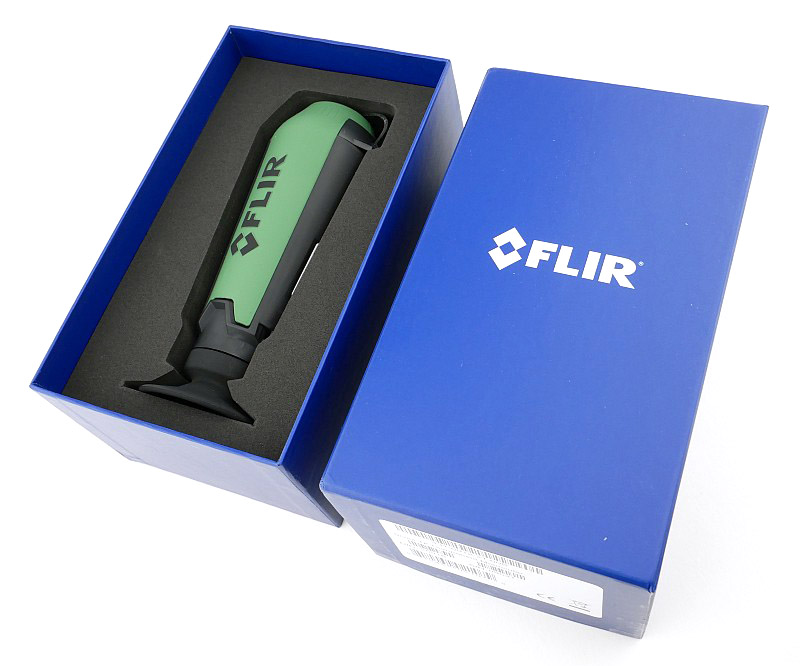
With the sleeve off the main box, we can lift off the lid. The Scout TK is well protected by a closed cell foam liner.

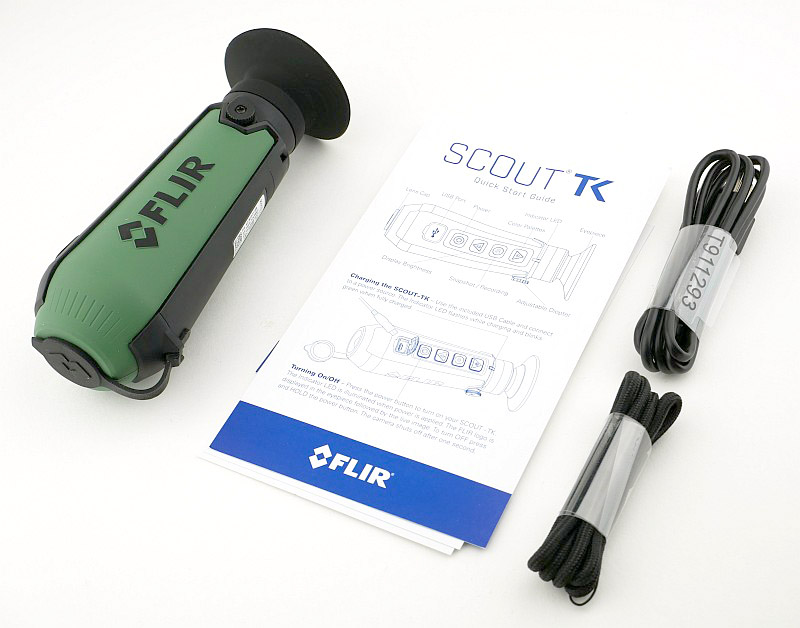
In the box is the Scout TK, a neck lanyard, a USB cable and the instructions.

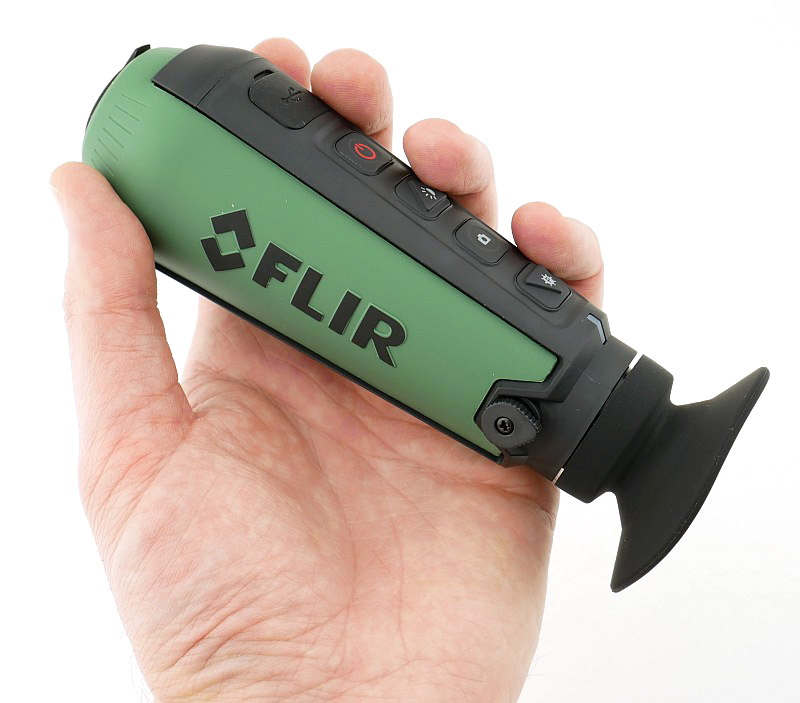
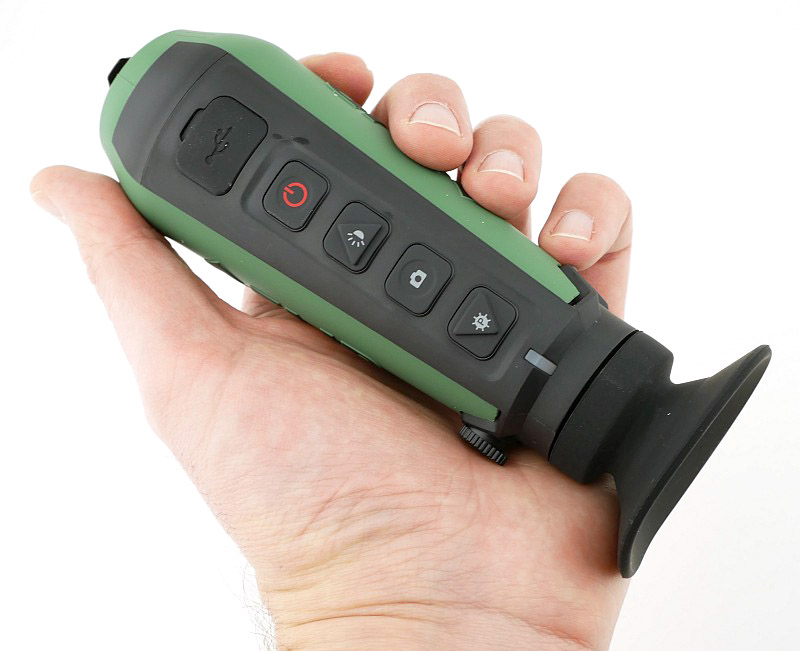
A very neat and purposeful design.

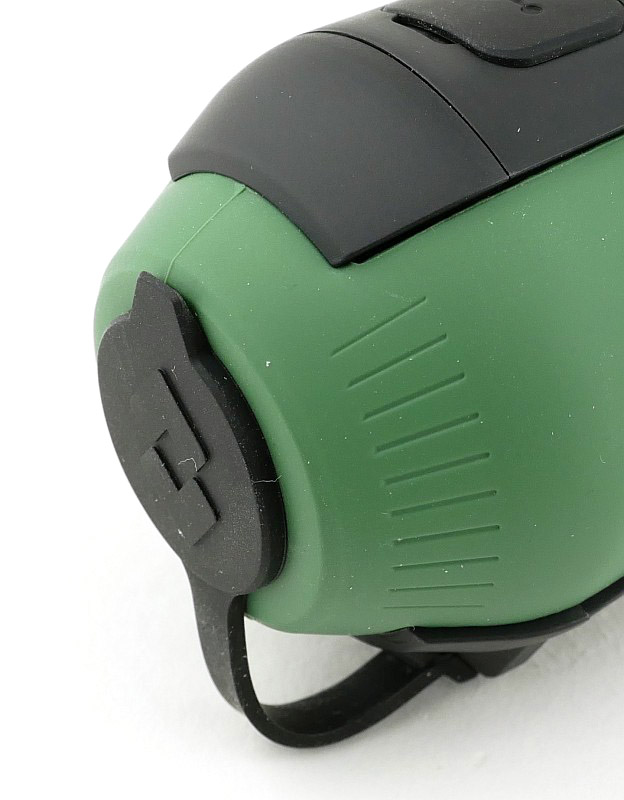
Protecting the Scout TK’s ‘eye’ is a rubber lens cover.

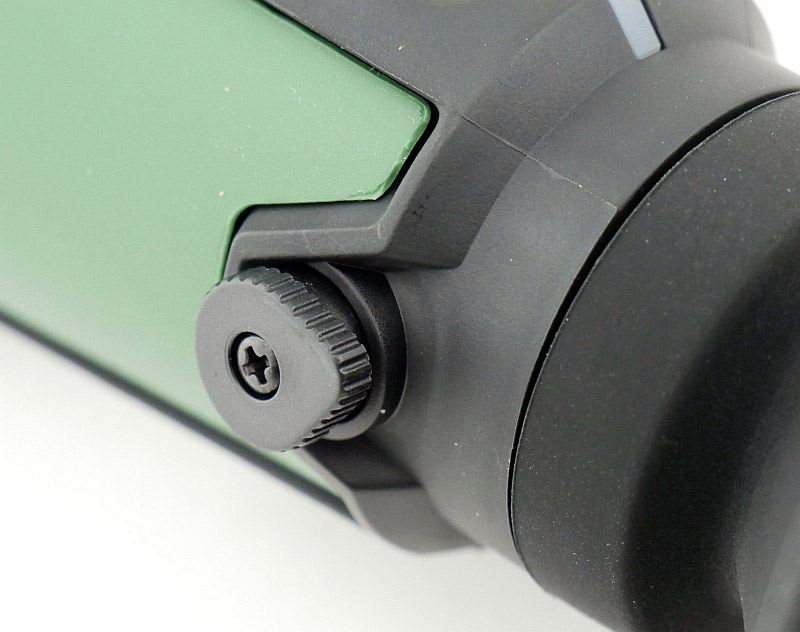
On the left side of the eyepiece is a diopter adjustment, to allow the user to focus the view of the internal display.

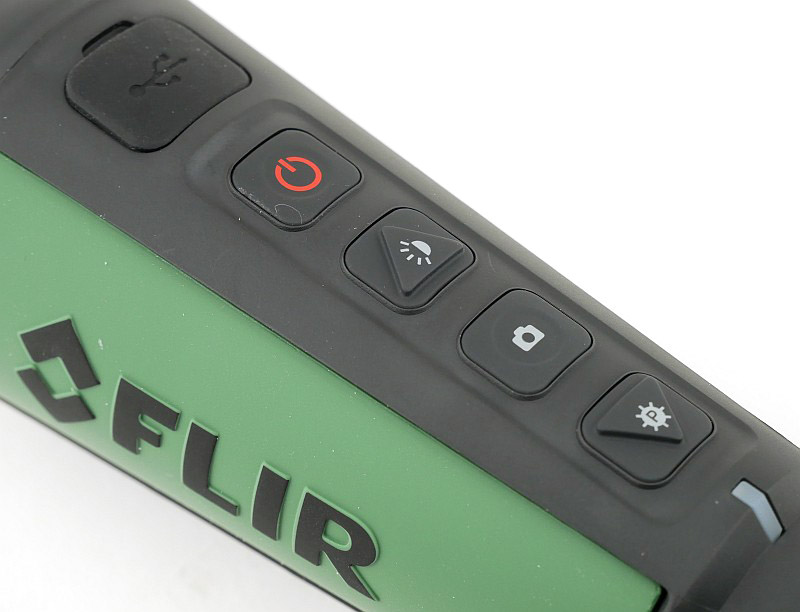
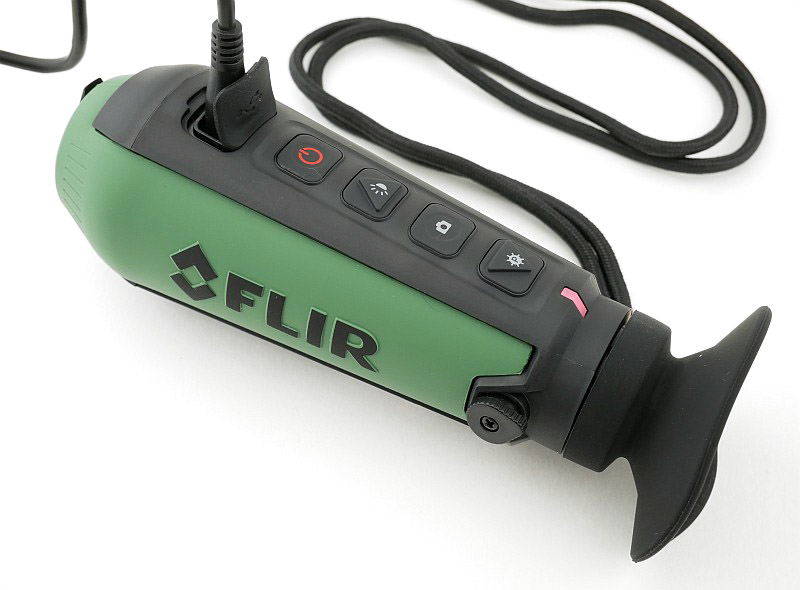
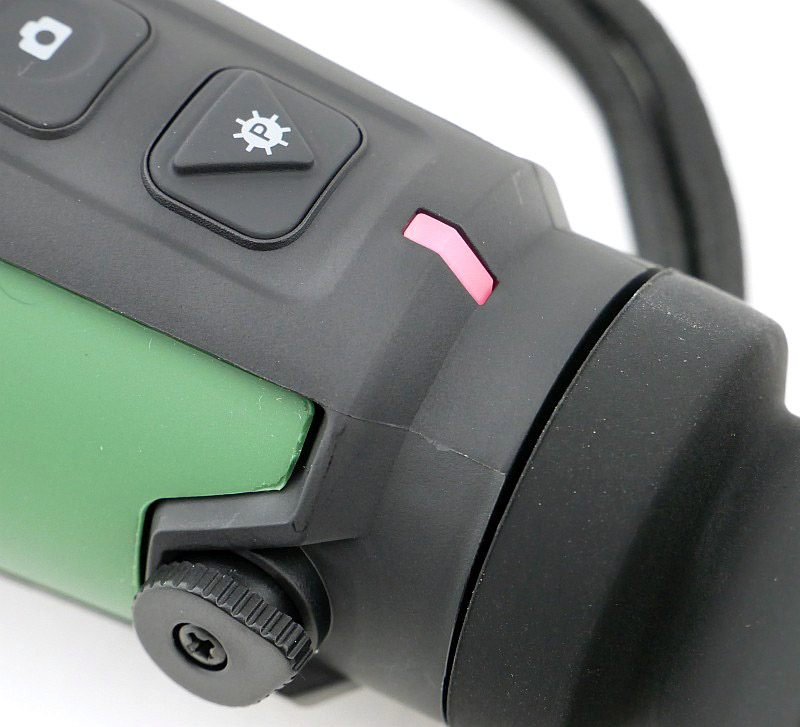
The top of the Scout TK has a set of four control buttons, plus the USB port cover. The buttons are basically Power, Brightness, Shutter and Palette.

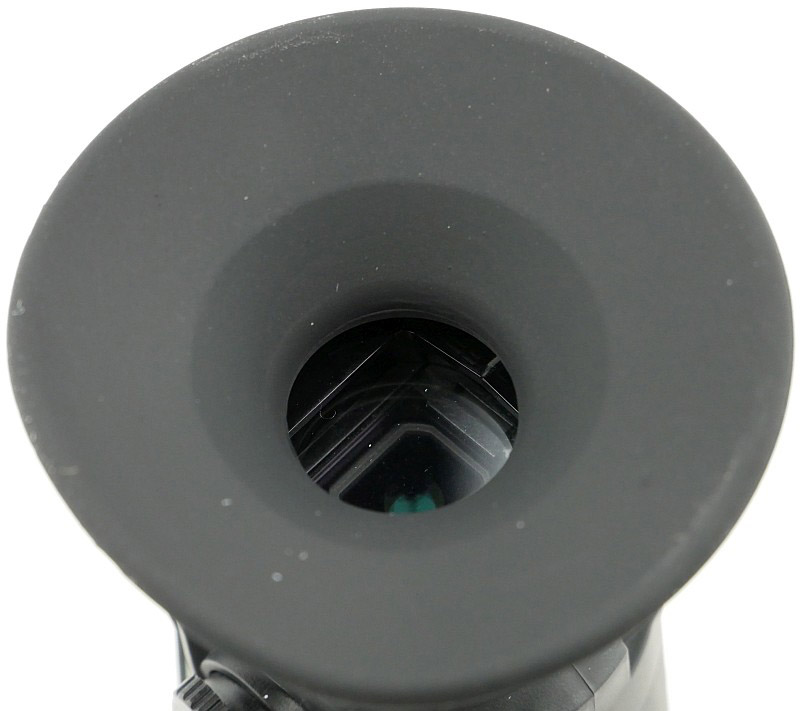
There is a wide, soft, eyecup shield to keep light in/out.

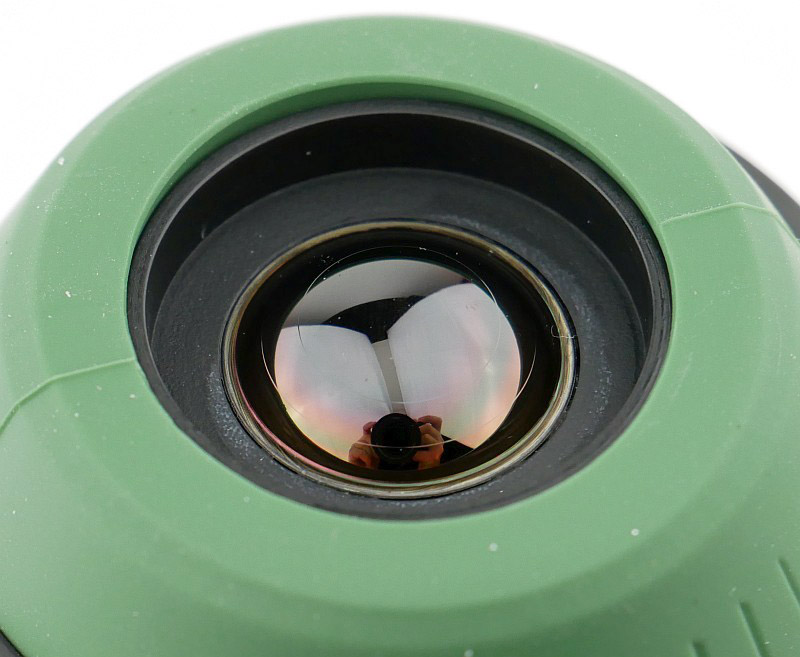
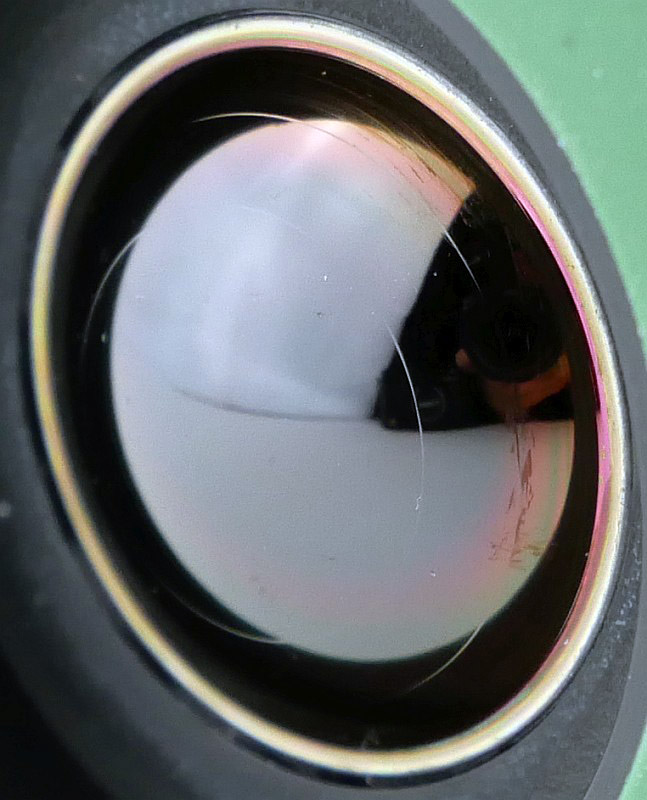
With the lens cover off we can start to see the odd looking thermal camera lens.

Materials and construction of the thermal camera lens are specialised as it is focusing infrared, not visible light.

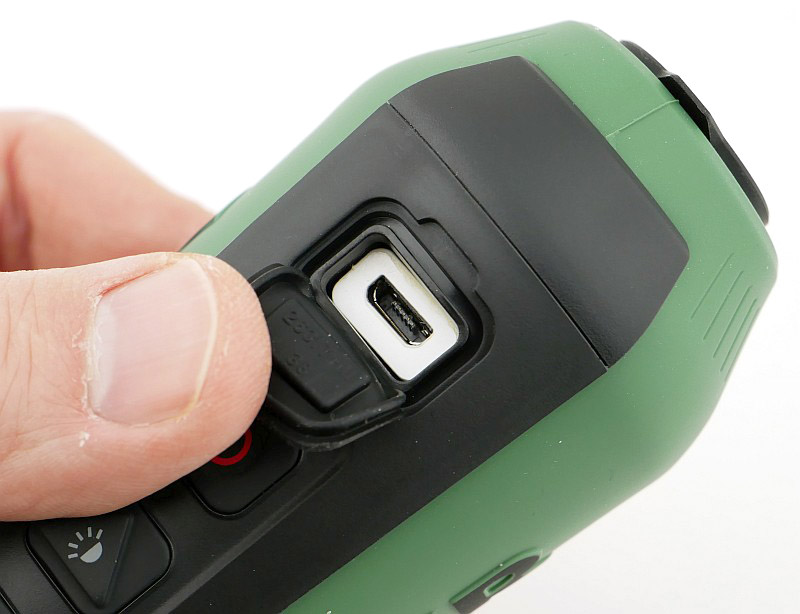
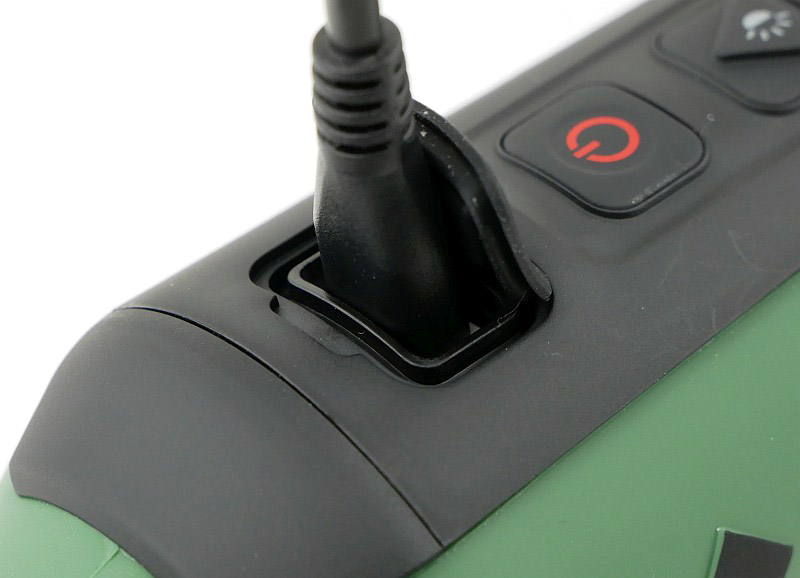
Pulling back the rubber USB port cover gives access to the micro USB port which is used for charging the internal battery and downloading the photos and video.

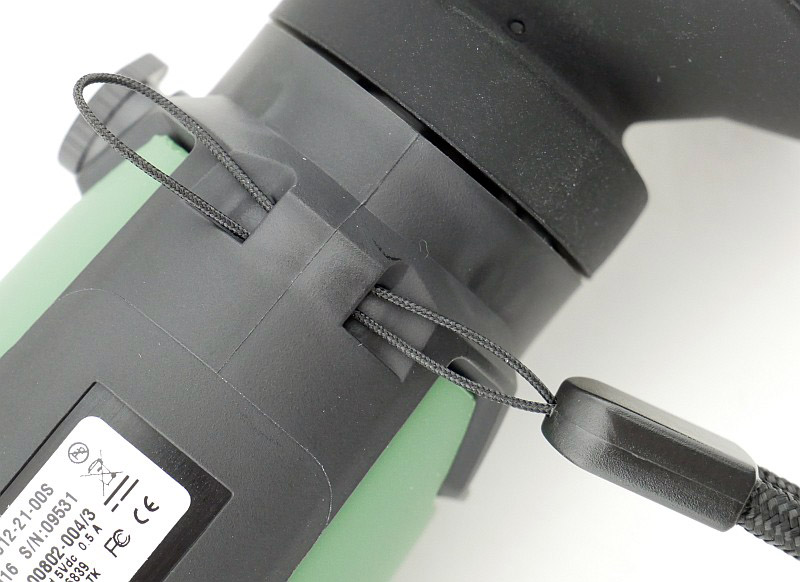
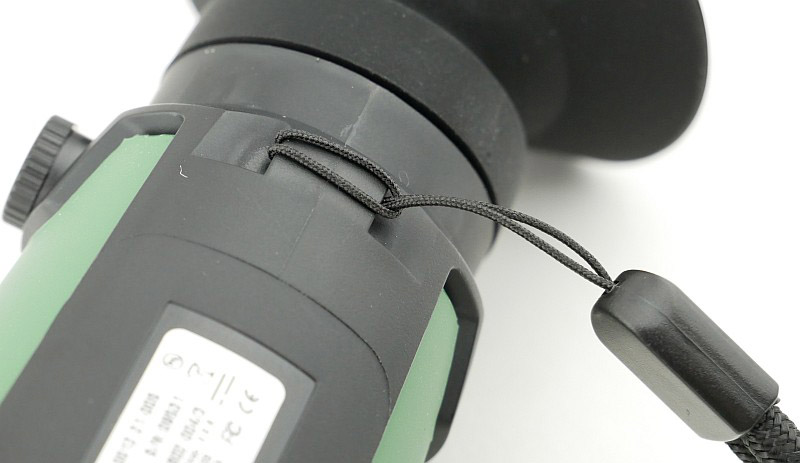
Though is it low-profile, the lanyard hole is easy to use.

Being a reasonable investment, it is a good idea to use the lanyard.

Plug in the supplied USB cable for charging and/or data transfer. This has a relatively slim plug, and some other cables don’t fit properly into the port.

Before using for the first time I gave it a full charge.

During charging the indicator light flashes red. This turns green once the battery is full, but keeps flashing.

A little Theory (read at your own risk):

If you just want to get on and see more of the photos and video the Scout TK can give you, then feel free to skip over this section, but if you would like to know a little more about how and what it is really doing, then hopefully this section will help illuminate you, and with this knowledge, you can better understand how best to use it.

What is this camera actually seeing? Just as our eyes respond to visible light (which is a small range of wavelengths of Electromagnetic Radiation on the Electromagnetic Spectrum), the sensor in the Scout TK responds to a different range of wavelengths that our eyes cannot see.

Electromagnetic Radiation is typically referred to by its frequency or wavelength, and we are going to use the wavelength to quantify where we are on the Electromagnetic Spectrum. For those not familiar with the concept, just think of waves in the sea, and how far apart the crest of each wave is from the previous wave (wavelength). Waves that are closer together have more energy, and waves that are further apart have less, of course the wavelengths we are looking at here are tiny compared to waves in the sea.

A typical human eye will respond to wavelengths from about 390-700 nm (that is 0.00039-0.0007 mm). The Scout TK uses a ‘FLIR Lepton sensor’ which responds to wavelengths between 7500-13500 nm – referred to as long-wavelength infrared.

Hopefully you are still with me as this is where is gets interesting.

The reason the sensor in the Scout TK has been made to respond to this range of wavelengths is because this is the ‘thermal imaging’ region of the Electromagnetic Spectrum. Objects at temperatures between -80 °C and 89 °C, purely due to their thermal energy (temperature), emit electromagnetic radiation in this band of wavelengths. As the objects themselves are emitting the radiation, there is no need for any ‘illuminator’ or external source of light. The objects simply ‘glow’, in infrared, all by themselves, and the camera sees their emissions directly.

This is a completely passive observation of the objects, needing no visible light or any other source of illumination, but it does bring us to one more important aspect of this to understand.

Because we are passively observing the radiation emitted by the objects themselves, and the wavelength of the infrared radiation ‘seen’ by the camera sensor depends on the temperature of the objects, we are really only ‘seeing’ temperature differences. If everything observed by the camera is actually the same temperature, it isn’t possible to distinguish any of the objects – they all just appear the same shade of grey. So what we want (and need) is temperature difference to be able to ‘see’ with a thermal camera. This concept will become clearer during the review when we look at what you need to bear in mind to get the best out of it.

Now that I’ve brought up the requirement for there to be a temperature difference to be able to ‘see’ anything with the thermal camera, to understand some of the images shown in the review, it is also necessary to understand how FLIR presents the observed picture. The sensor itself is capable of a ‘seeing’ very wide range of temperatures (-80 °C to 89 °C), but if this entire range was used all the time, you would not see the difference of only a few degrees clearly at all. To get round this, constantly during use, the processor in the Scout TK takes the highest and lowest observed temperature values and sets these as the maximum and minimum temperature colours for the palette being used. (The palette is a range of 256 colours used to represent the different temperatures ‘seen’ by the camera sensor.) So, as soon as a much colder, or hotter, object comes into view, those maximum and minimum values shift, and smaller temperature differences lose definition.

Staying in the technical frame of mind, here are a few key features of the Scout TK:

Detector Type – 160 x 120 VOx Lepton ® Microbolometer
Thermal Sensitivity – Waveband 7.5-13.5µm
Field of View (H x V) – 20° x 16°
Media Storage – 1000 images and 4 hours of video
Eyepiece display – 640 x 480 pixel LCD
Refresh Rate – <9Hz Battery Type - Internal Li-Ion Cell Ingress Protection Rating - IP-67, Submersible

What it is like to use?

Hopefully you survived the thermal camera theory, as it helps explain some of what we see in this section.

Although the Scout TK might be the lowest specification of FLIR’s thermal camera scopes, it is also the most convenient to carry. The sort of thing you will take on the off-chance instead of specifically planning to need it.

Small enough to pop in a jacket pocket, or use the neck lanyard to carry around.

Getting started with the Scout TK and power it up with a brief press of the power button. About 10 seconds later the thermal imaging is shown on the internal 640 x 480 pixel eyepiece LCD.

During the startup, you might notice it clicking, and this also happens from time to time as you use it. While it is clicking the image being displayed freezes. This is a calibration process known as flat-field correction or FFC, and an integrated shutter performs the FFC automatically. Due to the nature of the sensor, and the fact it is ‘seeing’ infrared, which it itself is emitting, this calibration ensures that each pixel in the sensor is set to the same level when shown a uniform target (the shutter) ensuring there is no distortion of the thermal image.

So far, apart from when turning it on, I’ve not found a clear pattern of when the calibration triggers, but you will see it from time to time during use.

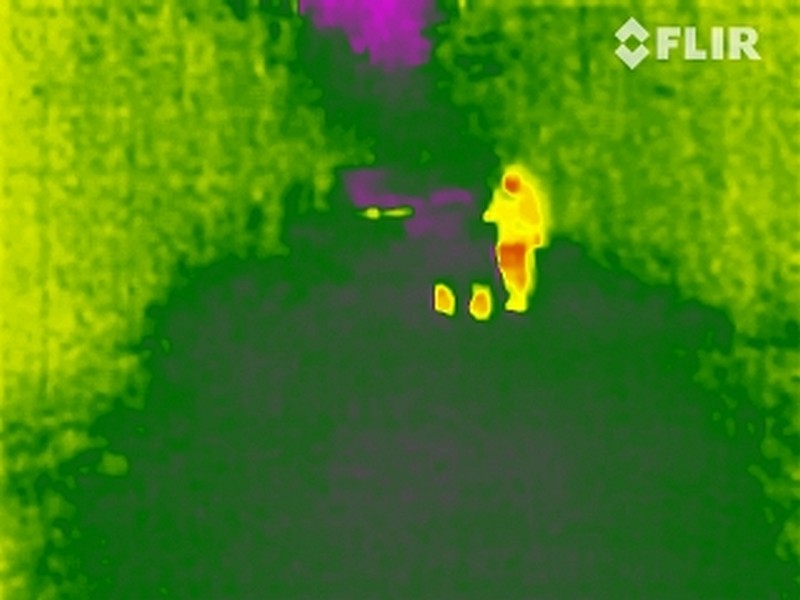
OK, so most importantly, what do we see? Well there is a lot more, but turn it on out of the box, and this is the sort of thing you immediately have revealed. Here, down a dark unlit path is a dog-walker and two small dogs.

With the Scout TK using an eyepiece display, the brightness of this could be too dim for daylight use, or too bright for dark adapted eyes, but of course, FLIR have included brightness adjustment. You’ll find out how important this is the first time you let your eyes adjust to the dark. Fortunately it is quick and easy to dim the display to a comfortable level. Thanks to the eye shield, I’ve actually found the dimmed display fine for daytime use as well.

The previous image was pretty clear anyway, but change to a different palette (more on those in a minute) and they definitely stand out now.

The same scene again, but using the palette which has become the most useful to me, called ‘Rain’, and there is no mistaking our dog-walker.
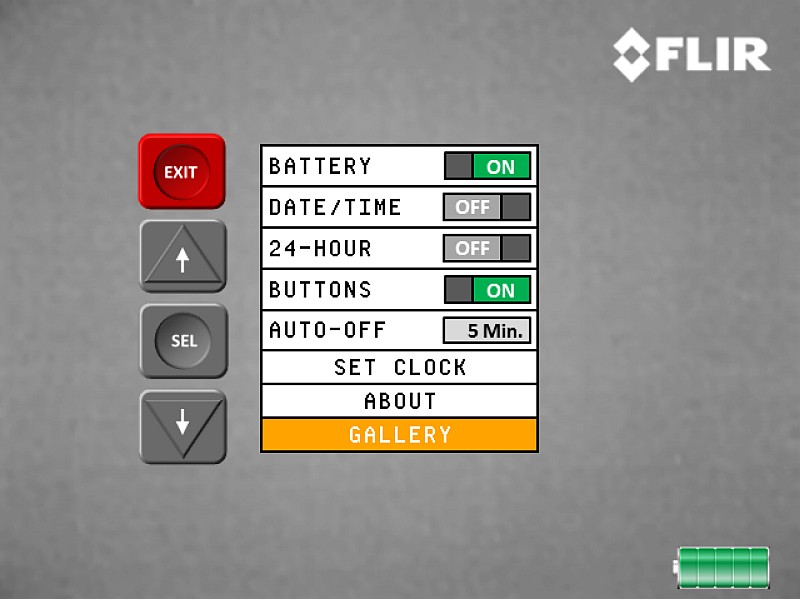
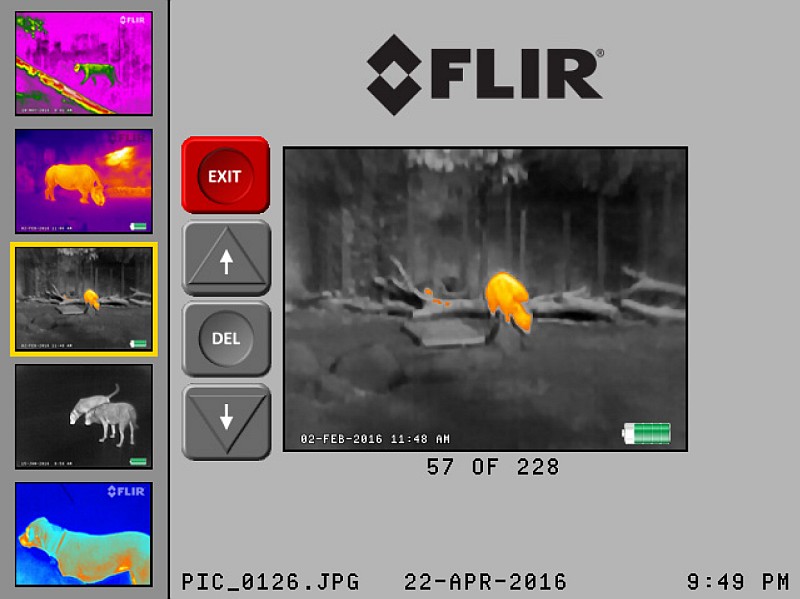
We’ll cover the most important feature of palettes in more detail, but before moving on, there is a simple menu system for the few settings you might want to tweak from their defaults. Through this menu you set the date/time and tweak what is displayed. You can also enter the basic Gallery to view photos you have taken (videos don’t play back).

Opening the Gallery means you can browse through the images. They are shown quite small with there being no full screen view, only what you see here. Videos are shown as a still image, but won’t play.

It might not be your first question, but it was one of the things I tried straight away, ‘can it be used through glass?’; this is your answer. Of course modern glasses are specifically designed to keep heat in, including infrared, so it is basically an infrared mirror.

Designed with the outdoor enthusiast in mind, in the urban environment there are still many things you might use this Scout TK for, including finding overheating appliances, missing home insulation, and this list just goes on and on. In this case I wanted to know which car was the one that had just parked. No question there.

Part of the reason for all the theory included earlier is to understand one possible issue you may encounter in certain situations.
This scene is of a path through open countryside. At the very top, you see just a hint of sky (black). The Scout TK is set to use the Instalert palette to hopefully make it easy to spot any animals.

Lifting the view just a little brings more of the sky into view, and suddenly all of the bushes and grass are on fire! Not terribly useful.

OK, so what happened? It comes down to the way the camera calculates the colours to match the current observed temperature profiles. Moving the camera so you now include the sky in the image means this becomes the coldest thing; there are now fewer colour variations available to show differences in temperature between a bush and an animal. Once you understand this you can avoid washouts like this; to get the best colour contrast, avoid getting extreme temperatures into the image (sky/ice etc).

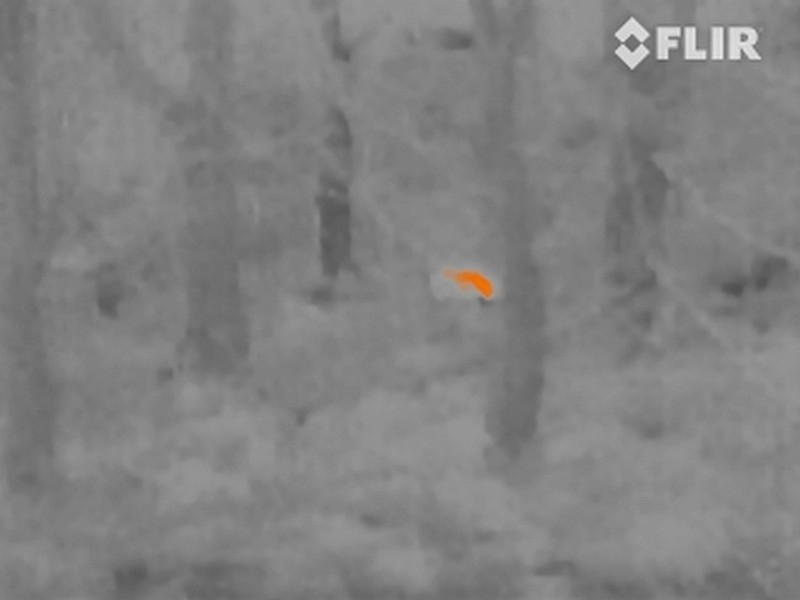
The term palette has come up several times and these are one of the most useful settings in a thermal camera as each has a particular benefit. One of my most used palettes is ‘Rain’ which works for low contrast scenes. Here a fox is clearly visible in the distance when the other palettes barely showed anything.

Taking these images directly from the Scout TK documentation, this is the full set of palettes you can choose from.

Palettes:

What we have seen so far are still images such as this one of a ……… Oh, yes this not much help, is it, as a still image? Unfortunately this particular sighting did not get captured as a video, and what was clear from the moving image in the eyepiece was that this is a badger.

So, lets have a look at some video from the Scout TK and you’ll get a much better idea of what it is like to use.

Video Edited with – Cyberlink Director Suite 5 (PowerDirector 16 and AudioDirector 7)

In real terms, you will be making your observations live with the Scout TK, but if you want to capture those observations to share, taking still images is good, but taking video even better.

What about the daytime? A thermal camera is going to work best when there are the greatest differences in temperatures, and it is at night when the animals you are looking for will stand out against a cool background. However, it can be quite interesting to use a thermal camera in daylight and you see things quite differently.

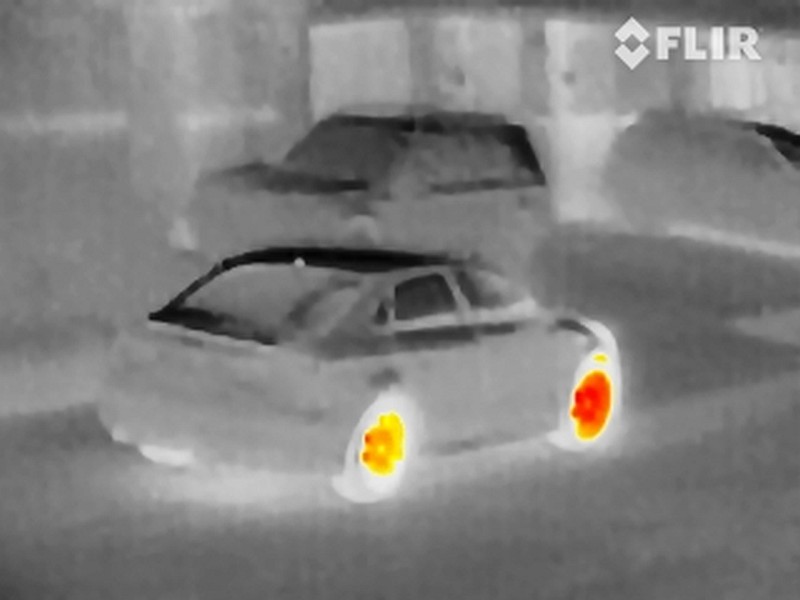
At first this image looks almost as you might expect for a black and white visible-light image. The shadows from the cars that are cast onto the pavement, are not exactly that. They are the shadows of the cars, but here we see them as colder areas as the sunlight is not warming the ground. We see the lack of warmth, not the lack of light.

This patchy looking car doesn’t have a funky paint job and white wall tyres, it is actually silver with plain black tyres. What we see is how the sunlight is heating up different parts of the car. The black rubber tyres are soaking up the heat of the sun and get nice and warm. The doors are insulated and so heat up more than the rest of the body, and the plastic bumper is also heating up differently.
Direct sunlight, and the heat it imparts to what you are observing, either conceals or reveals details, so is interesting but a bit hit or miss.

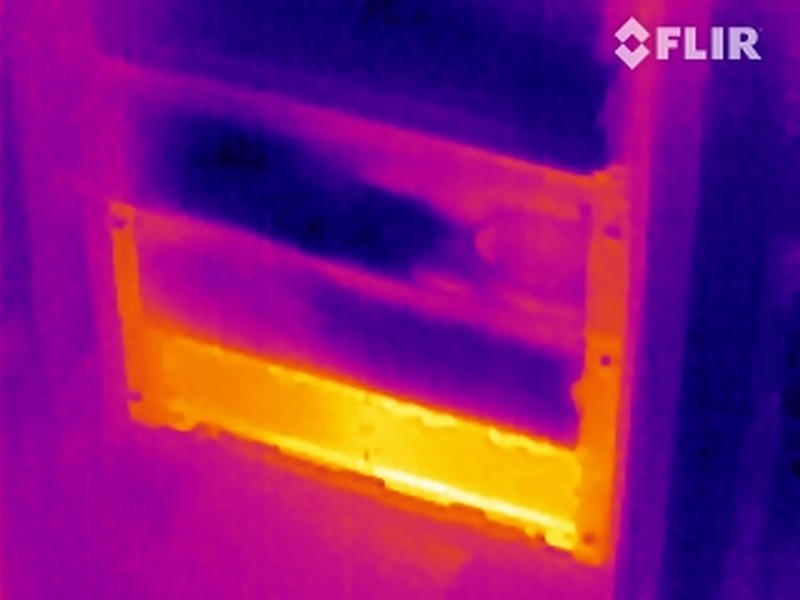
As portable as the Scout TK is, I wouldn’t normally carry it as an EDC, so it was just luck that meant I had it with me when a burning smell was reported coming from the server room at the office. With no obvious smoking or dead equipment, a quick scan with the Scout TK identified the culprit in less than 30s.
The lower battery bank of a UPS was significantly hot on one side and heating the battery bank above it. All healthy UPS units were cold, but not this one.

After electrically isolating the lower battery bank so it was no longer powered, a couple of hours later the two healthy UPS components were cold again with only the problem battery bank showing residual heat. After removing the four battery trays in this bank, the two on the right where the heat was seen had swollen and melted batteries with acid leaking. Thanks to the Scout TK the problem was found and dealt with very quickly.

With the design of the Scout TK, FLIR have kept is simple and fully self contained. This makes it easy to carry and easy to use. Compared to some of the more advanced cameras (and significantly more expensive), the Scout TK has a few limitations, but these are intentional and allow the Scout TK to be easy for anyone to pick up and use. Once you have your preferred palette and display brightness selected, the Scout TK can actually be a single button device – the power button – turn on, observe, turn off.

Review Summary

The views expressed in this summary table are from the point of view of the reviewer’s personal use. I am not a member of the armed forces and cannot comment on its use beyond a cutting tool or field/hunting knife.

Something that might be a ‘pro’ for one user can be a ‘con’ for another, so the comments are categorised based on my requirements. You should consider all points and if they could be beneficial to you.

_______________________________________________ _______________________________________________
Things I like What doesn’t work so well for me
_______________________________________________ _______________________________________________
Self-contained thermal camera. Thermal technology is still expensive (£500-£577).
Scope style body for intuitive use. Gallery display is small and does not play back video.
Wide range of useful palettes. USB data transfer seems to be USB 1.0 speed.
Excellent battery life.
Records images and video.
Robust, easy to use design.


Discussing the Review:

The ideal place to discuss this reviews is on a forum. If you started reading the shorter forum version of the review, but followed the link this full exclusive review, please return to that forum to discuss the review there.
If you read the review entirely on Tactical Reviews, please consider one of the following to join in any discussion.

CandlePowerForums – Knife Reviews Section (Largest and Friendliest Flashlight Community Forum)

Gear Review: Wicked Edge Advanced Alignment Guide and Low Angle Adapter

This is a supplementary review to the Wicked Edge ‘Field and Sport’ Sharpener Review as it covers two optional extras that extend the functionality of a Wicked Edge Sharpener. The Low angle adapter has been around for some time, but the Advanced alignment guide is a recent addition which further enhances the precision of the sharpener.

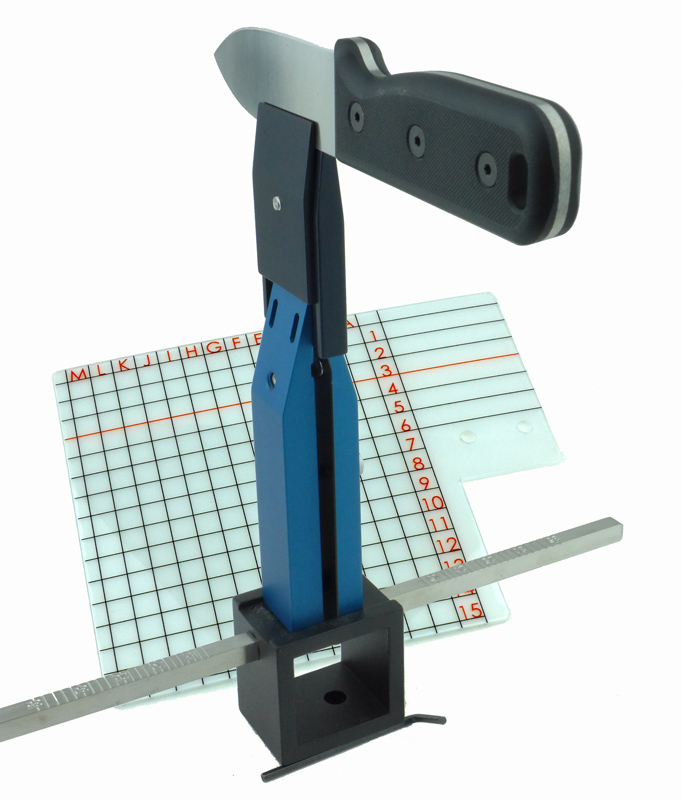
The Low Angle Adapter is a clamp extension for a Wicked Edge sharpener which allows for angles as low as 10°. The Advanced Alignment Guide provides measurable reference points for repeatable knife mounting. It allows a Wicked Edge user to be able to tilt a knife in the clamp to find the optimum knife positioning and record the setting so the mounting position can be repeated during the next sharpening session.

Low Angle Adapter – A few more details & What it is like to use?:

For this supplementary review it makes more sense to combine the different sections I normally use, so we will look at each of these optional extras and how to use them at the same time.

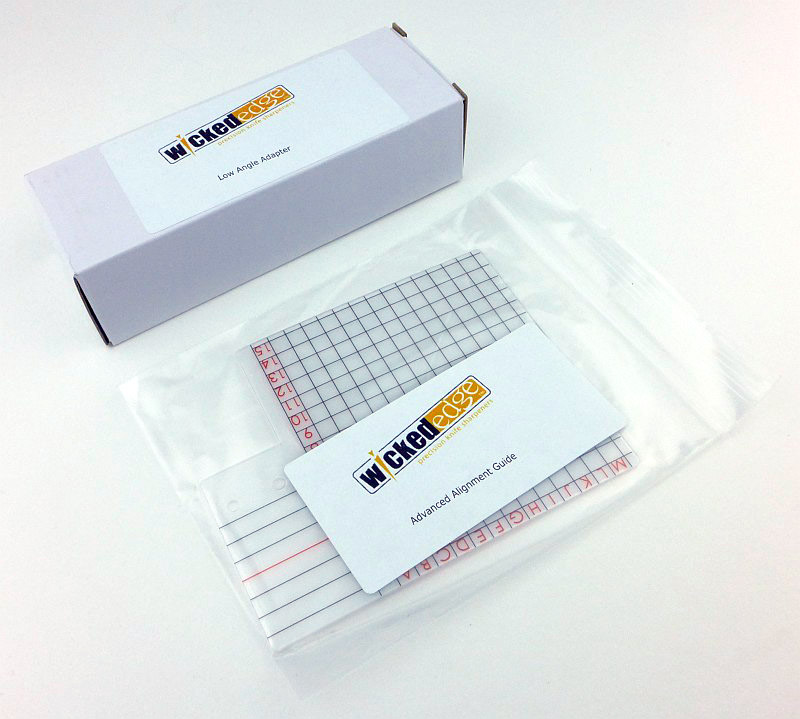
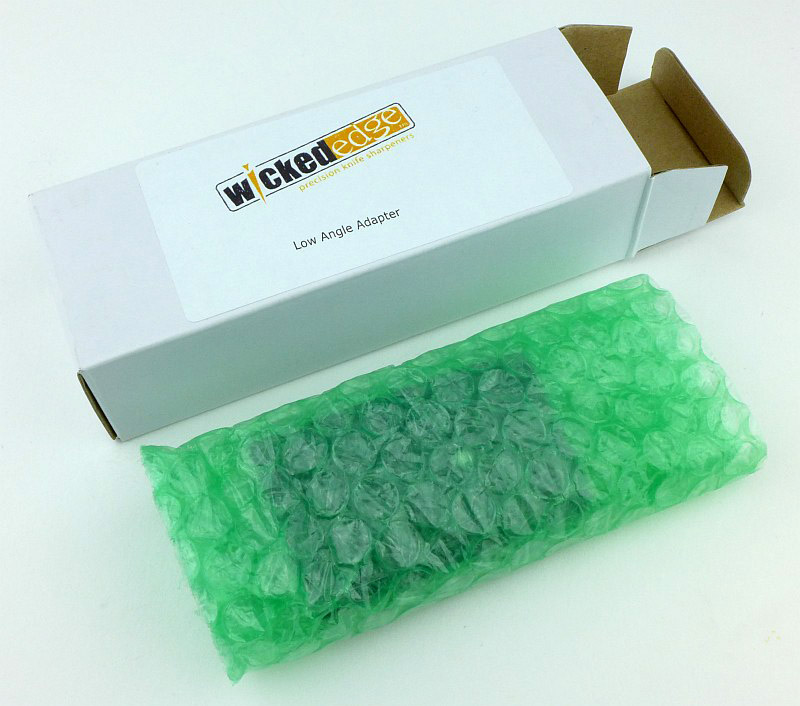
Unpacking the low angle adapter.

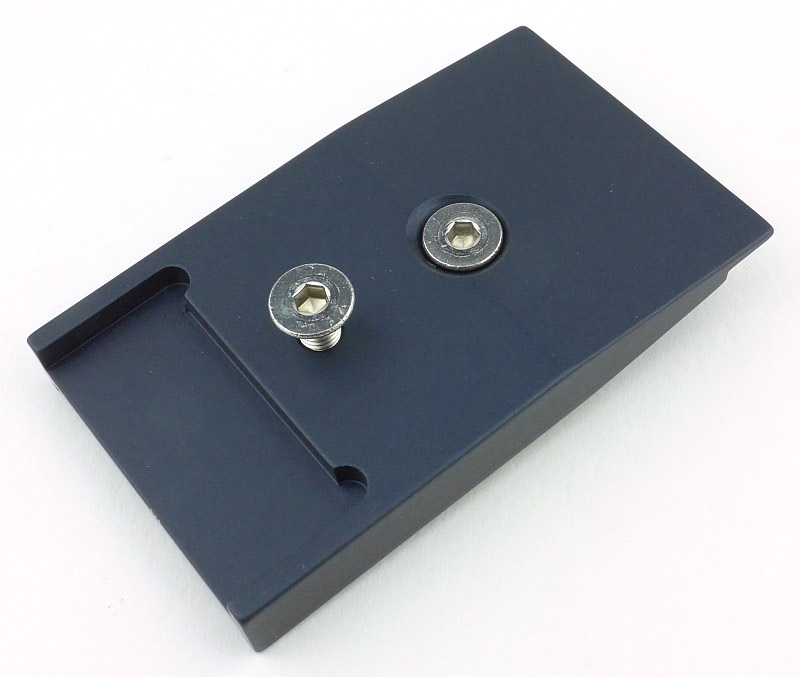
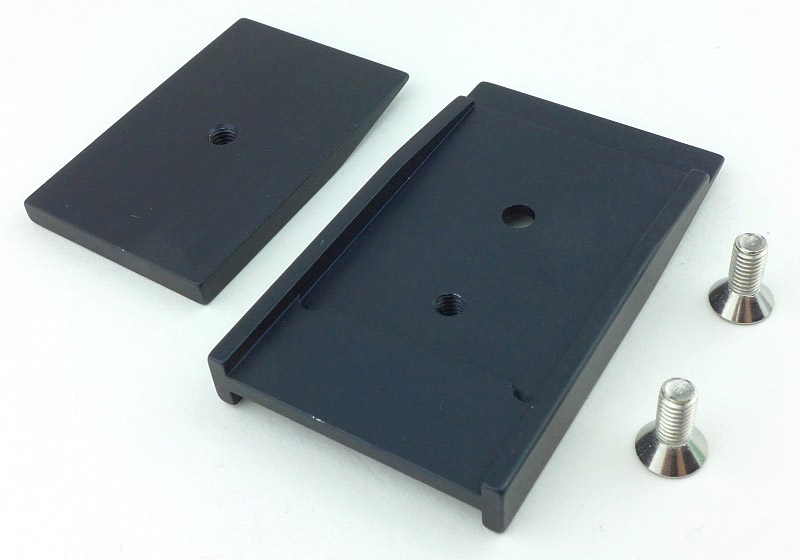
The main body of this clamp extension is black anodised aluminium.

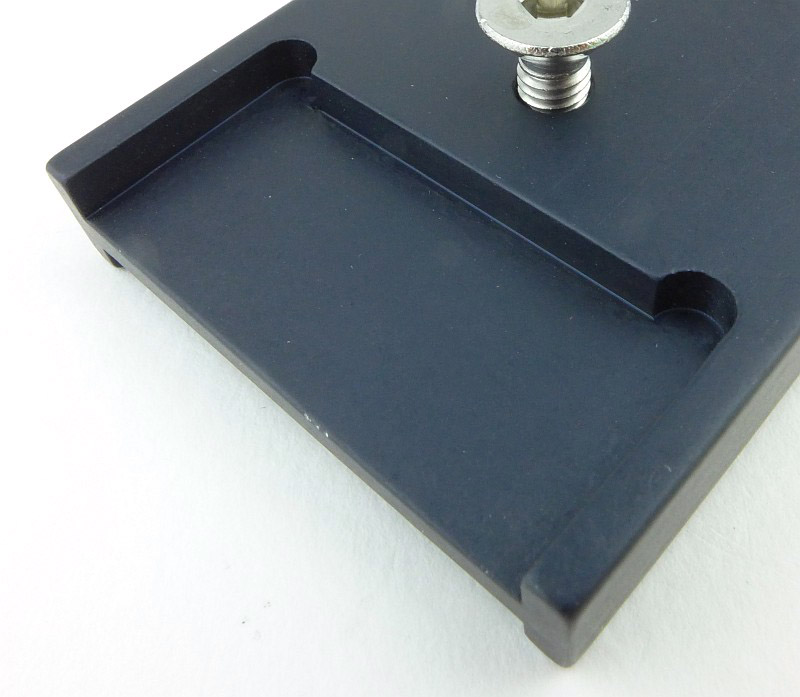
An area is milled out of the adapter for the sharpener’s standard clamp jaws to slide into and grip.

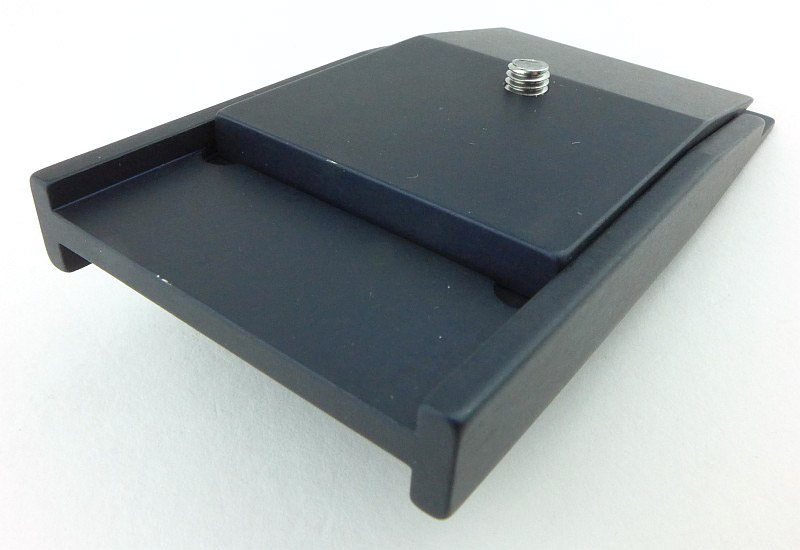
The other side has a different profile as there is the adapters blade clamp plate.

Taking this blade clamp completely off shows the milled pocket into which it sits. The milled out areas on each side (for the sharpener’s clamp and the adapter’s blade clamp) ensure precise alignment of all parts of the adapter during use.

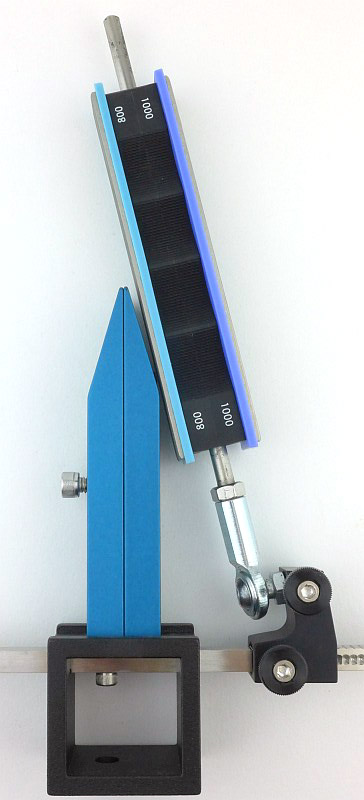
To clearly illustrate what this low angle adapter does, here is the standard clamp of the Wicked Edge, and at the low angle set for the stone, the stone is hitting the clamp jaw, so won’t reach the knife edge (unless the knife is very deep).

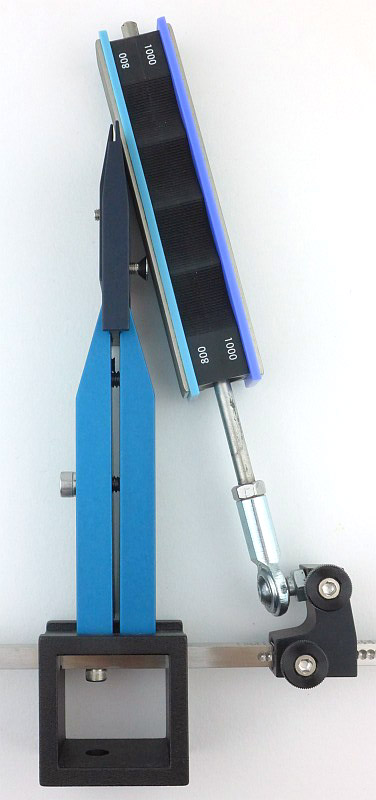
With the guide rod at the same angle, fitting the low angle adapter allows the stone to completely clear the main clamp and work on a knife blade fitted into the adapter.

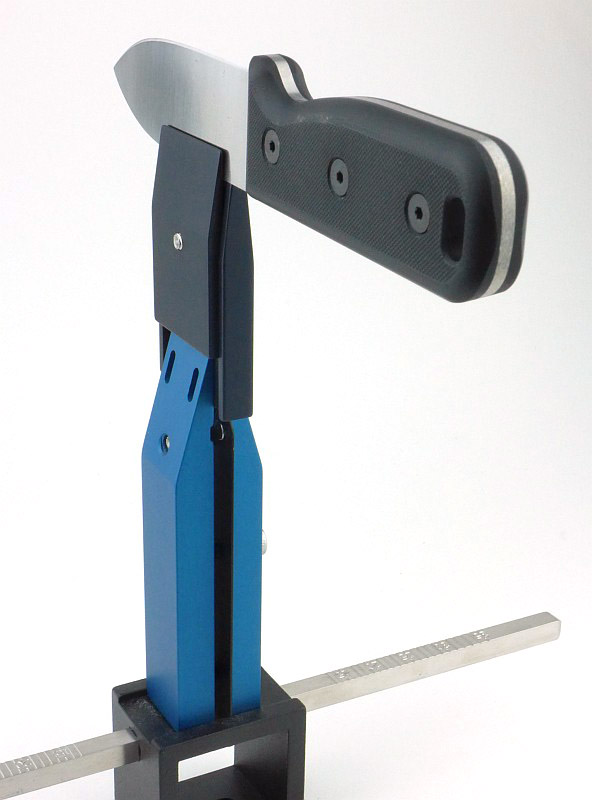
All standard angles are still available even with the low angle adapter, but remember the scale on the main clamp will now not be exactly correct as the height of the blade has changed. Make sure you note down the fact the that adapter was used along with the angle shown on the scale for the guide rod.

Advanced Alignment Guide – A few more details & What it is like to use?:

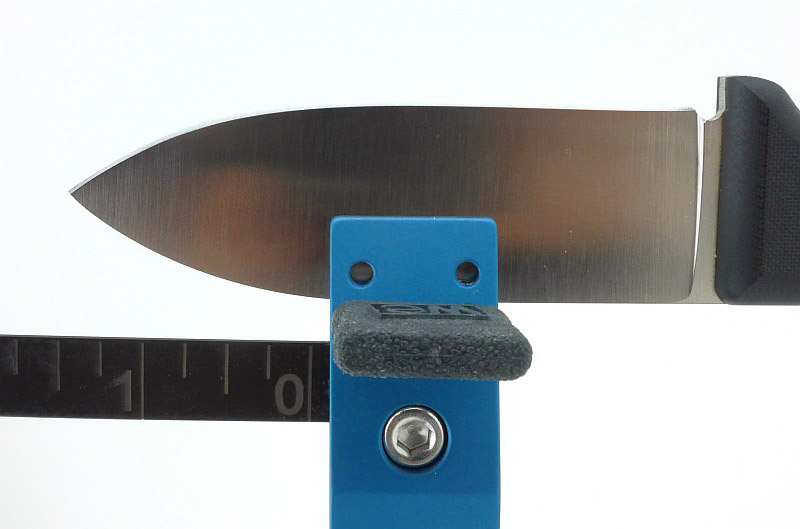
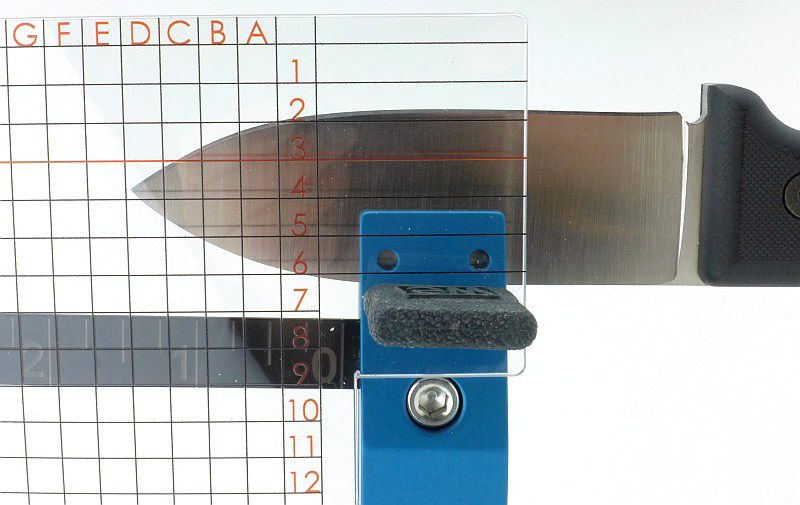
With the Wicked Edge system you note down the various settings used for each blade so that in subsequent sharpening sessions you can repeat the angles precisely, reducing the amount of metal removed. The Advanced Alignment Guide gives you a further level of precision for the positioning of the blade in the clamp, and allows you to angle the blade and record the exact position you used.

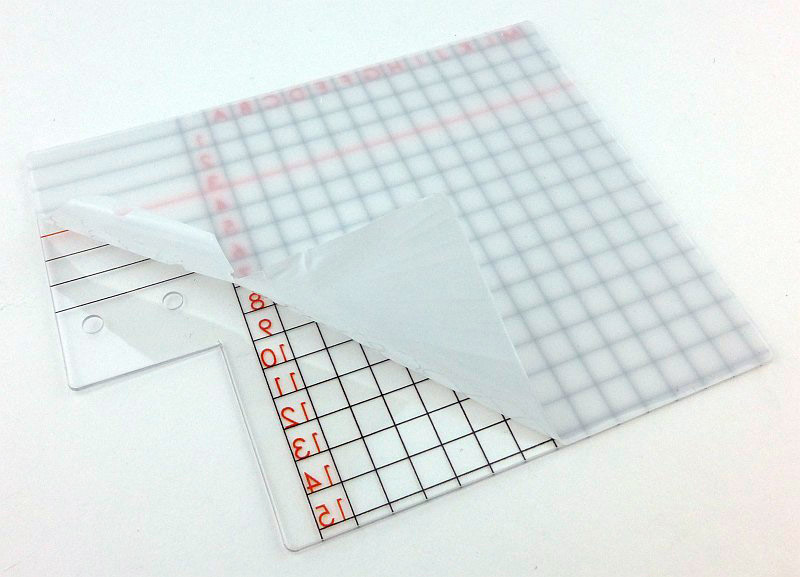
When it arrives, the guide has a protective film to ensure you get it completely free of marks.

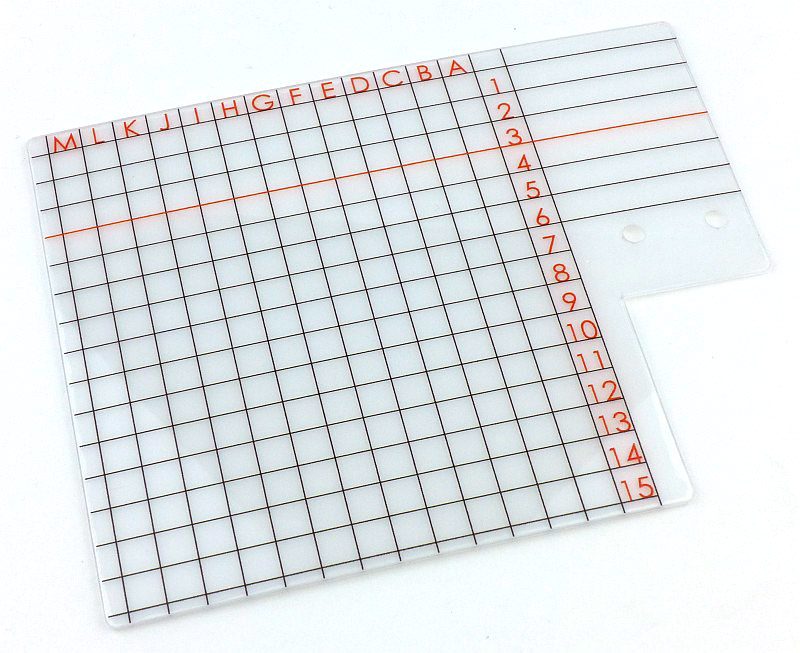
With the protective film removed you can see the grid printed onto the guide and two holes which are used to fit the guide to your sharpener.

Before this alignment guide was made, you had to use the simple ruler scale built into the clamp to position the blade, relying on the blade spine to sit squarely onto the depth key.

To use the new guide, when you fit the two pronged depth key into the clamp, first pass the prongs through the holes in the alignment guide and then into the clamp. Now you have a 2D labelled grid which allows you to precisely position and record where the blade tip is set. This also means you no longer have to put the blade spine down onto both depth key prongs and can rock it one way or the other to better present the knife edge for sharpening. Another level of precision.

Review Summary

The views expressed in this summary table are from the point of view of the reviewer’s personal use. I am not a member of the armed forces and cannot comment on its use beyond a cutting tool or field/hunting knife.

Something that might be a ‘pro’ for one user can be a ‘con’ for another, so the comments are categorised based on my requirements. You should consider all points and if they could be beneficial to you.

_______________________________________________ _______________________________________________
Things I like What doesn’t work so well for me
_______________________________________________ _______________________________________________
Finer Edge Angles available. Relatively expensive.
Smaller blades can be sharpened.
Blade positioning even more repeatable. Doesn’t sit against a flat surface so can move backwards and forwards.
Much easier than the standard ruler.


Discussing the Review:

The ideal place to discuss this reviews is on a forum. If you started reading the shorter forum version of the review, but followed the link this full exclusive review, please return to that forum to discuss the review there.
If you read the review entirely on Tactical Reviews, please consider one of the following to join in any discussion.

EdgeMatters – Sponsored Reviews (UK based Forum for Knife Makers and Collectors)

BladeForums – Knife Reviews (US based Forum for Knife Discussion)

CandlePowerForums – Knife Reviews Section (Largest and Friendliest Flashlight Community Forum)