After just popping by for a chat with the nice folks of Nordic Heat at IWA, I found myself leaving with their Large Handwarmer / USB Powerbank. In this review of the Nordic Heat 10,000mAh Handwarmer and USB Powerbank, as well as getting a good feel for it, I have carried out some detailed measurements of output performance for both the heating and USB powerbank.
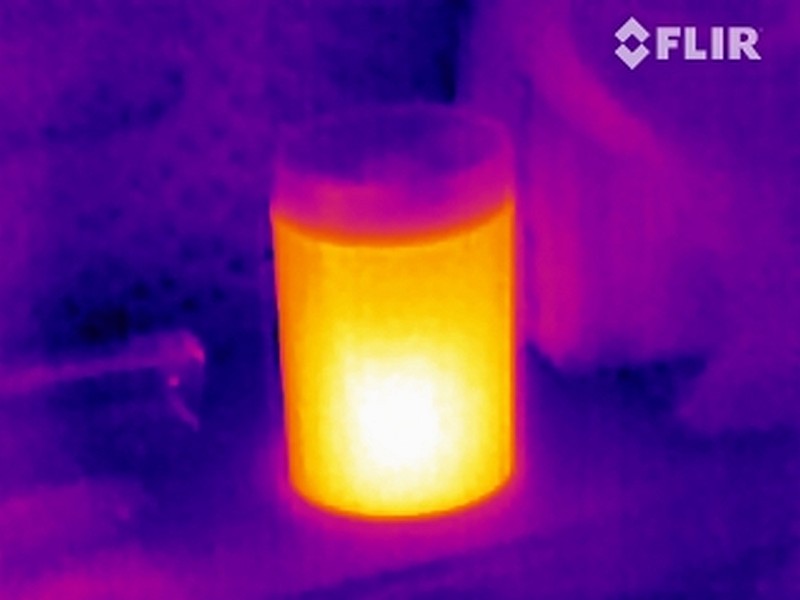
Thermal image taken with FLIR Scout TK
A few more details:
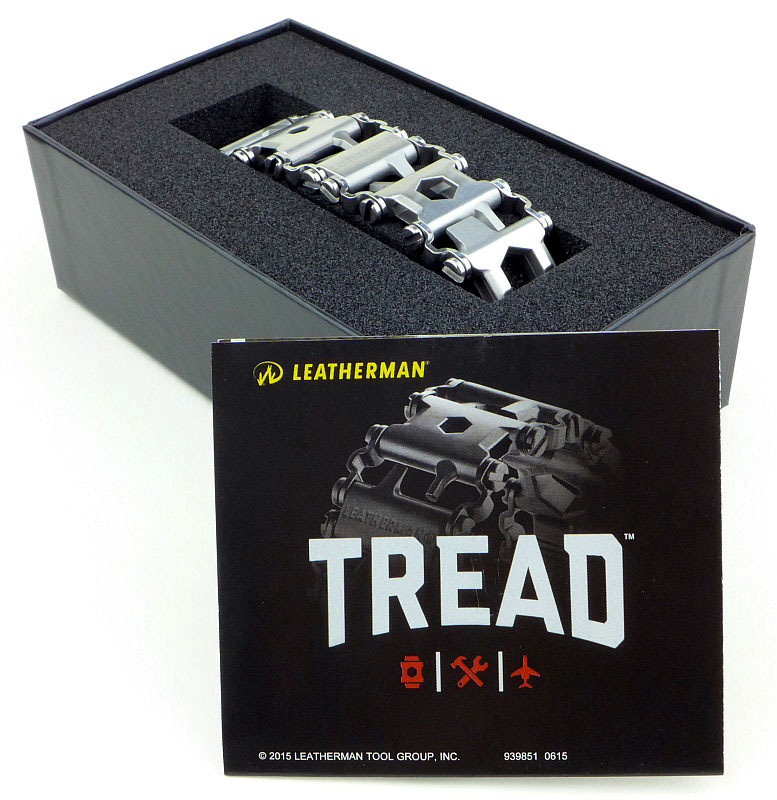
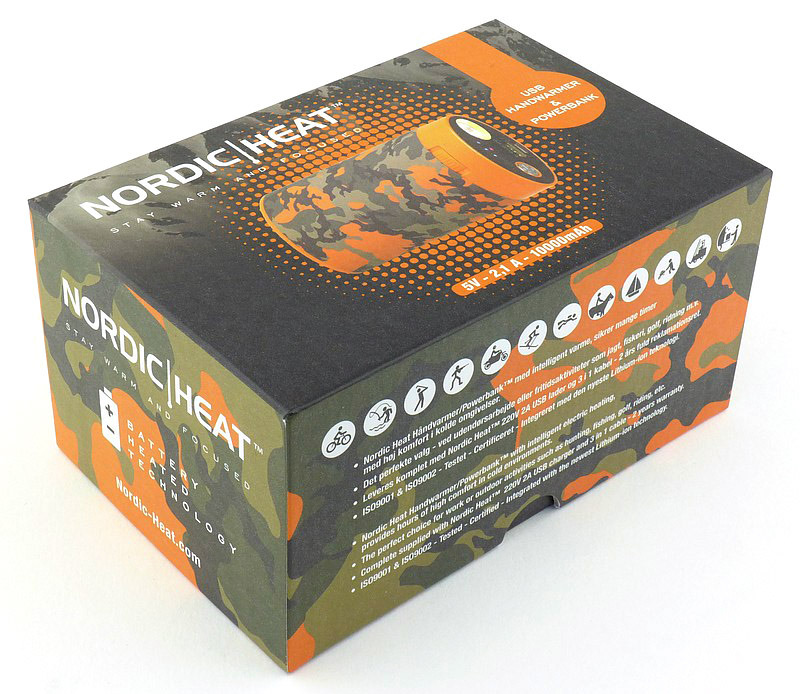
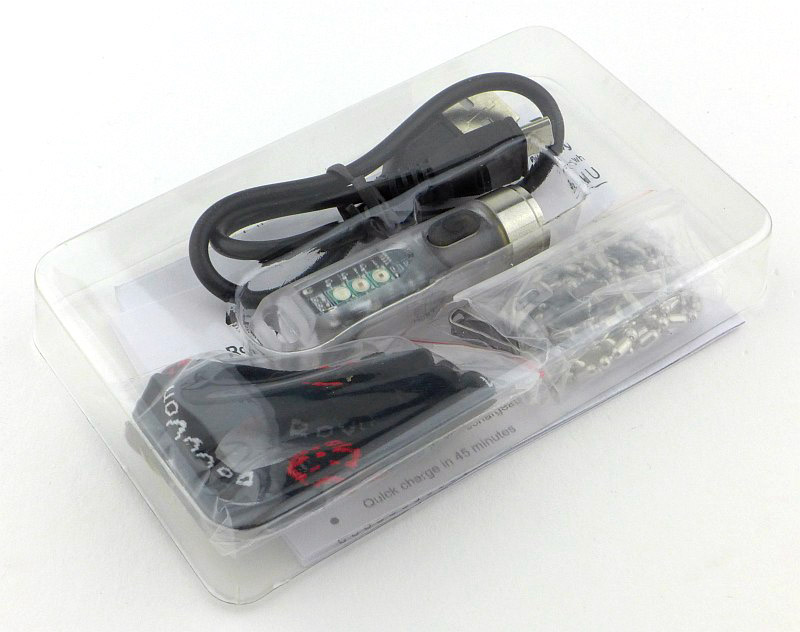
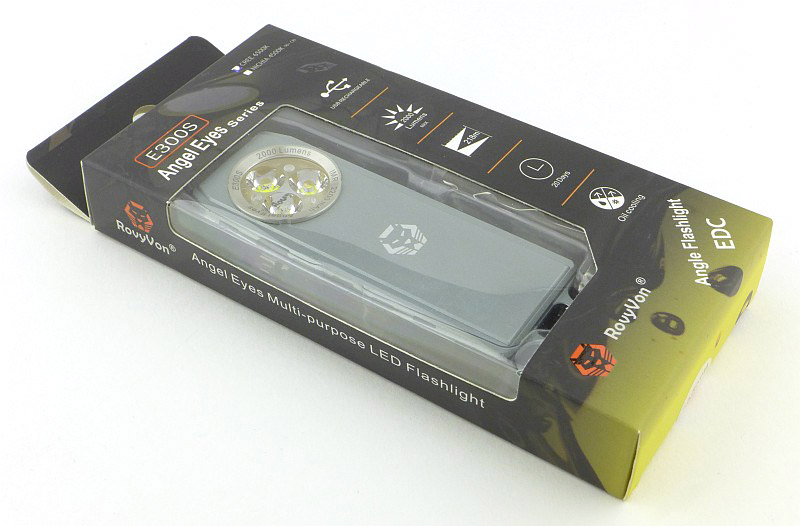
What’s in the box?:
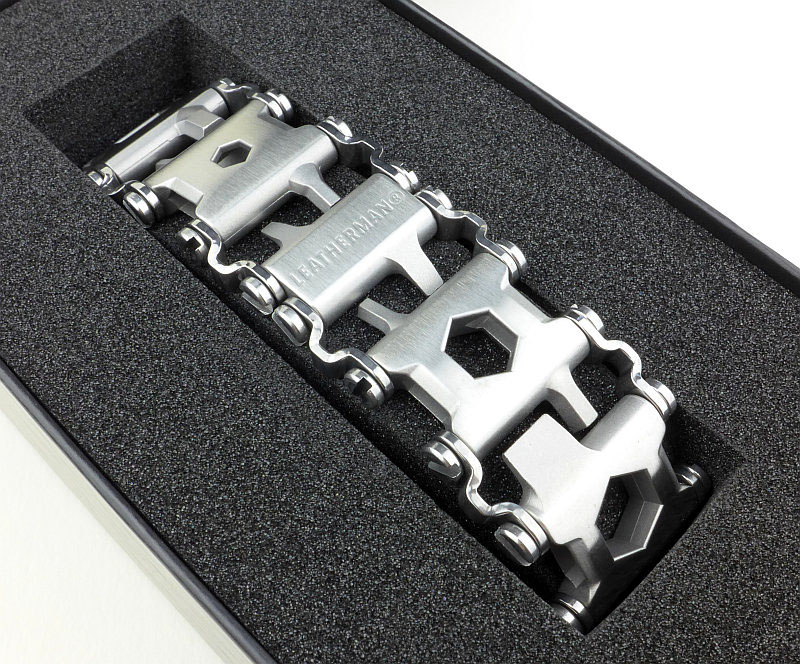
This is how the Large Handwarmer / USB Powerbank arrives.


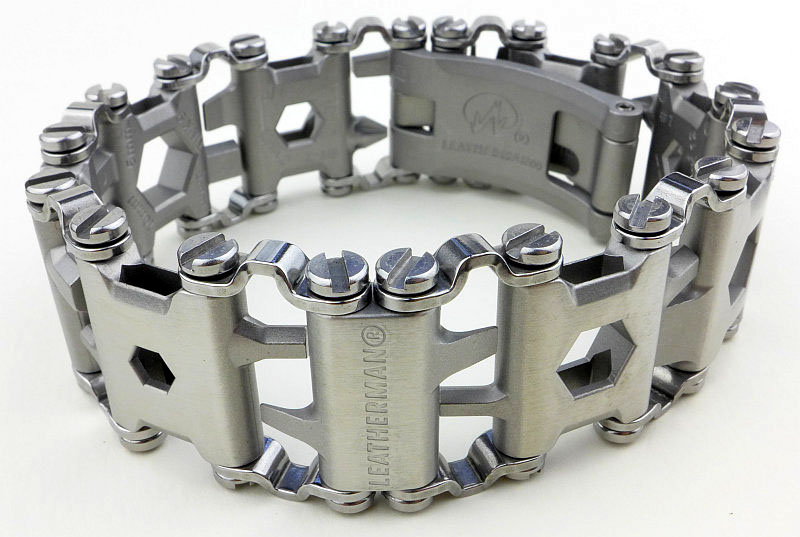
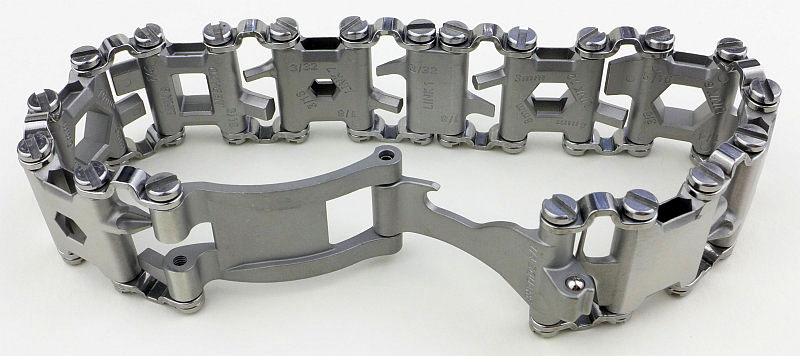
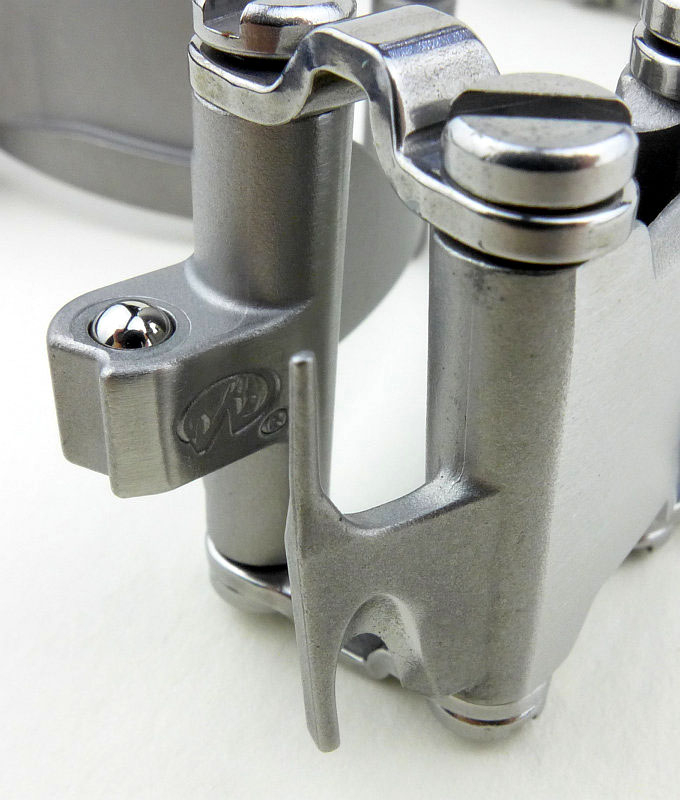
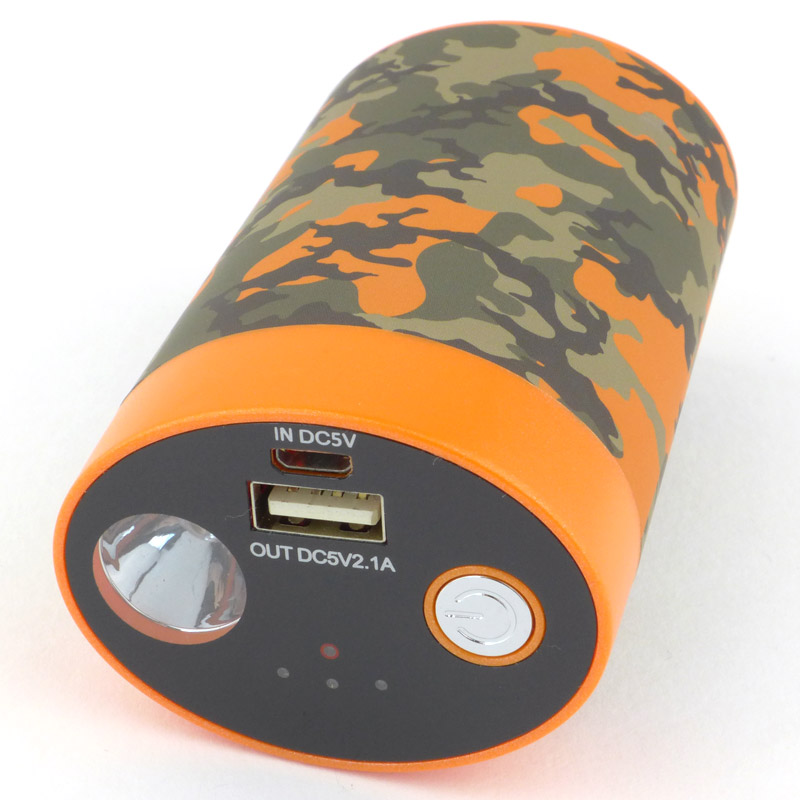
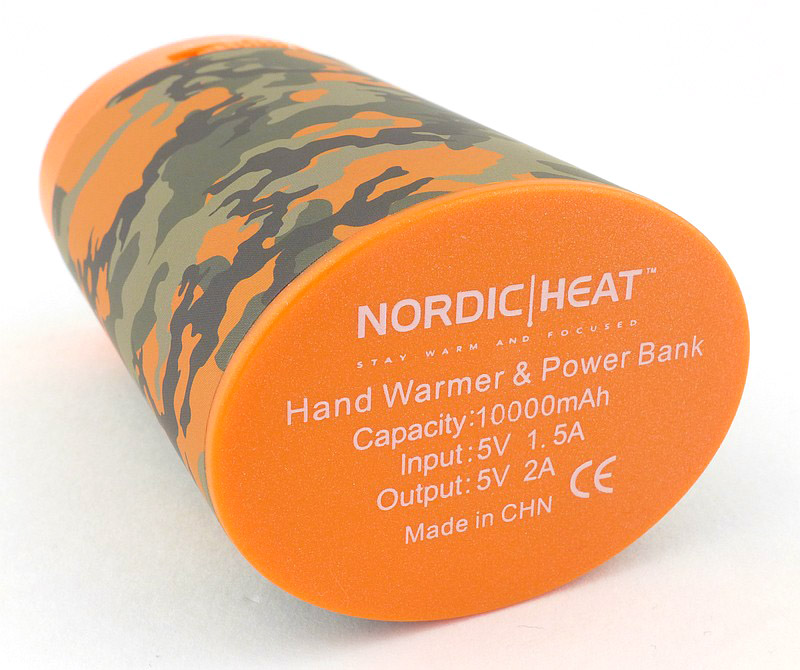
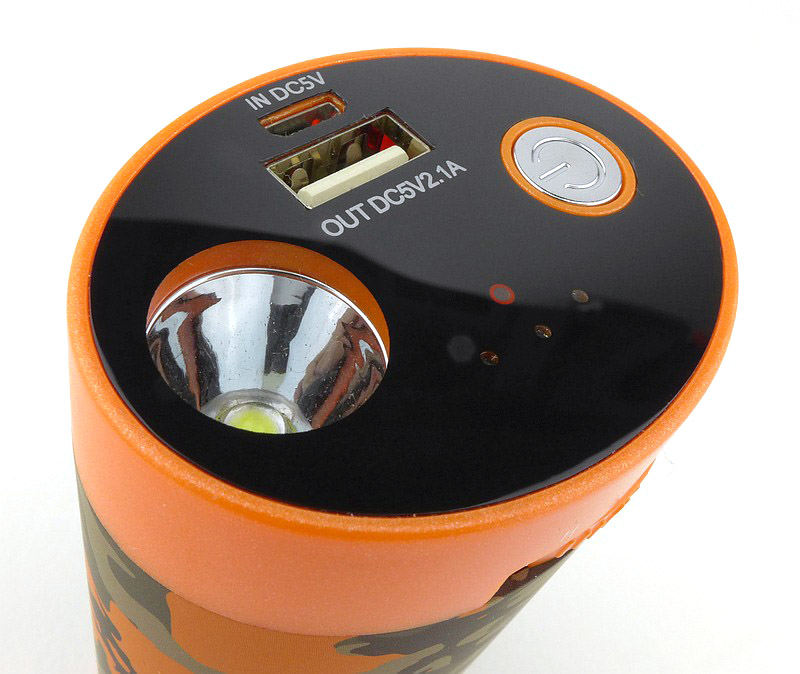
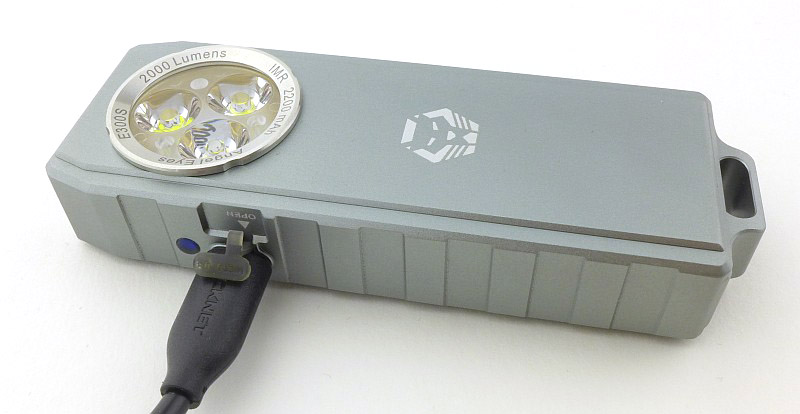
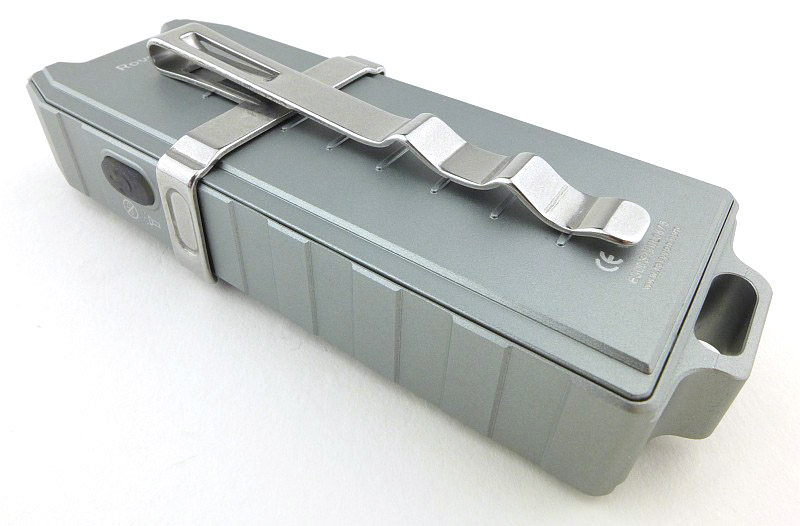
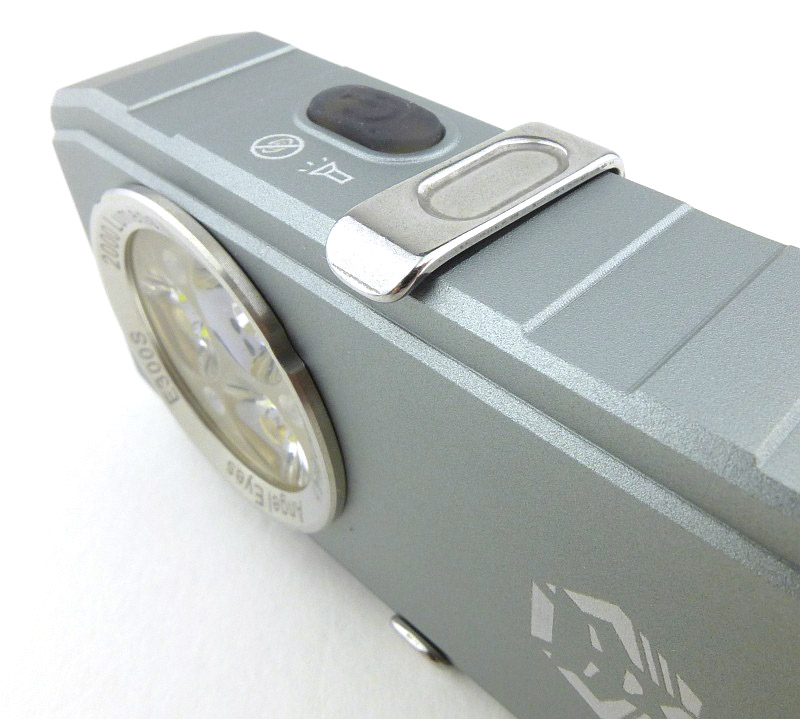
A good look round the Handwarmer / USB Powerbank:
It’s a simple concept really, it gets hot, and can charge your phone (or other USB device). Here are the details.


In The Laboratory:
For these tests, I wanted to measure the actual performance of the USB powerbank aspects and then move onto the heat output.
First are a couple of USB power traces for both charging using the supplier charger and cable and then with the powerbank discharging into a large load, again using the supplied cable.
Being a special triple connector cable, I suspect there is some intentional throttling as it only charges at 1A, and for the output it only manages around 1.3A with the supplied cable.


Now, putting aside the supplied charger and cable and recharging with a high power USB charger (6A) and high current cable, the powerbank charges at 2A.
Then seeing what output we get using a high current USB-A to USB-C cable into the large load. Now the powerbank outputs 2.4 – 2.5A. From the graph it does look like this is pushing the output to its limits as we see some power switching noise, but a very solid performance.


A measurement I was not able to make a graph of is the cumulative output measured charging phones. This came to 32.873Wh or 6913.2mAh.
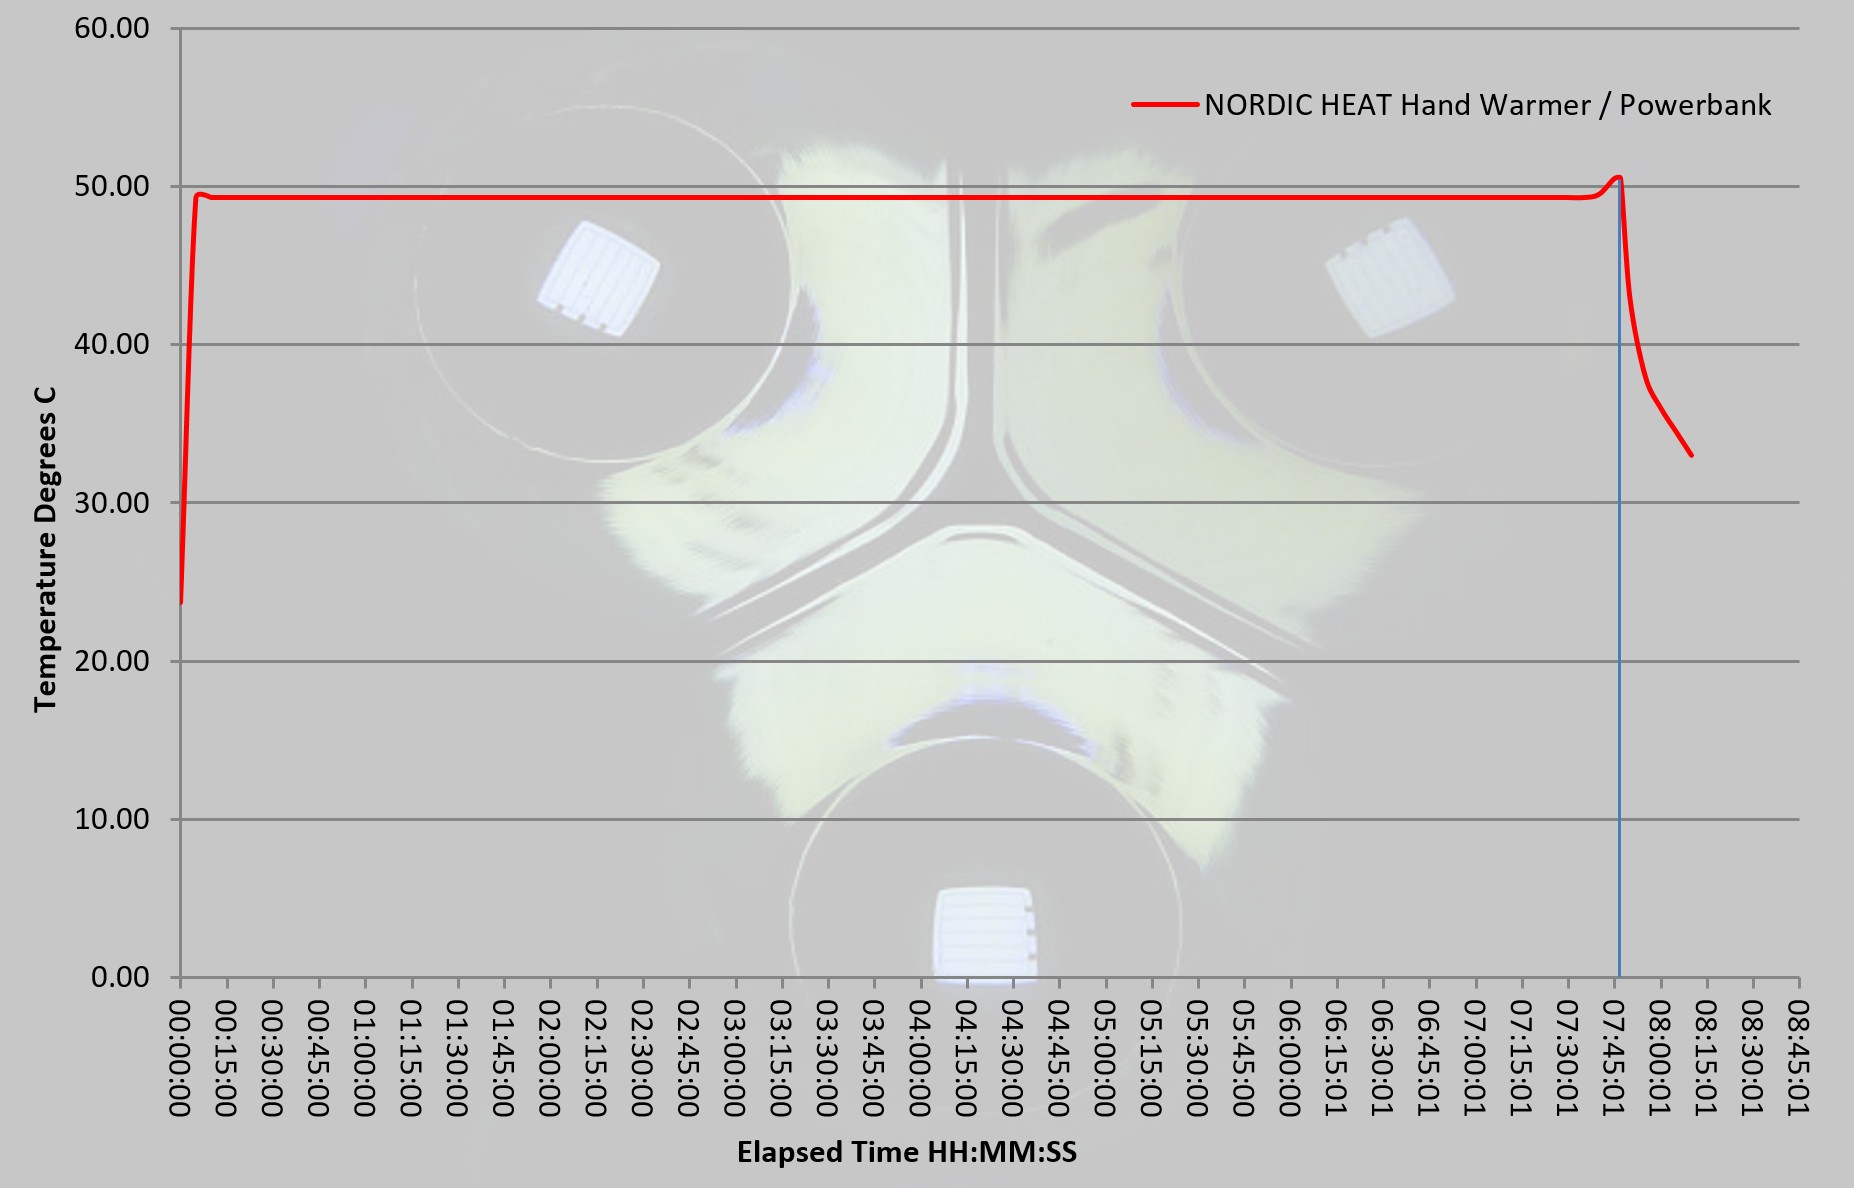
To test the heating output of this handwarmer, a dual probe digital thermometer was used to measure the ambient and surface temperature of the handwarmer. This allows the ambient temperature to be taken away from the surface temperature to remove external temperature variations. The measurements were logged (by video) and used for this graph.
The temperature shown is Degrees C above ambient, and as you can see the output is fantastically stable.
What it is like to use?
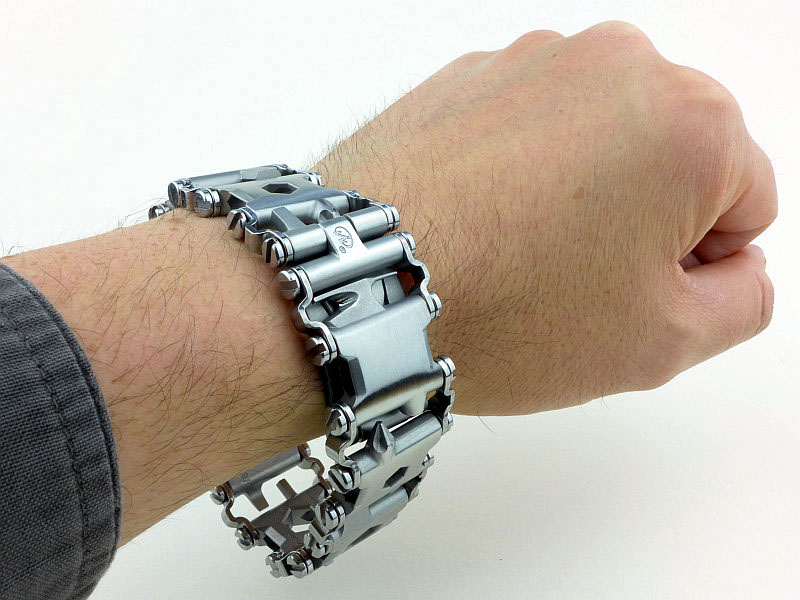
Nordic Heat have two sizes of handwarmer/powerbank. As you can see, this larger version, is a good handful for a hand that takes an XL glove size. The smaller version might be a better fit for some, but this does compromise on heating time and USB output power, a compromise worth considering.
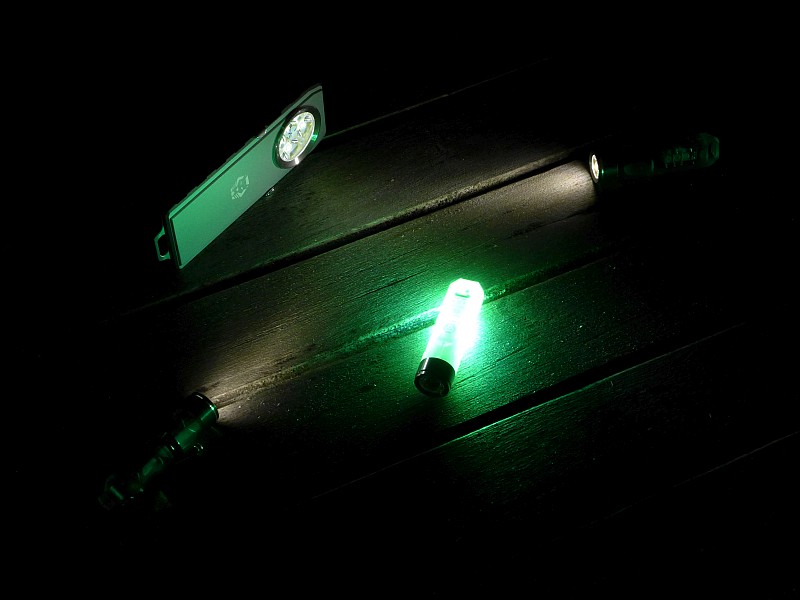
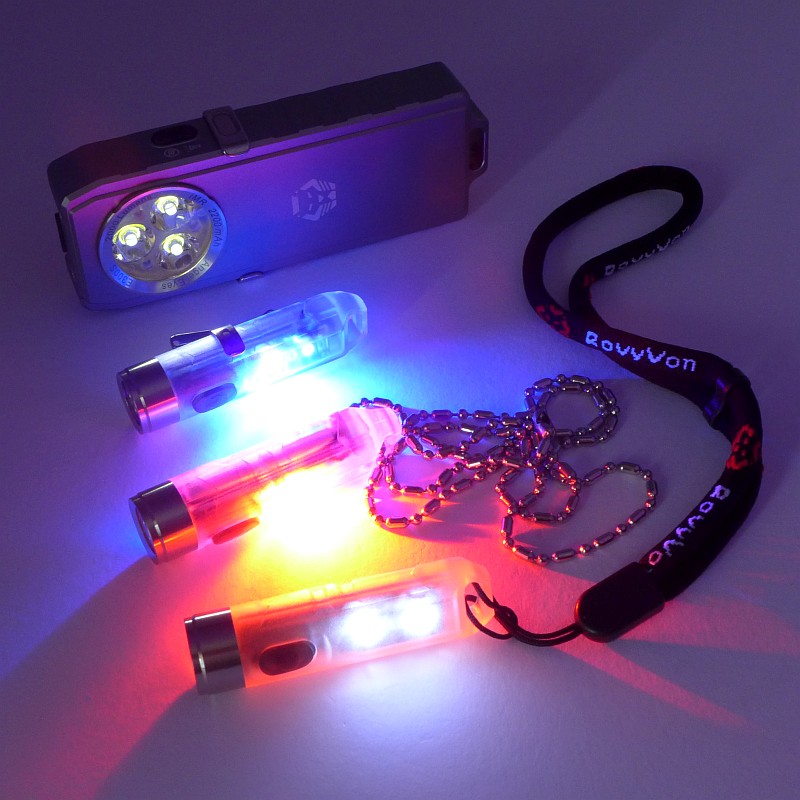
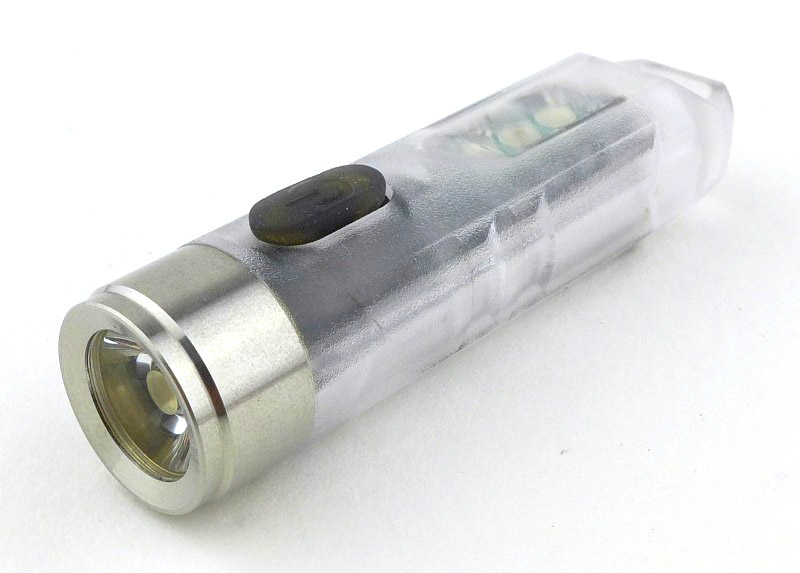
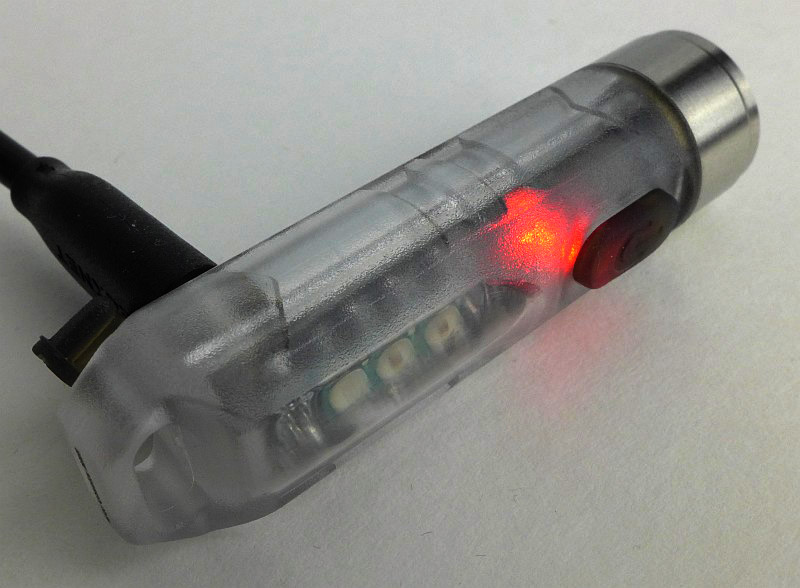
There is a built-in light which you access via the power button. It can make the handwarmer into a torch with a very long runtime. A useful and usable addition. Just remember that you are taking from the available power for hand warming or device charging.
Our growing reliability on mobile phones and tablets makes powerbanks almost a necessity, especially in remote areas. Performance as a powerbank is good (see the technical testing section), and you can power up devices with a solid 2A output.


Not quite qualifying as technical testing, I thought it was important to check the heat distribution of the handwarmer to ensure it didn’t have cold spots or problems with heat distribution. So for this I aimed a FLIR Scout TK at it. In this set of images, we start with a control shot with the handwarmer off and left to reach ambient temperature. There is little contrast in the image as there isn’t really any heat gradient apparent. After switching on the handwarmer and leaving it to get up to temperature the heated portion stands out clearly. The heat distribution is nice and even and extends fully over the body, with only the unheated plastic top remaining cooler. In the last image I put my warm, uncovered, hand into view to show how the handwarmer is properly above body temperature and will provide good heating.


Do you need one? Well, do you have a USB powered mobile device – then that is yes for its powerbank capability. Do you like cold hands and feet? No, then that is yes for the handwarmer / heating facility.
Why did I say feet? During testing I found that this wasn’t just something to take when venturing outdoors, but any time you want a heat pack. I’ve used it to warm up my feet in a cold bed, to apply heat to a pulled muscle, to preheat hands prior to putting non-heated gloves on, and generally provide comfort where a bit of warmth helps.
The on-demand heat is where this wins over every other heating option. No boiling water, microwaving gels, lighting a fuel catalyser, just switch on and off as required, anywhere.
Review Summary
The views expressed in this summary table are from the point of view of the reviewer’s personal use. I am not a member of the armed forces and cannot comment on its use beyond a cutting tool or field/hunting knife.
Something that might be a ‘pro’ for one user can be a ‘con’ for another, so the comments are categorised based on my requirements. You should consider all points and if they could be beneficial to you.
_______________________________________________
Things I like
_______________________________________________
Good battery capacity.
2A+ USB output.
Over 7.5h heating on a full charge.
Excellent heat distribution.
Useful to also have a light.
Comes with cable and charger.
_______________________________________________
What doesn’t work so well for me
_______________________________________________
Supplied USB cable seems to limit output to 1A.
Supplied charger only provides 1A.


")
")

")


")
")
")
")
")
")
")