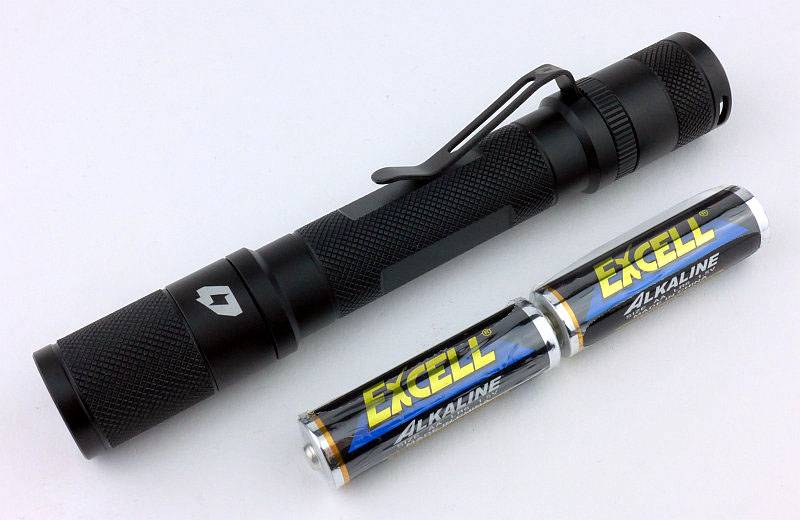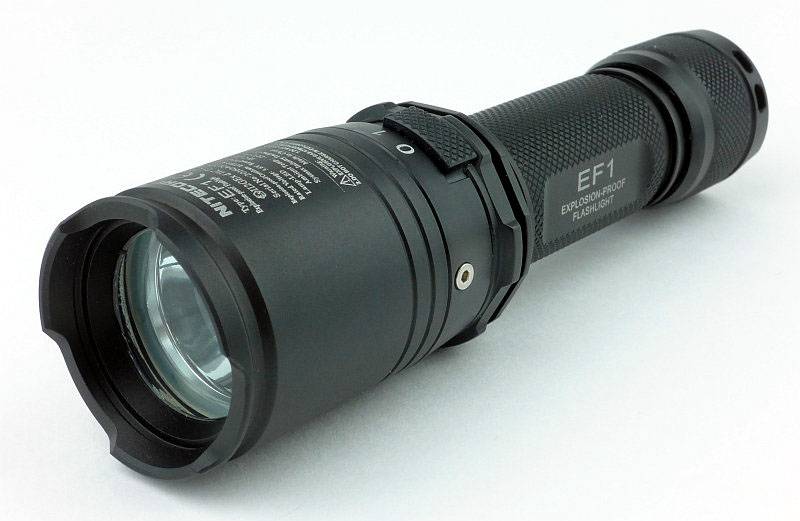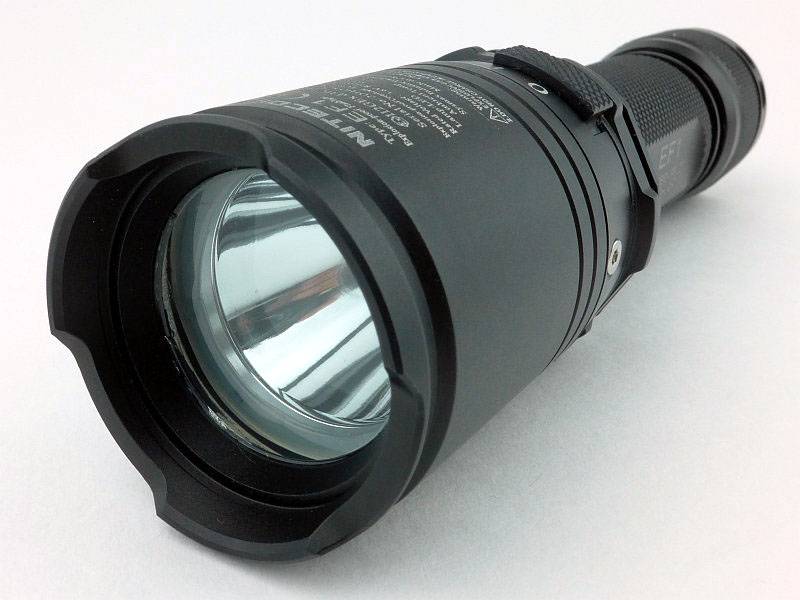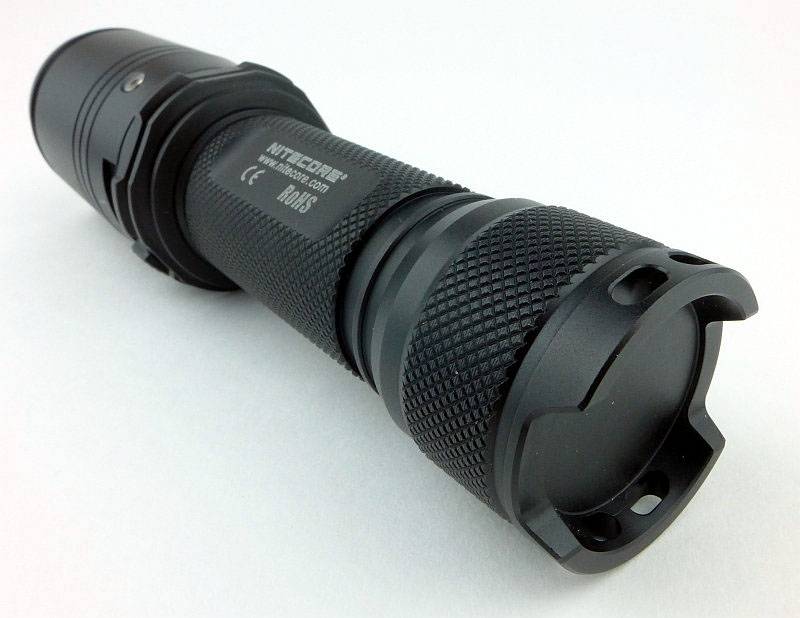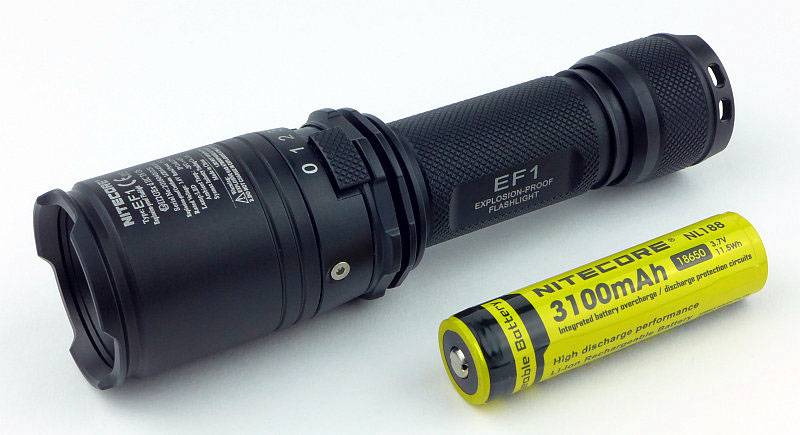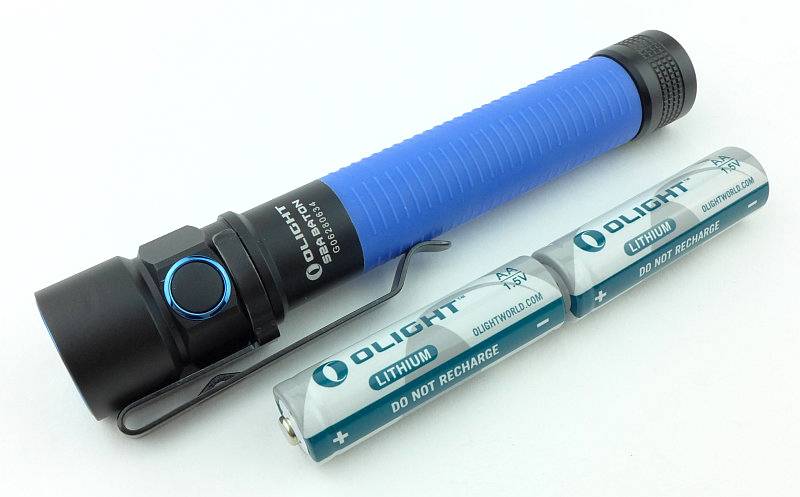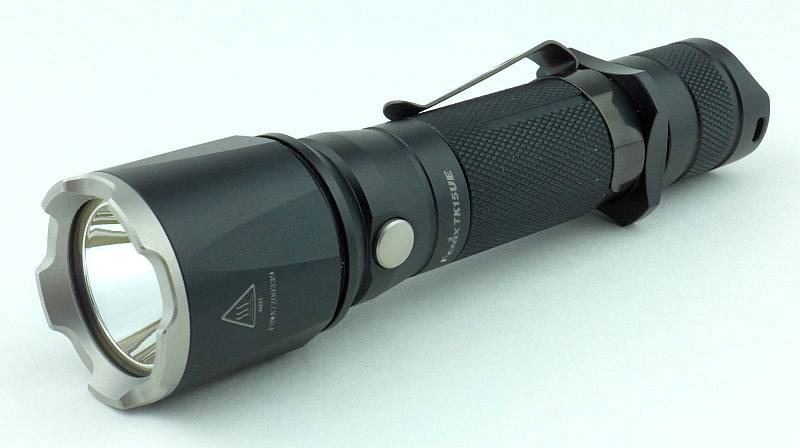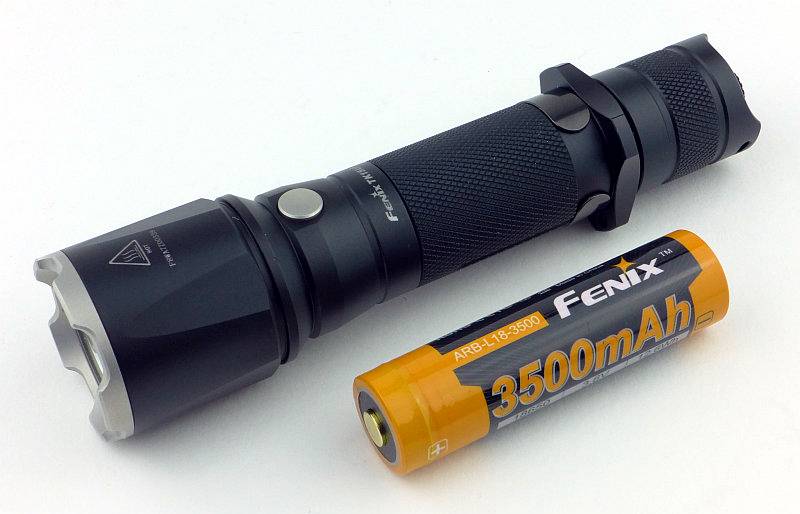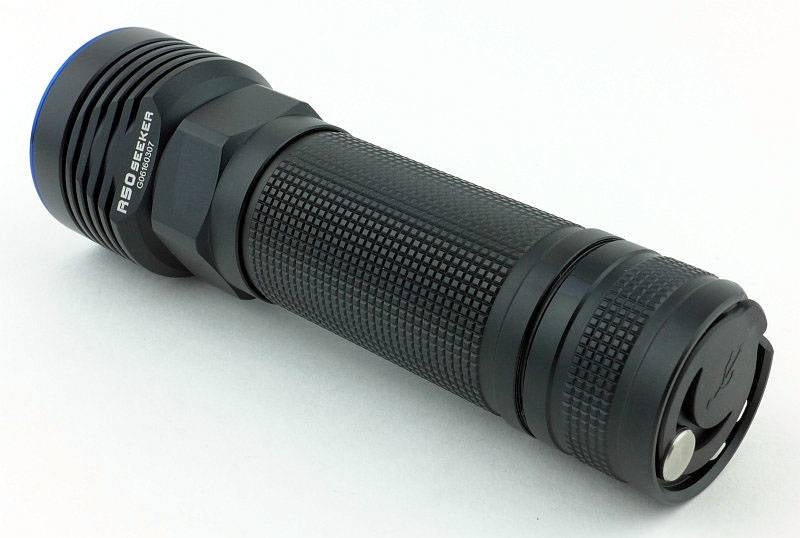

In this special preview review of Jetbeam’s new TH20 we take a look at a prototype of this super powered single 18650 Tactical Hit Series light. Featuring an extreme output XHP70.2 LED, over 3000lm peak output capability, a new triple-switch tail-cap, a dedicated high current ICR cell, but full compatibility with all standard 18650 cells (flat or button top) as well as CR123 cells, this light has a lot to be interested in.
UPDATE – New Tail-Cap and Reflector Swap – Included at the end of the review.
Taking a more detailed look:
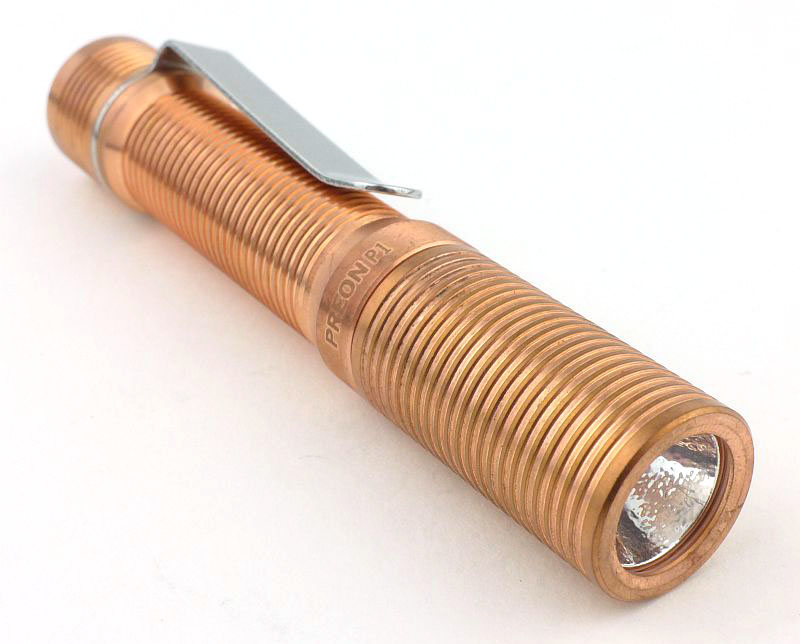
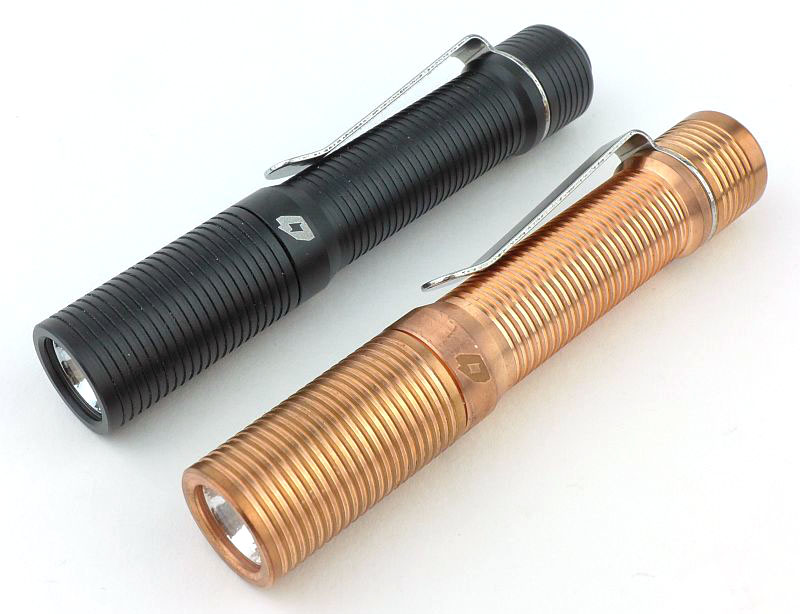
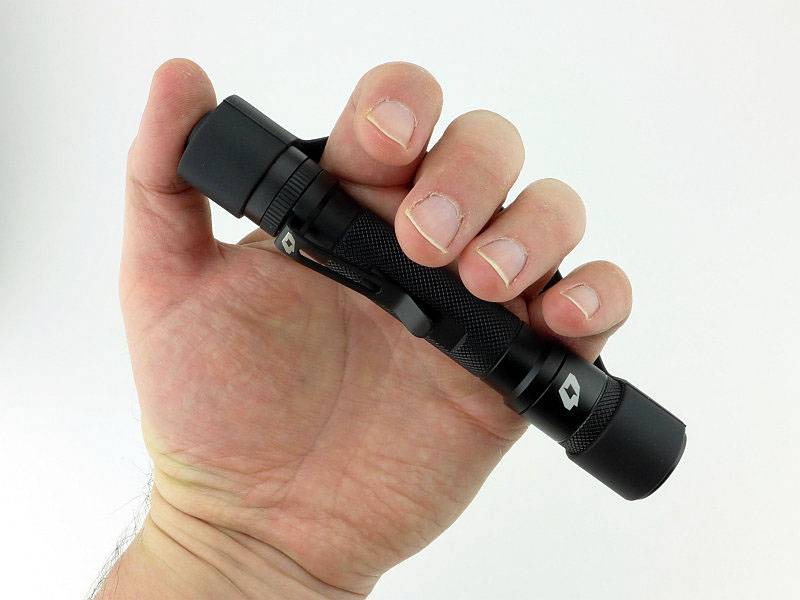
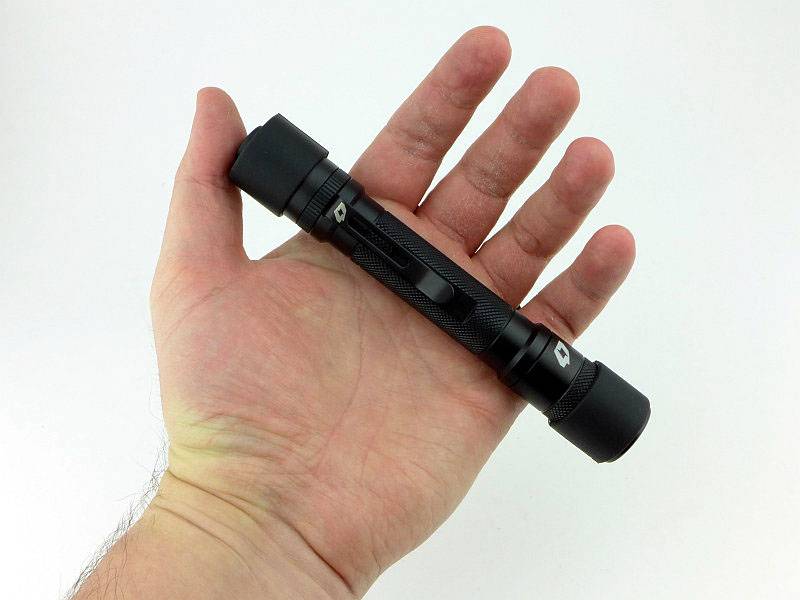
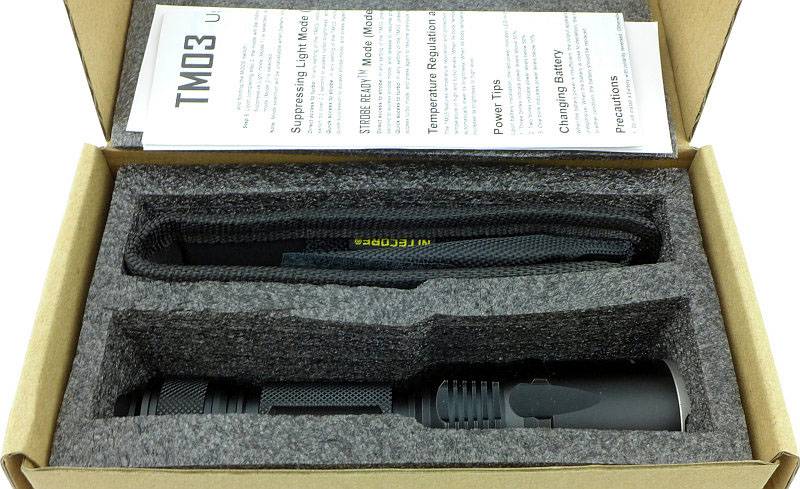
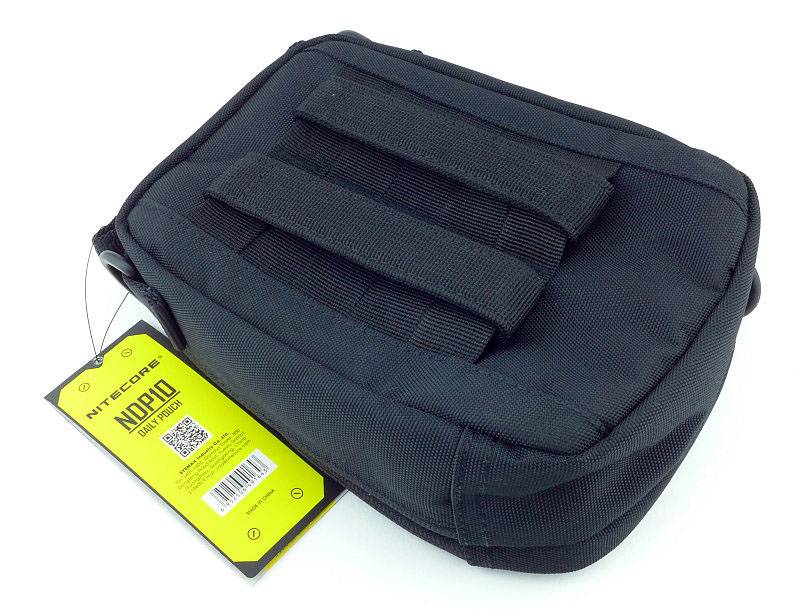
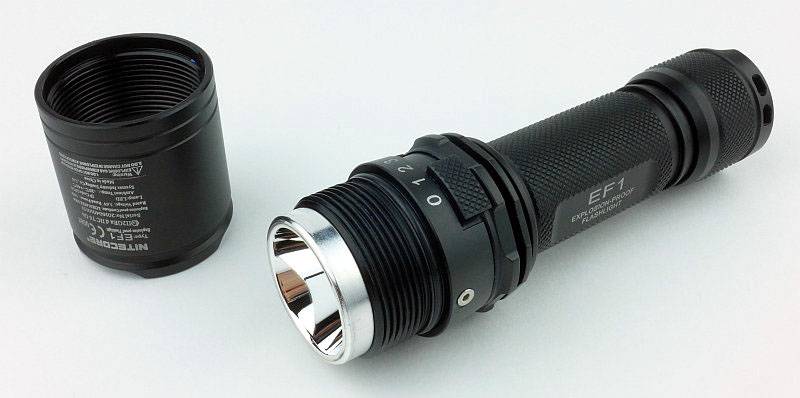
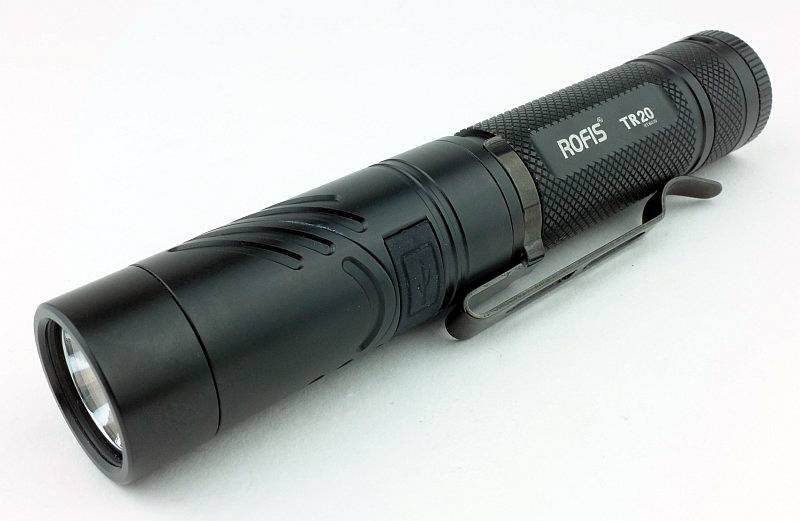
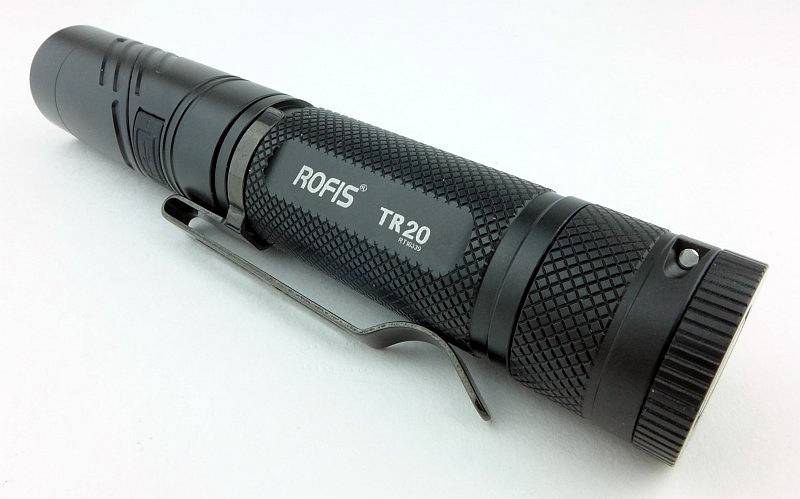
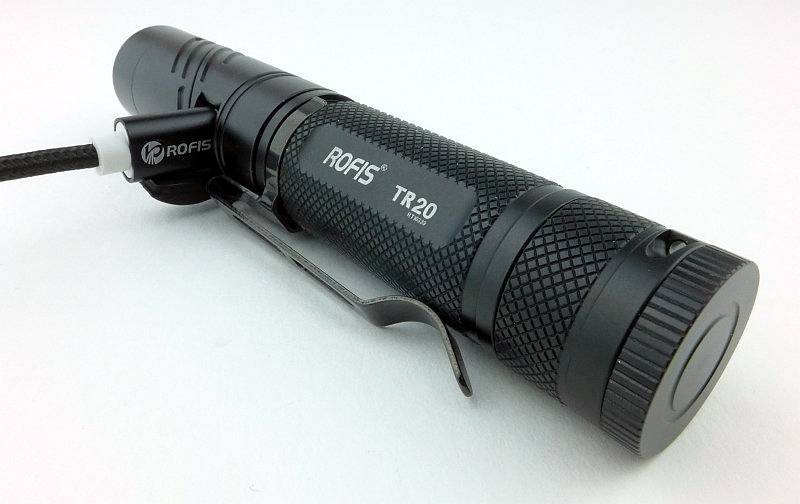
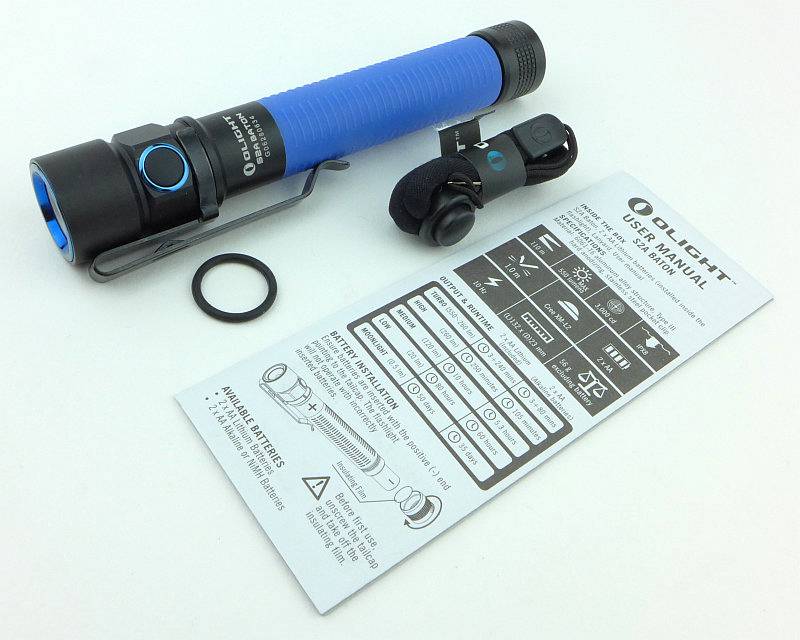
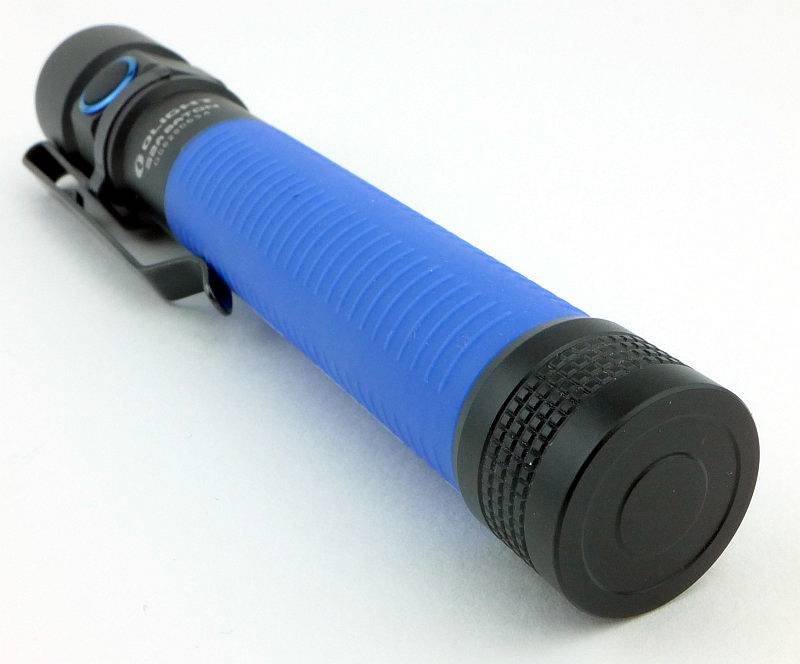
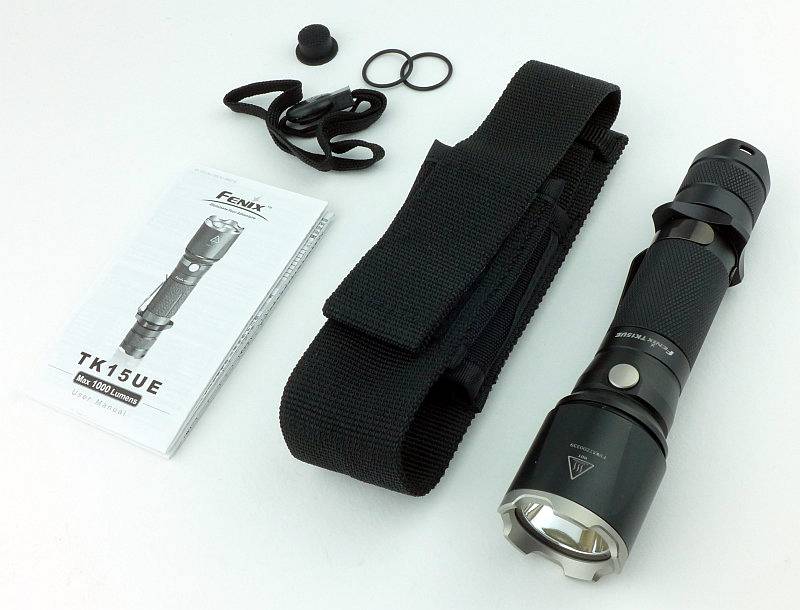
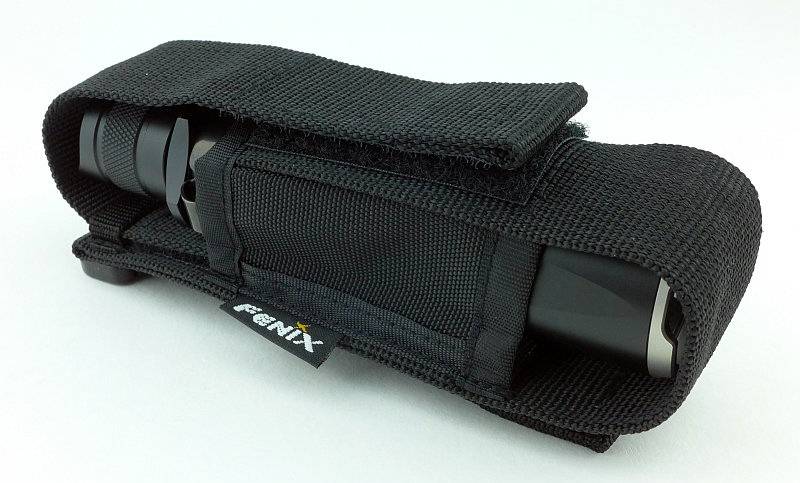
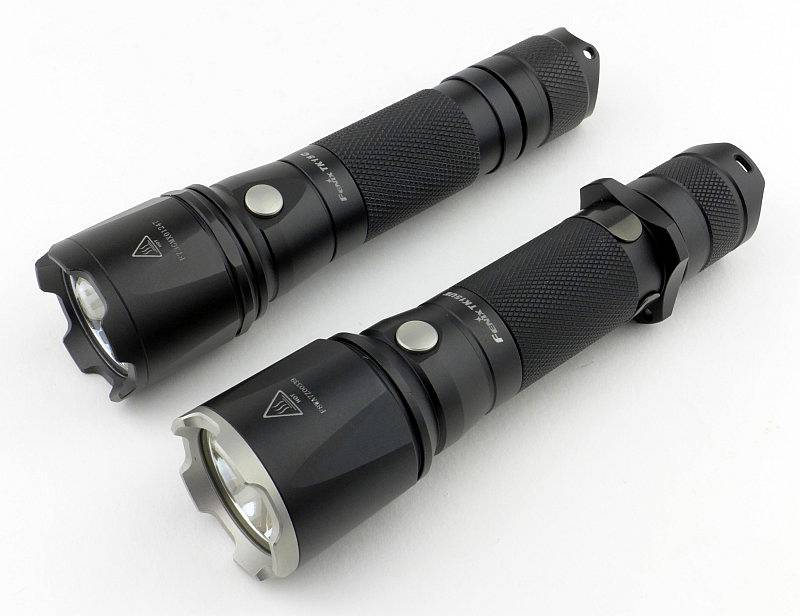
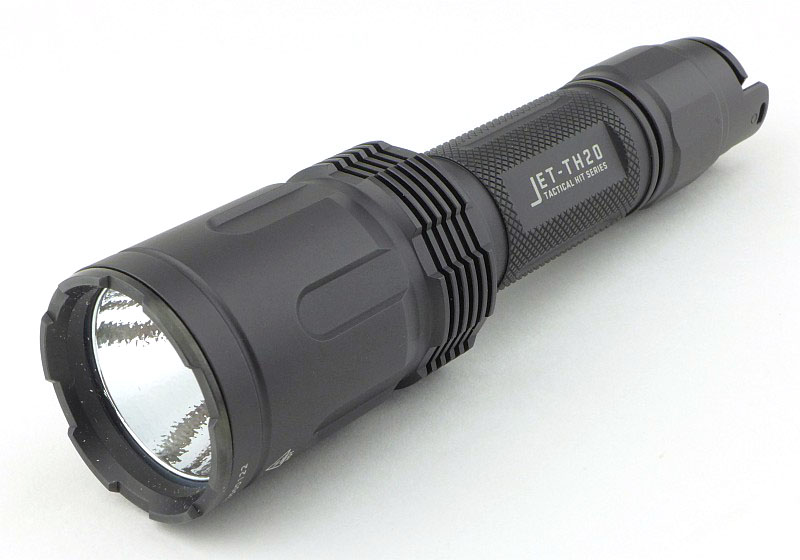
Though it was supplied in a Jetbeam box, as this is a prototype, the TH20 packaging is not finalised, so I’m not showing it here. It may be a single 18650 light, but with such high output ratings, the light is somewhat chunkier than most lights in this class
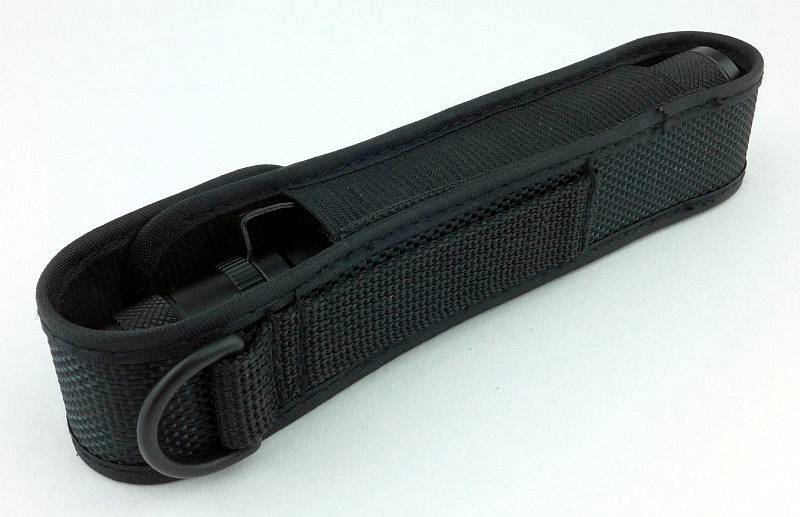
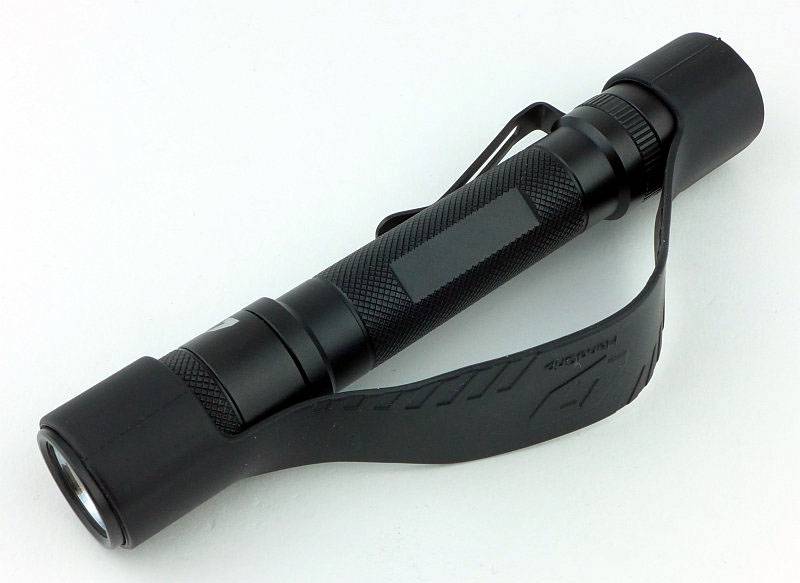
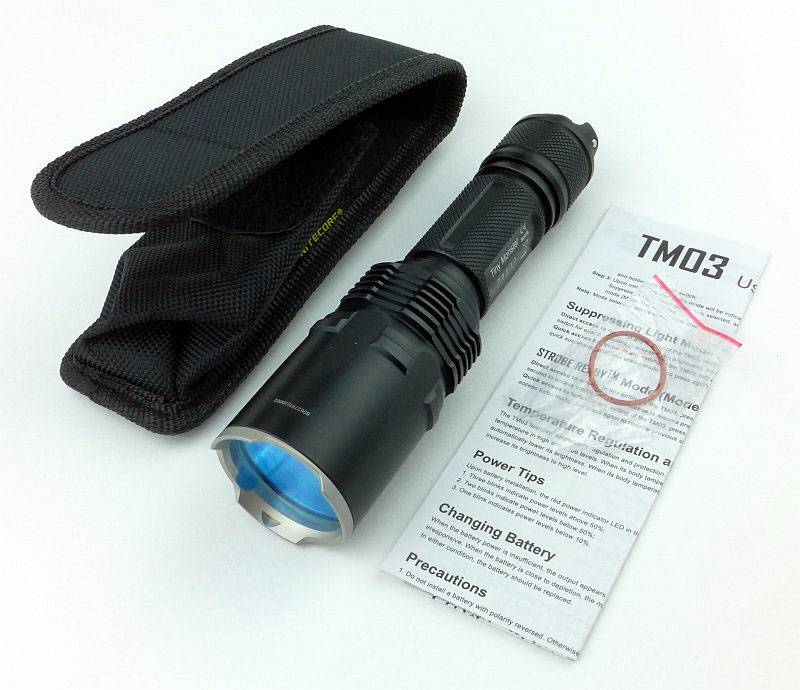
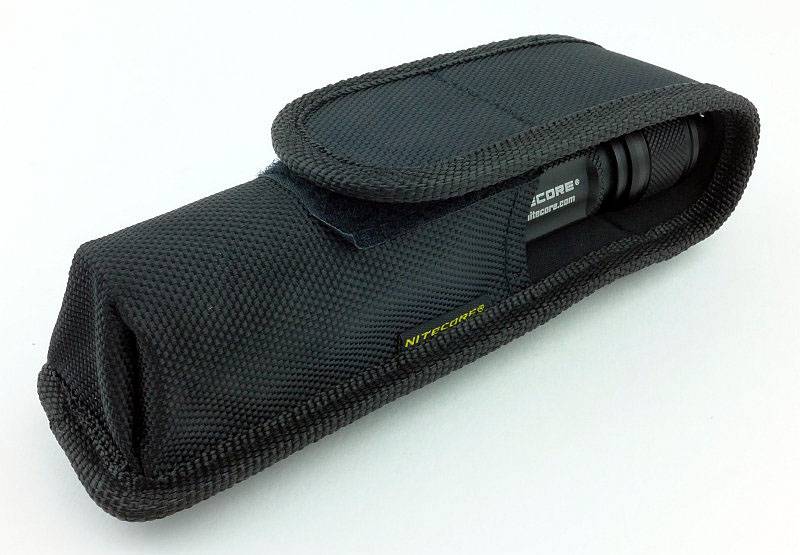
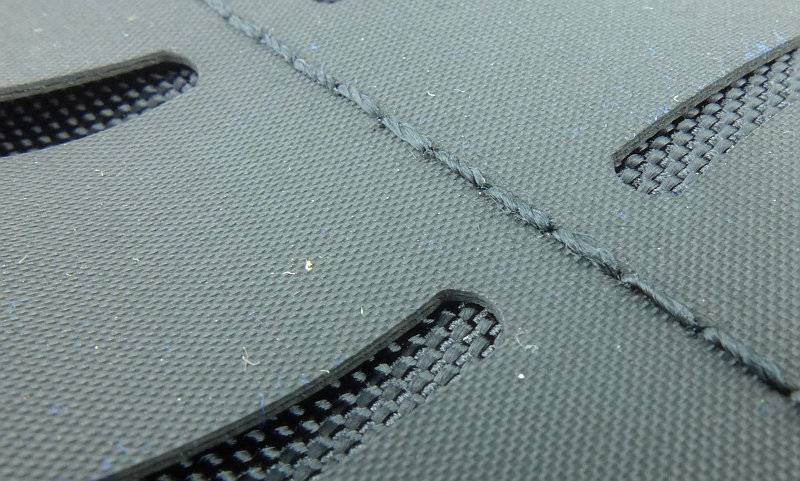
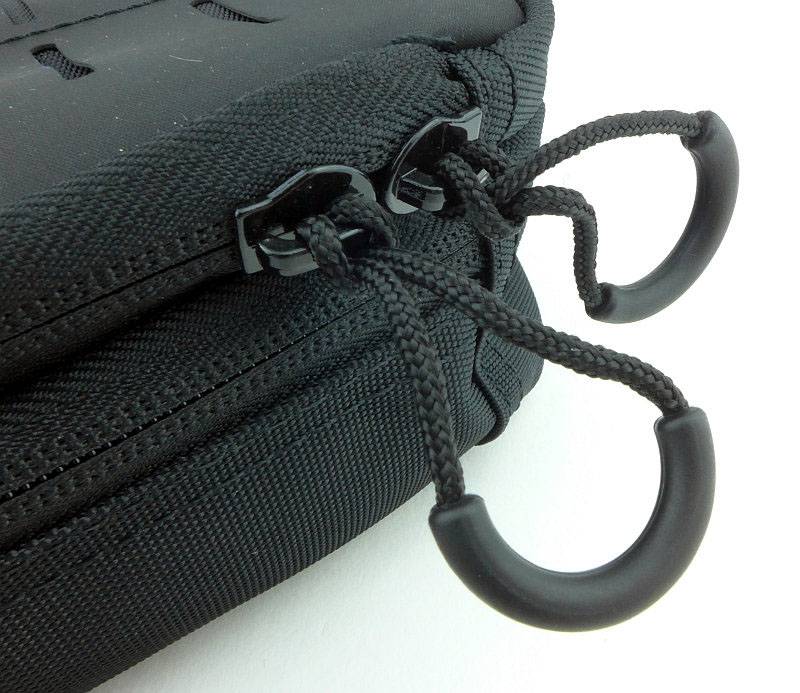
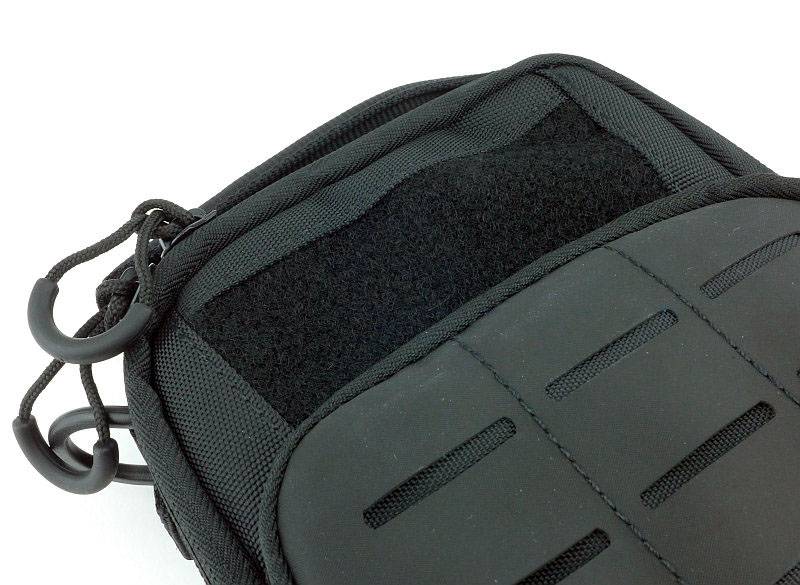
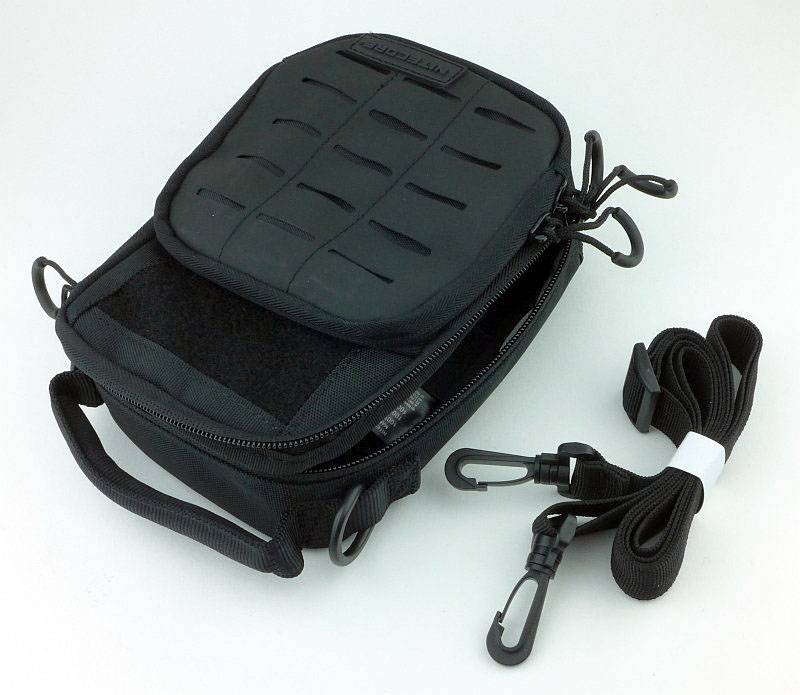
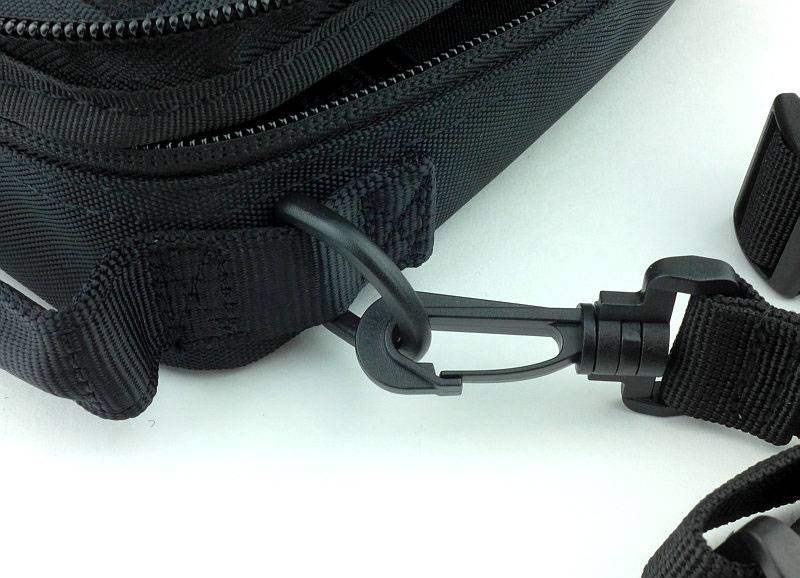
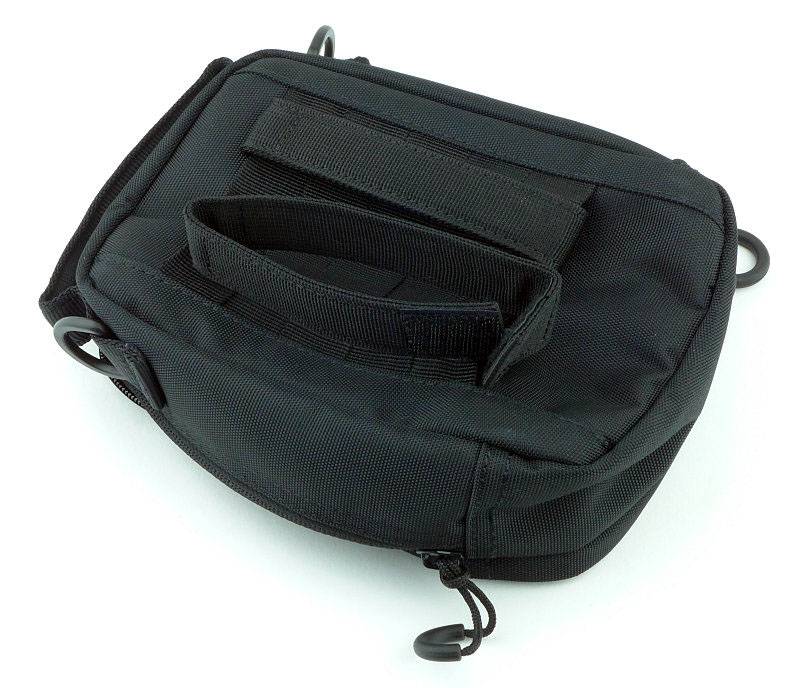
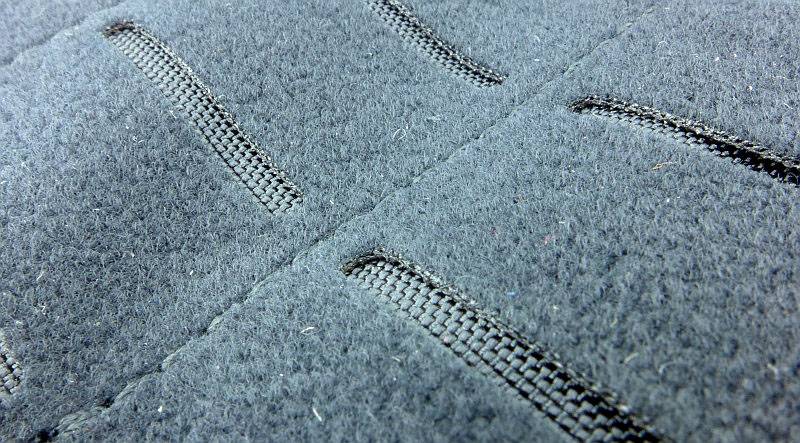
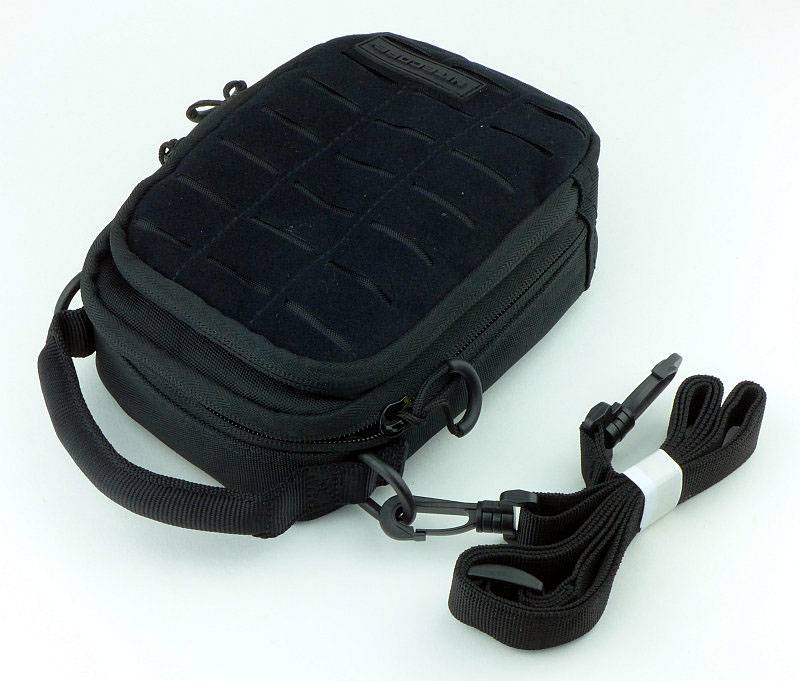
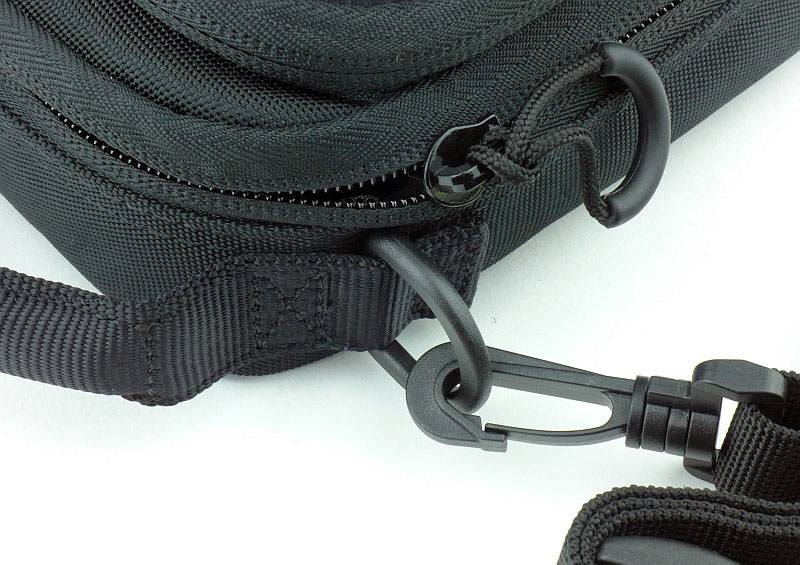
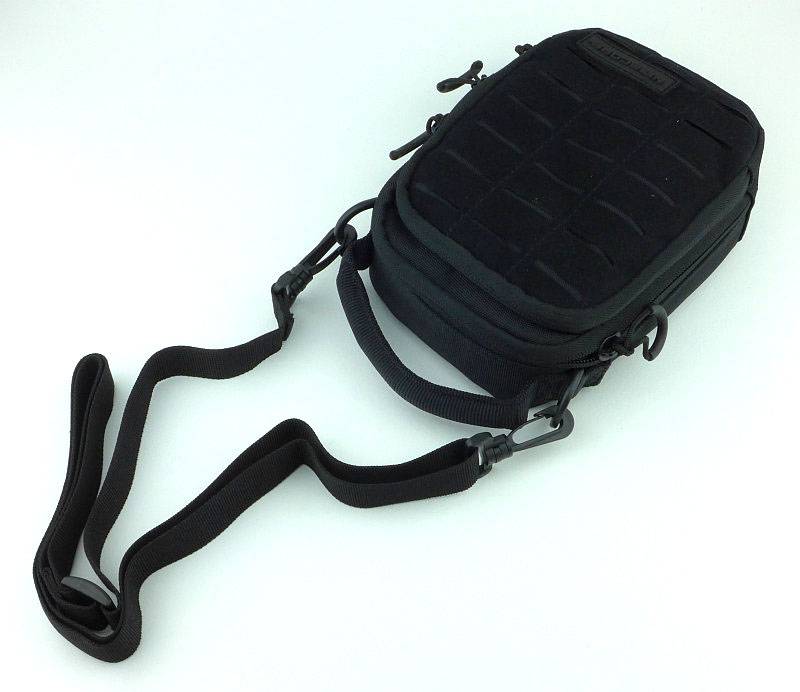
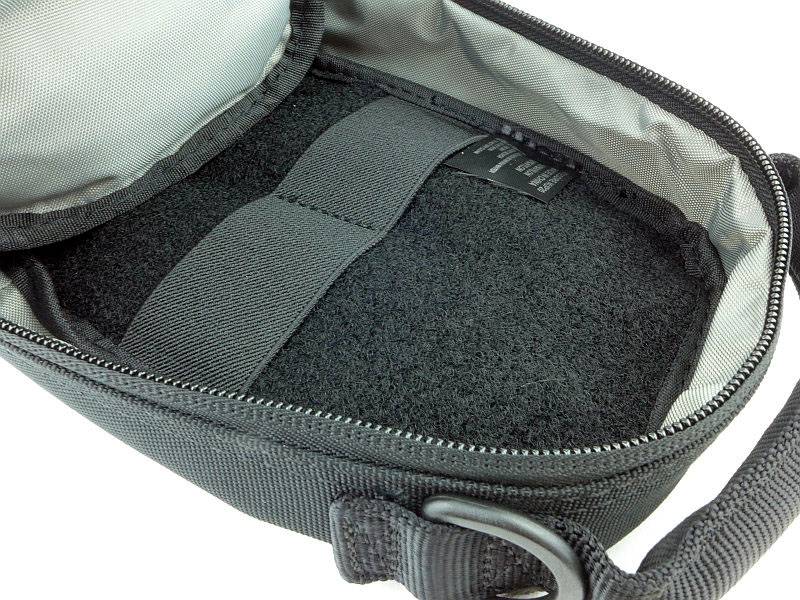
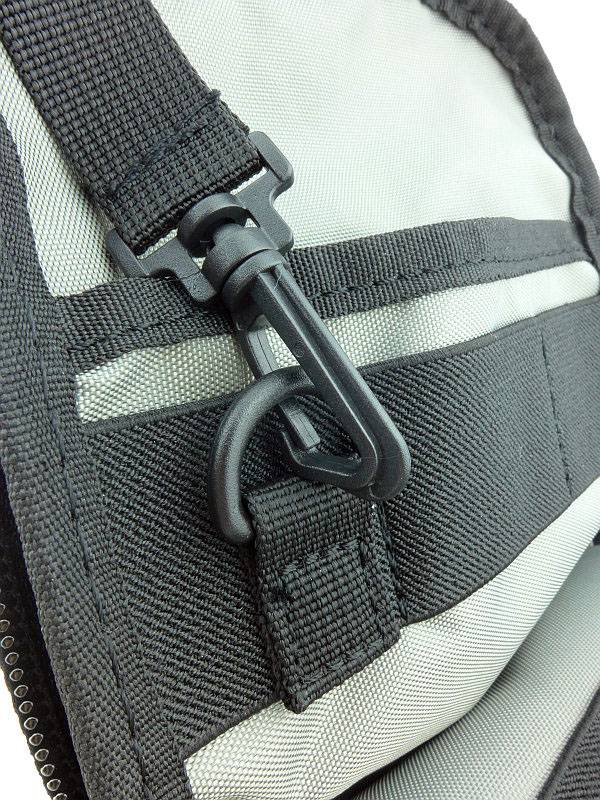
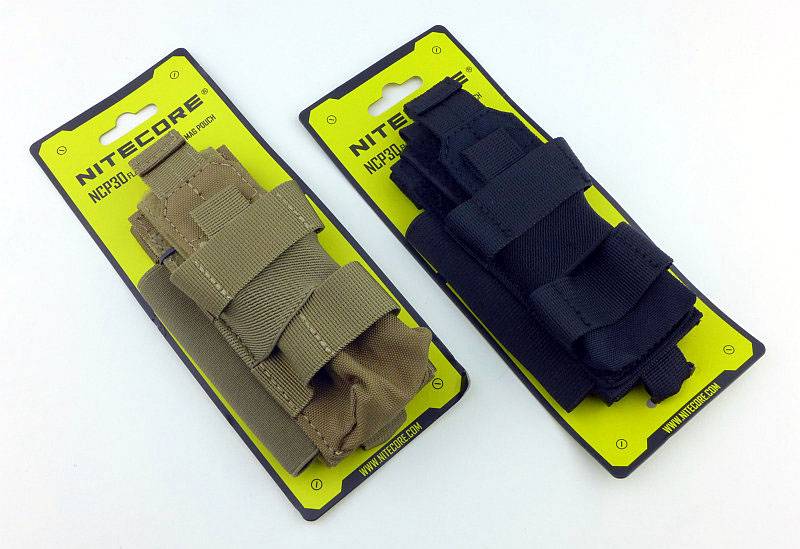
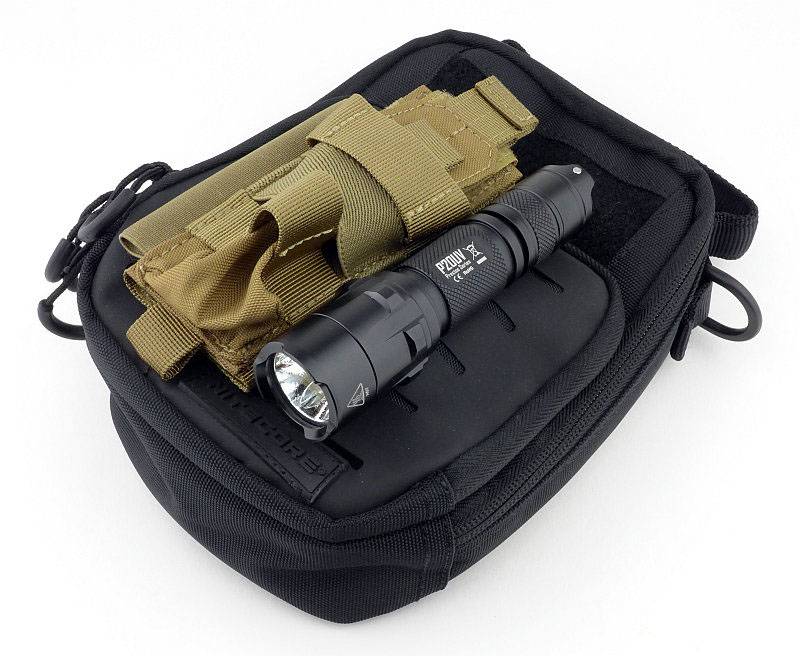
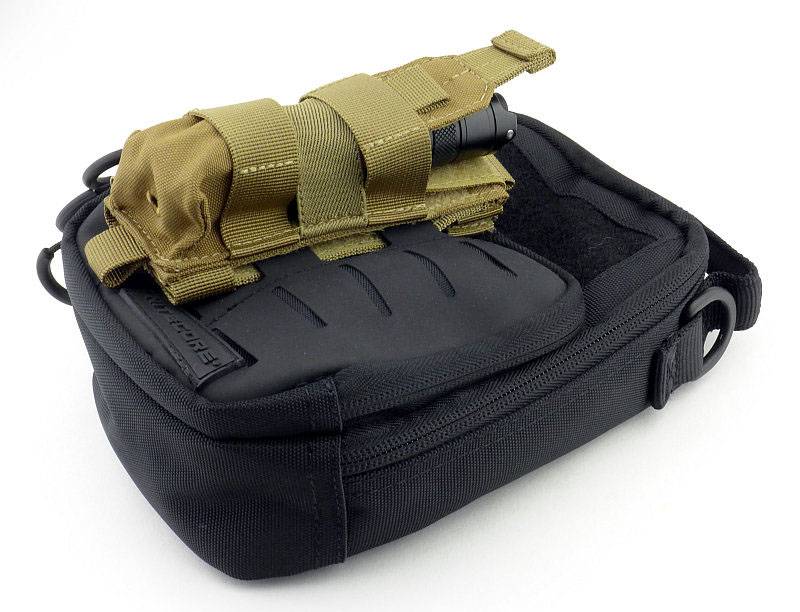
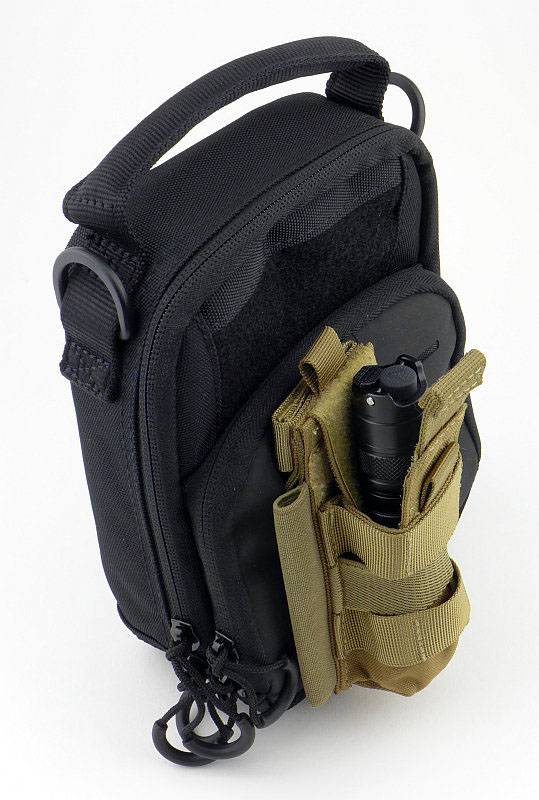
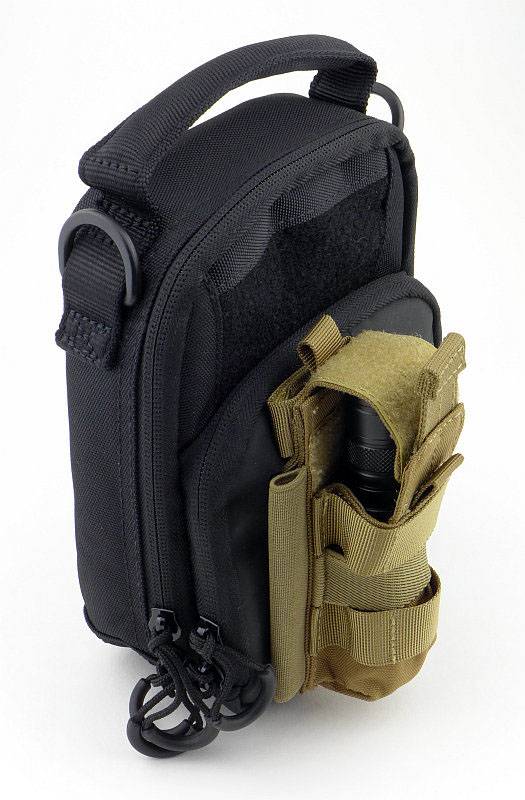
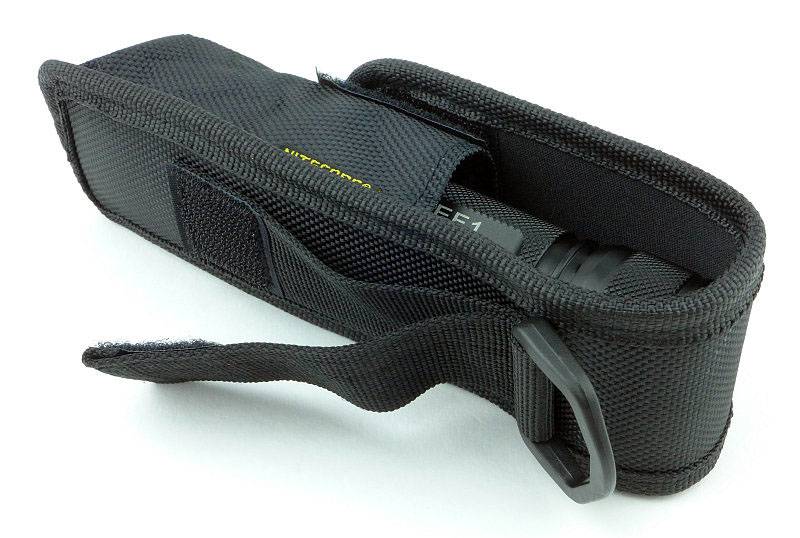
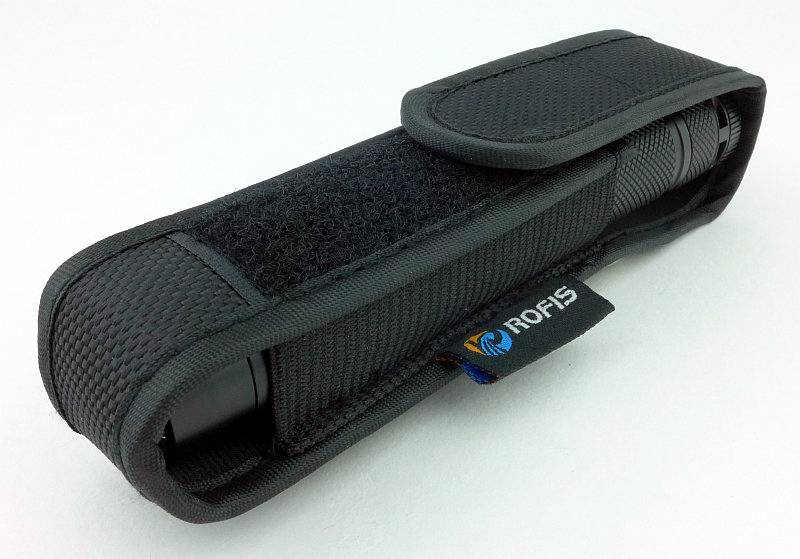
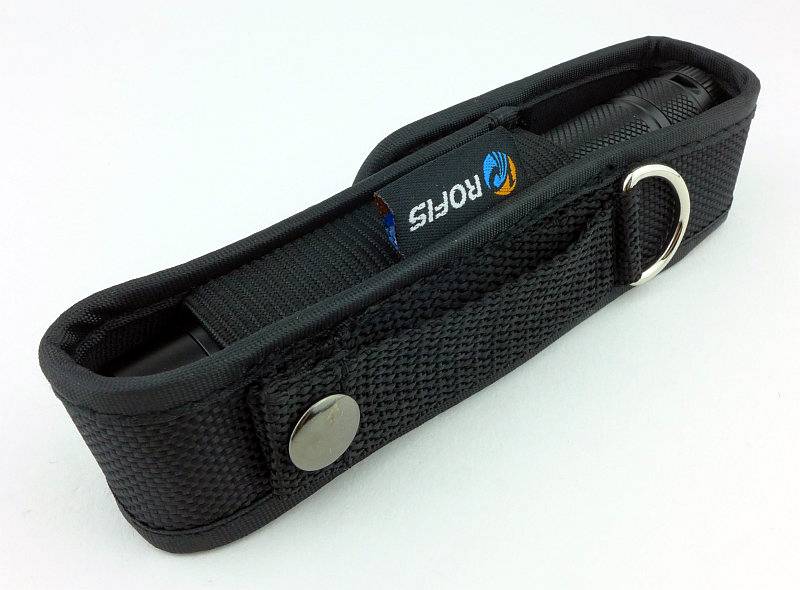
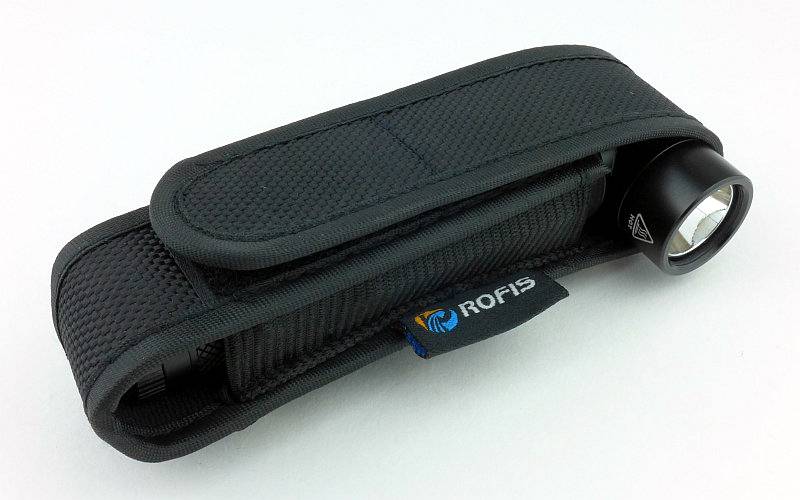
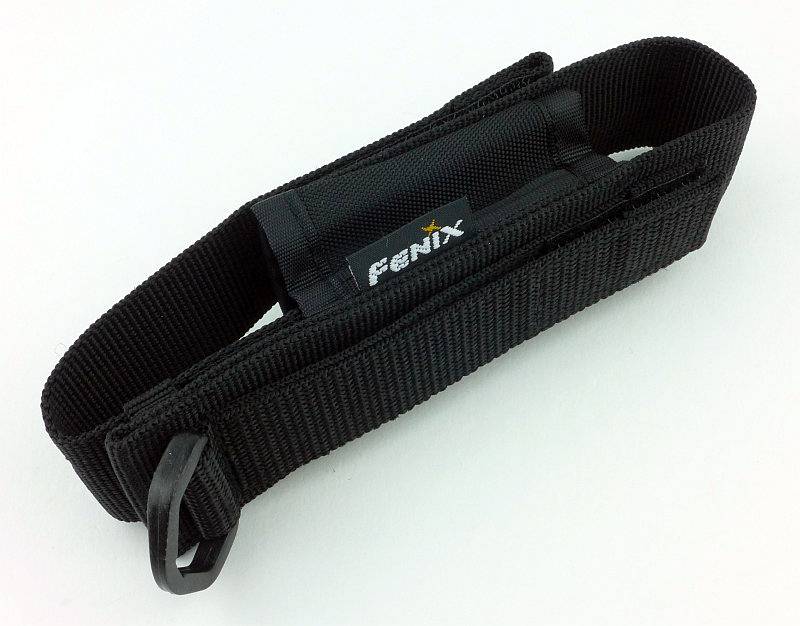
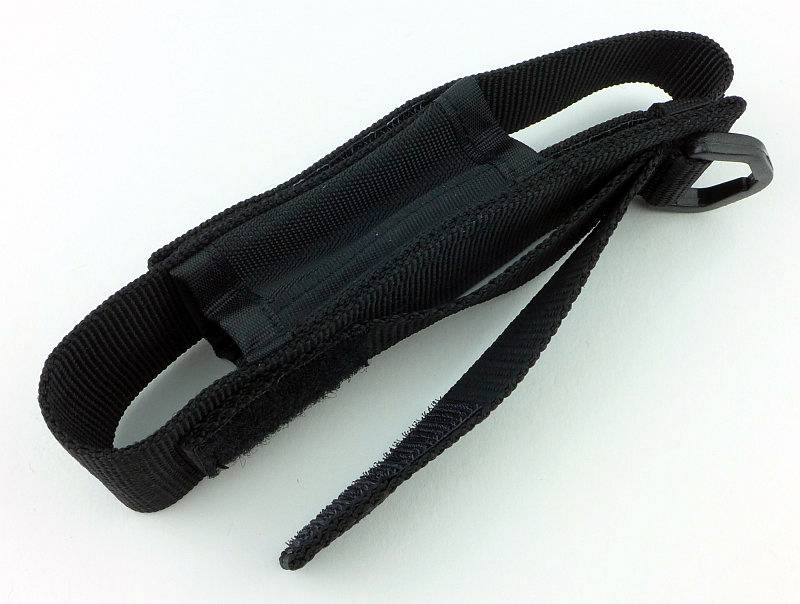
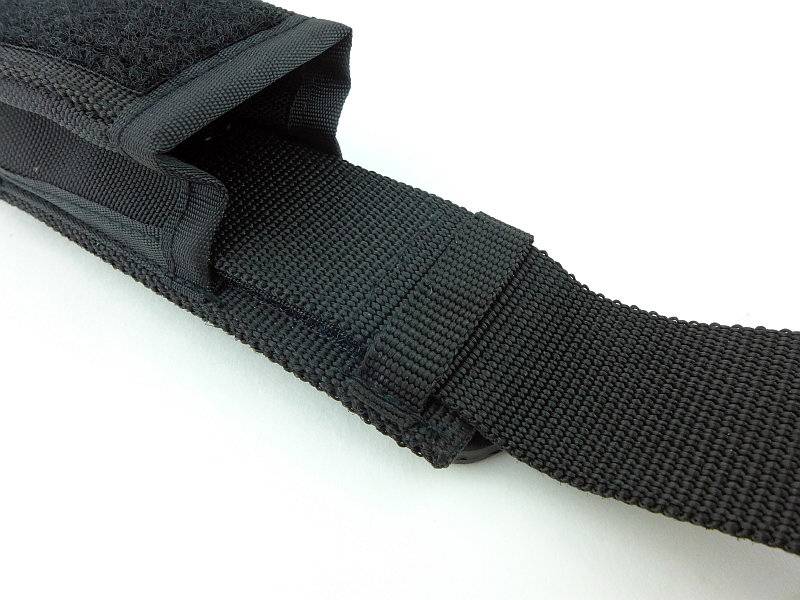
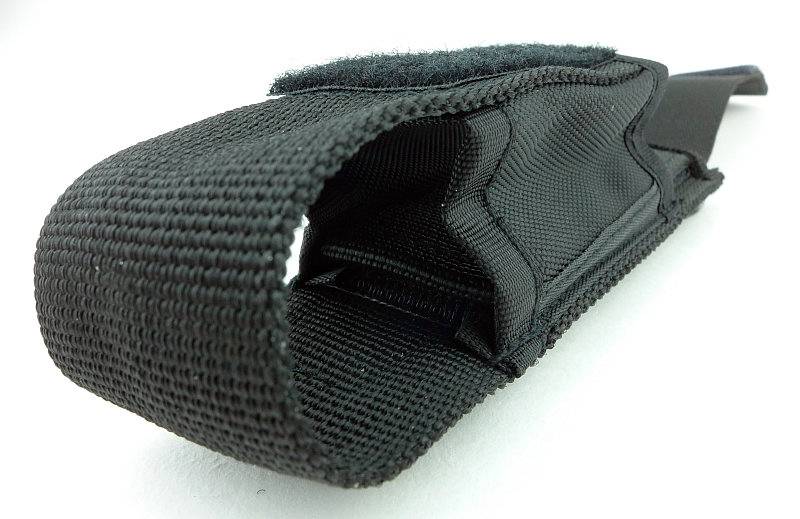
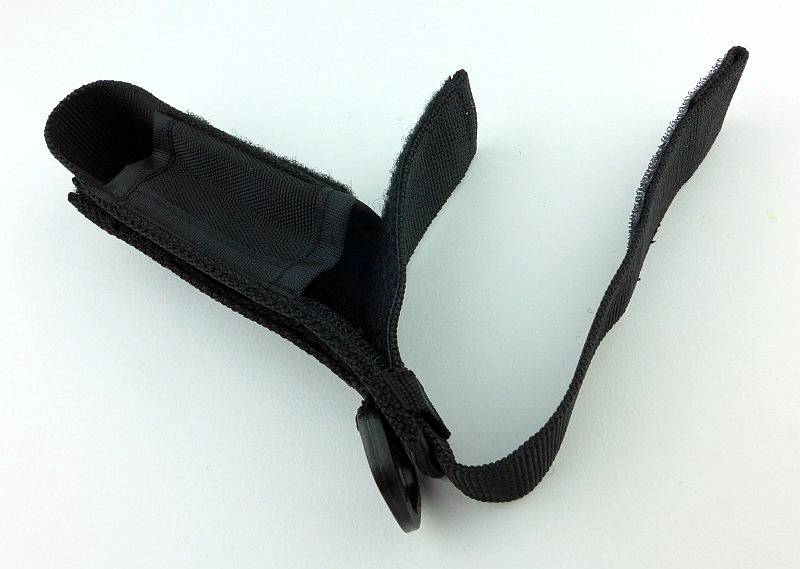
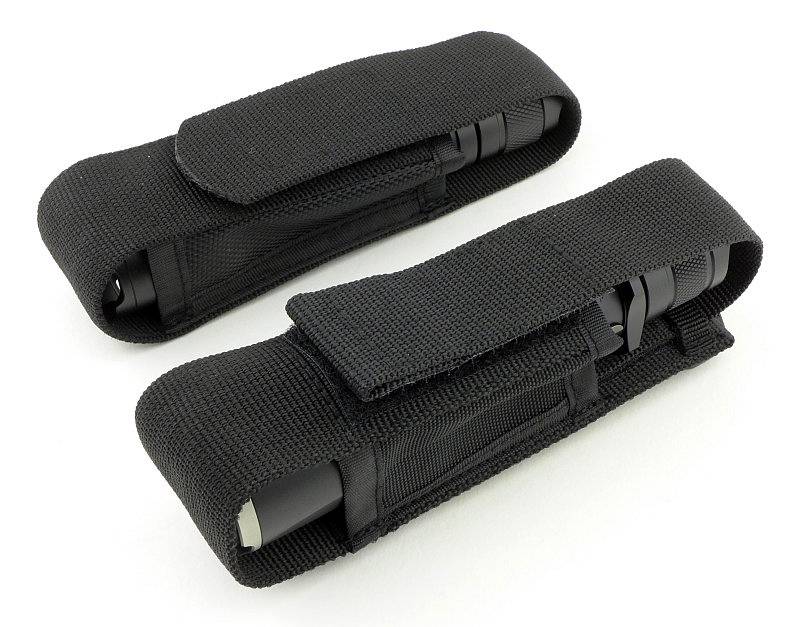
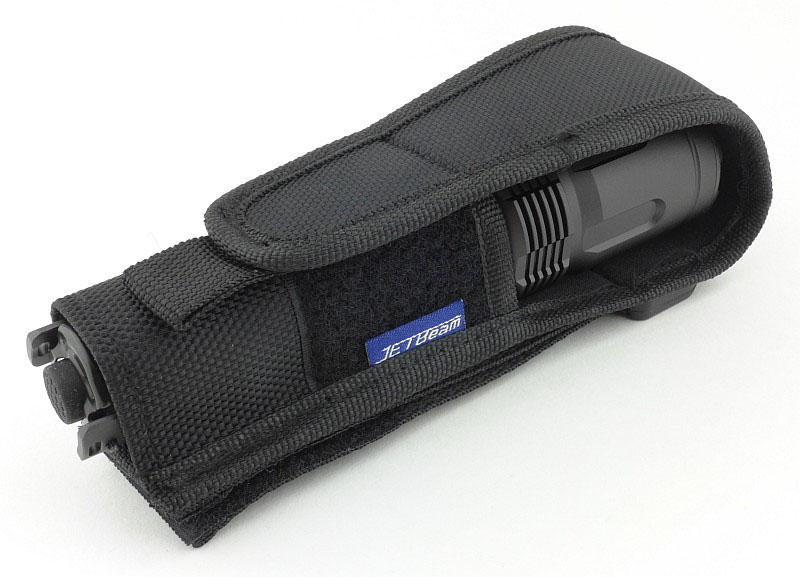
In this case the TH20 was supplied with an open bottom holster, offering only head-up carry. The holster has a D-loop, and both fixed and Velcro closing belt loops.
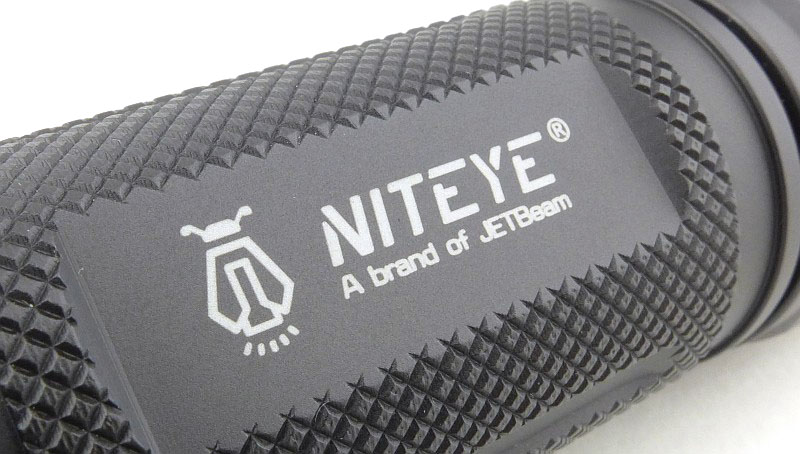
The ‘TH’ model prefix comes from being part of the Jetbeam Tactical Hit series of lights.

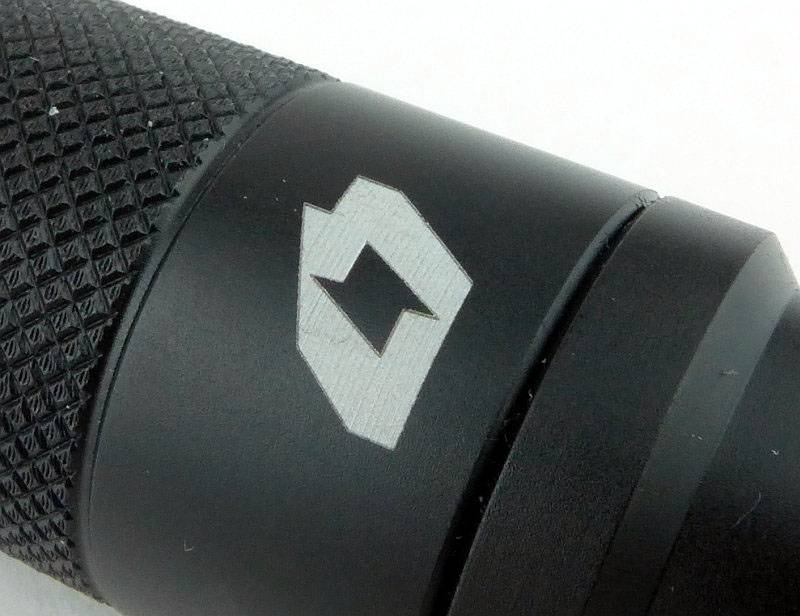
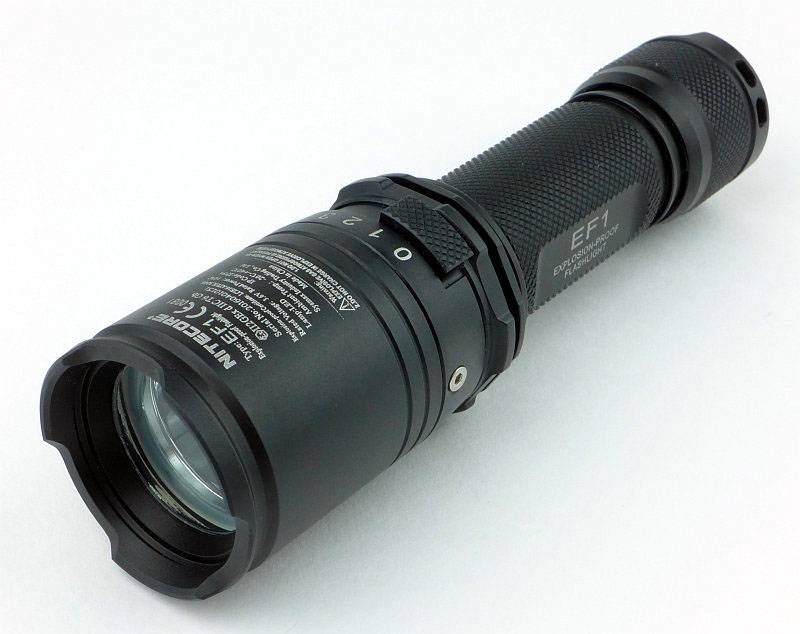
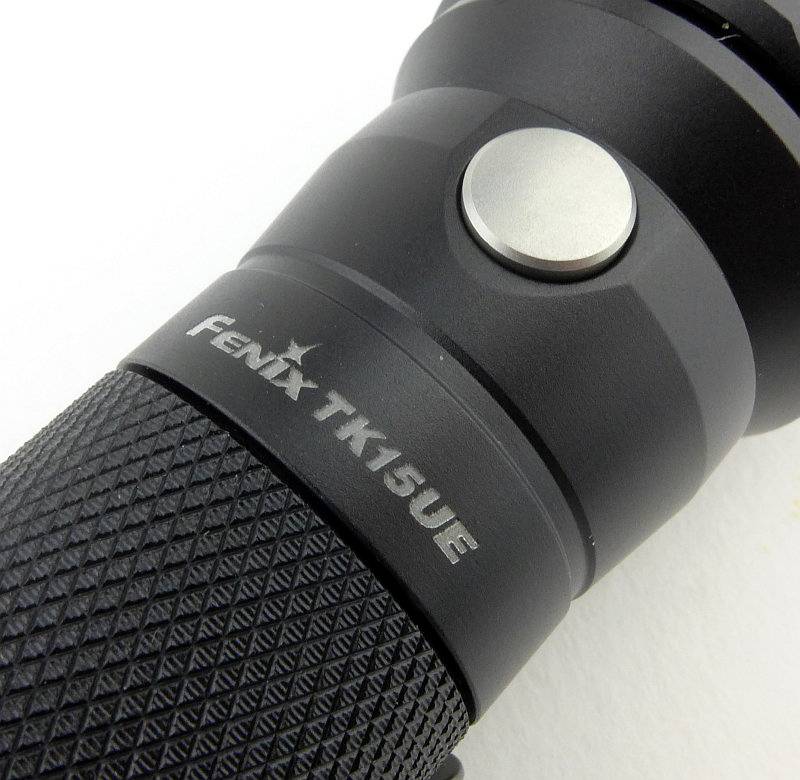
On this prototype it also has the Niteye branding engraved. I don’t believe this will be included on the final production version.
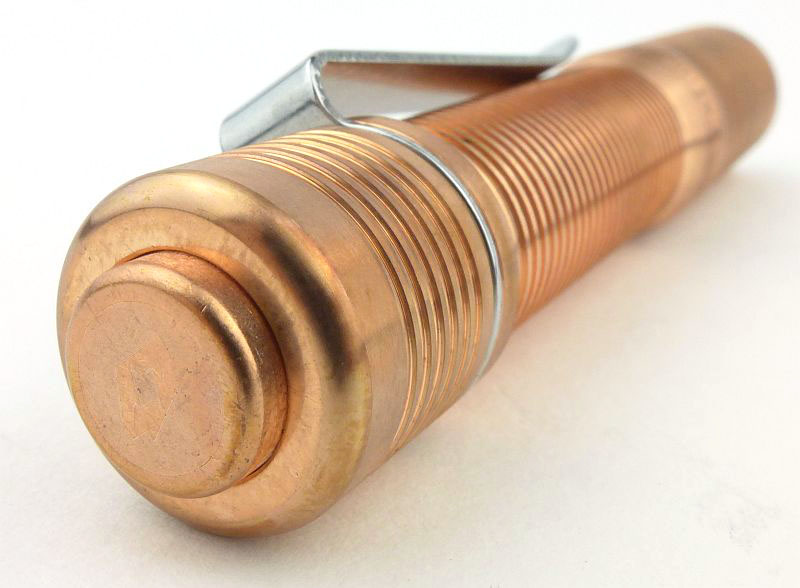
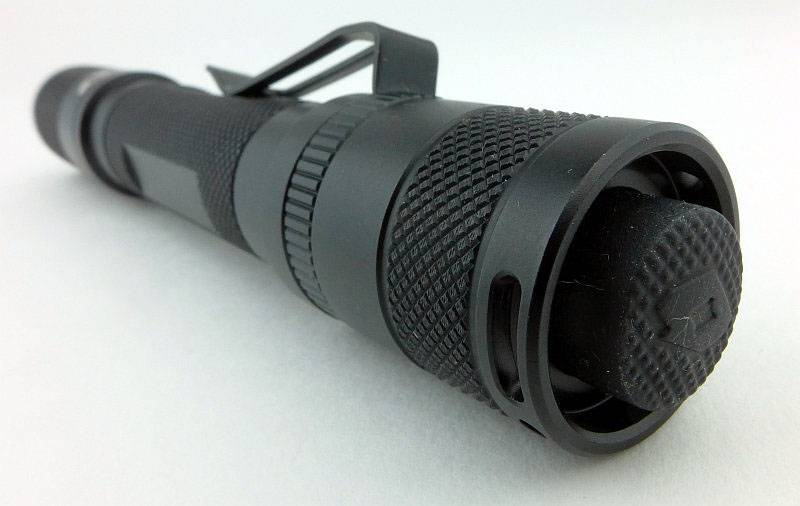
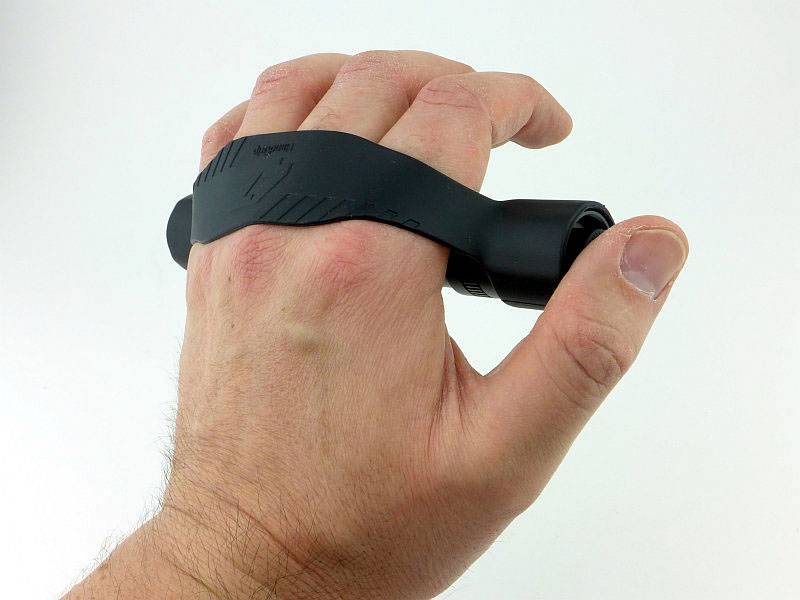
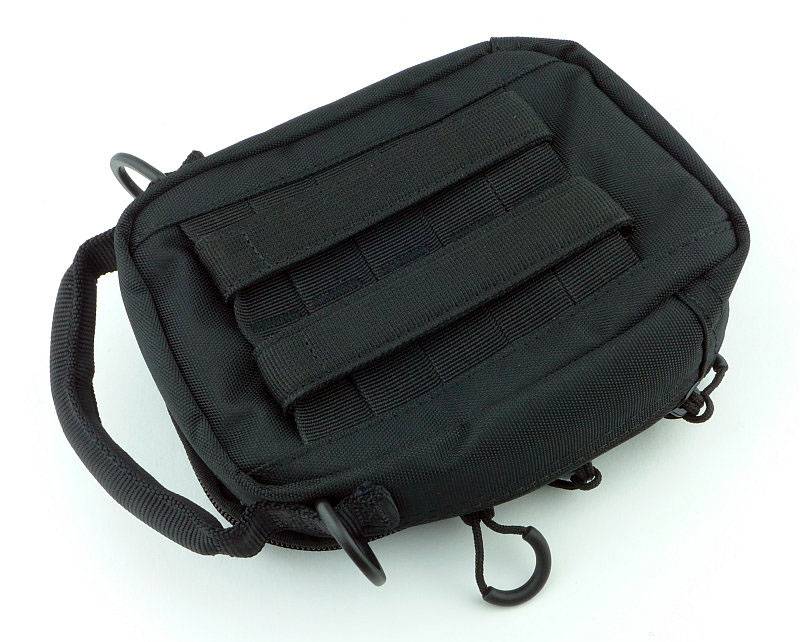
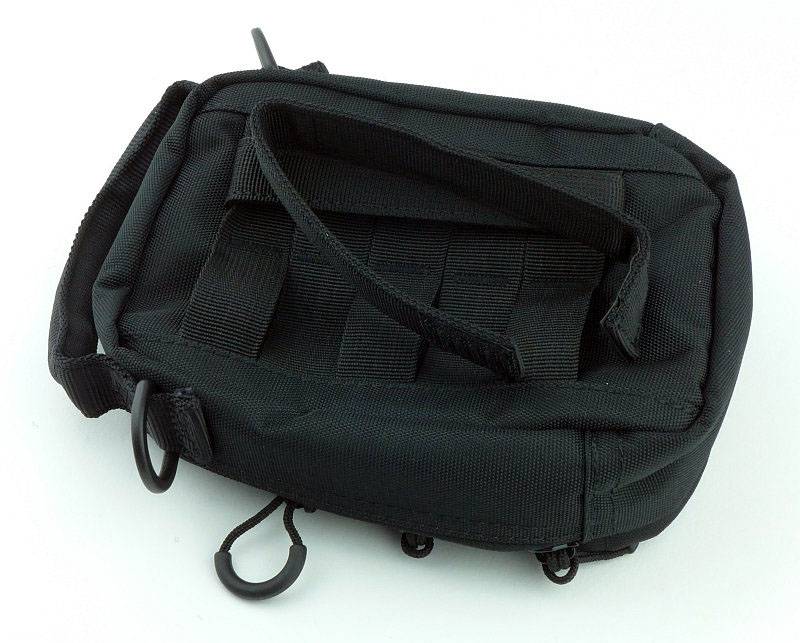
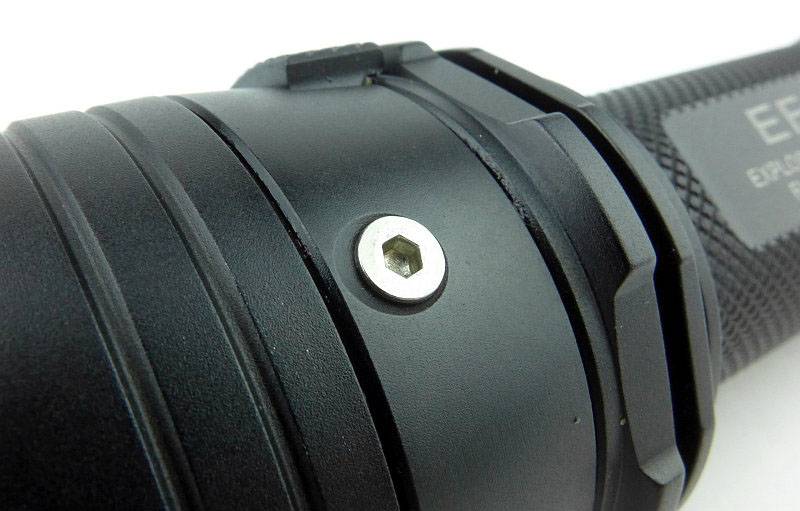
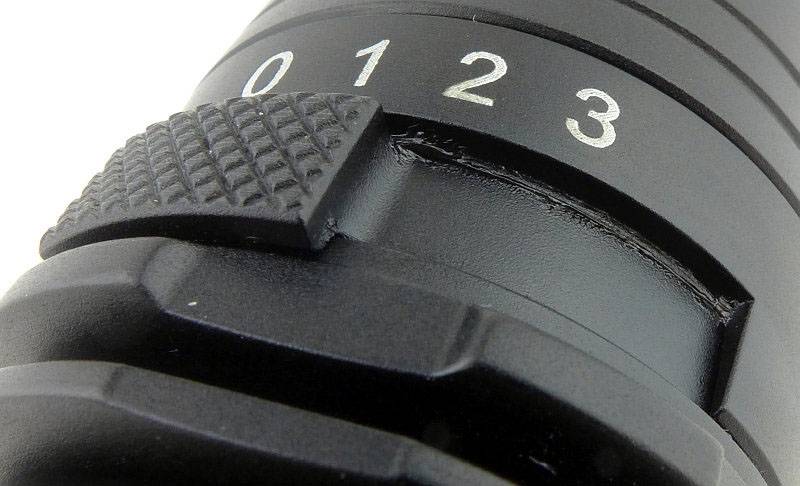
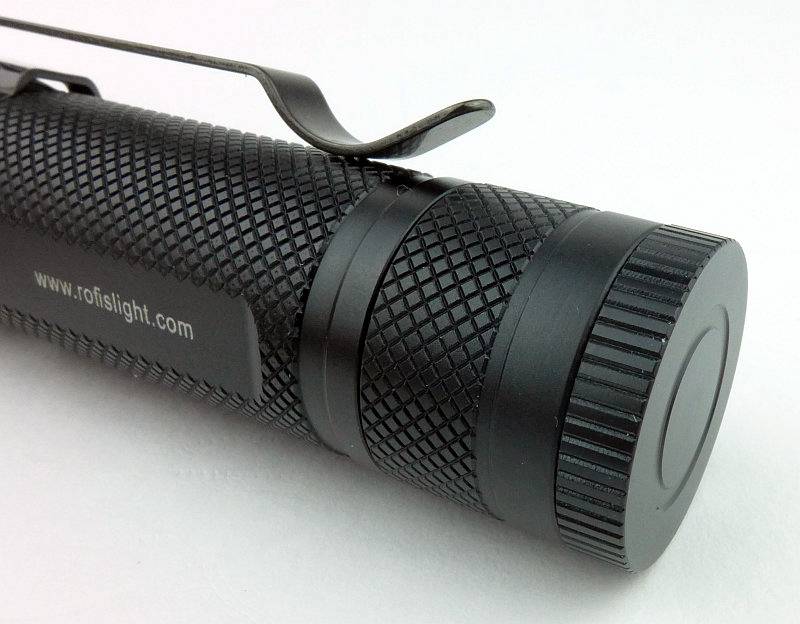
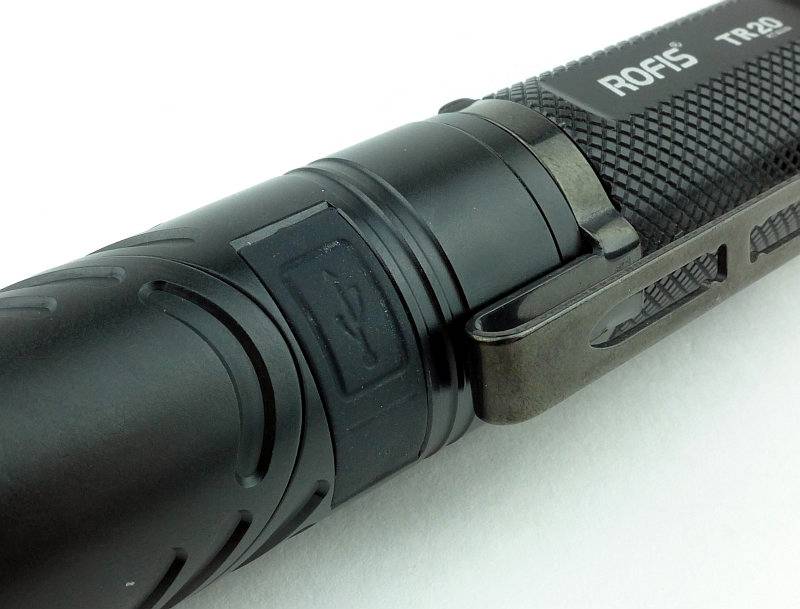
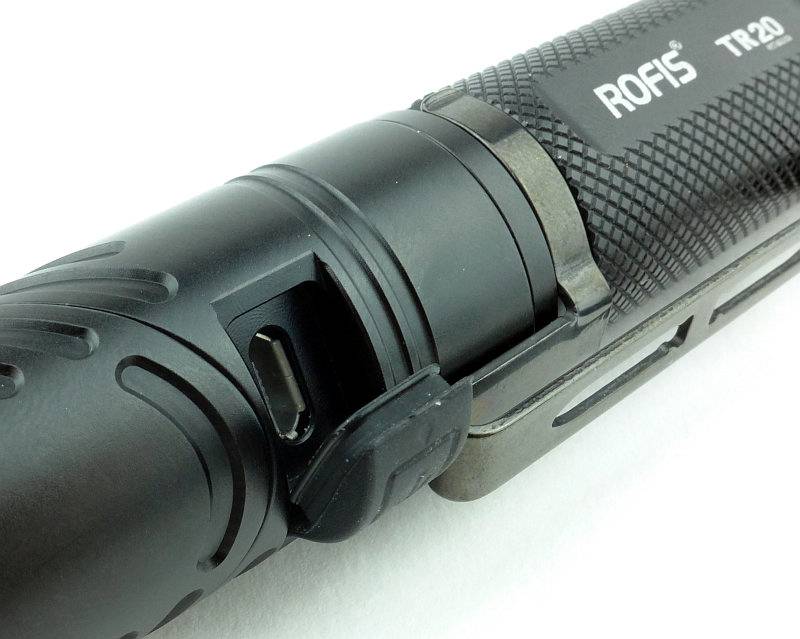
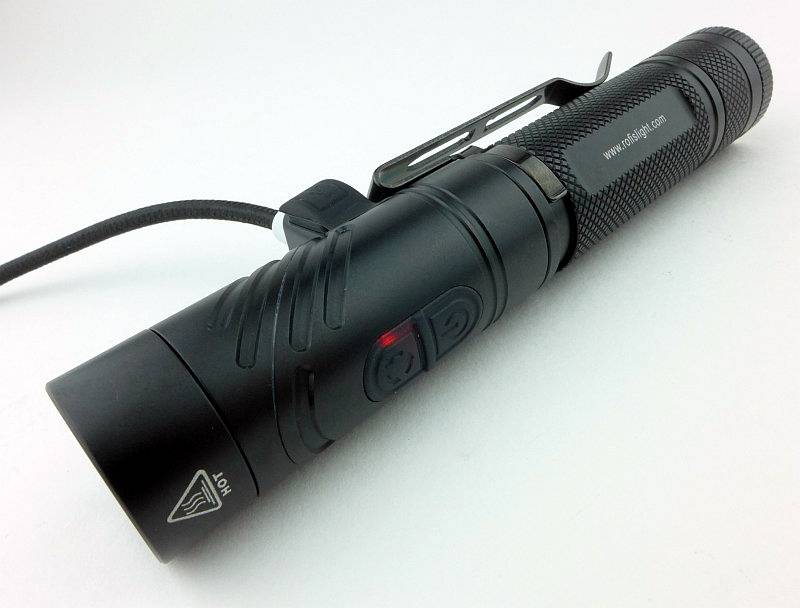
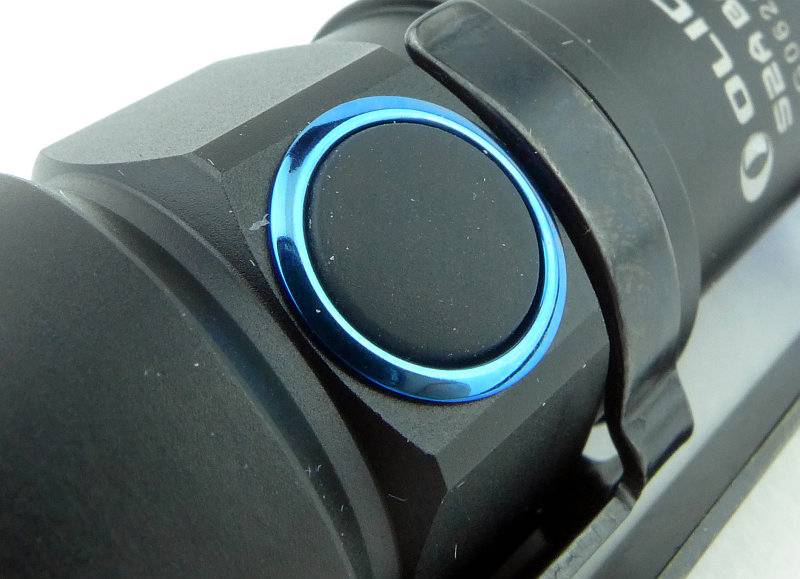
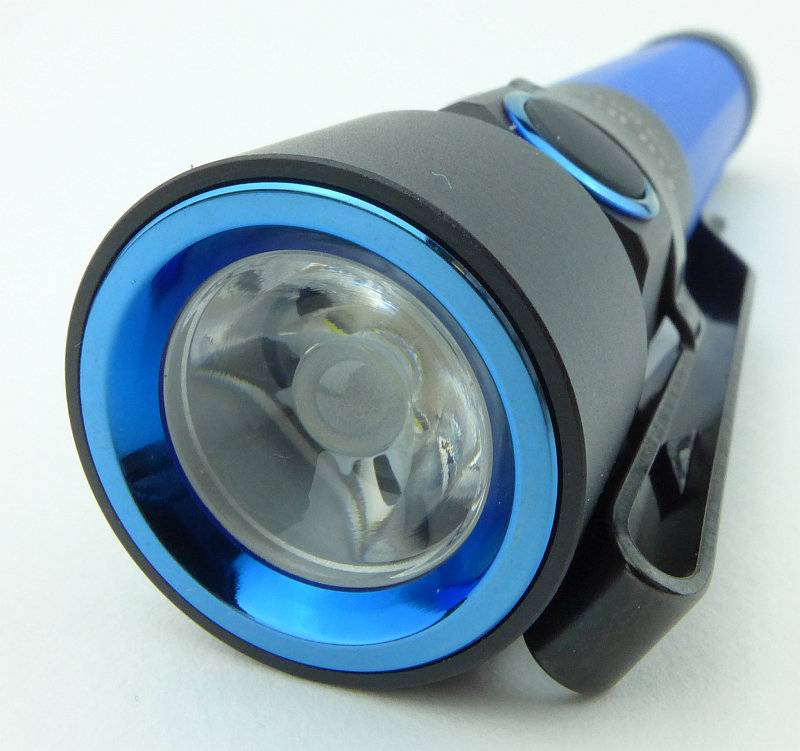
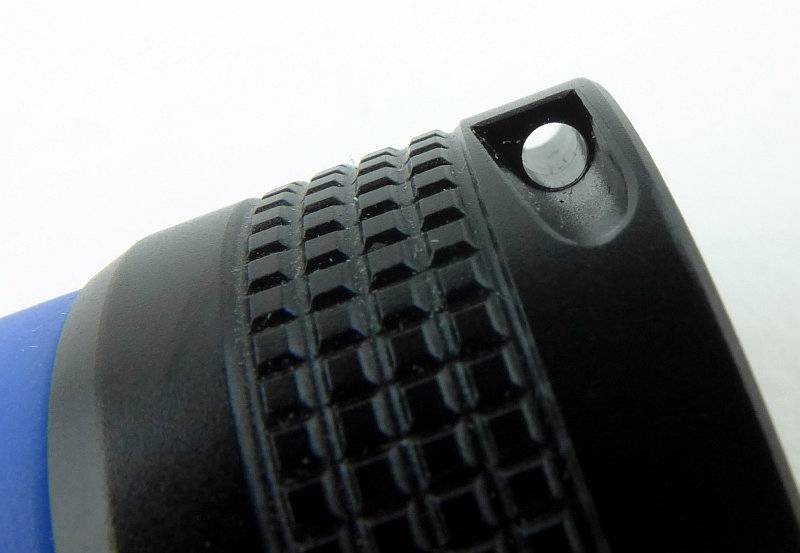
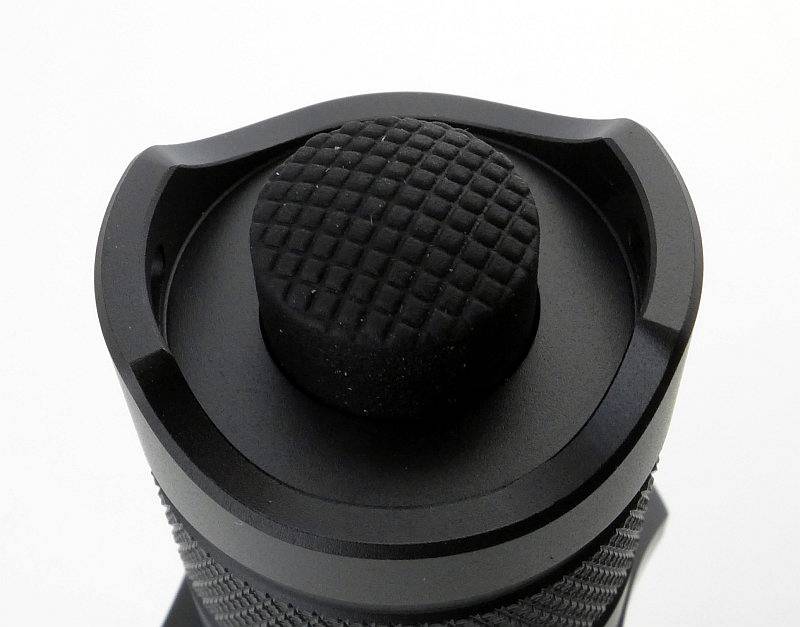
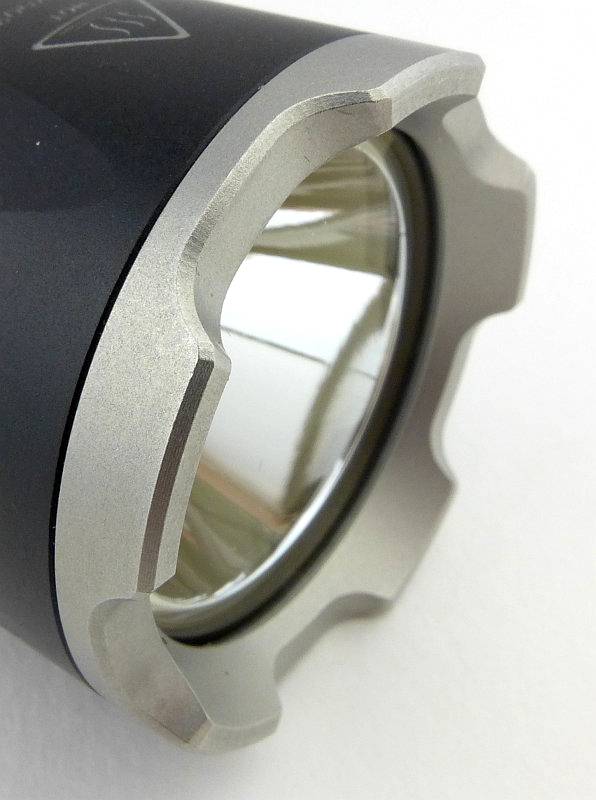
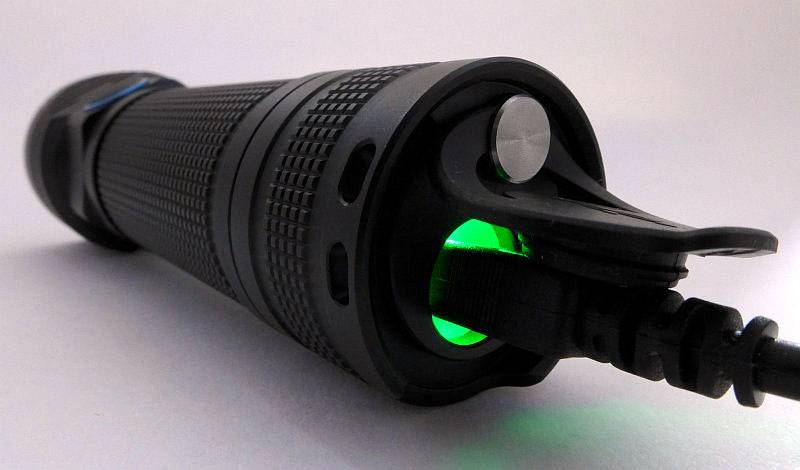
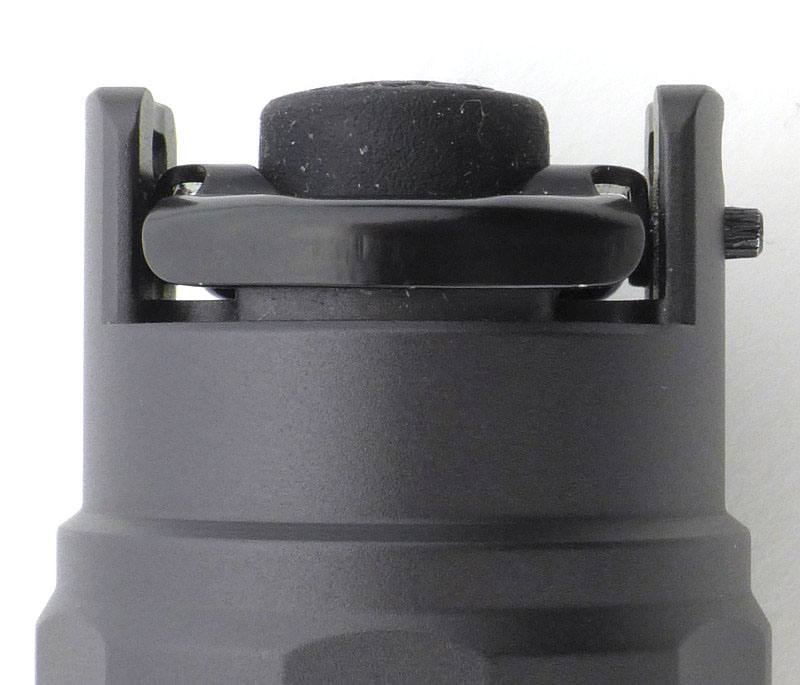
Apart from the huge output, one of the TH20’s special design features is the triple switch tail-cap. Surrounding the central forward-clicky tactical switch is a rocking paddle-switch which activates when pressed on either side. This gives quick and immediate access to the secondary function whichever way round you are holding the TH20.
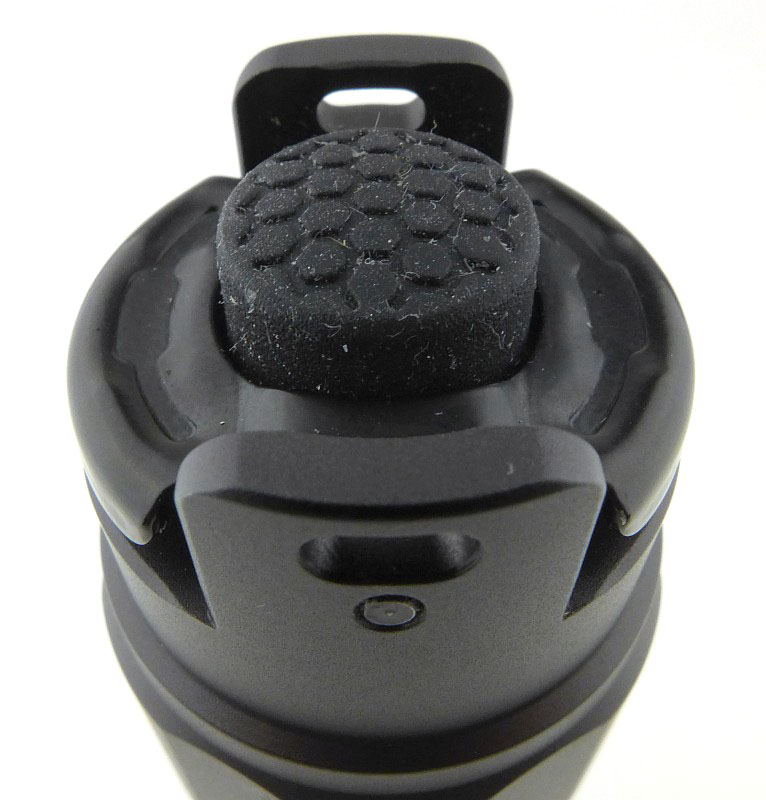
Two posts protect the main switch from accidental activation and to a degree protect the paddle-switch; they also hold the pivot pins for the paddle-switch. Note that as this is a prototype you can see the pivot pin protruding slightly which it would not on a production model.
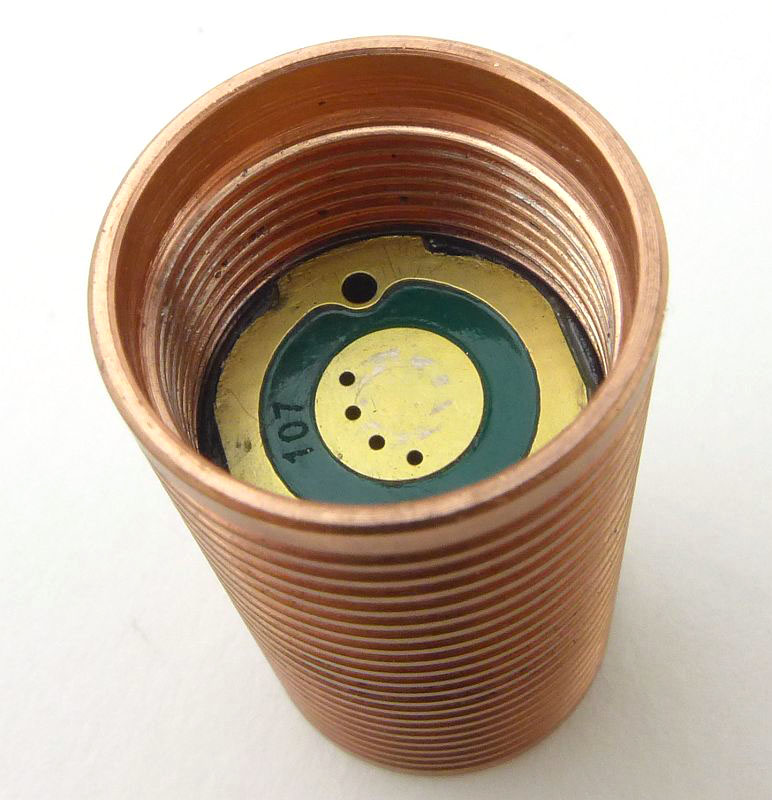
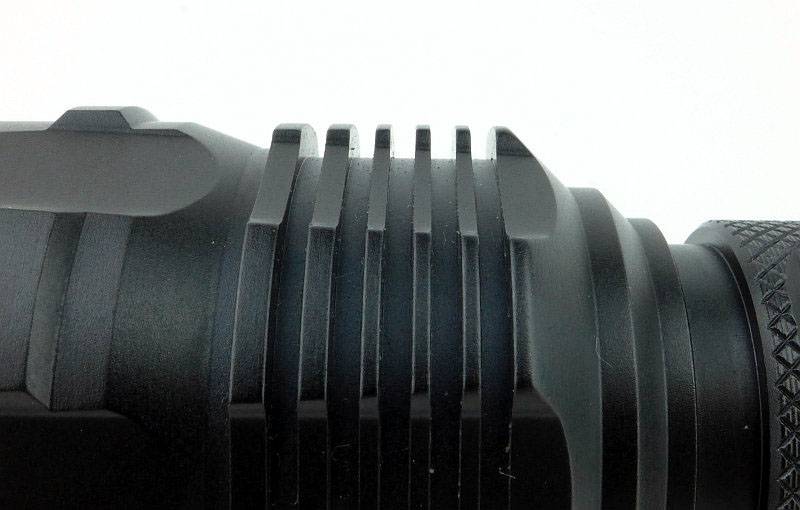
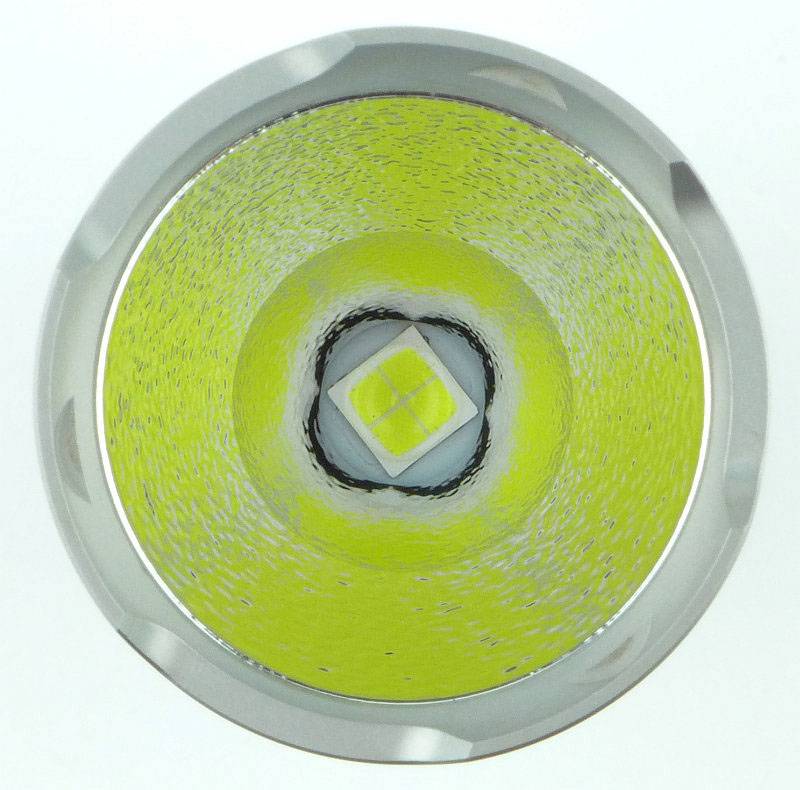
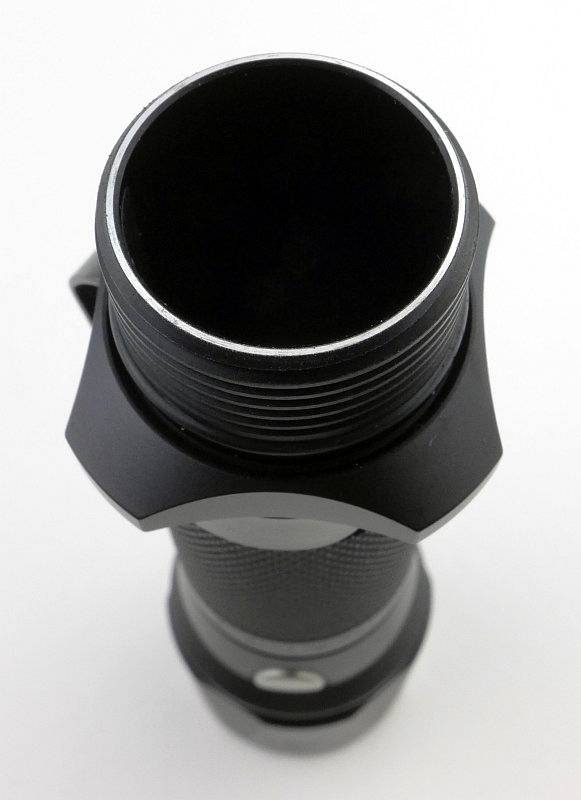
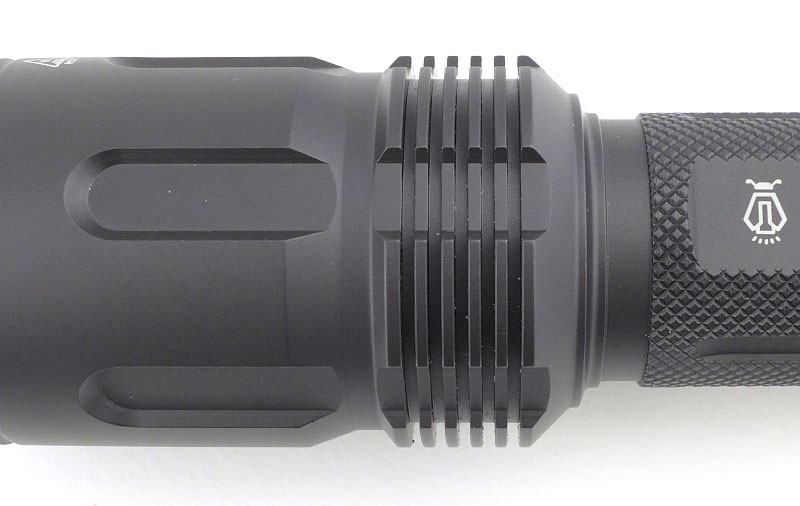
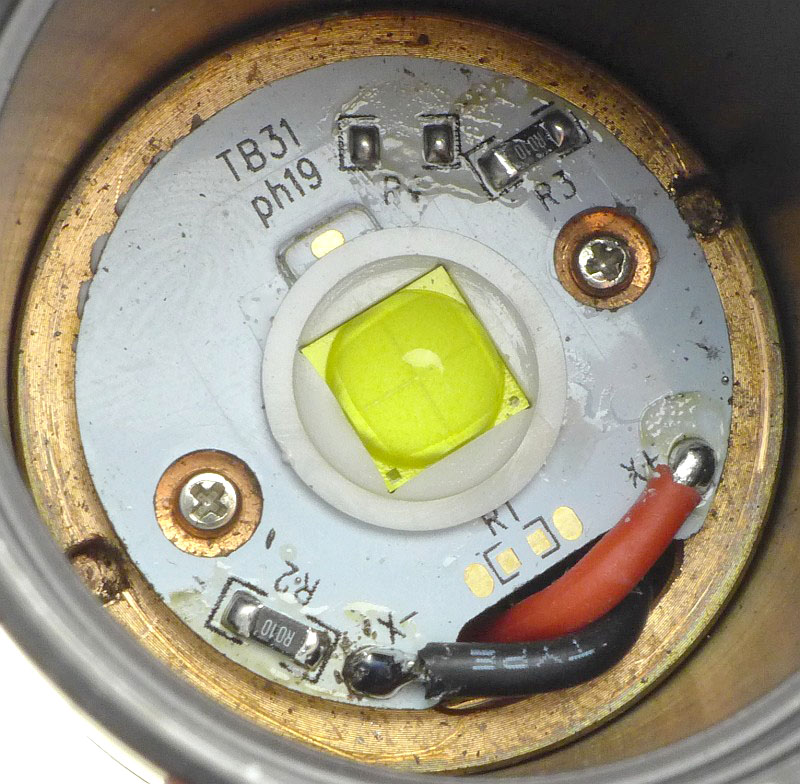
A set of cooling find surround the base of the head where the LED mounting board is located.
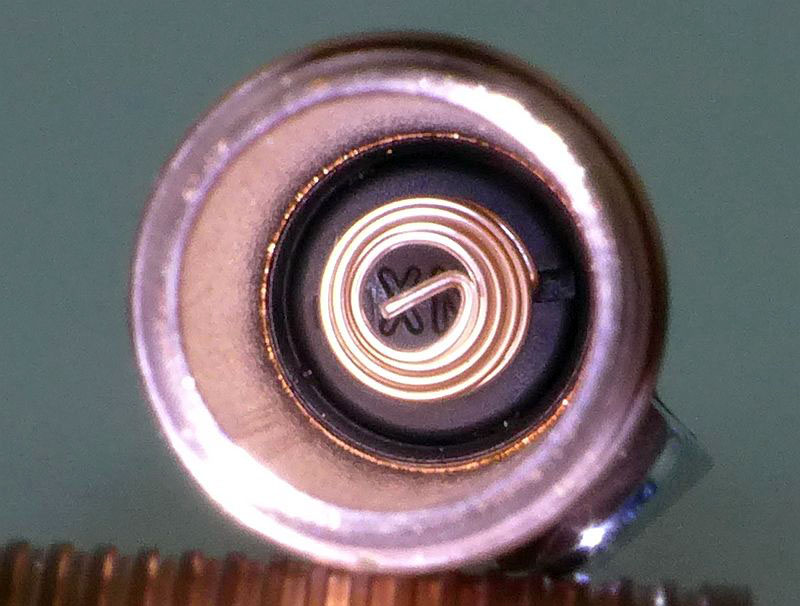
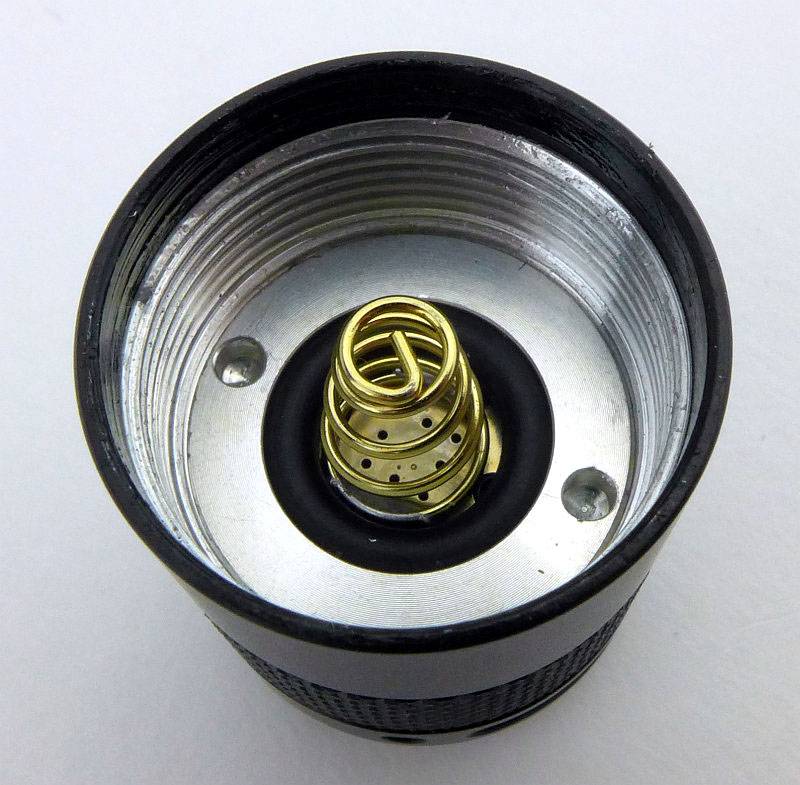
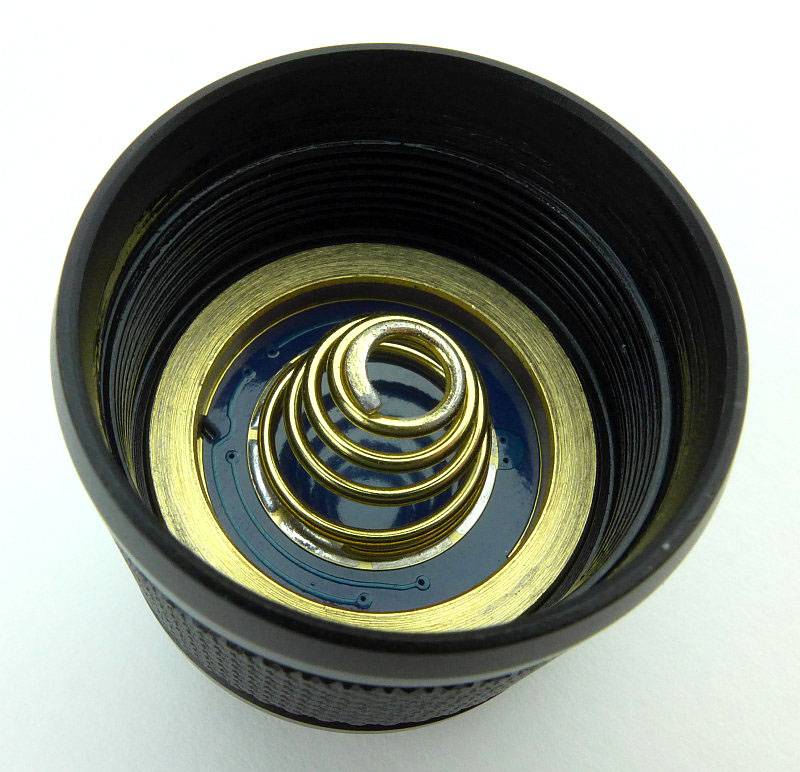
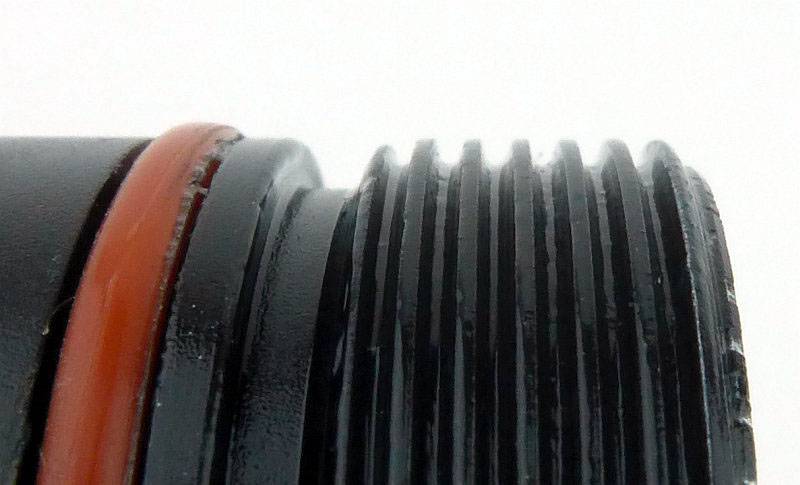
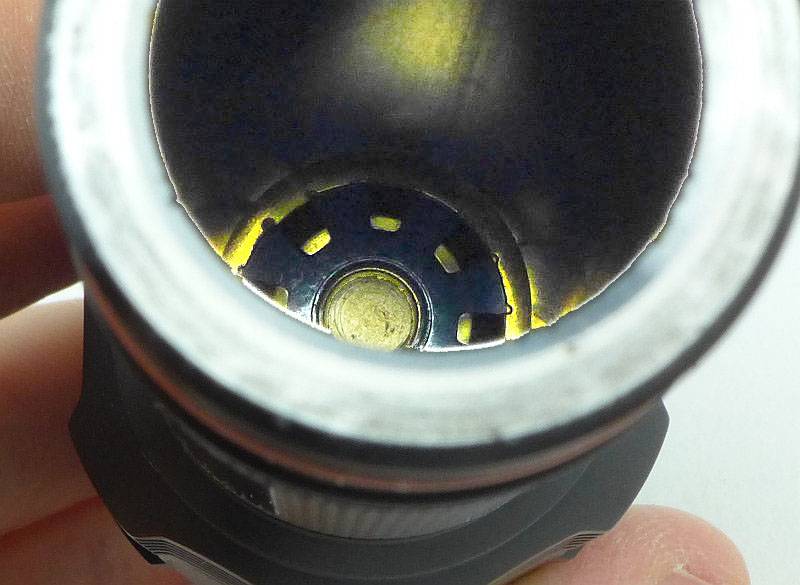
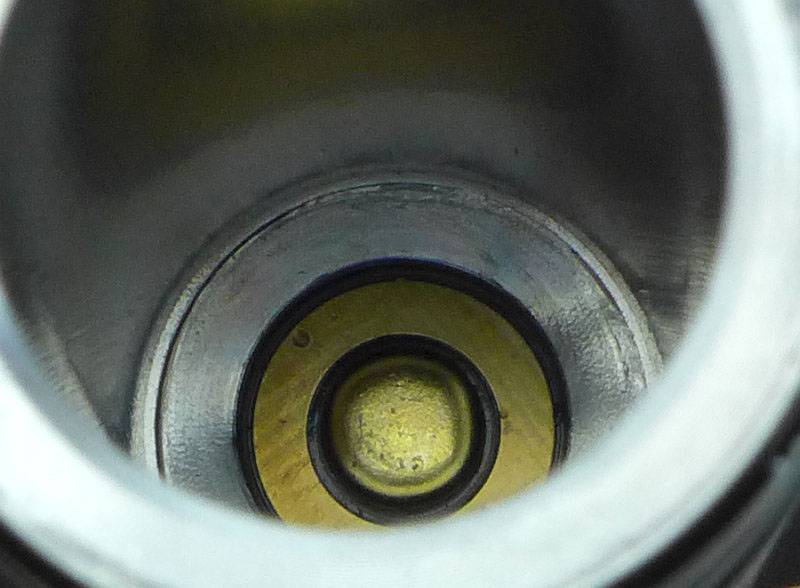
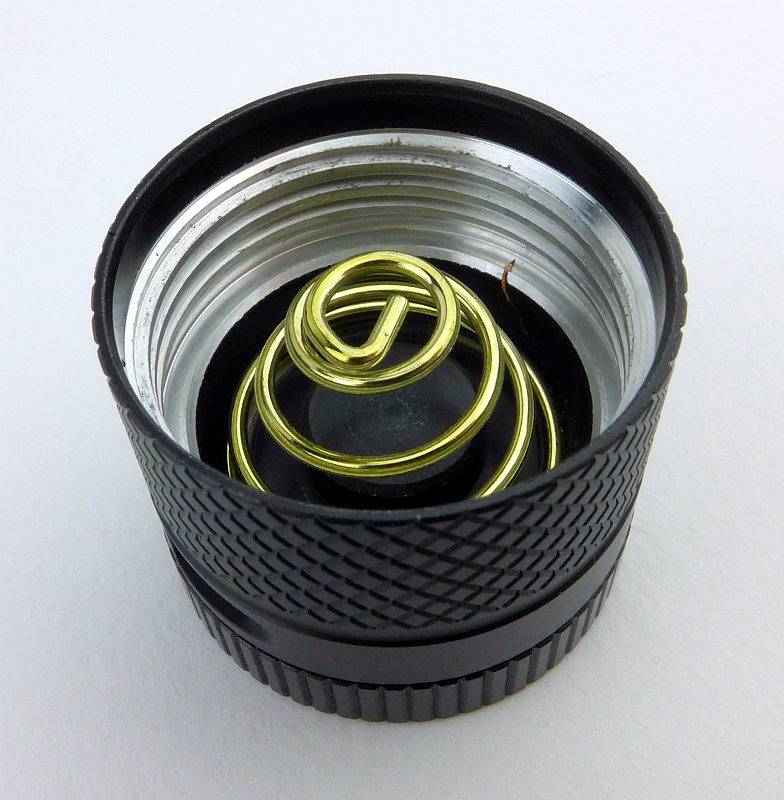
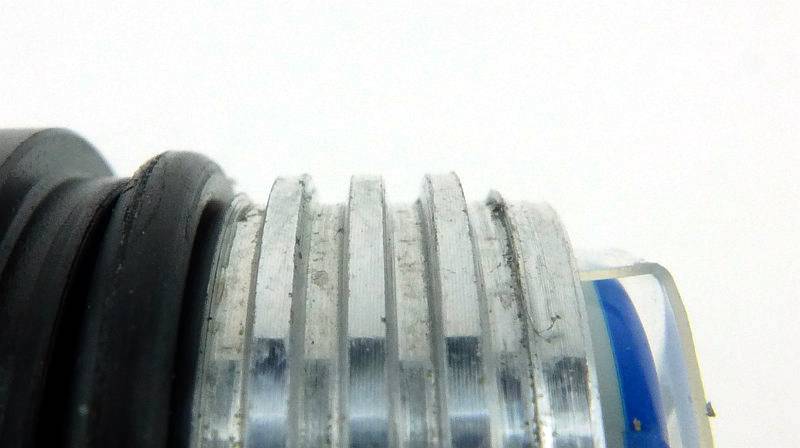
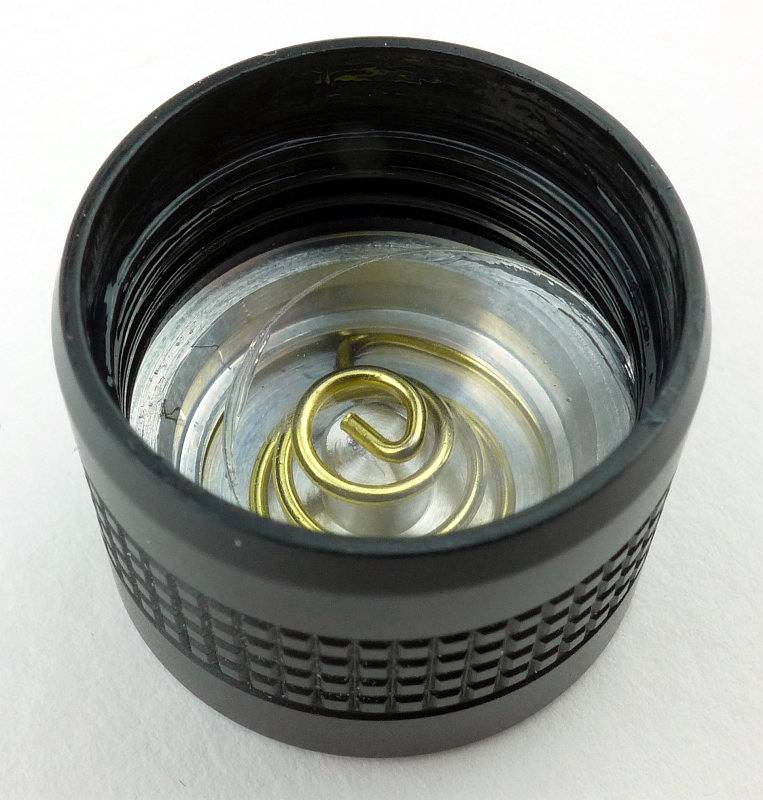
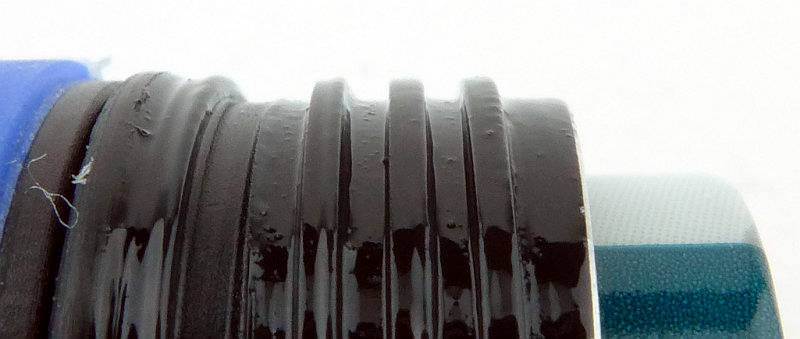
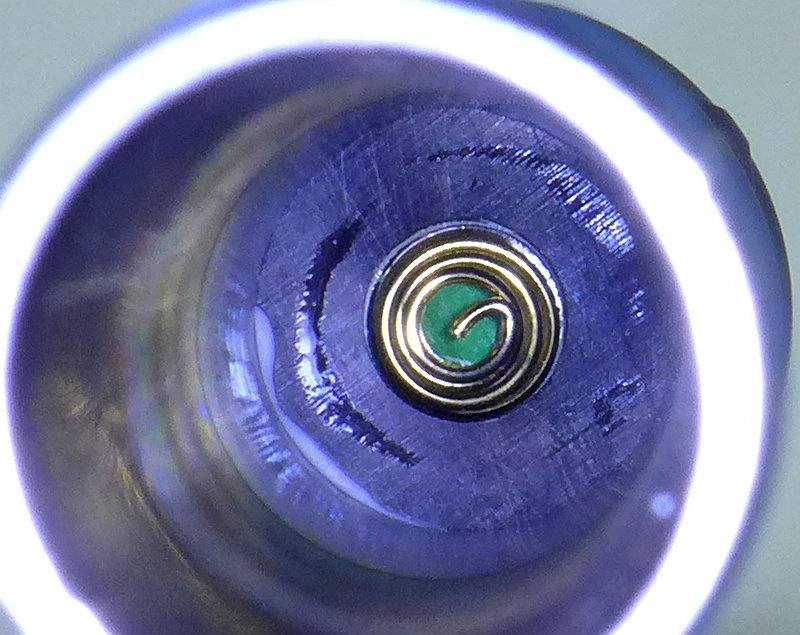
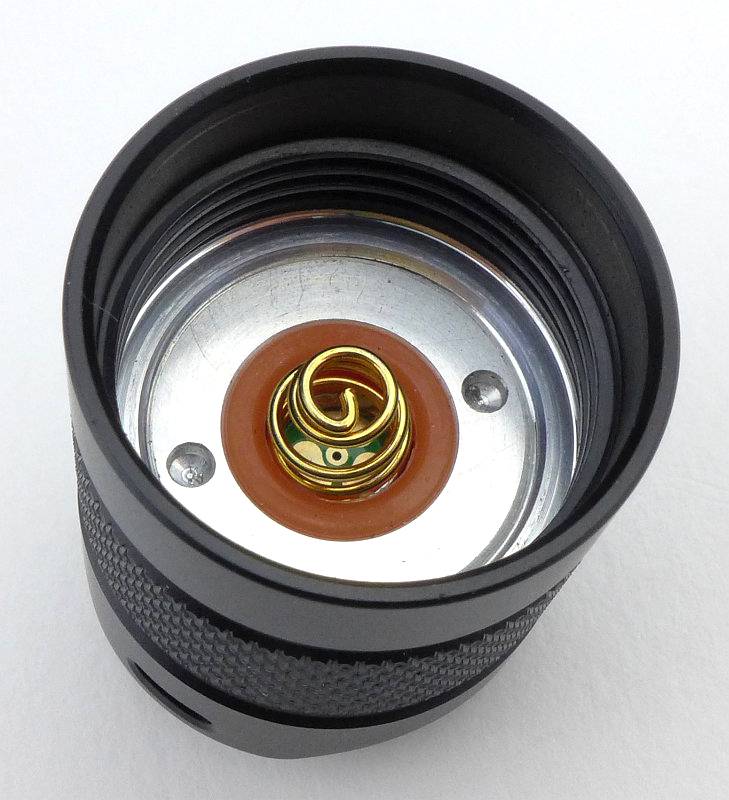
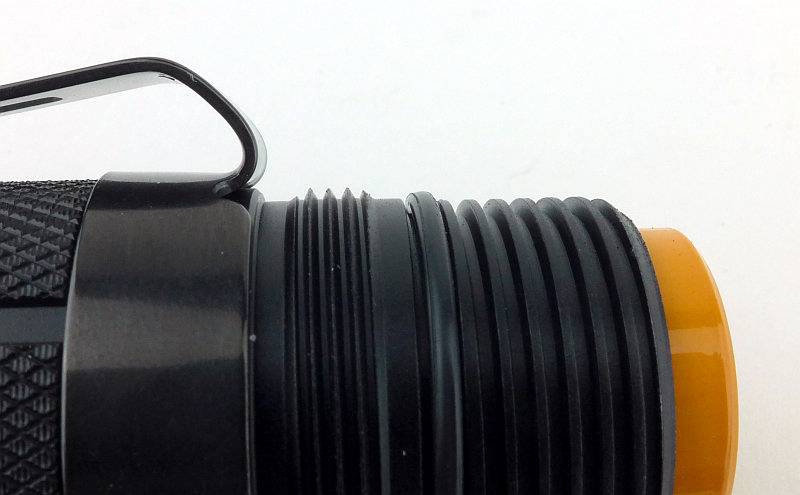
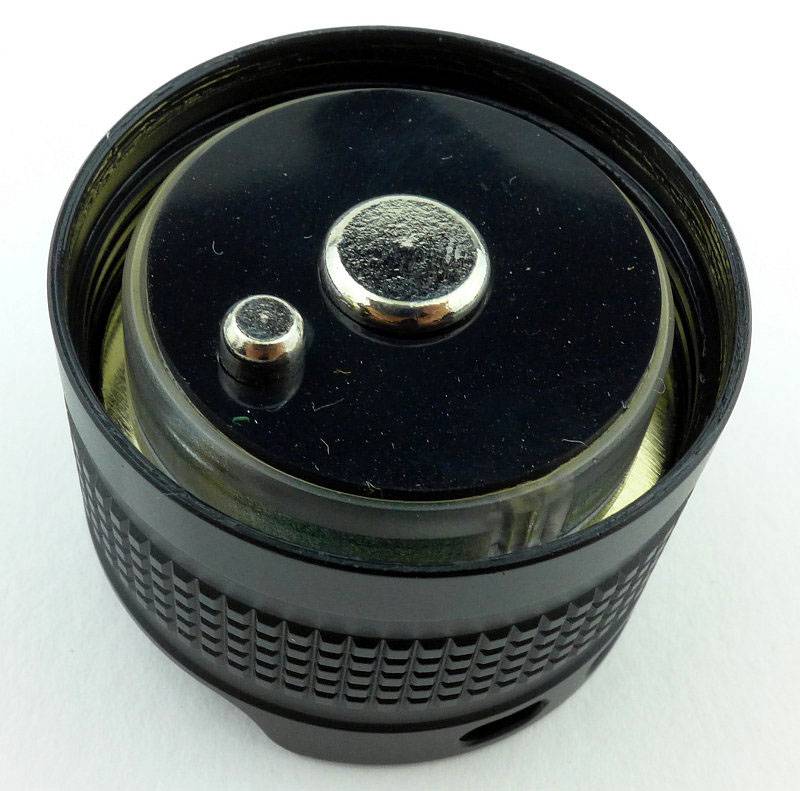
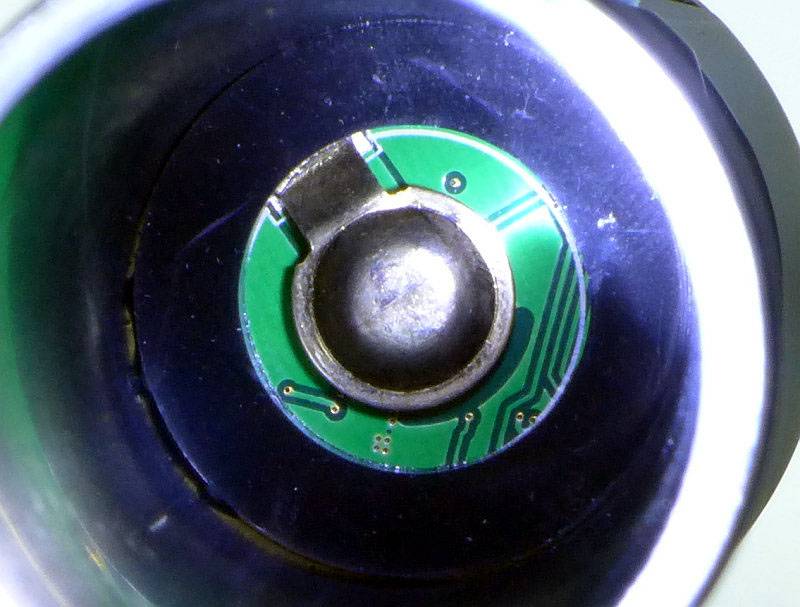
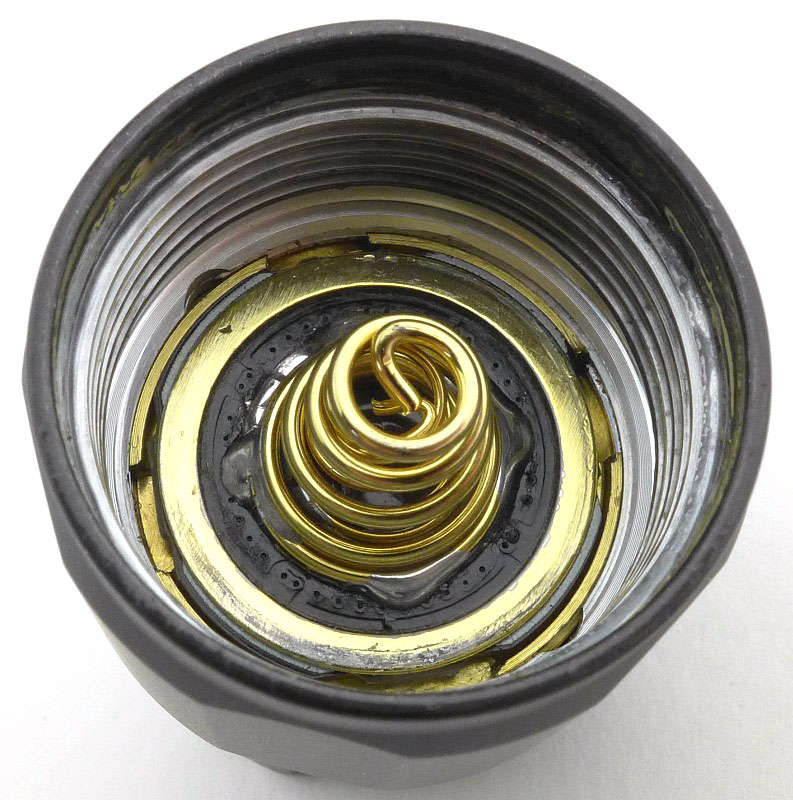
Inside the tail-cap shows there are several things going on. The negative contact is a double spring with one sitting within the other. As well as the bare threads that make up a connection, there are a set of contacts around the circuit board. Since this prototype was made, the design has been updated.
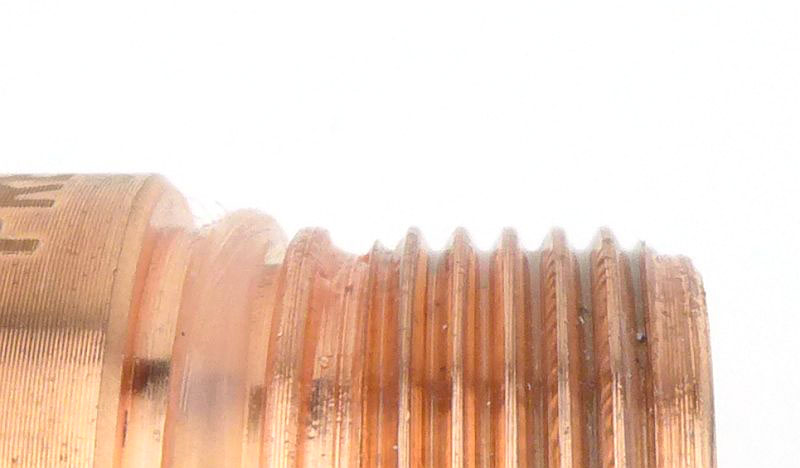
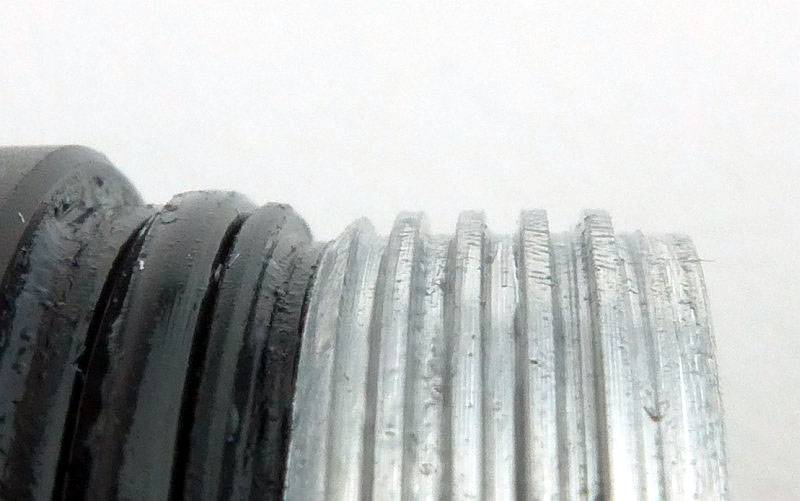
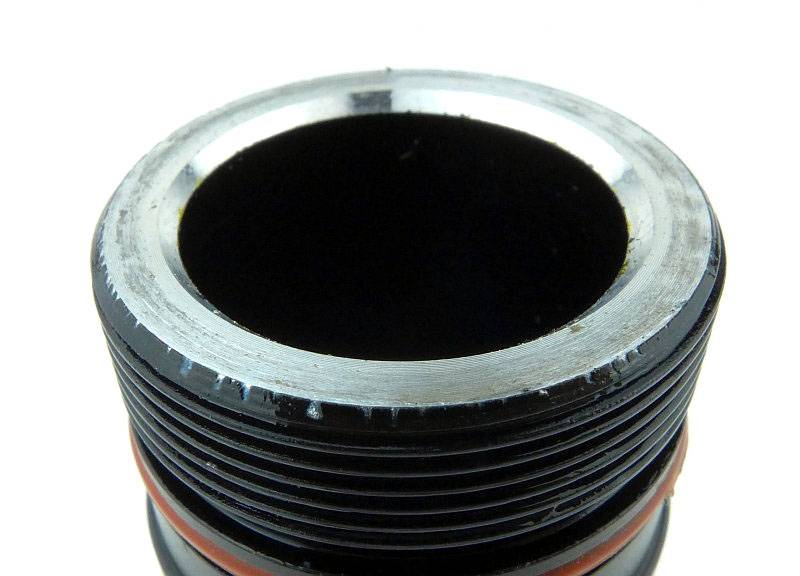
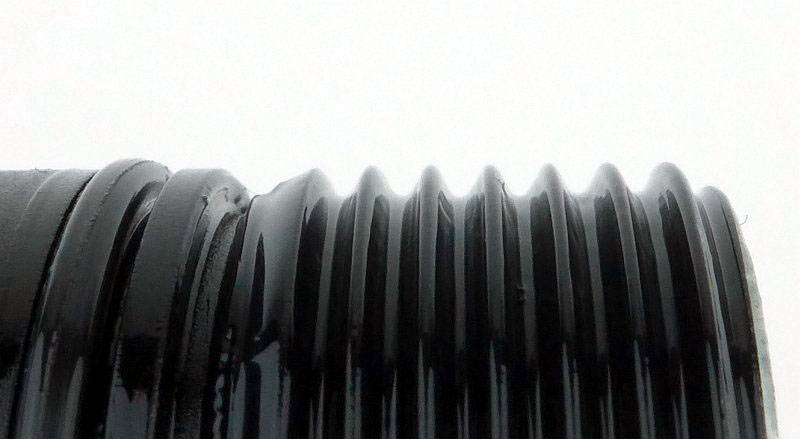
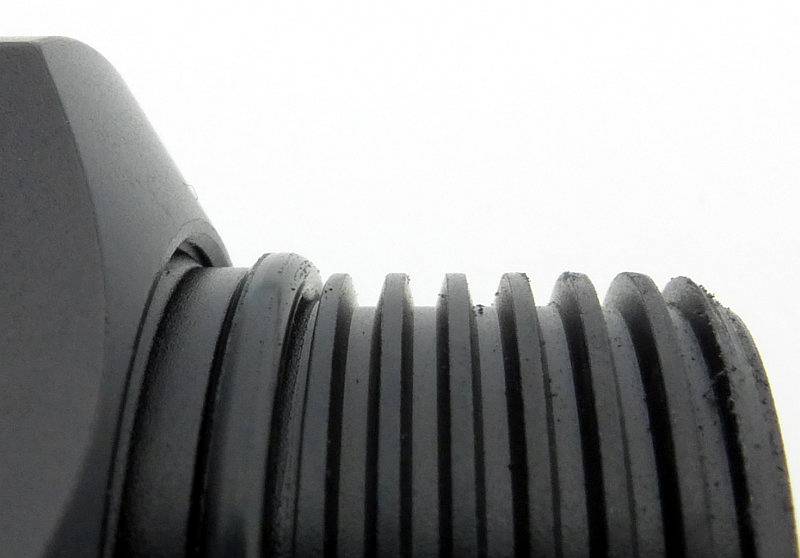
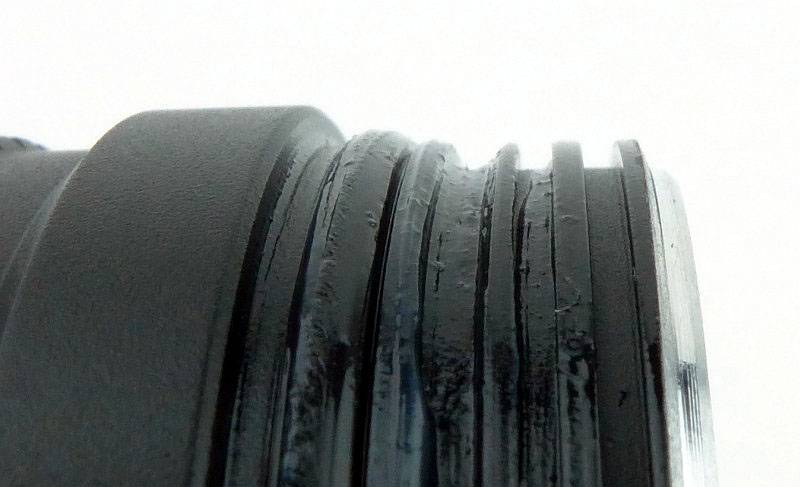
Square threads are used which are bare aluminium as they form one of the electrical contacts.
To enable the triple-switch tail-cap design to work, there are extra contacts in the tail-cap, and in turn this needs there to be an additional tube fitted within the body of the TH20 allowing this extra connection to be made from the head to the tail-cap. This design feature is the reason I’ve not been able to measure operating current and parasitic drain for this light.
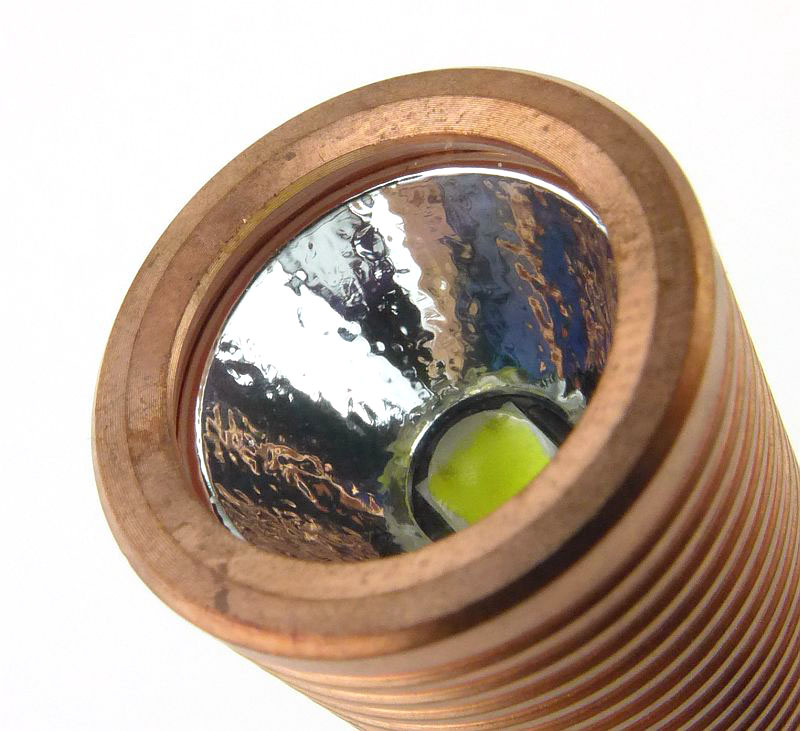
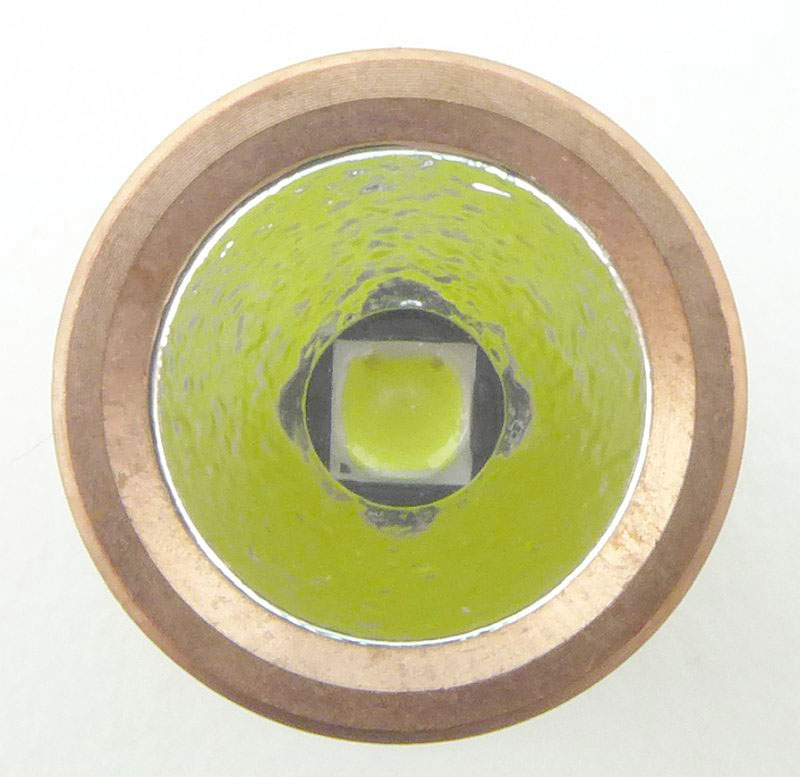
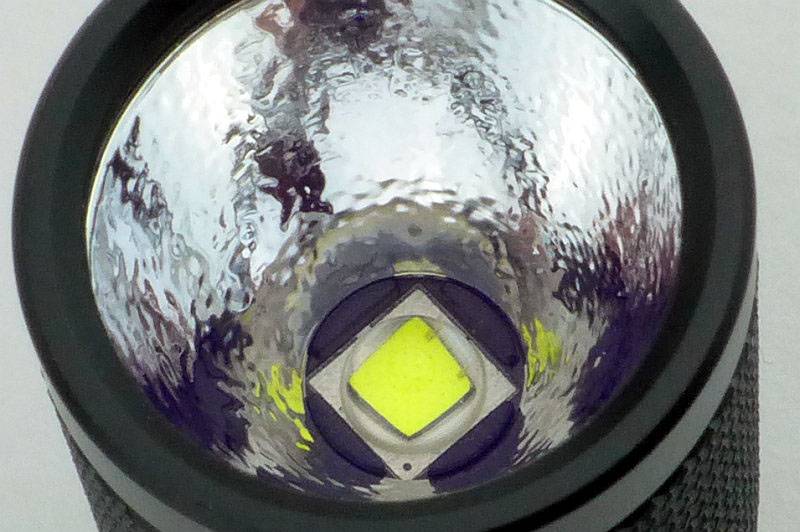
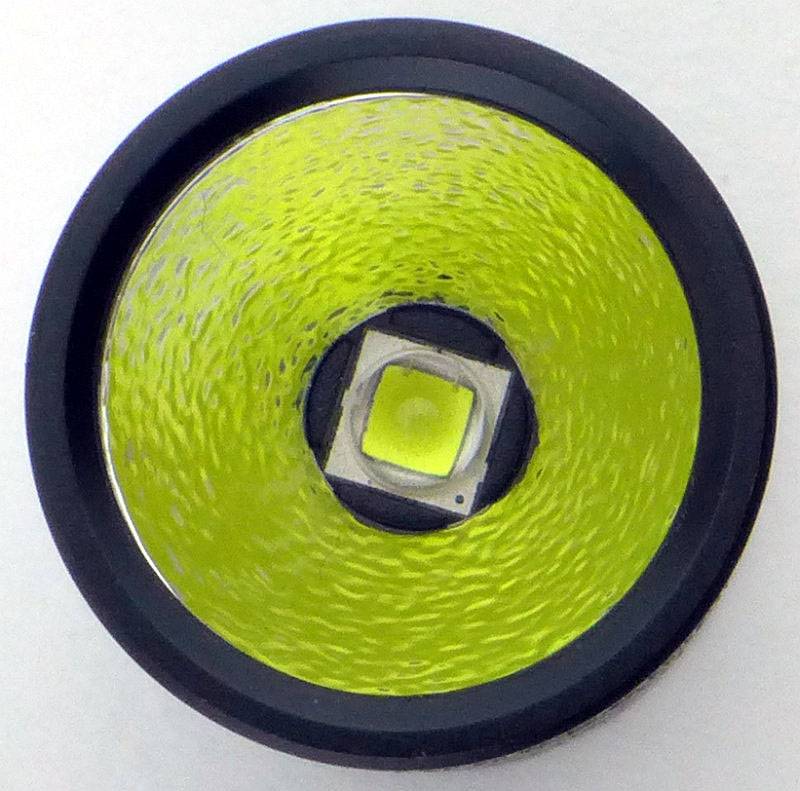
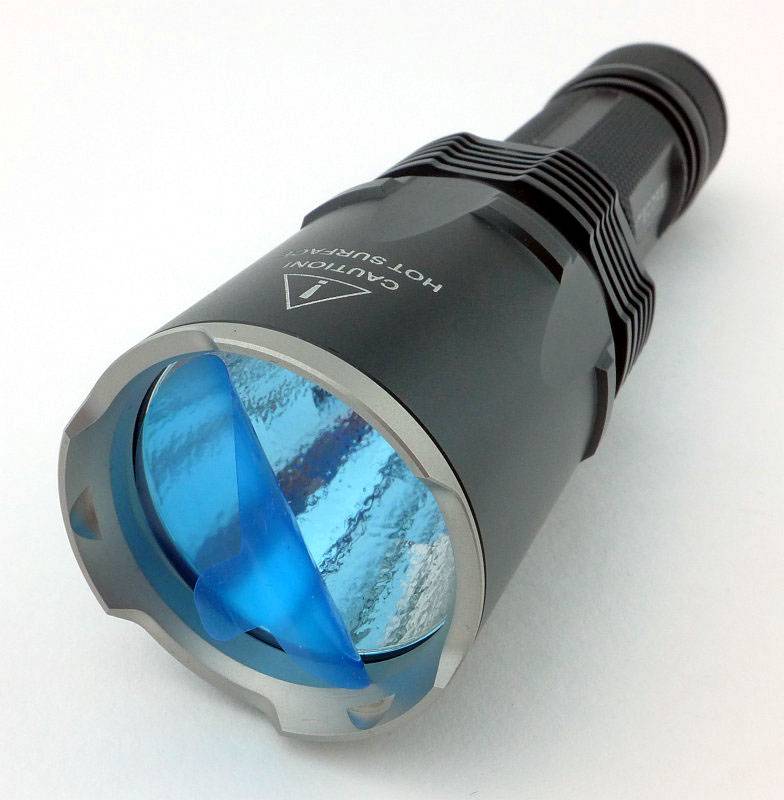
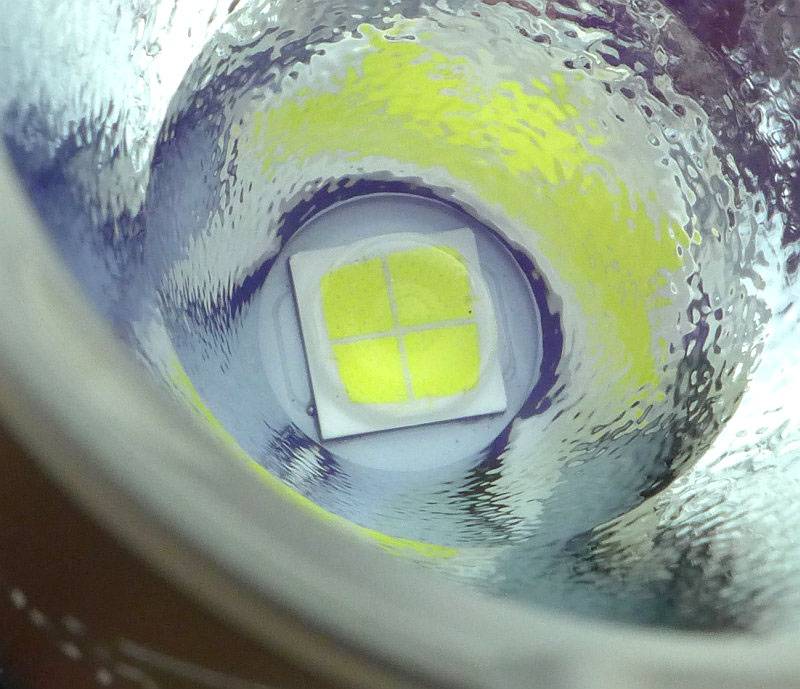
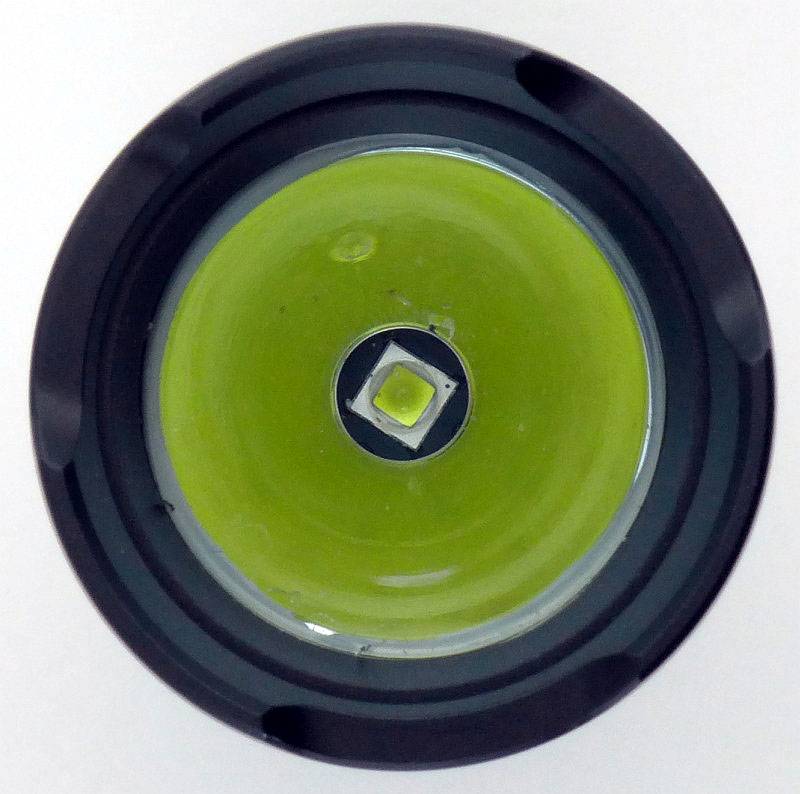
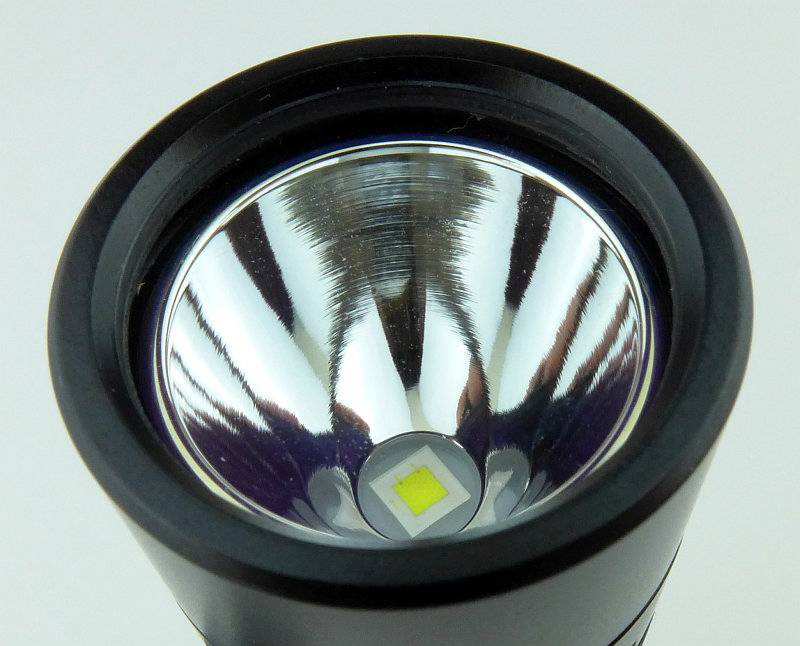
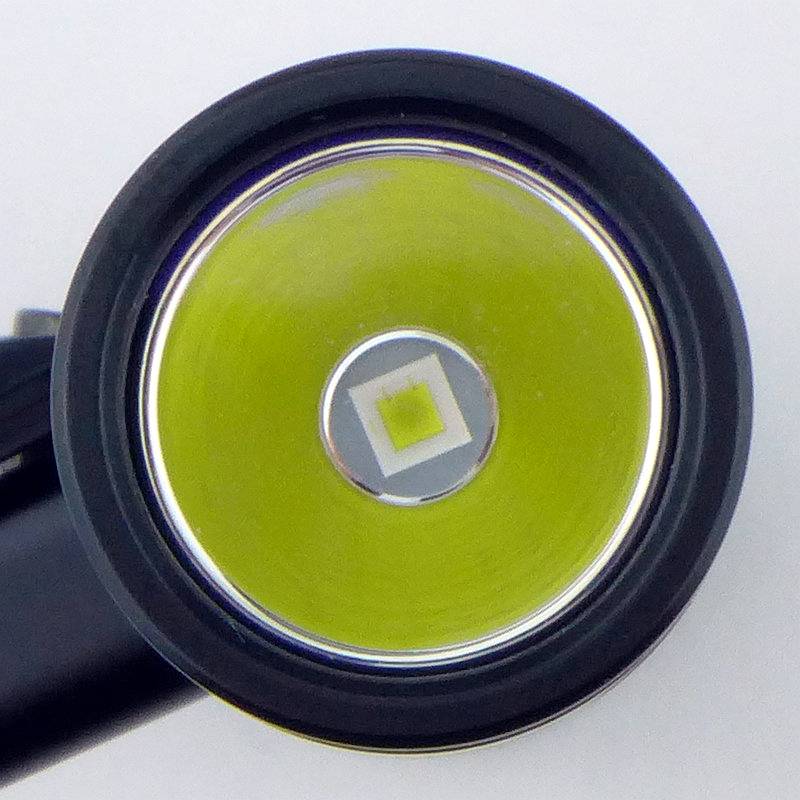
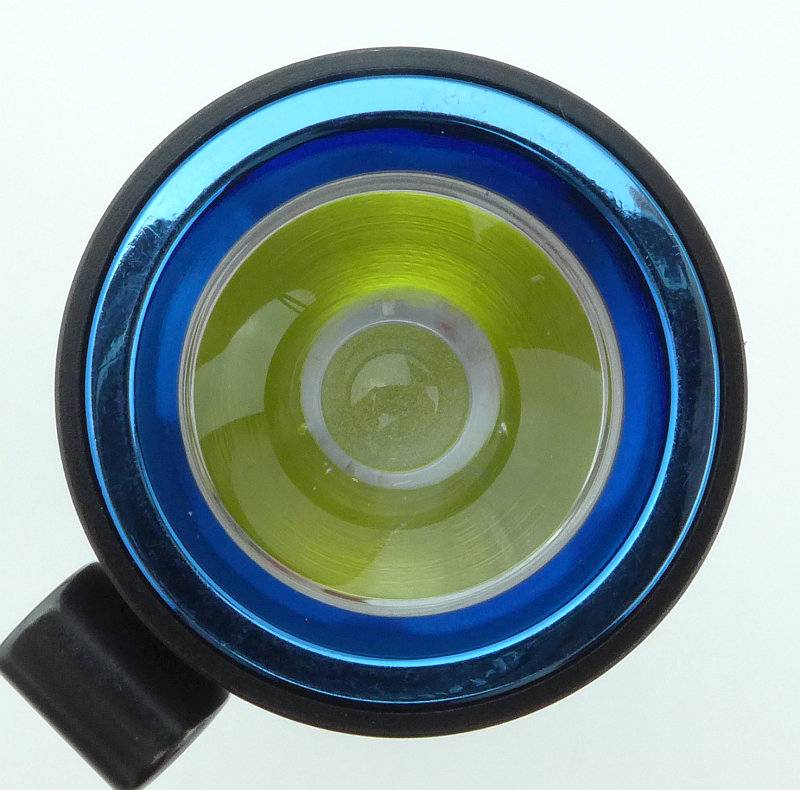
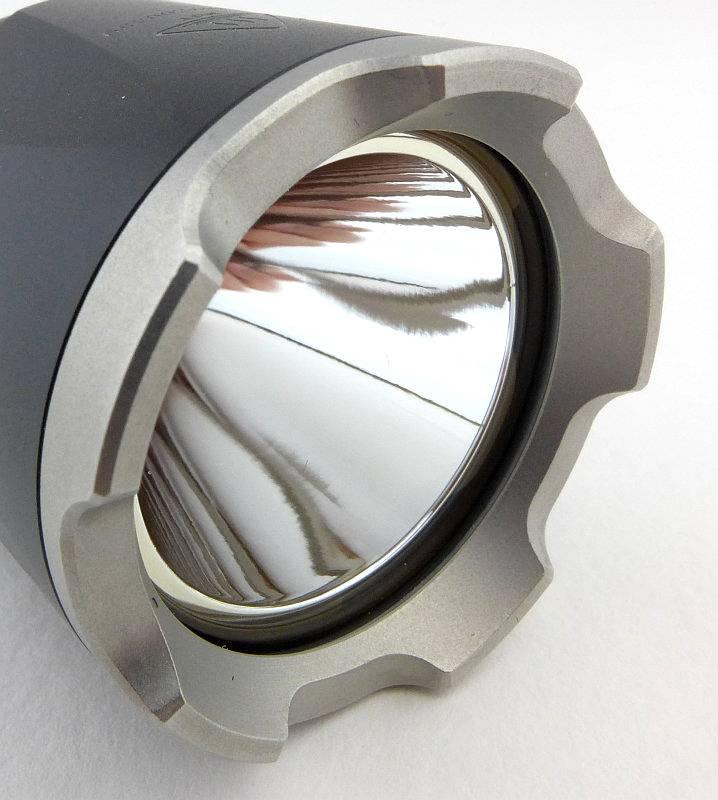
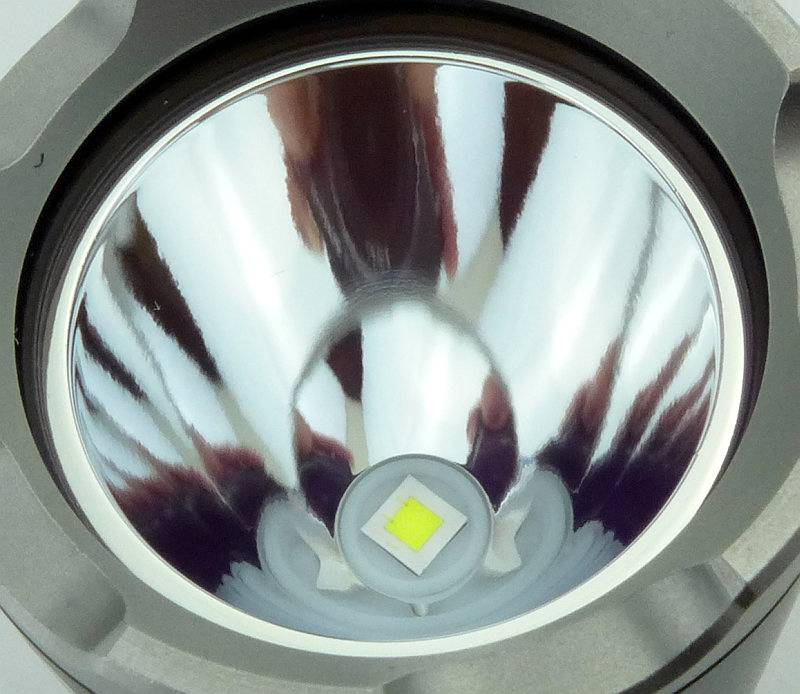
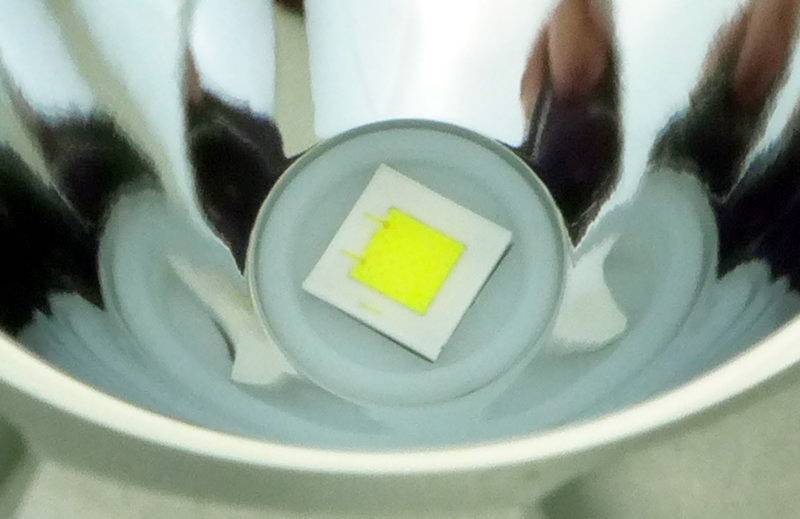
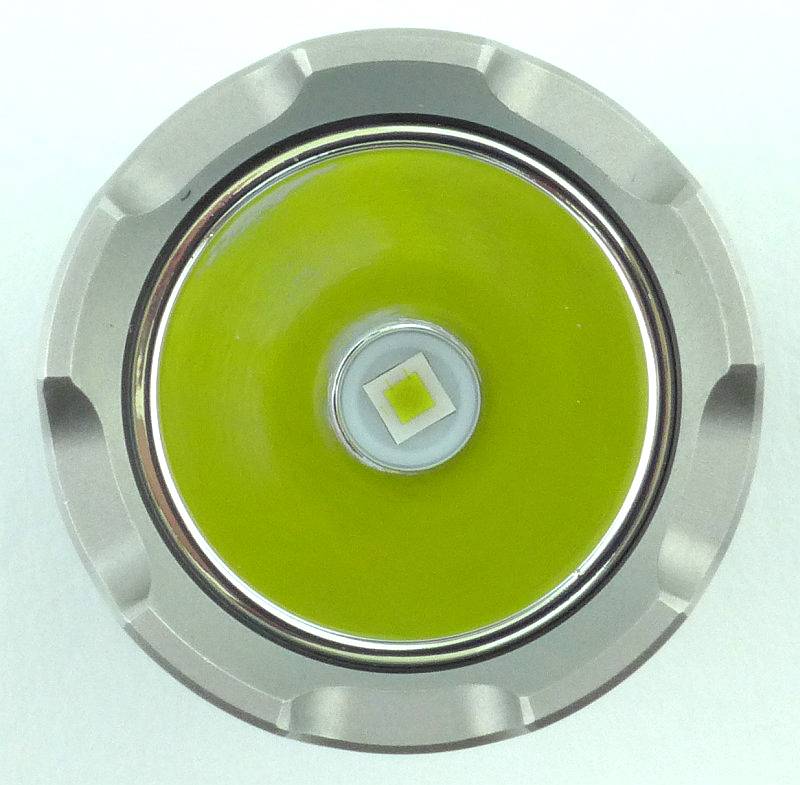
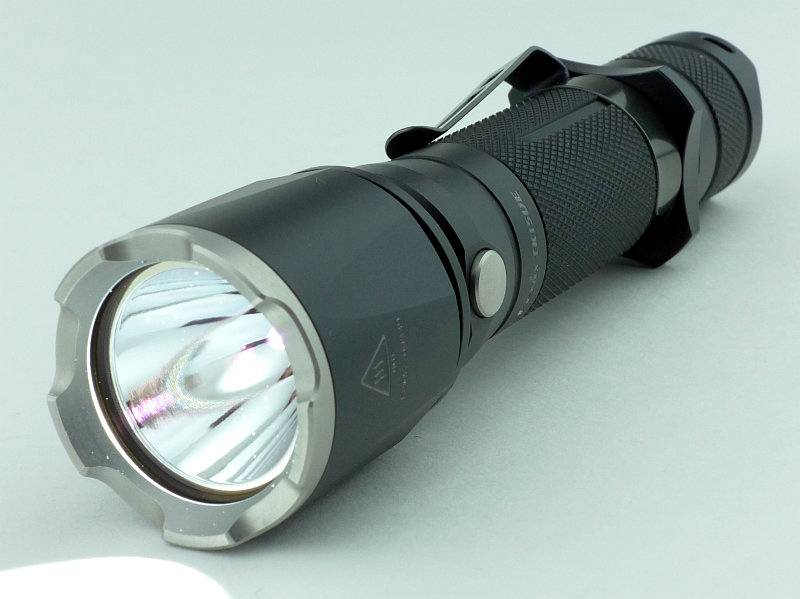
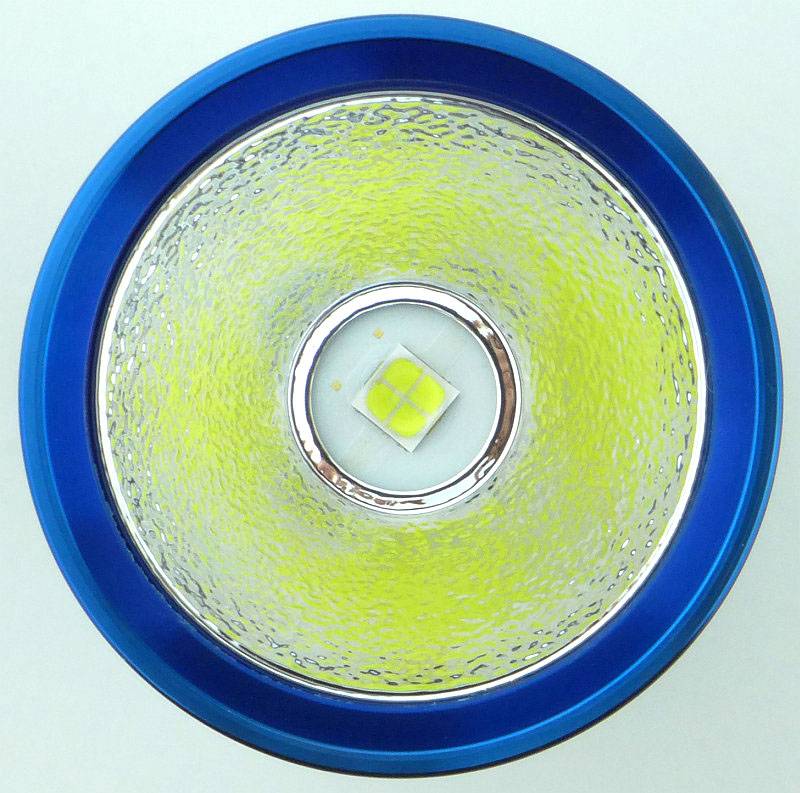
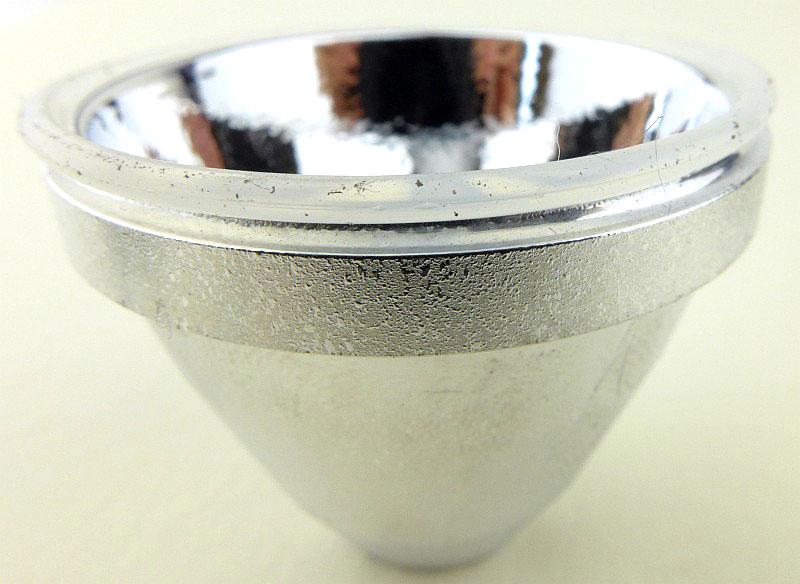
In this sample, the XHP70.2 LED sits in a textured reflector.
That XHP70.2 LED is a bit of a monster, and is classified by CREE as an ‘Extreme High Power LED’.

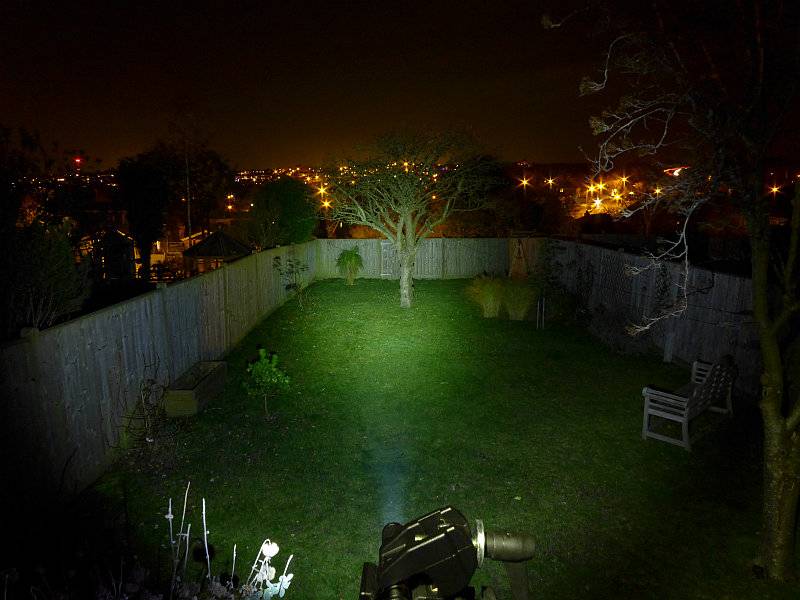
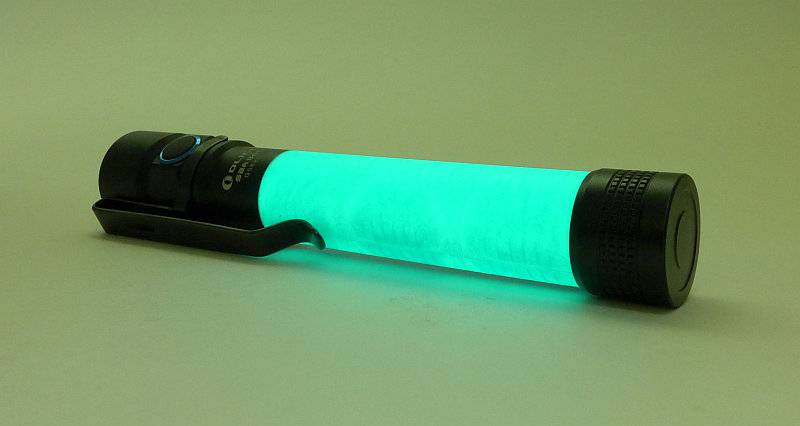
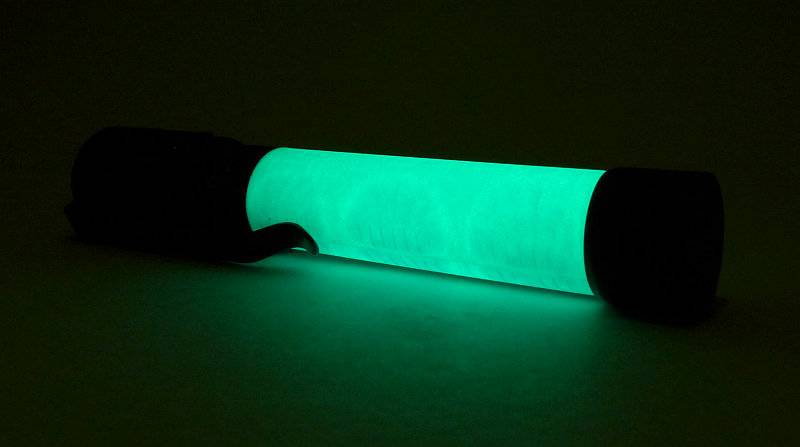
The beam
Please be careful not to judge tint based on images you see on a computer screen. Unless properly calibrated, the screen itself will change the perceived tint.
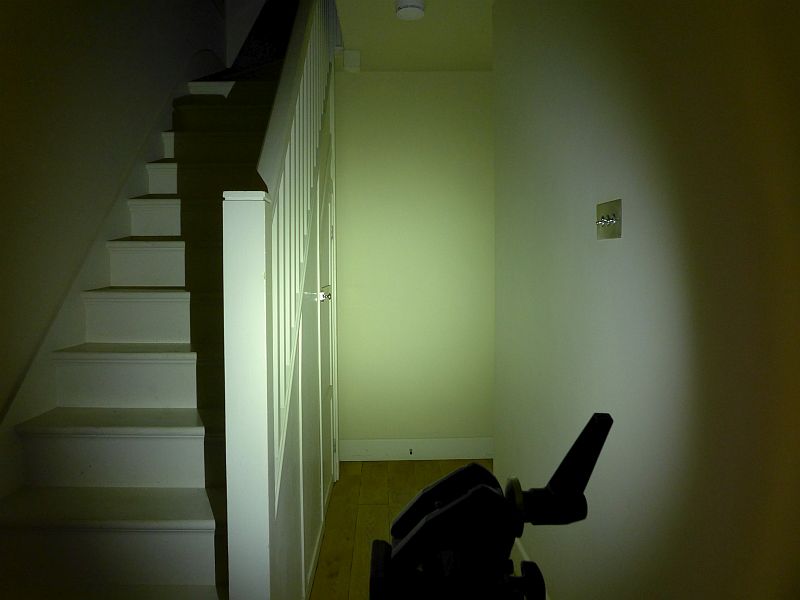
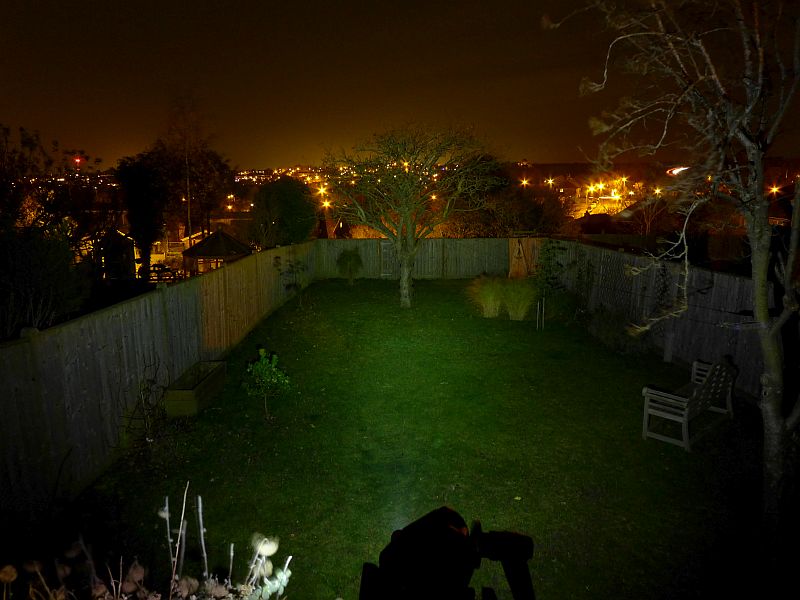
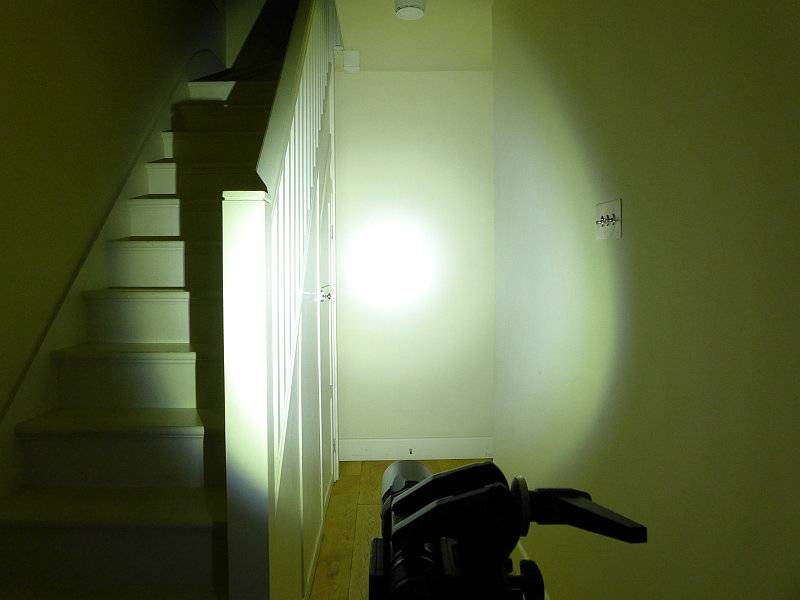
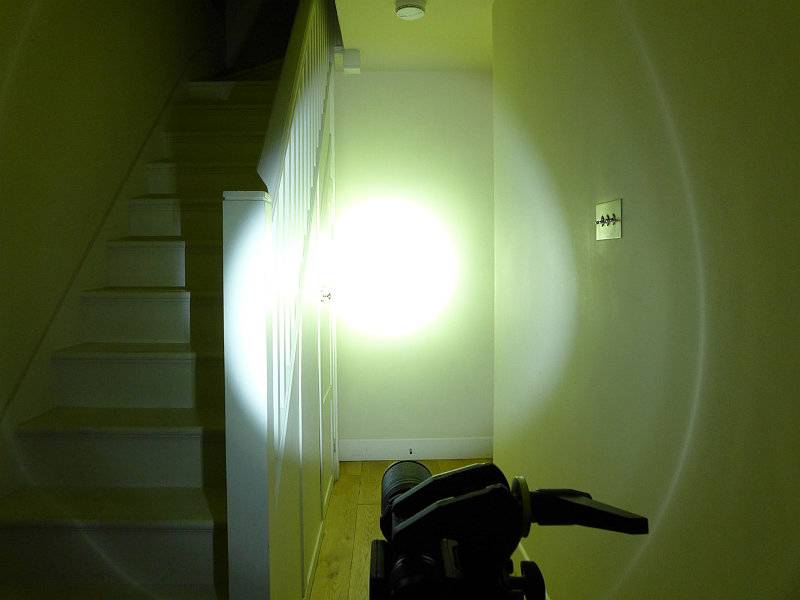
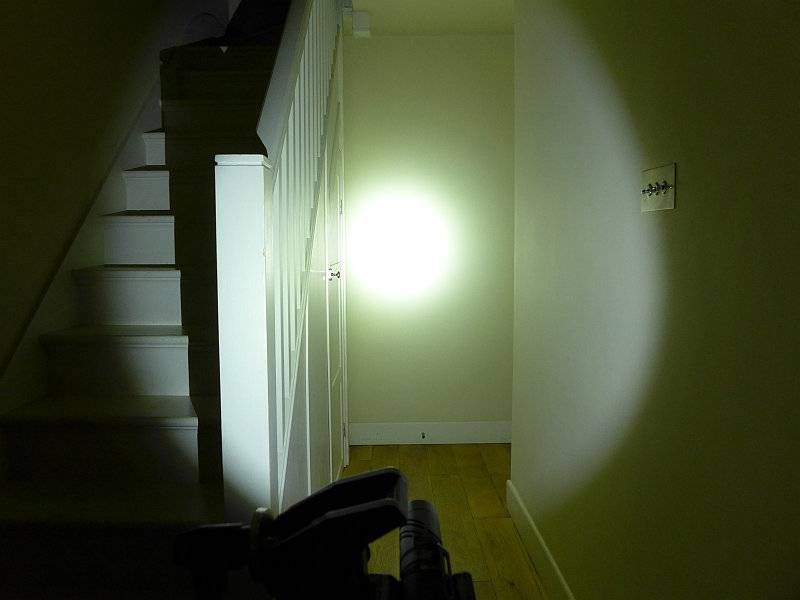
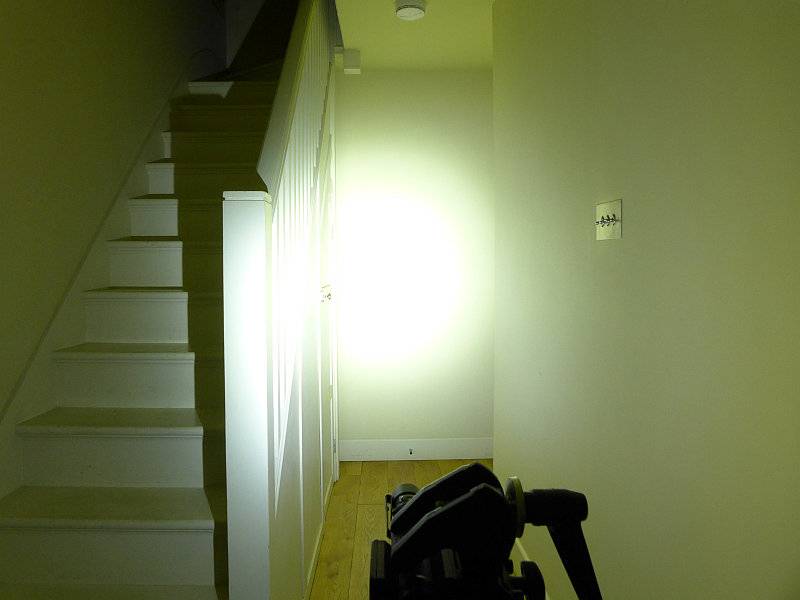
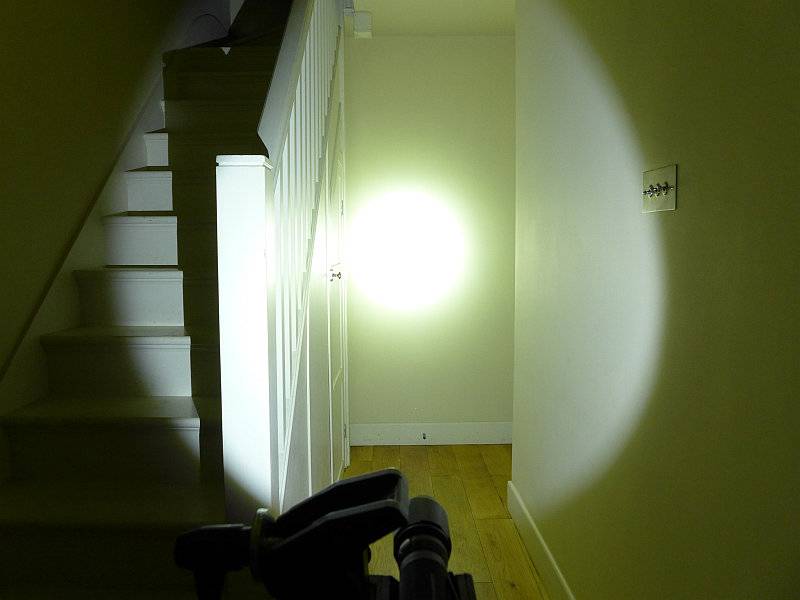
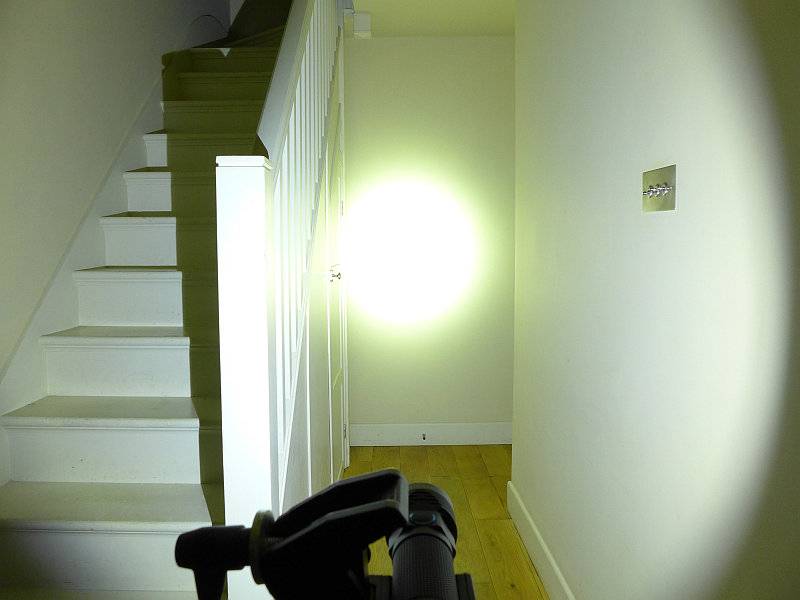
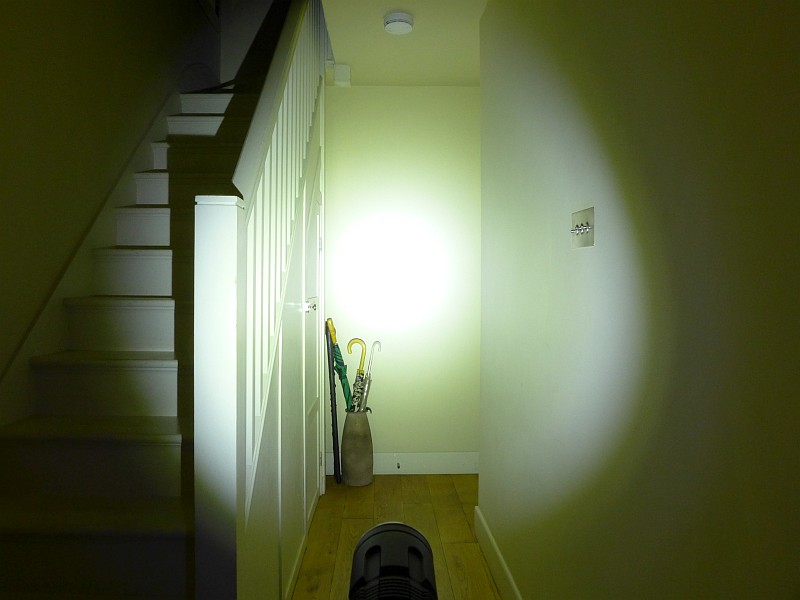
The indoor beamshot is intended to give an idea of the beam shape/quality rather than tint. All beamshots are taken using daylight white balance. The woodwork (stairs and skirting) are painted Farrow & Ball “Off-White”, and the walls are a light sandy colour called ‘String’ again by Farrow & Ball. I don’t actually have a ‘white wall’ in the house to use for this, and the wife won’t have one!
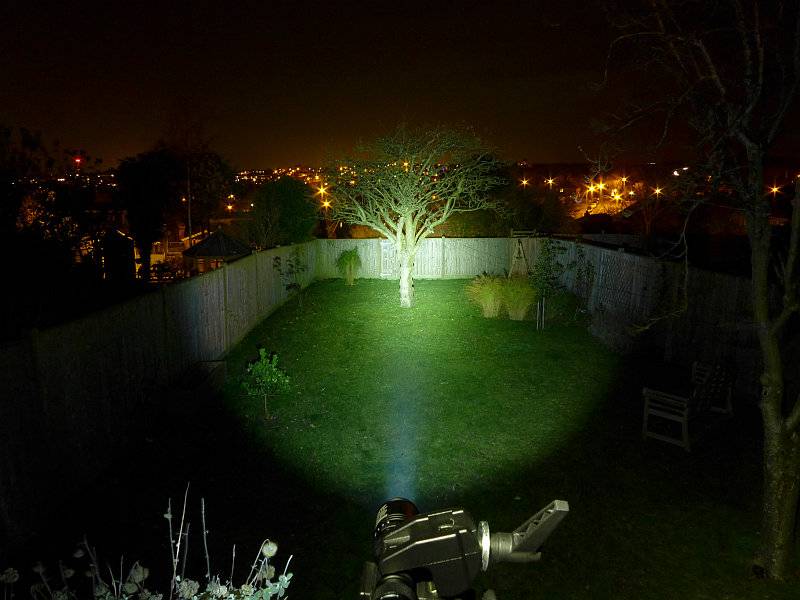
With such a large LED, and a relatively small head (being a single 18650 light) with textured reflector, the TH20 could have been all flood, which, though no bad thing, might be a waste of such a powerful output. However, the TH20 is not all flood, instead you have a well balanced beam with smoothly transitioning hotspot and uniform spill of a reasonable width.
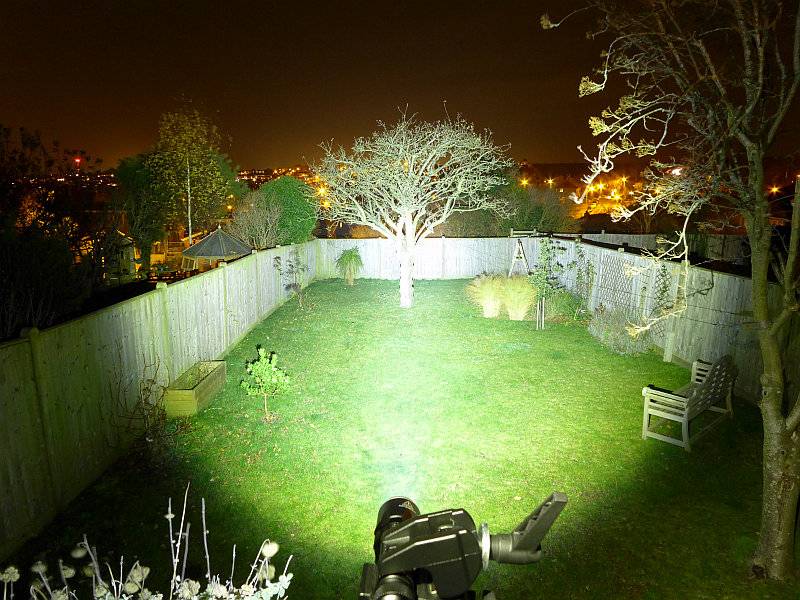
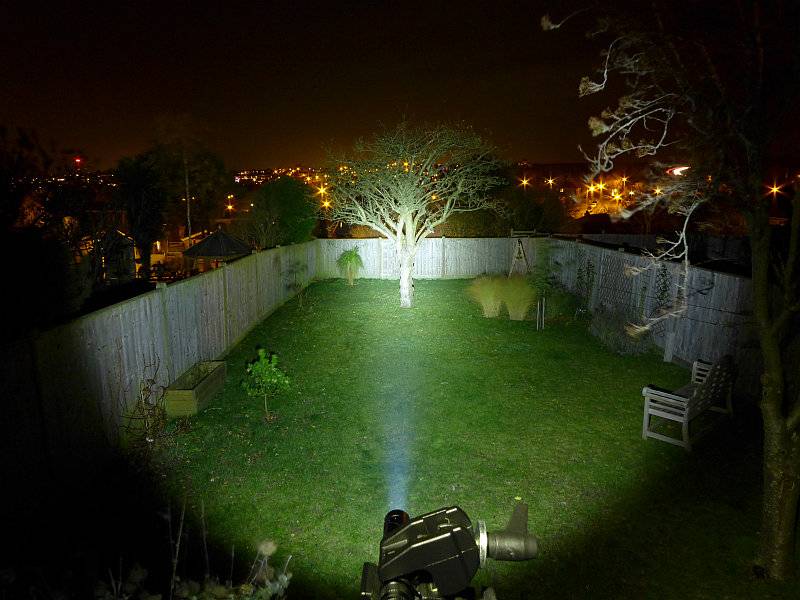
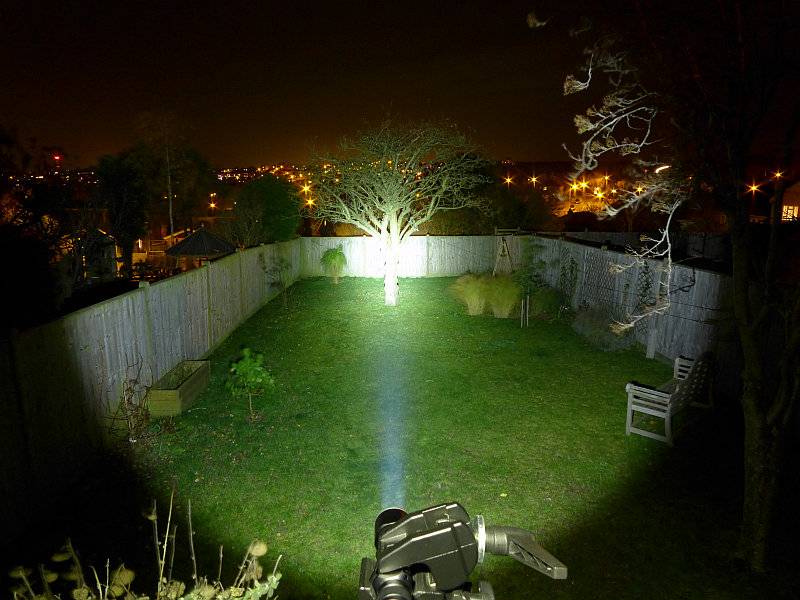
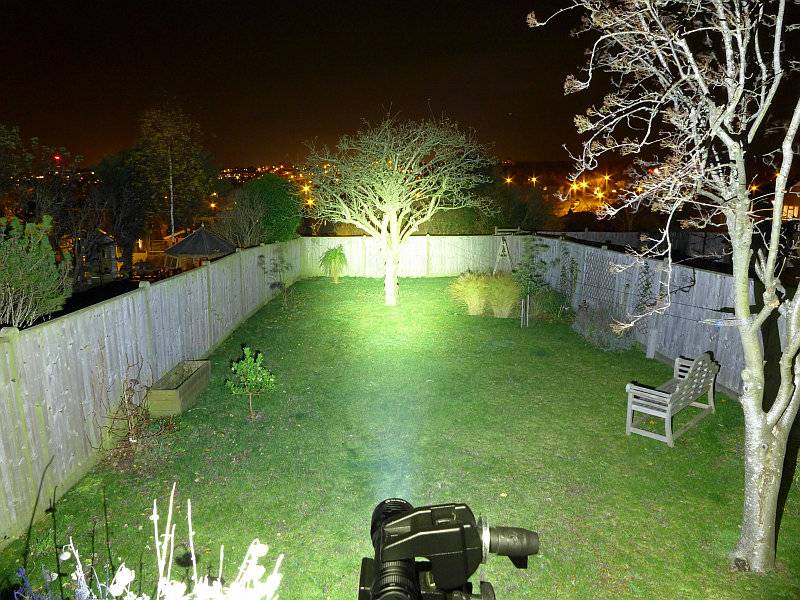
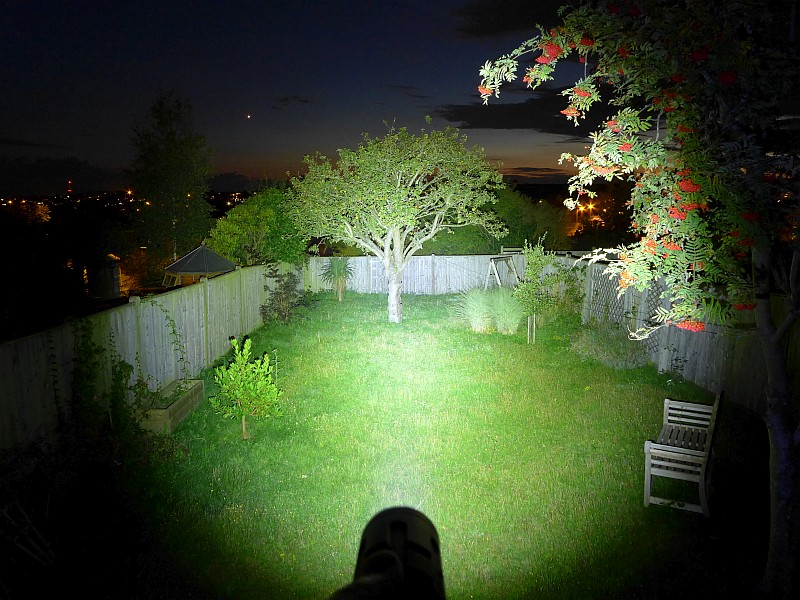
Increase the range, and the hotspot blends even more and you have a super area-light with nothing given a chance to hide in the bright beam.
Modes and User Interface:
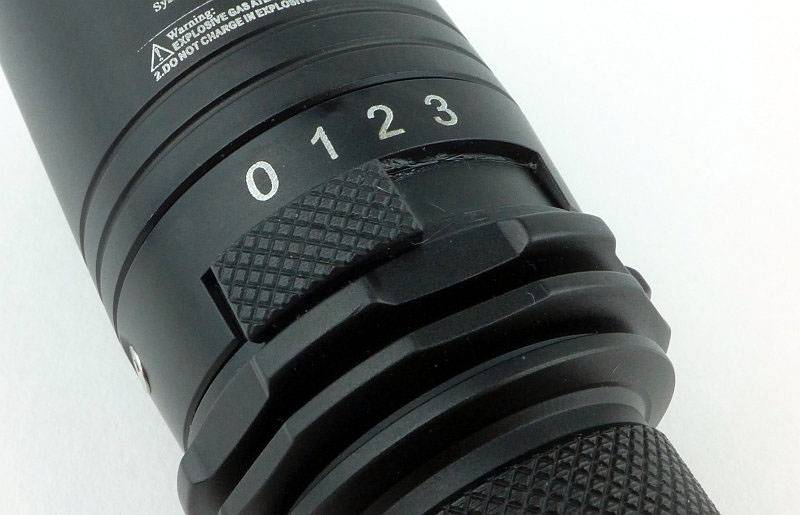
The Jetbeam TH20 has four fixed output modes (Turbo, High, Middle, Low) as well as Strobe, however, the output level of the Turbo and Strobe modes depends on if the TH20 is set to High-rate or Low-rate mode.
The TH20 has a special triple switch tail-cap with central forward-click button and a pivoting paddle-switch which provides a button either side of the main click-switch.
As the TH20 is able to work properly with either the special high-discharge cell it is supplied with, or any standard 18650 cell (or even 2xCR123), the design incorporates two output levels for Turbo and Strobe (High-rate or Low-rate). This is set after a new cell is inserted into the TH20.
By default, the action of removing and replacing the cell resets the TH20 to Low-rate mode (and Turbo output). To activate High-rate for Turbo and Strobe, switch ON the TH20 by fully clicking the main switch, then rapidly triple-click either side of the paddle-switch. The output will briefly turn off then on again to indicate it has changed to High-rate output. It will do this whatever output level you are currently using, even Low, but you have prepared the TH20 for High-rate output when using Turbo and Strobe.
To turn onto the last-used constant output mode, either half-press (for momentary use) or fully press-and-click the main switch. To cycle through the output levels Turbo -> High -> Medium -> Low -> Turbo etc, briefly press the paddle-switch.
To access Strobe from OFF, press and hold either side of the paddle-switch. If you hold for less than one second the output is momentary, but if you hold the paddle-switch for more than one second the Strobe will stay on. To turn OFF, either tap the paddle-switch again, or turn the main switch on to activate a constant mode.
To access Strobe from ON, press and hold the paddle-switch and after one second Strobe will start, and stay on for as long as you hold the paddle-switch.
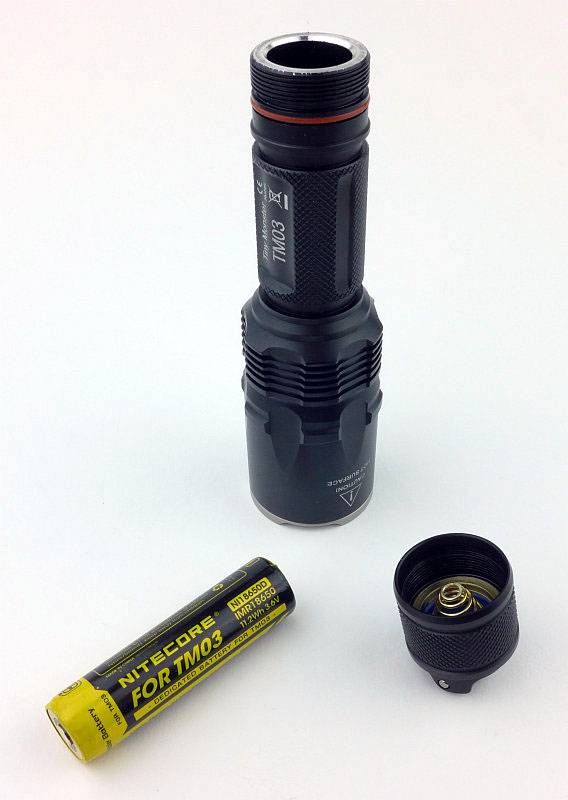
Batteries and output:
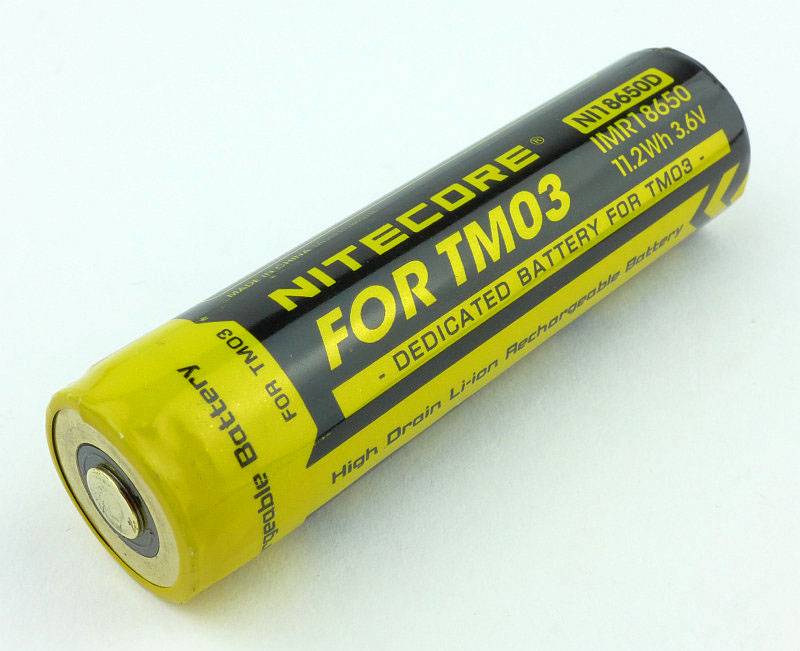
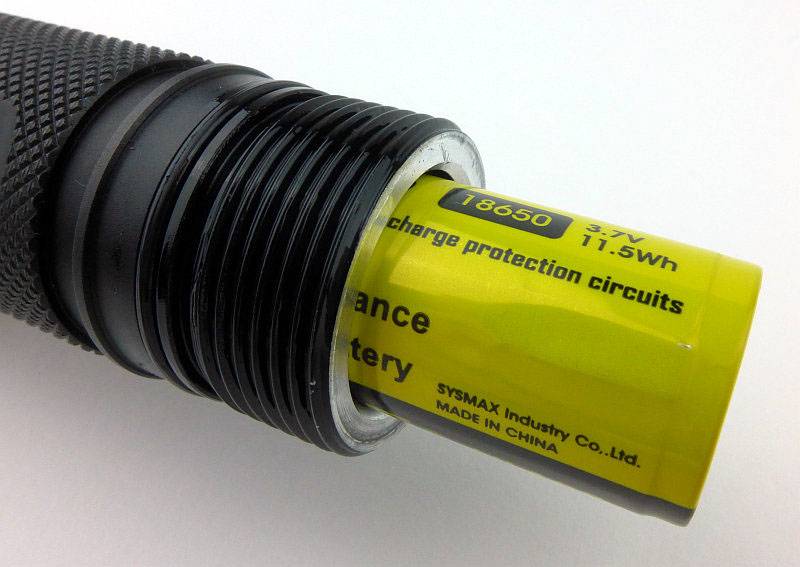
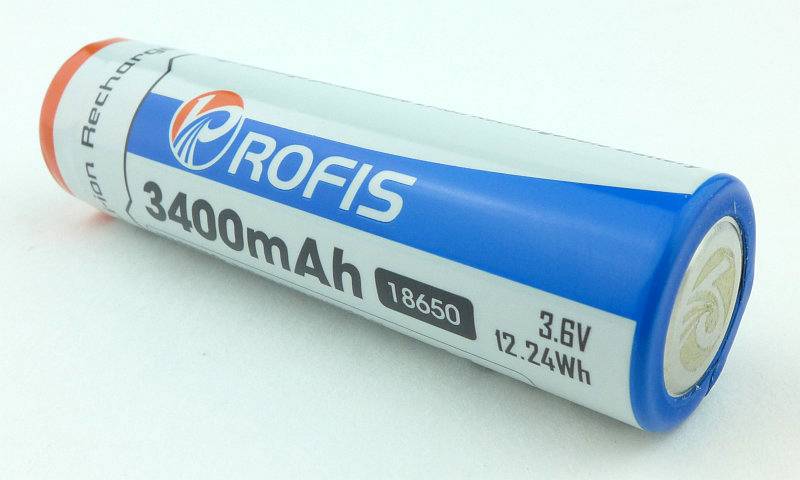
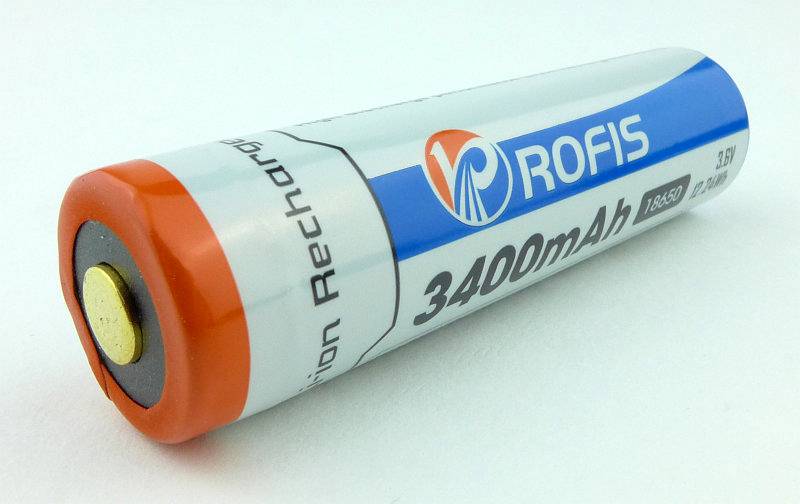
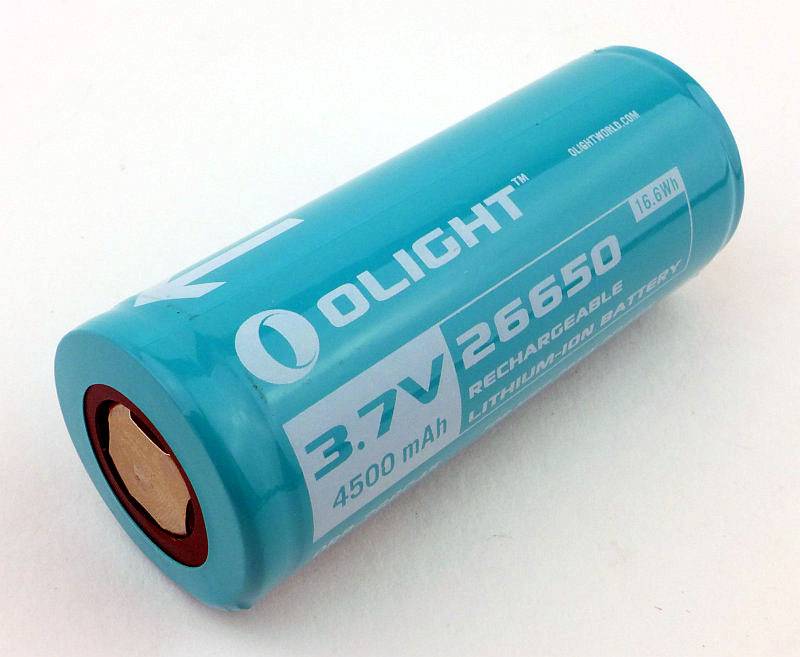
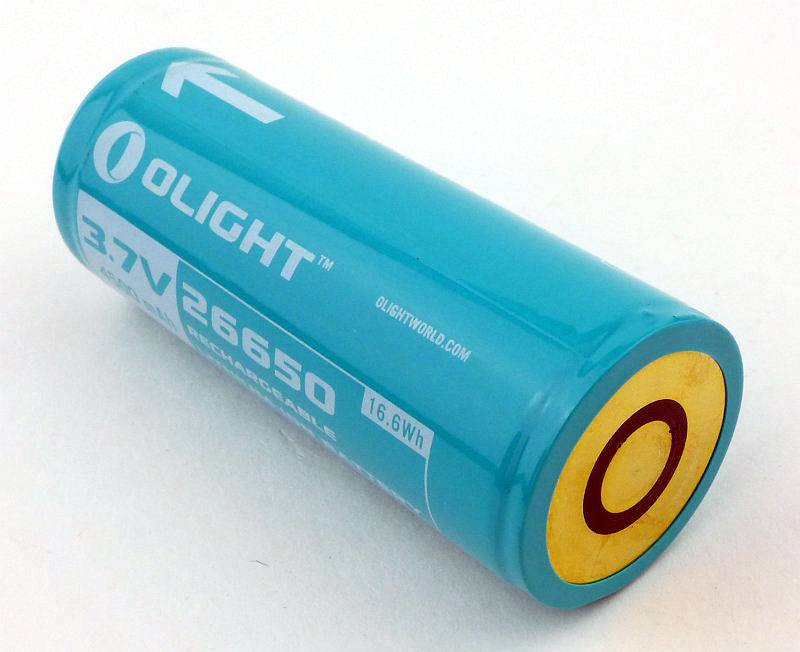
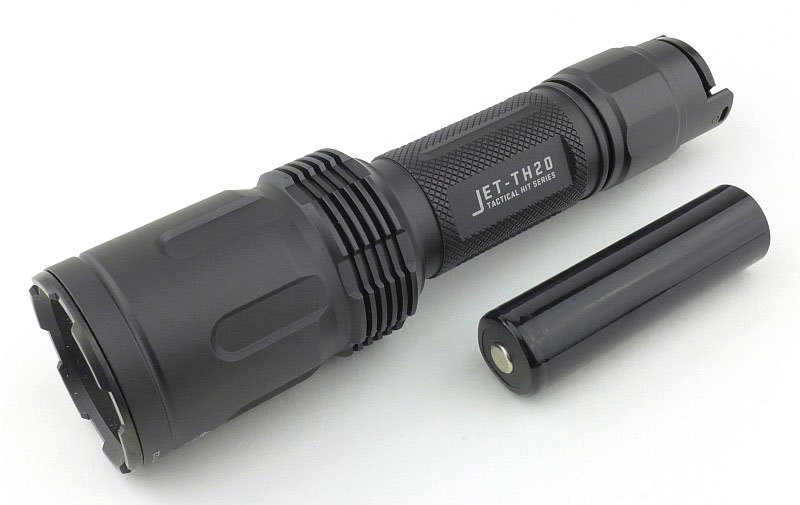
The TH20 runs on the supplied specialised high current ICR 4.2V 18650 cell, and when using this cell can be set to run in High-rate output mode. Of course if it could only run on this special cell it would make it a bit limited, so Jetbeam have made the TH20 fully functional using any standard 18650 cell or 2x CR123 cells, but on a ‘low-rate’ Turbo/Strobe output.
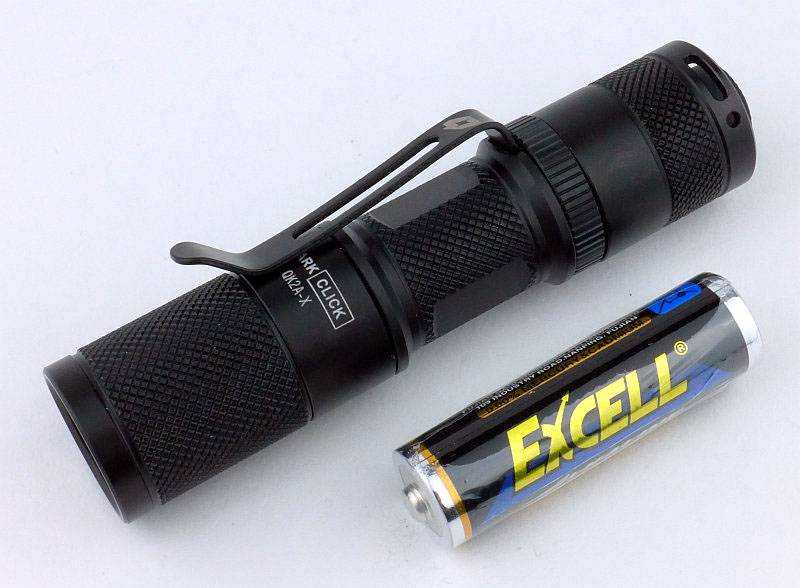
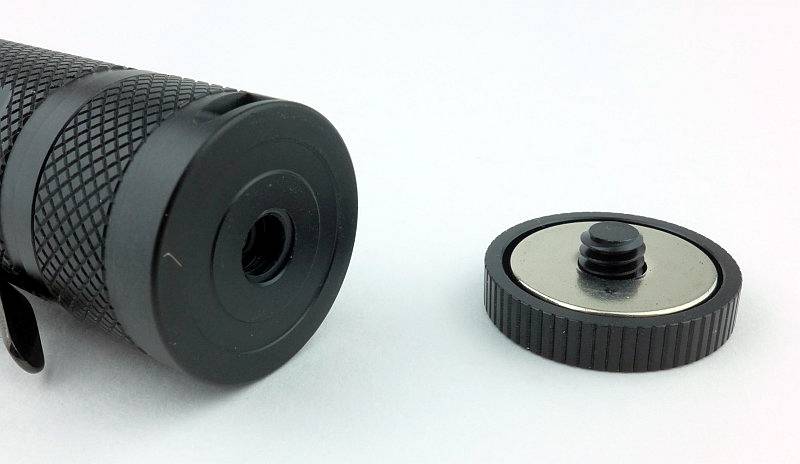
The TH20 can use button-top or flat-top cells.
To measure actual output, I built an integrating sphere. See here for more detail. The sensor registers visible light only (so Infra-Red and Ultra-Violet will not be measured).
Please note, all quoted lumen figures are from a DIY integrating sphere, and according to ANSI standards. Although every effort is made to give as accurate a result as possible, they should be taken as an estimate only. The results can be used to compare outputs in this review and others I have published.
| ___________________________________________ | ________________________________ | ________________________________ |
| Jetbeam TH20 using specified cell | I.S. measured ANSI output Lumens | PWM frequency or Strobe frequency (Hz) |
| ___________________________________________ | ________________________________ | ________________________________ |
| Turbo-High – Supplied HR Cell | 2895 | 0 |
| Turbo-High Steady state during runtime – Supplied HR Cell | 1046 | 0 |
| High – Supplied HR Cell | 575 | 0 |
| Medium – Supplied HR Cell | 108 | 0 |
| Low – Supplied HR Cell | 14 | 0 |
| Turbo-Low – AW 18650 or Supplied HR Cell | 1561 | 0 |
| Turbo-Low – CR123 | 1046 | 0 |
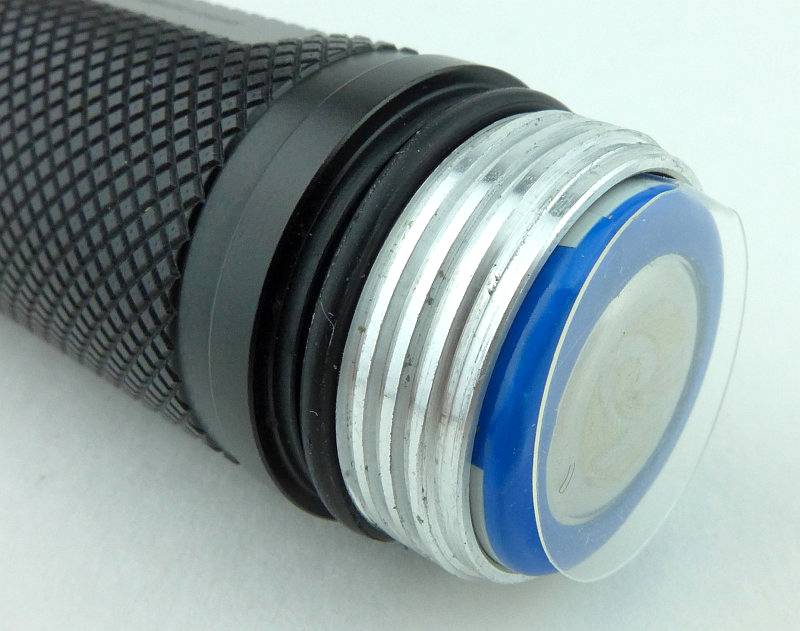
It was not possible to measure parasitic drain due to the double wall battery tube design.
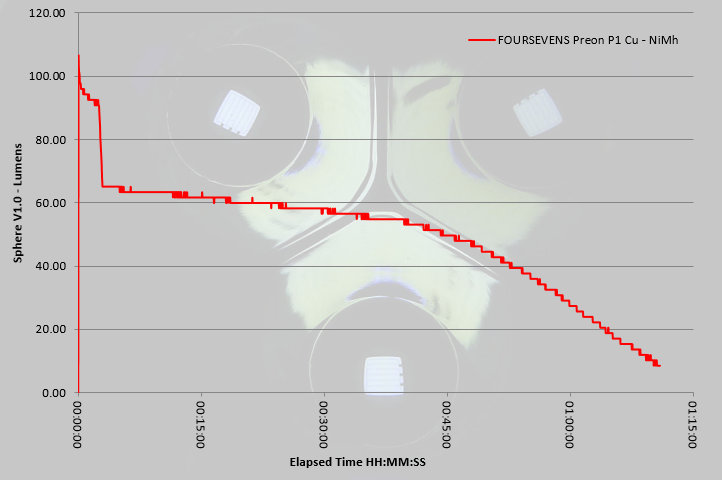
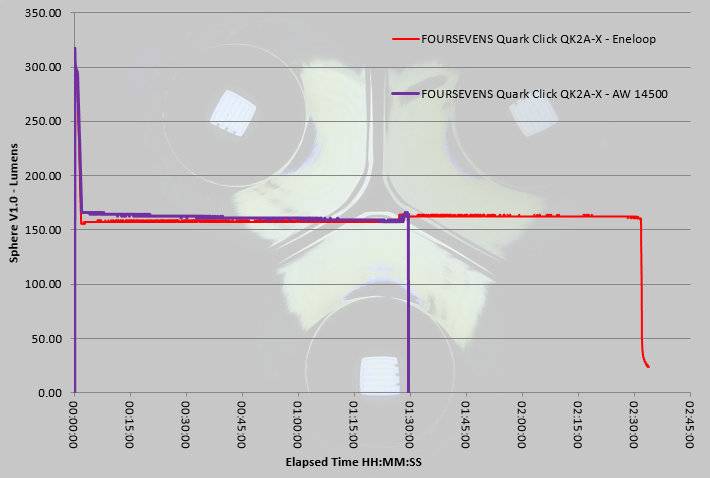
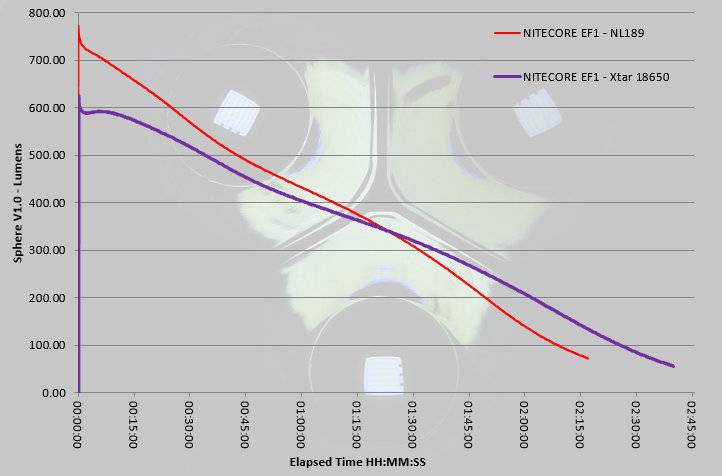
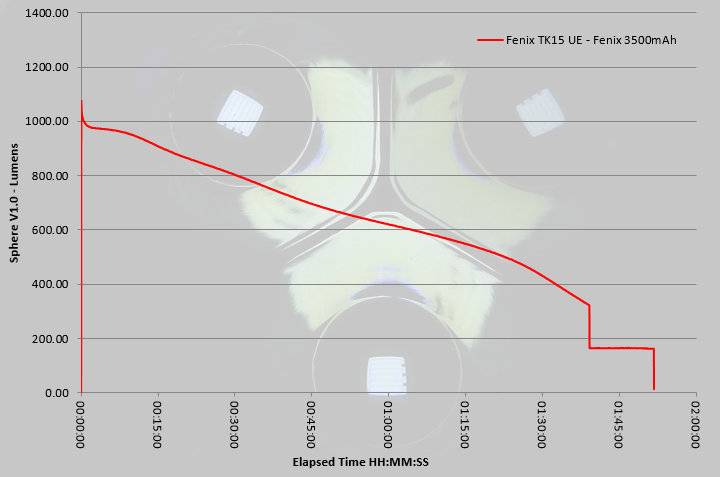
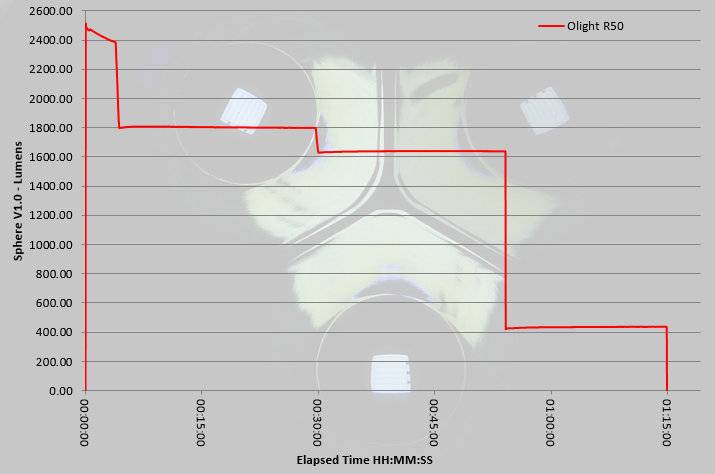
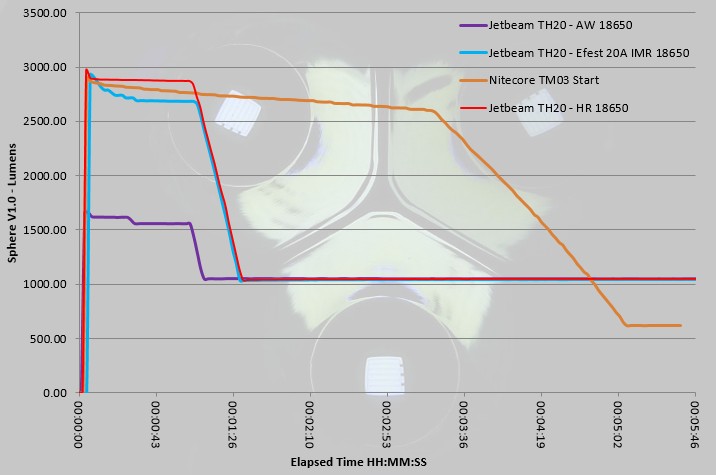
There are several graphs to look at for the TH20 as it provides us with a lot of interesting information. In this first graph are four main power options and their output profiles. These are the High-Rate 18650 supplied with the TH20, a standard 18650 cell (an AW 3100mAh), a 20A IMR 18650 (Efest) and CR123. The CR123 is clearly a backup option only and struggles on the Turbo output. What is pleasing to see, and makes the TH20 very attractive, is that the 20A IMR is really not far behind the specialist cell Jetbeam provide. This means you can easily feed the TH20 with readily available cells.
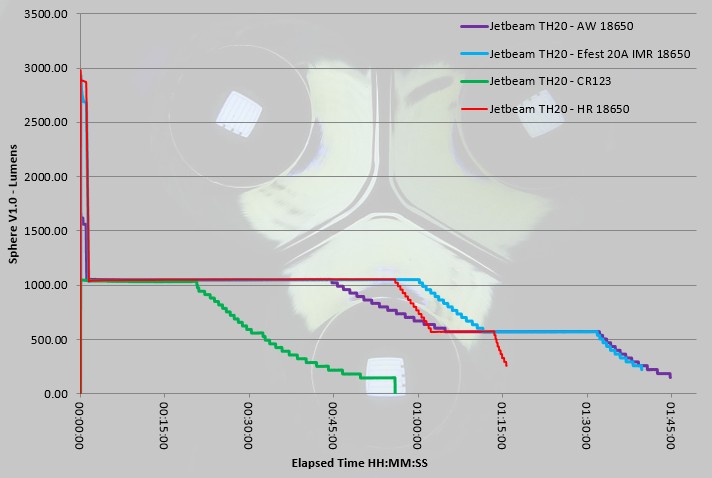
Looking in at the first part of the graph you can see more easily how the HR and IMR cells run on the High-rate output, and the 18650 and CR123 run on the low-rate output. The CR123s don’t manage any form of ‘burst’ output for Turbo.
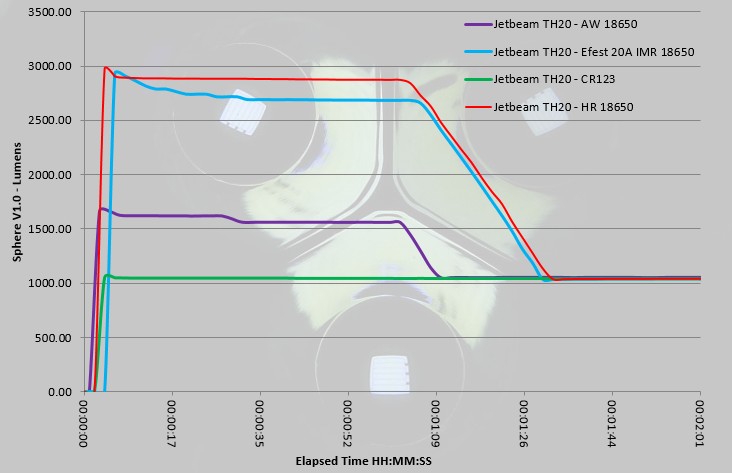
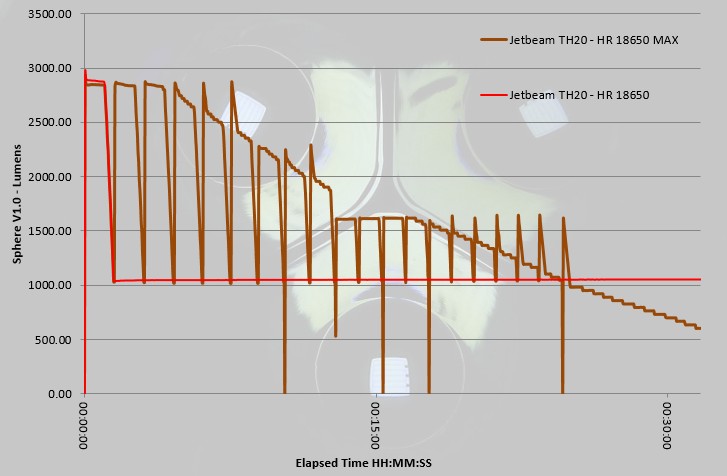
To really see what the TH20 can do, in the next test I pushed it to the max by switching it off and on again to reset the Turbo output every time it ramped down – this was to push it as hard as possible. The test was carried out with a strong cooling fan and during this test the highest recorded temperature anywhere on the TH20 was 47C.

Expanding the first part of the graph where the TH20 is working really hard, shows that with a fully charged cell the TH20 can manage three full output bursts, before the bursts start to reduce. After 8 full bursts, the output then drops to under 2000lm, but is still well over 1500lm.
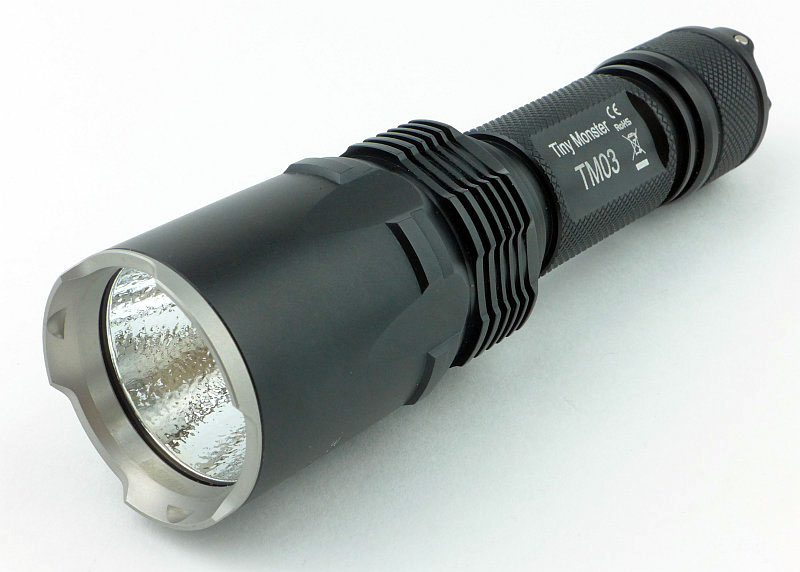
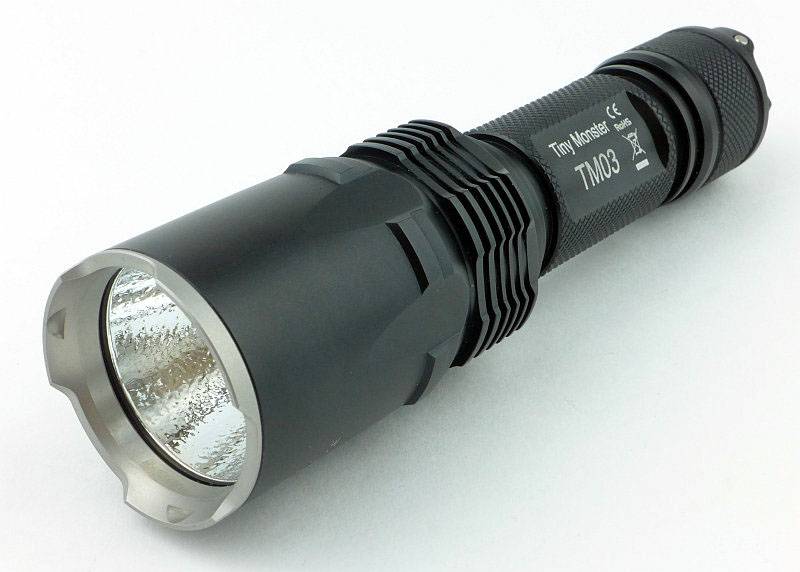
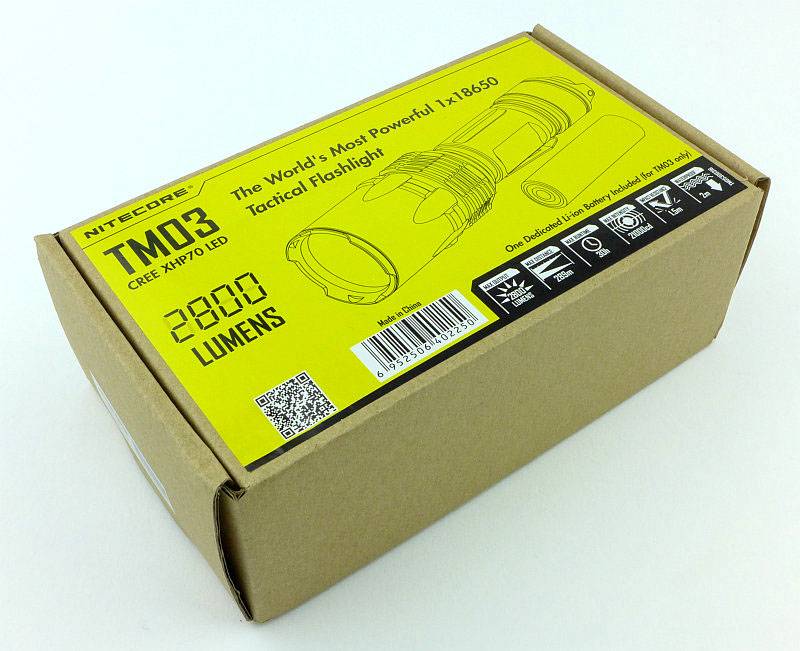
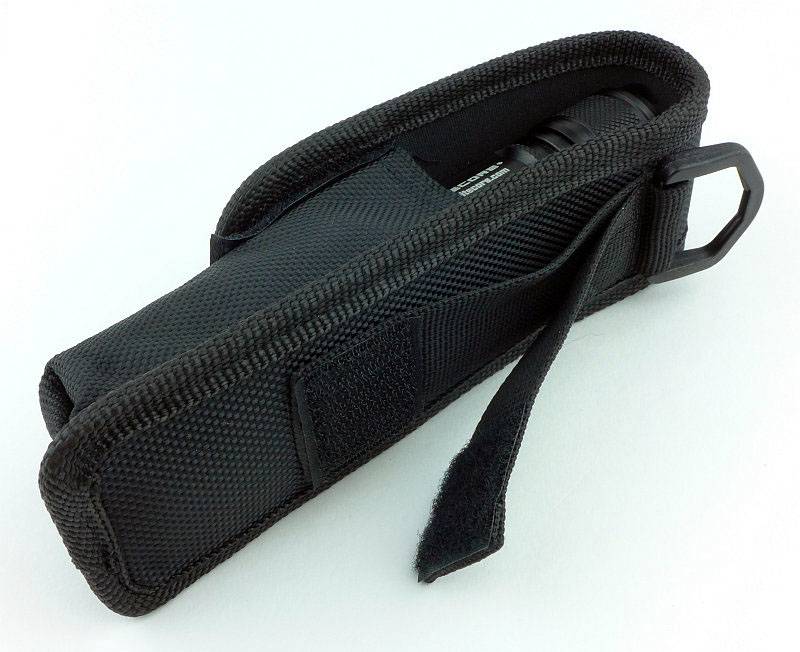
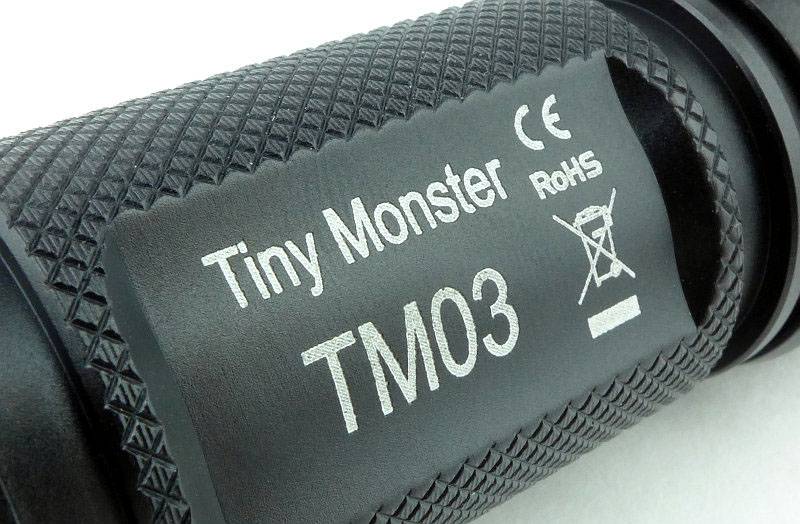
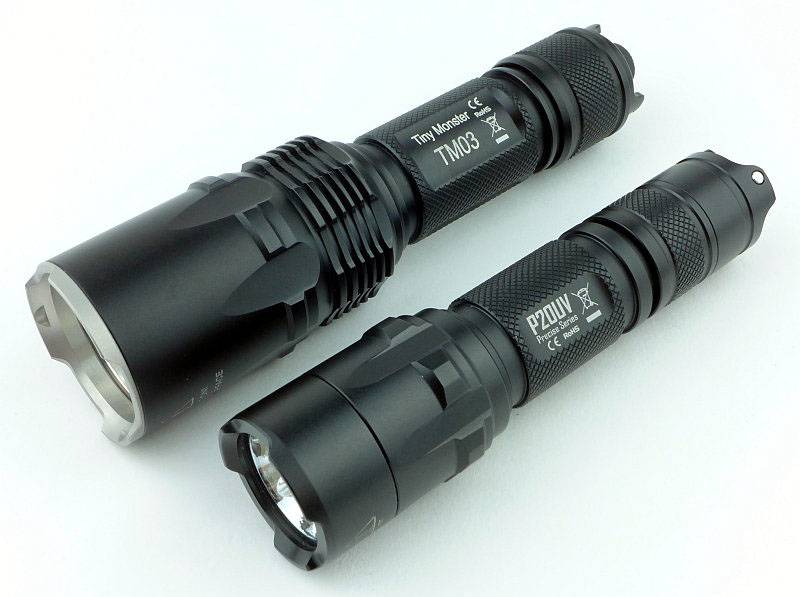
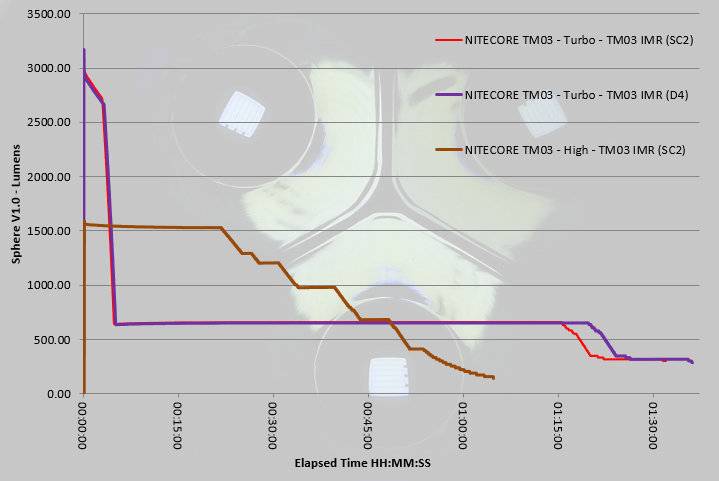
In this last graph I’ve included a direct competitor for the TH20, the NITECORE TM03. The measurements were taken at the same time in the same conditions using the cells supplied by the manufacturers, so is the closest comparison I can make. It is however not the full story. The TM03 is much more dependant on the specialist cell whereas the TH20 is much more compatible and runs very well on an IMR. Also note that though the TM03’s initial burst is longer, the output drops much more, so the TH20 maintains a brighter running level.
Troubleshooting
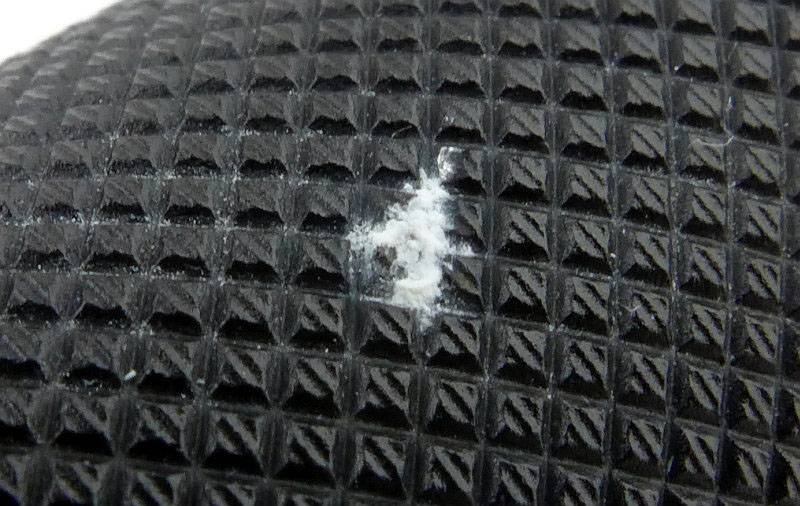
This section is included to mention any minor niggles I come across during testing, in case the information helps anyone else.
Being a prototype troubleshooting is not that relevant, however just to mention that the original prototype tail-cap design shown has been changed and improved during this preview testing process.
As per the description of this section, this information is provided in case anyone else finds a similar ‘issue’ that might be fixed in the same way.
The TH20 in use
Extreme output lights have their limitations, and you need to understand these to get the most out of yours. One of those limitations is that you will only get those magical monster output figures from fully charged batteries. Once you get down to 80% cell charge or less and those outputs are drooping severely. So how practical are they?
There are several things about the TH20 that for me make it a great deal more practical than some of the other options. The first of these is its support of various power options, from the high-rate special 18650 cell shipped with it, to the ever reliable CR123 which you can use as a backup. Then, to accommodate this feature, Jetbeam have taken a very clever approach of having the TH20 run in two modes, either high-rate or low-rate, for the Turbo and Strobe outputs. If you know the battery you are using can take it, you can switch to high-rate and get that extreme output, but if not, you can leave it in low-rate and run the TH20 in a more typical (but still bright) single 18650 output.
To make this as simple to live with as possible, the TH20 defaults to the low-rate mode whenever the tail-cap is fully removed (as you do when chancing the cell), so you never need to worry about being in the wrong output mode. Should you want to use high-rate output, then turn it on, triple tap that paddle-switch and off you go. If you switch the TH20 into High-rate with a protected 18650 that cannot deal with the current, you will find a very effective way of testing the protection circuit (it will trip).
In true terms, for LEO and Military ‘tactical’ use, a switch needs to be as simple as is can be. In times of high stress you won’t be thinking about modes, or where your thumb is, or where a switch is; you want to hit a big button and have the light come on. Multi-switch, multi-mode lights will, I think, always be more appropriate for enthusiasts or home/self defence users than the professional, but I’ll let you make you own mind up on that.
Having said that, I do think this is one of the best multi-function tactical tail switches I’ve used. Starting with the relationship between the switch and the raised posts either side of it, there is a good amount of protection from accidental activation, yet still plenty of access to the switch, even if you have to go over the top of those posts to press the switch.
The secondary switches both perform the same function so it doesn’t matter which one you hit. Interestingly your thumb most naturally falls onto the main power switch without hitting these secondary switches and you need to positively move your thumb to press them, which is further helped by their rounded edges. To be clear, this is a good thing, as accidentally blasting yourself with over 3000lm of strobe is NOT a good thing, and changing modes when you didn’t want to is also bad. The combination of easy to reach, whichever way round you hold the TH20, and difficult to press by mistake, makes the TH20’s additional switches on the tail-cap a well implemented feature.
Beware that whenever you change the battery or remove the tail-cap, the TH20 will reset to Turbo output. I’ve found this a little frustrating as I’d definitely prefer to start on Low and work my way up, especially if trying to conserve power. However it could be argued that in a ‘tactical’ situation, that after changing the battery you might want to go straight to maximum output.
Another aspect I was not so keen on was the order of the modes. I prefer to change up through modes, starting low and working up in brightness. The TH20 starts high and works down, so taking the default of a new battery being fitted, you are on Turbo, and then have to go to High, Medium, then Low (and then back to Turbo). Again, as with the previous point, in a ‘tactical’ situation, it is preferable that if the mode switch is accidentally pressed, instead of going from Turbo to Low, you go from Turbo to High, still leaving you with lots of light; so being a ‘Tactical Hit Series’ light the design choice makes sense.
Of course, the TH20 is bigger and heavier than most single 18650 lights, but that is because it houses an extreme output LED and the circuitry needed to drive it, giving you the ability to output bursts of over 3000lm. The TH20 is a heavy-duty single 18650 light that, thanks to that extra mass and solid build, even during the stress test (where the it was run at a constant maximum output by resetting every 60s), did not heat up excessively, nor suffer from thermal output throttling.
By using the easily available 18650 for power but staying away from proprietary cells, Jetbeam have really done us a favour and made the light much more useful, versatile and future-proof.
Review Summary
| _______________________________________________ | _______________________________________________ |
| Things I like | What doesn’t work so well for me |
| _______________________________________________ | _______________________________________________ |
| Extreme brightness output from one 18650. | Does not appear to quite reach specified output. |
| High and Low rate outputs to suit the cell being used. | Resets to Turbo Output when changing the battery. |
| Monster XHP70.2 LED. | Open bottom holster exposes the switches. |
| Functional Triple-switch tail-cap. | |
| Compatible with any standard button-top or flat-top 18650 cell. | |
| Can use CR123 cells. |
UPDATE – New Tail-Cap and Reflector Swap:
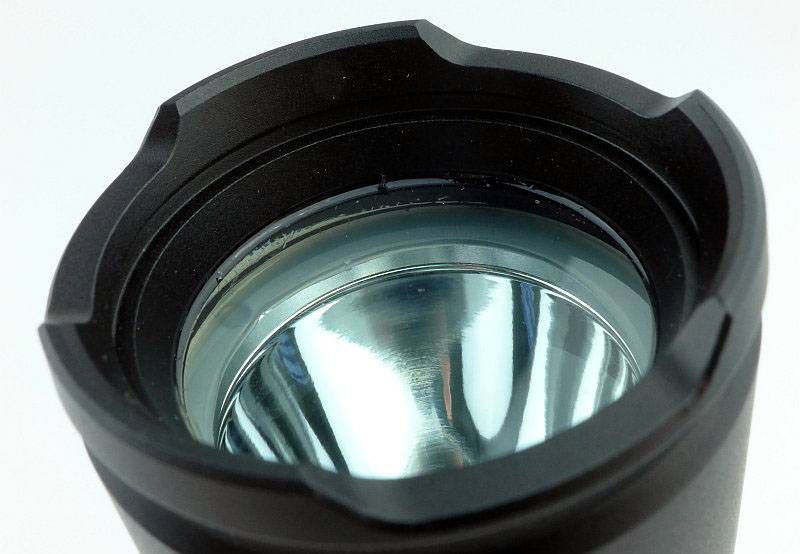
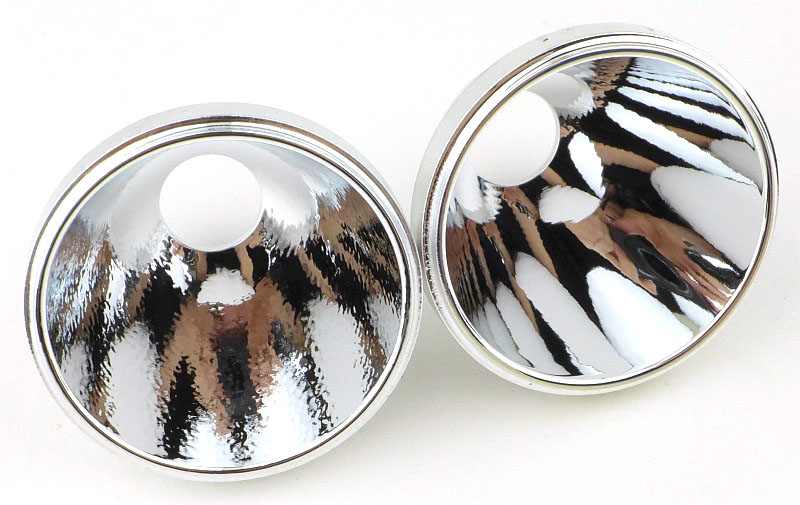
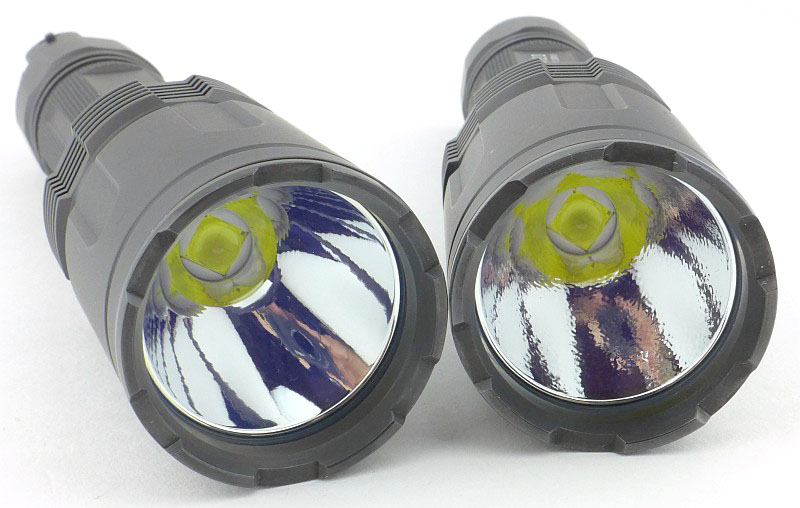
This update includes a few details not available when the review was originally posted. The tail-cap design has been updated and there are two reflector options. With my preference for (OP) textured reflectors, I’ve swapped the reflector in the newer higher output sample.
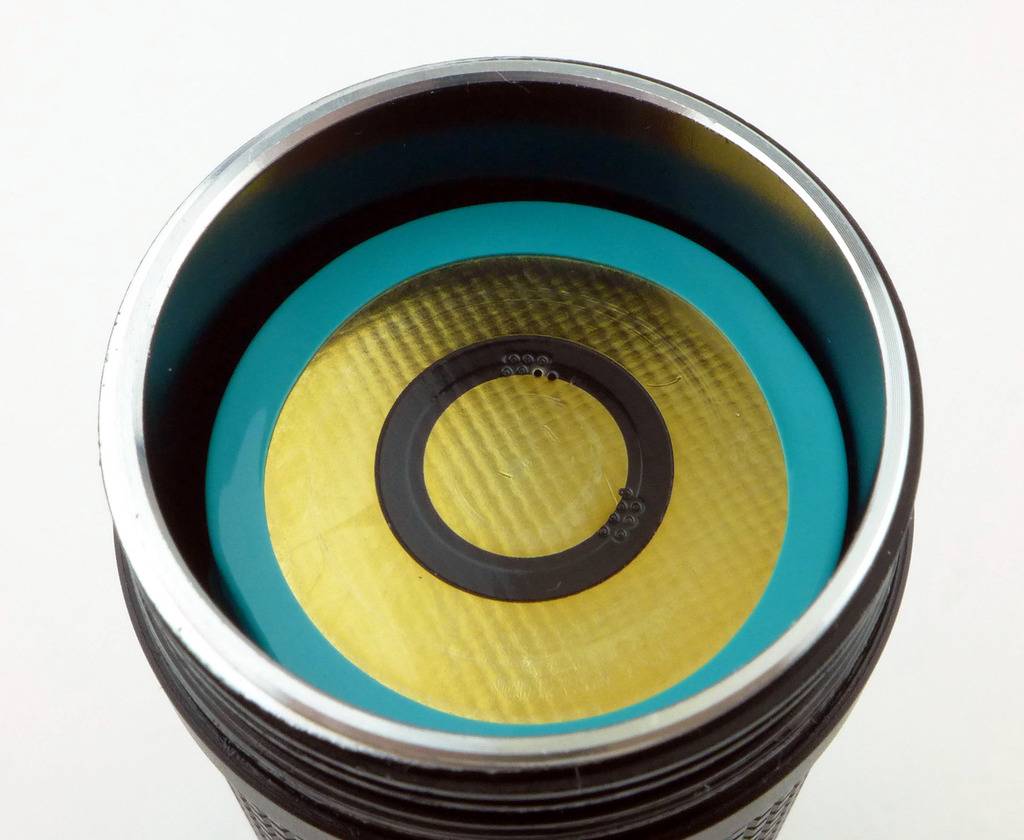
Starting with the prototype, the bezel ring is unscrewed and the lens, o-ring and reflector are easily taken out. If you do this make sure you don’t touch the inside of the reflector.
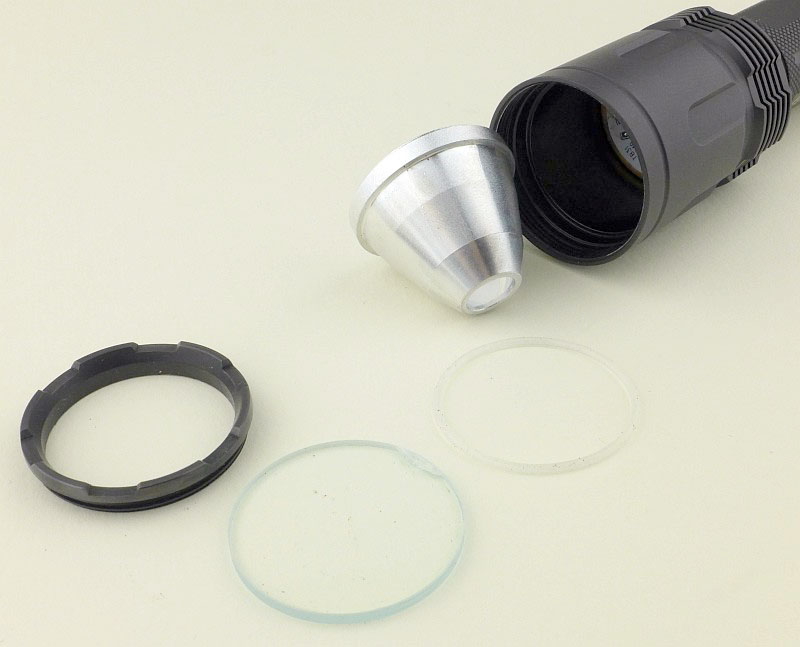
The lens is a good thickness, being nearly 3mm thick.
There is a groove around the reflector for the o-ring to sit in.
Here are the OP and SMO reflectors.
Before putting things back together, a quick look at the brass pill with LED and mounting board.
Although the initial prototype will be shelved, it has the SMO reflector fitted to show both options.
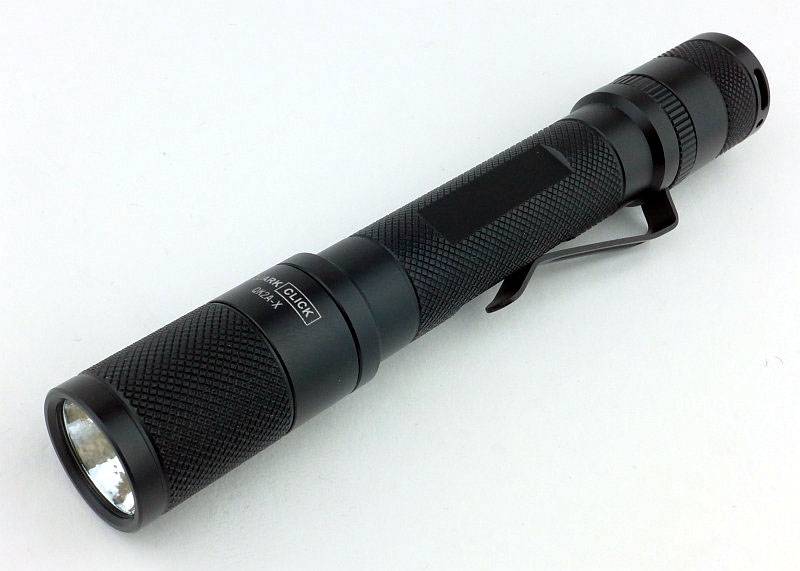
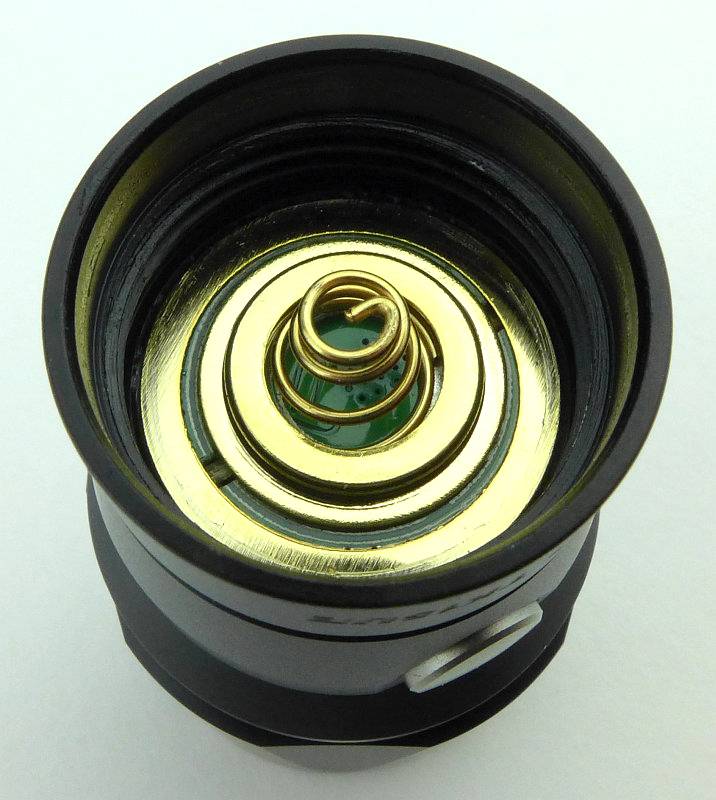
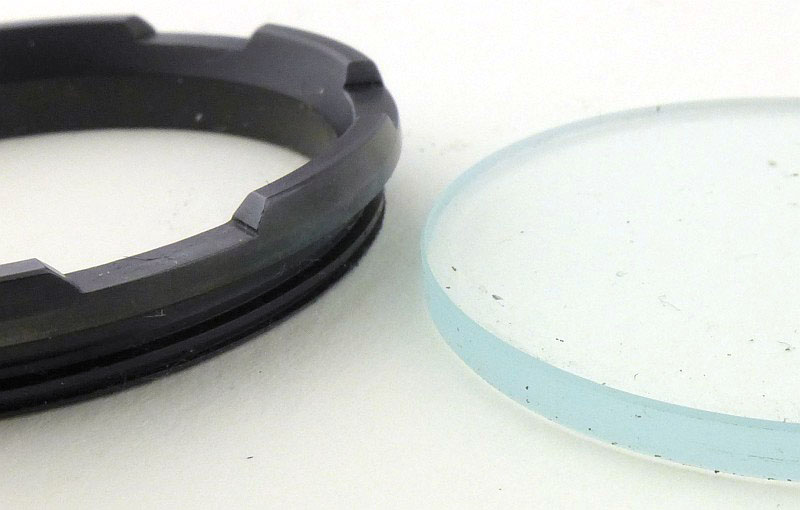
Lastly, we have the updated contacts inside the tail-cap. To save lots of scrolling back up, first here is the prototype tail-cap.
Then we have the updated version.
Discussing the Review:
The ideal place to discuss this reviews is on a forum. If you started reading the shorter forum version of the review, but followed the link this full exclusive review, please return to that forum to discuss the review there.
If you read the review entirely on Tactical Reviews, please consider one of the following to join in any discussion.
CandlePowerForums – Flashlight Reviews Section (Largest and Friendliest Flashlight Community Forum)
EdgeMatters – Sponsored Reviews (UK based Forum for Knife Makers and Collectors)