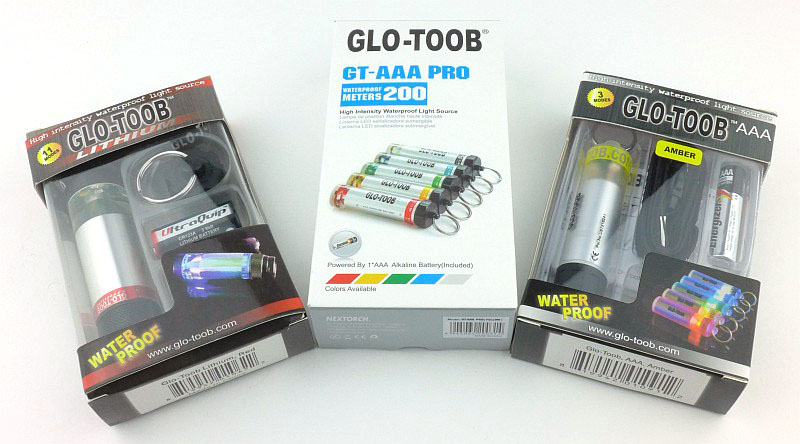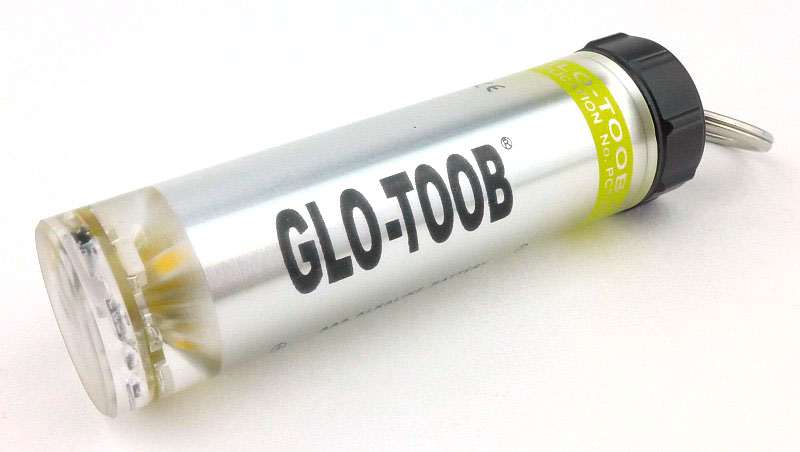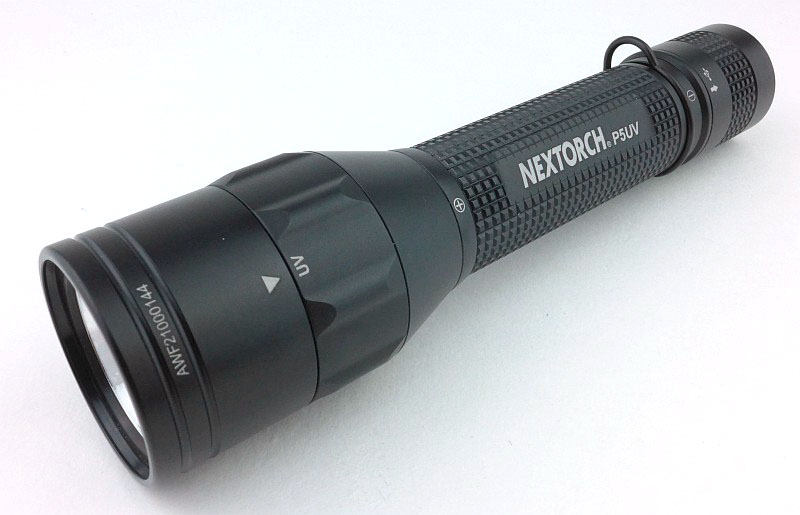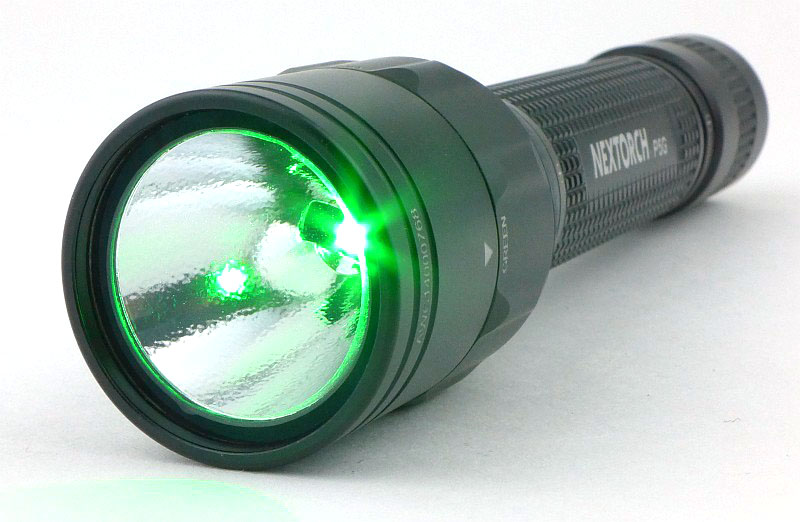
Streamlight’s Dualie range are not the only dual-beam lights available, so might look familiar. The 3AA version is not new, but the 2AA ATEX and 3AA Laser ATEX are both recent additions for Streamlight, adding more options to this Intrinsically Safe range.
Taking a more detailed look at the Dualie 2AA ATEX:
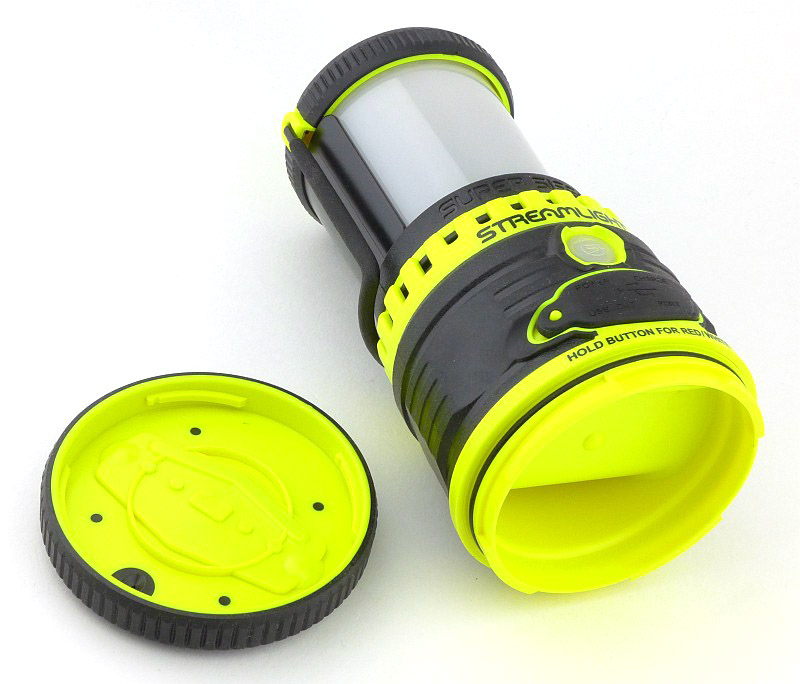
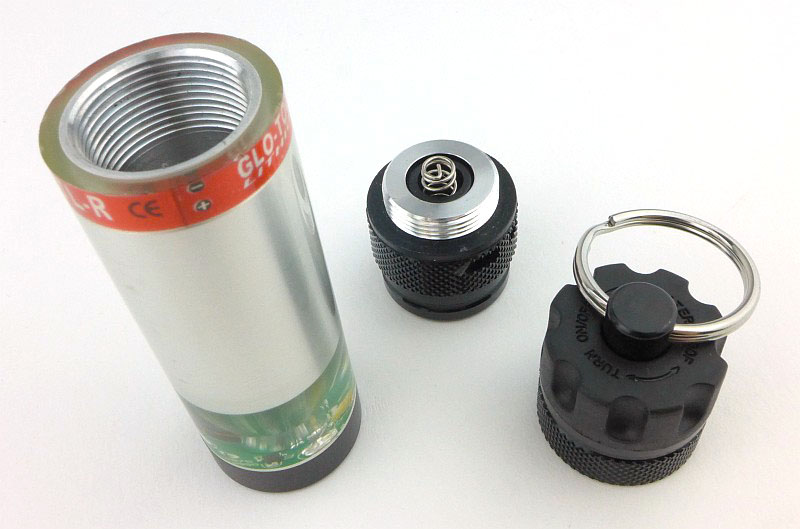
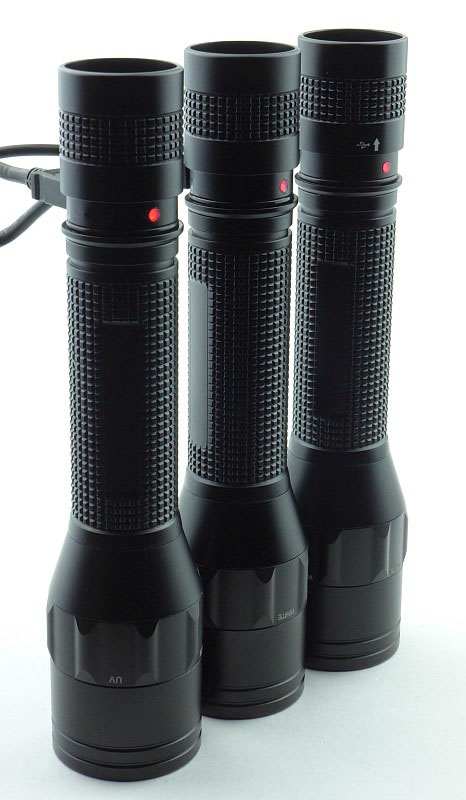
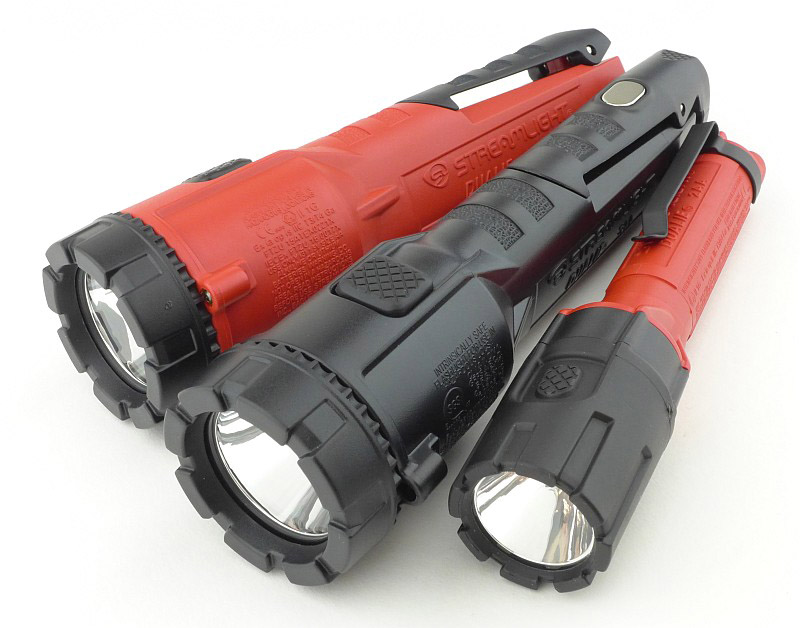
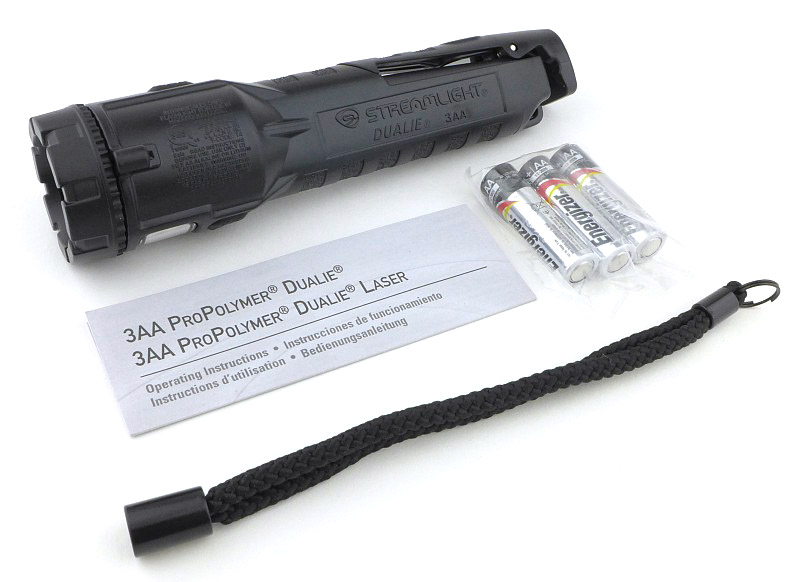
We are starting with a detailed look at the 2AA ATEX version, but before we do, here are all three Dualie lights on test in this review. The 2AA model arrives in a cardboard box like the 3AA Magnet, with the 3AA Laser in a plastic blister pack.
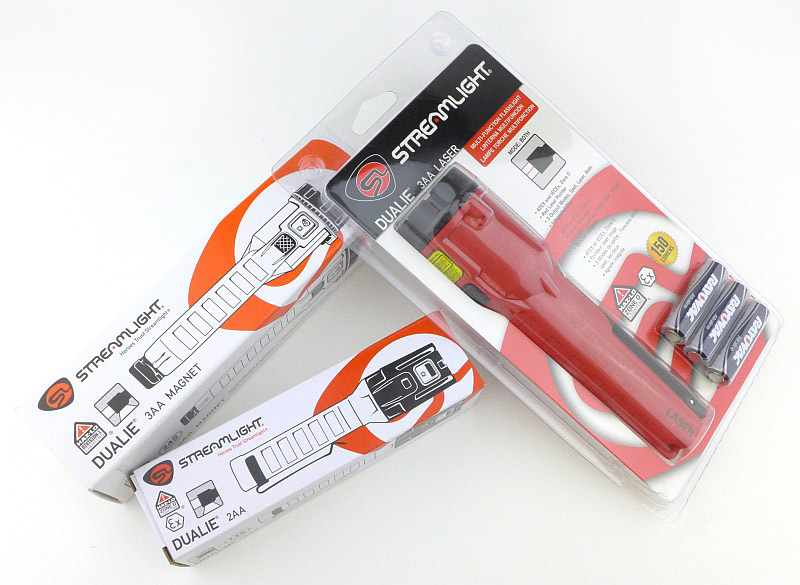
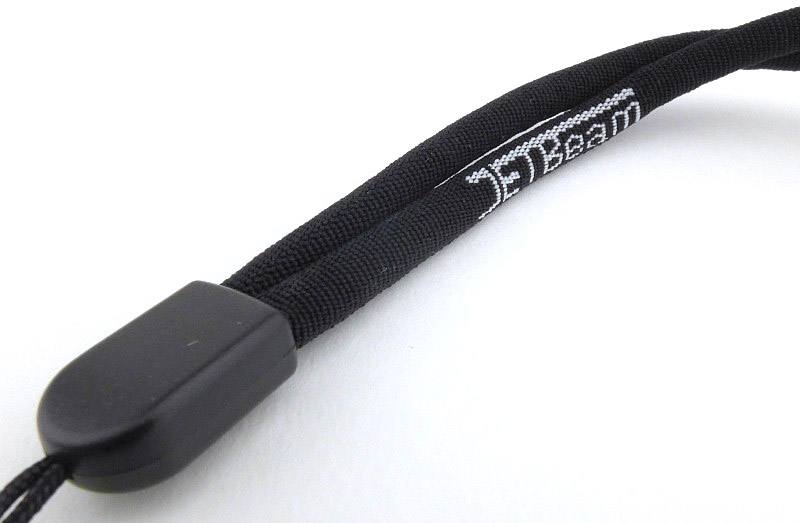
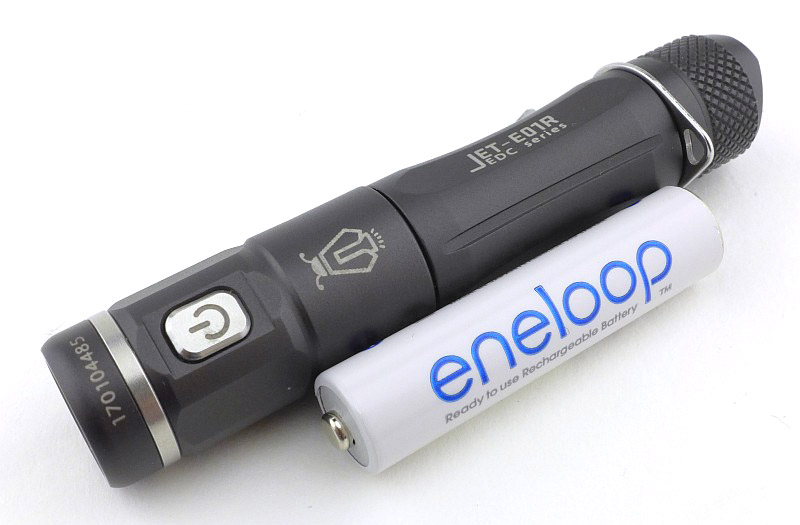
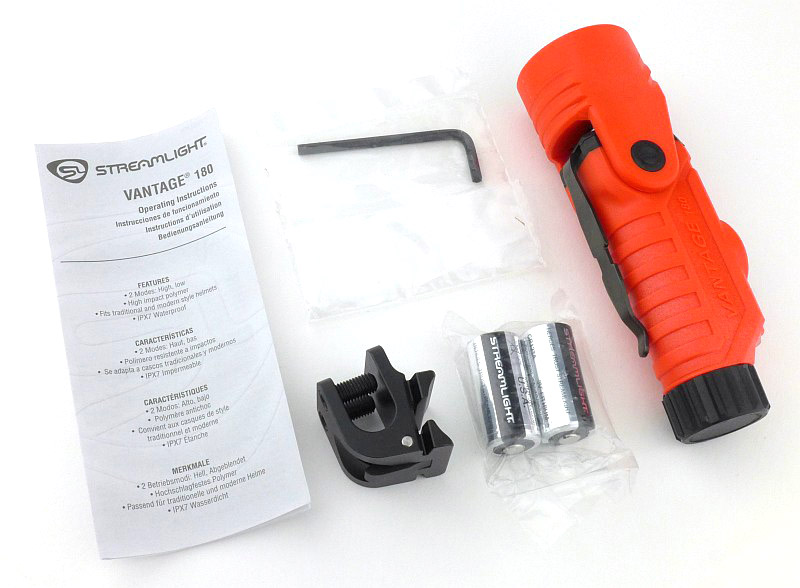
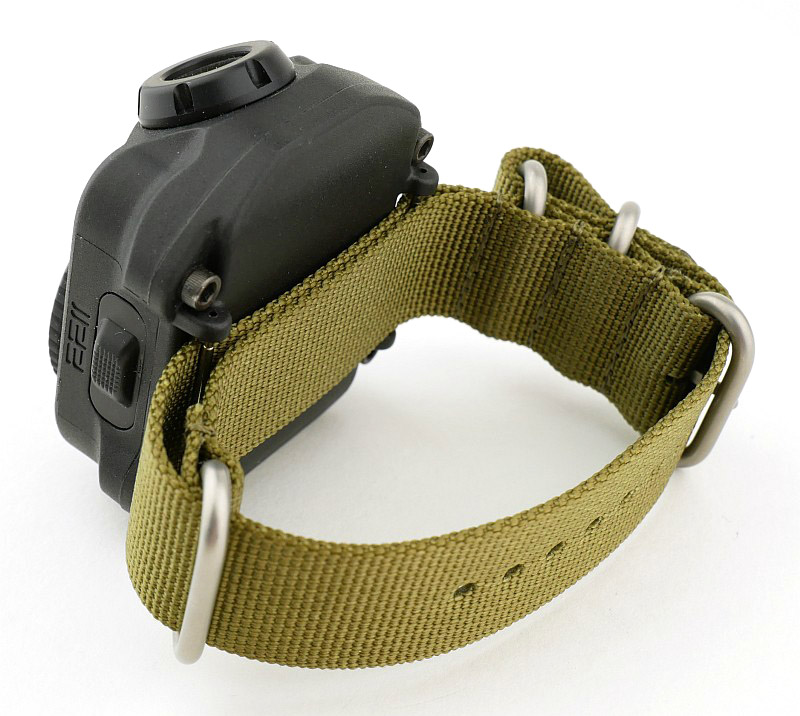
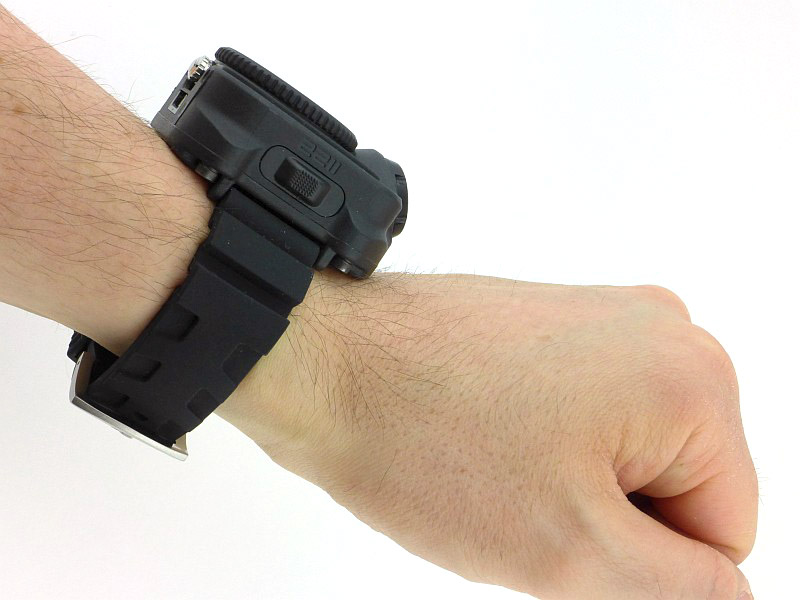
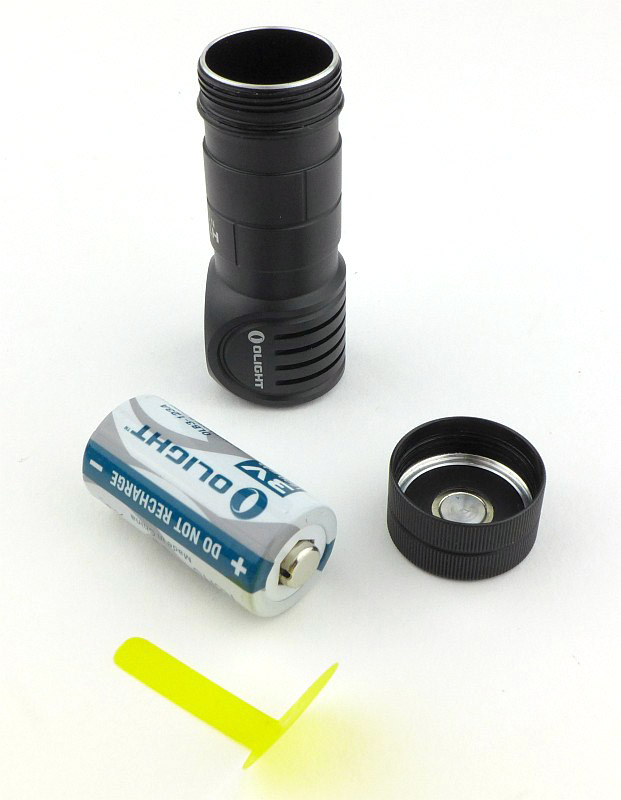
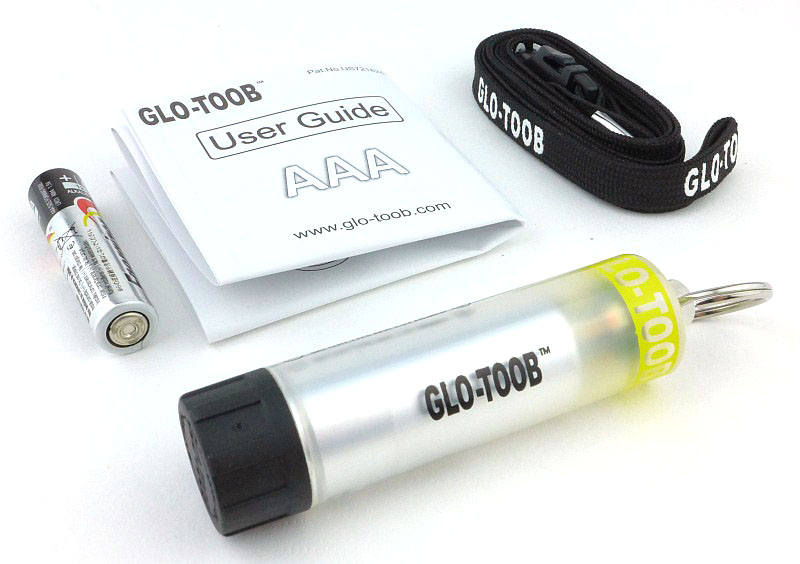
In the 2AA’s box along with the Dualie is a set of alkaline batteries, a wrist lanyard, an Allen key and the instructions.

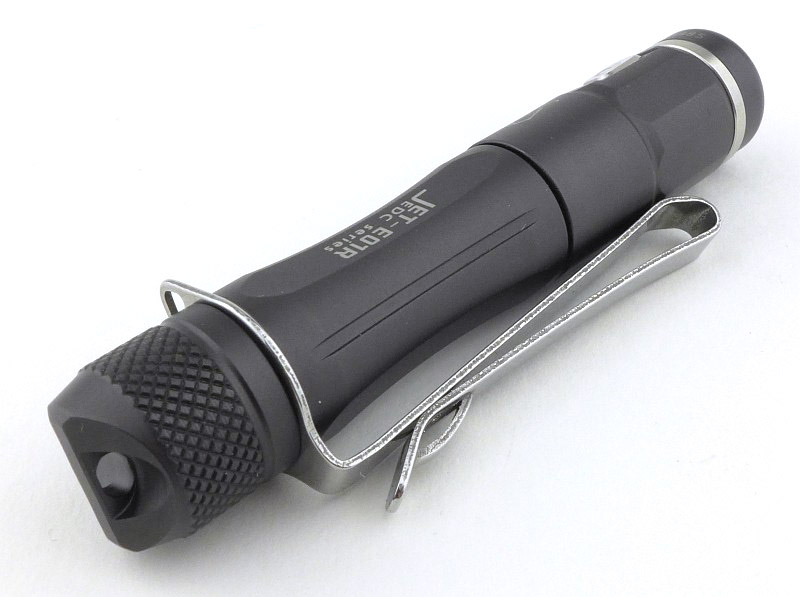
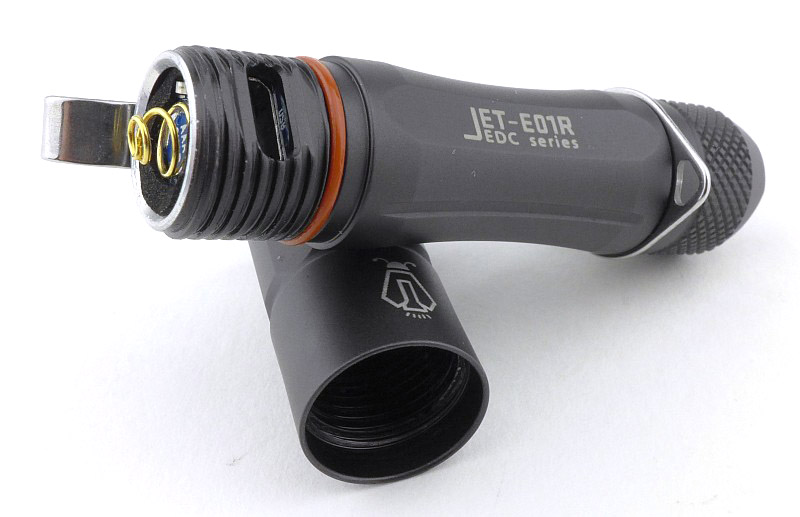
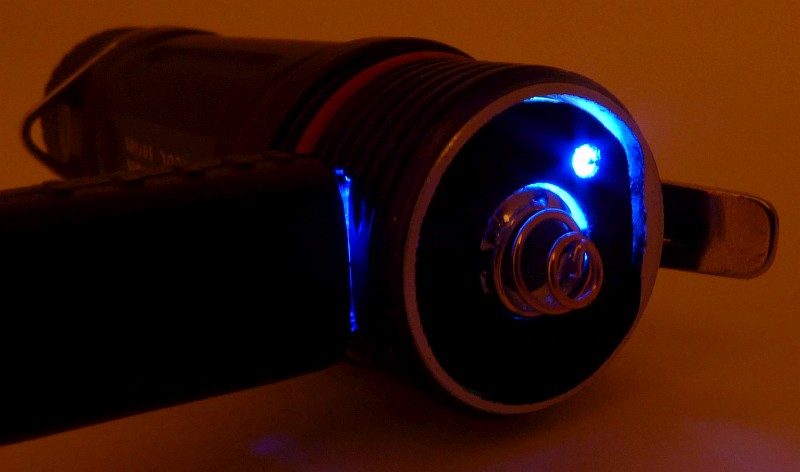
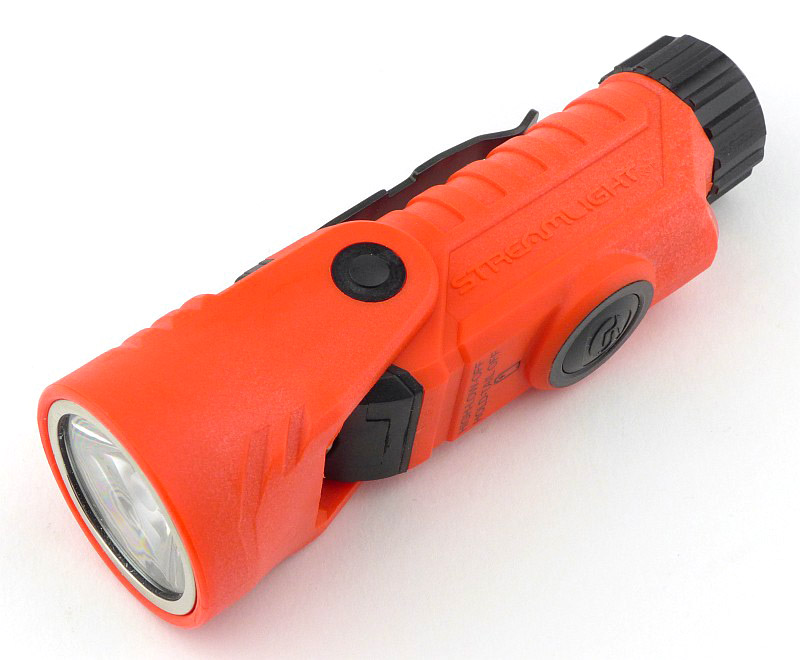
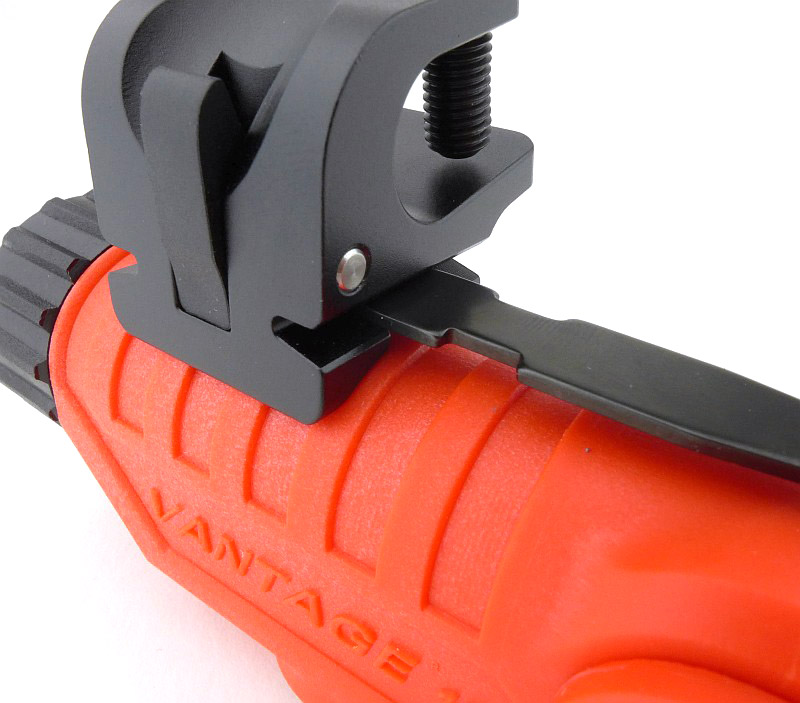
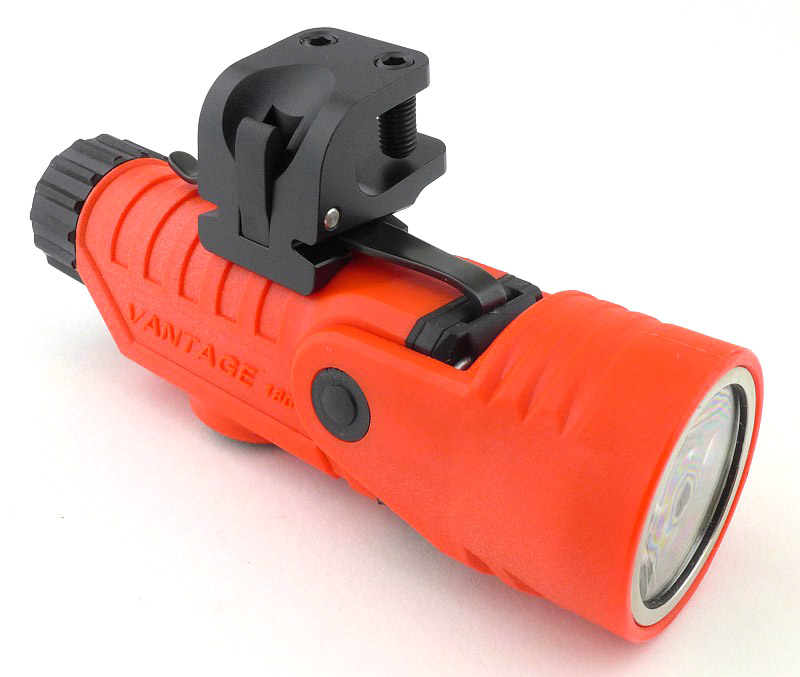
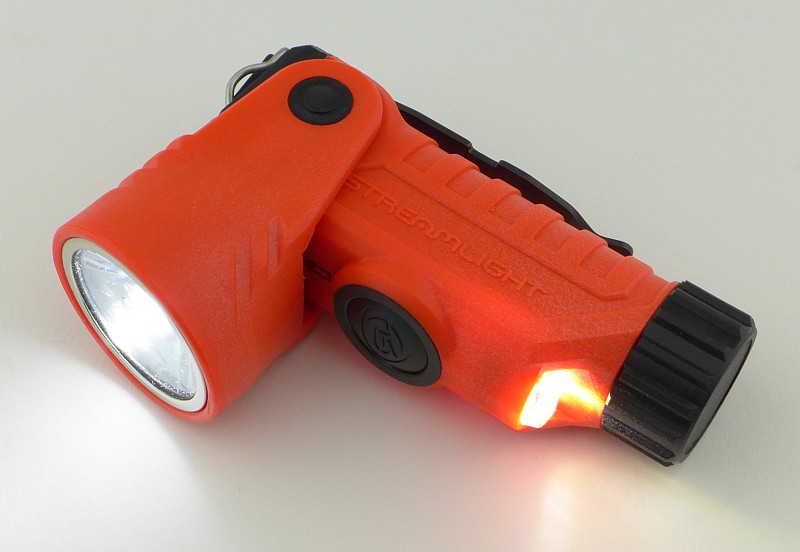
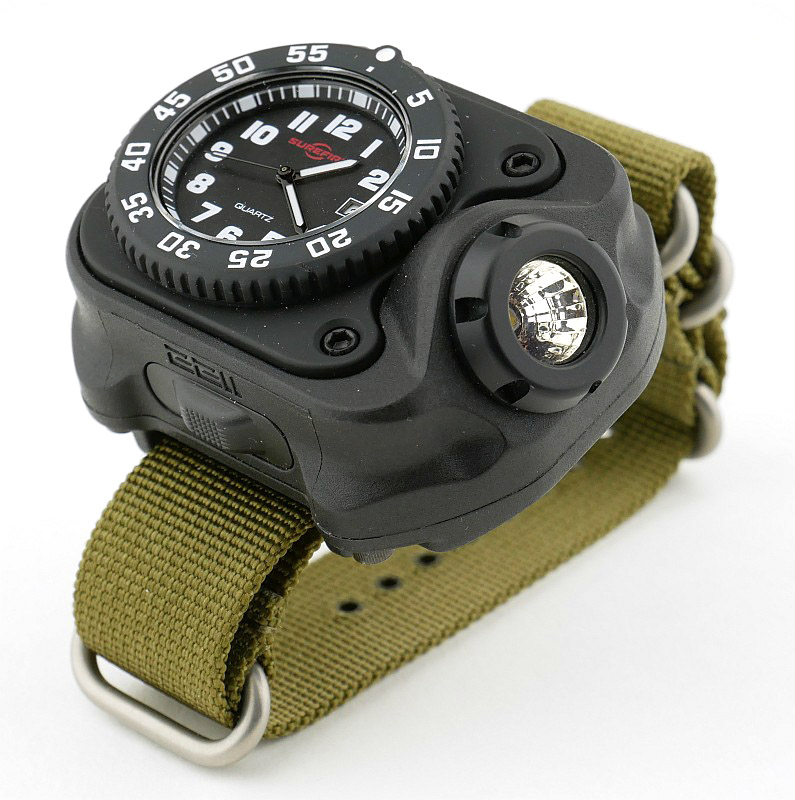
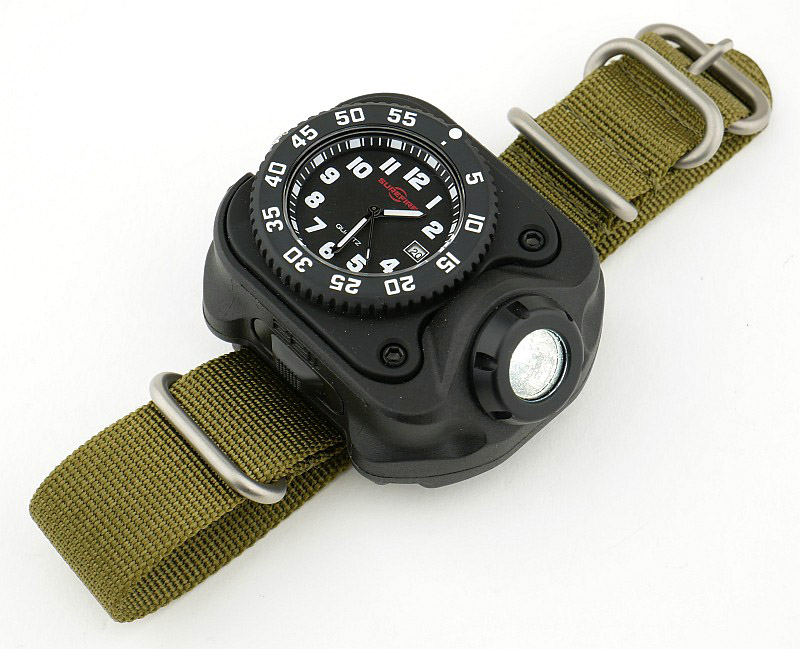
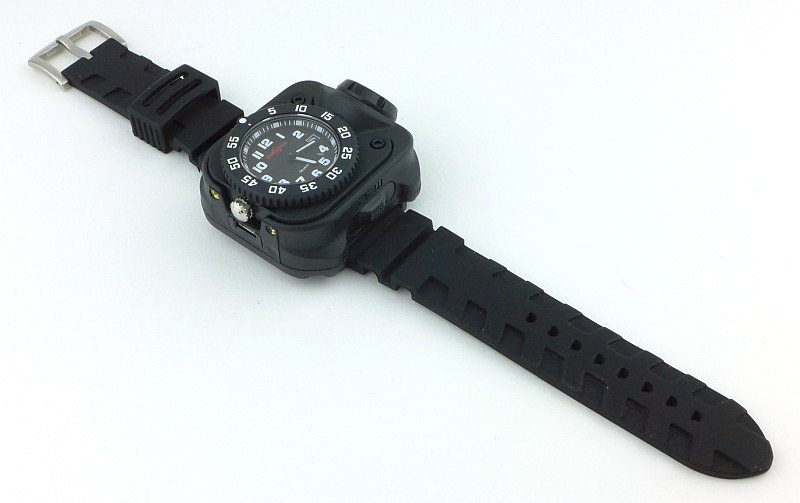
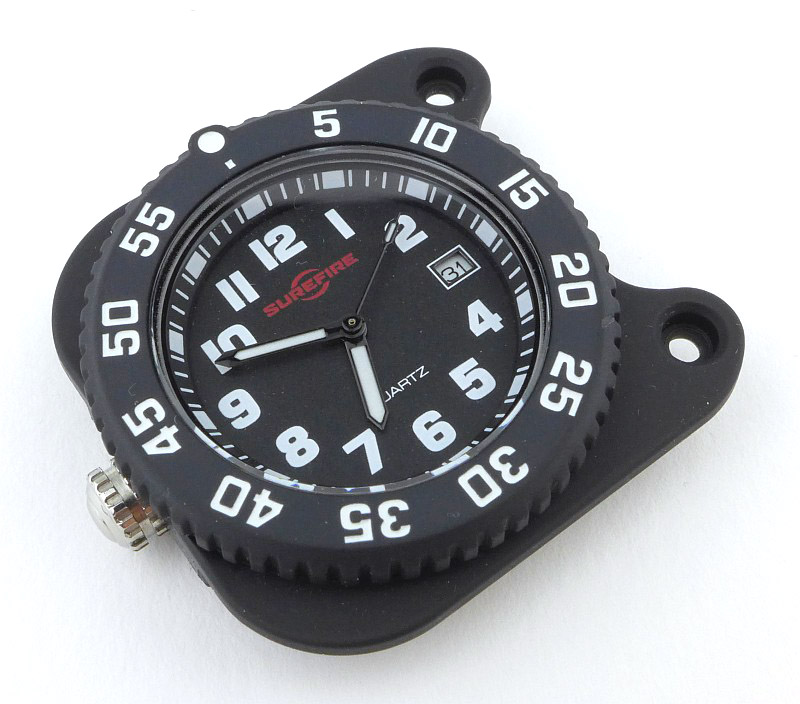
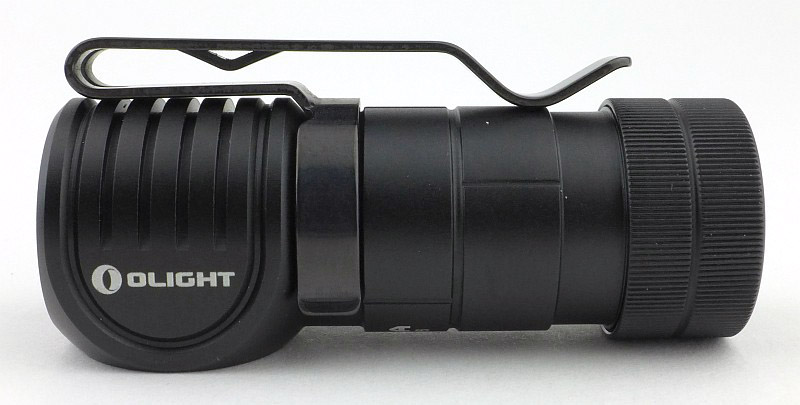
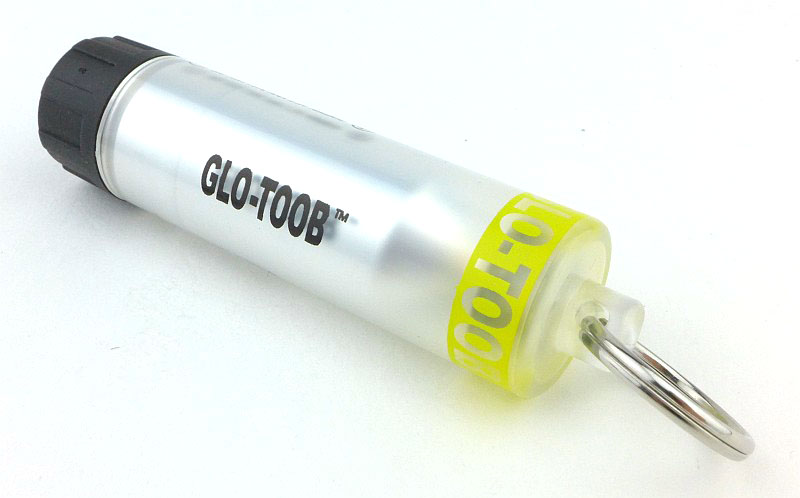
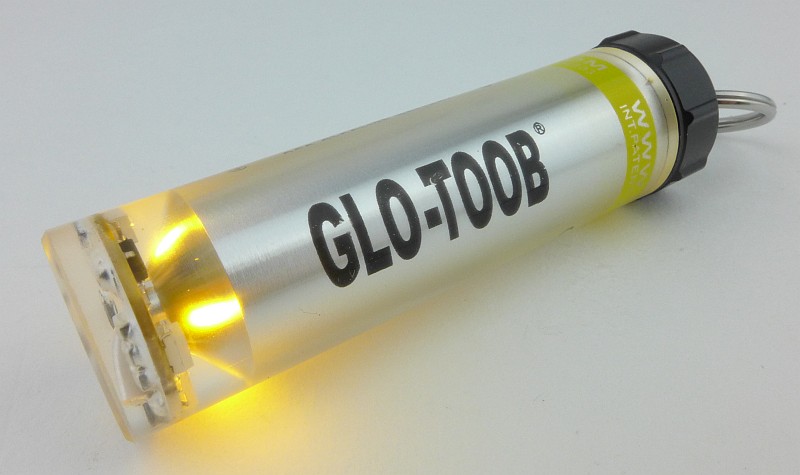
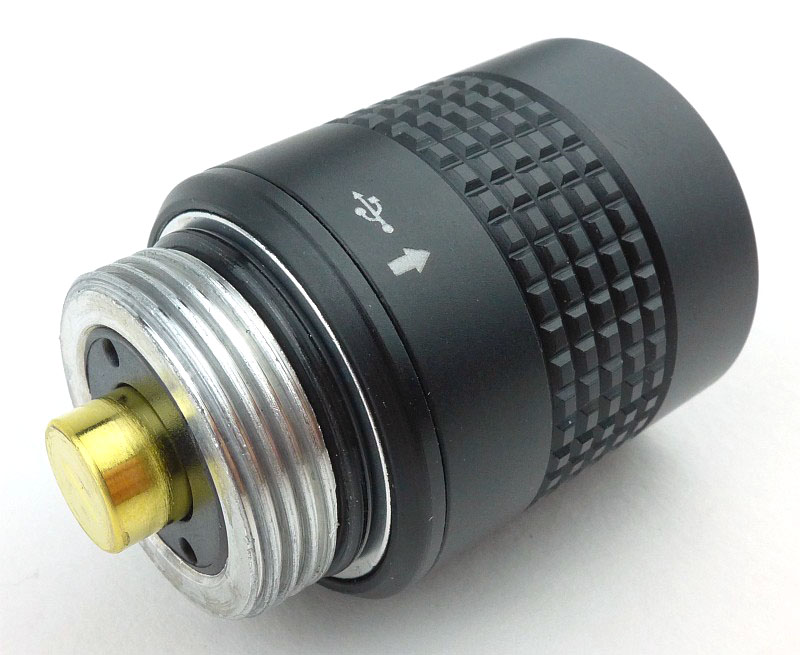
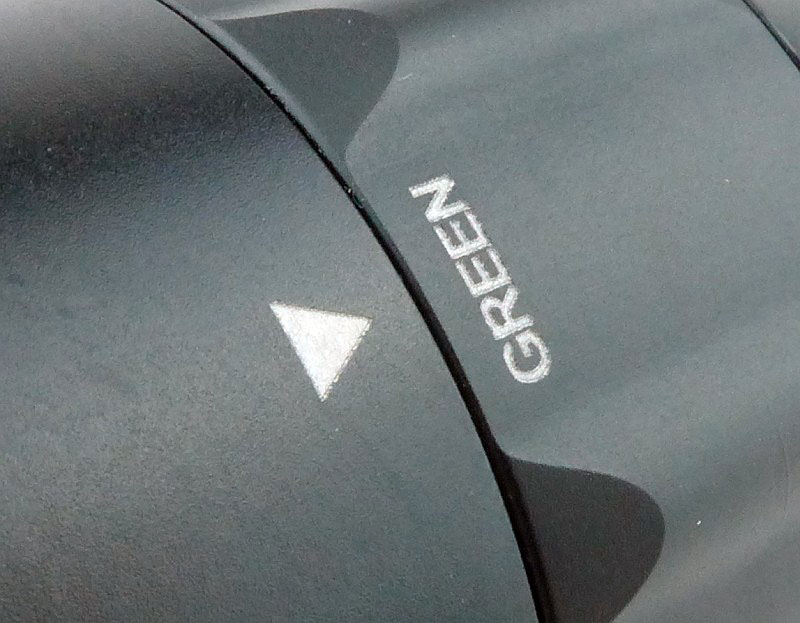
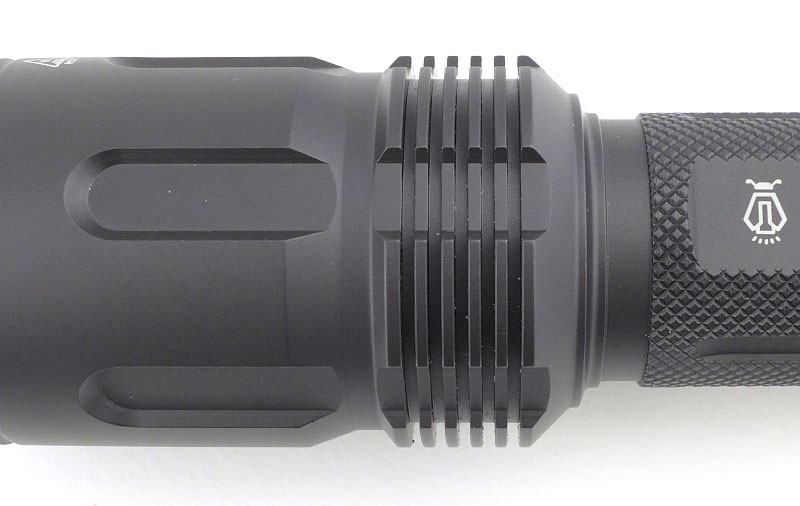
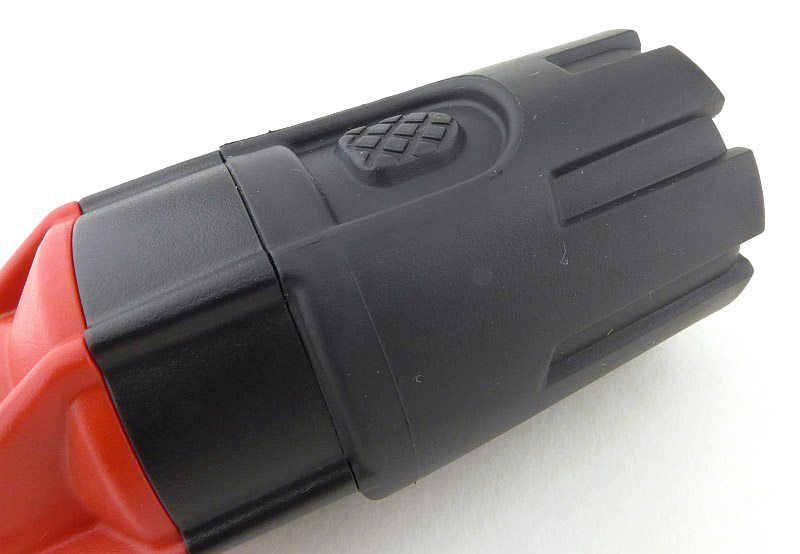
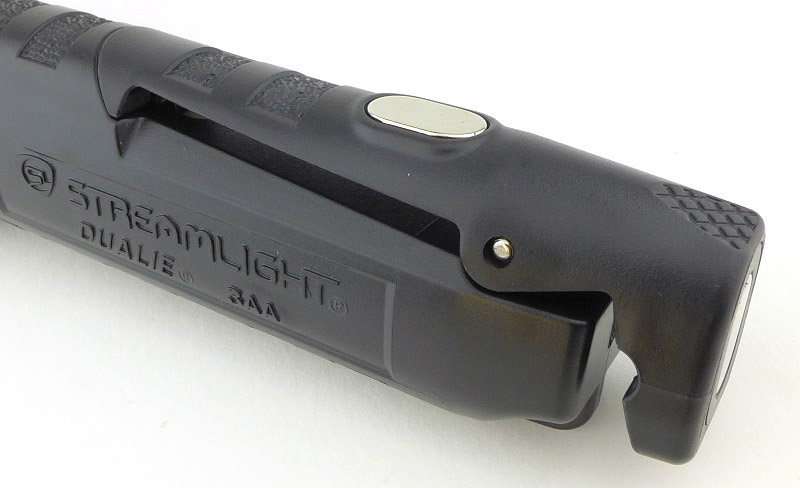
Immediately striking is the offset head design of the 2AA.
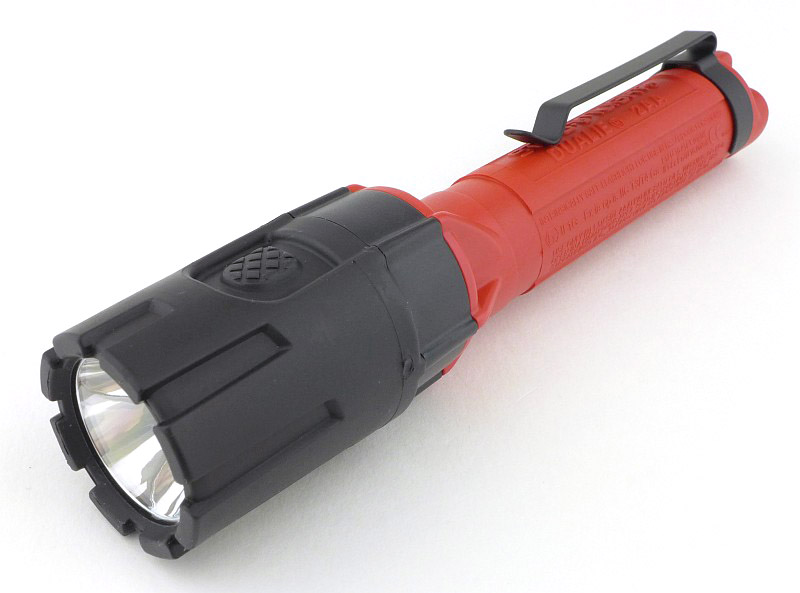
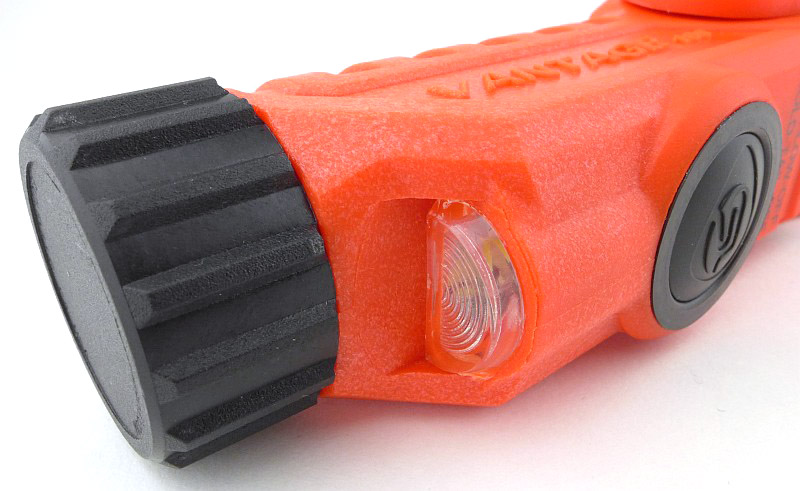
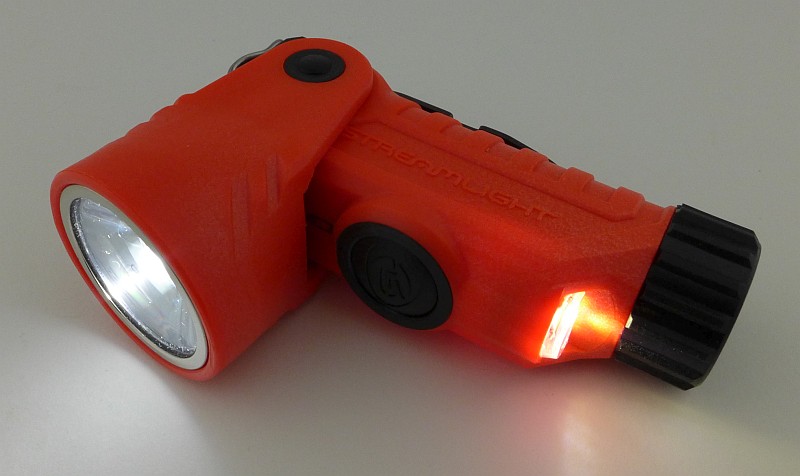
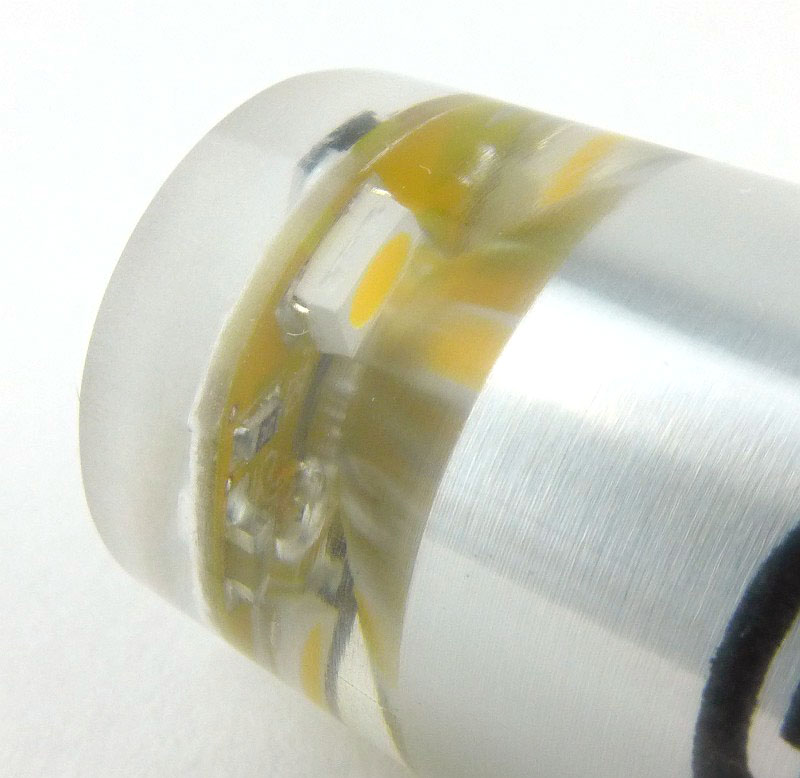
And this is why it is a Dualie. The flood-light LED in the side of the head.
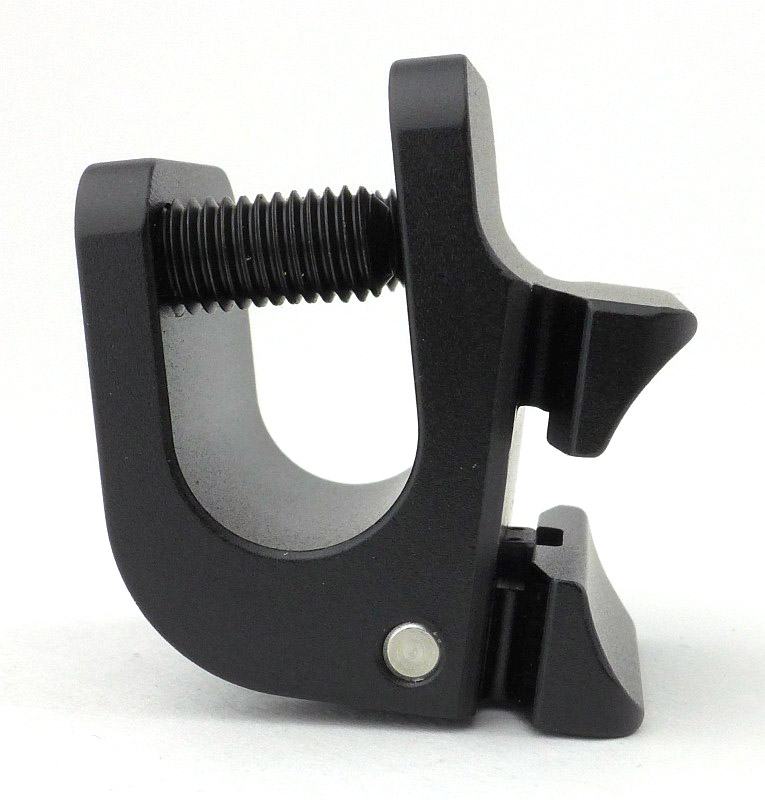
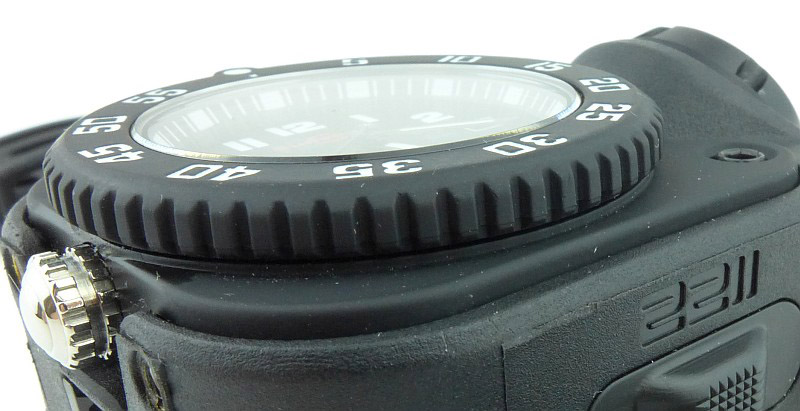
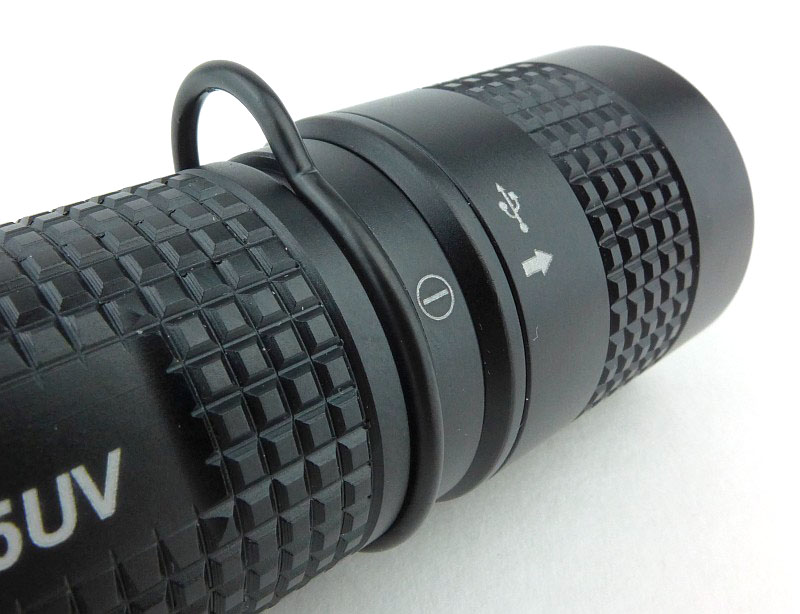
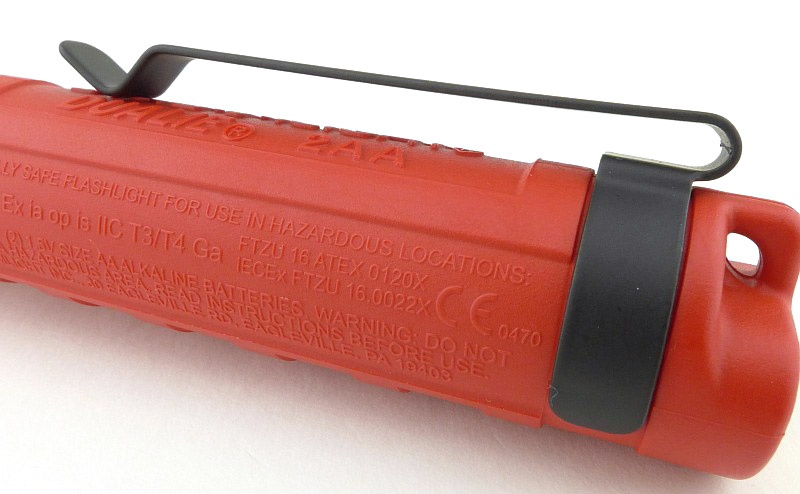
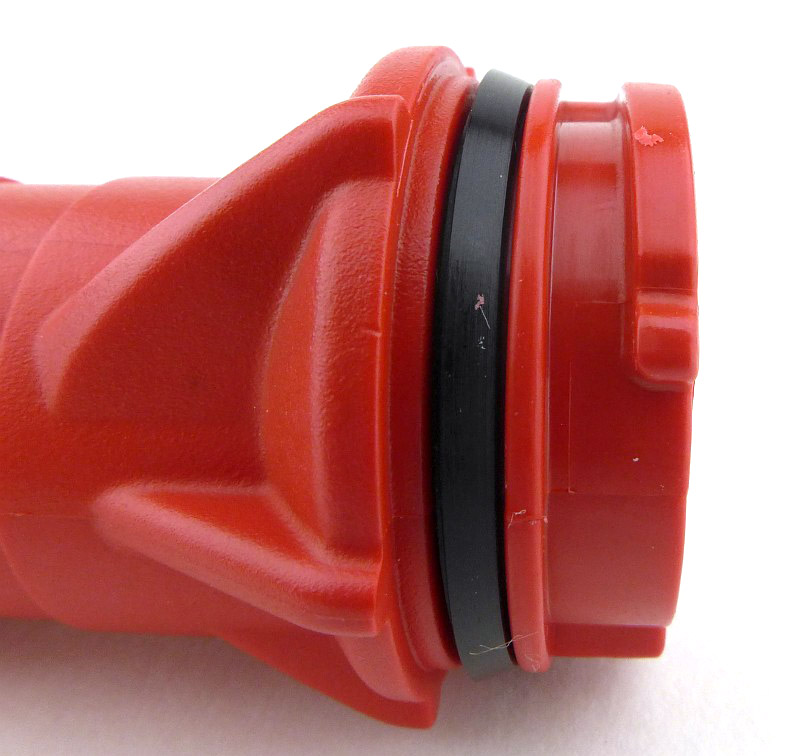
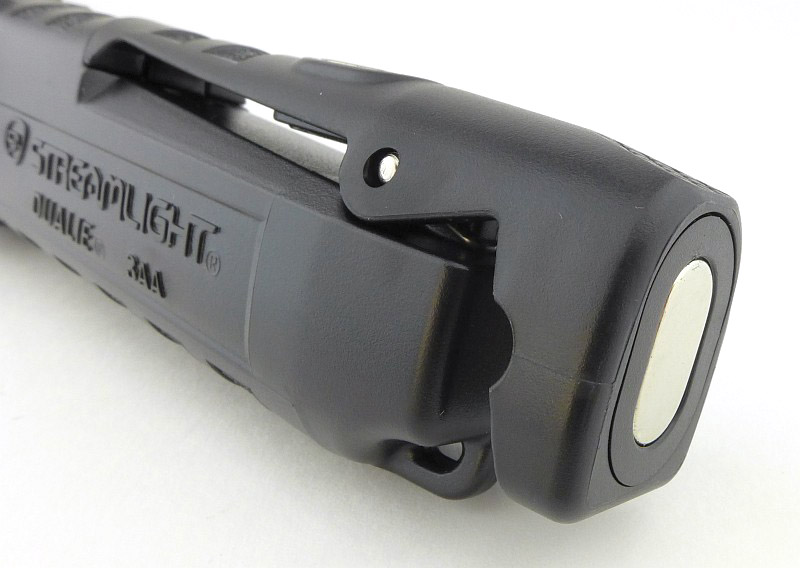
A better look at that unusual offset battery tube. The top of the pocket clip is kept level with the line of the head of the light.
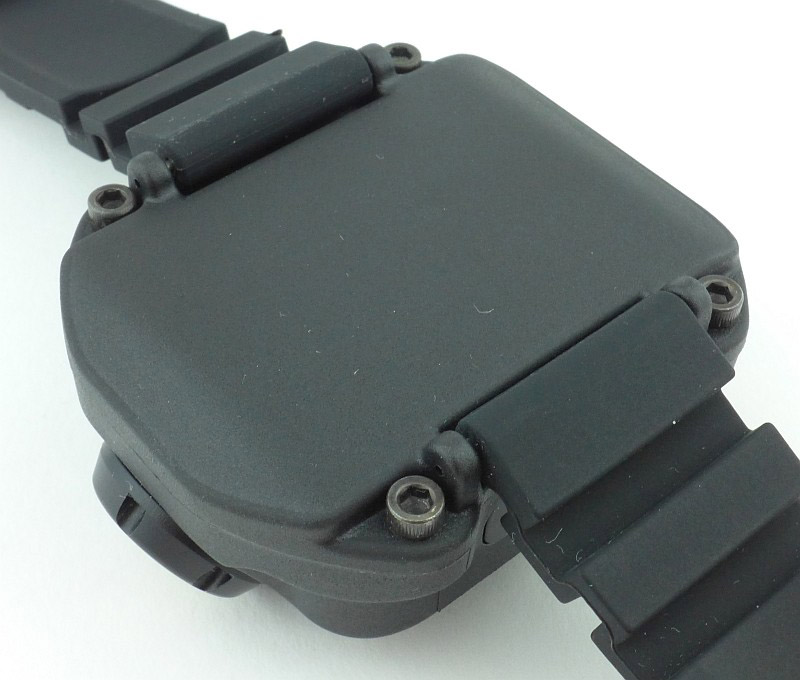
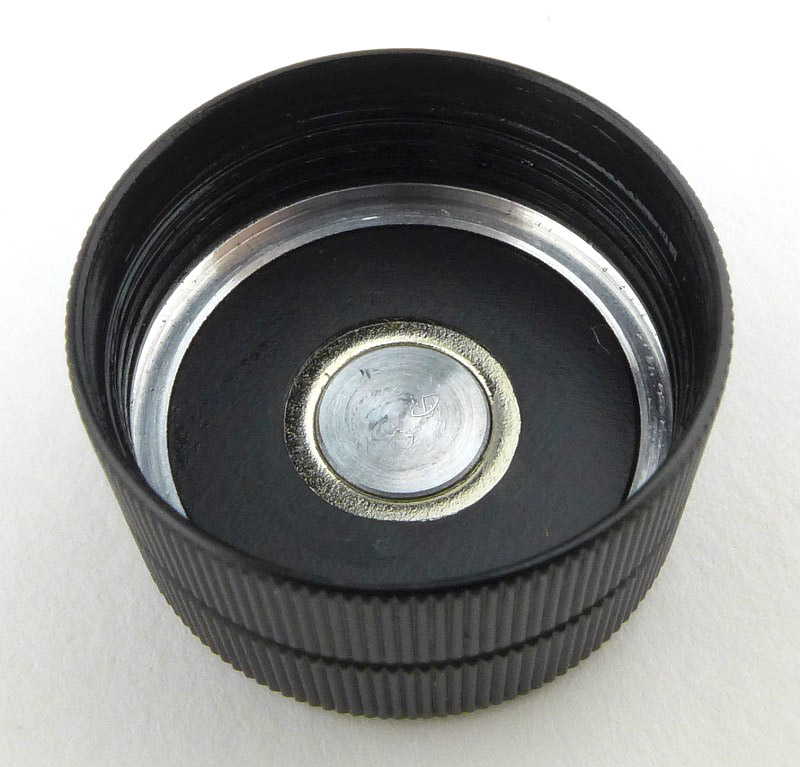
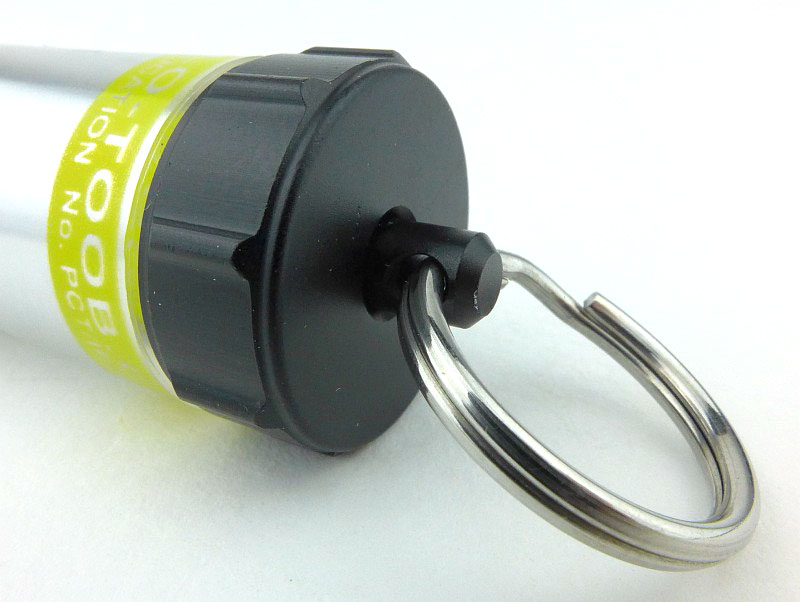
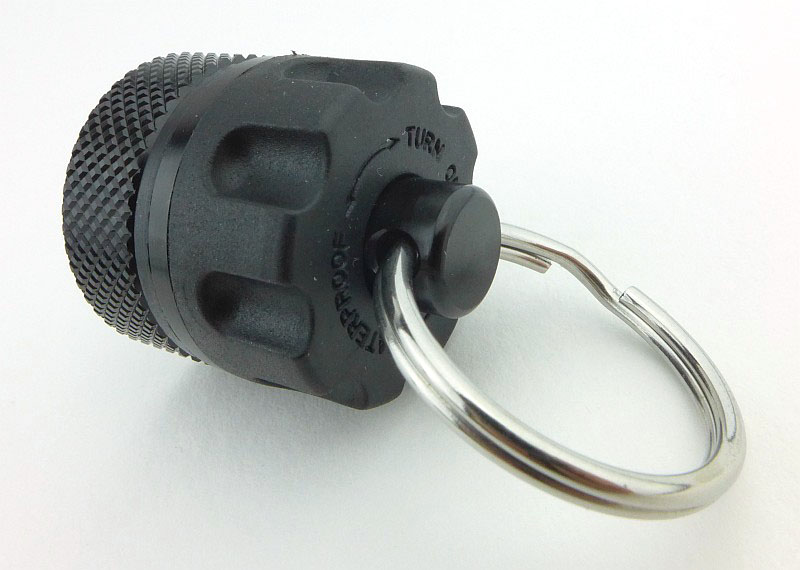
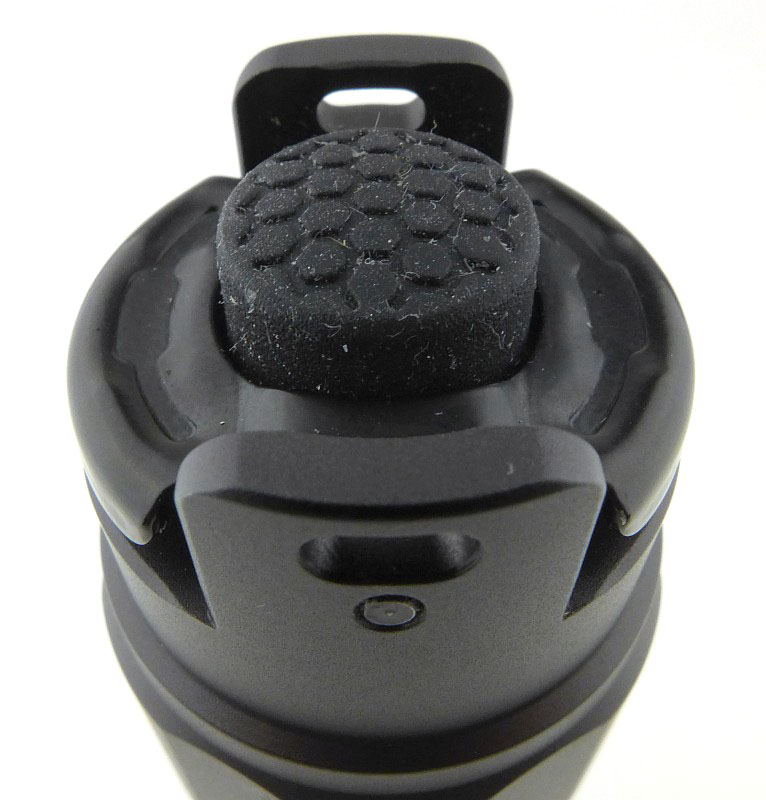
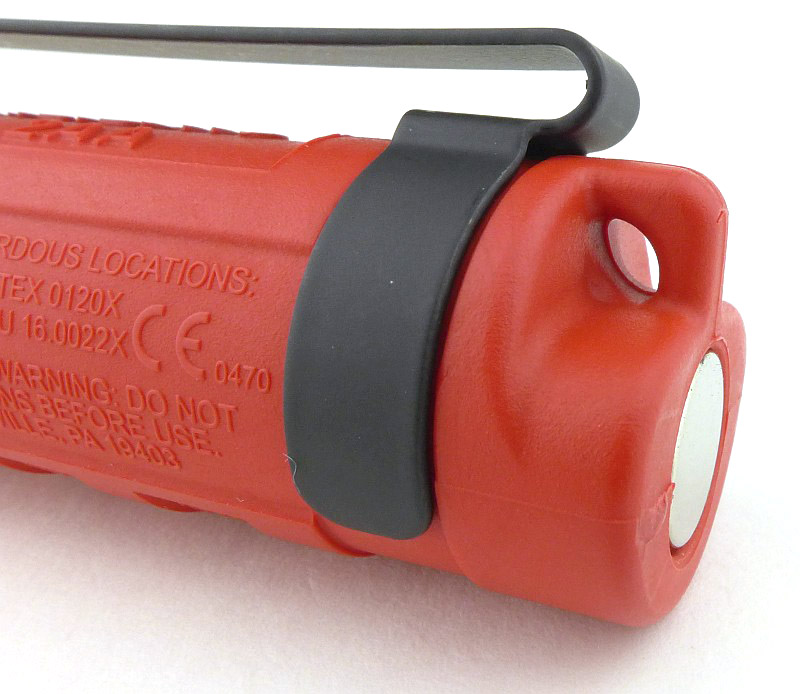
The tail has a lanyard hole, and also a magnet.
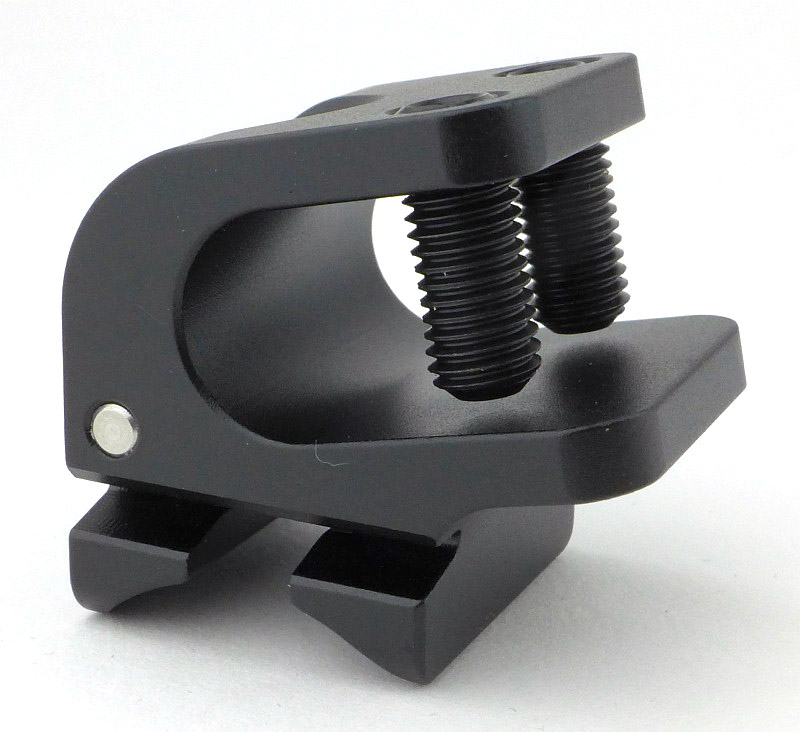
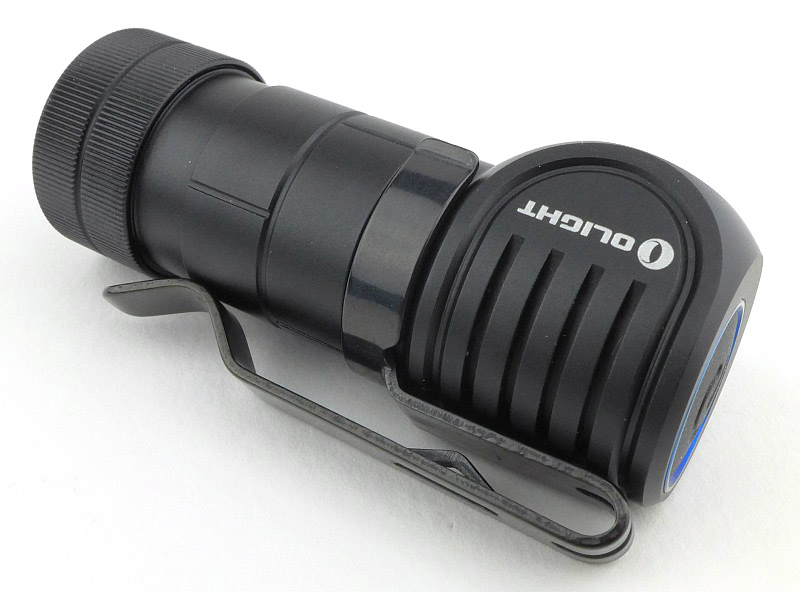
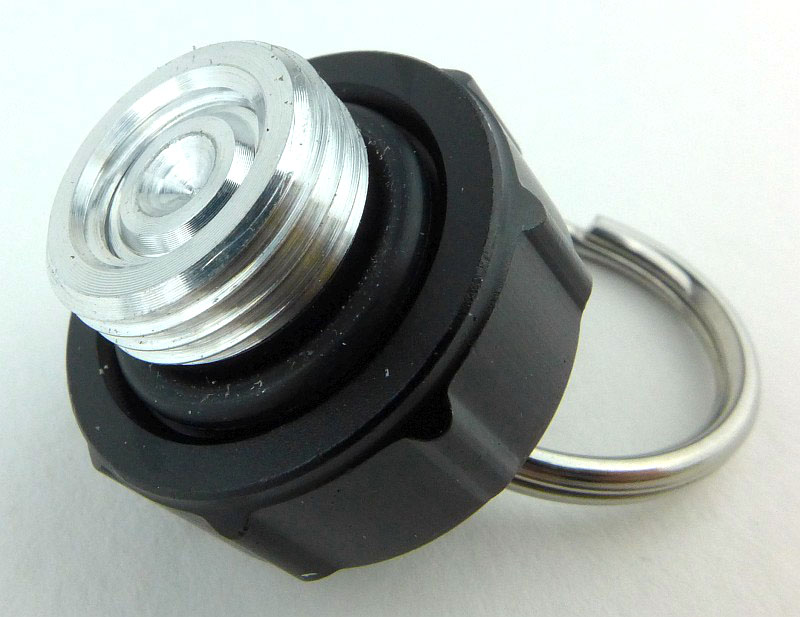
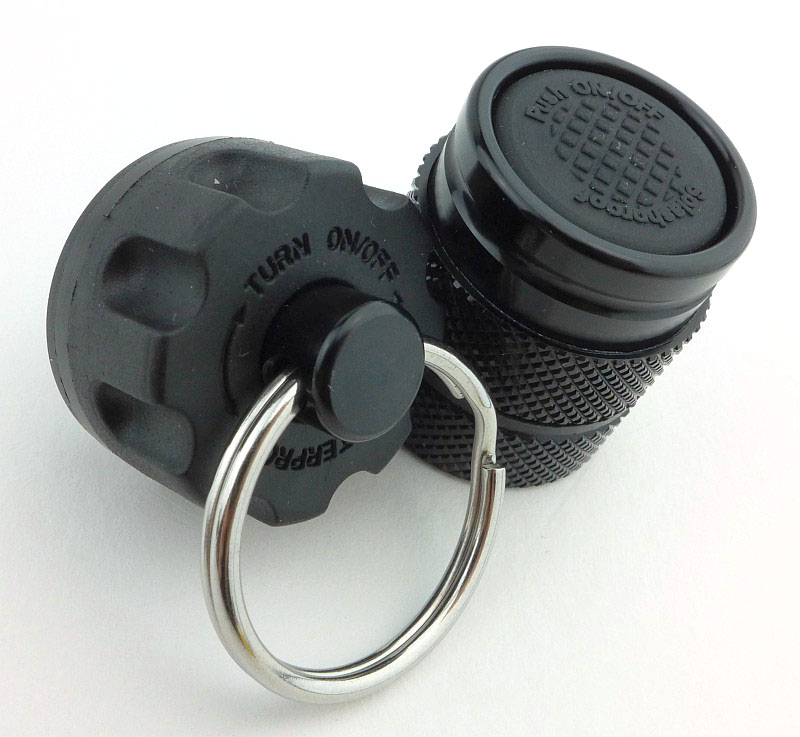
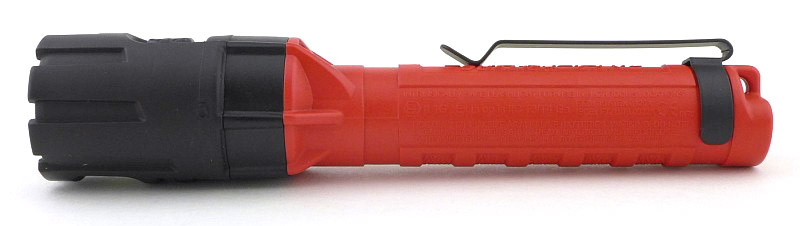
A simple, deep, steel pocket clip is fitted to the 2AA.
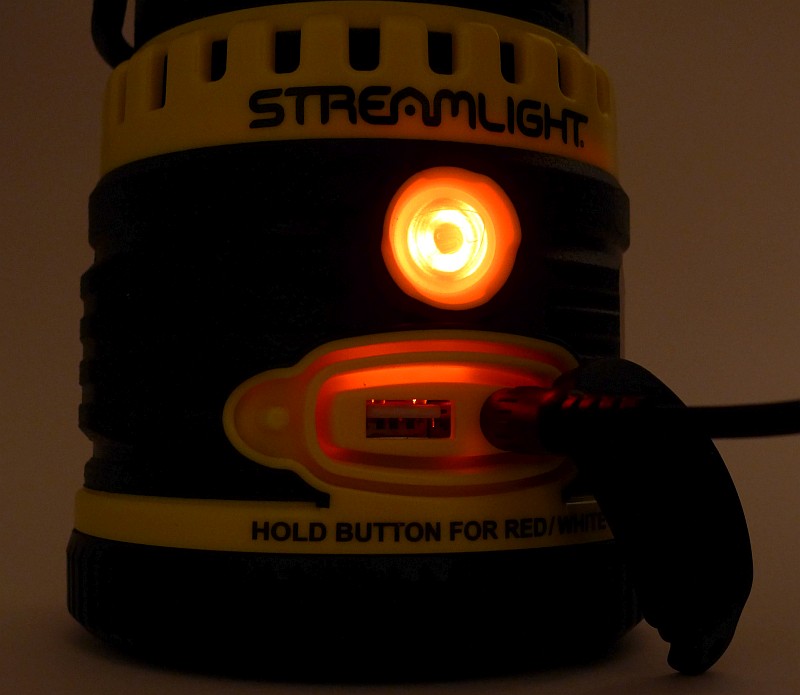
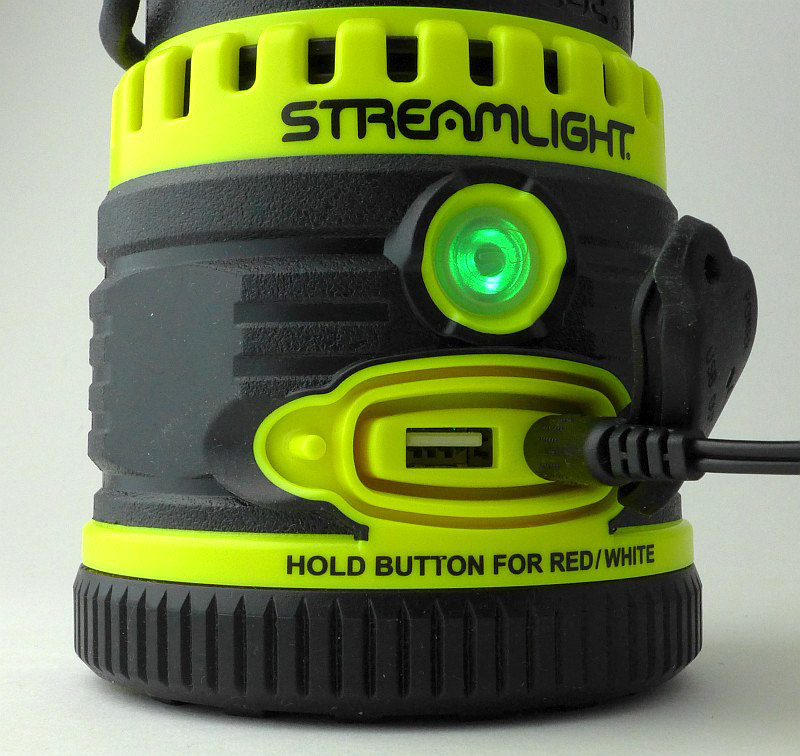
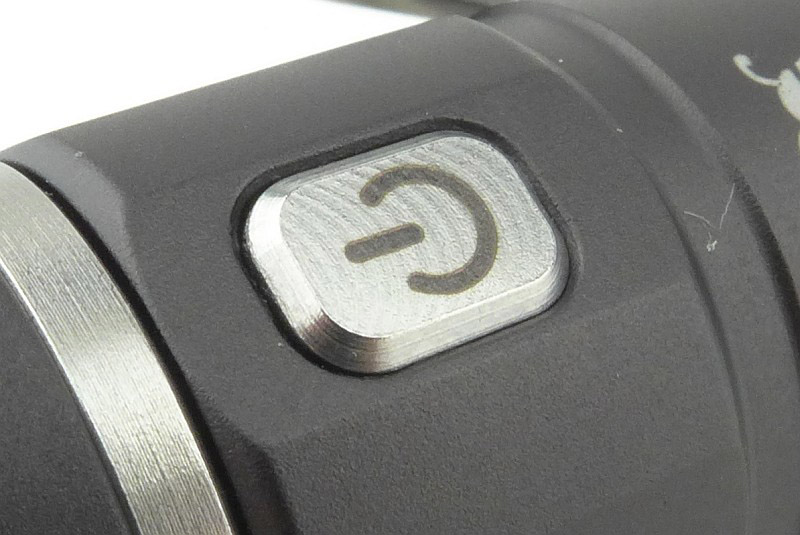
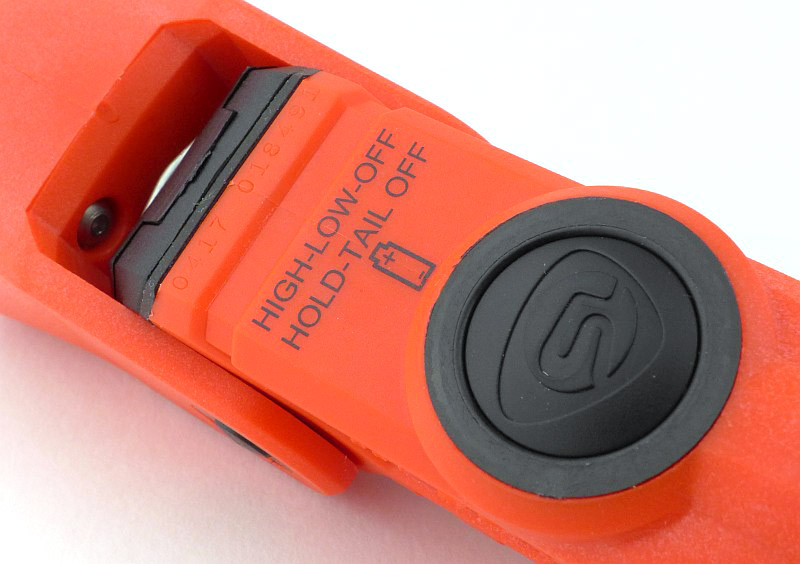
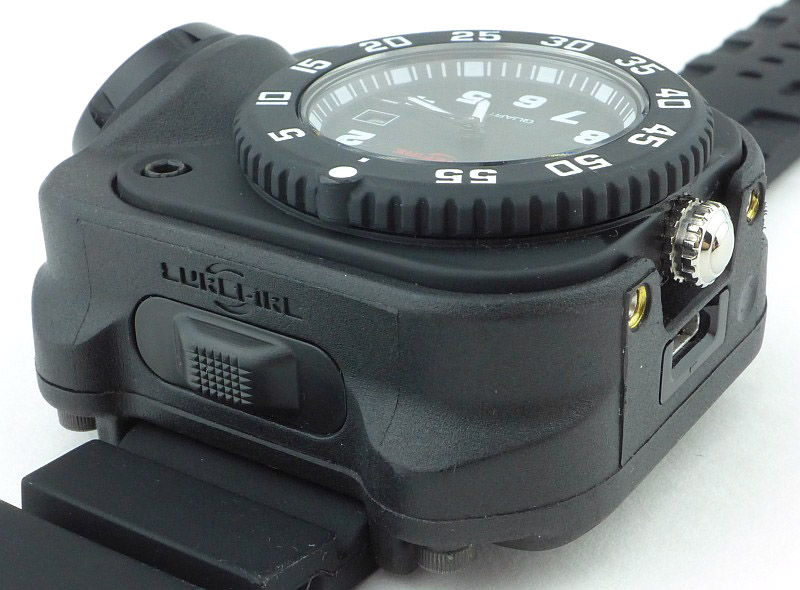
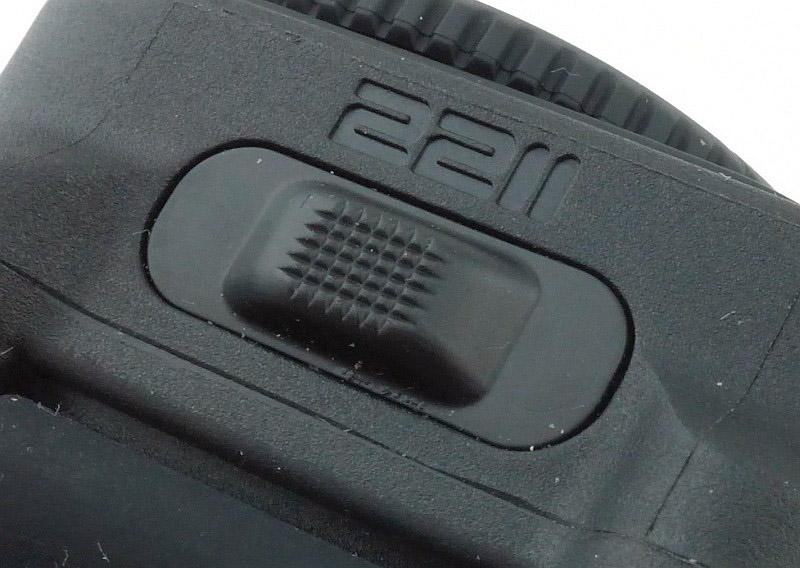
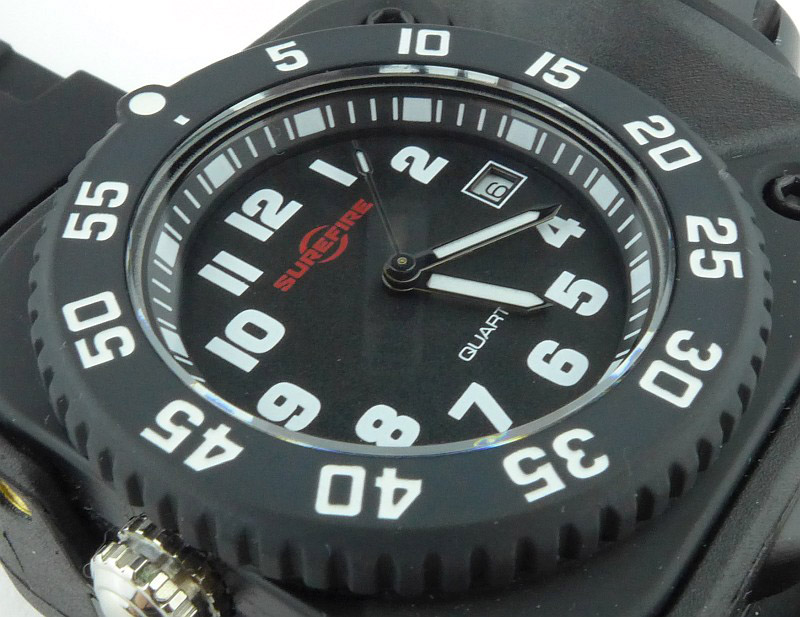
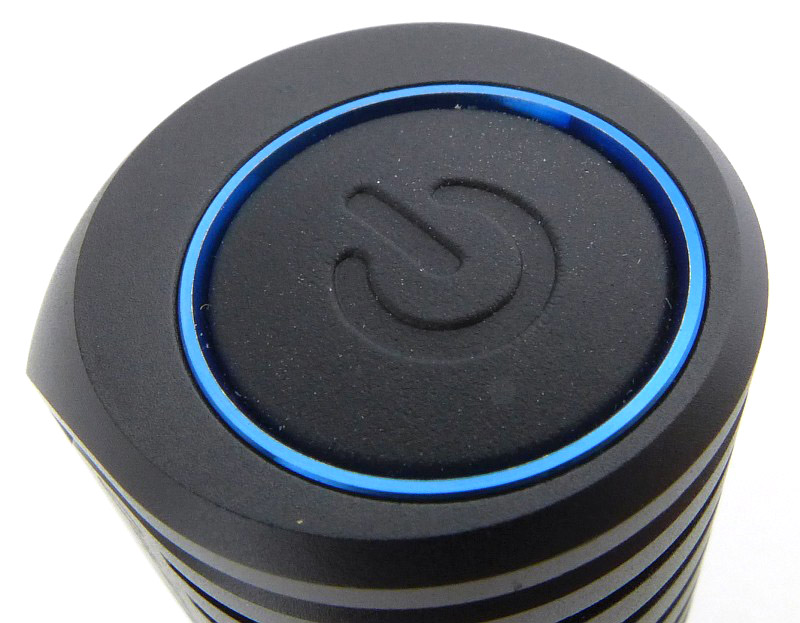
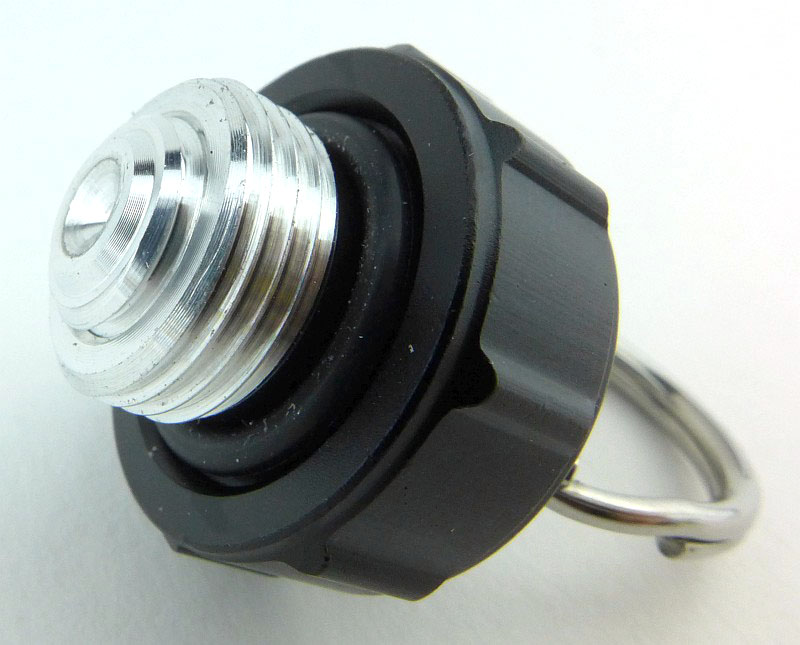
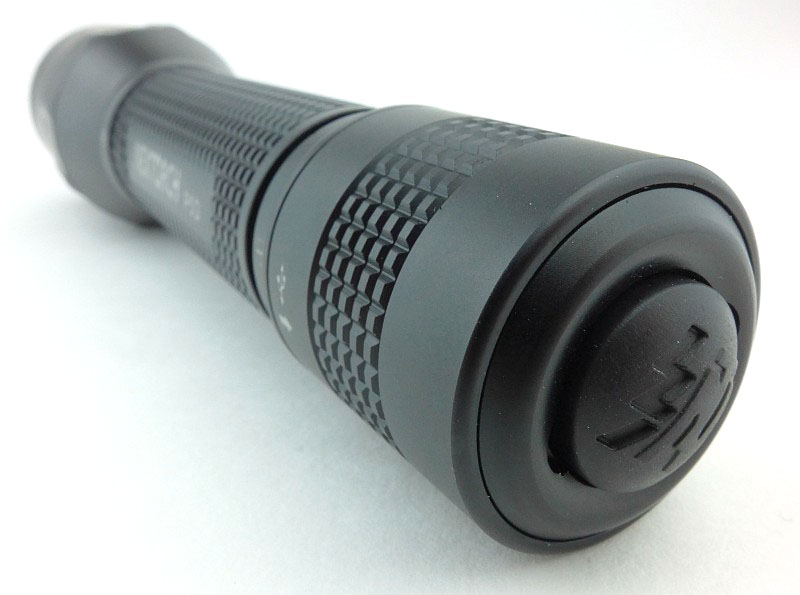
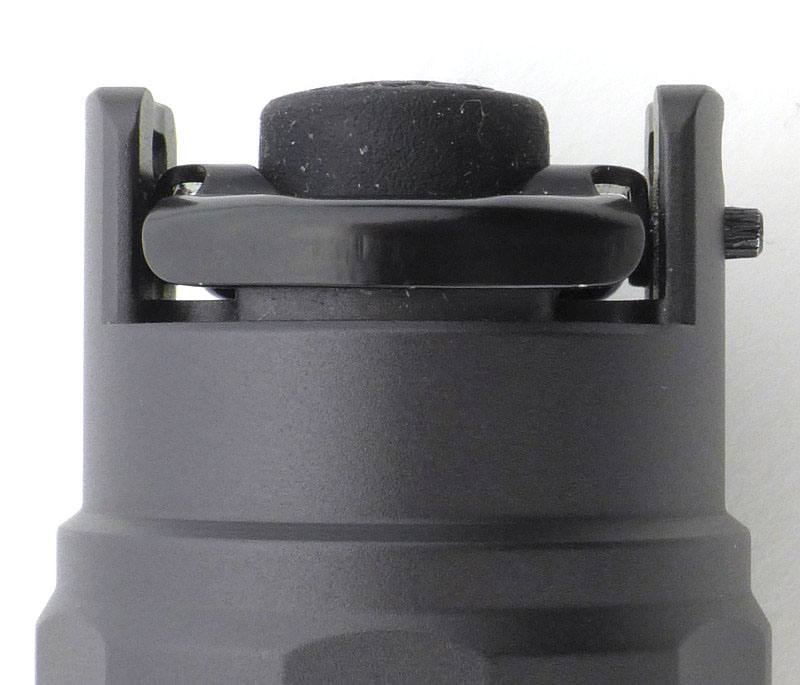
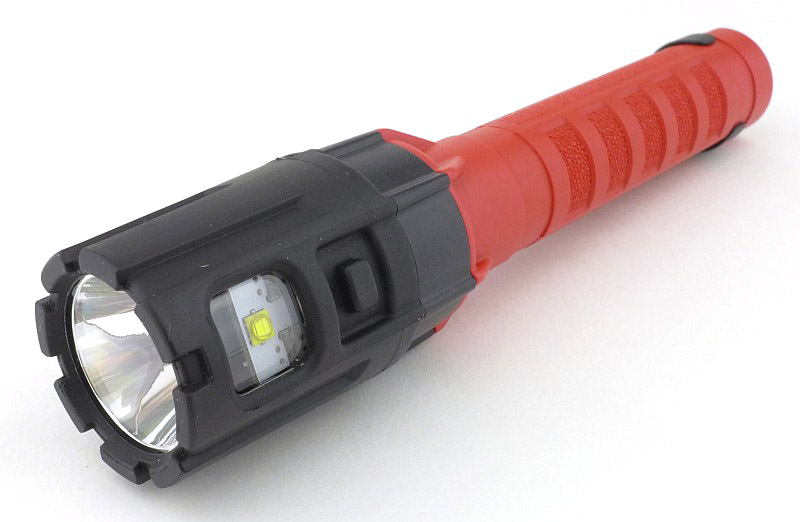
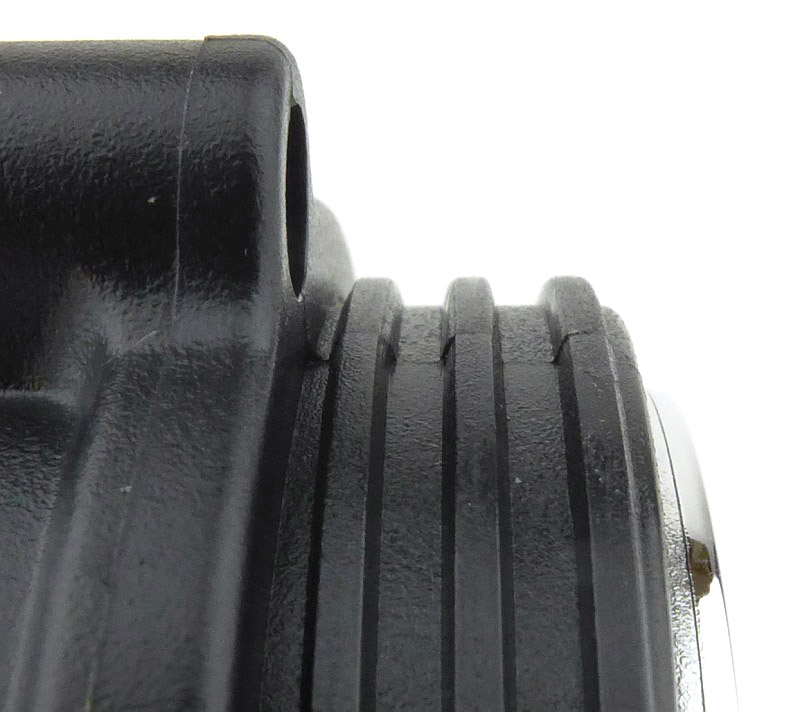
The main beam’s switch is the largest, and has a checkered grip pattern.
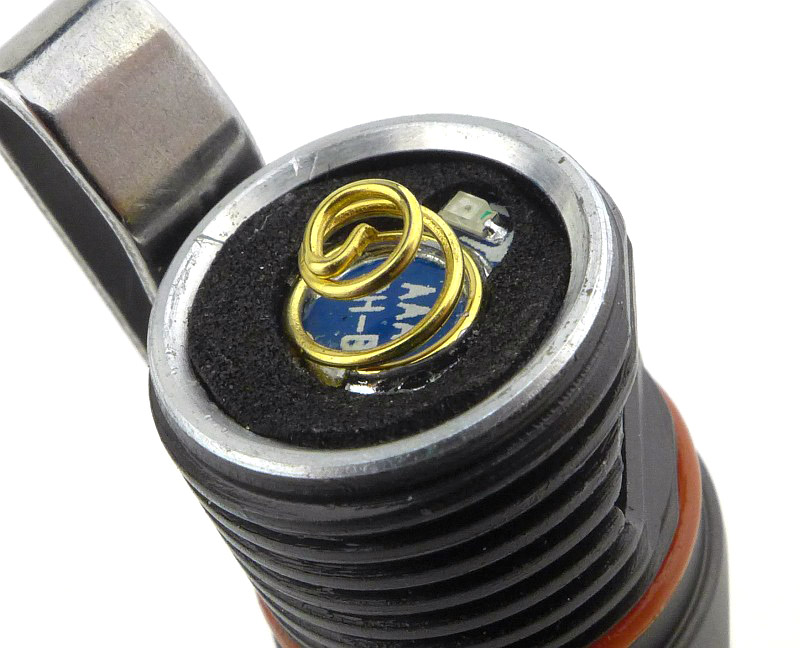
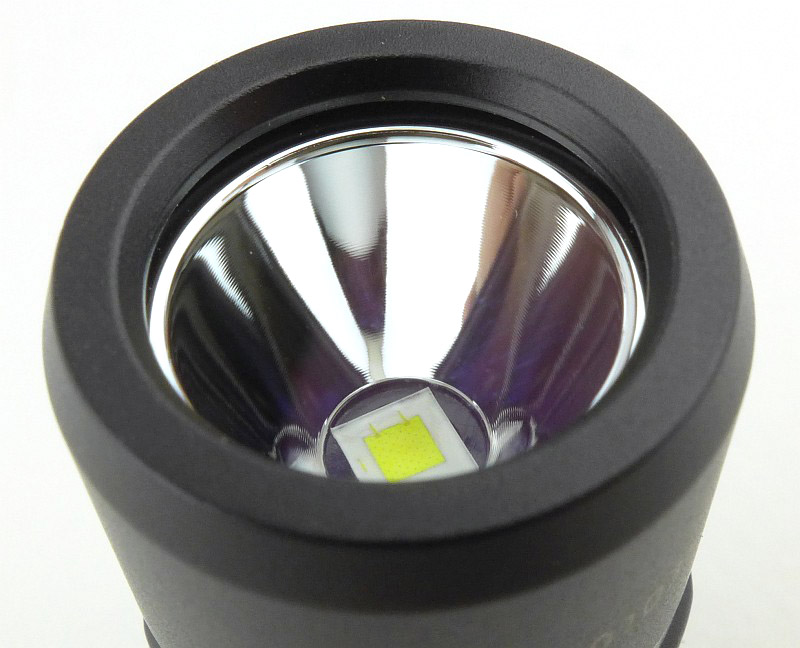
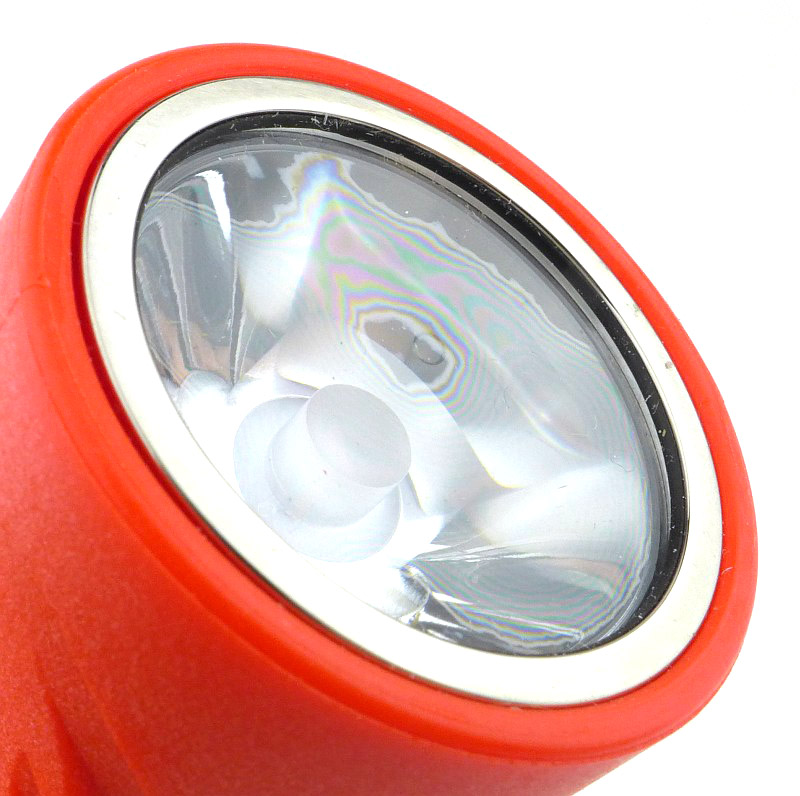
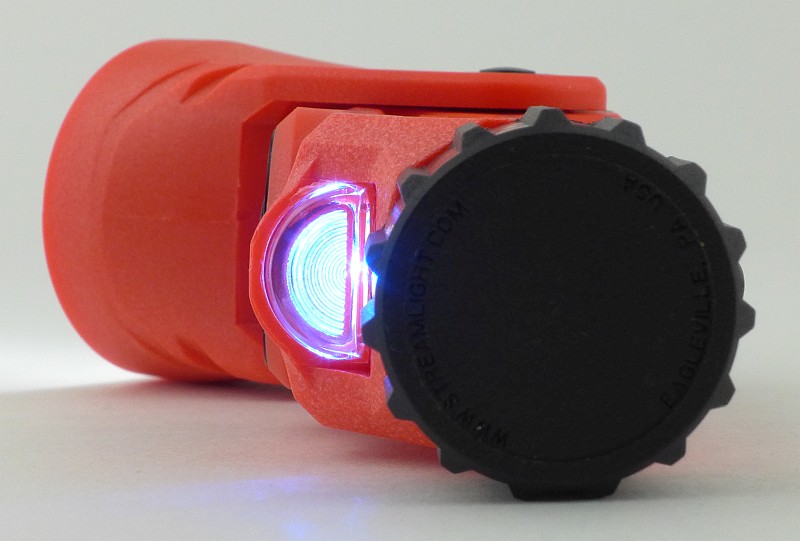
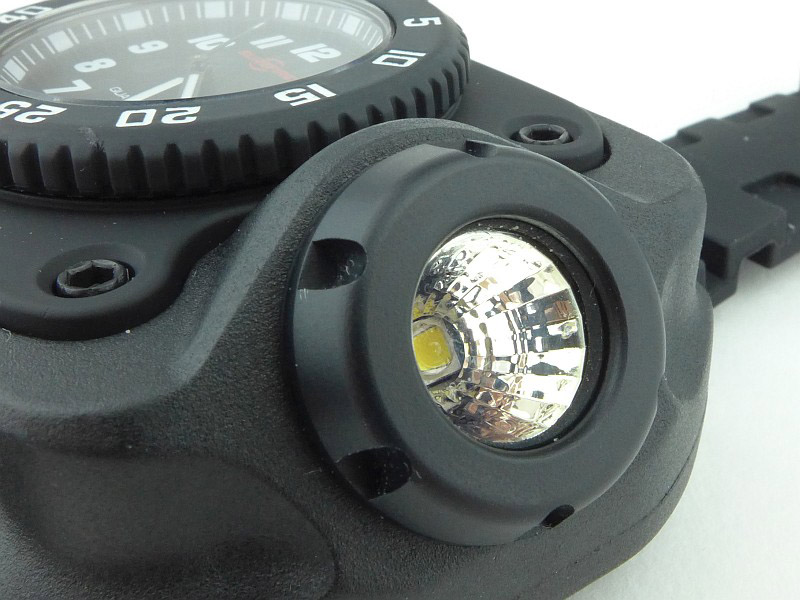
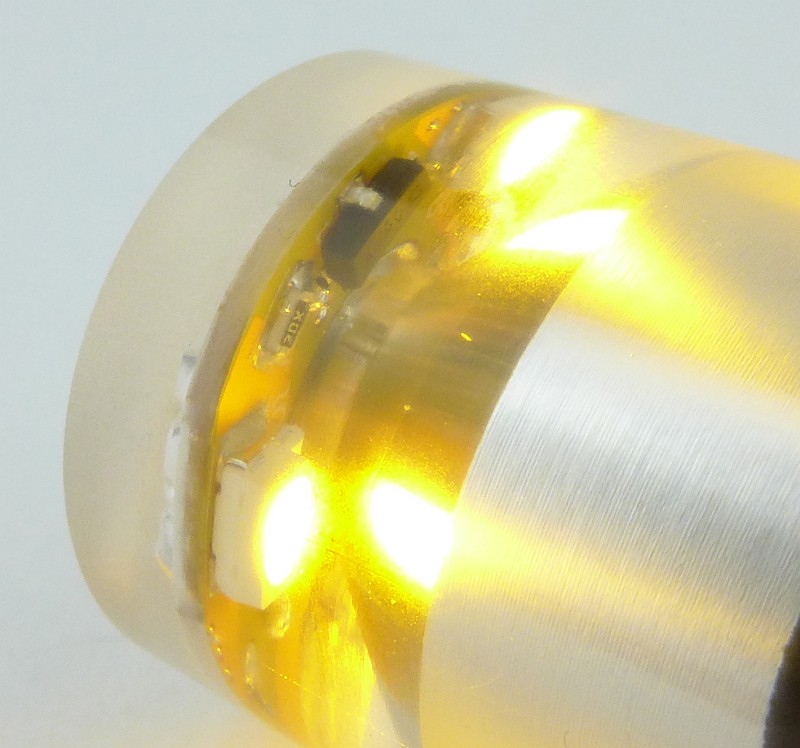
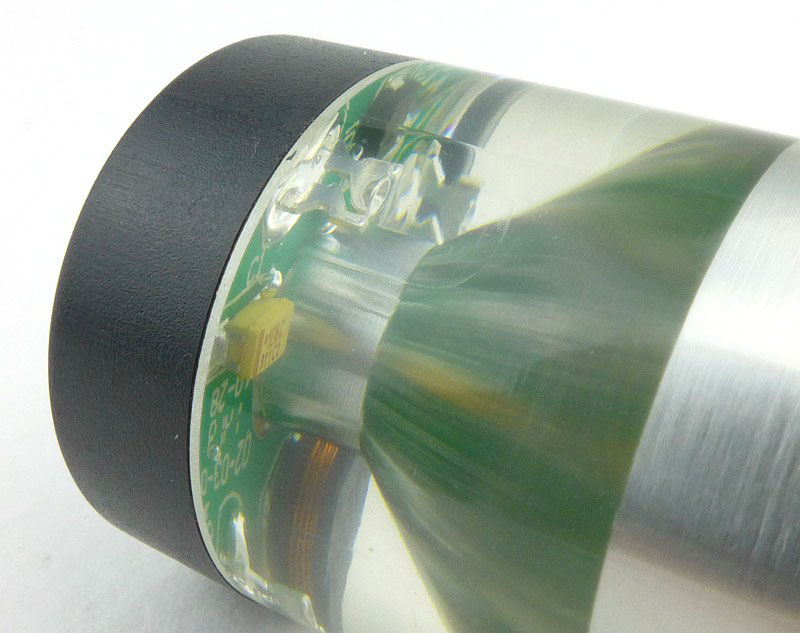
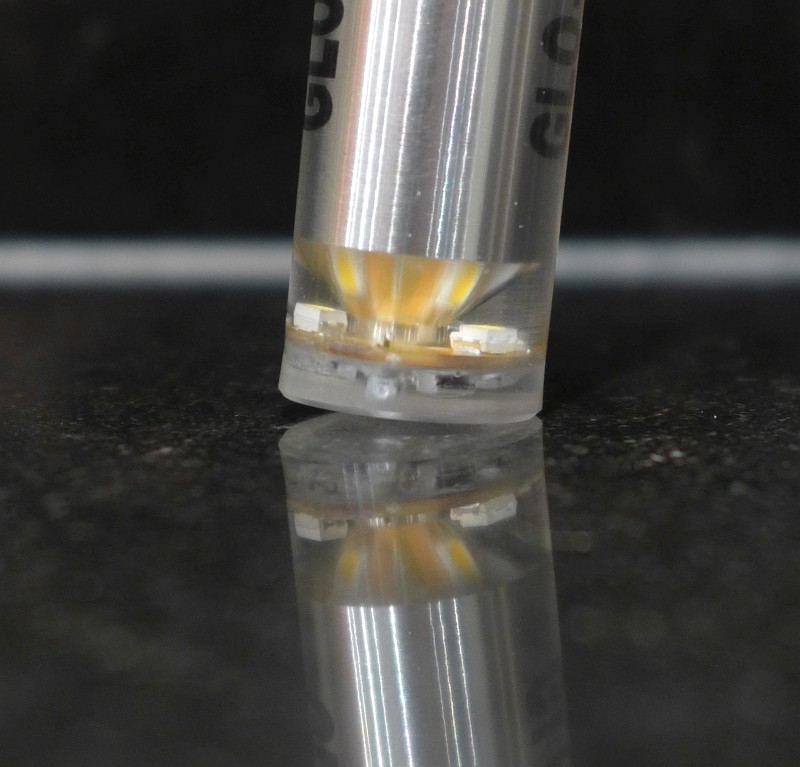
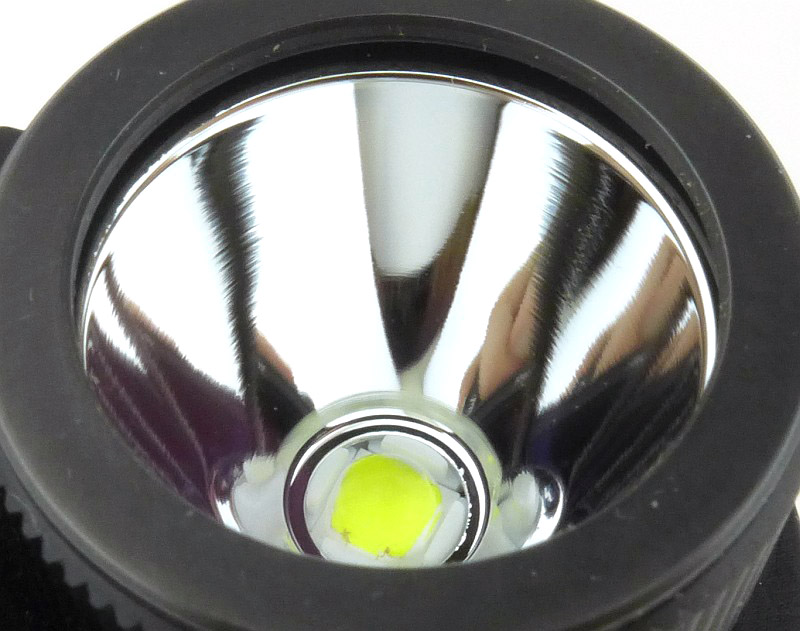
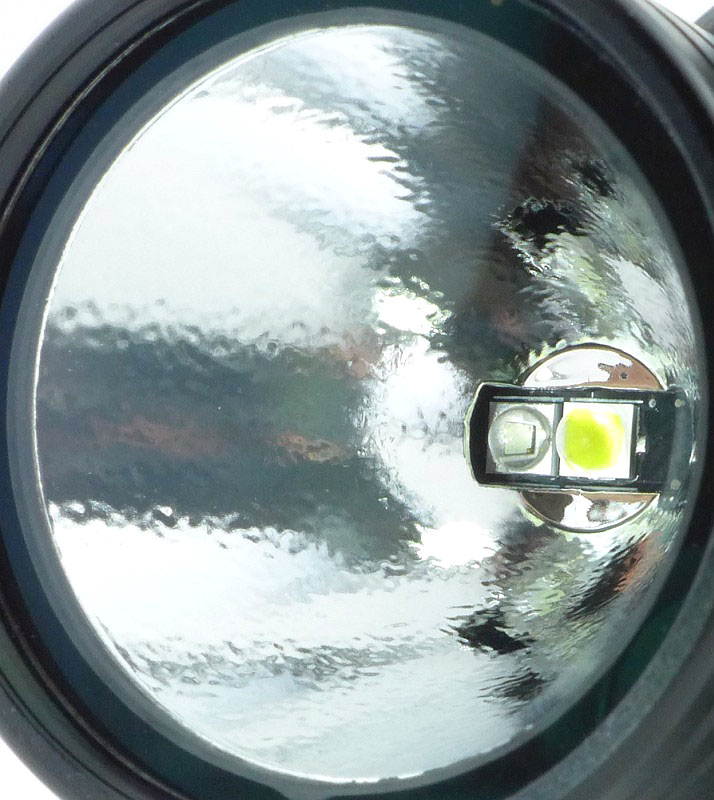
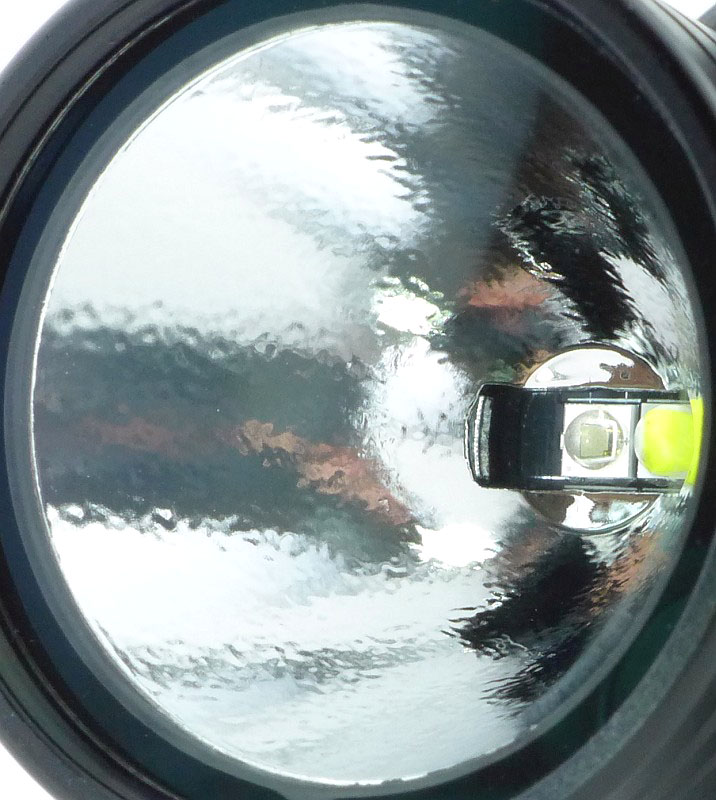
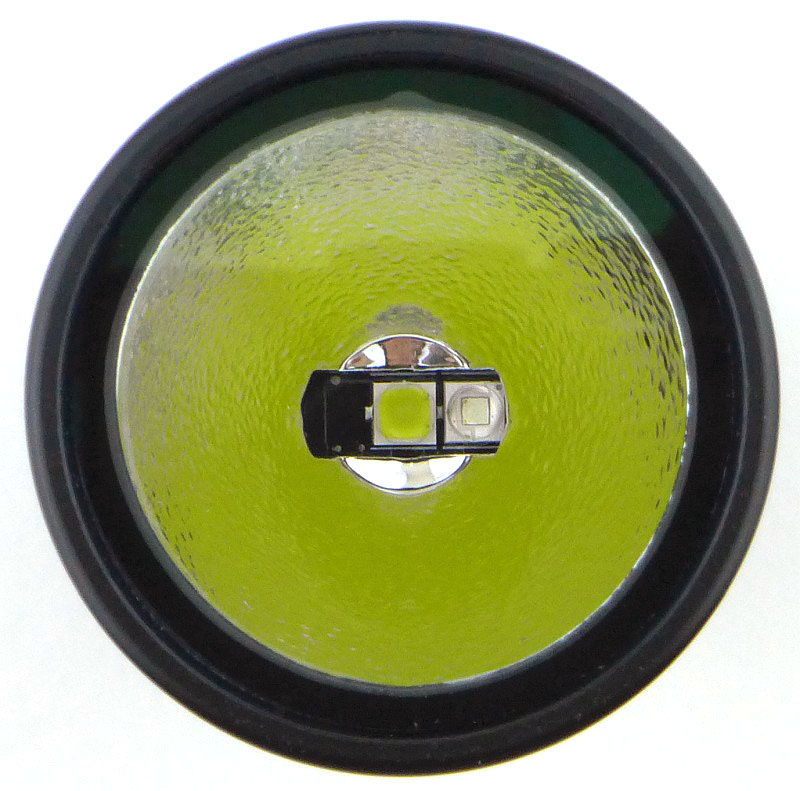
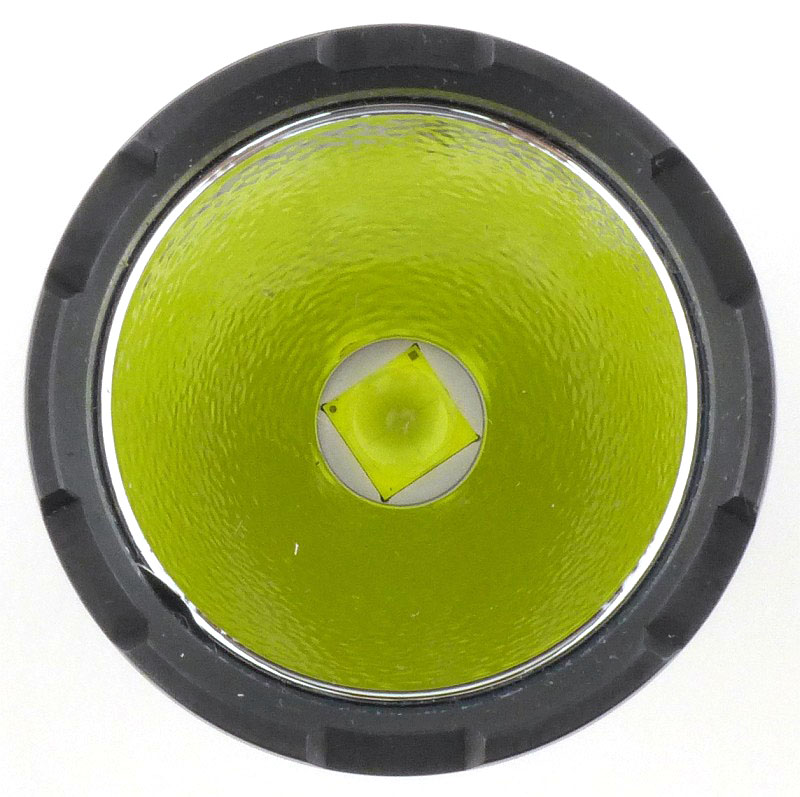
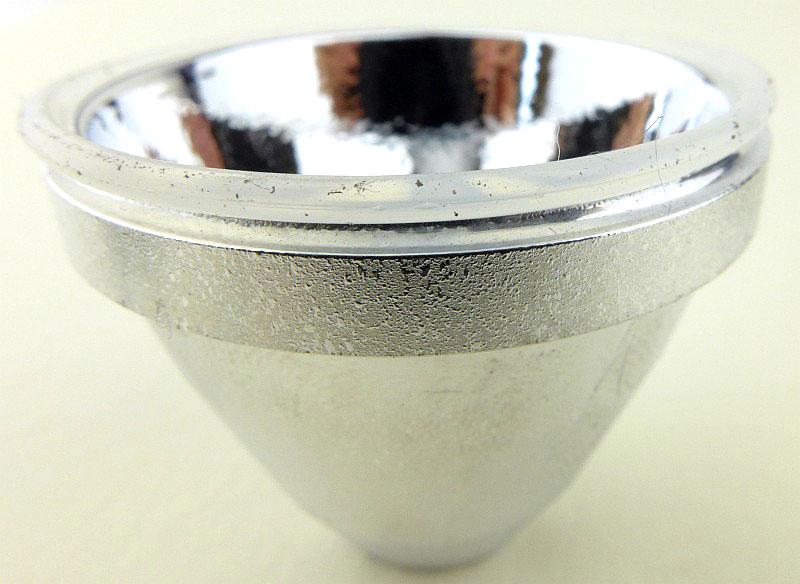
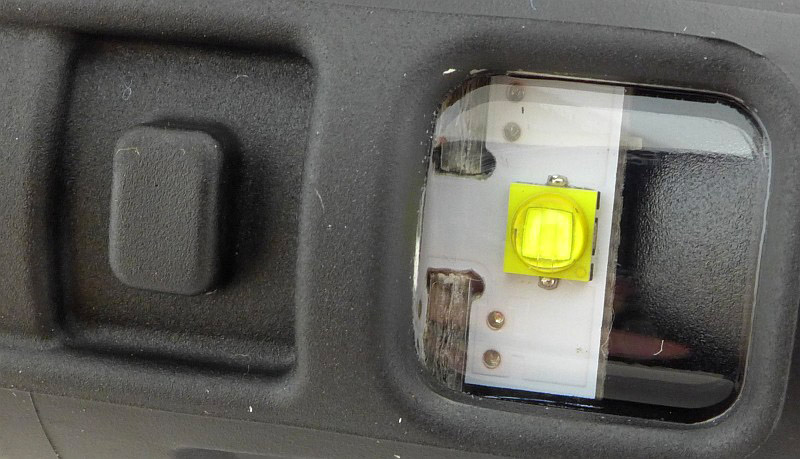
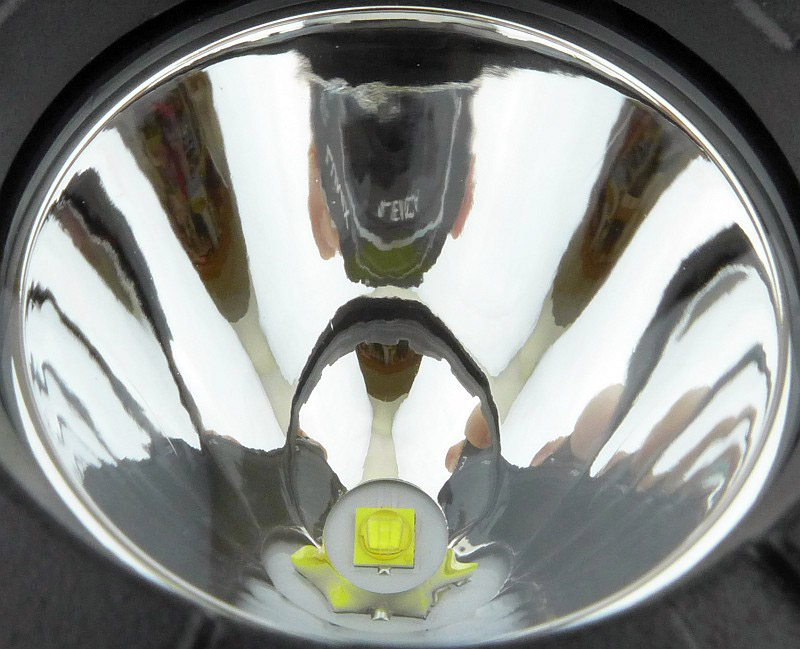
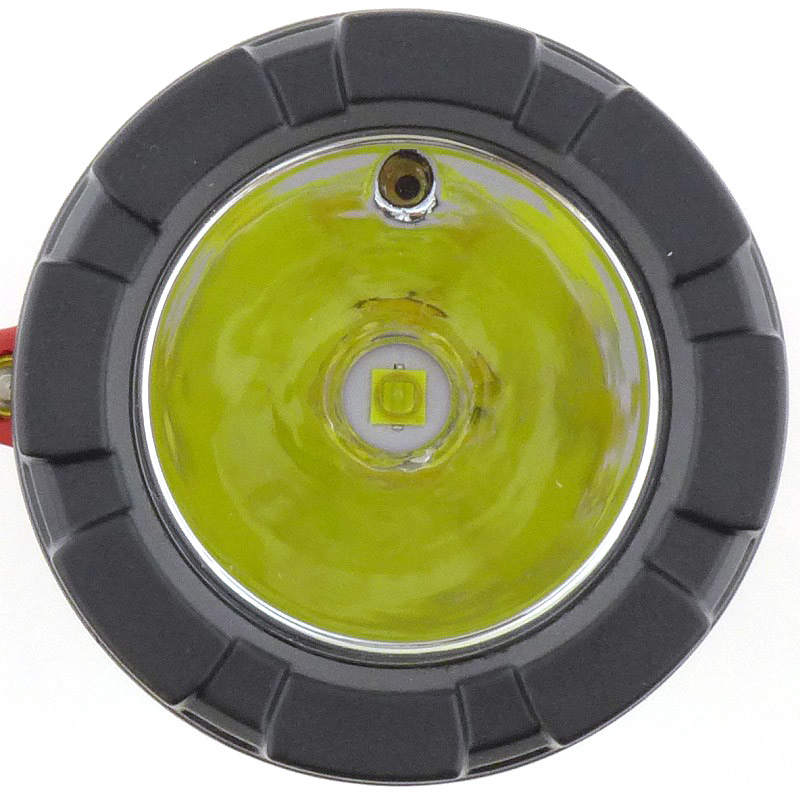
A close look at the 2AA’s main-beam reflector and LED.

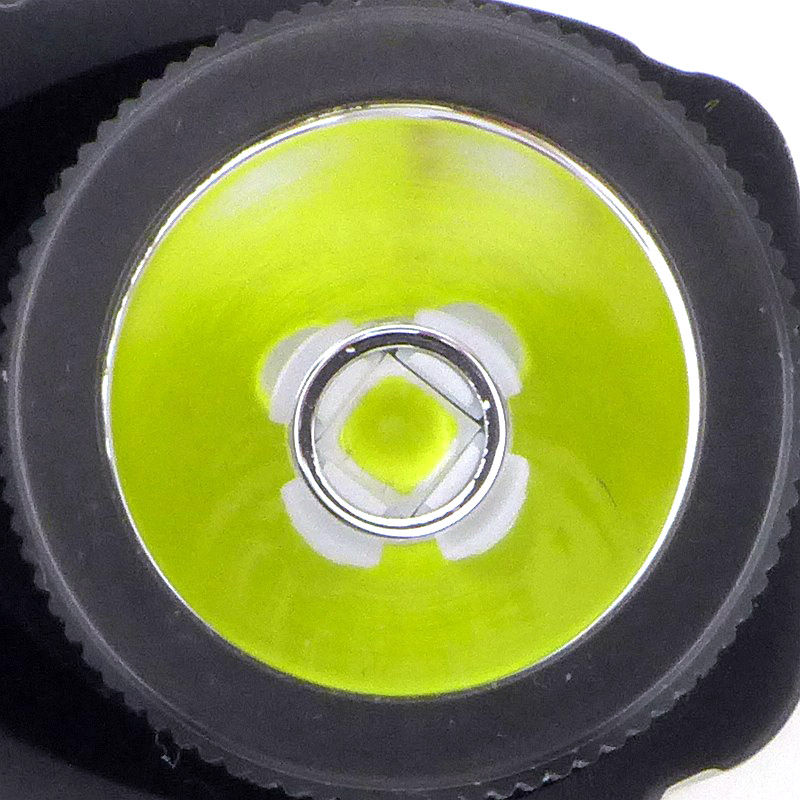
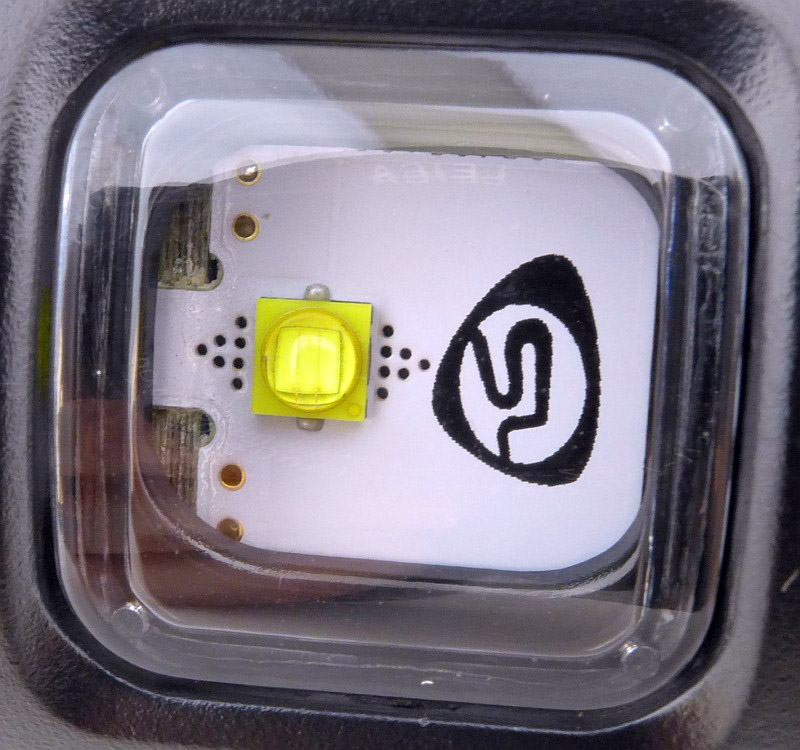
The same LED is used for the side mounted flood beam without any reflector. The side beam’s switch is smaller and has no checkering.
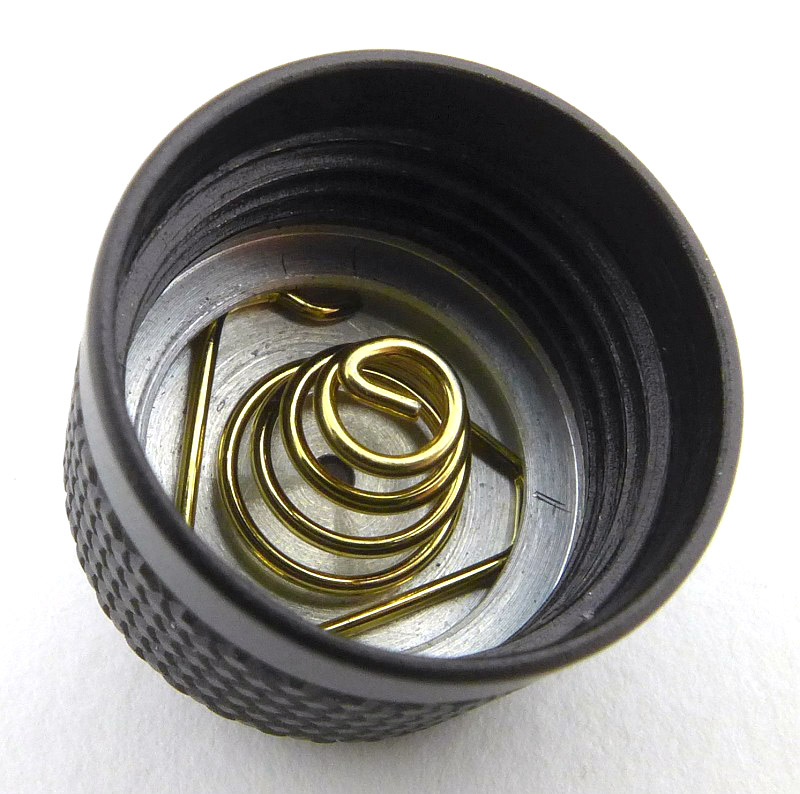
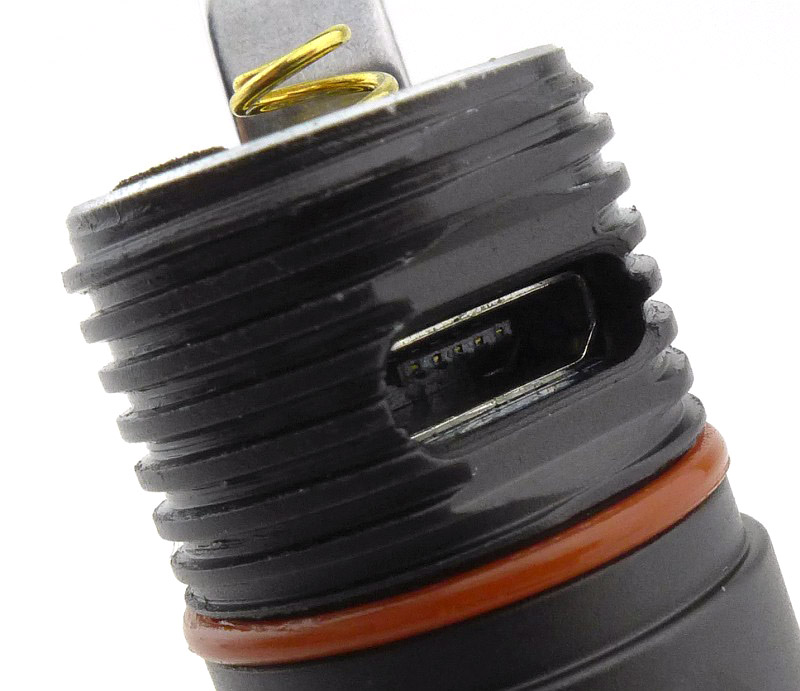
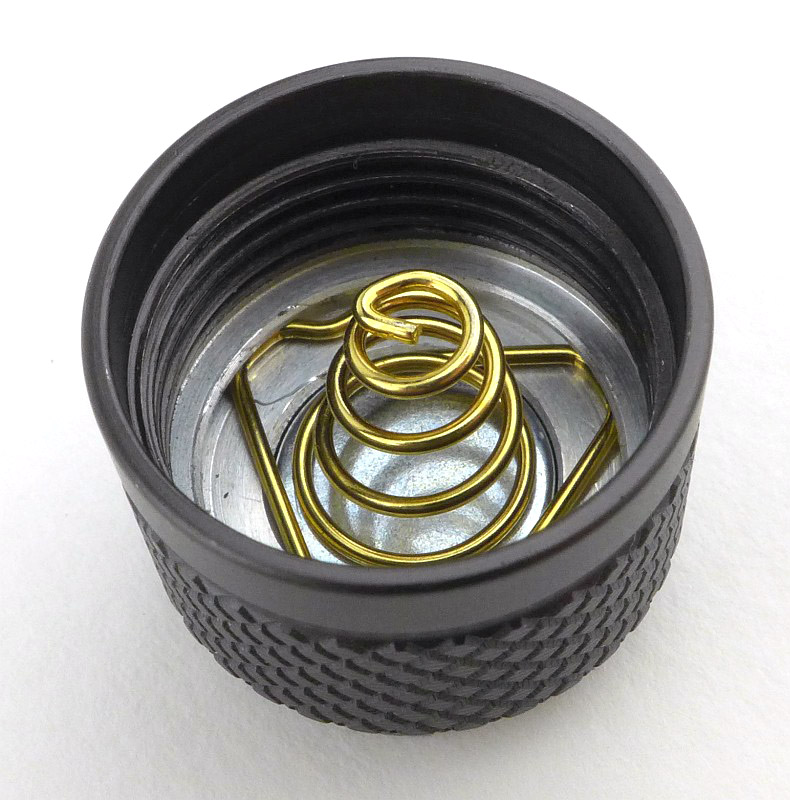
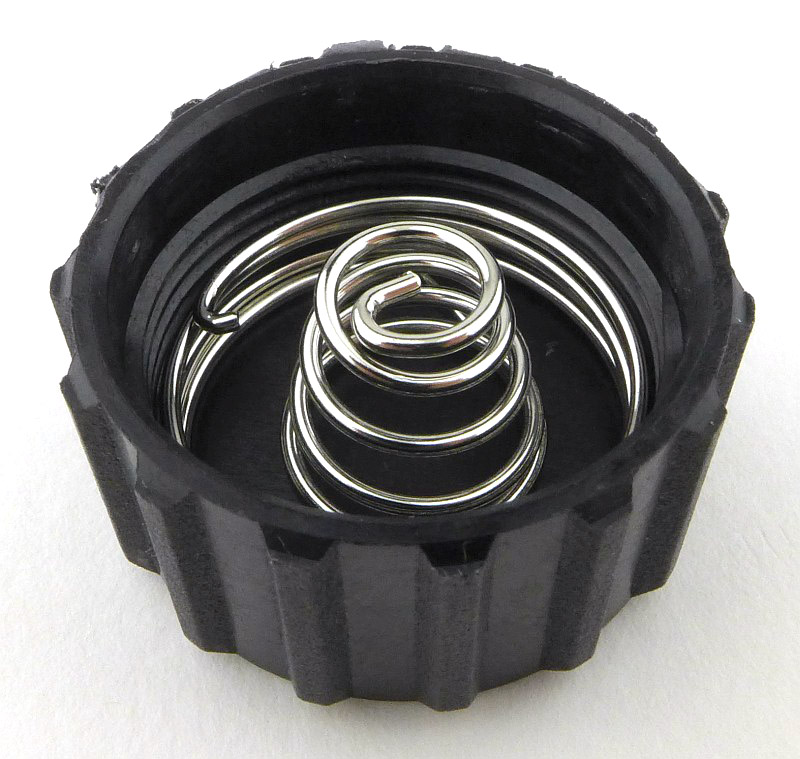
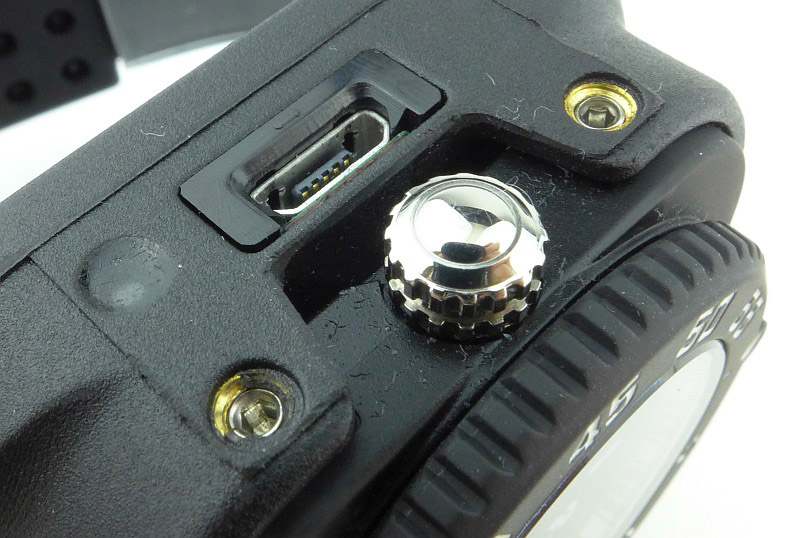
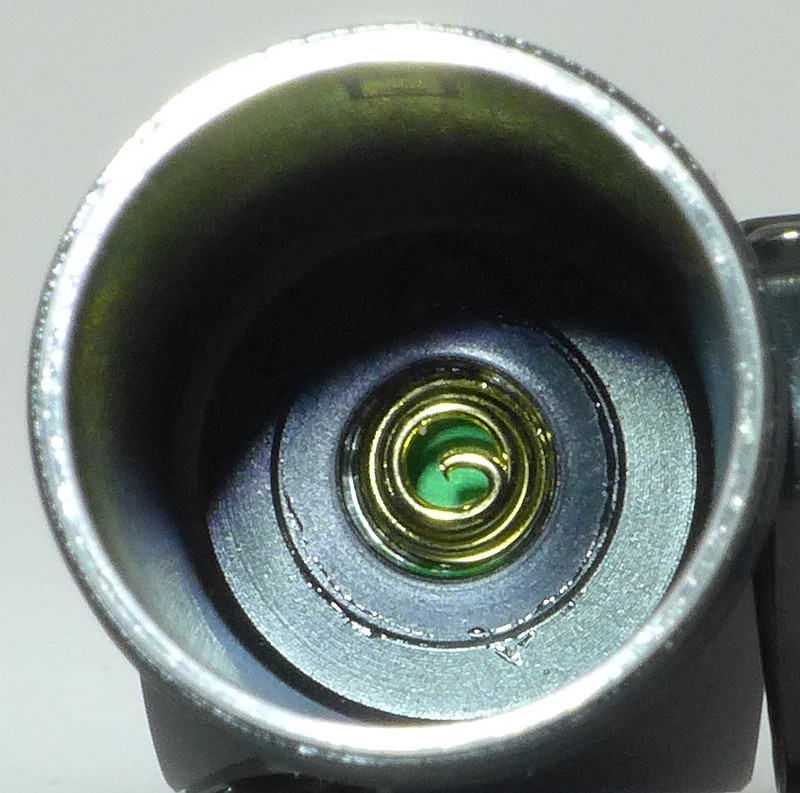
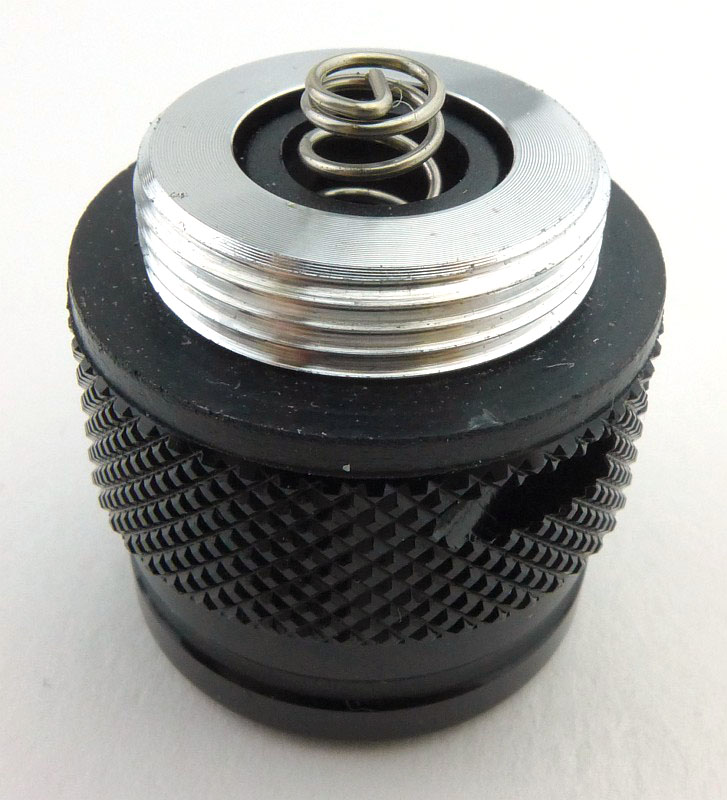
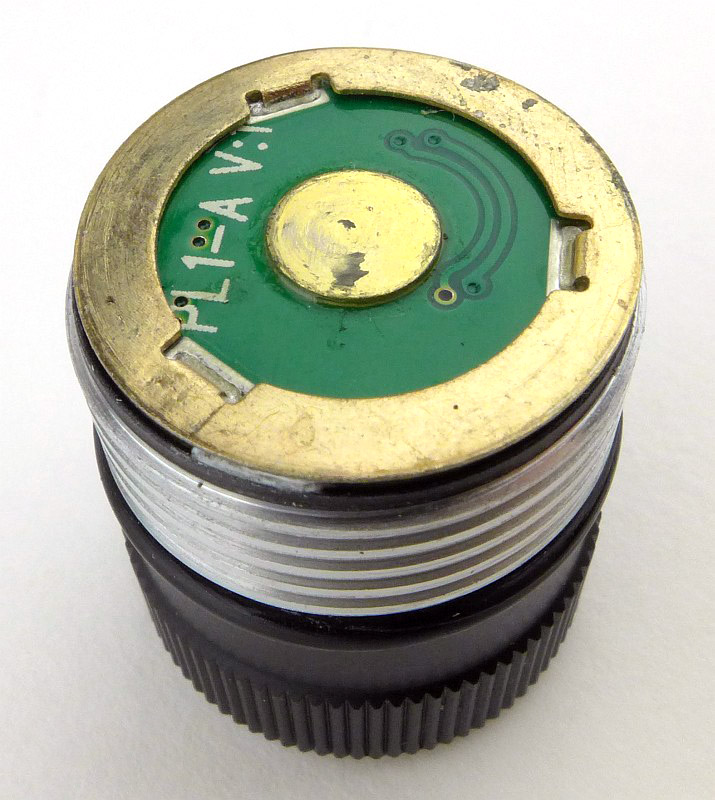
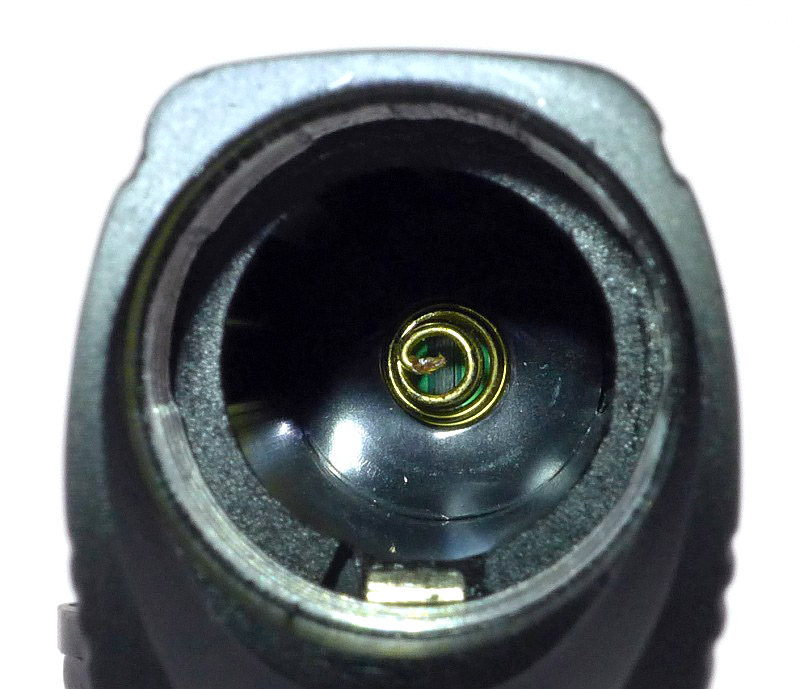
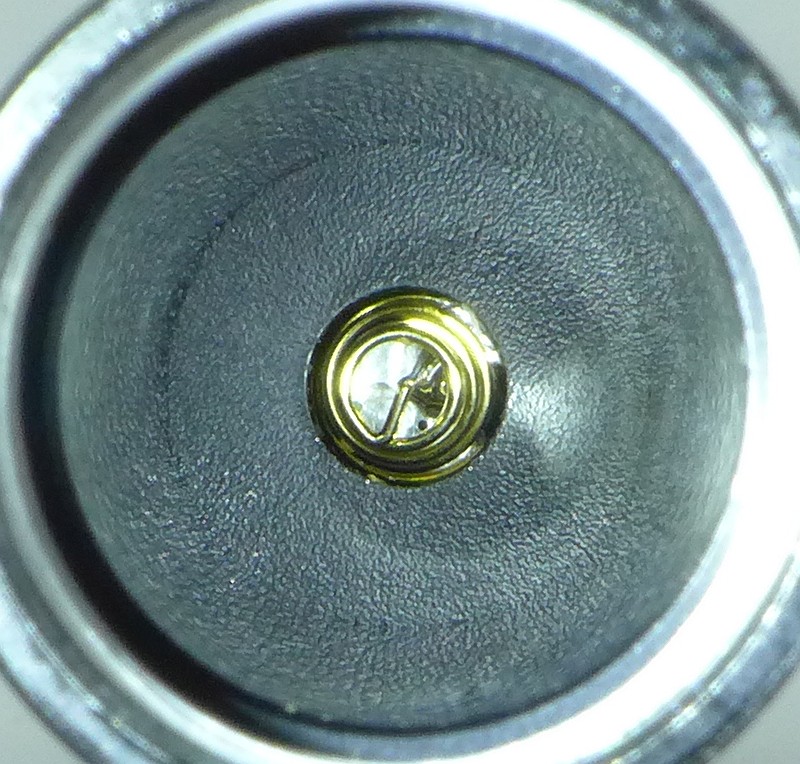
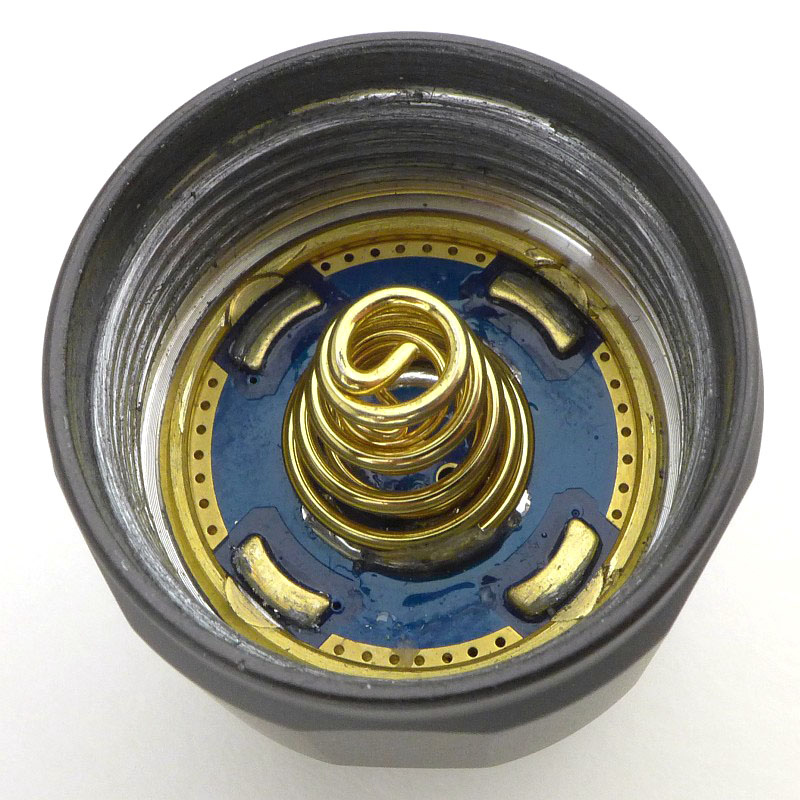
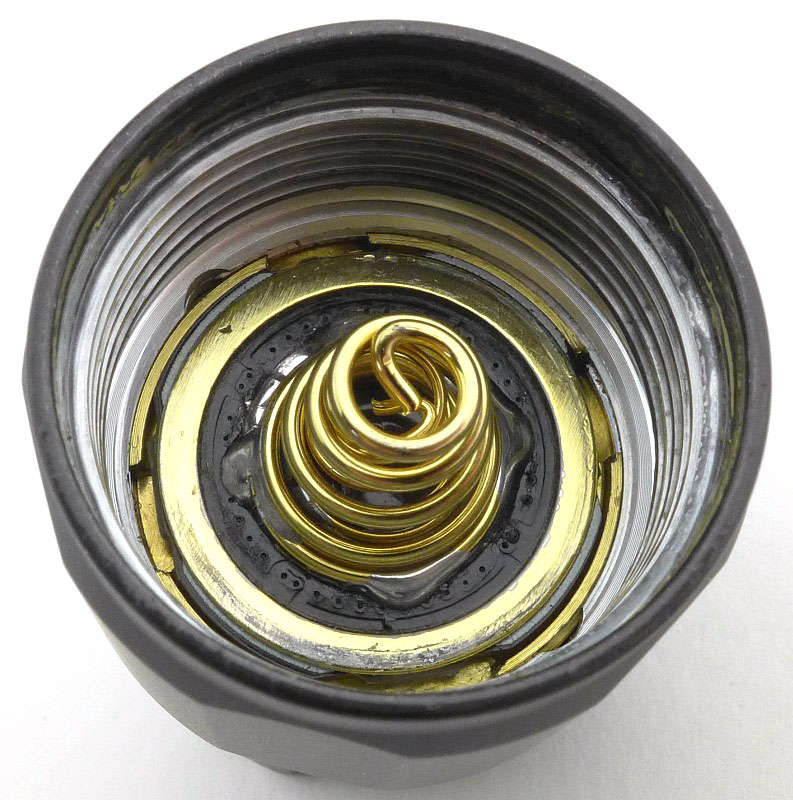
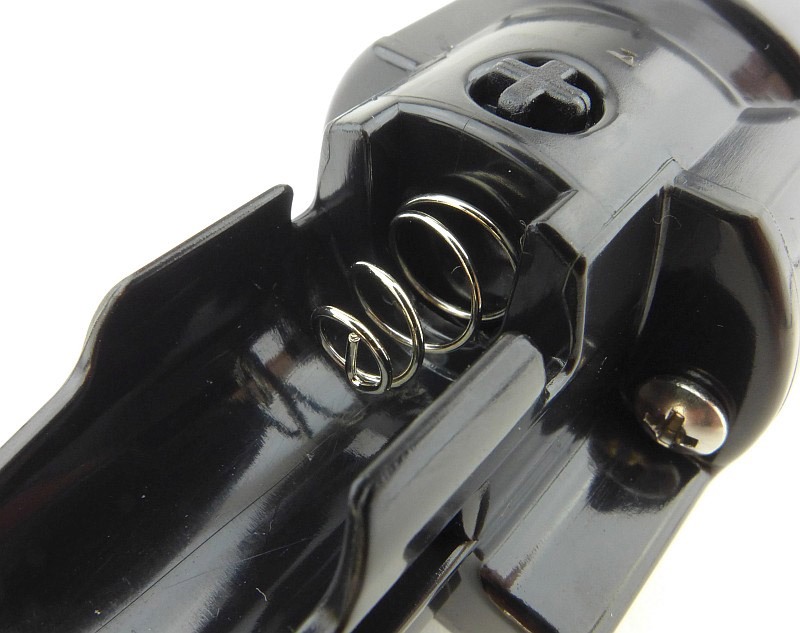
Inside the light’s head are two contacts made from coiled wire.
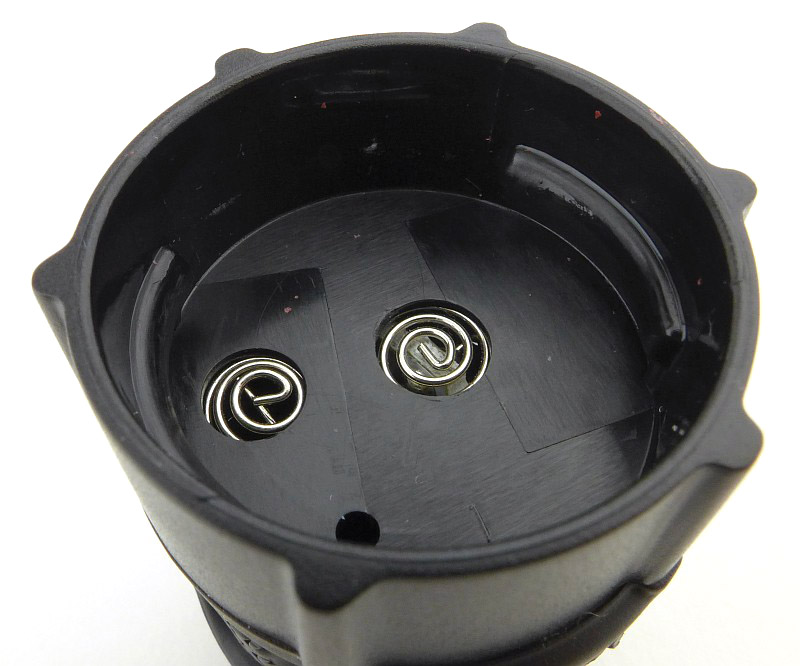
The coil contacts connect to the battery positive terminal and a contact built-in to the front of the battery tube. The other metal part visible here is the locking screw to fix the head in place.
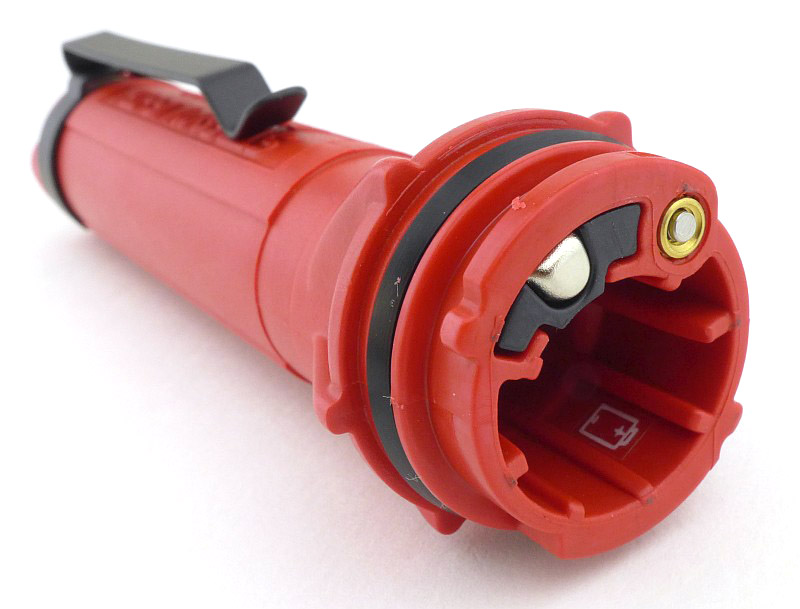
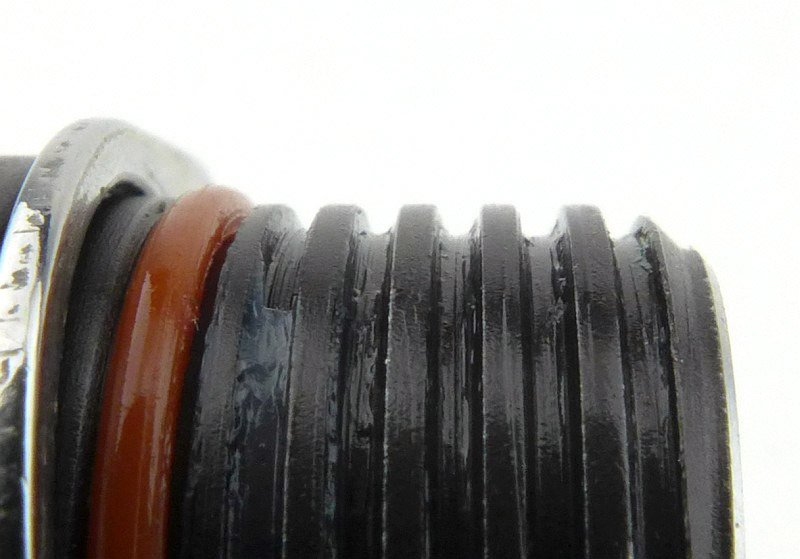
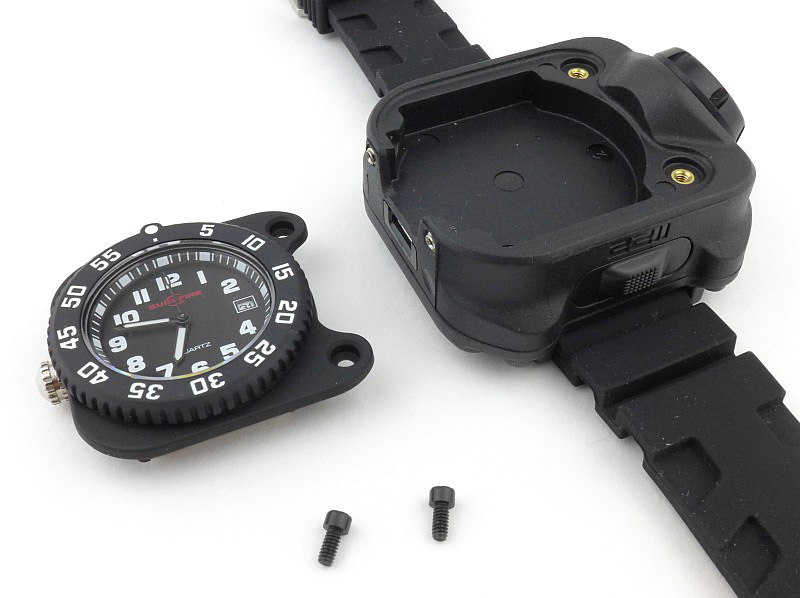
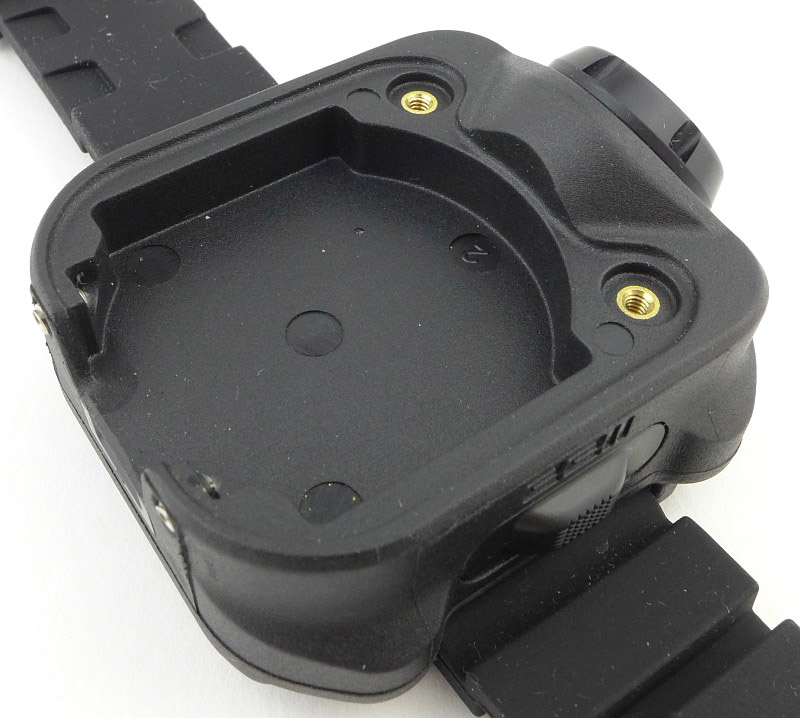
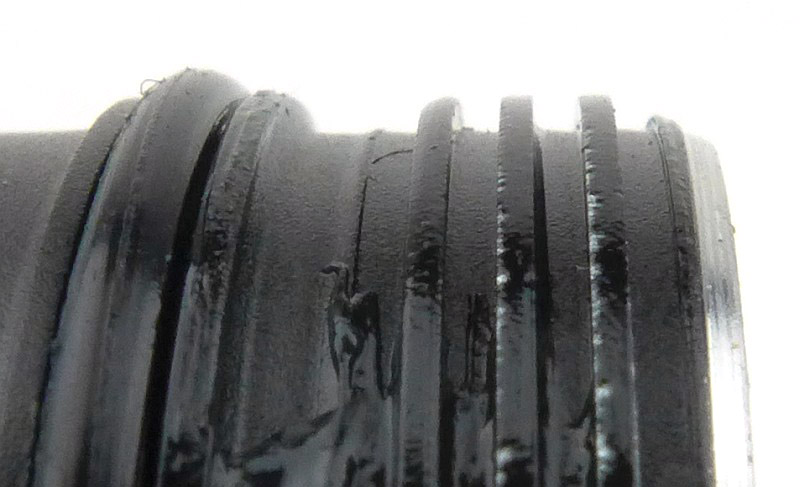
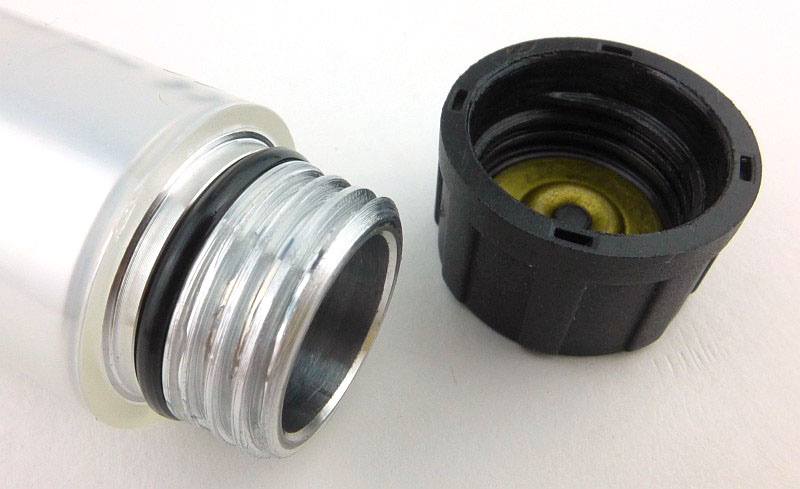
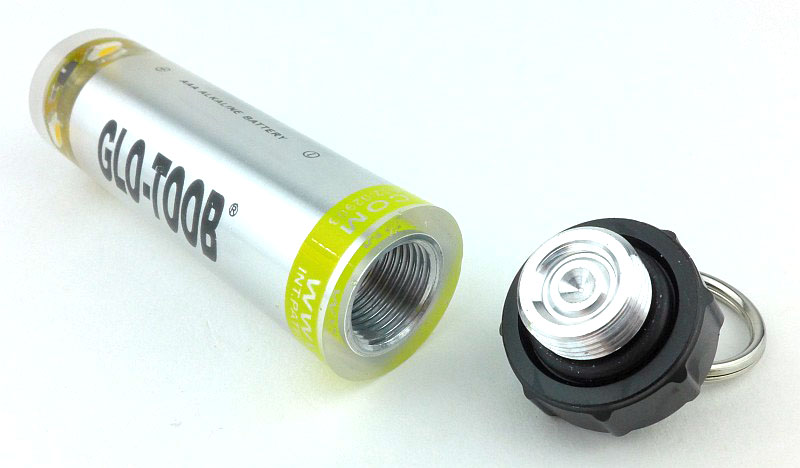
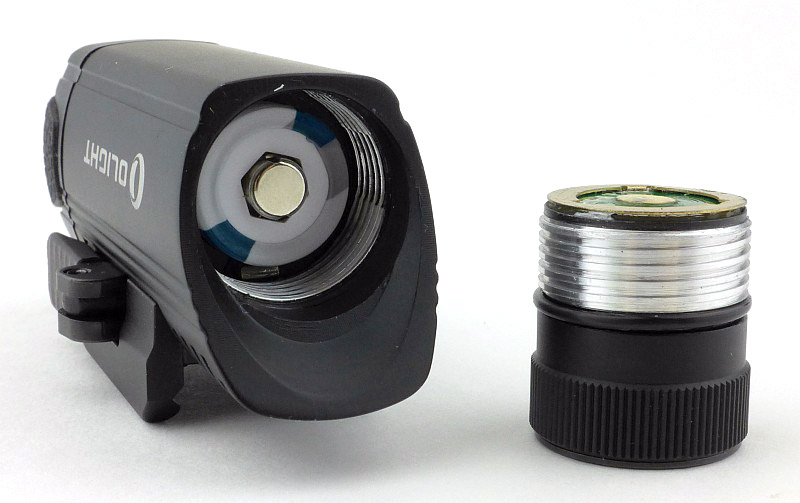
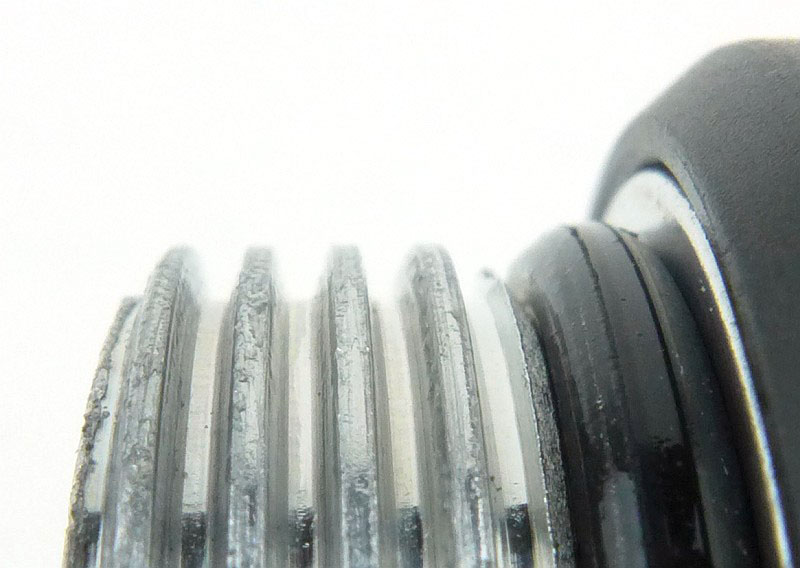
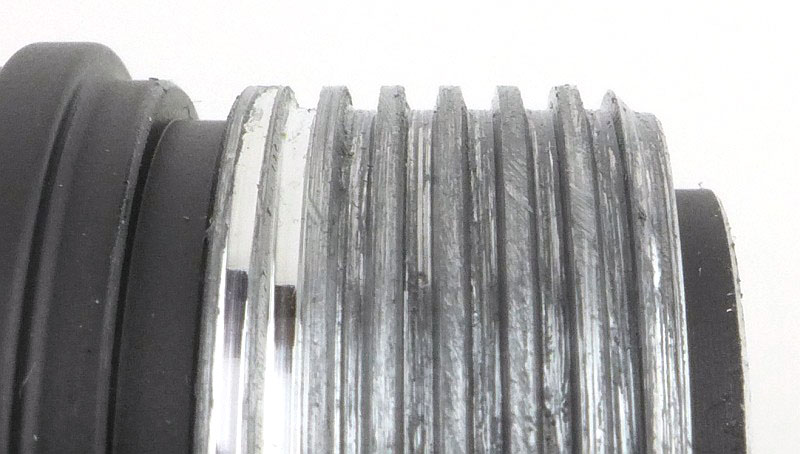
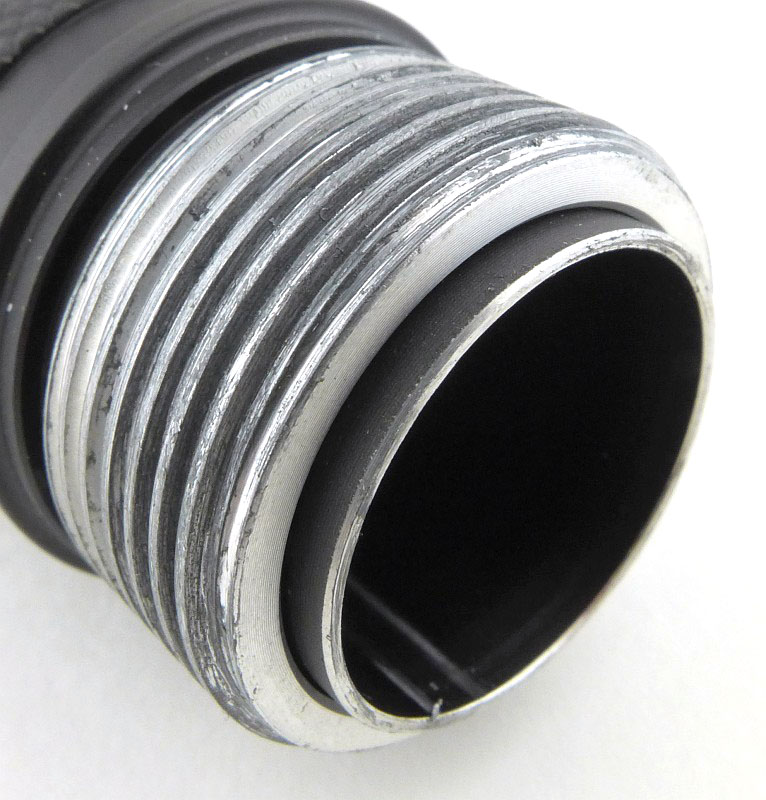
Instead of screw-threads, the 2AA uses a bayonet fixing for the head / battery tube fitting.
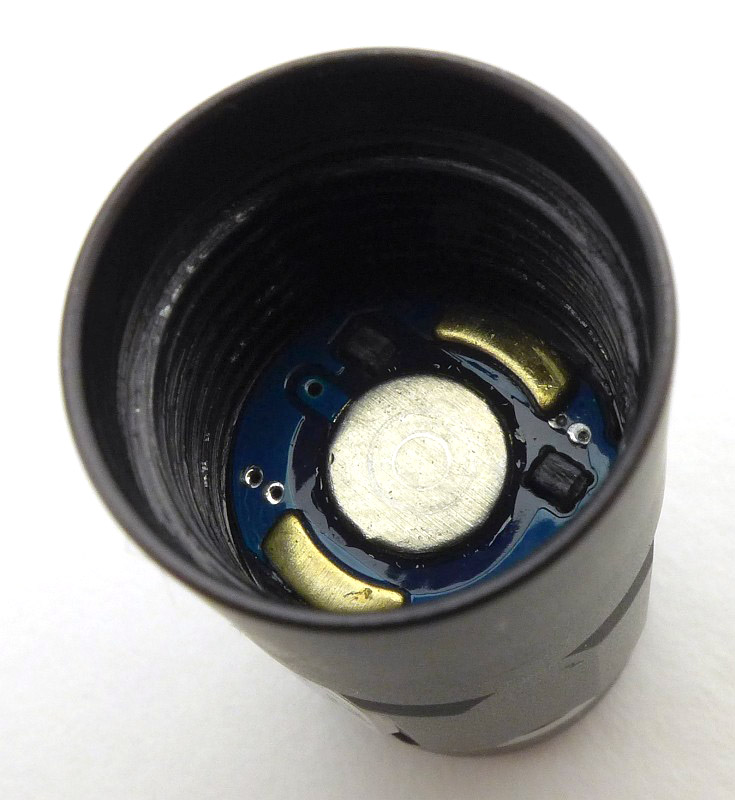
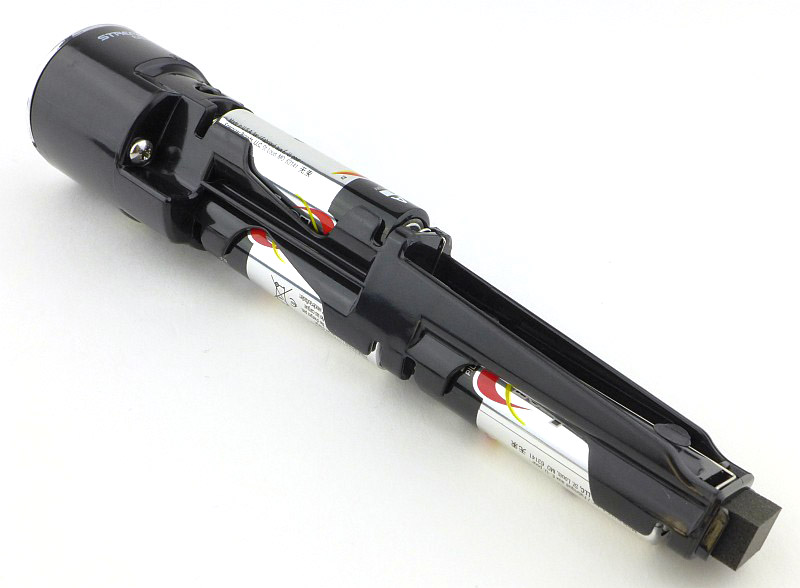
The batteries are now fitted into the body.
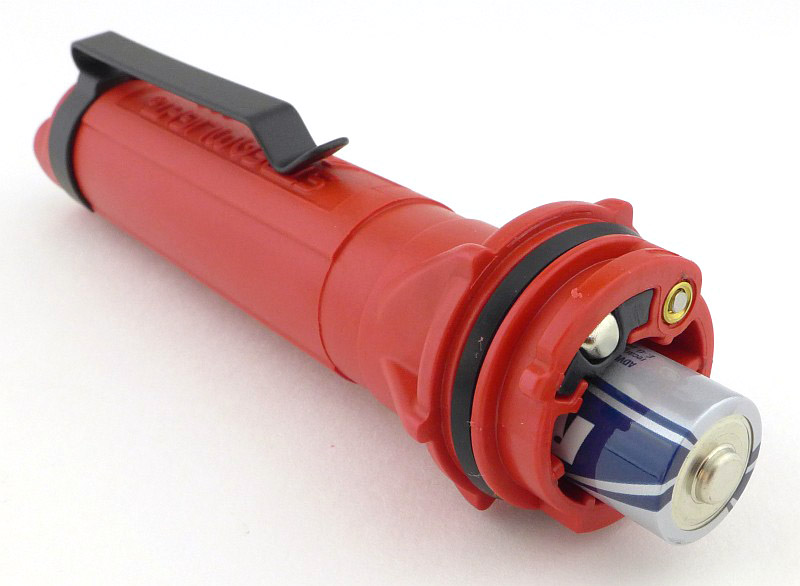
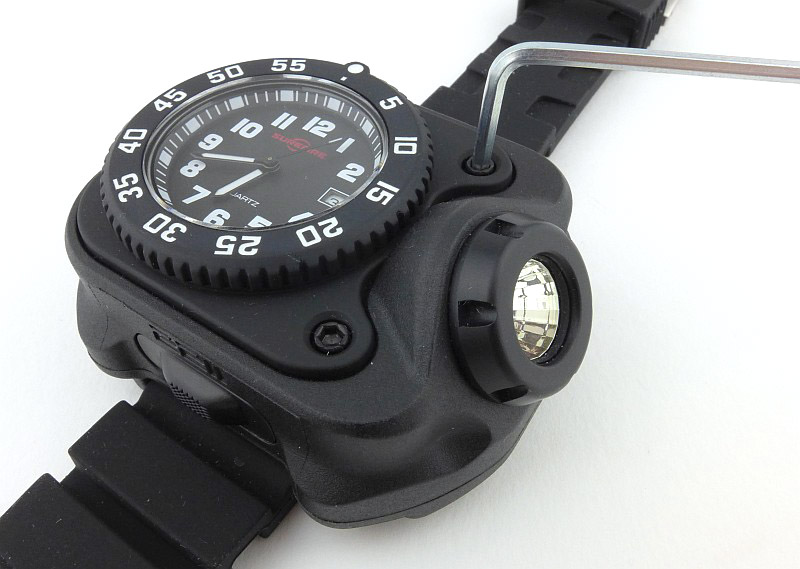
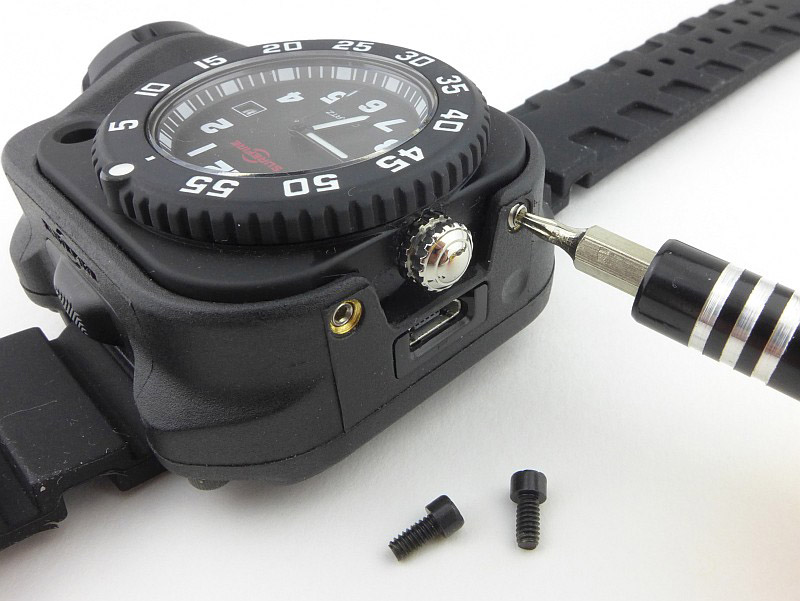
Now we see why there is an Allen key included. With the head fitted back onto the body, the locking screw can be tightened.
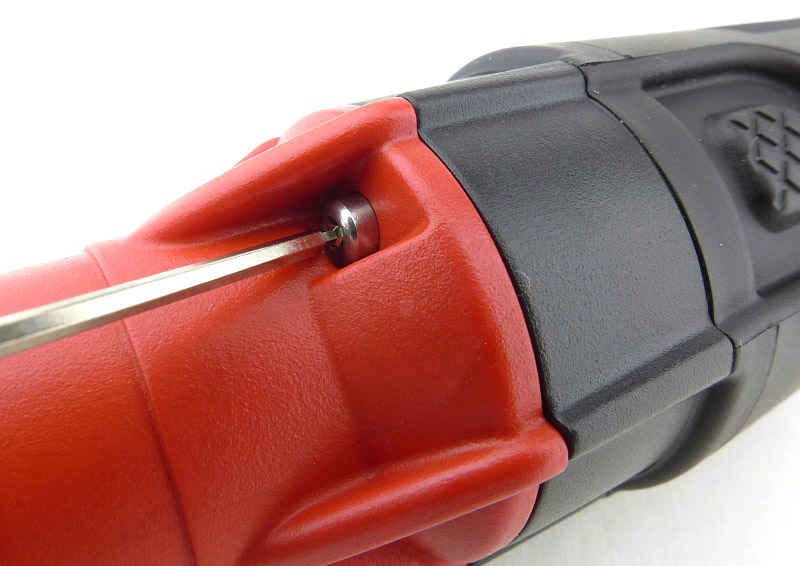
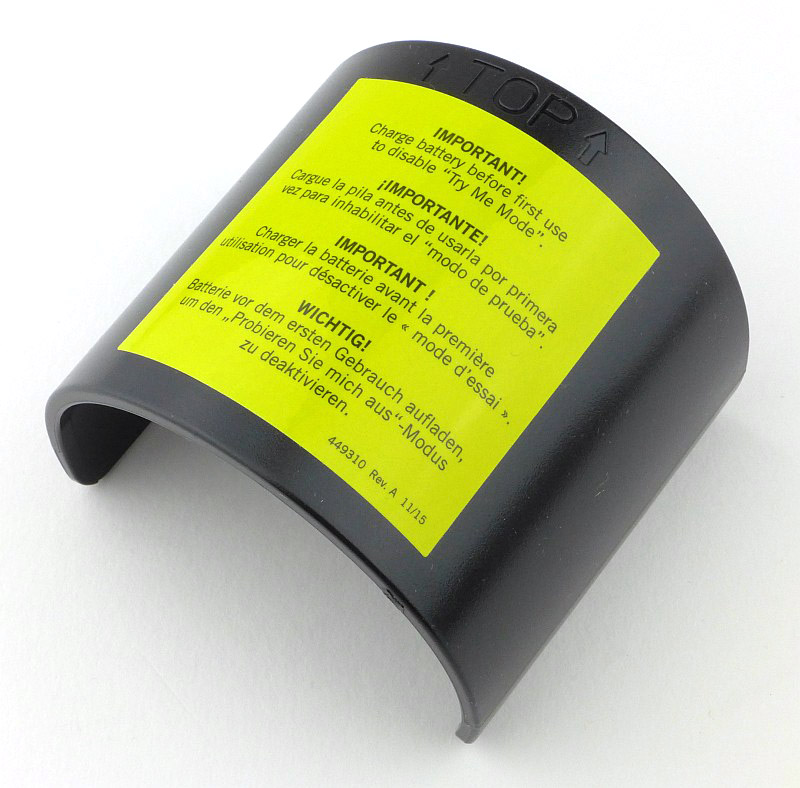
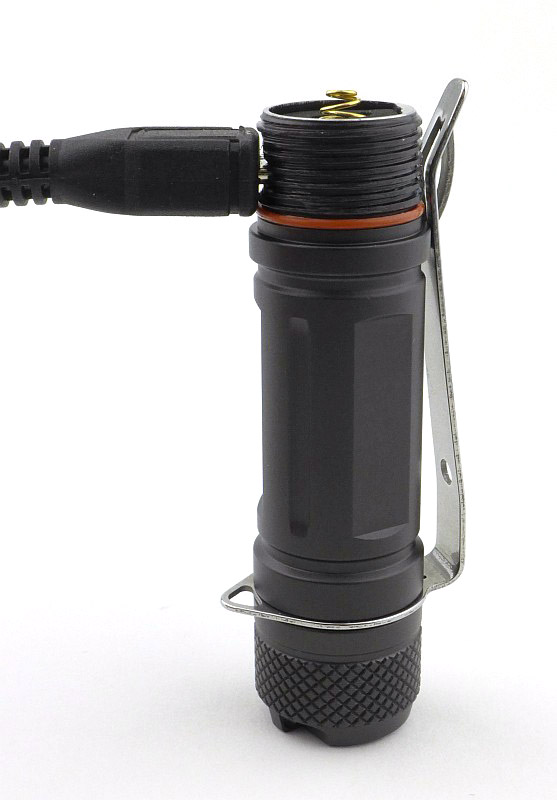
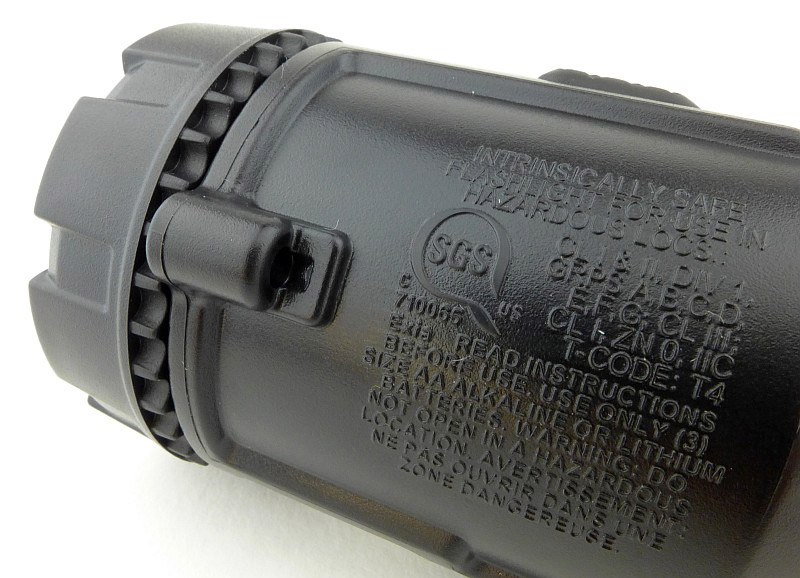
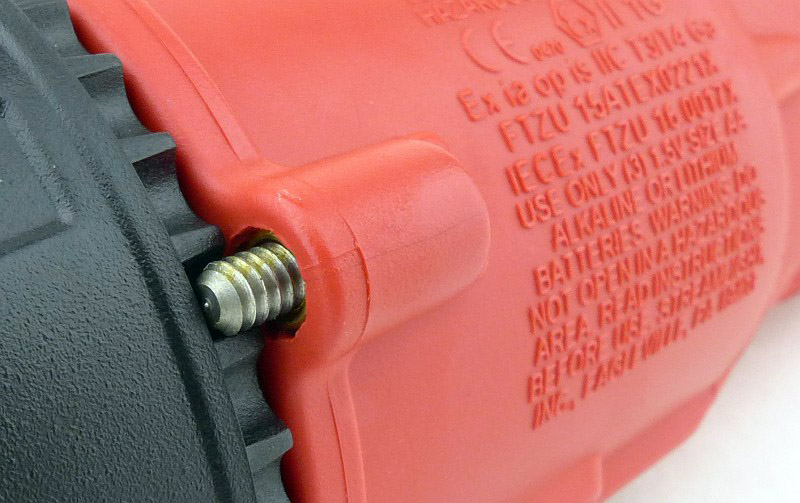
A requirement of certain Intrinsically Safe standards is that the batteries cannot be replaced in the hazardous environment. This is achieved by use of a locking screw to prevent the light being accidentally opened. Instead you need to use a tool to intentionally open the light.
The head is now locked and can’t be taken off without the screw being loosened.

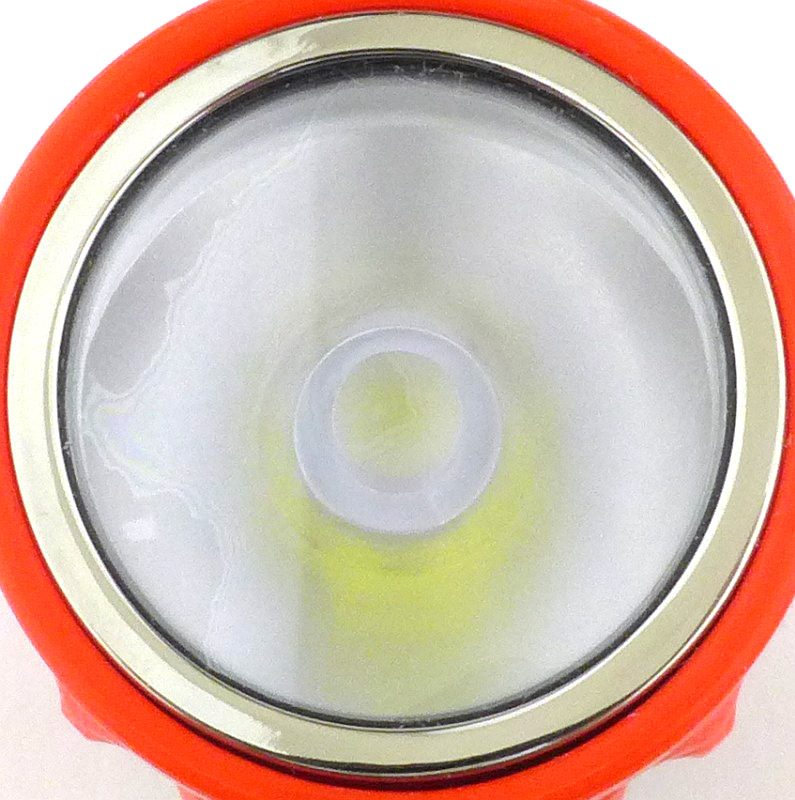
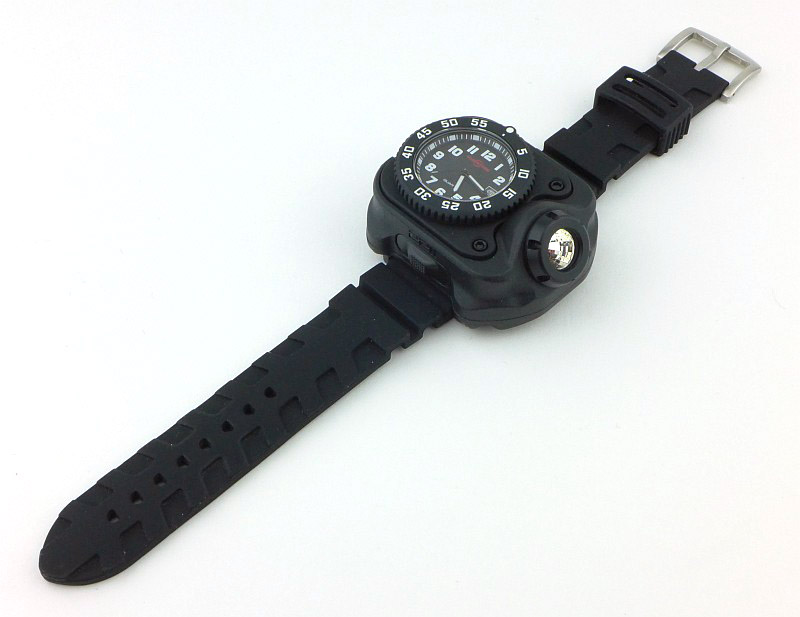
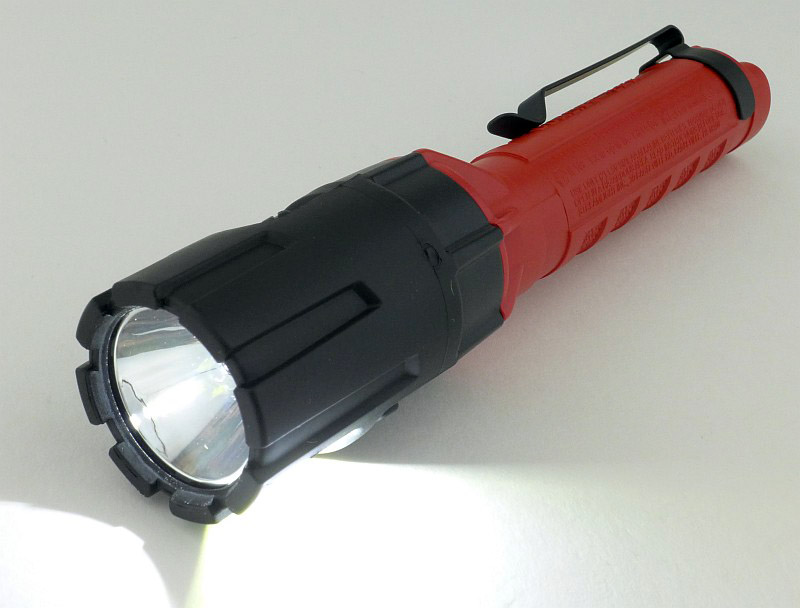
Ready to go.
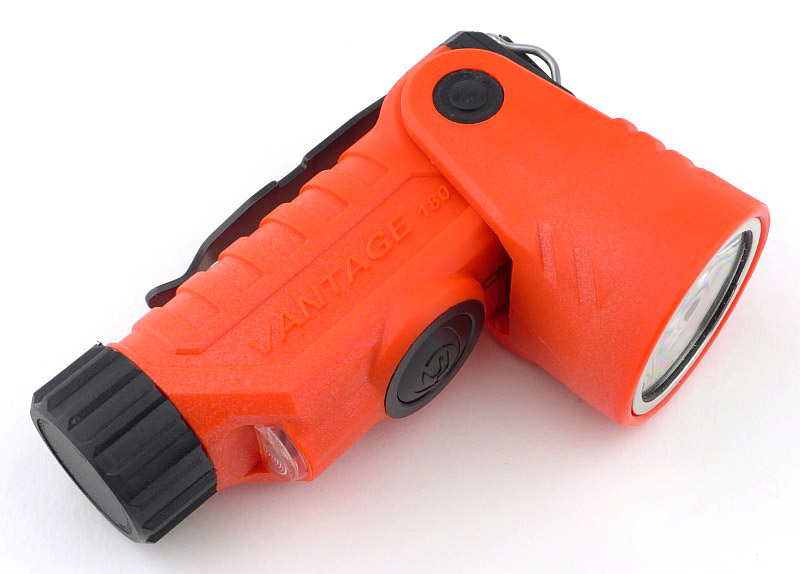
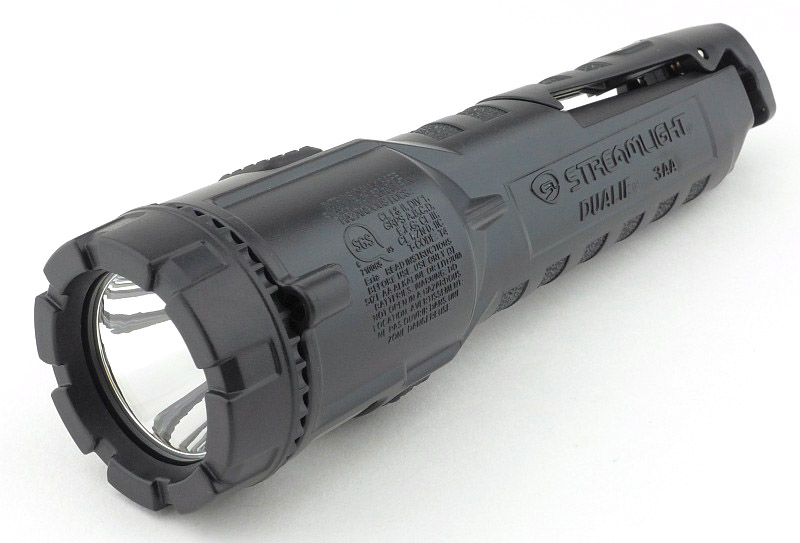
Taking a more detailed look at the Dualie 3AA Magnet:
In the 3AA Magnet’s box along with the Dualie is a set of alkaline batteries, a wrist lanyard, and the instructions.
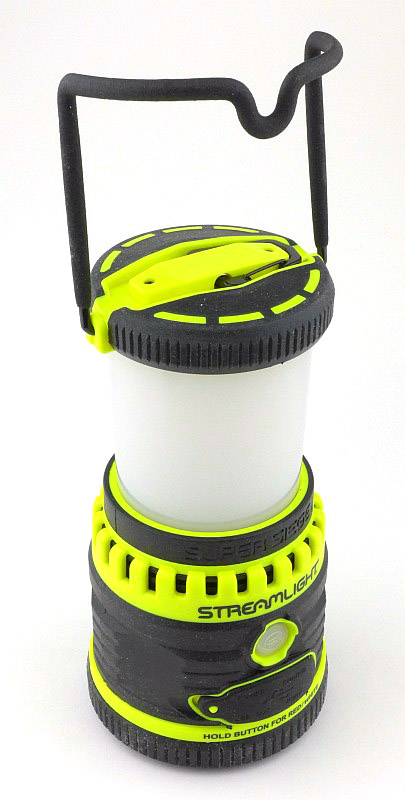
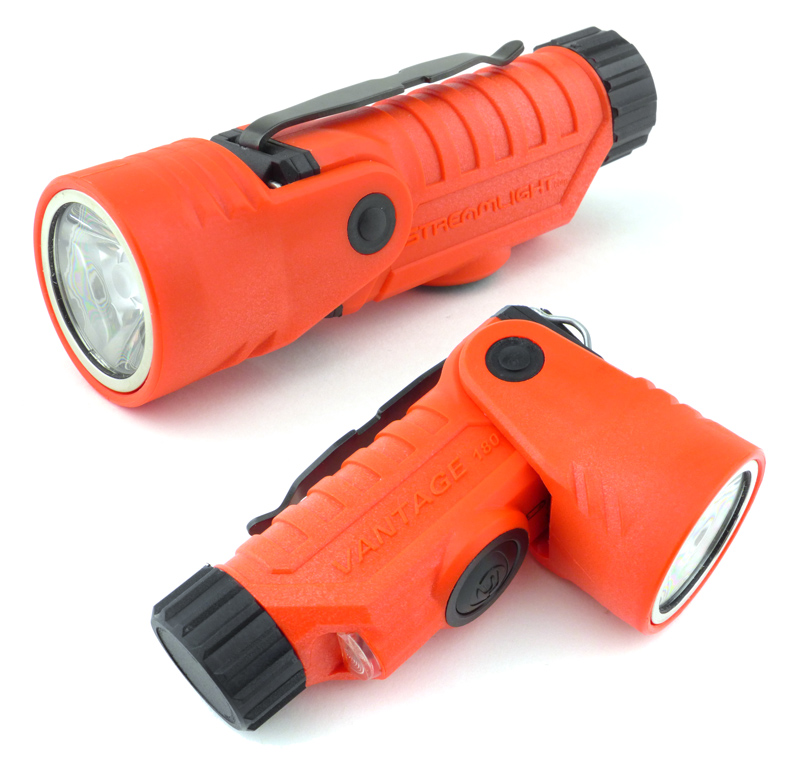
The Dualie 3AA Magnet’s name is due to the two powerful magnets that have been added for more hands free options.
Not ATEX rated, but still intrinsically safe.
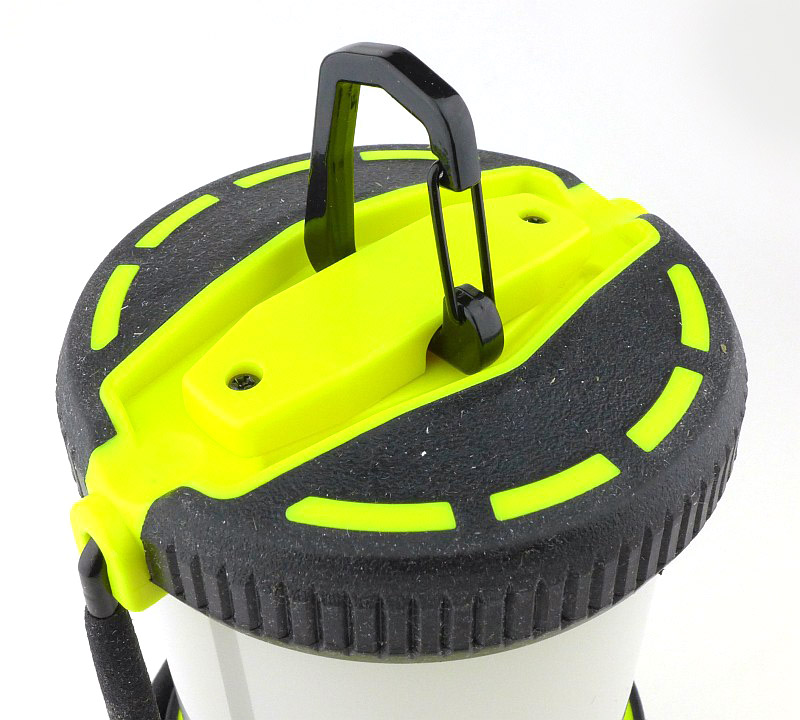
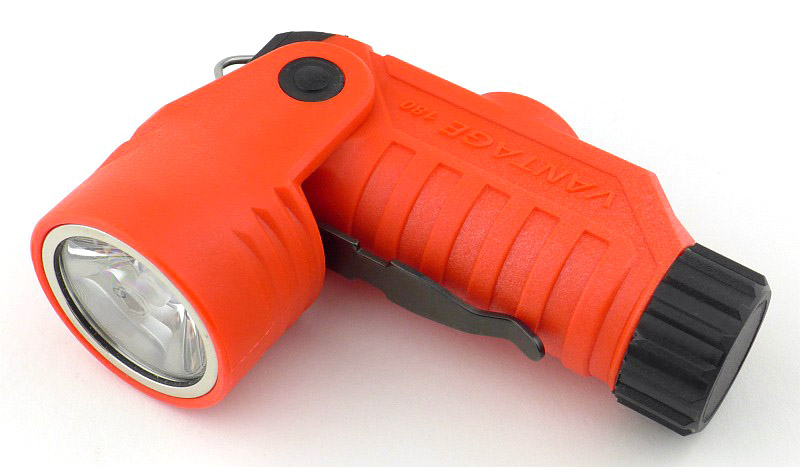
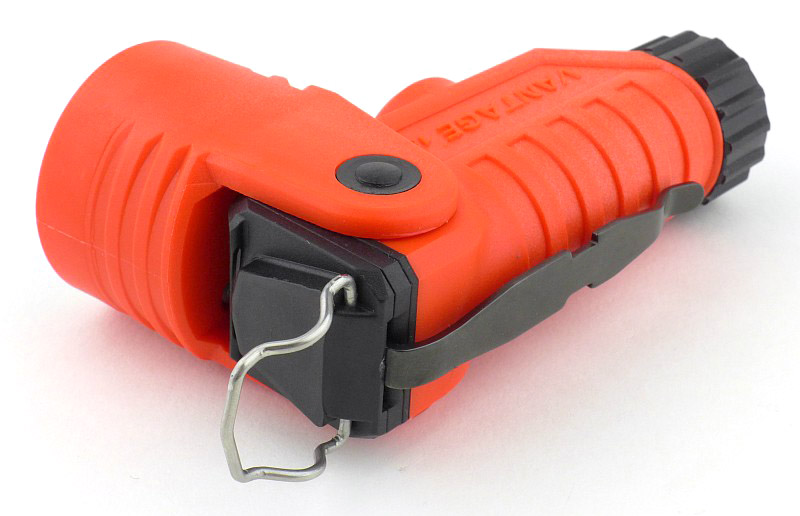
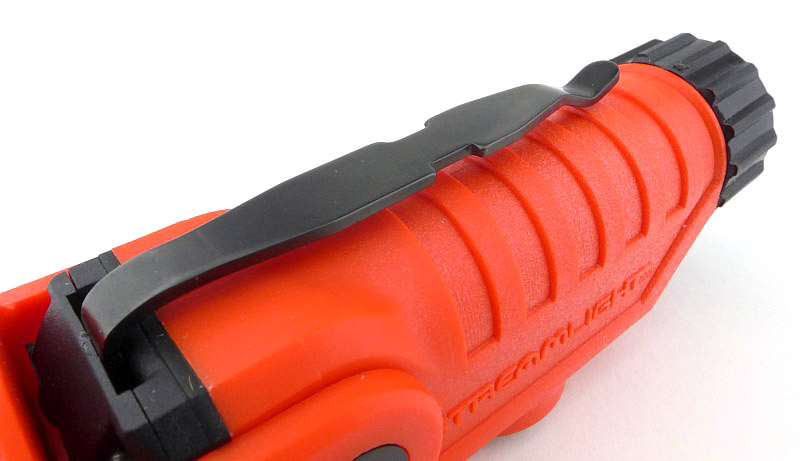
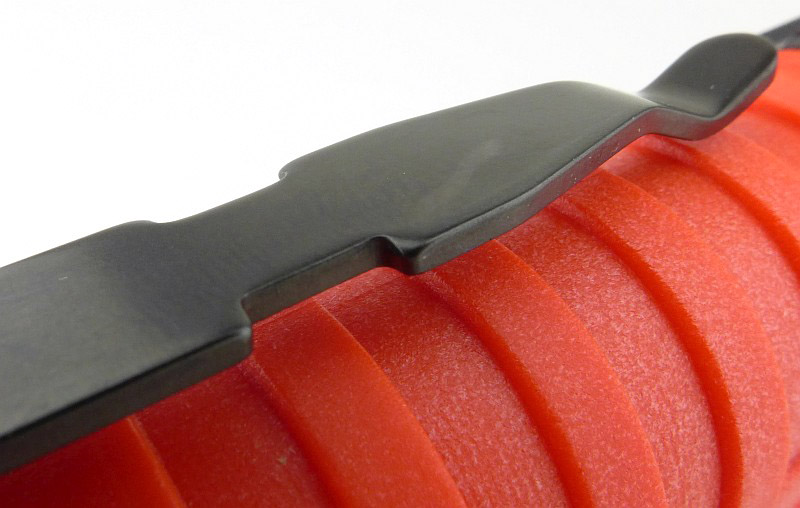
One of the magnets is in the very end of the tail which is part of the extended clip.
The other magnet is in the side of the clip.
The clip extension also acts as a hook.

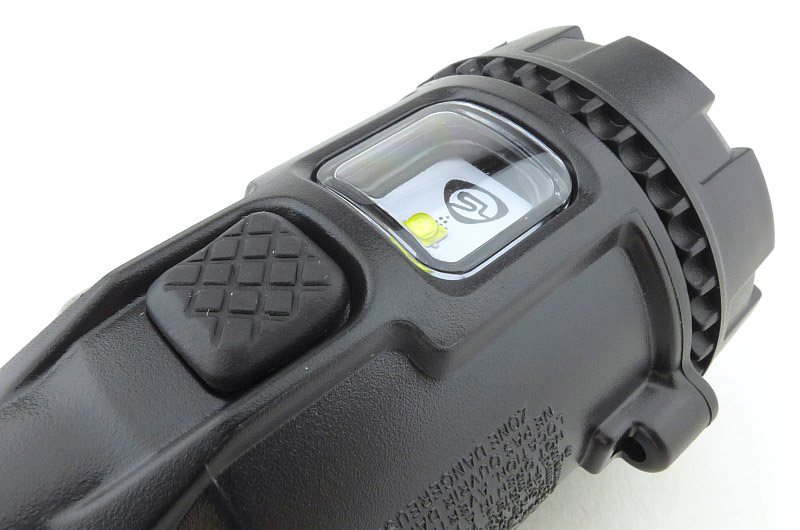
The main beam’s switch is the largest of the two, and has a checkered grip pattern.
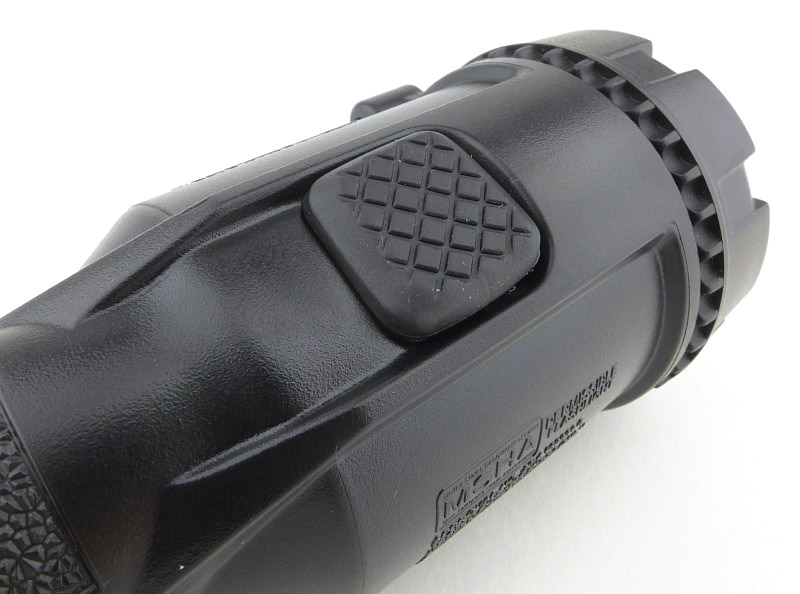
For the flood beam on the side there is a second slightly smaller switch which also has a checkered grip pattern.
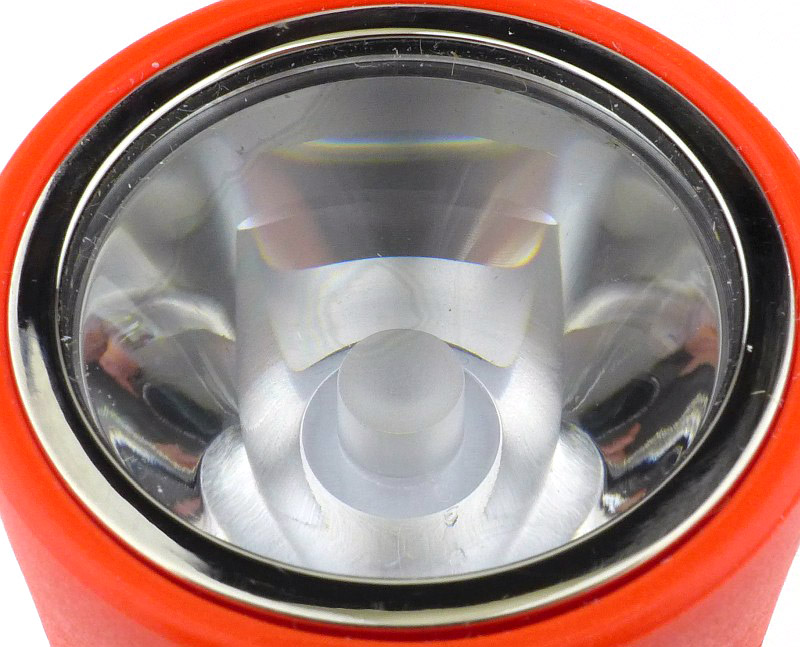
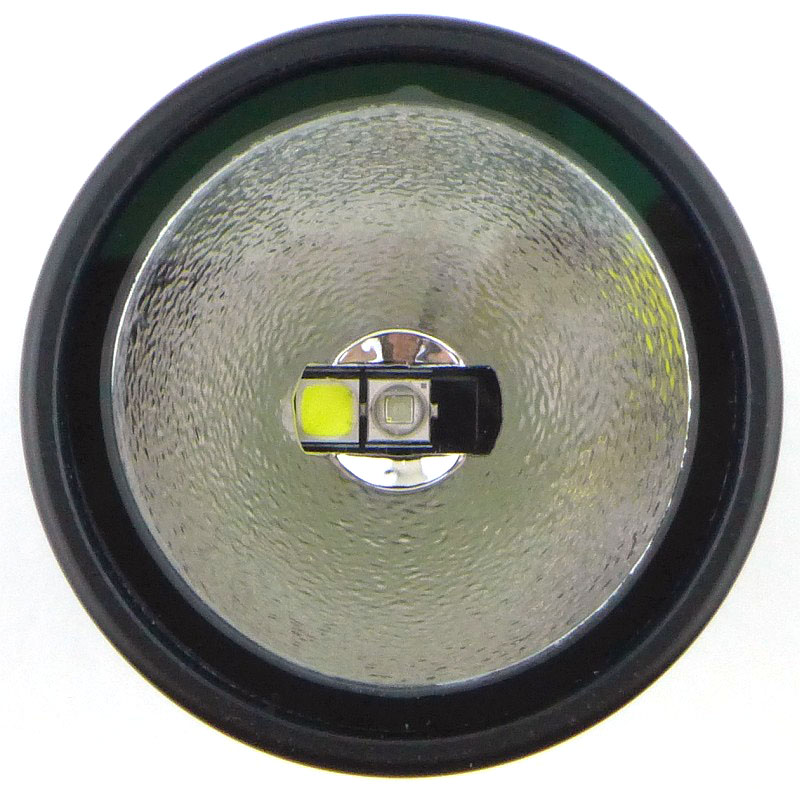
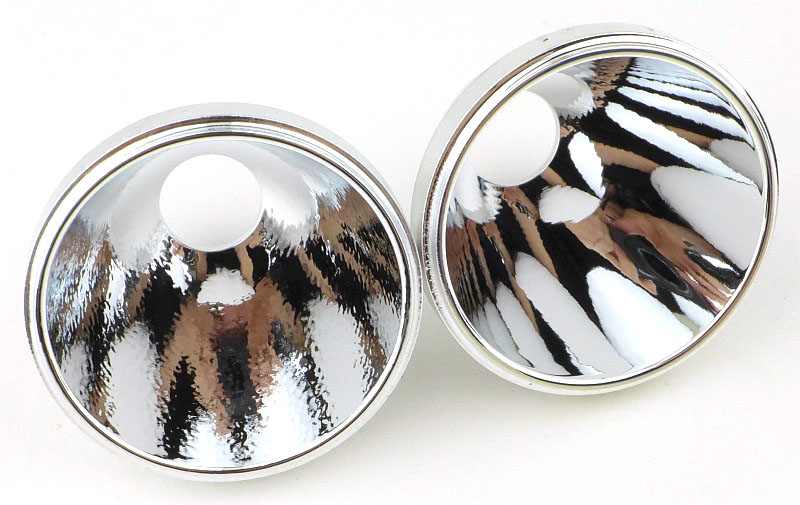
Looking into the main beam’s reflector and its LED.
A full exposed LED with no reflector provides the flood beam.
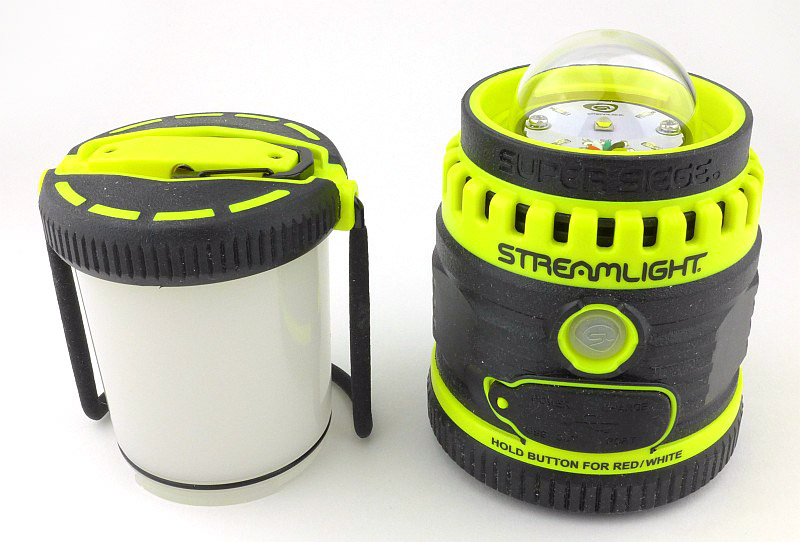
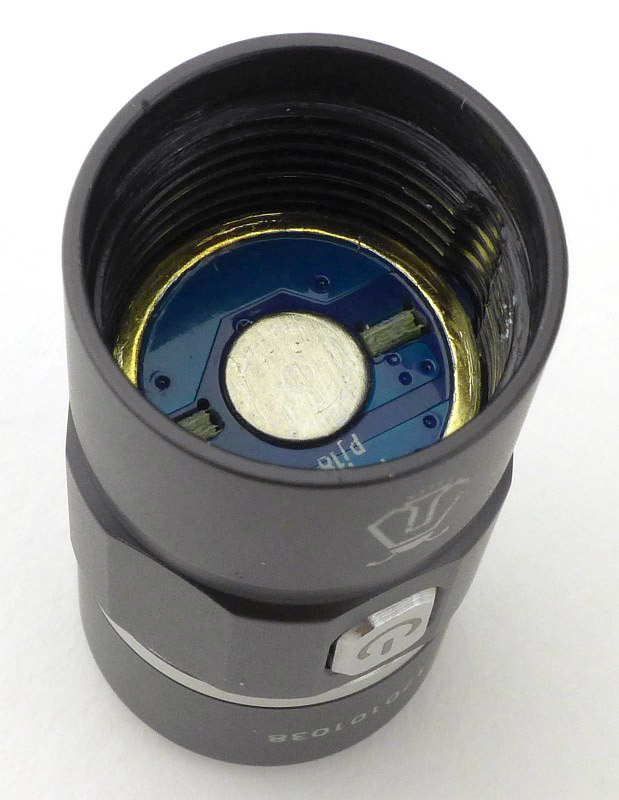
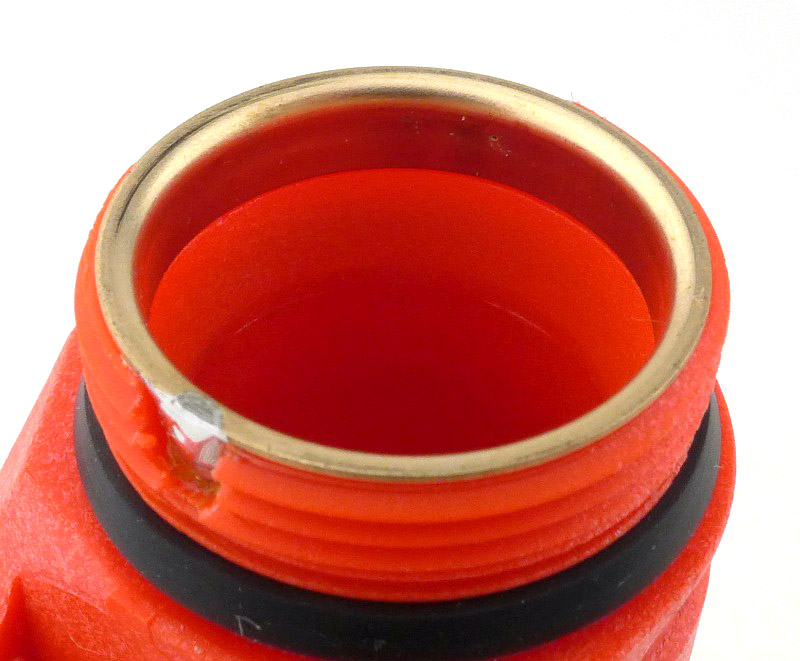
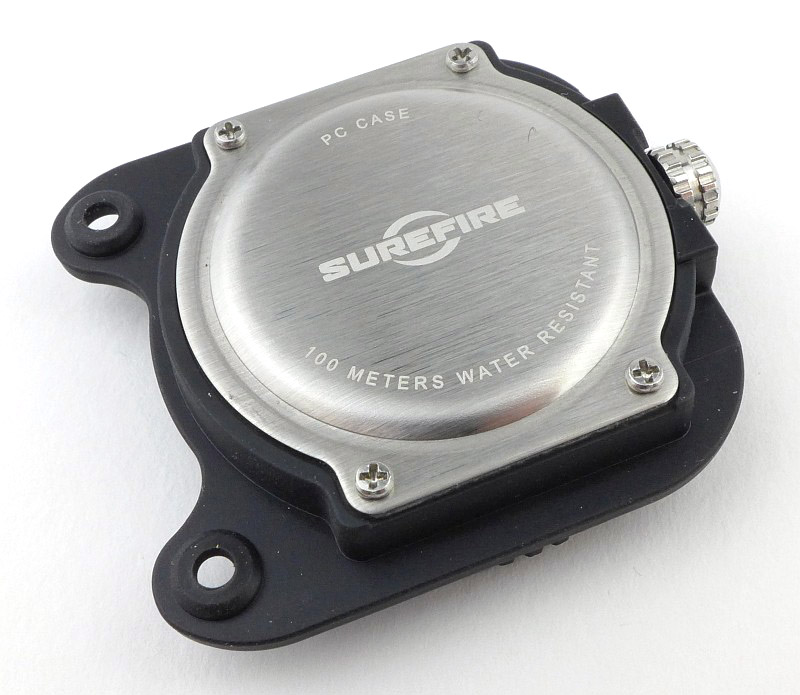
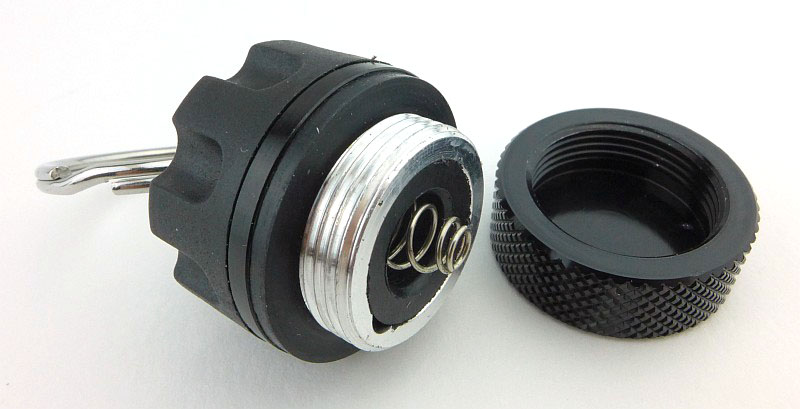
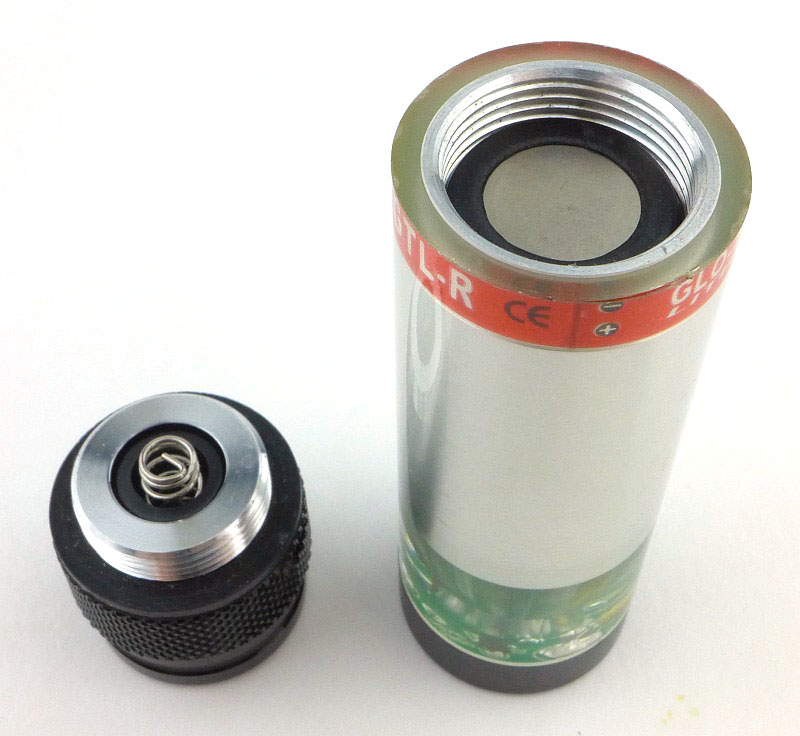
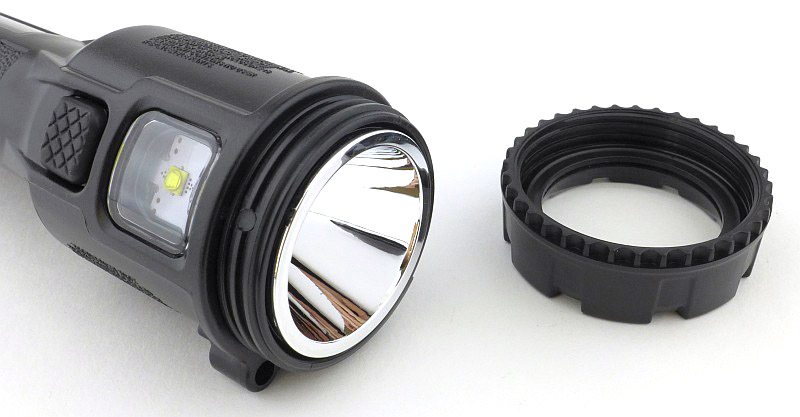
To access the battery caddy, the bezel unscrews from the front of the head.
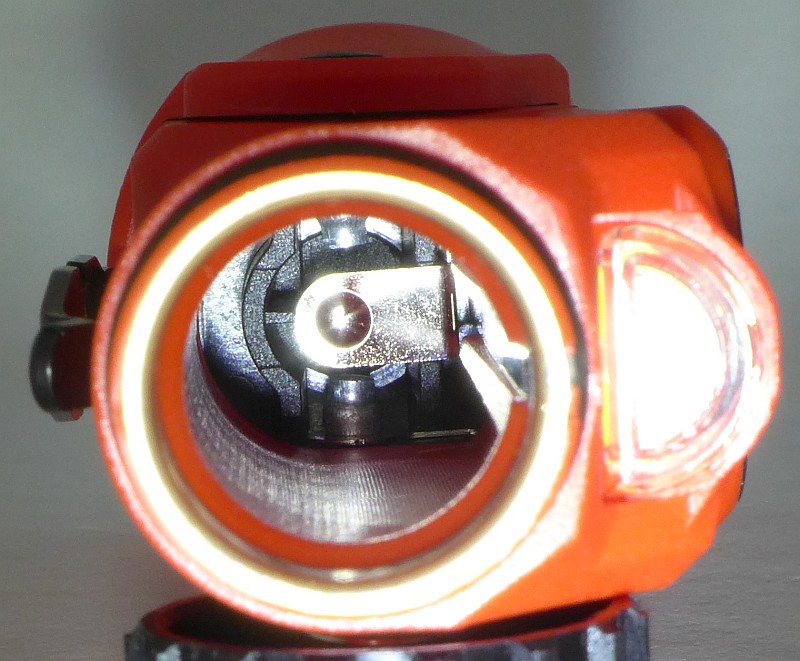
This then allows the main assembly / battery caddy to slide out of the body.
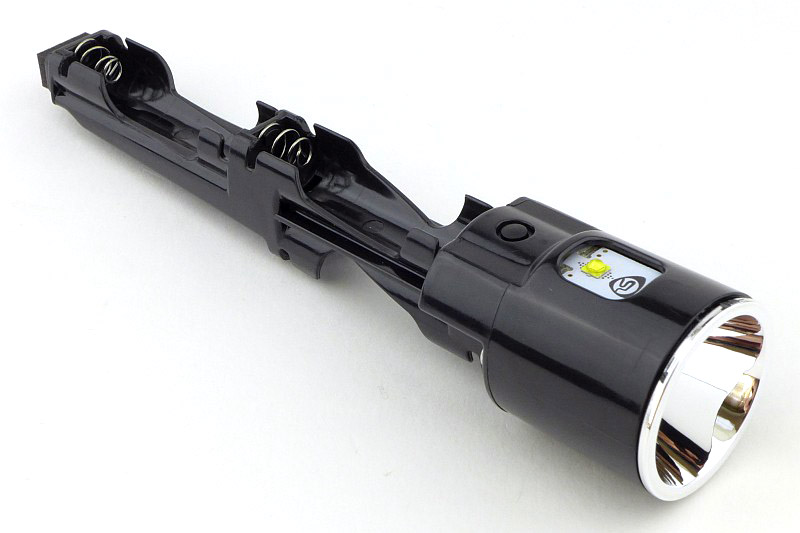
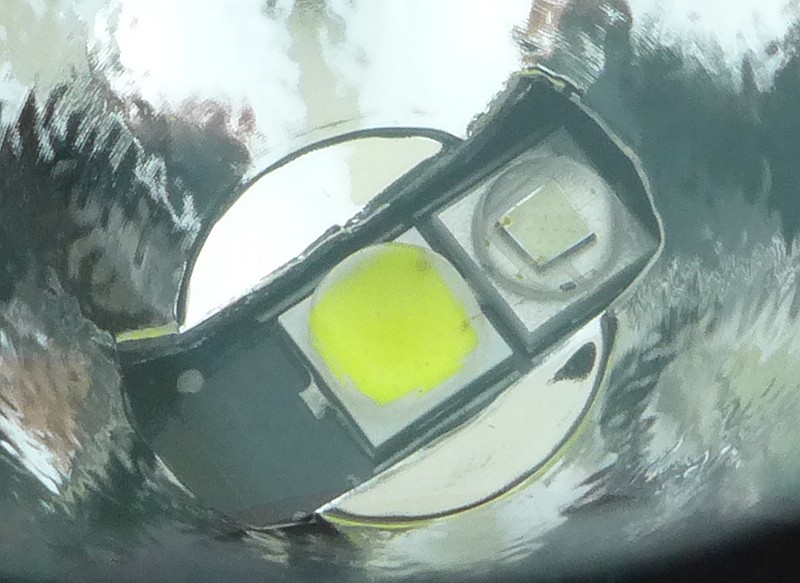
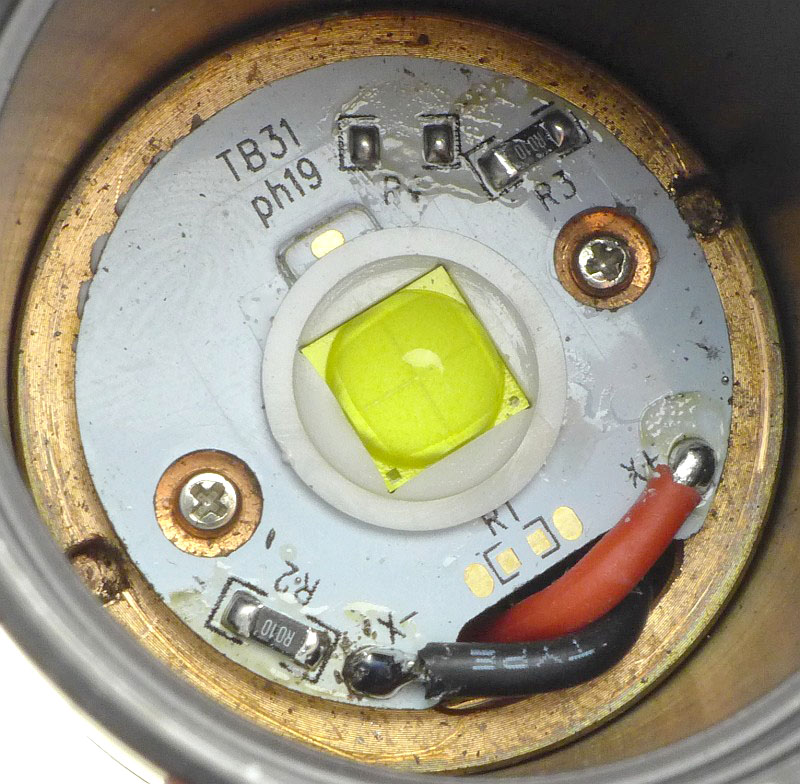
It is a self contained unit with reflector, LEDs, switches, and battery holders.
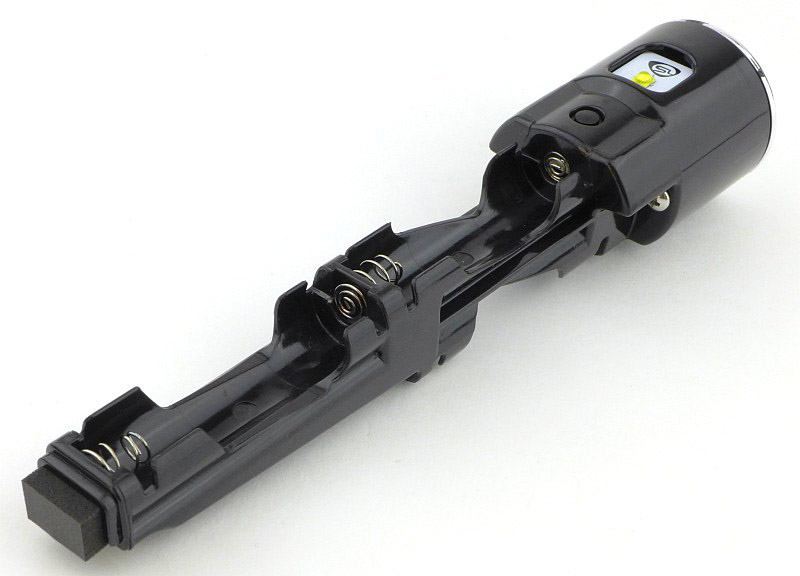
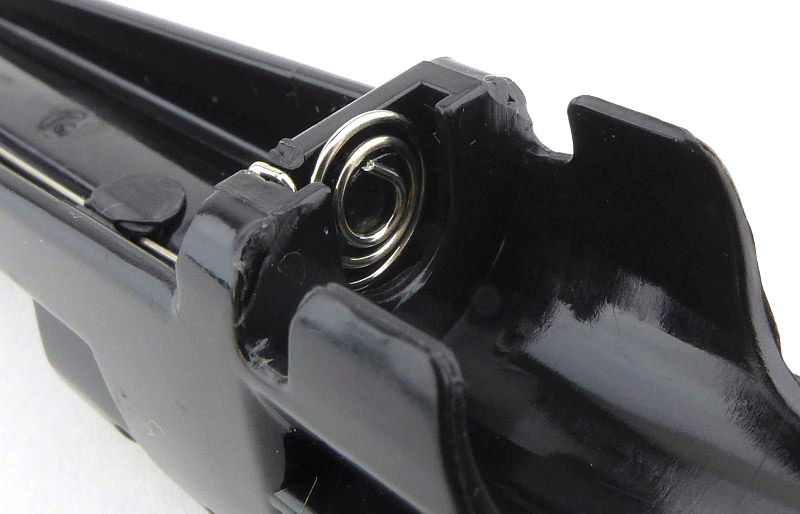
Each cell holder has spring contacts for the negative terminals.
Plus a coiled positive terminal.
Two cells are fitted to one side, and a single cell into the other.
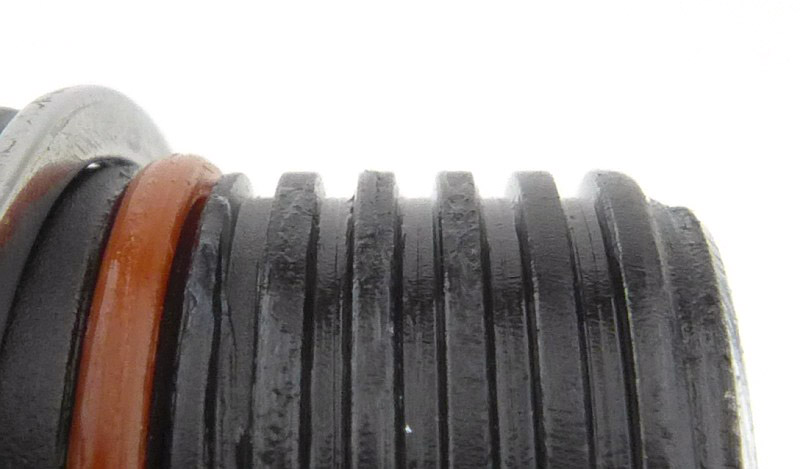
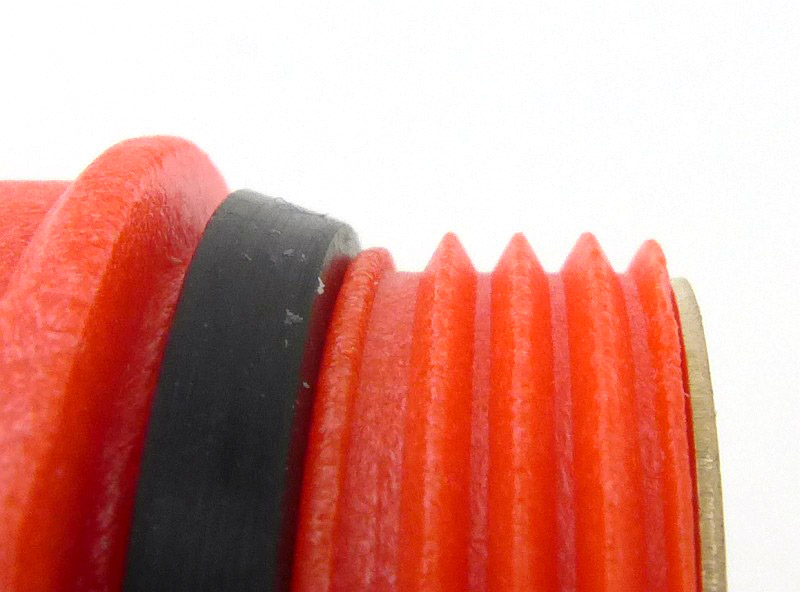
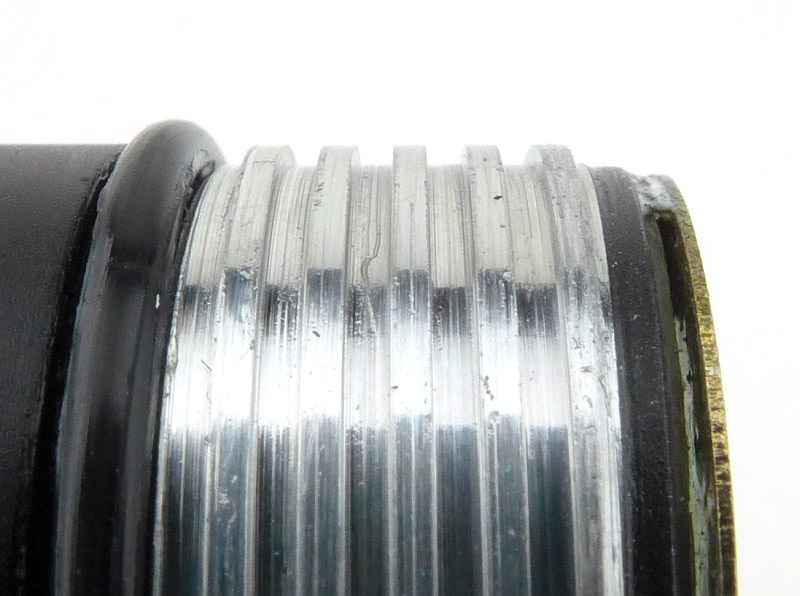
The threads for the bezel ring are moulded plastic.
Off to work we go.
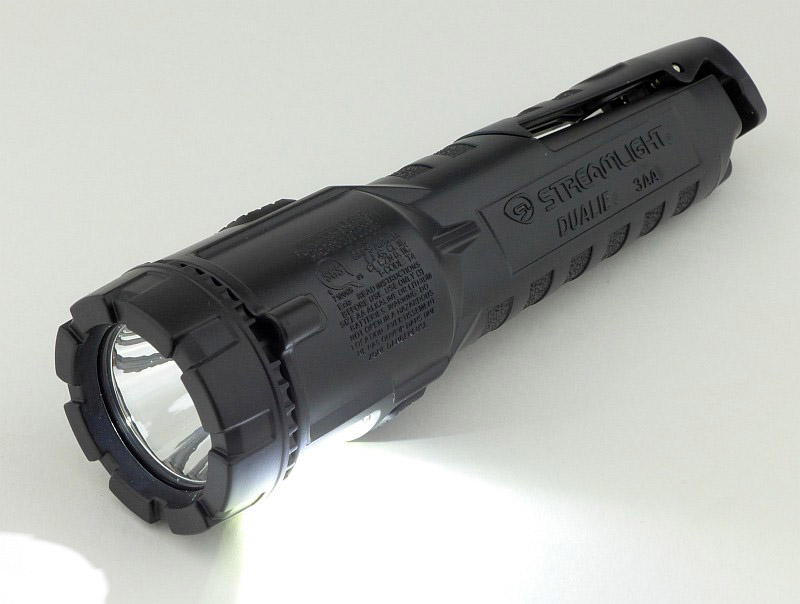
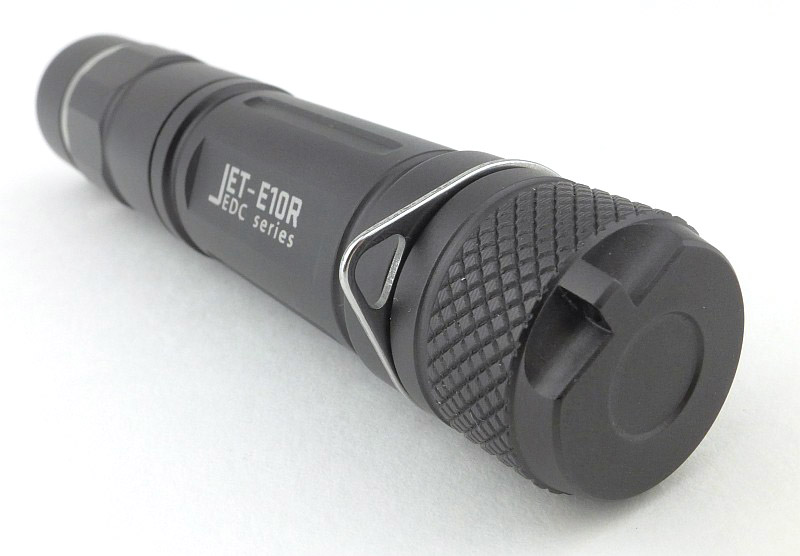
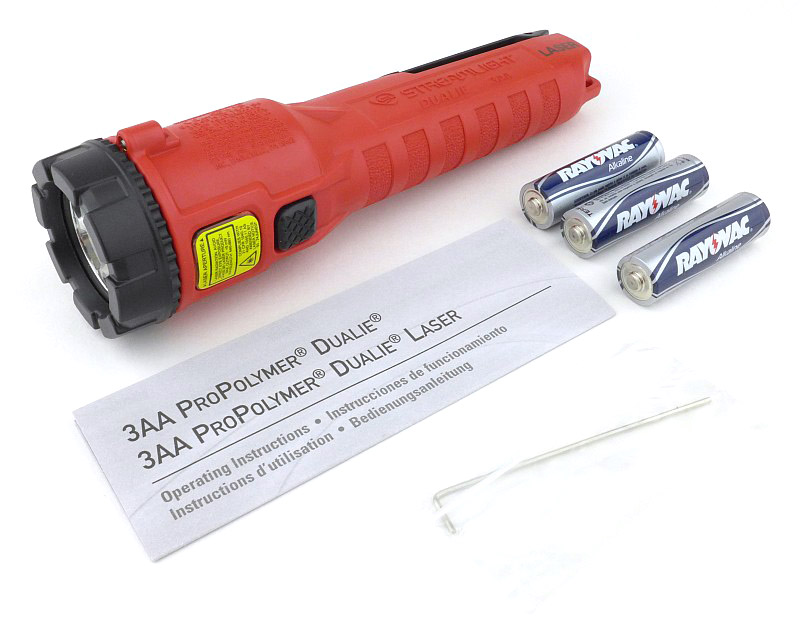
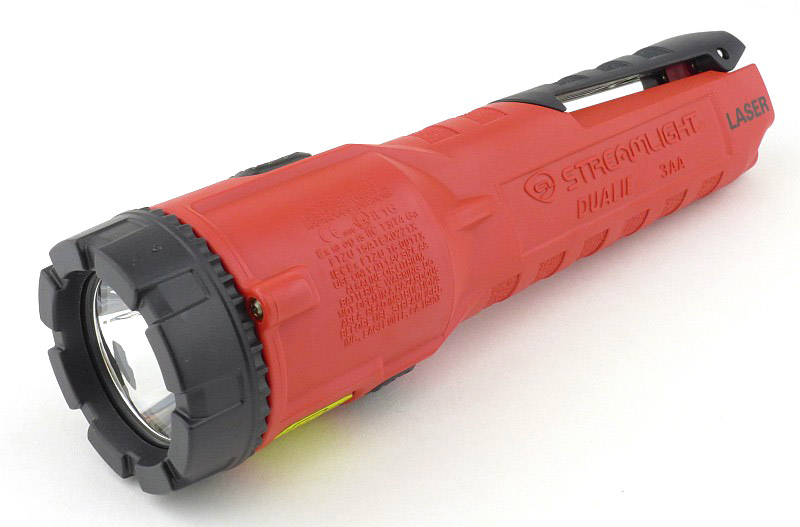
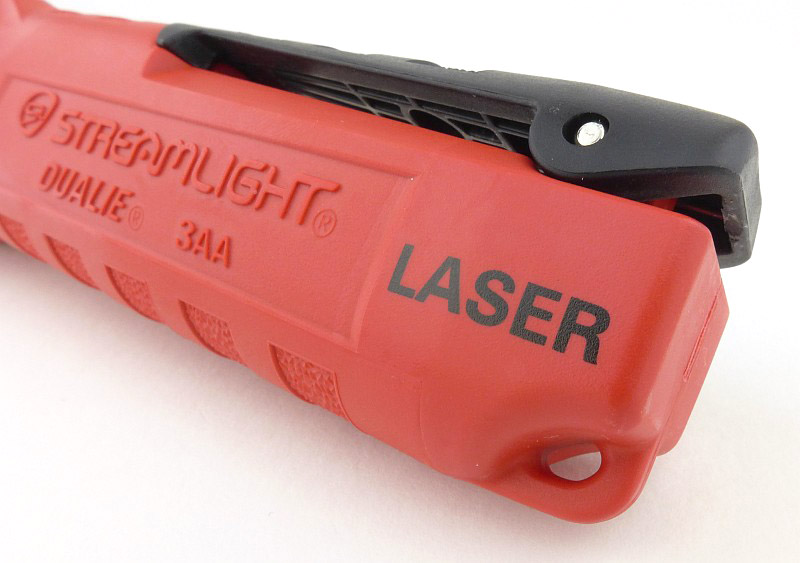
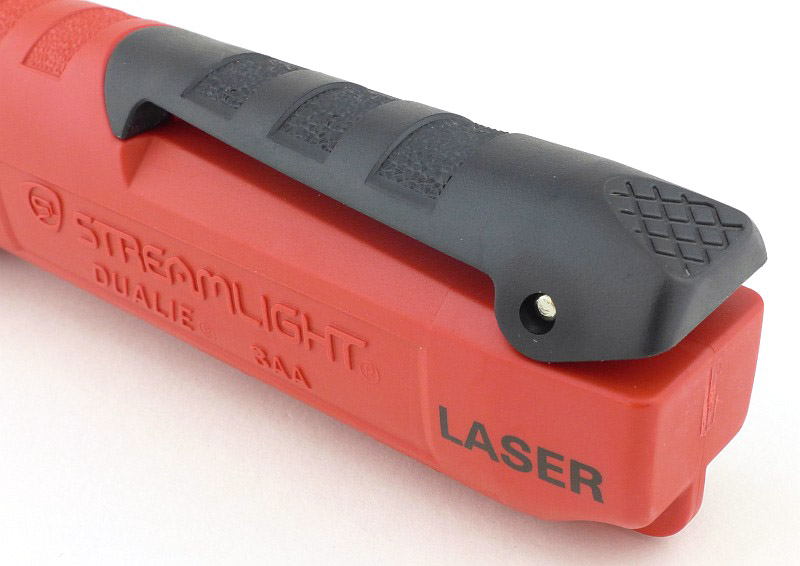
Taking a more detailed look at the Dualie Laser ATEX:
In the 3AA Laser’s packaging, along with the Dualie is a set of alkaline batteries, an Allen key and the instructions.
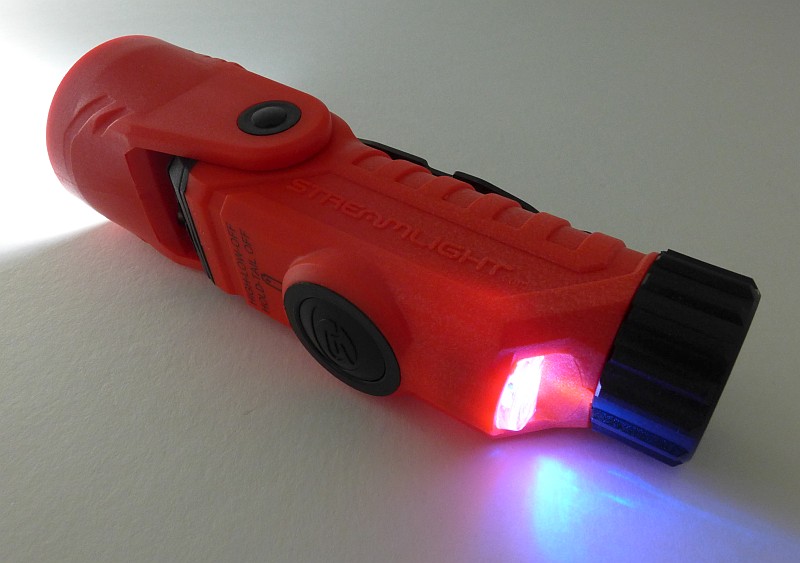
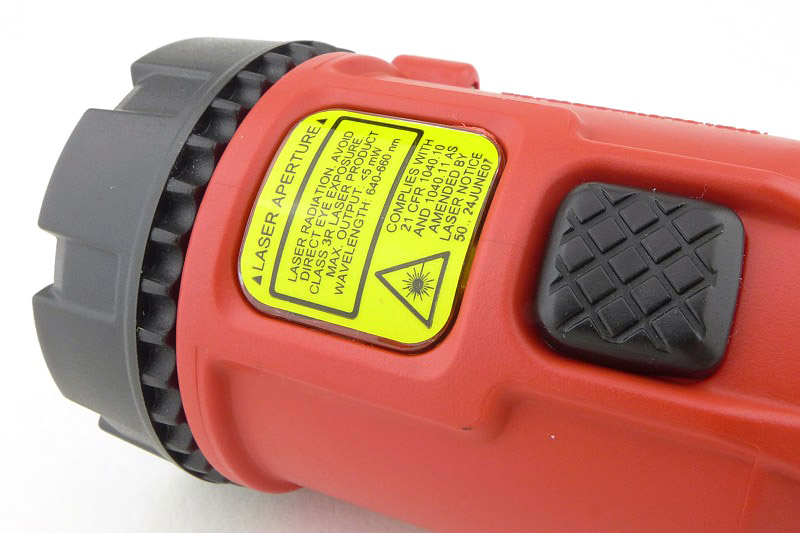
It the case of the 3AA Laser, the second beam is a red laser. Intended as a safe ‘pointer’ for communicating clearly what is being discussed in industrial environments.
No mistaking what added feature this light has.
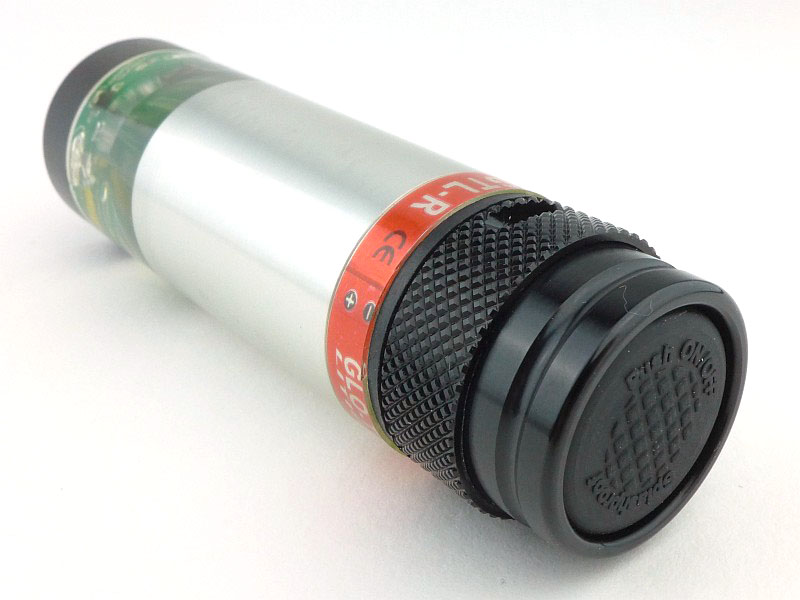
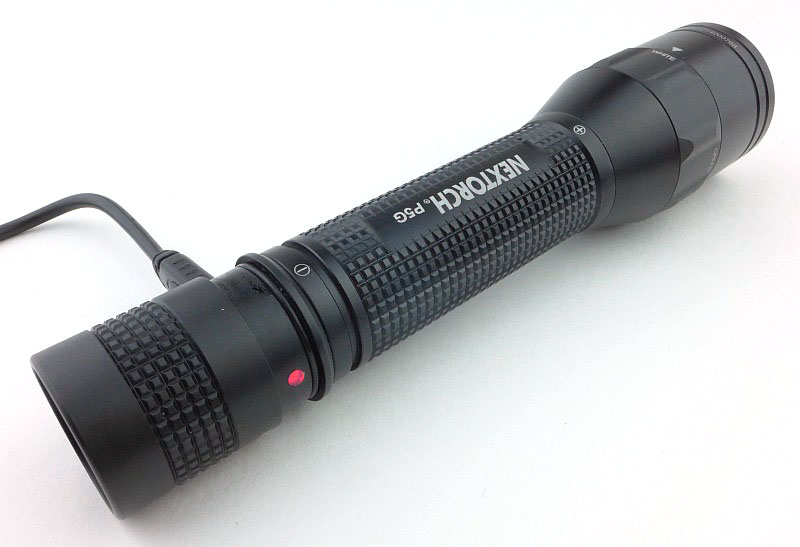
Intrinsically safe and ATEX rated. You might spot one of the ATEX requirements.
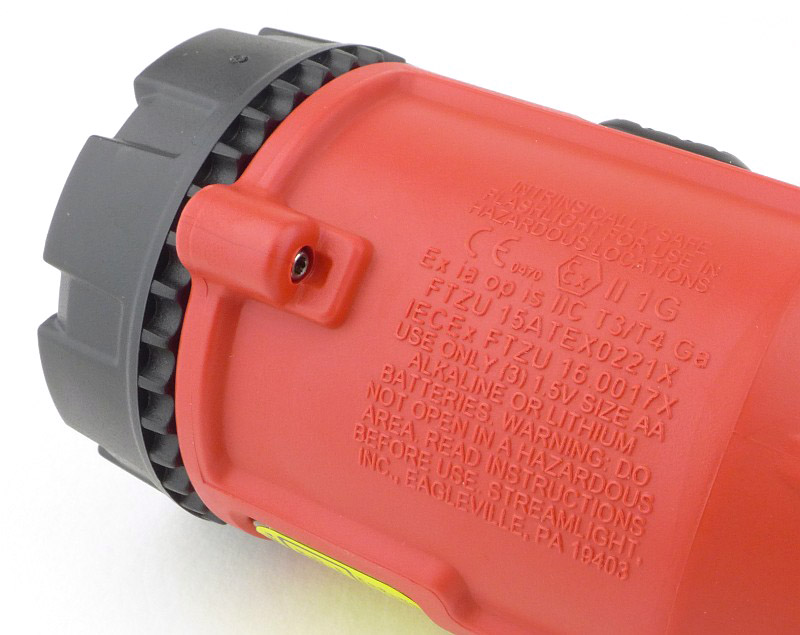
I was of course referring to the locking screw.
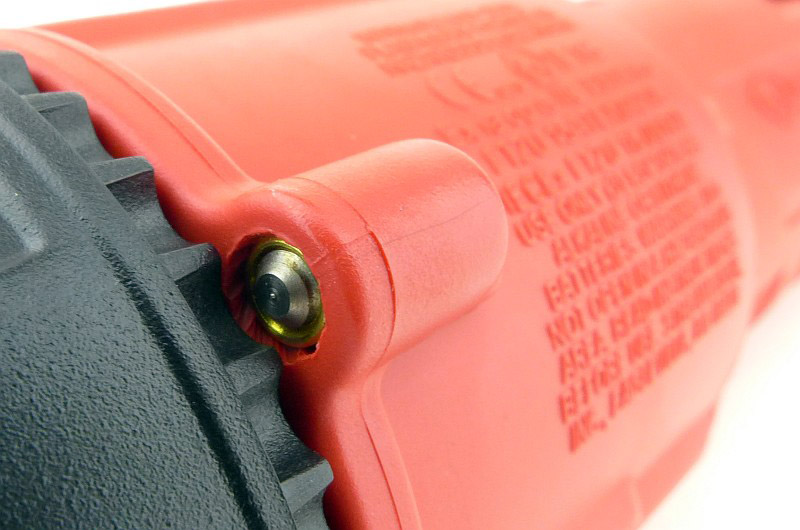
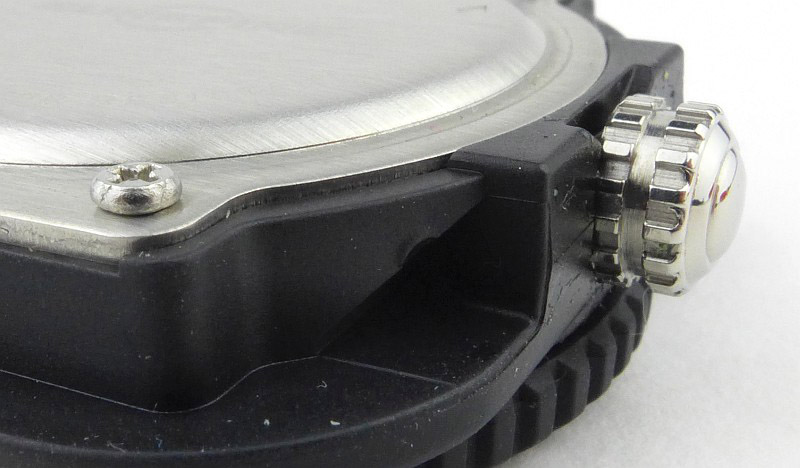
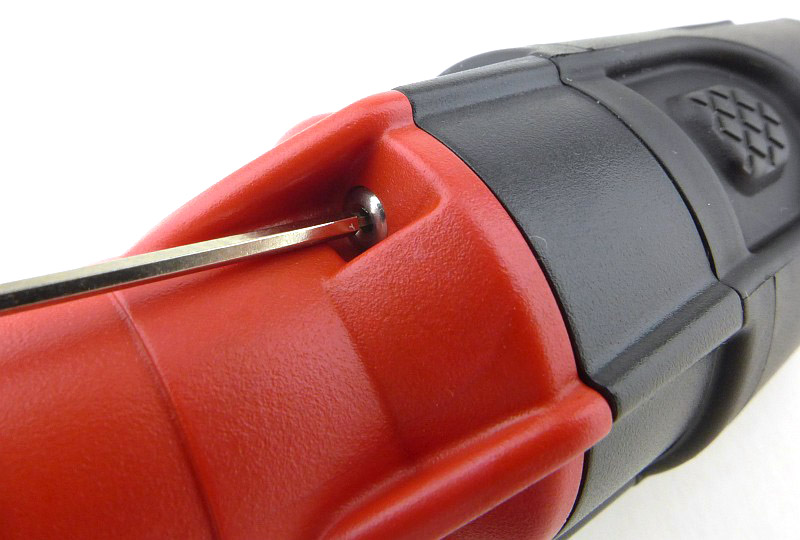
With the locking screw tightened you can see how it engages with the scalloped edge of the bezel ring, making it impossible to unscrew the bezel without intentionally undoing the screw.
What would have been the window for the flood beam on other Dualie models is covered with a laser warning sticker.
As the laser needs to be projected forwards like the main beam, the main beam’s reflector has been modified with a hole for the laser to shine through.
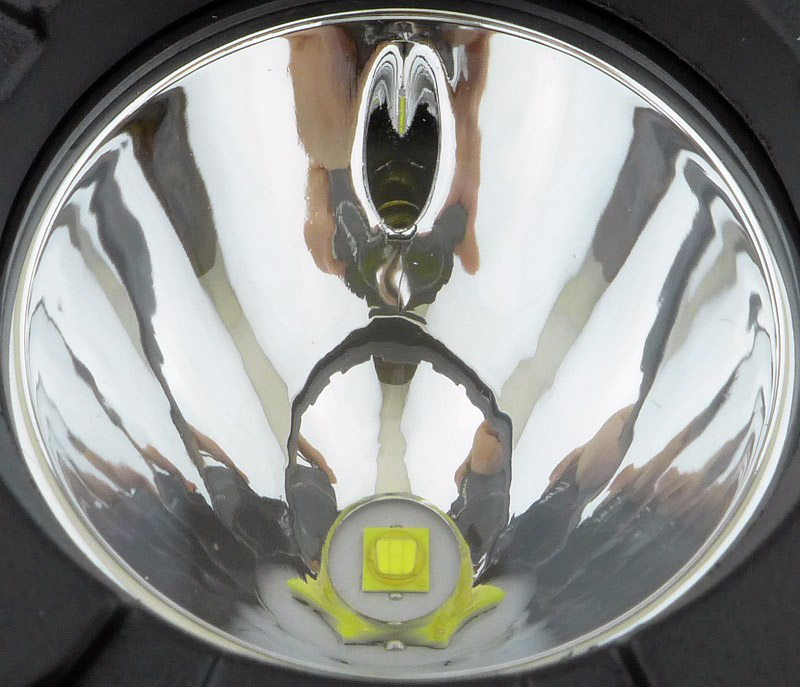
Another view of the hole for the laser.
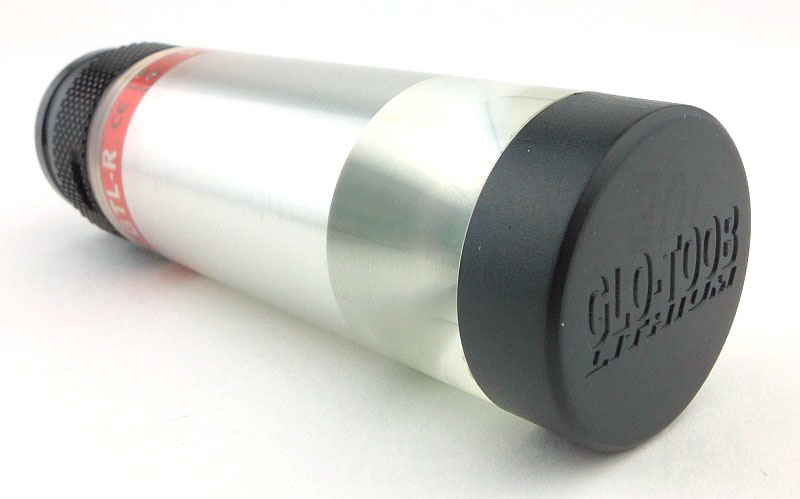
As the main purpose of the Laser model is to provide a safe pointer, the clip is a shorter version than on the Magnet model.
Just as with the previous 3AA model, there is a self contained assembly that is removed from the body which contains all the workings of the light.
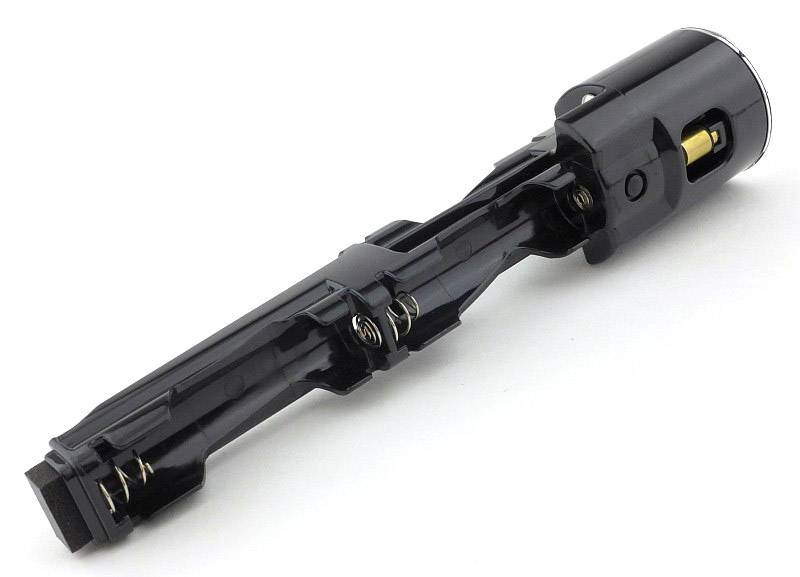
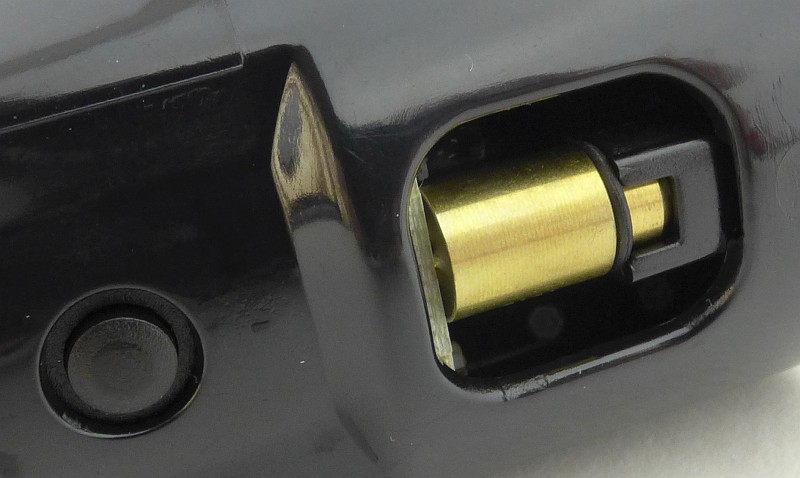
A brass pill contains the laser module.
Threads are moulded into the plastic body for the removable lens bevel.
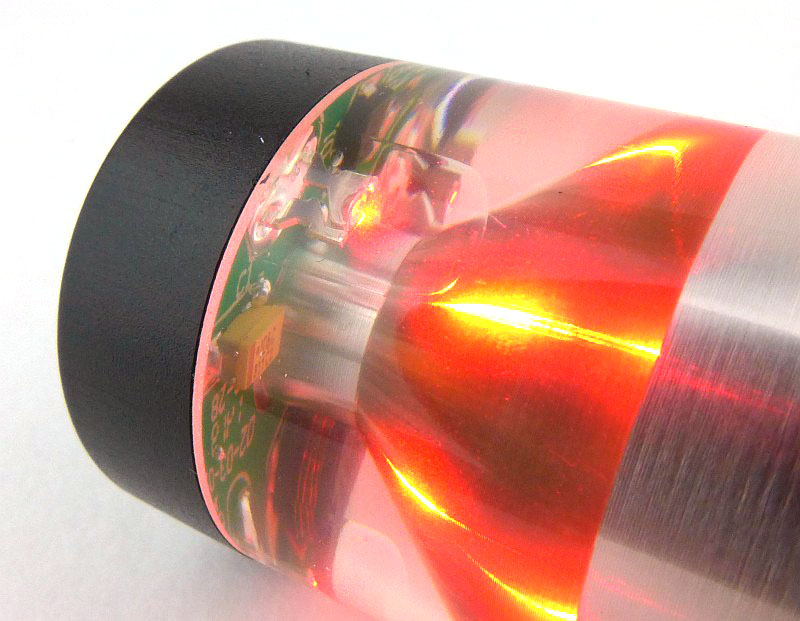
The beam
Please be careful not to judge tint based on images you see on a computer screen. Unless properly calibrated, the screen itself will change the perceived tint.
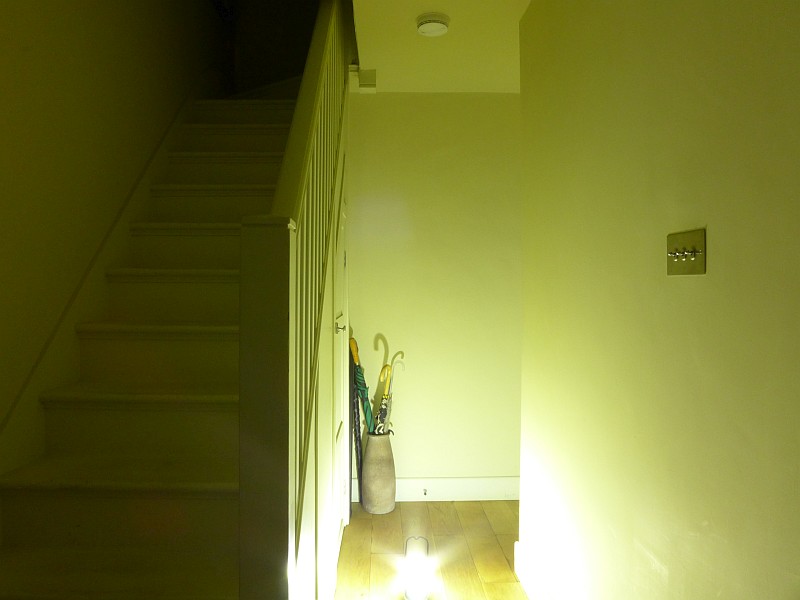
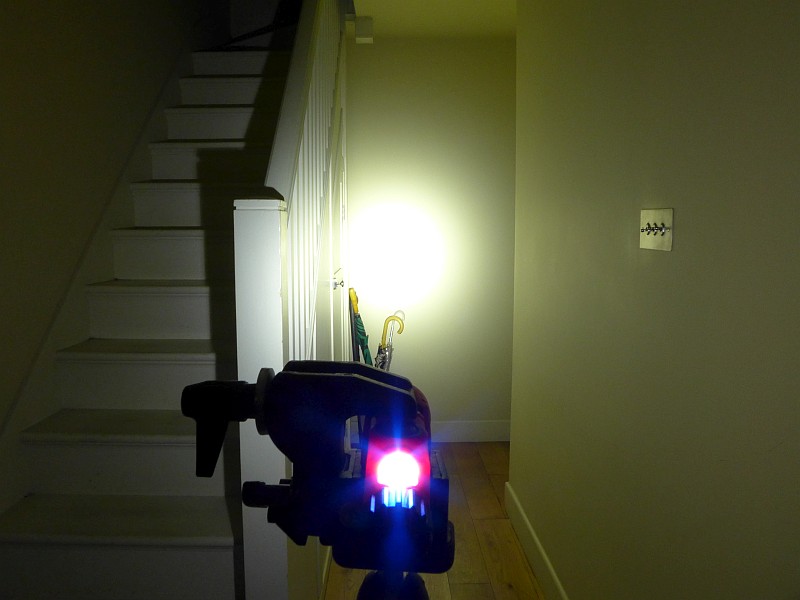
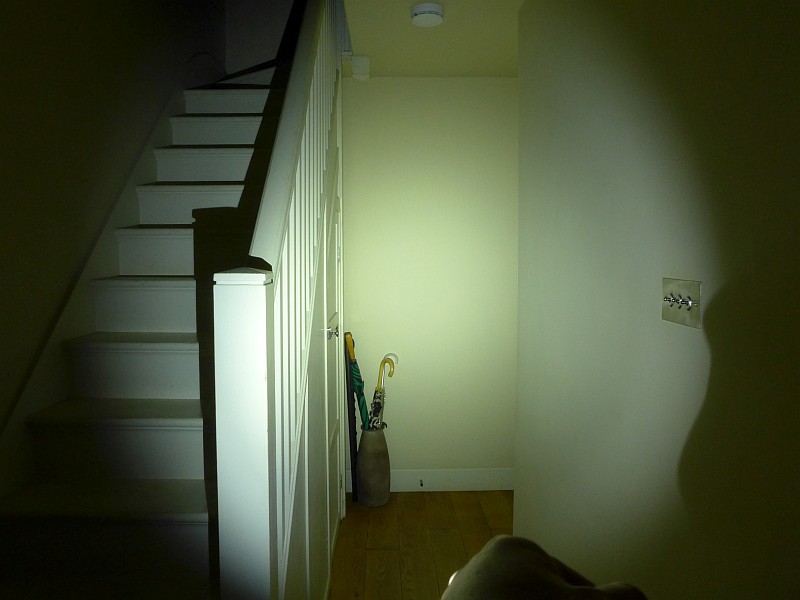
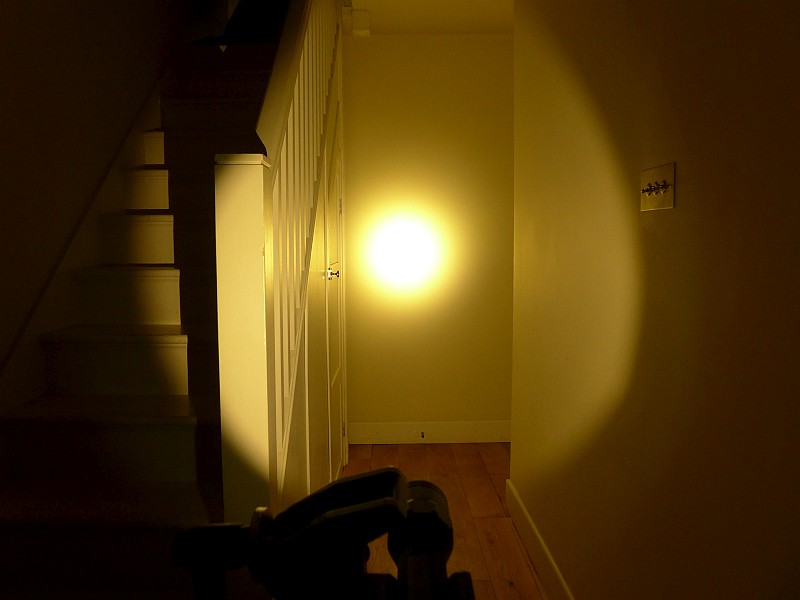
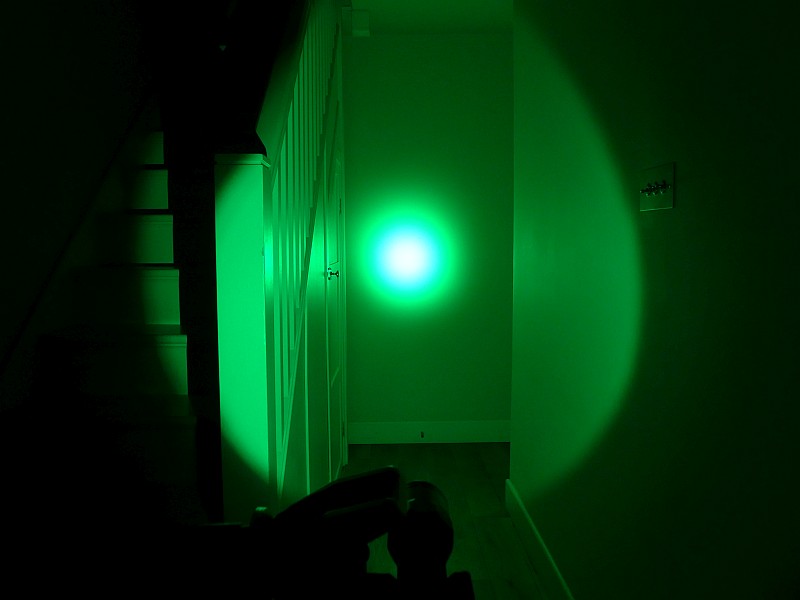
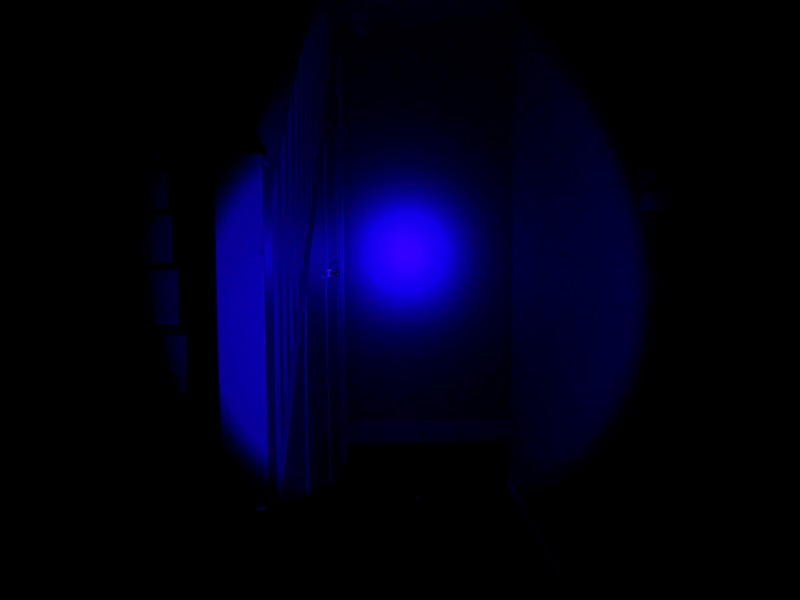
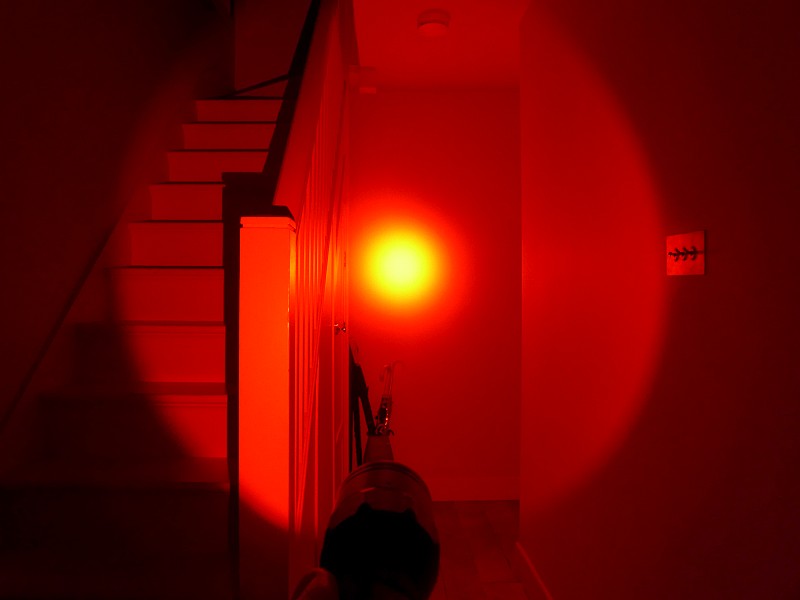
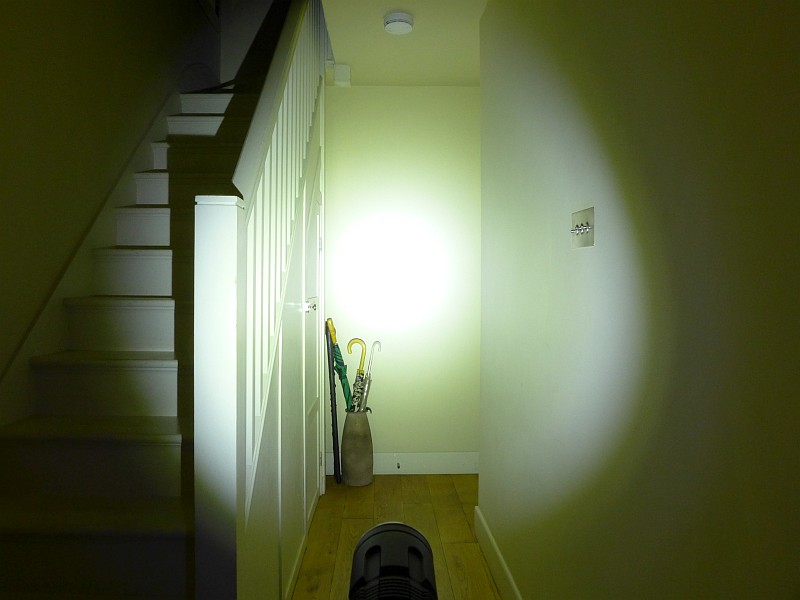
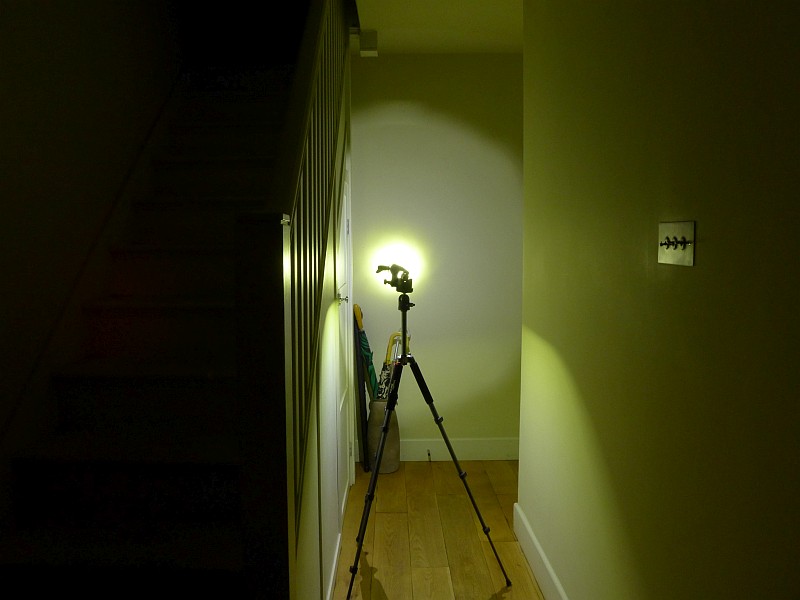
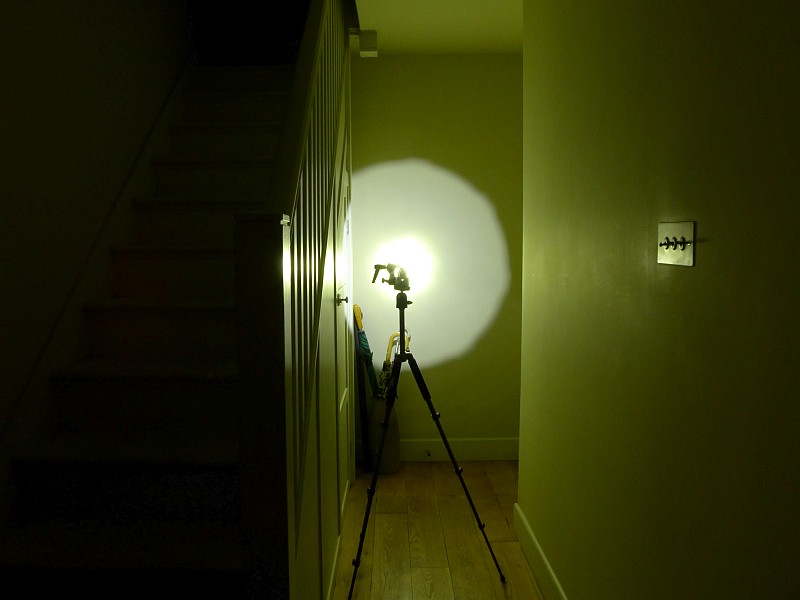
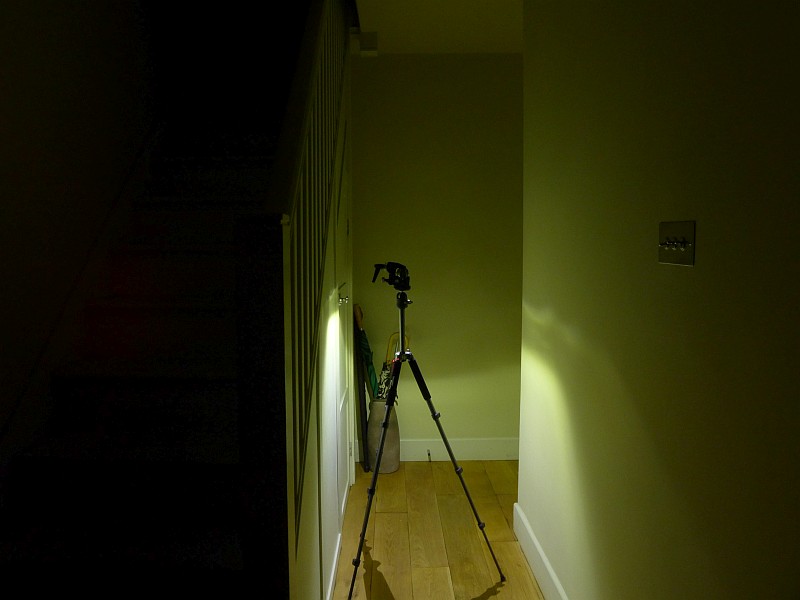
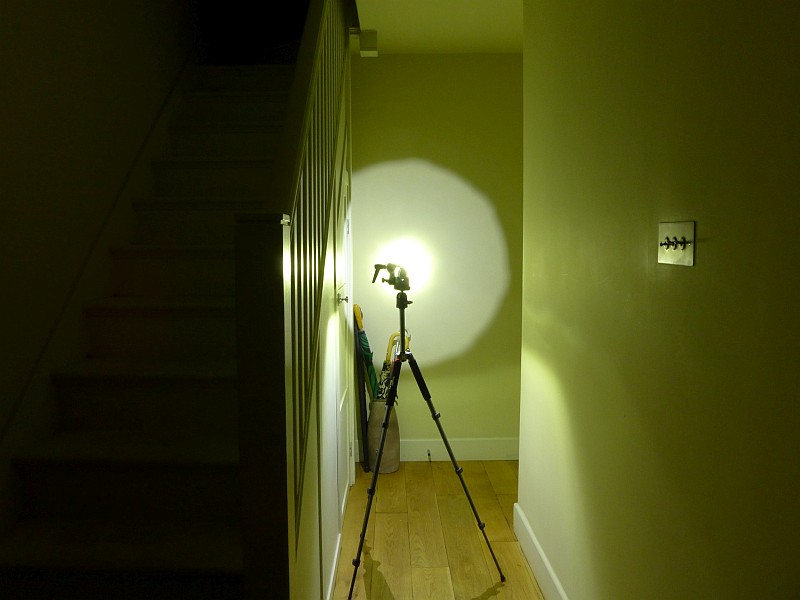
The indoor beamshot is intended to give an idea of the beam shape/quality rather than tint. All beamshots are taken using daylight white balance. The woodwork (stairs and skirting) are painted Farrow & Ball “Off-White”, and the walls are a light sandy colour called ‘String’ again by Farrow & Ball. I don’t actually have a ‘white wall’ in the house to use for this, and the wife won’t have one!
With three lights, all with dual functions, there are several beam-shots to look at.
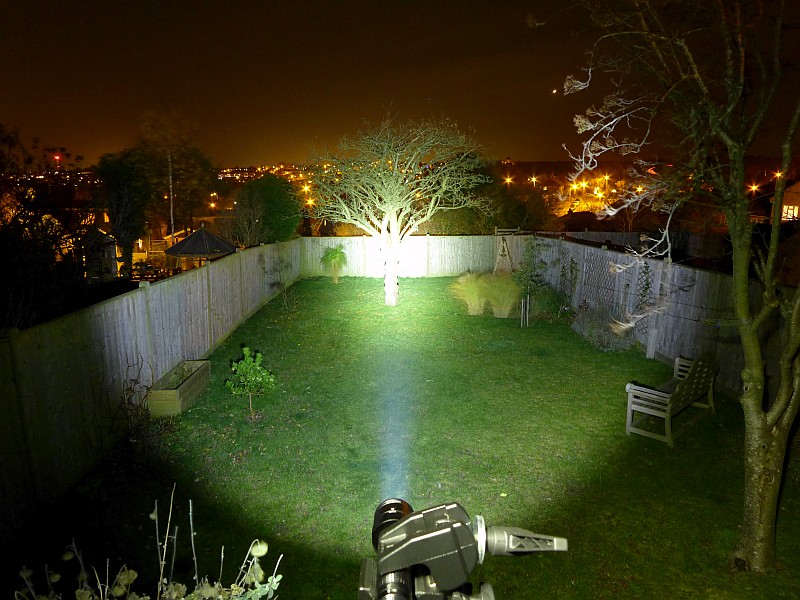
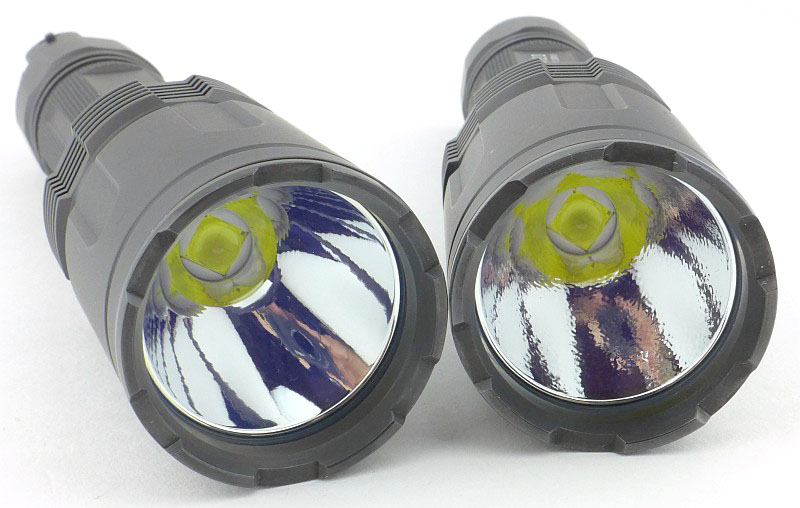
First up are the main beams of each and the 3AA Magnet.
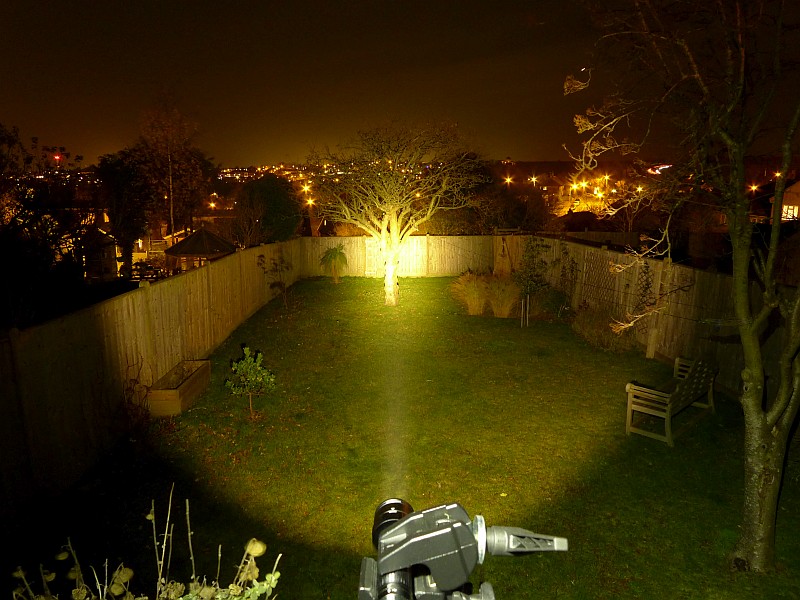
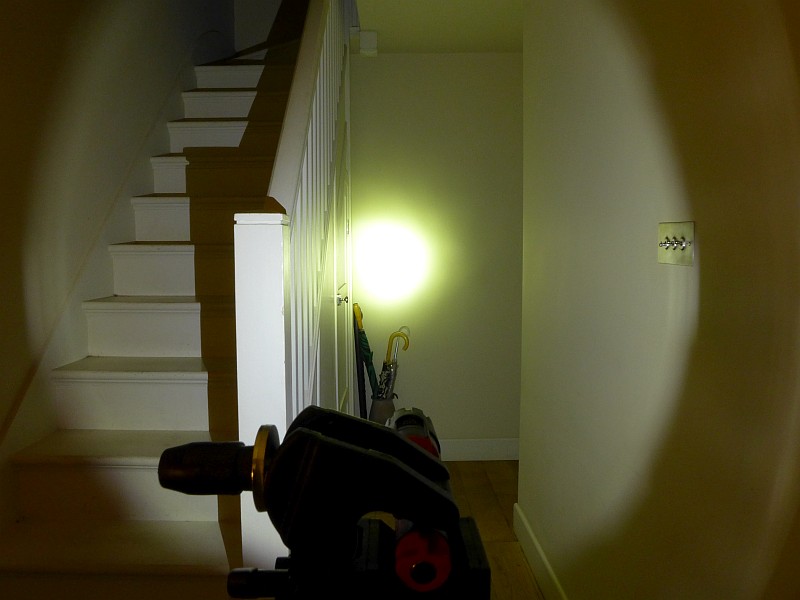
Next is the main beam of the 3AA Laser oddly, though its lumen output is virtually identical it appears brighter despite an identical exposure.
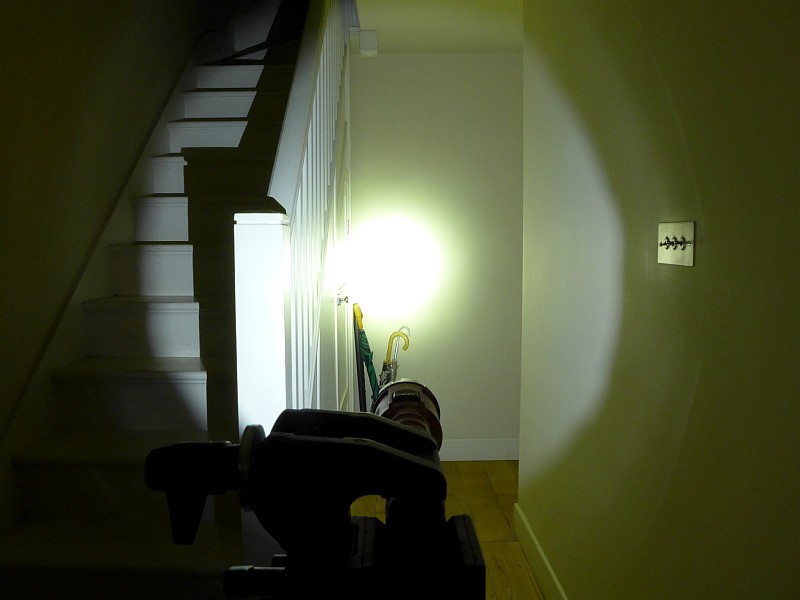
The 2AA’s main beam has a much wider spill than the 3AA models, but is noticeably dimmer.
Secondary beams:
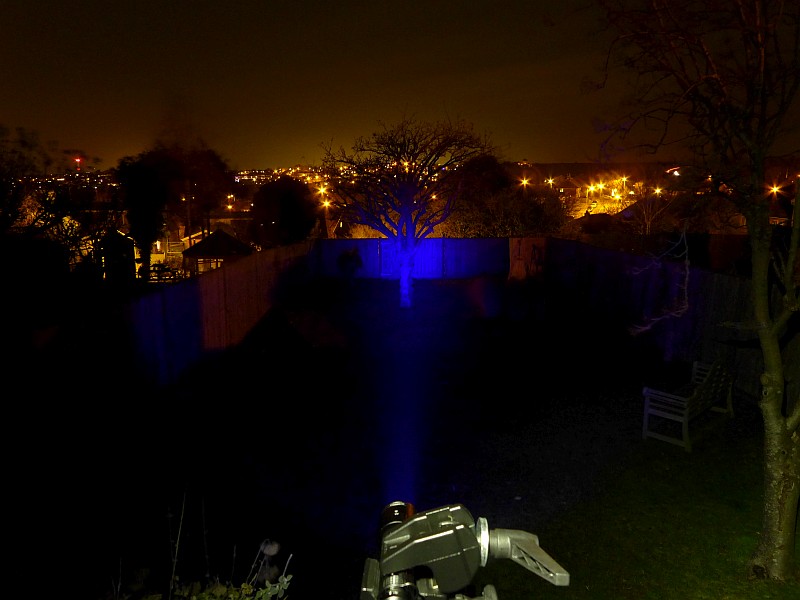
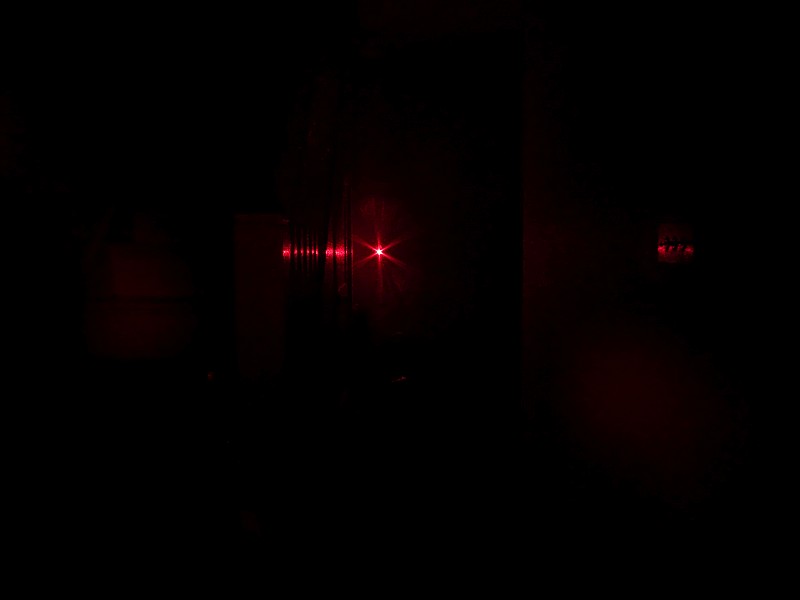
As it is the simplest to show, first we have the Laser’s pointer. That’s it. Using it with the main beam masks the spot so it is best not to do this.
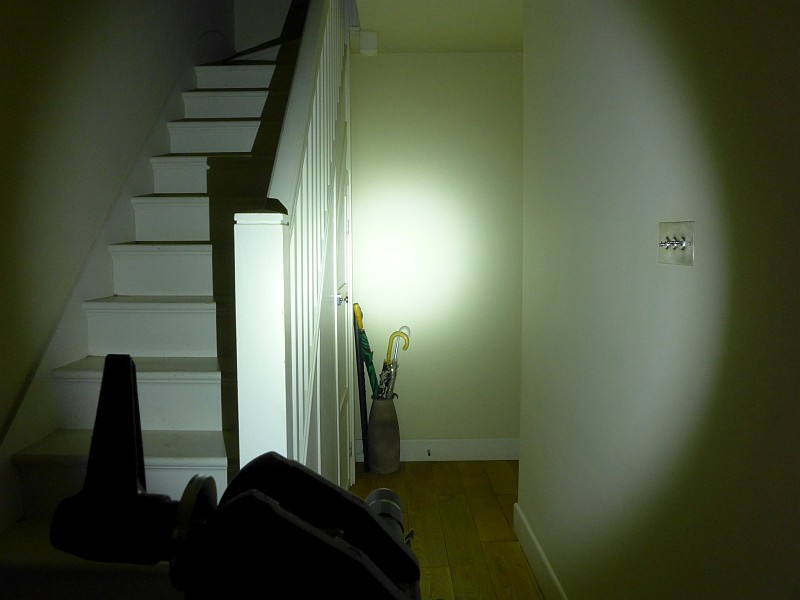
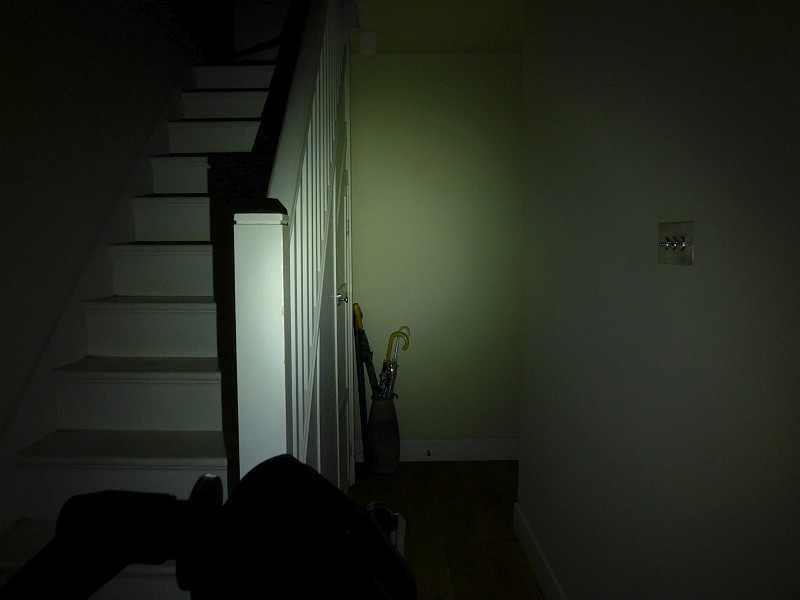
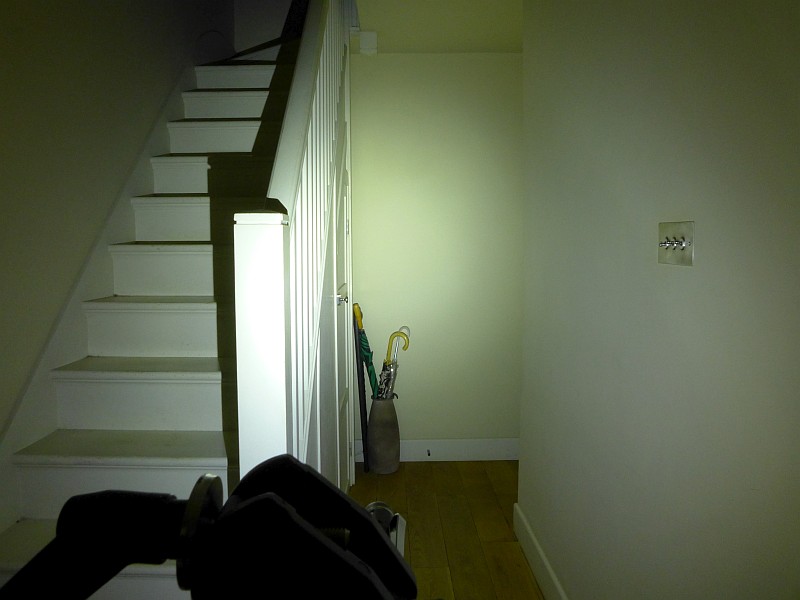
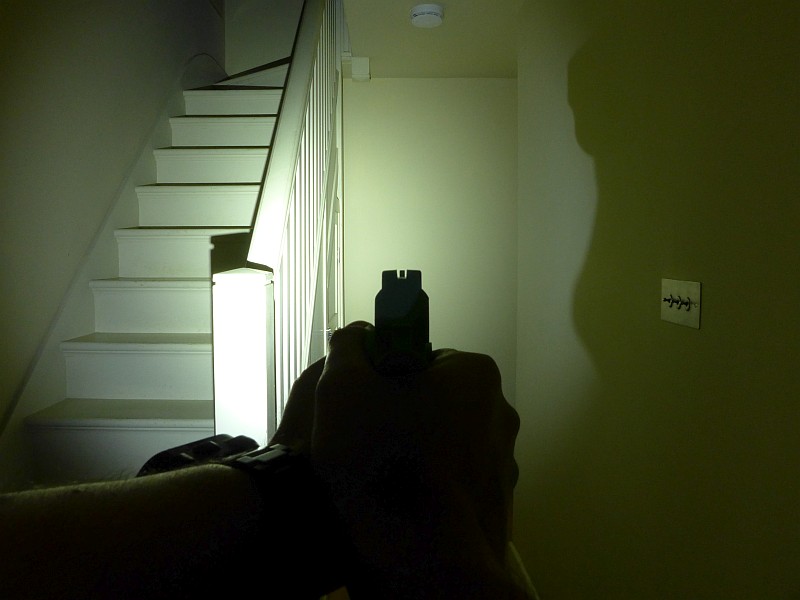
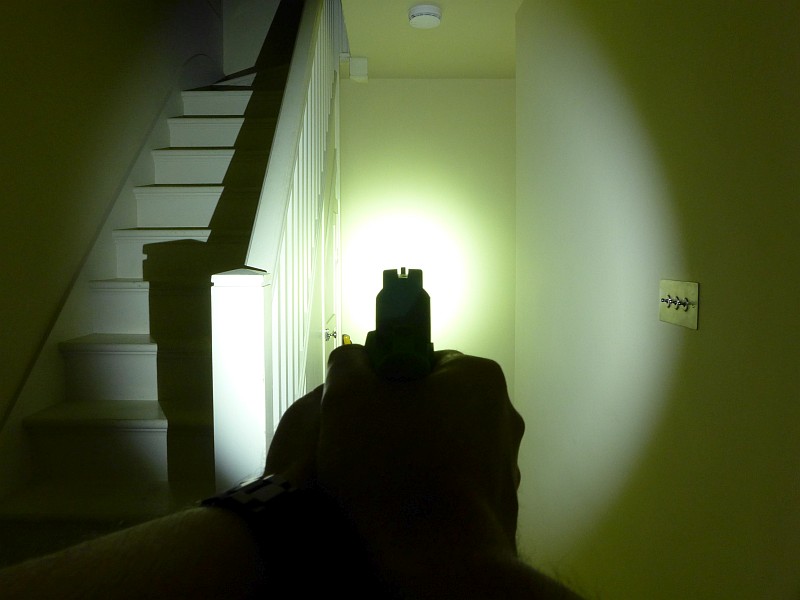
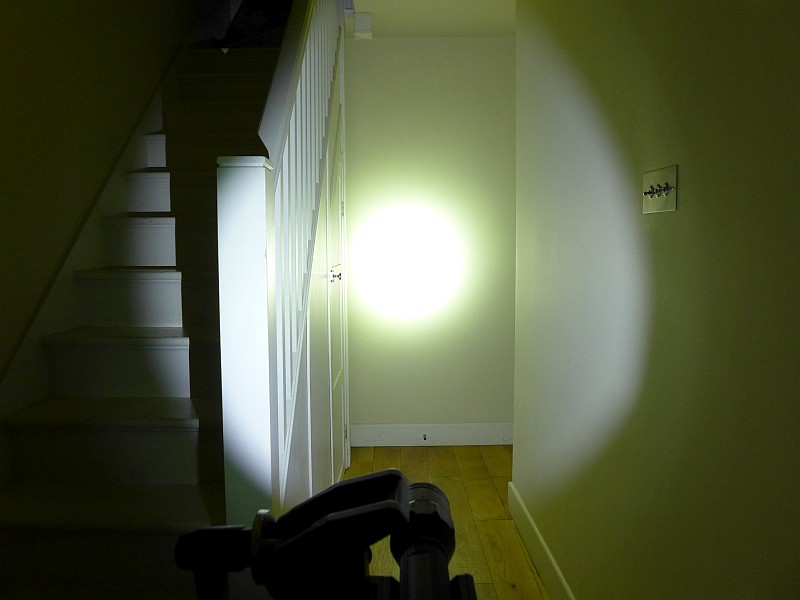
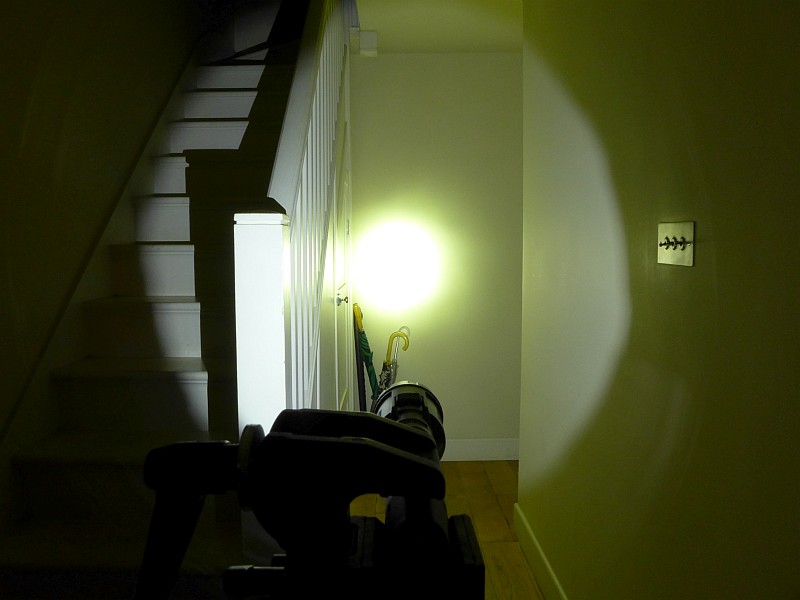
With the mix of spot and flood beams, the next set of beamshots show the different beams at a distance.
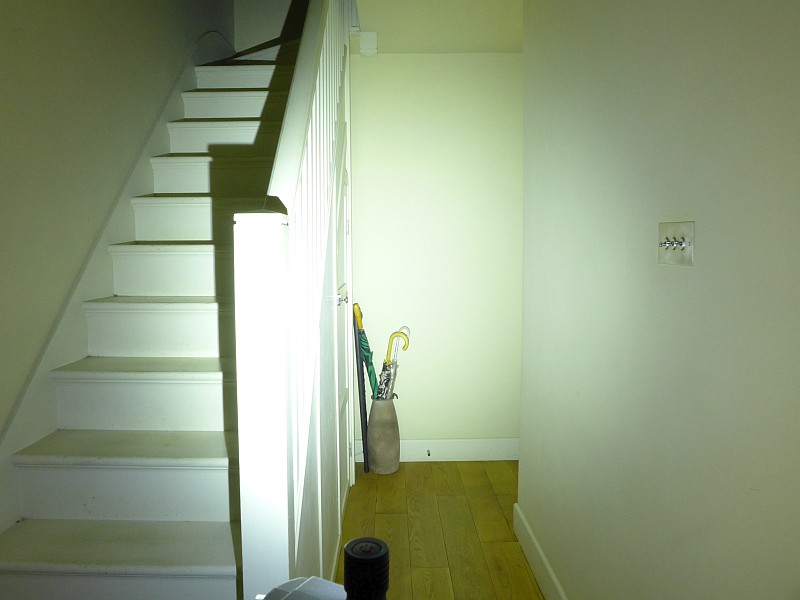
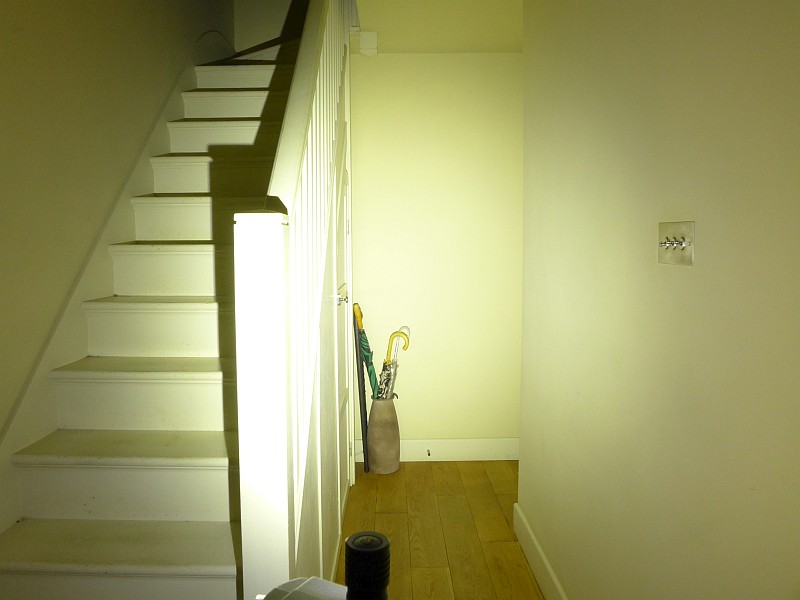
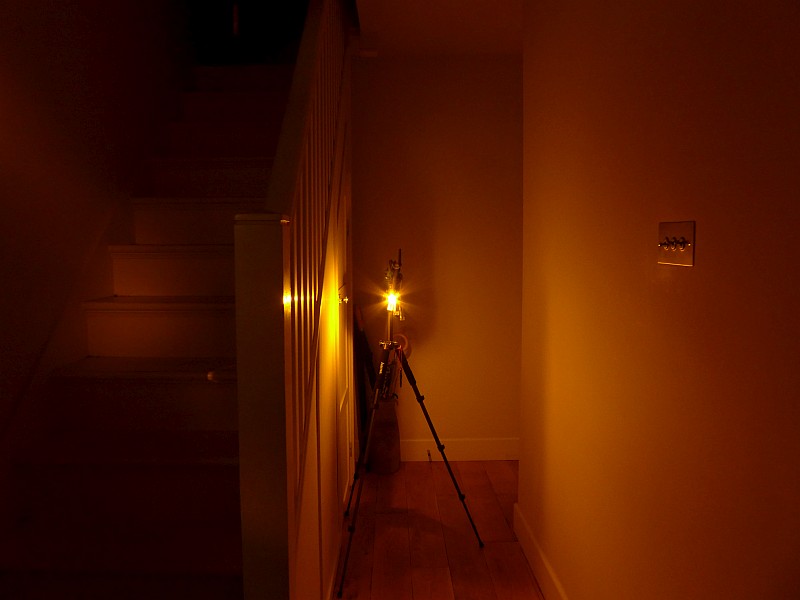
Here the 2AA starts with the main beam.
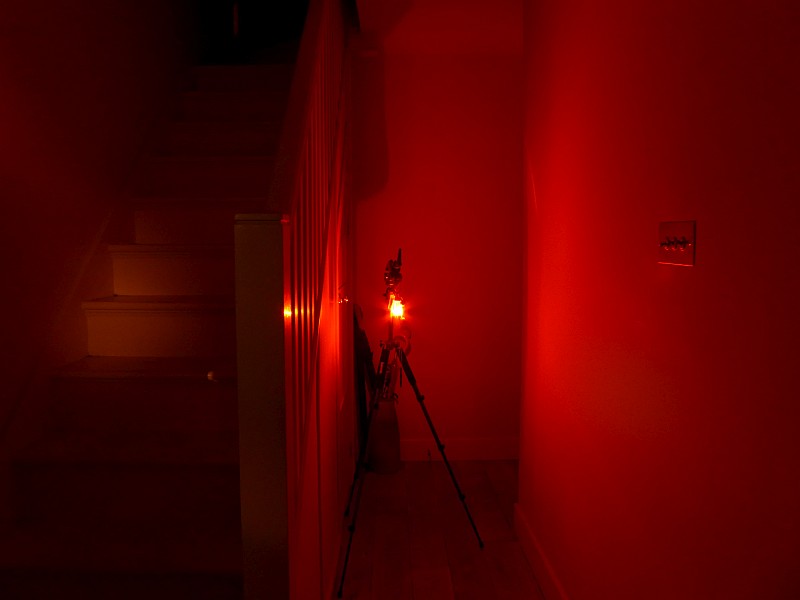
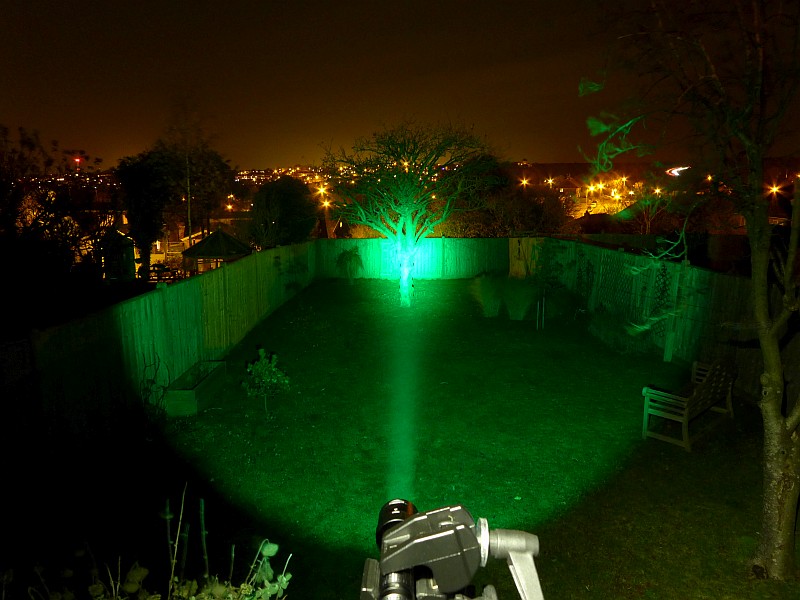
Then we go to Flood.

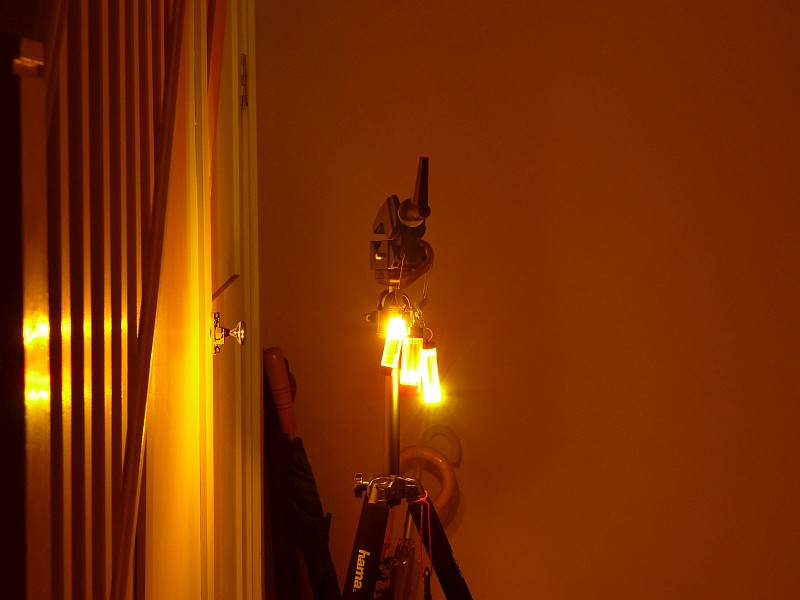
And then both flood and spot beams together.
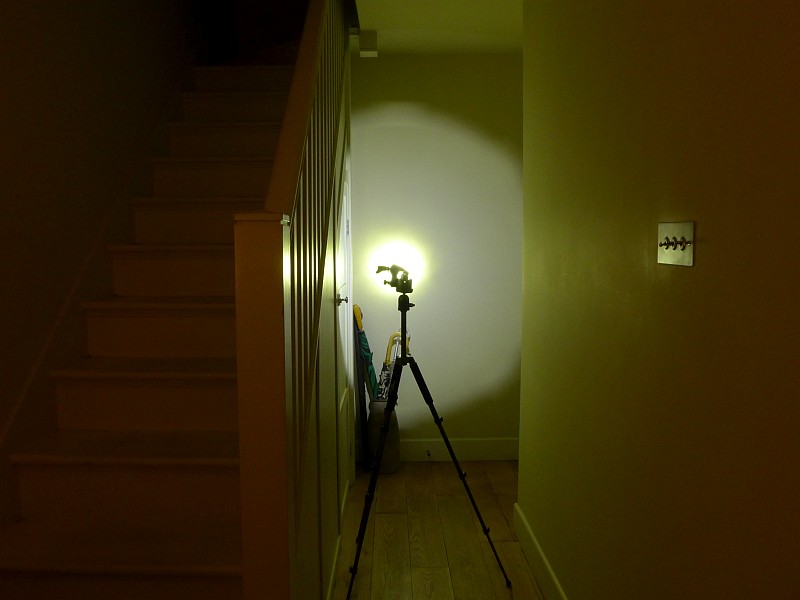
Changing to the 3AA Magnet starting with the main beam.
Then we go to Flood.
And then both flood and spot beams together.
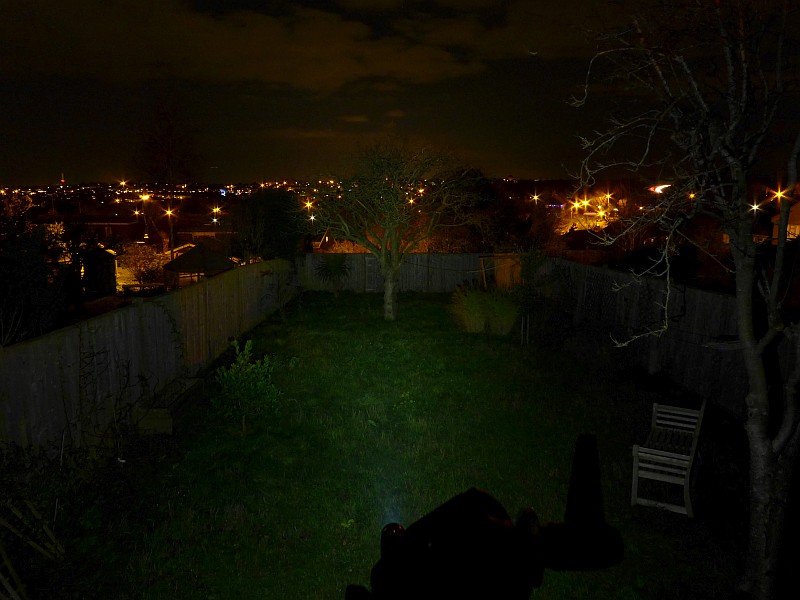
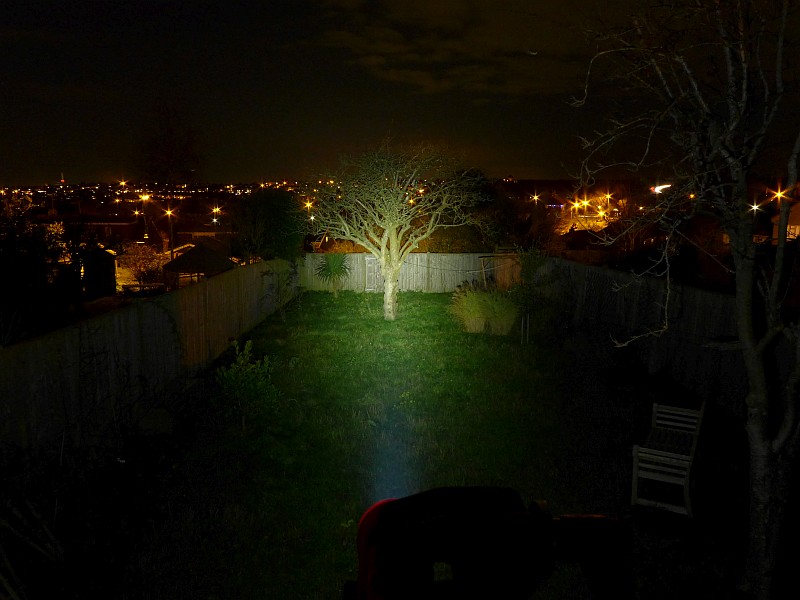
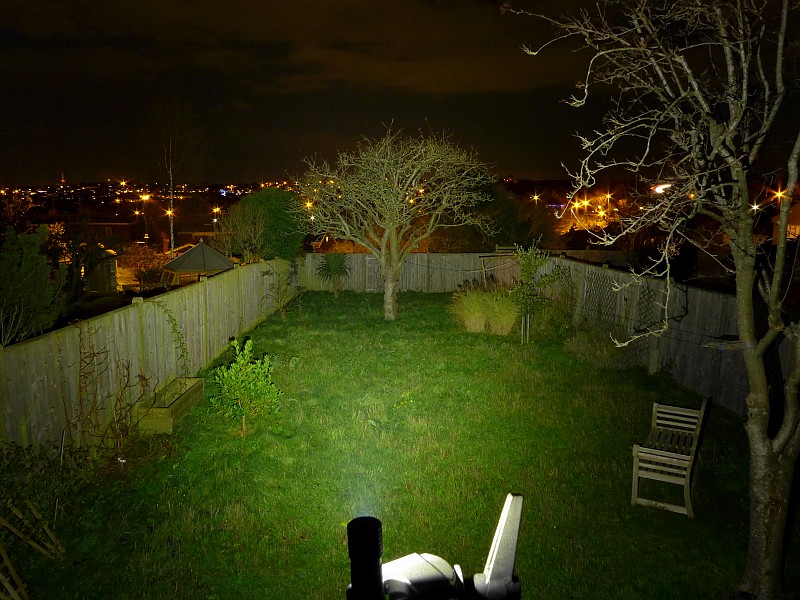
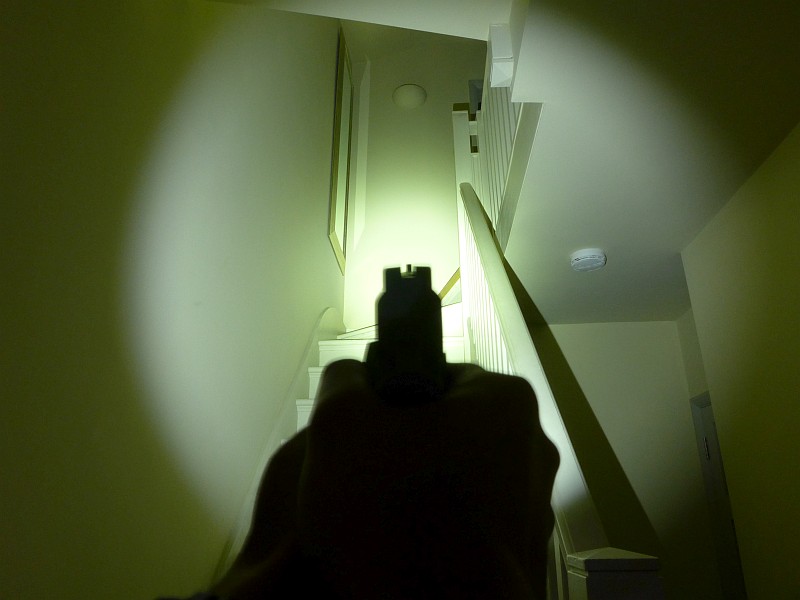
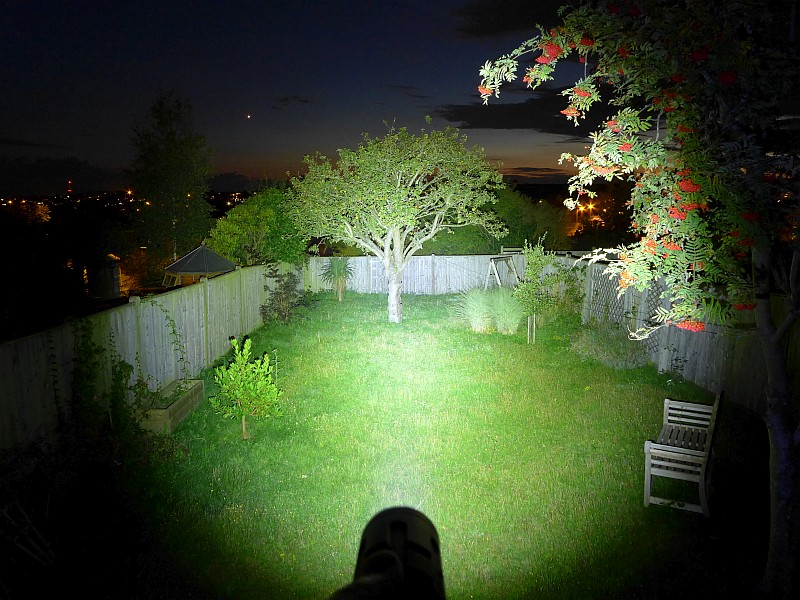
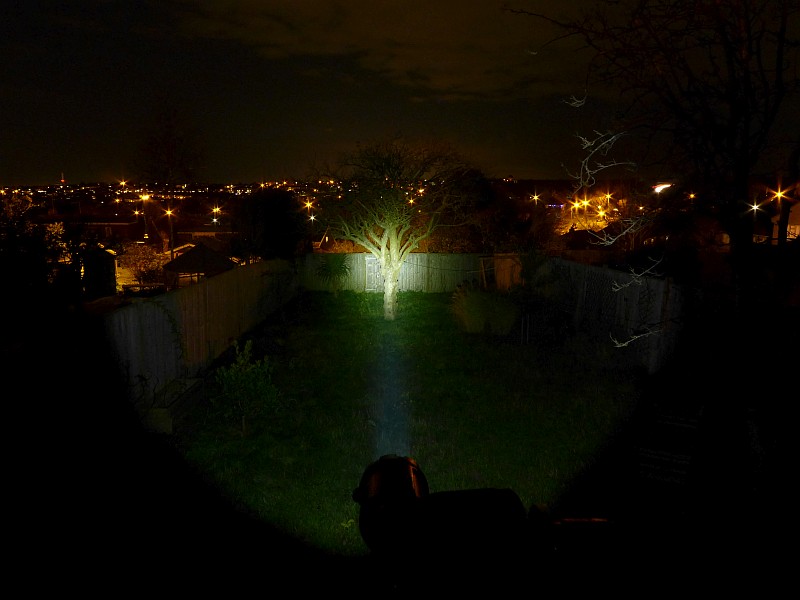
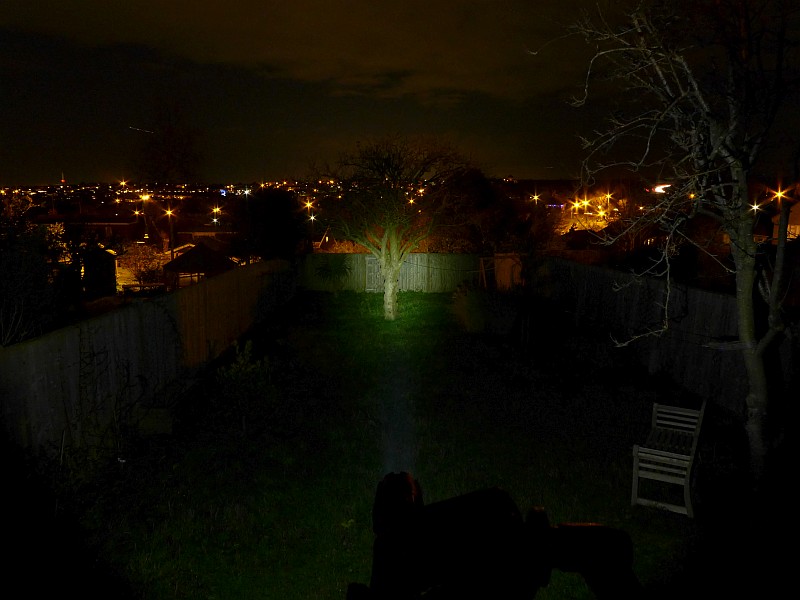
Now moving outdoors:
The 3AA Magnet; its relatively weak spill fades out and the spot is left.
It is the same with the 3AA Laser.
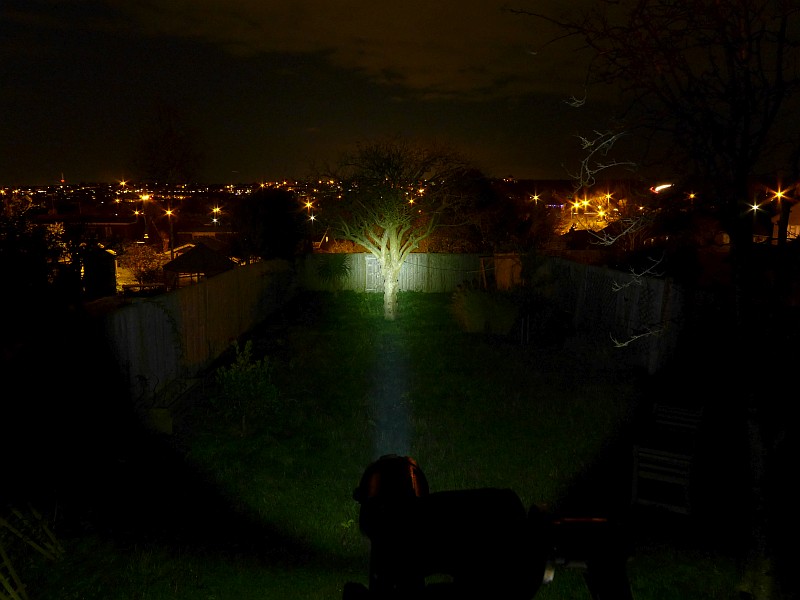
Spot the spot…

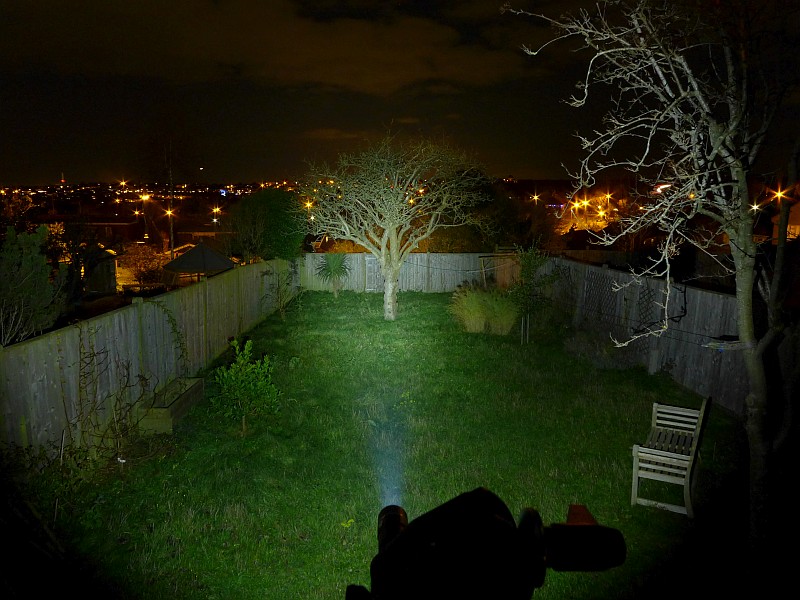
Outdoors the 2AA struggles.
Modes and User Interface:
Operating the Dualie lights is as simple as it gets. Each of the two modes available in each light has its own switch. They can be used independently or together.
The main beam switch is a forward-click momentary type switch, and the secondary side beam switch is a reverse-click type.
Batteries and output:
The naming of each Dualie means there are no surprises that the 2AA runs on 2AA cells (alkaline or NiMh) and the 3AA runs on 3AA cells (alkaline or NiMh). The Laser is bases on the 3AA so runs on 3AA cells (alkaline or NiMh).
To measure actual output, I built an integrating sphere. See here for more detail. The sensor registers visible light only (so Infra-Red and Ultra-Violet will not be measured).
Please note, all quoted lumen figures are from a DIY integrating sphere, and according to ANSI standards. Although every effort is made to give as accurate a result as possible, they should be taken as an estimate only. The results can be used to compare outputs in this review and others I have published.
| ___________________________________________ | ________________________________ | ________________________________ |
| Dualie model and mode. | I.S. measured ANSI output Lumens | PWM frequency or Strobe frequency (Hz) |
| ___________________________________________ | ________________________________ | ________________________________ |
| 2AA – Main | 103 | 0 |
| 2AA – Flood | 75 | 0 |
| 2AA – Main + Flood | 122 | 0 |
| 3AA – Main | 142 | 0 |
| 3AA – Flood | 101 | 0 |
| 3AA – Main + Flood | 176 | 0 |
| Laser – Main | 147 | 0 |
| Laser – Main + Laser | 146 | 0 |
* Beacon and Strobe output measurements are only estimates as the brief flashes make it difficult to capture the actual output value.
There is no parasitic drain.
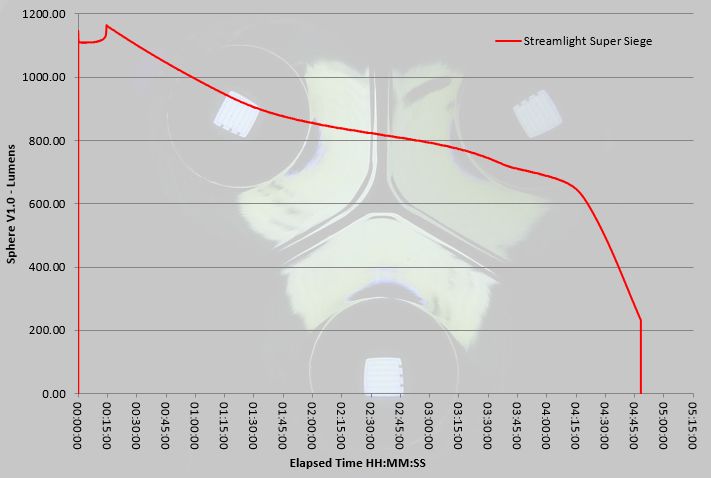
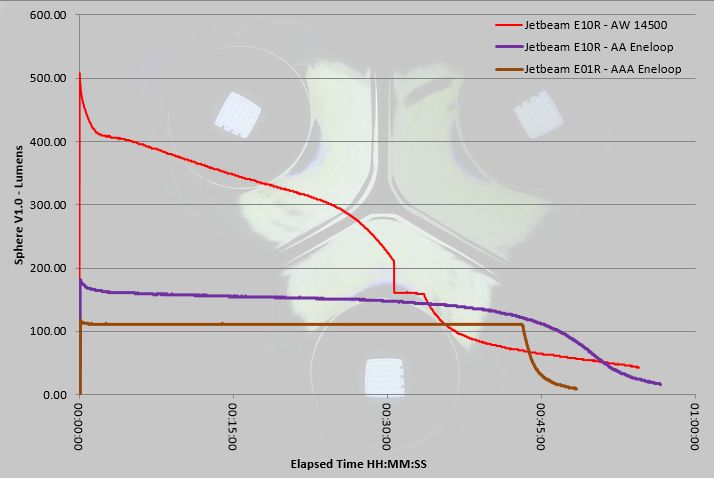
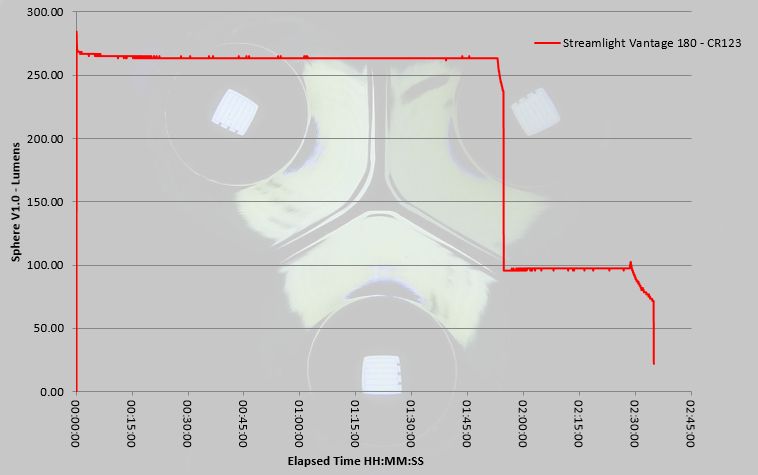
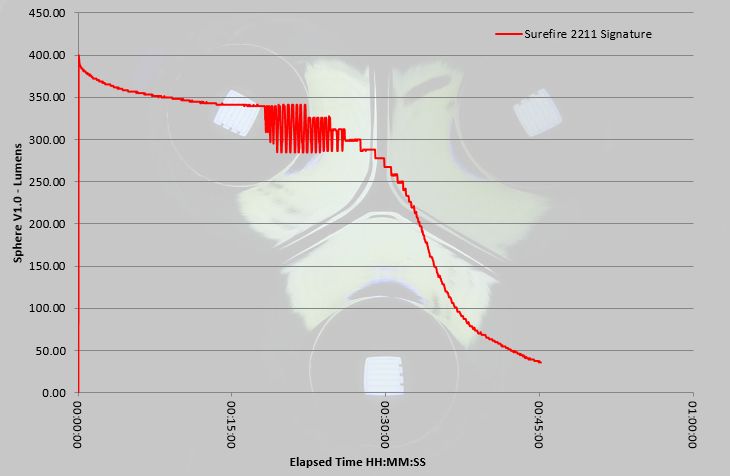
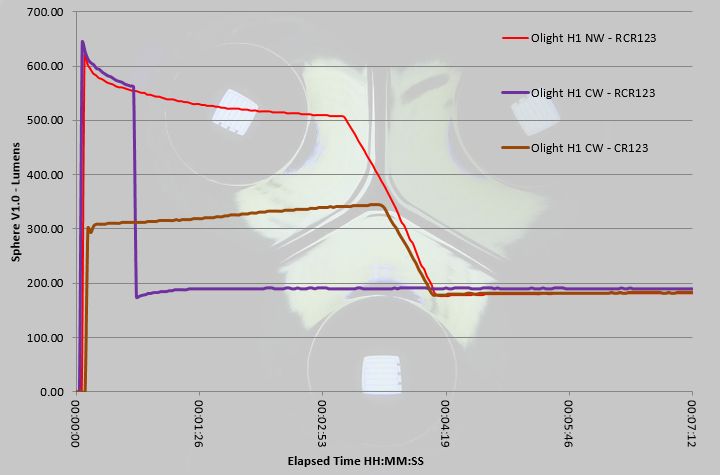
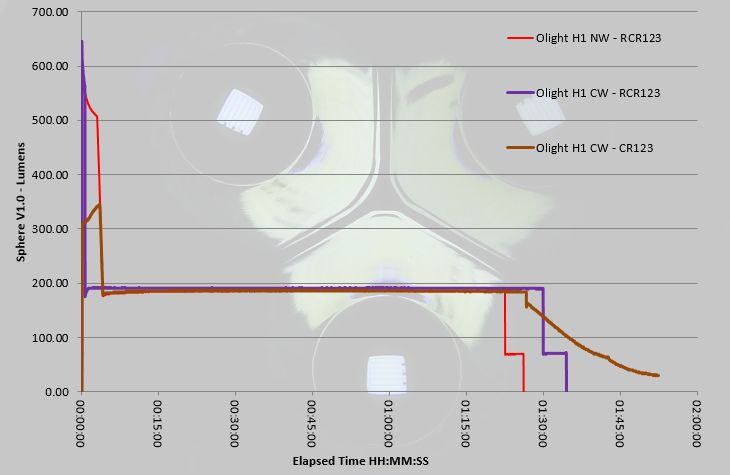
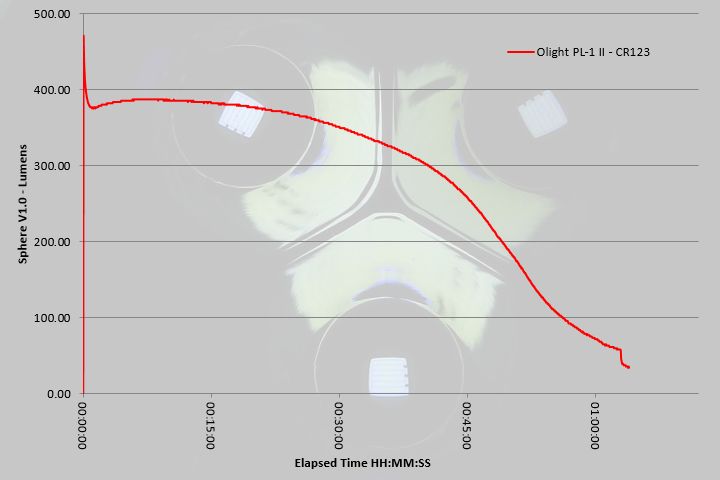
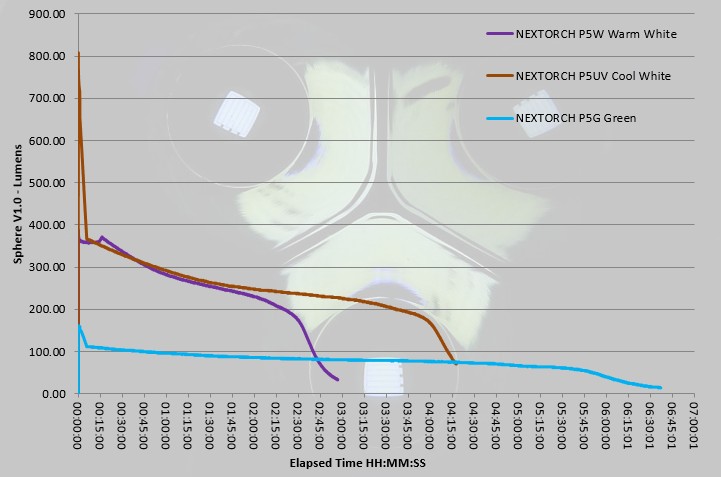
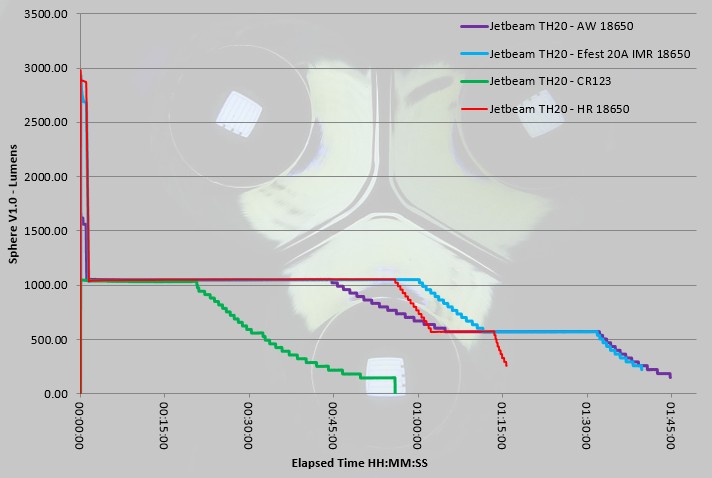
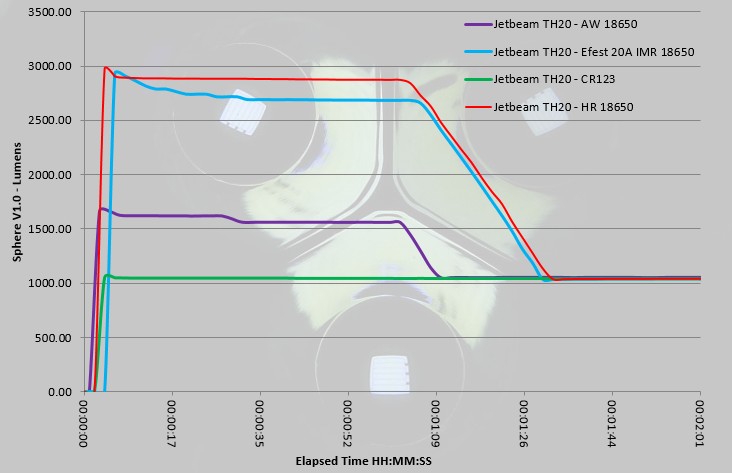
For the runtime tests, all measurements were taken with both beams on for all models. Putting all three runtime traces on the same graph, and the lower output 2AA model takes the runtime prize, but at a much lower output.
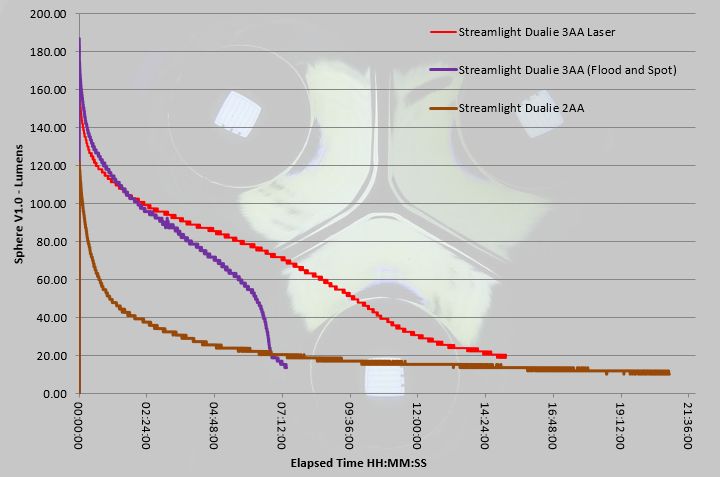
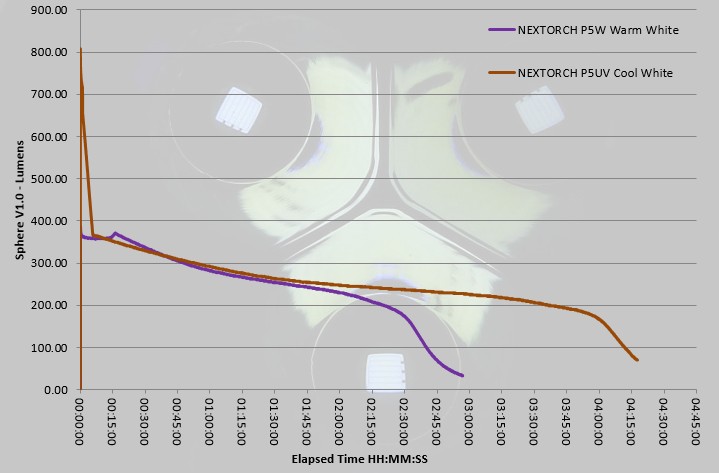
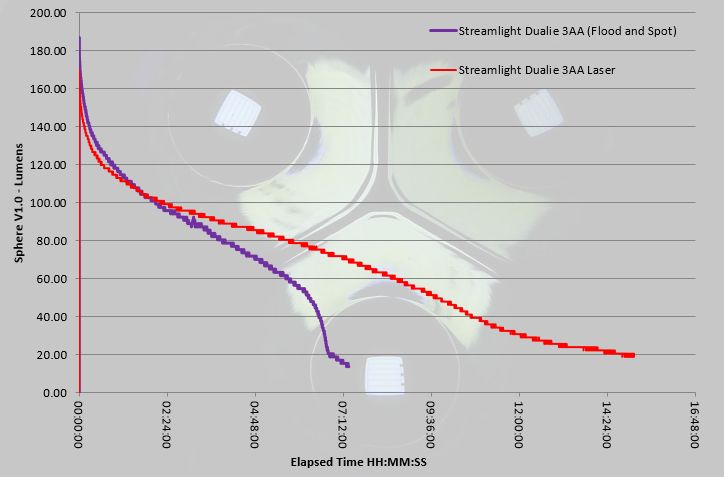
Removing the 2AA’s trace shows the two 3AA versions more clearly, and it is very obvious the Laser module draws much less power than the flood beam, as the runtime for the Laser is much longer.
Troubleshooting
This section is included to mention any minor niggles I come across during testing, in case the information helps anyone else.
No issues were encountered during testing.
As per the description of this section, this information is provided in case anyone else finds a similar ‘issue’ that might be fixed in the same way.
The Streamlight Dualies in use
Before looking at any other aspect, it is important to highlight that these Dualie lights are Intrinsically Safe. That really is what it says – Intrinsically Safe devices are specifically designed to limit electrical and thermal energy that might be available for ignition. It means they are effectively incapable of igniting specific explosive atmospheres. This is why generally Intrinsically Safe lights are relatively low powered, use alkaline primary cells, and are made from plastic.
Take the most typical domestic scenario; you get back home at night and smell gas in the house. You need light to find the main gas valve (which is in a cupboard) and to get to windows to air your home. Don’t touch that light switch, so what can you use in confidence? An intrinsically safe light specifically designed to be safe to operate in explosive atmospheres of course. As long as you check the certification matches the possible hazard (for example the 3AA Magnet says it is certified for methane / air mixtures only) before you really need it.
I keep a couple of Intrinsically Safe lights in the hall sideboard so I can get my hands on one straight away. I also keep a suitably rated one in the car and in the garage in case of fuel spillages.
Personally, as I don’t work in explosive atmospheres, I mostly keep Intrinsically Safe lights as standby backup lights rather than everyday use ones, but generally always have one close by. If you need this type of light for work, then you will know the regulations and exactly what your requirements are.
What is not clearly shown in the beamshots, is that there is an uneven corona around the hotspot with visible yellowing, they are definitely not the cleanest of beams. This doesn’t truly impact on their use, as it is only when you are white wall hunting and looking for beam defects that you really notice them. When you are getting on with a job, it doesn’t matter that much, and will be the least of your worries if you actually need their Intrinsically Safe aspect.
The magnets are strong enough in the two models that have tail magnets (the 2AA ATEX and 3AA Magnet), that they are able to hold the light at any angle. Taking the worst case, they will stick to a vertical steel surface and keep the light pointing horizontally. I’ve also found this to be true on steel bars as well, so not limited to flat surfaces. On the 3AA Magnet there is the additional magnet in the clip on the side of the light, providing more mounting angles. I use this side-mounted magnet for storage of the 3AA Magnet light, having it hold itself on the side of a metal cabinet ready for use.
It is important to compare like with like, and these Intrinsically Safe lights do not compete with the current Li-ion powered lights in terms of output and beam quality, but that is not a fair comparison. These are lights designed to be simple and safe to use just about anywhere. Two independent lighting functions operated by two switches, reliable and predictable AA power, light weight, tough and Intrinsically Safe. I’m certainly glad to have a few of these lights around.
Review Summary
| _______________________________________________ | _______________________________________________ |
| Things I like | What doesn’t work so well for me |
| _______________________________________________ | _______________________________________________ |
| Intrinsically Safe. | Not the cleanest of beams. |
| AA powered. | Switches need quite a firm press to click. |
| Simple to use. | |
| Lightweight. | |
| Reliable. | |
| Tough. | |
| Highly functional clips / magnets. |

Discussing the Review:
The ideal place to discuss this reviews is on a forum. If you started reading the shorter forum version of the review, but followed the link this full exclusive review, please return to that forum to discuss the review there.
If you read the review entirely on Tactical Reviews, please consider one of the following to join in any discussion.
CandlePowerForums – Flashlight Reviews Section (Largest and Friendliest Flashlight Community Forum)