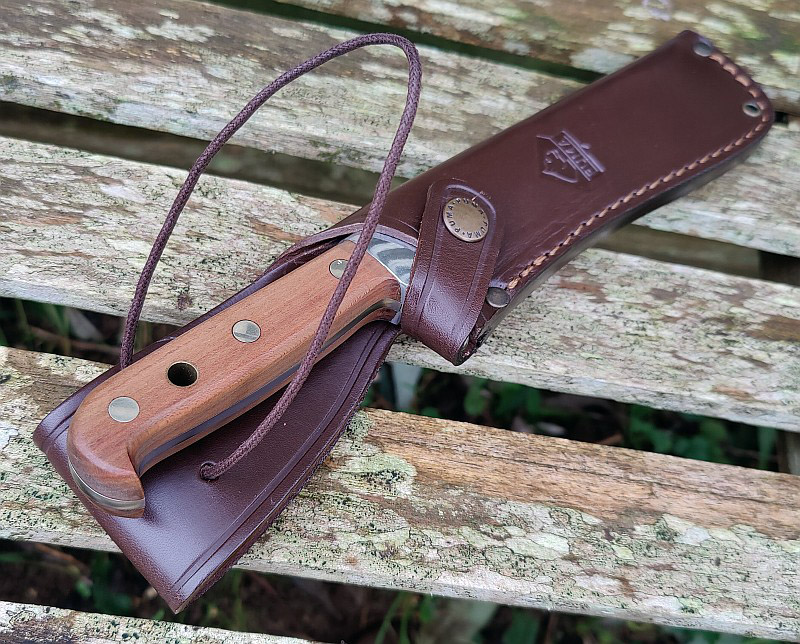
Spyderco’s Military 2 – The 2024 Update of a Classic. The original Spyderco Military Model was designed in 1996, and is a tried and tested knife, proven to be a robust and reliable tool. Building on the strengths of the original design, the Military 2 is refined and updated, bringing in improvements where they make a real difference. Larger stainless steel liners give the knife increased structural strength and also allow the addition of four pocket clip fixing positions. A major switch has been made away from a liner lock and to the signature Spyderco Compression Lock improving safety and handling. Join me in this detailed review of the Spyderco Military 2.
Is the ‘New and Improved’ Spyderco Military 2 actually an improvement? Read on to find out.
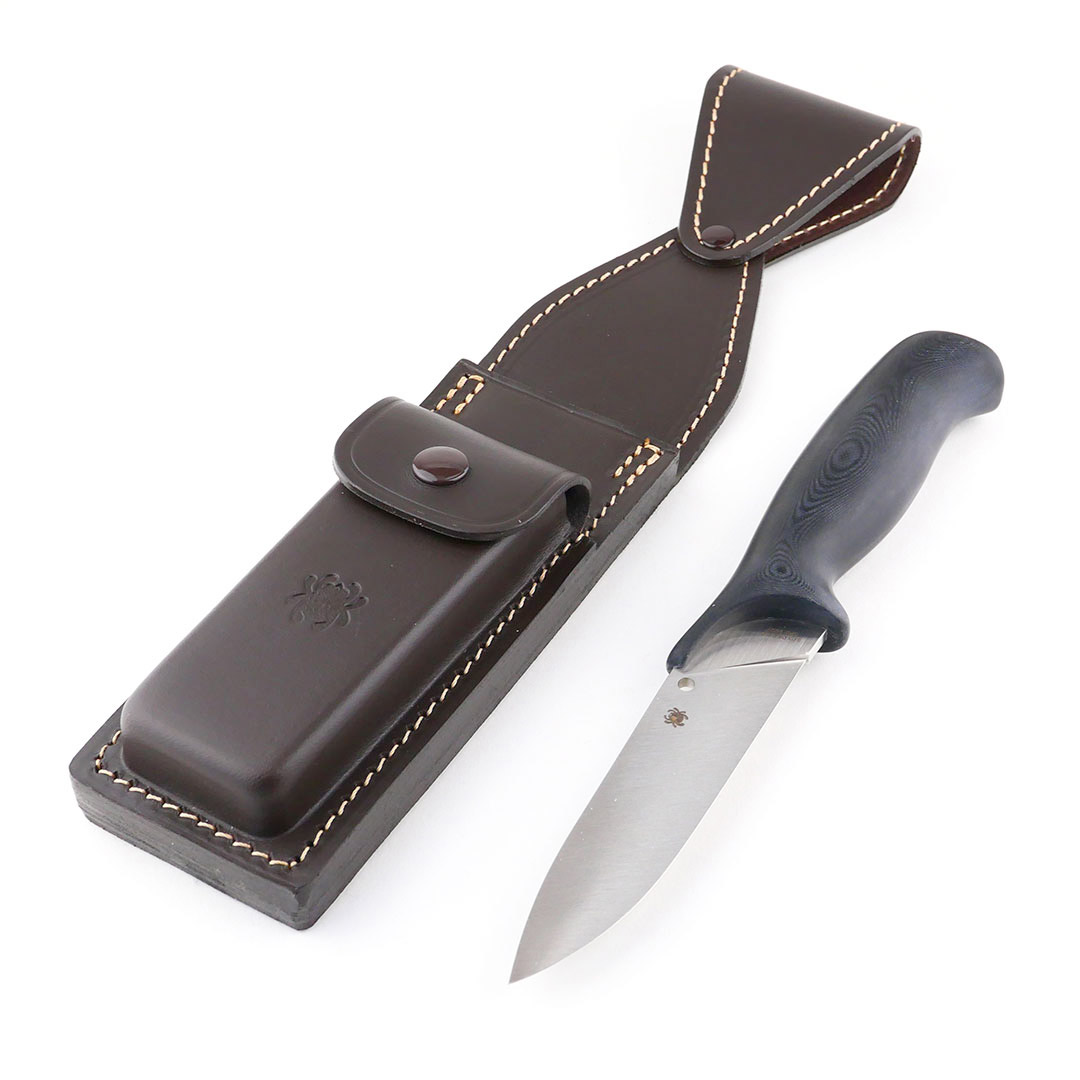
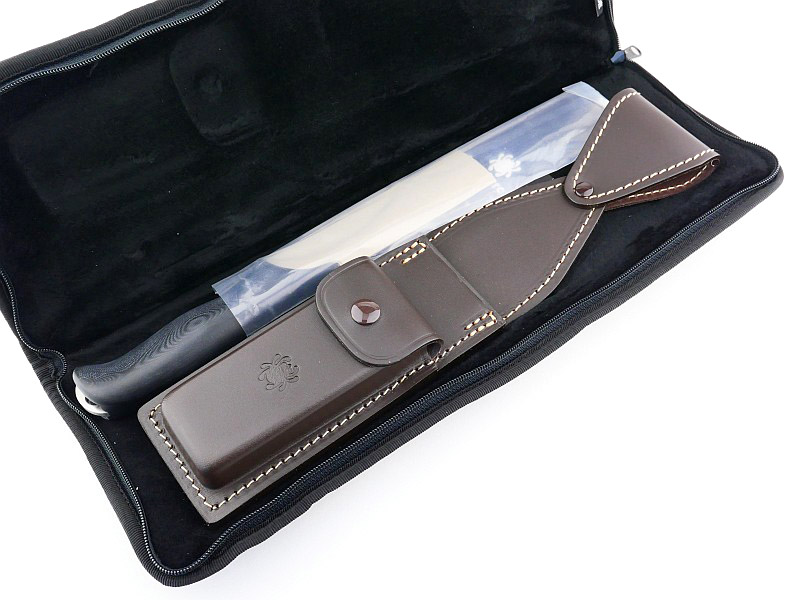
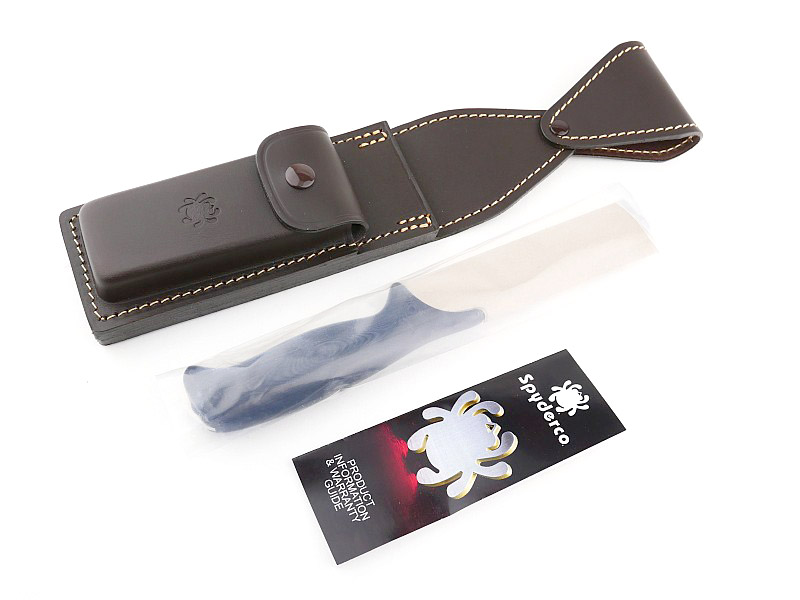
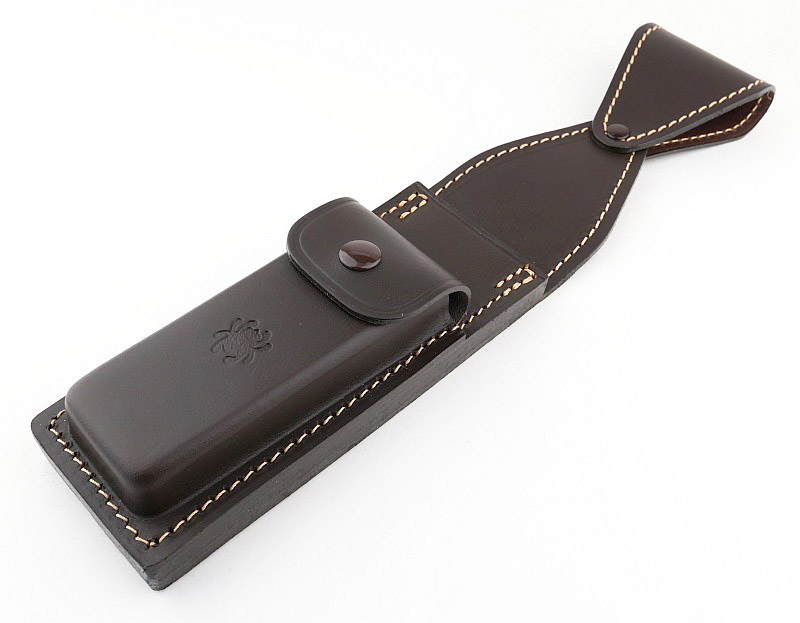
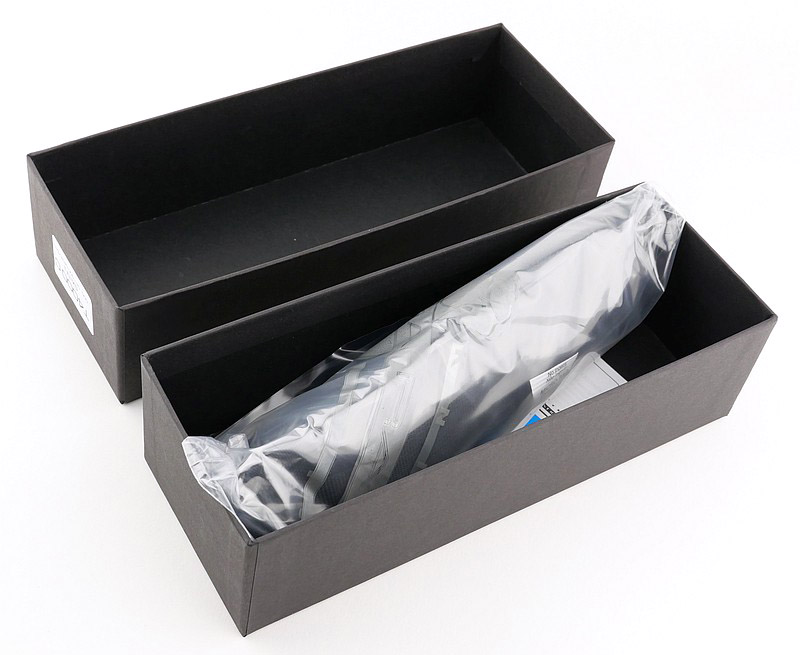
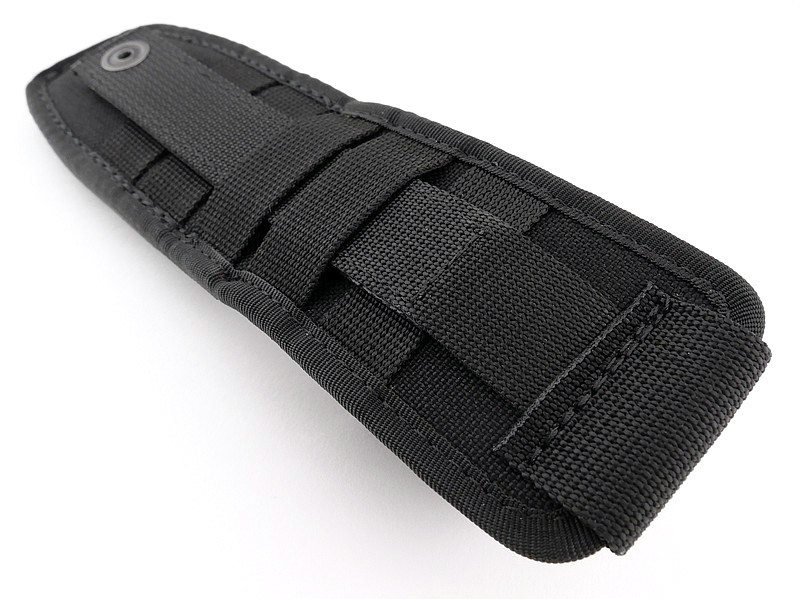
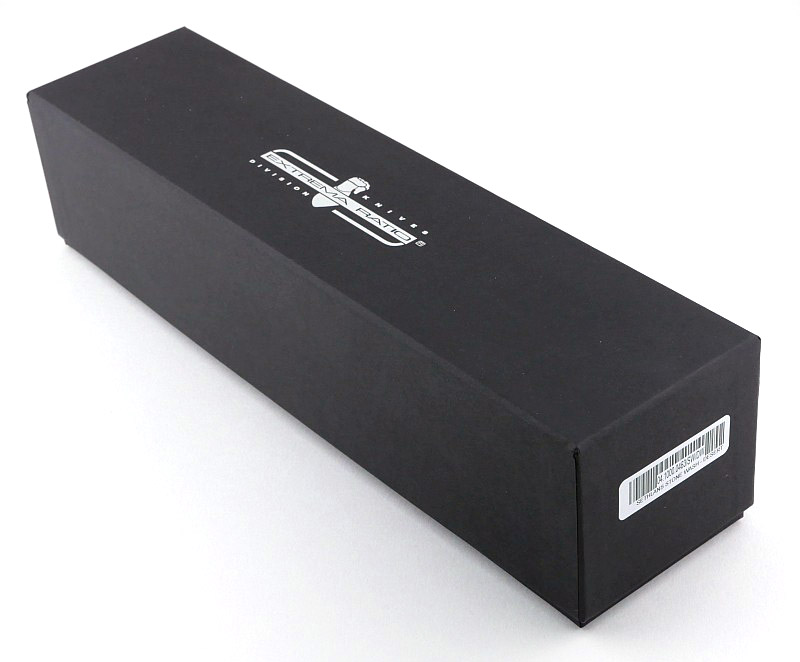
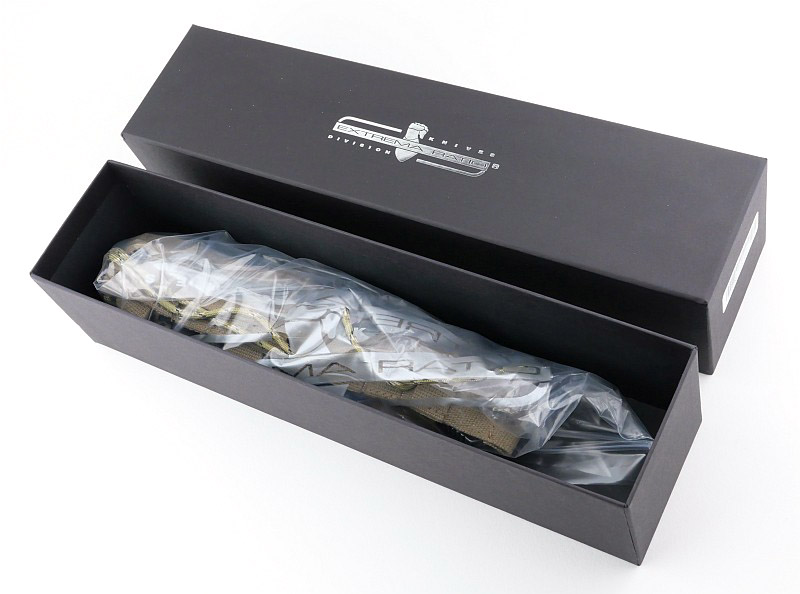
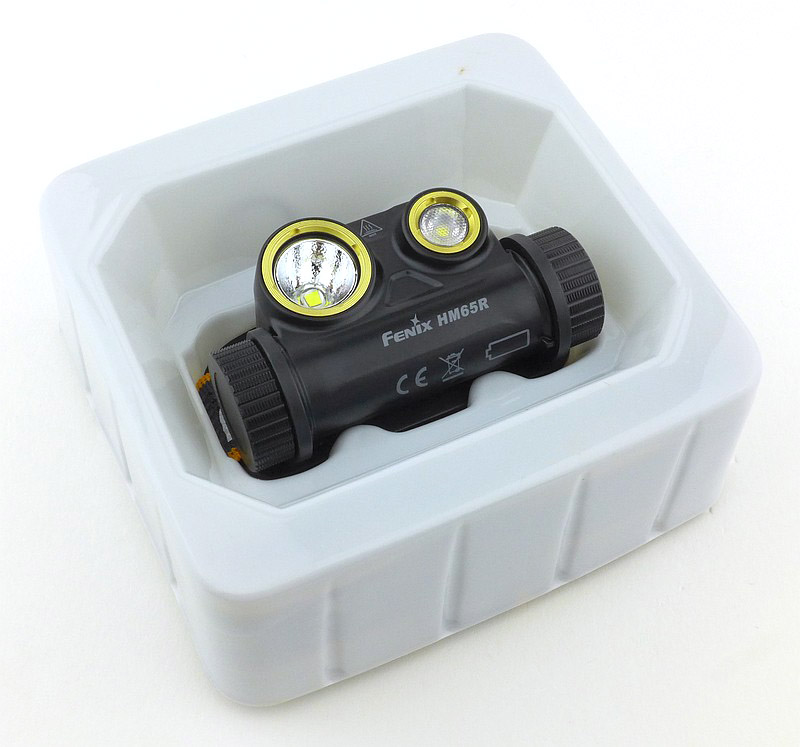
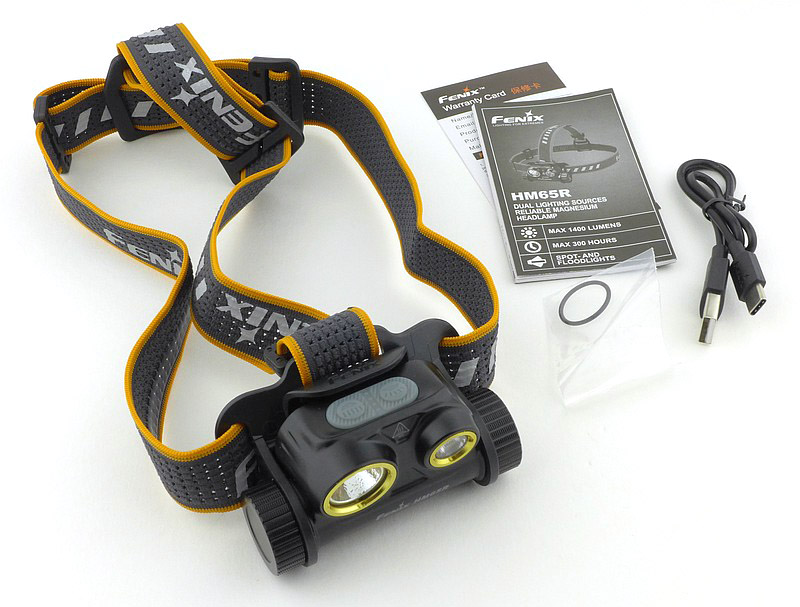
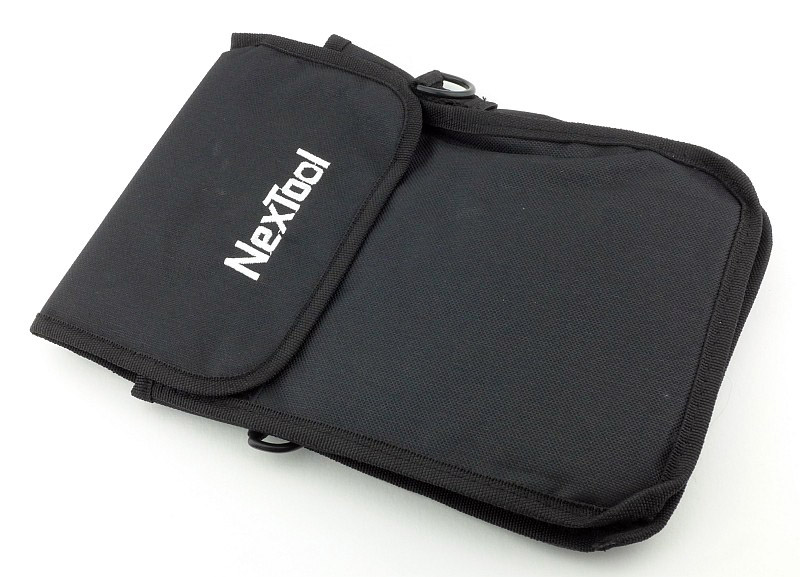
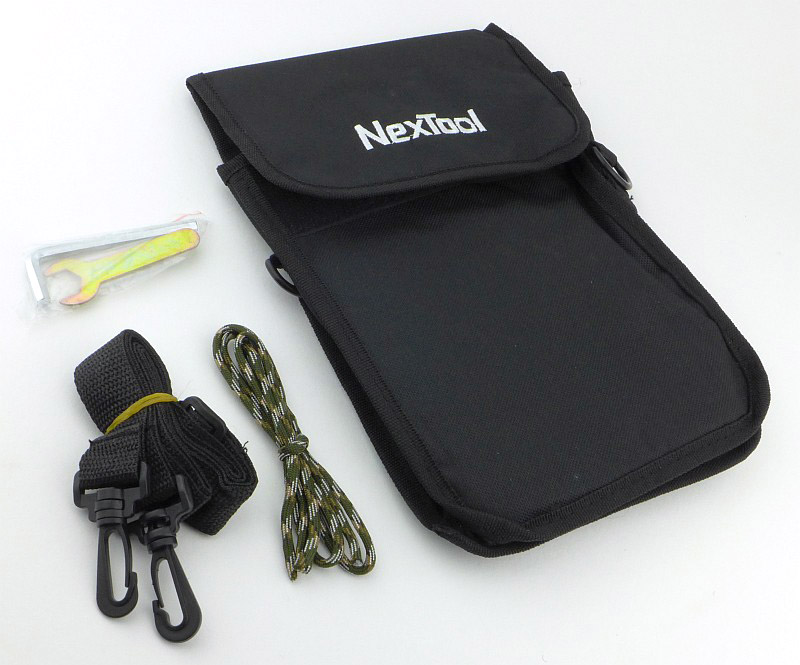
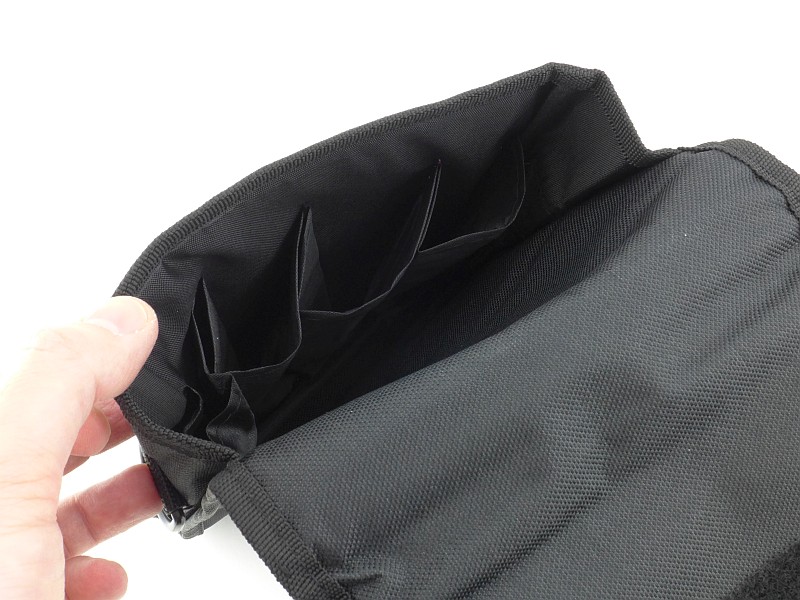
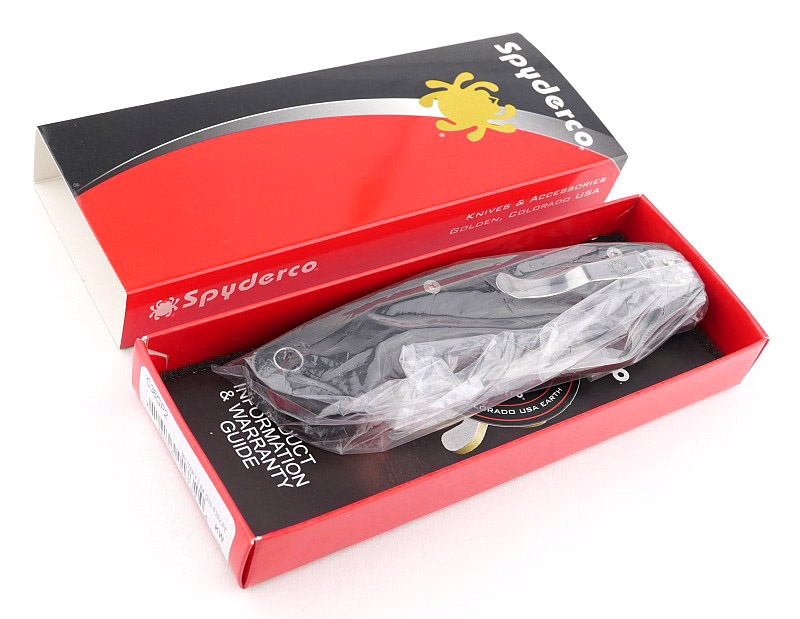
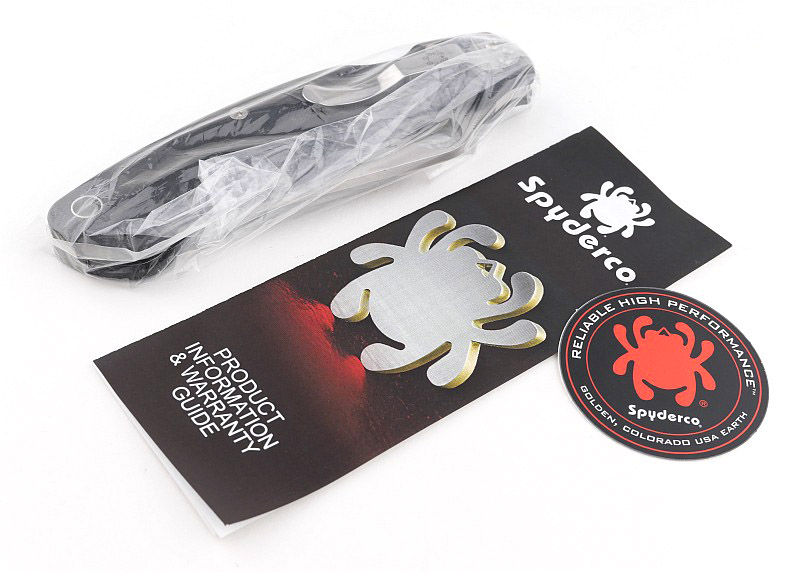
What’s in the box?:
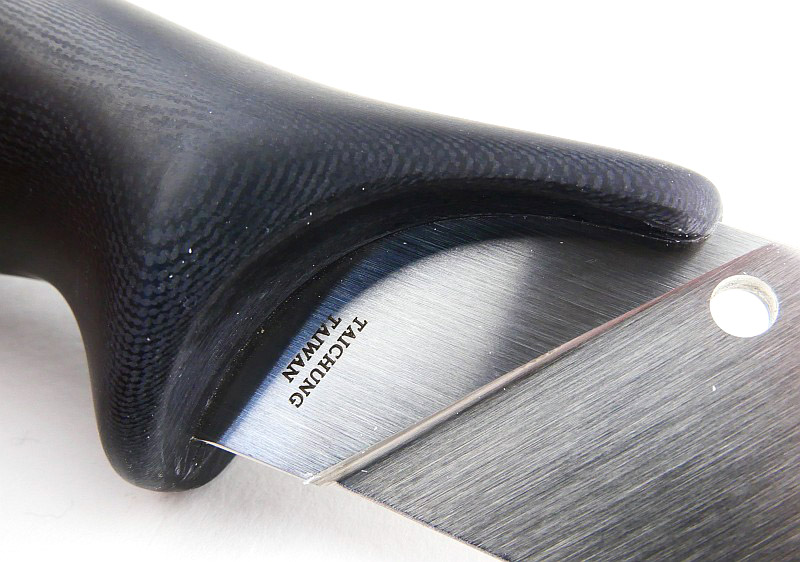
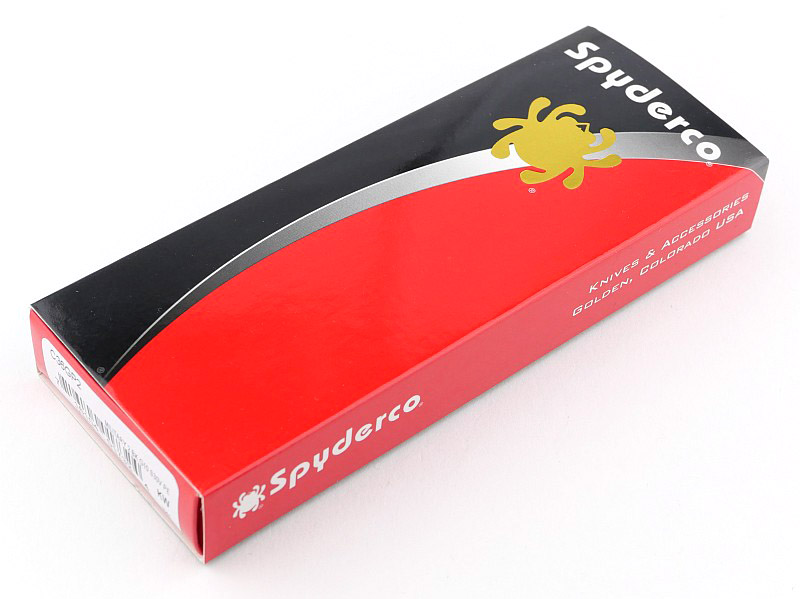
This Military 2 comes in the familiar Spyderco box. Included with the knife is a sticker and a leaflet about the exact model of knife.
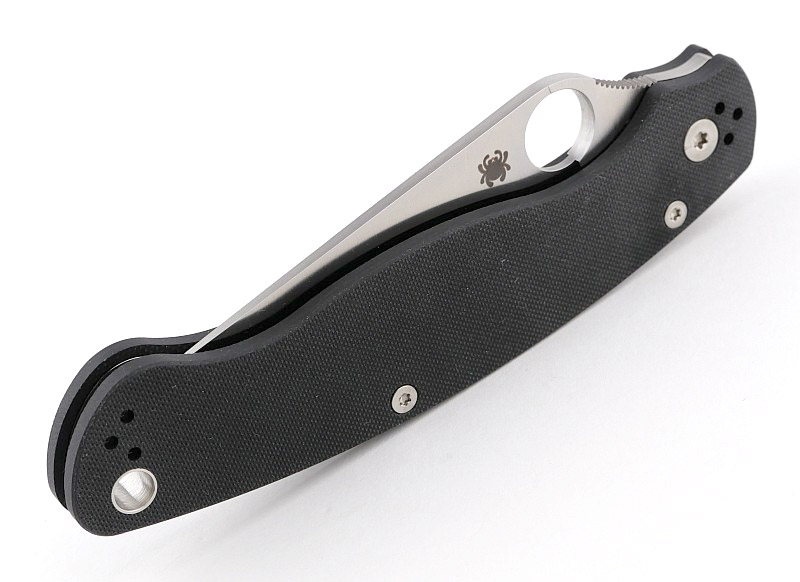
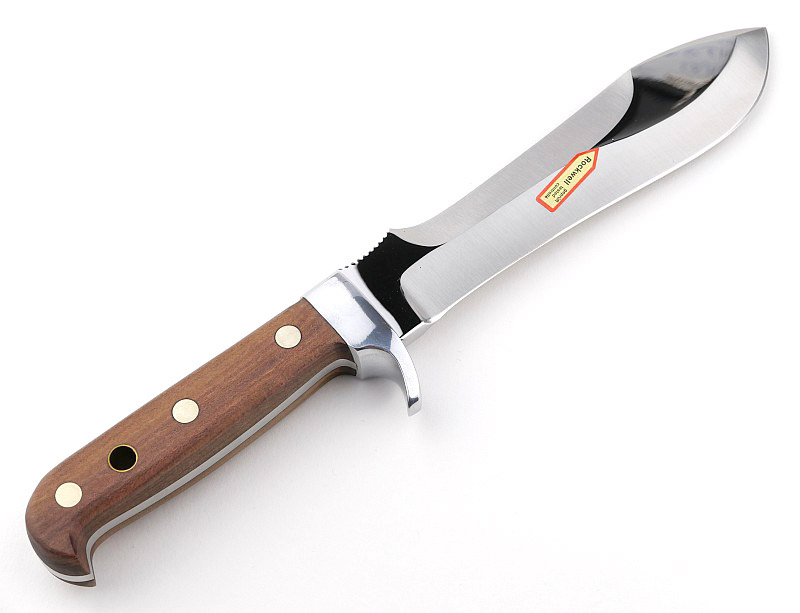
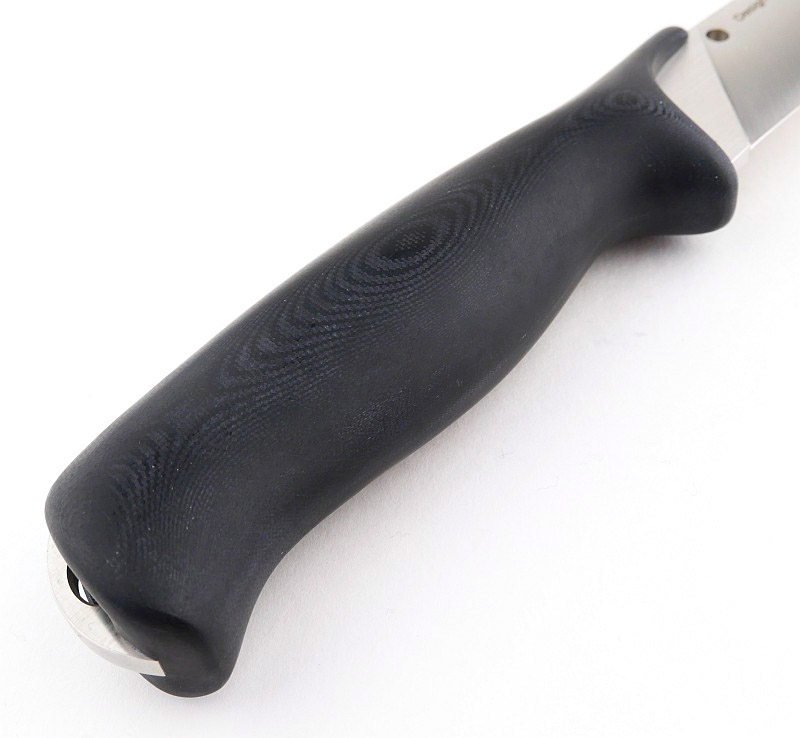
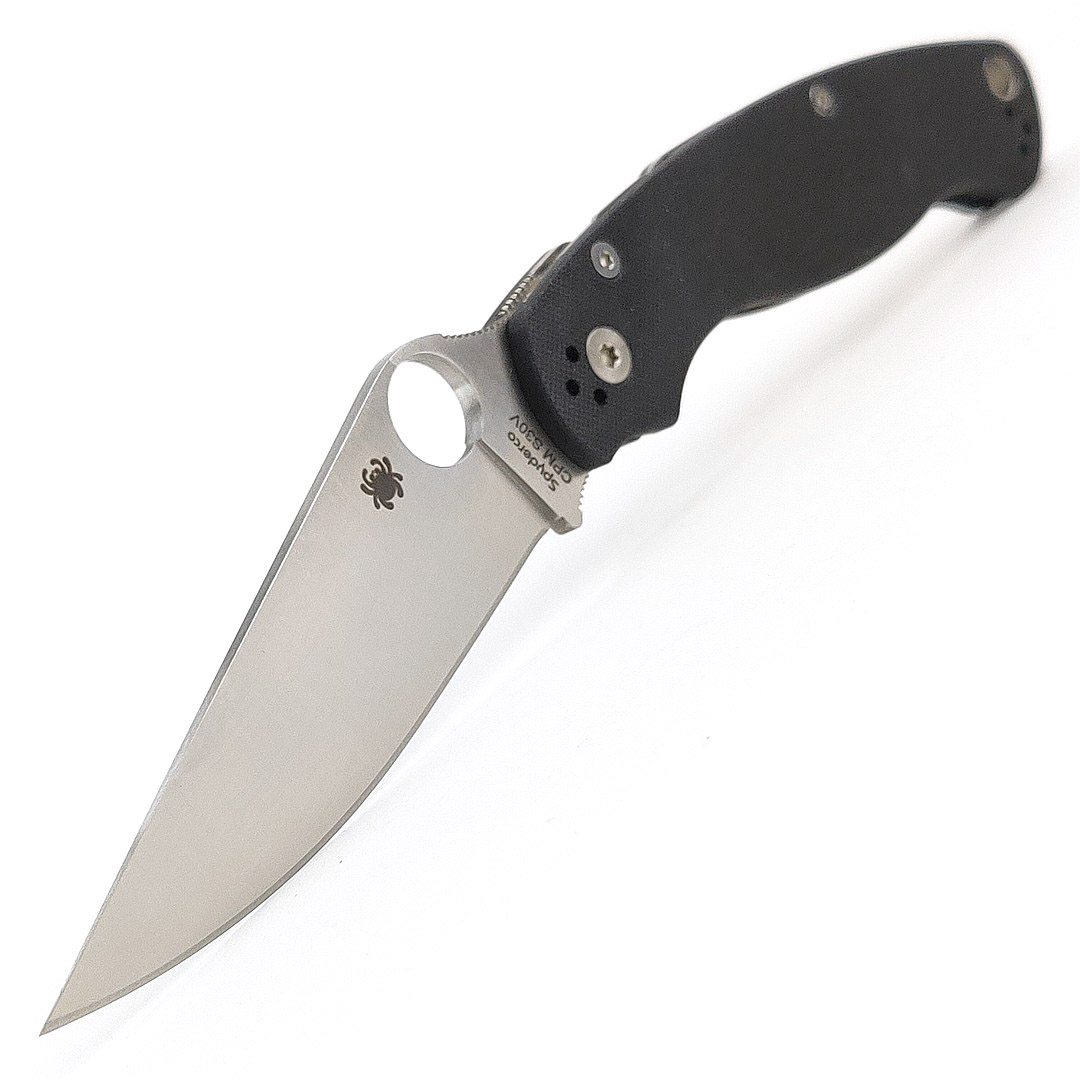
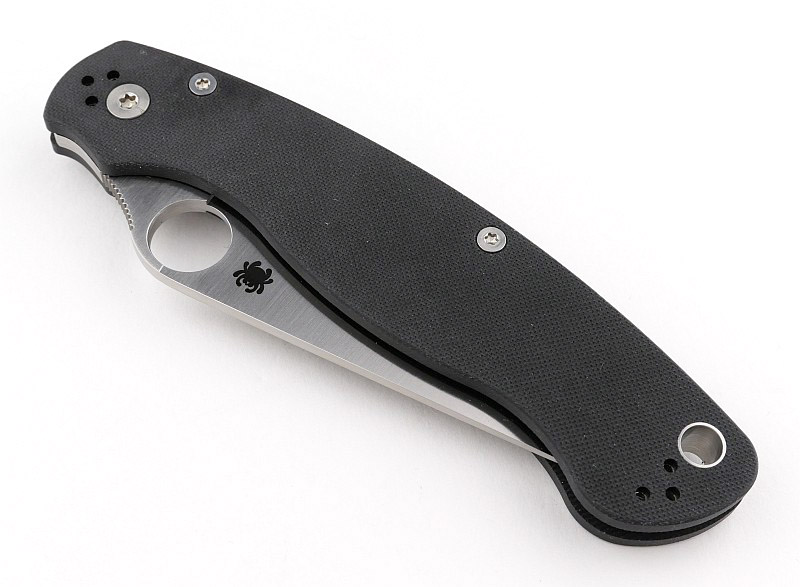
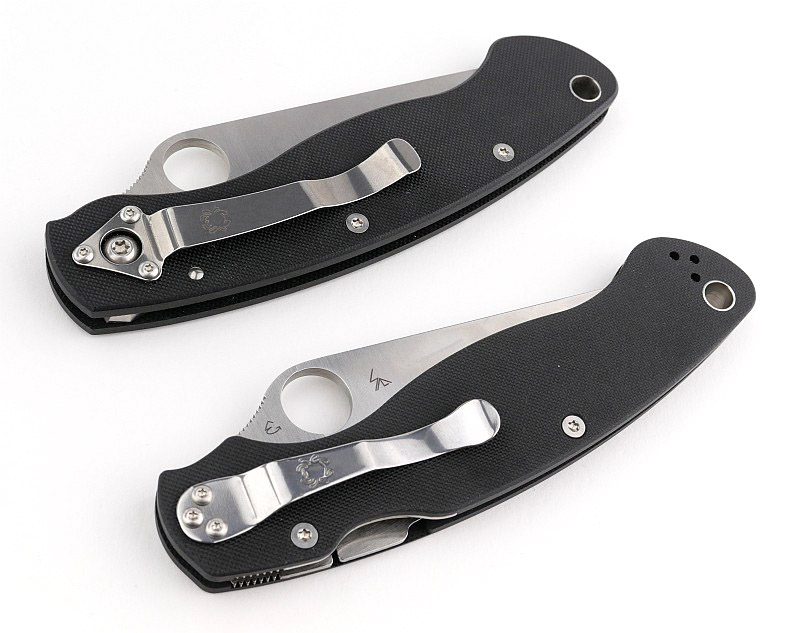
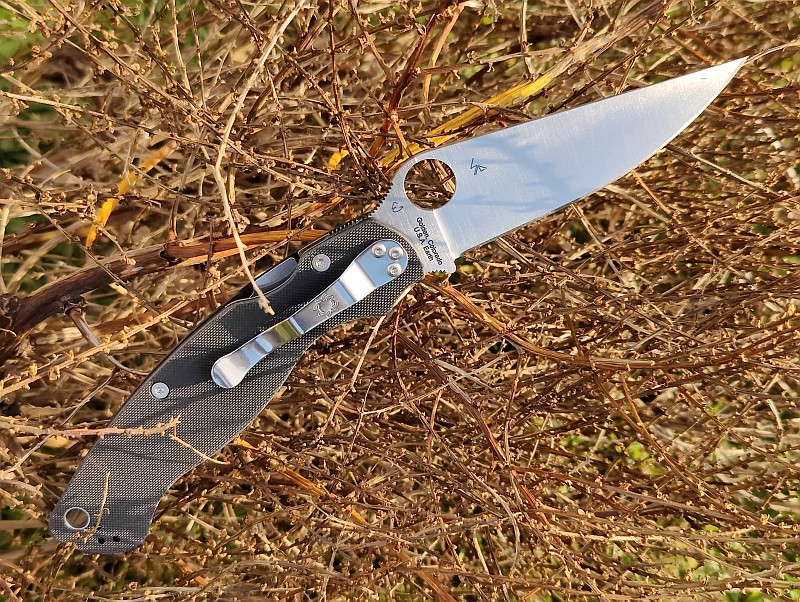
A good look round the closed Military 2 – Things to look out for here are:
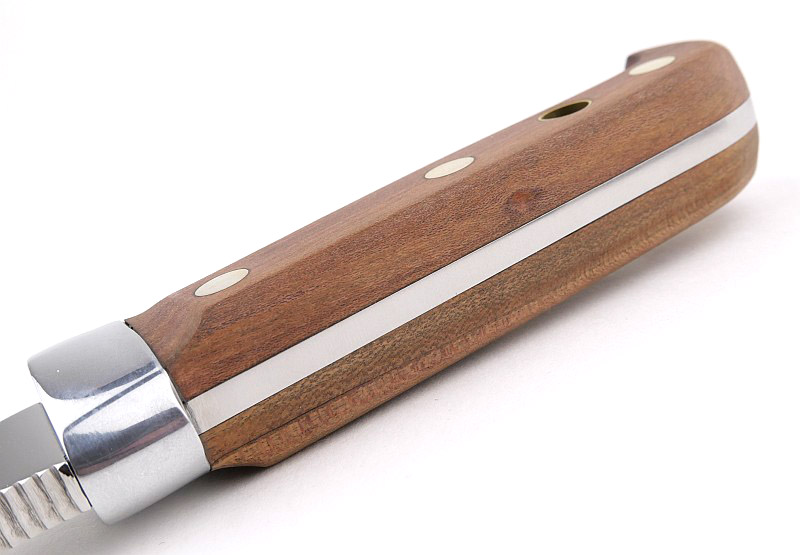
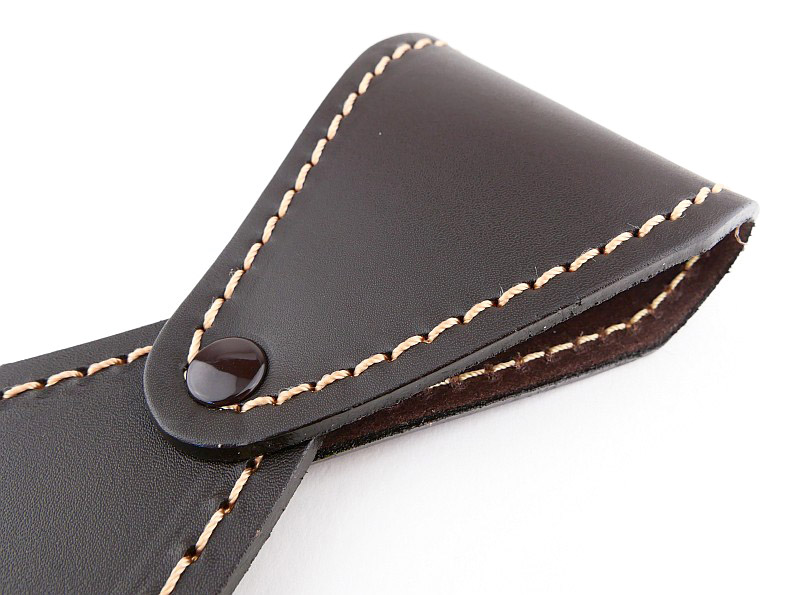
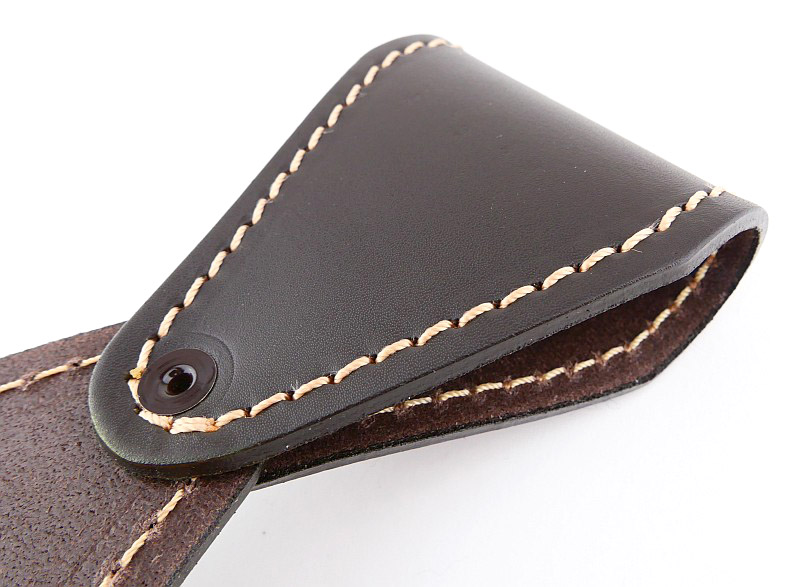
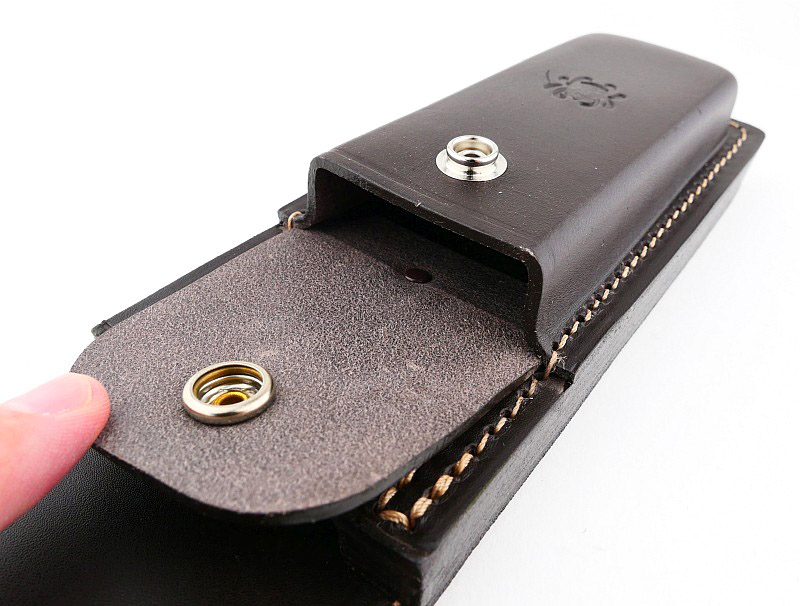
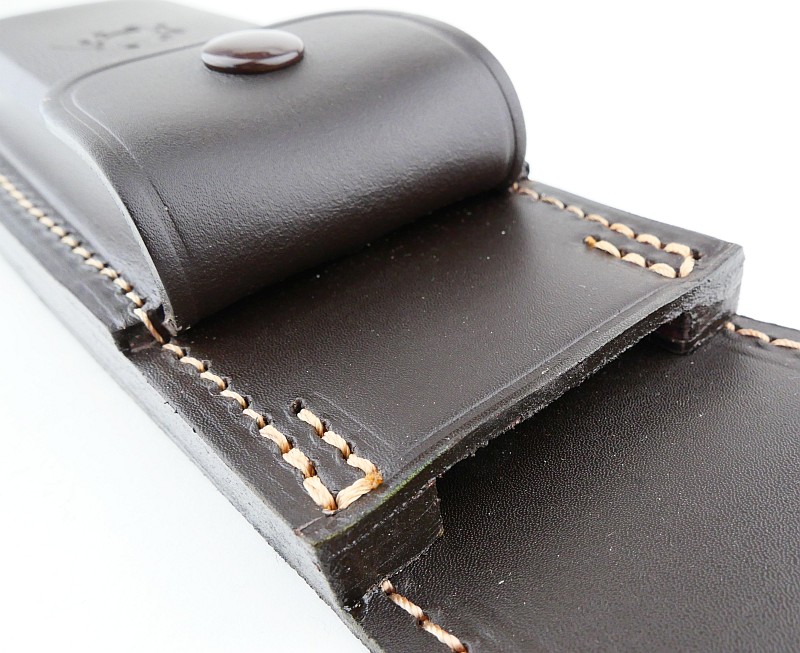
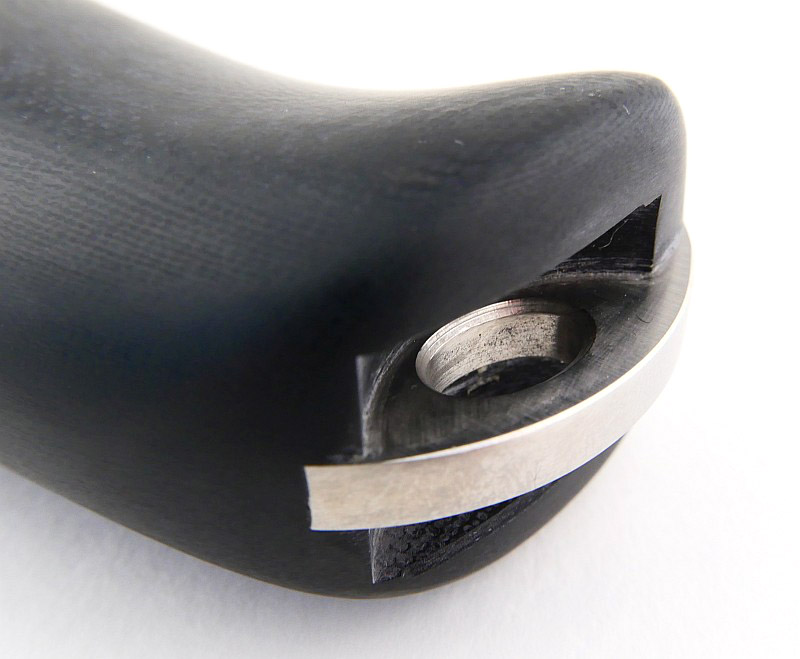
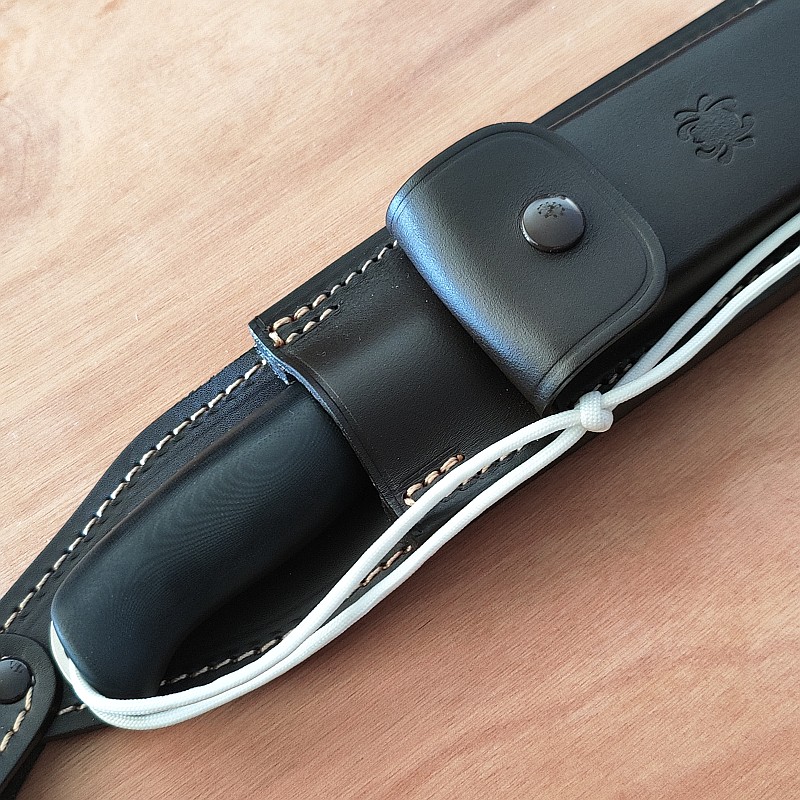
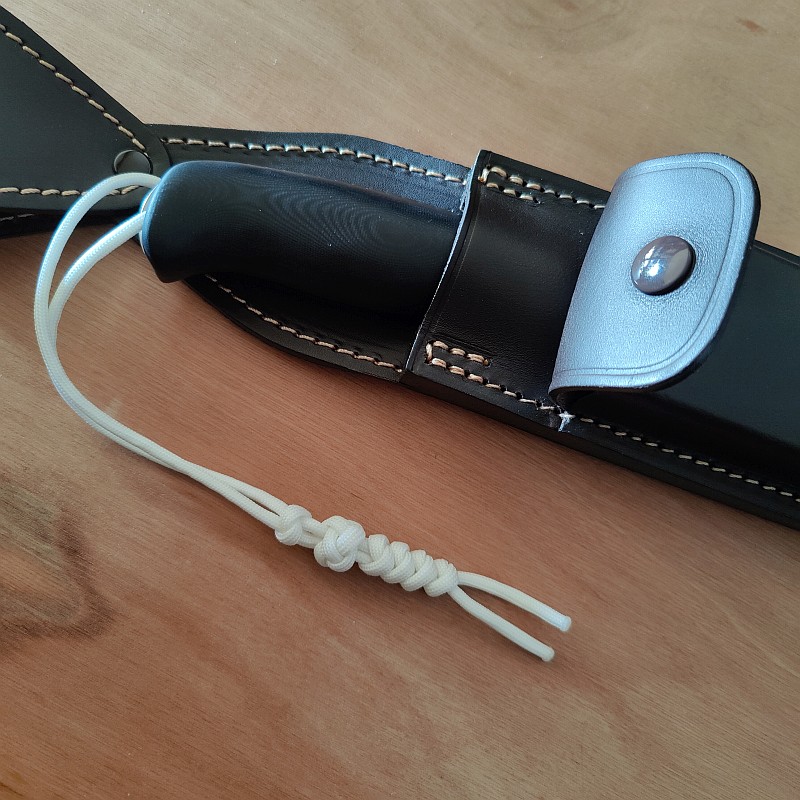
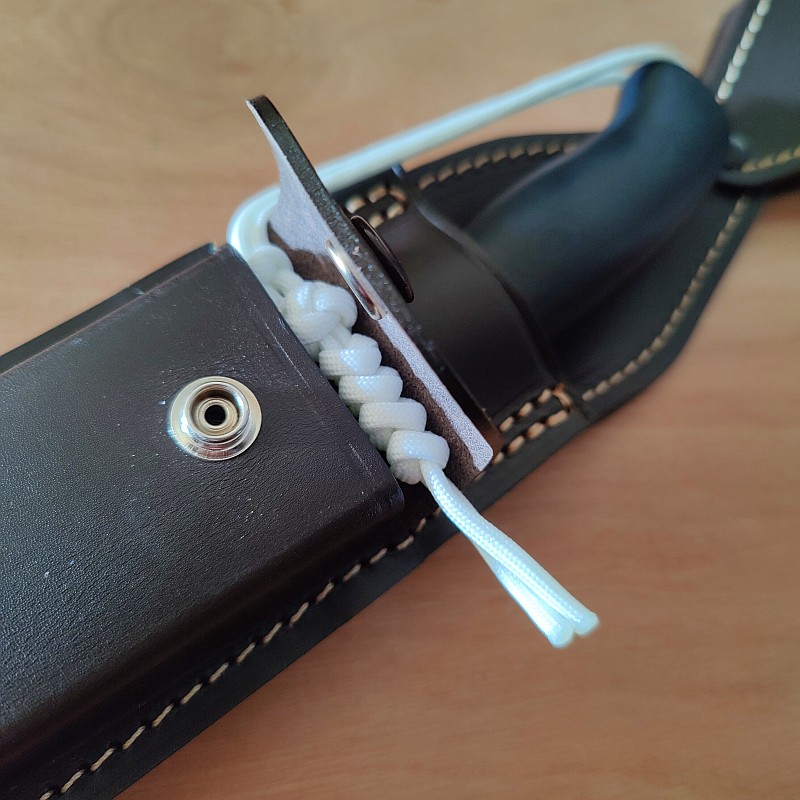
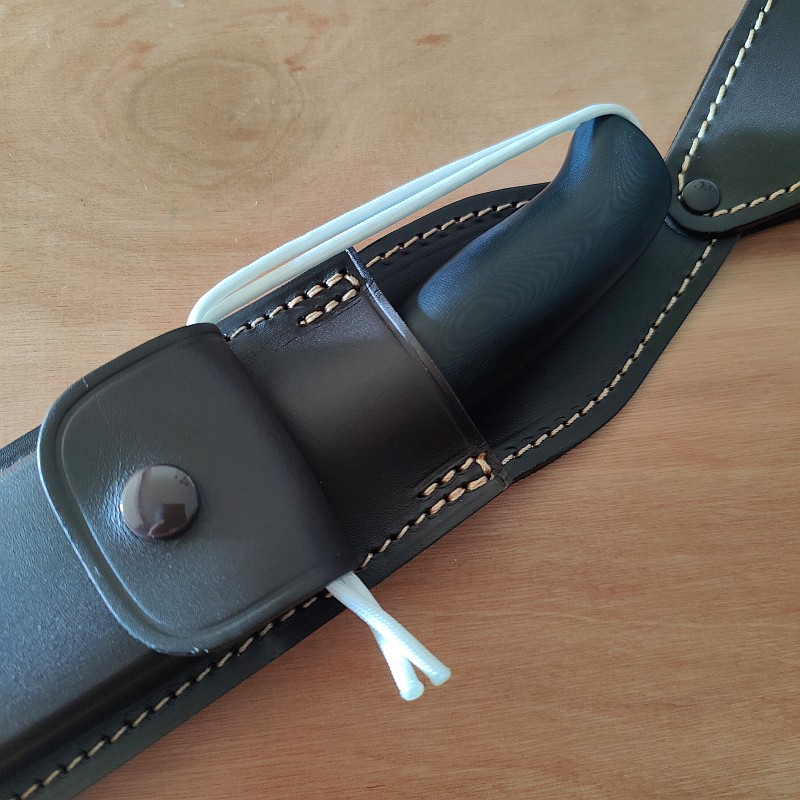
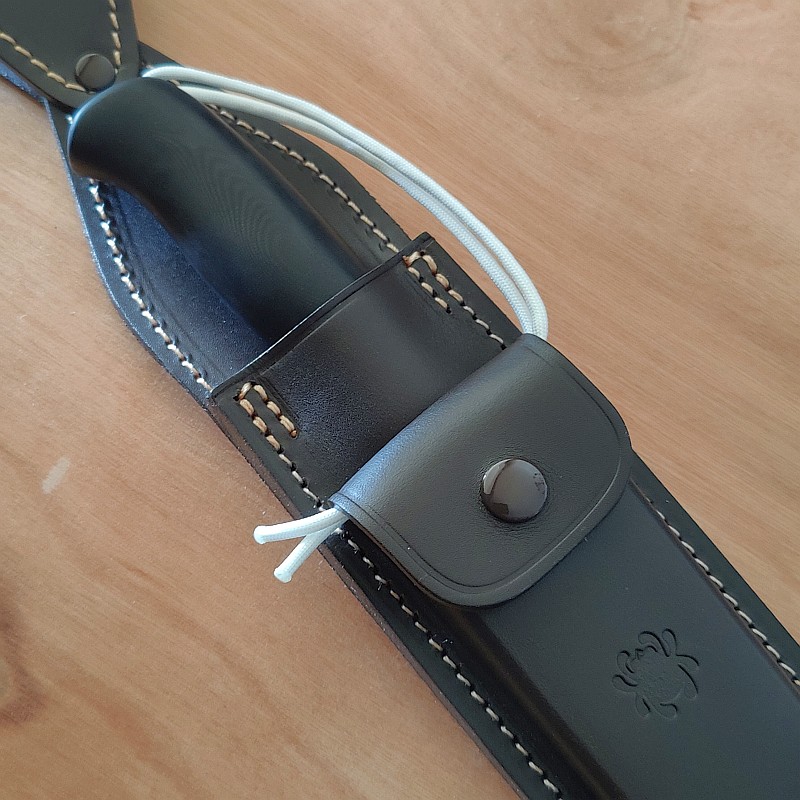
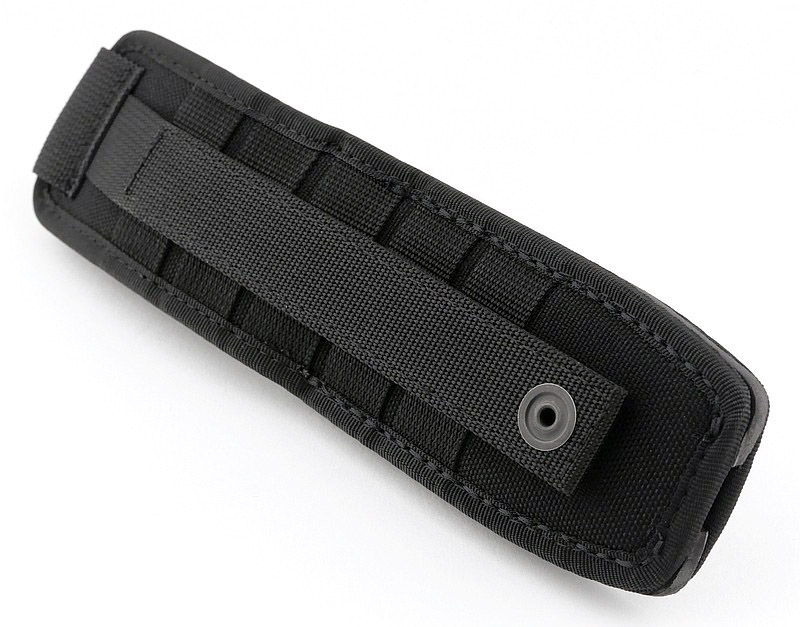
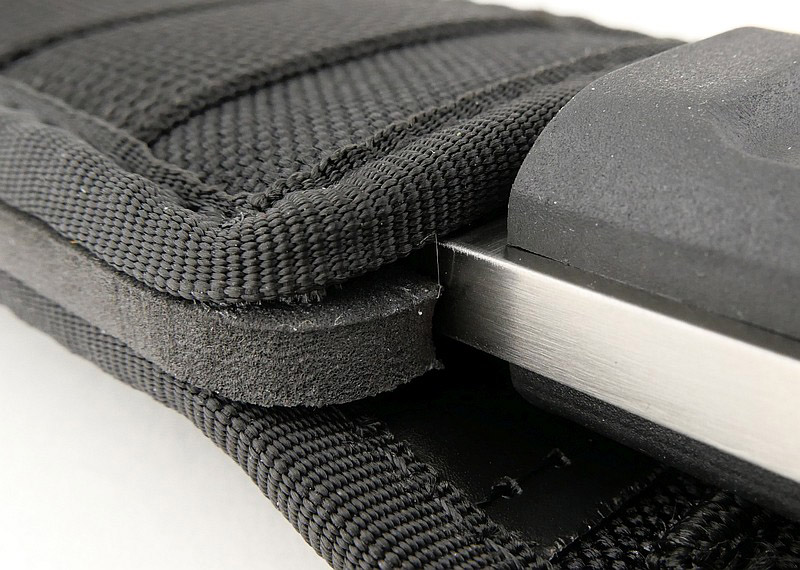
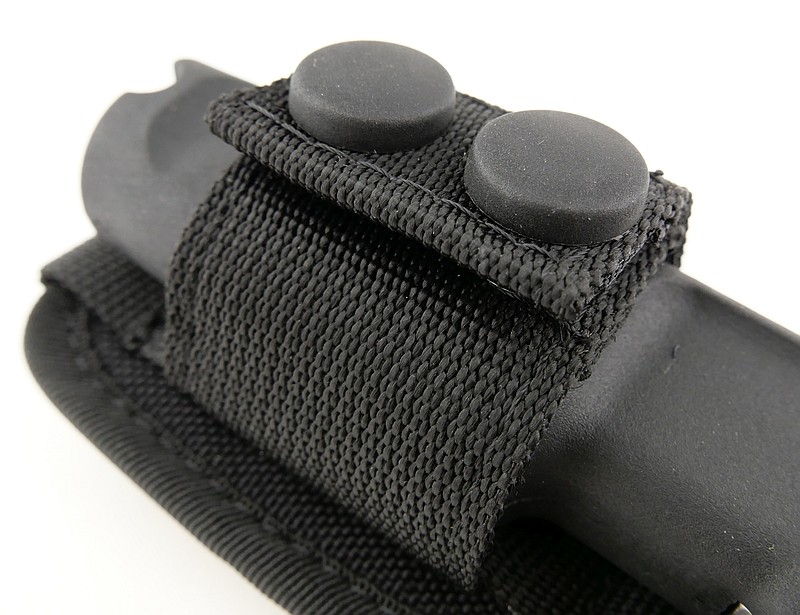
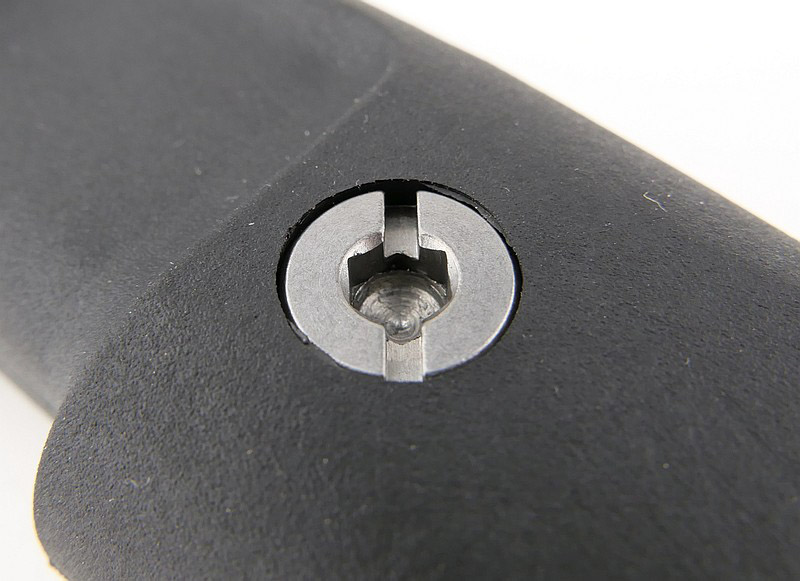
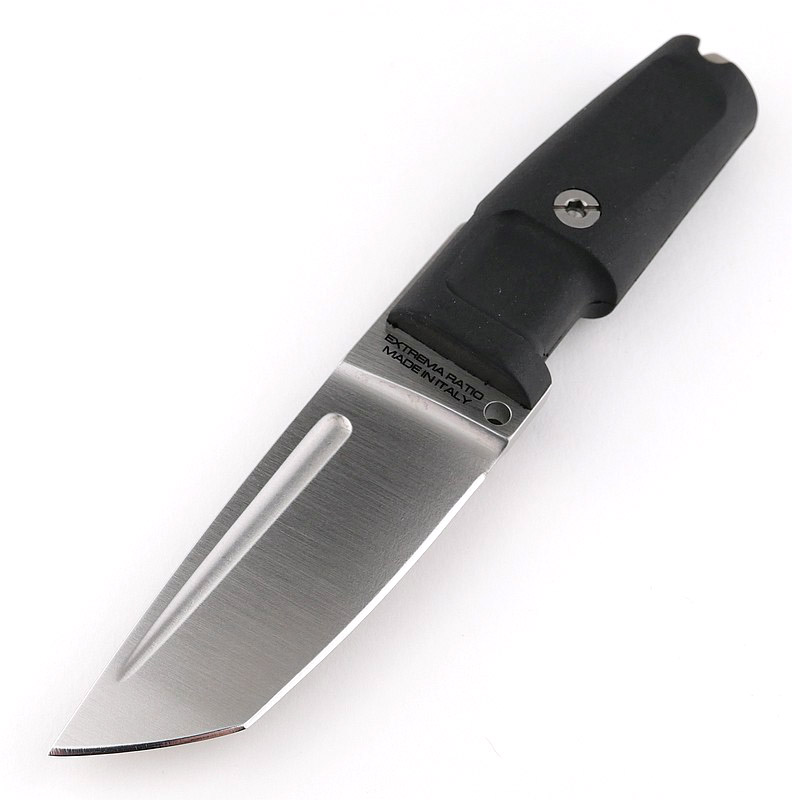
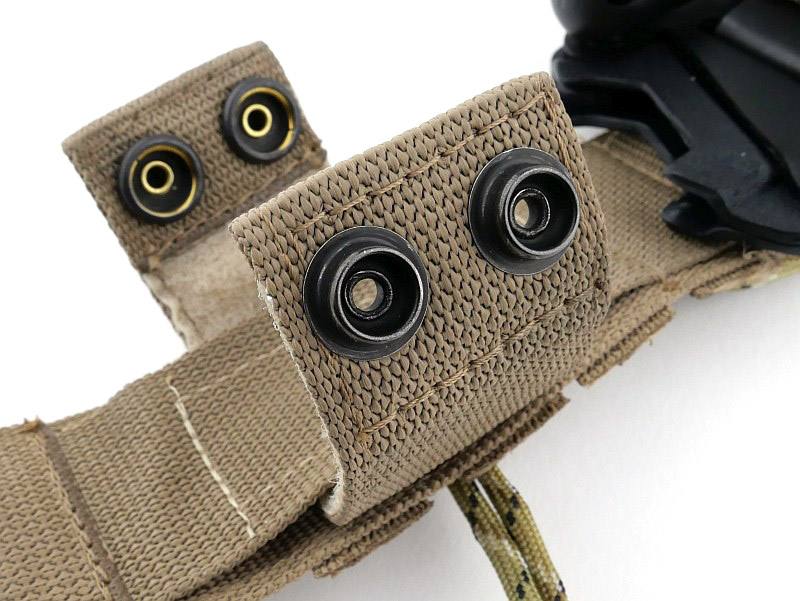
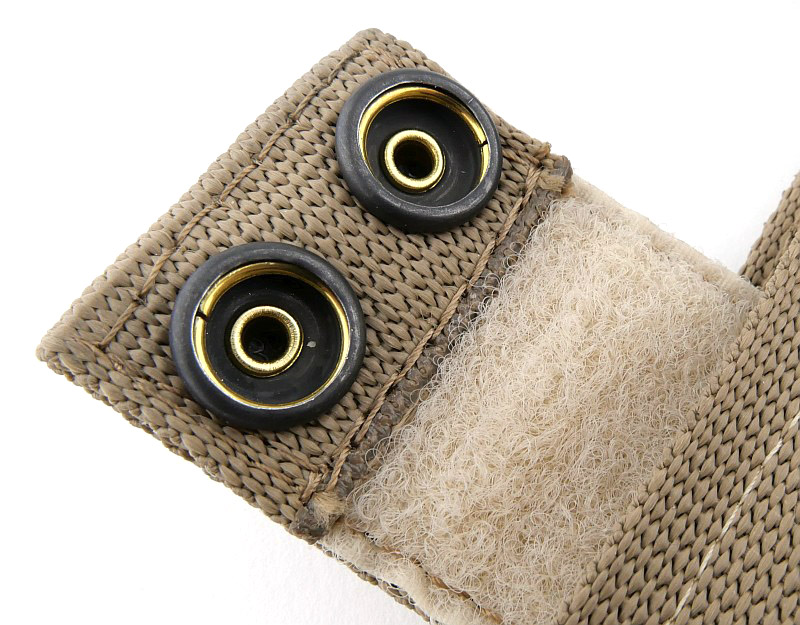
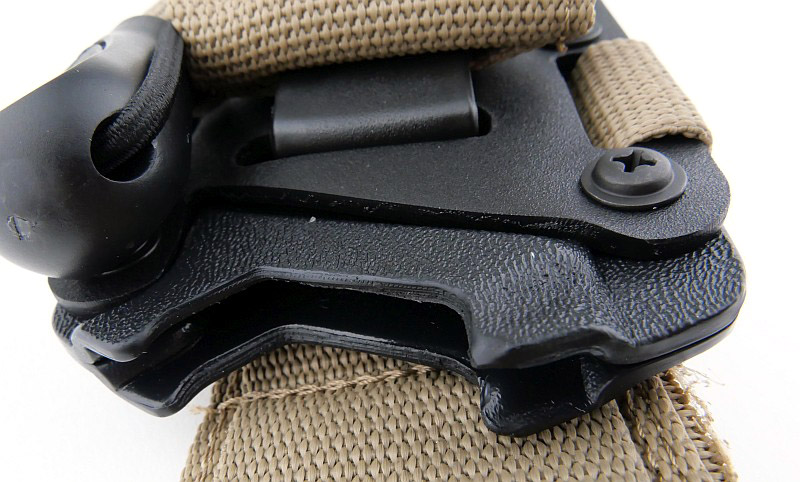
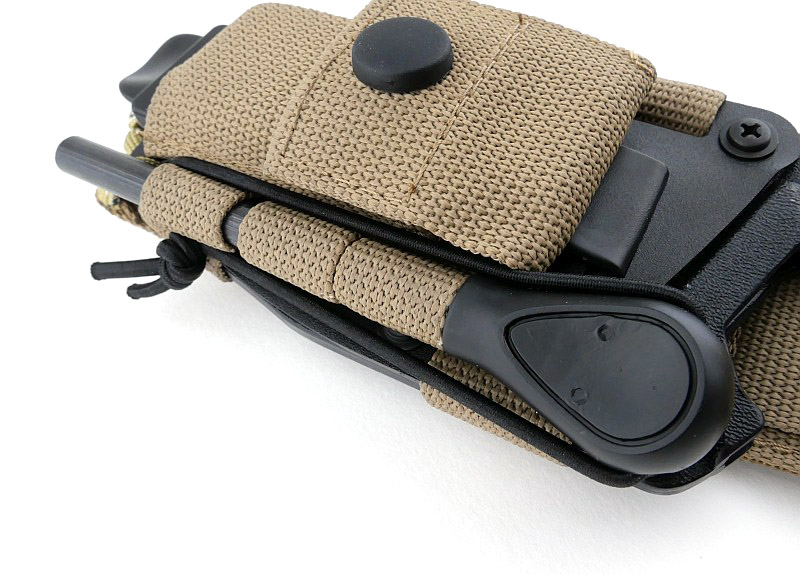
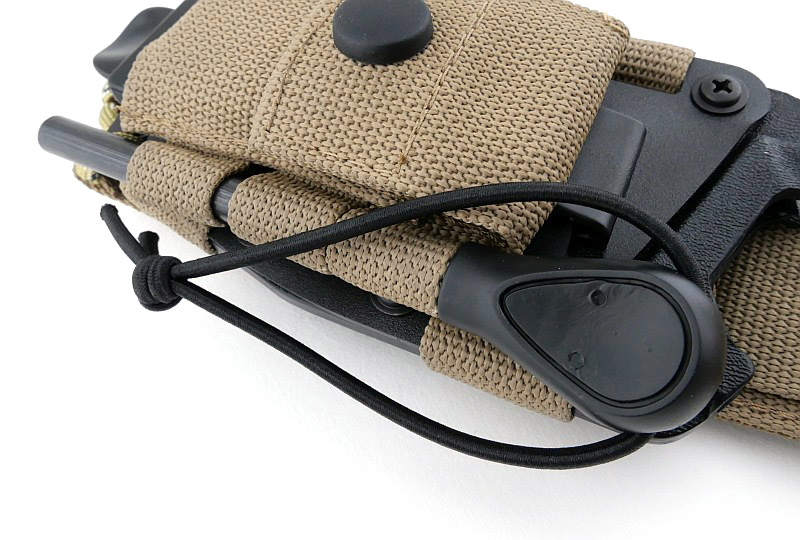
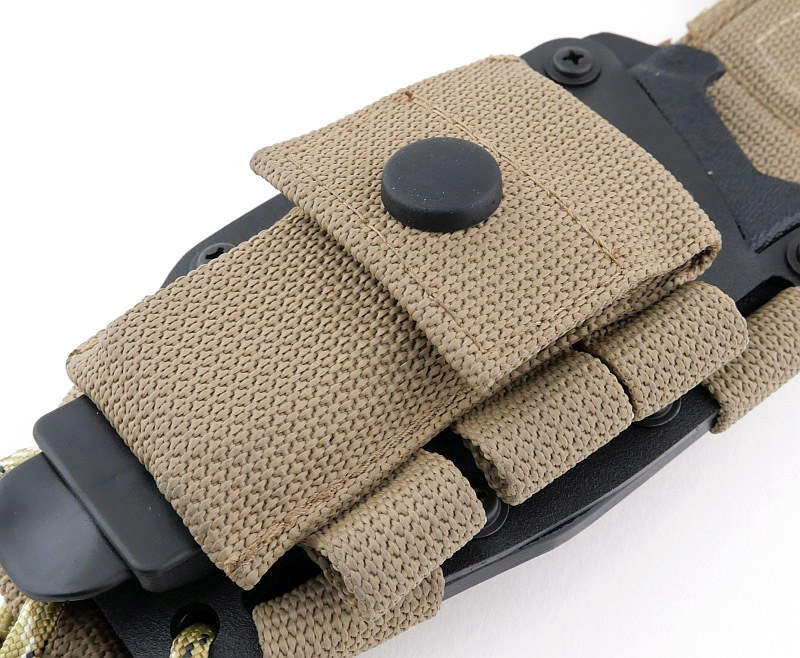
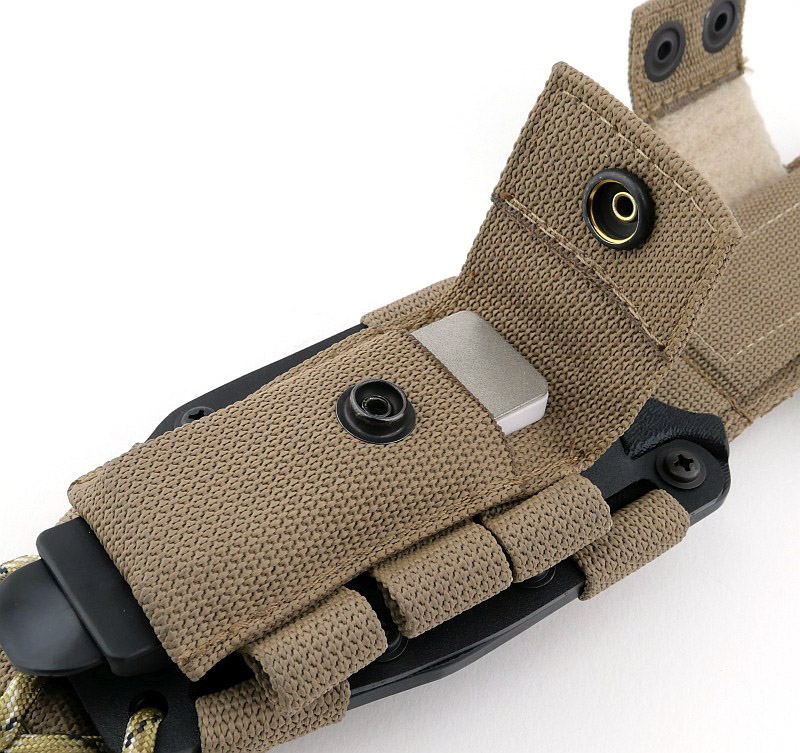
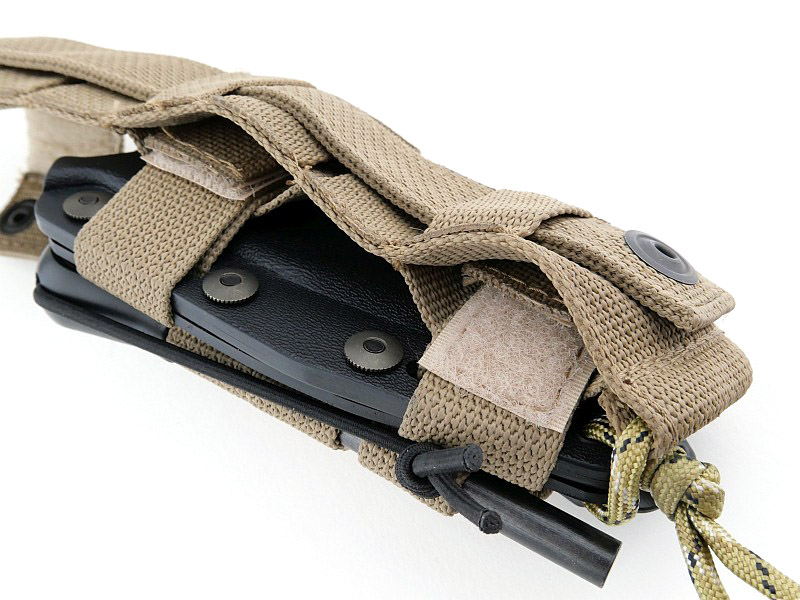
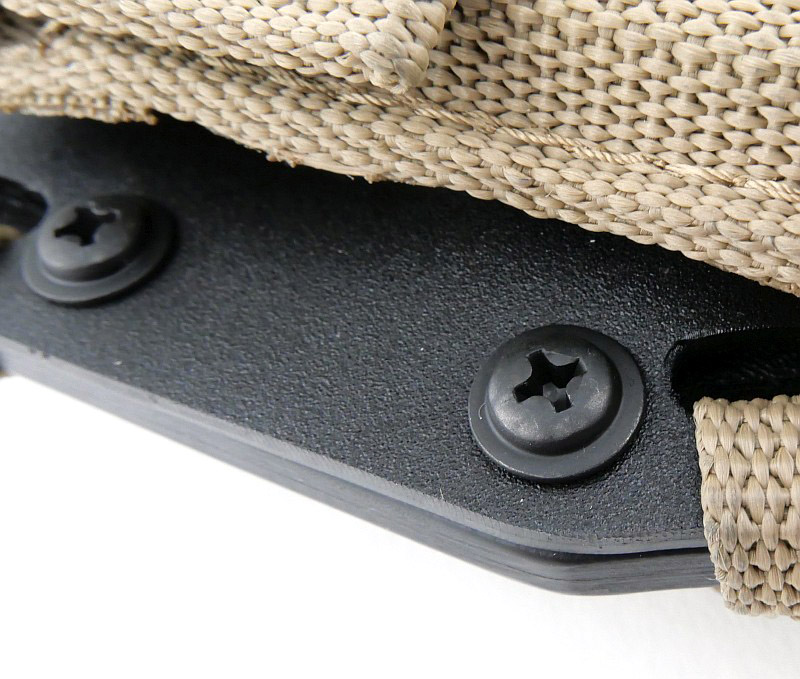
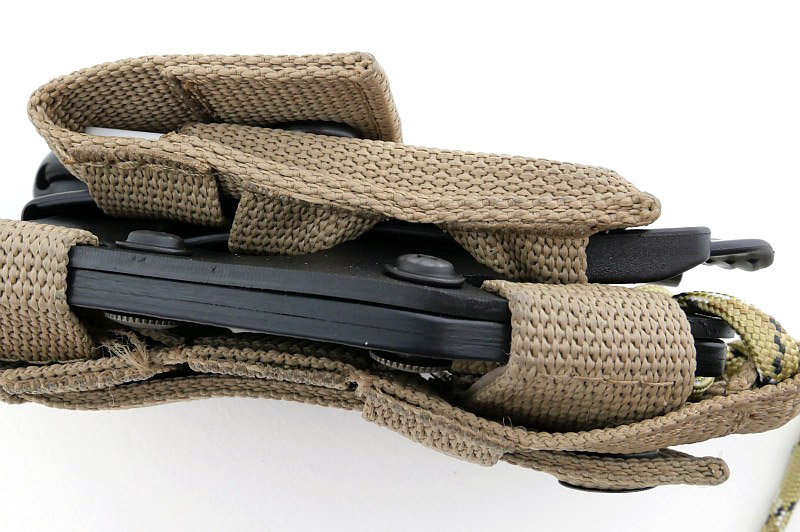
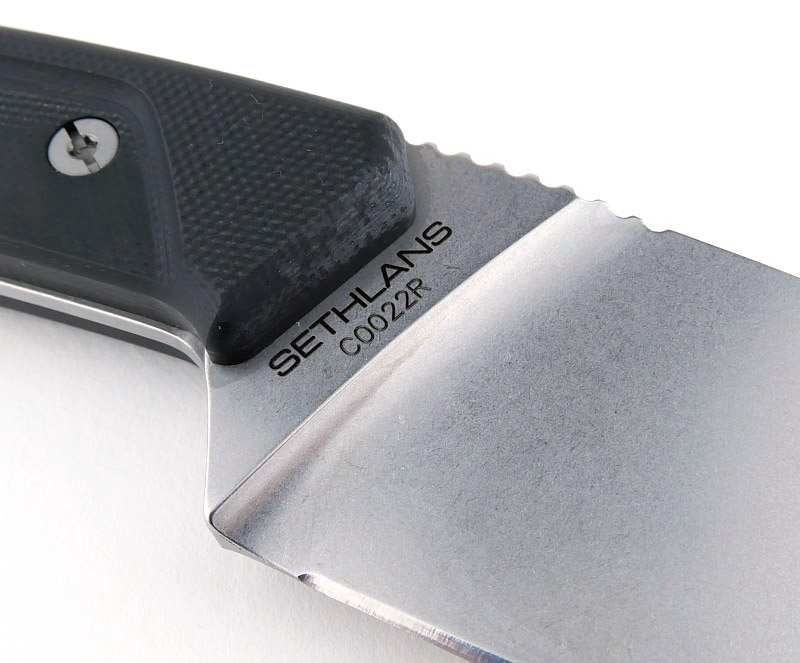
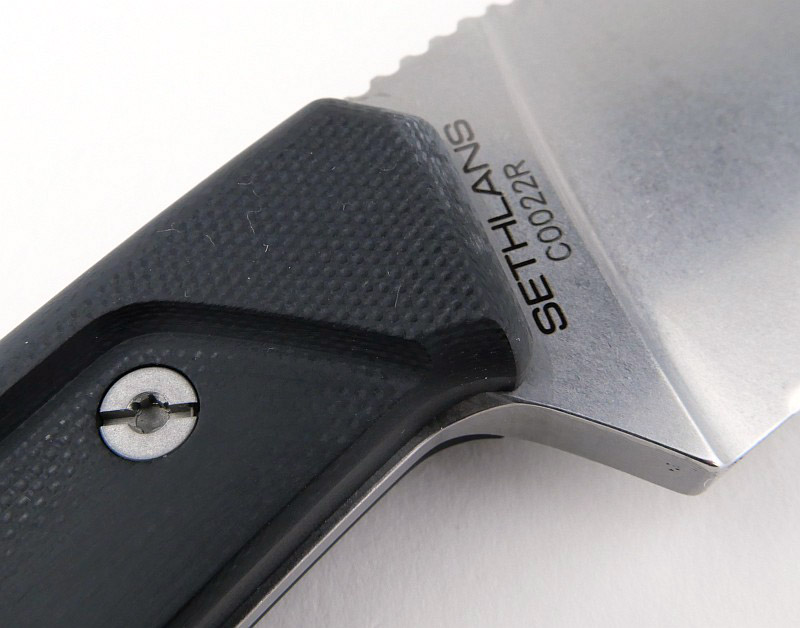
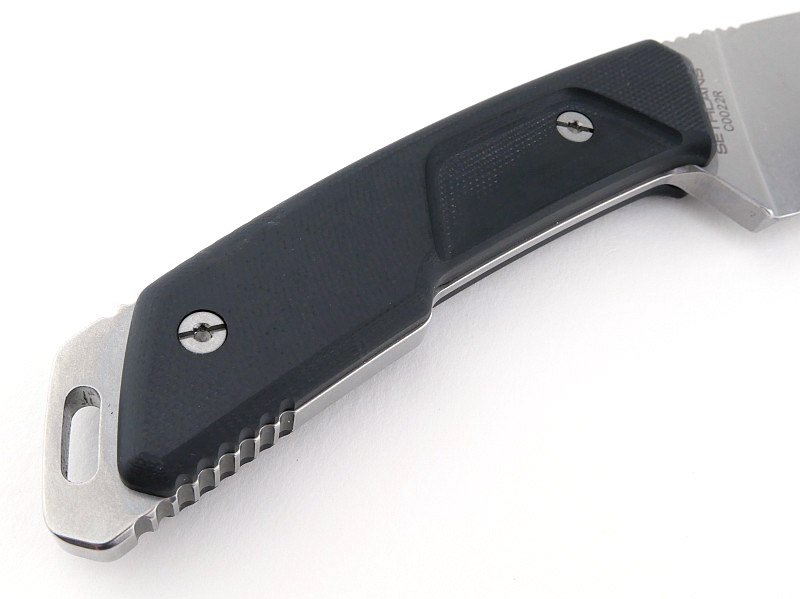
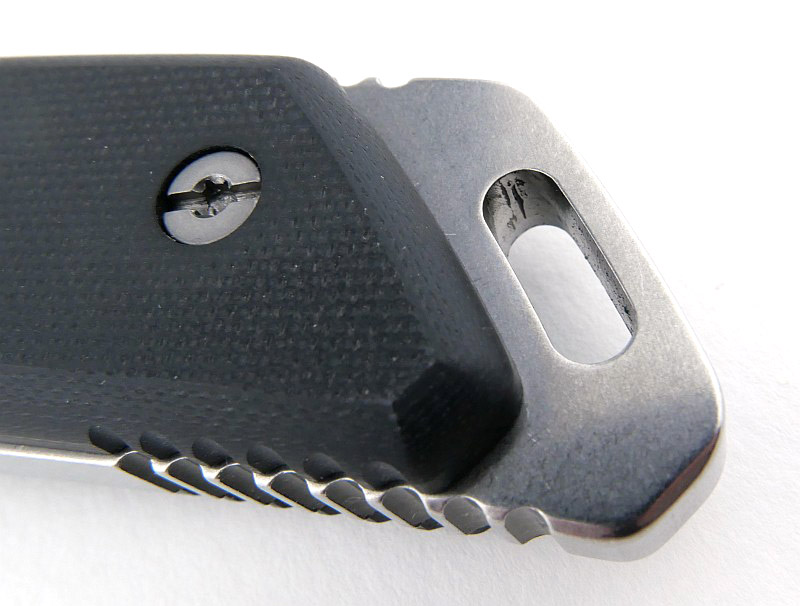
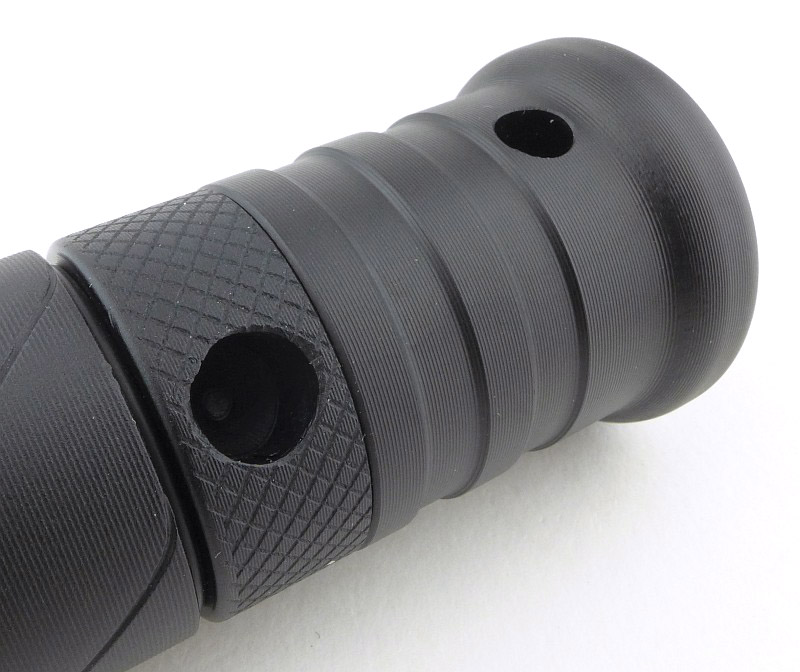
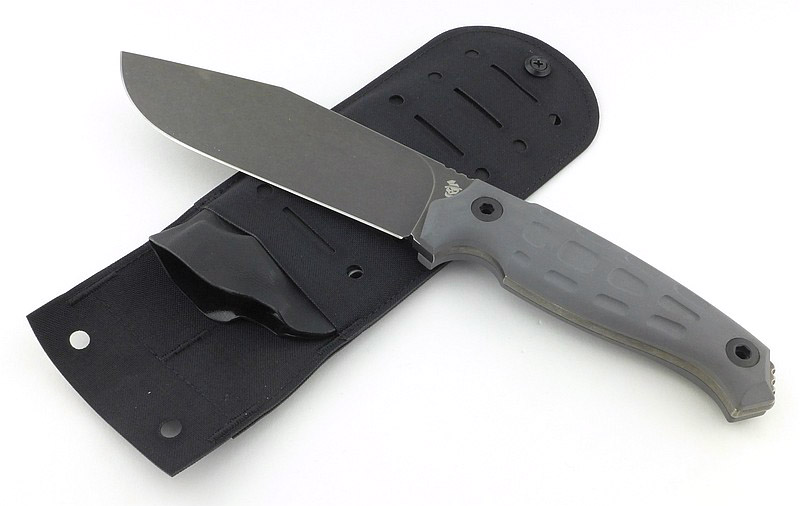
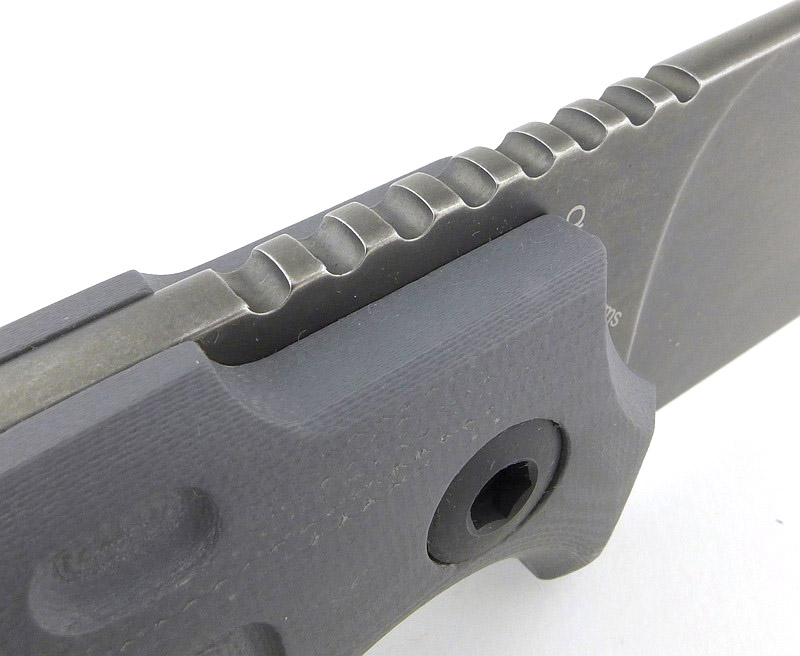
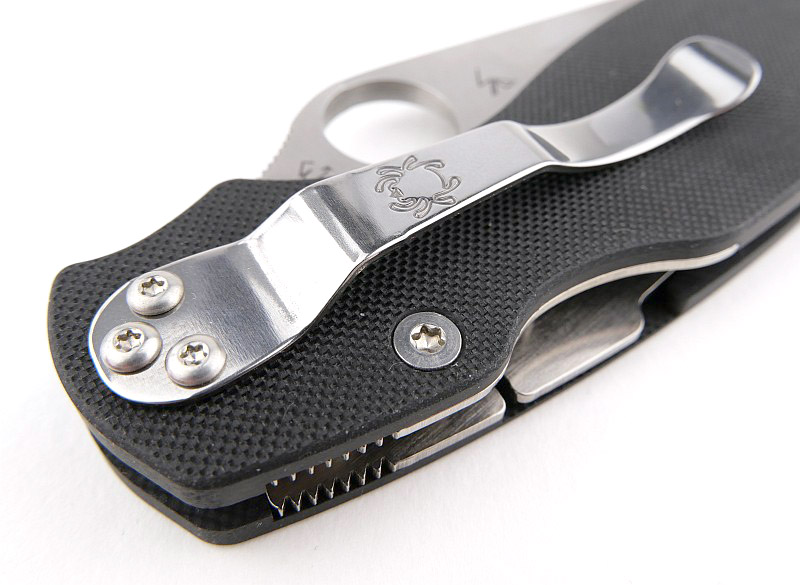
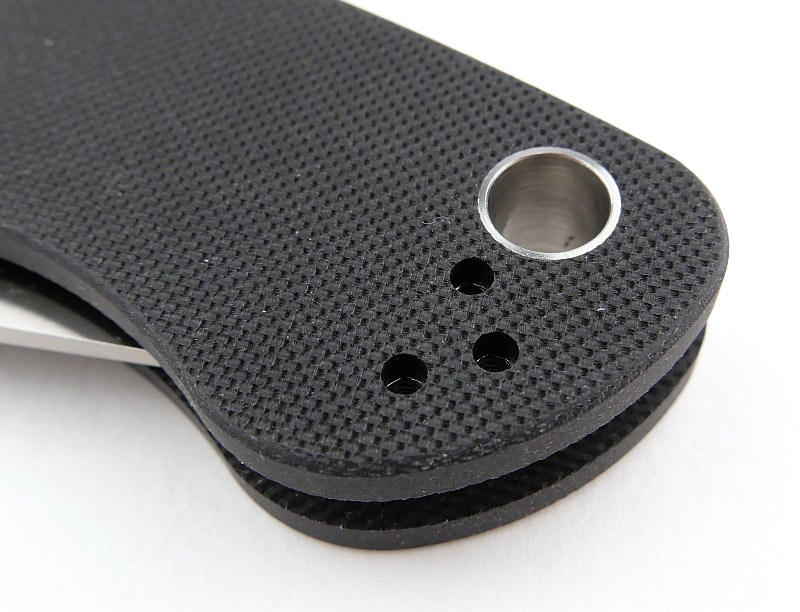
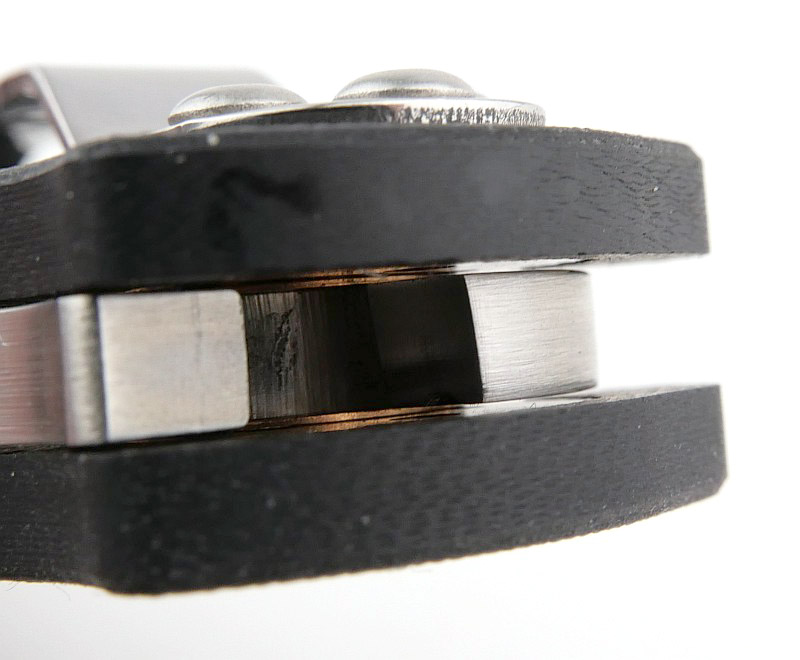
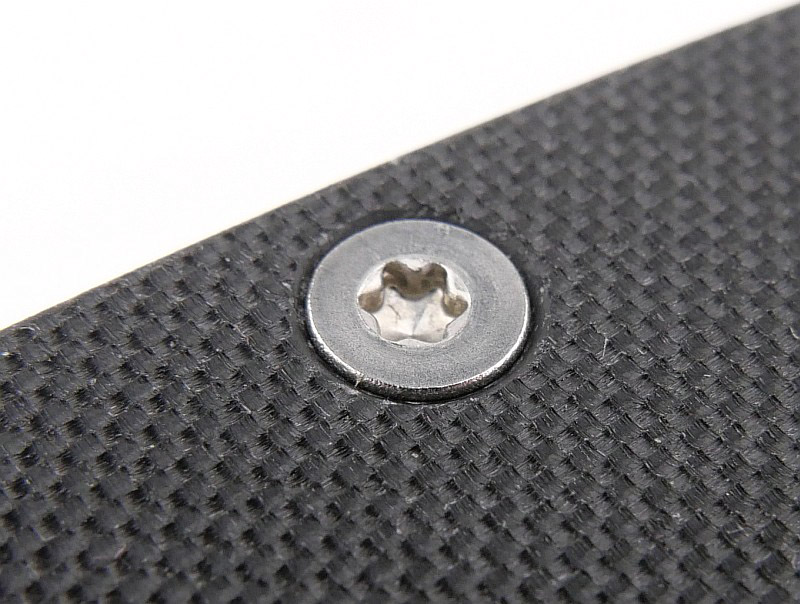
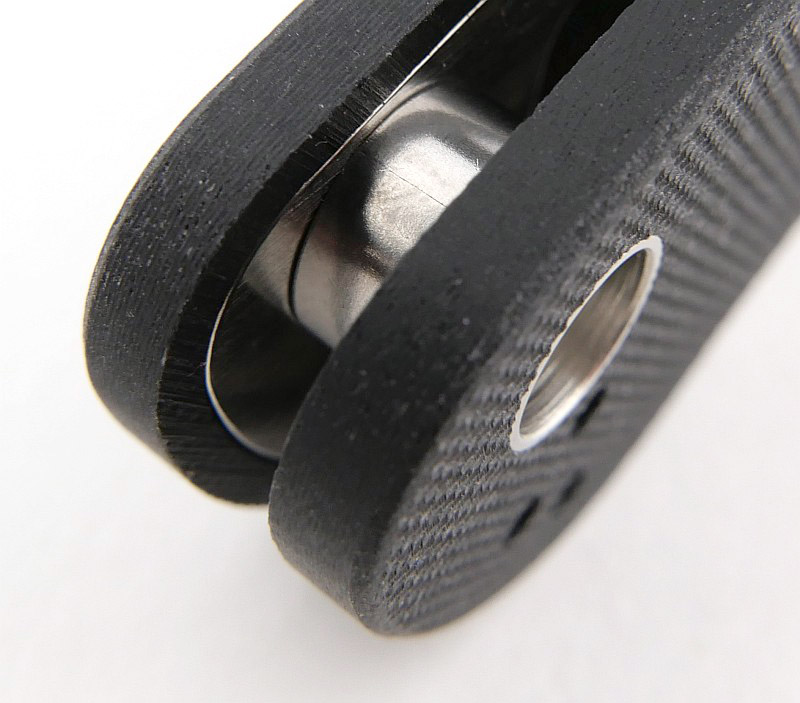
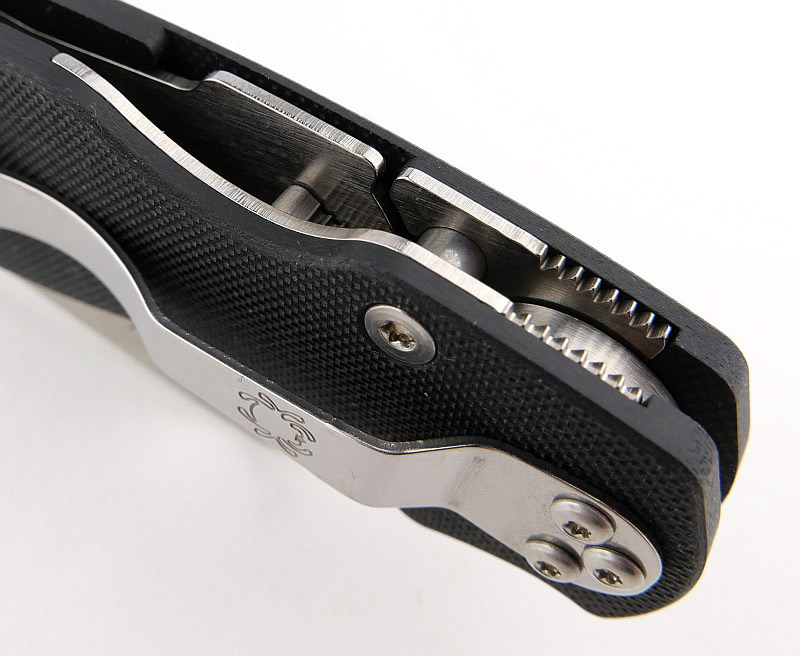
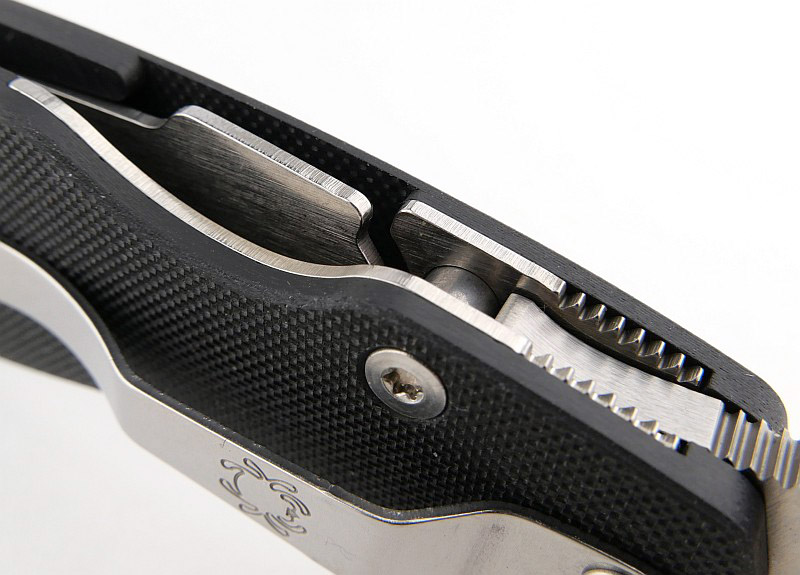
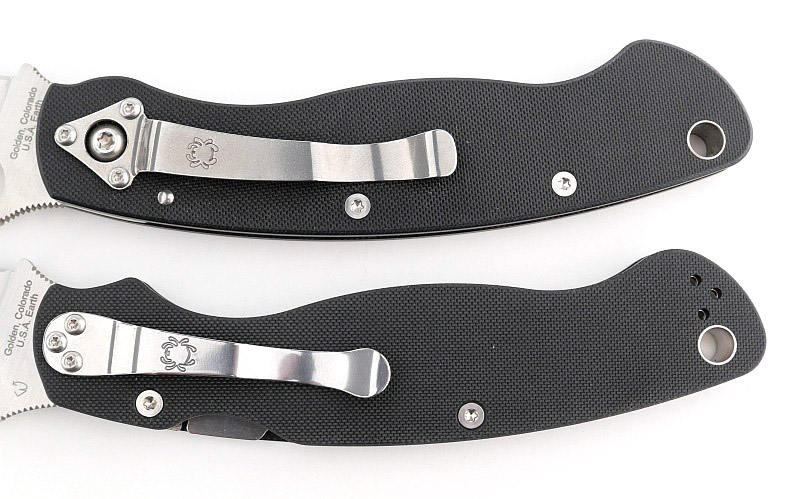
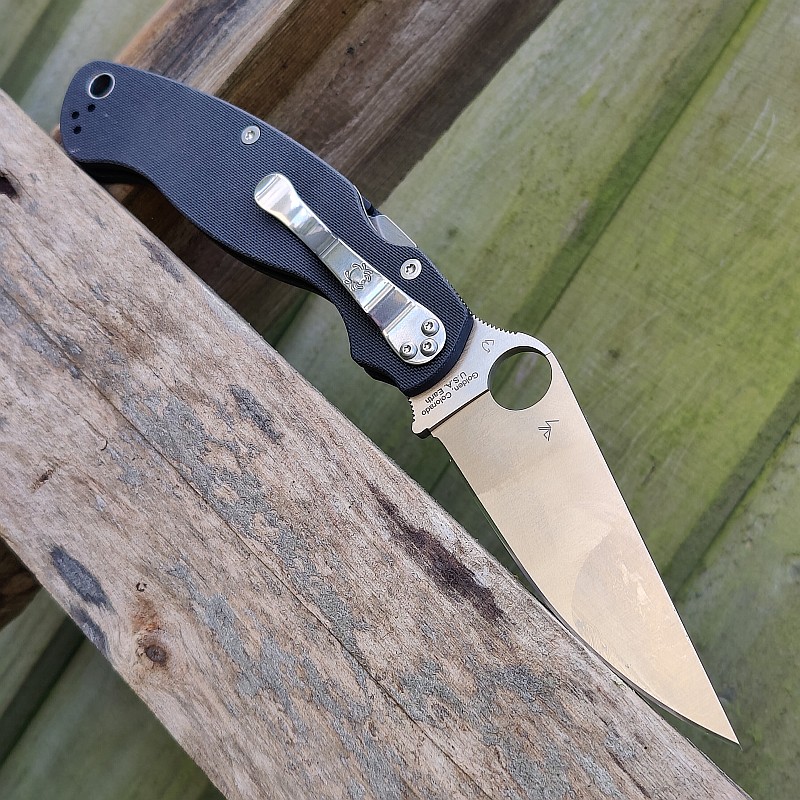
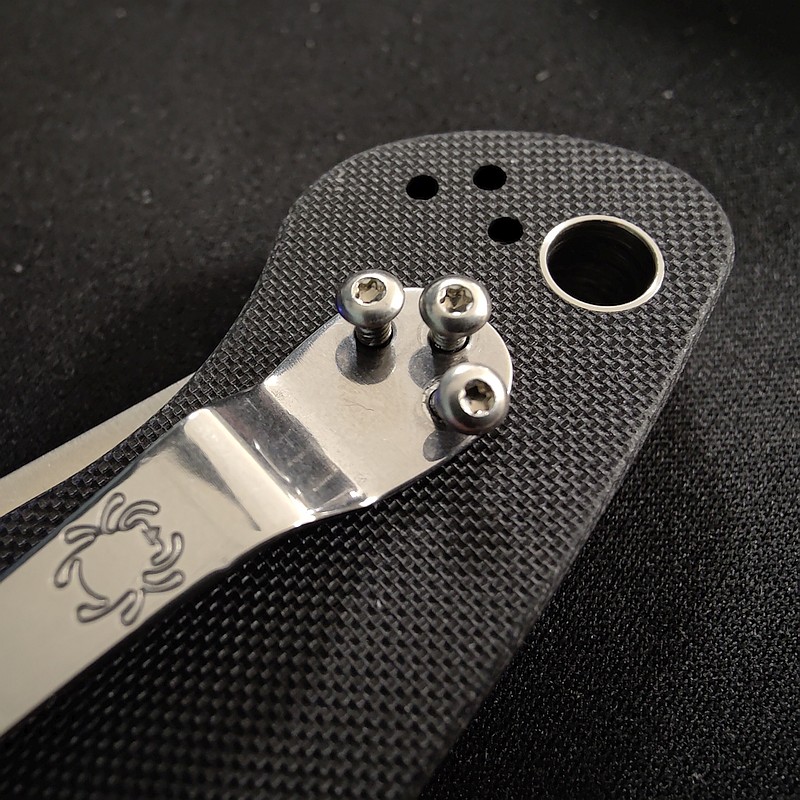
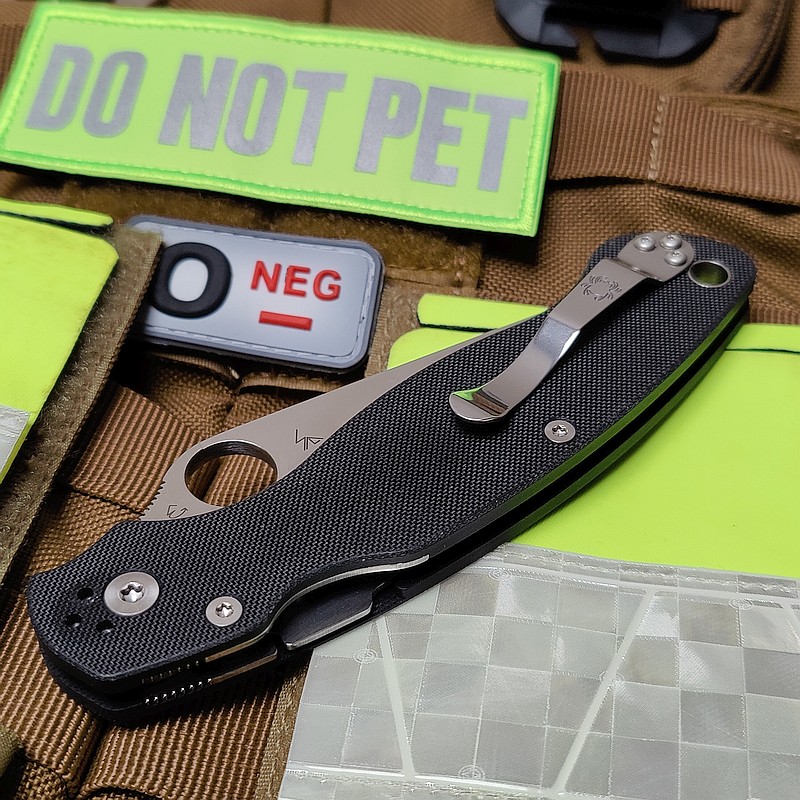
Some of the more obvious updates are easy to spot straight away. The extra pocket clip fitting positions, and compression lock on the back of the handle. Notably missing is the liner lock handle cut-out that normally affects the grip, as the Military 2 now uses a different lock. There is no longer a hole in the clip mount to access the pivot bolt; should you continue to use the clip in a tip-down position, you may need to take it off to adjust the pivot. Next to the compression lock lever, the liners include some thumb grip jimping. Having a choice of all four pocket clip positions is a massive improvement, as clip position is quite a personal choice, and depending if you pocket carry or put onto webbing, you might want to swap this around from time to time. Phosphor-bronze washers; my favourite for stability and reliability.
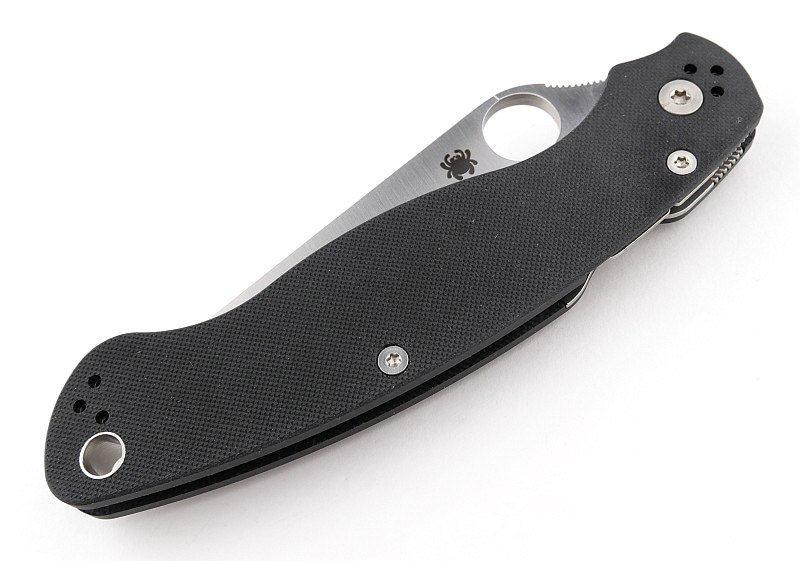
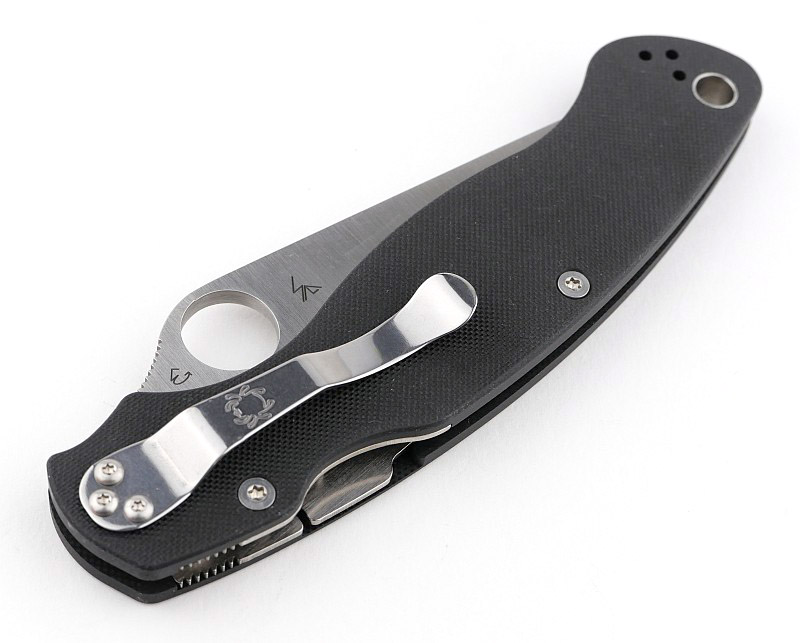
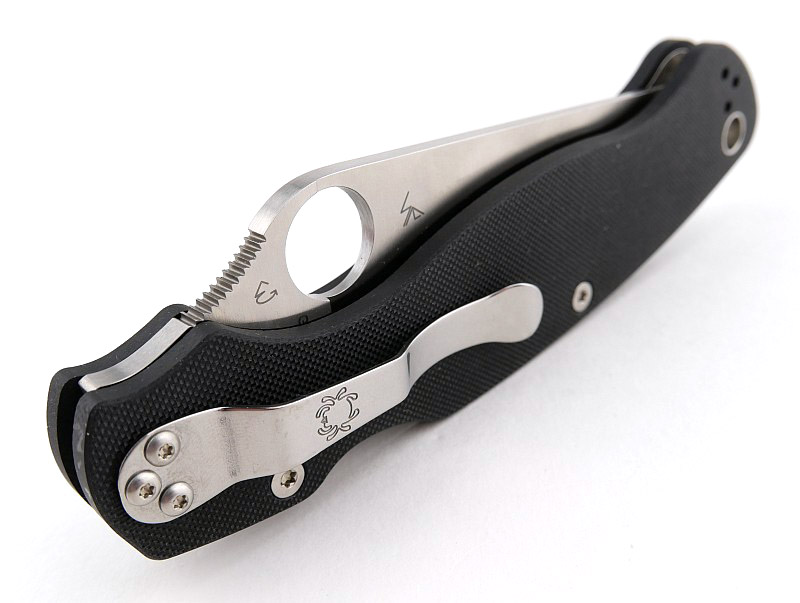

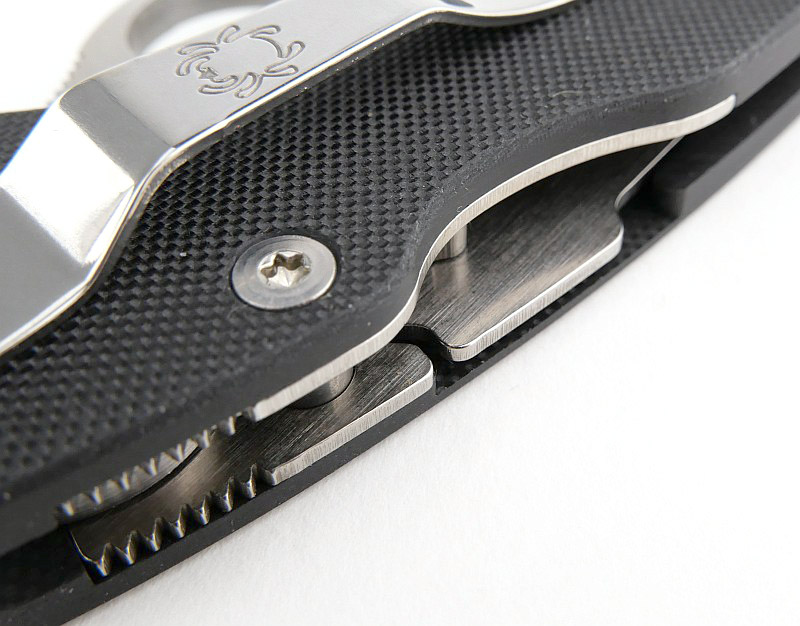


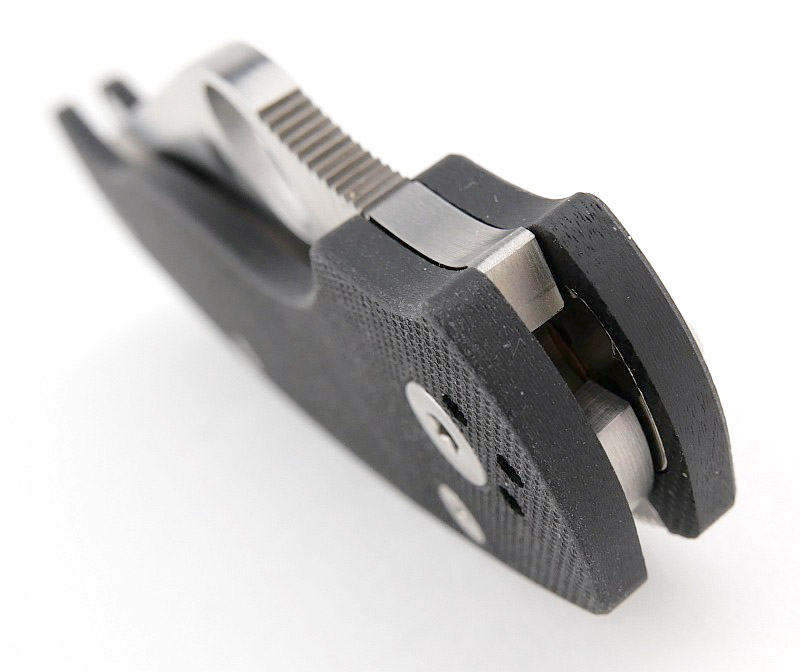
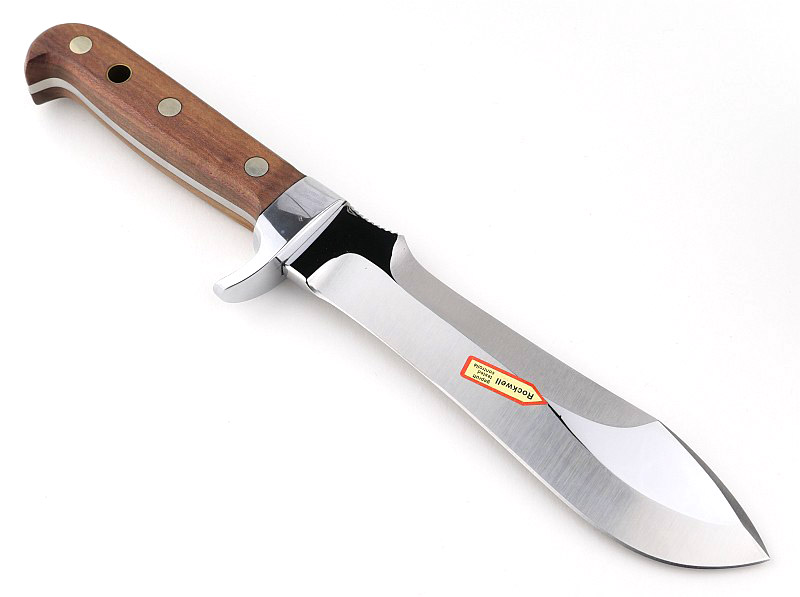
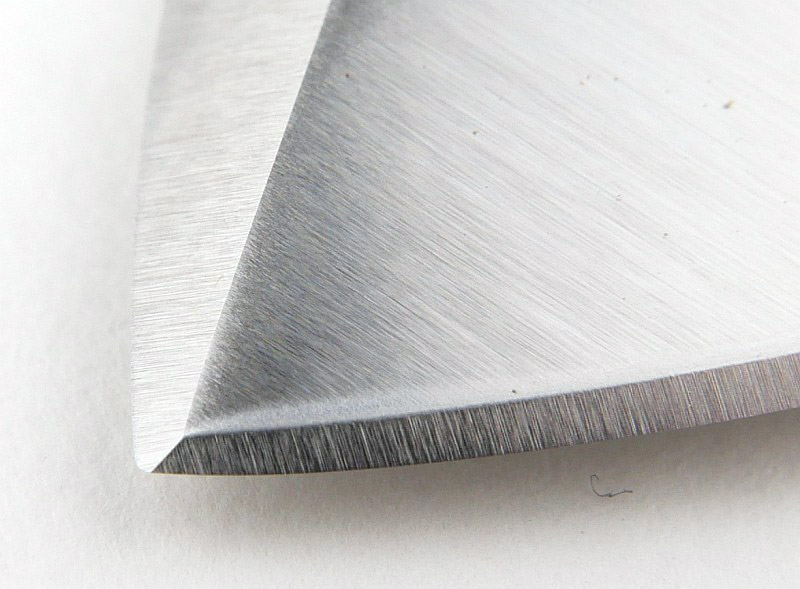
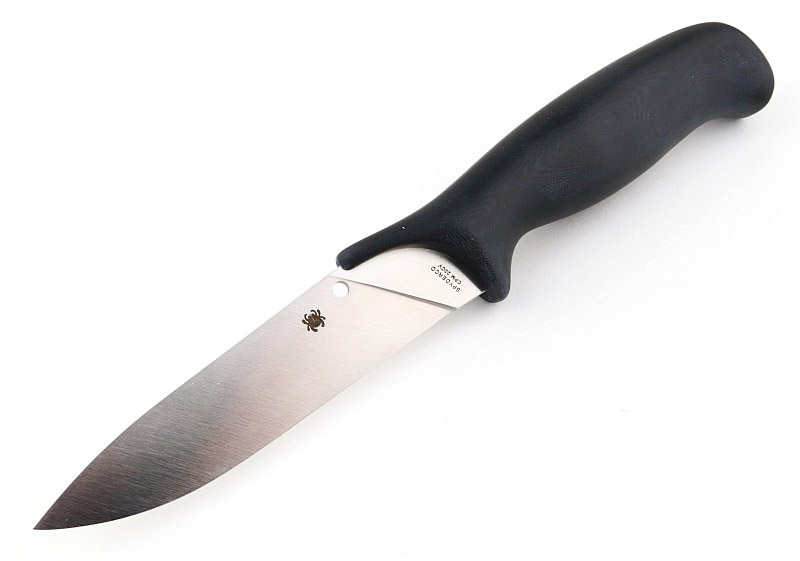
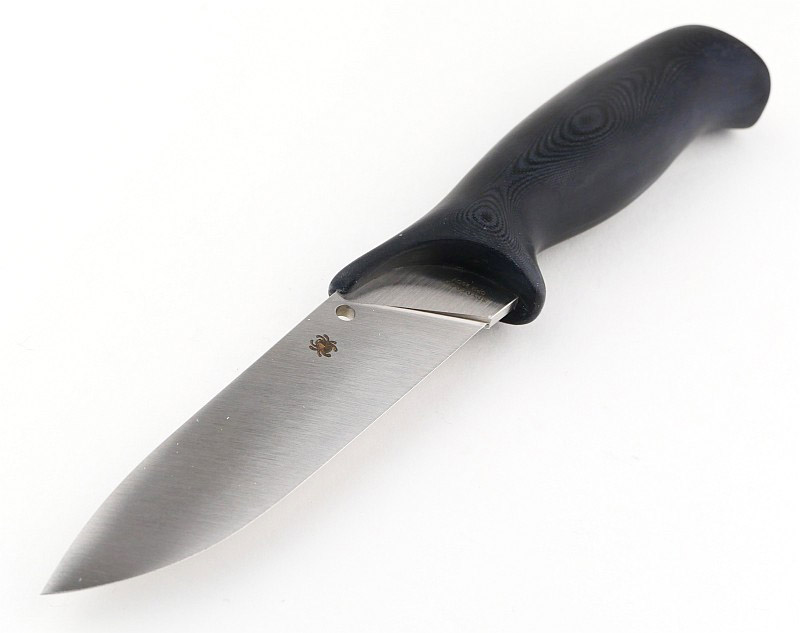
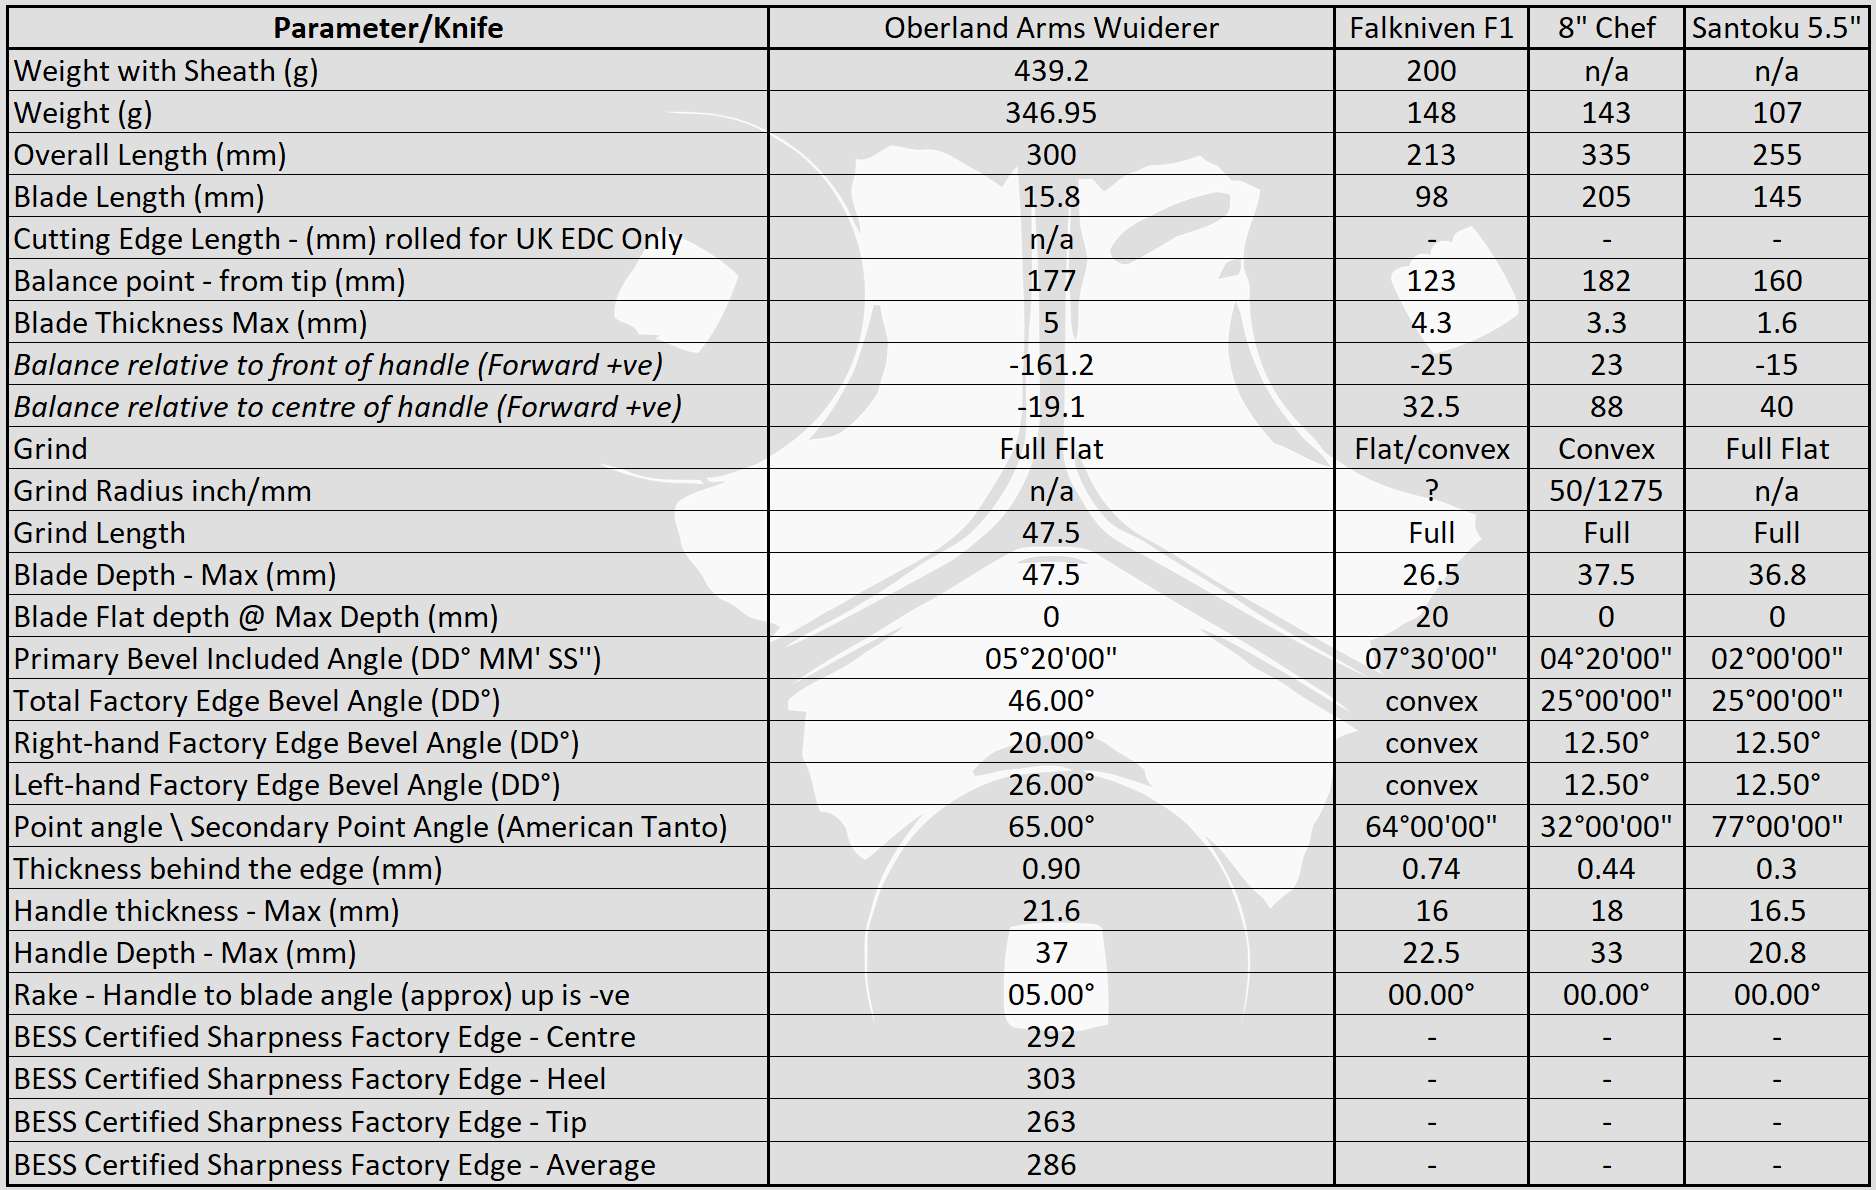
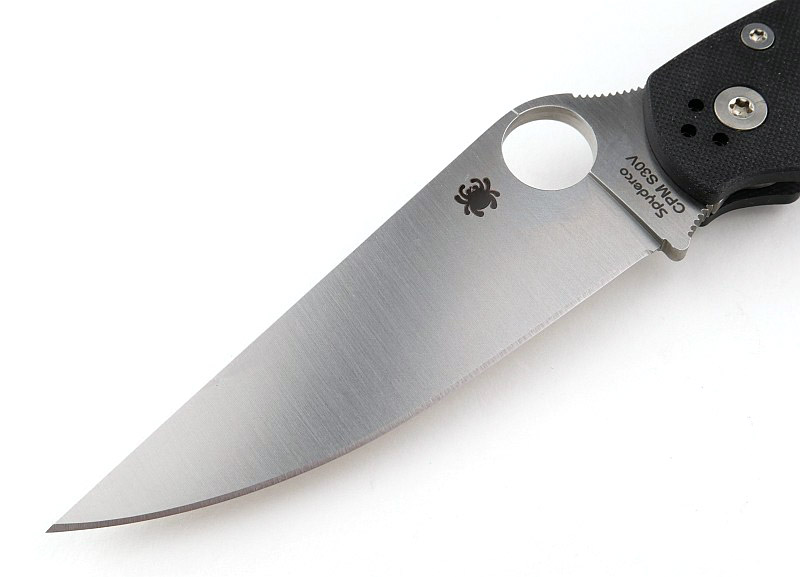
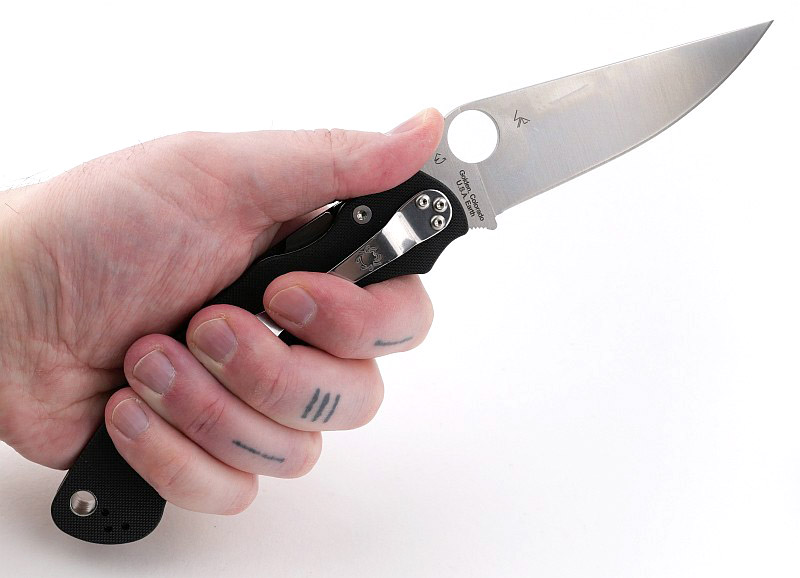
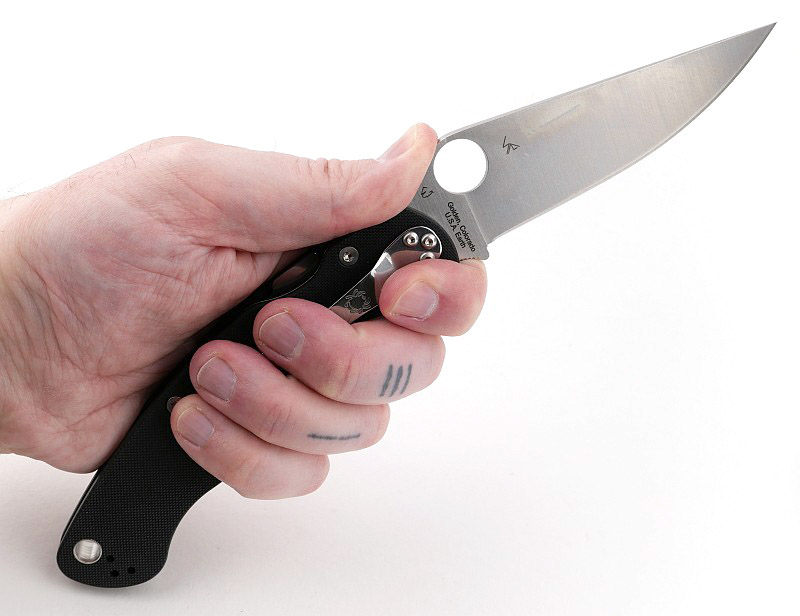
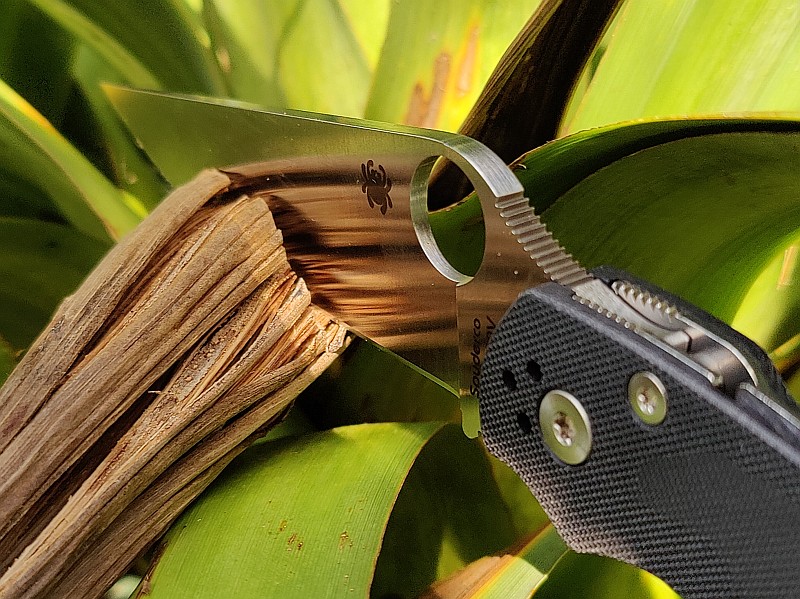
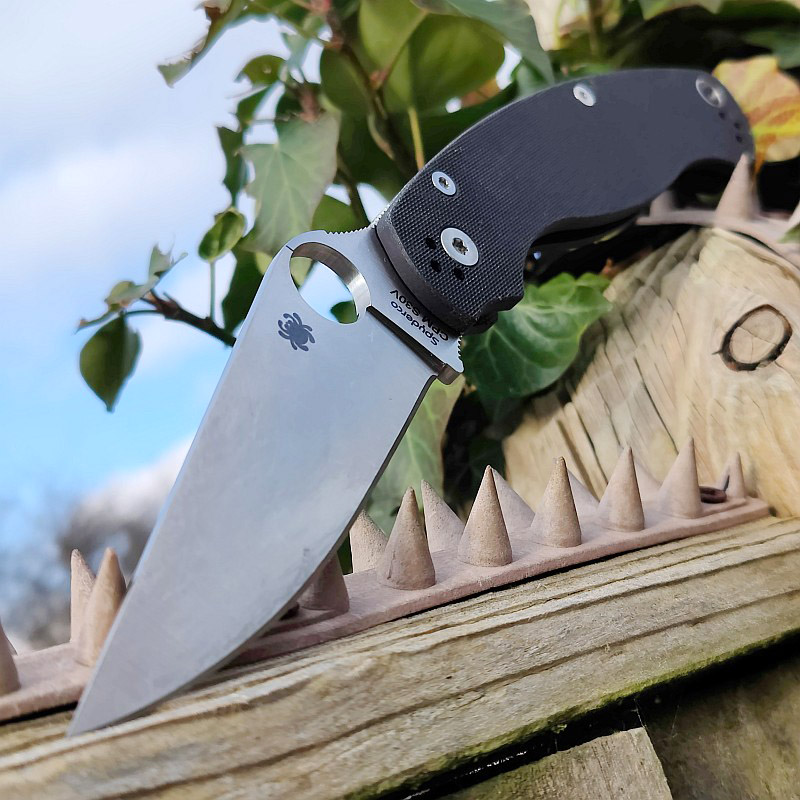
A good look round the open Military 2 – Things to look out for here are:
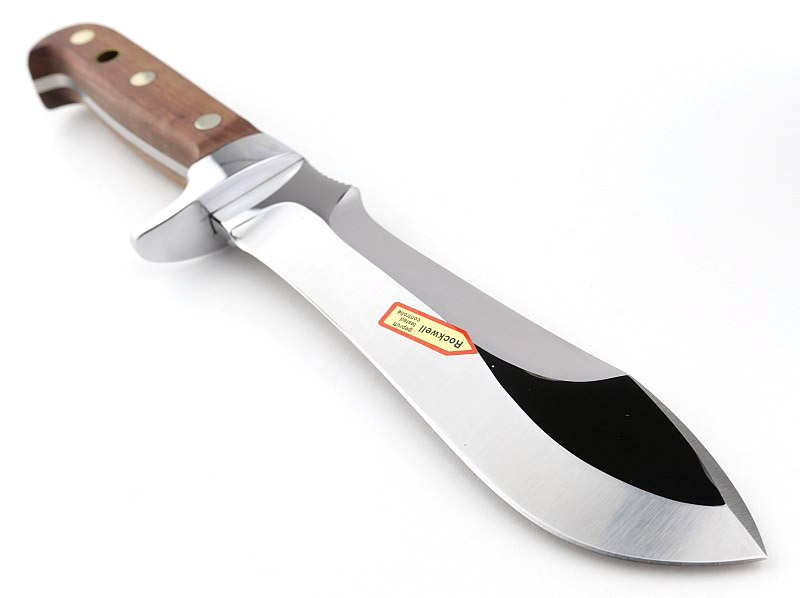
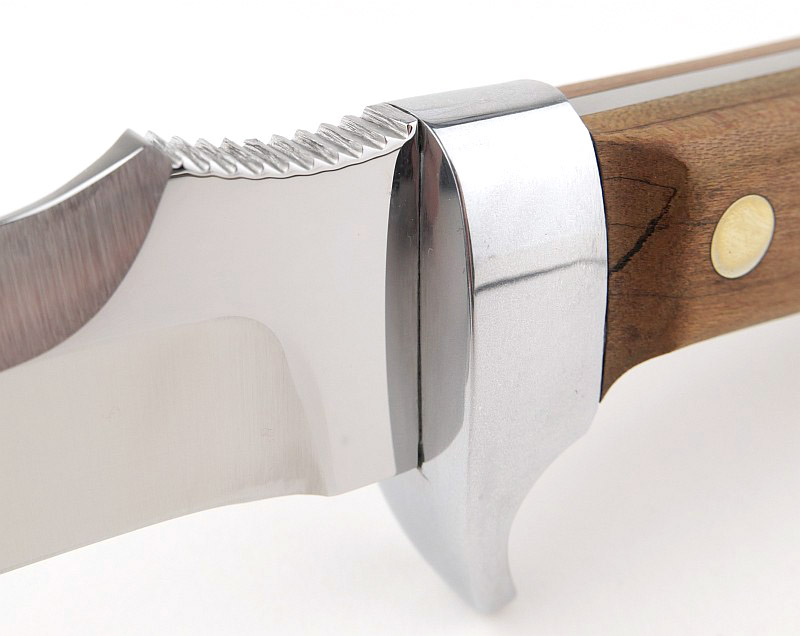
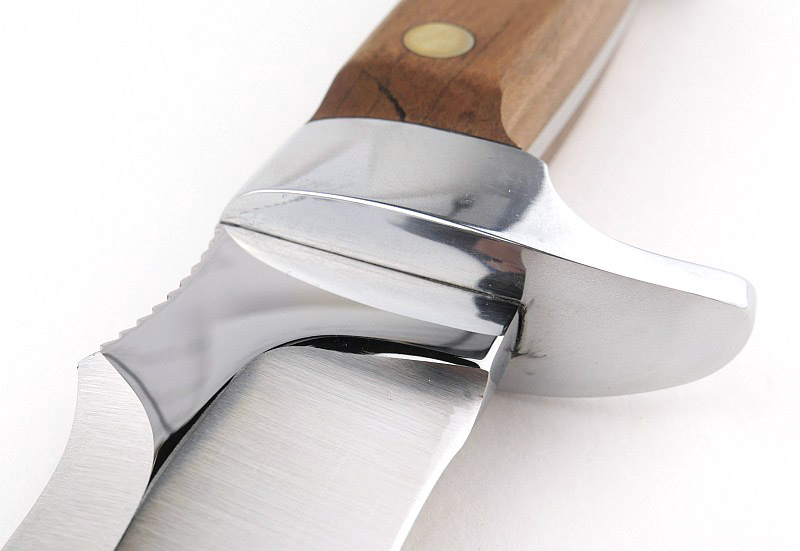
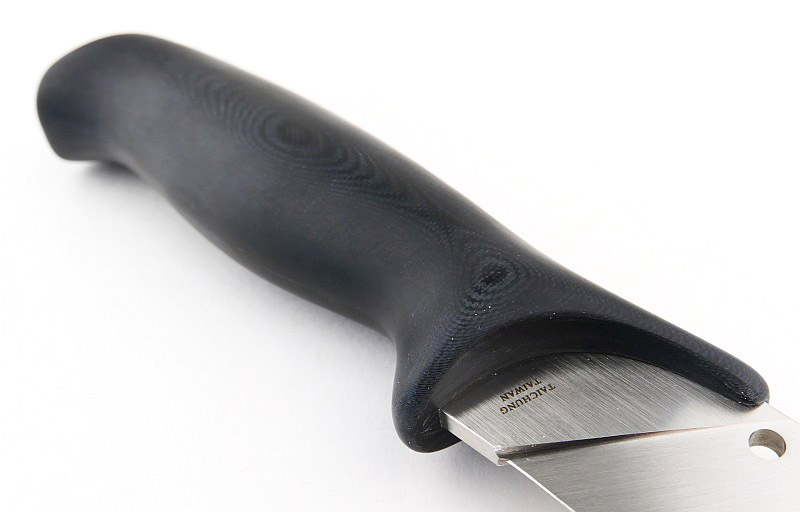
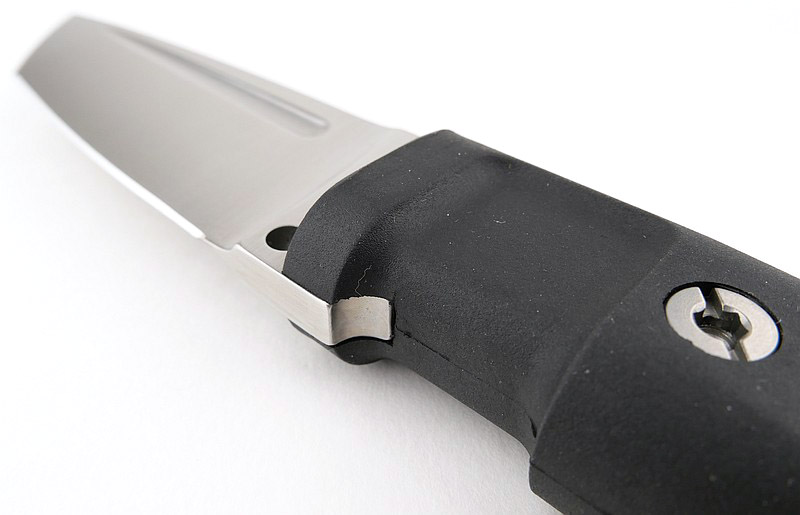
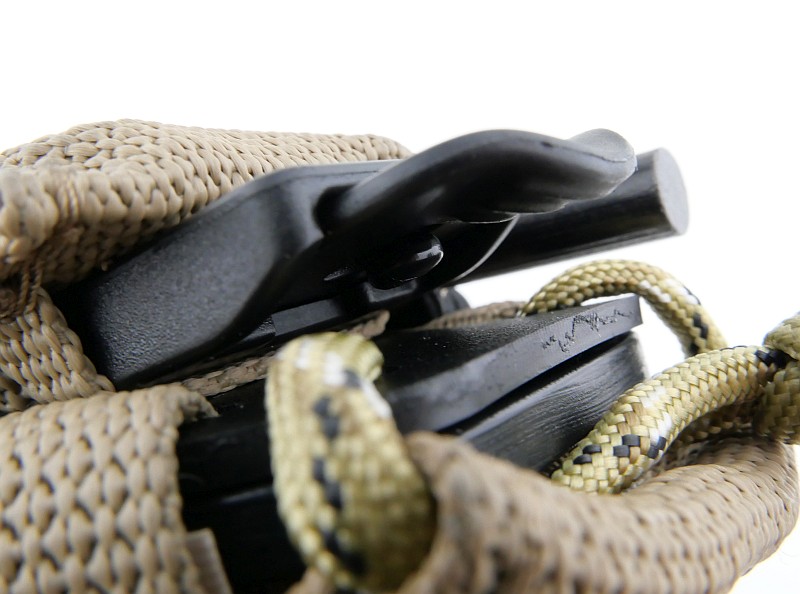
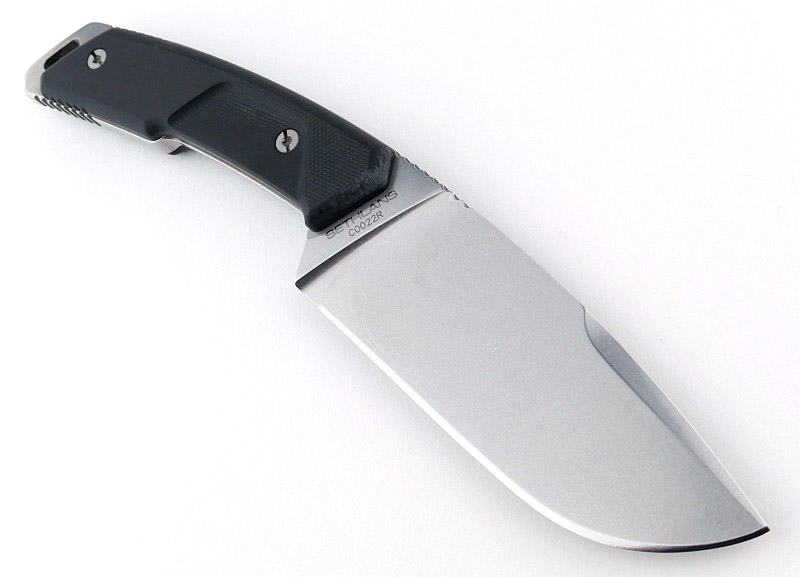
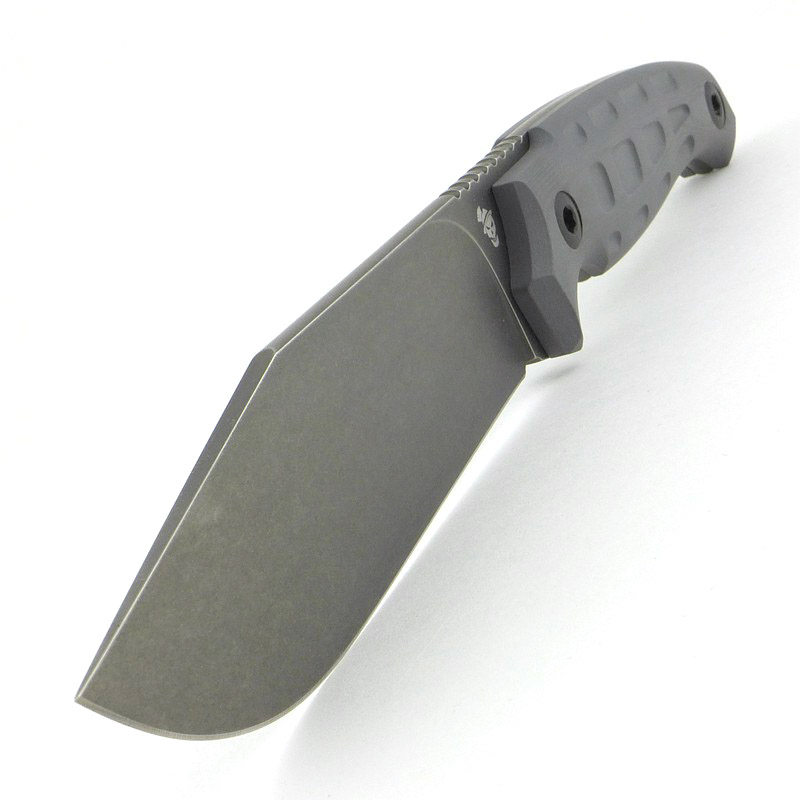
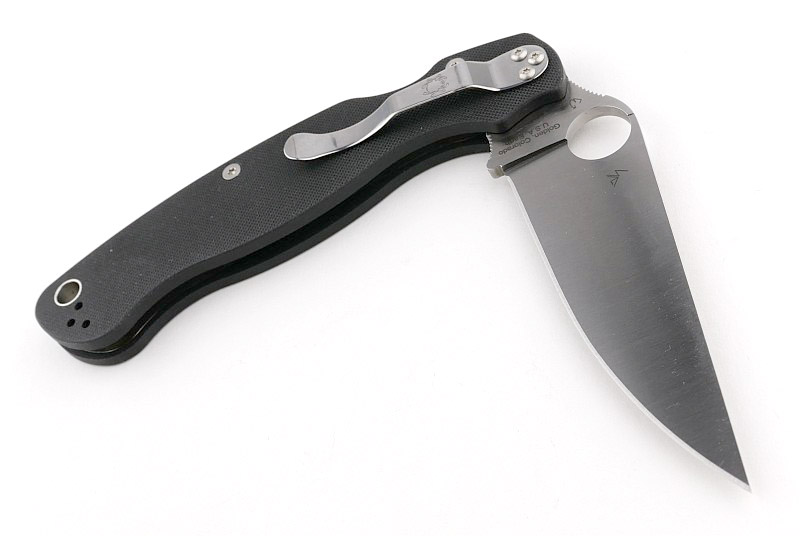
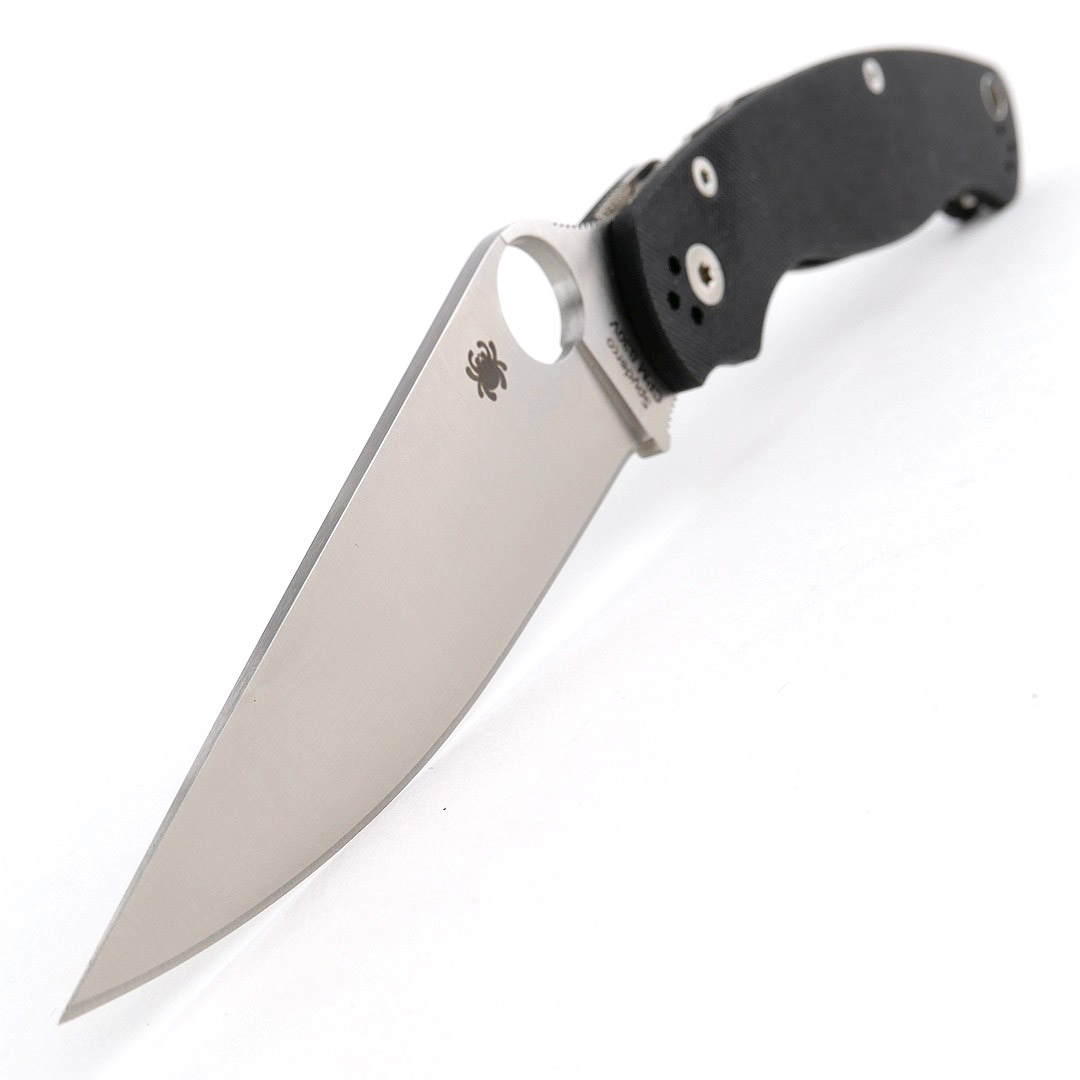
Opening up the blade to reveal that long, eager edge. This is a Large folder, no mistaking that. Now we have the blade open you can see the compression lock engaged in the locked position. Thanks to the change of lock, the handle shape can be optimised for grip instead of incorporating the liner lock cut out, so we have improved first-finger grip shaping. Large blade – Large opening hole.


Explained by the Maker:
Spyderco describe the Military 2 as follows.
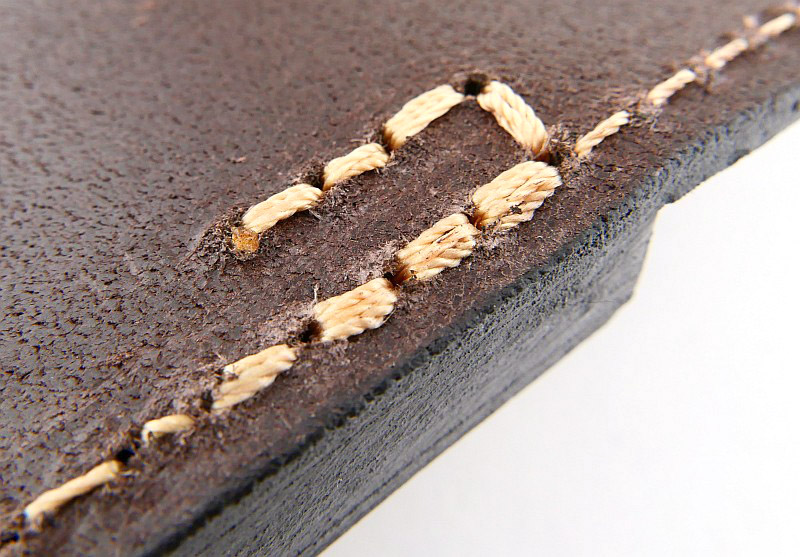
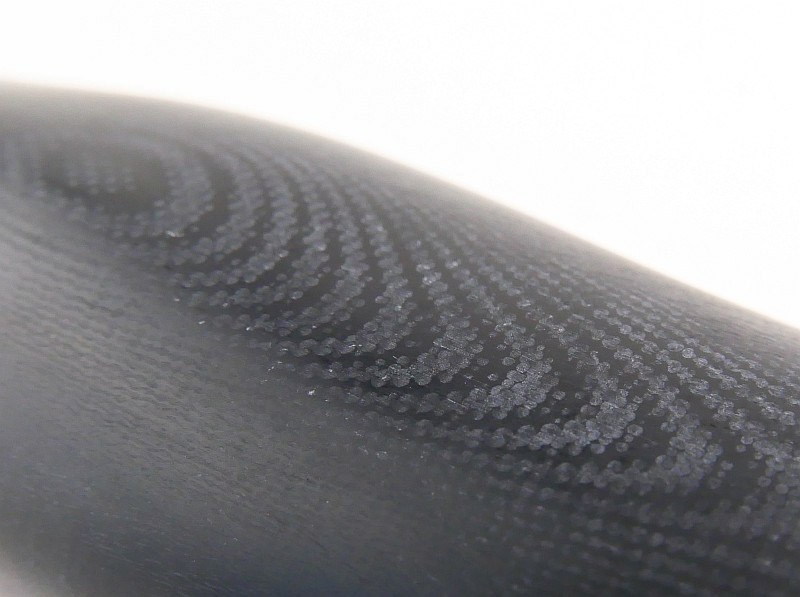
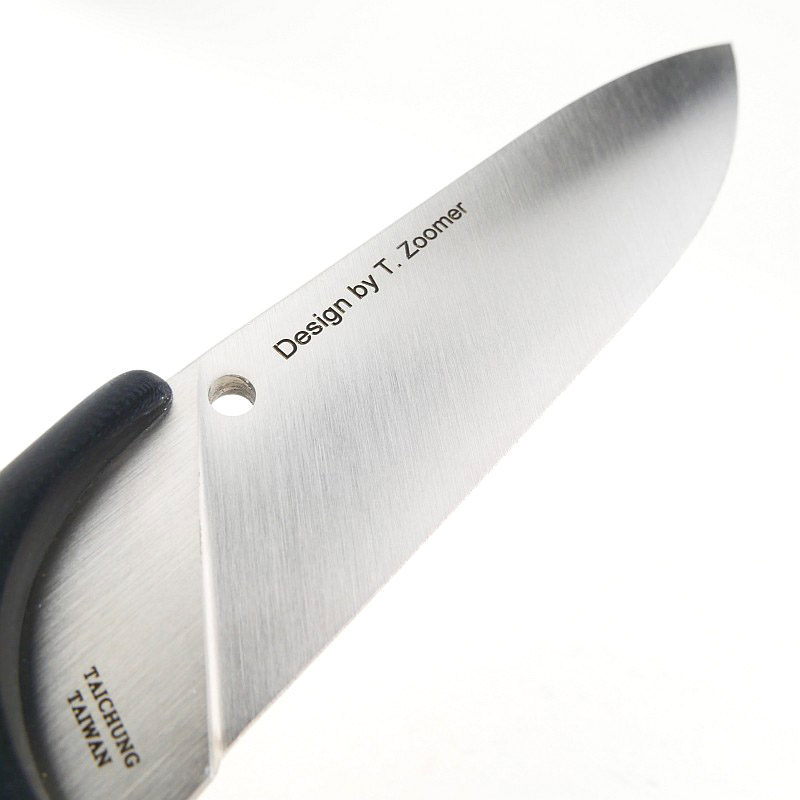
Designed by Spyderco co-founder Sal Glesser as the perfect knife for forward-deployed military personnel, the original Military Model is one of the cutlery industry’s most iconic designs. More than 25 years after its original release, the eagerly anticipated Military 2 builds on that hard-earned reputation while incorporating several significant design improvements. Instead of a LinerLock, the Military 2’s full-flat ground CPM® S30V® blade is supported by Spyderco’s signature Compression Lock® mechanism, which offers greater strength and even safer one-handed operation. The stainless steel liners that form the foundation of the lock are larger, giving the knife increased structural strength and anchoring its four-position pocket clip, which is configurable for left or right-side, tip-up or tip-down carry. The skeletonized liners are nested within peel-ply-textured G-10 scales to maintain a slim profile and complement its open-backed construction to reduce the knife’s overall weight. A proud successor to a legendary design, the Military 2 is ready to serve.
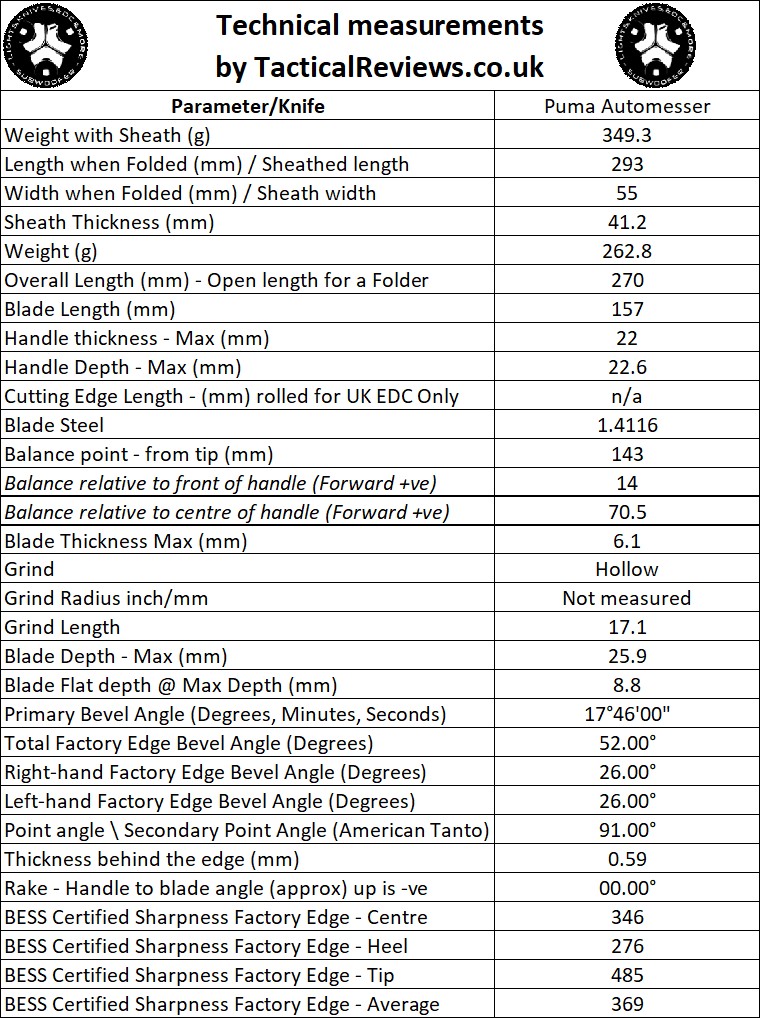
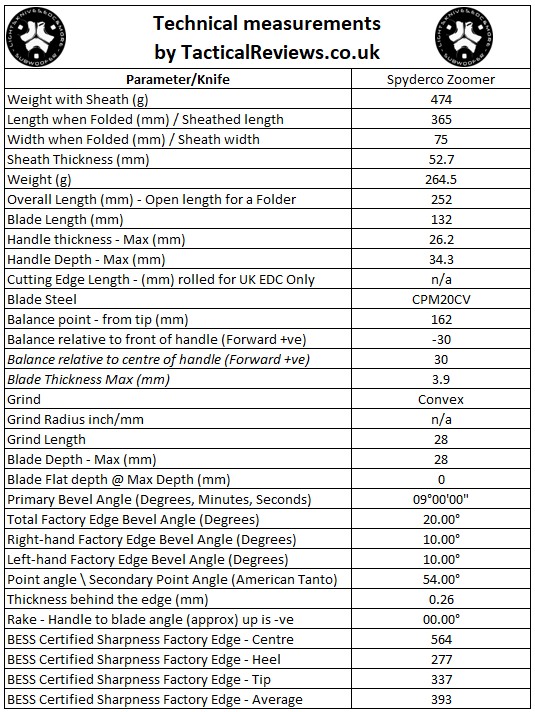
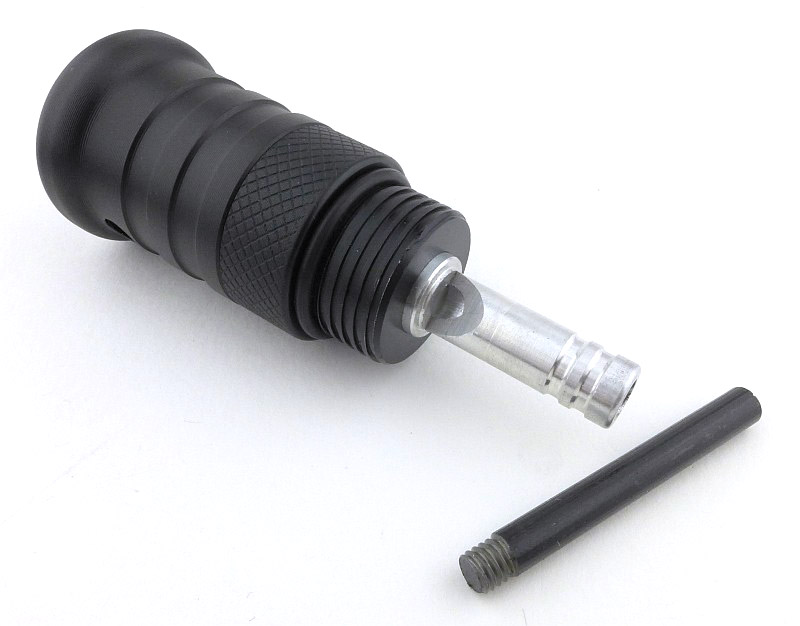
The Blade and Handle – Detailed Measurements:
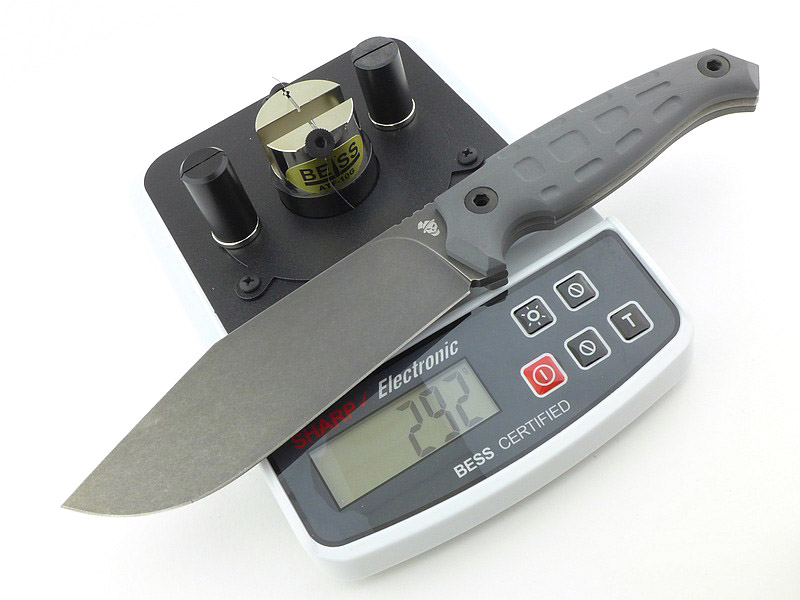
For full details of the tests and measurements carried out and an explanation of the results, see the page – Knife Technical Testing – How It’s Done.
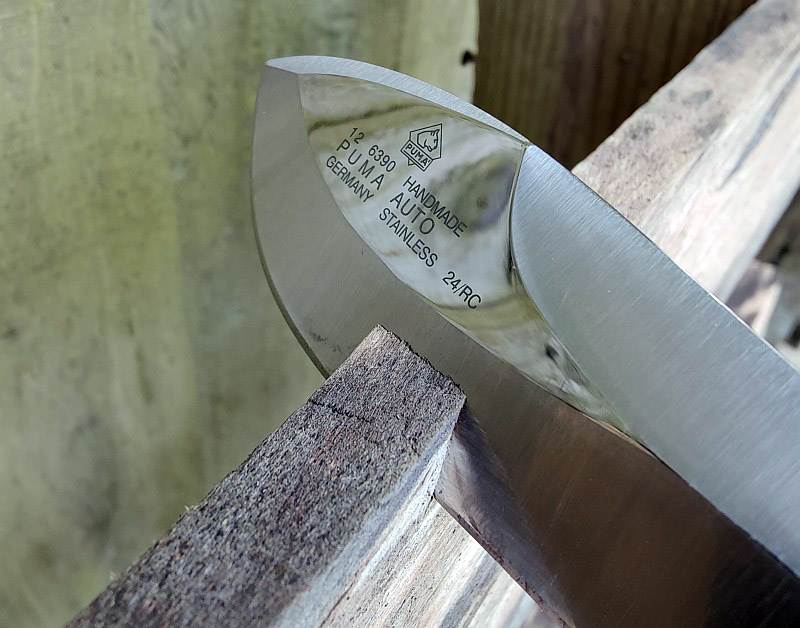
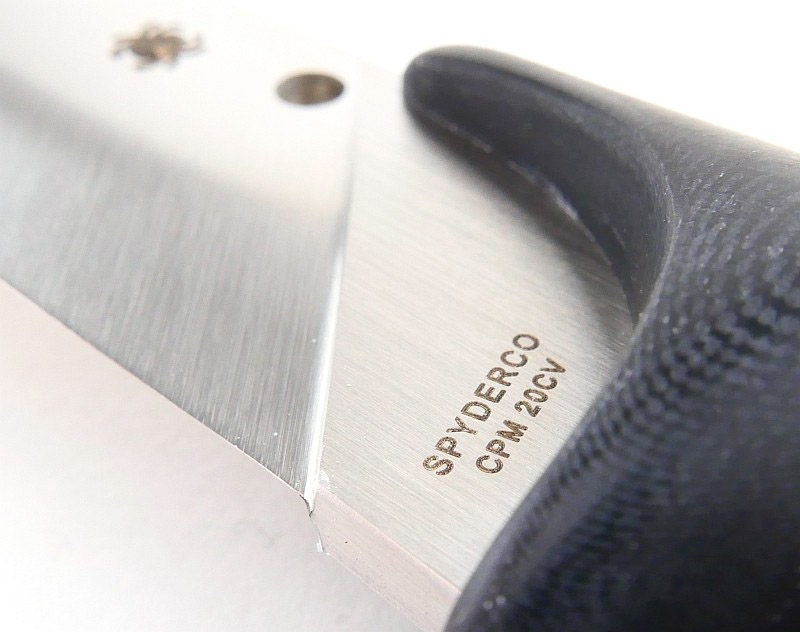
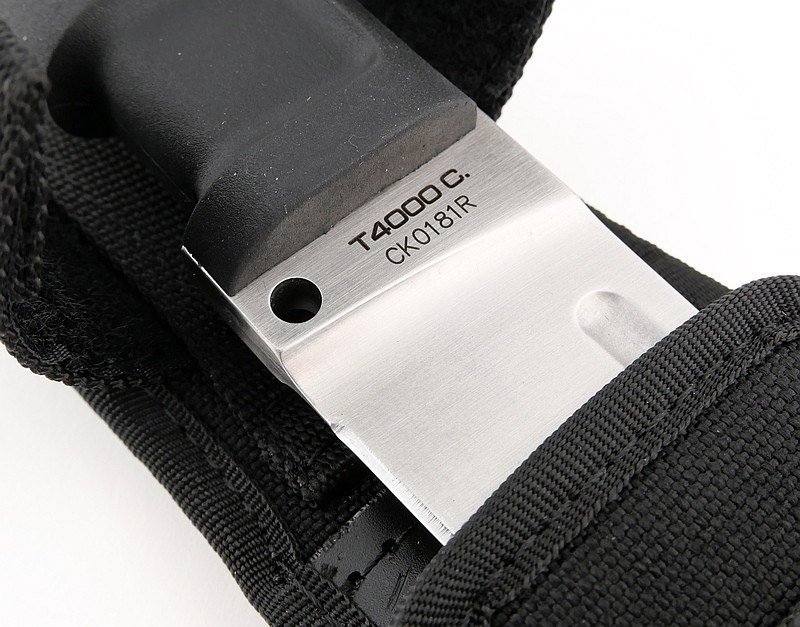
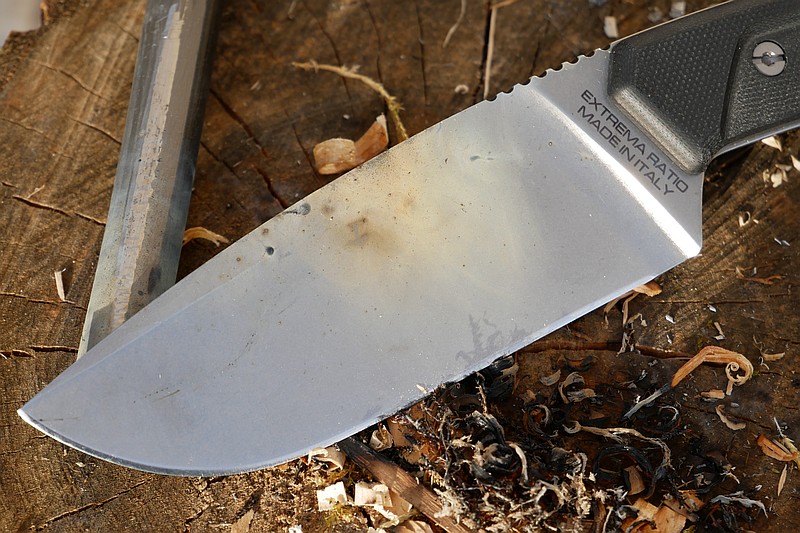
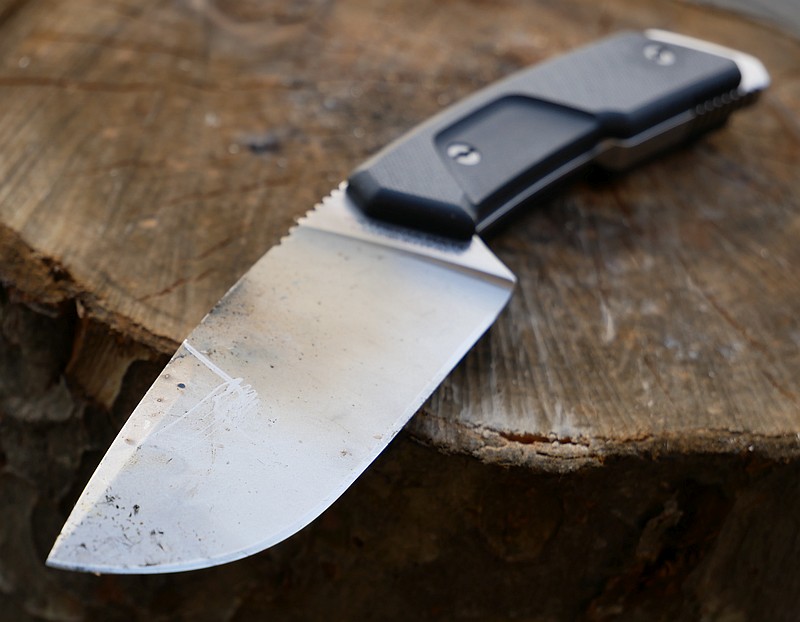
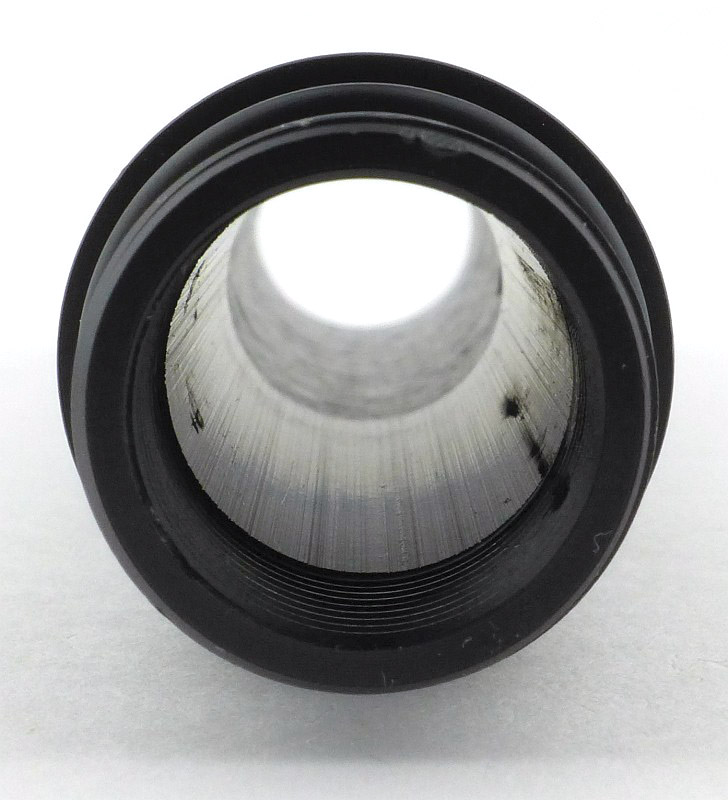
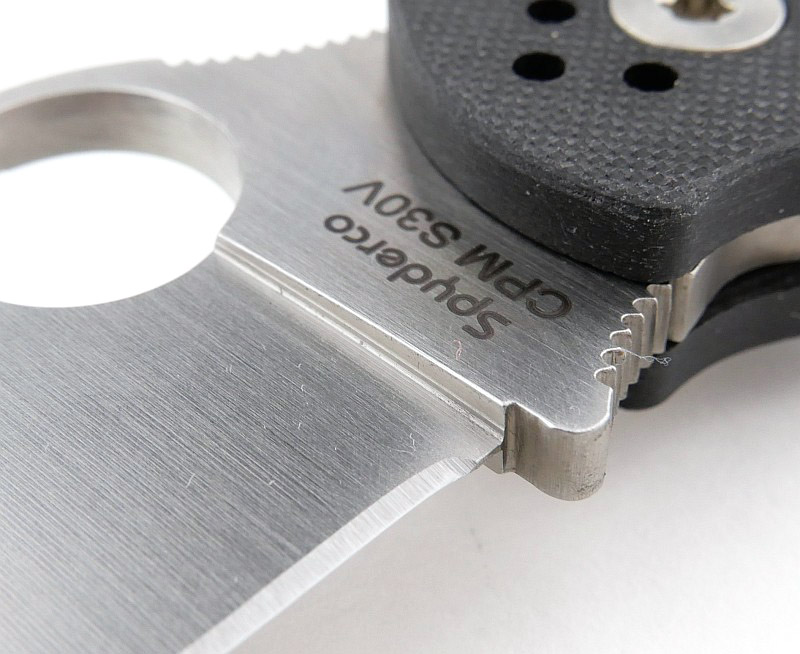
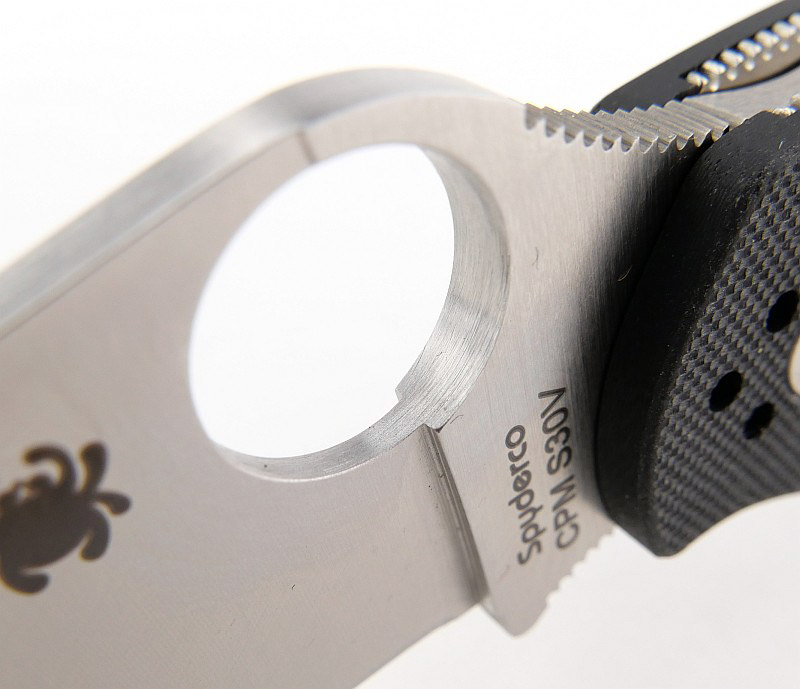
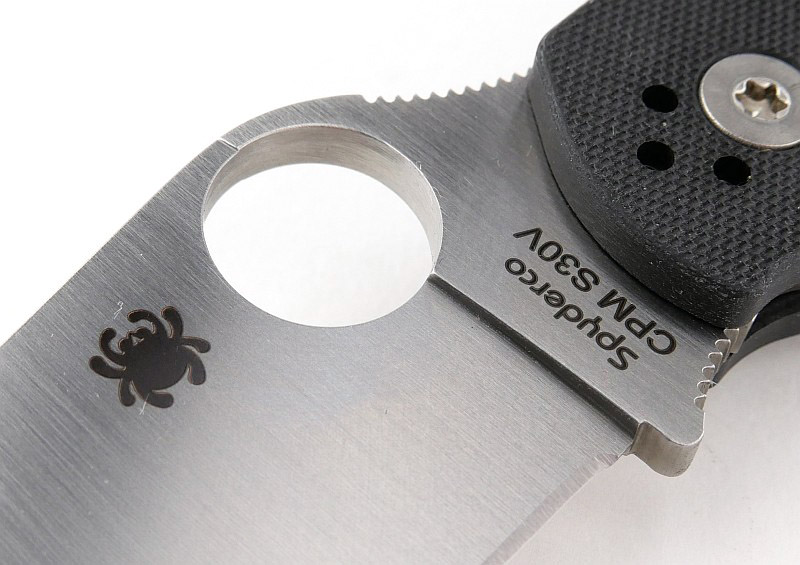
The blade is made from S30V steel.

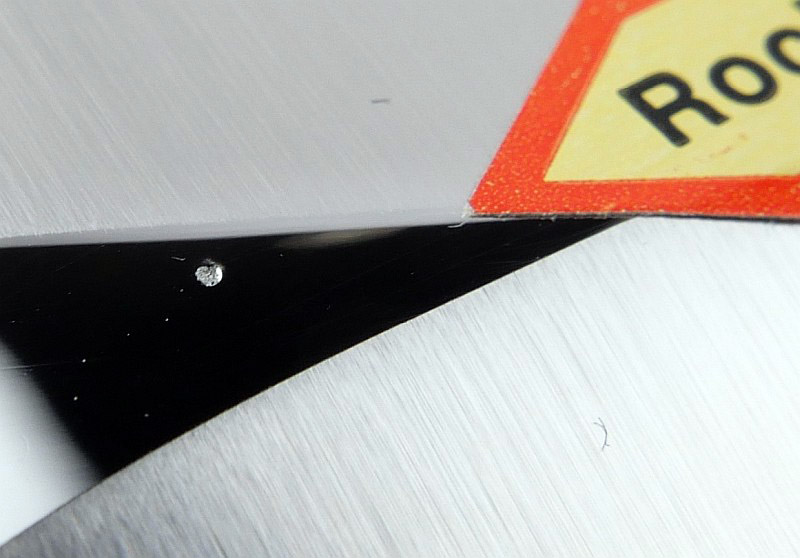
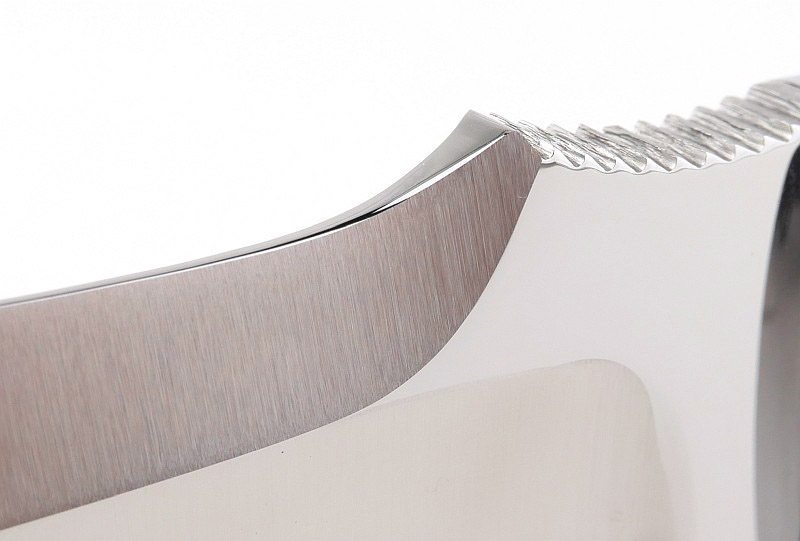
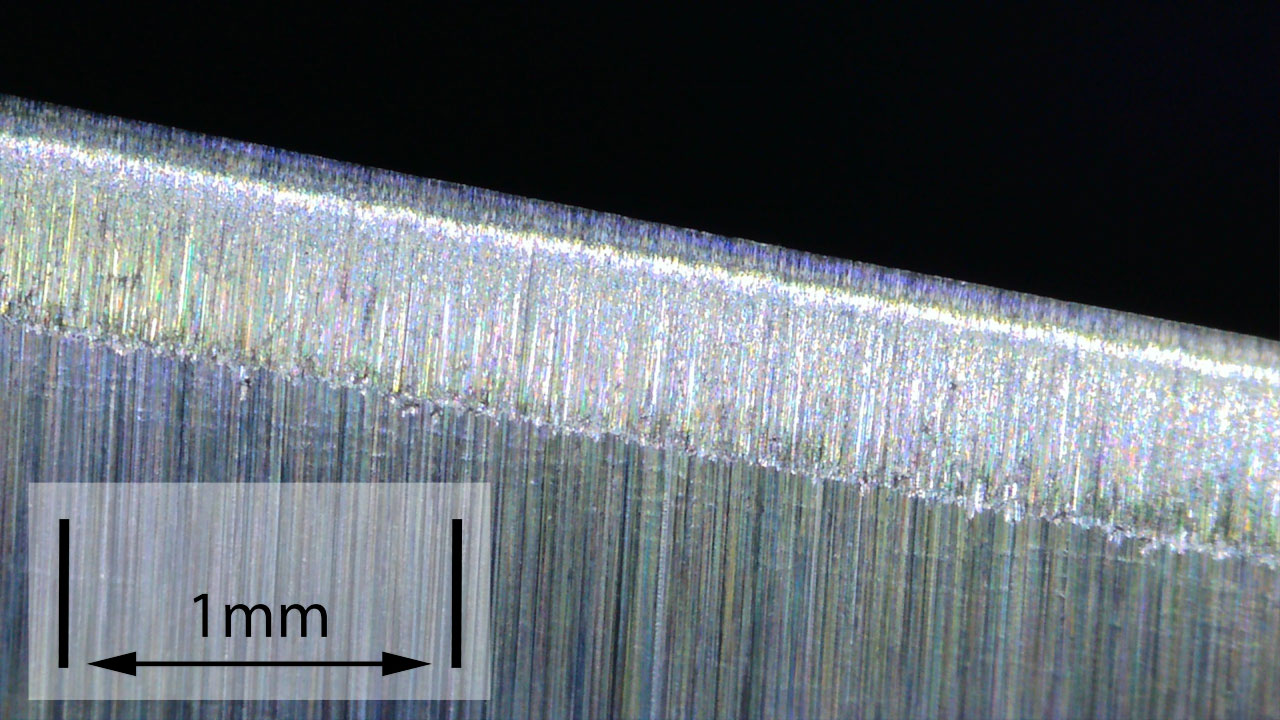
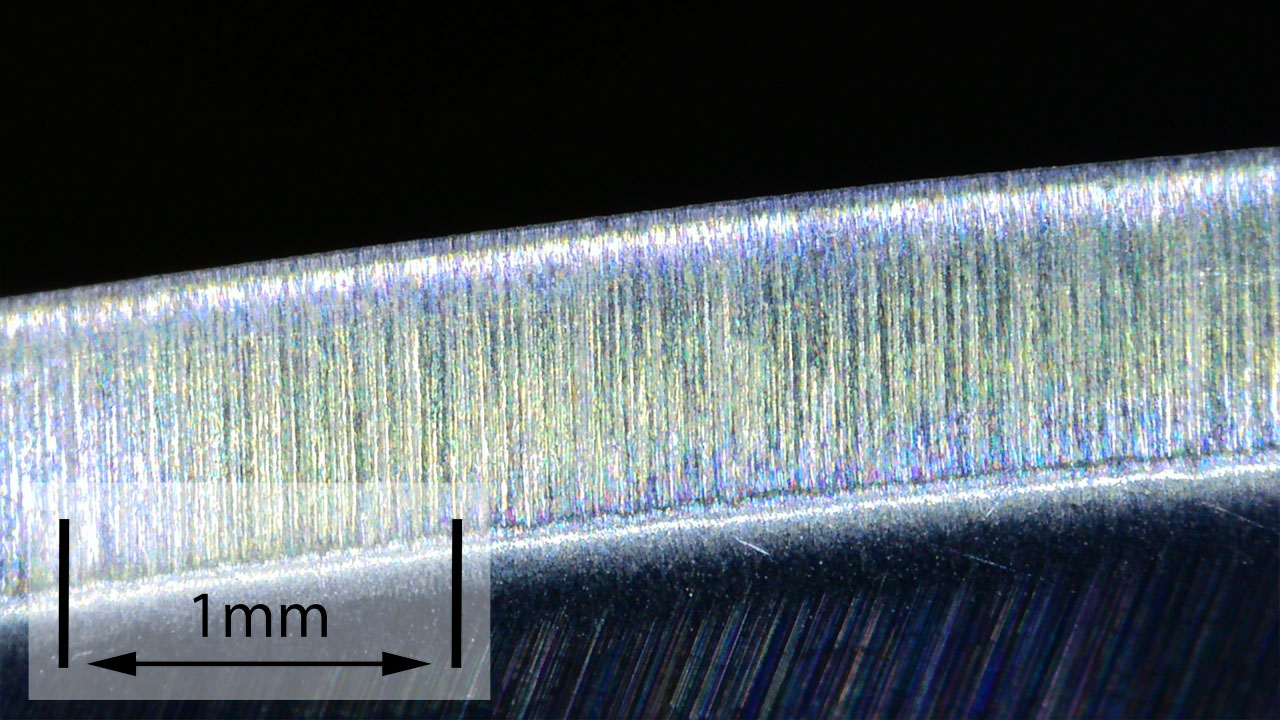
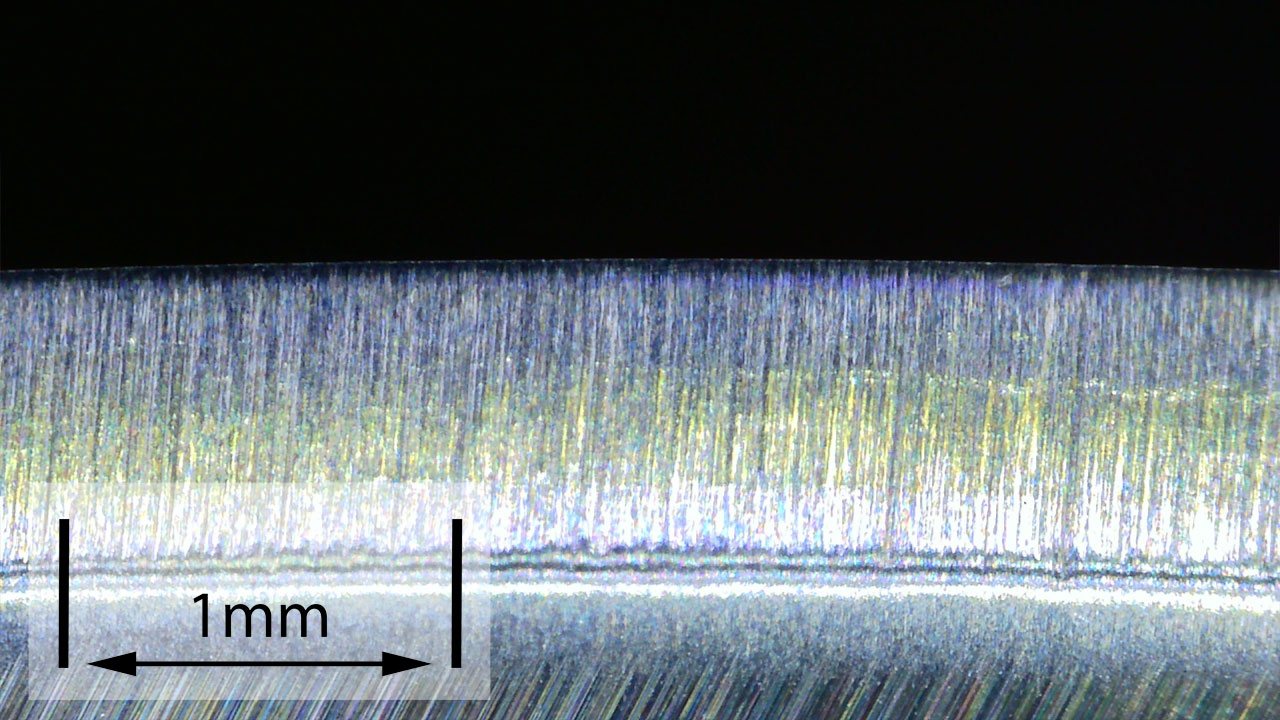
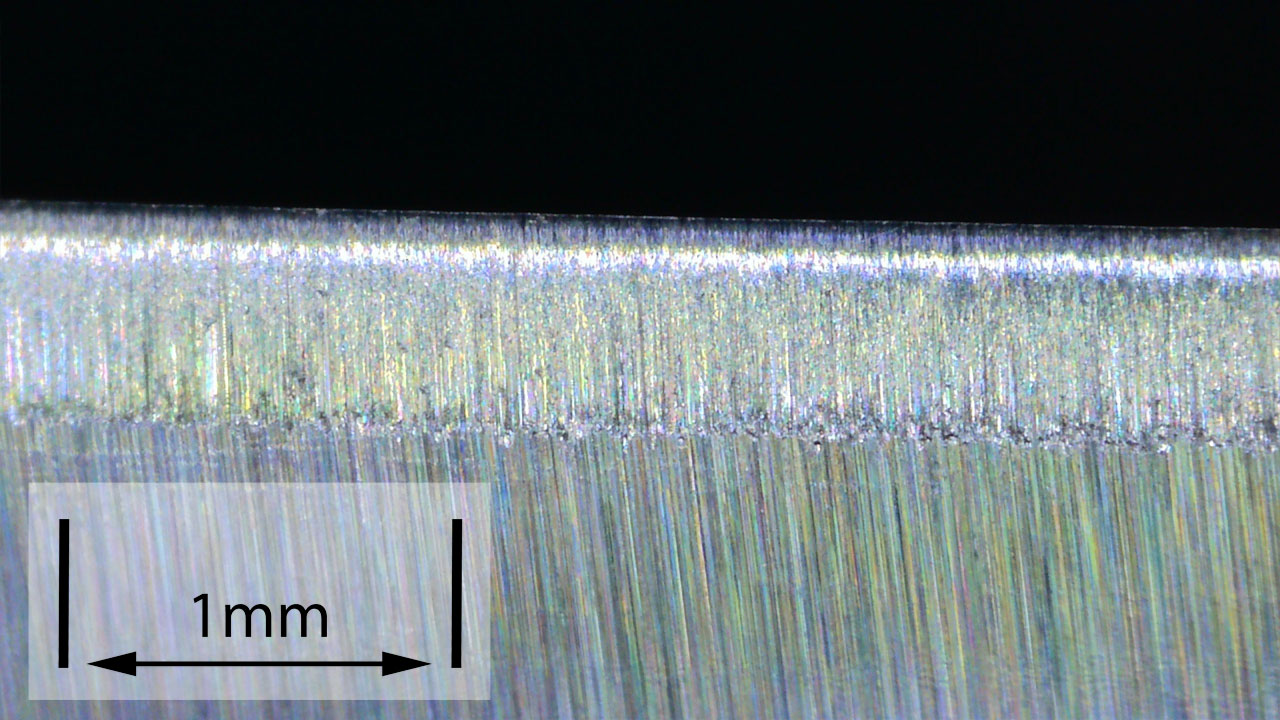
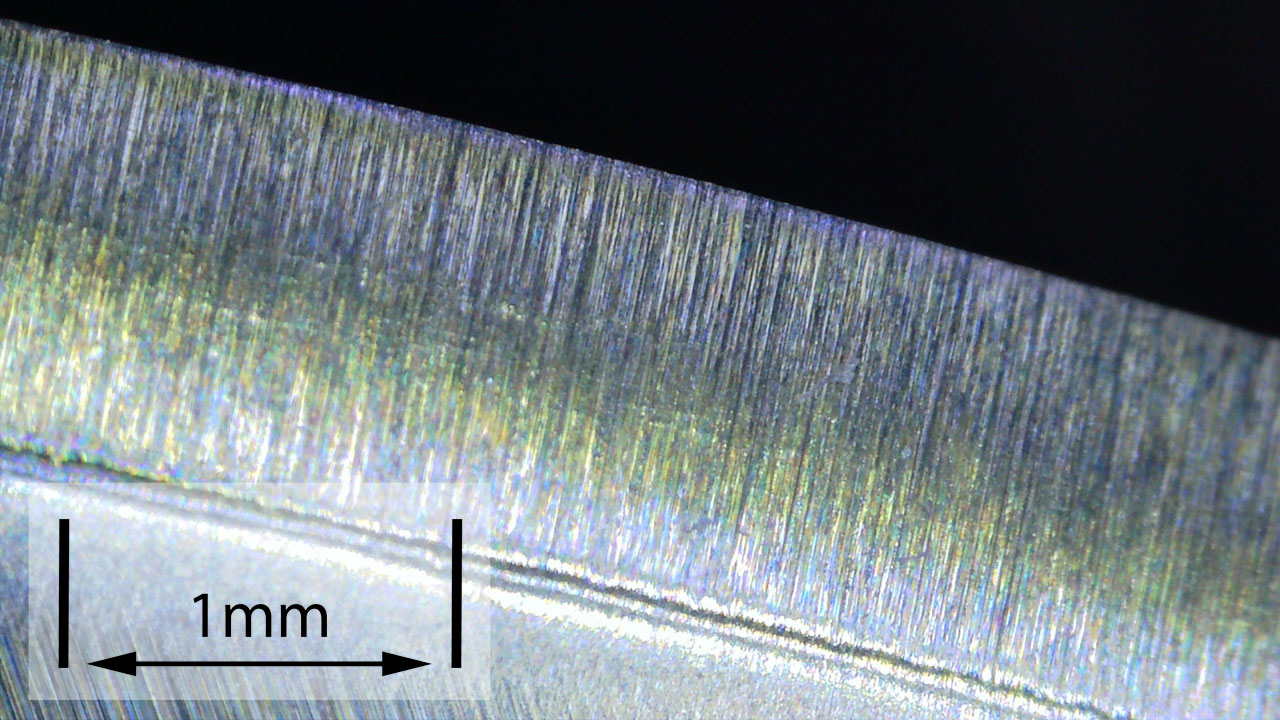
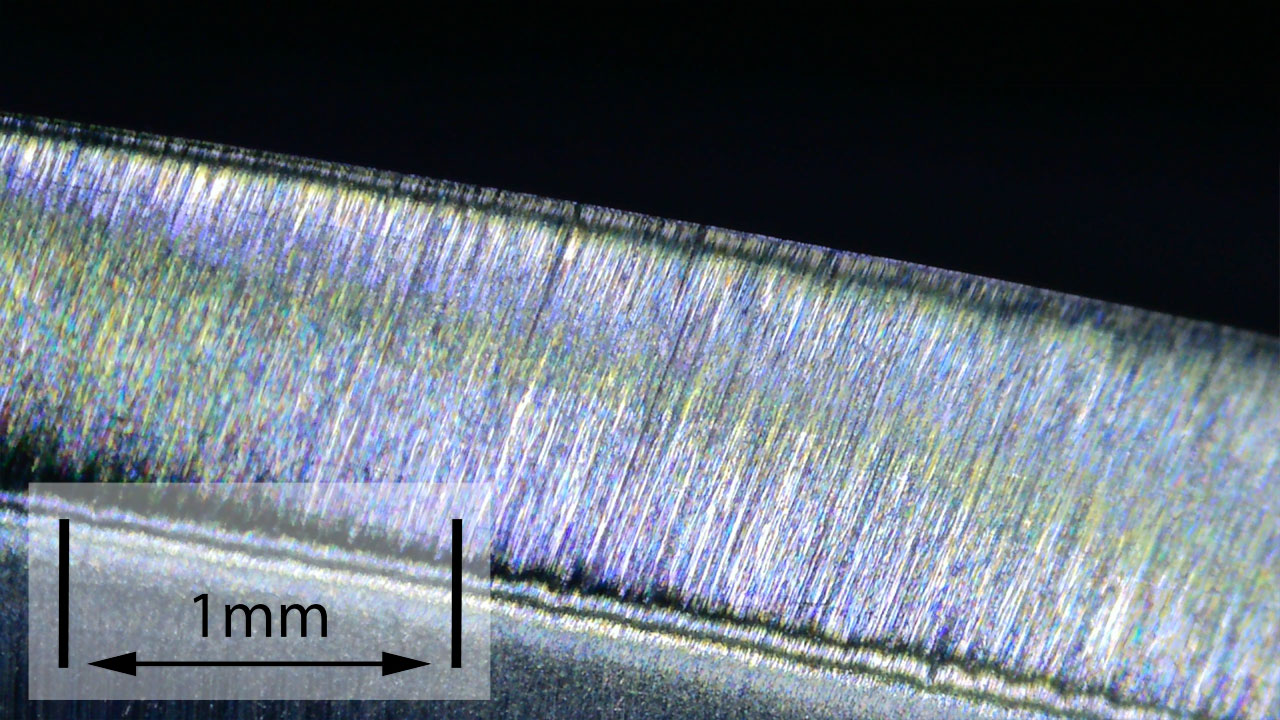
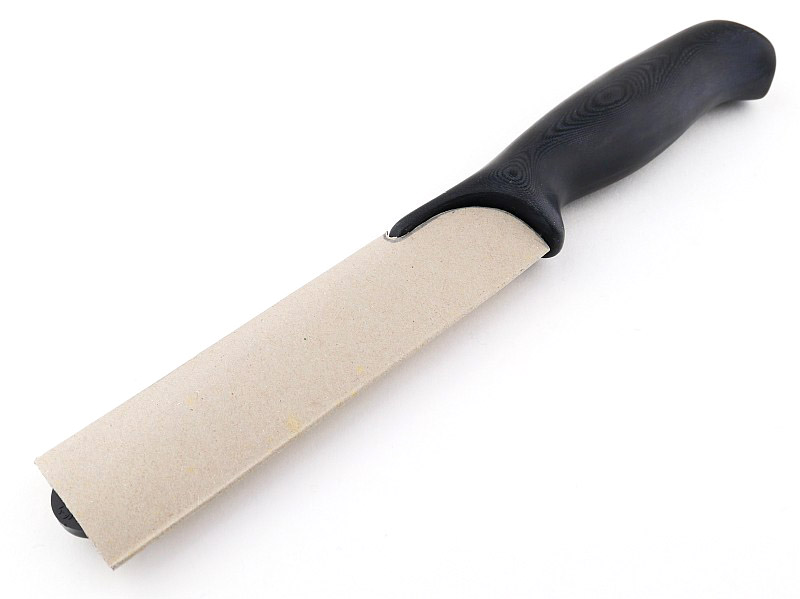
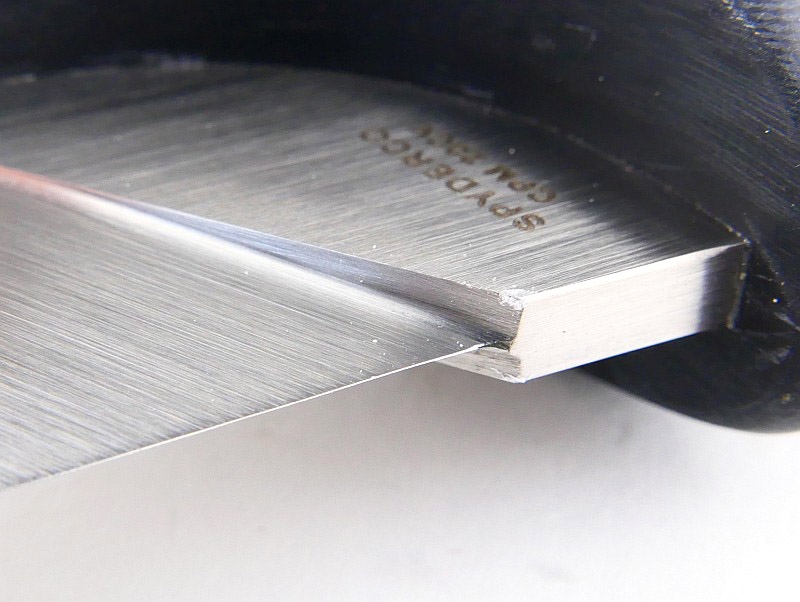
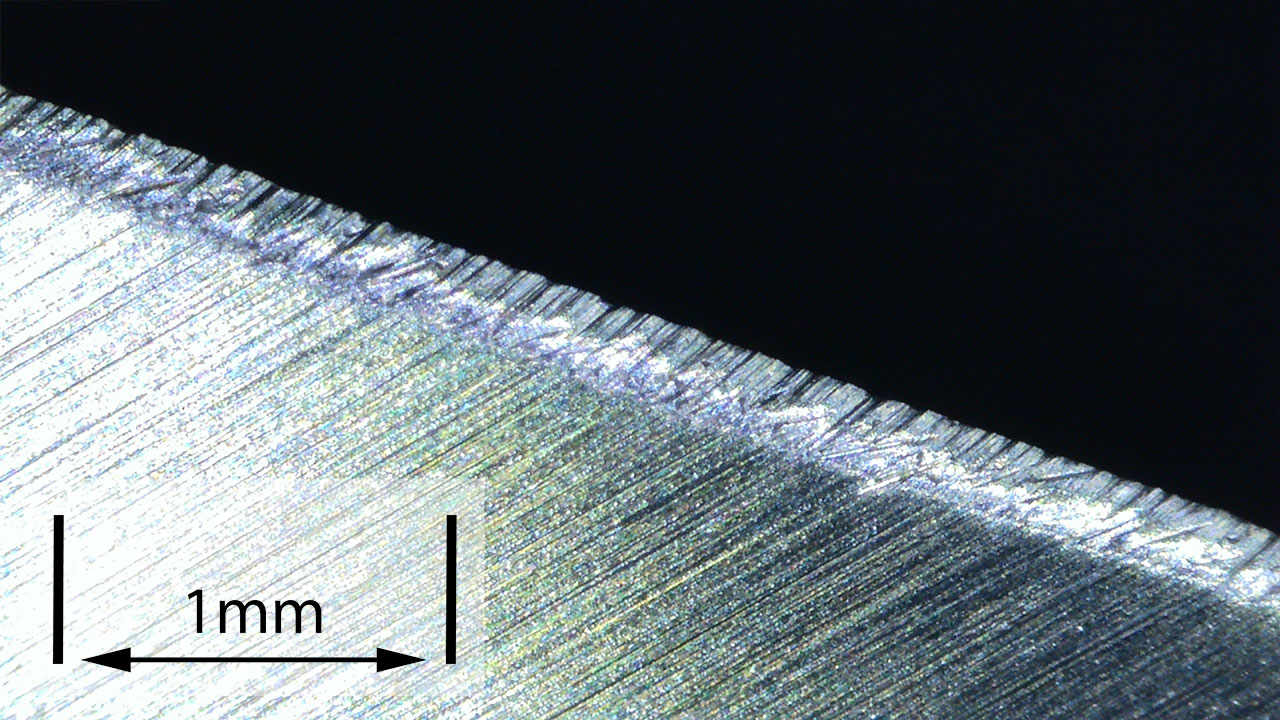
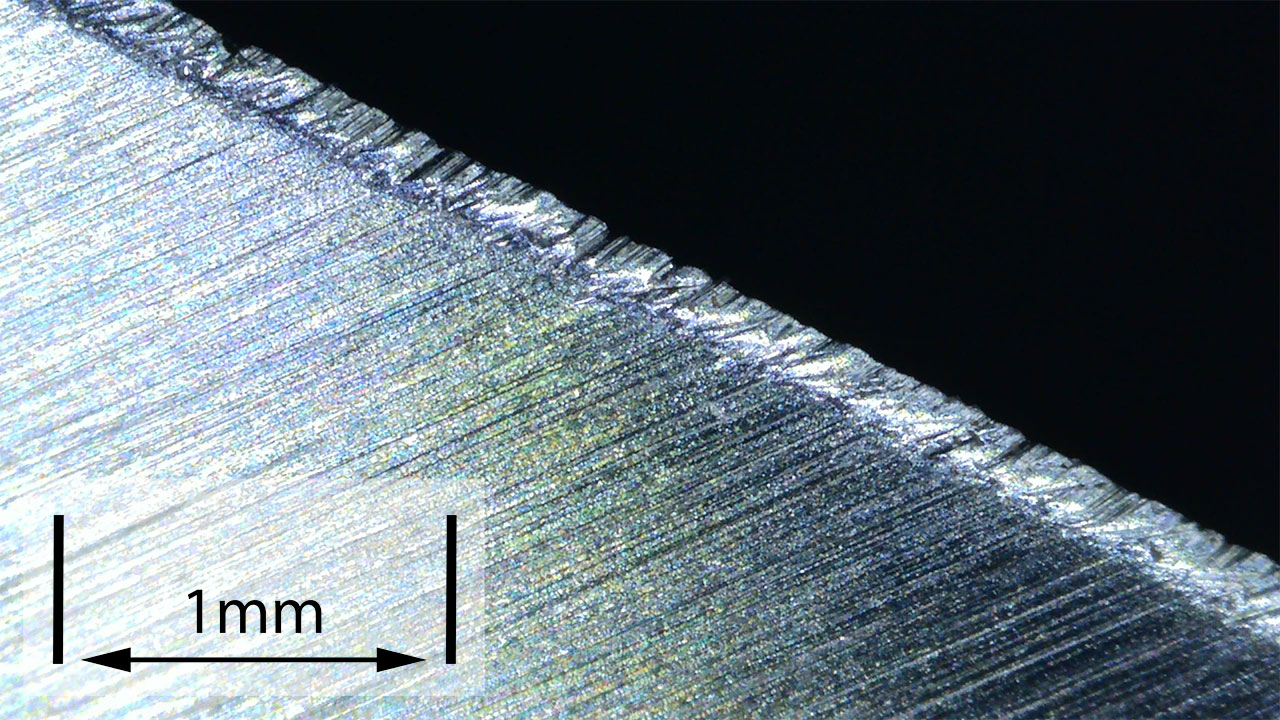
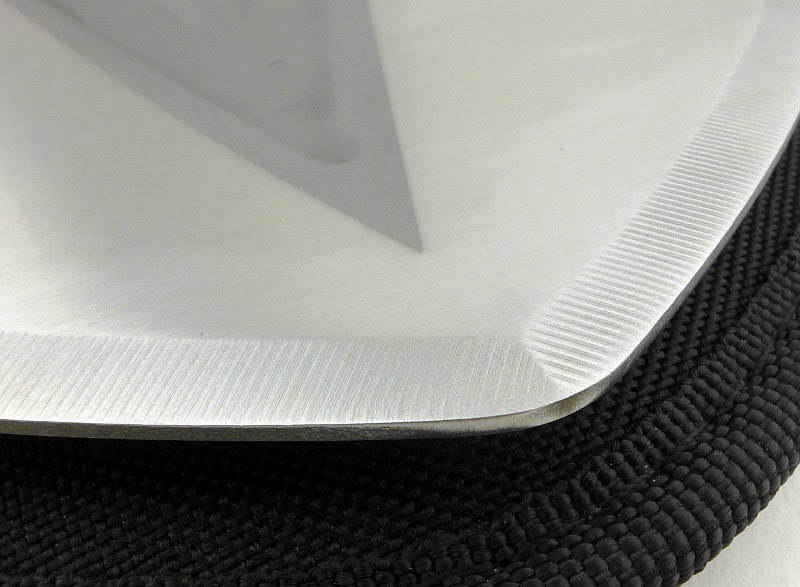
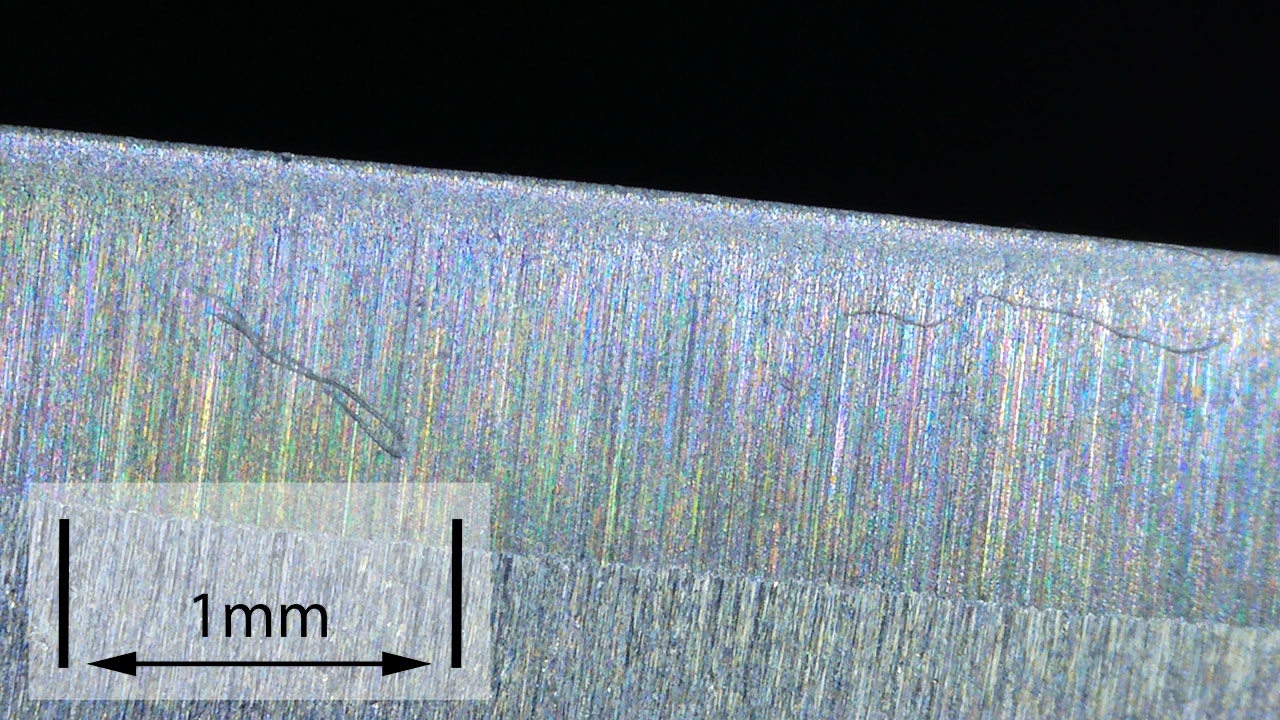
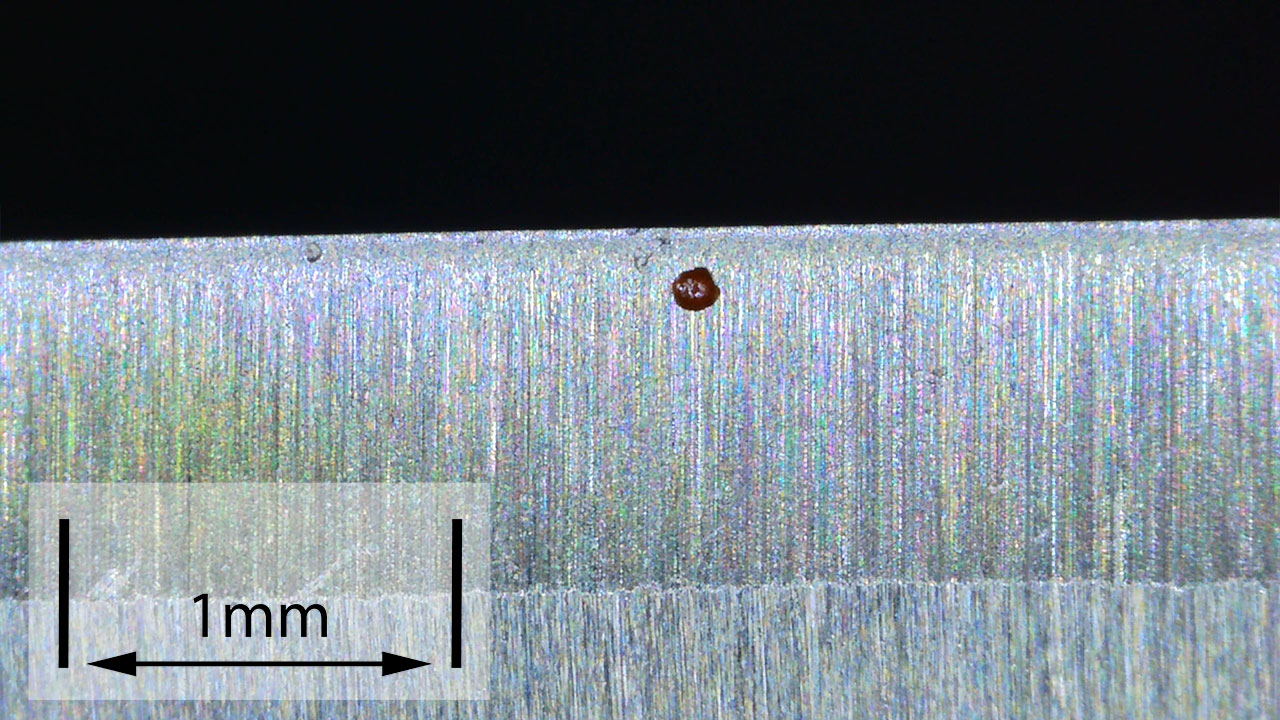
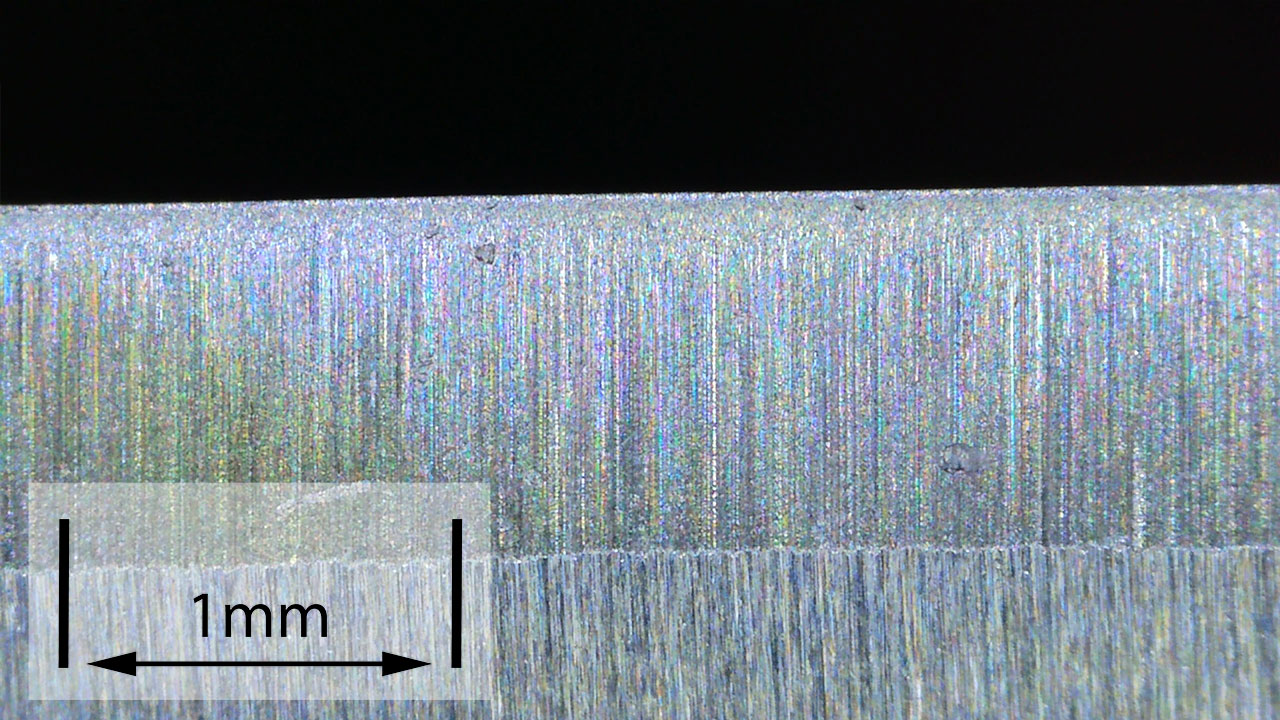
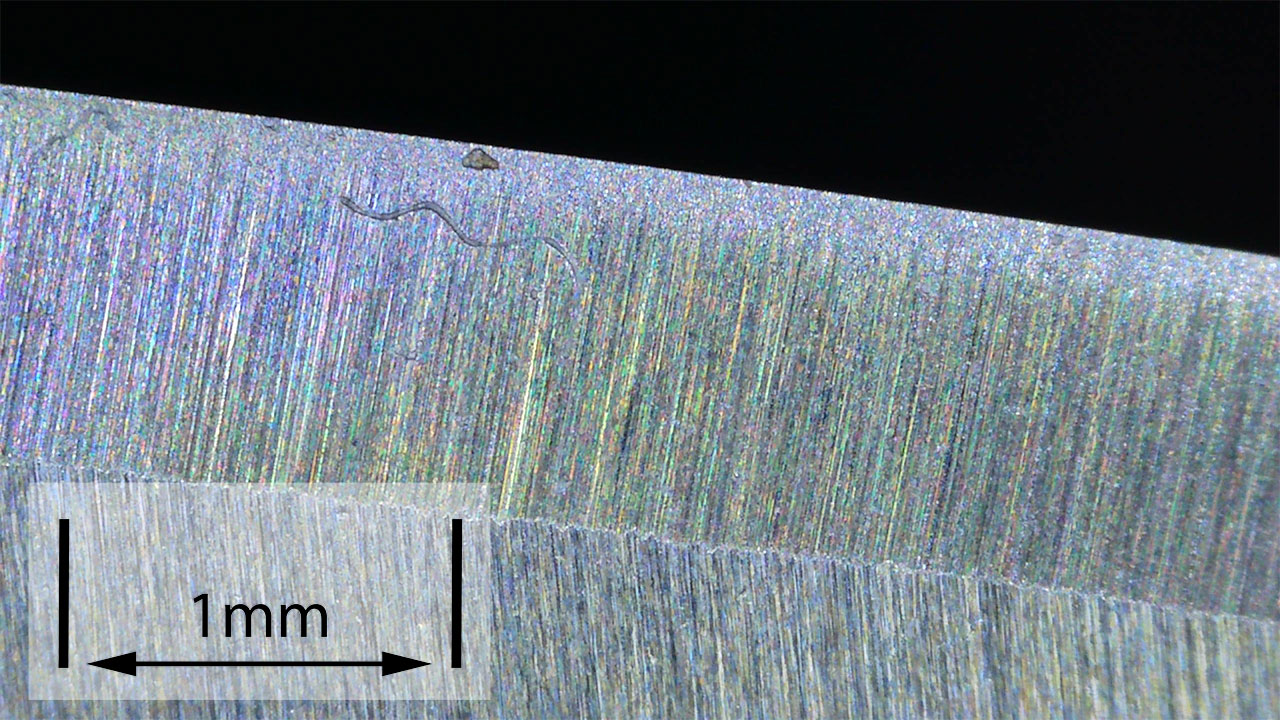
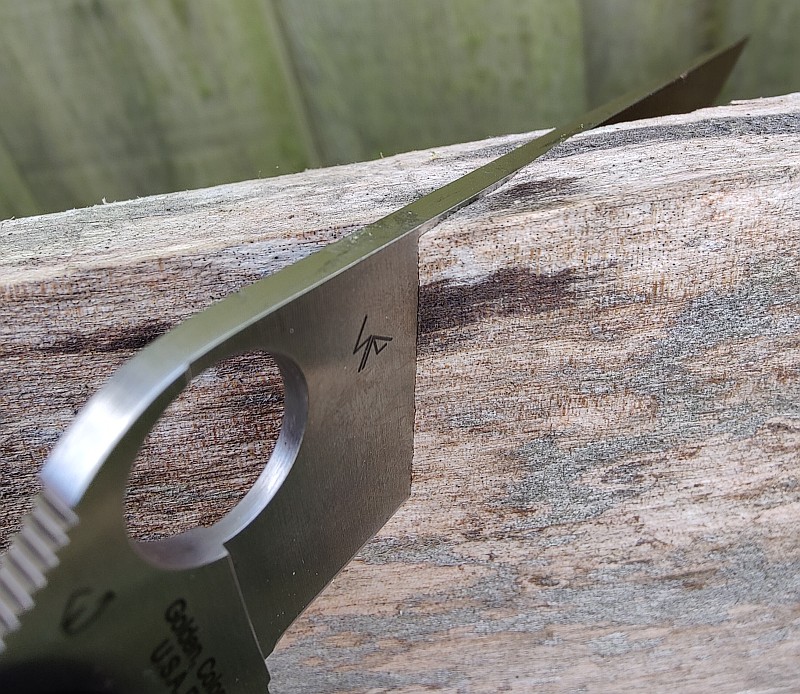
The Factory edge up close:
Followers of Tactical Reviews will know my views on factory edges, but to recap:
Anyone using a knife will need to sharpen it. That first factory edge is just like the first tank of fuel that a new car comes with (or first charge of the battery).
A good factory edge is a ‘nice to have’ but not a ‘make or break’ for a good knife, as you will be putting your own edge onto it soon enough.
The factory edge does however indicate the care a knife maker has put into the final finish.
It is for this reason Tactical Reviews measures factory edge sharpness and specifications, and includes this information in the detailed technical testing.
As a further look at the factory edge, this section has been added to include some high magnification photos of the factory edges.
Spyderco’s factory edges are reliably excellent.

What is it like to use?
We all know what ‘New and Improved’ typically means for our favourite products…it normally means ‘cheaper to manufacture and worse’. Typically.
What about the Military 2, what have Spyderco done to our beloved Military? Well, they have, in fact, made it better. This is not to say the original Military, if Spyderco continue to make the classic, no longer has a place; it is still the classic liner lock it always was. If you pick up the Military and swap to the Military 2 and back, fundamentally they are the same with a long pointy blade, long handle, and powerful cutting ability. Instead it is in the more subtle refinements that the Military 2 shows it improvements, those small differences in regular actions and handling that start to shine through.
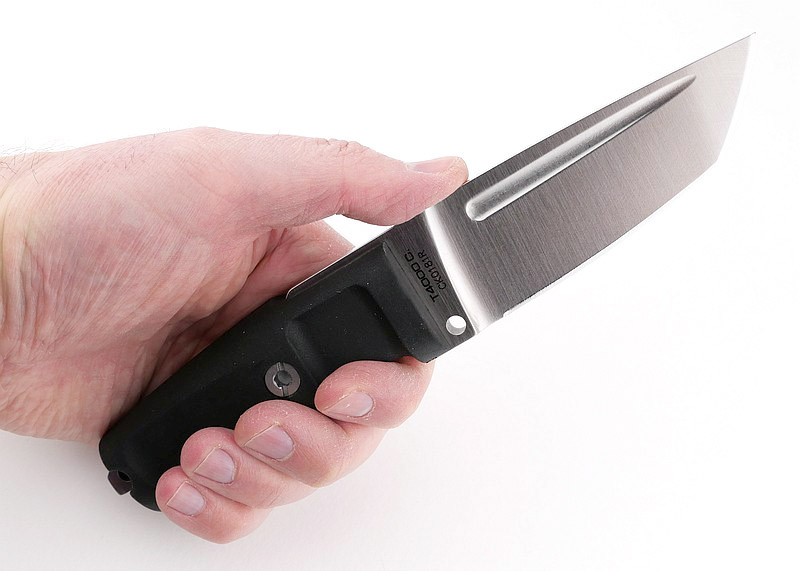
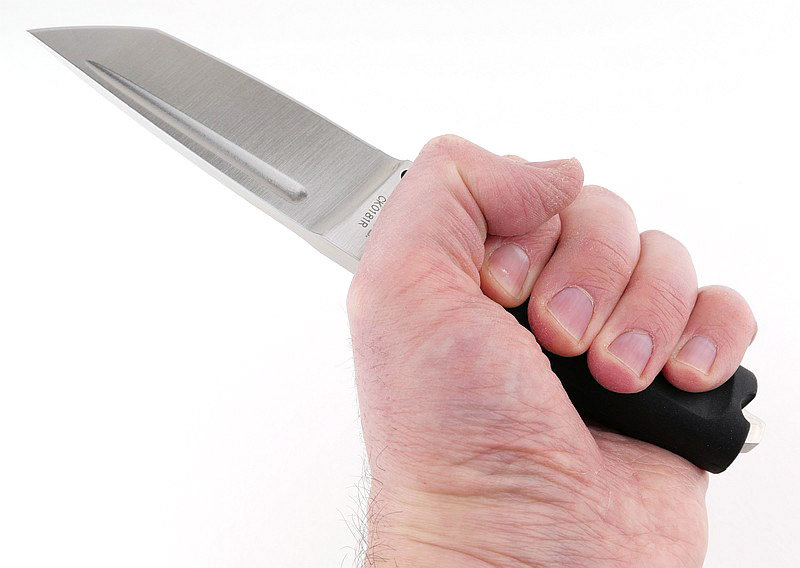
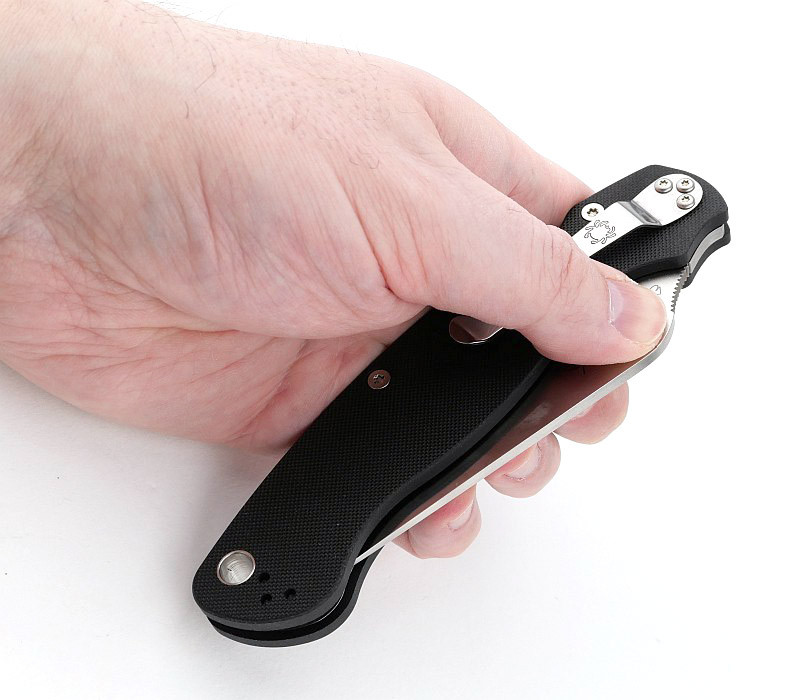
General handling makes a couple of those updates all the more apparent. The forward choked-up position now has the proper first finger shaping and grip; it just fits and sits better. Open and close, open and close, and the ease the Compression lock brings also shines through. One-handed closing becoming a breeze with the lock released, and the blade falling closed under its own weight, made safer as you do not need to put your hand in the blade’s path to unlock it.


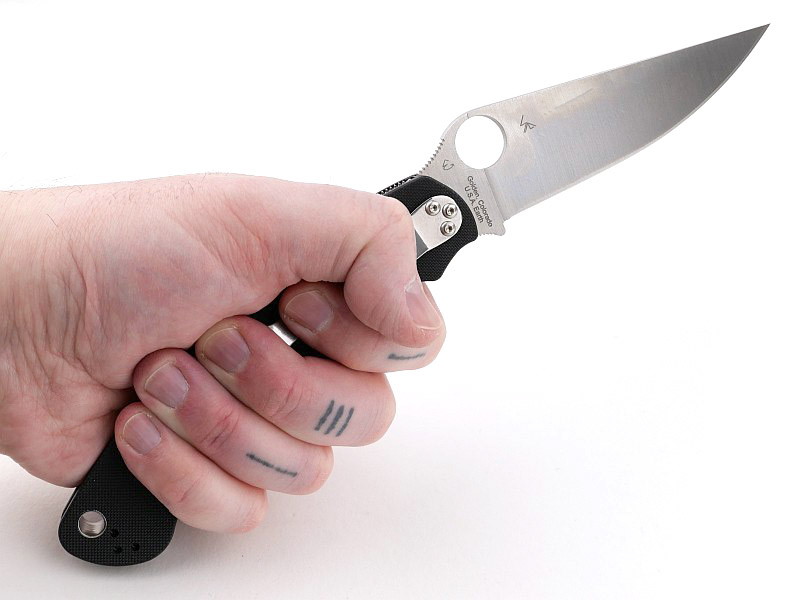
I absolutely love a big folder, and the Military 2 just wanted to get to work, so who am I to stand in the way! The blade reach is excellent, making all the jobs I deployed it for quick and easy. Over and over those two biggest changes, the lock and improved grip shape making the knife itself almost disappear and the jobs complete themselves. For me the Tip-Up clip position and right-handed side means that as I draw the knife out of my pocket, the handle is already in the right orientation and my thumb finds the opening hole immediately, so I have swapped the clip over to this location from the factory position.
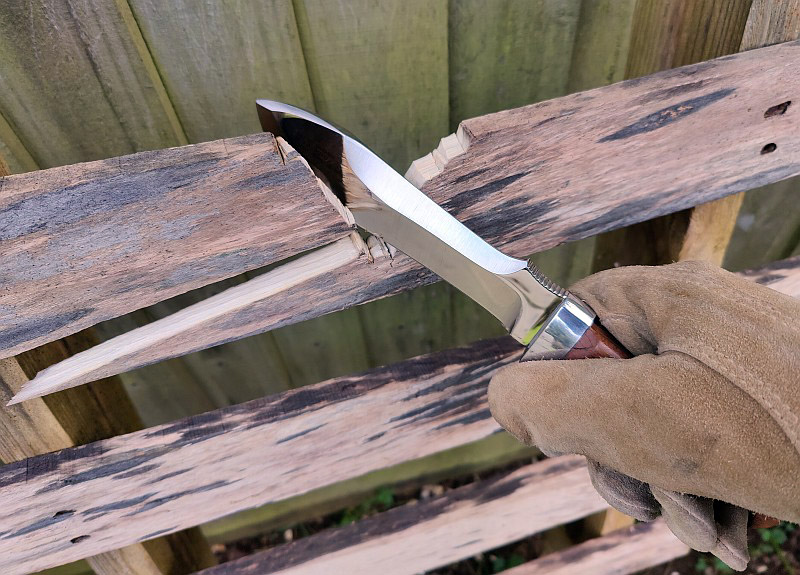
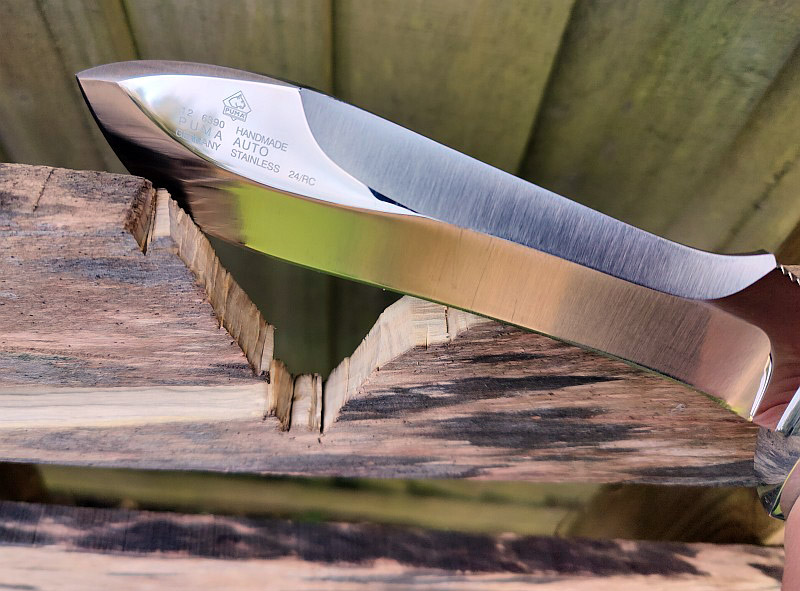
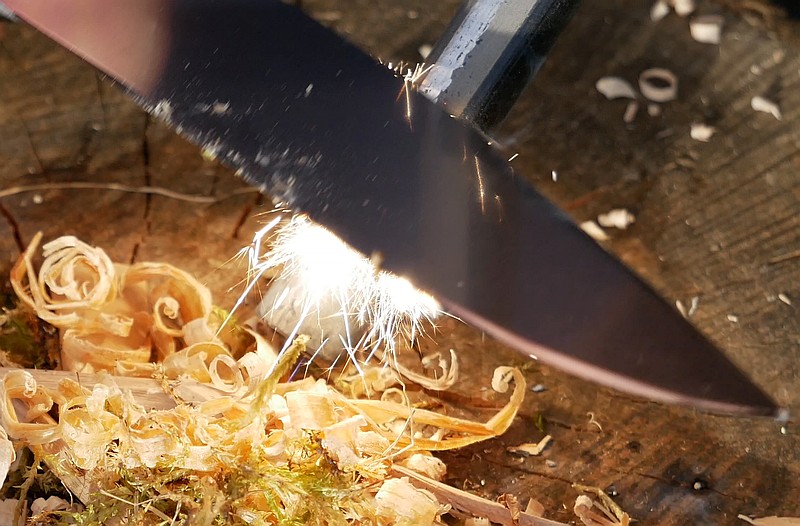
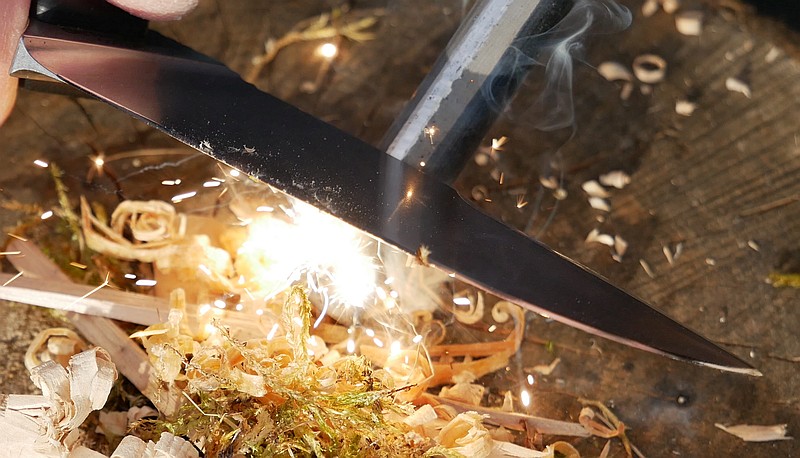
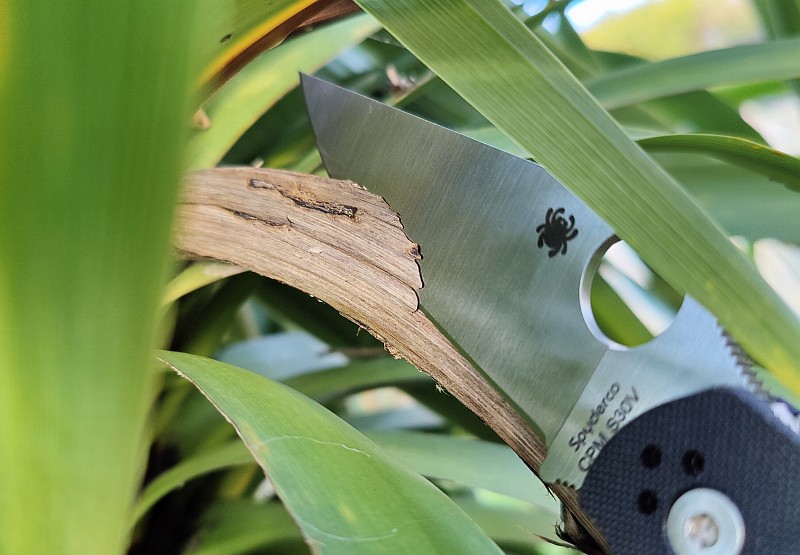
Though it is a heavy duty knife, the fineness of the blade has always made me wonder a little. Personally I’ve never had a Spyderco full-flat blade (or any other) fail on me in use, but it is just with the Military 2, the blade is very long. For part of the testing I decided to baton it through pallet wood cross-grain, cutting not splitting. That slicey blade shape just falls through the boards, and comes back out as easily. No gentle tap here, I was full swing pounding on it, and no concerns at all. Obviously it is easy to actually abuse a blade, and I was not trying to do this, but instead just work it hard. It took all this in its stride.

Is the Military 2 true to the original Military model? – Yes.
Is the Military 2 an improvement over the original Military model? – I certainly say Yes.
Review Summary
The views expressed in this summary table are from the point of view of the reviewer’s personal use. I am not a member of the armed forces and cannot comment on its use beyond a cutting tool or field/hunting knife.
Something that might be a ‘pro’ for one user can be a ‘con’ for another, so the comments are categorised based on my requirements. You should consider all points and if they could be beneficial to you.
_______________________________________________
What doesn’t work so well for me
_______________________________________________
No sharpening choil.
The peeled G10 is very abrasive to your pocket.
It makes me want all the different versions of the Military 2.
_______________________________________________
Things I like
_______________________________________________
Compression lock.
It is a Large folder.
Very slicey and pointy blade.
Improved grip shaping over its predecessor.
Phosphor-bronze pivot washers.
Four-position pocket clip.
Full length steel liners.
Excellent factory edge.
‘New and Improved’ – Yes it is.
Review Videos
Starting with a short format sixty second review:
Onto a full video review covering many more details:
Discussing the Review:
Something new – will it work? A Tactical Reviews Subreddit.
TacticalReviewsChat on Reddit
Please visit there and start/join the conversation.