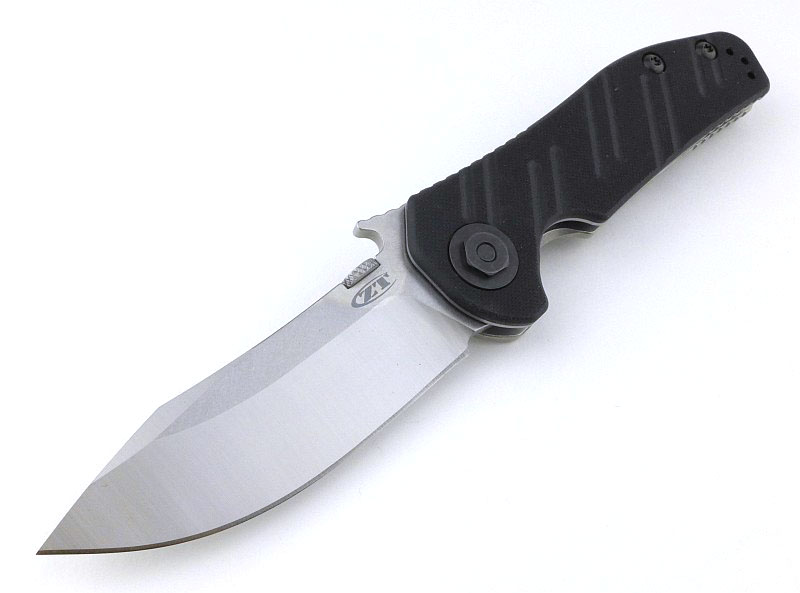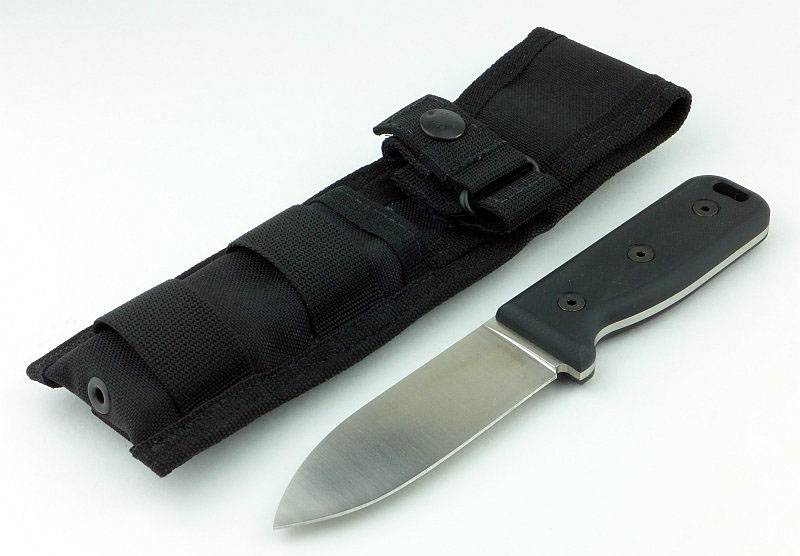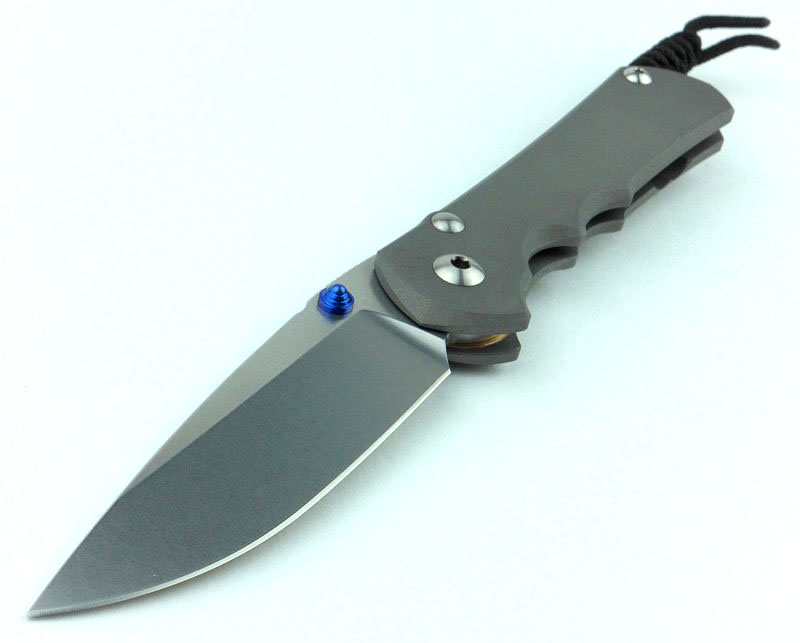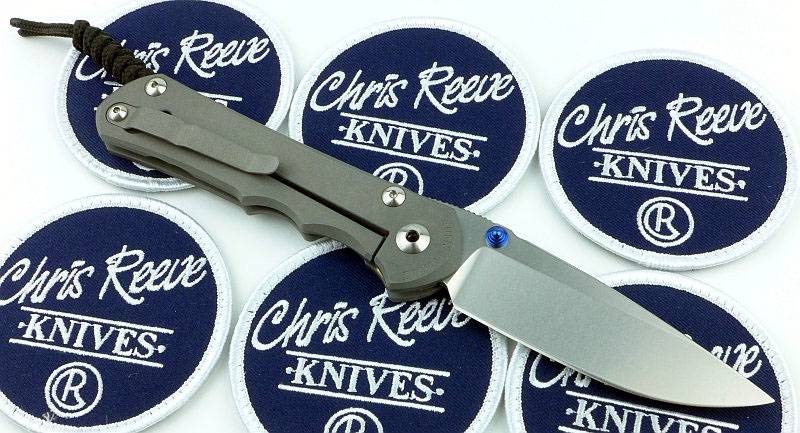

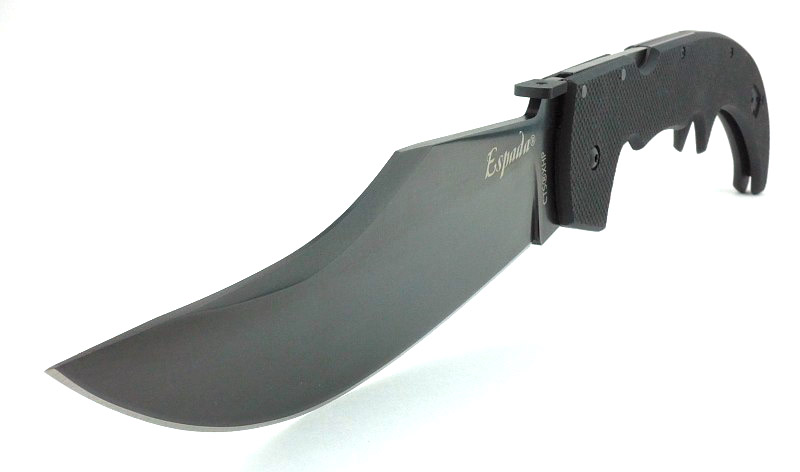
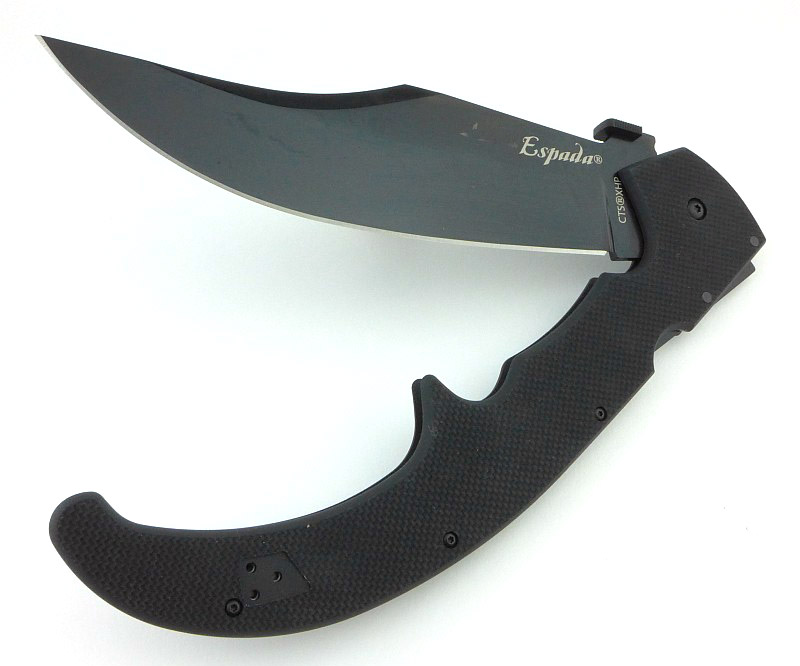
Inspired by the classical Navaja knives of Spain, Cold Steel’s Espada series are the result of a design collaboration between custom knife maker Andrew Demko and Cold Steel President Lynn C. Thompson, using modern design and materials to bring extreme performance to a range of huge folding knives. In this review we are looking at the largest of all, the Espada XL in the newest G-10 edition.
The Blade and Handle Geometry:
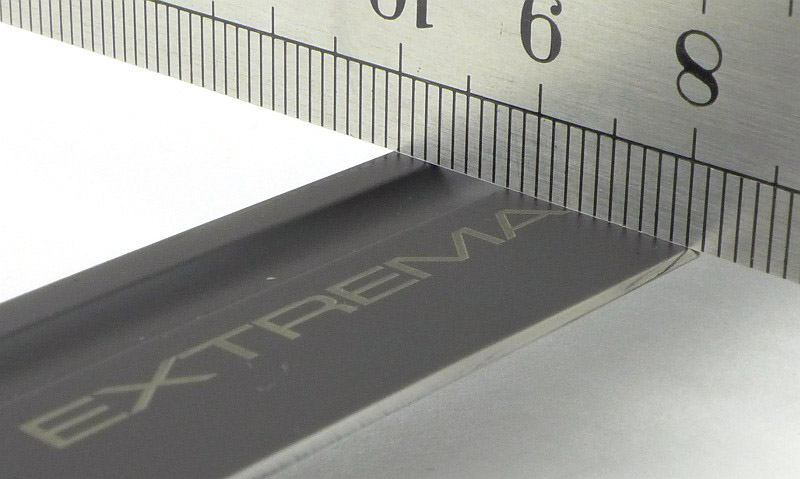
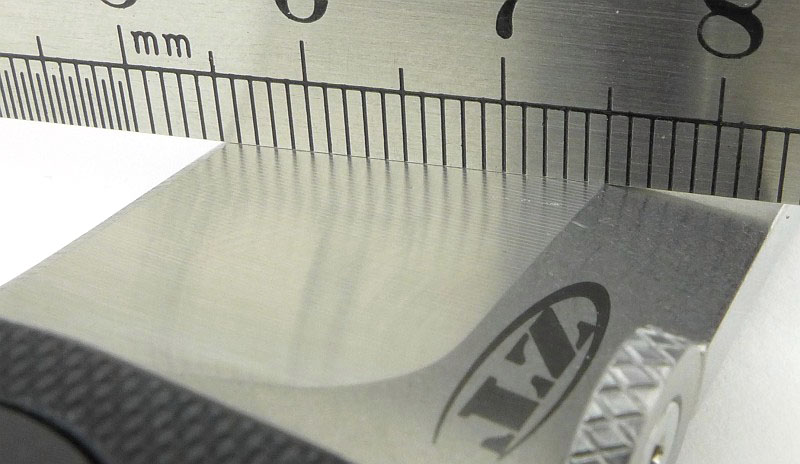
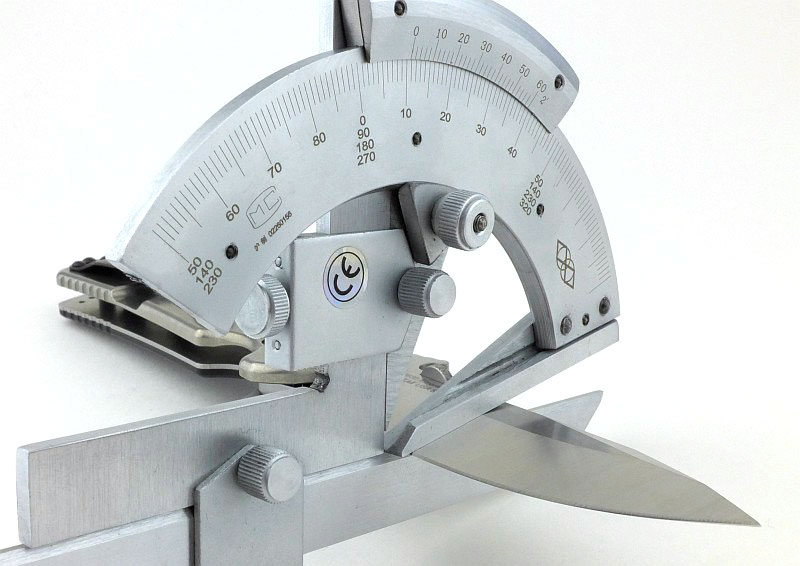
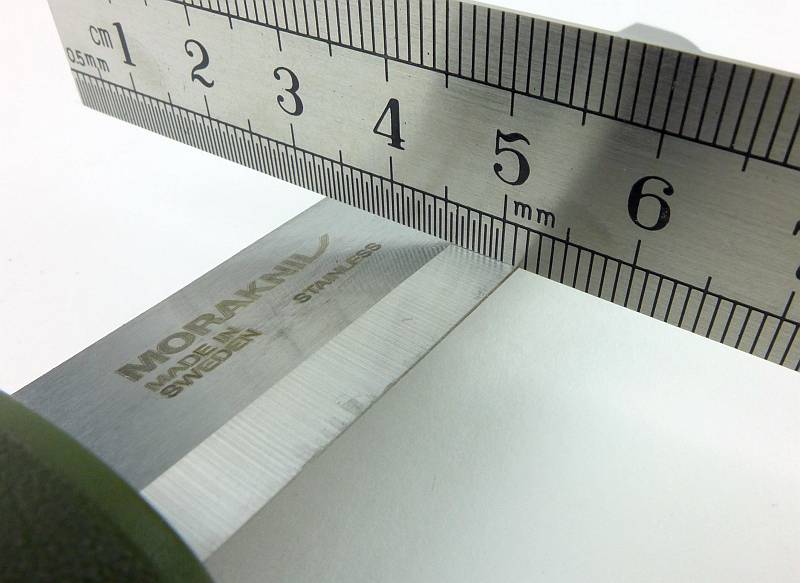
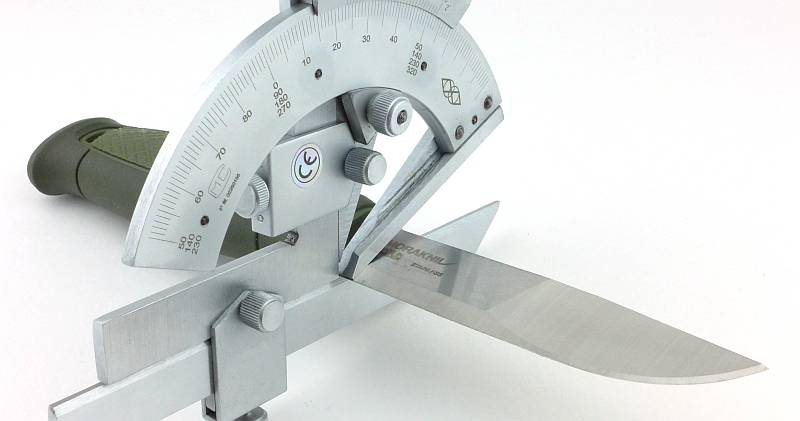
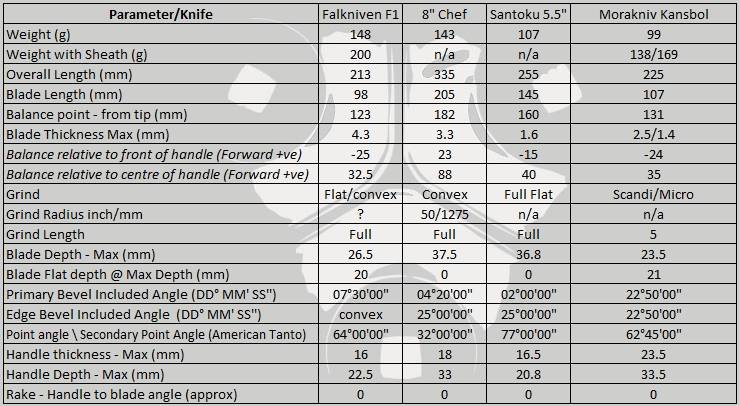
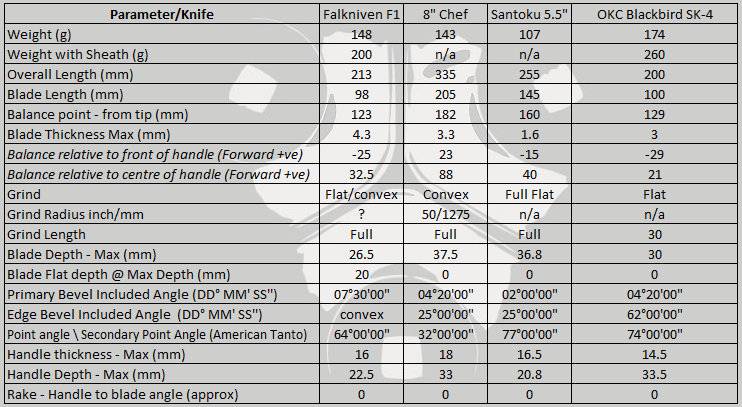
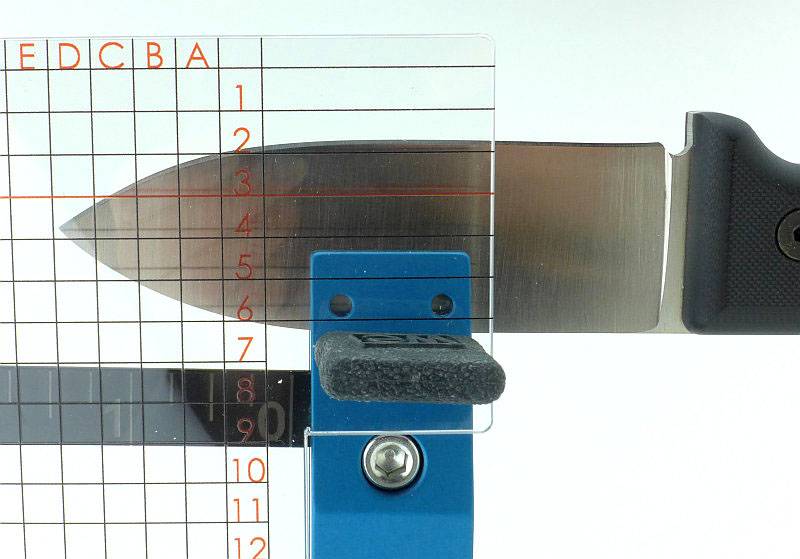
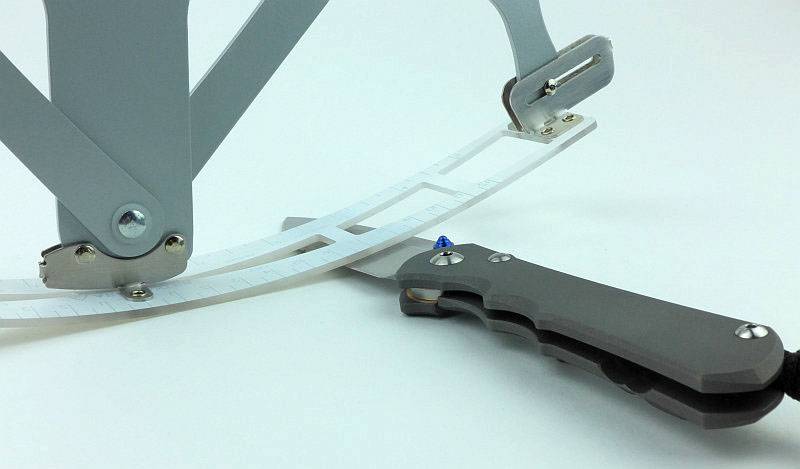
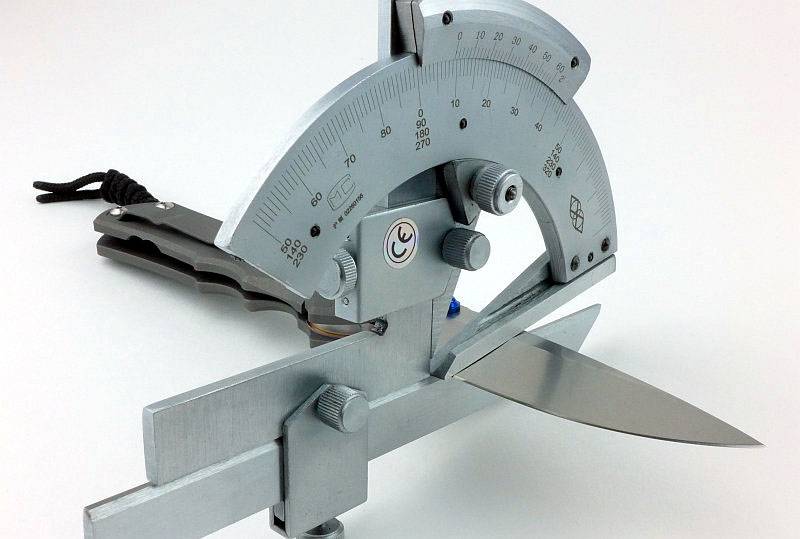
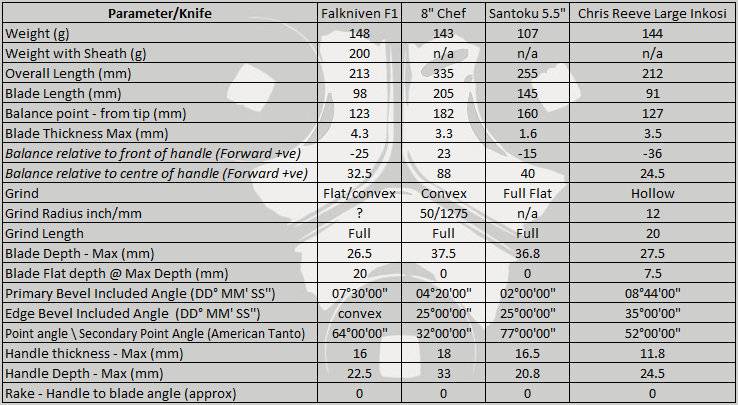
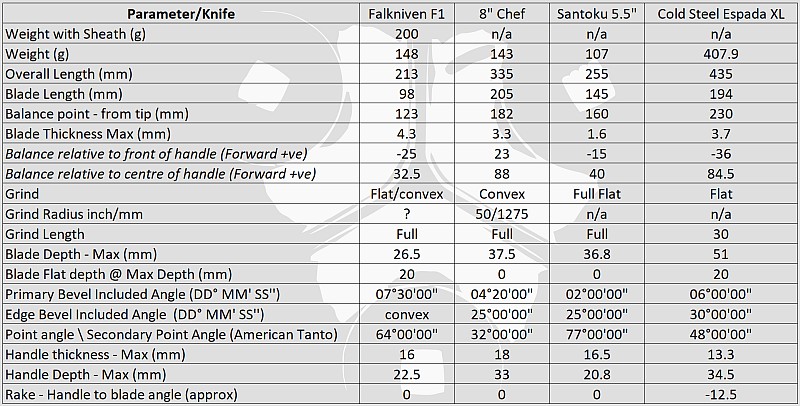
Most knife specifications have a basic description of the blade geometry, but in this section I will be taking a more detailed look at geometry and balance.
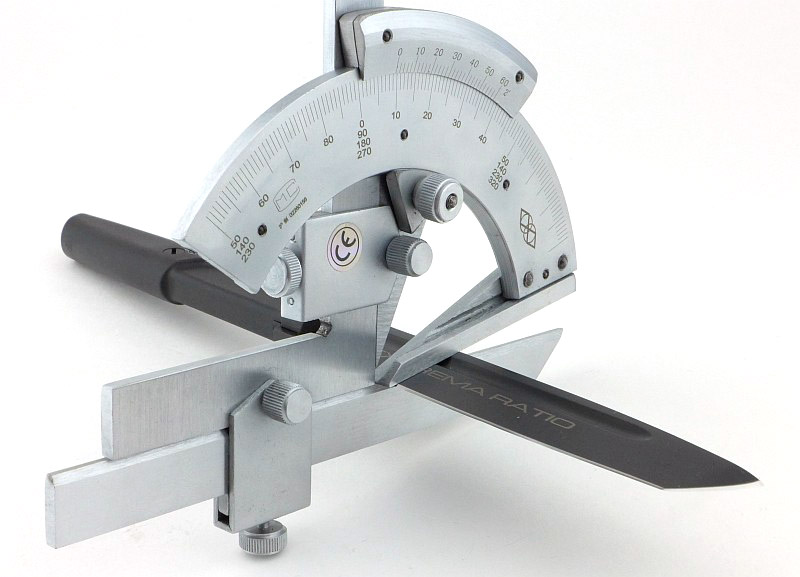
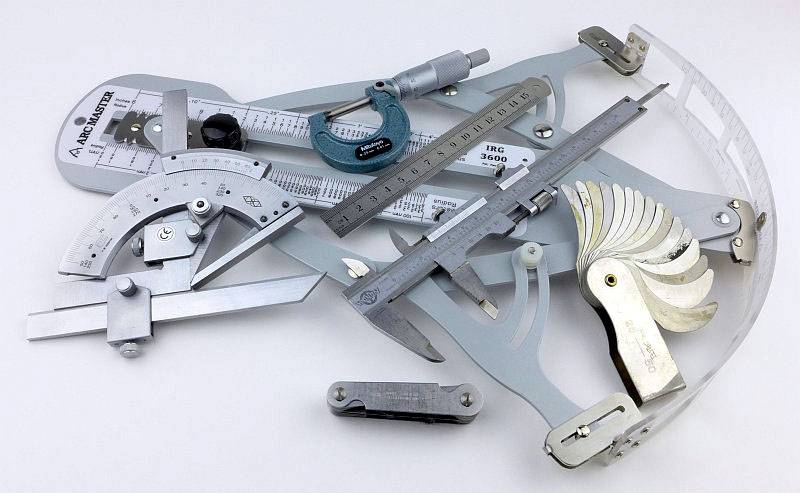
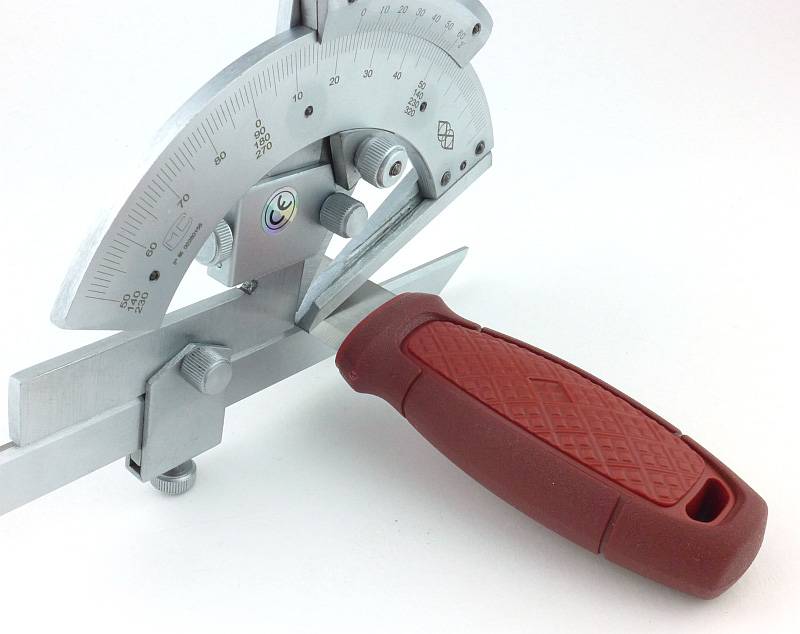
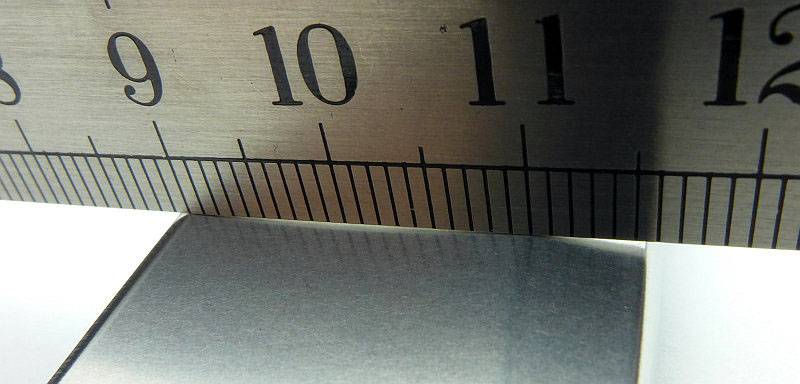
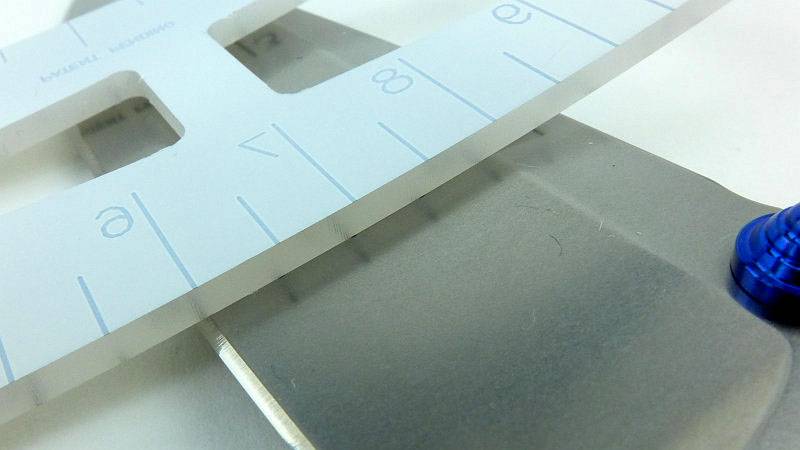
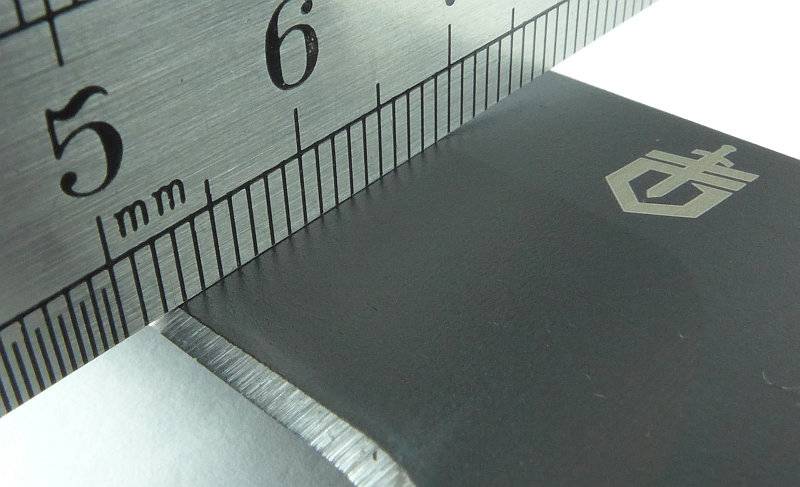
Using a set of gauges and precision measuring equipment including a Vernier protractor, callipers, fixed radius gauges and the unique Arc Master adjustable radius gauge (the one that looks like a crossbow).

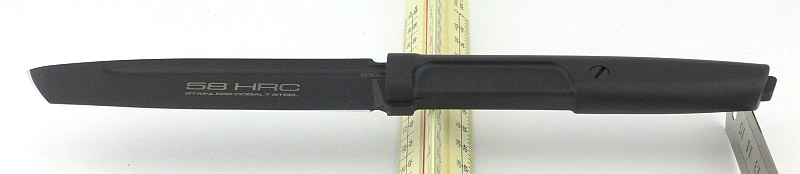
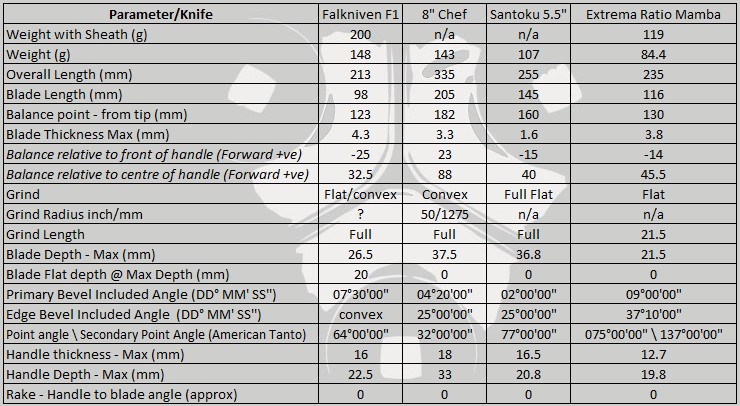
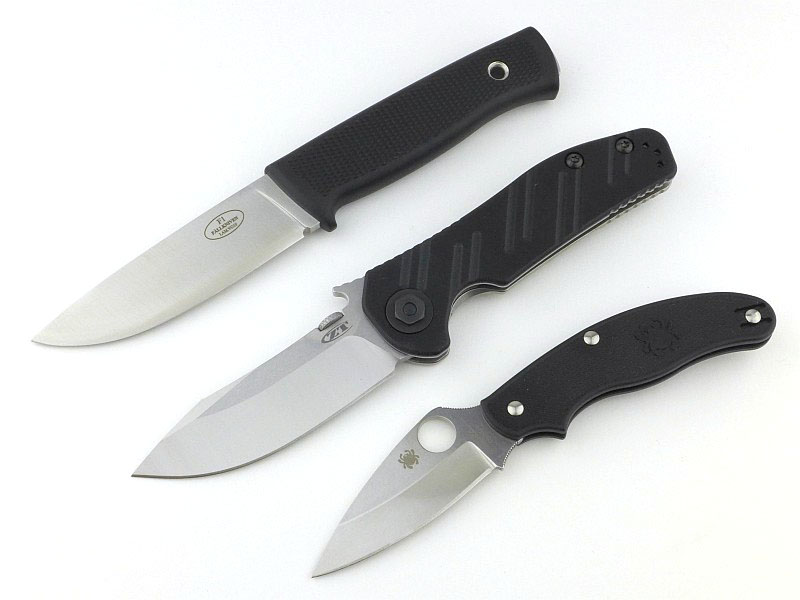
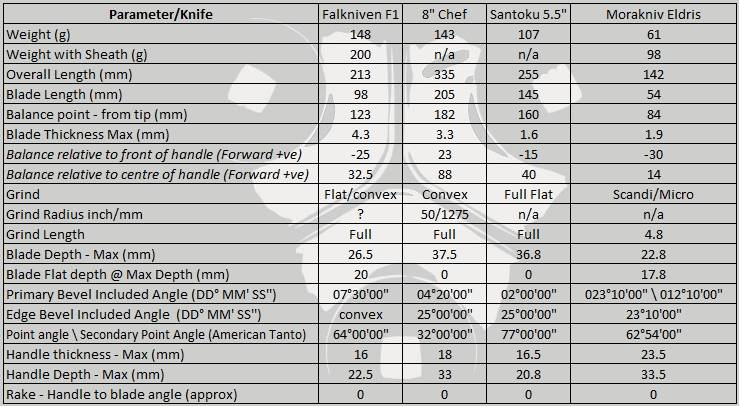
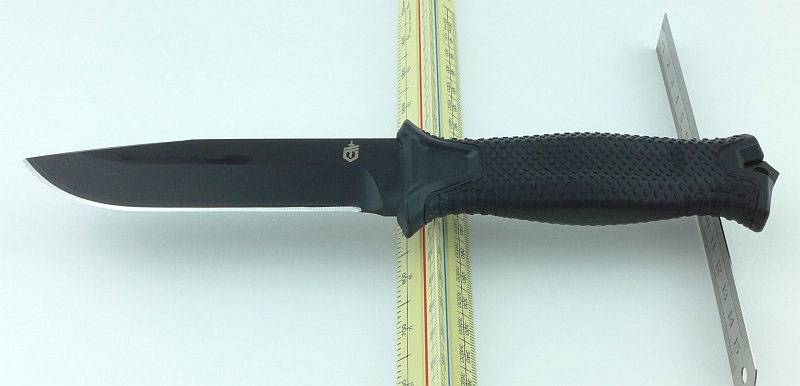
These measurements have been tabulated and are presented along with a few reference blades (8″ Chef’s Knife, 5.5″ Santoku and the popular Fällkniven F1).
Key aspects such as the primary bevel angle, grind type, blade depth, blade thickness, length, weight are detailed, along with balance information.
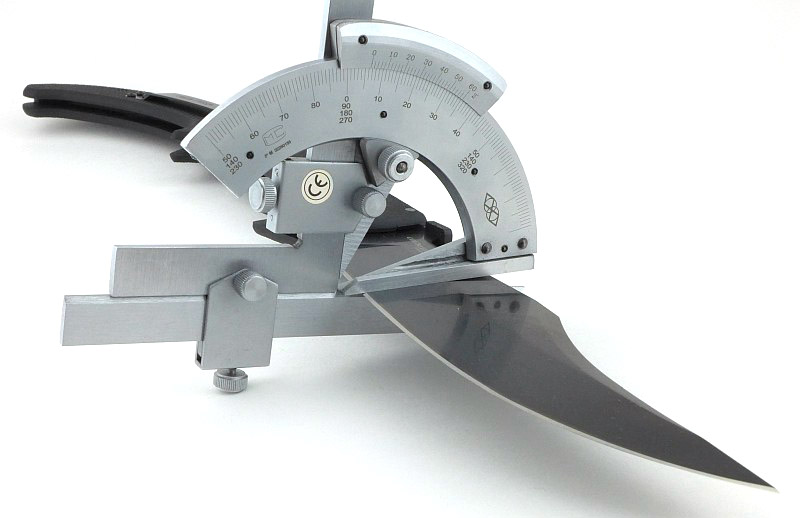
The ‘Balance relative to the front of the handle’ tells you if the knife will feel front heavy, or if the weight is in your hand (a positive value means the weight is forward of the front of the handle). The ‘Balance relative to the centre of the handle’ indicates how close to a ‘neutral balance’ the knife has in the hand.
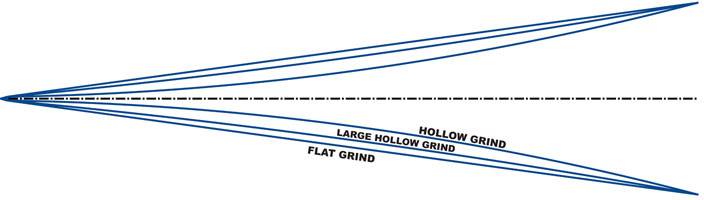
In the case of full convex grinds the approximate centre of the grind is used for the primary bevel angle estimate.
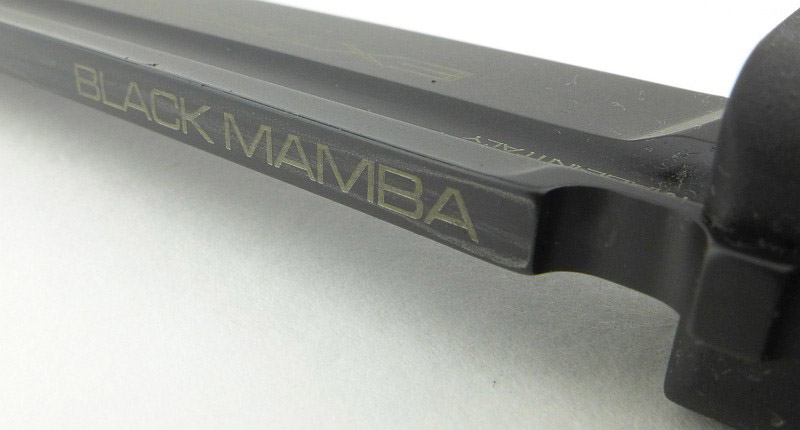
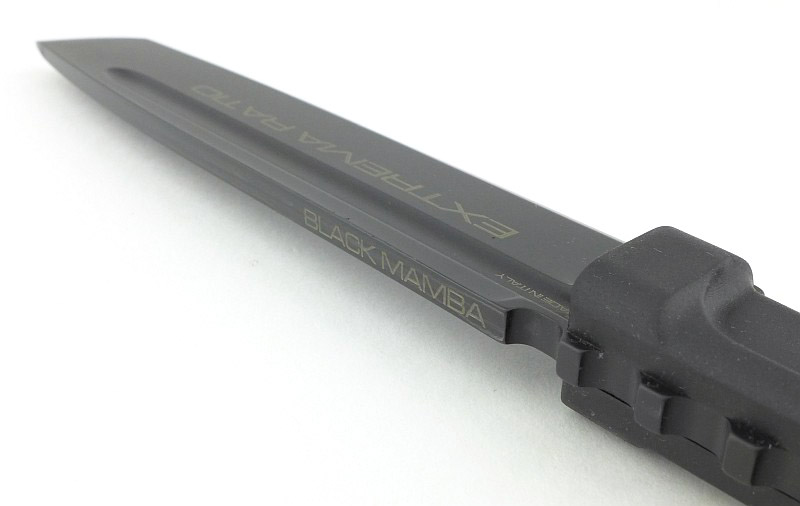
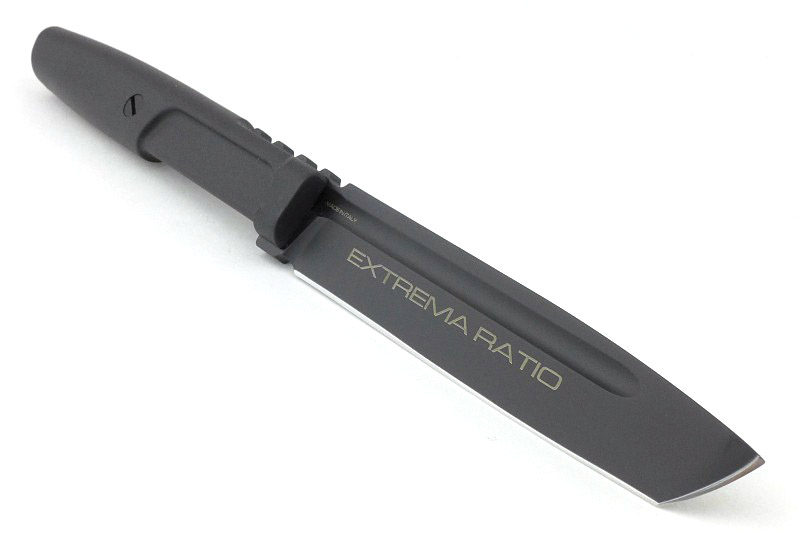
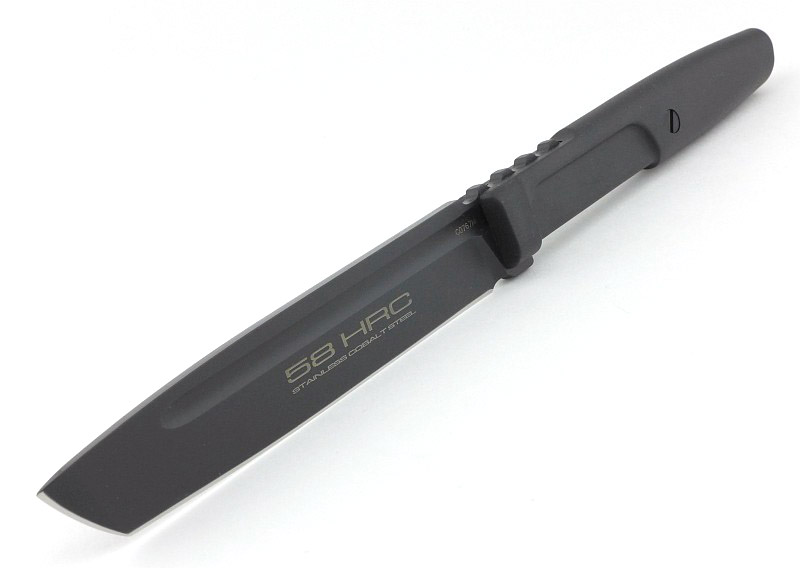
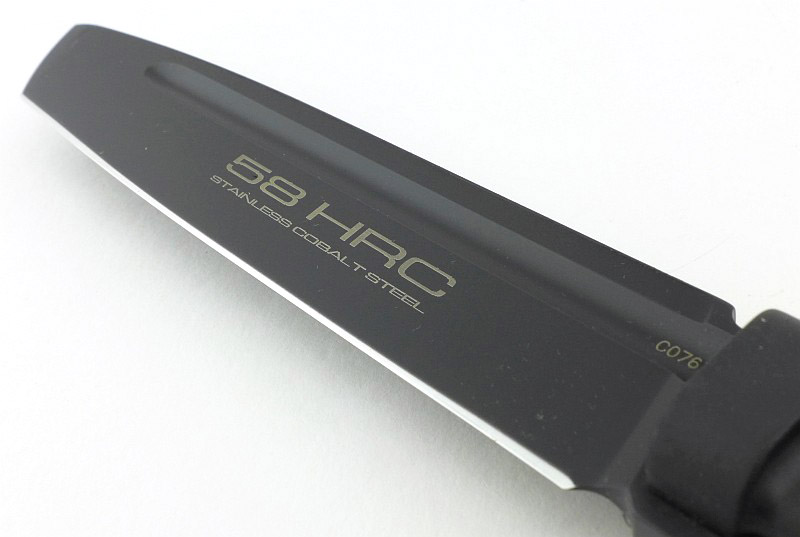
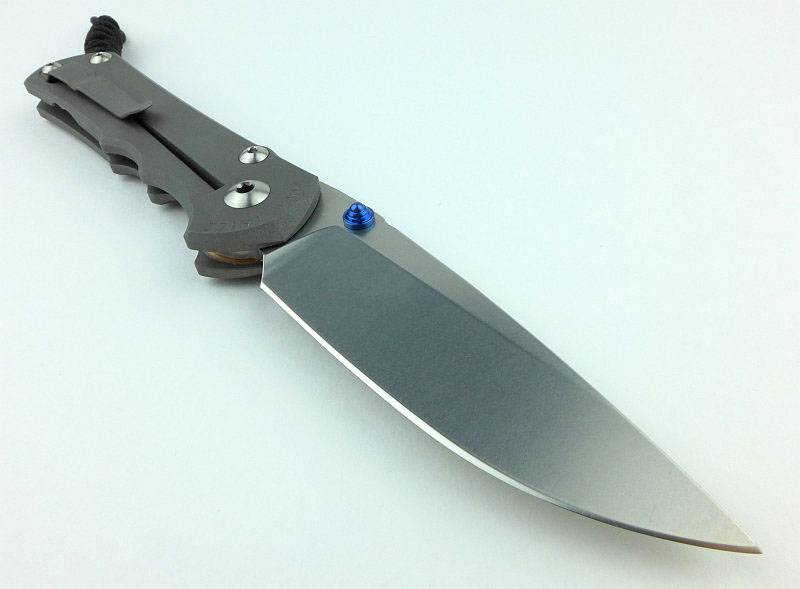
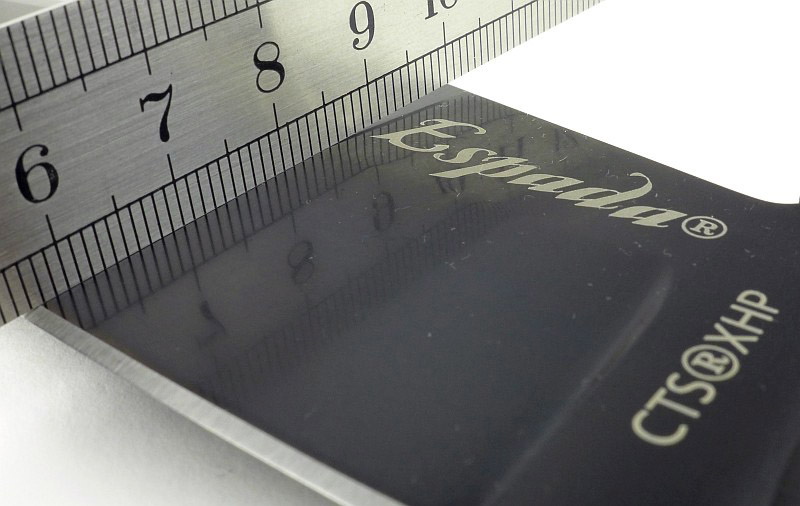
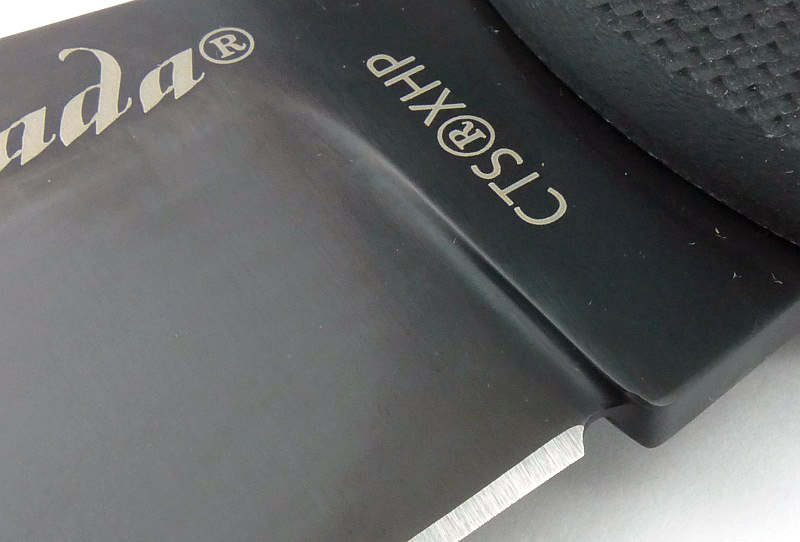
The blade is made from Carpenter CTS XHP Alloy with DLC Coating.
A few more details:
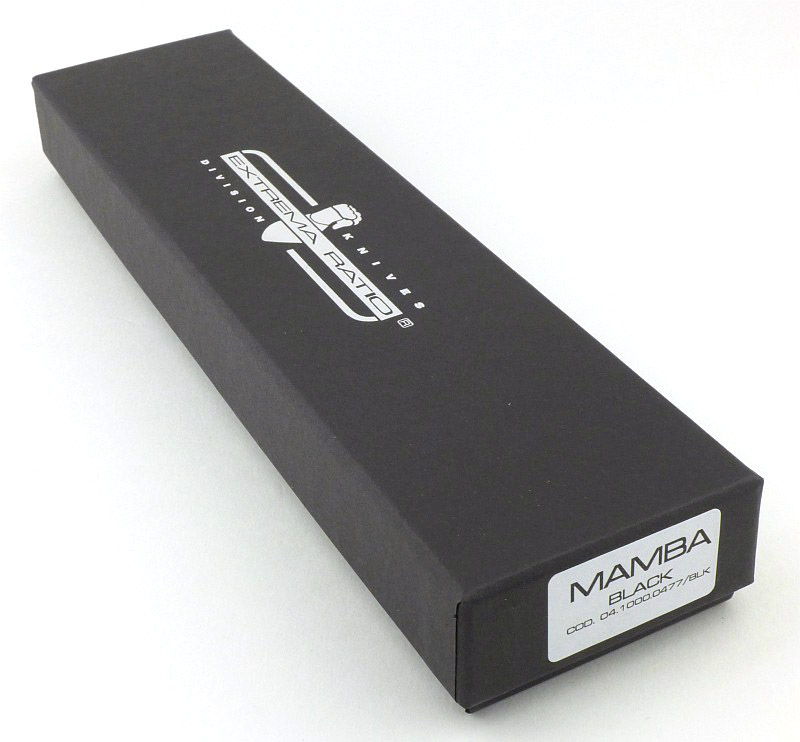
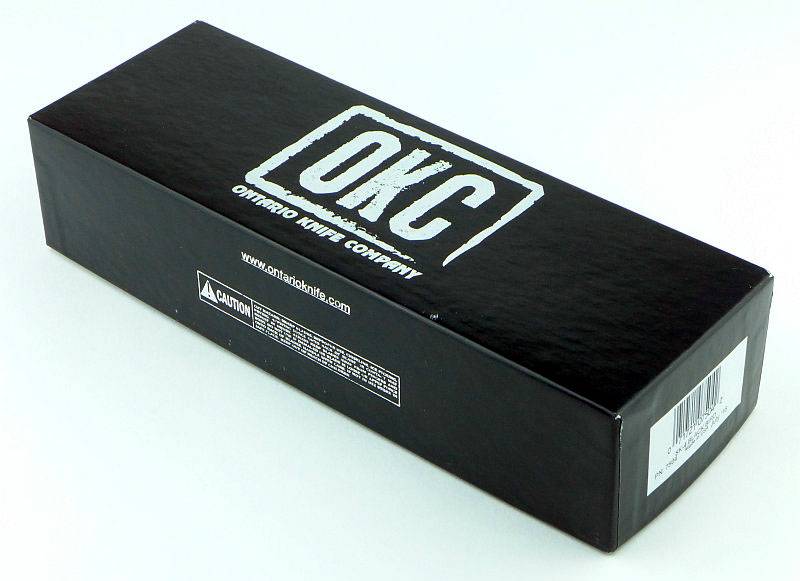
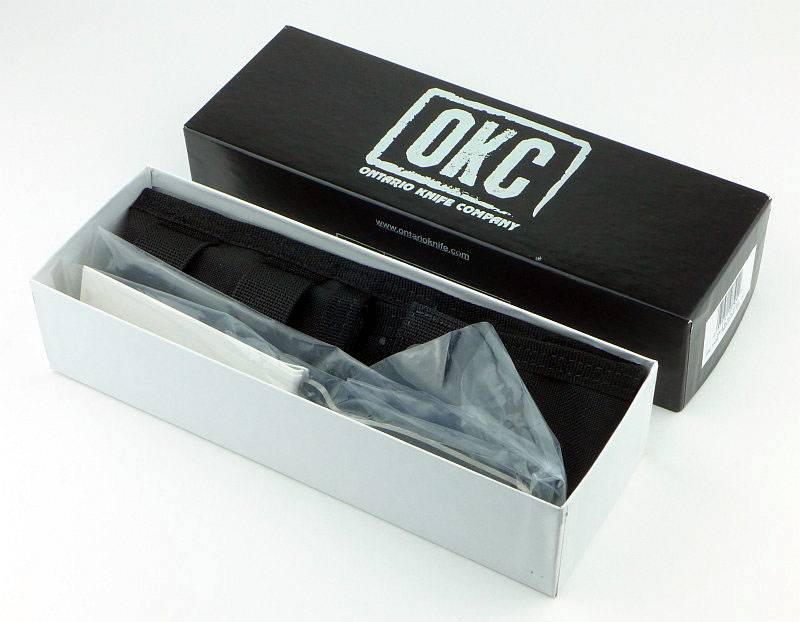
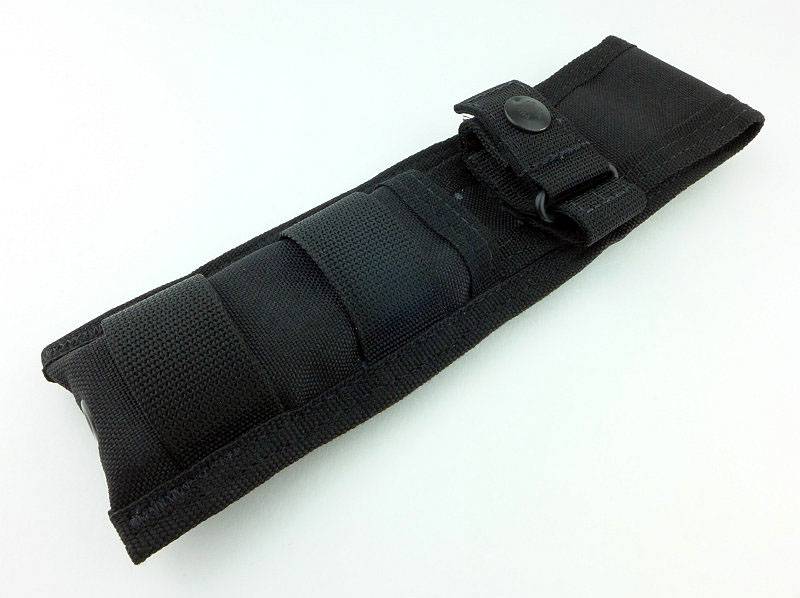
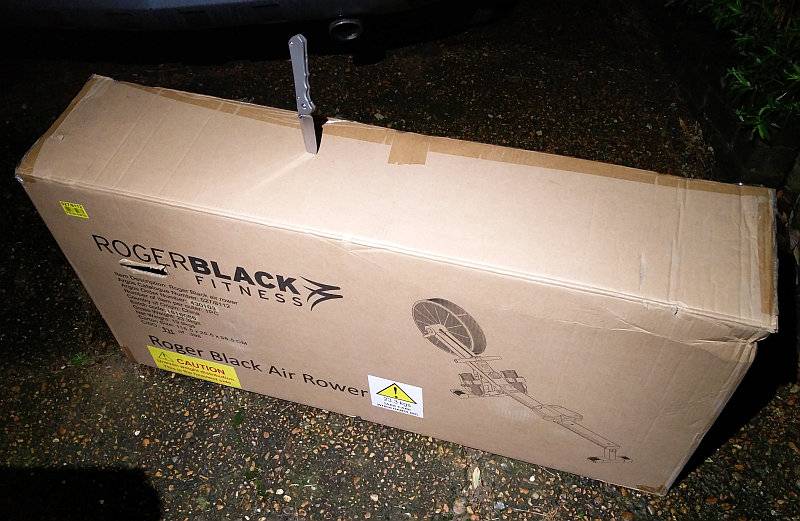
For such a large knife, the Espada XL G-10 arrives in a relatively compact box.
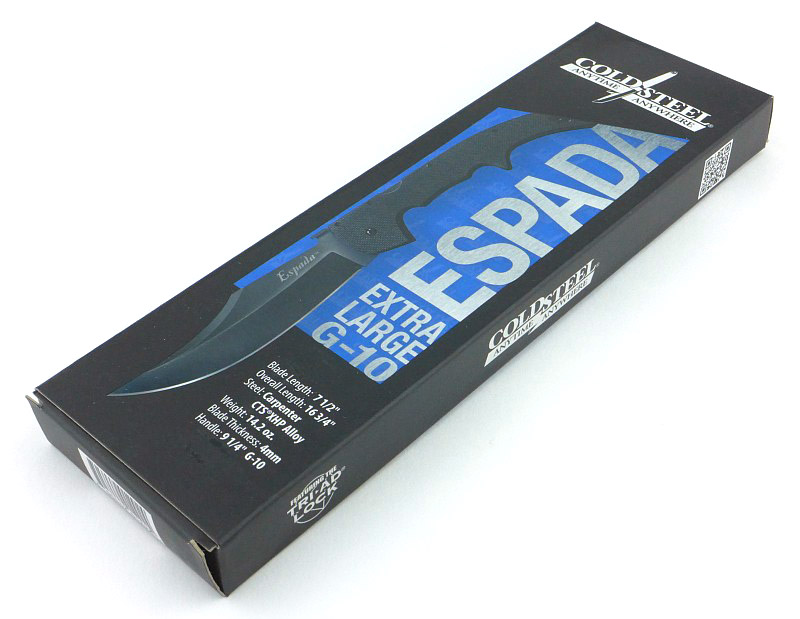
However, this is because the knife completely fills that box.
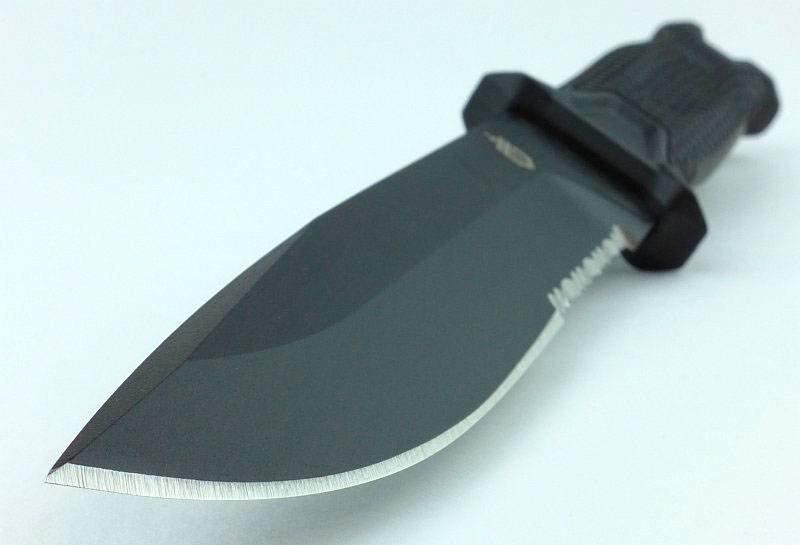
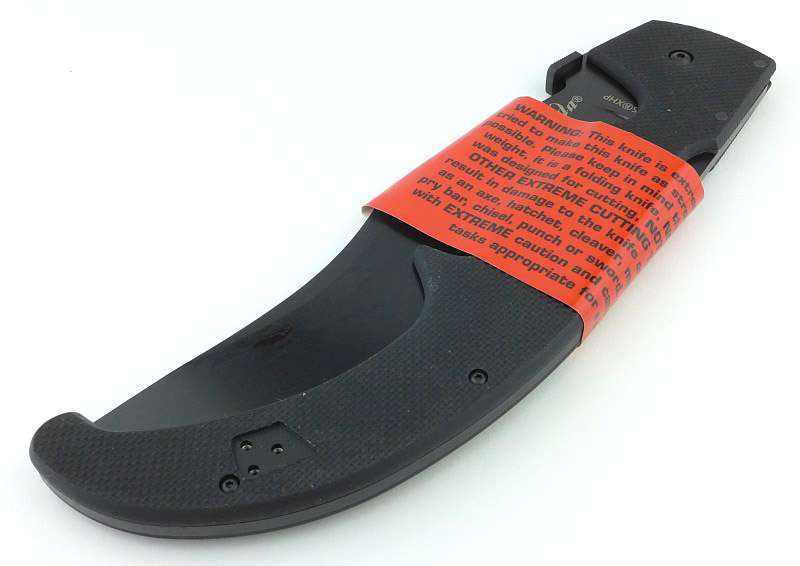
In most cases I think it is over the top to put a warning on a knife that is it sharp, but the Espada XL is worthy of extra caution with that huge sweeping belly of the blade eagerly waiting to bite like a ravening dog.
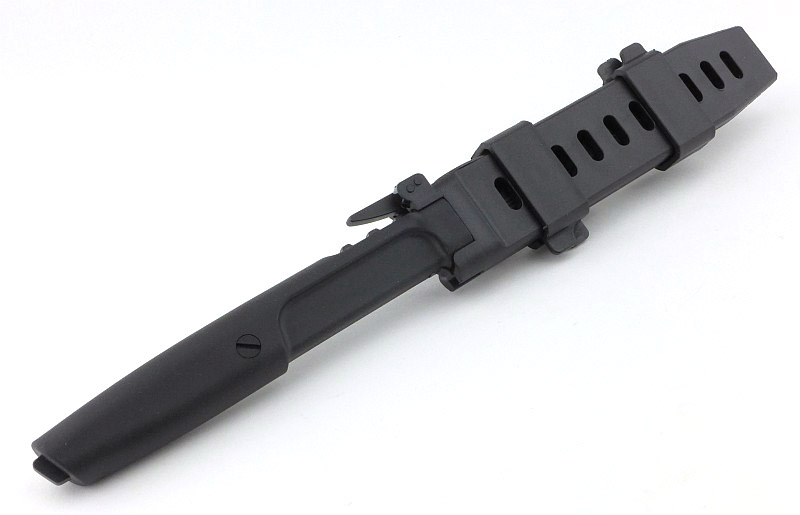
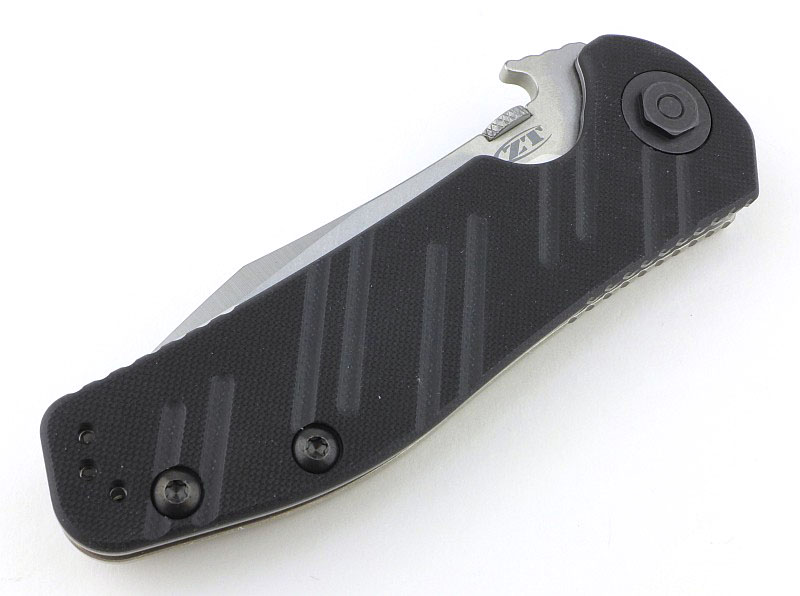
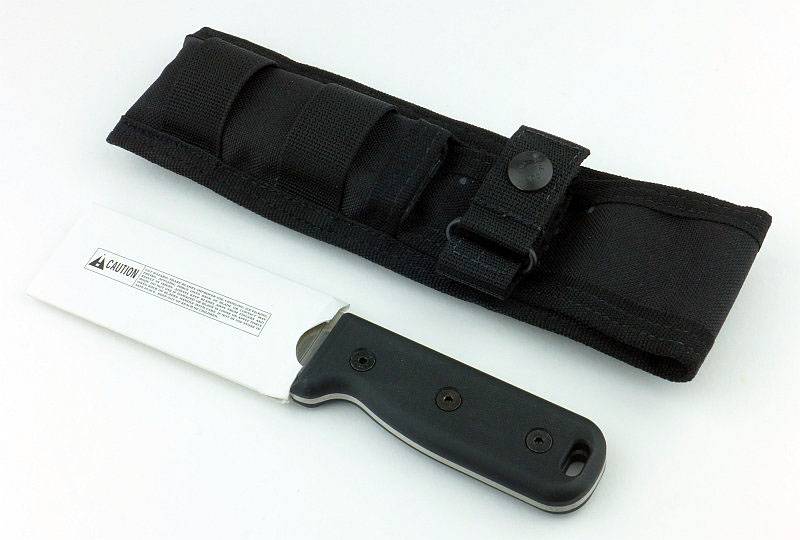
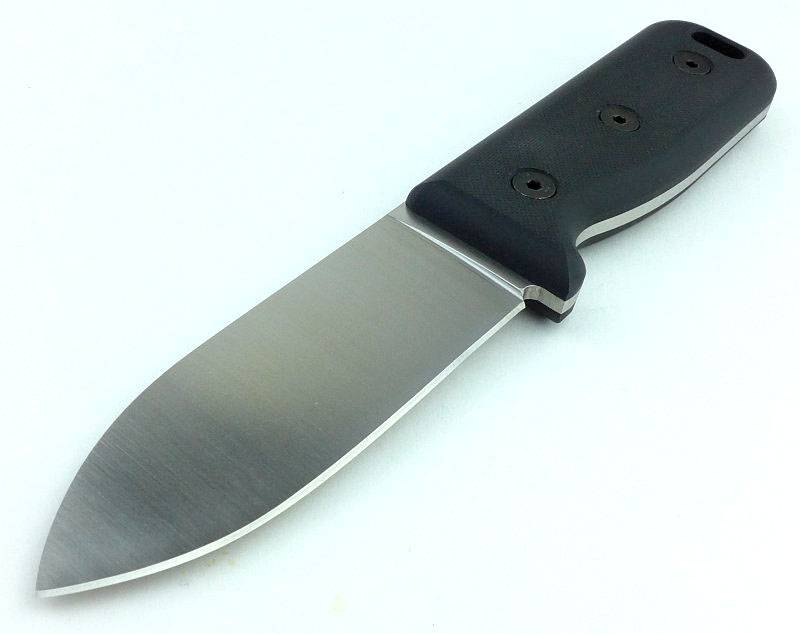
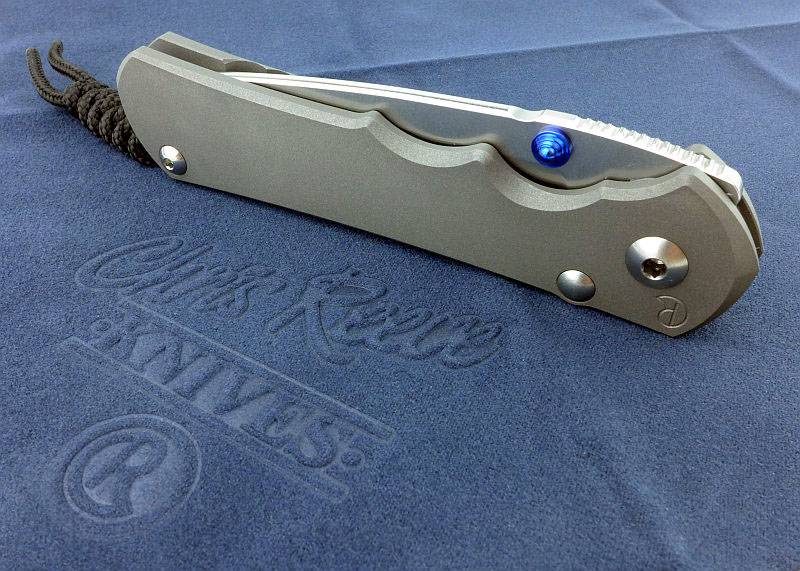
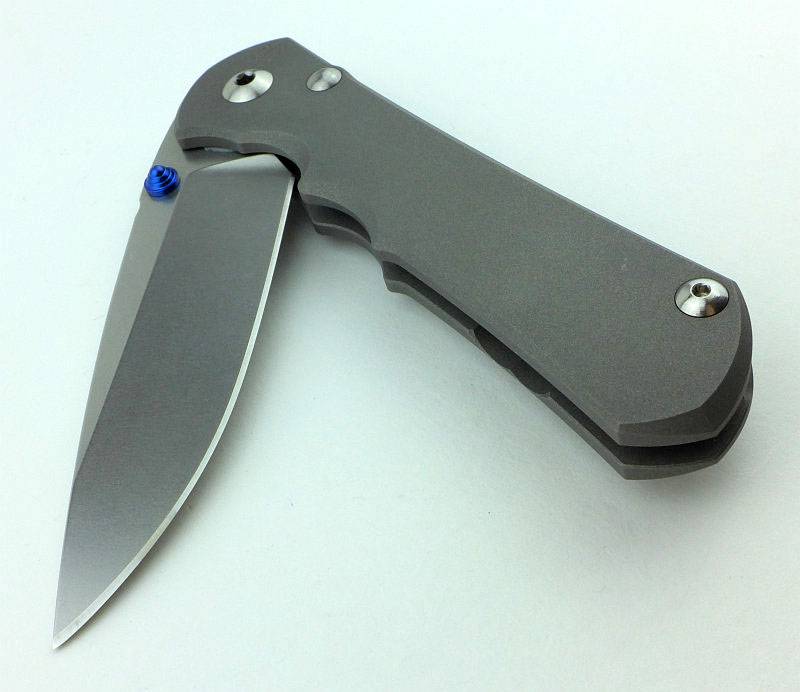
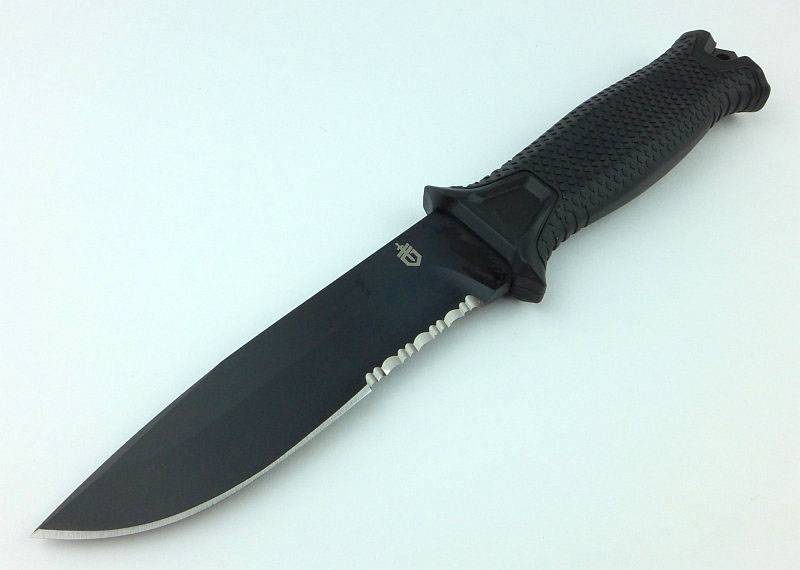
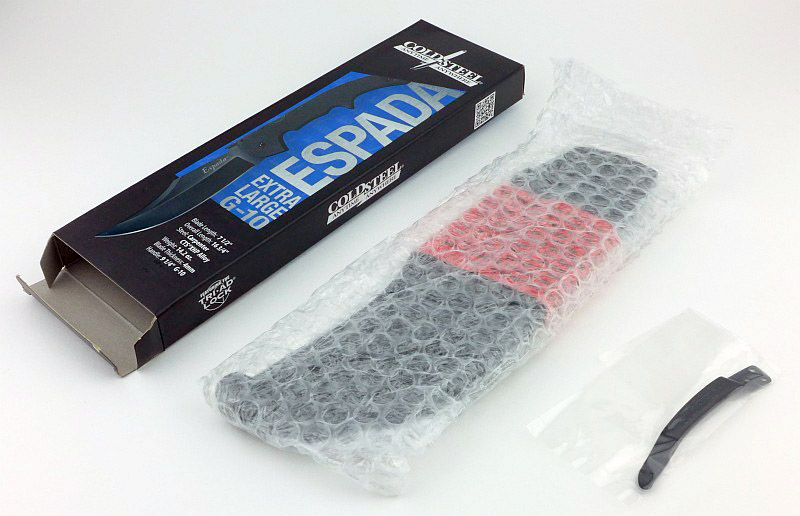
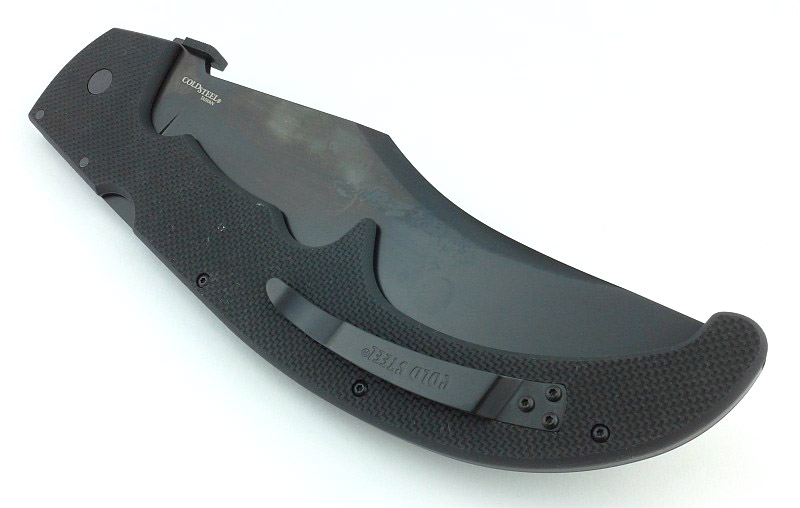
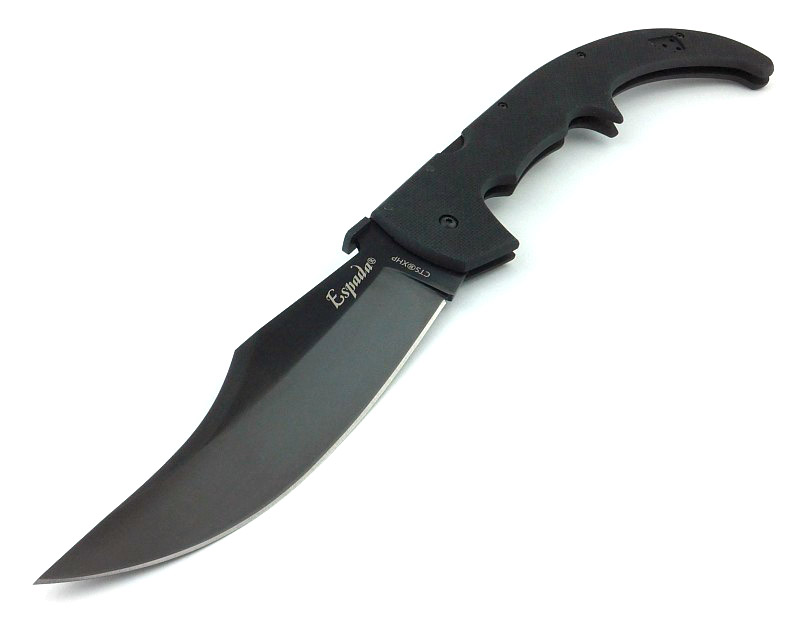
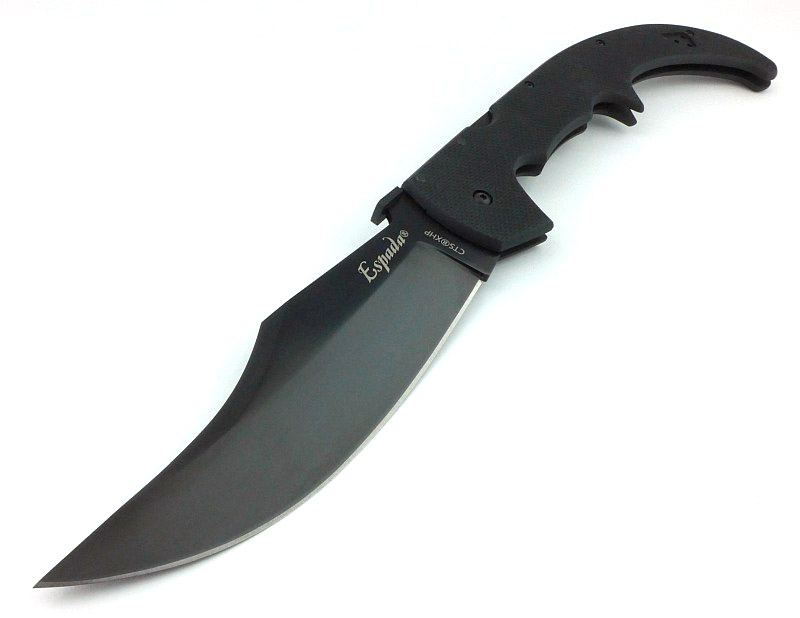
And there we have it, the Espada XL fresh out of the box.

That massive blade has a thin film of oil on it.
It is the oil giving the blade a slightly mottled appearance. As supplied, the clip is fitted for a right-handed person.
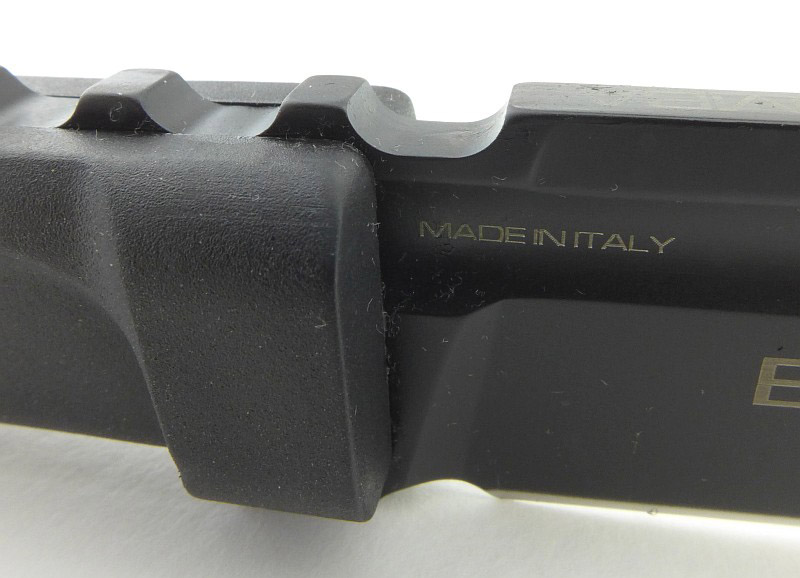
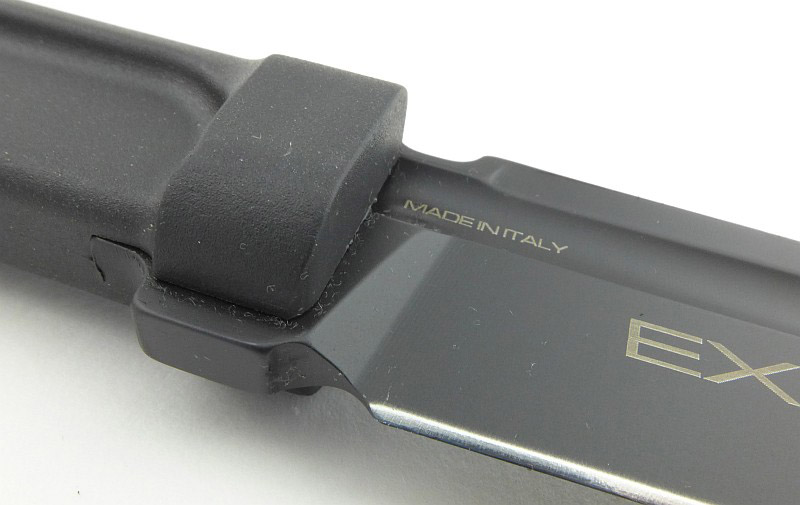
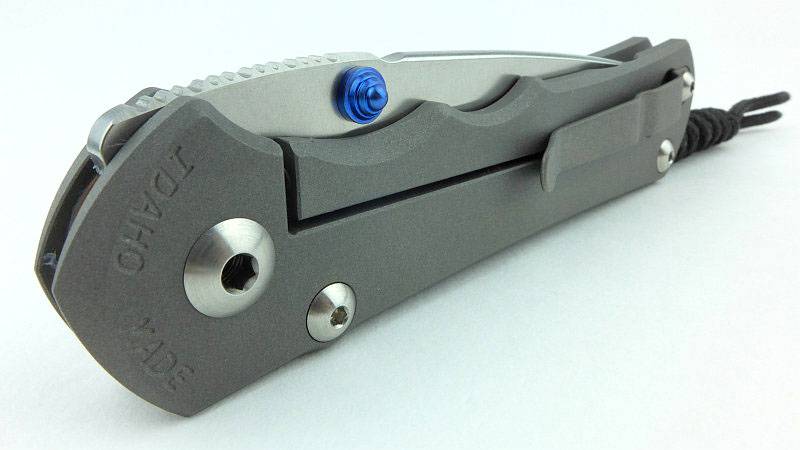
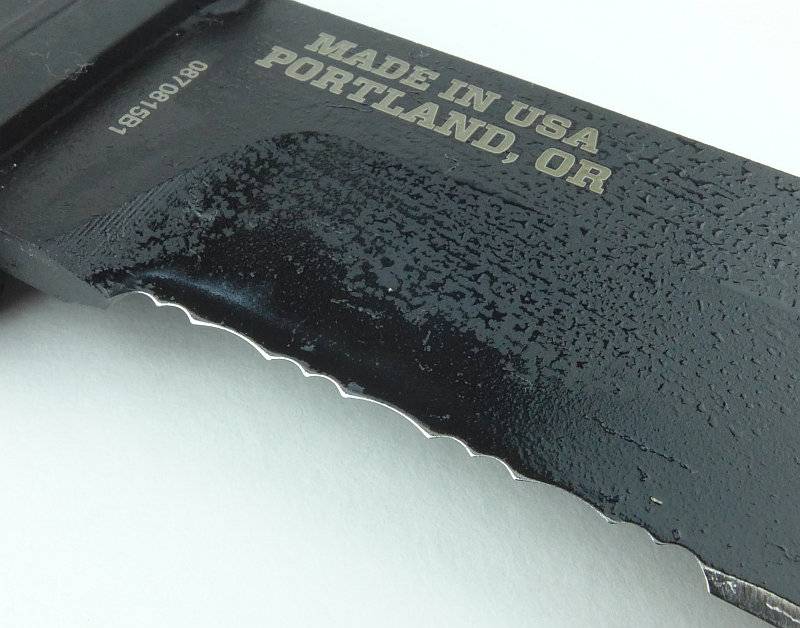
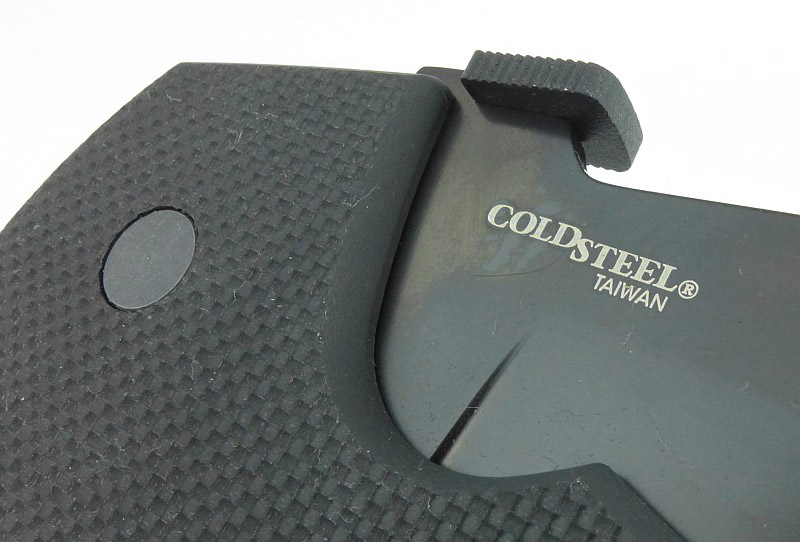
The G-10 version is made in Taiwan.
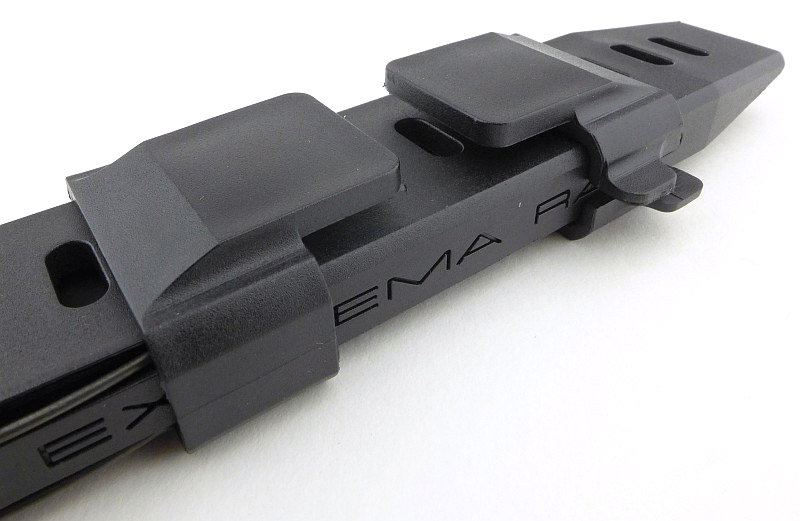
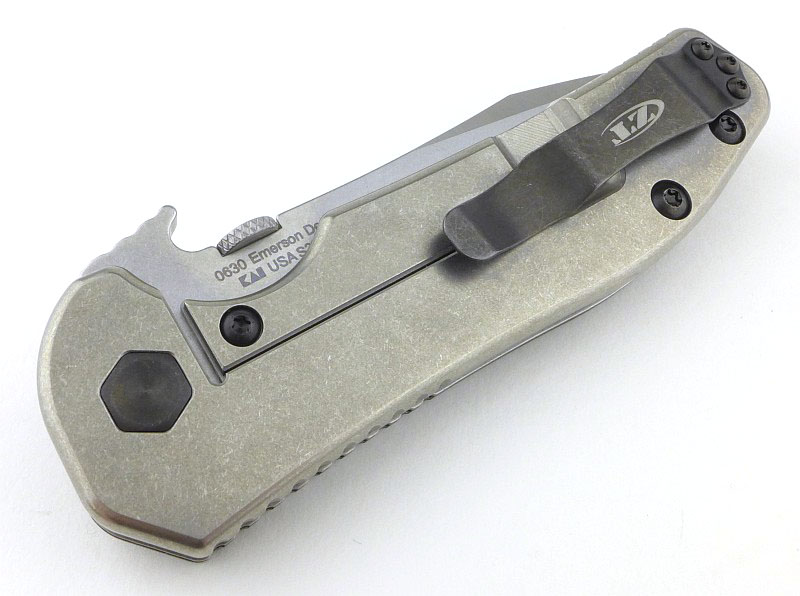
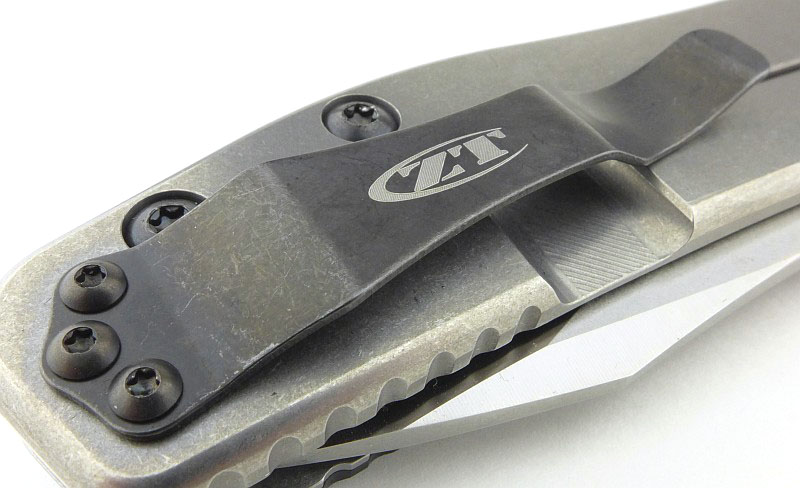
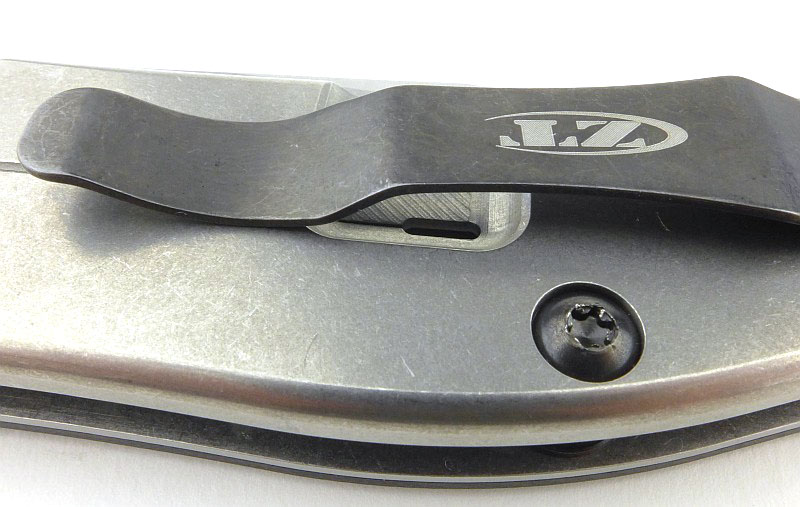
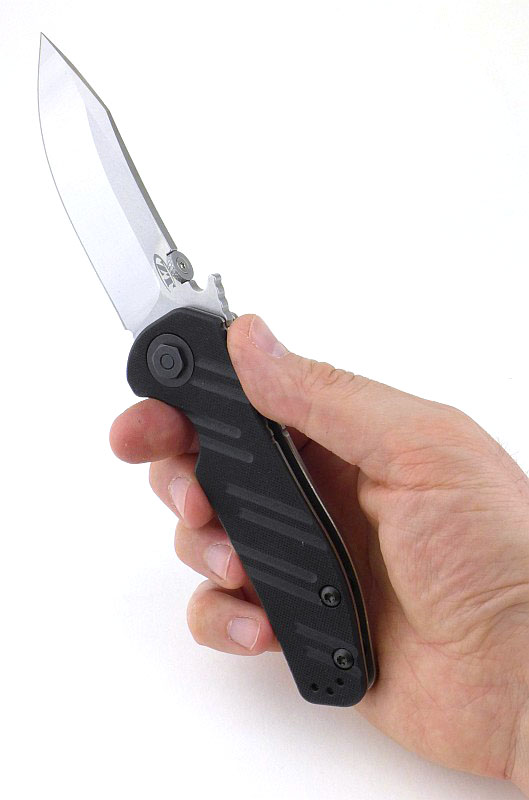
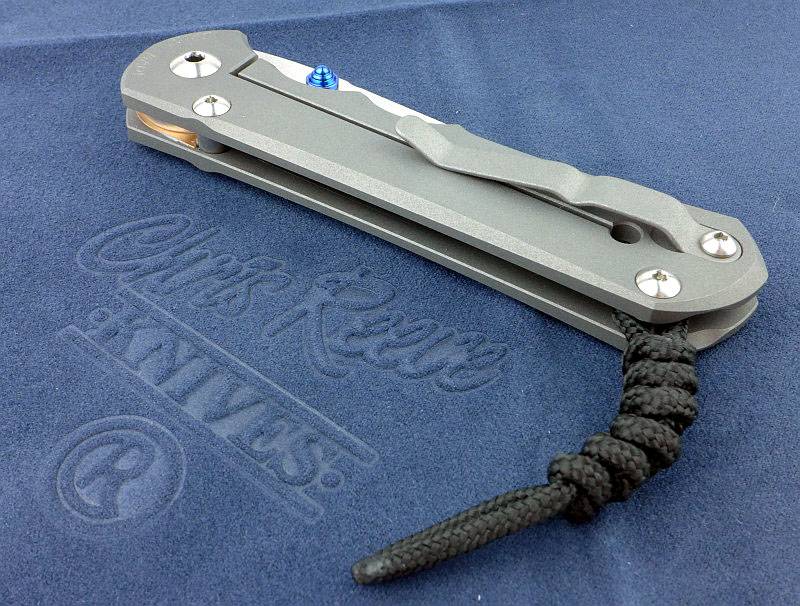
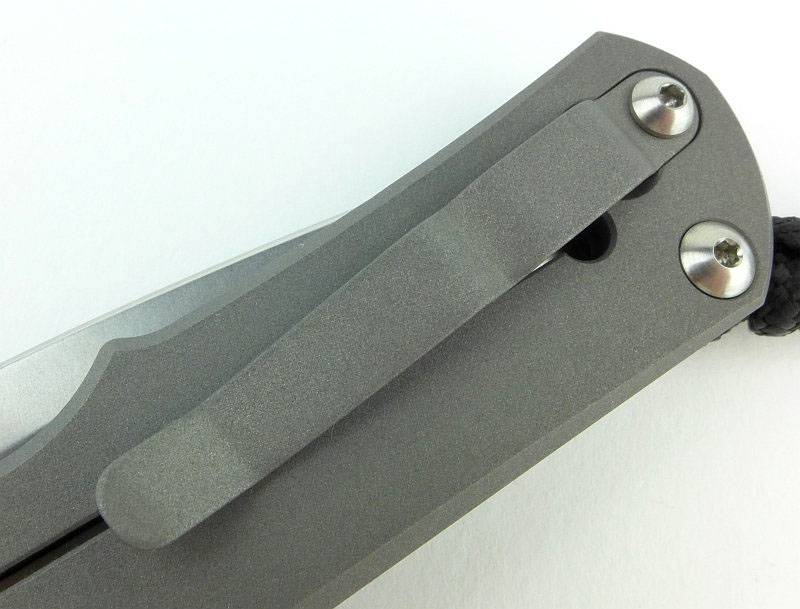
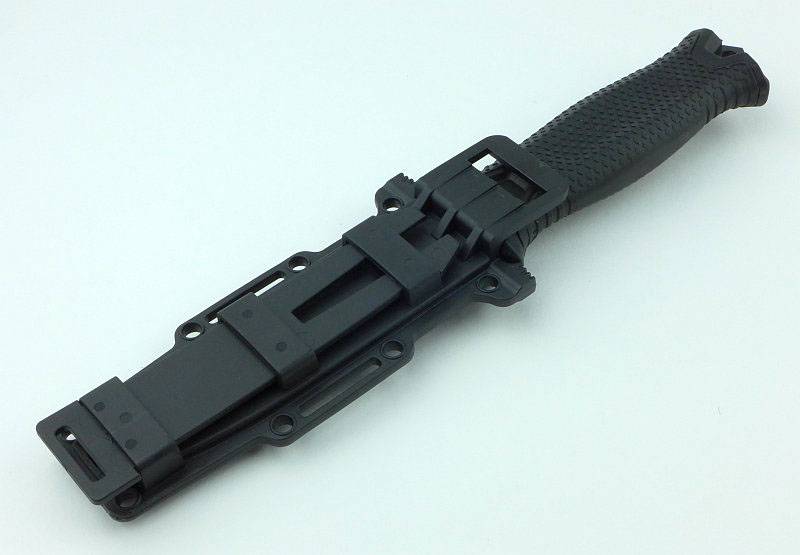
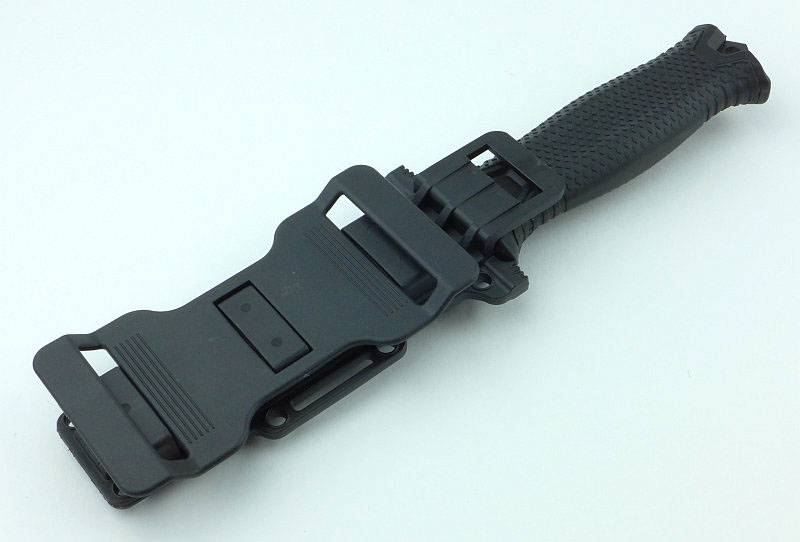
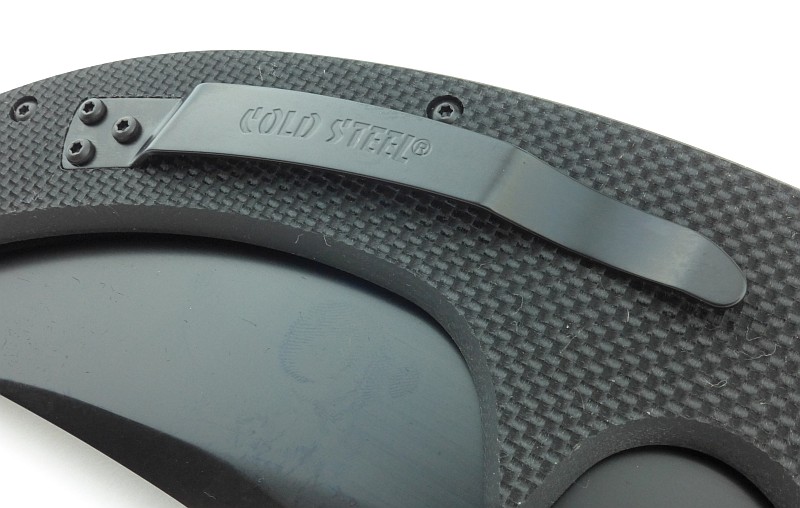
The sweeping clip echoes the lines of the curved handle.
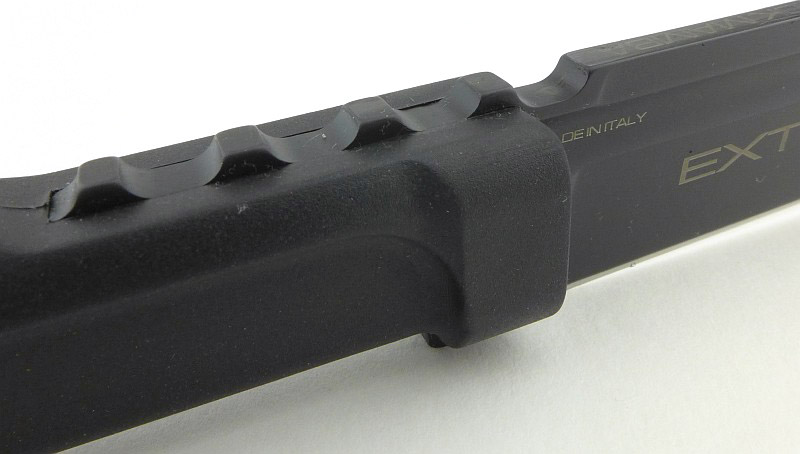
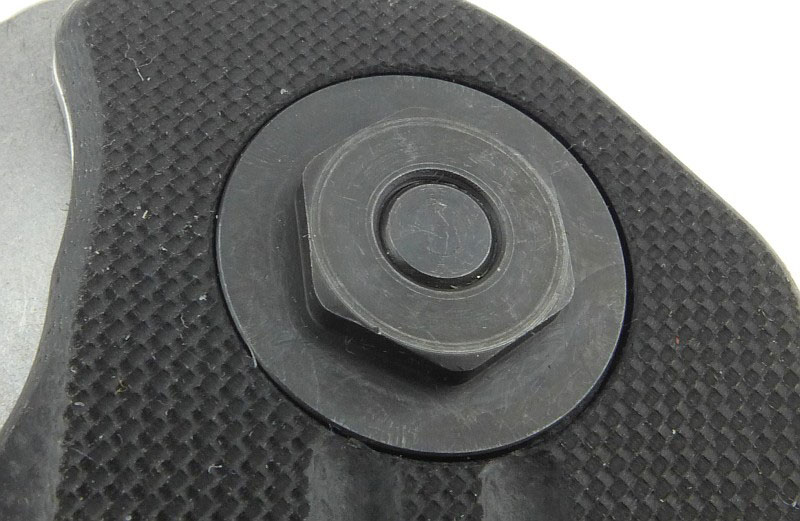
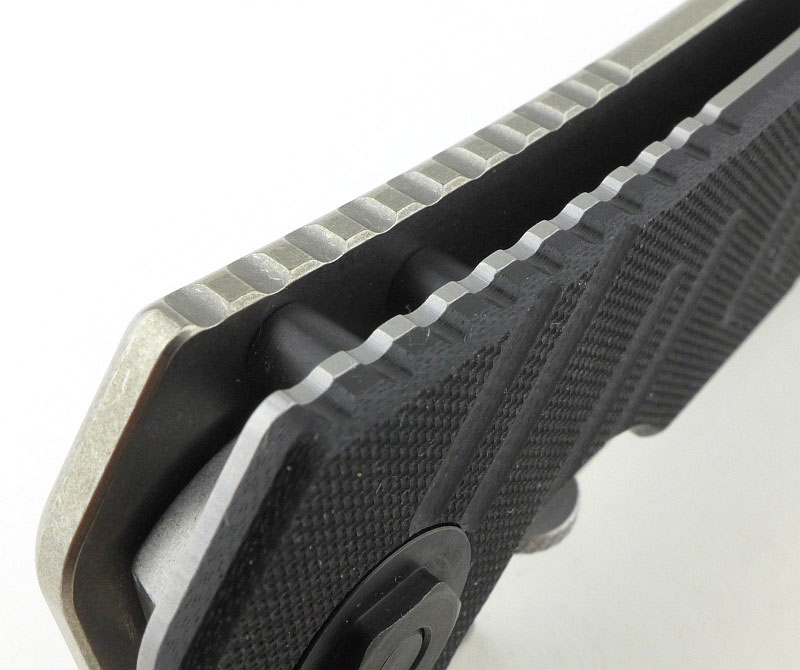
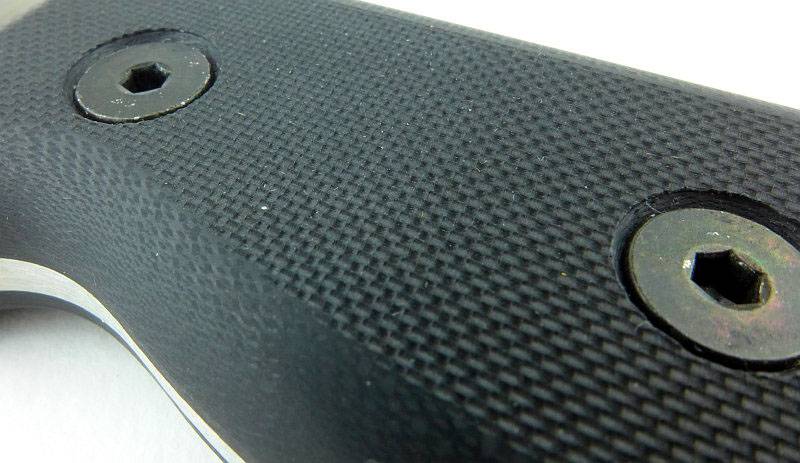
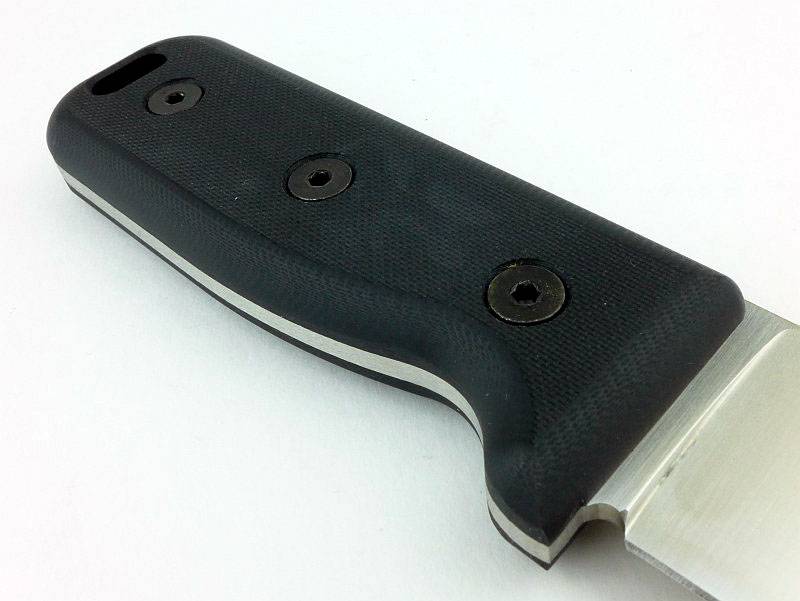
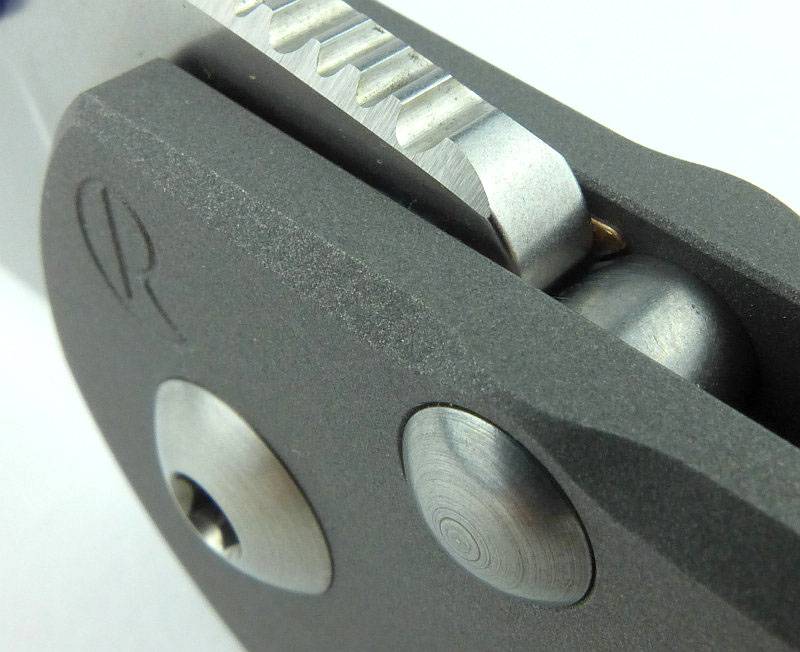
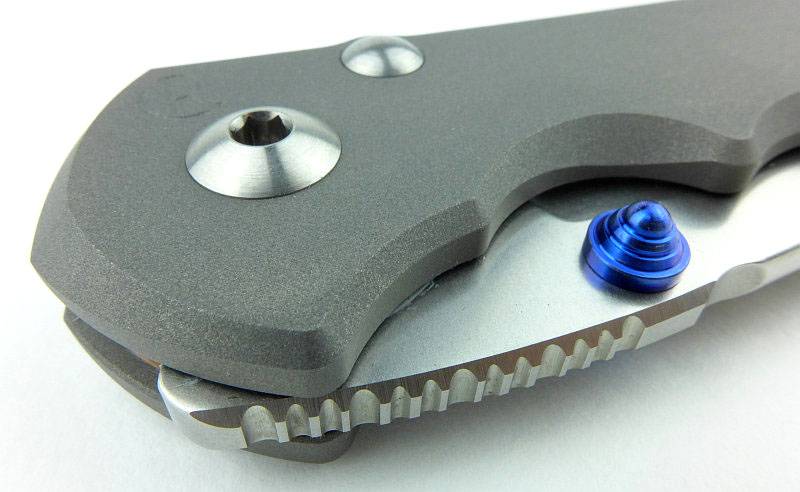
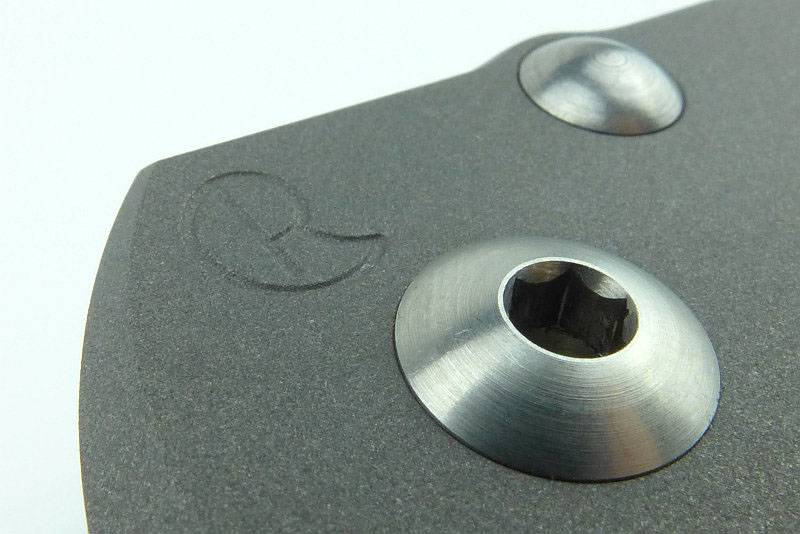
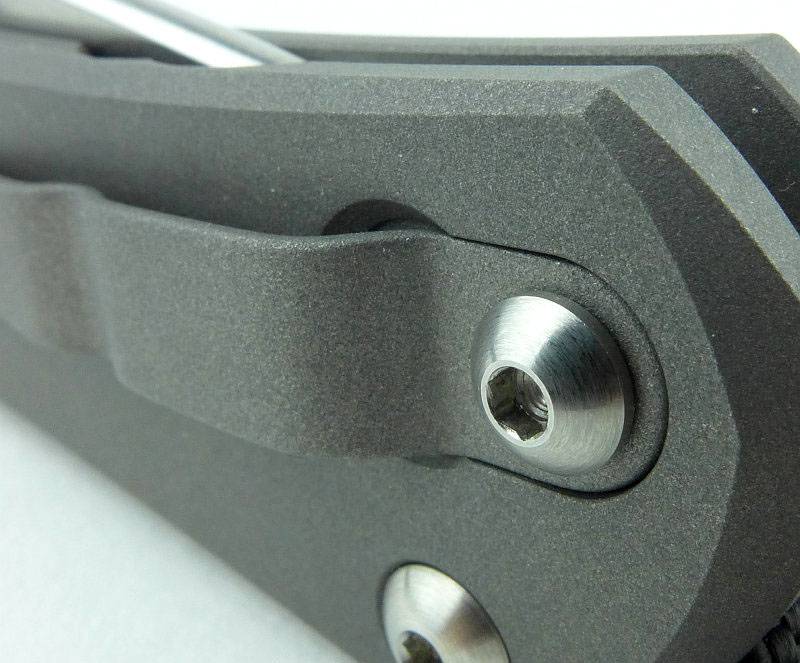
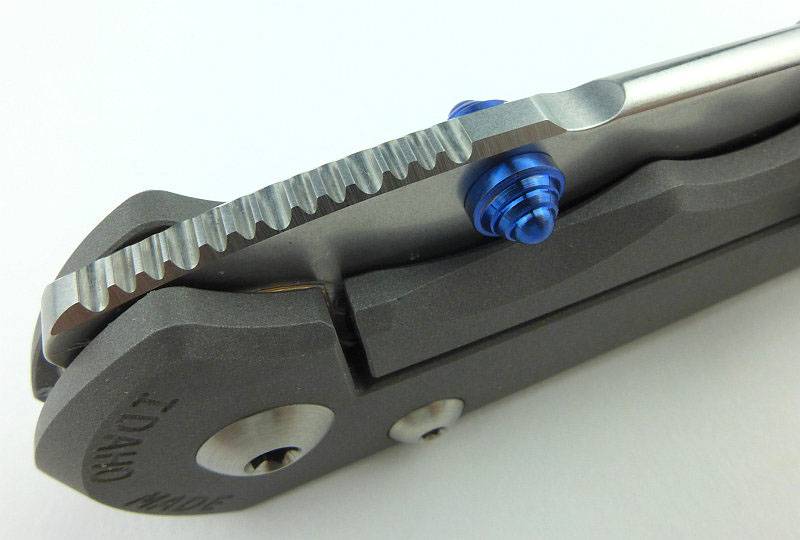
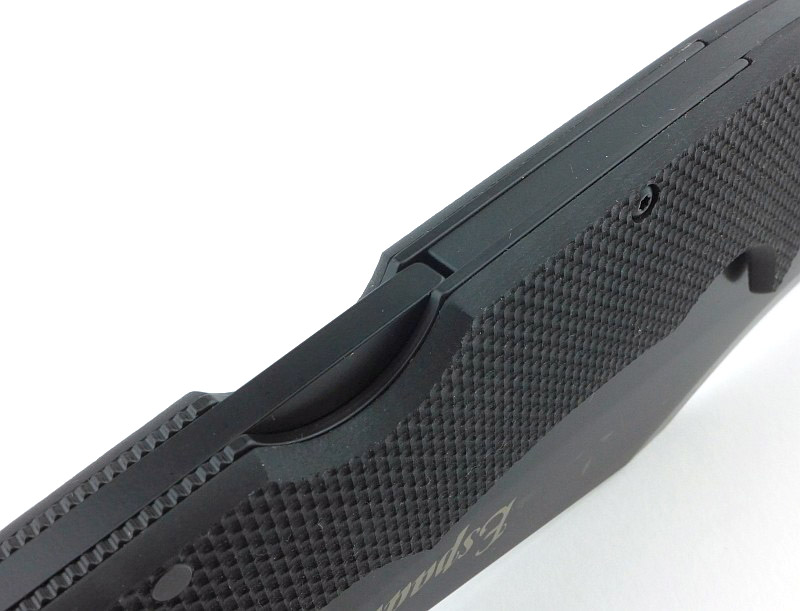
On one side, the pivot bolt is completely plain. You get a hint of the texture on that peeled G-10
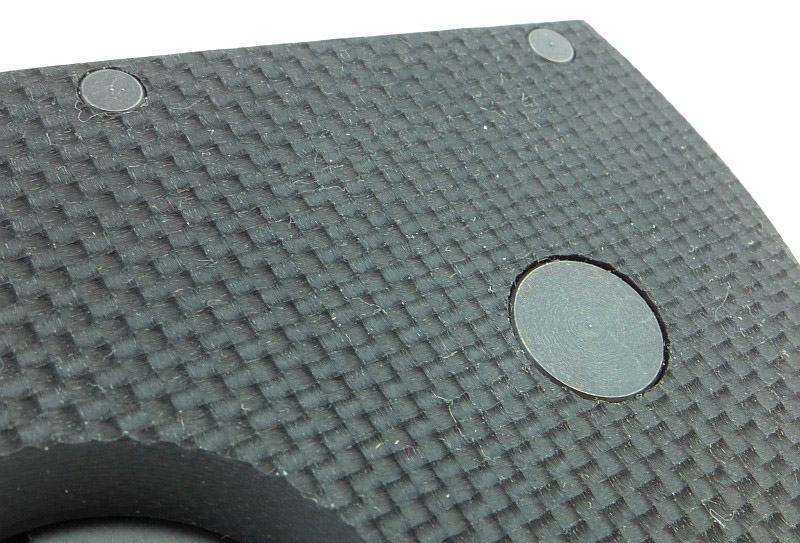
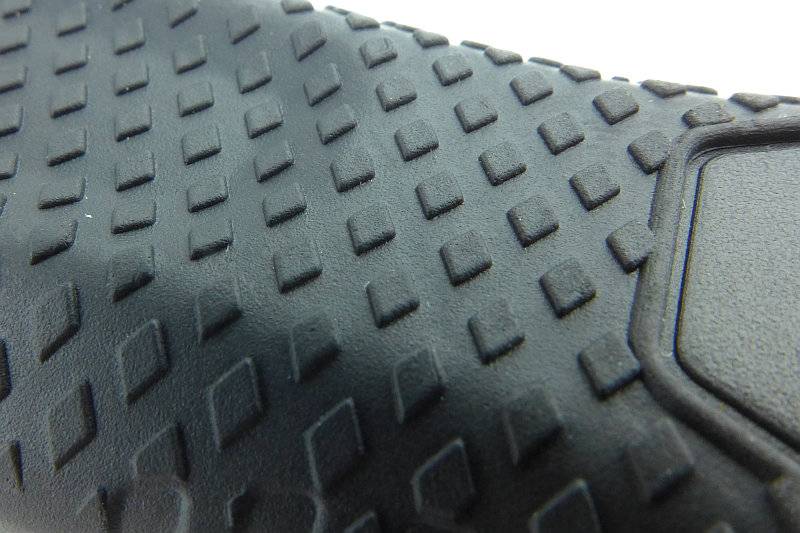
Looking in closely at one of the handle bolts the super grippy texture of the peeled G-10 is clear. This surface is created by peeling off one of the layers of G-10 material leaving the pattern of the weave in the surface of the resin. It makes for a super grippy surface.
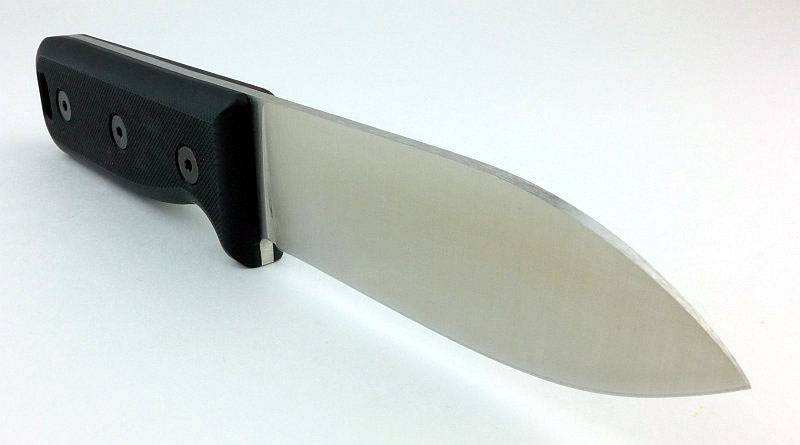
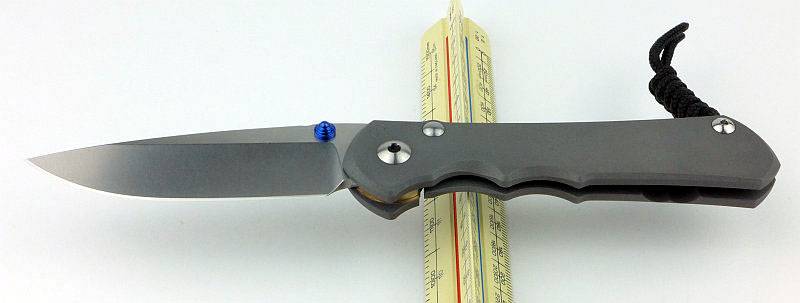
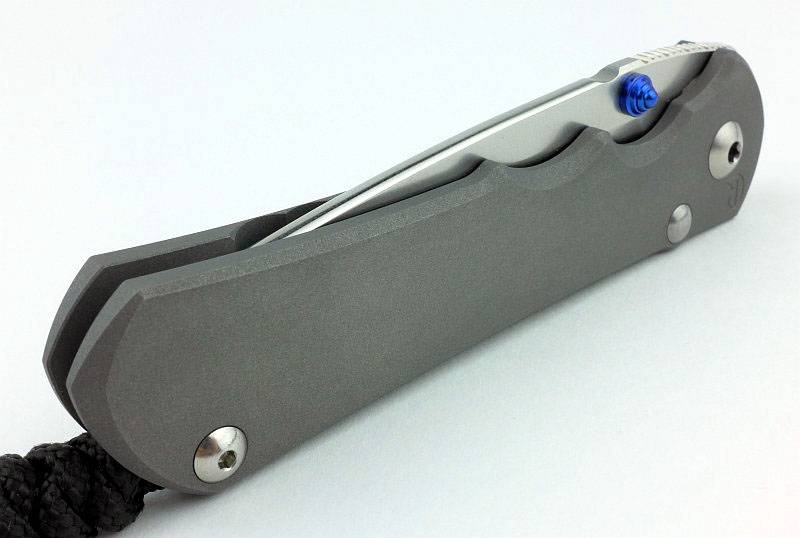
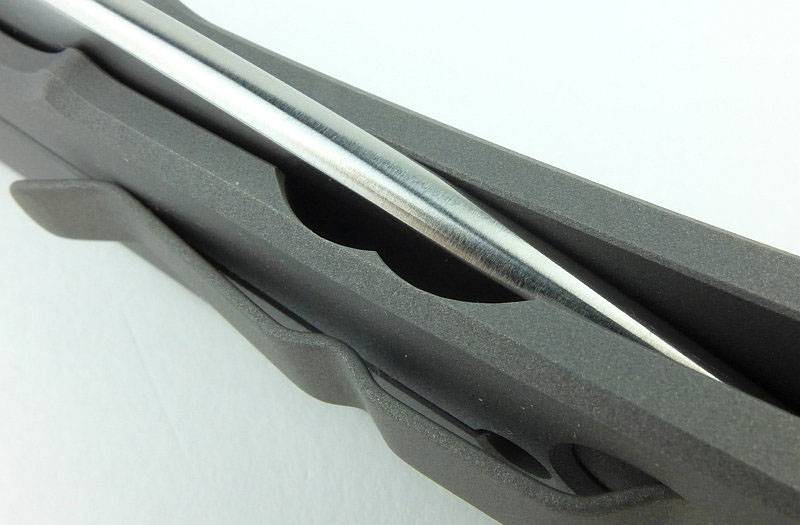
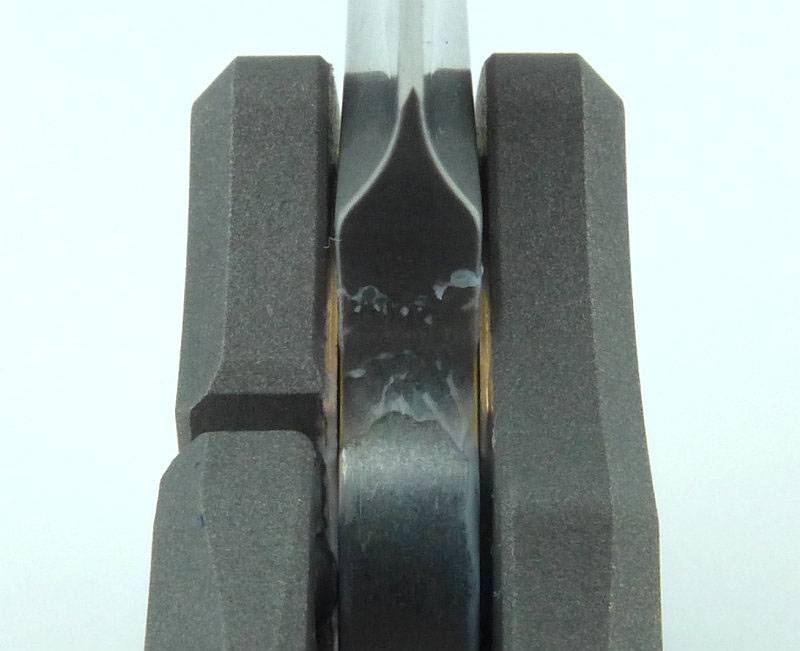
Blade centring is excellent, especially considering the huge length of this knife.
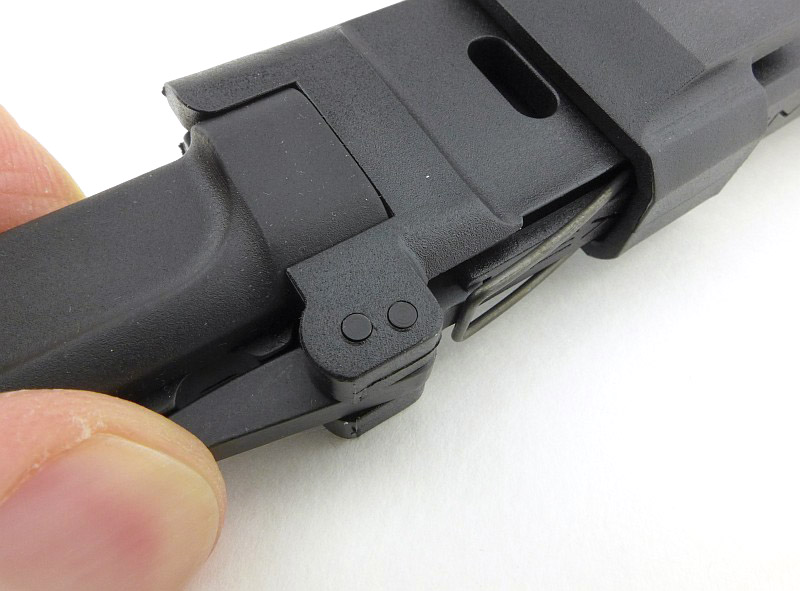
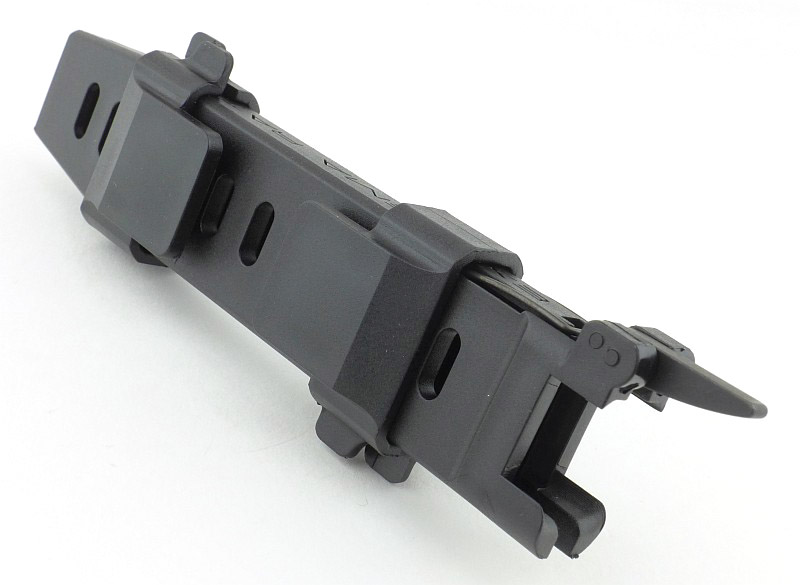
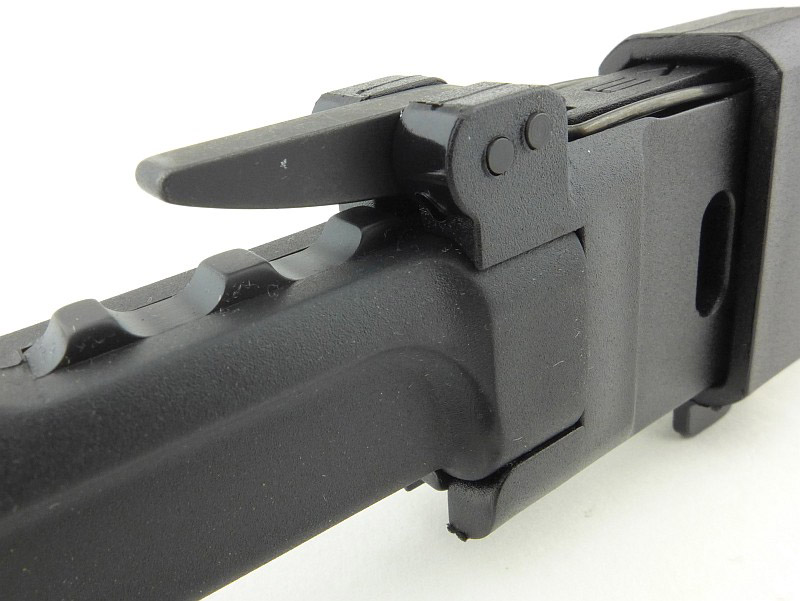
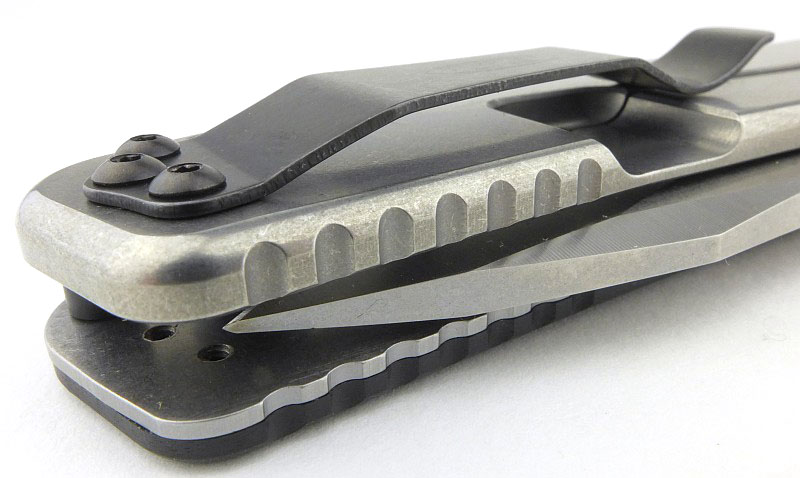
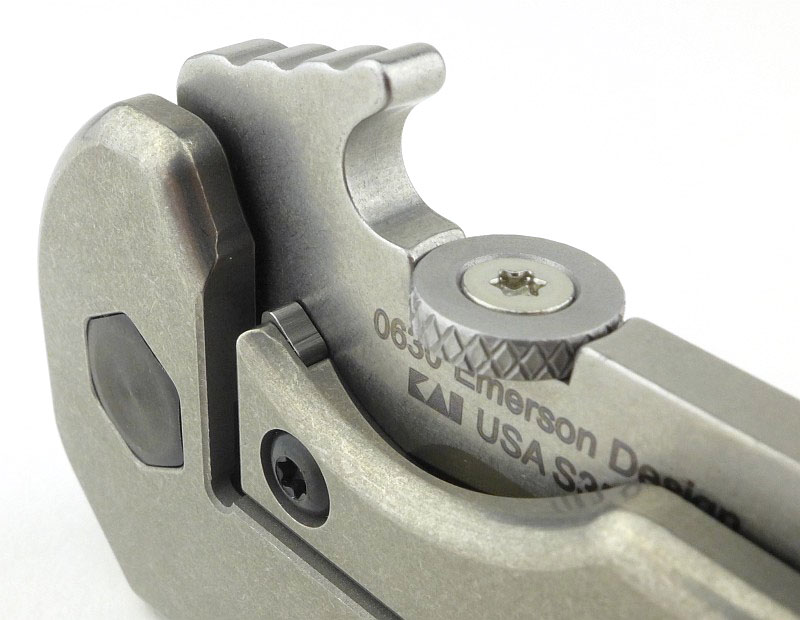
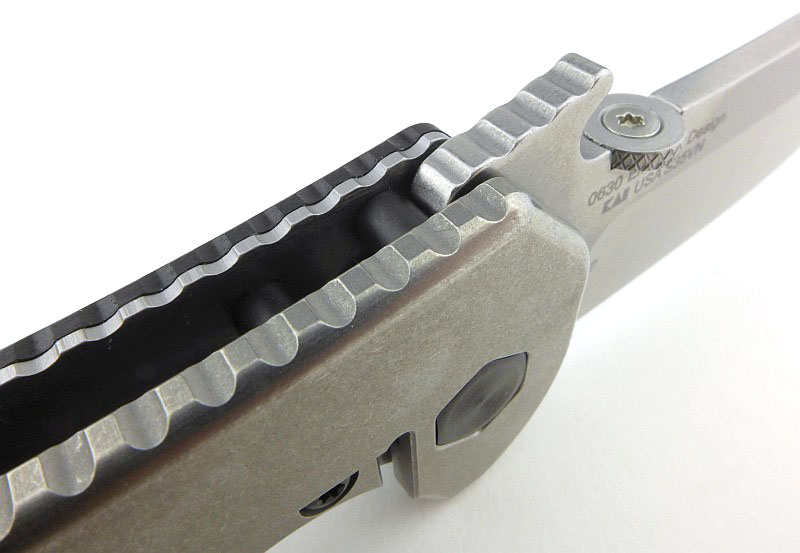
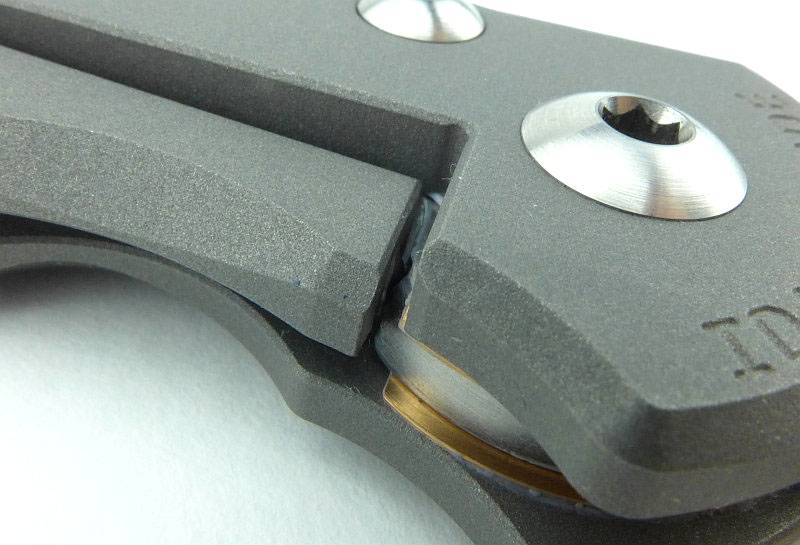
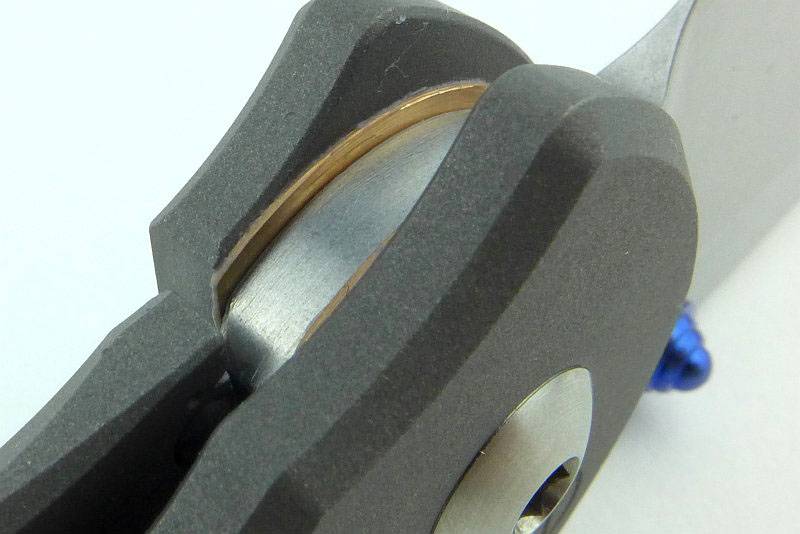
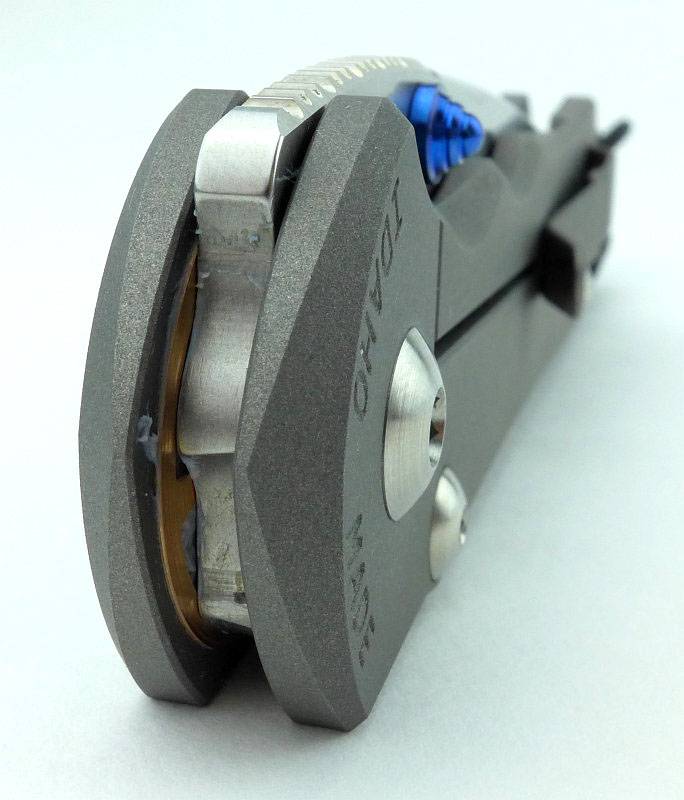
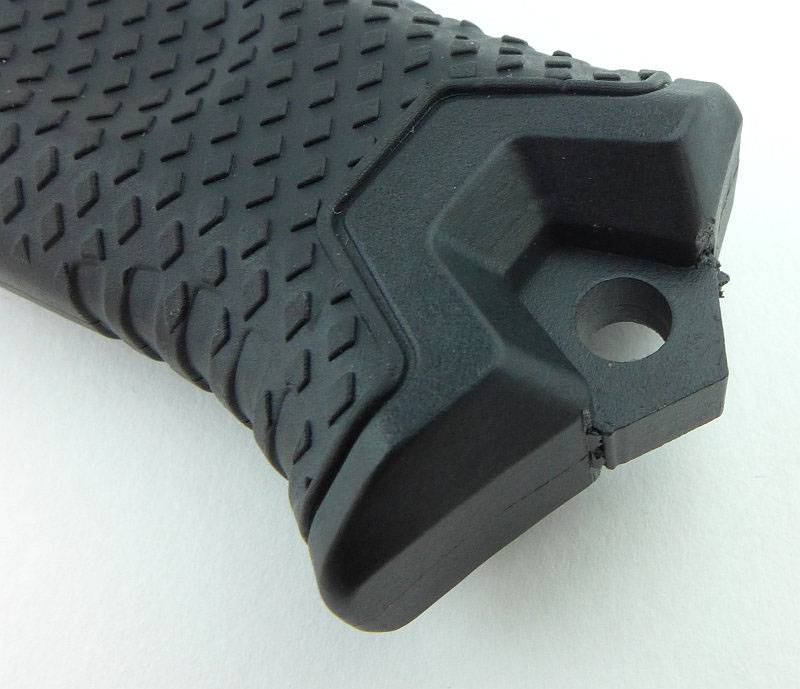
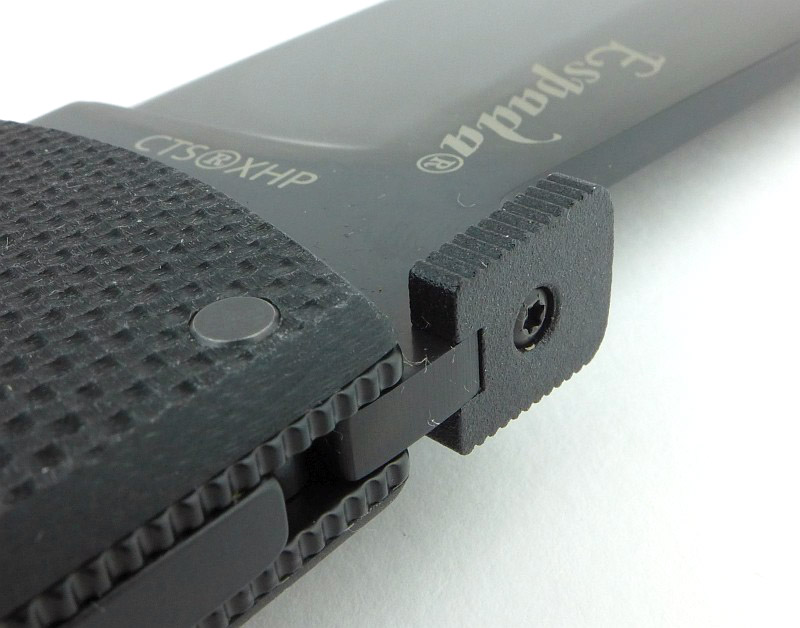
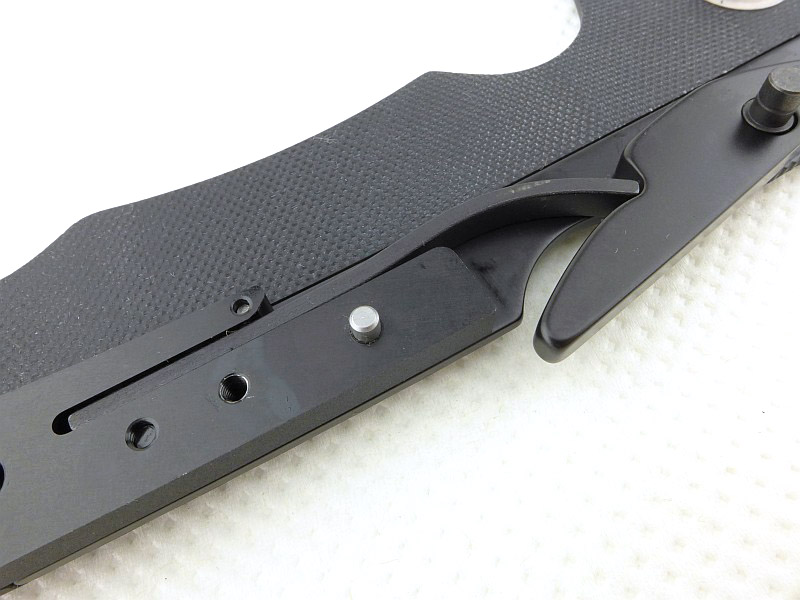
For the highly stressed areas of the lock and pivot, there are steel liner inserts. At the pivot end these are textured on the edges for grip.
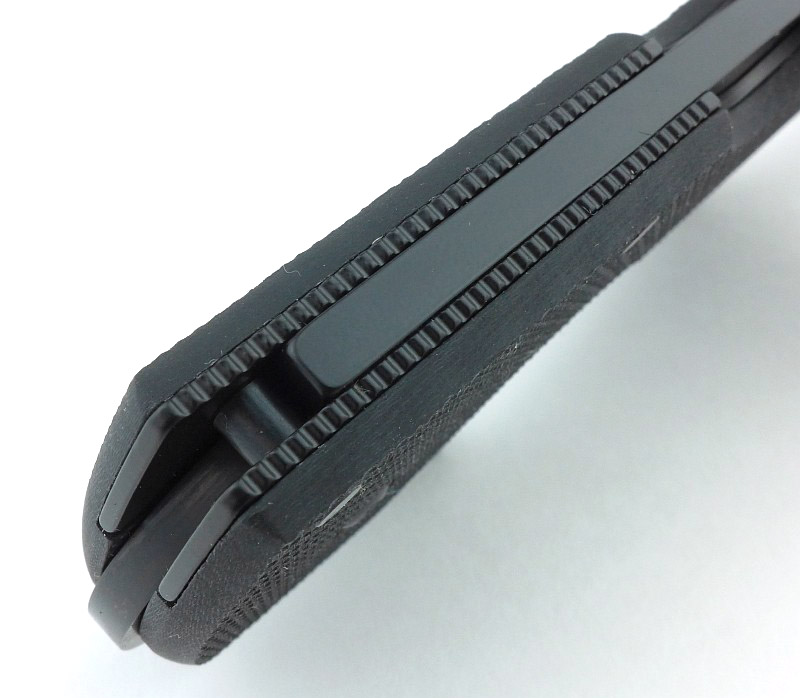
Those steel liners extend beyond the end of the lock bar to spread the forces further into the handle.
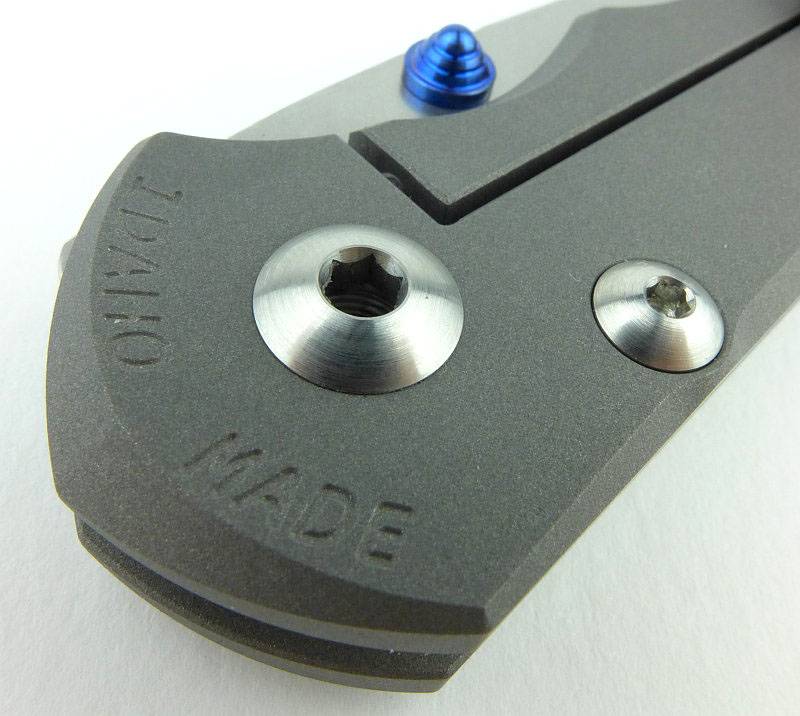
An overall view of those steel liners.
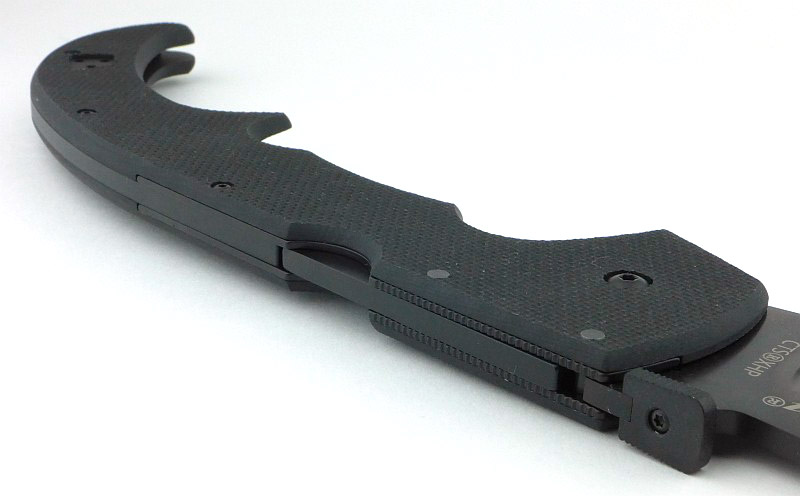
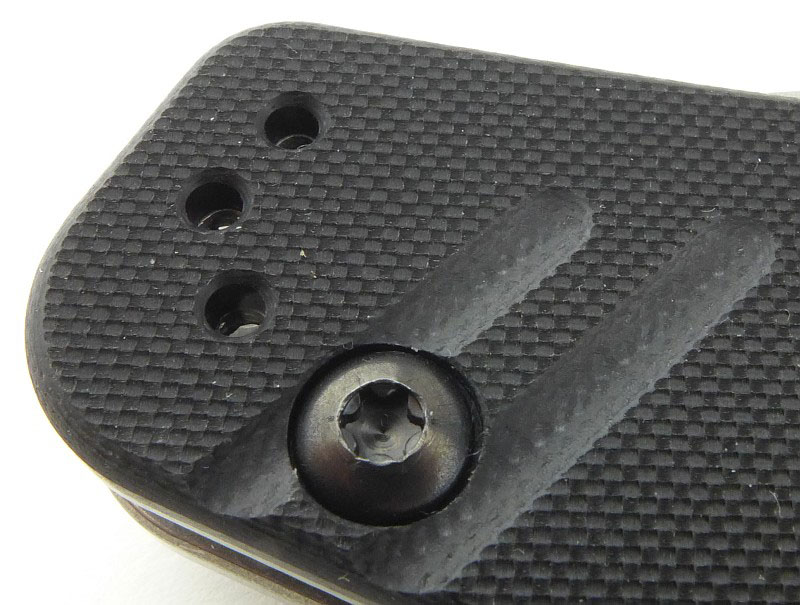
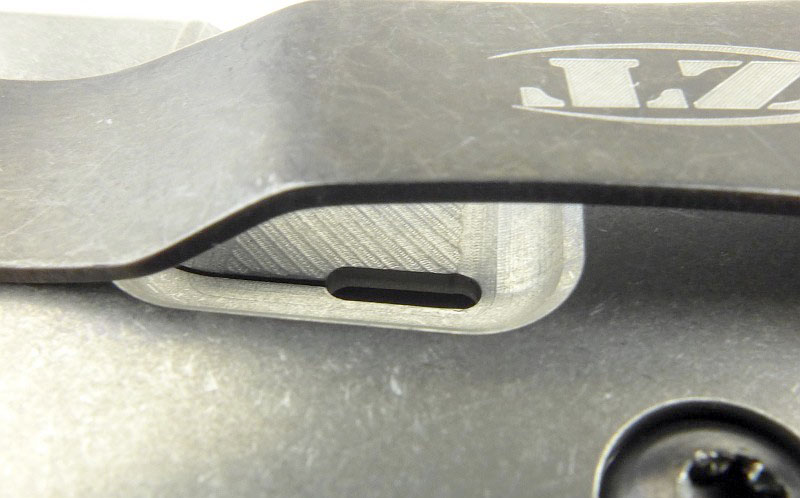
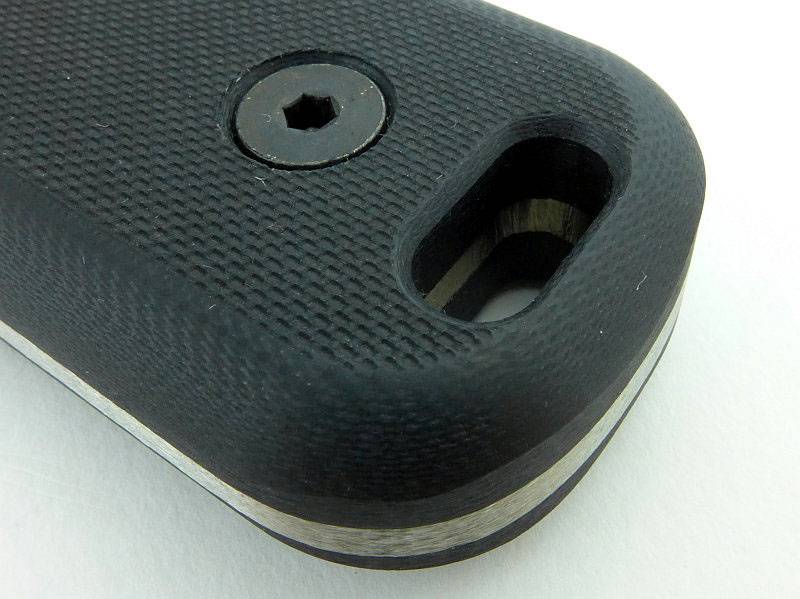
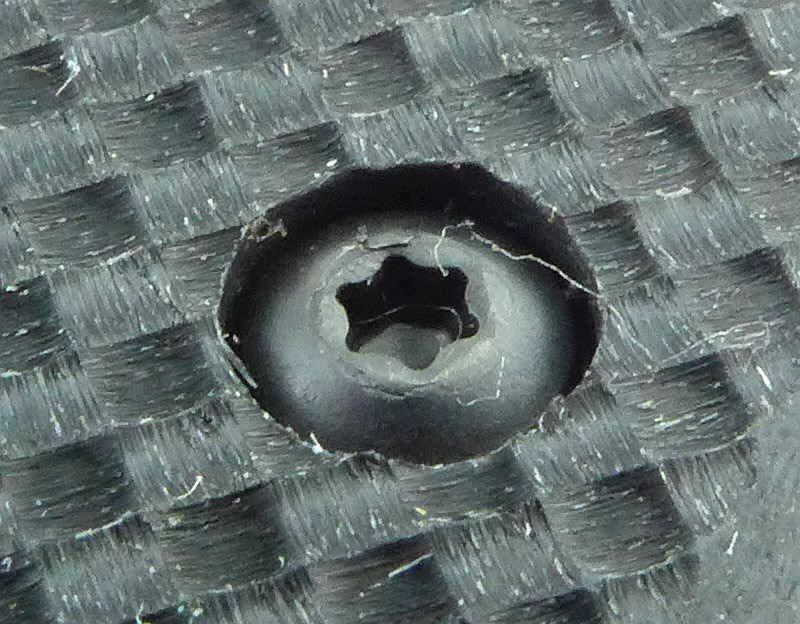
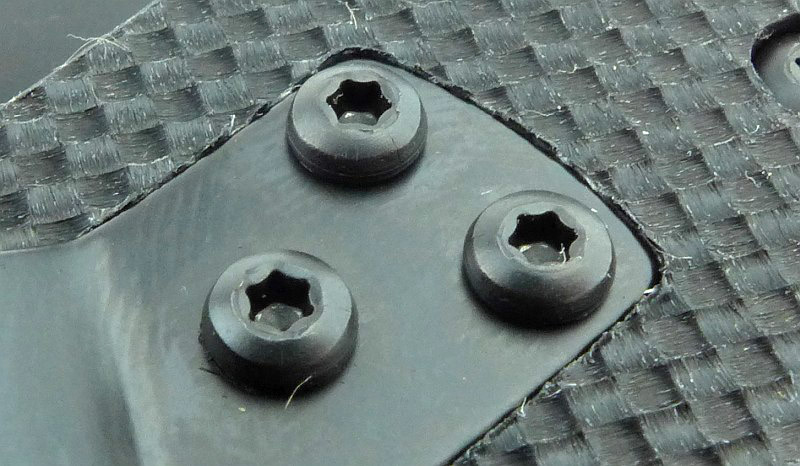
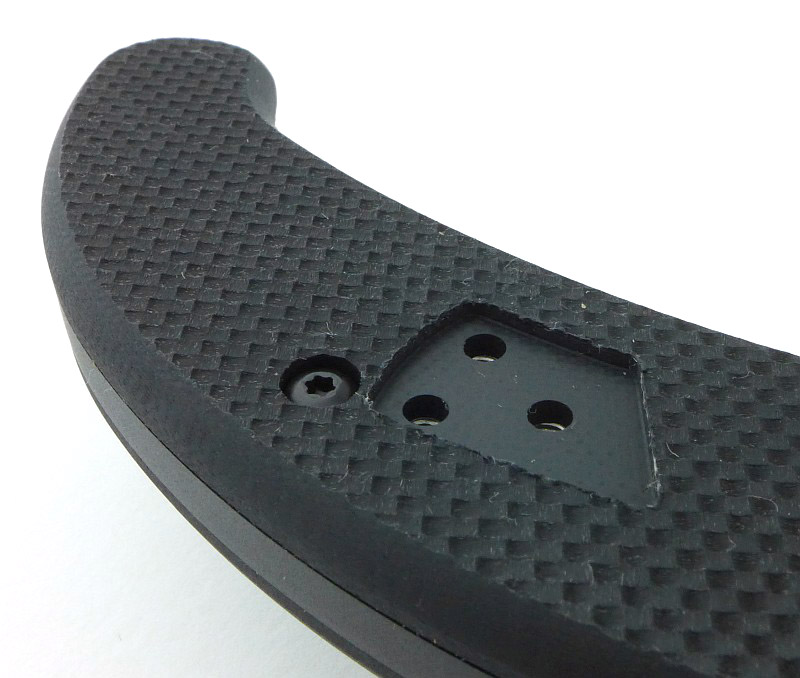
Three torx screws hold the clip in place, and the clip fits into a recessed pocket cut into the handle surface.
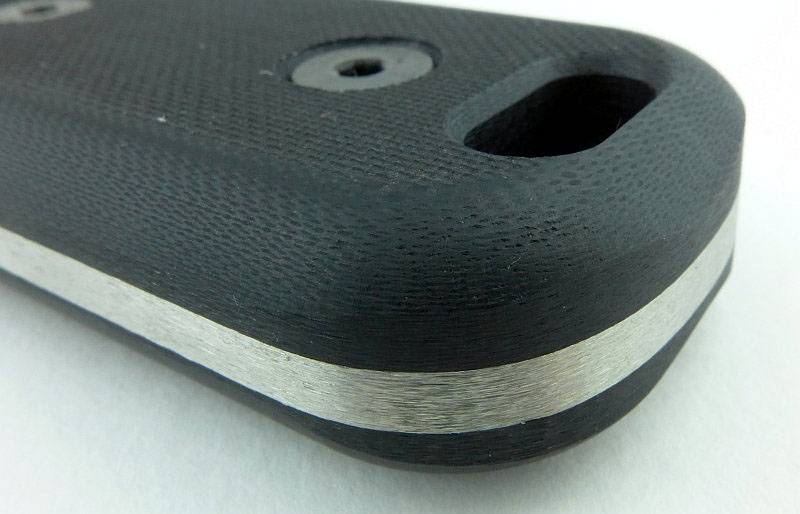
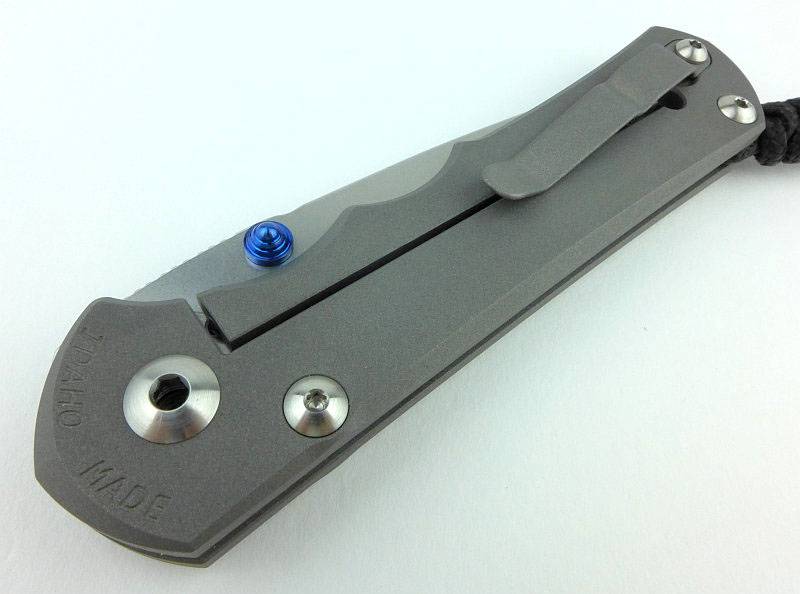
Ready for left-handed configuration the other side of the handle has the pocket for the clip to fit into. The clip is not moved from one side to the other, only the screws are reused to fit the left-handed pocket clip included in the box.
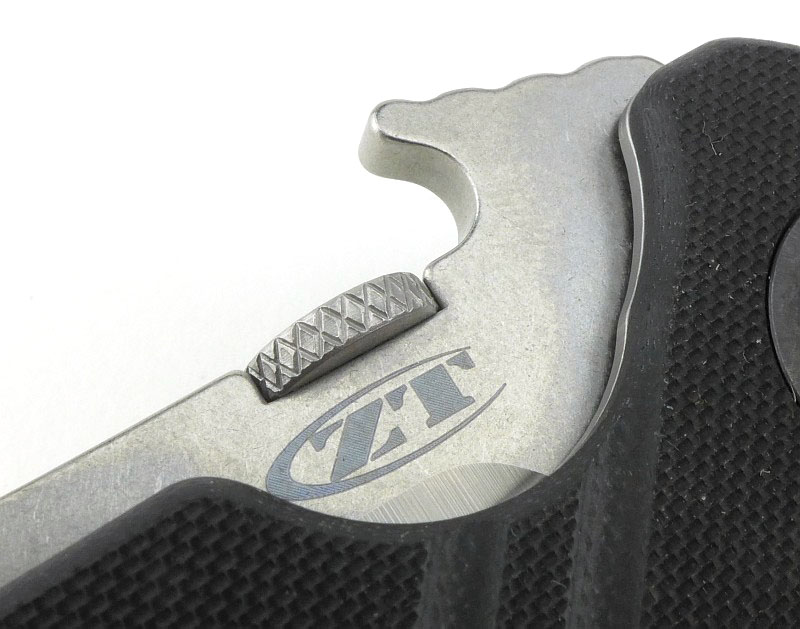
Getting ready to bite!
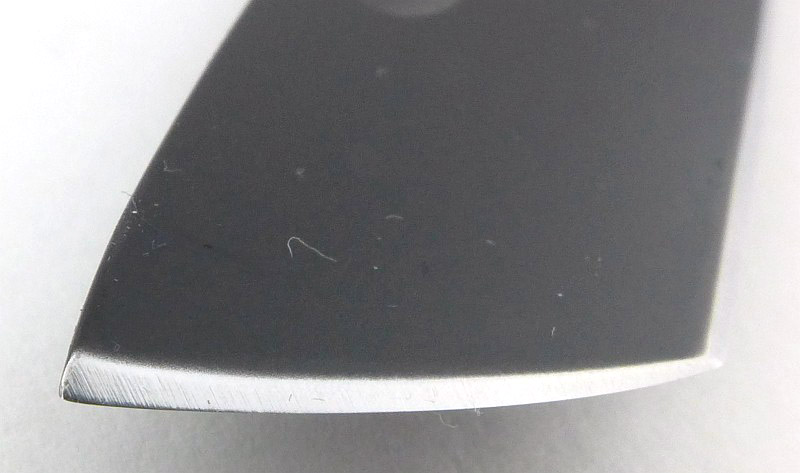
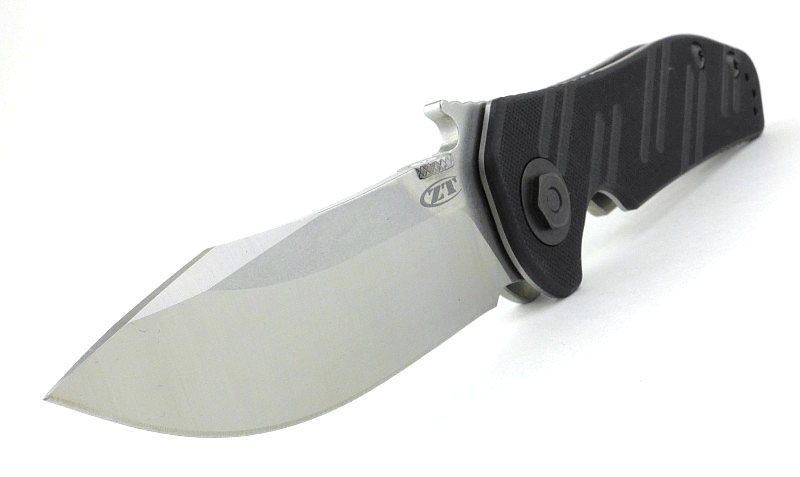
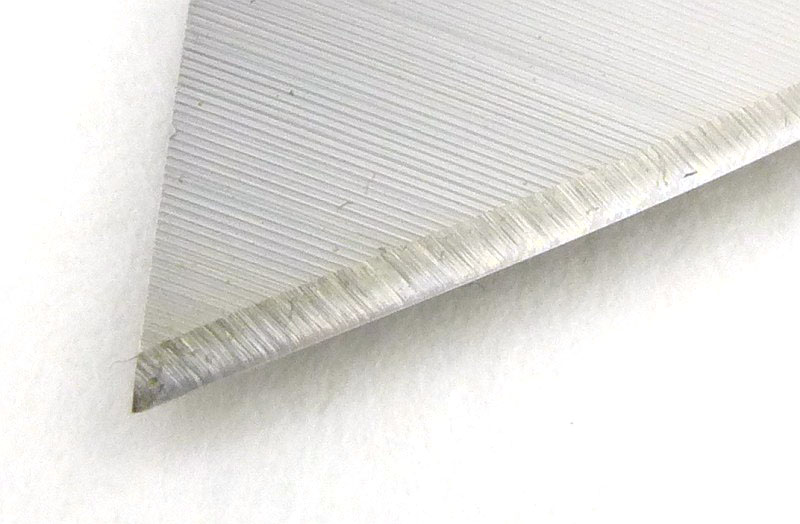
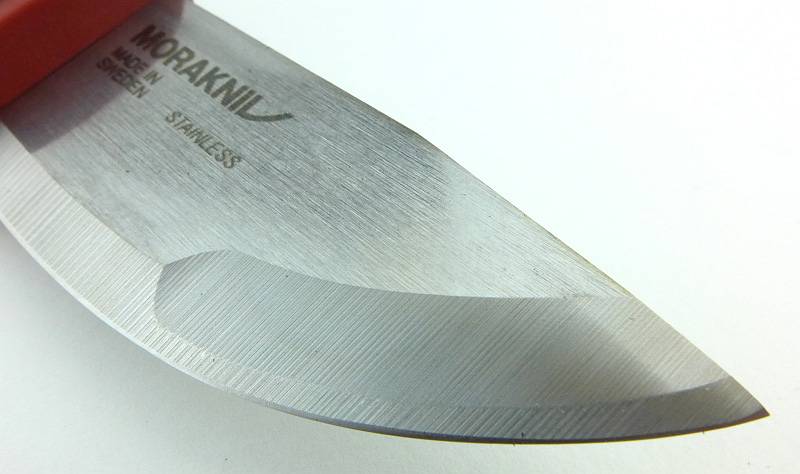
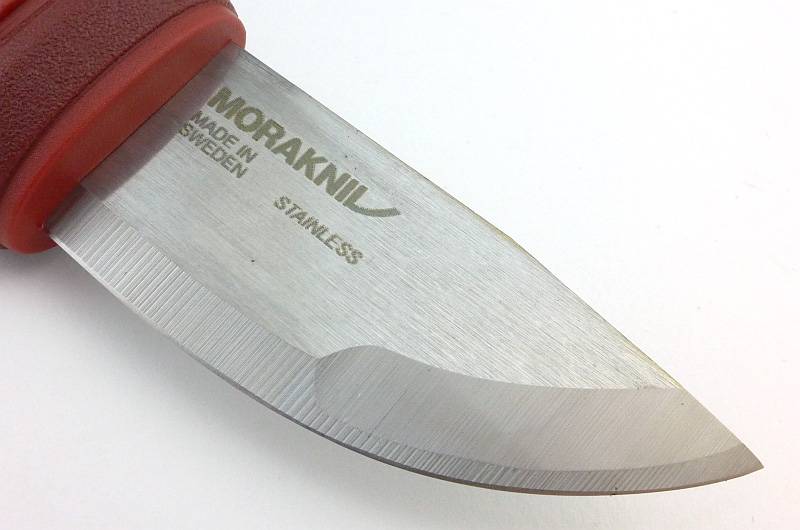
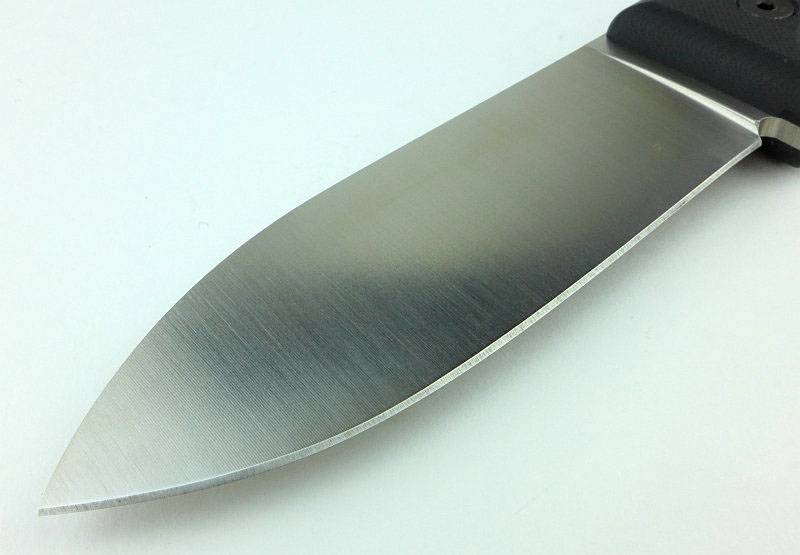
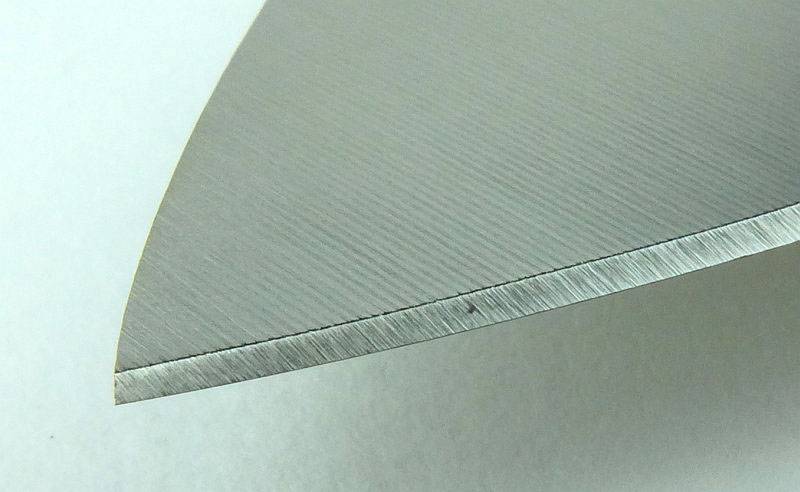
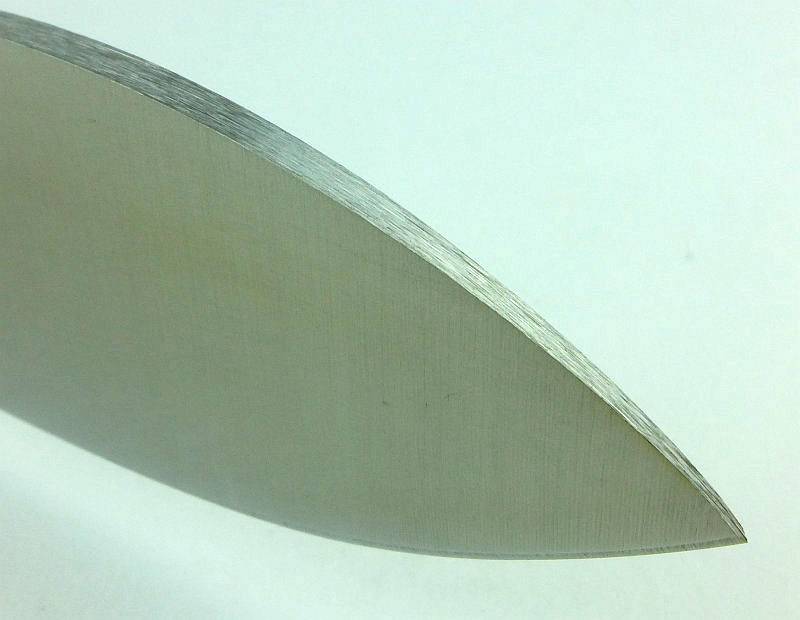
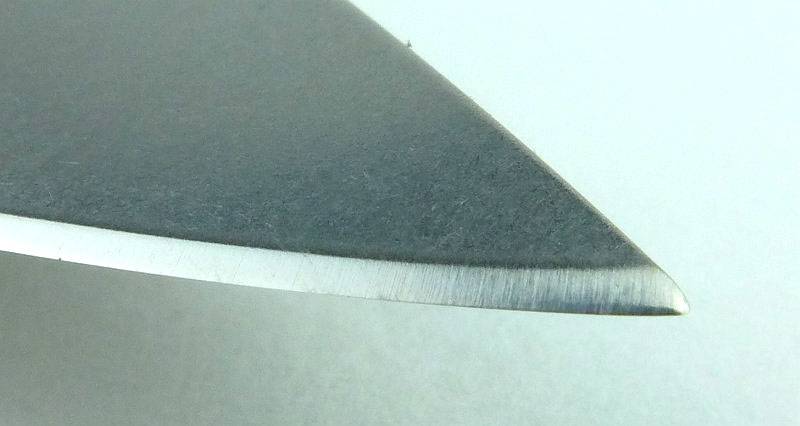
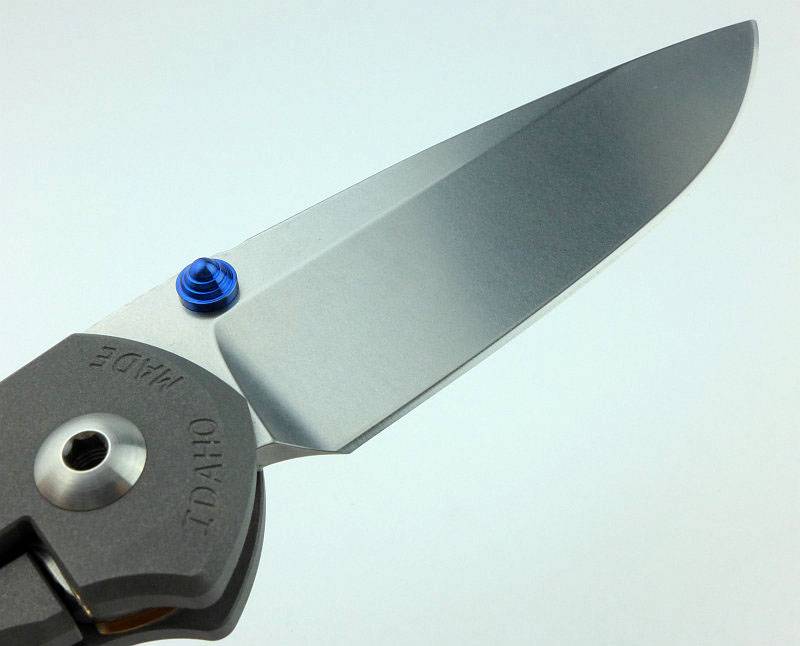
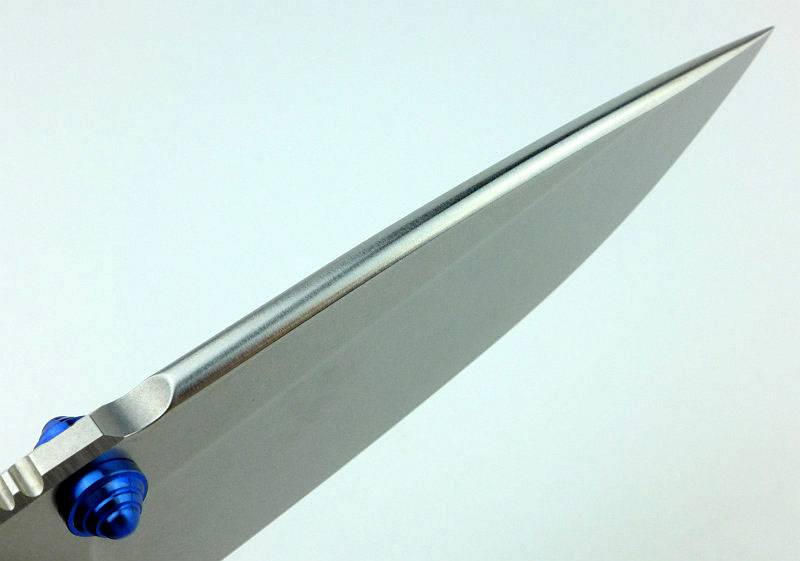
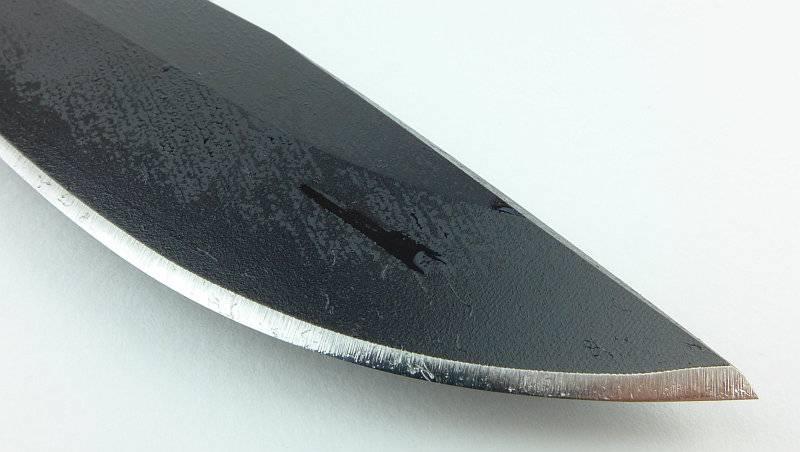
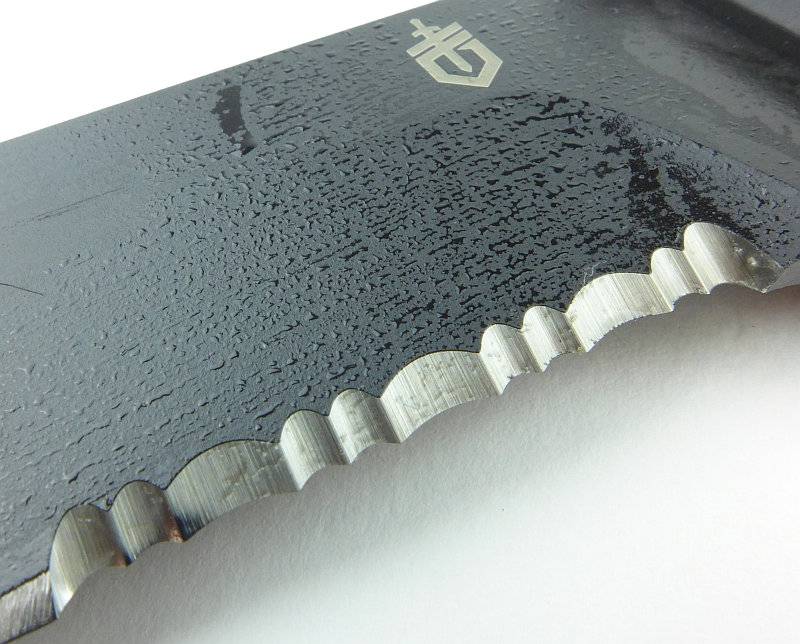
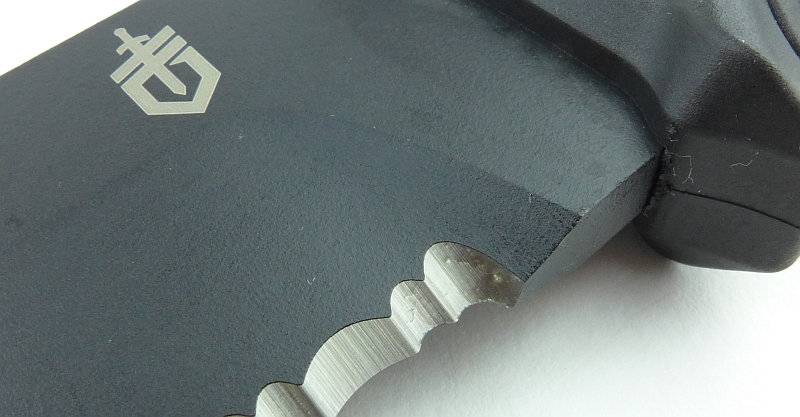
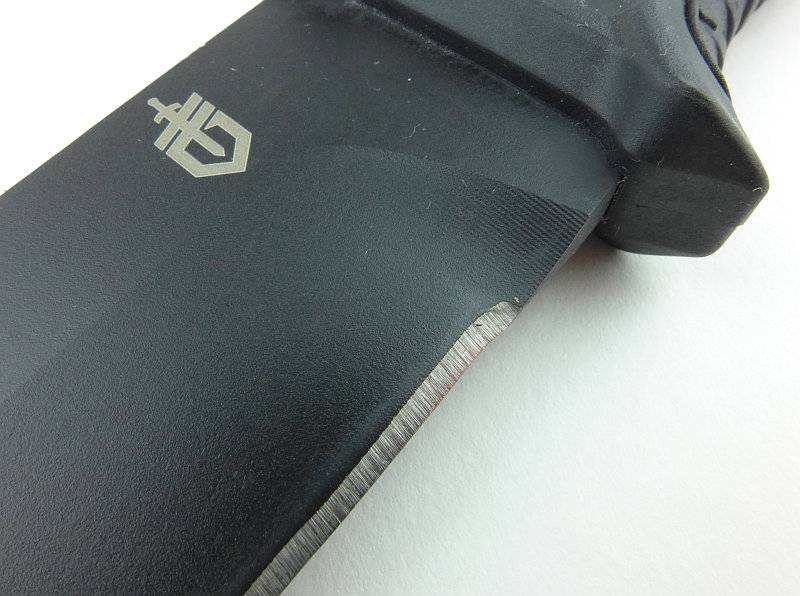
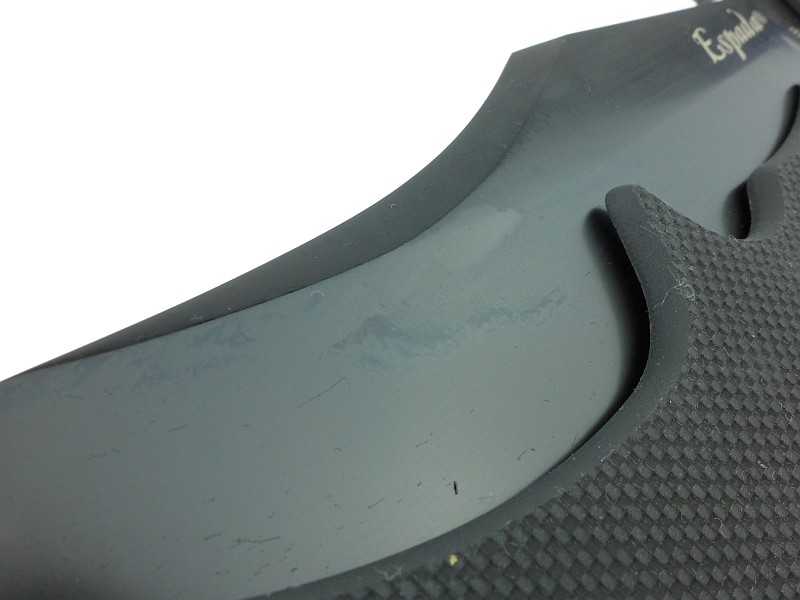
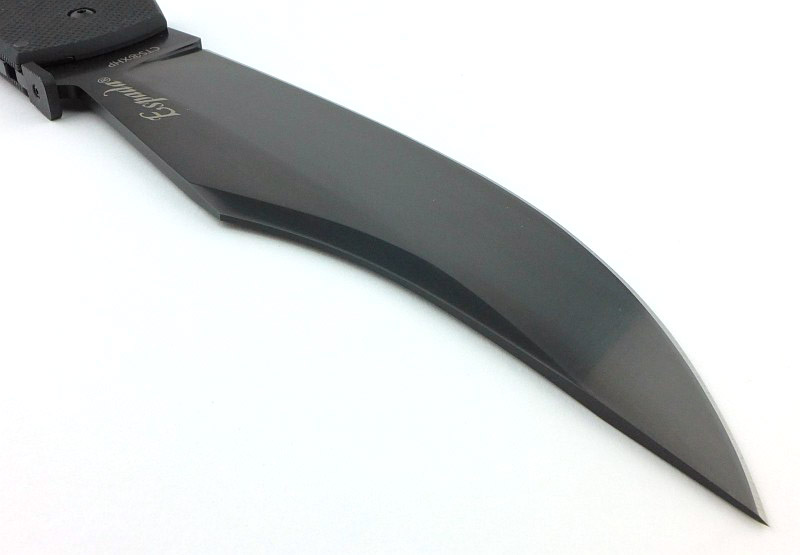
Especially considering the length of the blade, the Espada XL’s factory edge is extremely keen. You can see this is a toothy edge, but it has been finished well.

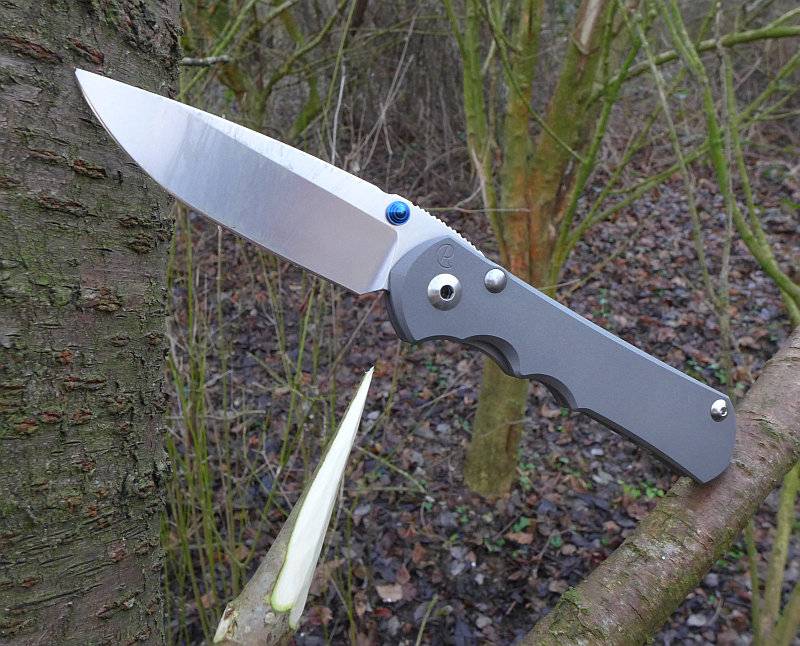
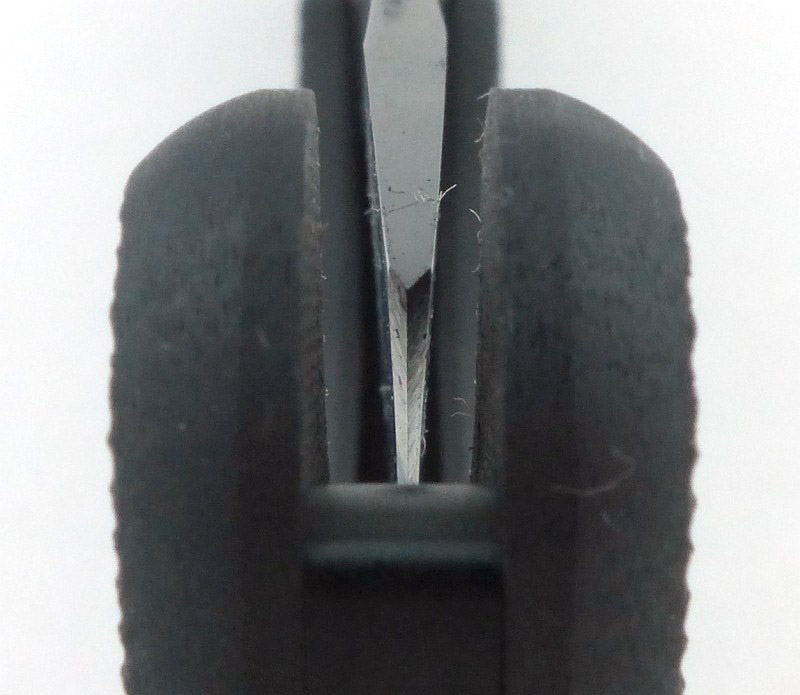
The ‘eager’ edge is topped off with a very acute angled point.
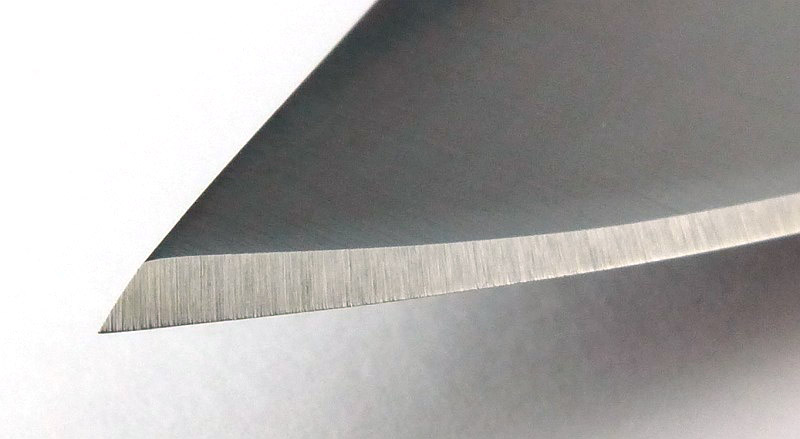
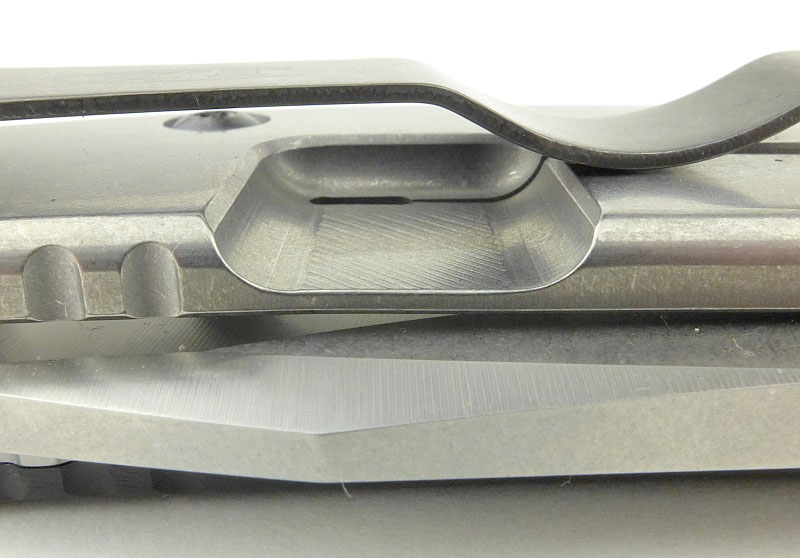
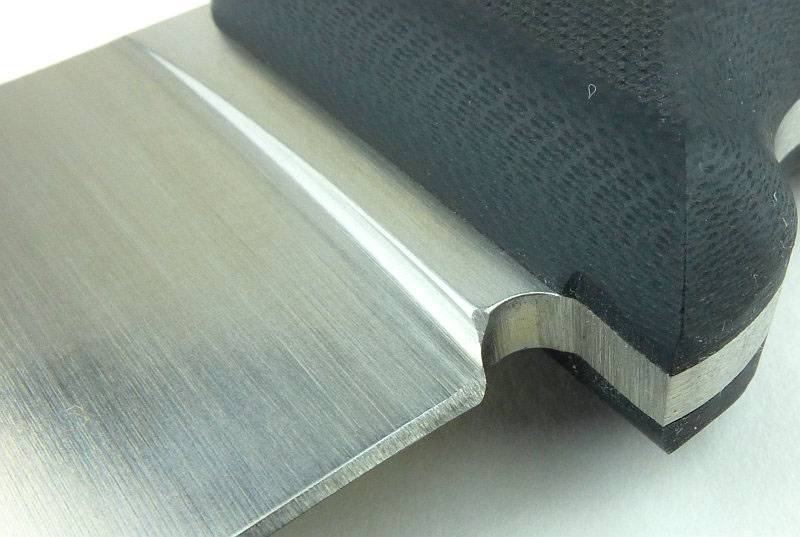
I’m pleased to see a sharpening choil at the base of the plunge line, and that the corners of the plunge line are radiused to reduce stresses.
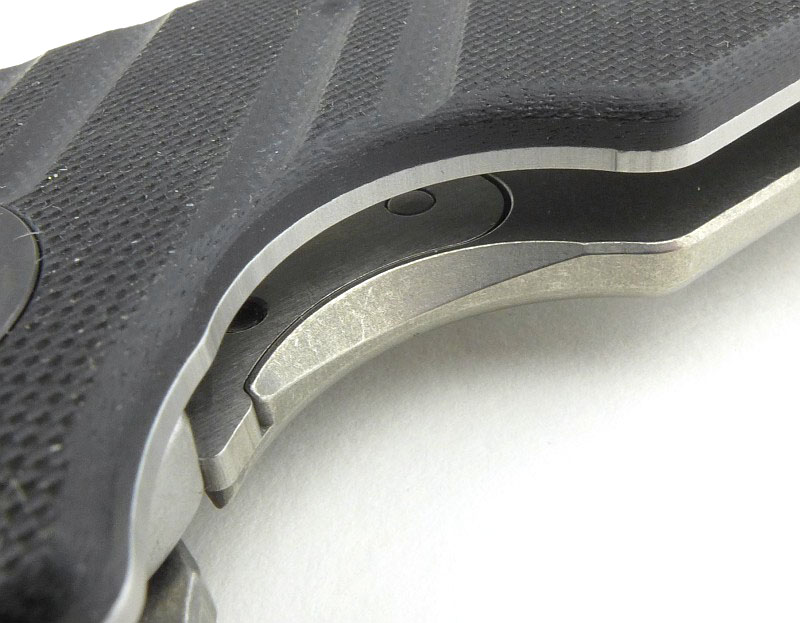
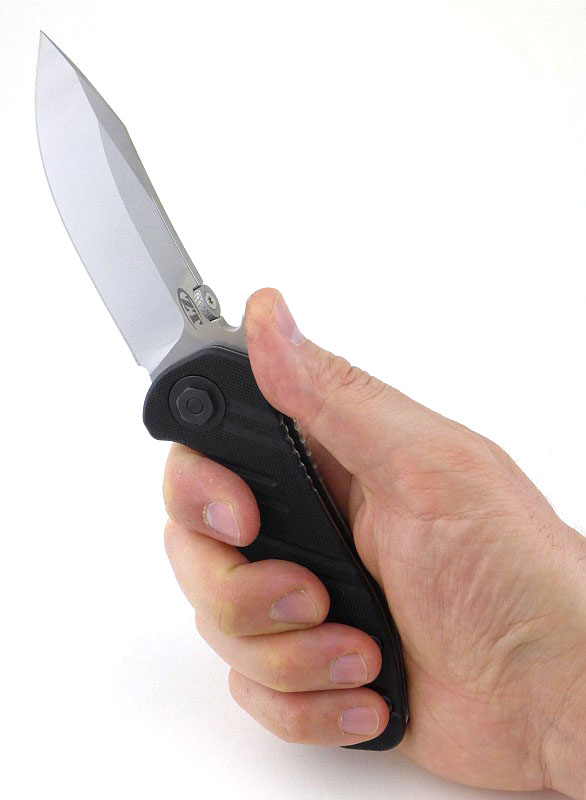
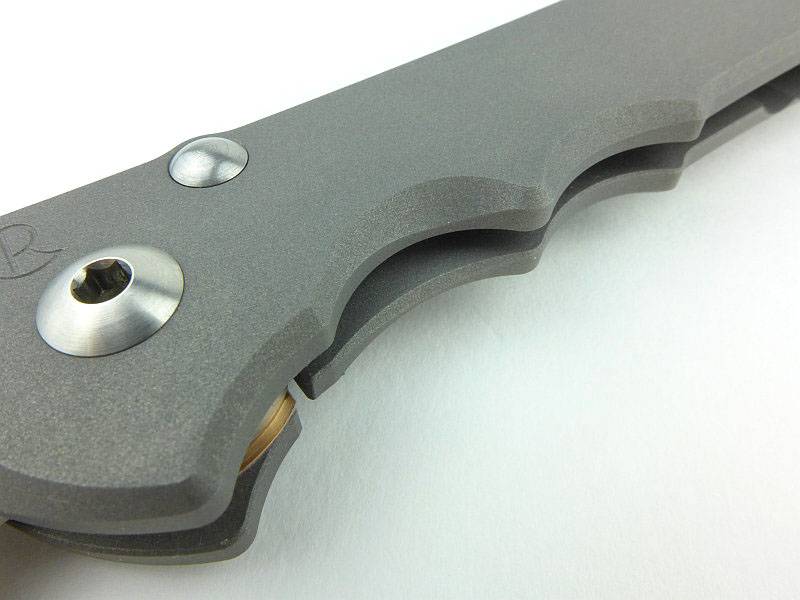
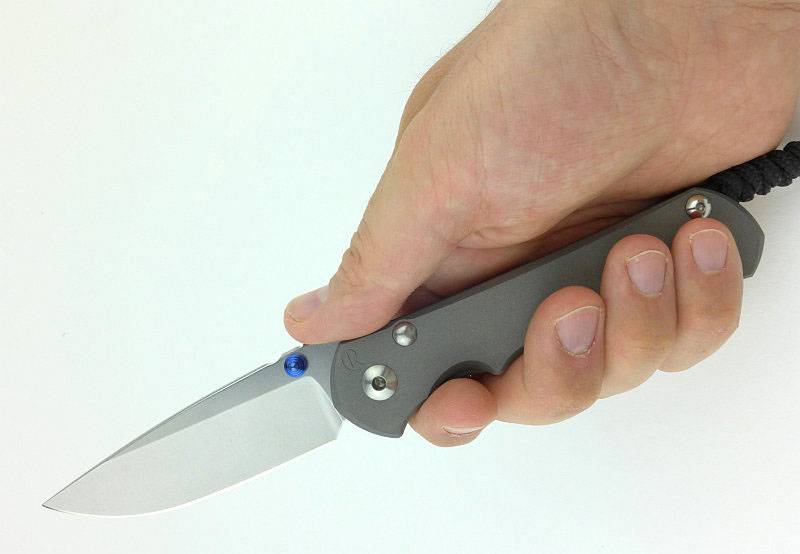
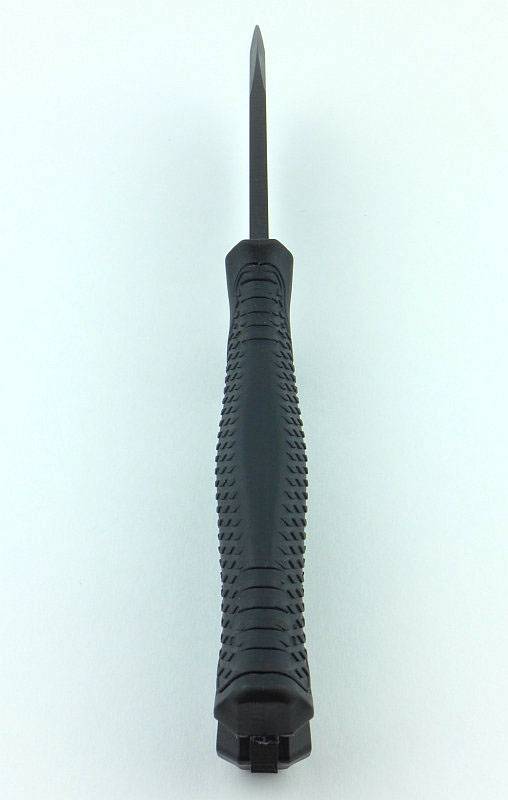
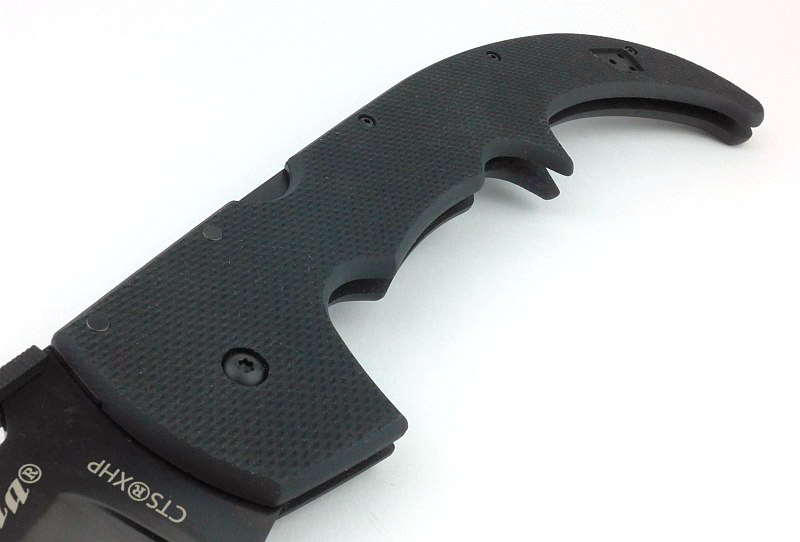
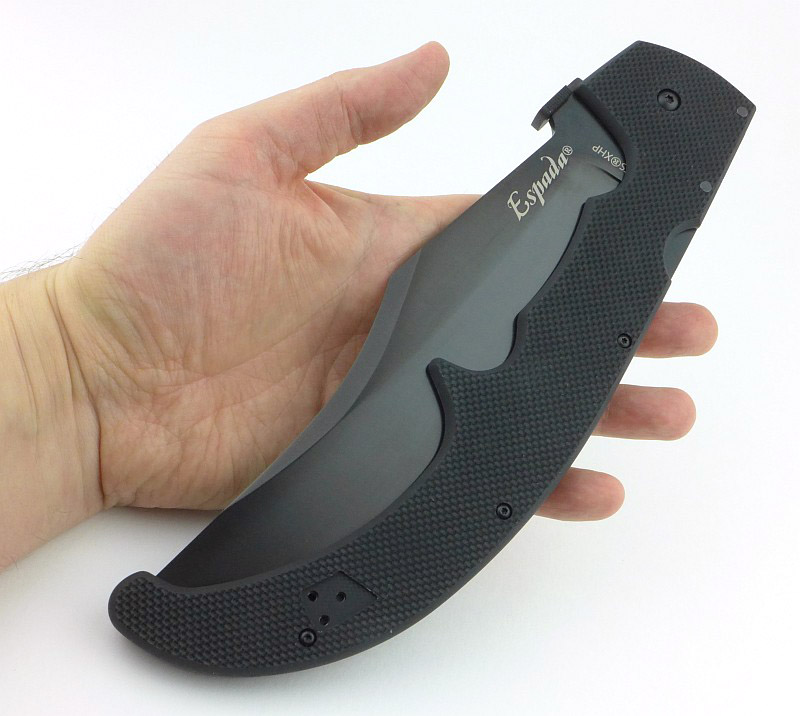
Complex curves create several grip options along the very long handle.
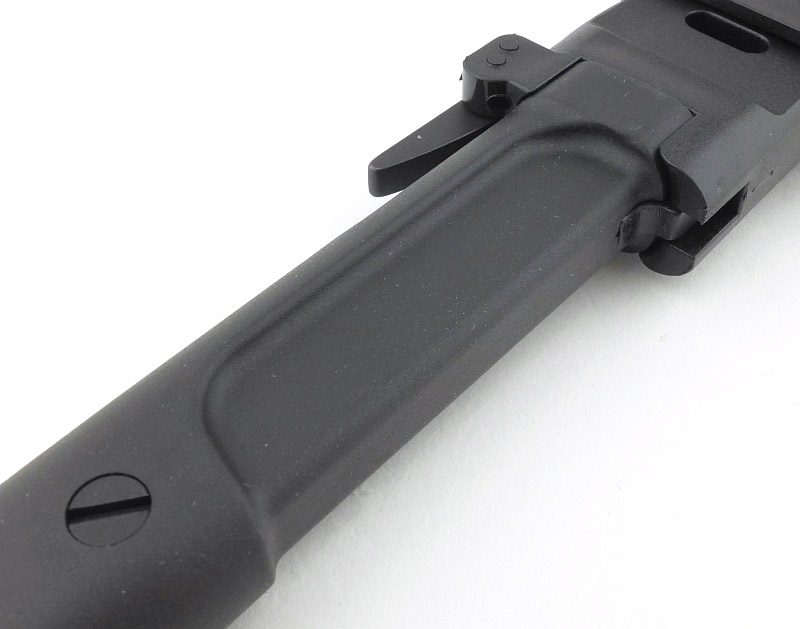
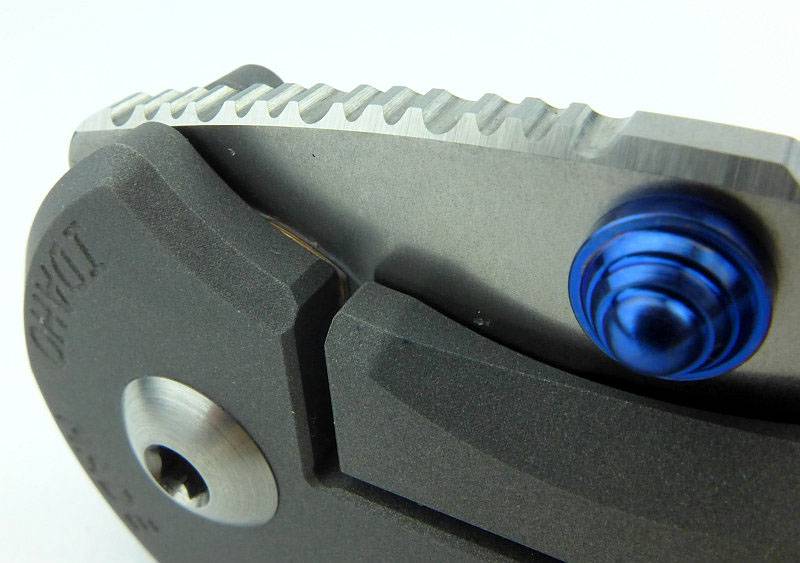
Of course the Espada XL needs to have a Demko Thumb Plate to make it even more awesome with out-of-pocket-opening.
All the edges of the grip are well rounded so as not to cut into your hand. The first finger grip groove is generously sized with deep finger guard.

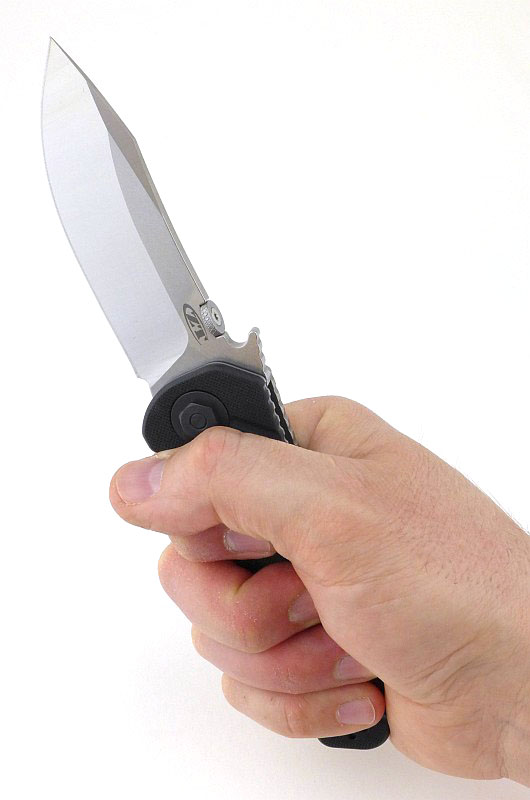
Moving to the middle of the handle and a spur provides masses of grip for the front or mid-grip hand positions.
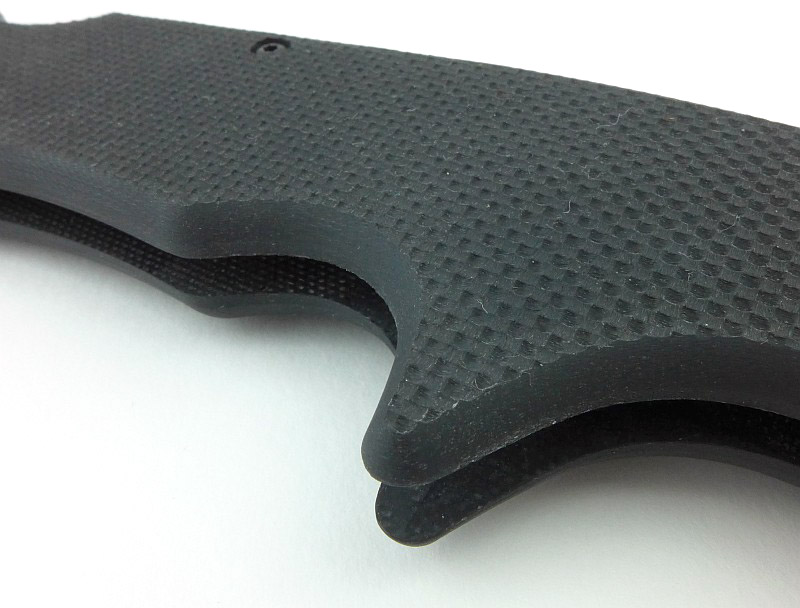
Grip options extend right through to the hooked end of the handle.
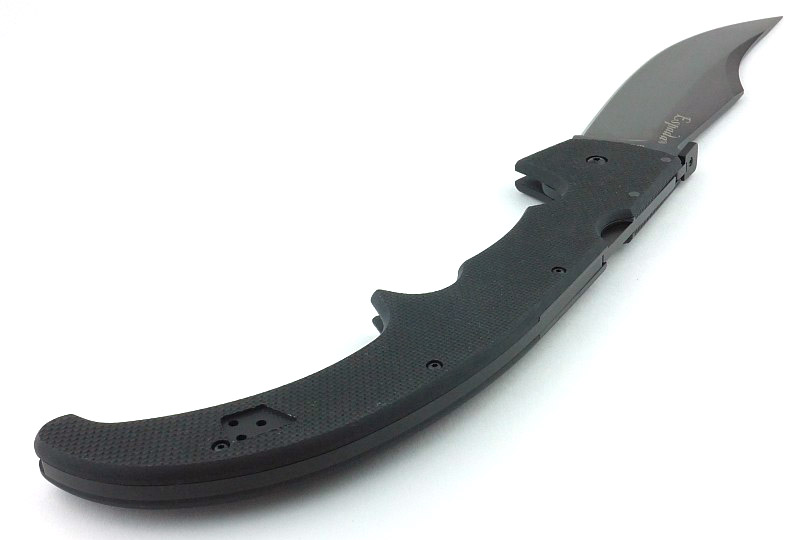
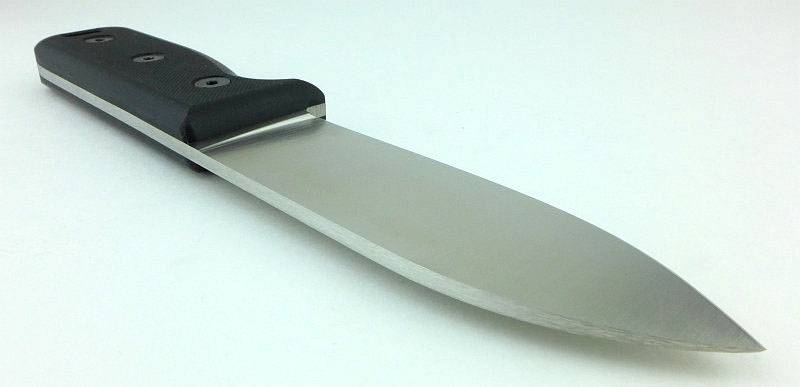
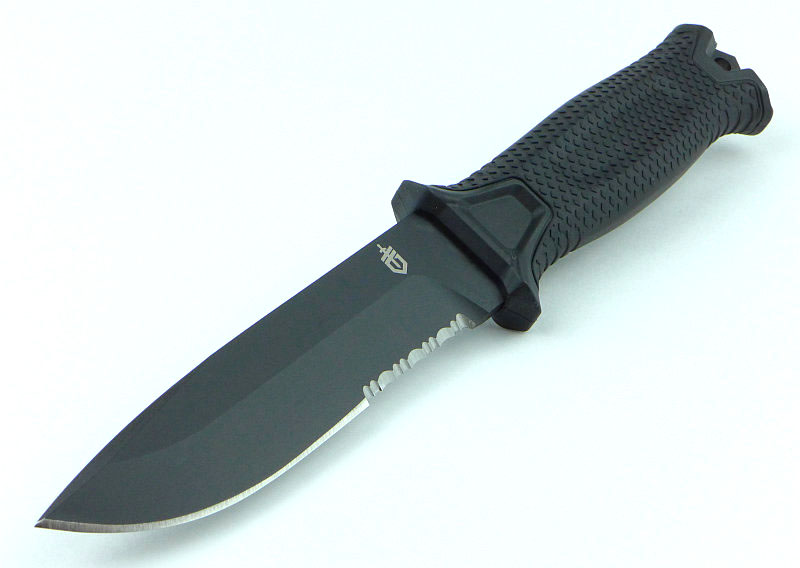
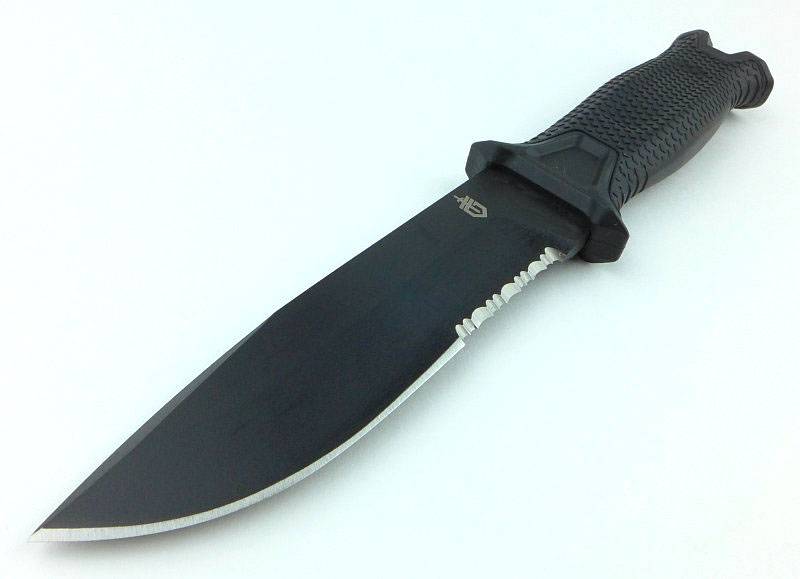
On the Espada XL the trailing point blade has a huge elegant sweeping curve to the tip.
What it is like to use?
Cold Steel describe the Espada series as ‘pocket swords’ and with the Espada XL this is an apt description, but I’d like to move away from the connotations that has and onto the enthusiasts point of view.
Honestly I can’t say the Espada XL is a practical tool, but who cares; it is an awesome giant folding knife!
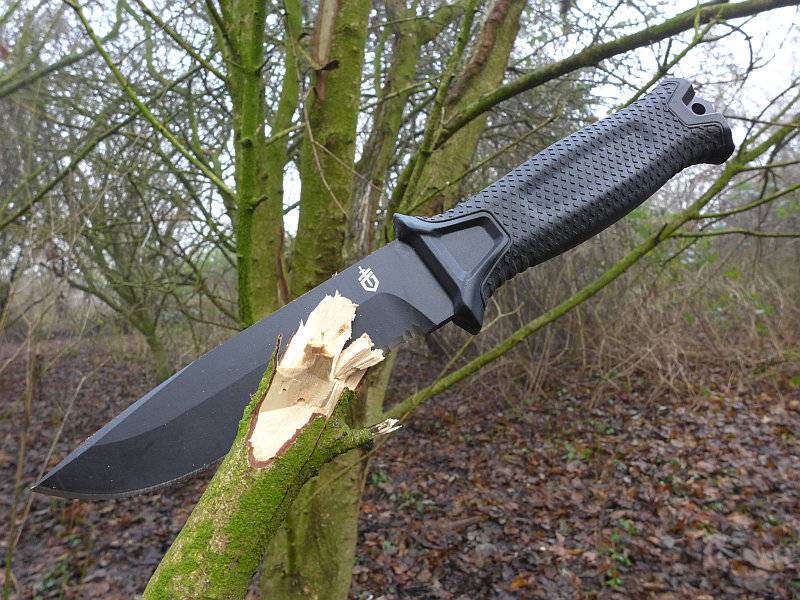
Actually it is very capable as a slasher for jobs where you would use a machete, so if you want a very expensive folding brush clearing tool that will keep you grinning, look no further. If you happen to have large blocks of material that need deep cuts, it also excels at this (like thick foam rubber for cushions), so you can argue a level of practicality, even if a bit of a reach. But practicality is not what this knife is about; it is an enthusiasts knife.
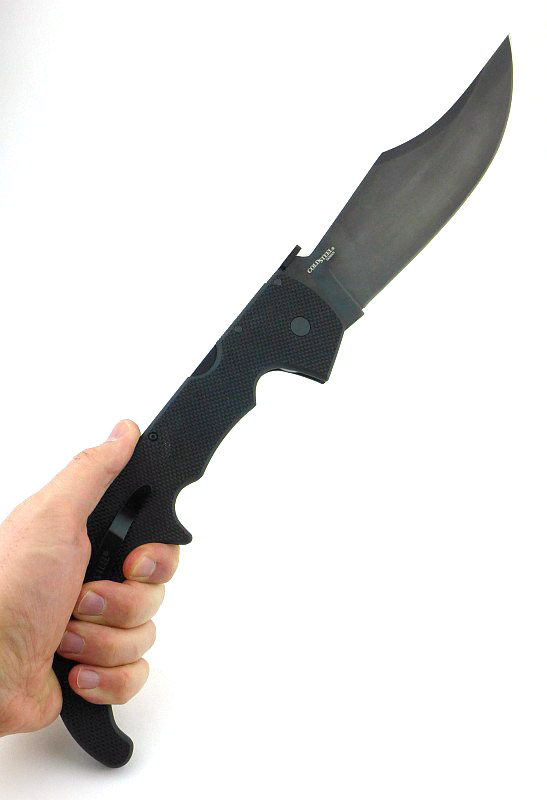
When you are using it, there are many different grip options. Starting with the primary forward grip for working with the blade for cuts requiring the most strength to be applied.

Moving to the mid-grip and with the spur between your middle fingers you have more reach and like this can use the blade to cut precisely or to chop.
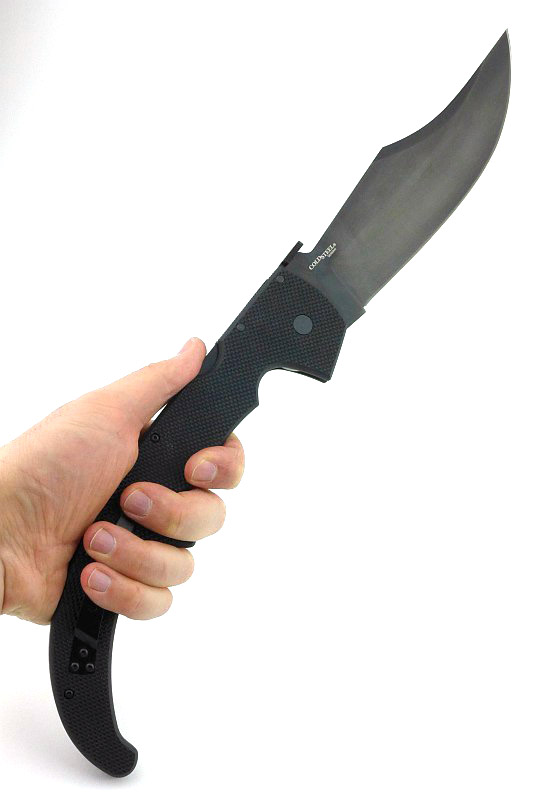
Taking up the most extreme hand position on the final hook of the handle and you have very long reach and like this would primarily slash and chop instead of making more controlled cuts.
Let’s jump into a short video with some slow motion opening and cutting.
Video Edited with – Cyberlink Director Suite 5 (PowerDirector 16 and AudioDirector 7)
Camera – Panasonic HC-V770 Microphone – Tonor TN120308BL
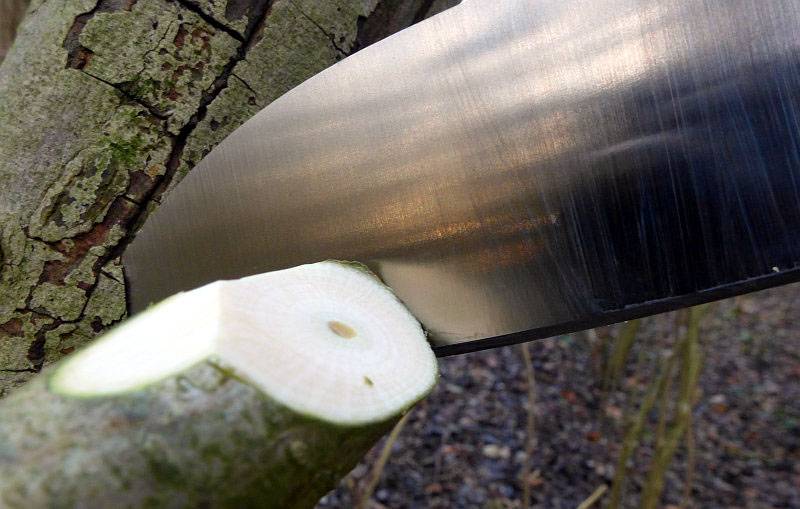
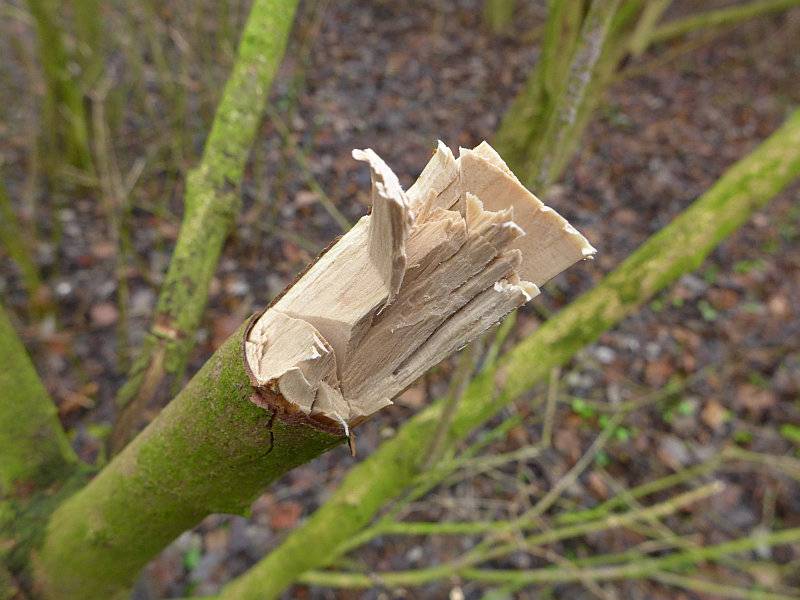
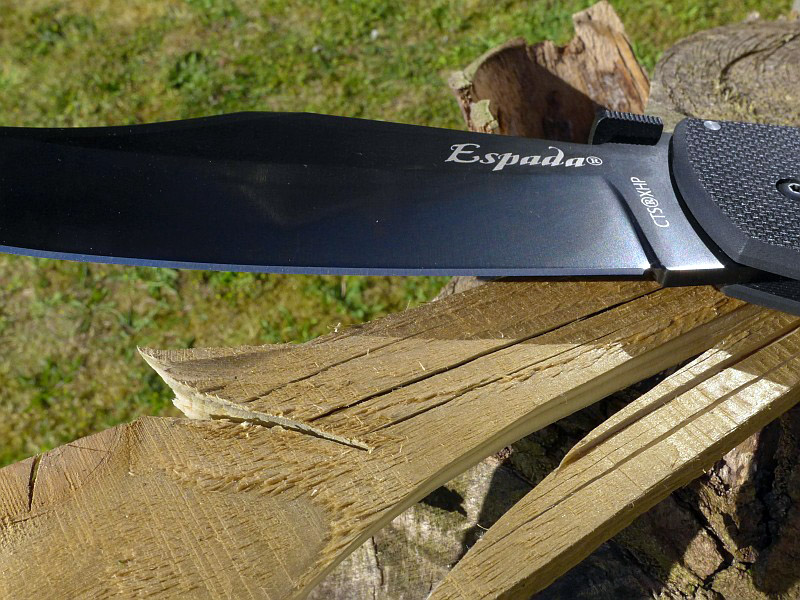
This wood chop was not shown in the video, but I wanted to include it to show a cut made into a well seasoned fencing board, that was placed, unsupported, on the ground. The cut was made at a 45 degree angle towards the ground, so the bottom of the board could not move downwards, but nothing held it sideways except the inertia of the board itself. A very deep cut was the result; not all the way through, but impressively deep.
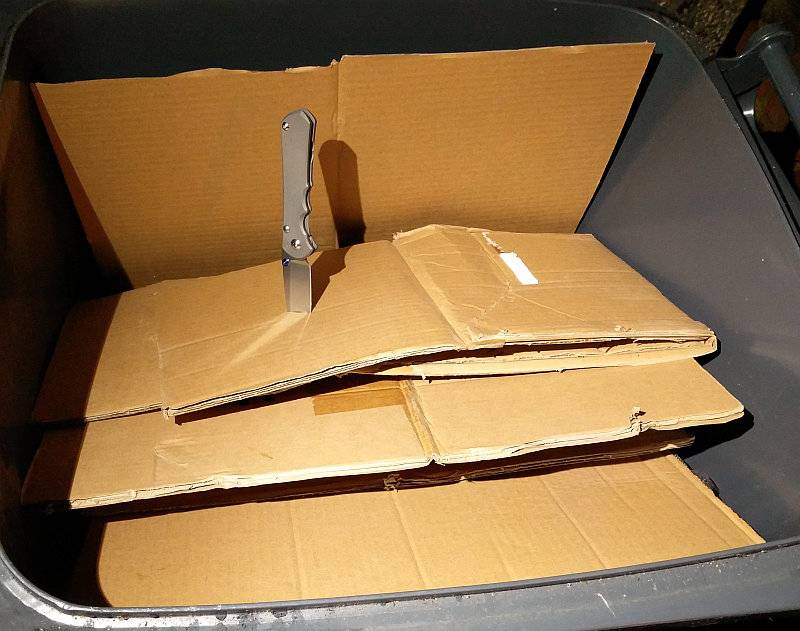
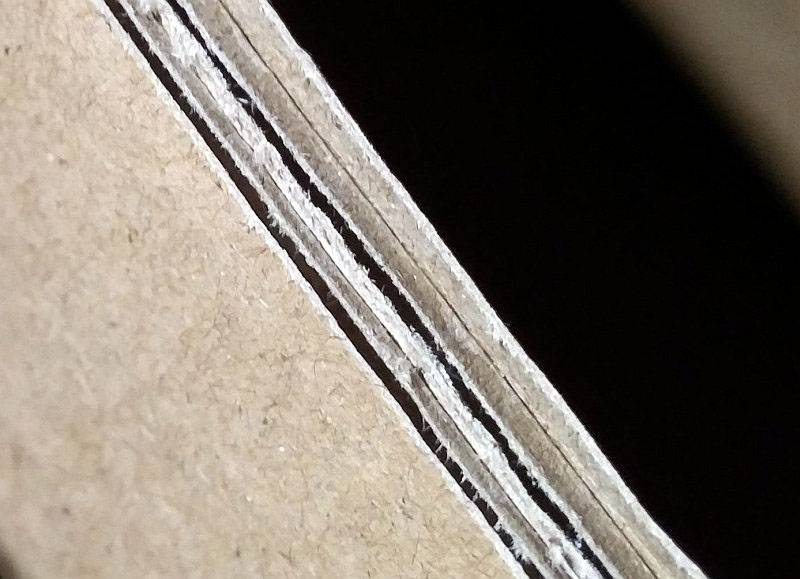
Using the factory edge (with no touch up at all), this lightweight cardboard tube has a very clean-edged slice through it.
The video also showed some size comparisons, but here they are as photos.
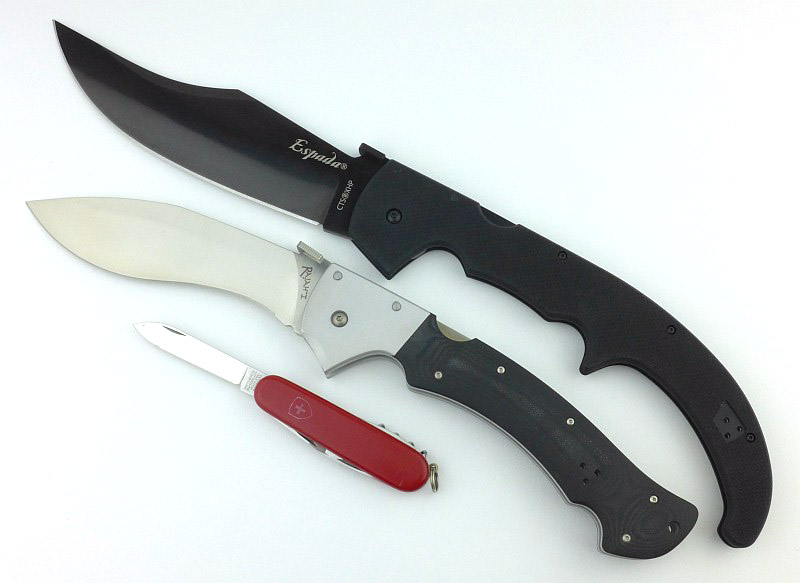
In this image we have the Espada XL along with another well known large folder, the Cold Steel Rajah I (the same size as a Rajah II) and a standard size Victorinox pocket knife.
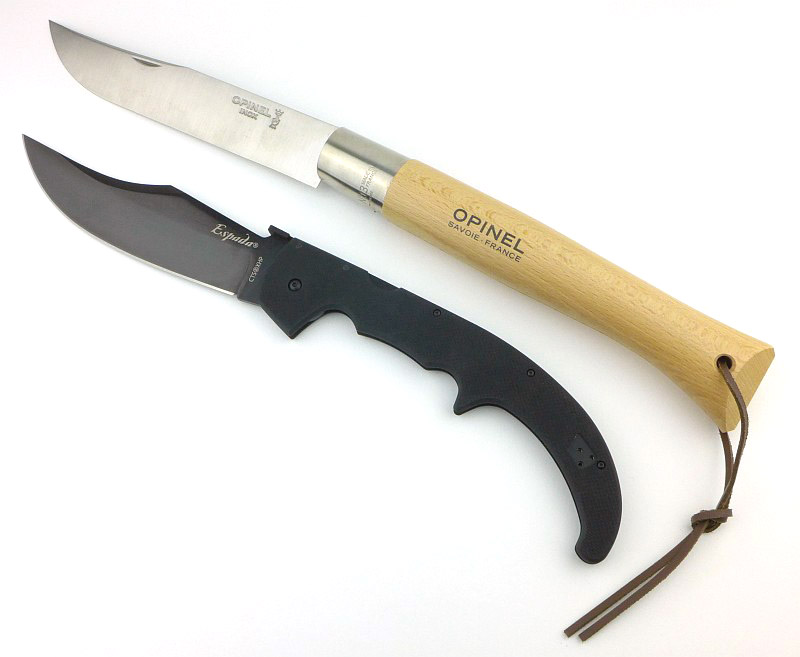
So, the Espada XL is not the largest folding knife I have, the Opinel No. 13 ‘Le Géant’ is, which in terms of pure size does beat the Espada XL, but it is nowhere near as robust.
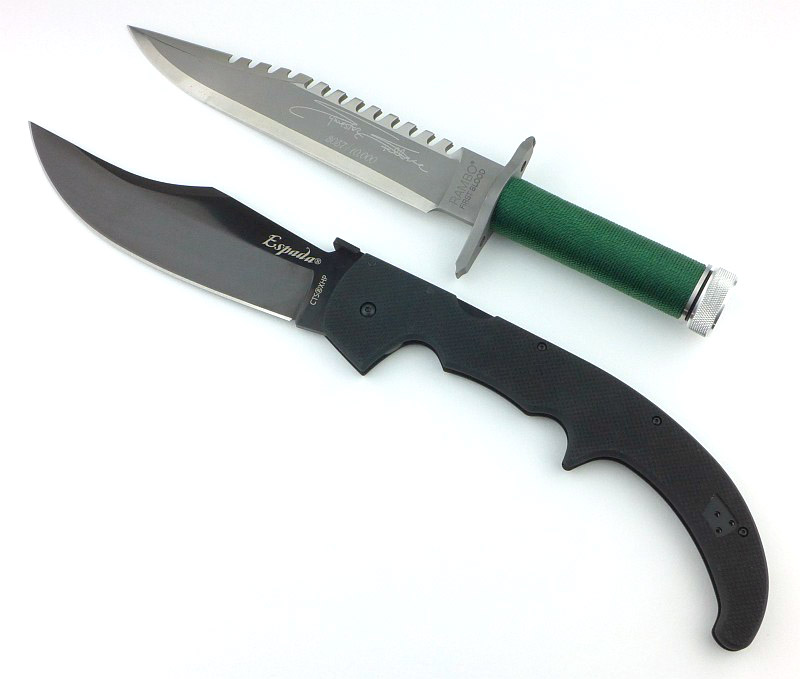
And just because I wanted to, this is a Master Cutlery First Blood replica, showing what a beast the Espada XL really is.
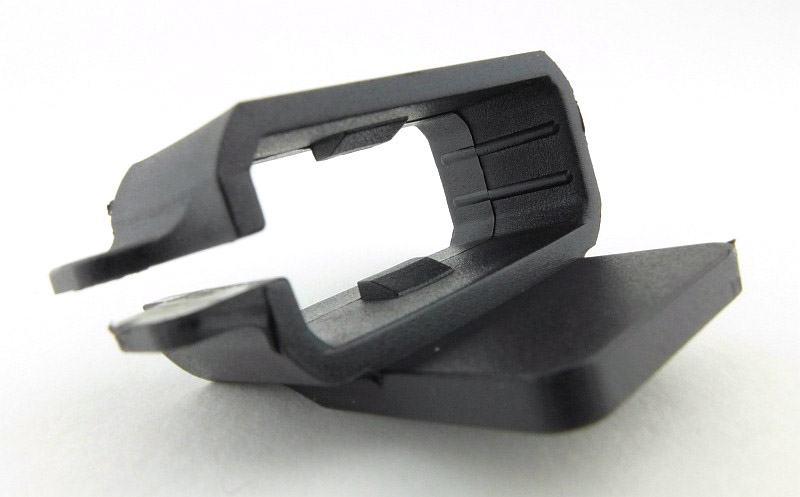
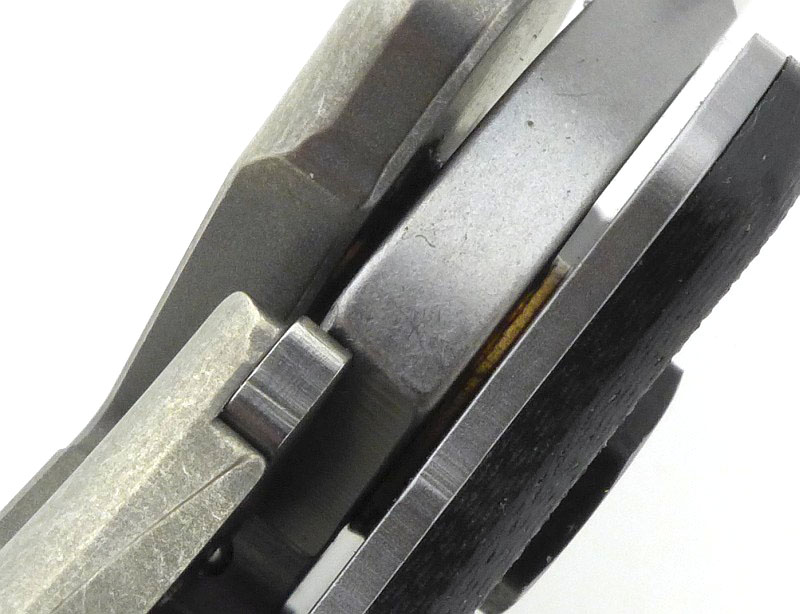
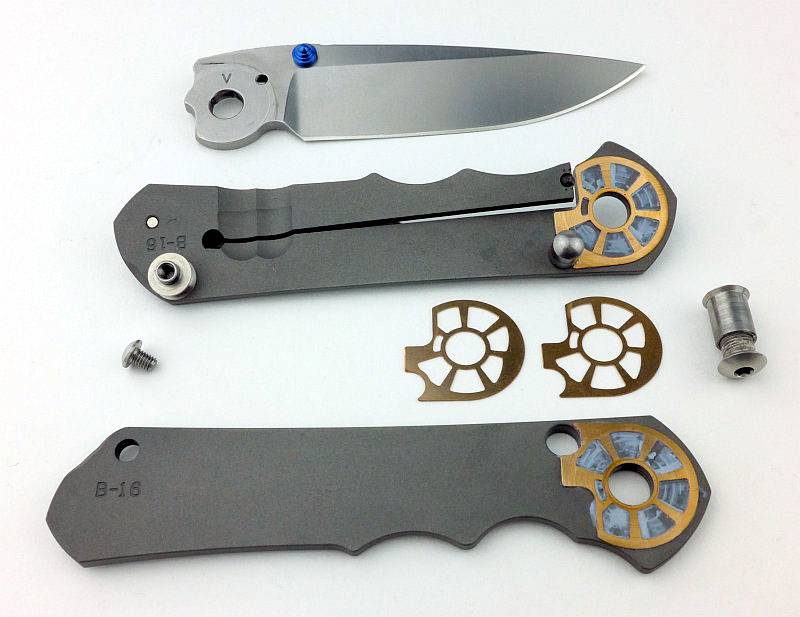
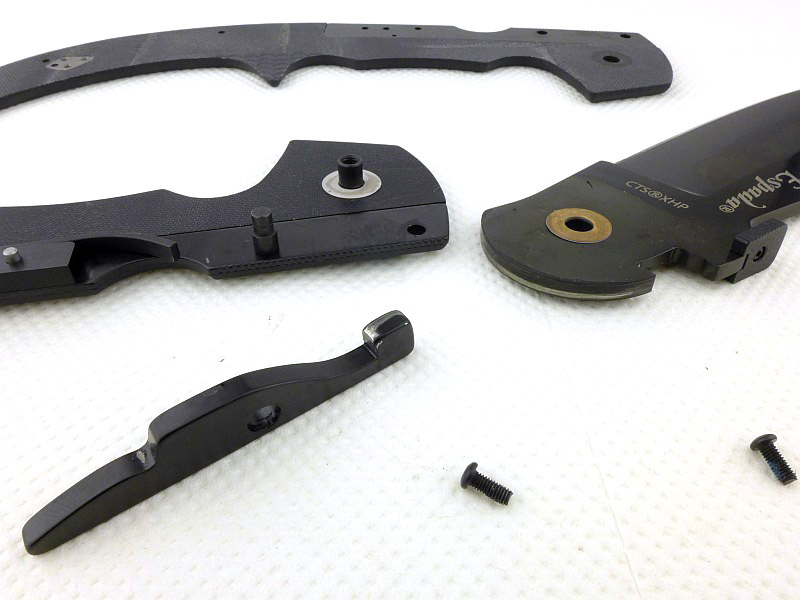
Along the way with this review, I had reason to open the Espada XL up. This proved to be a very easy job, and allows me to show a few internal details. Once you have the pivot bolt and three handle bolts undone, the handle lifts off easily and initially leaves its steel liner in place. This then lifts off easily too.
With the blade then opened up, you press the lock bar to relieve the pressure on the blade tang and lift the blade off the pivot. The lock bar, once you release the pressure, then lifts off its pivot.
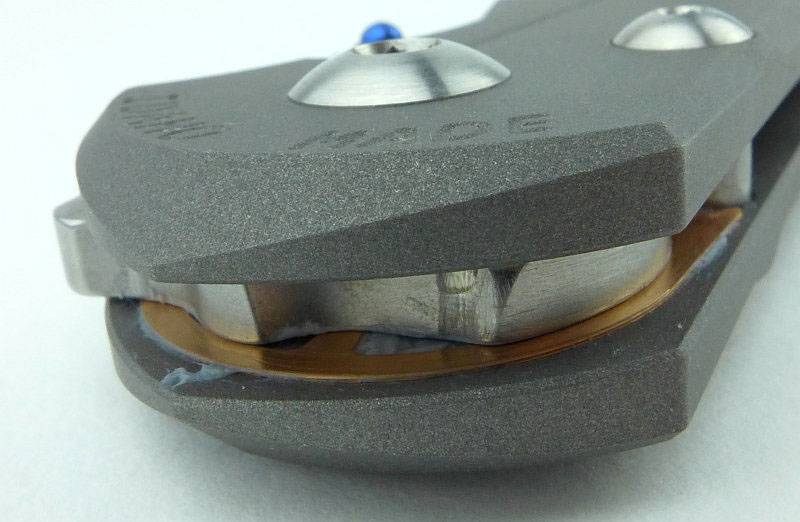
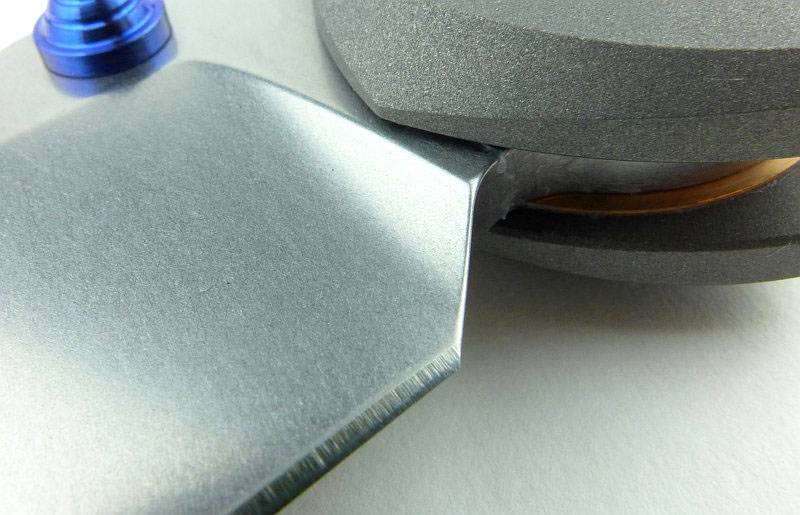
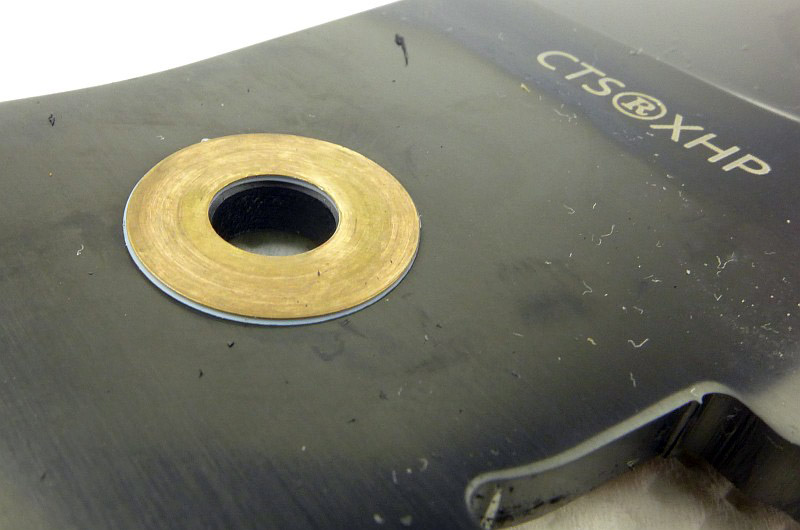
Note that the washers look different here, but that is because each washer is made of two thinner washers, a nylon or teflon (white) washer positioned next to the blade, and a phosphor-bronze washer between the nylon washer and the G-10 handle.
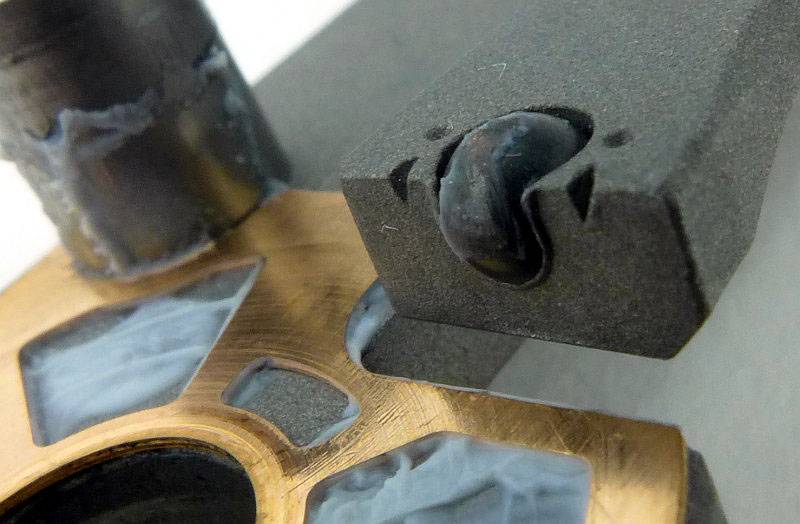
A closer look at the pivot bolt and the nylon washer.
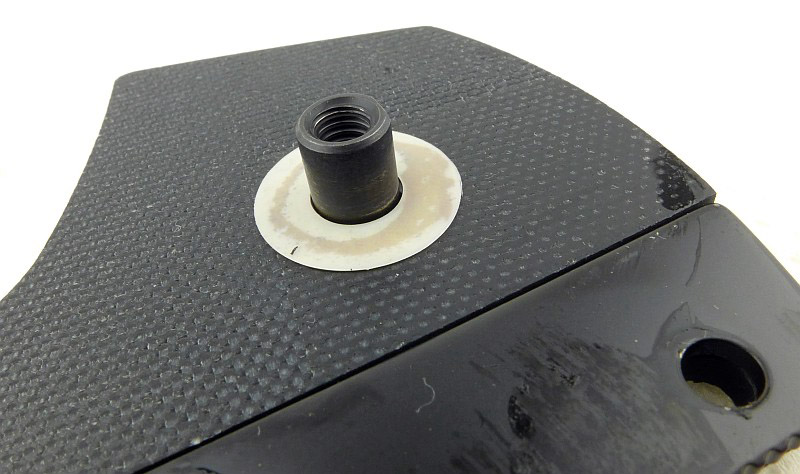
Zooming in on the two-part washer.
Keeping the super strong Tri-Ad lock locked, is a heavy spring, one of the strongest I’ve come across in a back lock.
The Espada XL is a GIANT folding knife, and definitely needs consideration if you want to carry it. You’ll need a deep pocket (like leg pockets on cargo trousers) and the will to have a mostly impractical blade on you. However the genius of the Espada XL’s design is that you CAN carry such a big knife and not be too weighed down by it.
Another point to note is that though the G-10 edition may well be the cheaper version of the Espada XL, actually I’ve found it to be more usable (if not as beautiful). Mainly this is due to the super grippy handle and the fact there is no polished aluminium to get scuffed up through use. According to Cold Steel, the G-10 edition retains 90% of the strength of the original, and it is slightly lighter (50g or 1.8oz). I really must come back to that grippy handle; no matter how sweaty or wet my hands are there is no lack of grip, unlike the polished handle of the original. This is to such a degree I have considered sanding the handles a bit to take off some of the ‘sharpness’ in the surface texture, as it can be pretty abrasive. This is definitely something you might want to do under the clip as you will wear away your pocket very fast if you don’t.
This knife is just so much KNIFE, you want to find a reason to carry and use it.
Review Summary
The views expressed in this summary table are from the point of view of the reviewer’s personal use. I am not a member of the armed forces and cannot comment on its use beyond a cutting tool or field/hunting knife.
Something that might be a ‘pro’ for one user can be a ‘con’ for another, so the comments are categorised based on my requirements. You should consider all points and if they could be beneficial to you.
| _______________________________________________ | _______________________________________________ |
| Things I like | What doesn’t work so well for me |
| _______________________________________________ | _______________________________________________ |
| This is a really BIG knife! | This is a really BIG knife! (It is not a mistake putting this in both columns.) |
| Super strong Tri-Ad lock. | Demko opener ‘eats’ your pocket. |
| Very grippy handle. | Handle can be overly abrasive. |
| Pocket carry is possible despite the size. | |
| Demko Opener allows rapid blade opening.. | |
| Extremely ‘eager’ blade wants to cut everything. | |
| This is a really BIG knife! Enthusiasts will LOVE it. |
Discussing the Review:
The ideal place to discuss this reviews is on a forum. If you started reading the shorter forum version of the review, but followed the link this full exclusive review, please return to that forum to discuss the review there.
If you read the review entirely on Tactical Reviews, please consider one of the following to join in any discussion.
BladeForums – Knife Reviews (US based Forum for Knife Discussion)
CandlePowerForums – Knife Reviews Section (Largest and Friendliest Flashlight Community Forum)
The BESS Exchange – A forum discussing technical aspects of sharpness and truly understanding your sharpening process.