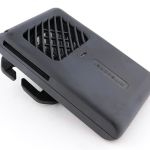
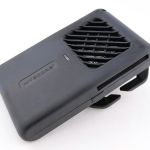
Gear Review: MetMo Pocket Driver

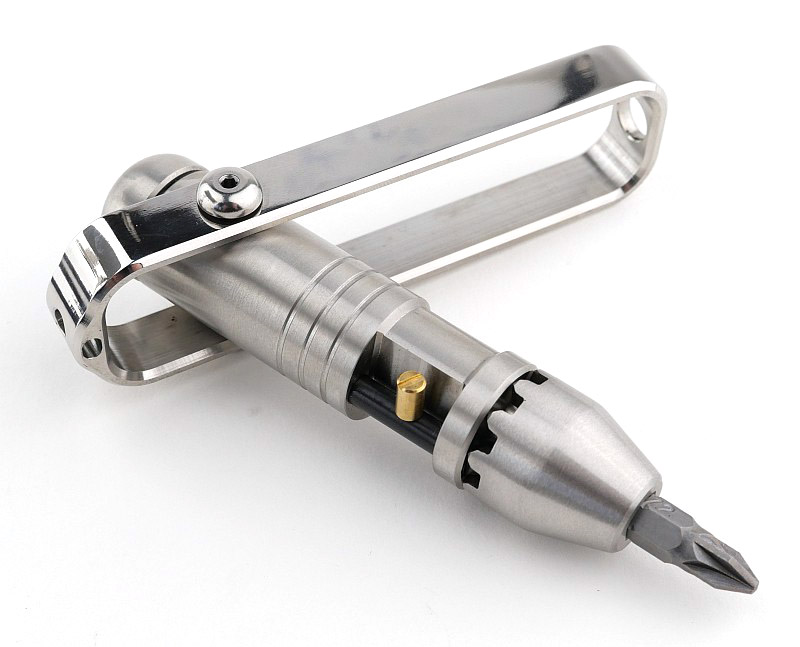
In this MetMo Pocket Driver review find out all about a super functional tool, and engineering masterpiece, revived and miniaturised by MetMo to create an EDC screwdriver unlike anything else. Based on one of the earliest forms of the ratchet screwdriver, originally patented by Conrad Baumann under the brand name Baumann-Weltrecord, in the 1920’s. Brought back to life, and to your pocket, by MetMo; using hardened materials and state of the art machining techniques to ensure the quality and reliability for which the original was known.
What’s in the box?:
Shown here are the Pocket Driver and the Pocket Pack accessory. Each of these are covered in detail in the following sections.


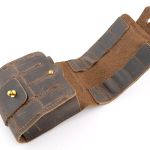
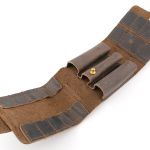
A good look round the Pocket Pack – Things to look out for here are:
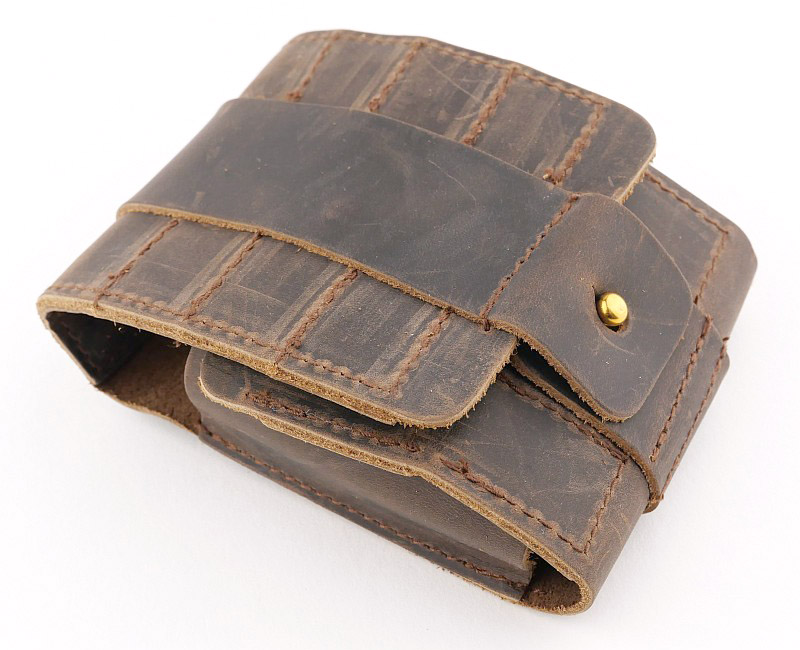
One of the optional accessories for the Pocket Driver, the Pocket Pack holds the Pocket Driver, plus a number of adapters and bits, so you can put together the most useful tool set for your needs.
Included with the Pocket Pack are five bit holders/adapters from the 4mm precision bit adapter, going up to a 3/8″ square drive socket.
Made from leather with plenty of bit holder pockets, the bi-fold design uses brass post fittings to keep the pack neatly folded.
It also has a belt loop and D-loop hanger on the back so you can choose the best way to carry it.


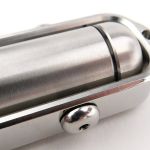
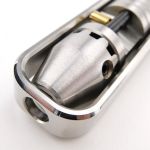
A good look round the Pocket Driver – Things to look out for here are:

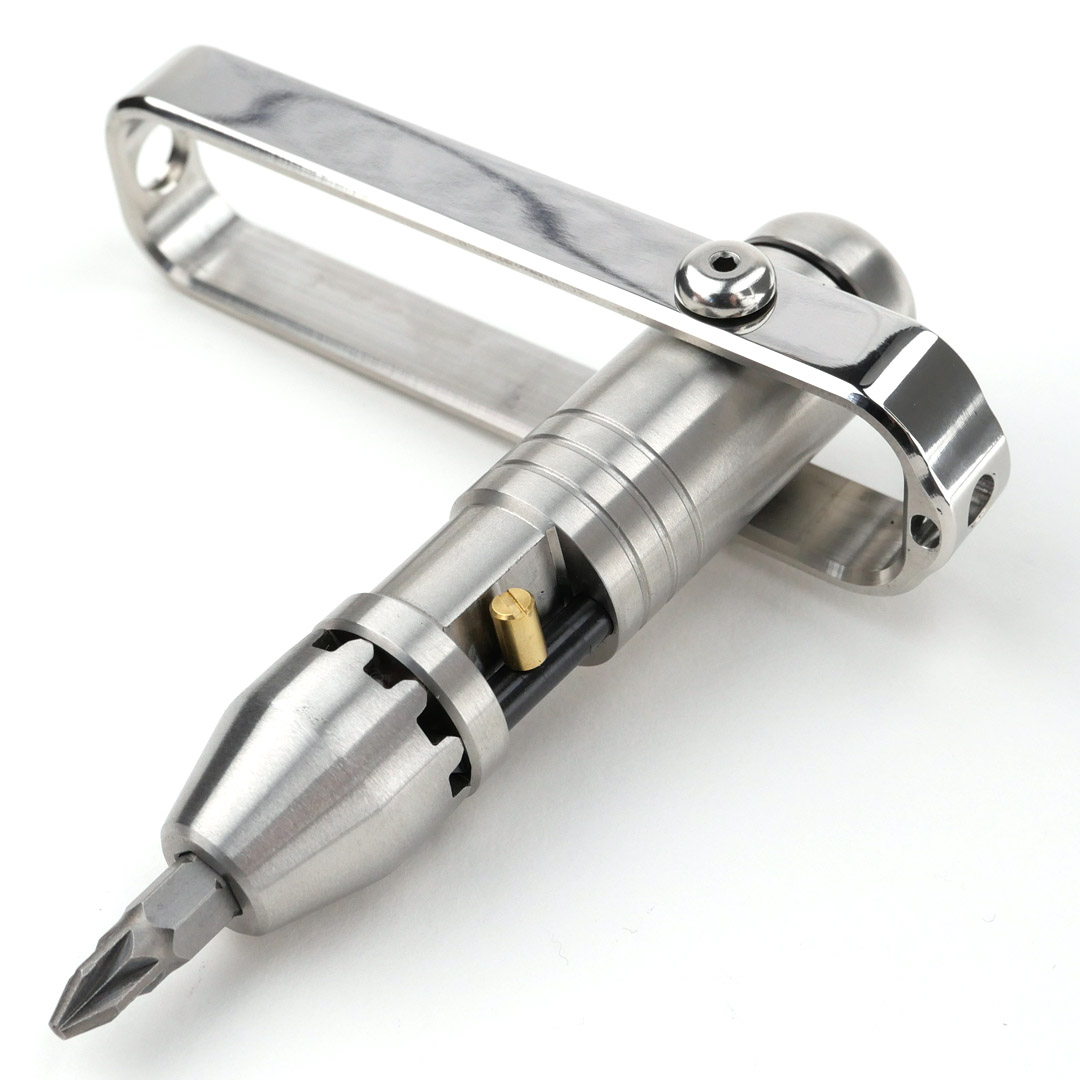
This is the full stainless steel version of the Pocket Driver. There are three variants from the lightest with aluminium body and handle, through to this version being the heaviest due to the stainless steel body and handle.

Immediately you are struck by the quality of finish with the folding handle, glorious in its pristineness. Though simple in concept, a folding handle ratchet screwdriver, as you look over the Pocket Driver the designed-in finesse is captivating.
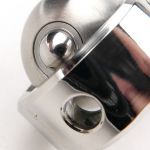
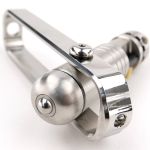
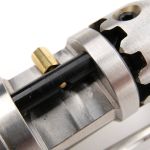
A small lanyard hole next to the handle detent hole. The rounded pivot bolts. A pass-through hole in the handle so when folded bits can be fitted, and the Pocket driver used as a compact straight screwdriver. Then the almost steampunk visible ratchet pin, direction lever and those ratchet teeth themselves. The bit storage compartment cover, incorporated in a such a way that with the handle folded it can’t come loose, completes the tool.


Just how powerful is it?:
Included in MetMo’s specifications for the Pocket Driver is its maximum torque (turning force) of 17Nm. Though only a rough estimate, it is considered that a person can apply up to 10Nm torque when using a standard screwdriver (which also varies depending on the handle shape). The Pocket Driver has a fold out handle, and this is where that extra turning force comes from.

Not having an actual torque meter, I still wanted to attempt to measure how much force I could apply. As it happens, the torque wrench I have goes as low as 10ftlbs and adjusts in 1ftlb increments. So instead of taking a measurement, I could attempt to make the wrench ‘click’ on its preset torque and therefore show I had achieved that turning force. Though there isn’t a female-female 1/2″ square drive adapter, I have a ‘universal socket’ that would actually engage with the 1/2″ square drive of the torque wrench, meaning I was good to go with this test.
Working up from 10ftlbs, I found that after the success at 13ftlbs, I had maxed out and couldn’t ‘click’ 14 (all testing was with me holding both Pocket Driver and torque wrench, so I am sure I could have gone even higher if I was only holding the Pocket Driver).
This converts to a healthy 17.63Nm. Good job MetMo!

Also included in this gallery are some across-the-flats measurements taken with a vernier calliper to check the size of the hex bit holder socket and various bits/adapters.


What it is like to use?

What the Pocket Driver excels at are actually the heavier jobs rather than the smaller ones, despite its compact size. I say this for a few reasons in reference to the following gallery.
1/4″ standard bits (and in the first photo a PZ2 bit), which is a typical bit size likely to need a reasonable force to get tight, or undo. Using it with the handle folded, or deployed for much more force, makes good use of the ratchet.
Jumping up to the 3/8″ square drive that is included with the pocket pack, and realistically you will be using the fold-out handle to good effect.
Then we have the 4mm precision bit adapter, the type of bits used in this go down to 000 Phillips and T2 Torx, amongst others, where the side handle would guarantee stripped threads or heads. In fact even in-line, these sizes of screw won’t have enough resistance to turning to actually activate the ratchet action. If you do use the precision bit 4mm adapter you’ll be spinning the entire Pocket Driver like a fixed screwdriver; it’s no fault of the Pocket Driver, only a limitation of using it for fasteners that small.


For scale I wear XL size gloves, and although this is the smaller version of the Driver tool from MetMo, you can see it comfortably sits in the hand with the folding handle being a good size to provide plenty of leverage.


A pleasure to use, and working with any and all the bits you already have, here are just some of the jobs I’ve used the Pocket Driver for with 1/4″ bits, sockets, and even a hook driver bit. All that was asked of it was completed with ease.


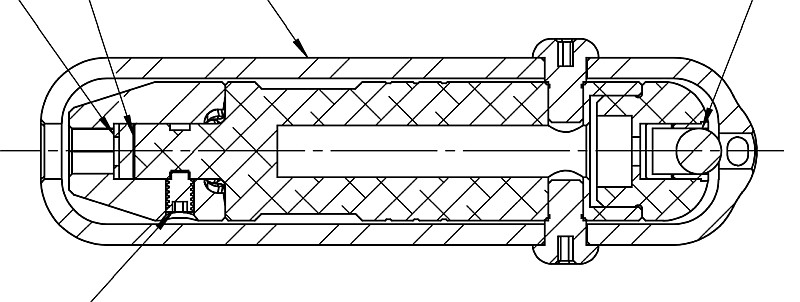
One final point, being a tool that will appeal to engineering enthusiasts, MetMo offer an optional extra to allow your appreciation to reach new heights – a PDF of the engineering drawings. Showing all details hidden away inside the Pocket Driver, this is an excellent way to satisfy your curiosity of what makes it tick.
Review Videos

Starting with a short format sixty second review:


Onto a full video review covering many more details:


Review Summary

The views expressed in this summary table are from the point of view of the reviewer’s personal use. I am not a member of the armed forces and cannot comment on its use beyond that covered in the review.

Something that might be a ‘pro’ for one user can be a ‘con’ for another, so the comments are categorised based on my requirements. You should consider all points and if they could be beneficial to you.

I’m starting with what doesn’t work so well, so I can finish on a more positive note.

_______________________________________________
What doesn’t work so well for me
_______________________________________________

Storage for only two bits.
The ratchet direction lever can be fiddly to access with the handle folded.
Ratchet lever is easily knocked out of place when set to the fixed position.

_______________________________________________
Things I like
_______________________________________________

Beautifully engineered.
High torque driving (17.63Nm).
Compatible with all 1/4″ hex bits.
Pleasing ‘action’ you won’t want to put down.
Choice of optional accessories.
Pocket Pack allows you to build a tool set around the Pocket Driver.
Seriously hard working tool – not just pocket jewellery.
Stainless steel construction for long life.

 
Discussing the Review:
Something new – will it work? A Tactical Reviews Subreddit.
TacticalReviewsChat on Reddit
Please visit there and start/join the conversation.

Gear Review: Nitecore EMR05 EMR06

This detailed review of the Nitecore EMR05 and EMR06 portable mosquito repellers, includes all aspects of their performance and function.

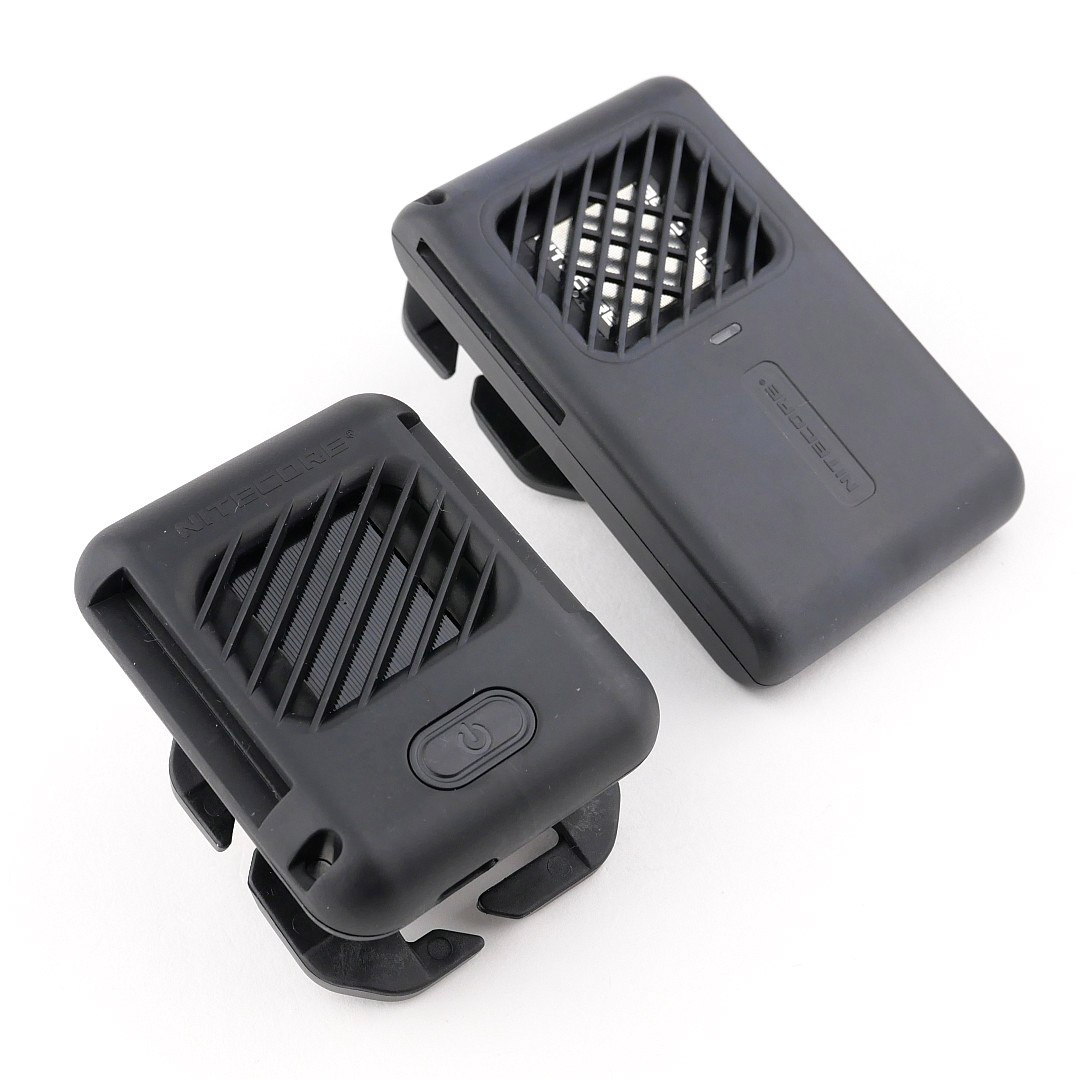
The EMR05 and EMR06 are two new devices from Nitecore giving you ultra-portable insect repellers with the lowest weight-cost possible.

The EMR06 has a built-in battery, so is self-powered, and the EMR05 is smaller still, as it needs external power from a power bank.

If, like me, you protect everyone else from mosquito bites, by being the one the mosquitoes make a beeline for, then you may be as pleased as I am to find the new Nitecore EMR05 and EMR06 portable insect repeller devices.

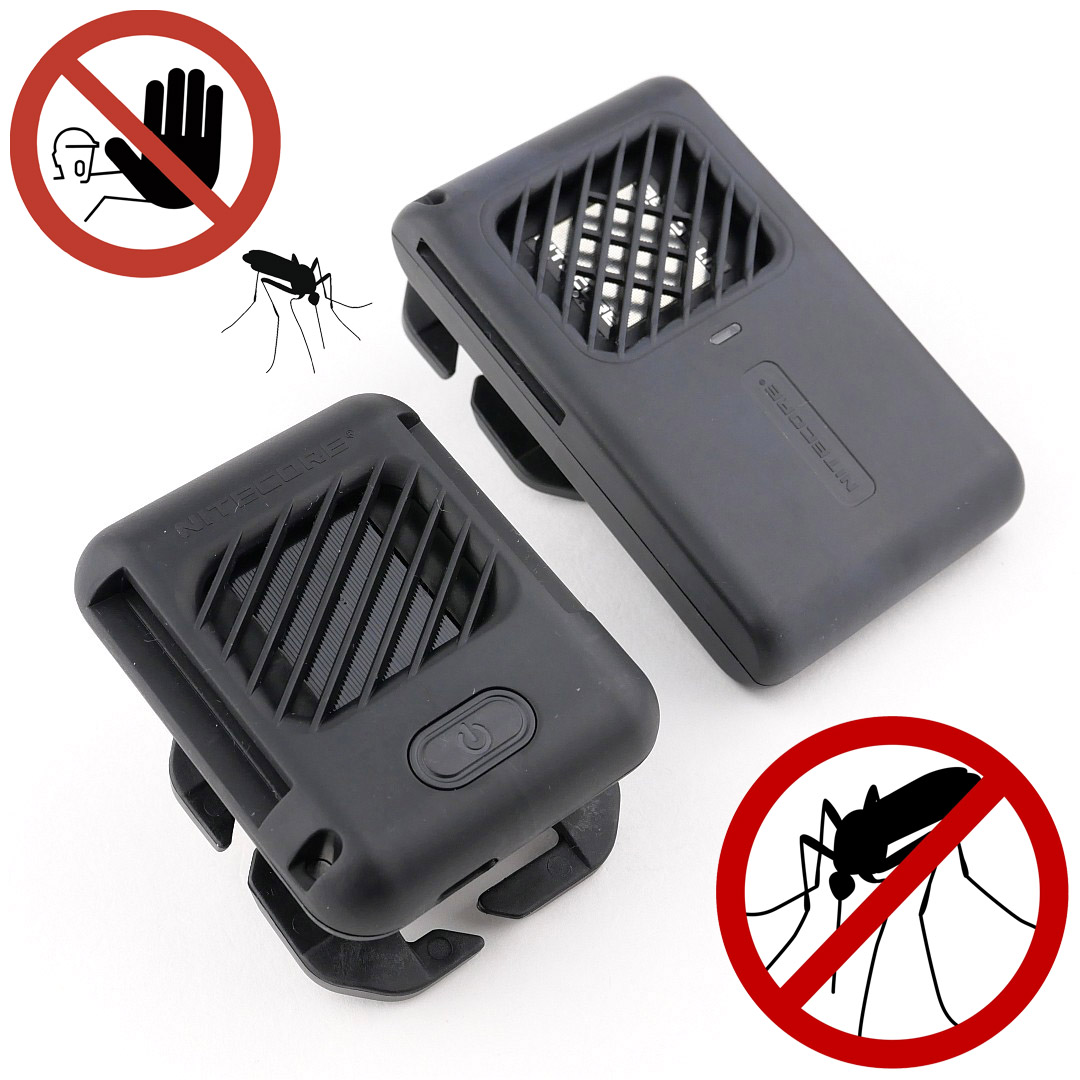
Making his second appearance below is “Stoppo”, Tactical Reviews’ “don’t do that” guardian. Mosquitos beware, armed with the EMR units Stoppo says NO!

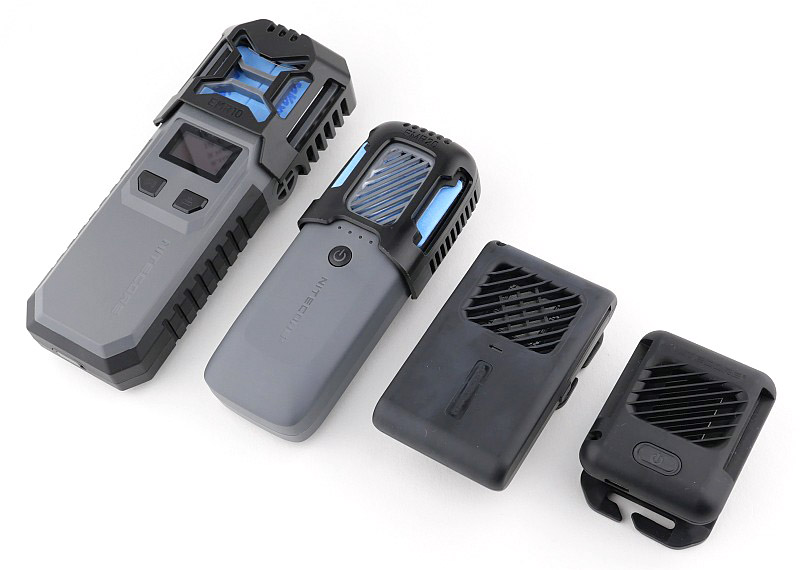
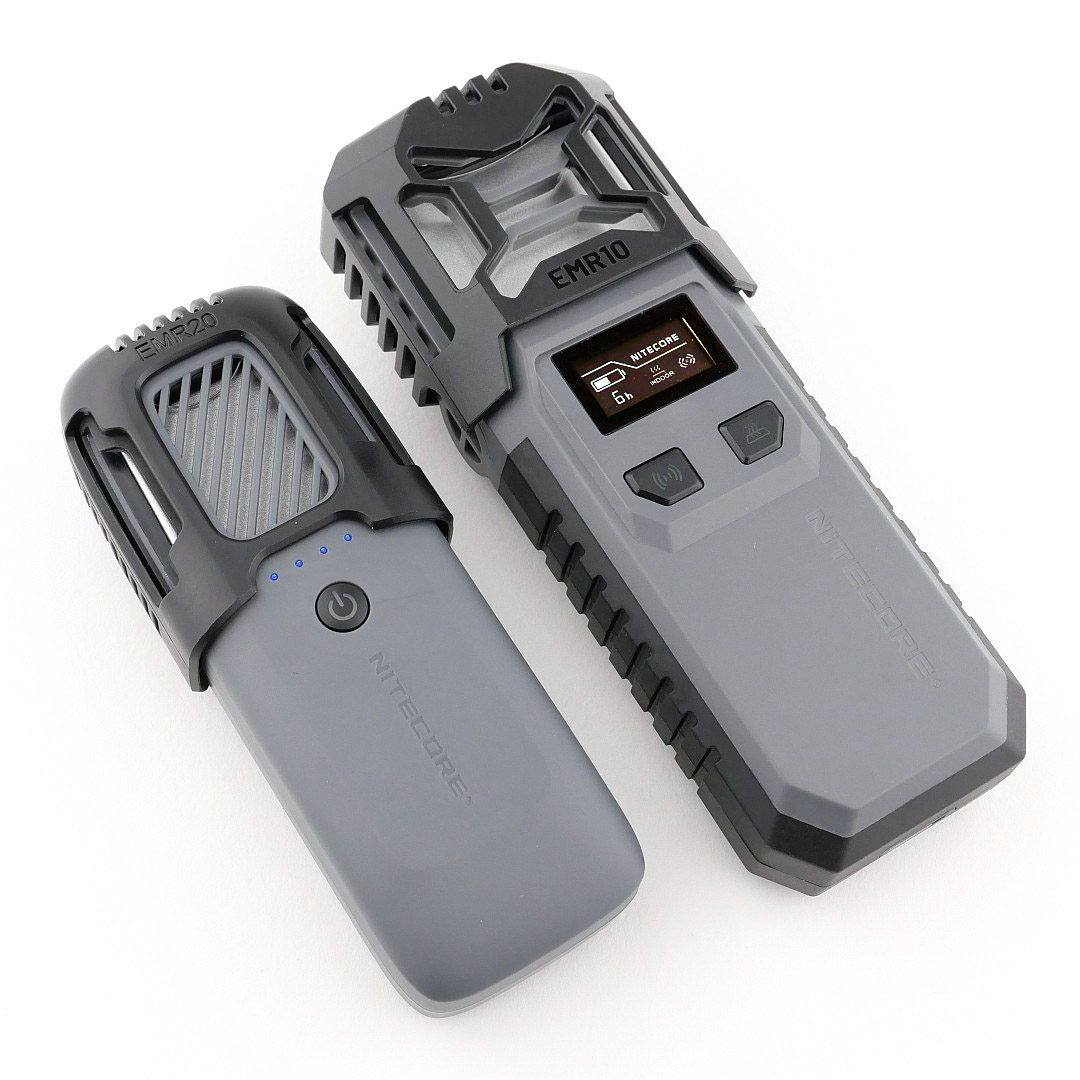
With the EMR05 and EMR06 bringing you ultra-portable versions of insect repellers, you can see just how much smaller they are compared to the EMR10 and EMR20.

Review Videos

Starting with a short format sixty second review:


Onto a full video review covering many more details:


A few more details:

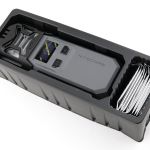
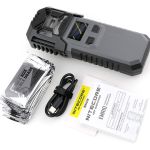
What’s in the box?:
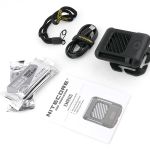
Both the EMR05 and EMR06 are covered here. Each has a USB-C cable, wrist lanyard, and some repellent mats.


A good look round the EMR05 – Things to look out for here are:
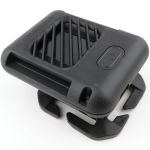
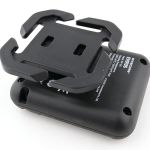
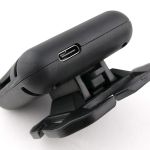
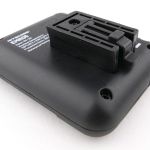
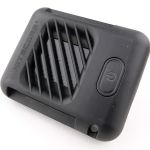
The EMR05 is keeping things to the bare minimum. A power switch with indicator light, the slot for the repellent mat, USB-C port for power and a mounting system. Nitecore’s MOLLE mount system is really neat and effective.


A good look round the EMR06 – Things to look out for here are:
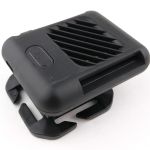
The EMR06 introduces a built-in battery while otherwise similarly keeping things to the bare minimum. A power switch, indicator light, the slot for the repellent mat, USB-C port for charging and a mounting system. Nitecore’s MOLLE mount system is the same here, so you can see the increased size of the EMR06, yet it is still very compact.


Technical Testing:
Both EMR units were setup with a modified repellent mat that held a thermocouple probe under it and positioned over the heating plate. This logged the temperature during the run.

Some notes on the graphs:
The EMR06 was logged first, then the EMR05. About halfway through the EMR06 measurement, my thermocouple data logger started to include a lot of noise from the optical USB PC link. When no logging was taking place the readings were consistent, but as soon as the logging was turned on the readings showed noise. So the second half of the EMR06 trace has noise, but if you ignore the noise on the trace you can see the underlying trend of temperature variation during the run. The behaviour of the EMR06 did change throughout the run.
For the EMR05, the noise is present for the entire run, but you can still clearly see a different temperature control profile to the EMR06.
Remember that the EMR05’s runtime depends on the input power source, so here is just stopped as there was enough run to see its behaviour.

In the second graph the view is zoomed in for the first 30 minutes of the run to show the temperature control profile of each unit better.

Also included in the section are the measurements of the operating current for the EMR05, and the charging current for the EMR06. The EMR05 is shown during the temperature logging measurements while drawing power from a Nitecore power bank, and with the thermocouple in place.


What it is like to use?

Compared to the previously reviewed EMR10 and EMR20, these two units are so small and light, why wouldn’t you carry them? Clipped to your bag, you don’t even notice you are carrying them.

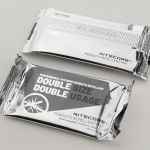
Nitecore make and supply double size repellent mats. This is clearly the easiest way to load up the EMR05 and EMR06. It is possible to use two standard size mats instead giving you more flexibility.

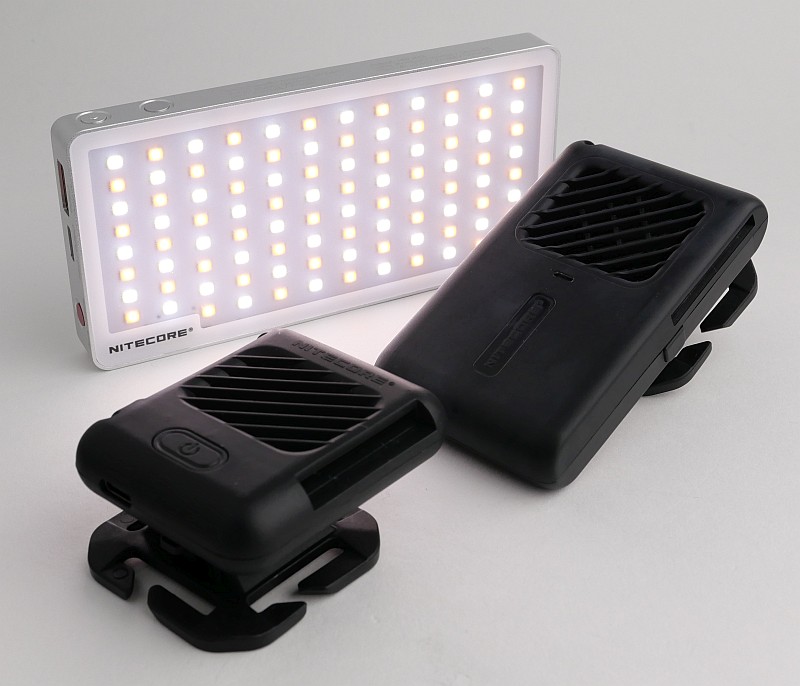
The EMR05 needs a power bank to run from. It is highly likely you would be carrying you power bank of choice anyway, for charging various items, so with the EMR05, you can just run this from any power bank you happen to have, or a plug-in charger if you are in a hotel. I’m carrying the Nitecore SCL10 power bank as it is (amazingly) also a superb video light.


I’ve been using both the EMR05 and EMR06 in a variety of indoor and outdoor locations carried separately or clipped onto a bag.

So how did they do?

Firstly, with me being apparently the finest of dining for mosquitos, if they are determined enough, you will still get bitten; I did. I’ve been bitten when covered in deet, so using repellent mats outdoors might deter some, but is not absolute protection.

It is not at all possible to properly measure the effectiveness of these repellers as the number of bites will also depend on the time, temperature, and hatching of the insects, so this can be impressions only.

Assuming the mats themselves are effective, I have been aware of the aroma coming from the mats. Considering this is outdoors, that is reassuring. Effectiveness is so subject to wind direction and strength, so you might not actually have any cover of the repellent and insects might reach you undeterred.

NOTES on the repellent mats:

There are a few different active ingredients used in repellent mats, and these are also frequently in combination with Piperonyl butoxide. Prallethrin, Transfluthrin and D-Allethrin are the most common with Nitecore’s MRM10 Mosquito Repellent Mats using Prallethrin.

Piperonyl butoxide (PBO) is a man-made pesticide synergist. By itself, PBO is not designed to harm insects. Instead, it works with bug killers to increase their effectiveness. PBO is often combined with natural pyrethrins or man-made pyrethroids. It has been used in pesticide products since the 1950s, when it was first registered in the United States.

A repellent mat needs to be changed when it turns white. You can use Repellent Mats for a shorter period of time than the manufacture specifies and they will still be just as effective. However, if there is going to be several days between usages, you might want to keep the mats in their foil packaging or in a sealed plastic bag between uses.

Just like I wanted with the larger EMR10 and EMR20, the one feature I wish they both had was an auto-off timer. Once you turn on either one of them, they will run until the battery (or power bank) is flat or you turn it off. I found that treating at critical times was more important than all night and I would have preferred to be able to fall sleep with the repeller turning itself off after an hour or two and leaving power to run on another night.

While using the EMR05 and EMR06 I have been bitten. I am convinced I would have been bitten more without them. The most difficult aspect of their use is the protection zone they can provide. If you are walking, then the repellent vapour is trailing after you and not surrounding you. If there is wind, the repellent is blown away. In instances where you are not moving and there is wind, you need to put the device a few meters away from you and up-wind.

Some of the better results are for smaller or enclosed areas. Treating a tent, or a hammock net are idea uses. While on holiday, using it in a hotel or guest room works well.

Review Summary

The views expressed in this summary table are from the point of view of the reviewer’s personal use. I am not a member of the armed forces and cannot comment on its use beyond that covered in the review.

Something that might be a ‘pro’ for one user can be a ‘con’ for another, so the comments are categorised based on my requirements. You should consider all points and if they could be beneficial to you.

I’m trying something slightly different and starting with what doesn’t work so well, so I can finish on a more positive note.

_______________________________________________
What doesn’t work so well for me
_______________________________________________

No auto-off timer.

_______________________________________________
Things I like
_______________________________________________

Ultra-Portable compact outdoor insect repellent devices!
Double size repellent mats (and able to take two standard mats).
Versatile MOLLE mount system.
USB-C ports on both.
EMR05 can run from any power bank.
EMR06 can run/charge from any power bank.
EMR06 has a small built-in battery allowing 3 hours independent use.

 
Discussing the Review:
Something new – will it work? A Tactical Reviews Subreddit.
TacticalReviewsChat on Reddit
Please visit there and start/join the conversation.

Gear Review: Nitecore EMR10 EMR20

In this review of the Nitecore EMR10 and EMR20 portable mosquito repellers / powerbanks, we take a detailed look at all aspects of their performance and function.

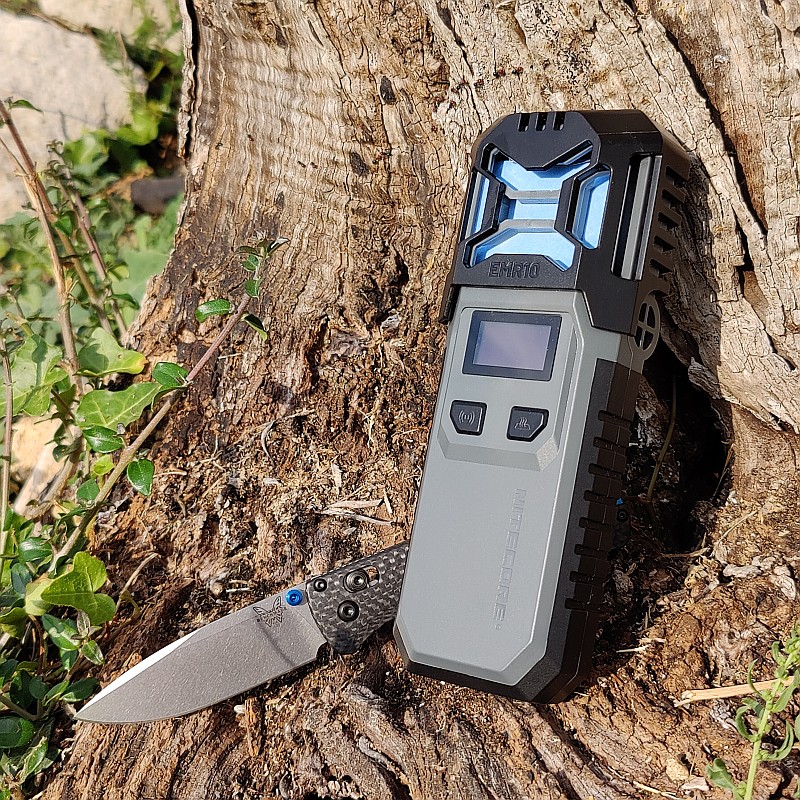
The EMR10 and EMR20 are two new devices from Nitecore combining portable insect repellers with a powerbank. The EMR10 has ultrasonic repellent, a repellent mat heater and a 10,000mAh powerbank, and the EMR20 is slightly smaller and simpler but without the ultrasonic function.

If, like me, you protect everyone else from mosquito bites, by being the one the mosquitoes make a beeline for, then you may be as pleased as I am to find the new Nitecore EMR10 and EMR20 portable insect repeller devices.

The thermal runtime graphs for these units are a first for Tactical reviews with the final graphs having 3500 manually entered data points!

Making his first appearance below is “Stoppo”, Tactical Reviews’ “don’t do that” guardian. Mosquitos beware, armed with the EMR units Stoppo says NO!

Review Videos

Starting with a short format sixty second review:


Onto a full video review covering many more details:


Looking closer at the EMR devices:

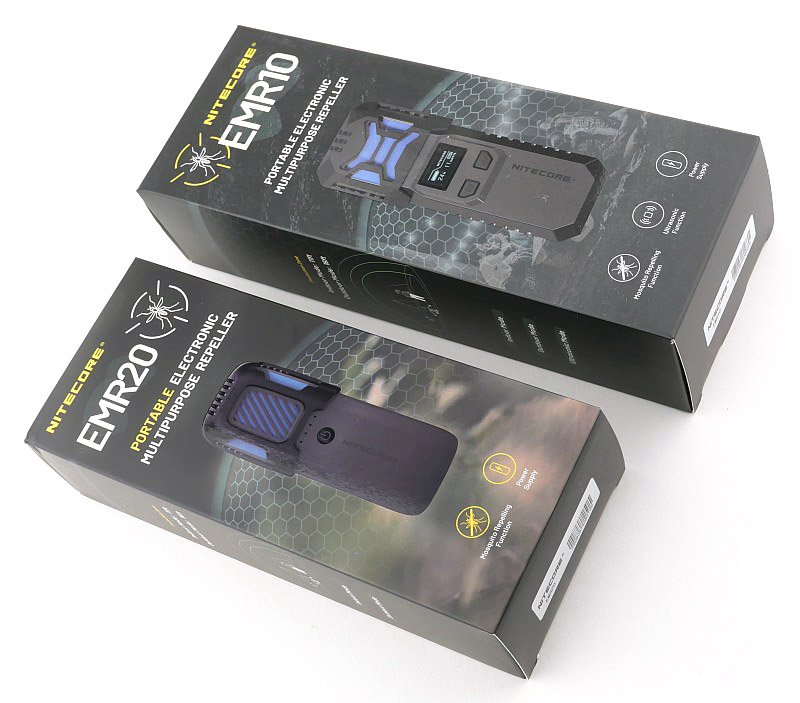
Both units boxed and unboxed, before we go into the finer detail.

What’s in the box – EMR10:
Along with the main unit are a charging cable, instructions and 10 of the double-size repellent mats.


A good look round the EMR10 – Things to look out for here are:
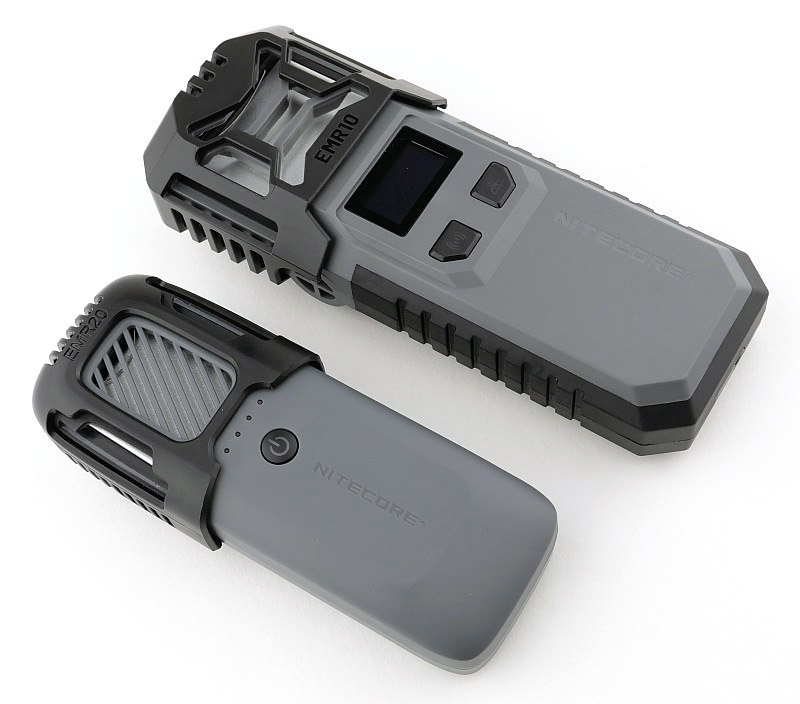
Of the two, it is a bigger and more feature packed unit, with the EMR10 there is a lot to see.
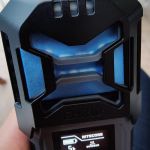
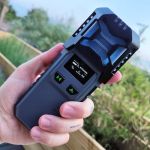
The OLED screen has a protector you need to take off. Notice the slider on the bottom, we’ll come back to that. Molded into the rubber section on the sides are some grip grooves. On each side are small ultrasonic speakers that emit a dual frequency repelling sound. On the back is a metal wire clip that is designed to work with MOLLE / PALS, pocket or belt use. The top has a USB-C port for charging and for use as a powerbank.
The repellent mat heater/holder has a retaining spring wire to keep the mat from falling out.
Then onto the EMR10’s biggest trick, the removable twin 21700 cells.


What’s in the box – EMR20:
Along with the main unit are a charging cable, instructions and 10 of the double-size repellent mats.


A good look round the EMR20 – Things to look out for here are:
The EMR20 is a smaller and simpler unit which has no grip texturing or screen. Instead it has a set of four indicator lights plus the power switch has dual coloured illumination. On the back is the same metal wire clip used by the EMR10 that is designed to work with MOLLE / PALS, pocket or belt use. The top has a USB-C port for charging and for use as a powerbank.
The repellent mat heater/holder has a retaining wire spring to keep the mat from falling out.


Batteries and output:

The following section is all the technical testing for both units. This includes temperature measurements for the repellent mat heater, plus power curves for charging each unit, and the powerbank output for each unit.

First up is the repellent mat heater output for both units. The test was carried out on the highest, ‘outdoor’ mode which takes the heater to the highest temperature.
The temperature measurement was taken by inserting a K-type thermocouple under a used mat to keep it pressed tightly against the heating plate and insulate it. Another ambient temperature thermometer was also recorded, making it three temperature measurements being monitored.
For this dual run I had to set a camera on time lapse photo to take a photo measurement every 30s. Unfortunately I had no computer logging so had to manually type each measurement – over 3500 of them!
The resulting graphs are very interesting. They show the temperature varying between an upper and lower limit. The EMR10 keeps the lower limit higher than the EMR20 and as a result uses more power and has a lower runtime. The graphs do speak for themselves, so take a bit of time to read these.
Also included are some thermal images of the EMRs during this test taken with a FLIR thermal camera.


The next gallery shows the USB input and output graphs for each unit. Charging graphs are from empty to full. The powerbank graphs show each unit charging a Oneplus phone on fast charging (9V output); they are not the full capacity of the powerbank, just to show the output characteristics which are excellent.

What it is like to use?

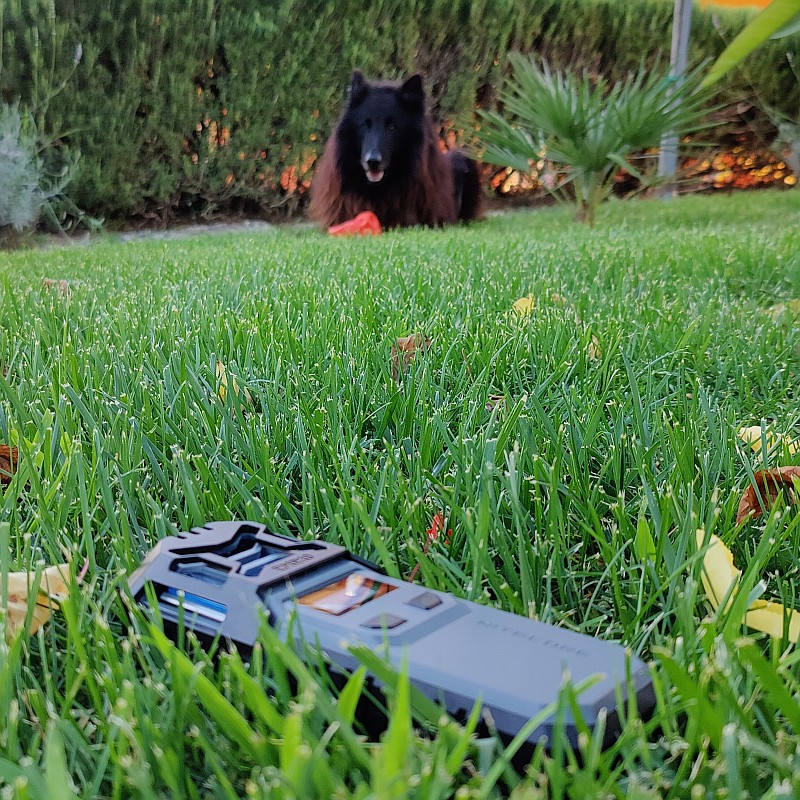
I want to start this section by introducing my very helpful assistant, Klaus. One of the things I was worried about with the EMR10’s ultrasonic repeller is if it would distress animals. Dog whistles are also ultrasonic (above human hearing range) so I needed to use the EMR10 around a dog to see what would happen. Not once did Klaus seem to react at all to the EMR10 negatively, or even pay any attention to it, so assuming he could hear it, it didn’t bother him. A good start.

Nitecore make and supply double size repellent mats. This is clearly the easiest way to load up the EMR10 and EMR20. It is possible to use two standard size mats instead giving you more flexibility.

You can see in one of the photos how the mats go almost white when the active ingredient has evaporated. The photo shows areas on the mat around the heat shielding that have gone white on this part used mat.

An observation relating to the EMR10’s display and capacity indication is that I’ve found the percentage show to not be accurate at all times. You can use the EMR10 while it is on charge. While doing this, the battery percentage always stays lower than it really is. You can see the input power as well on the screen and as this gets closer to being fully charged, the input watts gets lower and lower (the example here shows 10W input) but the percentage charge indicates it is much lower than it really is. Once you turn off the EMR10 it recovers and corrects itself. Just something to be aware of and I suspect relates to the charge percentage being based on the cell voltage which will of course be lower while the repeller is turned on.

I’ve been using both the EMR10 and EMR20 in a variety of indoor and outdoor locations carried separately or clipped onto a bag.


So how did they do?

Firstly, with me being apparently the finest of dining for mosquitos, if they are determined enough, you will still get bitten; I did. I’ve been bitten when covered in deet, so using repellent mats outdoors might deter some, but is not absolute protection.

It is not at all possible to properly measure the effectiveness of these repellers as the number of bites will also depend on the time, temperature, and hatching of the insects, so this can be impressions only.

Assuming the mats themselves are effective, I have been aware of the aroma coming from the mats. Considering this is outdoors, that is reassuring. Effectiveness is so subject to wind direction and strength, so you might not actually have any cover of the repellent and insects might reach you undeterred. Where the EMR10 has another string to its bow, is the ultrasonic repeller. The ultrasonic won’t be affected by wind, but having no active ingredient, it again relies on the mosquitos not being determined to bite.

NOTES on the repellent mats:

There are a few different active ingredients used in repellent mats, and these are also frequently in combination with Piperonyl butoxide. Prallethrin, Transfluthrin and D-Allethrin are the most common with Nitecore’s MRM10 Mosquito Repellent Mats using Prallethrin.

Piperonyl butoxide (PBO) is a man-made pesticide synergist. By itself, PBO is not designed to harm insects. Instead, it works with bug killers to increase their effectiveness. PBO is often combined with natural pyrethrins or man-made pyrethroids. It has been used in pesticide products since the 1950s, when it was first registered in the United States.

A repellent mat needs to be changed when it turns white. You can use Repellent Mats for a shorter period of time than the manufacture specifies and they will still be just as effective. However, if there is going to be several days between usages, you might want to keep the mats in their foil packaging or in a sealed plastic bag between uses.

Having used them a lot, the one feature I wish they had was an auto-off timer. Once you turn on either one of them, they will run until the battery is flat or you turn it off. I found that treating at critical times was more important than all night and I would have preferred to be able to fall sleep with the repeller turning itself off after an hour or two and leaving power to run on another night. On this subject, the EMR10 allows you to either only run on one of the 21700 cells, or carry spares.

The clip has a one-way design where it fits on much more easily than taking it off. Good for not losing it, but on occasion puts up a bit of a fight to take it off, especially from MOLLE more than from a pocket.

Initially I was dubious about how much I would want to use the powerbank function when I want the power for insect repelling. But, after travelling by air a few times with these devices, the use comes from having a powerbank to use on the plane, and once getting to where I really need the repeller, then recharge and only use it for the repellent. So like this, the two functions allow for infrequent use as a powerbank while travelling, but then change to only using them as repellers when not travelling.

While using the EMR10 and EMR20 I have been bitten. I am convinced I would have been bitten more without them. The most difficult aspect of their use is the protection zone they can provide. If you are walking, then the repellent vapour is trailing after you and not surrounding you. If there is wind, the repellent is blown away. In instances where you are not moving and there is wind, you need to put the device a few meters away from you and up-wind.

Some of the better results are for smaller or enclosed areas. Treating a tent, or a hammock net are idea uses. While on holiday, using it in a hotel or guest room works well.

Review Summary

The views expressed in this summary table are from the point of view of the reviewer’s personal use. I am not a member of the armed forces and cannot comment on its use beyond that covered in the review.

Something that might be a ‘pro’ for one user can be a ‘con’ for another, so the comments are categorised based on my requirements. You should consider all points and if they could be beneficial to you.

I’m trying something slightly different and starting with what doesn’t work so well, so I can finish on a more positive note.

_______________________________________________
What doesn’t work so well for me
_______________________________________________

No auto-off timer.
Clip can be awkward to remove.
USB-C port cover needs a firm hand to get it out of the way.

_______________________________________________
Things I like
_______________________________________________

Portable outdoor insect repellent device!!!
Double size repellent mats (and able to take two standard mats).
Powerbank function with rapid charge 9V output supported.
Up to 18W input power when charging.
Indoor and Outdoor modes.
Secure one-way clip.
EMR10 has replaceable cells.
EMR10 can run on one 21700 cell.
EMR10 OLED display is informative.
EMR10 also has an ultrasonic repellent.
Removable secondary heat shield.

 
Discussing the Review:
The ideal place to discuss this review is on the Tactical Reviews Facebook Page
Please visit there and start/join the conversation.

Gear Review: EDS II Screwdriver and EDC Wrench from BIGiDESIGN

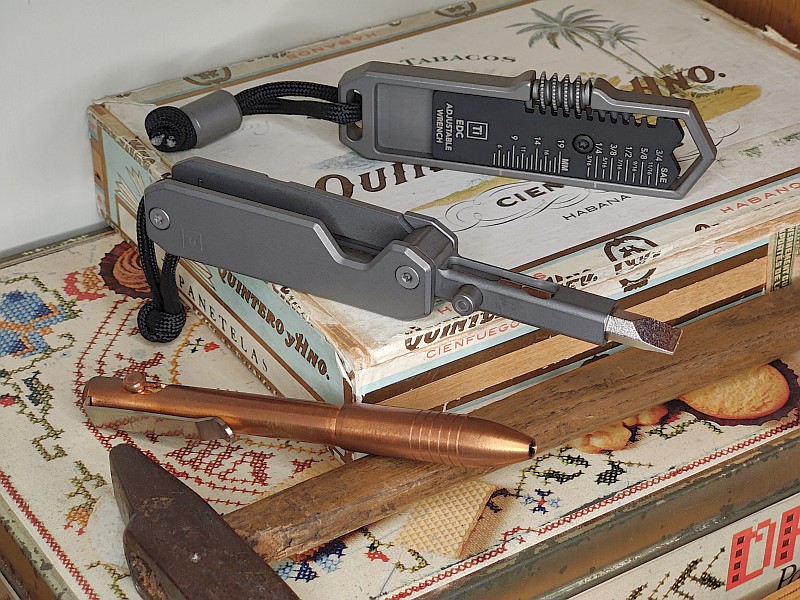
BIGiDESIGN is producing so many awesome EDC tools, and in this review we are taking a detailed look at the BIGiDESIGN EDS II, the second, updated version of their unique Everyday Screwdriver, along with the BIGiDESIGN EDC Wrench a reimagining of an antique Swedish adjustable wrench.

Their original EDS, Everyday Screwdriver, was probably the first BIGiDESIGN product that I saw, and since then I bought their bolt action pen, a design that ingeniously adjusts to take most ballpoint refills on the market. Now I’ve been able to partner up the Bolt Action pen with the EDS II and EDC wrench making for an incredible EDC setup.

Video Overview

In this video we take a good look at a couple of lovely EDC gear designs from BIGiDESIGN. The EDS II, the second, updated version of their unique Everyday Screwdriver, along with the EDC Wrench, a small unique pocket friendly adjustable wrench.


What’s in the box; Part 1 the EDS II?:
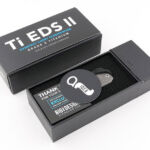
For the three BIGiDESIGN products I have, the packaging follows the same layout. A slide out tray which has a compartment at one end that contains spares.


A good look round the EDS II – Things to look out for here are:
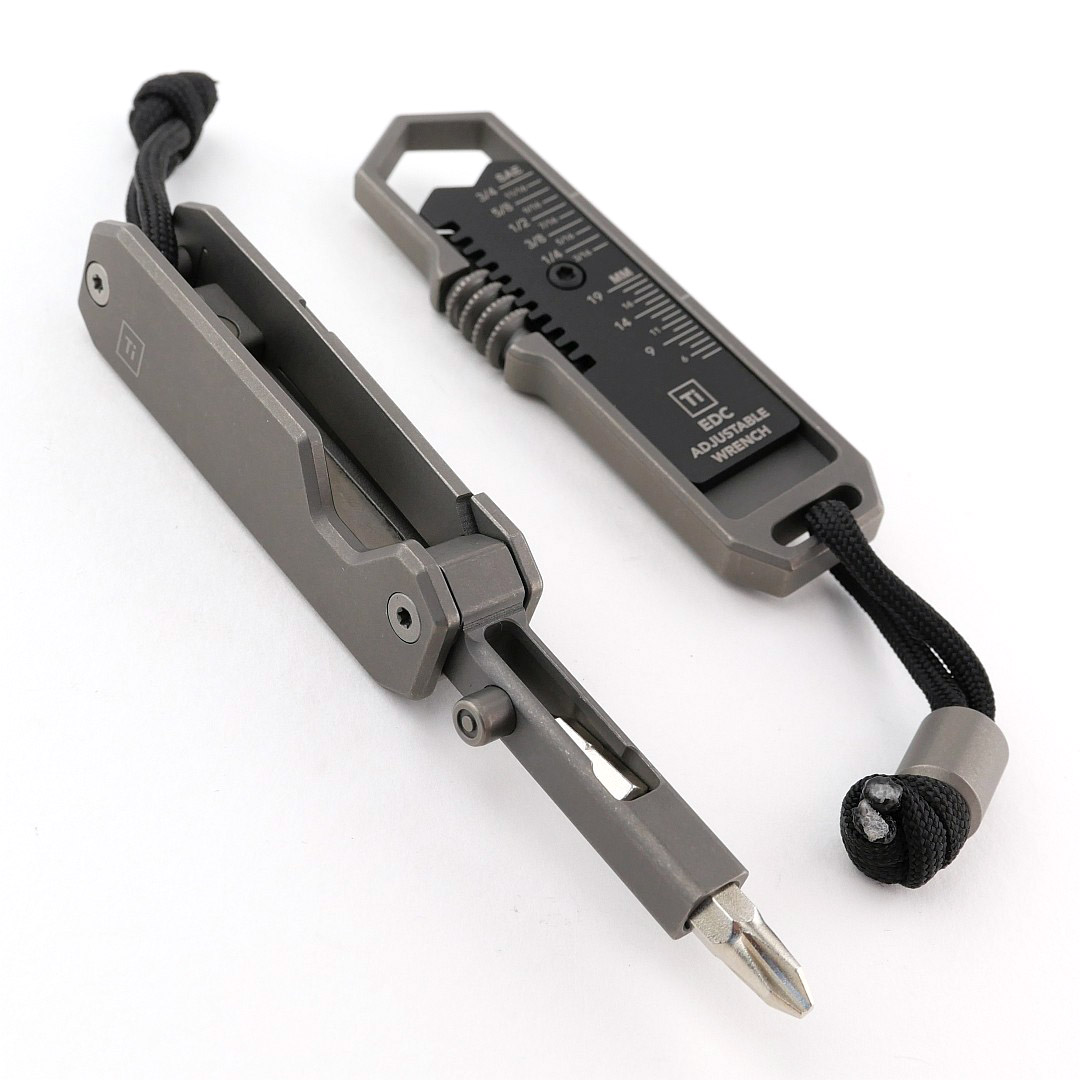
Overall layout of the EDS II is of an integral lock folding knife, but with a bit holder instead of a blade. A single thumb stud means this easier for a right-handed user. Explained in more detail in the video, there is a stop pin that both stops the bit holder arm in the right position when open, and also stops the spare bits sliding out of the front of the storage slot. The other end of the spare bit storage slot has a sprung ball to keep the bits in place. The integral lock action is easy to see as the bit holder is unfolded. Several magnets are used for keeping the spare bits in place and the main bit holder folded. In the EDS II an additional spare bit holder has been integrated into the lower section of bit holder arm. A total of four bits can be carried within the EDS II.


What’s in the box; Part 2 the EDC Wrench?:
Again, following the format of the other BIGiDESIGN products I have, the box has a slide out tray which includes a compartment at one end that contains spares.


A good look round the EDC Wrench – Things to look out for here are:
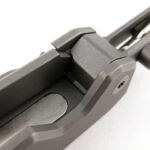
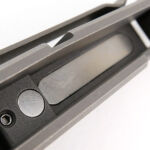
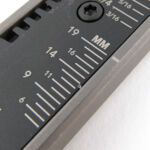
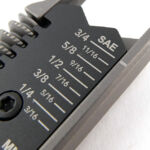
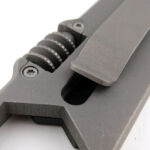
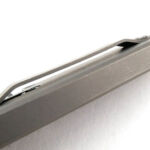
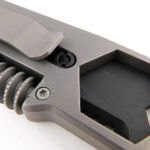
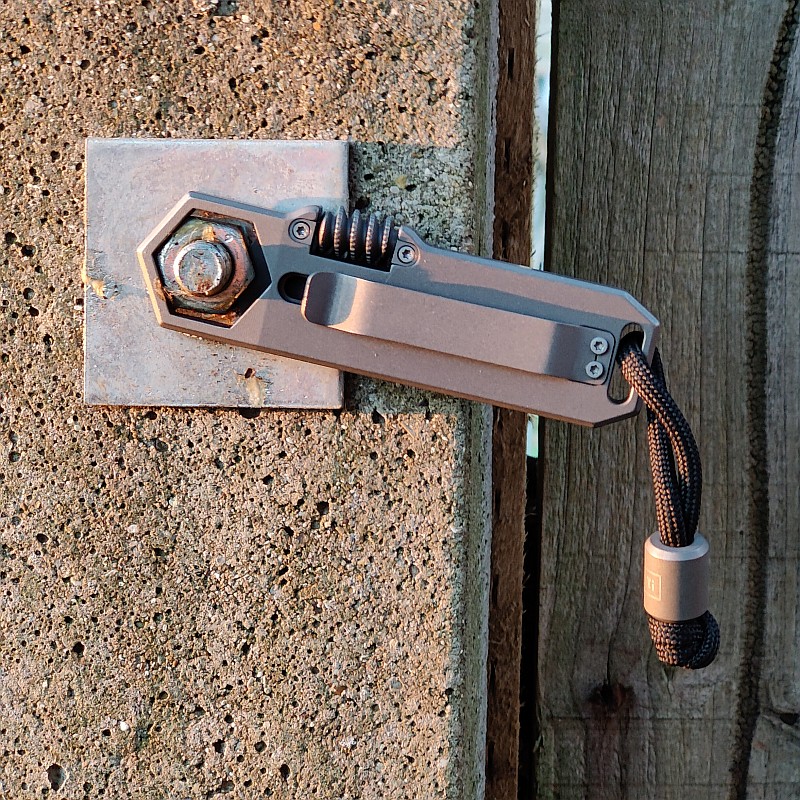
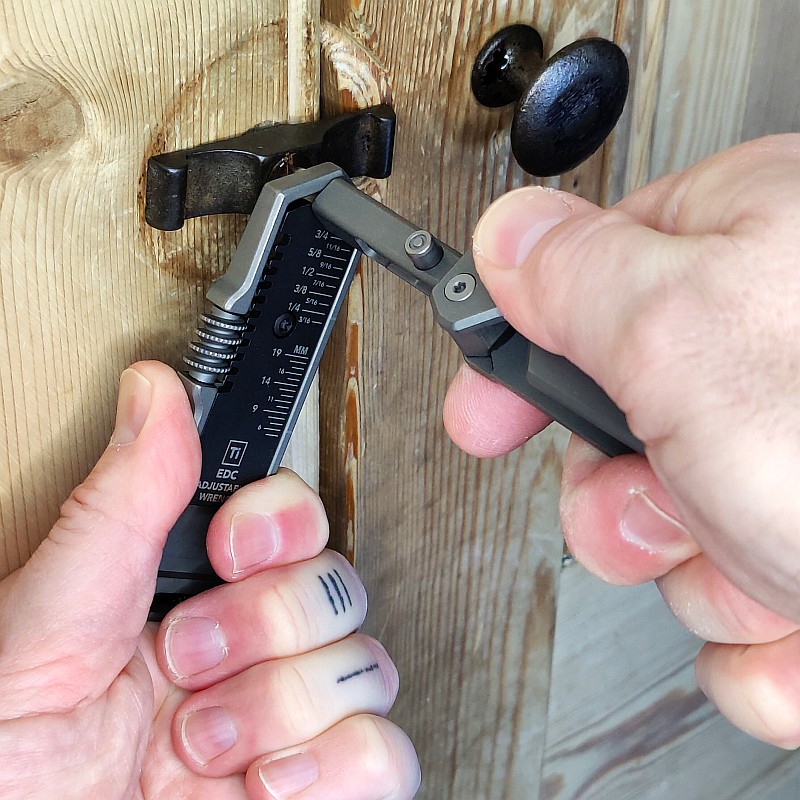
A reimagining of an old Swedish design, there is a sliding adjuster moved by a worm screw. BIGiDESIGN have added both a metric and imperial scale for setting the wrench ready to use. A low profile clip is fitted to the back and the EDC Wrench also includes a Ti bead on the lanyard. You can just see the slider retainer under the clip.


What it is like to use?

BIGiDESIGN have done something really special with the EDS, and now this updated EDS II, and given you not only a new experience of using and carrying a screwdriver, but one that is very practical as well.
It is not the smallest EDC bit holder available, nor does it include a ratchet, but instead it gives you a highly usable screwdriver with integrated bit storage for a total of four bits without needing anything else.
Having a swing-out bit holder extension arm, the EDS unfolds to a very practical conventional structure of handle, shank, and bit, so compared to many other small EDC screwdrivers it gives you a more usable tool.

That genius part of the design is mimicking an integral lock folding knife, having a thumb stud to swing the bit holder arm out of the folded position for one-handed operation. So satisfying to use!

However there is a little observation to note about how easy or difficult it is to open the EDS II. The arm’s retention in the folded position is due to a magnet in the body grabbing the bit that is in the bit holder. As you use the EDS II and swap bits around, you will find that a bigger bit, like the full size flat bit, is held by the magnet more firmly, so firmly it becomes very difficult to open using the thumb stud. Put a smaller bit into the holder and it becomes much easier to open again. So the bit you leave in the main bit holder arm changes the ease of opening the EDS II. I would have preferred that the arm retention was a detent (like a knife would use) or that the thumb stud had a bigger cut-out round it allowing more contact and an easier open.


Onto the partner tool here and the EDC Wrench, an infinitely more pocket friendly design than a standard adjustable wrench, there was one big flip for me, literally, in how I envisaged using it before actually getting my hands on one. That is the fact that with the adjustable slider being very much on one side of the tool, to use it and make contact with the nut, you have to flip it over so the ‘front’ of the tool is away from you (pocket clip towards you). Like this you can’t see the scale, and initially it just felt a bit odd, but is just how it works. Even with larger nuts, all except the very largest, you need to use it this way round.

Being a ring spanner, you do have to be able to pass the ring over the end of the job onto the nut, so can’t be used for certain jobs. If you hit those limits though, it is less likely an EDC type of job, so then you bring out the full size tools. Know the limits of your tools and don’t abuse them and you’ll get along just fine.


Talking of limits, and pushing them, the EDS II and EDC Wrench can nicely partner up for a bit more screw driving torque. There is just enough of the 1/4″ hexagonal bit showing to use the EDC Wrench to grip this and boost the turning force for stubborn screws. Not always possible, but if you have the space, this can save you having to go for bigger tools. In this case the EDC Wrench is used with the slider facing you as it needs to be this way round to grip that small section of the hex bit.

Both of these beautiful EDC tools are made from grade 5 titanium alloy and punch well above their weight, even more so together.


Review Summary

The views expressed in this summary table are from the point of view of the reviewer’s personal use. I am not a member of the armed forces and cannot comment on its use beyond that covered in the review.

Something that might be a ‘pro’ for one user can be a ‘con’ for another, so the comments are categorised based on my requirements. You should consider all points and if they could be beneficial to you.

_______________________________________________
What doesn’t work so well for me
_______________________________________________

EDS II – Difficult to open with larger bits installed.
EDS II – Thumb stud a bit too recessed.
EDC Wrench – Ring spanner design slightly restrictive.
EDC Wrench – Need to use with the slider away from you.

_______________________________________________
Things I like
_______________________________________________

EDS II – One-Handed Operation.
EDS II – Integral Frame-Lock Mechanism.
EDS II – Deep carry Pocket Clip.
EDS II – Uses any 1/4″ hex bit.
EDS II – Integral storage for four bits.
EDS II – 100% metal construction.
EDC Wrench – Infinitely adjustable.
EDC Wrench – SAE 3/16 – 3/4 in.
EDC Wrench – Metric 5 – 19 mm.
EDC Wrench – Solid Titanium Construction.
EDC Wrench – Removable Pocket Clip.

 
Discussing the Review:
The ideal place to discuss this review is on the Tactical Reviews Facebook Page
Please visit there and start/join the conversation.

Gear Review: Mjolnir III by Ostap Hel Knives

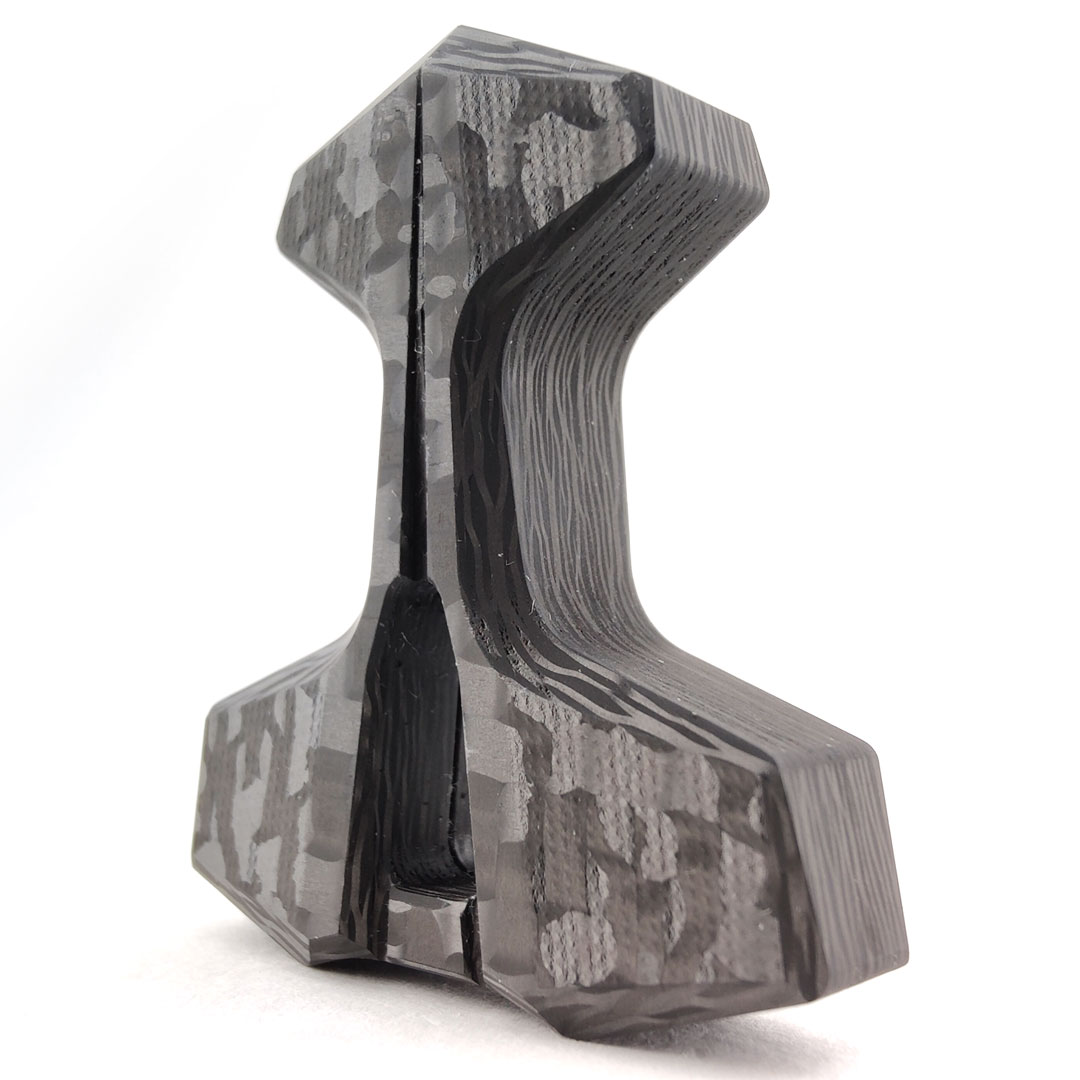
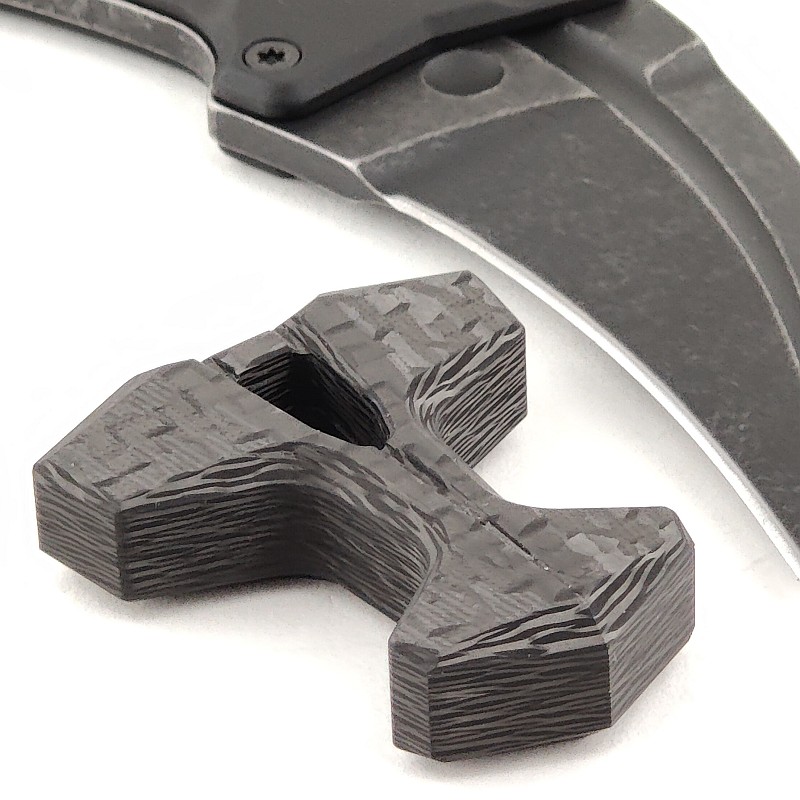
When it comes to EDC pocket jewellery, nothing beats a hand-made custom piece, and I’ve had my eye on the Mjolnir from Ostap Hel Knives for some time. Yes, Mjolnir is Thor’s hammer, and being capable of a knockout blow is very appropriate association, but of course the shape of Ostap’s Mjolnir is also like the old Norse symbols.
Join me in this review of the Mjolnir III from Ostap Hel Knives, the featured version is in carbon fibre.

Video Overview

This video is a detailed look at the Mjolnir III, and hopefully you can get a good feel for the quality of finish.


What it is like to use?
Without saying exactly how you might use the Mjolnir III (due to some more negative connotations), it is both EDC pocket jewellery and a self-defence aid.

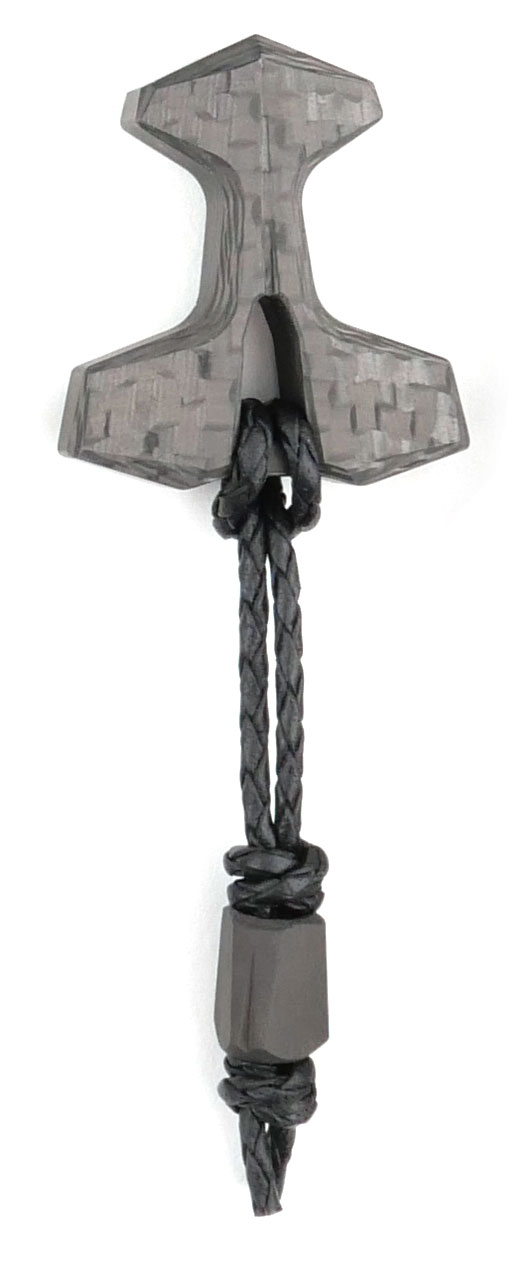
The intended configuration for carrying the Mjolnir III is on its own with a lanyard, added for ease of getting it into your hand when needed. Shown here, it has the matching lanyard from Ostap Hel Knives which has a CF bead on the cord. With the CF version being so light, it has minimal pocket presence so can also feel a little difficult to home in on. So…

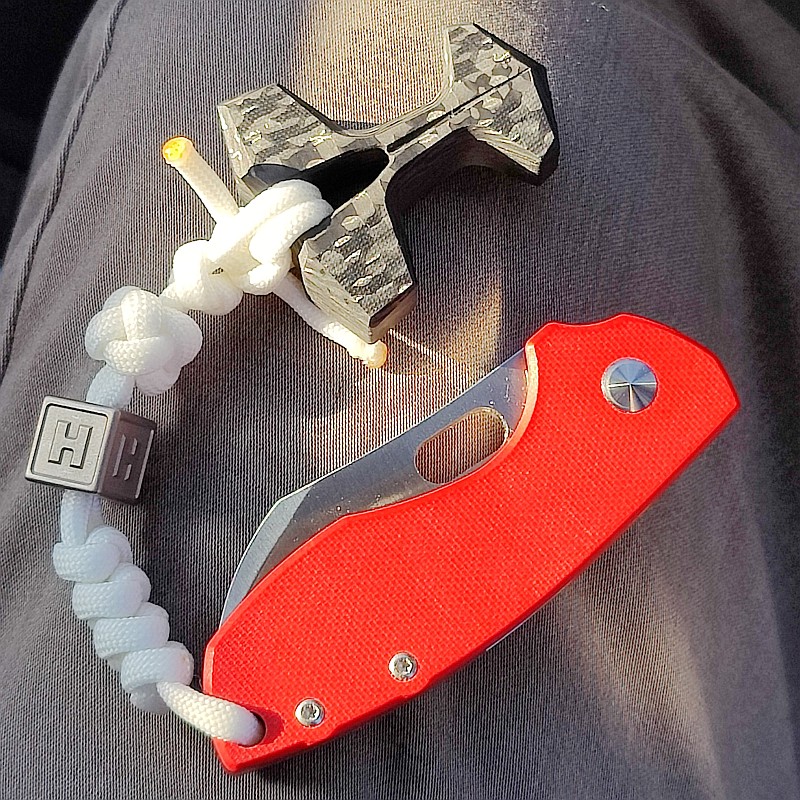
…picking up on the fact it has felt a little ‘detached’ from easily finding the CF Mjolnir III in my pocket, I wanted to try something a bit different and out there, and fit it as a lanyard stopper on another EDC item. In this case a slip-joint knife which already had a longish lanyard on it.
In this way, the knife provides the weight for easily finding it, and the Mjolnir III makes a fantastic ‘puller’ for getting the knife to hand, but also for then ease of getting the Mjolnir III into your hand.
Reversing the sense that the Mjolnir III is the lanyard stopper round to the knife being the lanyard stopper, and you can either allow the knife to hang out to the side, or take it into you palm while gripping the Mjolnir III between your fingers.
You can experiment with the lanyard length to see how it might work for you if you try this approach. Here the loose ends of the paracord are not yet woven into the lanyard to more easily allow adjustments before making the final configuration.
It has worked for me, it might work for you; try it before completely dismissing the idea.

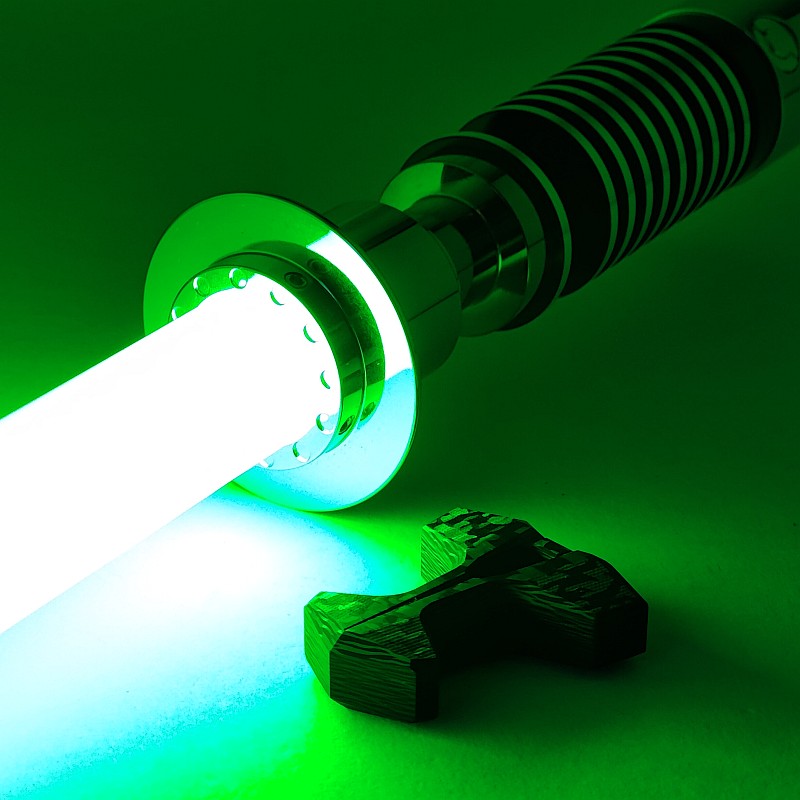
Regardless of how you choose to carry it, the Mjolnir III is a pleasure to handle and carry. Despite there being no moving parts, it can be a worry-stone or fidget toy, as well as having an actual serious purpose – definitely worth the investment in a quality piece.


Review Summary

The views expressed in this summary table are from the point of view of the reviewer’s personal use. I am not a member of the armed forces and cannot comment on its use beyond that covered in the review.

Something that might be a ‘pro’ for one user can be a ‘con’ for another, so the comments are categorised based on my requirements. You should consider all points and if they could be beneficial to you.

I’m trying something slightly different and starting with what doesn’t work so well, so I can finish on a more positive note.

_______________________________________________
What doesn’t work so well for me
_______________________________________________

What is not to like?

_______________________________________________
Things I like
_______________________________________________

Beautifully crafted.
Choice of materials.
Easy to carry.
Might make all the difference in a tight situation.
Low profile.
Thor’s hammer in your pocket.

 
Discussing the Review:
The ideal place to discuss this review is on the Tactical Reviews Facebook Page
Please visit there and start/join the conversation.

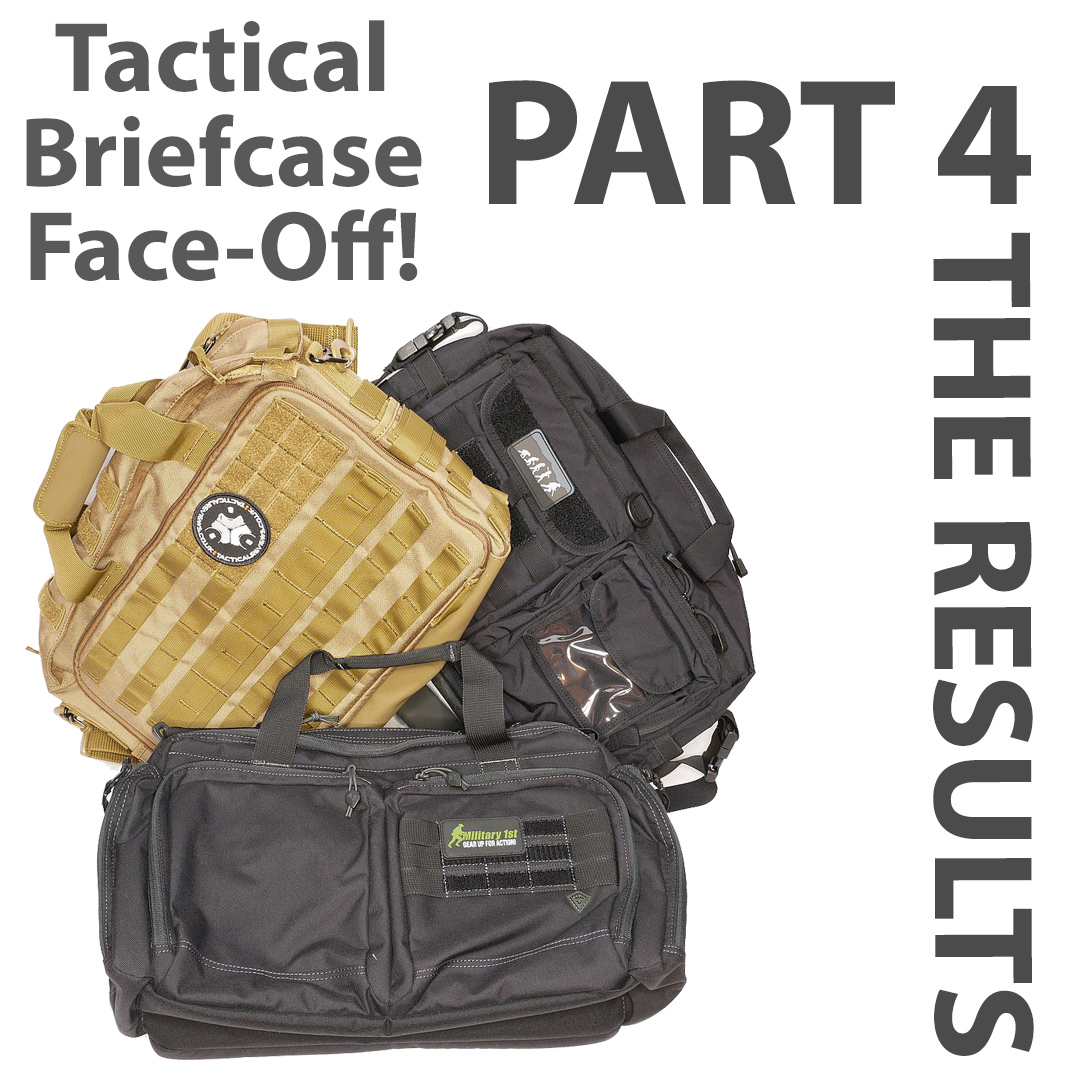
Tactical Briefcase Face-Off Part 4: The Results

Part 4 of the Tactical Briefcase Face-Off is all about the results! All three Tactical Briefcases in the Tactical Briefcase Face-Off series came from Military 1st who I’ve been buying from for many years.
This series of reviews was originally planned to be a single group review, but has evolved into something much larger as I used each of them for EDC, lived with them, got to know them well, and more and more needed to be shown. In parts 1-3, each of the three Tactical Briefcases (First Tactical Executive Briefcase, Hazard 4 Ditch Bail Out Bag and Condor Metropolis Briefcase) has been shown in detail, and now in Part 4, it all comes together to explain how I got on with each one and their strengths and weaknesses.

Part 1, featuring the First Tactical Executive Briefcase can be seen here.
Part 2, featuring the Hazard 4 Ditch Bail Out Bag can be seen here.
Part 3, featuring the Condor Metropolis Briefcase can be seen here.

The video tour of all three Tactical Briefcases:
In case you haven’t seen the video overview on Tactical Review’s youtube channel, here it is. This video covers all three of the bags.


Part 1 – The First Tactical Executive Briefcase:
The story of this Tactical Briefcase Face-Off series of tests starts with the bag in Part 1, the First Tactical Executive Briefcase.
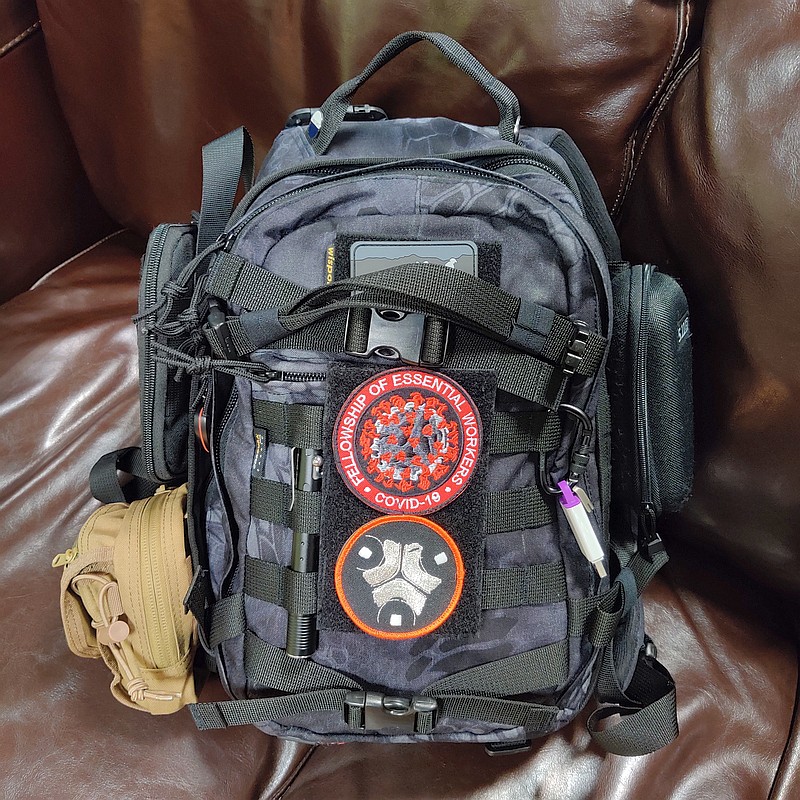
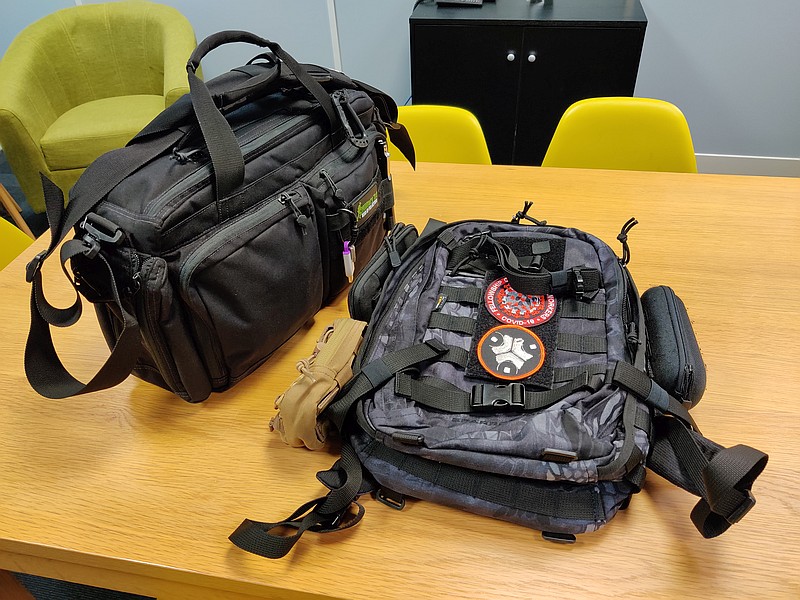
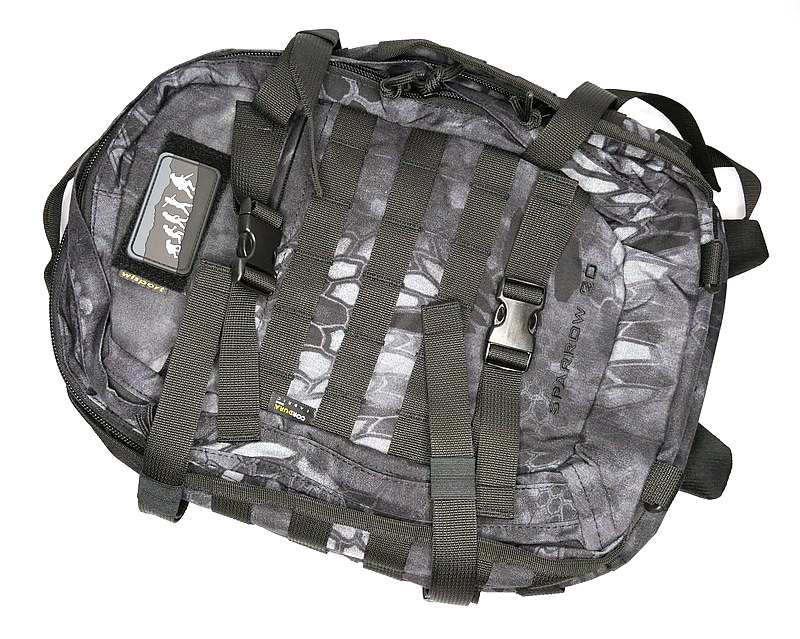
These briefcases all have to follow in the footsteps of my established 20l EDC backpack. Over the years, this 20l class of backpack has fitted in nicely with my EDC needs, and the most recent of these being the Wisport Sparrow 20 (also reviewed here).

Taking this as my optimum starting point, all the Tactical Briefcases would need to measure up in terms of capacity, storage and function.
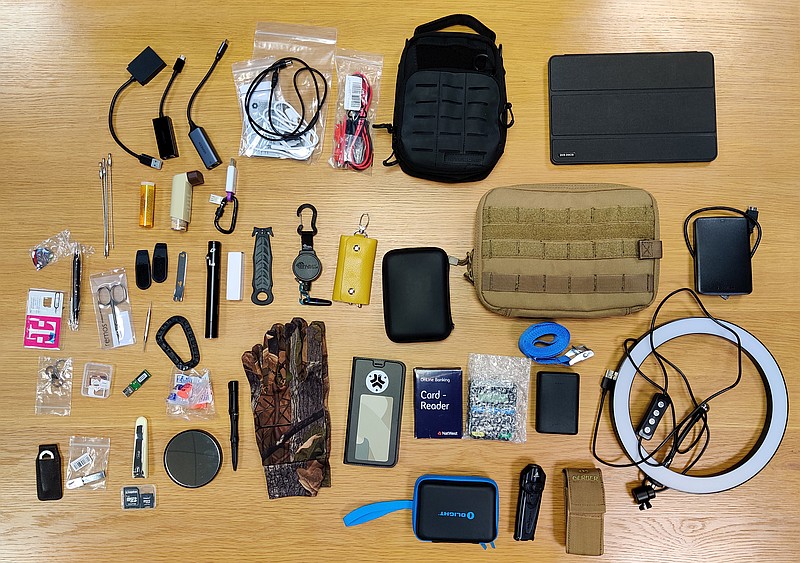
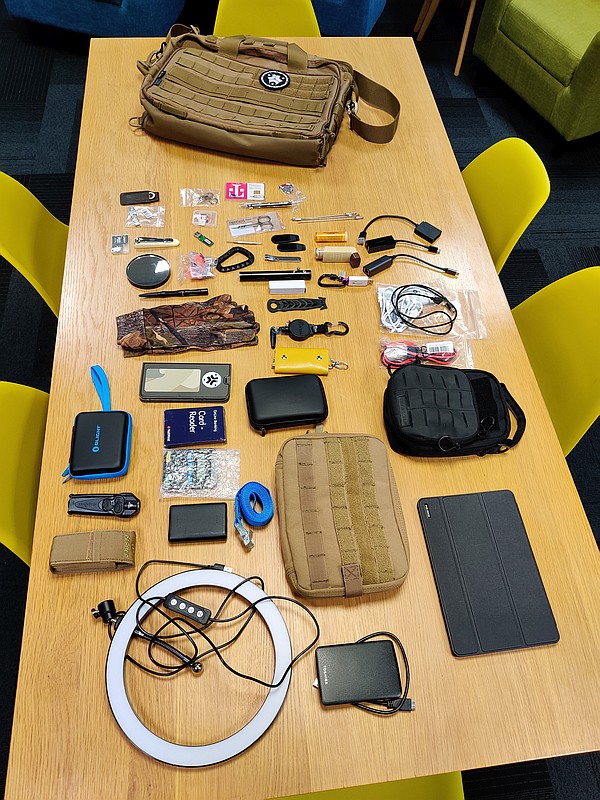
We all carry a variety of gear, and I just went with what I actually do EDC rather then contriving a test. Laying it all out ready to move over to the First Tactical bag, this is what I currently carry, and I’m not even going into the contents of the two organiser pouches in there.

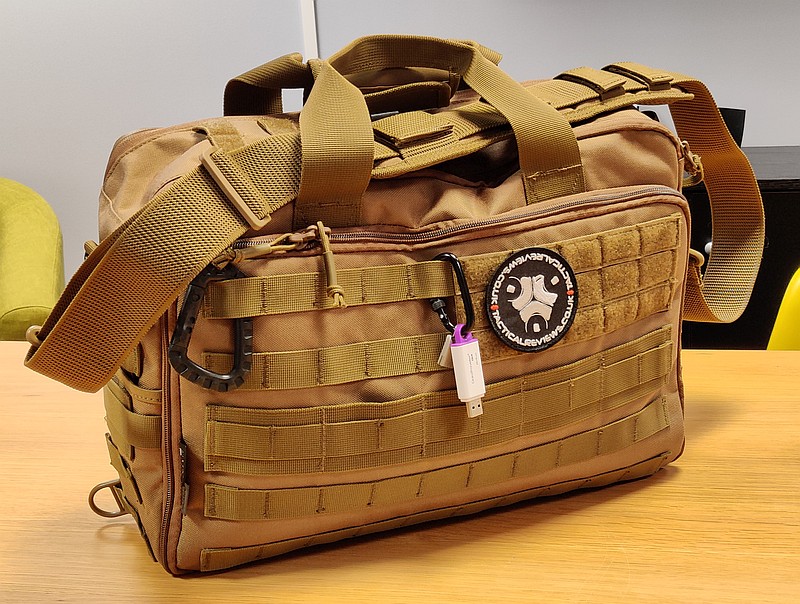
So it’s all moved over, and there is room to spare, an easy and straightforward bag move; immediately feeling comfortable and reassured the bag will stand up to use.

Then I EDCed this bag for two weeks before considering a swap to the next.
At this stage where I didn’t have any comparison of using the other bags, I could only consider the first impressions of this one on its own. Sturdy and comfortable would be the words that come to mind. The well padded strap made carrying it very easy despite now having only a single strap compared to a backpack with two. The strap is also super stable, and doesn’t slip off the shoulder thanks to the rubberised grip-strips on the strap pad. On the floor it is nice and stable in the upright position, and the double-zipped top flap makes for very easy access to the main compartment, just make sure you put the most needed items near the front of the compartment.
The well made handles also add to the sturdy feel of the bag and when carrying with the handles they feel very strong. I keep a 10″ tablet in the laptop section rather than a laptop, and this only needs one side of the padded section, easily accessible with the twin zip.
With all the compartments using zip closures, noise levels are low when getting bits and pieces out, although when carrying it is prone to a bit of strap buckle squeaking from the swivels.
A strong start to the face-off series.

Part 2 – The Hazard 4 Ditch Bail Out Bag:
Hazard 4, oh Hazard 4, I do like Hazard 4 quality, so wanted this to be my favourite. I always try not to allow any bias into my assessment of gear, so had to have strong words with myself on how I was going to view this one.
Of the three, the Hazard 4 was the only one not to come with a shoulder strap. I understand why, but actually don’t think it is right that it doesn’t, considering the price point. There isn’t much choice in matching shoulder straps, really only two, the one on test, and a version with additional stabilisation strap that clips onto another loop on the bag. As a separate item, the strap is however of a quality that justifies it being an item itself, and not something made to fit within the overall pricing.
The use of a different fabric on the bottom that is waterproof and wipeable is a great touch and gives the impression this bag will definitely go on and on.

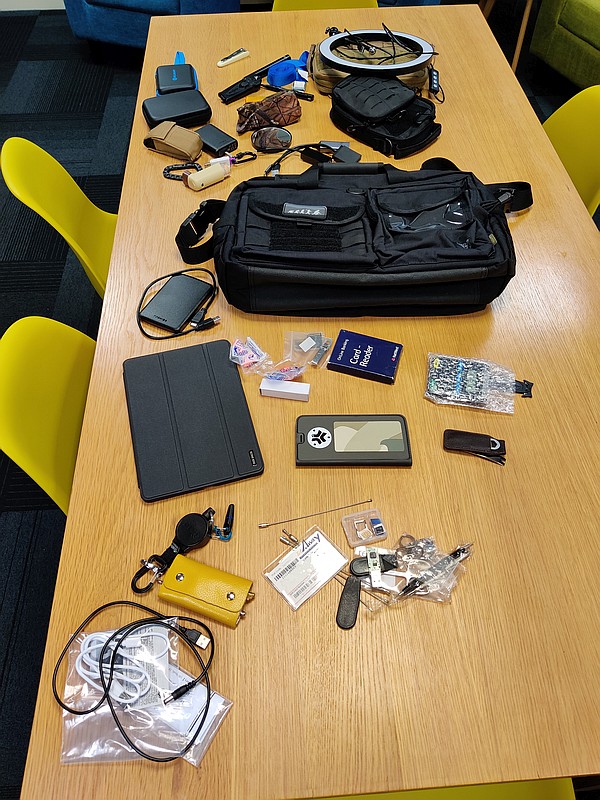
On swap-over day; laying out everything ready to move it over.

Slightly surprisingly, it was a bit more of a challenge to fit everything in, with the bag developing a bulge on the admin panel side. This, combined with the padded laptop compartment on the opposite side being quite rigid and stiff, gave the bag an imbalance and it seems to want to topple over rather than sit upright. This tendency continued throughout the fortnight it was in the EDC rotation, and was somewhat annoying. It was as if the laptop section was a bit too big for the side of the bag, which also impacts on the carrying capacity.

Reliability was never in question, and the strap made it comfortable to carry. Both because the contents seemed to fill it more, and the lack of capacity to take any top-up EDC items, made it appear smaller than the First Tactical bag. This was also noticeable while carrying it; I did not knock into door frames or walls with it (as much), so carry was easier, and more streamlined.
With the admin panel being the whole side, instead of a couple of smaller pockets, it was not as easy or convenient taking out a few bits a pieces. It would be more suited to a kit of items where you need to see them all at once to pick the one you want.
The main compartment however was very usable, with the internal end pockets, pockets on one side and a versatile webbing panel on the other. Access is quick and easy with the lightweight double-zip flap top.

Part 3 – The Condor Metropolis Briefcase:
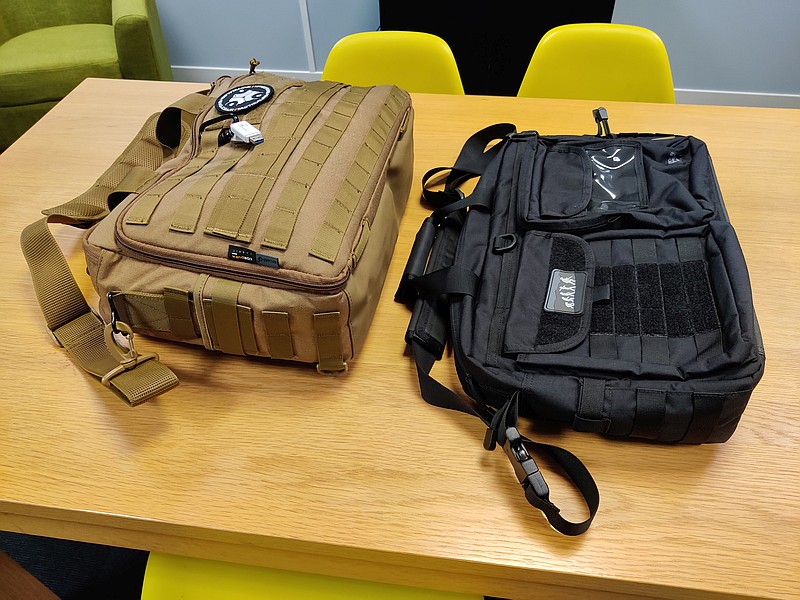
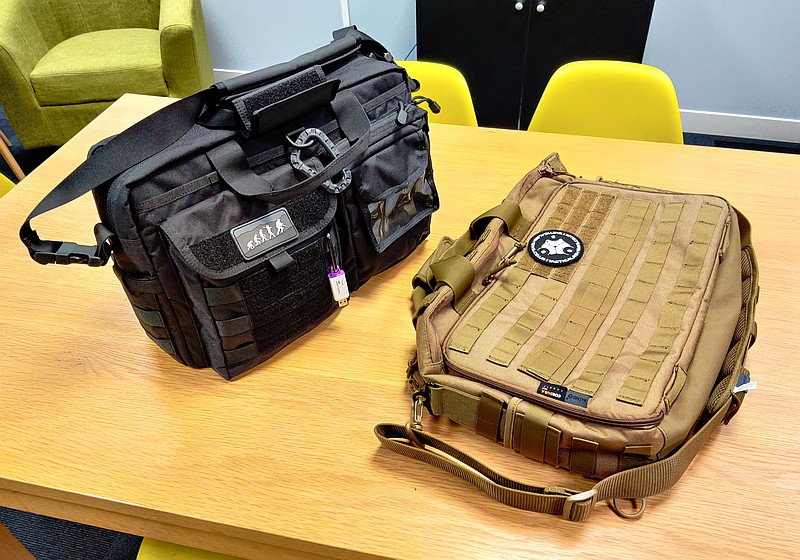
And the transfer day for the last bag in this series after two weeks with the Hazard 4 – the Condor Metropolis Briefcase. A quick pre-transfer comparison, with the Condor looking like it might be quite similar in capacity to the Hazard 4.

Ready to start packing everything away to get it to all fit in the right way for my regular needs. By this stage I was finding that it is quite a challenge to keep reorganising gear you use all the time after having just got more or less used to where it was in the previous bag. The different pouches, pockets, sections make you rethink where things need to go.

The Condor had no issues accommodating everything without bulges or struggling at all and it is sits upright happily on the floor. The sharp eyed might have spotted in the bag contents there is a large admin pouch in coyote, and this is a Condor too.
In this bag, more Velcro closures are used than the previous two. When in the workplace, ripping these open does make quite a bit of noise and attracts attention. Velcro also has the tendency that once you take one thing out, if the flap falls closed by itself, you then have to rip it open yet again to get item two out. One of the front pockets does have a zip for part of its compartment, but then Velcro for the other part, and the second front pocket is fully Velcro.
Access to the main compartment in this bag is via a single zip requiring you to ‘dig’ a bit more to find things as the compartment is not as openly presented as those with a double-zip flap opening.
The main compartment having only two mesh pockets is simple in structure. Mesh pockets don’t provide much protection for what is in them, or what is on the main compartment, but the mesh does mean it is really easy to see what is in which pocket without a rummage. It really depends on what you carry for how well they suit your needs. In my case I have several items that partially poke through the mesh if I’m not careful.
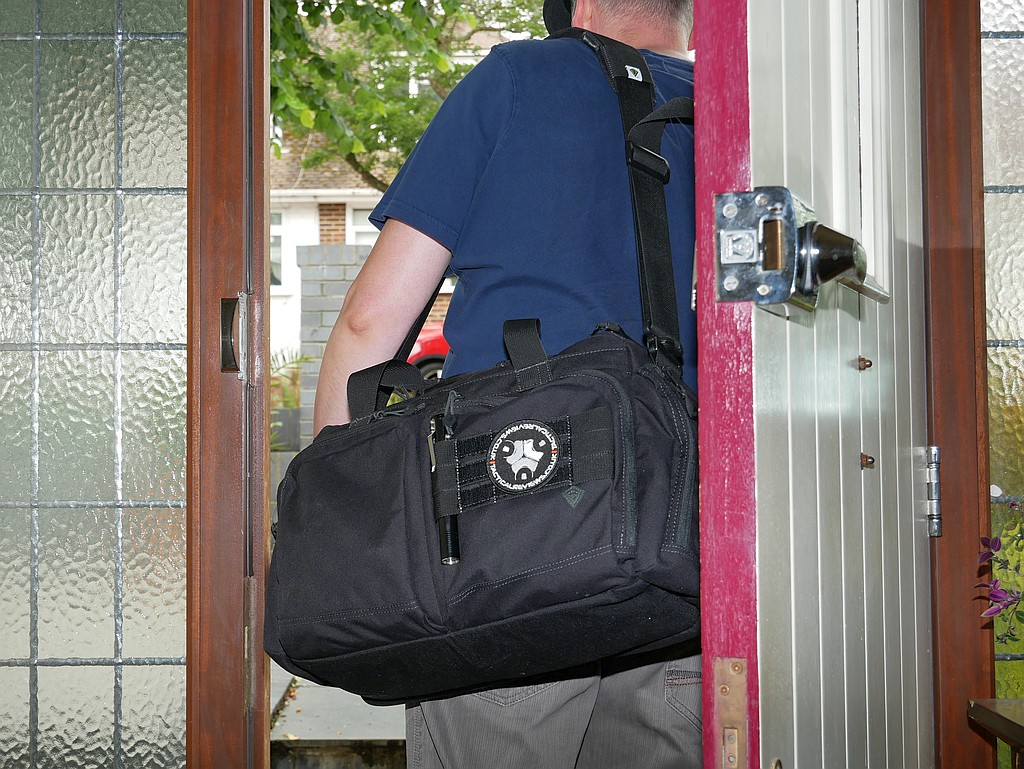
For the first time in this series, I noticed some discomfort with the shoulder strap, but remember I do have this loaded up and the pouches I carry contain many tools, so can be pushing 10kg. With a slightly lighter load this would not be an issue.

And I was wrong:

After using all three bags, I was convinced that there was a big difference in their empty weight. I was clearly wrong, with this quick gallery of using luggage scales to weigh all of them. So it was purely an impression based on structure, build and materials. (These are in the same order as the previous parts, so it is the Condor that is a touch lighter.)


Review Summary
And here we are now, where having used each of these three bags for a minimum of two weeks EDC, and looked at them in detail, I can come to a conclusion. The conclusion I can come to is only for my own EDC, as our choice of EDC is entirely personal.
On the way to reaching this point I hope to have given you enough information to find one that would suit your needs, with the video tour, individual detailed feature reviews, and the comments and impressions I’ve described earlier in this part of the face-off.

The views expressed in this summary table are from the point of view of the reviewer’s personal use. I am not a member of the armed forces and cannot comment on its use beyond that covered in the review.

Something that might be a ‘pro’ for one user can be a ‘con’ for another, so the comments are categorised based on my requirements. You should consider all points and if they could be beneficial to you.

_______________________________________________
What doesn’t work so well for me
_______________________________________________

First Tactical – Can seem a bit big.
First Tactical – Strap squeaks a little when walking if heavily loaded.
Hazard 4 – A bit unbalanced and tending to topple over on the floor.
Hazard 4 – Strap needs to be purchased separately.
Condor – Main compartment access restricted by single zip opening.
Condor – Strap has less padding so is not as comfortable with heavy load.

_______________________________________________
Things I like
_______________________________________________

First Tactical – Easily has room for additional top-up items.
First Tactical – The most comfortable and stable strap.
First Tactical – Comprehensive pockets, pouches, all with easy access.
Hazard 4 – Super build quality (the others are great, but I’d put this ahead on build).
Hazard 4 – Lots of versatile webbing.
Hazard 4 – Large admin panel packed with features.
Condor – Great all-rounder with simplified main compartment.
Condor – Concealed compartment (easily accessed by pulling the front D-loop).
Condor – Drainage holes in elasticated end pockets in case of leaks.

In short, all of these Tactical Briefcases stand on their own merits. If I had purchased any one of them on its own, it would have done the job, and I would have been happy. You won’t go wrong with any of them, but if you have any specific requirements, take a look back over the details to see which would be the better fit.

For my uses, and the gear I EDC, one of them was a better fit, and is currently serving as my EDC bag…

Tactical Briefcase Face-Off Part 3: Condor

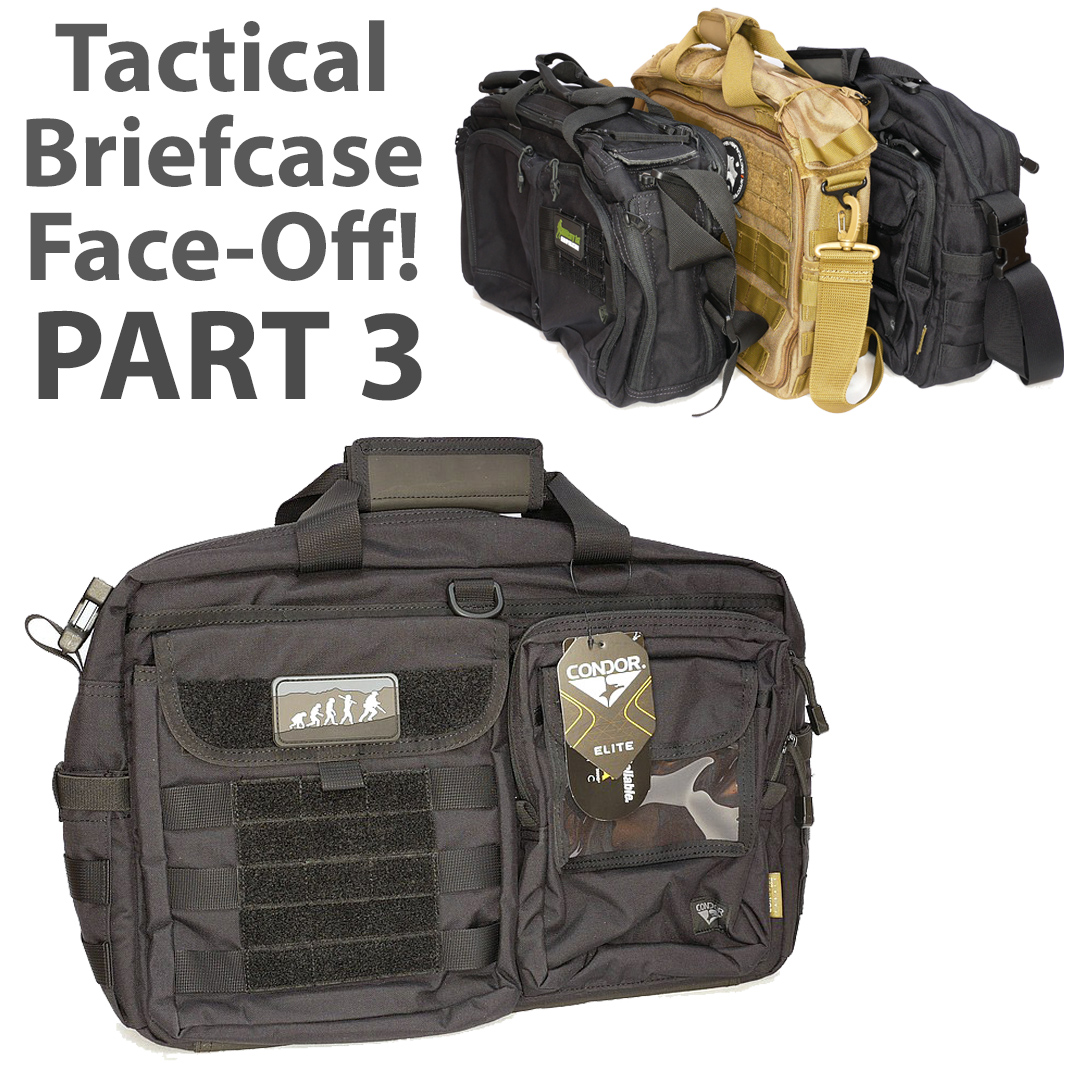
Part 3 of the Tactical Briefcase Face-Off features the Condor Metropolis Briefcase (see it here) and takes a detailed look round this contender. All three Tactical Briefcases in the Tactical Briefcase Face-Off series came from Military 1st who I’ve been buying from for many years.
This series of reviews was originally planned to be a single group review, but has evolved into something much larger as I used each of them for EDC, lived with them, got to know them well, and more and more detail needed to be shown. Each of the three Tactical Briefcases (First Tactical Executive Briefcase, Hazard 4 Ditch Bail Out Bag and Condor Metropolis Briefcase) will have a dedicated article before the final article, Part 4, brings it all together to explain how I got on with each one and their strengths and weaknesses.

Tactical Briefcase Face-Off Part 1, featuring the First Tactical Executive Briefcase can be seen here.
Tactical Briefcase Face-Off Part 2, featuring the Hazard 4 Ditch Bail Out Bag can be seen here.

Part 3 – The Condor Metropolis Briefcase:

All round the outside:
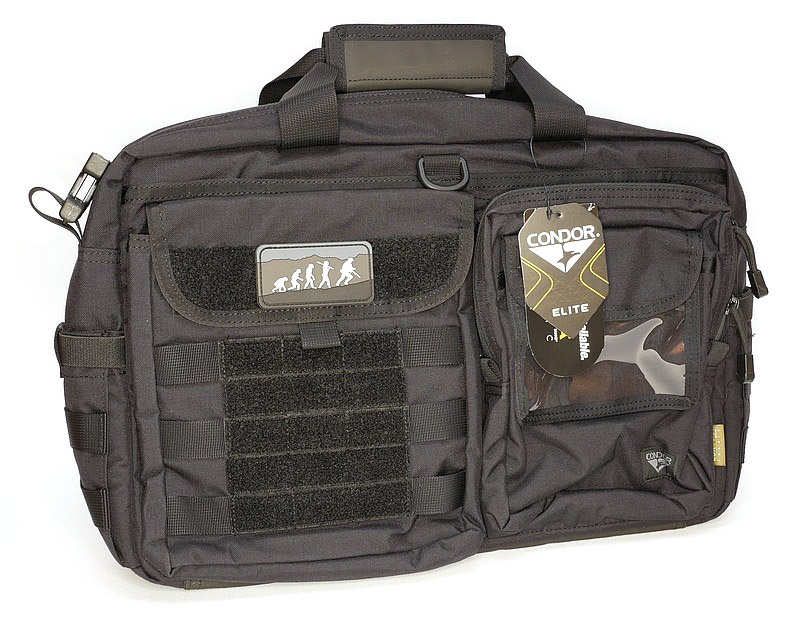
We’ll start with a run round the outside. – The Condor Metropolis Briefcase includes a shoulder strap which is tucked into the main compartment when it arrives. The front panel has two main pockets with a patch panel / MOLLE panel on one and an extra clear ID holder pocket on the other, and there is a handy D-loop in the middle for clipping keys etc to. The back panel has a large zip up pocket and a trolley bag handle loop strap for sitting the Metropolis Briefcase onto a larger wheeled bag with telescopic handle. Each end panel has an elasticated pocket with webbing for MOLLE pouches.


Pockets, Pouches, and Padding – Things to look out for here are:
Starting off with one of the end panel stretch pockets, here I’m using a pocket knife to prop it open so you can see the construction. Of the two front pockets, one has a Velcro flap, and the clear ID pocket on the other also has a Velcro flap closure. Inside that first pocket there are a couple of elastic organiser loops. The other pocket with ID holder, uses a zip to close it. Inside it has a set of organiser pockets of different sizes and a key hanger. Behind those front panel pockets is a full width pocket with internal Velcro mounting panel.
On the rear of the bag is a thin zip-up plain pocket. Behind this is the padded laptop storage compartment with a full double zip opening. Inside the laptop compartment are two pockets, the larger of which has a retaining strap to keep the laptop in place.
Accessed via a double-zip opening (but not using a flap like the other two bags), the main compartment has a Velcro-loop panel on one side, and two zip-up mesh pockets on the other side.


Strap and Handles:
There are two simply constructed carry handles, and one has a Velcro grip-wrap to hold them together. The shoulder strap has a removable sliding pad, and each end attaches to the bag with a side-release buckle. On one end of the strap there is the female buckle, and the other end has the male buckle – this means that you will always put it onto the bag the same way, and that strap can be made into a loop by clicking the ends together and used in other ways.


The video tour of all three Tactical Briefcases:
In case you haven’t seen the video overview on Tactical Review’s youtube channel, here it is. This video covers all three of the bags.


Review Summary
As in Parts 1 & 2 there is a lot to absorb, so this is where we will leave the Condor Metropolis Briefcase for now.
Please follow the series of articles to see all the insights, and it will be in part four that the real-use feedback will be included.

Tactical Briefcase Face-Off Part 2: Hazard 4

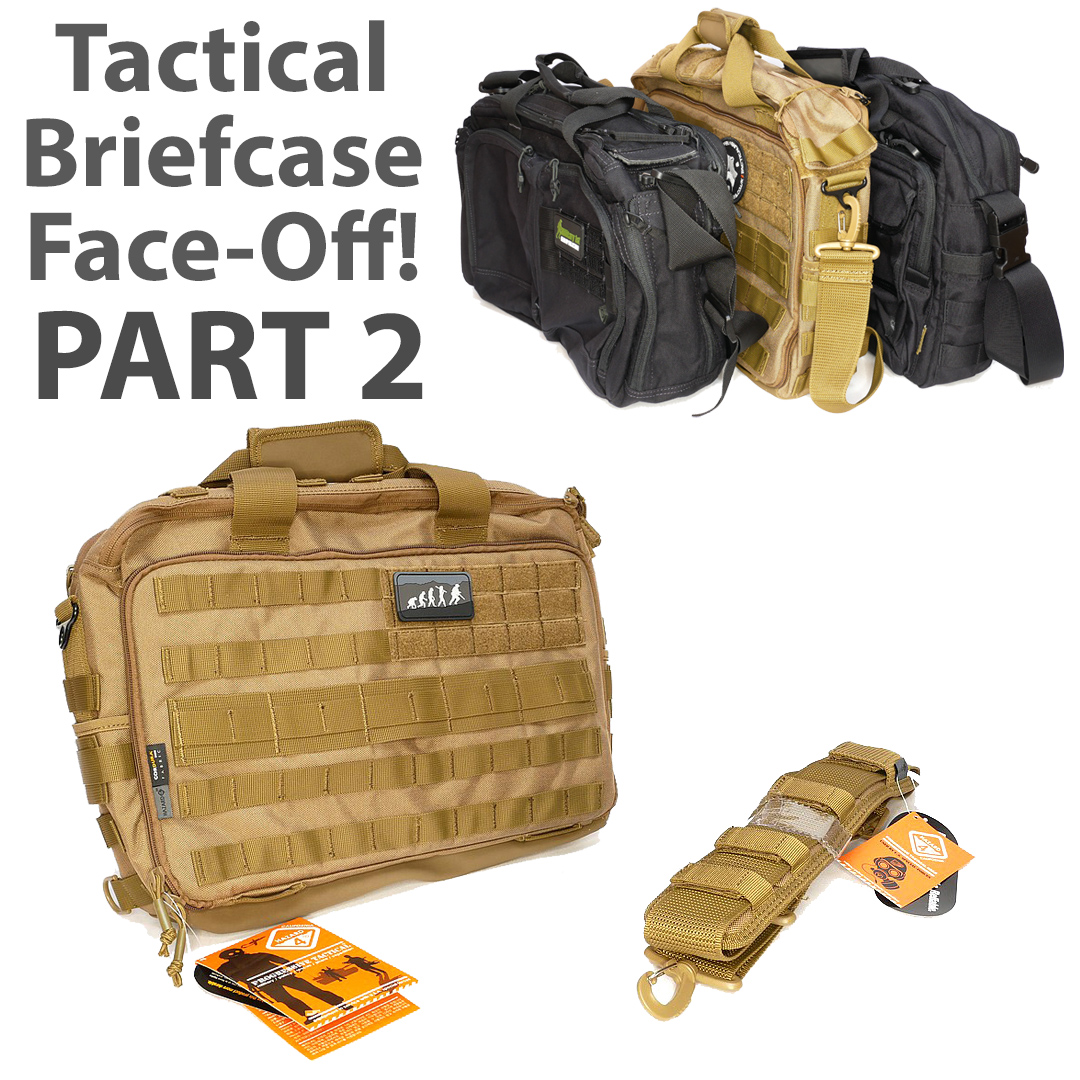
Part 2 of the Tactical Briefcase Face-Off features the Hazard 4 Ditch Bail Out Bag (see it here) and takes a detailed look round this contender. All three Tactical Briefcases in the Tactical Briefcase Face-Off series came from Military 1st who I’ve been buying from for many years.
This series of reviews was originally planned to be a single group review, but has evolved into something much larger as I used each of them for EDC, lived with them, got to know them well, and more and more detail needed to be shown. Each of the three Tactical Briefcases (First Tactical Executive Briefcase, Hazard 4 Ditch Bail Out Bag and Condor Metropolis Briefcase) will have a dedicated article before the final article Part 4 brings it all together to explain how I got on with each one and their strengths and weaknesses.

Tactical Briefcase Face-Off Part 1, featuring the First Tactical Executive Briefcase can be seen here.

Part 2 – The Hazard 4 Ditch Bail Out Bag:

All round the outside:
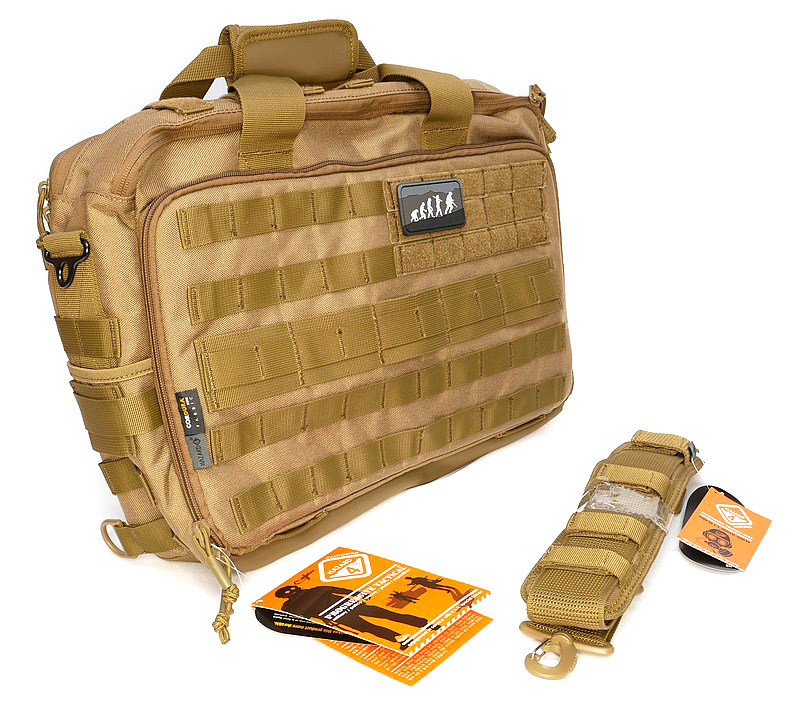
The Hazard 4 bag differs from the others on test in that it doesn’t come with a shoulder strap. The introduction image shows the bag and strap separately as they must be purchased separately. However, the consideration for this is that Hazard 4 do have a few strap options, so this does allow you to either not bother at all, or choose one to best suit your needs.
We’ll start with a run round the outside. – The front panel is a large MOLLE platform limited only by your imagination. The back panel has a trolley bag handle loop strap for sitting the Ditch Bail Out Bag onto a larger wheeled bag with telescopic handle. There are also wide webbing buckles allowing you to add extra straps to hold larger items onto the bag. Even the top flap is equipped with webbing attachment loops.
The base of the bag is a different nonabsorbent material which should be better at shrugging off wear and dirt from being on the floor. Each end of the bag has a small elasticated pocket and more webbing.


Pockets, Pouches, and Padding – Things to look out for here are:
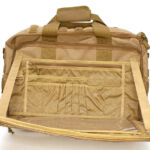
Opening up the full size front section reveals a big admin panel crammed with organisation features; a clear document wallet, zip-up pocket, full width pocket, then various size organiser pockets, with two straps to stop the front section opening further than shown in the gallery.
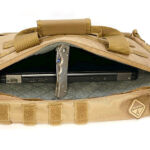
To the rear of the bag is the single section, well padded, laptop pouch with double zips so you can open it either end or either way. This laptop pocket is lined with a soft quilted fabric.
The top flap has lots of details that make it very usable. At the end there is a small grab handle so you can pull it open in one motion. There is a zip either side of the flap and these can be joined with a small loop strap, or one end unhooked to allow them to move independently. So that the flap doesn’t end up on the floor, there are Velcro panels so the front of the flap can be folded in half and attached to the other end of the flap when fully open. This keeps it neat prevents it from getting under foot.
Comparatively, the main compartment has less going on; four pockets and a MOLLE platform on one side.


Strap and Handles:
As a completely separate item, the shoulder strap here is the one Hazard 4 recommended for the bag. It is a general purpose 2″ shoulder strap which has swivel clips and a removable pad.
The two carry handles on the bag are simple and comfortable, and have a Velcro grip-wrap to hold them together.


The video tour of all three Tactical Briefcases:
In case you haven’t seen the video overview on Tactical Review’s youtube channel, here it is. This video covers all three of the bags.


Review Summary
As in Part 1 there is a lot to absorb, so this is where we will leave the Hazard 4 Ditch Bail Out Bag for now.
Please follow the series of articles to see all the insights, and it will be in part four that the real-use feedback will be included.

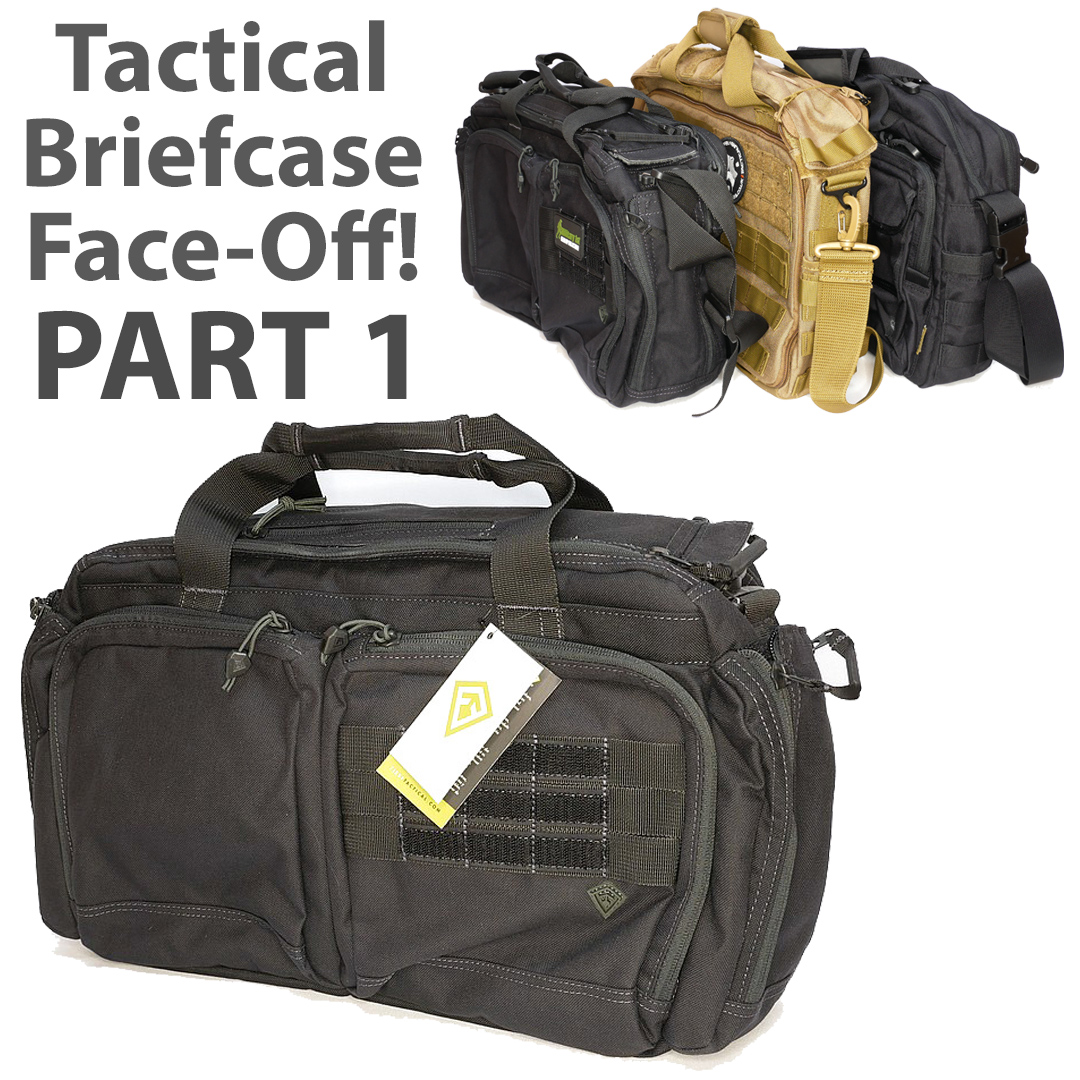
Tactical Briefcase Face-Off Part 1: First Tactical

Part 1 of the Tactical Briefcase Face-Off features the First Tactical Executive Briefcase and takes a detailed look round this contender. All three Tactical Briefcases in the Tactical Briefcase Face-Off series came from Military 1st who I’ve been buying from for many years.
This series of reviews was originally planned to be a single group review, but has evolved into something much larger as I used each of them for EDC, lived with them, got to know them well, and more and more detail needed to be shown. Each of the three Tactical Briefcases (First Tactical Executive Briefcase, Hazard 4 Ditch Bail Out Bag and Condor Metropolis Briefcase) will have a dedicated article before the final article Part 4 brings it all together to explain how I got on with each one and their strengths and weaknesses.

Part 1 – The First Tactical Executive Briefcase:

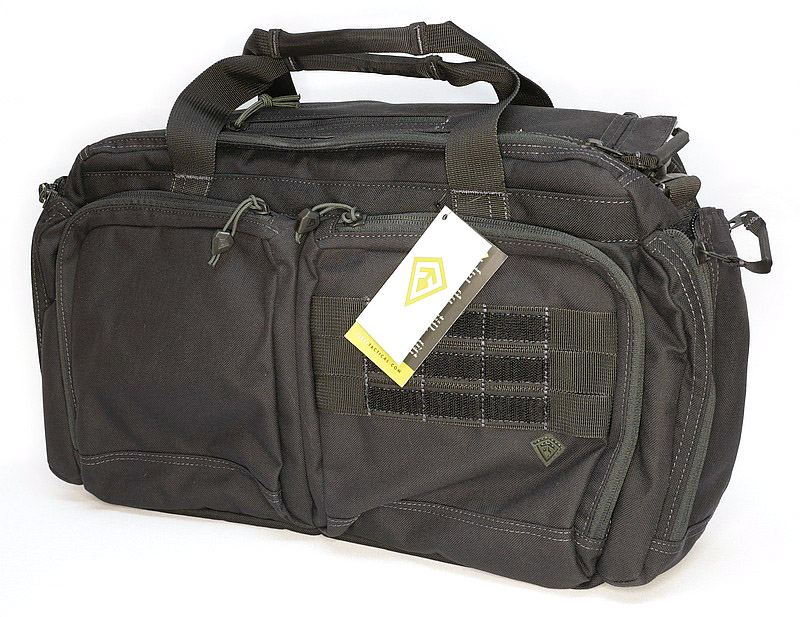
All round the outside:
Starting with a run round the outside. This is how it arrived, so the shoulder strap is tucked away inside the bag. Already you see how well equipped this tactical briefcase is going to be.


Pockets, Pouches, and Padding – Things to look out for here are:
As well as fixed storage, the First Tactical bag has an expandable pocket at each end with mesh sides. These are perfect for water bottles or other larger items you don’t carry all the time. There is so much storage in these bags it is easy to lose track of where you are looking.
Working through the gallery, after the end pockets, then we have the rear compartment. This is on the side of the bag with the trolley bag handle loop (so you can sit it onto a trolley bag with the loop holding it in place when slid over the handle). This double-zip rear compartment has two sections in it one of which has a panel of ‘Velcro loop’ for fixing items to.
The front of this bag has two separate zip-up pockets with internal organisers. (Not shown here, but is in the video – just behind the front pockets is a Velcro-closed full width pocket.)
In the middle of the main compartment flap is a pocket which might be used for storing glasses. The end of this flap has a Velcro closer that can be folded back on itself to keep it out of the way.
Onto the laptop section, which is to the rear of the bag, but on the inner side of the carry handle. It has multiple compartments as shown, and a strap to secure the laptop when fitted.
For the main compartment, the main flap has twin zips that can be disconnected to allow each side of the flap to be opened separately. One side of the main compartment has a full width pocket, and the other side has three smaller pockets.


Strap and Handles:
Should you wish to use this bag without a shoulder strap at all, the mounting system allows for one of the neatest and lowest profile residual fittings I’ve seen. As delivered, one end of the strap has been disconnected, so you need to fit the loose end or remove the already fitted end if you don’t want the shoulder strap. First Tactical have use a very slim karabiner style clip which has a sprung gate to both keep the clip in place and carry some of the load if the bag is heavy.
Also of note on the shoulder strap there are two rubberised patches to help prevent any shoulder slippage.
The two carry handles are simple and comfortable and don’t have one of those wraps to hold them together.


The video tour of all three Tactical Briefcases:
In case you haven’t seen the video overview on Tactical Review’s youtube channel, here it is. This video covers all three of the bags.


Review Summary
As you can see the design is so feature packed it needs time to absorb all the details, so to avoid overload, this is where we will leave the First Tactical Executive Briefcase for now.
Please follow the series of articles to see all the insights, and it will be in part four that the real-use feedback will be included.

Gear Review: Wisport Sparrow 16 and 20 Rucksacks

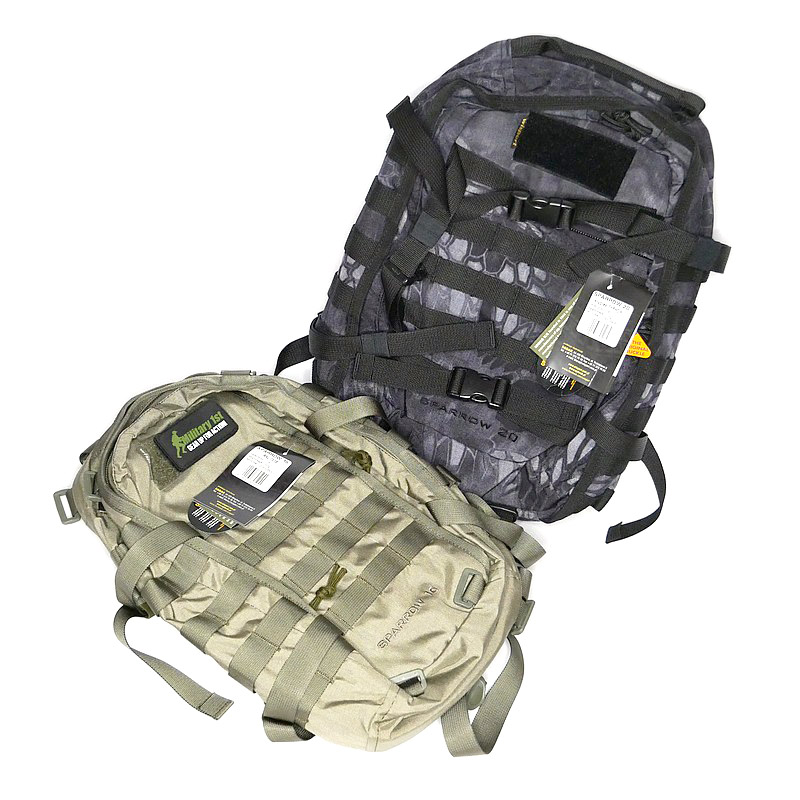
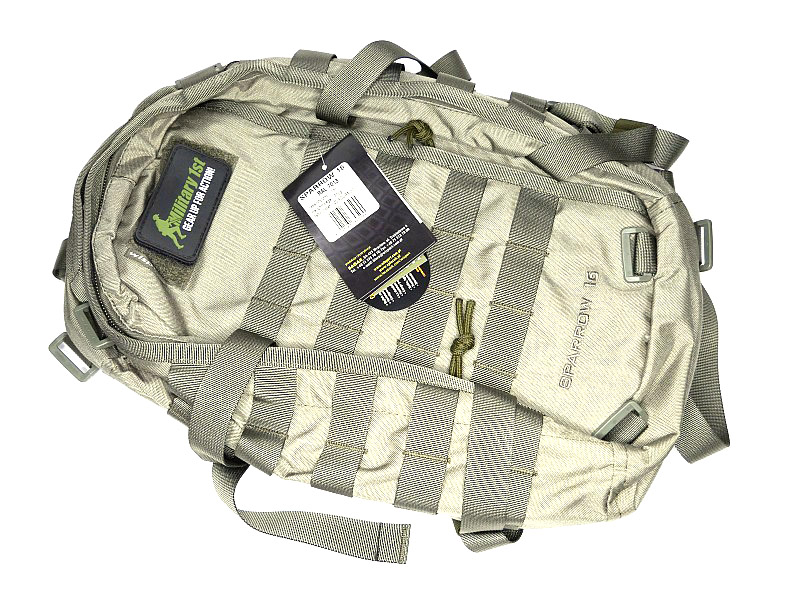
Inspired by a project to assemble an urban emergency grab-bag / evac-bag / bug-out-bag / go-kit using a maximum 20l rucksack, I chose the Wisport (from Military 1st) Sparrow 16 and 20 rucksacks. This review is to take a detailed look at these bags and their features. As well as the photo galleries there is also a video showing the features of each bag. (Keep an eye out for the emergency bag article, or subscribe for updates to make sure you get notified.)

Diving into the details:
Starting with the smaller Sparrow 16 and the images are split into three galleries to cover the main external features, carry strap details, and the bag’s compartments.

External features:
The Sparrow 16 shows how even a small bag, with a few extras on it, can have a pretty impressive carrying ability. Each side of the Sparrow 16 has a set of two compression straps with quick release buckles (as well as MOLLE panels). These make it easy to adapt the bag, stabilise the load or even strap on additional equipment or clothing.
Even though it is a small bag, it has a good comfortable strong top strap. Under this strap is the hydration pouch tube port.


The carry straps:
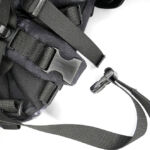
Despite being a small 16l bag, the Sparrow 16 has a lot of details in its design – the carry straps are no exception. Both shoulder straps are fully removable, not just one end of the strap, but both, can be unclipped. You can use remove one strap to make it a neat single shoulder bag (in the way many people carry a rucksack), or both and have a large organiser that you carry with the handle.
Even on this smaller bag there is a chest strap, and the hydration tube clips.


Compartments in the Sparrow 16:
On the very front panel of the bag is a side zip accessed compartment, the same size as the whole front panel. Moving onto the main compartment, which has a full clamshell opening (once you undo the side straps). At the front of the main compartment is a zip up compartment, and below this is an elastic strap with loops for organising items. The back of the main compartment has a pocket with elastic edge, to hold a hydration pouch, or any other flat items.


Moving onto the Sparrow 20.

External features:
The Sparrow 20 steps up the ‘strappage’ to another level. Like the 16, each side has a set of two compression straps with quick release buckles (as well as MOLLE panels). The front panel has a further two compression straps with quick release buckles, and the base of the bag has both MOLLE webbing and a set of four attachment points for webbing of your own configuration. The front panel also has a top opening zip up compartment. It’s all topped off with a sturdy carry strap.


The carry straps:
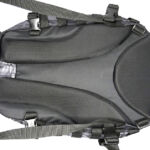
In the case of the sparrow 20, the shoulder straps are much more substantial, wider, and padded. The tops of the straps are fixed, but the bottom have quick release buckles to give you a quick exit from the straps when needed. Under the straps at the top of the back panel is the hydration tube port. The back panel has large padded contours and space for air to flow. At the bottom end of the shoulder straps there is an angled load spreader where it is fixed to the bag. Next to this, on either side, is a webbing attachment point that could be used for fitting a waist strap.
Hydration tube clips sit in the same place on the shoulder straps as the chest strap.


Compartments in the Sparrow 20:
With the extra 4l in space comes a jump in equipment and more organisation. Starting on the front panel is a pocket for very quick and easy access. For the full clamshell opening of the front panel compartment you need to unclip the four side straps. Inside the front compartment is a clip hanger strap and a D-loop hanger strap (for keys and the like), a small organiser panel with pen pockets and elastic strap, a mesh zip up pocket, and an open pouch pocket.
Moving into the main compartment, again with full clamshell opening, and the back has an elasticated pocket for a hydration pouch. Around this are four webbing attachment points so you can add further restraints. Covering the front of the main compartment are two zip-up mesh pockets.


What it is like to use?
To add more of the impression of these bags, this video takes a tour round both the Sparrow 16 and 20.

As the more ‘equipped’ of the two bags, the Sparrow 20 has stepped into my EDC while I develop the bug-out-bag system, so here is a quick look round the way I’m using it.
On the front panel I’ve added a MOLLE fixing patch panel to give me more room for velcro patches. There is a torch / flashlight slipped into the webbing to be immediately to hand, but with the top put under the strap above to hopefully stop it falling out by itself.
To keep the compression straps that I’m not currently using out of the way (so the compartments can be unzipped easily), I have actually laid these across each other and used the elastic loops on each strap to hold the other one in place. (Each strap was threaded into the elastic strap loop of the opposite strap.)
On one side panel is a MOLLE glasses case, and on the other are a further two MOLLE pouches. One of these takes my phone and the other has various small items I want within easy reach.
For my EDC use, I only use one of the shoulder straps to quickly pick it up and put it down. The other strap is held neatly out of the way by tucking it into the lower side compression strap.
In the front compartment I have medication pouches, two more lights and a pen, plus many ‘useful’ items tucked into the mesh pouch and pocket.
Not being a fan of chest straps I removed this from the bag, however, inside the main compartment are some webbing attachment points, and here I have re-purposed the chest strap inside the main compartment to hold tall items in place. You can see a tablet case, large and small organiser pouches plus an action camera with mini tripod.


My initial temptation was to cut off a few of the Sparrow 20’s numerous straps to tidy it up. Unused straps can become more of a hindrance than a help. However, I stopped myself; currently the work-arounds I found for the various straps I wanted out of the way are working nicely.
The way I am EDCing the Sparrow 20 should show any potential shoulder strap issues quickly enough, especially considering I’ve made it quite heavy already. No signs of strain or overloading as yet.
So far these bags appear well made, strong and packed full of features.

Review Summary

The views expressed in this summary table are from the point of view of the reviewer’s personal use. I am not a member of the armed forces and cannot comment on its use beyond that covered in the review.

Something that might be a ‘pro’ for one user can be a ‘con’ for another, so the comments are categorised based on my requirements. You should consider all points and if they could be beneficial to you.

_______________________________________________
What doesn’t work so well for me
_______________________________________________

Almost too many straps.
Side straps can prevent easy opening of clamshell compartments.
Main zips a little ‘sticky’ (this may improve with use).

_______________________________________________
Things I like
_______________________________________________

Plenty of Webbing and Straps.
Good ‘organiser’ design features.
Break-out shoulder straps.
Strong top carry handle.
Hydration pouch compatible.
Main compartments have full clamshell opening.
Padded back.

 
Discussing the Review:
The ideal place to discuss this review is on the Tactical Reviews Facebook Page
Please visit there and start/join the conversation.