Light Review: Nextorch TA15, TA30 and Tactical Ring FR-1

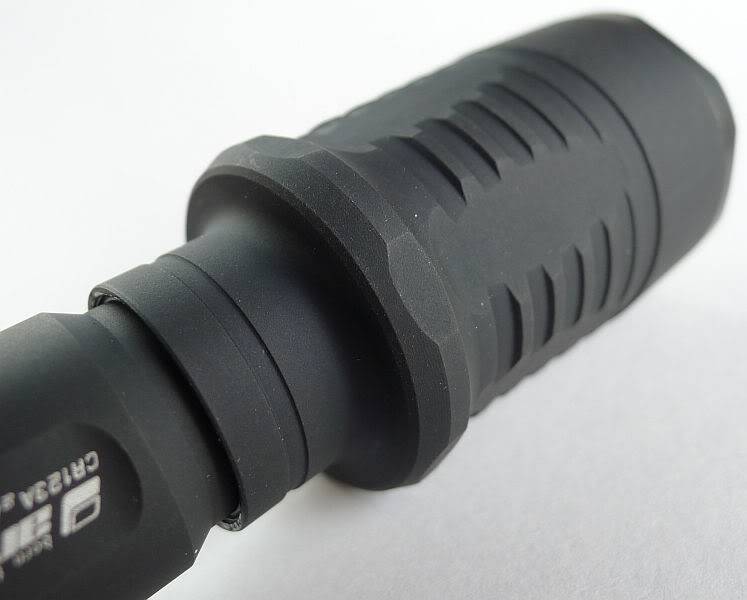
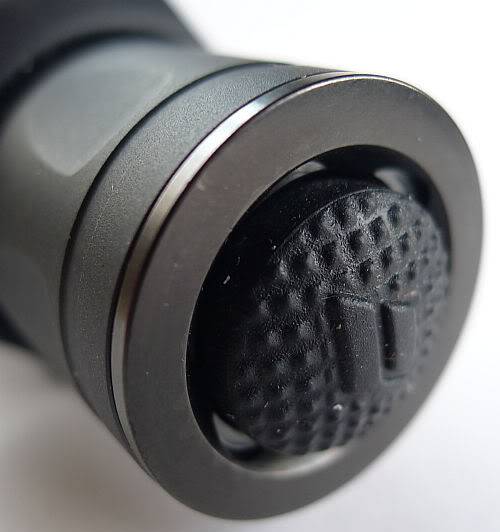
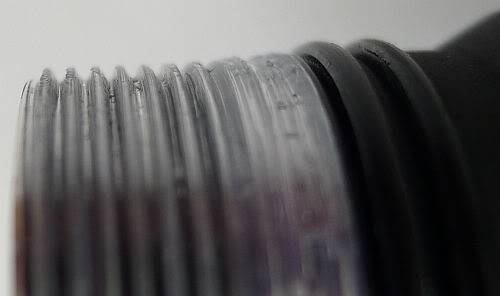
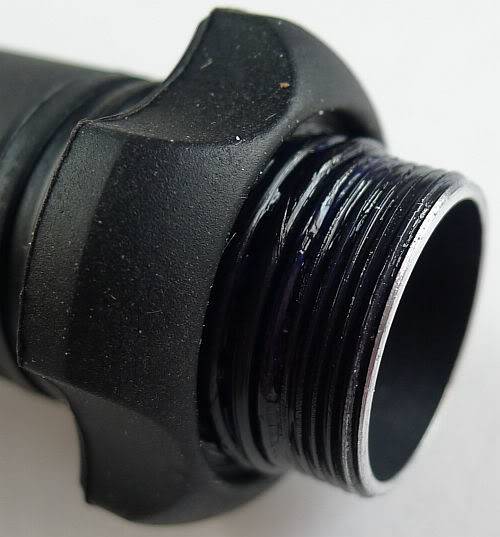
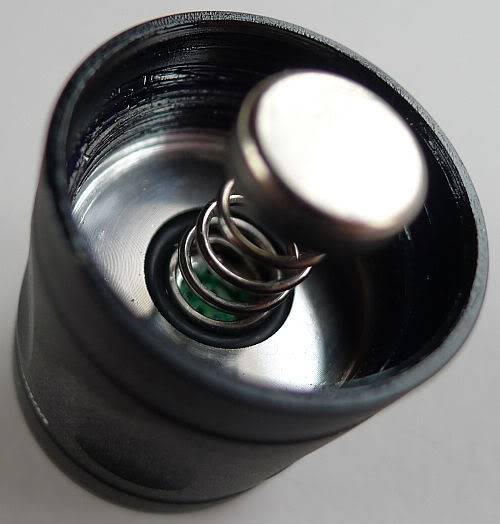
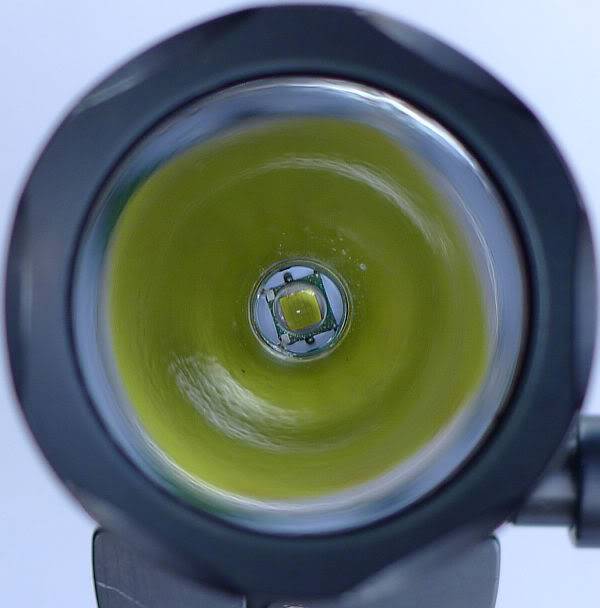
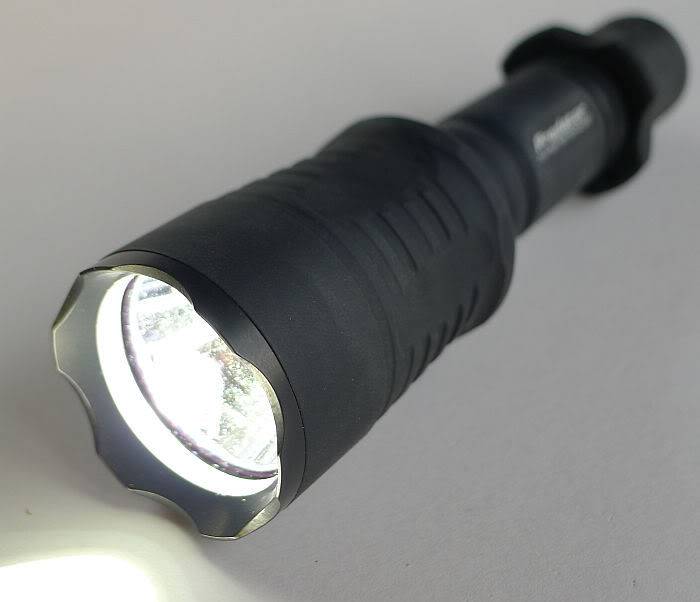
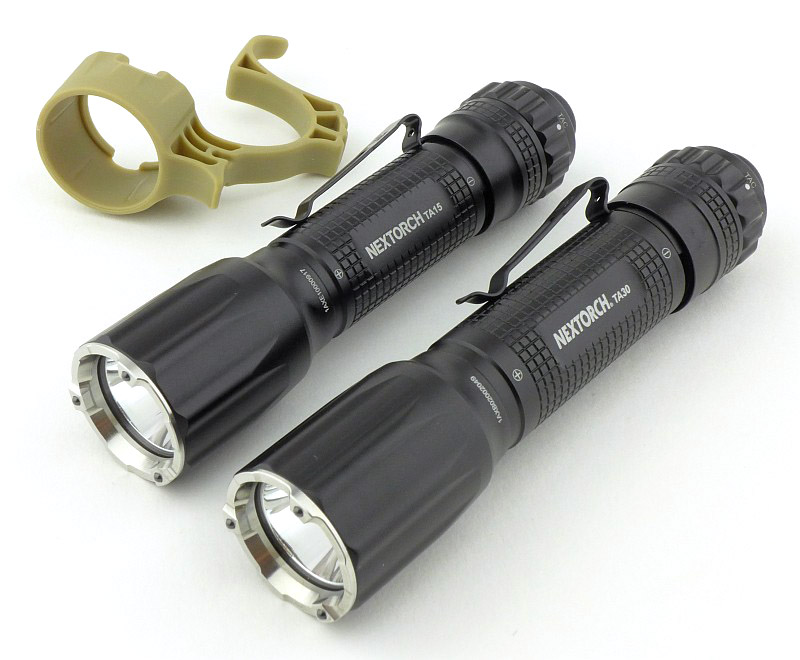
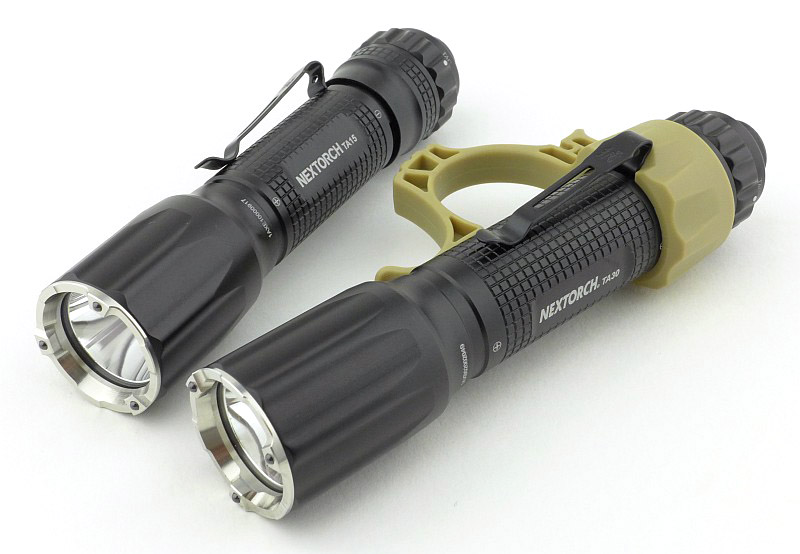
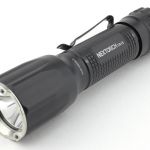
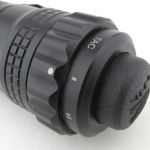
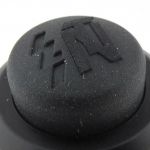
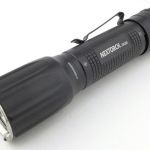
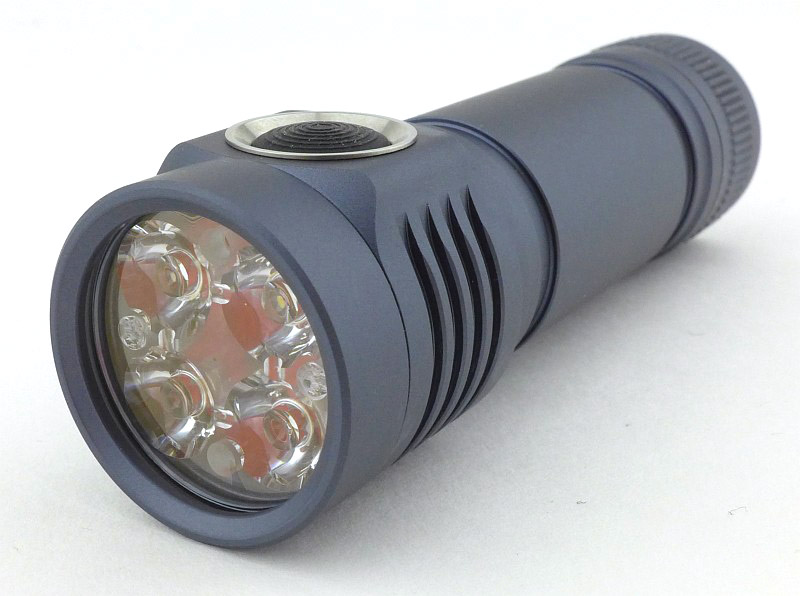
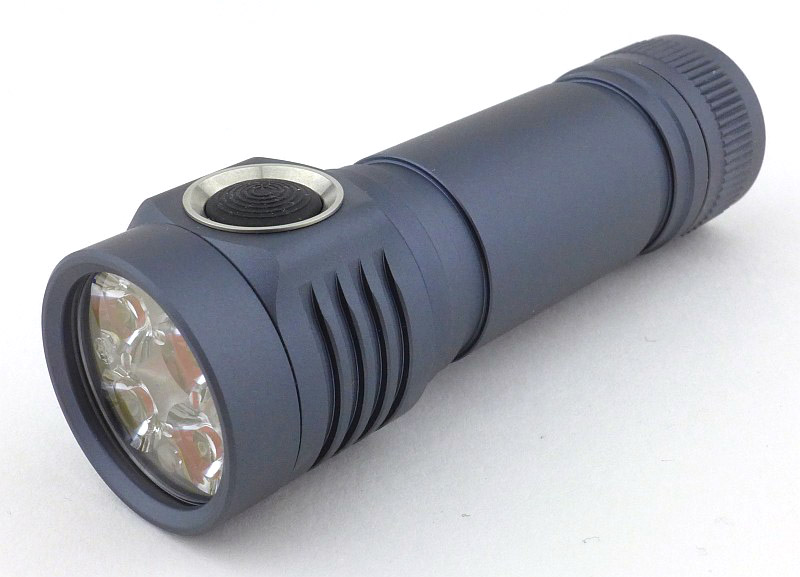
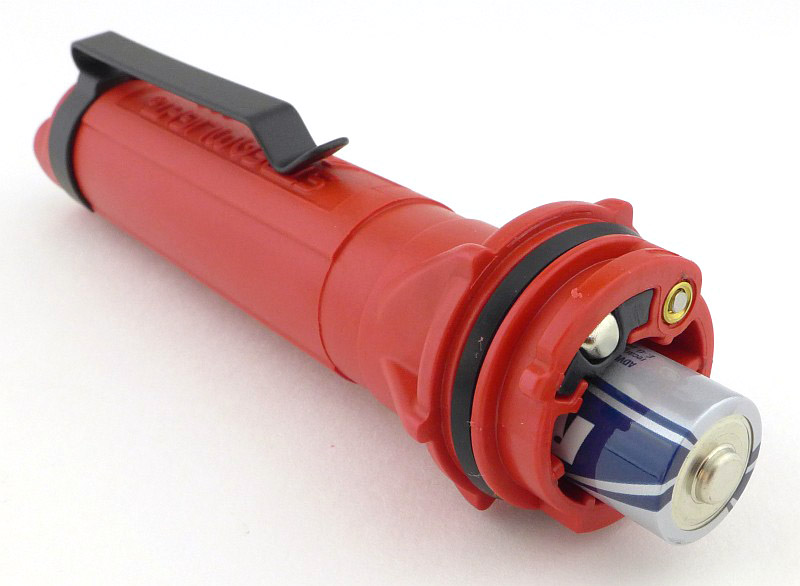
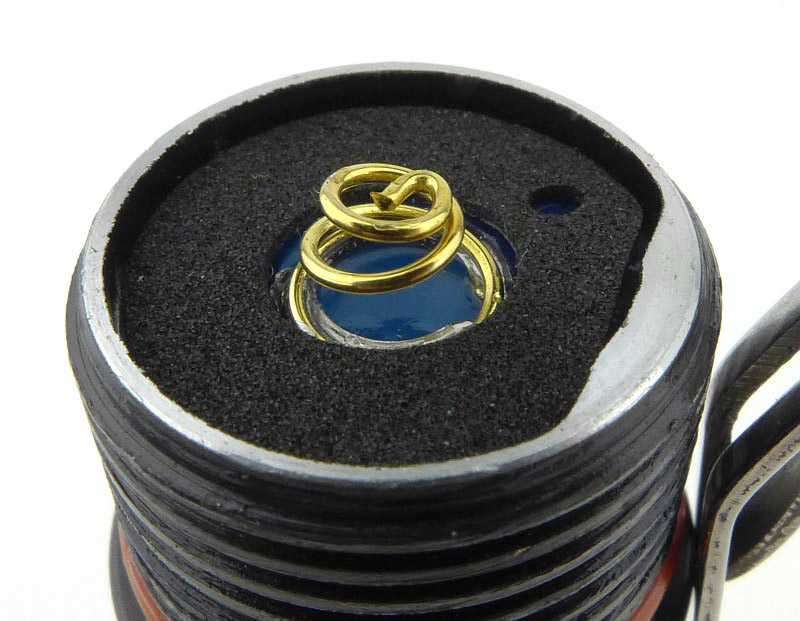
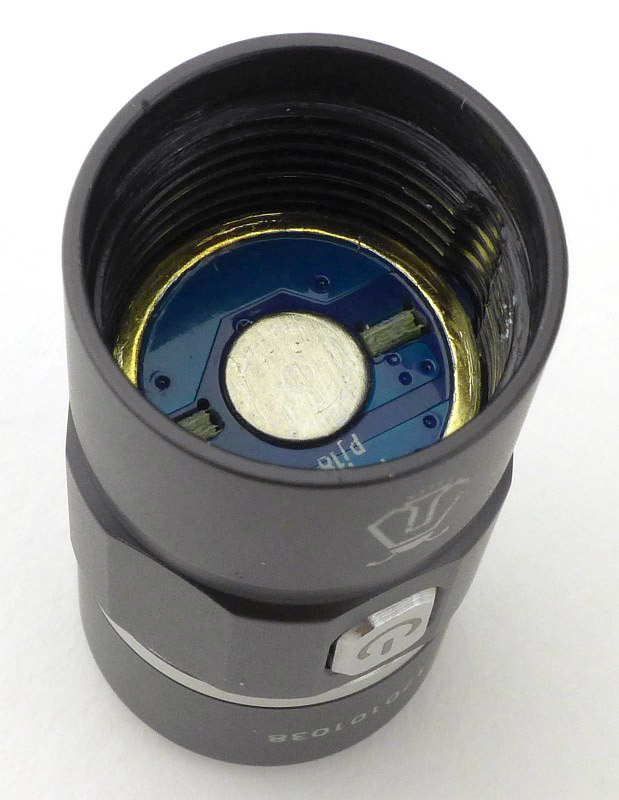
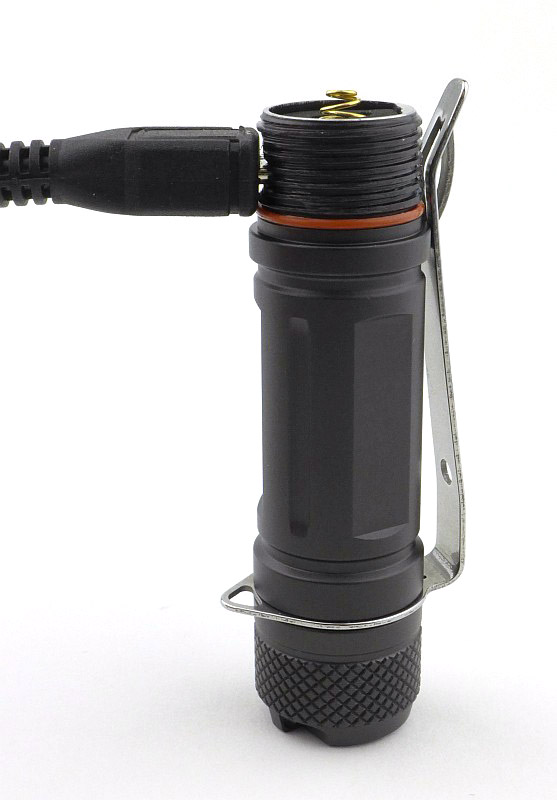
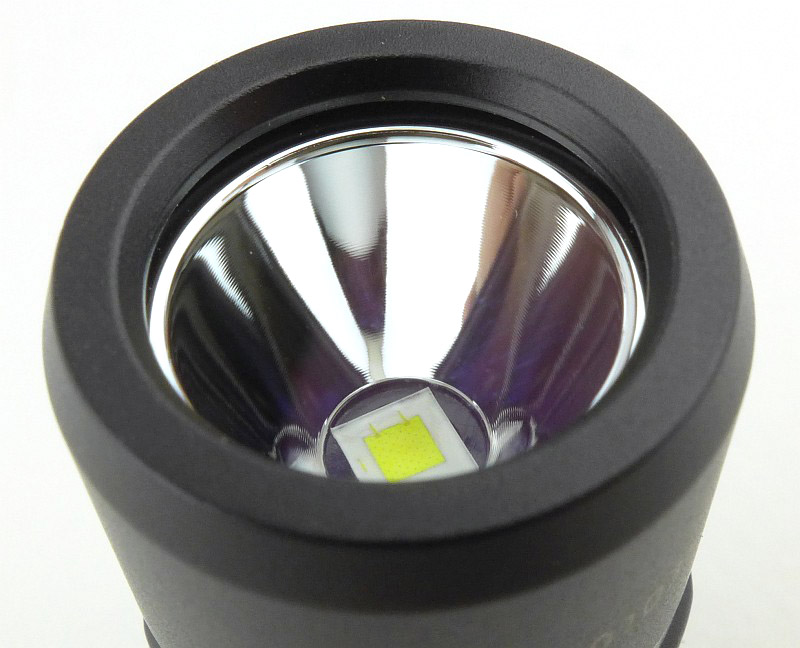
Nextorch have always seemed happy to be a bit different, which is great for us as we get products that are innovative and unusual. This review is of the Nextorch TA15 and TA30 plus the Nextorch FR-1 Tactical Grip Ring. The TA15 supports several different battery types and sizes, and along with the more powerful TA30, has Nextorch’s dual-function tail-cap with magnetic control ring and two-stage button.

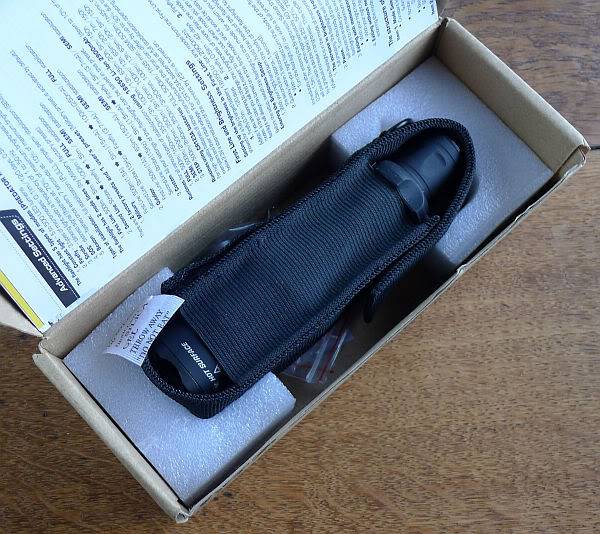
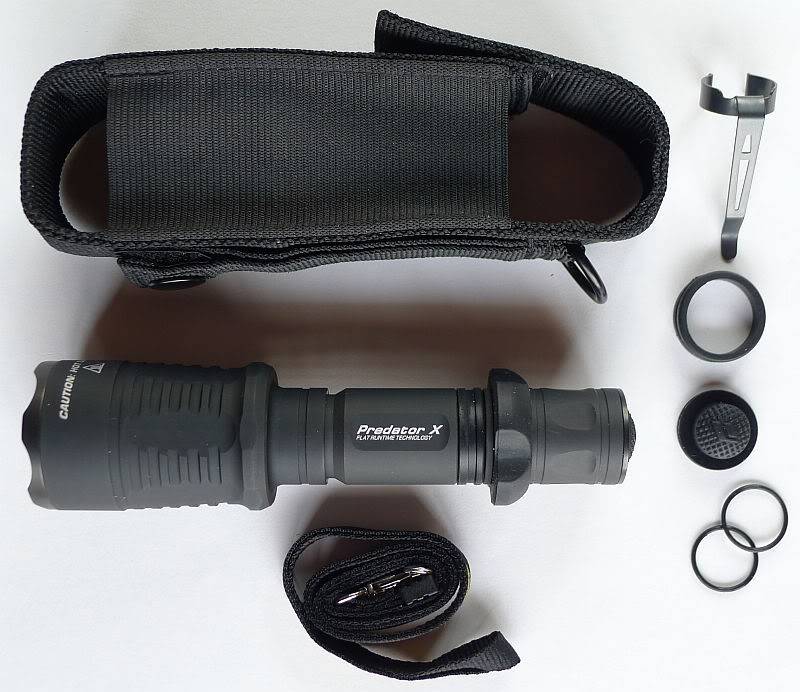
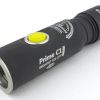
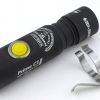
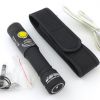
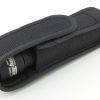
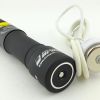
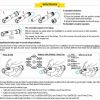
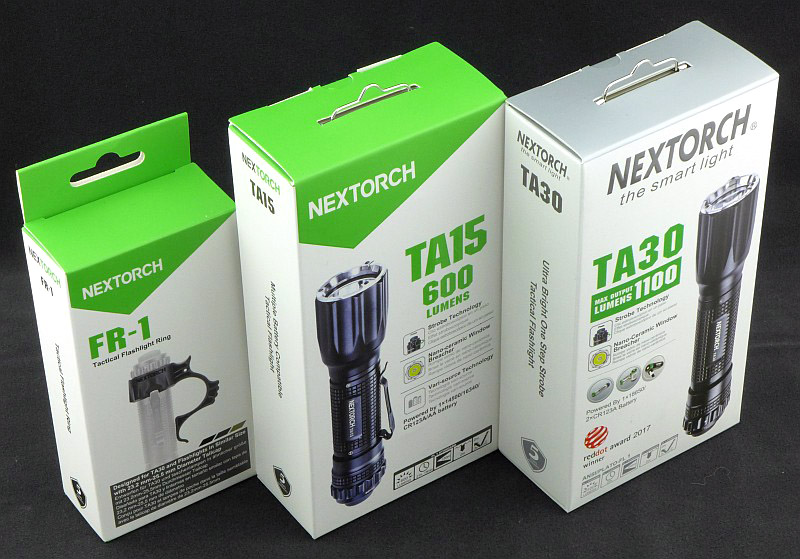
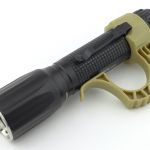
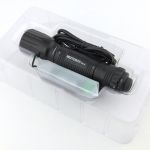
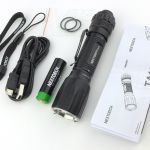
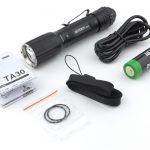
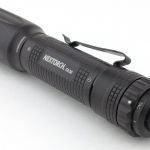
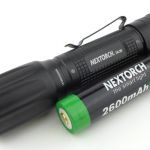
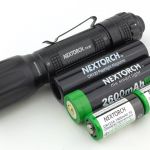
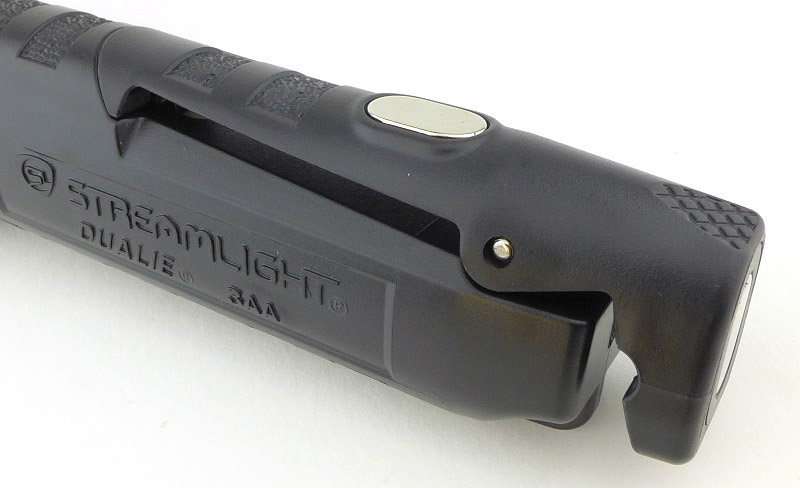
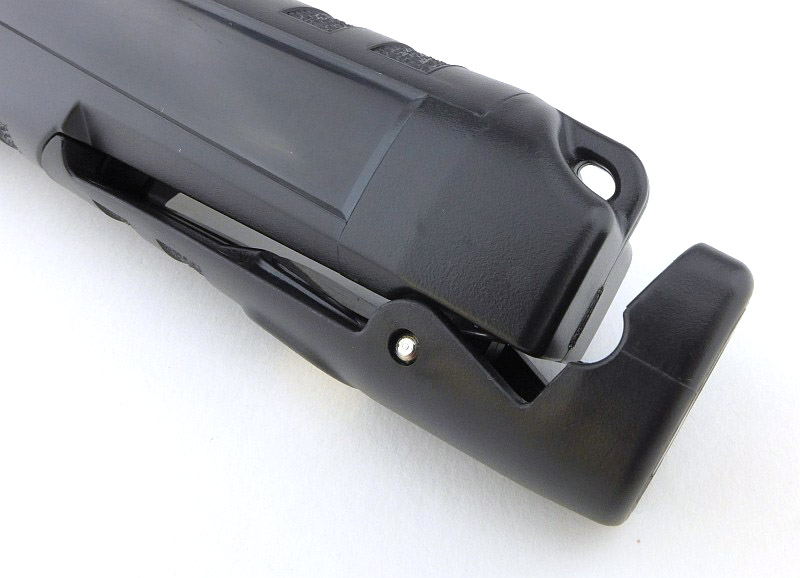
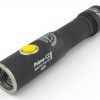
The TA15, TA30 and FR-1 as they arrived.

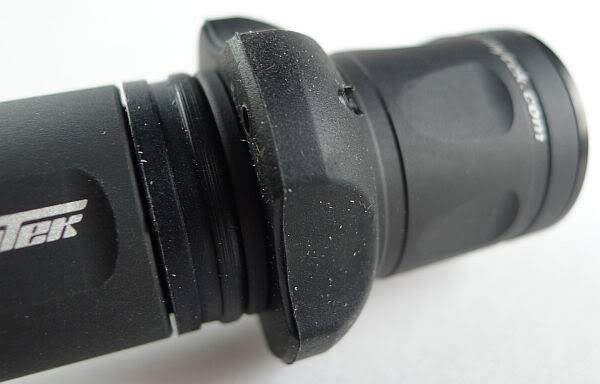
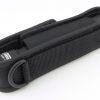
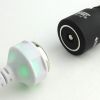
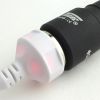
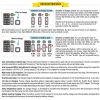
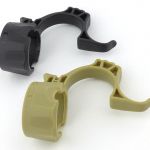
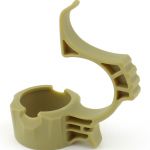
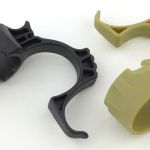
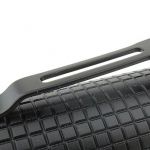
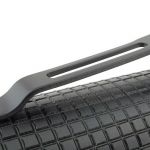
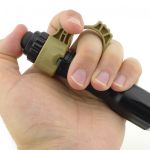
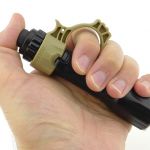
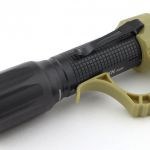
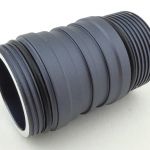
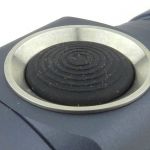
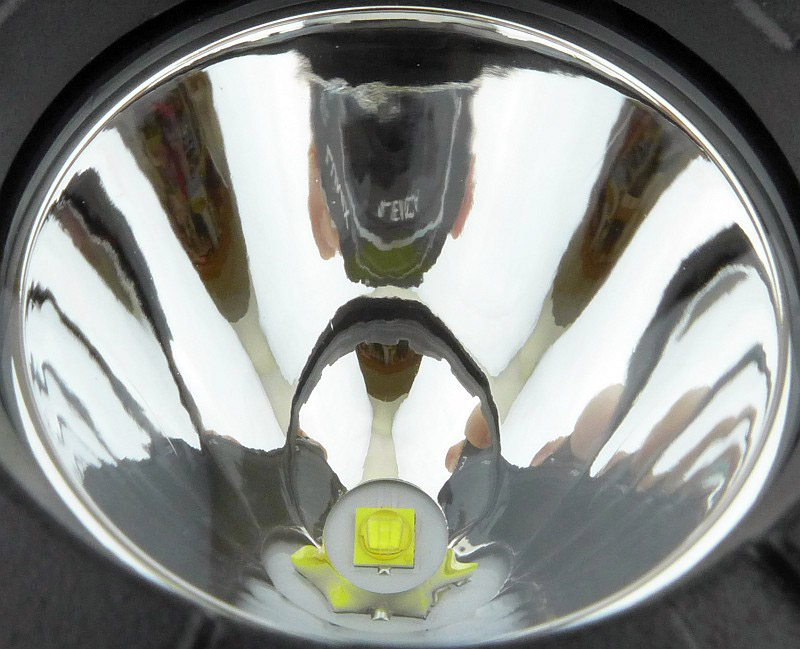
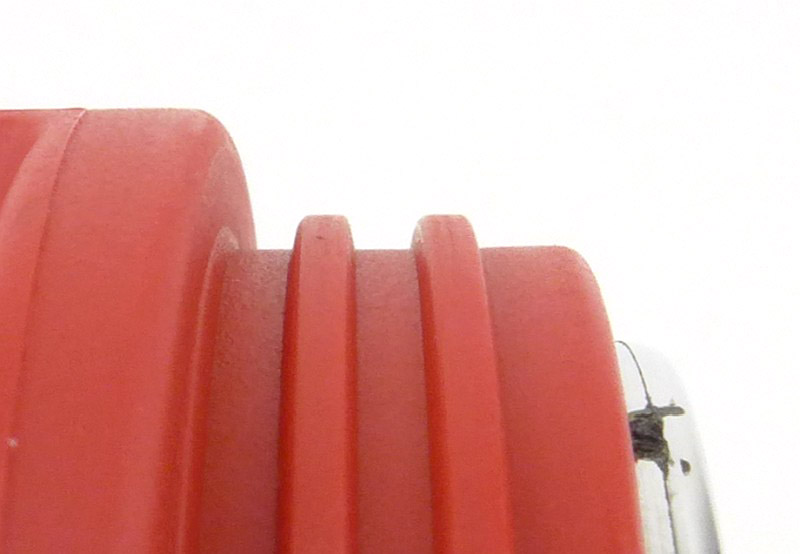
Taking a more detailed look at the FR-1:

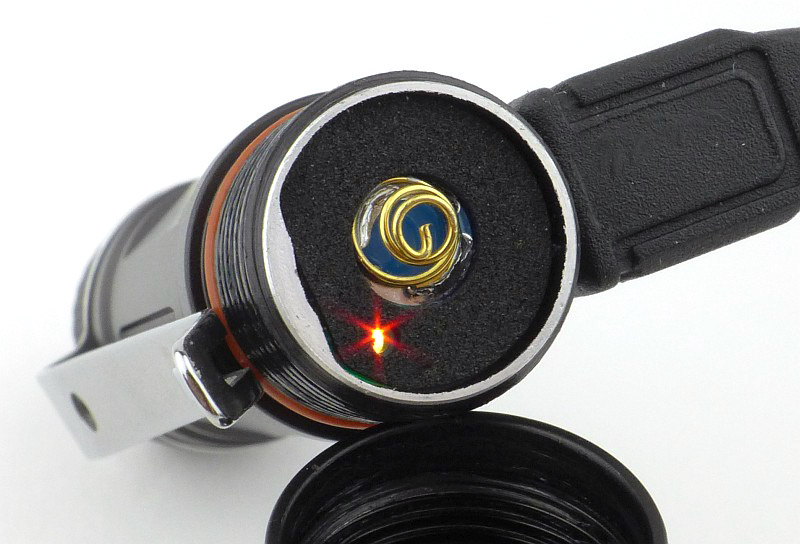
With so much to look at, each model has a gallery of its own. This first one is of the FR-1 Tactical Grip Ring.


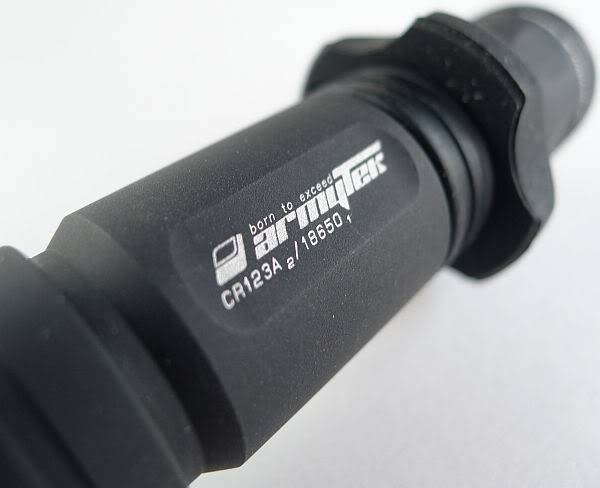
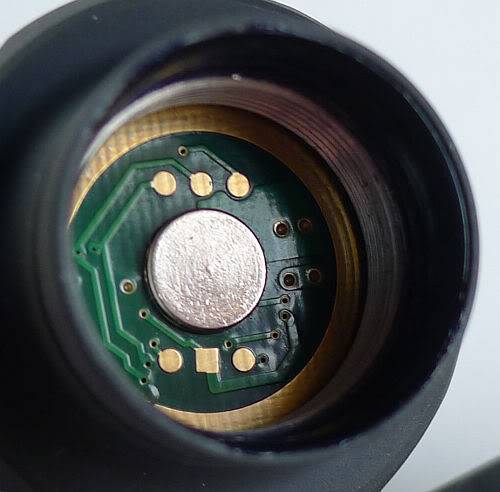
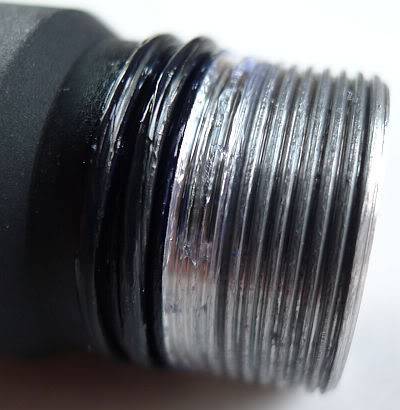
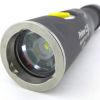
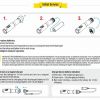
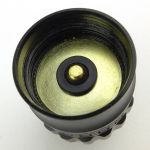
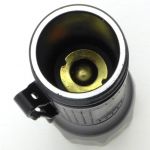
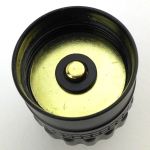
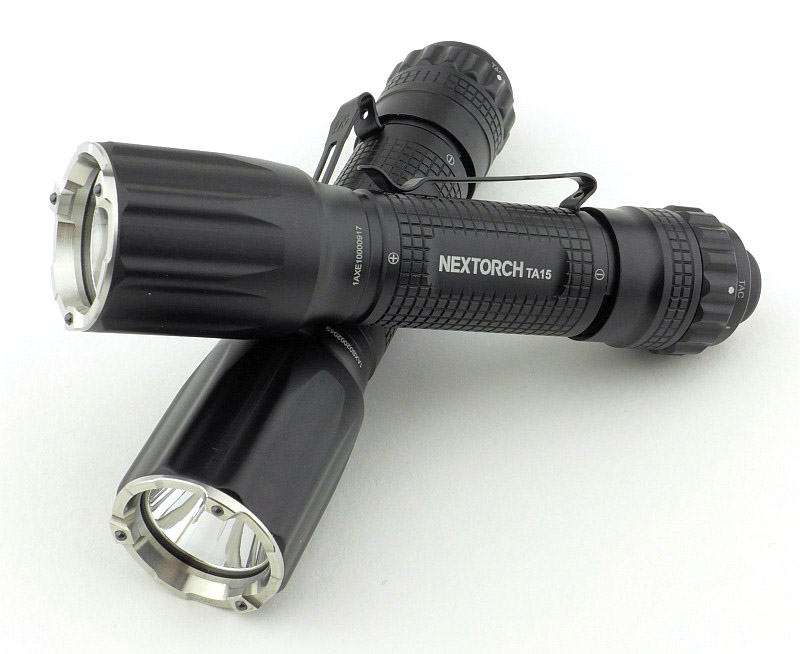
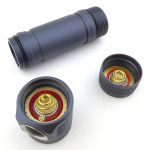
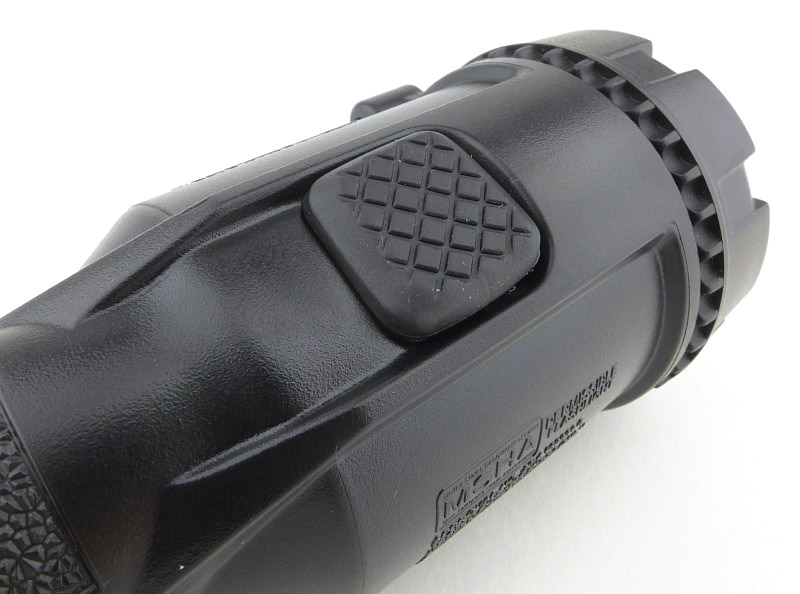
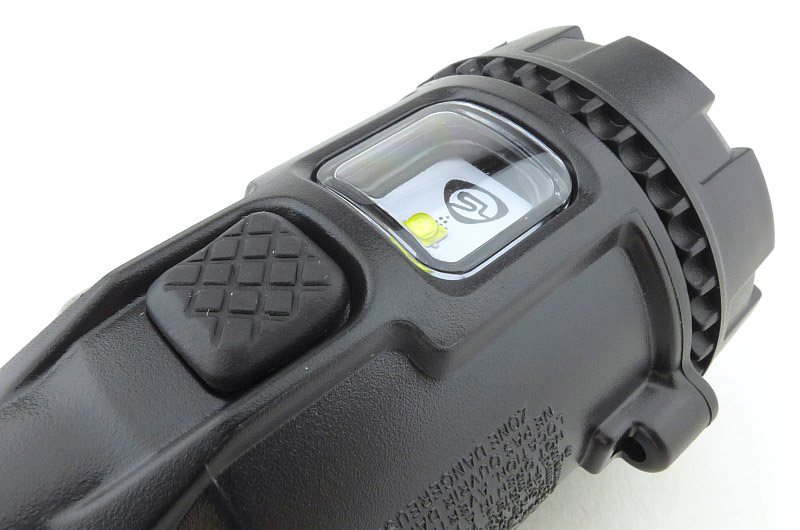
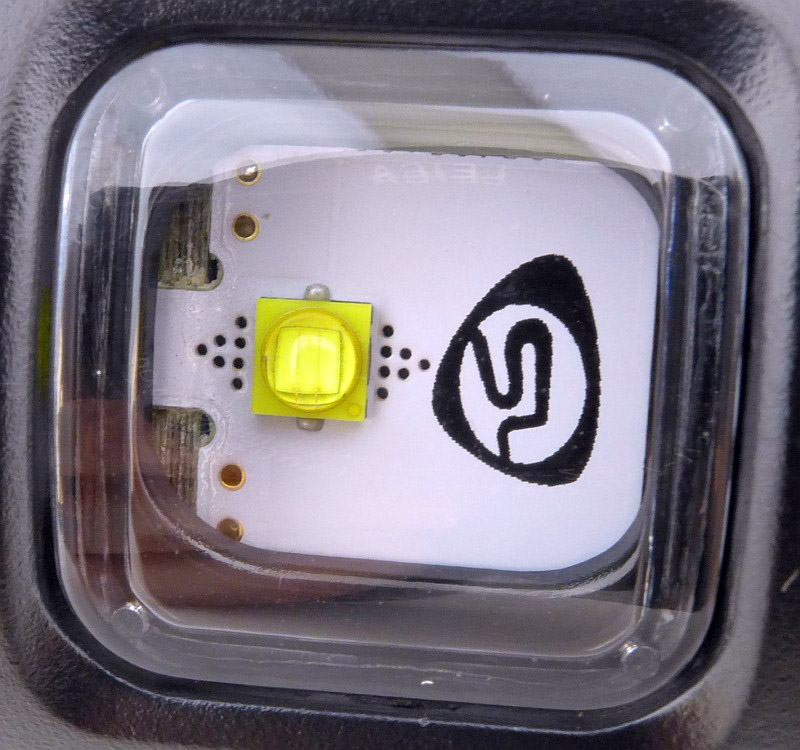
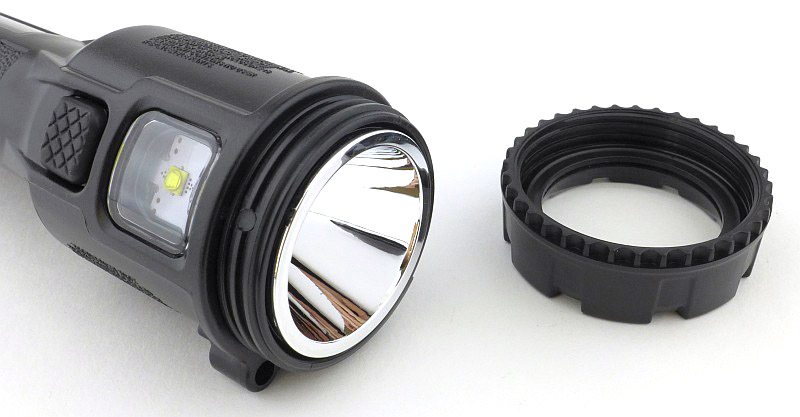
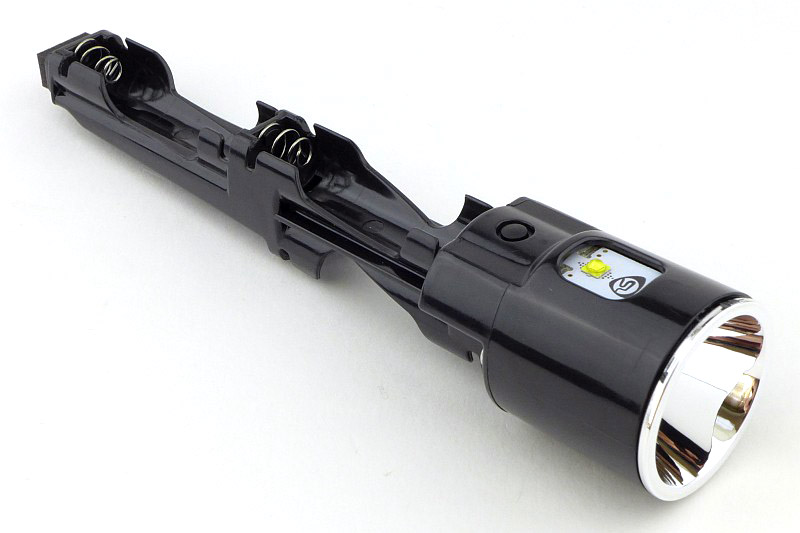
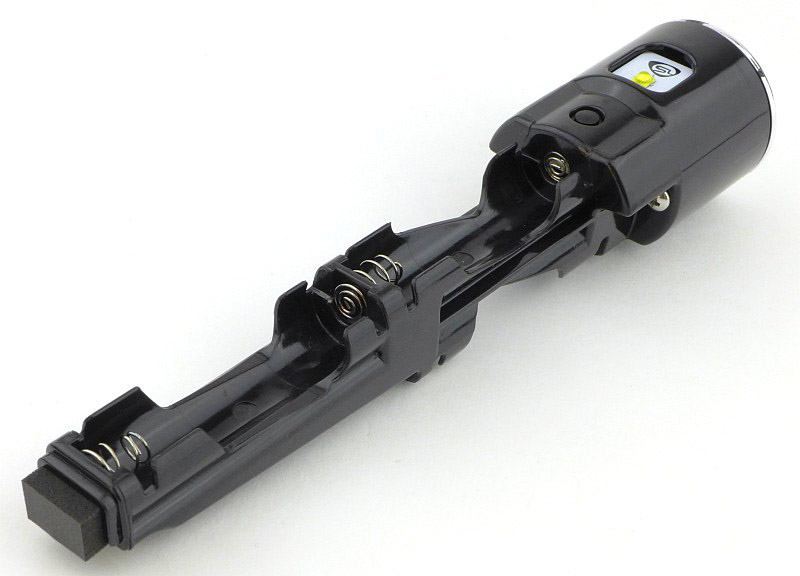
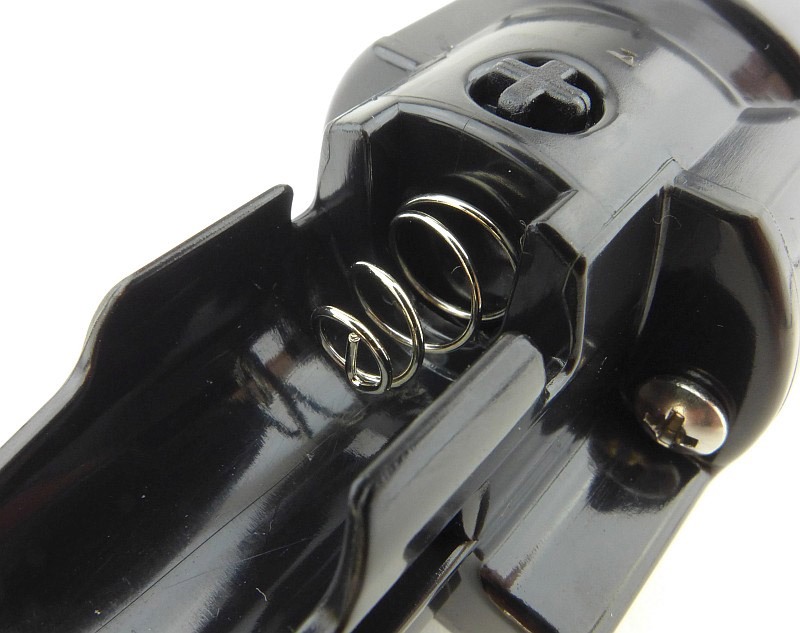
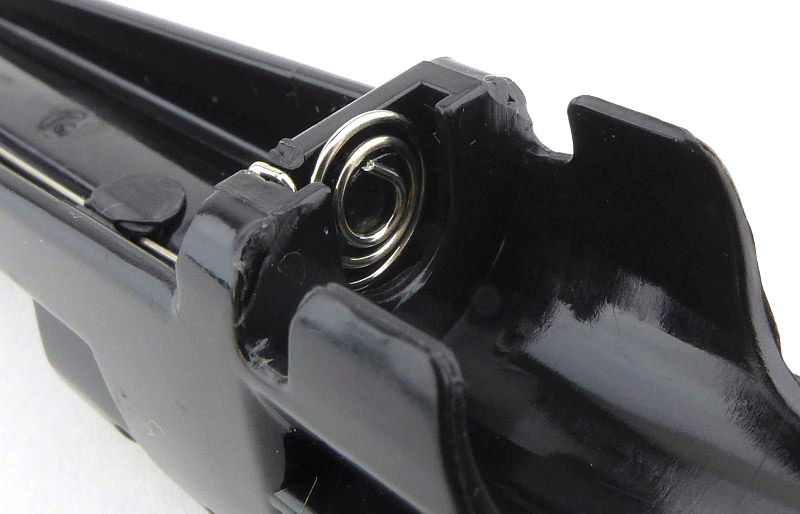
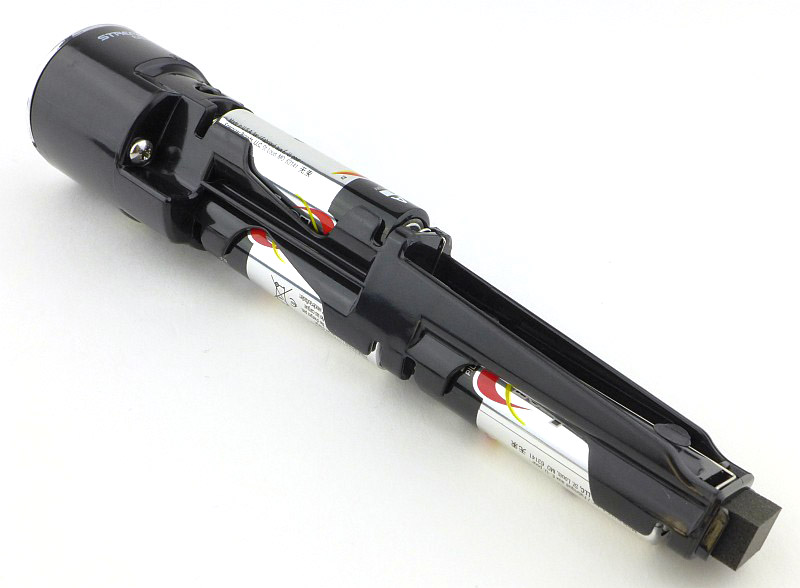
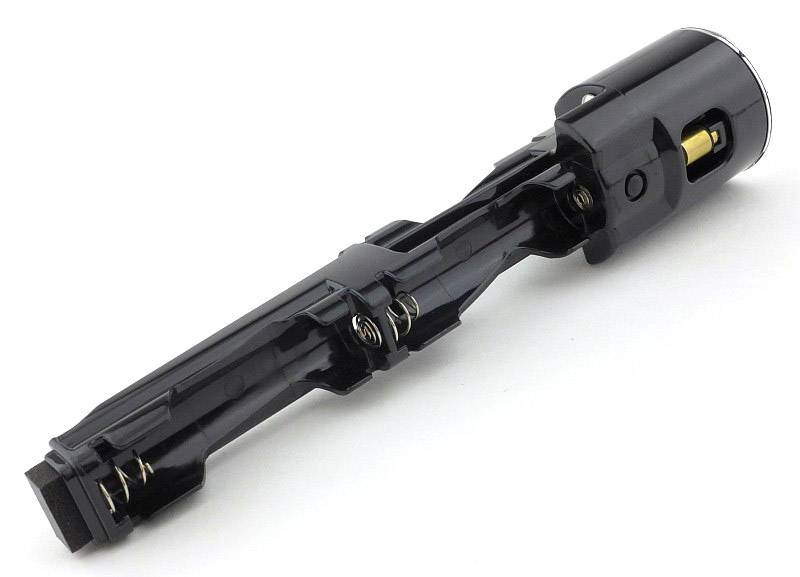
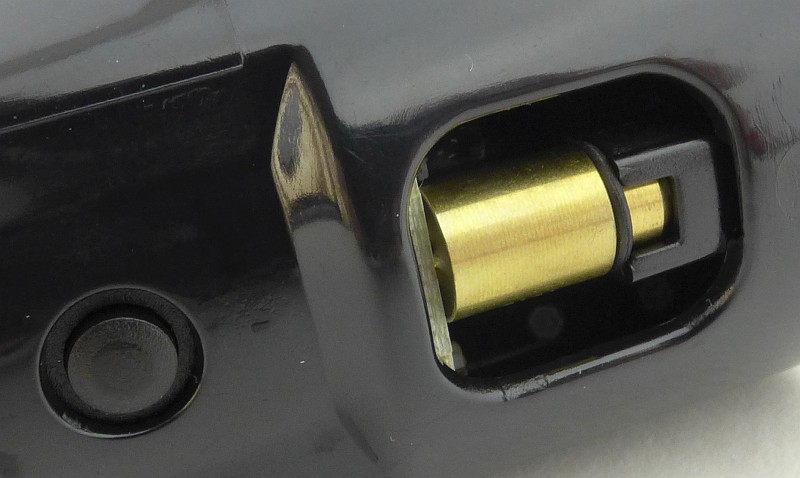
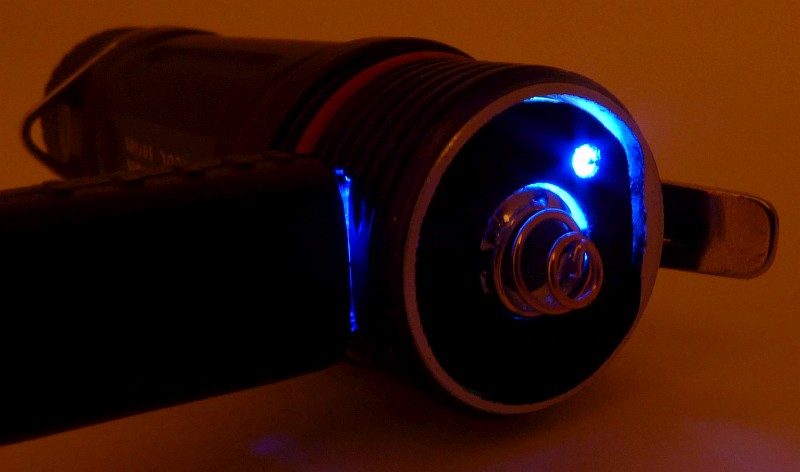
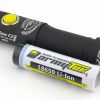
Taking a more detailed look at the TA15:

Next we take a look at the multi-power option TA15.


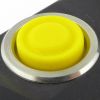
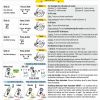
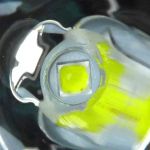
Taking a more detailed look at the TA30:

The slightly larger and more powerful TA30 is the last of the models we are looking at here.


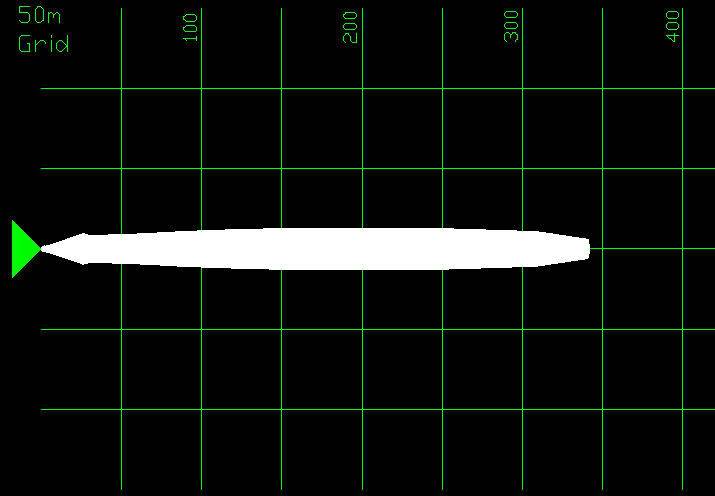
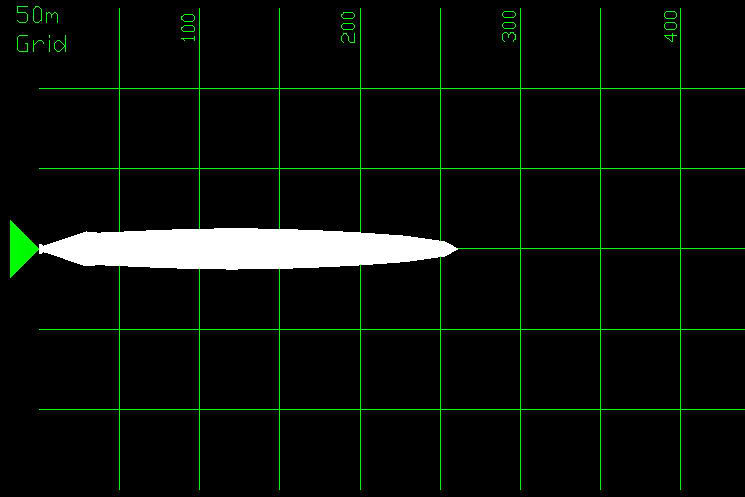
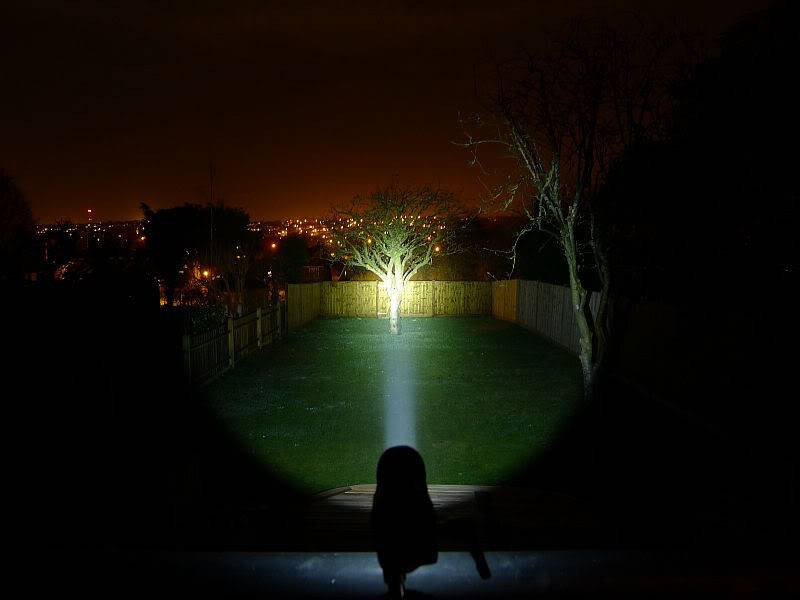
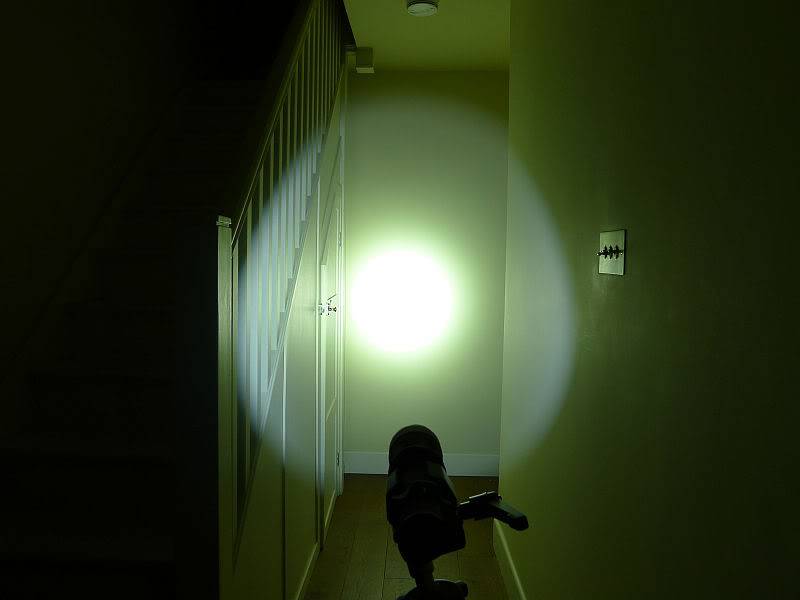
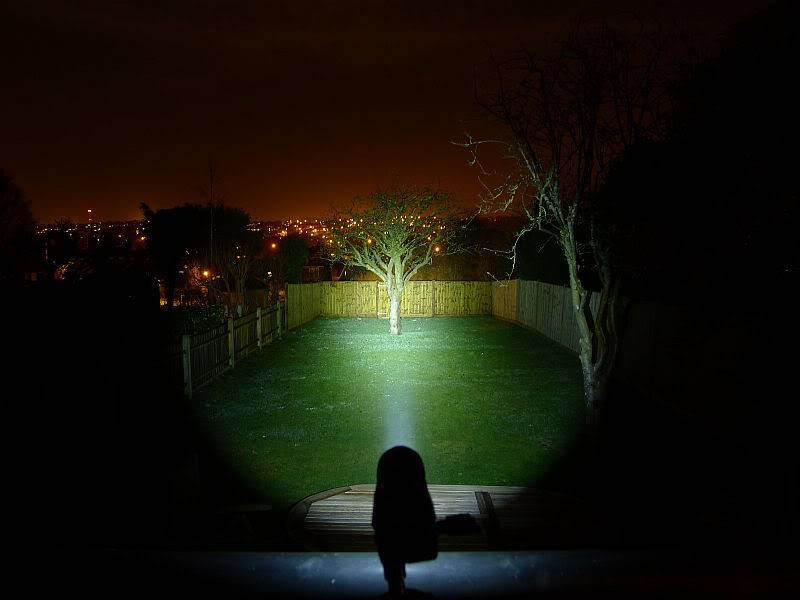
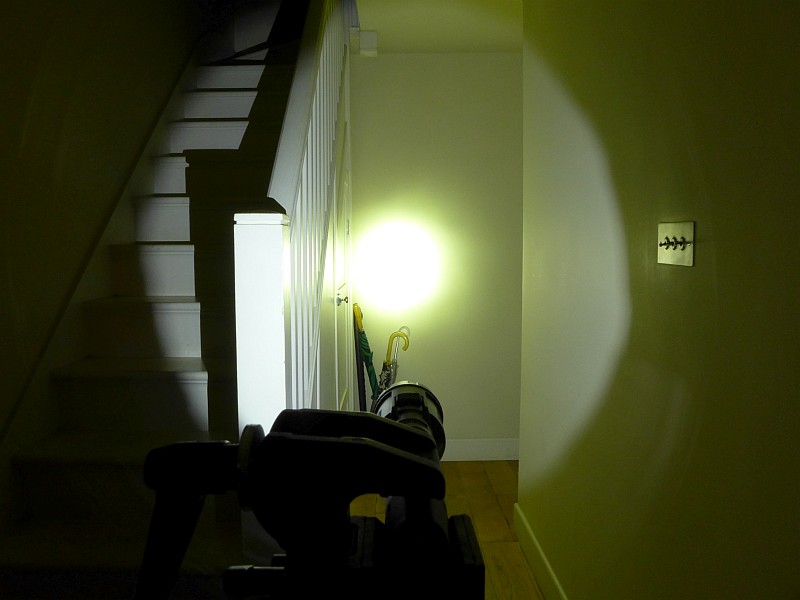
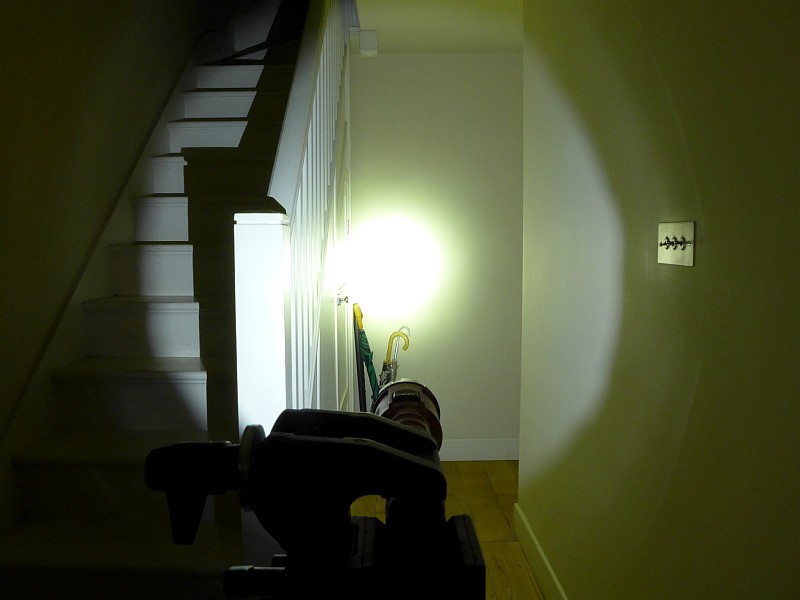
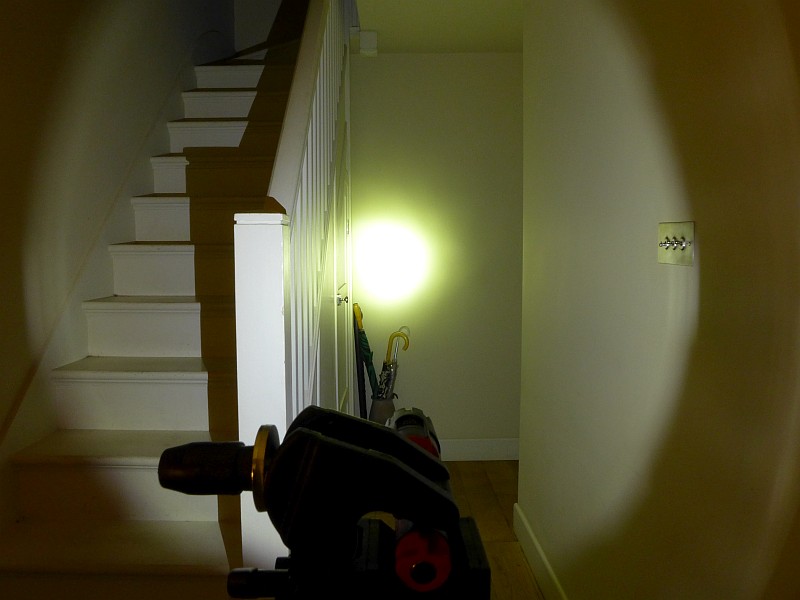
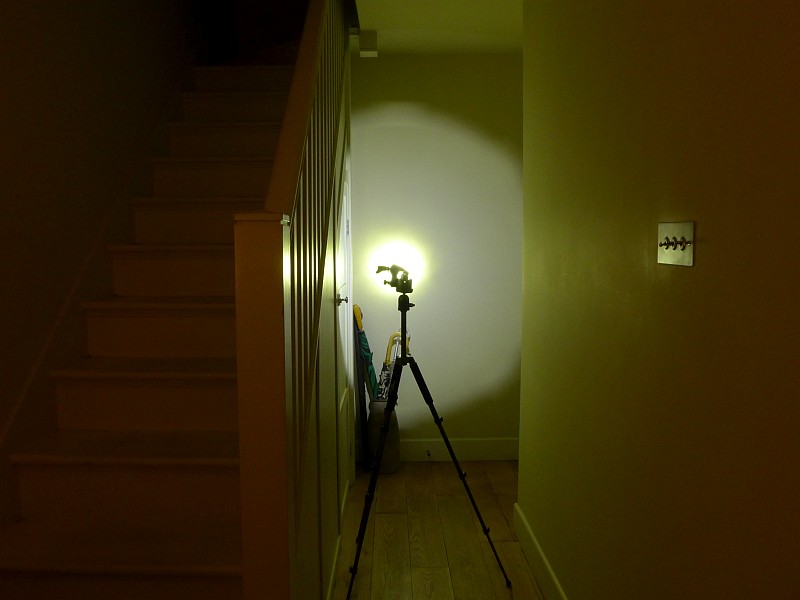
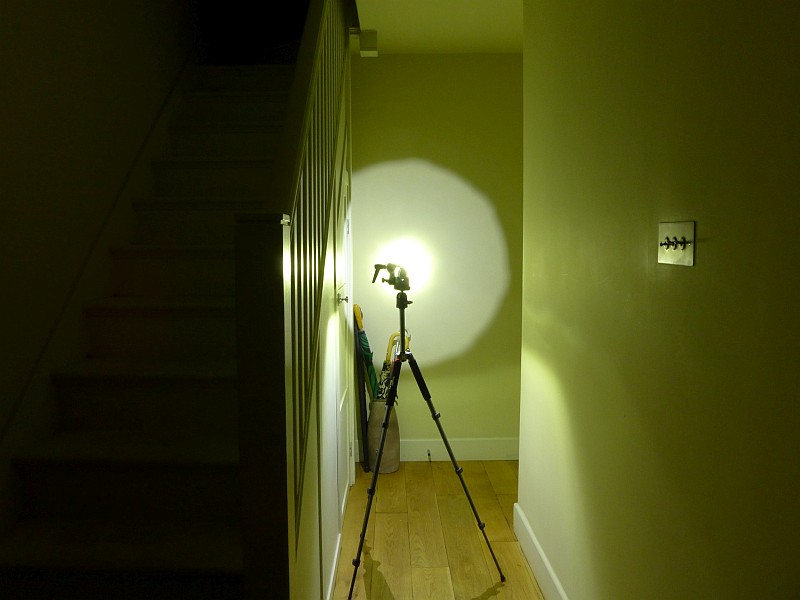
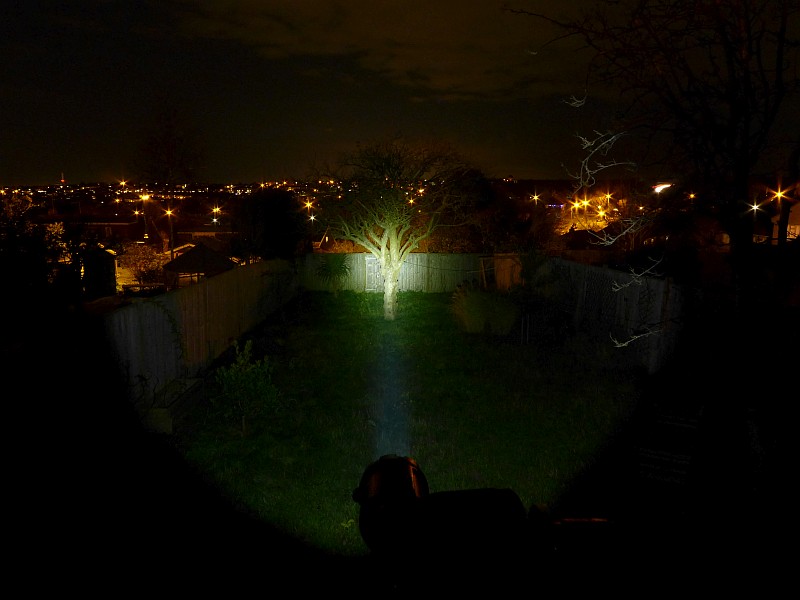
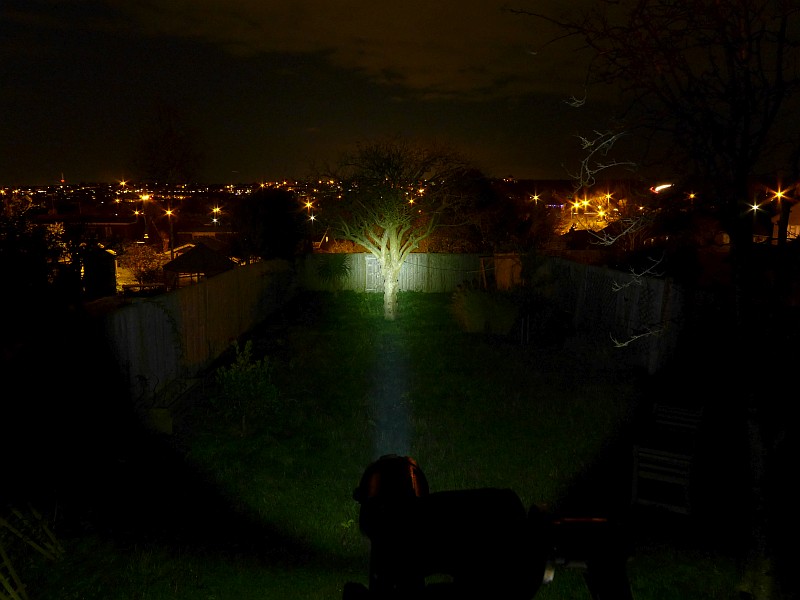
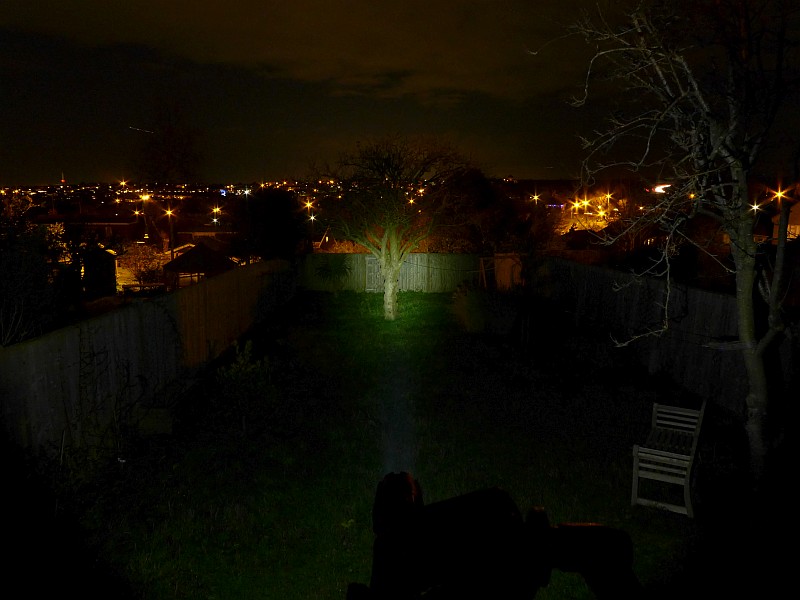
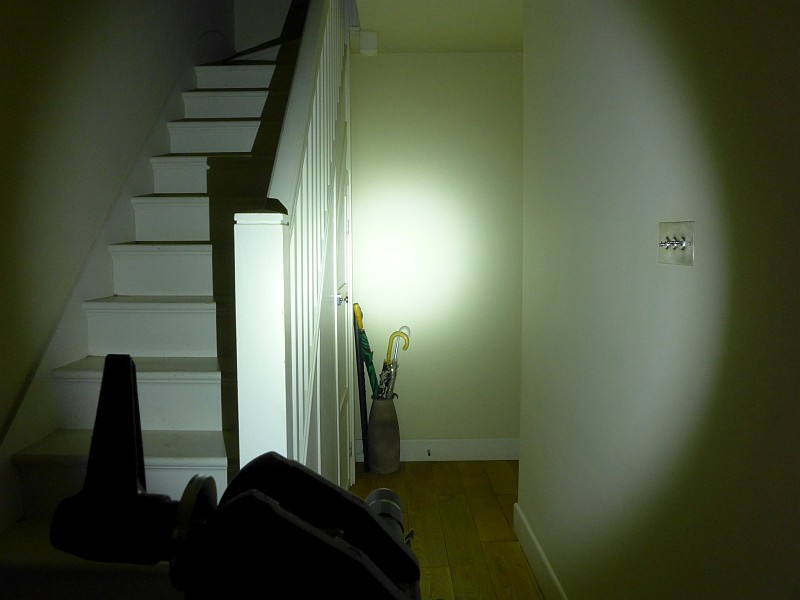
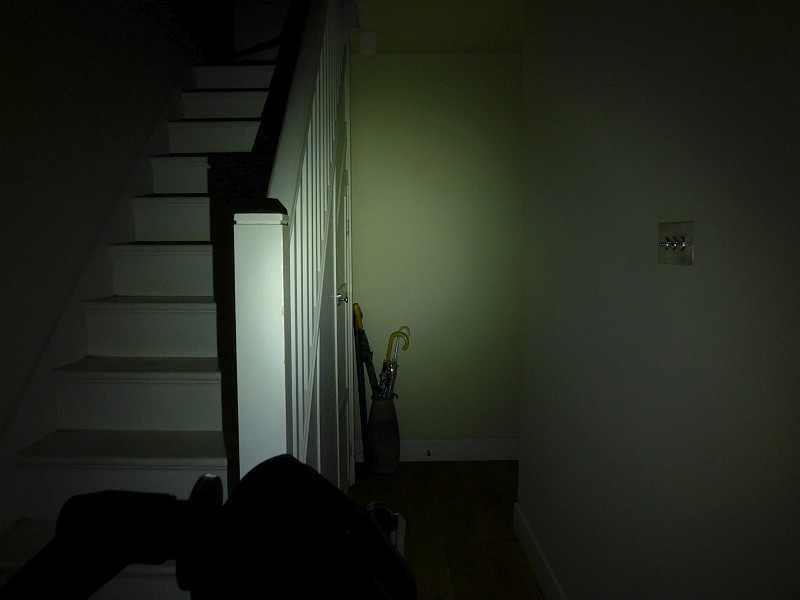
The beam

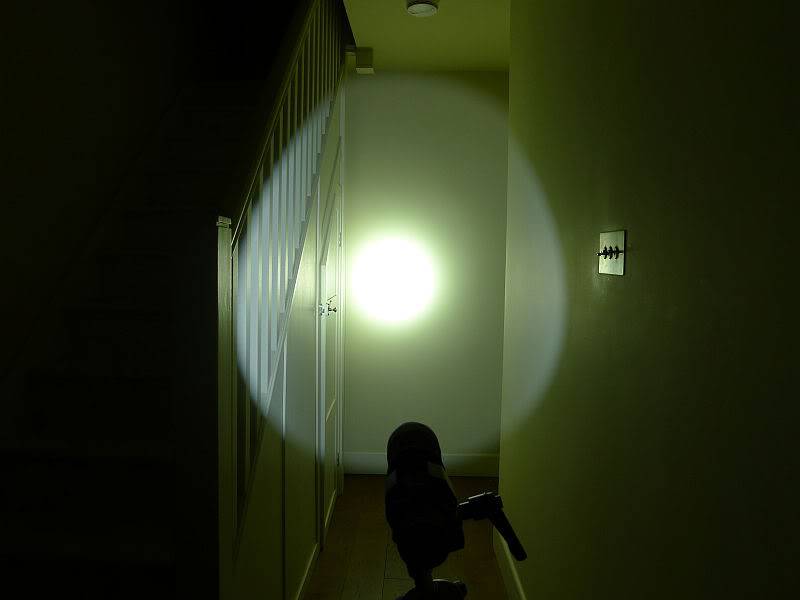
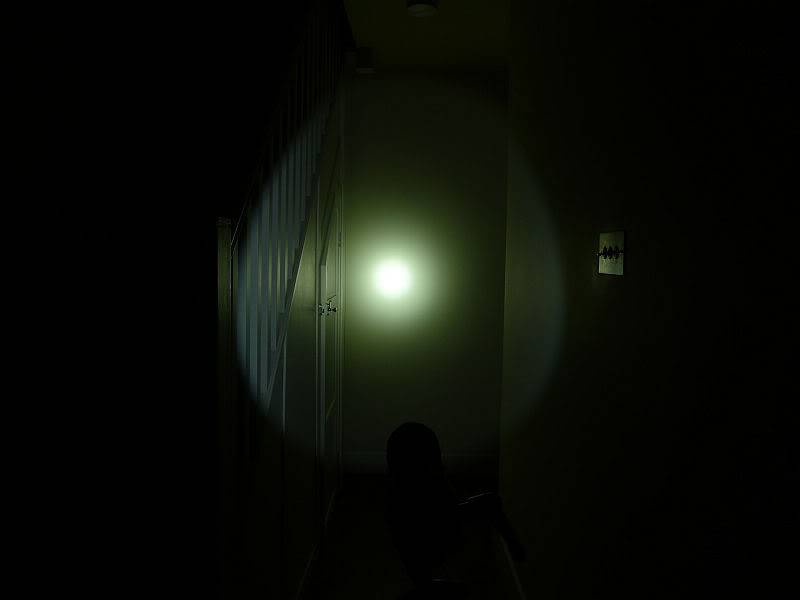
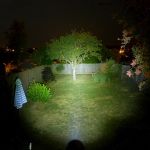
Please be careful not to judge tint based on images you see on a computer screen. Unless properly calibrated, the screen itself will change the perceived tint.

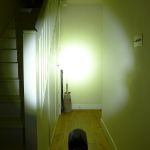
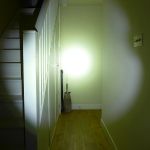
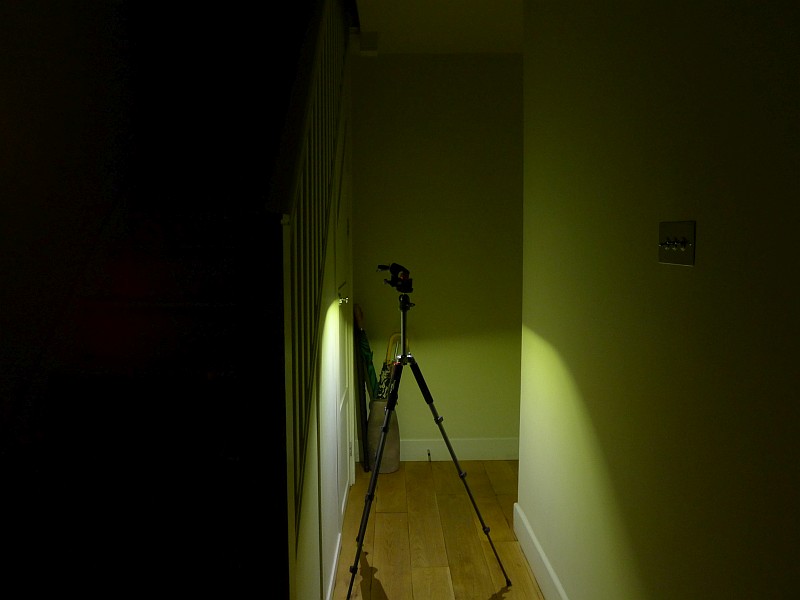
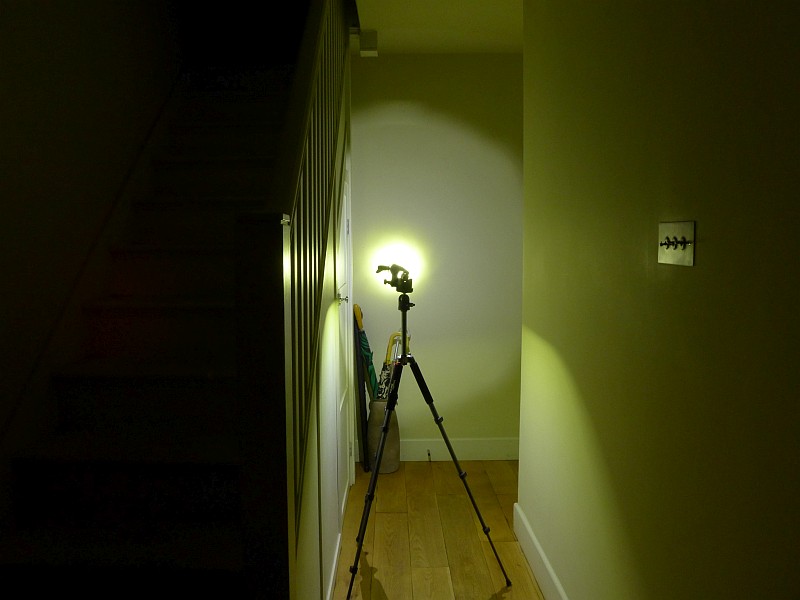
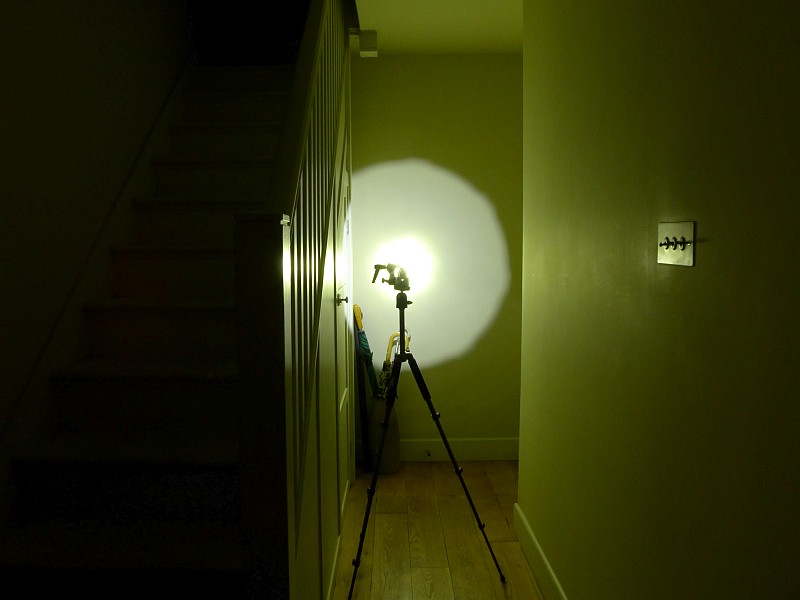
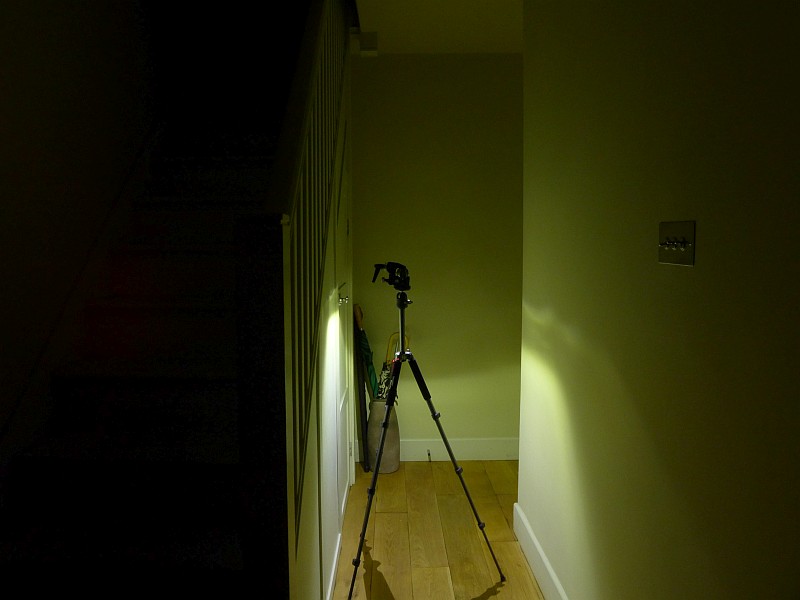
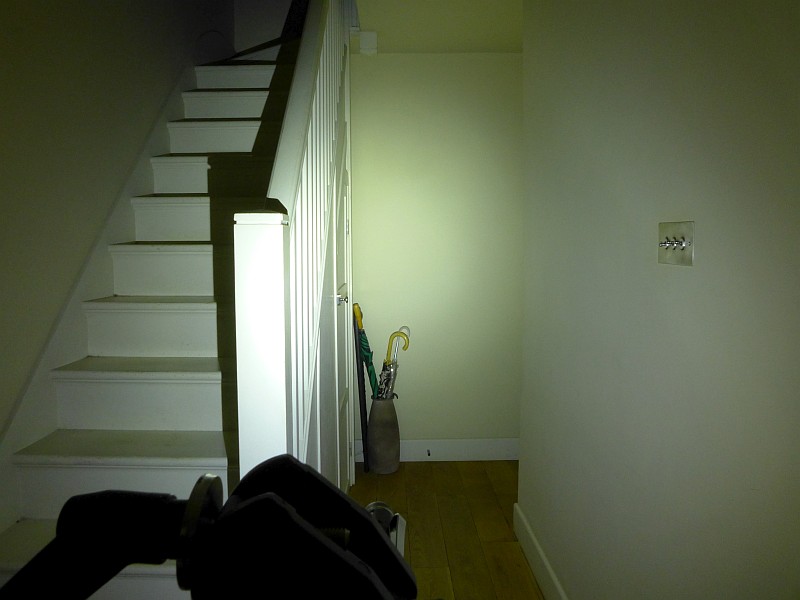
The indoor beamshot is intended to give an idea of the beam shape/quality rather than tint. All beamshots are taken using daylight white balance. The woodwork (stairs and skirting) are painted Farrow & Ball “Off-White”, and the walls are a light sandy colour called ‘String’ again by Farrow & Ball. I don’t actually have a ‘white wall’ in the house to use for this, and my wife won’t have one!

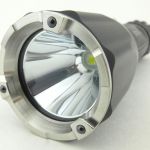
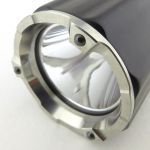
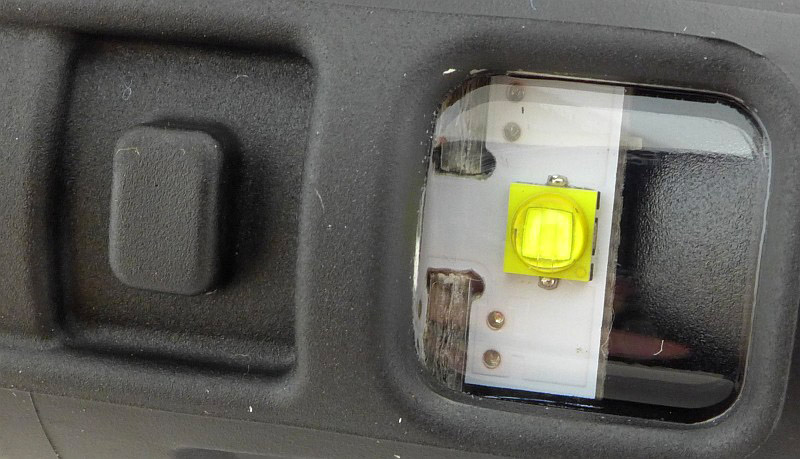
The main feature to note is that the bezel contours where the nano-ceramic glass-breaker balls are fitted do cut into the outer spill of these lights; most obviously on the indoor beamshots.


Modes and User Interface:

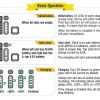
In previous reviews I have detailed the actual UI, but with the ease of access to user manuals, this section will now only include observations or differences in the operation.

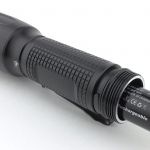
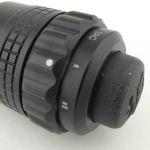
In the process of tightening the tail-cap you also turn the magnetic control ring to the ‘Tac’ position. ‘Tac’ mode is actually ‘Off’ but you have direct access to maximum output from the tail-cap button switch (and Strobe from the second-stage of this switch).

This also means that to change modes using the control ring you are rotating it as if unscrewing the tail-cap. Being used to twisty interfaces where you tighten the tail-cap to turn on and then go brighter this has been counterintuitive for me, and I still find myself twisting it the wrong way when wanting to turn the lower modes off or down.

Unfortunately I can’t see any way round this, as it is completely right that when tightening the tail-cap (after replacing the battery) you want the control ring to be returned to the ‘off / Tac’ position; you just have to try and get used to this.

It also means that when taking the tail-cap off to replace the battery, you generally end up gripping the control ring and twisting this (especially with the FR-1 fitted), so turn the TA15 and TA30 onto maximum or strobe until the tail-cap is loosened enough to lock it out.

Batteries and output:

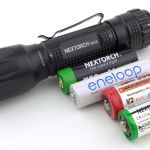
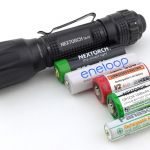
The TA15 runs on 14500, 16340, CR123, AA and though not officially, it can run on AAA.
The TA30 runs on 18650 or CR123.

To measure actual output, I built an integrating sphere. See here for more detail. The sensor registers visible light only (so Infra-Red and Ultra-Violet will not be measured).

Please note, all quoted lumen figures are from a DIY integrating sphere, and according to ANSI standards. Although every effort is made to give as accurate a result as possible, they should be taken as an estimate only. The results can be used to compare outputs in this review and others I have published.

         Nextorch TA..         |   I.S. measured    |  PWM frequency or    
     using specified cell      | ANSI output Lumens | Strobe frequency (Hz)
_______________________________|____________________|______________________
    TA15 - 14500 - Tactical    |        547         |                      
    TA15 - 14500 - III         |        542         |                      
    TA15 - 14500 - II          |        202         |      15600           
    TA15 - 14500 - I           |        32          |      15600           
    TA15 - 14500 - Strobe      |                    |      10.4            
                               |                    |                      
    TA15 - CR123 - Tactical    |        313         |                      
    TA15 - CR123 - III         |        310         |                      
    TA15 - CR123 - II          |        79          |      15600           
    TA15 - CR123 - I           |        11          |      15600           
    TA15 - CR123 - Strobe      |                    |      10.4            
                               |                    |                      
    TA15 - AA    - Tactical    |        120         |                      
    TA15 - AA    - III         |        118         |                      
    TA15 - AA    - II          |        23          |      15600           
    TA15 - AA    - I           |        4           |      15600           
    TA15 - AA    - Strobe      |                    |      10.4            
                               |                    |                      
    TA30 - 18650 - Tactical    |        849         |                      
    TA30 - 18650 - III         |        837         |                      
    TA30 - 18650 - II          |        151         |      15600           
    TA30 - 18650 - I           |        32          |      15600           
    TA30 - 18650 - Strobe      |                    |      10.4            
                               |                    |                      
    TA30 - CR123 - Tactical    |        756         |                      
    TA30 - CR123 - III         |        756         |                      
    TA30 - CR123 - II          |        153         |      15600           
    TA30 - CR123 - I           |        28          |      15600           
    TA30 - CR123 - Strobe      |                    |      10.4            


* Beacon and Strobe output measurements are only estimates as the brief flashes make it difficult to capture the actual output value.

There is parasitic drain which is different for each cell type used. For the:

TA15 when using 14500, the drain was 11.6uA (8.85 years to drain the cells)
TA15 when using CR123, the drain was 9.2uA (17.36 years to drain the cells)
TA15 when using AA, the drain was 58.6uA (3.7 years to drain the cells)
TA30 when using 18650, the drain was 16uA (18.54 years to drain the cells)
TA15 when using CR123, the drain was 32uA (4.99 years to drain the cells)

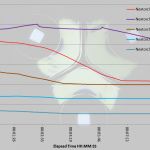
The runtime graphs show the full traces, and a zoomed in section of the first few minutes of the run.


Troubleshooting

This section is included to mention any minor niggles I come across during testing, in case the information helps anyone else.

No issues were encountered during testing.

As per the description of this section, this information is provided in case anyone else finds a similar ‘issue’ that might be fixed in the same way.

The TA15, TA30 and FR-1 in use

Starting with the FR-1, though described as being suitable for any standard size light (with tail cap of 23.2 mm to 25.5 mm diameter), as yet, I’ve not found any it works with beyond the TA15 and TA30. The tail-cap needs to be bigger than the battery tube, but for most of the lights I have, the tail-cap and battery tube are the same size. It does however work very well with the TA30.

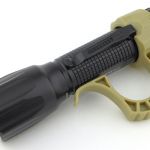
When using the FR-1 and TA30, the FR-1 covers most of the tail-cap, and this means that to loosen or tighten the tail-cap, you have to hold the control ring switch and turn that. It also means that the control ring switch is not as easy to hold as the collar of the FR-1 reduces access to it slightly. Of course it does not reduce access to the tail-cap button switch.

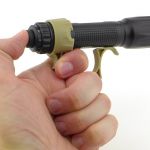
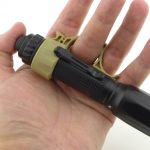
Tactical grip rings do add bulk to a light, but they also give you so many grip options, which is why they are worth their weight in gold. From the simplest concept, that you can hang the light off a finger and actually free up that hand entirely to hold or lift something without putting the light down (think of it like wearing a ring with a very large stone in it). How you now hold it is only limited by your imagination.


Having got to grips with these lights, I am very impressed with the interface. Combining the rotary control ring with the two-stage tail-cap button has worked really well. From any mode, or off/Tac, pressing the button gives you direct access to maximum output. The two stage button switch has a good feel, being neither too stiff or easy to press, making the division between the half press for maximum output and full press for strobe well defined. Snatch the button and you will likely get some strobe, so if this is a big issue you’ll need to go for a single mode light.

Changing from pressing the button to rotating the control ring is natural. However, as explained earlier, the direction of rotation to change modes wasn’t intuitive for me, and I need to think about it.


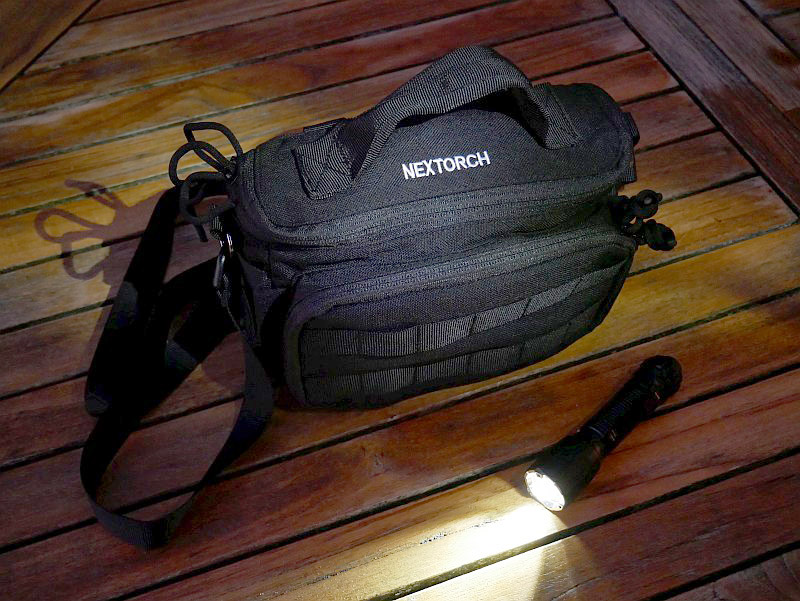
(The TA15 with Nextorch’s new V30 EDC bag)

I like versatility; the TA15 gives you that, and is especially good as a light to have as a backup where you might need to scavenge cells from anywhere. The output does depend on the cells you fit, but this is not only sensible, as it better matches the output to the cells capacity (so not depleting them too fast) but it also lets the user choose their preferred output levels. I prefer lower output levels, so I generally run it on AAs. It really is very useful to be able to feed it such a varied diet, but you can end up with some cell rattle (mainly CR123) due to the mechanism needing to cater for the different cell lengths.

A minor point, which I raised with Nextorch, was that if using NiMh cells, the TA15 will often not switch from off to level 1, but needs to be turned onto level 2 then back to level 1. This behaviour seemed odd and only happened on NiMh AAs, but Nextorch explained that due to the low voltage, the TA15 was automatically going into a sleep mode to reduce drain to a minimum, and would only wake up when turned onto level 2. So this behaviour is designed into the TA15, and is specifically intended to reduce drain.

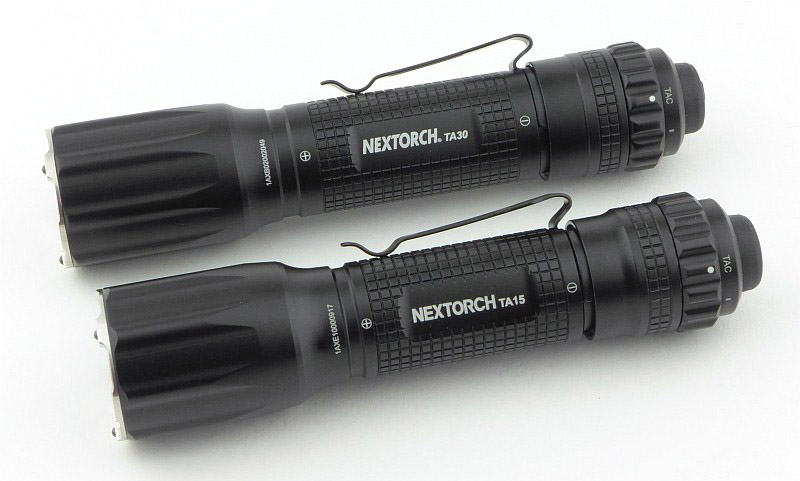
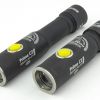
The TA15 and TA30 use the exact same interface and are in fact almost the same size. They handle very well and are extremely functional.

Still looking for an opportunity to try out the glass breakers…

Review Summary

_______________________________________________
Things I like
_______________________________________________

Two-stage tail-cap button.
Rotary control ring.
Multi-cell-type compatibility.
Ceramic glass breakers.
Very useful tactical grip ring.
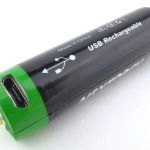
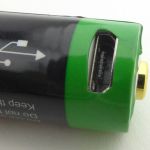
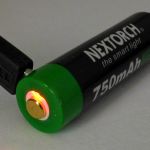
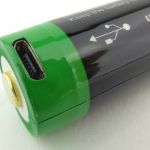
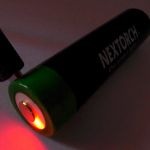
Supplied cells are USB rechargeable.

_______________________________________________
What doesn’t work so well for me
_______________________________________________

Cell rattle with CR123.
The direction of rotation of the control ring has been counter intuitive.
Outer spill beam broken up by glass breaker bezel.


Discussing the Review:

The ideal place to discuss this reviews is on a forum. If you started reading the shorter forum version of the review, but followed the link this full exclusive review, please return to that forum to discuss the review there.
If you read the review entirely on Tactical Reviews, please consider one of the following to join in, or start, a discussion.

CandlePowerForums – Flashlight Reviews Section (Largest and Friendliest Flashlight Community Forum)

Light Review: ACEBEAM UC15 – EDC / Keychain

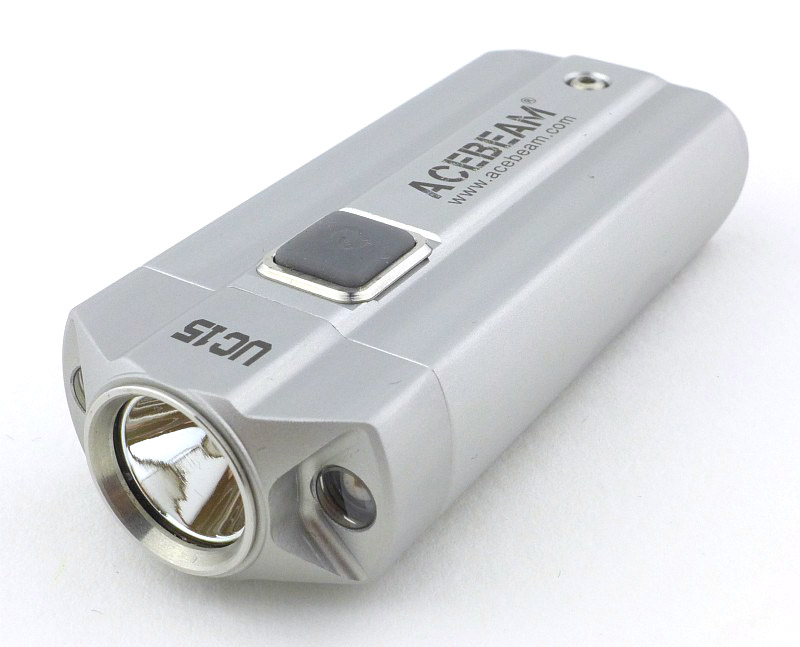
ACEBEAM’s UC15 is a new contender in the keychain light market. The UC15 has a range of capabilities that make it stand out, with white, red and UV beams, and the choice of AAA or 10440 for power. We are certainly spoilt for choice when it comes to keychain lights, in many cases with there being very little to distinguish between them, but the UC15 definitely gives you more. It is one of the larger keychain lights, being in the ‘car key size’ class, many of which have built-in batteries and though those have the convenience of USB charging, they are limited by the capacity of that battery. Not the UC15 as it takes 2x AAA or 2x 10440, but can run on only one cell if needed.

Taking a more detailed look:

The beam

Please be careful not to judge tint based on images you see on a computer screen. Unless properly calibrated, the screen itself will change the perceived tint.

The indoor beamshot is intended to give an idea of the beam shape/quality rather than tint. All beamshots are taken using daylight white balance. The woodwork (stairs and skirting) are painted Farrow & Ball “Off-White”, and the walls are a light sandy colour called ‘String’ again by Farrow & Ball. I don’t actually have a ‘white wall’ in the house to use for this, and the wife won’t have one!

Modes and User Interface:

ACEBEAM helpfully provided a diagram to help you navigate the UC15’s UI. However, the current firmware version doesn’t quite follow this diagram once you have activated the ‘colour group’.
On one copy of the UI diagram I have made a couple of adjustments, and the reason for these is as follows…
Turning on to Moon mode does NOT ‘activate’ the white group when the current group is the colour group; it only temporarily enters the white group. So, if the colour group was the active group and you turn on to Moon mode, even if you then select another white output level, once you turn the UC15 off, it will revert to the colour group.
From OFF, with the colour group active, the only way to ‘activate’ the white group is via a double click.
If the colour group is active, and the UC15 is OFF, a double click does NOT turn Turbo on, instead it turns on the memorised white level; it then takes one more double click to enter Turbo.

Batteries and output:

The UC15 runs on 2x AAA or for maximum output 2x 10440. These are used in parallel, so you can actually use only a single cell if that is all you have.

To measure actual output, I built an integrating sphere. See here for more detail. The sensor registers visible light only (so Infra-Red and Ultra-Violet will not be measured).

Please note, all quoted lumen figures are from a DIY integrating sphere, and according to ANSI standards. Although every effort is made to give as accurate a result as possible, they should be taken as an estimate only. The results can be used to compare outputs in this review and others I have published.

         ACEBEAM UC15          |   I.S. measured    |  PWM frequency or    
     using specified cell      | ANSI output Lumens | Strobe frequency (Hz)
_______________________________|____________________|______________________
  Turbo  10440                 |      679           |                      
  High   10440                 |      441           |                      
  Medium 10440                 |      251           |                      
  Low    10440                 |      109           |                      
  Moon   10440                 |        5           |                      
  Red    10440                 |       93           |                      
                               |                    |                      
  Turbo  AAA NiMh              |      190           |                      
  High   AAA NiMh              |       93           |                      
  Medium AAA NiMh              |       51           |                      
  Low    AAA NiMh              |       25           |                      
  Moon   AAA NiMh              |        5           |                      
  Red    AAA NiMh              |       53           |                      


There is parasitic drain but is incredibly low. When using 10440, the drain was 3.6uA (22 years to drain the cells), and when using AAA, the drain was 1.1uA (165 years to drain the cells).

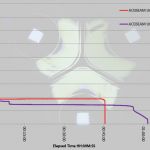
The runtime graph shows the UC15 running from Turbo to the ANSI cut-off for AAA NiMh and 10440. Also included are the manufacturer output specifications.

Troubleshooting

This section is included to mention any minor niggles I come across during testing, in case the information helps anyone else.

The only minor observation to report here was difference in the expected behaviour of the UI, as noted earlier.

As per the description of this section, this information is provided in case anyone else finds a similar ‘issue’ that might be fixed in the same way.

The UC15 in use

Compared to many keychain lights, the UC15 is a fairly large addition to your key-ring, but it is packed with features and performance. This high CRI Nichia LED version doesn’t quite have the same 1000lm output as the XP-L version, but at around 700lm when using 10440, is very impressive.
Personally I find the levels a bit too bright when using 10440, and I prefer to use AAA, which brings the levels down to a brightness that works better for an EDC light. You have the choice though, a true pocket-rocket, or a seriously useful EDC light. The level chosen for ‘Moon’ mode is more like a low level than a moon mode as at 5lm is too bright for dark adapted eyes.
When it comes to red light, typically this is used to help maintain dark adapted vision. In the case of the UC15’s red output, it is very bright, with nearly 100lms of red when using 10440; this is too much. If you were to go to an astronomy ‘star party’, and broke out the UC15’s red beam, you would be asked to leave – immediately. With the red beam being a specific wavelength (630nm) it is virtually invisible to many night time quarry if you are out hunting after dark, so in this regard is useful. Beyond that, the red could be useful for signaling considering its brightness.
Unlike many ‘UV lights’ the UC15 is a proper UV light using the 365nm wavelength. This has minimal blue light and appears very dim to the eye, until you shine it onto materials that fluoresce. This is particularly obvious with bank note security features. Only true UV brings out their colours and makes them glow brightly.
Rated as IP54, I am slightly surprised that ACEBEAM have left the tail-cap without any kind of seal. It might be slightly splash proof, but it is not waterproof. Perhaps a keychain light is not that likely to get soaked (a car key might not like that), but it seems strange not to have a seal.
Adding the clip makes it more of a pocket light than a keychain light, but gives you that extra flexibility. With the clip open at the tail-end of the UC15, you can slide it onto the baseball cap peak to use it as a head-lamp. Fitting the clip itself is fiddly. The small screws don’t fit through the holes in the clip, so have to be tickled into position underneath the clip, and then tightened.
Overall the 2x AAA side-by-side configuration makes for a very ergonomic light to use, and with three different beams to choose from, the UC15 is a serious contender for your EDC.

Review Summary

_______________________________________________
Things I like
_______________________________________________

High CRI ~700lm output.
Choice of AAA or 10440 power.
Choice of output levels (based on cell choice).
White, Red and UV outputs.
Good UI (despite minor issue).
Can run on only one cell (as the two are used in parallel).
Very low parasitic drain.
No Pulse Width Modulation.

_______________________________________________
What doesn’t work so well for me
_______________________________________________

‘Moon’ mode is too bright.
Moon mode not memorised.
Red output very bright.
Not waterproof, only water resistant.


Discussing the Review:

The ideal place to discuss this reviews is on a forum. If you started reading the shorter forum version of the review, but followed the link this full exclusive review, please return to that forum to discuss the review there.
If you read the review entirely on Tactical Reviews, please consider one of the following to join in, or start, a discussion.

CandlePowerForums – Flashlight Reviews Section (Largest and Friendliest Flashlight Community Forum)

Performance Review: Emisar D4 – Quad Nichia 219C LED Light

The Emisar D4, made by Hank Wang of Intl-Outdoor, is one of those lights that has created such a stir with its stunning output levels, that if you haven’t come across it yet, you will do. Hank has created a light by which others will be judged and at an amazingly low price. Coming in several flavours of LED, with varying maximum output levels, the light on test here is the Neutral White 90CRI Nichia 219CT LED version. Also included with this review sample is the 18350 tube allowing it to be used with 18350 and 16340 cells.

Taking a more detailed look:

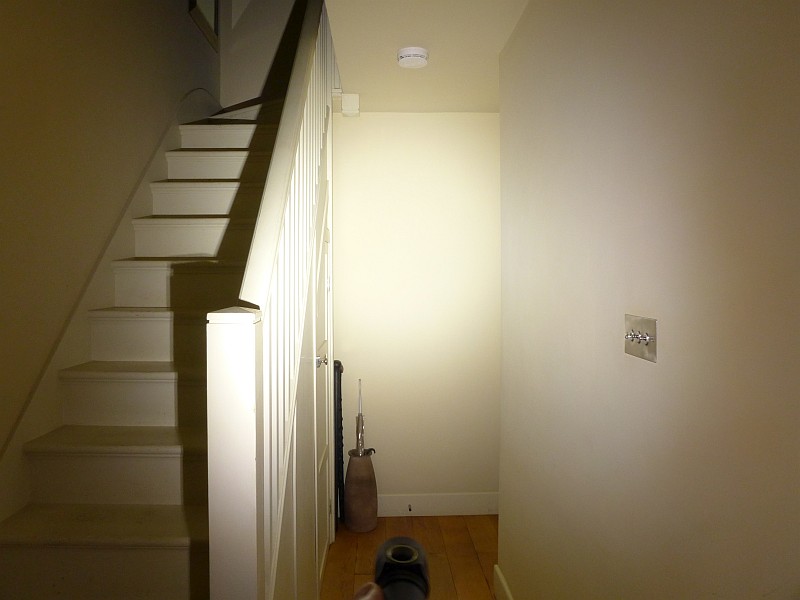
The beam

Please be careful not to judge tint based on images you see on a computer screen. Unless properly calibrated, the screen itself will change the perceived tint.

The indoor beamshot is intended to give an idea of the beam shape/quality rather than tint. All beamshots are taken using daylight white balance. The woodwork (stairs and skirting) are painted Farrow & Ball “Off-White”, and the walls are a light sandy colour called ‘String’ again by Farrow & Ball. I don’t actually have a ‘white wall’ in the house to use for this, and the wife won’t have one!


Modes and User Interface:

From OFF:
1 Click – Turn ON to memorised level.
Press and Hold – Turn ON to minimum and Ramp up.
2 Clicks – Turn ON to Max output.
3 Clicks – Enter Voltage Battery Check (longer flash indicates a 1, short flash indicates a 0. Whole Volts first, then tenths).
From Voltage Battery Check 2 Clicks to enter Temperature Check (longer flash indicates a 1, short flash indicates a 0. Tens of Degrees C first, then Ones)
4 Clicks – Set to use Tactical (Max output) Momentary mode. 4 Clicks to cancel this mode.
6 Clicks – Lockout. 6 Clicks to cancel.
8 Clicks – Beacon Mode
10+ Clicks and hold – Thermal configuration. Hold the button until the D4 is as hot as you want it to get.
When ON press and hold to ramp up or down in output.

Batteries and output:

The Emisar D4 runs on several cell types depending on the battery tube you buy. In this case there is the 18650 tube and the 18350 which also allows a 16340 to be used. Only IMR cells should be used in this high performance light and a 20A output should be considered a minimum.

To measure actual output, I built an integrating sphere. See here for more detail. The sensor registers visible light only (so Infra-Red and Ultra-Violet will not be measured).

Please note, all quoted lumen figures are from a DIY integrating sphere, and according to ANSI standards. Although every effort is made to give as accurate a result as possible, they should be taken as an estimate only. The results can be used to compare outputs in this review and others I have published.

         Emisar D4             |   I.S. measured    |  PWM frequency or    
     using specified cell      | ANSI output Lumens | Strobe frequency (Hz)
_______________________________|____________________|______________________
18650 Max @ switch on NOT ANSI |     3082           |      16100           
18650 IMR Max                  |     1918           |      16100           
18350 Max @ switch on NOT ANSI |     2259           |      16100           
18350 IMR Max                  |     1700           |      16100           
16340 Max @ switch on NOT ANSI |     2029           |      16100           
16340 IMR Max                  |     1714           |      16100           
Moonlight                      |     <0.1           |                      


There is parasitic drain. When using 18650, the drain was 22.6uA (15.65 years to drain the cells). On Lockout, the drain was 25uA (14.15 years to drain the cells).

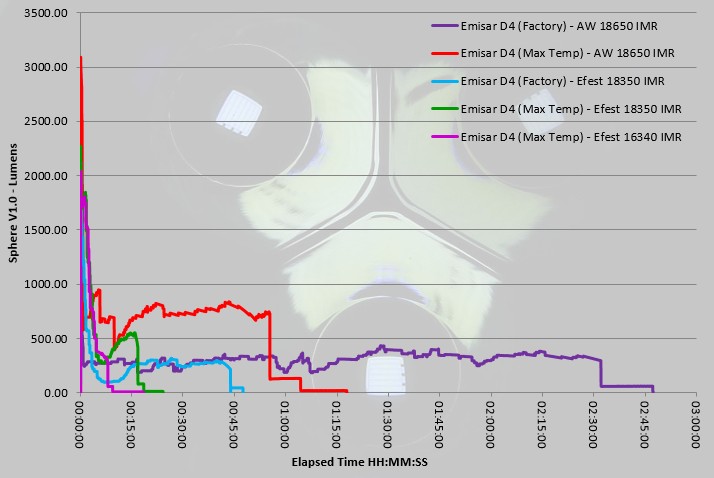
Below is the combined runtime graph for all the types of test carried out. It includes the D4 being run in its factory thermal configuration (45°C), and then the thermal configuration taken to the max. To set the thermal configuration as high as possible, it was set while wearing kelvar gloves (the bezel reached 80°C when setting this). Tests were carried out with fan cooling.
 

This gallery contains the other versions of the runtime graphs.

Review Summary

_______________________________________________
Things I like
_______________________________________________

3000lm+ Max Output.
Flexible UI.
Excellent Thermal regulation.

_______________________________________________
What doesn't work so well for me
_______________________________________________

Gets hot very fast due to lightweight construction.
Maximum output drops very quickly.


Discussing the Review:

The ideal place to discuss this reviews is on a forum. If you started reading the shorter forum version of the review, but followed the link this full exclusive review, please return to that forum to discuss the review there.
If you read the review entirely on Tactical Reviews, please consider one of the following to join in, or start, a discussion.

CandlePowerForums - Flashlight Reviews Section (Largest and Friendliest Flashlight Community Forum)

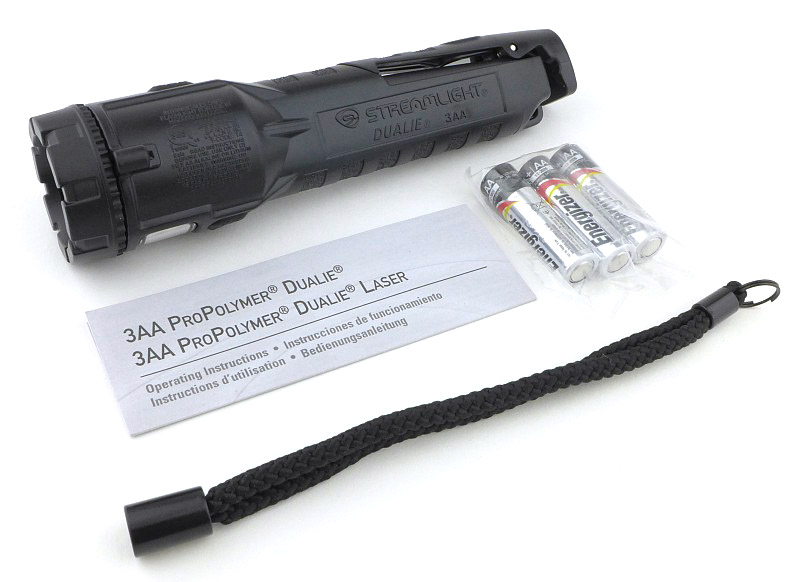
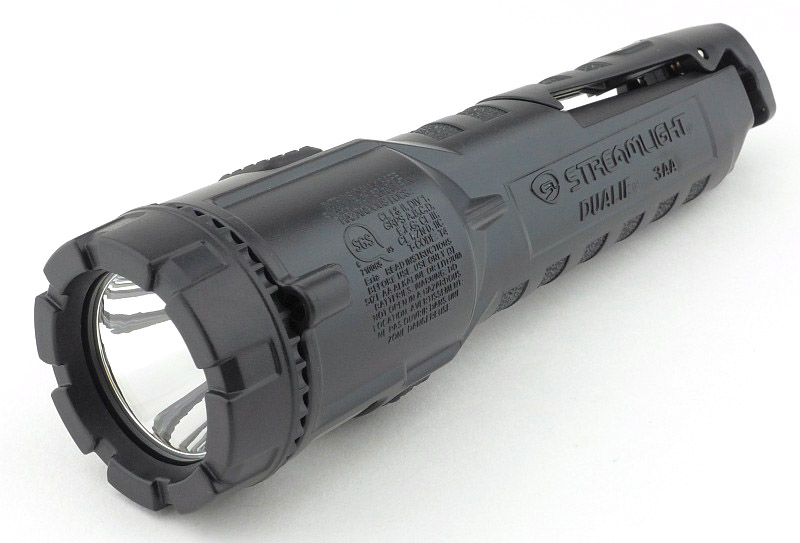
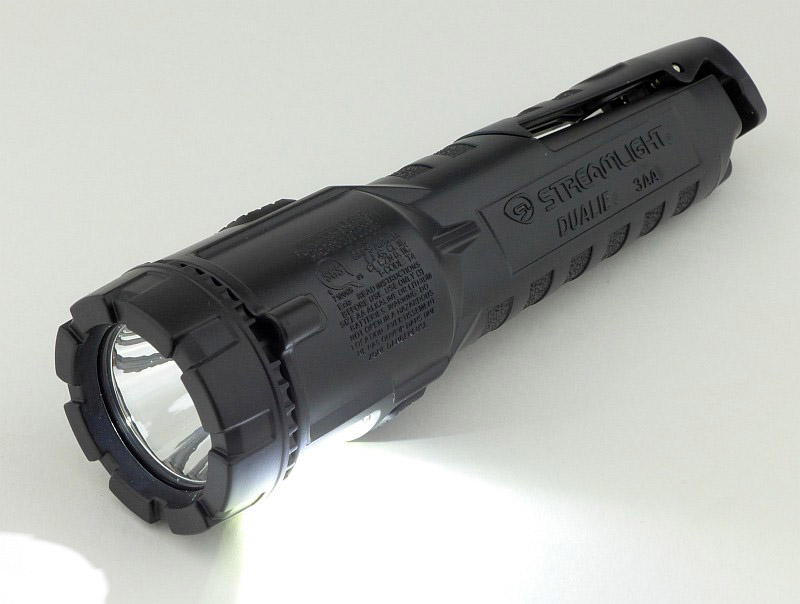
Light Review: Streamlight Dualie – 3AA Magnet, 2AA ATEX and Laser ATEX

Streamlight’s Dualie range are not the only dual-beam lights available, so might look familiar. The 3AA version is not new, but the 2AA ATEX and 3AA Laser ATEX are both recent additions for Streamlight, adding more options to this Intrinsically Safe range.

Taking a more detailed look at the Dualie 2AA ATEX:

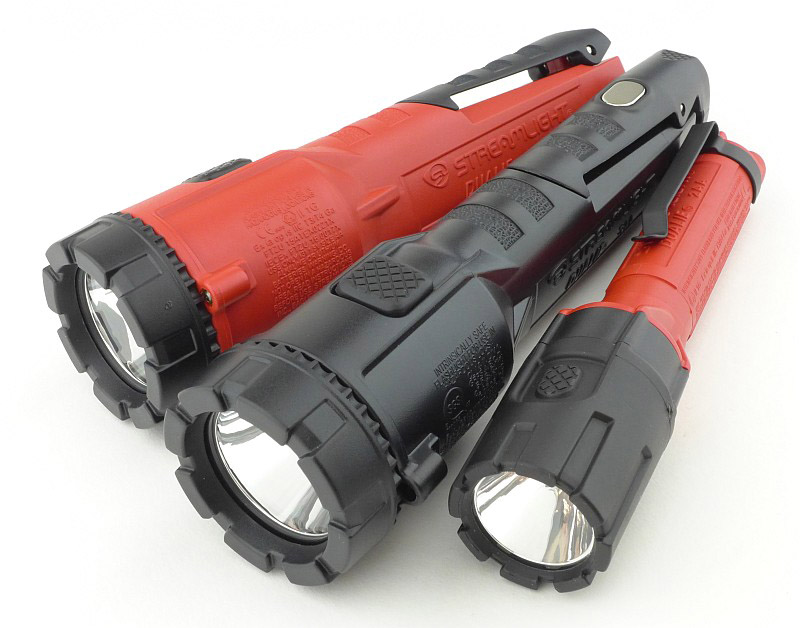
We are starting with a detailed look at the 2AA ATEX version, but before we do, here are all three Dualie lights on test in this review. The 2AA model arrives in a cardboard box like the 3AA Magnet, with the 3AA Laser in a plastic blister pack.
In the 2AA’s box along with the Dualie is a set of alkaline batteries, a wrist lanyard, an Allen key and the instructions.

Immediately striking is the offset head design of the 2AA.

And this is why it is a Dualie. The flood-light LED in the side of the head.

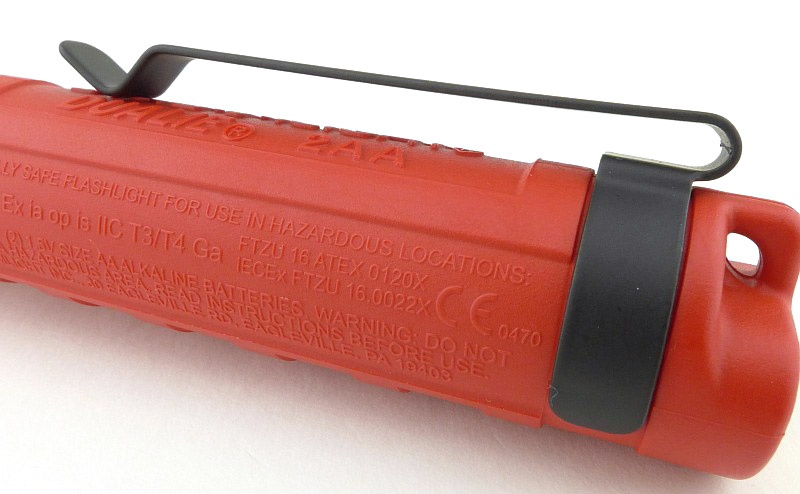
A better look at that unusual offset battery tube. The top of the pocket clip is kept level with the line of the head of the light.

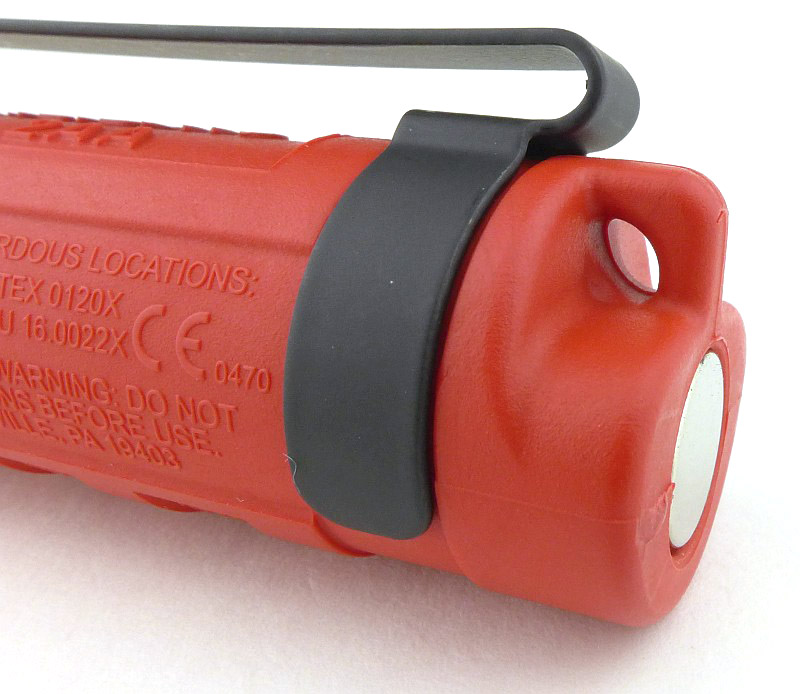
The tail has a lanyard hole, and also a magnet.

A simple, deep, steel pocket clip is fitted to the 2AA.

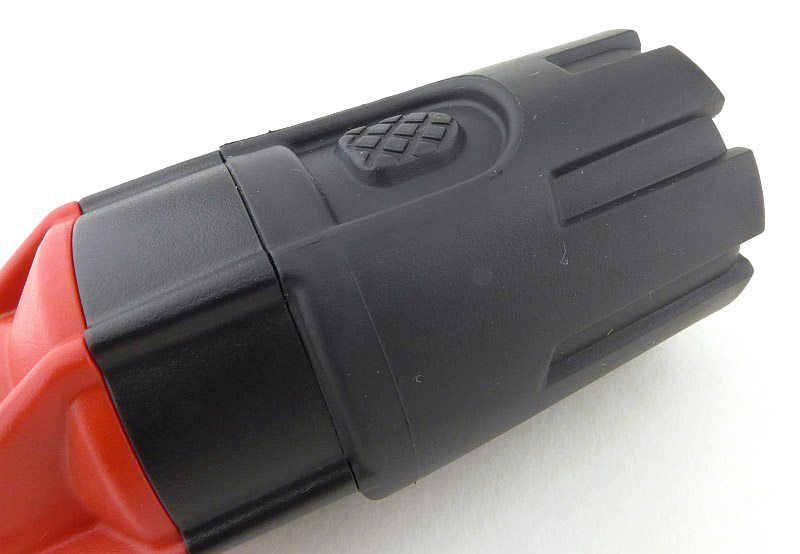
The main beam’s switch is the largest, and has a checkered grip pattern.

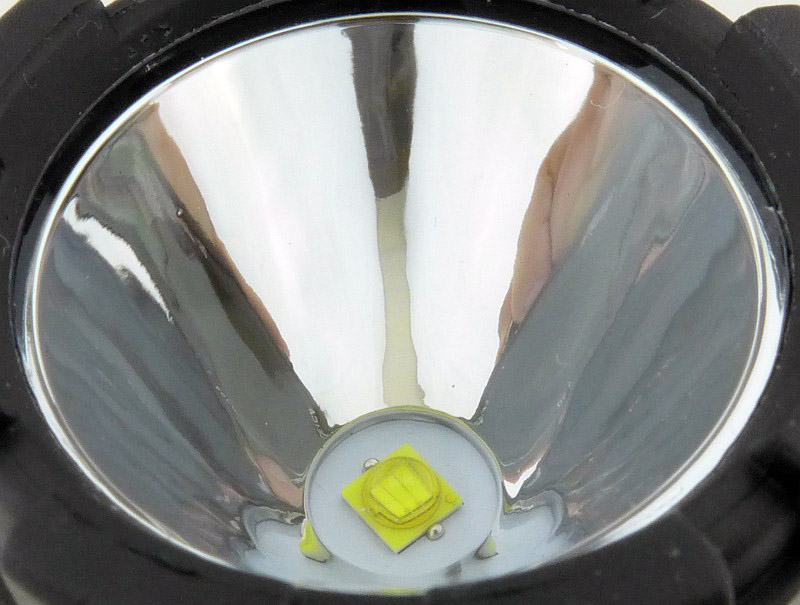
A close look at the 2AA’s main-beam reflector and LED.

The same LED is used for the side mounted flood beam without any reflector. The side beam’s switch is smaller and has no checkering.

Inside the light’s head are two contacts made from coiled wire.

The coil contacts connect to the battery positive terminal and a contact built-in to the front of the battery tube. The other metal part visible here is the locking screw to fix the head in place.

Instead of screw-threads, the 2AA uses a bayonet fixing for the head / battery tube fitting.

The batteries are now fitted into the body.

Now we see why there is an Allen key included. With the head fitted back onto the body, the locking screw can be tightened.

A requirement of certain Intrinsically Safe standards is that the batteries cannot be replaced in the hazardous environment. This is achieved by use of a locking screw to prevent the light being accidentally opened. Instead you need to use a tool to intentionally open the light.

The head is now locked and can’t be taken off without the screw being loosened.

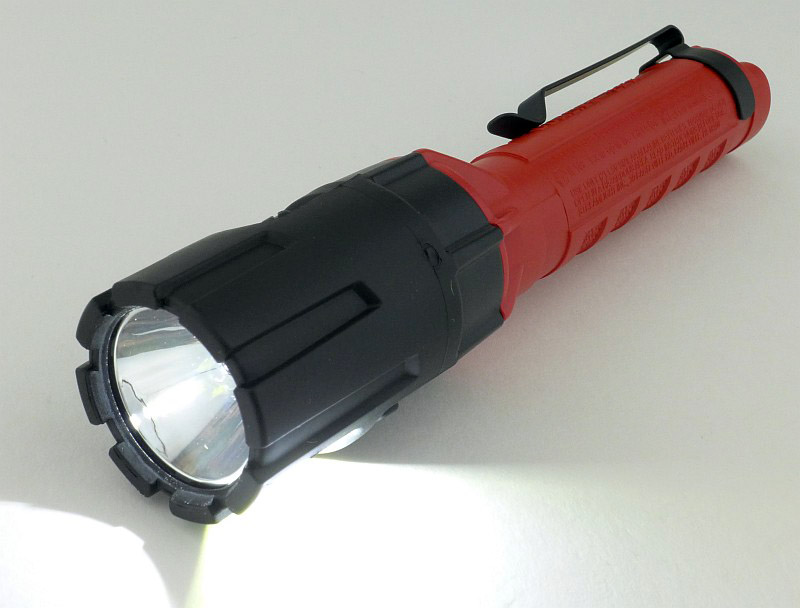
Ready to go.

Taking a more detailed look at the Dualie 3AA Magnet:

In the 3AA Magnet’s box along with the Dualie is a set of alkaline batteries, a wrist lanyard, and the instructions.

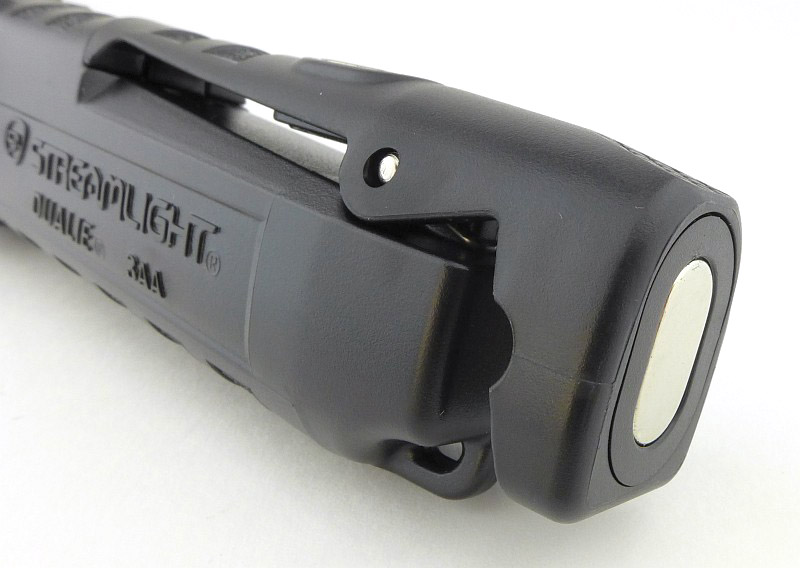
The Dualie 3AA Magnet’s name is due to the two powerful magnets that have been added for more hands free options.

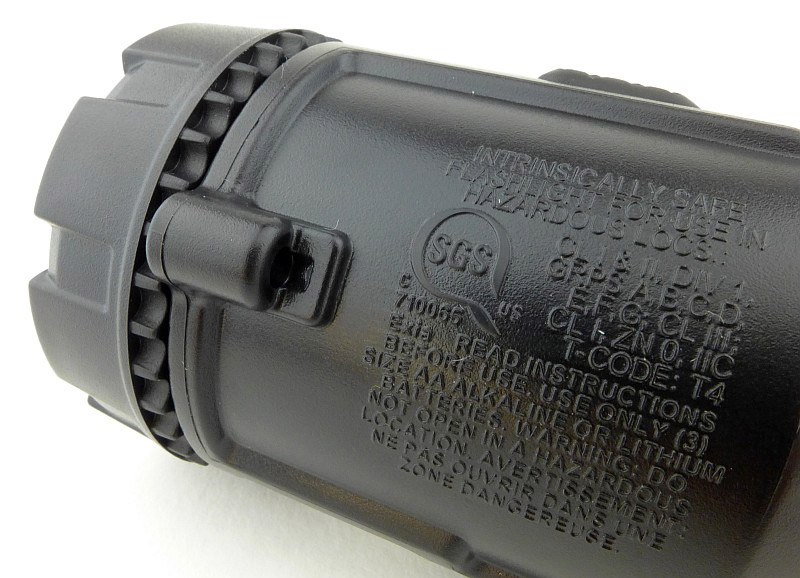
Not ATEX rated, but still intrinsically safe.

One of the magnets is in the very end of the tail which is part of the extended clip.

The other magnet is in the side of the clip.

The clip extension also acts as a hook.

The main beam’s switch is the largest of the two, and has a checkered grip pattern.

For the flood beam on the side there is a second slightly smaller switch which also has a checkered grip pattern.

Looking into the main beam’s reflector and its LED.

A full exposed LED with no reflector provides the flood beam.

To access the battery caddy, the bezel unscrews from the front of the head.

This then allows the main assembly / battery caddy to slide out of the body.

It is a self contained unit with reflector, LEDs, switches, and battery holders.

Each cell holder has spring contacts for the negative terminals.

Plus a coiled positive terminal.

Two cells are fitted to one side, and a single cell into the other.

The threads for the bezel ring are moulded plastic.

Off to work we go.

Taking a more detailed look at the Dualie Laser ATEX:

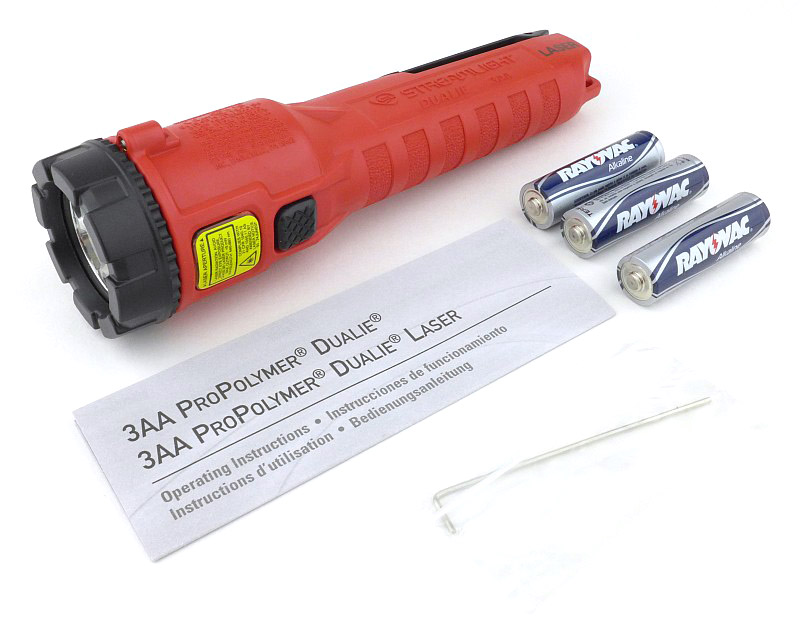
In the 3AA Laser’s packaging, along with the Dualie is a set of alkaline batteries, an Allen key and the instructions.

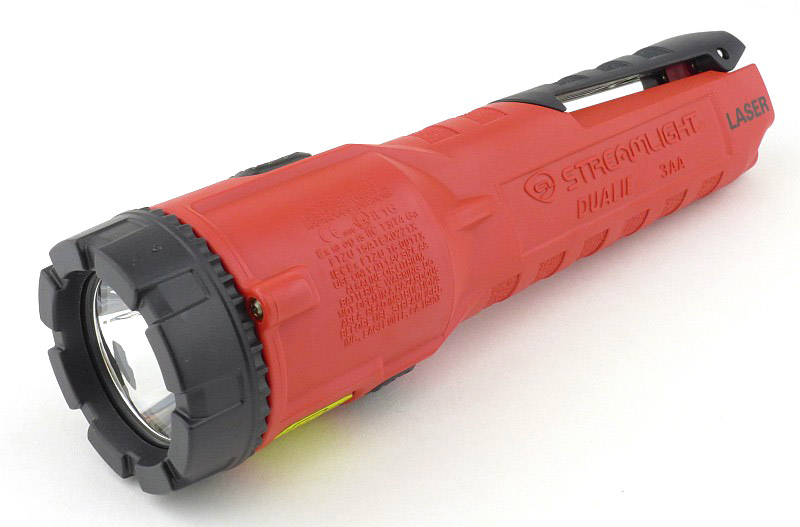
It the case of the 3AA Laser, the second beam is a red laser. Intended as a safe ‘pointer’ for communicating clearly what is being discussed in industrial environments.

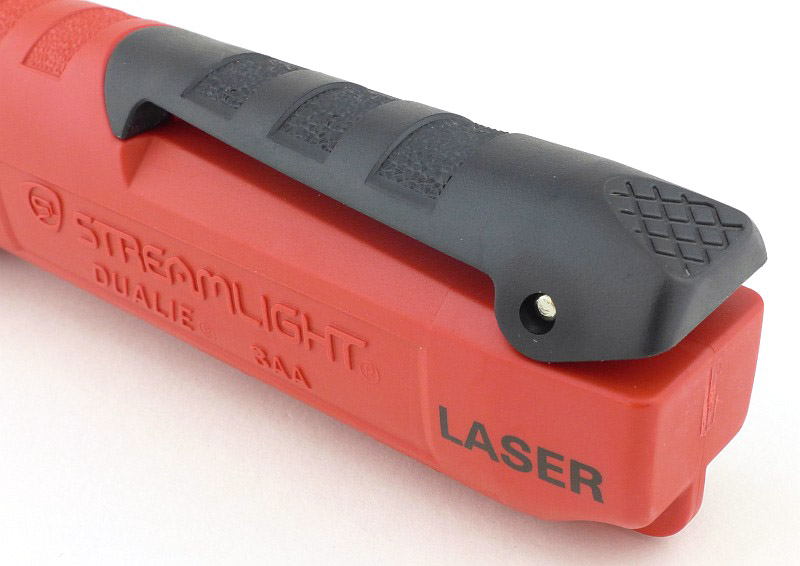
No mistaking what added feature this light has.

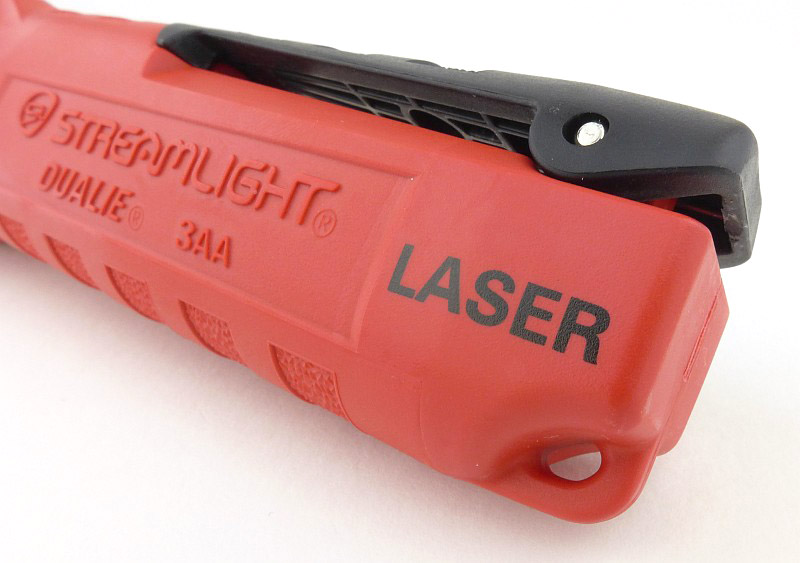
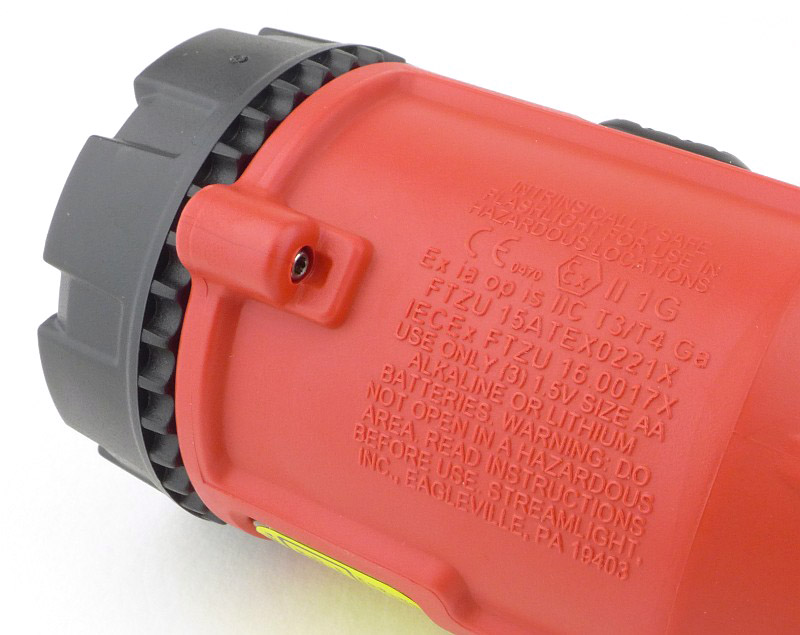
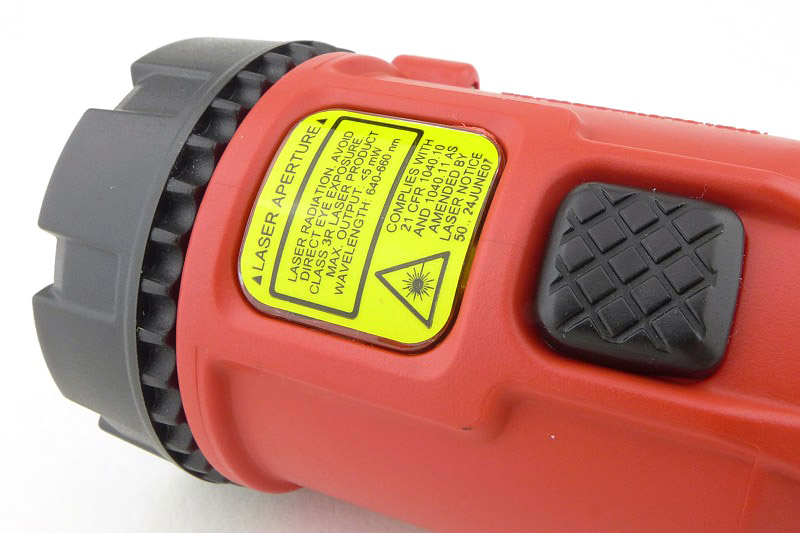
Intrinsically safe and ATEX rated. You might spot one of the ATEX requirements.

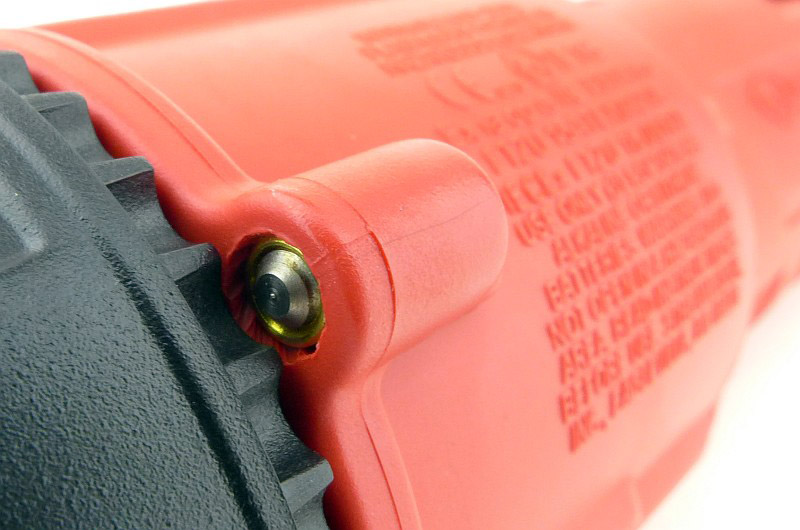
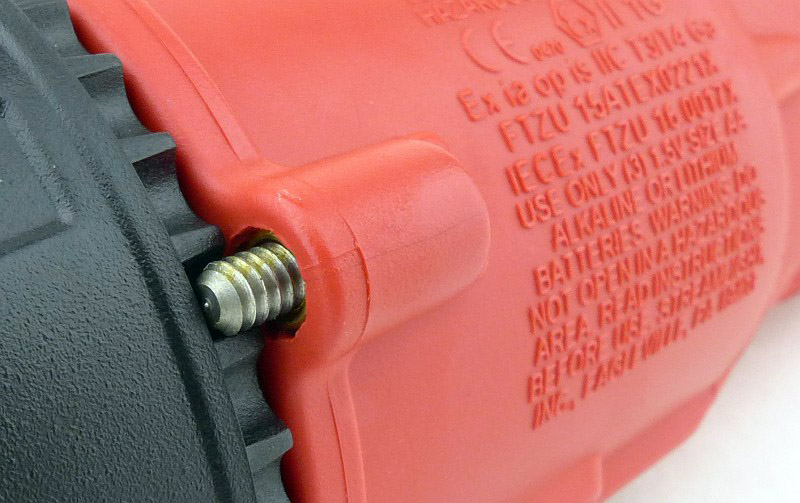
I was of course referring to the locking screw.
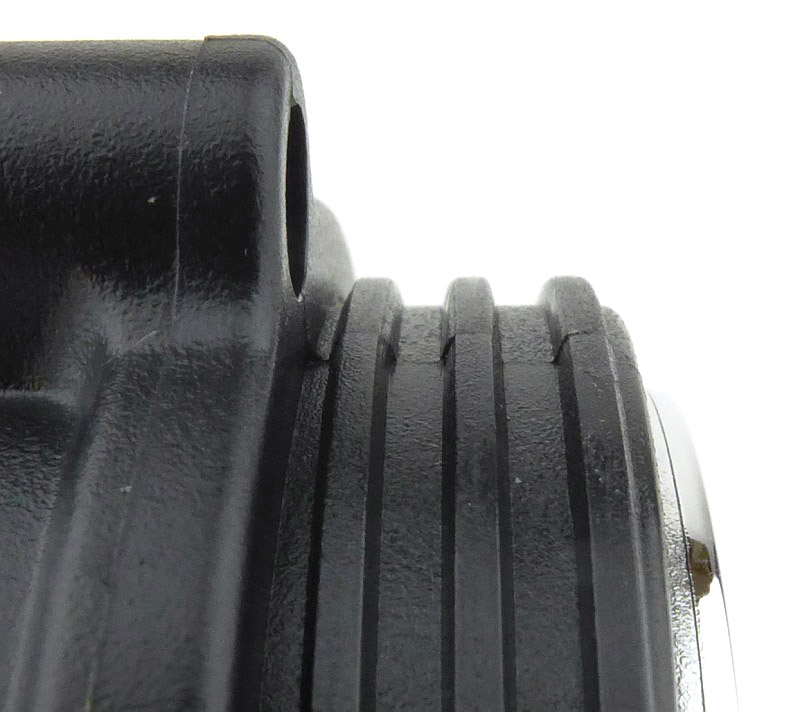
With the locking screw tightened you can see how it engages with the scalloped edge of the bezel ring, making it impossible to unscrew the bezel without intentionally undoing the screw.
What would have been the window for the flood beam on other Dualie models is covered with a laser warning sticker.
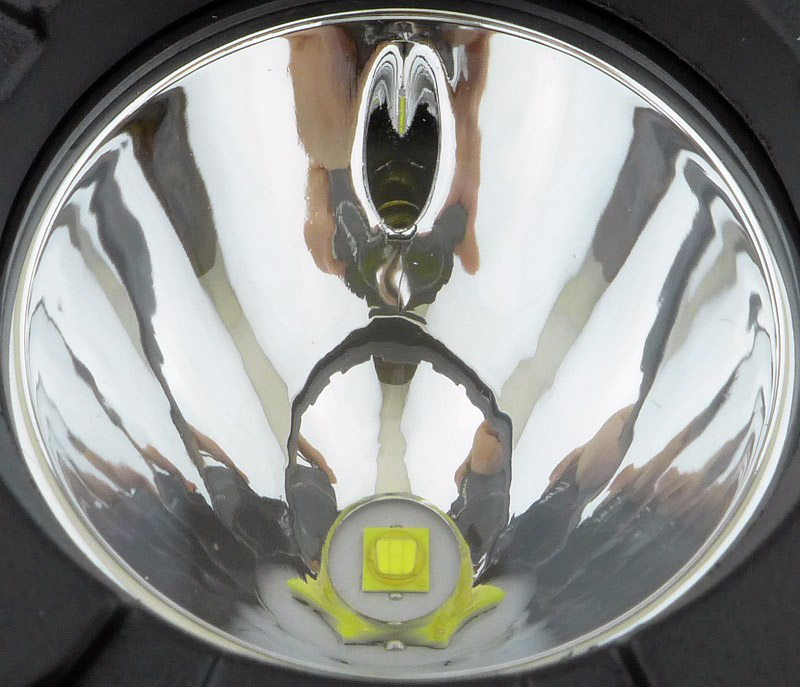
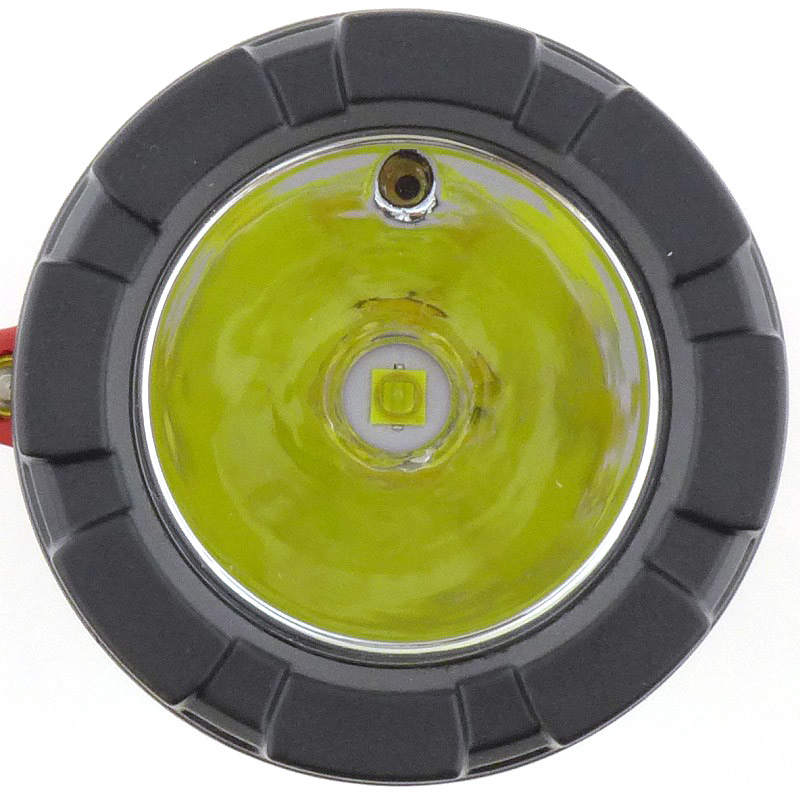
As the laser needs to be projected forwards like the main beam, the main beam’s reflector has been modified with a hole for the laser to shine through.

Another view of the hole for the laser.

As the main purpose of the Laser model is to provide a safe pointer, the clip is a shorter version than on the Magnet model.

Just as with the previous 3AA model, there is a self contained assembly that is removed from the body which contains all the workings of the light.

A brass pill contains the laser module.

Threads are moulded into the plastic body for the removable lens bevel.

The beam

Please be careful not to judge tint based on images you see on a computer screen. Unless properly calibrated, the screen itself will change the perceived tint.

The indoor beamshot is intended to give an idea of the beam shape/quality rather than tint. All beamshots are taken using daylight white balance. The woodwork (stairs and skirting) are painted Farrow & Ball “Off-White”, and the walls are a light sandy colour called ‘String’ again by Farrow & Ball. I don’t actually have a ‘white wall’ in the house to use for this, and the wife won’t have one!

With three lights, all with dual functions, there are several beam-shots to look at.

First up are the main beams of each and the 3AA Magnet.

Next is the main beam of the 3AA Laser oddly, though its lumen output is virtually identical it appears brighter despite an identical exposure.

The 2AA’s main beam has a much wider spill than the 3AA models, but is noticeably dimmer.

Secondary beams:
As it is the simplest to show, first we have the Laser’s pointer. That’s it. Using it with the main beam masks the spot so it is best not to do this.

With the mix of spot and flood beams, the next set of beamshots show the different beams at a distance.

Here the 2AA starts with the main beam.

Then we go to Flood.

And then both flood and spot beams together.

Changing to the 3AA Magnet starting with the main beam.

Then we go to Flood.

And then both flood and spot beams together.

Now moving outdoors:

The 3AA Magnet; its relatively weak spill fades out and the spot is left.

It is the same with the 3AA Laser.

Spot the spot…

Outdoors the 2AA struggles.

Modes and User Interface:

Operating the Dualie lights is as simple as it gets. Each of the two modes available in each light has its own switch. They can be used independently or together.

The main beam switch is a forward-click momentary type switch, and the secondary side beam switch is a reverse-click type.

Batteries and output:

The naming of each Dualie means there are no surprises that the 2AA runs on 2AA cells (alkaline or NiMh) and the 3AA runs on 3AA cells (alkaline or NiMh). The Laser is bases on the 3AA so runs on 3AA cells (alkaline or NiMh).

To measure actual output, I built an integrating sphere. See here for more detail. The sensor registers visible light only (so Infra-Red and Ultra-Violet will not be measured).

Please note, all quoted lumen figures are from a DIY integrating sphere, and according to ANSI standards. Although every effort is made to give as accurate a result as possible, they should be taken as an estimate only. The results can be used to compare outputs in this review and others I have published.

___________________________________________ ________________________________ ________________________________
Dualie model and mode. I.S. measured ANSI output Lumens PWM frequency or Strobe frequency (Hz)
___________________________________________ ________________________________ ________________________________
2AA – Main 103 0
2AA – Flood 75 0
2AA – Main + Flood 122 0
3AA – Main 142 0
3AA – Flood 101 0
3AA – Main + Flood 176 0
Laser – Main 147 0
Laser – Main + Laser 146 0

* Beacon and Strobe output measurements are only estimates as the brief flashes make it difficult to capture the actual output value.

There is no parasitic drain.

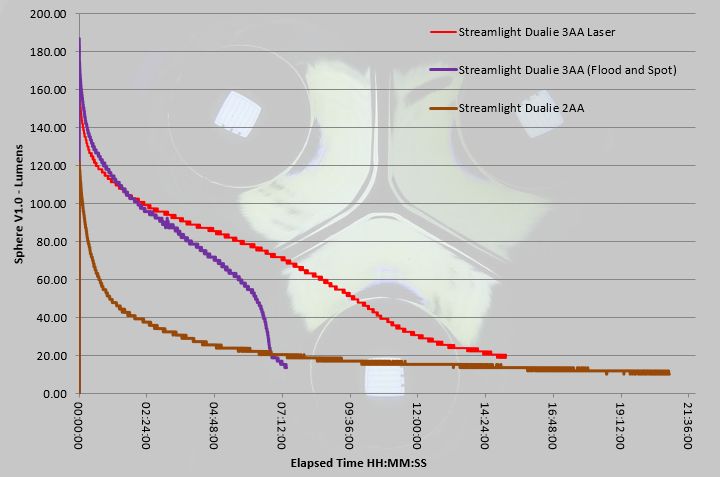
For the runtime tests, all measurements were taken with both beams on for all models. Putting all three runtime traces on the same graph, and the lower output 2AA model takes the runtime prize, but at a much lower output.

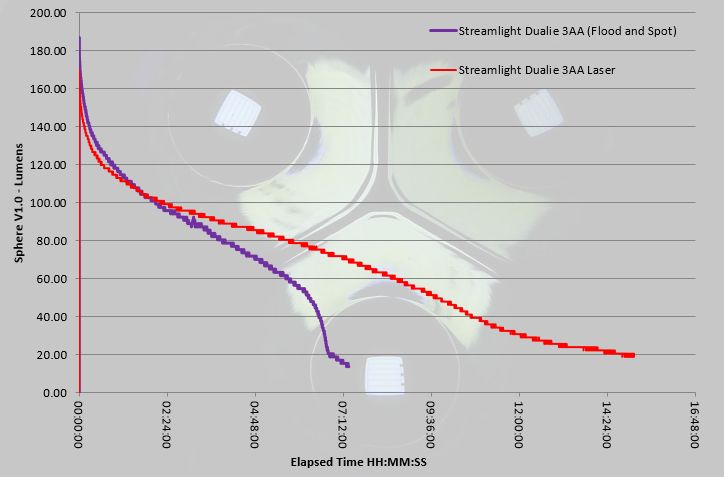
Removing the 2AA’s trace shows the two 3AA versions more clearly, and it is very obvious the Laser module draws much less power than the flood beam, as the runtime for the Laser is much longer.

Troubleshooting

This section is included to mention any minor niggles I come across during testing, in case the information helps anyone else.

No issues were encountered during testing.

As per the description of this section, this information is provided in case anyone else finds a similar ‘issue’ that might be fixed in the same way.

The Streamlight Dualies in use

Before looking at any other aspect, it is important to highlight that these Dualie lights are Intrinsically Safe. That really is what it says – Intrinsically Safe devices are specifically designed to limit electrical and thermal energy that might be available for ignition. It means they are effectively incapable of igniting specific explosive atmospheres. This is why generally Intrinsically Safe lights are relatively low powered, use alkaline primary cells, and are made from plastic.

Take the most typical domestic scenario; you get back home at night and smell gas in the house. You need light to find the main gas valve (which is in a cupboard) and to get to windows to air your home. Don’t touch that light switch, so what can you use in confidence? An intrinsically safe light specifically designed to be safe to operate in explosive atmospheres of course. As long as you check the certification matches the possible hazard (for example the 3AA Magnet says it is certified for methane / air mixtures only) before you really need it.

I keep a couple of Intrinsically Safe lights in the hall sideboard so I can get my hands on one straight away. I also keep a suitably rated one in the car and in the garage in case of fuel spillages.

Personally, as I don’t work in explosive atmospheres, I mostly keep Intrinsically Safe lights as standby backup lights rather than everyday use ones, but generally always have one close by. If you need this type of light for work, then you will know the regulations and exactly what your requirements are.

What is not clearly shown in the beamshots, is that there is an uneven corona around the hotspot with visible yellowing, they are definitely not the cleanest of beams. This doesn’t truly impact on their use, as it is only when you are white wall hunting and looking for beam defects that you really notice them. When you are getting on with a job, it doesn’t matter that much, and will be the least of your worries if you actually need their Intrinsically Safe aspect.

The magnets are strong enough in the two models that have tail magnets (the 2AA ATEX and 3AA Magnet), that they are able to hold the light at any angle. Taking the worst case, they will stick to a vertical steel surface and keep the light pointing horizontally. I’ve also found this to be true on steel bars as well, so not limited to flat surfaces. On the 3AA Magnet there is the additional magnet in the clip on the side of the light, providing more mounting angles. I use this side-mounted magnet for storage of the 3AA Magnet light, having it hold itself on the side of a metal cabinet ready for use.

It is important to compare like with like, and these Intrinsically Safe lights do not compete with the current Li-ion powered lights in terms of output and beam quality, but that is not a fair comparison. These are lights designed to be simple and safe to use just about anywhere. Two independent lighting functions operated by two switches, reliable and predictable AA power, light weight, tough and Intrinsically Safe. I’m certainly glad to have a few of these lights around.

Review Summary

_______________________________________________ _______________________________________________
Things I like What doesn’t work so well for me
_______________________________________________ _______________________________________________
Intrinsically Safe. Not the cleanest of beams.
AA powered. Switches need quite a firm press to click.
Simple to use.
Lightweight.
Reliable.
Tough.
Highly functional clips / magnets.


Discussing the Review:

The ideal place to discuss this reviews is on a forum. If you started reading the shorter forum version of the review, but followed the link this full exclusive review, please return to that forum to discuss the review there.
If you read the review entirely on Tactical Reviews, please consider one of the following to join in any discussion.

CandlePowerForums – Flashlight Reviews Section (Largest and Friendliest Flashlight Community Forum)

Light Review: Streamlight Super Siege Lantern

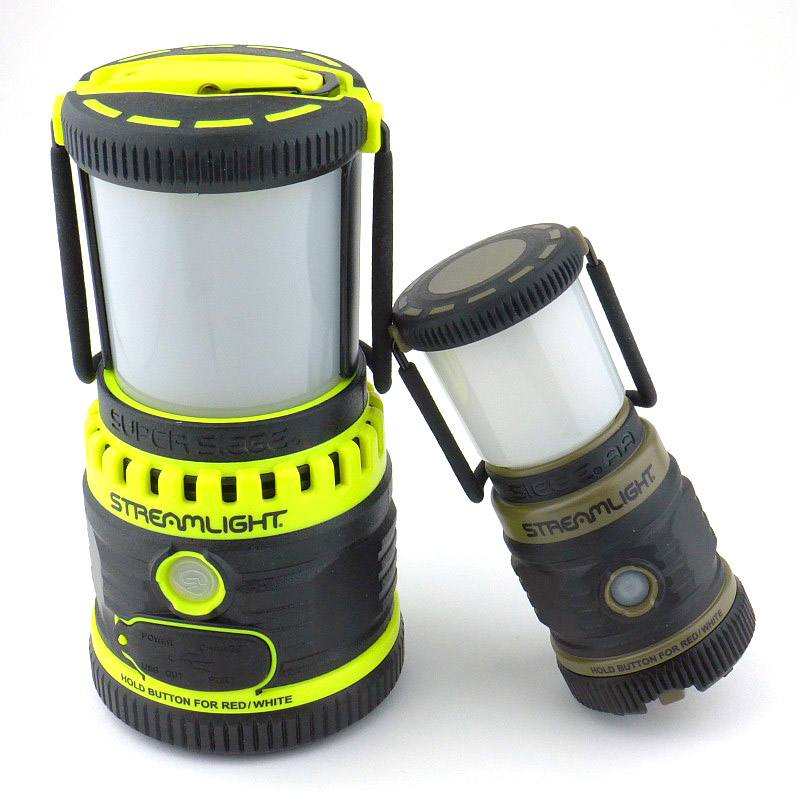
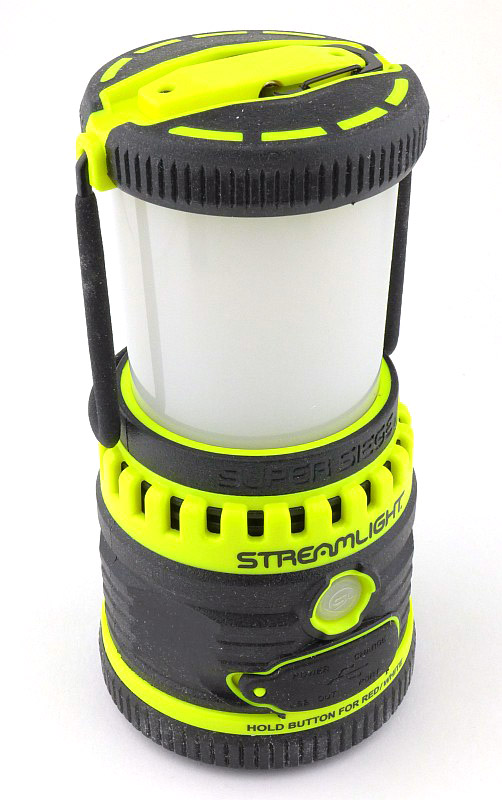
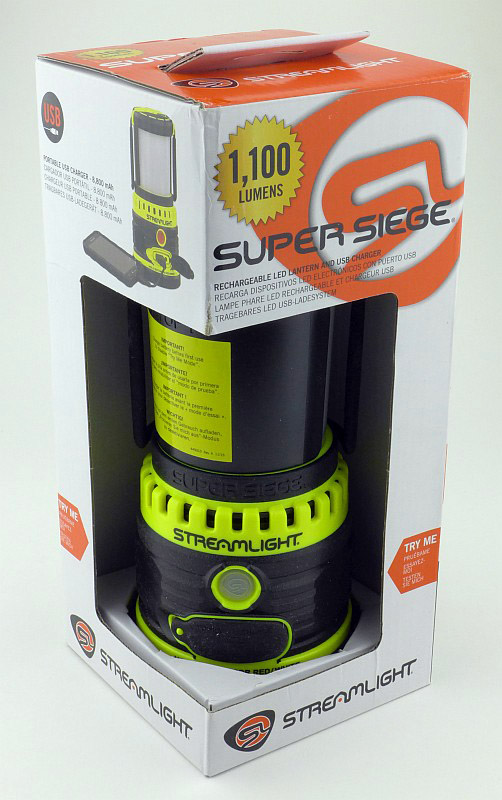
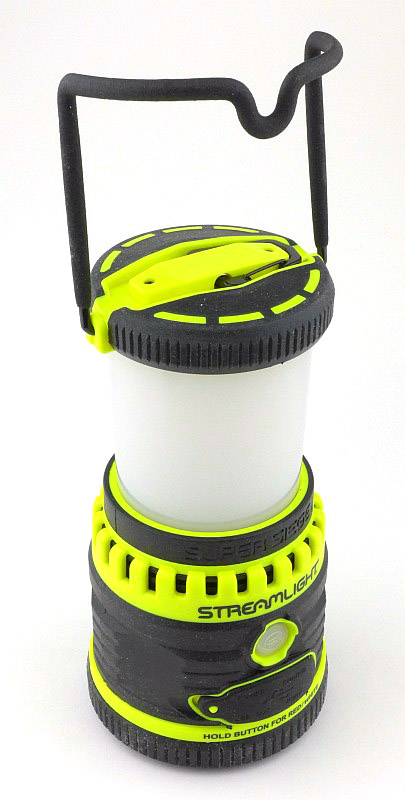
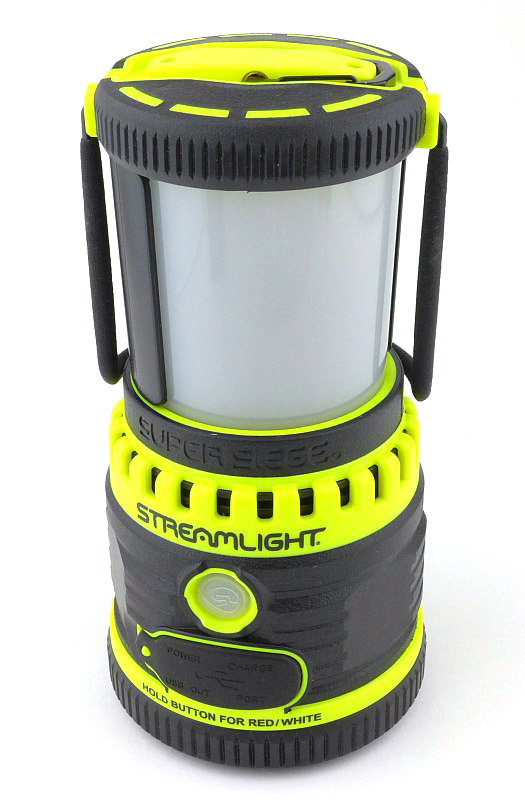
In its first incarnation, the Siege lantern was a full size D-cell powered light, shortly followed by the cute Siege AA (you guessed it, powered by AA-cells). But not yet finished, Streamlight have taken the lantern to another level with the Super Siege, which now features a built-in rechargeable battery and USB power bank function, along with an essential glare-guard for task lighting – it certainly is the Super Siege.

Taking a more detailed look:

Aimed at attracting people in a retail store, the box is a semi-exposed ‘try-me’ type.

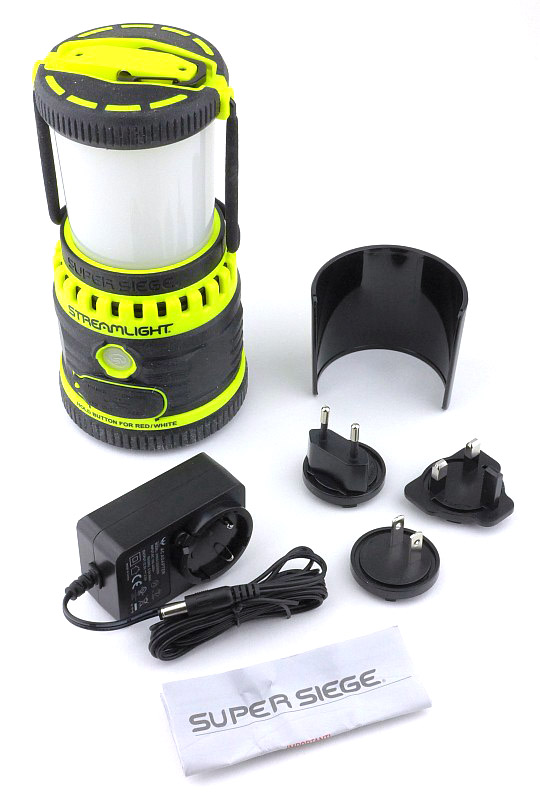
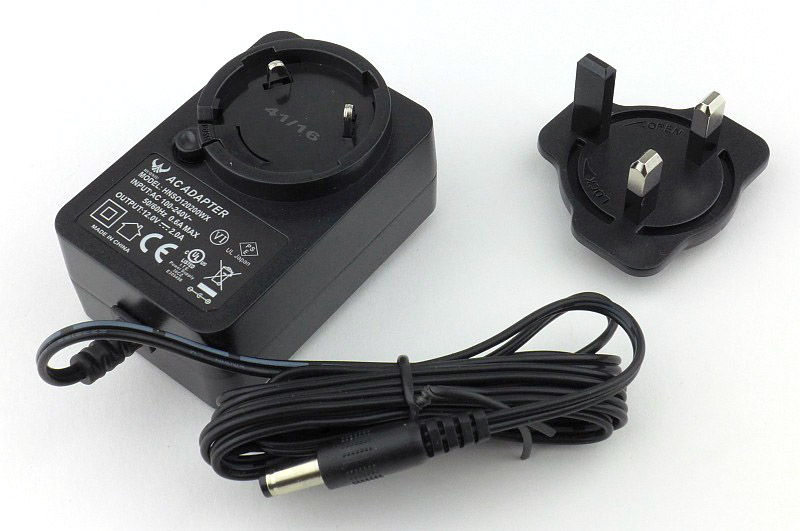
In the box we have the Super Siege, its glare guard, mains power adapter and a set of three plugs for it (US, UK and European), plus the instructions.

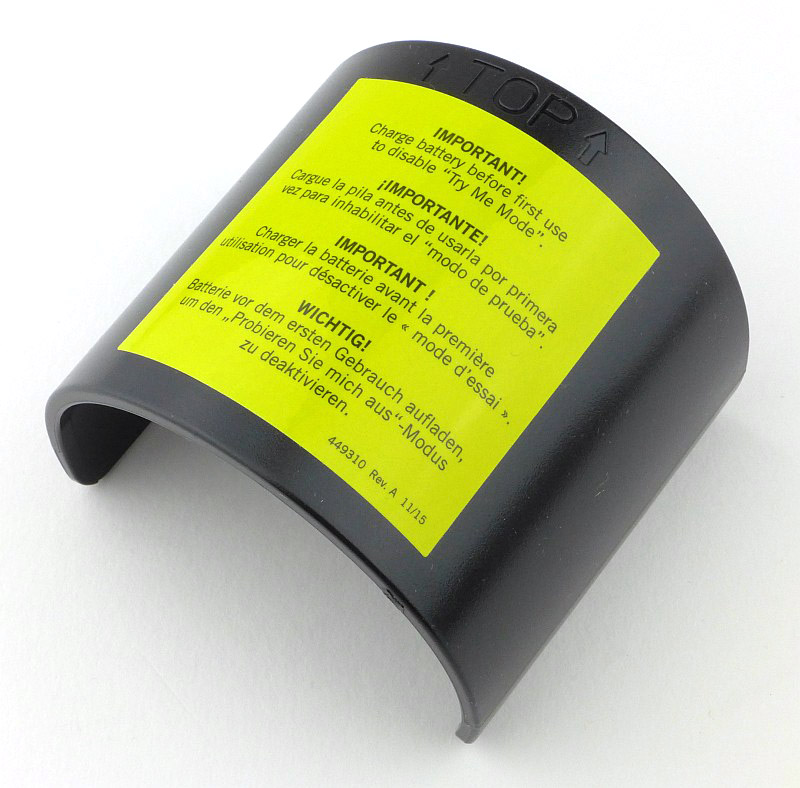
On the glare guard it tells you to give the Super Siege a full charge to disable the ‘try-me’ mode.

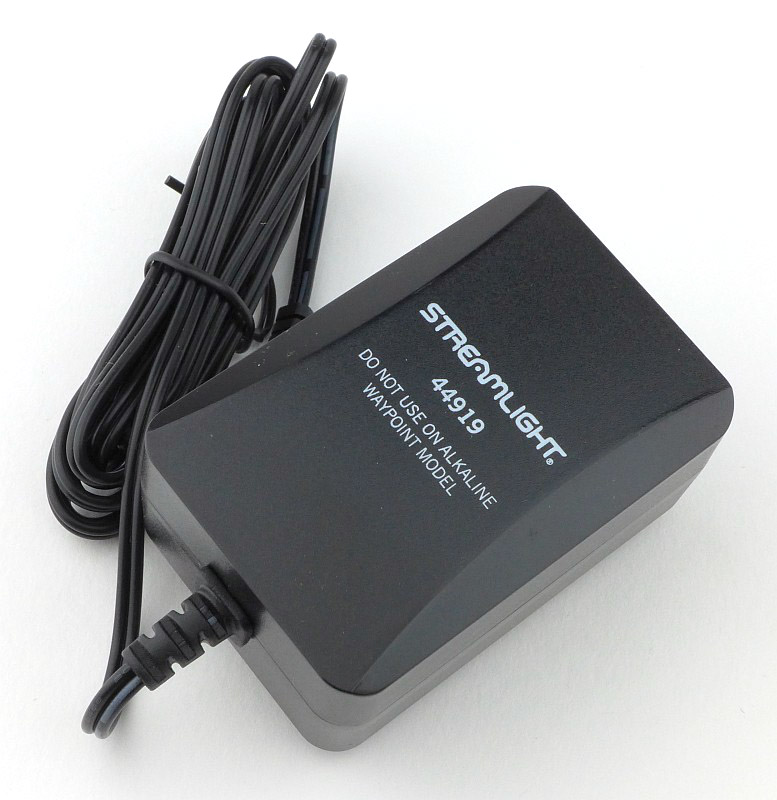
A Streamlight mains power adapter, which presumably also works with other rechargeable models as it tells you not to use it with the Alkaline Waypoint.

I need the UK plug, so here it is.

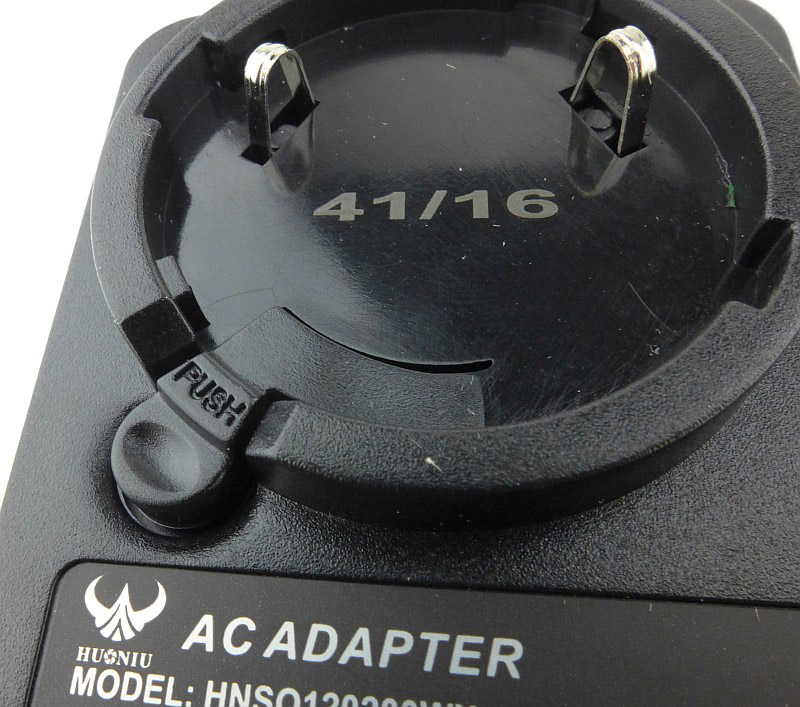
The mains adapter itself has a set of two contacts and a rotary connector for the plug. There is a release lever to allow you to easily swap over the plug type as and when needed.

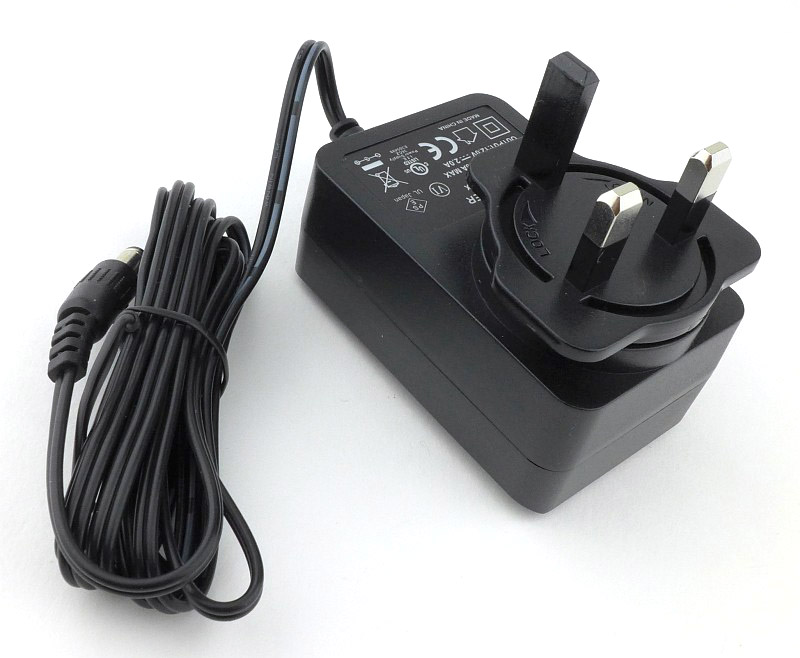
Ready to go with the plug fitted.

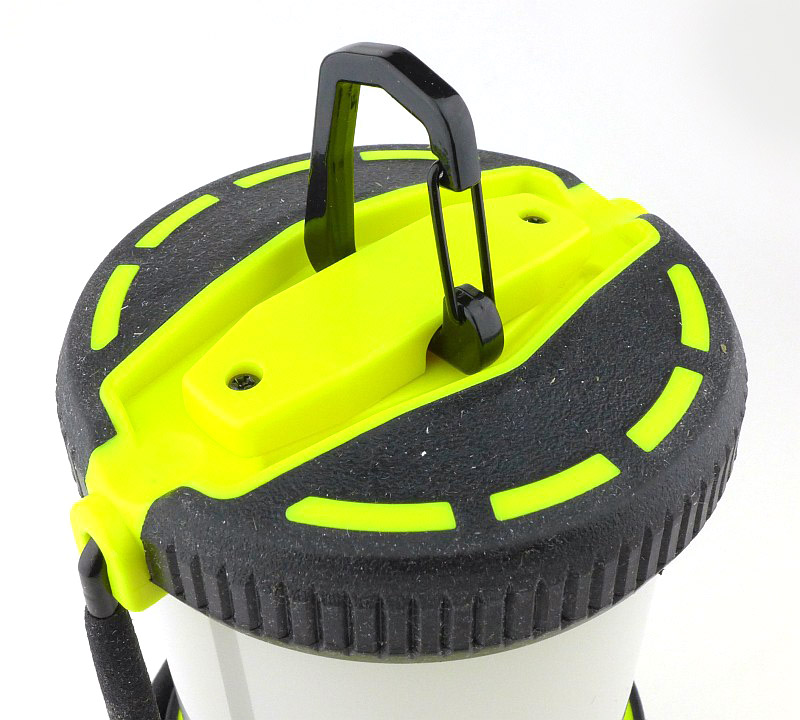
Wrapped round the Super Siege is a large carry handle and hook that lifts up.

There is also a much smaller hanging clip incorporated into the top. This clip allows for a more secure attachment and keeps the light as high as possible.

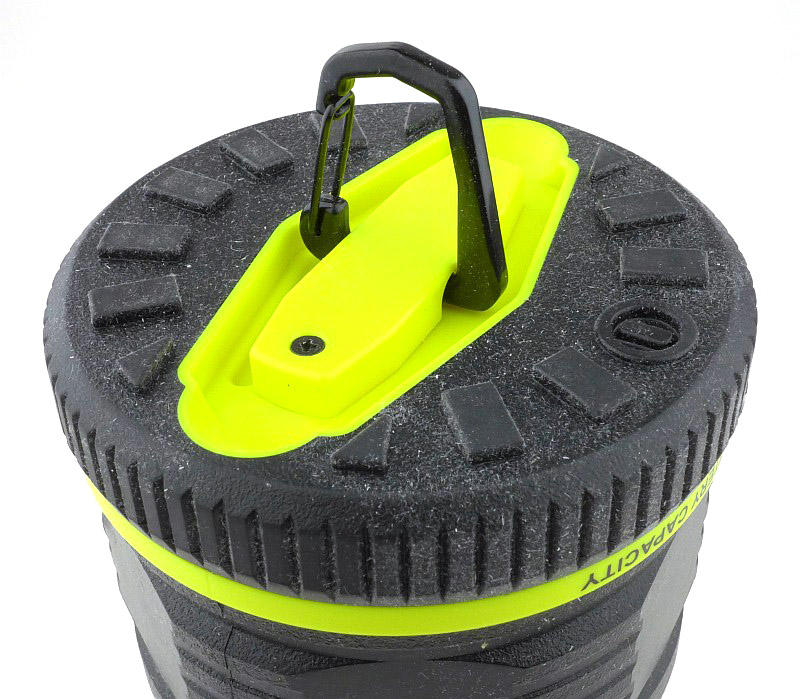
Flipping the lantern over, and there is an identical hanging clip in the bottom.

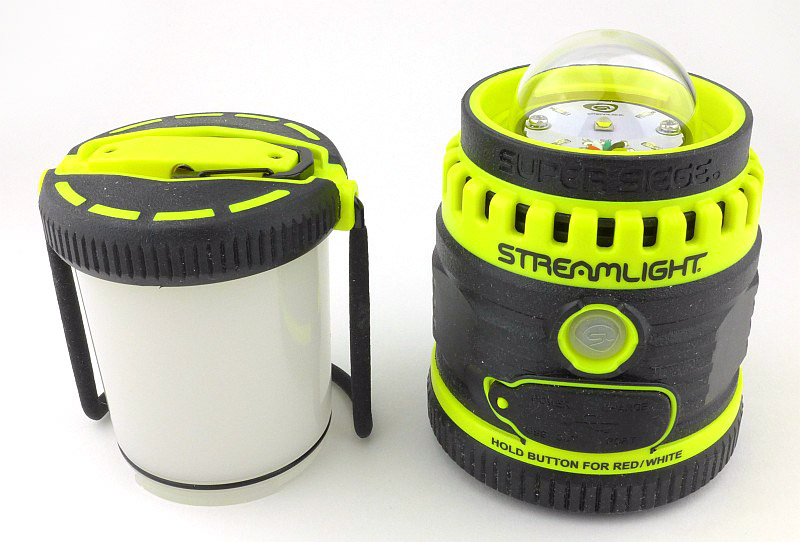
The hanging clip in the bottom makes more sense when you see that the diffuser for the main light can be removed exposing the protective dome over the Super Siege’s LEDs.

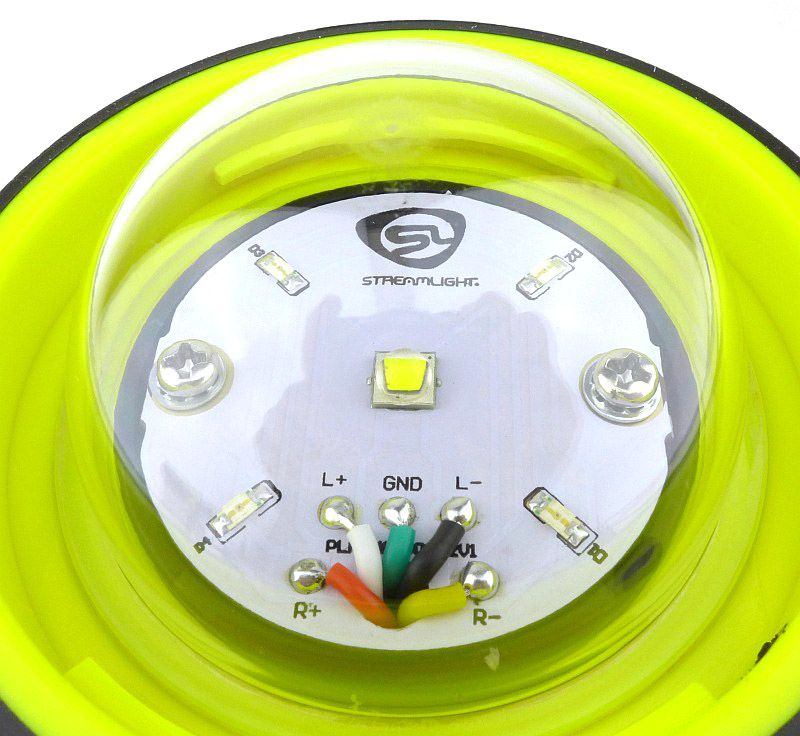
In the middle of the LED board is a white XM-L2 LED and round this are four red LEDs.

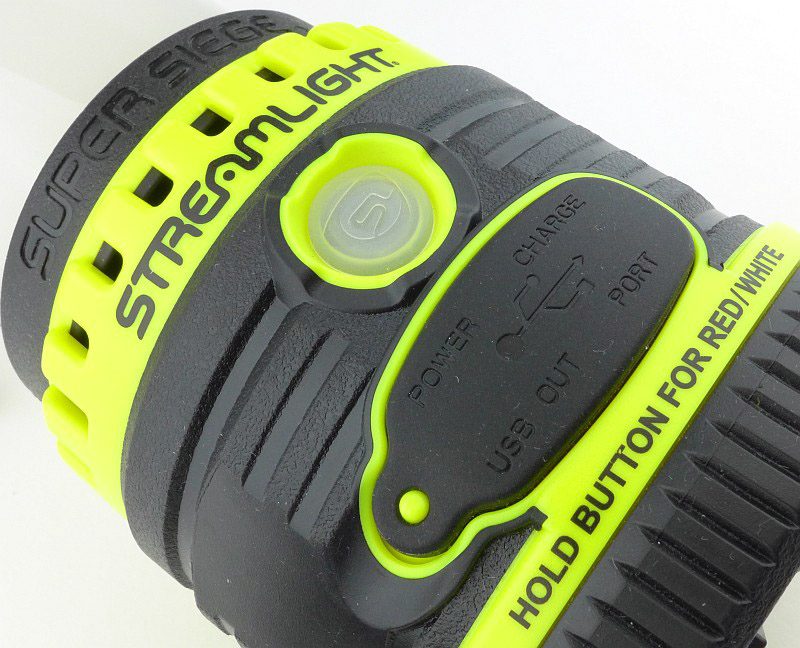
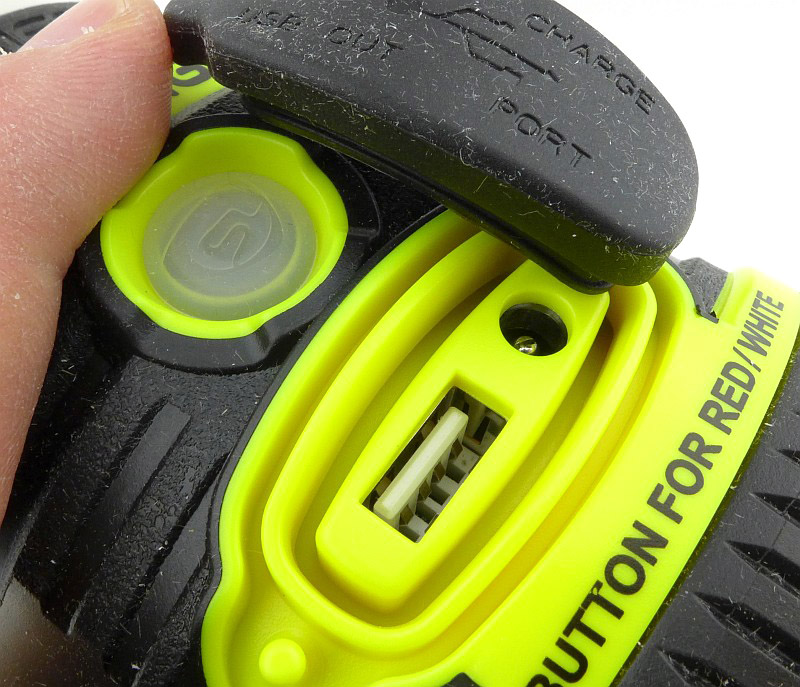
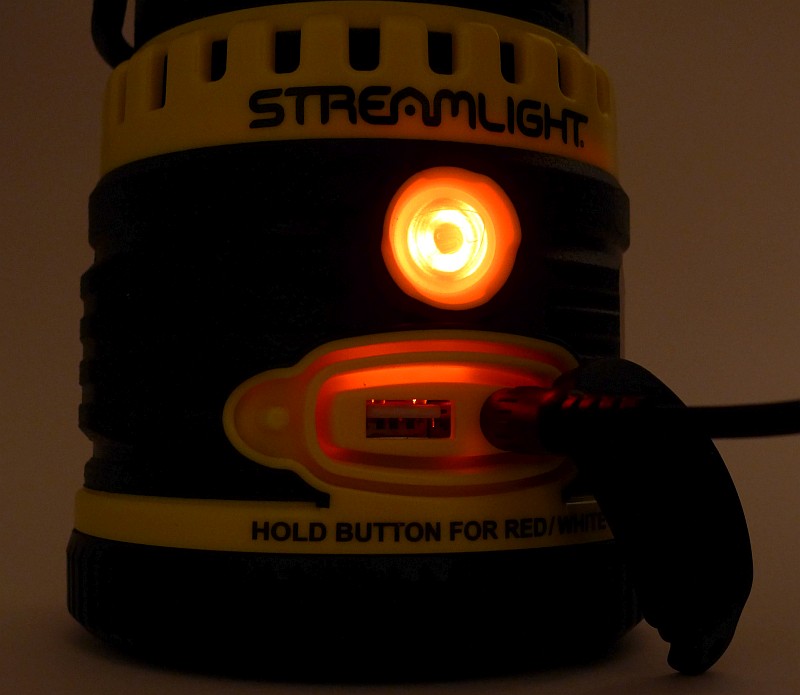
There is a single power switch on the Super Siege which also acts as an indicator light for both charging and using the light. Underneath that switch is a rubber protective cover hiding the charging port and USB power output.

Lifting aside the port cover to show the charging port and USB power output.

Fitting the glare guard to the lantern’s diffuser makes the light output directional, and it covers just over half the diffuser.

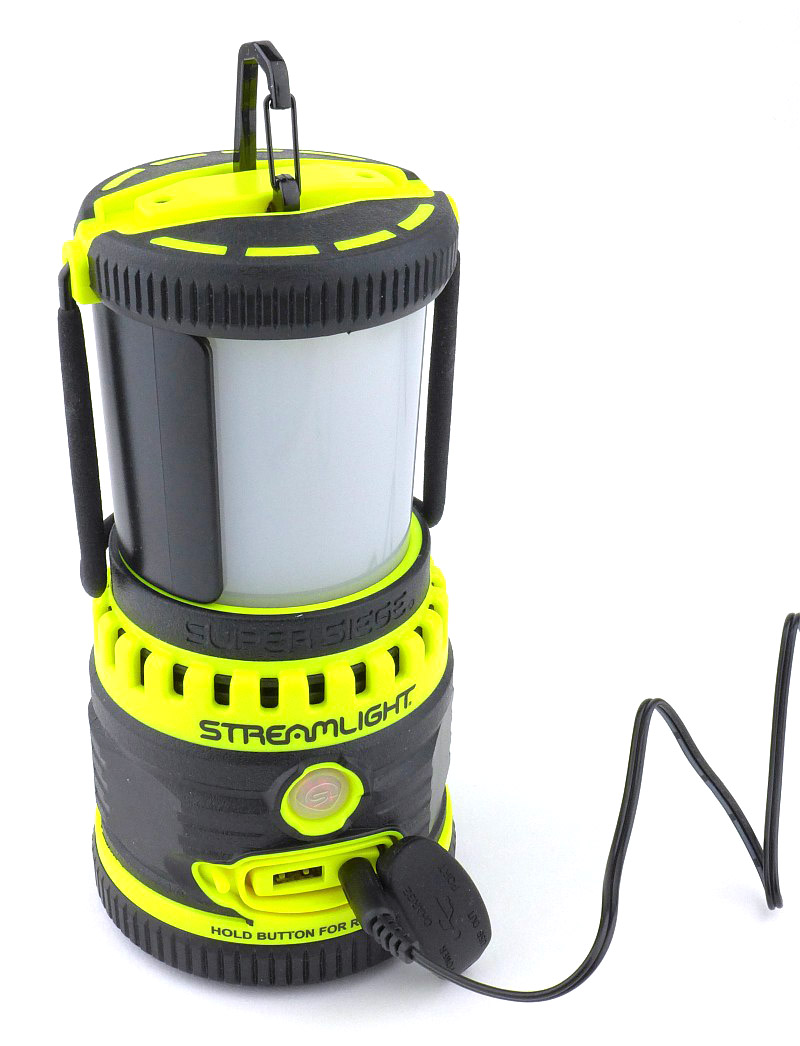
To charge the Super Siege, plug in the mains adapter and fit the round DC plug into the socket next to the USB port. Unfortunately the Super Siege cannot be charged from USB power.

When charging the switch lights up red.

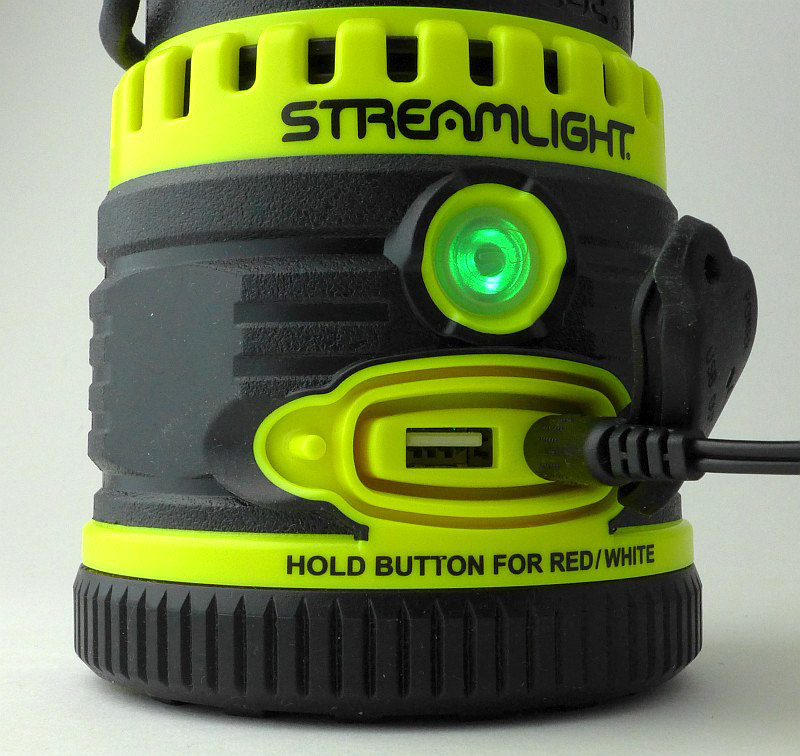
On reaching full charge the switch turns green.

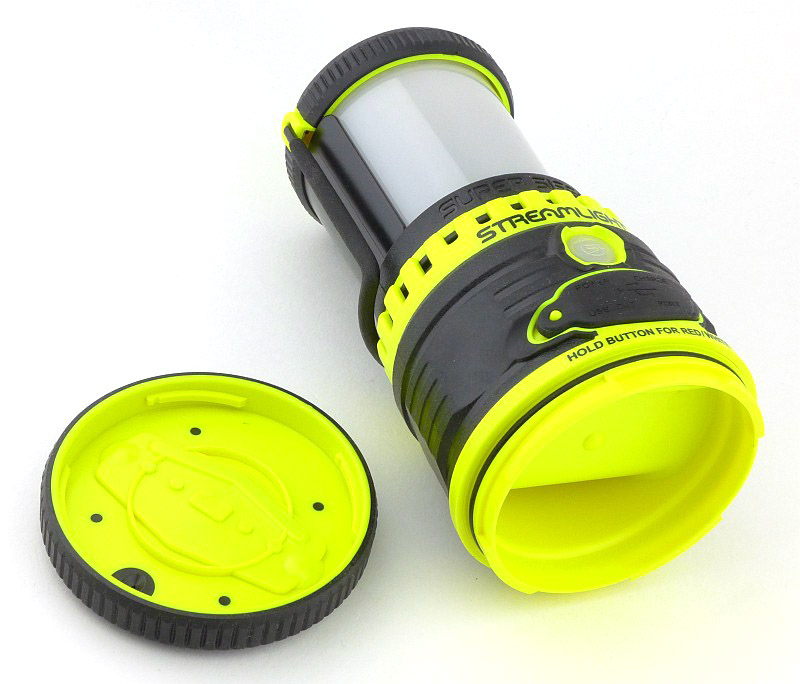
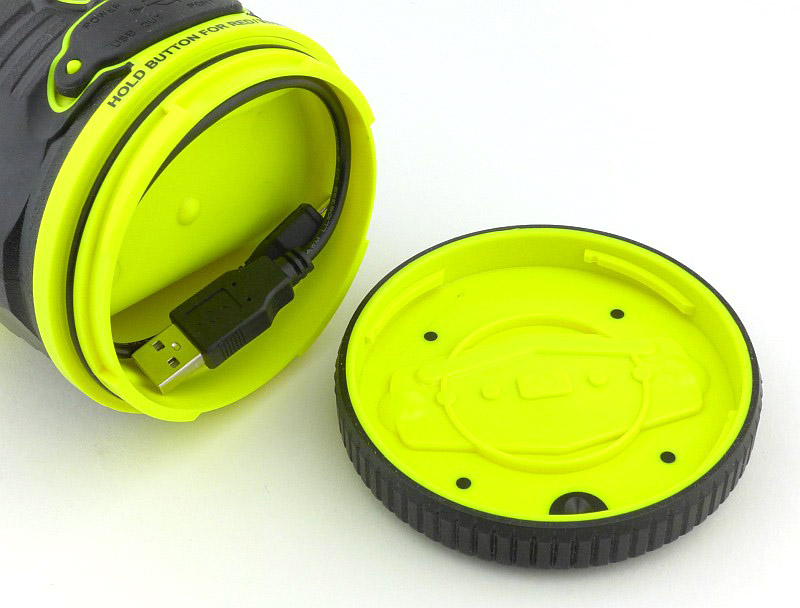
Not to be forgotten is that the base has a concealed storage compartment. Twist off the bottom to access this.

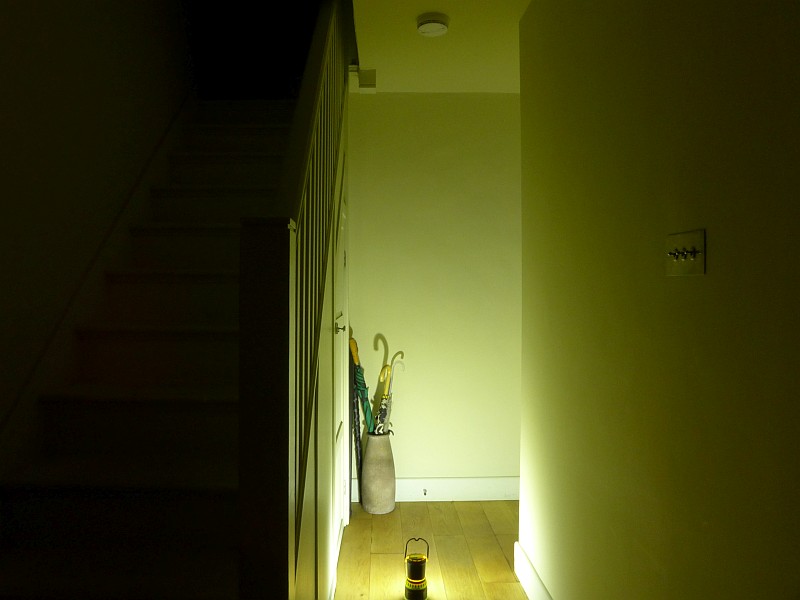
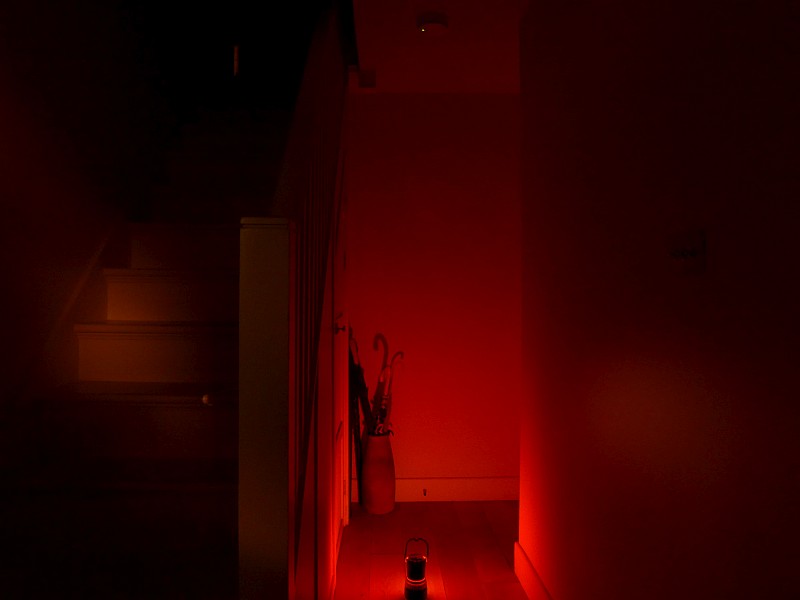
The beam

Please be careful not to judge tint based on images you see on a computer screen. Unless properly calibrated, the screen itself will change the perceived tint.

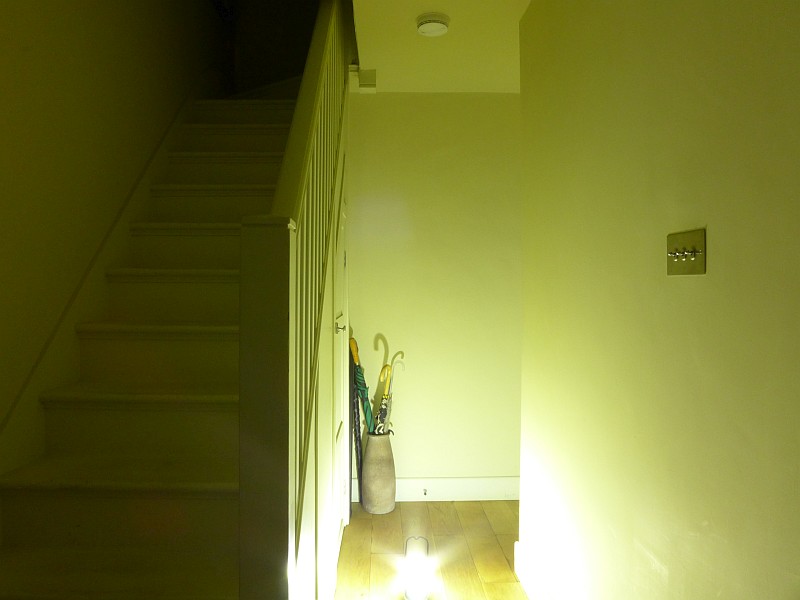
The indoor beamshot is intended to give an idea of the beam shape/quality rather than tint. All beamshots are taken using daylight white balance. The woodwork (stairs and skirting) are painted Farrow & Ball “Off-White”, and the walls are a light sandy colour called ‘String’ again by Farrow & Ball. I don’t actually have a ‘white wall’ in the house to use for this, and the wife won’t have one!

First up here is the White output with the standard 360 degree lantern beam. You can see the excellent wash of light, but also very clearly the thing I hate about lanterns, terrible glare.

Fit the glare guard and now we are talking. Obviously the total output is cut quite drastically, so it might be better in some cases to position something between you and the lantern, or hang it above your head, but if you are using it as a work light, this becomes ideal.

Red light is not as bad for glare, but mainly due to just being much dimmer.

Again the glare guard makes the Super Siege comfortable to use for any task.

Modes and User Interface:

All controlled via the single power switch there are three White Output Modes, Low, Medium, High, and three Red Output Modes, Low, High and SOS.

To turn the Super Siege ON briefly press the power switch. This will turn on to the last used constant output level (White or Red).

To change output level / mode, briefly press the switch again within 1.5 seconds of the last press. This will cycle through the available modes all the way to OFF.

If the Super Siege has been ON a mode for more than two seconds, one brief press of the switch will turn the light OFF.

To change the colour from White to Red, or Red to White, press and hold the switch for two seconds.

The USB Power Bank function will automatically start when a suitable device is connected. During charging the switch will light up to indicate the status of the battery. Green means full power, then the switch turns yellow, then red and finally flashing red when the battery is getting low.

Batteries and output:

The Super Siege runs on its built-in battery.

To measure actual output, I built an integrating sphere. See here for more detail. The sensor registers visible light only (so Infra-Red and Ultra-Violet will not be measured).

Please note, all quoted lumen figures are from a DIY integrating sphere, and according to ANSI standards. Although every effort is made to give as accurate a result as possible, they should be taken as an estimate only. The results can be used to compare outputs in this review and others I have published.

___________________________________________ ________________________________ ________________________________
Super Siege using built-in cell I.S. measured ANSI output Lumens PWM frequency or Strobe frequency (Hz)
___________________________________________ ________________________________ ________________________________
White High 1109 1000
White Medium 550 256
White Low 158 256
Red High 7 0
Red Low 2 0

* Beacon and Strobe output measurements are only estimates as the brief flashes make it difficult to capture the actual output value.

There is parasitic drain but it cannot be measured due to the construction of the light.

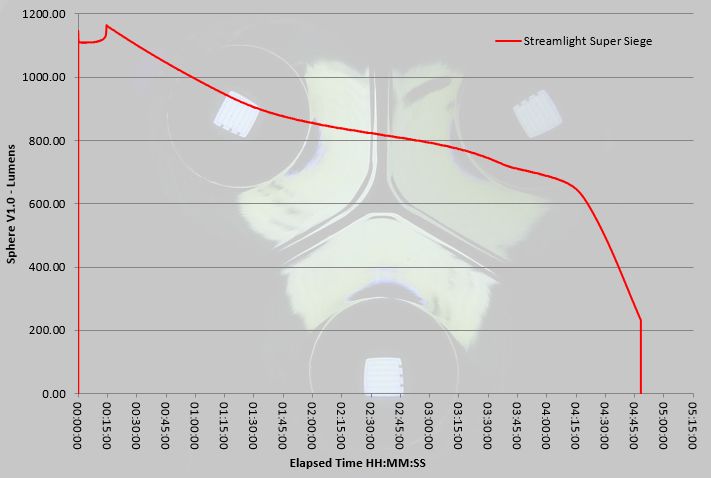
A very impressive performance on High for both the maximum output and the runtime. The specified ANSI output value is achieved, and the output does not drop below 600 lumens for over four hours. Finally, at not far off five hours, the Super Siege runs out and shuts off.

Troubleshooting

This section is included to mention any minor niggles I come across during testing, in case the information helps anyone else.

No issues were encountered during testing.

As per the description of this section, this information is provided in case anyone else finds a similar ‘issue’ that might be fixed in the same way.

The Super Siege in use

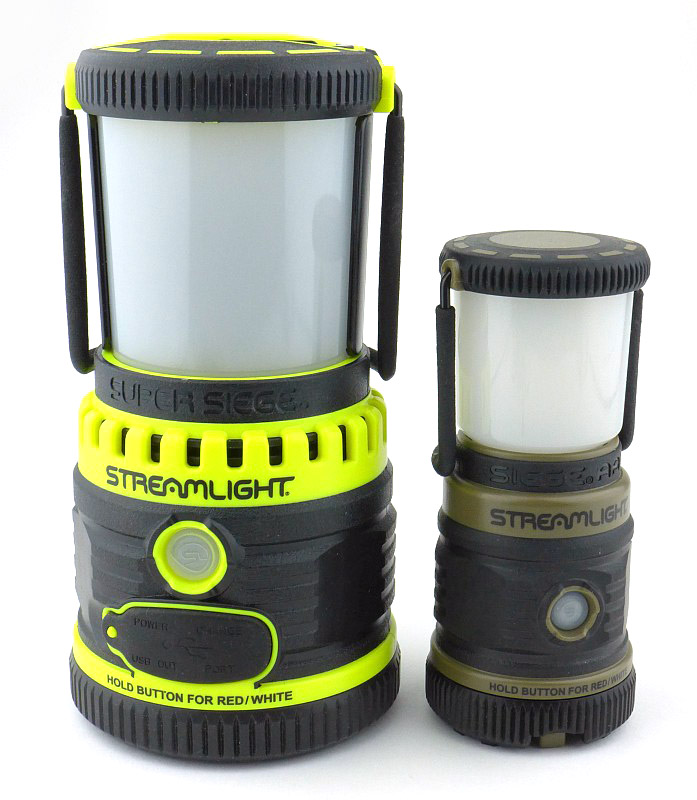
Lanterns were the first safe and convenient portable source of light. Although they have undergone many changes, the lantern has retained essentially the same appearance and function of area lighting. Just like the original Siege lantern, the Super Siege is a full size lantern, equivalent to most traditional lanterns. It is for those uses where size and weight are not an issue, if that is a priority, the smaller Siege AA becomes a good bet, but lacks the power and features the full size lantern gives.

The Super Siege uses its technological advantages to make it so much more than a portable area light. One of its first key features is so simple and could easily have been added to any lantern – the glare guard. For me this is one of the most critical features, and where I would normally avoid lanterns due to their glare, now I’m picking the Super Siege for all sorts of jobs.

As well as the full lantern and the task light configuration, the diffuser can also be removed to expose the LED dome cover, so you can run the Super Siege with fully exposed LEDs giving the ultimate in flood light. This however has extreme glare and only really works when hung up overhead. With the diffuser removed, the Super Siege is also much smaller. But beware, if you might need the Super Siege’s ability to float, it will only float with the diffuser fitted as this provides enough trapped air to give it sufficient buoyancy.

There are two aspects of the Super Siege that do not work that well. The switch illumination is very bright, and if using the low red output, the switch glows as brightly as the red LEDs do. This is very distracting and means that if you want a dim red light to maintain your eyes dark adaptation, you will find a bright green light shining out from the switch. This also impacts on the USB powerbank function, but more on the in a moment.

The second aspect, which I’m very disappointed to still see is the use of PWM. Especially in a lantern which floods the entire area with light, on the medium and low output levels, you see very obvious strobing effects when moving…at all. Please Streamlight, can you use current controlled output and not PWM?

The compartment in the base is an odd shape, but is useful for keeping a few things in. If nothing else you can keep a USB cable for charging various devices in this compartment.

And on the subject of the power bank feature, this is very useful in these days of so many devices that can be charged from USB. What you must consider however, is that any power you use to charge a device, be it phone, tablet, e-reader etc, is power you rob from the lantern’s light output. So be careful you don’t find yourself in the dark because you charge your phone up. What is a bit of a pity is that the Super Siege needs a 12V power adapter to charge it when the typical power bank these days is also chargeable via USB.

Using a USB power monitor I’ve run several ‘delivered power’ tests, all of which have been a consistent 25.7Wh from the 8800mAh battery. The theoretical power from a 8800mAh battery would be 32.56Wh, which means 79% of this is being delivered. A 21% loss is reasonable, but this could probably be better, as the brightly lit power switch remains on for the entire time the USB power bank feature is being used. The maximum observed output current for the USB power bank was 1.1A.

During use of the USB power bank, the switch illumination goes from green to yellow quite quickly. Watching the accumulated Wh delivered, the switch goes red after around 15Wh have been output, so there is still 40% battery left once the switch turns red. In fact the flashing red indication starts relatively soon afterwards. If I needed the Super Siege for light, I would definitely stop USB charging once the switch illumination turns red, as you at least know there is 40% left.

Ideal for camping, fishing and to have in a shed/loft or other unlit out-building. Altogether the Super Siege gives you a nice rounded package of features all of which are genuinely useful and not a gimmick.

Review Summary

_______________________________________________ _______________________________________________
Things I like What doesn’t work so well for me
_______________________________________________ _______________________________________________
Powerful 1100lm output. Uses PWM on all output levels.
USB power bank. Using the power bank reduces LED output runtime.
White and Red light output modes. Needs 12V power adapter to charge.
Glare-guard included for task lighting. Output cuts out completely when the battery is low.
Storage compartment in base.
Floats (as long as the main diffuser is fitted).


Discussing the Review:

The ideal place to discuss this reviews is on a forum. If you started reading the shorter forum version of the review, but followed the link this full exclusive review, please return to that forum to discuss the review there.
If you read the review entirely on Tactical Reviews, please consider one of the following to join in any discussion.

CandlePowerForums – Flashlight Reviews Section (Largest and Friendliest Flashlight Community Forum)

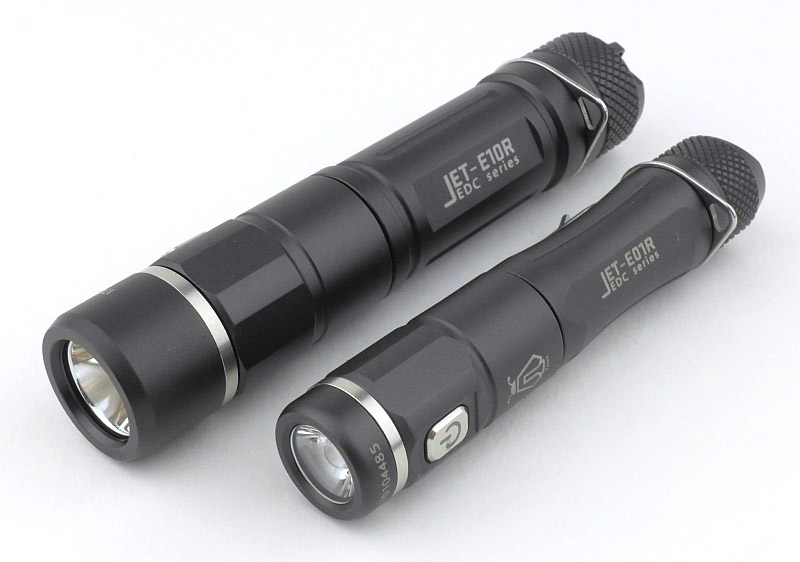
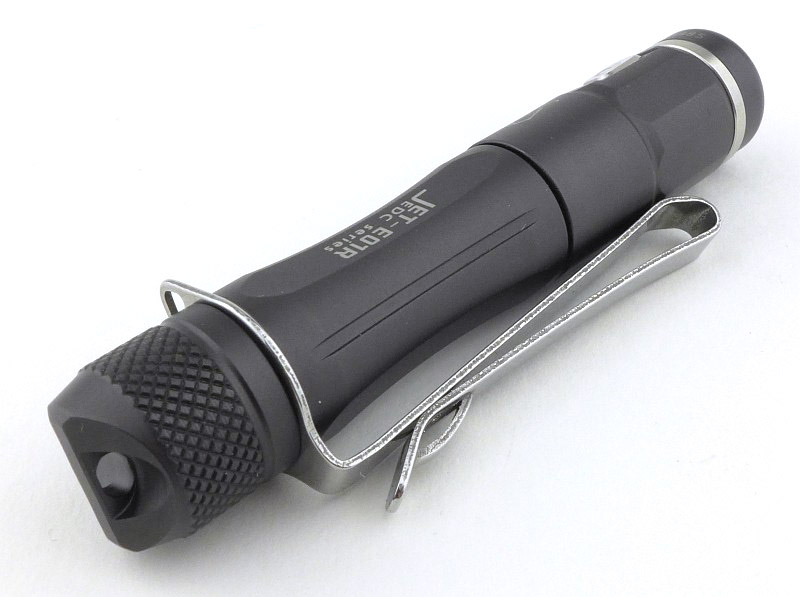
Light Review: Jetbeam E01R and E10R USB Rechargeable EDC lights

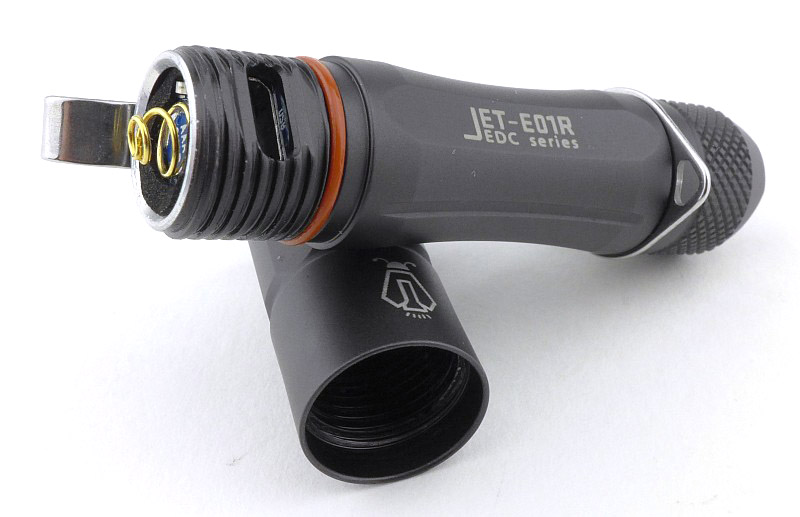
Jetbeam are taking the concept of USB rechargeable EDC lights to a new level of convenience with their super compact E01R (AAA) and E10R (AA/14500), by hiding the charging port so well you would never guess they had this feature just by looking at them.

Taking a more detailed look at the E01R:

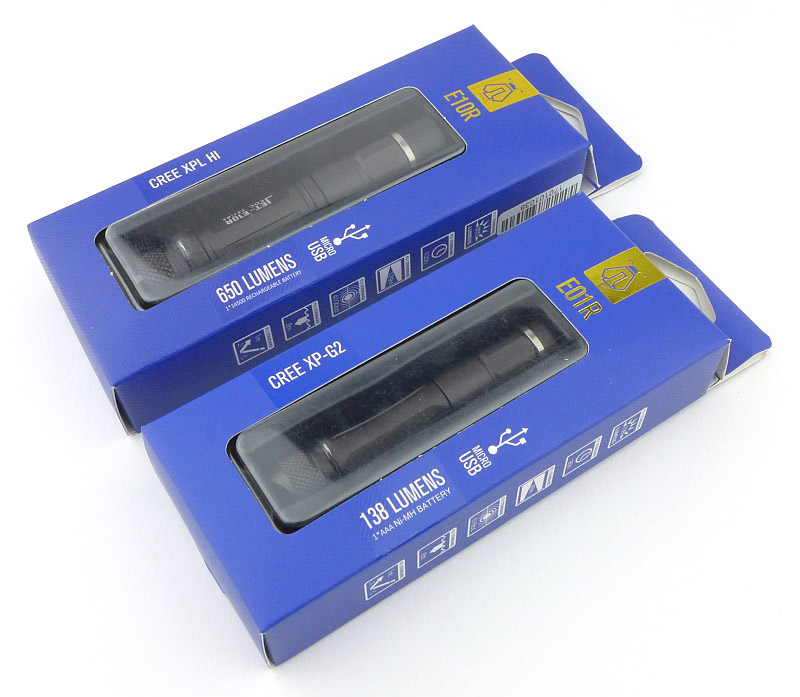
Before we go into the detail of the E01R, these are the boxes for both the E01R and E10R models.

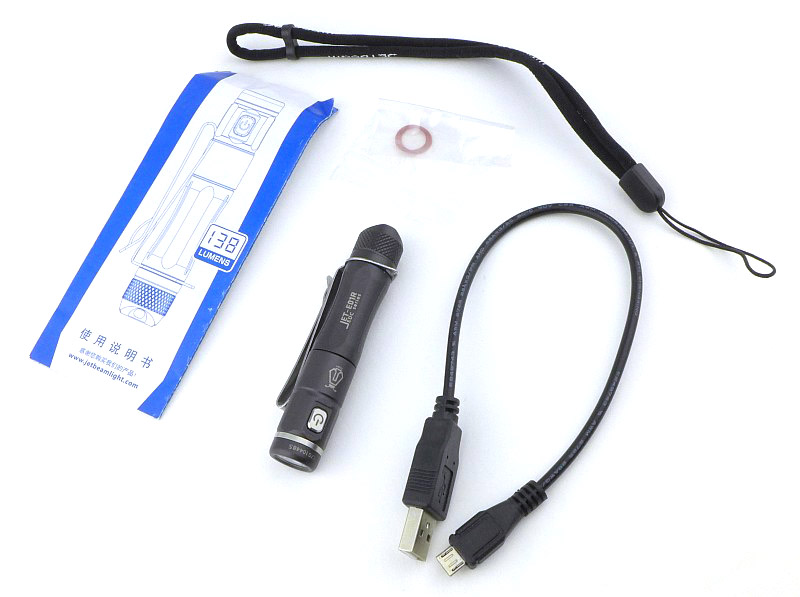
Included with the E01R is a USB cable, spare O-ring, quality lanyard, and the instructions.

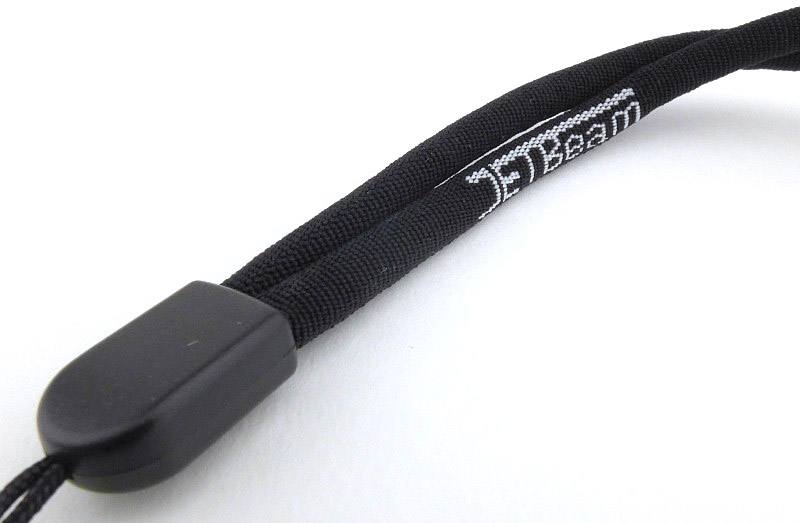
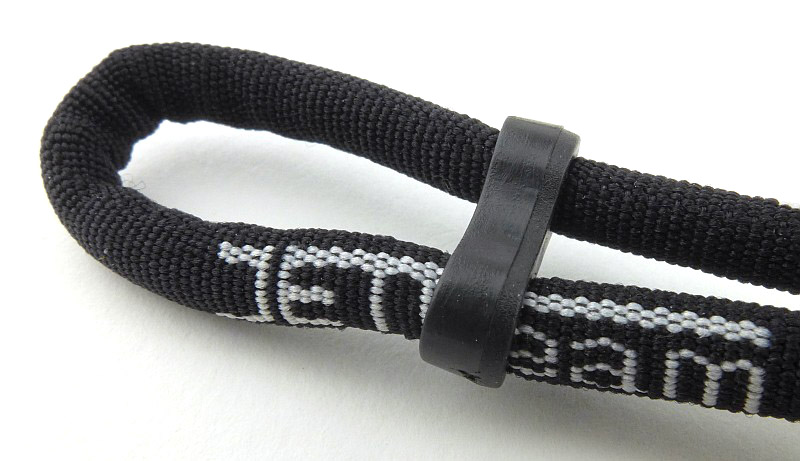
Not to gloss over that lanyard, the cord is a type of piping with a round cross-section.

This has a sliding toggle to allow you to secure it to your wrist.

Fit and finish is excellent all over this light.

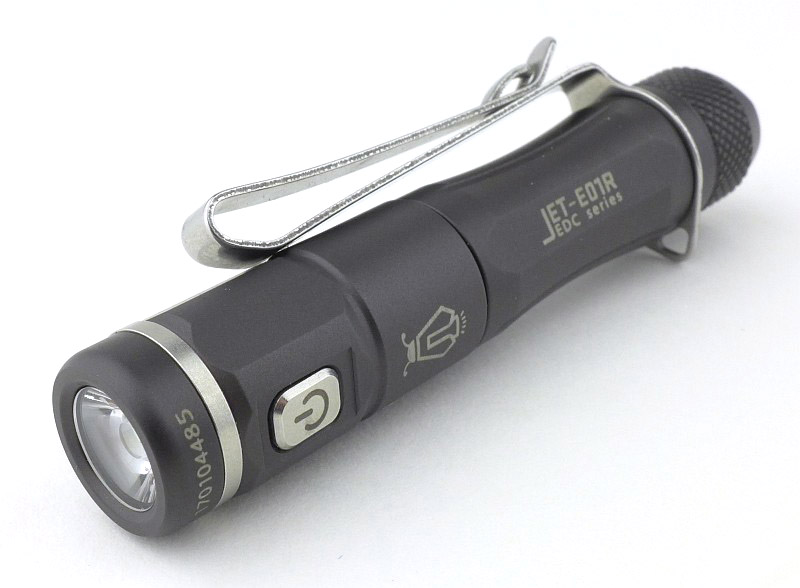
The E01R has a two way clip allowing for carry either way up, and also allowing it to be fitted to a baseball cap peak to act as a headlamp.

A lanyard hole is included in the tail-cap and in the pocket clip.

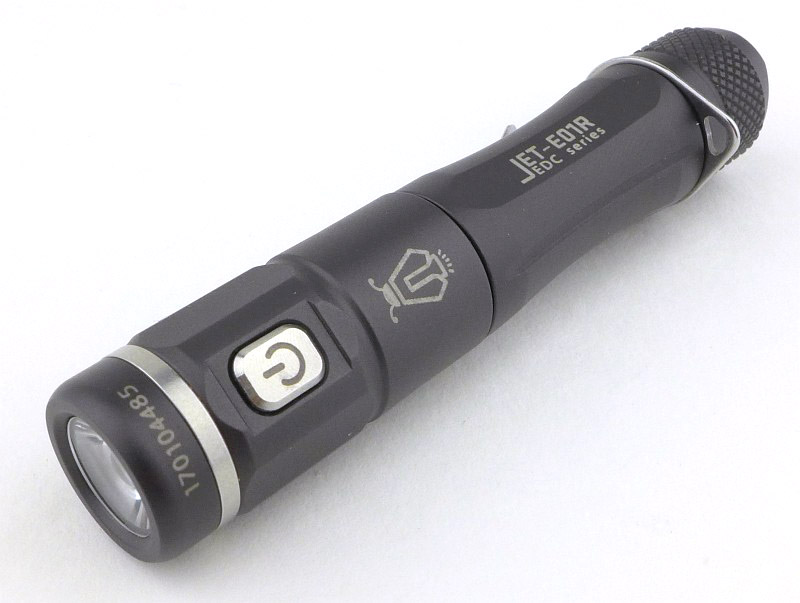
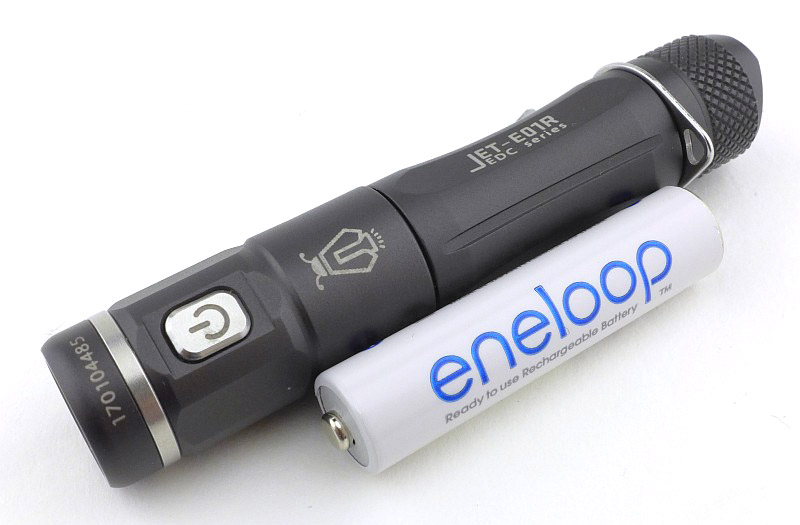
The power switch is a small metal button on the side of the light’s head.

Though not an ultra compact AAA light, the E01R is still nice and small.

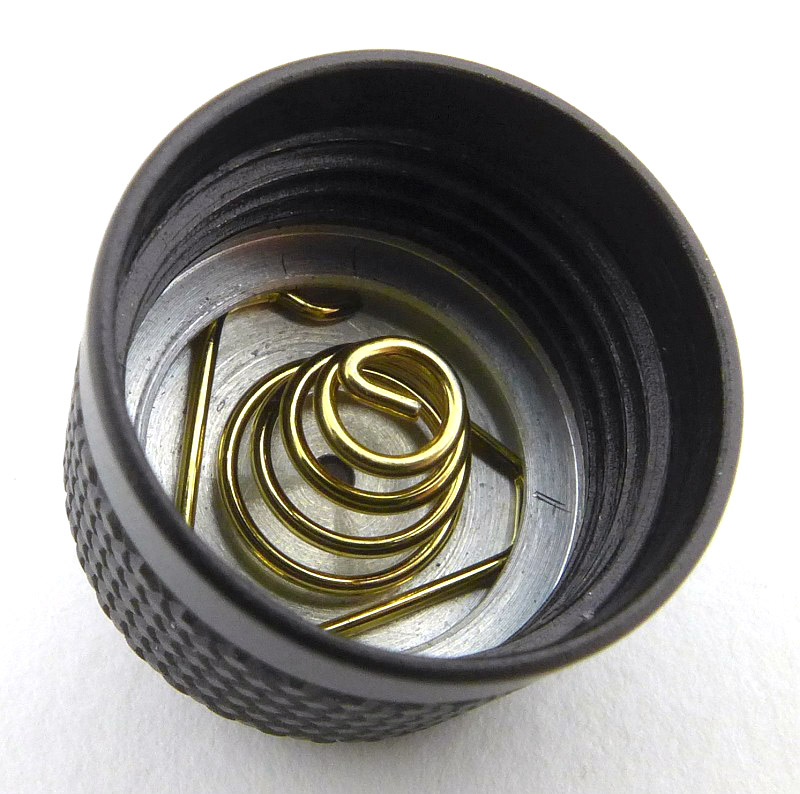
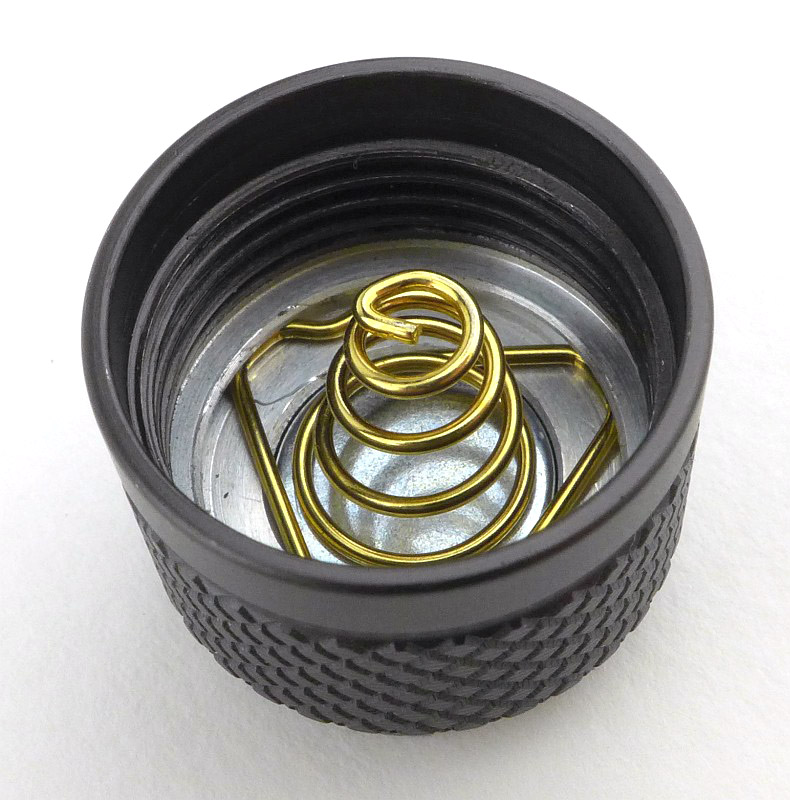
Inside the tail-cap is a gold plated spring terminal.

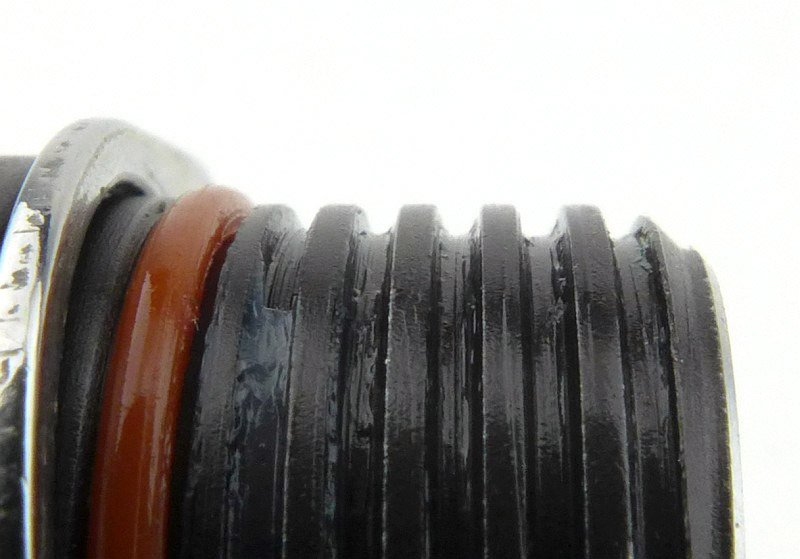
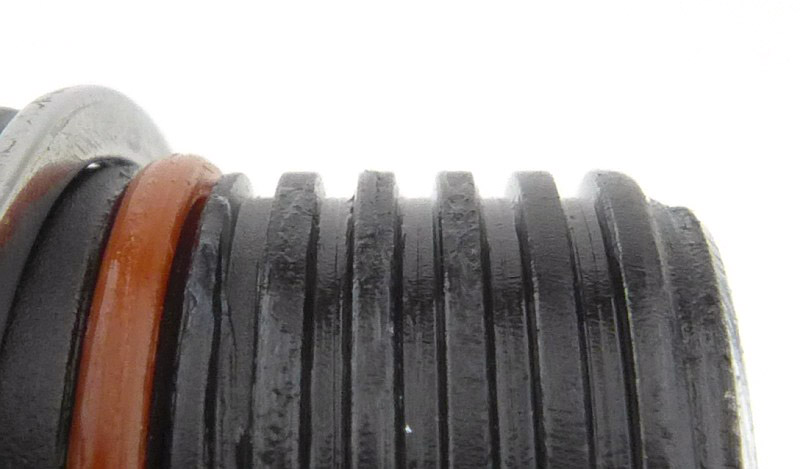
The threads are almost square, and are well lubricated.

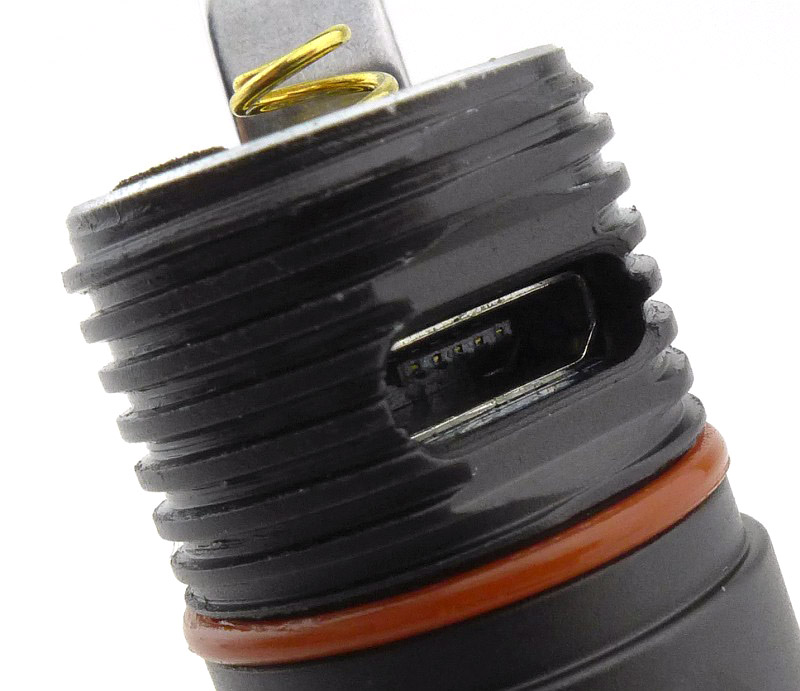
And this is the trick up the E01R’s sleeve. Unscrew the head of the light to reveal the micro-USB charging port.

A closer look at the charging port and threads.

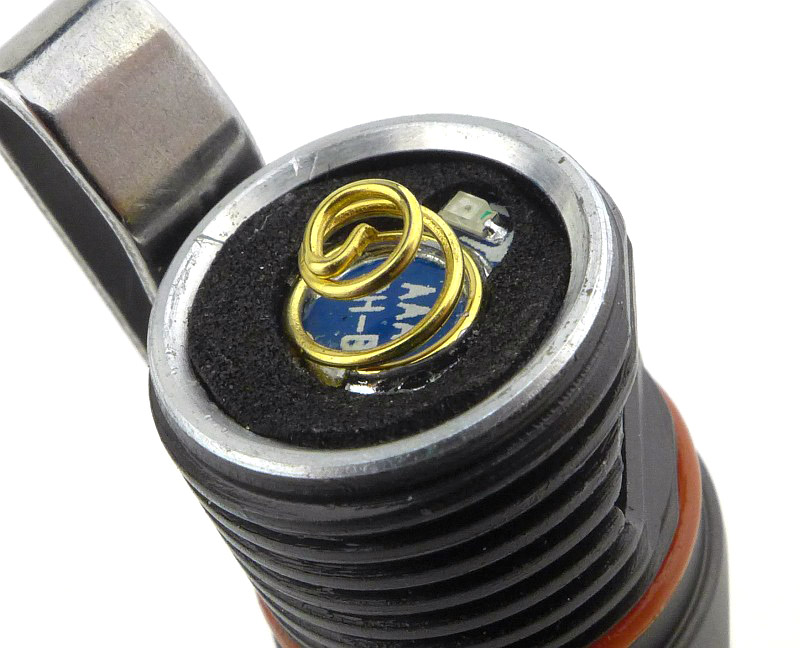
With the head removed, you do not see the battery, instead there is a set of contacts for the connection to the head once refitted. Just next to the spring (at about 2 o’clock) is the indicator LED for charging.

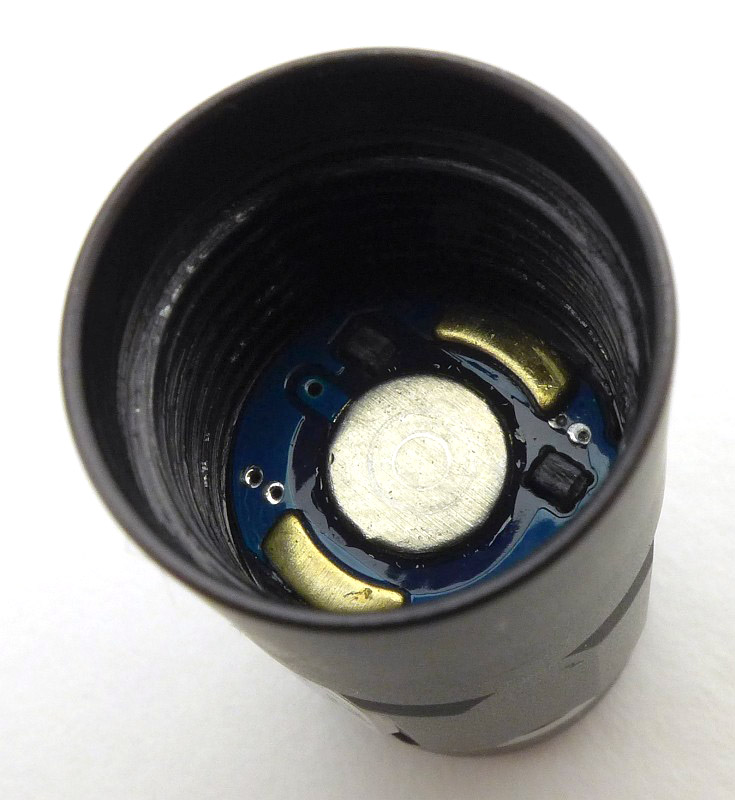
Inside the head are the matching set of contacts.

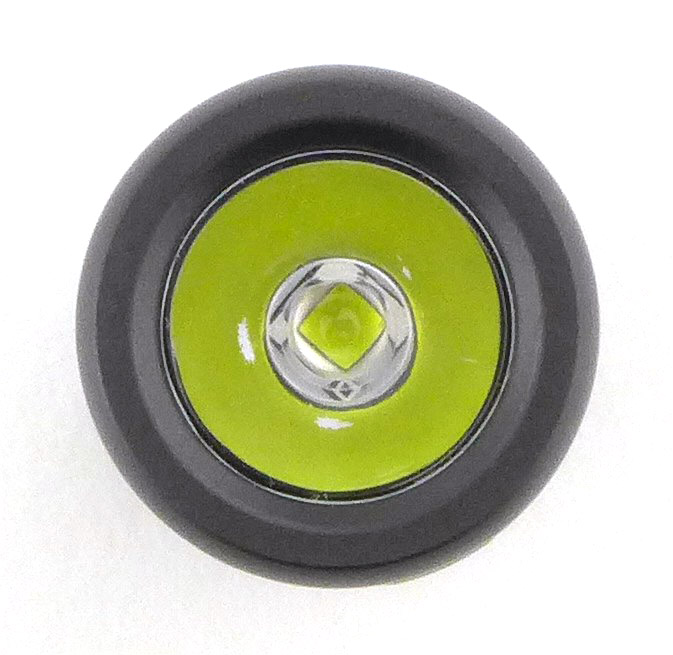
For the E01R, there is a TIR optic with an XP-G2 LED hidden at its centre.

Unlike a lot of TIR optics, you can just about see the LED.

Charging the cell in the E01R is easy, simply plug in the powered USB cable. The E01R is small, as you can see by how large the USB plug looks.

Taking a more detailed look at the E10R:

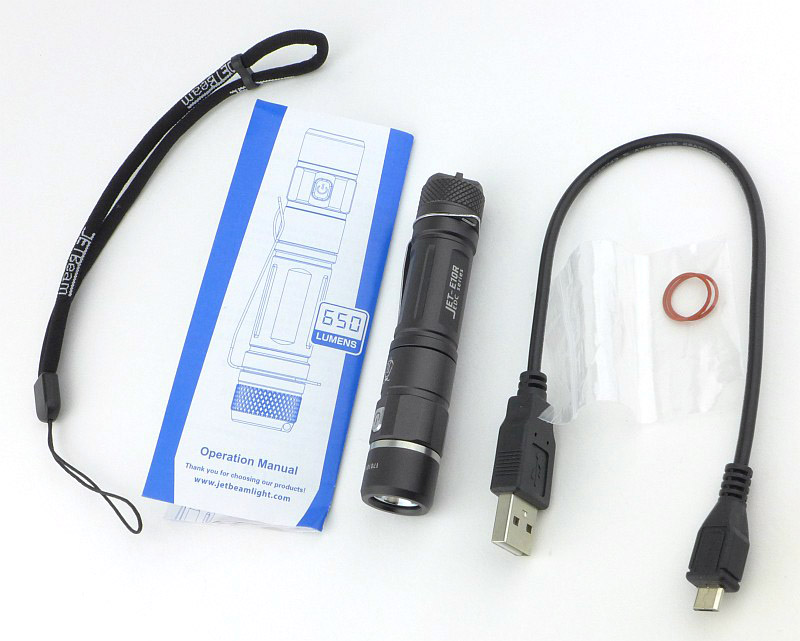
Changing over to the E10R, and exactly as with the E01R there is a USB cable, spare O-ring, quality lanyard, and the instructions.

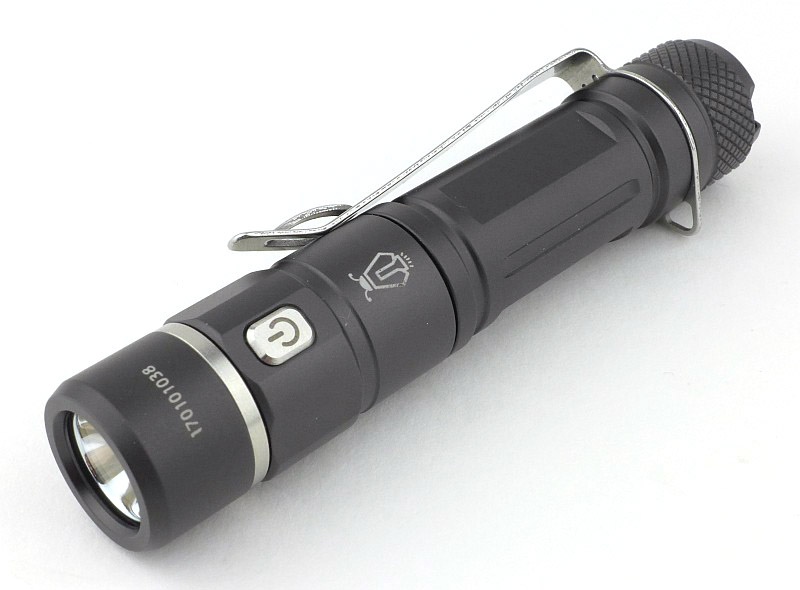
Again the fit and finish is excellent, giving the light a refined look.

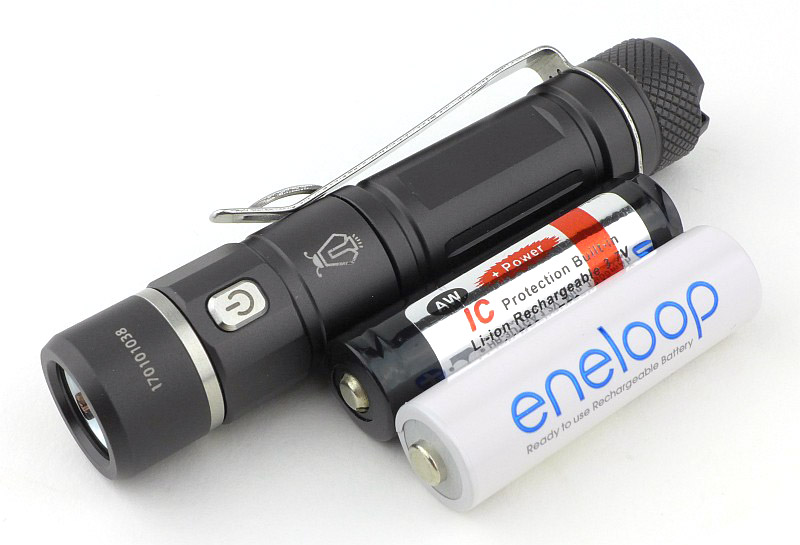
The E10R is similar in size, relative to the battery, like the E01R is compared to its battery (so not the smallest AA light). Here the E10R is shown next to its two power source options,the NiMh AA (Eneloop), and a 14500 (an AW 14500).

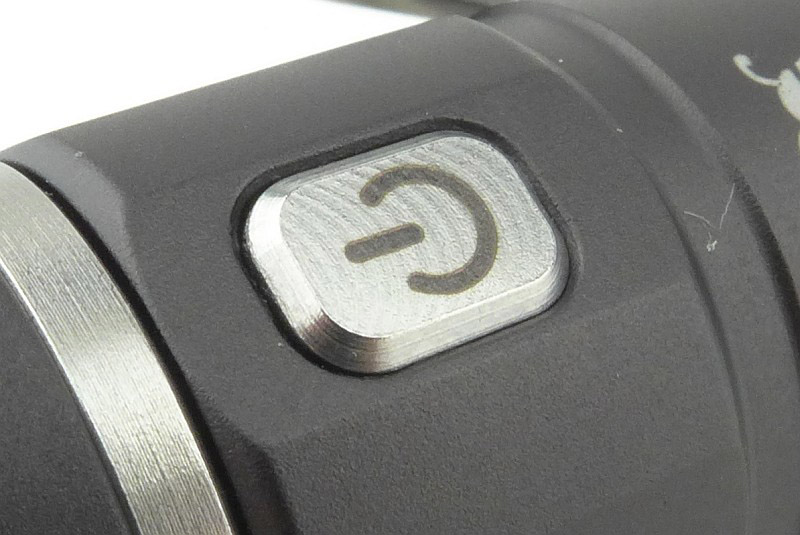
A small metal button is used for the power switch, which is exactly the same size as the one on the E01R.

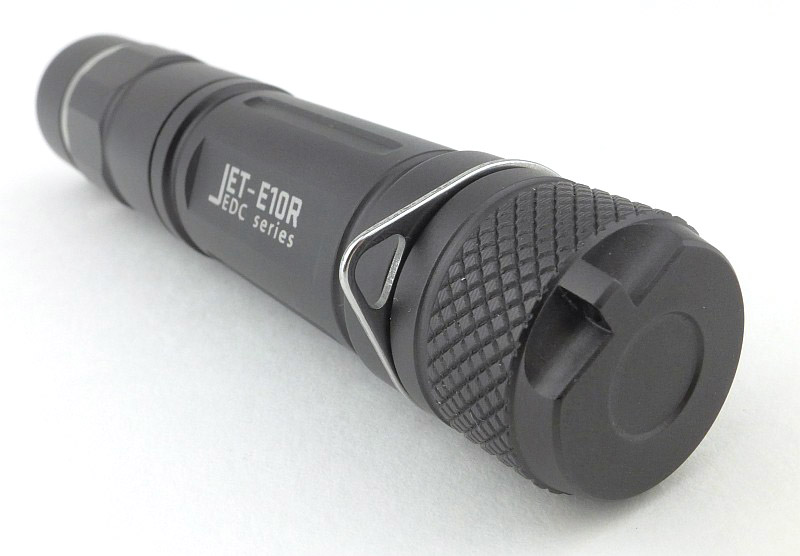
Both the clip and the tail-cap have lanyard holes in them.

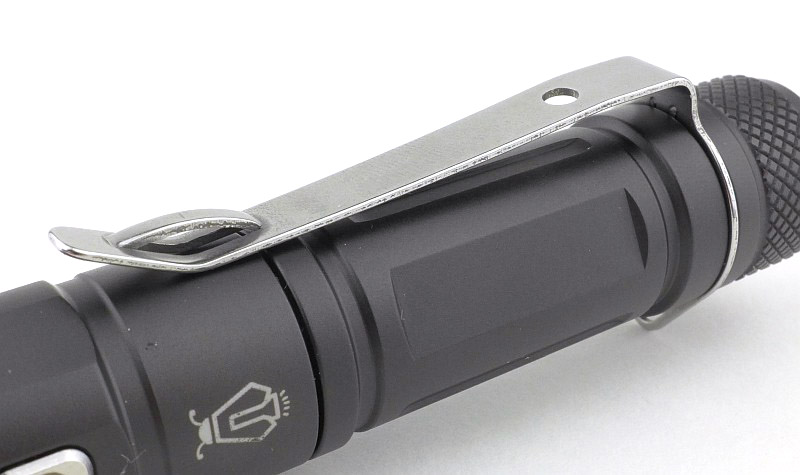
In the case of the E10R, the clip is a standard type. Even without the tail-cap loosened it is free to rotate to any position around the body.

Inside the tail-cap is a gold plated spring terminal.

The threads are almost square, and are well lubricated.

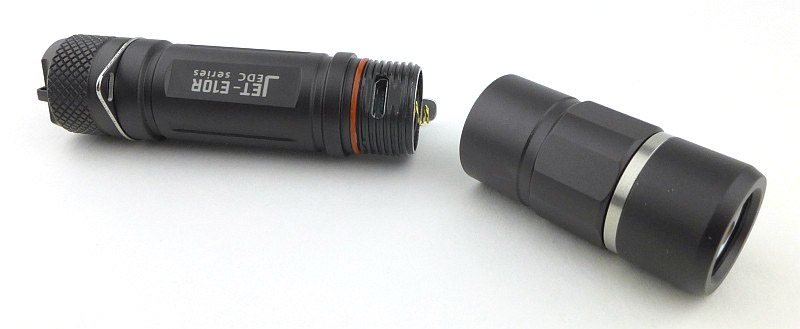
And like the E01R, unscrew the head of the E10R to reveal the micro-USB charging port.

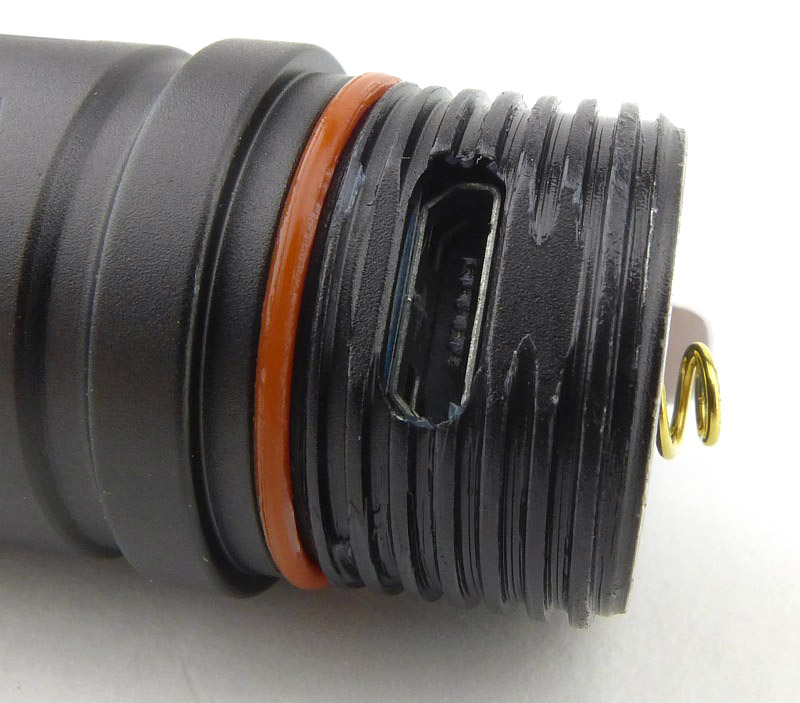
A closer look at the micro-USB charging port and threads.

With the head removed, you do not see the battery, instead there is a set of contacts for the connection to the head once refitted. Just next to the spring (at about 2 o’clock here) is the indicator LED for charging.

Inside the head are the matching set of contacts.

Charging the cell in the E10R is easy, simply plug in the powered USB cable.

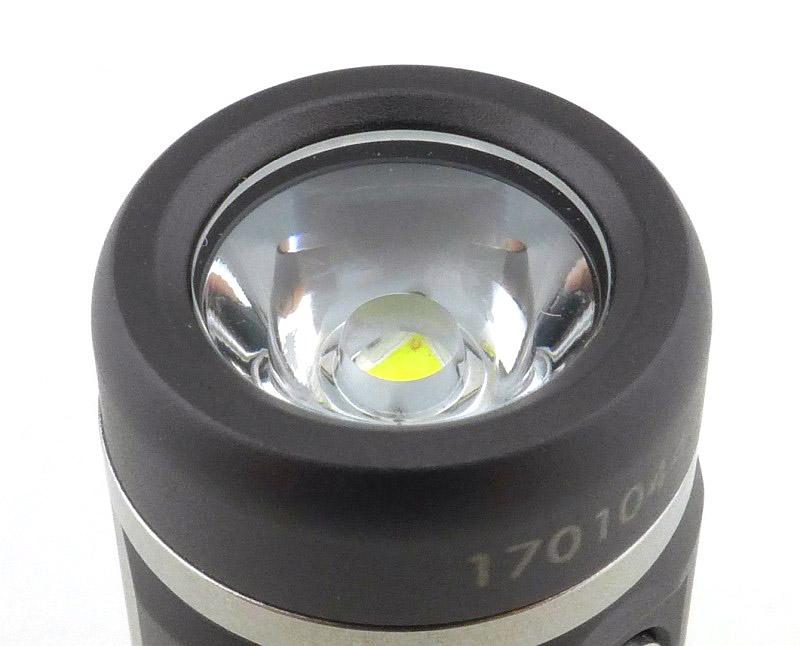
For the E10R, there is a smooth reflector with an XP-L HI LED at its centre.

The charging indicator LED is slightly hidden by a foam PCB cover. Here it is lit, showing the E10R is charging.

Indicating a 14500 is now fully charged, the charging light shows blue. (this is red if a NiMh is used)

The beam

Please be careful not to judge tint based on images you see on a computer screen. Unless properly calibrated, the screen itself will change the perceived tint.

The indoor beamshot is intended to give an idea of the beam shape/quality rather than tint. All beamshots are taken using daylight white balance. The woodwork (stairs and skirting) are painted Farrow & Ball “Off-White”, and the walls are a light sandy colour called ‘String’ again by Farrow & Ball. I don’t actually have a ‘white wall’ in the house to use for this, and the wife won’t have one!

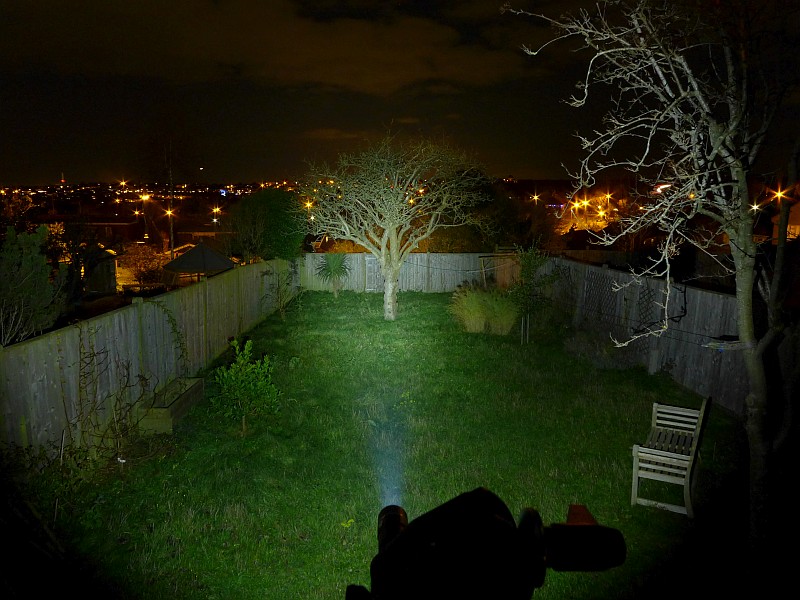
Although the beginning of the review starts with the E01R, for the beamshots, I’m starting with the E10R’s beam. The combination of the small focused SMO reflector and XP-L HI LED gives a strong hotspot and wide usable spill. A good mixture for a compact EDC light with the output power a 14500 allows.

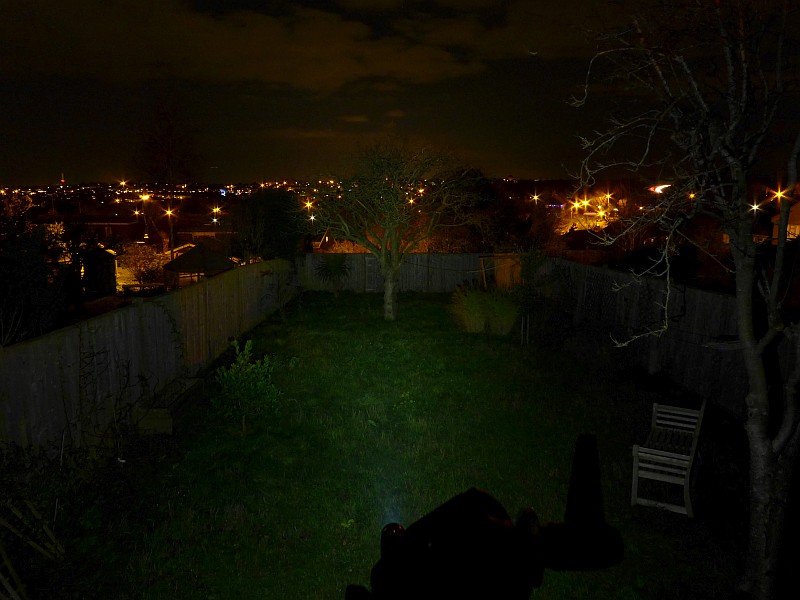
At exactly the same exposure, the E01R looks a bit weak; this exposure is included to allow a direct comparison.

Adjusting the exposure to show the E01R’s beam more how your eyes would see it, we have a lovely wide smooth beam with a soft and gentle hotspot. A really useful close range beam.

Moving outdoors, and the E10R on 14500 has a reasonable power to give it a bit of range.

The same cannot be said about the E01R as its wide beam runs out of steam very quickly. But don’t forget this is a AAA light.

Modes and User Interface:

Both the E01R and E10R operate in exactly the same way. The only UI difference is the charging indicator.

There are three modes, High, Medium and Low, plus a Strobe mode.

To turn the E01R/E10R ON, briefly press the switch. The last used constant mode is memorised.
To cycle through the modes High, Medium, Low, High, with the E01R/E10R ON, briefly press the switch.
To turn the E01R/E10R OFF, press and hold the switch for 2s.
To access Strobe mode, with the E01R/E10R ON or OFF, rapidly double tap the switch.
To exit Strobe, either briefly press the switch (to change to a constant mode), or press and hold the switch for 2s (to turn OFF).

When charging the E01R, a red light is shown during charging. When fully charged, the red light goes out.
When charging the E10R, using AA the red and green lights come on during charging. When fully charged, the green light goes out.
When charging the E10R, a red light is shown during charging. When fully charged, the blue light is shown.

Both the E01R and E10R have an electronic lockout of the switch. To Lock, from OFF, press and hold the switch for four seconds. The LED will start to blink indicating the Lockout was successful.

To Unlock, press and hold the switch for four seconds, the last use mode will come on.

Batteries and output:

The E01R runs on NiMh AAA (or AAA Alkaline without charging feature).
The E10R runs on NiMh AA (or AA Alkaline without charging feature) or Li-ion 14500.

To measure actual output, I built an integrating sphere. See here for more detail. The sensor registers visible light only (so Infra-Red and Ultra-Violet will not be measured).

Please note, all quoted lumen figures are from a DIY integrating sphere, and according to ANSI standards. Although every effort is made to give as accurate a result as possible, they should be taken as an estimate only. The results can be used to compare outputs in this review and others I have published.

___________________________________________ ________________________________ ________________________________
E01R or E10R using specified cell I.S. measured ANSI output Lumens PWM frequency or Strobe frequency (Hz)
___________________________________________ ________________________________ ________________________________
E01R High – AAA 111 0
E01R Medium – AAA 22 0
E01R Low – AAA 2 0
E10R High – AW 14500 457 0
E10R High – AA 164 0
E10R Medium – AA 39 0
E10R Low – AA 3 0

* Beacon and Strobe output measurements are only estimates as the brief flashes make it difficult to capture the actual output value.

There is parasitic drain in both lights. The drain in the E01R when using NiMh AAA was 41.3uA (2.21 years to drain the cell). The drain in the E10R when using NiMh AA was 69.8uA (3.11 years to drain the cell). The drain in the E01R when using 14500 was 86uA (1.19 years to drain the cell).

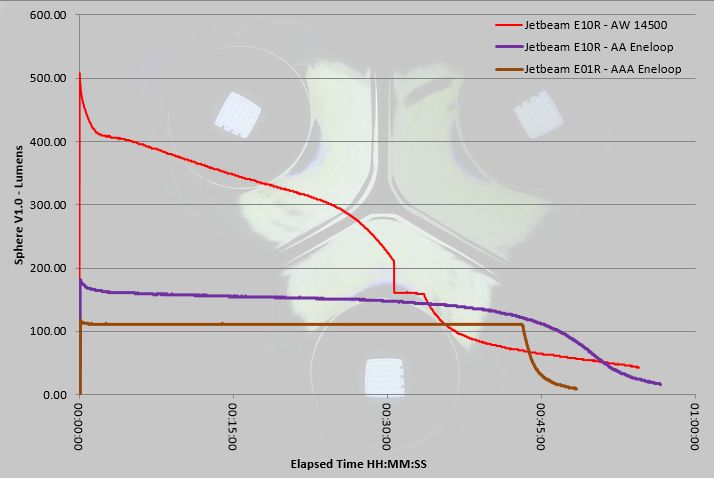
Where a light has built in charging, to best show how it really performs, the batteries have been charged using the built-in charger; This will show if cells are undercharged. First, note the totally flat output from the E01R, exhibiting excellent regulation on the output. Though the E10R is using an AA NiMh with 2100mAh (compared to the AAA’s 800mAh), overall the performance of the E10R using AA is much closer to the E01R than you might expect when the E10R has nearly three times the cell capacity. This is either due to the built-in charger not fully charging the cell, or the driver circuit showing some inefficiency when powered by AA. The 14500 is where the E10R comes to life with nearly 500lm output, staying above 300lm for 25 minutes and only stepping down to below 200lm after 30 minutes.

Troubleshooting

This section is included to mention any minor niggles I come across during testing, in case the information helps anyone else.

The first E01R supplied would not charge. This seemed to be due to a connection issue with the micro-USB port. Jetbeam promptly replaced this under warranty and the replacement has functioned perfectly.

As per the description of this section, this information is provided in case anyone else finds a similar ‘issue’ that might be fixed in the same way.

The E01R/E10R in use

Many USB rechargeable EDC lights have built-in batteries. Though very convenient, this means there is no option of replacing the battery with a fresh cell if you need more light than one cell will give you. Both the E01R and E10R run from standard cells, so whether you use the built-in charging, or not, you can still swap out empty cells for fresh as needed. Both will also run on an alkaline cell, so you are covered in all ways.

Unlike those convenient EDC lights with built-in cells, the E01R and E10R give you that extra level of confidence. Crucially of course you get the performance of a ‘proper’ light.

By hiding the USB charging port inside the head, the port is protected by the O-ring seal of the head. A simple design feature which makes the light just as waterproof as any other non-rechargeable light. This has got to be one of the most important aspects of the way Jetbeam have designed the charging of theses lights; in the majority of cases a USB charging port does compromise the waterproofing – not here.

My main criticism of these lights is with the UI. Firstly the button is quite small and sometimes not easy to hit first time. Secondly the fact that you need to press and hold the switch for 2s to turn it off is quite annoying. Personally I’d much rather the output went on and off with a brief press, and the mode change was a 2s press, but unfortunately it is not.

Another minor annoyance, but probably unavoidable, is that the clips press onto the side of the head, meaning they rub against the anodising as you unscrew the head for recharging. I lift the clip slightly before unscrewing the head to avoid wearing the anodising prematurely – many wouldn’t bother.

Finding the switch can prove challenging by feel, so it can be a little frustrating when you miss the button. I have made this a bit more reliable by lining up the clip so it is opposite the button, but the clip is not held tightly and can still rotate, so this method can end up failing. Also, in gloves, you have no hope at all of finding where the button is, so end up working your way round the head until you hit the right spot. The flip side to this is that the lines of these lights are very streamlined and clean looking.

Moving past these niggles, and onto the beams, the E01R has an outstanding EDC beam. Wide, smooth and perfect for short distance and indoor use. It is also surprisingly bright even with only 111lm. The levels are very well chosen, with Medium being the most useful for general purposes. Neither model includes a genuinely low, low, moon mode, but the low level at 2-3lm is probably more useful for those situations where you want a low level but your eyes are not fully dark adapted; even if they are, the 2lm level is not shockingly bright (it is amazing how little light your eyes really need if given the chance).

More and more lights are including USB recharging, simply because it is much more convenient to charge the battery without taking it out, (and you don’t need to buy a dedicated charger). Jetbeam have achieved this with the E01R and E10R without compromising the style, integrity or function of the lights, and in the E10R have a charger that can charge NiMh and Li-ion!

Review Summary

_______________________________________________ _______________________________________________
Things I like What doesn’t work so well for me
_______________________________________________ _______________________________________________
Fully concealed, and O-ring protected, USB charging port. Power switch is fiddly.
Can run on NiMh or Alkaline (and Li-ion for the E10R). Need to hold the switch for 2s to turn off.
Excellent EDC beam. Pocket clip is always free to rotate.
E01R has perfectly regulated output.
E10R’s charging indicator shows if it is NiMh or Li-ion.
Lockout with 1/4 turn of tail-cap.


Discussing the Review:

The ideal place to discuss this reviews is on a forum. If you started reading the shorter forum version of the review, but followed the link this full exclusive review, please return to that forum to discuss the review there.
If you read the review entirely on Tactical Reviews, please consider one of the following to join in any discussion.

CandlePowerForums – Flashlight Reviews Section (Largest and Friendliest Flashlight Community Forum)

Light Review: Streamlight Vantage 180

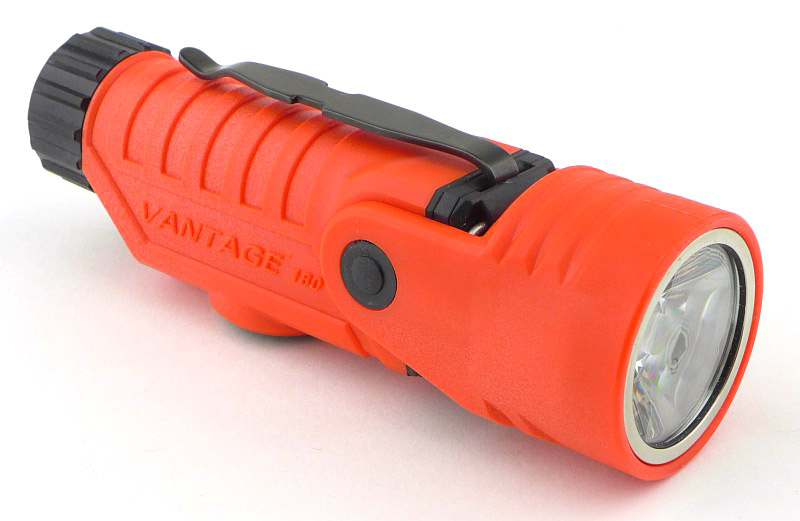
Streamlight make some of the most useful articulated-head lights I’ve ever used. Lights like the Knucklehead, and Sidewinder bring an extra level of functionality with their adjustable heads. For this reason I was particularly excited to get my hands on their latest articulated light, Streamlight’s Vantage 180.

Taking a more detailed look:

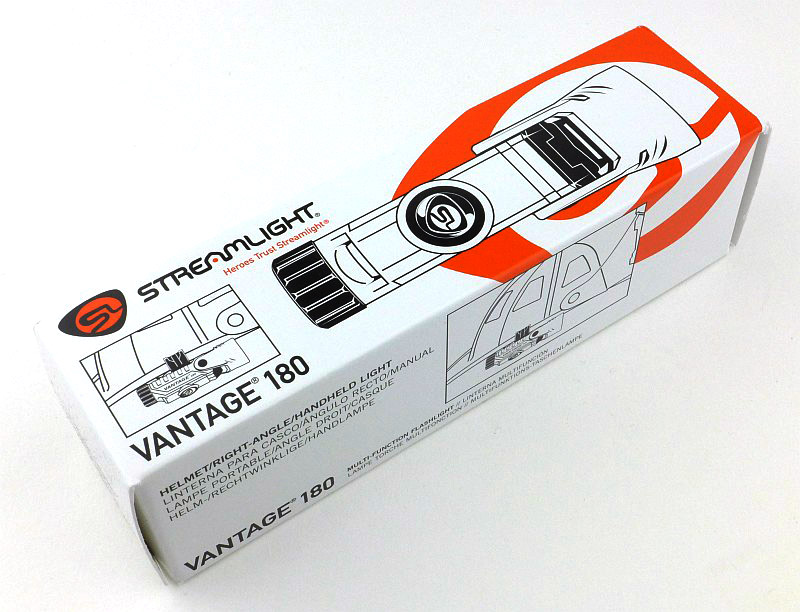
The Vantage arrives in a cardboard box.

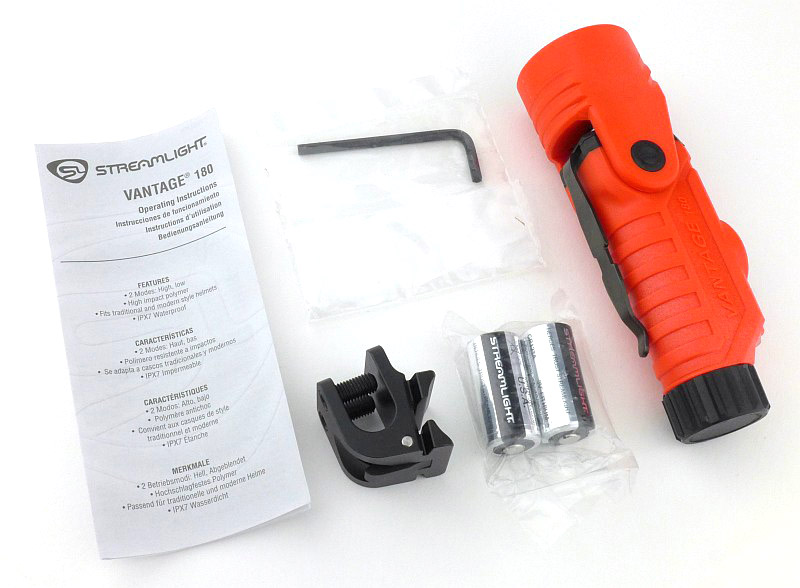
Inside is the Vantage 180, a pair of Streamlight branded CR123s, the helmet mount with Allen key, plus the instructions.

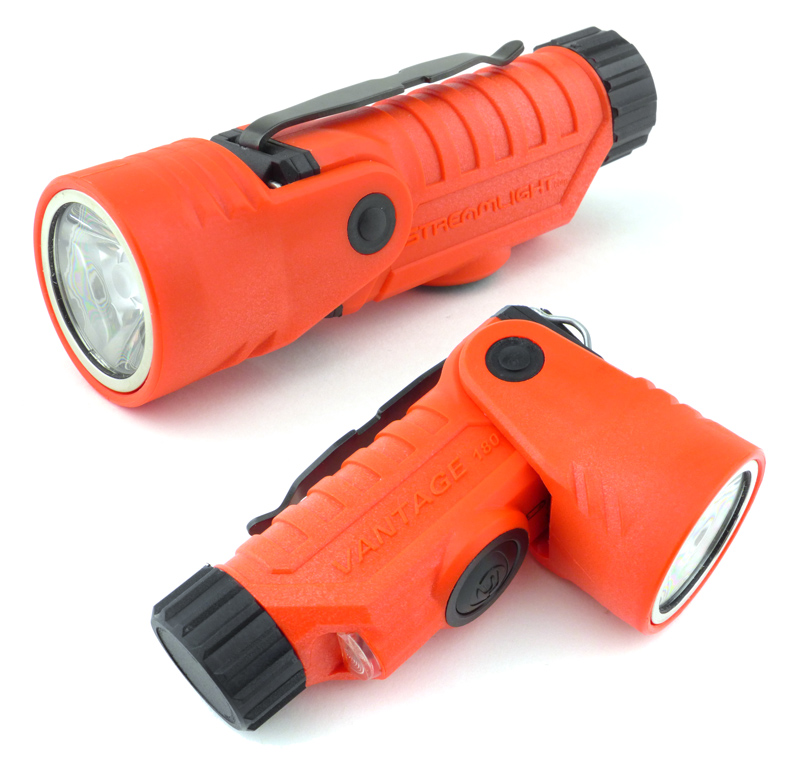
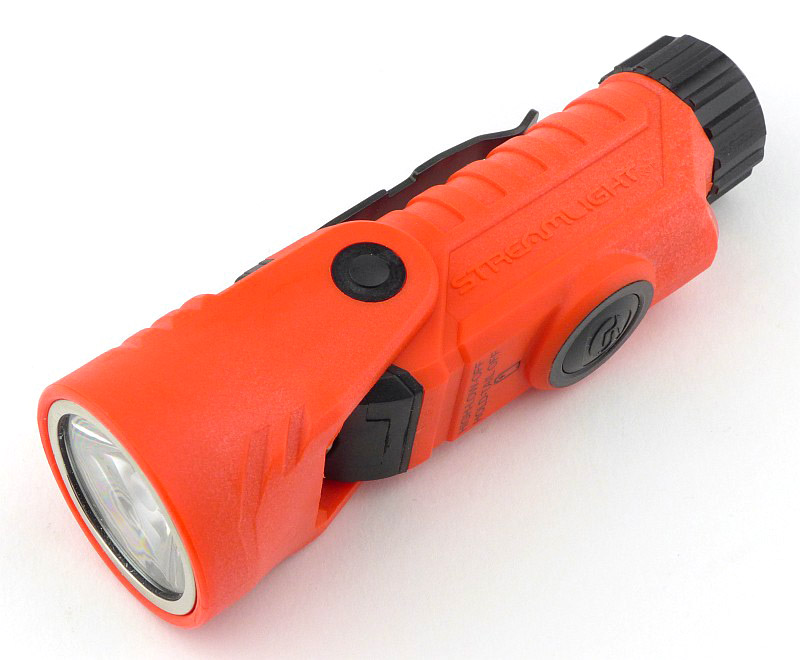
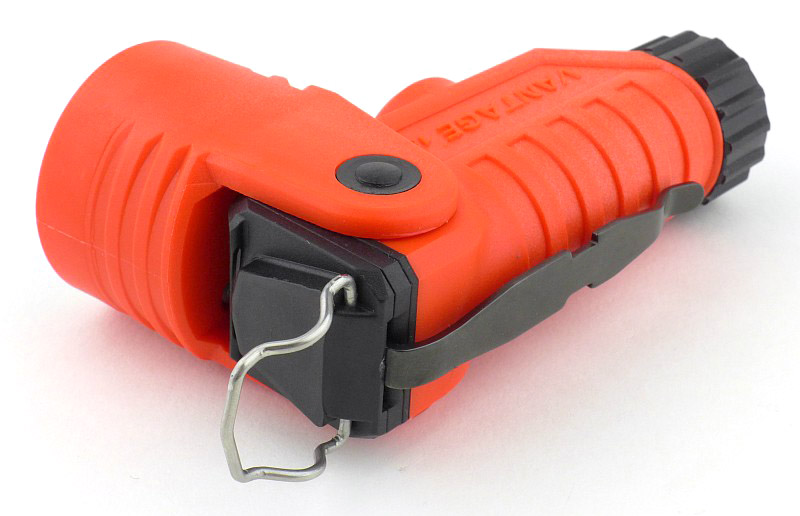
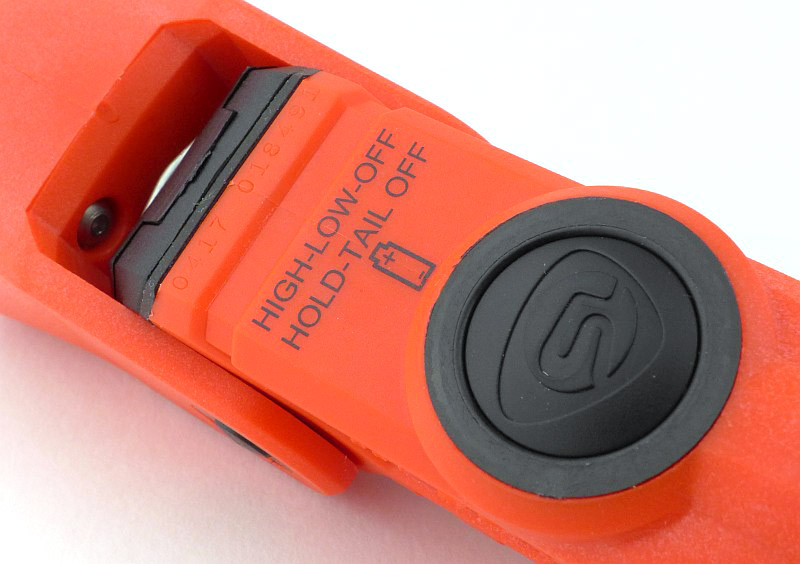
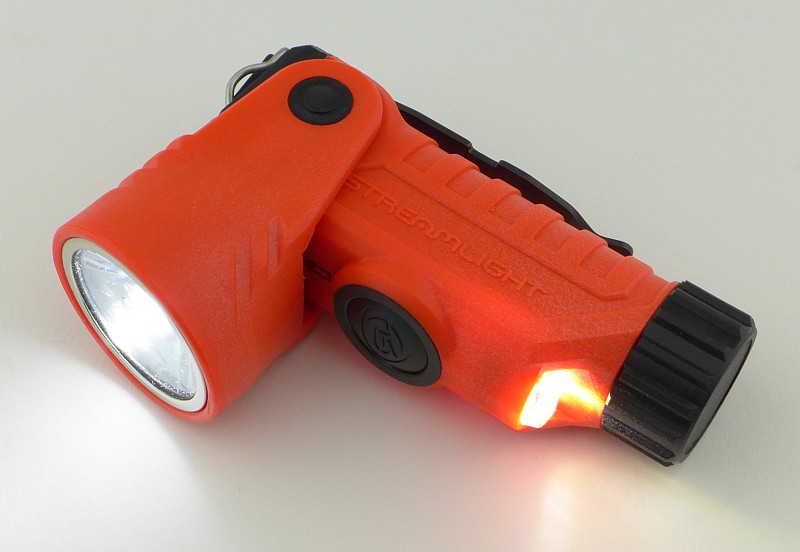
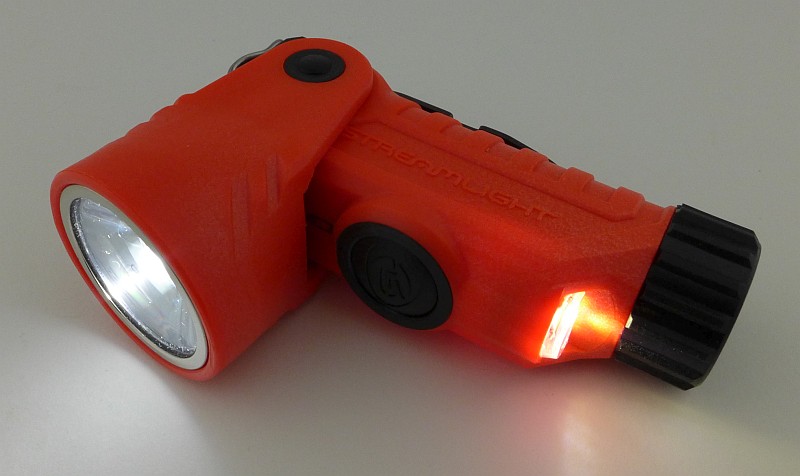
And here we have the, very orange, Vantage 180. On this side it has ‘Streamlight’ written.

On the other side it has ‘Vantage 180’.

Laying the Vantage 180 on its side shows where the switch is positioned. As you would expect, it is on the opposite side to the clip.

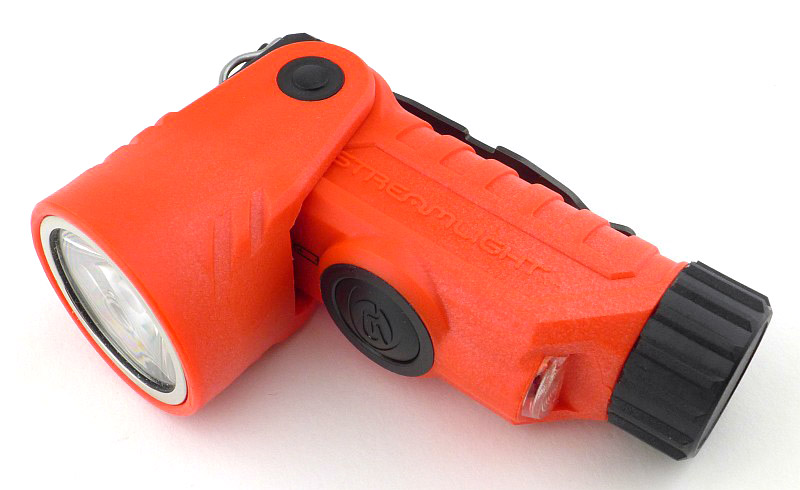
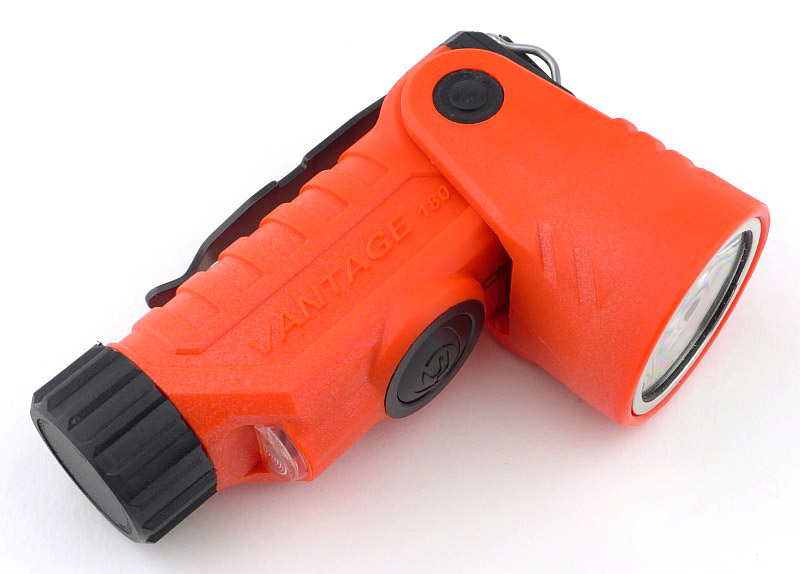
And now we get to the reason for the ‘180’ in the name. Here the head has been rotated 90 degrees to the front.

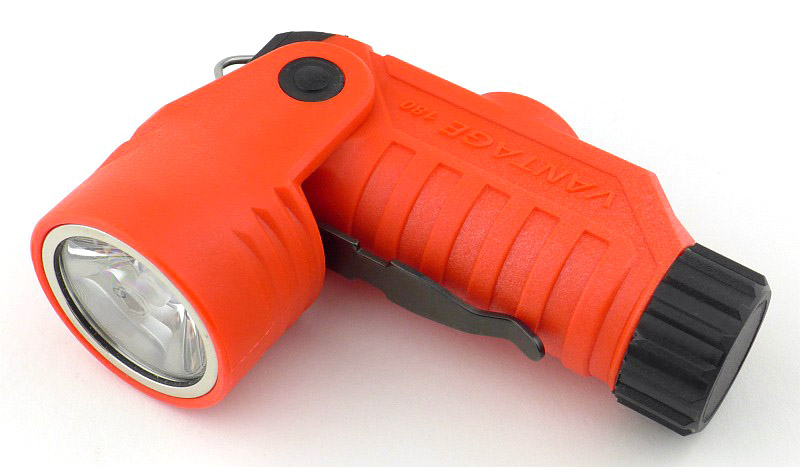
Then from the previous position, the head rotates a full 180 degrees all the way to the back. There are no click stops, instead it is held in place by friction, so the head can be adjusted to any angle between these two extremes.

With the head either fully forward or backwards you can access the built-in turn out gear hook / hanging loop.

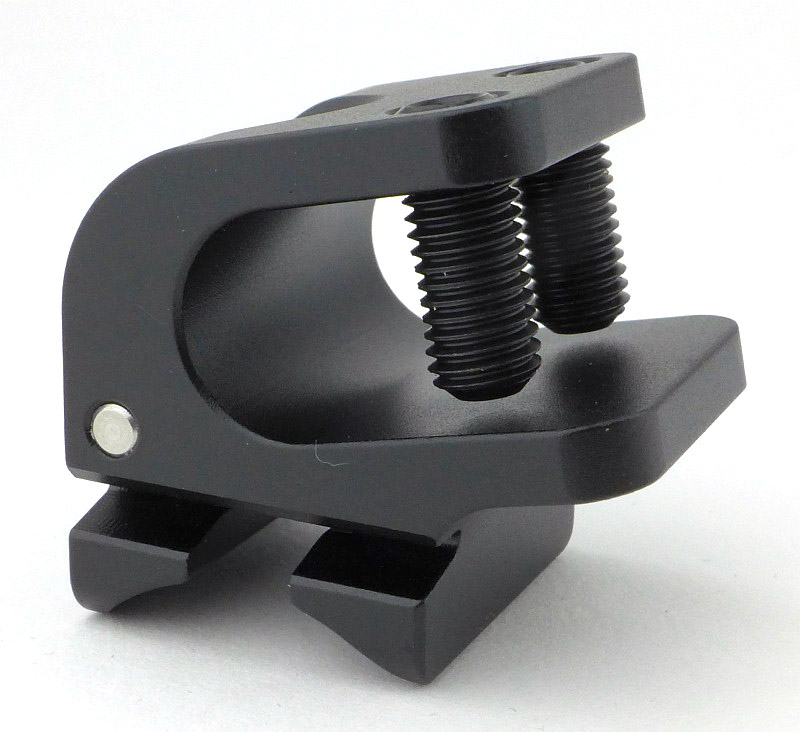
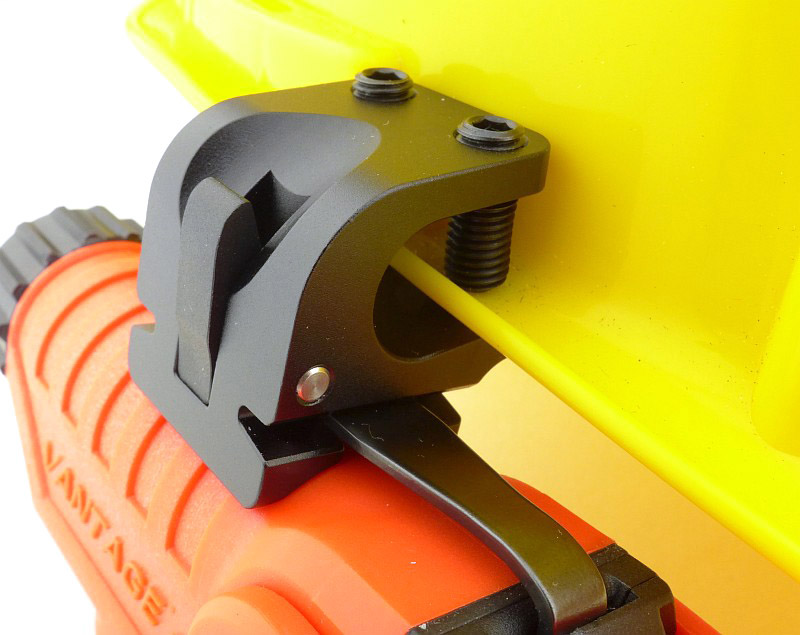
While we are looking at attachment options, there is a special helmet mount included with the Vantage 180. It is an anodised aluminium block with a few special features.

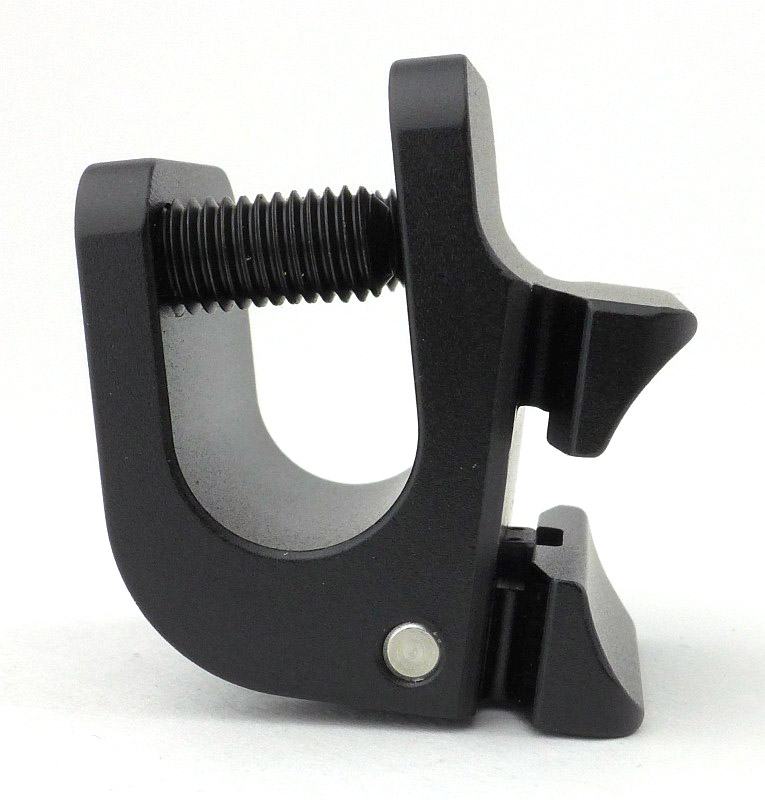
There is a deep helmet rim clamp. Using the supplied Allen keys, these two grub screws are backed right out to allow the mount to be placed over the rim of the helmet. This is specifically designed to fit US issue helmets, so might have limited success on other helmet designs around the world.

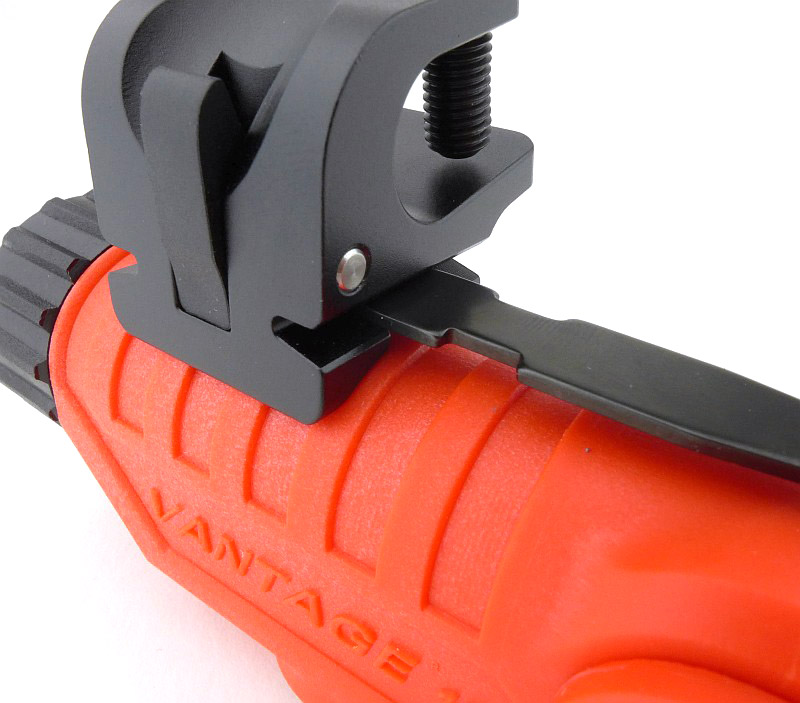
Then there is the side onto which the Vantage 180 clips. The round section fits against the Vantage 180’s body, and the T-shaped groove will allow the pocket clip to slide through.

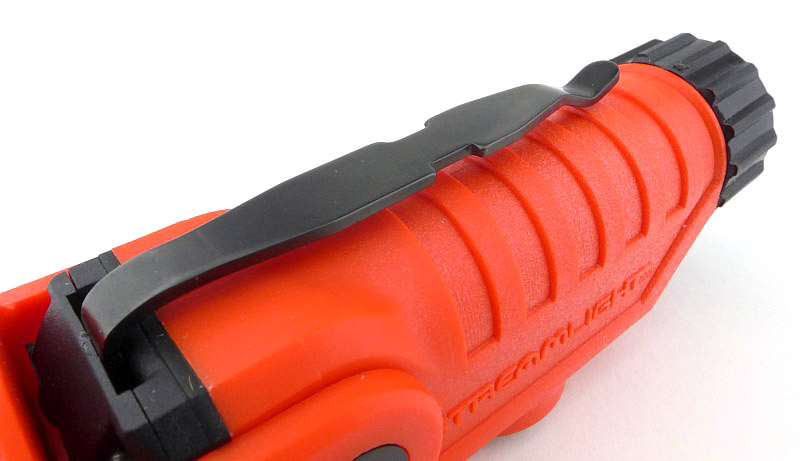
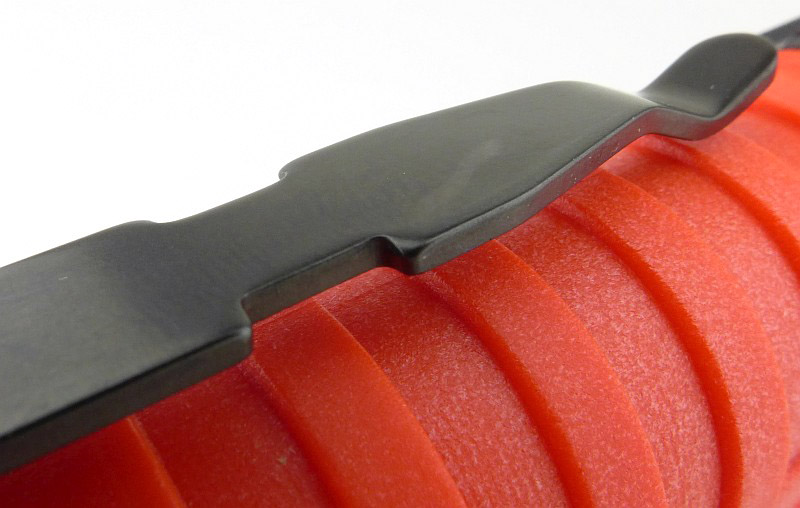
Something extra to mention while looking at the full pocket clip, is a feature that is visible bottom left in this photo; where the clip joins the body there is a slot. The pocket clip can be moved from side to side here, rotating the position of the clip around the body slightly and allowing the user to angle the Vantage 180 up to 15 degrees to either side while it is clipped to their gear.

The feature of this clip that relates specifically to the helmet mount are the two notches each side of the clip. These are what the helmet mount latches on to so it doesn’t slide out of the mount,

Starting to slide the Vantage 180 into the mount. From this side you can see the mount’s release lever.

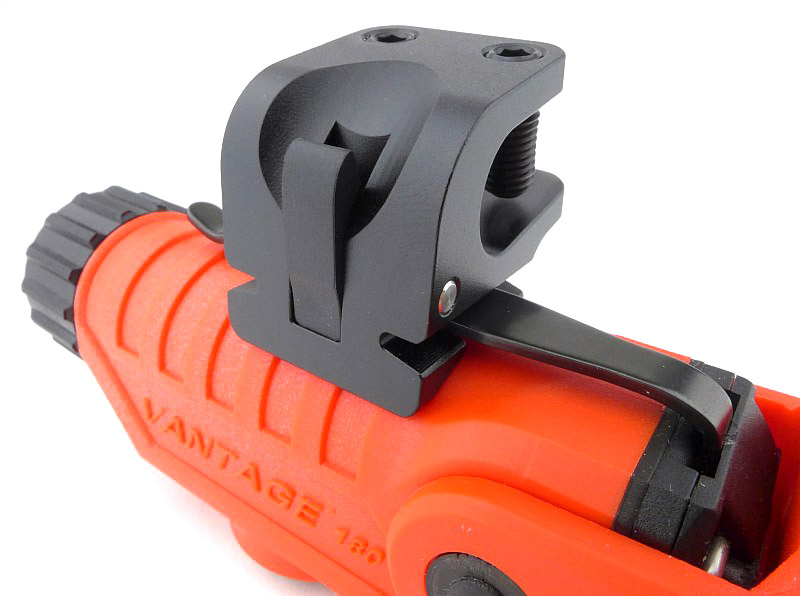
The mount is now locked in place on the clip.

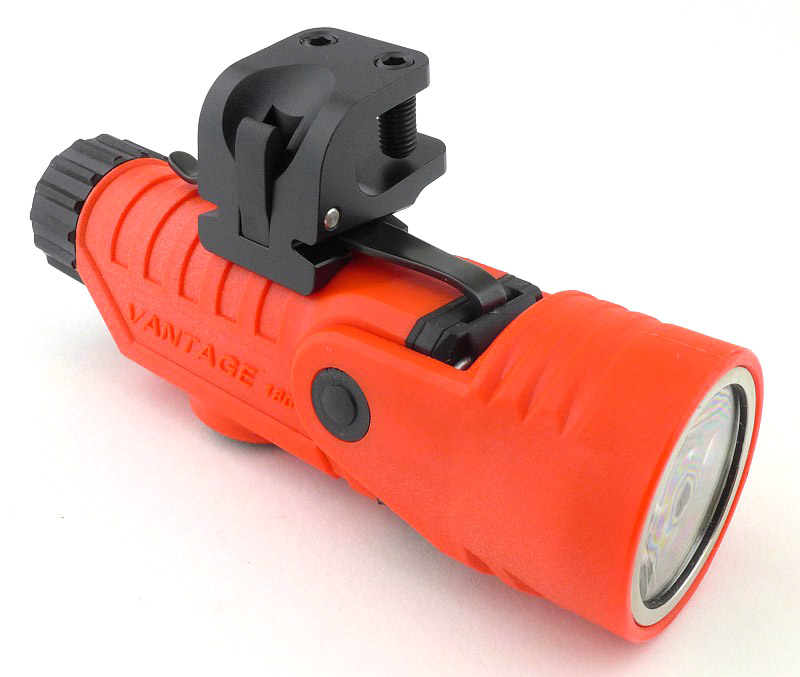
An overall view of the Vantage 180 fitted to the mount.

A brief reminder of the modes, and how to use them, is printed on the body (more on this later) along with the battery orientation.

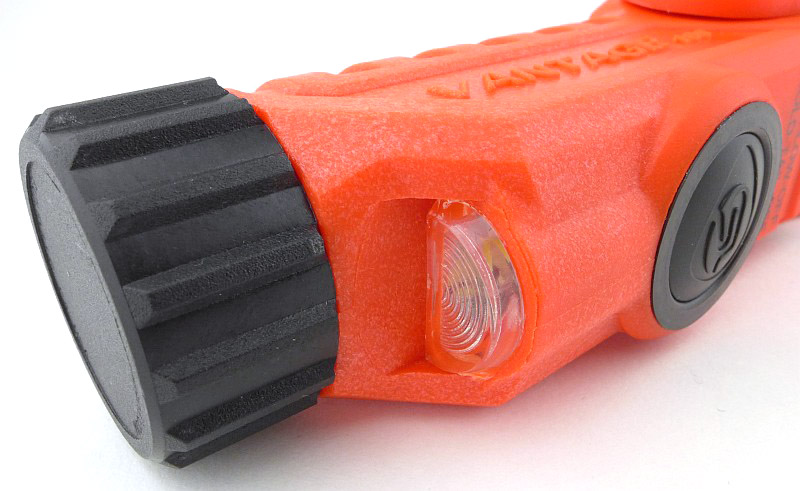
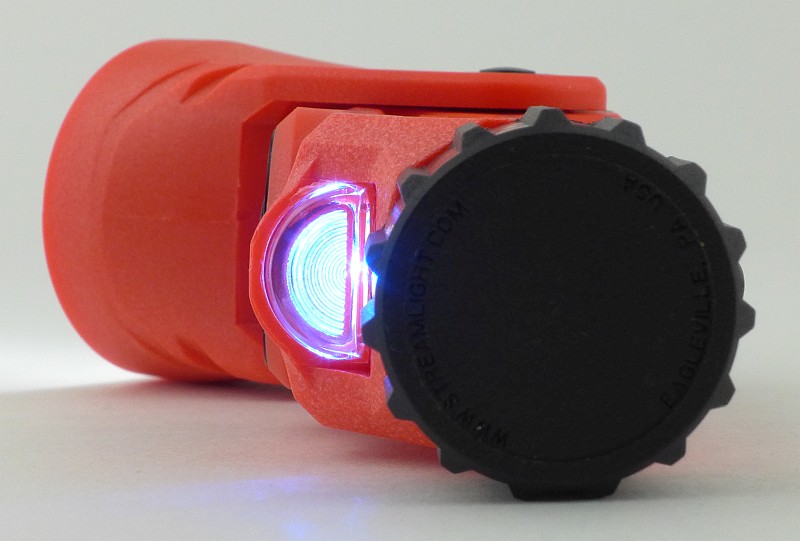
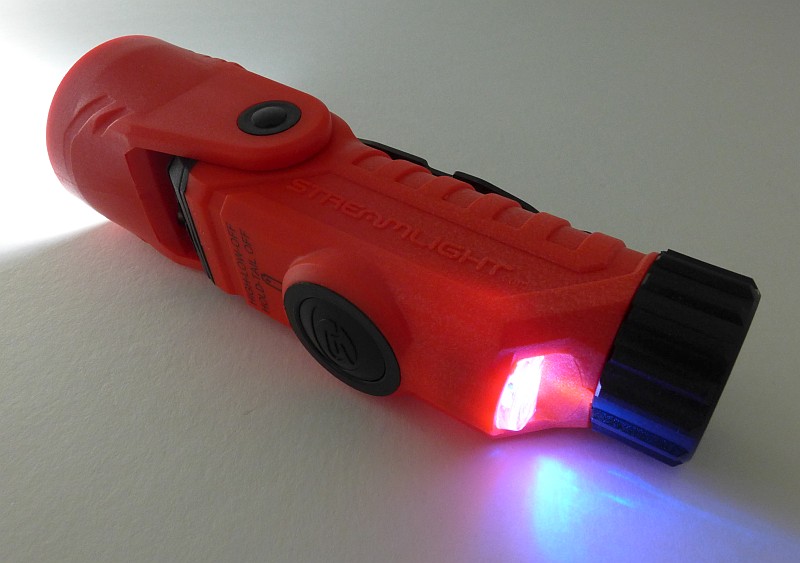
There is another special feature of the Vantage 180; it has two beams. This is the second beam, and is itself dual-purpose, either as a blue marker light, or a white secondary beam down-light (more on this later).

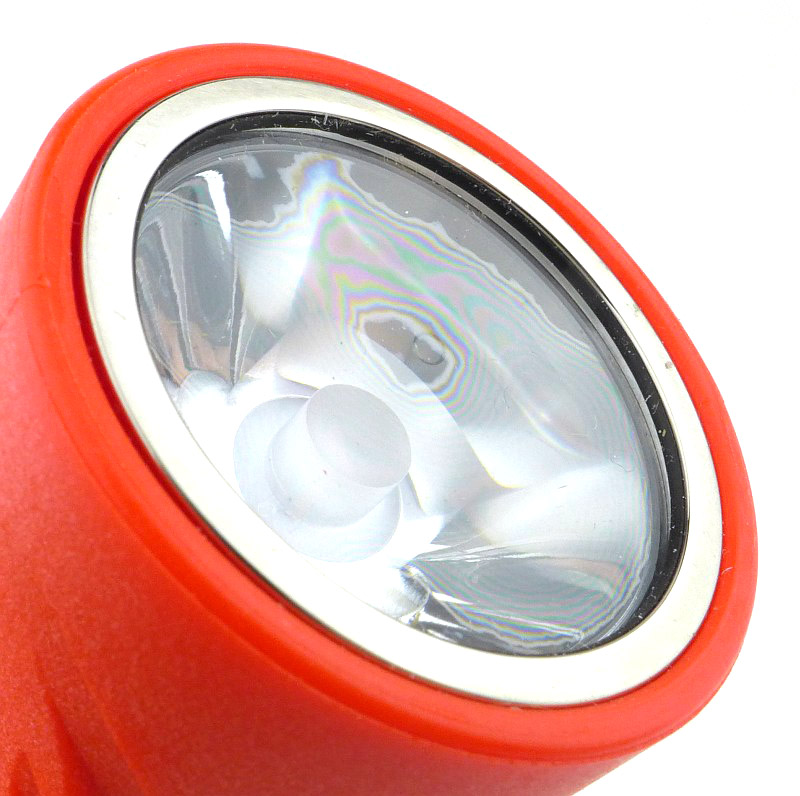
Here is a little mystery, I’ve not yet uncovered why there is an interference pattern visible (like oil on water) on the lens. It appears to be an additional layer on the lens front, but not one you are meant to remove, as there is no visible edge that would allow you to remove it. This doesn’t seem to affect the output in any way, so this is just an observation and appears to be normal.

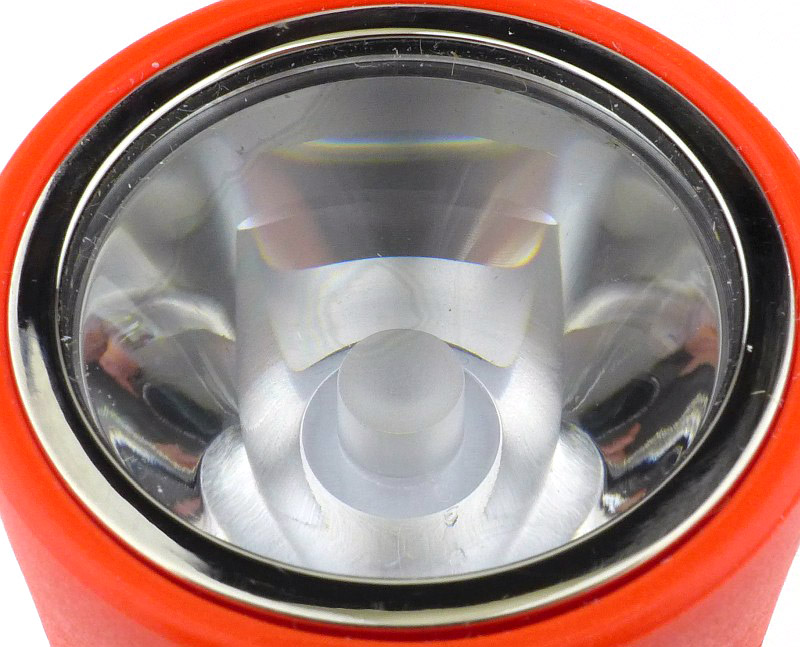
A TIR optic is used.

And this means that when viewed from the front, you can’t see the LED.

The tail-cap has a deep grip pattern making it easy to hold onto.

The simplest of contact design is used, with a single coil spring fitted into the plastic tail-cap.

Though moulded plastic, the threads are sharp and well made. The O-ring is a wedge type.

Being a plastic body, the negative contact needs to connect to the head of the light. This is via a ring contact at the end of the battery tube which is soldered to a metal strip that runs through the battery tube.

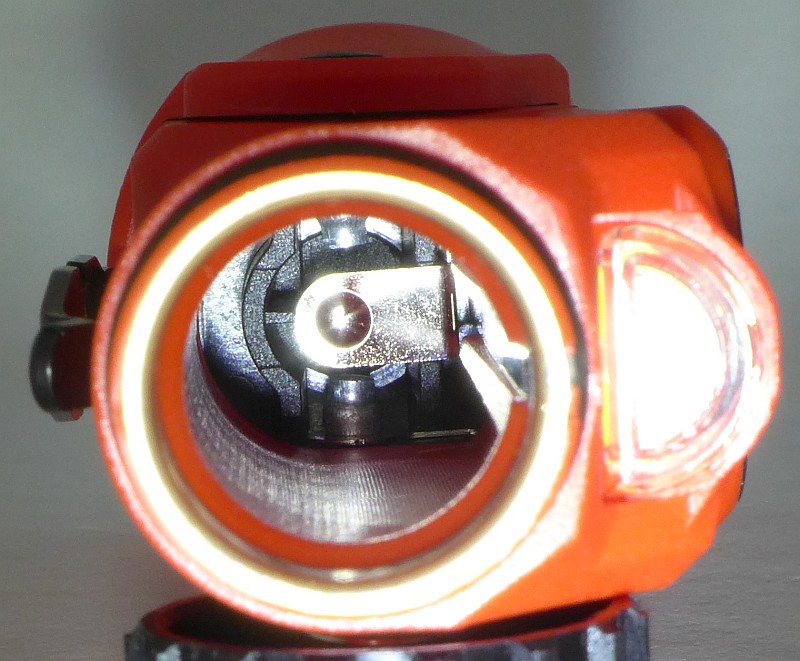
Looking into the battery tube you can see the positive contact.

With the head adjusted to 90 degrees, the secondary beam provides downward lighting.

That same secondary beam, also changes to a blue marker light.

The beam

Please be careful not to judge tint based on images you see on a computer screen. Unless properly calibrated, the screen itself will change the perceived tint.

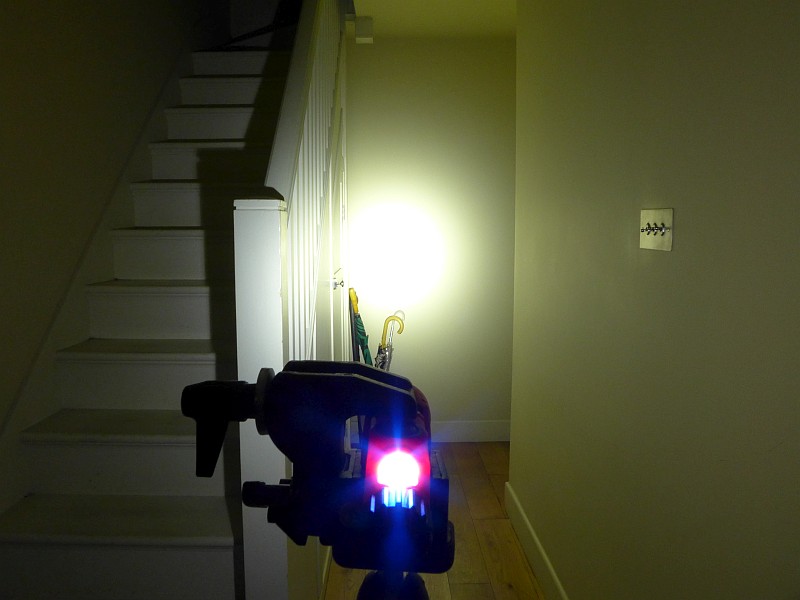
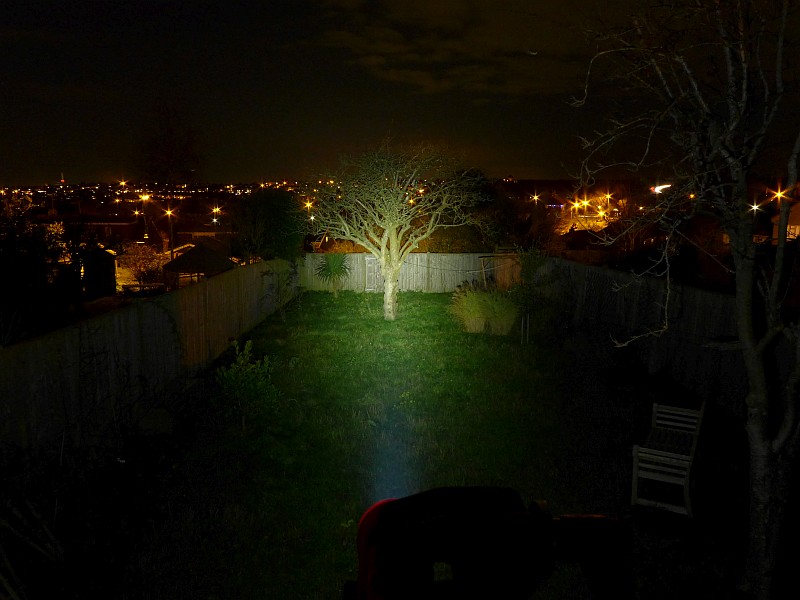
The indoor beamshot is intended to give an idea of the beam shape/quality rather than tint. All beamshots are taken using daylight white balance. The woodwork (stairs and skirting) are painted Farrow & Ball “Off-White”, and the walls are a light sandy colour called ‘String’ again by Farrow & Ball. I don’t actually have a ‘white wall’ in the house to use for this, and the wife won’t have one!

In this photo, the tail beam has been turned on and (with the head set to the straight position) is a relatively low output blue light.
The main beam is almost entirely hot-spot. The spill is useful, but is quite weak, so this can give a slight tunnel vision effect depending on the environment.

With more range the effect of the weak spill becomes more pronounced, and really the beam becomes just the hotspot.

Modes and User Interface:

The Vantage 180 has two constant output modes for the main beam, High and Low, and two different outputs for the secondary beam, white and blue.

To access High, press the switch once. If you press the switch again within 2s, the Low mode will be selected. Pressing once more within 2s turns the Vantage 180 OFF.

If either High or Low mode is activated, once it has been ON for at least 2s, a single press of the button will turn the Vantage 180 OFF.

The secondary beam is set to be either ON or OFF along with the main beam. The secondary beam cannot be used independently and can only be on if the main beam is on. Its white/blue setting is dictated by the head position.

To set toggle the secondary beam between being ON or OFF, with the Vantage 180 either ON or OFF (it doesn’t matter), press and hold the switch for more than 2s.

With the head set to the straight position, the secondary beam will be blue.

Angling the head towards being a right-angle light, and when the head gets to around 72 degrees, the secondary beam switches from blue to a brighter white.

Batteries and output:

The Vantage 180 runs on 2x CR123.

To measure actual output, I built an integrating sphere. See here for more detail. The sensor registers visible light only (so Infra-Red and Ultra-Violet will not be measured).

Please note, all quoted lumen figures are from a DIY integrating sphere, and according to ANSI standards. Although every effort is made to give as accurate a result as possible, they should be taken as an estimate only. The results can be used to compare outputs in this review and others I have published.

___________________________________________ ________________________________ ________________________________
Vantage 180 using specified cell I.S. measured ANSI output Lumens PWM frequency or Strobe frequency (Hz)
___________________________________________ ________________________________ ________________________________
High – CR123 269 0
Low – CR123 98 0

* Beacon and Strobe output measurements are only estimates as the brief flashes make it difficult to capture the actual output value.

There is parasitic drain; when using CR123, the drain was 23.2uA (6.88 years to drain the cells). The tail-cap can be unscrewed two full turns to lock-out the power and stop any drain. However this is enough to prevent the seal being effective, so the Vantage 180 would not be water resistant like this.

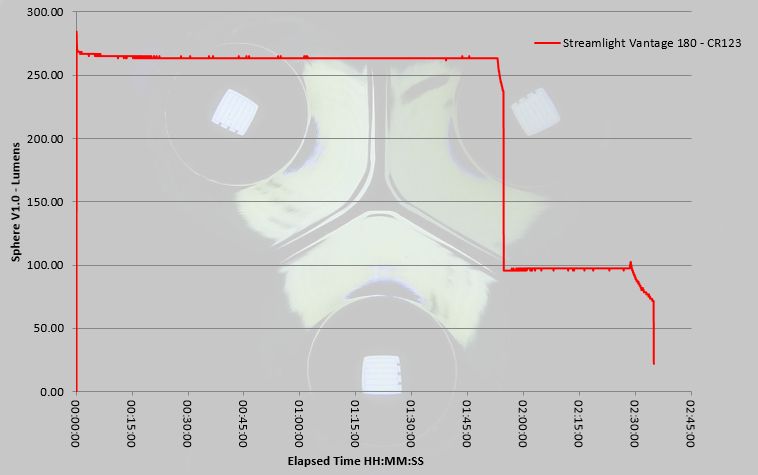
The runtime graph shows a nicely regulated output giving nearly two hours on High before the output drops to the Low level. Beyond two and a half hours the output then rapidly declines before dropping to a 22 lumen level which runs on for some time. The Vantage 180 doesn’t leave you in the dark and provides plenty of warning for a battery change.

Troubleshooting

This section is included to mention any minor niggles I come across during testing, in case the information helps anyone else.

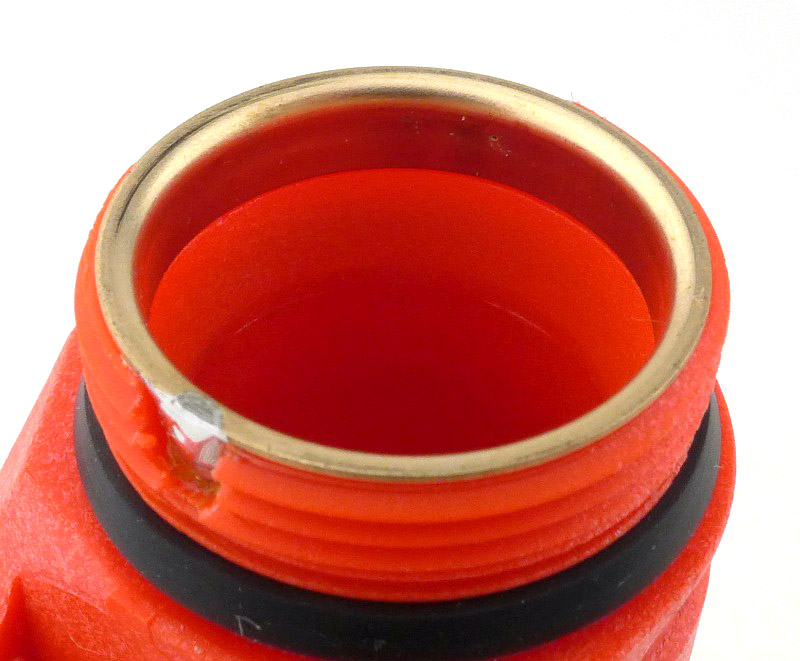
No issues were encountered during testing.

As per the description of this section, this information is provided in case anyone else finds a similar ‘issue’ that might be fixed in the same way.

The Vantage 180 in use

Streamlight always manage to build in a great deal of functionality into lights like this, and the Vantage 180 does not disappoint. To start with, the ability to go from a conventional straight torch/flashlight to a right-angle light, or anywhere in between, is so useful. Even if this is when placing the Vantage 180 on a table or the ground to use as a task light, being able to adjust the head, allows it to work where a fixed head light just wouldn’t be much use.

Add to this the clip (with its own adjustment of 15 degrees each way) and hanging loop, and you have a highly functional work light, that will fit into just about any task you need to do.

Then there is the secondary beam. The blue tail-light is mainly for increasing your visibility to others, and this is mainly aimed at Emergency Response personnel who would wear the Vantage 180 on their helmet. For my own purposes, I can’t really think of a sensible use for this blue marker light.

However, rotate that head to activate the down-light, and the Vantage now has ground lighting along with the main beam if you have this fitted to your clothing (or lighting to let you see what you are writing etc.).

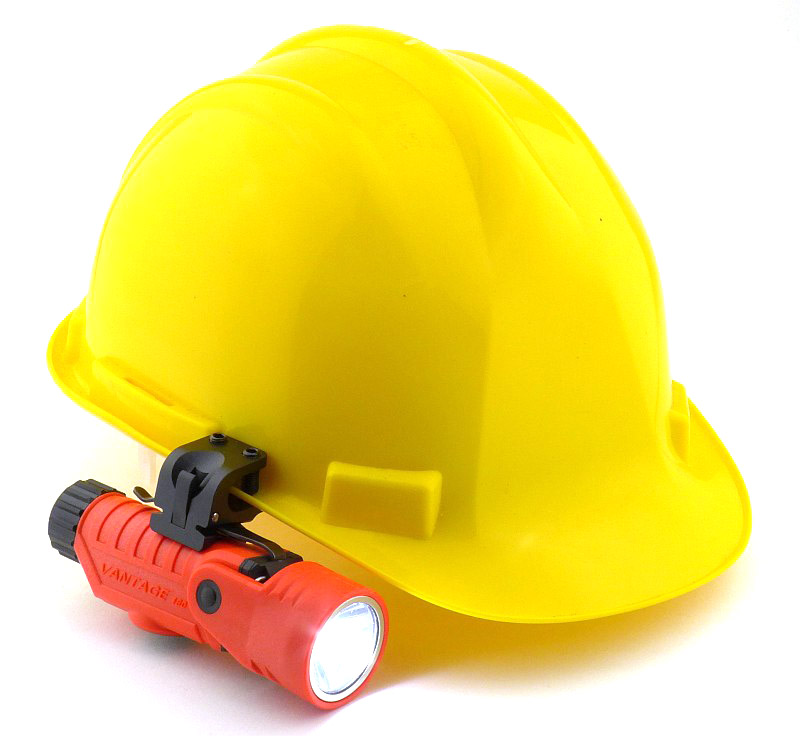
But we are not yet finished as there is that solid helmet mount. So as long as it fits the helmet you are using, or can be made to fit) you have a headlamp as well.

In this case it has been fitted to a basic hard-hat and nicely holds onto the rim.

Not everyone will use every feature of the Vantage 180, but you know that it has all that flexibility built-in which provides you with a lot of options.

Review Summary

_______________________________________________ _______________________________________________
Things I like What doesn’t work so well for me
_______________________________________________ _______________________________________________
Full 180 Degrees of head Rotation. Weak spill beam.
Secondary tail-light / down-light. Doesn’t use rechargeable batteries.
Clip can be adjusted 15 degrees either way. Only two output levels.
Helmet mount included.
Hanging loop built-in.
Unbreakable TIR optic.
Well regulated output.


Discussing the Review:

The ideal place to discuss this reviews is on a forum. If you started reading the shorter forum version of the review, but followed the link this full exclusive review, please return to that forum to discuss the review there.
If you read the review entirely on Tactical Reviews, please consider one of the following to join in any discussion.

CandlePowerForums – Flashlight Reviews Section (Largest and Friendliest Flashlight Community Forum)

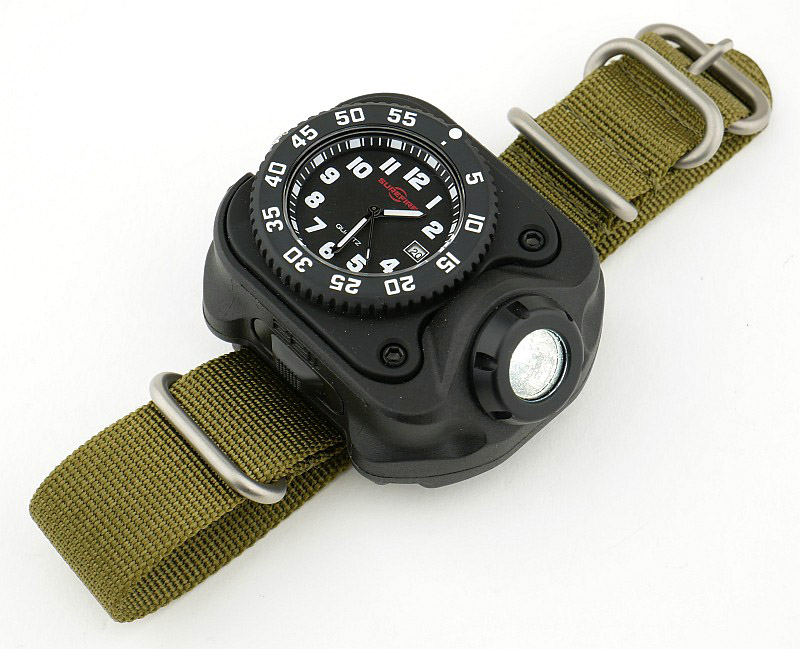
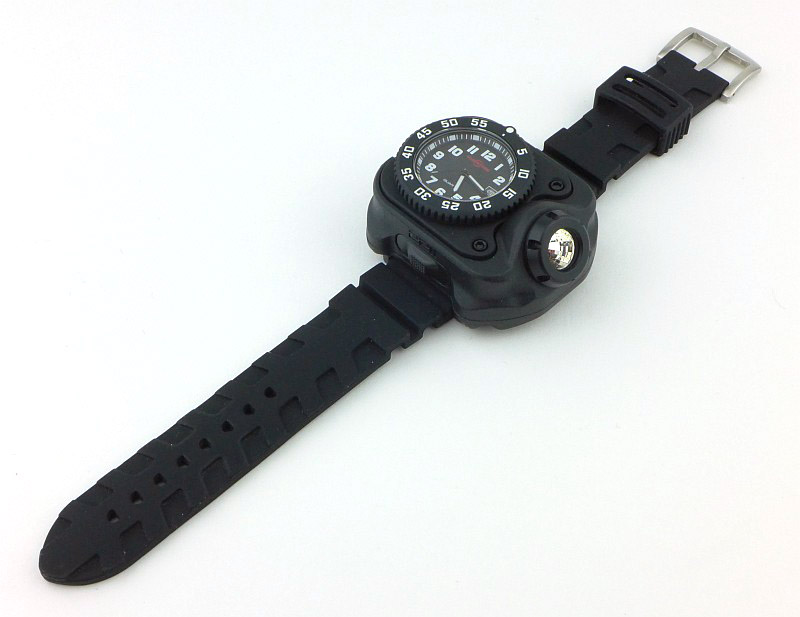
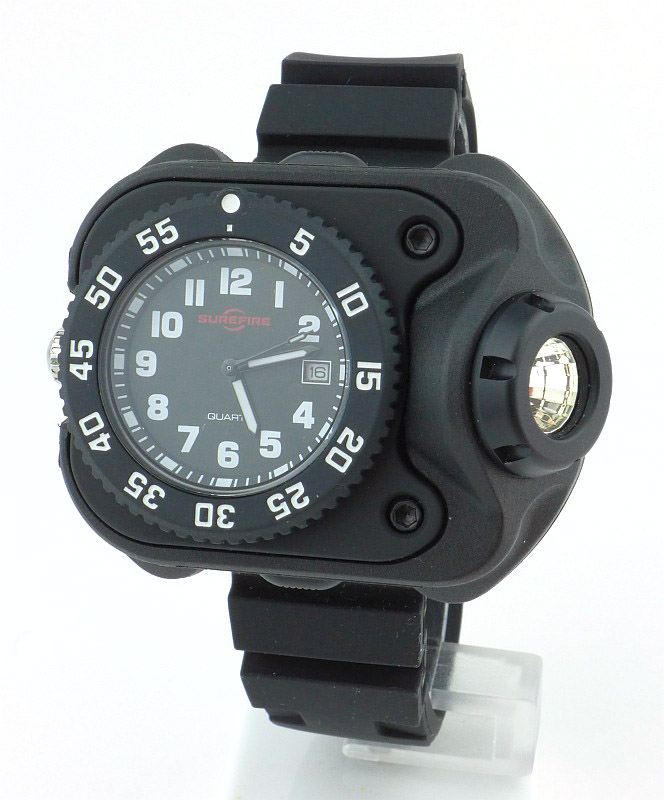
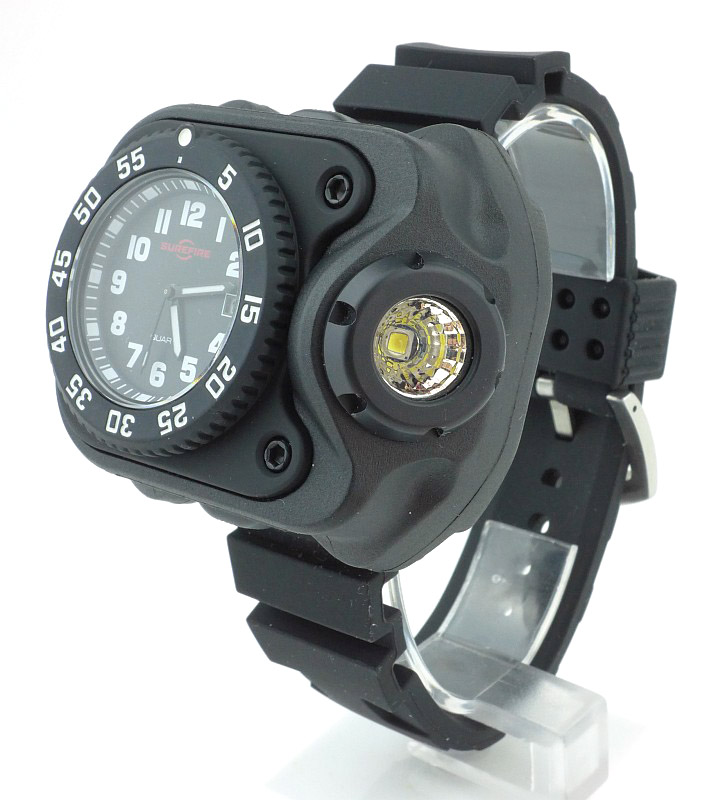
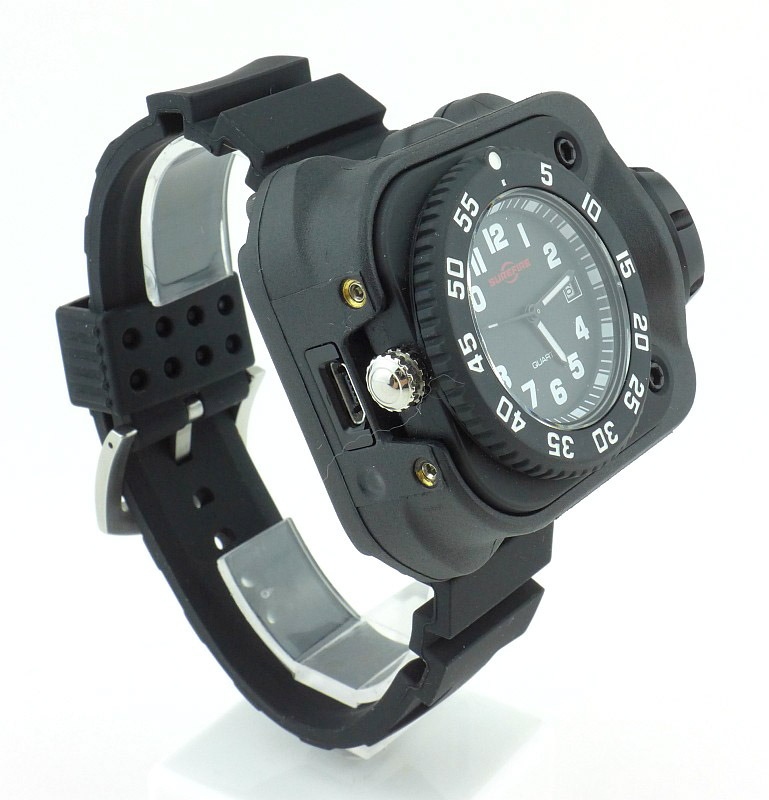
Light Review: Surefire 2211 Signature Wrist Light

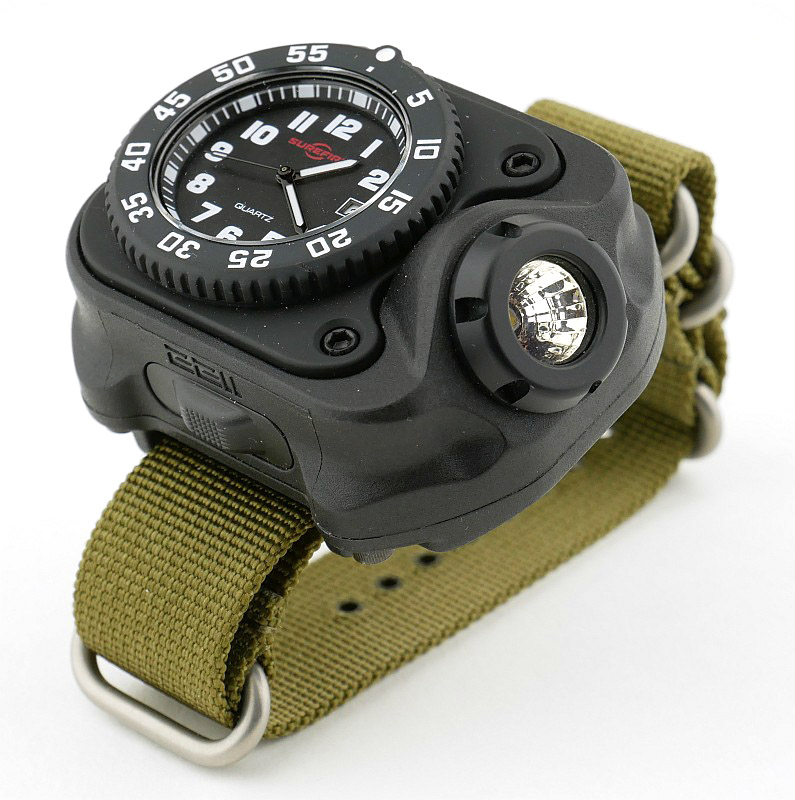
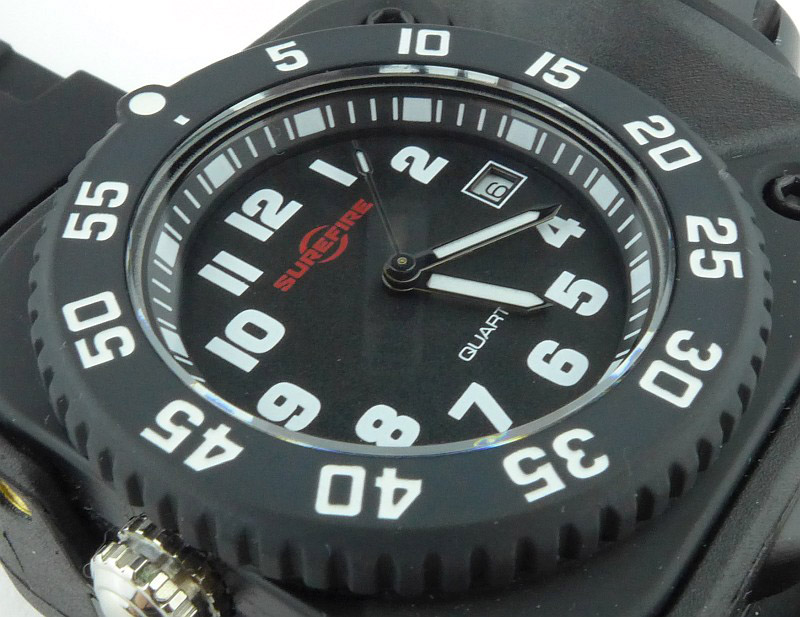
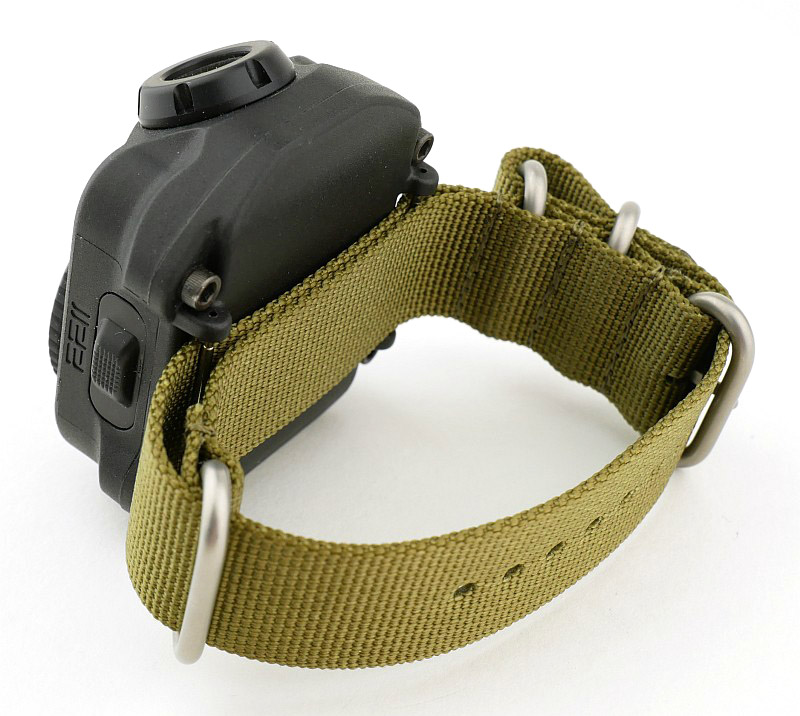
Surefire have expanded the choice in their 2211 Wrist Light range with the addition of the 2211 Signature Wrist Light. This features an integrated watch face (like the Luminox version) which is a special new Surefire branded version.

Taking a more detailed look:

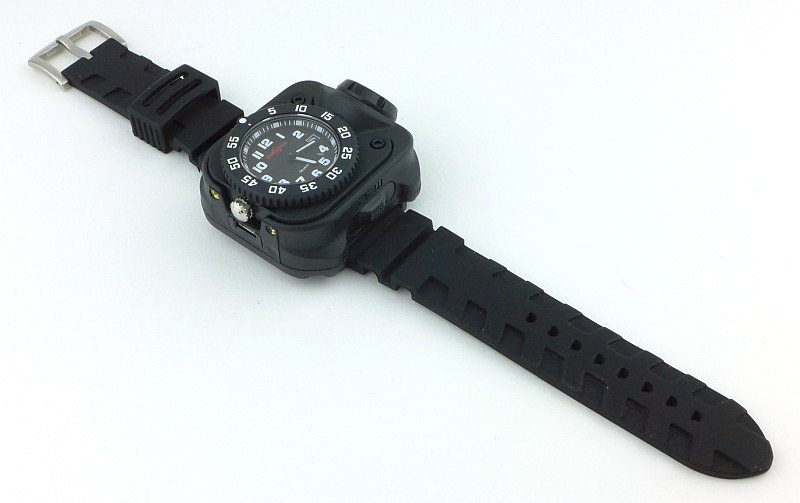
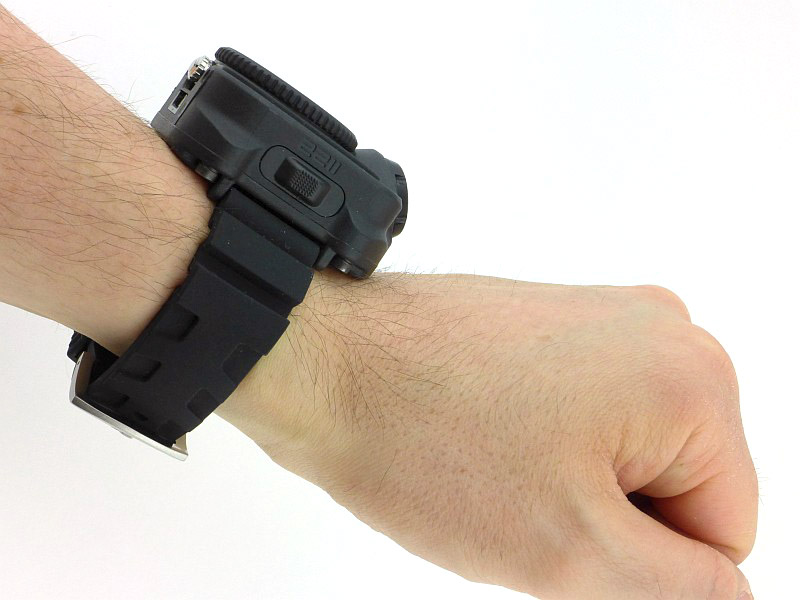
This review sample was a final pre-production example, so had no packaging and has a rubber strap instead of a NATO strap. All other details are the same as a production version.

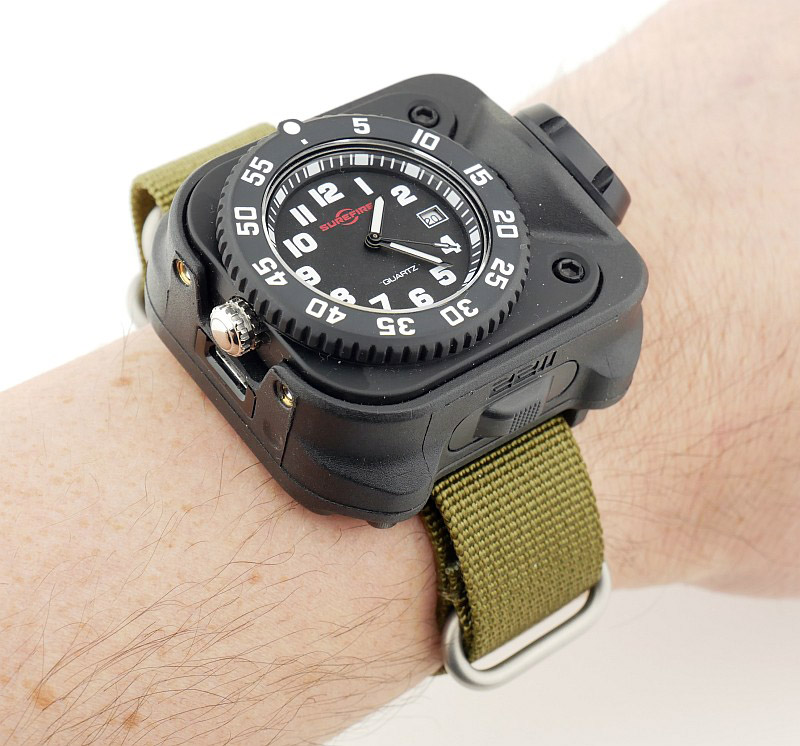
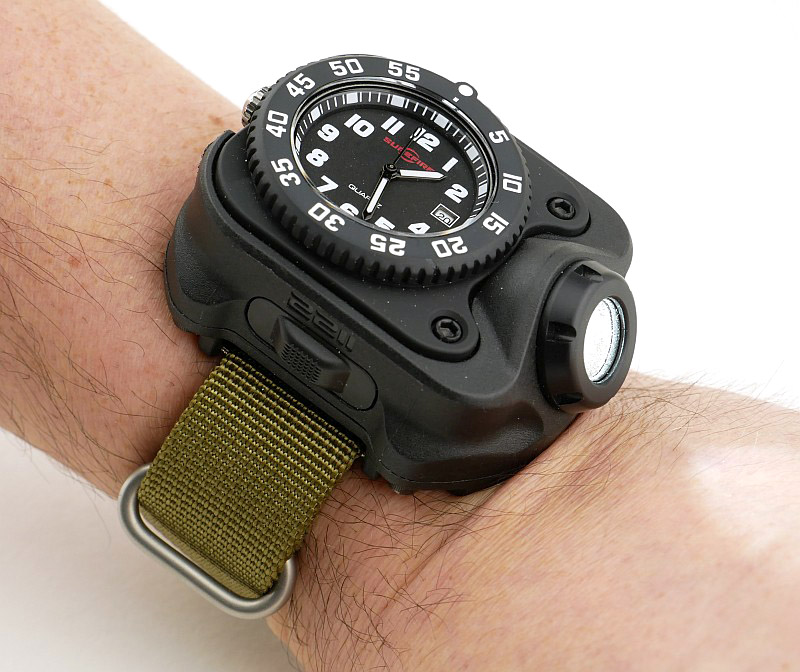
You might have seen the earlier ‘Luminox’ version of the 2211 Wrist Light, so this large watch may look familiar, but is the new ‘Signature’ model.

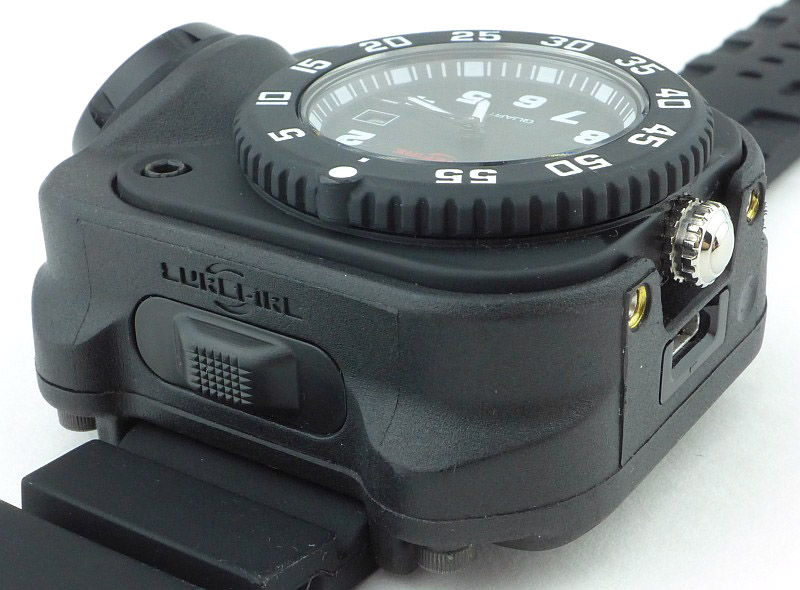
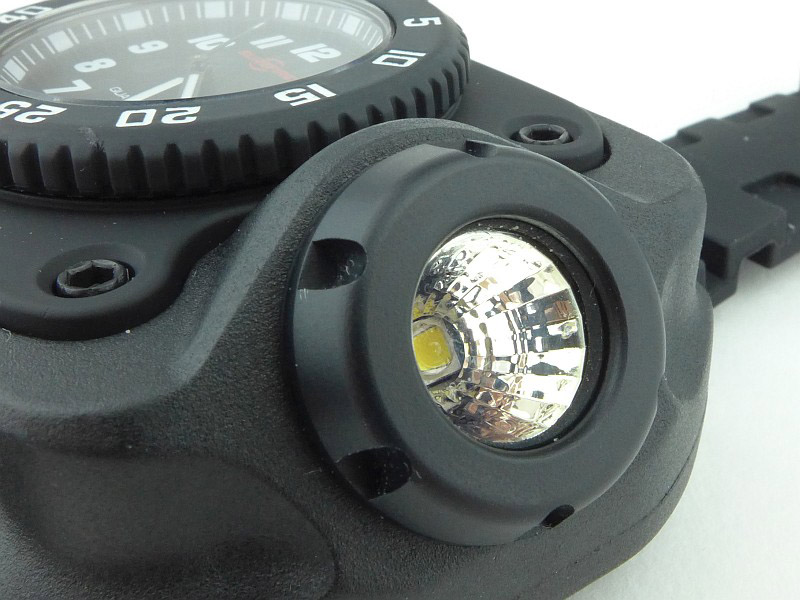
At the 3 o’clock position there is an angled, faceted reflector creating Surefire’s “MaxVision Beam”.

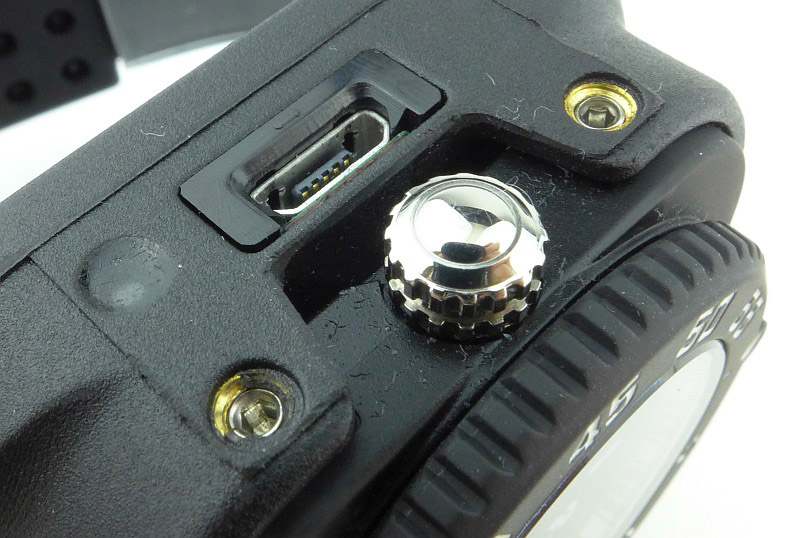
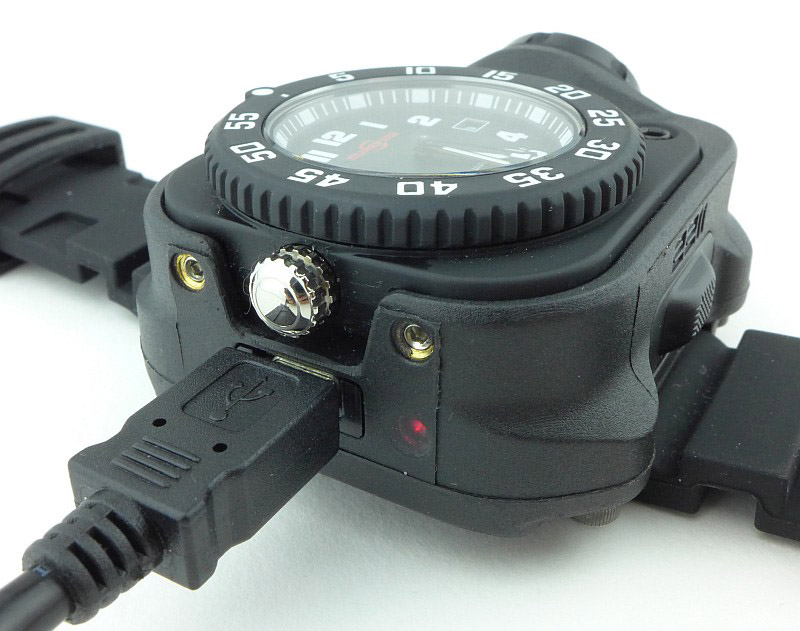
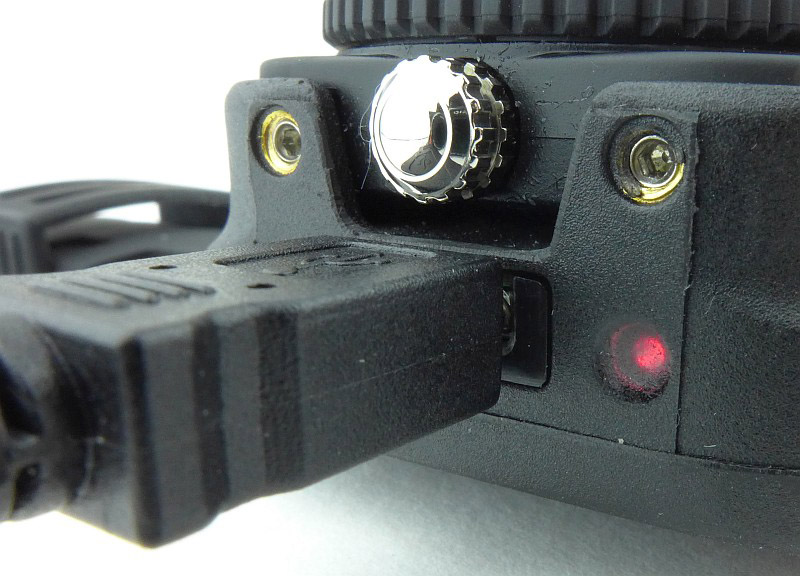
And at the 9 o’clock position there is the watch crown and USB charging port.

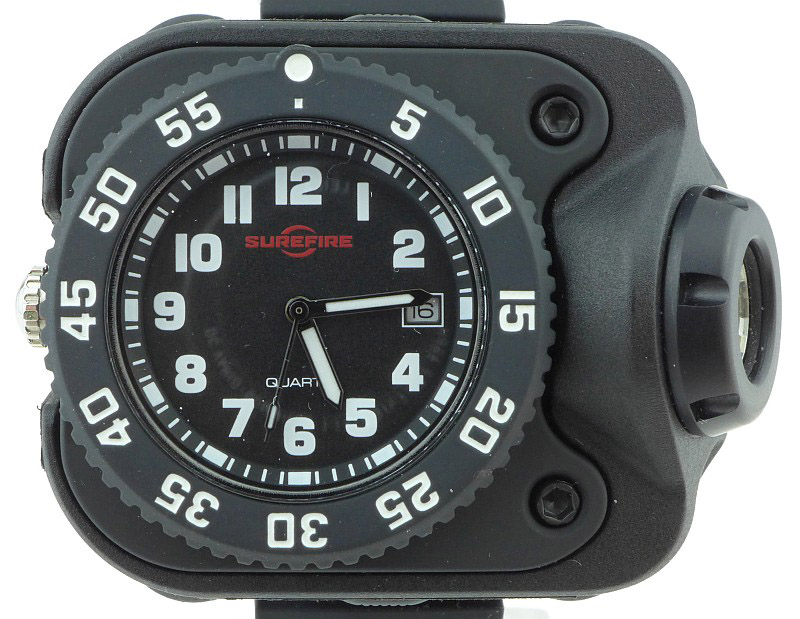
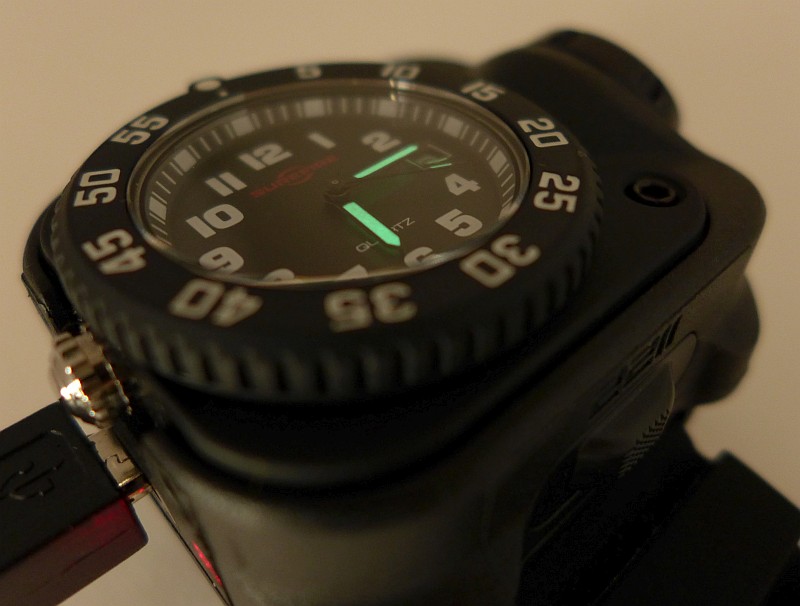
A bold tactical style watch face is incorporated into the 2211 Signature. Note there is some reflection in the glass of the camera lens so this is not any type of smudging on the watch face.

Being a rechargeable model, the 2211 Signature has a micro-USB B port for maximum compatibility.

For a watch, the body is exceptionally thick, but that is of course because this is a Wrist Light. Remember the strap on the production model is a NATO strap.

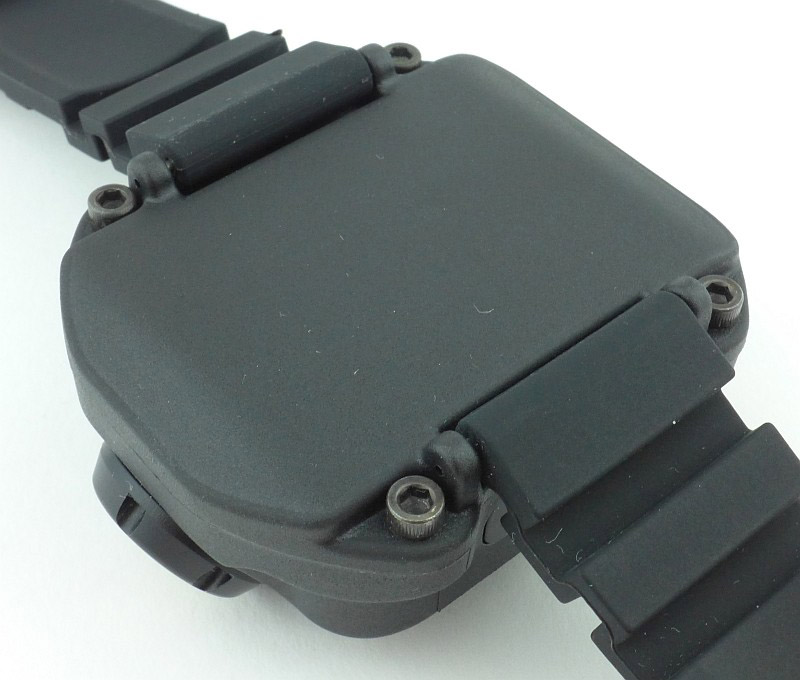
The back of the 2211 Signature is a smooth flat plate.

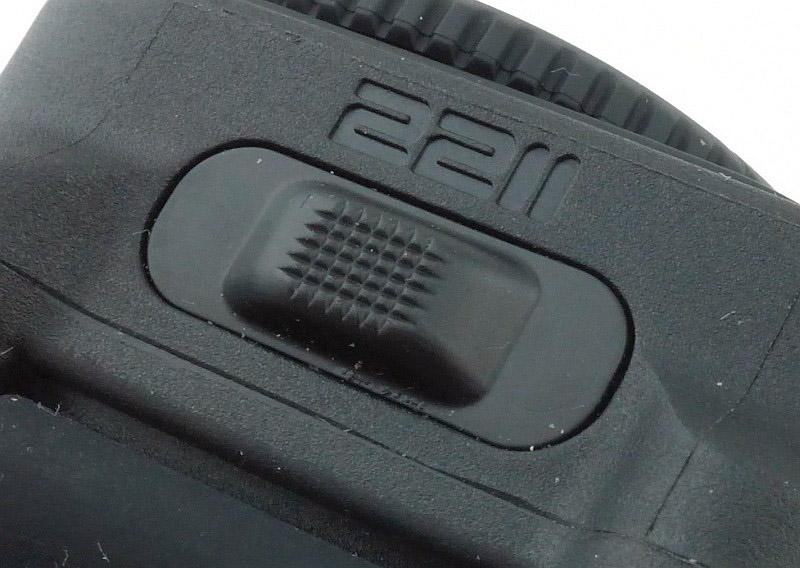
On opposite sides of the 2211 Signature’s body is a rubber covered switch.

A closer look at one of the two switches.

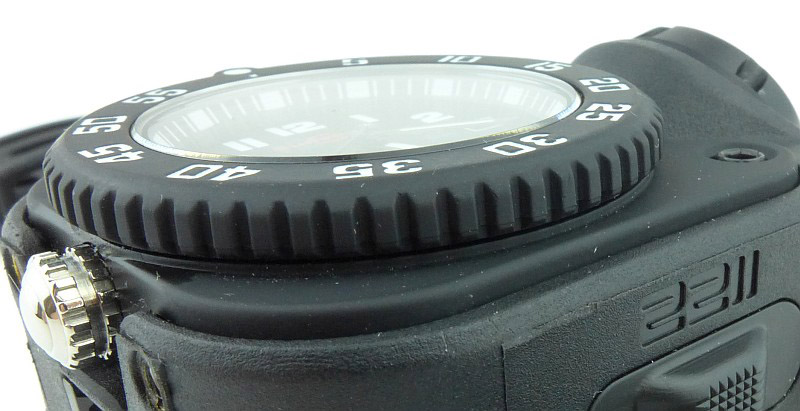
There is a 60-click unidirectional bezel. The watch glass is not specified, so is most likely mineral glass.

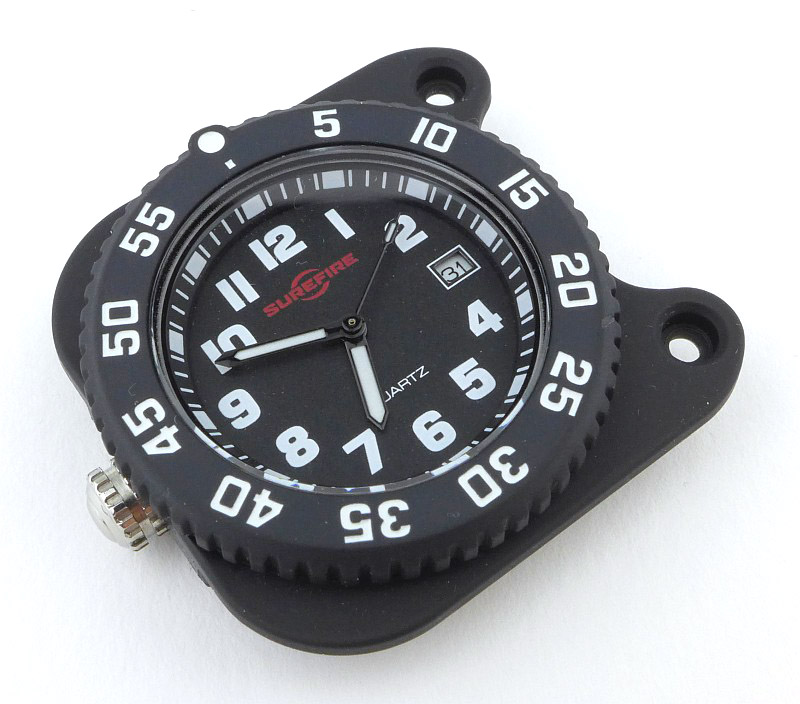
On the face there are bold numbers and this is surrounded by clear markings on the dial ring. The hands stand out well with large areas of lume providing the contrast.

An XP-G2 LED sits in the bottom of the angled, faceted reflector of Surefire’s “MaxVision Beam” first seen on the Titan.

Charging is simple, and you just need a Micro-USB charger.

During charging the ‘fuel gauge’ window lights up red. This starts to turn a slightly amber colour and once fully charged it turns green.

The hands have lume on them, but there is no lume on the rest of the watch face.

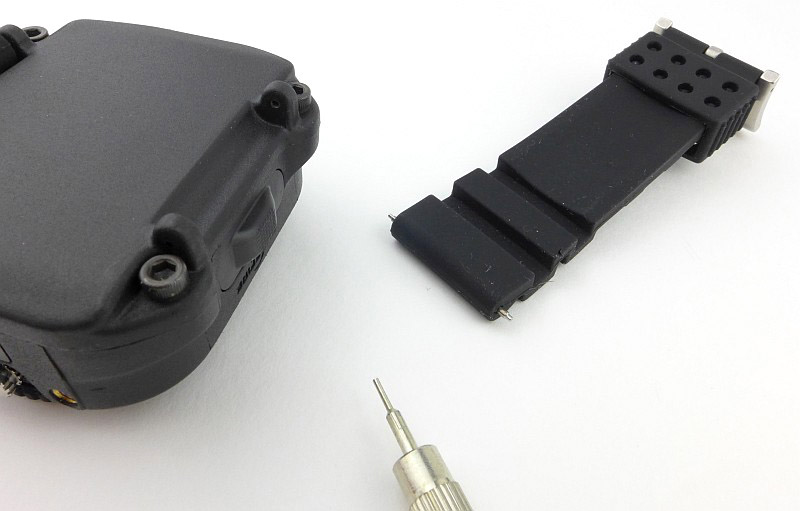
Strap fitting / changing is easy as the lugs are positioned so that you can release the spring pins using a pusher.

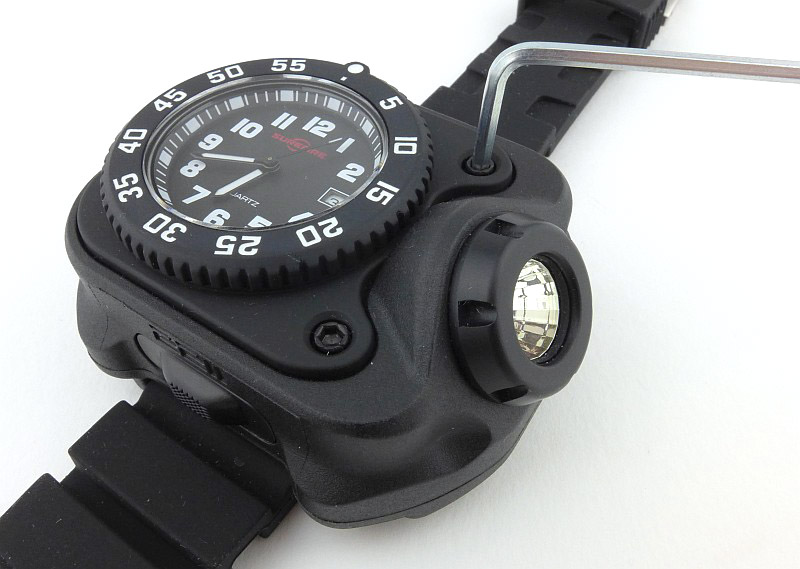
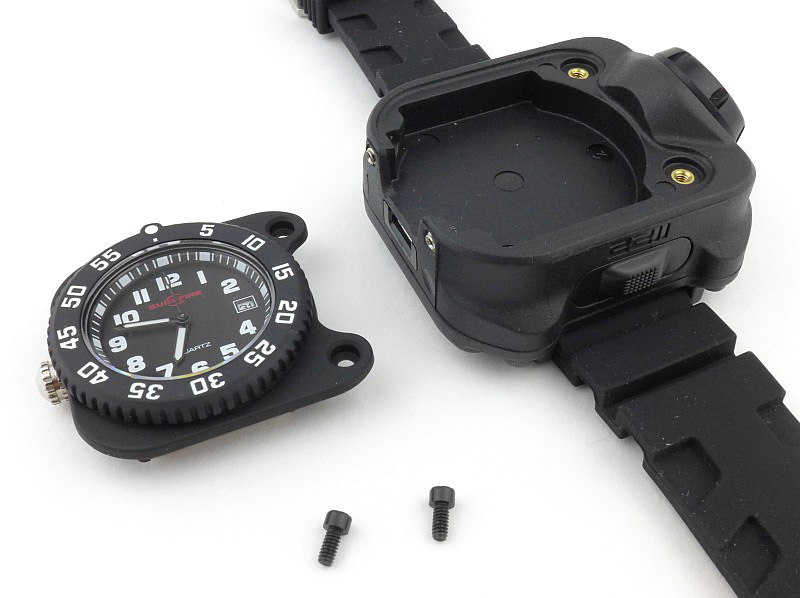
To access the watch, first loosen the two black Allen bolts near the lens of the light.

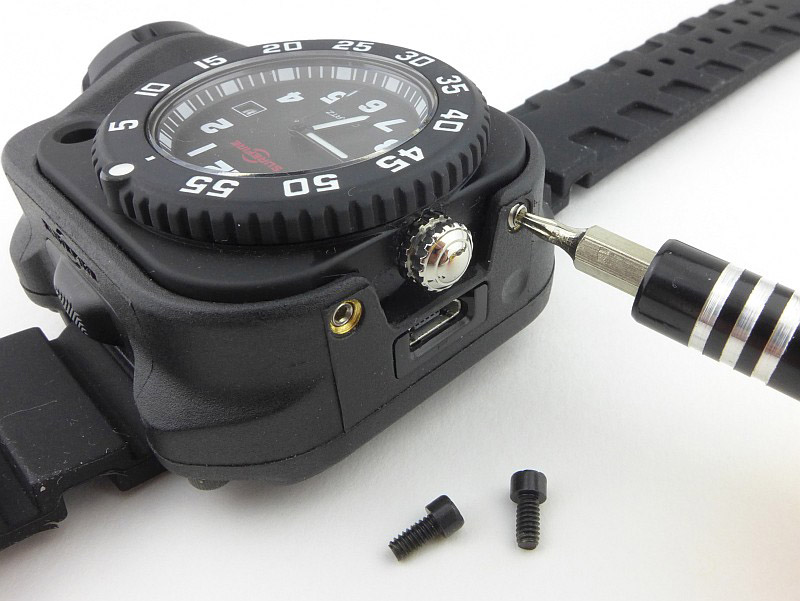
Then loosen the two Torx grub screws either side of the crown.

You can now lift out the watch.

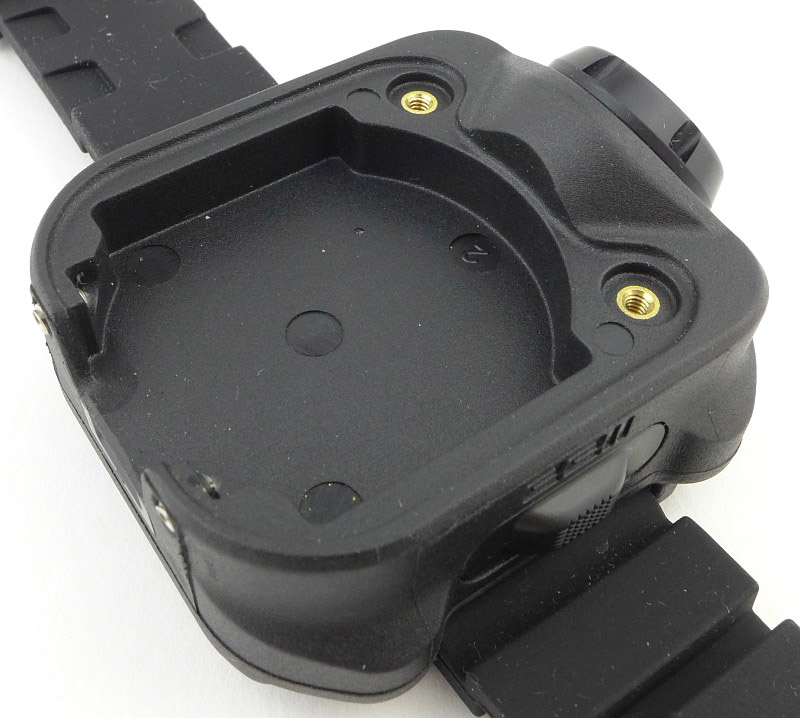
The recess in the 2211 Signature’s body for the watch to fit in, plus the four fixing points, two bolt holes and two grub screws.

The watch itself is a completely self contained module.

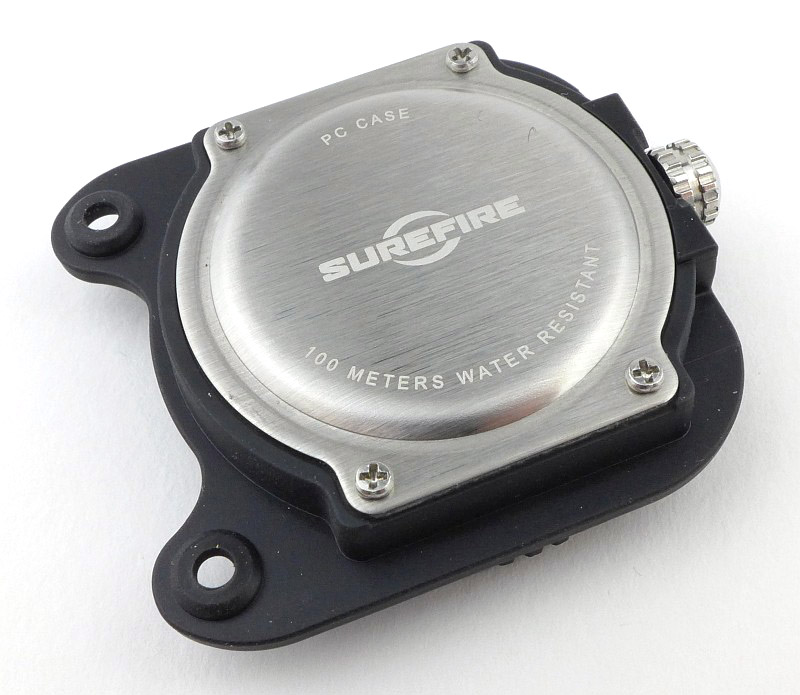
On the back of the case we see the only indication of waterproofing with a 100m water resistant rating (which is not shown on the watch face).

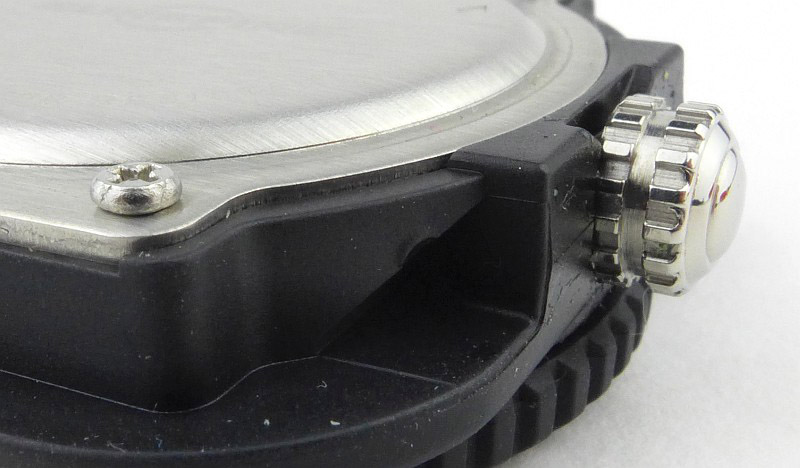
Here you can see one of the four watch back screws. In the centre of the image the slight ding in the plastic case created by the grub screw is visible. The groove in the crown is essential for ease of use, as will be explained in more detail later.

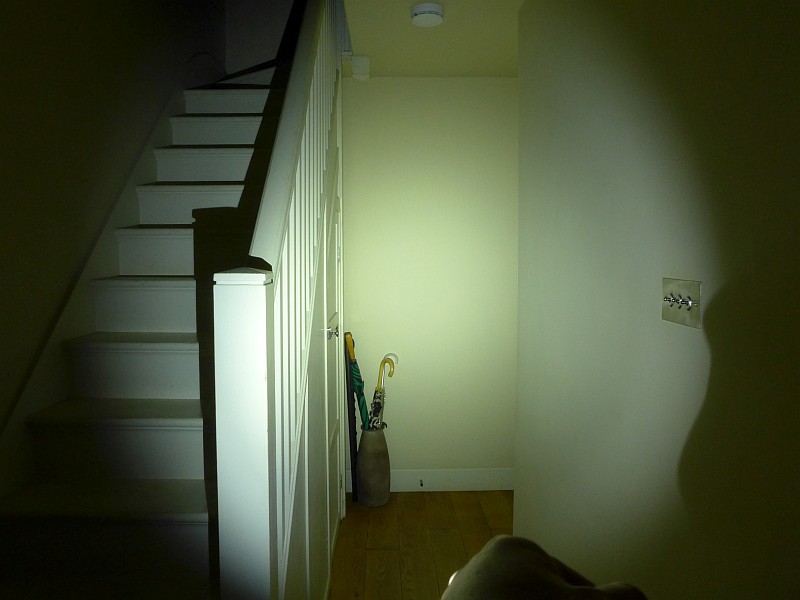
The beam

Please be careful not to judge tint based on images you see on a computer screen. Unless properly calibrated, the screen itself will change the perceived tint.

The indoor beamshot is intended to give an idea of the beam shape/quality rather than tint. All beamshots are taken using daylight white balance. The woodwork (stairs and skirting) are painted Farrow & Ball “Off-White”, and the walls are a light sandy colour called ‘String’ again by Farrow & Ball. I don’t actually have a ‘white wall’ in the house to use for this, and the wife won’t have one!

Surefire’s “MaxVision Beam” is a lovely smooth part-focused, part-diffused beam that gives you a soft edged hotspot and reasonably wide spill. Here you can see the tendency of a Wrist Light to catch the user’s knuckles in the outer edge of the spill (on the right hand side). We’ll see what this beam looks like with a sight picture later on.

Modes and User Interface:

In this section I’ll be referring to the operation of the Wrist Light rather than the watch. The watch movement is a Citizen 2115 and operates exactly as you would expect a simple date display movement to work.

There are two electronic switches on the body, positioned on the sides at the 12 and 6 o’clock positions. These control the three constant output levels.

To turn the 2211 Signature onto High – pressing either switch once. To turn OFF press either switch after it has been ON for at least 0.5 seconds.

To turn the 2211 Signature ON to Low – pressing either switch twice within 0.5 seconds. This will turn onto High and then to Low. To turn the light OFF, press either switch again once.

To access Low directly on the 2211 Signature – press and hold both switches simultaneously. This will turn ON to Low. If you continue to hold both switches, the output will cycle through Medium, and then High 0.75 seconds apart. Release both switches when the desired output has been reached. To turn the light OFF, press either switch once.

NOTE: Surefire state “Do not activate, deactivate, or adjust your 2211 Signature while holding a firearm.” – heed this warning.

The 2211 Signature has a ‘Fuel Gauge’ LED to indicate the battery charge status during use and while charging. GREEN means the battery is full (or has reached at least 90% when charging). AMBER indicates the battery is low and the output level should be reduced or the 2211 recharged. RED indicates an empty battery and the 2211 should be recharged immediately.

Batteries and output:

The 2211 Signature runs on a built-in battery. For the watch, the Citizen 2115 movement is powered by a SR626SW / 377 / AG4 button cell which is expected to last 2-3 years.

To measure actual output, I built an integrating sphere. See here for more detail. The sensor registers visible light only (so Infra-Red and Ultra-Violet will not be measured).

Please note, all quoted lumen figures are from a DIY integrating sphere, and according to ANSI standards. Although every effort is made to give as accurate a result as possible, they should be taken as an estimate only. The results can be used to compare outputs in this review and others I have published.

___________________________________________ ________________________________ ________________________________
Surefire 2211 Signature using built-in cell I.S. measured ANSI output Lumens PWM frequency or Strobe frequency (Hz)
___________________________________________ ________________________________ ________________________________
High 387 0
Medium 77 0
Low 27 0

* Beacon and Strobe output measurements are only estimates as the brief flashes make it difficult to capture the actual output value.

There will be parasitic drain but it cannot be measured due to the design. Long term testing of the Surefire Sidekick would indicate that this drain will be very low.

This particular 2211 Signature sample both over and under performs. Maximum output is more than the specified 300lm output for the first 30 minutes of use, but runtime is lower than the one hour specified. Between 20 and 27 minutes, the output fluctuates by around 55lm where the battery is starting to struggle to maintain the over 340 lm output. This then settles into a gradually stepping down output through the 30 minute mark, dropping more rapidly and reaching the ANSI cut off at 45 minutes of total runtime.

Troubleshooting

This section is included to mention any minor niggles I come across during testing, in case the information helps anyone else.

No issues were encountered during testing.

As per the description of this section, this information is provided in case anyone else finds a similar ‘issue’ that might be fixed in the same way.

The 2211 Signature in use

Although pictured with the rubber strap provided with this sample, in line with the Surefire final specification, I’ve changed this and used it with a NATO / ZULU strap. I have also tried it with a metal bracelet strap just to see how this worked.

It is a really good call by Surefire to go with the NATO strap for the final version as this means that the failure of a single strap pin will not cause the 2211 to fall off (which is the reason for the NATO strap design itself).

For those not familiar with this type of strap, here you can see how the nylon webbing passes behind both strap pins, so if one breaks, it will still be attached to the strap.

In use, I’ve also found (thanks to trying all strap types) how critical it is to have the most stable fitting on your wrist. You need to fit the strap to be snug, as any looseness results in the beam being less controllable and responsive.

You certainly know when you are wearing the 2211 Signature as it has real presence on the wrist. There is definitely a sleeve incompatibility consideration as the depth of the 2211 Signature means it doesn’t easily fit into most sleeves. Taking off a jacket or shirt is not really an option with the 2211 Signature on your wrist. It is better fitted to the outside of a sleeve or glove cuff, but you’ll need to try out a few things to find what works best for you. The ideal arrangement is summer clothing with no sleeves at all.

So, does it work? Based on the 2211 Signature being fitted securely to your support hand wrist, and being turned on before handling a firearm, without even thinking about it, you come up on aim and there is light on the target. You can see that the right hand edge of the spill is showing knuckle shadow, but there is still plenty of light to work within.

Searching, moving and tracking brings the light with your sight picture, and points as naturally as the sights (as long as it is fitted securely and is not loose on the wrist). But you don’t have access to turning it on or off.

A crucial point to note here is that this system does not work if worn on your primary hand, the one holding the gun. Due to the wrist position being too close to the centre line of the gun, the gun hand blocks half of the beam leaving you with only half the target area lit. In my testing this was more or less a vertical line at the point of impact.

Taking this to the next conclusion, the 2211 Signature is only suitable for right handed people (or at least those who hold their gun in their right hand). It must be worn on the support hand, so for left handed people, this means that with the light pointing forwards the watch face will be upside-down if worn on the right wrist. Left handed people may as well go for the non-watch versions of the 2211 range.

Another point to note with the 2211 Signature is due to the crown being positioned at 9 o’clock, you can’t adjust it while wearing it (unless you are a contortionist). The groove in the crown is essential to allow the, effectively recessed, crown to be pulled out using your finger nails; not the easiest crown to use.

Of course, one major advantage is that you are not going to drop this light, so gives you the benefits of hands-free use. Unlike any other hands-free options (excluding gun lights), the location of the light makes it ideal as it naturally points with the gun and doesn’t shine onto the back of the gun (which would create glare).

Like all tactical equipment, one is none (two is one), so I would not see the 2211 Signature as the only lighting option one would carry, but it does give you a really functional option for those instances where it fits in with your clothing. The major advantage of the 2211 Signature over the plain wrist lights Surefire make is that you won’t need to sacrifice wearing a watch, as the 2211 Signature includes a timepiece.

Review Summary

_______________________________________________ _______________________________________________
Things I like What doesn’t work so well for me
_______________________________________________ _______________________________________________
Hands-free Tactical handgun lighting. Must be worn on the Support hand.
Incorporated Tactical Watch. The Watch is only usable for right handed people.
USB rechargeable. Cannot adjust time/date while wearing it.
‘Fuel Gauge’ battery level indicator.
Smooth and wide beam.


Discussing the Review:

The ideal place to discuss this reviews is on a forum. If you started reading the shorter forum version of the review, but followed the link this full exclusive review, please return to that forum to discuss the review there.
If you read the review entirely on Tactical Reviews, please consider one of the following to join in any discussion.

CandlePowerForums – Flashlight Reviews Section (Largest and Friendliest Flashlight Community Forum)

Watchuseek – The Most Visited Watch Forum Site … In The World.

WatchFreeks – The #1 Watch Forum for wrists of all sizes.

Light Review: Olight H1 Nova Headlamp

Inspired by their excellent S1 Baton pocket light (previously reviewed), Olight wanted to bring the same concept of an ultra compact body with high performance output to a headlamp. As will become clear throughout this review they have managed to do just that with the H1 Nova which is a headlamp and pocket light all in one.

Taking a more detailed look:

The reason there are two boxes here is that this review is looking at the CW – Cool White, and NW – Neutral White versions of the H1.

Inside the outer box is a zip-up carry case.

In each of the cases is the H1 in its headband mount, a pocket clip stored on a foam holder, and the instructions held in a mesh pocket.

Laying out the contents of the case.

The main parts are the headband with rubber mount, the H1 Nova light, and a steel pocket clip.

Just like the S1, the H1 has the blue highlights surrounding the lens and switch.

A TIR optic is used, but this also has a hexagonal diffuser pattern to give a flood beam to the XM-L2 LED.

On the top of the H1 is its rubber power switch. This is an electronic click switch.

A plain tail-cap has a hidden magnet.

Though designed as a headlamp, the H1 also has a pocket clip that can be fitted either way up into one of the two grooves in the body.

It is a deep carry type of clip with a secondary ‘catch’ to help it hold onto a pocket edge.

When it arrives, the H1 has a CR123 fitted inside it, but there is also a plastic insulator to stop the H1 from coming on, or having any parasitic drain.

The threads are square cut. In this case there is some chipping to the anodised finish on one side of the thread.

Inside, the tail-cap looks very simple. This is actually the positive contact so doesn’t have a spring. Surrounding the aluminium terminal, there is a ring of the tail-cap magnet visible.

With the less conventional “negative into the tube” contact arrangement, there is a negative terminal spring contact inside the battery tube.

To remind you which way the battery goes in there is a guide marker inside the battery tube.

Refitting the cell after removing the transit insulator, the unconventional cell orientation has the positive terminal of the cell visible.

And we are ready to go.

With the NW and CW versions on test we can compare the beam tint in the next section.

The beam

Please be careful not to judge tint based on images you see on a computer screen. Unless properly calibrated, the screen itself will change the perceived tint.

The indoor beamshot is intended to give an idea of the beam shape/quality rather than tint. All beamshots are taken using daylight white balance. The woodwork (stairs and skirting) are painted Farrow & Ball “Off-White”, and the walls are a light sandy colour called ‘String’ again by Farrow & Ball. I don’t actually have a ‘white wall’ in the house to use for this, and the wife won’t have one!

In this first beamshot we have the CW version. All beamshot photos are taken with daylight white balance set. Of particular note is how wide the beam is, an excellent flood beam which, although it has a hotspot, this hotspot is large and surrounded by a super wide spill.

Now the NW version and the tint is significantly warmer than the CW and gentler on the eye.

Taking them outdoors, and back to the CW.

I didn’t quite get the beam alignment the same for these comparison photos, but the NW version appears to have a better reach.

Modes and User Interface:

There are five constant modes, Moon, Low, Medium, High and Turbo, plus an SOS mode. Access to these is controlled via the single electronic click switch.

To turn the H1 ON to the last used output level, click the switch once. Click again to turn OFF.
Note: Turbo is only memorised for 10 minutes after which is changes to Medium, and SOS is not memorised.

To change the output level, when ON, press and hold the switch to cycle through Moon (or Turbo), Low, Medium, High, Low etc.
Note: ‘normal’ brightness levels are Low, Medium and High.

For Moon mode, from OFF, press and hold the switch for 1s and the H1 will turn ON to Moon mode. This level is memorised.

For Turbo, from ON or OFF, rapidly double tap the switch. Double tap the switch again to change to the memorised output level.

For SOS, from ON or OFF, rapidly triple tap the switch. To exit SOS carry out any action with the side switch.

The H1 also has an electronic lockout to protect against accidental activation. To LOCK the H1, from OFF, press and hold the switch for 2s. After 1s the H1 will enter Moon mode, but continuing to hold the switch and the moon mode goes off again. The H1 is now Locked Out.

While locked, pressing and holding the switch for less than 1s will activate Moon mode momentarily, going off as soon as the switch is released. Holding it for 2s or more will unlock the H1.

To UNLOCK the H1, press and hold the switch for 2s or more. The Moon mode output will blink briefly to indicate it is unlocked and the H1 will be on in Moon mode.

With the anodised tail-cap threads there is also the option of a mechanical lockout by unscrewing the tail-cap 1/4 to 1/2 turn.

Batteries and output:

The H1 Nova runs on CR123 or RCR123.

To measure actual output, I built an integrating sphere. See here for more detail. The sensor registers visible light only (so Infra-Red and Ultra-Violet will not be measured).

Please note, all quoted lumen figures are from a DIY integrating sphere, and according to ANSI standards. Although every effort is made to give as accurate a result as possible, they should be taken as an estimate only. The results can be used to compare outputs in this review and others I have published.

___________________________________________ ________________________________ ________________________________
Olight H1 Nova Version using specified cell. I.S. measured ANSI output Lumens PWM frequency or Strobe frequency (Hz)
___________________________________________ ________________________________ ________________________________
Cool White Turbo – AW RCR123 575 0
Cool White Turbo – CR123 308 0
Cool White High – AW RCR123 193 0
Cool White Medium – AW RCR123 70 0
Cool White Low – AW RCR123 14 0
Cool White Moon – AW RCR123 2 0
Neutral White Turbo – AW RCR123 560 0
Neutral White High – AW RCR123 190 0
Neutral White Medium – AW RCR123 70 0
Neutral White Low – AW RCR123 14 0
Neutral White Moon – AW RCR123 2 0

There is parasitic drain but it is low. When using CR123, the drain was 19.6uA (8.15 years to drain the cell) and when using RCR123, the drain was 23.6uA (3.63 years to drain the cell).

Initially looking at just the first part of the three runtime traces shown in the graph, and the first observation is that the H1 does not achieve full output on CR123 instead requiring a RCR123 for the full 500+ lm. Also note that for the maximum Turbo output the H1 is quite sensitive to the cell condition with the CW run only managing about 45s on Turbo before dropping to High, but the NW taking this to the full 3 minutes of Turbo before ramping down to High. There is more to discuss on this in the full length runtime graph.

Picking up from the previous comment, where the CW only ran at Turbo for 45s (possibly indicating a cell that was not fully charged) it actually managed a slightly longer runtime than the NW (which had the full 3 minutes of Turbo), so in reality the cell had the same level of charge, but the CW terminated Turbo earlier.
Also note that the supplied CR123 has managed approximately the same overall output (though it does tail off and gives a longer total runtime). What is important to note is that when using the RCR123, it’s protection kicks in and the output of the H1 does cut out completely around 5 minutes after dropping down to Medium. If used on Medium for long periods, you won’t have any warning a RCR123 is running low, it will just cut out.

Troubleshooting

This section is included to mention any minor niggles I come across during testing, in case the information helps anyone else.

No issues were encountered during testing.

As per the description of this section, this information is provided in case anyone else finds a similar ‘issue’ that might be fixed in the same way.

The H1 Nova in use

Honestly, before trying out the H1 Nova, I was never a fan of 1xCR123 headlamps. The reasons for this were that many would only work with primary cells (I definitely want the option of rechargeable), and the interface/beam/runtime never seemed a good fit to my needs.

Personally, the critical aspects in a headlamp are no PWM, a flood beam, direct access to moon mode, plus a comfortable headband. Add to this easy conversion to a pocket lamp, and the ability to use rechargeable cells, and you have a winning formula.

Though I prefer rechargeable cells, you often have the issue that output can shut off completely if the protection circuit kicks in. Unfortunately the H1 does have this slight issue, and it can be very disorienting to suddenly lose all light. As the H1 will drop from High to Medium when a RCR123 is getting low, if you are already on Medium, then you don’t get that warning and it will just go off. Using a primary cell completely removes this problem, so depending on your type of use you can pick the cell to suit.

With the switch being very low profile, which helps avoid accidental activation, I have found it difficult to operate reliably. When you don’t hit the middle of the button, but are more to the side, the click is not clean, or might not click at all. As soon as you find the middle of the button, it has a very precise action and works perfectly. Mounted on your head, finding that sweet spot on the button is not always easy, and if wearing gloves, forget it, so the compact design can work against the H1 in this way.

The beamshots really do speak for themselves, and the H1 has a beam that is so easy to get on with. A headlamp is predominately a task light, and when you are carrying out a task you don’t want to have to ‘point’ the beam with your head. When using the H1 as a headlamp you can just focus on the task in hand, and the fact the H1 pretty much disappears from your awareness is the signal it is working really well.

It is great that the H1 is capable of the Turbo output, however, I find that this is rarely used, it is just too bright for anything within arms reach. Moon mode is an essential, and the Low and Medium levels are just right for the vast majority of my needs. If out walking with it, I will use High sometimes when I want that bit more range, but even then Medium is my go-to level.

There is one feature I hadn’t really noticed that much, the gradual brightness changes: When turned on/off on medium, high, and turbo modes, it will turn on or off gradually. This mimics the characteristics of incan bulbs that have to heat up and cool down, making it much kinder to the eyes; Thank you Olight. The reason I hadn’t noticed this much was due to mainly using Low and Medium where the effect is less noticeable. It is more significant with the High and Turbo modes, and does make a difference.

I wouldn’t normally bother to mention the magnetic tail-cap except in passing, but I would like to make a point with the H1, to say that the strength of the magnet is one of the best I’ve come across. Often a magnetic tail-cap can be too aggressive and end up sticking to everything, yet with the H1 it is sufficient to hold the light where you put it, without ‘grabbing’ everything incessantly.

Considering this is based on the excellent S1 Baton, my one slight disappointment is that the parasitic drain is much higher. OK, it is only 20uA, but the S1 is 1uA. Parasitic drain is pure waste, especially with primary cells, so I’d have hoped to see this at the same level as the S1 instead of 20x more.

This does lead me to prefer using the mechanical lockout as this does kill the drain completely, but also the electronic lockout is not ideal to prevent accidental activation as this is too easy to unlock, and if squashed in a bag or pocket, it is very likely the button will be pressed for 2s or more.

Converting the H1 between headlamp and pocket light is very easy, and getting the light out of the rubber mount is no struggle at all. Regular fitting and removal of the pocket clip will mar the anodised finish, but there is not much that could be done about that, so you decide if you want to convert it to and from. I find it most useful as a headlamp, and a bit on the small and lose-able size when taken out of the mount.

So, overall I’ve been won round by this CR123 headlamp, which has been helped by how easy it is to carry (living in my coat pocket), by its very usable interface, the excellent beam, and comfort. There have been far fewer battery changes than I expected, so its practicality has been proven.

Review Summary

_______________________________________________ _______________________________________________
Things I like What doesn’t work so well for me
_______________________________________________ _______________________________________________
Compact and easy to carry. Though low, the parasitic drain is much higher than the S1 Baton.
Excellent flood beam. Electronic lockout too easy to unlock.
Runs on CR123 and RCR123. When used on RCR123 the cell protection is ultimately triggered, cutting the output completely.
Direct access to Moon mode (and Turbo). Sometimes difficult to press the switch in the right spot.
Very functional UI.
Useful level selection.
Soft ON/OFF is easy on the eyes.


Discussing the Review:

The ideal place to discuss this reviews is on a forum. If you started reading the shorter forum version of the review, but followed the link this full exclusive review, please return to that forum to discuss the review there.
If you read the review entirely on Tactical Reviews, please consider one of the following to join in any discussion.

CandlePowerForums – Flashlight Reviews Section (Largest and Friendliest Flashlight Community Forum)

EdgeMatters – Sponsored Reviews (UK based Forum for Knife Makers and Collectors)

Light Review: Nextorch GLO-TOOB, GT-AAA, GT-AAA Pro and GT-LITHIUM

Who doesn’t like a light-stick? Apart from the need for emergency marker lights, there is something great about a tube that just glows, and the main problem with chemical light sticks is that when they are on, they are on; until they go out forever. Nextorch have taken the light-stick and made it battery powered and even more versatile with its GLO-TOOB range. Now the reusable super durable emergency / safety marker light has an on-off switch and flashing modes, and can survive immersion up to depths of 3500m!

Taking a more detailed look at the GT-AAA:

We are going to start with the standard AAA model the GT-AAA, but first here are the three that are on test in their boxes. The Lithium and AAA models are in the older packaging, with the Lithium being the original model. The GT-AAA Pro is a more recent addition and uses updated packaging. One crucial difference between the models is their depth rating for waterproofing. The GT-AAA has the lowest rating at 60m, the GT-AAA Pro is good to 200m, and the ultimate is the GT-LITHIUM which will go to 3500m. (That is not a typo it really is three thousand five hundred metres.)

Back to the GT-AAA, the simplest and cheapest model, and this is what is in the box.

With a frosted casing, the GT-AAA has a keyring on one end and the black twist cap on the other.

Taking that black twist cap off, there is a very simple metal contact disk with raised centre.

The twist-cap’s plastic threads fit onto the aluminium threads of the battery tube.

With an AAA cell next to the GT-AAA you see how big it is.

With the cell inserted, its end slightly protrudes due to the internal spring. This forms part of the ultra simple switching mechanism.

A close up of the threads and O-ring (the end of the battery is also just visible).

Directions for turning the light on and off are marked in the twist-cap.

The LEDs are at the opposite end to the battery cap \ switch which is the keyring end of the GT-AAA.

Taking a more detailed look at the GT-AAA Pro:

There is nothing wrong with the basic AAA model, but the GT-AAA Pro immediately looks much more serious with its clear body and metal battery cap / switch.

Thanks to the clear body, you can see a bit more about what makes the GT-AAA Pro tick (or glow).

You can make out the PCB and LEDs through the casing.

The very end is a frosted finish, and this disguises the other side of the PCB.

In the case of the GT-AAA Pro, the keyring is fitted to a metal post making it much more robust. This also forms part of the switch mechanism; instead of the entire cap being rotated, the keyring and its post are twisted to activate the light.

The entire end cap is metal, so has metal threads instead of plastic.

Look at the middle of the cap. This is the cap in the OFF position.

Twisting the keyring pushes the middle of the cap forward and turns it ON.

With the battery fitted you can see how the middle of the battery cap will make contact with the battery terminal when it pushes out. The cell wrapper acts as an insulator allowing this switching method to work.

On the side are markings to confirm which way round the battery goes in. This follows the almost universal ‘positive terminal in’ direction.

The GT-AAA Pro switched ON.

A closer look at the lit up LEDs.

Taking a more detailed look at the GT-LITHIUM:

Last up is the most serious of all of the GLO-TOOBs, the LITHIUM. Notice that there is a switch cap already fitted, plus a second cap with keyring.

Already fitted to the GLO-TOOB LITHIUM is a click switch. This is mostly metal, but with a rubber switch boot.

On the opposite end of the GLO-TOOB is a black plastic end cap which the other models don’t have.

Having a clear body, like the GT-AAA Pro, you can look inside at the LEDs. In this case 5mm type LEDs are used, but the LED’s clear casing almost disappears in the clear resin used for the body of this light.

The click cap might be easy to use, but for the ultimate in resilience you need to use the diving cap switch (twist switch with keyring), so let’s swap them over.

While we are swapping them over, the contacts on the click switch look like this.

Unlike the GT-AAA Pro, here the keyring and its post are fixed (and you use them to screw the cap into place), with a plastic rotating switch ring instead.

To keep the contacts totally fresh, there is a metal protective cap supplied with the twist switch cap.

Now the protective cap is fitted to the click switch.

A CR123 fitted into the GT-LITHIUM. Battery orientation is marked in the red coloured band.

This version is the Red LED one.

A closer look at the lit up LED.

The beam

Please be careful not to judge tint based on images you see on a computer screen. Unless properly calibrated, the screen itself will change the perceived tint.

The indoor beamshot is intended to give an idea of the beam shape/quality rather than tint. All beamshots are taken using daylight white balance. The woodwork (stairs and skirting) are painted Farrow & Ball “Off-White”, and the walls are a light sandy colour called ‘String’ again by Farrow & Ball. I don’t actually have a ‘white wall’ in the house to use for this, and the wife won’t have one!

Clearly, being light-stick style, marker lights, there is not really a ‘beam’ to show, instead I’m showing each one at a short distance (3-4m) from the camera.

This is the GT-AAA; actually all three are hanging next to each other on a clip.

At the same exposure, this is the GT-LITHIUM.

With the GT-AAA Pro up last. This appears quite a bit brighter than the GT-AAA.

All of them on at the same time. The red of the GT-LITHIUM is a bit drowned out.

The camera is set to daylight WB (as is the case with all my beamshots) to try to make colour and tint as clear as possible. The amber GT-AAA and GT-AAA Pro take over, masking the GT_LITHIUM’s red colour.

Modes and User Interface:

Each of the GLO-TOOBs is slightly different in its operation so we’ll take them one at a time:

The GT-AAA has three modes, High, Low(25%) and Flash.
To switch ON, tighten the entire end cap.
To cycle through the available modes twist-ON, then twist-OFF, and back on again within 2s and repeat to change from High – Low – Flash – High etc.
To Switch OFF, loosen the entire end cap.

The GT-AAA Pro has three modes, High, Low(25%) and Flash.
To switch ON, turn the keyring as if tightening a screw.
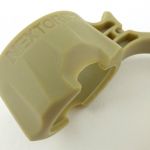
To cycle through the available modes twist-ON, then twist-OFF, and back on again within 2s and repeat to change from High – Low – Flash – High etc.
To Switch OFF, turn the keyring as if loosening a screw.
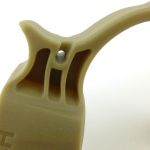
The GT-LITHIUM has 11 modes, Equal Flash, Beacon Strobe, Fast Strobe, Slow Strobe, SOS, Pulse, Half Flash, Bounce, Ramp Up, 100% Constant On and 25% Constant On.
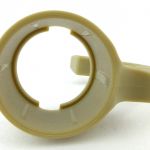
To switch ON to the memorised mode, either click the switch or turn the end cap.
To switch OFF, either click the switch or turn the end cap.
To set the current output mode, switch ON, count 5s, then switch OFF and ON again. Now you can cycle through the available modes (in the order above) by turning it OFF and ON again until you get to the one you want. To ‘fix’ that mode, simply leave it ON for 4s and it will be memorised.

Batteries and output:

The GT-AAA and GT-AAA Pro run on a single AAA Alkaline cell, and the GT-LITHIUM runs on a CR123.

To measure actual output, I built an integrating sphere. See here for more detail. The sensor registers visible light only (so Infra-Red and Ultra-Violet will not be measured).

Please note, all quoted lumen figures are from a DIY integrating sphere, and according to ANSI standards. Although every effort is made to give as accurate a result as possible, they should be taken as an estimate only. The results can be used to compare outputs in this review and others I have published.

___________________________________________ ________________________________ ________________________________
GLO-TOOB model using specified cell I.S. measured ANSI output Lumens PWM frequency or Strobe frequency (Hz)
___________________________________________ ________________________________ ________________________________
GT-AAA High – AAA Alkaline 10 0
GT-AAA Low – AAA Alkaline 2 166
GT-AAA Strobe – AAA Alkaline 10 10.5
GT-AAA Pro High – AAA Alkaline 9 0
GT-AAA Pro Low – AAA Alkaline 3 0
GT-AAA Pro Strobe – AAA Alkaline 9 4
GT-AAA Lithium High – CR123 3 0
GT-AAA Lithium Low – CR123 1 500

* Beacon and Strobe output measurements are only estimates as the brief flashes make it difficult to capture the actual output value.

There is no parasitic drain on any model.

With such low outputs and long runtimes I have not included a runtime graph for any model.

Troubleshooting

This section is included to mention any minor niggles I come across during testing, in case the information helps anyone else.

There was one slightly odd observation with the GT-AAA Pro. During the first few full runs (turning it onto high with a fresh cell, and leaving it to run until is went off) the PCB end of it started to dome out, as if there was some pressure building inside. It was also observed when fitting a mostly depleted cell and then leaving it on high.
I suspect the cell might have been gassing, and this pressure blowing the PCB out a little.
It was not observed after the fourth cell was used, so might have been connected to something on the PCB creating a pressure build up.
Not being able to replicate it any further, I asked Nextorch about it and they replaced the GLO-TOOB. The replacement did not exhibit this behaviour at all.

As per the description of this section, this information is provided in case anyone else finds a similar ‘issue’ that might be fixed in the same way.

The GLO-TOOBs in use

With the GLO-TOOB lights being marker lights, in general, to use them you simply attach the light to whatever you want to mark. The main aspects to discuss here are the user interfaces and battery change.

Each of the three models in the review is constructed differently so despite being similar overall they do feel quite different in use.

Starting with the lowest end model, the GT-AAA, and to operate this you have to turn the entire black cap. Of all three this is the stiffest to operate, and though not requiring much force to turn it, it does require reasonable force to be able to grip the cap strongly enough that you can turn it. This is due to the cap being relatively smooth to hold.

The operation is simple, very immediate and easy to judge as the cap position is obvious. The High output level is clear and has a useful level of light, but in comparison to the other GLO-TOOBs in this review, the Low uses a low frequency PWM making it quite obvious, and the flashing mode is a bit manic, being more of a strobe than a beacon.

Stepping up to the GT-AAA Pro, and there is a leap in performance and build. This time the battery cap is metal, and has a central threaded post which is used to operate the light. Starting with a battery change, you then screw in the cap, and tighten fully; at all times this cap is fully tightened. Now to operate the light, you twist that threaded post using the keyring (or you can hold the ring in place and twist the body. This action is super smooth and possibly the easiest action of all the GLO-TOOBs. It does seem a little vague though as it lacks any real feel until the unit comes on. At this point the action stiffens and becomes a bit grindy; I am slightly worried about over tightening this switch as it might crush the battery.

In terms of output, the High mode is great, making it so much nicer to use. And when it comes to the flashing mode, though not quite a ‘beacon’ the flashes are much slower than the GT-AAA and so much easier to be around. The increased waterproofing and the significantly better low and flashing modes make this Pro model a worthy upgrade to the GT-AAA.

Lastly, the much more serious Lithium model. It is more expensive than the AAA models, but one important reason you might consider this the ‘serious’ version, comes from the CR123A cell’s shelf life. You can put a fresh CR123 in this and leave it for 10 years and it will work. I’d certainly not expect the same out of an alkaline cell. In addition to the power source, the build of the GT-LITHIUM is seriously strong, and it has a ‘diving’ switch cap designed to make this usable to 3500m depth. Not many people will even use that level of waterproofing, but it does mean that overall you are getting a massively robust light. Optionally you can also use the click switch cap instead for a different way of using it.

Now we also have 11 modes to choose from, and my biggest complaint is finding it hard to choose one, as they each provide a different mix of visibility and attention grabbing. My favourite visible but not too manic is the ‘pulse’ mode, with another that works well for me is ‘Bounce’. The others are each so good, you have trouble choosing between them; the only one I’ll never use is the Fast Strobe. Depending on your application, battery life might be a consideration, so the total time the LEDs are lit are a factor. In this case the Slow Strobe or Beacon Strobe would be good choices.

Both switch cap types are equally easy to use. In some ways the click cap makes mode selection easier, but doesn’t have the solid hanging ring or levels of waterproofing as the diving switch cap does. The twist action is a smooth ‘detent’ 1/4 turn to go between on and off. Grip is very good with the deep scallops round the ring.

Unlike the GT-AAA Pro, when fitting the diving switch to the GT-LITHIUM, you now use the keyring to twist the cap on tightly; you can’t use the twist ring itself as it moves.

One of my main reasons to use this type of marker light is as additional safety lighting when cycling. Typically attached to something behind me, I don’t get to see it, so because I like these, I am constantly looking for an excuse to use them. Things like tent marking, or even leaving a slow strobe on my car dashboard when parking the car at night in a public car park are amongst the ‘excuses’ I’ve come up with.

If you like light sticks then these GLO-TOOBs should be on your shopping list.

Review Summary

_______________________________________________ _______________________________________________
Things I like What doesn’t work so well for me
_______________________________________________ _______________________________________________
‘On-Demand’, reusable light stick. GT-AAA uses PWM for low mode.
Incredible 3500m waterproofing on the GT-LITHIUM. Light not as evenly spread along the length as a chemical light stick.
GT-LITHIUM has 11 modes to choose from. Currently limited to AAA or CR123 cells (an AA option would be great).
Choice of 3 modes for the AAA versions.
Keyring makes it easy to attach.
Super tough and resilient.


Discussing the Review:

The ideal place to discuss this reviews is on a forum. If you started reading the shorter forum version of the review, but followed the link this full exclusive review, please return to that forum to discuss the review there.
If you read the review entirely on Tactical Reviews, please consider one of the following to join in any discussion.

CandlePowerForums – Flashlight Reviews Section (Largest and Friendliest Flashlight Community Forum)

EdgeMatters – Sponsored Reviews (UK based Forum for Knife Makers and Collectors)