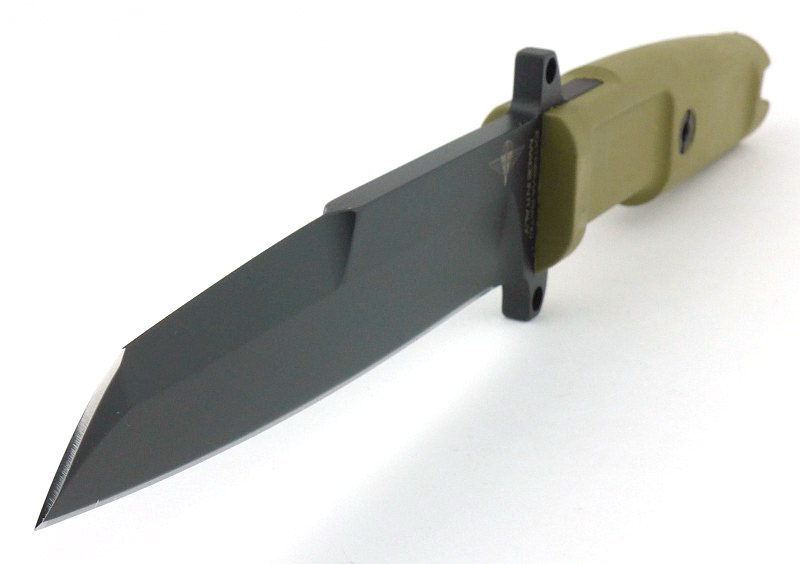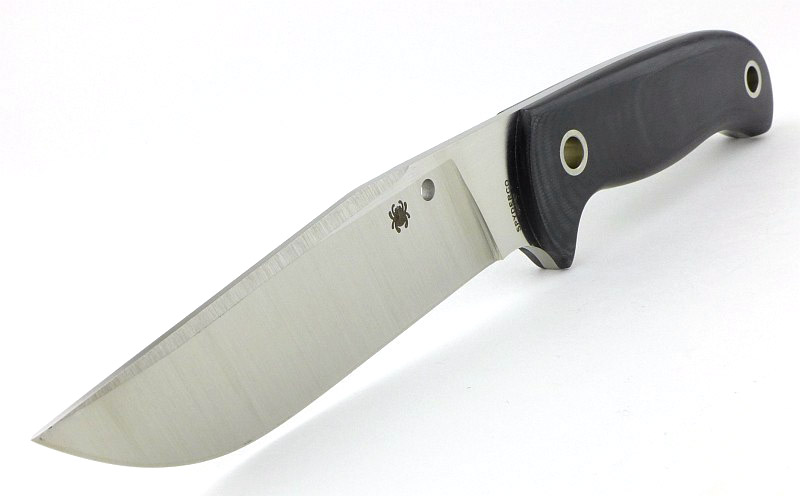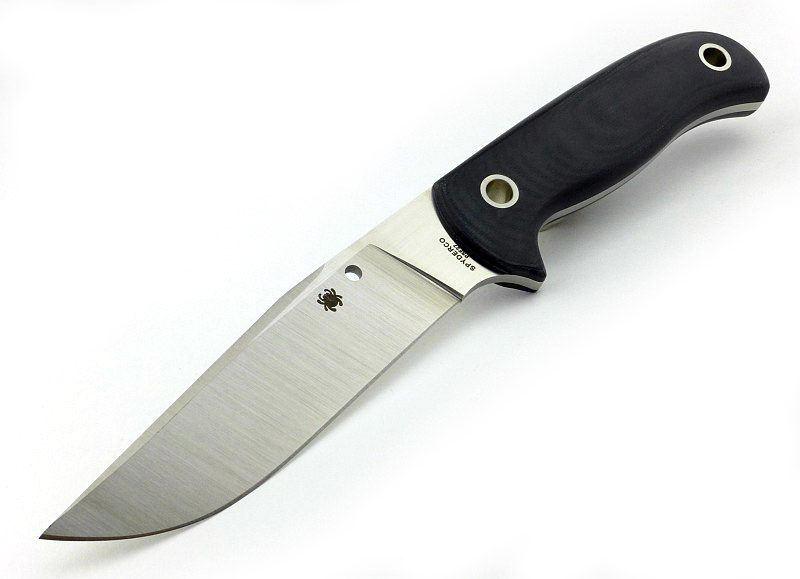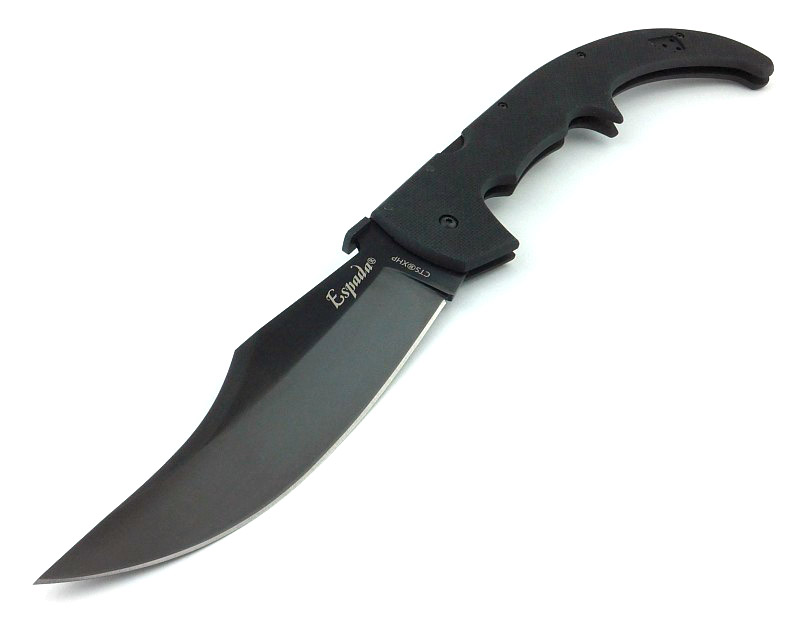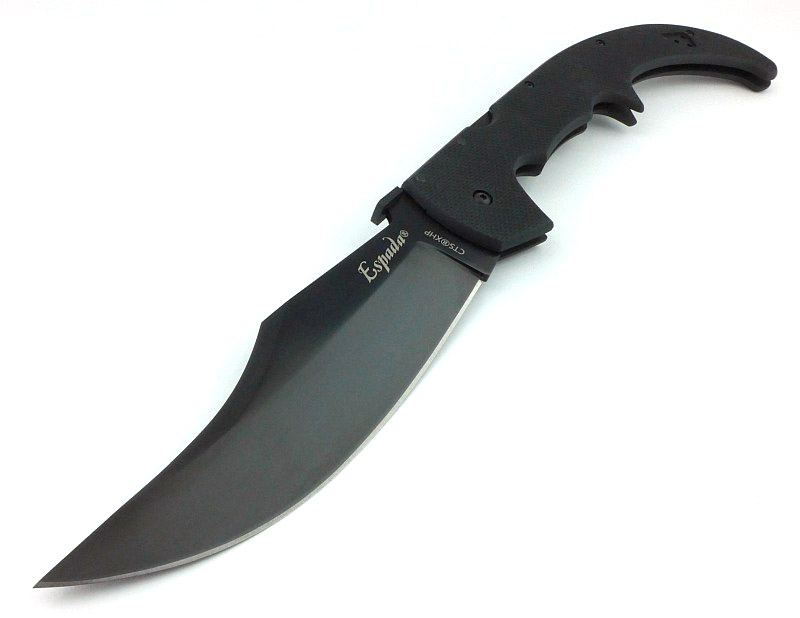
Born from key influences in Dietmar Pohl’s lifelong passion for knives, the Prepper One combines the hollow handle survival knife concept with a traditional style ‘straight’ utility knife. By using modern materials and manufacturing techniques, Dietmar Pohl has avoided all the typical weaknesses of hollow handle knives and produced a super strong design that won’t let you down. This review features the Prepper One Tactical (G10 and wood handle), but the range also includes the Prepper One Survival, and Prepper One Outdoor (plus wood handle options for these).
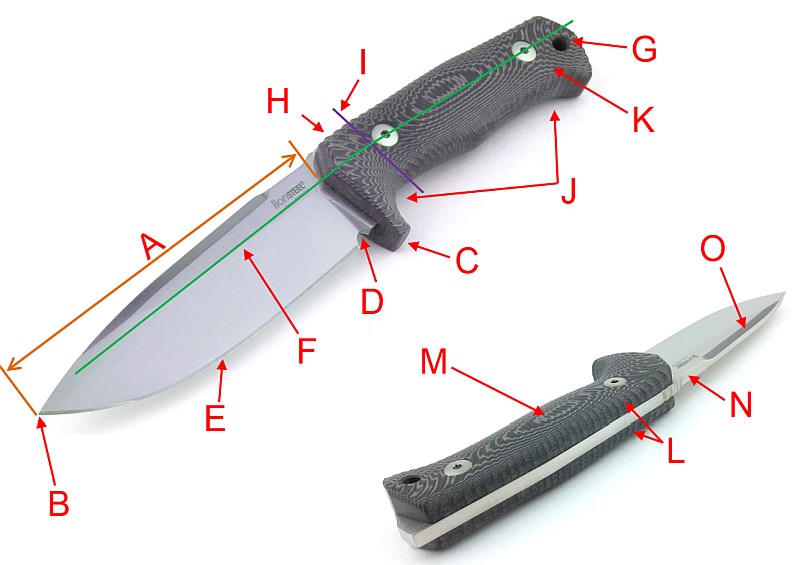
The Blade and Handle Geometry:
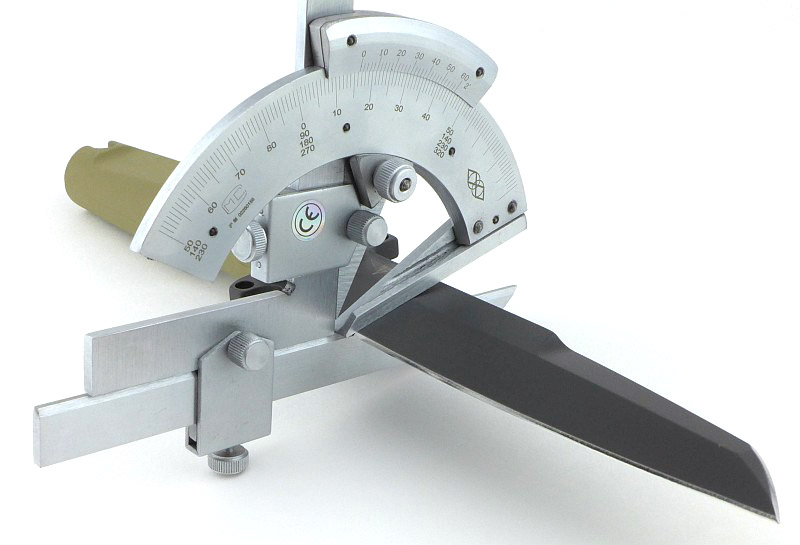
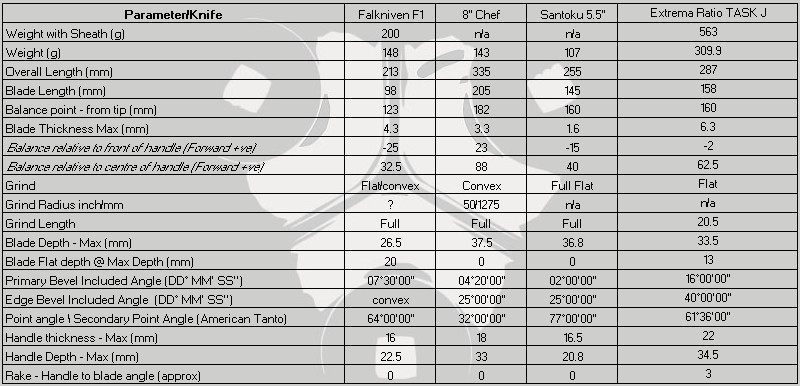
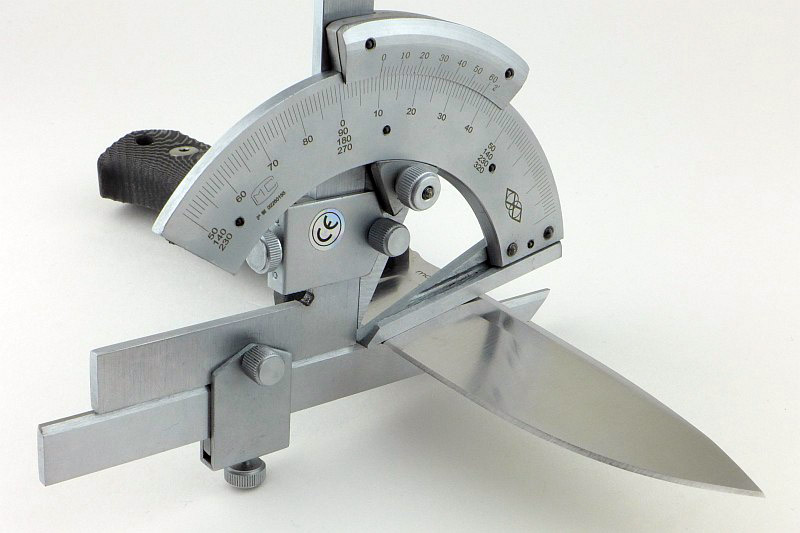
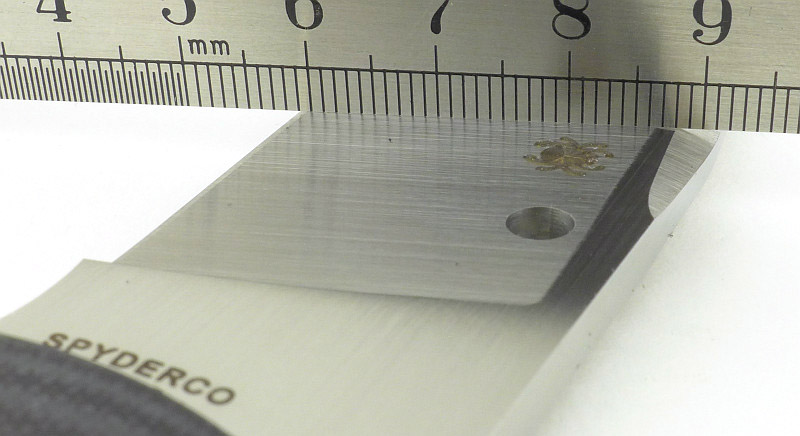
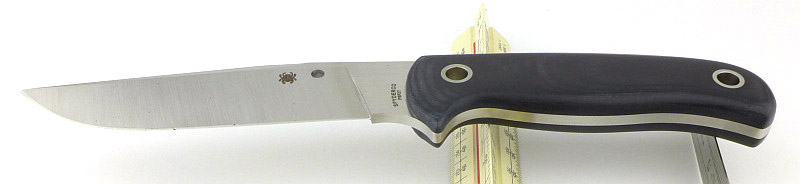
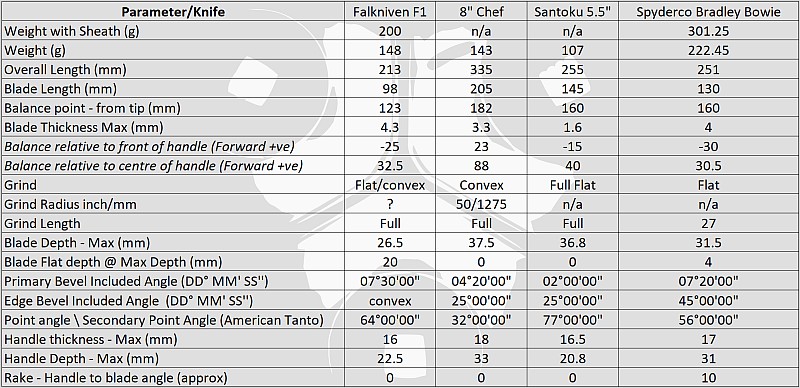
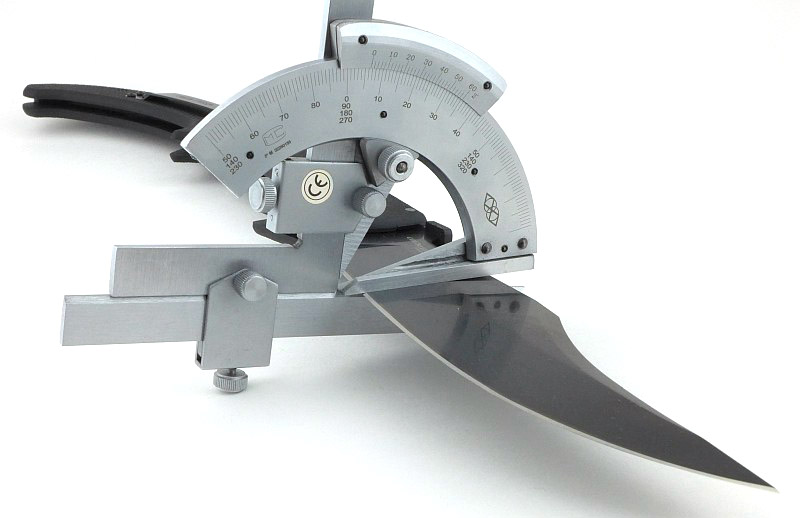
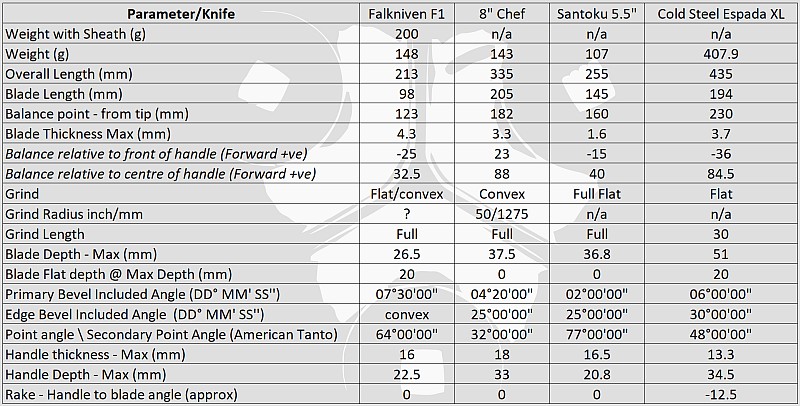
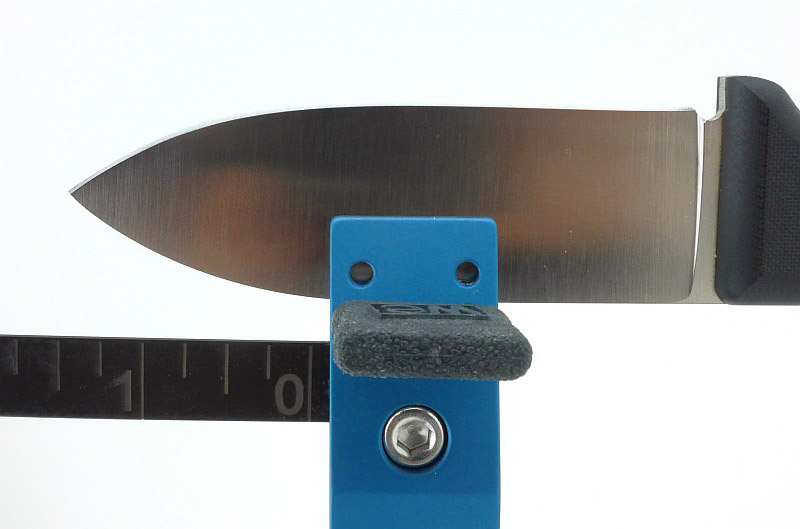
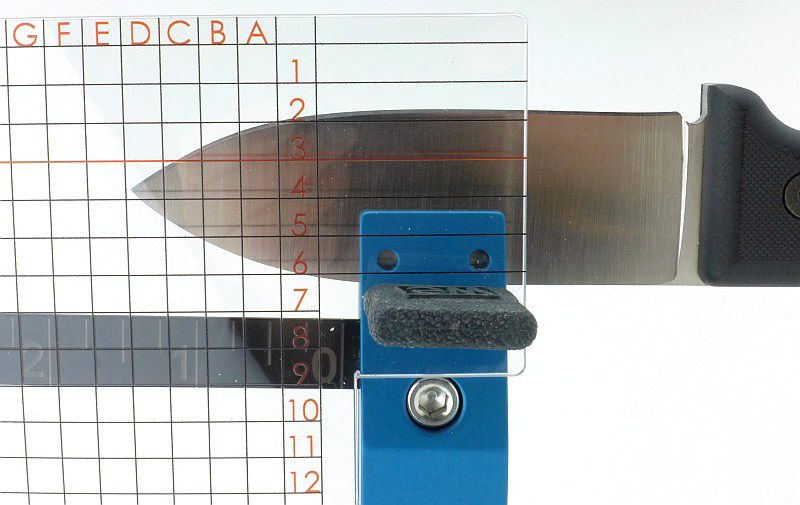
Most knife specifications have a basic description of the blade geometry, but in this section I will be taking a more detailed look at geometry and balance.

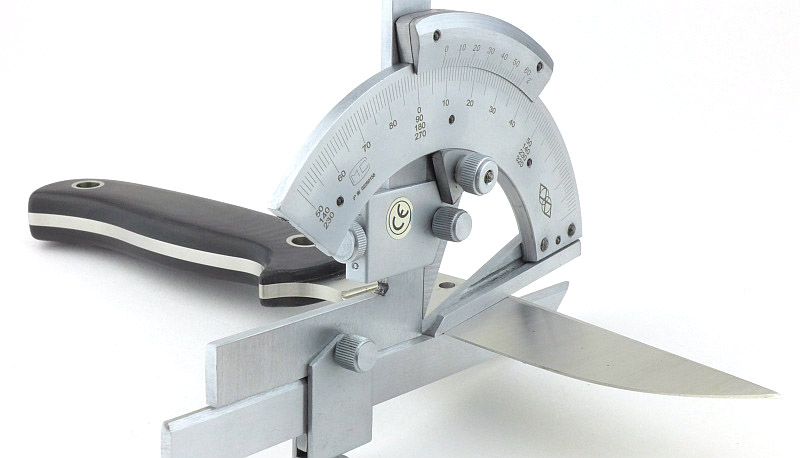
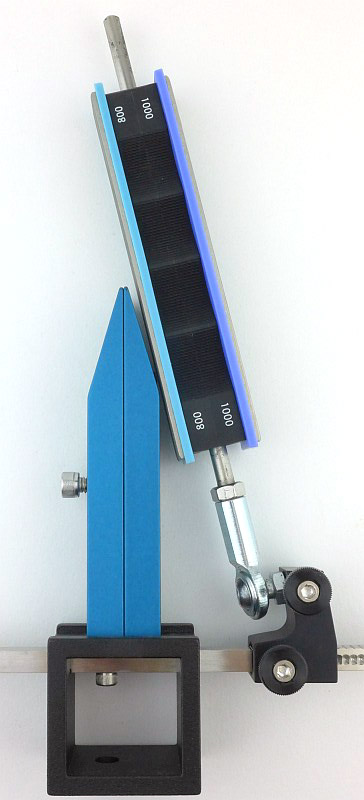
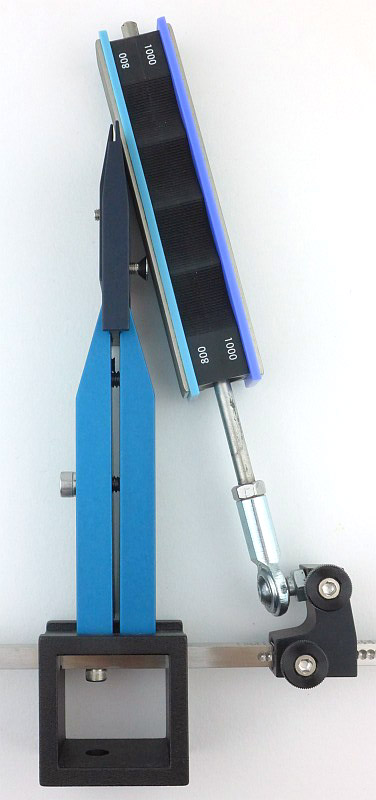
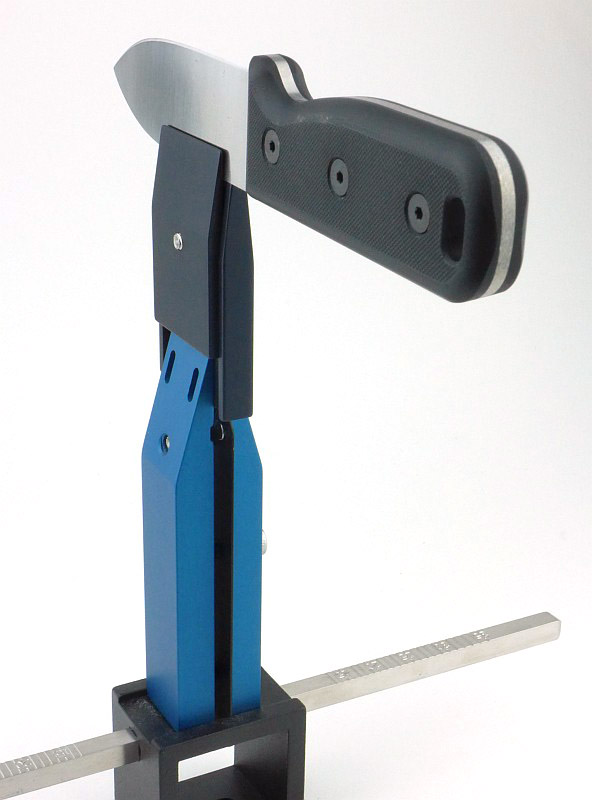
Using a set of gauges and precision measuring equipment including a Vernier protractor, callipers, fixed radius gauges and the unique Arc Master adjustable radius gauge (the one that looks like a crossbow).
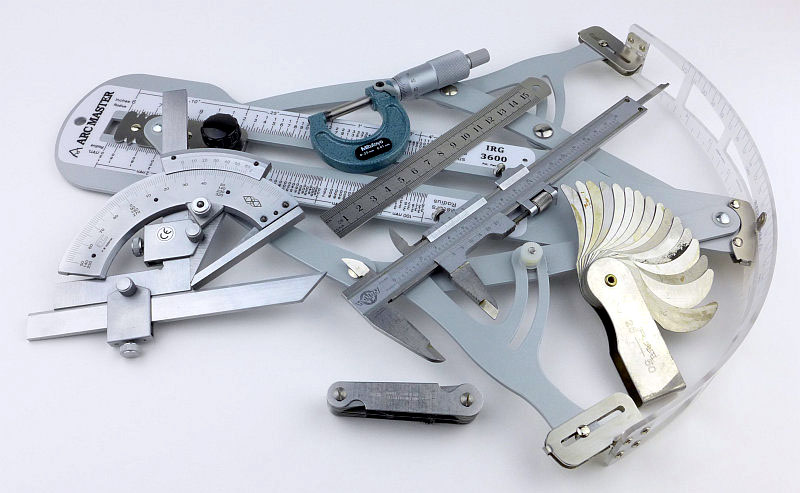
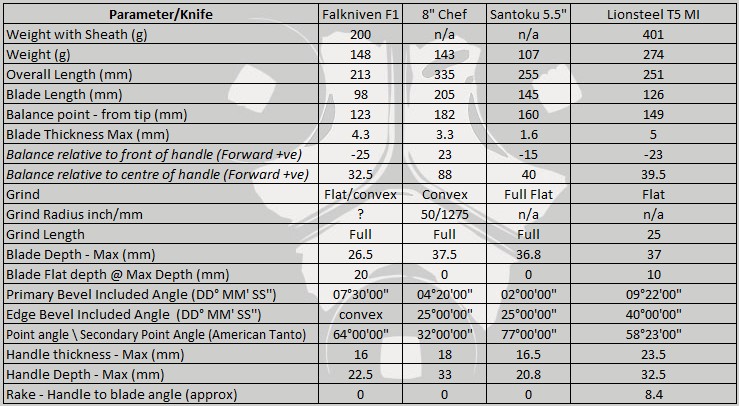
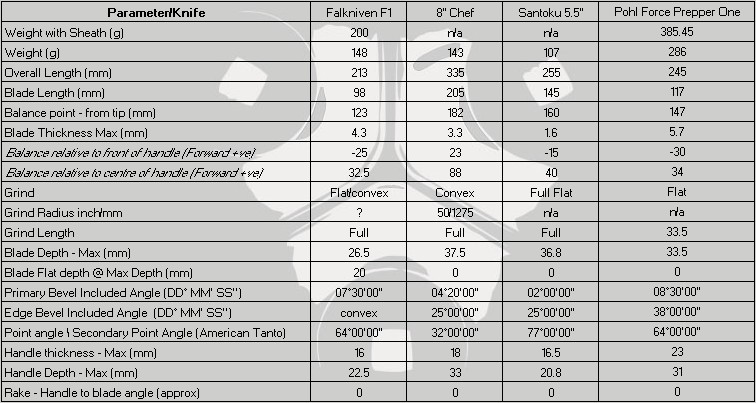
These measurements have been tabulated and are presented along with a few reference blades (8″ Chef’s Knife, 5.5″ Santoku and the popular Fällkniven F1).
Key aspects such as the primary bevel angle, grind type, blade depth, blade thickness, length, weight are detailed, along with balance information.
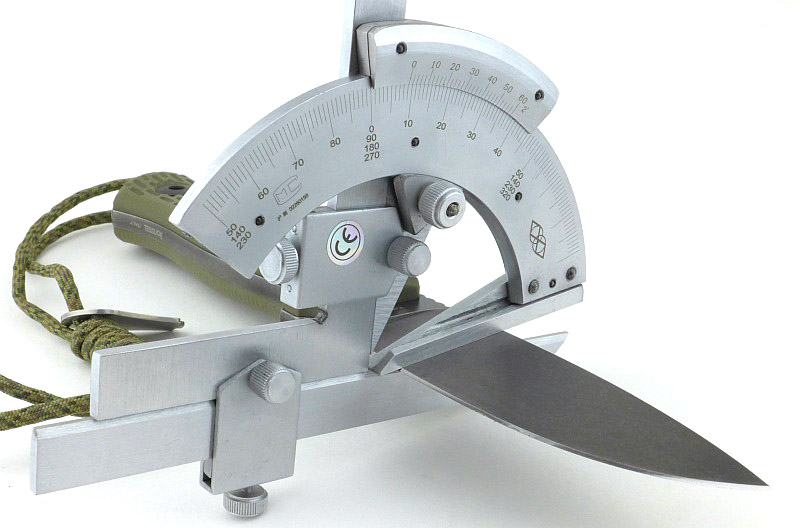
The ‘Balance relative to the front of the handle’ tells you if the knife will feel front heavy, or if the weight is in your hand (a positive value means the weight is forward of the front of the handle). The ‘Balance relative to the centre of the handle’ indicates how close to a ‘neutral balance’ the knife has in the hand.
In the case of full convex grinds the approximate centre of the grind is used for the primary bevel angle estimate.
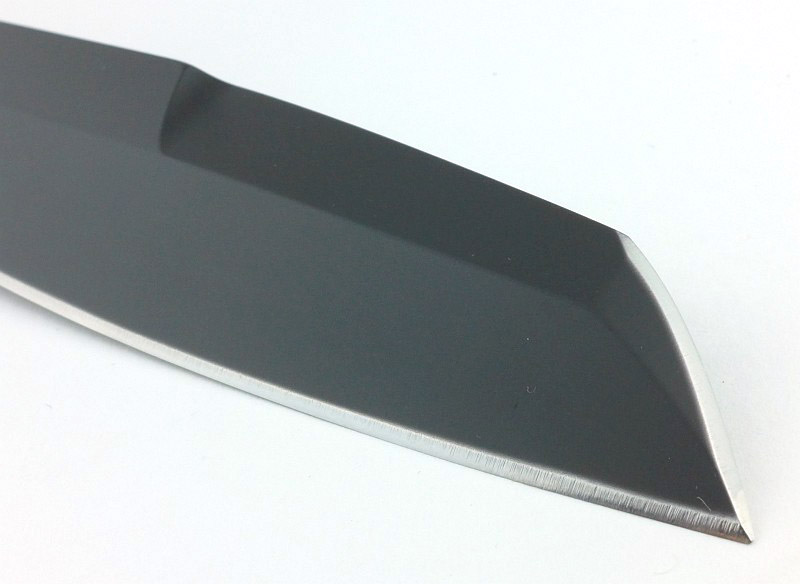
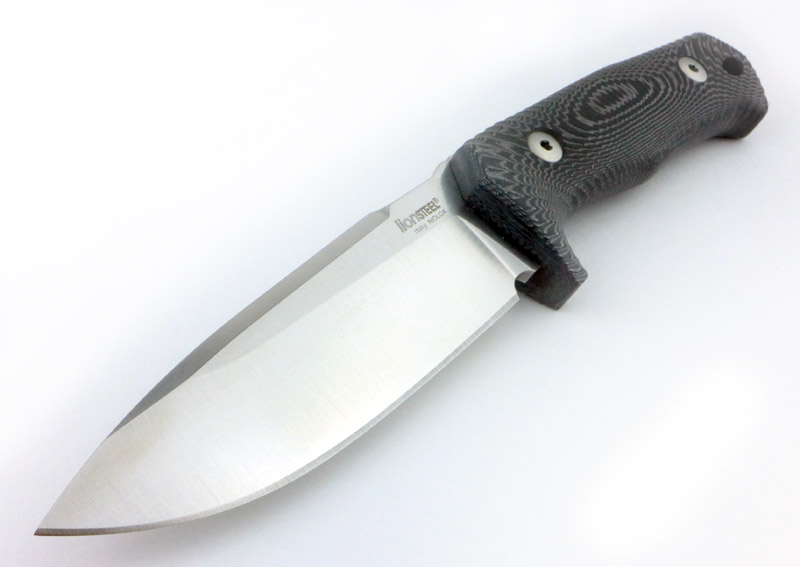
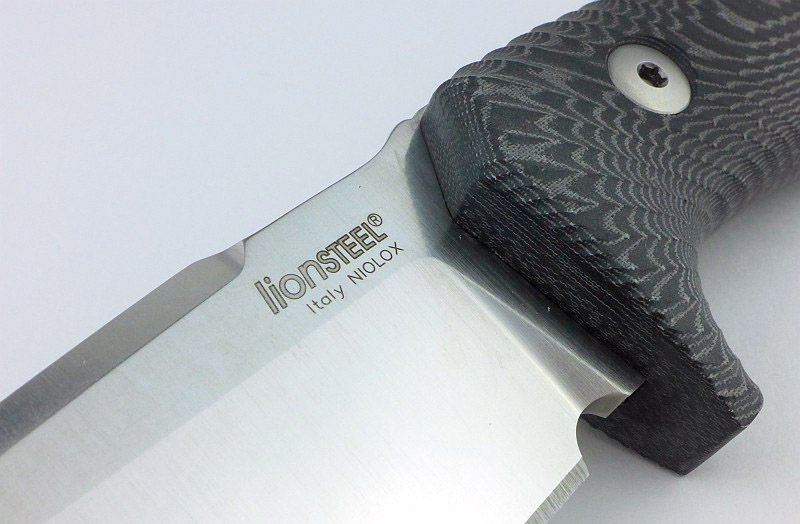
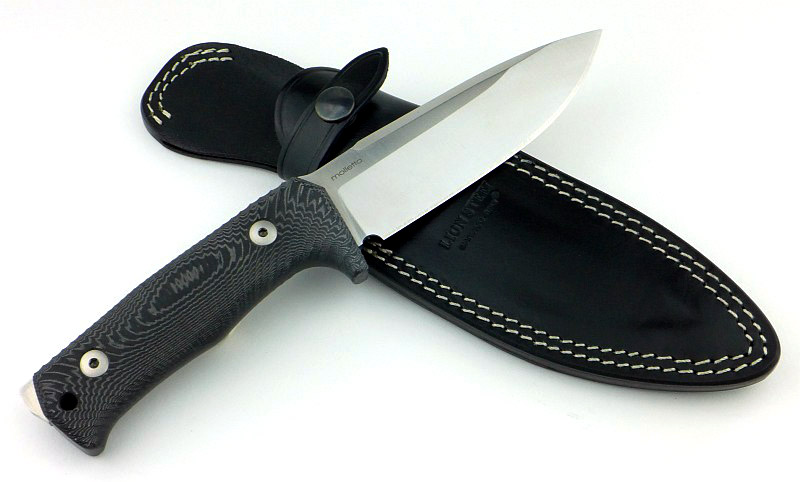
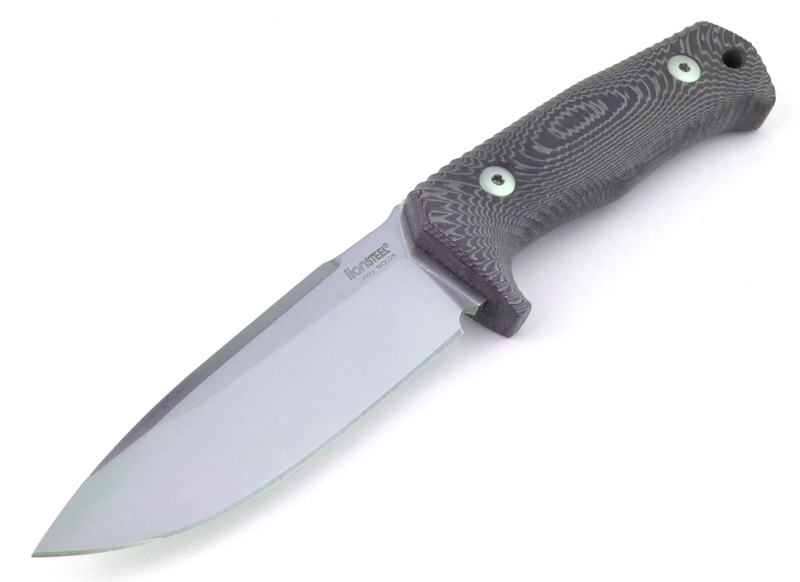
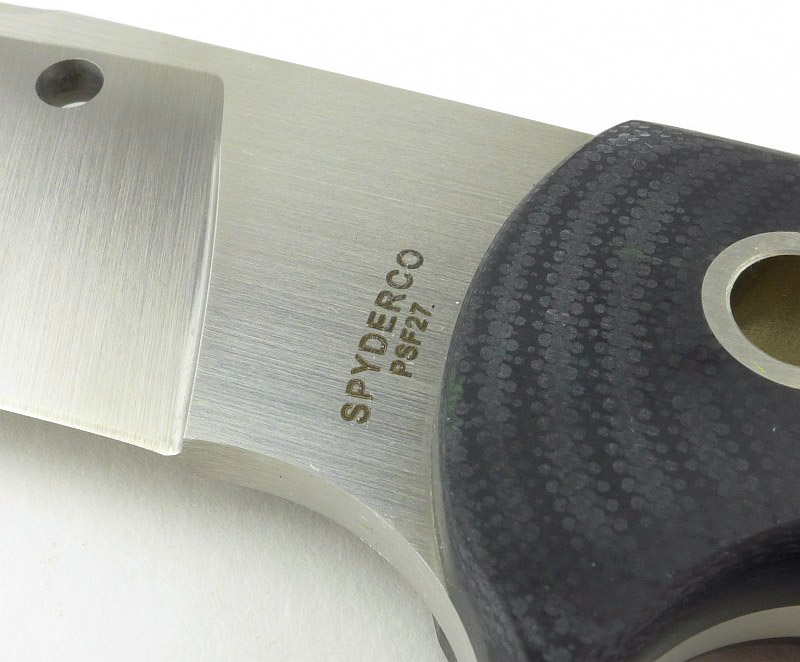
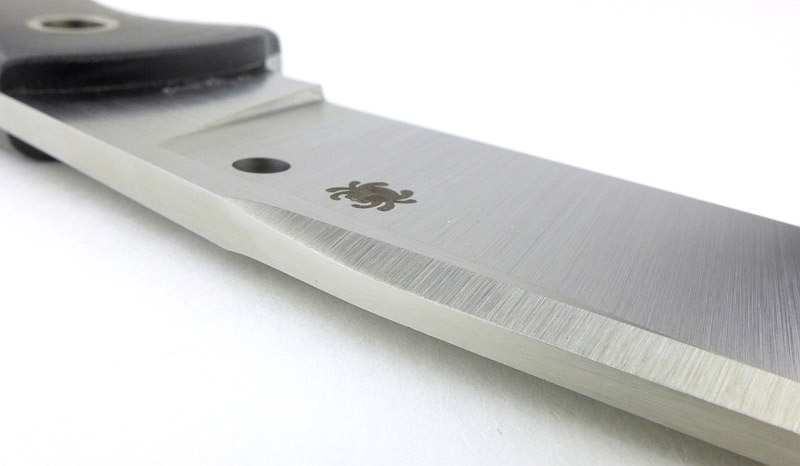
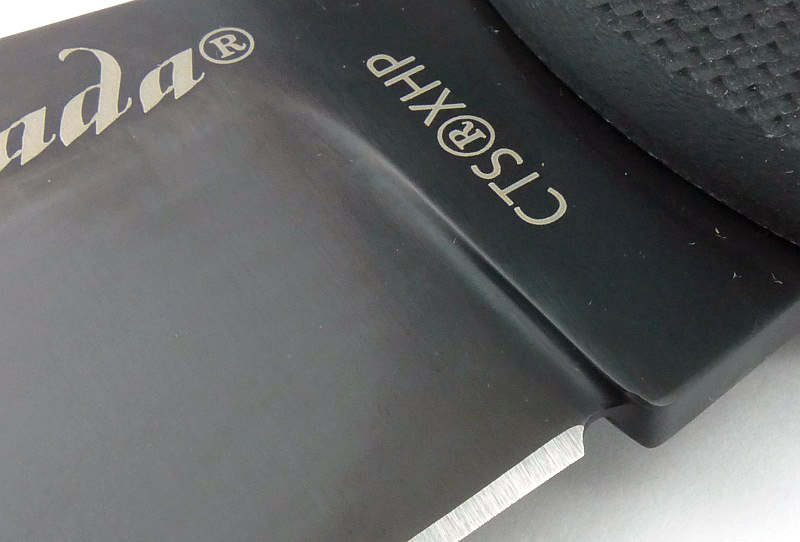
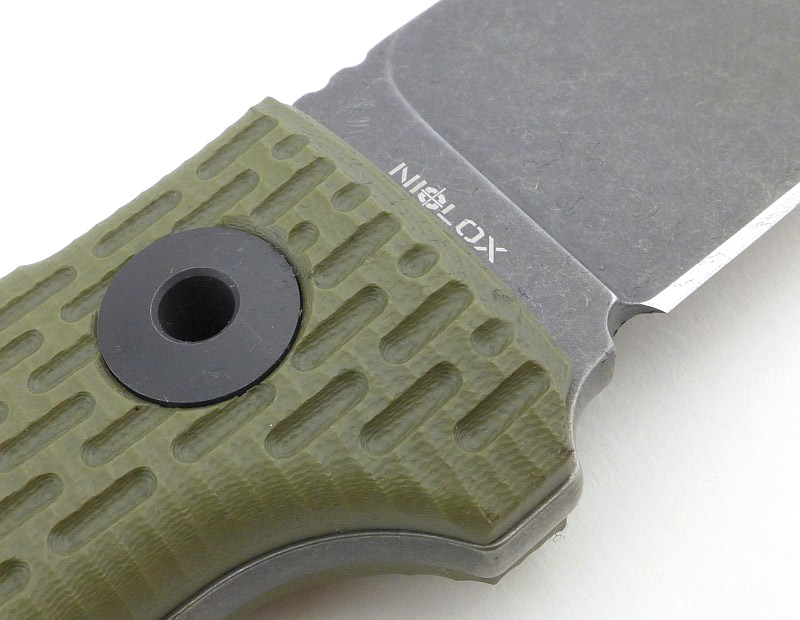
The blade is made from Niolox steel.
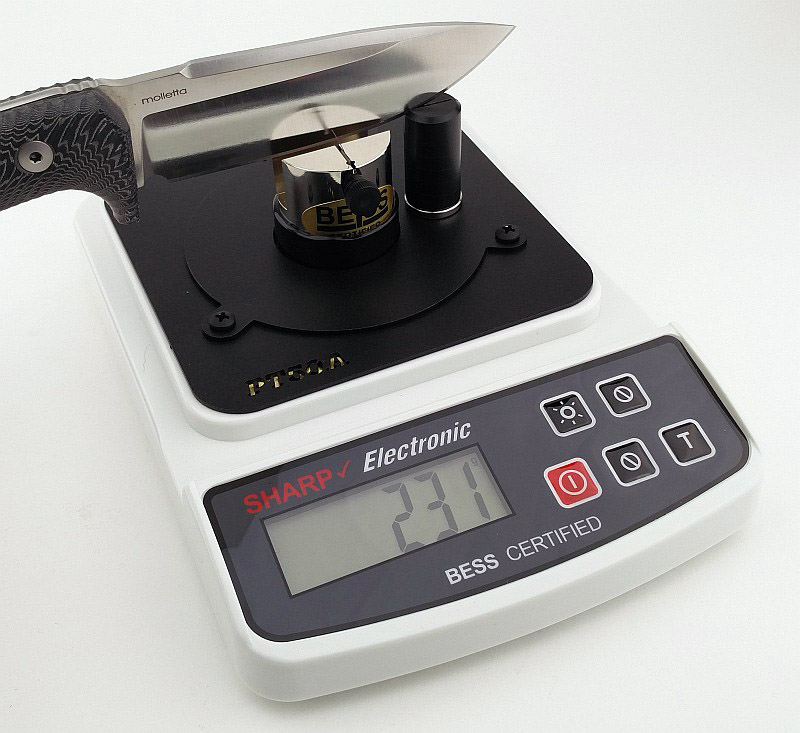
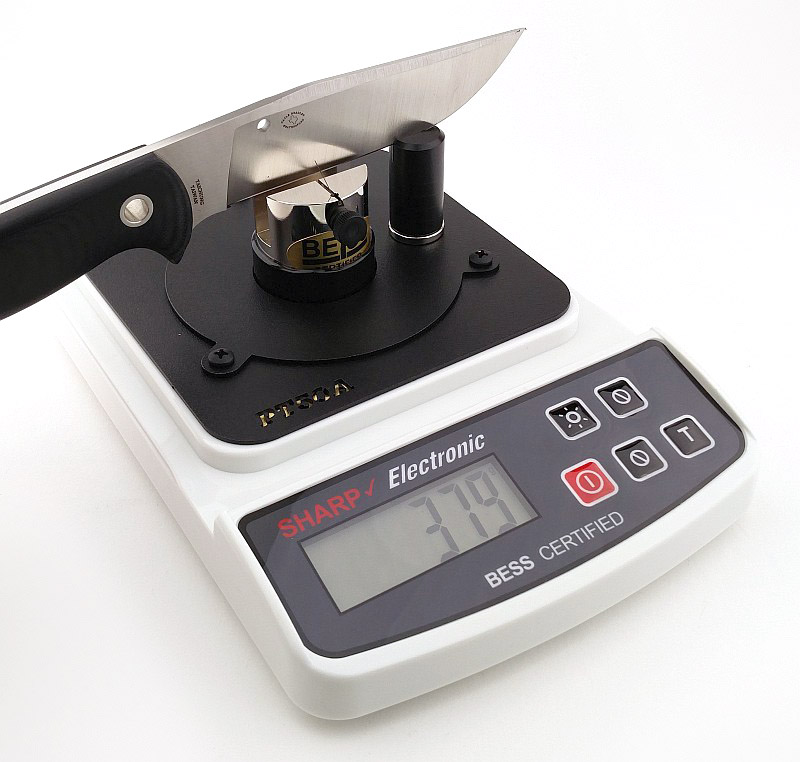
New for 2018! BESS Certified sharpness testing:
The BESS ‘C’ scale of sharpness, developed by Mike Brubacher (Brubacher Edge Sharpness Scale) will now become part of Tactical Reviews’ knife testing process. Initially this will be used to verify the sharpness of the factory edge and allow the knife to be brought to a minimum standard sharpness before testing a blade’s cutting performance.

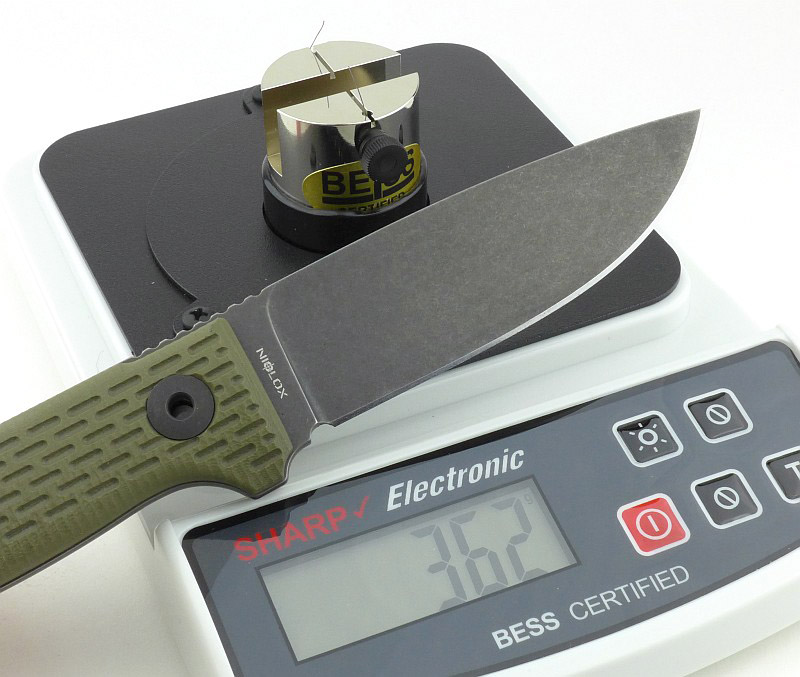
The Prepper One’s factory edge has an average BESS ‘C’ sharpness of 345. At this sharpness it easily and cleanly slices 80gsm copier paper. It doesn’t quite want to catch a rolled edge of the same paper, but will 50% of the time.
Explained by the Maker:
The reasons for certain design choices may not be clear when simply looking at an object, so this section is intended to give an insight into the thinking behind a design by speaking to the designer themselves.
Dietmar was kind enough to give me some time during IWA 2018 to discuss the Prepper One and where it came from.
Video Edited with – Cyberlink Director Suite 5 (PowerDirector 16 and AudioDirector 7)
Camera – Panasonic HC-V770 Microphone – Tonor TN120308BL
A few more details:
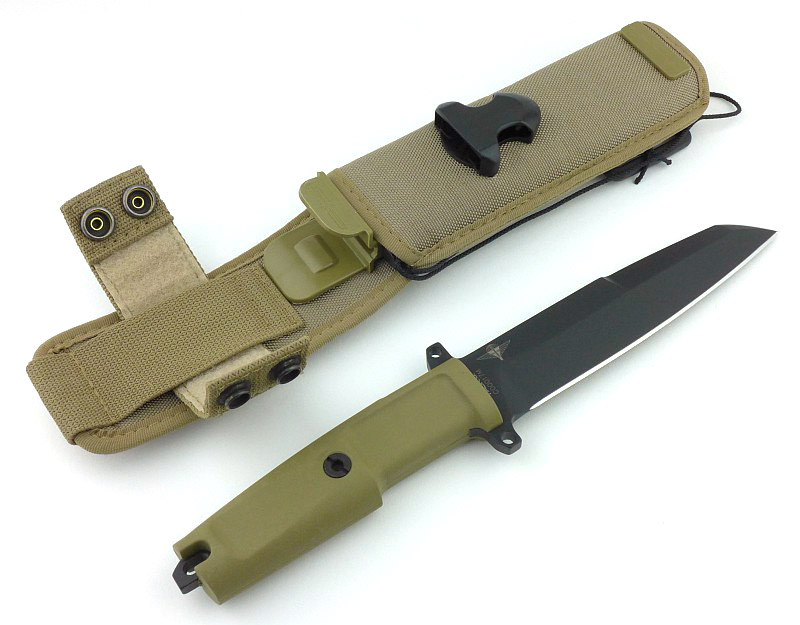
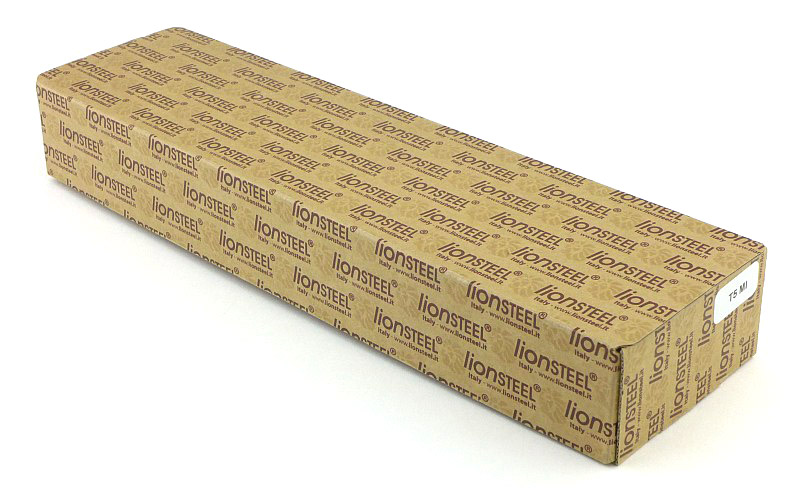
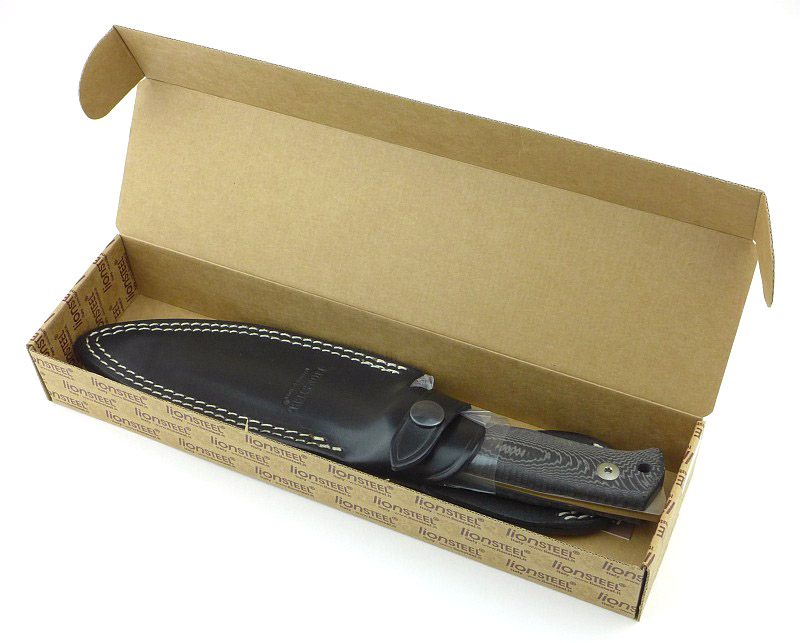
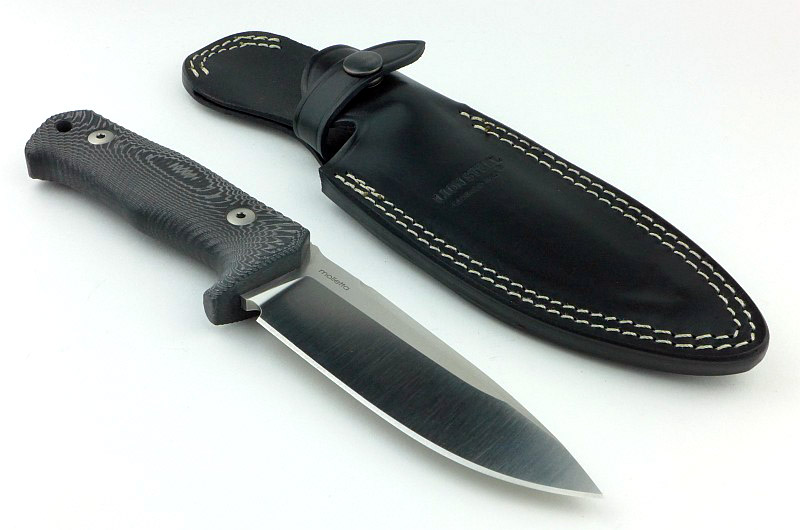
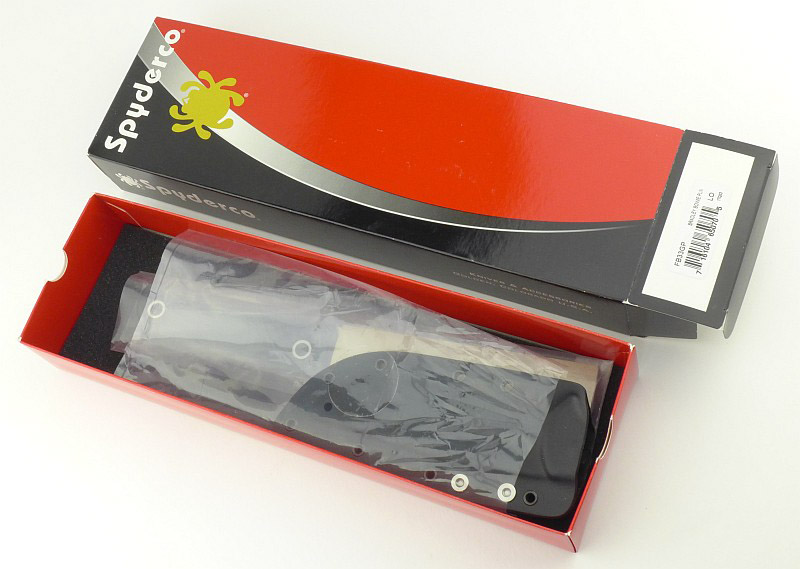
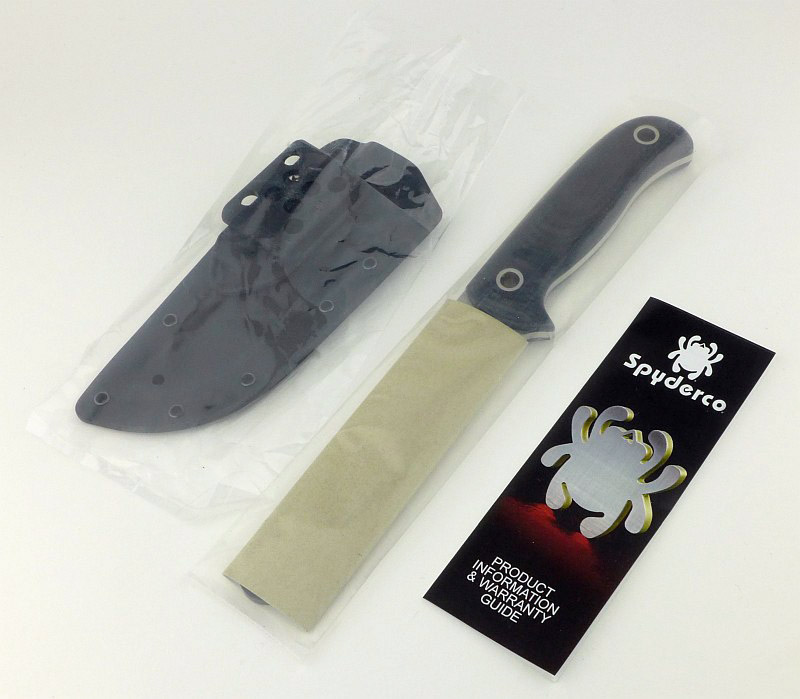
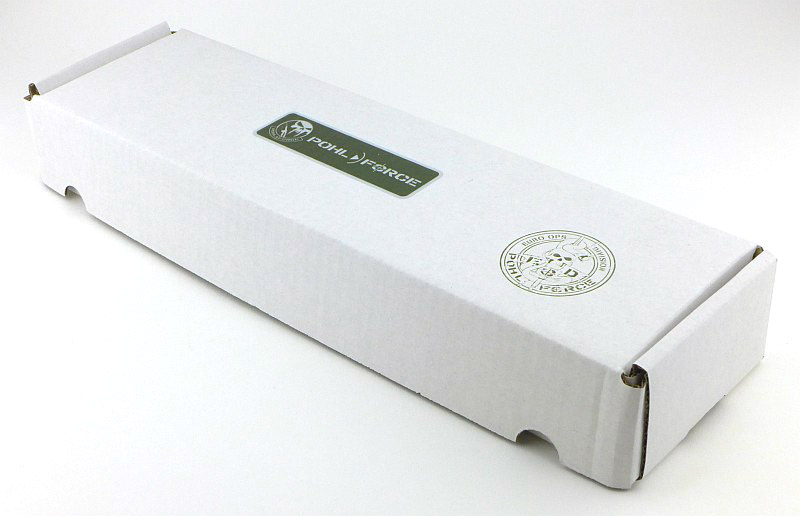
The Prepper One Tactical arrived in a cardboard box.
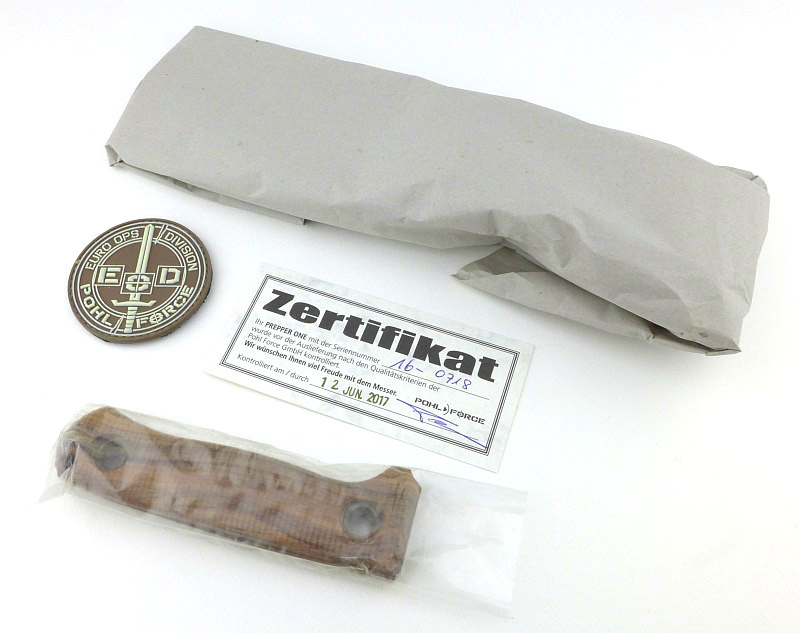
Inside, the Prepper One was wrapped in paper (so much better than plastic).
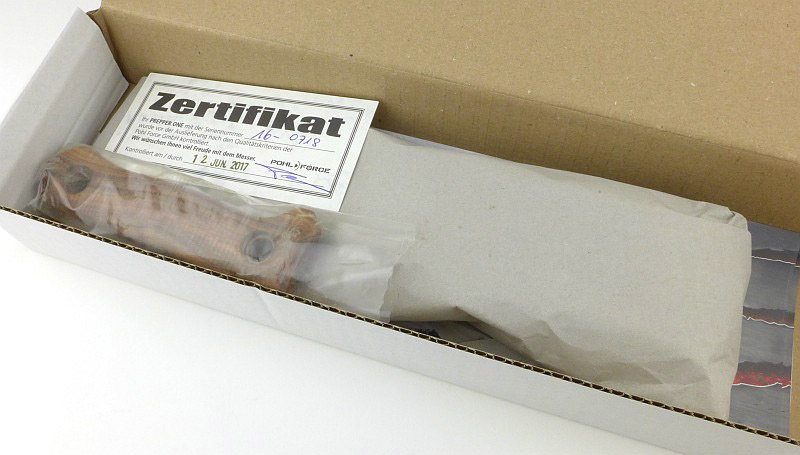
In this case the wooden handles have also been included, but these are an optional extra. There was also a Pohl Force Patch and a certificate card.
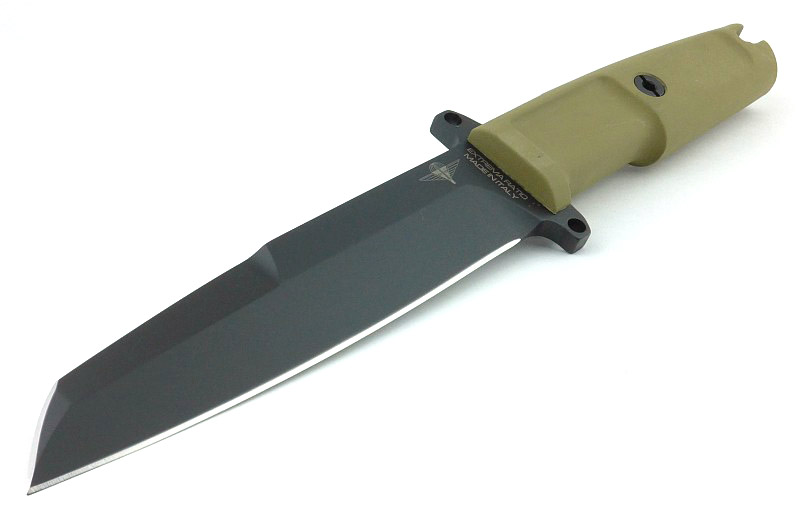
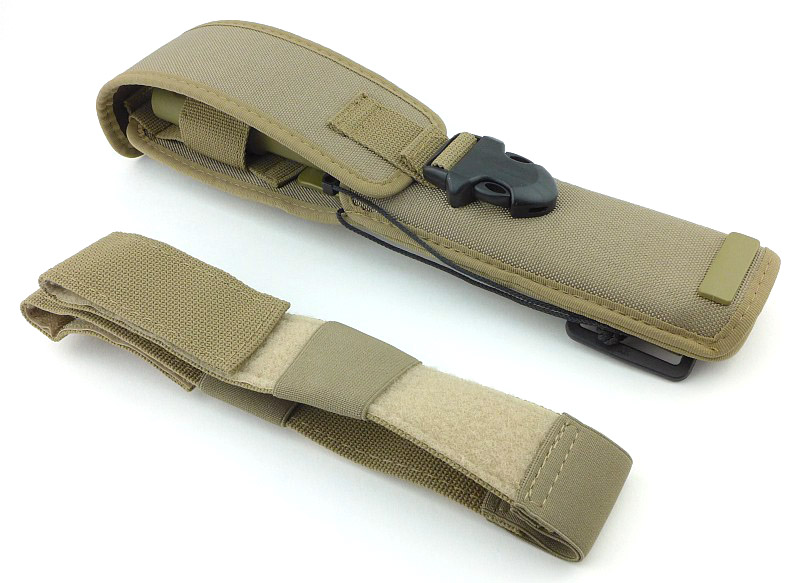
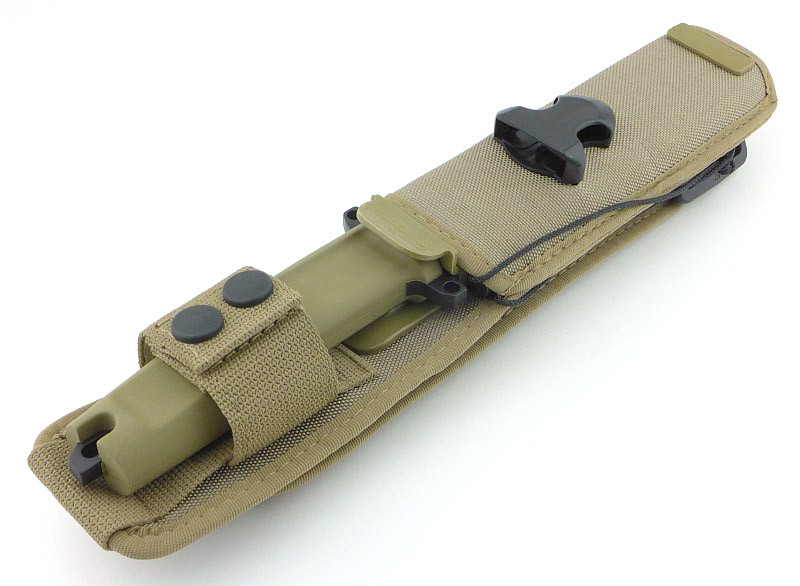
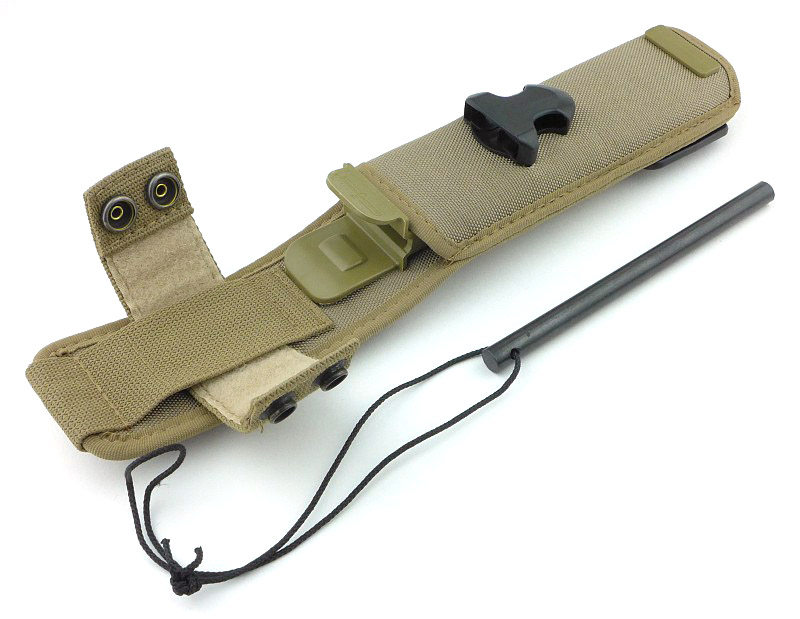
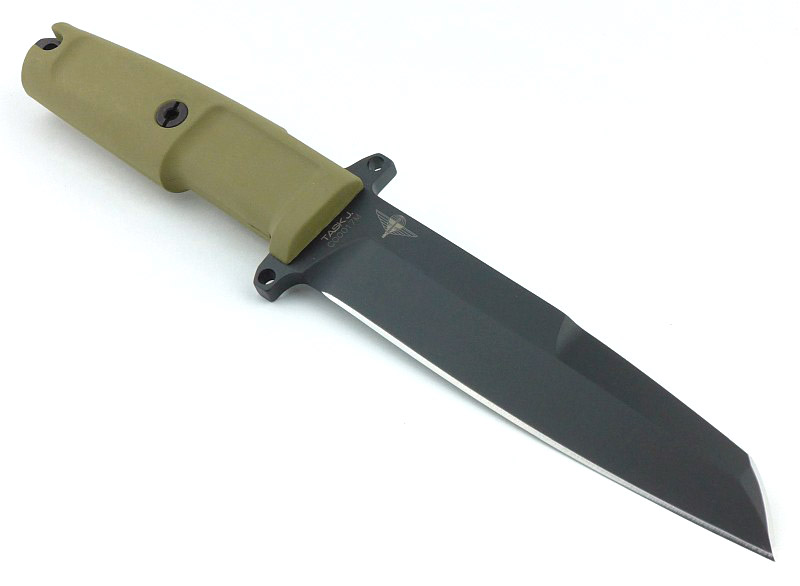
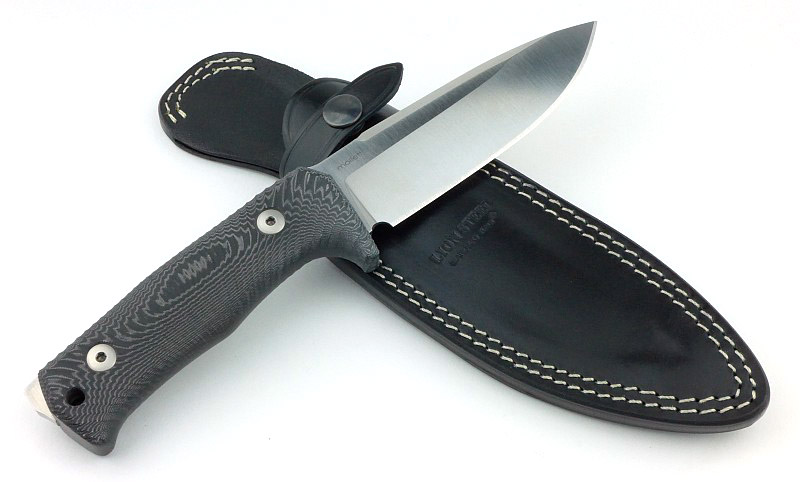
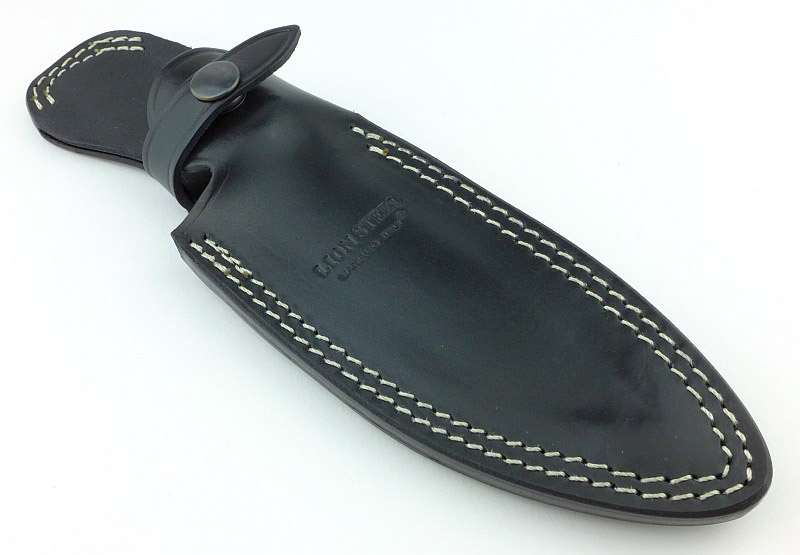
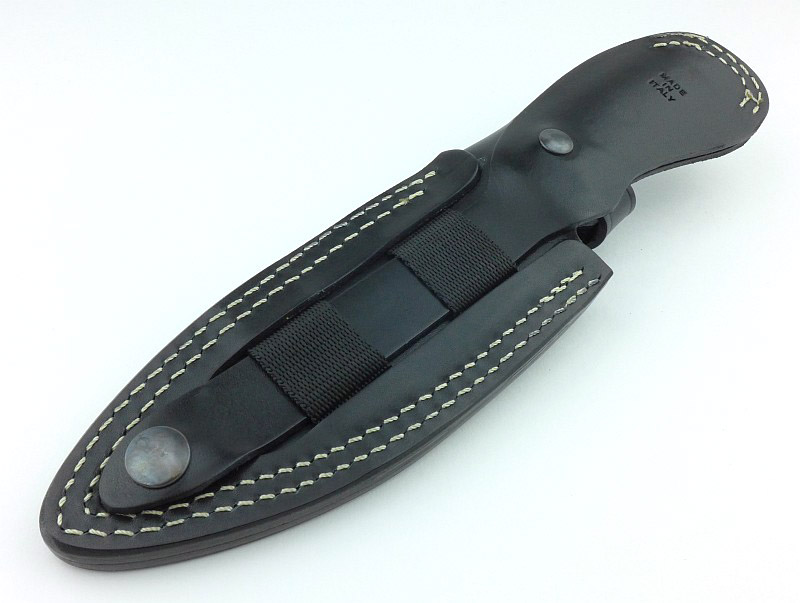
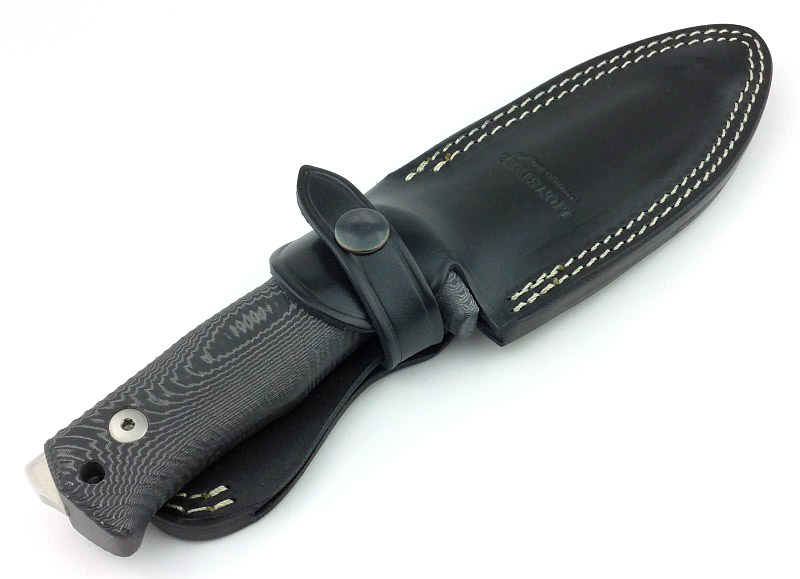
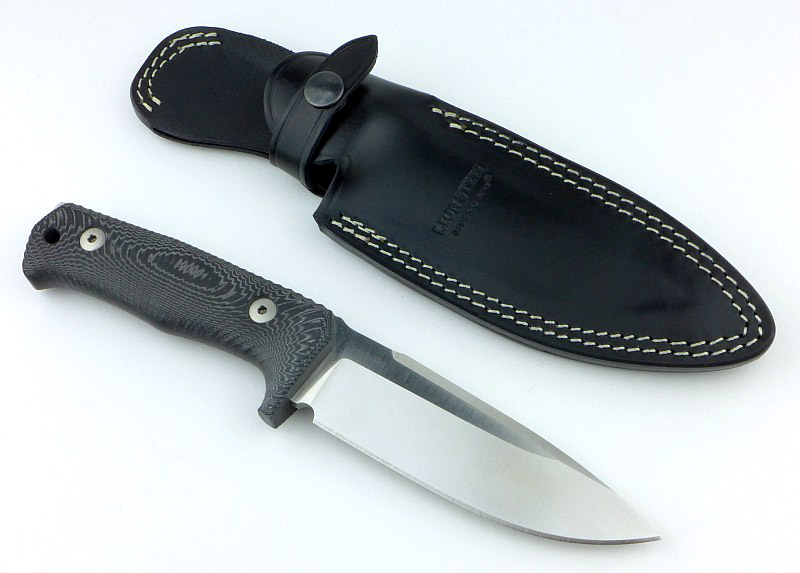
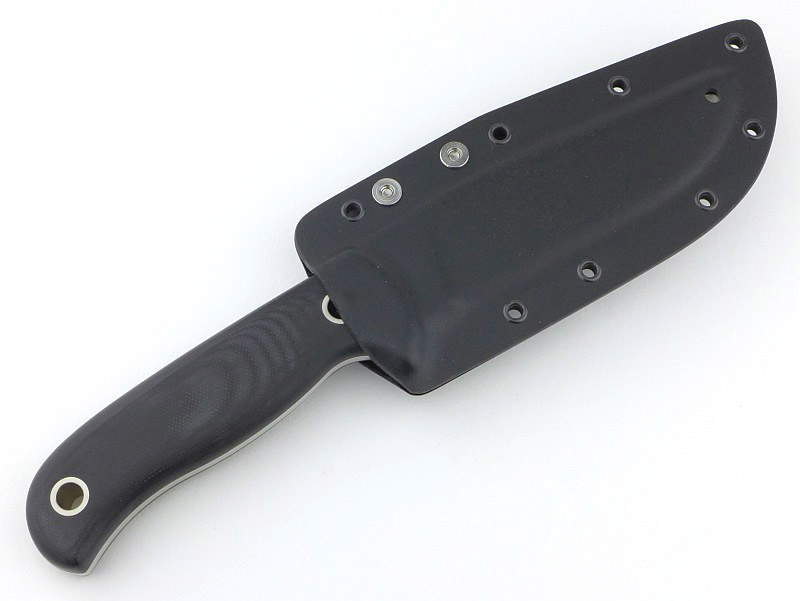
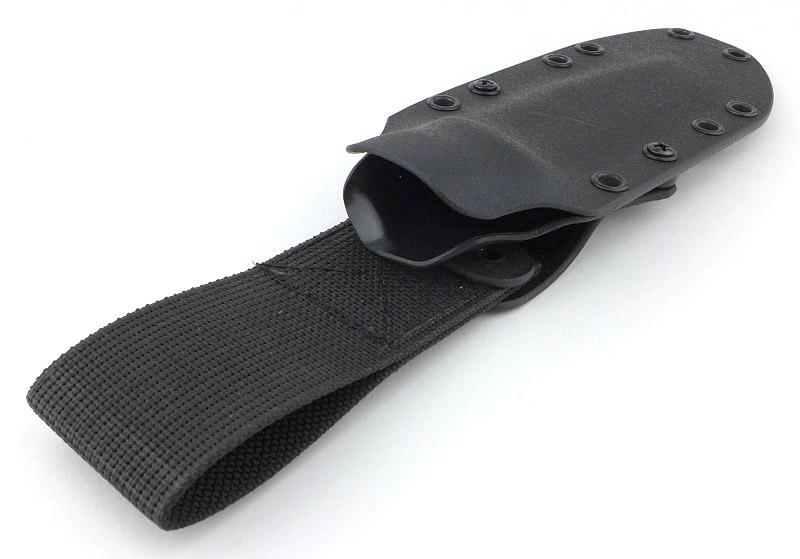
Whipping off the paper wrap, the Prepper One arrives in its Kydex Sheath.
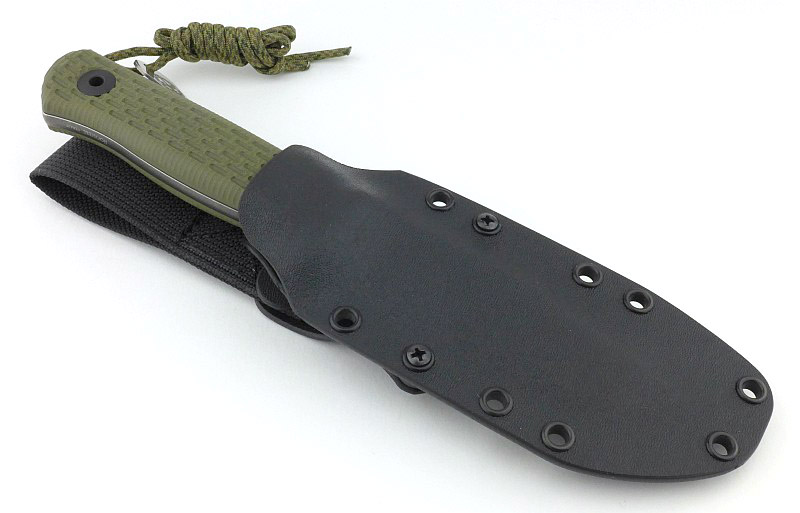
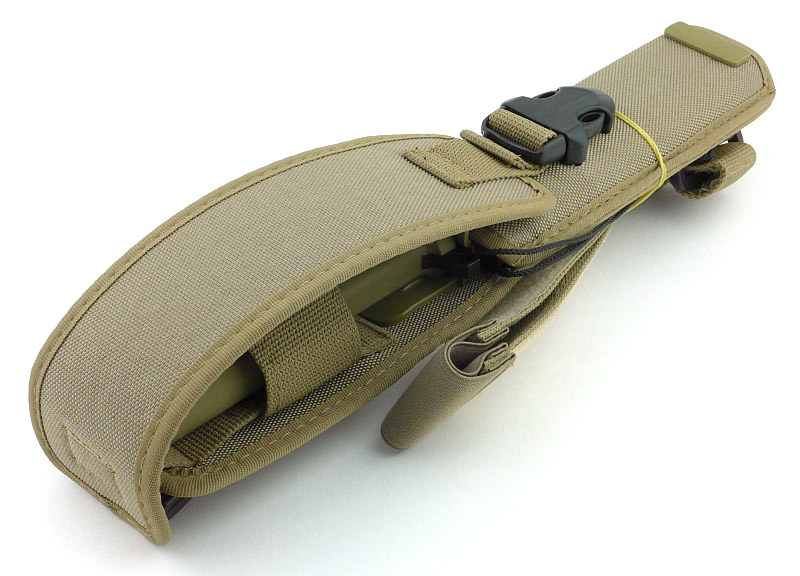
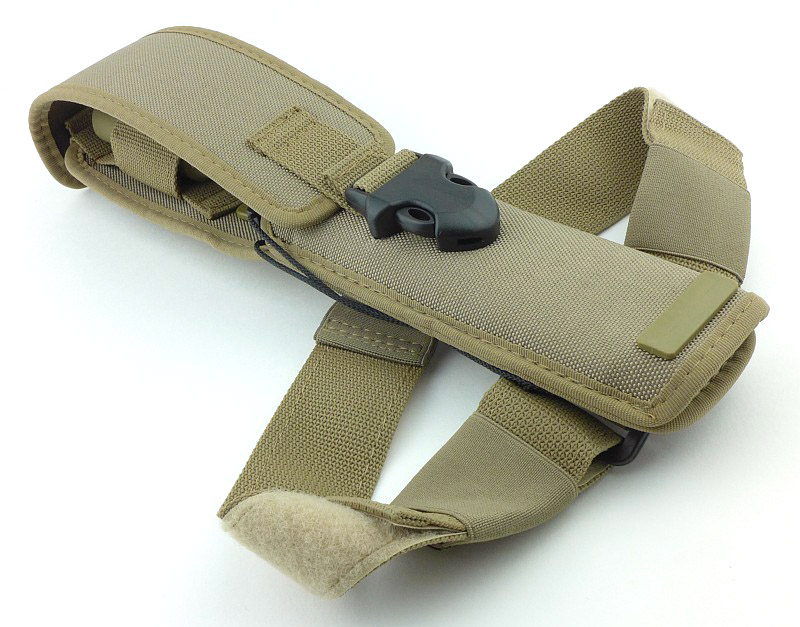
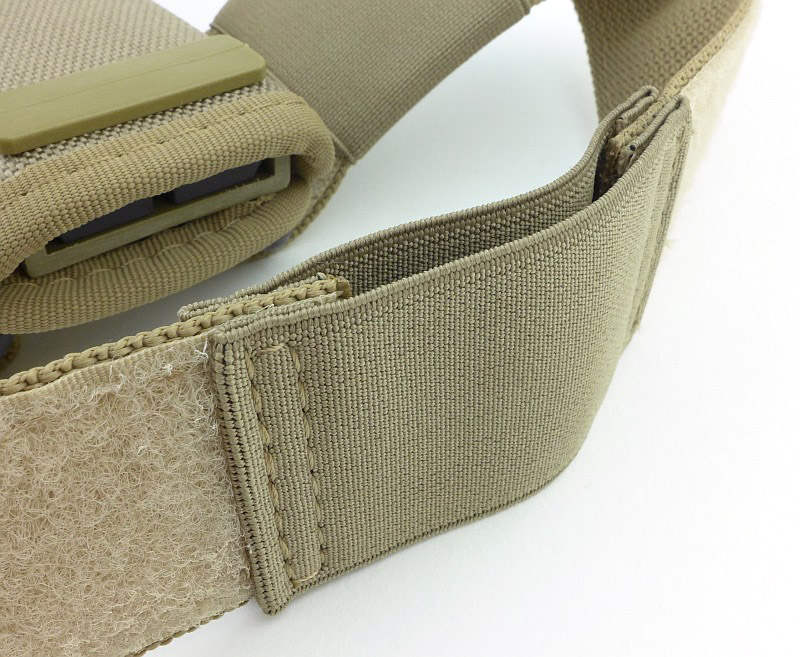
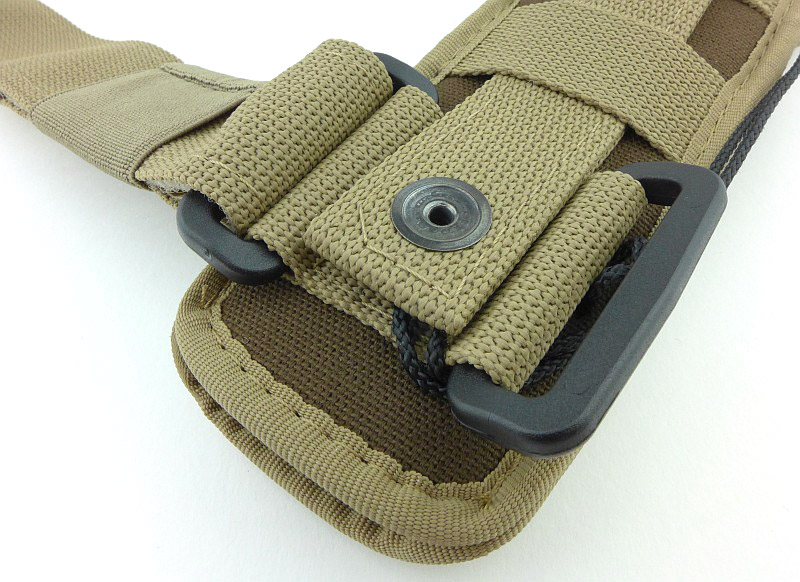
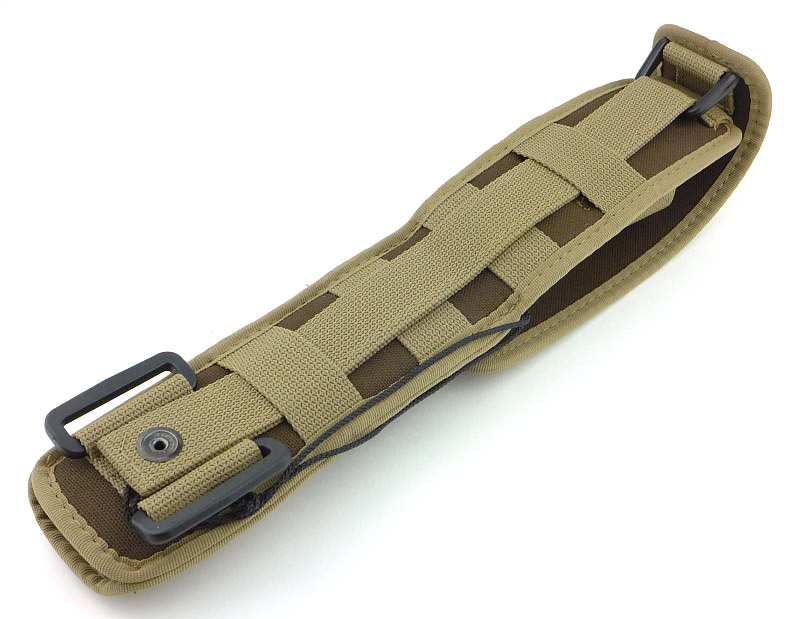
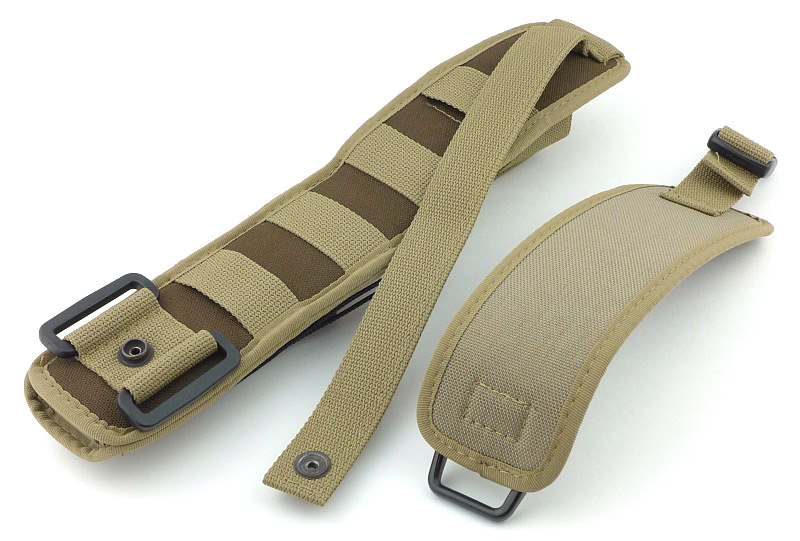
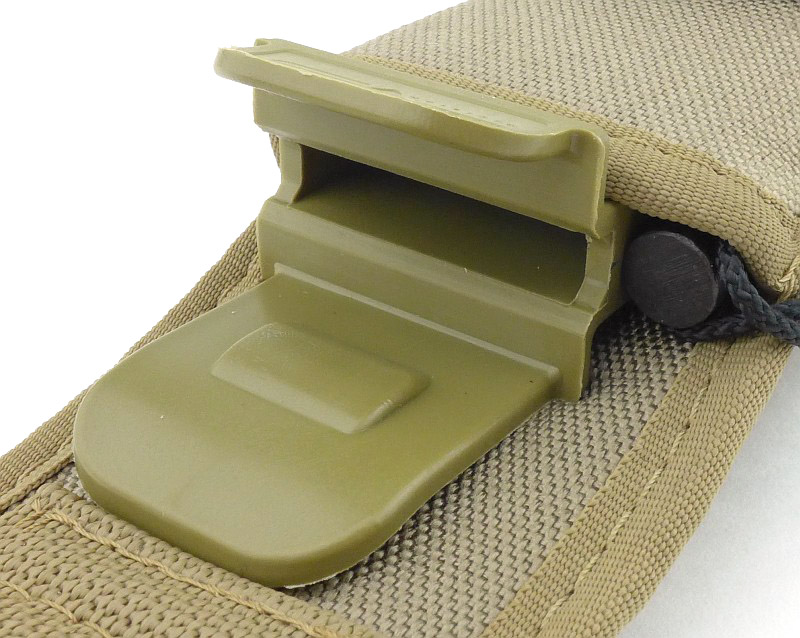
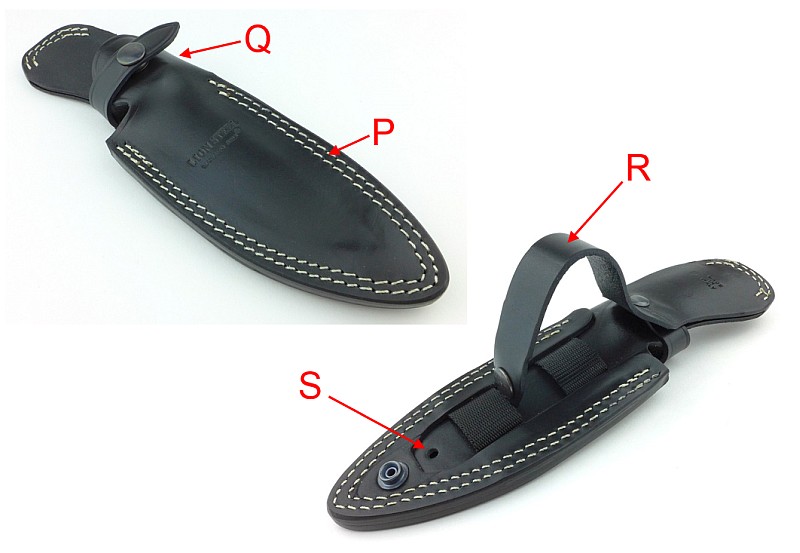
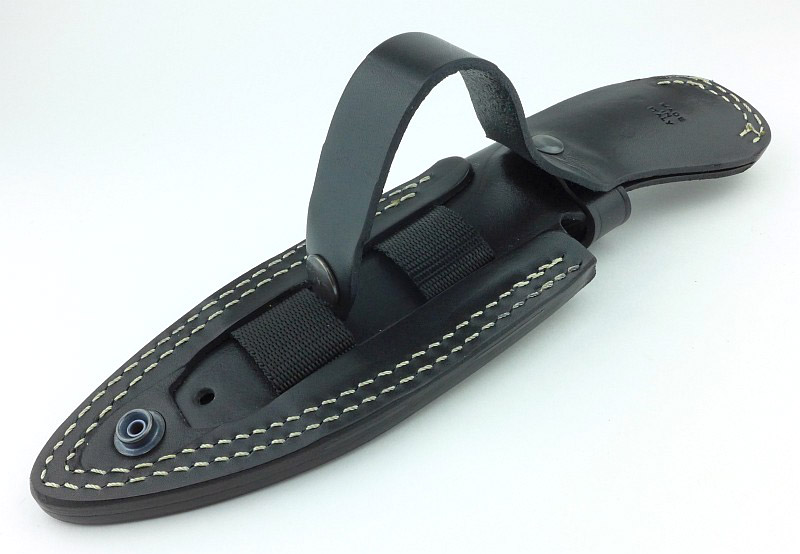
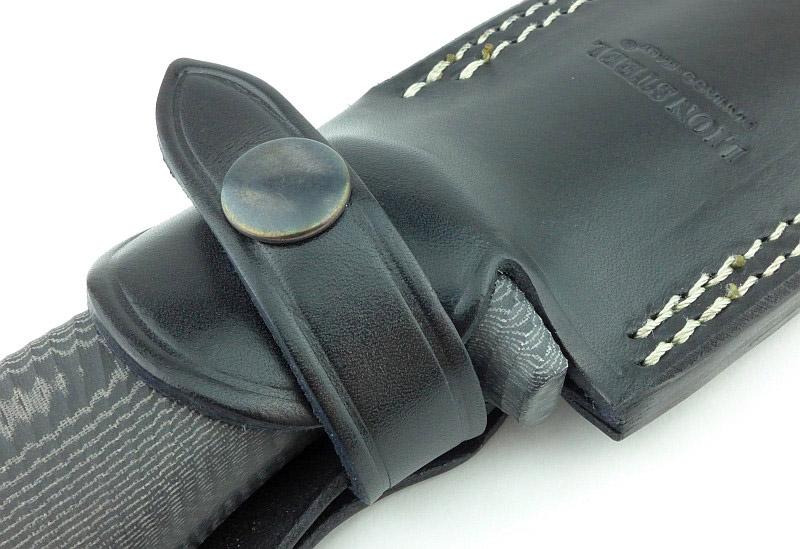
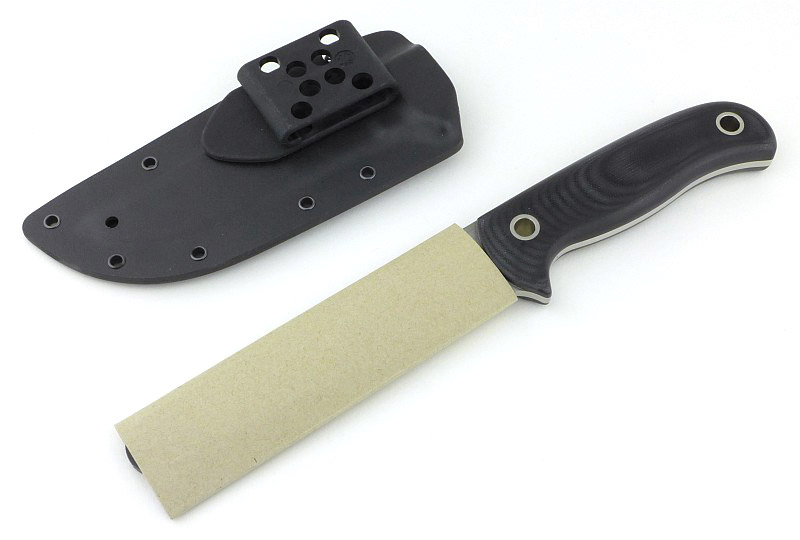
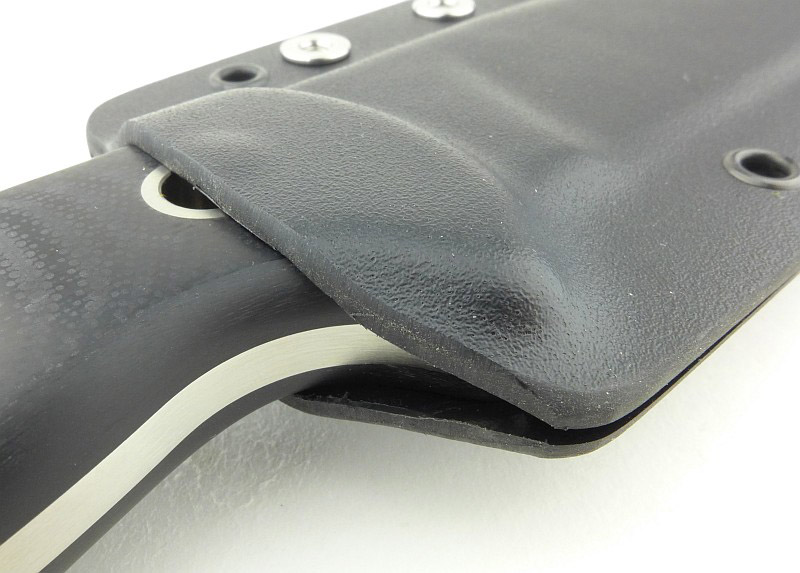
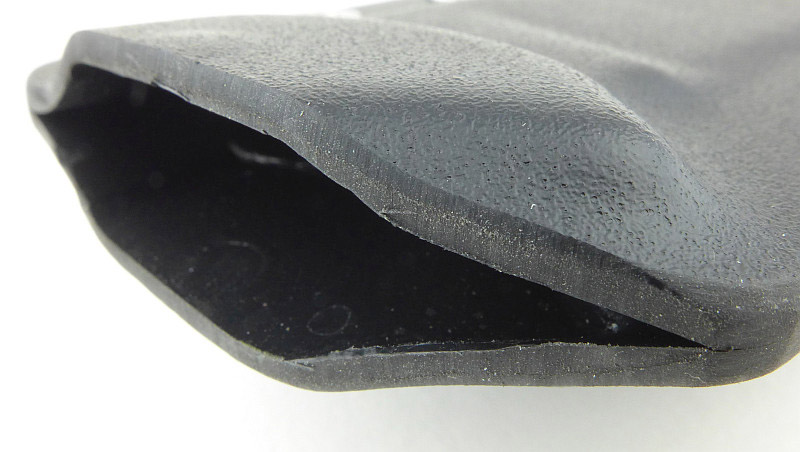
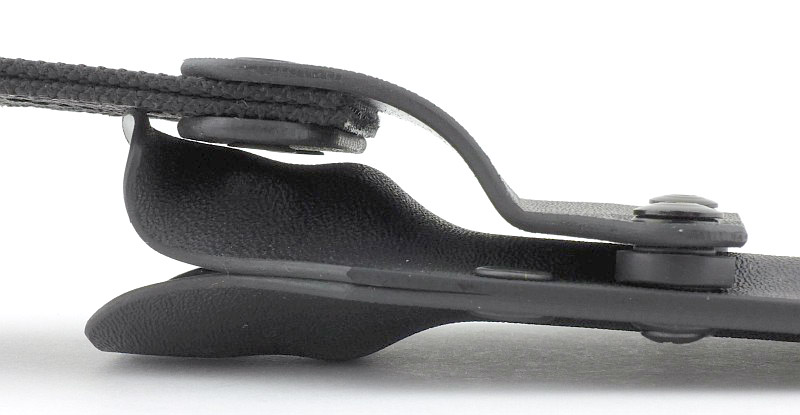
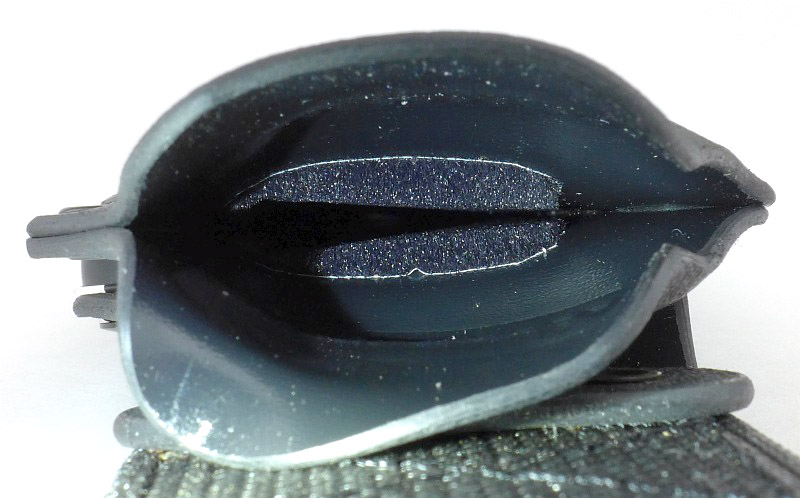
Let’s start off with a look round the sheath. The belt loop looks like normal nylon webbing, however, the loop is actually very stiff and holds its shape.
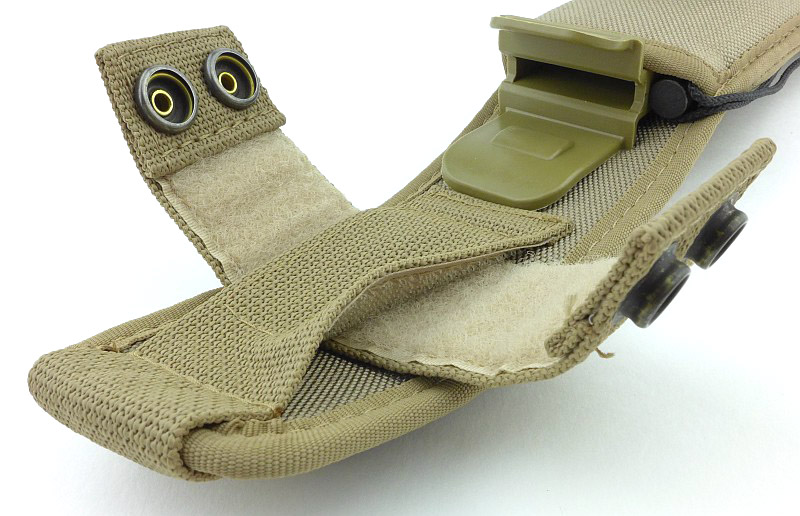
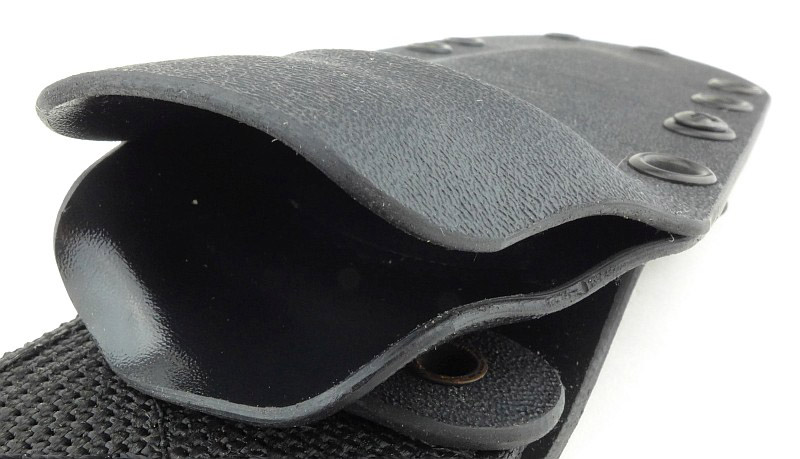
The Kydex lips have been shaped and finished well, so unlike many Kydex sheaths there is no additional finishing required to ensure a smooth operation.
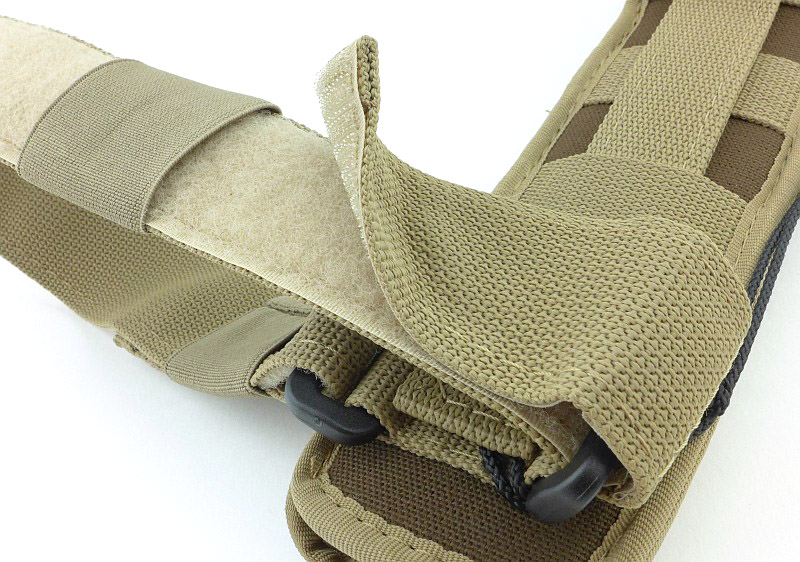
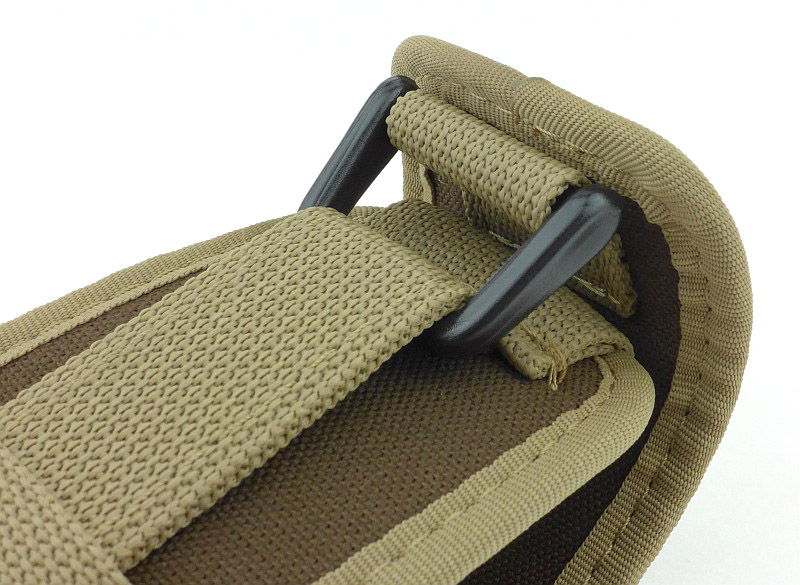
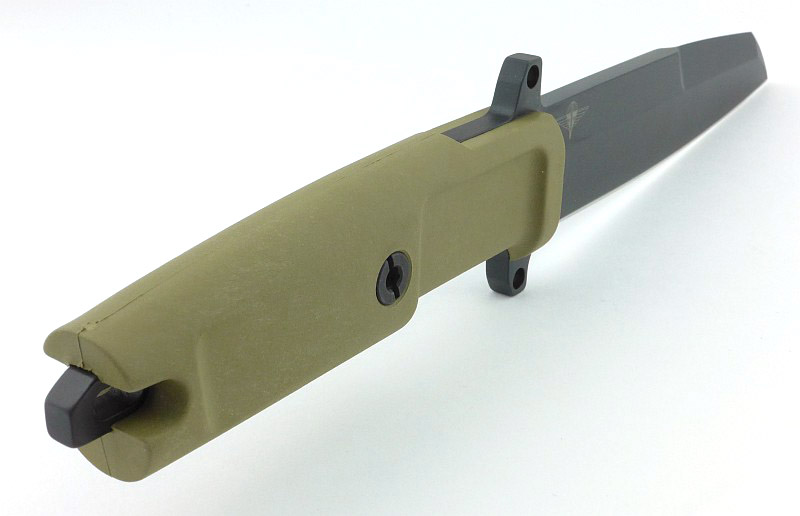
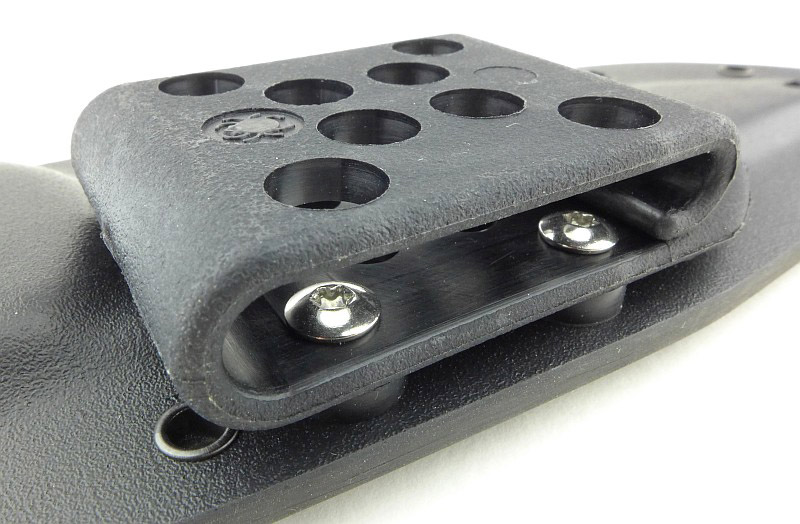
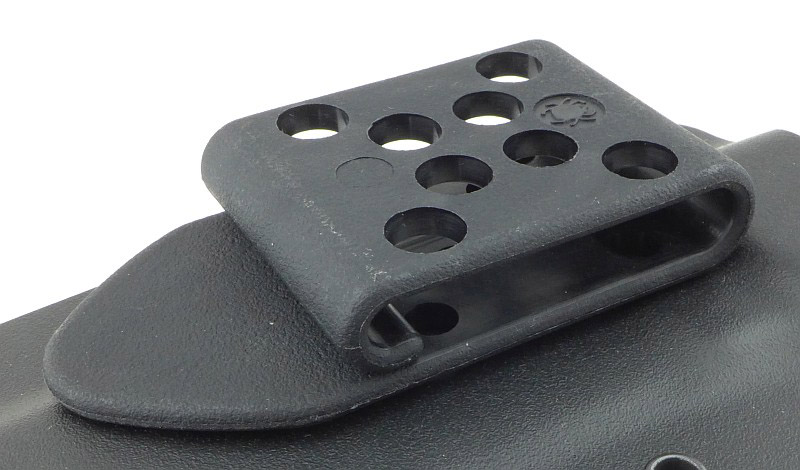
That stiff webbing belt loop is not fitted directly to the sheath, but instead to a hanger which is then bolted onto the sheath.
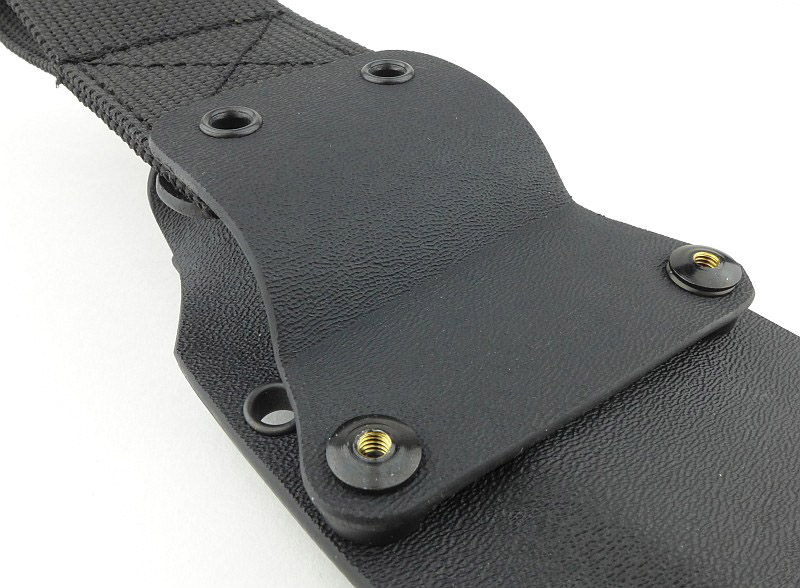
Looking from the side you can see the hanger. This allows the user to adjust or remove the belt loop and use another mount system.
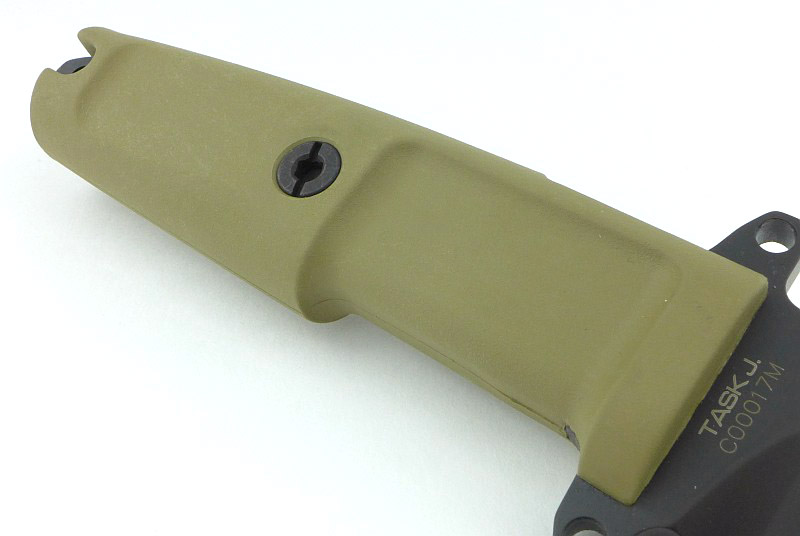
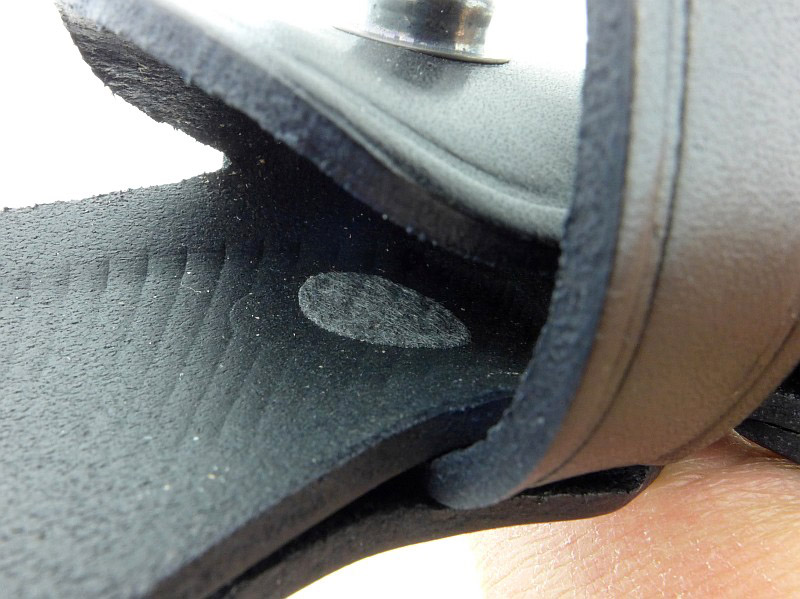
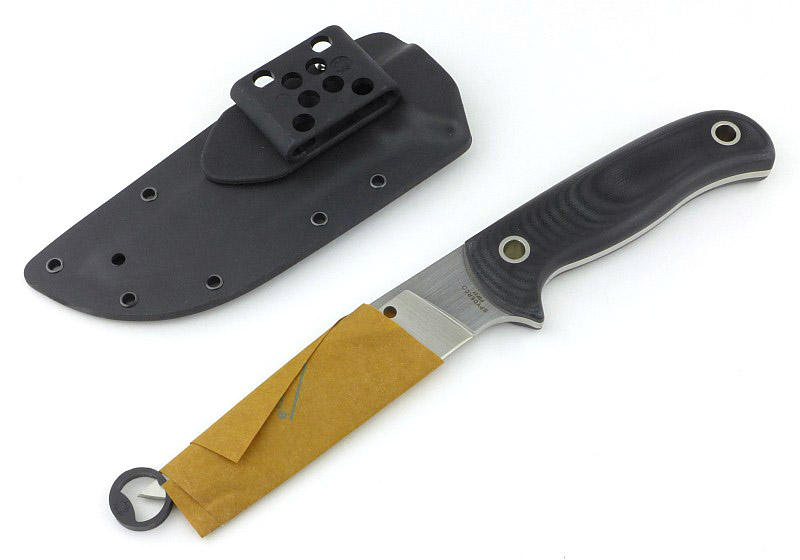
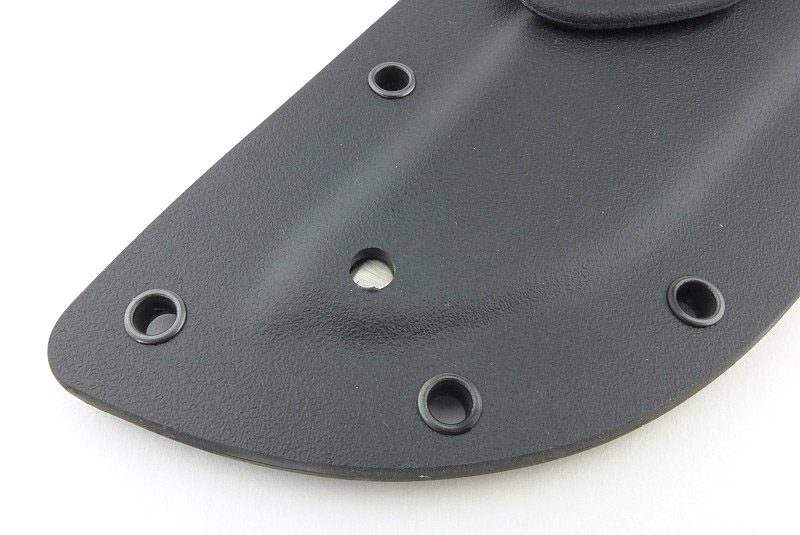
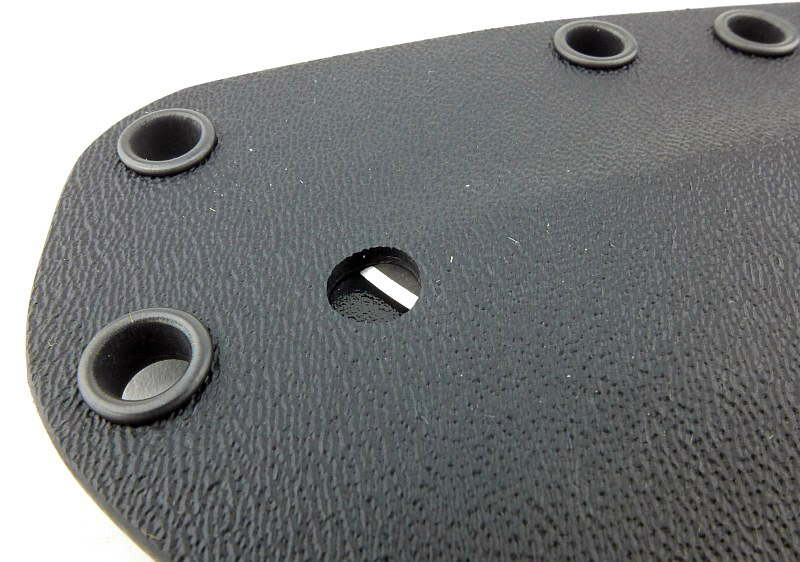
A drainage hole on the back of the sheath just shows the blade tip.
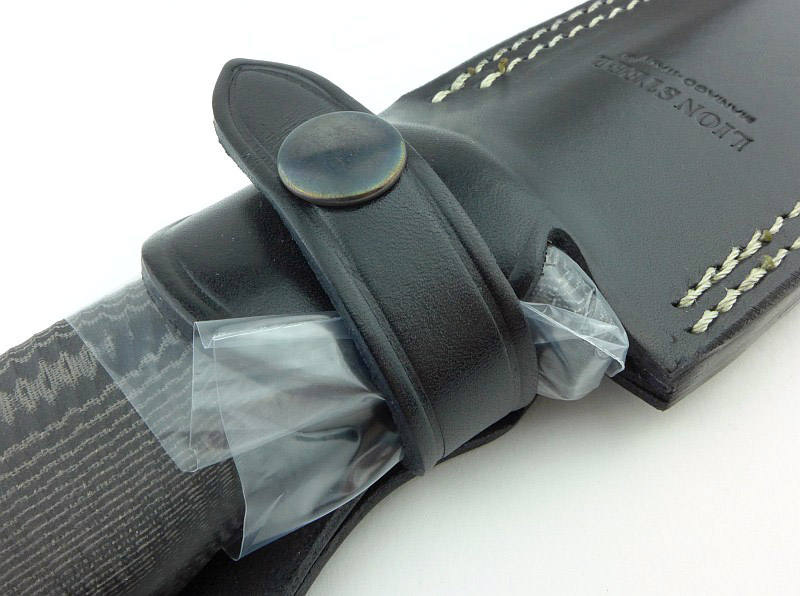
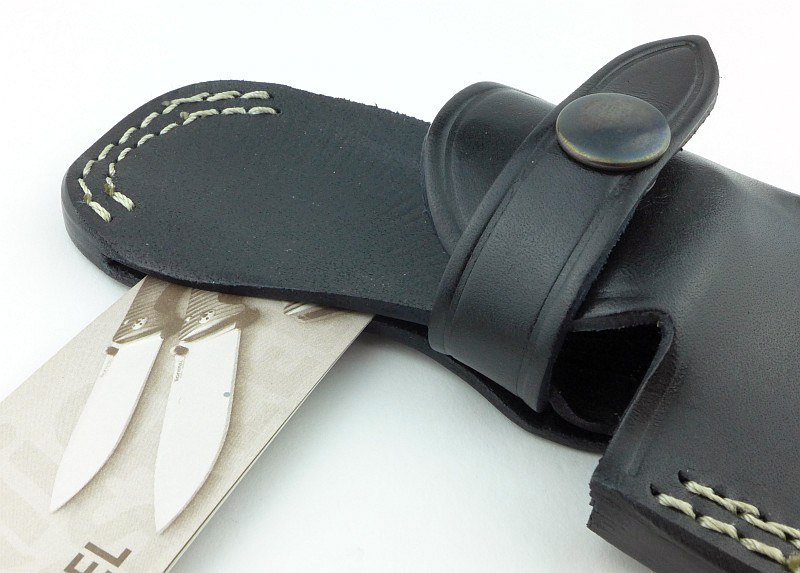
Kydex wraps the first quarter of the handle and keeps the Prepper One securely in place without making it too hard to remove.
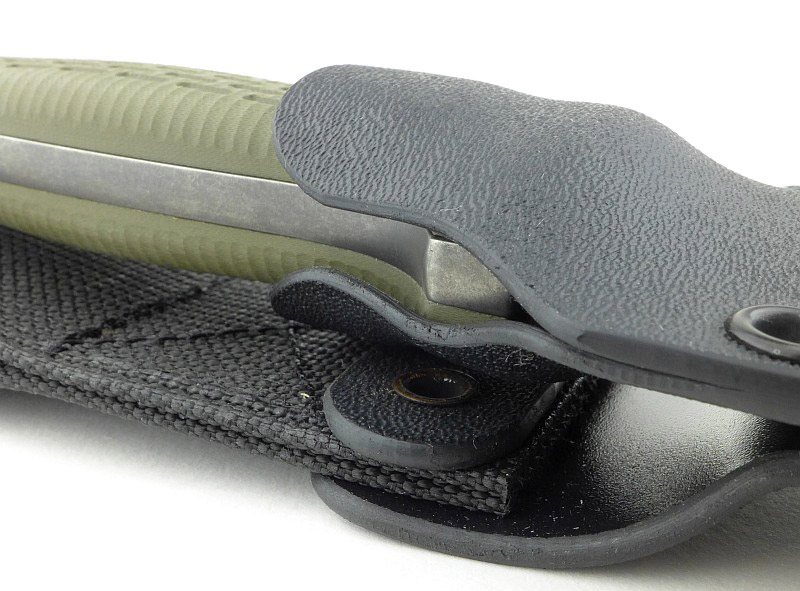
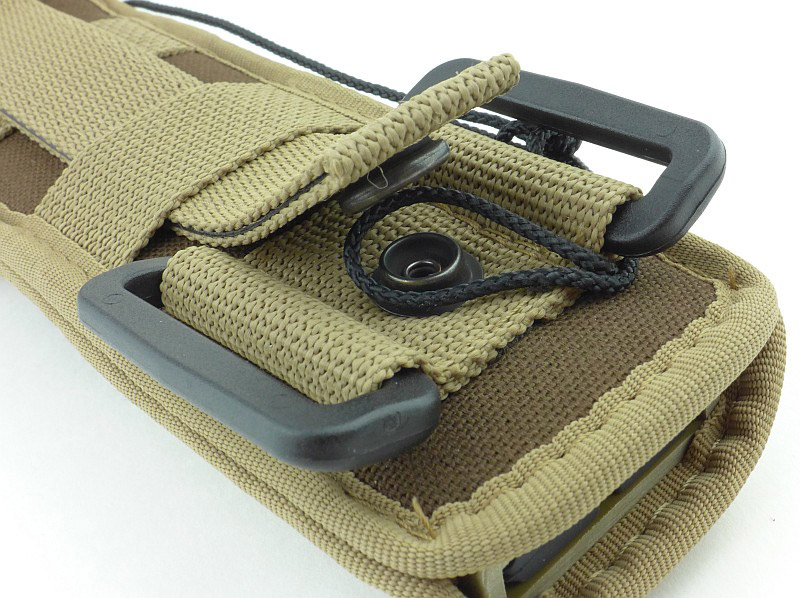
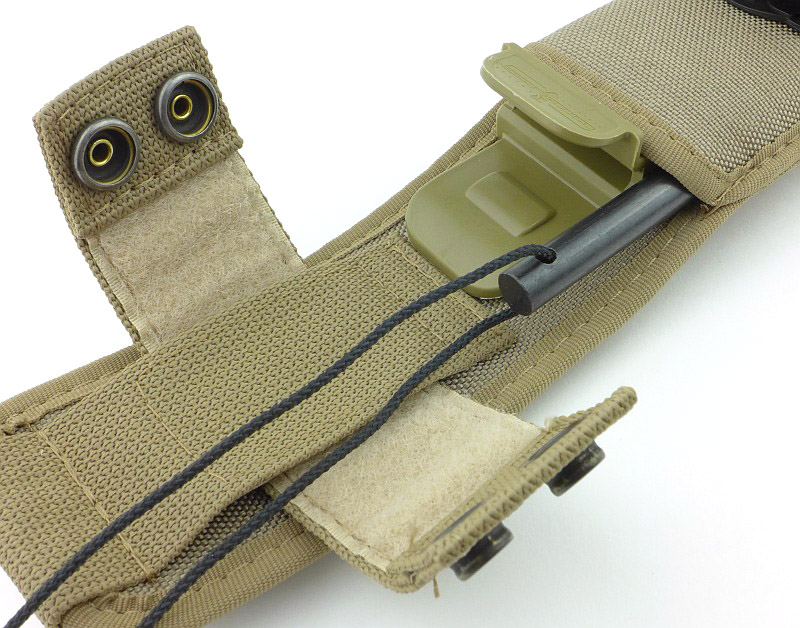
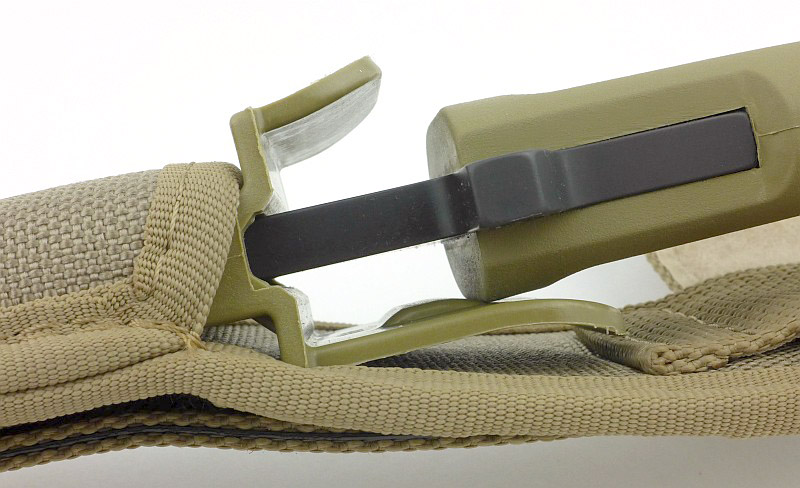
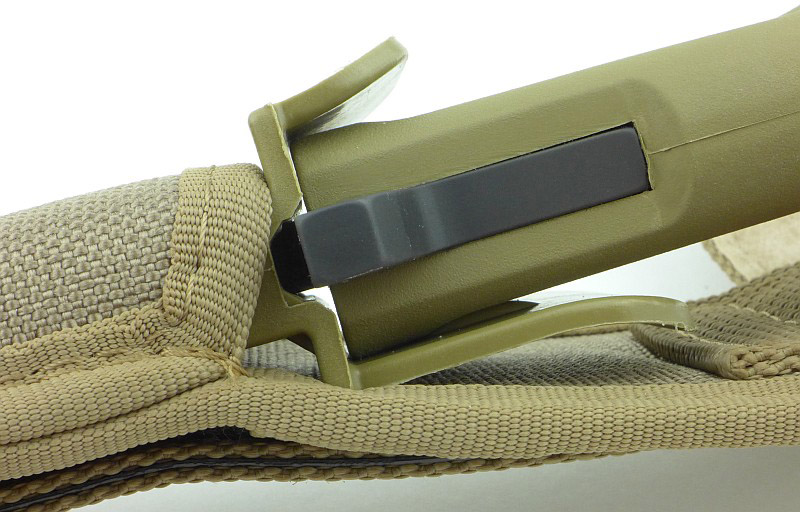
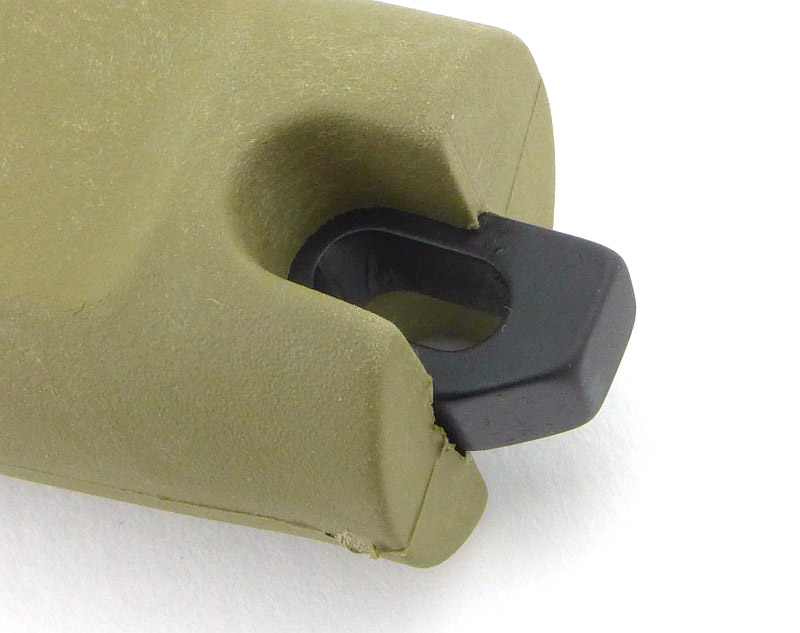
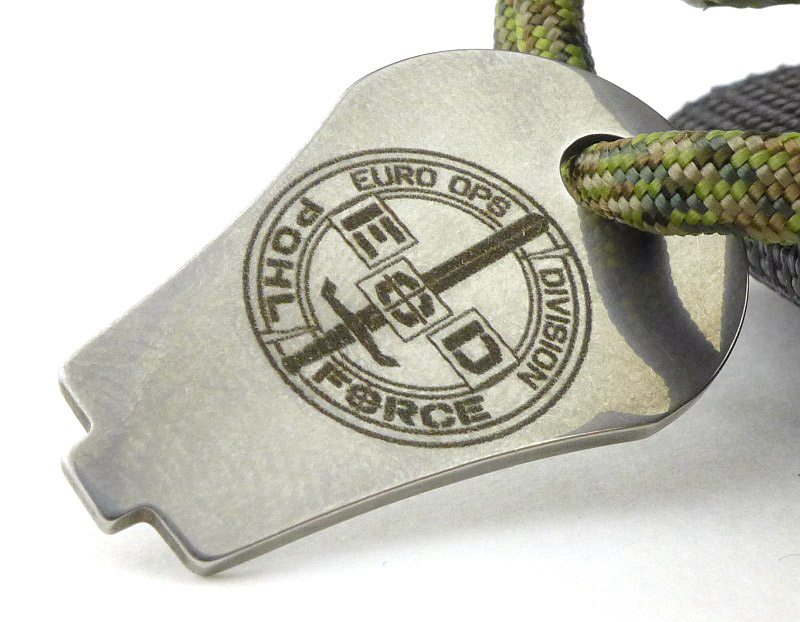
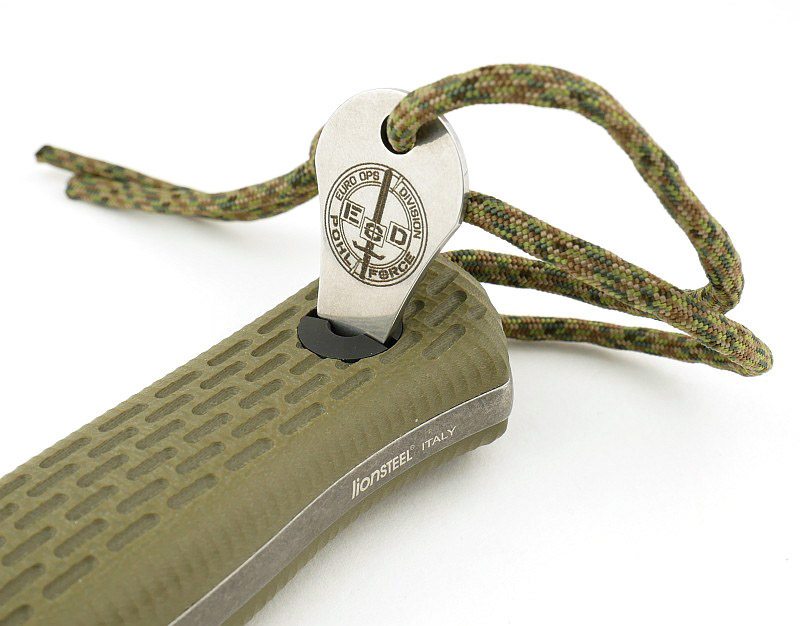
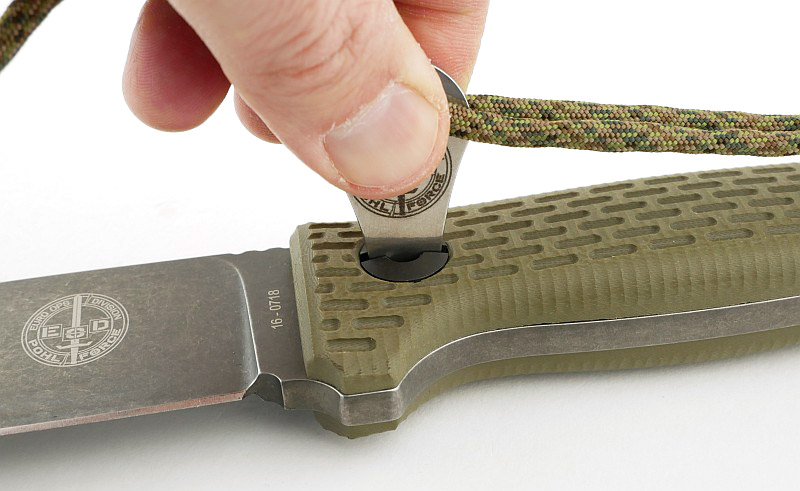
Ah, now, here is something we didn’t see earlier. There is a flat ‘key’ fitted to the lanyard
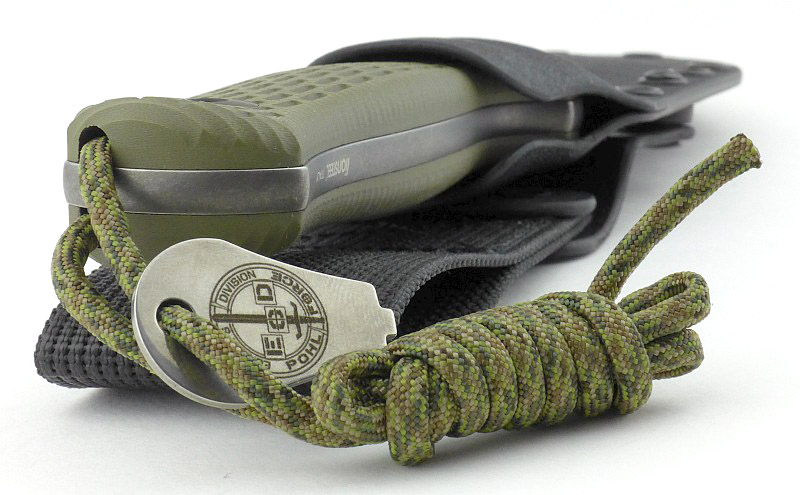
This is going to give us access to the hollow handle.
Before moving on, taking a torch and peering into the sheath we can see why the Prepper One has no hint of sheath rattle, there is a flocked velvet liner which keeps the sheath nice and quiet.
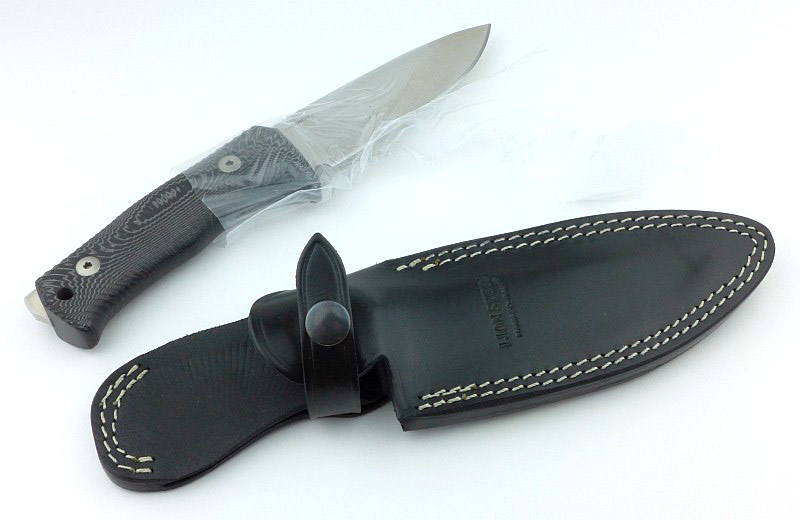
And onto the knife itself…

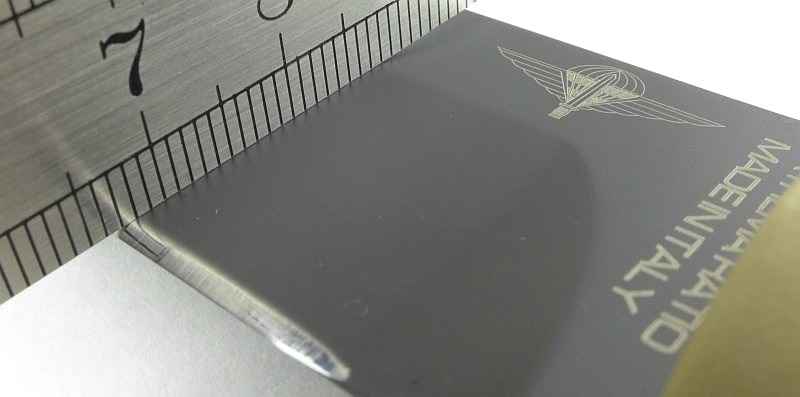
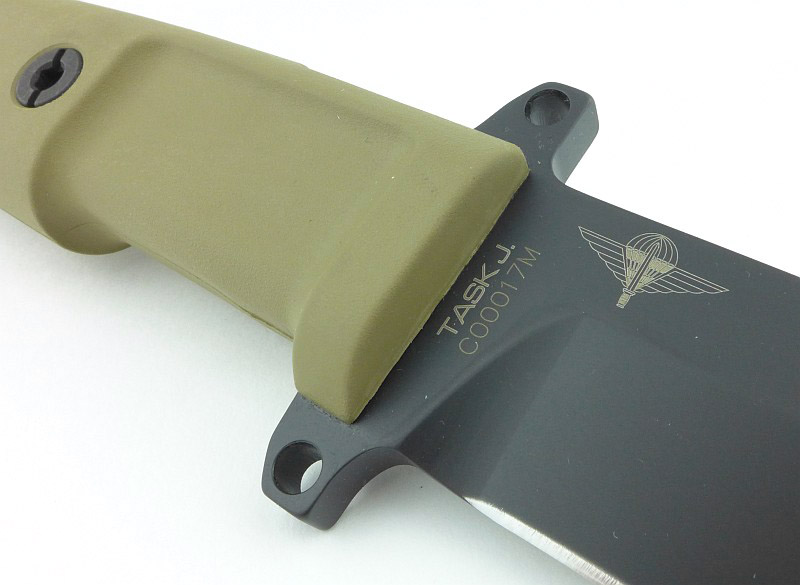
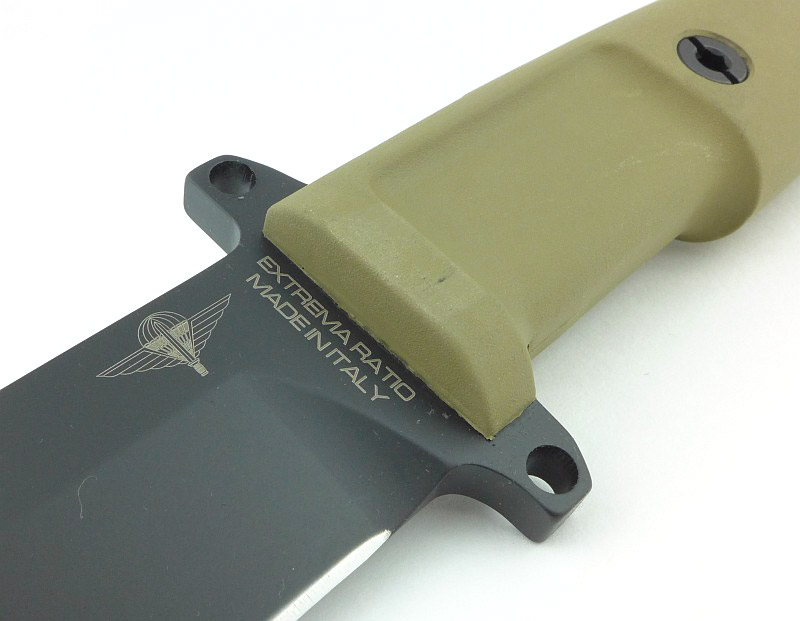
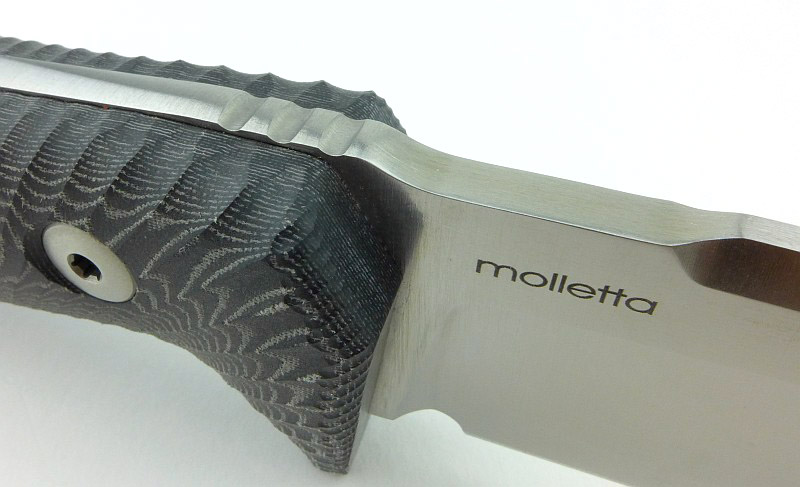
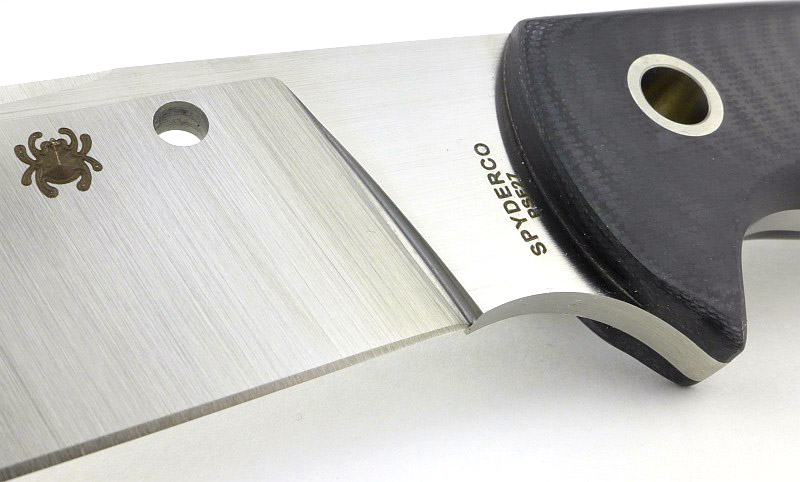
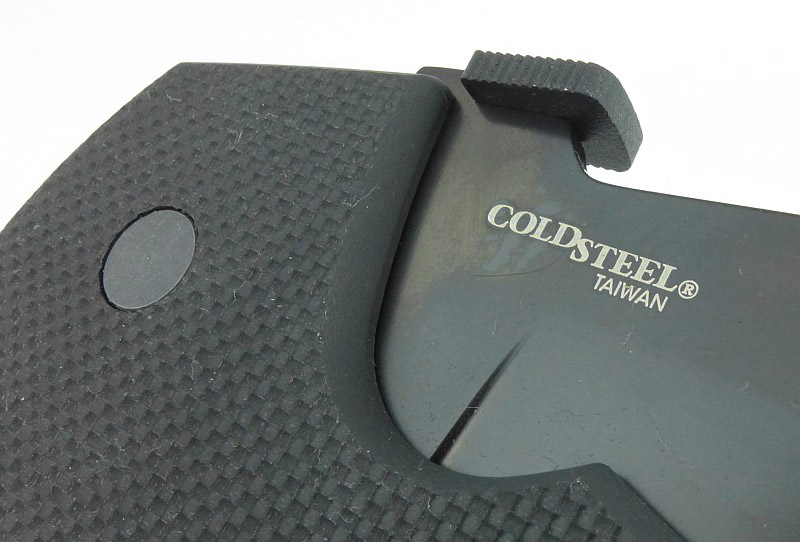
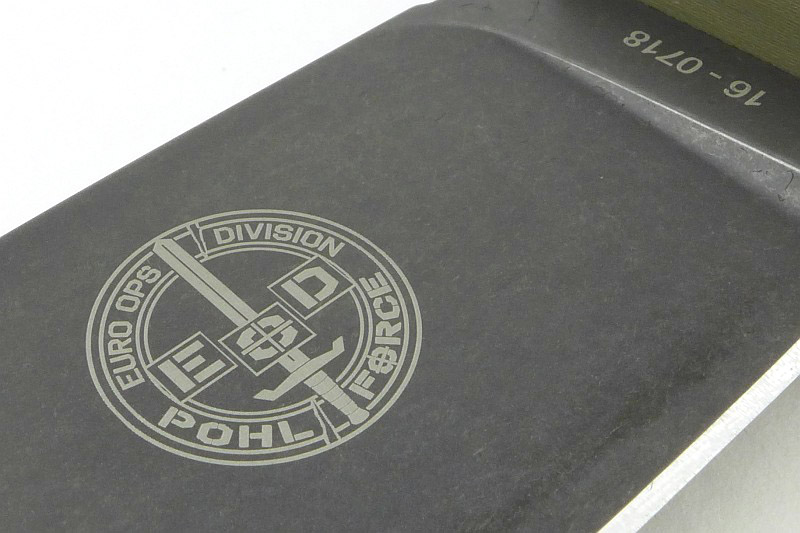
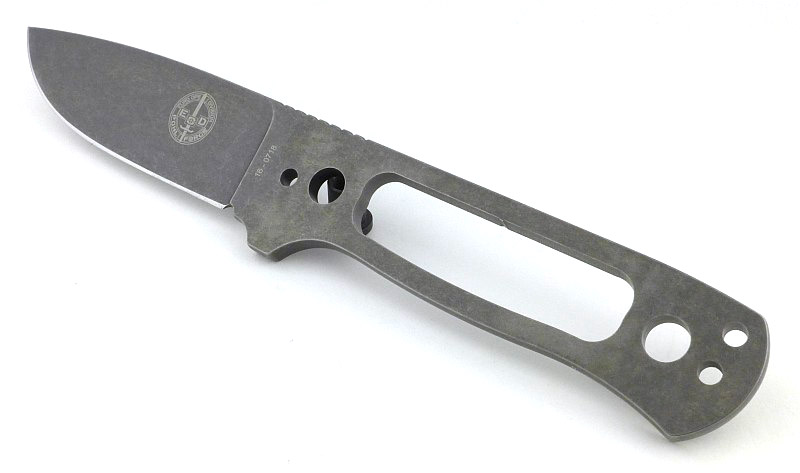
Pohl Force’s logo is cleanly engraved on the blade and the serial number on the ricasso.
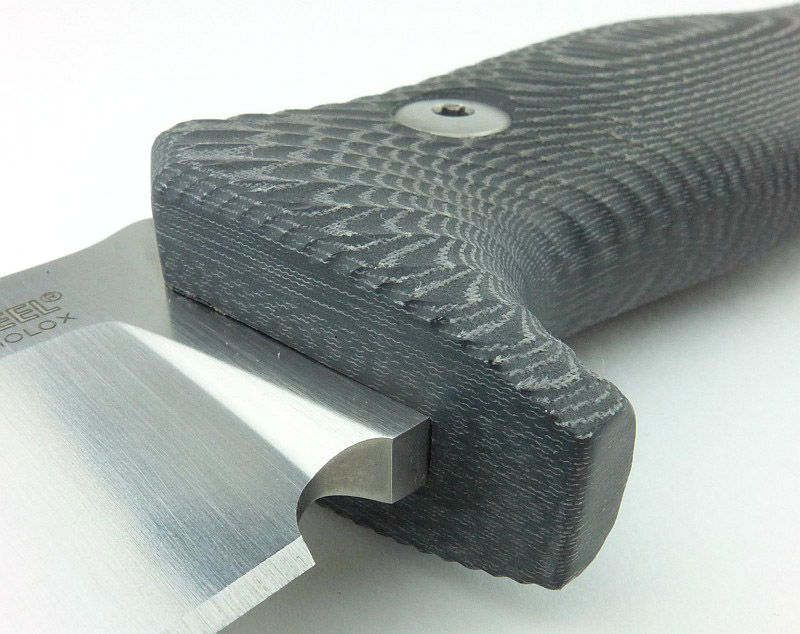
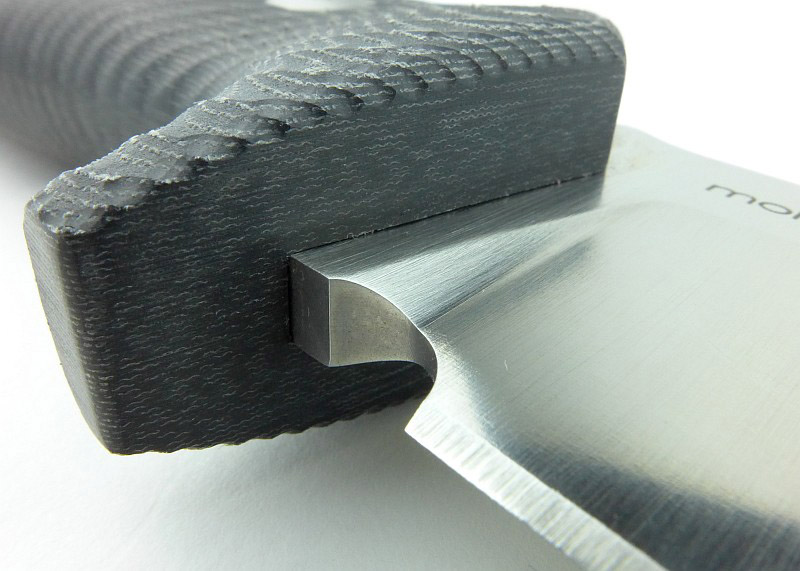
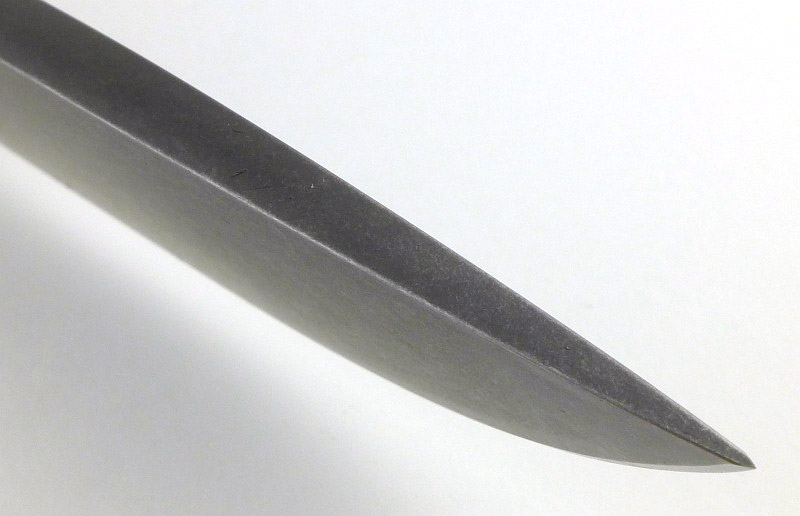
A small sharpening choil sits at the end of the radiused plunge line.
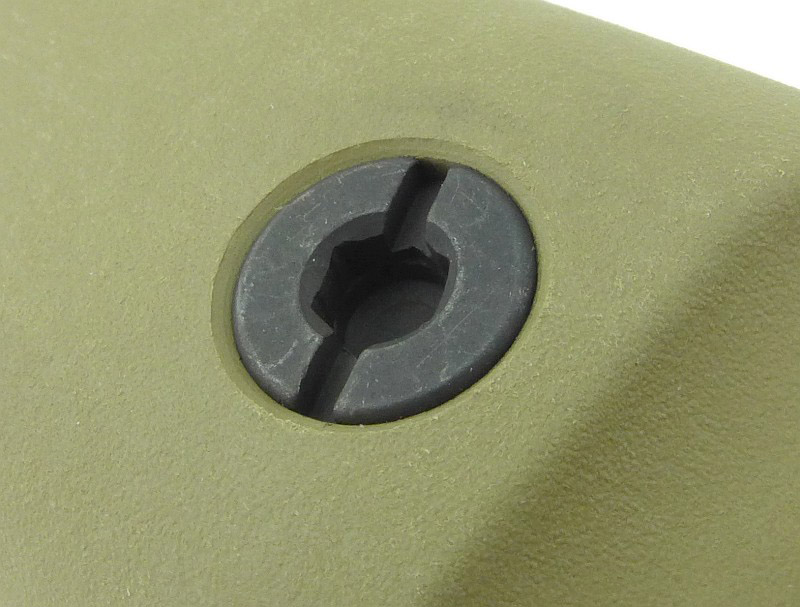
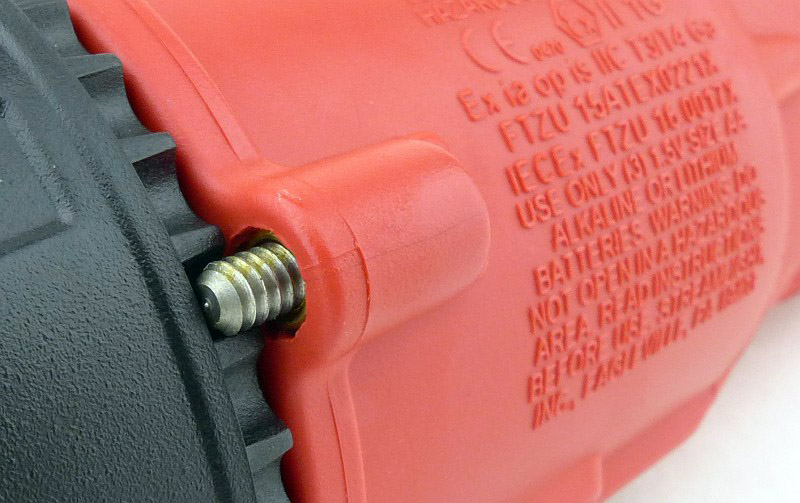
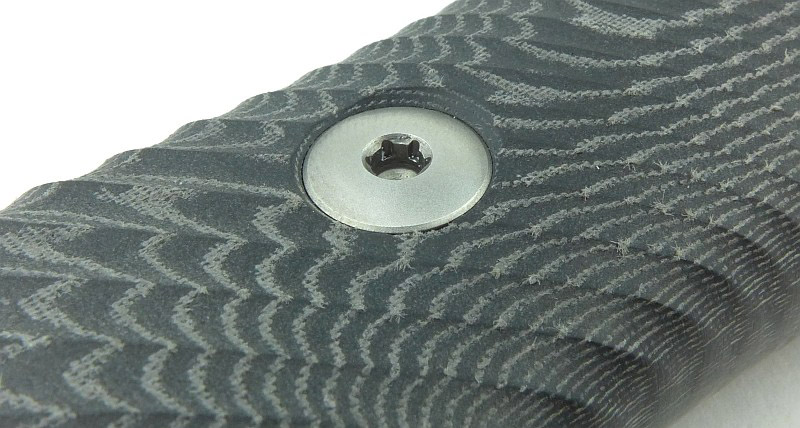
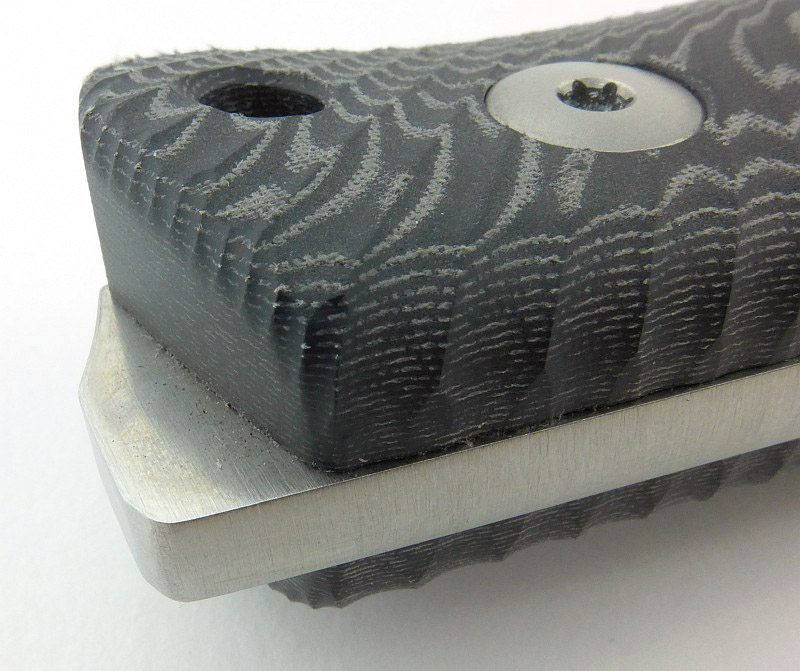
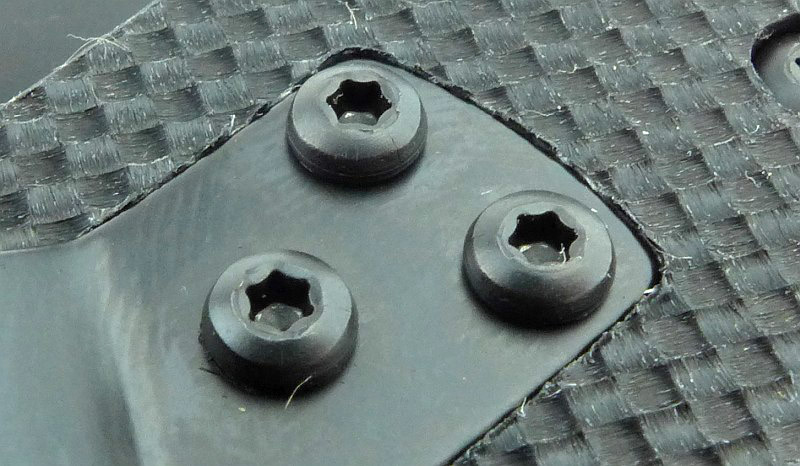
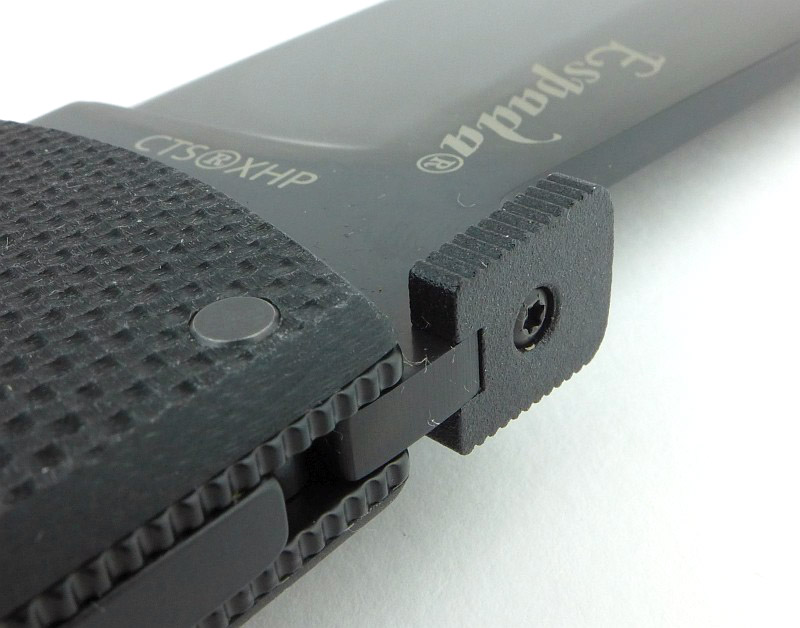
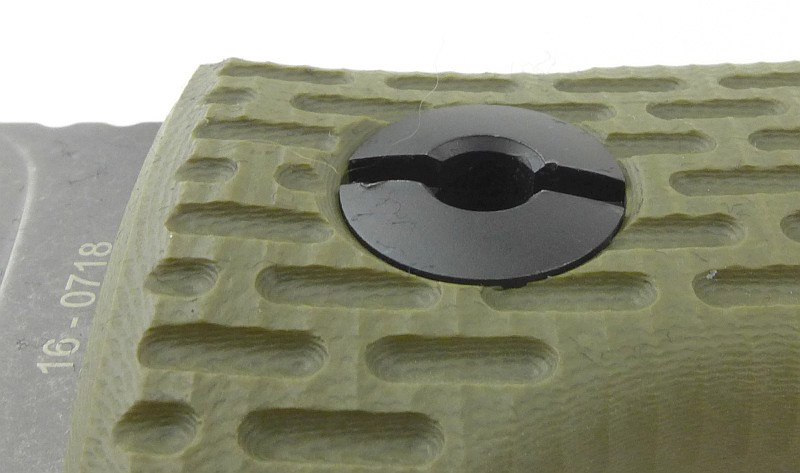
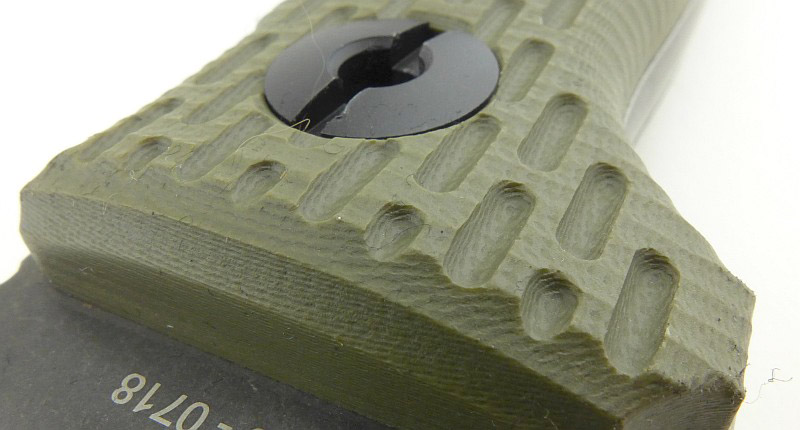
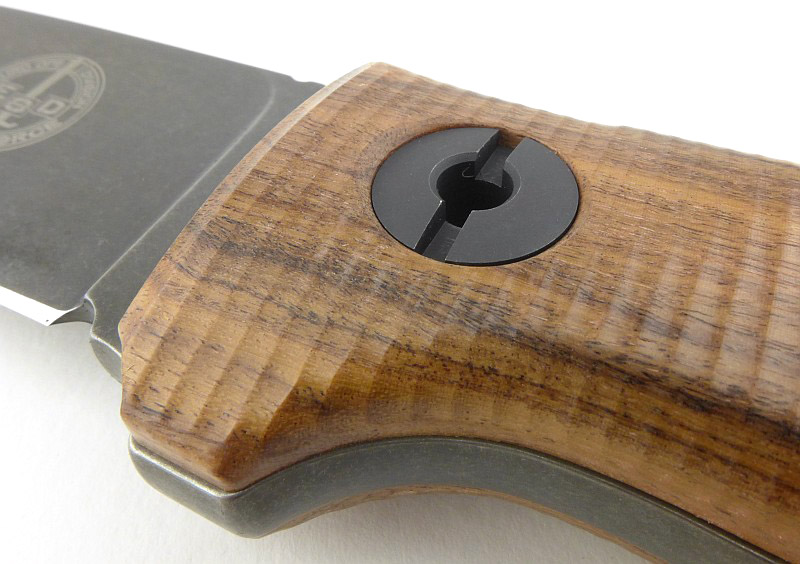
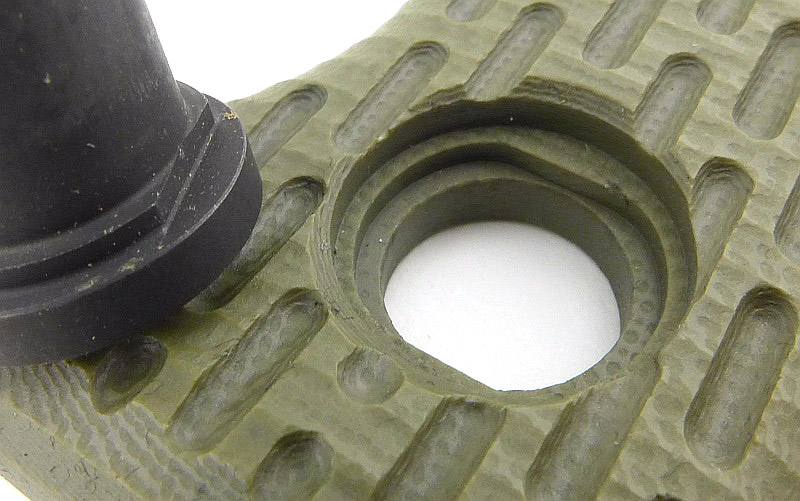
One of the large handle bolts. On this side, there is a large slot.
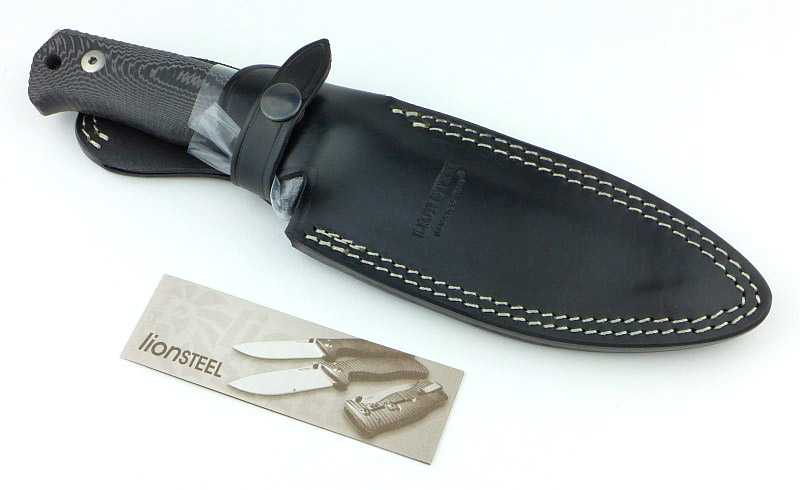
Pohl Force’s partner in the production of the Prepper One (amongst others) is Lionsteel, well known for their quality of manufacture.
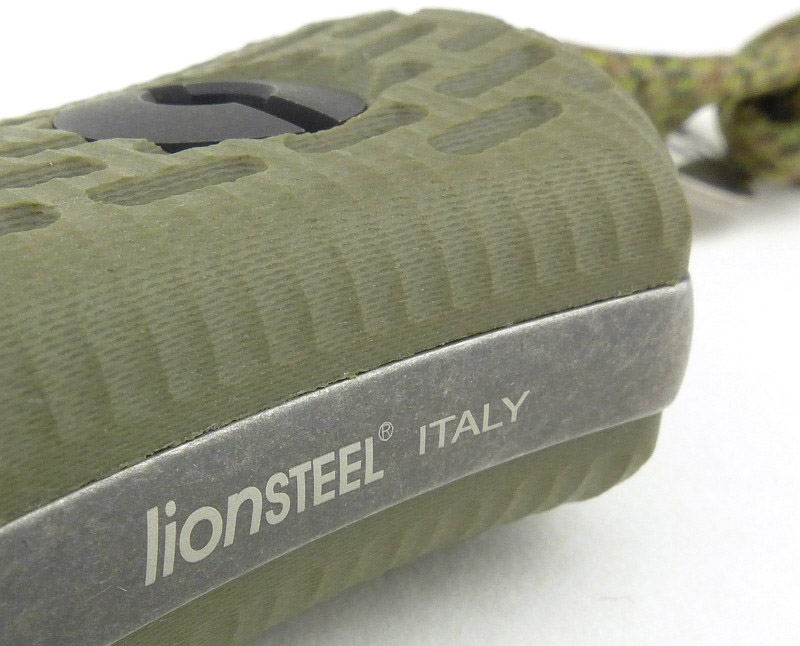
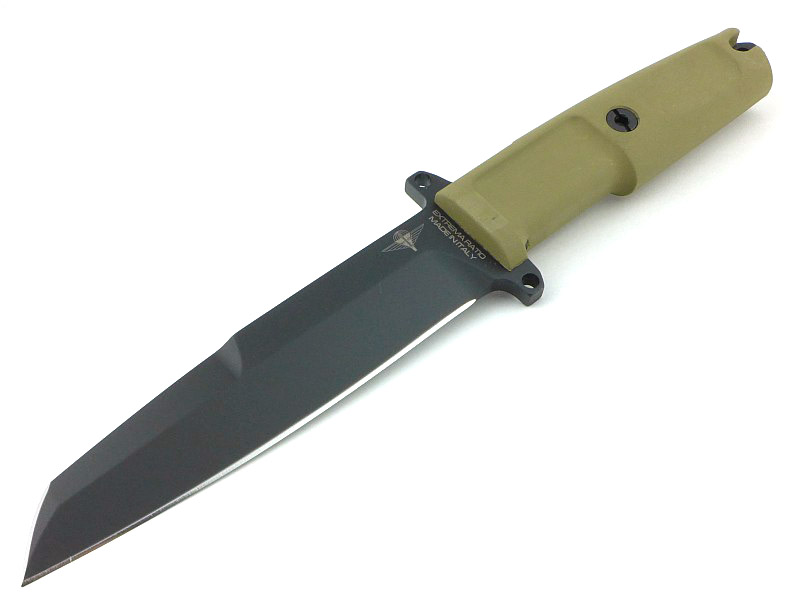
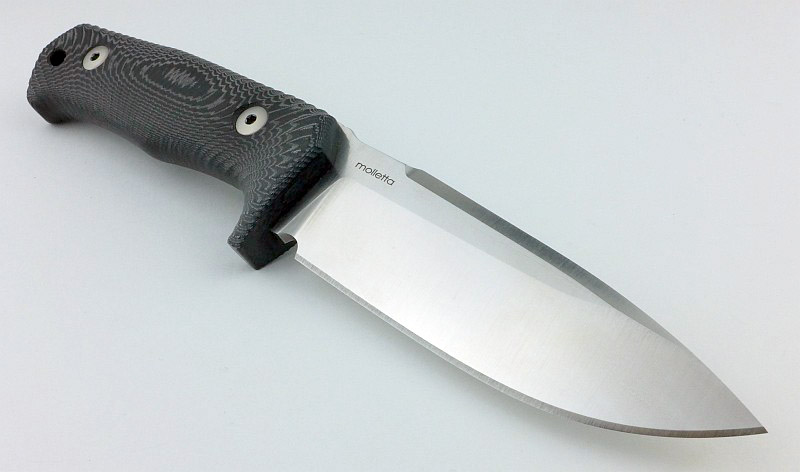
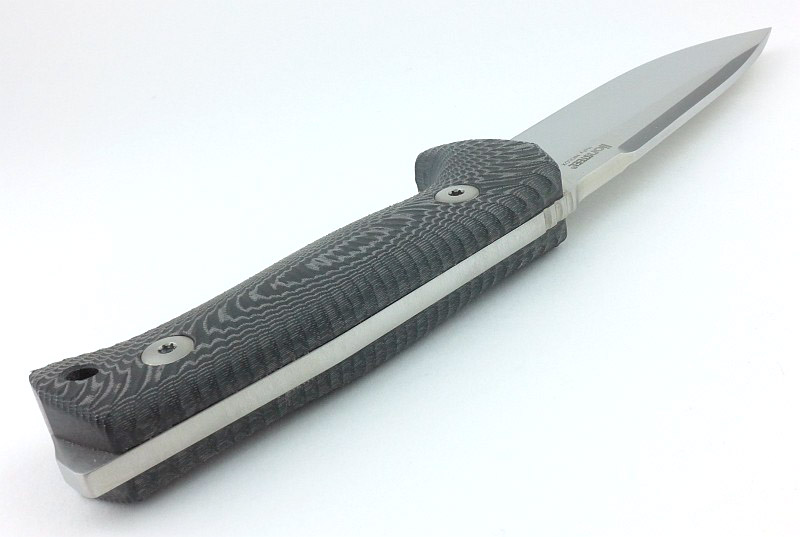
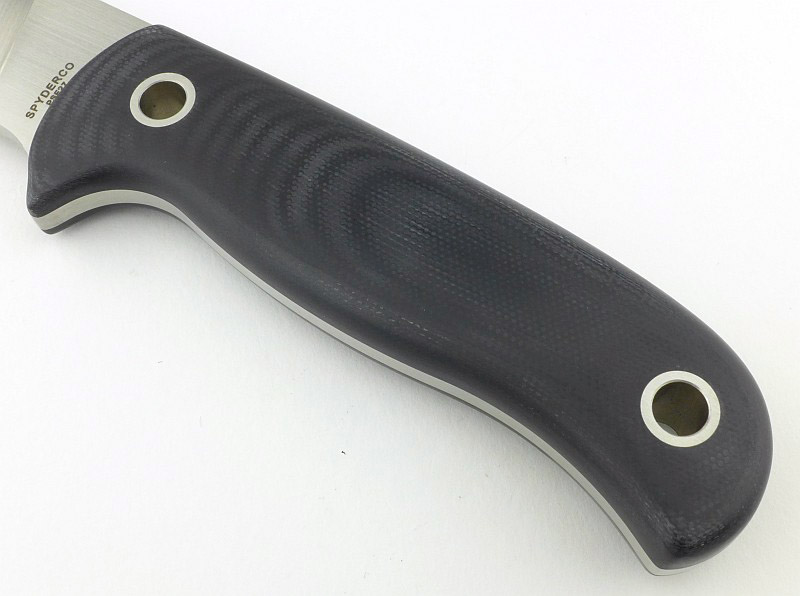
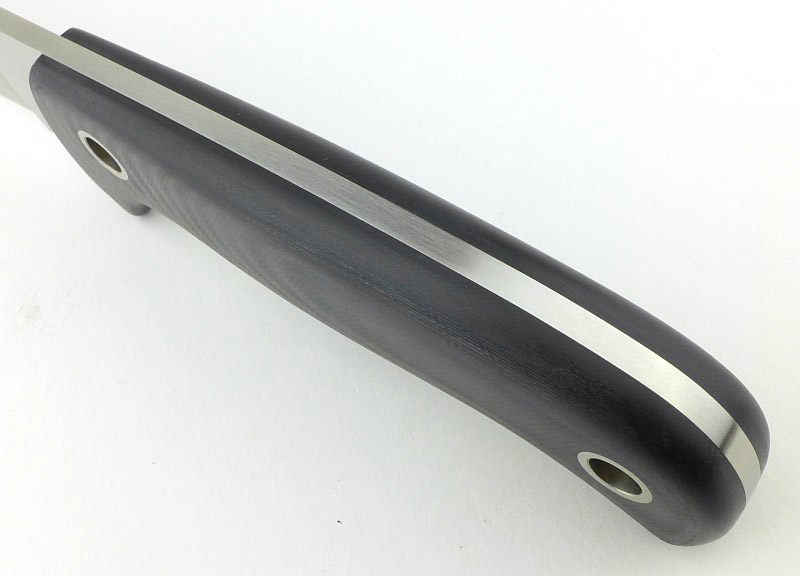
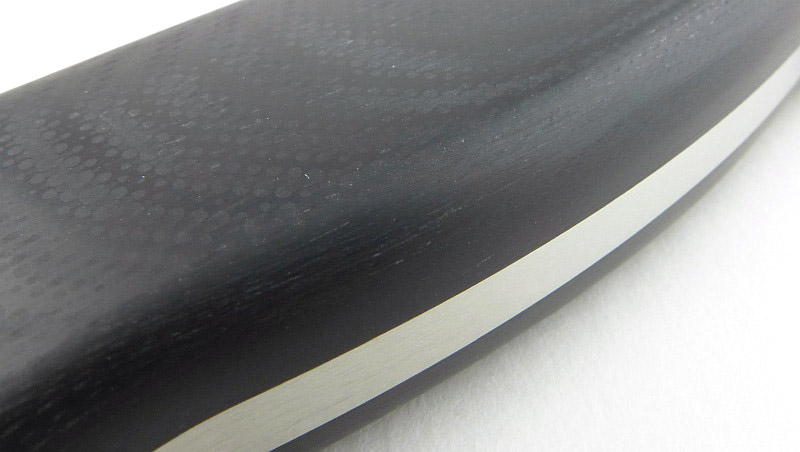
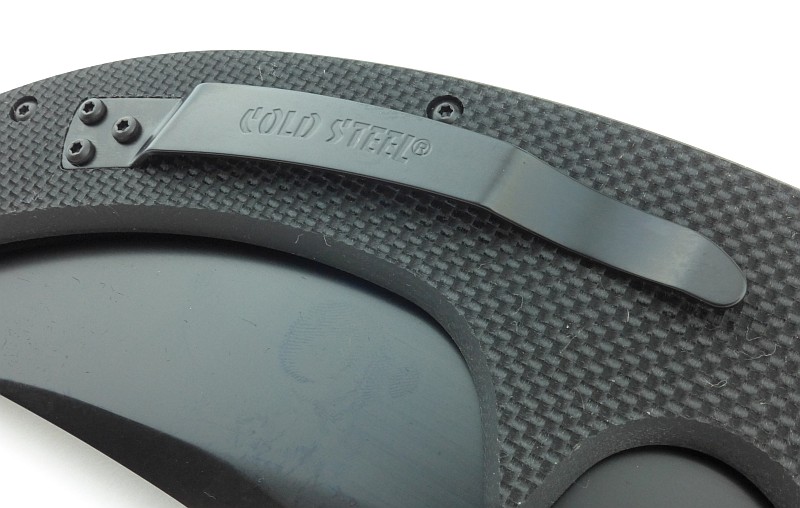
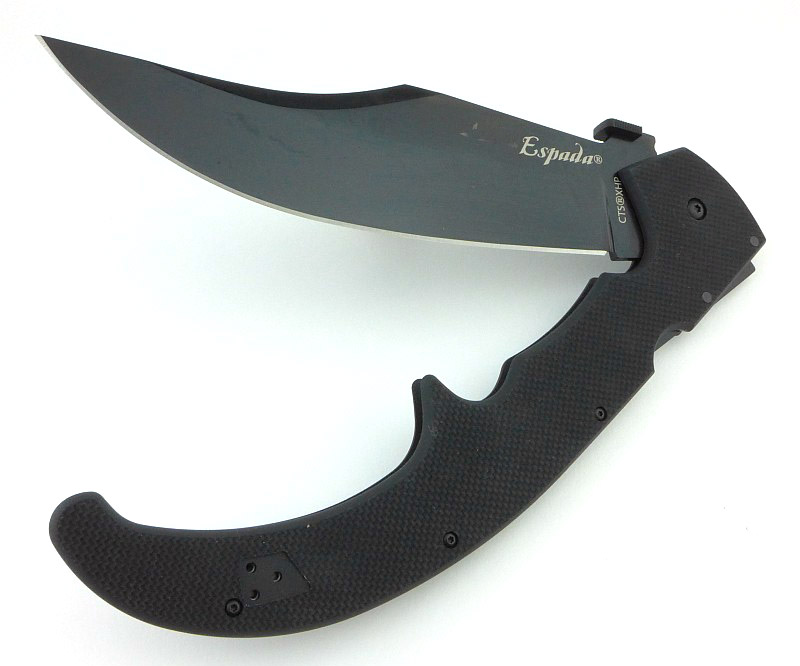
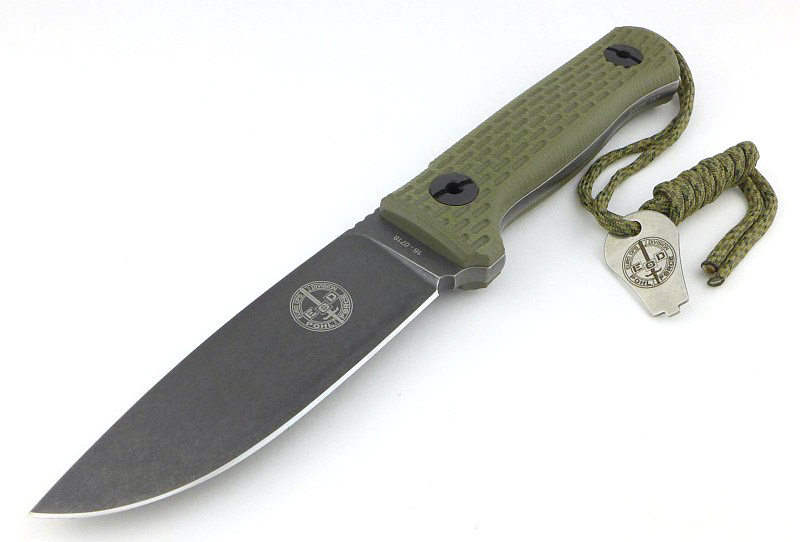
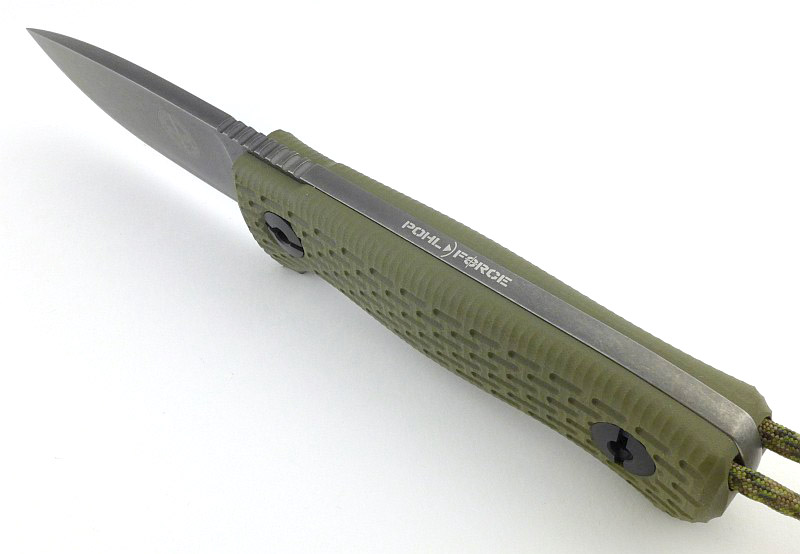
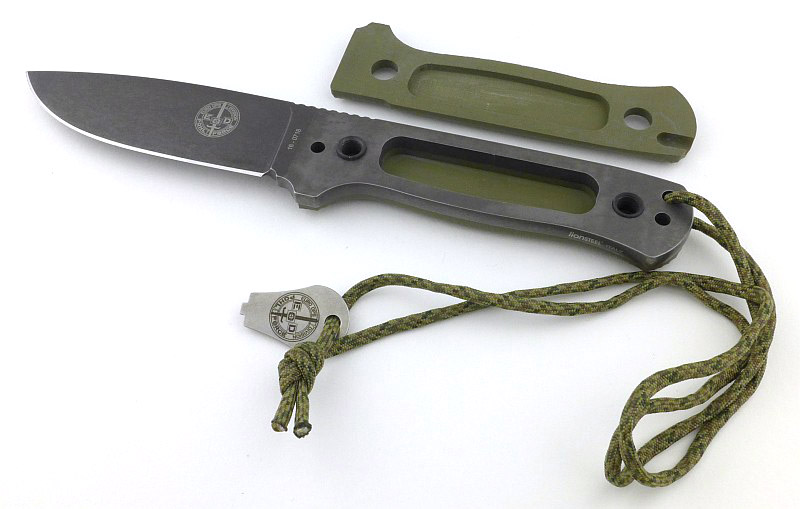
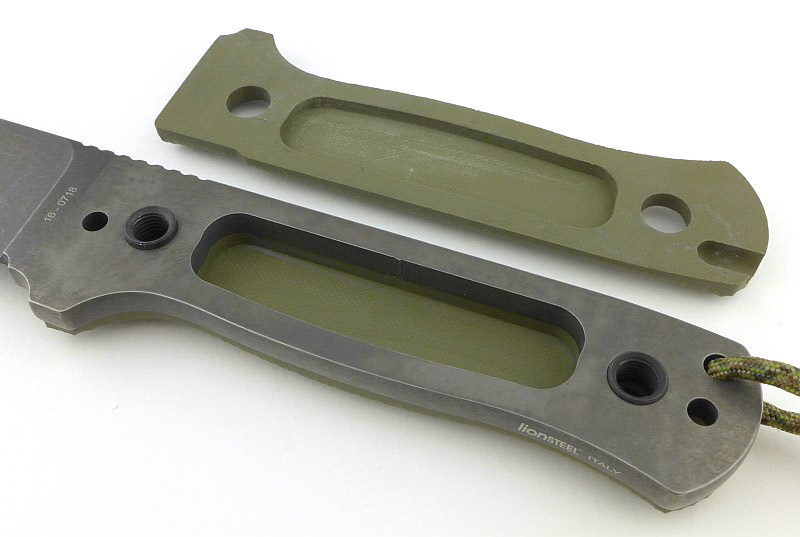
Fitted with the original G10 handle scales, the Prepper One Tactical uses a OD Green colour.
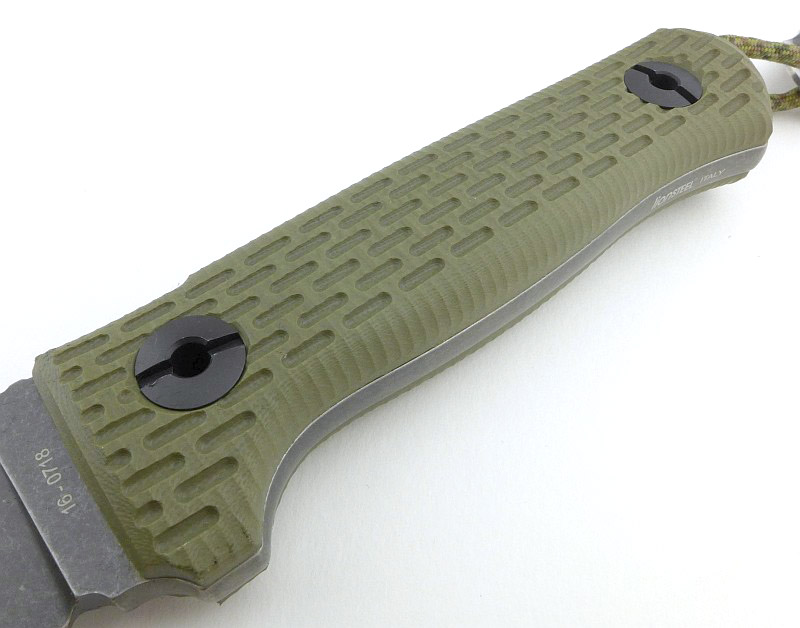
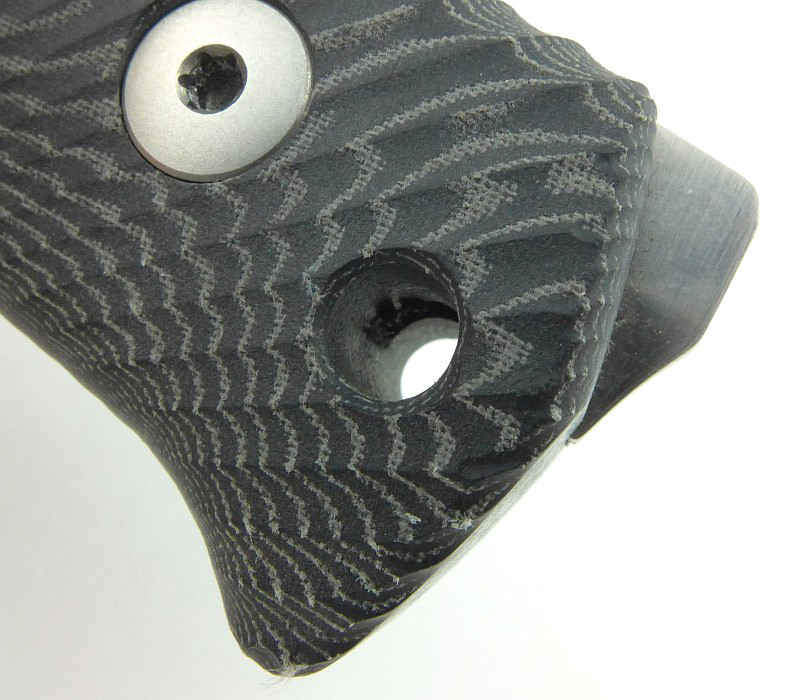
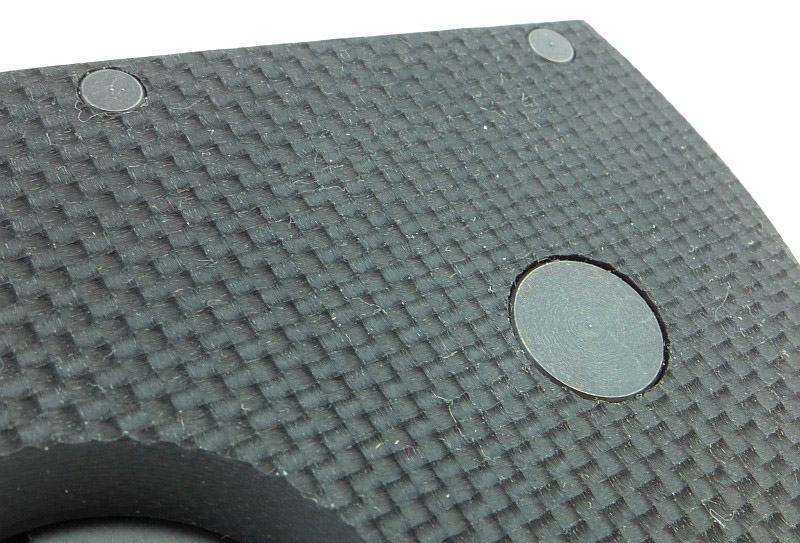
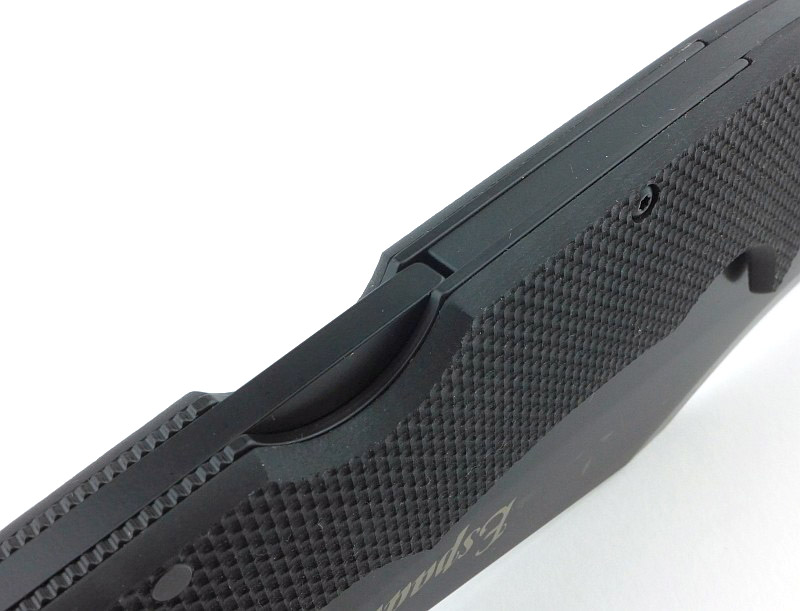
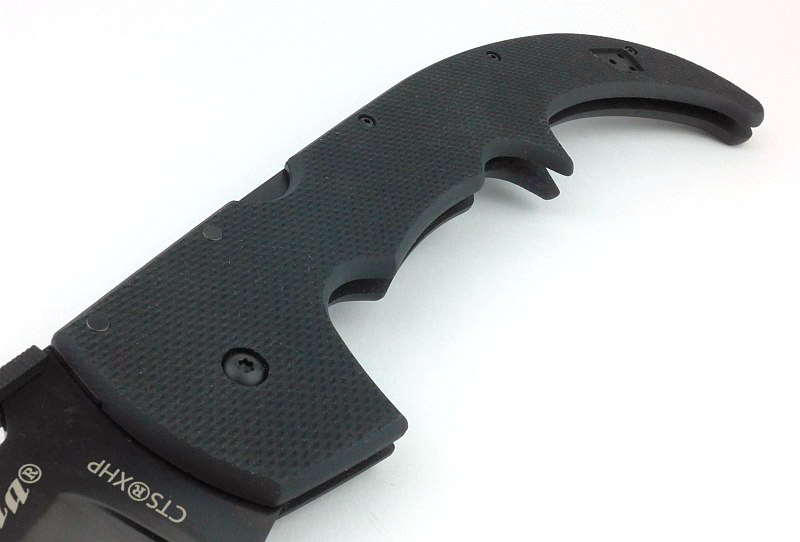
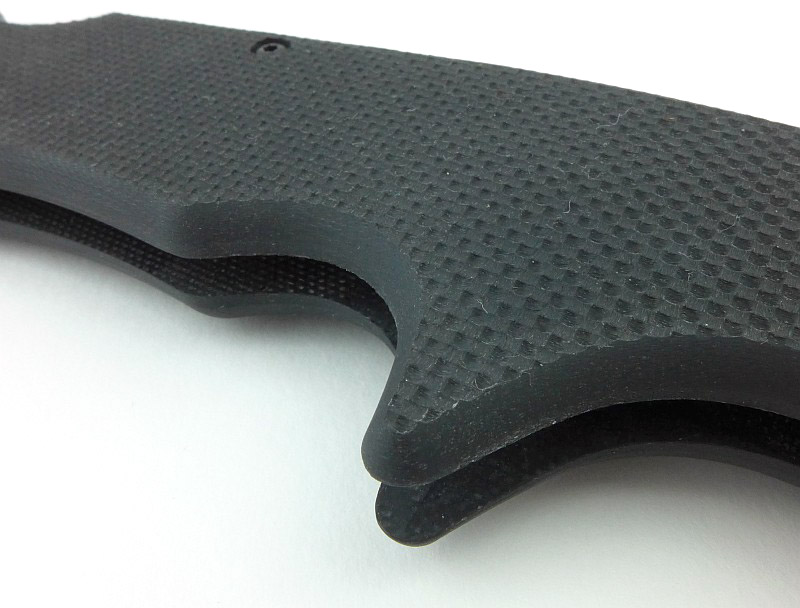
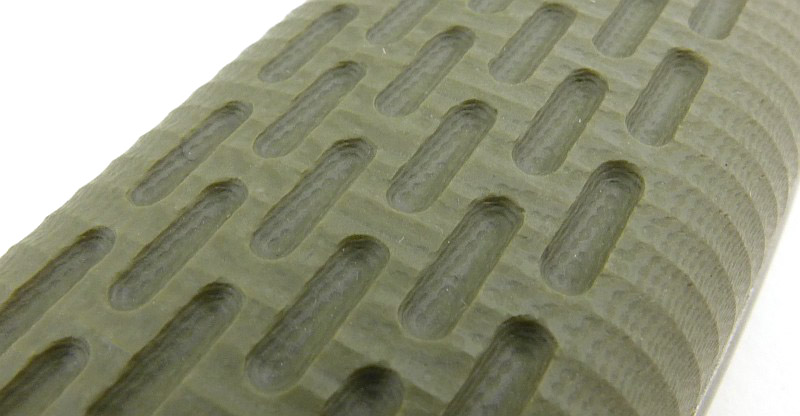
A series of offset longitudinal grooves machined into the surface makes for a very secure grip, even in slippery conditions.
Another look at the grip texturing at the guard.
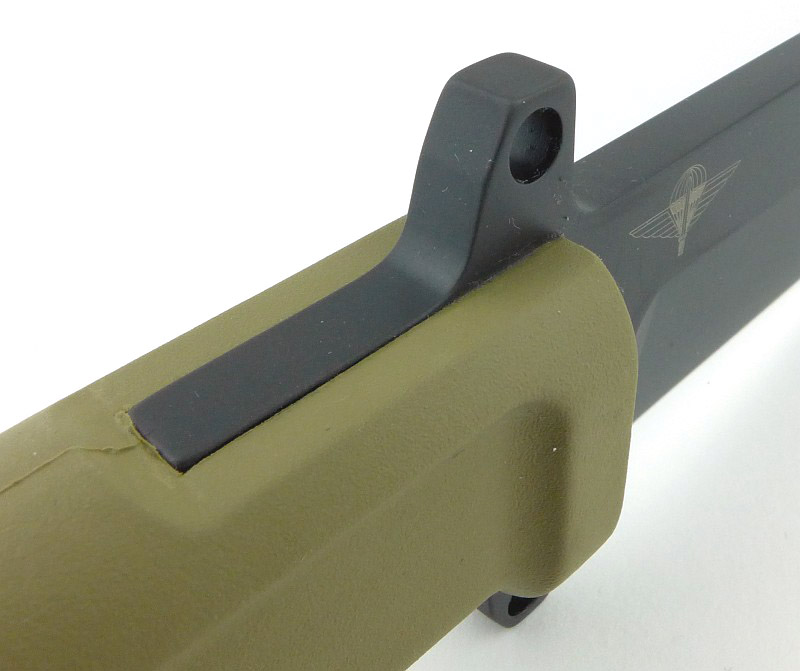
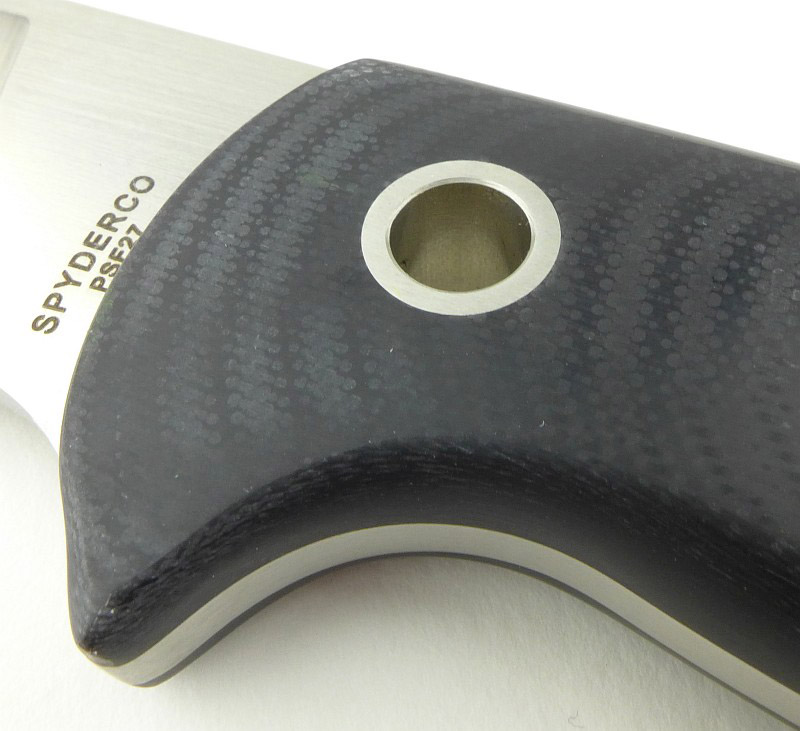
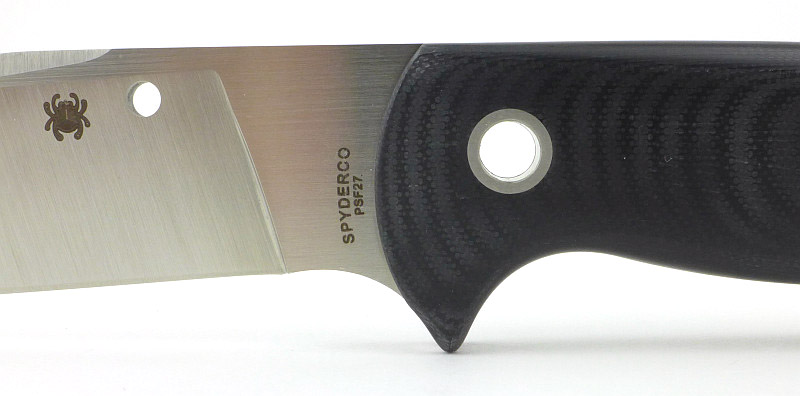
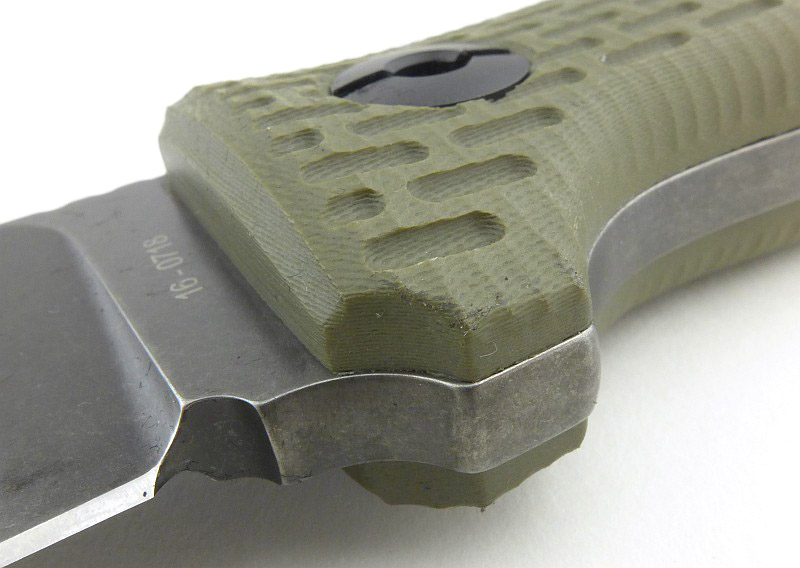
Both the tang, and handles make up the Prepper One’s guard.
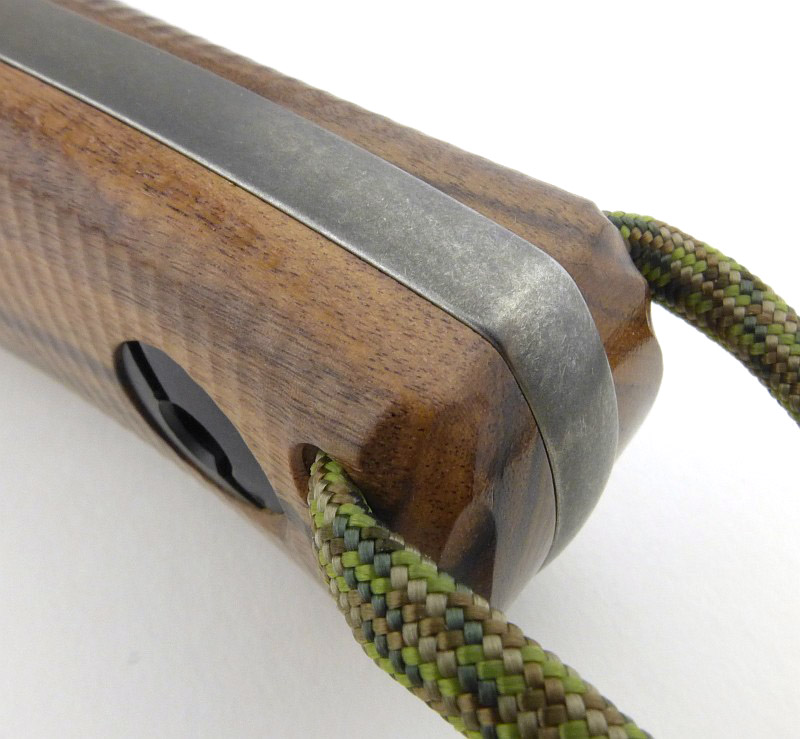
Made possible by the G10 handle material, and the fact both the inner and outer surfaces need to be machined anyway, the lanyard (which passes through the full tang) is directed backwards by a groove cut into the inner surface of each handle slab. This keeps the lanyard completely away from your hand preventing any lanyard hotspots while working with the knife. A small but very useful feature.

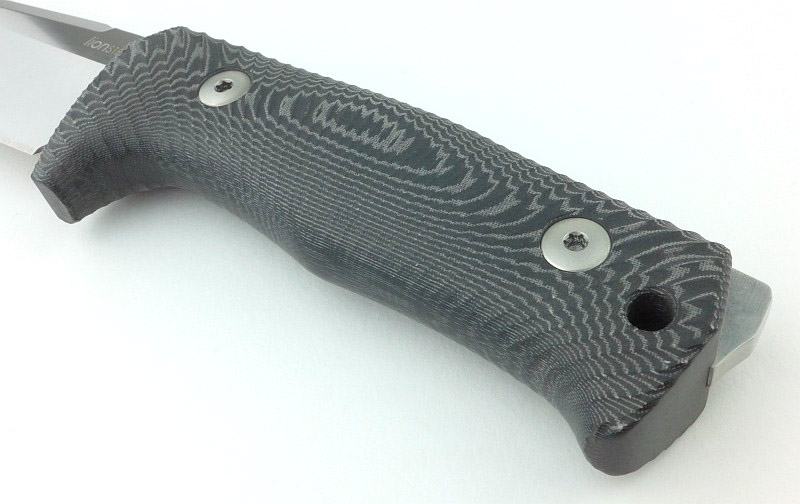
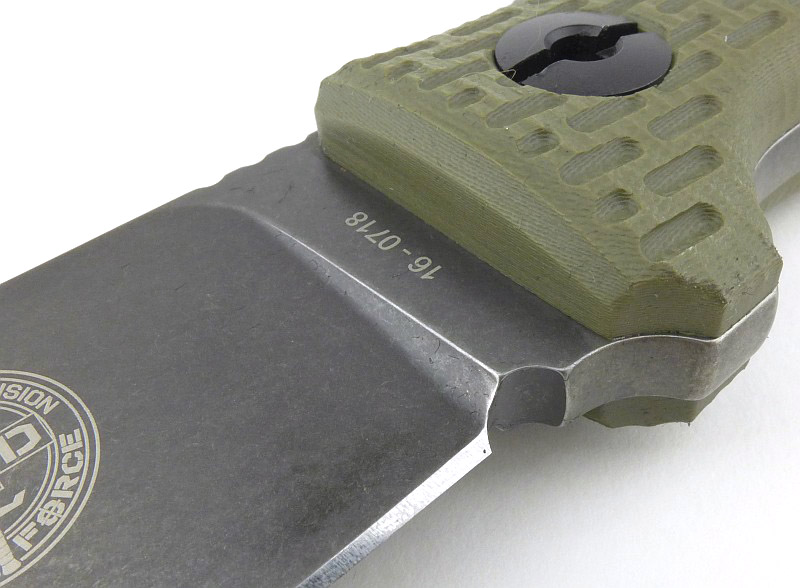
On the back of the tang there is one more engraving.
This is a hollow handle knife, but it is also a true full-tang blade as well.
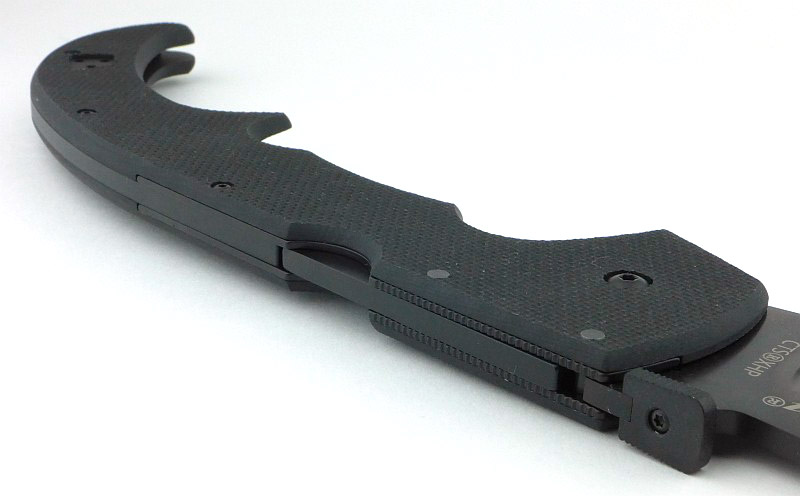
A deep section of jimping gives your thumb a comfortable and secure surface to press onto.

Niolox was chosen for its fine grain structure and super stain-resistant properties.
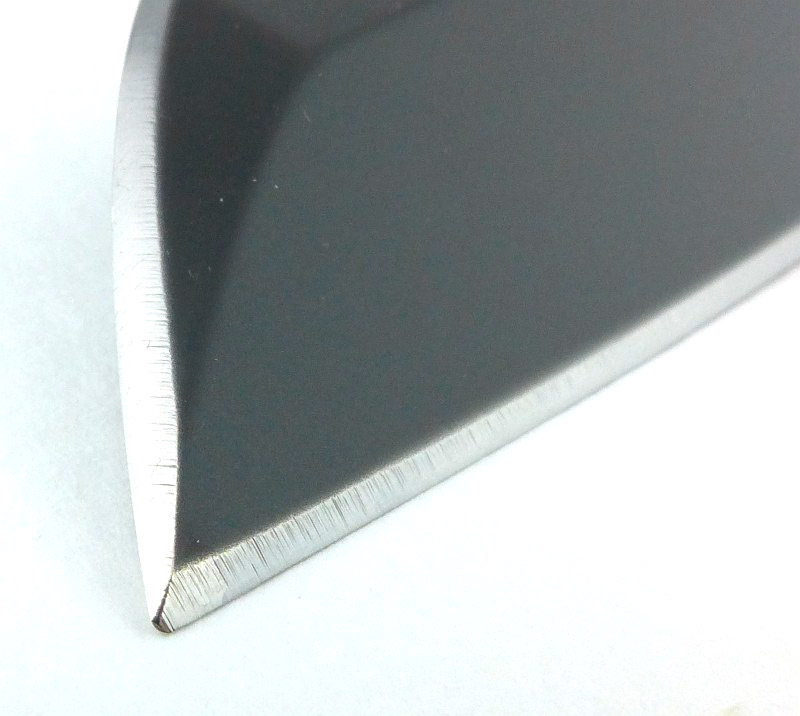
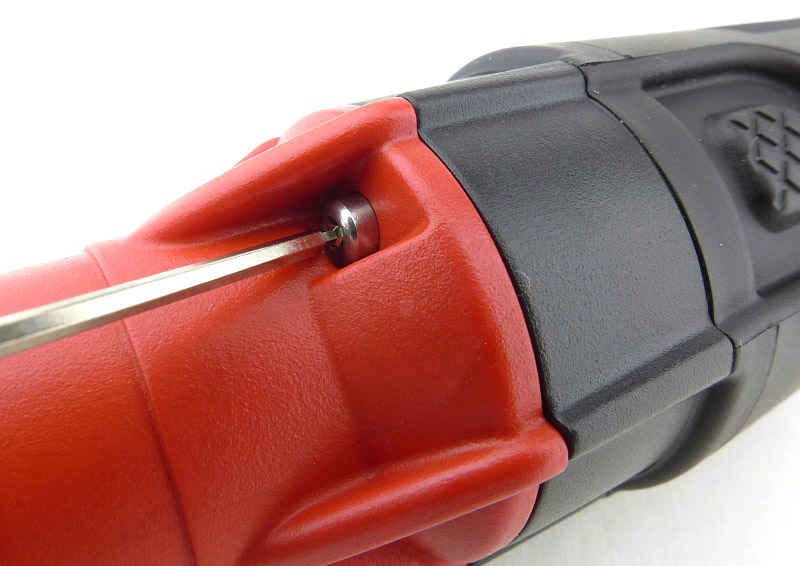
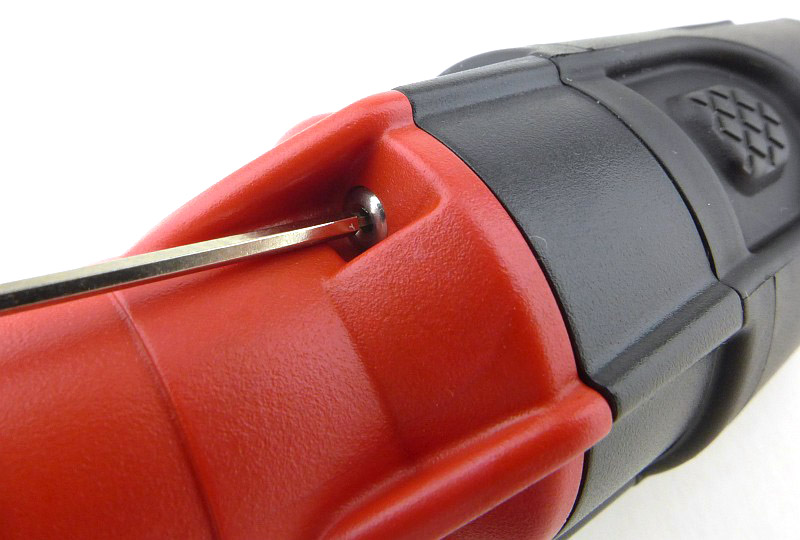
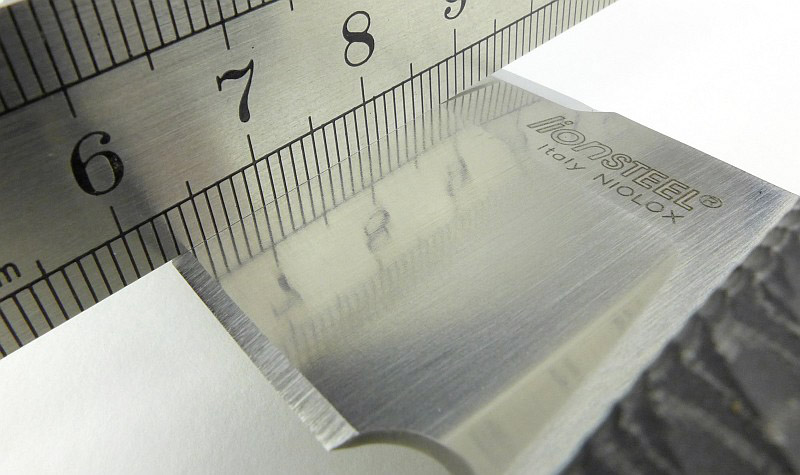
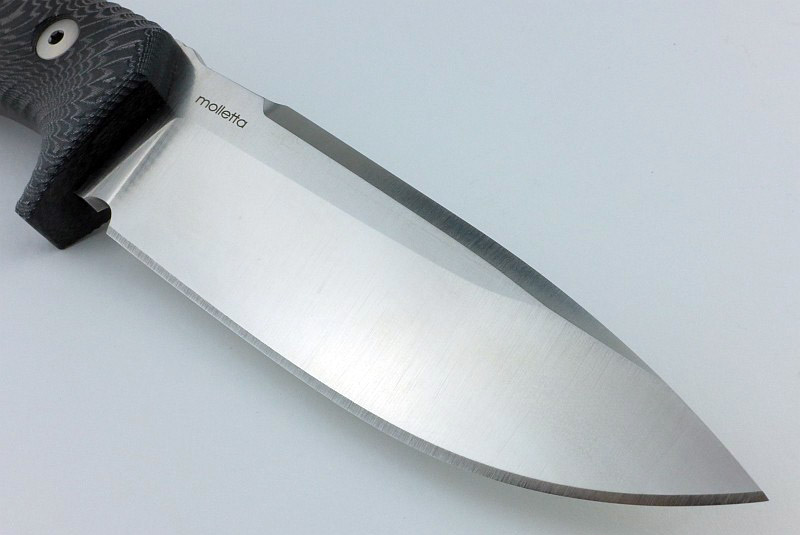
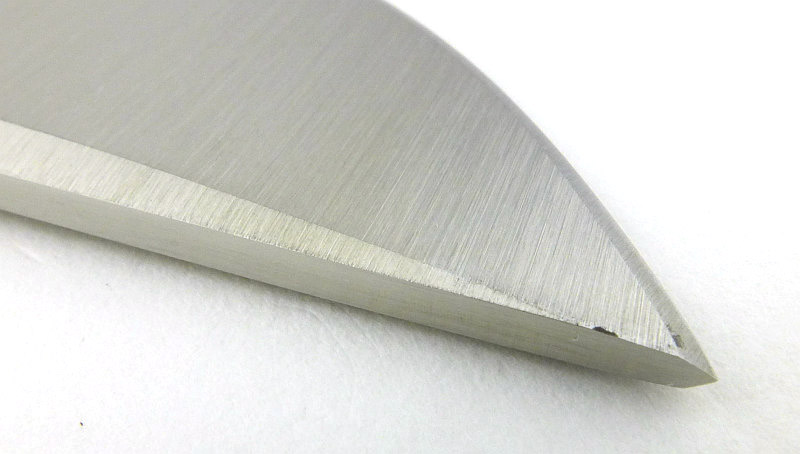
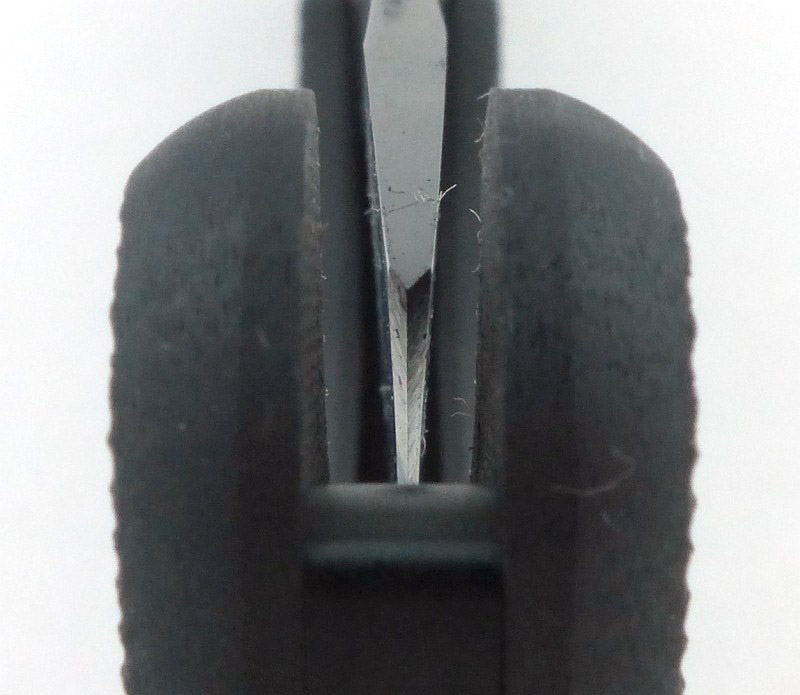
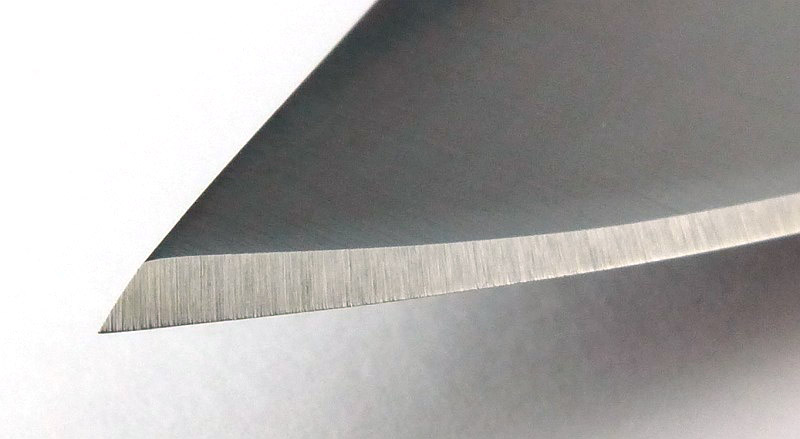
Taking a close look at the factory edge next to the blade tip.
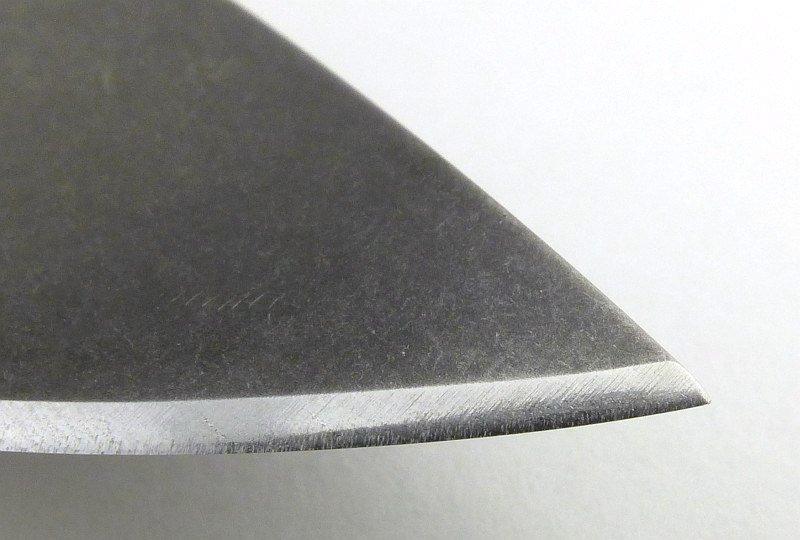
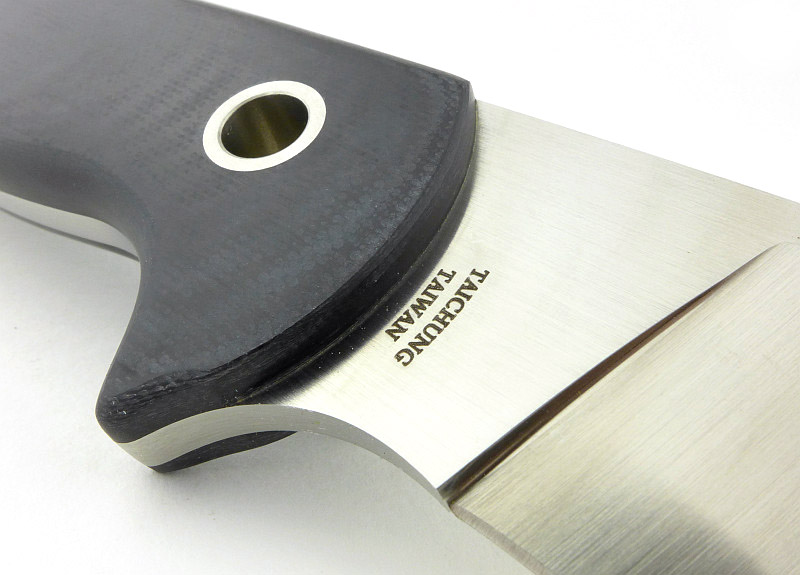
With such a substantial blade stock (6mm) there is a taper to the front section of the blade to prevent the tip from ending up with a massive edge bevel.
The Key, The Secret:
No, not a nineties hit by the Urban Cookie Collective, but the Prepper One’s key to its concealed hollow handle.
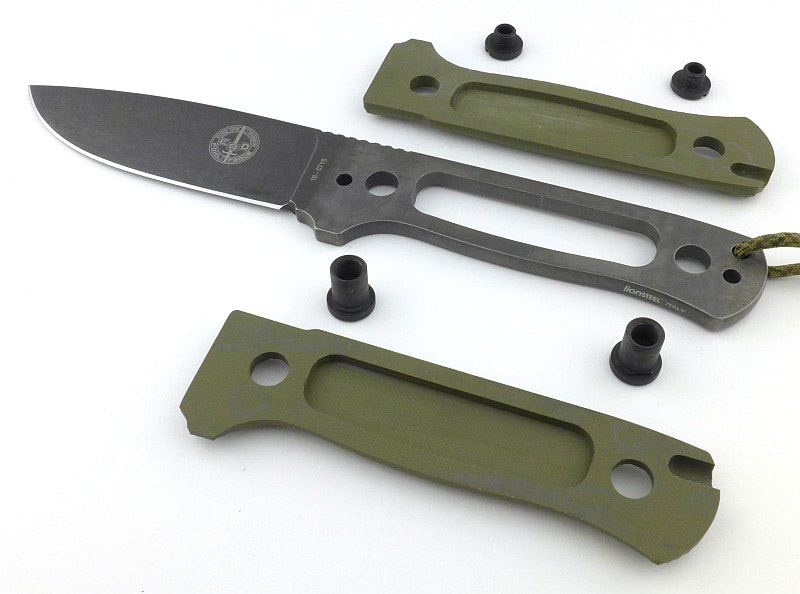
Using the key to unscrew the handle bolts, and lifting off one handle reveals the hidden compartment.
This skeletonised tang, much like many full tang knives have to change the balance, provides part of the hollow compartment. The handles themselves are also milled out to make the space inside the handle larger.
Fully disassembled, we have the two G10 handles, the two parts of both handle bolts, and the full tang knife blade.
Should you wish to, perhaps if the handle scales were lost, you could use the bare knife as it is, or adding a cord wrap.
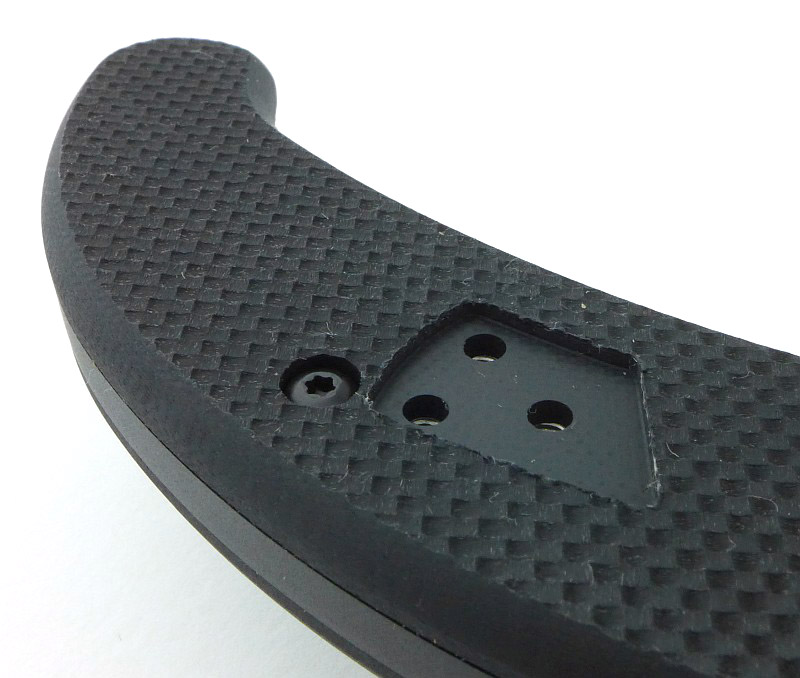
The handles with a steel ruler to show the size of the hollow compartment.

There is more.
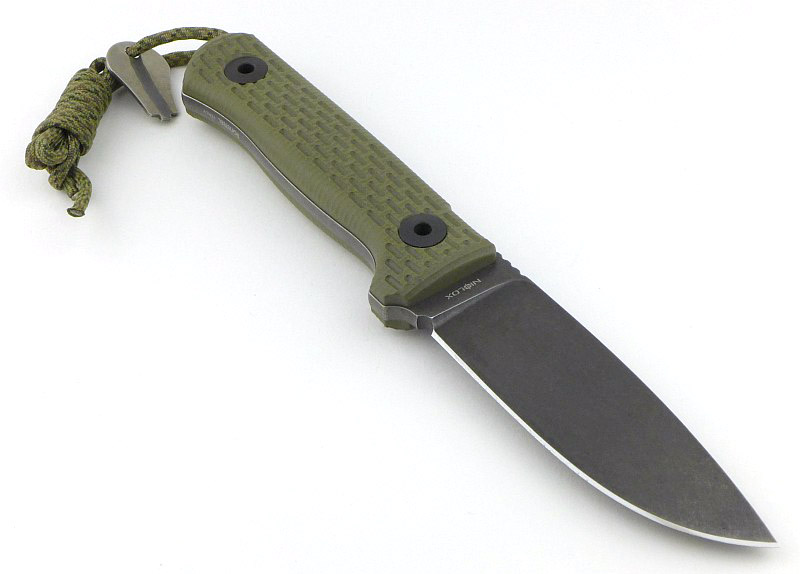
For an even more traditional look, Pohl Force now offer a Santos wood option for the handles.
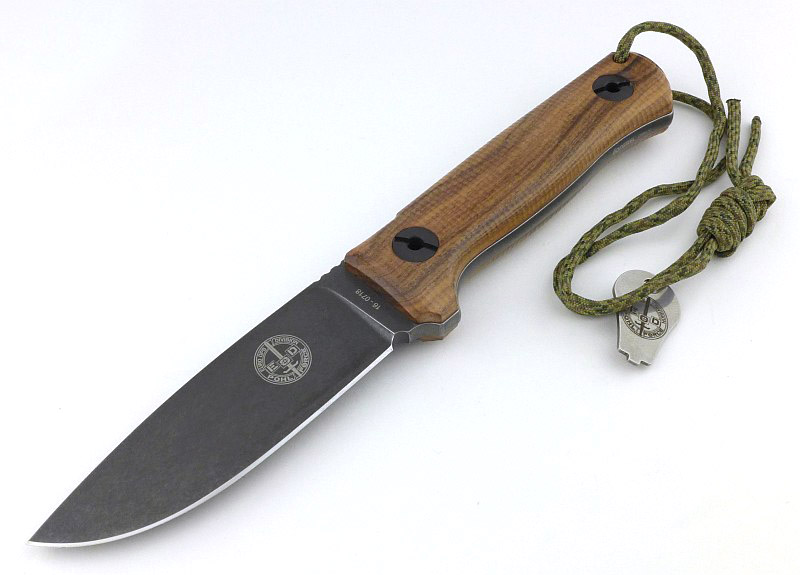
As removal and fitting of the handle scales is so easy (exactly as this is something you should be doing to access the hollow handle), swapping between the G10 and wood scales is just as easy.
The only slight complication is that the wood is not quite stable enough to use the same lanyard layout as the G10, so the cord needs to be removed and threaded through the more traditional lanyard holes used for the wood scales.
A different grip texture is also used, as the fine pattern milled into the G10 would not work in wood.
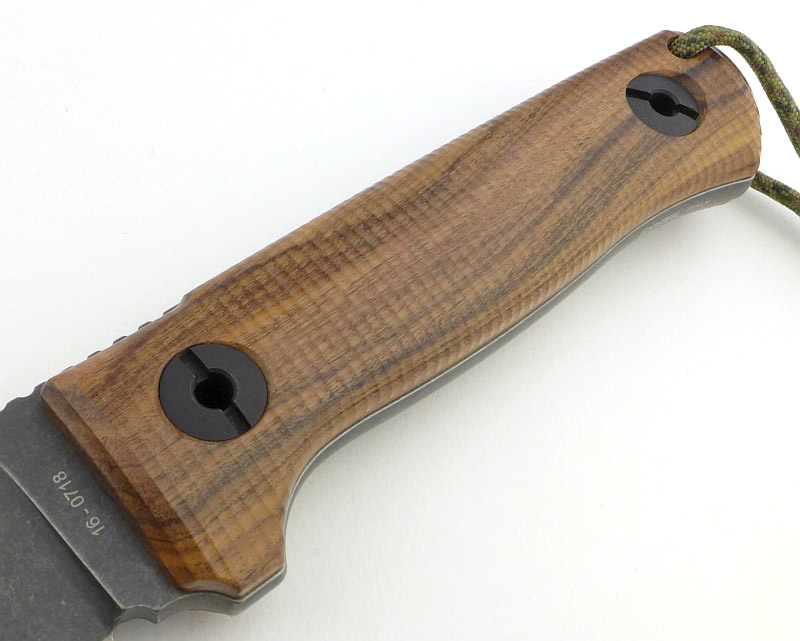
It does look good with those wooden handles.

What it is like to use?
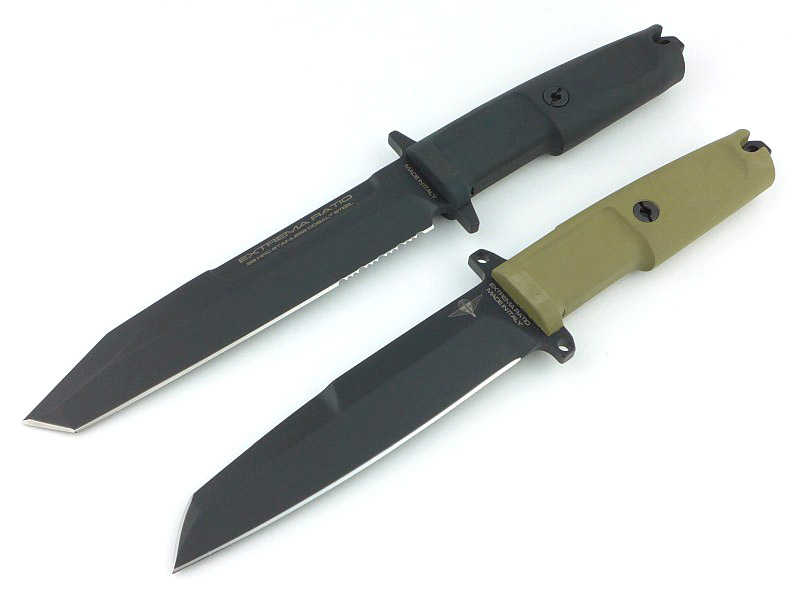
I was fortunate enough to have the choice of testing either the Prepper One or Prepper Two. I chose the Prepper One purely for its much more general purpose size, with the Two being a much bigger camp knife. Clearly as the first of the Prepper designs to be released it needed to be versatile and easy to carry (with the added bonus relating to German knife carry law described by Dietmar in the video interview).
However much I was drawn to the Prepper Two, the Prepper One was so ‘just right’ I knew it was the right choice. Even better would be the pair.
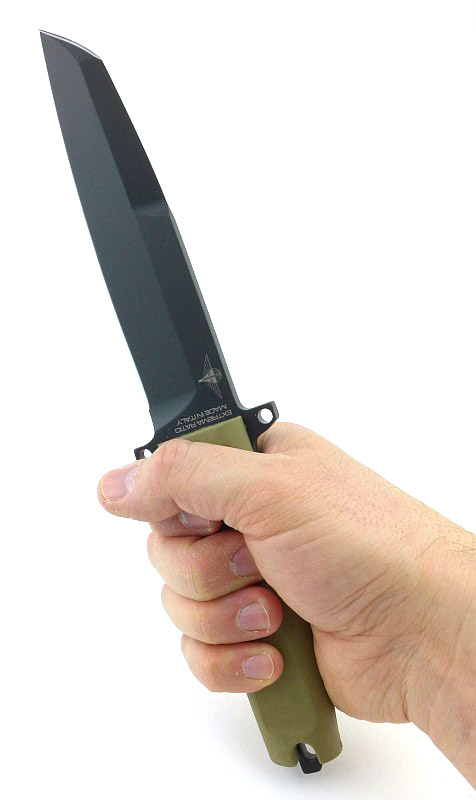
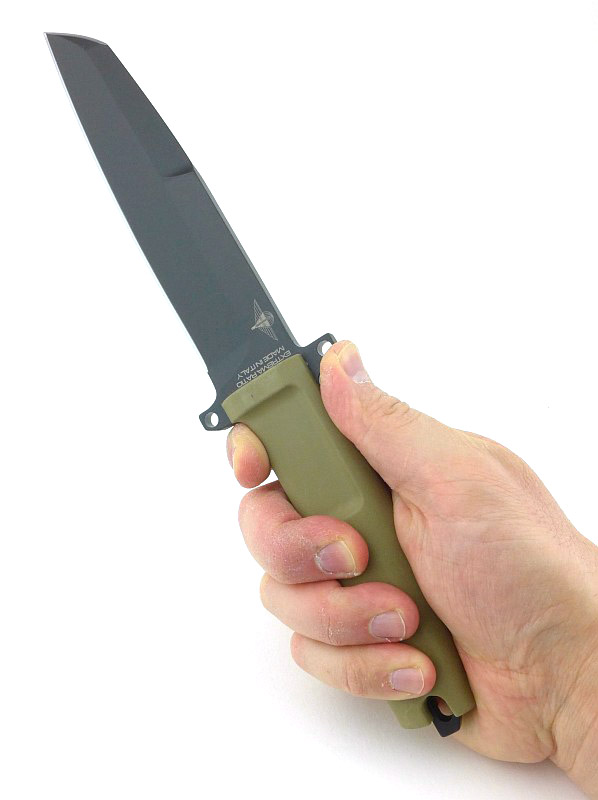
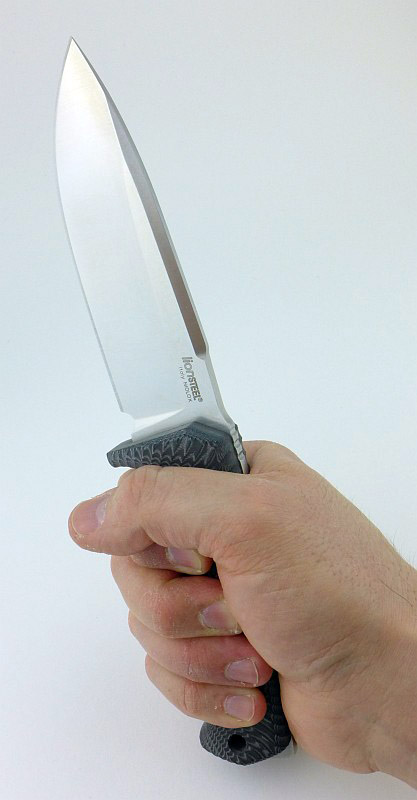
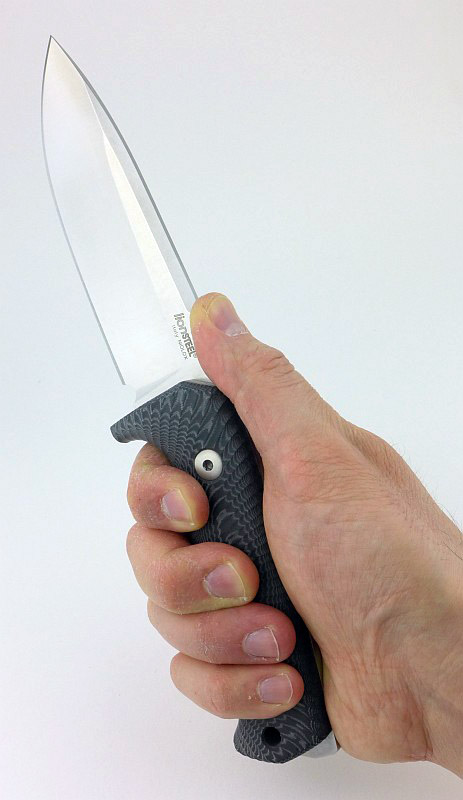
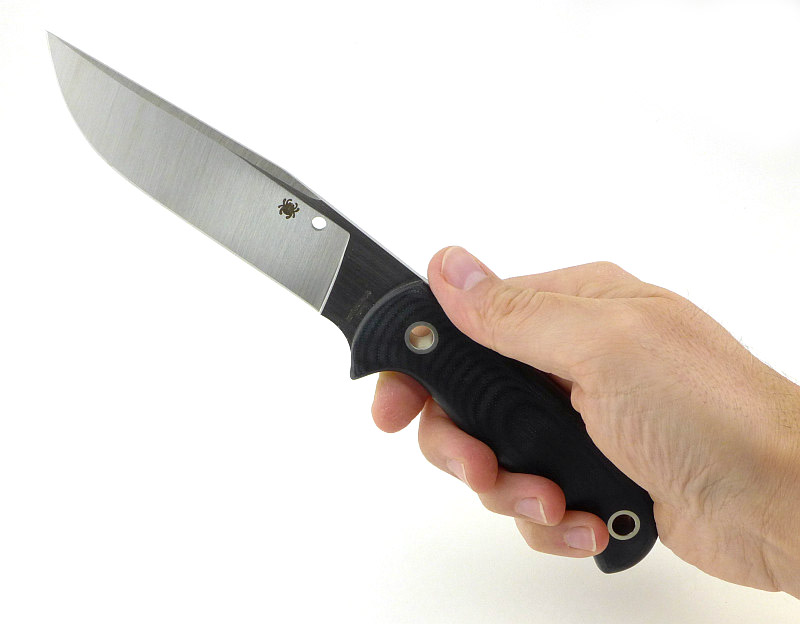
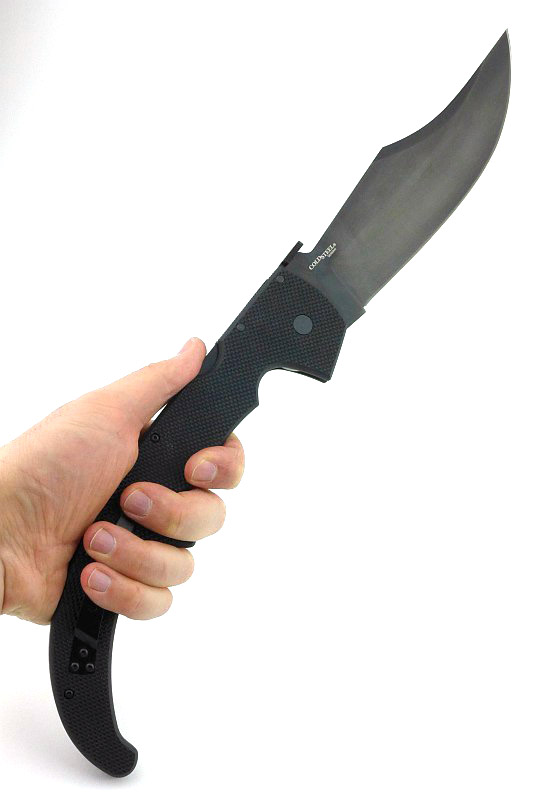
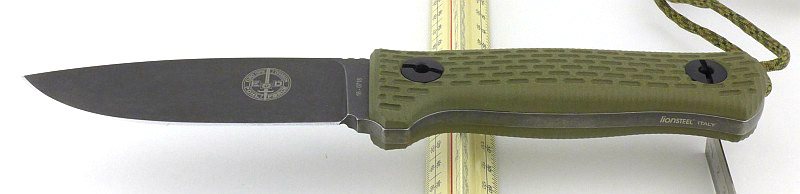
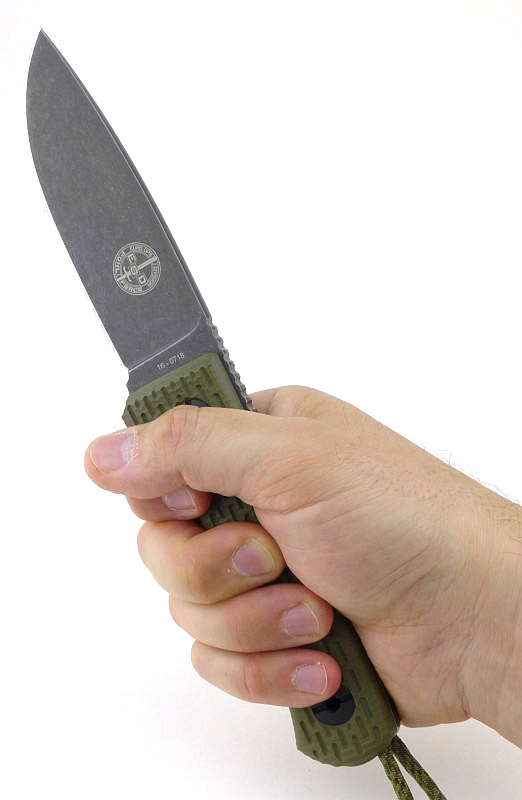
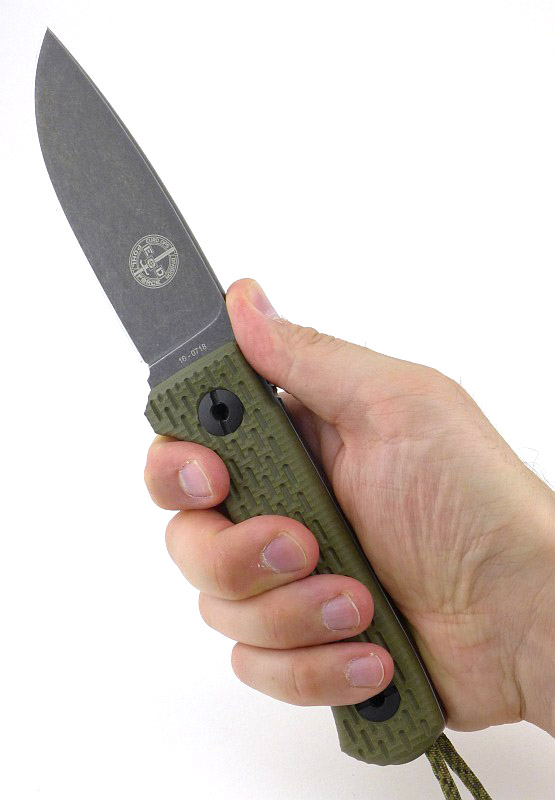
My hands take XL Gloves, and though my fingers wrap the grip fully, it still feels a generous size for excellent stability without ending up too big for smaller hands.
You can see here I have the G10 handles fitted. For hard work they are my favourite over the wood grips, however, I love the way the wooden grips look, and really fit that traditional feel of the knife. The G10s will be the workhorse grips for me, but the wooden ones will come out when I want a different feel.
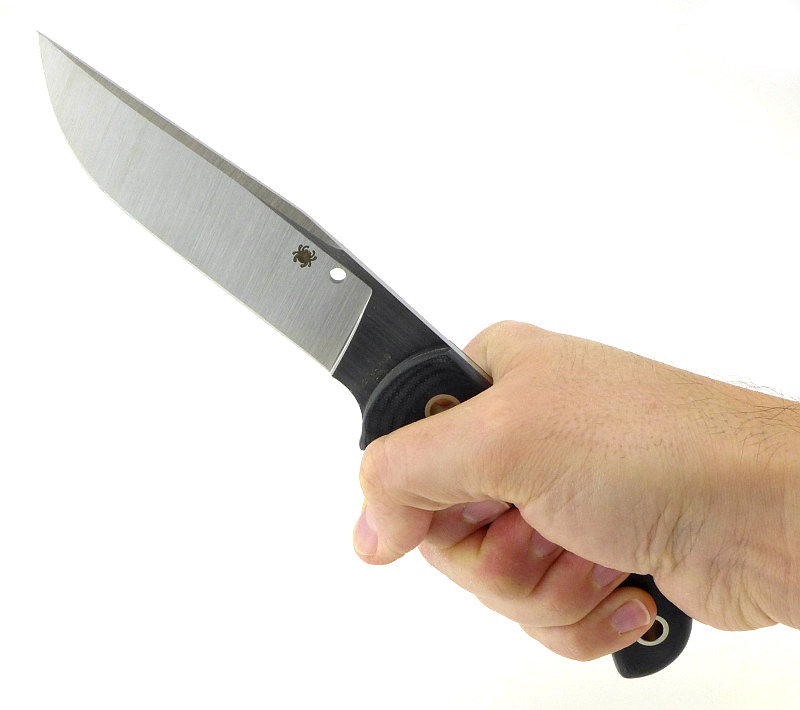
The jimping is perfectly positioned for your thumb when using a sabre grip. With its 6mm blade stock, this thumb position is very comfortable and allows you to exert high pressures without the spine cutting into your thumb.
Of course the flip-side to this is that you can never really forget about that 6mm blade stock, as the Prepper One does feel a relatively heavy knife due to this, despite the hollow handle taking a big chuck out of the weight of the tang.
We must dwell on that 6mm blade stock a little longer. What is the purpose of the Prepper One? Its name ‘Prepper’ pretty much sums it up, a knife to ensure you are prepared for whatever you might have to face. These are the situations where a knife blade might have to be used for much more than simple cutting. Breaching, demolition, splitting and use as a spear are only a few of the many extreme tasks it may be needed for. You might balk at the mention of some of those, and many less substantial knives would just fail leaving you worse off than before, but that slight weight penalty gives you a blade that has a strength that you are not ever likely to exceed – Prepper is the word indeed.
And preparing yourself further, the hollow handle…
As it comes, the key has been put onto the lanyard, which can become a little awkward. I’ve moved this around (check out @TacticalReviews on Instagram for a photo) so the key is attached to the sheath instead, with the lanyard cord on the knife left plain.
When reassembling the handles or swapping to the wooden grips, make sure to line up the flats on the handle bolts with the corresponding shaping in the holes. Failure to do this will result in the bolts sitting too high and possibly damaging the handles.
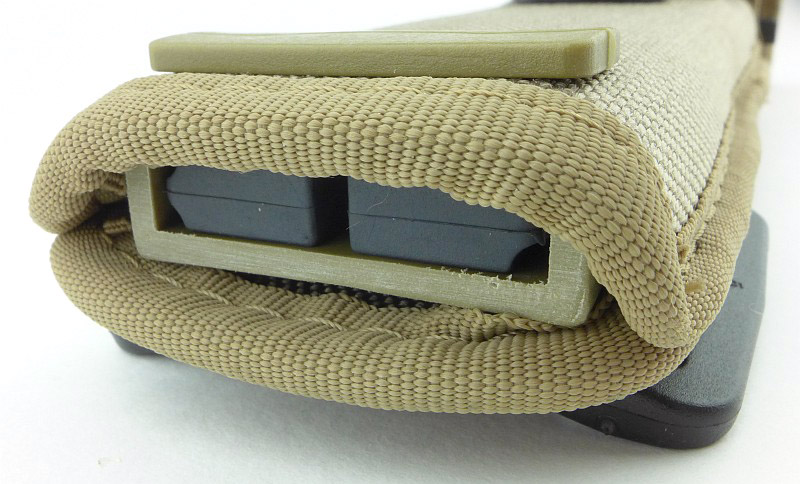
So what would you put in that hollow handle? For me it is Fire and Fish. Remember that this hollow handle is not water-tight, so whatever you put in there might get wet.
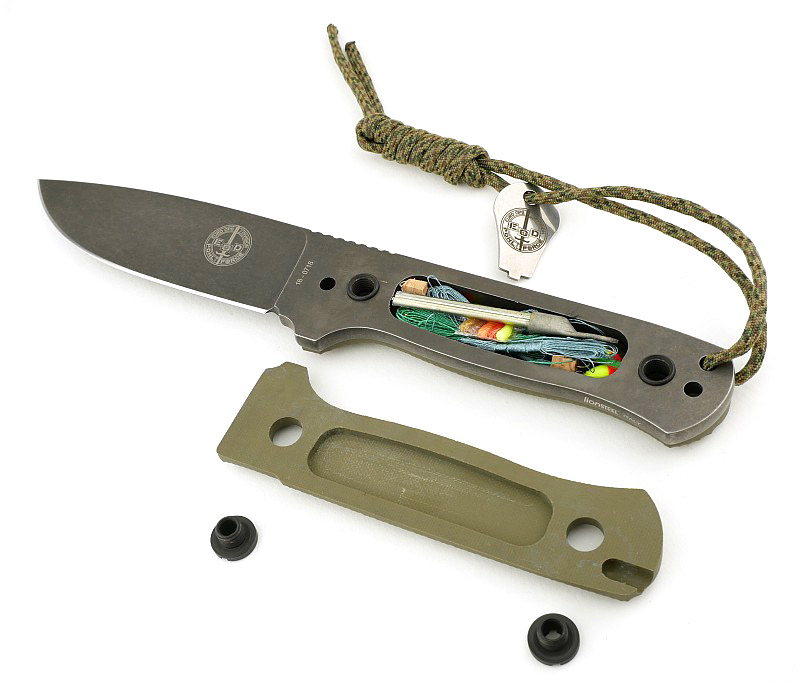
Picking a fire steel instead of matches eliminates the worry of it getting wet, and a multi-part fishing kit is going to get wet anyway.
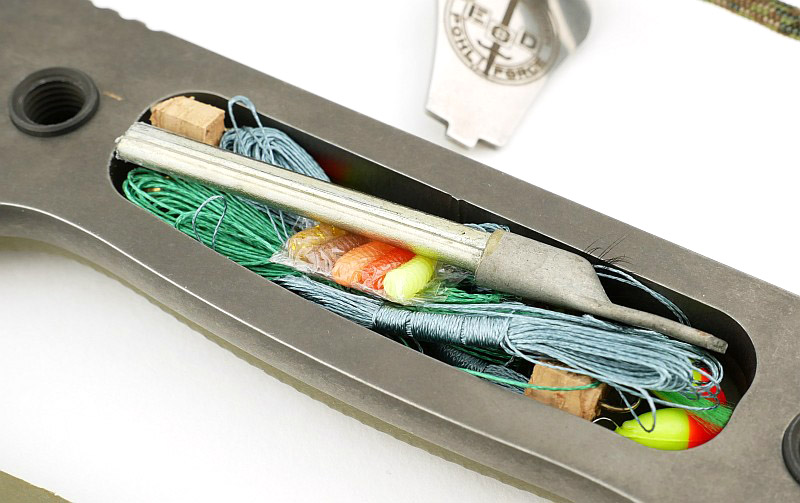
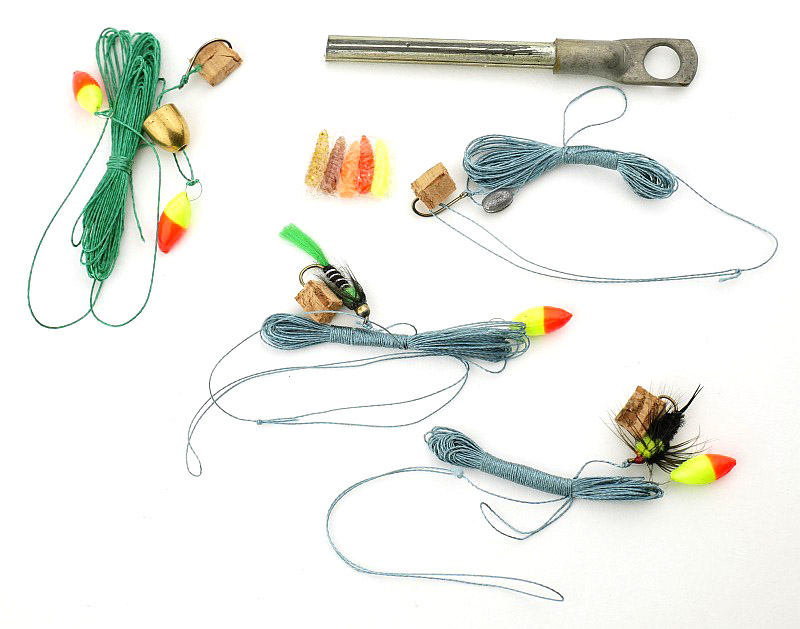
Without even packing all the available space, I’ve got four different fishing rigs plus the firesteel.
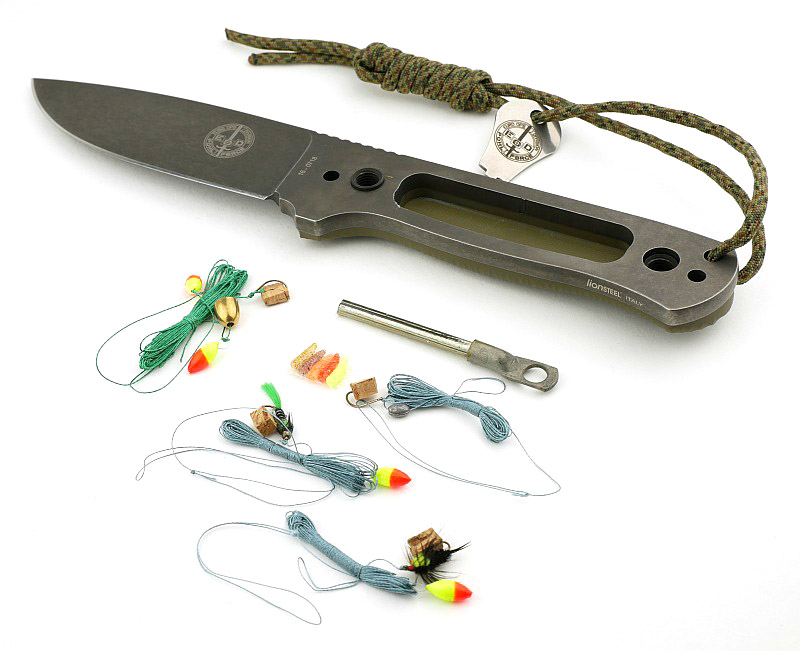
The fishing kits are designed to cover as many options as possible and are crucially pre-tied, including loops to tether the line. Cold, wet tired hands are not the best tiers of fiddly knots. Two of the fours rigs use flies, and two have plain hooks and artificial maggots included in the kit; this way no additional bait is needed. All can be used by hand, or attached to a rudimentary rod. Note as well that each pre-tied barbed hooks has a cork protector – the last thing you need to do is hook yourself.
Braided Dyneema is used in preference to monofilament as it doesn’t take a ‘set’ in the same way, and is very abrasion resistant and strong for its diameter. Some rigs also have mini floats to either keep the line afloat or act as bite indicators.
But I digress…
The Prepper One; in reality the hollow handle is more of a fit and forget feature. The things you put in it are things you want to have and will be glad you do, but really don’t want to need. With the need to disassemble the handle it isn’t a practical every day storage solution, but is an excellent backup option.
As a knife rather than a survival tool, the Prepper One feels well balanced (if slightly heavy) and its full flat grind really helps the slicing ability of the blade, but the 6mm blade stock does make its presence known with deeper cuts in stiff materials. Though I can appreciate the benefits of Scandi-grinds, the choice of a full flat grind really suits the Prepper One, and makes it very easy to work with.
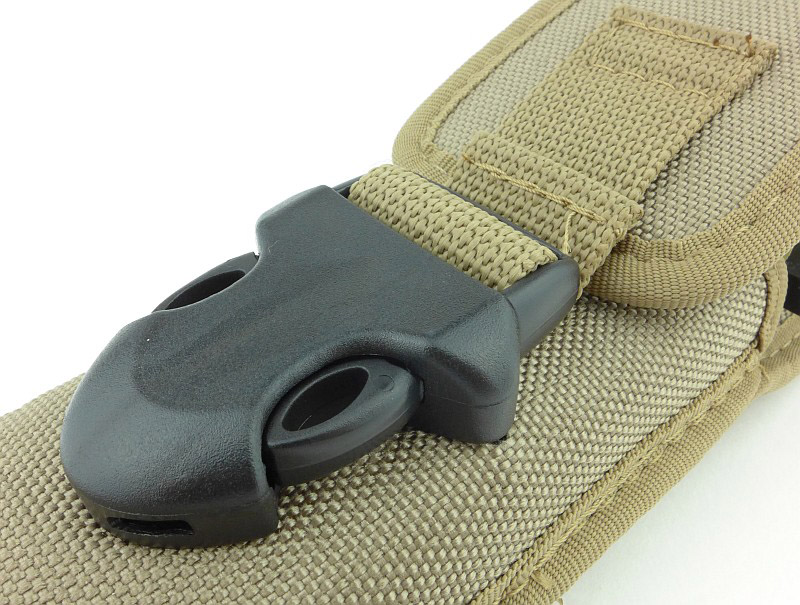
Kydex sheaths are not my favourite, mainly due to what I call ‘sheath-recoil’ where overly stiff Kydex sheaths lead to knives flying out in an uncontrolled way when unsheathing them. Not so with the Prepper One. The sheath retention is spot on, and the knife is both held securely and also perfectly easy to remove without any hint of sheath-recoil.
With its utility blade dimensions, you would not think of the Prepper One as a chopper, especially next to its bigger brother the Prepper Two, however, thanks to the 6mm blade stock it has more weight to it than most other knives this size. So you can employ this for light chopping, or just to get through smaller branches a bit quicker. Not a major feature, but helpful considering this size of knife is easy to carry.
The finger guard is not very pronounced, but it is very effective at stabilising your grip on the knife. Overall the shaping of the handle and guard make it very comfortable to use for extended periods. I have also really appreciated the way the lanyard is pushed backwards in the G10 handles, so however you hold it, you don’t end up pressing onto the lanyard cord (which can make a hotspot). Once I decided to move the hollow handle key off the lanyard (and fitted it to the sheath) the experience of using the knife became a real pleasure, and without having to carry a much bigger ‘survival’ knife, you also know you have a potential beast of a blade should you really need it. It might be named ‘Prepper’, but it is a knife you can use every day.
Review Summary
The views expressed in this summary table are from the point of view of the reviewer’s personal use. I am not a member of the armed forces and cannot comment on its use beyond a cutting tool or field/hunting knife.
Something that might be a ‘pro’ for one user can be a ‘con’ for another, so the comments are categorised based on my requirements. You should consider all points and if they could be beneficial to you.
| _______________________________________________ | _______________________________________________ |
| Things I like | What doesn’t work so well for me |
| _______________________________________________ | _______________________________________________ |
| Hidden Hollow Handle Compartment. | Handle Key can get in the way when on the lanyard (easily moved). |
| Super Strong (6mm stock) Niolox Full Tang Blade | Heavy feel due to 6mm blade stock. |
| Easily removable/swappable handles. | Flocked sheath lining will collect dirt. |
| Superb Lionsteel build quality. | Makes you want to buy the Prepper Two as well. |
| Excellent grip and handling. | |
| Ideal general purpose size. |
![]()
Discussing the Review:
The ideal place to discuss this reviews is on a forum. If you started reading the shorter forum version of the review, but followed the link this full exclusive review, please return to that forum to discuss the review there.
If you read the review entirely on Tactical Reviews, please consider one of the following to join in any discussion.
BladeForums – Knife Reviews (US based Forum for Knife Discussion)
CandlePowerForums – Knife Reviews Section (Largest and Friendliest Flashlight Community Forum)
The BESS Exchange – A forum discussing technical aspects of sharpness and truly understanding your sharpening process.