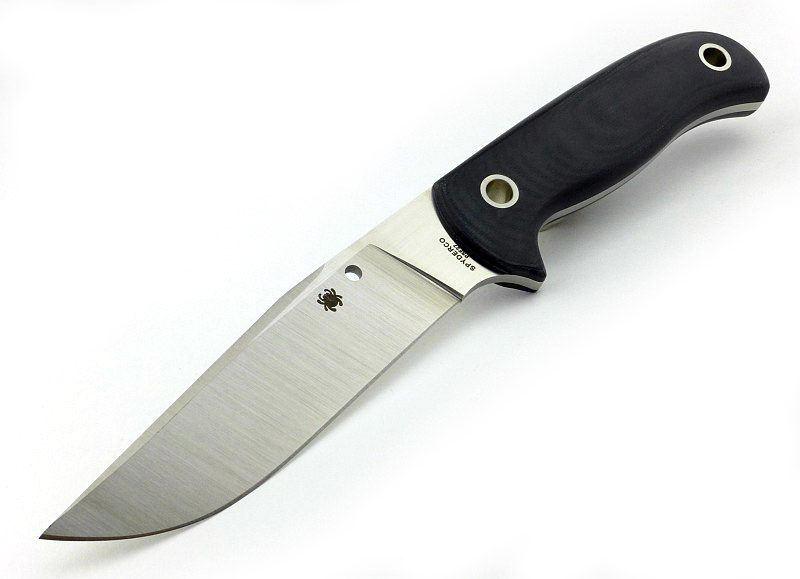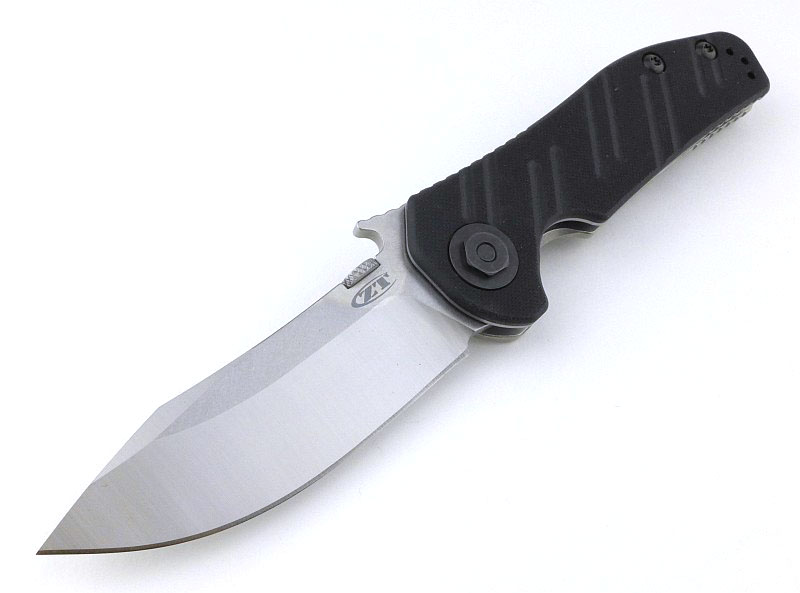
Based on the original TASK tactical knife designed by Thilo Schiller, this version of the TASK, the TASK J has been developed as a collaboration with the Jagdkommando Unit, the Austrian Army special forces. Their requirements were for a heavier duty version of the original TASK which could survive more extreme use.
The Blade and Handle Geometry:
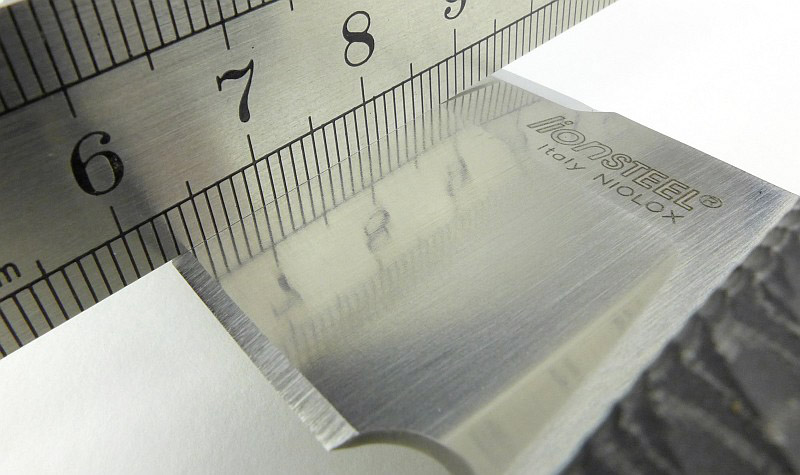
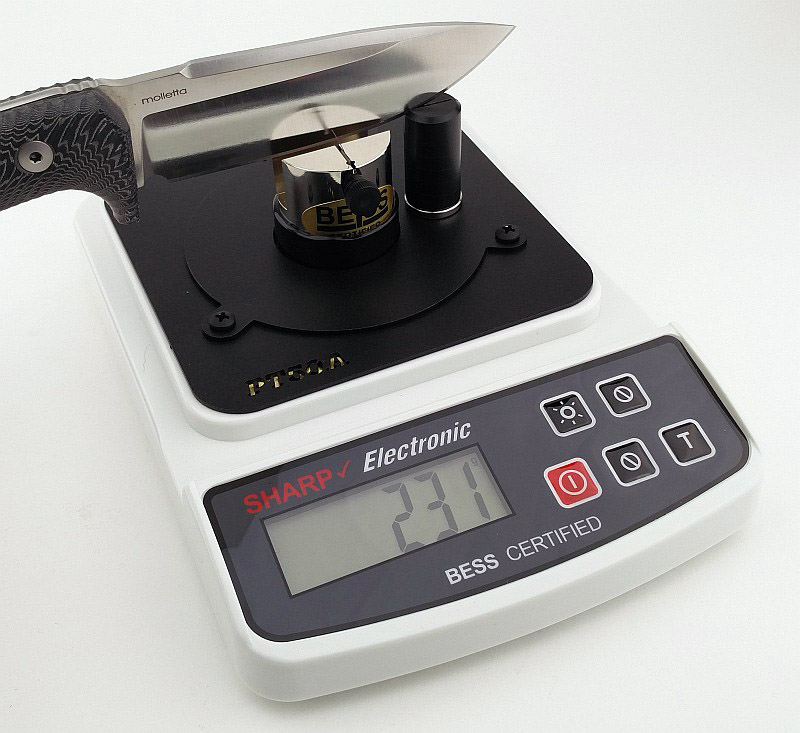
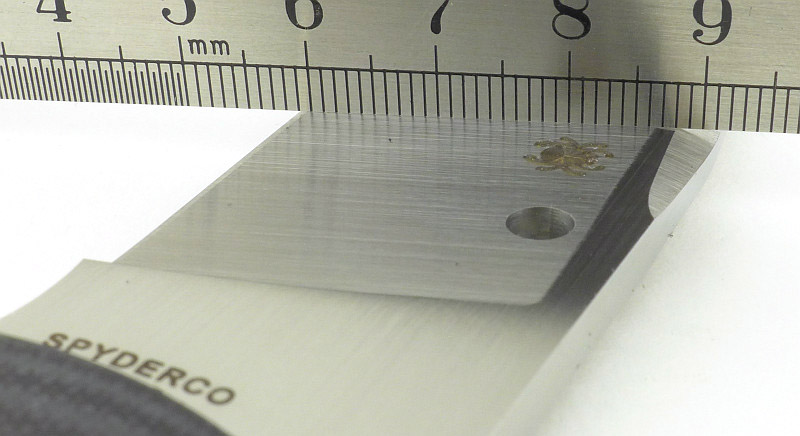
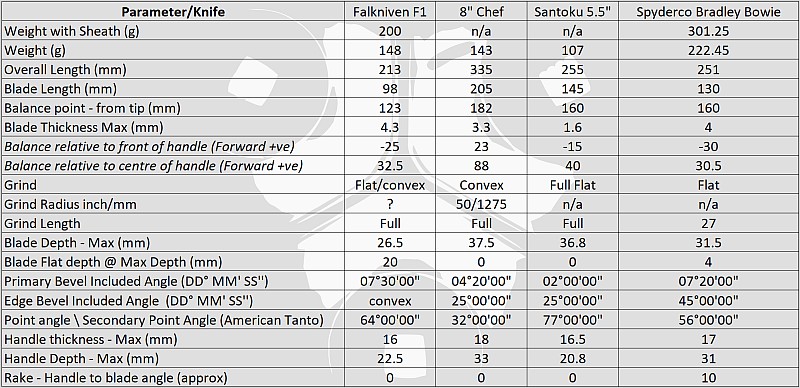
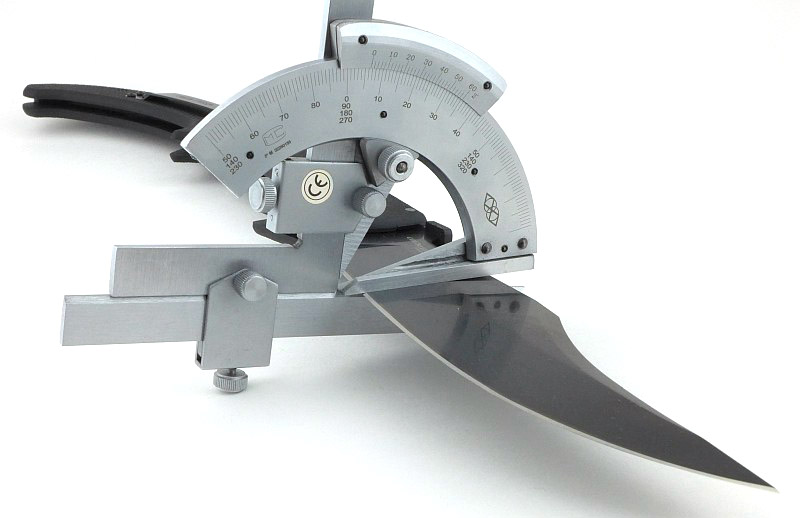
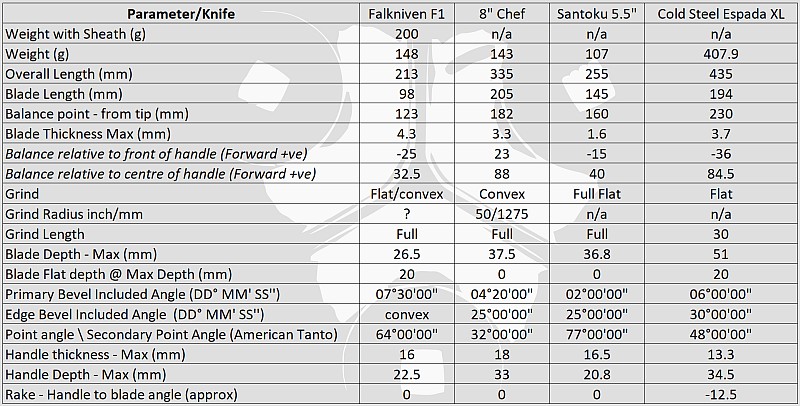
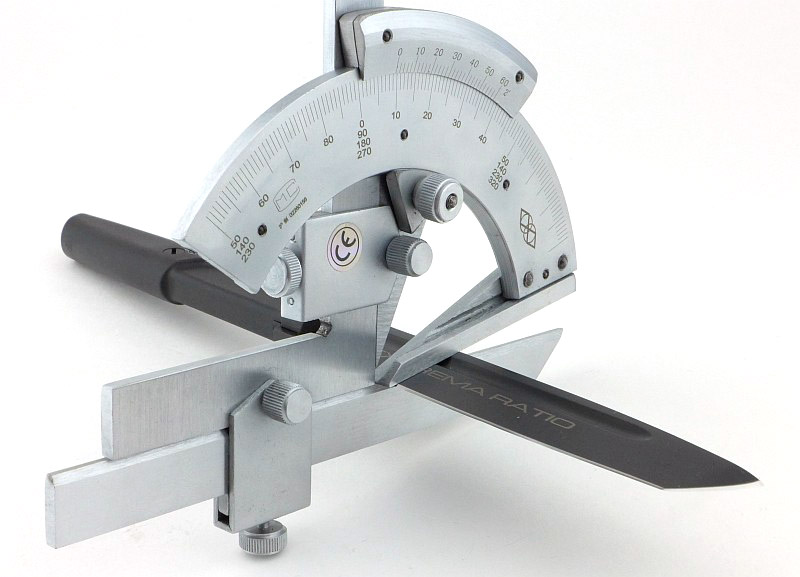
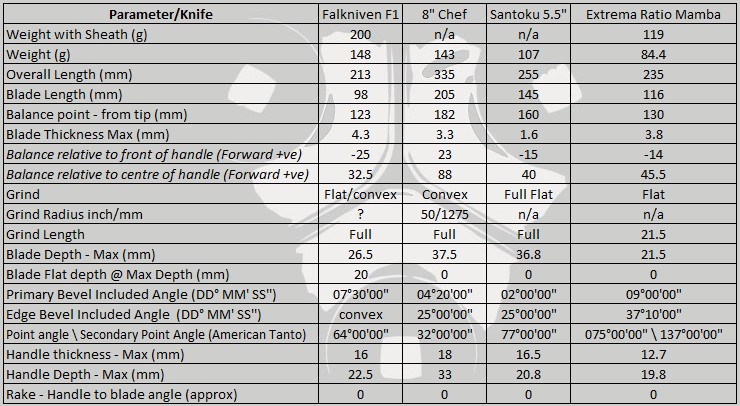
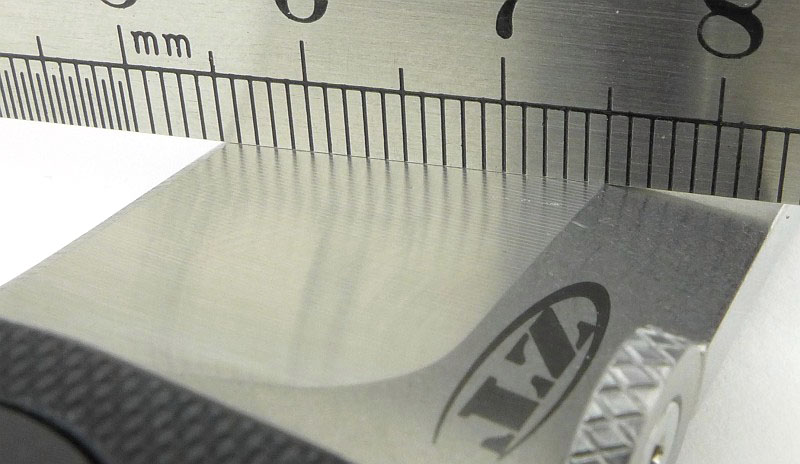
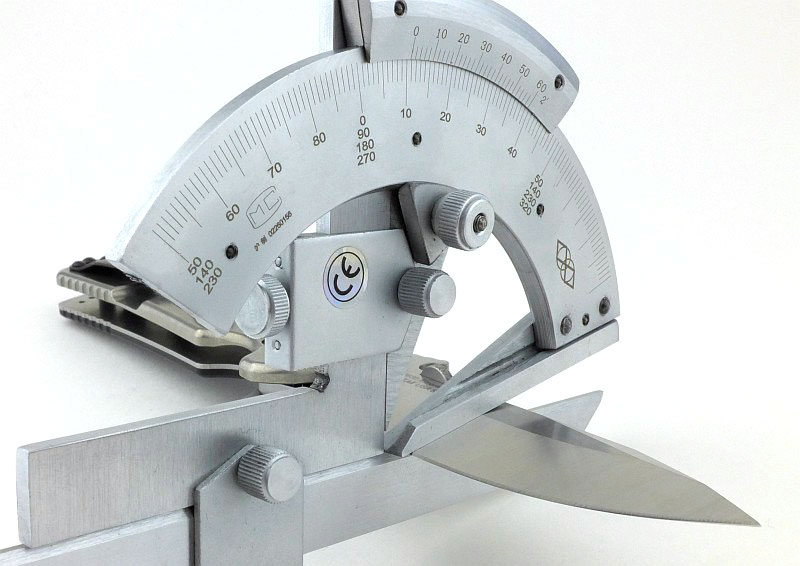
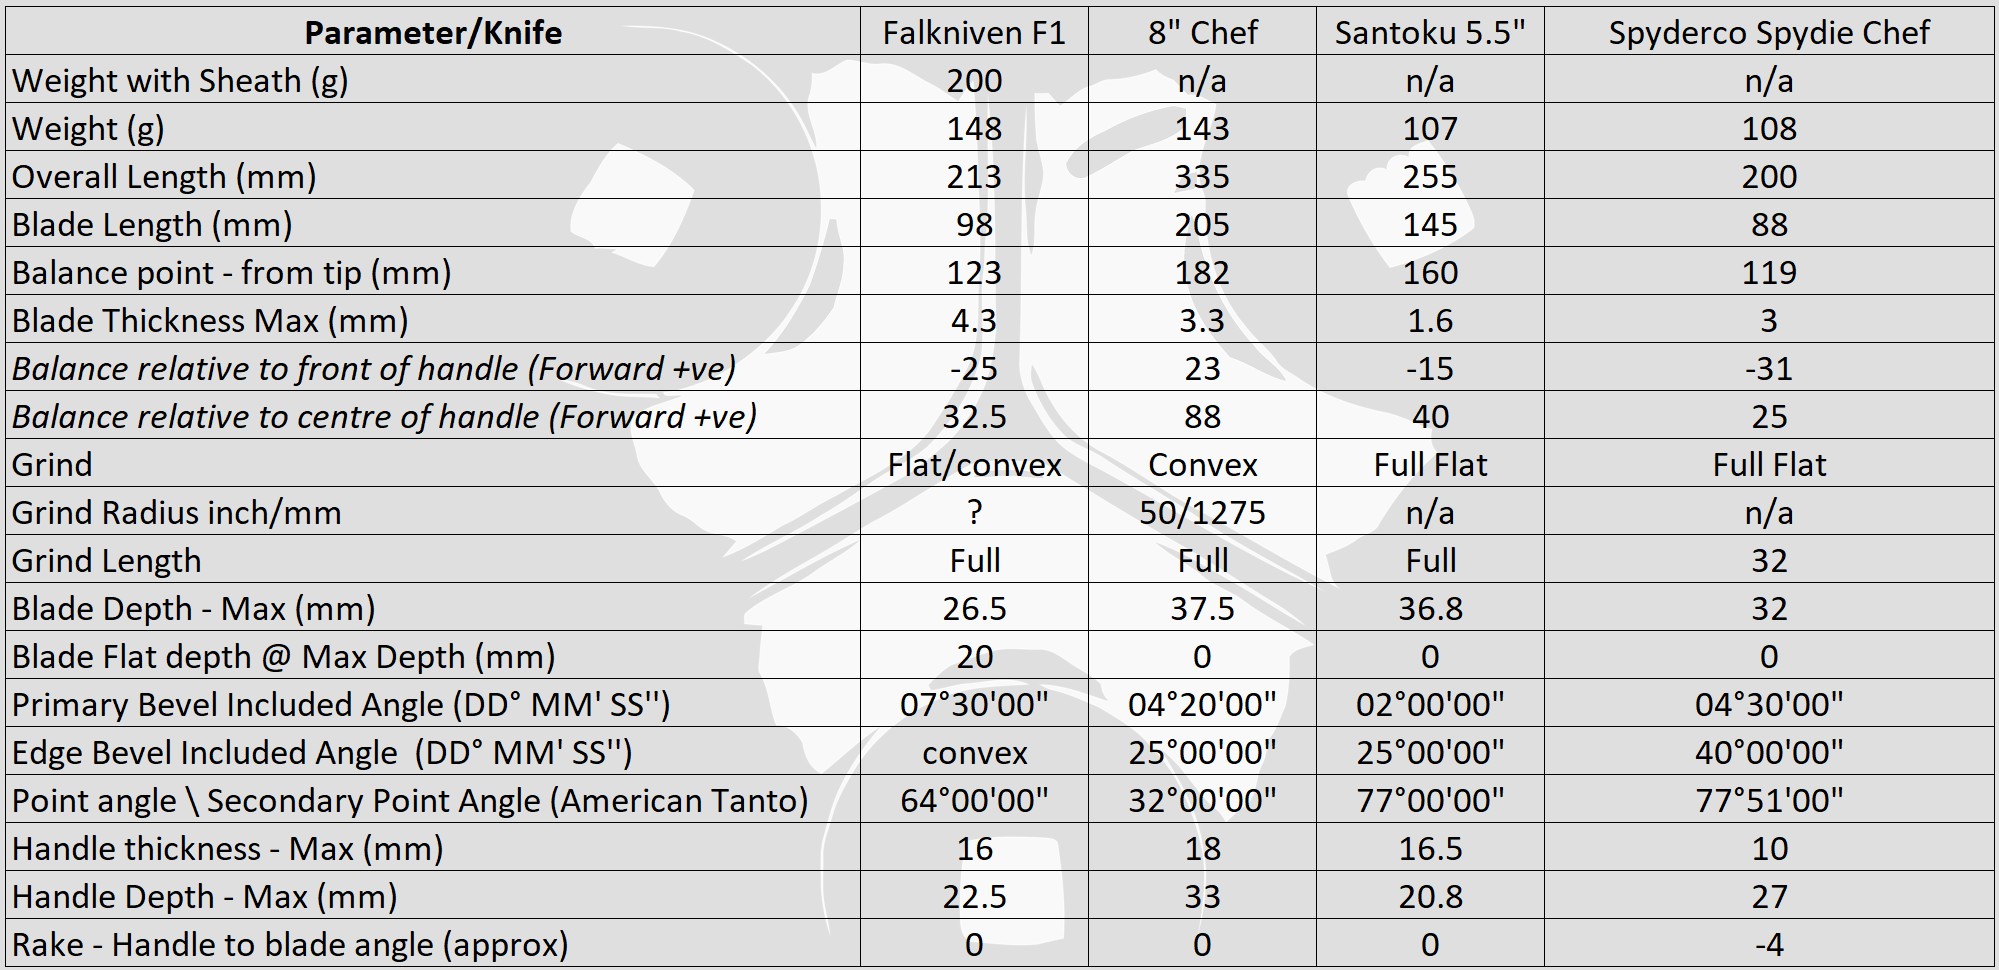
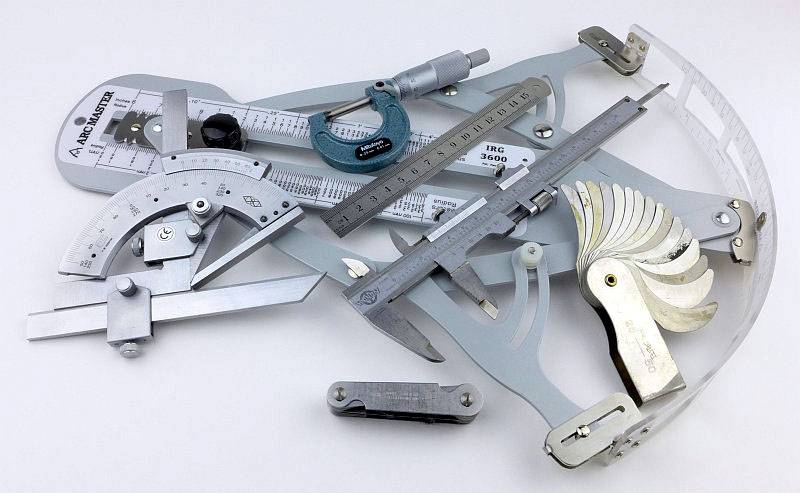
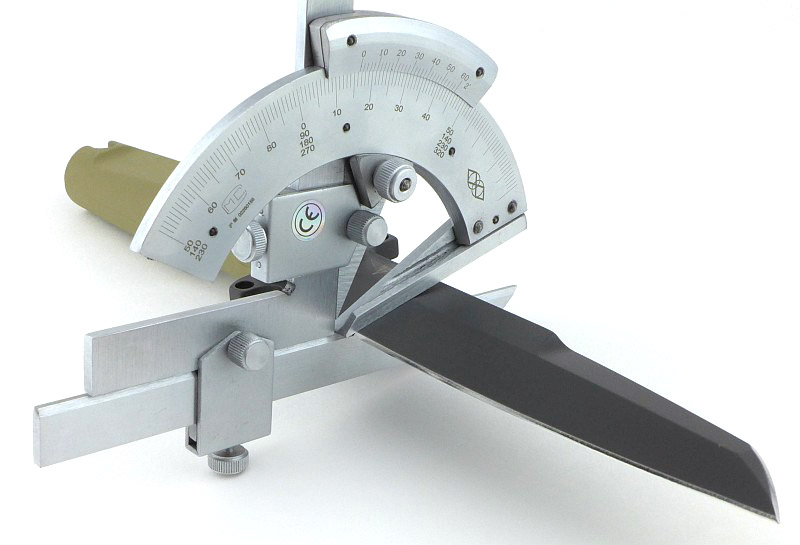
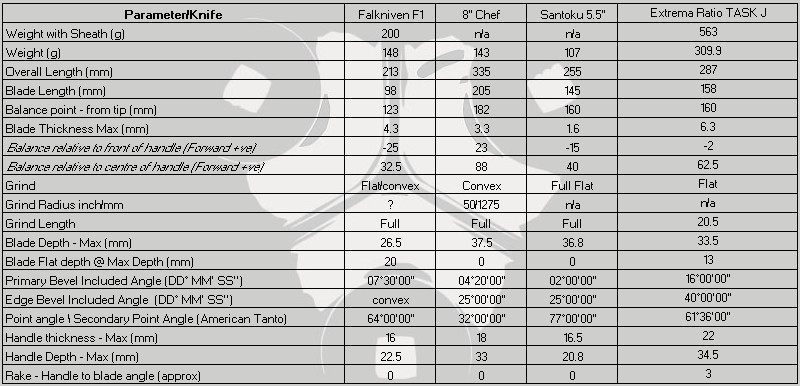
Most knife specifications have a basic description of the blade geometry, but in this section I will be taking a more detailed look at geometry and balance.
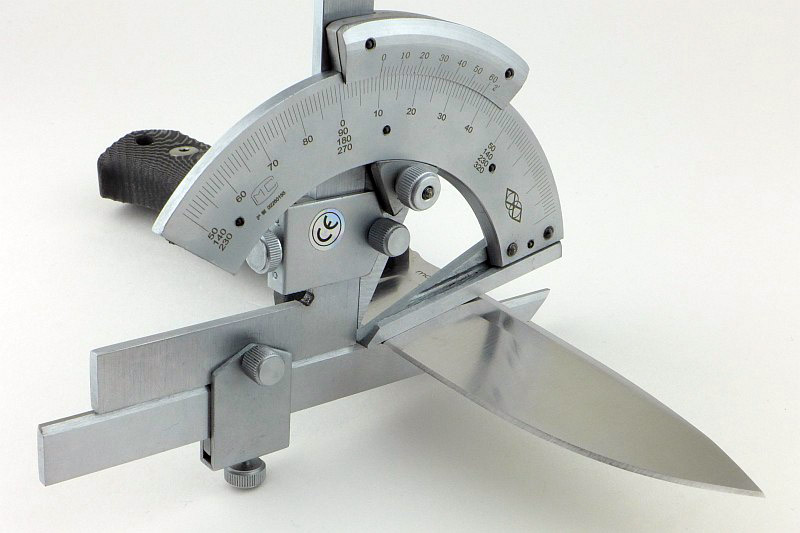
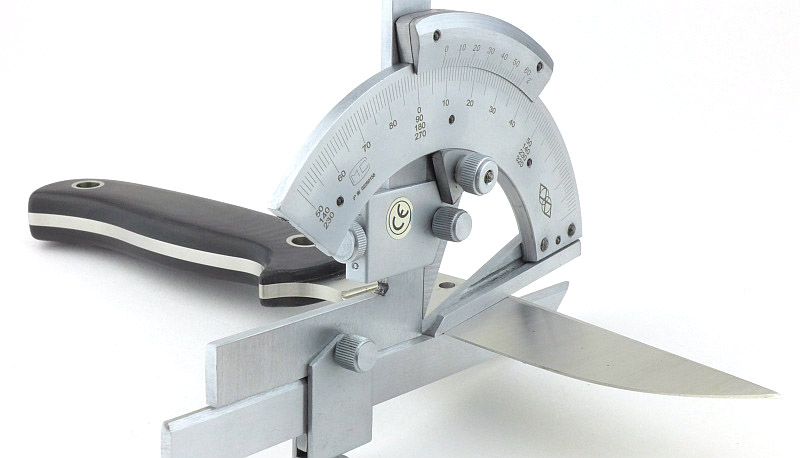
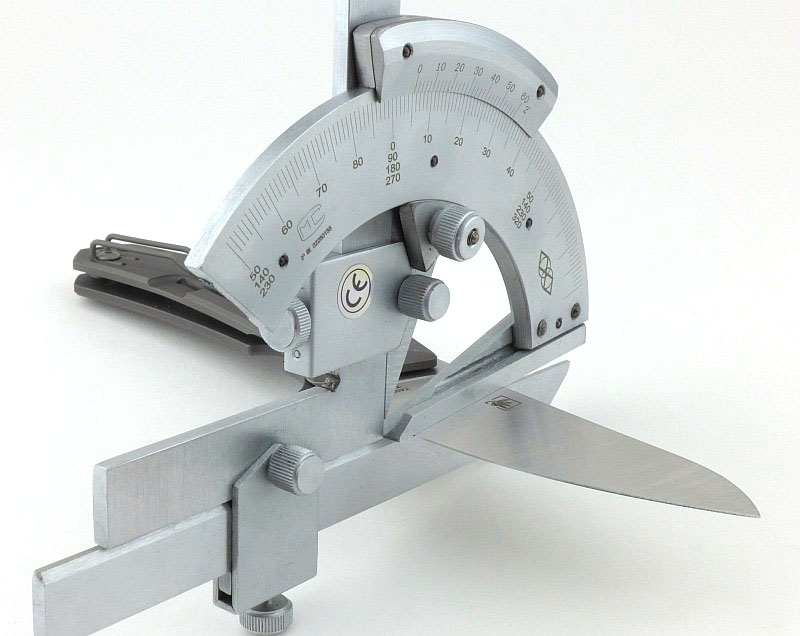
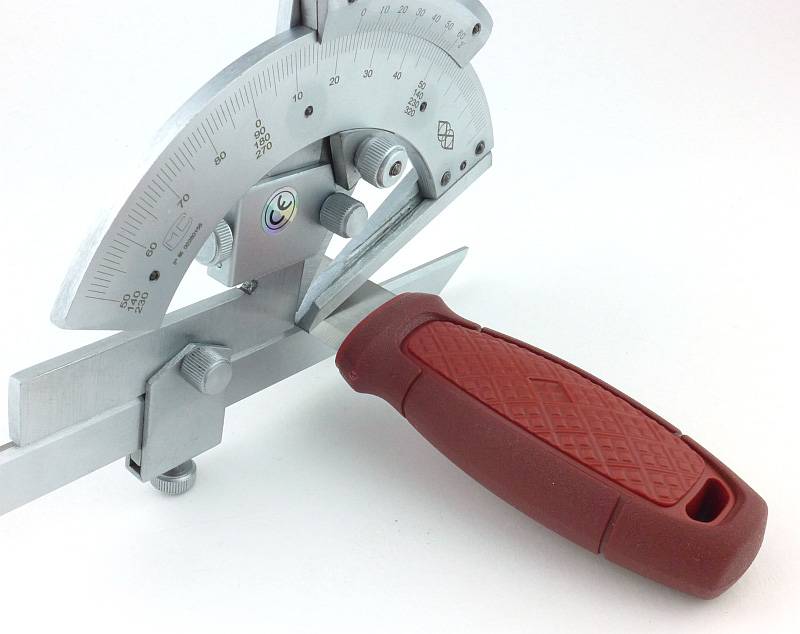
Using a set of gauges and precision measuring equipment including a Vernier protractor, callipers, fixed radius gauges and the unique Arc Master adjustable radius gauge (the one that looks like a crossbow).

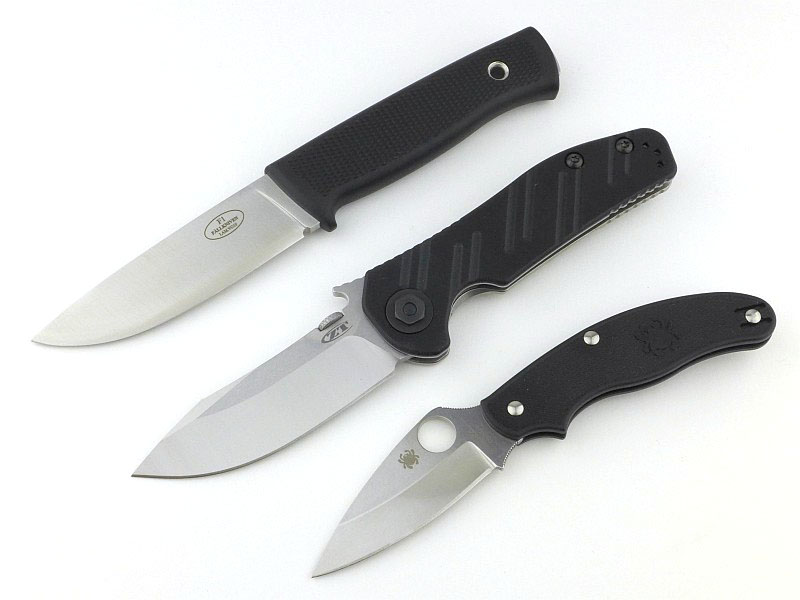
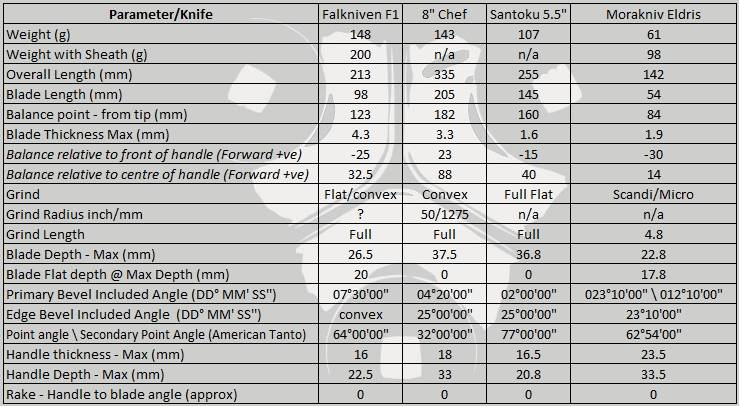
These measurements have been tabulated and are presented along with a few reference blades (8″ Chef’s Knife, 5.5″ Santoku and the popular Fällkniven F1).
Key aspects such as the primary bevel angle, grind type, blade depth, blade thickness, length, weight are detailed, along with balance information.
The ‘Balance relative to the front of the handle’ tells you if the knife will feel front heavy, or if the weight is in your hand (a positive value means the weight is forward of the front of the handle). The ‘Balance relative to the centre of the handle’ indicates how close to a ‘neutral balance’ the knife has in the hand.

In the case of full convex grinds the approximate centre of the grind is used for the primary bevel angle estimate.
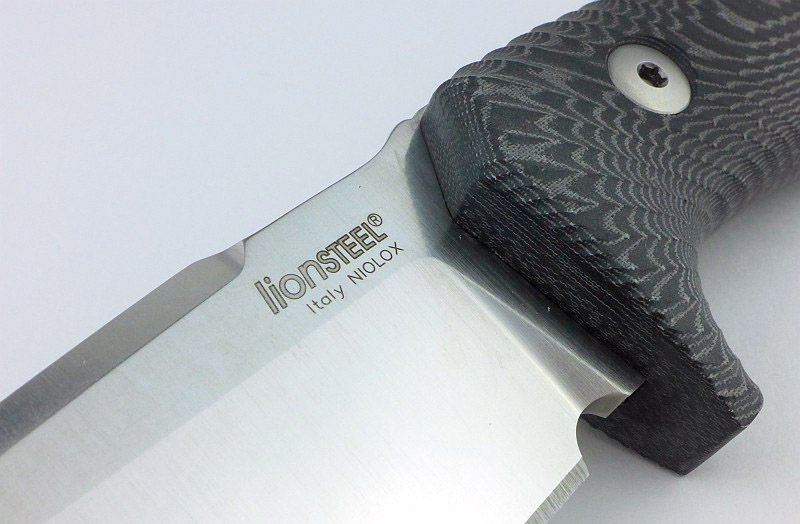
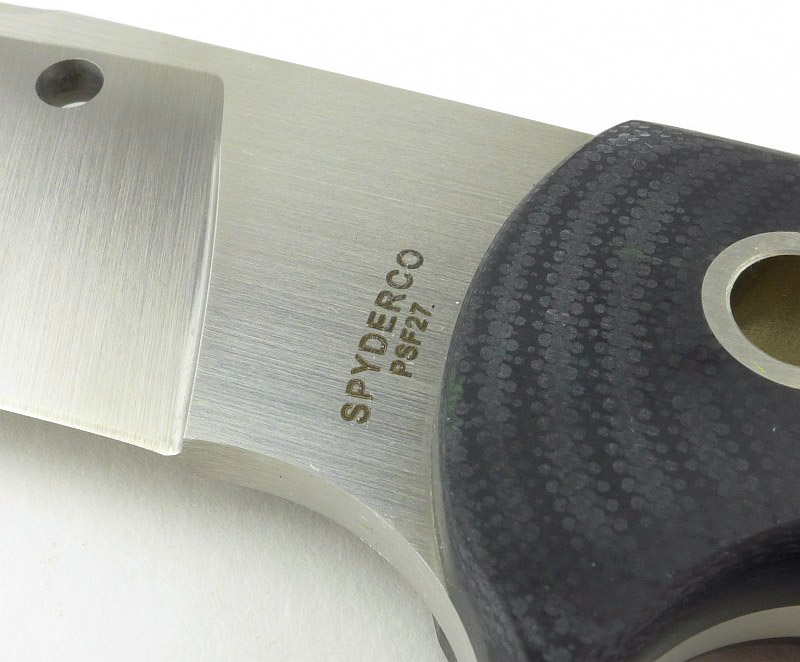
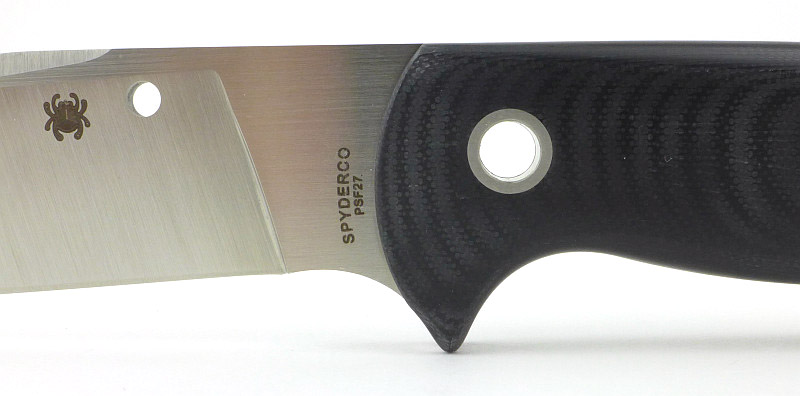
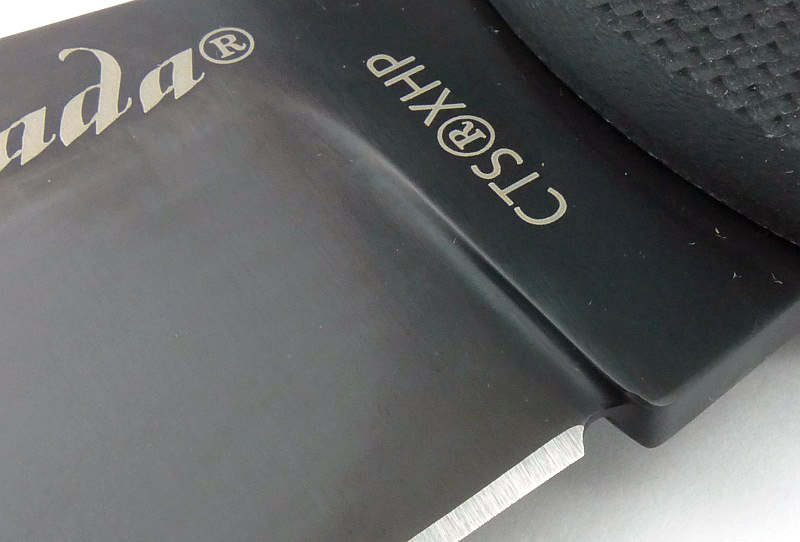
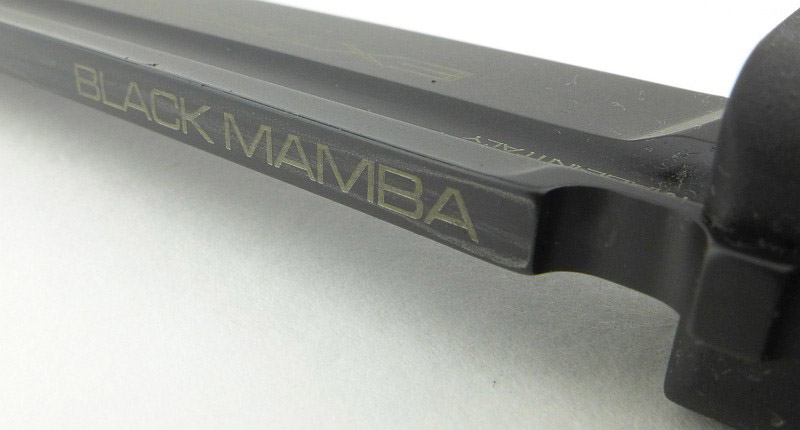
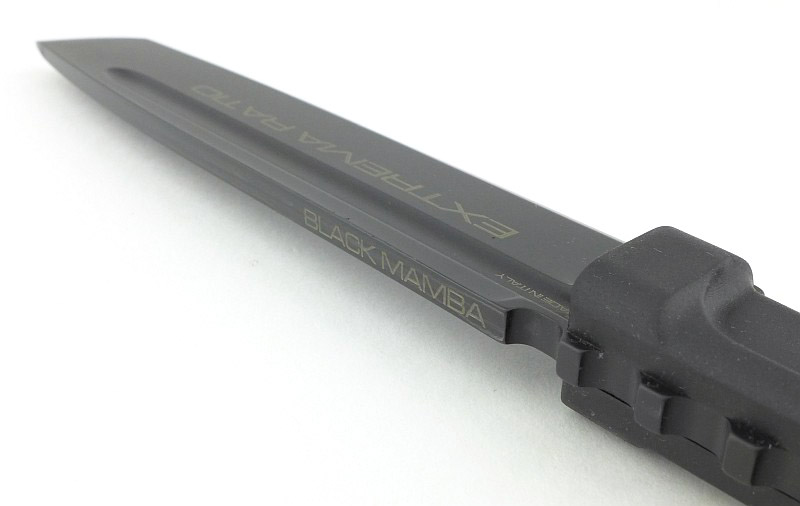
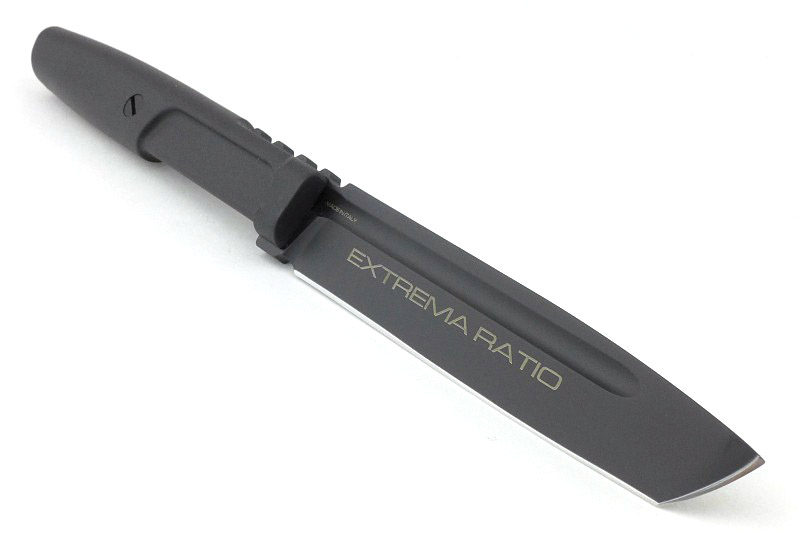
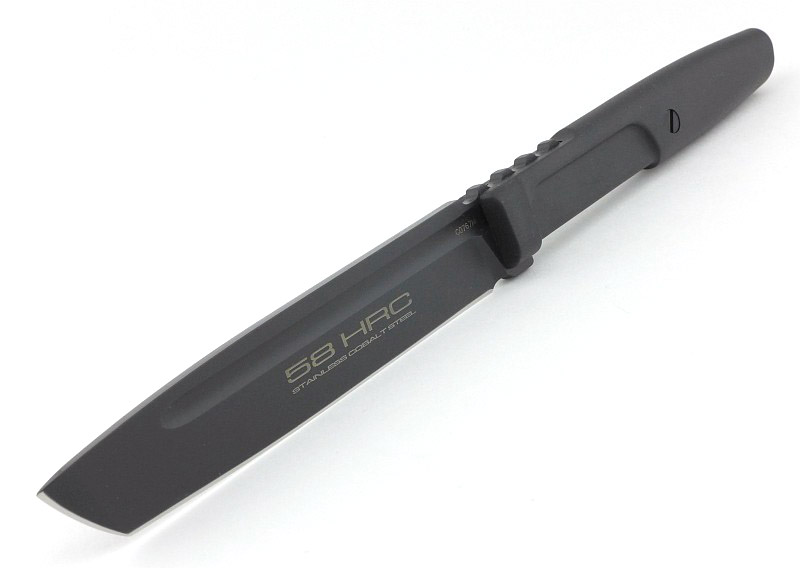
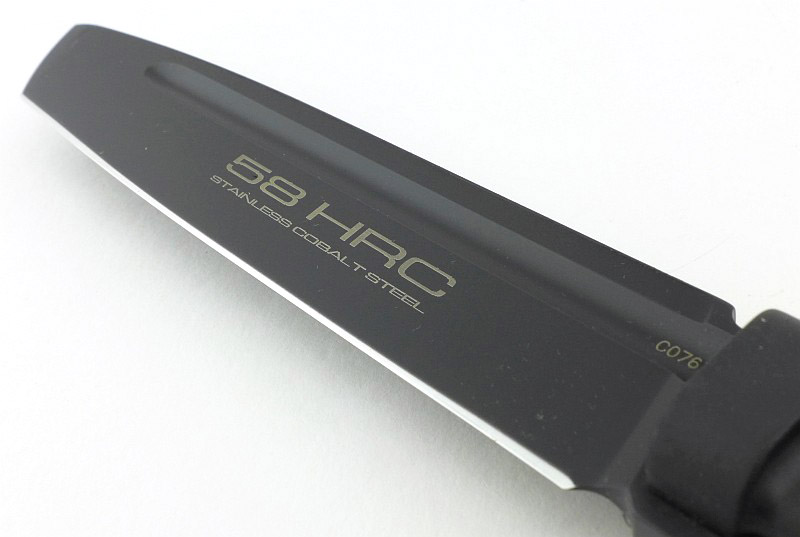
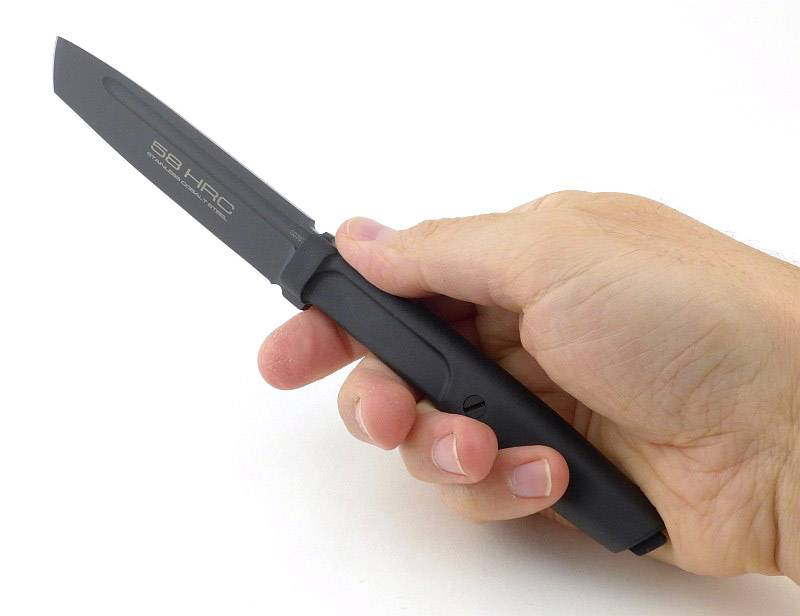
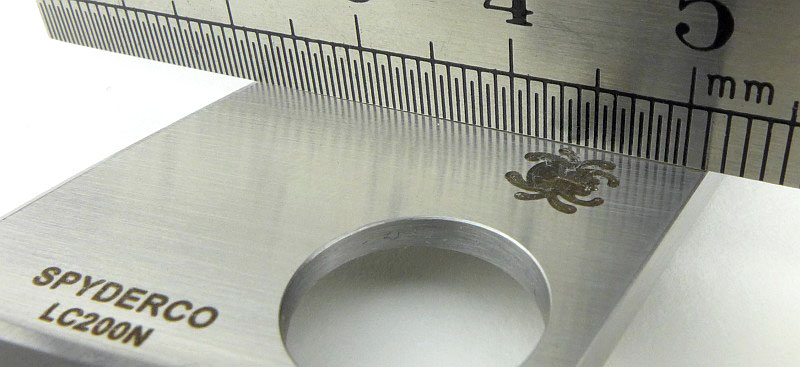
The blade is made from ACCIAIO BöHLER N690 (58HRC) steel.
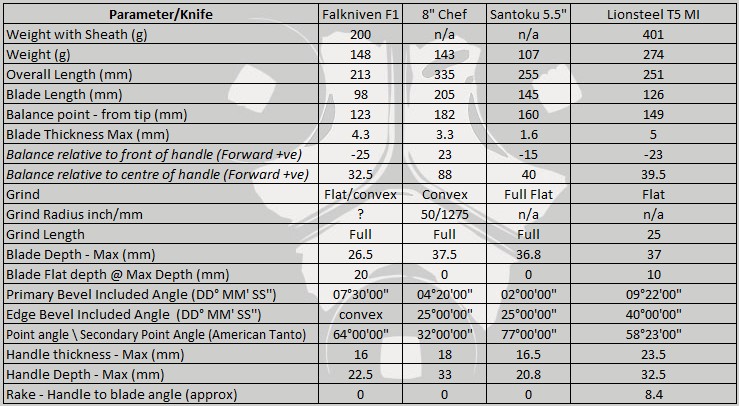
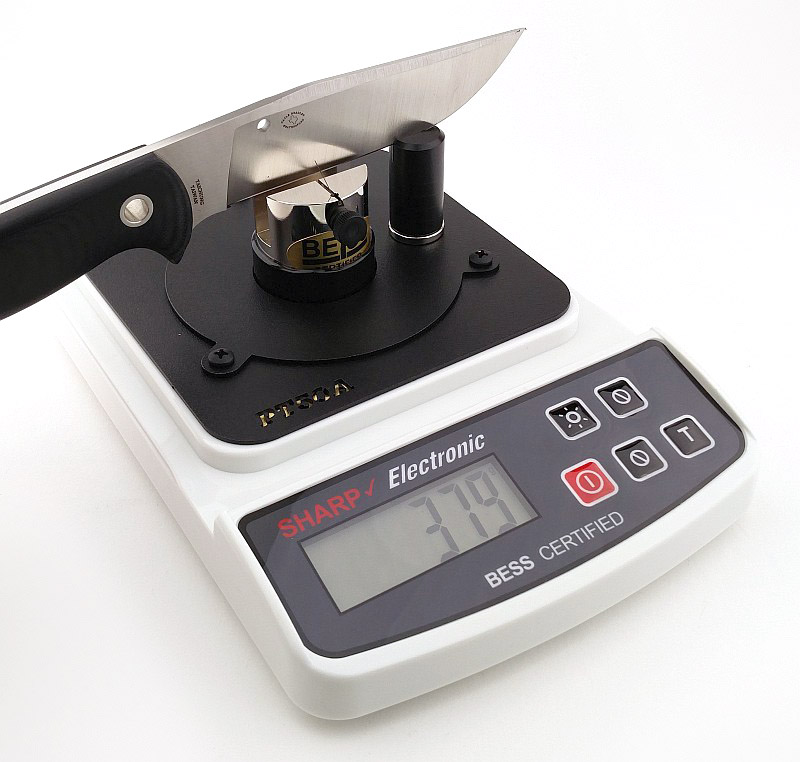
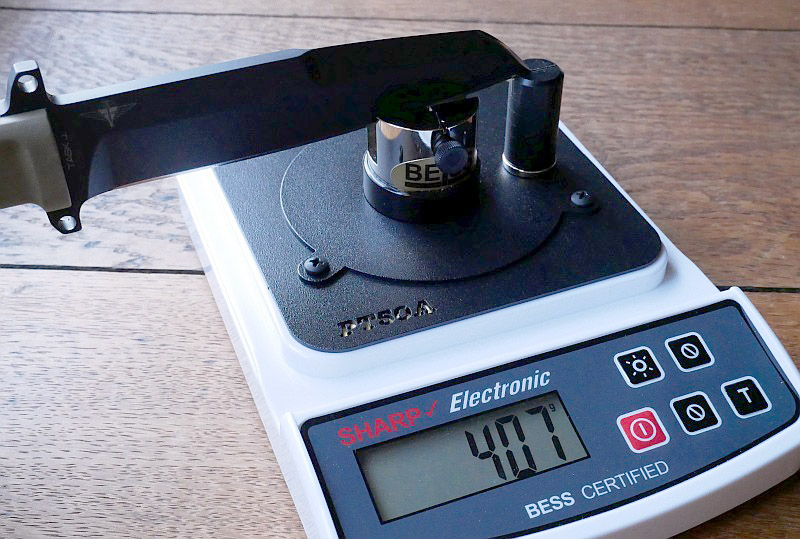
New for 2018! BESS Certified sharpness testing:
The BESS ‘C’ scale of sharpness, developed by Mike Brubacher (Brubacher Edge Sharpness Scale) will now become part of Tactical Reviews’ knife testing process. Initially this will be used to verify the sharpness of the factory edge and allow the knife to be brought to a minimum standard sharpness before testing a blade’s cutting performance.

The TASK J’s factory edge has an average BESS ‘C’ sharpness of 533. Though this officially comes in as a ‘dull’ edge, it will just slice 80gsm paper. Because there are some areas at a BESS ‘C’ score of 407, that allows for a borderline working edge, which is the only reason it is possible to slice 80gsm paper with this factory edge.
Explained by the Maker:
The reasons for certain design choices may not be clear when simply looking at an object, so this section is intended to give an insight into the thinking behind a design by speaking to the designer themselves.
Unfortunately I can’t always get time with the designer so will use this section to include relevant information about the knife and its designer.
Direct quote from Extrema Ratio’s website.
“This tactical knife has been developed together with material experts of Jagdkommando Unit, the Austrian Army special force. It is a multi purpose tactical knife with double guards to avoid accidentally slipping of the hand on the blade. It comes with standard desert side sheath with automatic retention mechanism and protective slap. A fireball flint and striker is placed inside the sheath.”
A few more details:
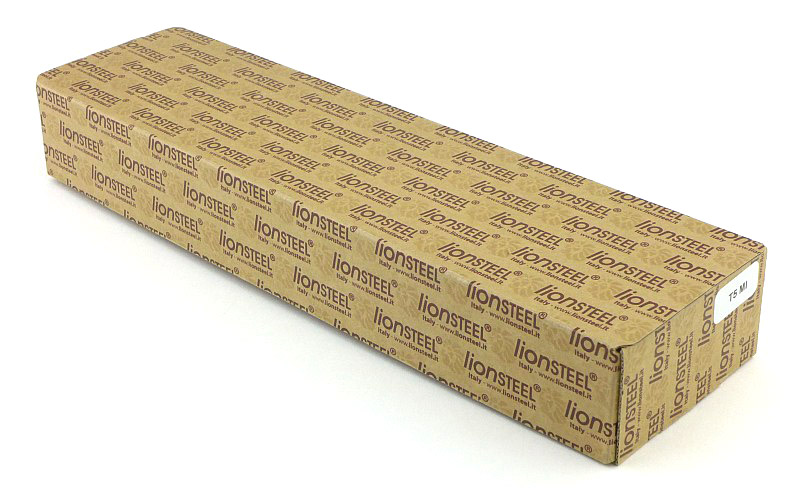
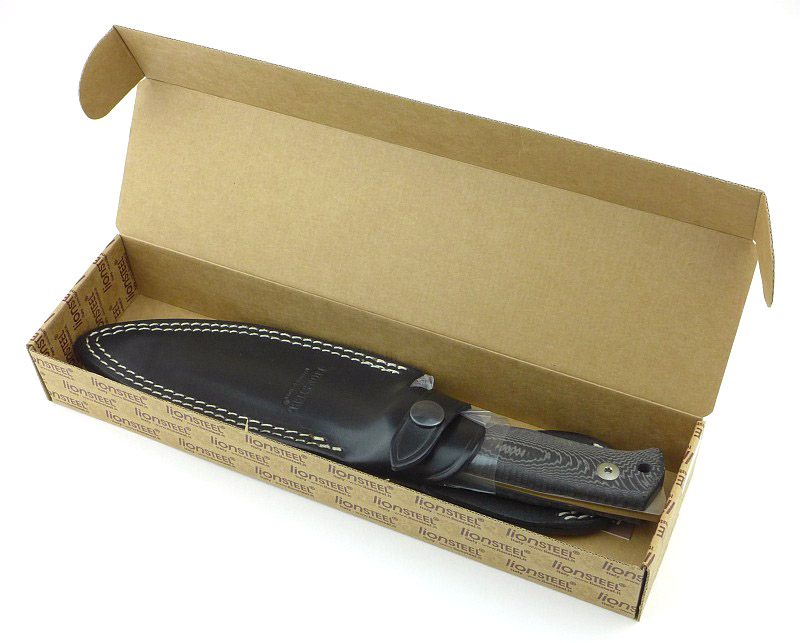
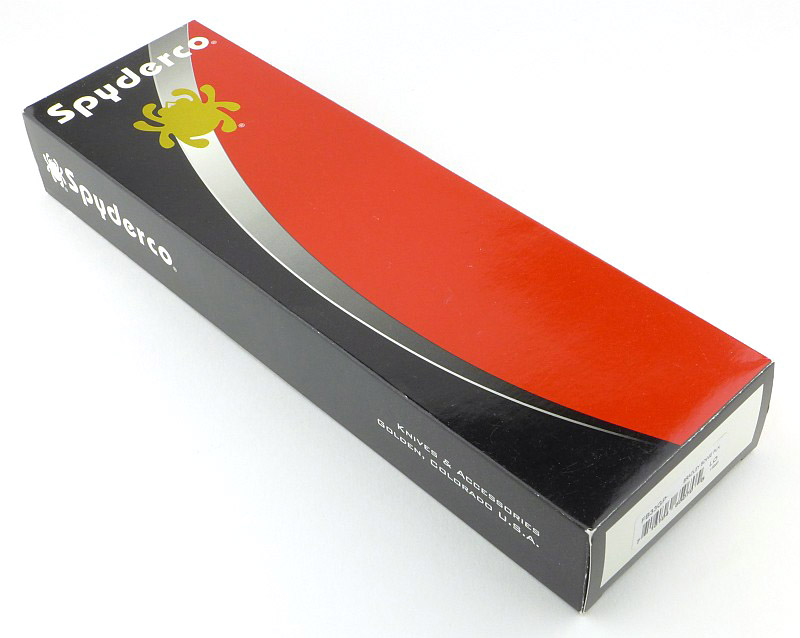
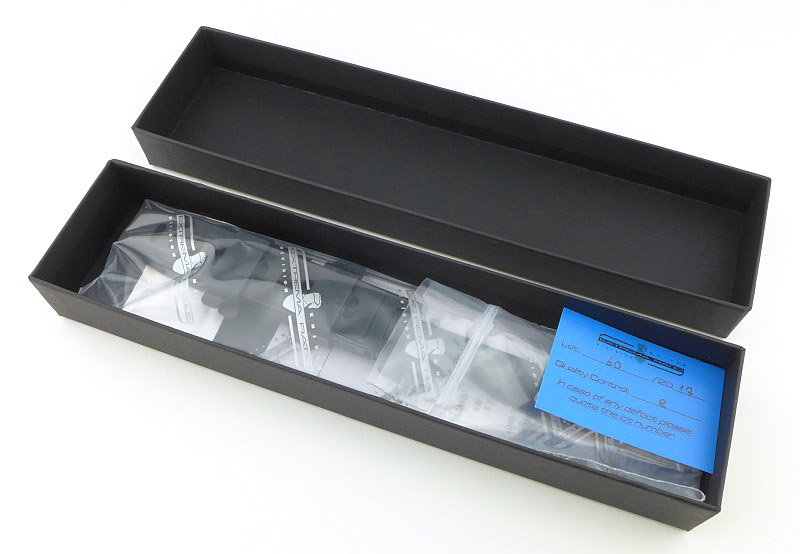
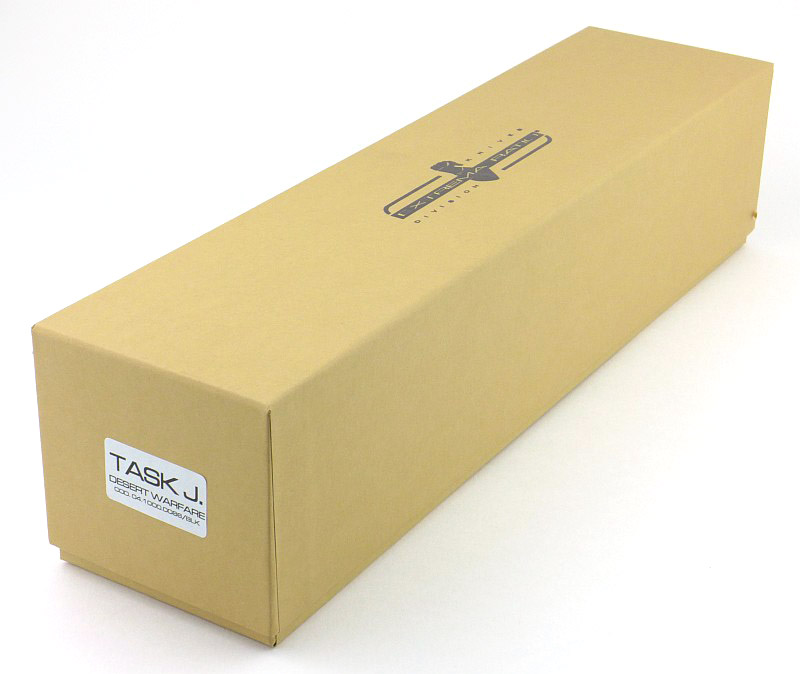
A well made cardboard box is used for the TASK J.
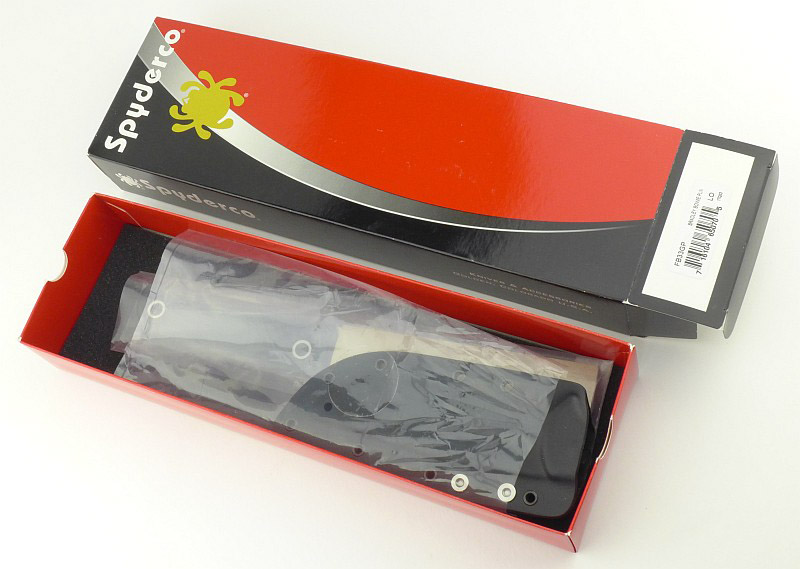
The full package is wrapped in a plastic bag, and fills the substantial box.
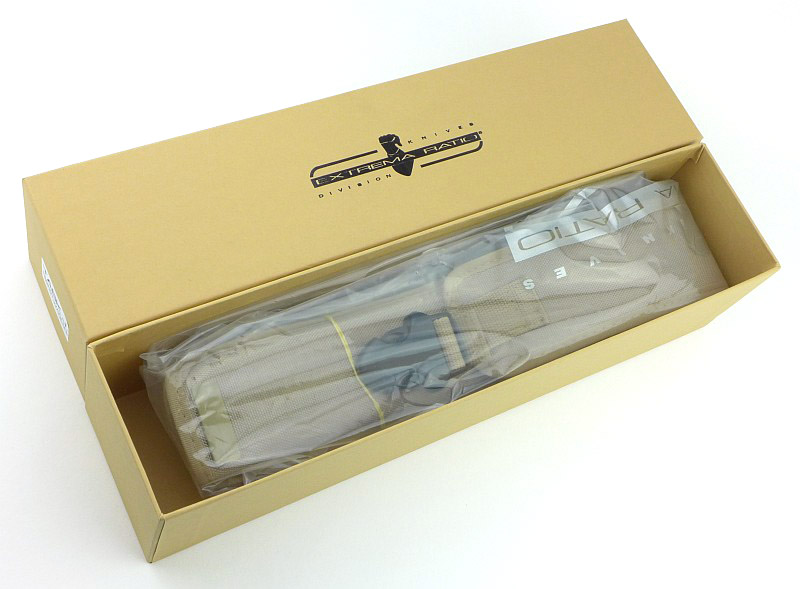
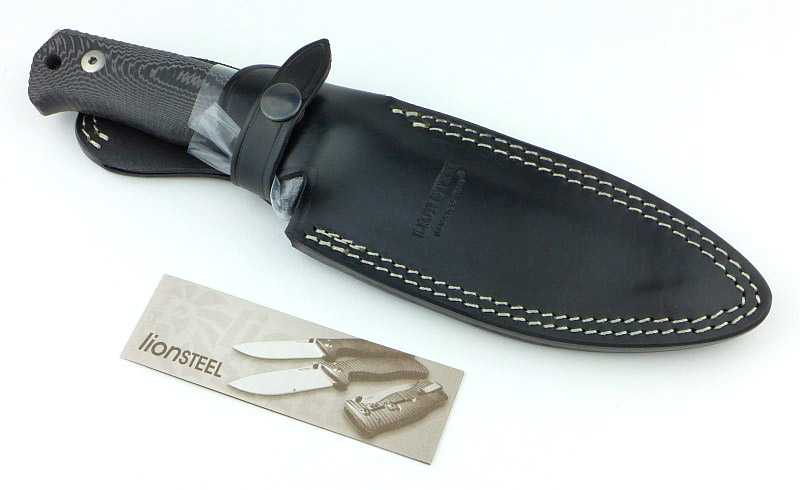
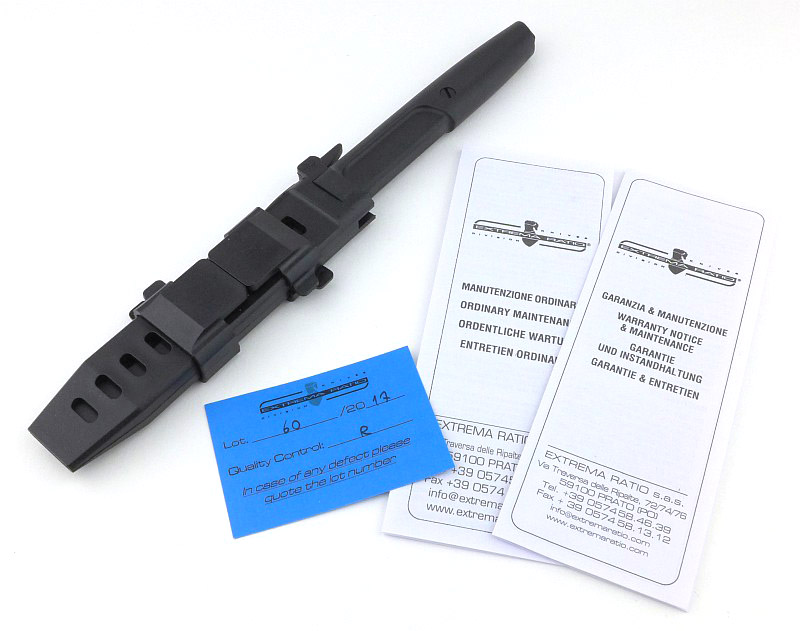
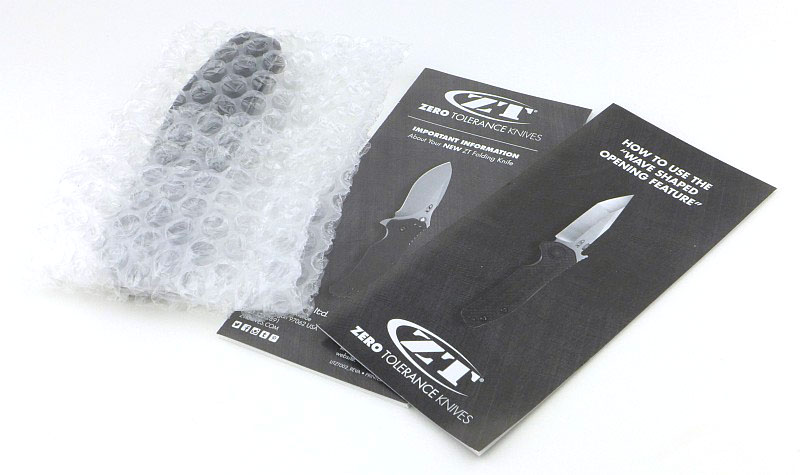
Along with the bagged knife are two leaflets and a quality control card.

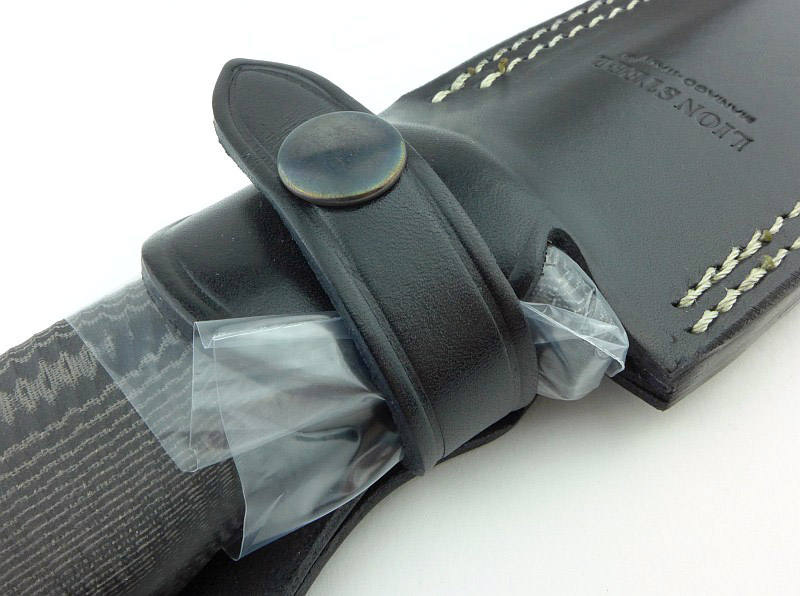
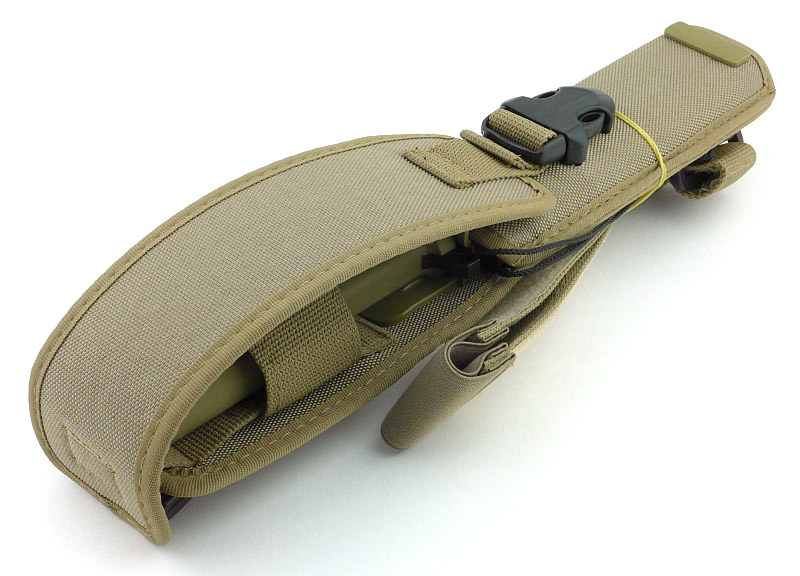
Slipping the TASK J out of the bag; the leg strap is kept neatly in place with a rubber band.
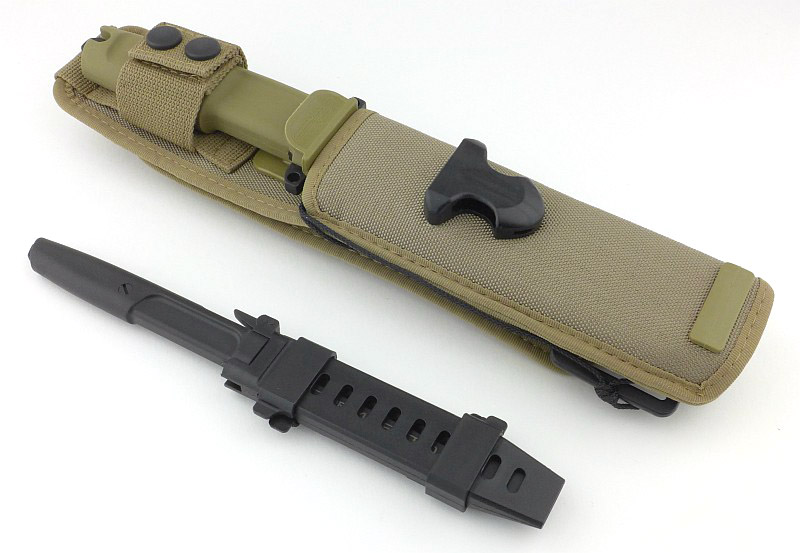
Taking a moment here to mention that Extrema Ratio have packed the design of the sheath with so much detail, this needs to be appreciated, so we’ll be covering this before moving onto the knife.
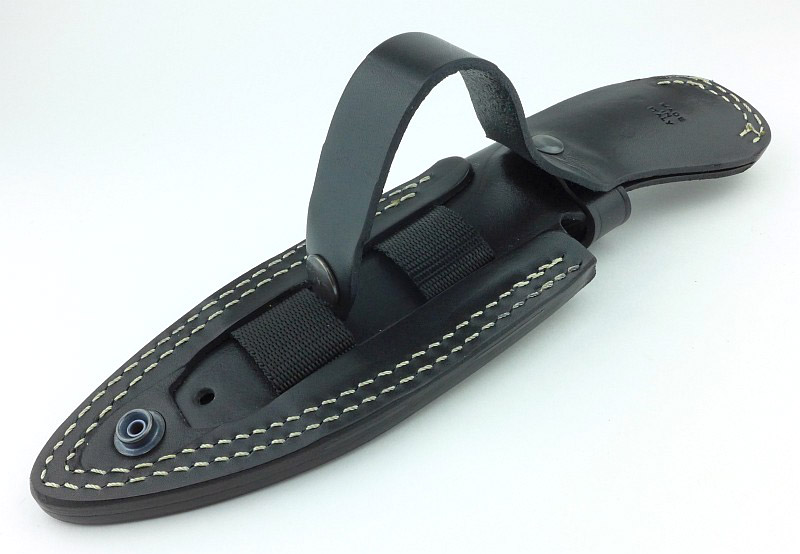
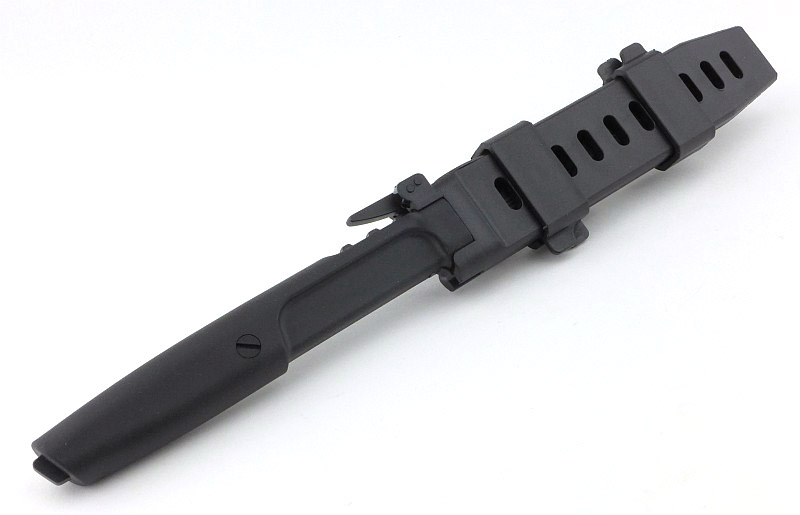
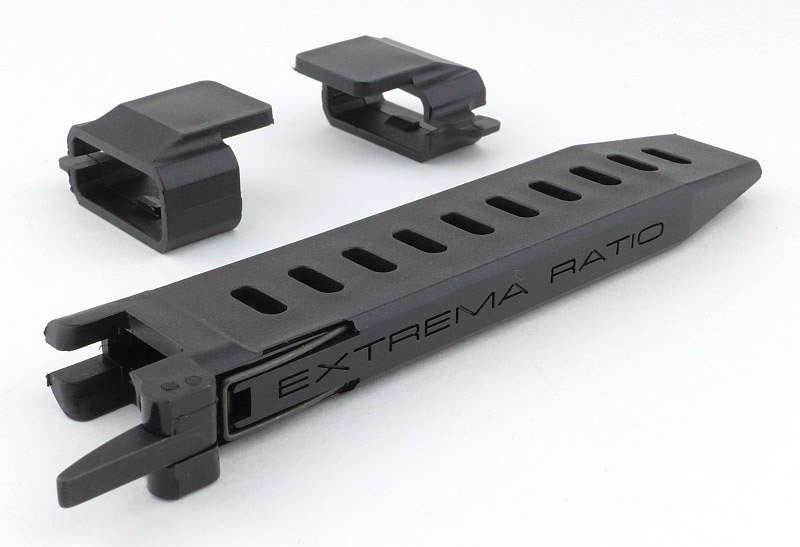
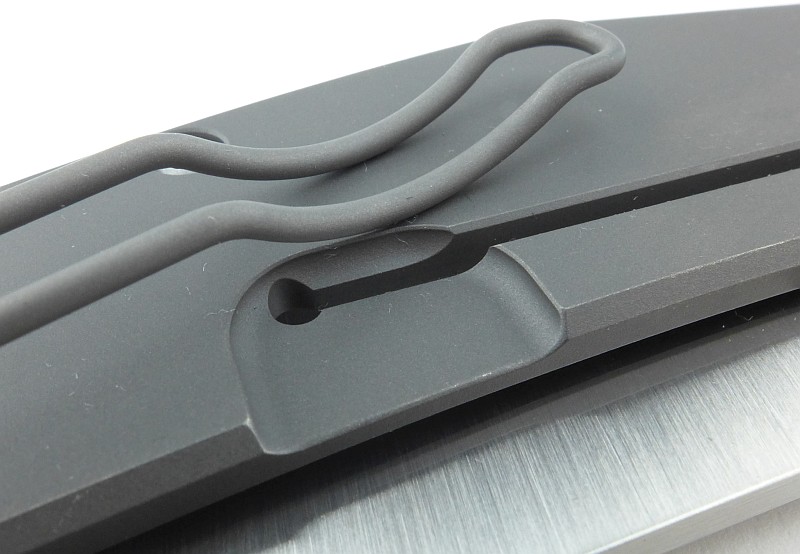
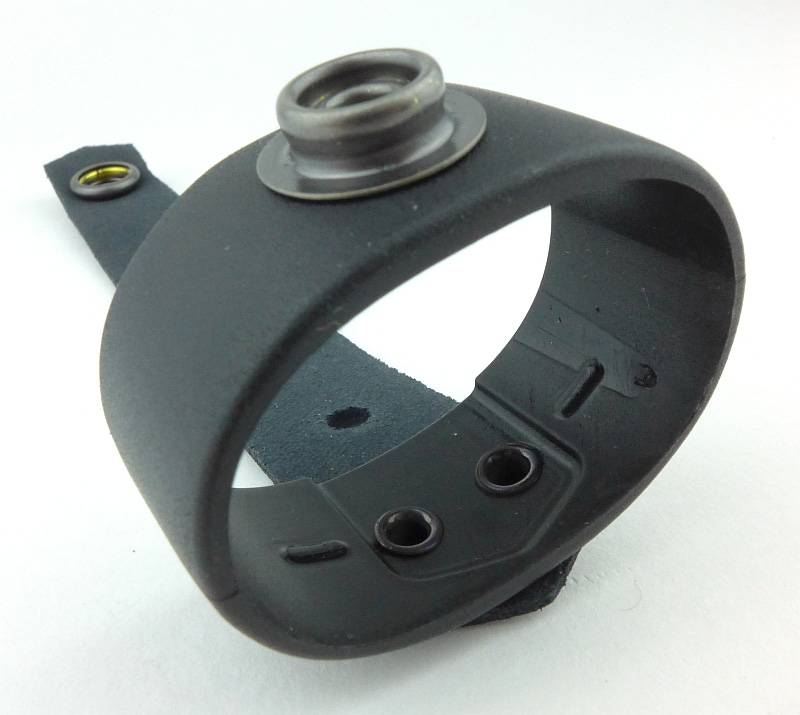
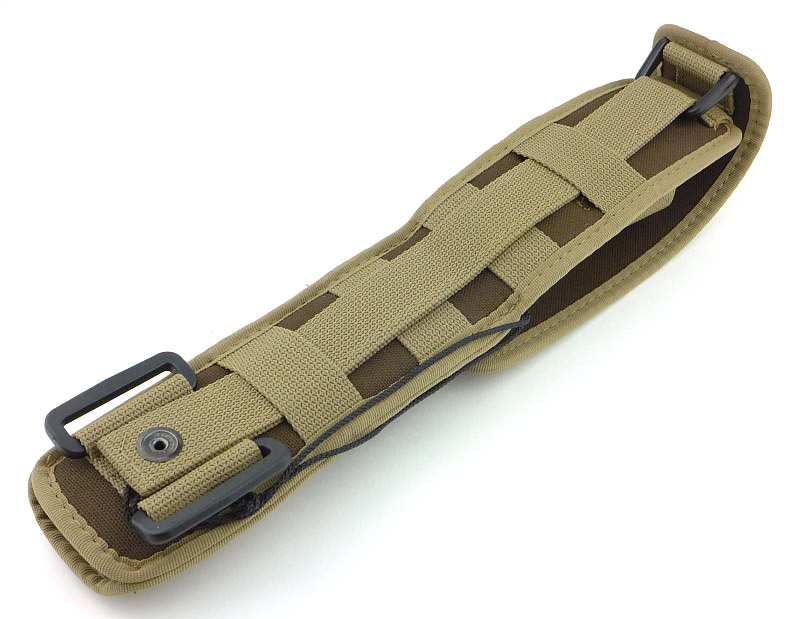
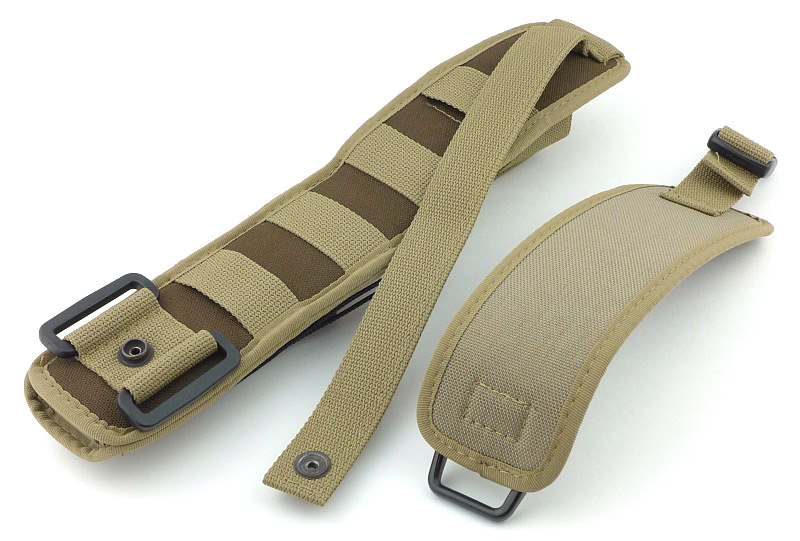
Being a full size knife, there is a removable leg strap to allow you to really keep it under control in vigorous situations.
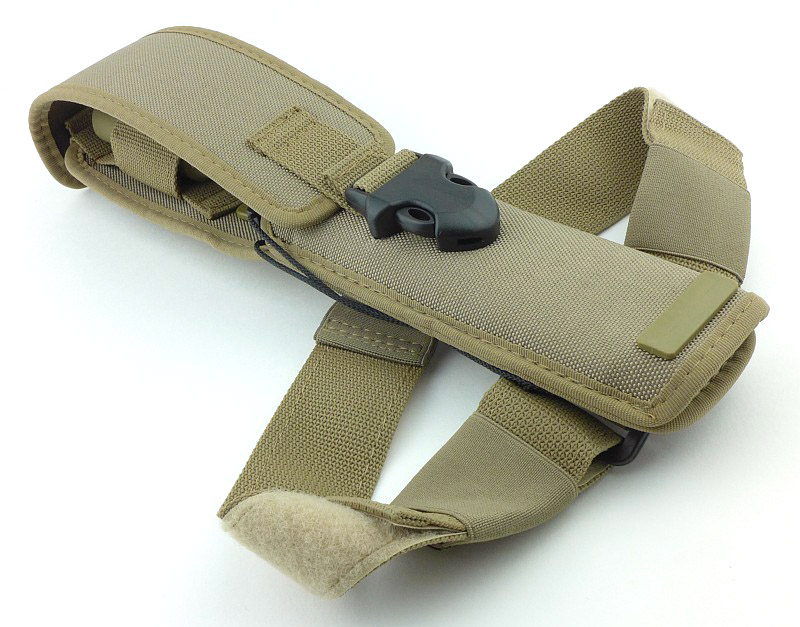
The leg strap has a double elasticated section so you can fit is snugly without then finding it cuts in uncomfortably.
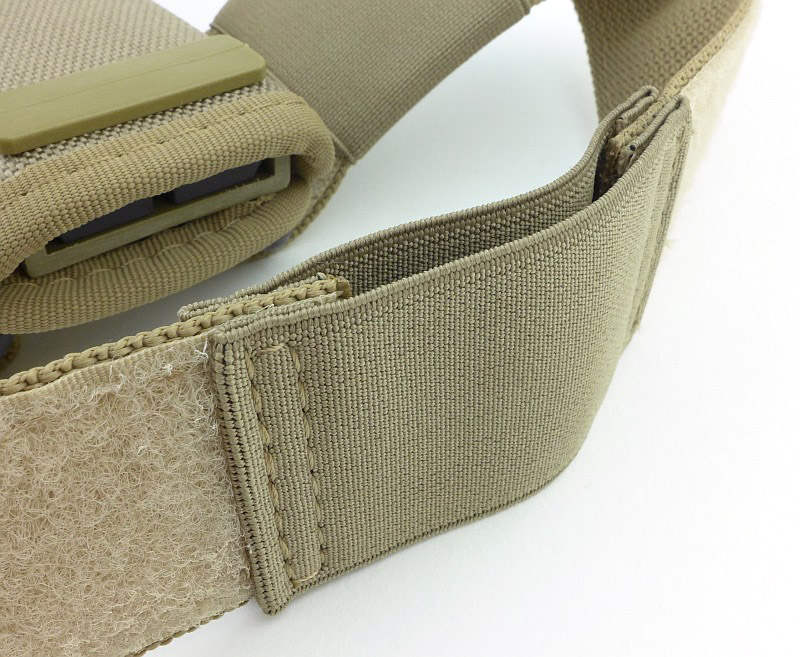
Both ends of the leg strap are adjustable in length using velcro. There is an elastic cover to slide over the end of the strap end to prevent it from being pulled away during use.
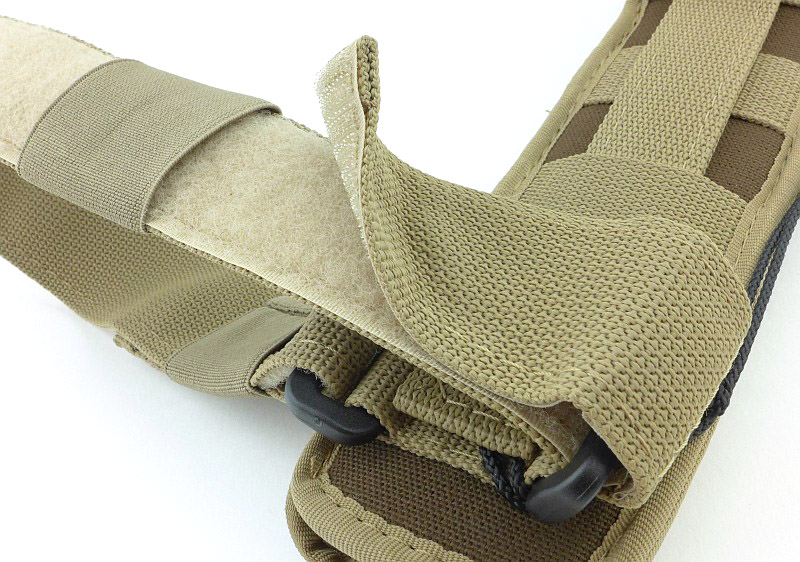
In exactly the same way you adjust the length (by pulling apart the velcro adjustment), you can also remove the strap fully.
For now the leg strap is off and set aside until needed.
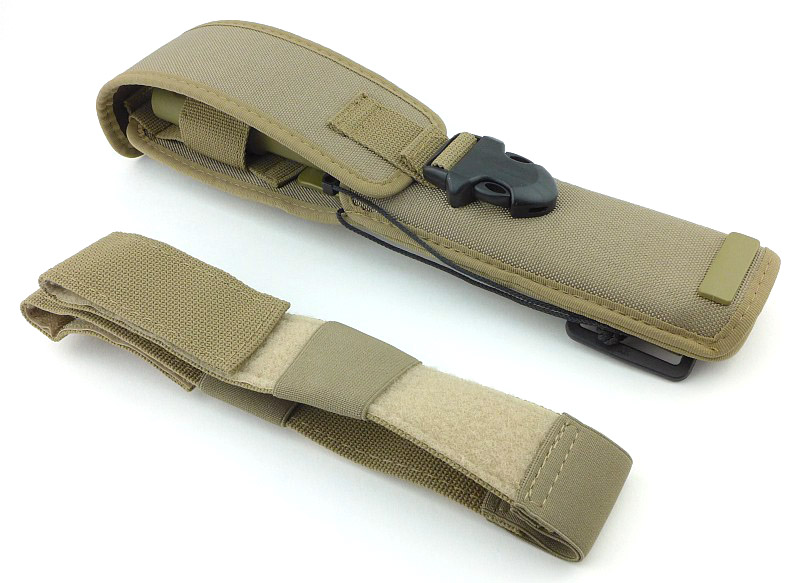
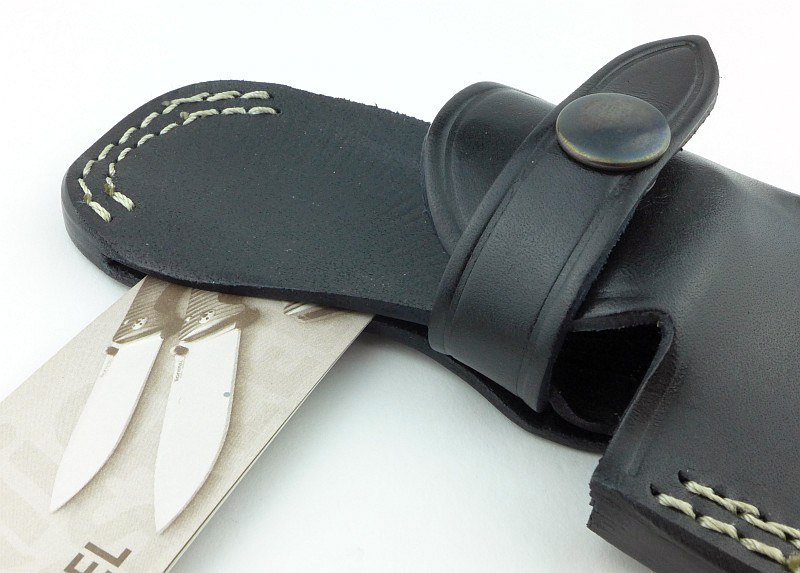
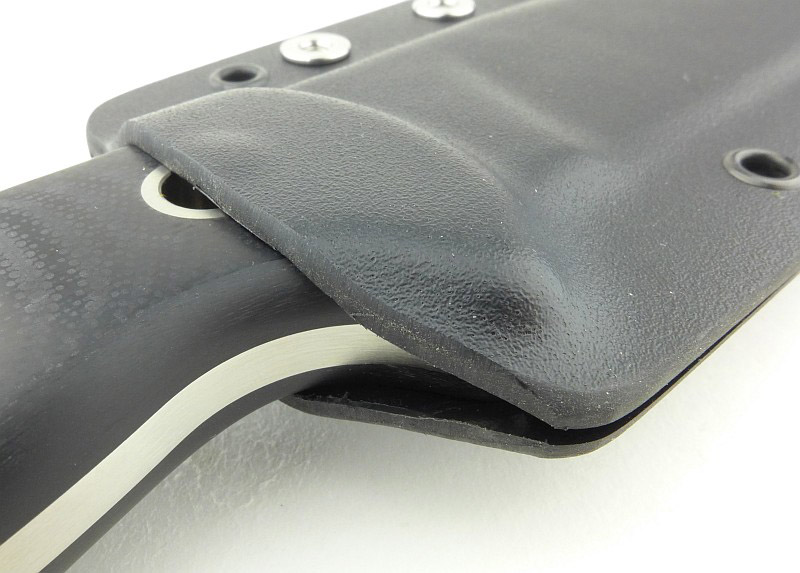
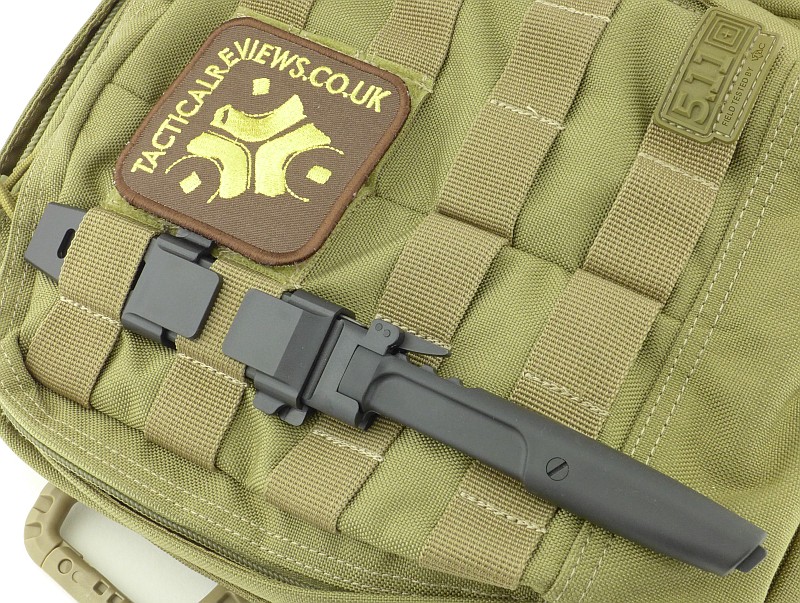
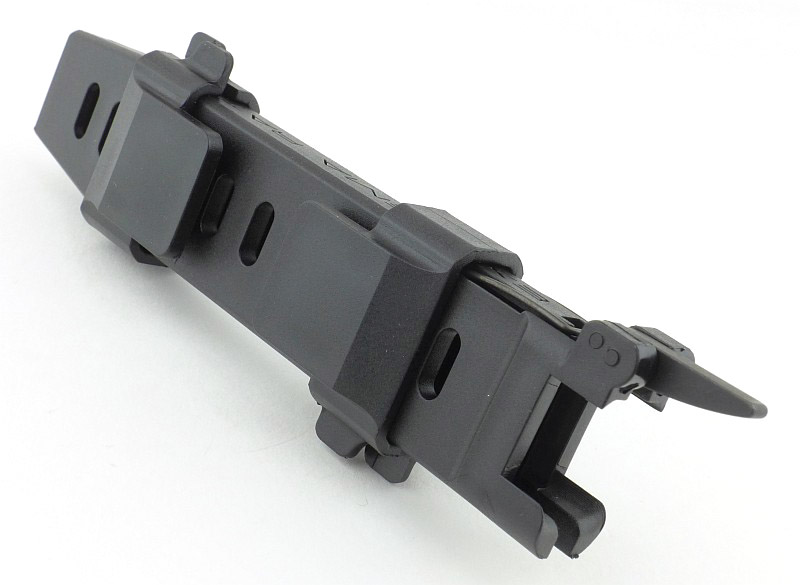
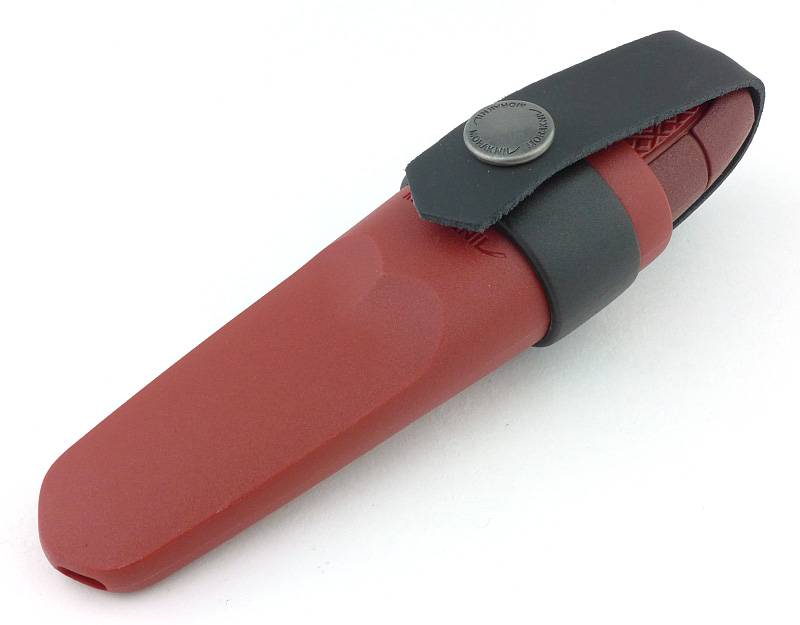
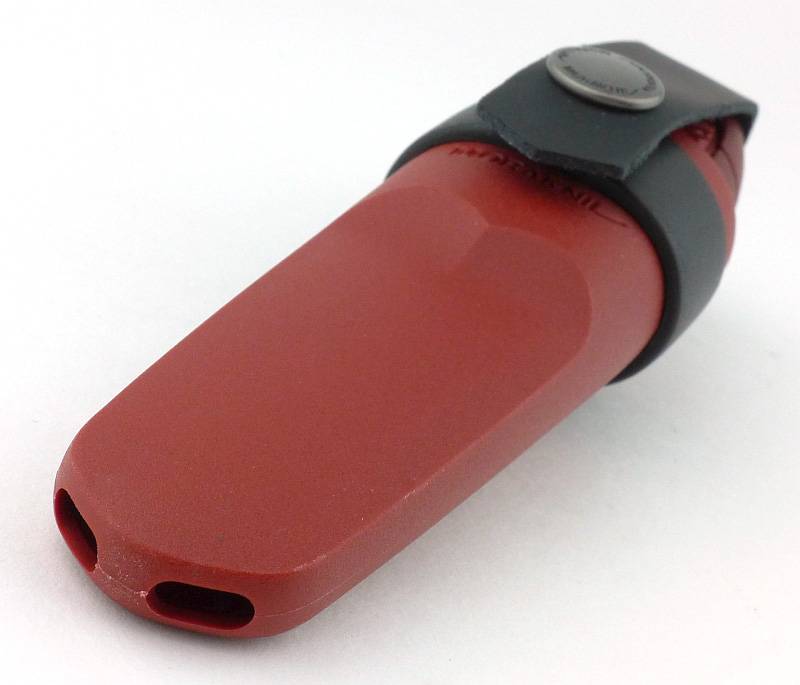
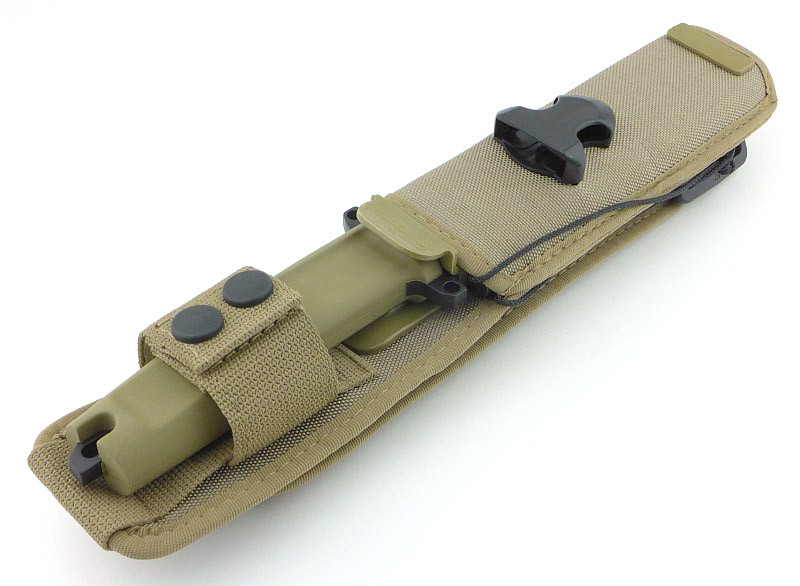
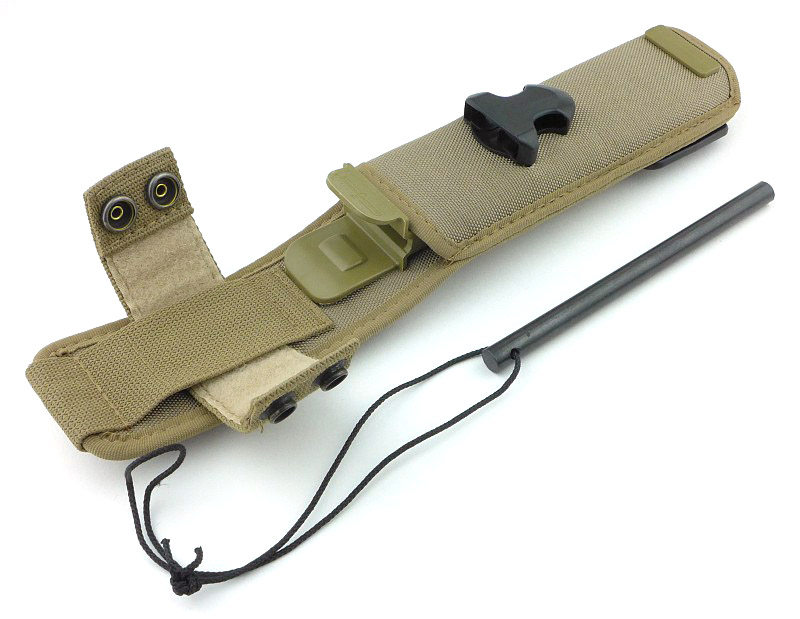
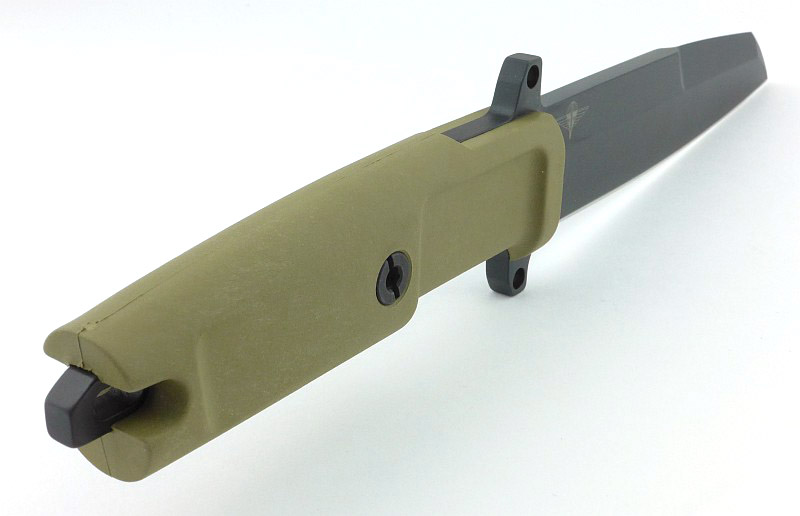
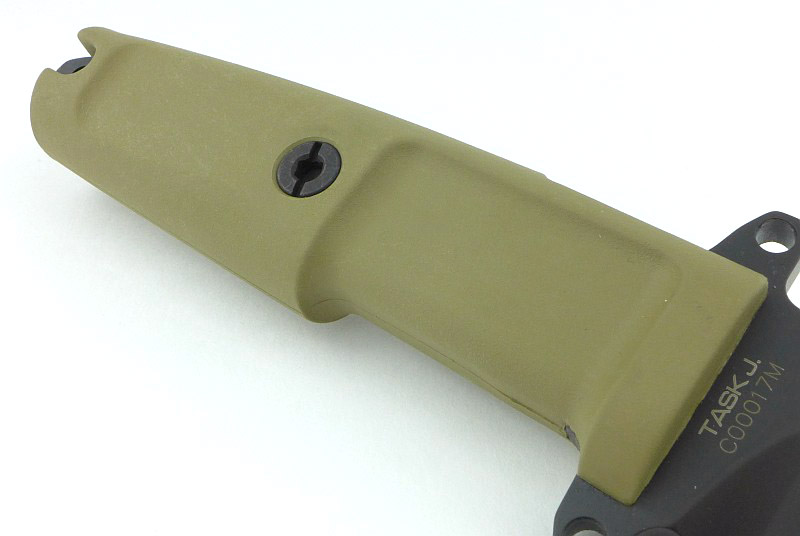
Onto the main sheath. The most obvious atypical feature is the full knife handle cover; as shown here, the knife itself is almost fully concealed. This flap is a critical feature to help prevent a knife fitted to a pack becoming a ‘hang up’ hazard. With the flap over the knife handle it is far less likely to catch on something.

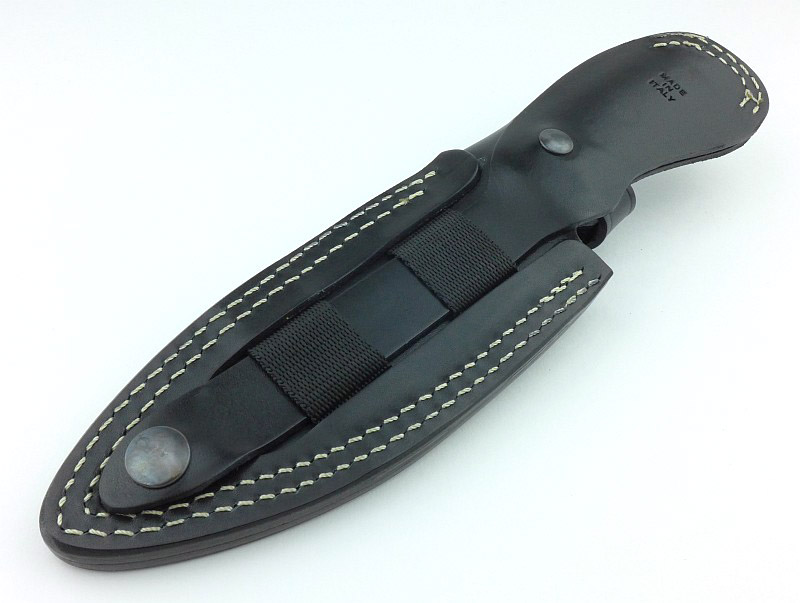
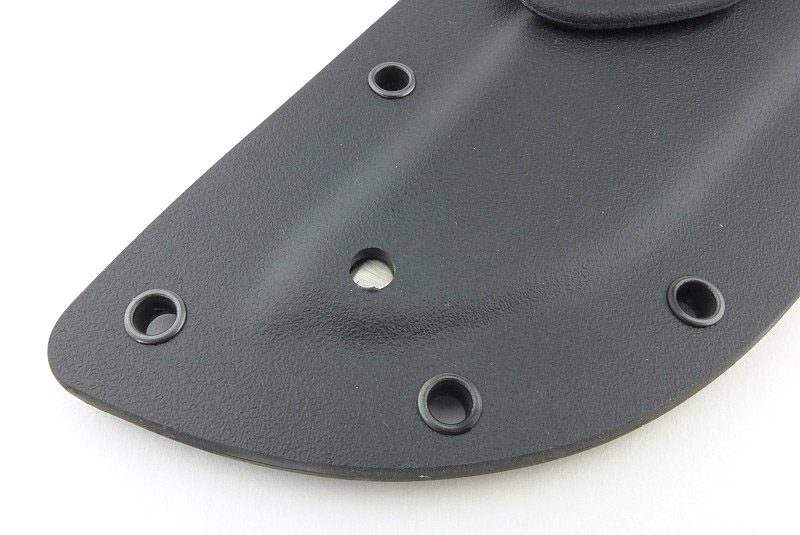
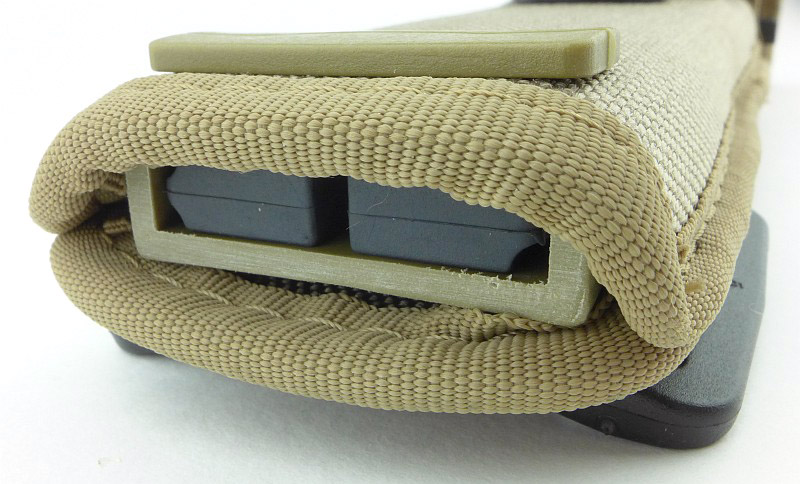
Not relying on a fabric to keep the blade from cutting through the sheath, there is a full plastic sheath liner. This is the bottom of the sheath with the special fixing (visible on the front of the sheath) and the black plastic liner plug that closes off the end of the liner, but leaves gaps for drainage.
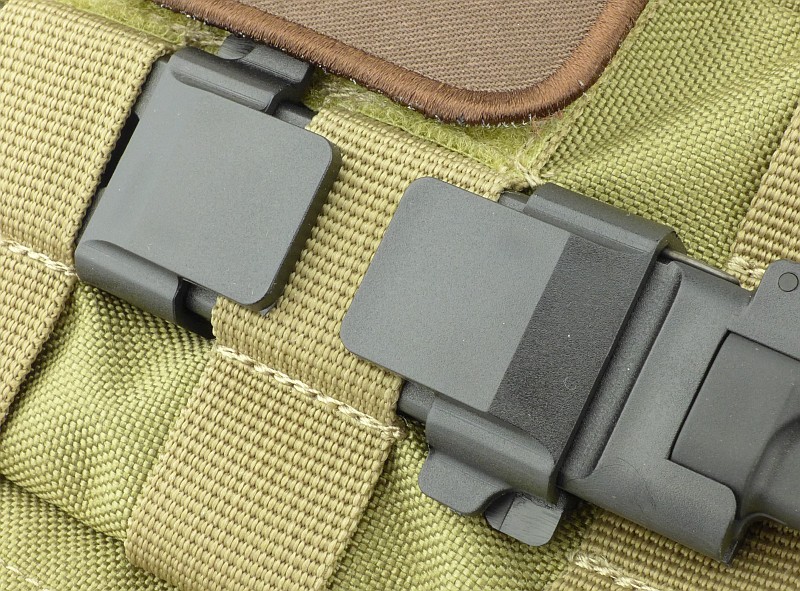
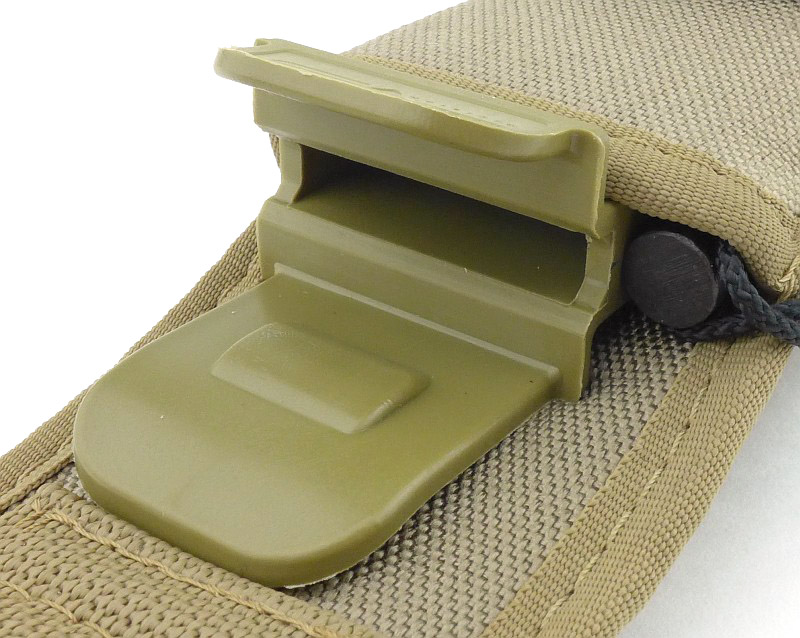
A high quality plastic snap buckle holds the knife cover flap in place.
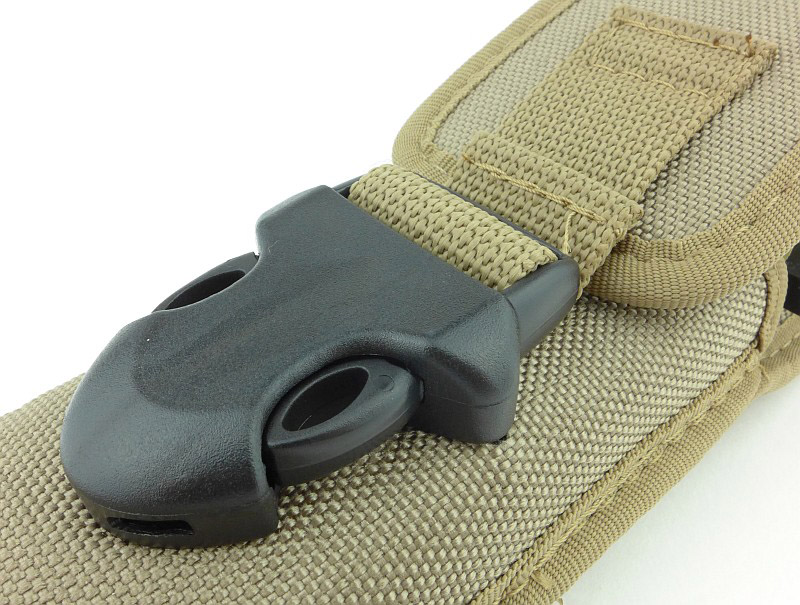
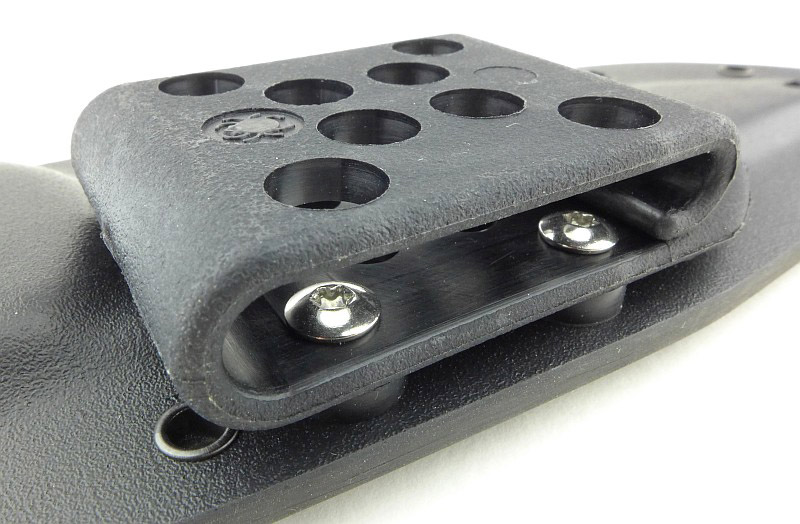
Rolling the sheath over and there is a full length MOLLE fixing strap.
The top of that MOLLE strap is what holds the removable knife cover flap in place.
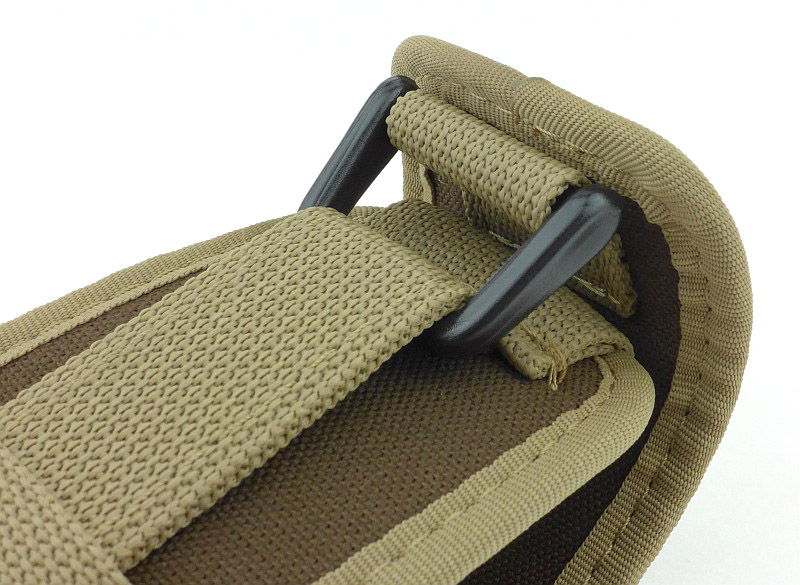
Here the knife cover flap has been folded under the rest of the sheath. Note the thin black cord running down the side of the sheath.
That cord runs all the way down and is held by the MOLLE strap press stud.
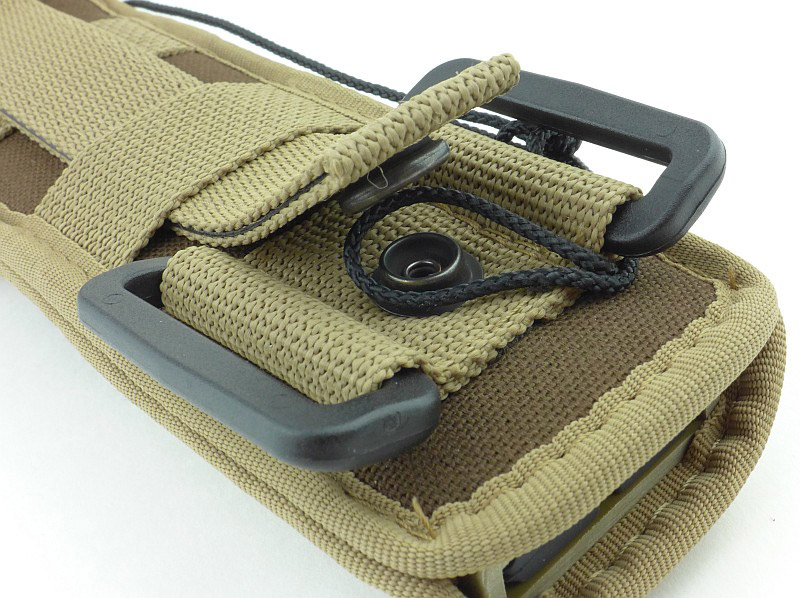
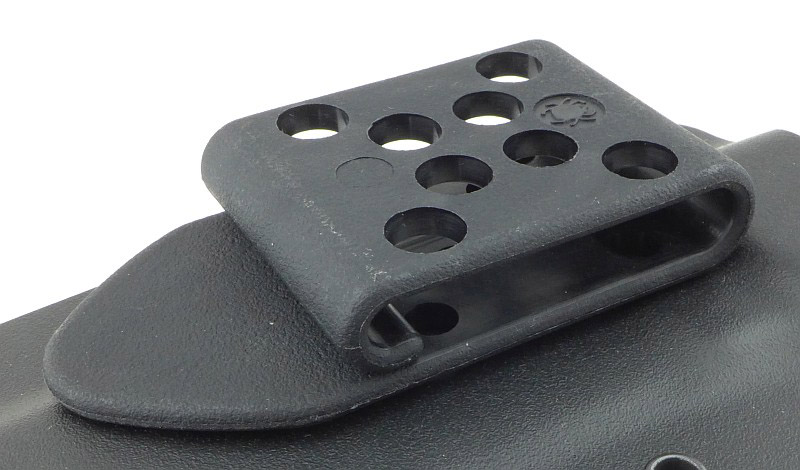
Freeing the black cord, and now starting to draw the MOLLE strap out of the loops.

With the MOLLE strap fully released the cover flap can be removed.
Following the thin black cord to the top of the sheath liner.

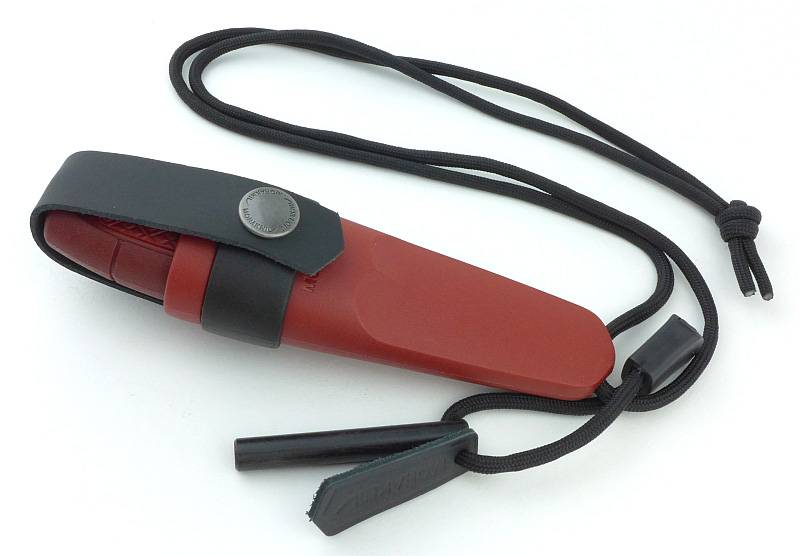
Give it a tug and a thick fire-steel starts to slide out.
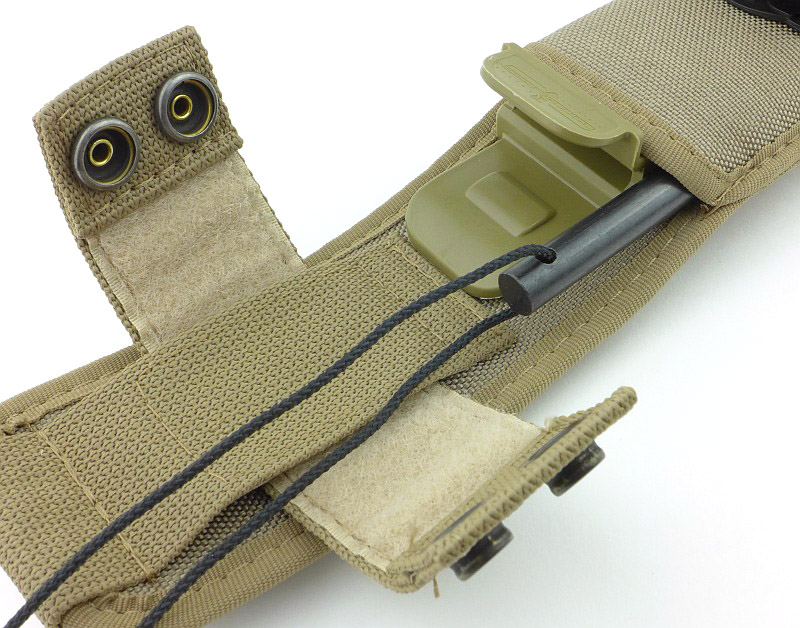
And it just keeps coming… the fire-steel is the full length of the sheath!
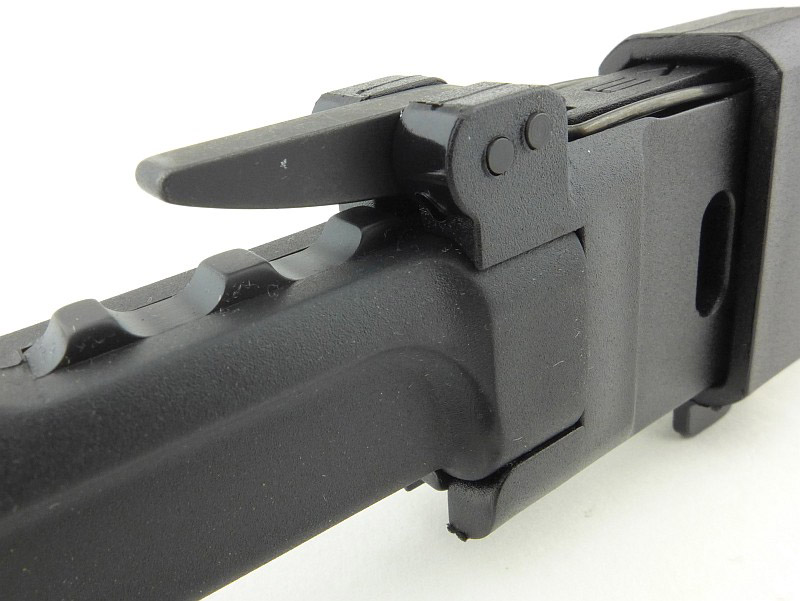
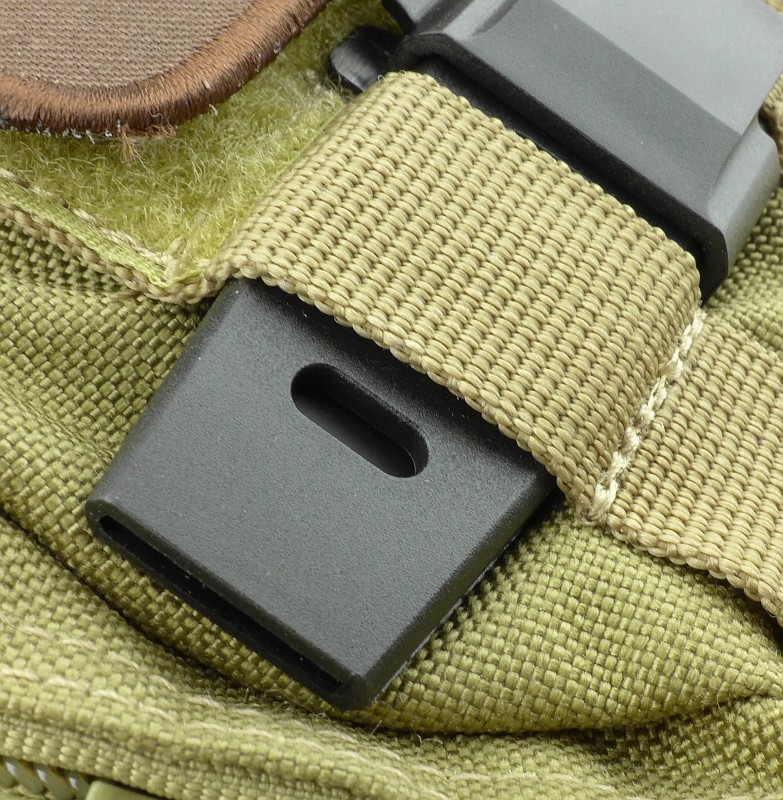
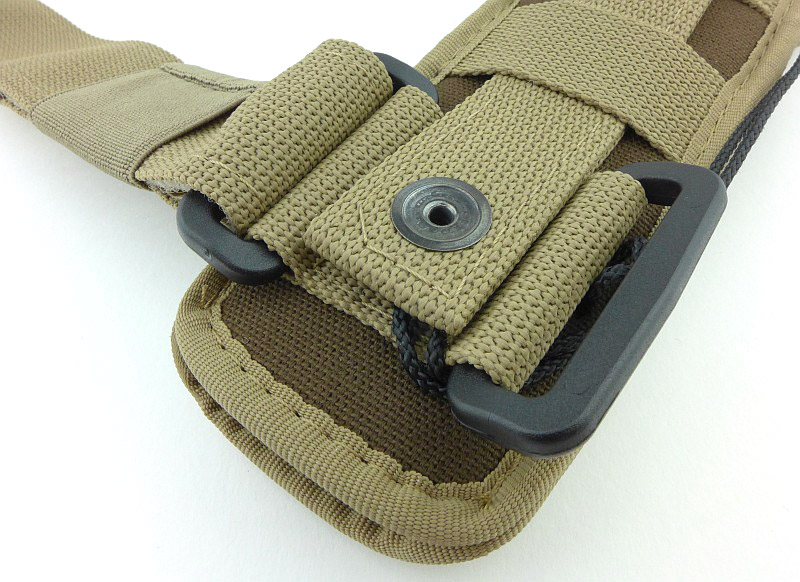
The knife retention strap is also adjustable / removable, with velcro holding it in place.
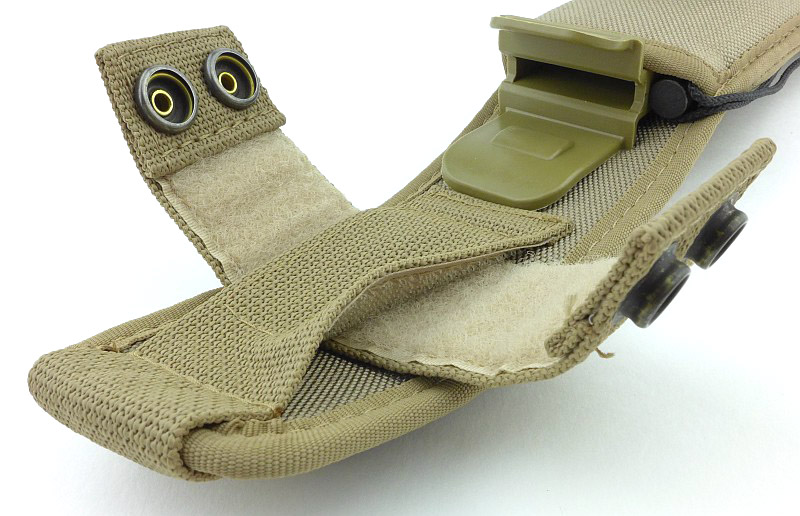
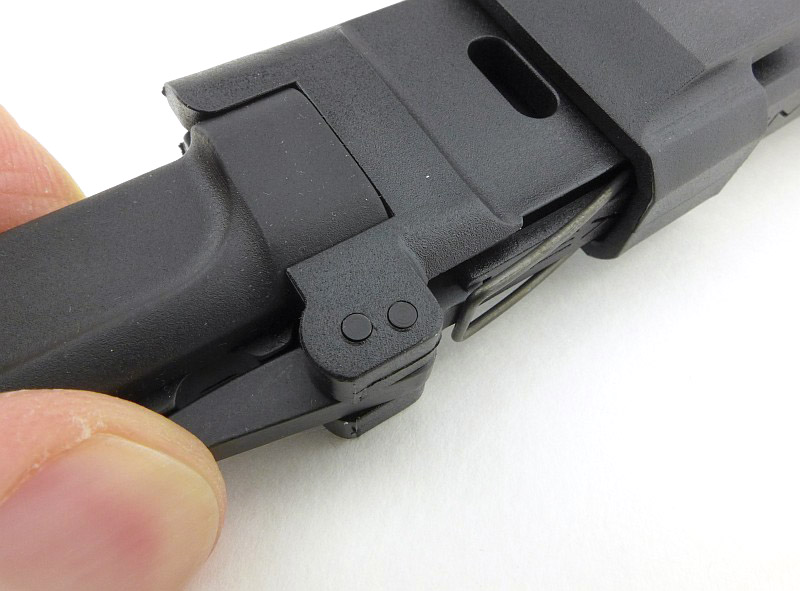
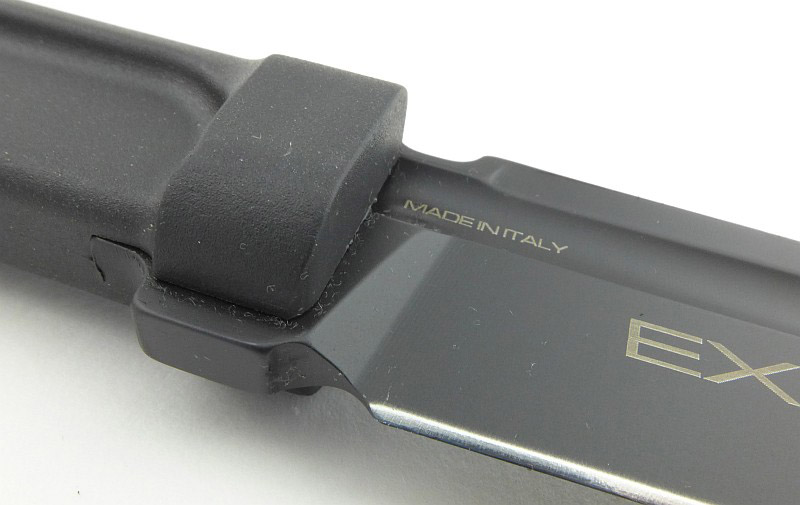
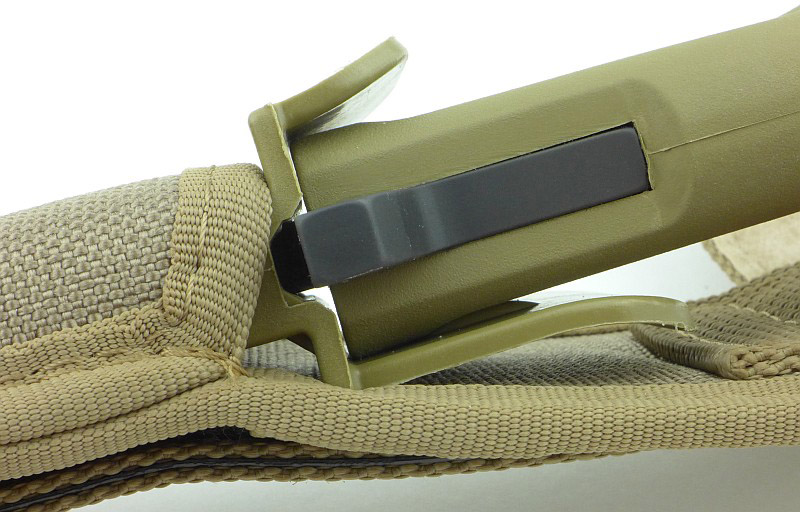
The primary knife retention is not the strap, but is a plastic tab that is part of the sheath liner.
You can see how the side of the handle hits that plastic tab as you insert the knife into the sheath.
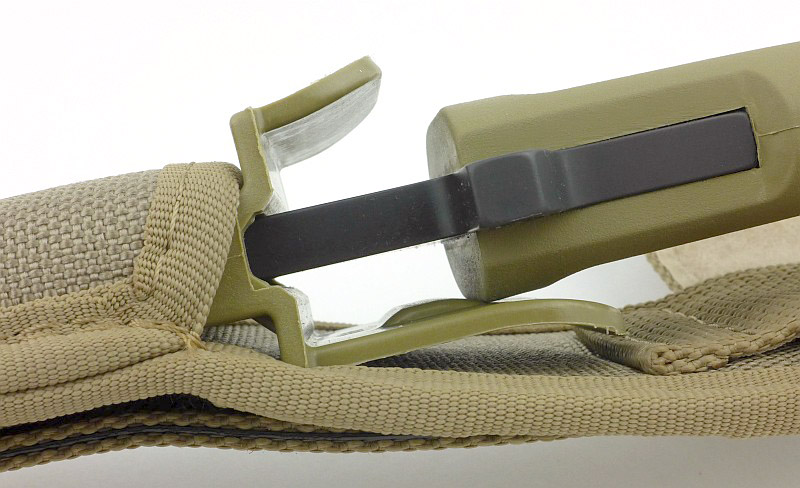
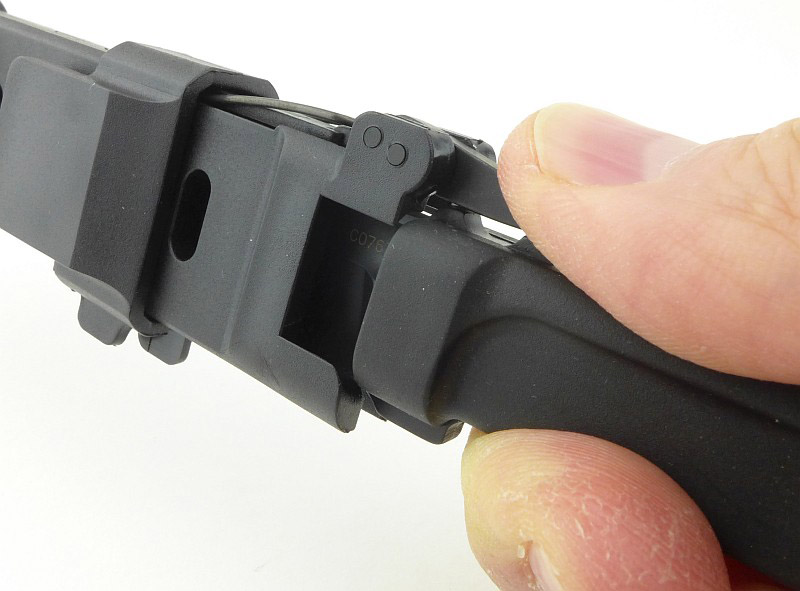
Push a little more firmly, and the knife clicks into place. It is now held in the sheath by this plastic tab, requiring a firm pull to free it.
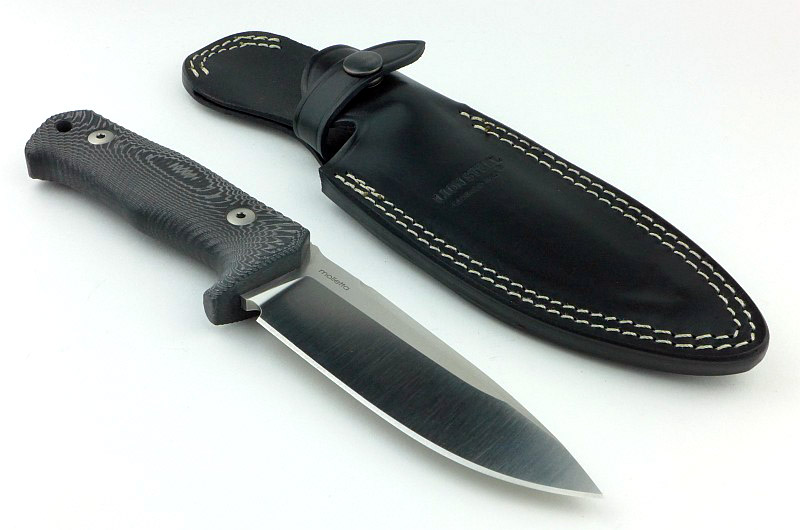
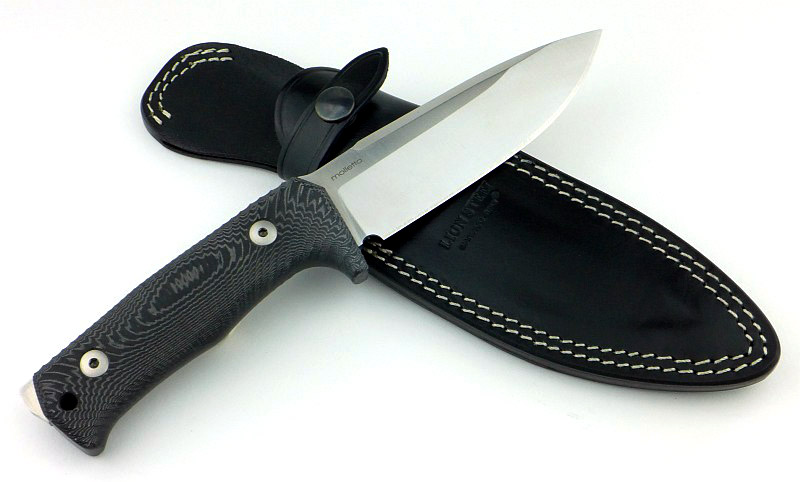
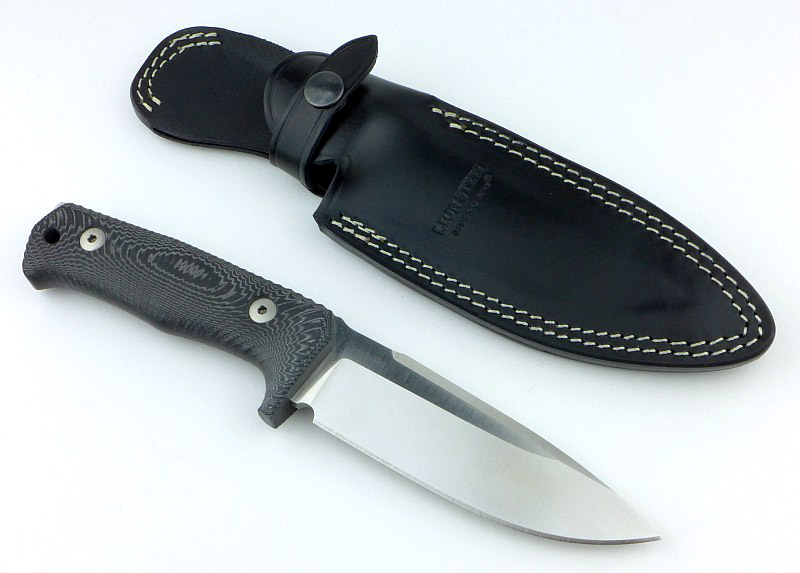
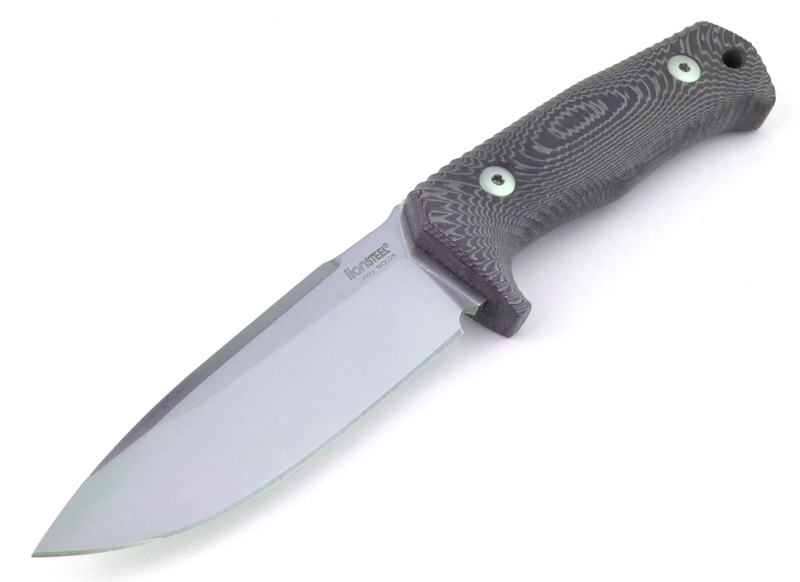
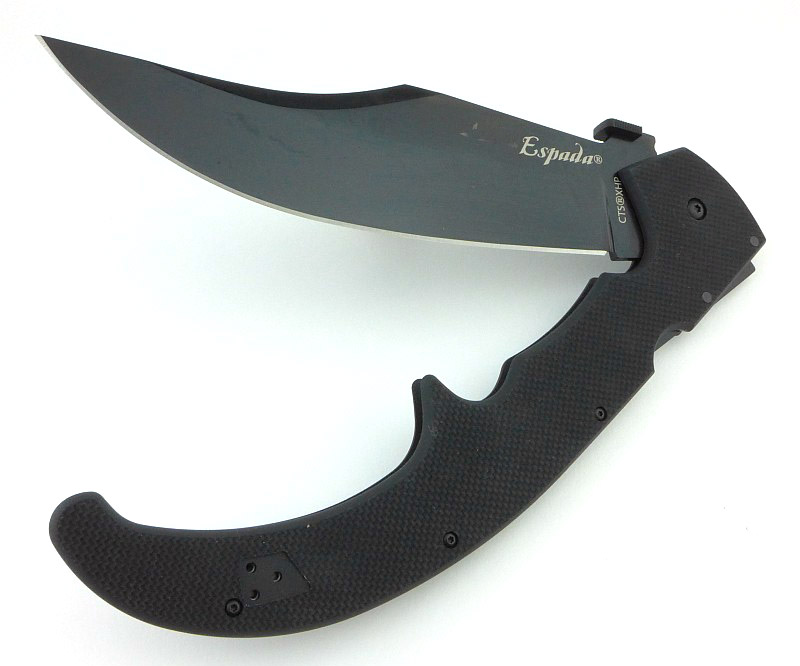
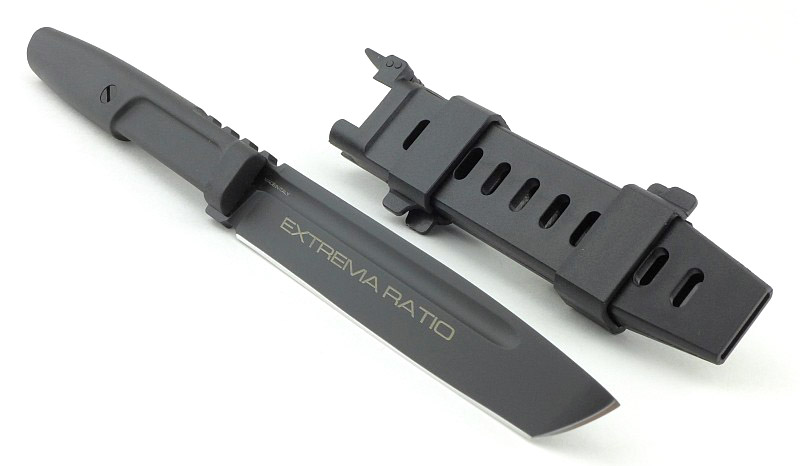
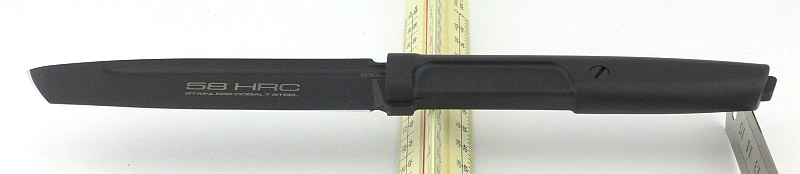
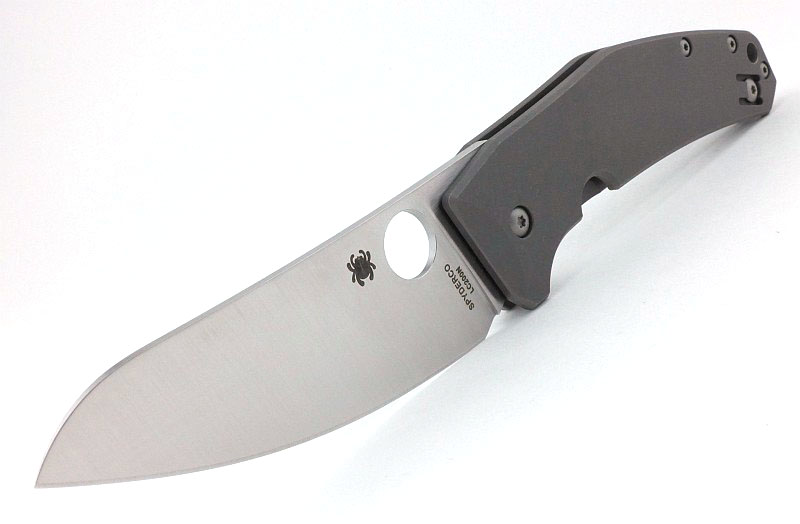
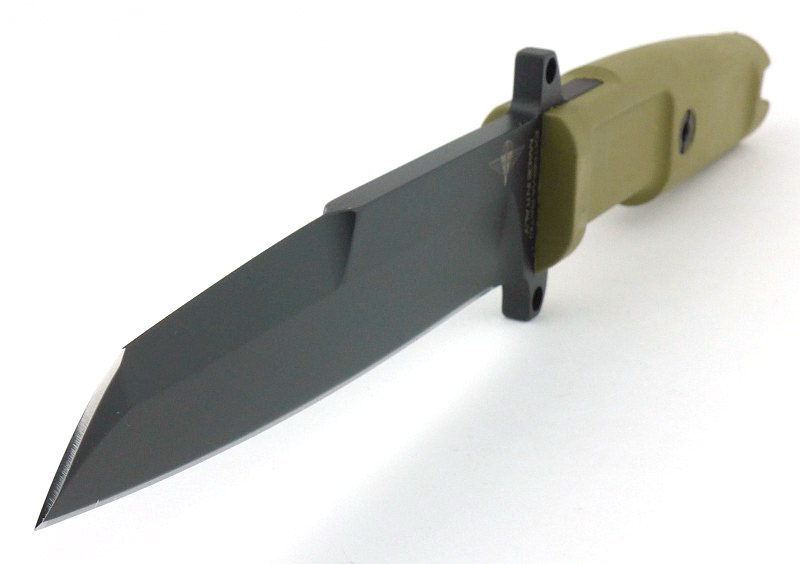
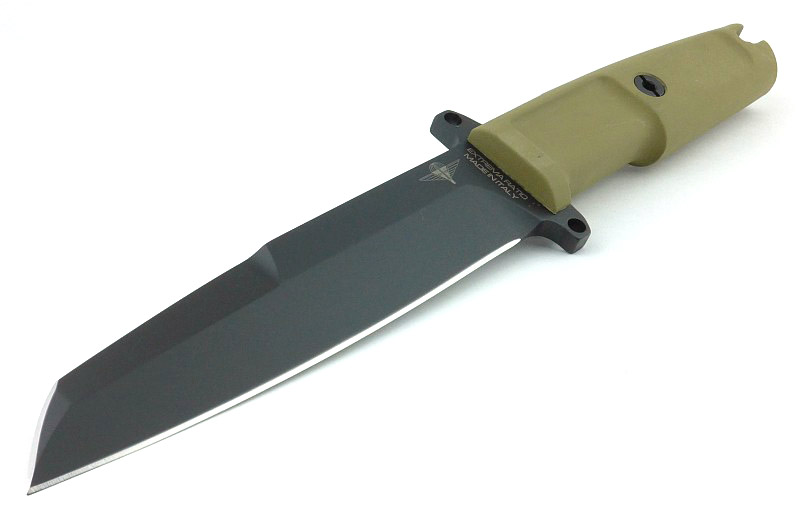
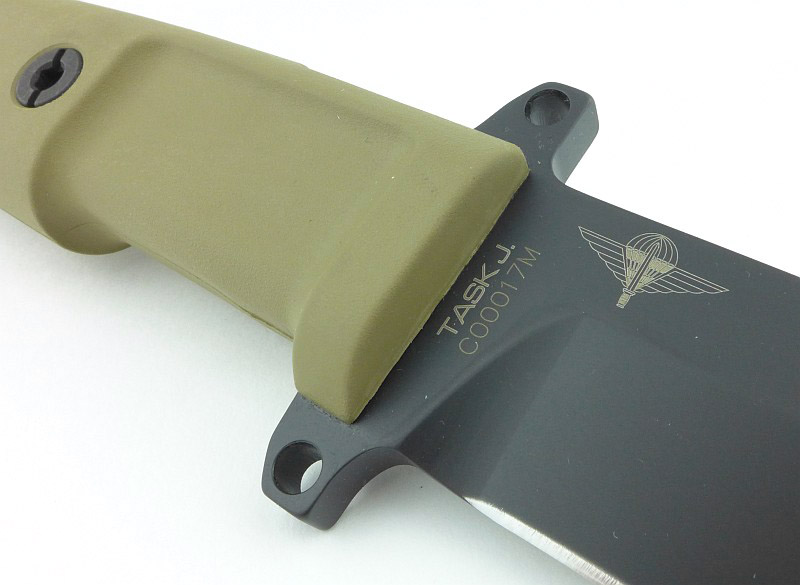
Having covered its feature packed sheath system, here is the TASK J.
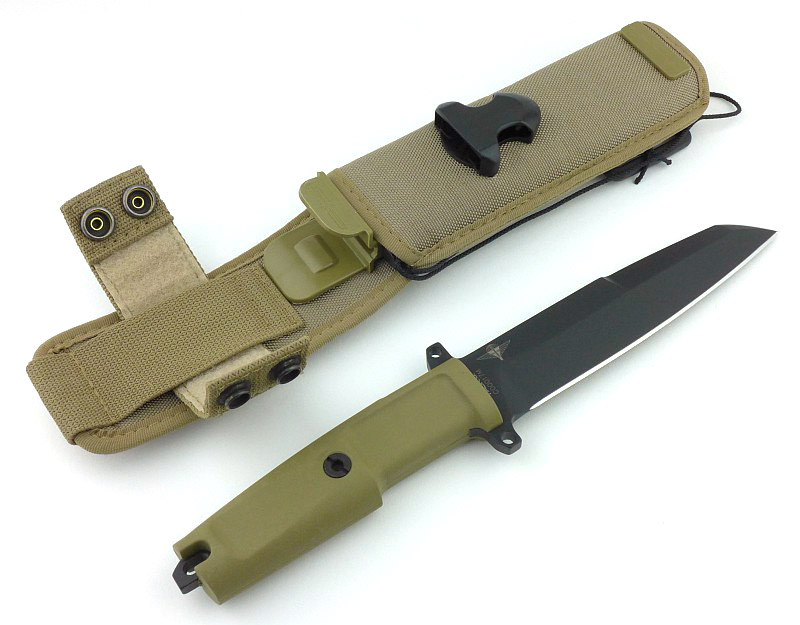
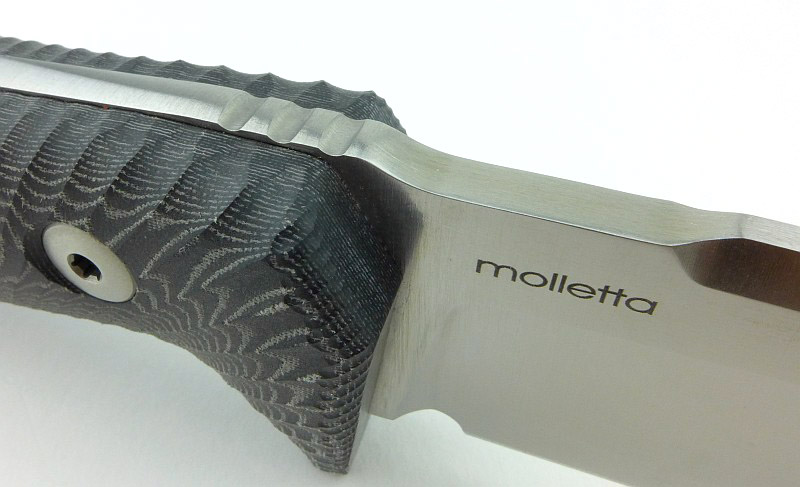
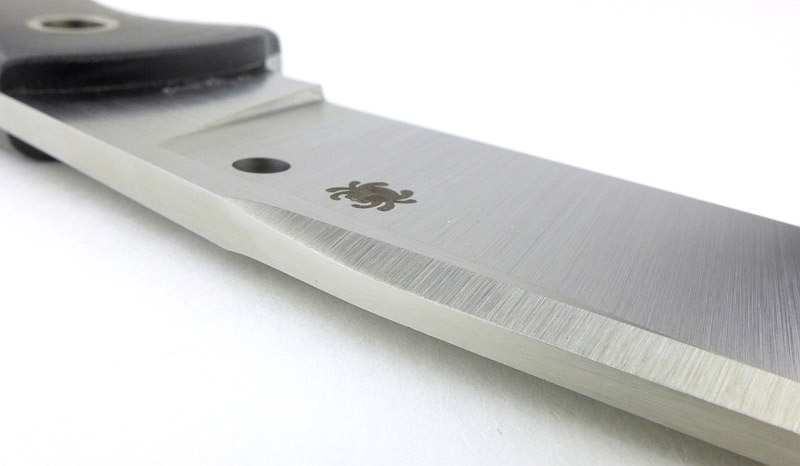
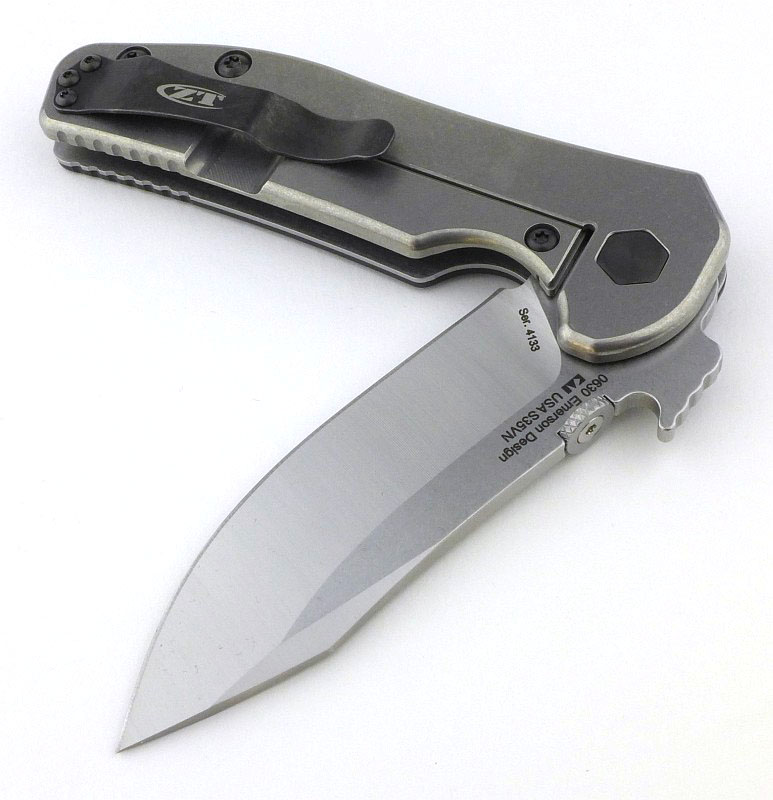
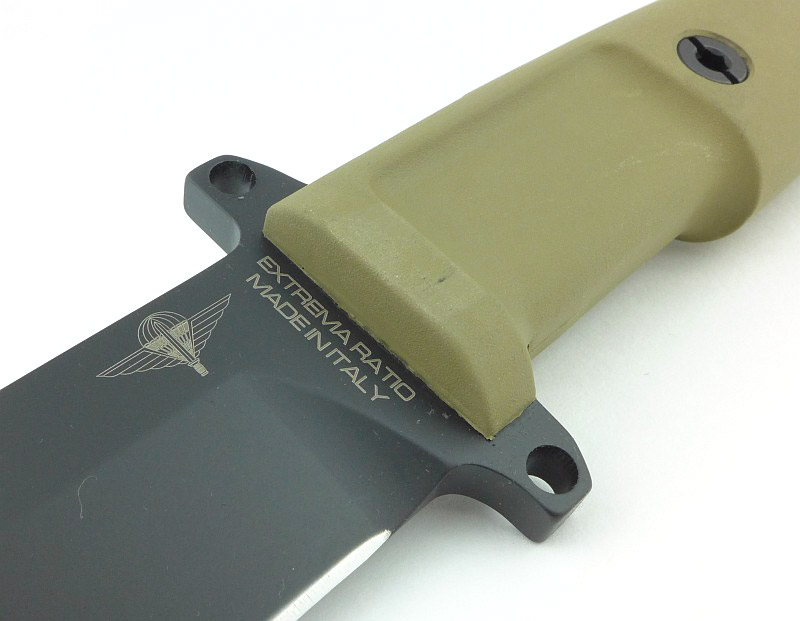
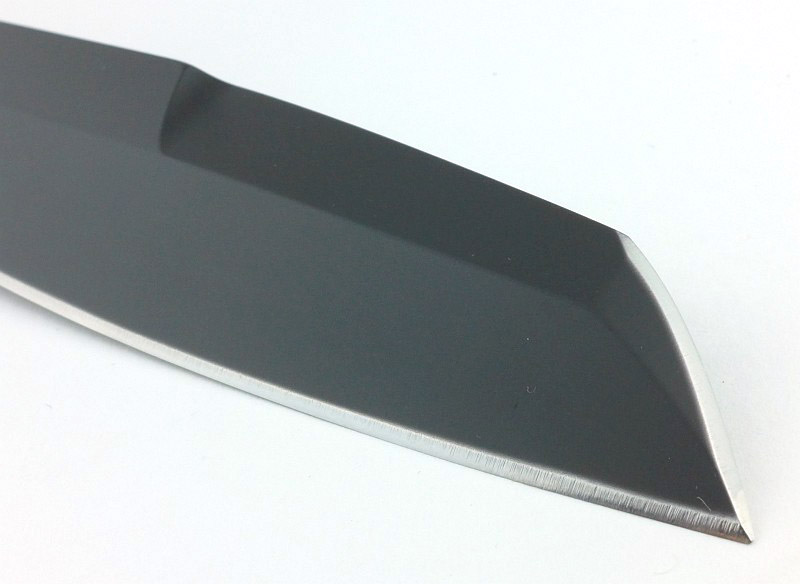
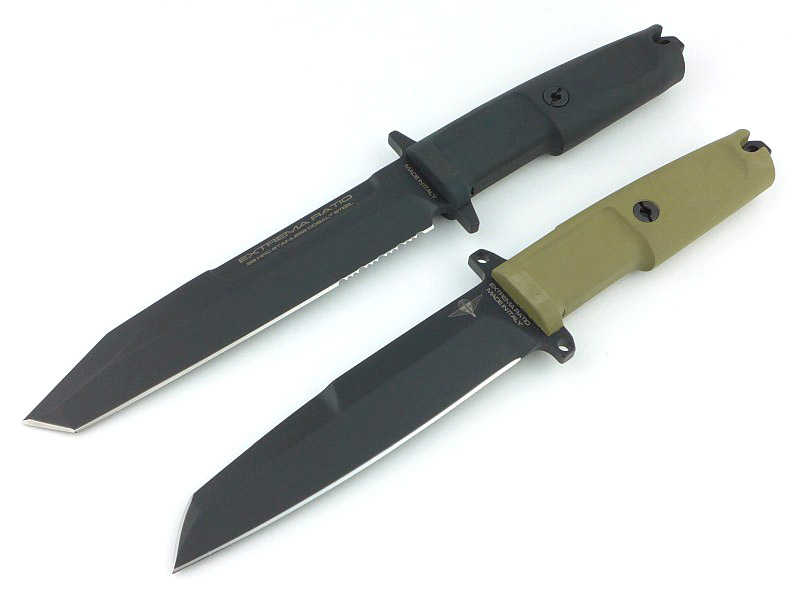
Though similar to the TASK in that it has a double-edged, modified wharncliffe blade, the primary bevel is quite different, as well as the blade having a bayonet grind.
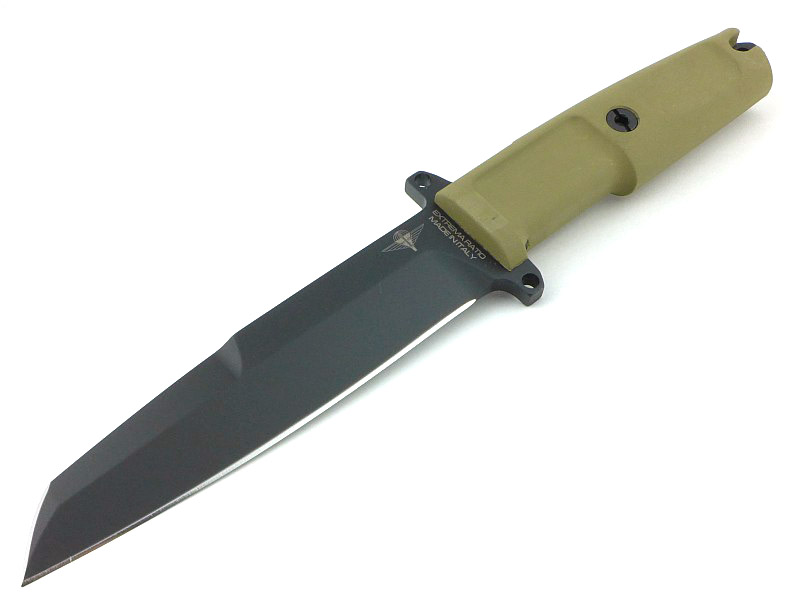
The blade is symmetrically ground.
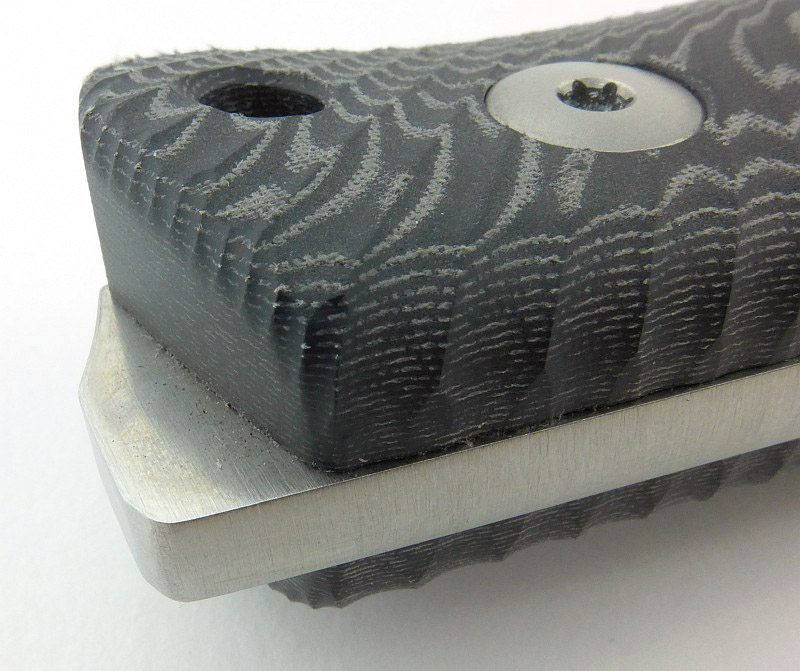
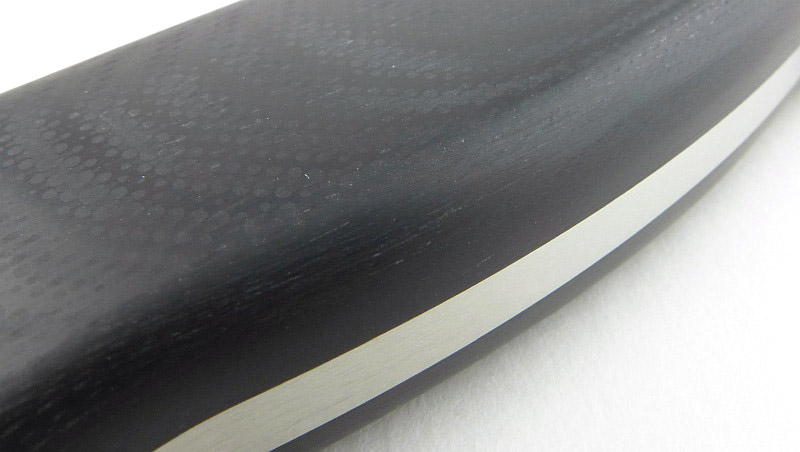
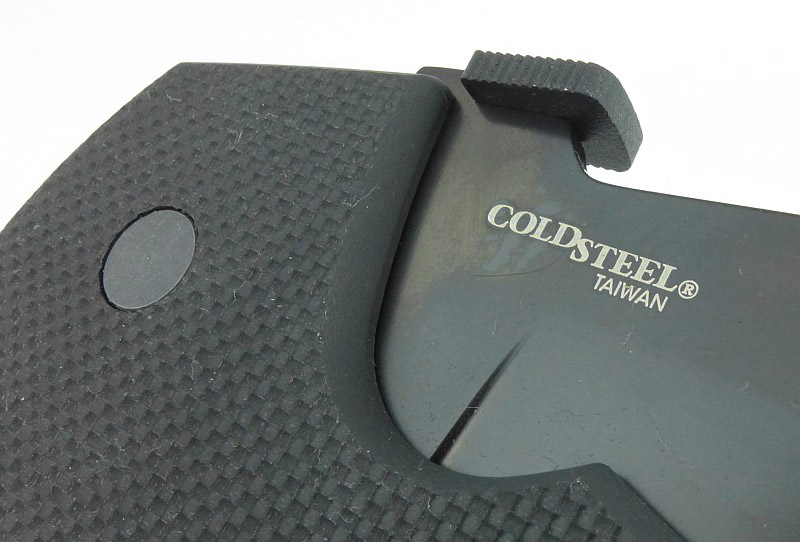
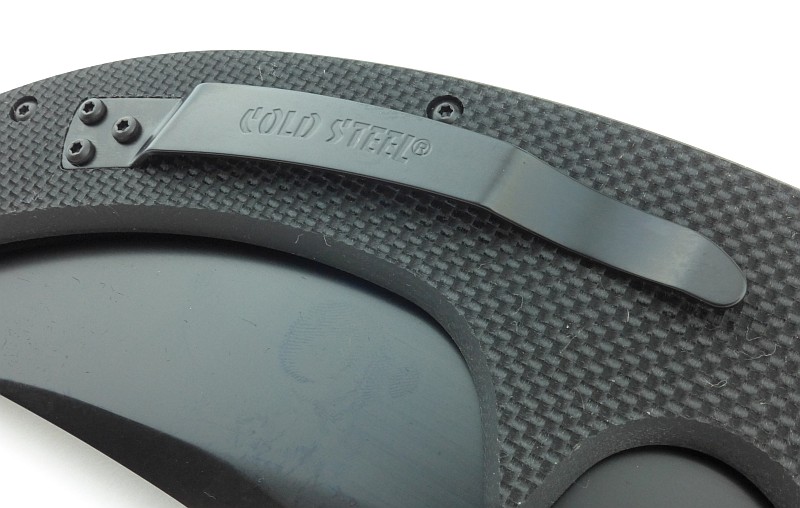
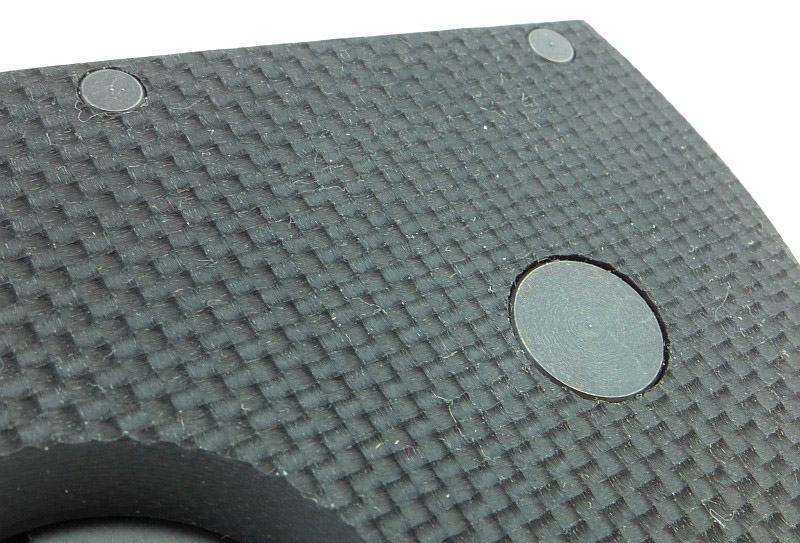
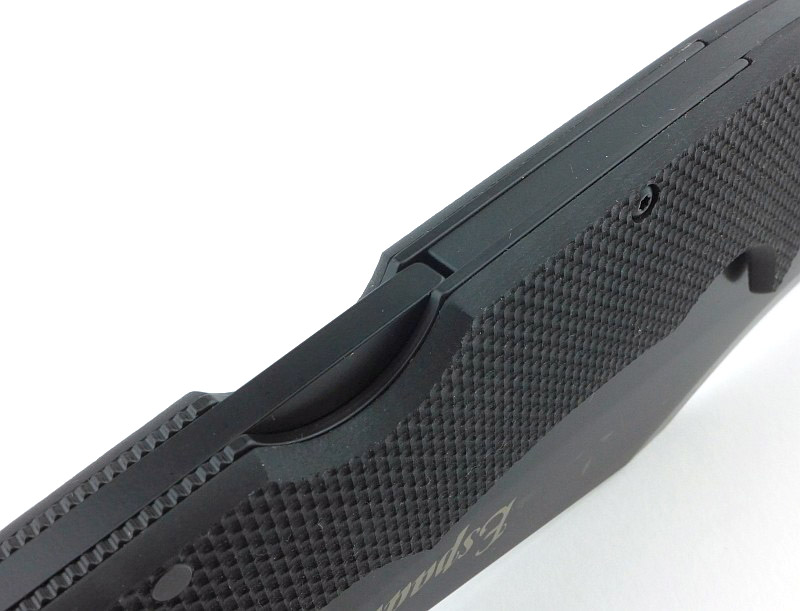
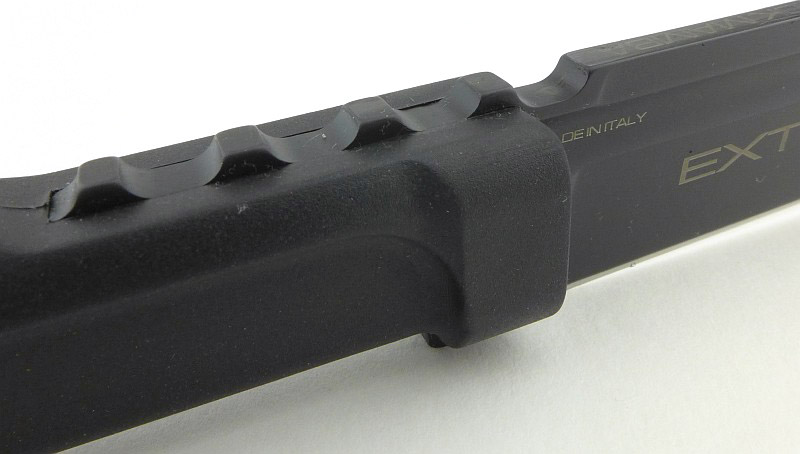
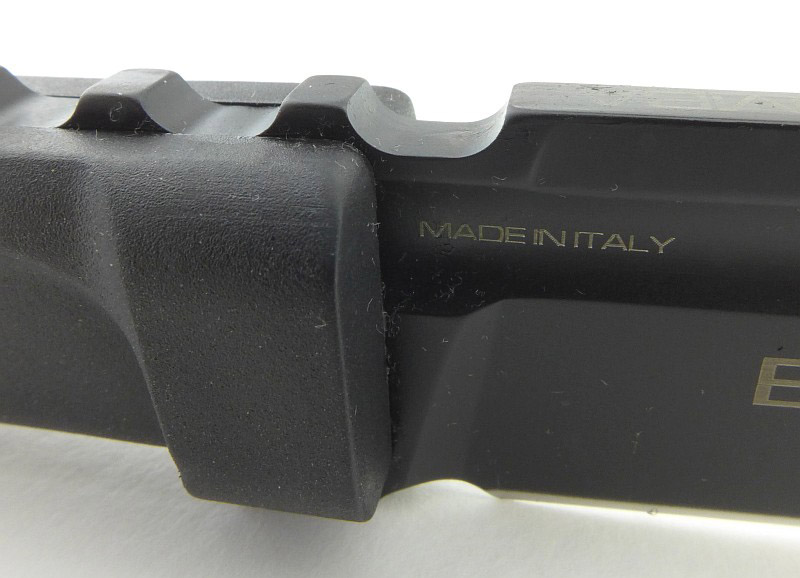
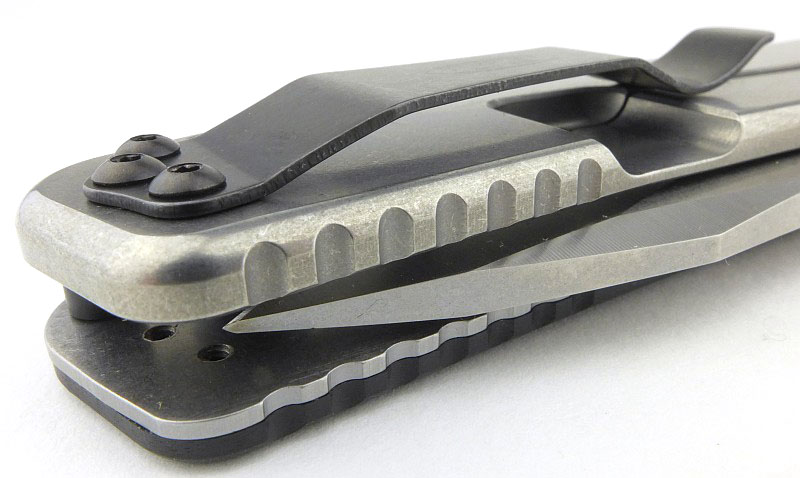
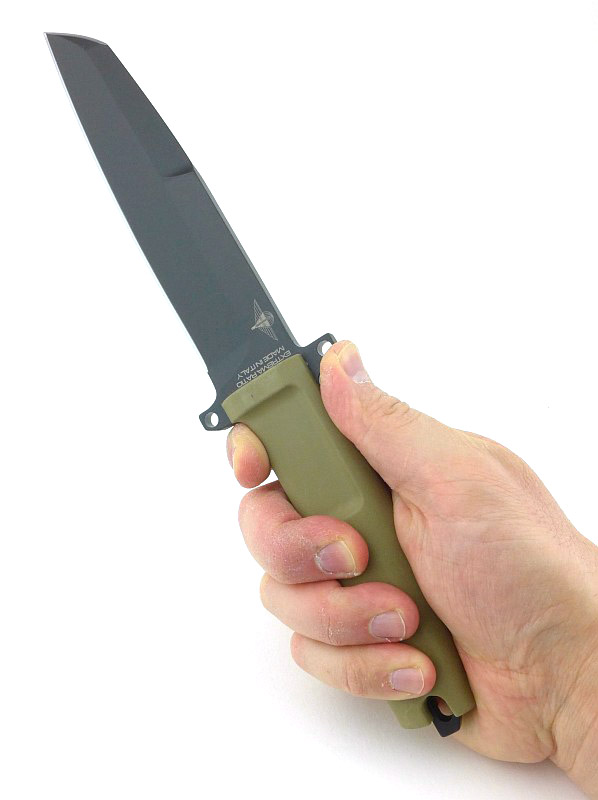
Extrema Ratio’s distinctive Forprene handle is used, in this case the desert colour.
Used on several models, this recognisable handle is particularly effective. The grip design provides a secure dual finger groove and the Forprene material cushions the user from the shock of heavy blows.
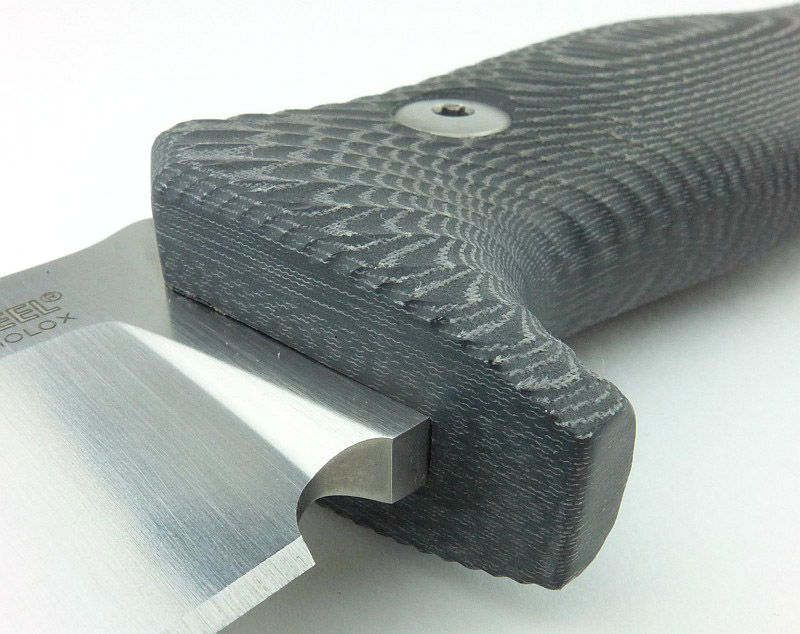
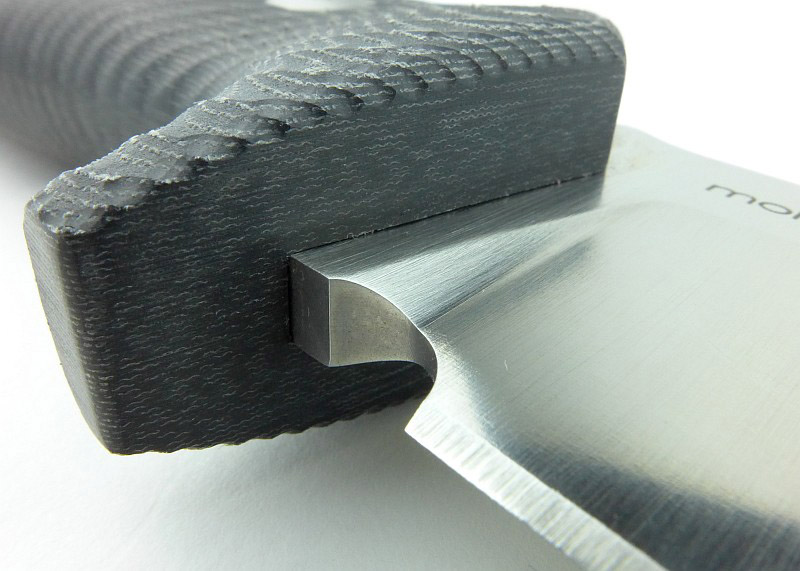
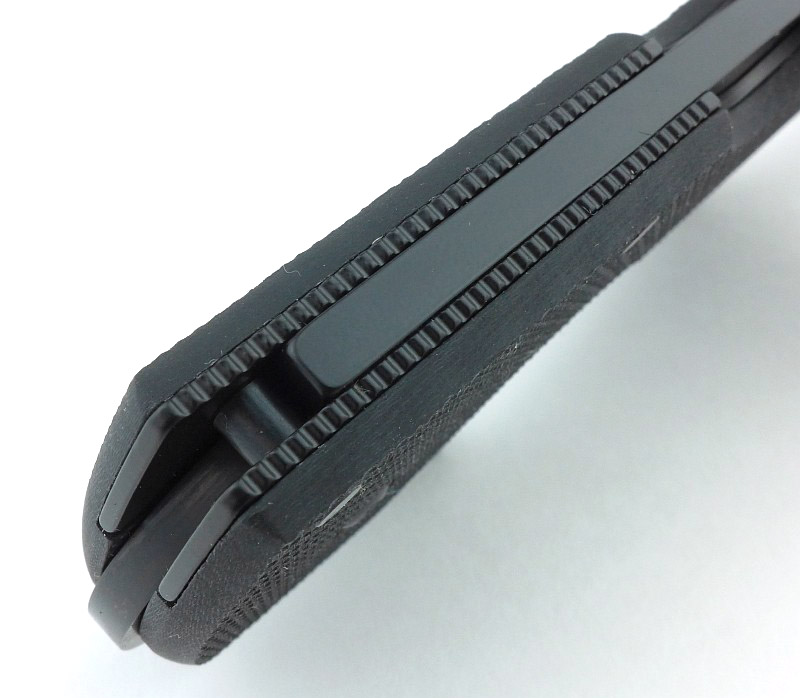
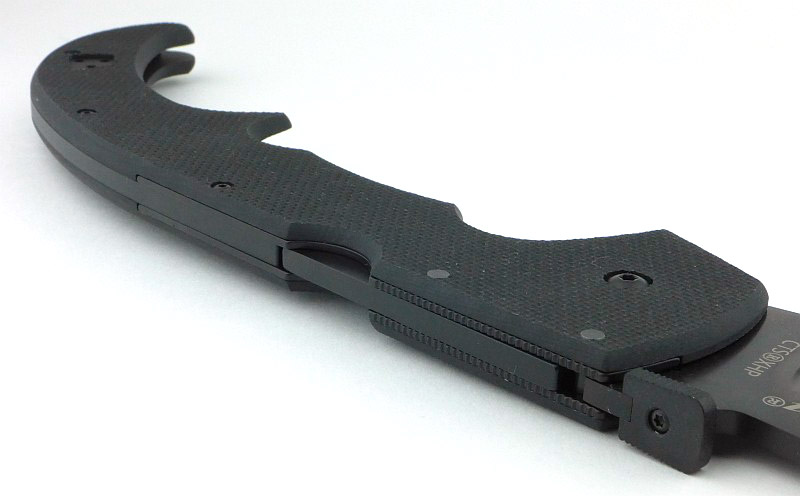
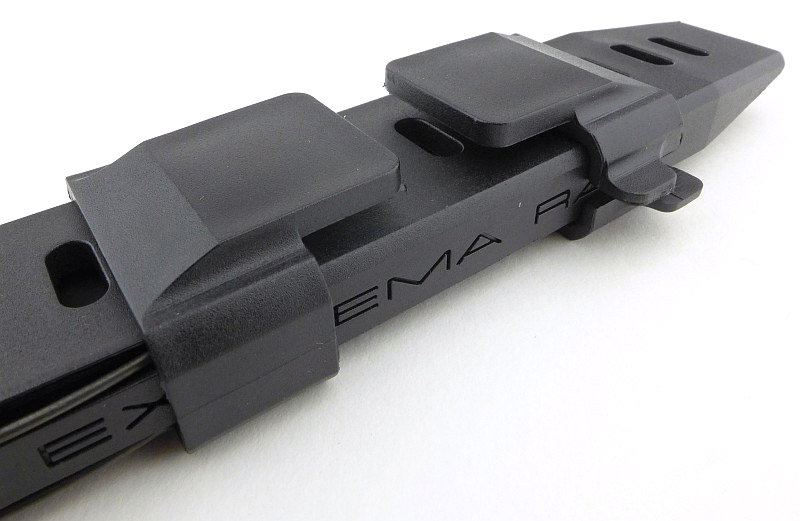
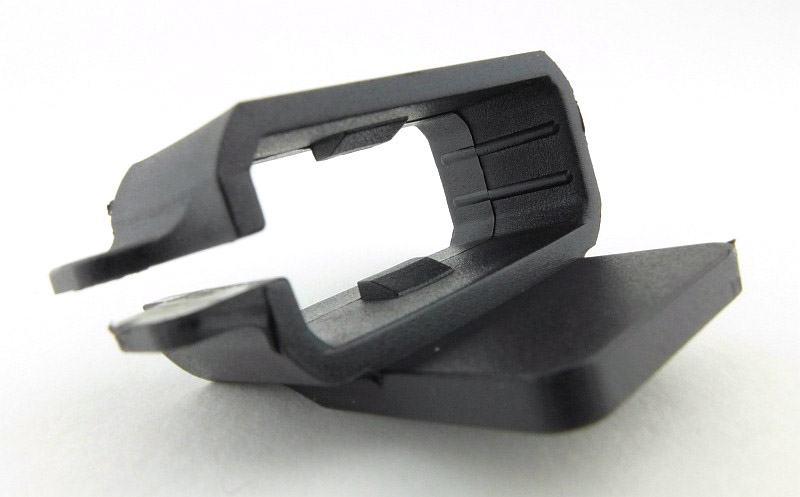
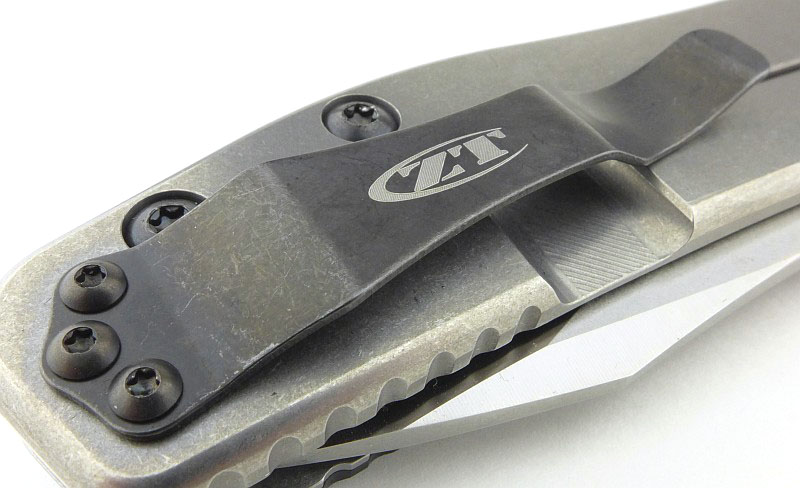
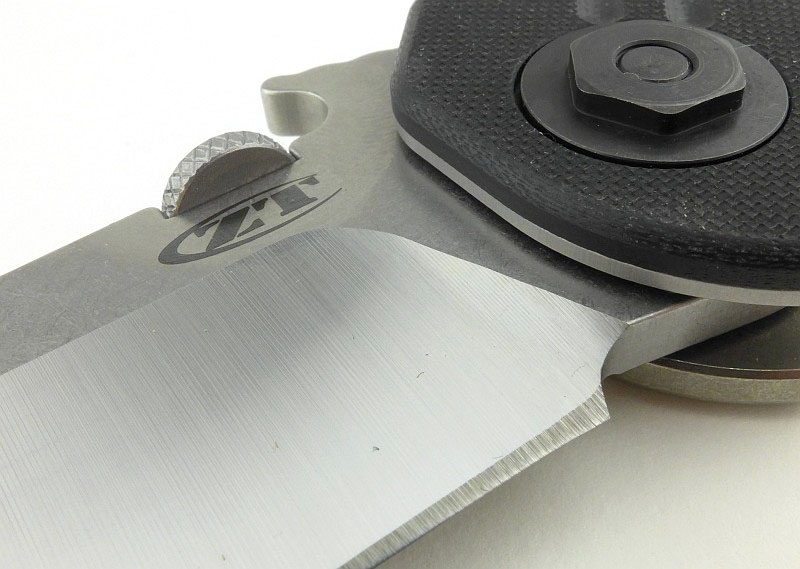
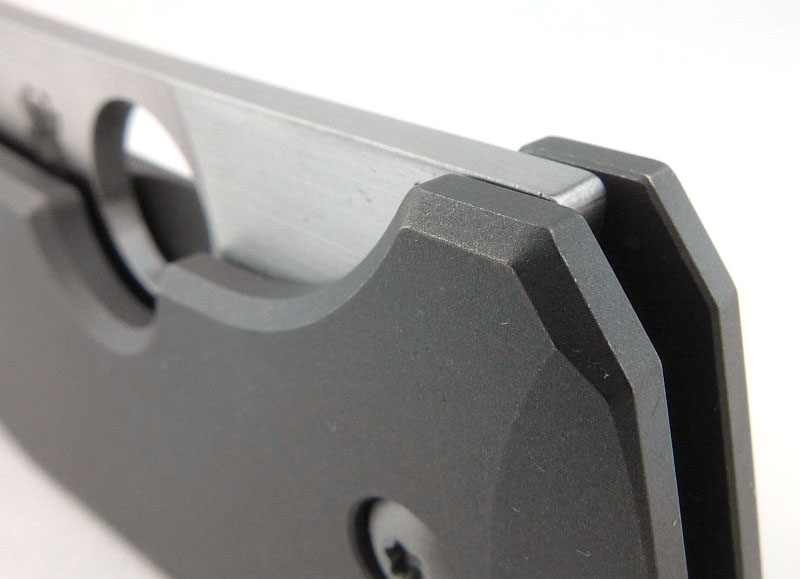
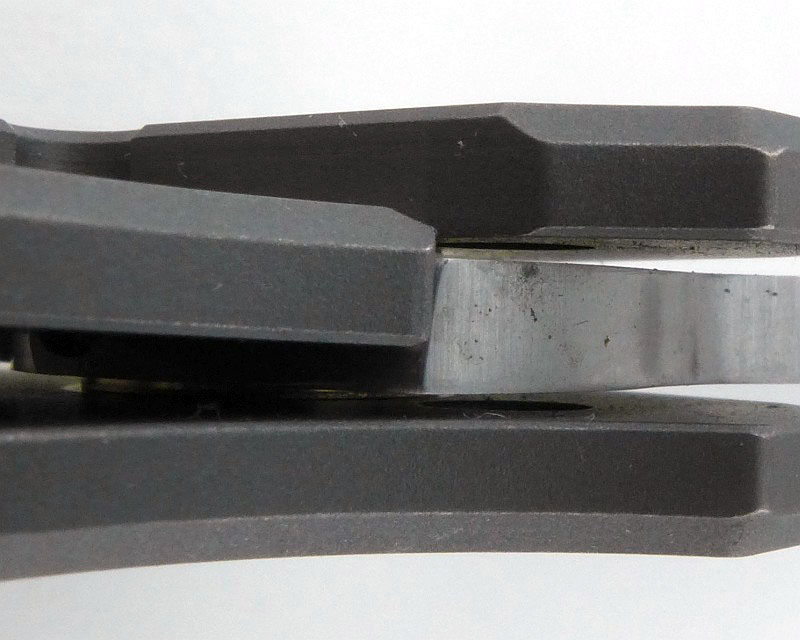
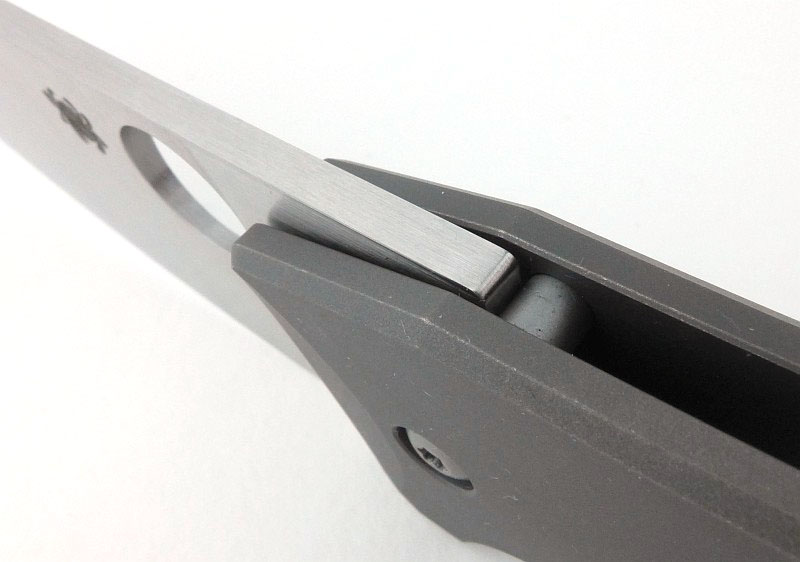
Another clear design feature intended for extreme use, is the double guard which provides the greatest protection against the hand slipping forward onto the blade.
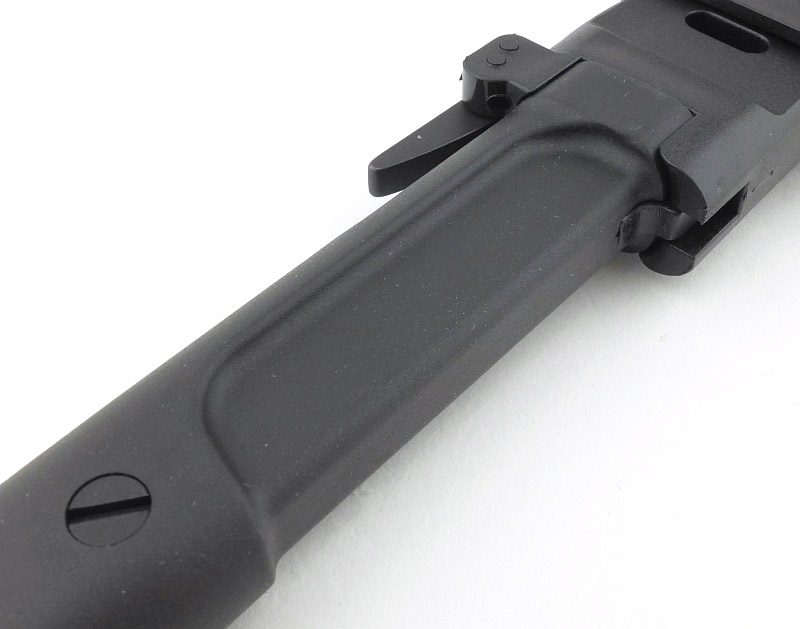
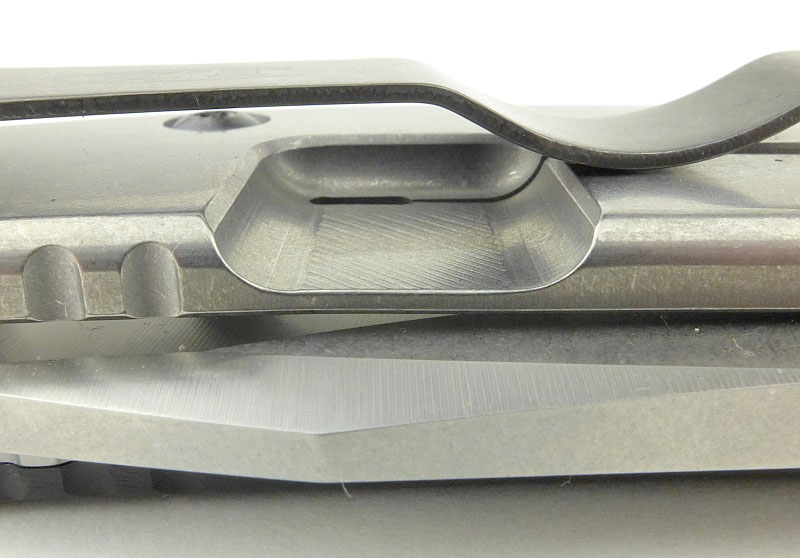
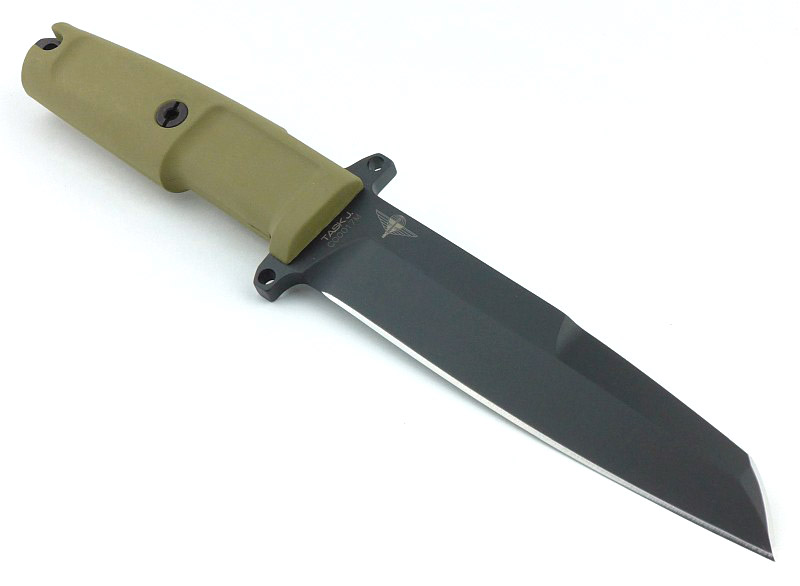
A well radiused plunge line keeps maximum strength at the transition from cutting edge to ricasso. Note the lack of a choil which in this case removes the chance of a hang-up if the blade has made a full depth cut.
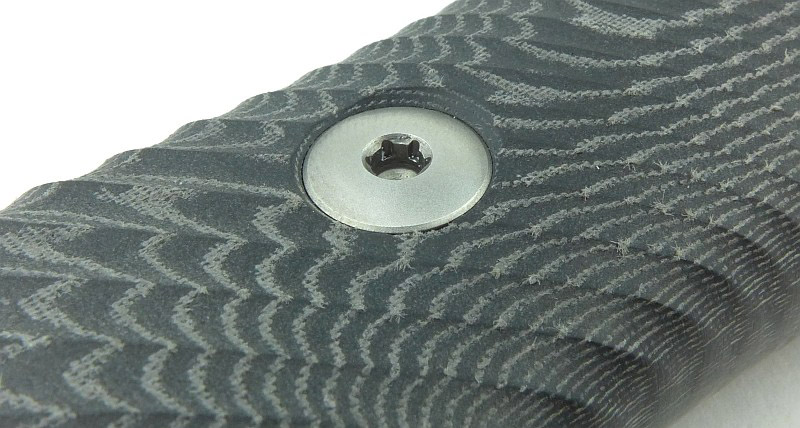
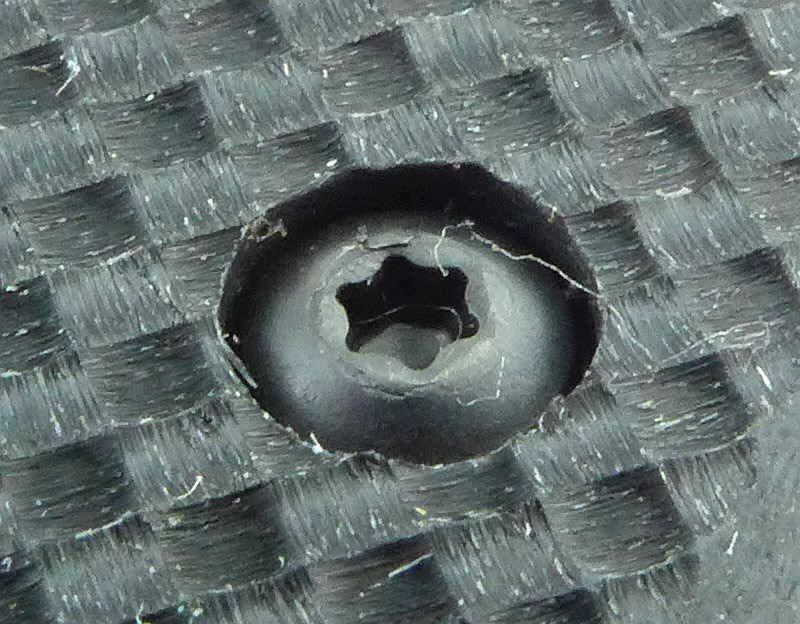
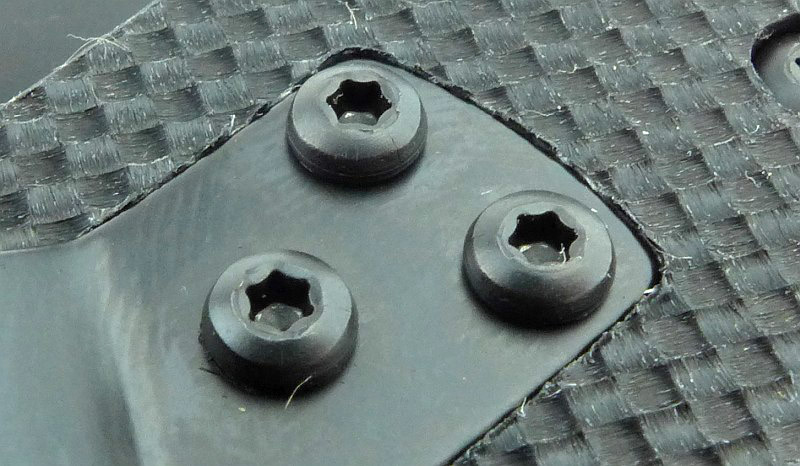
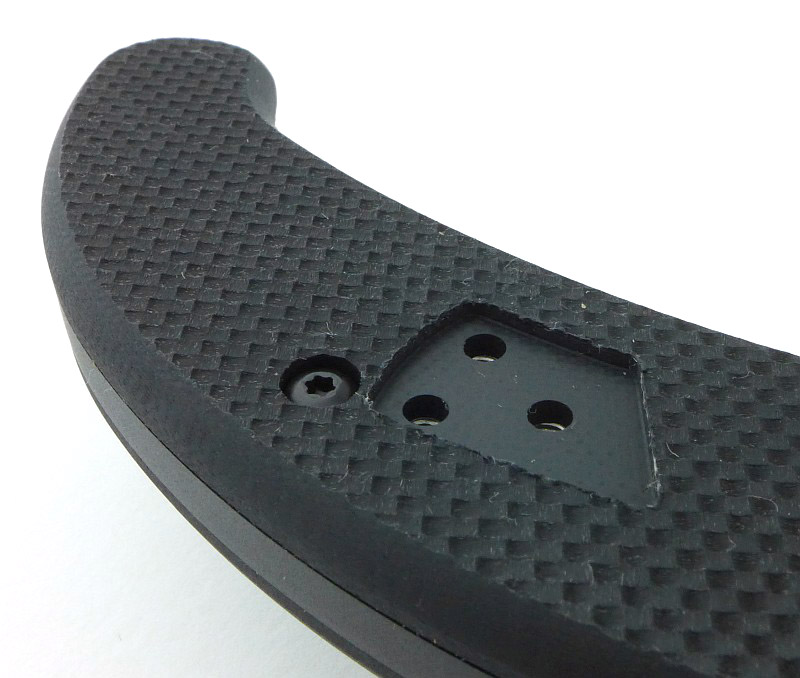
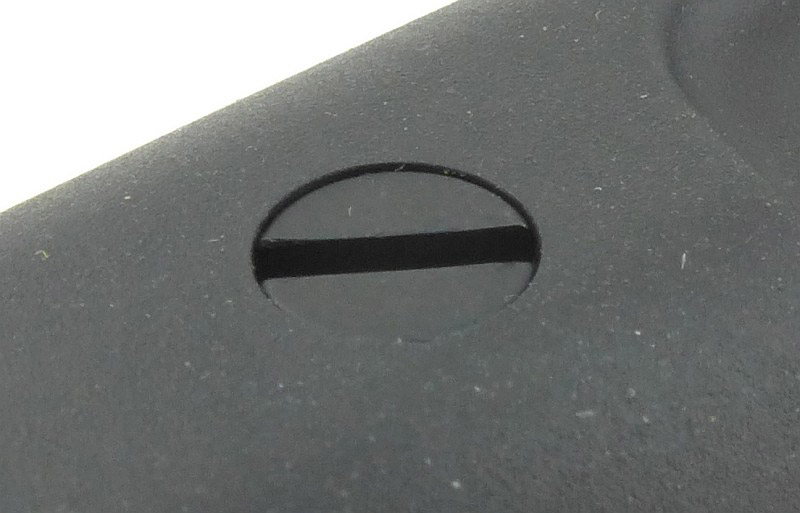
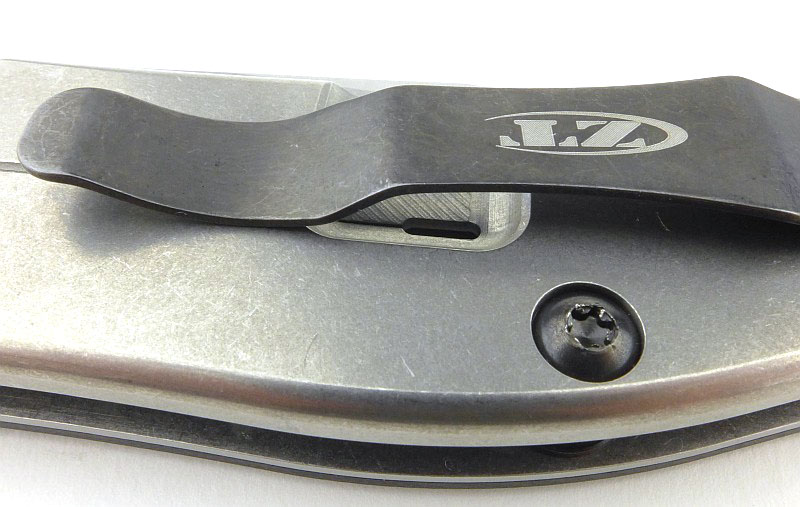
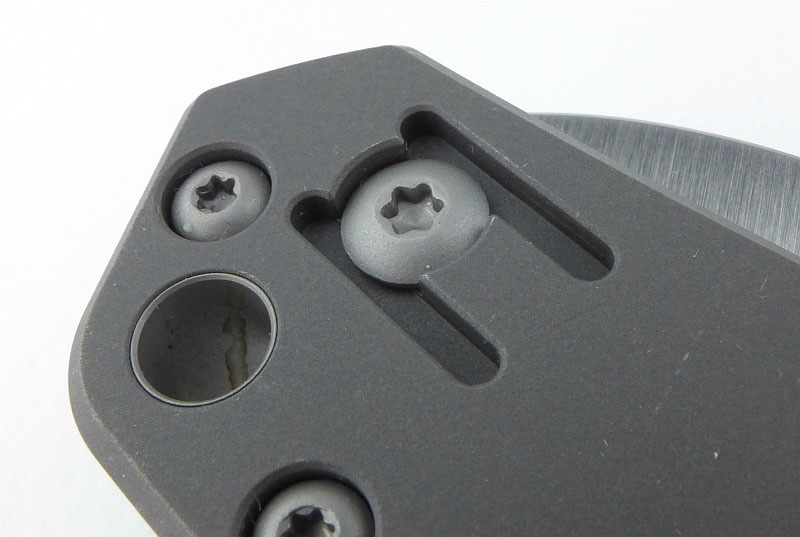
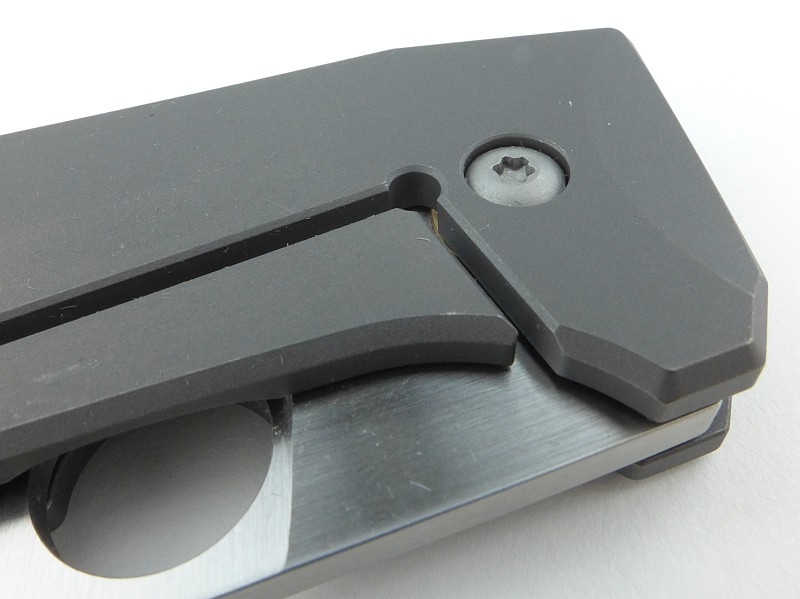
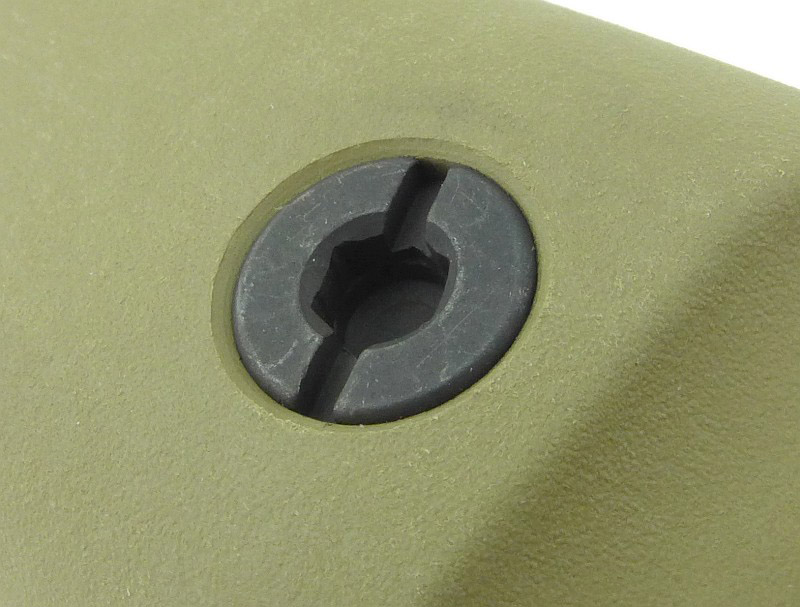
There is a single bolt to keep the handle in place.
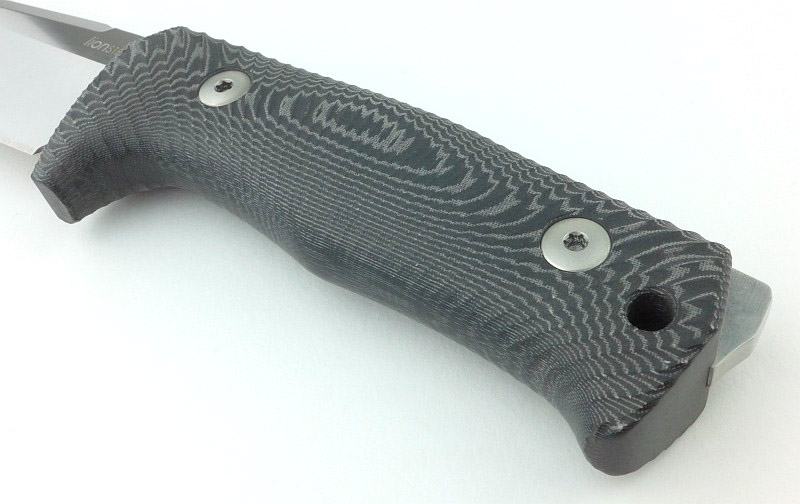
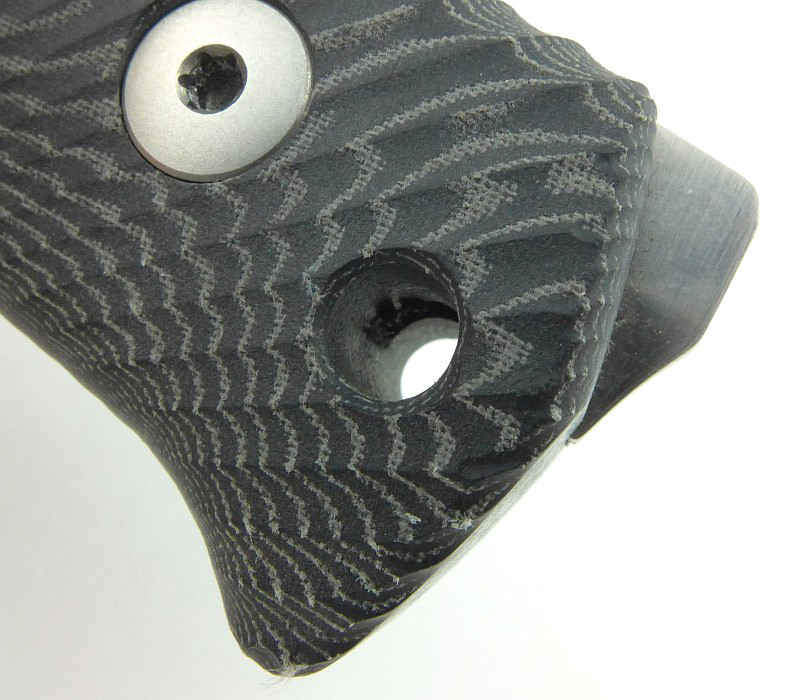
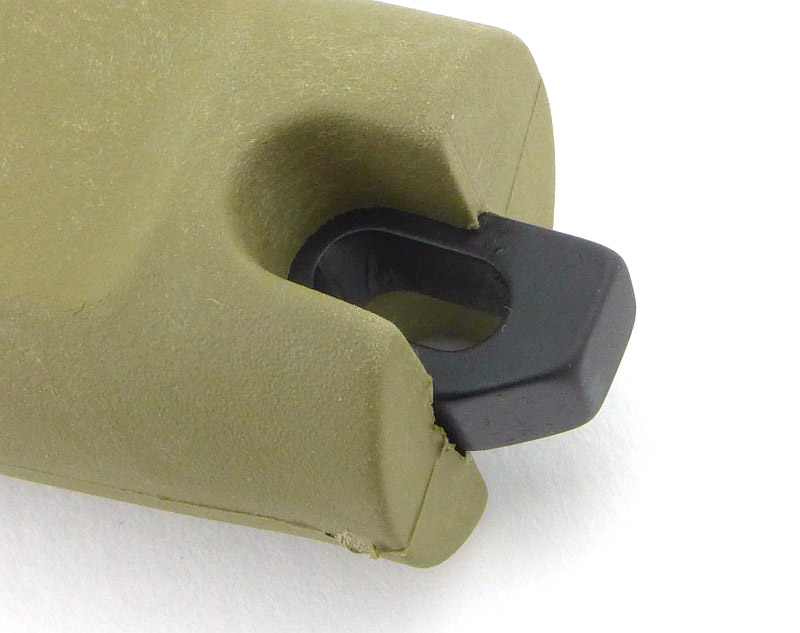
Though an upper guard does get in the way of thumb forward grip, the guard is angled forwards slightly, so you can still take this type of grip with the thumb pushing onto the guard. Note the lanyard /lashing hole in the guard.
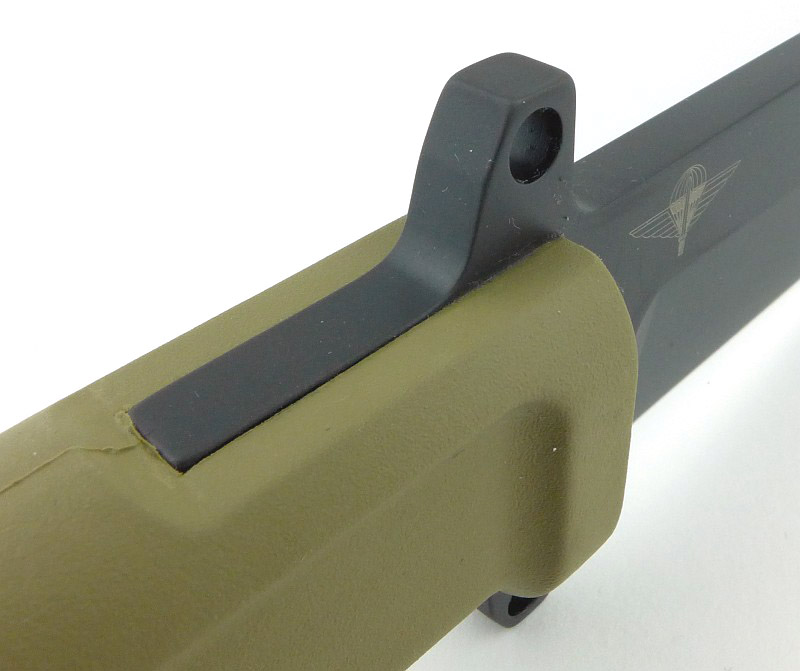
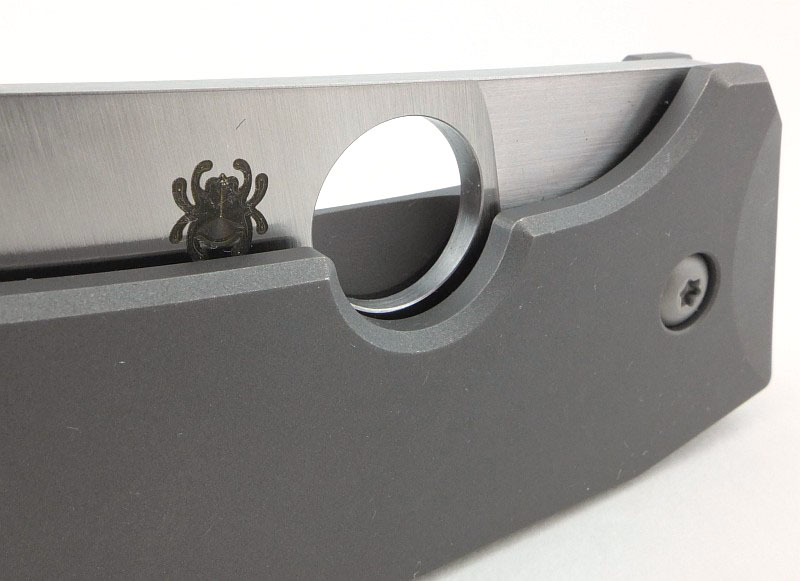
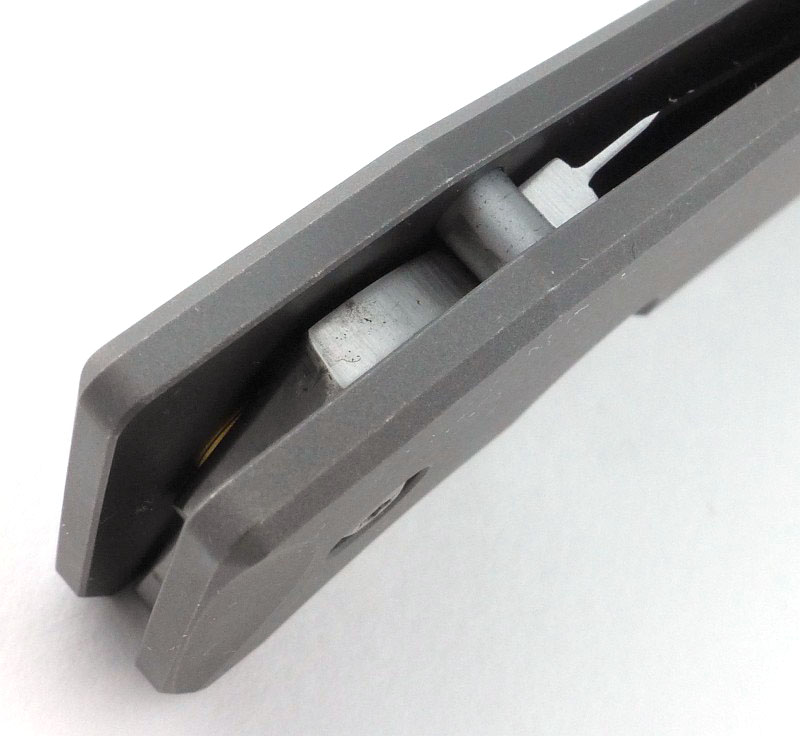
A good sized lanyard hole makes it easy to fit a cord if you want, and the tang protrudes from the end of the handle providing a hammering surface.
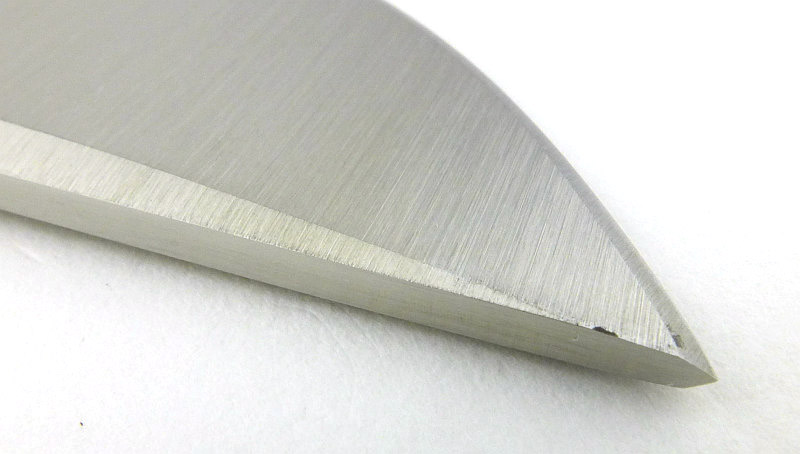
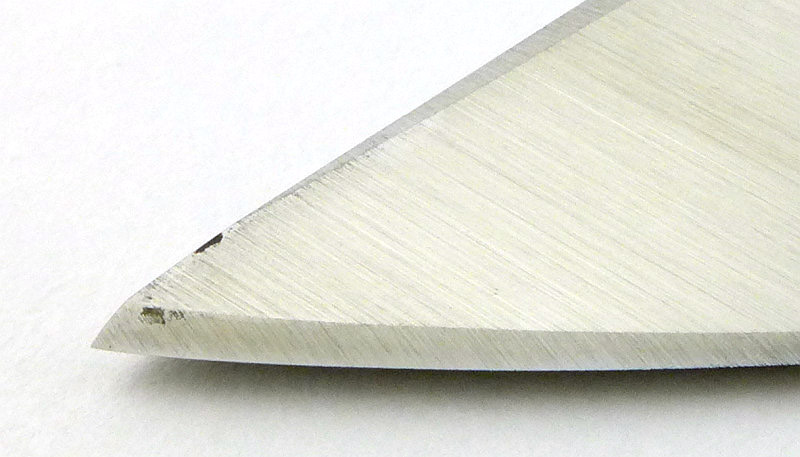
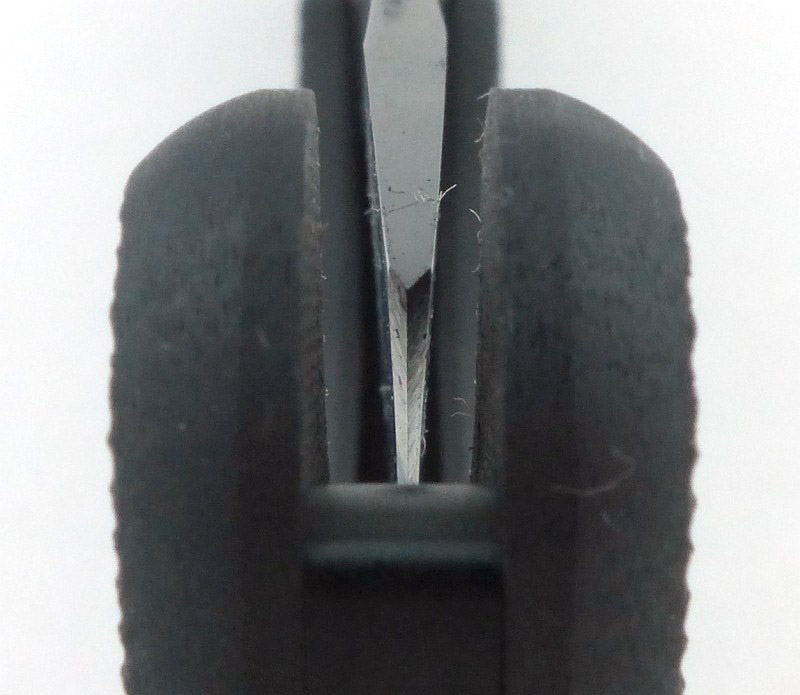
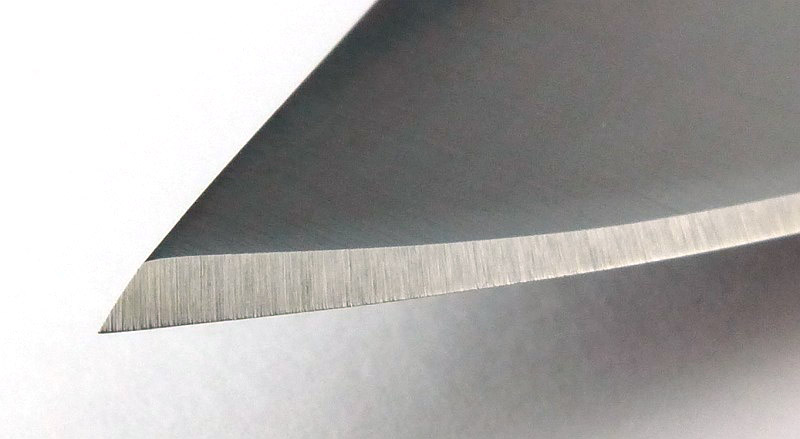
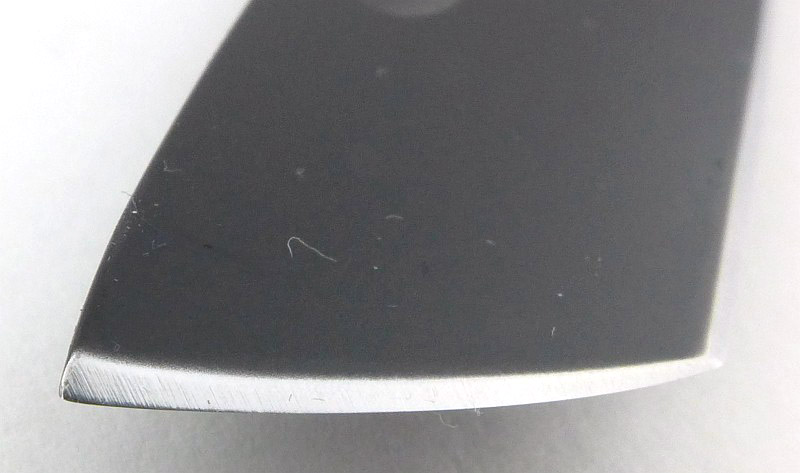
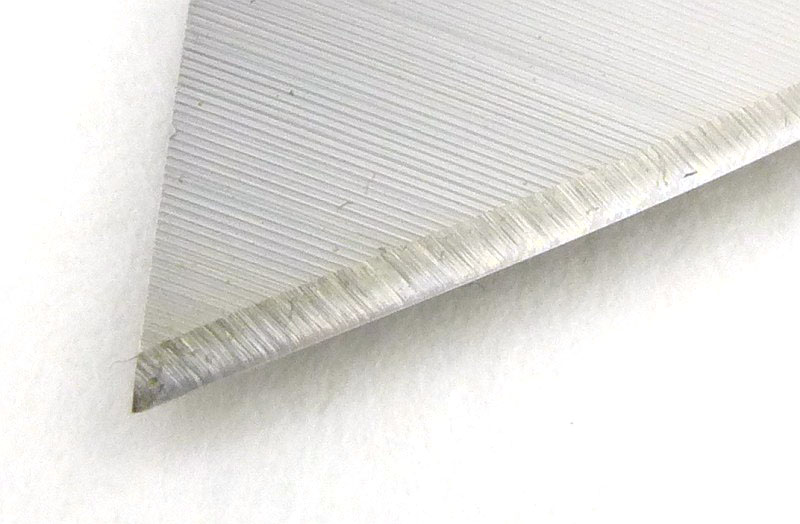
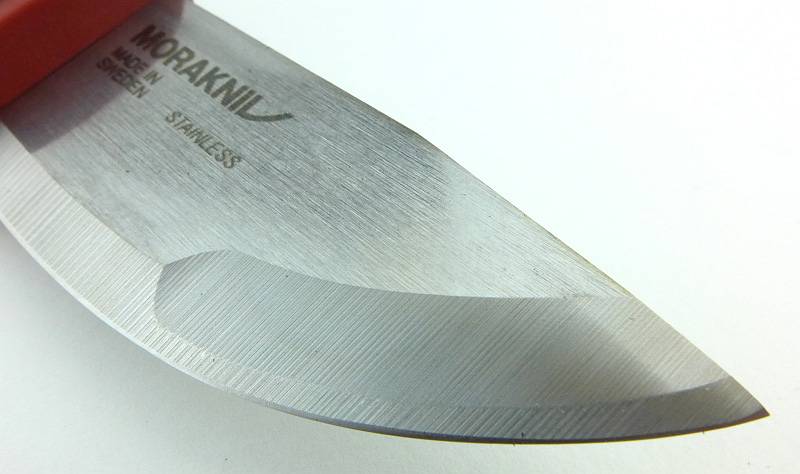
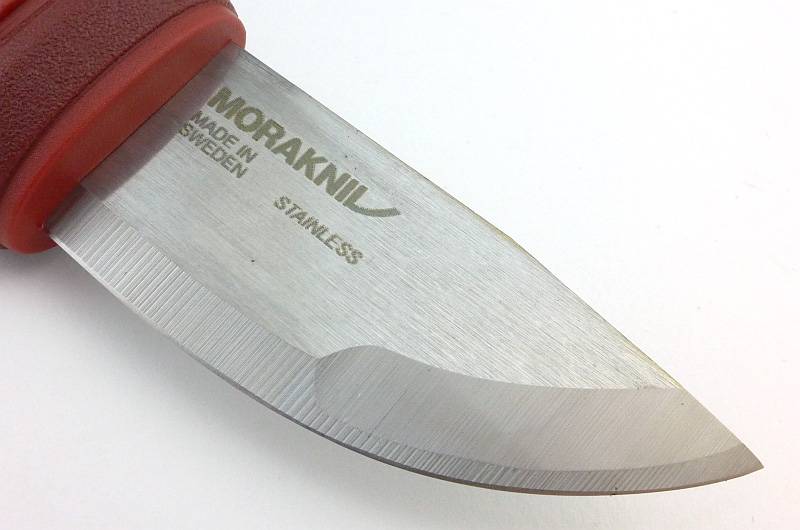
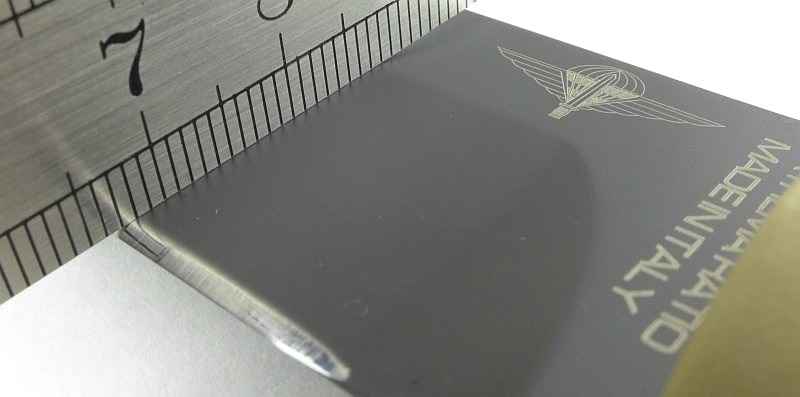
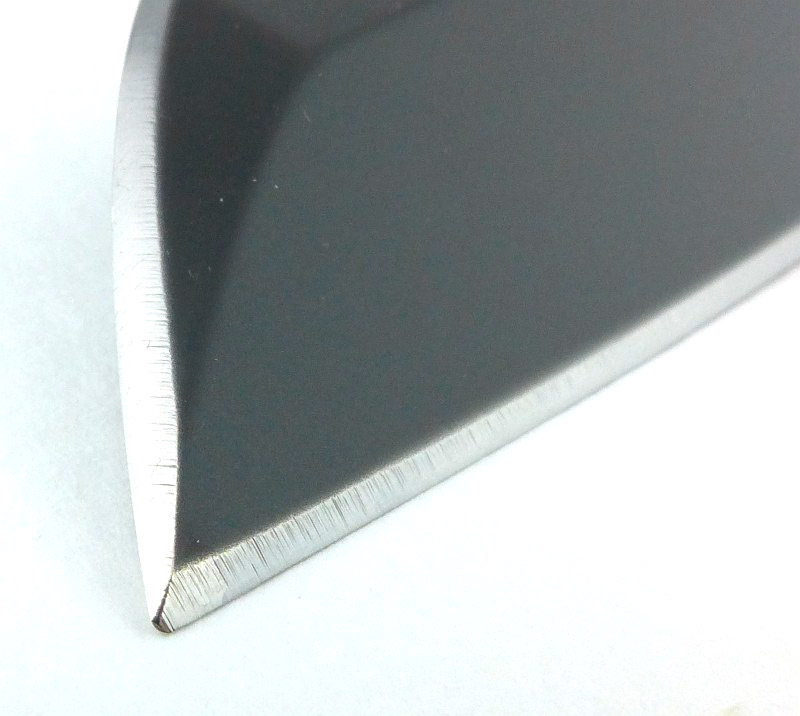
As mentioned before, the TASK J has a bayonet grind and a military style double edged tip.
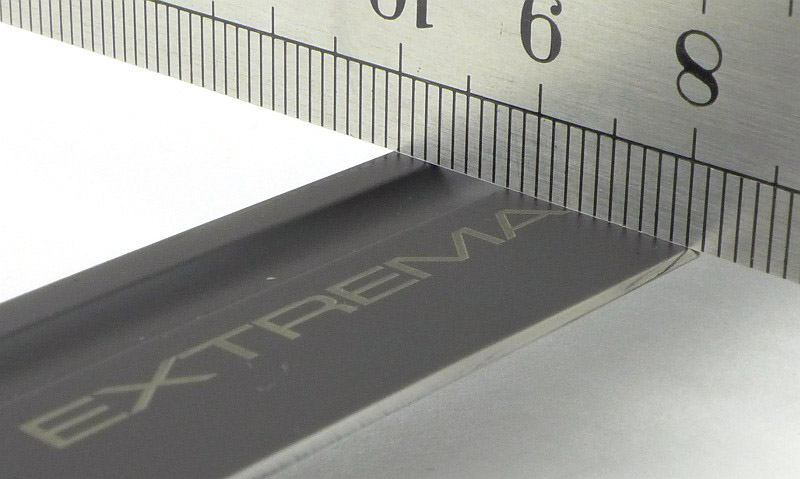
Taking a very close look at the tip.
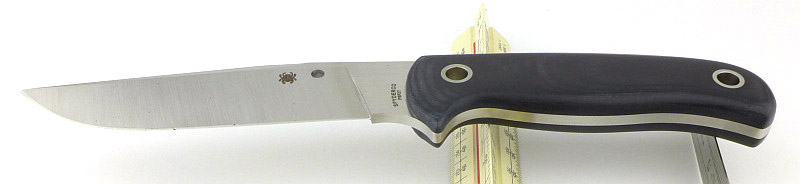
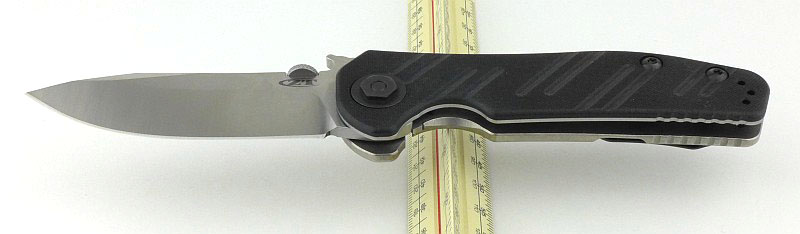
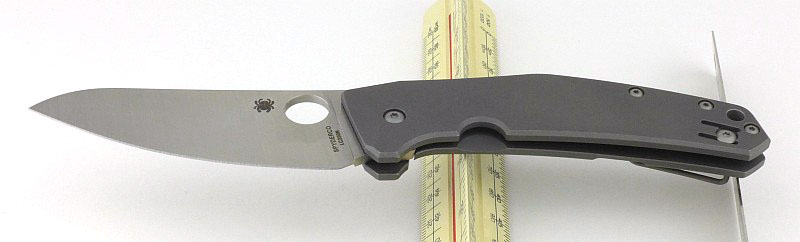
To properly show the proportions of the TASK J, this side shot minimises perspective distortions.

What it is like to use?
Extrema Ratio’s TASK J is not what I would normally think of as your ‘every day’ knife. It is a specifically heavy duty knife, for conditions where you need that absolute assurance the blade is as strong as it could be and will take anything you throw at it.
The superb attention to detail in the sheath design only reinforces how the whole package is intended to work in conditions most of us will thankfully never have to endure. With comprehensive carry options you can pack this knife in all sorts of ways and know it will still be there with you through the worst.
What the TASK J does that is different to most of the other knives capable of demolition/extraction work, is to maintain the more refined feel of a general purpose knife instead of just seeming like a large slab of steel – an important distinction.
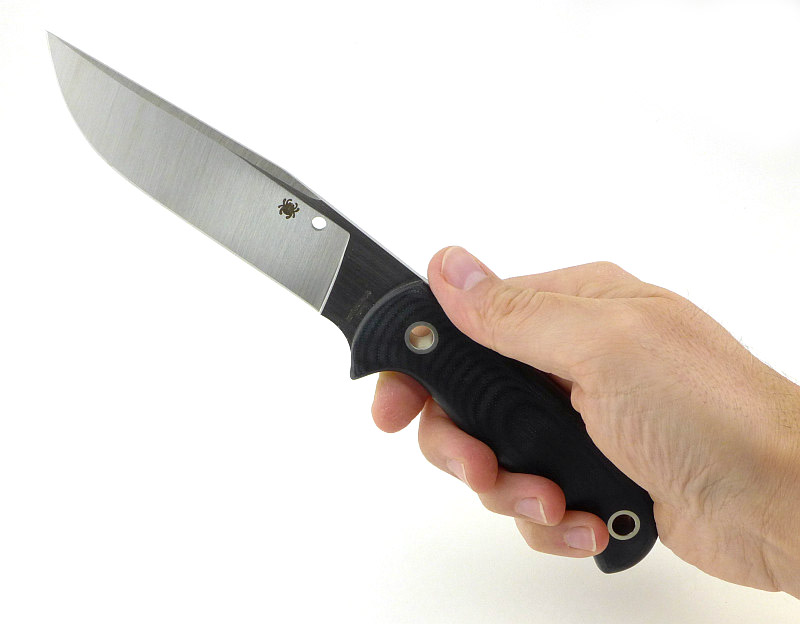
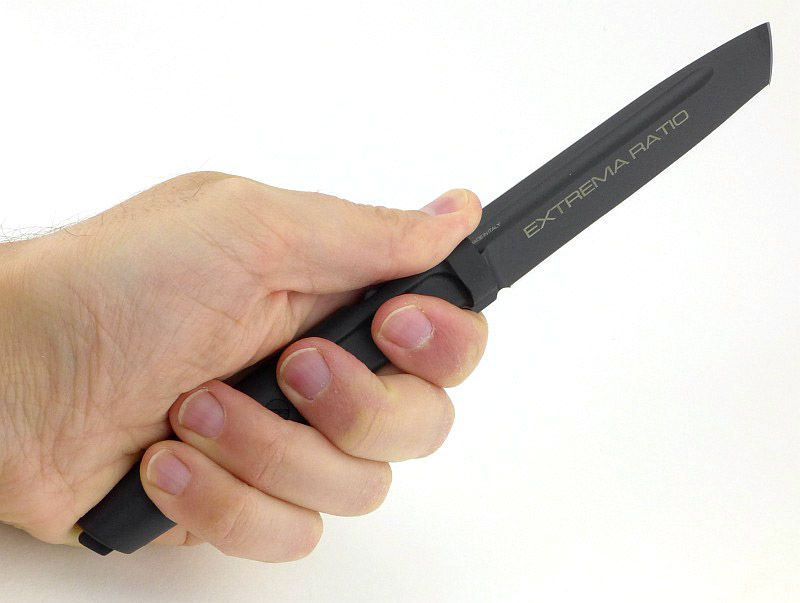
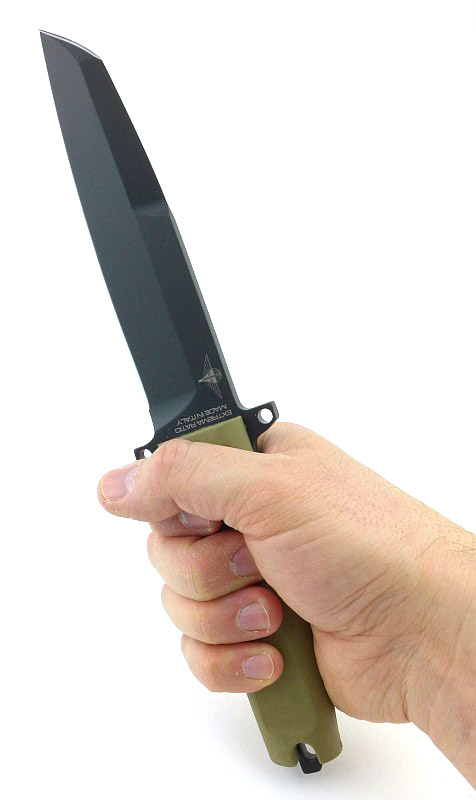
Taking the TASK J in hand, and it is a full size knife, having a blade just over 6″ long. The ultra modern looking grip is very comfortable and secure to hold (one reason it features on many of Extrema Ratio’s knives). Despite the amount of meat in the blade it does not feel overly heavy or unbalanced.
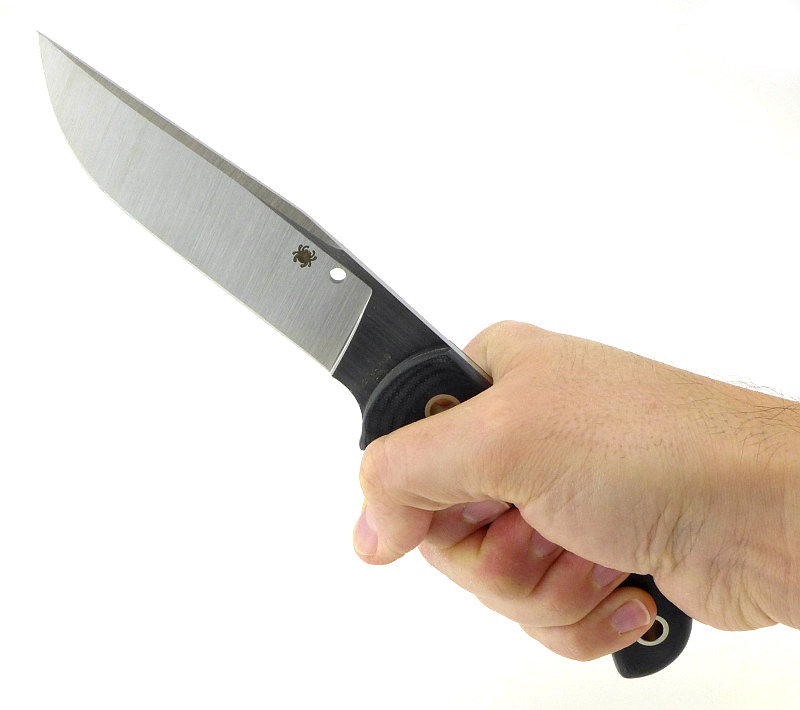
In a reverse grip, the top guard does interfere somewhat with the range of movement, and makes it more difficult to bring the blade back close to your arm.

For a thrusting grip, the thumb can sit onto the upper guard thanks to an angled rear surface and this does give the user good power and control.
Going back for a minute to the sheath, the click-retention makes for a very effective system, the knife can come in and out of the sheath repeatedly, yet despite not using the retention strap, it is held securely and won’t fall out. Details like this are not to be underestimated, as working with a knife it is far better to re-sheath it than leave it lying about between cuts, and if you have to move off in a hurry, it stays where it should be and with you. There is nothing flimsy about any aspect of the sheath. Wherever you put it is where it will stay, and it is also fully ambidextrous.
For such a heavy duty blade, the balance is extremely good. It is in front of the first finger, as the balance point sits at the guard itself. This makes it slightly blade heavy, but much less than similar knives, and certainly not fatiguing when using it for finer duties when you want a lighter feel.
Personally I have little need for the double edged tip, and of course this makes penetrating cuts that much more effective.
Extrema Ratio don’t do things by halves, and in this case I’m referring to the blade coating. It is black, properly matt black, without any reflection; only the cutting edge might glint. One consequence of this blade coating is that it does add drag to the blade, which at times can be quite noticeable. When wiping off the blade I particularly find that the blade tends to grip the material and pull it along. I suspect with more use and wearing-in, this coating will smooth out a bit. So for those who don’t need that ultimate stealth anti-reflective effect, this coating can affect the ‘speed’ of this blade. If you like black blades, this is really Black, so you won’t be disappointed.
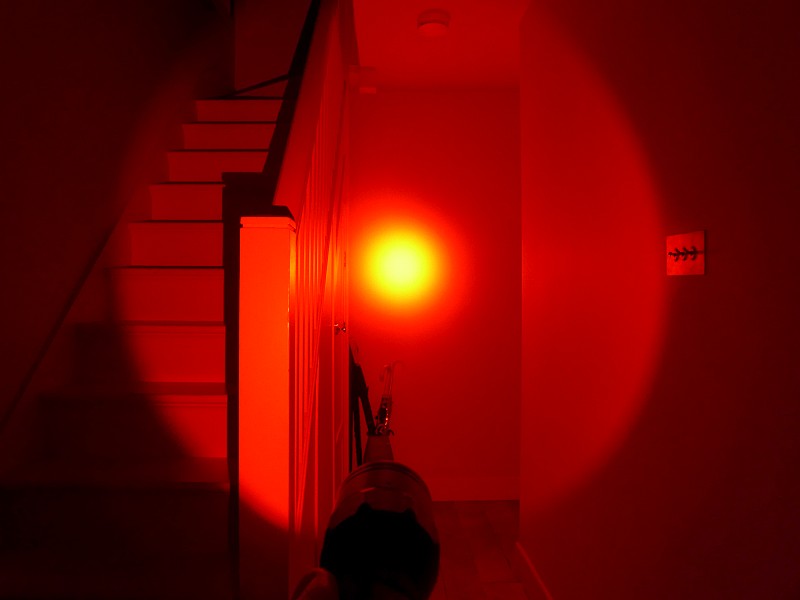
With there being such a large fire-steel included I was surprised that there wasn’t a striker on the blade spine. Extrema Ratio said that with the fire-steel only likely to be used in very rare instances, if needed, the blade edge would be used. Definitely not something I’d want to do, so I’ll be grinding a small striker into the spine.
Putting the TASK J next to the Extrema Ratio knife that first drew me to the brand, the Fulcrum. The TASK J’s blade is a little wider and shorter than the Fulcrum. With the Fulcrum’s double guard next to the TASK J’s, also note how the TASK J has lanyard / lashing holes in its guard – more flexibility in the way you can use it. It might have been made for the special forces, but this is firmly in the territory of a tough survival /utility knife.
With the TASK being such a good general utility blade, it is no surprise that a special forces unit (the Jagdkommando Unit) were enthusiastic for a heavier version of that blade style, and they certainly got it in the TASK J.
Review Summary
The views expressed in this summary table are from the point of view of the reviewer’s personal use. I am not a member of the armed forces and cannot comment on its use beyond a cutting tool or field/hunting knife.
Something that might be a ‘pro’ for one user can be a ‘con’ for another, so the comments are categorised based on my requirements. You should consider all points and if they could be beneficial to you.
| _______________________________________________ | _______________________________________________ |
| Things I like | What doesn’t work so well for me |
| _______________________________________________ | _______________________________________________ |
| Strong, but well balanced, blade. | Blade coating can ‘drag’ when cutting. |
| Super versatile and effective sheath. | Poor factory edge. |
| Giant fire-steel included. | No striker for the fire-steel. |
| Effective and comfortable grip. | |
| Double guard with lashing points. |

Discussing the Review:
The ideal place to discuss this reviews is on a forum. If you started reading the shorter forum version of the review, but followed the link this full exclusive review, please return to that forum to discuss the review there.
If you read the review entirely on Tactical Reviews, please consider one of the following to join in any discussion.
BladeForums – Knife Reviews (US based Forum for Knife Discussion)
CandlePowerForums – Knife Reviews Section (Largest and Friendliest Flashlight Community Forum)
The BESS Exchange – A forum discussing technical aspects of sharpness and truly understanding your sharpening process.