When Paul Scheiter was asked about the name of the Ontario Knife Company Black Bird SK-5, he joked that it was in the hope OKC would consider making different versions. Well here is the second Black Bird, the SK-4, a more compact version of Paul’s original design; is it only the first of many?
The Blade and Handle Geometry:
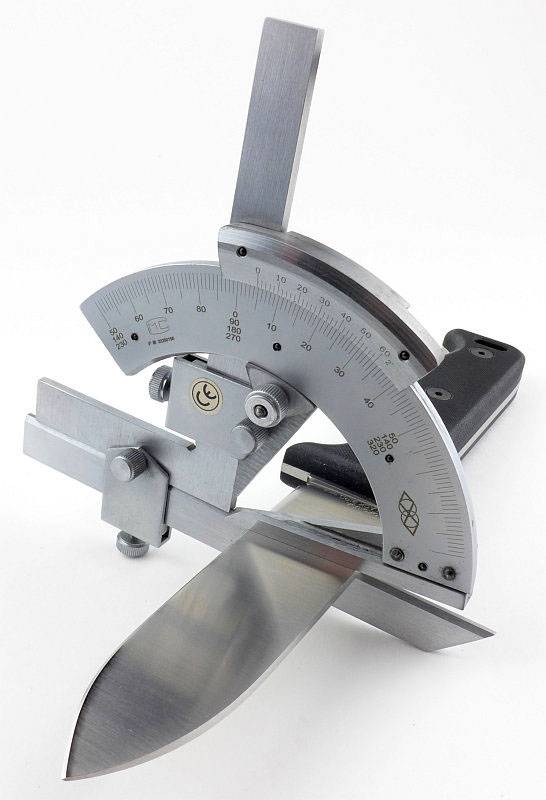
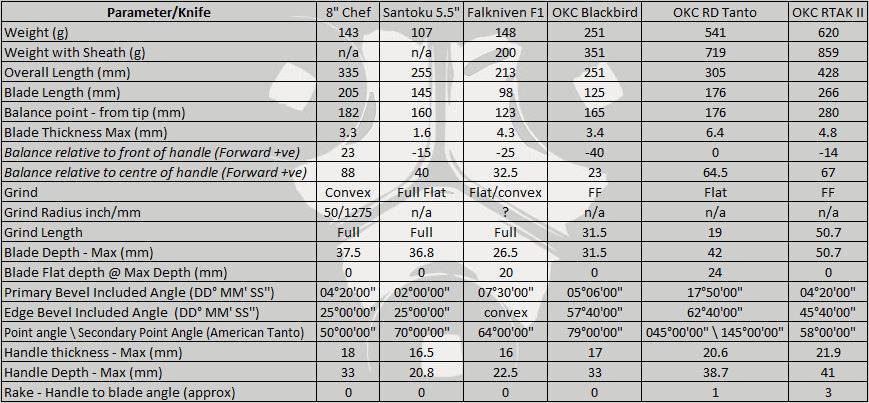
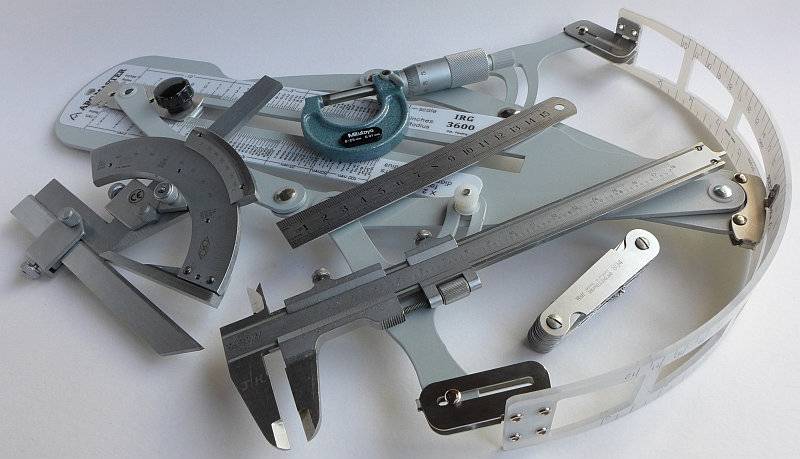
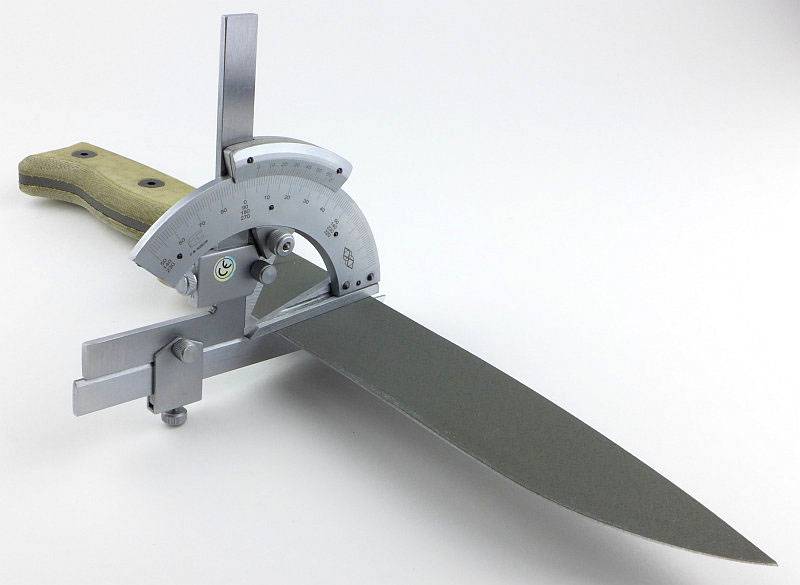
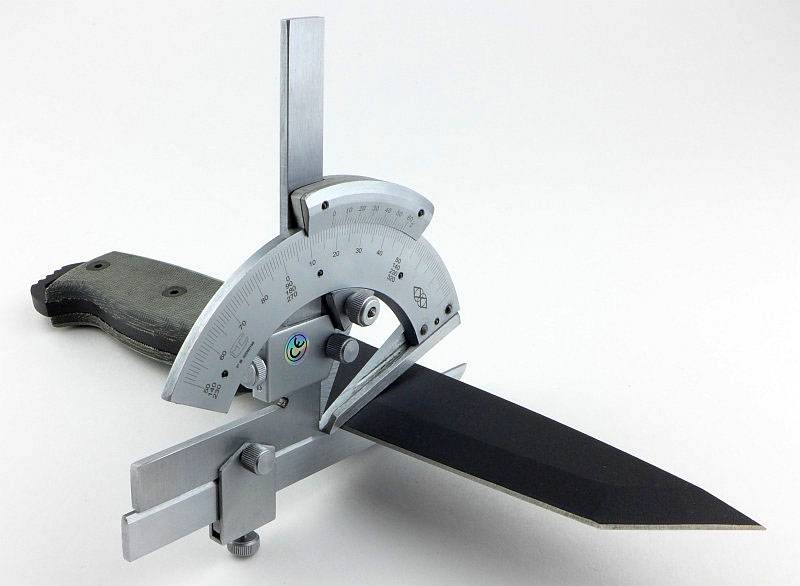
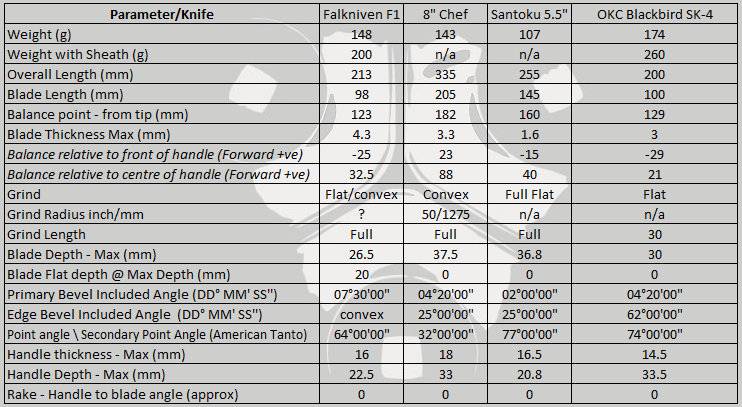
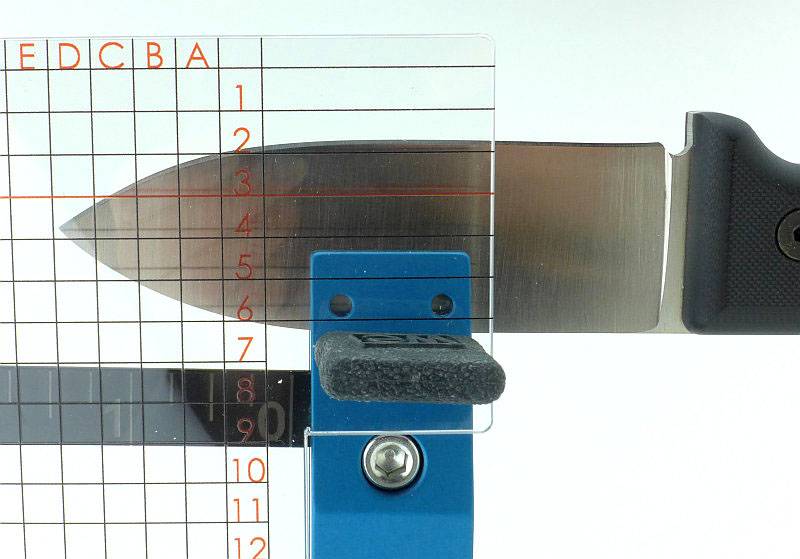
Most knife specifications have a basic description of the blade geometry, but in this section I will be taking a more detailed look at geometry and balance.
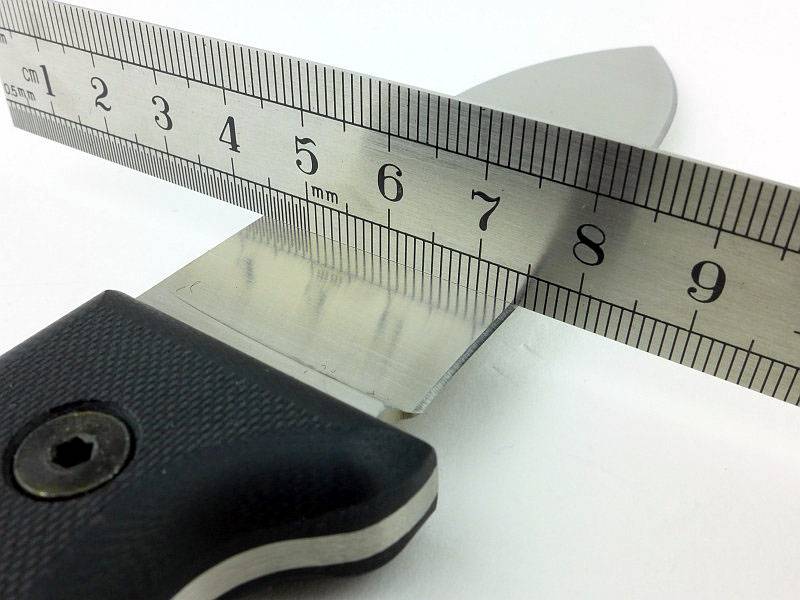
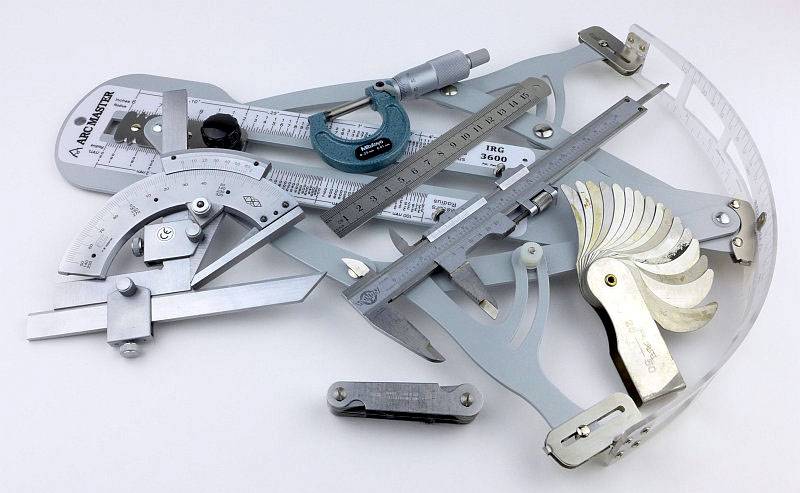
Using a set of gauges and precision measuring equipment including a Vernier protractor, callipers, fixed radius gauges and the unique Arc Master adjustable radius gauge (the one that looks like a crossbow).
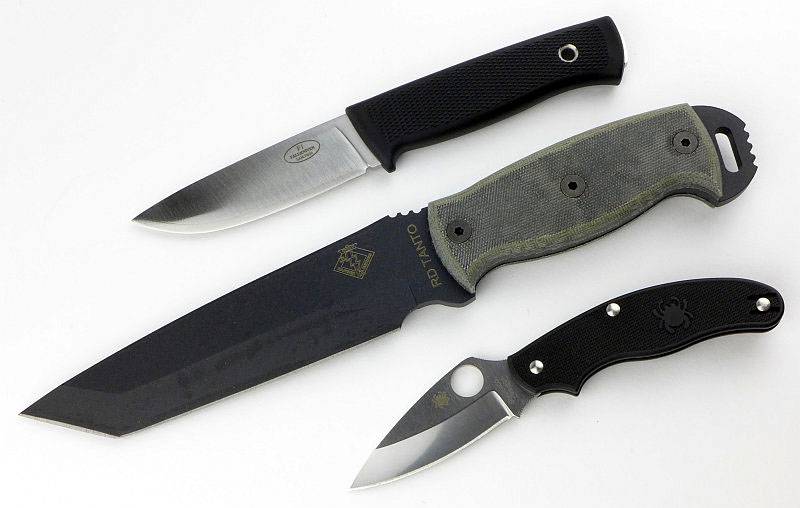
These measurements have been tabulated and are presented along with a few reference blades (8″ Chef’s Knife, 5.5″ Santoku and the popular Fällkniven F1).
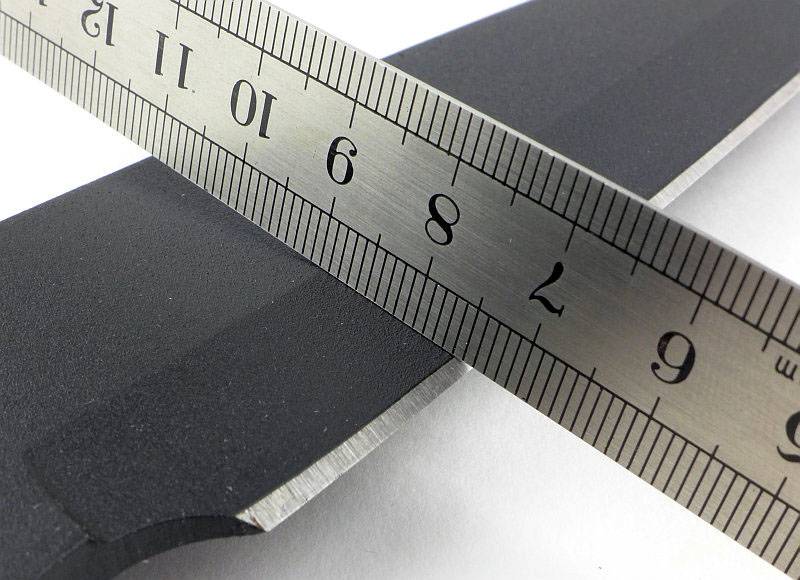
Key aspects such as the primary bevel angle, grind type, blade depth, blade thickness, length, weight are detailed, along with balance information.
The ‘Balance relative to the front of the handle’ tells you if the knife will feel front heavy, or if the weight is in your hand (a positive value means the weight is forward of the front of the handle). The ‘Balance relative to the centre of the handle’ indicates how close to a ‘neutral balance’ the knife has in the hand.
In the case of full convex grinds the approximate centre of the grind is used for the primary bevel angle estimate.
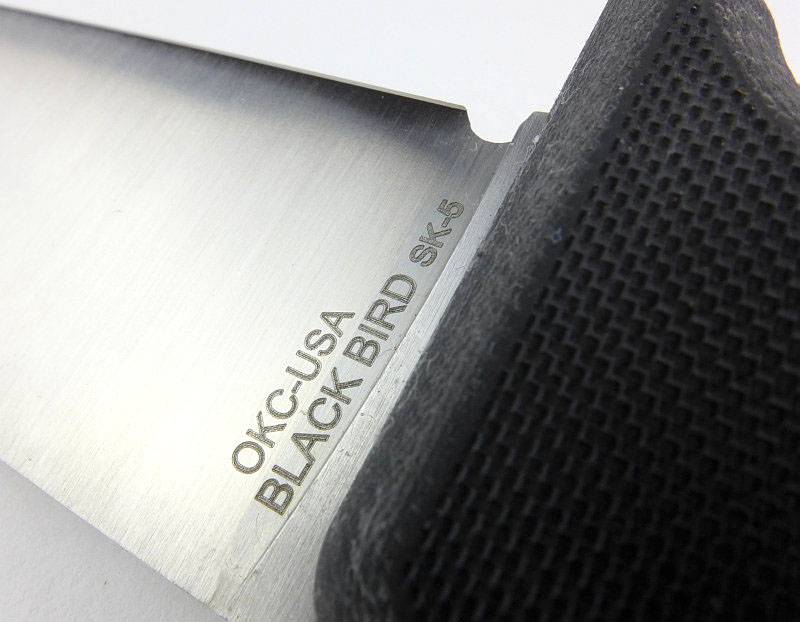
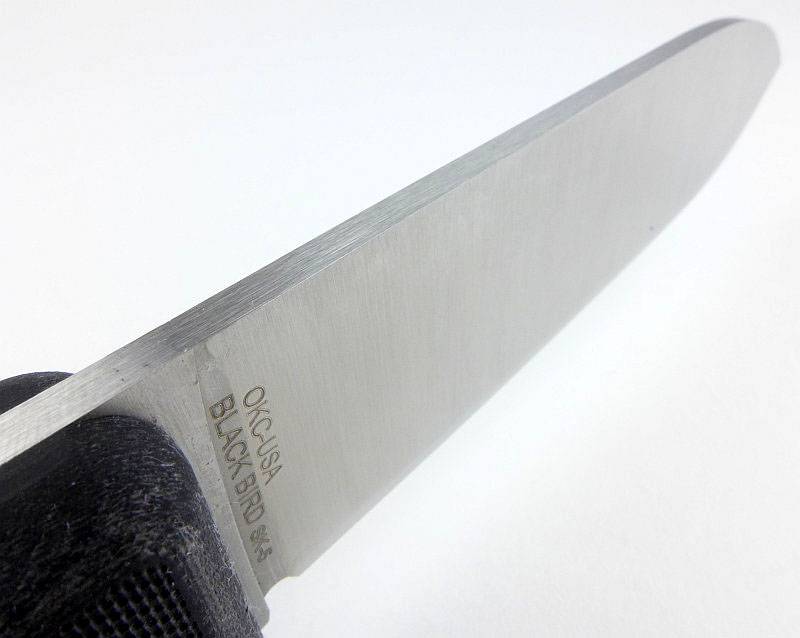
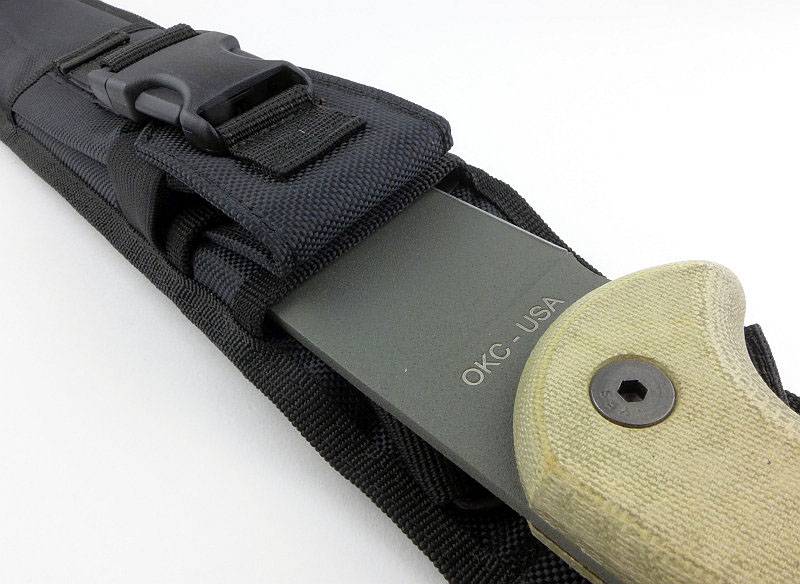
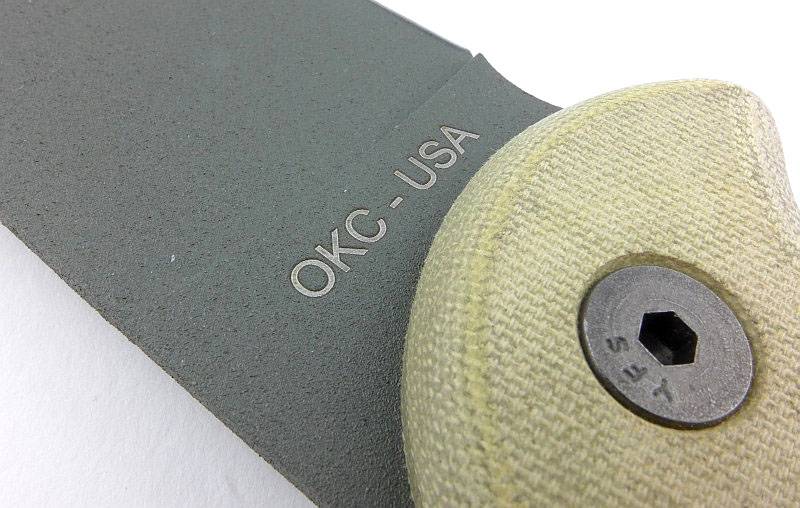
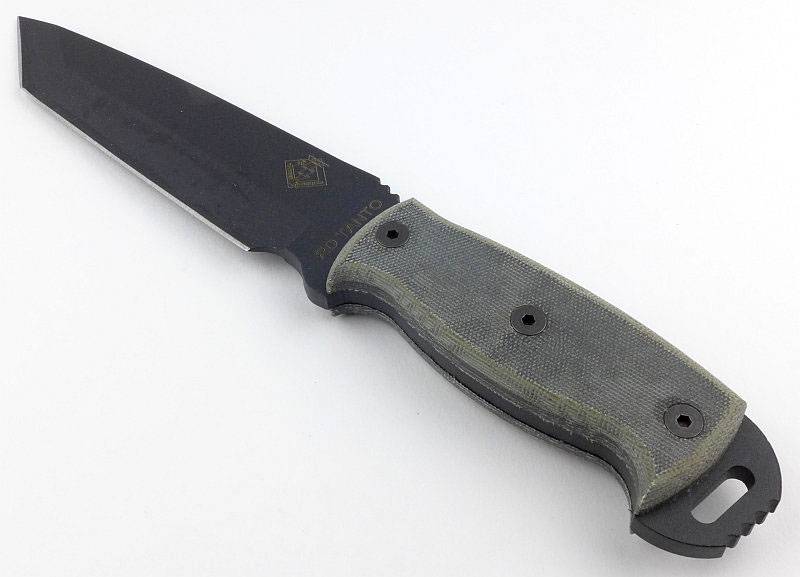
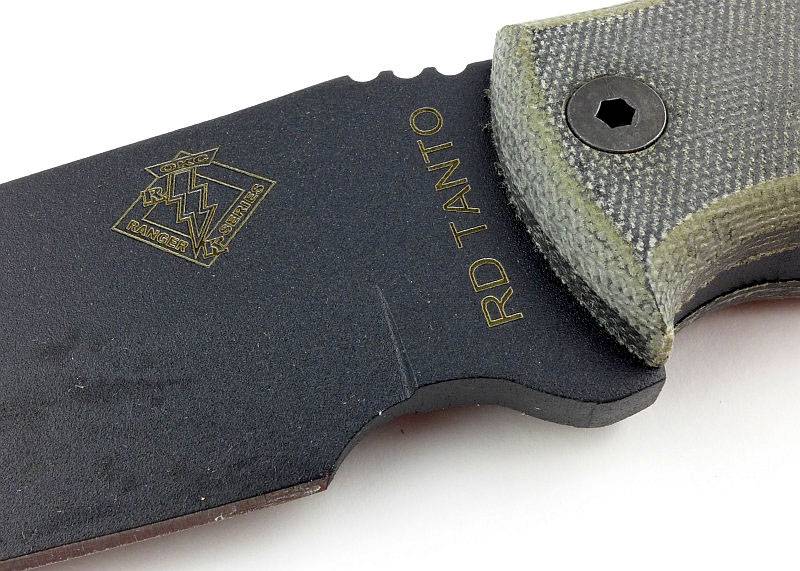
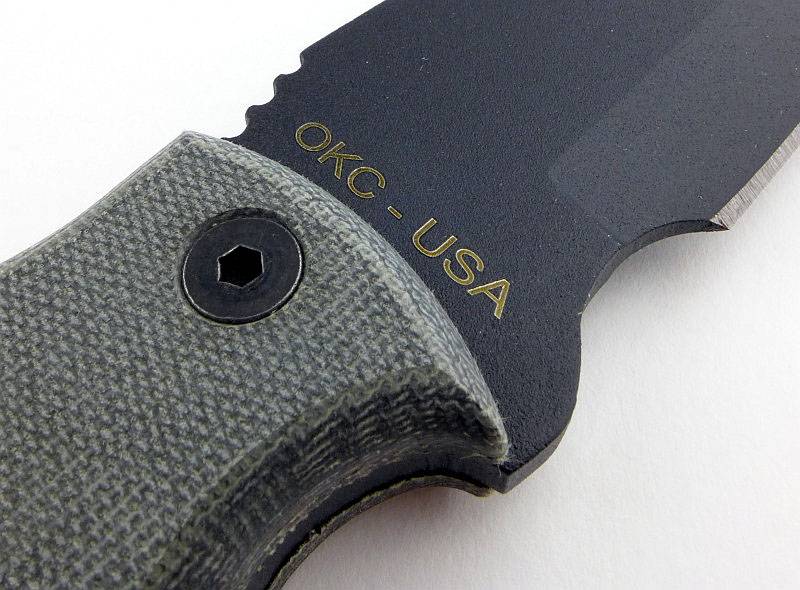
The blade is made from 154CM steel.
Explained by the Maker:
The reasons for certain design choices may not be clear when simply looking at an object, so this section is intended to give an insight into the thinking behind a design by speaking to the designer themselves.
Unfortunately I can’t always get time with the designer so will use this section to include relevant information about the knife and its designer.
The design principles of the SK-4 are generally the same as they were for the larger SK-5, so I shall refer readers to the SK-5 review for further information:
Ontario Knife Company Black Bird SK-5 Review
A few more details:
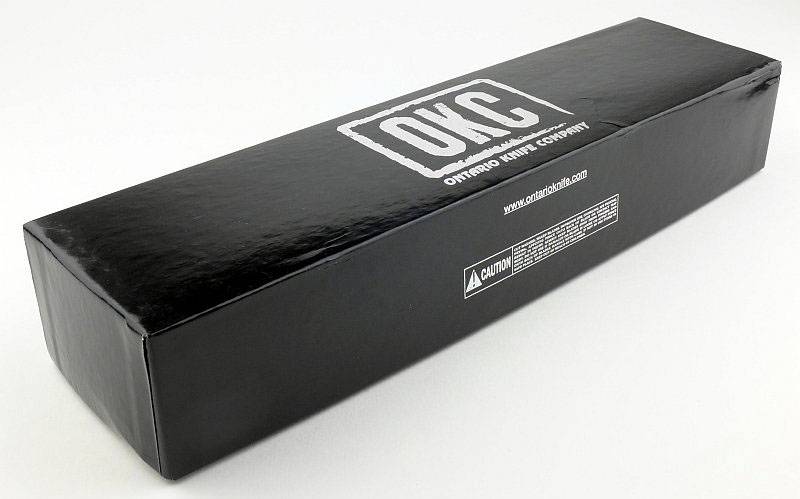
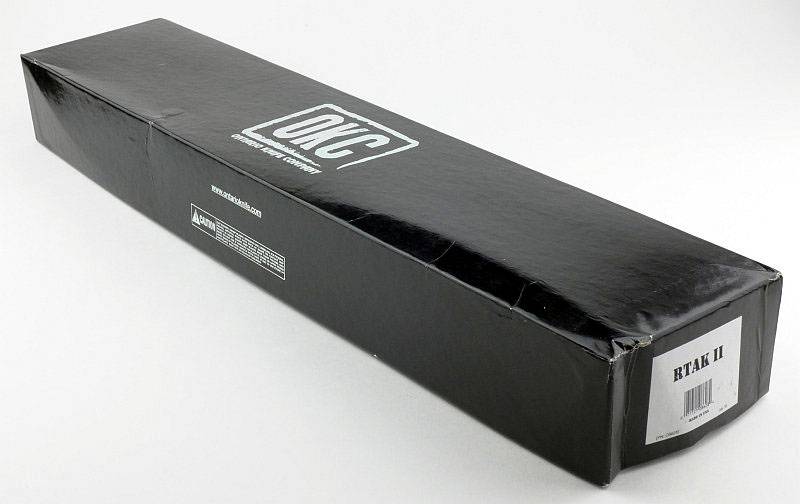
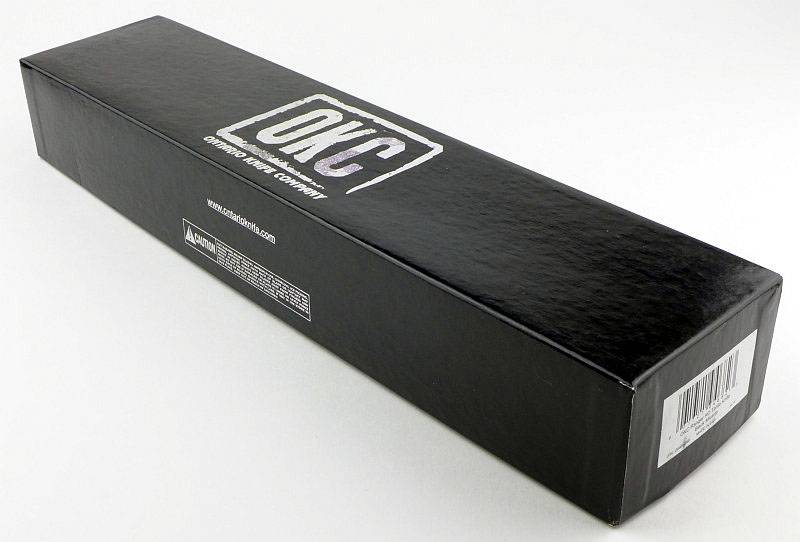
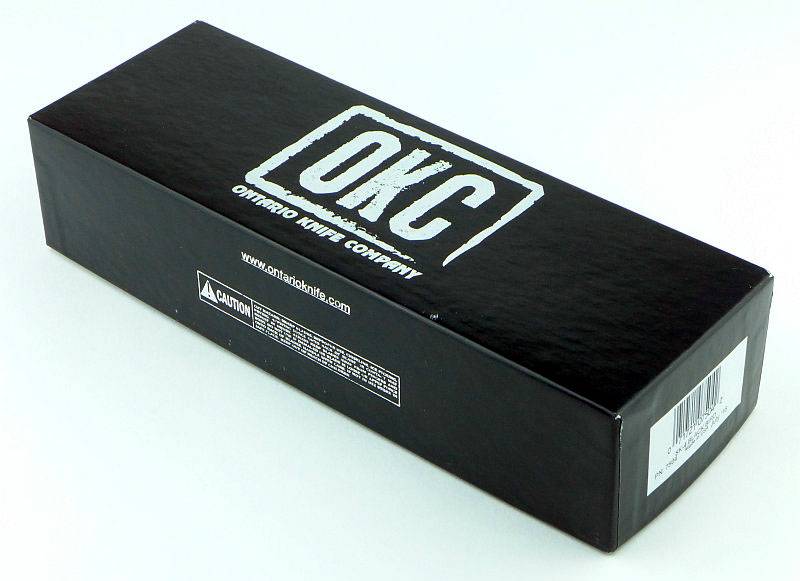
The Black Bird SK-4 arrives in a cardboard box with lift off lid.
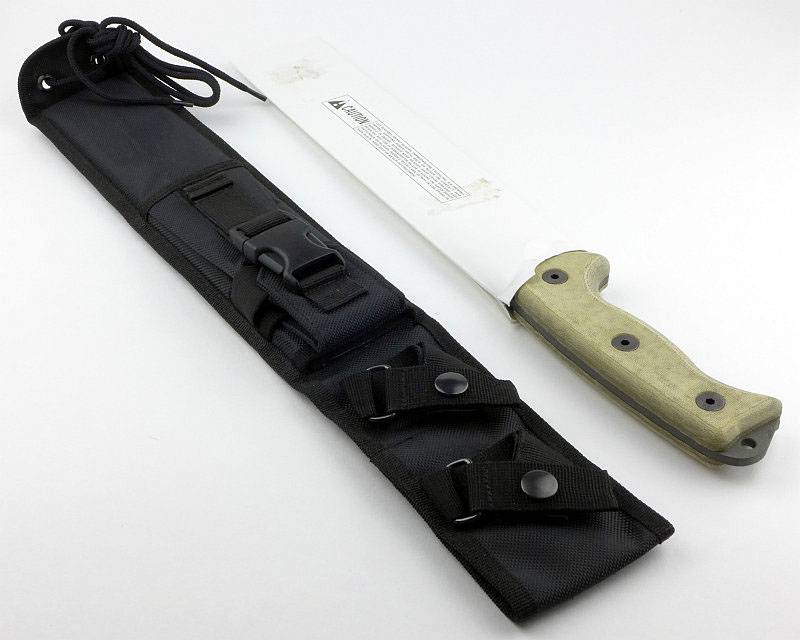
The knife and sheath are packed separately, with the knife wrapped in a plastic bag.
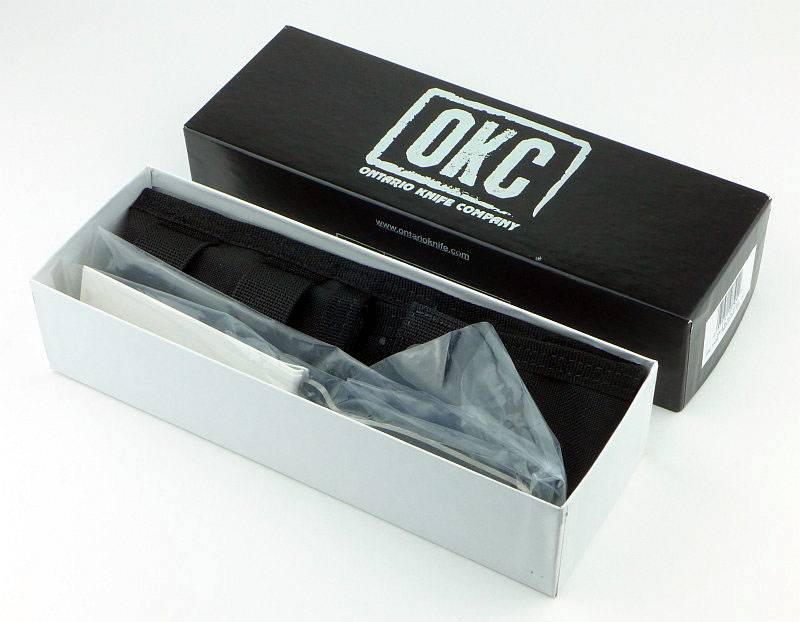
There is a thin cardboard sheath over the blade.
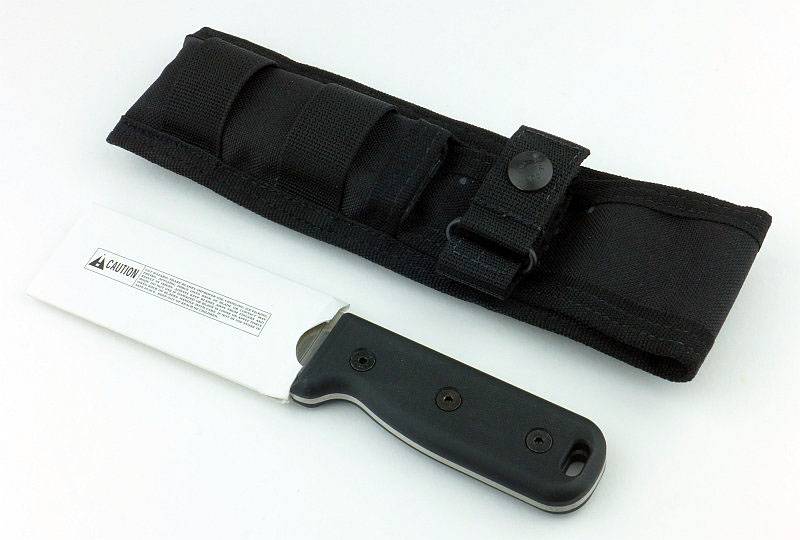
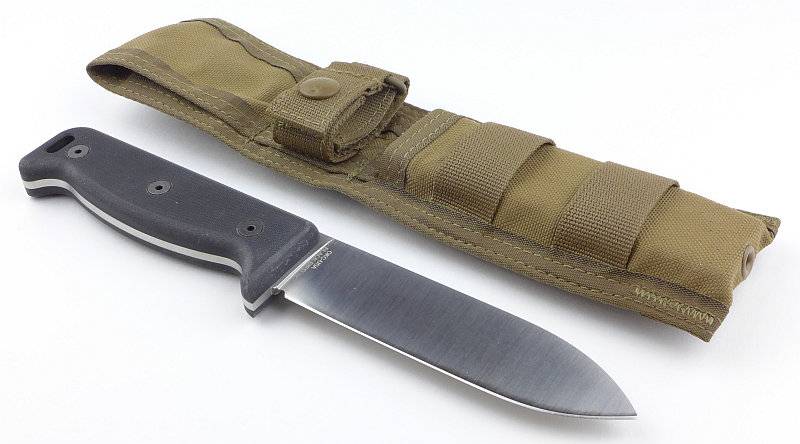
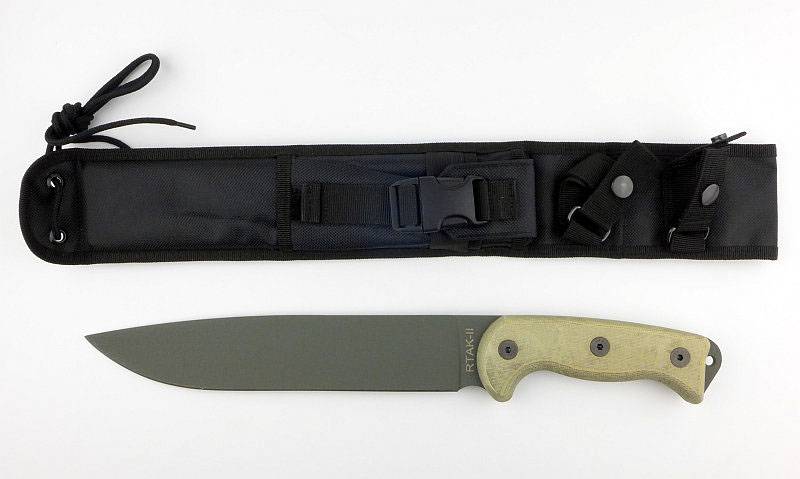
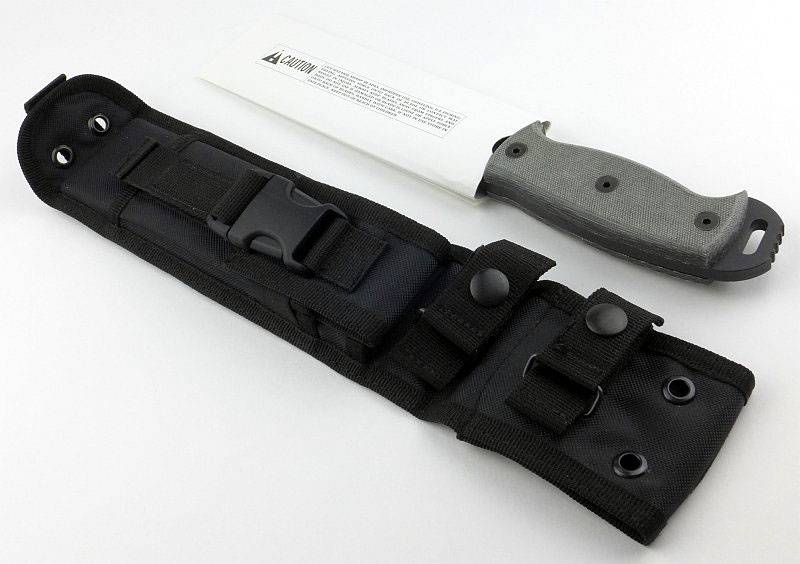
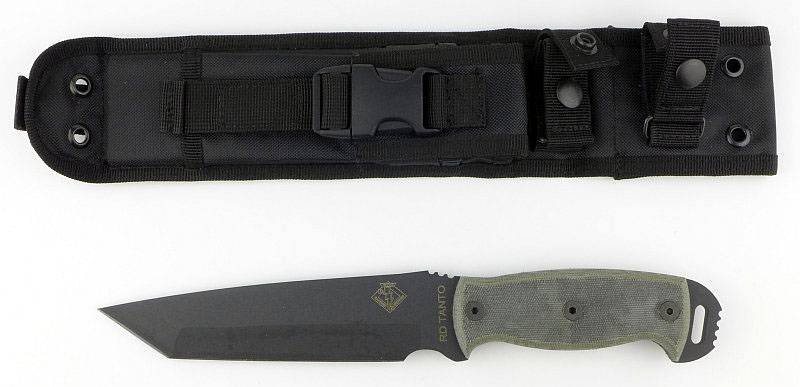
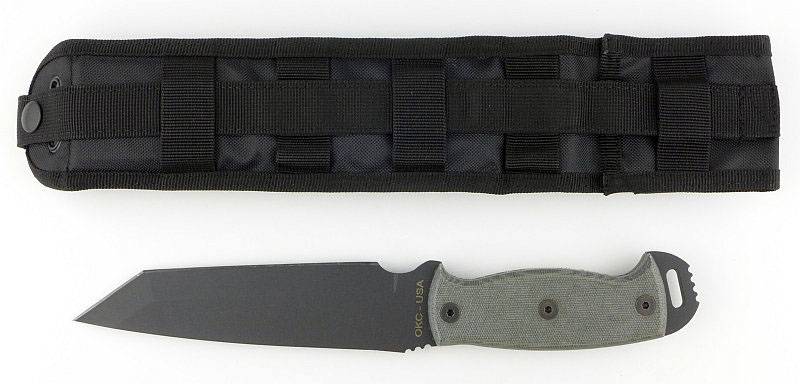
With all packaging removed we get to see the SK-4 and its sheath.
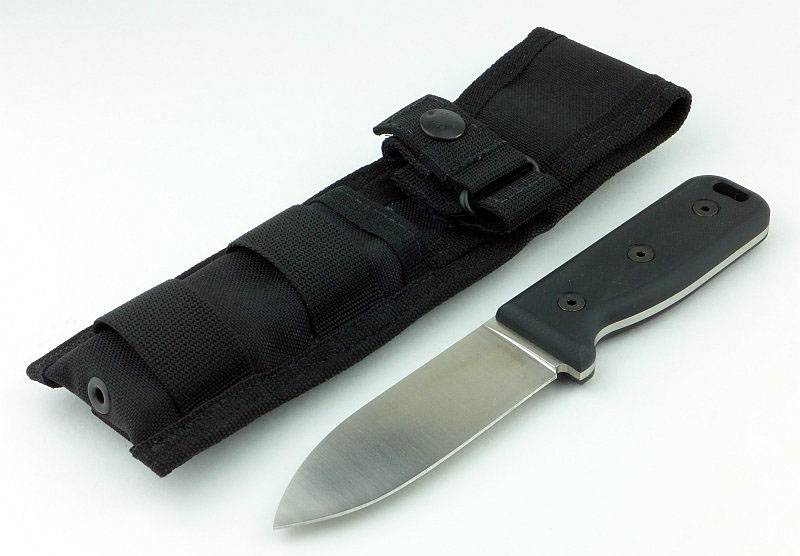
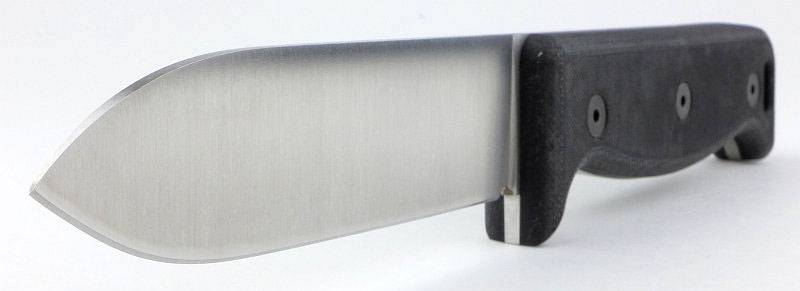
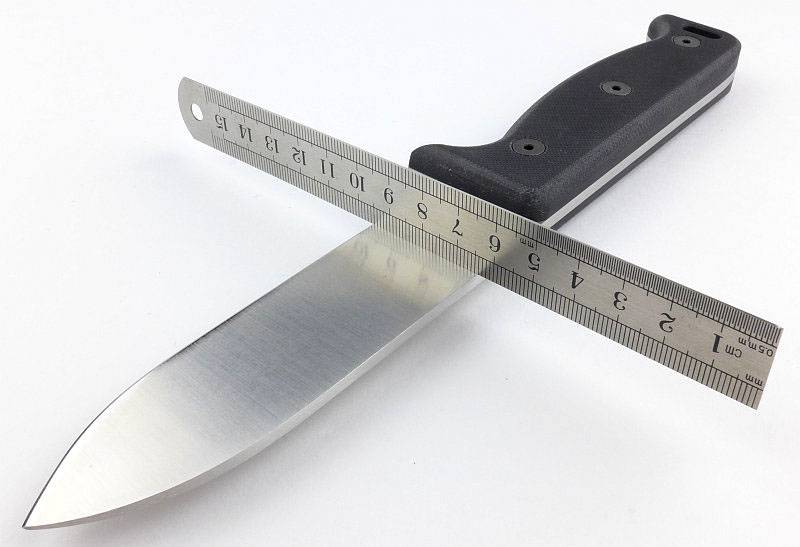
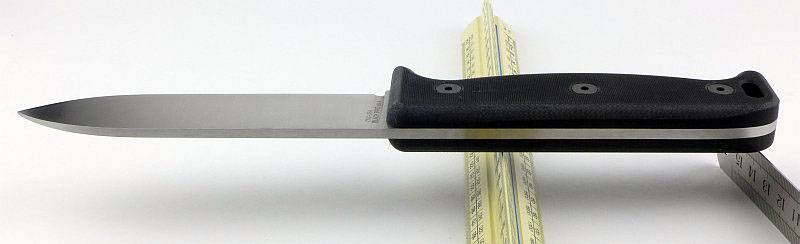
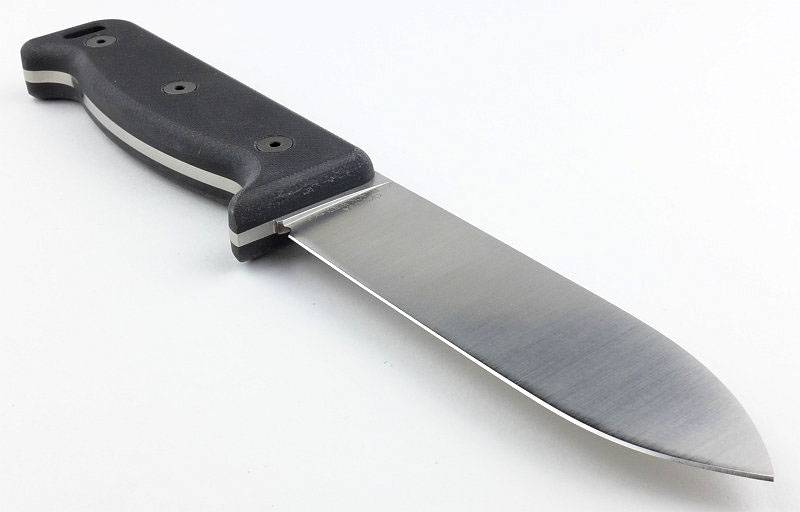
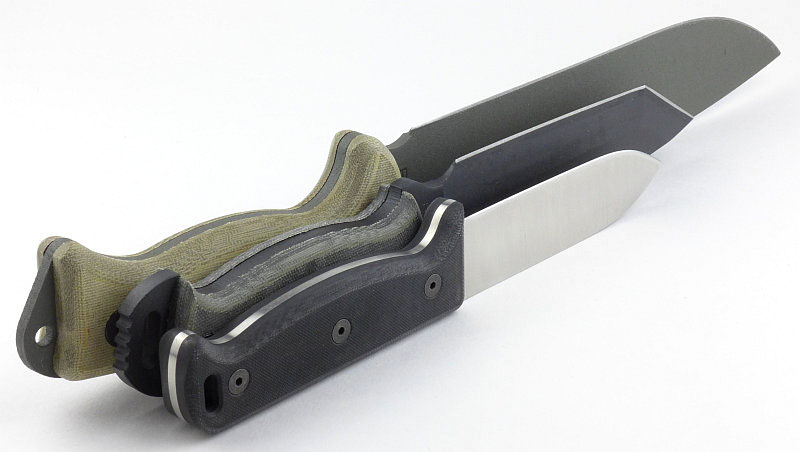
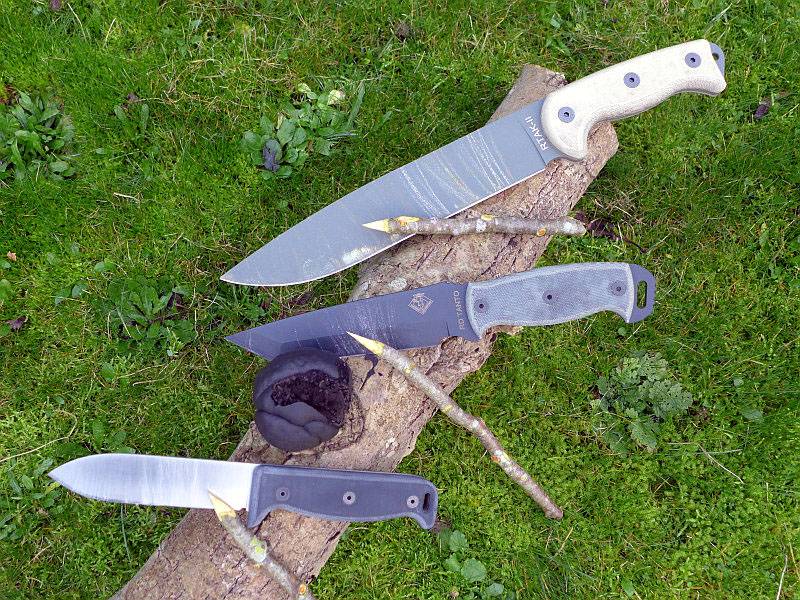
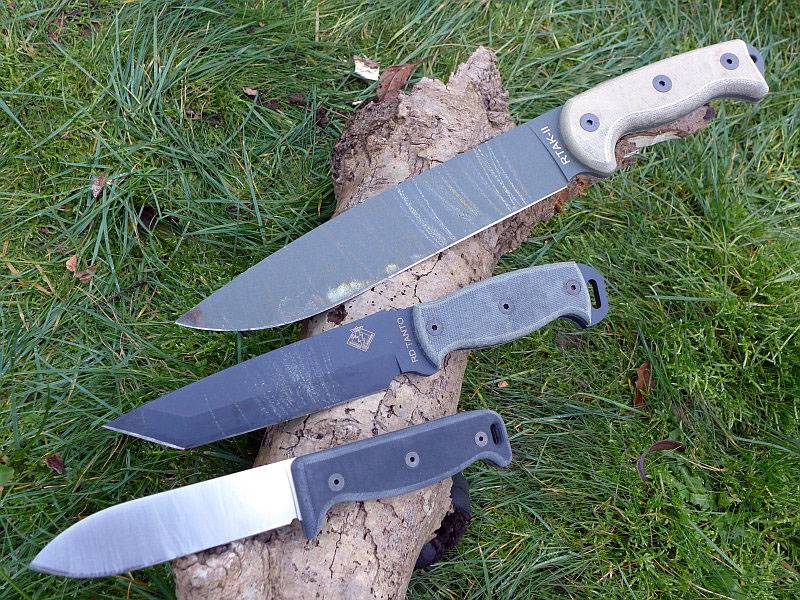
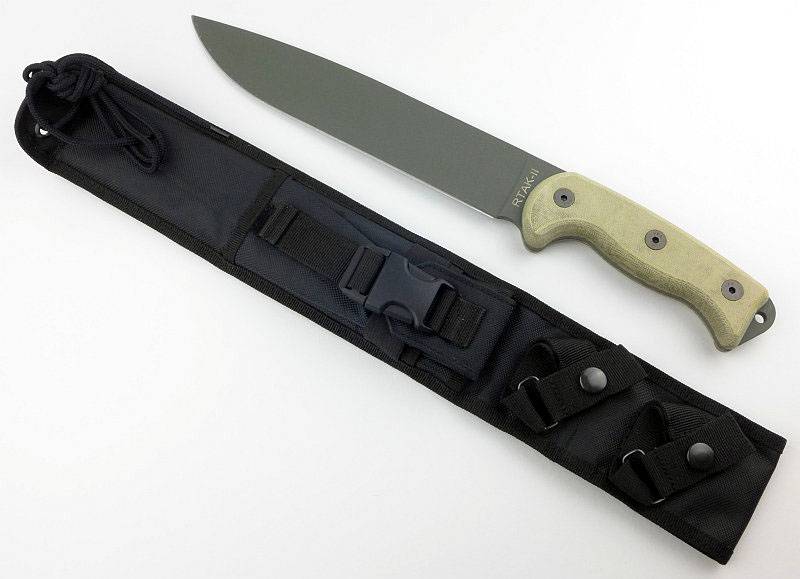
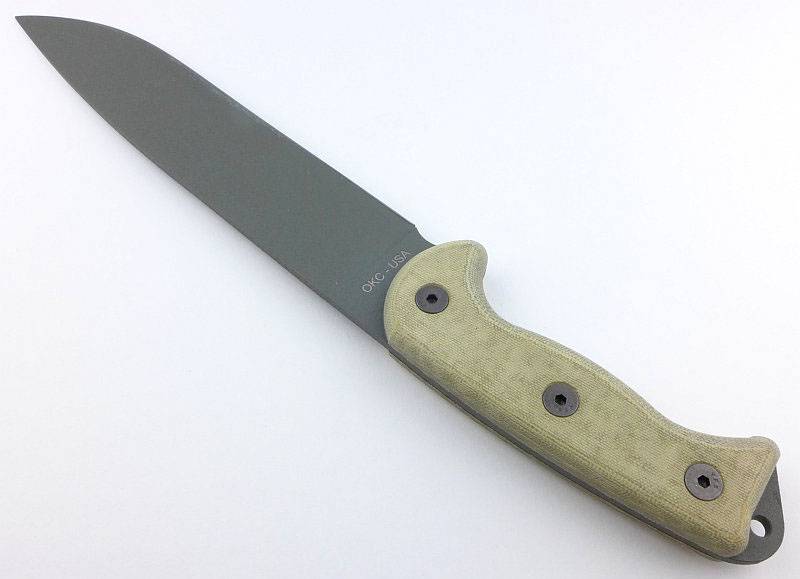
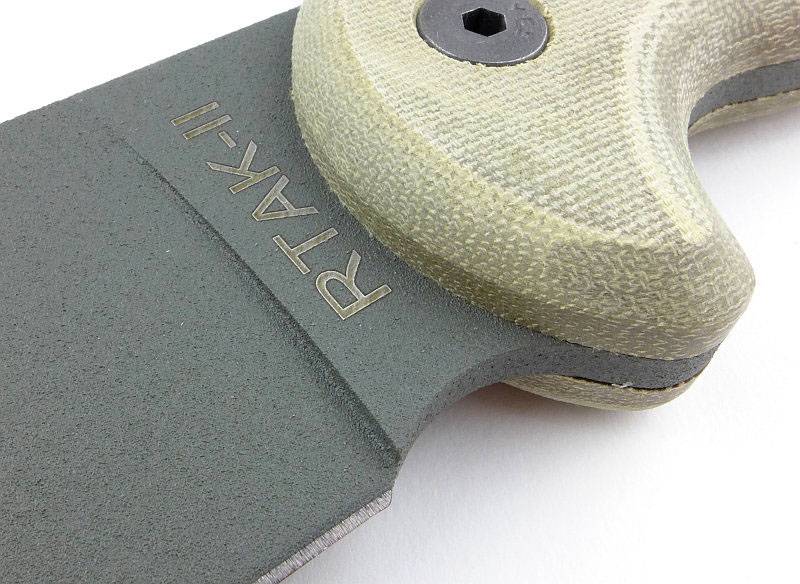
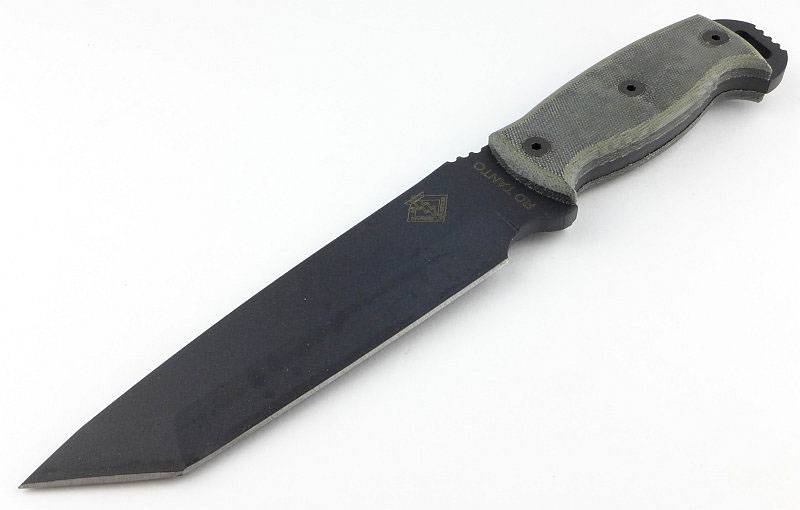
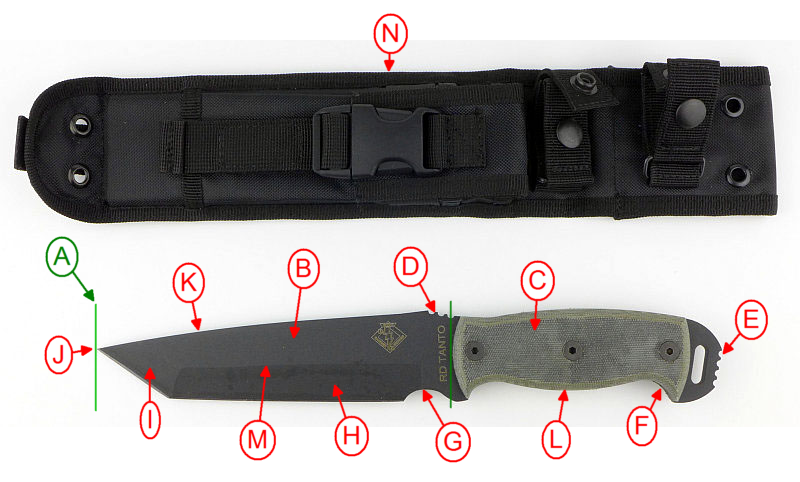
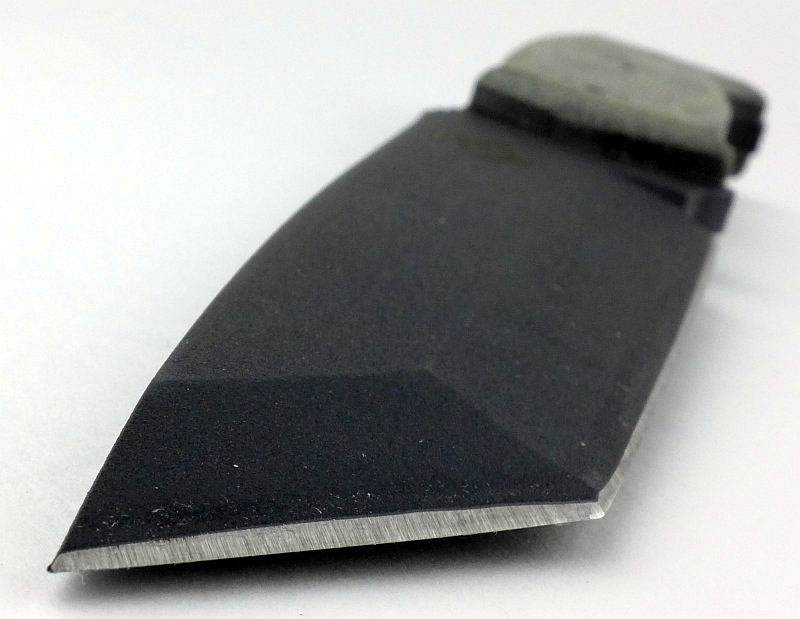
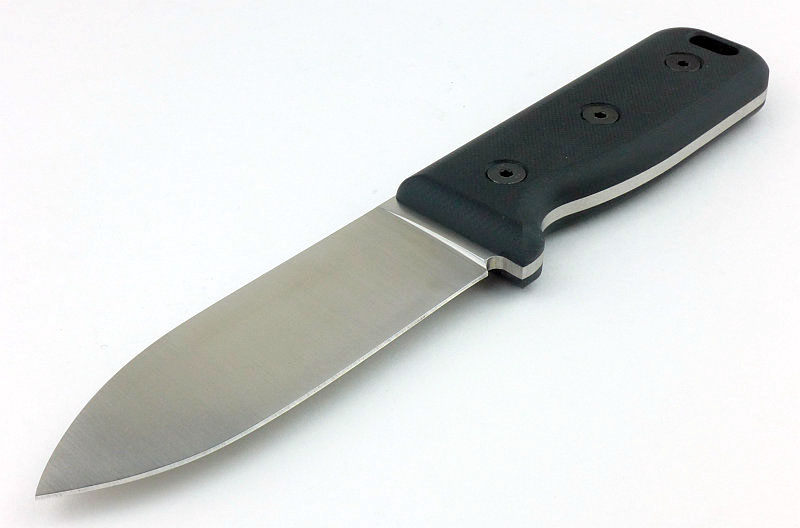
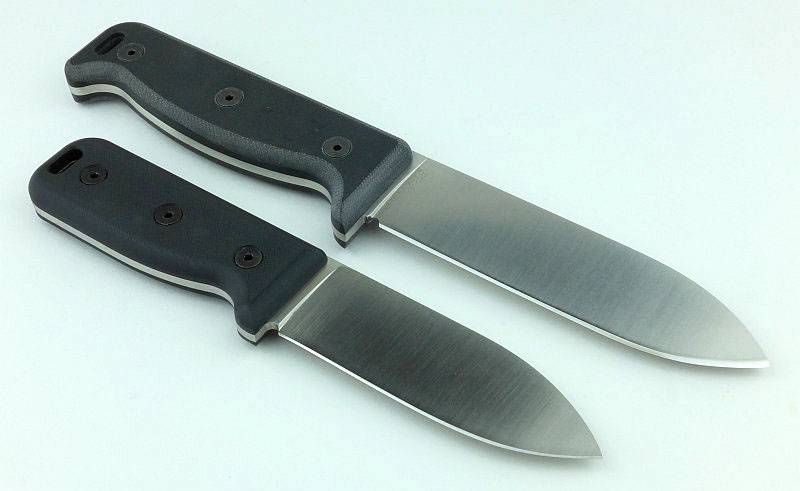
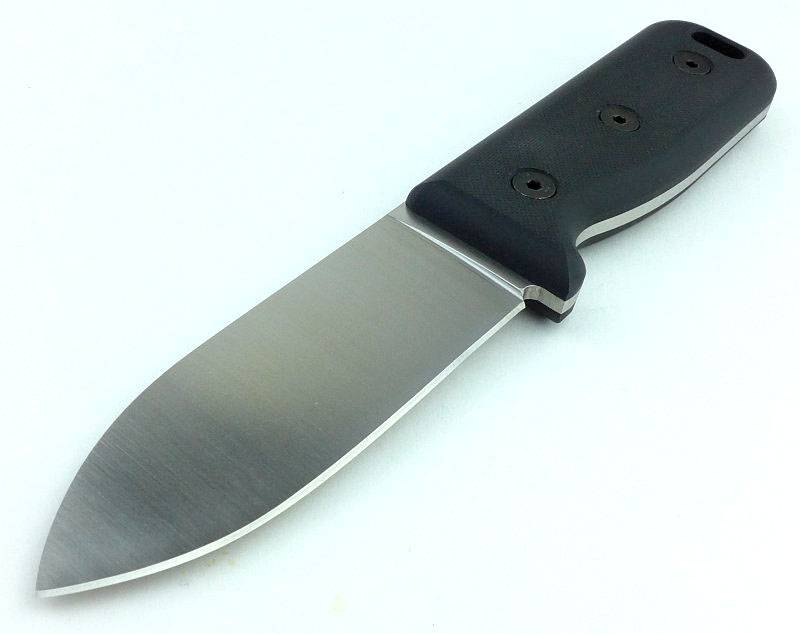
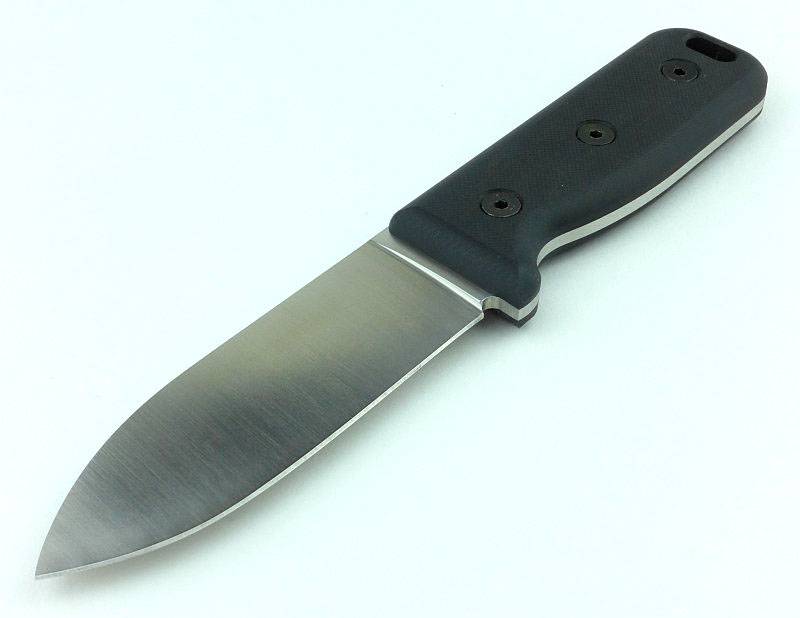
Bare-bones simplicity, the SK-4’s blade is a shorter version of the SK-5 blade.
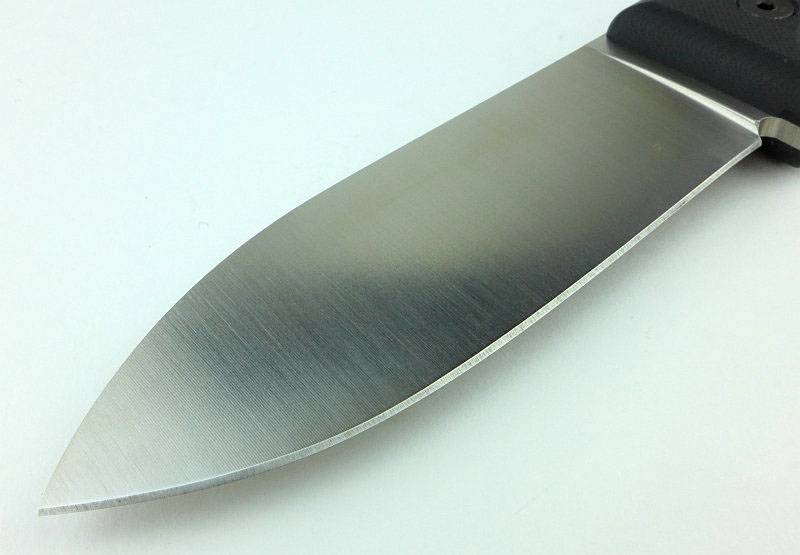
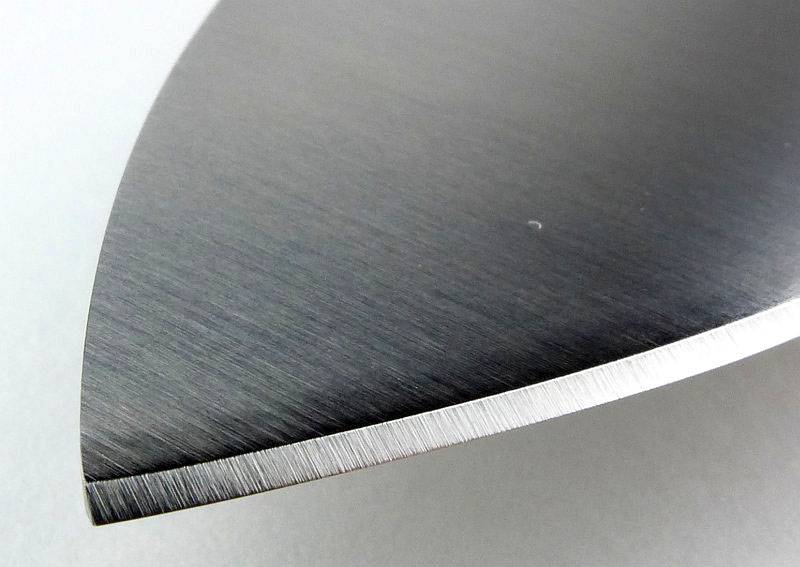
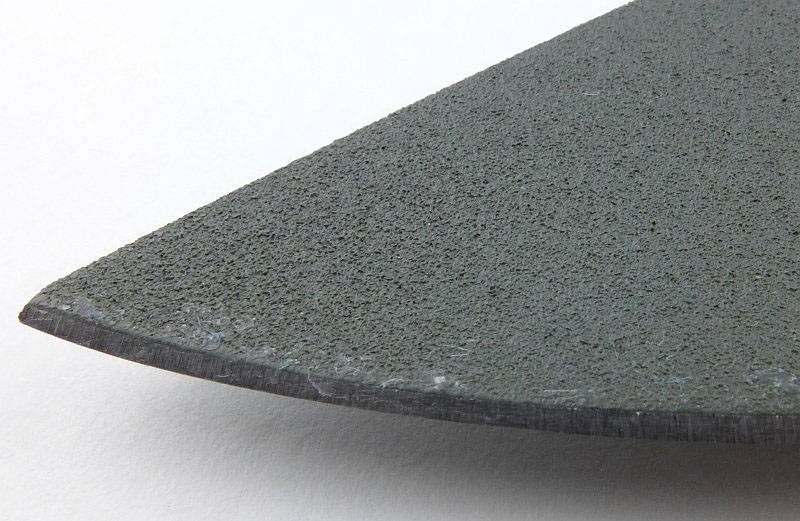
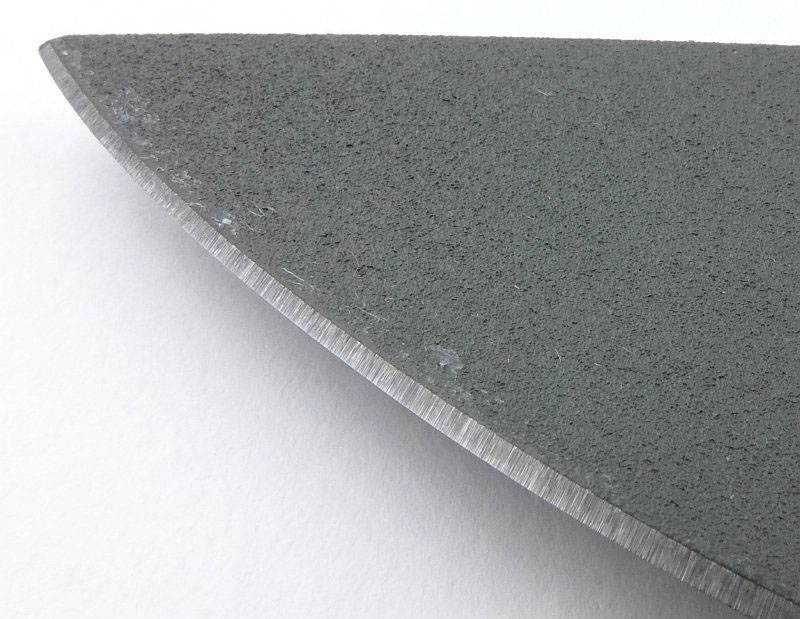
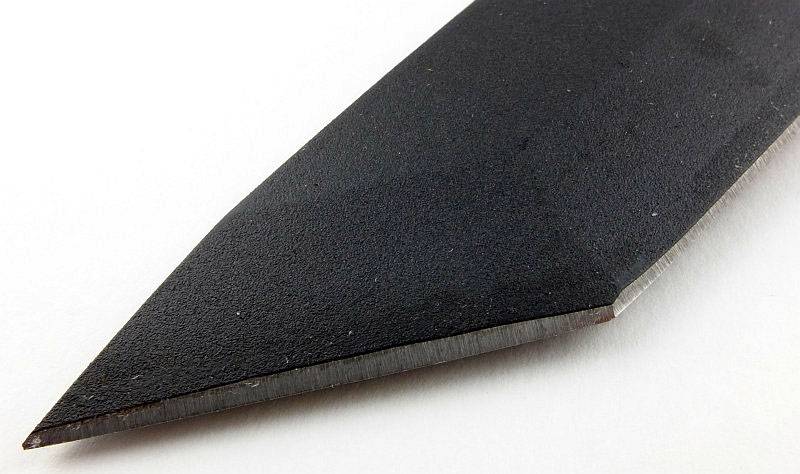
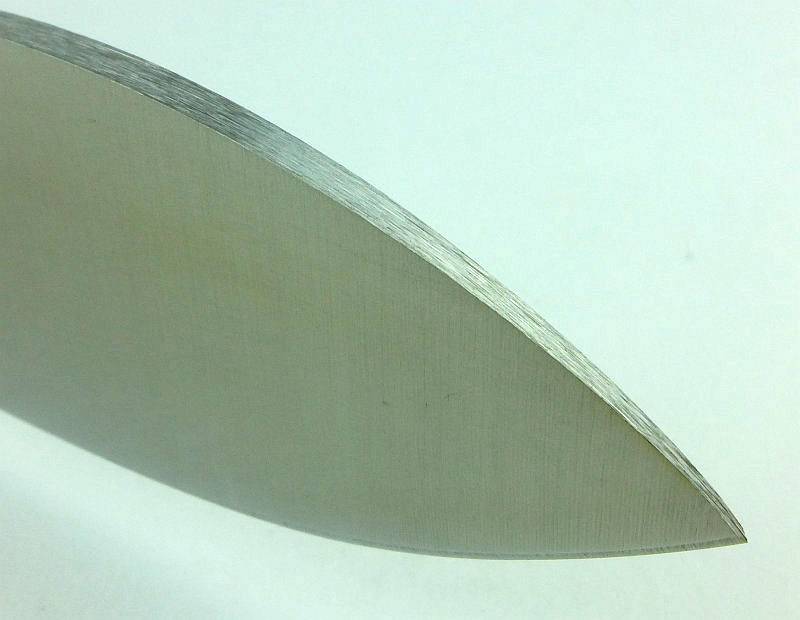
While we are looking at the blade, this is a close-up of the blade tip with factory edge.
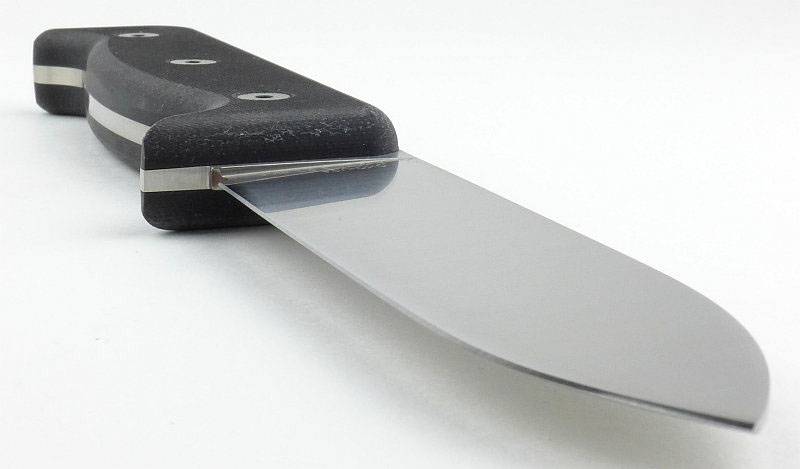
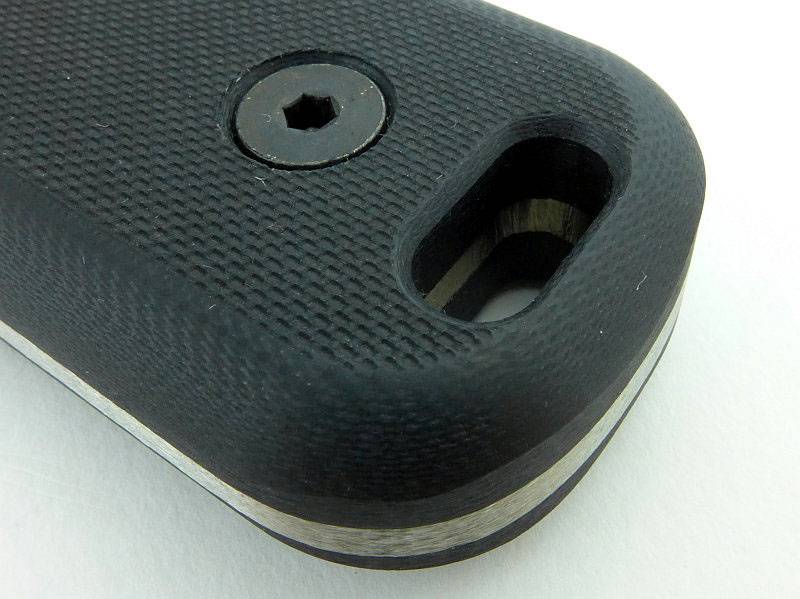
Though the design is simply, I’m glad to see it does have a choil.
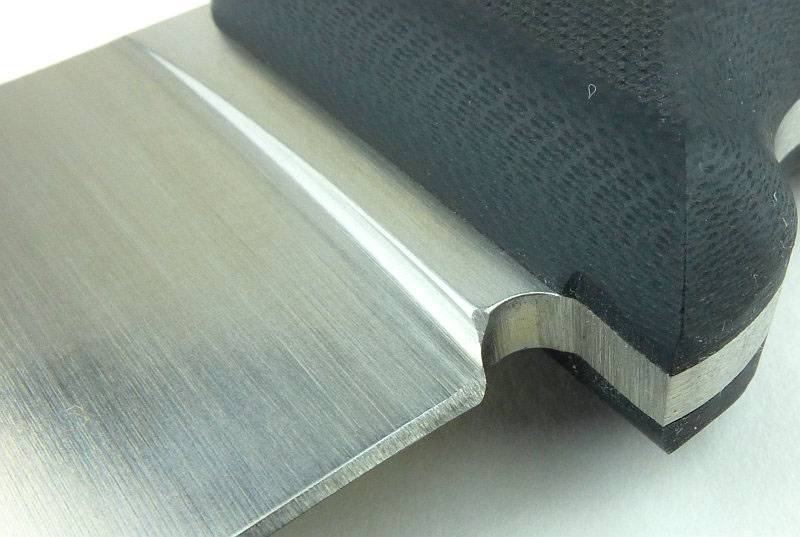
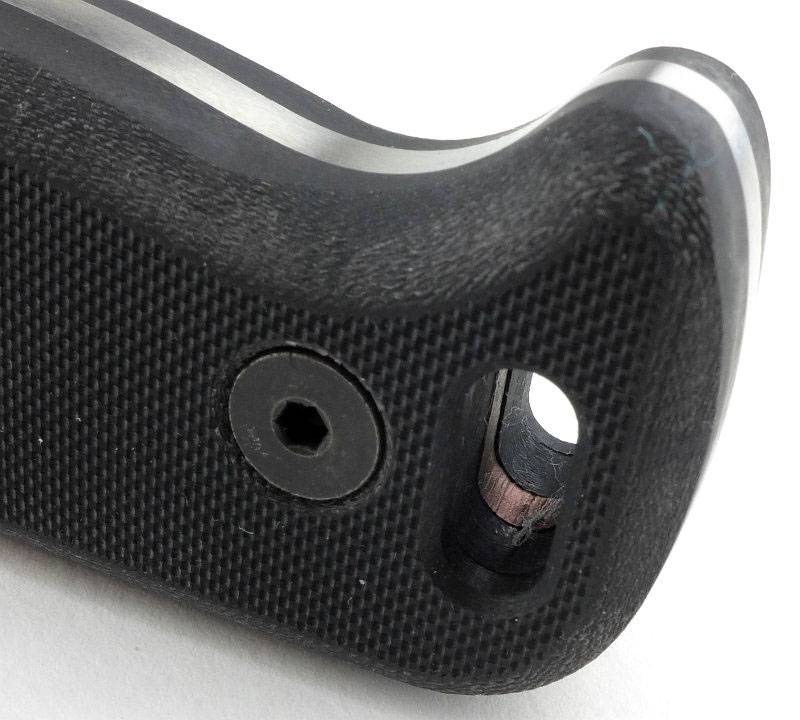
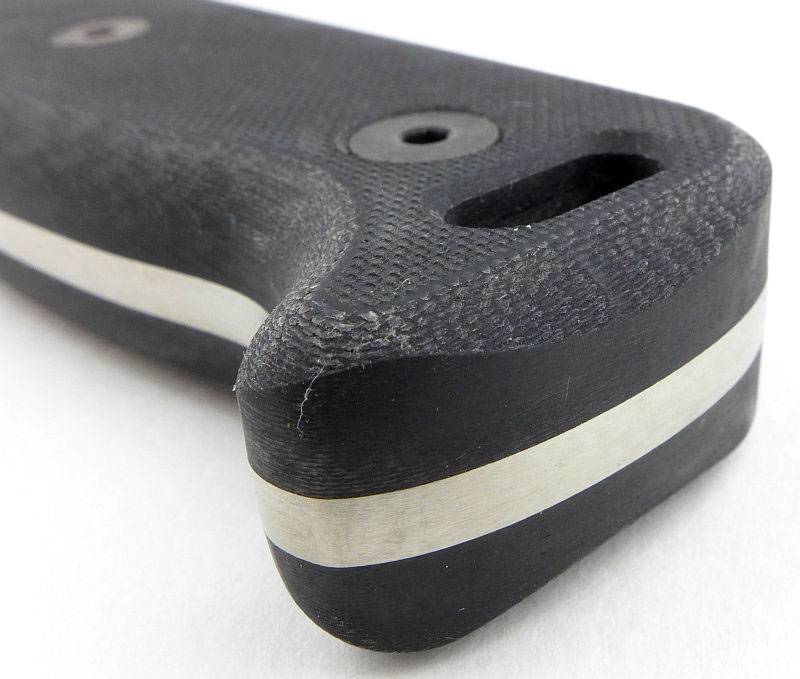
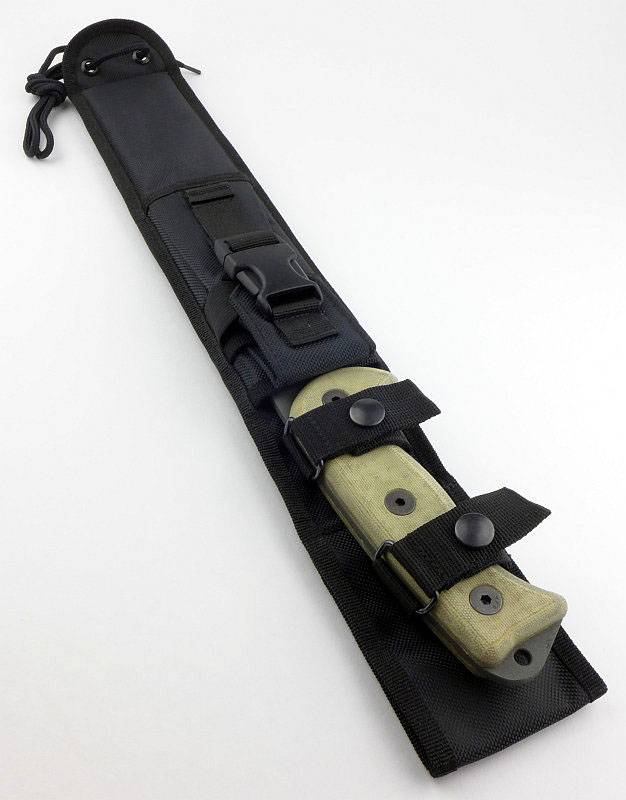
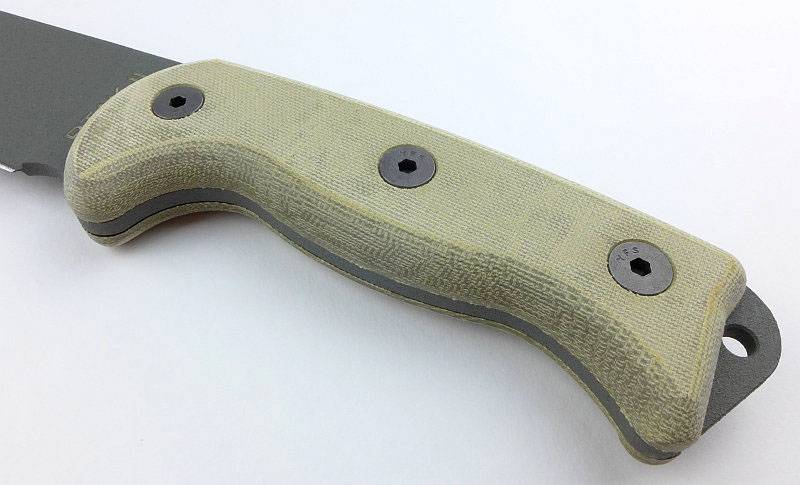
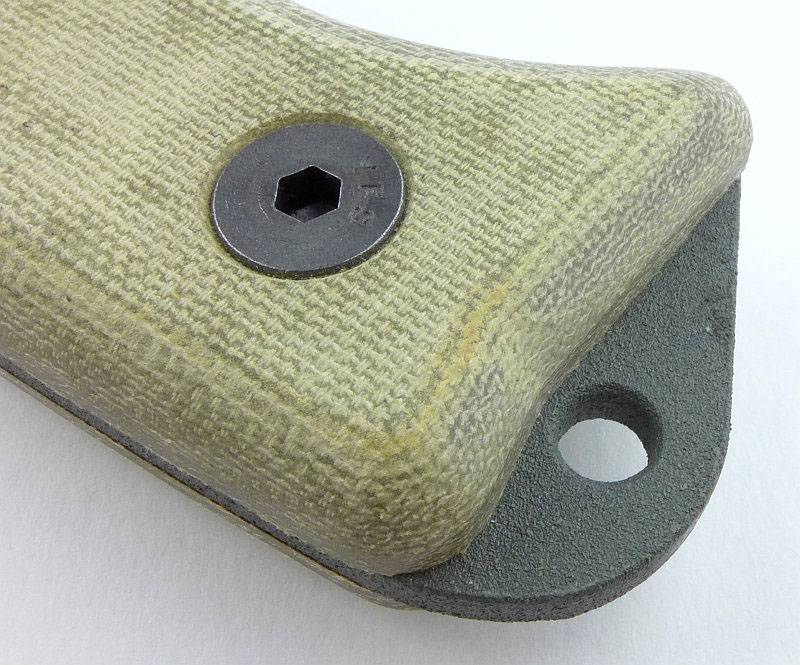
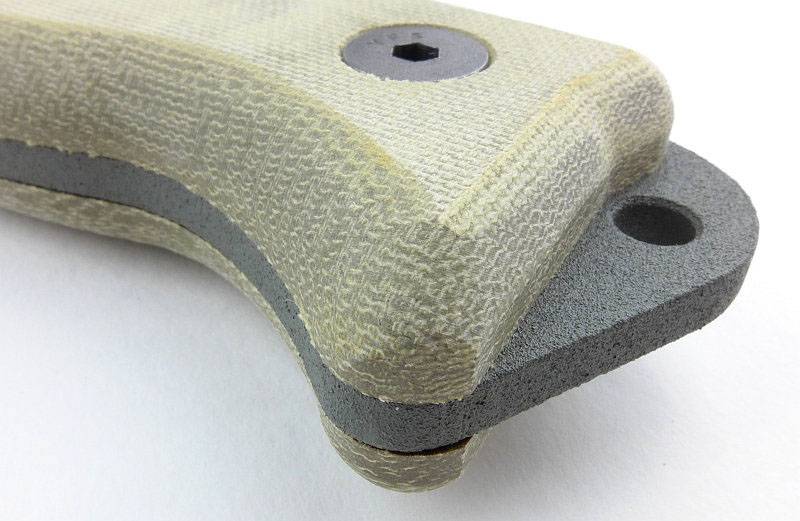
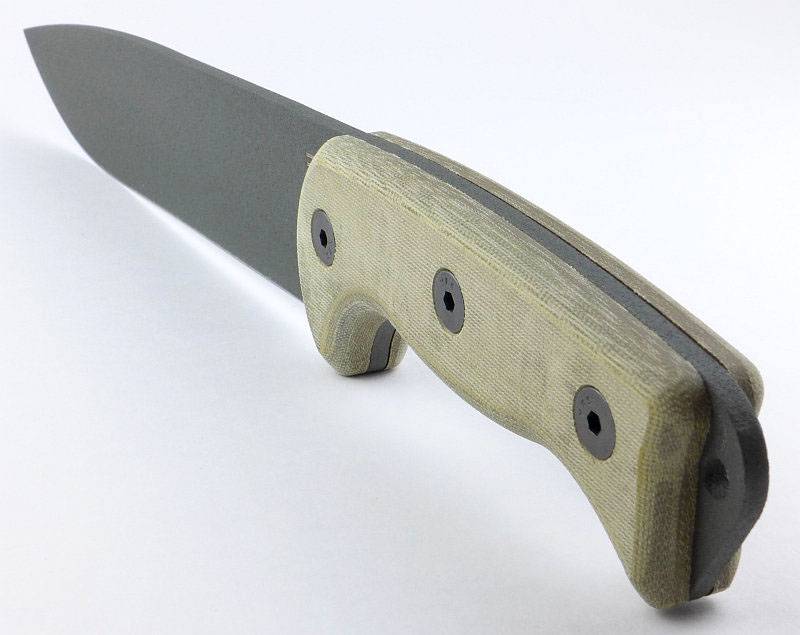
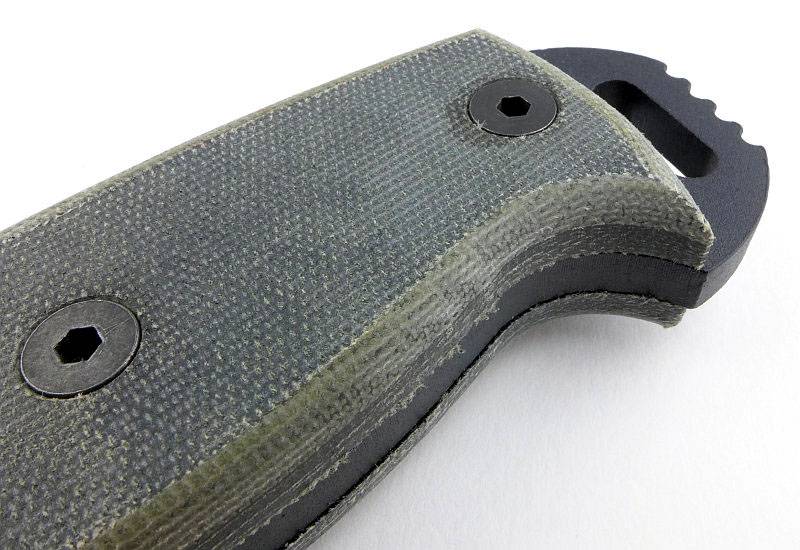
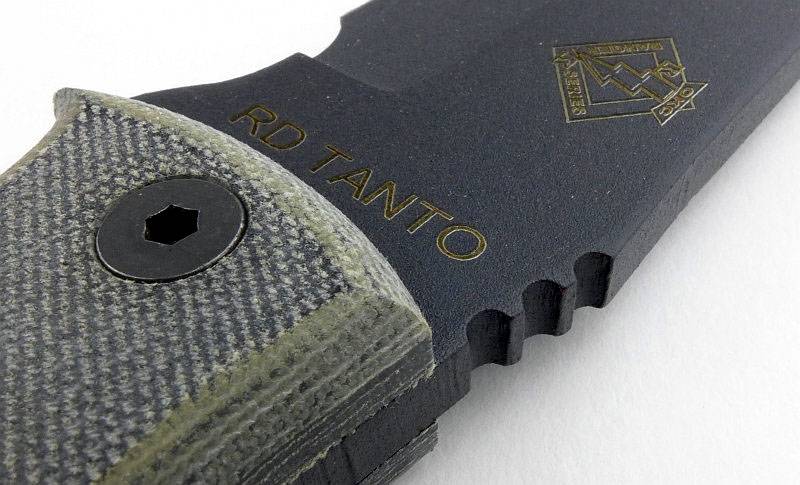
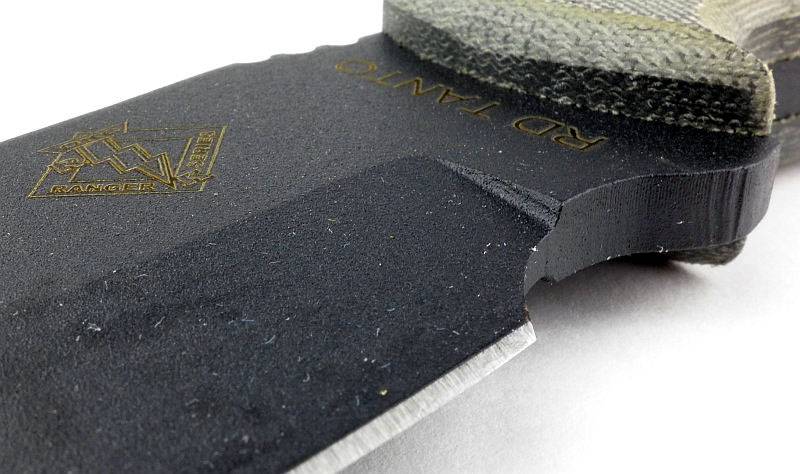
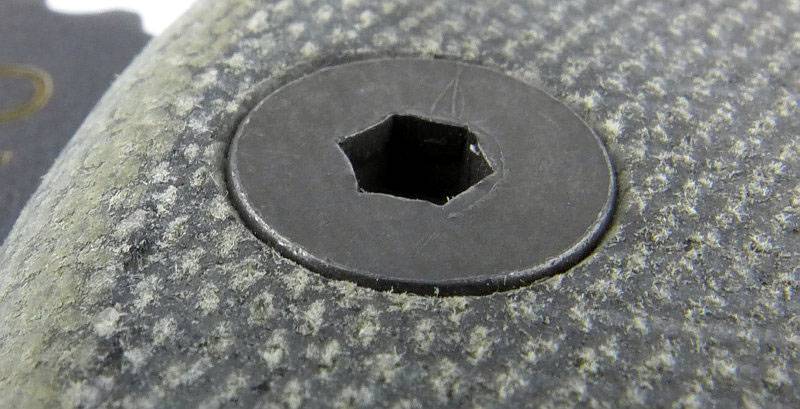
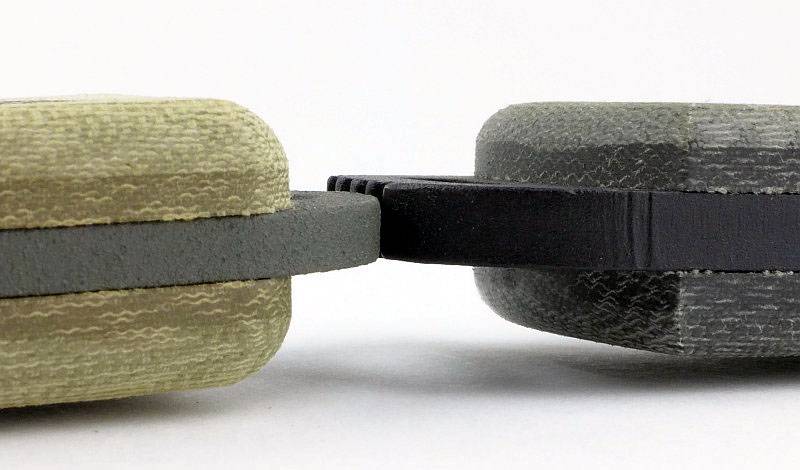
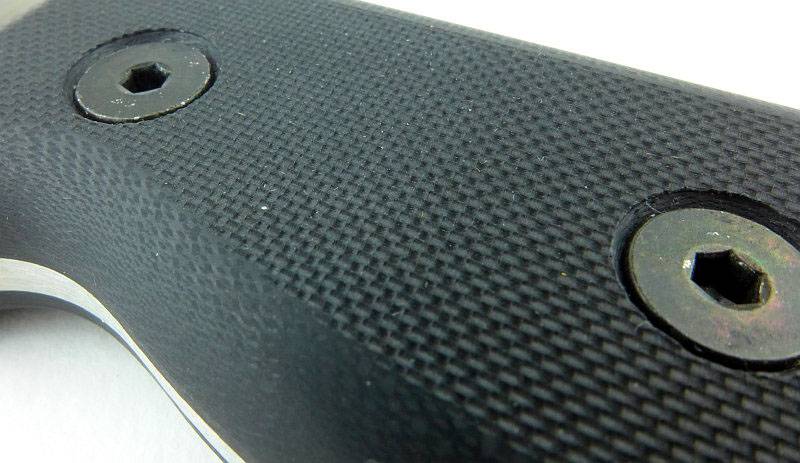
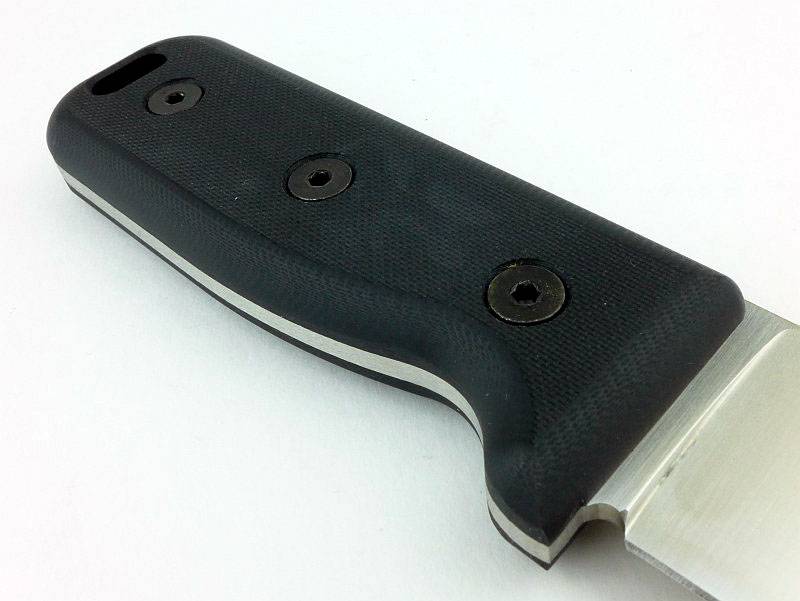
The G10 handle slabs are secured with three hex bolts.
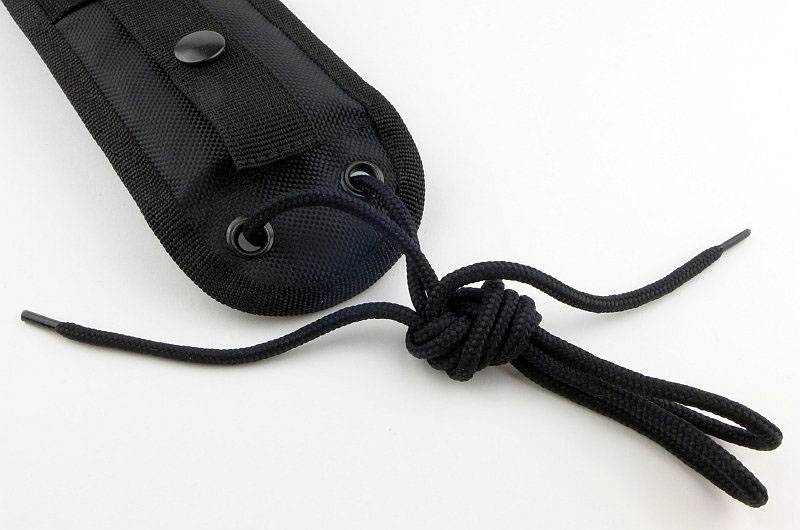
A nicely formed lanyard hole is included.
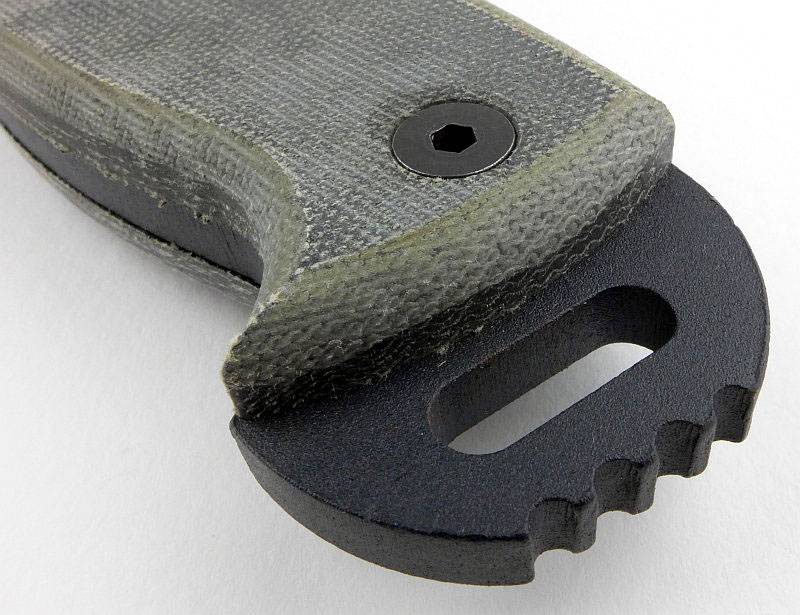
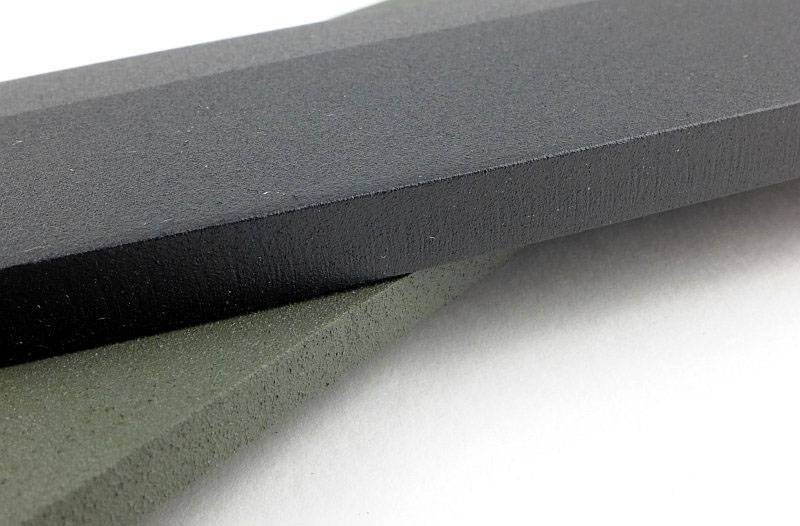
Incorporated into the beautifully simple design is a sharp edged spine for striking sparks from ferro-rods.
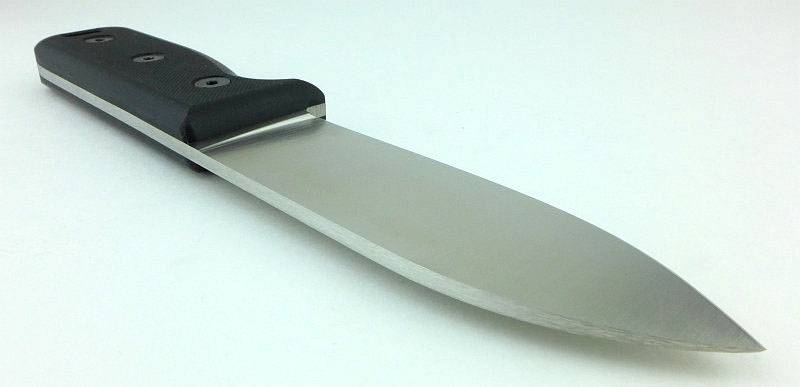
A guard stands just proud of the handle to help protect your fingers from slipping forwards.
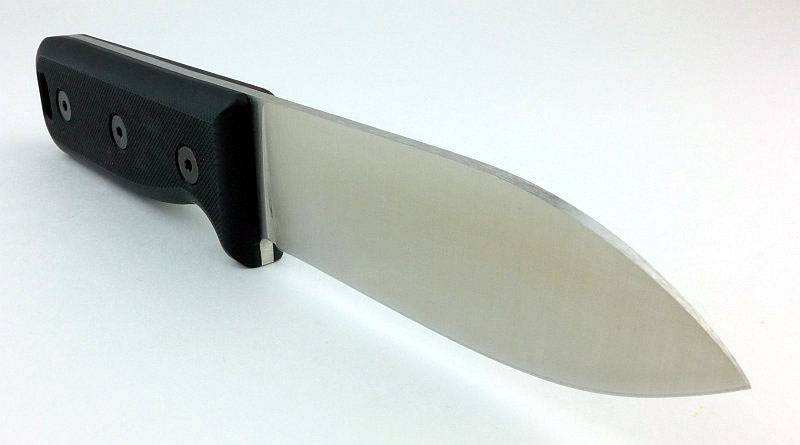
That sharp spark-striking edge runs the entire length of the spine.
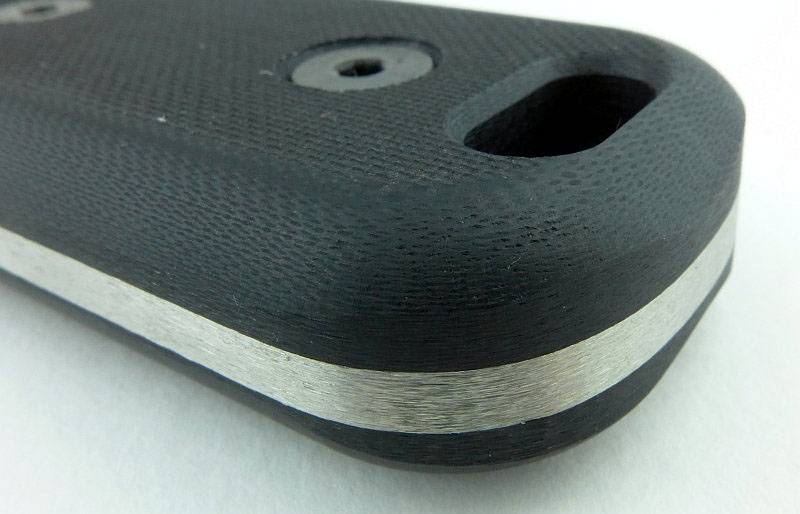
In keeping with the design principles, the handle lines are very simple, but importantly all edges are nicely rounded.
Taking a closer look at the rounding of the G10 handles.
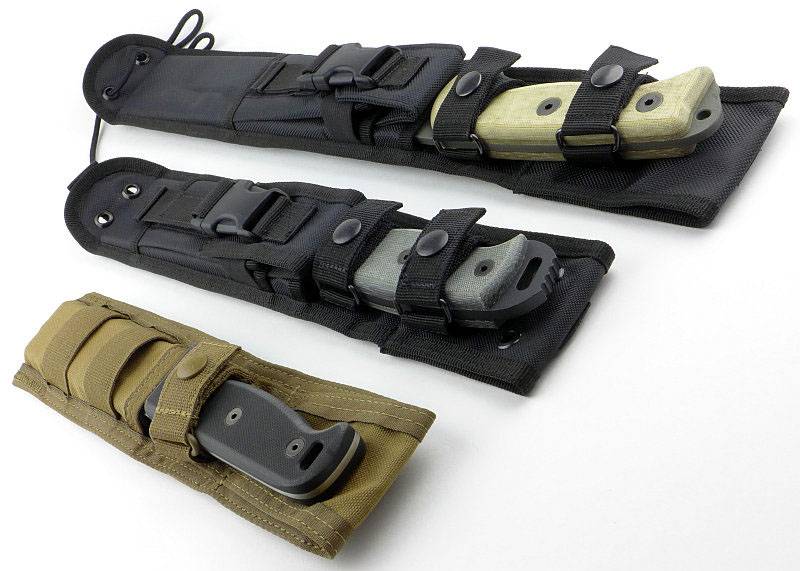
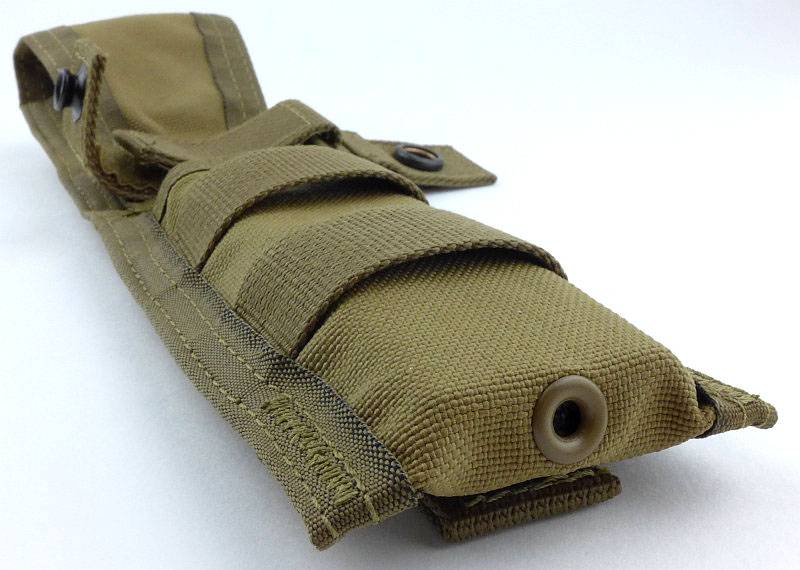
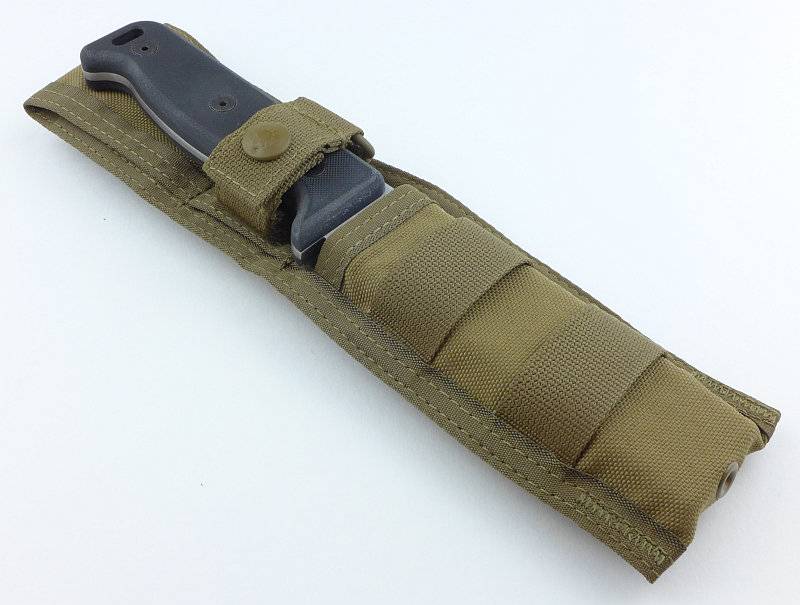
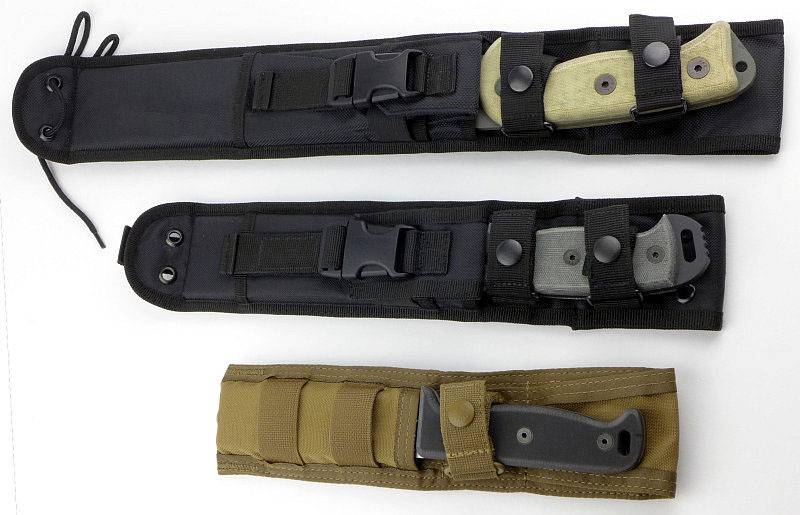
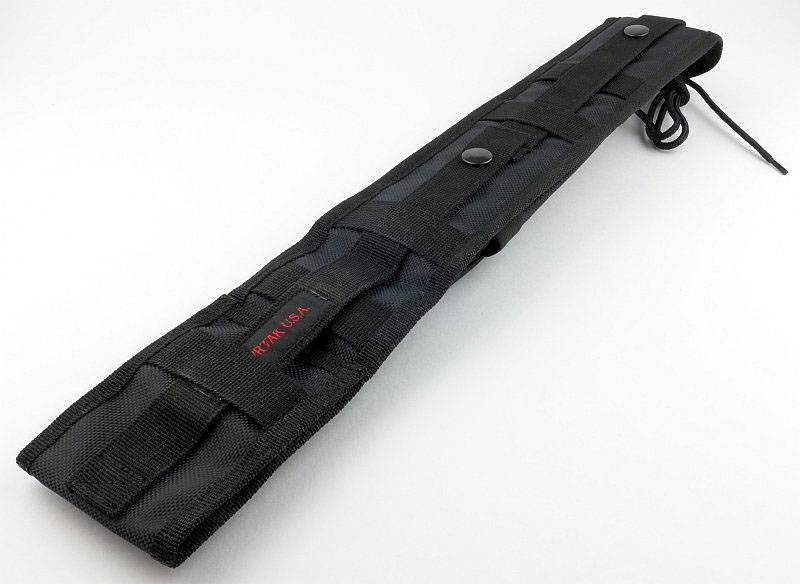
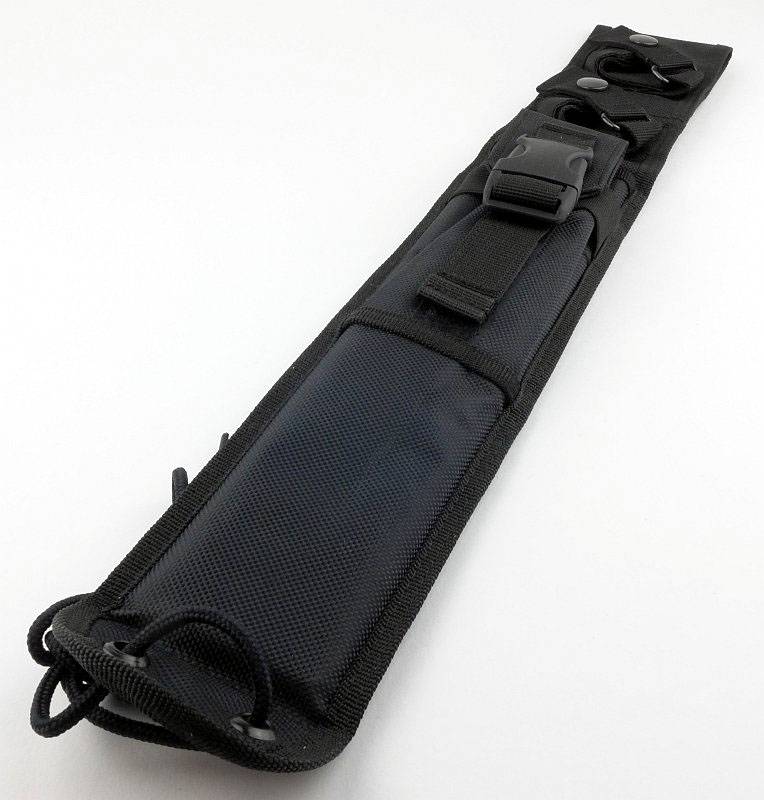
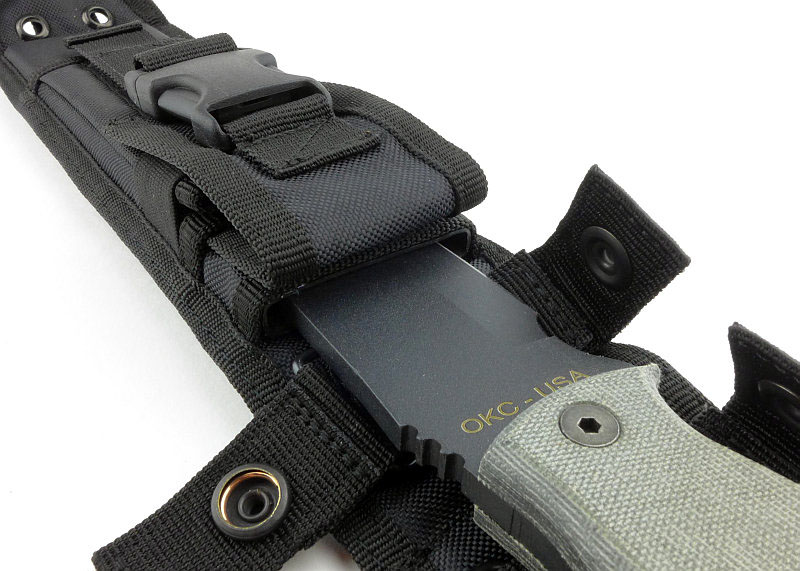
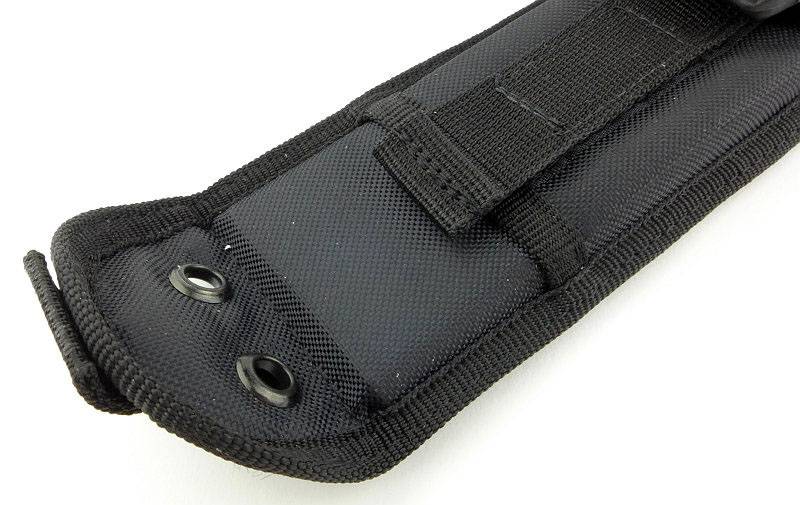
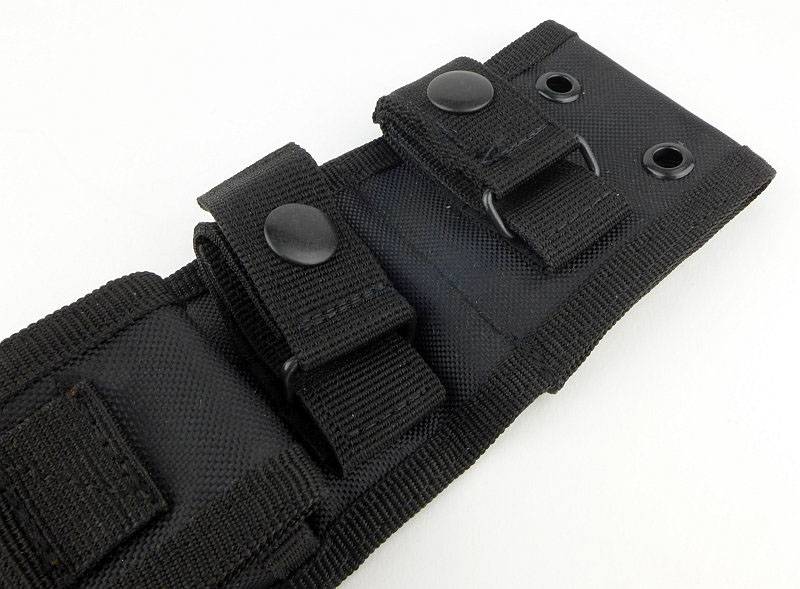
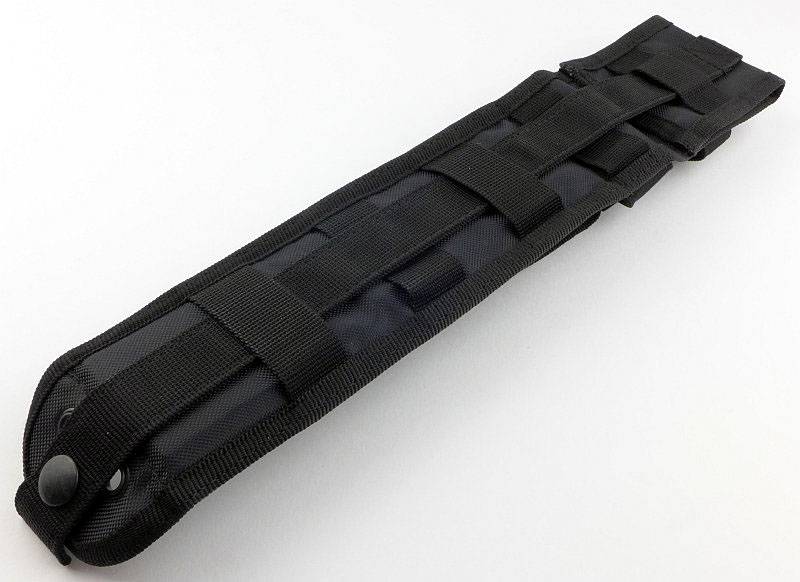
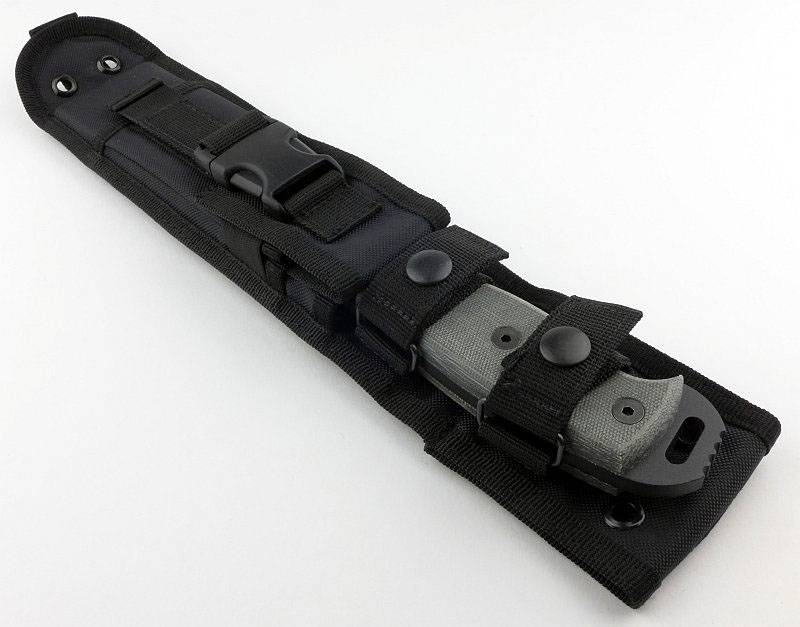
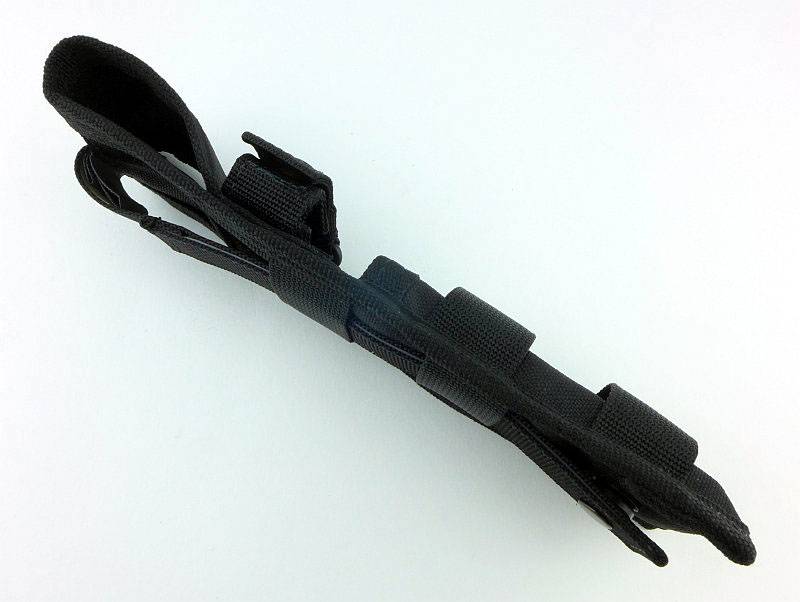
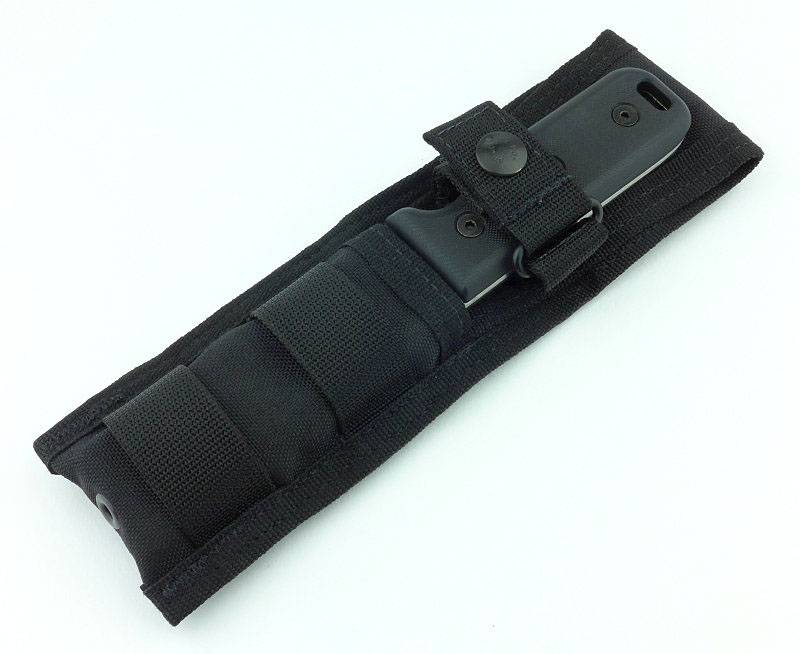
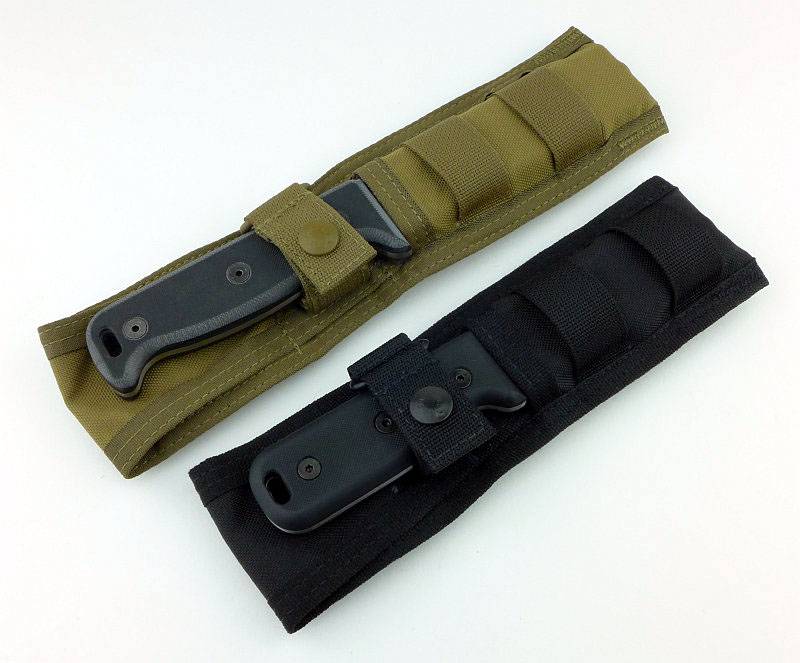
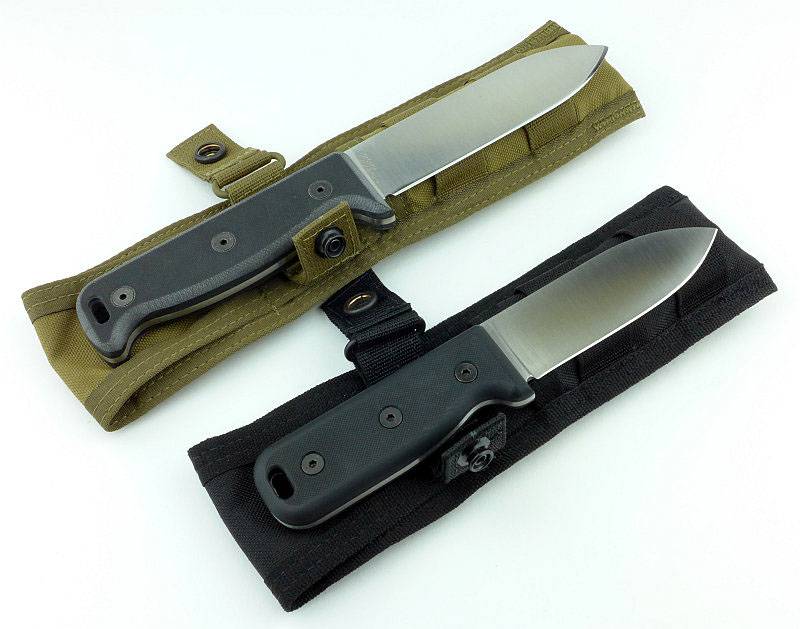
Just like the SK-4 is a reduced version of the SK-5, so is its sheath.
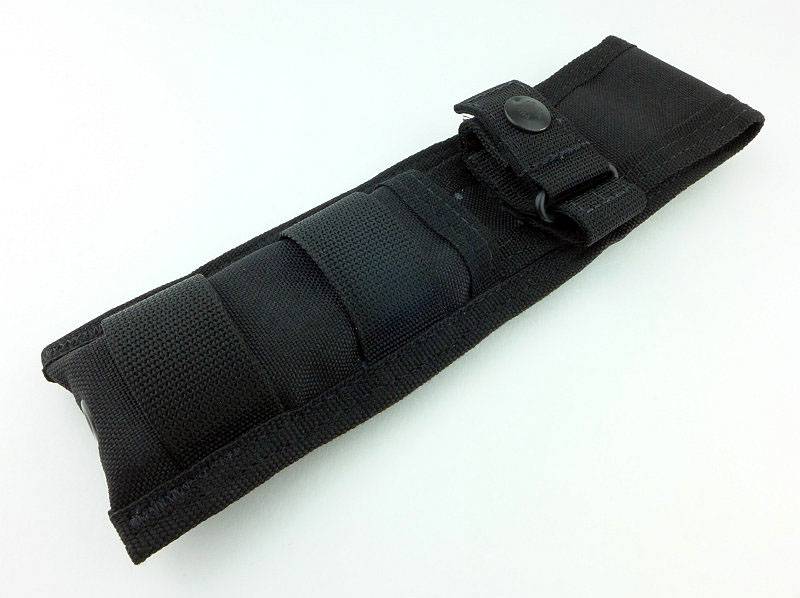
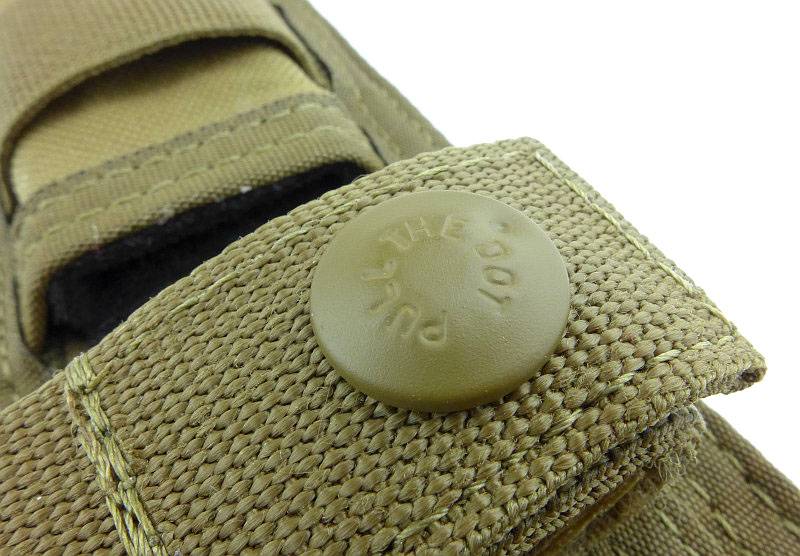
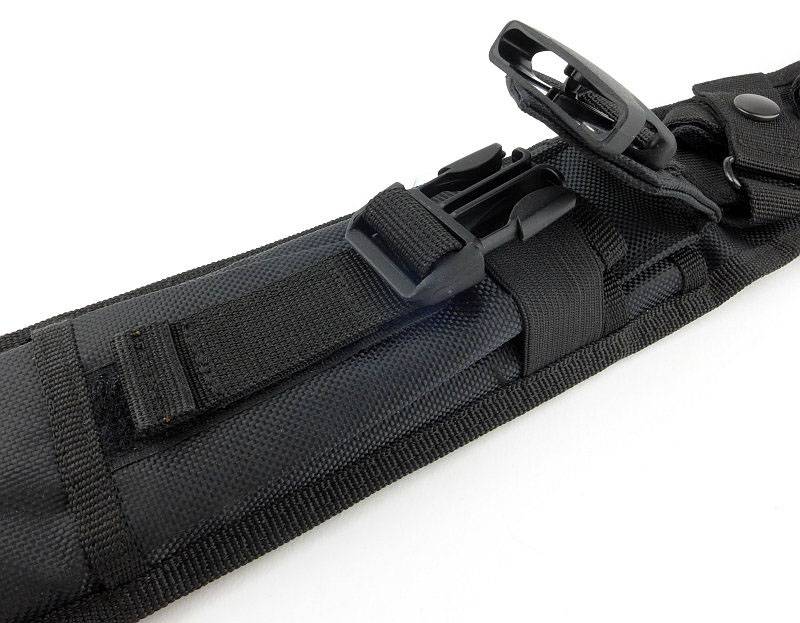
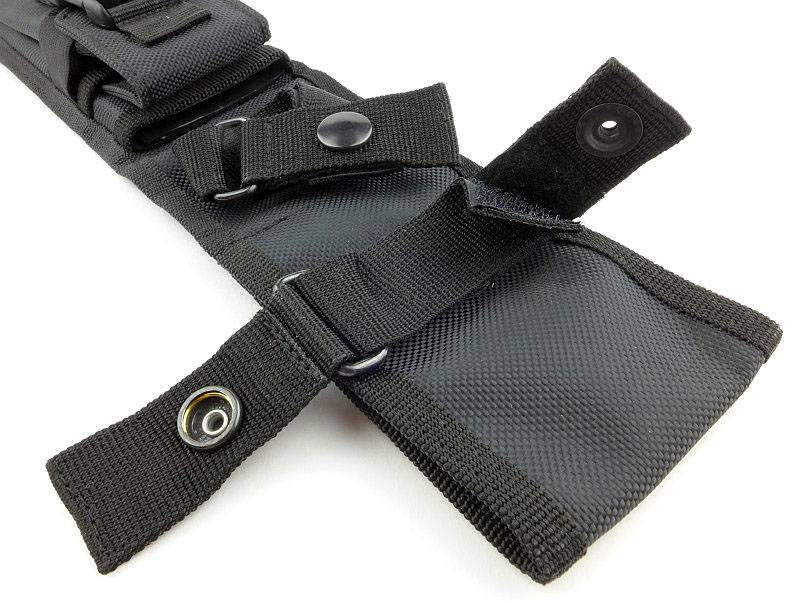
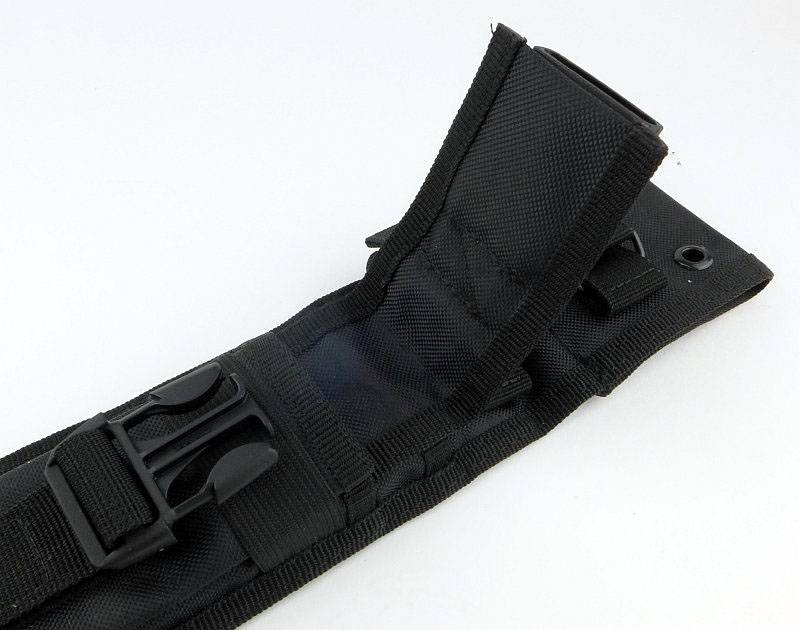
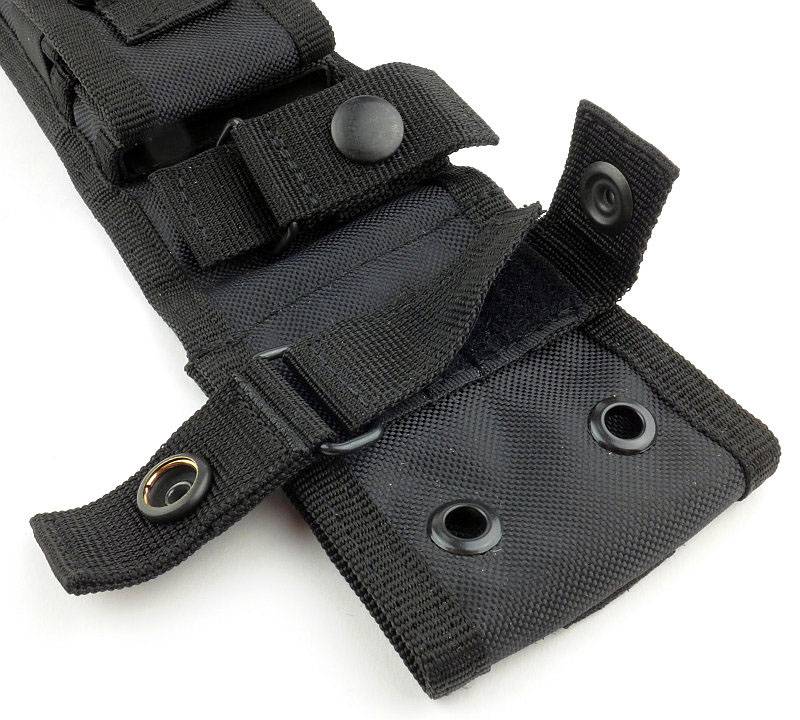
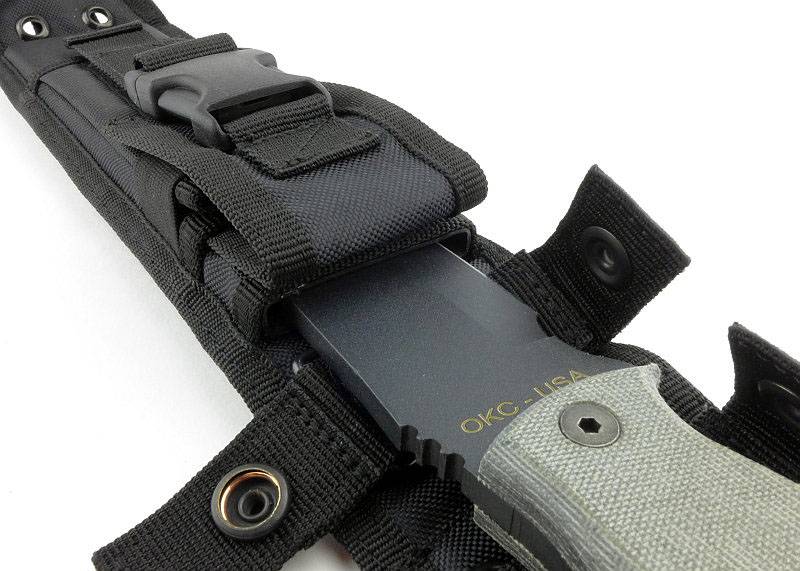
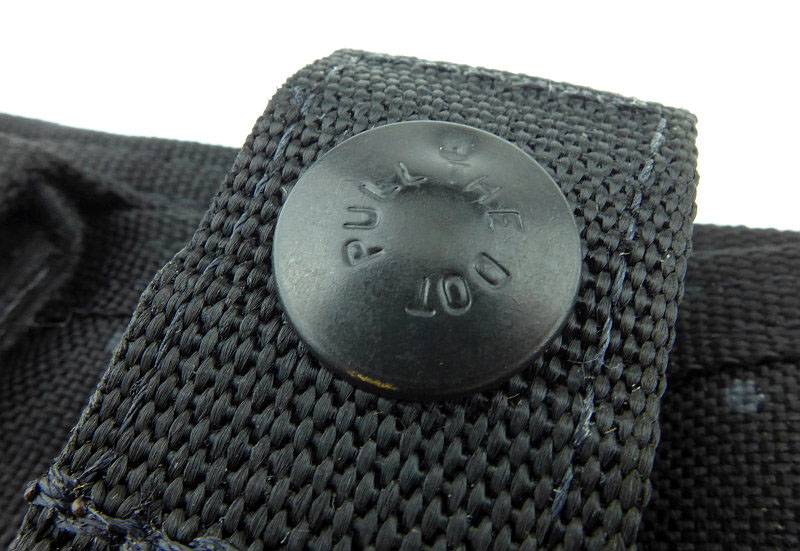
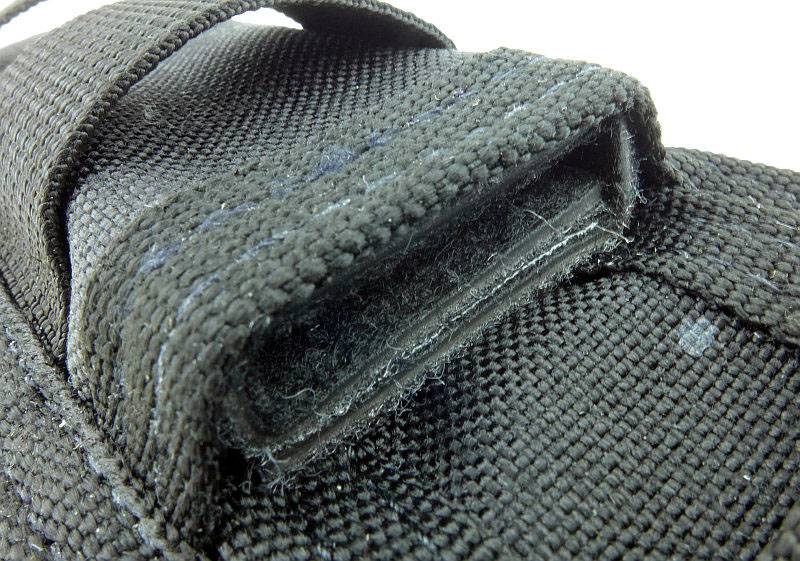
For the retaining strap, a single-direction press-stud is used, meaning it can only be opened by pulling in one direction.
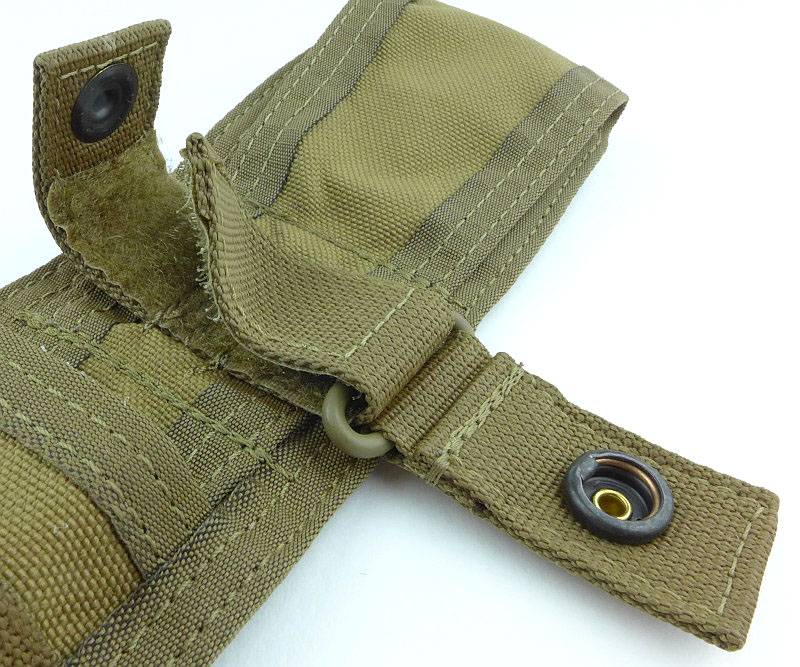
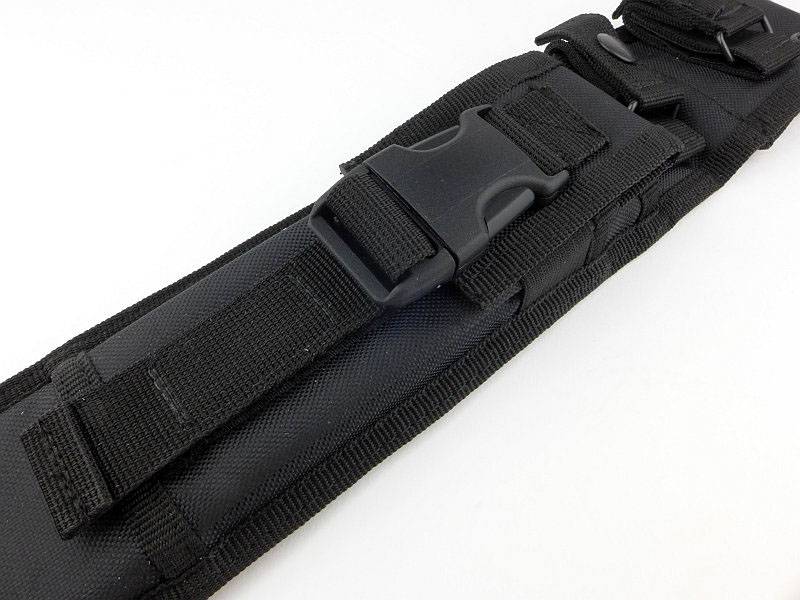
On the back is a PALS/MOLLE mounting system which can also be used for fitting to large belts.
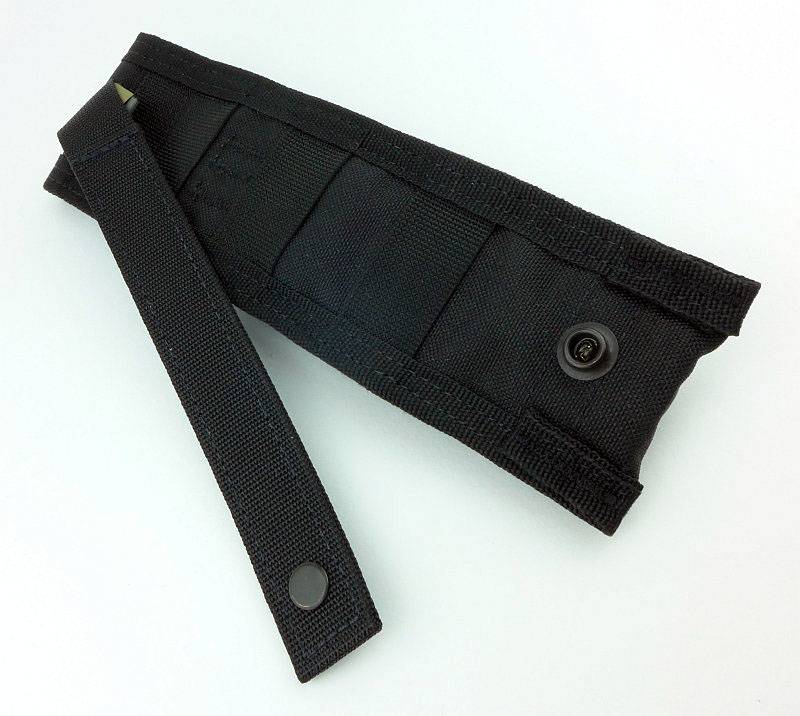
Effectively you have the choice of two different belt loops as you can use the PALS/MOLLE mount strap as well.
It is possible to adjust the retaining strap (this turns out to be crucial) to get the fit just right.
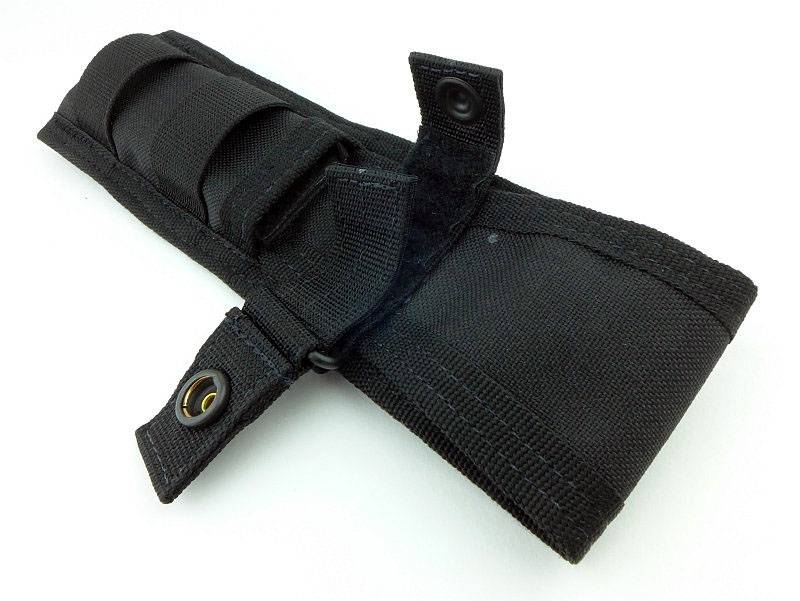
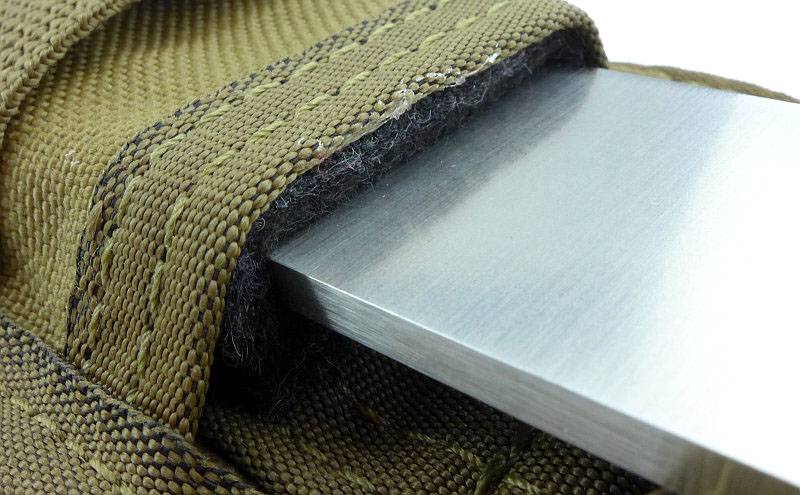
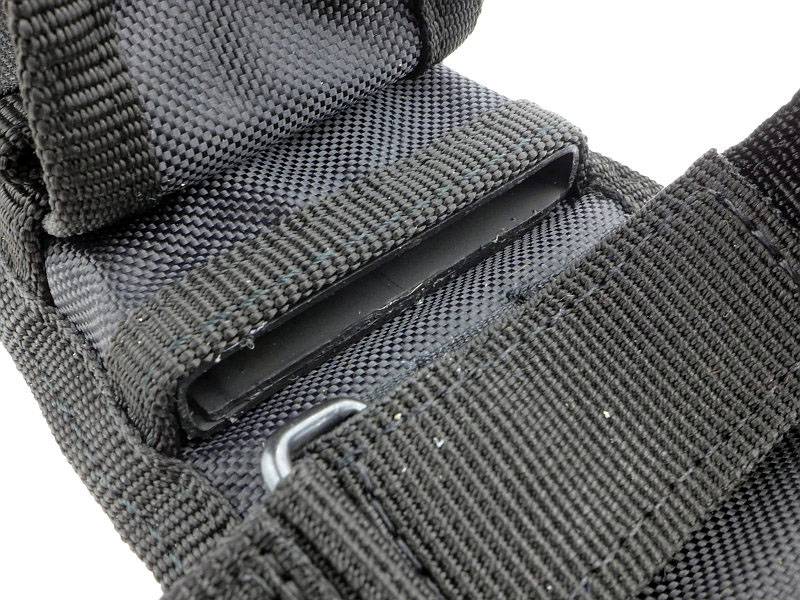
Inside, the sheath has a felt lining for the blade.
The sheath also incorporates a drainage hole.
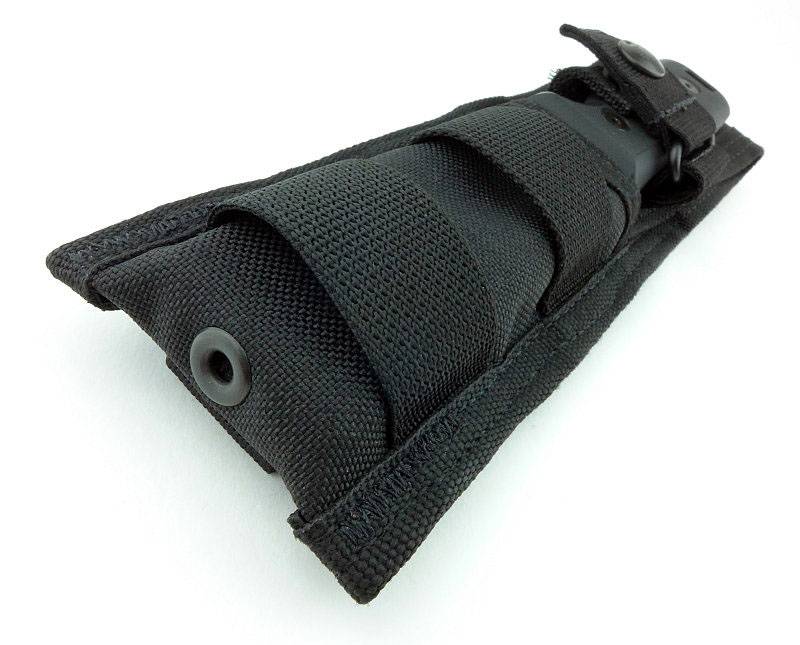
The SK-4 in its sheath.
What it is like to use?
I have been looking forward to this since I heard the SK-4 was being made. For the sharp eyed amongst you, you may have noticed the blade has no markings on it at all, as this is a pre-production sample (but is exactly as the production version will be), so I’ve had it a little while to give it plenty of use.
The SK-5 has turned out to be one of my favourite trail knives. It is my go-to when it comes to grabbing a medium fixed blade, but not any longer. Now I might equally go for the SK-4.
The 1″ shorter blade and 1″ shorter handle gives you a saving of 2″. Doesn’t sound that much, but the effect is significant.
Where I couldn’t just throw the SK-5 into a pocket, the SK-4 is small enough to fit fully inside most coat pockets, making the choice between taking a folder or a fixed blade easier. Despite the smaller dimensions the SK-4 is a very capable knife, much more so than almost any folder. (For heavier work, I’d still go with the SK-5.)
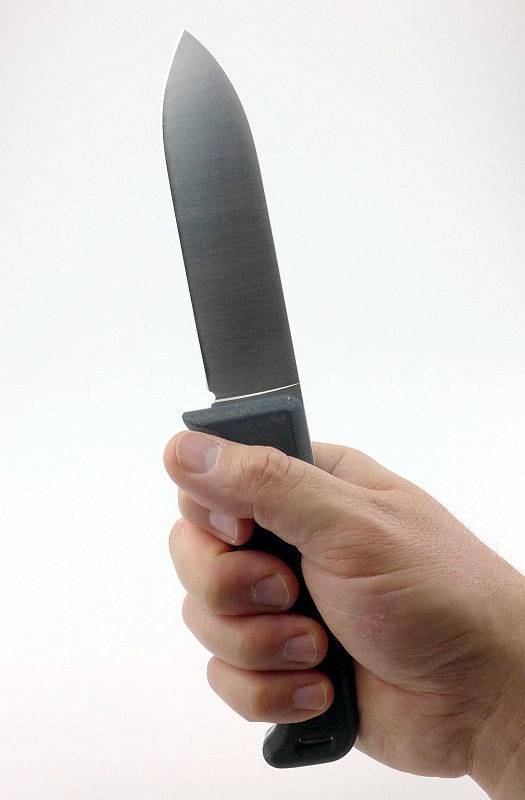
If you are used to large knives, the SK-4 can initially seem a bit too small for anything other than light tasks.
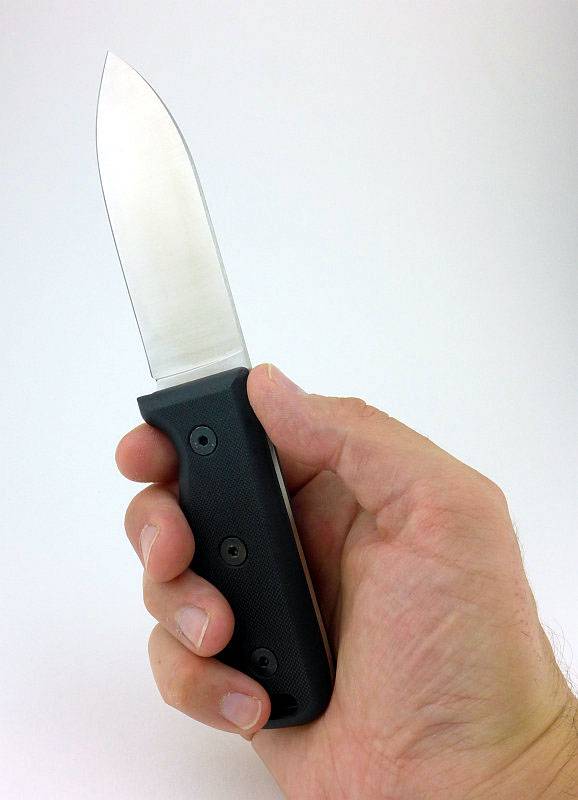
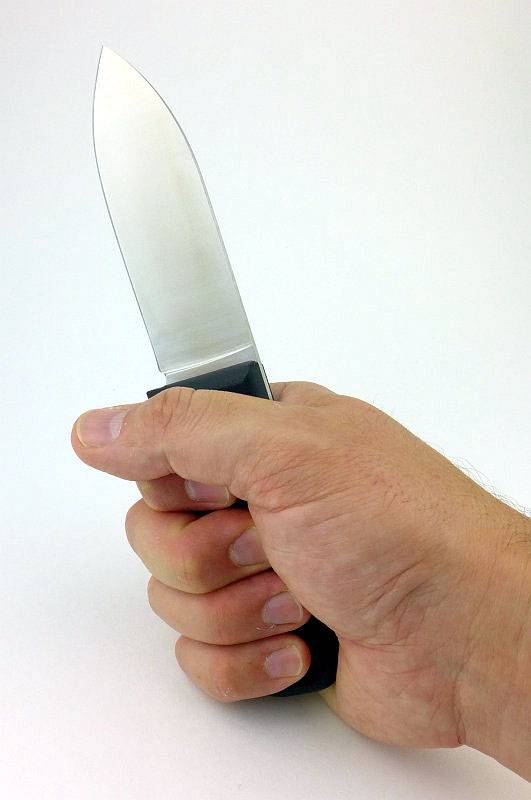
Take up a power grip on the SK-4 and you realise you can apply a lot of force into the cuts. Though the handle doesn’t protrude from your fist, the rounded butt of the handle allows it to press into you hand very comfortably and not give you any hotspots while you work with it. The amount of blade available is plenty, even for pretty heavy work, so all you lose with the shorter blade is the ability to chop, and a limitation on the size of wood you can split by batoning.
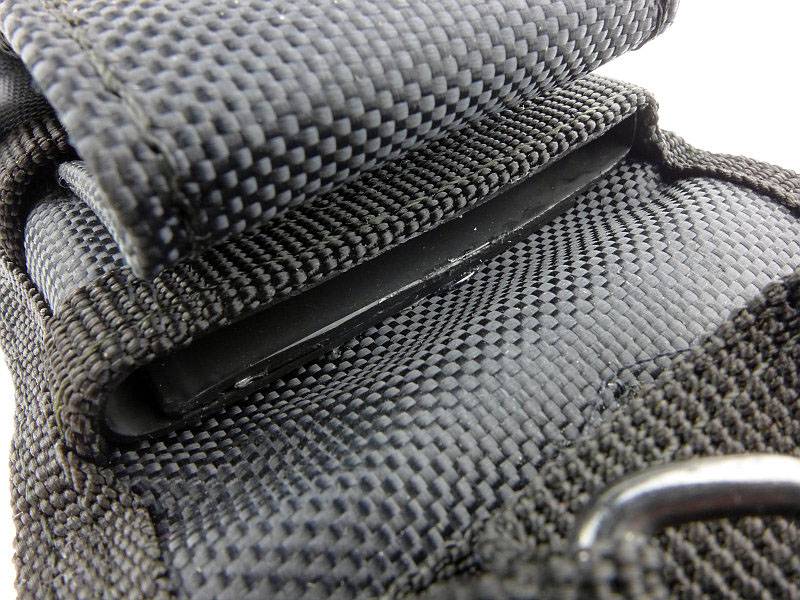
The only issue I have identified with the SK-4 is actually with the sheath. Due to the shaping of the handle, the position of the retaining strap falls onto the wide part of the handle. It means that even when adjusted to a tight fit, the knife can easily still be pulled part-way out exposing nearly an inch of cutting edge. If the strap is not really tight, you can pull the knife out completely without opening the strap. Unfortunately the press-stud also marks the handle. As delivered from OKC, I was able to pull the knife out of the sheath without releasing the retaining strap, so please ensure you check yours and adjust it to be as tight as you can (then check you can’t pull the knife out all the way).
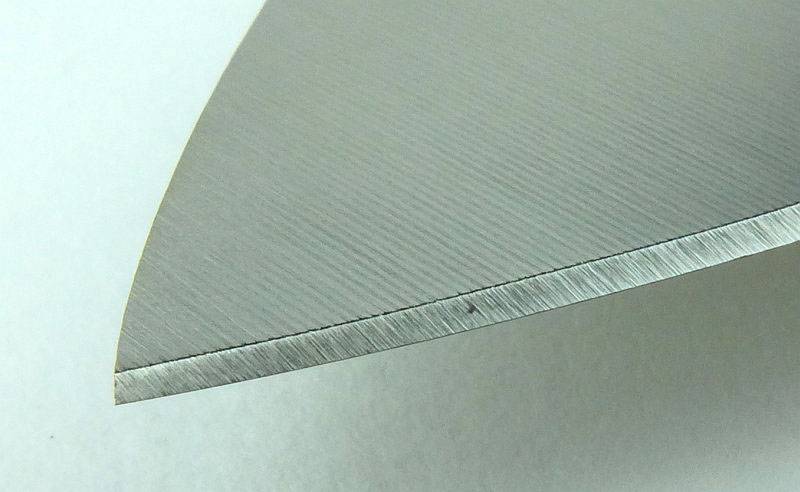
Factory edges – instead of opening that can of worms, let’s just say that whatever the quality of the original factory edge, you will need to re-sharpen your knife (unless you are very wealthy).
So the SK-4 was set for a Wicked Edge. Starting off with the Advanced Alignment Guide to get the blade set up for consistent future sharpening, this first time needed a reprofile to bring the edge angle back to 40 degrees inclusive angle
Freshly re-edged, the eager Wicked Edge is ready to bite!
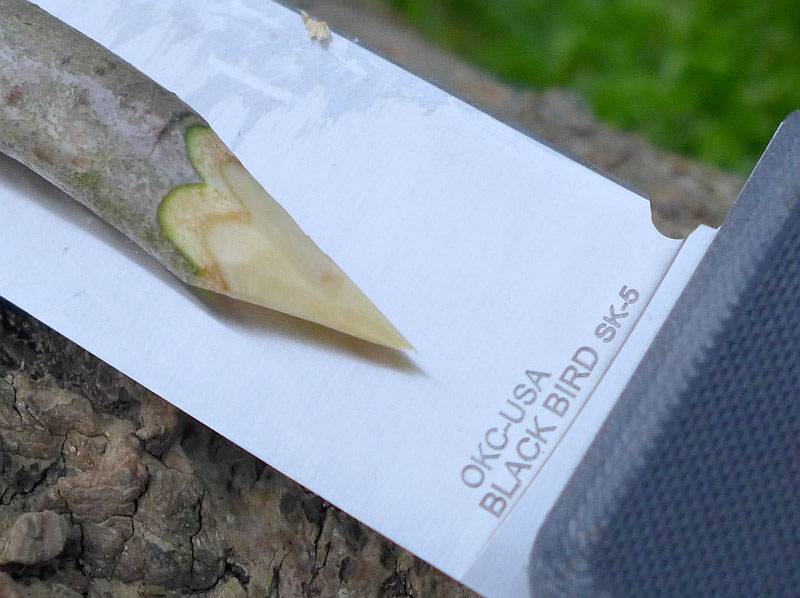
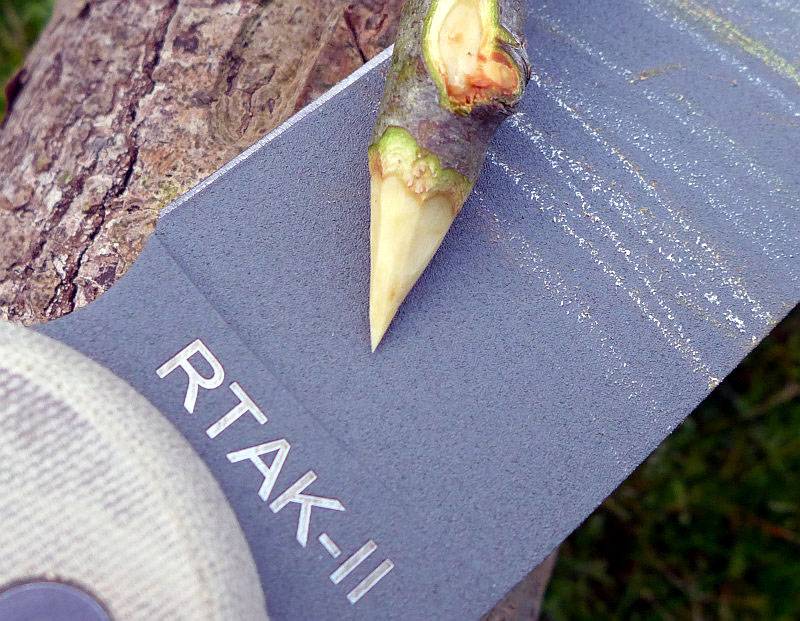
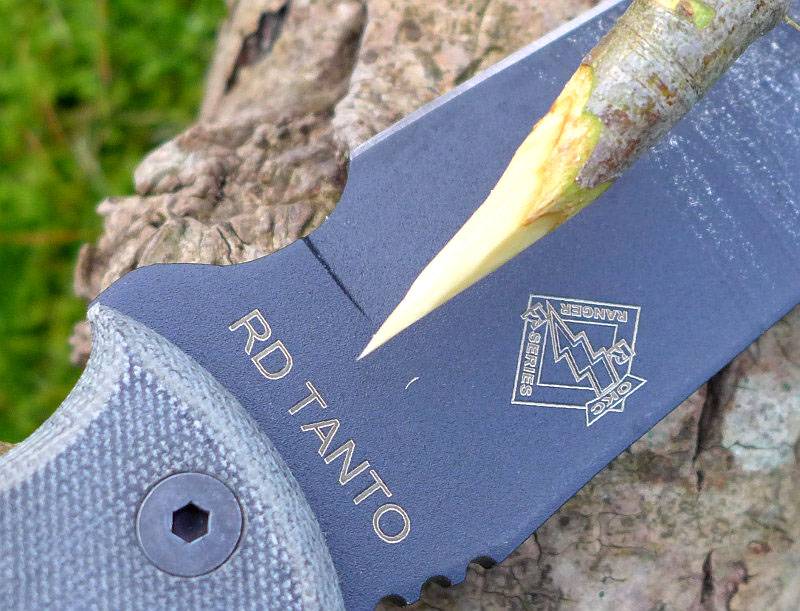
The combination of a great edge and the SK-4’s geometry had it breezing through smaller branches leaving very clean cuts.
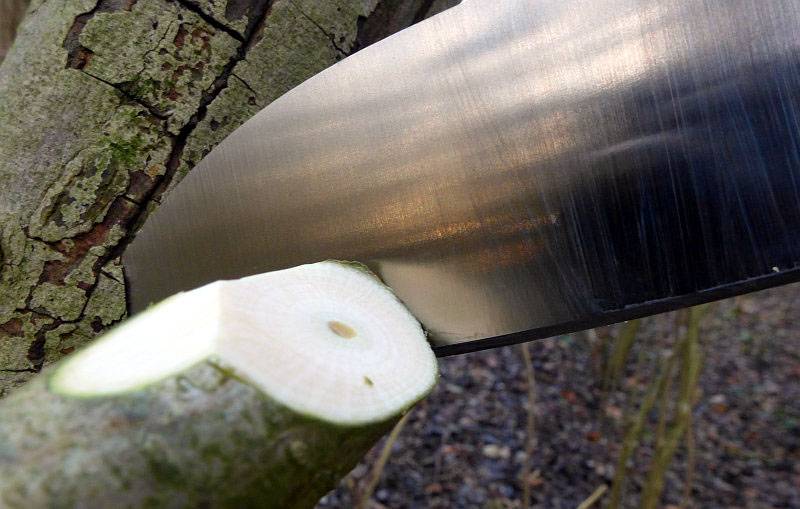
On this particular day I found myself with a rapidly approaching sunset as I’d lost track of time while working with the SK-4. It wasn’t fatigue that stopped me, just the failing light.

Review Summary
The views expressed in this summary table are from the point of view of the reviewer’s personal use. I am not a member of the armed forces and cannot comment on its use beyond a cutting tool or field/hunting knife.
Something that might be a ‘pro’ for one user can be a ‘con’ for another, so the comments are categorised based on my requirements. You should consider all points and if they could be beneficial to you.
| _______________________________________________ | _______________________________________________ |
| Things I like | What doesn’t work so well for me |
| _______________________________________________ | _______________________________________________ |
| Compact and capable fixed blade. | Sheath retaining strap not ideally placed, and marks the handle. |
| Edge geometry makes this a great slicer. | Handle can feel a bit blocky. |
| Well rounded handle avoids hot-spots. | 154CM can be hard work to sharpen. |
| Spine is great for striking sparks from ferro-rods. | |
| Minimalist yet functional design. |
Useful Links:
The Ontario Knife Company.
BA Blades – The UK’s official importer of OKC products.
Discussing the Review:
Please feel free to add comments to the review, but the ideal place to freely discuss these reviews is on a forum. If you started reading the shorter forum version of the review, but followed the link this full exclusive review, please return to that forum to discuss the review there.
If you read the review entirely on Tactical Reviews, please consider one of the following to join in any discussion.
EdgeMatters – Sponsored Reviews (UK based Forum for Knife Makers and Collectors)
BladeForums – Knife Reviews (US based Forum for Knife Discussion)
CandlePowerForums – Knife Reviews Section (Largest and Friendliest Flashlight Community Forum)