Gear Review: Work Sharp Blade Grinding Attachment

What should I be calling this review? It is actually a review of the optional add-on Blade Grinding Attachment for the Work Sharp Ken Onion Edition Sharpener, which is getting to be quite a mouthful! However although the Blade Grinding Attachment is an add-on accessory for the Ken Onion Edition Sharpener and can’t be used without it, I have titled the review as being a review of the “Work Sharp Blade Grinding Attachment” because for me it is what the attachment brings to the table that is the main feature.

I’ve had my eye on the Work Sharp Ken Onion edition for a long time. For me it wasn’t quite right (though I still think this is excellent as is) until I tried the optional Blade Grinding attachment.

For my needs it is the Blade Grinding Attachment that transforms the Ken Onion Edition Sharpener into a real workhorse sharpening system.

The Blade Grinding Attachment effectively adds a mini bench belt grinder to the Work Sharp, and this was the clincher for me. I’ve been using a 1″ belt grinder with an angle setting guide I made and added to it myself for 99% of my sharpening. Now, thanks to Work Sharp I’ve got a much more compact and specifically knife edge focused tool.

This fantastic sharpener is now being used to create the Tactical Reviews ‘WORK SHARP Sharp’ standard for all my knife testing.

Join me in this detailed look at the optional add-on Blade Grinding Attachment for the Work Sharp Ken Onion Edition Sharpener.
Review Videos

Starting with a short format sixty second review:


Onto a full video review covering many more details:


A little more Background:
Before diving in to the image galleries, in effect there are two reviews combined here. The Work Sharp Ken Onion Edition Sharpener, and the separate Blade Grinding Attachment for this sharpener. This combination is also sold as a kit version called the Work Sharp Elite Knife Sharpening Solution.

A few more details:

What’s in the box? – Ken Onion Edition Sharpener:
This is the foundation sharpener, which is complete in itself.


A good look round the Ken Onion Edition Sharpener – Things to look out for here are:
Using an in-line transformer makes for a very tidy setup, and of course it will have the mains plug suitable for your country. Though it looks like a single machine, the sharpener is a motor/control unit, and a belt sharpening head that fits onto the motor assembly (this is important later when it comes to the blade grinding attachment).
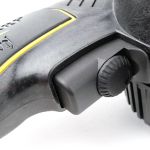
The Ken Onion Edition Sharpener head has a pair of angle guides plus an edge guide to support the blade. To control the speed of the belt, the motor unit has a trigger with rotating maximum speed dial. The trigger also has a locking button so you can set it running and not need to hold the trigger switch, leaving you both hands free.
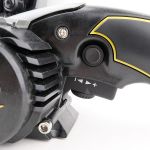
Sharpening angle is set using a dial adjuster with clearly marked angles from 15 to 30 degrees. The last image in the gallery with the spring showing is the belt tensioning roller.


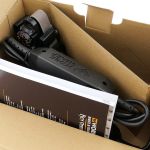
What’s in the box? – Blade Grinding Attachment:
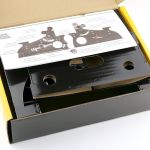
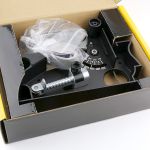
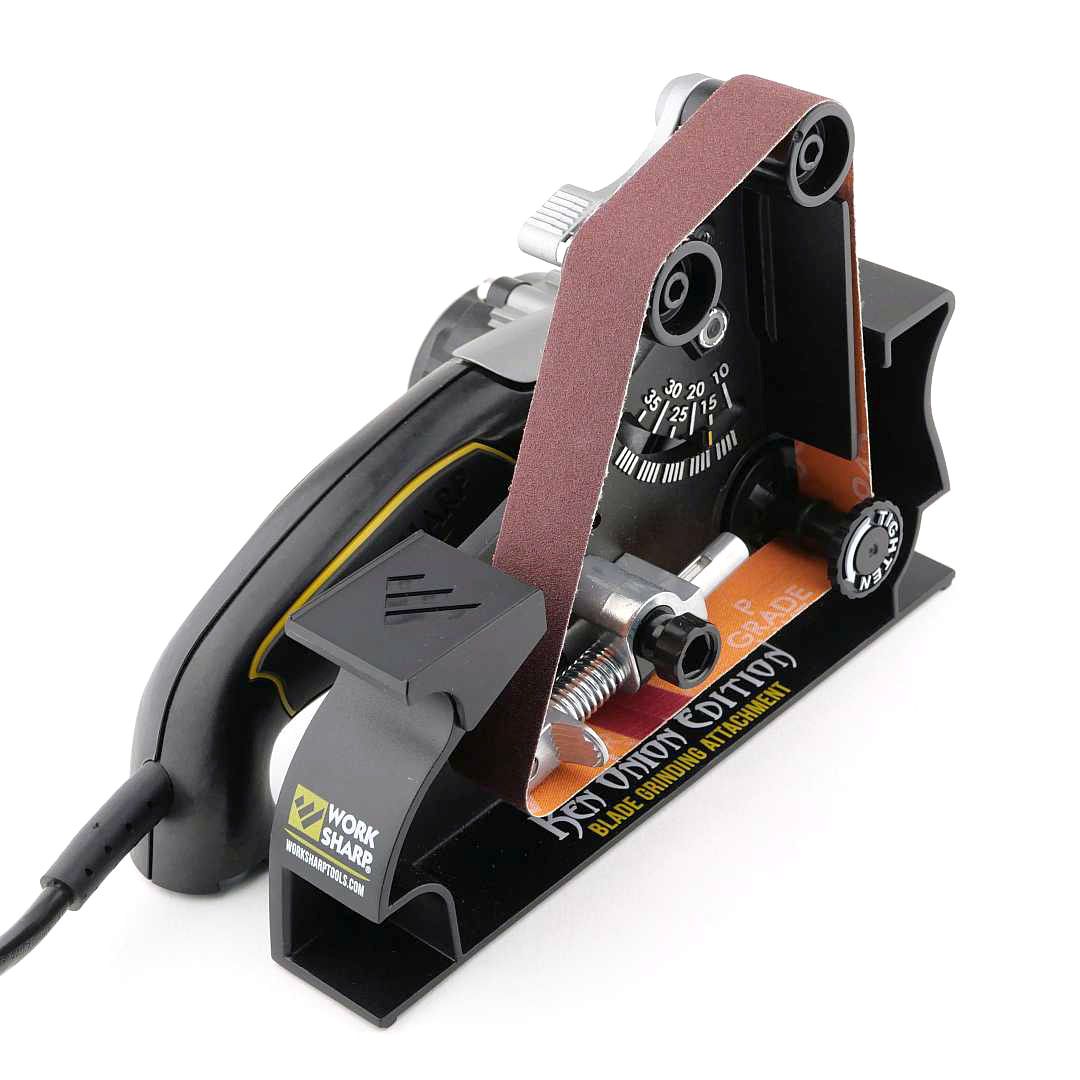
As well as the main sharpener, the Blade Grinding Attachment also has an unsupported, or ‘slack’ belt, so will create a convex edge. In the box are the attachment and a set of belts for it, as these are a different size/length compared to the main sharpener’s belts.


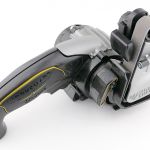
A good look round the Blade Grinding Attachment – Things to look out for here are:
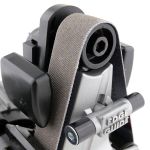
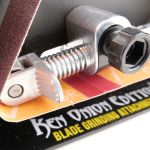
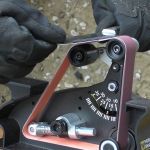
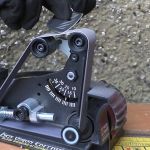
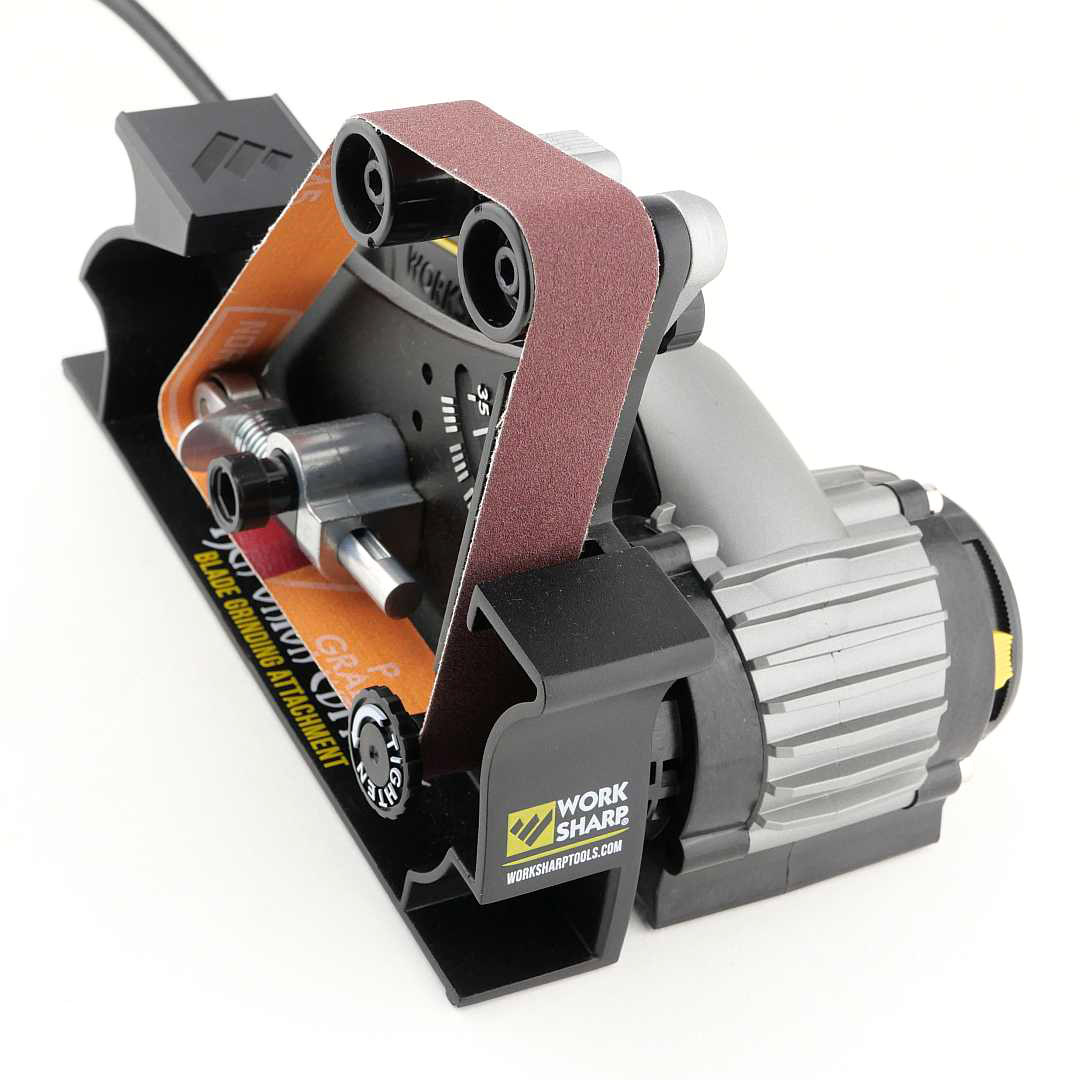
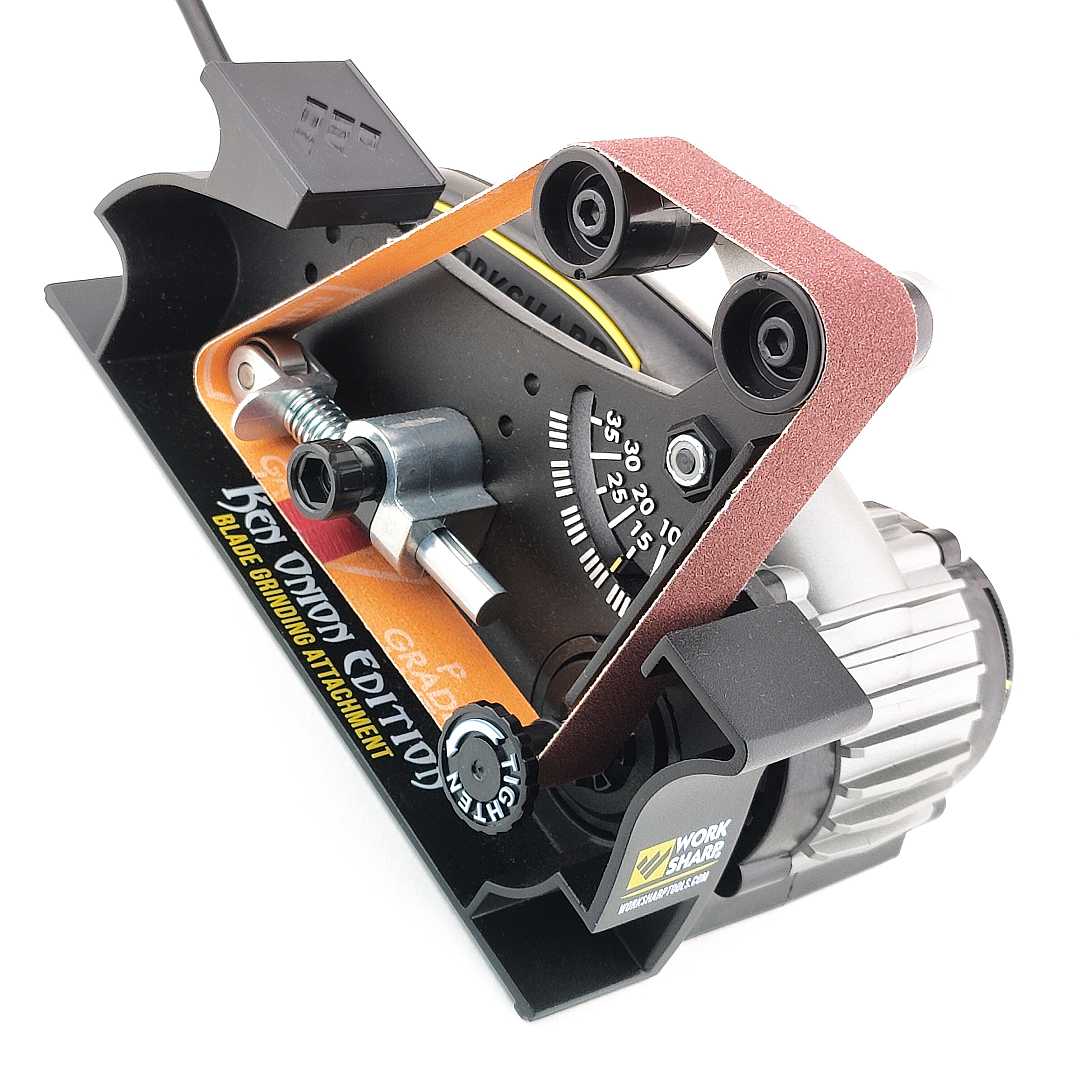
One of the belt rollers is the motor spindle itself, so on its own it might appear that one belt roller is missing (but isn’t). The Blade Grinding Attachment has three rollers; one tensioning roller, and an angle adjustable set of twin rollers that give you the edge angle you want. A shelf at the front of the Blade Grinding Attachment gives you the zeroing position of the blade angle relative to the adjustable angle section of the belt. The set of twin rollers is moved to the desired angle and the locking screw on the back tightened to maintain this setting. There are two positions for one of the twin rollers that allow you to effectively change how ‘slack’ the belt is. The knob on the tensioner provides tracking adjustments for the different belts. There is even a small support shelf at the rear of the Blade Grinding Attachment for using as a mini belt grinder. Fitting to the motor is via a bayonet style of locking ring.


What it is like to use?
In this gallery, the first thing I am doing is taking off and discarding the sharpening head for the Ken Onion Edition Sharpener to leave just the motor assembly (no offense to the Ken Onion Edition). Then on goes the Blade Grinding Attachment. Now you can see how the motor spindle (which has a left-hand screw belt retainer fitted into it) then completes the belt roller path.
The tensioning roller has a finger tab for you to push on and it rotates and locks into a retracted position. Like this the belt pops on and off easily, and with the new belt in place, a quarter turn on the finger tab and the tensioner unlocks and grabs the belt.


Although the Blade Grinding Attachment has clamping points, I’ve been using the sharpener sitting under its own weight, and it hasn’t moved or needed to be secured.

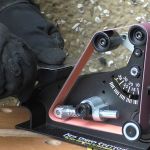
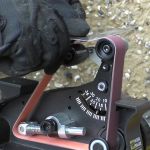
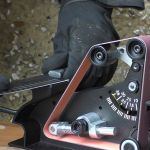
The process of using the angled section of the belt, is to first lay the blade on the reference surface at zero degrees, then move up and to the belt. This sequence is showing the process on one side, then the other, and then going to a finer belt and repeating. The last photos in the gallery has an orange item on the right, which is an LED light used to help show the burr that has been raised on the edge.
In this gallery the two rollers that set the angle for the belt are shown in their widest spacing, however, since these images were taken I have changed to the narrower spacing as I prefer the slightly firmer belt tension this creates between the rollers.


Powered sharpeners give you such a massive time saving over manual sharpeners, but it is also possible to make mistakes faster too.

Here I have take on an edge bevel re-profile from a 70 degree inclusive angle to 35 degrees inclusive. The primary grind angle on this blade is quite wide, so as the edge bevel angle was halved, the edge bevel width has increased significantly. In fact the entire edge bezel does not fit in the magnified view.
This re-profiled edge was done using a very light pressure onto the 120 grit belt, followed by a strop using a metal polishing compound. The result was nicely hair popping.

Both the Work Sharp Ken Onion standard sharpening head and the Blade Grinding Attachment use a ‘unsupported belt’. There is no platen behind the section of belt used for sharpening. This is also termed a ‘slack belt’. A consequence of this is that the edge created by the Work Sharp is convexed. You can vary how much the edge is convexed in a couple of ways. With the Blade Grinding Attachment, the rollers that set the angle of the belt can be positioned closer (less convexed edge) or wider apart (more convexed edge). As the belt is ‘slack’ you can also increase pressure onto the belt, which will deflect it more and produce an edge with more pronounced convexing.
All of this allows you to play around with settings and pressure to find the edge bevel shape you prefer; always slightly convexed, but you can decide how much.


I am now going to back to that point about time saving with a powered sharpener; you will either save a lot of time making a knife very sharp, or ruin it in double quick time. No sharpening system is fool-proof. Sharpening, as a process, relies on removing metal and forming a fine cutting edge. Just like sharpening a pencil, you can over sharpen and use the pencil up much faster than needed. A powered pencil sharpener can eat up the entire pencil in no time.

Sharpening is a skill you need to learn, whatever system you use. Work Sharp, with the Ken Onion Edition, or this extra enhancement of the Blade Grinding Attachment give you an excellent tool, which you will get more and more out of as you learn to work with it.

With a good powered system, and the Work Sharp is excellent, you can concentrate on the skill and control of positioning the blade, without the repeated effort of grinding the metal away yourself. The powered movement of the abrasive allows you to finesse your technique.

Tactical Reviews new standard in sharpness is now ‘WORK SHARP Sharp’ thanks to the Ken Onion Edition Sharpener with Blade Grinding Attachment.

Review Summary

The views expressed in this summary table are from the point of view of the reviewer’s personal use. I am not a member of the armed forces and cannot comment on its use beyond that covered in the review.

Something that might be a ‘pro’ for one user can be a ‘con’ for another, so the comments are categorised based on my requirements. You should consider all points and if they could be beneficial to you.

_______________________________________________
What doesn’t work so well for me
_______________________________________________

Very easy to misshape the blade tip (requires good technique to avoid).
The vertical belt section is also not supported and flexes.

_______________________________________________
Things I like
_______________________________________________

Complete control of belt speed.
Quick and easy belt changes.
Long duty cycle (rated for 1 hour continuous running).
Allows for varying amount of edge convexing.
Angle of belt set by movable roller assembly.
Very compact for a high quality mini belt grinder.
Super fast sharpening and re-profiling.
Solid build quality.
Very quickly get your edges ‘WORK SHARP Sharp’.
 
Discussing the Review:
Something new – will it work? A Tactical Reviews Subreddit.
TacticalReviewsChat on Reddit
Please visit there and start/join the conversation.

Knife Review: CRKT Homefront and Homefront Tactical with ‘Field Strip’ Technology

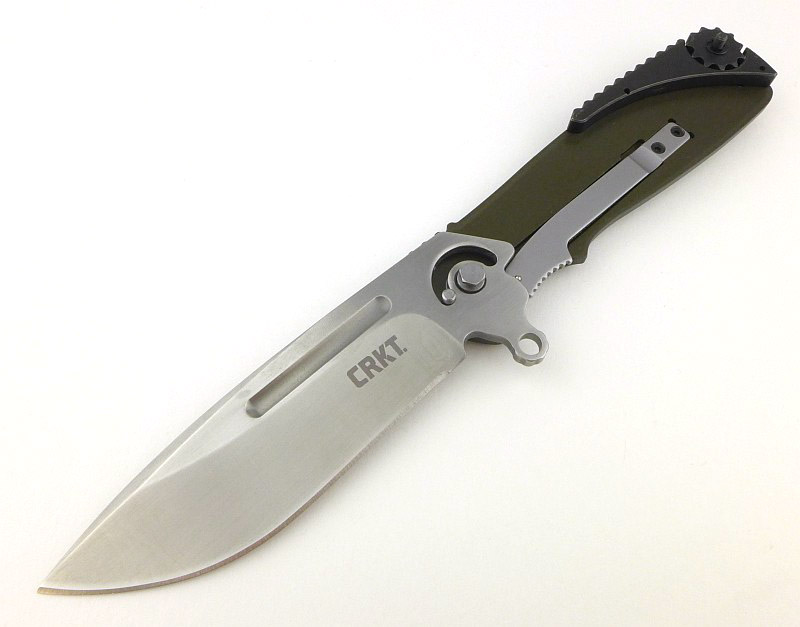
CRKT are full of interesting and innovative ideas, and with the Homefront and Homefront Tactical bring us ‘Field Strip’ Technology, or in other words tool-less disassembly. The design comes from world renowned Ken Onion and has been a work in progress for many years. Now thanks to this technology you can clean out a build up of grit and dirt wherever you are without any tools. Take your Homefront folder anywhere knowing you don’t need anything else with you to carry out a full strip and clean.

The Blade and Handle Geometry:

Most knife specifications have a basic description of the blade geometry, but in this section I will be taking a more detailed look at geometry and balance.

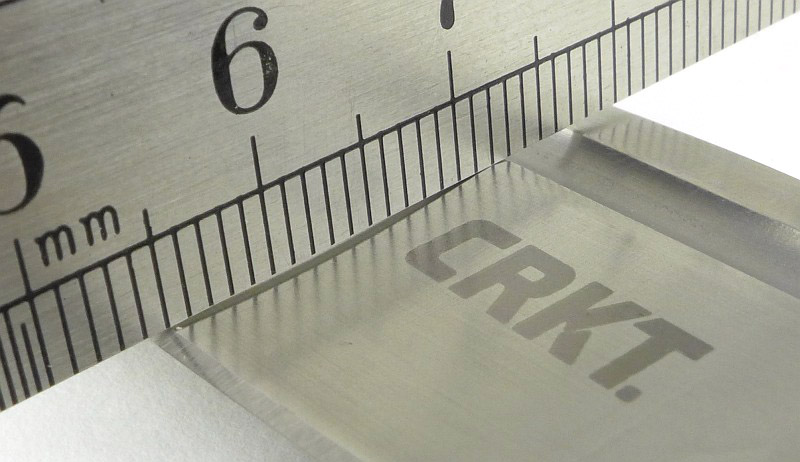
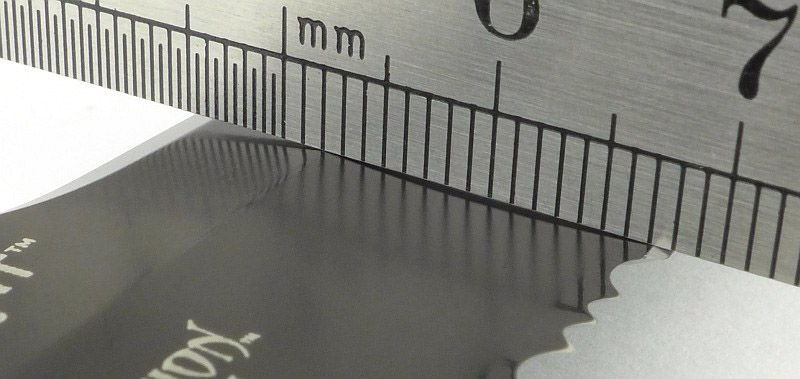
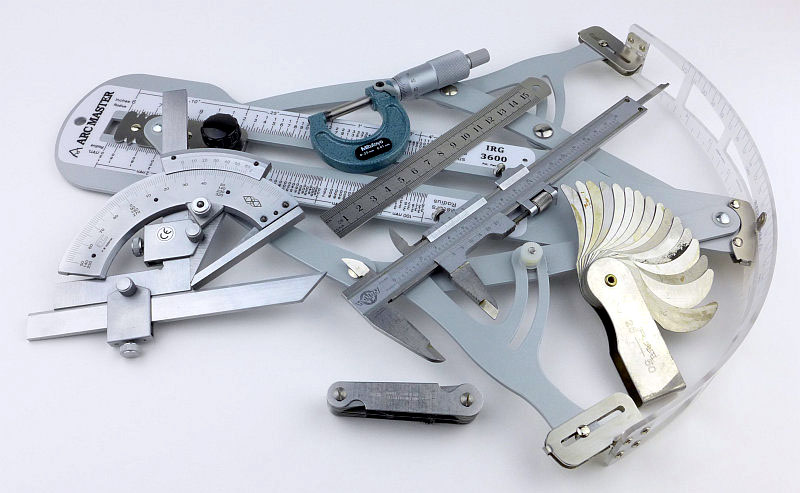
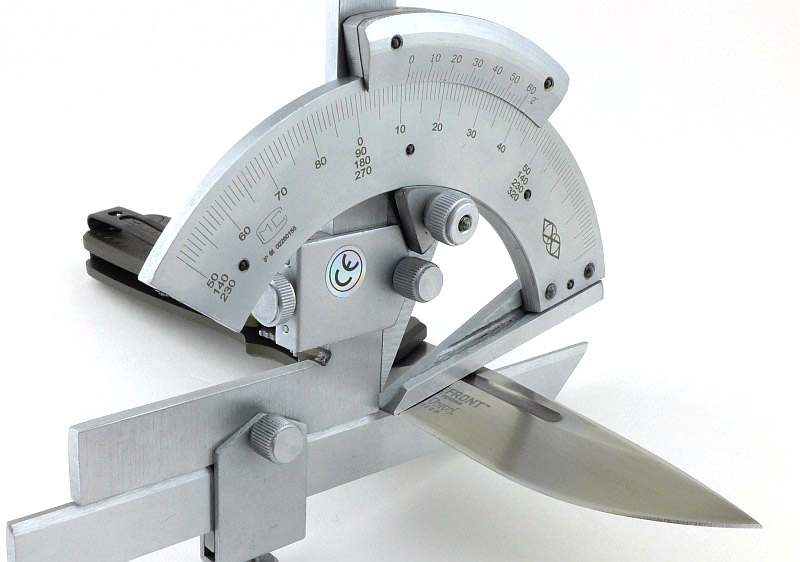
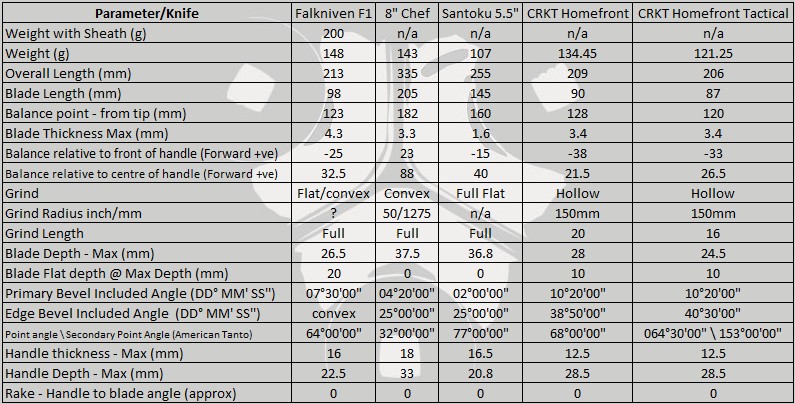
Using a set of gauges and precision measuring equipment including a Vernier protractor, callipers, fixed radius gauges and the unique Arc Master adjustable radius gauge (the one that looks like a crossbow).

These measurements have been tabulated and are presented along with a few reference blades (8″ Chef’s Knife, 5.5″ Santoku and the popular Fällkniven F1).

Key aspects such as the primary bevel angle, grind type, blade depth, blade thickness, length, weight are detailed, along with balance information.
The ‘Balance relative to the front of the handle’ tells you if the knife will feel front heavy, or if the weight is in your hand (a positive value means the weight is forward of the front of the handle). The ‘Balance relative to the centre of the handle’ indicates how close to a ‘neutral balance’ the knife has in the hand.

In the case of full convex grinds the approximate centre of the grind is used for the primary bevel angle estimate.

The Homefront blade is made from AUS 8 steel and the Homefront Tactical from 1.4116 steel (also known as 420MoV or X50CrMoV15).

Explained by the Maker:

The reasons for certain design choices may not be clear when simply looking at an object, so this section is intended to give an insight into the thinking behind a design by speaking to the designer themselves.

Unfortunately I can’t always get time with the designer so will use this section to include relevant information about the knife and its designer.

A little description from CRKT’s of the Homefront:

“It might look like your grandpa’s classic WWII knife, but it’s got an impressive secret. The new Homefront™ knife is the first in our fleet to feature “Field Strip” technology. This in-field, no-tool take apart capability lets you purge your most reliable companion of a hard day’s grime right where you are, without ever returning to your workbench.

The breakthrough “Field Strip” innovation comes from the shop of world-renowned knife craftsman Ken Onion and has been over ten years in the making. To disassemble the Homefront™ when the knife is in the closed position, push the front release lever away from the blade, then spin the turn release wheel on the rear of the handle away from the pivot shaft. Once you feel the handle release, pull it up and away from the blade. Reassembly is as easy as reversing the procedure, al-lowing for practical, quick maintenance where you stand.

From his shop in Kaneohe, HI, Ken Onion designed the tactically inspired, everyday carry Homefront™ knife to stay true to its vintage roots. The bayonet lug-style flipper sets off the smooth open action of the 3.5” modified drop point blade, while tank jimping on the backstrap sits snugly against your palm.

It stands up to the looks of a WWI heirloom, and it sure as hell stands up to any job it encounters. The handles are made from 6061 aircraft-grade aluminium and house an impressively beefy AUS 8 stainless steel blade.”

A few more details of the Homefront:

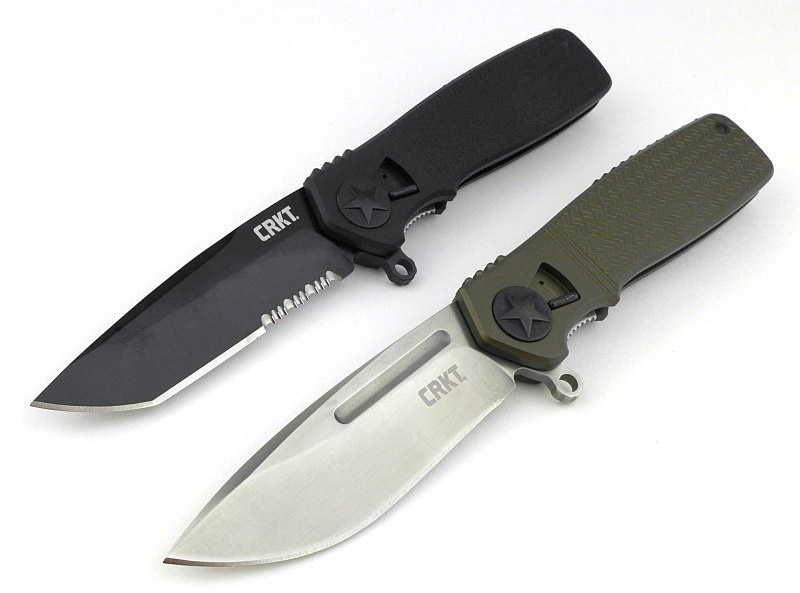
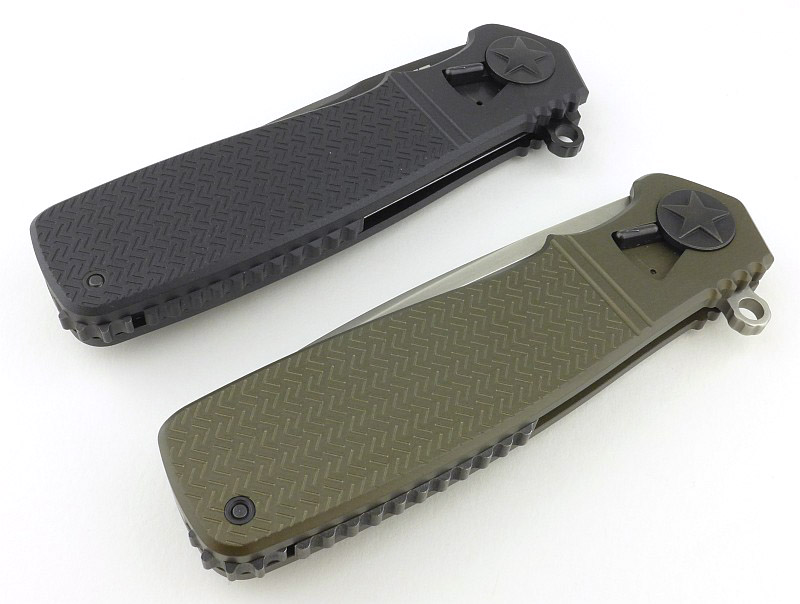
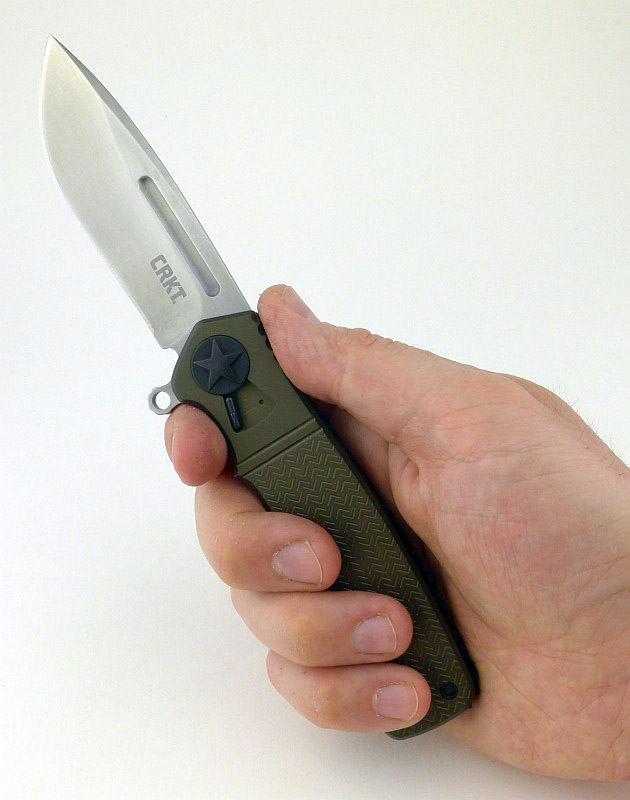
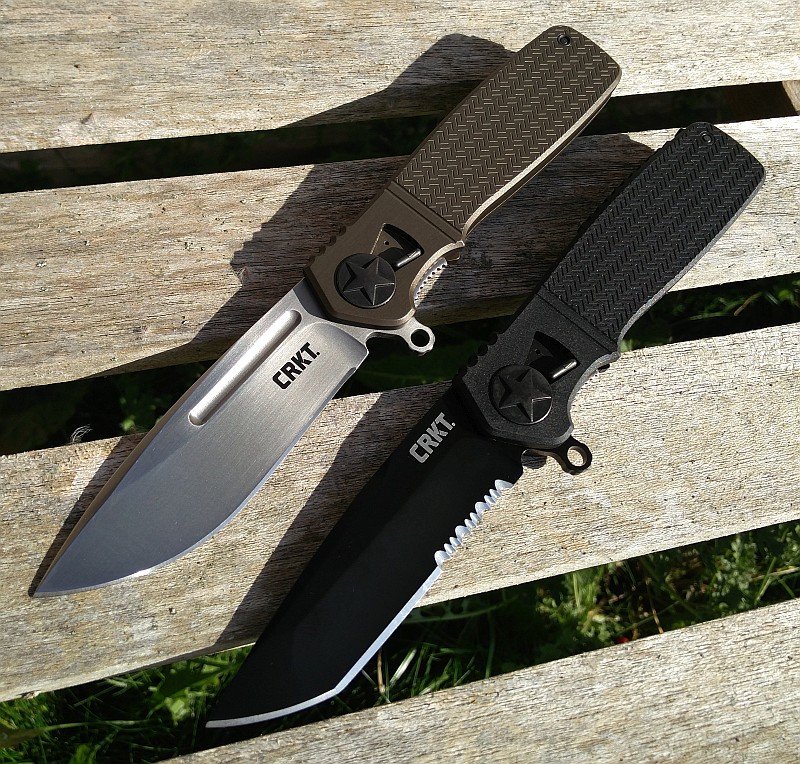
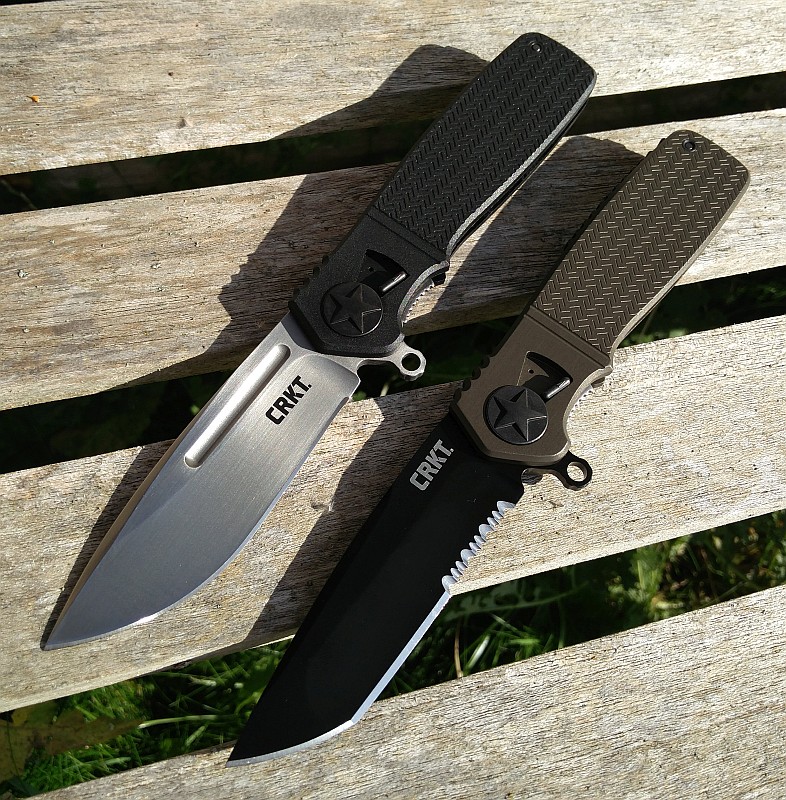
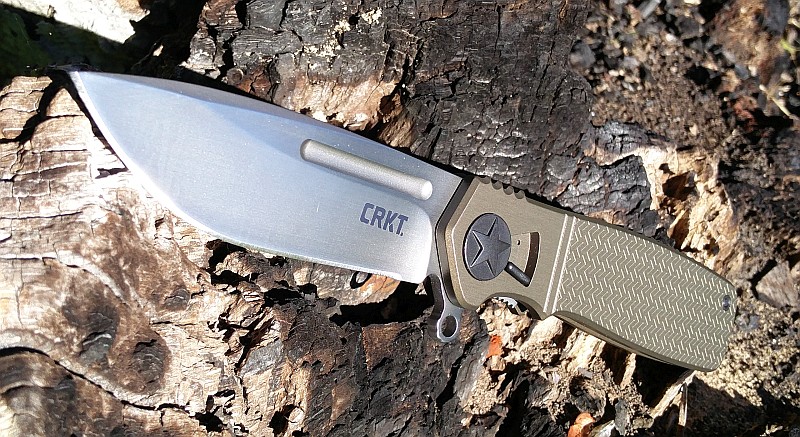
This review covers the Homefront (green handle) and Homefront Tactical (black handle), but we are going to look at the original Homefront first. There are no boxes as these knives came straight from the CRKT IWA 2017 display stand at the end of the show. They have been handled and used.

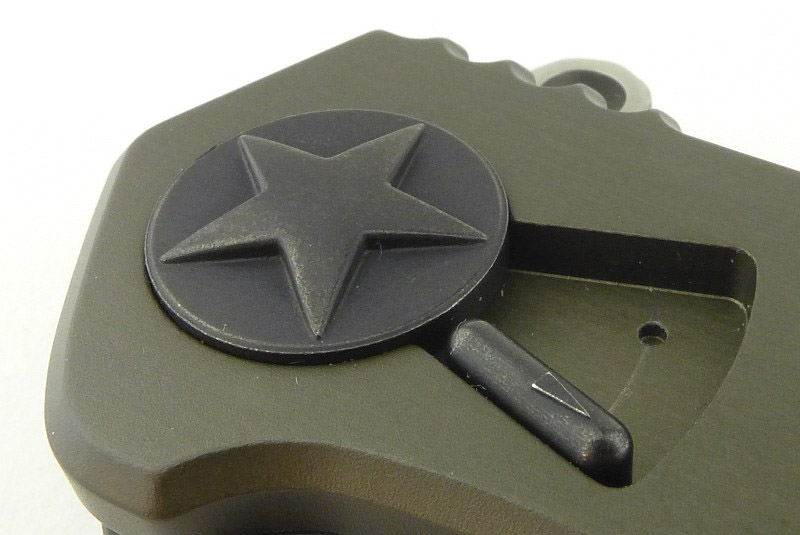
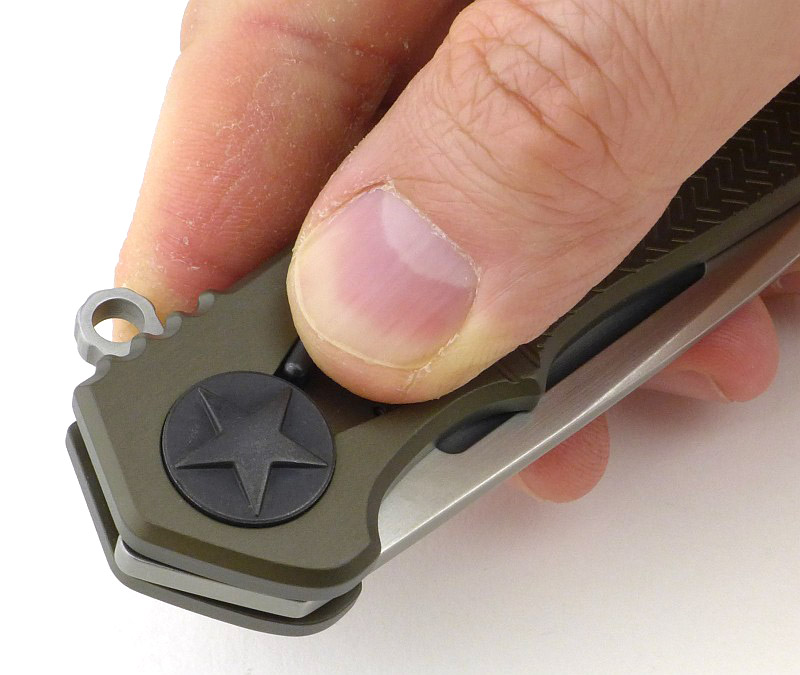
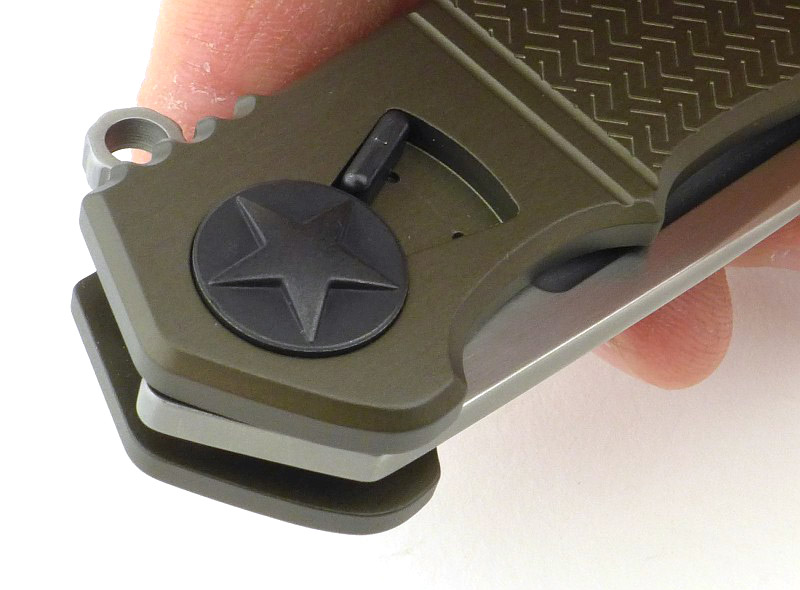
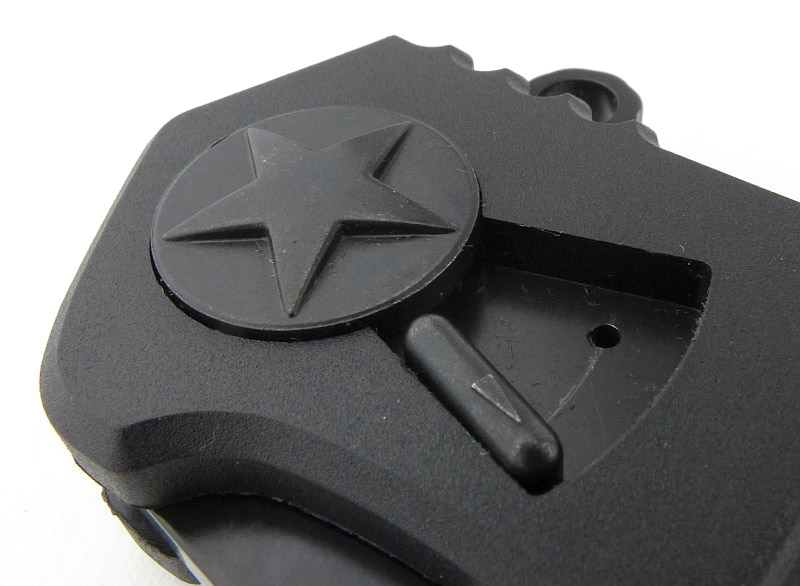
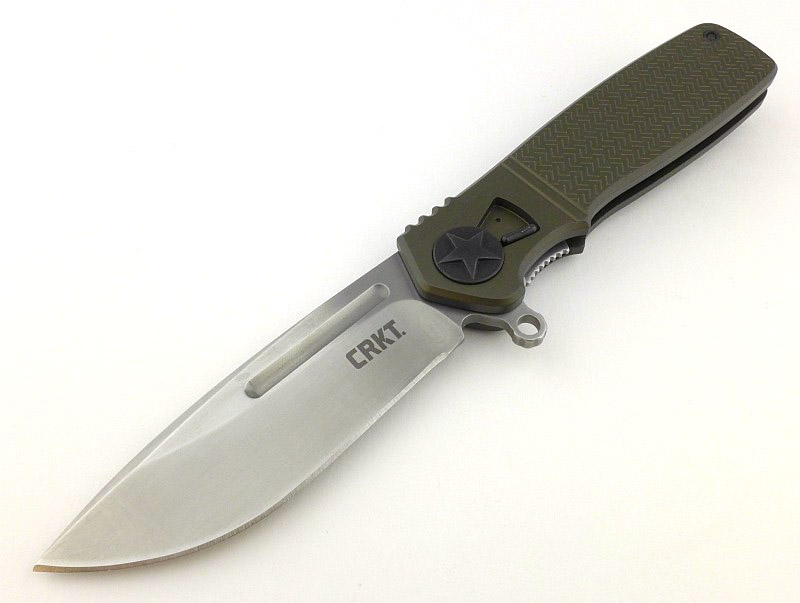
The pivot has what appears to be the standard US aircraft star insignia (as used from 1942). The lever next to this is where the magic is hidden.

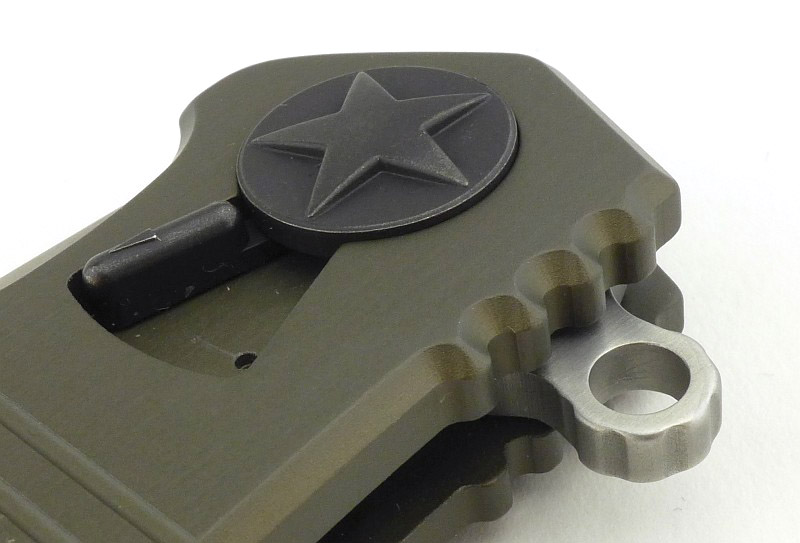
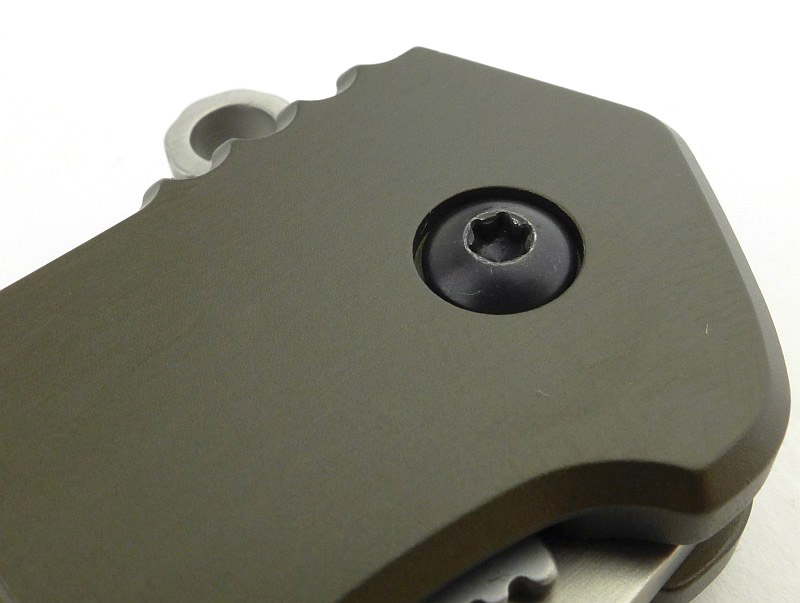
Apparently styled after a bayonet lug, the flipper tab has a hole in it. (Do not try to attach a lanyard here!)

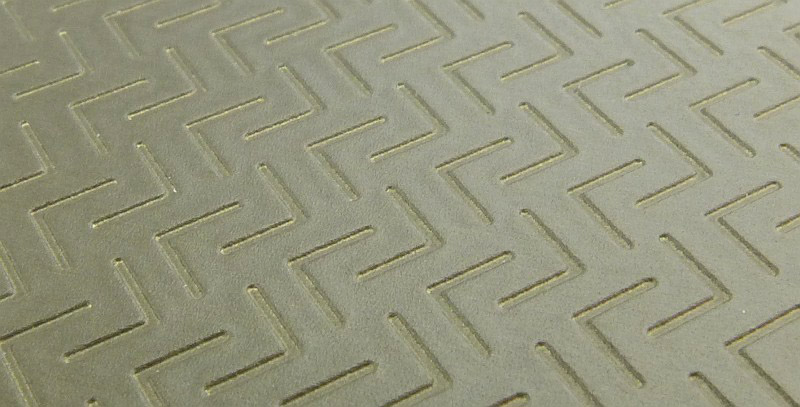
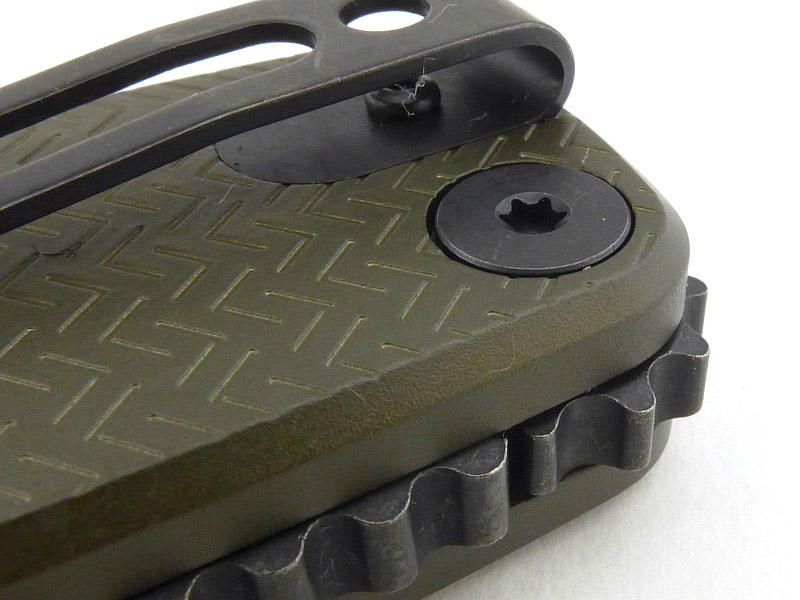
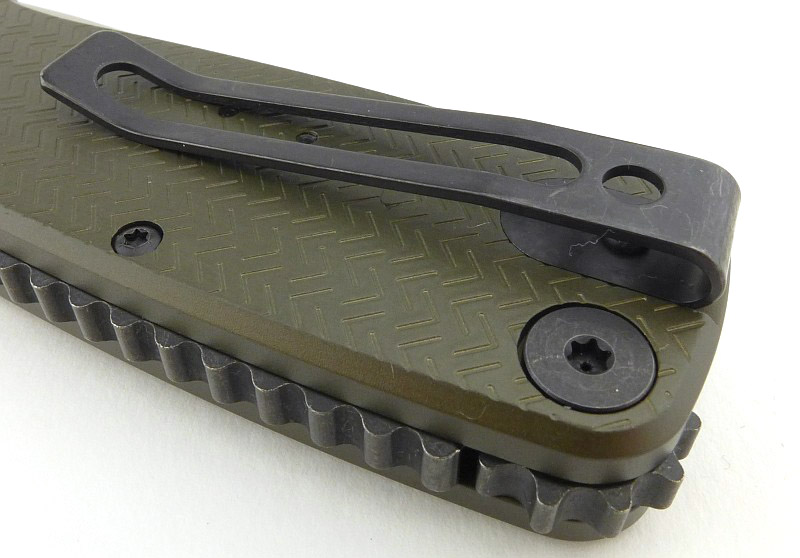
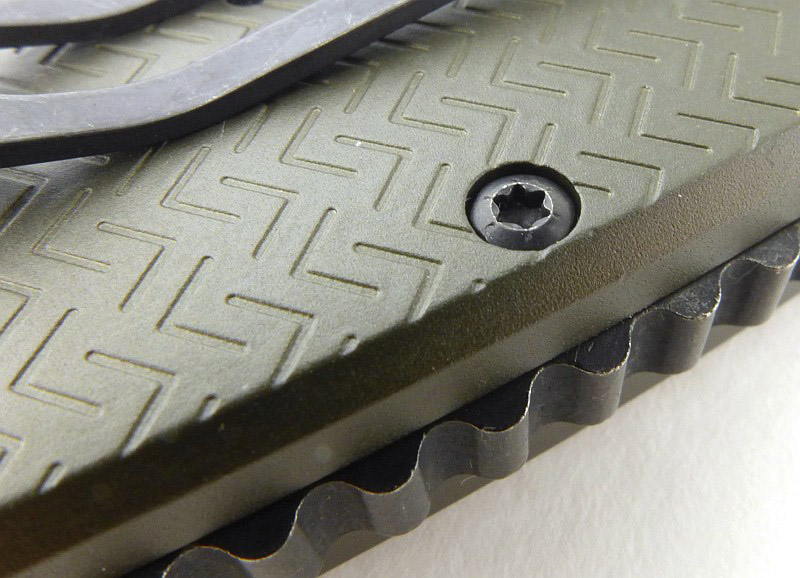
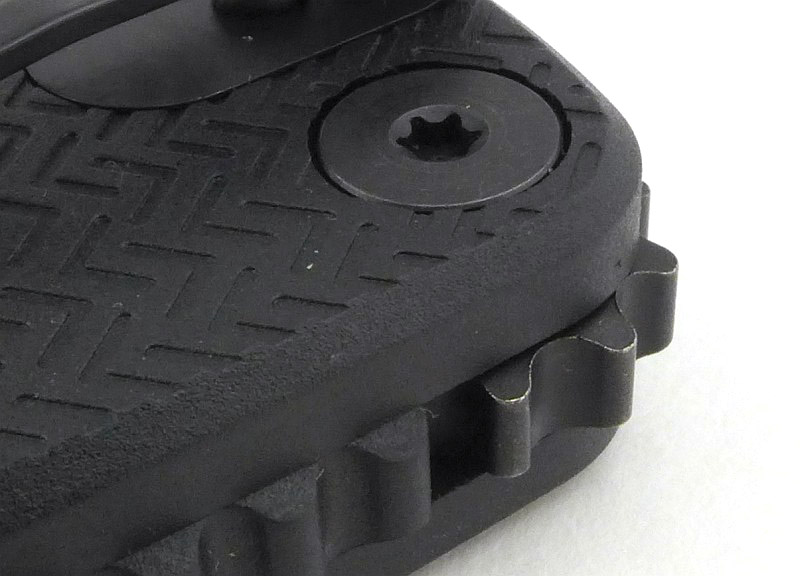
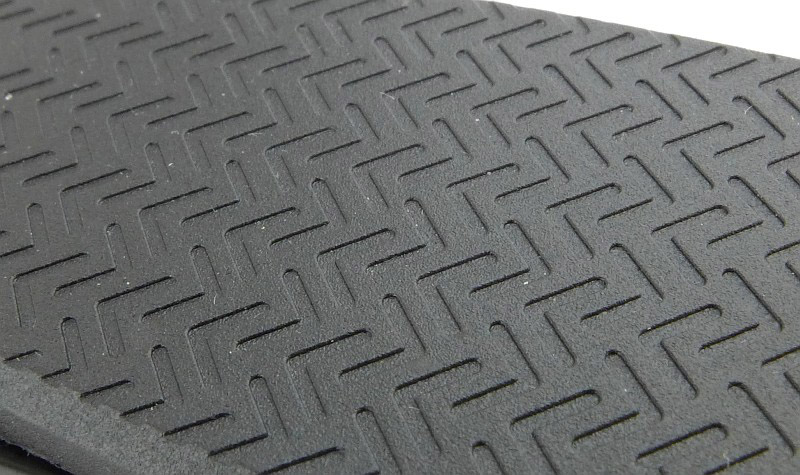
Both handles have a subtle grip pattern. This appears to have been laser etched into the surface before anodising.

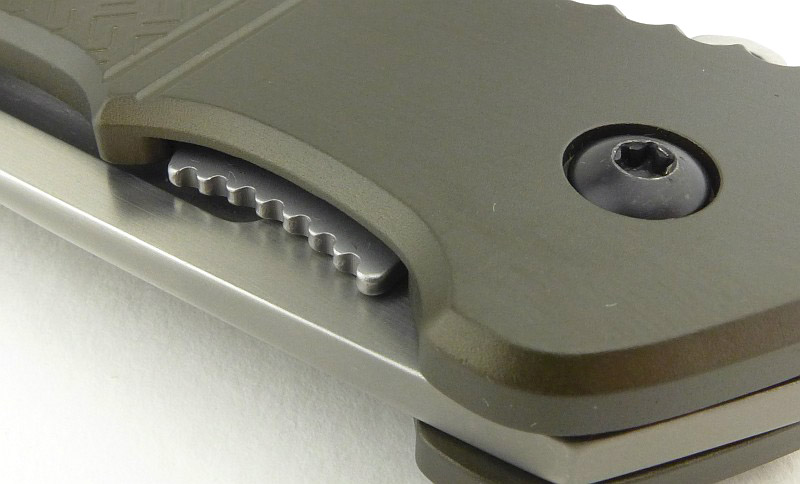
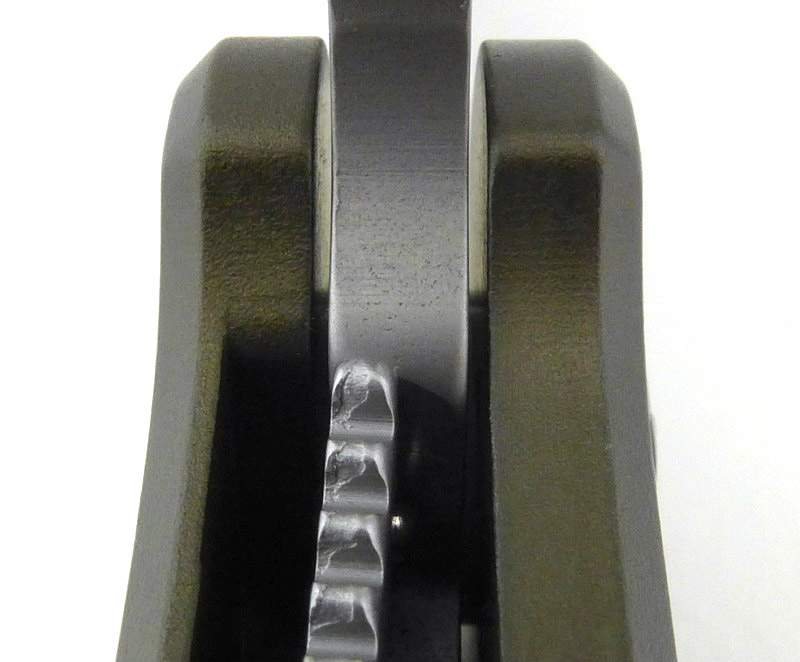
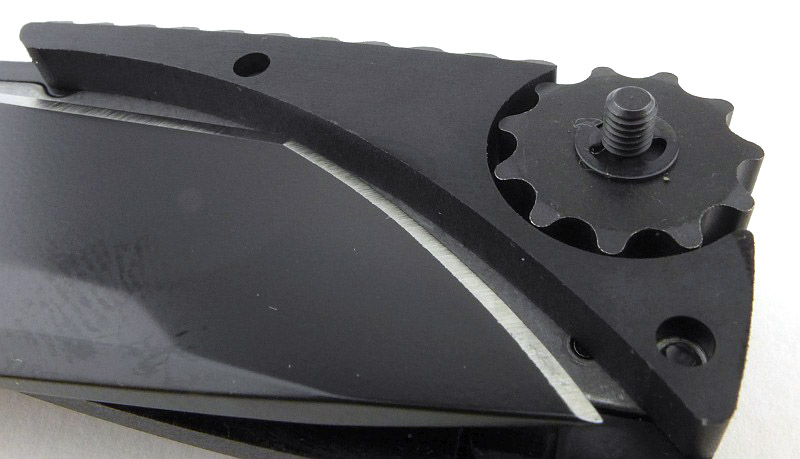
The other bit of magic, comes from the thumb-wheel screw that holds the butt of the knife together.

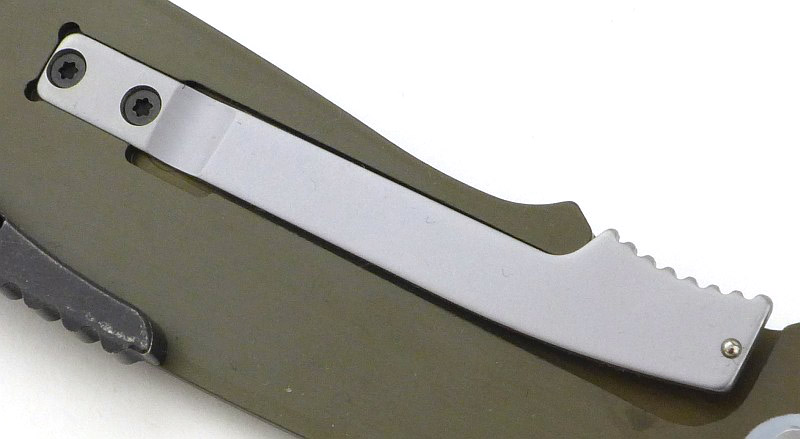
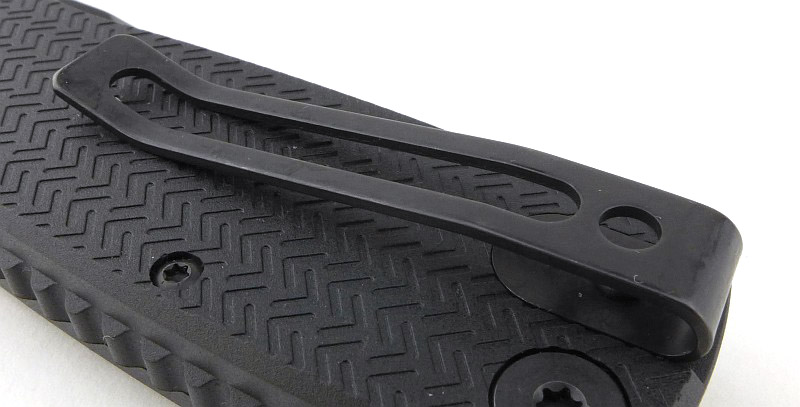
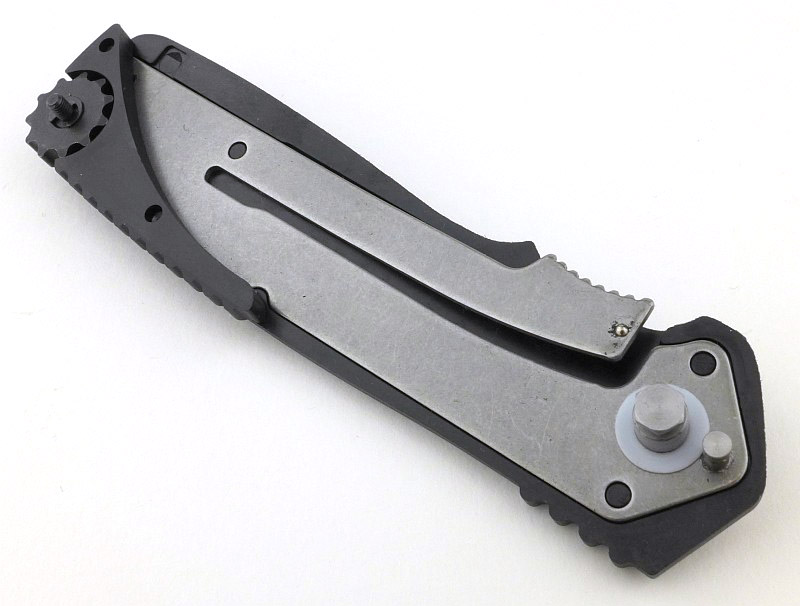
A steel pocket clip also gives you a hole for attaching a lanyard should you wish to.

Though not strictly a ‘liner-lock’, tucked neatly into the inner side of the Homefront’s aluminium handle is a sprung steel locking lever.

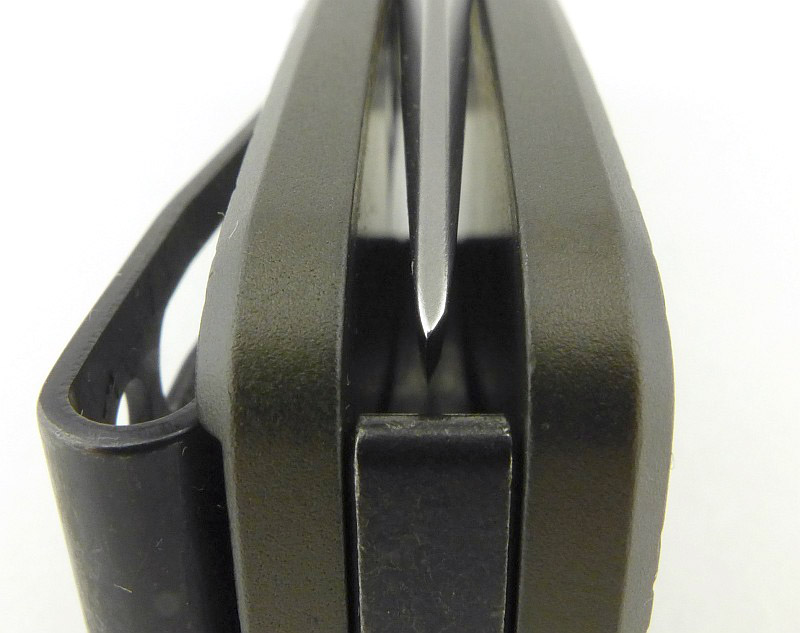
Blade centring is good, with the tip appearing slightly off due to the edge grind.

A Torx screw holds the jimped handle spacer in place on one side.

On the opposite side to the star insignia, the pivot has an adjustment screw that sets the height of the pivot bolt.

Right! Let’s take this knife apart. First loosen the thumb-wheel screw by pushing it away from the pivot. Keep going until the thread ‘clicks’ to indicate it is fully undone.

Flip the knife round and push the locking lever towards the flipper tab (with the knife folded).

Now, as you lift your thumb, the handles spring apart at the pivot.

As we had already loosened the thumb-wheel, the handle can now be lifted away, fully exposing the folded blade.

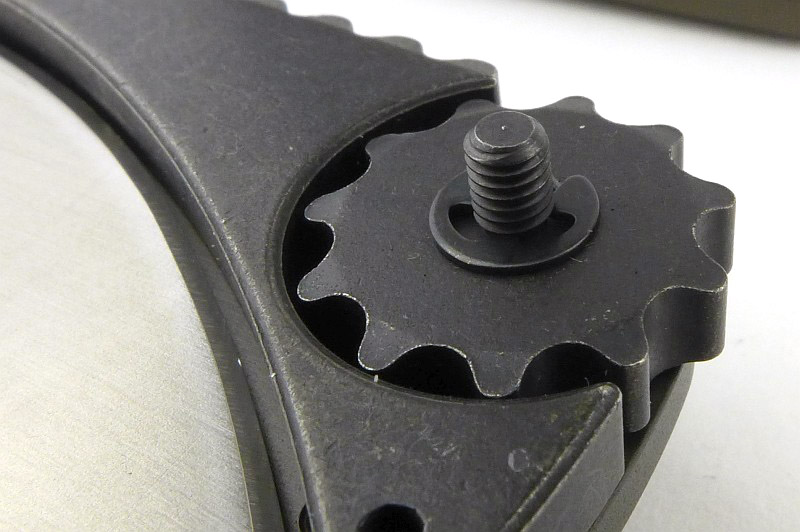
A closer look at the thumb-wheel while we can. Note the circlip; the wheel fits over the threaded bolt, and there is a little bit of play, with the wheel having some movement even when the connector is fully tightened.

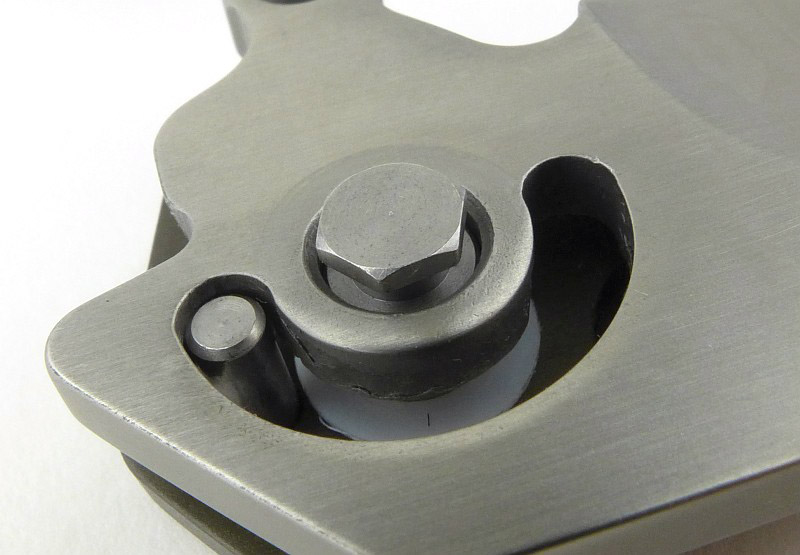
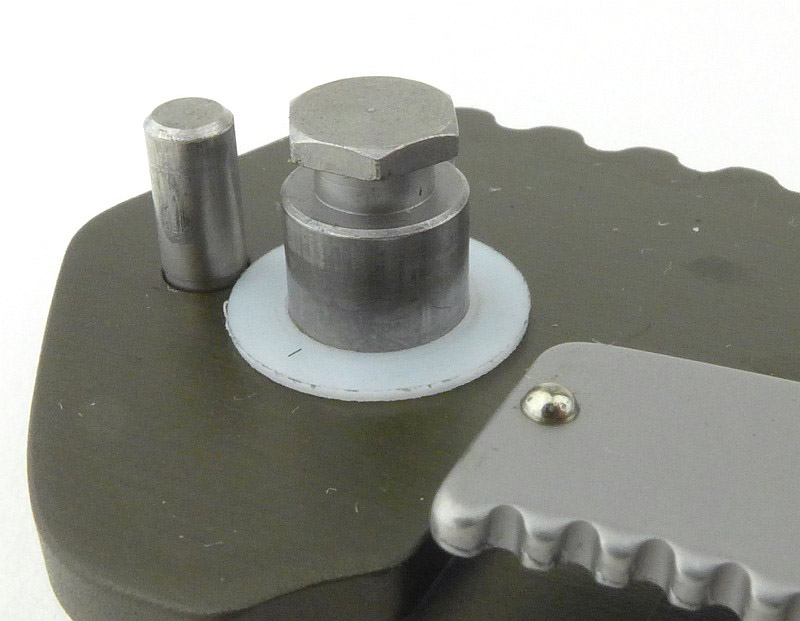
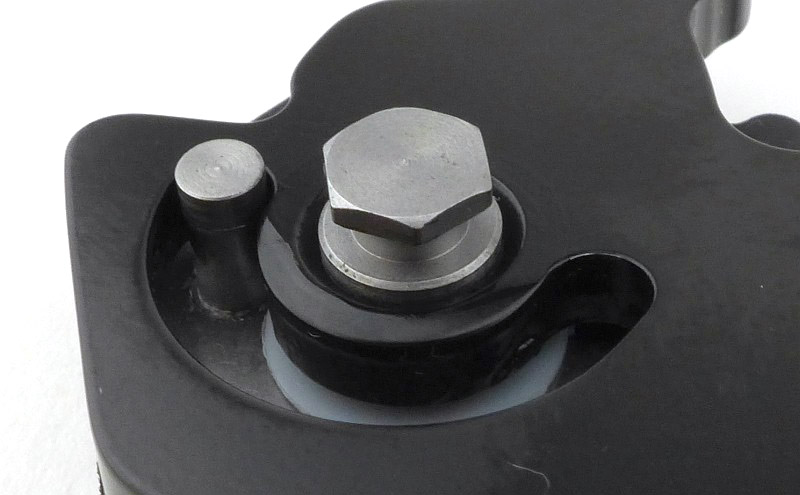
And this is the magic pivot that lets it all happen. Note the hex-shaped head. The homefront also uses a concealed stop pin which limits the open and closed positions of the blade.

Look into the hole of the handle we removed first, and you can see the hex shaped hole that locks onto the top of the special pivot bolt.

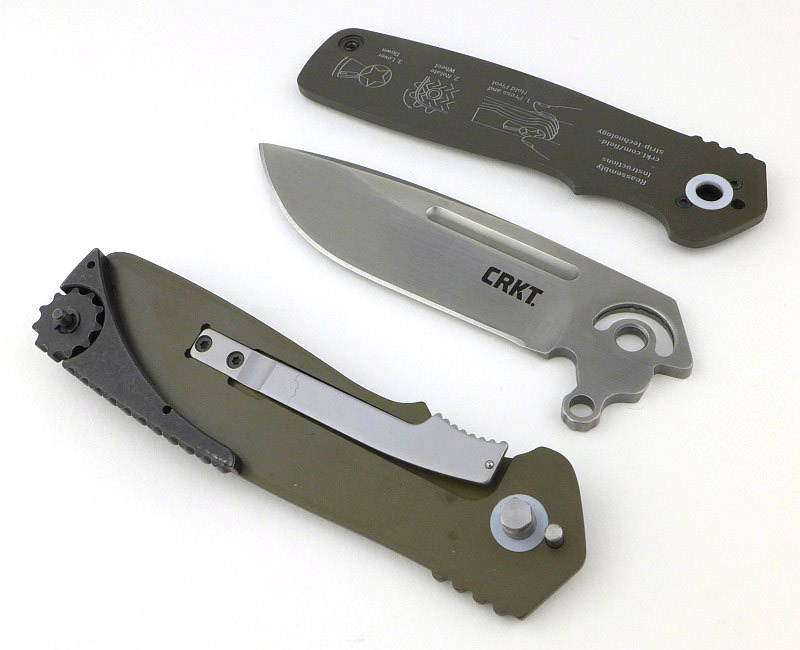
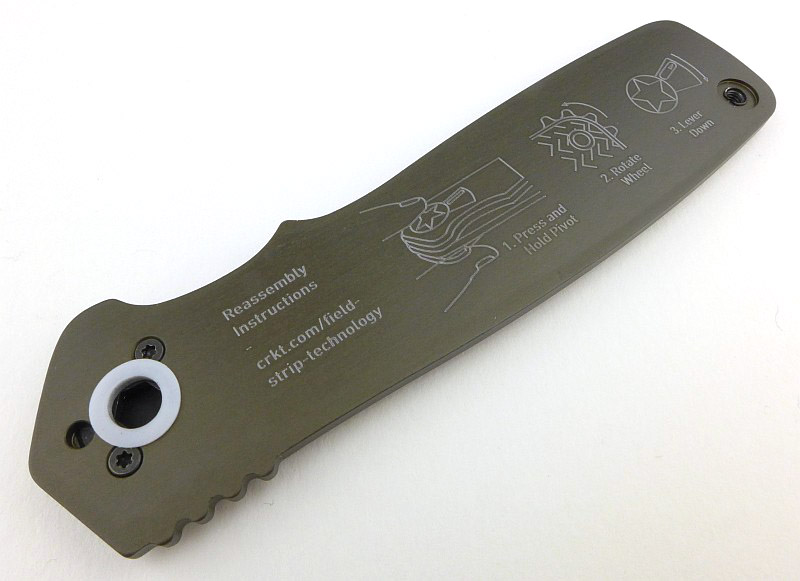
If you forget how you took it apart, or somehow it just ‘came apart in your hands’, inside the handle is a set of instructions for putting it back together again.

When stripped you have the three main components, the master handle (with pivot, stop pin, lock bar and thumb wheel screw), the blade, and the second handle.

While it is fully stripped this is a closer look at the special pivot, stop pin and the detent ball on the end of the lock bar.

So, not a ‘liner’ , this lock bar is inset into the aluminium handle, but functions exactly as a liner lock.

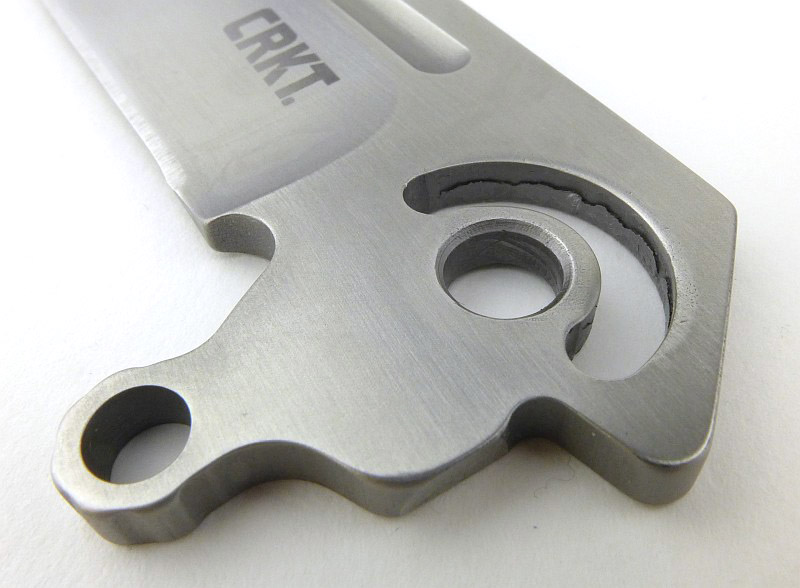
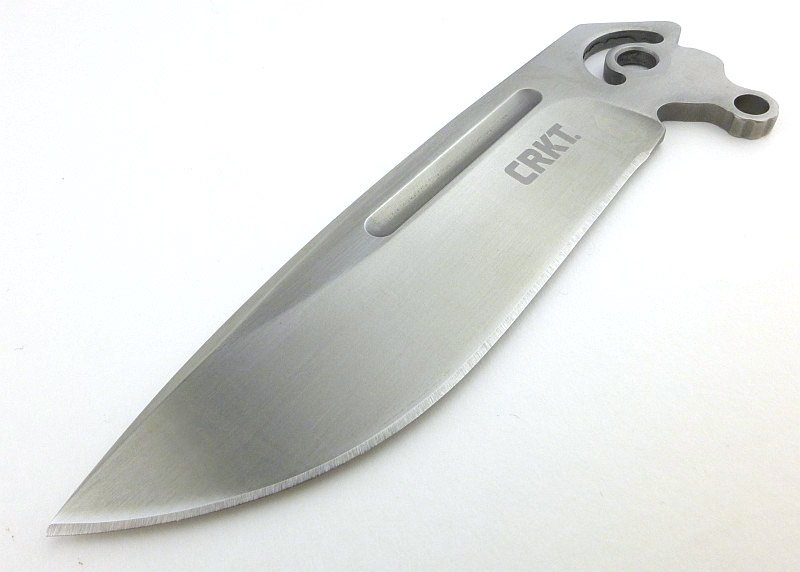
The blade tang has the pivot hole and a semi-circular stop pin slot. The markings in the hole suggest this is a stamping and is not water jet cut.

A really good looking blade with swell near the tip and a fuller, giving it a classic look.

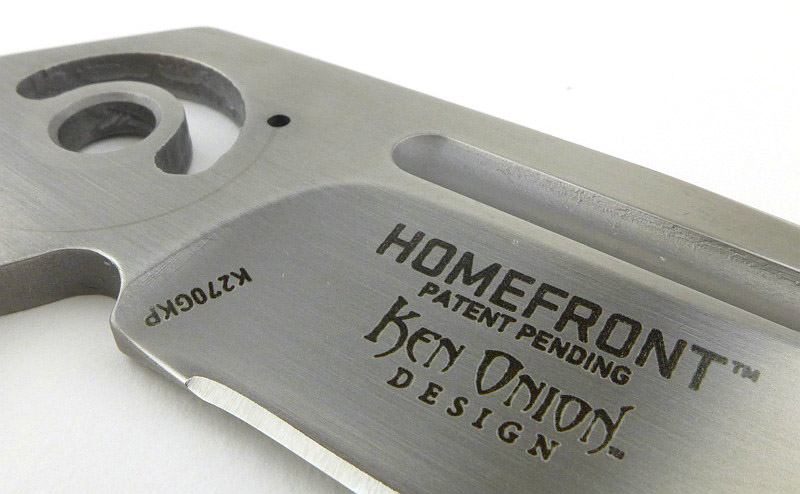
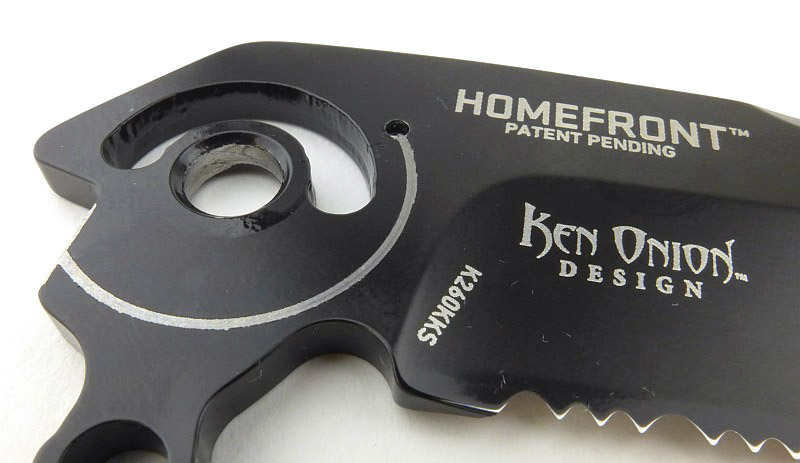
Ken Onion is credited on the blade. On this side of the blade you can see the detent hole.

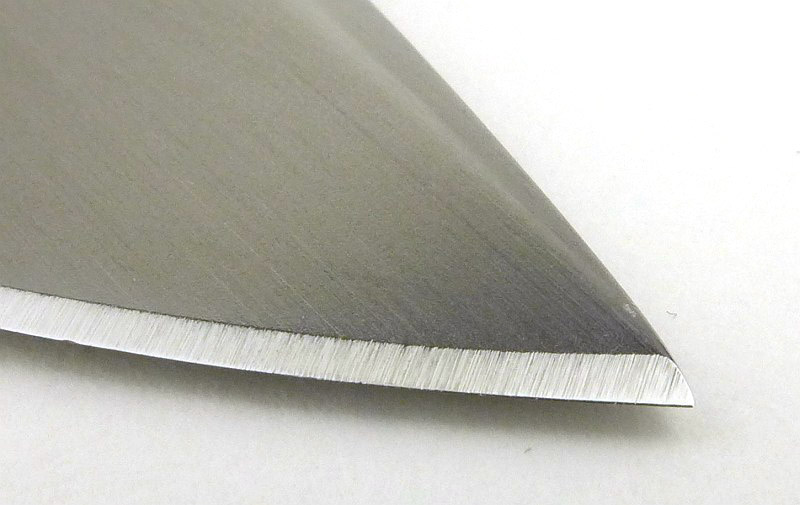
A close-up of the blade tip, showing the contrast in surface finish and the edge bevel grind.

With one handle removed you get a cut-away view of the workings of this knife.

Lock engagement is good with the entire lock bar touching the blade tang with a firm snap-open.

And in no time at all it is all back together.

The Homefront achieves a real vintage look, despite not looking like any historical knife I’ve found.

A few more details of the Homefront Tactical:

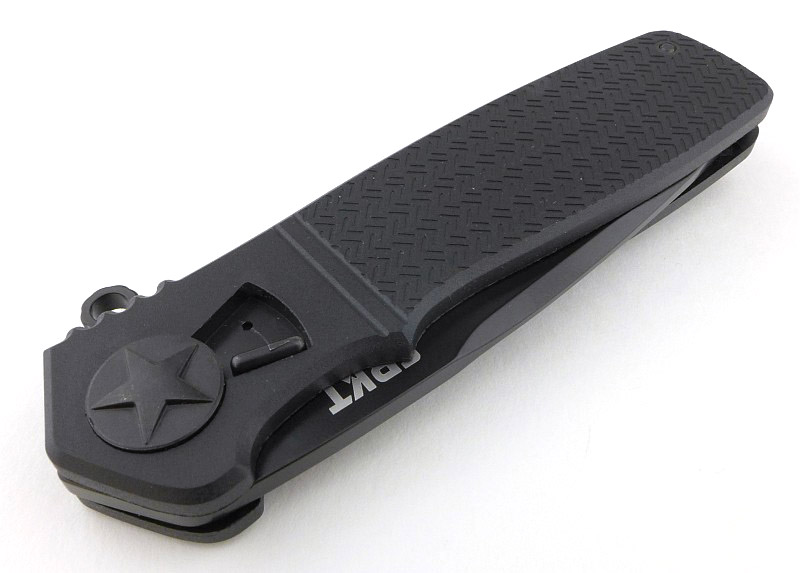
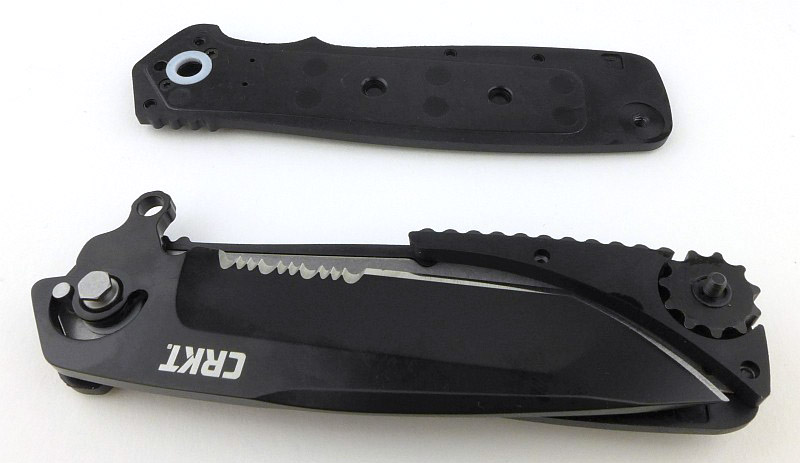
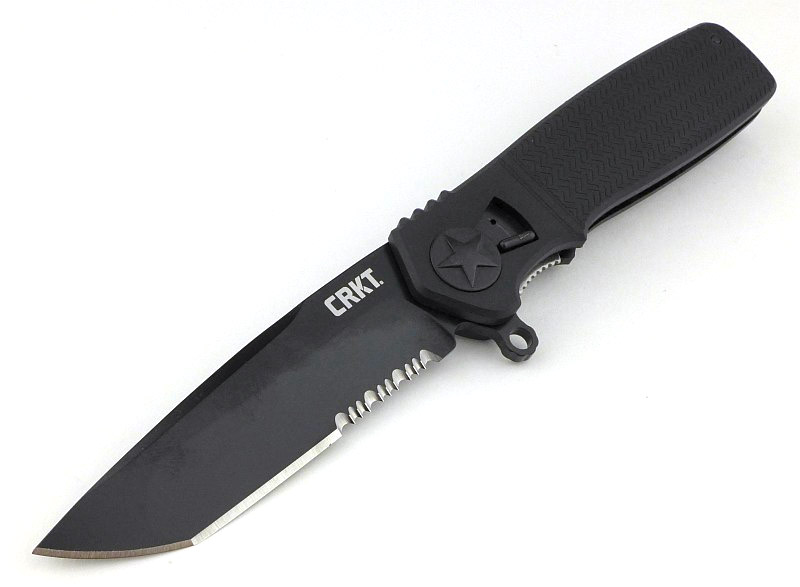
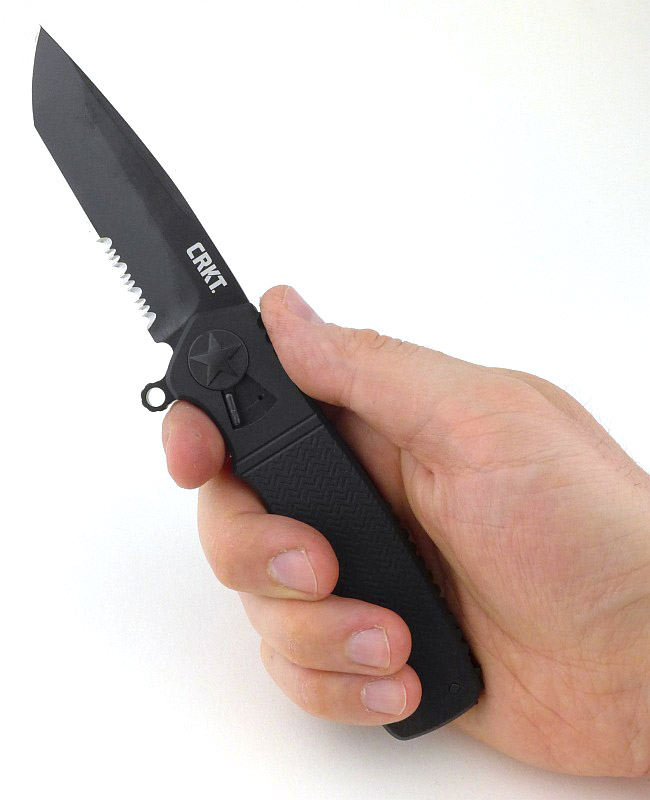
Next we have one of the second wave of Homefront models where instead of the aluminium handles, these have Glass Reinforced Nylon handles and a different blade steel. This is the Homefront Tactical, with a part-serrated Tanto blade

The design and shape of the handle is the same as the original Homefront, including the pivot star insignia.

In terms of the function and design the GRP handled version is basically the same. Here we have the thumb wheel.

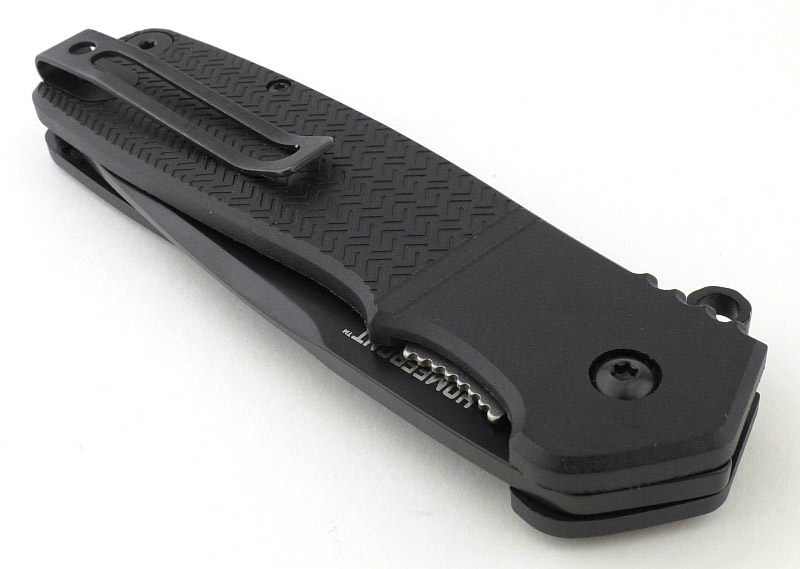
And the same steel clip.

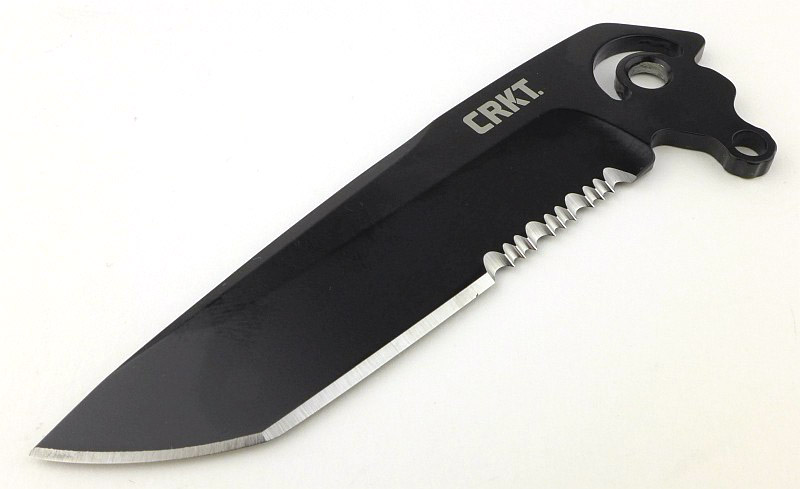
That bayonet lug flipper. However note that this time the blade is black. It has an EDP finish (electronically deposited paint, which is baked on).

A hint of bare steel with the lock bar. We will see that this time it is actually a liner.

Although the same grip pattern is used, in this version the width of each line is wider than on the original Homefront. Of course, in this case it is moulded into the surface instead of being laser etched.

Going straight for a field strip, exactly as with the Homefront; here the handle is off.

The internal curve of the handle spacer is a match to the Homefront’s blade, but here we have a tanto. Clearance is still good. The spacer is also now GRP instead of metal.

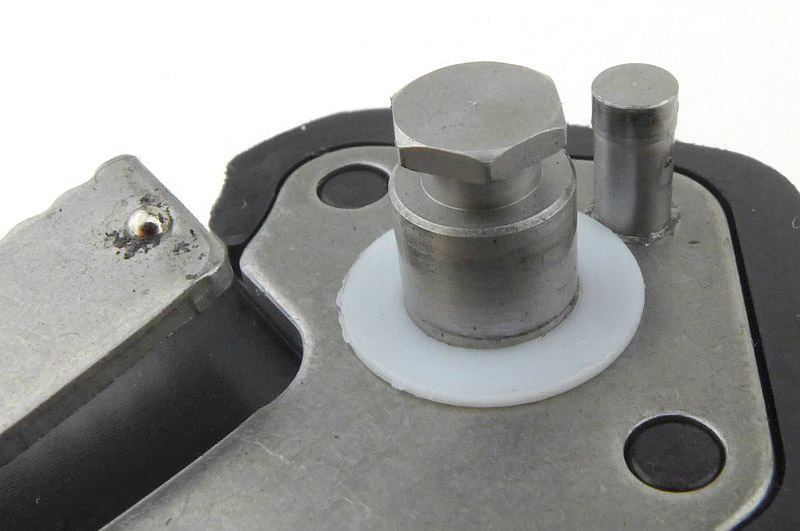
As before, the pivot has a hex shaped head.

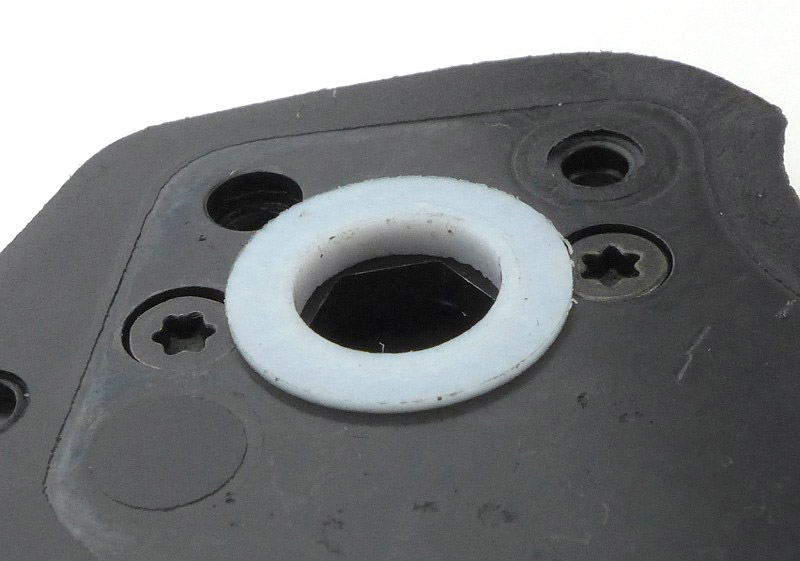
Now we see one of the major differences. With the handle being plastic, it cannot have the lock bar screwed to it. Instead there is a full metal liner moulded into the inside of the handle.

This full metal liner also has the stop pin fixed to it and supports the pivot. The dirt around the detent ball on the lock bar is worn off paint from the blade.

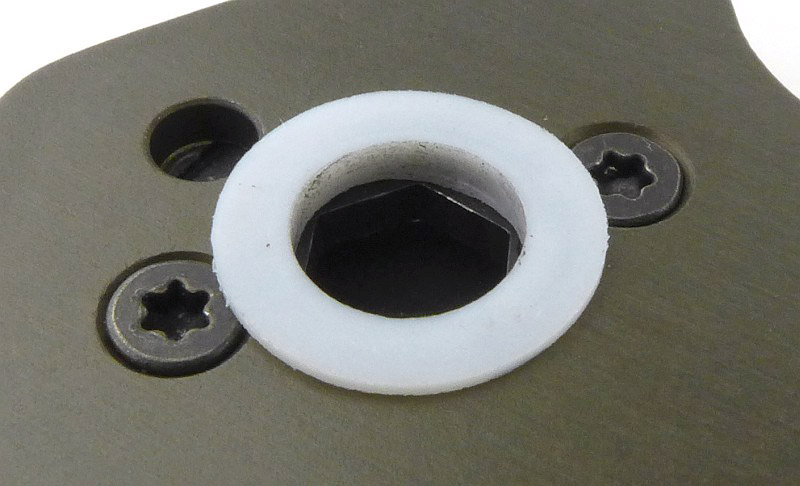
A Teflon bushing acts as the pivot washer. You can see the outline of a metal liner inside the moulded handle. Two screws hold the pivot locking mechanism together.

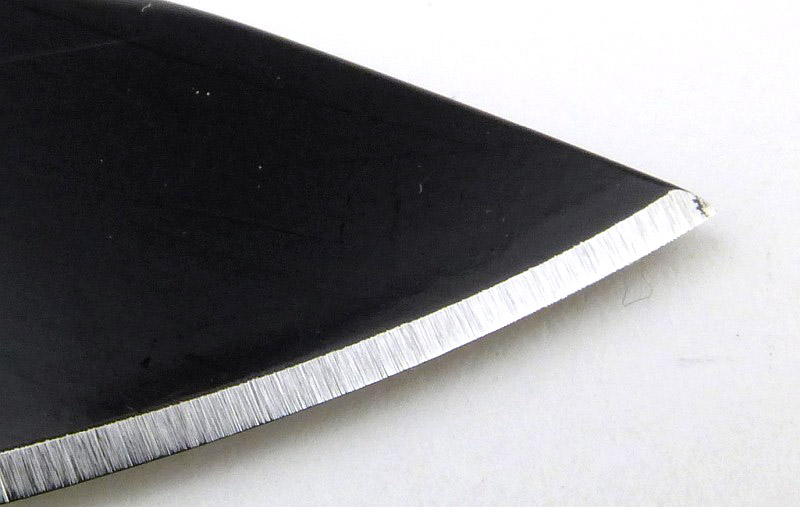
Apart from the cutting edge, the entire blade is EDP coated.

EDP is just paint, so where the detent ball rubs on the blade tang, the paint has been scratched off.

Looking at the finish on the edge bevel grind.

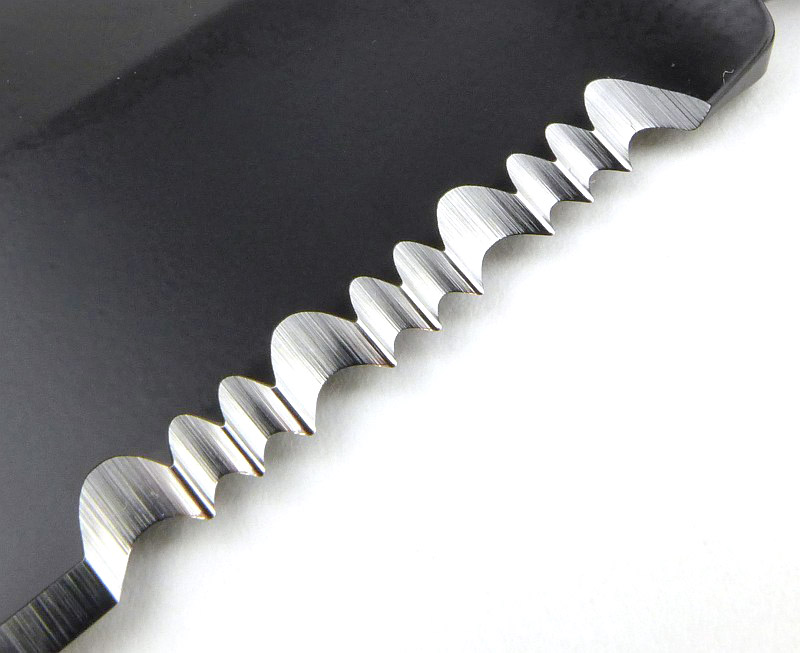
There are part serrations near the handle which are a chisel grind (single bevel) and have two sizes of scallop.

The all black Homefront Tactical.

And there is more when you put these two together…

What are they like to use?

Headlined as a ‘field strip’ technology, it could also be an ‘easy disassembly’ feature. You can take the Homefront apart anywhere, but you can also pop it apart any time for a quick service, not only when it needs a major overhaul. By making the deep-clean a super easy process, you are much more likely to keep these knives in top condition all the time.

The styling of these knives is mentioned prominently by CRKT. The Homefront is described as a remake of grandpa’s WWII, and the Tactical as a classic WWI knife and though there is a vintage look; firstly I suspect the WWI reference is a mistake as the US Airforce aircraft marking Star Insignia was a WWII design, and secondly I would disagree that it is like any WWII folder, certainly none I’ve ever seen.

Let me make it very clear that I really like the design and styling, which definitely has a vintage look, and incorporates design features that do give a modern interpretation of a WWII knife. My disagreement is with the statement that it looks like grandpa’s knife, show me a knife from WWII that looks like this and I’ll happily eat my words.

This is really not a negative as, in particular, I like the choice of colour for the handle of the Homefront along with the finish of the blade steel and the inclusion of a fuller. Overall a really stylish design that stands out from the crowd.

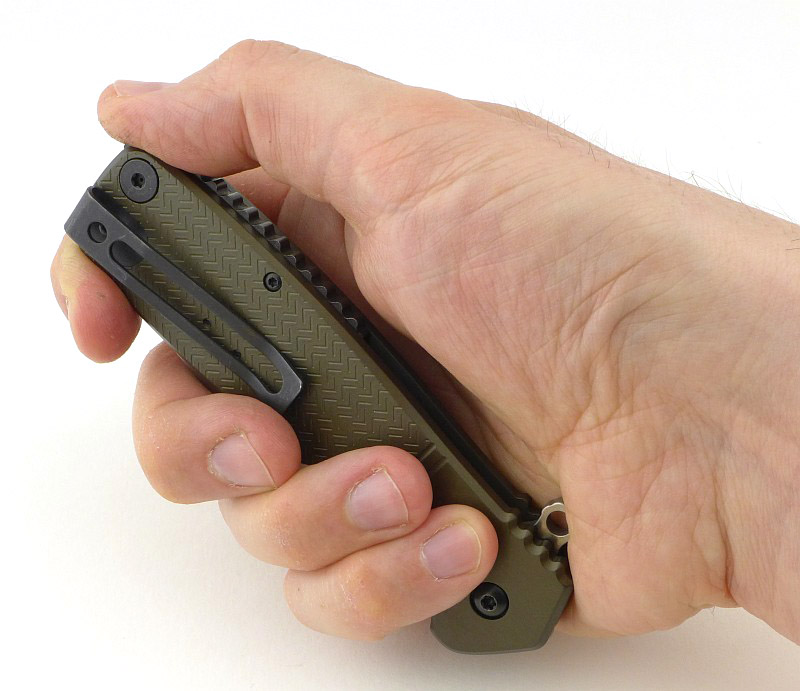
Moving on to how it is in the hand, that most crucial aspect, and this is a good sized folder with plenty of handle to give a stable grip. The handle has an area of grip positioned perfectly for the thumb to sit on when using a saber style grip. It is a relatively slim aluminium slab handle, yet its shaping allows it to fit into the hand very comfortably. Not so well that I’d want to do a lot of heavy cutting with it, but well enough to find it regularly in my pocket.

The Homefront Tactical has the same ergonomics, as the handle shape is exactly the same, but the nylon GRP material gives it a different feel, warmer, slightly lighter and a slightly different balance. It does not feel diminished compared to the original Homefront, just a different option. It may only be around 13g lighter, but does feel easier to carry.

Talking of options, should you have more than one of the Homefront models you can mix things up a bit and try a different blade or handle. Have a look at this short video to see this and the ‘field strip’ in action.

Video Edited with – Cyberlink Director Suite 5 (PowerDirector 16 and AudioDirector 7)
Camera – Panasonic HC-V770    Microphone – Tonor TN120308BL

Here the Homefront and Homefront Tactical have their original blades.

After a quick strip down and shuffle around, the blades are swapped over.

It is true that the fit and lock-up of the swapped blades are not perfect, with the GRP handle taking either blade with no issues, but the aluminium handle lacks the totally secure lock-up. Actually even with its original blade, the Homefront would benefit from a little adjustment of the end of the lock bar to increase lock engagement. This in turn would make the Tactical blade work better in this handle.

One potential weakness in the design is that the lever that is used to release the pivot could itself be fouled and prevented from operating. If this happens you might find you can’t field strip the knife after all; a consequence of having a ‘mechanism’ for releasing the pivot, as any mechanism can be fouled and jam.

With the popularity of the super slick flipper, the Homefront knives have a much more laid back action. With the (presumably) Teflon washers, the action is smooth but not super slick. The Homefront Tactical won’t lock without a flick of the wrist, and the Homefront needs a quick finger to get lock-up without a flick. Some might think this is a negative, but I like the relaxed feel, and a blade that doesn’t flop around easily when closing the blade.

Stylish, functional and so easy to maintain – I find myself taking it apart just because I can.

Review Summary

The views expressed in this summary table are from the point of view of the reviewer’s personal use. I am not a member of the armed forces and cannot comment on its use beyond a cutting tool or field/hunting knife.
Something that might be a ‘pro’ for one user can be a ‘con’ for another, so the comments are categorised based on my requirements. You should consider all points and if they could be beneficial to you.

_______________________________________________ _______________________________________________
Things I like What doesn’t work so well for me
_______________________________________________ _______________________________________________
Take apart with no tools (Field Strip). Potential for pivot release lever to be jammed with dirt.
Stylish, vintage design. Fixed pocket clip cannot be relocated.
Comfortable in the hand.
Smooth action.
Zero blade play (despite the Field Strip mechanism)


Discussing the Review:

The ideal place to discuss this reviews is on a forum. If you started reading the shorter forum version of the review, but followed the link this full exclusive review, please return to that forum to discuss the review there.
If you read the review entirely on Tactical Reviews, please consider one of the following to join in any discussion.

EdgeMatters – Sponsored Reviews (UK based Forum for Knife Makers and Collectors)

BladeForums – Knife Reviews (US based Forum for Knife Discussion)

CandlePowerForums – Knife Reviews Section (Largest and Friendliest Flashlight Community Forum)