Lionsteel are a brand that stand out year-on-year thanks to maintaining a superb level of manufacturing quality over a wide range of knife designs, both fixed and folding. This review takes a look at the Carbon Fibre version of the TM1 folding knife. Like the outstanding SR-1 (which is still going strong eight years after its launch), with its impressive construction using a one-piece handle, the TM1 also uses this single-piece handle design, but instead of an integral lock it uses a more traditional back-lock. I like an integral lock as much as anyone, but I am having just a little too much of them, and find it refreshing that the TM1 uses a back-lock. One main advantage of this is that the handle shape, grip and feel is not compromised by the lock-bar. Still a heavy folder, like the SR-1, but with a very interesting reverse-tanto blade shape, and a handle with two non-metallic material choices – Carbon-Fibre or Micarta. Finding this knife was one of my show highlights from IWA 2018.
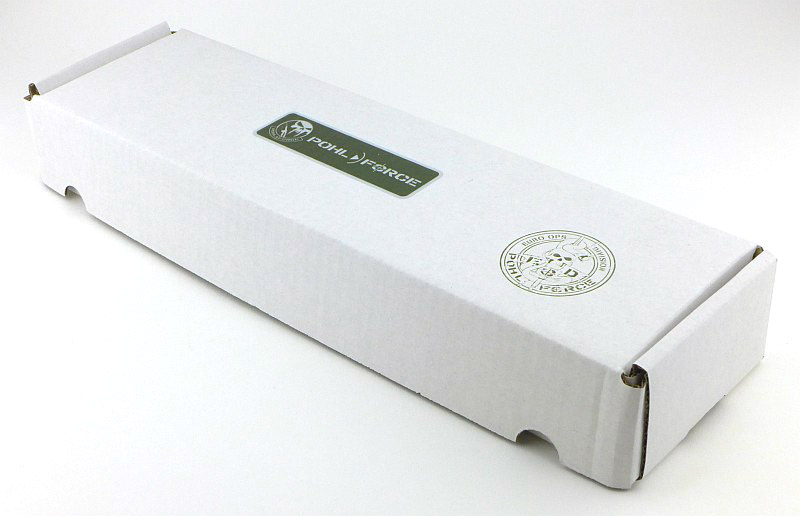
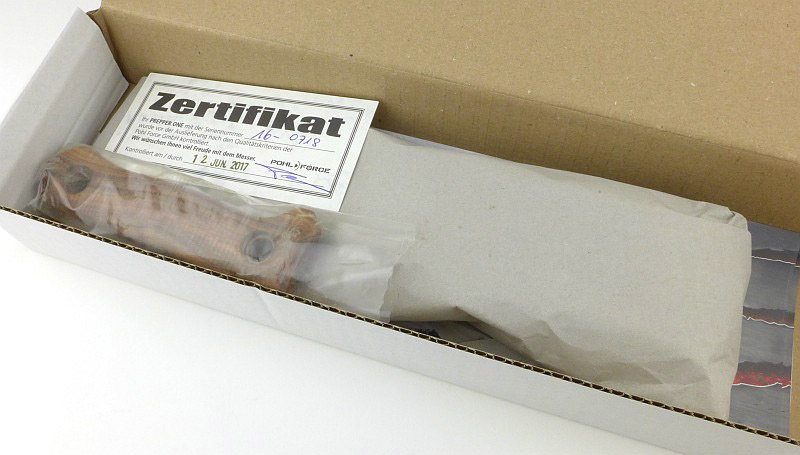
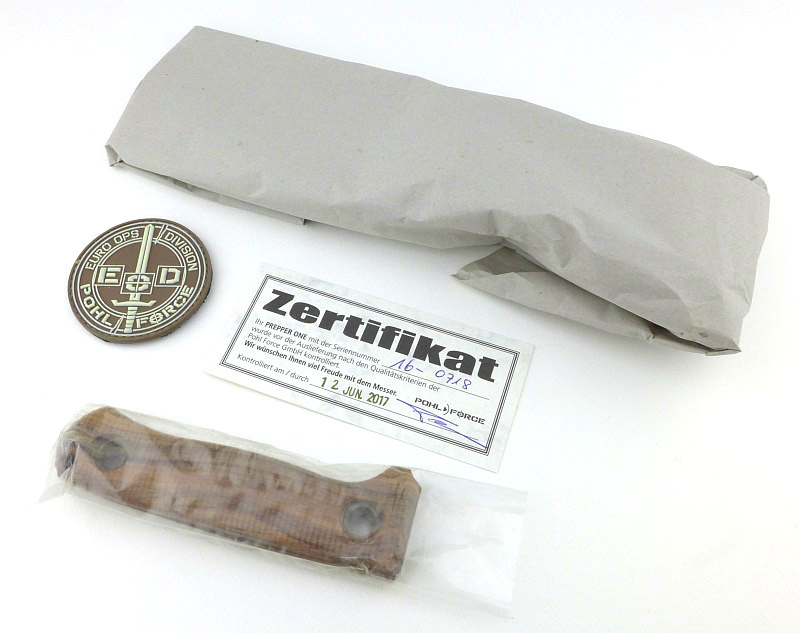
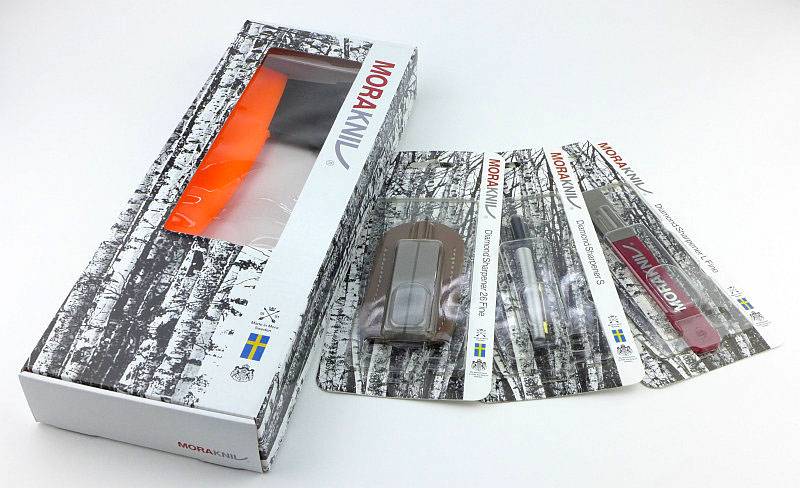
What’s in the box?:
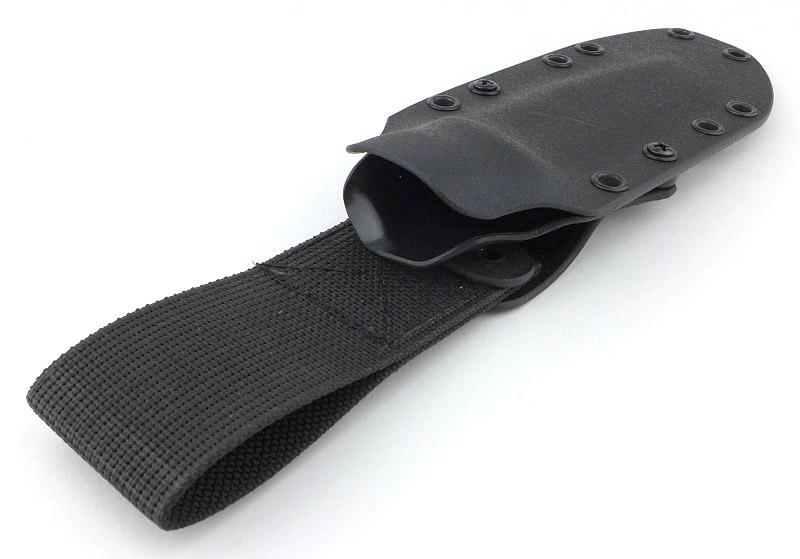
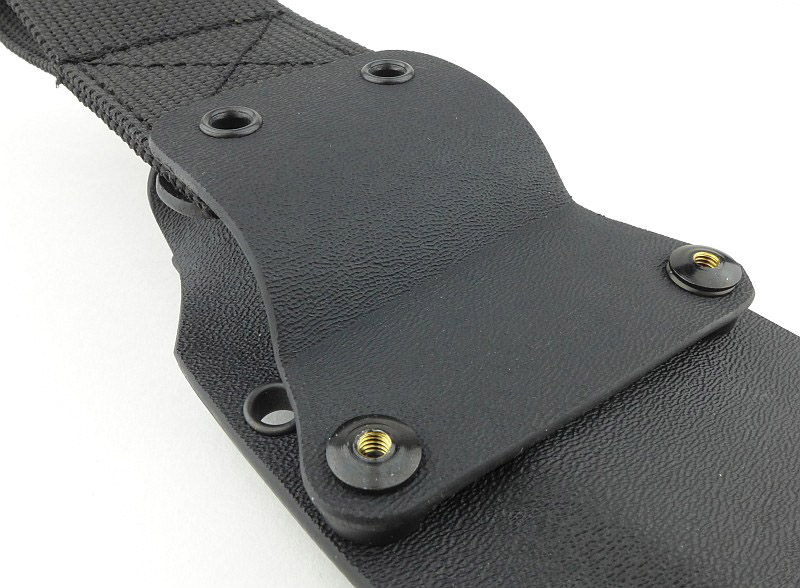
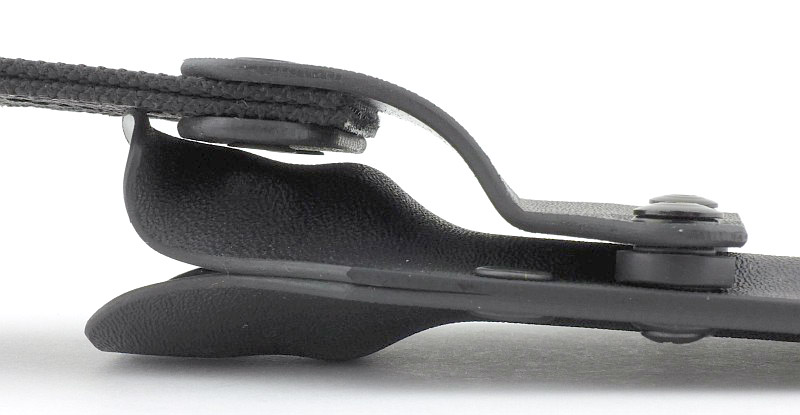
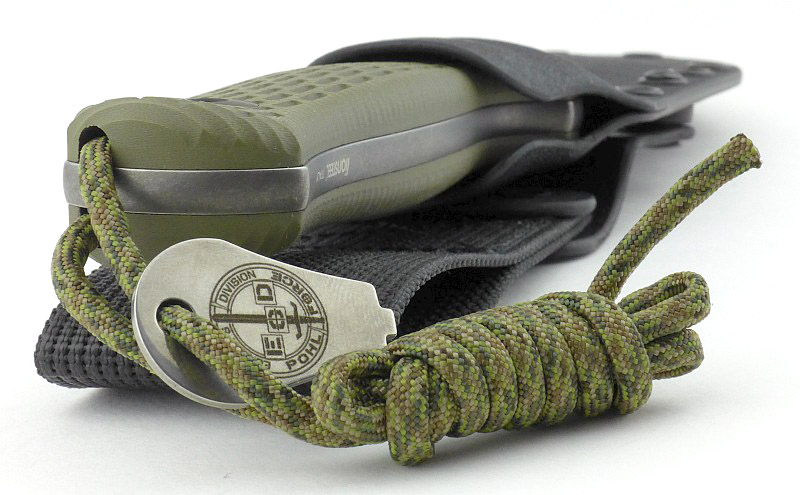
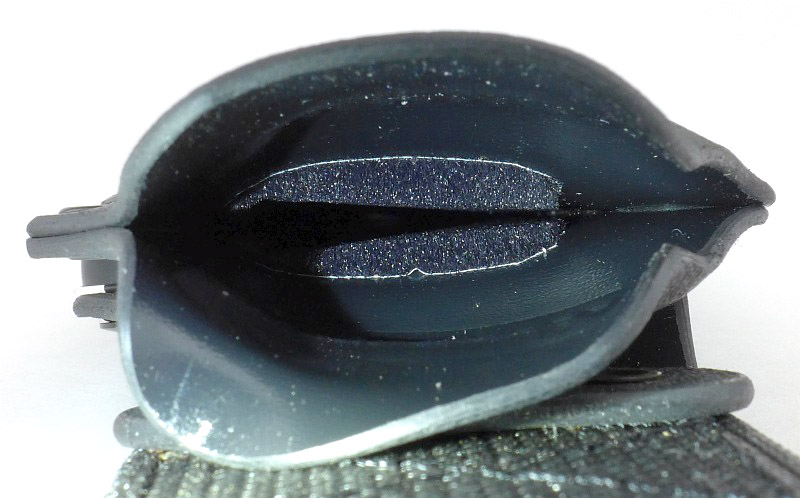
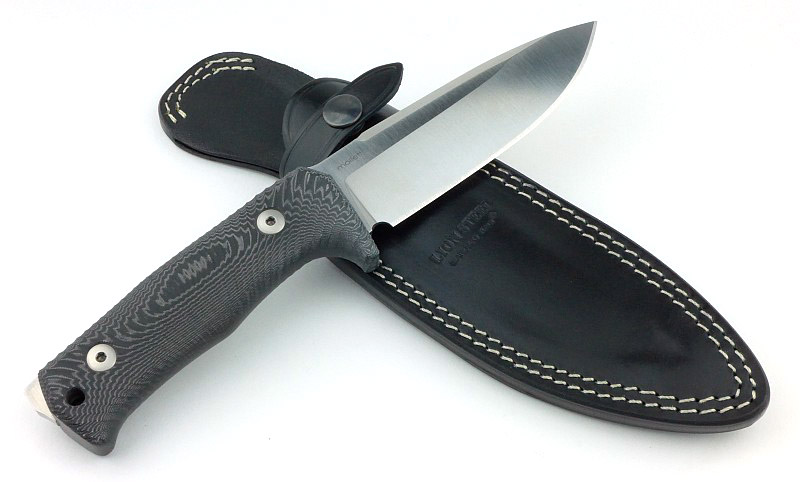
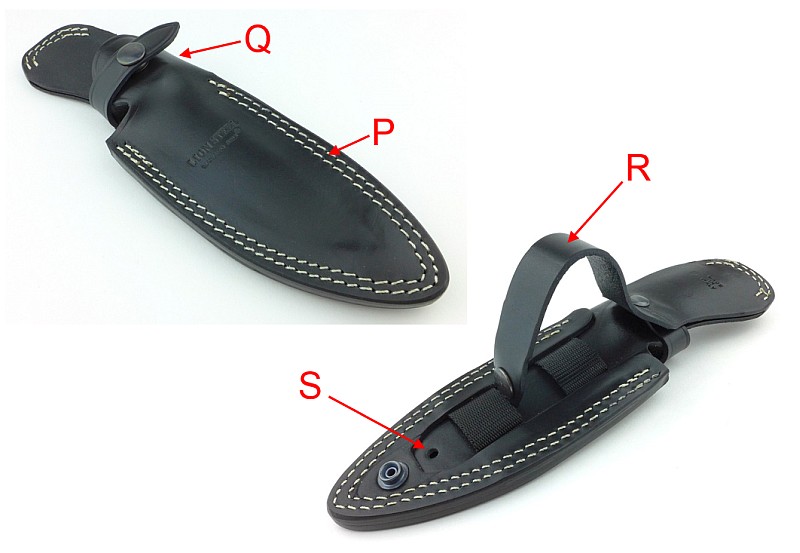
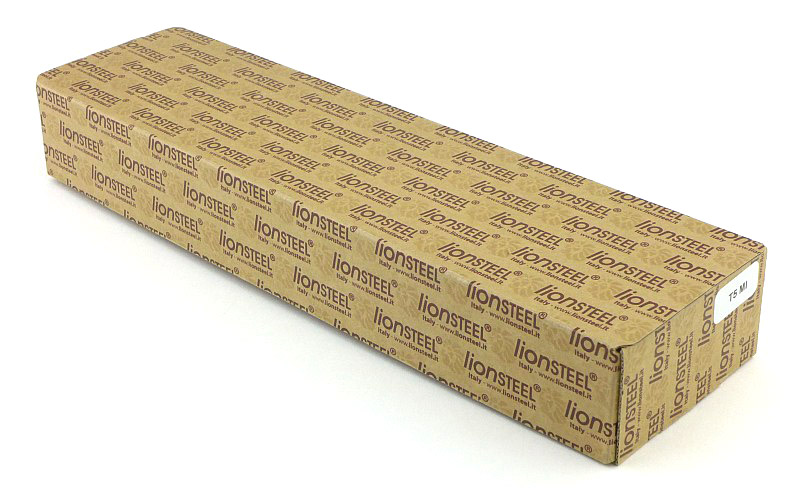
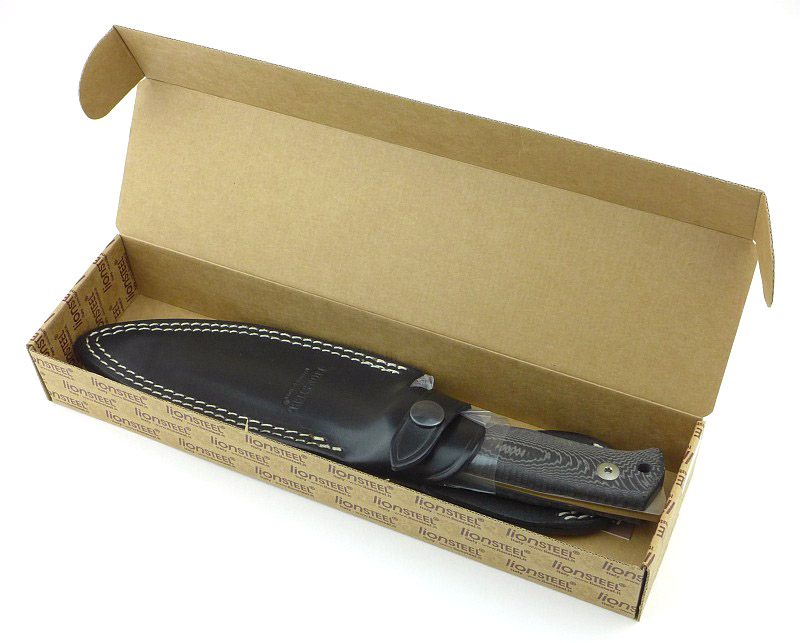
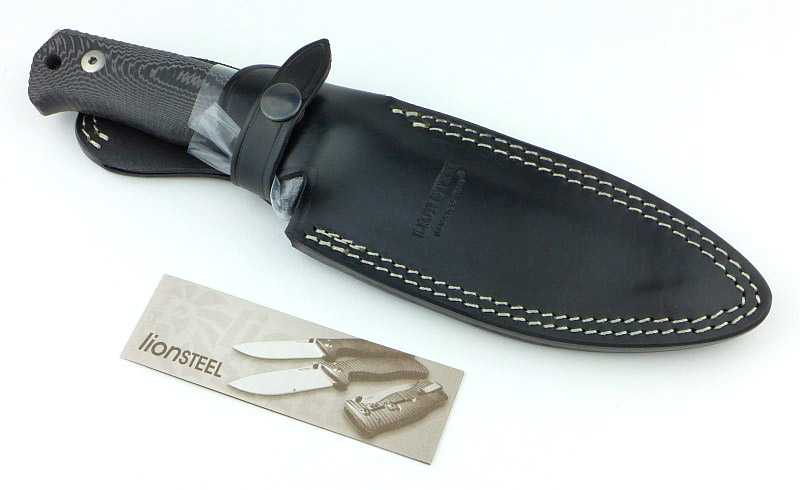
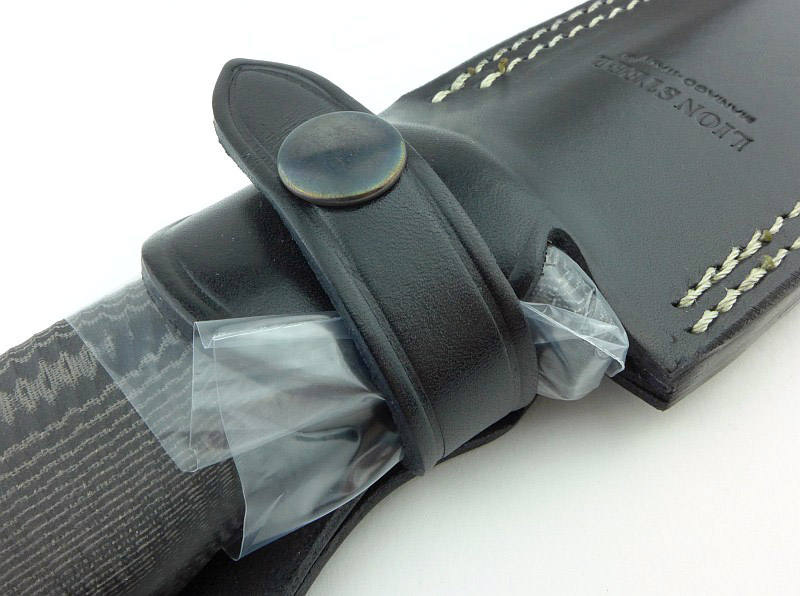
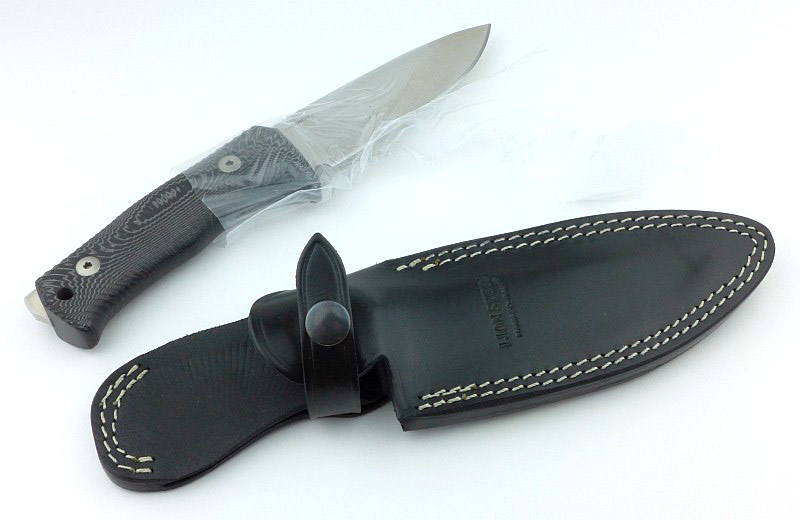
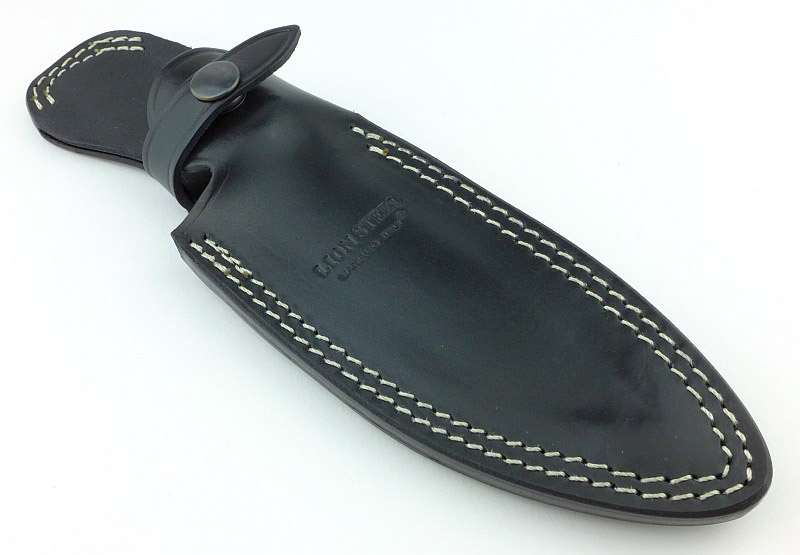
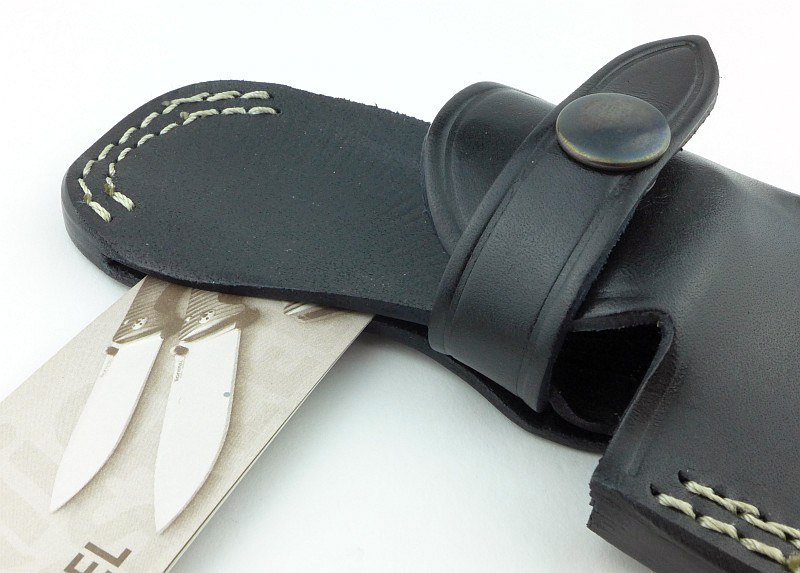
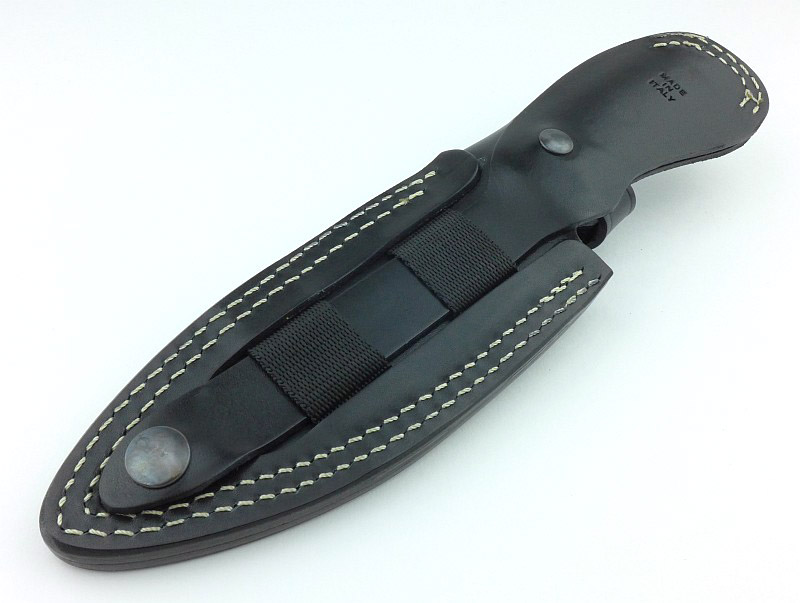
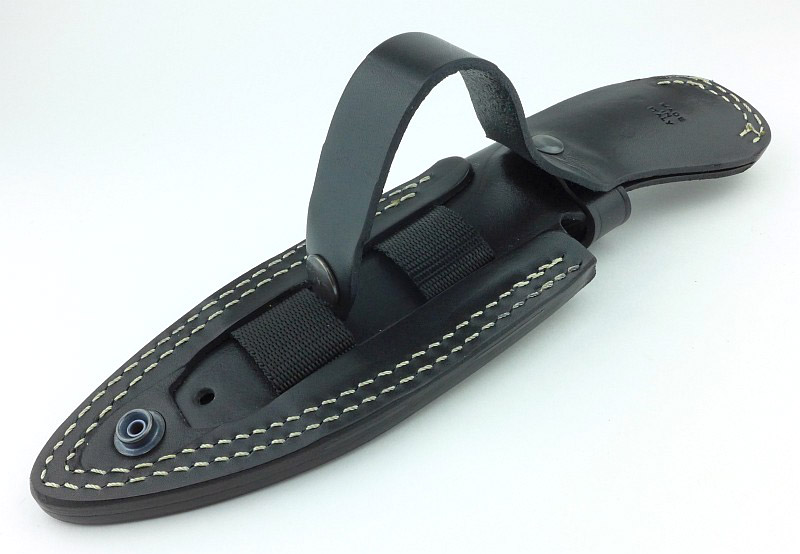
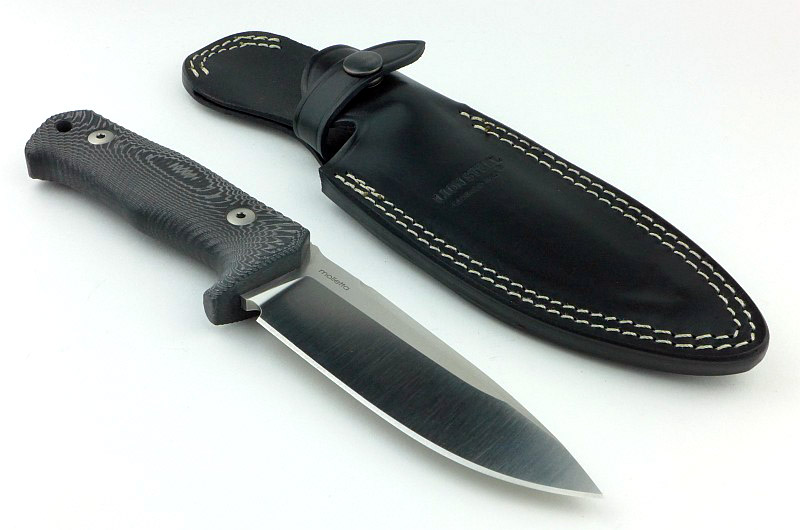
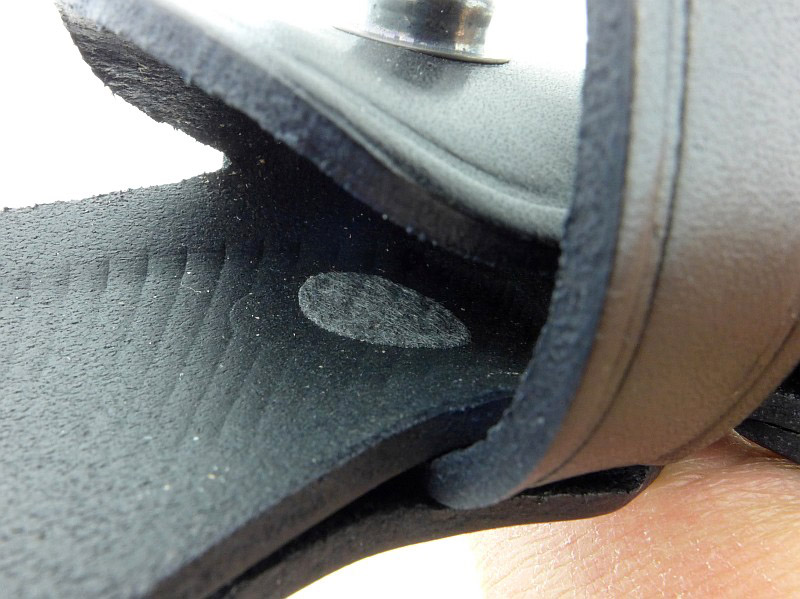
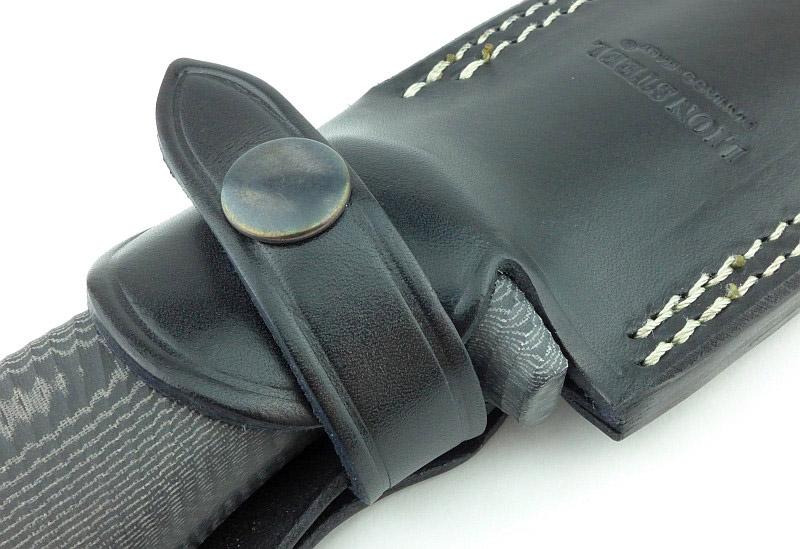
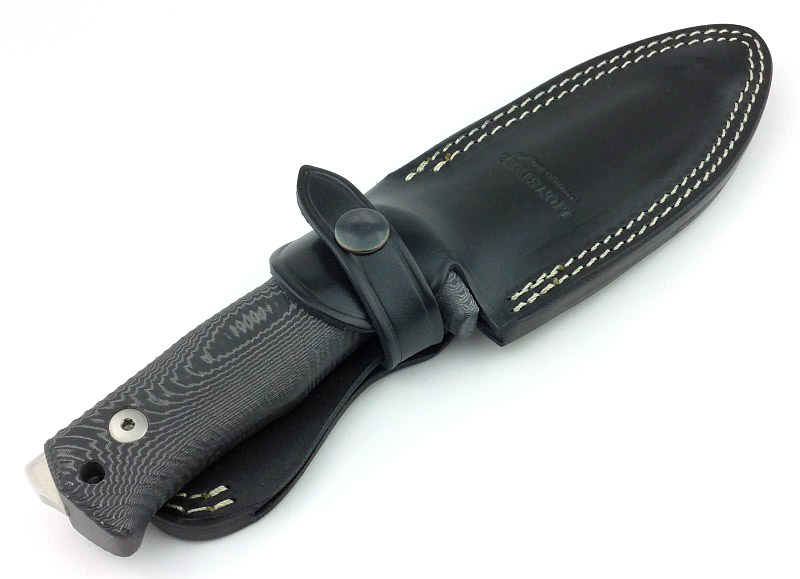
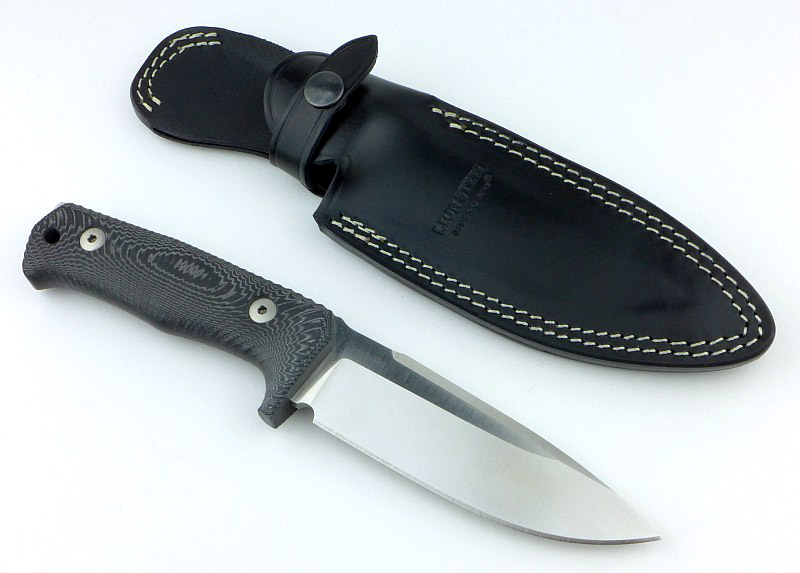
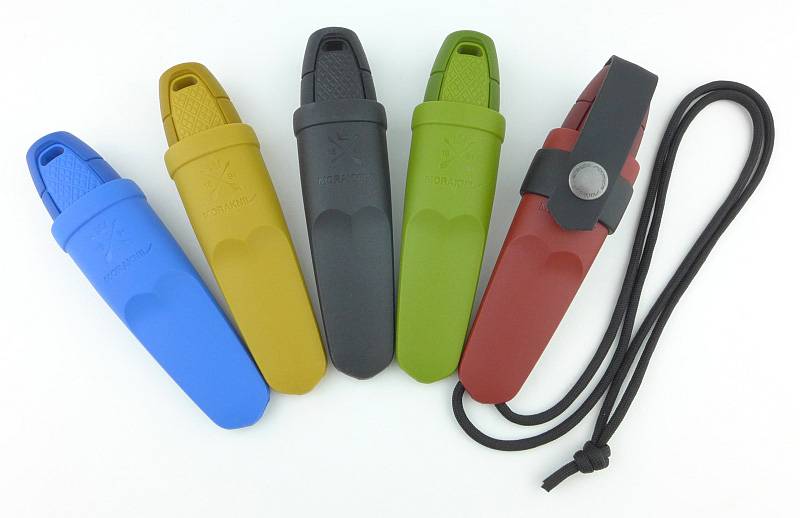
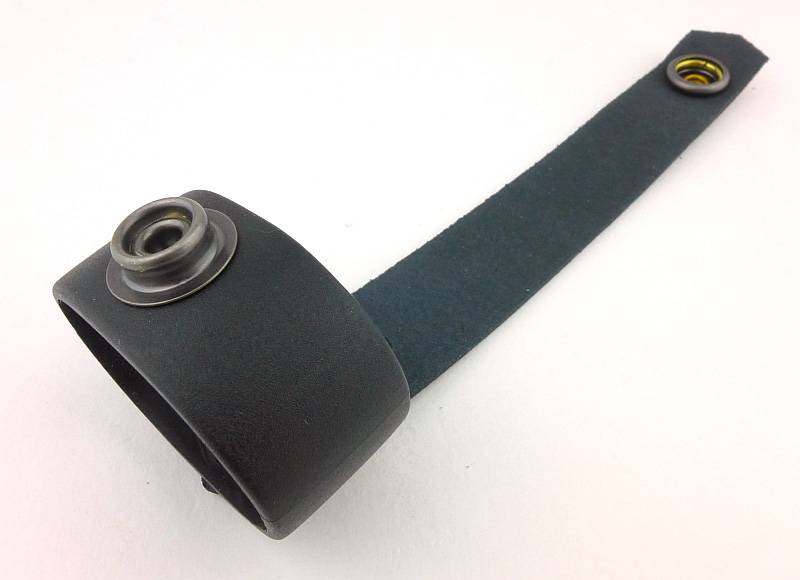
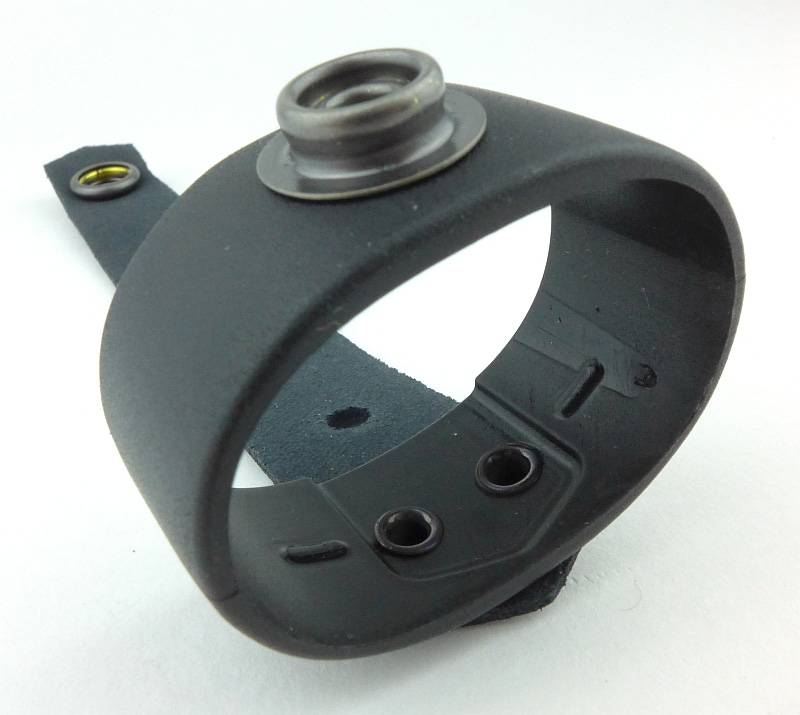
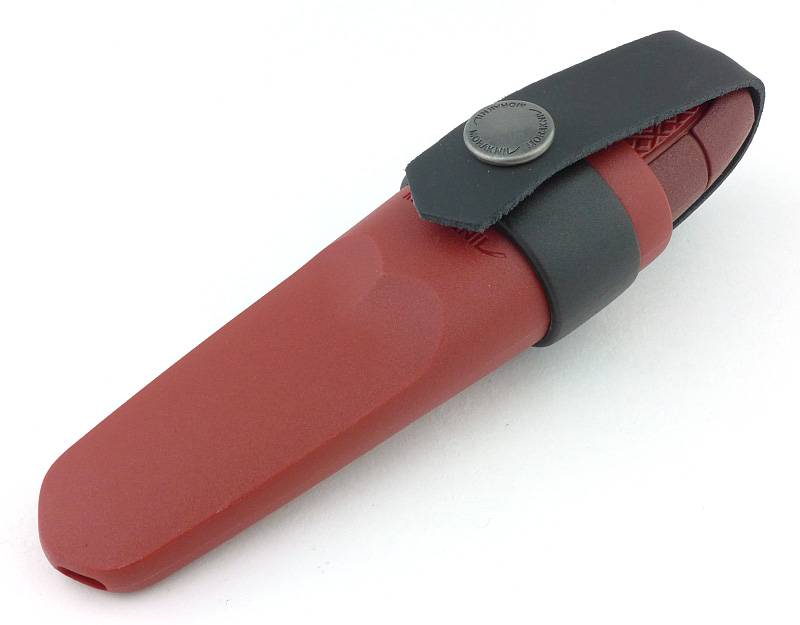
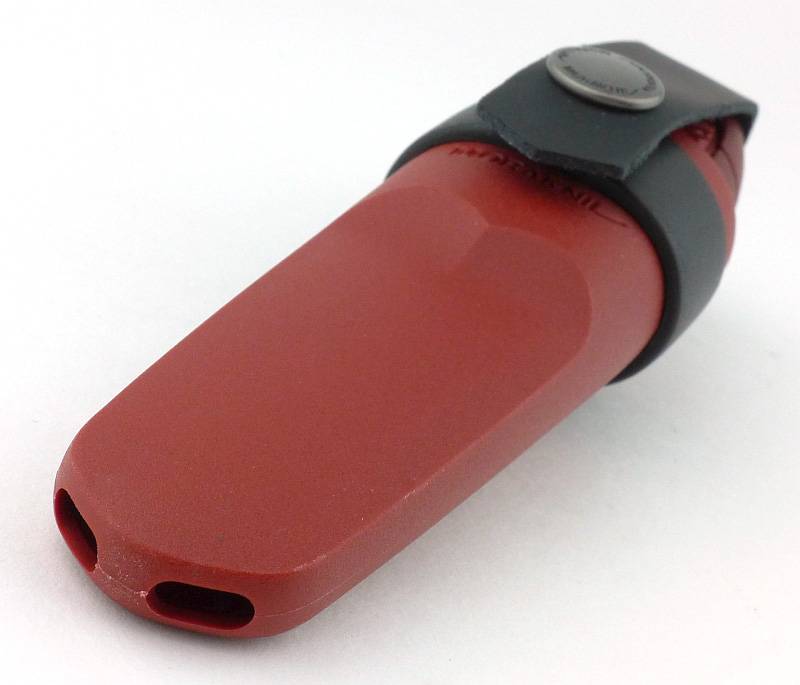
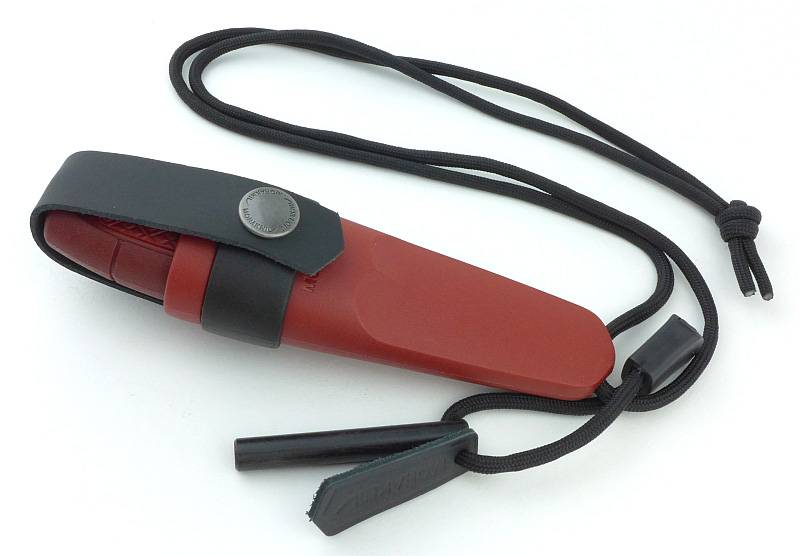
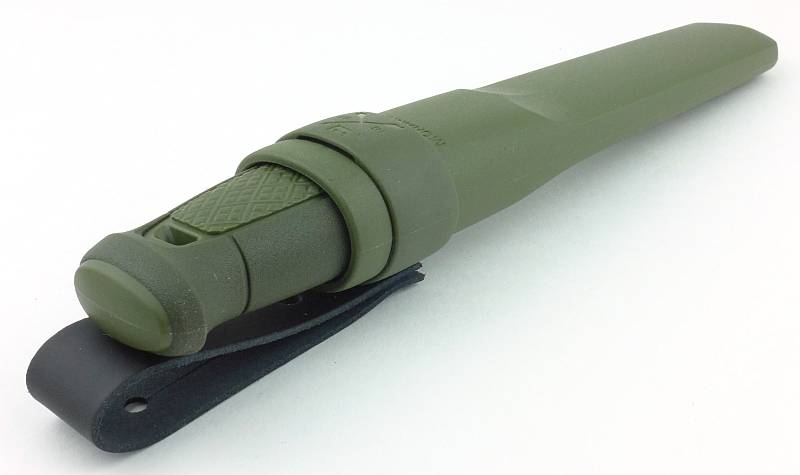
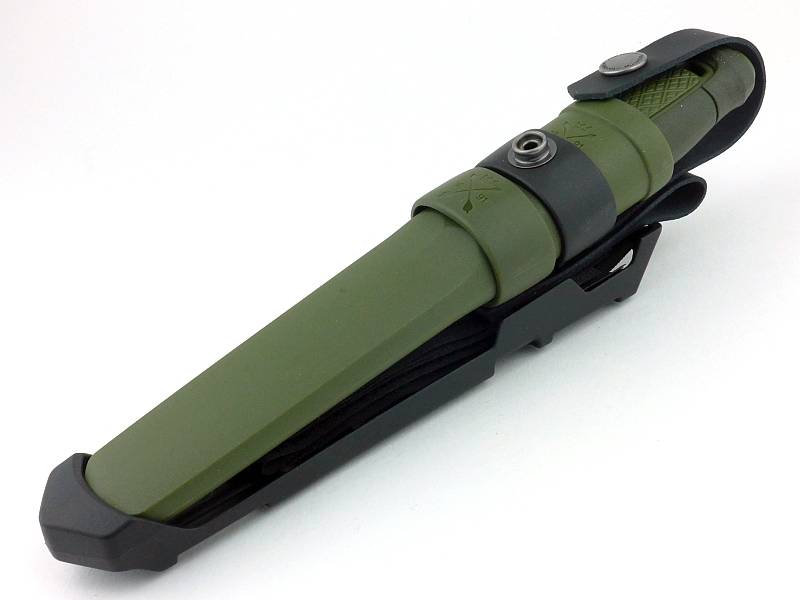
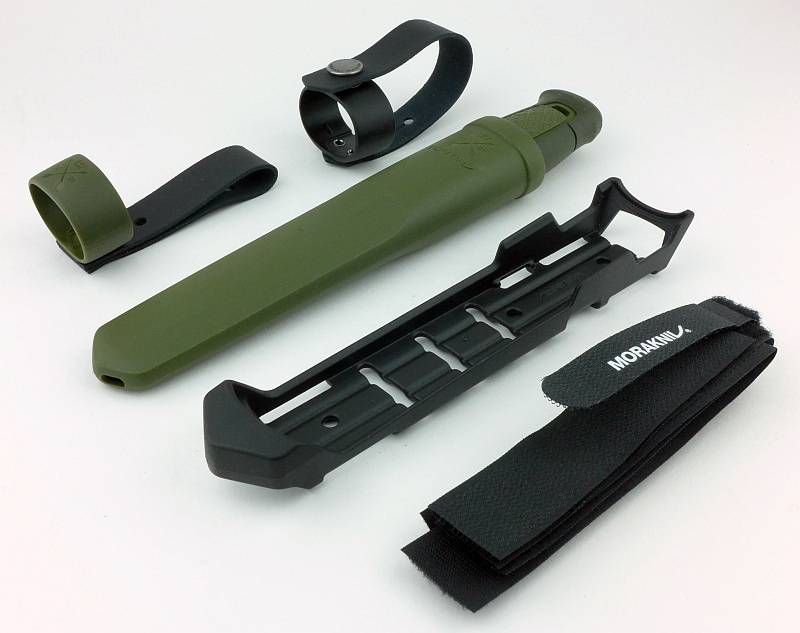
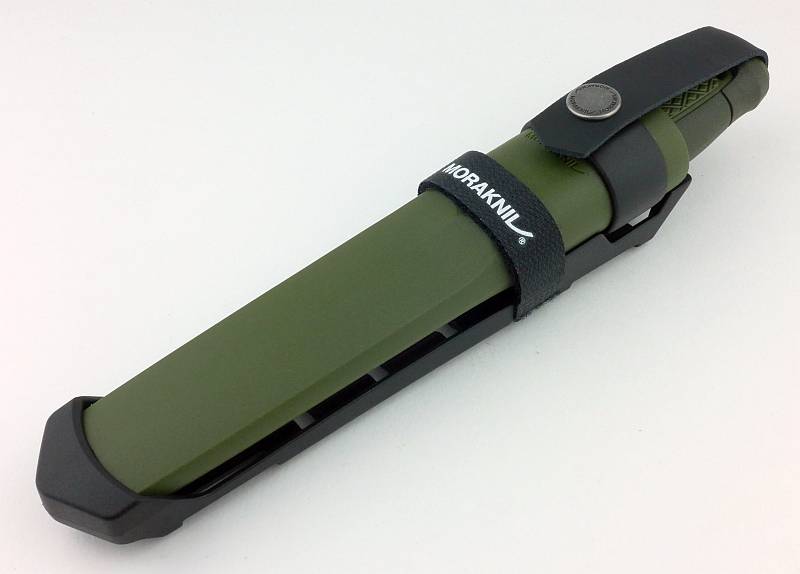
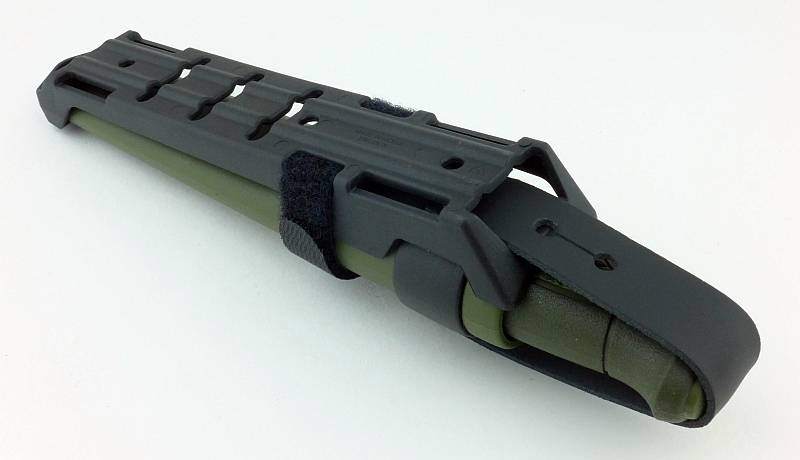
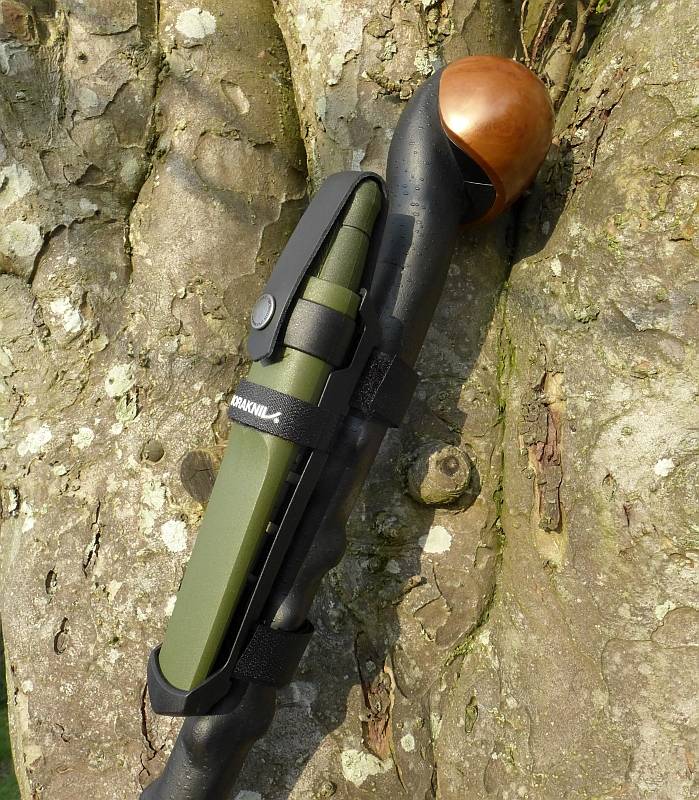
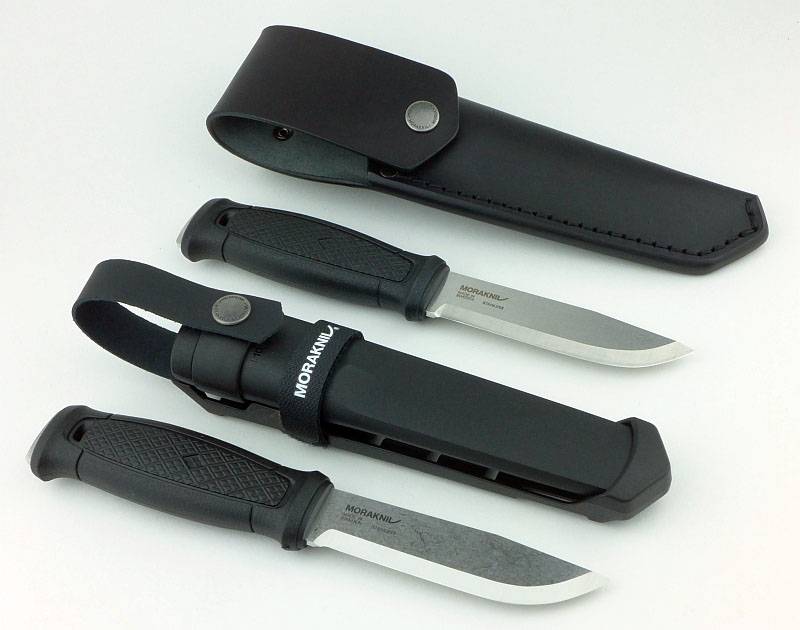
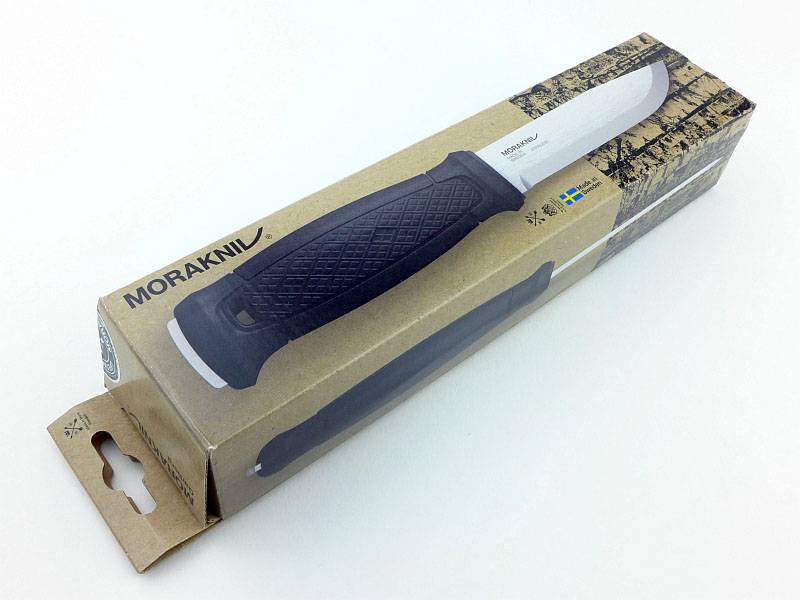
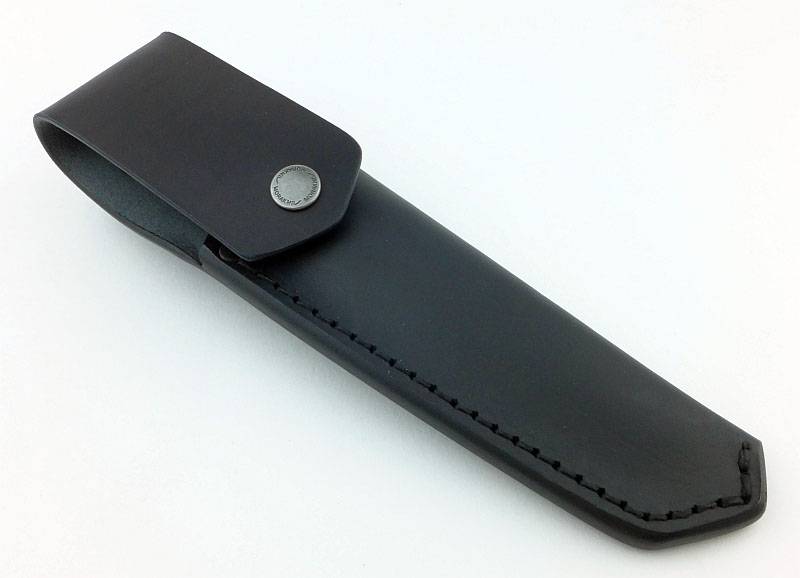
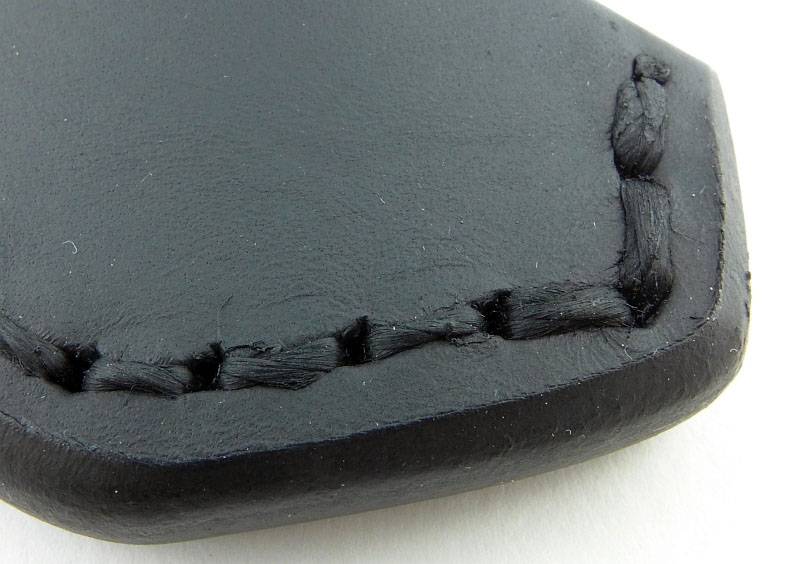
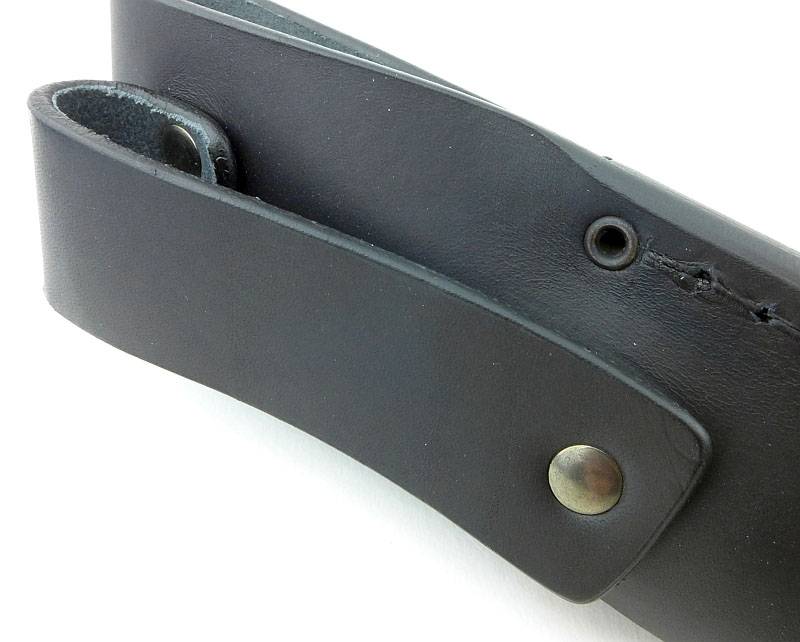
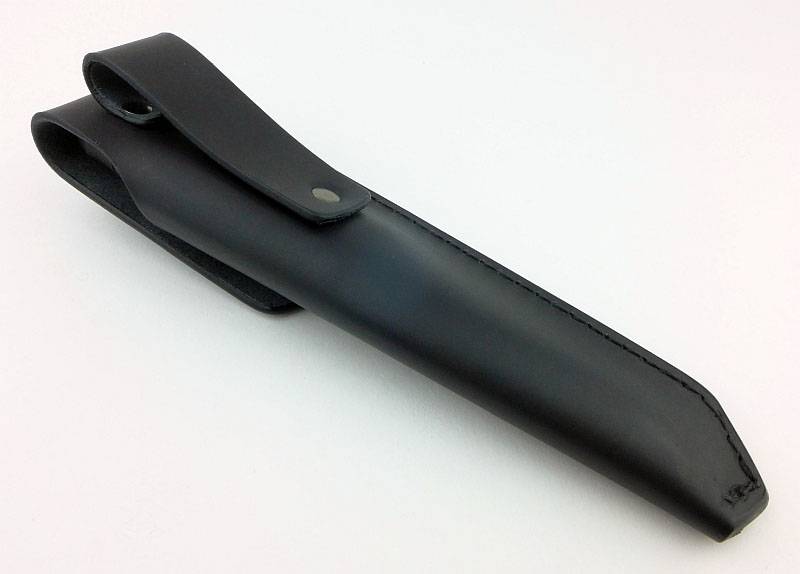
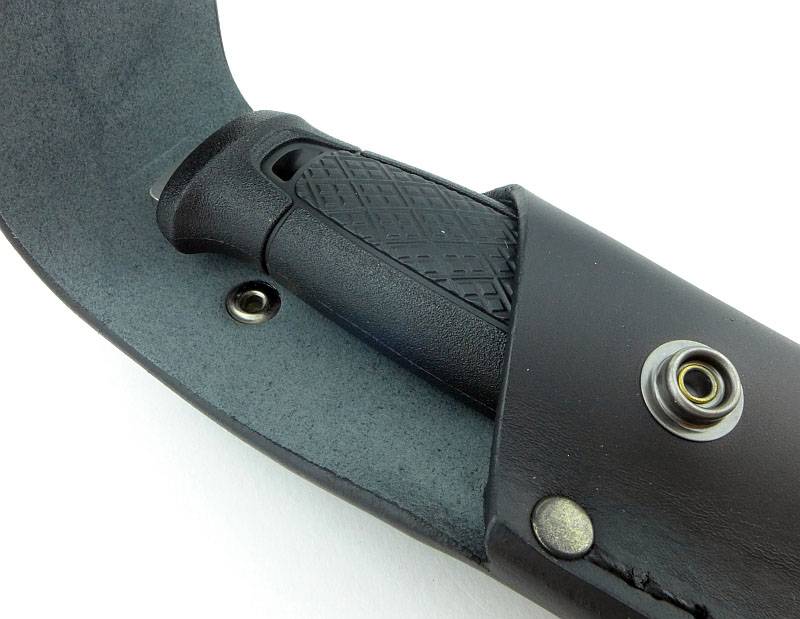
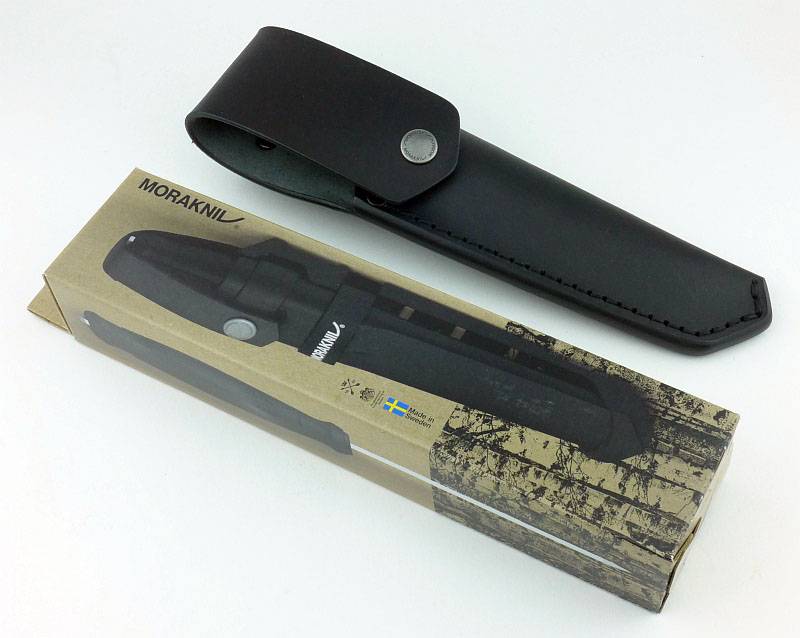
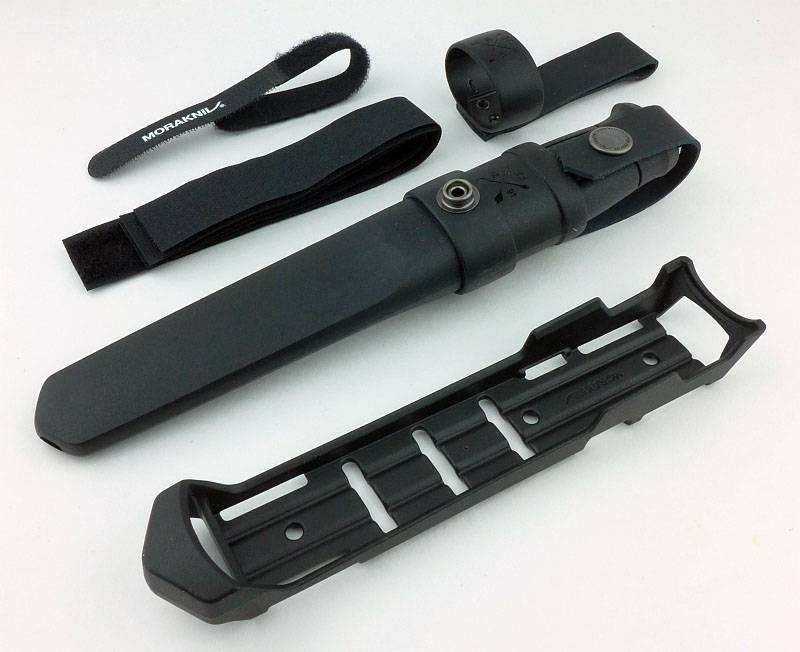
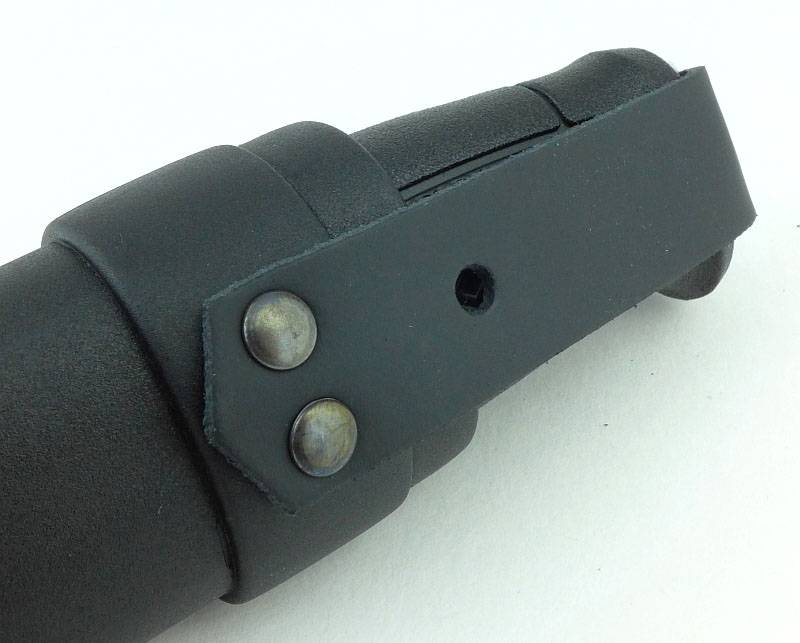
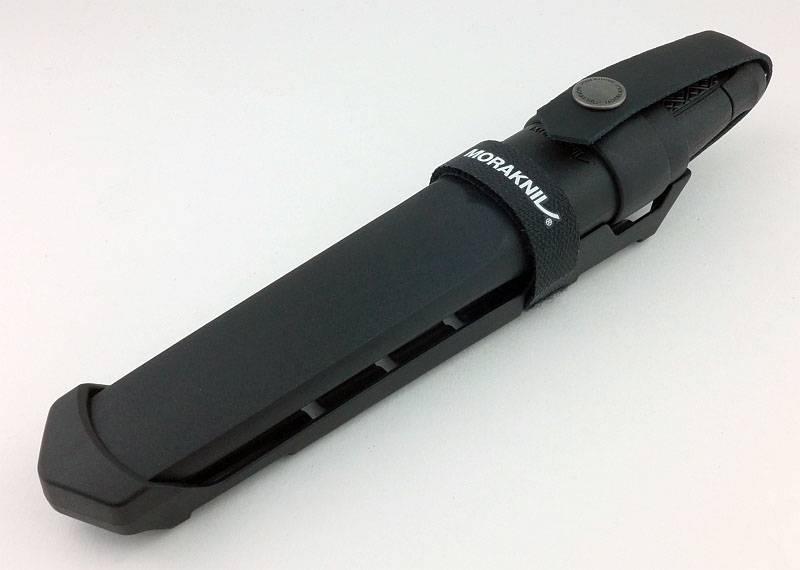
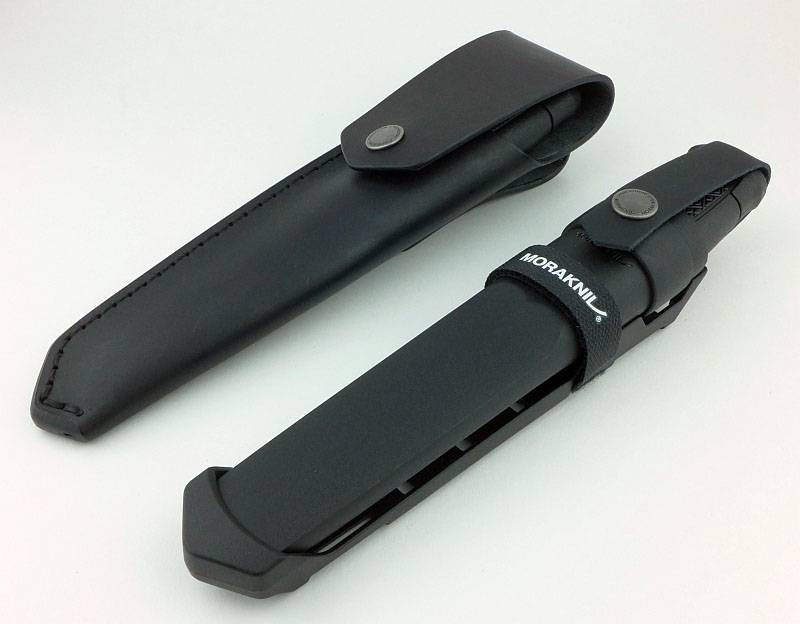
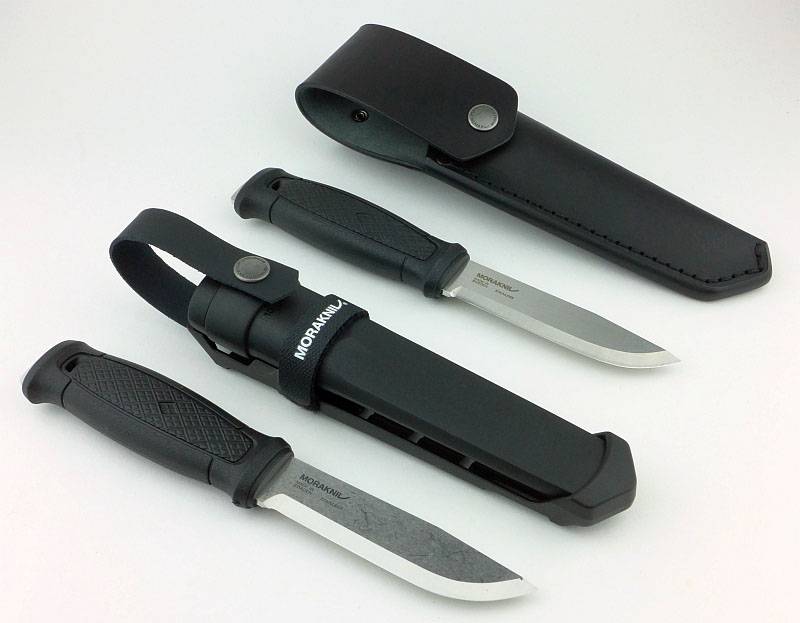
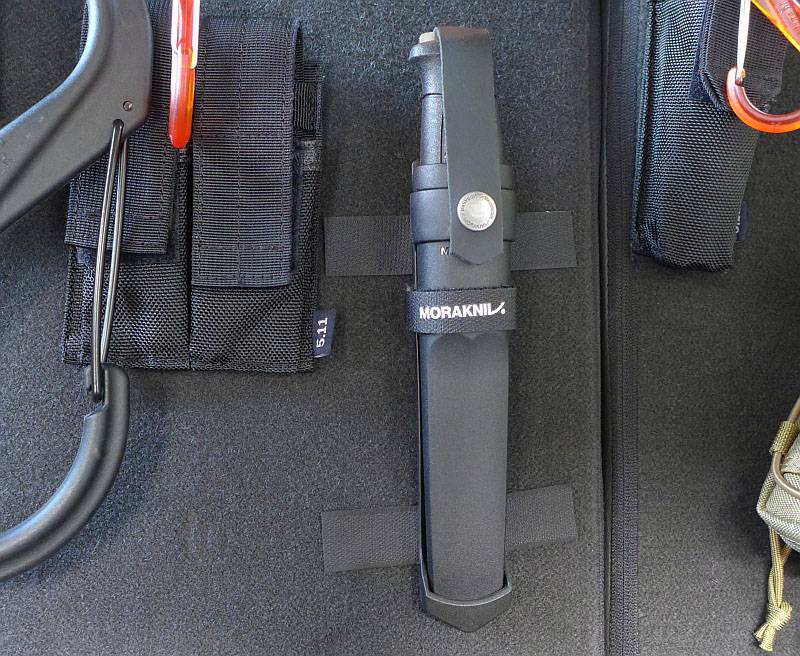
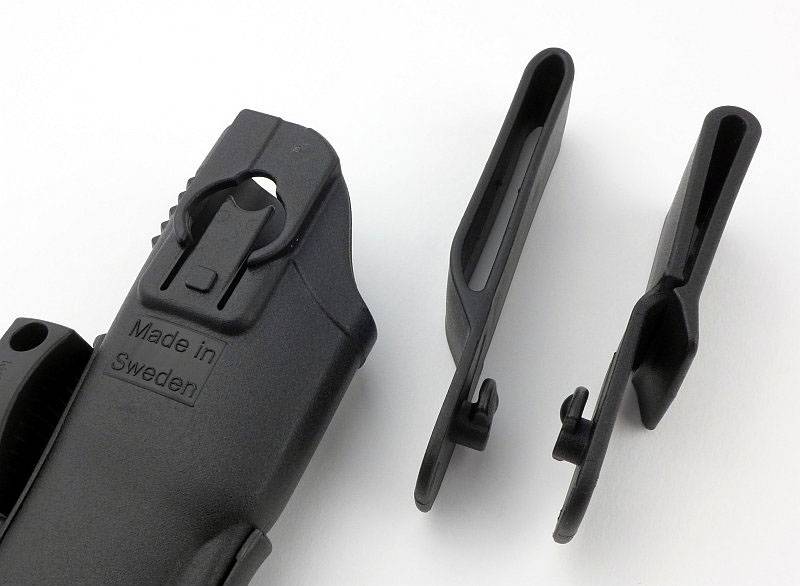
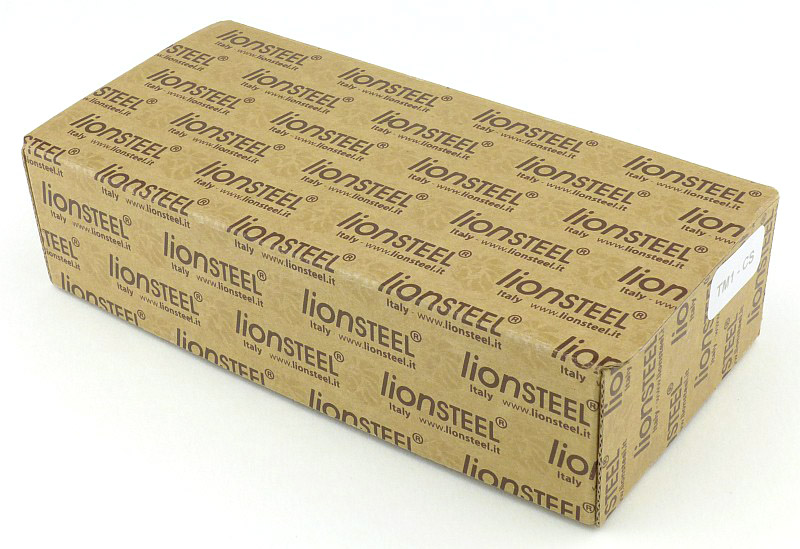
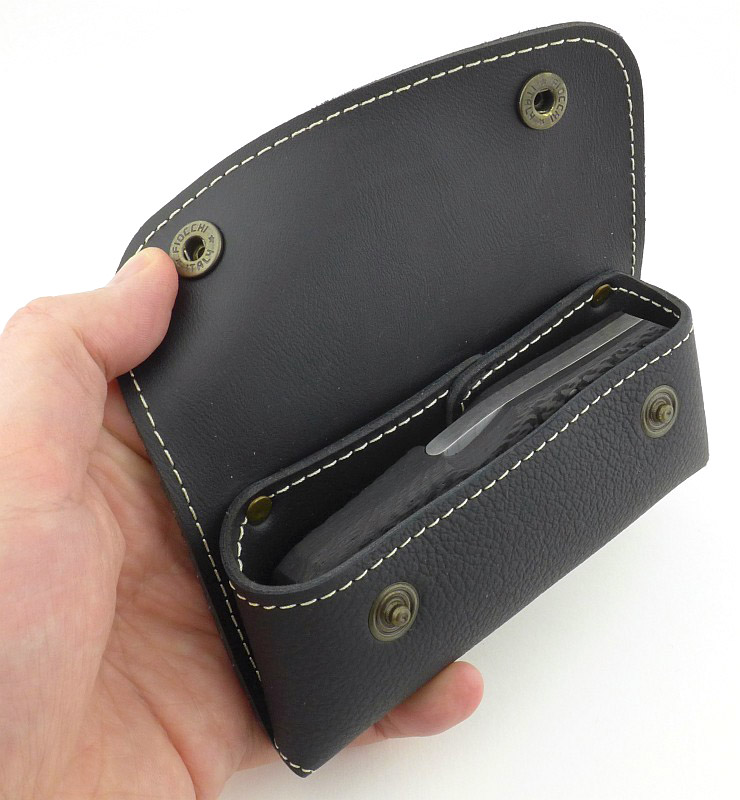
The TM1 comes in a familiar Lionsteel cardboard box. Inside the box, the TM1 is in a pouch / carry case which can slide onto a belt as a horizontal pouch. It will only fit over a slim 1″ belt and this might be a happy accident rather than an intended design feature.


.")
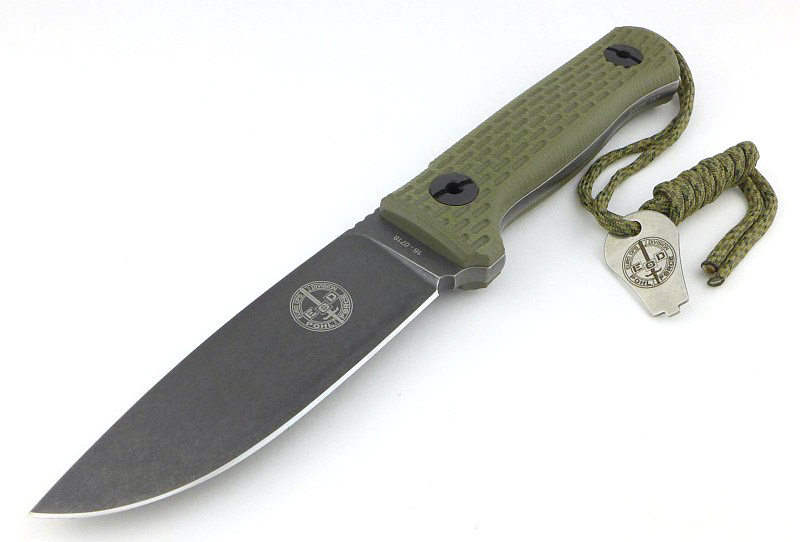
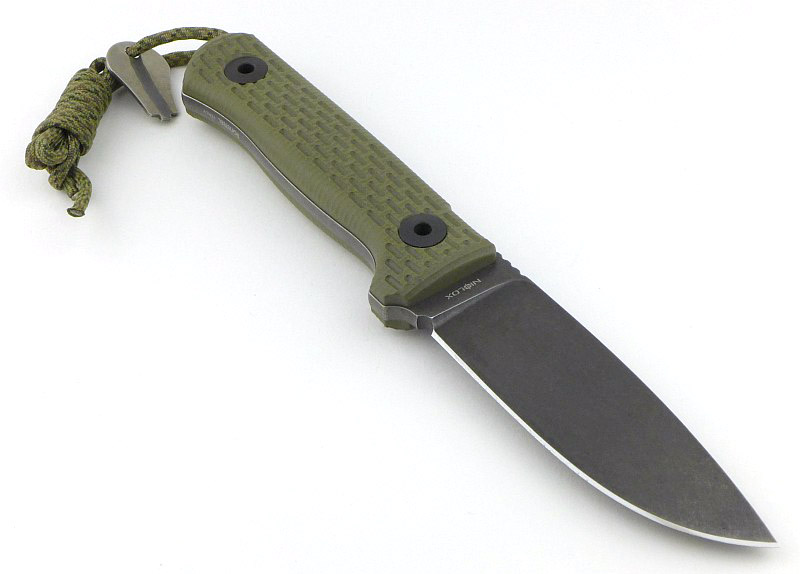
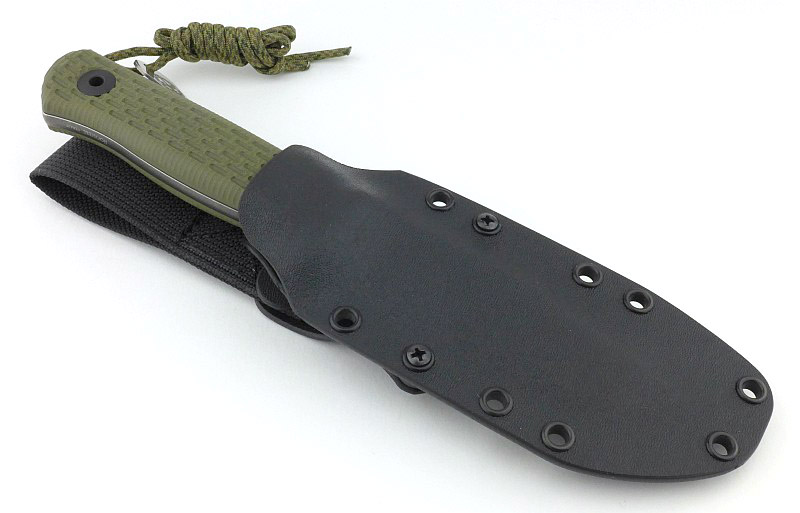
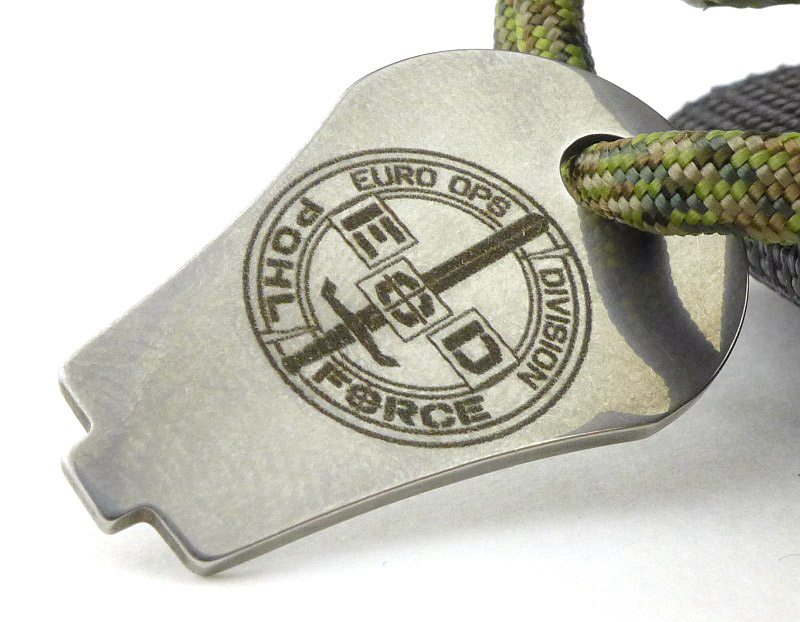
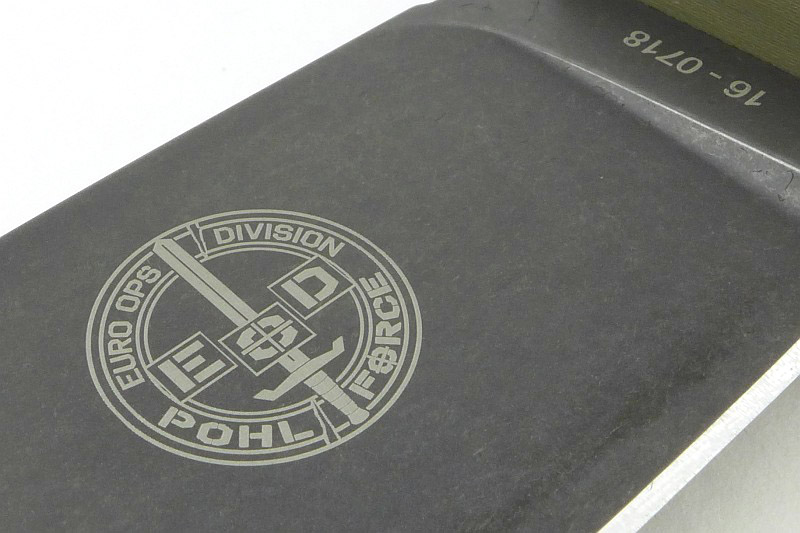
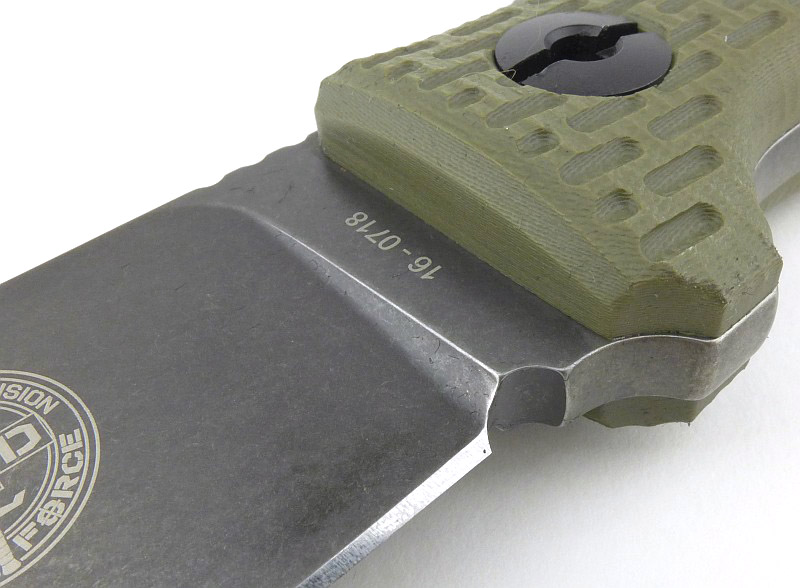
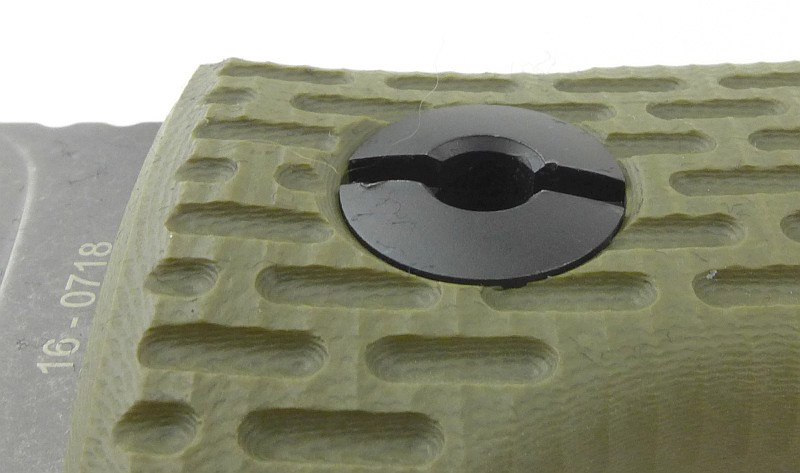
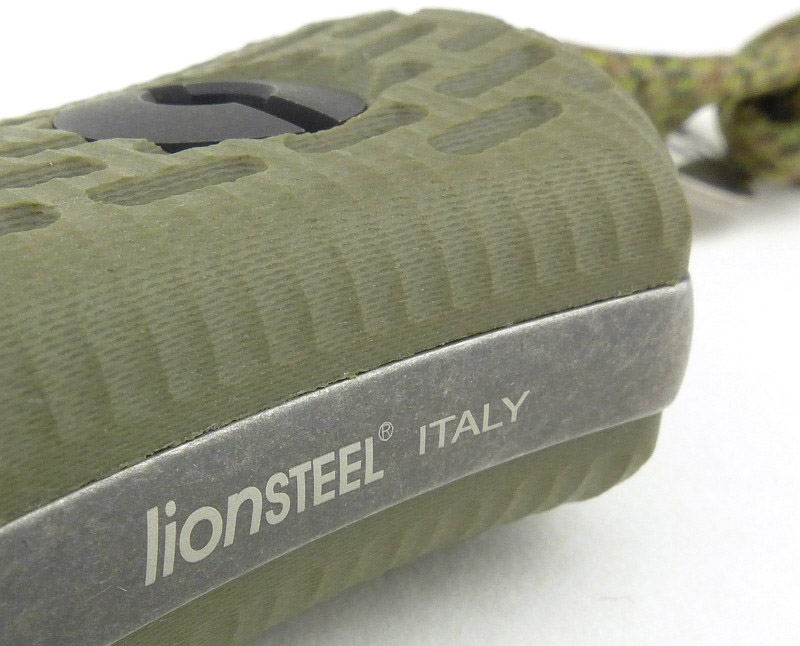
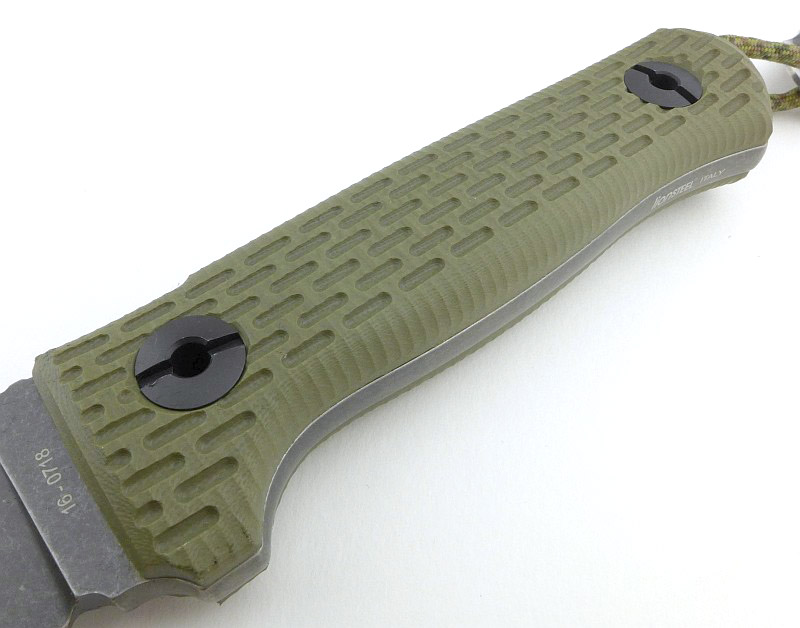
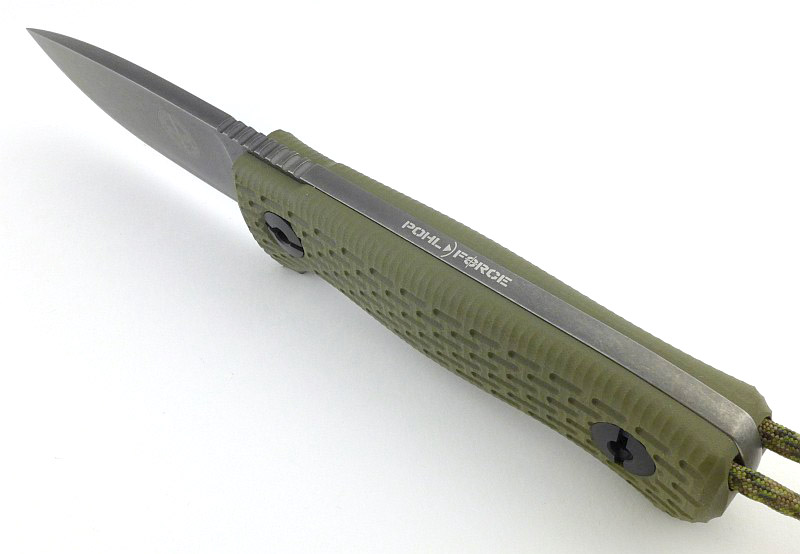
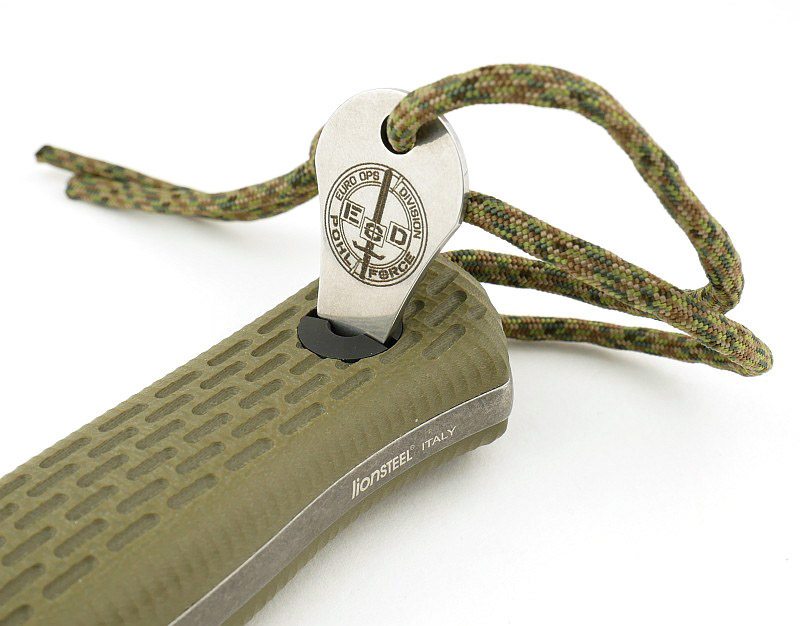
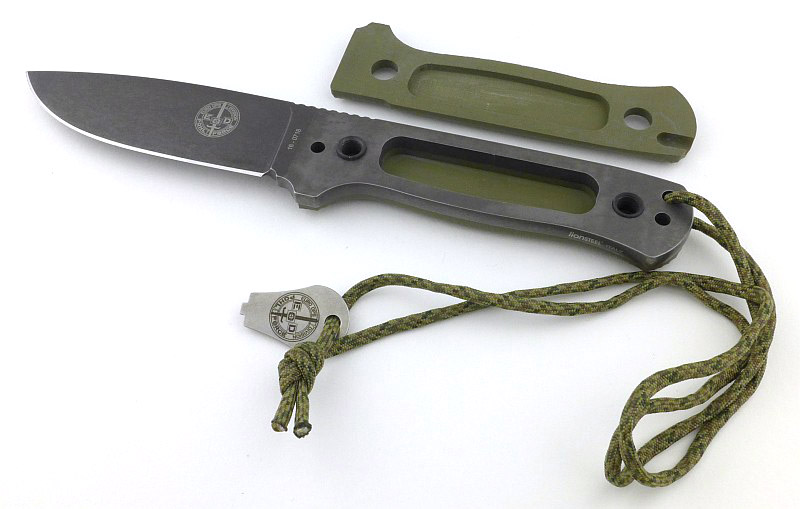
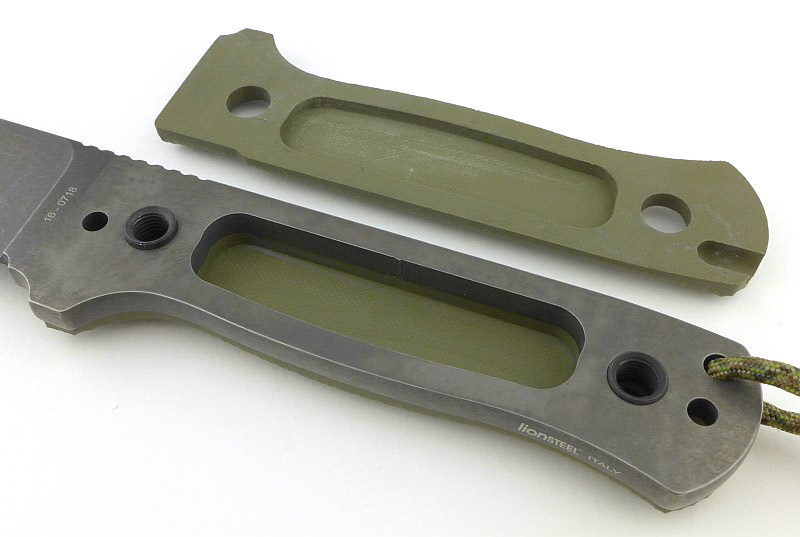
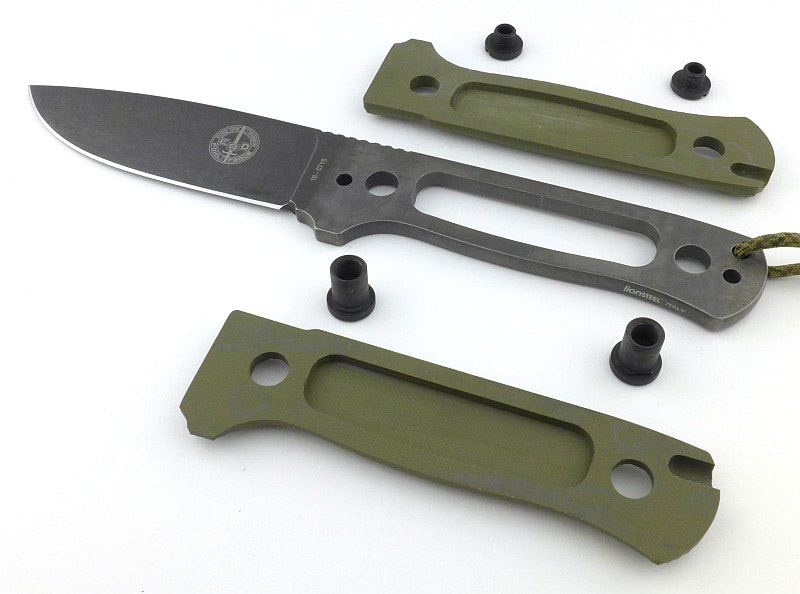
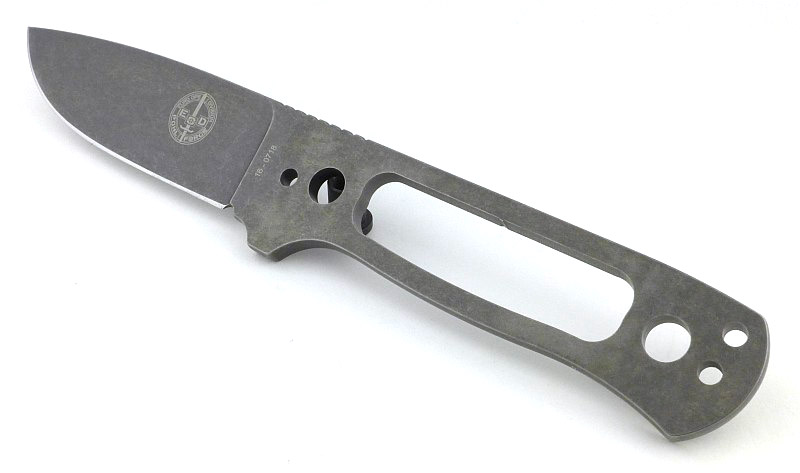
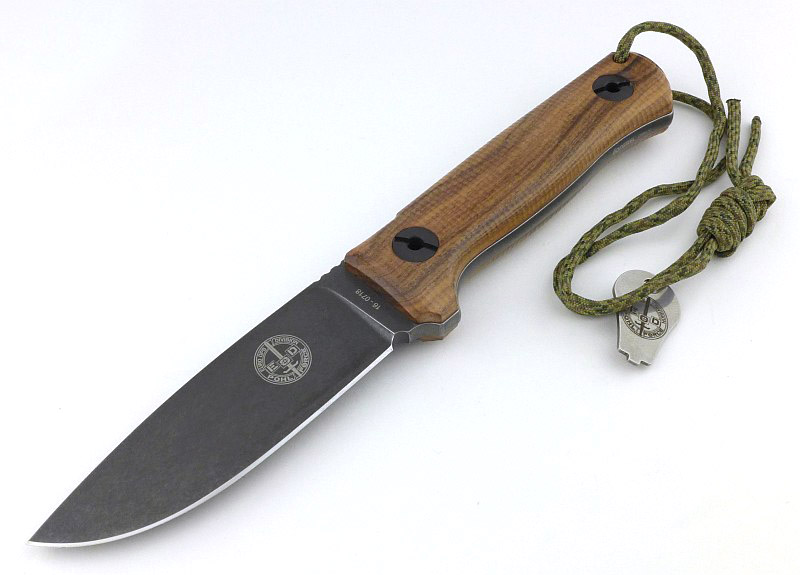
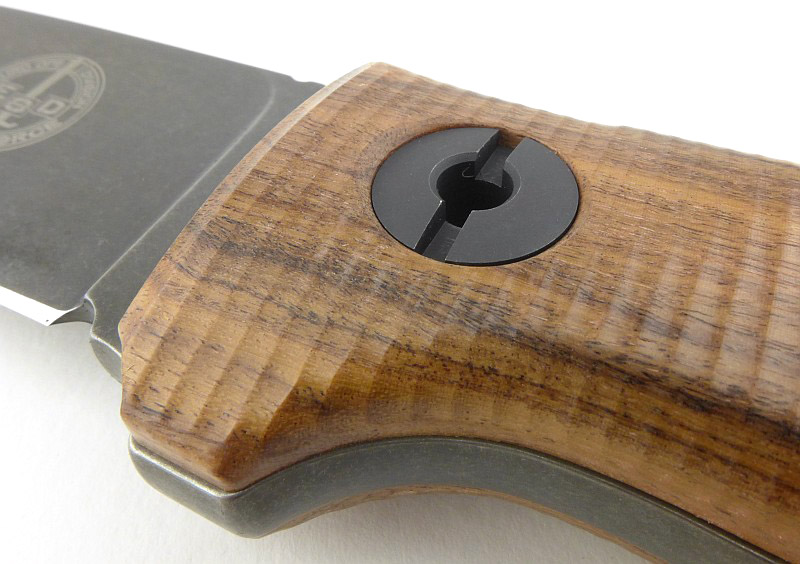
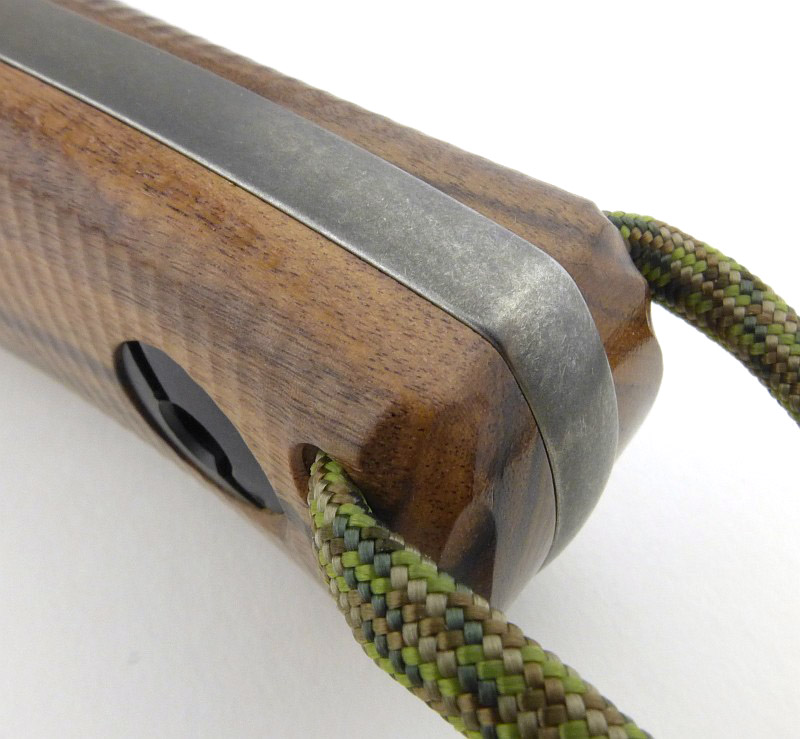
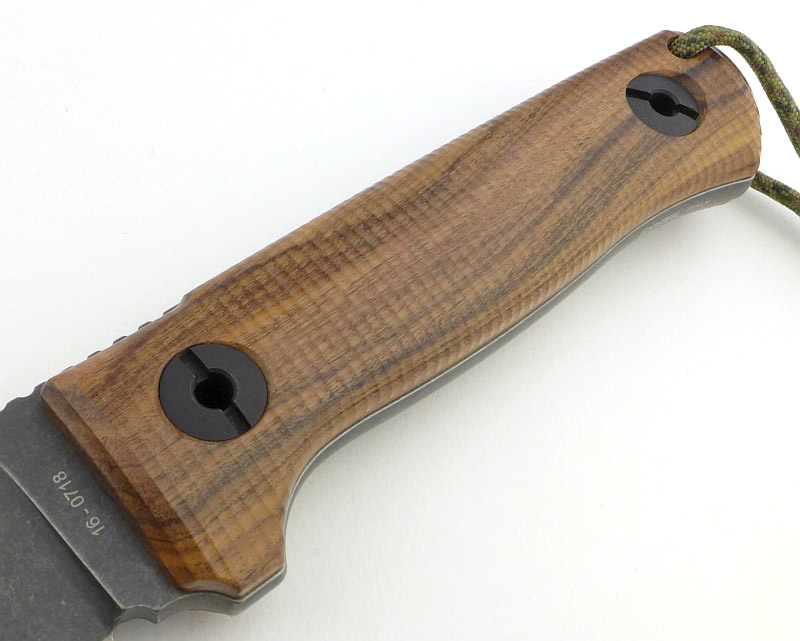
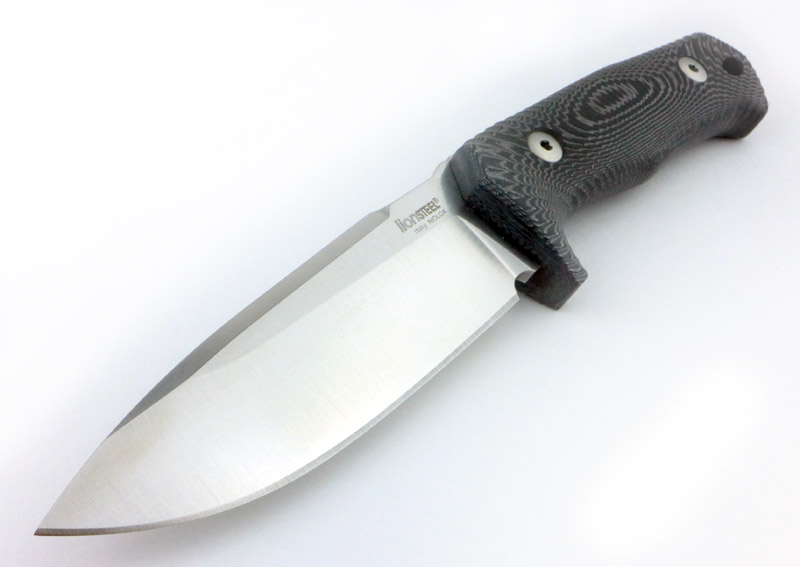
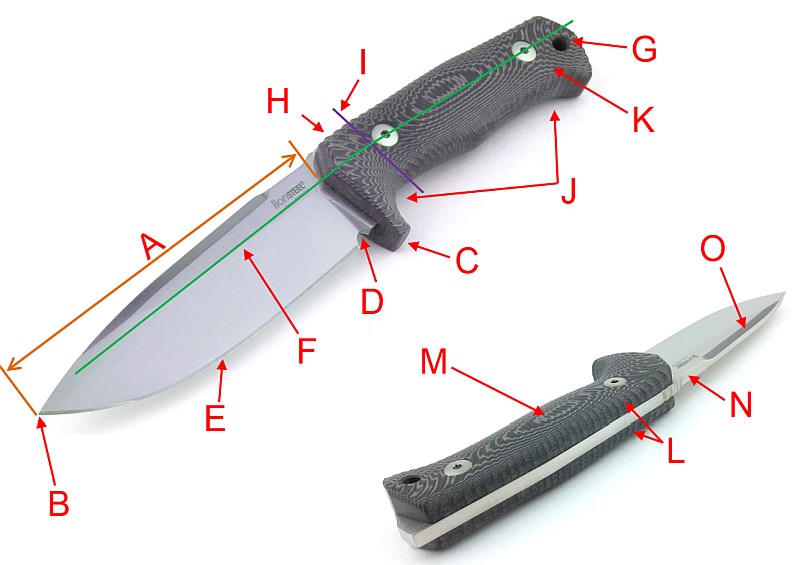
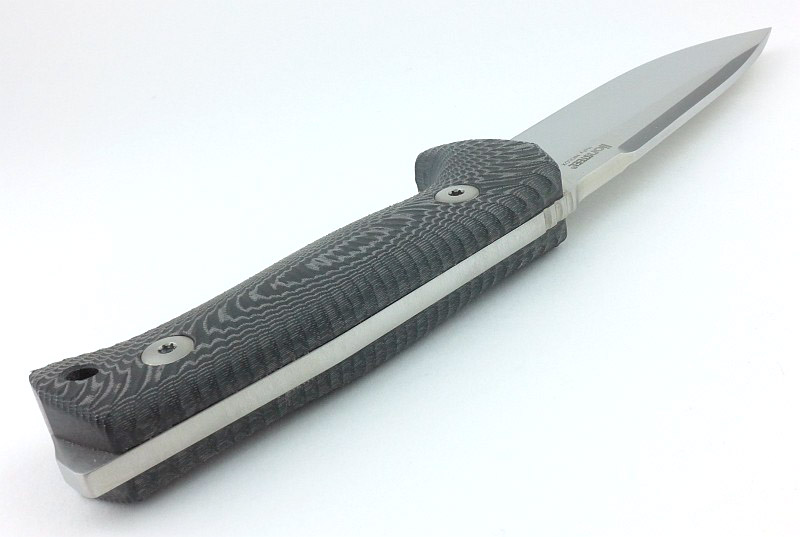
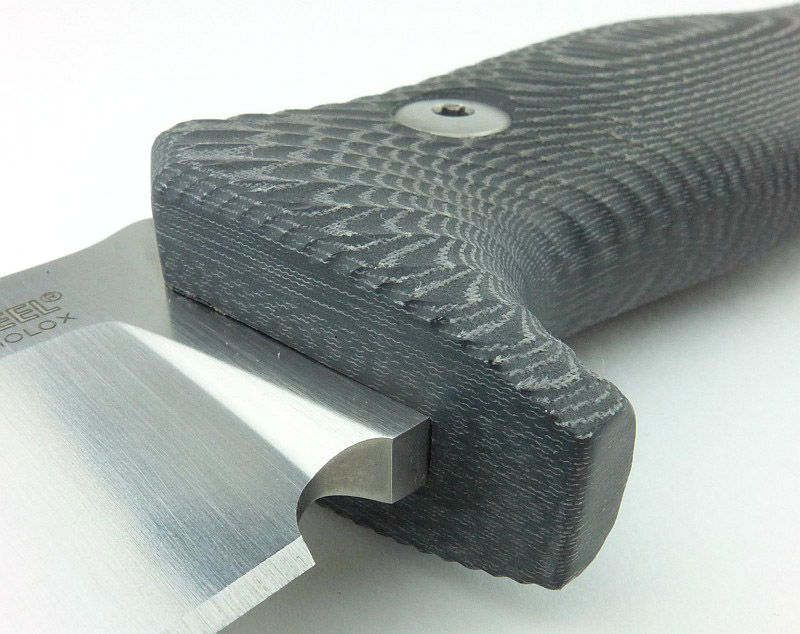
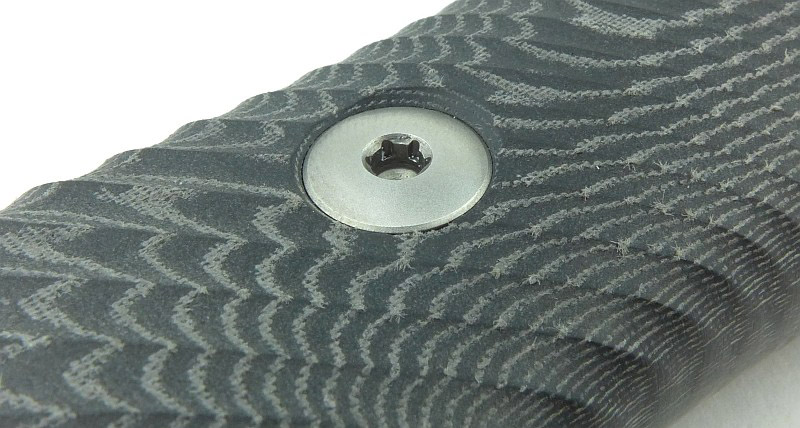
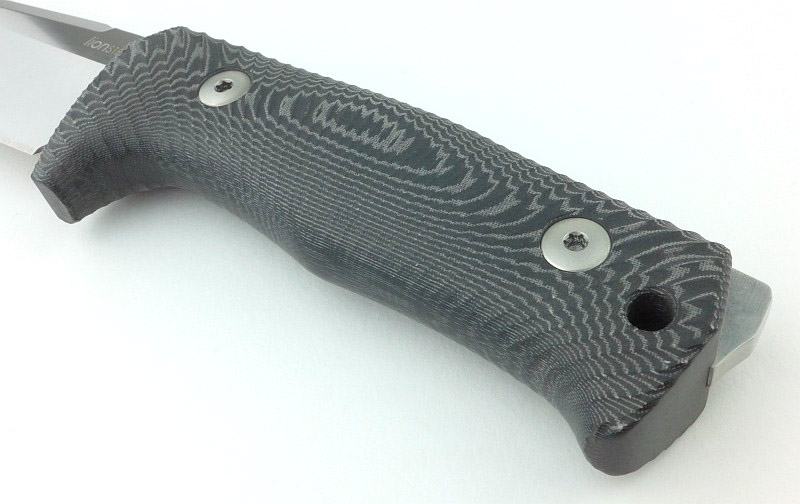
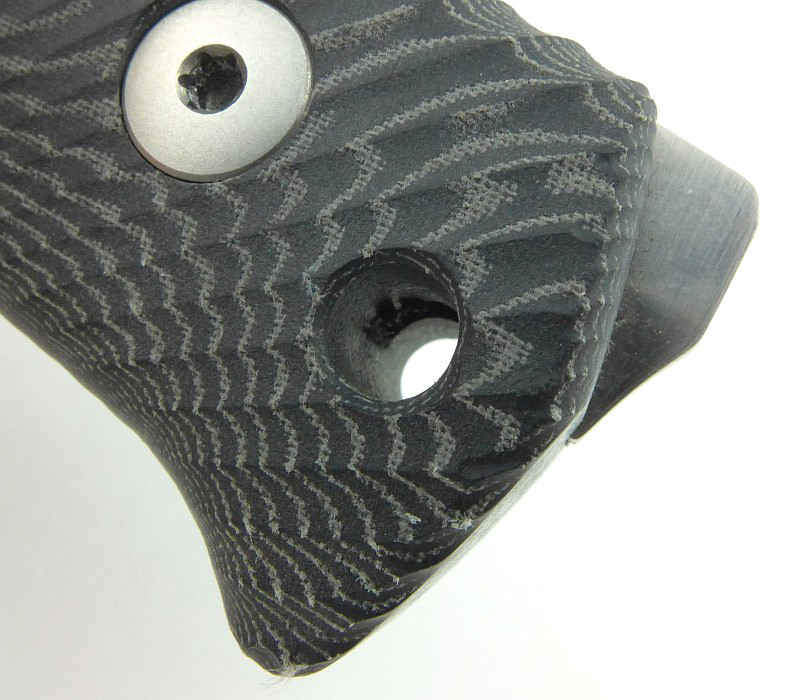
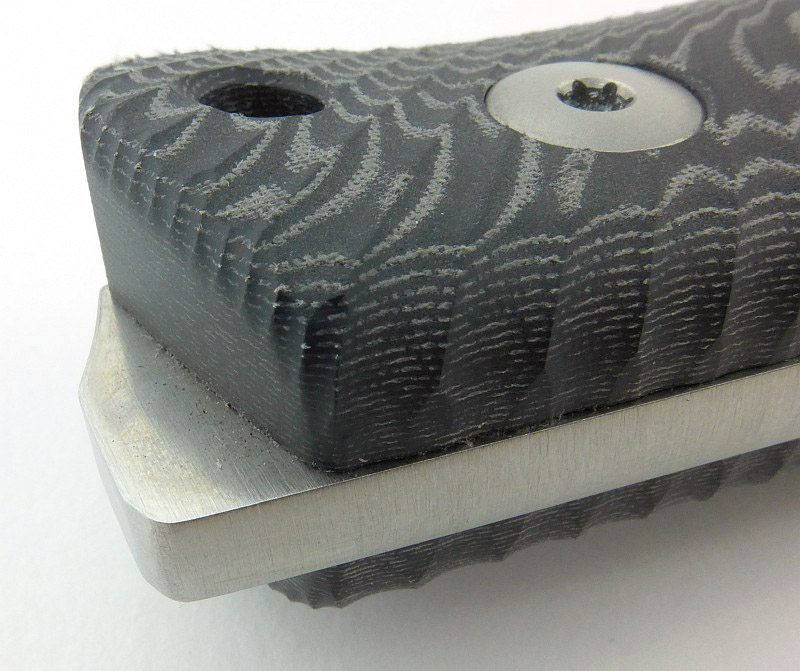
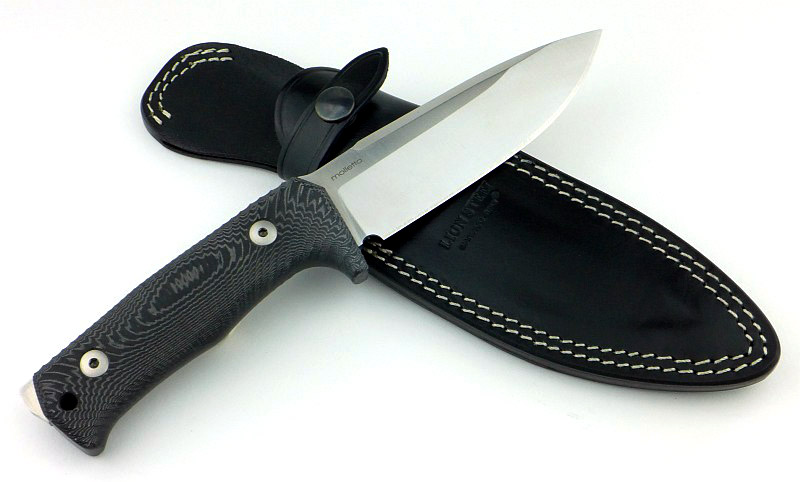
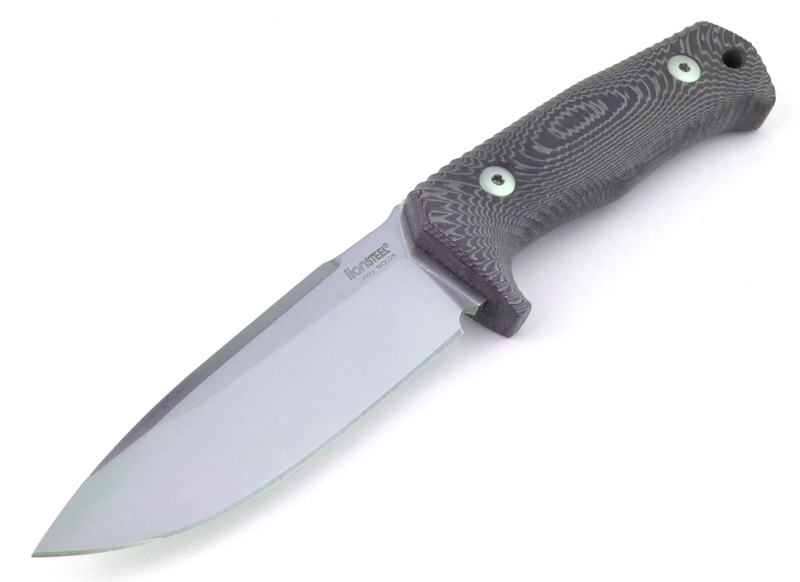
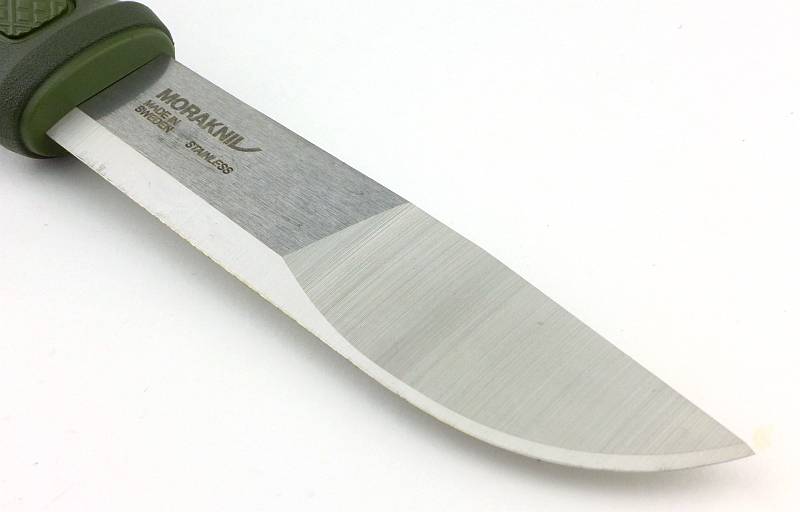
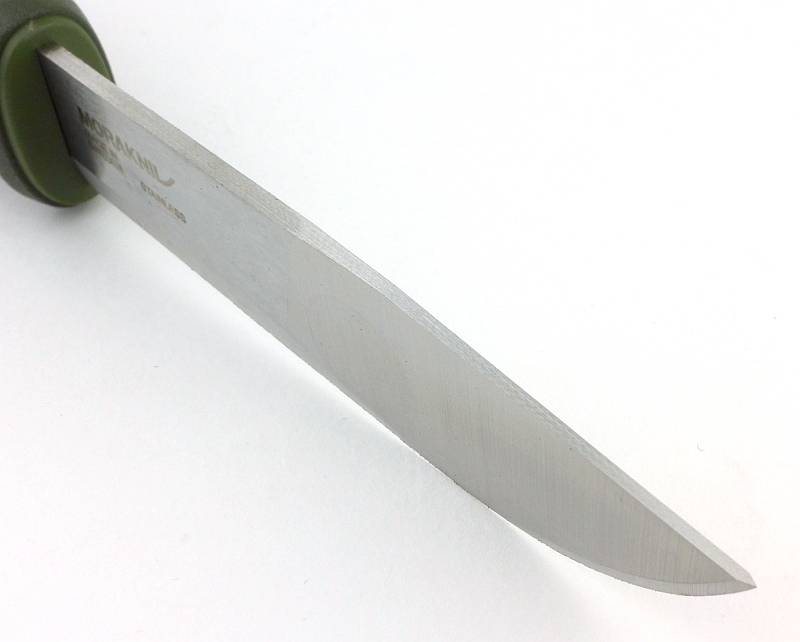
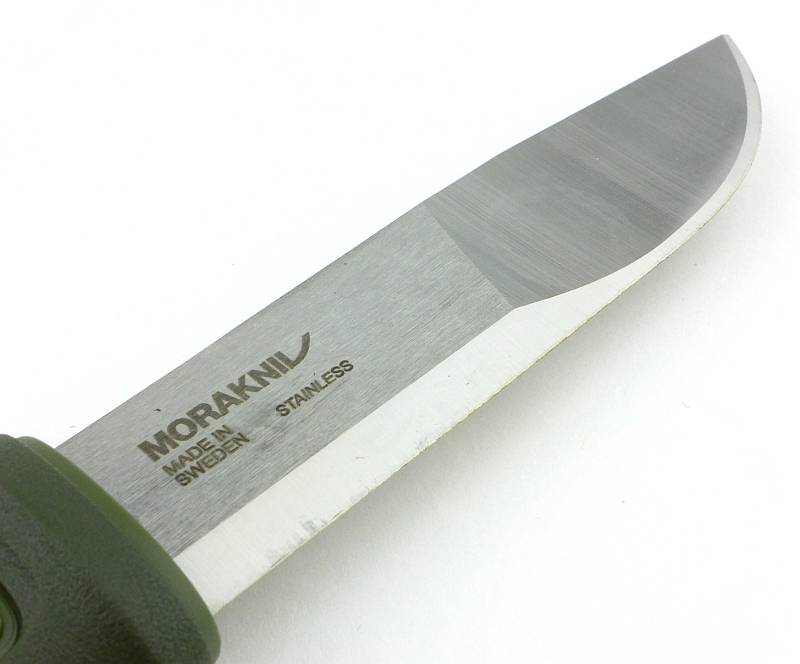
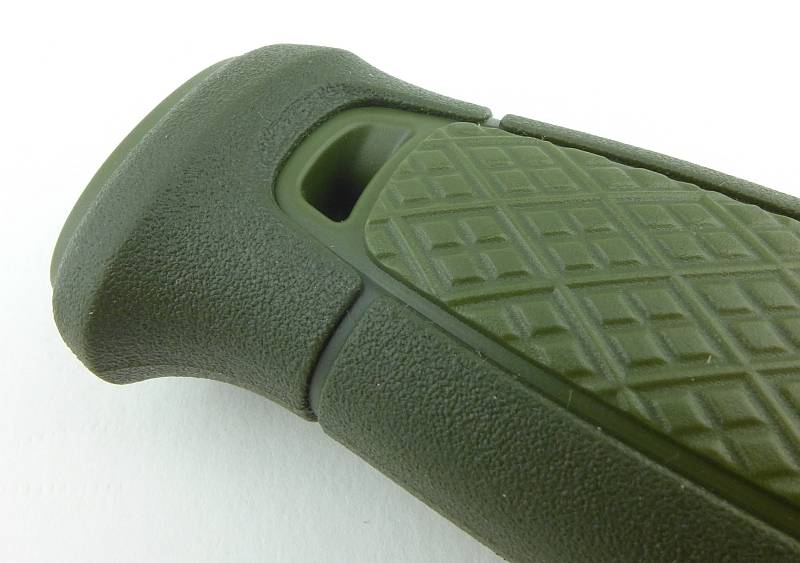
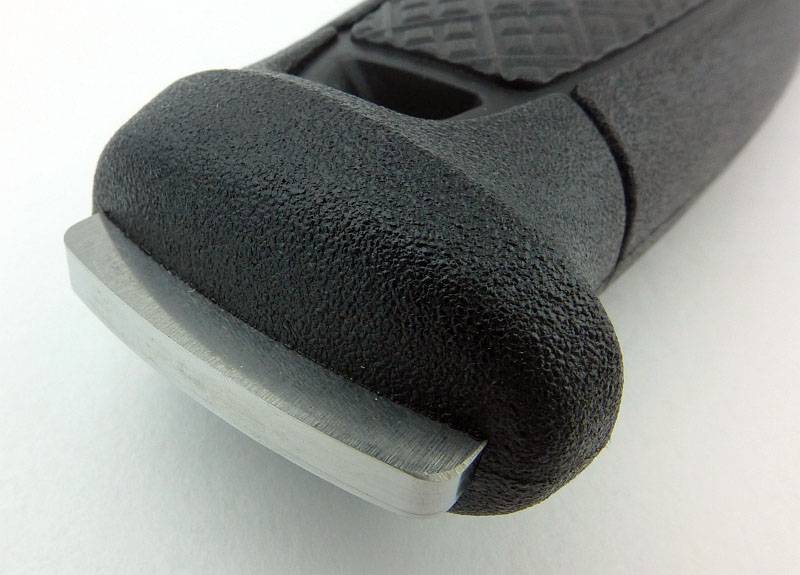
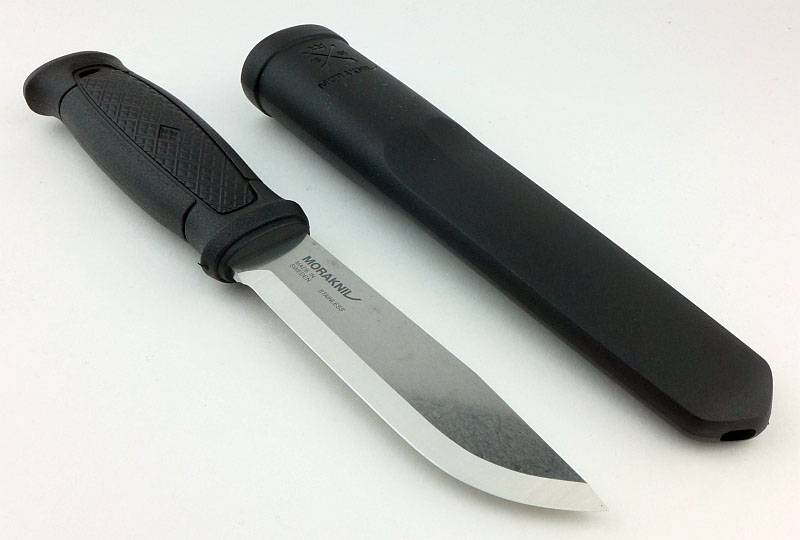
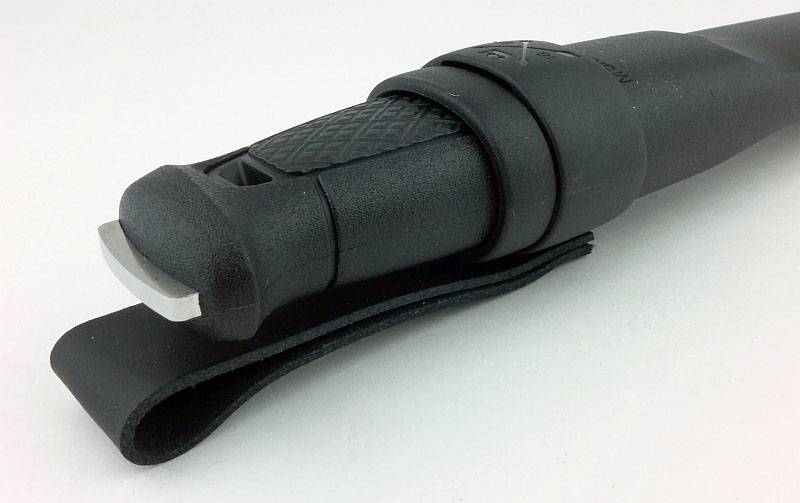
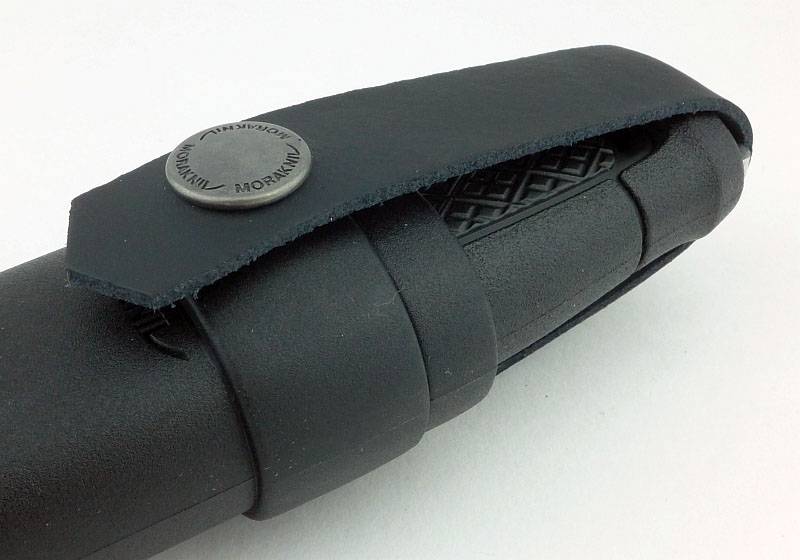
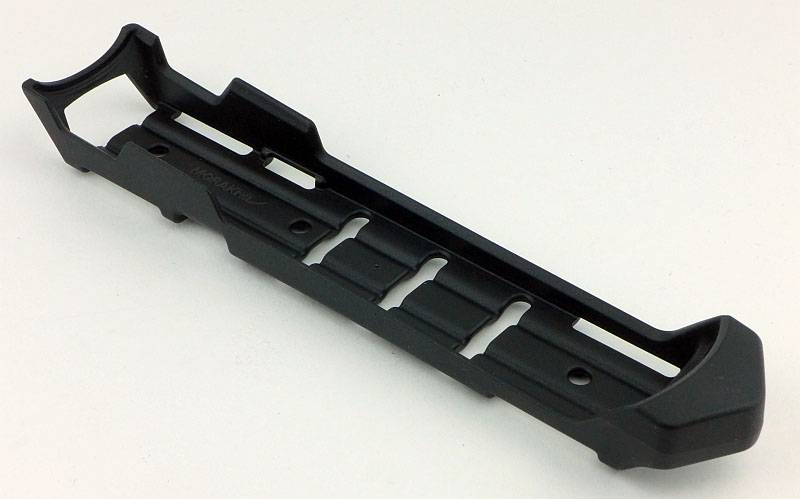
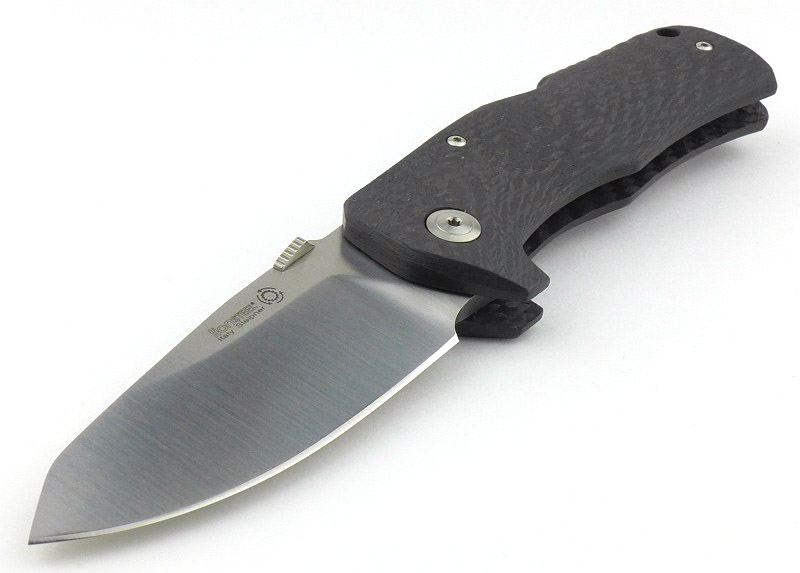
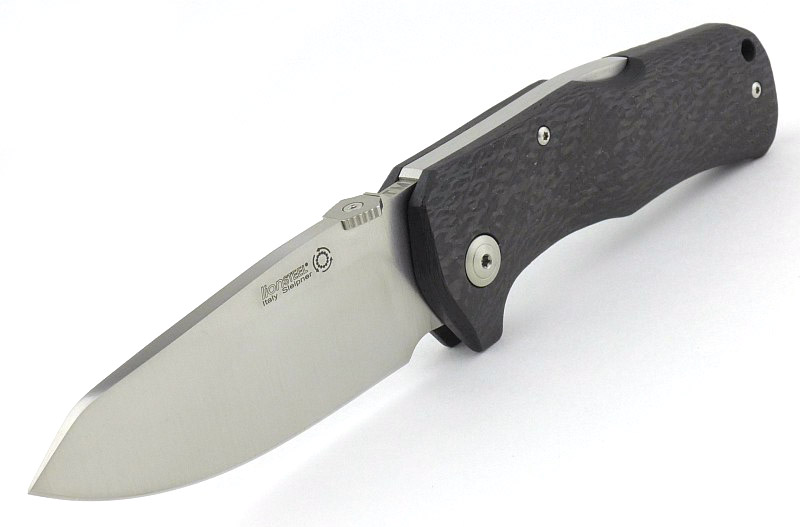
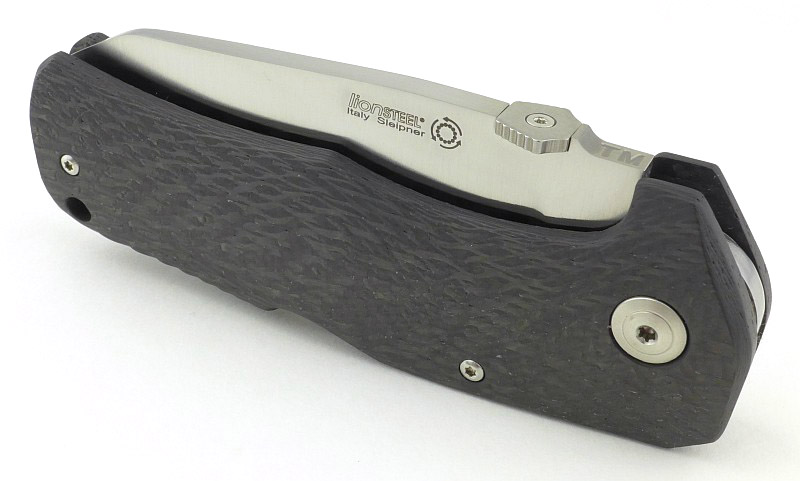
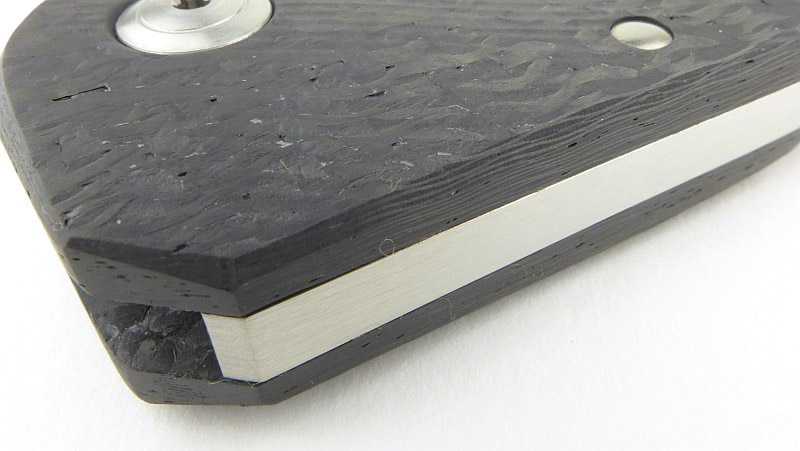
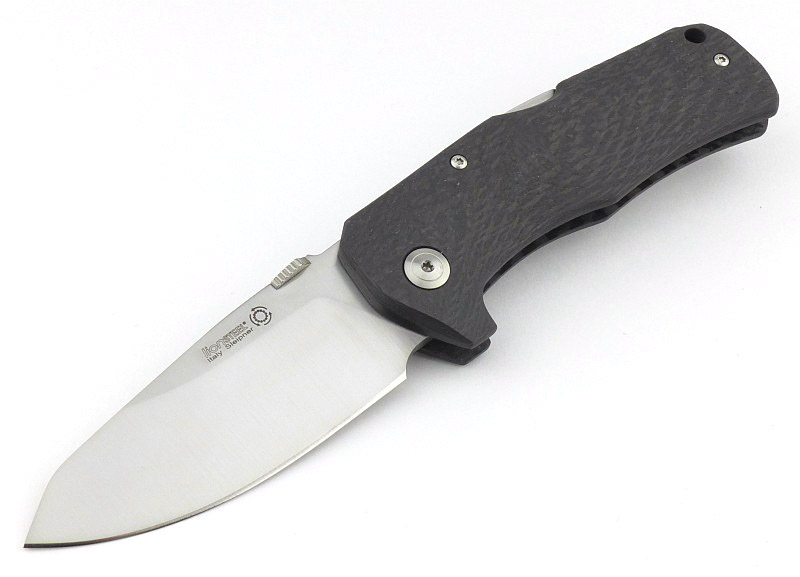
A good look round the Lionsteel TM1 CF – Things to look out for here are:
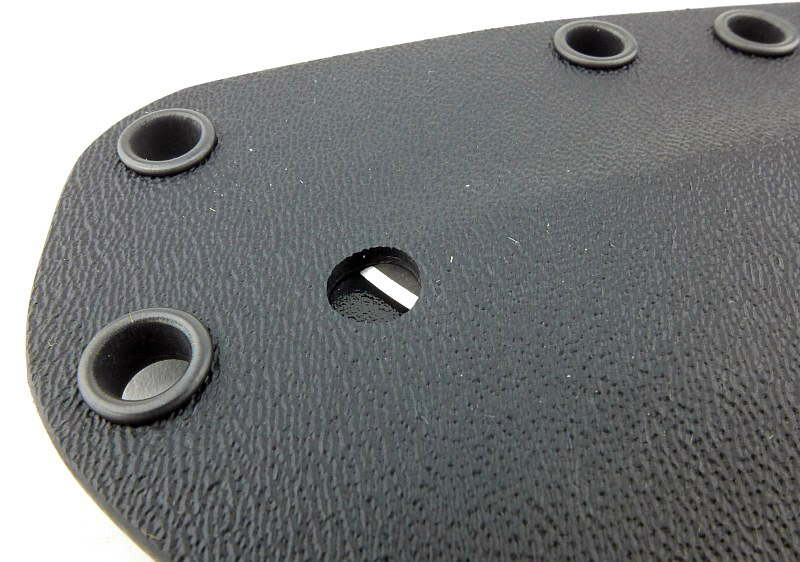
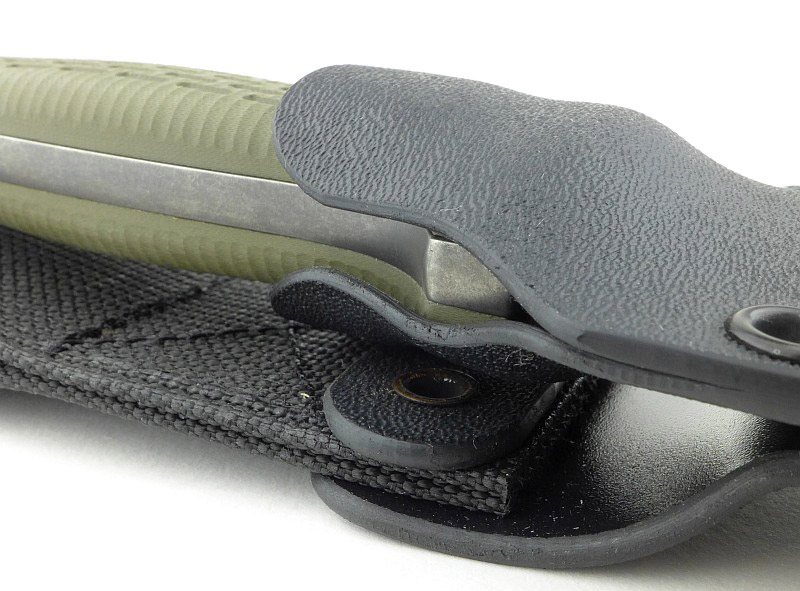
The key images have captions; there is a lot to see on the TM1, so keep an eye out for the handle contouring, clip and glass breaker, ramped thumb opener, crisp finish and other design details.


Explained by the Maker:
The reasons for certain design choices may not be clear when simply looking at an object, so this section is intended to give an insight into the thinking behind a design by speaking to the designer themselves.
I had the good fortune to be able to consult Mik Molletta about this knife. The following images were discussion points that will be referred to.


Mik is a prolific designer and the TM1 was one of his own projects that wasn’t commissioned by Lionsteel, but was then given to them.
The following paragraphs are a combination of Mik’s own words and me incorporating the questions into the description (while attempting to leave the meaning unchanged).
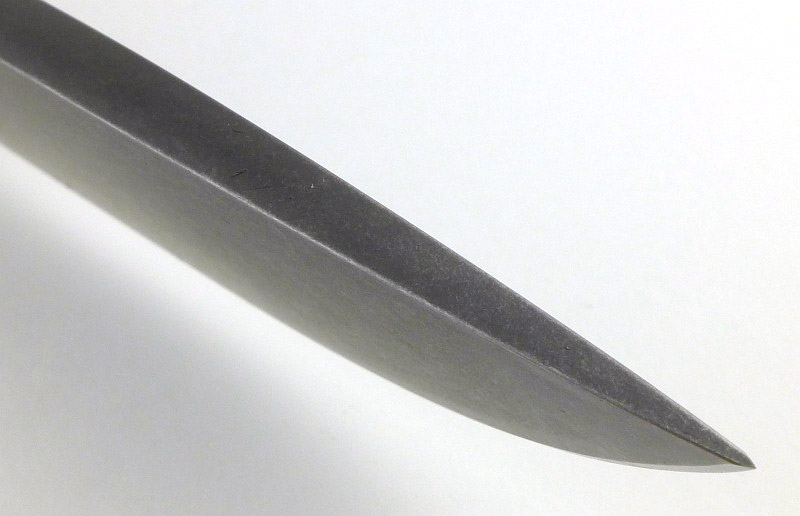
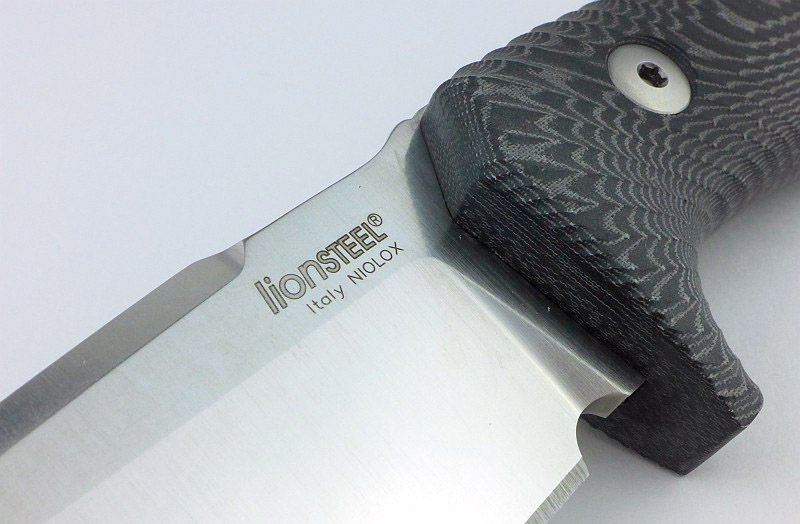
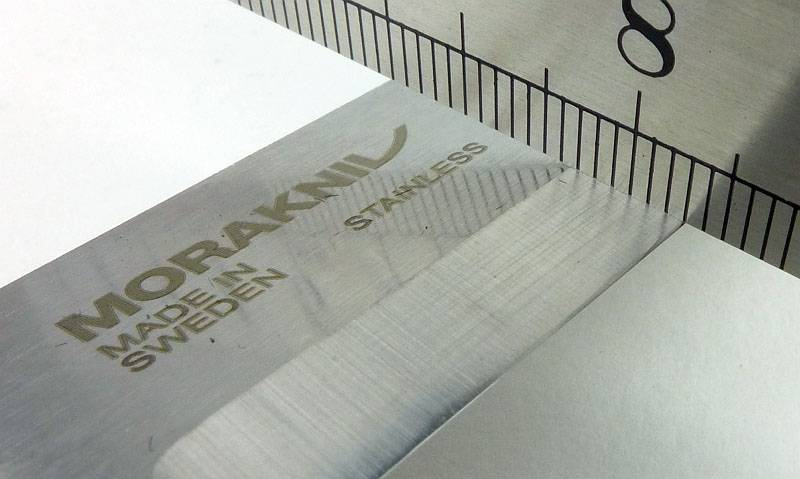
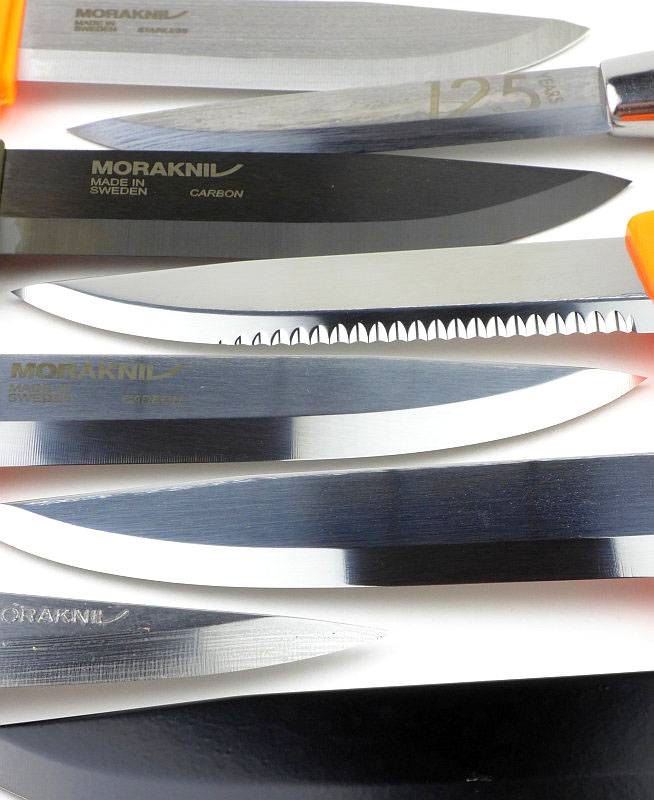
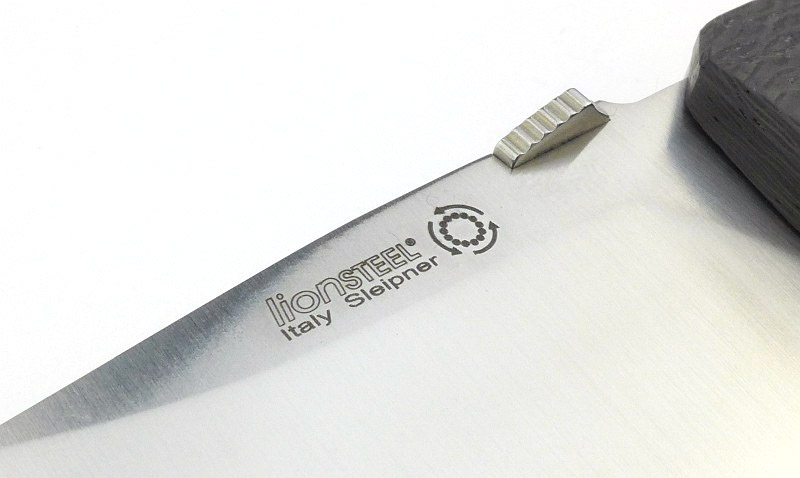
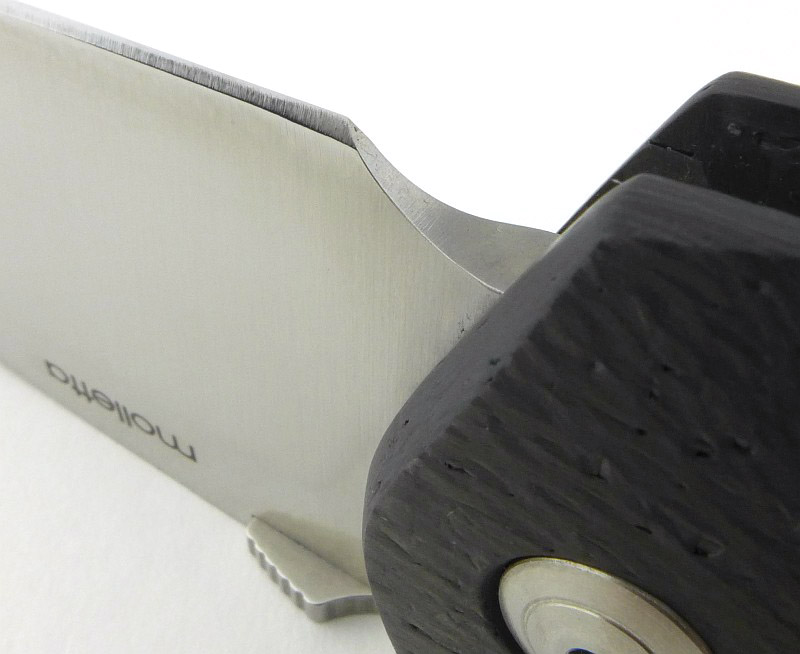
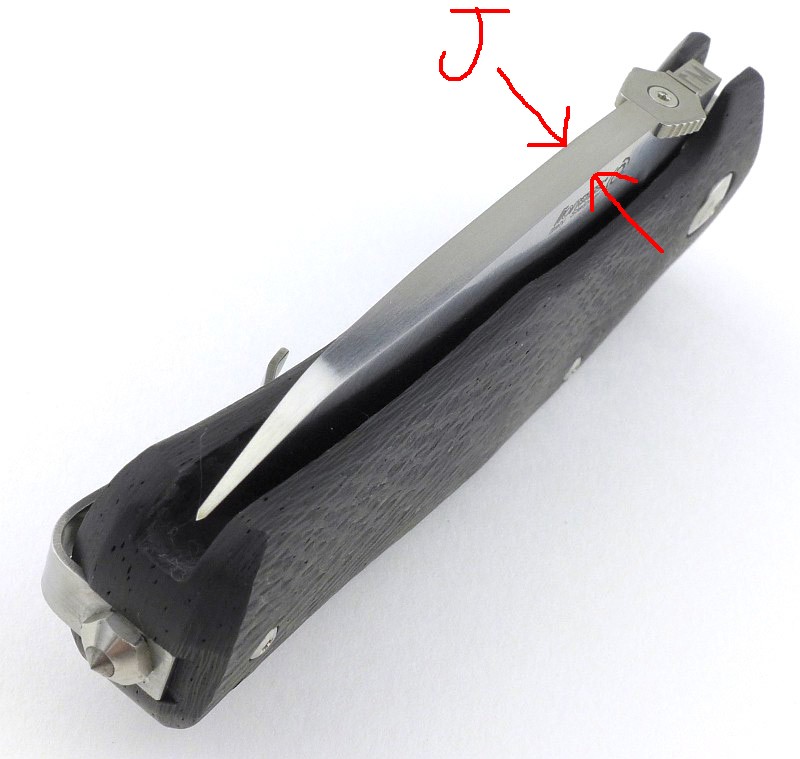
Sleipner steel (A) was chosen because it is a tool steel with good performance in cutting ability and toughness. With a specific heat treating it has a very fine grain structure. The blade thickness (J) makes the TM1 very durable for a long working life.
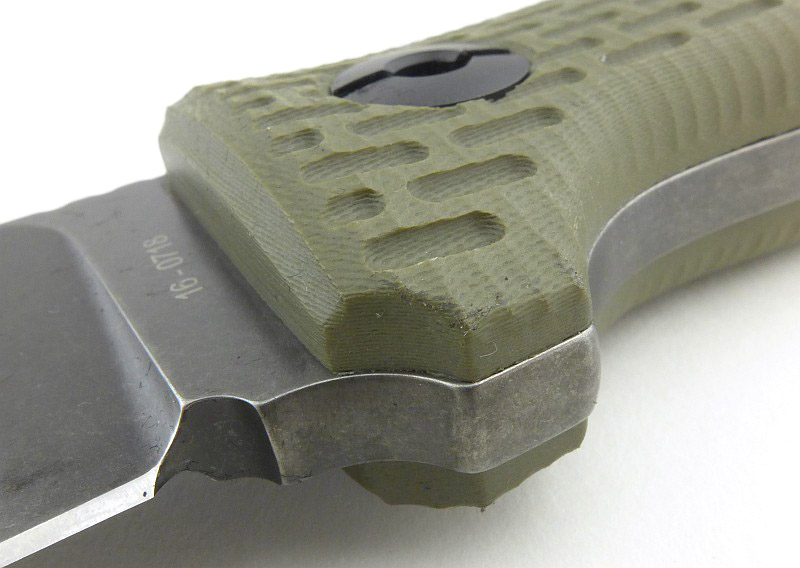
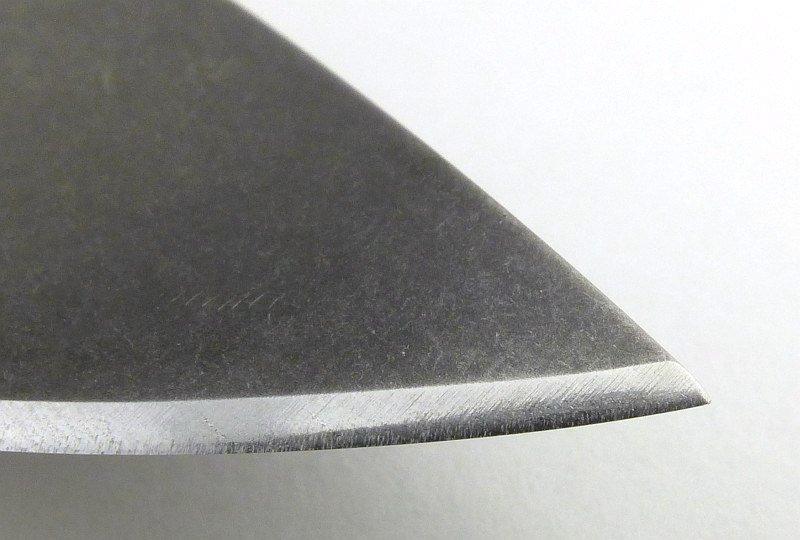
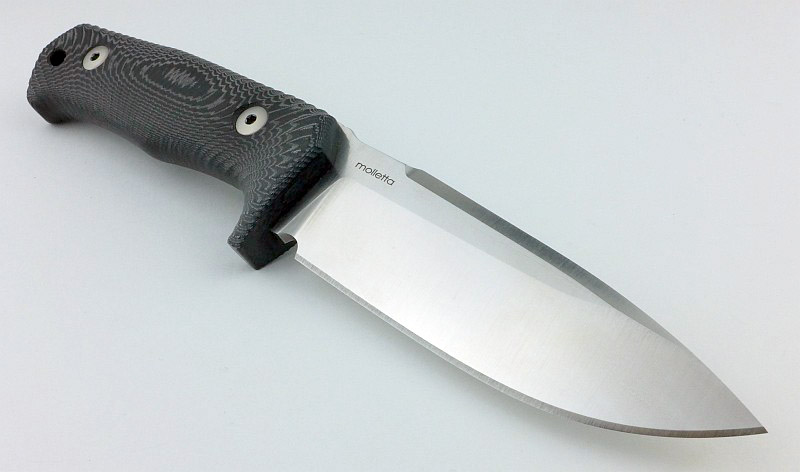
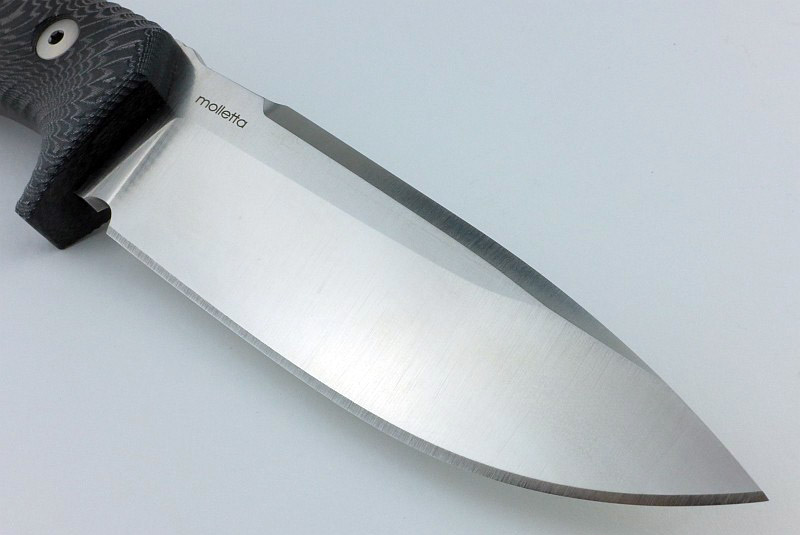
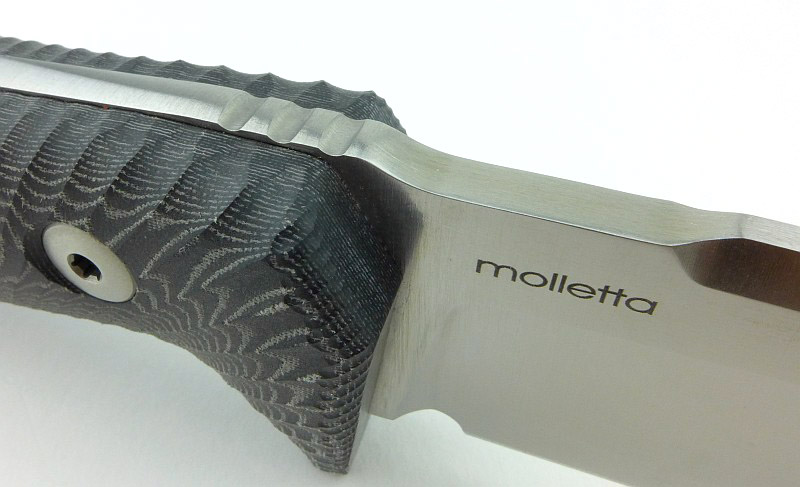
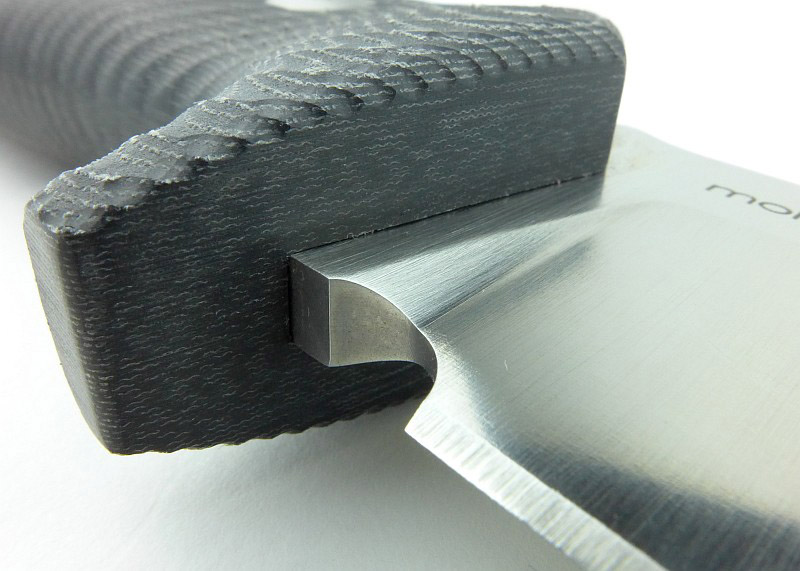
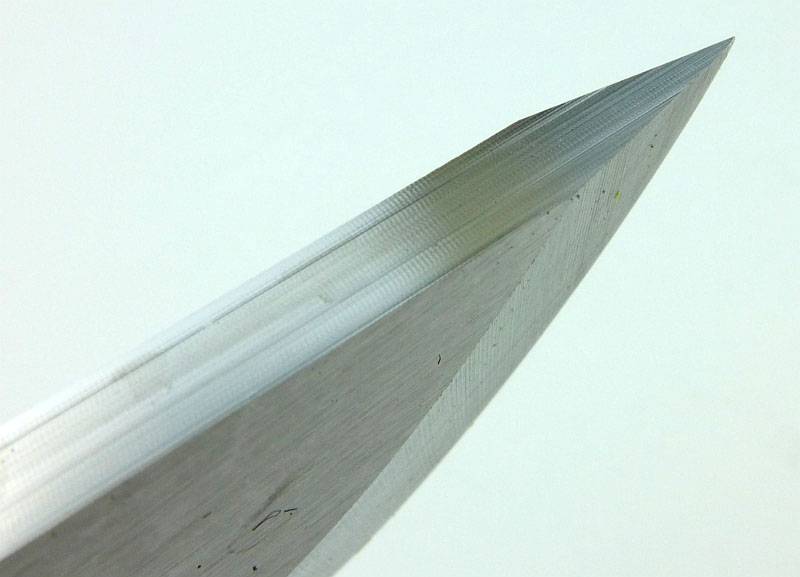
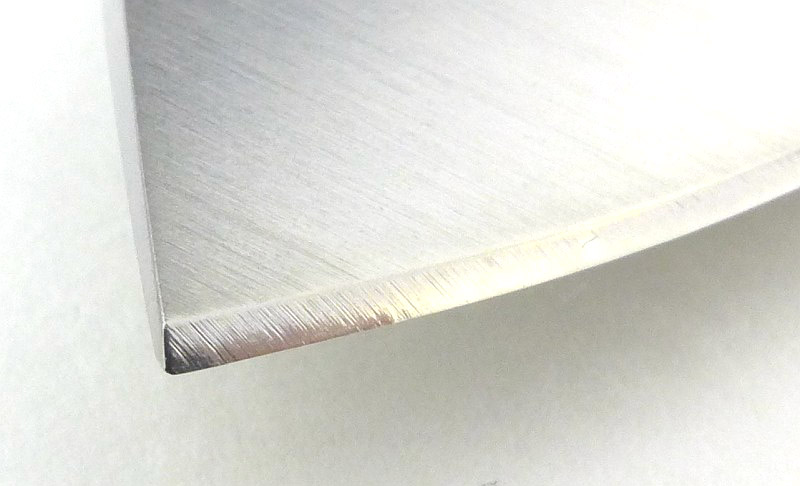
Intended to be a real working knife, the overall shape and deep finger guard (B) reflect this purpose in the design. The knife also has a reinforced tip (C) suitable for processing hard materials.
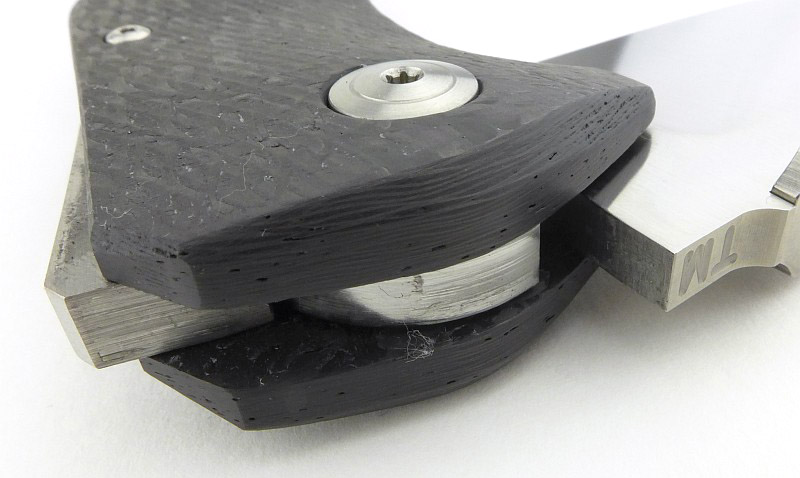
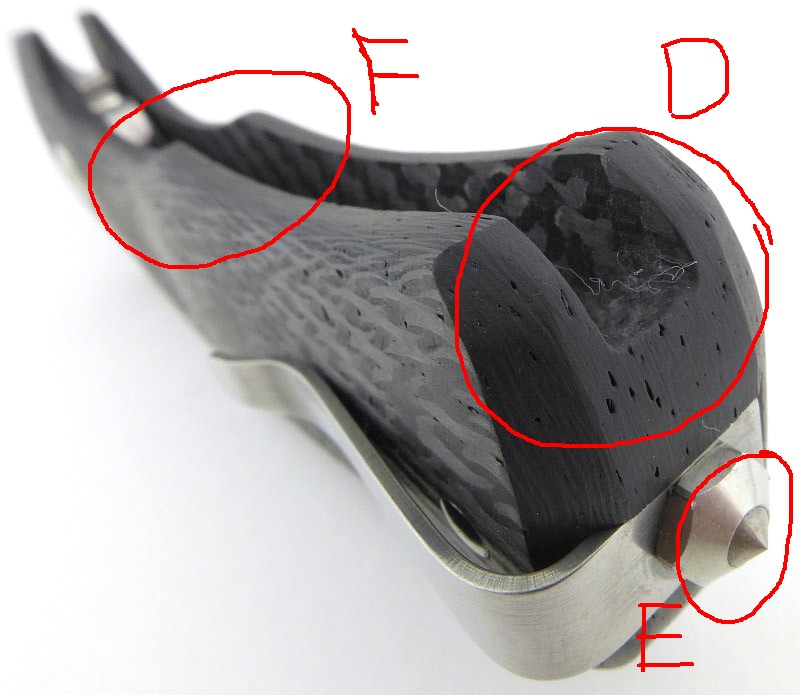
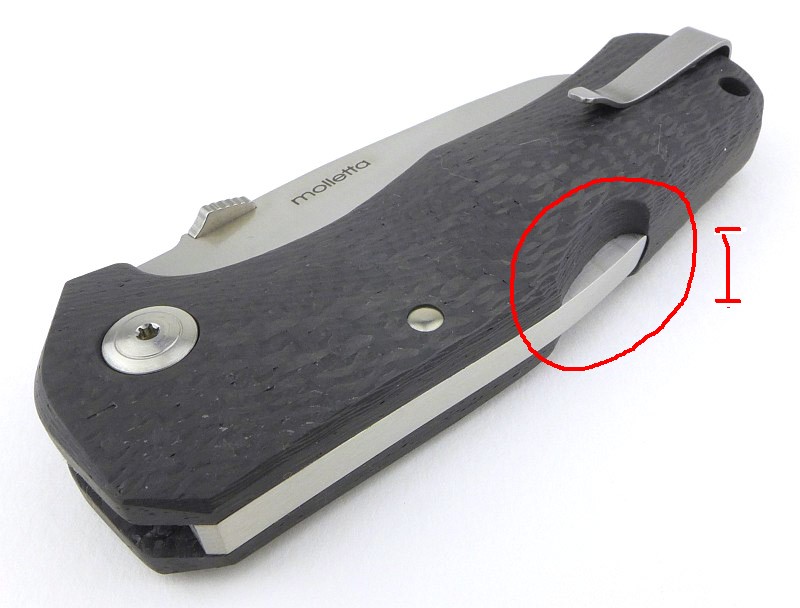
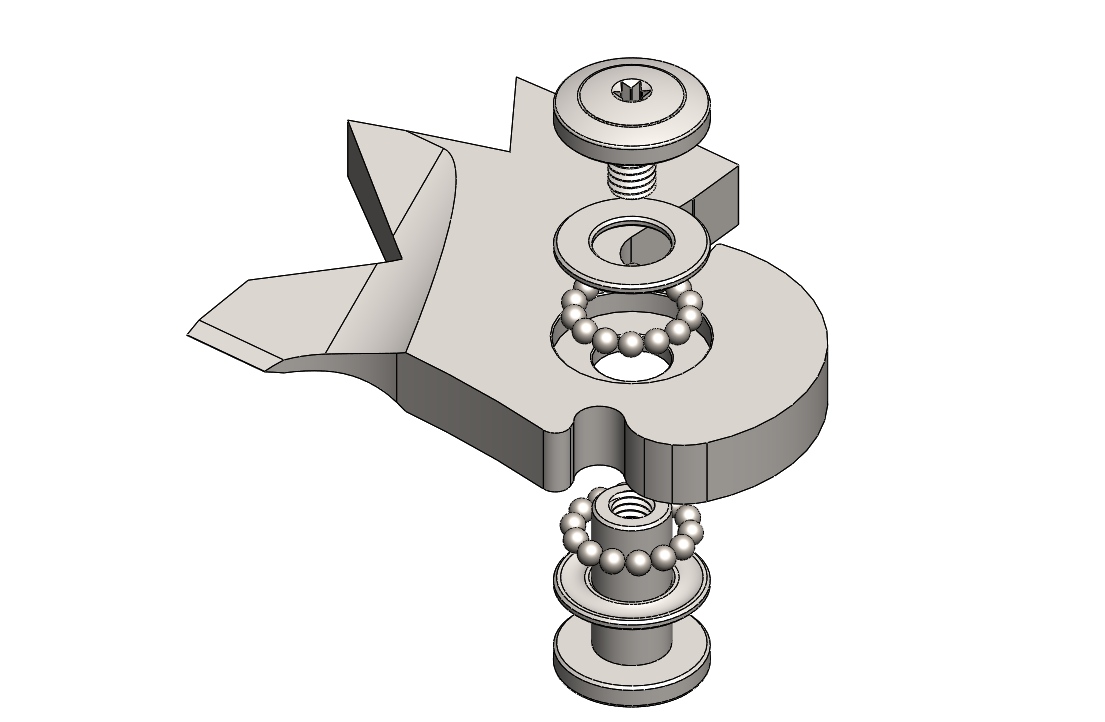
In lockback knives it is often observed when using them that there is play in the lock and/or pivot, sometimes pressing on the blade while working, the lever of the lock moves upwards. In the TM-1 there is no play in any axis. The particular architecture (D), made to high precision tolerances, eliminates the problems of the back-lock mechanism, and the presence of bearings facilitates the one hand opening normally difficult on these knives. The lock-back system (I) when well executed is a safe and efficient and durable system.
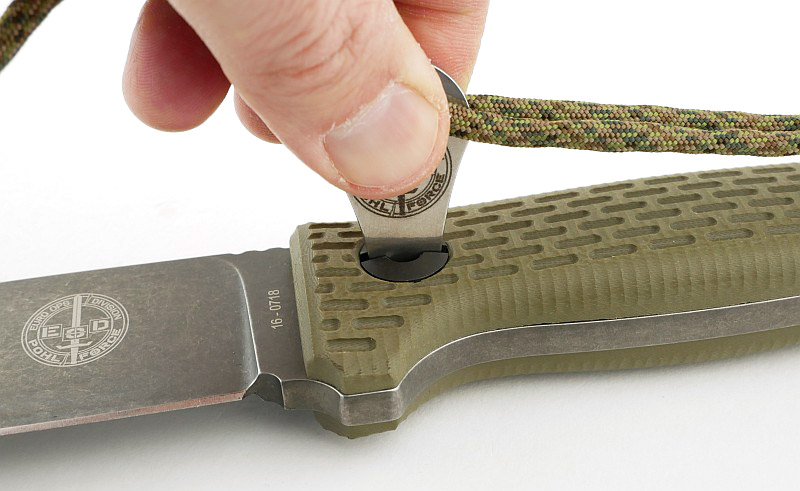
A glass breaker (E) is incorporated because it was designed to be suitable for military, police and rescue proposes.
The pocket clip (G) is relatively short and is made to be not cumbersome and not to become annoying in use.
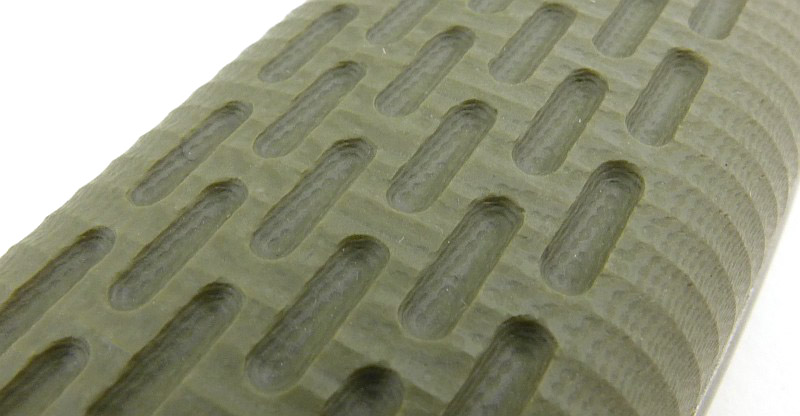
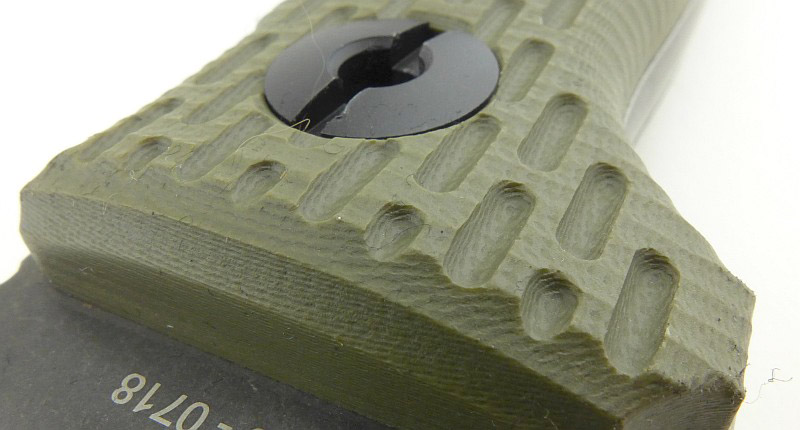
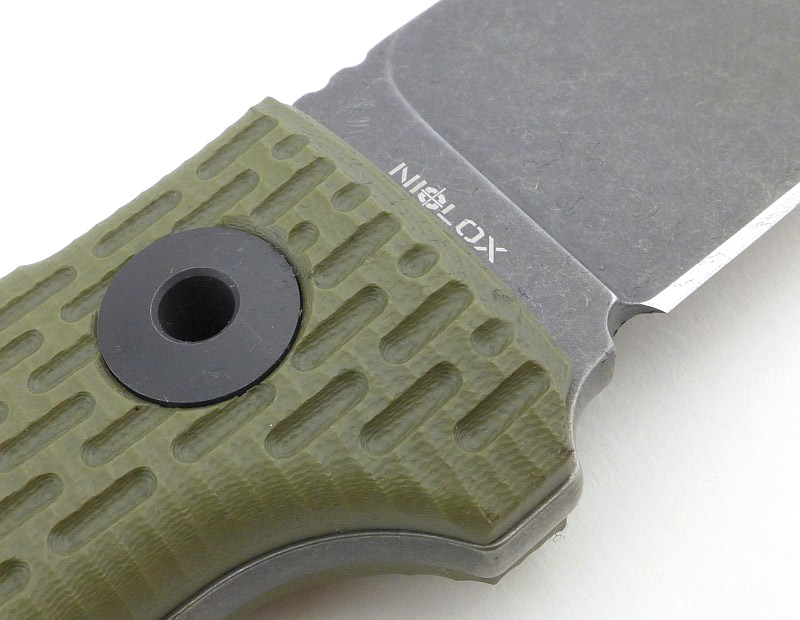
The handle surface texture (H) is slightly rough to provide grip with and without gloves, but without being troublesome for bare hands.
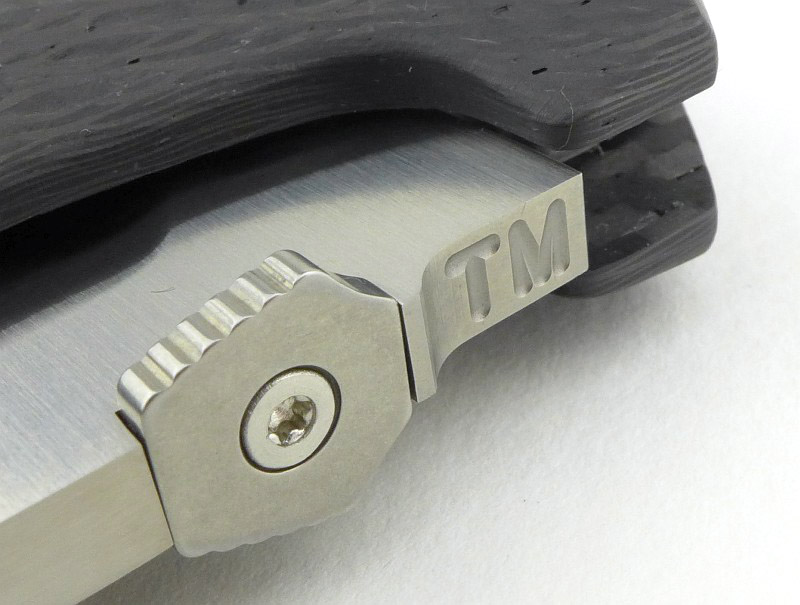
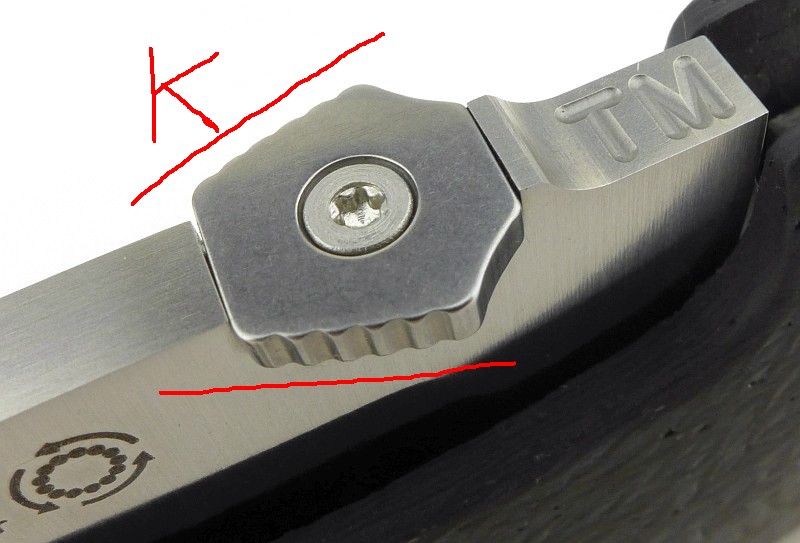
Angled shape thump opener (K) was used on the titanium version of Lionsteel’s T.R.E. Designed by me (Mik). It’s comfortable so used also on TM-1.
In case you were wondering how they fit those IKBs bearings…
(This image is from Lionsteel’s TM1 product page.)
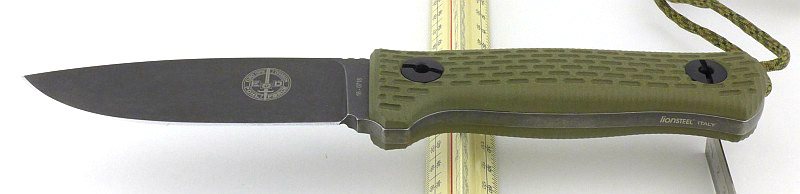
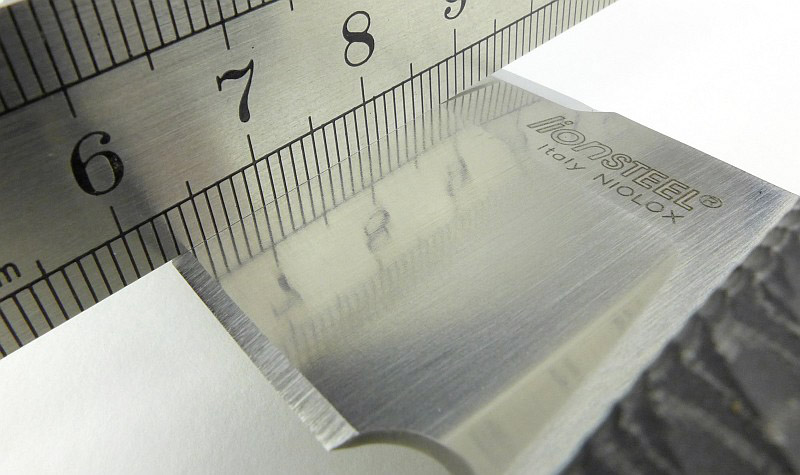
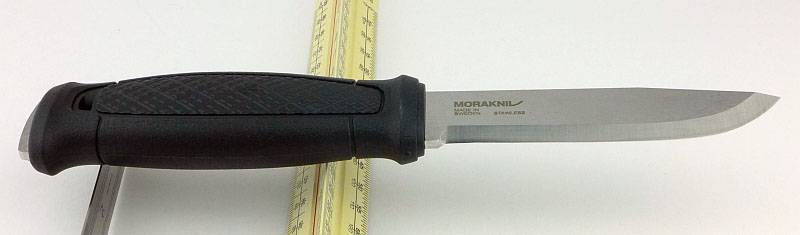
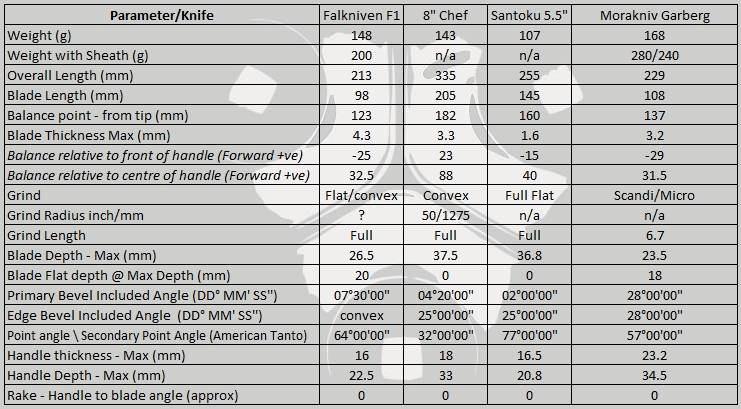
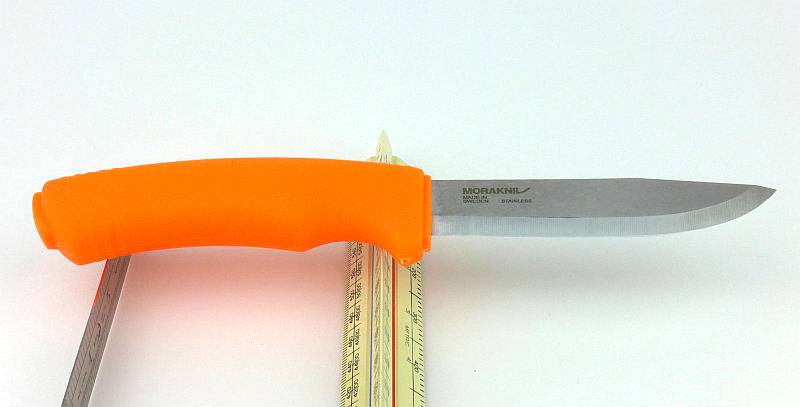
The Blade and Handle – Detailed Measurements:
Now even more detailed!
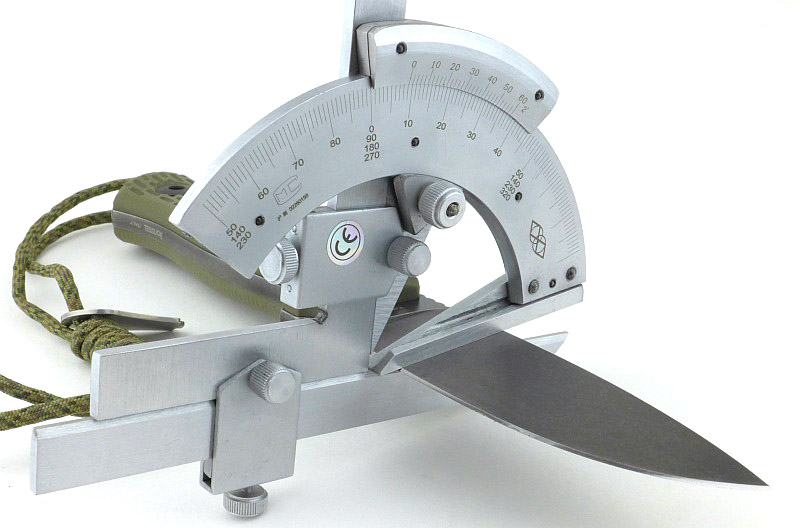
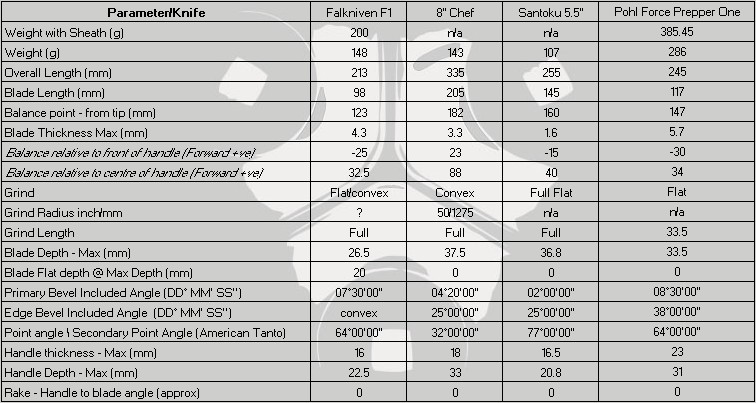
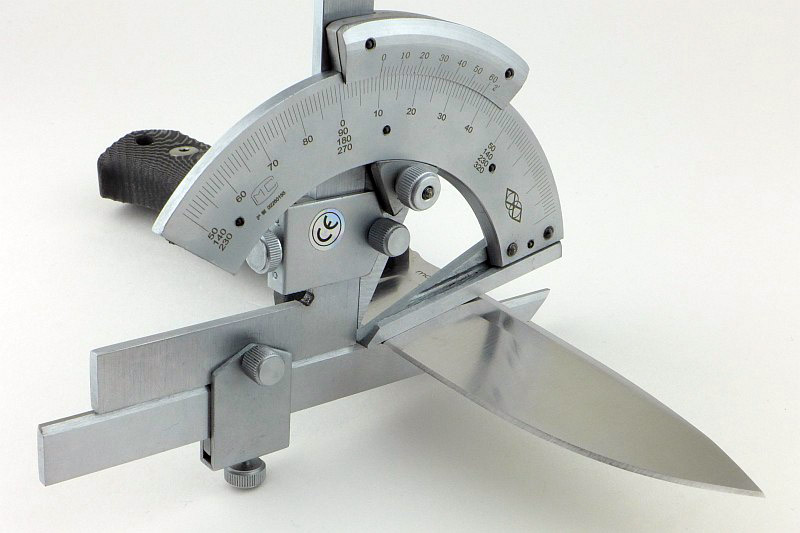
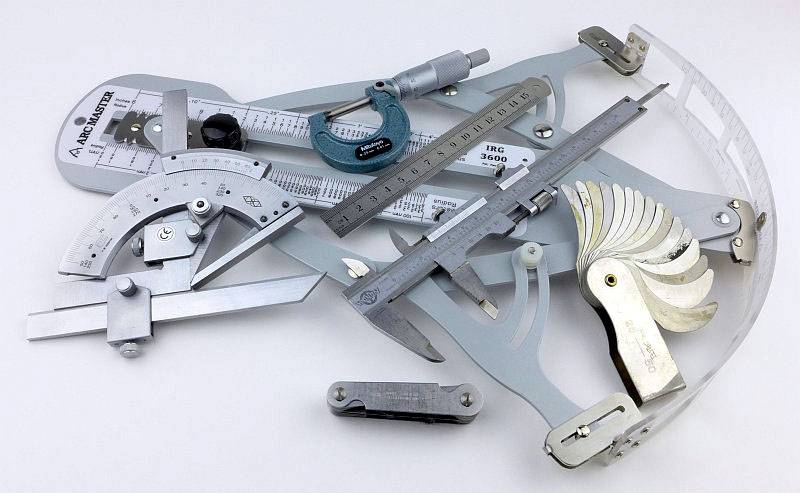
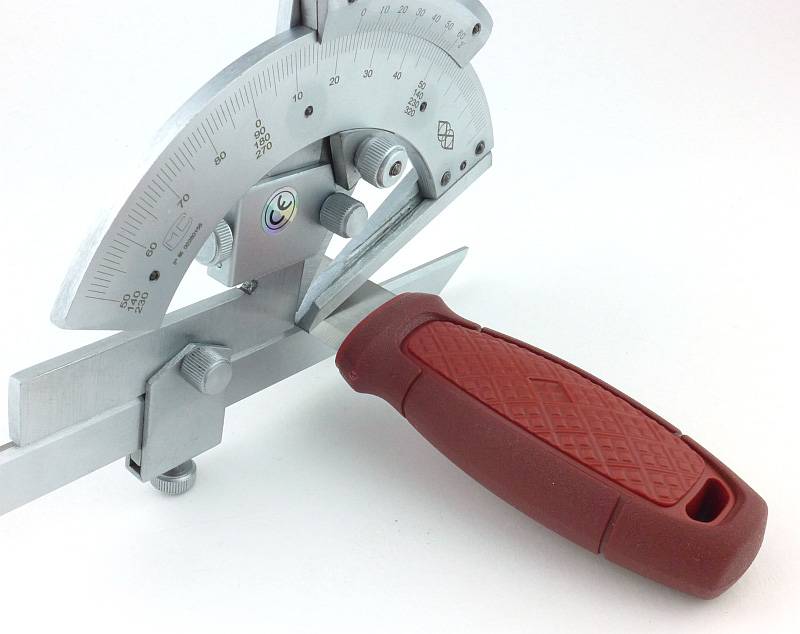
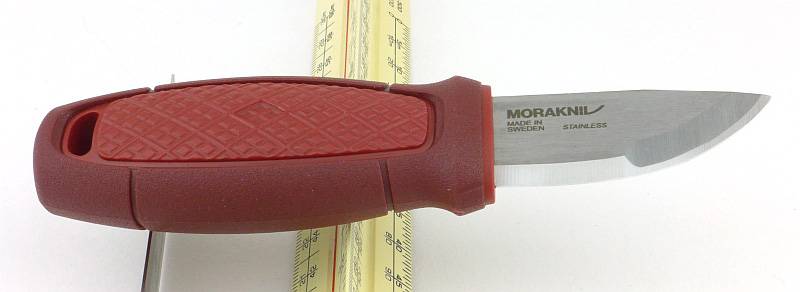
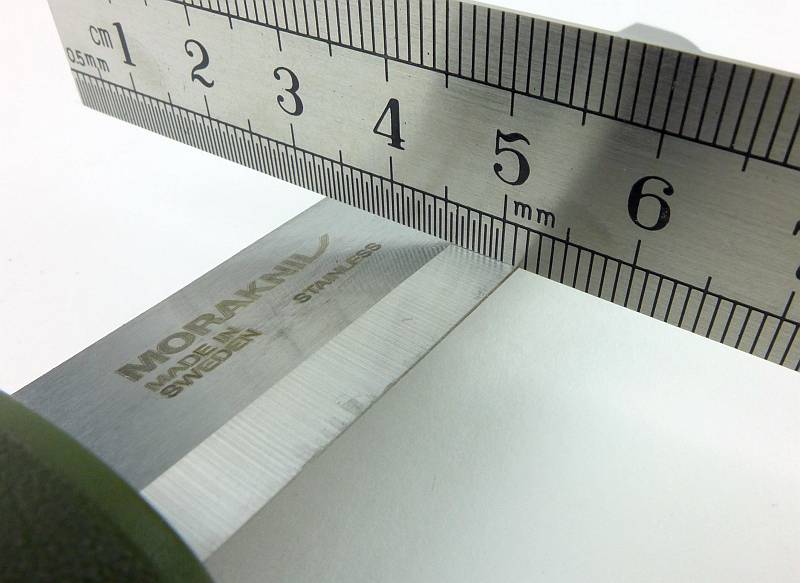
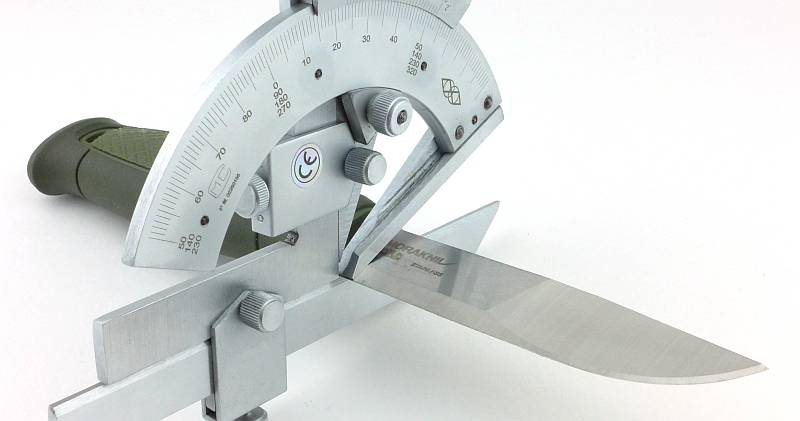
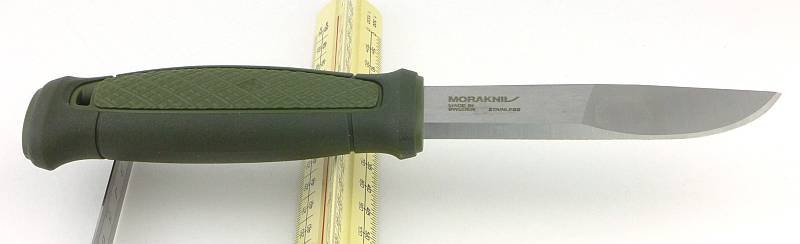
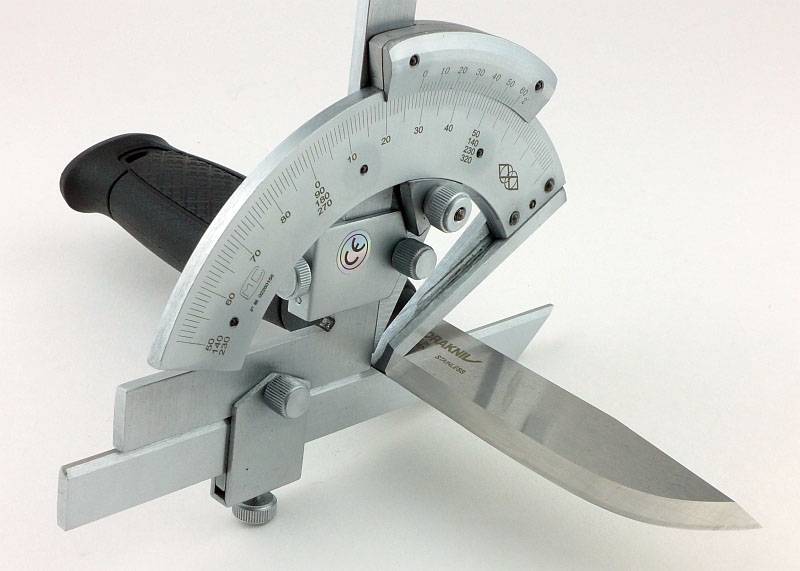
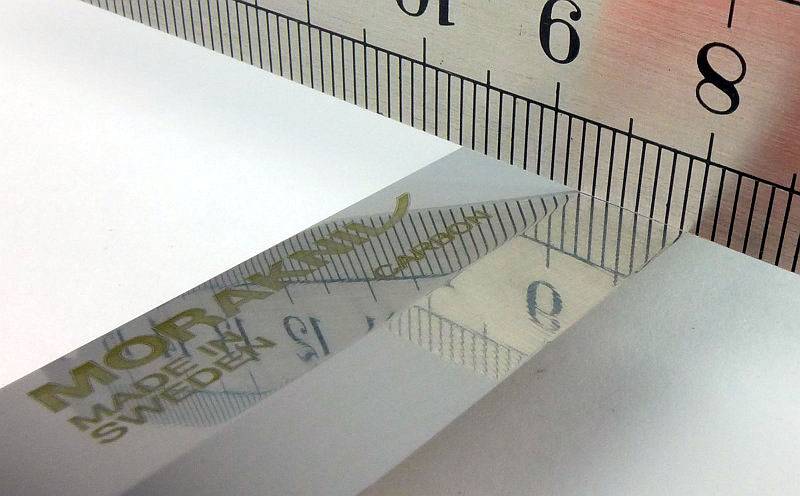
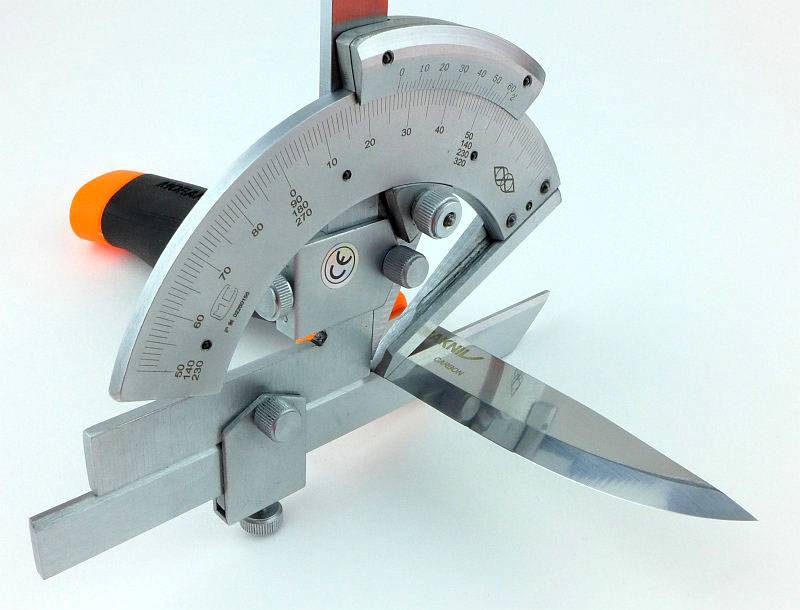
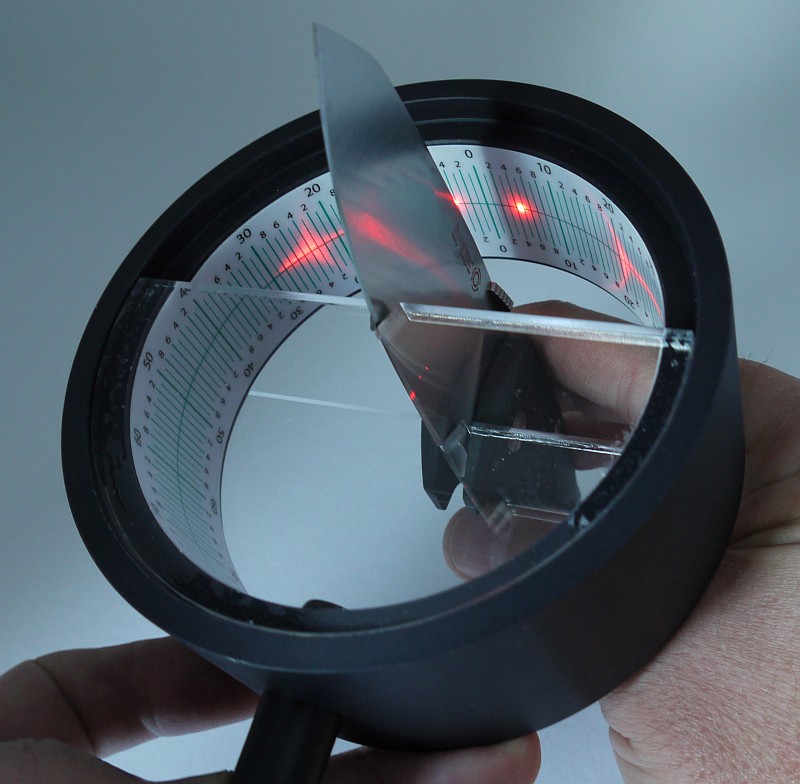
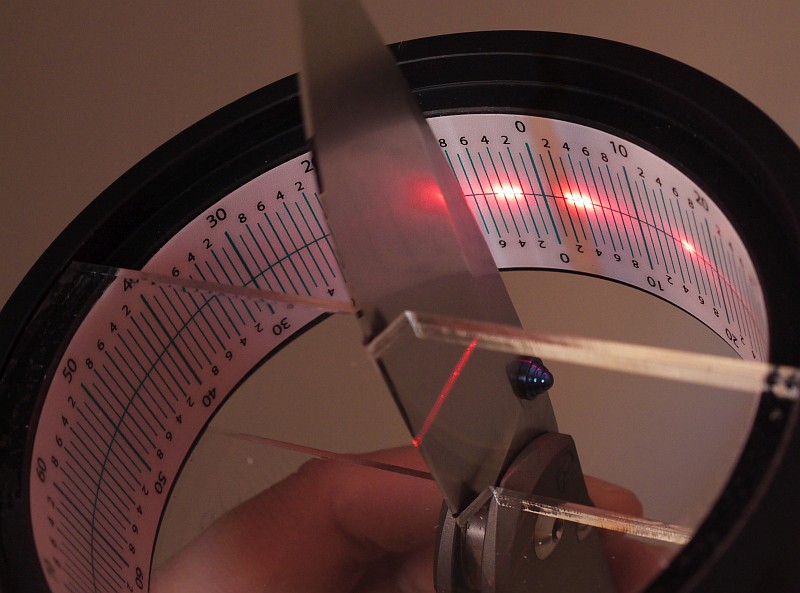
Taking things far beyond most knife specifications, in this section I will be carrying out a detailed examination of geometry, balance, edge bevels, factory sharpness and structural edge testing using the industry leading measuring tools.
These measuring tools include a Vernier protractor, callipers, fixed radius gauges, the unique Arc Master adjustable radius gauge, Edge On Up’s BESS Certified PT50A and SET tester along with CATRA’s Hobbigoni LASER Edge Protractor.
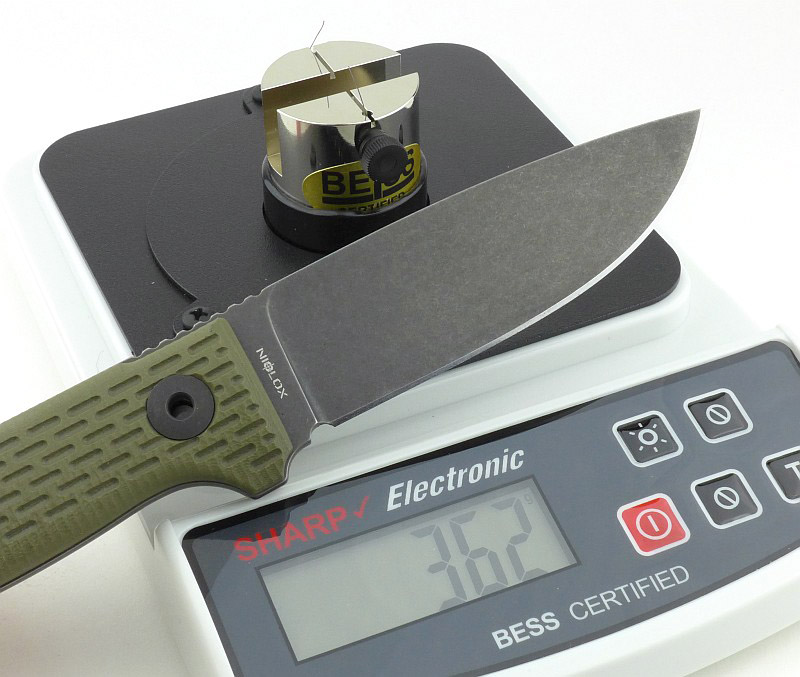
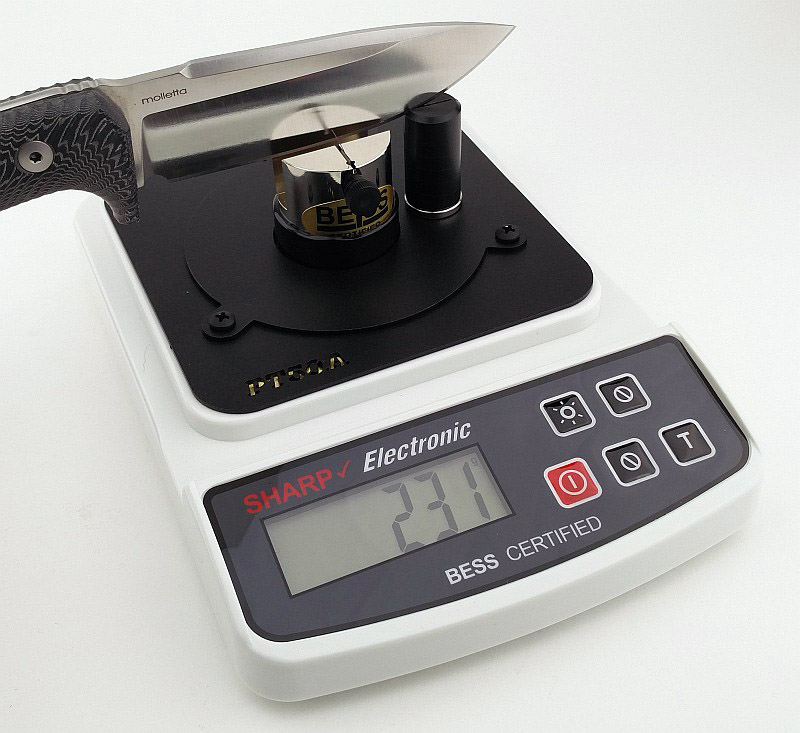
The BESS ‘C’ scale of sharpness, developed by Mike Brubacher (Brubacher Edge Sharpness Scale) will now become part of Tactical Reviews’ knife testing process. Initially this will be used to verify the sharpness of the factory edge and allow the knife to be brought to a minimum standard sharpness before testing a blade’s cutting performance.


. A precise load (the white tac on the platform is used to adjust the load) applies pressure to an 'impactor'.")


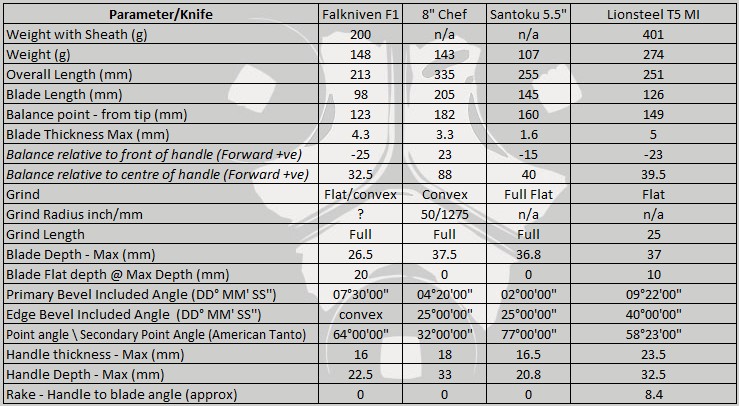
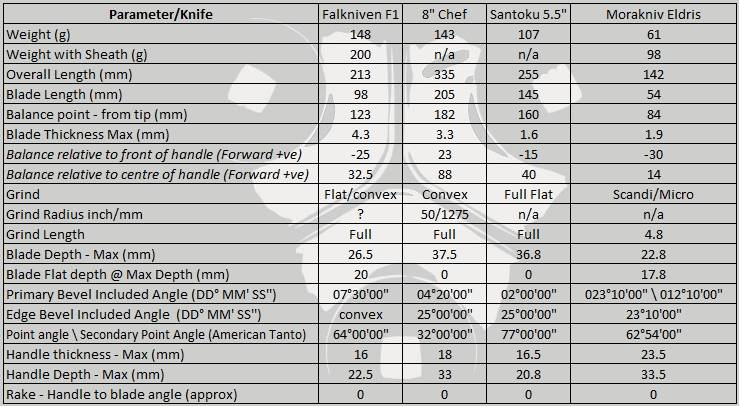
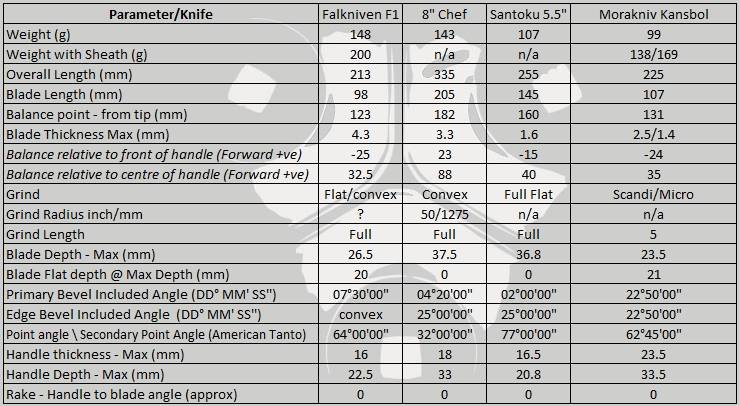
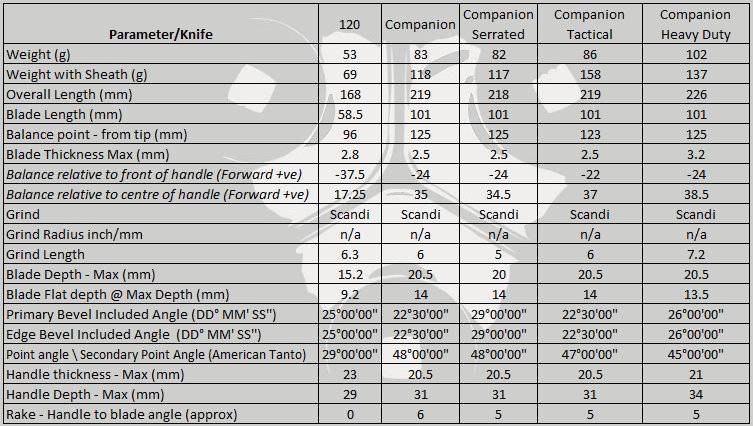
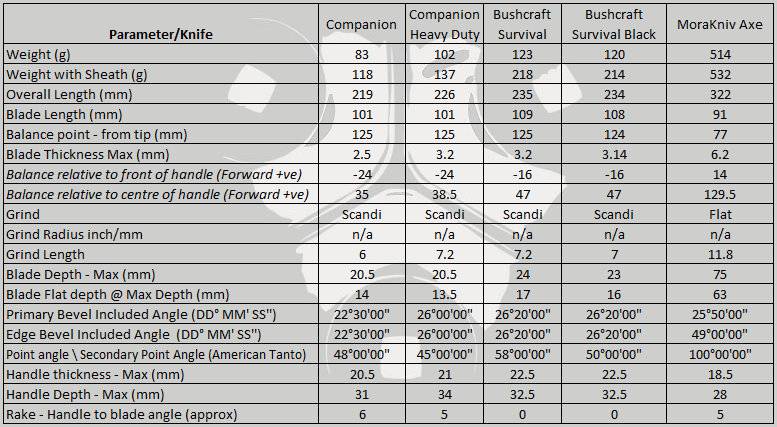
The measurements have been tabulated and are presented along with a few reference blades. The ‘Balance relative to the front of the handle’ tells you if the knife will feel front heavy, or if the weight is in your hand (a positive value means the weight is forward of the front of the handle). The ‘Balance relative to the centre of the handle’ indicates how close to a ‘neutral balance’ the knife has in the hand.


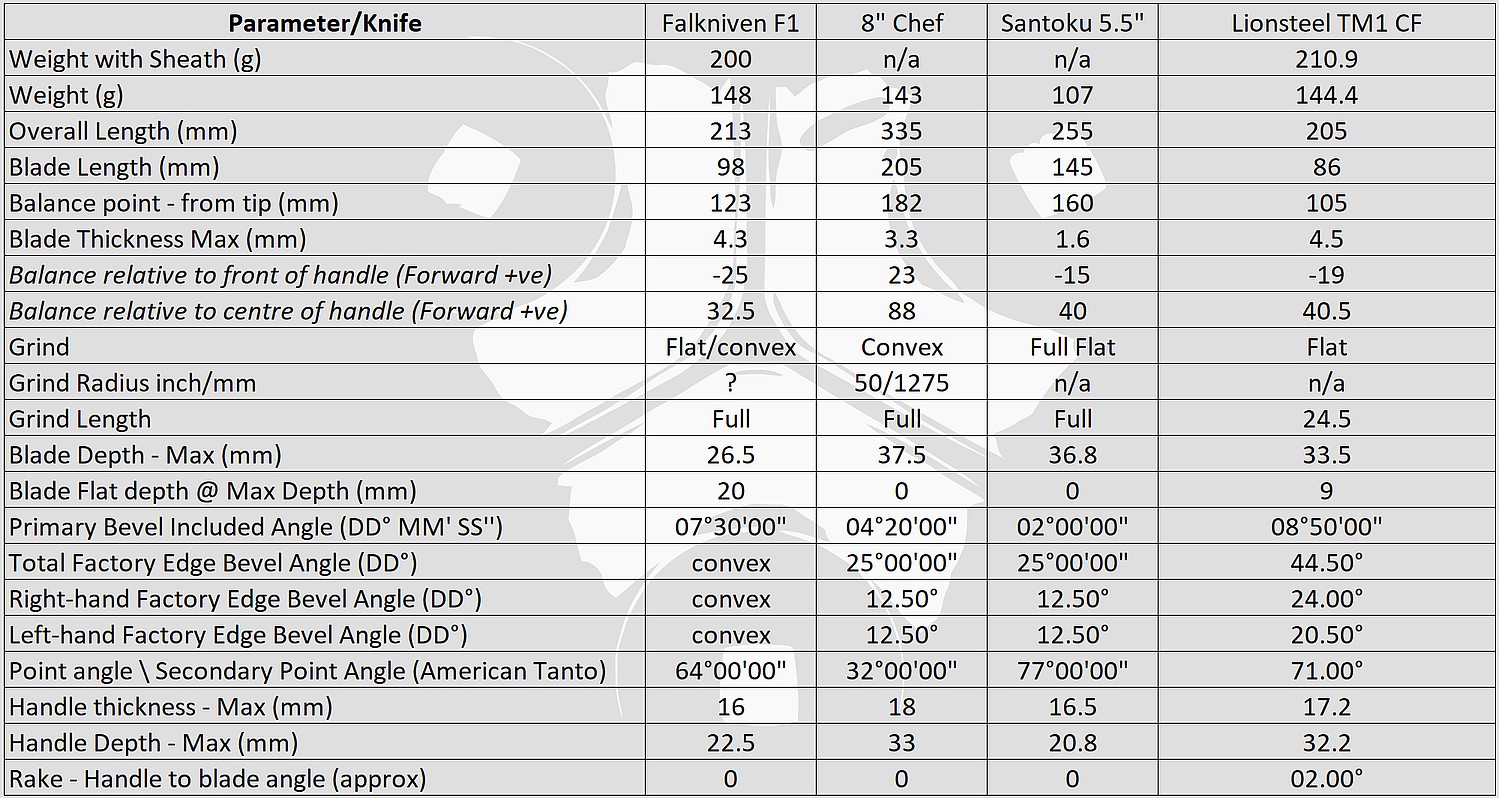
The blade is made from Sleipner 60-61 HRC steel.
The TM1’s factory edge has an average BESS ‘C’ sharpness of 342. This was acceptable as it would slice 80gsm paper, but not to the level I like so I brought the edge to 15 degree per-side and 200 BESS for testing the knife.
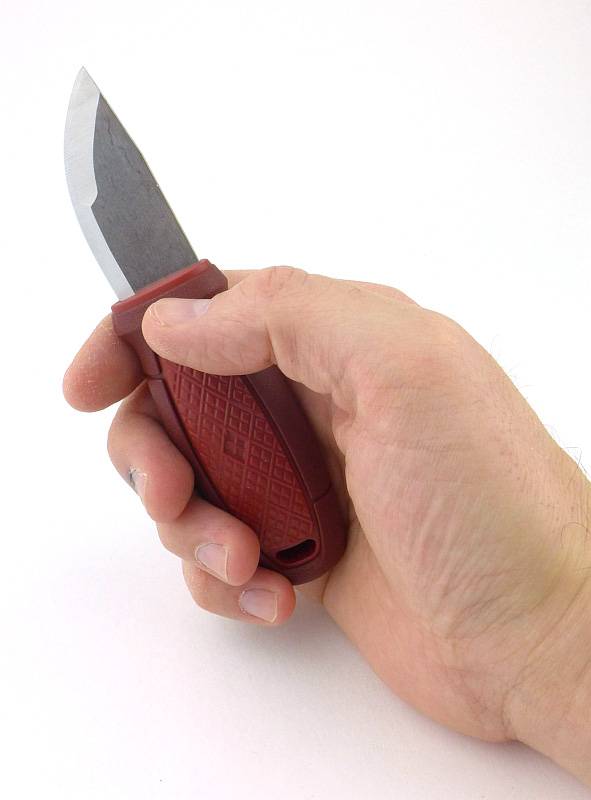
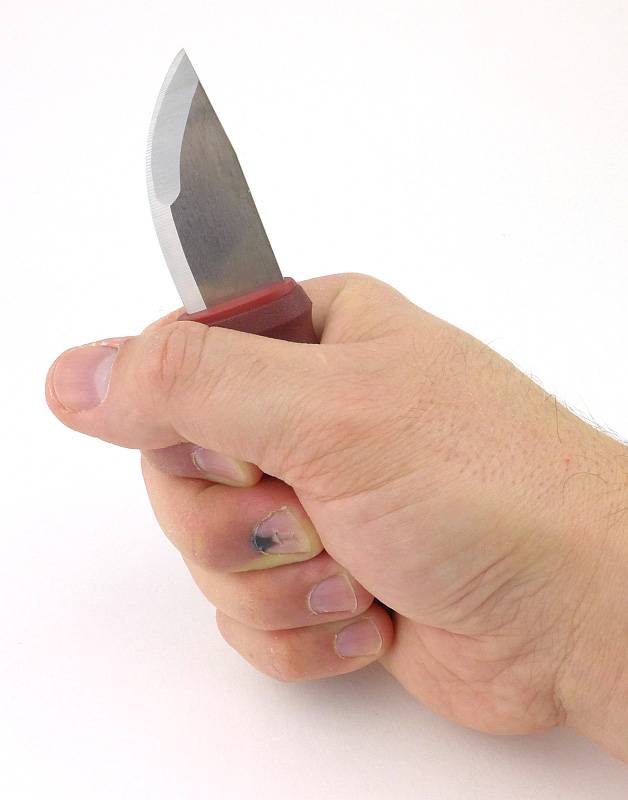
What it is like to use?
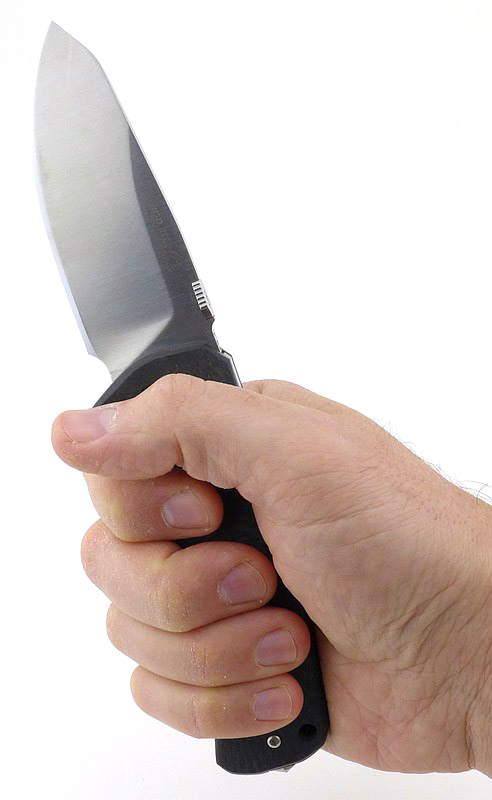
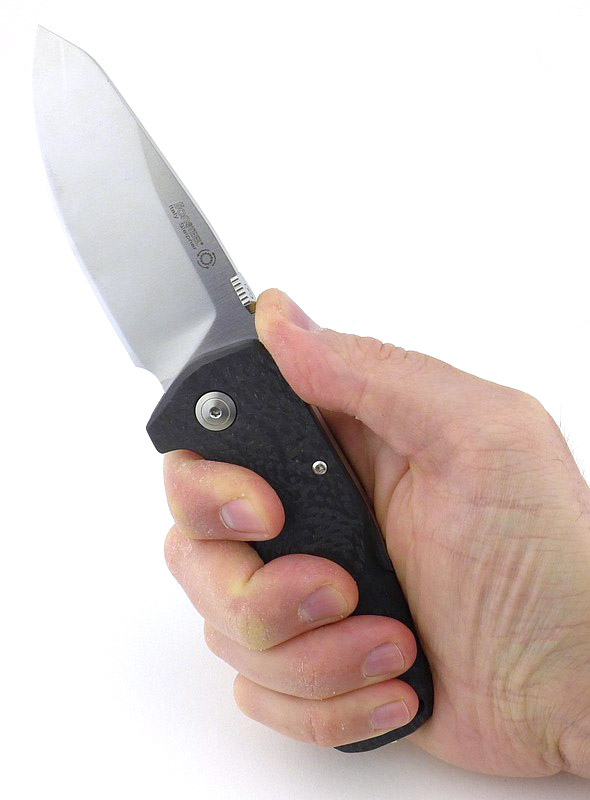
Lionsteel’s TM1 is a pleasant contradiction as it is a ‘heavy folder’ yet at the same time it is a ‘lightweight folder’ (for its size) thanks to the carbon-fibre handle. Although the blade is a substantial 4.5mm, making it massively strong, and the handle is matched to the blade perfectly, the TM1 is light and easy to carry.
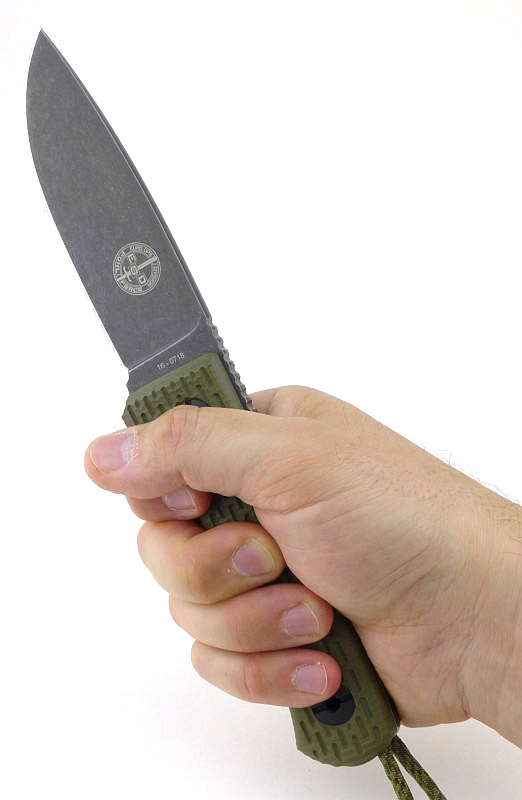
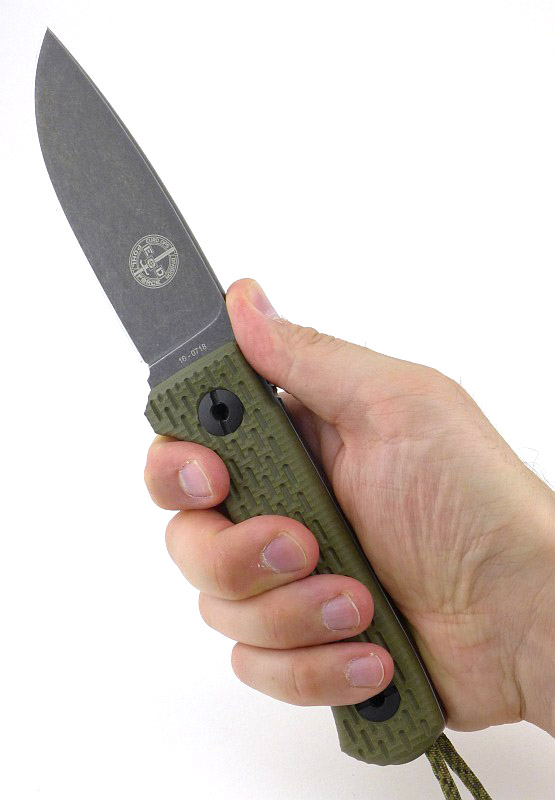
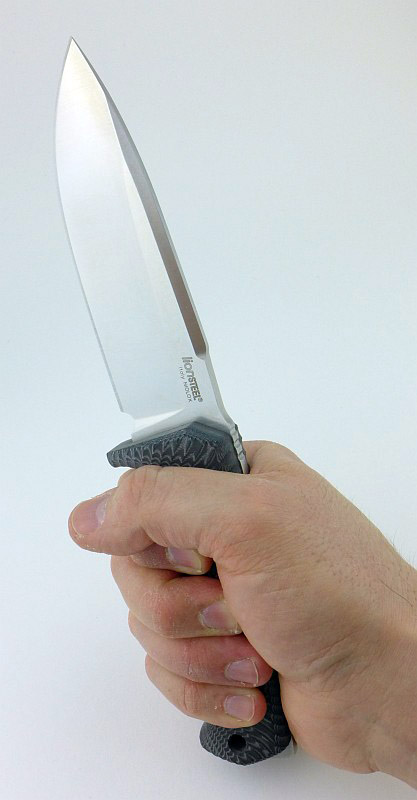
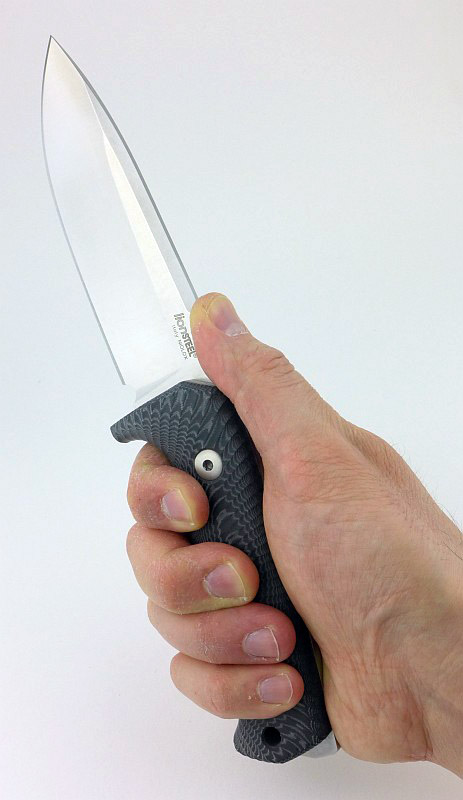
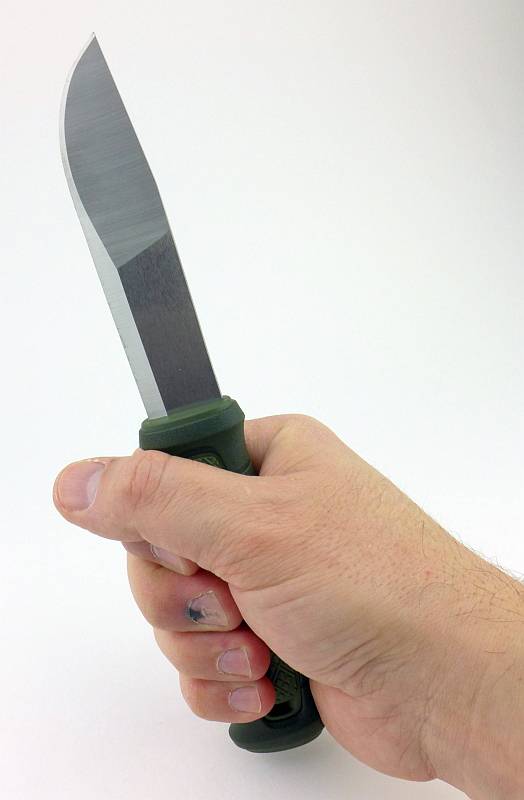
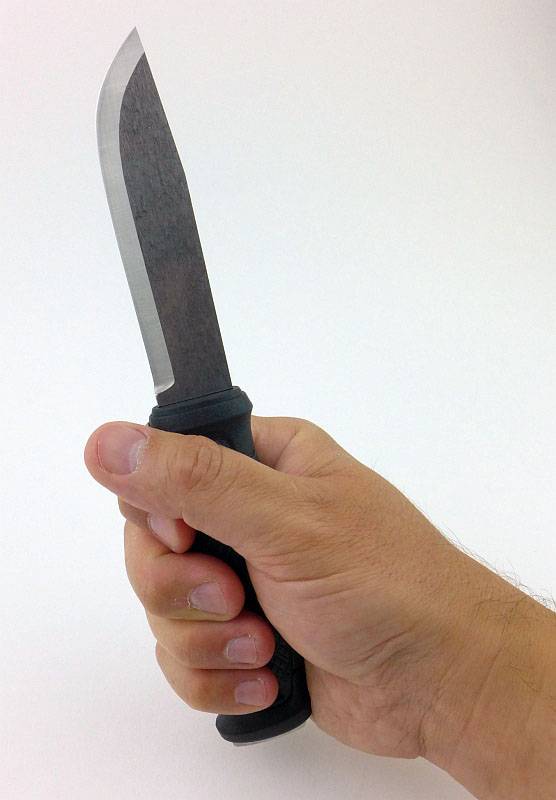
Thanks to its one piece sculpted handle and back-lock, the grip is excellent for a folder. A fully integral finger guard makes the grip super stable and more than a match for that powerful blade.
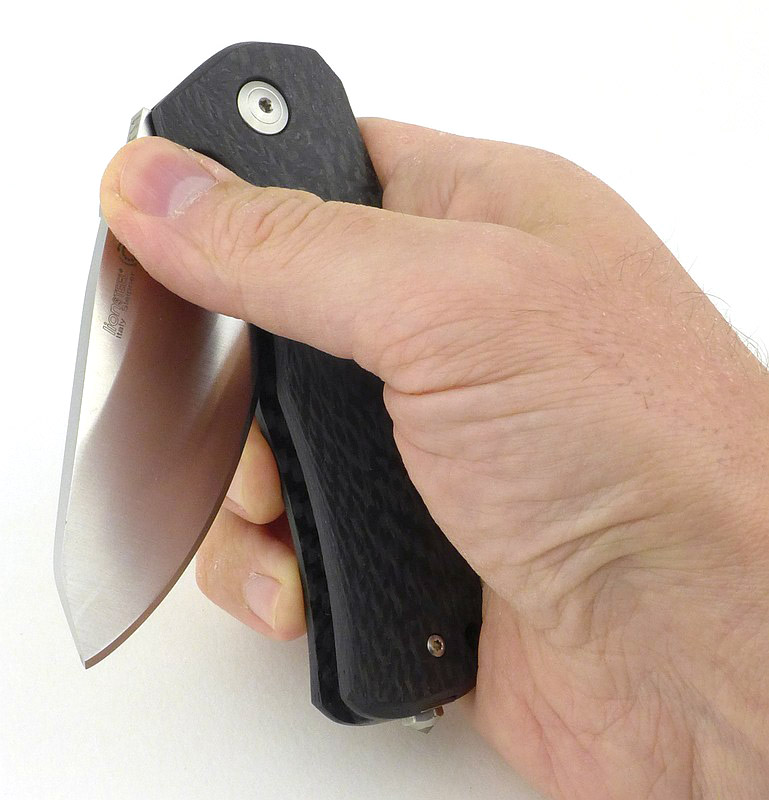
Opening is silky as the blade swings out smoothly and effortlessly on those ball bearings. If you hold the handle and push the lock bar in fully, the blade actually becomes completely free to swing (without the lock bar pressing on it) and does so with no resistance at all. Not being a flipper I had wondered if it was worth using the ball bearings, but it is – the opening is just so slick. The thumb opener has been shaped into a ramp and gives a larger contact area for your thumb than studs do, and this makes it quite a bit more comfortable to use.
Then there is that snap of the lock; so crisp, precise and solid, and so satisfying. It makes you want to keep on opening it up. (Warning – you might annoy your family or work colleagues with this knife.)

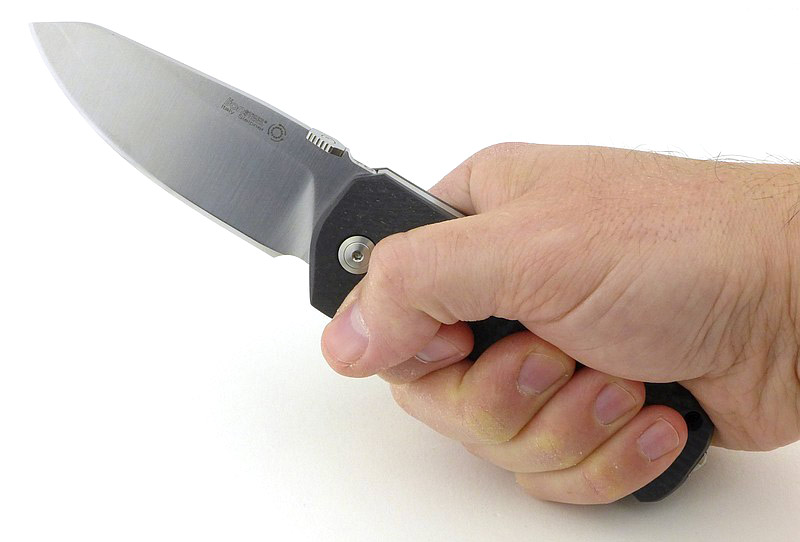
This is the first ‘reverse-tanto’ blade I’ve used, however the principle is not far from a clip-point, just a smaller clip, keeping the tip very strong. Slightly odd looking, it has proven to be highly usable. No issues with the tip’s puncturing ability even though the point angle is 71 degrees. The tip looks extremely strong, but as yet I’ve not had a reason to really put this to the test (no car doors have jumped out at me and needed cutting into).
So ‘Sleipner’ in a folder? I was a little unsure about this choice with the reports of corrosion, and the fact it is not a stainless steel having only 7.8% Cr. I decided that during the course of the testing I would not use any oils or other blade protection, and have been using this knife for around six months for a variety of tasks, including with foods, and with one in particular that is normally very harsh – banana! Opening and fishing about in boil-in-the-bag foods so getting a good dose of heat and steam, pocket time, handling and at best a little wipe down.
It is possible that the blade has been lacquered but I can’t see any evidence this has been done, and I reground the cutting edge bevel, so I know that is bare steel. To date there has not been any sign of corrosion. I had expected to have to intervene and remove some spotting as I haven’t been caring for the blade steel. This is not the same as specifically abusing it or really trying to get it to corrode, but the testing has been normal use with little to no attempts to protect it beyond a wipe from time to time.
I’ll have to say I’m still a little wary that this might need more care than I’d like, but so far I’ve been pleasantly surprised that it has not been noticeably susceptible to corrosion. It is possible the specific heat-treat Mik mentioned may have improved the corrosion resistance of this steel.
You might have spotted the relatively small looking clip, and like me assumed it was not going to work well. I found I was eating my words though. When I pocket-carried the TM1, that clip had enough clearance to get onto the pocket edge and enough flex to slide into place, yet enough grip to stay put. I had dismissed this clip as an afterthought, but was wrong, it works. The clip can also be removed and refitted on the other side.
Review Summary
The views expressed in this summary table are from the point of view of the reviewer’s personal use. I am not a member of the armed forces and cannot comment on its use beyond a cutting tool or field/hunting knife.
Something that might be a ‘pro’ for one user can be a ‘con’ for another, so the comments are categorised based on my requirements. You should consider all points and if they could be beneficial to you.
Review Summary
_______________________________________________
Things I like
_______________________________________________
Superb fit and finish.
Single-piece handle.
Back-lock (Thank you!)
IKBS pivot bearings for super smooth action.
Rock solid lock up.
Lightweight yet ‘heavy-build’ folder.
Effective clip.
Works for right and left-handed users.
Strong blade.
Comfortable thumb opening ramp.
_______________________________________________
What doesn’t work so well for me
_______________________________________________
Sleipner steel – I don’t like the threat of corrosion hanging over a fantastic knife.
Nothing else.
Discussing the Review:
The ideal place to discuss this reviews is on a forum. If you started reading the shorter forum version of the review, but followed the link this full exclusive review, please return to that forum to discuss the review there.
If you read the review entirely on Tactical Reviews, please consider one of the following to join in any discussion.
BladeForums – Knife Reviews (US based Forum for Knife Discussion)
CandlePowerForums – Knife Reviews Section (Largest and Friendliest Flashlight Community Forum)
The BESS Exchange – A forum discussing technical aspects of sharpness and truly understanding your sharpening process.