Light Review: Fenix TK15UE (Ultimate Edition)

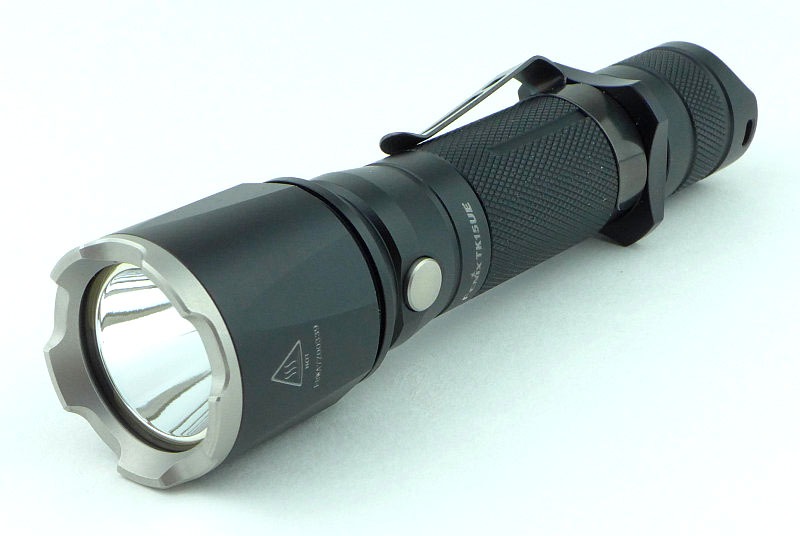
Fenix have been taking classic lights from their range and creating ‘Ultimate Edition’ versions, pushing their performance to the maximum. The TK15 has now been ‘UE’ed to make the TK15UE with uprated output, throw and a new stainless steel bezel.
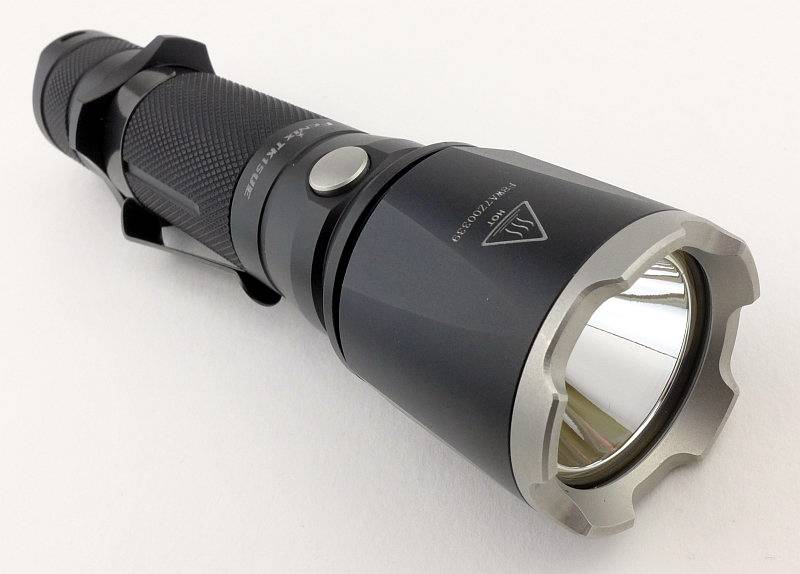
 photo 16 TK15UE trailer P1230848.jpg

Taking a more detailed look:

The TK15UE comes in Fenix’s standard packaging.
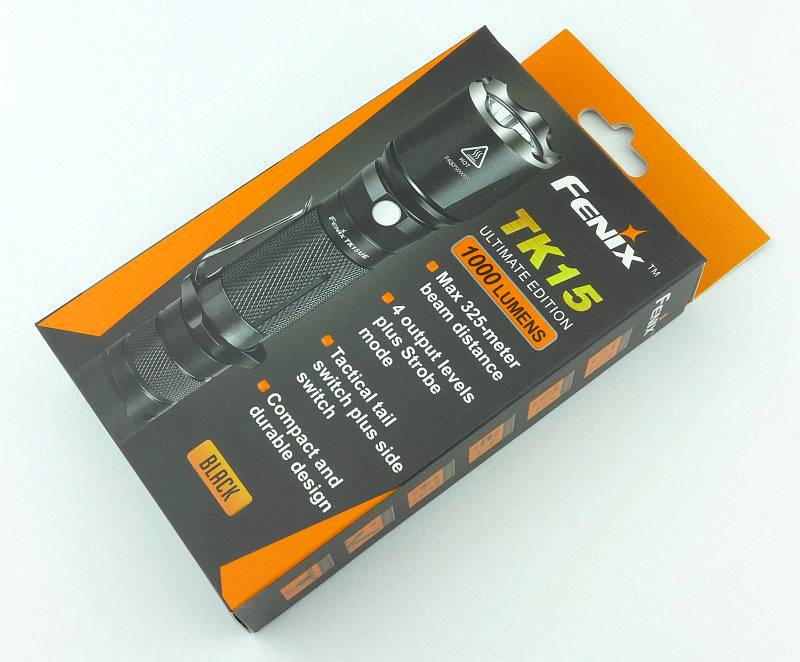
 photo 01 TK15UE Boxed P1230641.jpg

Included with the TK15UE are the instructions, a holster, a lanyard, a couple of O-rings and a spare switch boot.
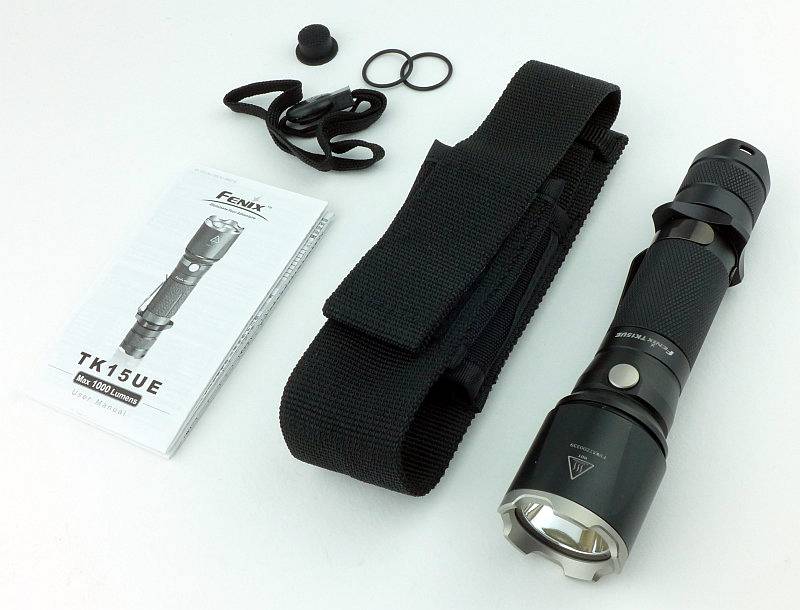
 photo 02 TK15UE Box contents P1230650.jpg

Before we move on, the holster is worth lingering on a little longer.
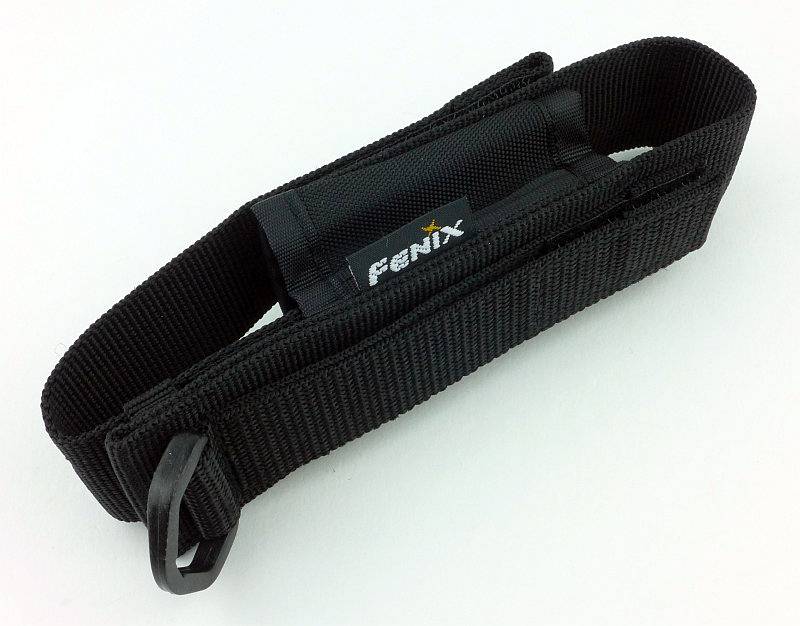
 photo 03 TK15UE holster P1230657.jpg

On the back there is a choice of a D-ring, fixed loop, and Velcro closing loop.
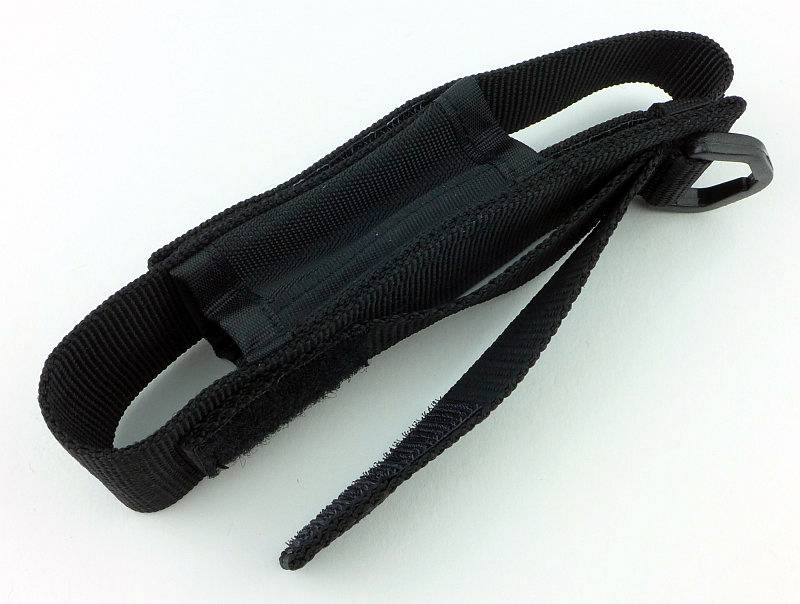
 photo 04 TK15UE holster loops P1230656.jpg

There is something a little different here. The holster flap has a retaining strap over it and inside the holster it is fixed with Velcro.
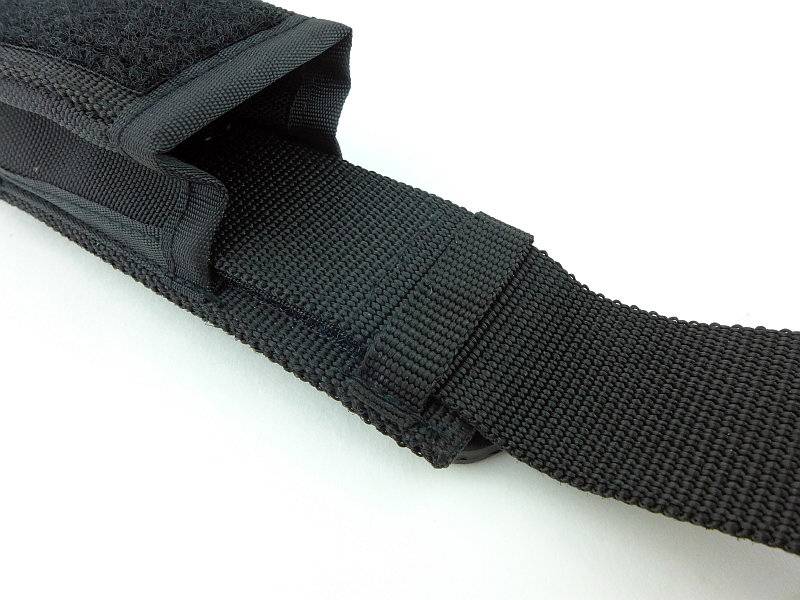
 photo 05 TK15UE holster flap P1230667.jpg

You can just see inside that the flap extends most of the way down the inside of the holster.
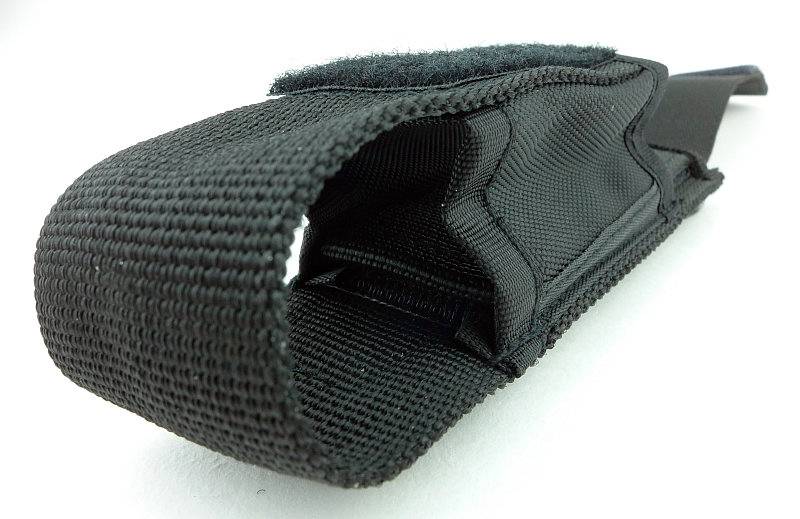
 photo 07 TK15UE holster flap adjust inside P1230678.jpg

The entire flap can be undone and either removed or adjusted to loosen or tighten the fit, or even accommodate a different length light.
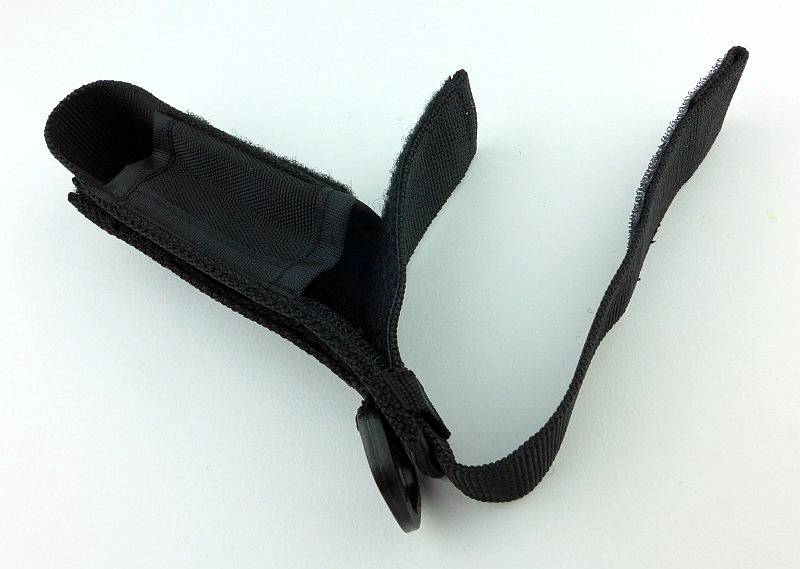
 photo 06 TK15UE holster flap adjust P1230675.jpg

As supplied, the holster is correctly configured for the TK15UE.
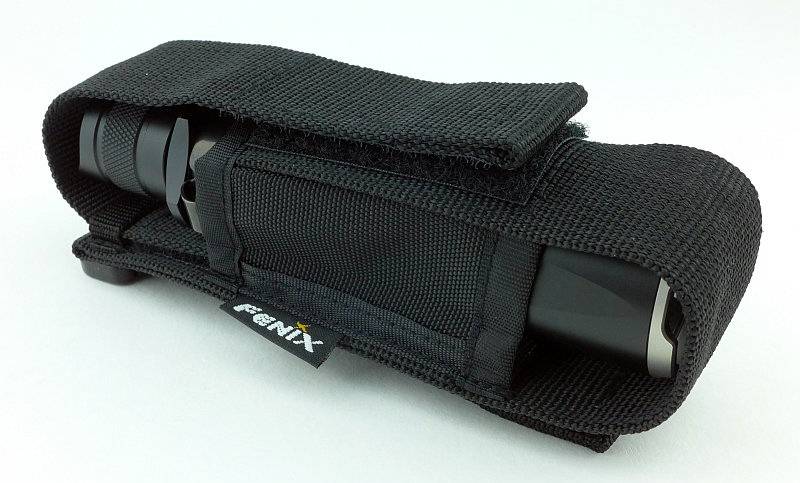
 photo 08 TK15UE in holster P1230680.jpg

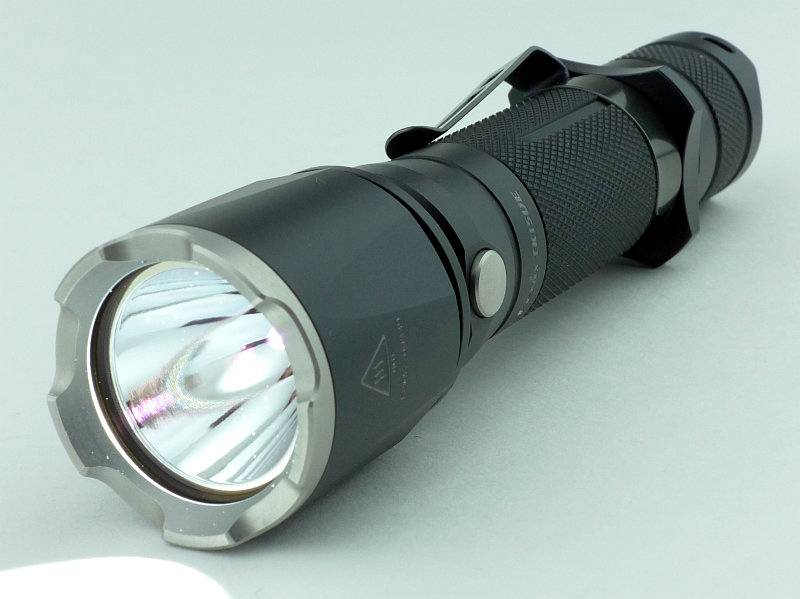
The most obvious sign that this is something a bit different to the previous TK15s is the Stainless Steel bezel.
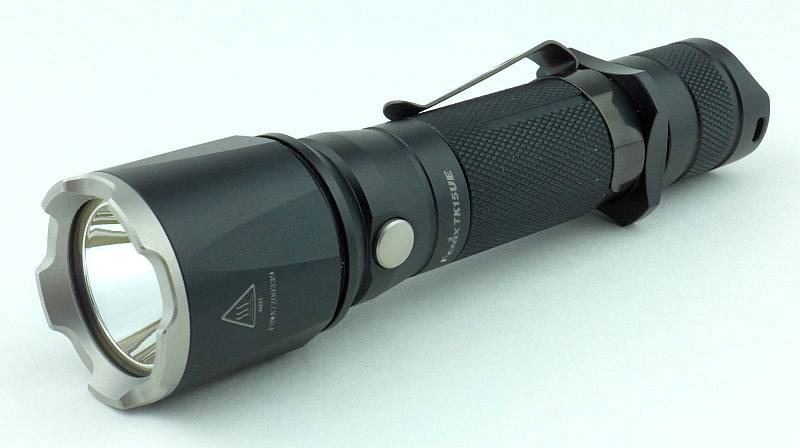
 photo 09 TK15UE angle P1230689.jpg

Let’s have a look at how the TK15UE and an older TK15 compare. This is the TK15C. So the holster is more than the basic one the TK15C comes with.
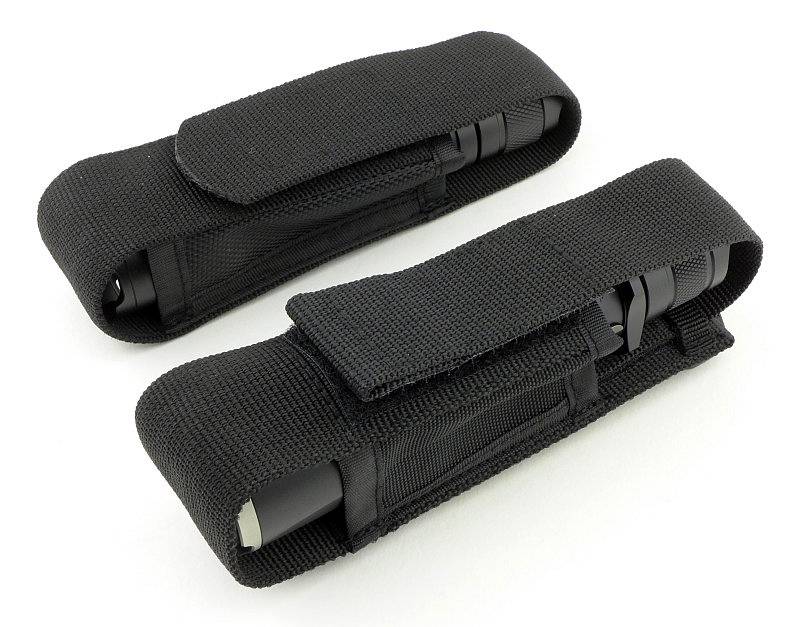
 photo 10 TK15UE compare P1230827.jpg

Dimensions are all very similar. The TK15C I’m comparing with here has had the clip removed as well as the tactical grip ring because it has been used gun-mounted.
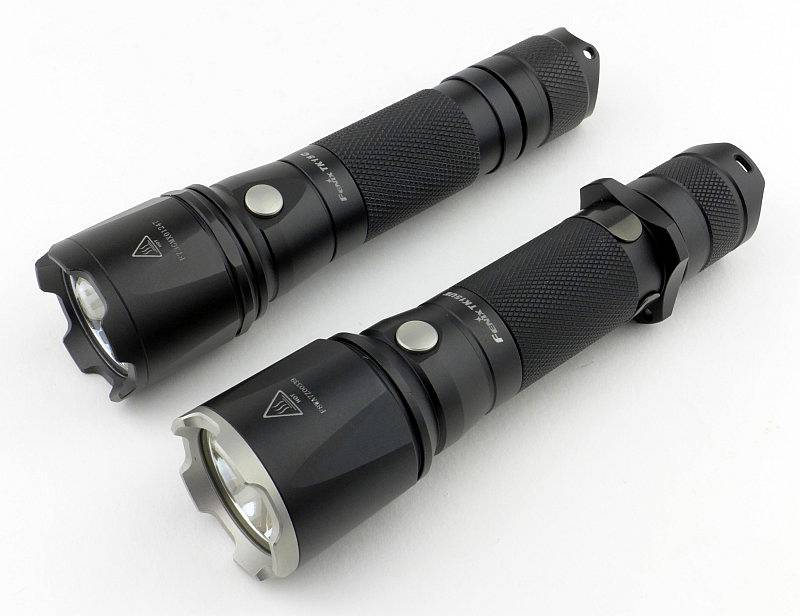
 photo 12 TK15UE compare P1230832.jpg

Going in close to the engraving of the model, the knurling and mode switch.
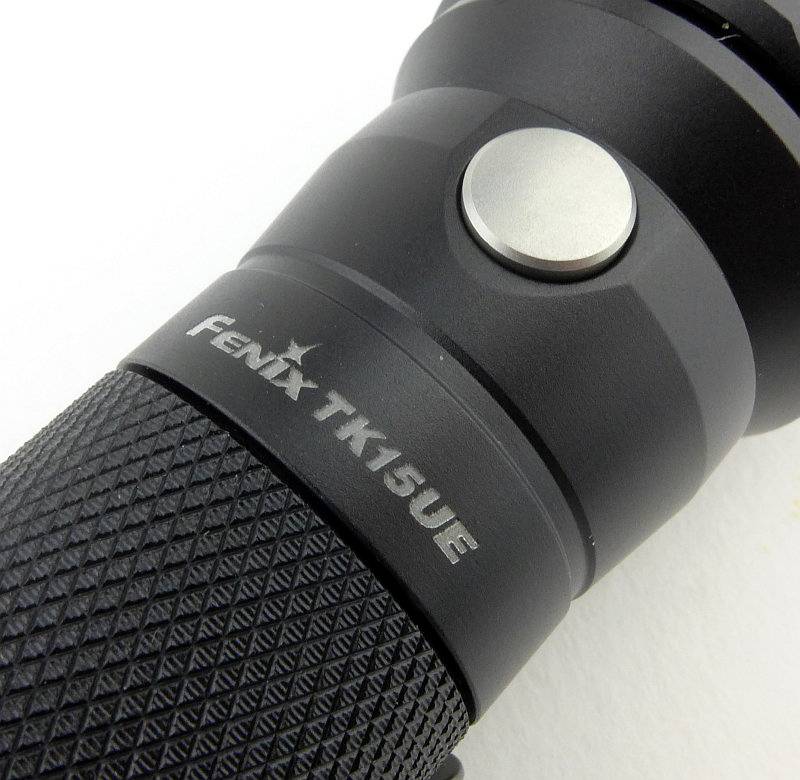
 photo 13 TK15UE switch detail P1230837.jpg

All the edges of the clip are nicely rounded, and there are no sharp corners to eat away at your pockets (just the knurling under the clip).
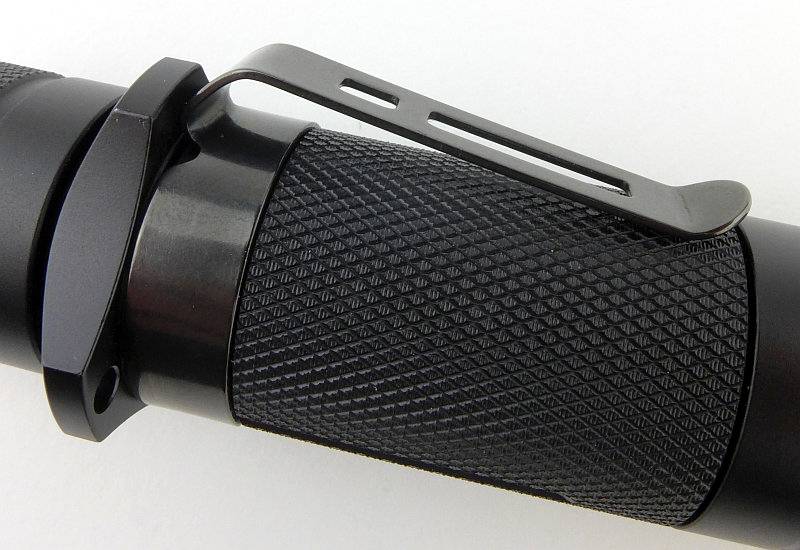
 photo 14 TK15UE clip detail P1230839.jpg

The switch button does protrude, so no tail-standing, and it has two raised areas to provide the switch with some protection from accidental activation.
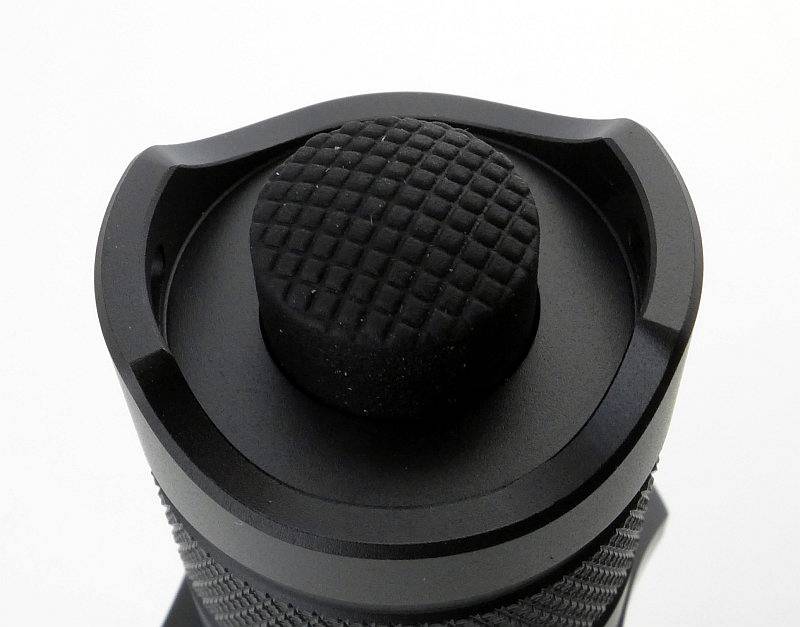
 photo 15 TK15UE tail detail P1230844.jpg

As with the stainless bezels on other Fenix lights, the edges have been bevelled to make them kind to the holster and your pockets.
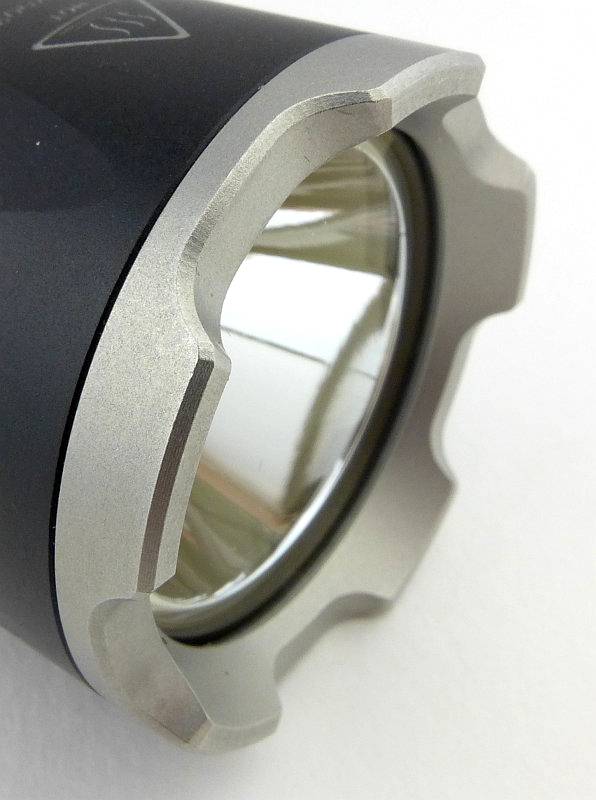
 photo 17 TK15UE bezel P1230849.jpg

The inner edges of the bezel are crisp without being sharp.
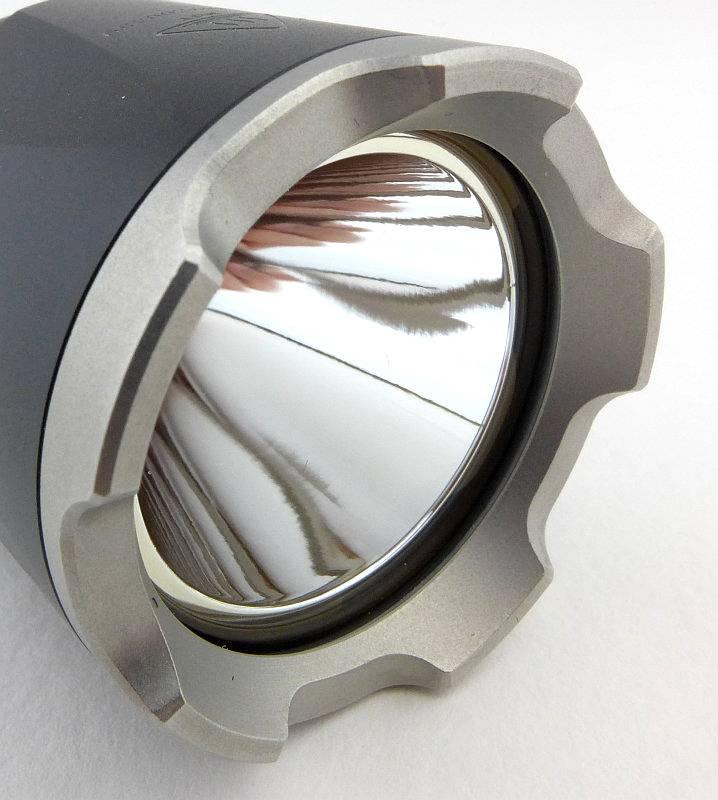
 photo 18 TK15UE bezel P1230852.jpg

Fenix’s preferred trapezoid threads are used.
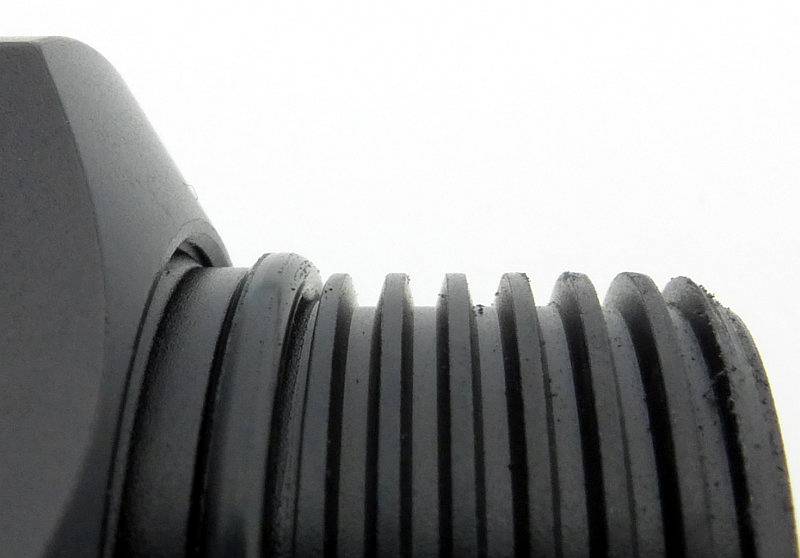
 photo 19 TK15UE threads P1230857.jpg

The end of the battery tube is the electrical contact that connects to the tail-cap contact.
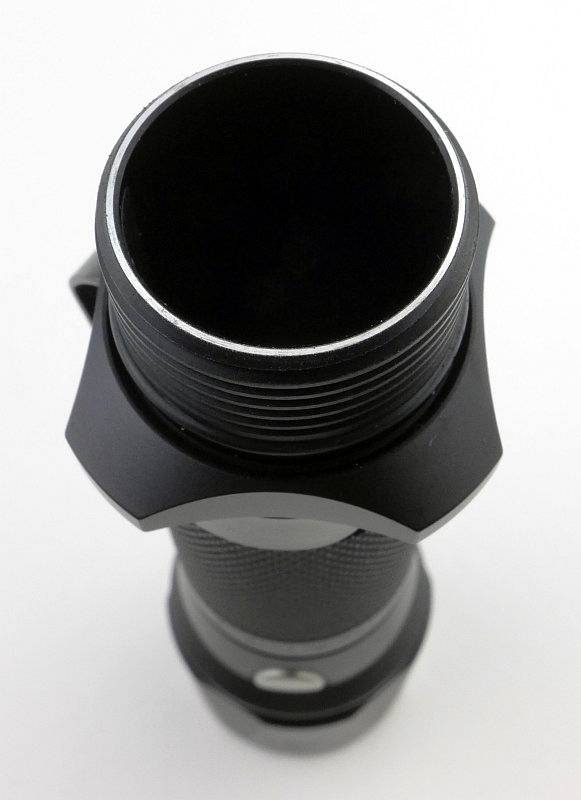
 photo 20 TK15UE tube P1230863.jpg

Inside the tail-cap are the battery tube contact and the negative terminal sprung contact.
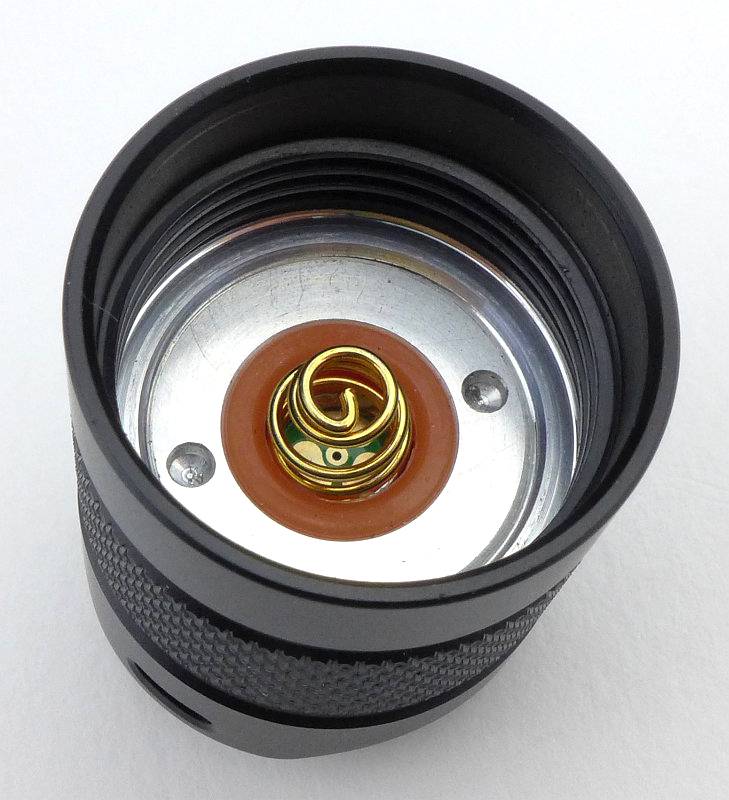
 photo 21 TK15UE tailcap contacts P1230866.jpg

With the TK15UE, the head will unscrew.
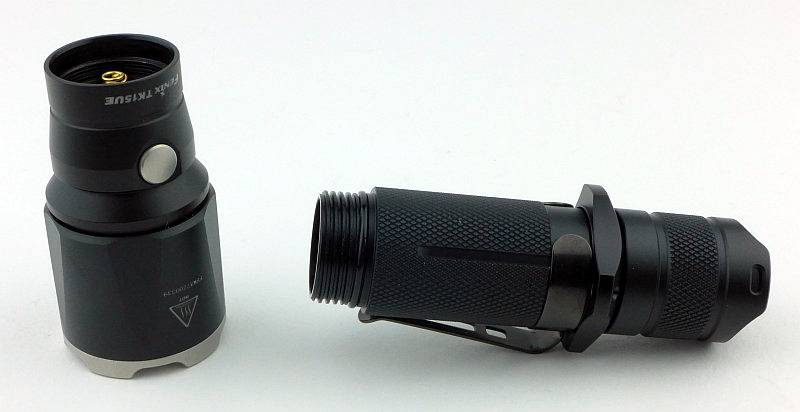
 photo 22 TK15UE head off P1230884.jpg

As the battery tube can be removed we can get a good look at those contacts in the head.
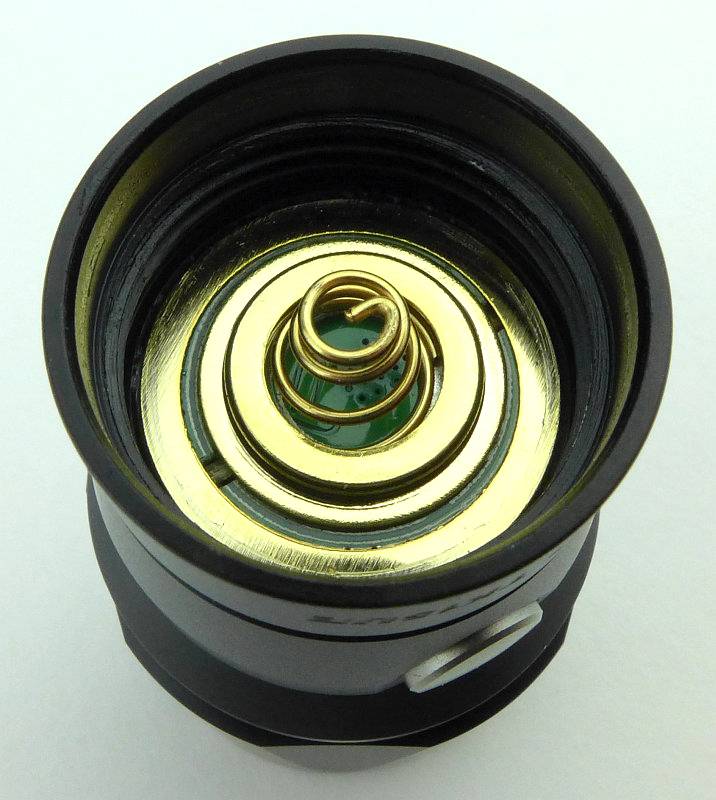
 photo 23 TK15UE head contacts P1230885.jpg

Just like previous TK15 models, the TK15UE has a smooth reflector.
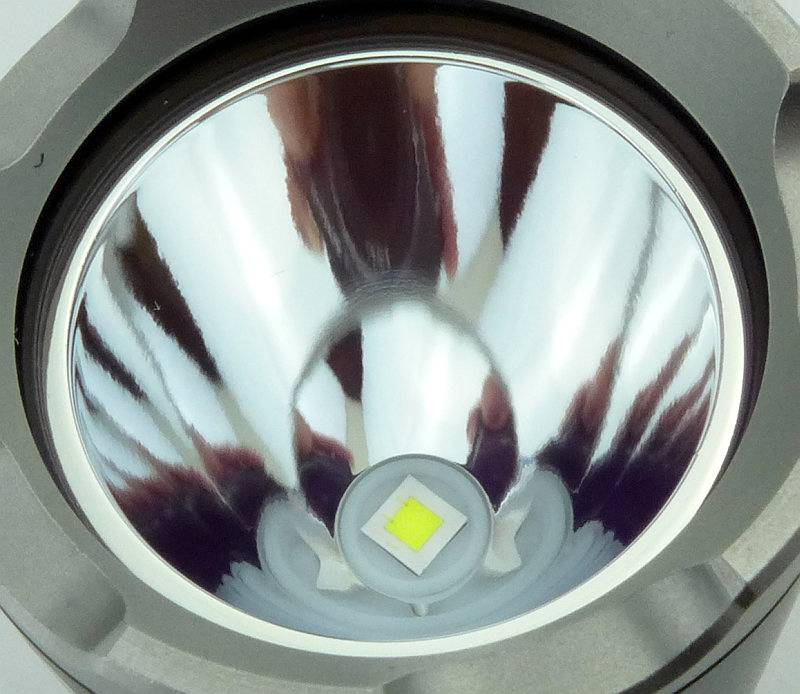
 photo 24 TK15UE reflector P1230888.jpg

In the centre of that reflector is the CREE XP-L HI V3 LED.
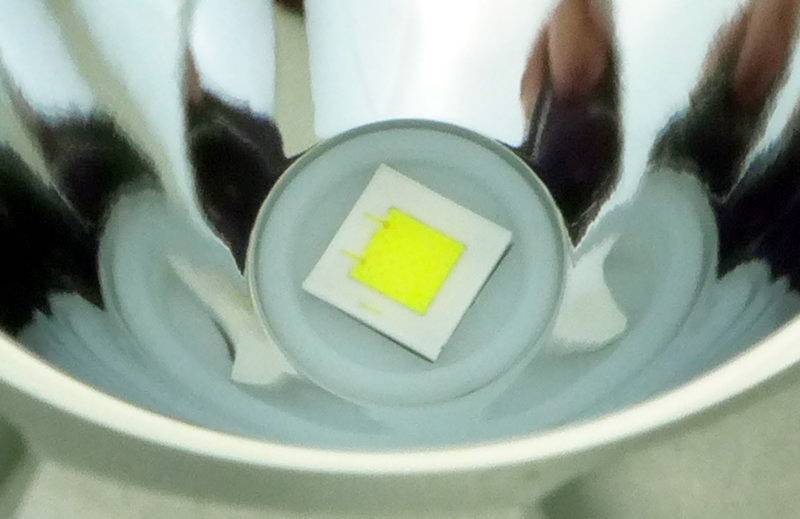
 photo 25 TK15UE LED P1230897.jpg

Looking straight into the TK15UE’s reflector.
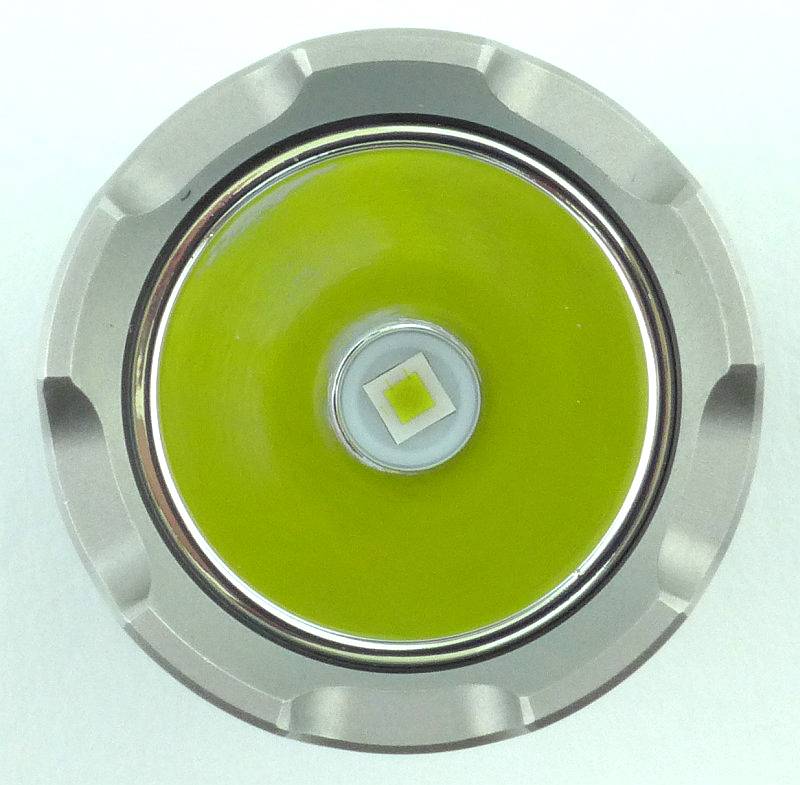
 photo 26 TK15UE LED P1230901.jpg

The TK15UE is one of the more compact single 18650 lights. Not as compact as the small-head types such as the PD32, but it does have a big enough reflector to give it some punch.
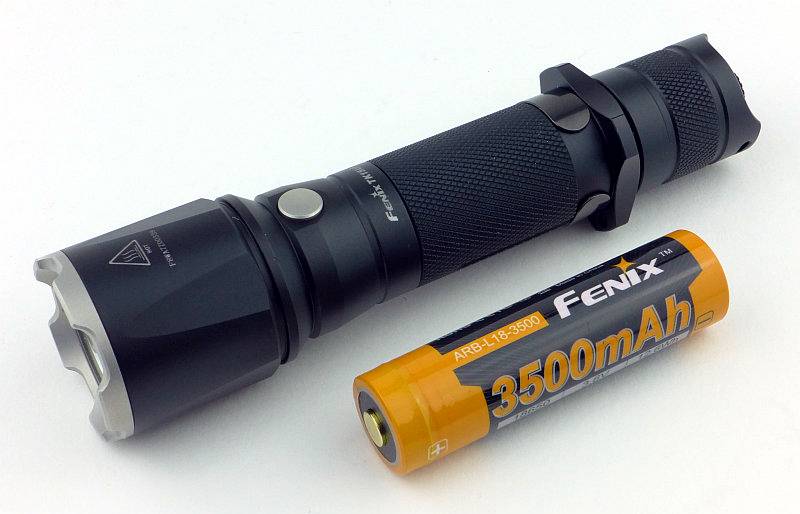
 photo 27 TK15UE with cell P1230904.jpg

You can take off the tactical grip ring by unscrewing it.
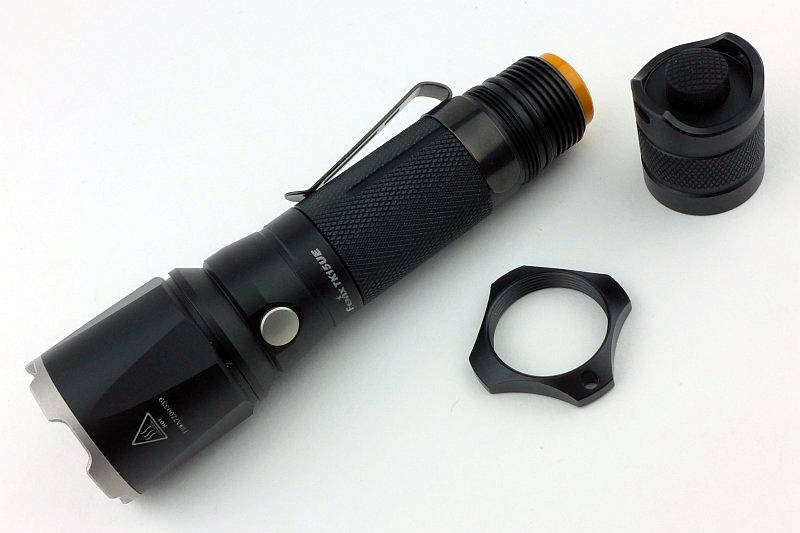
 photo 28 TK15UE ring off P1230910.jpg

Unless you buy the optional thread protector you will see the grip ring threads.
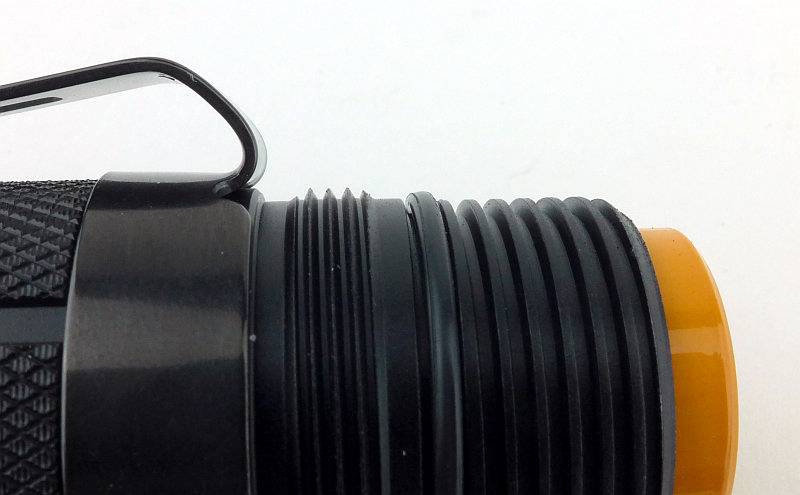
 photo 29 TK15UE ring threads P1230914.jpg

The beam

Please be careful not to judge tint based on images you see on a computer screen. Unless properly calibrated, the screen itself will change the perceived tint.

The indoor beamshot is intended to give an idea of the beam shape/quality rather than tint. All beamshots are taken using daylight white balance. The woodwork (stairs and skirting) are painted Farrow & Ball “Off-White”, and the walls are a light sandy colour called ‘String’ again by Farrow & Ball. I don’t actually have a ‘white wall’ in the house to use for this, and the wife won’t have one!

Indoors the TK15UE is not at its best, as it is quite a throw orientated beam. The hotspot is bright and well formed. Spill is relatively dim and narrow but usable. There is enough balance in the beam to make it OK indoors.
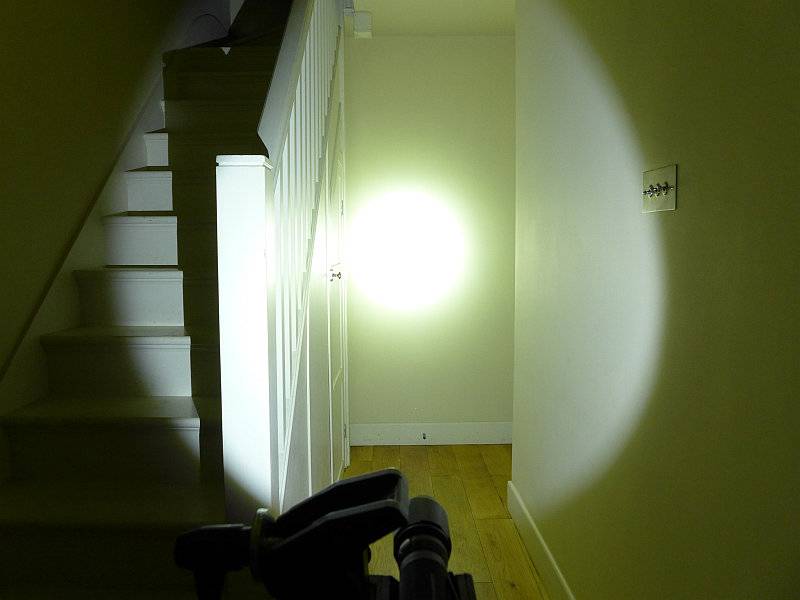
 photo 32 TK15UE indoor P1240716.jpg

But it is when you get a bit more range that the TK15UE really starts to shows what it is made of. The throw belies its compact size, and with the ‘UE’ upgrade it is a really punchy little light.
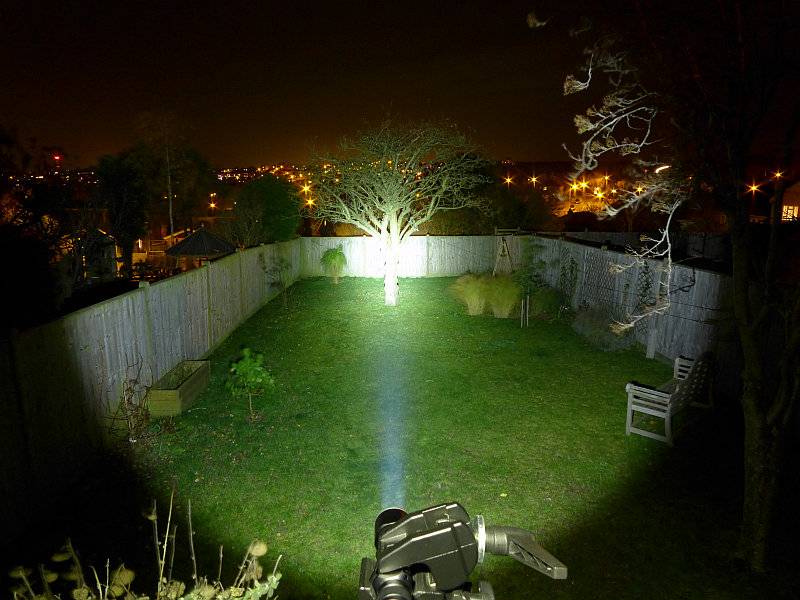
 photo 31 TK15UE outdoor P1240668.jpg

Modes and User Interface:

To control the TK15 UE there is the forward-clicky tail switch, and the mode selection switch just behind the head.

Click ON (or half press for momentary action) the tail switch to access the last used constant mode. With the tail switch on, press the mode button to cycle though the modes.

The standard modes are Low, Medium, High and Turbo.

There is a hidden Strobe mode accessed by holding the modes selection switch in for 1s. Strobe is not memorised as a last used mode.

Batteries and output:

The TK15UE runs on 18650 or 2xCR123.

To measure actual output, I built an integrating sphere. See here for more detail. The sensor registers visible light only (so Infra-Red and Ultra-Violet will not be measured).

Please note, all quoted lumen figures are from a DIY integrating sphere, and according to ANSI standards. Although every effort is made to give as accurate a result as possible, they should be taken as an estimate only. The results can be used to compare outputs in this review and others I have published.

___________________________________________ ________________________________ ________________________________
Fenix TK15UE using specified cell I.S. measured ANSI output Lumens PWM frequency or Strobe frequency (Hz)
___________________________________________ ________________________________ ________________________________
Turbo – Fenix ARB-L18-3500 776 0
High – Fenix ARB-L18-3500 377 0
Medium – Fenix ARB-L18-3500 164 0
Low – Fenix ARB-L18-3500 14 0

* Beacon and Strobe output measurements are only estimates as the brief flashes make it difficult to capture the actual output value.

Peak Beam intensity measured 31100 lx @1m giving a beam range of 353m.

There is no parasitic drain.

I was slightly surprised by the Turbo output runtime trace as unlike most Fenix lights the TK15UE does not appear to run with a regulated output. The trace was recorded using cooling, so it is unlikely that this is due to overheat protection, instead the TK15UE seems to run at maximum output with that output sagging as the cell becomes depleted. However saying that, you do get a full hour of runtime at more than 600lm, so overall the performance is still good. (This was run using Fenix’s latest ARB-L18 3500mAh cell.)
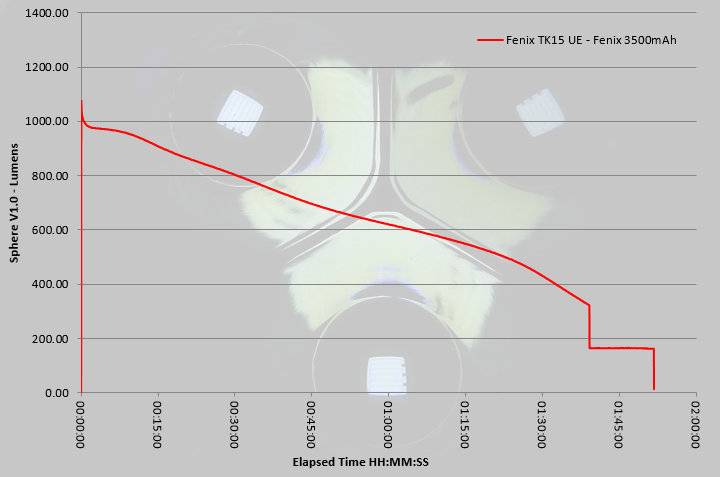
 photo Fenix TK15 UE runtime.jpg

Troubleshooting

This section is included to mention any minor niggles I come across during testing, in case the information helps anyone else.

No issues were encountered during testing.

As per the description of this section, this information is provided in case anyone else finds a similar ‘issue’ that might be fixed in the same way.

The TK15UE in use

By separating the mode selection to a side-switch Fenix have allowed proper momentary use of that forward-clicky tail switch. This makes for a really easy and intuitive interface and keeps things simple for any user.
Fortunately the strobe mode is reasonably well hidden and is not memorised; I’m surprised anyone still includes strobe. As those that follow me will know, I’m certainly no fan of strobe and most true tactical users I know are aware that if you strobe another person, you strobe yourself as well, so your are better off not using it at all. Thankfully with the TK15UE you need never come across strobe and can use the four constant output modes without tripping over strobe.
The TK15UE manages a balance between hotspot and spill that, although it is more oriented towards throw, is still usable at indoor distances.
When using the holster with the TK15UE inserted bezel-down, the bezel does catch in the holster before getting all the way in. Used bezel-up, this does not happen. It seems to be due to the adjustable flap taking up more space inside so the bezel catches on the inside of the holster. To get it all the way into the holster bezel-down you need to twist the TK15UE as you insert it.
There are smaller single 18650 lights, but the TK15UE is still compact enough to make it easy to carry, yet that slightly larger head is enough to give it a nice strong beam. Even with the upgrades to the head and LED, Fenix have kept the character of the TK15 but made it significantly brighter.
I’ve always felt the TK15 was an unsung hero in the Fenix line-up, quietly getting on with the job while others took the glory. In the Ultimate Edition, the TK15UE can now take some of the limelight and hopefully get a bit more recognition.

Review Summary

_______________________________________________ _______________________________________________
Things I like What doesn’t work so well for me
_______________________________________________ _______________________________________________
Significantly boosted output compared to previous TK15 models. Turbo output not regulated.
Excellent throw from a compact head. Bezel catches in holster when used bezel down.
Simple user interface. Can accidentally hit the mode switch especially if wearing gloves.
Stainless Steel Bezel.

 photo 30 TK15UE angle on P1230918.jpg


Discussing the Review:

Please feel free to add comments to the review, but the ideal place to freely discuss these reviews is on a forum. If you started reading the shorter forum version of the review, but followed the link this full exclusive review, please return to that forum to discuss the review there.
If you read the review entirely on Tactical Reviews, please consider one of the following to join in any discussion.

CandlePowerForums – Flashlight Reviews Section (Largest and Friendliest Flashlight Community Forum)

EdgeMatters – Sponsored Reviews (UK based Forum for Knife Makers and Collectors)

Knife Review: Ruger / CRKT GO-N-HEAVY (Plain and Veff Serrated Versions)

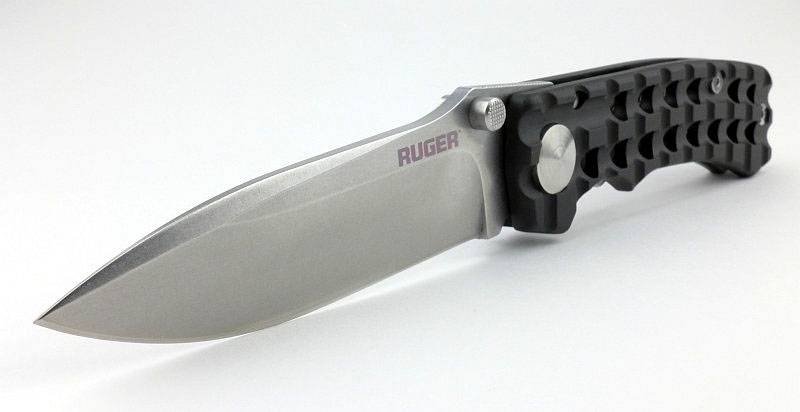
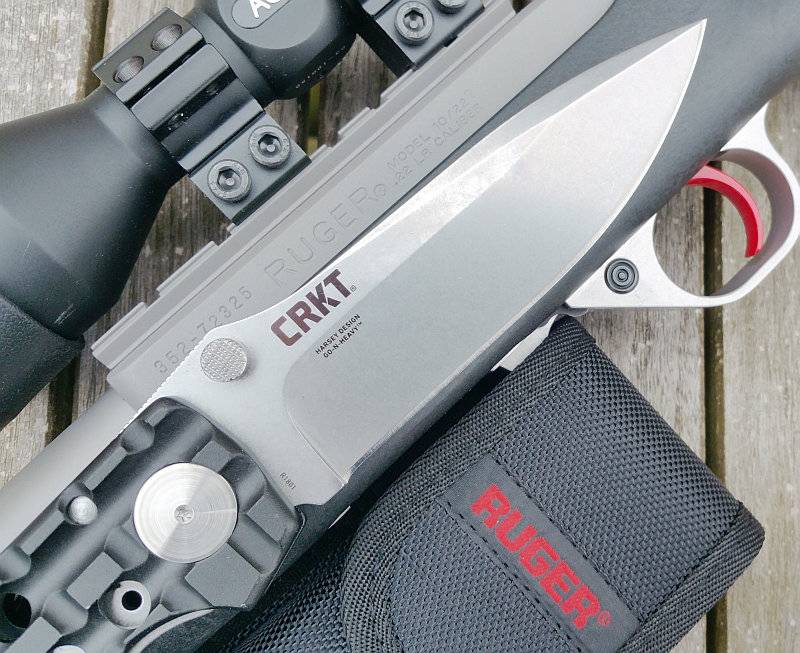
One of my highlights of IWA 2016 was a visit to the CRKT stand, and on that stand was a knife I could not leave IWA without. Amongst the new Ruger line of knives (produced by CRKT) was the super-sized Go-N-Heavy which stood out not only due to its size, but for the distinctive look which comes from a combination of the design brief for the Ruger line of knives and its pedigree of being a William Harsey design.

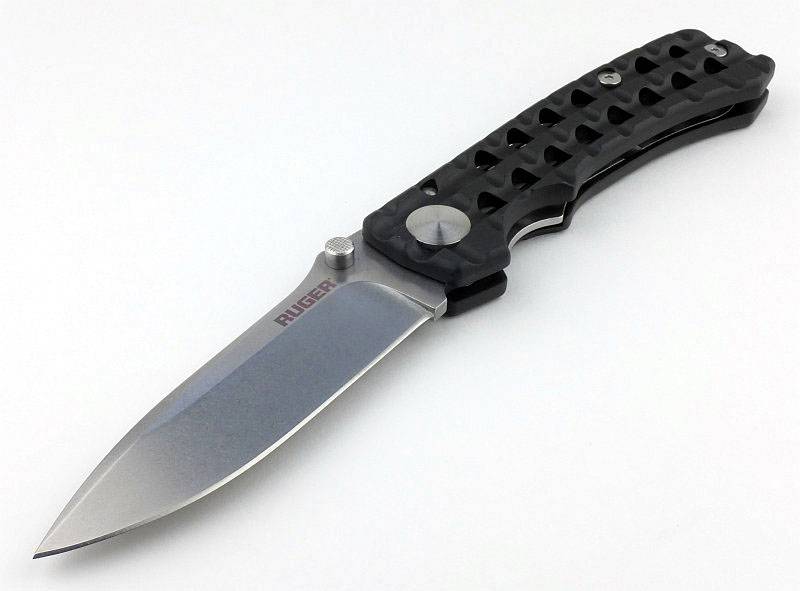
 photo 17 GoNHeavy open P1170642.jpg

The Blade and Handle Geometry:

Most knife specifications have a basic description of the blade geometry, but in this section I will be taking a more detailed look at geometry and balance.
 photo 33 GoNHeavy flat grind P1180539.jpg

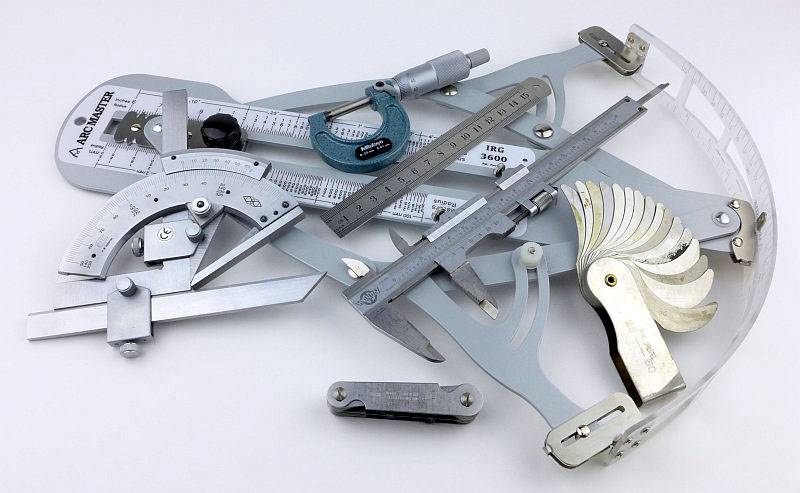
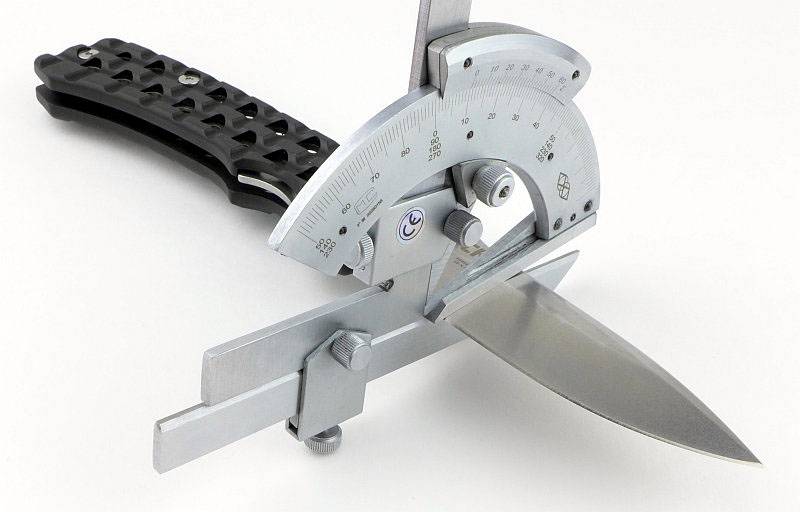
Using a set of gauges and precision measuring equipment including a Vernier protractor, callipers, fixed radius gauges and the unique Arc Master adjustable radius gauge (the one that looks like a crossbow).
 photo Knife measuring P1180483.jpg

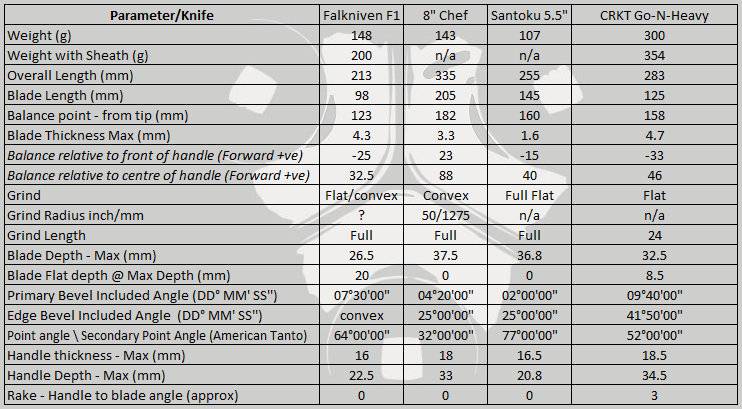
These measurements have been tabulated and are presented along with a few reference blades (8″ Chef’s Knife, 5.5″ Santoku and the popular Fällkniven F1).

Key aspects such as the primary bevel angle, grind type, blade depth, blade thickness, length, weight are detailed, along with balance information.
 photo 32 GoNHeavy grind P1180537.jpg

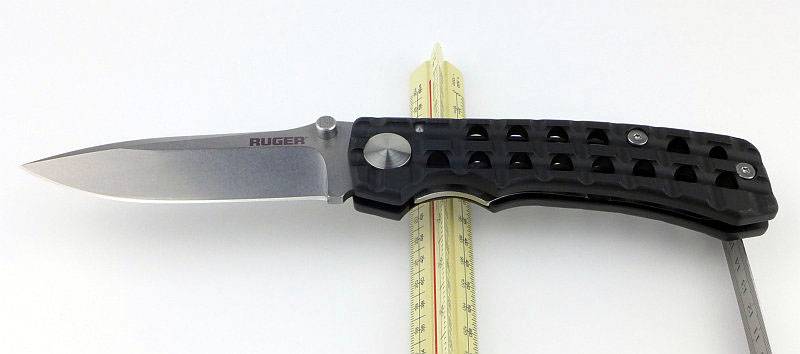
The ‘Balance relative to the front of the handle’ tells you if the knife will feel front heavy, or if the weight is in your hand (a positive value means the weight is forward of the front of the handle). The ‘Balance relative to the centre of the handle’ indicates how close to a ‘neutral balance’ the knife has in the hand.
 photo 31 GoNHeavy balance P1180534.jpg

In the case of full convex grinds the approximate centre of the grind is used for the primary bevel angle estimate.
 photo GoNHeavy parameters.jpg

The blade is made from 8Cr13Mov steel, the washers from Teflon and the handles are hard anodised 6061-T6 Aluminium.

Explained by the Maker:

The reasons for certain design choices may not be clear when simply looking at an object, so this section is intended to give an insight into the thinking behind a design by speaking to the designer themselves.

Unfortunately I can’t always get time with the designer so will use this section to include relevant information about the knife and its designer.

While discussing the Ruger knives with CRKT, there were a couple of insights into the processes that led to the final designs of the knives.

The project started with Ruger approaching CRKT and asking them to design a special line of knives for them. The knives had to represent Ruger, so would not simply be any old design, but had to fit in with the feel of Ruger’s products.

As one of the designers CRKT have worked with before, it turns out that Bill Harsey had already been working on a design that was reminiscent of the Picatinny rails on the SR line of rifles. Never quite making it off his workbench, it seemed a perfect fit, so was adopted for the Go-N-Heavy and Go-N-Heavy Compact knives in the Ruger lineup. The Ruger range also includes a total of 23 different models, fixed and folding, plain edges and part-serrated.

A feature used in CRKT knives are the unique Veff Serrations (which we will see in more detail). A different take on the design of serrations where the scallops are angled to give a positive feed into the cut. The effect is similar to a normal wood saw where the teeth cut into the material in one direction, but ride over the surface (clearing the cut) in the other. Veff serrations give real bite to the cut. We will cover these in more detail later.

A few more details:

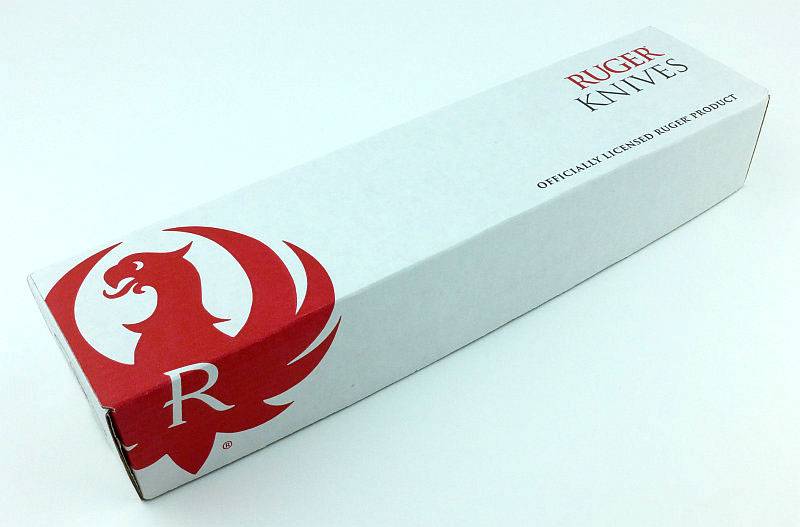
This review is going to look at both versions of the Go-N-Heavy, the plain edge and part-serrated (Veff serrations). The knife arrives in a Ruger branded box.
 photo 01 GoNHeavy box P1190016.jpg

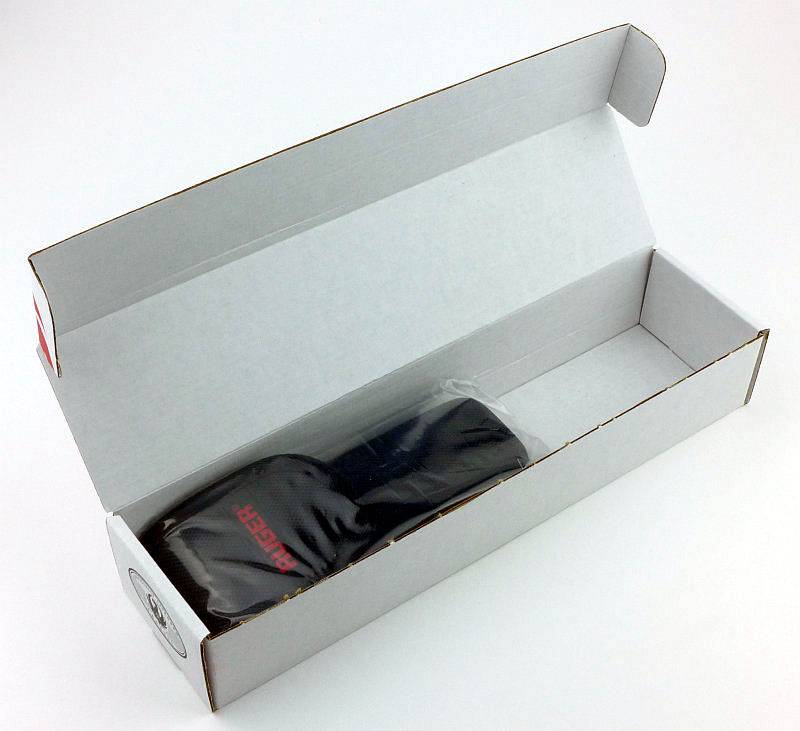
Inside the knife is in its belt pouch and wrapped in a plastic bag.
 photo 03 GoNHeavy box open P1190022.jpg

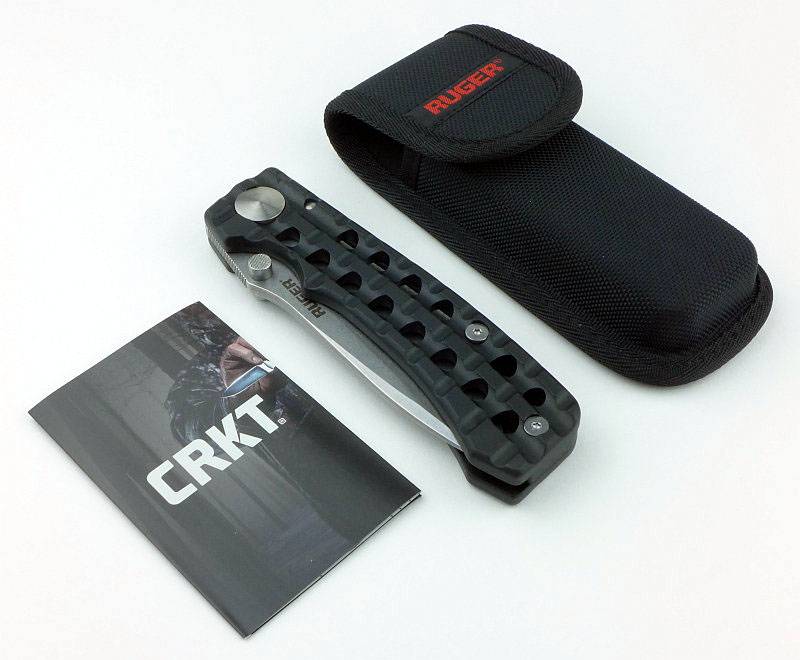
Along with the knife and belt pouch is a CRKT leaflet.
 photo 04 GoNHeavy box contents P1190030.jpg

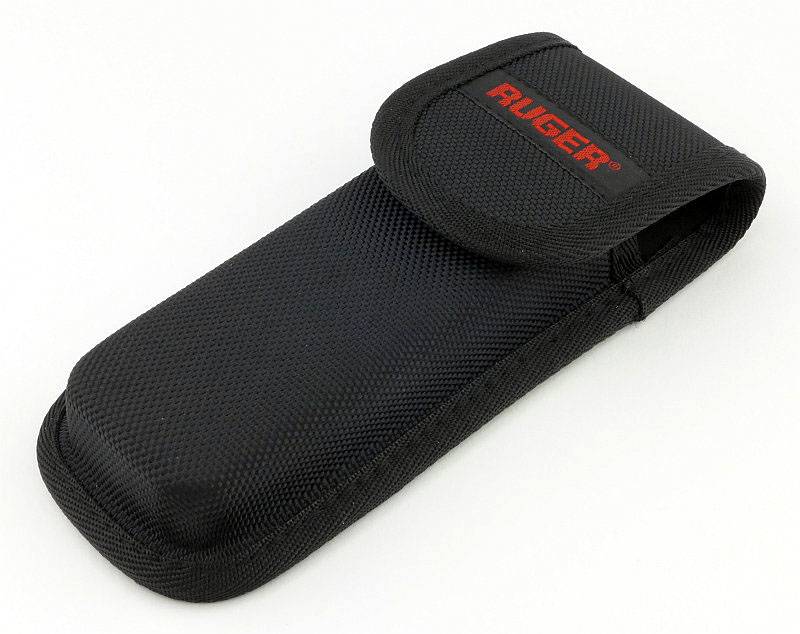
Especially important as this is a large folder, there is a well finished nylon belt pouch.
 photo 06 GoNHeavy holster front P1170601.jpg

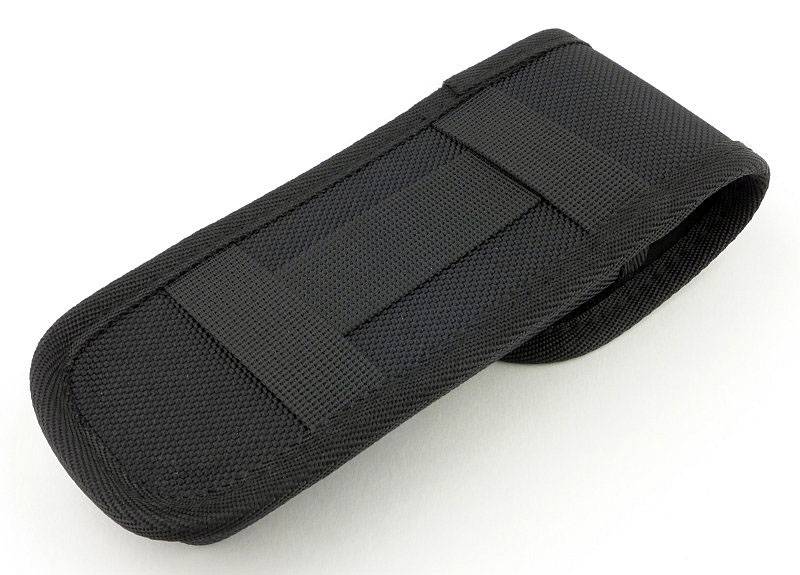
The belt pouch loops allow for horizontal or vertical carry positions.
 photo 07 GoNHeavy holster back P1170604.jpg

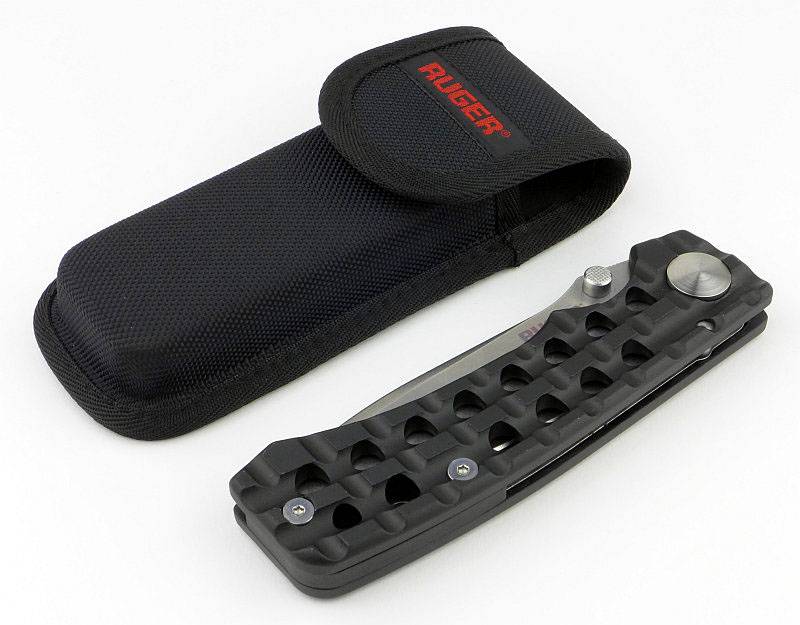
That large belt pouch is filled by the Go-N-Heavy.
 photo 08 GoNHeavy knife and holster P1170607.jpg

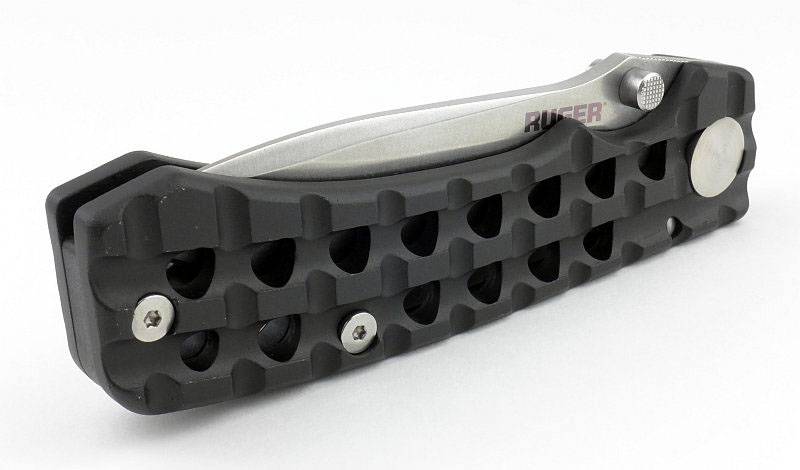
Let’s take a look round this, starting with the Ruger side of the blade.
 photo 09 GoNHeavy knife closed P1170609.jpg

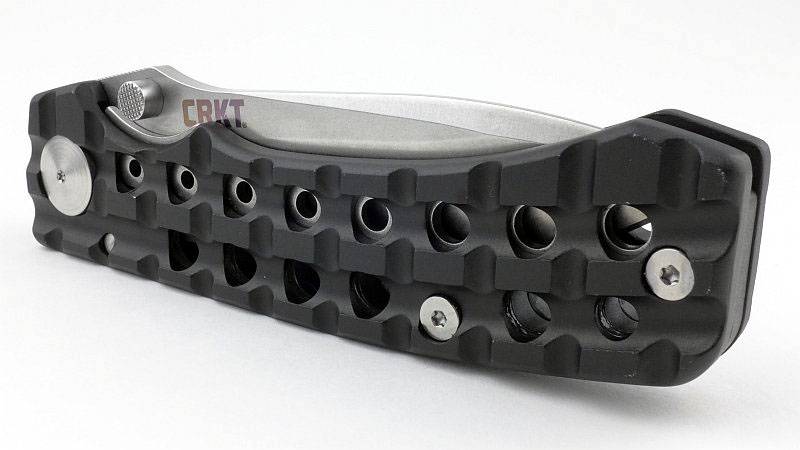
Then the CRKT side of the blade. (On this side you can see the stainless steel lock insert/liner.)
 photo 10 GoNHeavy knife closed P1170613.jpg

Centring is pretty much spot on. Oddly, I’m looking at the actual knife right now and it looks better than this photo.
 photo 11 GoNHeavy centring P1170617.jpg

Loving the details in the handle. Though not a Picatinny rail, it is certainly reminiscent of one.
 photo 12 GoNHeavy handle P1170620.jpg

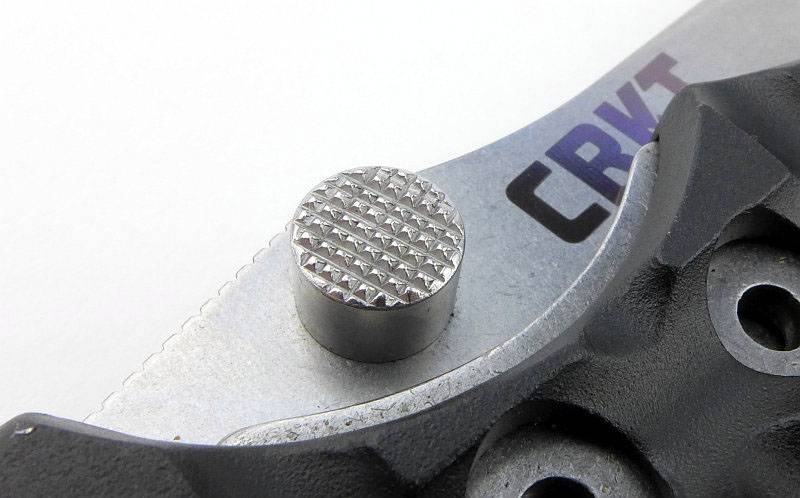
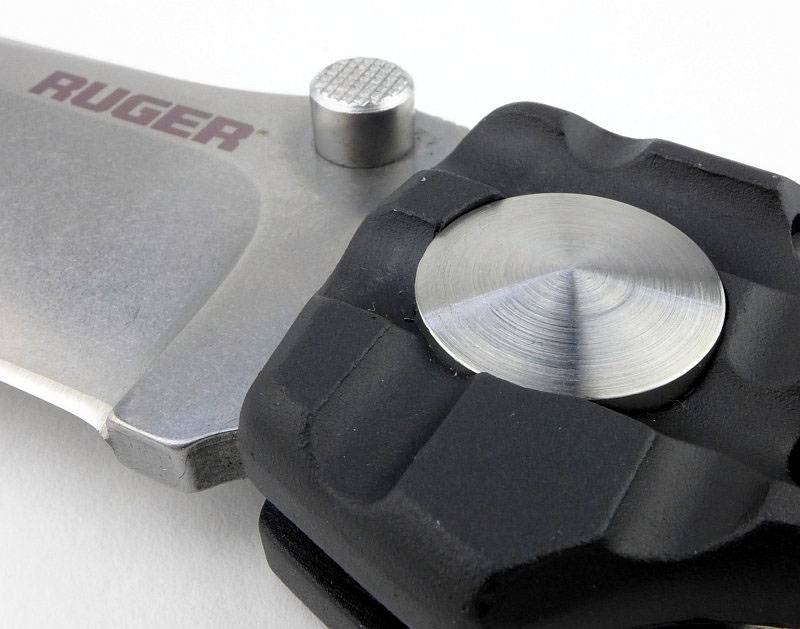
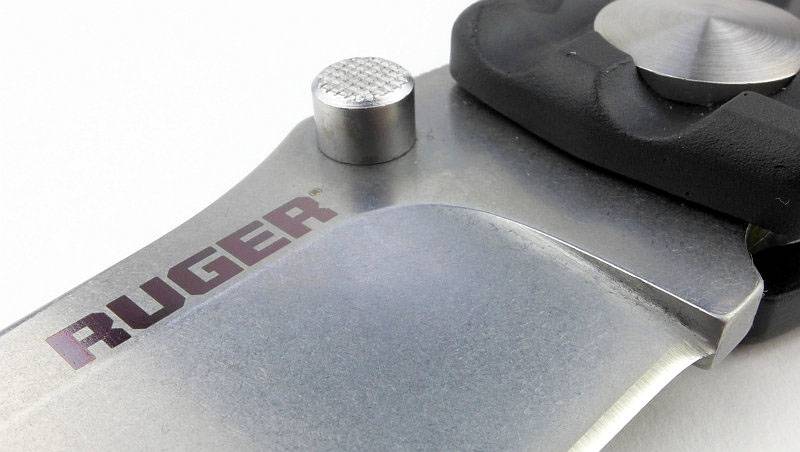
Enough blade is exposed to allow two handed opening, but there is also an ambidextrous thumb stud fitted to the blade.
 photo 13 GoNHeavy thumb P1170624.jpg

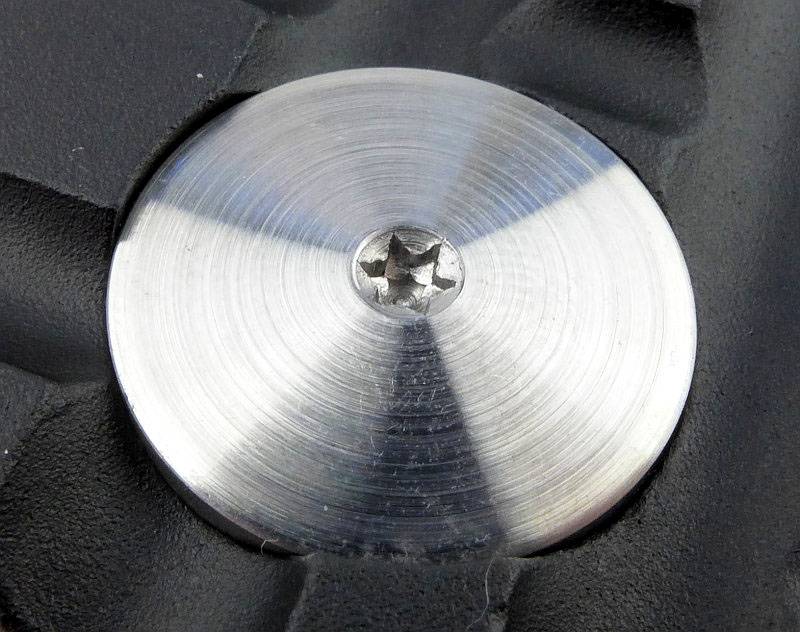
One side of the pivot has a torx fitting for adjustment. The pivot bolt appears big and oversized, but this is for stylistic reasons and sits very well with the black anodised handles.
 photo 14 GoNHeavy pivot P1170628.jpg

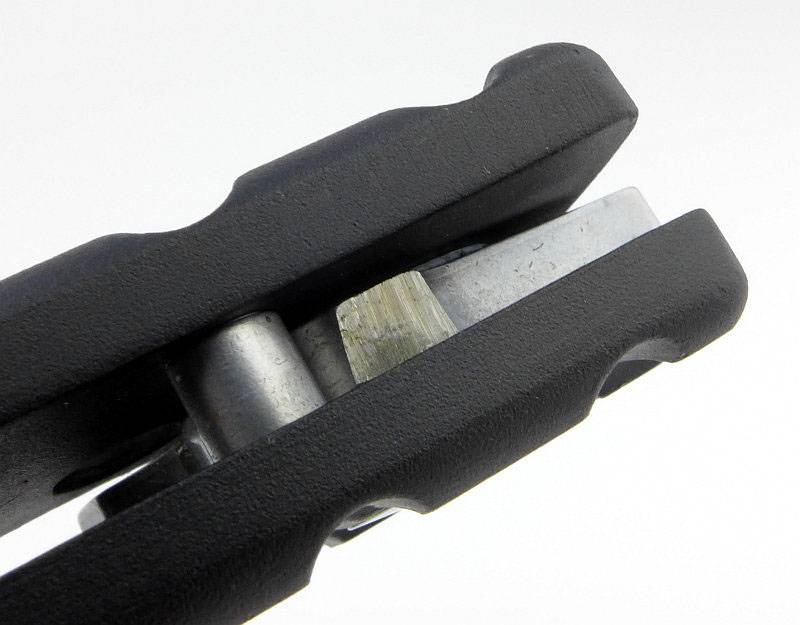
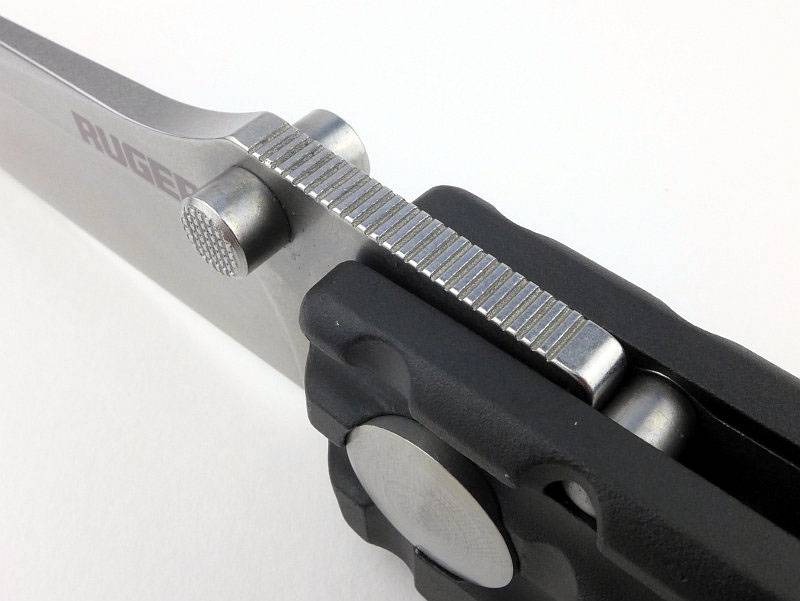
Here we can see the blade stop pin and locking surface (which is fresh and unused straight out of the box).
 photo 15 GoNHeavy stop pin P1170633.jpg

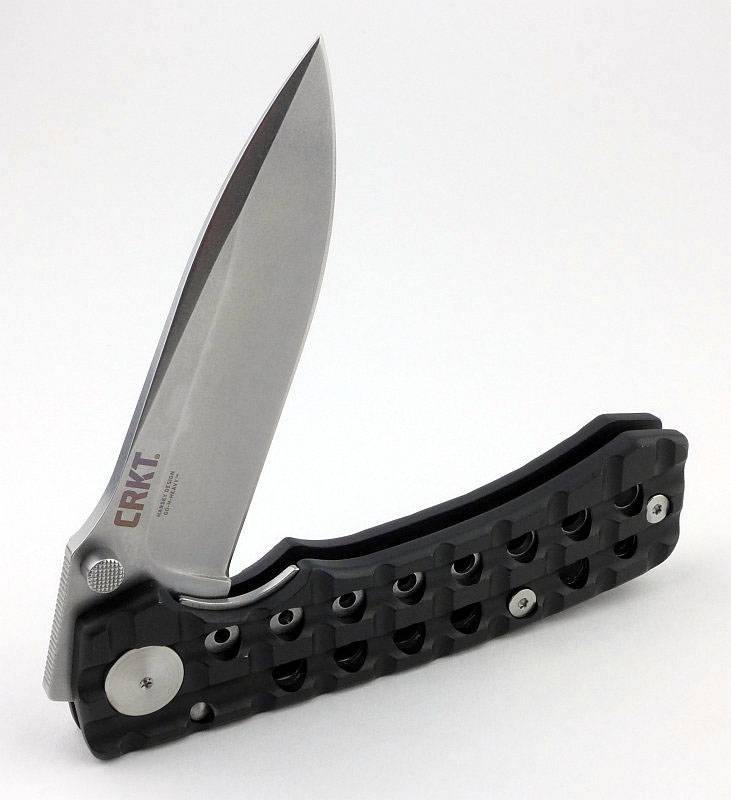
And out comes that nice big blade with recognisable Harsey style.
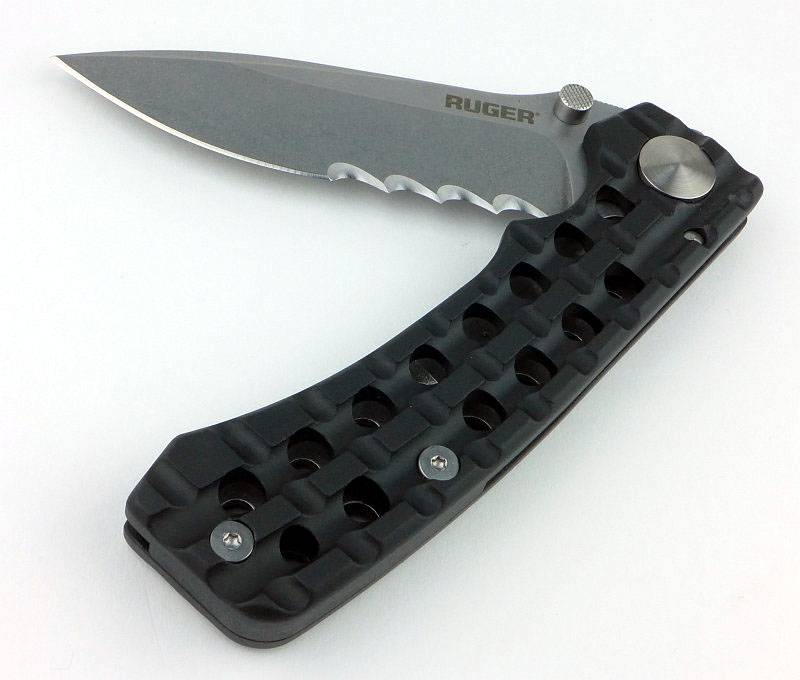
 photo 16 GoNHeavy part open P1170636.jpg

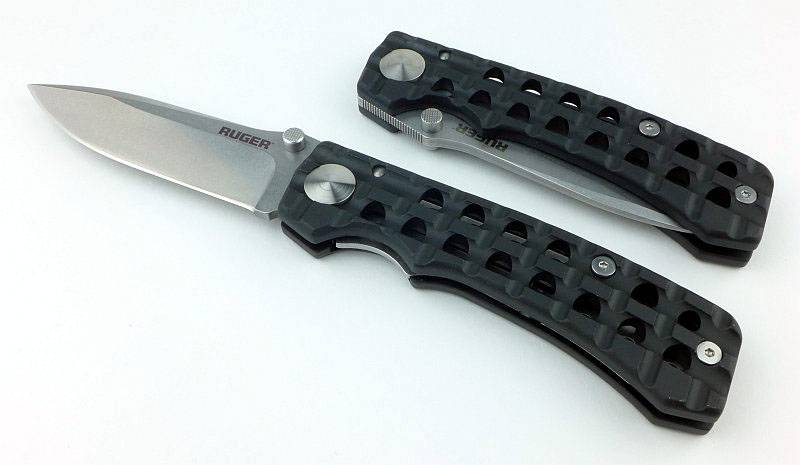
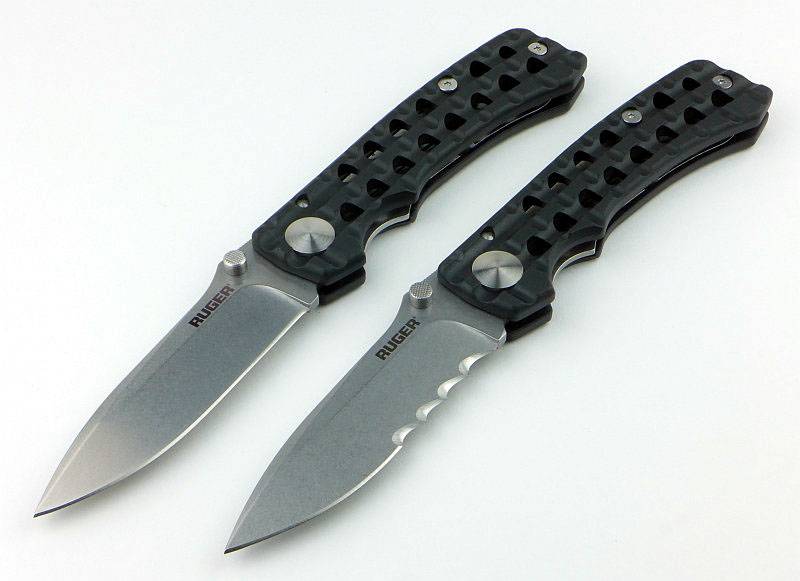
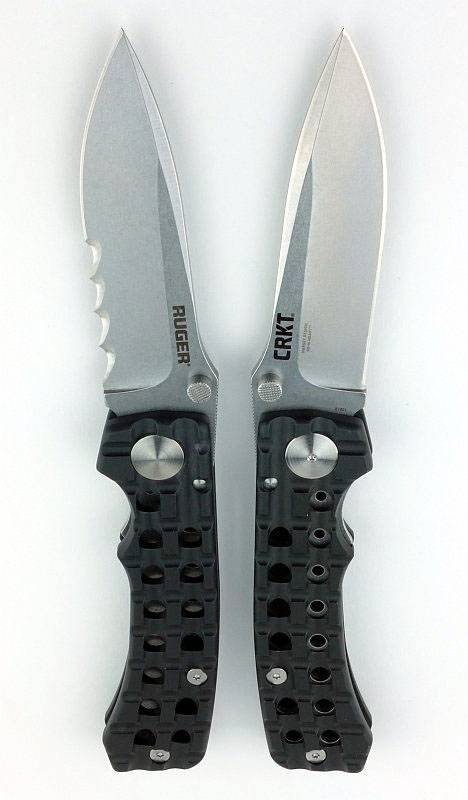
Both versions together to show how it looks open and closed.
 photo 05 GoNHeavy open and closed P1190031.jpg

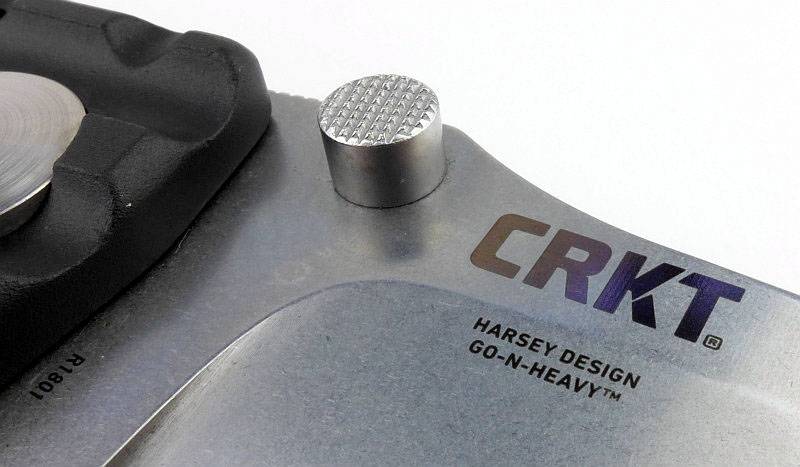
One side of the blade has the CRKT logo, plus model, engraved into the surface.
 photo 18 GoNHeavy logo P1170646.jpg

Lock engagement straight out of the box looks a little light, but was strong and soon settled in slightly with use.
 photo 19 GoNHeavy lock P1170649.jpg

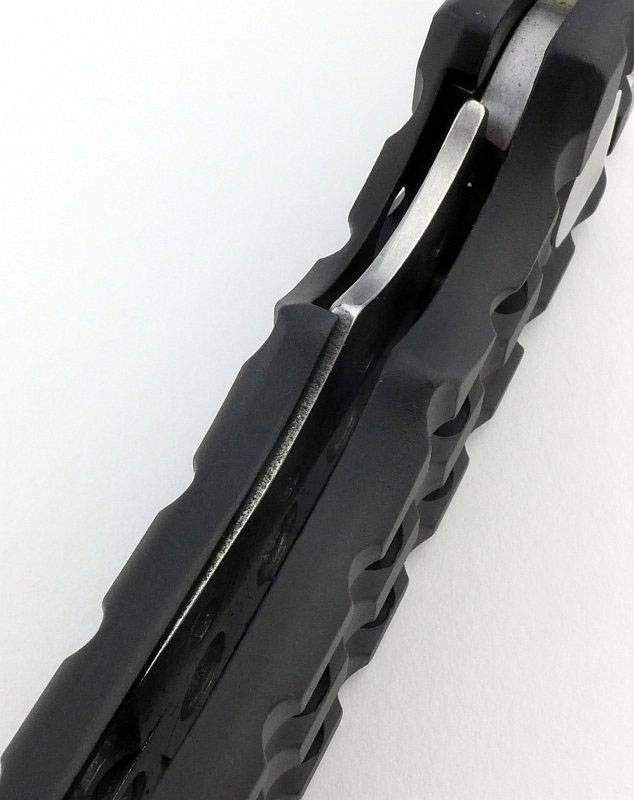
Stepping back a little this view shows how the stainless liner fits into a recess in one of the aluminium handles.
 photo 20 GoNHeavy lock bar P1170653.jpg

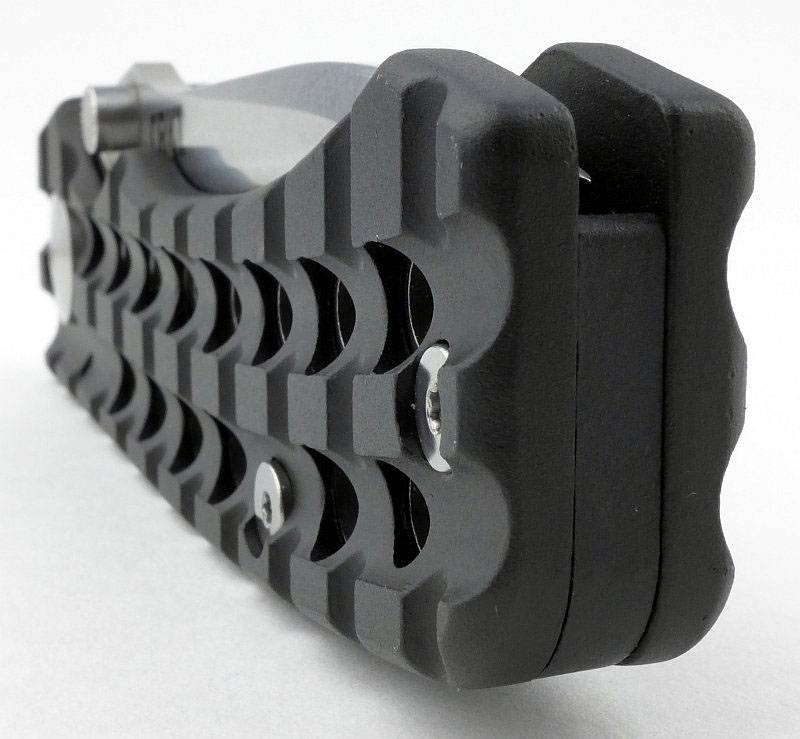
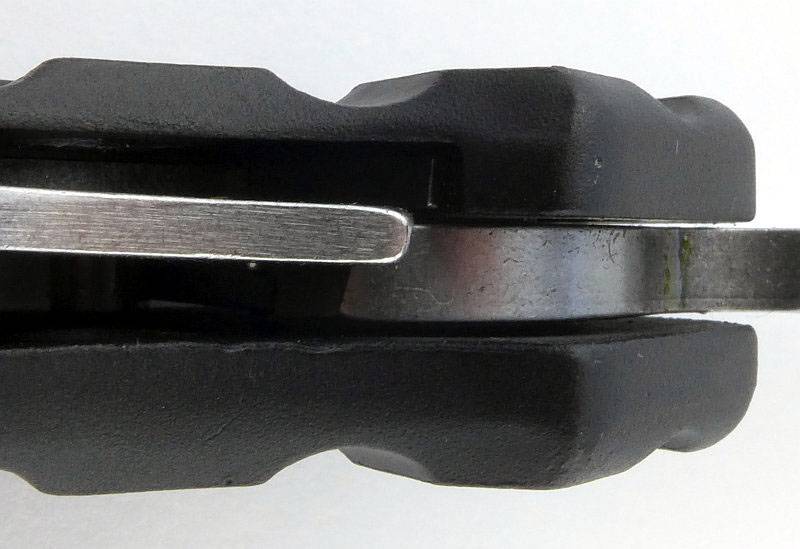
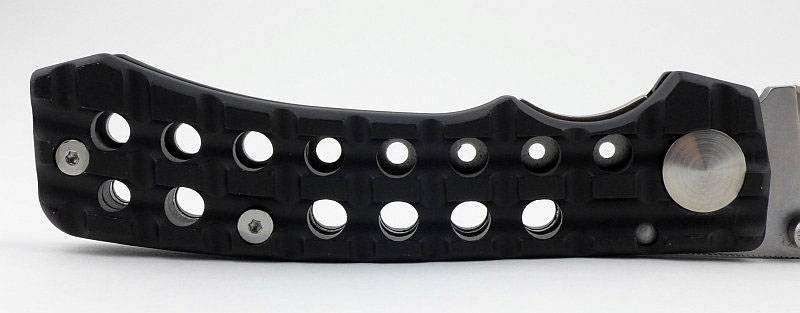
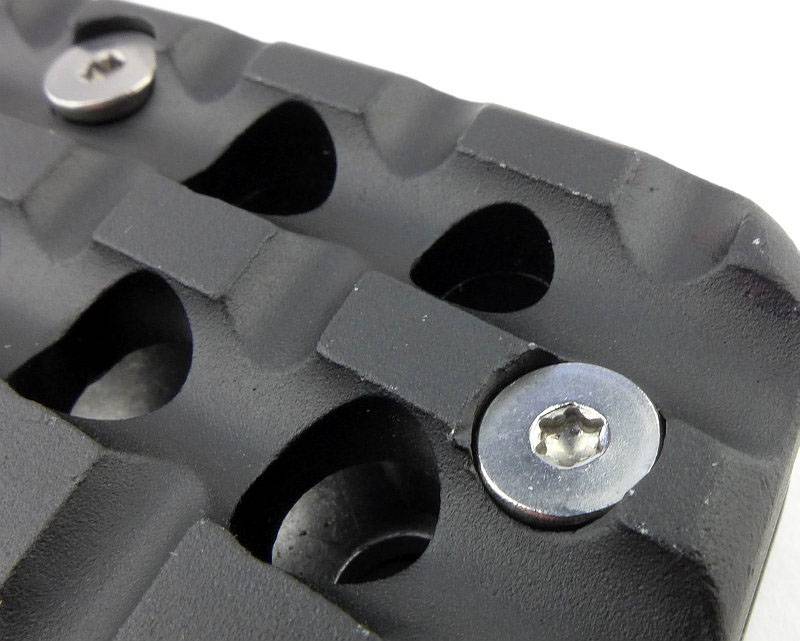
The holes in the handles do go all the way through. You might also spot that the holes in the stainless steel liner are slightly smaller.
 photo 21 GoNHeavy holes P1170655.jpg

Only one side of the pivot bolt has a torx fitting. The other side is completely plain.
 photo 22 GoNHeavy pivot 2 P1170659.jpg

The plunge line is neatly executed.
 photo 23 GoNHeavy plunge P1170663.jpg

Torx bolts are used to hold the handles together.
 photo 24 GoNHeavy handle screw P1170666.jpg

On the thumb ramp there is some fine jimping to give you extra grip.
 photo 28 GoNHeavy jimping P1170696.jpg

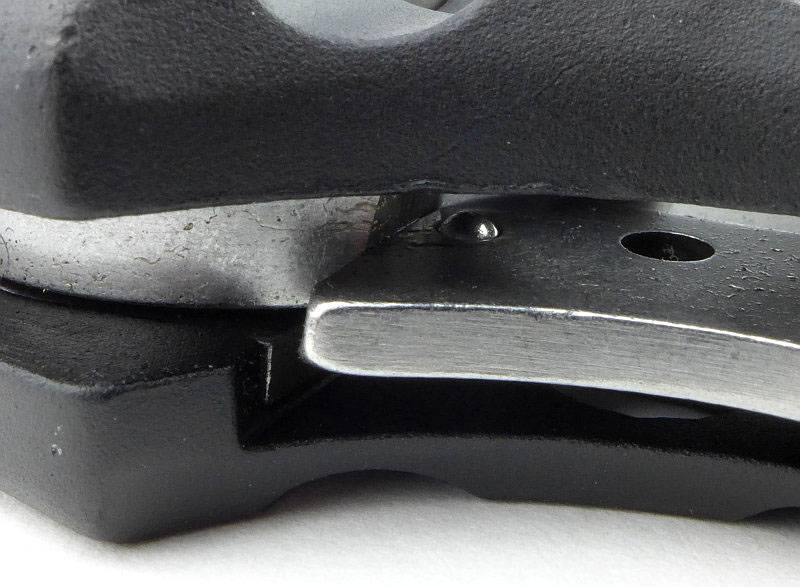
Taking a very close look into the Go-N-Heavy with the blade open you can see the detent ball on the side of the lock bar which holds the blade in the closed position.
 photo 29 GoNHeavy detent P1170703.jpg

There is a nice flowing semi-swedge on the blade spine.
 photo 25 GoNHeavy angle P1170677.jpg

Now a switch over to the part-serrated version featuring Veff serrations.
 photo 34 GoNHeavy veff P1190041.jpg

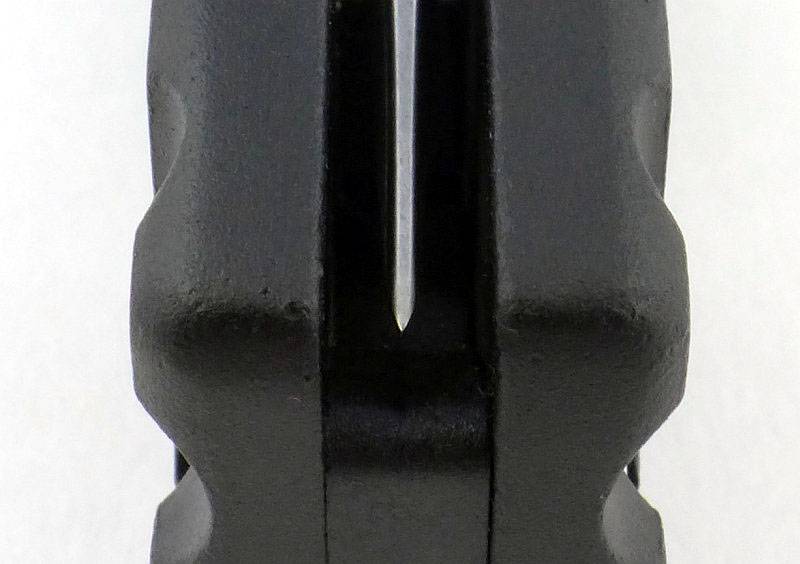
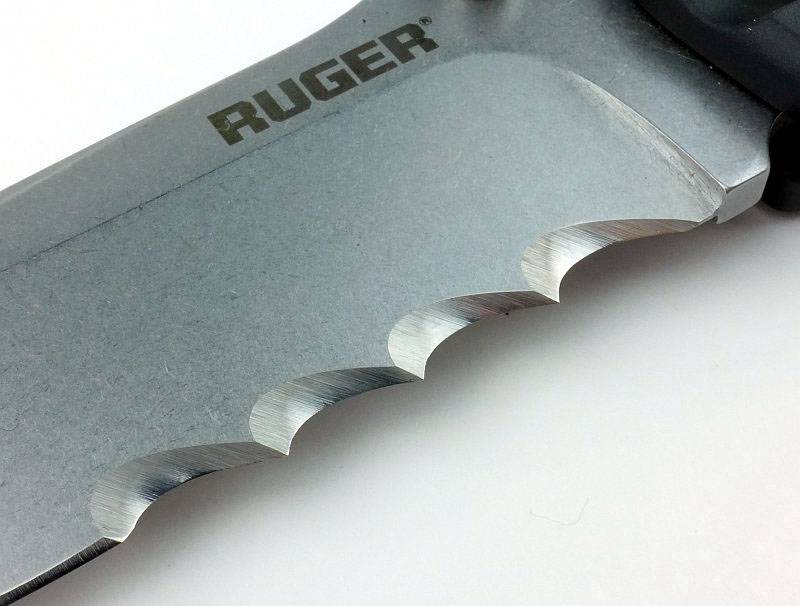
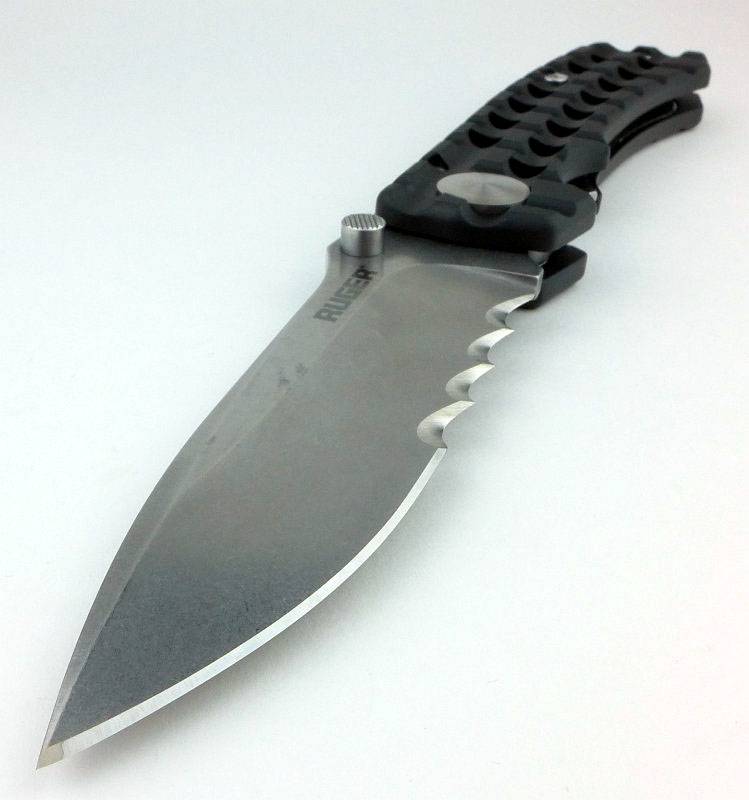
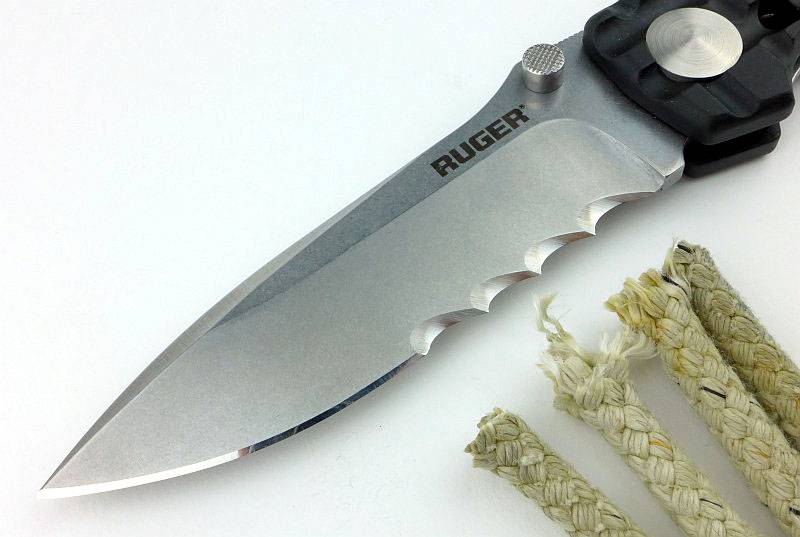
Really heavy-duty serrations with only four scallops in the serrated area.
 photo 35 GoNHeavy veff serrations P1190047.jpg

From the other side of the blade you can see the serrations are cut with a single bevel.
 photo 36 GoNHeavy veff single bevel P1190054.jpg

The two versions.
 photo 38 GoNHeavy both P1190085.jpg

What is the Go-N-Heavy like to use?

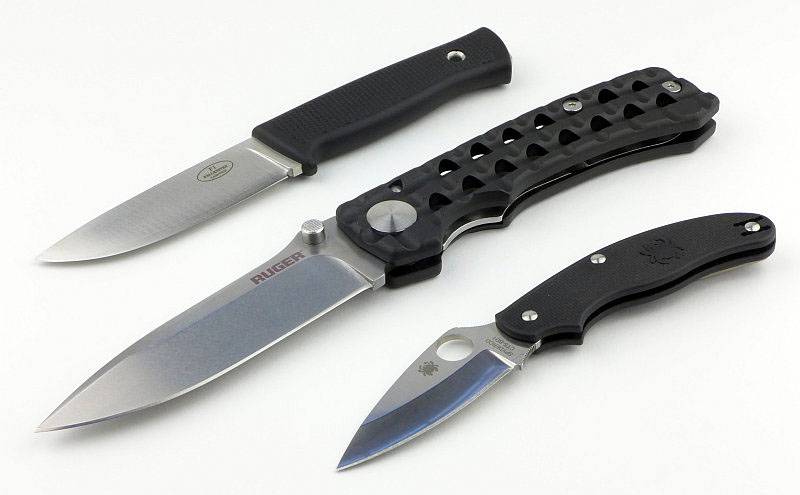
Before we go onto using it, to start with we have to get the proper ideal of scale, so here the Go-N-Heavy is next to the Fällkniven F1 and a Spyderco UK Pen Knife. Yes, it really dwarfs the Fällkniven in blade and handle.
 photo 27 GoNHeavy size P1170691.jpg

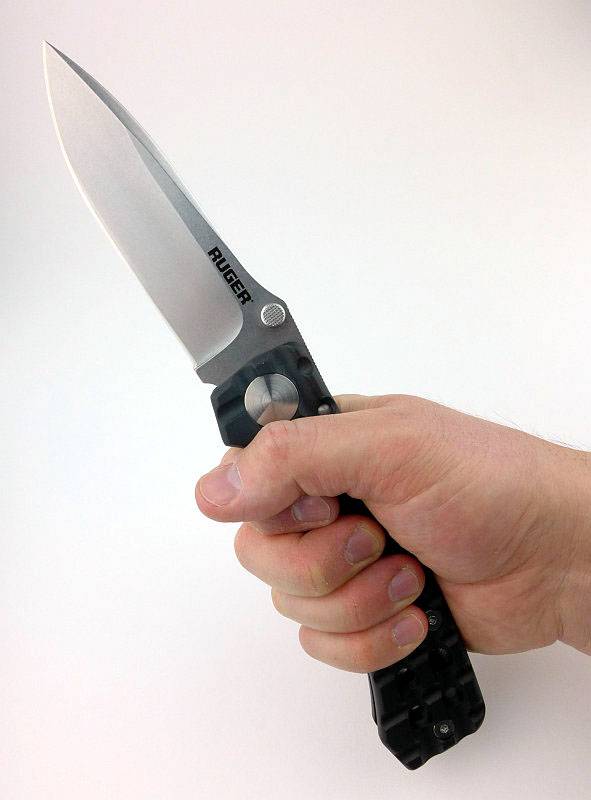
I take XL size gloves, and this knife makes my hand look small. What the large handle does allow for however are a range for different grip positions all of which remain comfortable.
 photo 30 GoNHeavy in hand P1170714.jpg

Ok, I’m not going to argue that it is the most practical knife, but saying that there are plenty of occasions I want to have a large knife with me but can’t really justify a fixed blade. The Go-N-Heavy gives you a knife with presence but which is small enough when folded to pop into a bag or onto your belt and not be too noticeable; until you need it.

There is also just something so satisfying about a big folder, watching that large blade appear and the knife double in size. When at IWA I found it very difficult to put down, and knew exactly which CRKT knife I wanted to test.

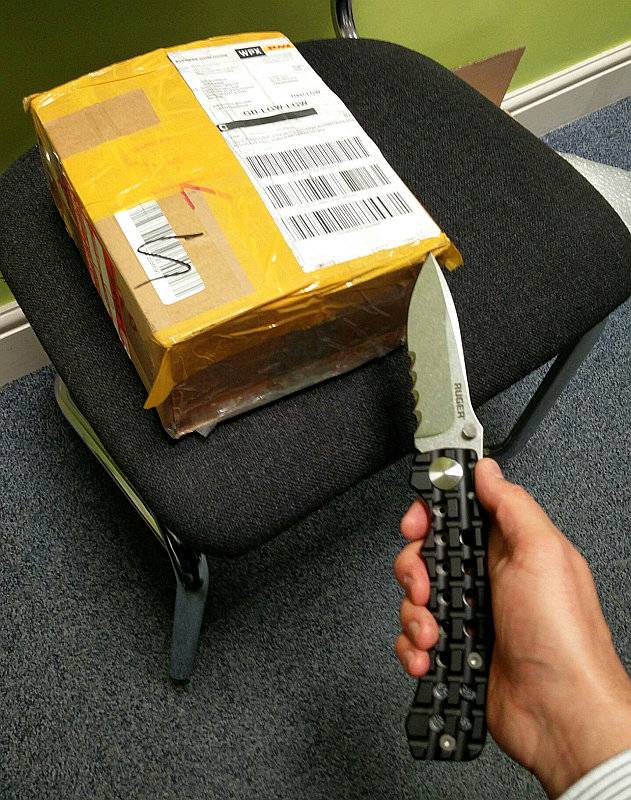
Perhaps a little over sized for a box cutter (especially as you might end up going through the entire box and cutting the contents), but it did the job. Clearly this is not what the knife was intended for.
 photo Box cutter IMG_20161006_133916.jpg

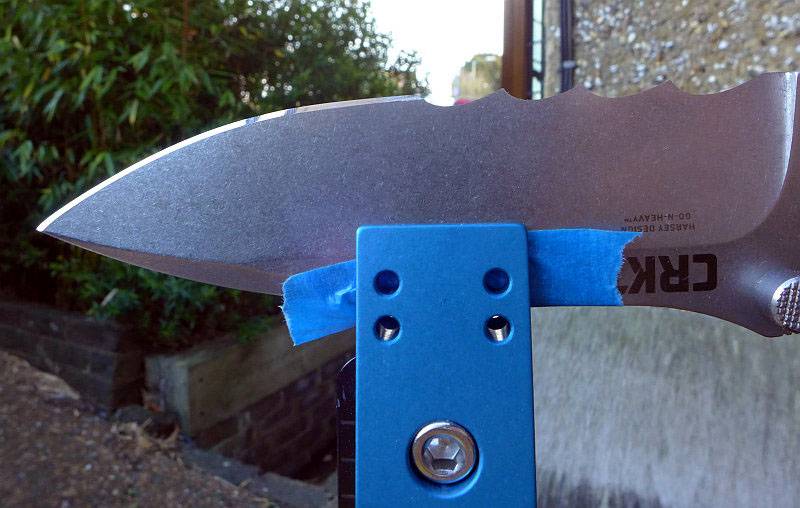
Though the factory plain edge was serviceable enough, I decided to give it a bit of an upgrade and pop a Wicked Edge onto it.
 photo Wicked edge GoNHeavy P1230401.jpg

Looks rather nice with its new edge.
 photo Wicked edge GoNHeavy P1230411.jpg

Unfortunately no large rope cutting tasks have yet presented themselves, so I’ve had to make do with smaller ropes. On the smaller sizes, the rope tends to stick in one of the serrations rather than the serration sawing through. It makes it more like a series of line cutting hooks. You need to scale up the cutting job to really get the Veff serrations showing their power. They look great, and are very aggressive, but on smaller jobs they can be hard work.
What you really can feel is the effect of the angled serrations; they actively bite deeper into the material as you cut instead of riding over the surface. In the right cutting job it makes for a very aggressive and efficient cut. For smaller jobs you often have to push the cut away from you to stop the teeth biting so deeply.
 photo 40 GoNHeavy veff cut P1230442.jpg

Serrated or plain edge, its your call and depends on your requirements (I’d love to see a mid-serrated version – see The Mid-Serrated Blade – A new concept from Subwoofer). Either one will give you a really satisfying super-sized folder.
 photo 39 GoNHeavy both P1190091.jpg

Review Summary

The views expressed in this summary table are from the point of view of the reviewer’s personal use. I am not a member of the armed forces and cannot comment on its use beyond a cutting tool or field/hunting knife.

Something that might be a ‘pro’ for one user can be a ‘con’ for another, so the comments are categorised based on my requirements. You should consider all points and if they could be beneficial to you.

_______________________________________________ _______________________________________________
Things I like What doesn’t work so well for me
_______________________________________________ _______________________________________________
Super-Sized Folder. Serrations are too large for some jobs.
Harsey Design. Smaller hands may struggle to open one handed.
Multiple grip options.
Distinctive Styling.
Veff Serrations have excellent bite.
Belt pouch included.

 photo 40 GoNHeavy ruger IMG_20160326_121119.jpg


Discussing the Review:

Please feel free to add comments to the review, but the ideal place to freely discuss these reviews is on a forum. If you started reading the shorter forum version of the review, but followed the link this full exclusive review, please return to that forum to discuss the review there.
If you read the review entirely on Tactical Reviews, please consider one of the following to join in any discussion.

EdgeMatters – Sponsored Reviews (UK based Forum for Knife Makers and Collectors)
BladeForums – Knife Reviews (US based Forum for Knife Discussion)
CandlePowerForums – Knife Reviews Section (Largest and Friendliest Flashlight Community Forum)